The Road To The 2015 Warzone International: Part Five
May 27, 2015 by crew
Another few days have been crossed off the calendar and my Bauhaus force plods slowly towards the finish line. I finally settled on a Warlord choice, and while I might adjust a few of her cheaper abilities or equipment options I am pretty much done and can now source a model for her.
Crafting A Hero
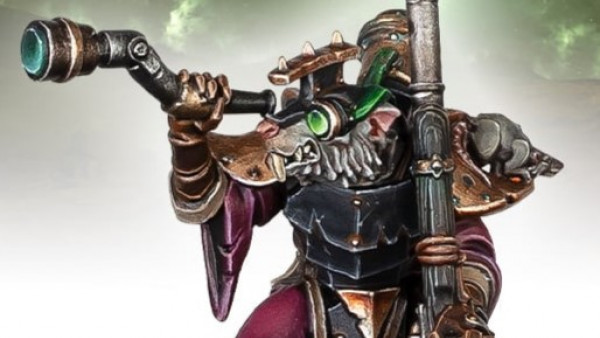
Of course, when I say “source” what I really mean is “cobble together” because I think a Custom Warlord deserves a custom model. While there are a few add-on packs for specific units spread across all of the factions, there isn’t really one place I can go to if I want a pool of parts to build a custom Hussar, Etoiles Mortant or Venusian Ranger Warlord.
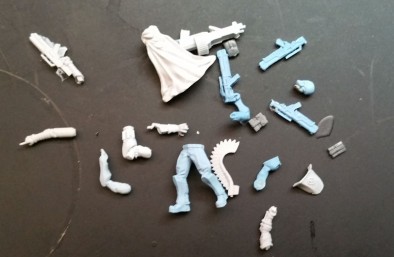
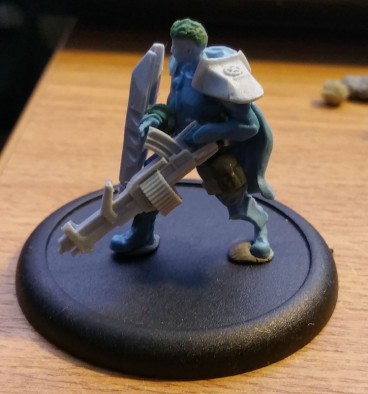
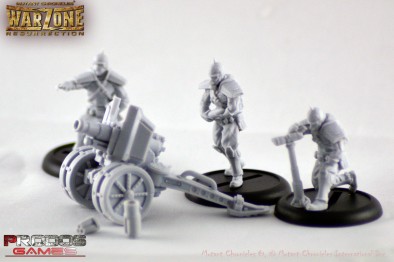
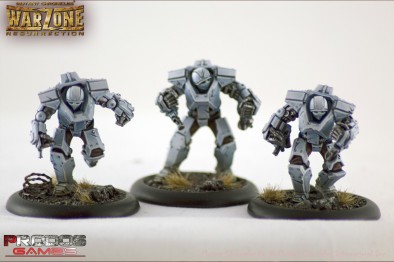
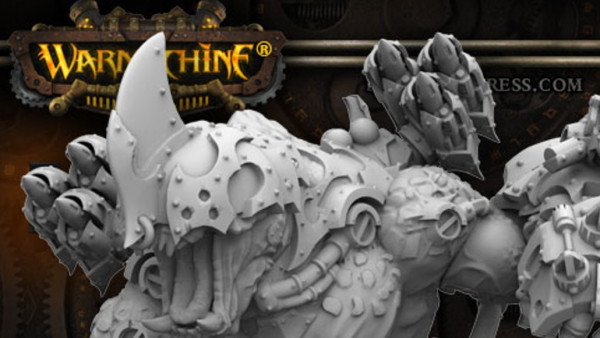
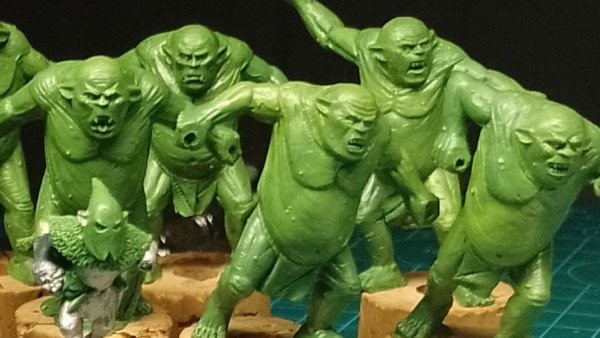
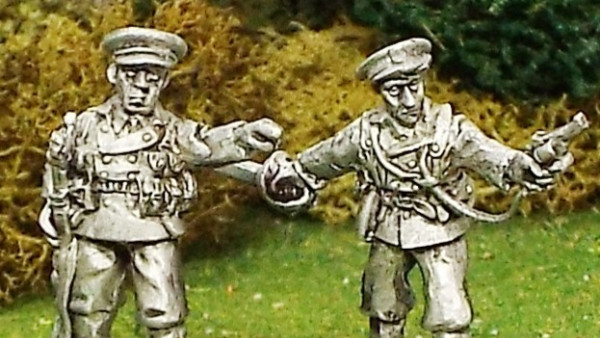
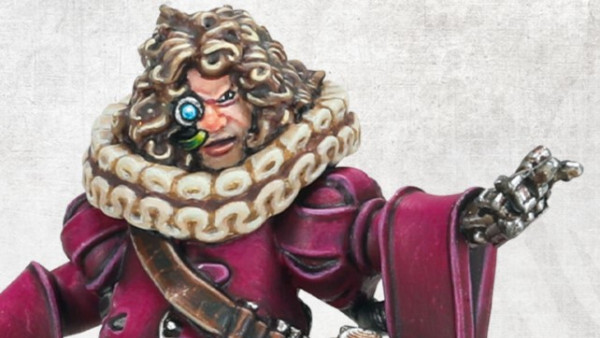
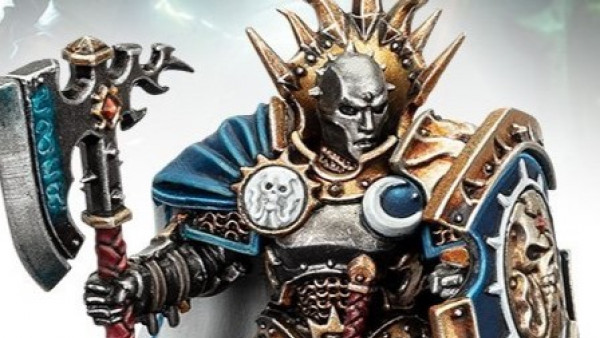
Hopefully that will be something that Prodos will address in the future but for now I have instead purchased a second Max Steiner and the Brotherhood Trooper add-on pack. Combined with some Hussar, Etoiles and Ranger parts from a few spare models I had laying around I have turned something like this...
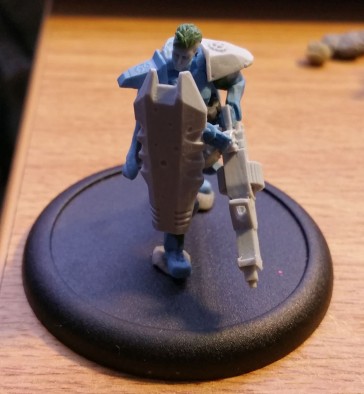
...into this.
Meet Kaptain Ingrid Fieldhausen-Valmonte – IFV, if you prefer - also known as “the Double Scandal” to the Bauhaus nobility. When you’re a Fieldhausen and a Valmonte you can’t exactly trade on the family names!
I don’t expect Ingrid to be winning the game for me but with a Defence Shield (giving her an unmodifiable armour save of fourteen or less on a D20 as long as the attack originates in her front arc) and Deathlock Drum heavy machine gun I hope she will be able to ward off most assassination attempts.
If she survives even two games I will consider her equipment choices to be points well spent! As for the rest of my army, everything is built and I should have a Vulcan painted up within a day or two.
Tick tock, tick tock.
Before I get back to that Vulcan, however, let’s take a look at the seventh and final mission in the Warzone Resurrection Tournament Pack...
Mission 7: Reconnaissance
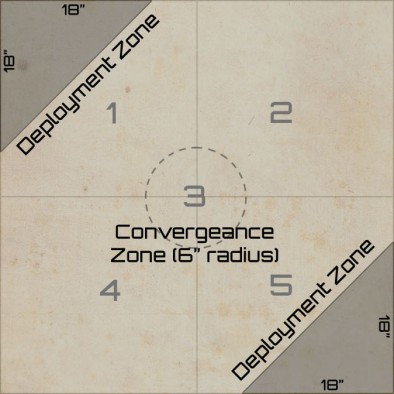
Deployment Type: Quarters (Each player has an opposite table corner to deploy onto, with a triangular deployment zone that is eighteen inches along both table edges that make up the corner) with the Convergence Zone in place.
Objective: The objective of this mission is, from the end of turn four or later, to have uncontested control of at least three of the five table zones in play.
With Quarters deployment, planting your flag into three zones is pretty straightforward. Heck, you can be doing that from turn one if you wanted. The catch is how control of that zone is defined; In this case, control means to have more of your models in that zone than your opponent does, while contest means having the same number of your models in a zone as your opponent.
For a horde style list this is an easy task as long as your squads have a reasonable leadership score (a squad that is broken cannot interact with Objective Markers or hold Table Zones) but what stops this mission from being a cakewalk is the turn restriction. Once again, the conditions for a Major Victory worth ten points cannot be triggered until the end of the fourth turn so every list – even my lists – will have a chance.
Strictly speaking, the Convergence Zone in the centre of the table is the most flexible because the rules state that a squad can hold two zones at the same time. Thus, a squad can be positioned on the edge of the Convergence Zone such that a few of it’s models are in the Convergence Zone while the rest of the squad are in one of the four adjacent Table Zones.
The cost of flexibility in this case is vulnerability and models straddling the Convergence Zone are generally going to be within weapon range of almost every other model on the table. Another good spot to take two zones is along the mid-point of any table edge, out of range of most models positioned on the other side of the table and a risky proposition for an opponent looking to counter that with Rapid Deployment since that squad could easily scatter off the table.
Of course, being so close to a table edge located within your deployment zone means that if your squad DOES take casualties and break, they will almost certainly flee off the table immediately, without giving you a chance to rally them.
So, against a horde style list such as a tide of Heretics in a Dark Legion army, I think you have to be cautious, using early game Rapid Deployment only if you can be sure of eliminating at least three times as many models as you will lose.
With the rest of your army, move them into cover at maximum weapon range where you are controlling two – but only inches away from two more – of the Table Zones and pound the enemy with everything you have until mid-way through turn three. Decide then which (single) Zone to take next based on the location of the enemy squads and go for a close win at the end of the following turn.
If you have cards or abilities that slow down your opponent (Capitol have some good ones) then the start of trn four will be the time to play them, hampering your opponent’s ability to react to a sudden shift in your squad positioning towards the end of turn three (save your fastest squads until the end of the turn for this e.g. the Purple Sharks or the Bauhaus Vorreiters).
Just remember that if you start with twenty five models and he starts with forty, you lose a third but he loses half; your opponent still has more models than you and probably more activations too. You can’t afford too many early casualties or you simply won’t have enough to hold two Table Zone, let alone three.
Even against a similarly sized force, I think you have to be cautious about taking too many early game casualties and unlike when facing the horde list, I probably wouldn’t risk my Etoiles Mortant squads with a first turn Rapid Deployment for a shot at only a handful of guys in loose formation within their deployment zone.
Instead I think you need to maximise your use of cards, template weapons and long range, high rate of fire weapons until turn three and decide from there where the enemy is least about to hold on to a zone.
The Bauhaus Artillery Korp (expensive!) and Juggernauts (even more expensive) are both good at maximizing enemy casualties while minimising their own and hopefully if you can keep your Rapid Deployment troops in reserve for this long as possible, they may be able to swoop into a remote corner of a Table Zone and turn a ten/six into a ten/eleven in your favour just before the end of the game.
Ultimately if the game turns into a bloody brawl where neither player can hold on to more than two Table Zones (either due to placement or because you both have a single squad left) then the player in control of the most zones at the end of turn eight will score a Partial Victory worth five points.
That wraps up the coverage of seven missions described in the Warzone Resurrection Tournament Pack so next time I will go over the six different Hidden Agendas included in the document, one of which is picked by a player at the beginning of each mission and can yield a few extra mission points upon successful completion which could prove vital to the final tournament standings!
Helpful Links…
If you would like to write an article for Beasts of War then please get in contact at [email protected] for more information!
"Of course, when I say “source” what I really mean is “cobble together” because I think a Custom Warlord deserves a custom model..."
Supported by (Turn Off)
Supported by (Turn Off)
"I probably wouldn’t risk my Etoiles Mortant squads with a first turn Rapid Deployment for a shot at only a handful of guys in loose formation within their deployment zone..."
Supported by (Turn Off)















love the series.
I bought 2 starter sets for my birthday a few months ago, only opened them on Sunday and nearly finished assembling them. Do you recommend any facebook groups or the like for those into, or getting into Warzone?
A good Facebook group is “Warzone- Mutant Chronicles” (not sure if a link will work in a comment or not)
You’re closing up on Tournament H-Hour, aren’t you, @@siygess ? Almost time to put all these theories to the test! 😀
You’re closing up on Tournament H-Hour, aren’t you, @siygess ? Almost time to put all these theories to the test! 😀
Yeah you are not wrong! I’ve just reached the painting deadline and I won’t have time to do any more to them (even though they sorely need it). Lucky for me, being painted is only a tiebreaker in the event a game ends in a draw. Hopefully I will do well enough – or badly enough – that it won’t matter 😀
dip em! they’re regulation bauhaus so base them wolf grey or ultramarine(think theres a spray?) and give them either a ‘uniform grey’ or even white uniform with yellow insignia.
Thats two fields(wolf grey primer and skull white) and a yellow accent.
Dipping although no harder than priming is still a level of commitment most non painters won’t stretch to.
Depending on how hard people play showing up unpainted could cause tilt.
And even if it doesn’t losing a game to a black or olive primered legion or capitol would suck.
Hah! You don’t know how many times I’ve almost reached for my Army Painter Strong Tone quickshade lol
Ironically, the BDUs on my Bauhaus are English Uniform so the dark brown dip would work well – but the armour plates are white, and need pale grey shadows which I started applying with a light grey wash and a slightly darker grey in the extreme shadows. But whether I batch paint all parts at once, or try to sort of complete one mini at a time, cleaning up all the little mistakes was just too time consuming.
You can dip white with good results it you drybrush the area with turps after the dip. brush on
Hmmmm. I might just have enough time to give that a go..
This series write up has been awesome to follow, especially since I just recently got into Warzone . Hope to hear more in the future 🙂
@siygess It does take some practice I have screwed it up a few times before getting it right
Looking forward to the tournament coverage. I bought Mishima starter and few extra bits at Salute this year. Haven’t played a game yet, but the rules are fantastic and really looking forward to my first game.
Great series of articles Ryan. Looking forward to how it went over at the expo.