Home › Forums › News, Rumours & General Discussion › [unofficial weekender] Hush… be quiet… I think I smell something! › Reply To: [unofficial weekender] Hush… be quiet… I think I smell something!
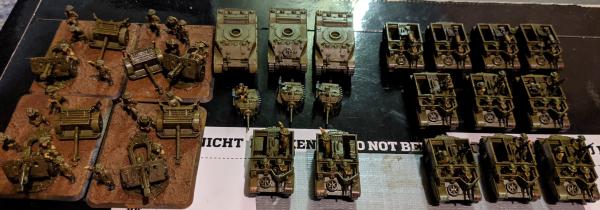
@evilstu This is me finally starting FoW. I’ve been playing Tanks for a while and finally got started after getting hit the beach for Xmas last.
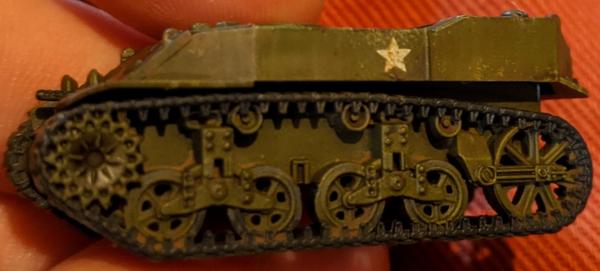
The decals are mostly ones I’ve made on the carriers, the earlier ones I did on the tanks are the clear backed ones from the box. I’ll try not to go on too long about this. It’s better for both to put decals on to a satin or gloss varnished surface and get a box of fresh scalple blades for clean cuts. Decals that you buy are probably going to be easier but may well be on a thicker backing that will be clear and slightly larger than the image. I don’t have it, but decalfix will melt away the backing to nothing.
If you are going to make them you buy either clear or white water-slide sheets, they are pretty thin and have left no raised edge, unlike the box ones. Now it’s a bit of a steep learning curve but printing wasn’t a problem, with the caviat that no home printer has a white ink cartridge, you might be able to get them done at a pro-printers but then if it’s toner not ink that’s a different sort of sheet. So the printed decals are on a white backing sheet, they need sealing. There’s a proper spray for this, but a few good, light coats of varnish does the job. Too much at once will lift the ink, let them set for a good 12hrs.
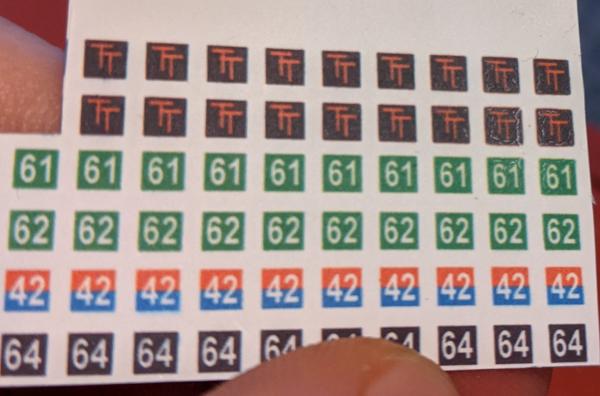
One they’re cured cut out a decal with a good couple mm border and score around the edge of the image, not all the way through the backing paper. I was extra careful and painted water on the back of the paper then lifted the corner of the decal with a scalple, if some of the paper comes with lay it flat and put a bit more water on the back.
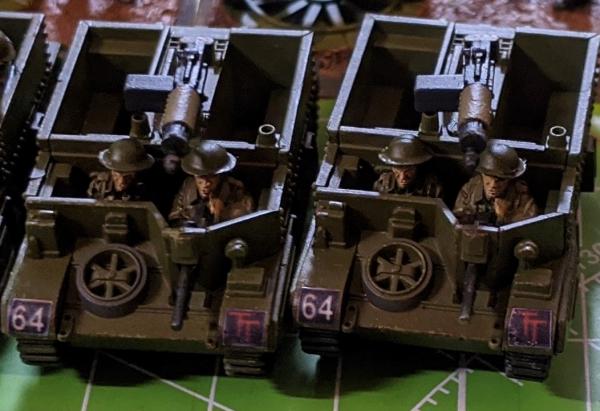
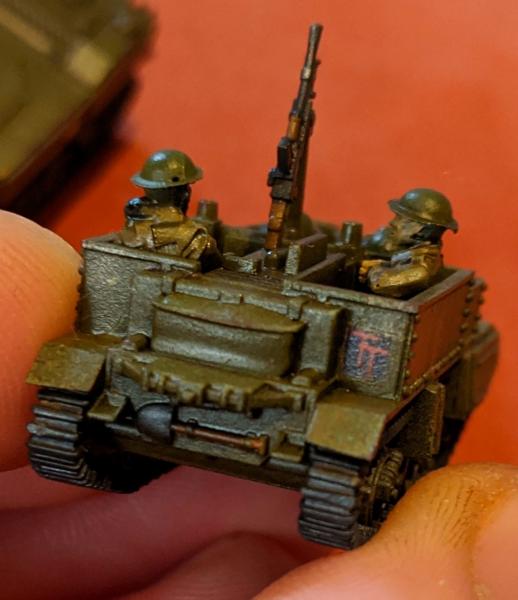
Either type of decal I just brush a drop of water of the surface, lay the decal on top and move into place using a slightly damp brush. If they get folded beyond use just brush off, give the surface a brush down with clean water, let dry and start again. When they’re in place dry the brush and wick away any excess water, then I put a drop of any paint medium on just to get a bit of hold, let dry and then give a brush of varnish over top. With the printed ones I went back in and painted over any bits of white showing with the armor colour. Then for both a bit of the base colour mixed with some ivory was sponge chipped over and my weathering and washes is continued.


![How To Paint Moonstone’s Nanny | Goblin King Games [7 Days Early Access]](https://images.beastsofwar.com/2024/12/3CU-Gobin-King-Games-Moonstone-Shades-Nanny-coverimage-225-127.jpg)


