


Infinity Terrain


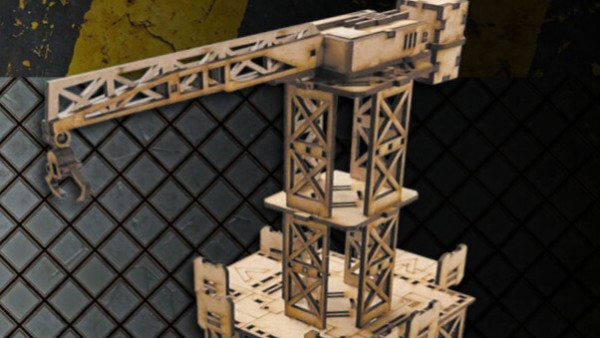
Building the Power Hub
So great news, no Boring video of me making these! (still unsure how useful or interesting they are and it was a pain)
I built 2 of v.2’s today I got for how much building was required. I can make 2 – 3 of the containers to 1 power hub and don’t forget the container vids were sped up 4 times. I am going to break this up into sections with photo’s.
- Parts
- Initial construction
- Layers of detail
I will finish this off with explaining why this is not complete at this point if I am ready to paint.
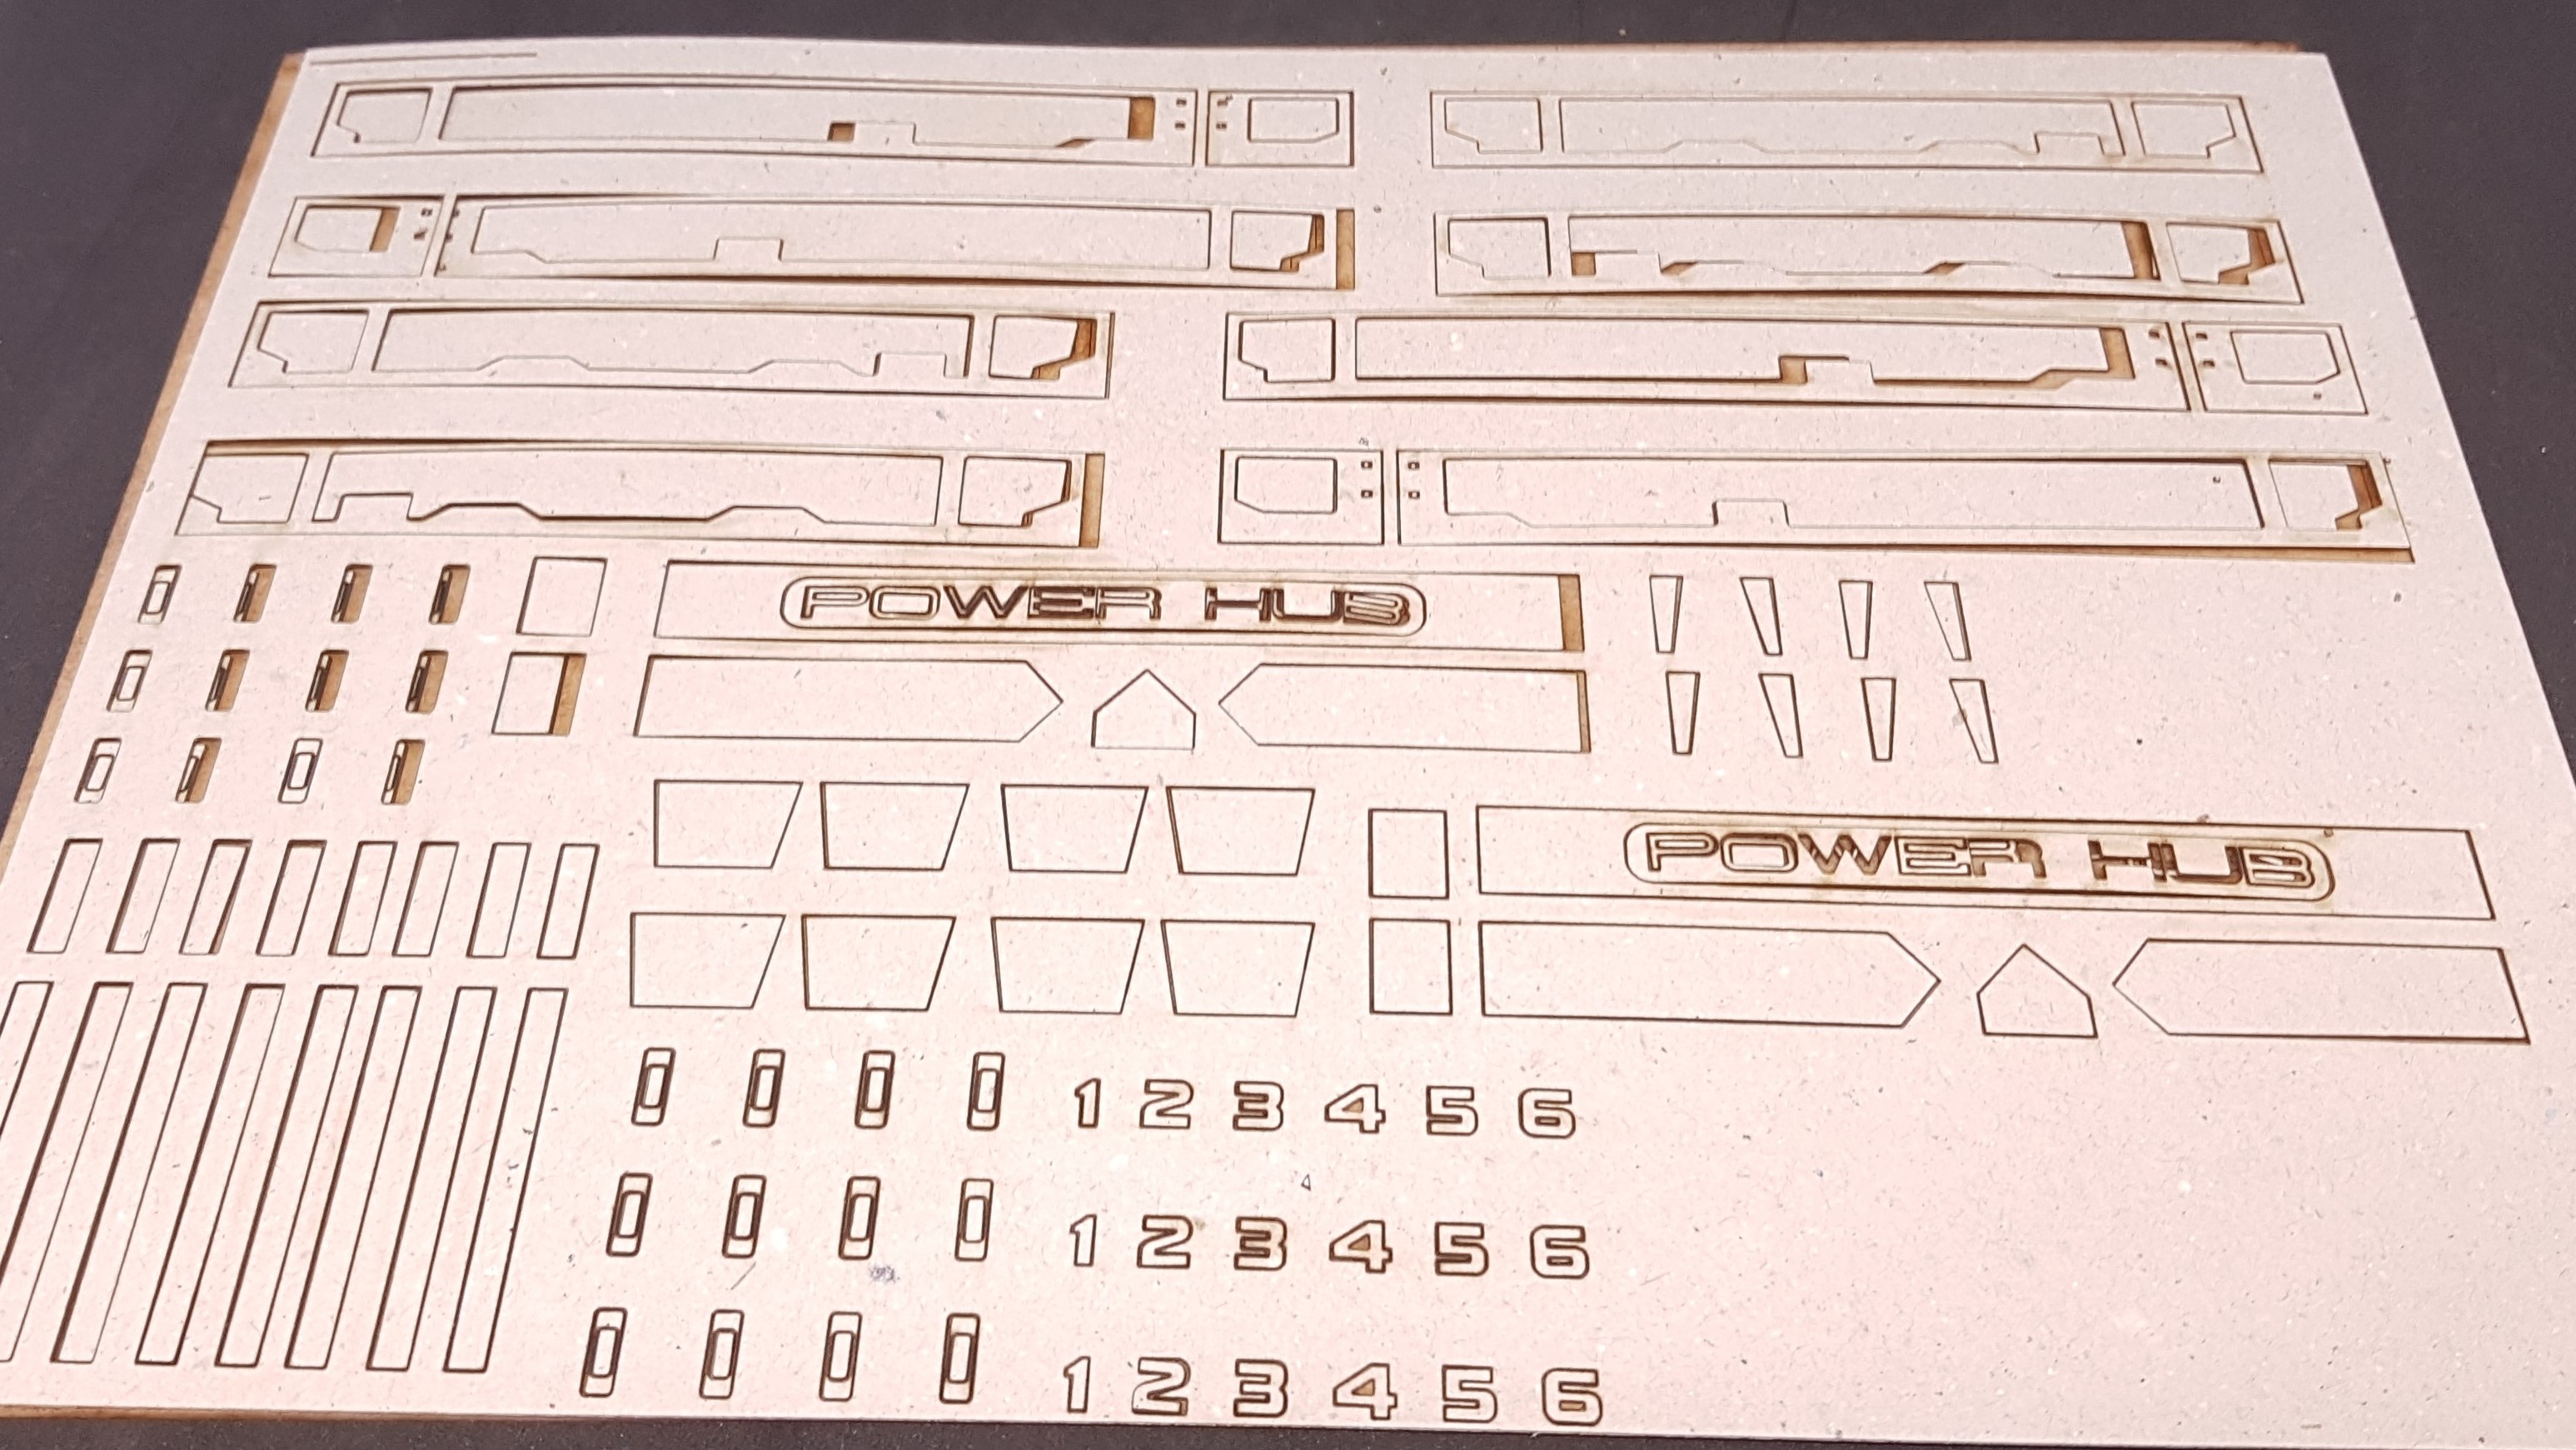
First is parts. I cut these out of the materials I used for the containers at the start. The containers used 0.5 A4 sheet of MDF 1 sheet of 1mm card and a tiny bit of 0.5mm card.
This requires 1.5 A4 sheets of MDF 2 sheets of 1mm card and 0.5 sheets of 0.5mm card. Total cost in materials is under £2. Still great value if you don’t include time and laser cutter etc.
I also found a temperamental issue with my laser cutter, it’s not done it again since I “fixed” it. Thought this was a slipping belt but I am not so sure.
Enough of the nonsense. I Laser cut the 100’s (I went to count them and got bored) of parts required to make one.
Things to note: The grate between the ladders takes ages to cut. This is also not as fun as you would think getting all of the little pegs out of the tiny holes. This could be done by getting a material with this texture and it will save hours of the life of your laser tube.


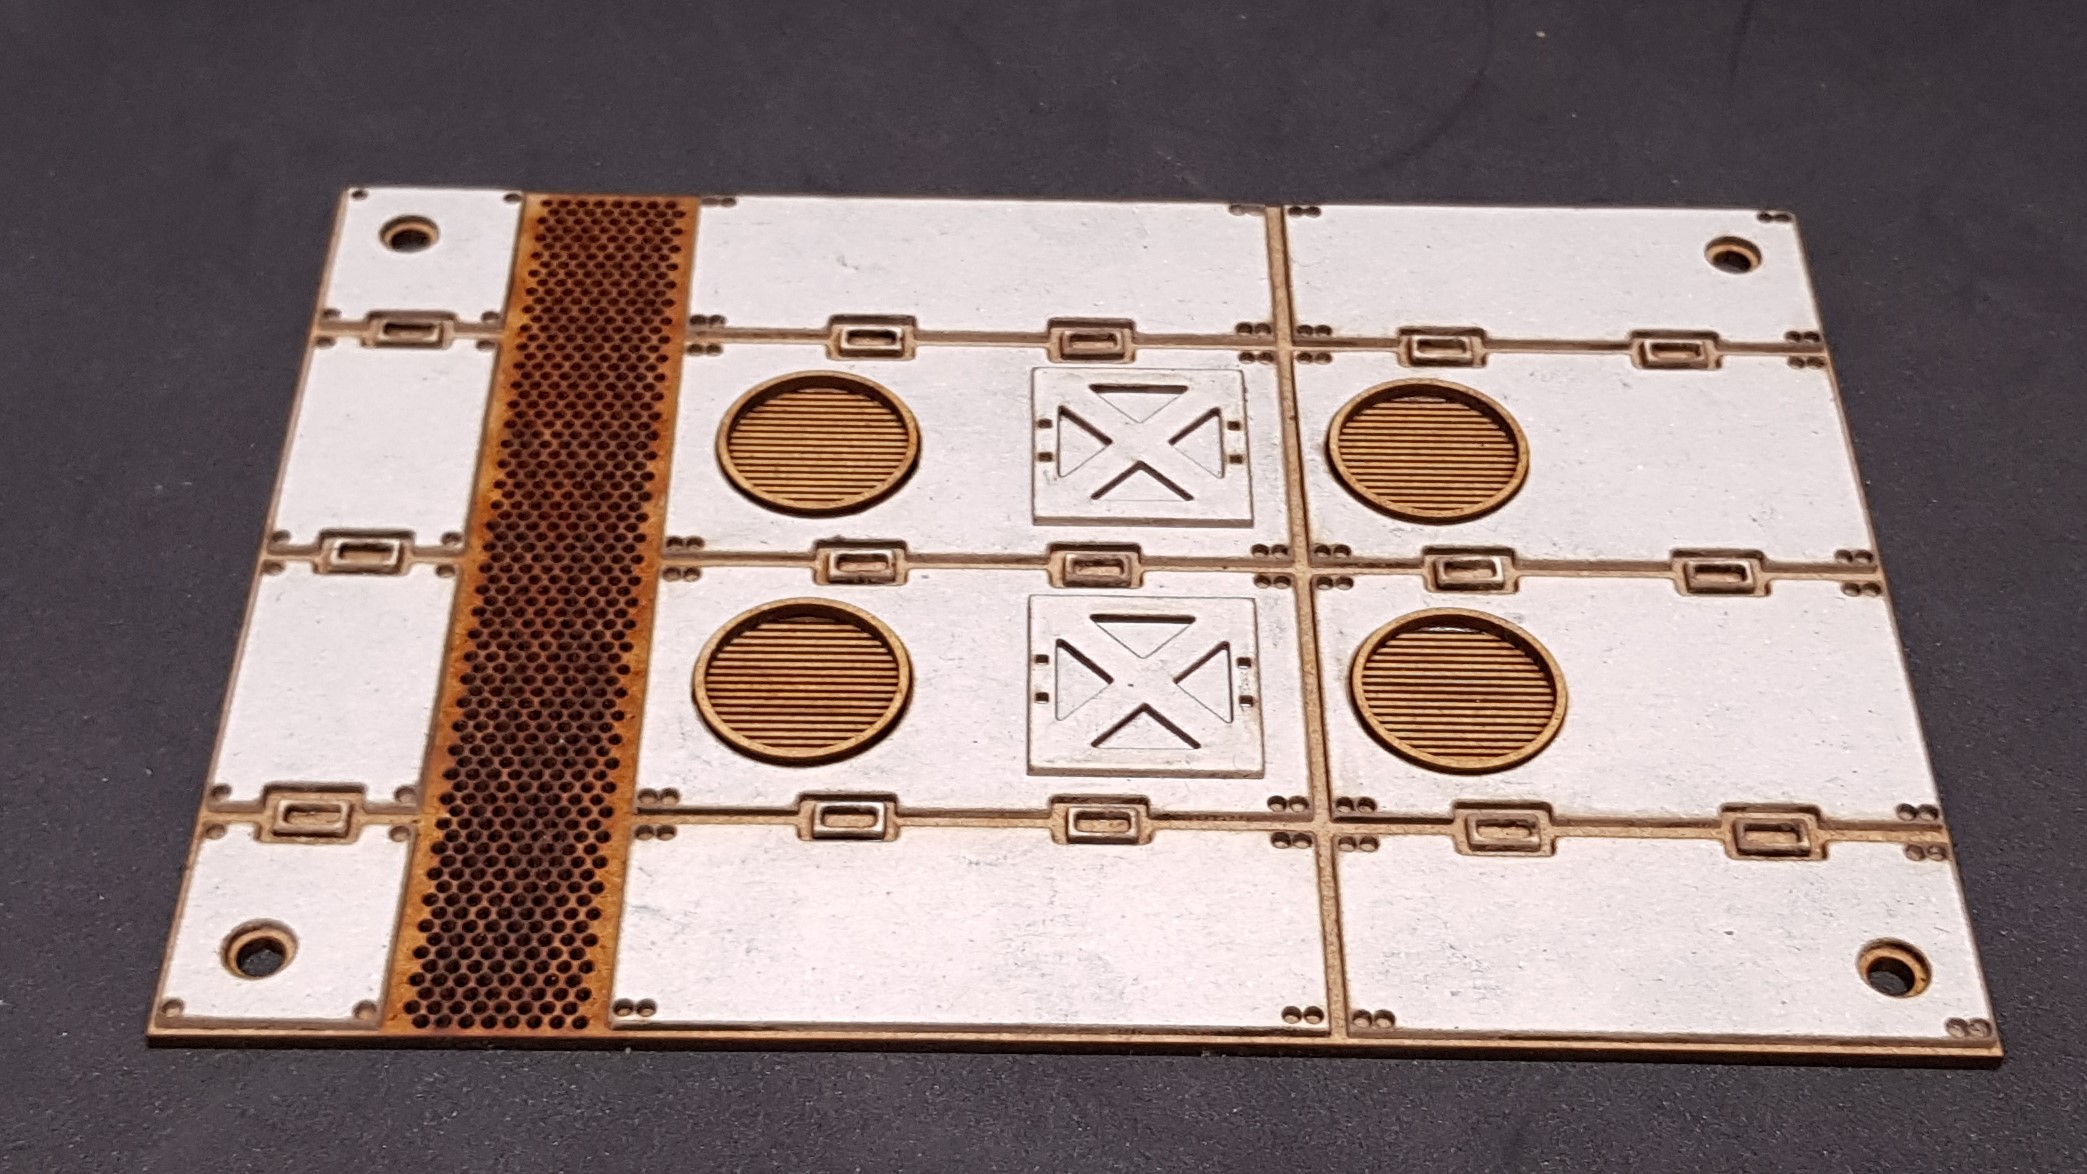
Next up is the initial build of this. I started by adding all the detail onto the top plate minus the handles of the matches. I Found this is far easier than trying to do it with it glued in position. Also a great way to make sure of prototypes. This was all glued with superglue.
I then added the detail on the insides of the rectangle. I done this as it’s very thin, this is 0.5mm card and I used PVA glue as due to experience the card loved to stick when it shouldn’t and then you rip it. This also gives you the location of there to attach the floor plate. Without this you would need to measure.
Finally I dropped in the plate, I used superglue again and for the rest of the construction. I also put a blob under in each corner and a little over the top. I have a habit of putting drinks on top of unused buildings when playing so this needs to take more weight than miniatures.

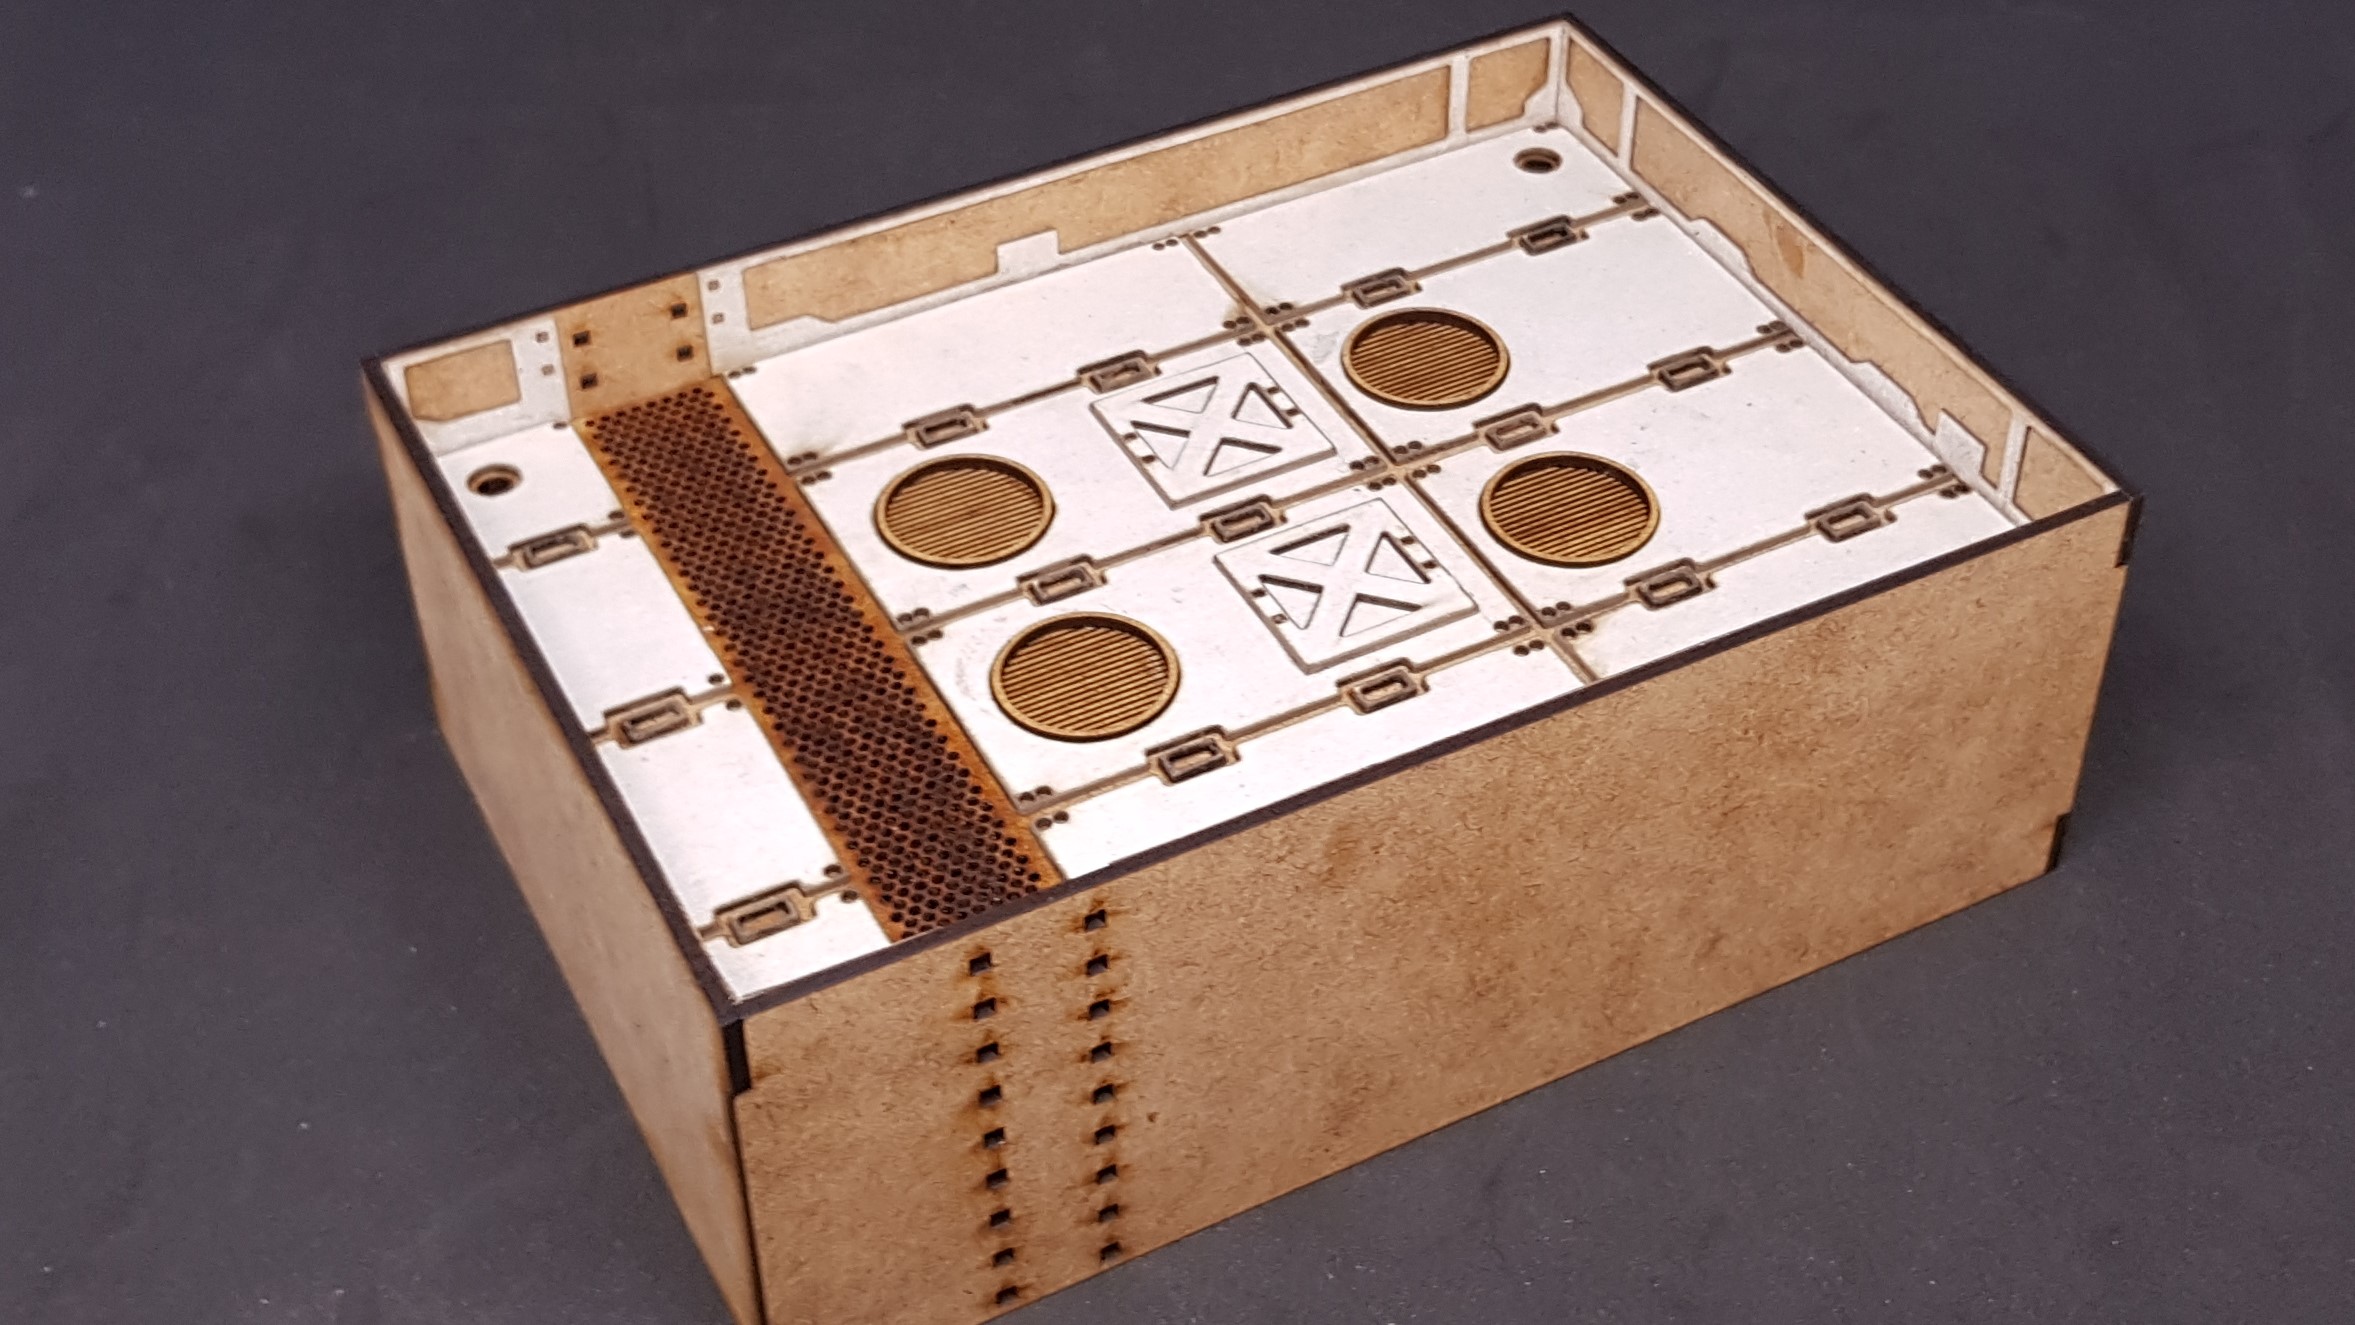
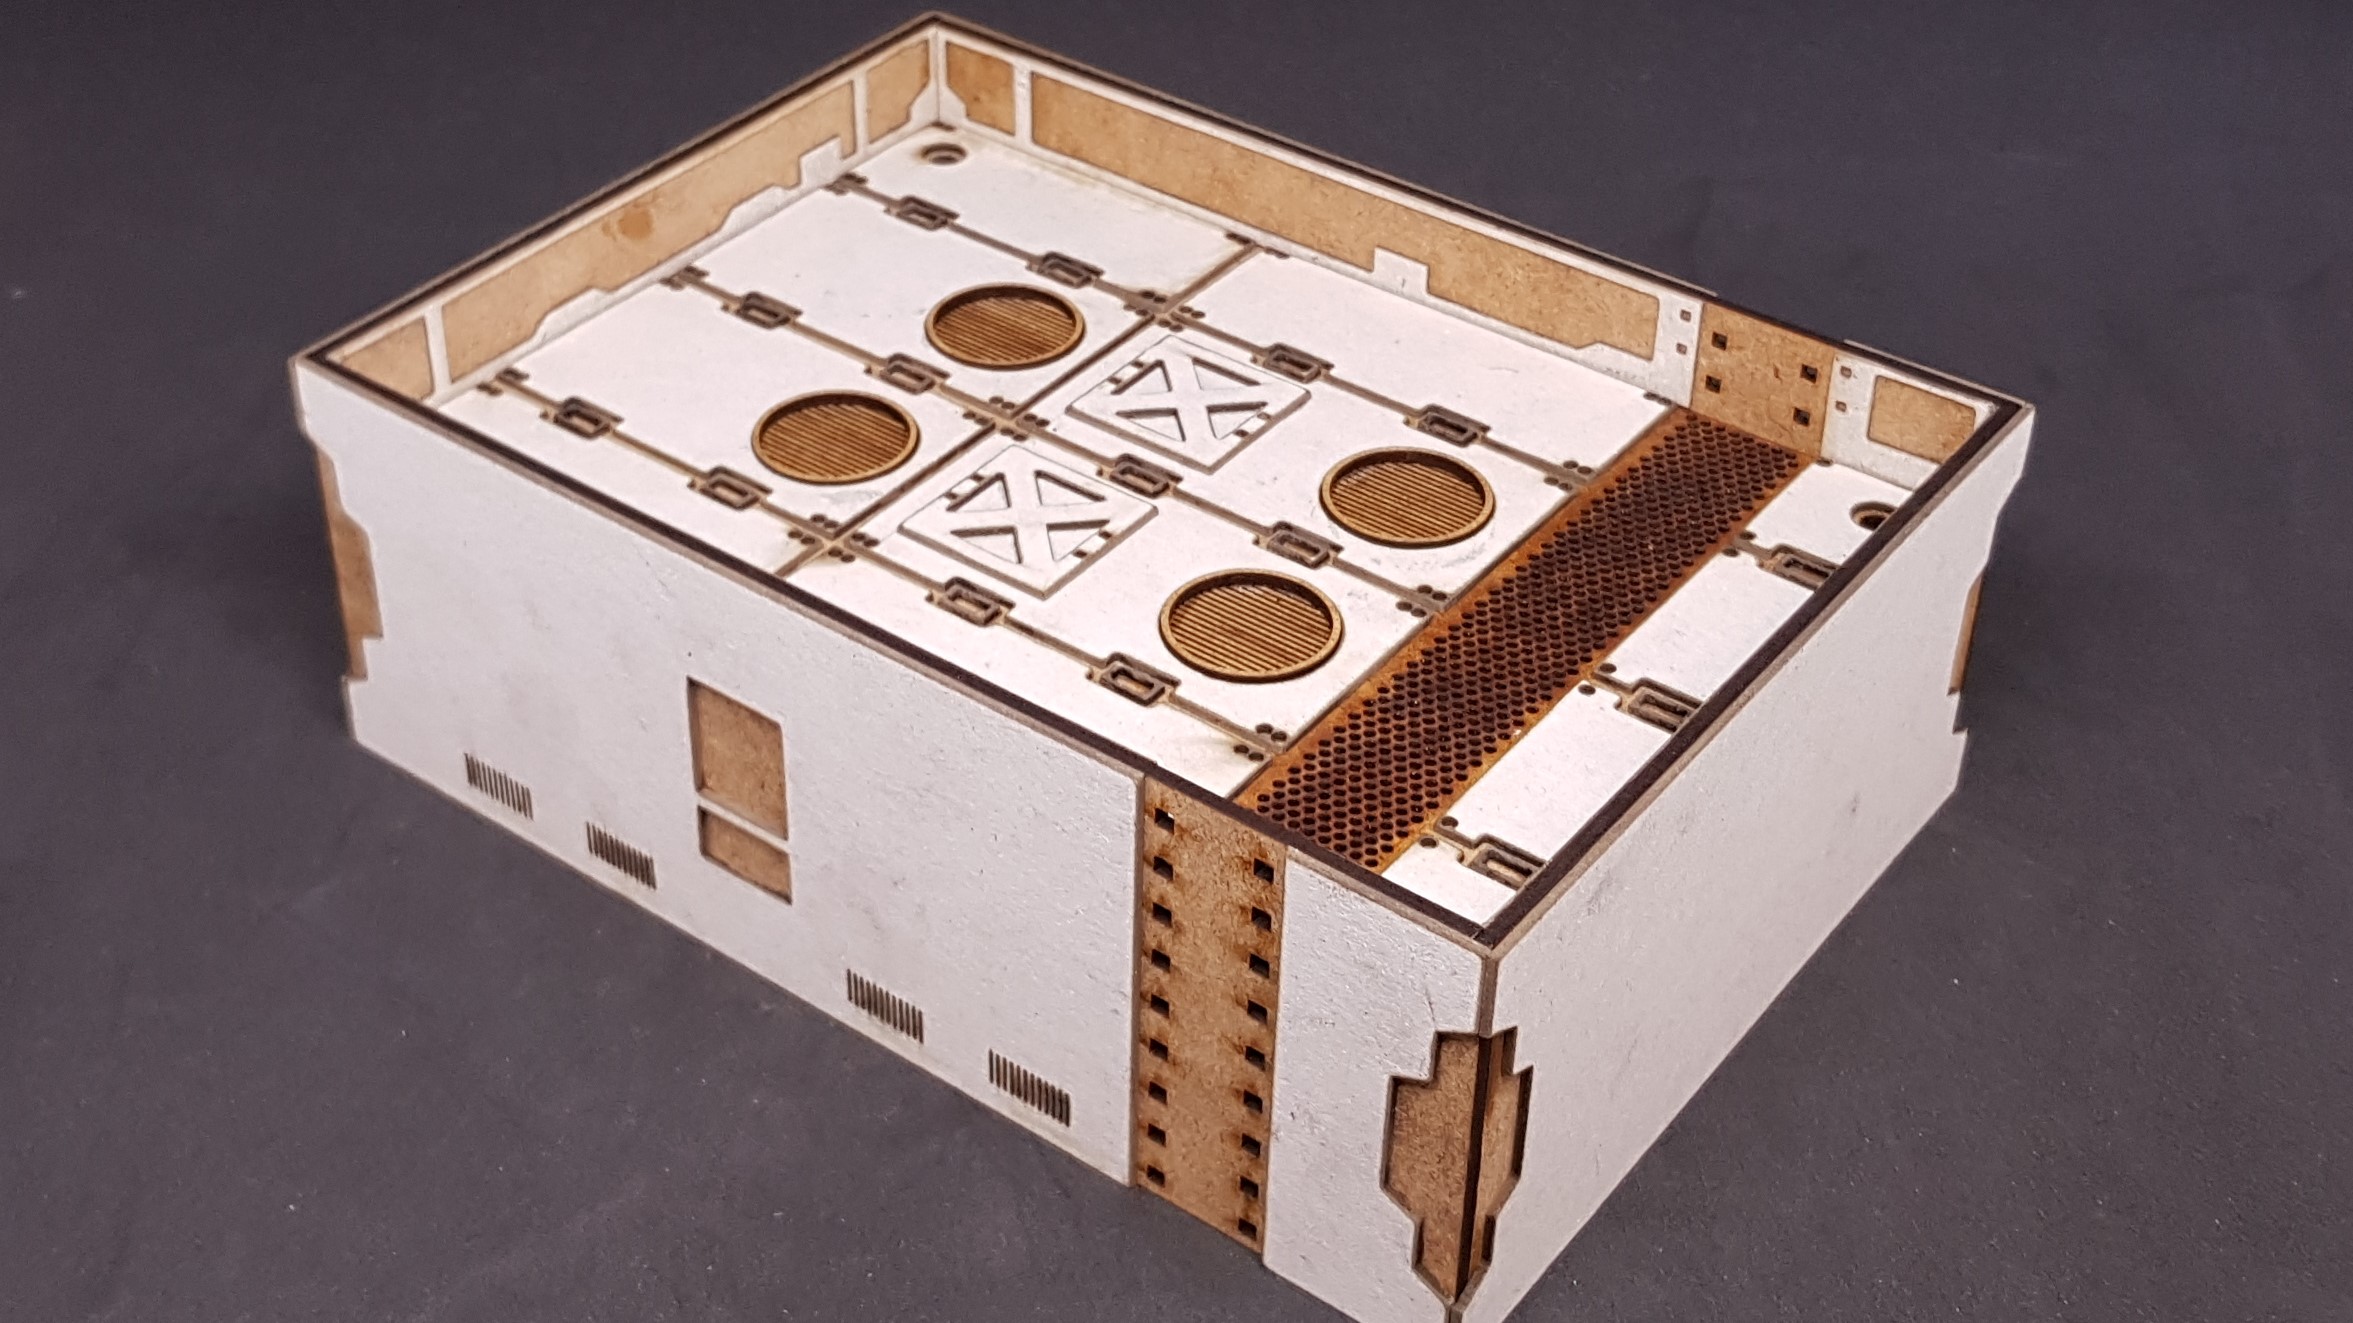
Lastly I then added the first second and third layer of detail. This takes me to the stage where I am ready to paint.
The rest of the components and the fourth layer of detail. Power bricks, vents, ladder handles and lettering etc. are going to be painted and then added after this. This will allow me to paint faster and cleaner than if they were on the model already and make a much better job of it than on v1.0.
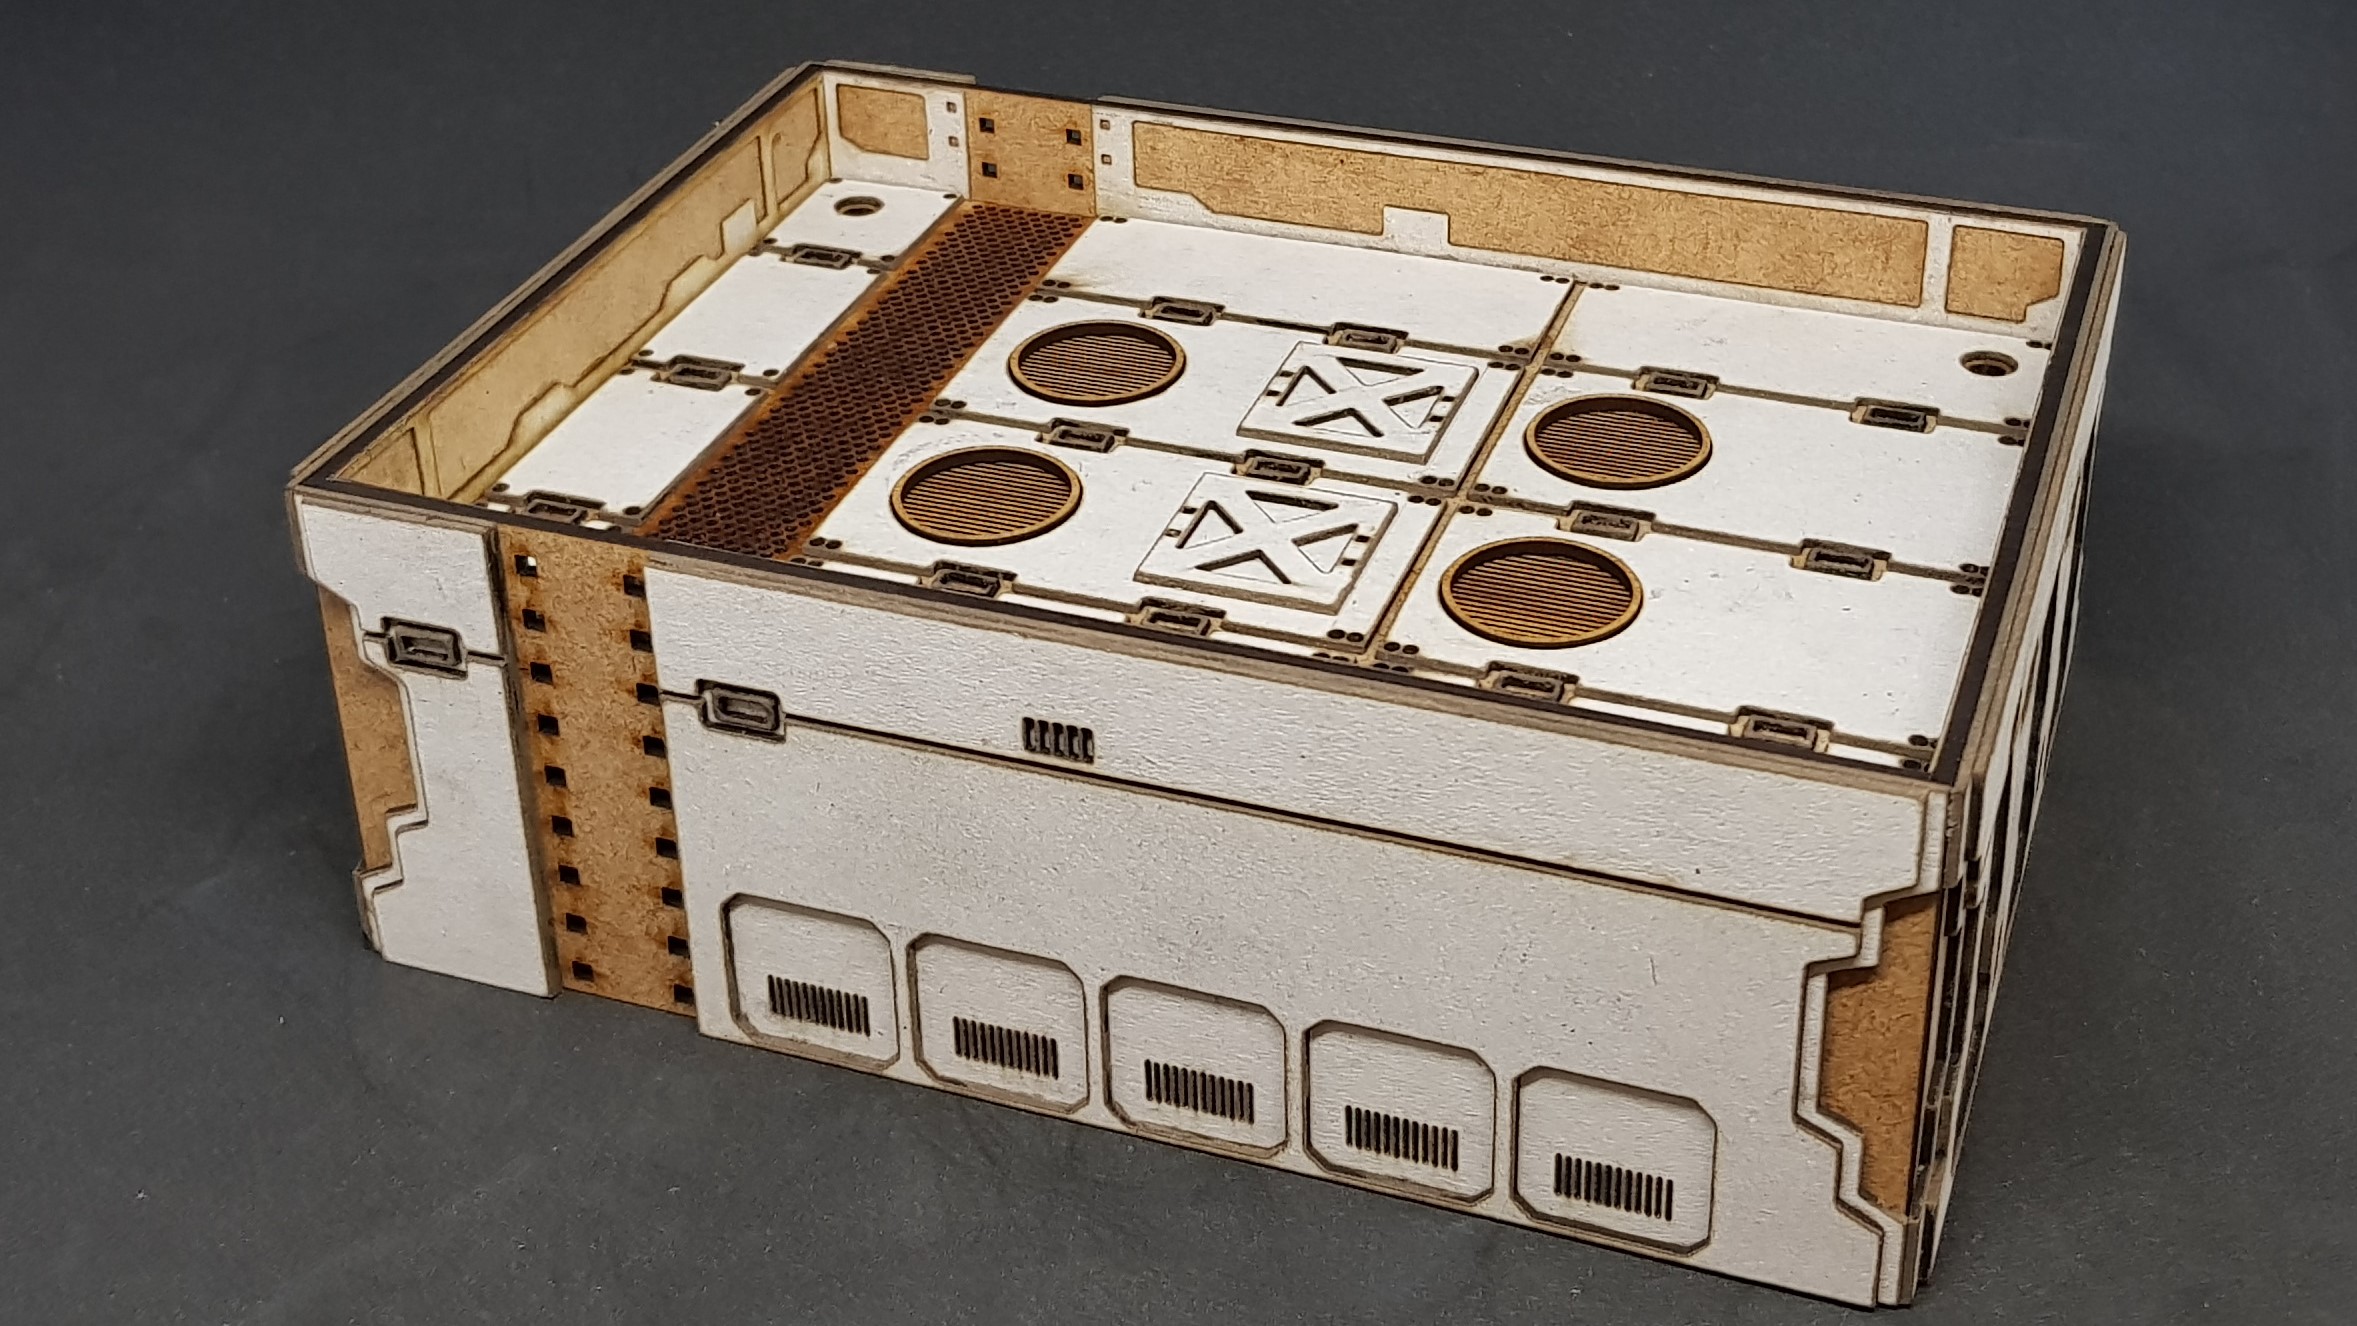
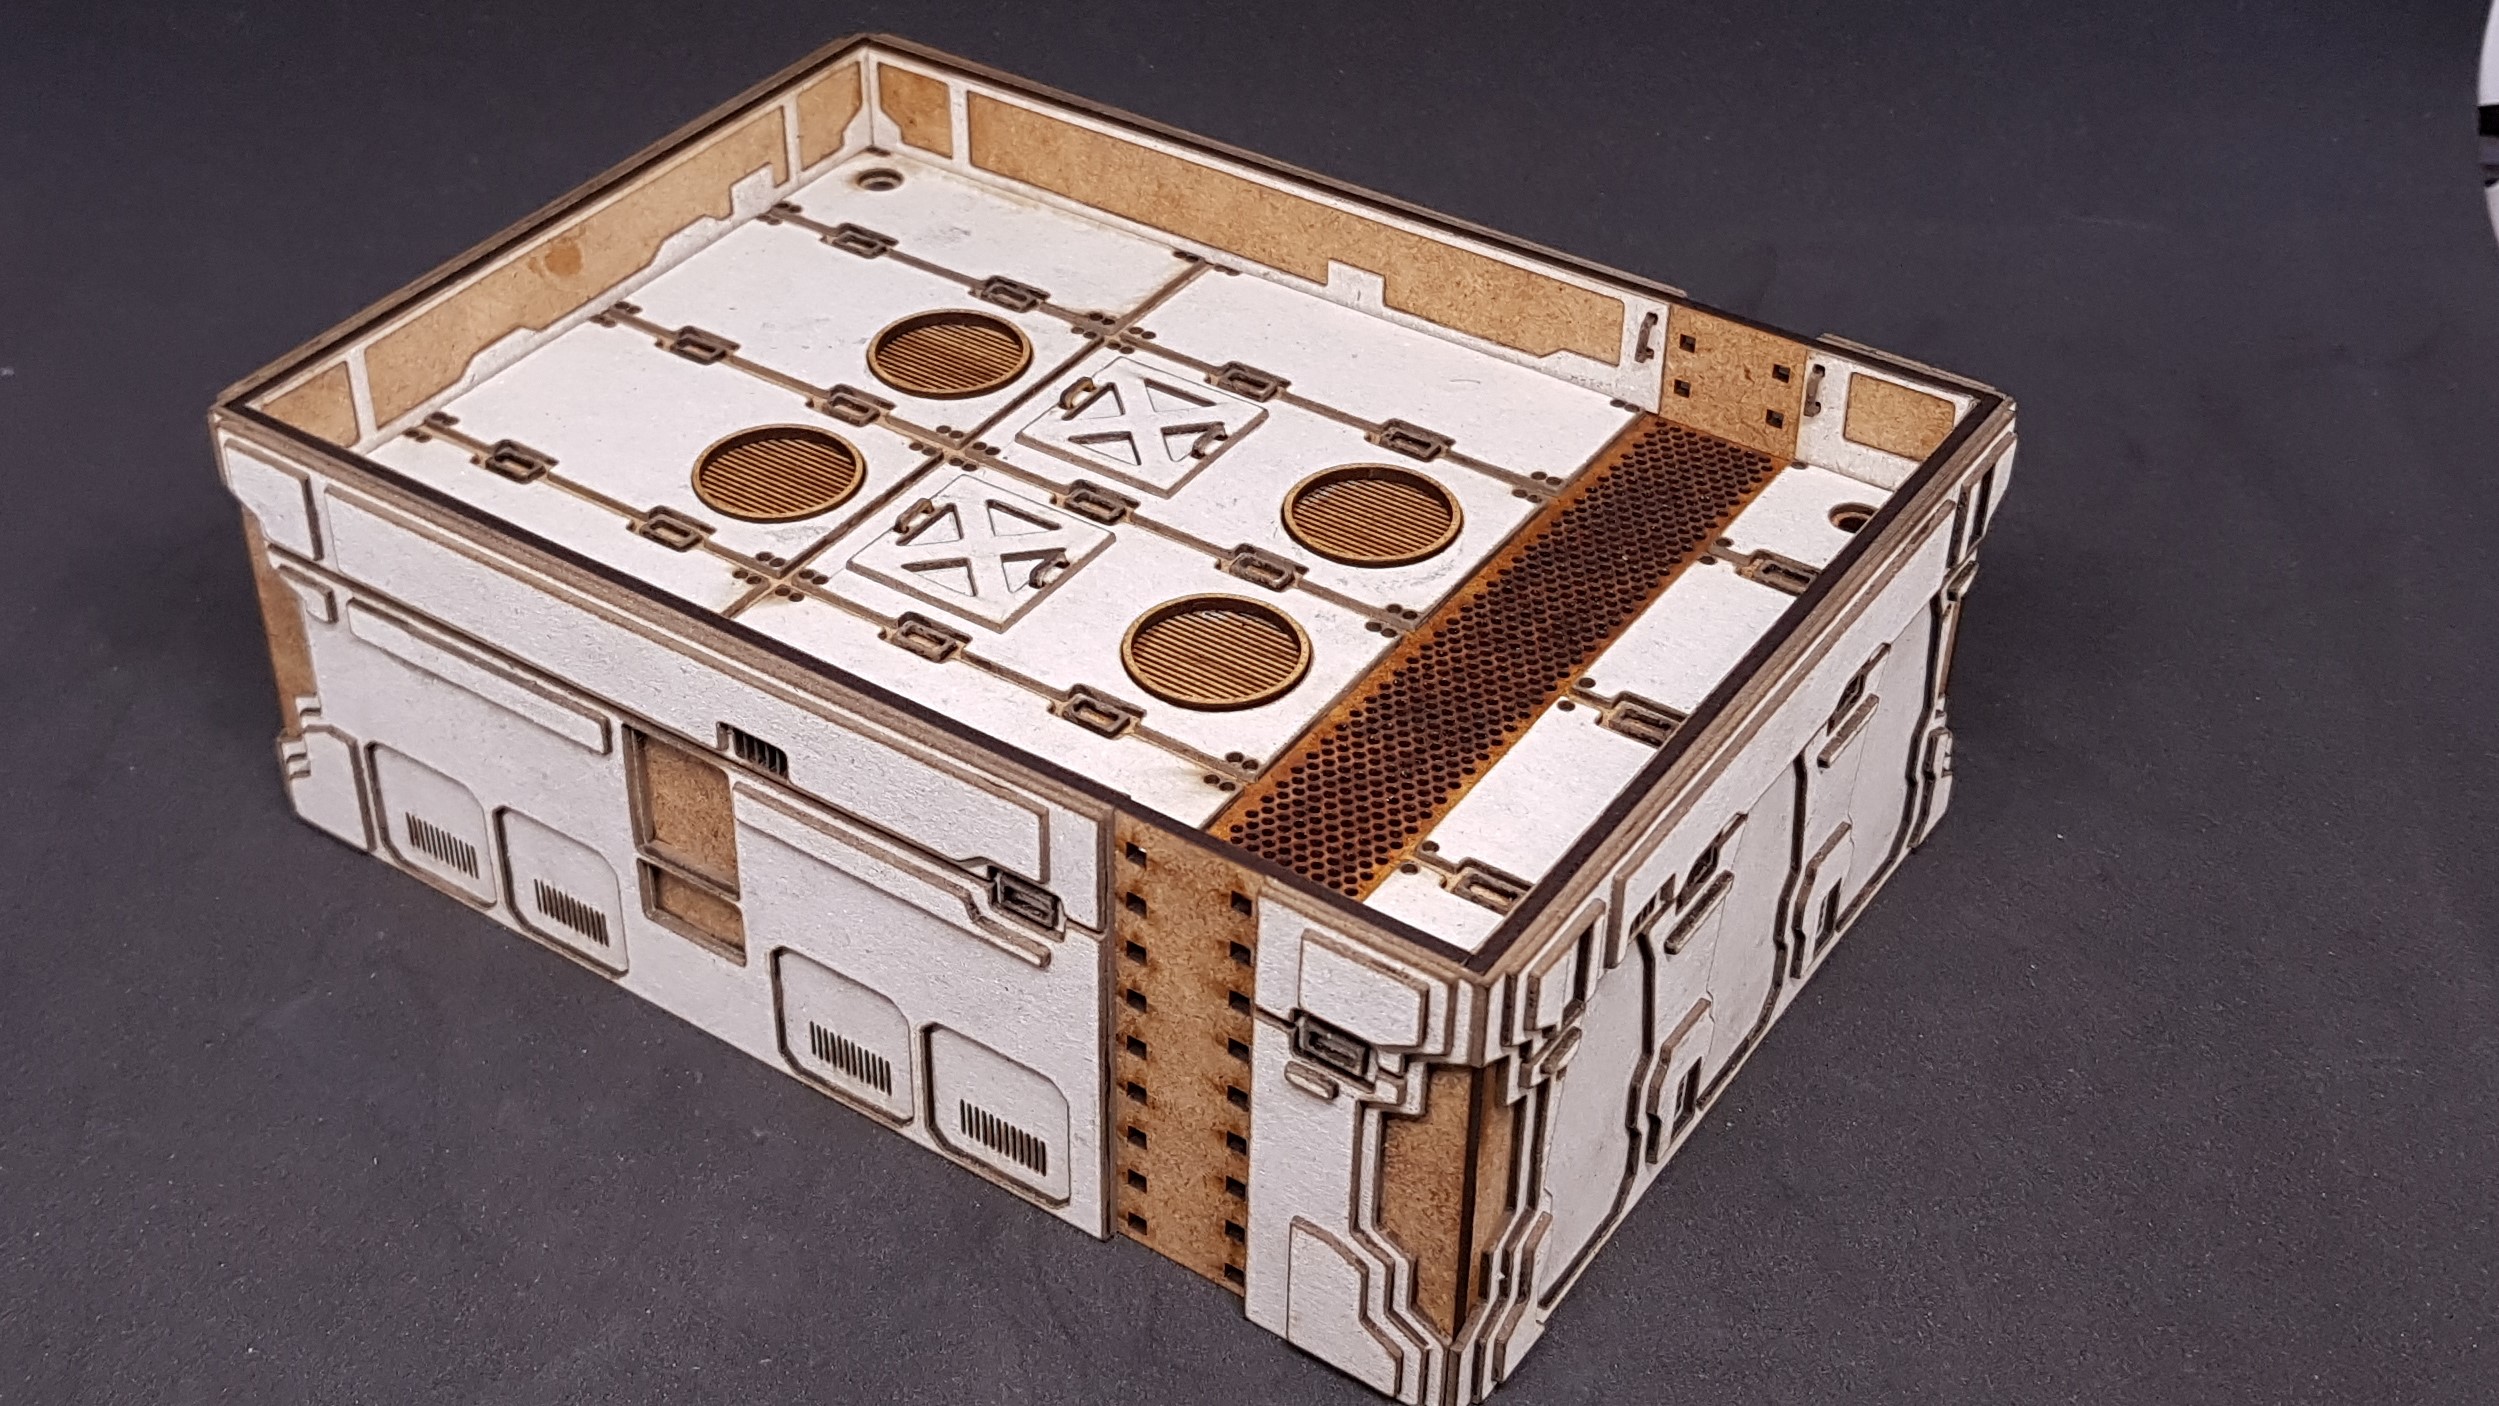
So that’s me all ready to apply paint. This has got me thinking if I should paint the two I am making differently. I would like to retain the orange and yellow accents. So possibly a green or a purple to go with this?
Let me know if you have any suggestions. One is definitely going to be the blue.
Time to gear myself up for the next stage.


Leave a Reply