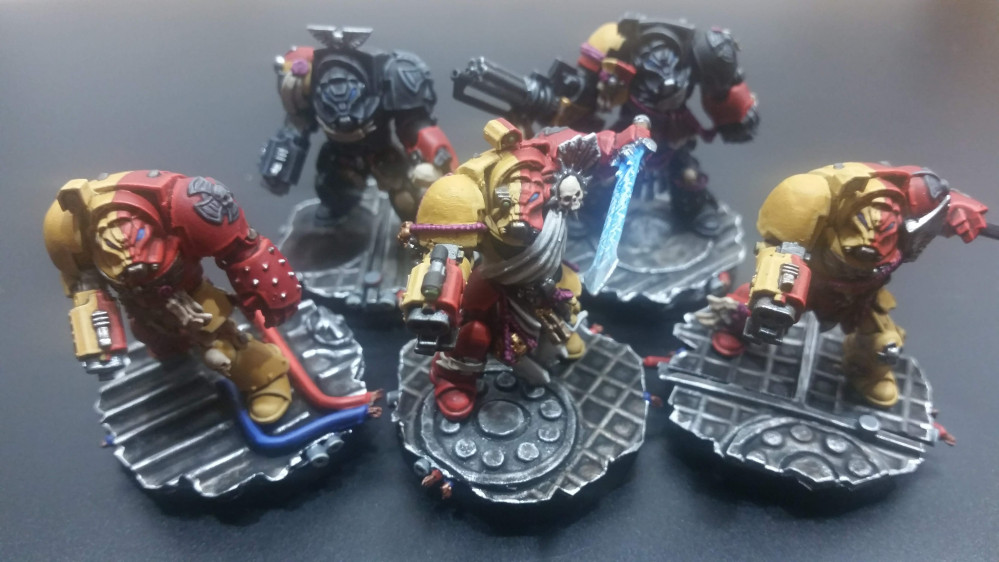
Dr. Tortenkopf is making Terminators great again
Embiggification of the Terminators
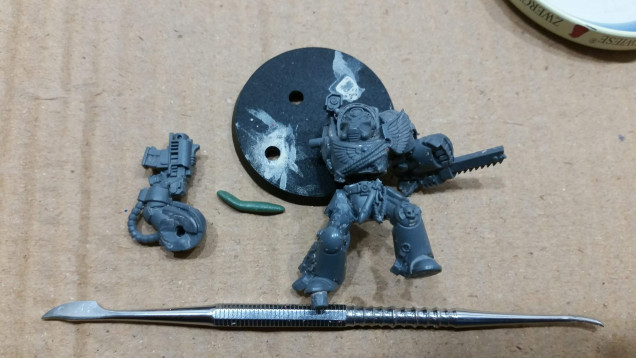
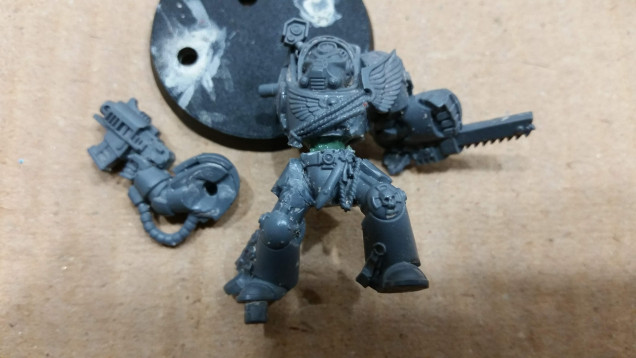
Here is how I am currently embiggening the Terminators. I am at the time of writing not quite done with all of them. You will notice the the progress pictures have been taken with different miniatures for some of the steps. That is simply due, to me working on all of them at once, not having taken pictures for all of them, as well as a little secret I will reveal at a later point in the project.
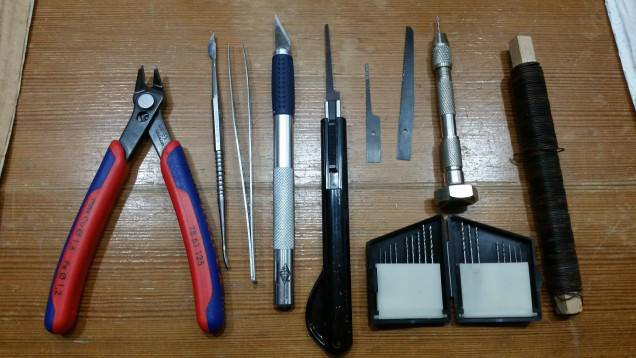 The tools I use: Clippers, Sculpting Tool, Pincers, Paper Knife, Modeling Saw, Hand Drill, Garden Wire
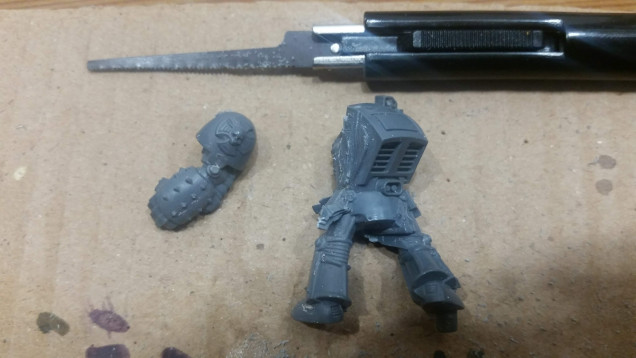
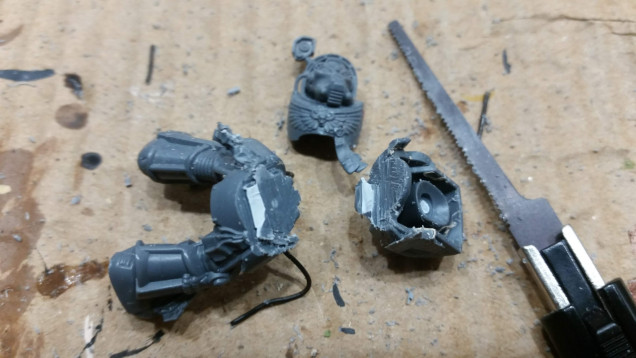
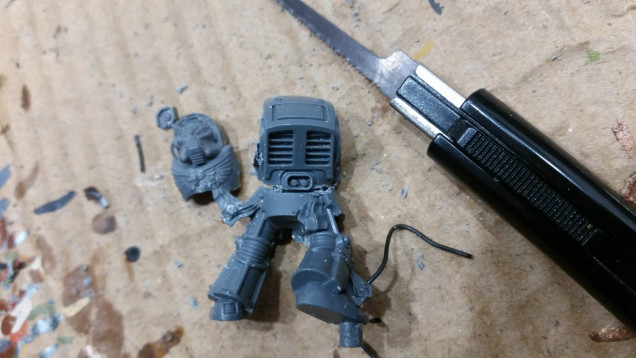 I cut the models torso from the legs, again using the saw. I found out that it works best to cut below the oval detail on the back. Also the front part of the model came loose during this step.
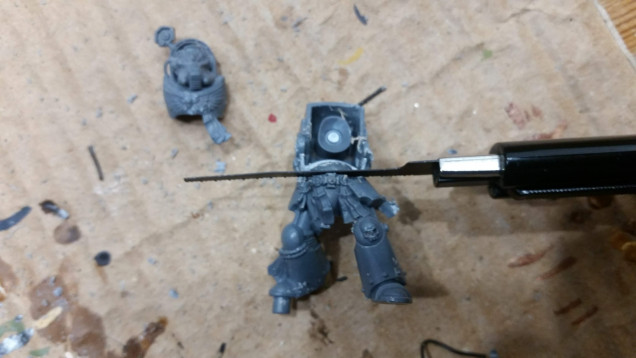 I make a second cut from the front of the torso, being careful not to damage the details on the models belt.
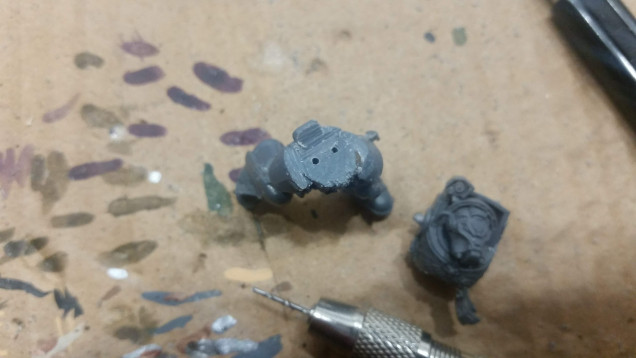 I use a hand drill to drill two holes into the leg part. Matching holes are being drilled into the bottom of the torso, after its two parts have been welded together. I must have used regular super glue when putting them together the first time, which has caused them to come apart under stress.
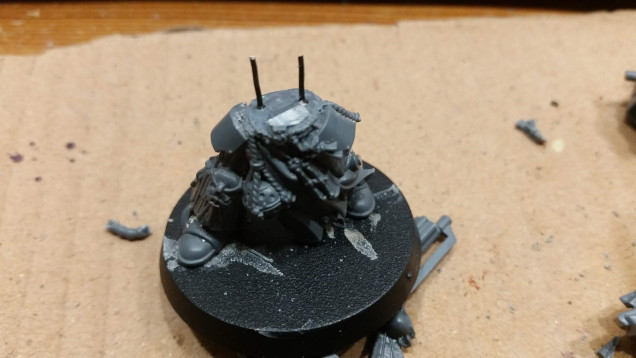
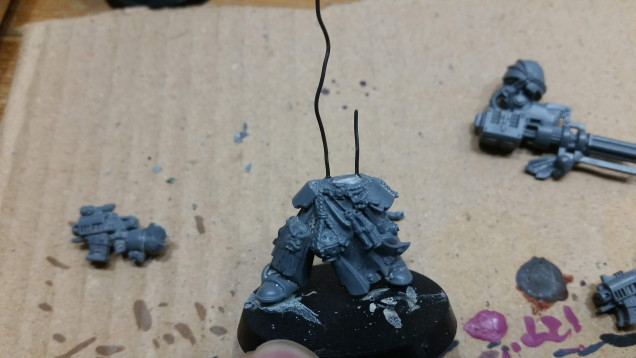 Two pieces of garden wire are being inserted into the holes of the leg part and fixed in place using super glue.
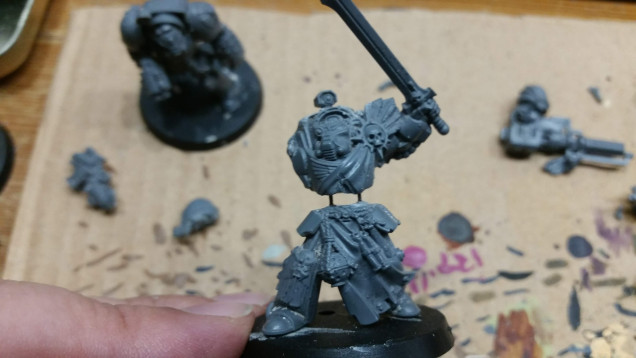 I then attach the torso to the top of the wires using the matching holes in its underside. Again the parts are bonded using super glue. Care has to be taken not to make the gap too large or two small, as this is hard to fix later on. I usually aimed for making the model either eye level with the Primaris Marine or the same torso length as the test miniature.


![How To Paint Moonstone’s Nanny | Goblin King Games [7 Days Early Access]](https://images.beastsofwar.com/2024/12/3CU-Gobin-King-Games-Moonstone-Shades-Nanny-coverimage-225-127.jpg)




Leave a Reply