


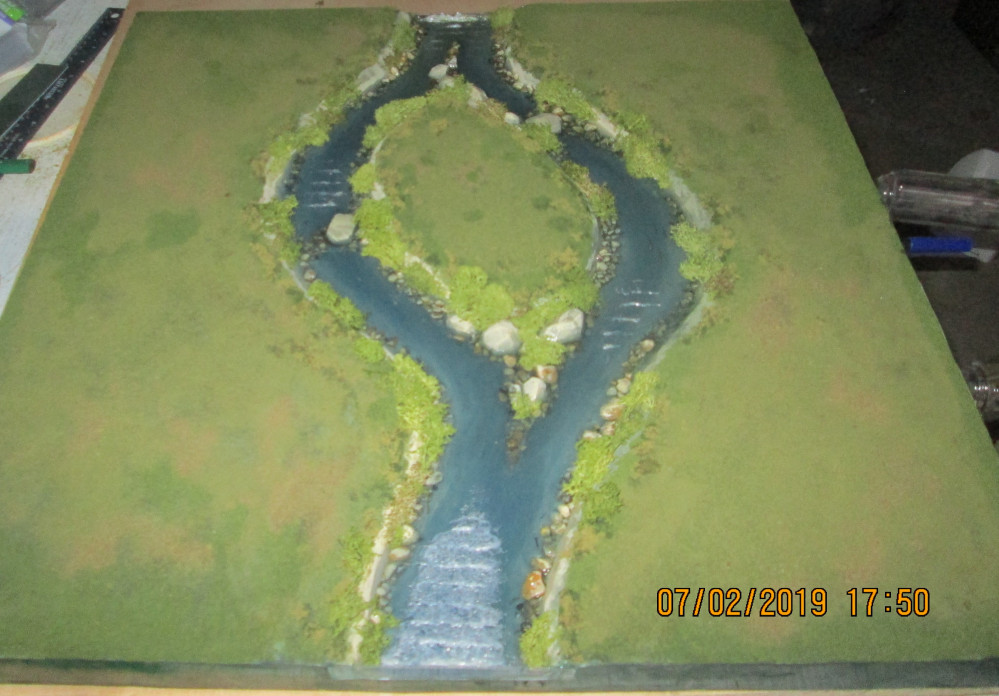
Battle Boards and Scatter Terrain


Battle Boards and Scatter Terrain
This week I thought I would go step by step in creating an individual tree and base. I’ve described the process with other pieces, but I haven’t actually illustrated it. The steps are pretty much the same for larger hills and such, so hopefully this will fill in the blanks.
As stated previously, I didn’t think I had planned for enough terrain to stock two 4′ by 6′ tables, so I created half a dozen individual trees to keep the client smiling.
There weren’t many parameters for these bits; I wanted them to still provide cover for at least one model, and maybe have enough room on the base for a second model.
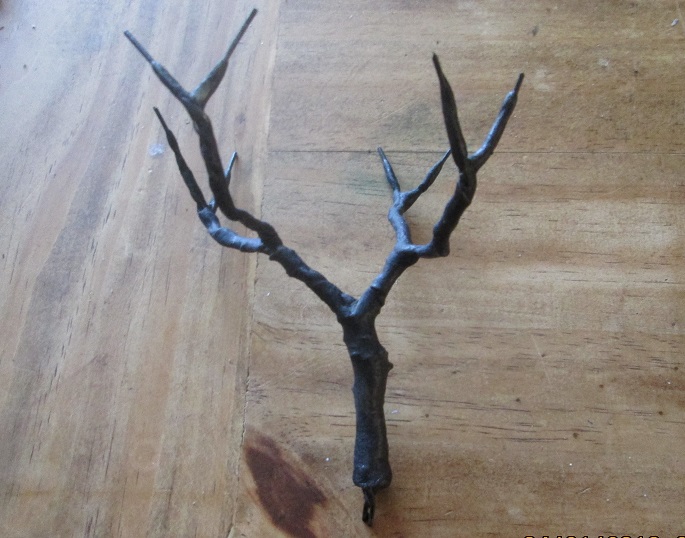 I've already described the process of building trees out of wire, so we'll start there. This piece was primed with 'rattle can black.' I use whatever primer I have on hand for projects like this, usually Krylon. Sometimes they dry with a satin or even a gloss finish, which leads me to wonder what tall forehead thought to label it 'primer,' when nothing else will stick to it. In this case I sprayed my glossy tree with a matt fixative.
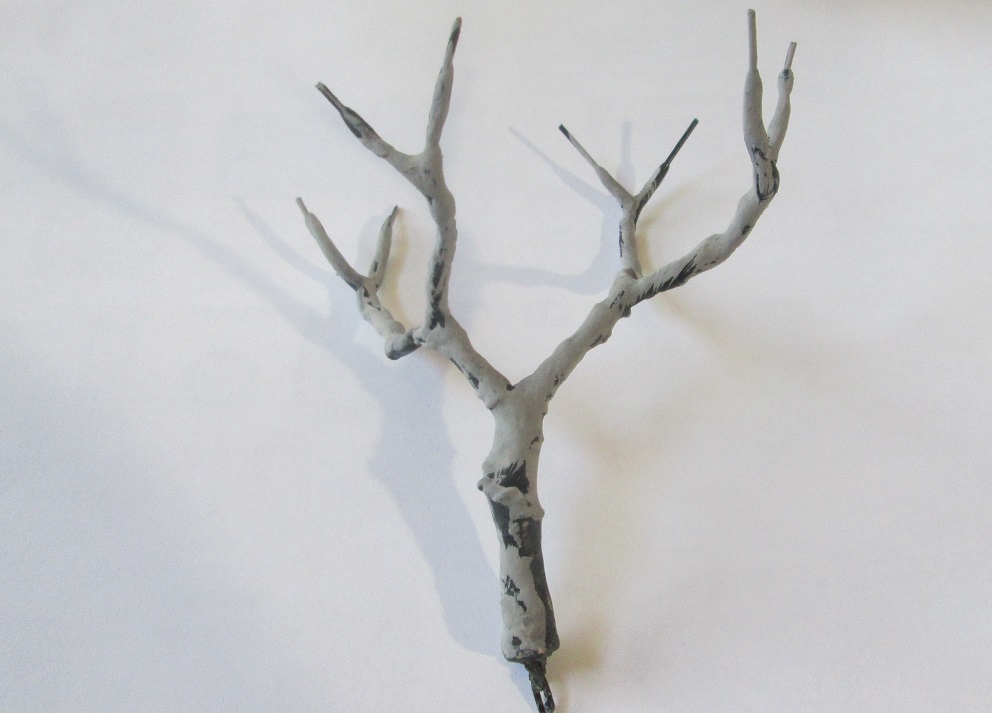 Base colour is a light grey/brown craft paint. Note that I didn't cover it entirely, so there are random dark patches, which could represent running sap, black knot fungus (whick looks like a turd on a stick) or just variations in the bark itself. For birch and poplar I would have gone with white at this stage.
 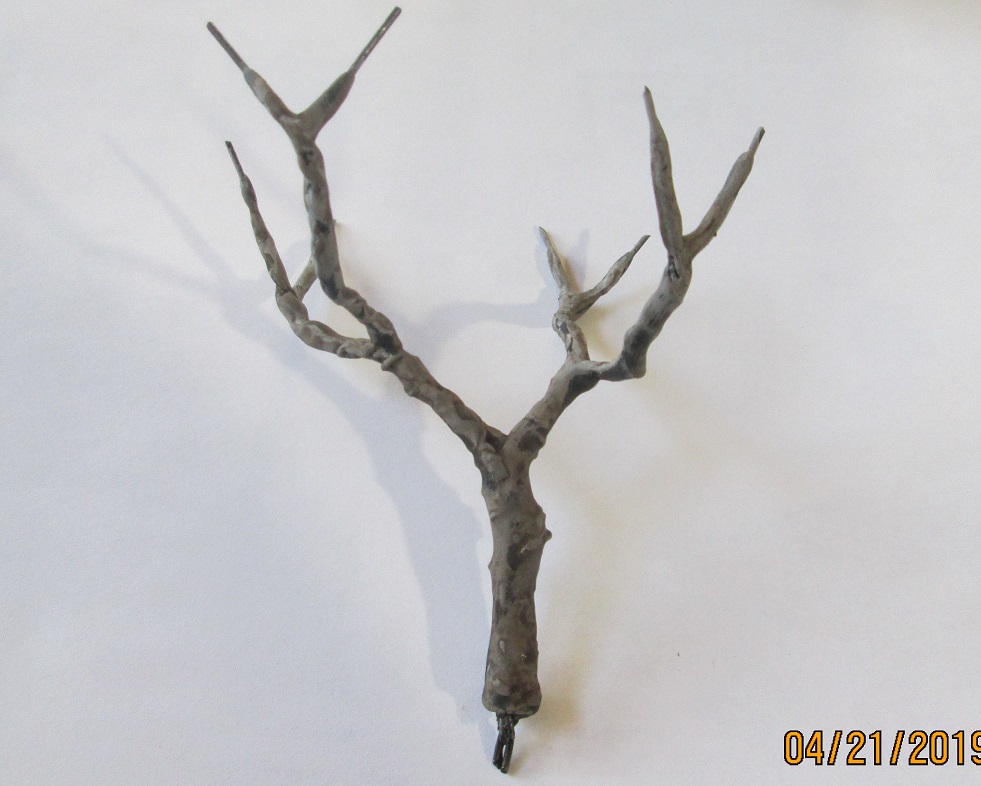 I added a dark brown wash, but again I didn't cover it entirely, allowing for different shades on the bark. This was either Agrax or Army Painter strong tone; I can't remember which. You won't go broke using a commercial wash on trees. Rather than drybrush the tree, I saved a step and just wiped away some of the wash with my thumb to create a highlight.
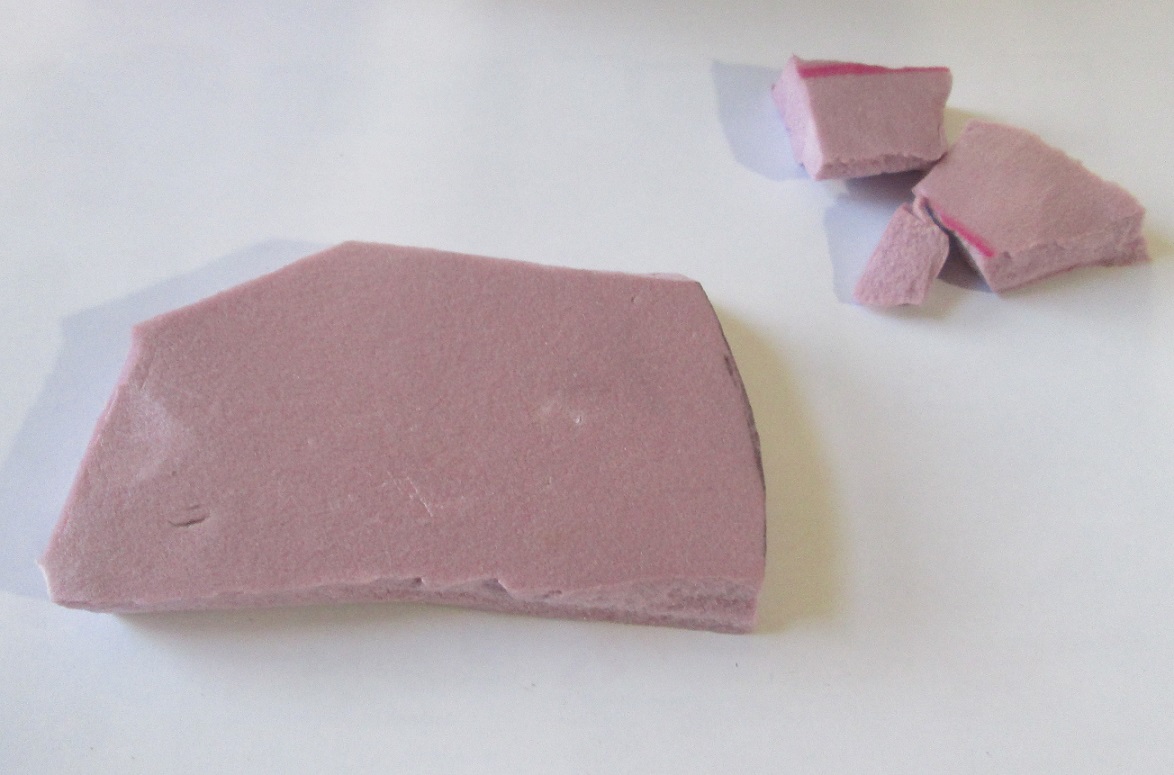 Time to set the tree aside to dry, and get to work on the base. I started with some scrap 1/2" polystyrene
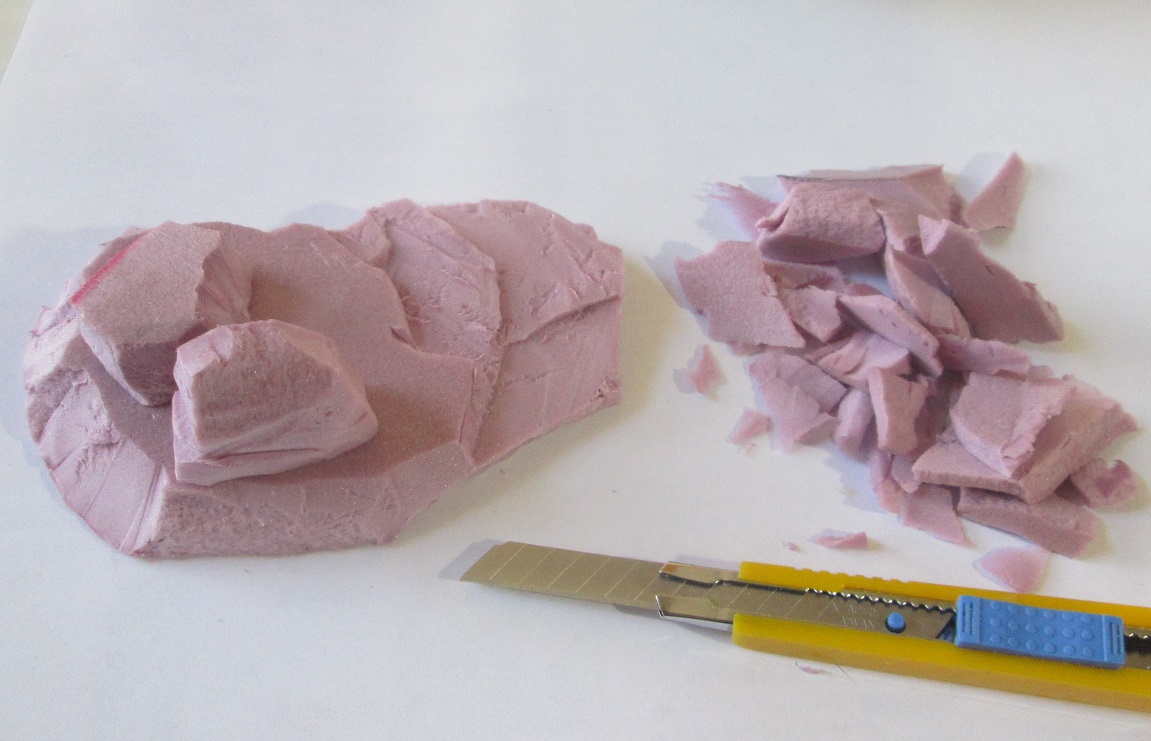 Base sculpted with a utility knife. An Exacto isn't long enough for this type of work.
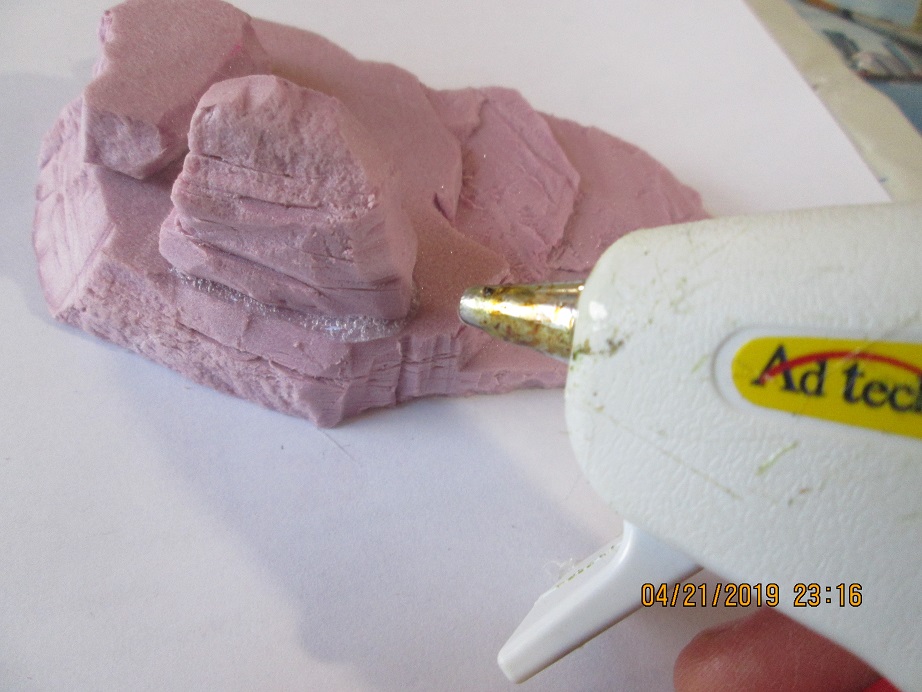 I glued the rocks to the base with a glue gun, but you can use PVA glue as well. Just allow plenty of time for the glue to set. I've cracked open pieces I've had for years, out of curiosity, and still found wet glue inside!
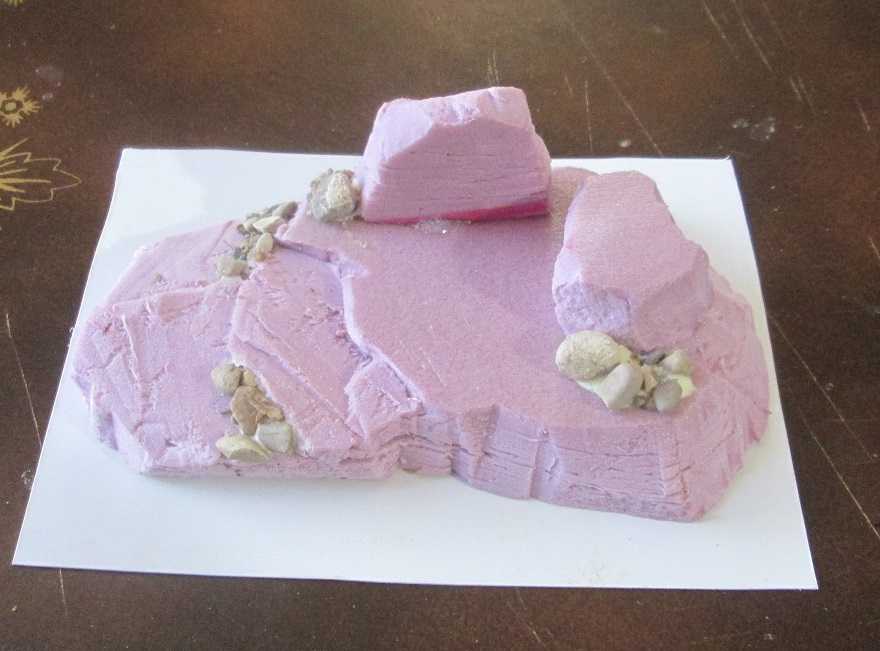 I added a plasticard base with the glue gun and put down some gravel with PVA glue.
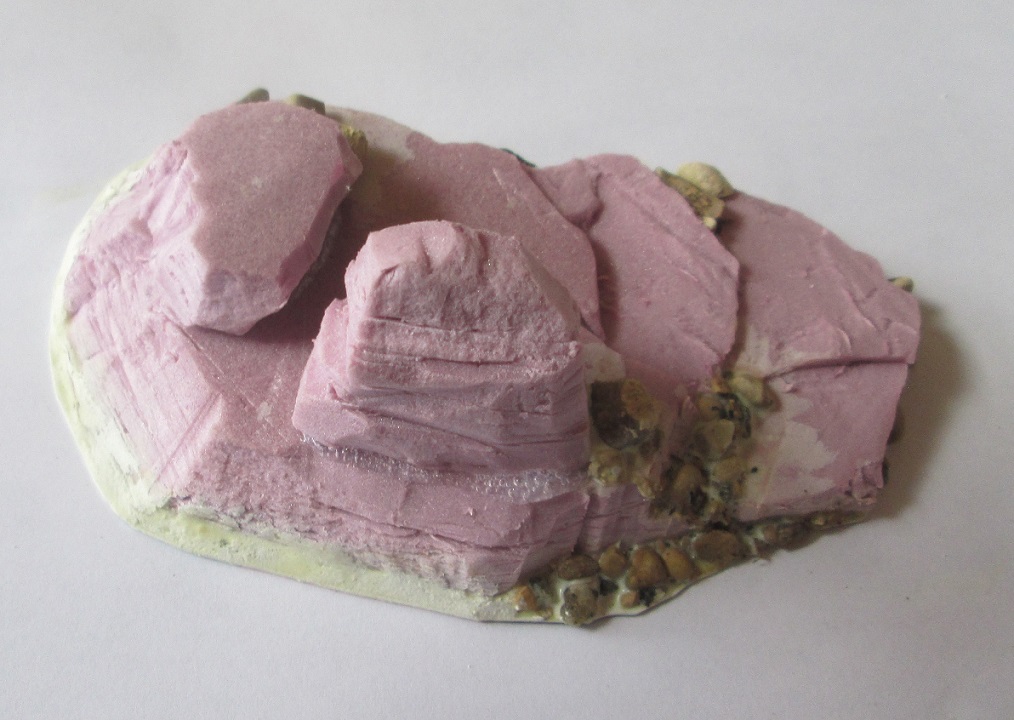 I trimmed up the plastiicard, but decided to extend it beyond 1/16" in places so I could place gravel at ground level around the piece. The base won't withstand re-entry, but it should be a bit more game proof. Note the wall filler on the base, with a layer of PVA glue applied over top... another attempt to toughen up my terrain.
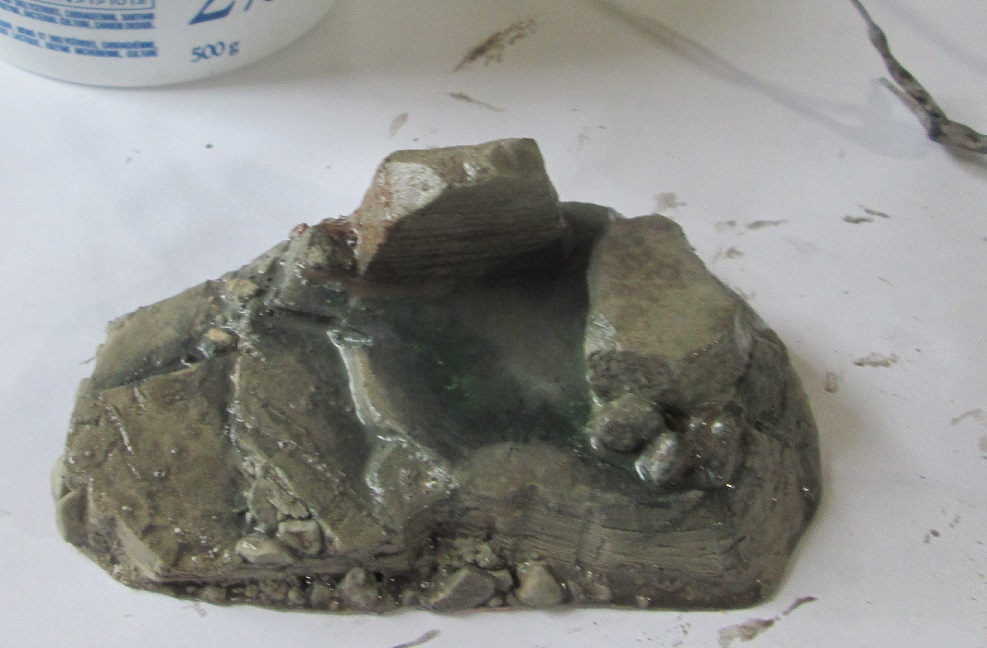 Tan base colour applied to rocky areas, while any areas to be covered with foliage had a dark green shadow colour applied. It was given a brown wash, in this case a homegrown glop of water, craft paint, and dish soap, and set aside to dry.
 A few finishing touches for the tree. I painted up some exposed twists of wire as mushrooms.
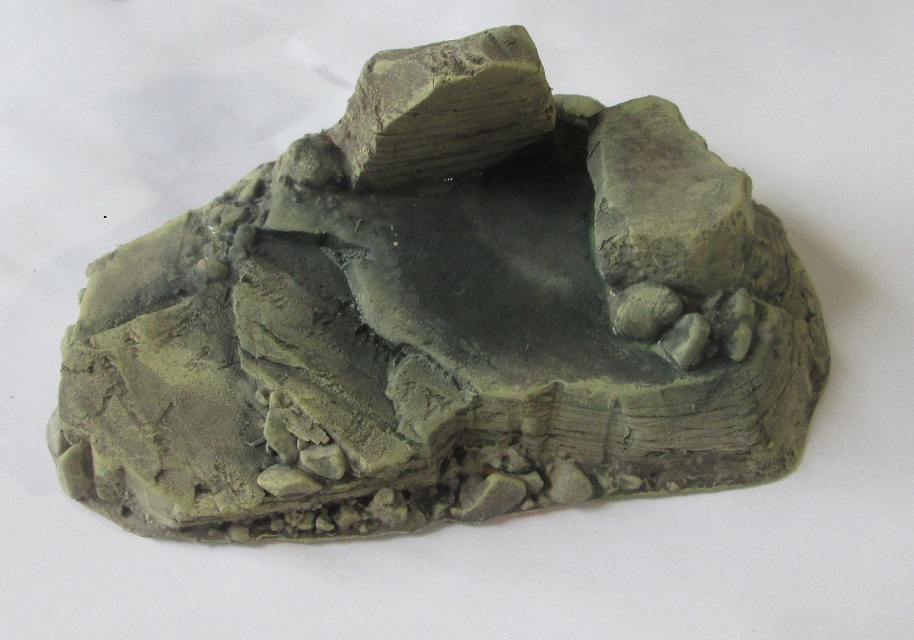 The base, now dry, was given a drybrush of the original tan paint, tinted with yellow. Sorry I can't get more specific about colours; I just fiddle with it till it looks right. We'll call it 'striped ass baboon tan' if it helps.


Leave a Reply