Liberty Prime is back online!
Bringing Voice to Prime
As soon as Modiphius put Liberty Prime up for sale I knew what I wanted, to bring Prime’s iconic voice from the games onto the table top. The key was how to do this? Looking at the previews it was obvious the base would be massive and easily able to hide components. So I began doing searches for audio components to make my dream reality. The easiest solution was to take a bluetooth speaker and cut it up then install the parts, I had already done this to the Fallout 76 Pip Boy based on a video by Punished Props. However this did not really meet my desires for this project. My thought was I wanted to imbed push buttons in the base so that you could press for power up, destruction, and a 3rd for during game sounds. Enter a company called Adafruit and their Audio FX Sound Board. Not only did it allow you to map sound files to switches by just connecting the board via a USB to your computer, it came in a variant with drivers for speaker connections, and allowed you to set a group of files to a single switch to be randomly played each time you press that button, all without needing to do any programming and a minimal of soldering!
With that I placed my order and eagerly awaited the arrival of my parts and Prime himself!
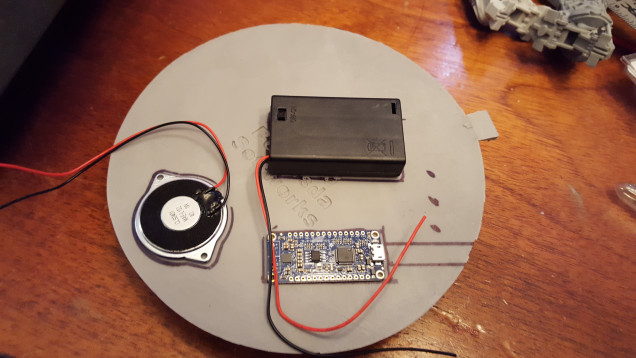
When the parts arrived I began assembling everything, my idea was for the 3 switches, a power supply (in this case 3 triple A), and the speaker. I drew around them on the base to insure fit and tried to judge the best location based on thickness.
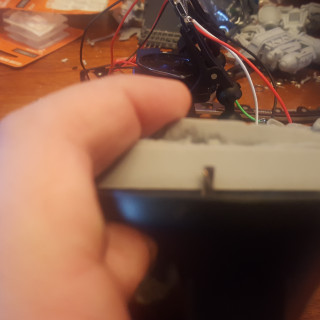
Next I proceeded to use my GW figure holder with the arms to hold the board steady (I actually bought it for this reason) and then soldered all the components to the board. The switches I did with a common ground back to the board to link them all in an array. Everything went together pretty easily.
With the files named correctly, the power and speaker connected, and the first switch connected I decided to do a test, SUCCESS!!
With the test complete I finished up the other 2 switch connections and tested them as well.
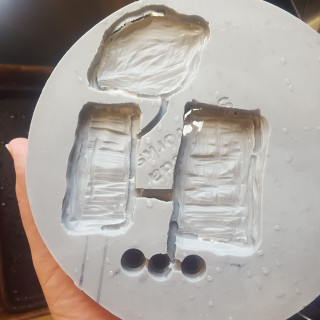
Next I proceeded to use my Dremel’s router attachment to line out the areas fo removal on the base. I set it at what I thought was 1/2 way thru the base but still had a couple oopsies that I will have to fix with some green stuff. I also came to the conclusion that the AAA battery pack is to big without raising the base. So I have decided to replace it with a lithium Ion rechargable pack Adafruit has as an add on to the sound board, however this was decided after grinding away the material so there will be some extra spaces (not that anyone will see it on the table.
I will note when working with resin like this be sure to wear suitable eye protection as well as a filter mask, it produces very fine particles you do not want to inhale or get in your eyes.
Having completed 75% of the work and needing to wait on the post again I decided to move onto the model itself.


![How To Paint Moonstone’s Nanny | Goblin King Games [7 Days Early Access]](https://images.beastsofwar.com/2024/12/3CU-Gobin-King-Games-Moonstone-Shades-Nanny-coverimage-225-127.jpg)


That’s the same soundboard I’ve used to make my laster tower go “pew pew” but I still have to figure out how to get it louder.
Their website talks about the pinouts, there are ones for volume control they say but you loose the setting each time power resets
I have to correct myself. I have had the same soundboard but have used the smaller mono version without amplifier. The additional amplifier has a small dial to adjust loudness but that’s already at max. maybe it’s the speaker. Will try different speakers some day.
That’s awesome!!!