


![How To Paint Moonstone’s Nanny | Goblin King Games [7 Days Early Access]](https://images.beastsofwar.com/2024/12/3CU-Gobin-King-Games-Moonstone-Shades-Nanny-coverimage-225-127.jpg)


Getting better at NMM


Time to print and get started
I started off by looking for a model to paint. I hopped on Thingiverse and things have improved a lot in terms of selection and quality. Still quite a lot of tat on there though.
I had collected sisters of battle in the past and seen this model, it fit the bill.
The pose grabbed me and I had to download it. This wouldn’t only help with my NMM but may also be useful for female faces which I always make them look quite masculine.
I stuck it into my slicer and did a very quick auto support and a few additions. A few hours later I had a model.
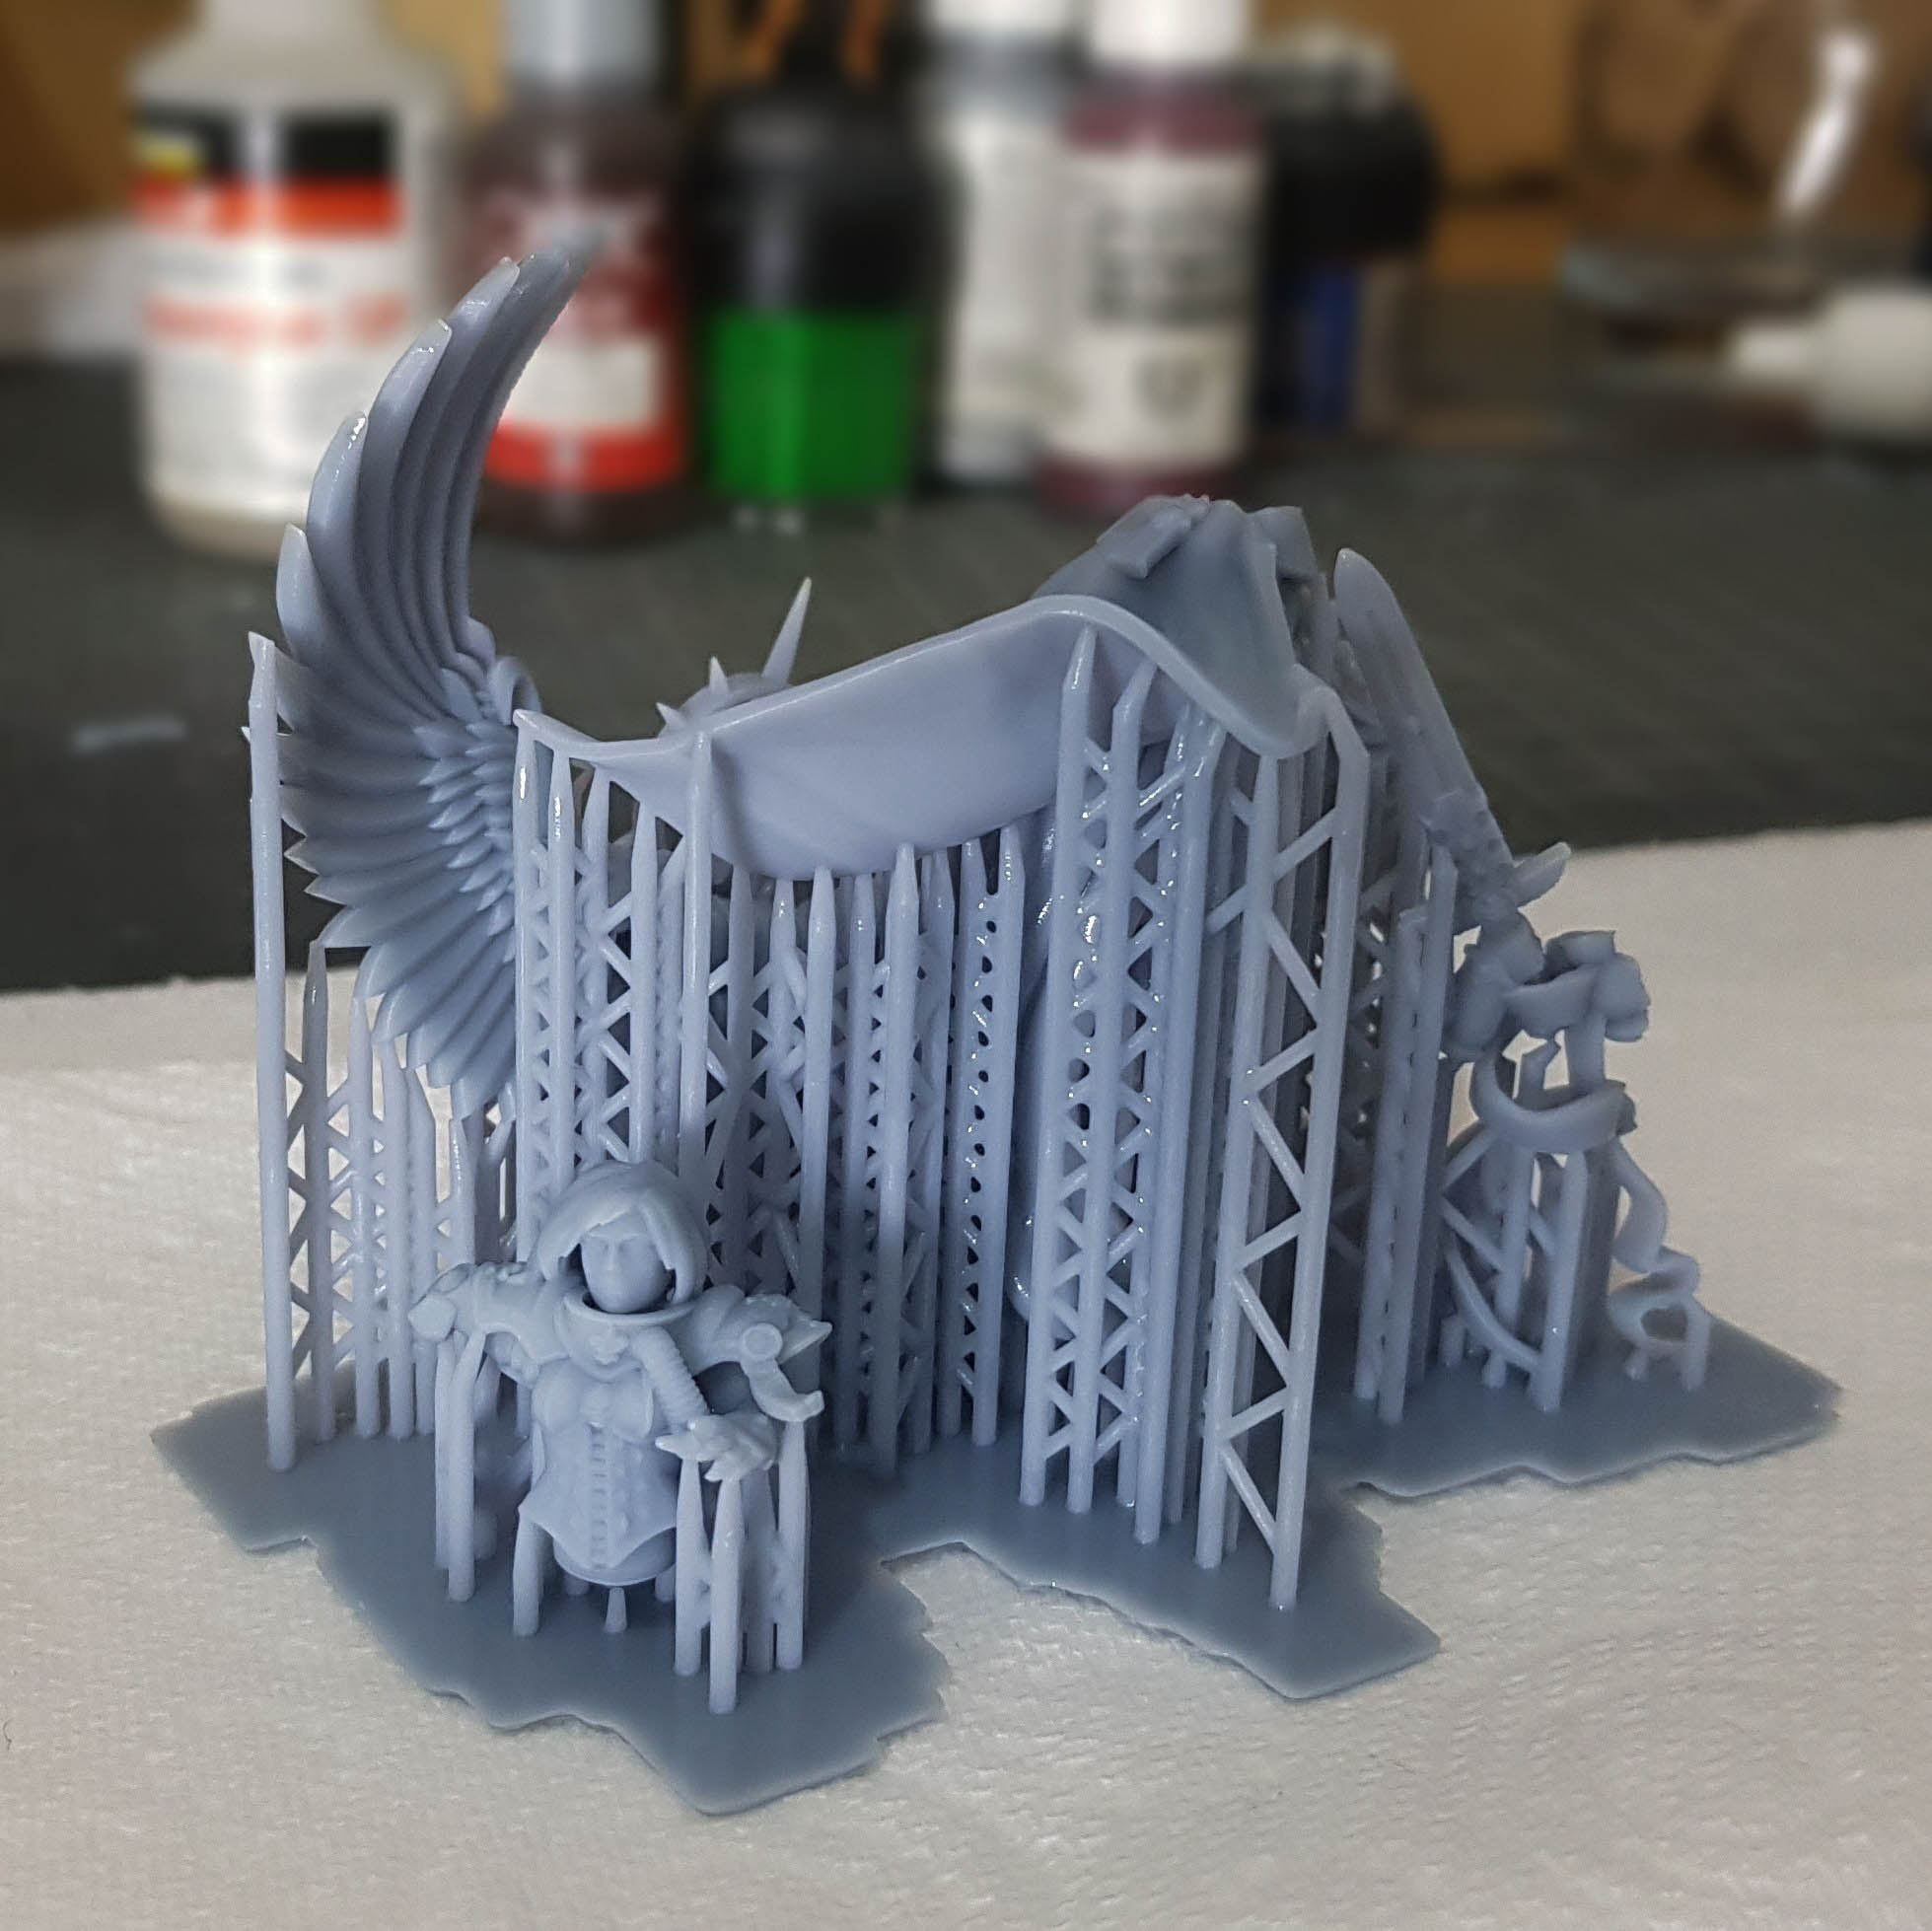 After printing side 1
 After printing side 2
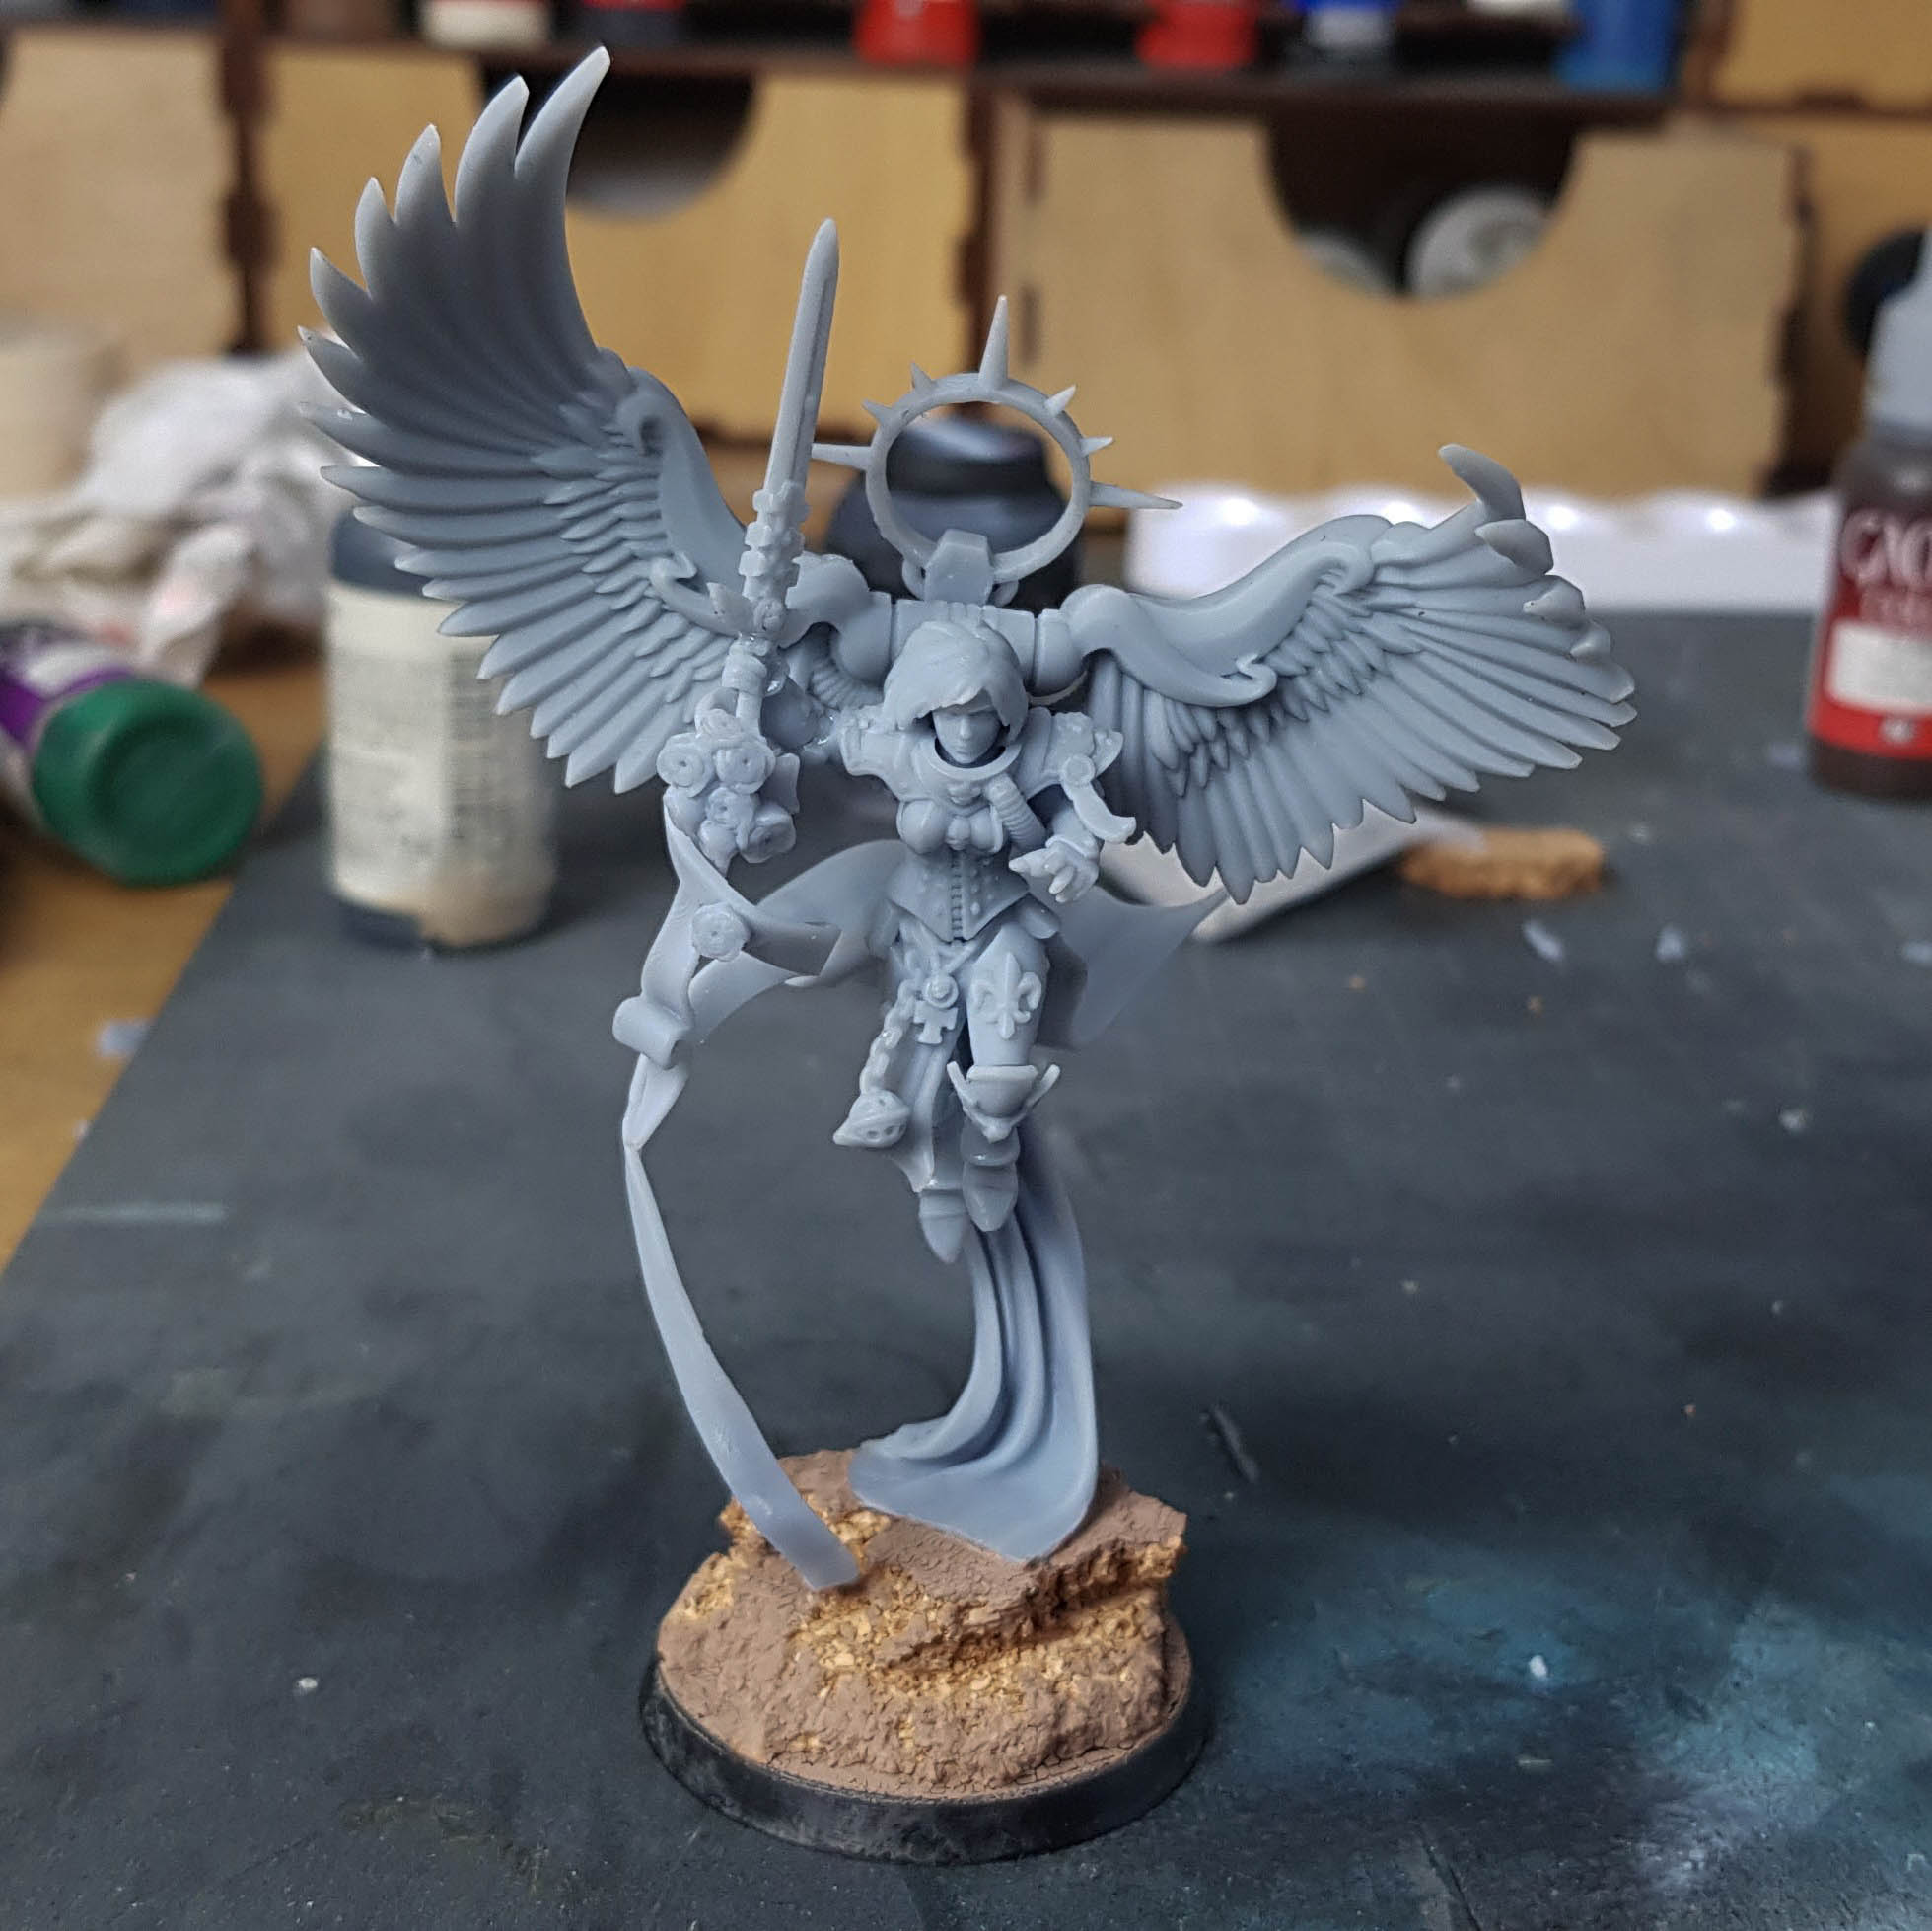 Assembled and put on a cork base.
This printed out ok…. a few points of failure though. A part of one of the balls on the back pack didnt print and came out squashed and some of the spikes on the halo didnt print I just evened them off by cutting off the other side.
A few print lines from the angles used If I was going to try for perfection I could have re-printed this. Overall the model is great and is fit for my purpose.
I then printed the longer purity seal sword that came with it. I also didn’t take long enough cleaning this up. Initially I was only going to paint the armour and face.
 I sprayed this a brown and then washed it with some brown wash.
 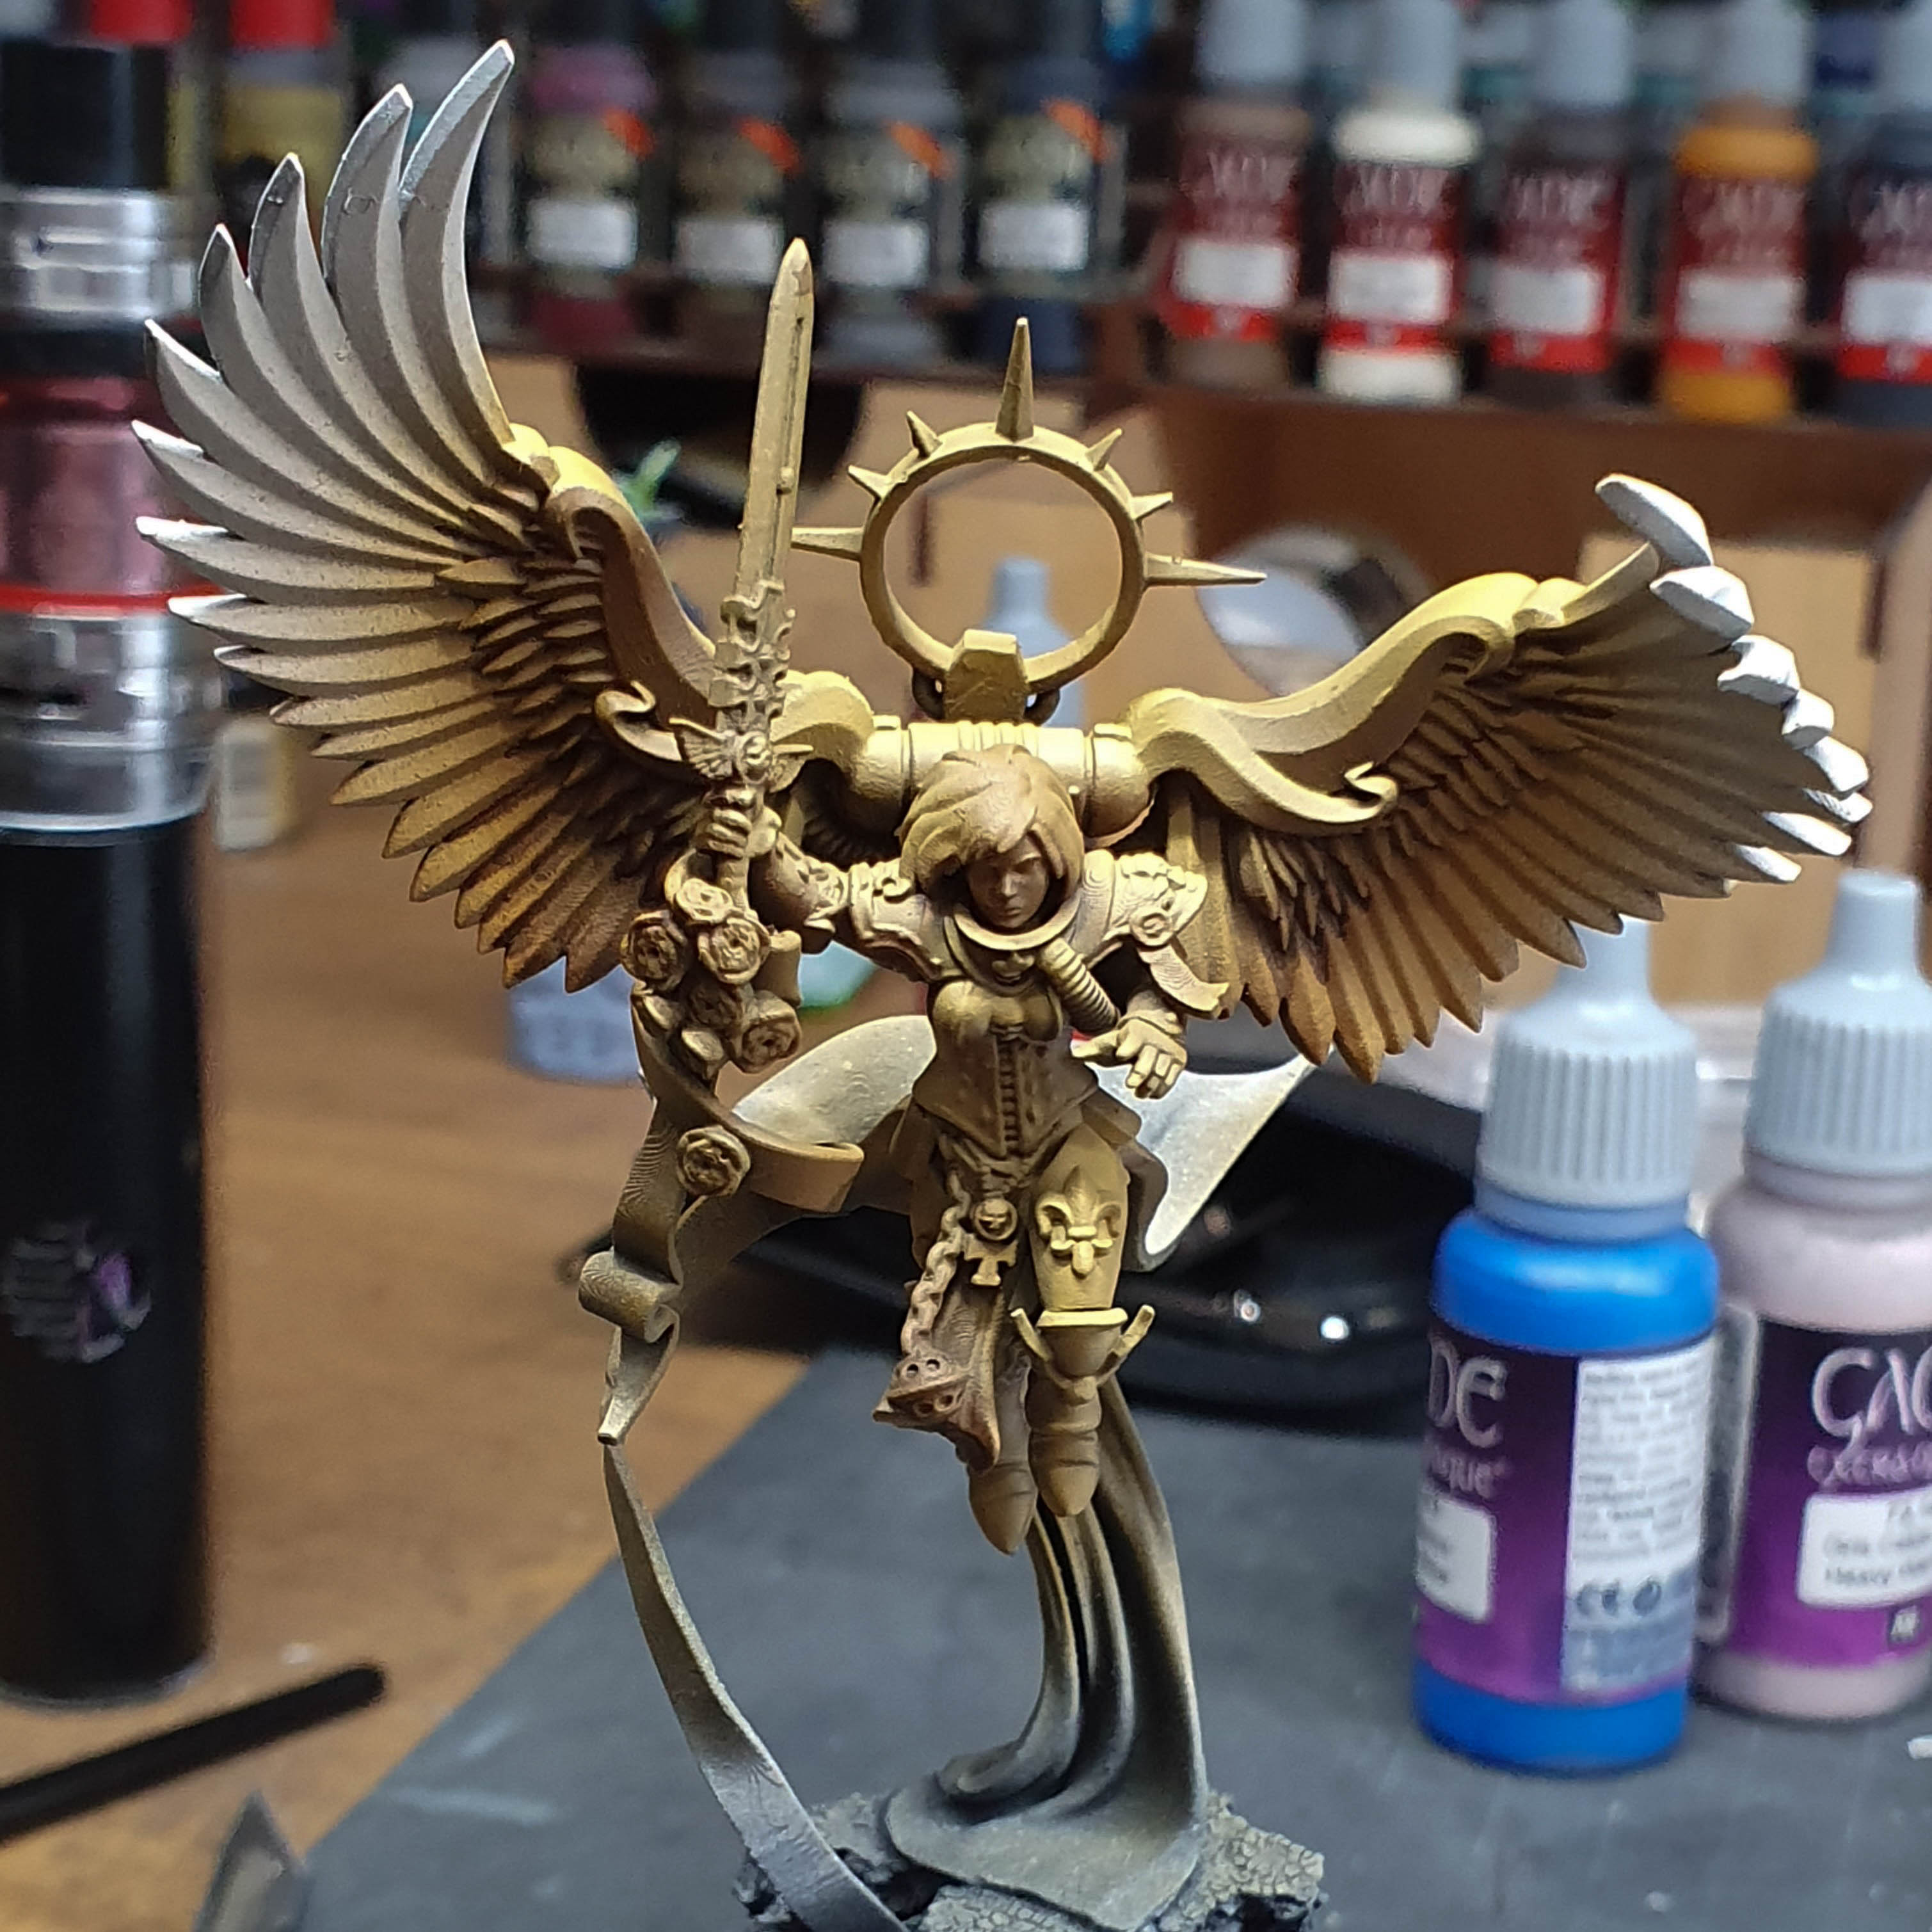 After this I came in with the gold colour and prayed this. I was hoping it was going to magically turn into NMM don't think this was required.
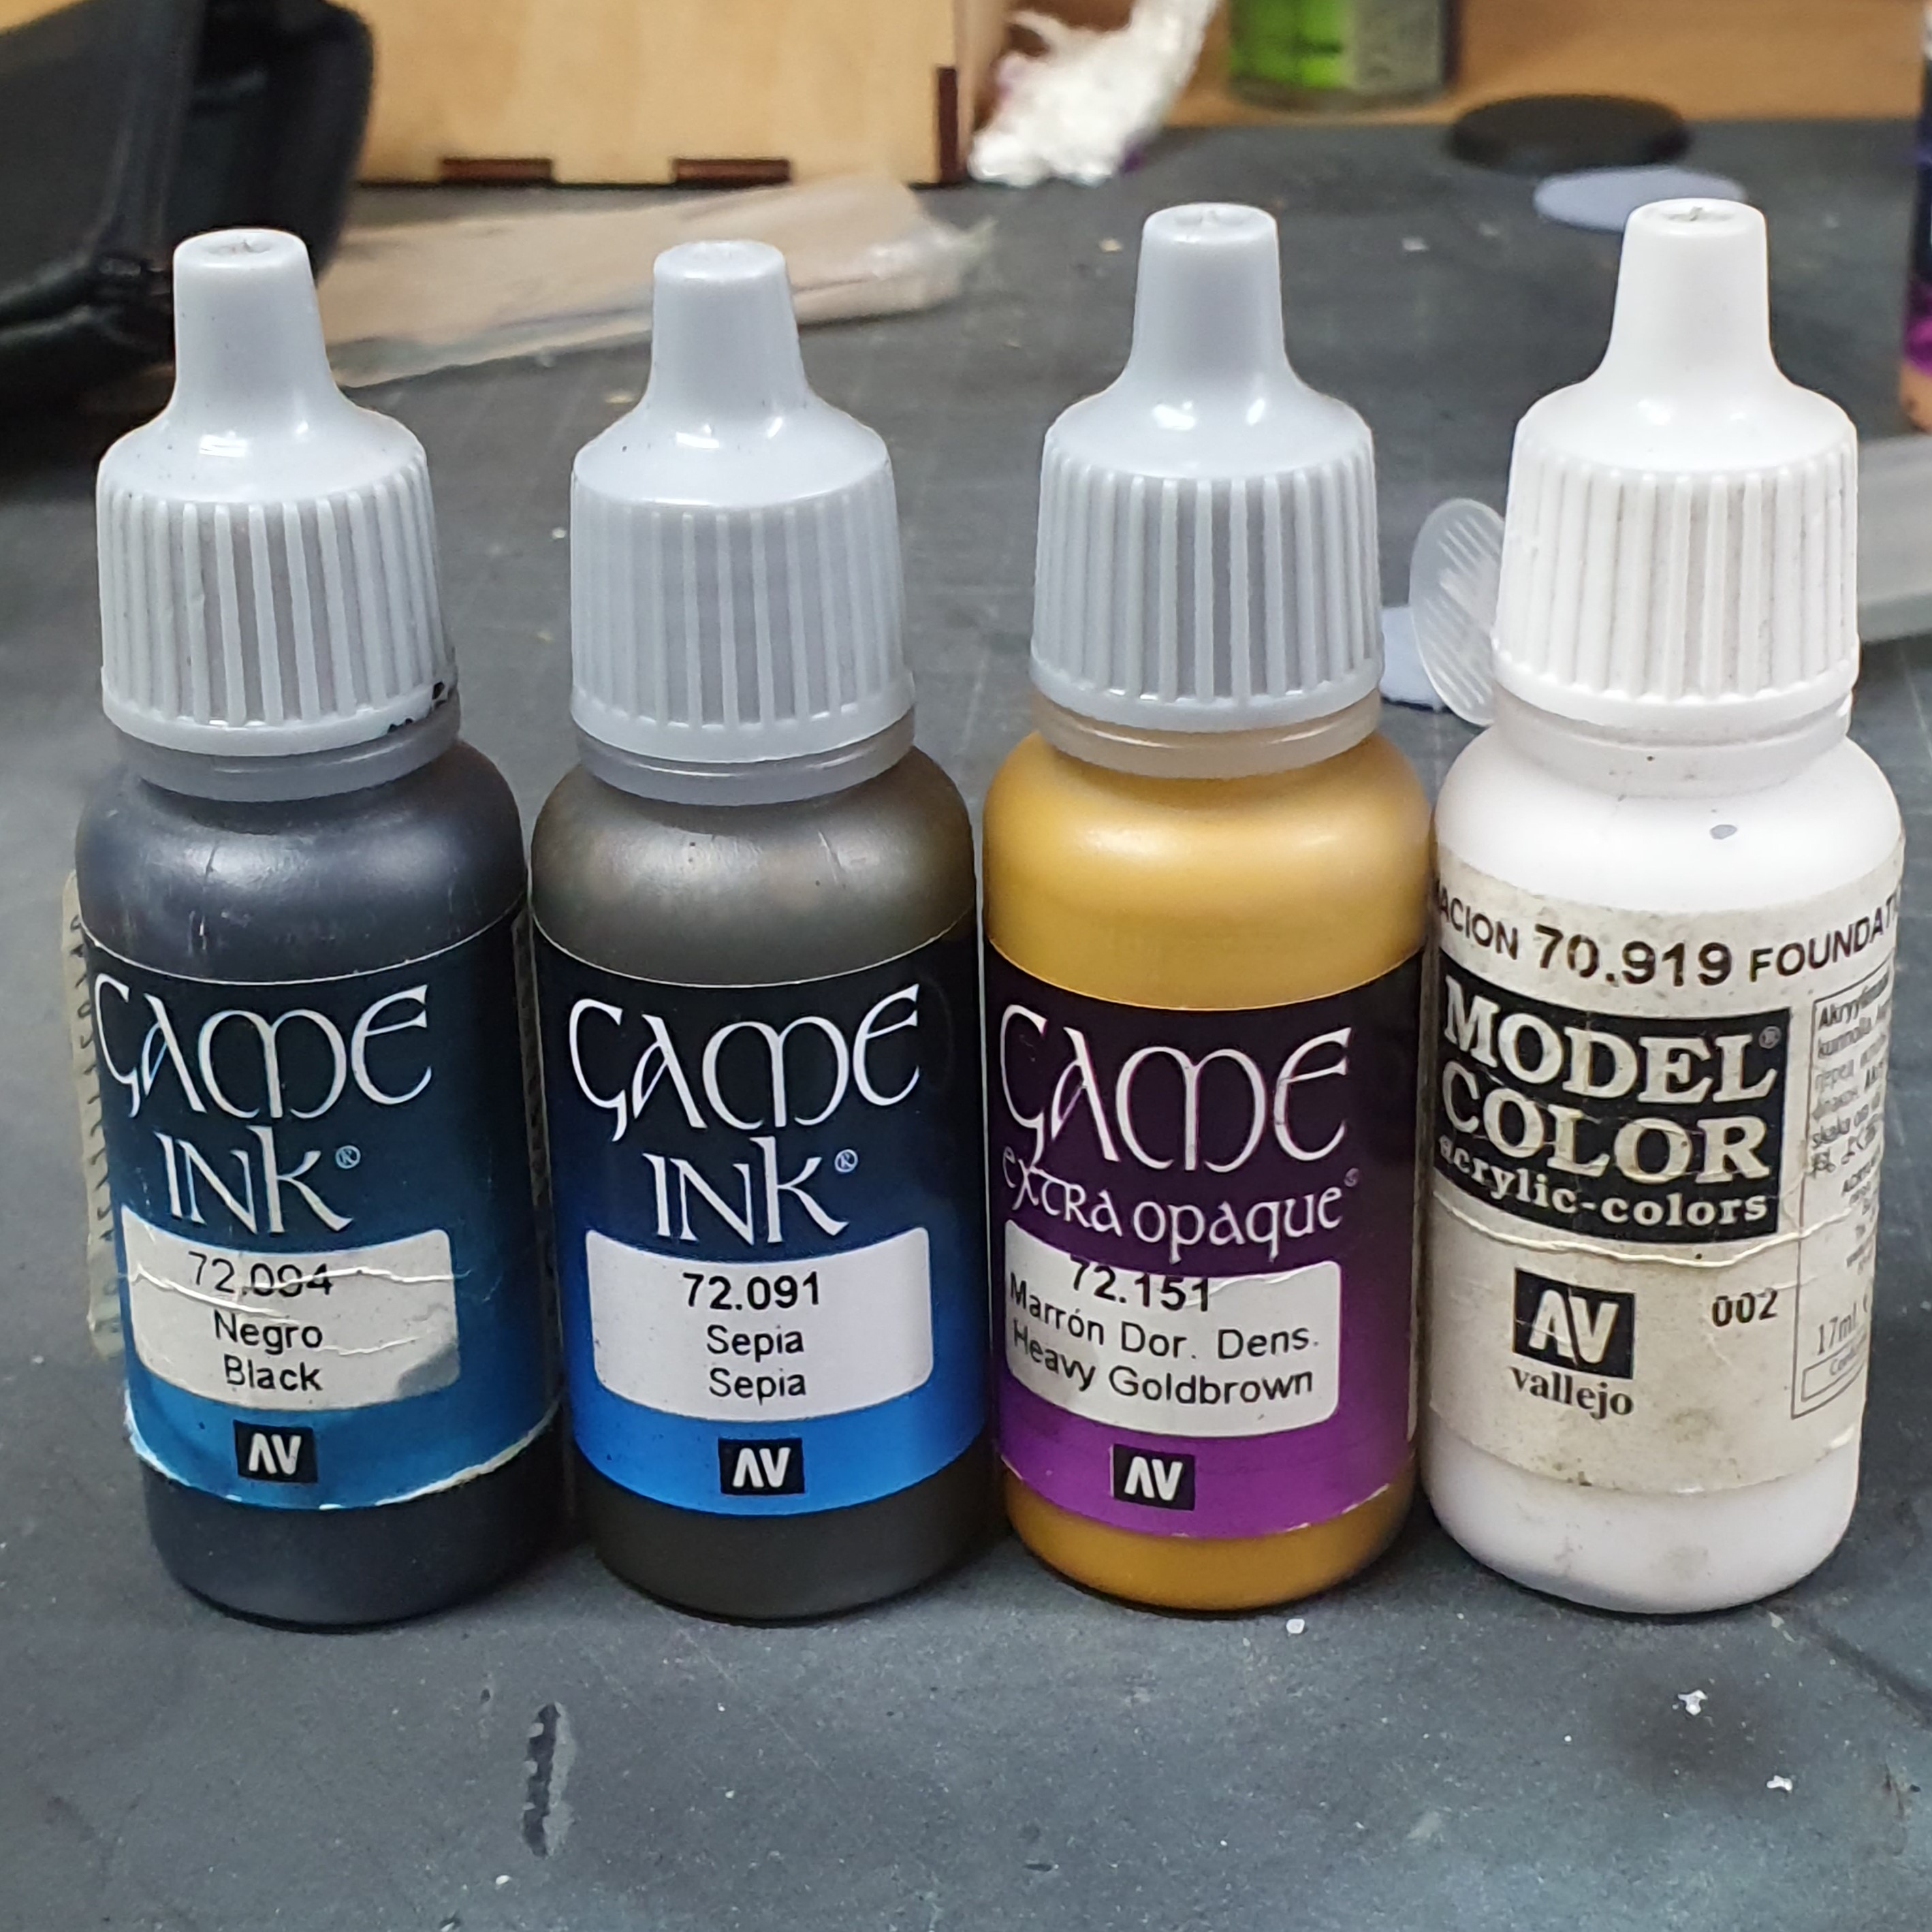 These are the only paints I am going to use 2 paints 2 inks.
 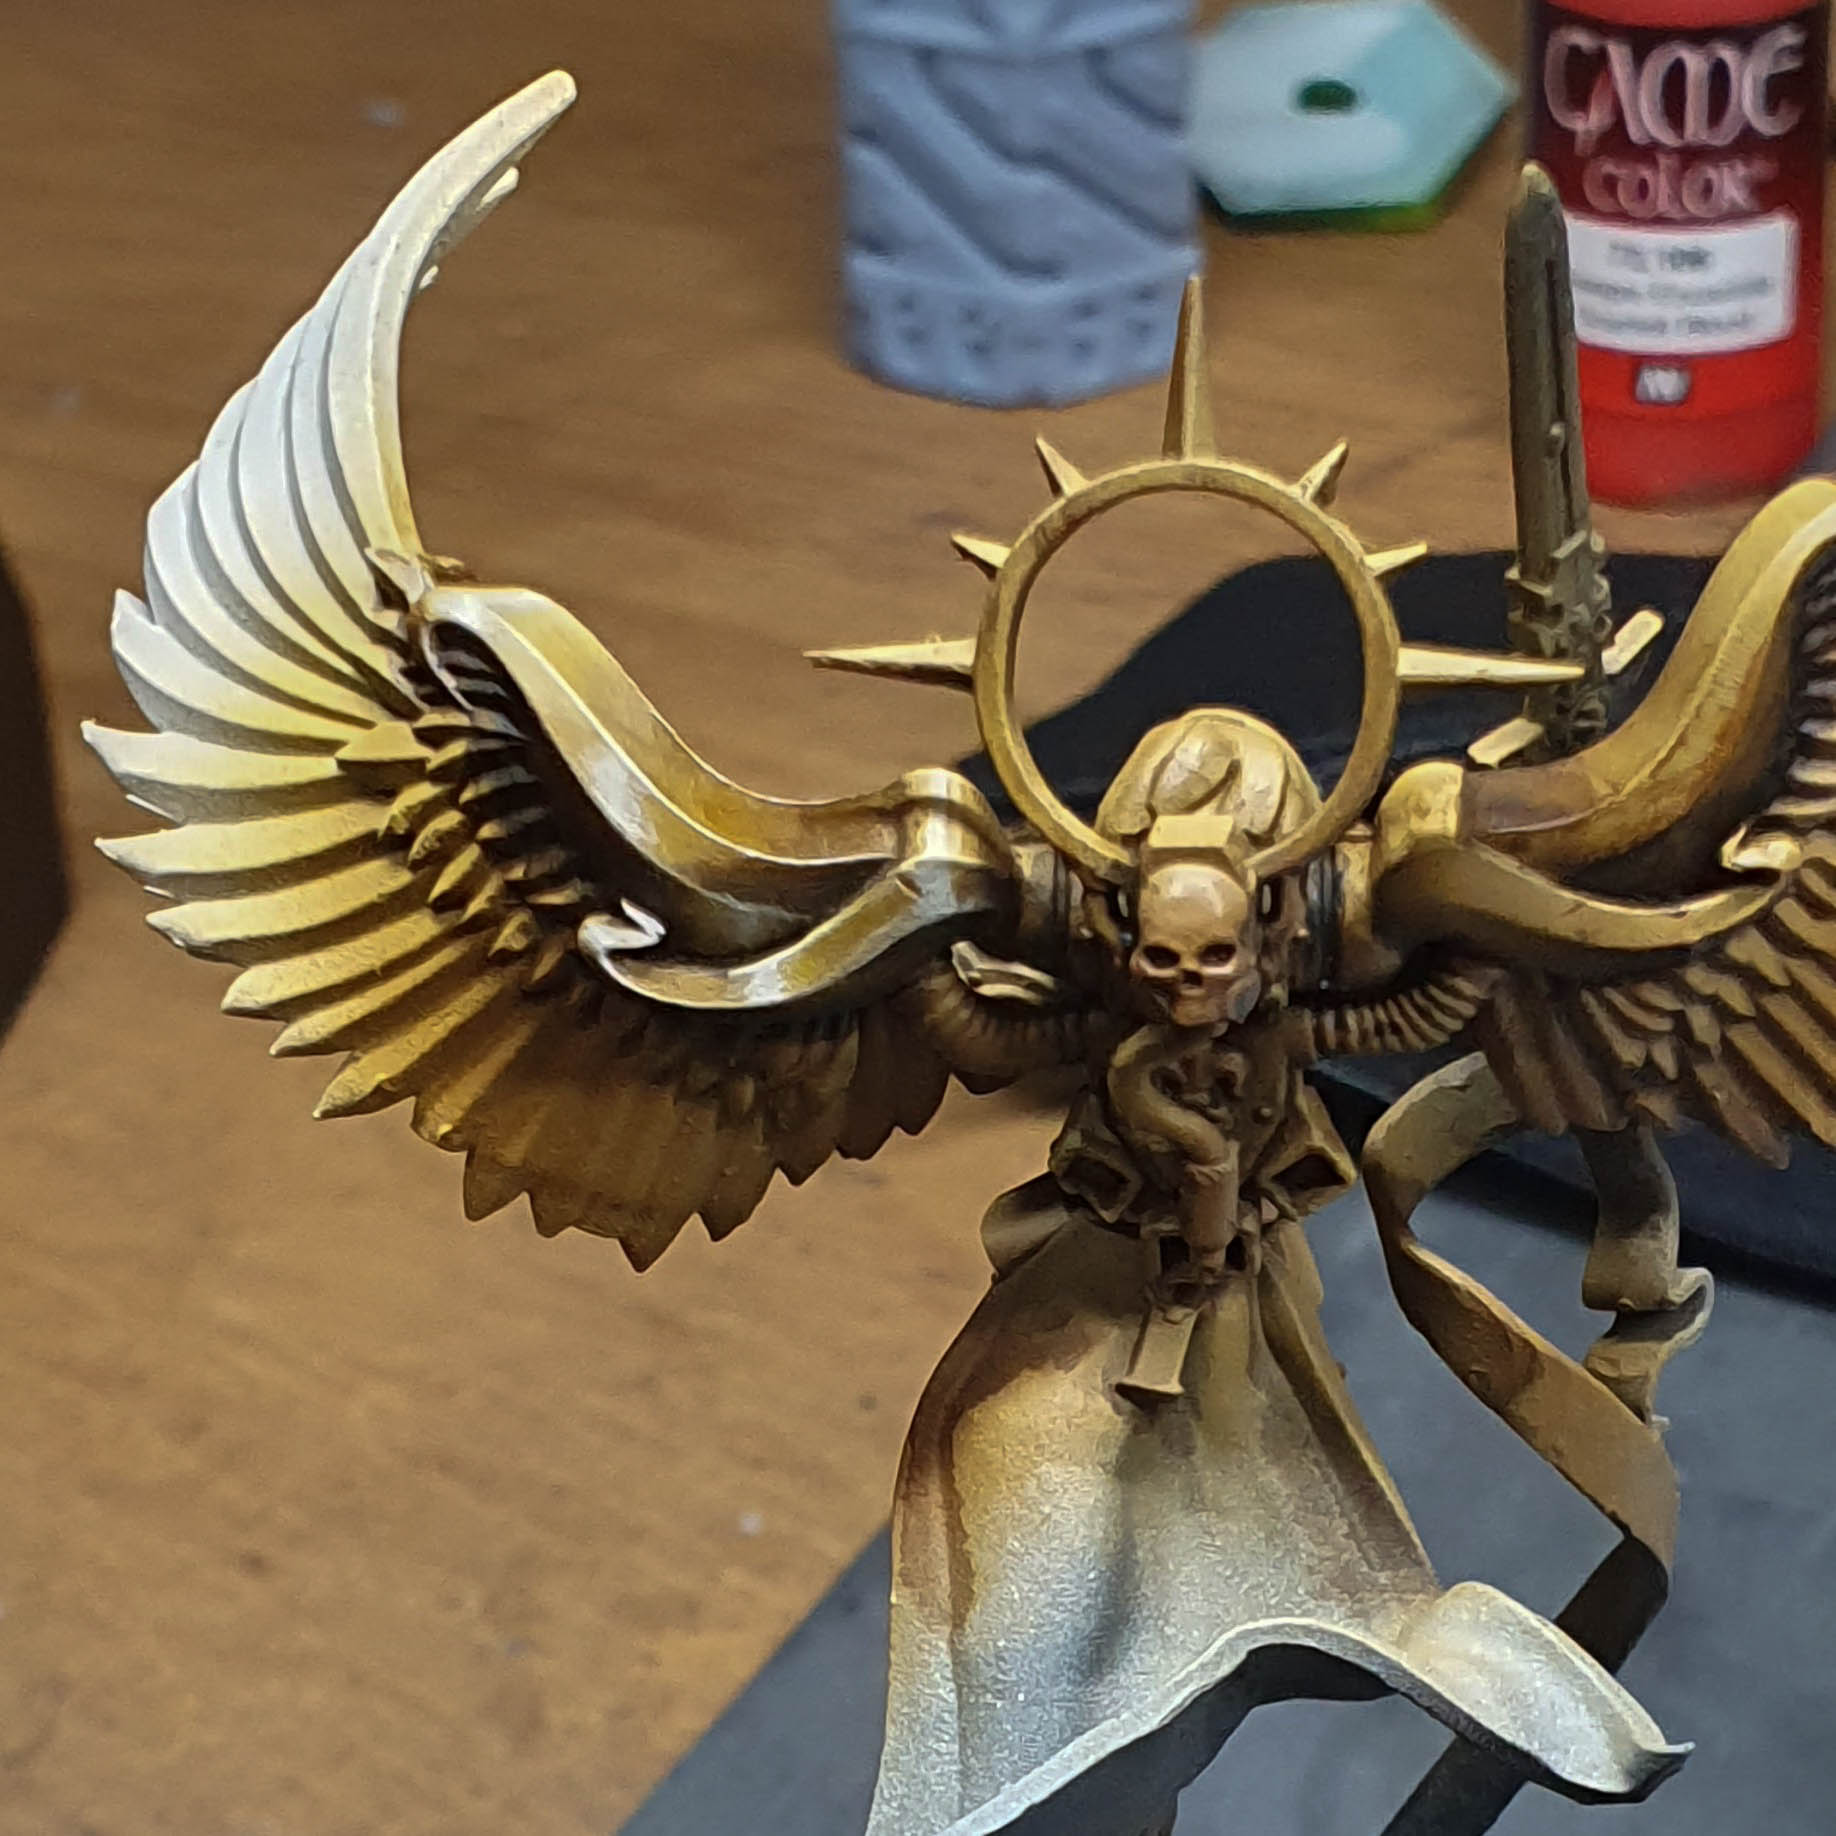 I based the model in gold brown shaded with sepia ink then black and highlighted by adding white to the gold brown I took the first section. I think this is the only real way of doing this. Taking a part at a time then painting this.
 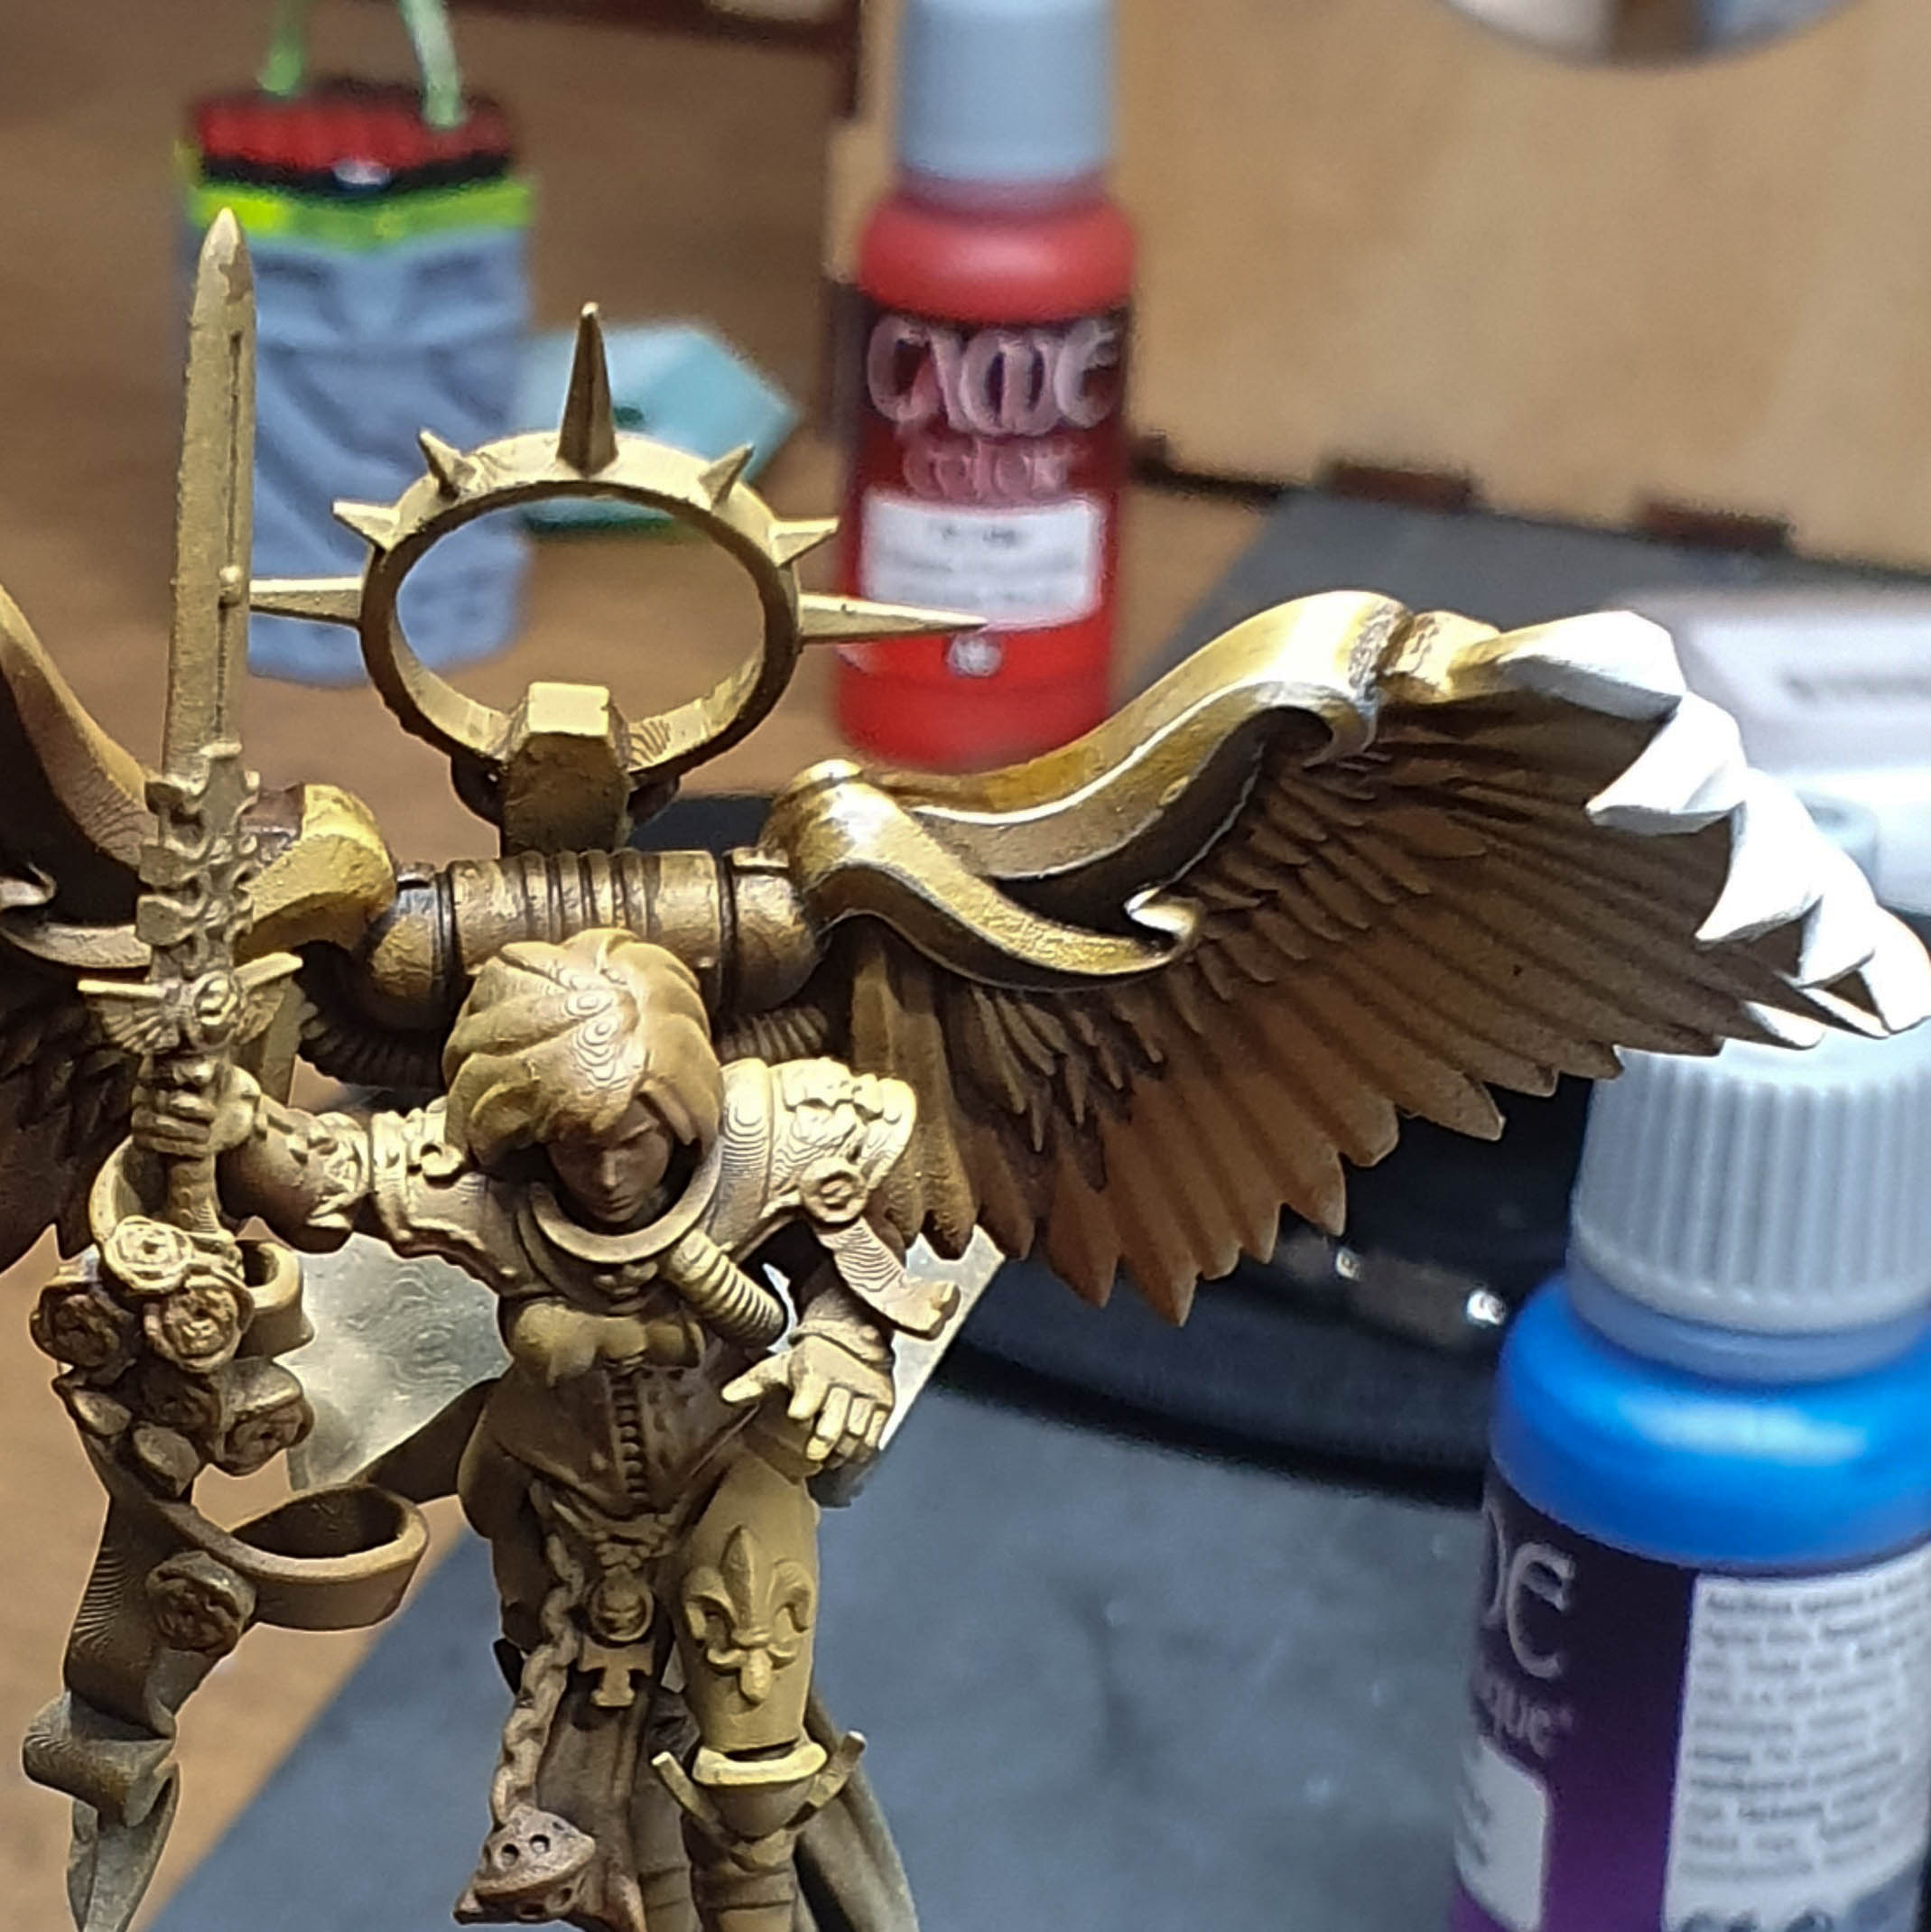 Edge highlighting I think is important I think next time I may shade this as well so it's not as solid all over. You can also see some of the layer lines here.
 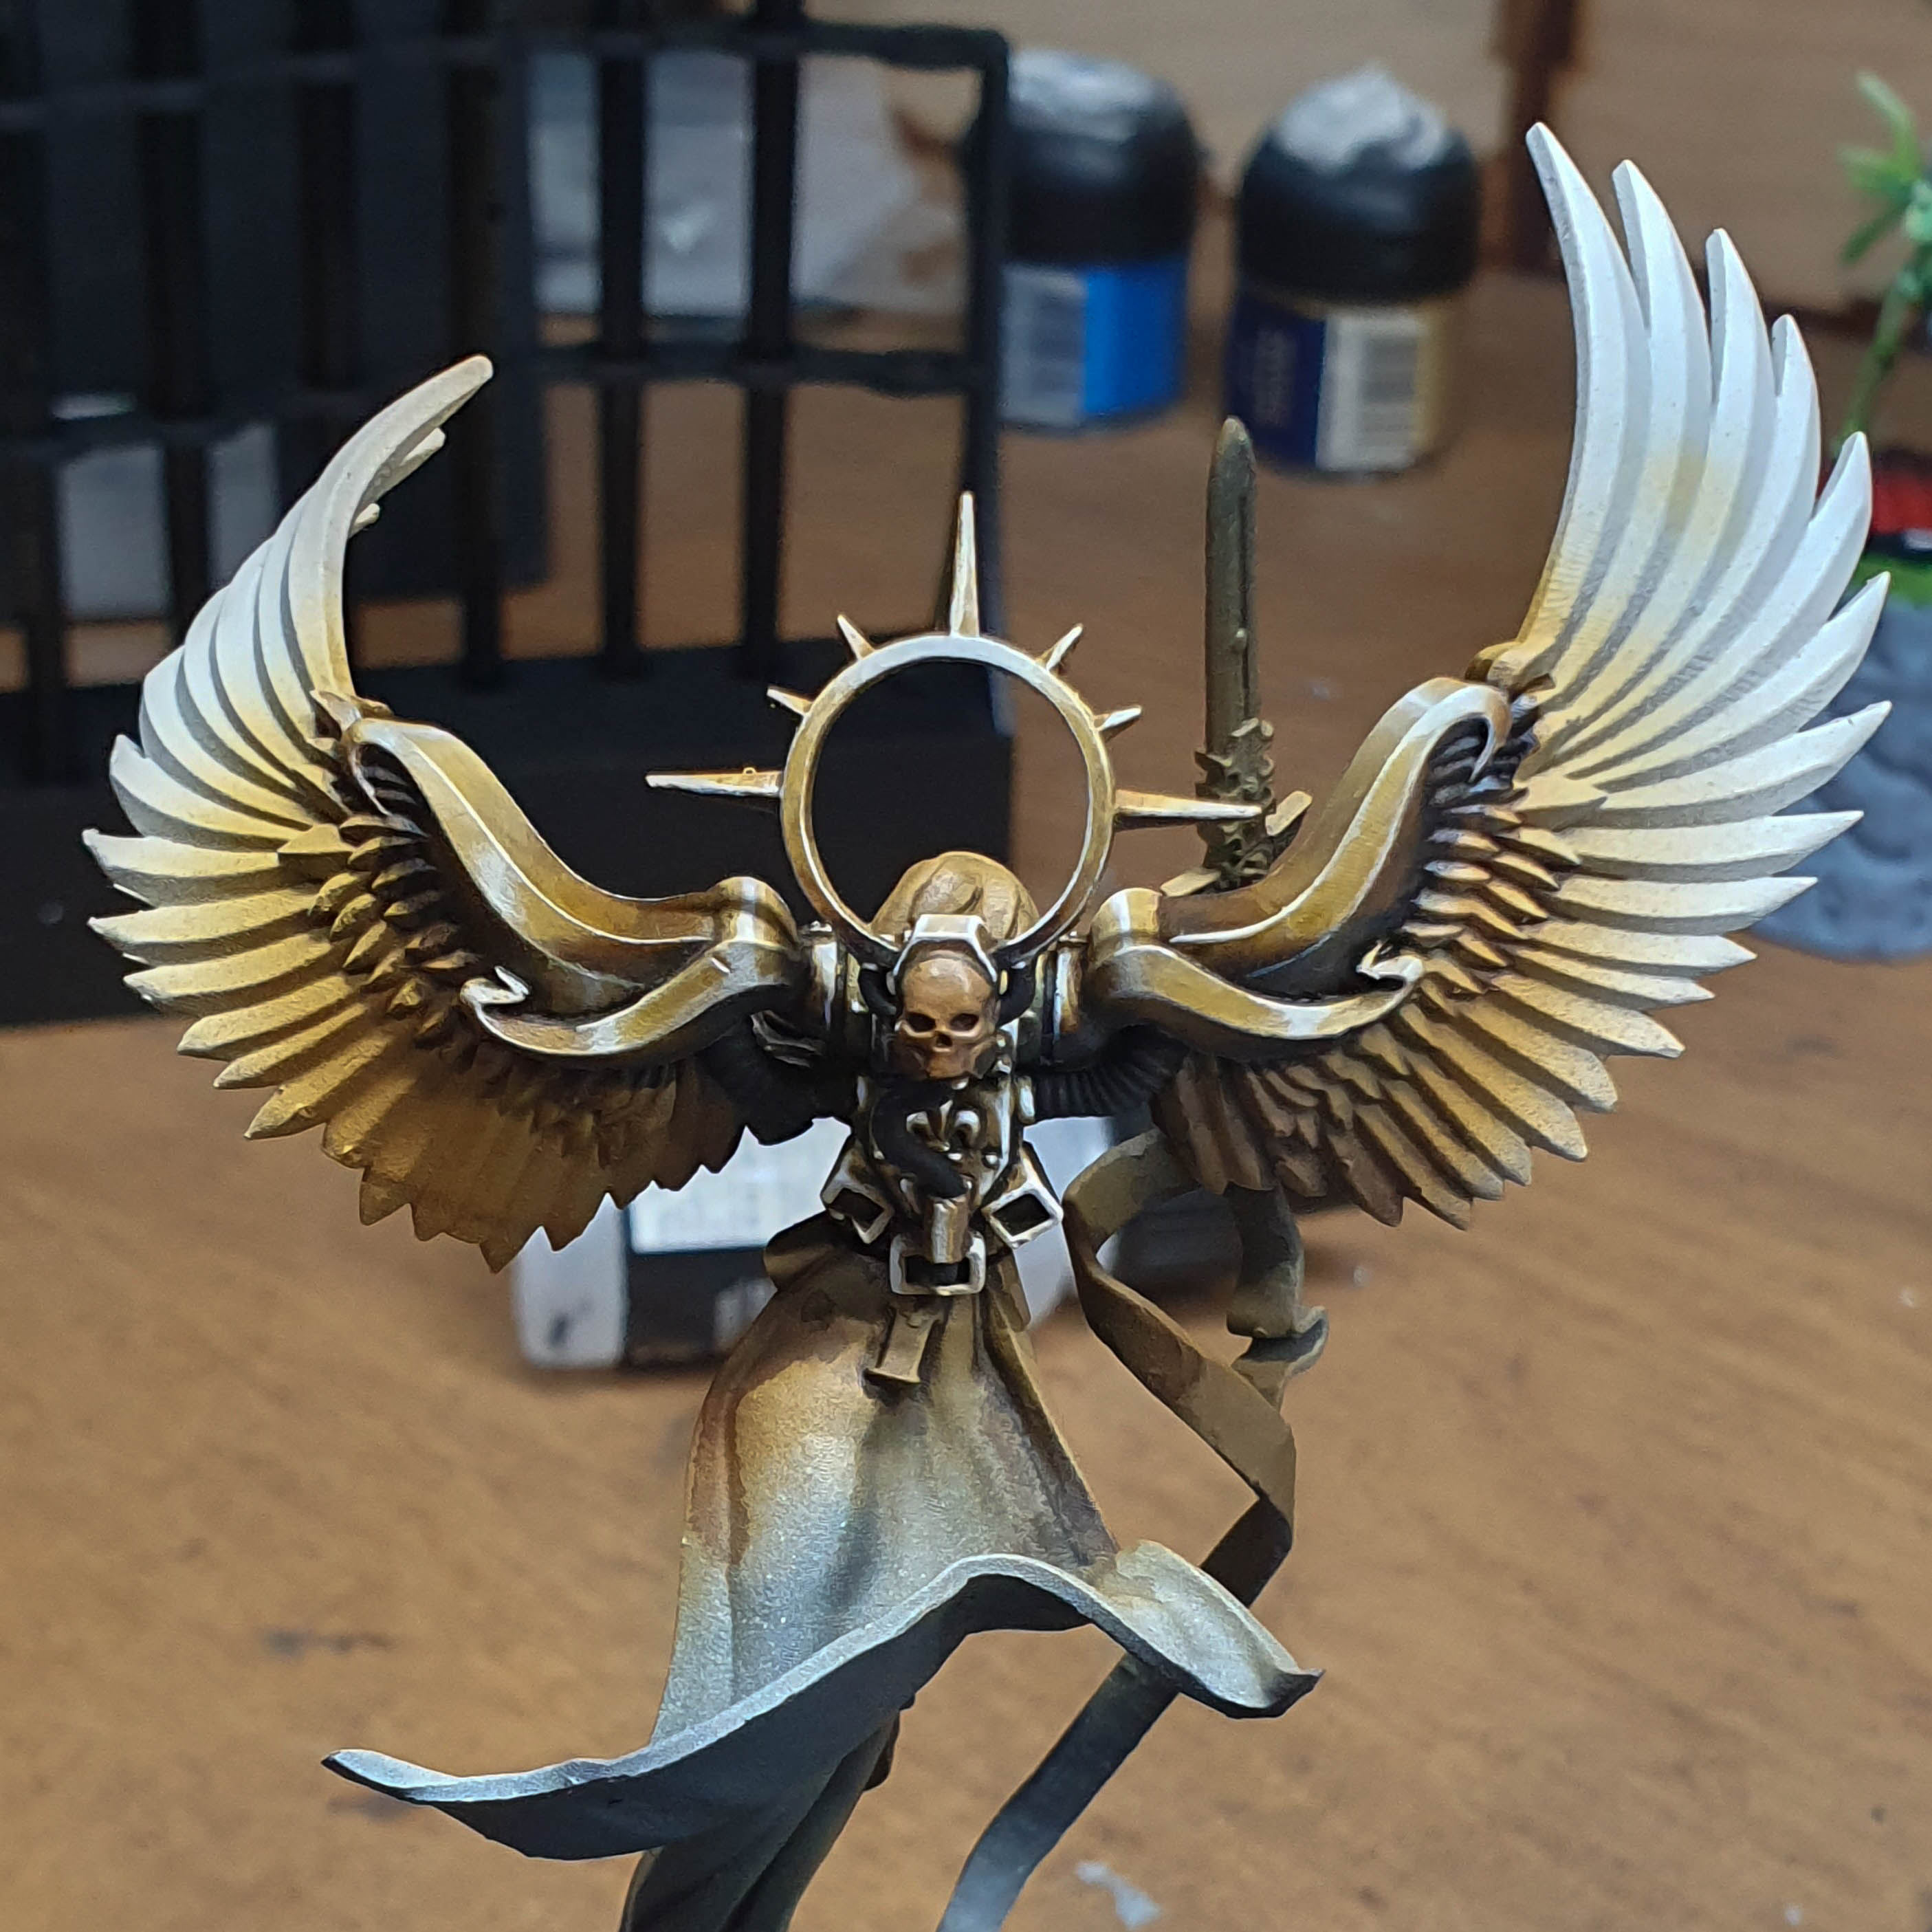 I then worked on the lower backpack and the halo. This worked surprisingly well. I think this section is one of the best. I think the gradients are to gradual and not dark enough.
 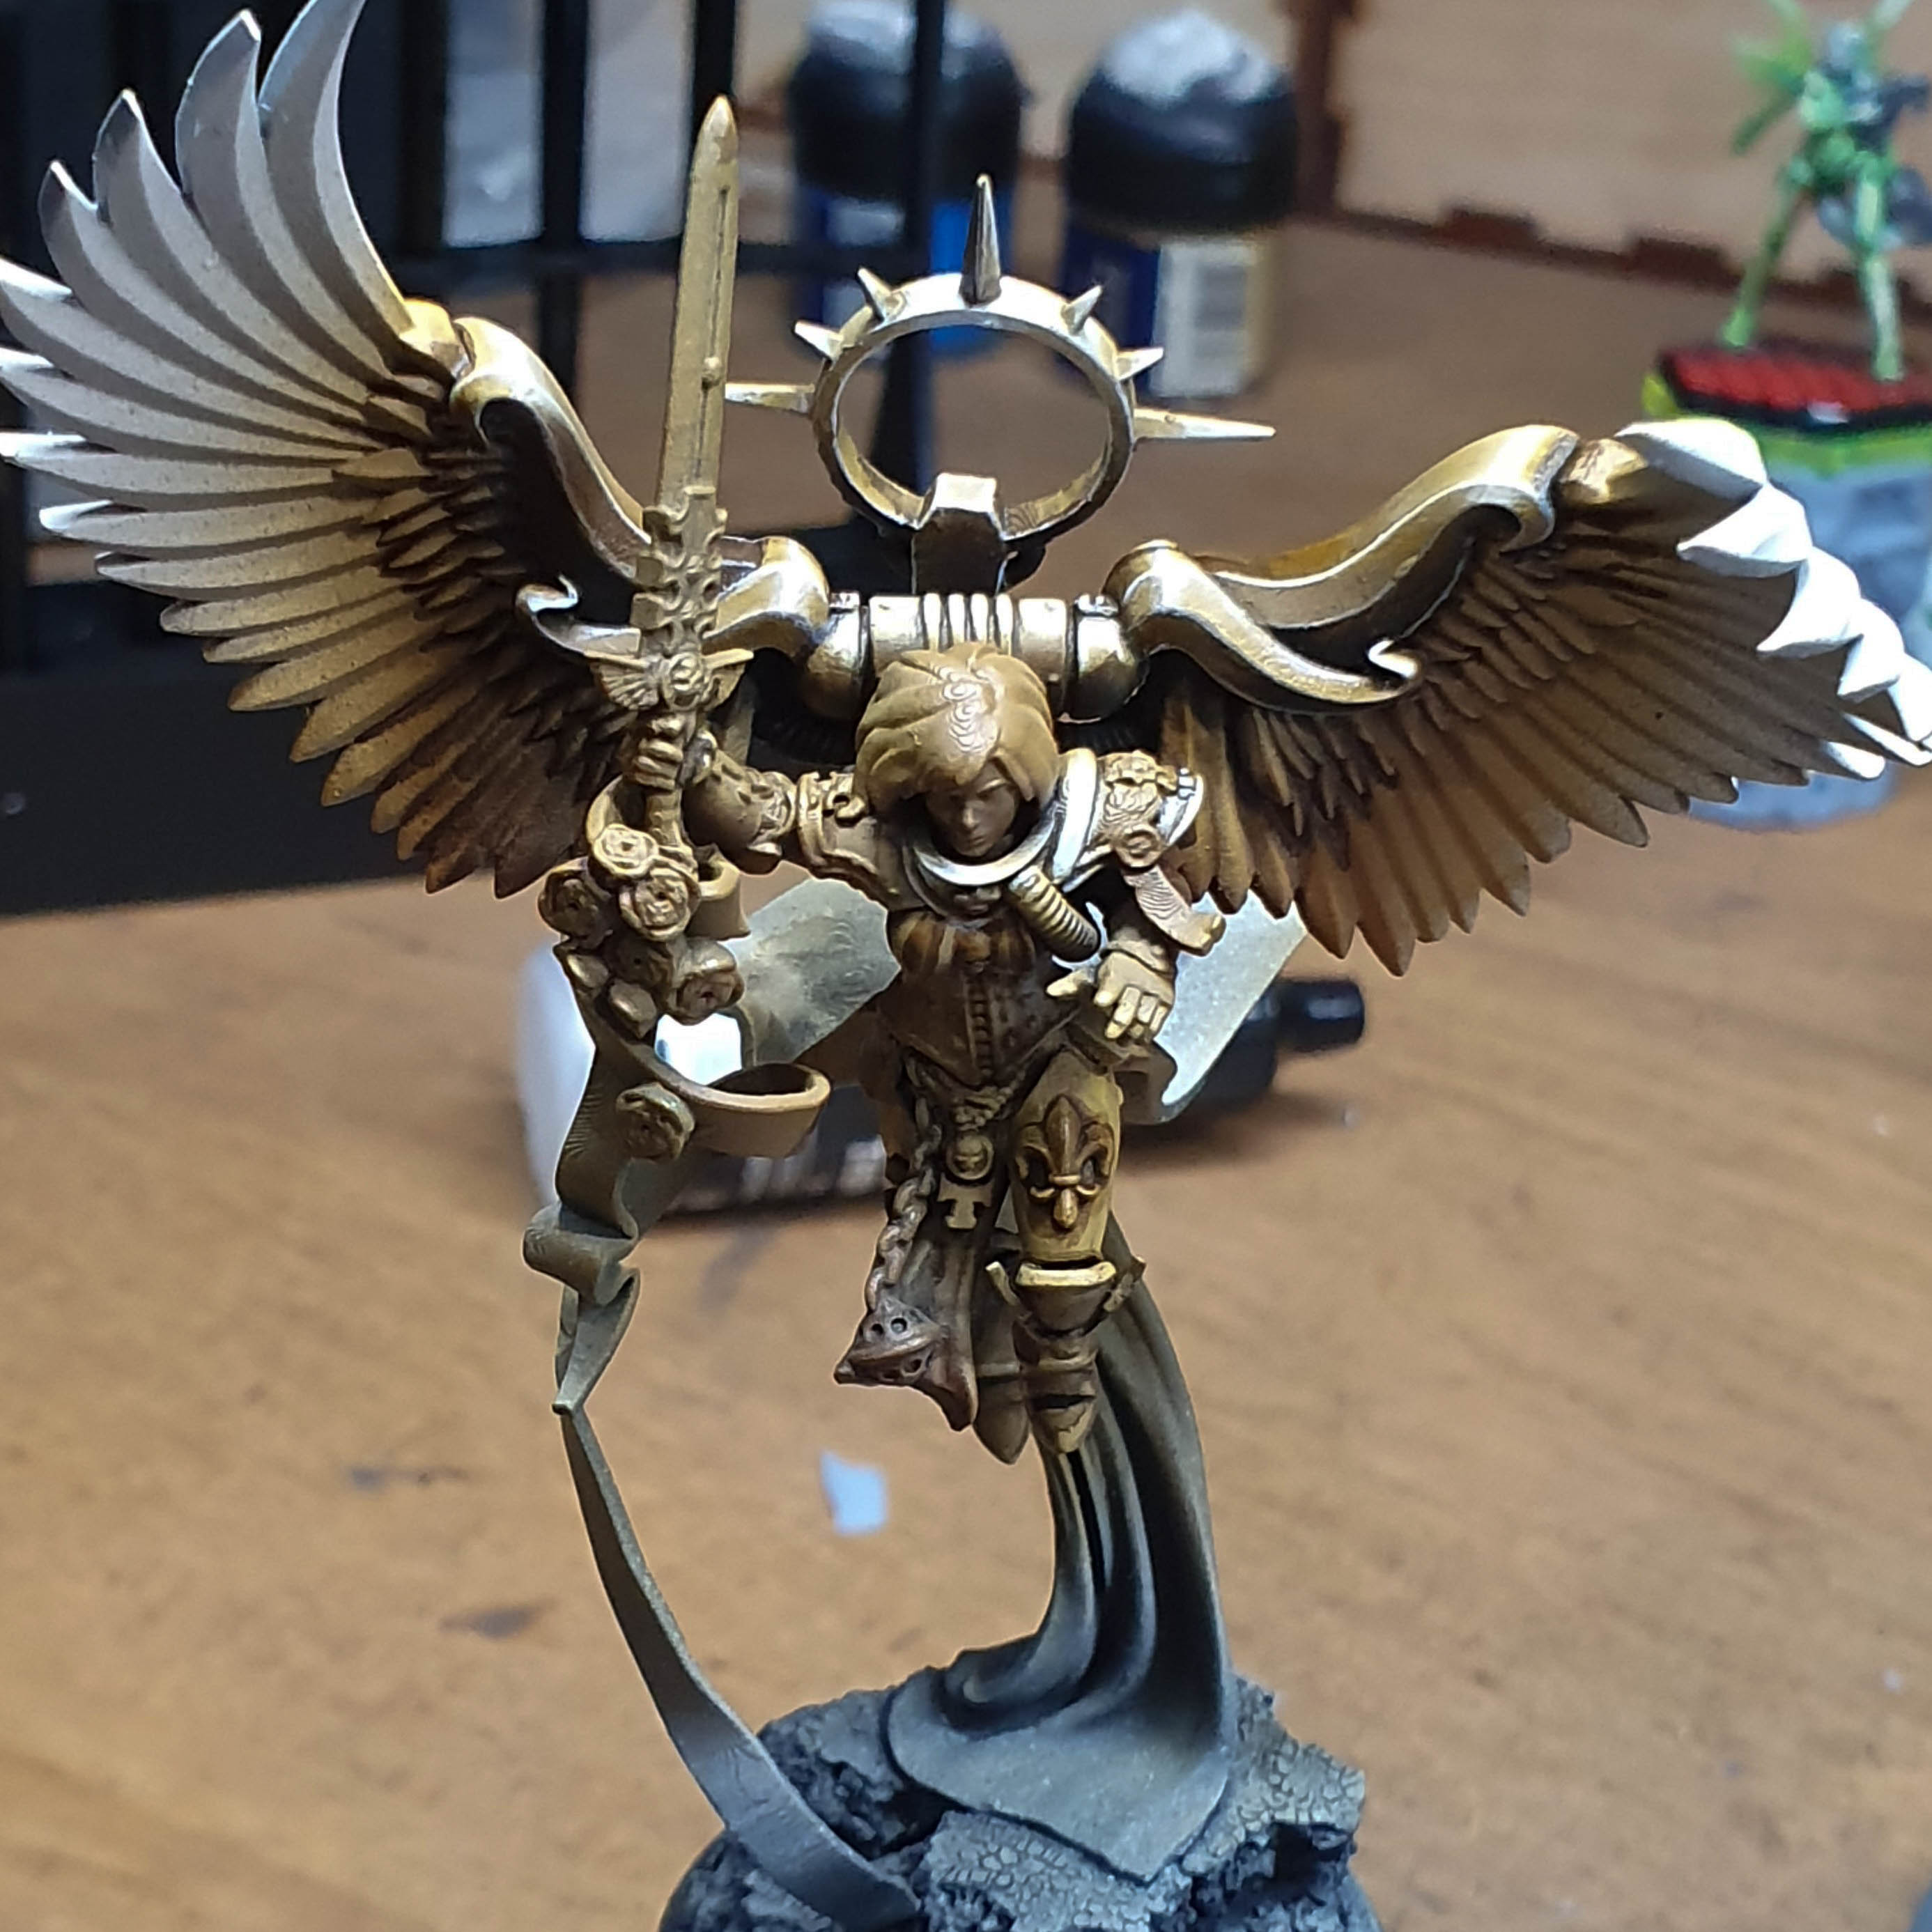 Finished the backpack and started on the shoulder. I think I would have done this a bit better I prefer the left later on to the right.


Leave a Reply