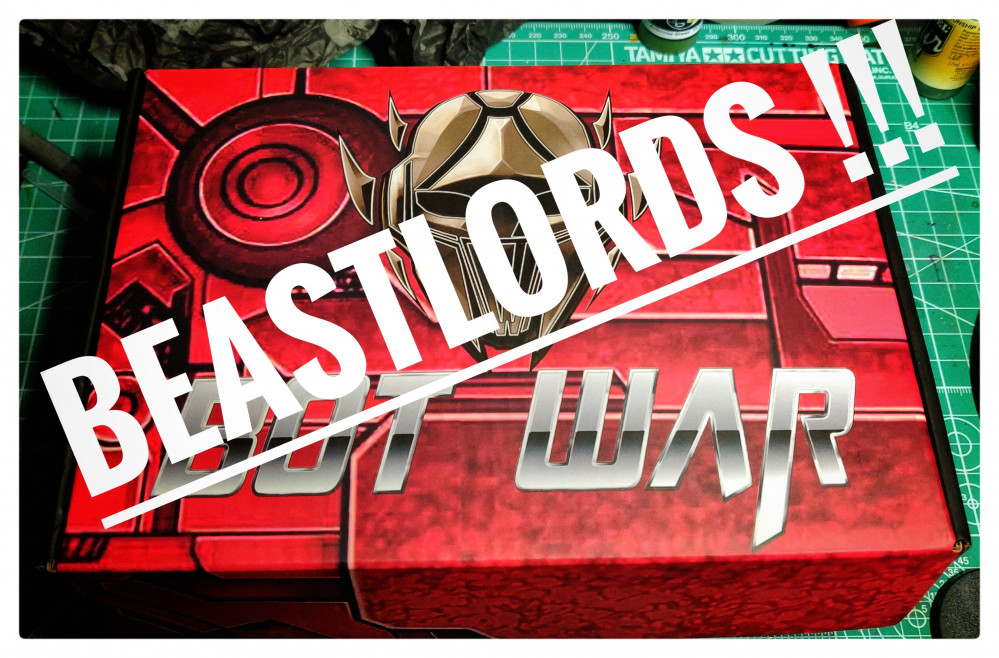
Beastlords faction for Bot War
Laying the foundations
First priming
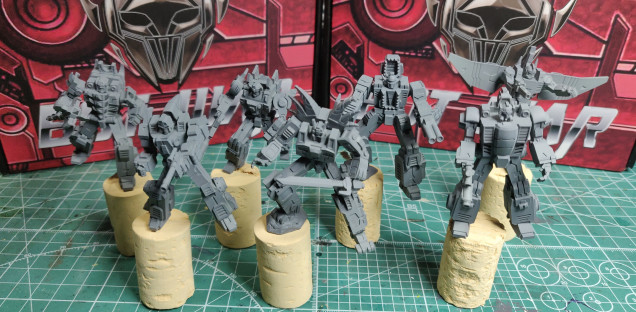
Once the models are cleaned (I always wash resin no matter how ready it looks, and do this after cleaning up flash or any mould lines to make sure any detritus is washed away) and assembled with superglue it was time to get some paint down.
I have seen miniatures being painted straight onto the surface material to prevent detail loss, this is usually for display/competition pieces though as it removes an extra layer of paint and provides crisper details, but as they are for tabletop use I want my paint to have some resilience to being handled, so a quick priming session was needed.
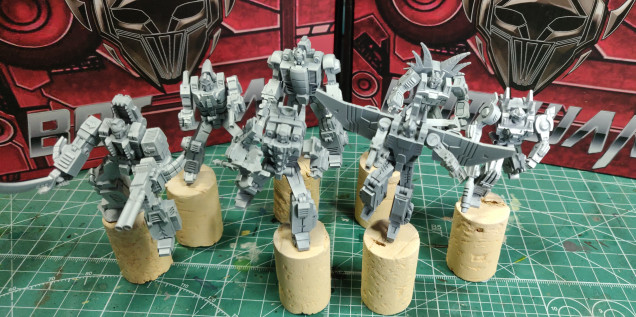
I like to do a 2-tone prime, I find it can help with establishing shadows and I’m usually unlucky and miss a really obvious spot with my first pass, especially when I use grey primer on grey models as I have done here, so the 2nd coat can make sure those areas can be covered.
My current primer of choice is Badger’s Stynelrez run through an airbrush. I find it covers really well, dries reasonably fast, and it’s self-levelling formula gets into all the nooks & crannies with a smooth even finish. Once it has dried its a pretty solid base to work from. I did my airbrush priming on a fairly warm day so used a bit of flow improver in my cup to lengthen the drying time to help prevent the nozzle blocking over the course of painting 7 models, and my usual priming settings of 45 psi on the compressor and a 0.2 needle on my H&S Infinity. These give me a nice flow of paint that doesn’t take too long to blast through the 7 models.
I chose to use grey as my basecoat as it gives me a good starting point for the colours I want to end up with. I usually use black for priming my display pieces as I find it really boosts the contrast right from the off, but for my Bot Wars I want to have a more saturated appearance that will rely upon black lining for pop, rather than gradually recessing shadows.
Lighten it up
With the grey applied and dried, I then went in with another lateral pass of Stynelrez white. I mostly come at the model from a 75° angle with the white as it hits all of the top and forward facing points with a sufficient amount of paint whilst retaining the grey for the under areas and lower view point spots. This is again done with my 0.2 needle but I drop the pressure to about 20 psi and am more careful with the trigger to control the flow so I don’t go in too thick and cover too much detail.
Quick and dirty pre-shade
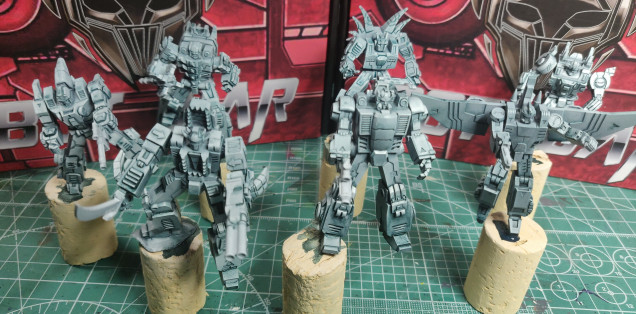
With the 2-tone primer applied I now want to really find the shadows and dull some of the white. This part of my priming session may seem a bit pointless, and it can be, but I like to do it so I can then take reference photos for later.
What I do is I give the whole model a loose wash, allowing the paint to run and pool in all of the little cracks and recesses. On much larger models (tanks, gunpla, planes etc) you would generally airbrush in paint around panels or into shadows to create a variable base that your top coat get applied over, similar to how the 2-tone priming is done above. Whilst I could airbrush in the preshading the traditional way with my 0.15 needle, I don’t have the patience or hand-control to do it on this scale of model.
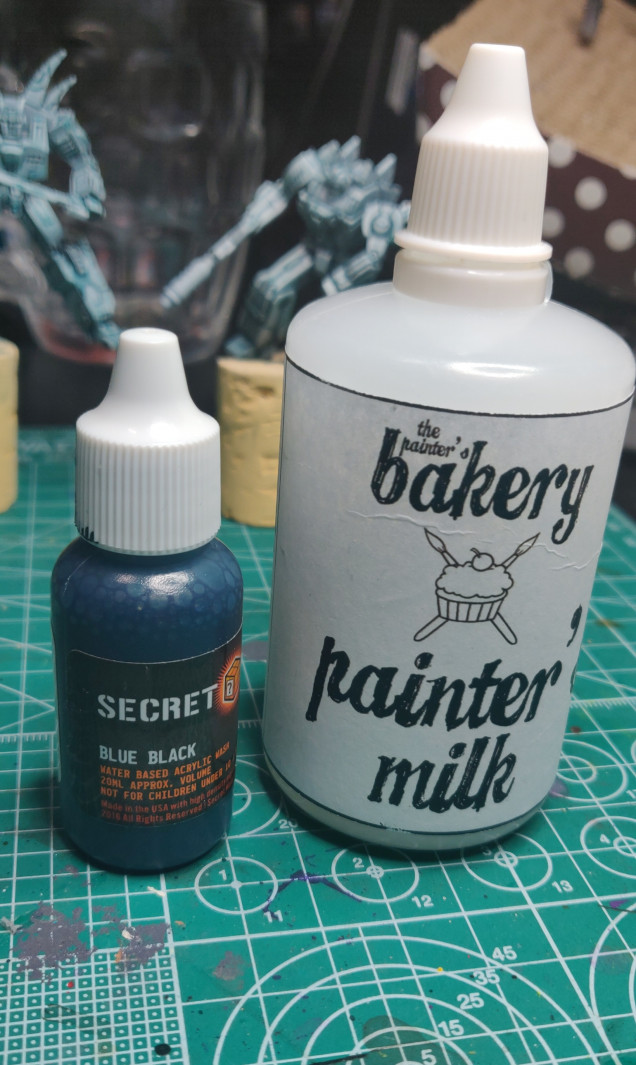
For the pre-shade, I used Secret Weapon Blue Black wash thinned with Painter’s Milk on a 2:3 ratio. This medium is a new product from The Painter’s Bakery and Twitch streamer That Mr Shy which works really well with both washes and acrylic paints to increase flow and silky smooth application. I chose Blue Black as all of the colours in my scheme have blue as part of their makeup so should help to harmonise them, and it is slightly darker than the Secret Weapon Storm Cloud wash I plan to use later on the teal parts.


![How To Paint Moonstone’s Nanny | Goblin King Games [7 Days Early Access]](https://images.beastsofwar.com/2024/12/3CU-Gobin-King-Games-Moonstone-Shades-Nanny-coverimage-225-127.jpg)





Leave a Reply