Tuscany Hill Village Terrain Build
Building an Italian Church
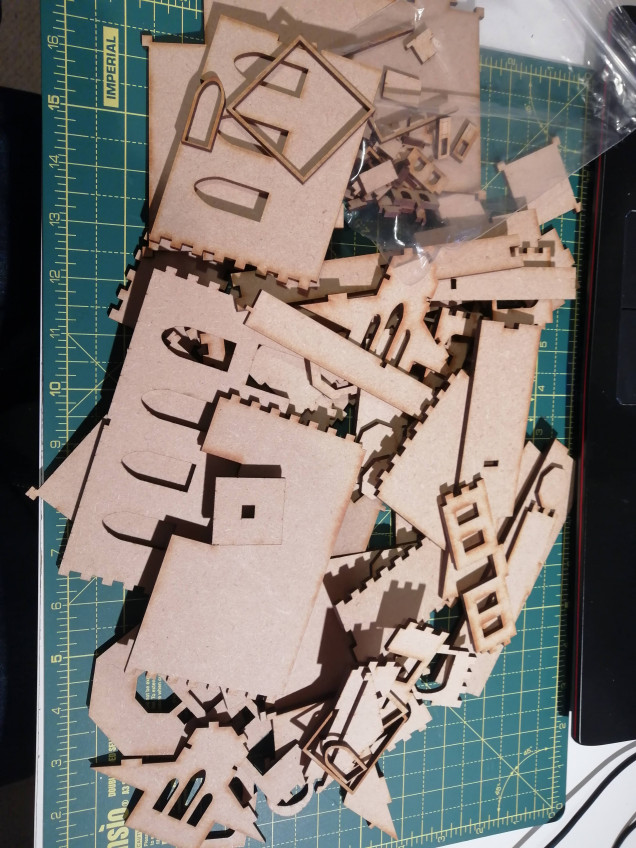
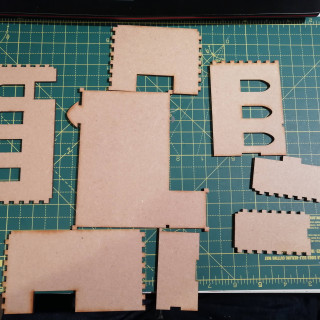
Having sent the file containing the design for the Italian church to Razorlab, I received the following pile of mdf through the post. It took about a week to turn this around, so a good service overall.
Now for the moment of truth. Was me design, maths, planning on paper and all the thinking correct?
Let’s separate everything out.
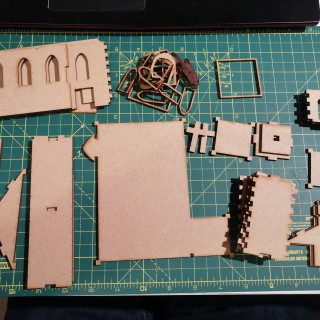
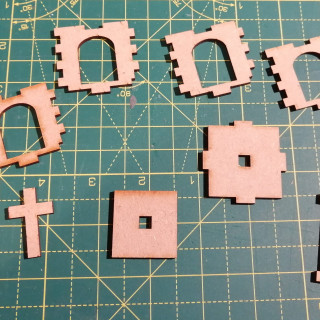
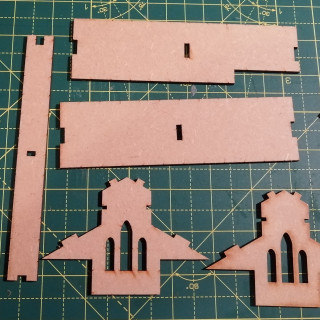
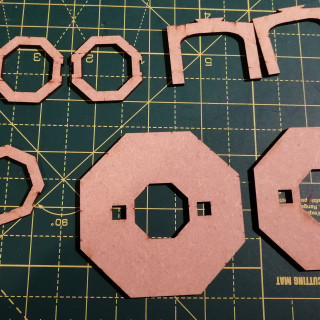
In the below pictures, we have all of the components for the church and then split out into the components for the church bell tower, the main body of the church, the upper roof and the well.
There were some problems. The biggest issue was that the material wasn’t exactly 3mm but was slightly thicker. Whereas the laser cut very accurately, perhaps to less than 0.1mm. This meant that where I had designed a gap for 3mm, it wouldn’t fit. This was solved with some sanding and careful cutting but this added considerably to the construction time. So for the future, add some additional space to allow for the material to be bigger than expected.
The other issue was with my design for the church roof. Where the roof met the tower, I neglected to cut the roof away. This wasn’t a major disaster as I could manually trim it and this will get covered with the plastic roof tiles but it was a little frustrating.
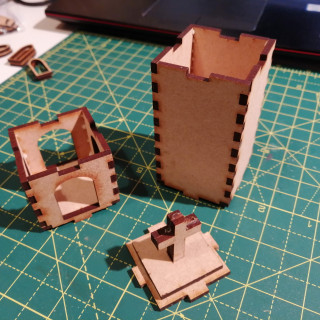
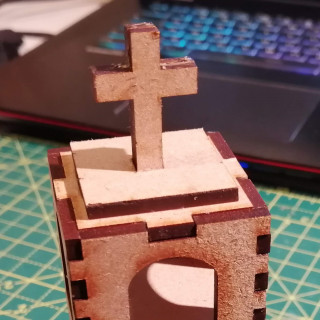
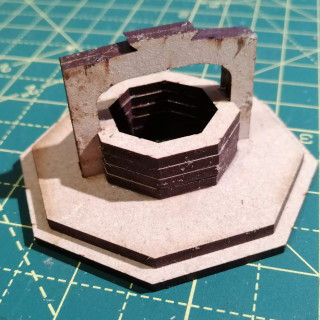
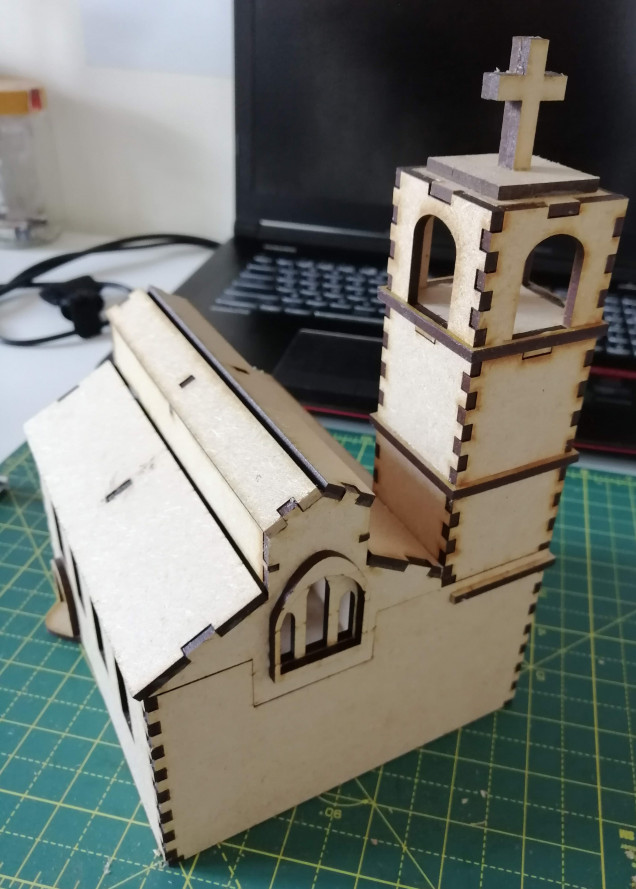
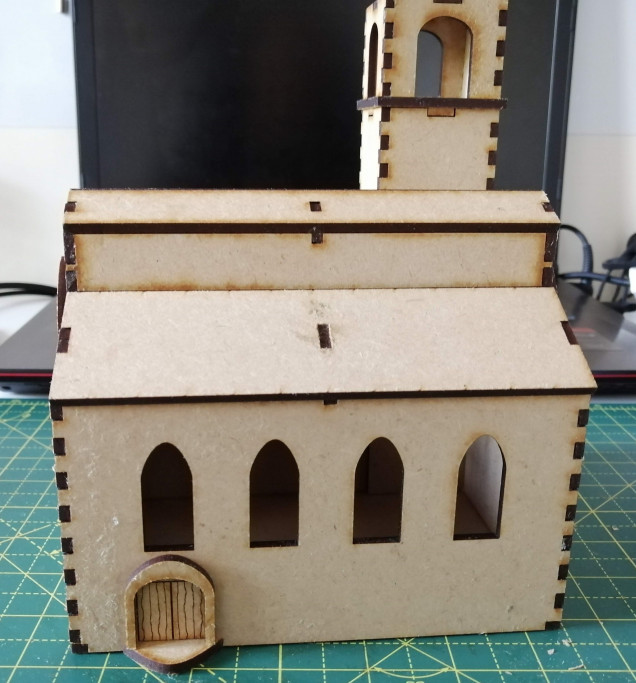
So, this is how they turned out. You can see the bell tower in parts, then with the parts put together and the church well
If I’m honest, it looks alright but not great. Before I pass full judgement, it needs to be painted and have the roof applied. I also designed window frames where I plan to mount stained glass windows into. These steps might bring the model up to par.


![How To Paint Moonstone’s Nanny | Goblin King Games [7 Days Early Access]](https://images.beastsofwar.com/2024/12/3CU-Gobin-King-Games-Moonstone-Shades-Nanny-coverimage-225-127.jpg)




Looks great so far! Can’t wait to see it painted.