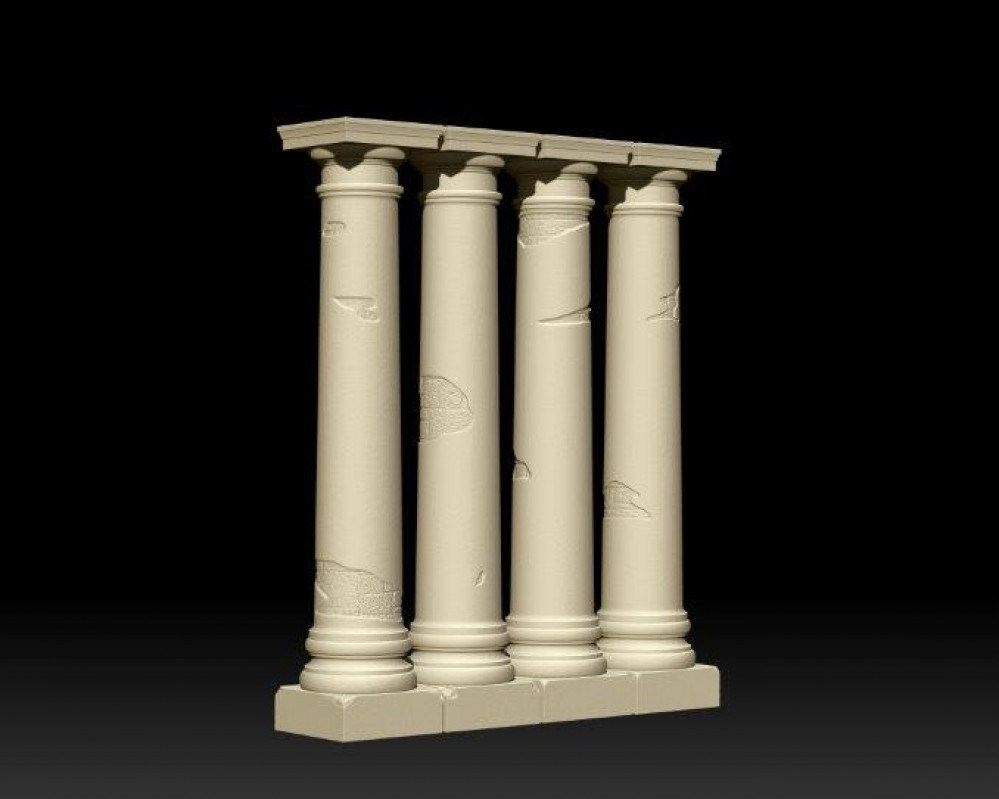
3D Printed Columns
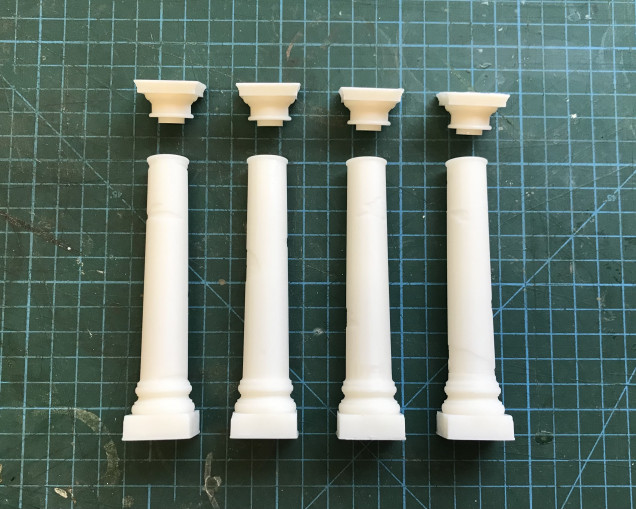
Final Printed Columns
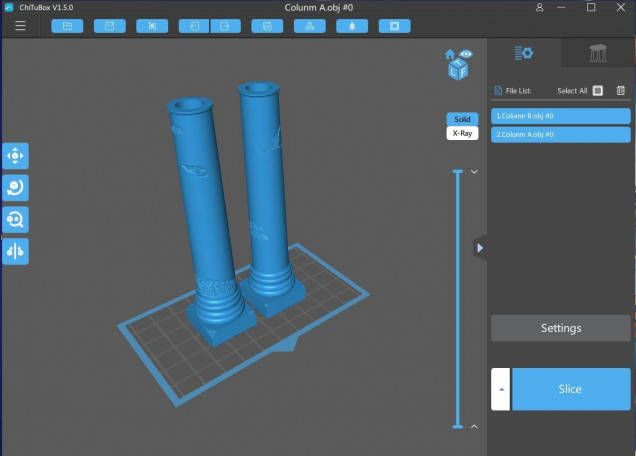
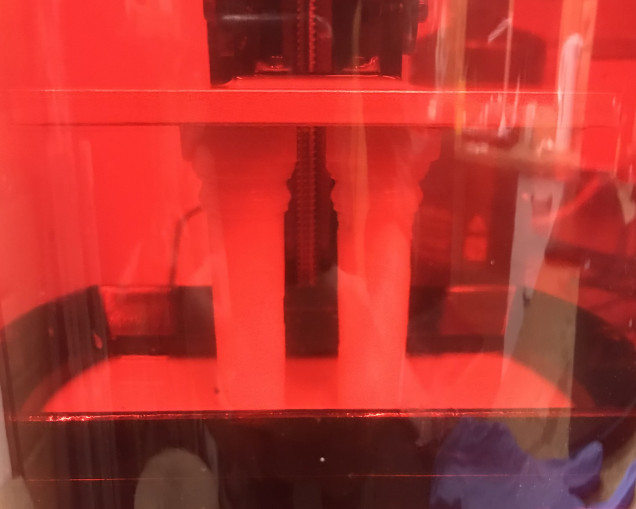
It was possible to fit all four columns on the print bed at once but I decided to run them two at a time. This would save me having to keep an eye on the amount of resin being used and also mean that I wouldn’t loose so much if the print failed. The columns took a hefty eight hours to print and were pretty much the maximum build hight for my printer.
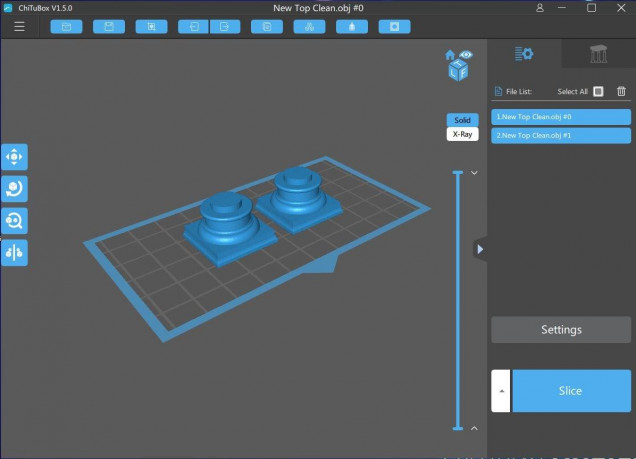
I printed the caps two at a time as well as I wanted to ensure they fitted properly before committing to printing more. These only took around two hours.
The prints were all successful and due to the hollowing, used less resin than the originals.
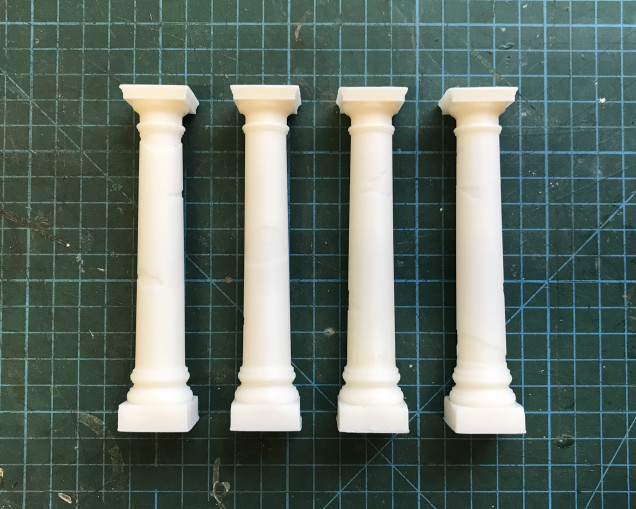
The caps push neatly into place. In the following image they are yet to be glued.
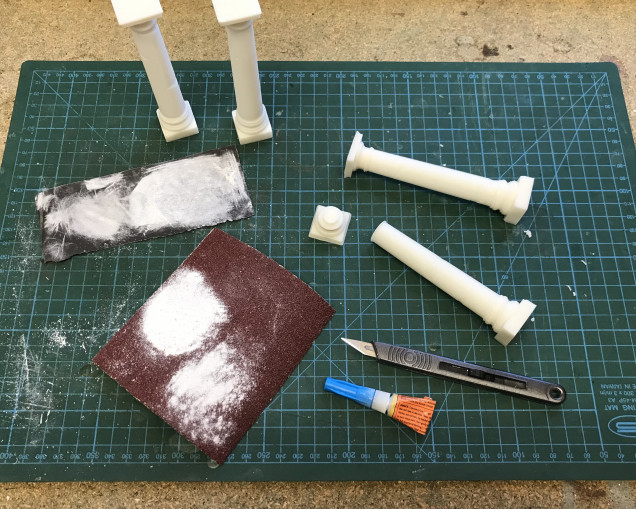
Clean up was minimal. I used some sandpaper to remove the small amount of flashing around the base and top of the cap (the parts that were in contact with the print bed). Superglue was used to fix the cap in place.


![How To Paint Moonstone’s Nanny | Goblin King Games [7 Days Early Access]](https://images.beastsofwar.com/2024/12/3CU-Gobin-King-Games-Moonstone-Shades-Nanny-coverimage-225-127.jpg)




Really enjoying following this project – has given me lots of inspiration for a diorama of my own that I’ve been planning. Keep up the good work!
That’s great to hear. Glad you are enjoying it. I’m hoping to get some paint on them in the next few days.
Great project, especially the step guides on how you have used Zbrush. I’m looking to do something similar with some STL files that I have created in FreeCad. I’ve been wrestling with Blender but the learning curve is steep. Is Zbrush easier to import STL into and add such effects? And can you do this with the free version?
I think the only free Zbrush is a 48 day trial. It is a pretty big program to get your head around tbh. These functions are straightforward to use once you know how but wouldn’t be obvious without some prior experience. I find YouTube tutorials are the quickest way to pick up what you need to know.