


![How To Paint Moonstone’s Nanny | Goblin King Games [7 Days Early Access]](https://images.beastsofwar.com/2024/12/3CU-Gobin-King-Games-Moonstone-Shades-Nanny-coverimage-225-127.jpg)


Sláine: Kiss My Paintbrush!


Basing Basics
@Lloyd has commented on my basing technique before and wanted the recipe so here it is:
STEP 1 – Normally I would apply a layer of PVA to bases and then top with a layer of dried sand pit sand mixed with tiny stones. This would then be painted Vallejo Earth and then lightly drybrushed with Vallejo Bonewhite.
On these Sláine miniatures I’m omiting this stage. This is because there is a very prominent puddle base as these are Siocasts.
 Prominent Siocast puddle base
ASIDE 1 – I’m using the supplied Warlord round plastic 25mm bases. These come with a lip around the outside that provides a slightly lower inner surface, presumably for the height of your basing to meet the top of the outer rim.
As you can see from the photo the Siocast puddle extends well above the rim height, it is at least twice as tall. Therefore I need a basing solution that disguises this prominent, regular shape.
STEP 2 – I use a pre-mixed fine flock to give the basic grass surface. This goes onto between 1/3 and 7/8 of the base, depending on how arid the terrain is.
ASIDE 2 – The same proportion is used for every model in an army. I use this blend on nearly everything so all of my miniatures look consistent when placed next to each other, regardless of which army they were based for. Here’s the blend:
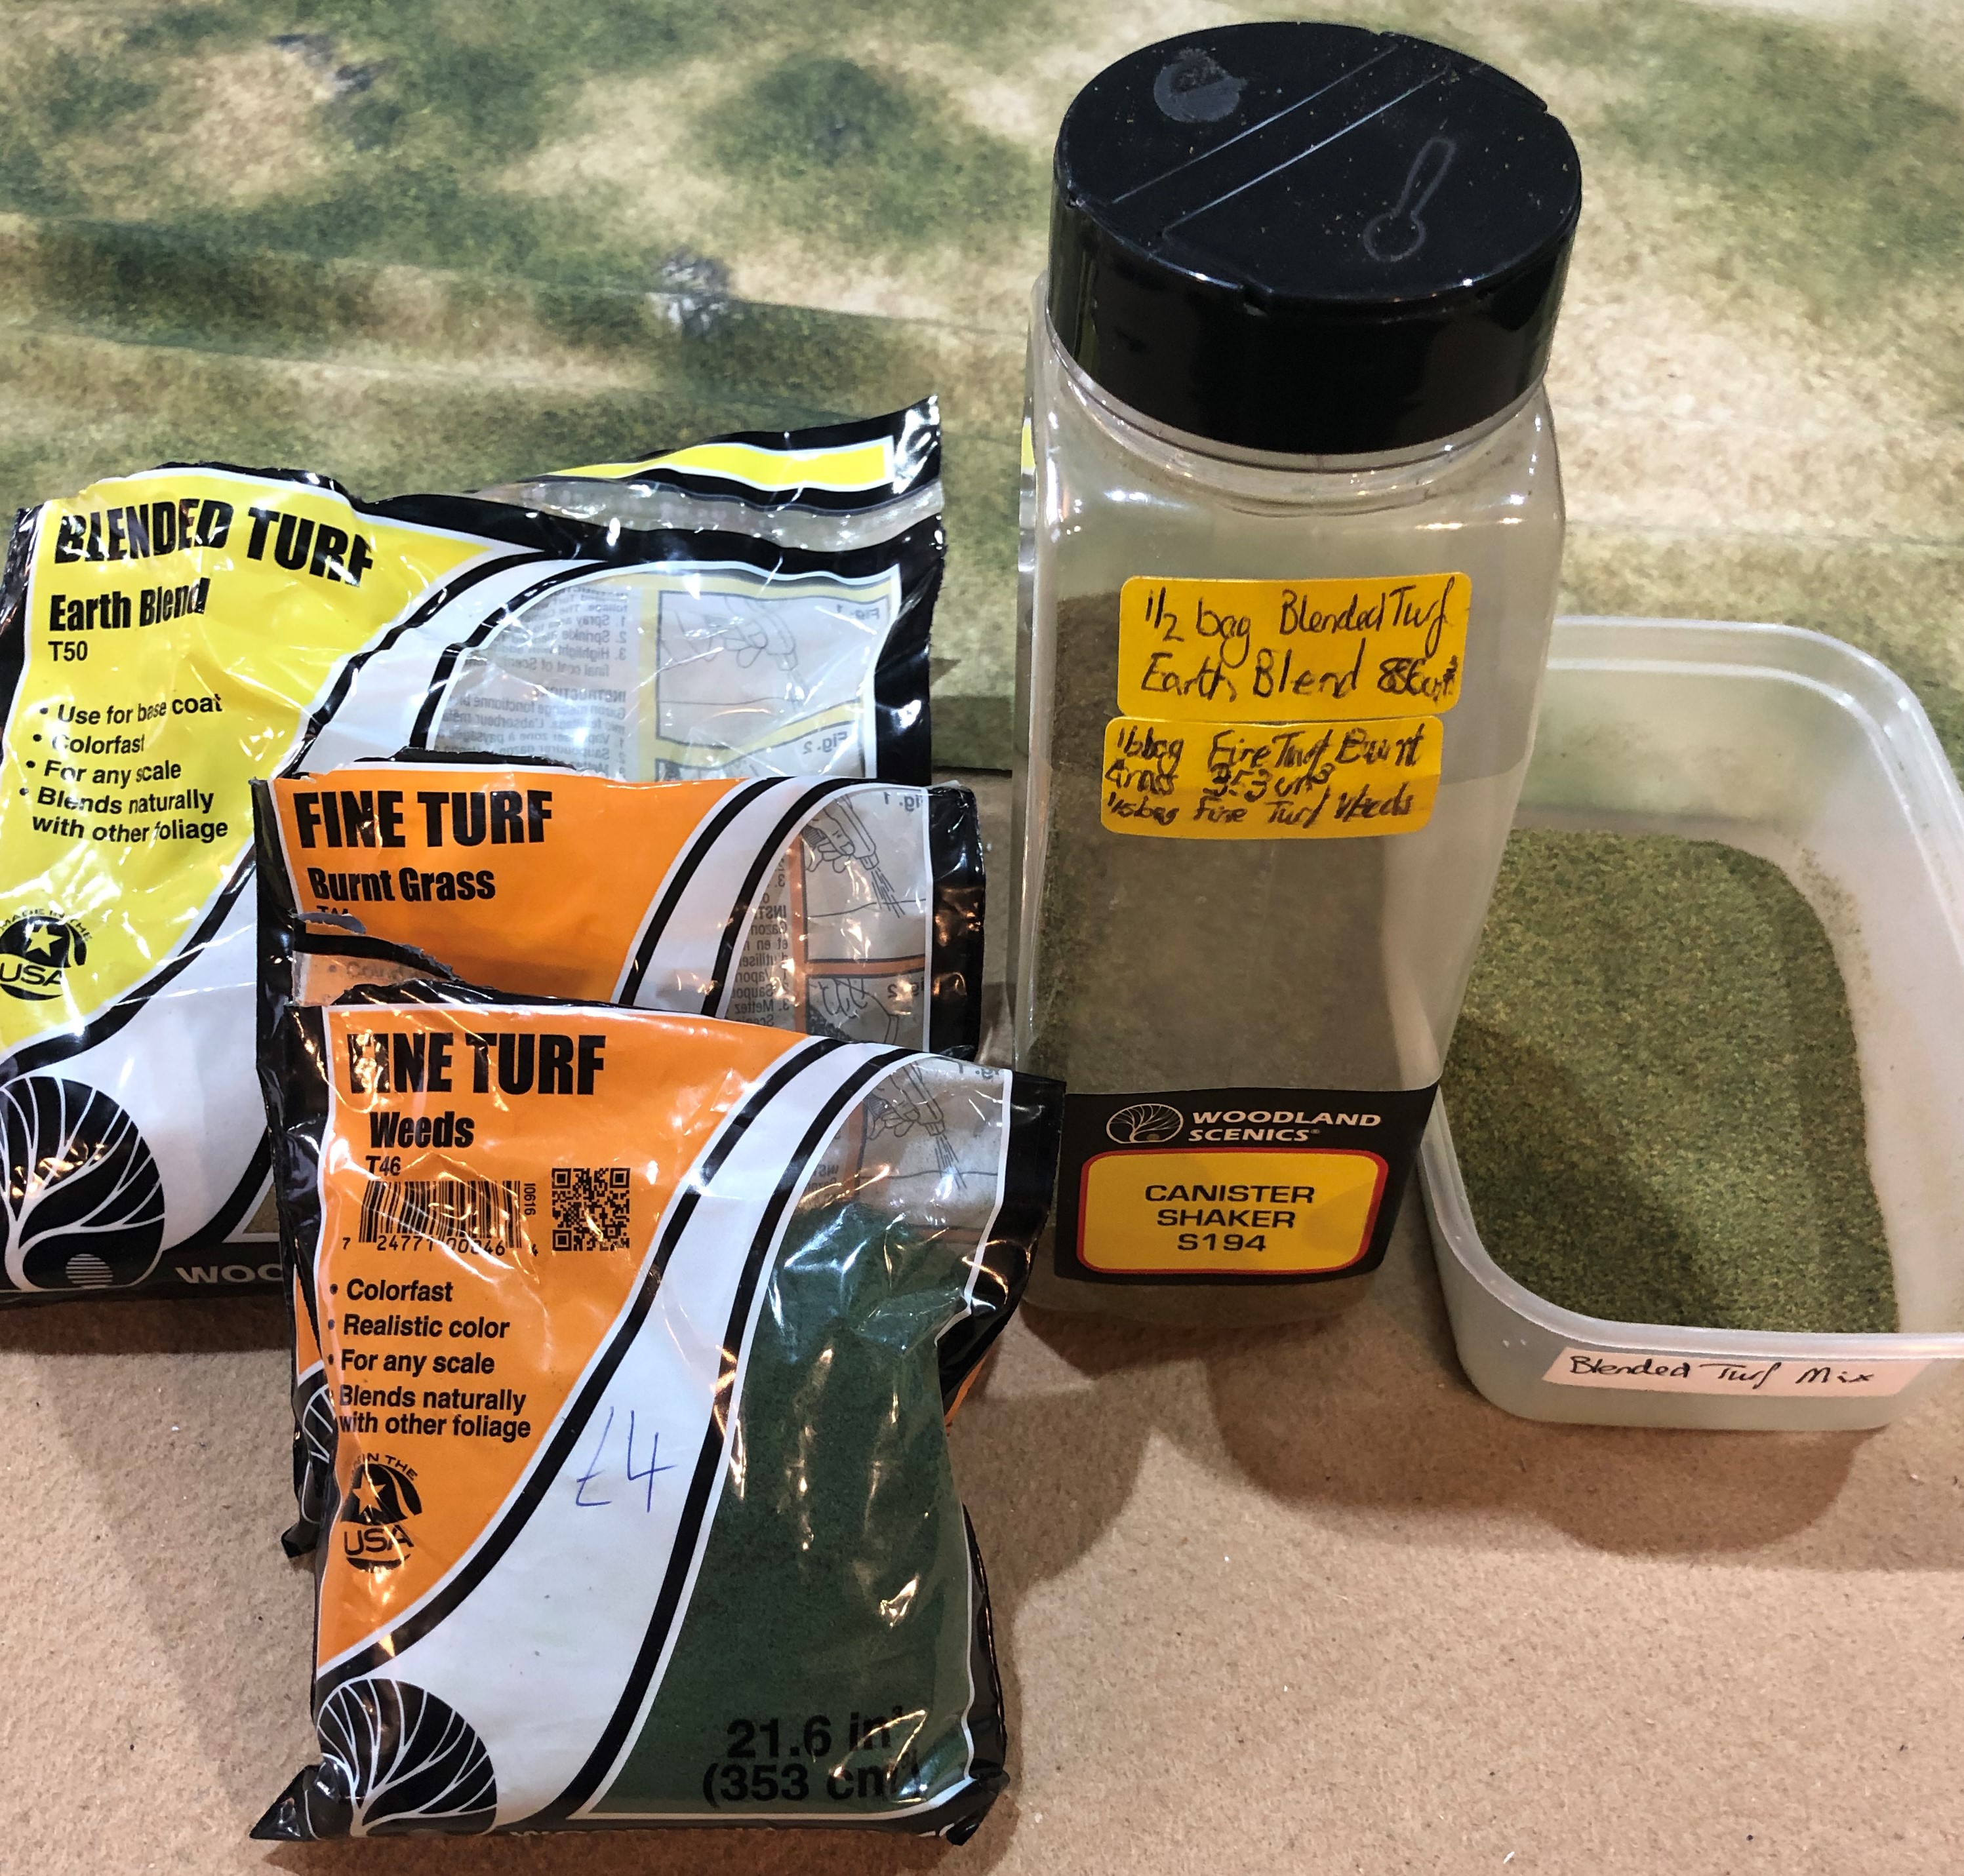 Basic grass flock mix
The recipe is:
1/2 bag Blended Turf Earth Blend
1/2 bag Fine Turf Burnt Grass
1/5 bag Fine Turf Weeds
I mix the flock using the Woodland Scenics canister shaker. I think you get a much more natural look by having similar shades but with some different coloured bits mixed in. As you can see I wrote the recipe on the side of the canister to remind me when refilling it. The take away tub is half filled and then used to dip the base into when applying.
STEP 3 – I apply a thick layer of neat PVA to the surface of the base to be flocked and then dip into the tub. After a few minutes the PVA has soaked through the flock. I re-dip the base again and set to one side for 3-4 hours to completely dry. Any loose excess is shaken off back into the tub.
For the Sláine miniatures I left a thick layer on the base after dipping and pressed it down with my finger to ensure a good thick layer. This was done to 100% of the base surgace as there is no earth texture underneath having omitted Step 1.
STEP 4 – It is normally at this stage that I varnish the model. This helps to fix the initial flock layer. I use Mr Hobby Flat Matt Topcoat.
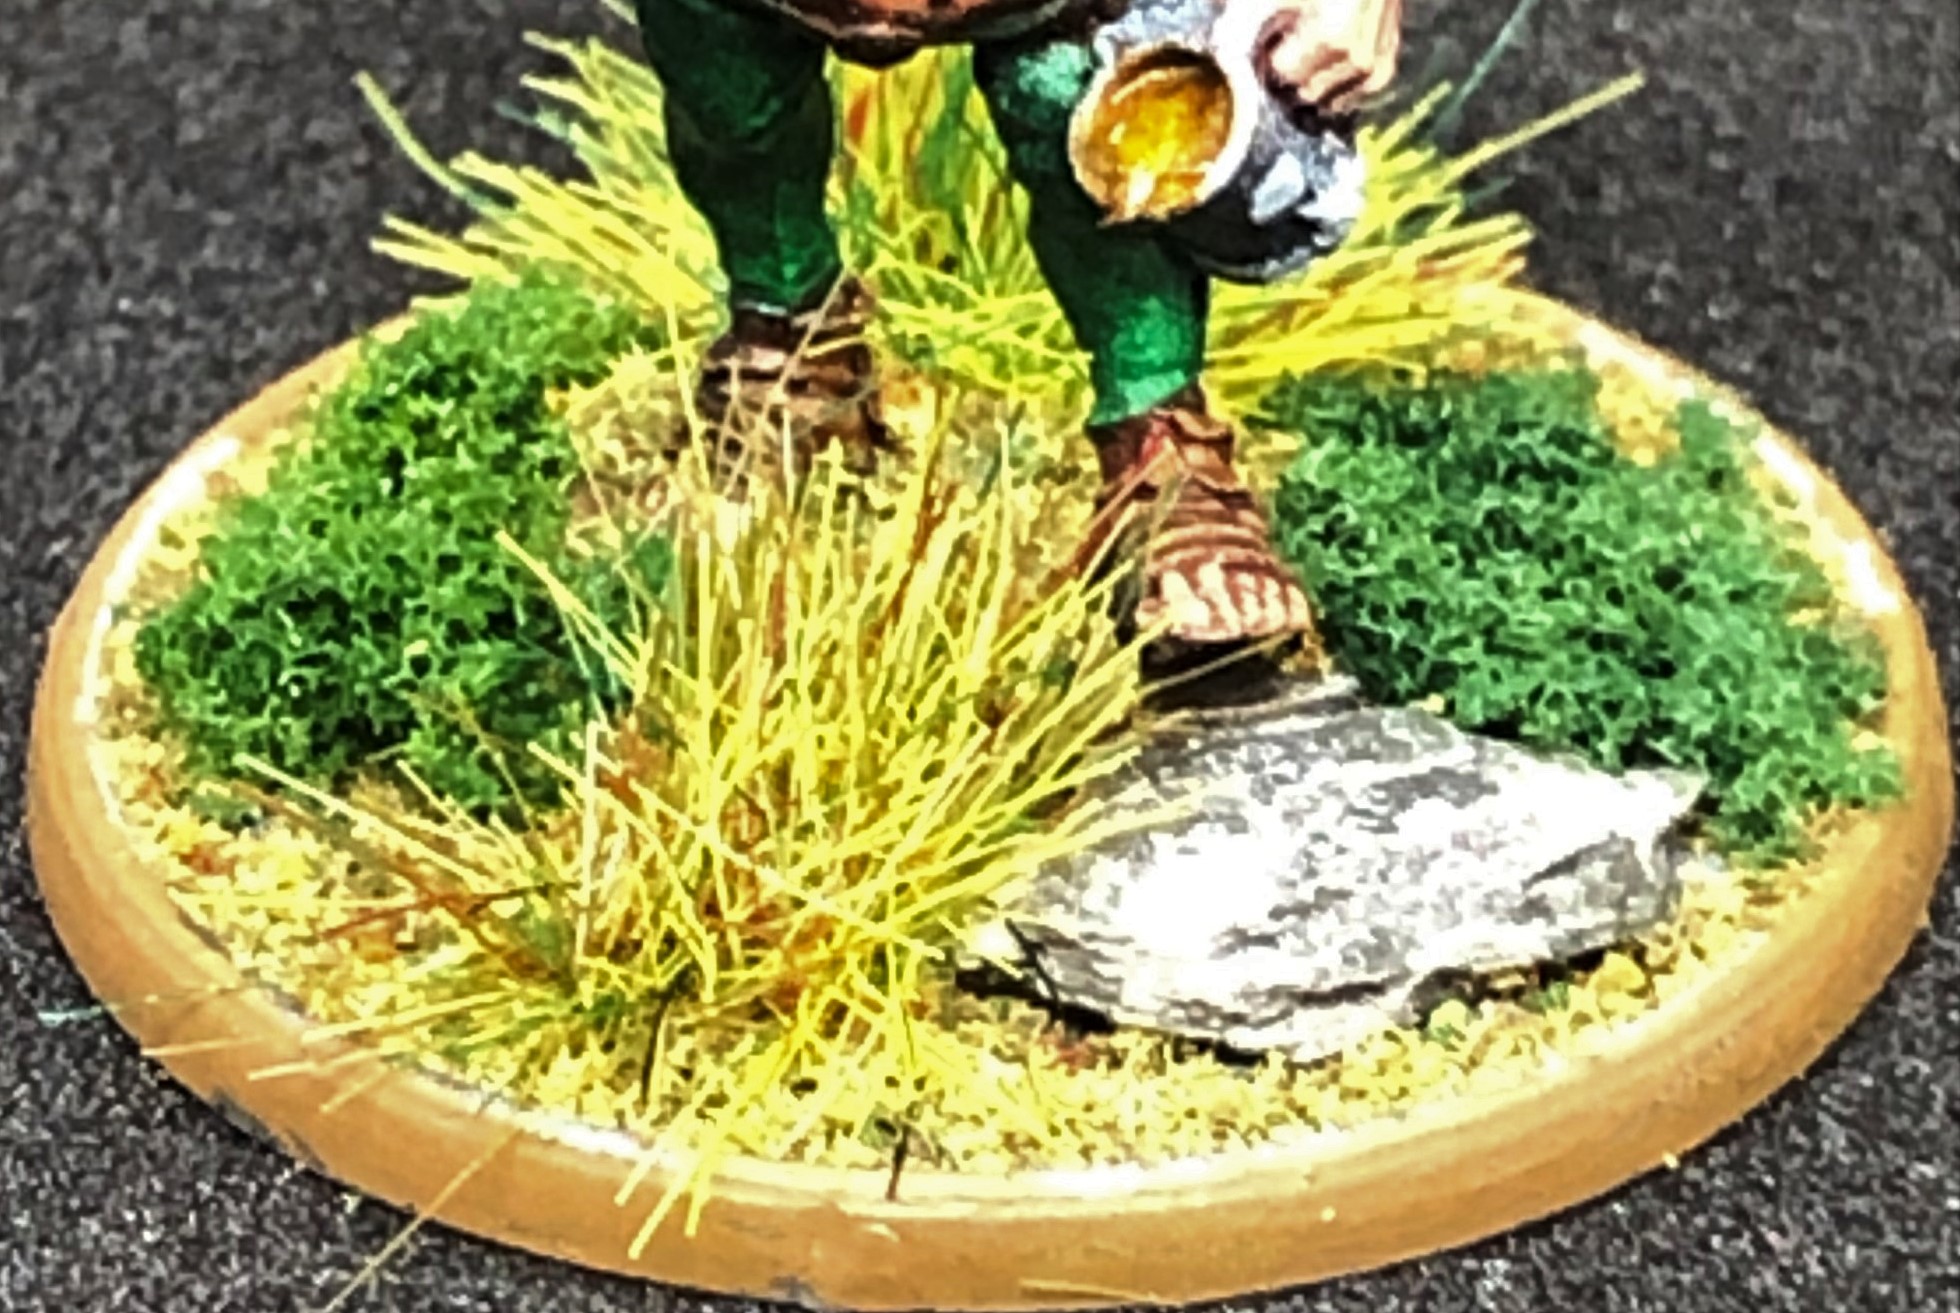
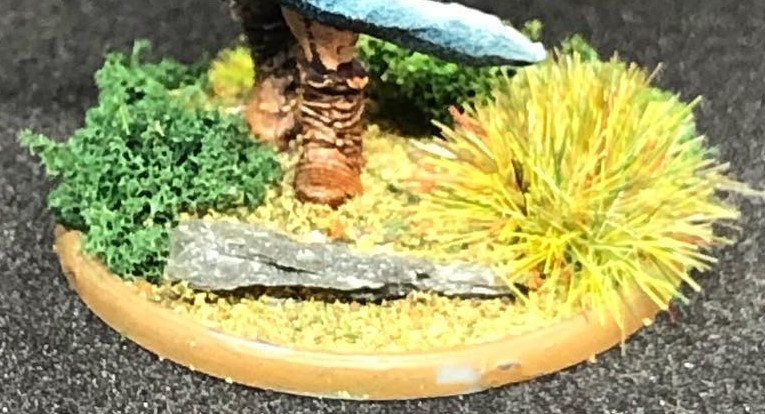
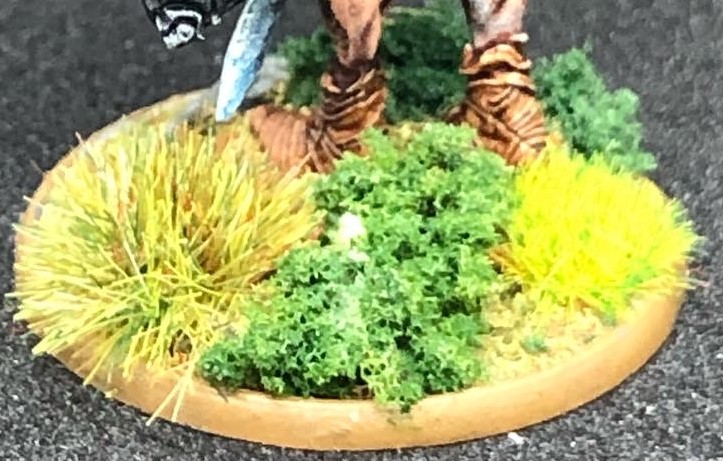
STEP 5 -I have some natural slate pieces and these have a good thickness to them. One piece will be stuck onto each base, covering up the longest visible straight edge of the puddle base. Usually I’d paint these as natural stone doesn’t look quite right when used in scale but I’m going for a more graphic look with these minis and I quite like the slightly incongruous edge the natural slate gives.
STEP 6 – Clump foliage and tufts. I use 5-7 different types of top dressing in each basing scheme. Usually this would be 5-6 different types of static grass tufts and one of flower tufts. The flowers are used to mark leader bases. I’m a big fan of the Gamer Grass sets as you get four different colours of tufts in a coordinated set. My go to tuft supplier is Tajima1 great range and you get a free sheet of wild grass (pictured) with every 5 other sheets. Nice to support a (relatively) local business too. The selection for this project includes:
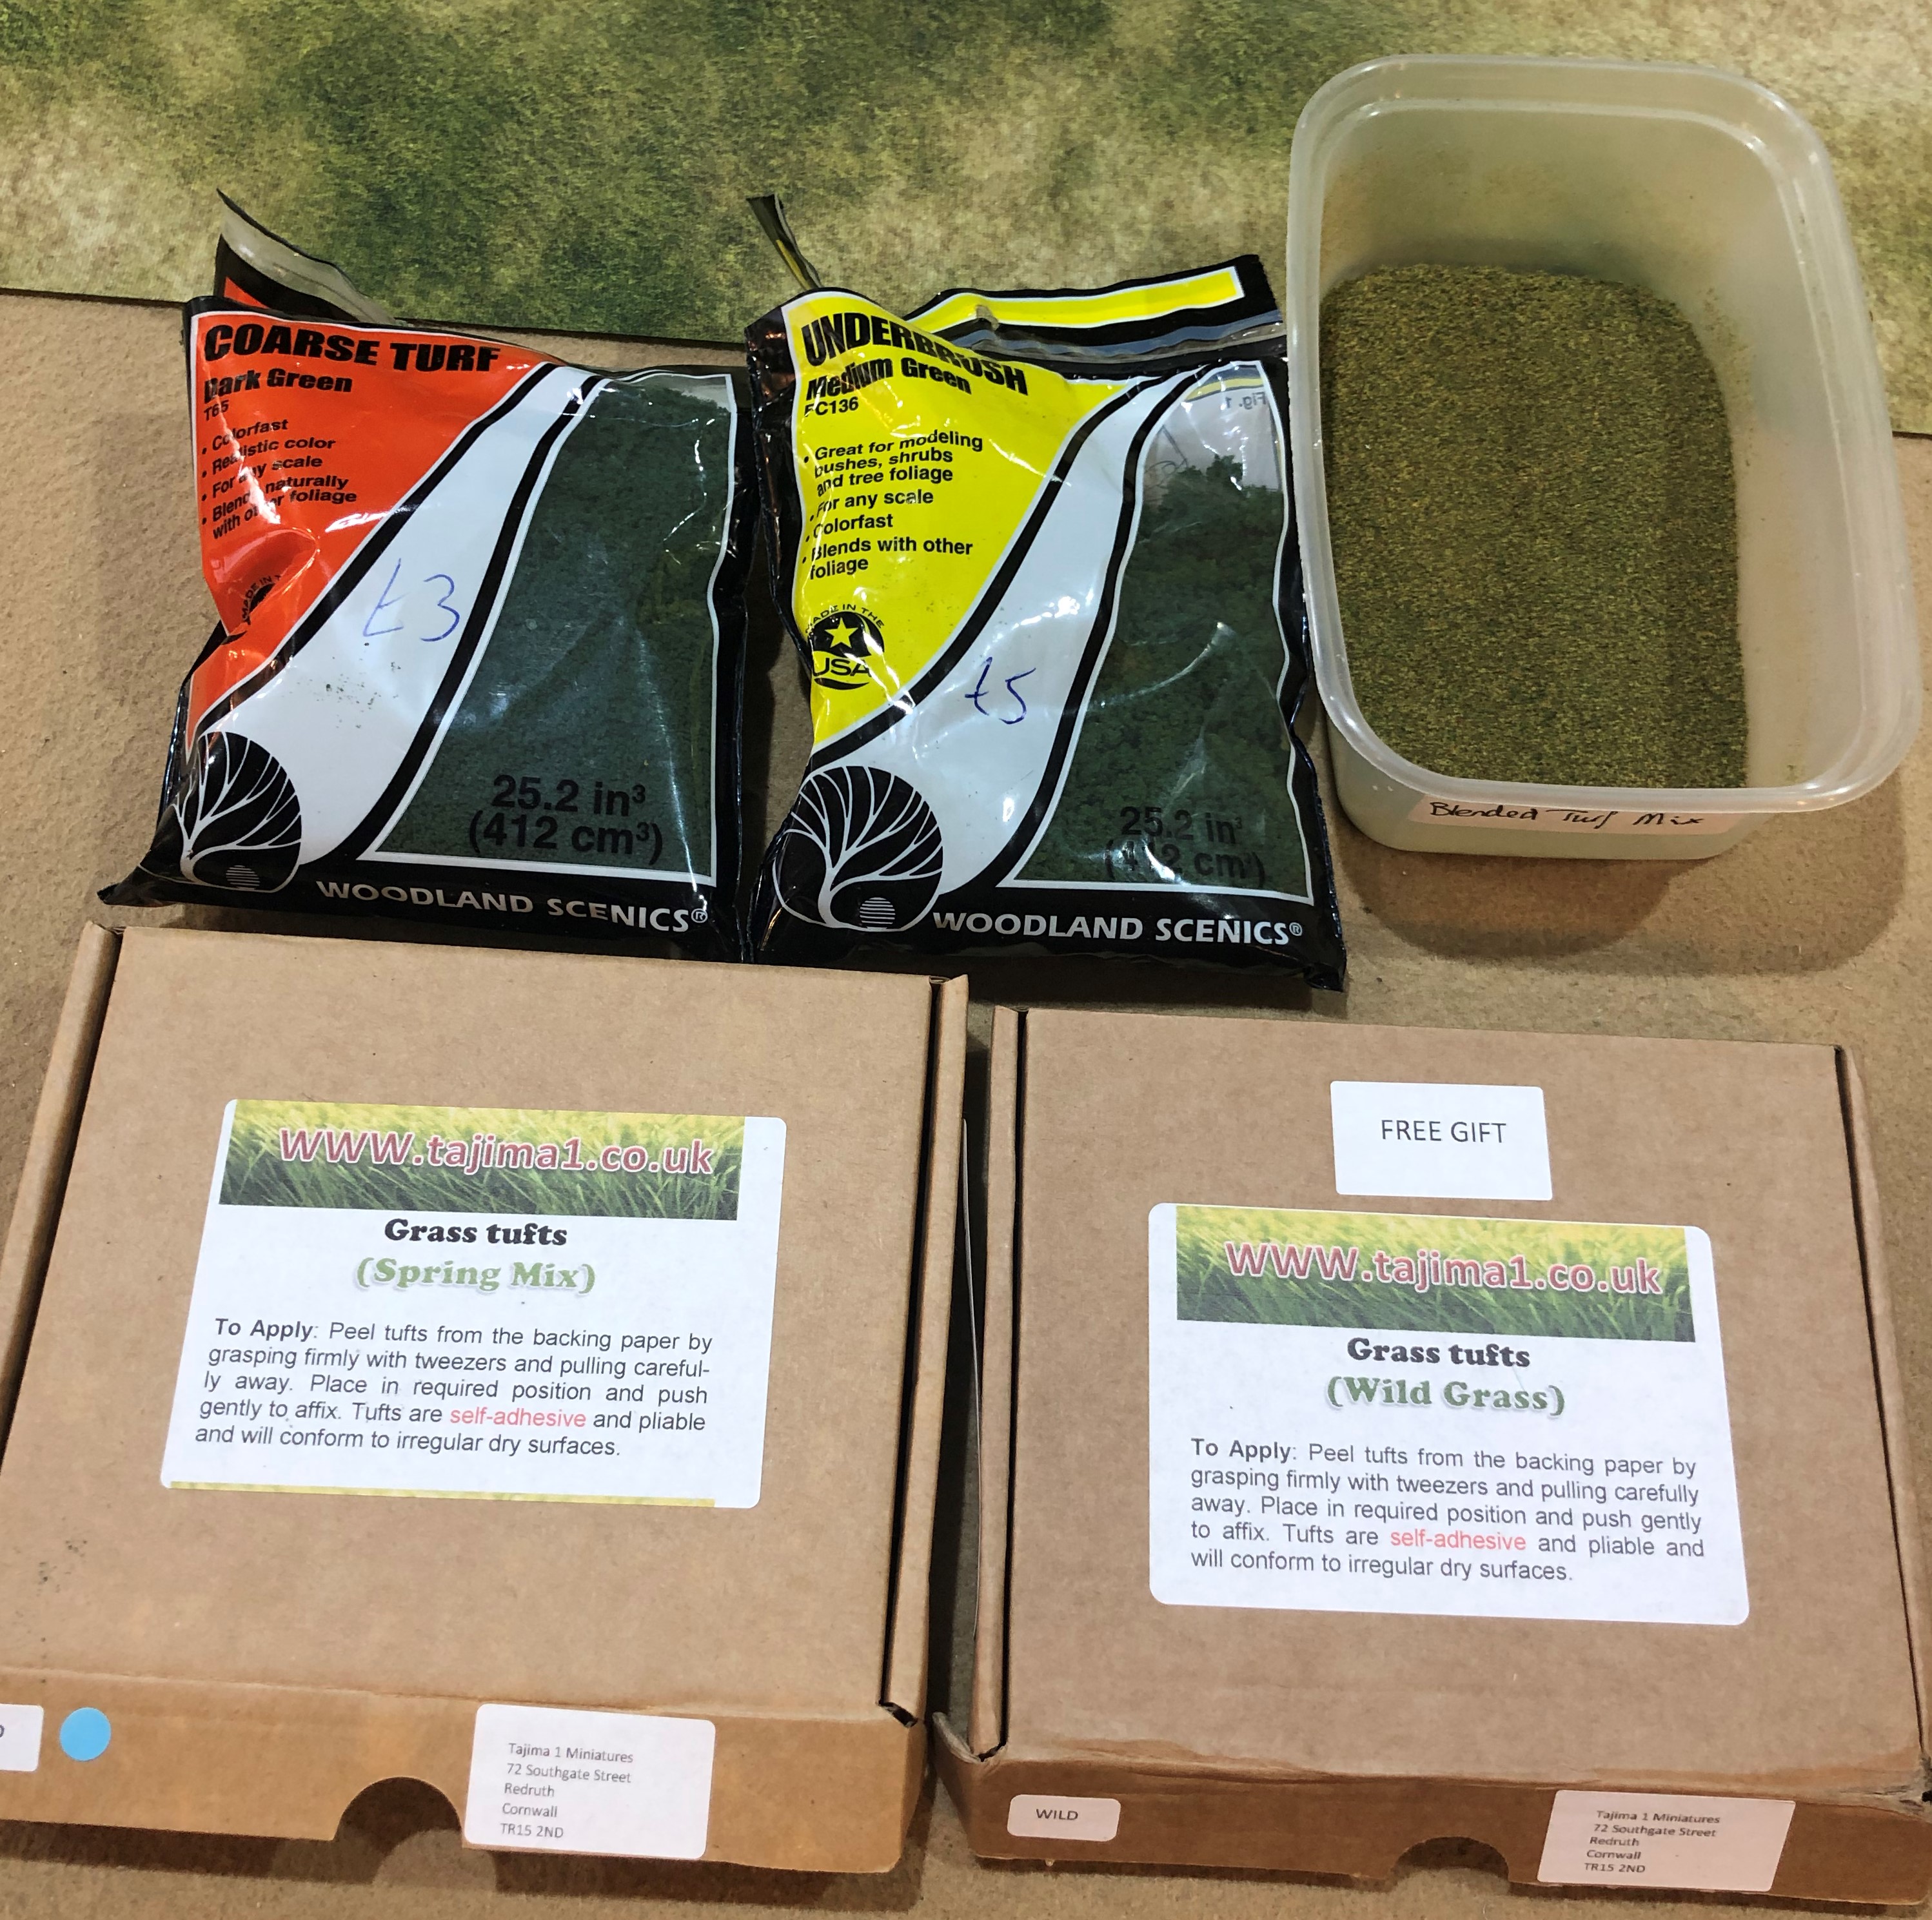 Top dressing
I went for some bright colours and wanted a verdant look for Tír na nÓg. I chose two dark green clump types, one fine and one coarse. These are stuck on with PVA or, if I’m impatient, some superglue on the end of a cocktail stick.
This is followed by the tufts. I used a wild grass for a tone closer to the base flock and then the brightest green I have which is the Spring tufts to help enhance the graphic contrast and make them look a bit more in keeping with the graphic novel asthetic and colour scheme from “The Horned God”.
This gives these bases 5 top dressing elements. I always put these on in uneven numbers. For historical minis 3 is usually plenty and some bases may only have 1. These high fantasy models benefit from a busier base I think. Additionally, and importantly, this approach has allowed me to almost completely cover the line of the puddle bases.
STEP 7 – Base edges are rimmed with Vallejo Earth.


@lloyd Here are the basing instructions you said you wanted when my last project won a Golden Button. Cheers 🙂