


"Sorry About The Mess"


Imperial Deployment
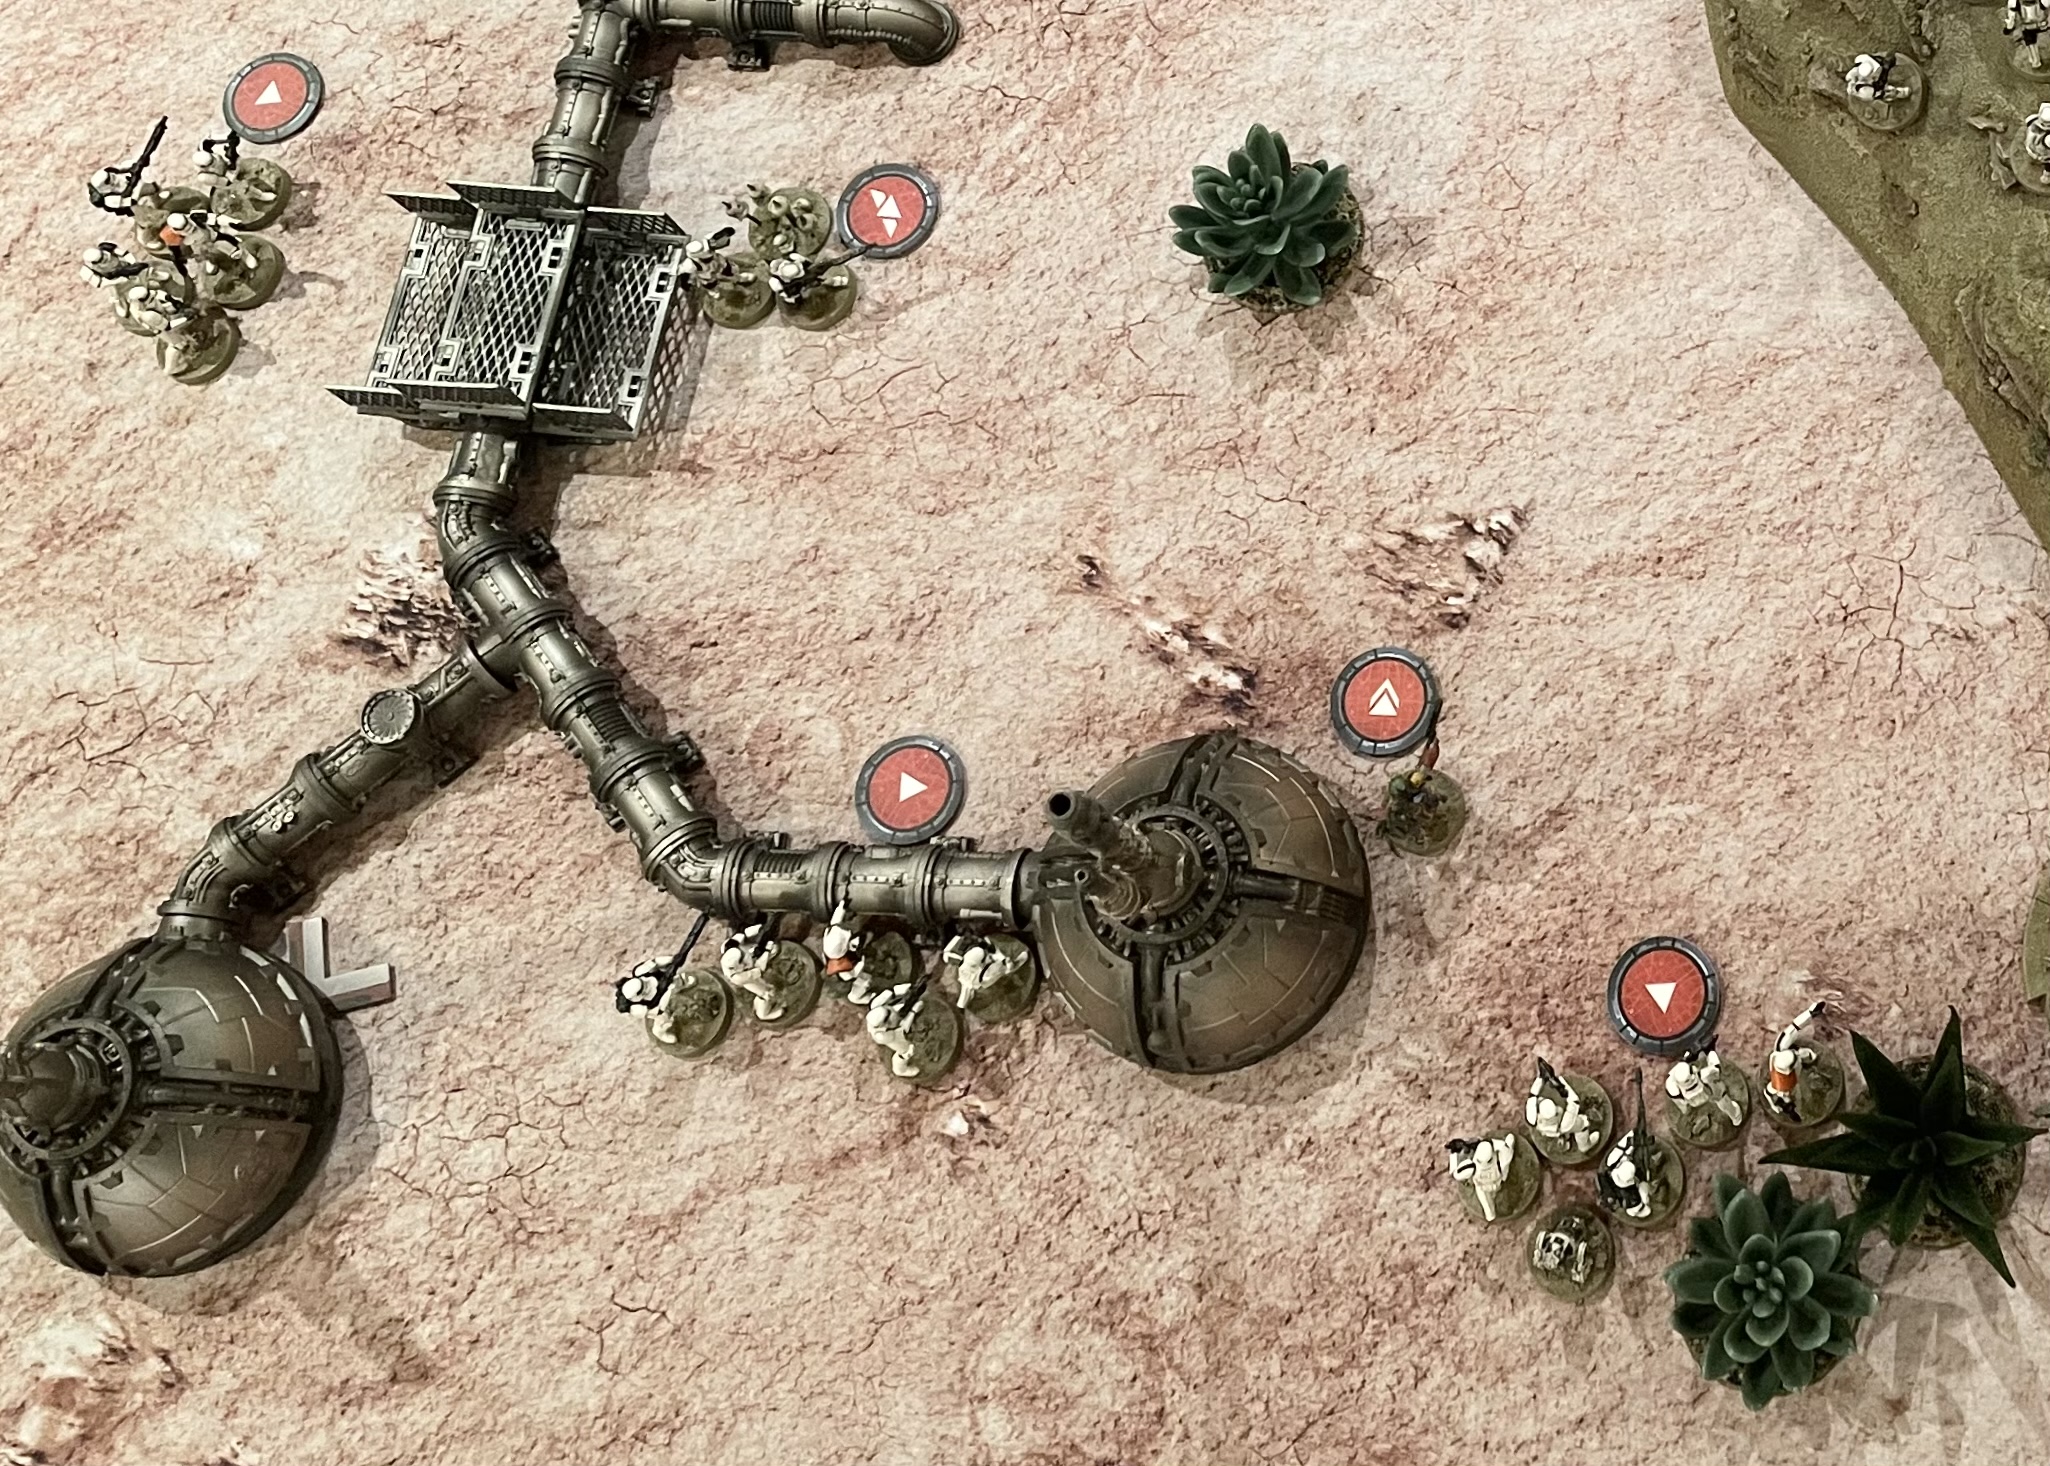
The Imperials began their deployment with an aggressive scout move from the Scout Squad, who moved as close to the central objective as they were able, while still keeping their heads down behind the wreck.
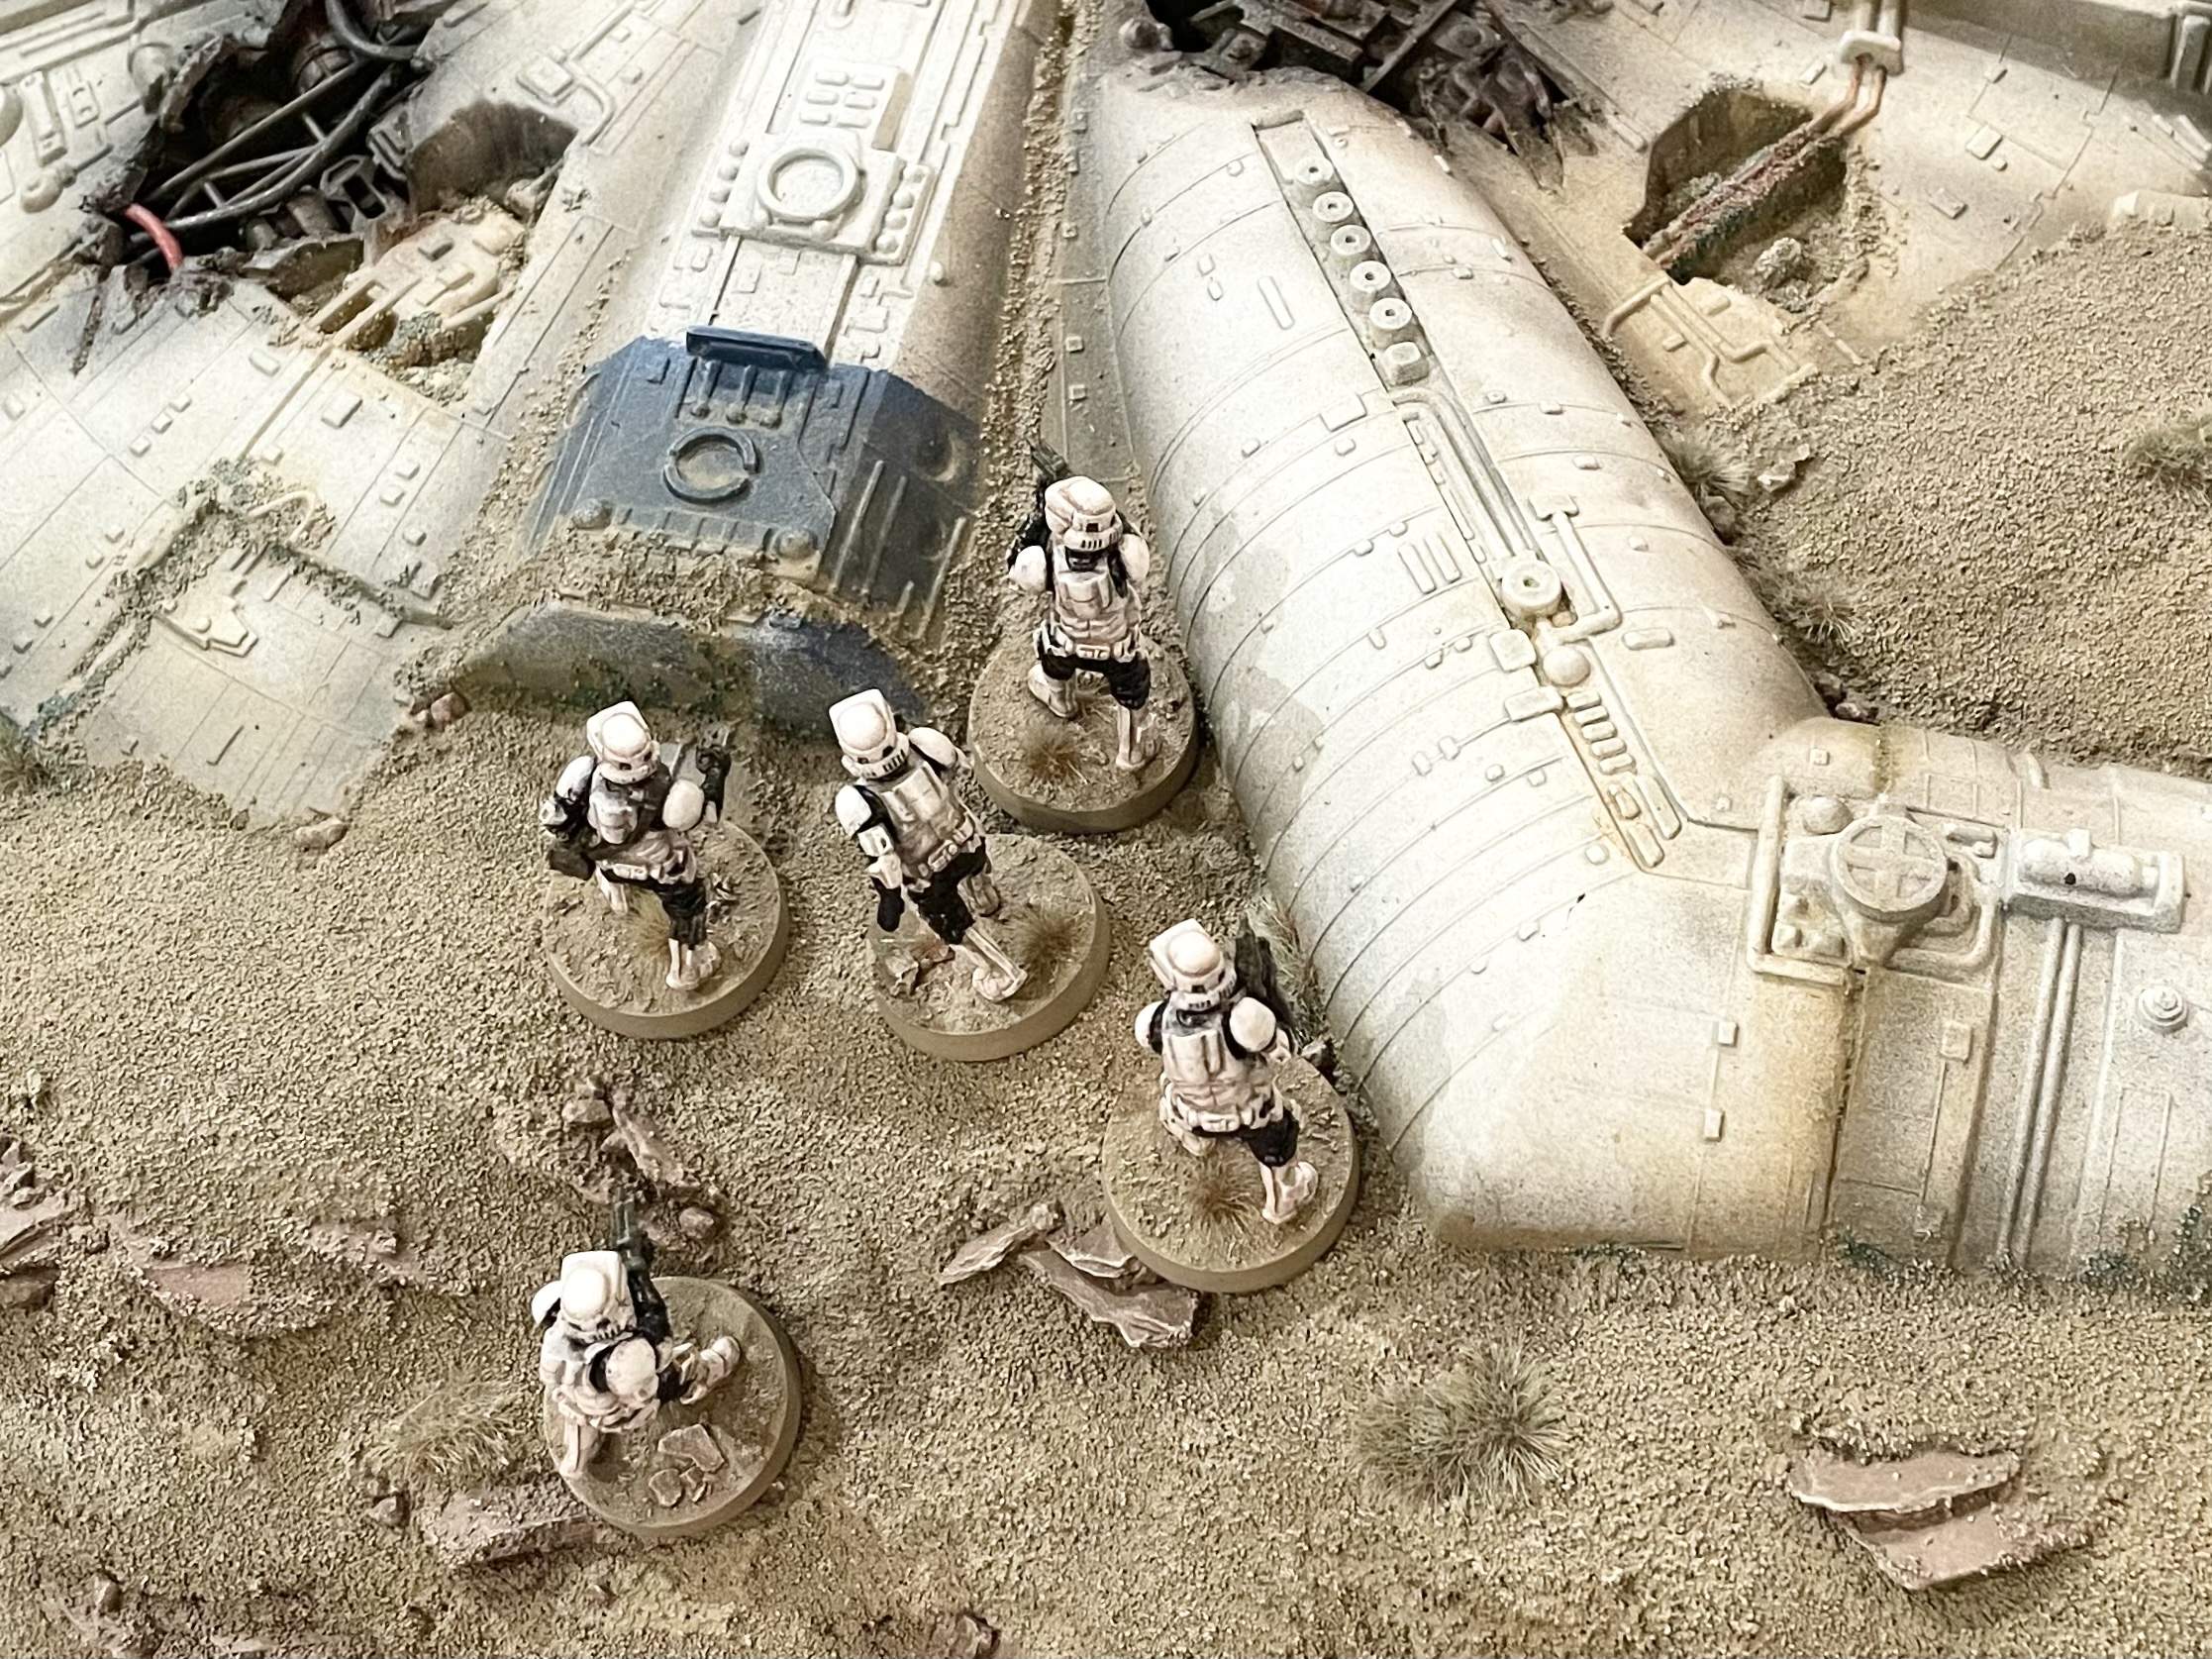
The Scout Sniper team also used its scout ability to deployed close to one of the objectives, with the aim of claiming it early before moving to a vantage point. Similarly, one of the Stormtrooper squads deployed on the Northern most flank, where they could collect the objective placed there, before moving back to the safety of the imperial centre lines.
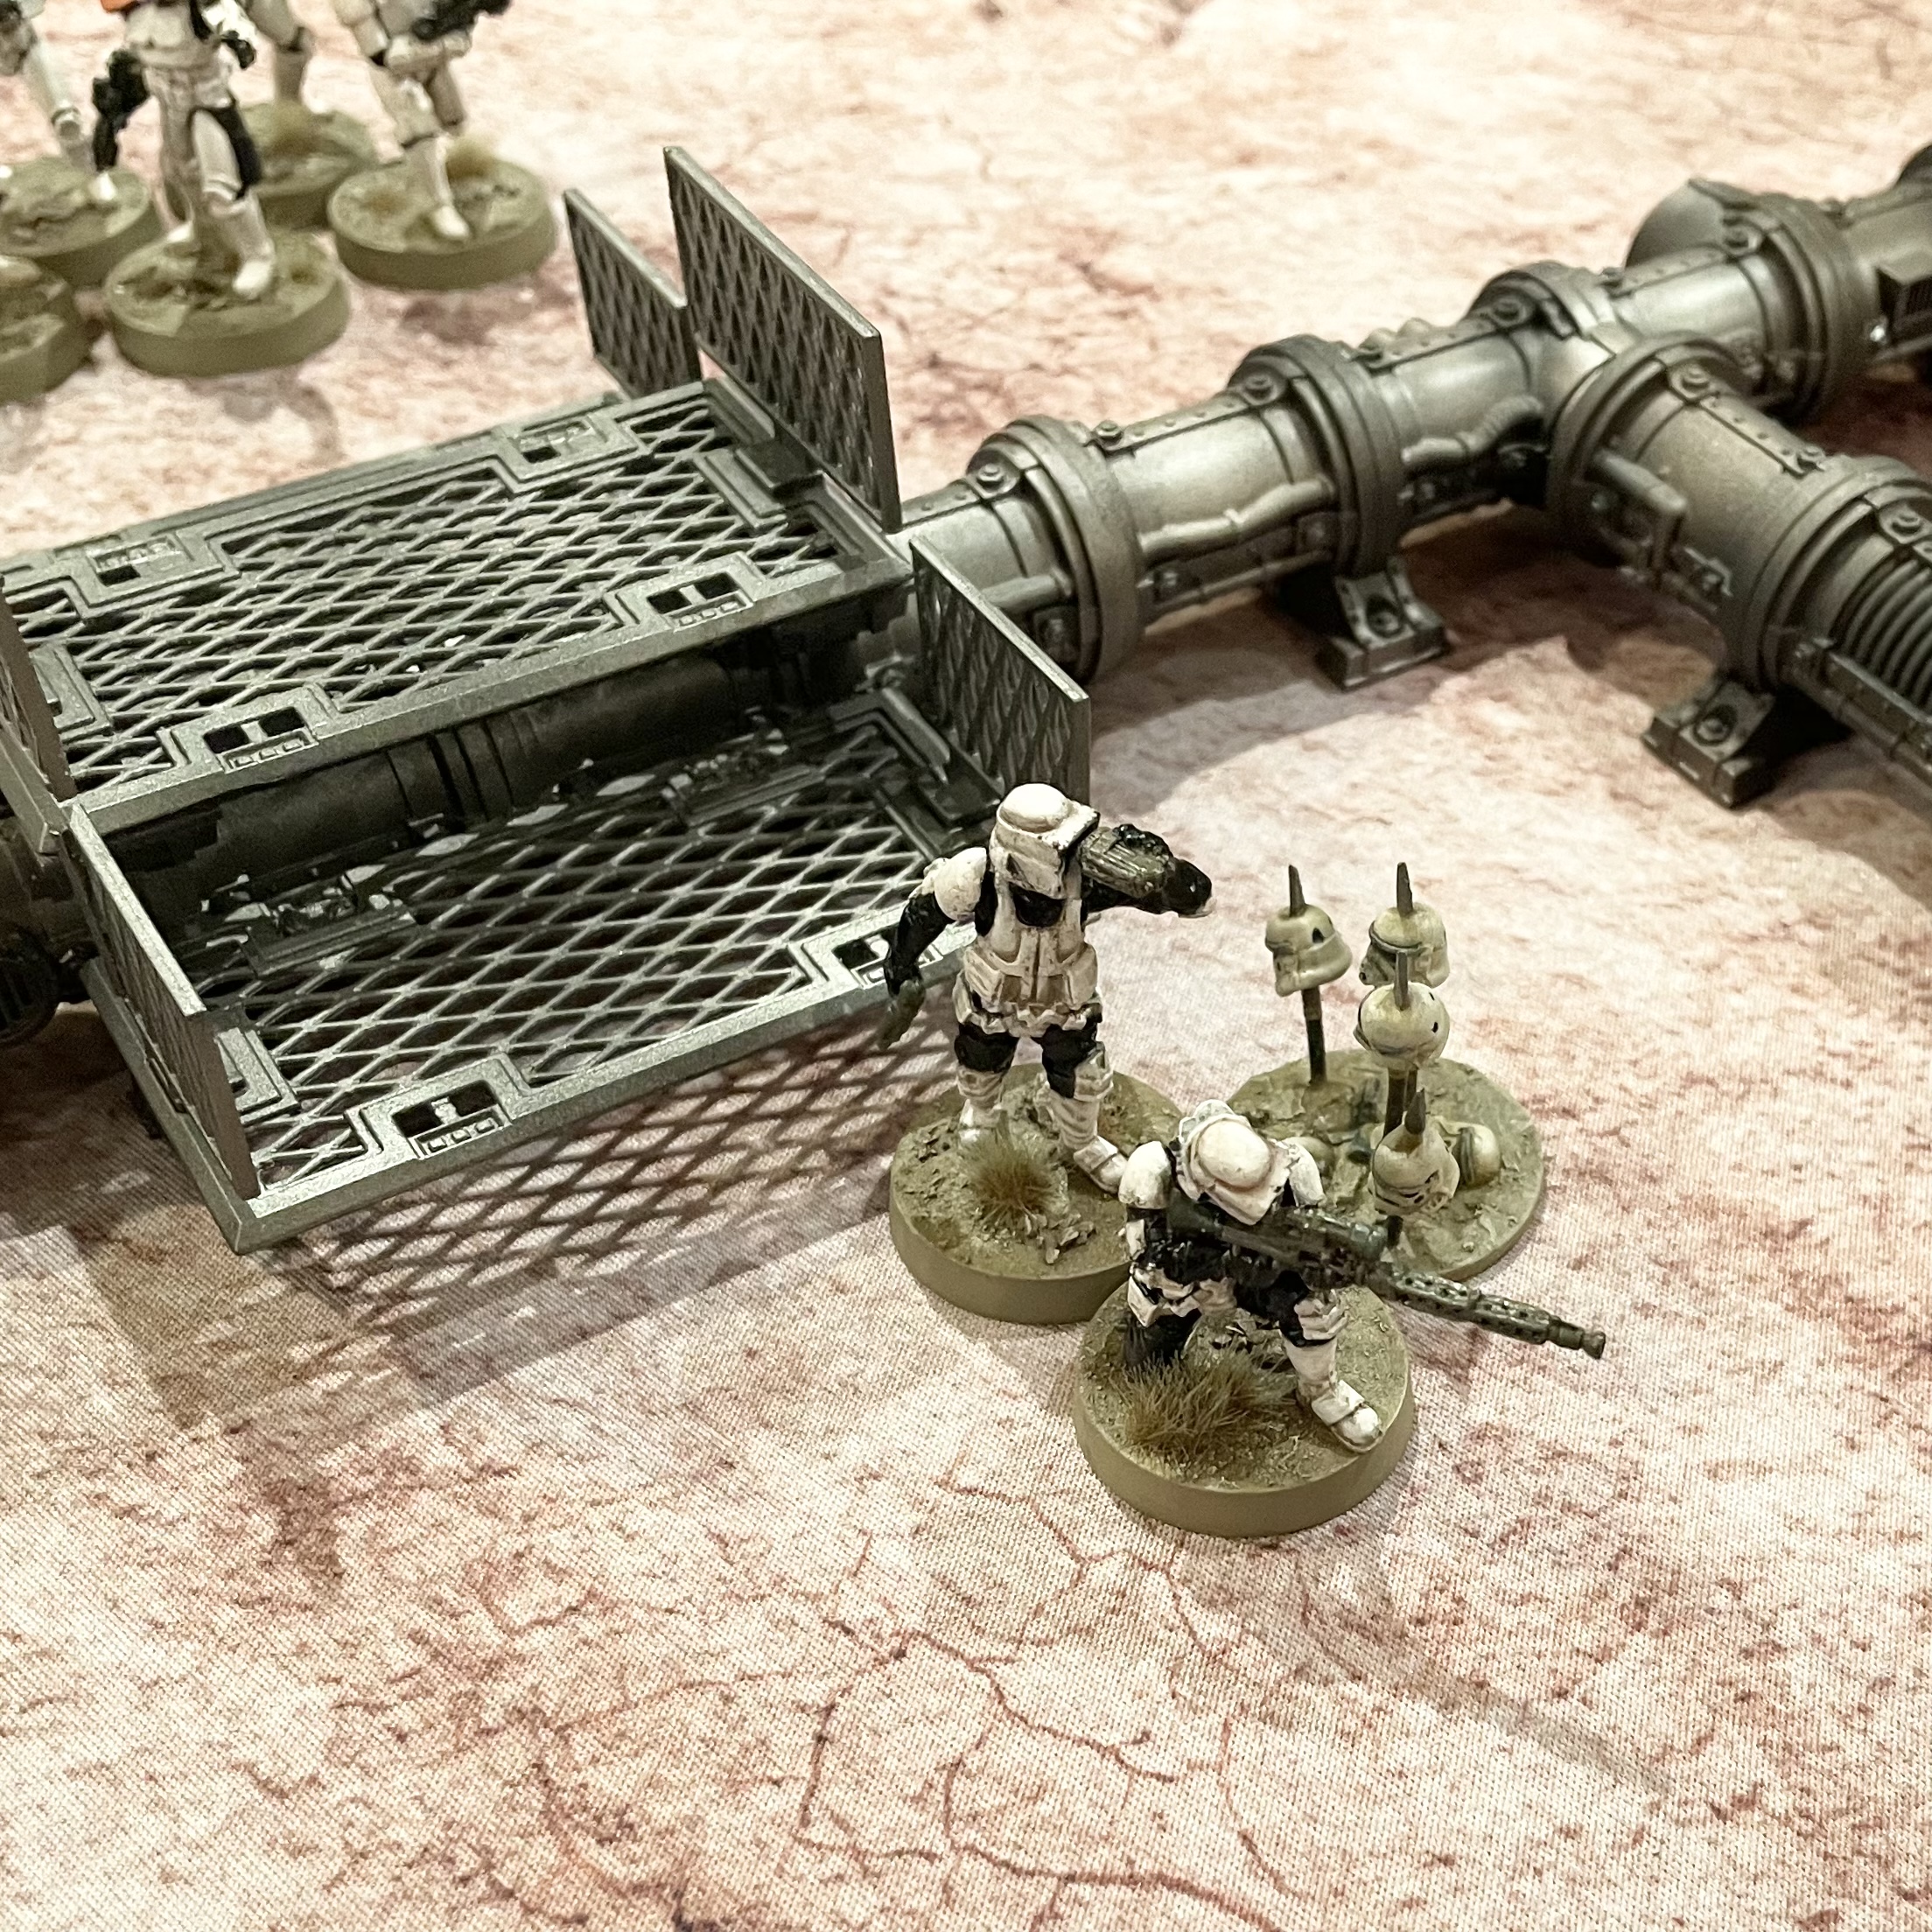
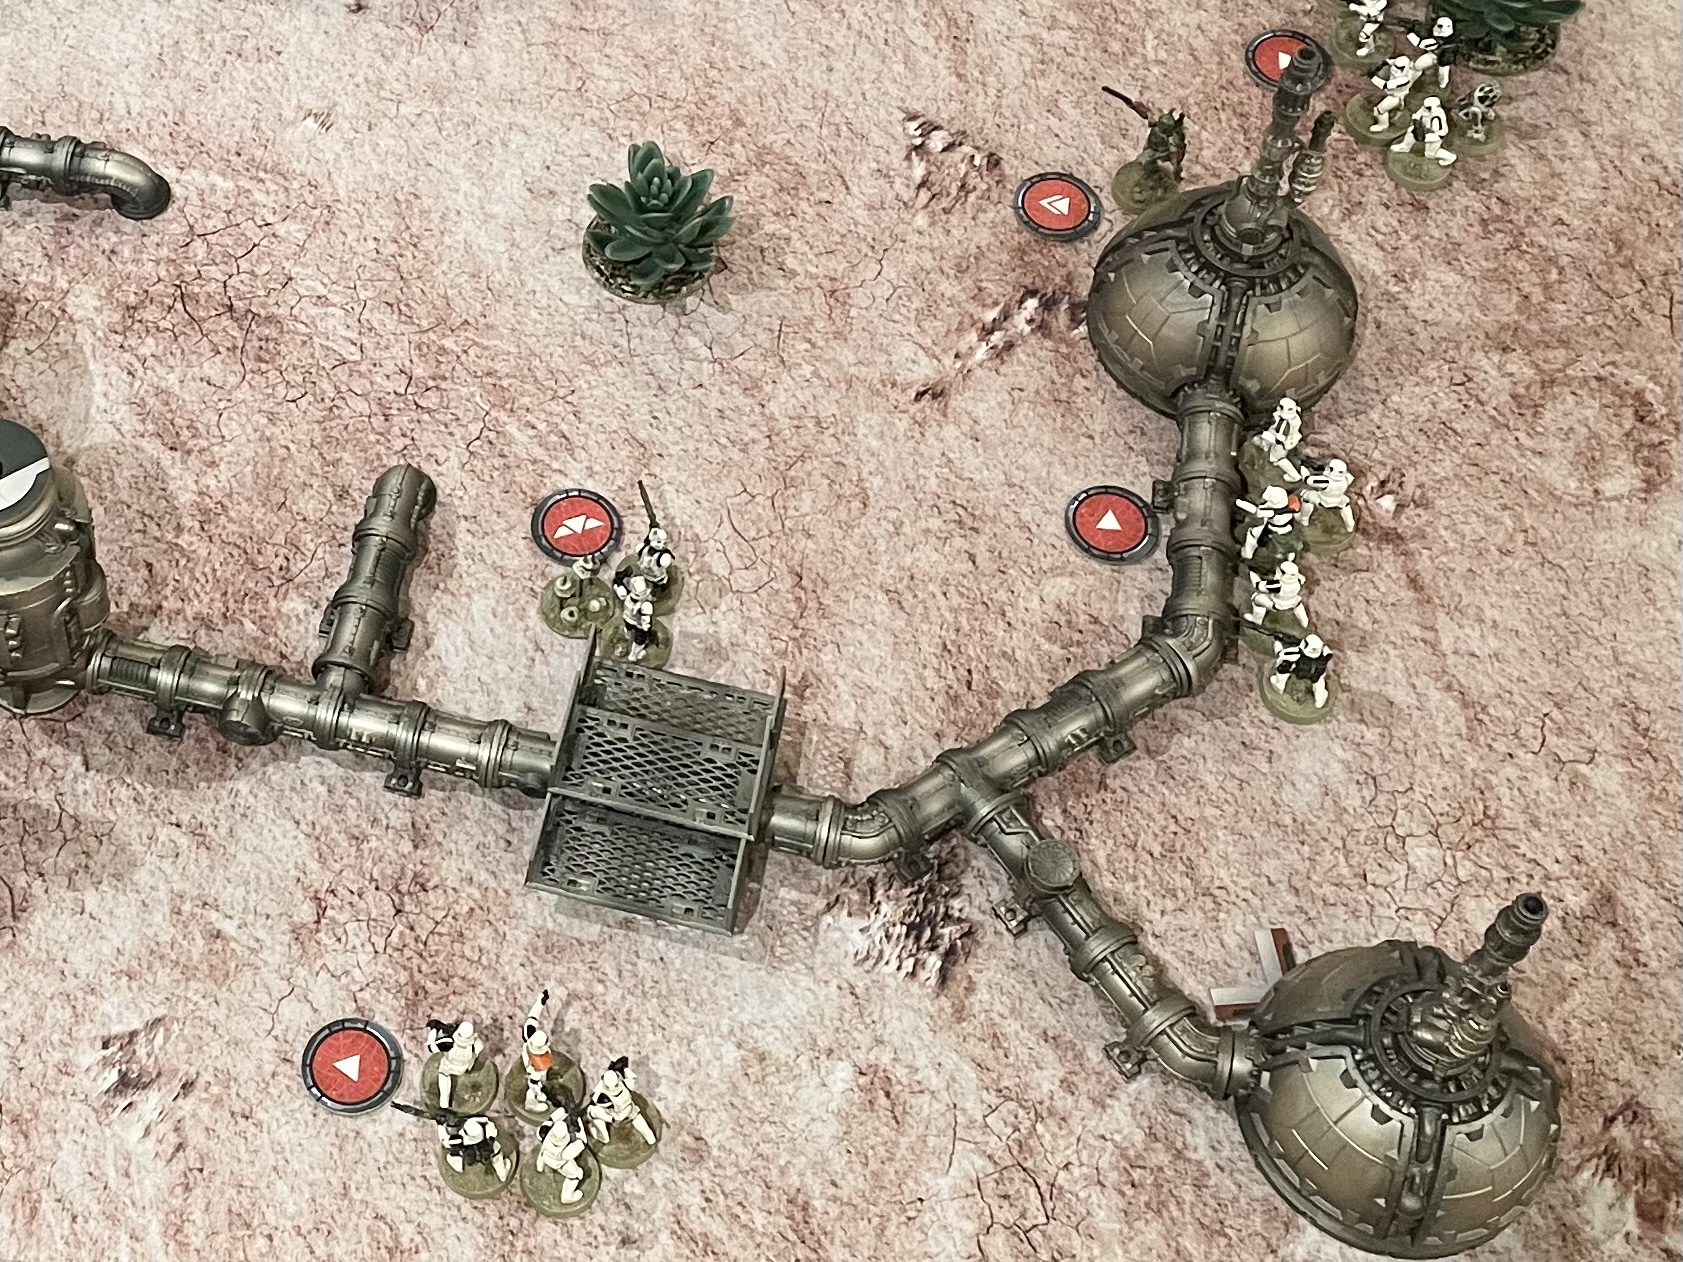
Notably the At-St deployed close to the table centre point on the Southern flank. This afforded it the best firing lanes and the option of outflanking the Rebels, or pulling back behind the cover of the wreck if it started taking damage. The Stormtrooper squad with the Astromech deployed close by, ready for a field repair, should occasion call for it.
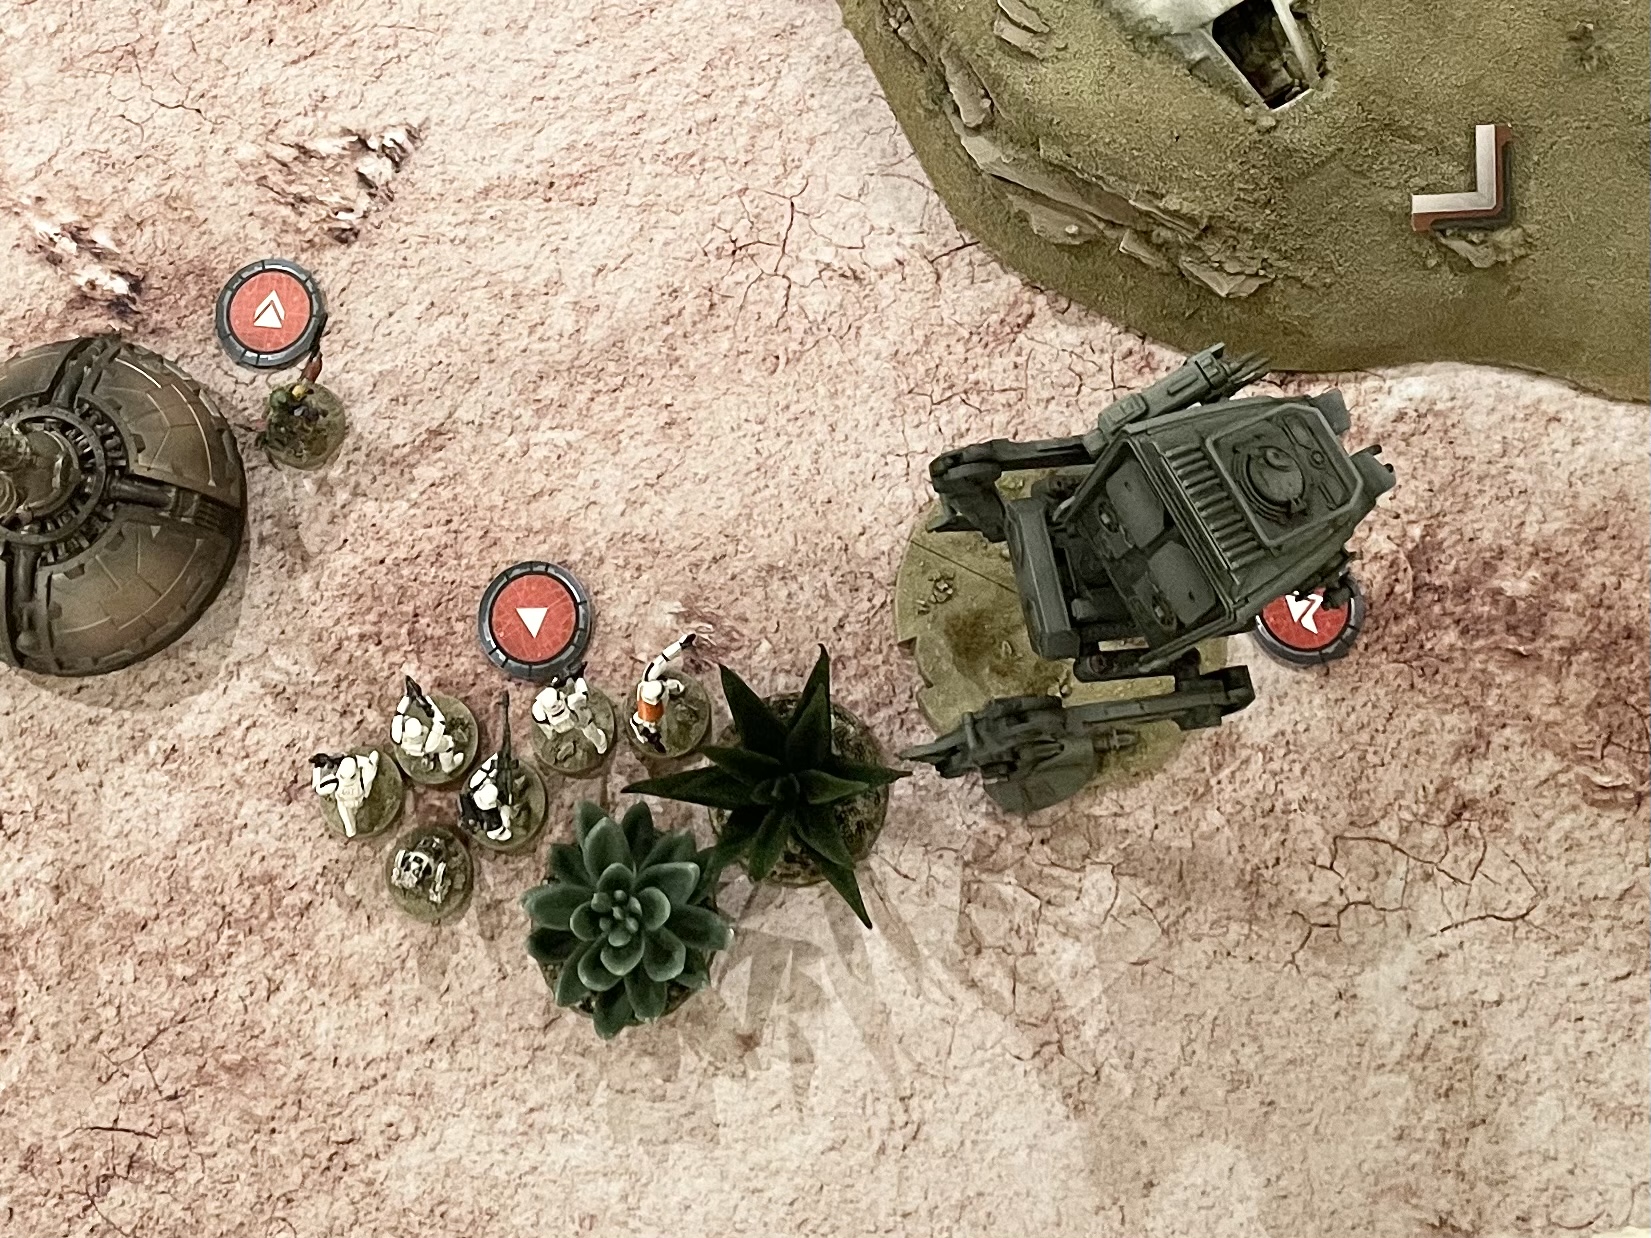
Fett and the remaining imperial troops deployed conservatively, hidden behind the wreckage from where they could ambush any Rebels who attempted to reach the various objectives.


Leave a Reply