


![How To Paint Moonstone’s Nanny | Goblin King Games [7 Days Early Access]](https://images.beastsofwar.com/2024/12/3CU-Gobin-King-Games-Moonstone-Shades-Nanny-coverimage-225-127.jpg)


Raid On St Nazaire (Tabletop Simulator of Avalon Hill board game)


Recommendations: 61
About the Project
Inspired by @Warzan talking about the raid on St Nazaire and after @torros pointed me in the direction of Avalon Hills' game of the same name I found a recreation on Tabletop Simulator and I am going to give it a try of the next few days/weeks time permitting.
Related Company: Avalon Hill Games, Inc.
Related Genre: Historical
This Project is Active
Turn 3
1. Searchlight Restoration and Illumination
Again the Germans were unsuccessful in restoring their out of action searchlight and the 3 remaining lights were no better placed this turn either.
2. Harbour Defense Attacks
Another tough round of harbour defense this turn with 12 more successful hits as well as the 2 predesignated hits against the Campbeltown! No boats were sunk but several gun crews were lost on the Campbeltown and boats and one more boat is on fire.
3. British Covering Fire
The British returned fire but again with no success.
4. Dockside Defensive Fire
Dockside defense was pretty poor again for the Germans with only 1 boat being hit twice. Considering that there were a potential 36 shots this is a really lucky result!
5. Naval Movement
Motor Torpedo Boat 74 launched a delayed fuse torpedo at the lock gates at space 313. This torpedo does not go off until the end of the game so we won’t know the result for a while yet. 6 more boats made it to their designated landing zones and put their commandos ashore and more significantly the Campbeltown smashed into the Southern Caisson annd the commandos aboard were disembarked.
6. German Activation
Only 1 German unit was activated this turn and far away from the action.
7. Land Movement
All of the commandos moved towards either their targets or the German guns, German movement was still limited.
8. Land Combat
Burns launched an assault on the unit on the German boat at 215 killing them and Roy and Roderick killed both German units in 203 with grenade attacks. The only British casualty was on of the commandos in Hooper’s squad that was hit by a lucky shot from one of the Flak towers.
Summary
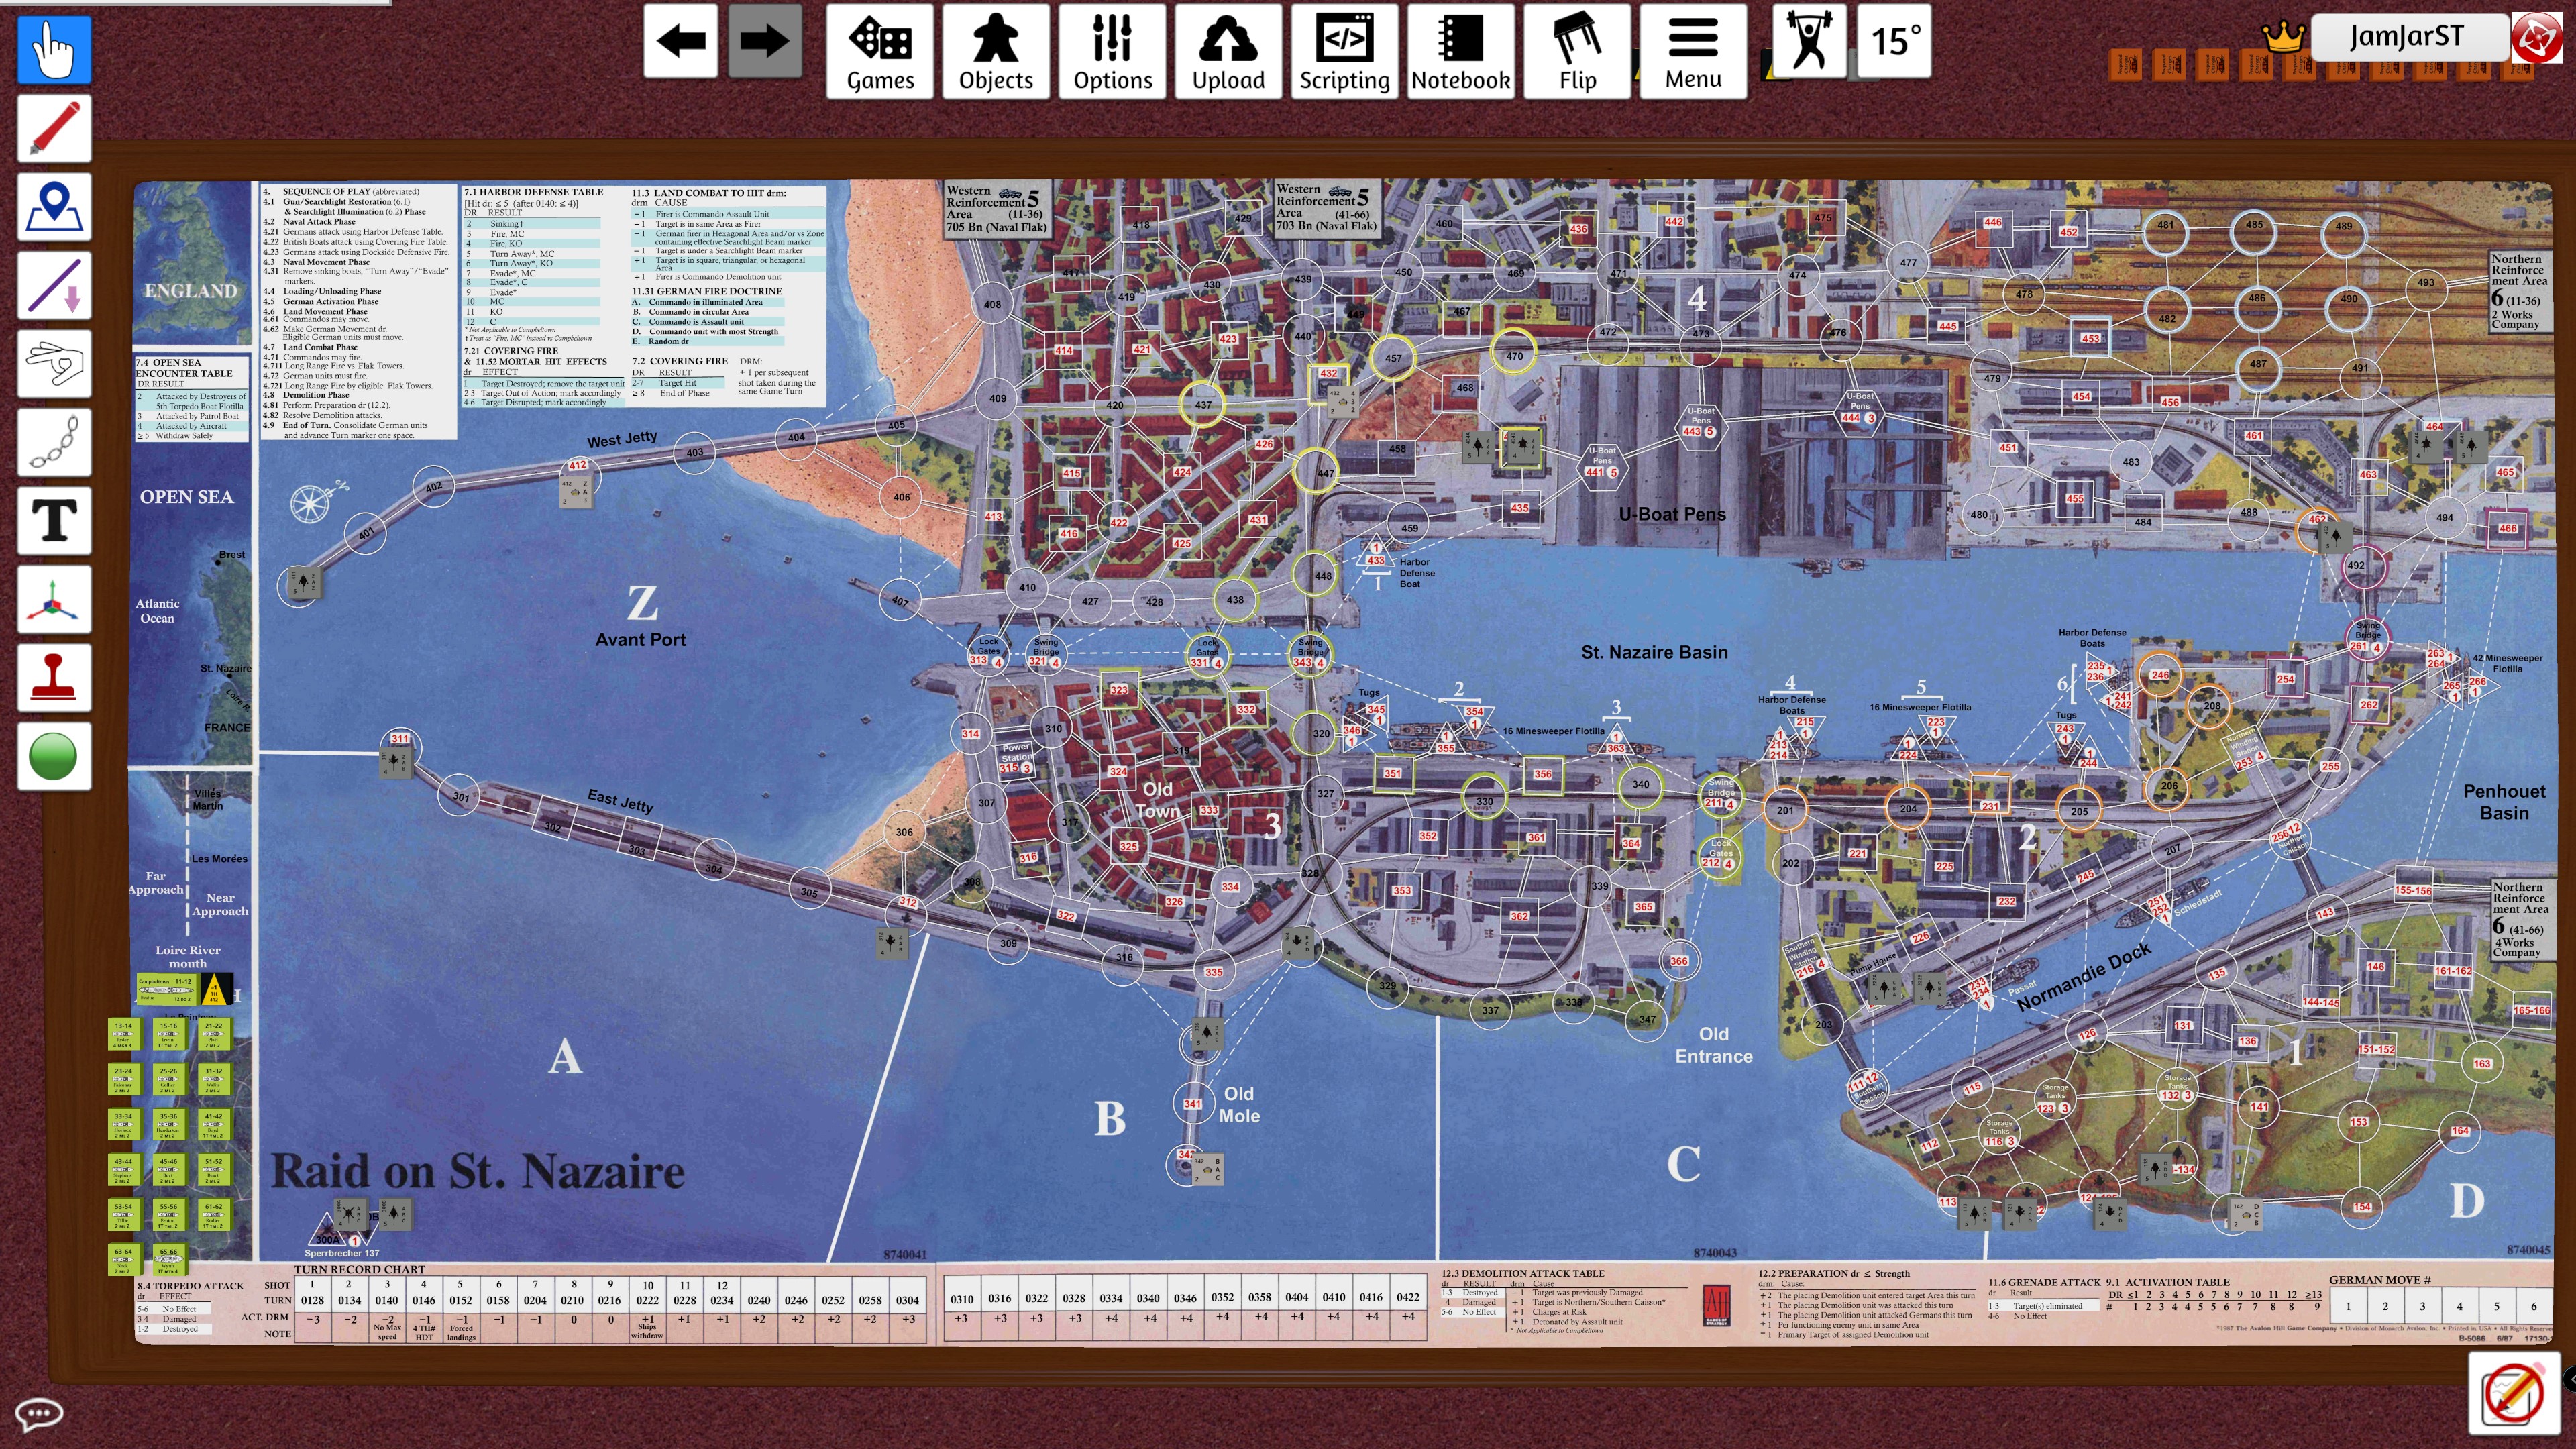
Things are heating up now as you can see from the map below that more commandos are ashore and the Campbeltown has reached its’ target.
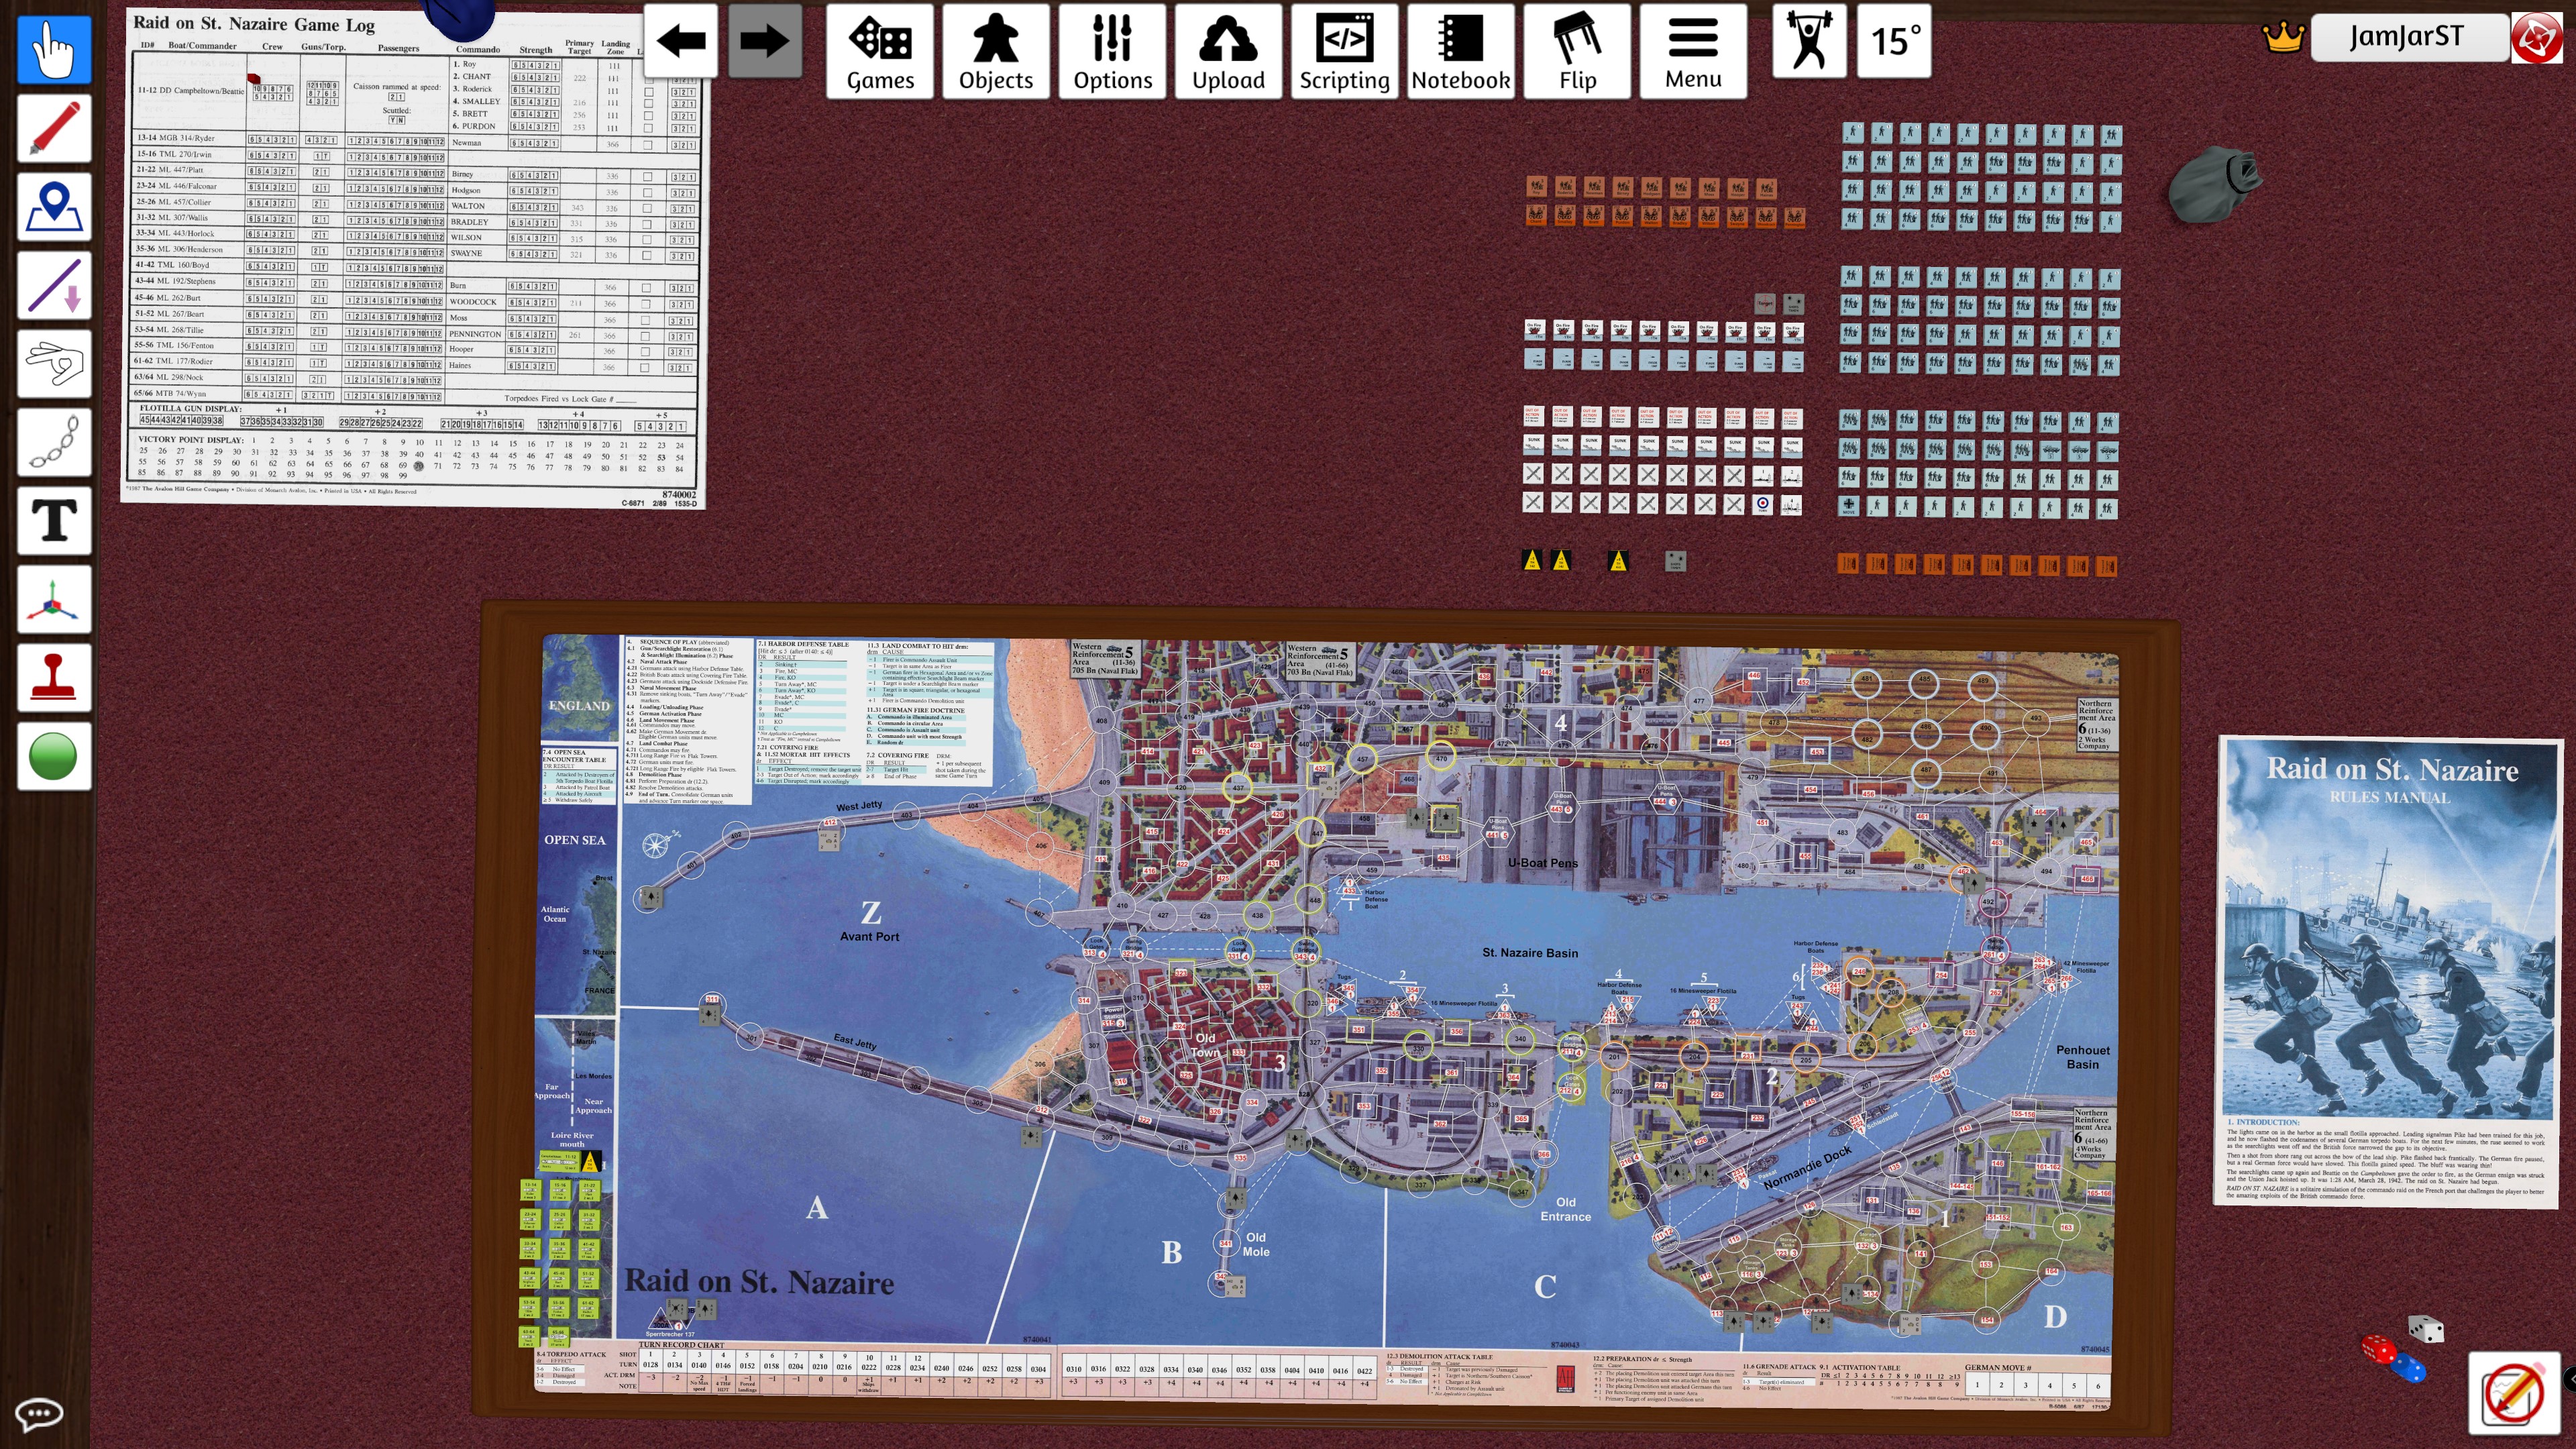
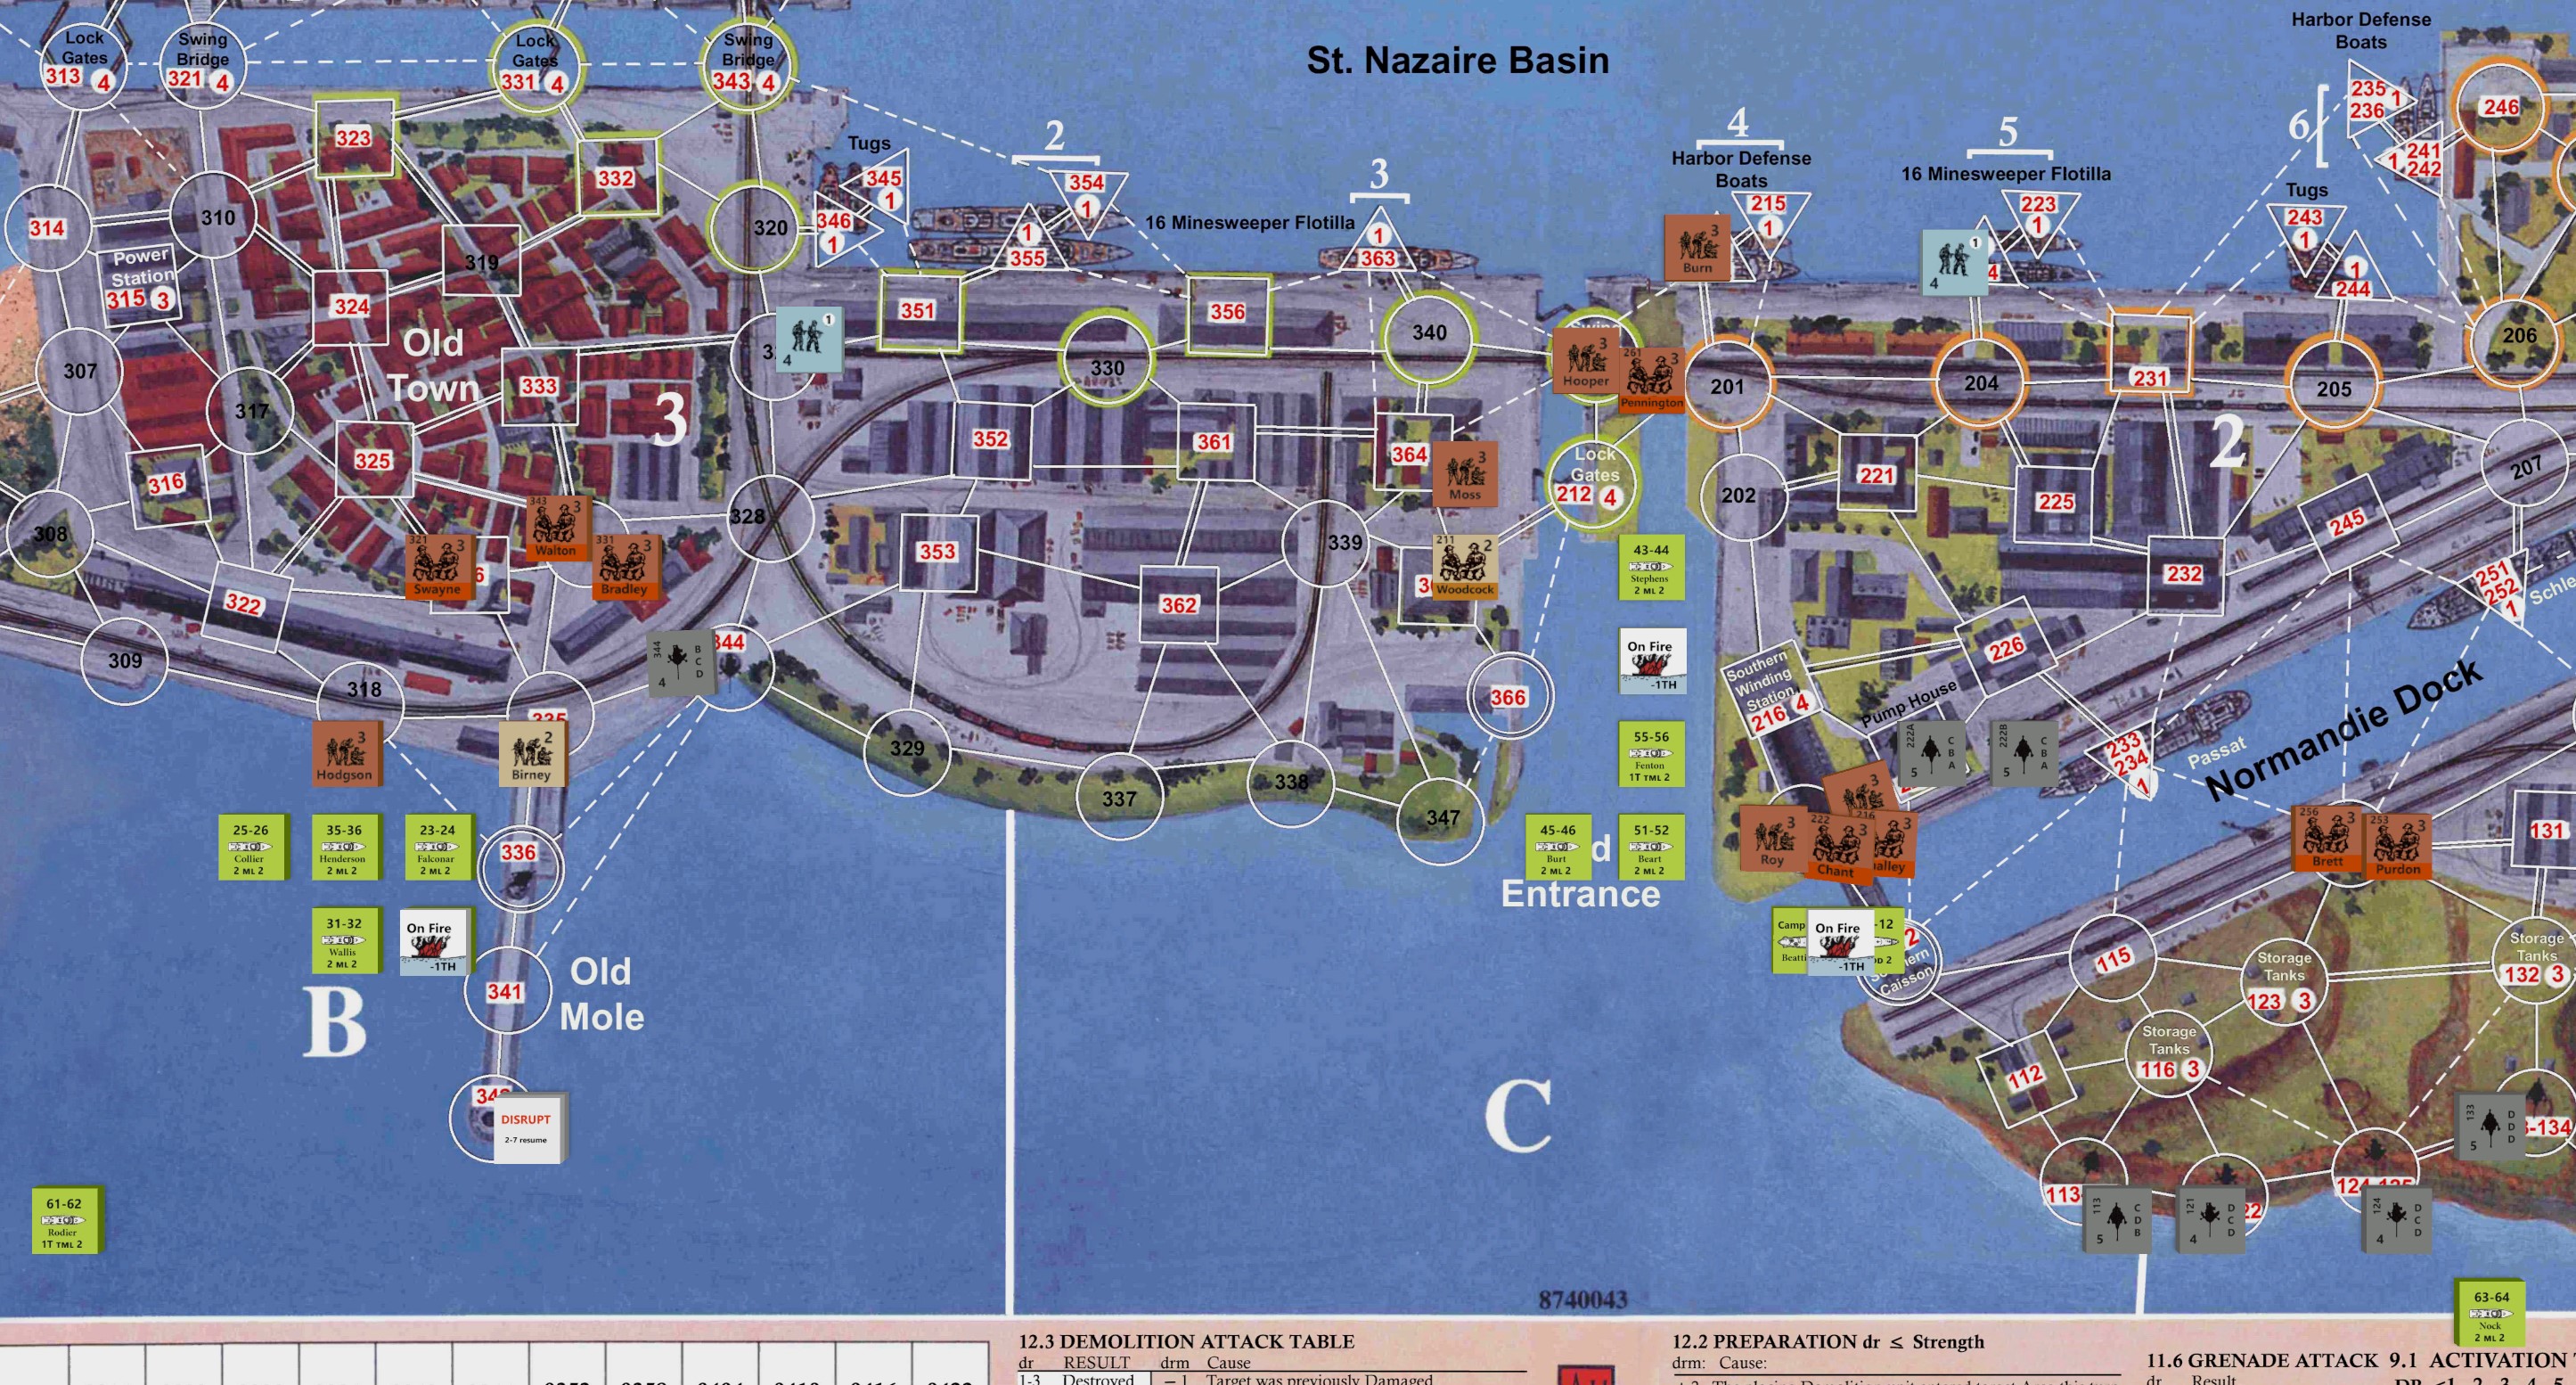 Turn 3 Map
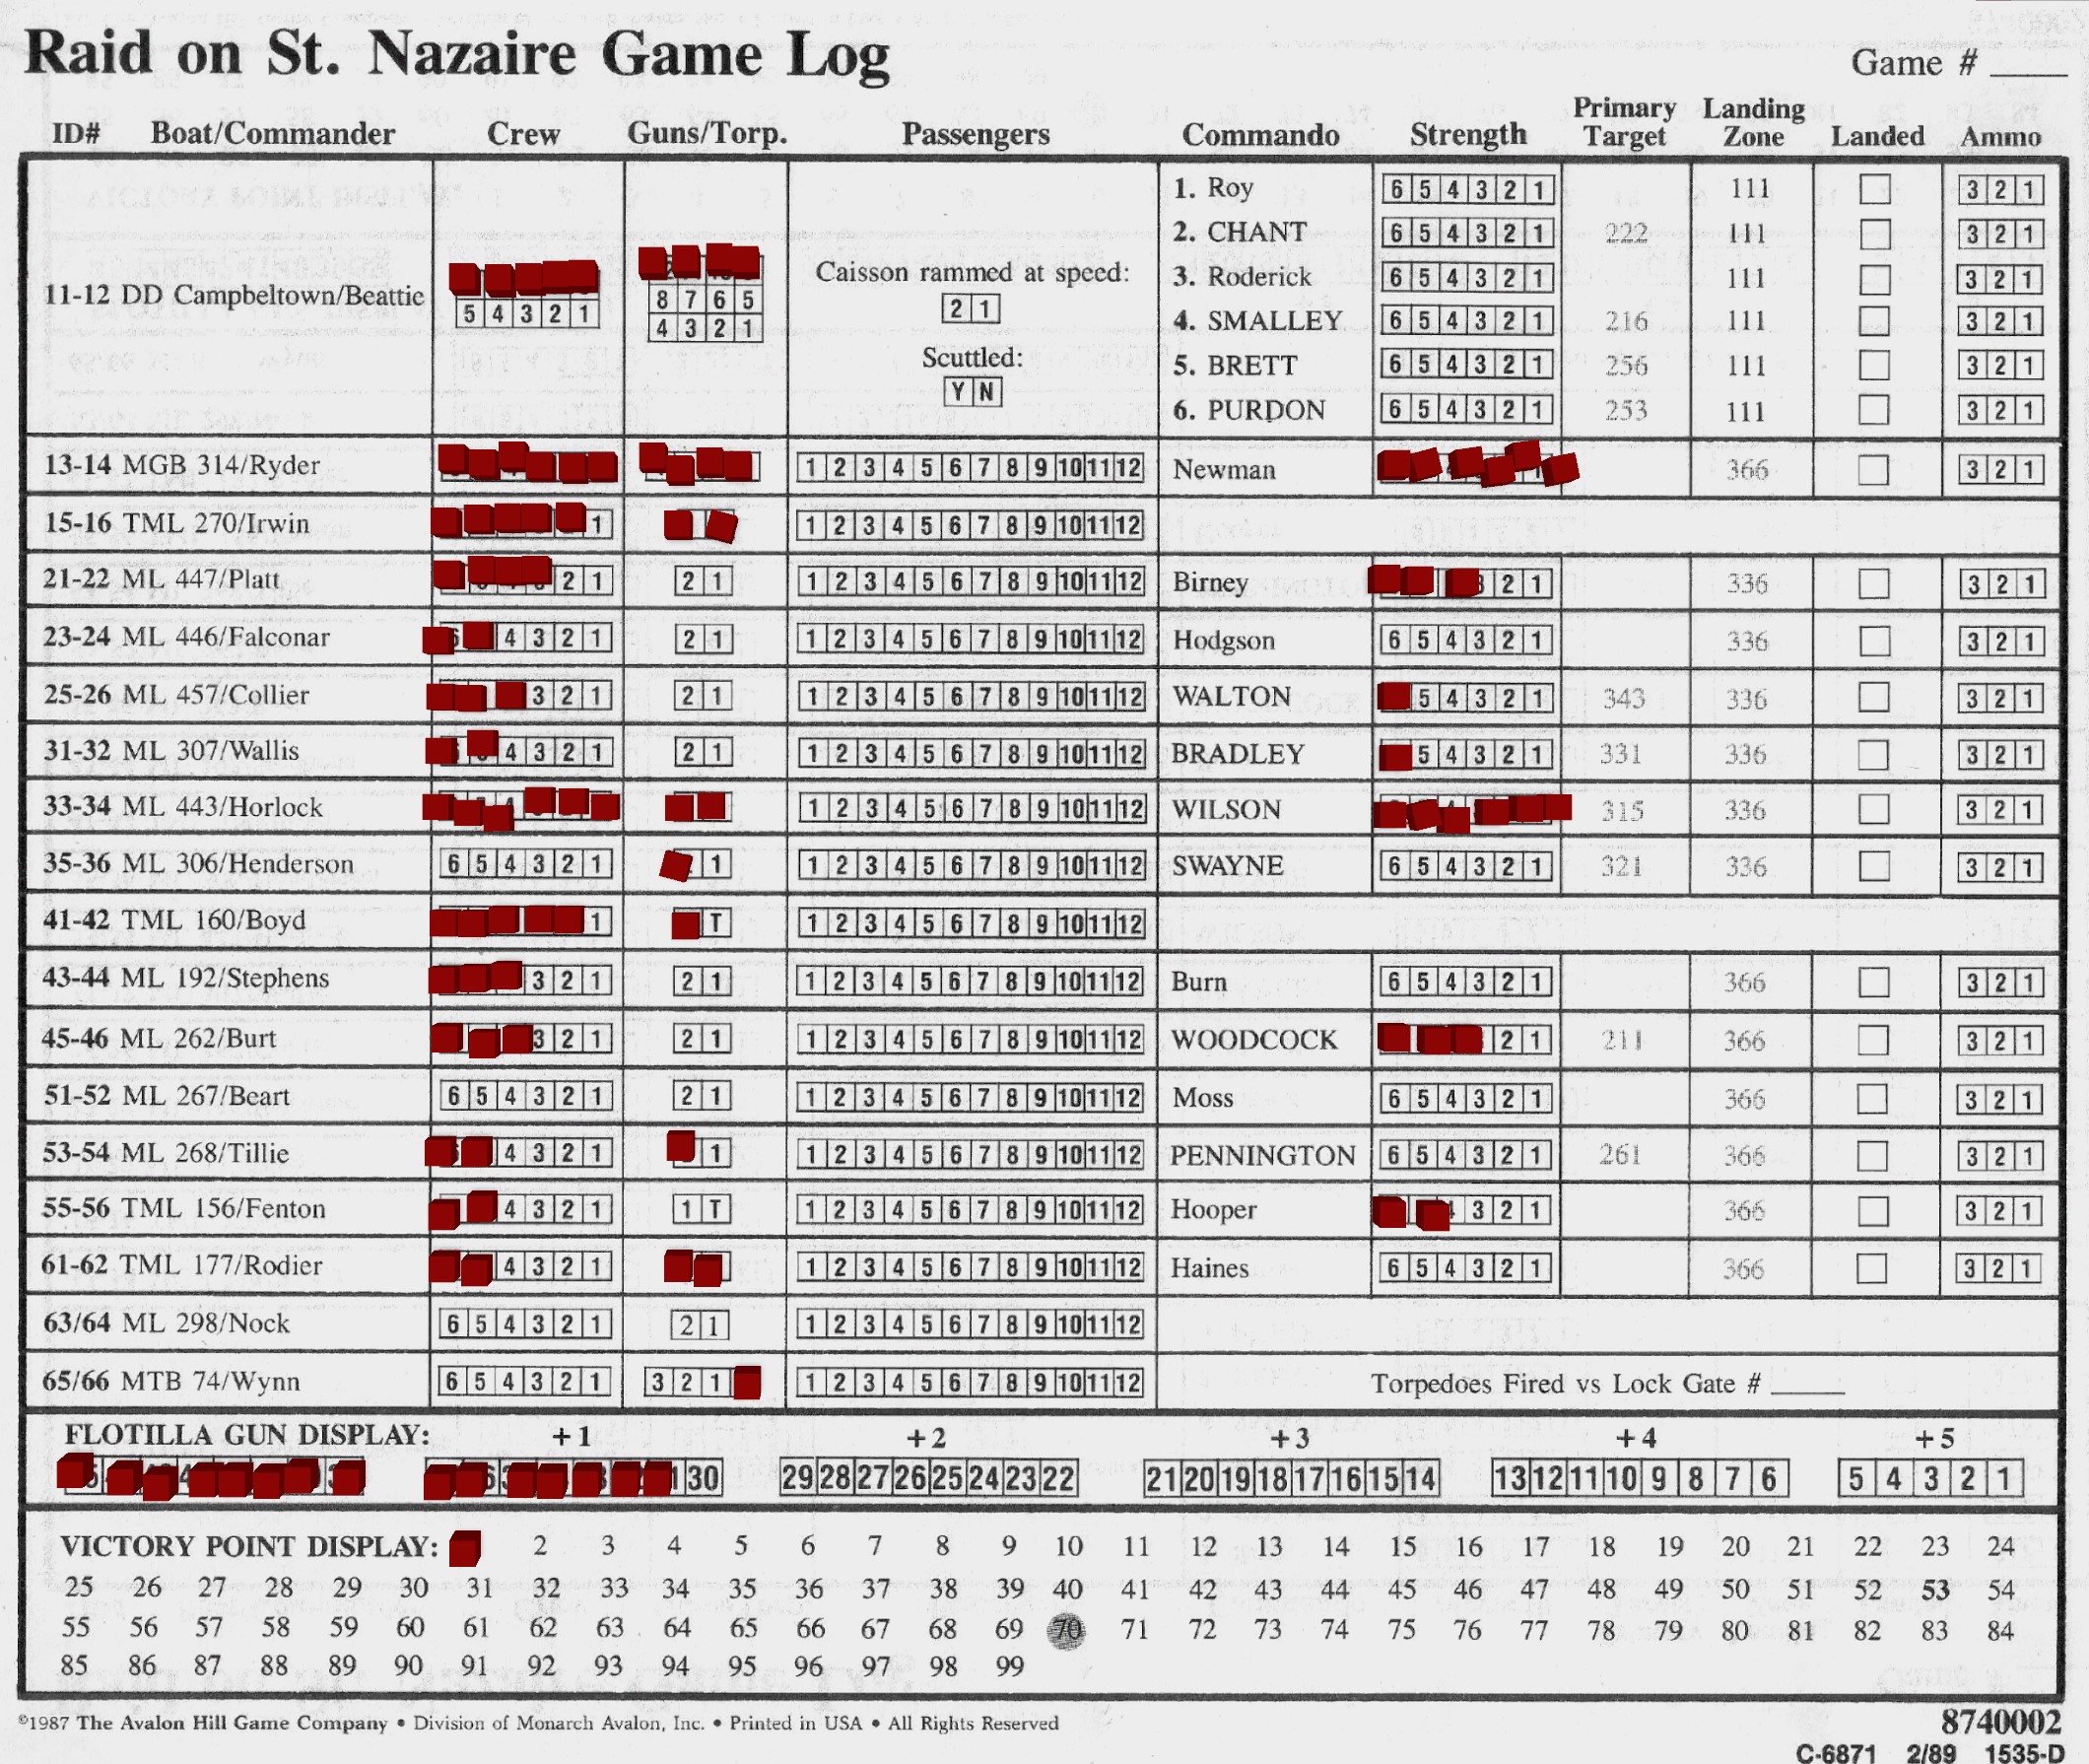 Turn 3 Game Log
Turn 2
1. Searchlight Restoration and Illumination
The Germans were unsuccessful in restoring their out of action searchlight and fortunately for the British the 3 remaining lights moved their beams to areas were no boats were present so their will be no heightened chance of hits.
2. Harbour Defense Attacks
A brutal round of harbour defense this turn with 12 successful hits as well as the predesignated hit against the Campbeltown! The Campbeltown was hit twice losing a crew and a gun and catching fire, all this leading to it slowing down. This means that next turn the destroyer will draw 2 predesignate hits due to the fire. It gets worse with 2 boats being hit twice and one of the boats hit in the previous round being hit again. The net result is that 2 boats have been sunk and several crew and commandos lost (see the game log below) and one is also on fire 🙁
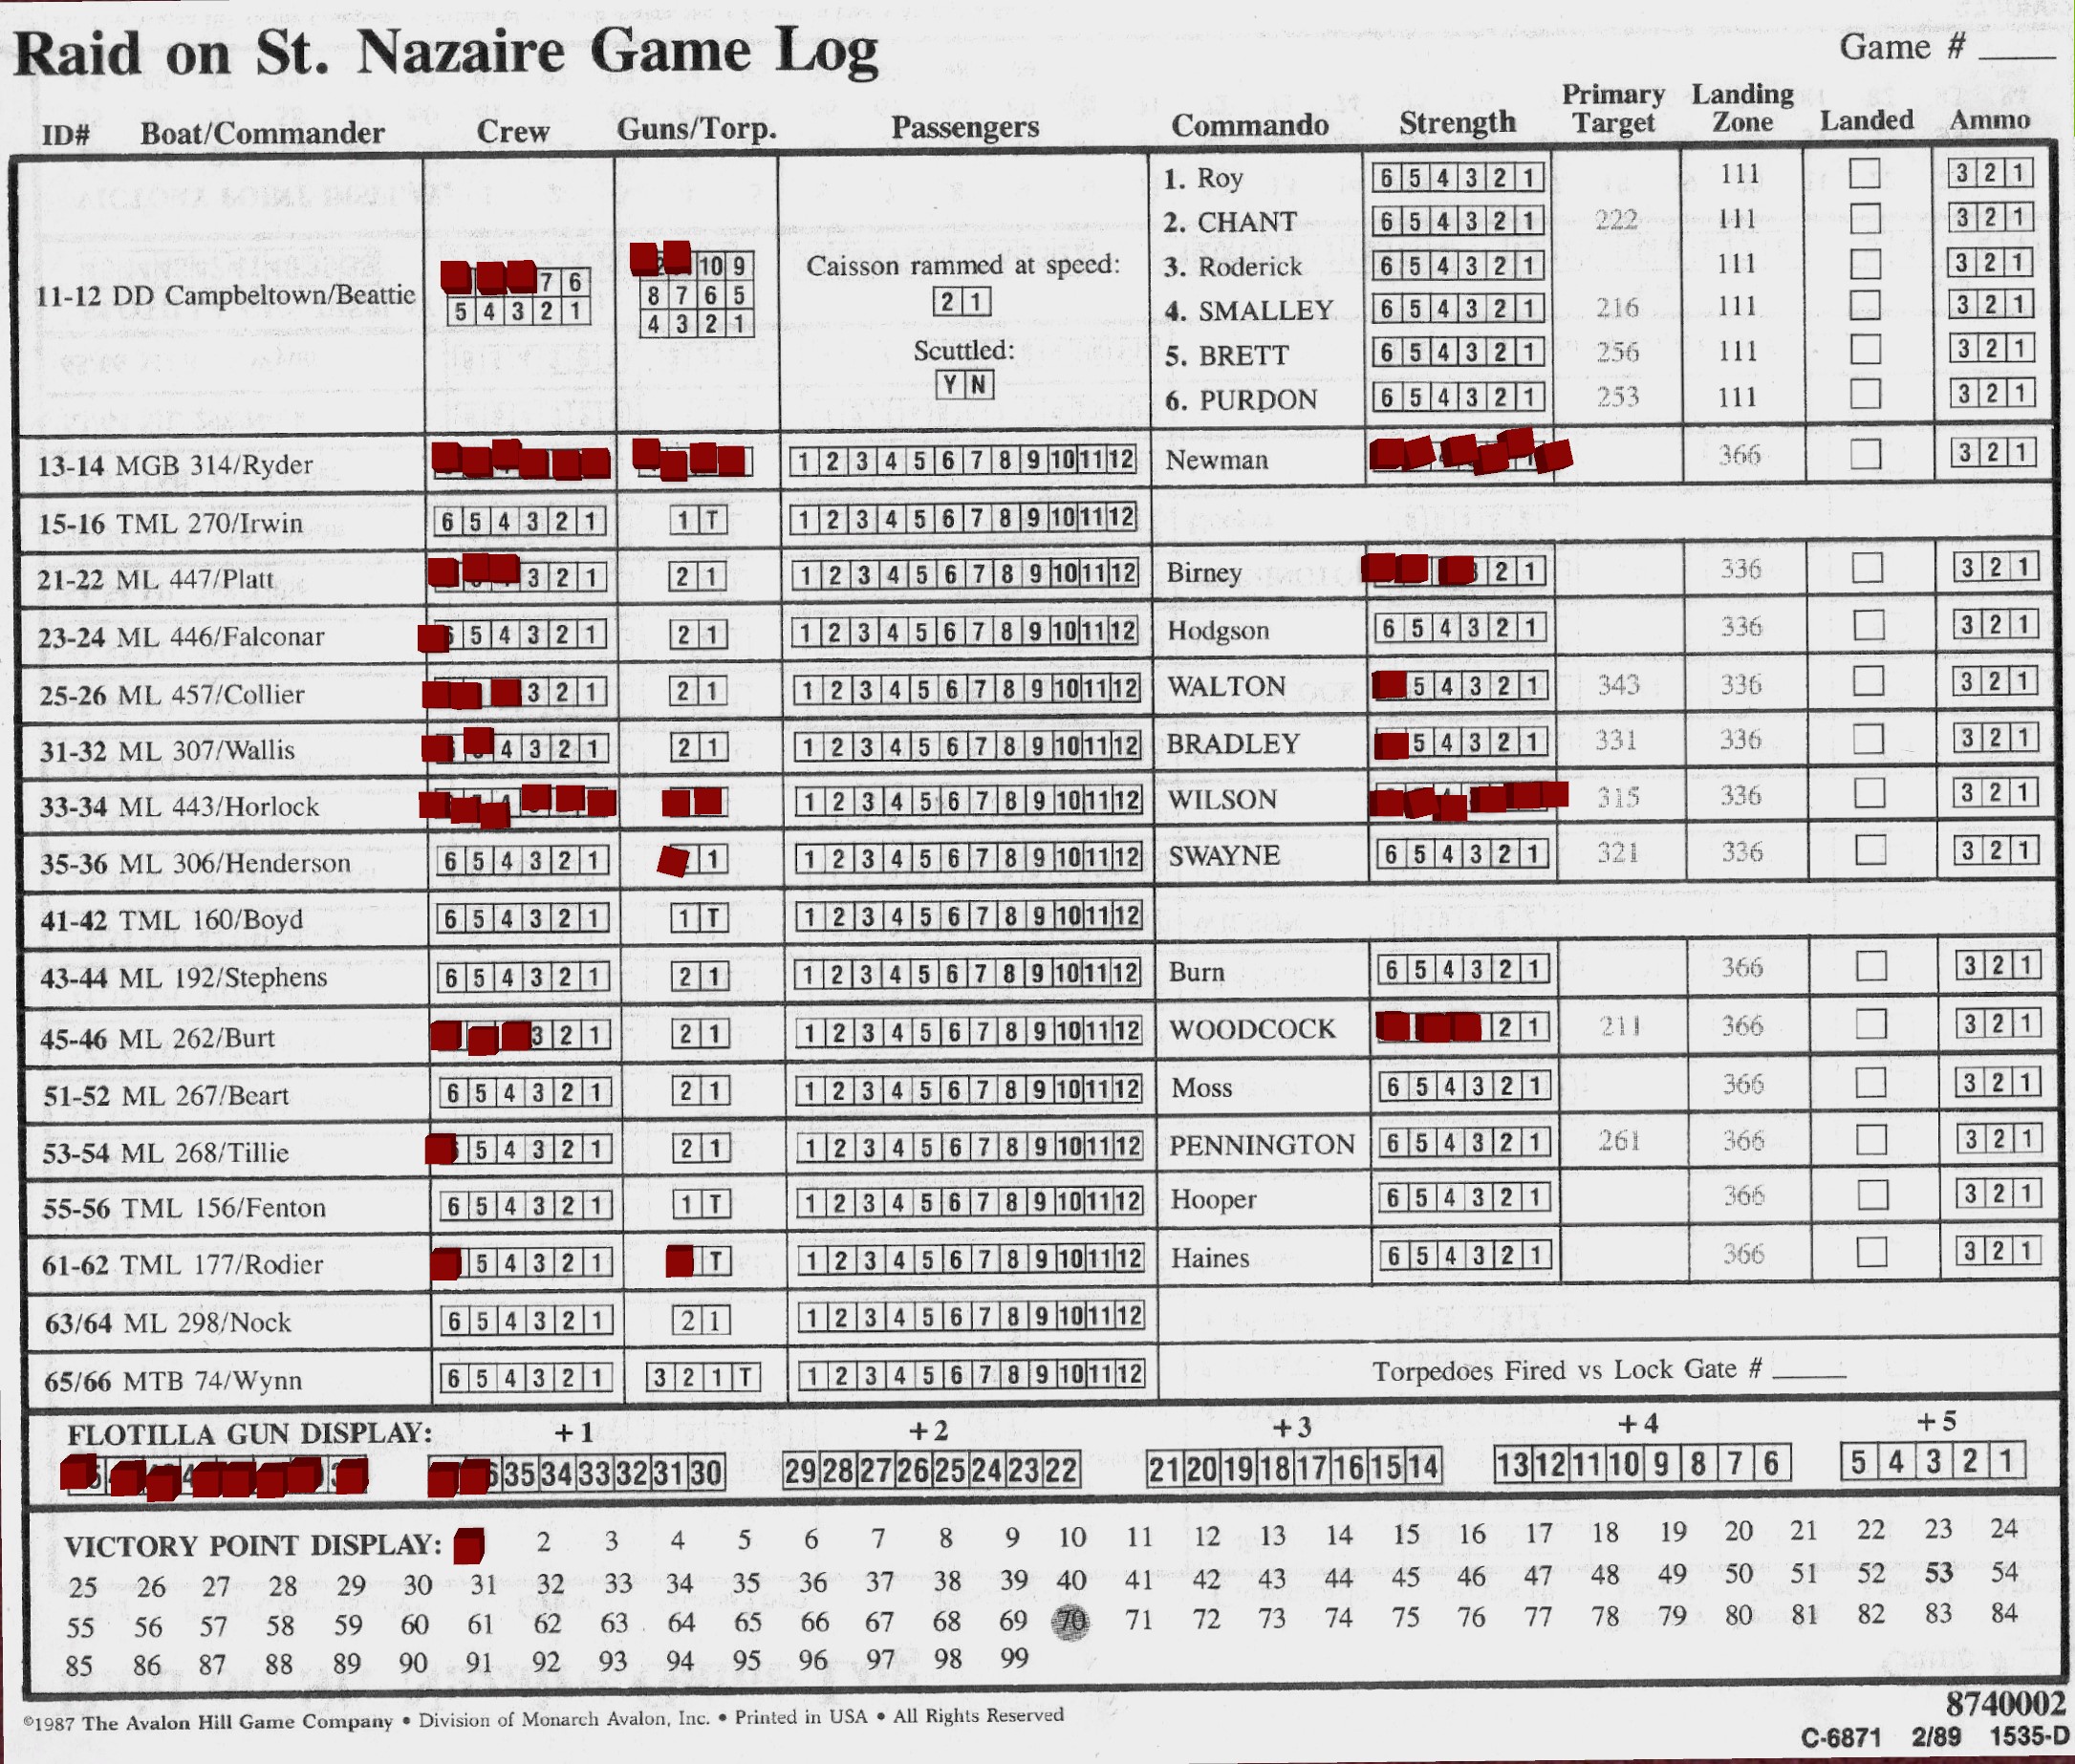 Turn 2 Game Log
 3. British Covering Fire
The British returned fire but with no sucess.
4. Dockside Defensive Fire
Dockside defense was less brutal and only 3 more boats were hit with minimal effects.
5. Naval Movement
Naval movement saw Torpedo Moto Launch 270 under the command of Irwin wheel round ad sink Sperrbrecher 137 with a torpedo and earning the first VP! 4 of the other boats managed to drop commandos in their designated landing zones so the action is about to start!
6. German Activation
Only 3 German units were activated this turn.
7. Land Movement
3 of the commando unit moved towards targets and one stayed to fight the gun it had landed on. German movement was limited for now.
8. Land Combat
Hodgson assaulted the gun emplacement with grenades and managed to destroy the German gun whilst Burn used his 2″ mortar on one of the Flak towers but to no avail. The flak guns returned fire but missed presumably due to the surprise.
 Turn 2 Map
Summary
Still a little slow going but at least some commandos have made it ashore and the Campbeltown is nearing it’s target.
Turn 1
Well I’ve managed to get through turn one with many checks back to the rules which made it a bit slow going and I am learning to use Tabletop Simulator at the same time :O
Still, I don’t think I did too bad and this is what happened;
1. Searchlight Illumination
This is pretty pointless in turn one but nevertheless one beam lit up Zone B and another lit up Land area 2. The remaining 2 searchlights illuminate the Approach in the first turn.
2. Harbour Defense Attacks
The predesignated hit on the Campbeltown knocked out a gun and it’s crew followed immediately by another hit rendering exactly the same result! 2 of the other boats were hit resulting in the loss of 1 crew on one and 2 crew and a commando on the other.This second boat was also forced to make evasive maneuvers costing it some vital movement later. The next shot would have been a miss if not for the searchlight which caught a 3rd boat in it’s beam and forcing it to evade as well. The fifth dice roll was another miss, ending the phase with only 4 hits out of a possible 12.
3. British Covering Fire
The British returned fire and managed to take one of the searchlights out of action for the turn but their subsequent fire resulted in the end of this phase.
4. Dockside Defensive Fire
This also went my way and only 2 boats were hit although the first boat hit lost 3 crew and 3 commandos!! The remaining hit killed a crew on another boat.
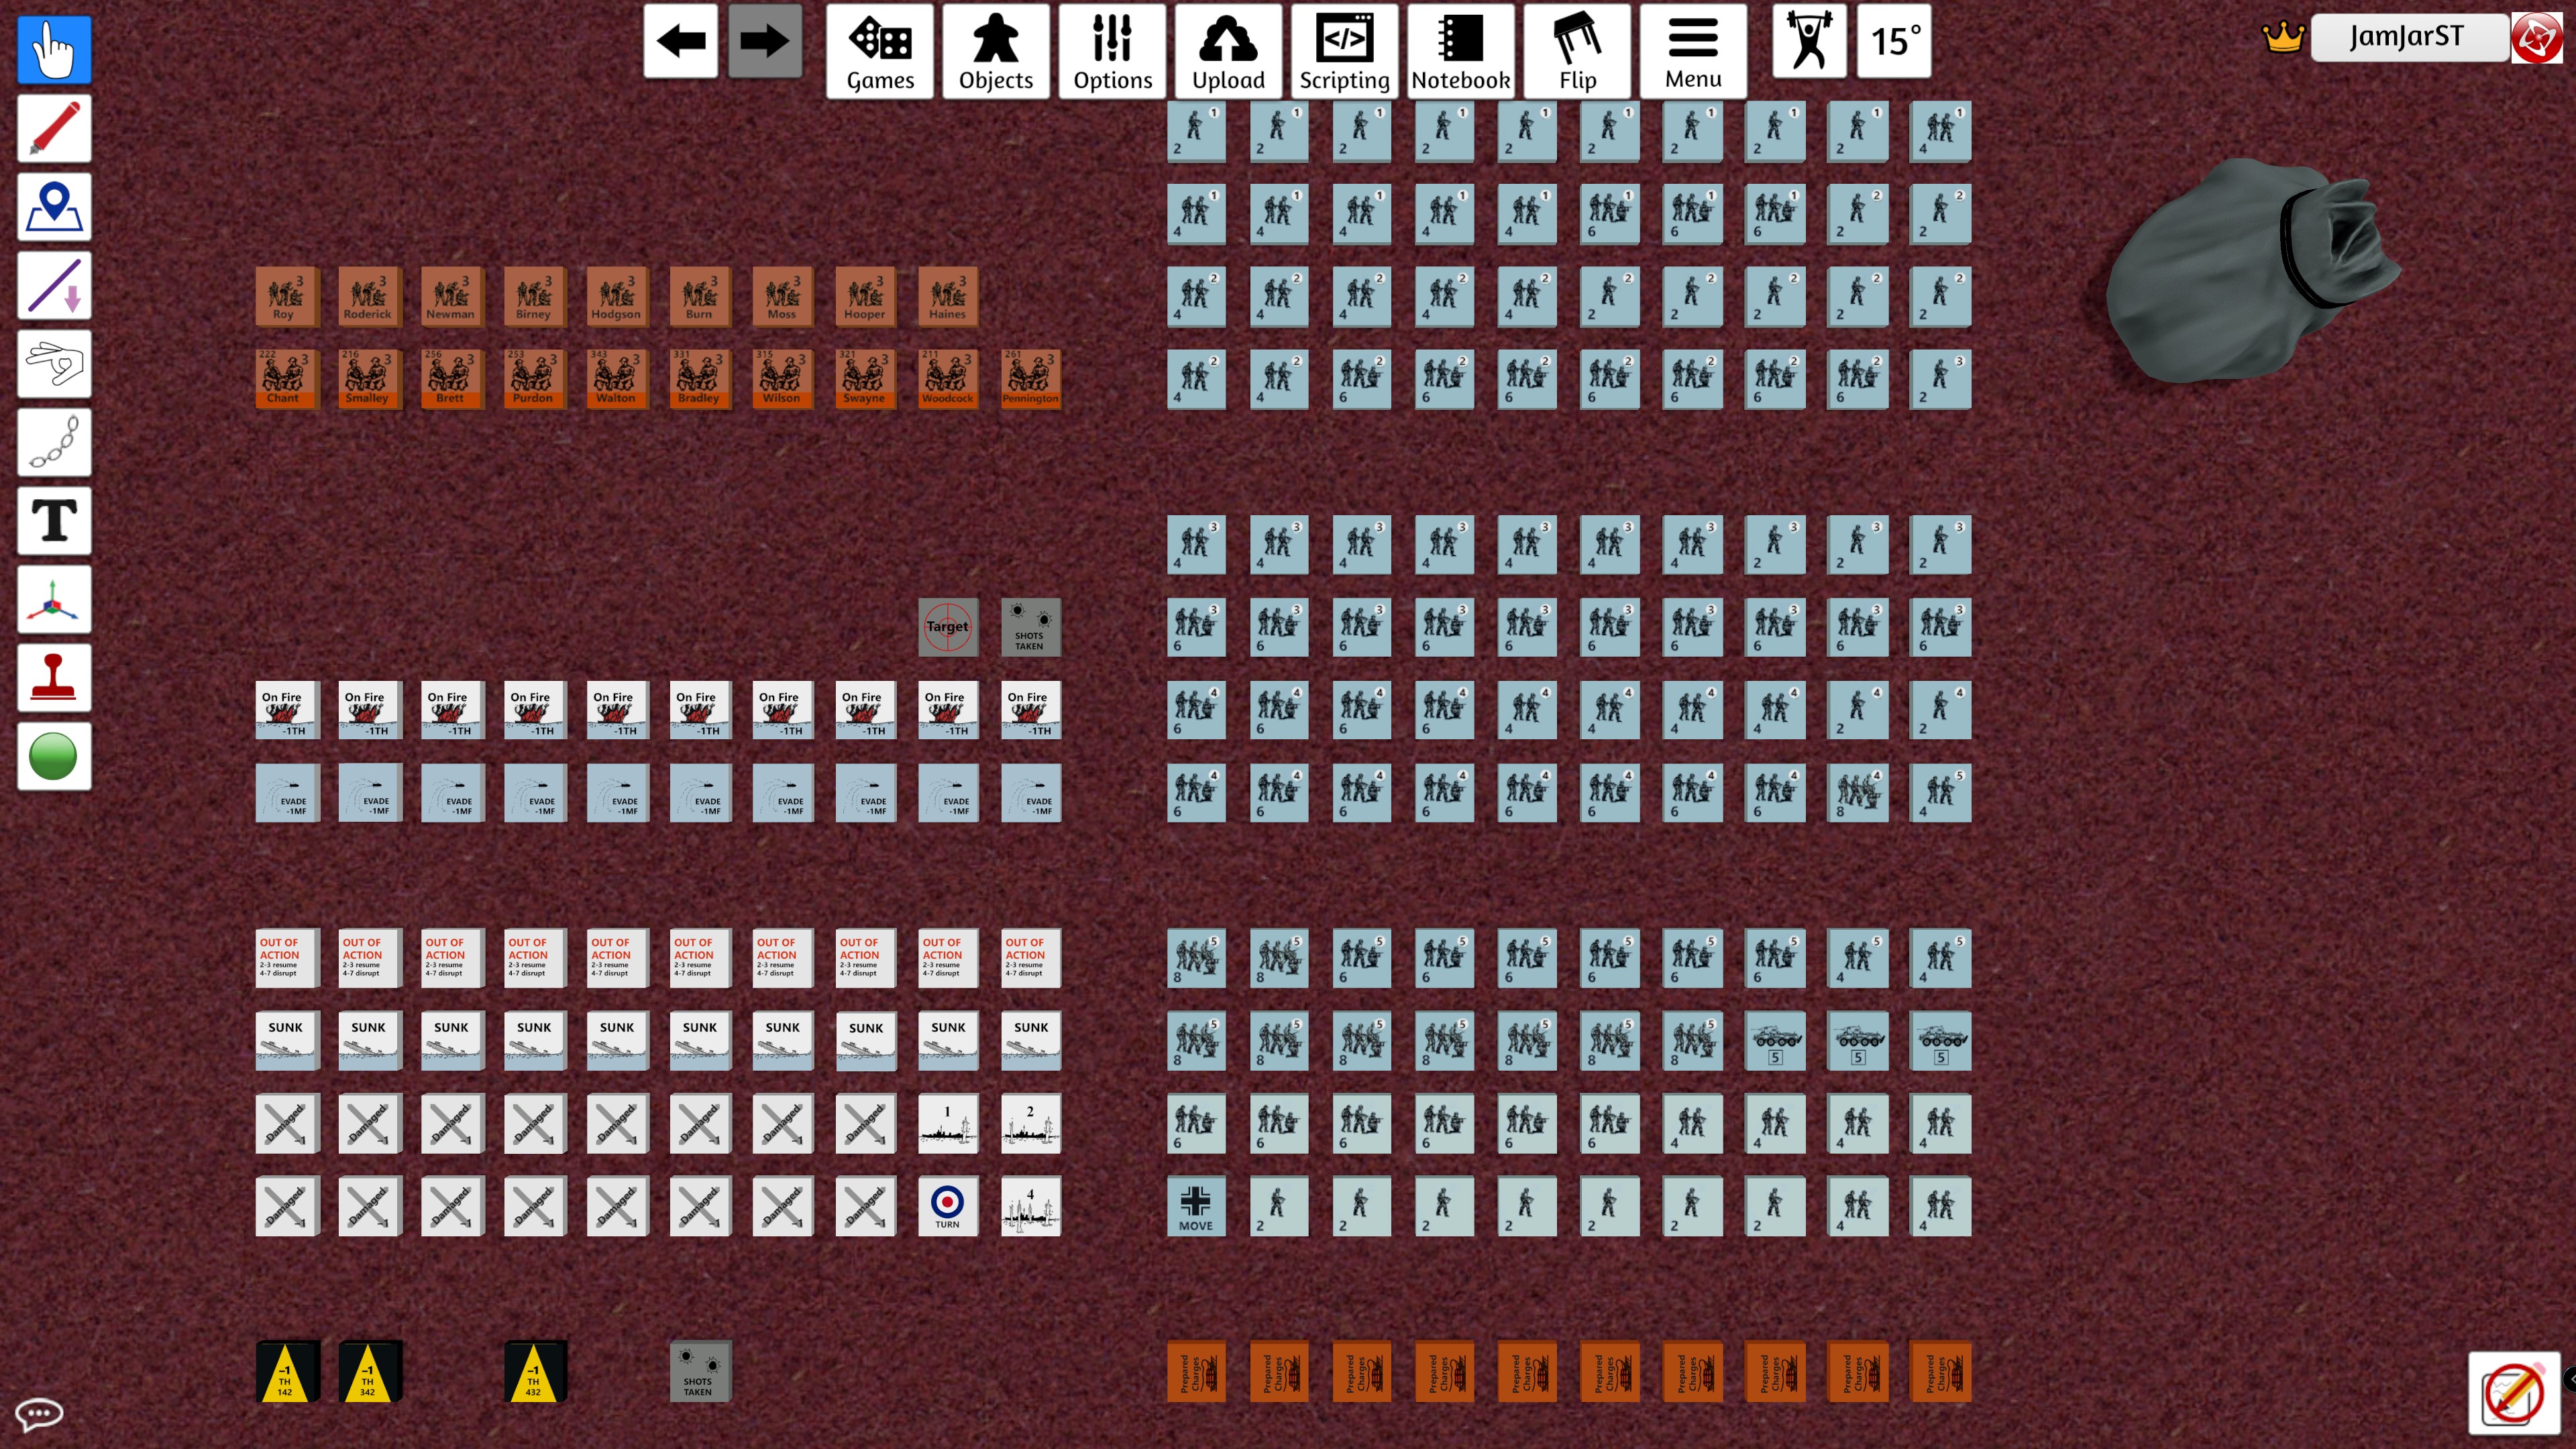
The below image shows the game log so far
 Game Log - Turn 1
5. Naval Movement
In the 1st 2 turns movement is limited to 2 points per boat and I elected for the all out approach and moved the Campbeltown and 14 other boats directly towards their objectives and reaching Zone B. I figure that getting the commandos ashore as soon as possible will limit the risk of losing them at sea and hopefully allow me to make some quick strikes on their primary targets.
6. German Activation
Only 3 German units were activated this turn and they won’t move until commandos come ashore.
That just about wraps it up for turn 1 and below you can see the map as it stands.
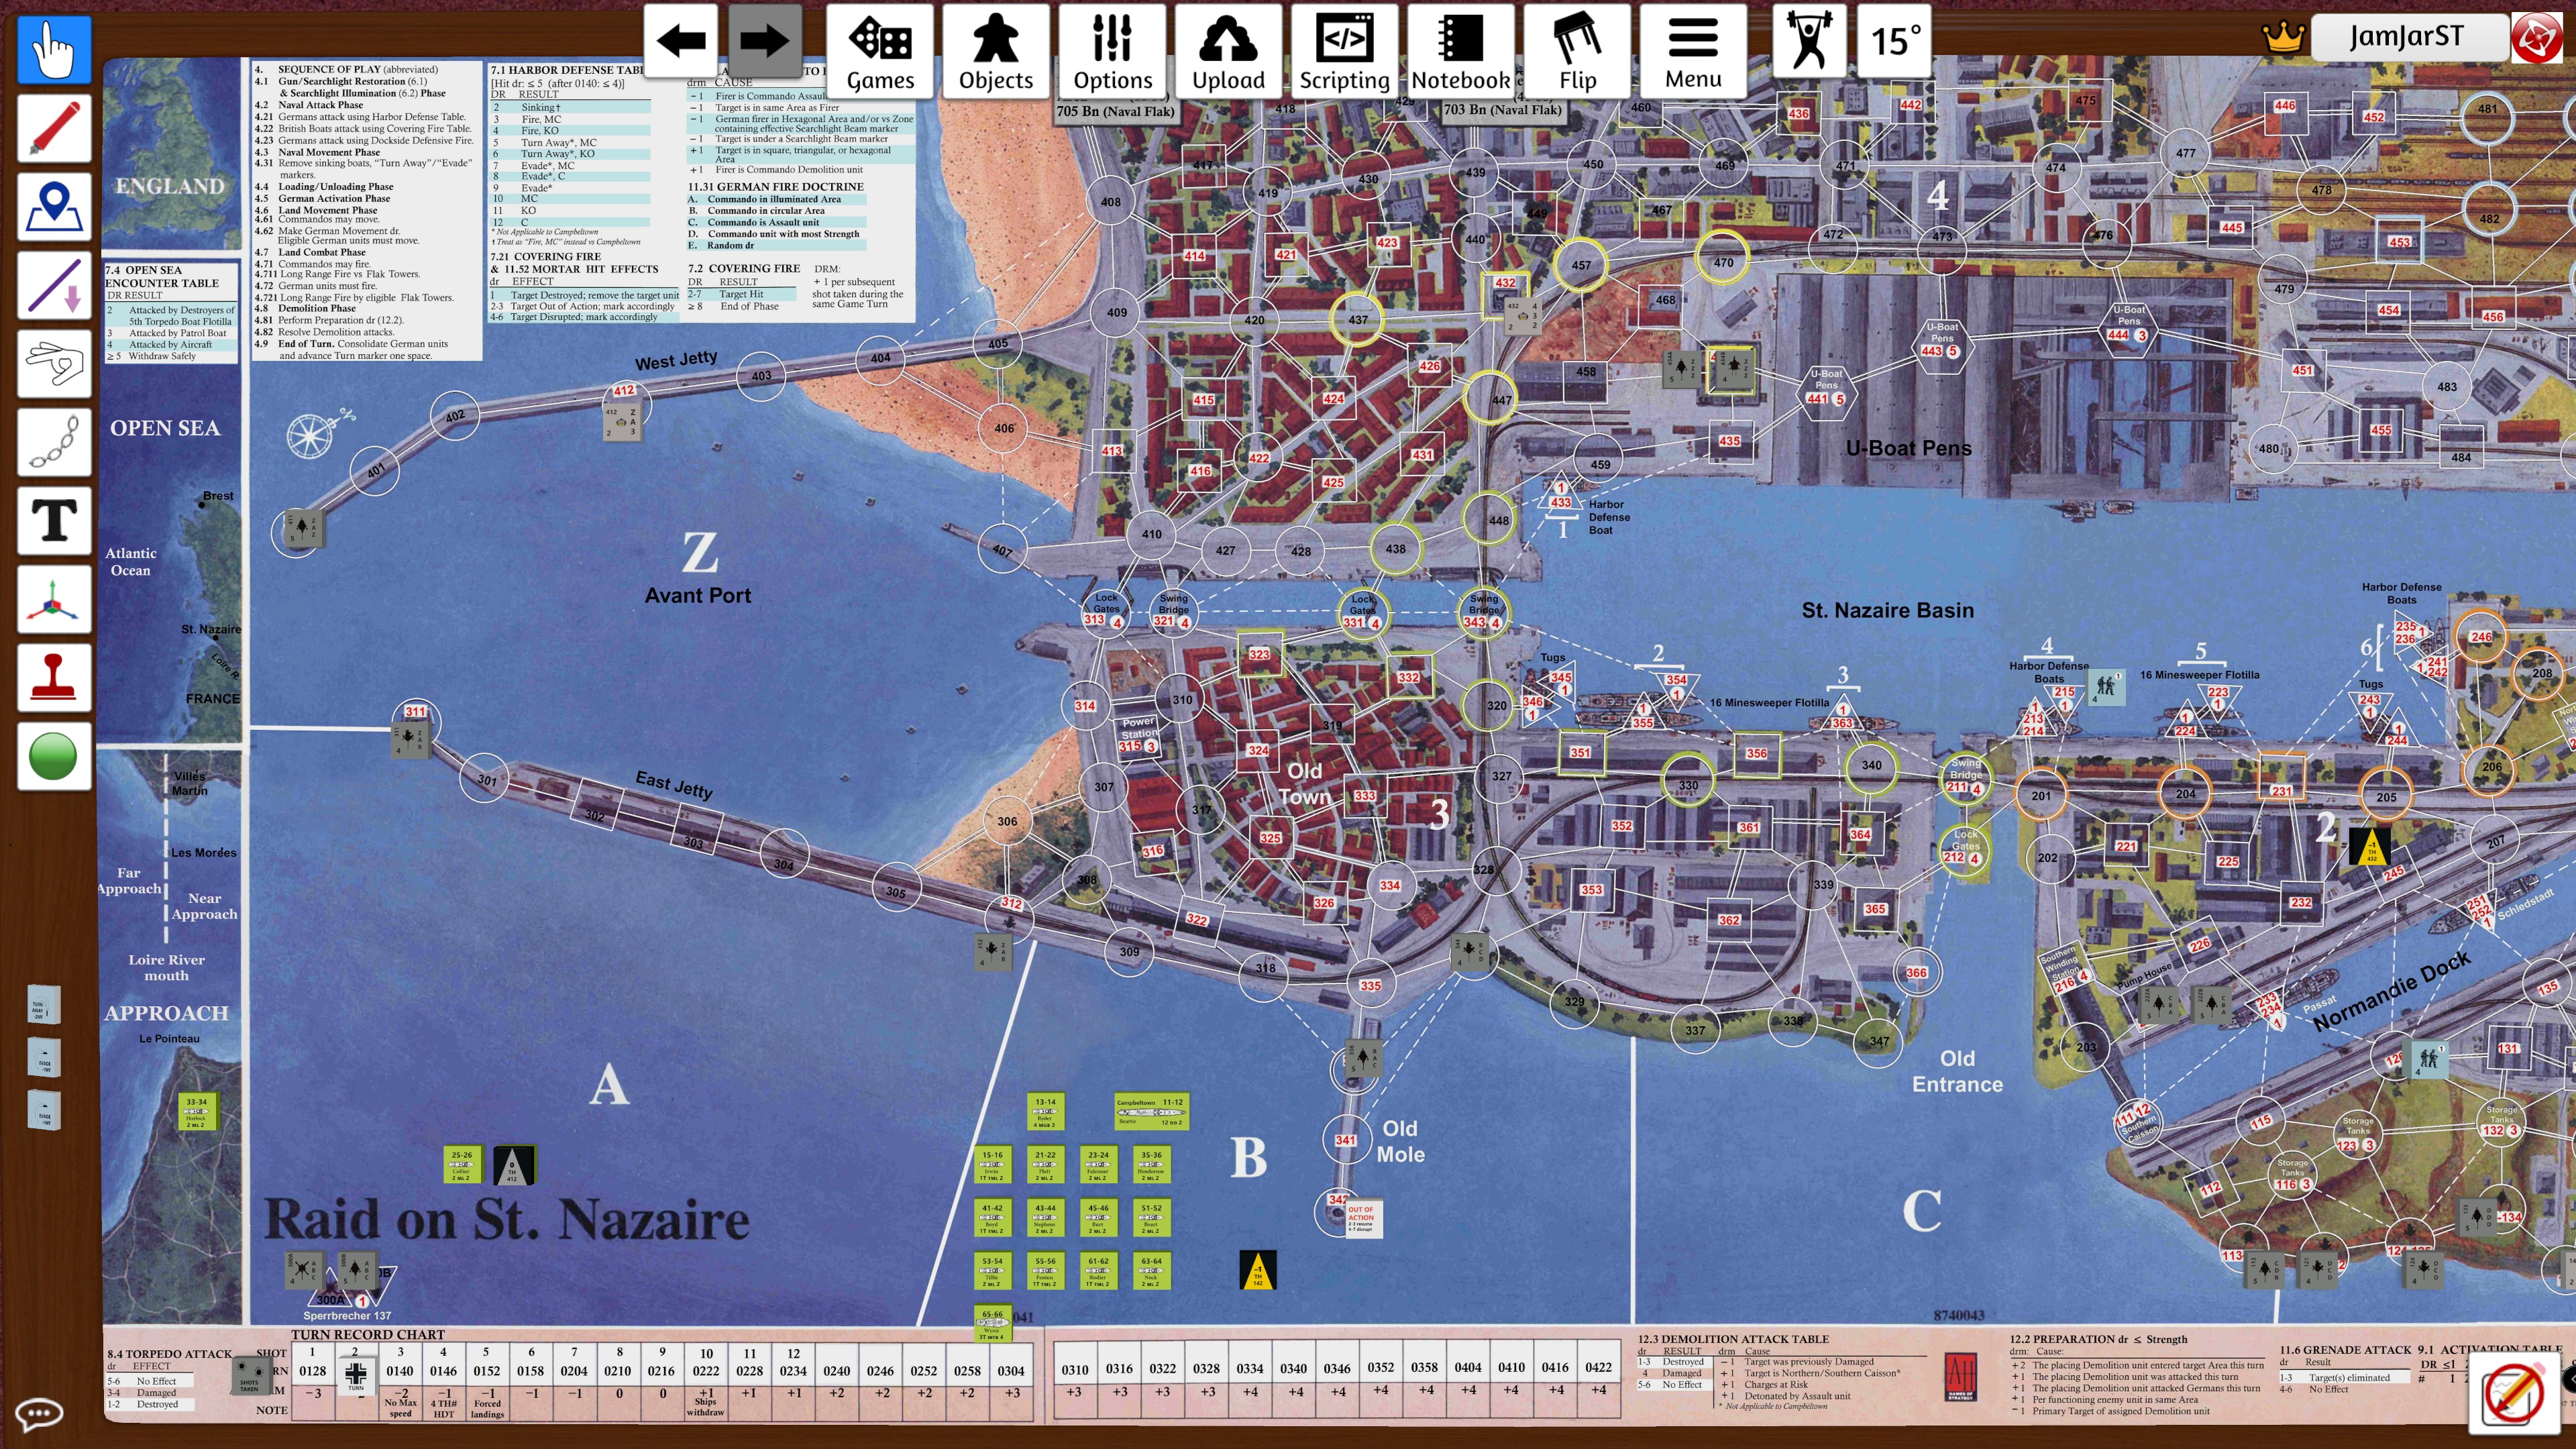 Turn 1 Map
Next up turn 2!
Turn Summary and Brief Rules
Below, I have attempted to summarise the turn sequence and briefly explain the important mechanics without going in to too much detail. For those of you that are interested you can download the rules from BoardGameGeek
Turn Sequence
1. Gun/Searchlight Restoration
Dice rolls are made to reactivate guns and/or searchlights affected in previous rounds.
2. Searchlight Illumination
A dice is rolled for each functioning Searchlight to determine which zone it is illuminating. The searchlights make hitting a boat in the next phase easier.
In the first round 2 of the searchlights will autonmatically illuminate the Approach Zone where all the boats are.
3. Naval Attack Phase
a) Harbor Defense Attacks
This represents the harbour defenses randomly firing on the approaching vessels. There is a predesignated hit on the Campbeltown each round followed by predesignated hits on all burning vessels, including the the Campbeltown if it is on fire. Then dice rolls are made against all the boats until a miss happens or 12 hits are recorded!! Yes you read that right, up to 12 hits per round (more if you count the predesignated hits). This and the subsequent Dockside Defensive Fire is quite a clever way of showing how daunting a prospect the approach must have been.
b) British Covering Fire
The boats then get a chance to shoot back at the guns and/or searchlights and can shoot at as many as they like. Each subsequent attact after the first is harder until the play rolls and “end of phase” result (basically a miss).
c) Dockside Defensive Fire
This is a more “focused” element of German fire. Individual functional guns that aren’t adjacent to a commando fire at the closest zone containing boats. The number of guns attacking a zone will affect the chance of success and once again there is a possible 12 hits but this time by zone!
4. Naval Movement Phase
As the name might suggest, this the phase in which the surviving British boats move. Later on in the game some of the German ships will also activate and withdraw to the safety of the submarine pens.
The torpedo boats can launch torpedo attacks against lock gates or Sperrbrecher (minesweeper) and the Campbeltown can ram the Southern Caisson.
5. Loading/Unloading Phase
Commandos are dropped ashore (usually at their designated landing points) and passengers are picked up for return to England. Attempts to land at the designated areas is automatically successful whereas landing at different areas can fail slowing down the commandos.
6. German Activation Phase
The arrival of German troops is rolled for. In the early turns of the game the number and quality of the troops activating is low but as the scenario unfolds this will improve for the Germans representing the increasing reaction to what is now an obvious attack.
7. Land Movement Phase
Commandos on land can elect to move followed by German troops which will move according to specific priorities as laid out in the rules.
8. Land Combat
Land based units attack, starting with the British followed by any surviving Germans and Flak guns.
9. Demolition Phase
In this phase the demolition commandos can attempt to set and trigger demo charges on guns/searchlights or Victory Point targets. If attacking a VP target they must attempt on their primary target first but after that can try for targets of opportunity. VP’s are scored for successful attacks. There is also a chance that German troops stumble upon set charges and remove them
10. End of Turn
Damaged German units combine with other units in their space and the turn counter moves on.
End Game
At the end of the game all the VP’s earned for destroying/damaging targets are added up and points are also awarded for commandos/passengers that escape back to England. To win the player needs to score 70VP and the rulebook points out that in real life the raiders would have “only scored 53 victory points.
Phew!!!
Setup Explained
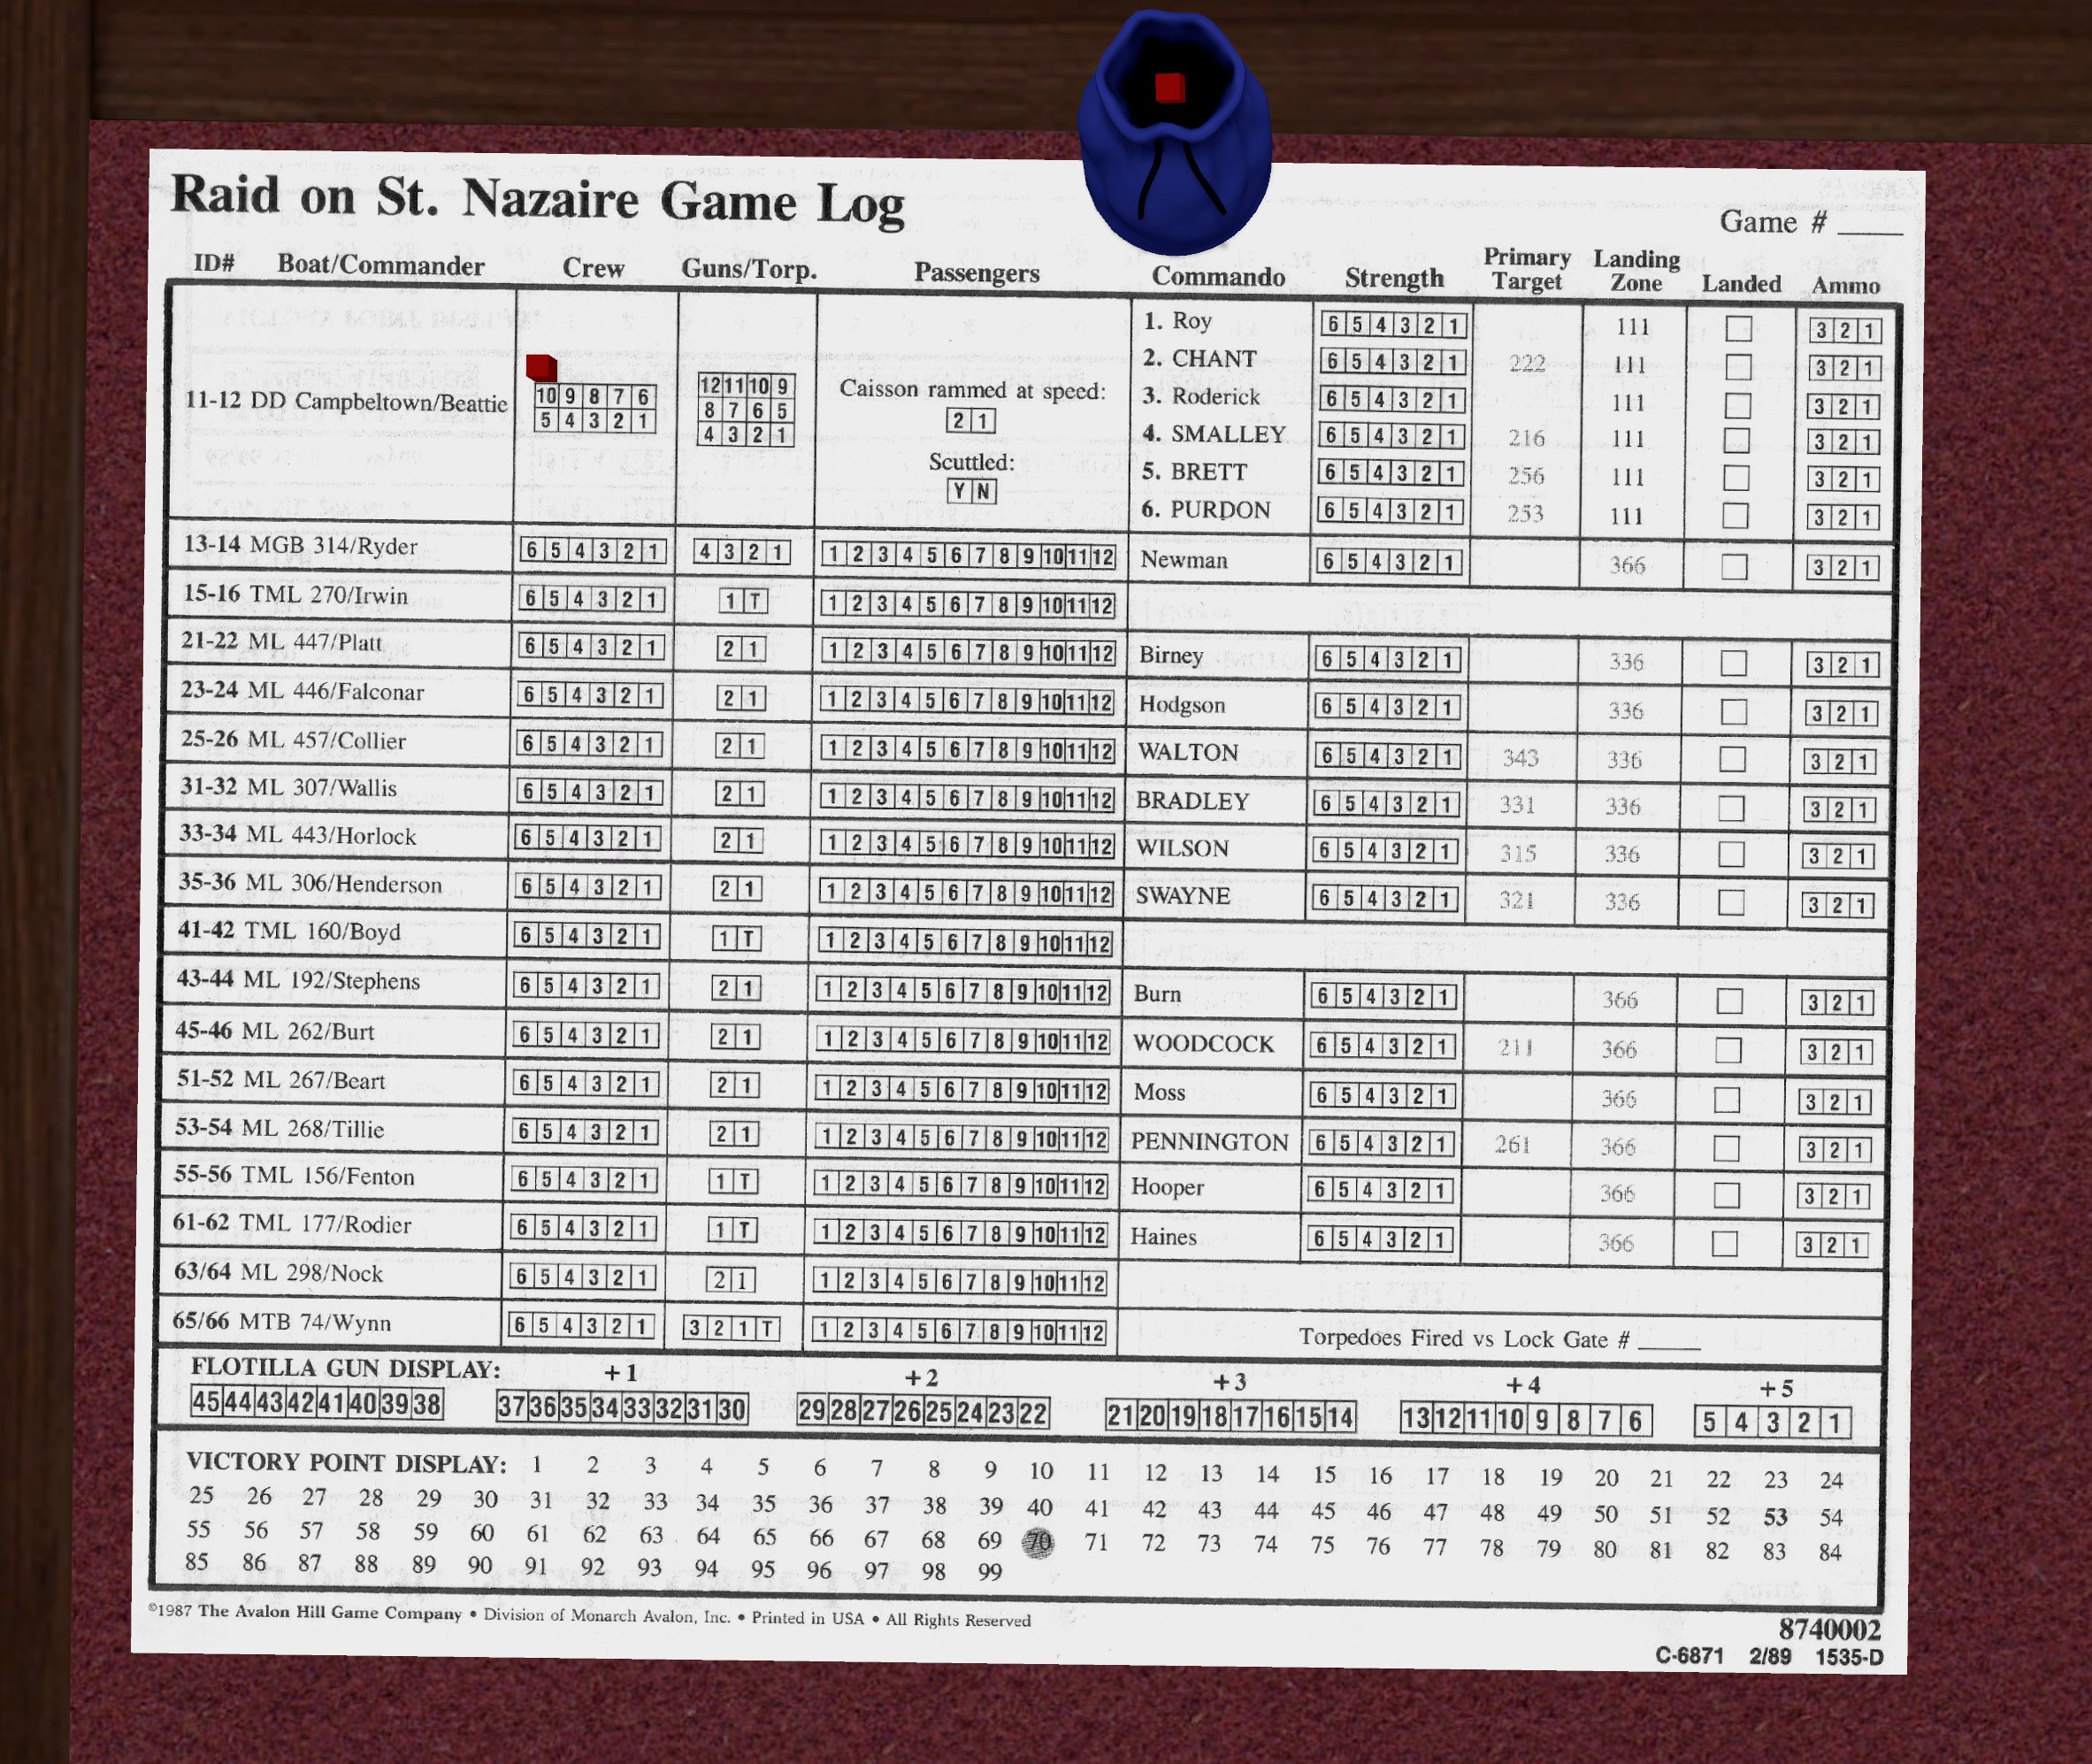
The game log lists all 18 British boats involved in the raid and their name/type/commander/crew/weapons/commando. (Yes I know the Campbeltown is a ship, but for simplicity the game refers to all the watercraft as boats.) It also lists a landing zone on the board to either drop off commandos or load passengers for the escape back to England and the target of the commandos on the boats.
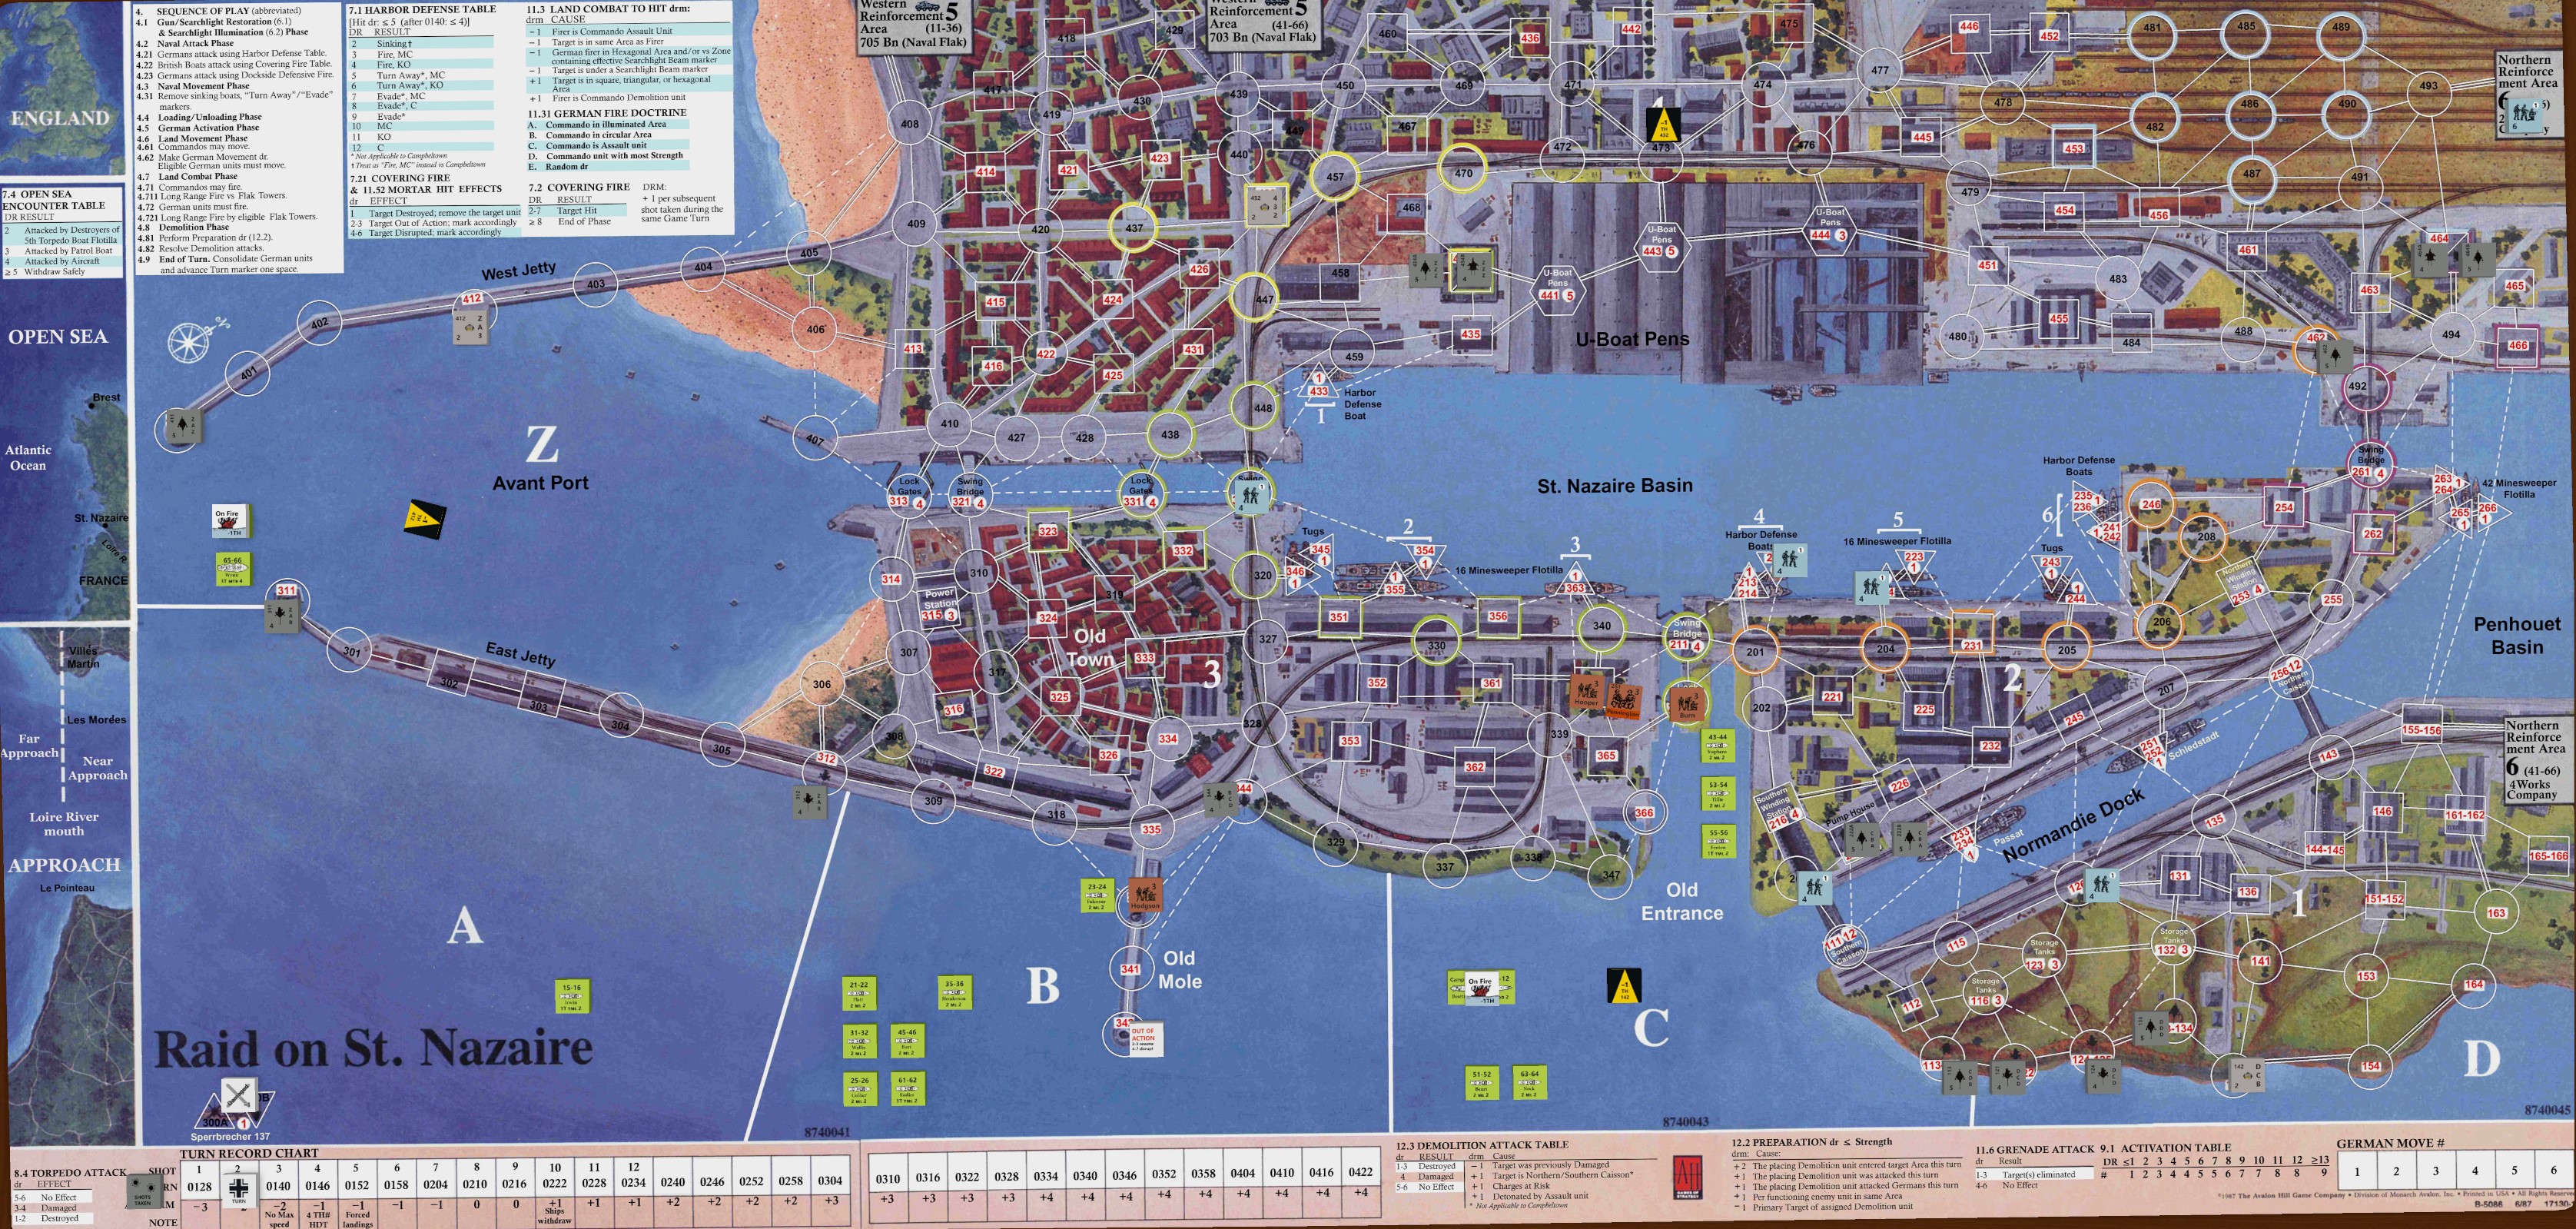
The 18 boats are represented by green counters and place in the Approach Zone on the board. A searchlight beam counter is also placed in the Approach Zone representing the fact that one of the four searchlights is illuminating the area the boats are approaching from.
The four searchlights and 18 fixed German guns are placed on their respective areas on the board.


Introduction
In last weeks XLBS (3 Feb 2019) @Warzan was talking about recreating the raid on St Nazaire on the tabletop and @torros mentioned that there was an Avalon Hill board game. Inspired by this and also by my love of Avalon Hill games such Squad Leader, I went on the hunt for a copy. Sadly the physical game is quite expensive and seems to cost at least £100! Fortunately it has been recreated on Tabletop Simulator so I am going to endeavour to try a play through over the next few days/weeks.


