


Blood Red Skies


Recommendations: 27
About the Project
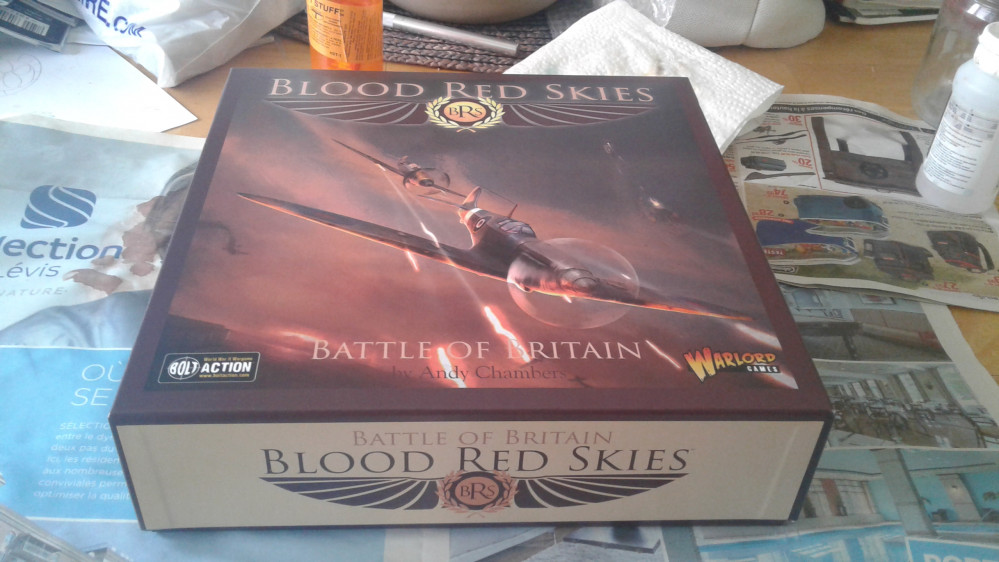
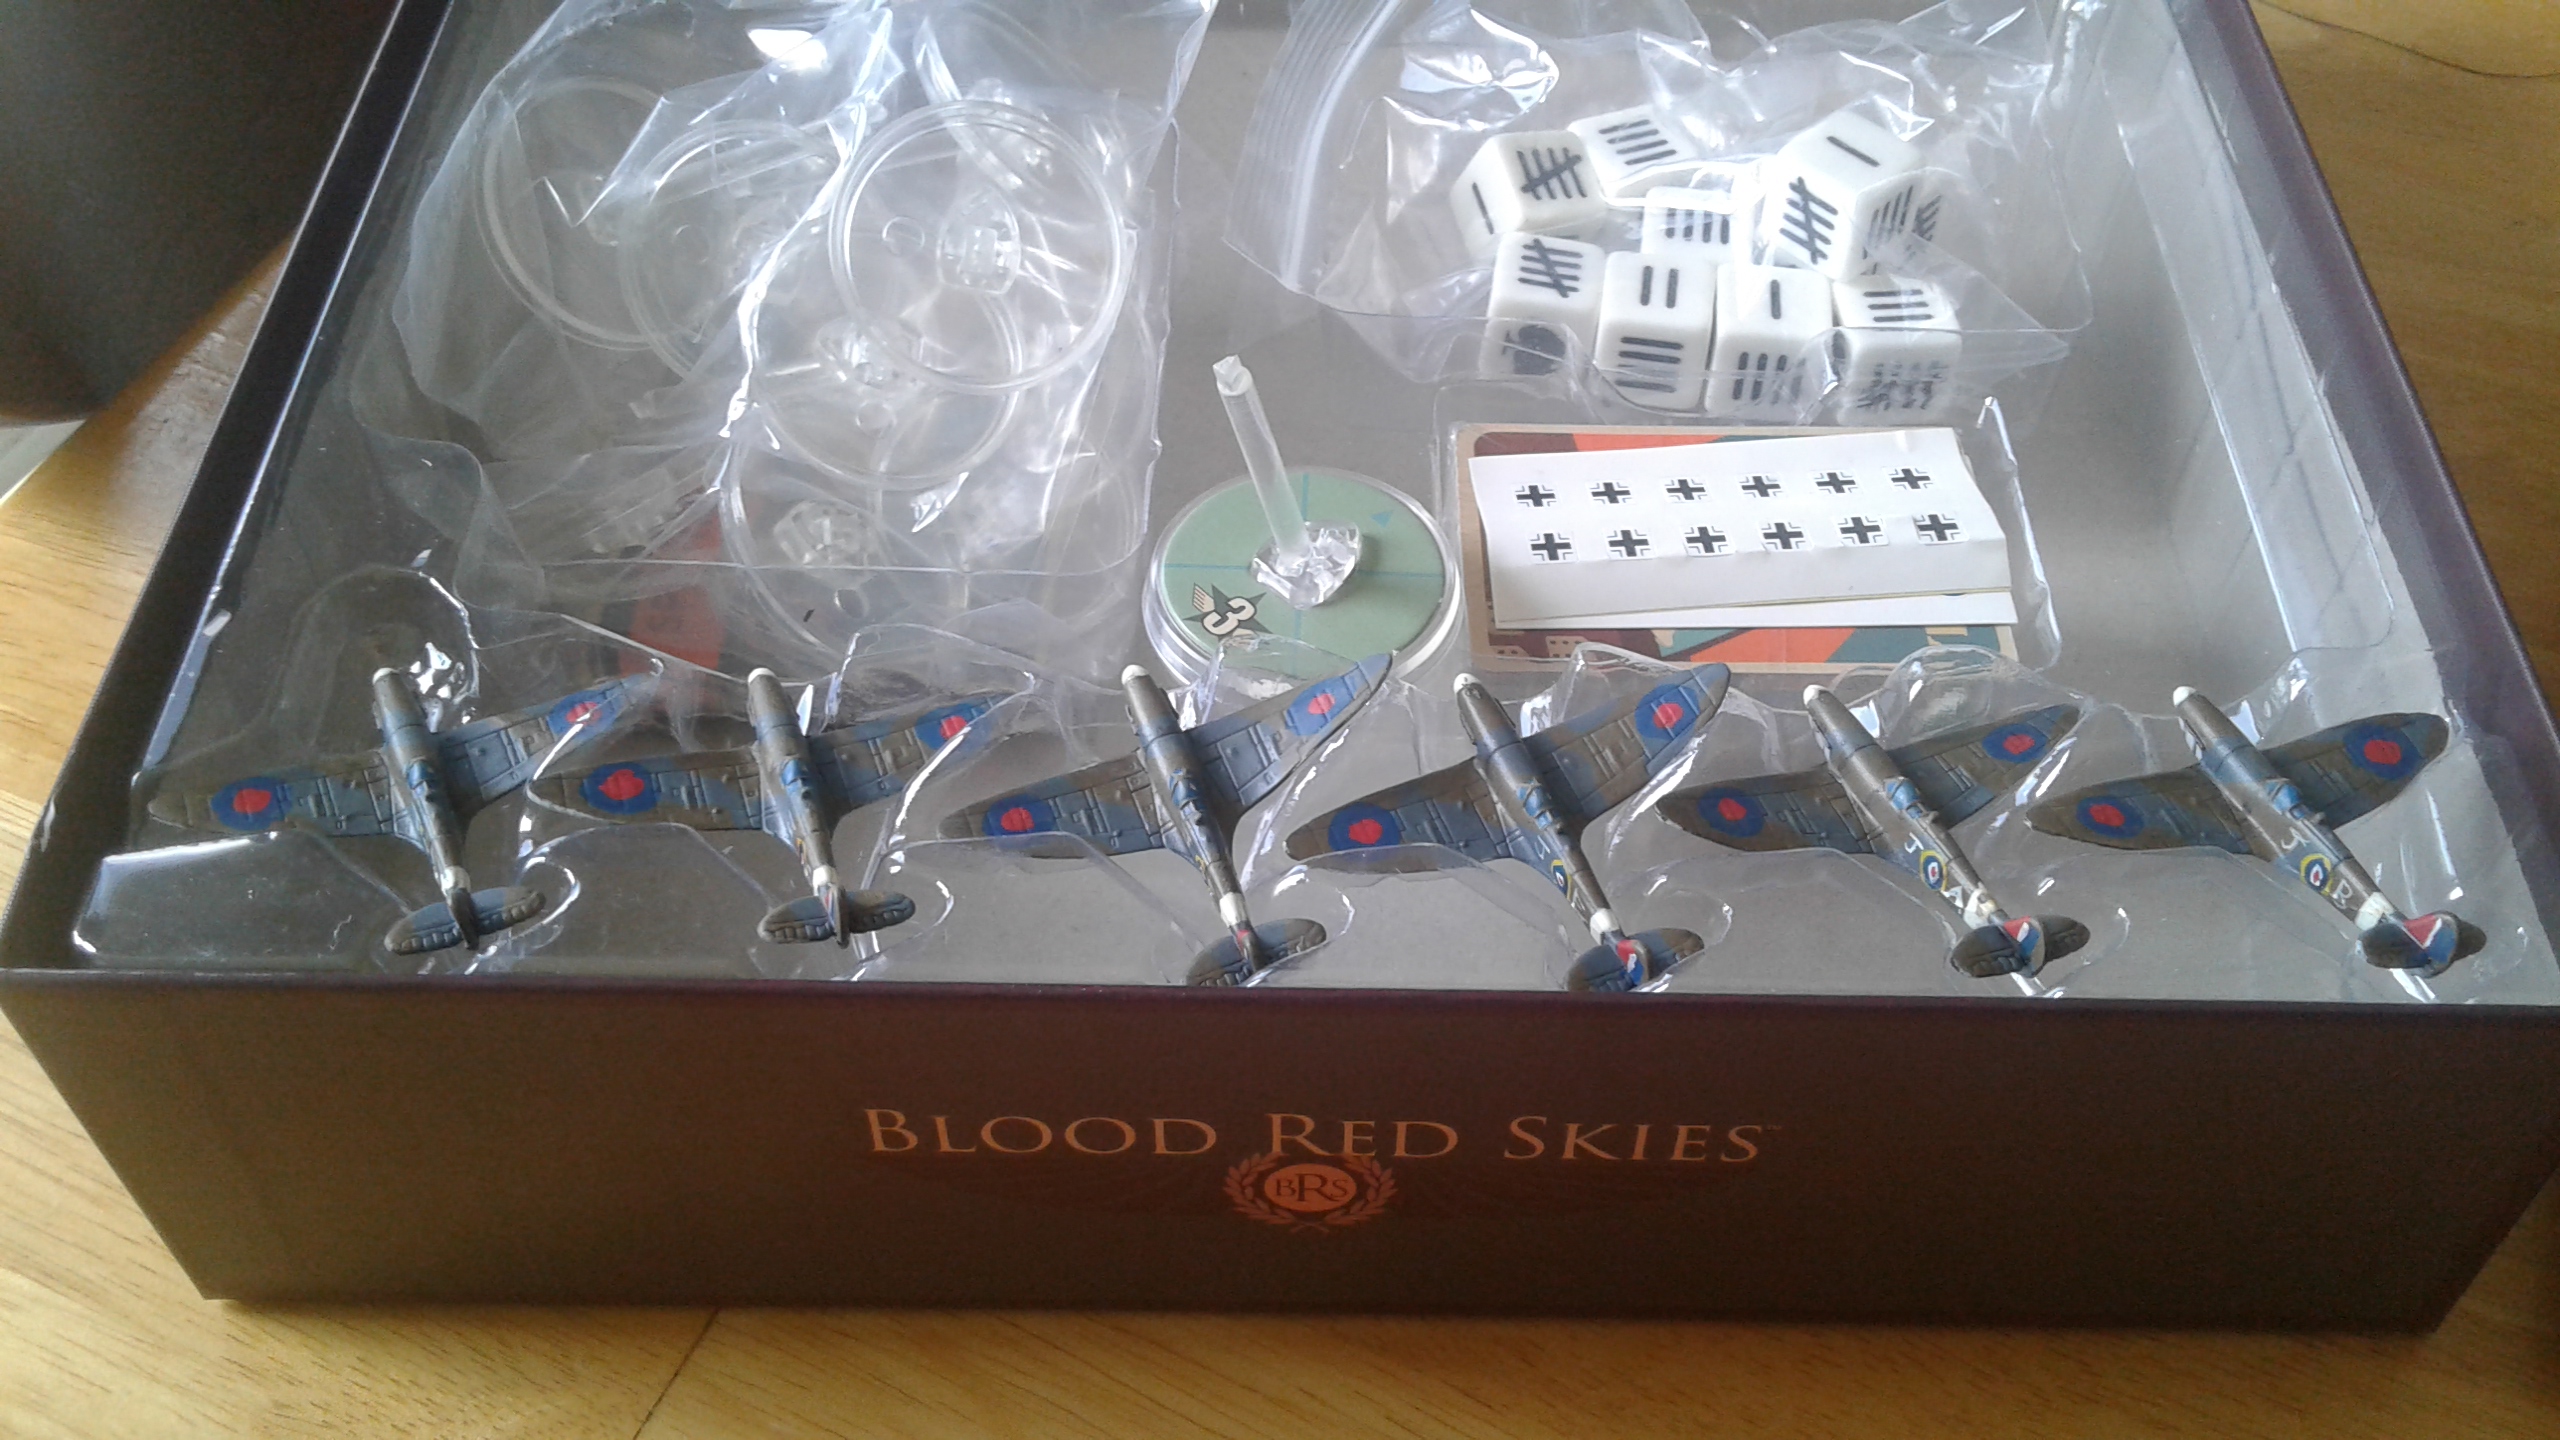
Hi there, Finally got my hands on a copy of the Blood Red Skies starter set. I wanted to try out the game and then see if I wanted to paint it and keep it or simply sell it back. Well, seems it's too late. Once I saw the small planes they just cried out to me to get painted. So here is my project covering the painting of the starter set. If the game is fun I'll certainly get more planes, aces, the lot and will post my progress here. Enjoy!
Related Game: Blood Red Skies
Related Company: Warlord Games
Related Genre: Historical
This Project is Completed
Achtung! Spitfires!
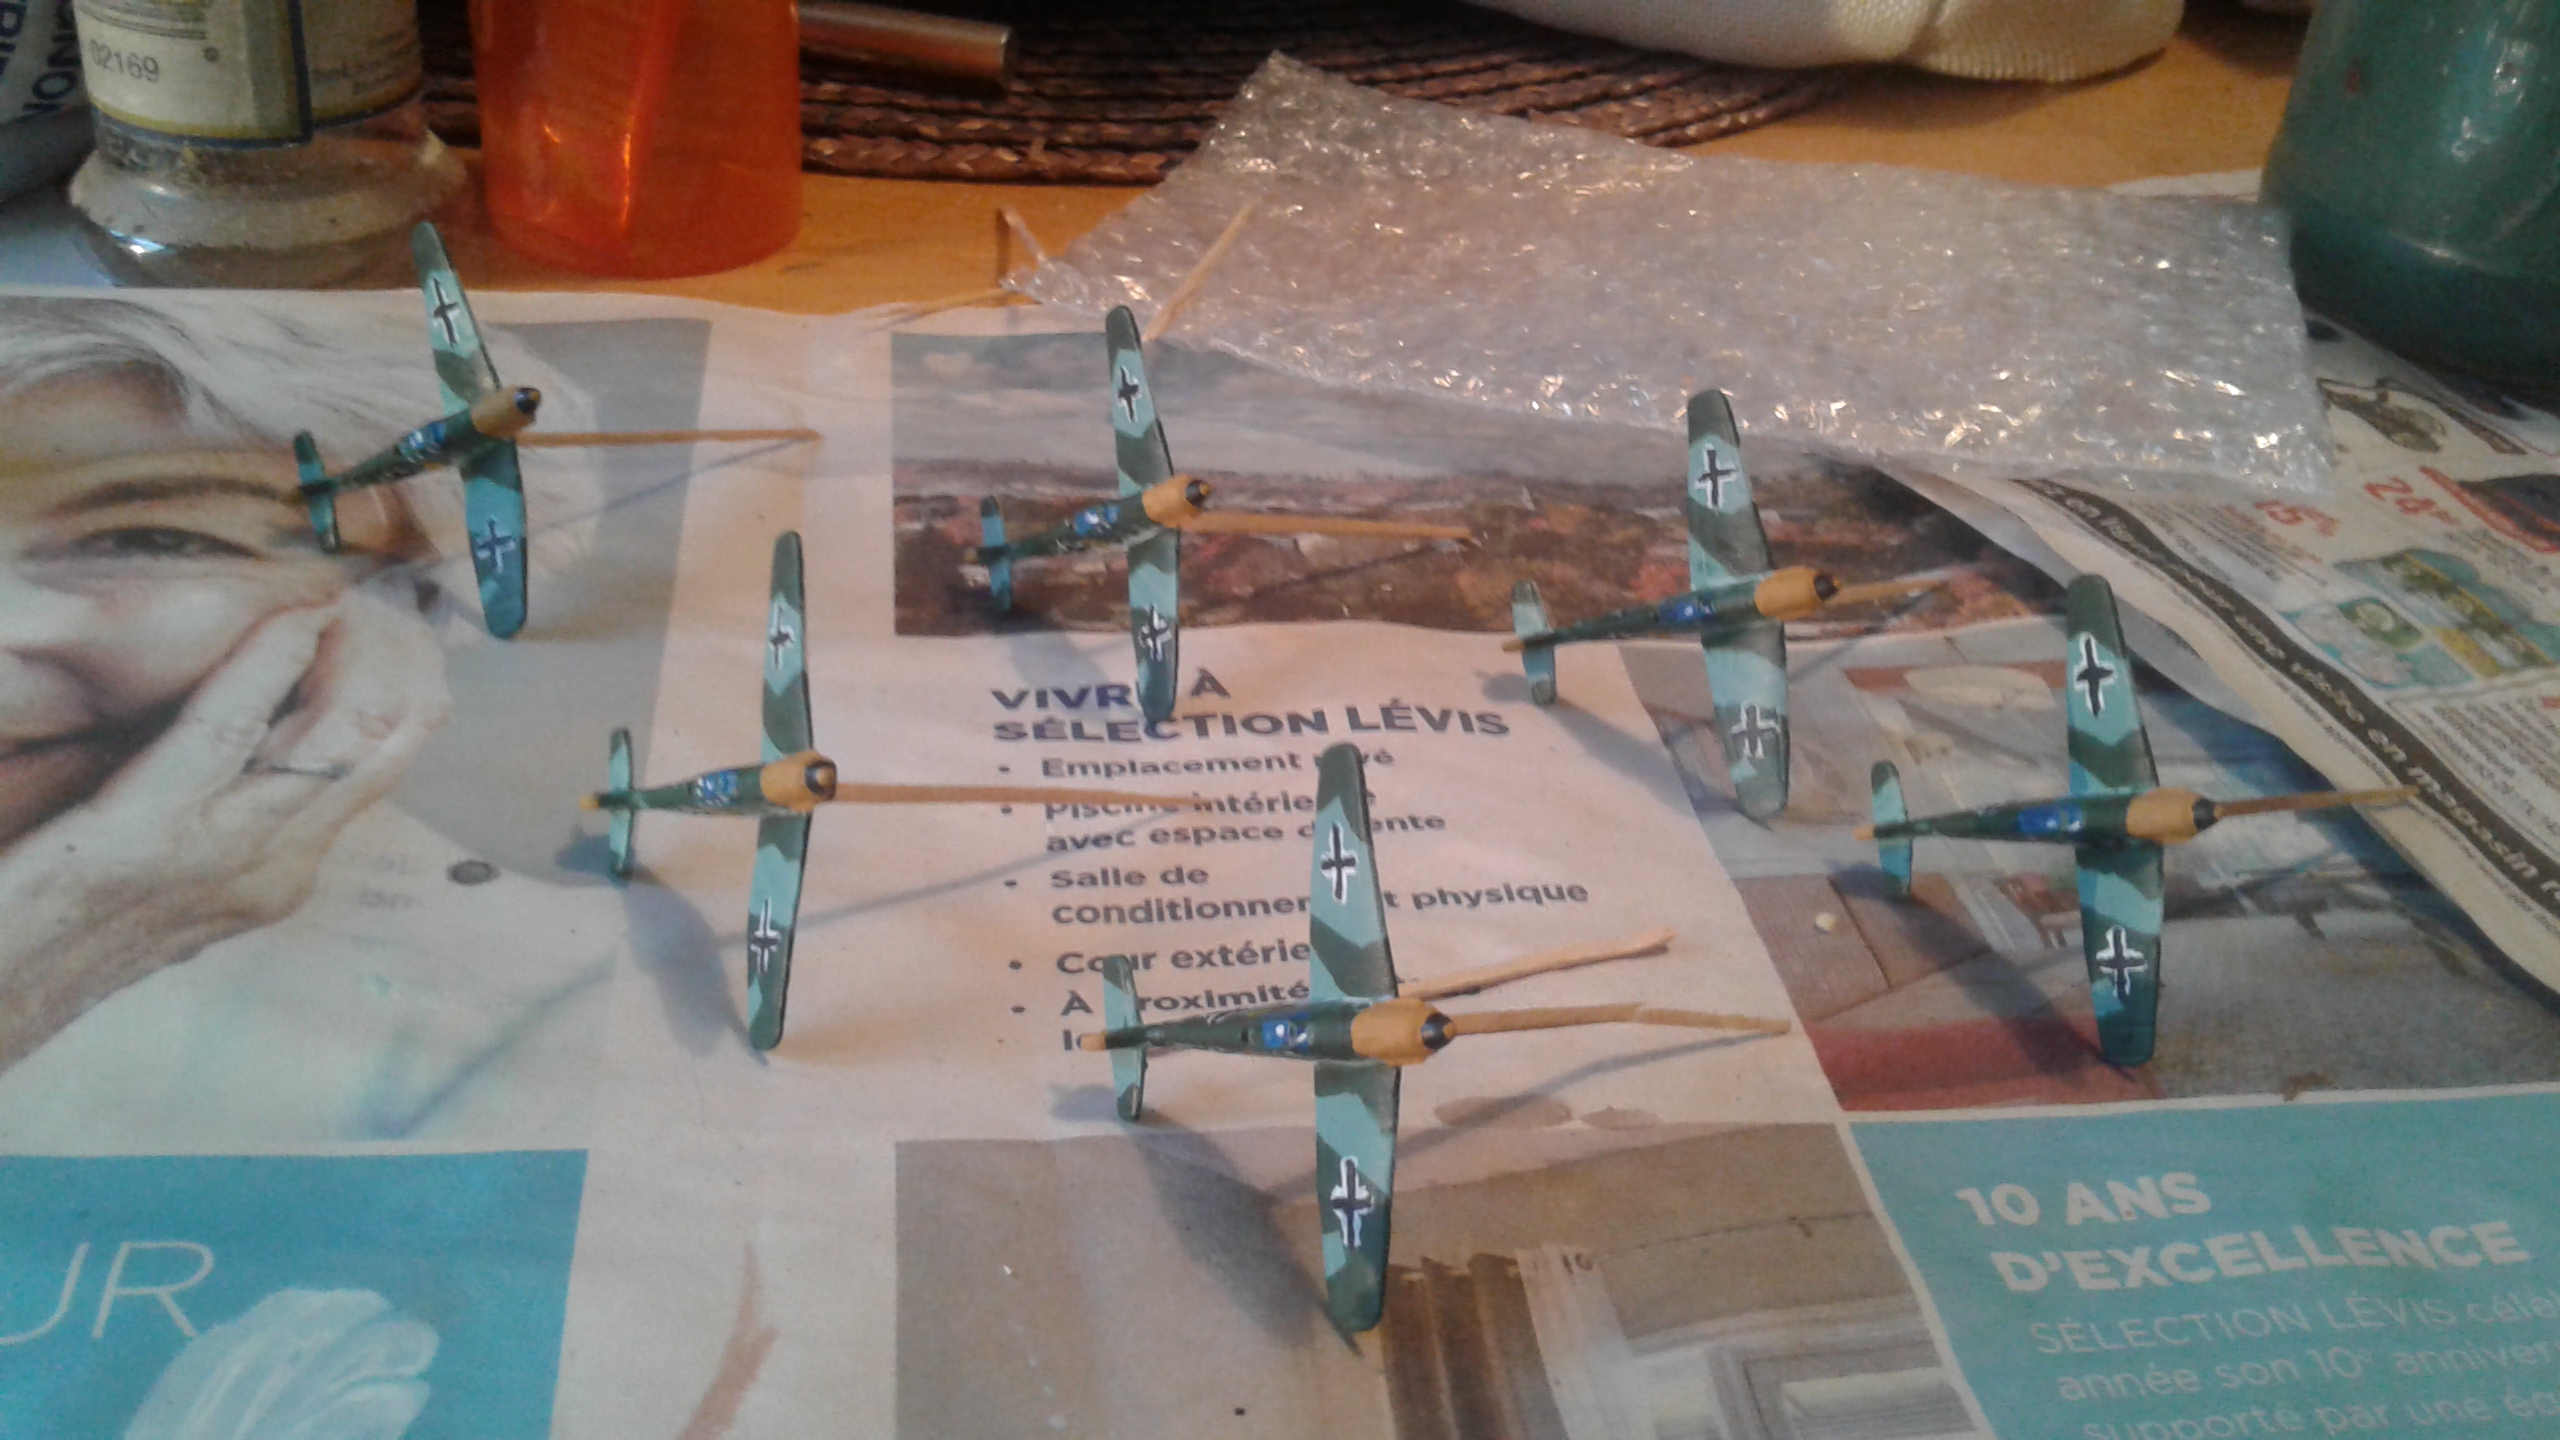
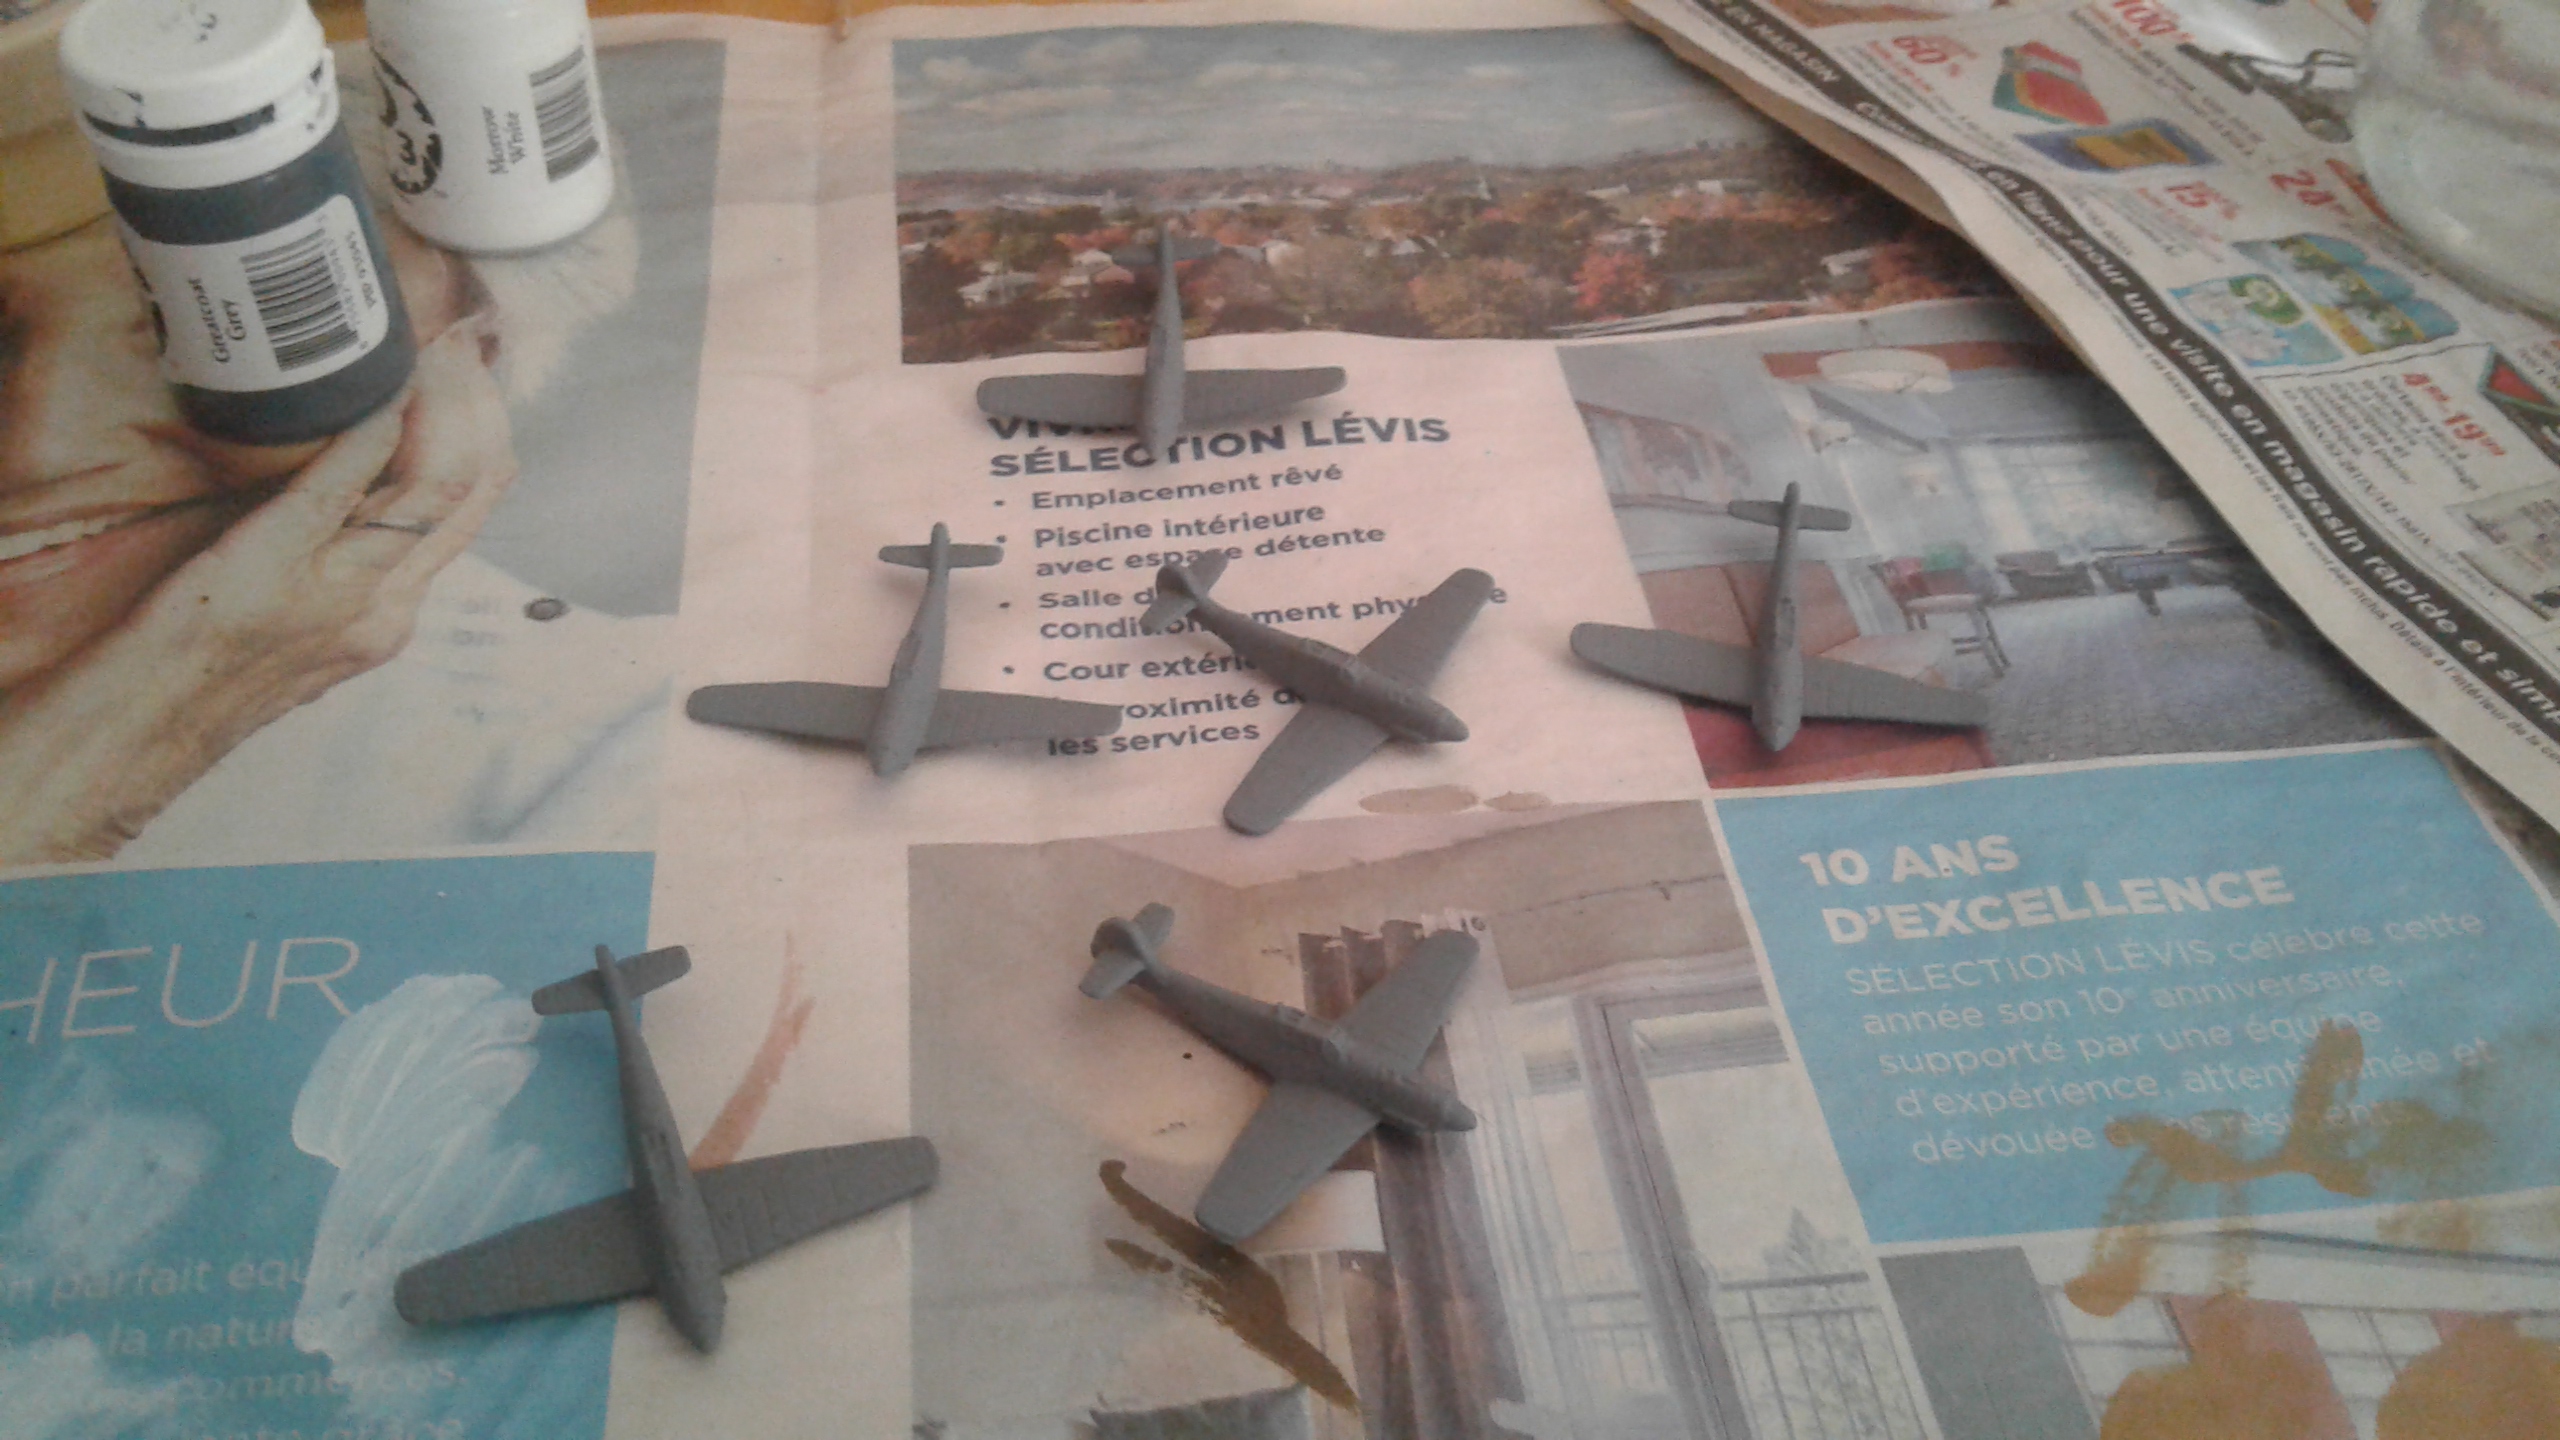
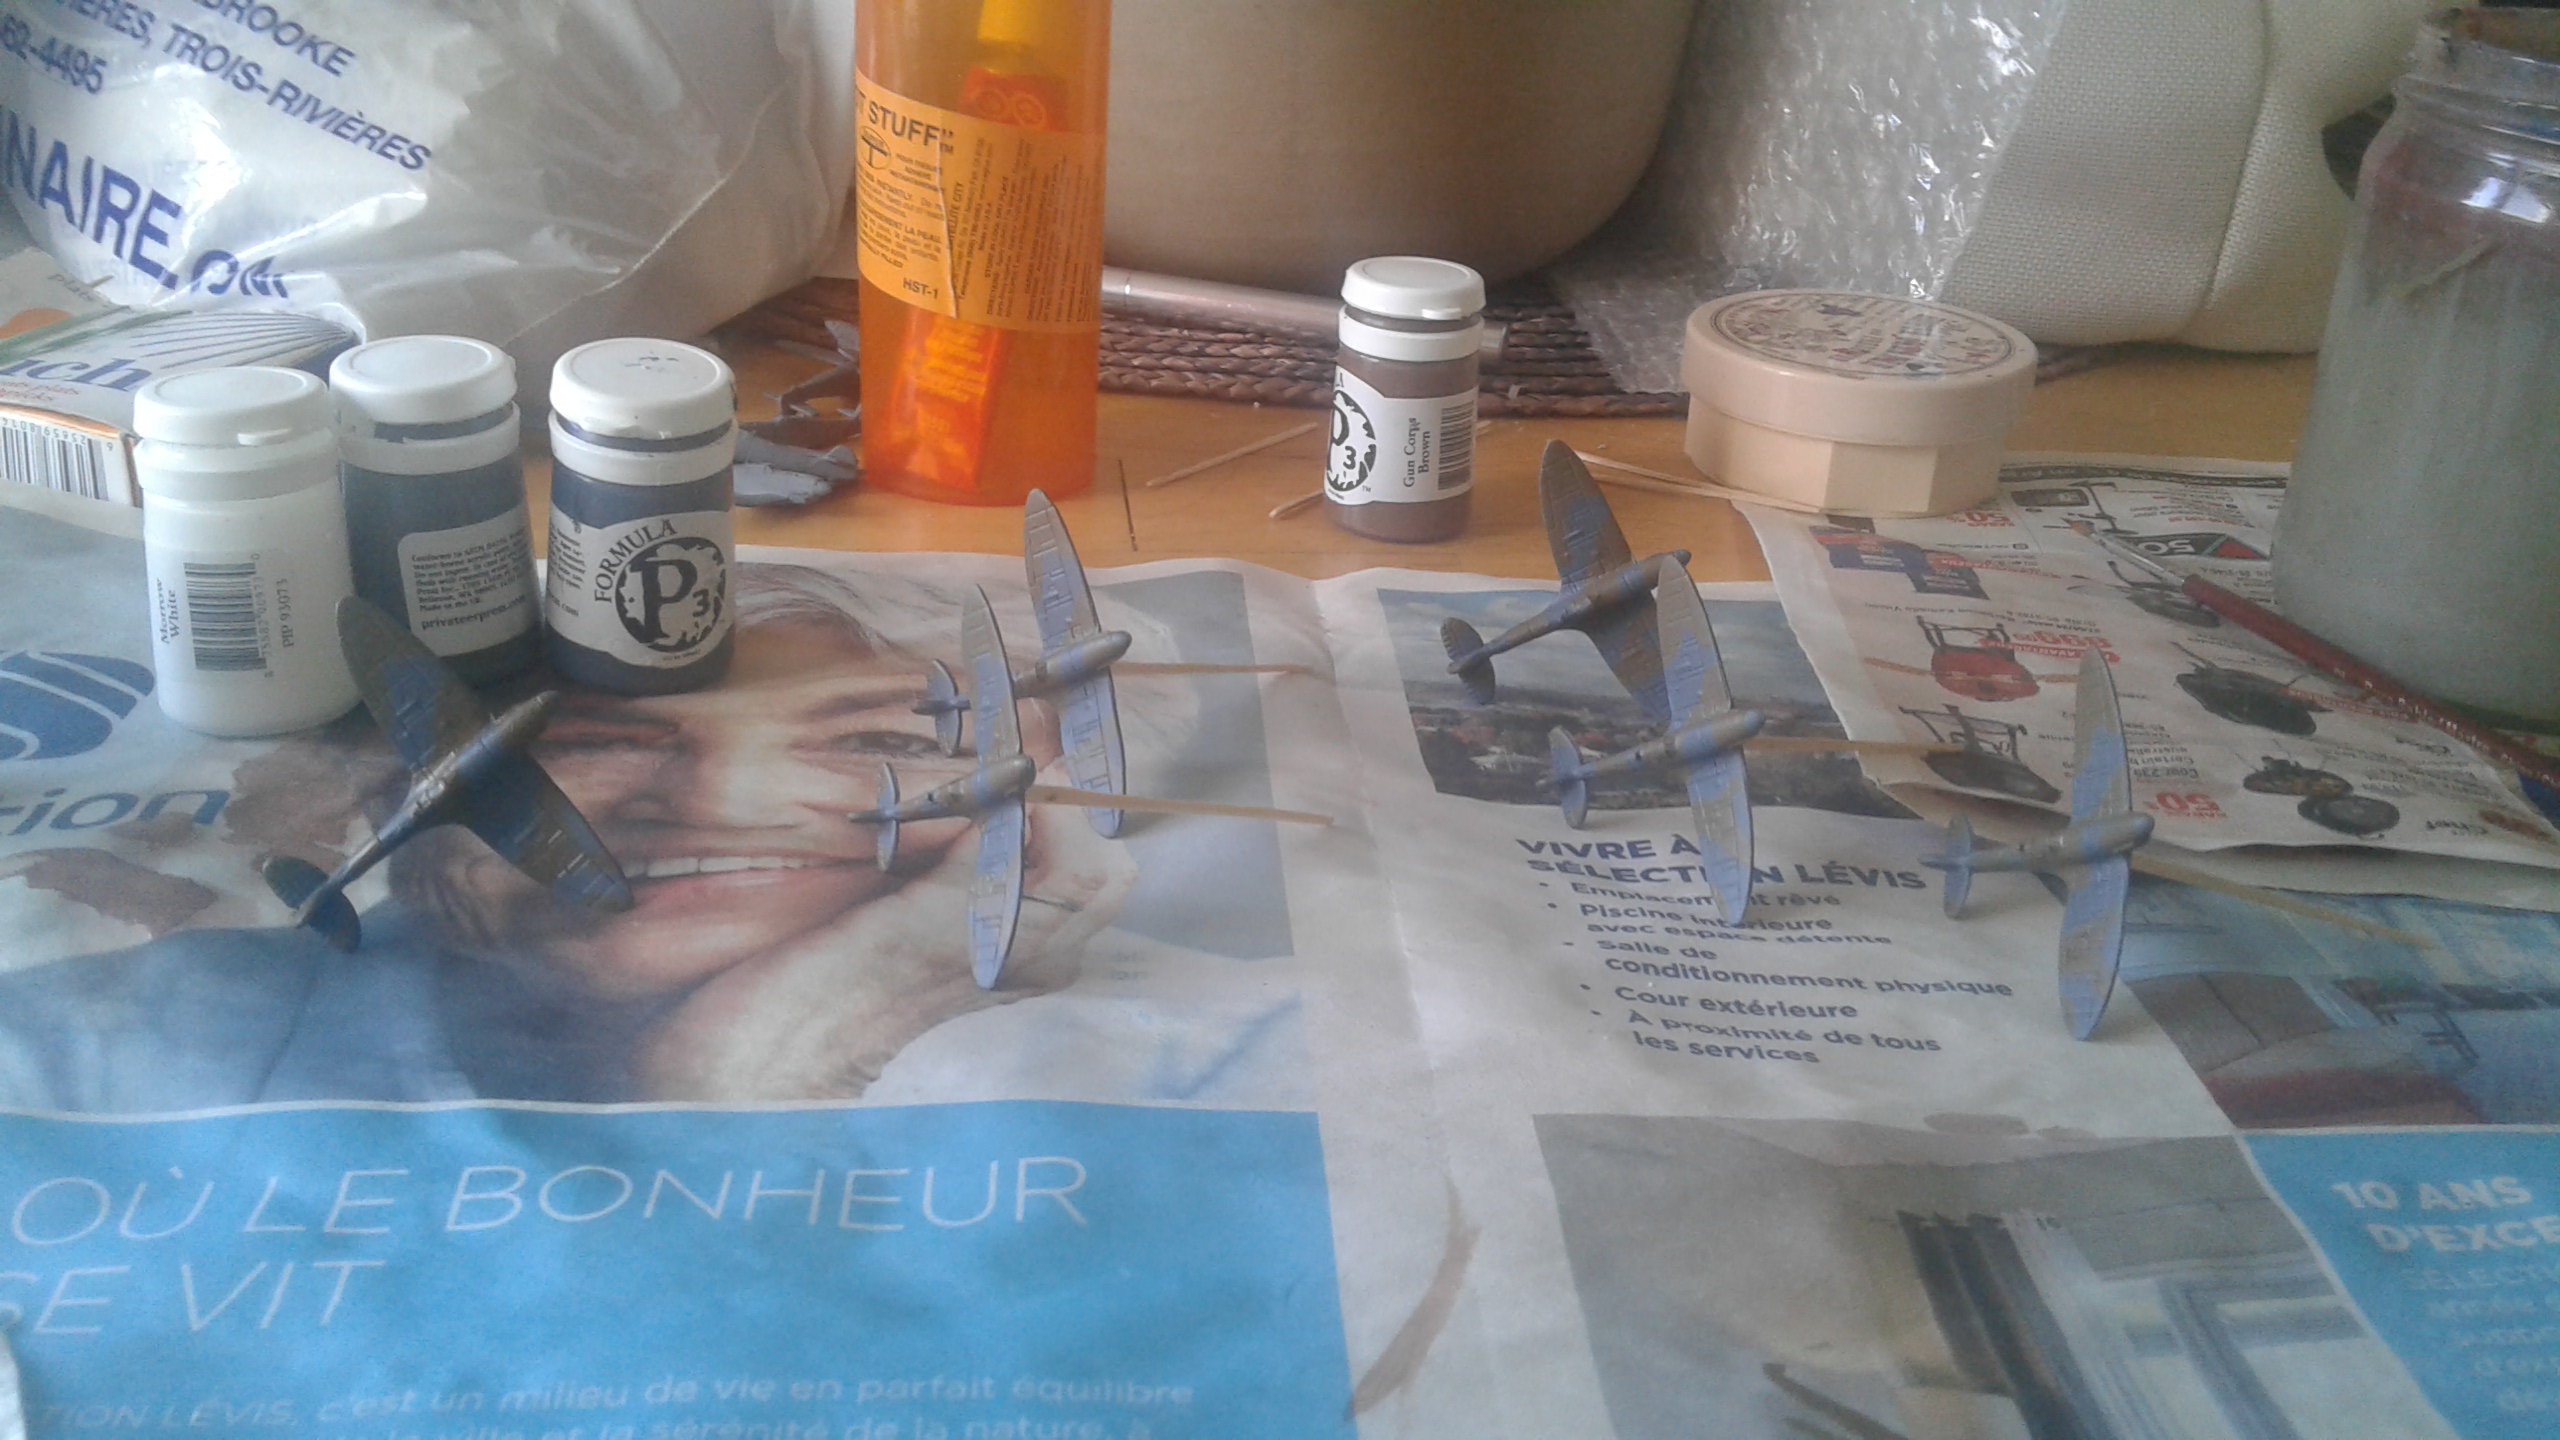
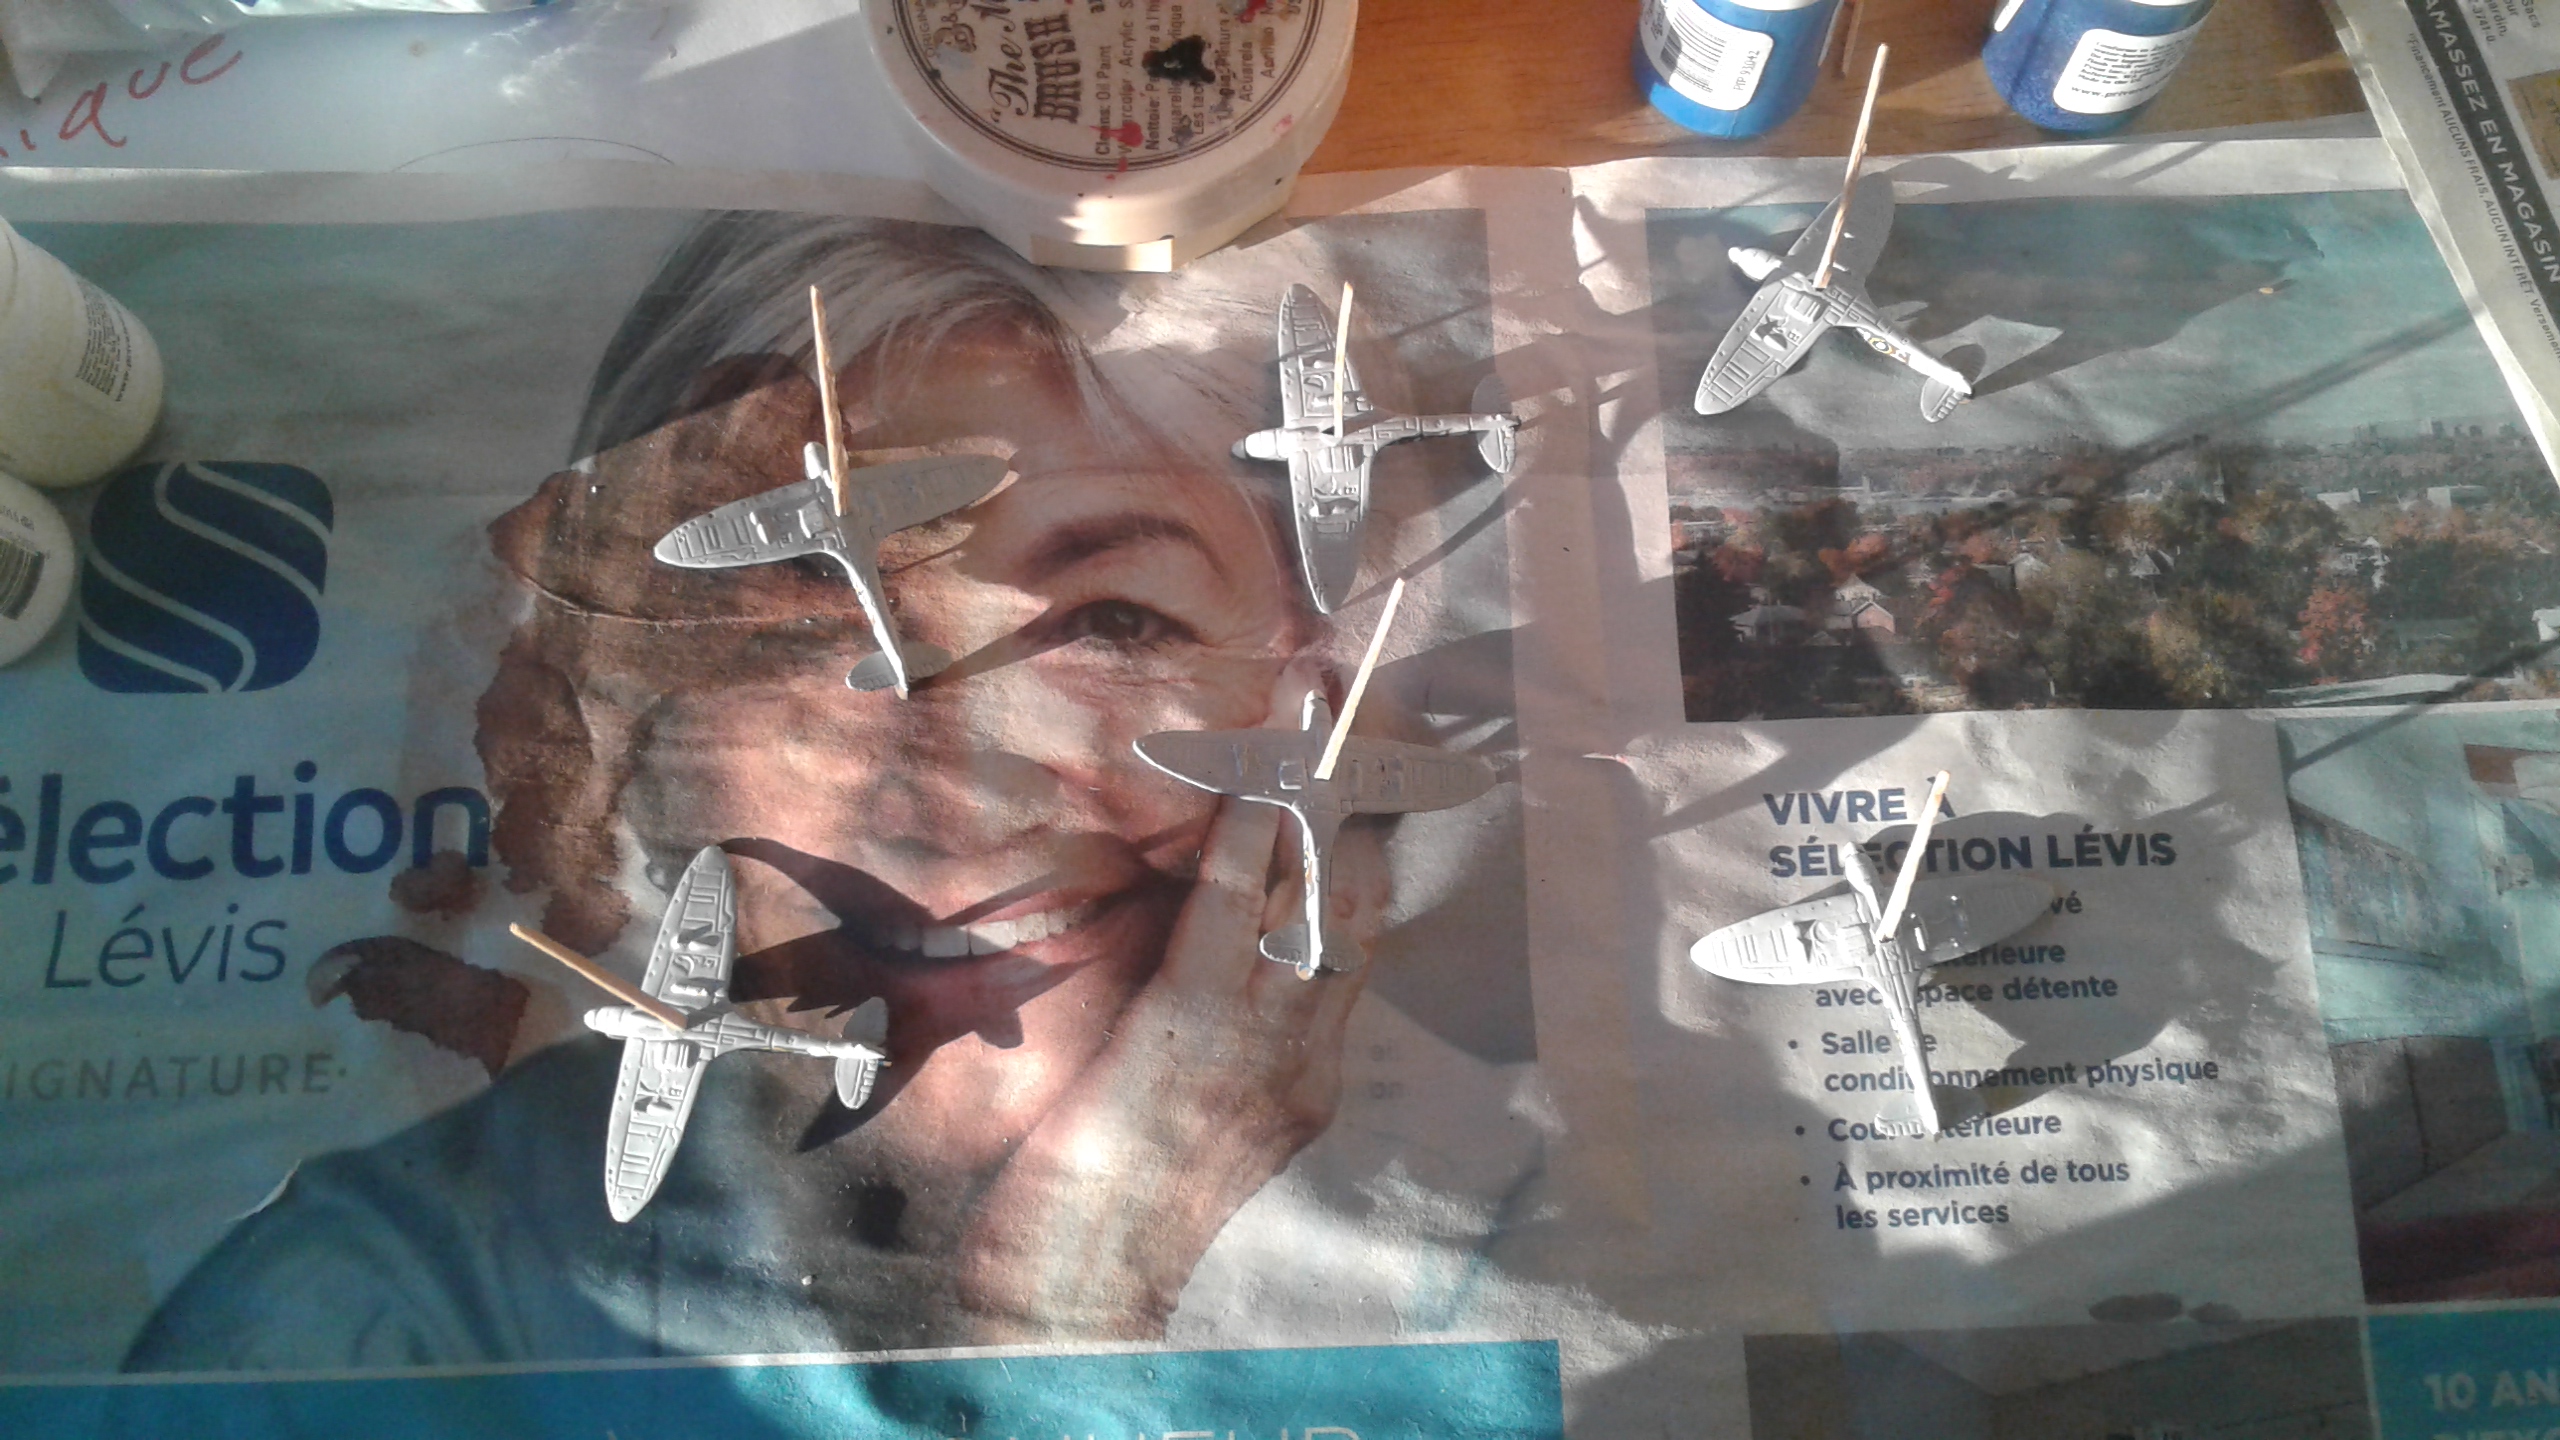
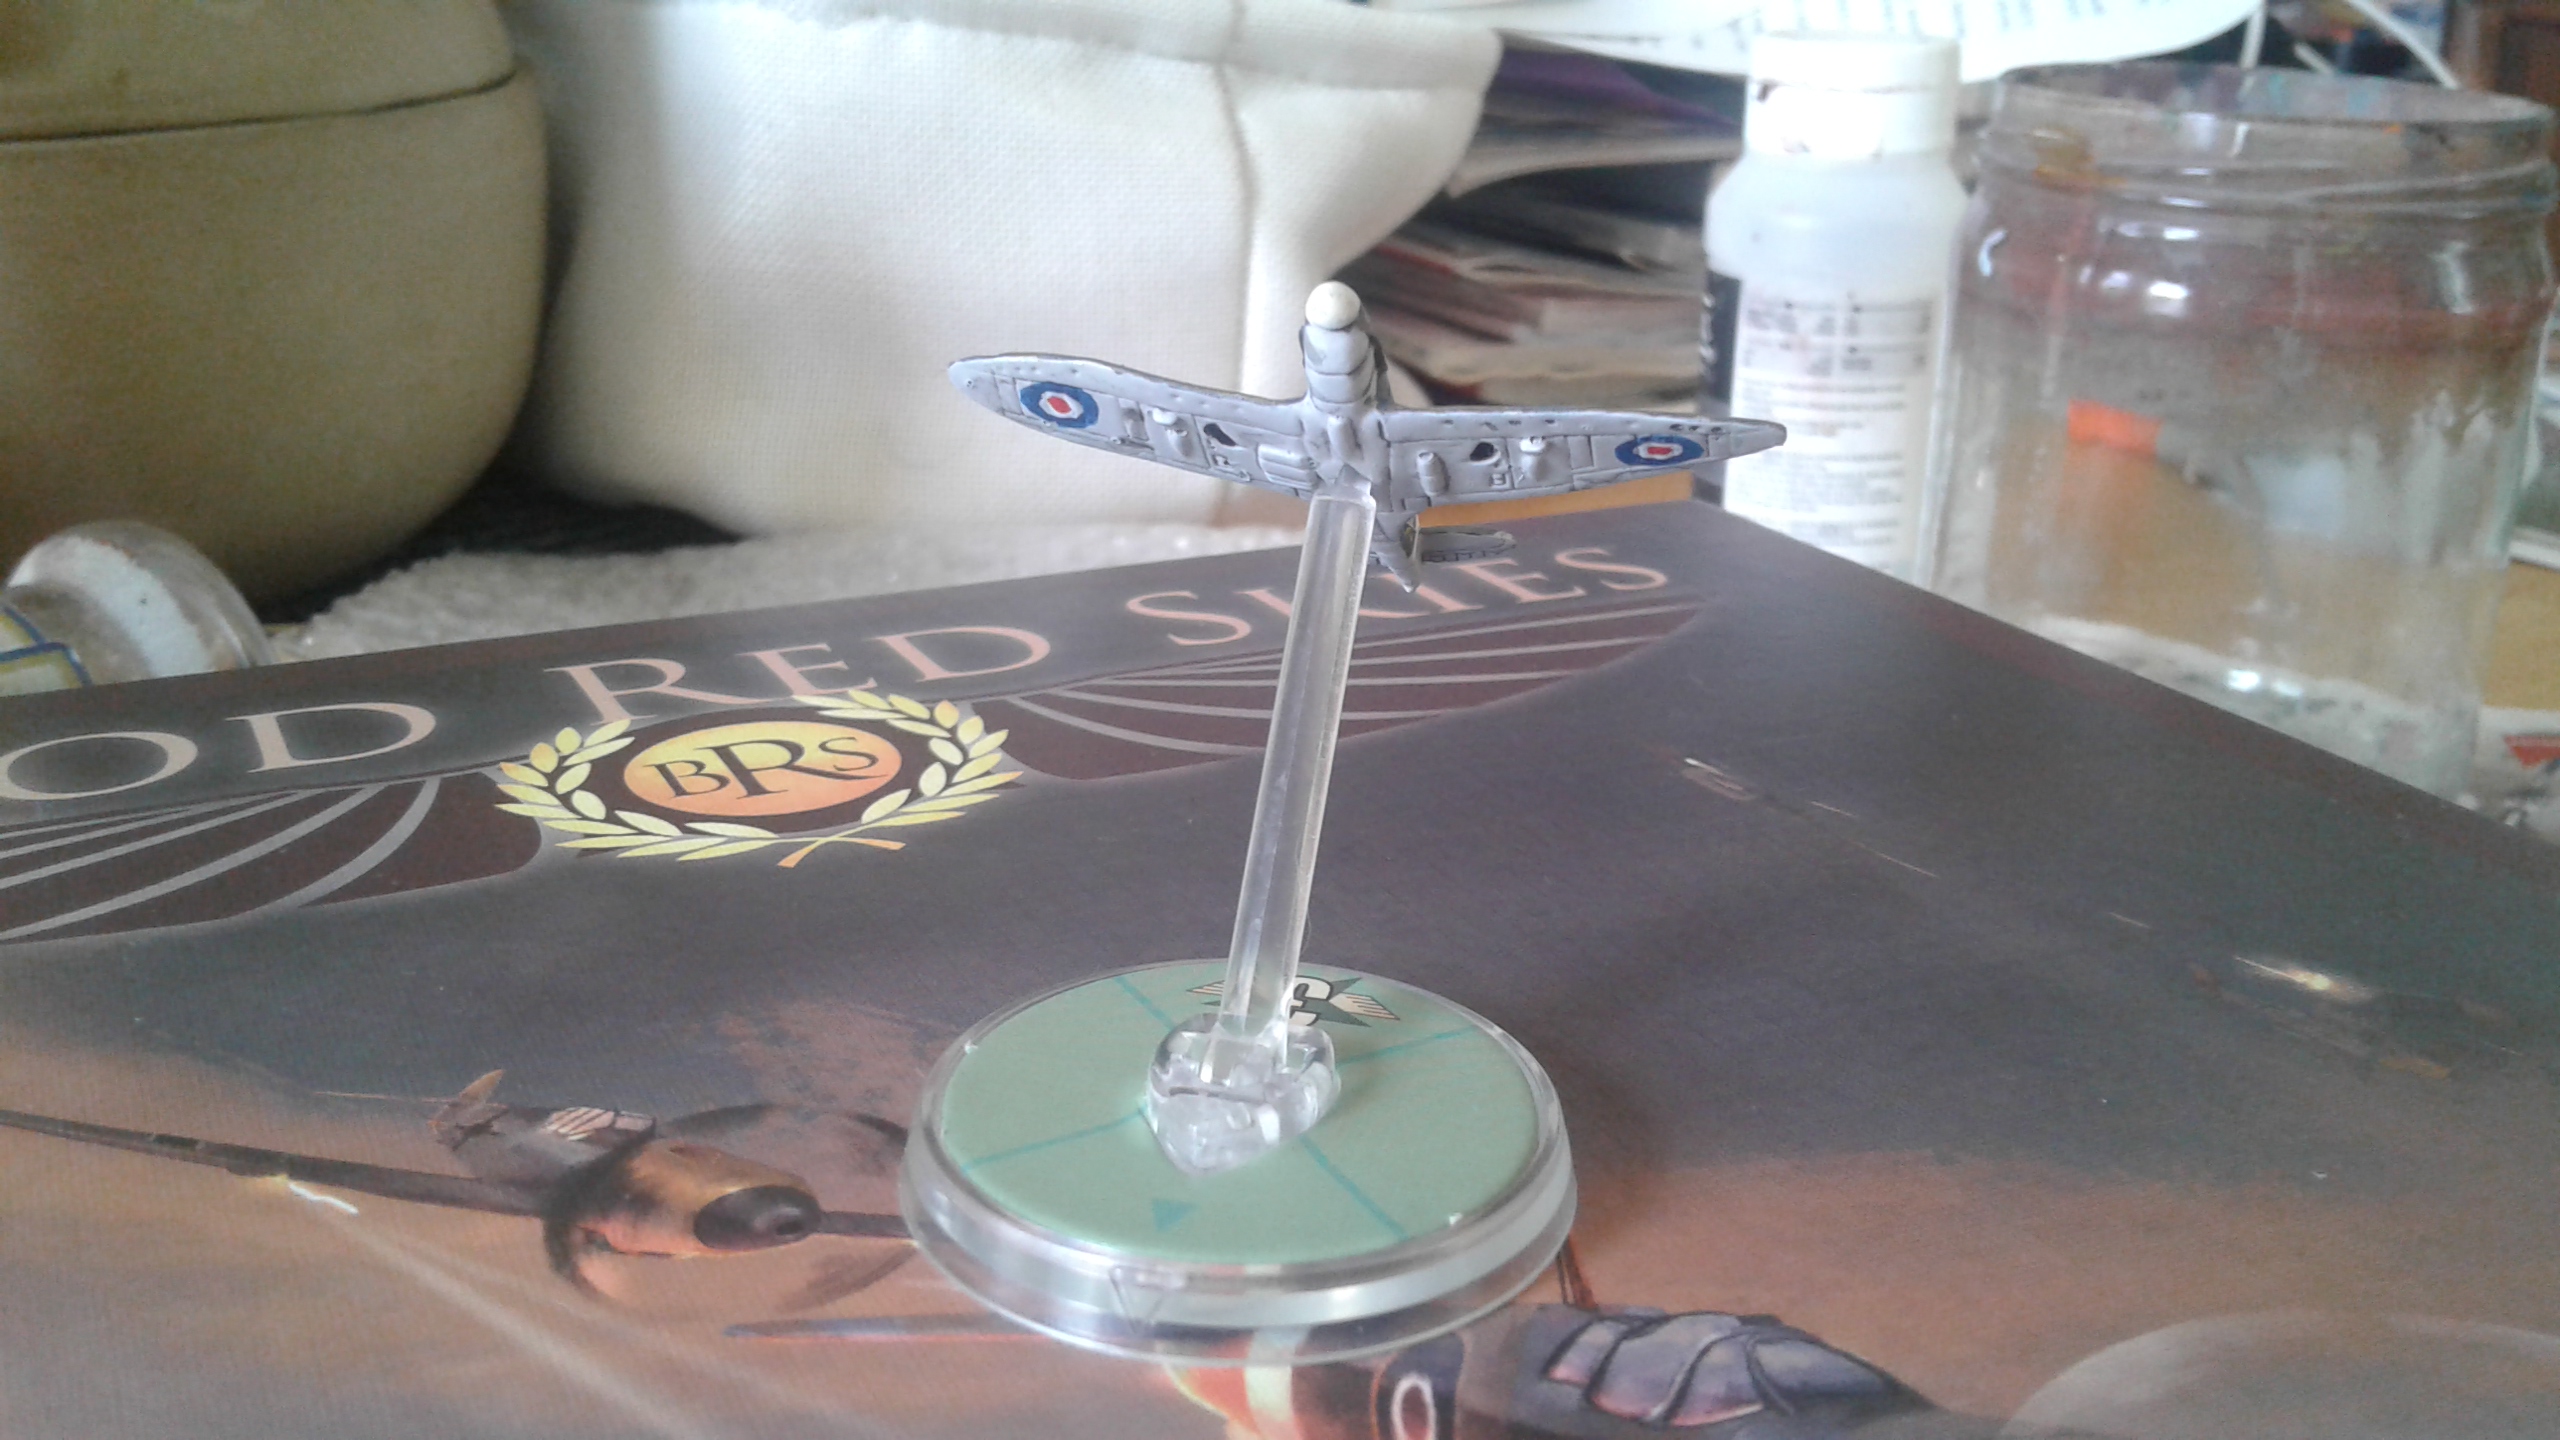
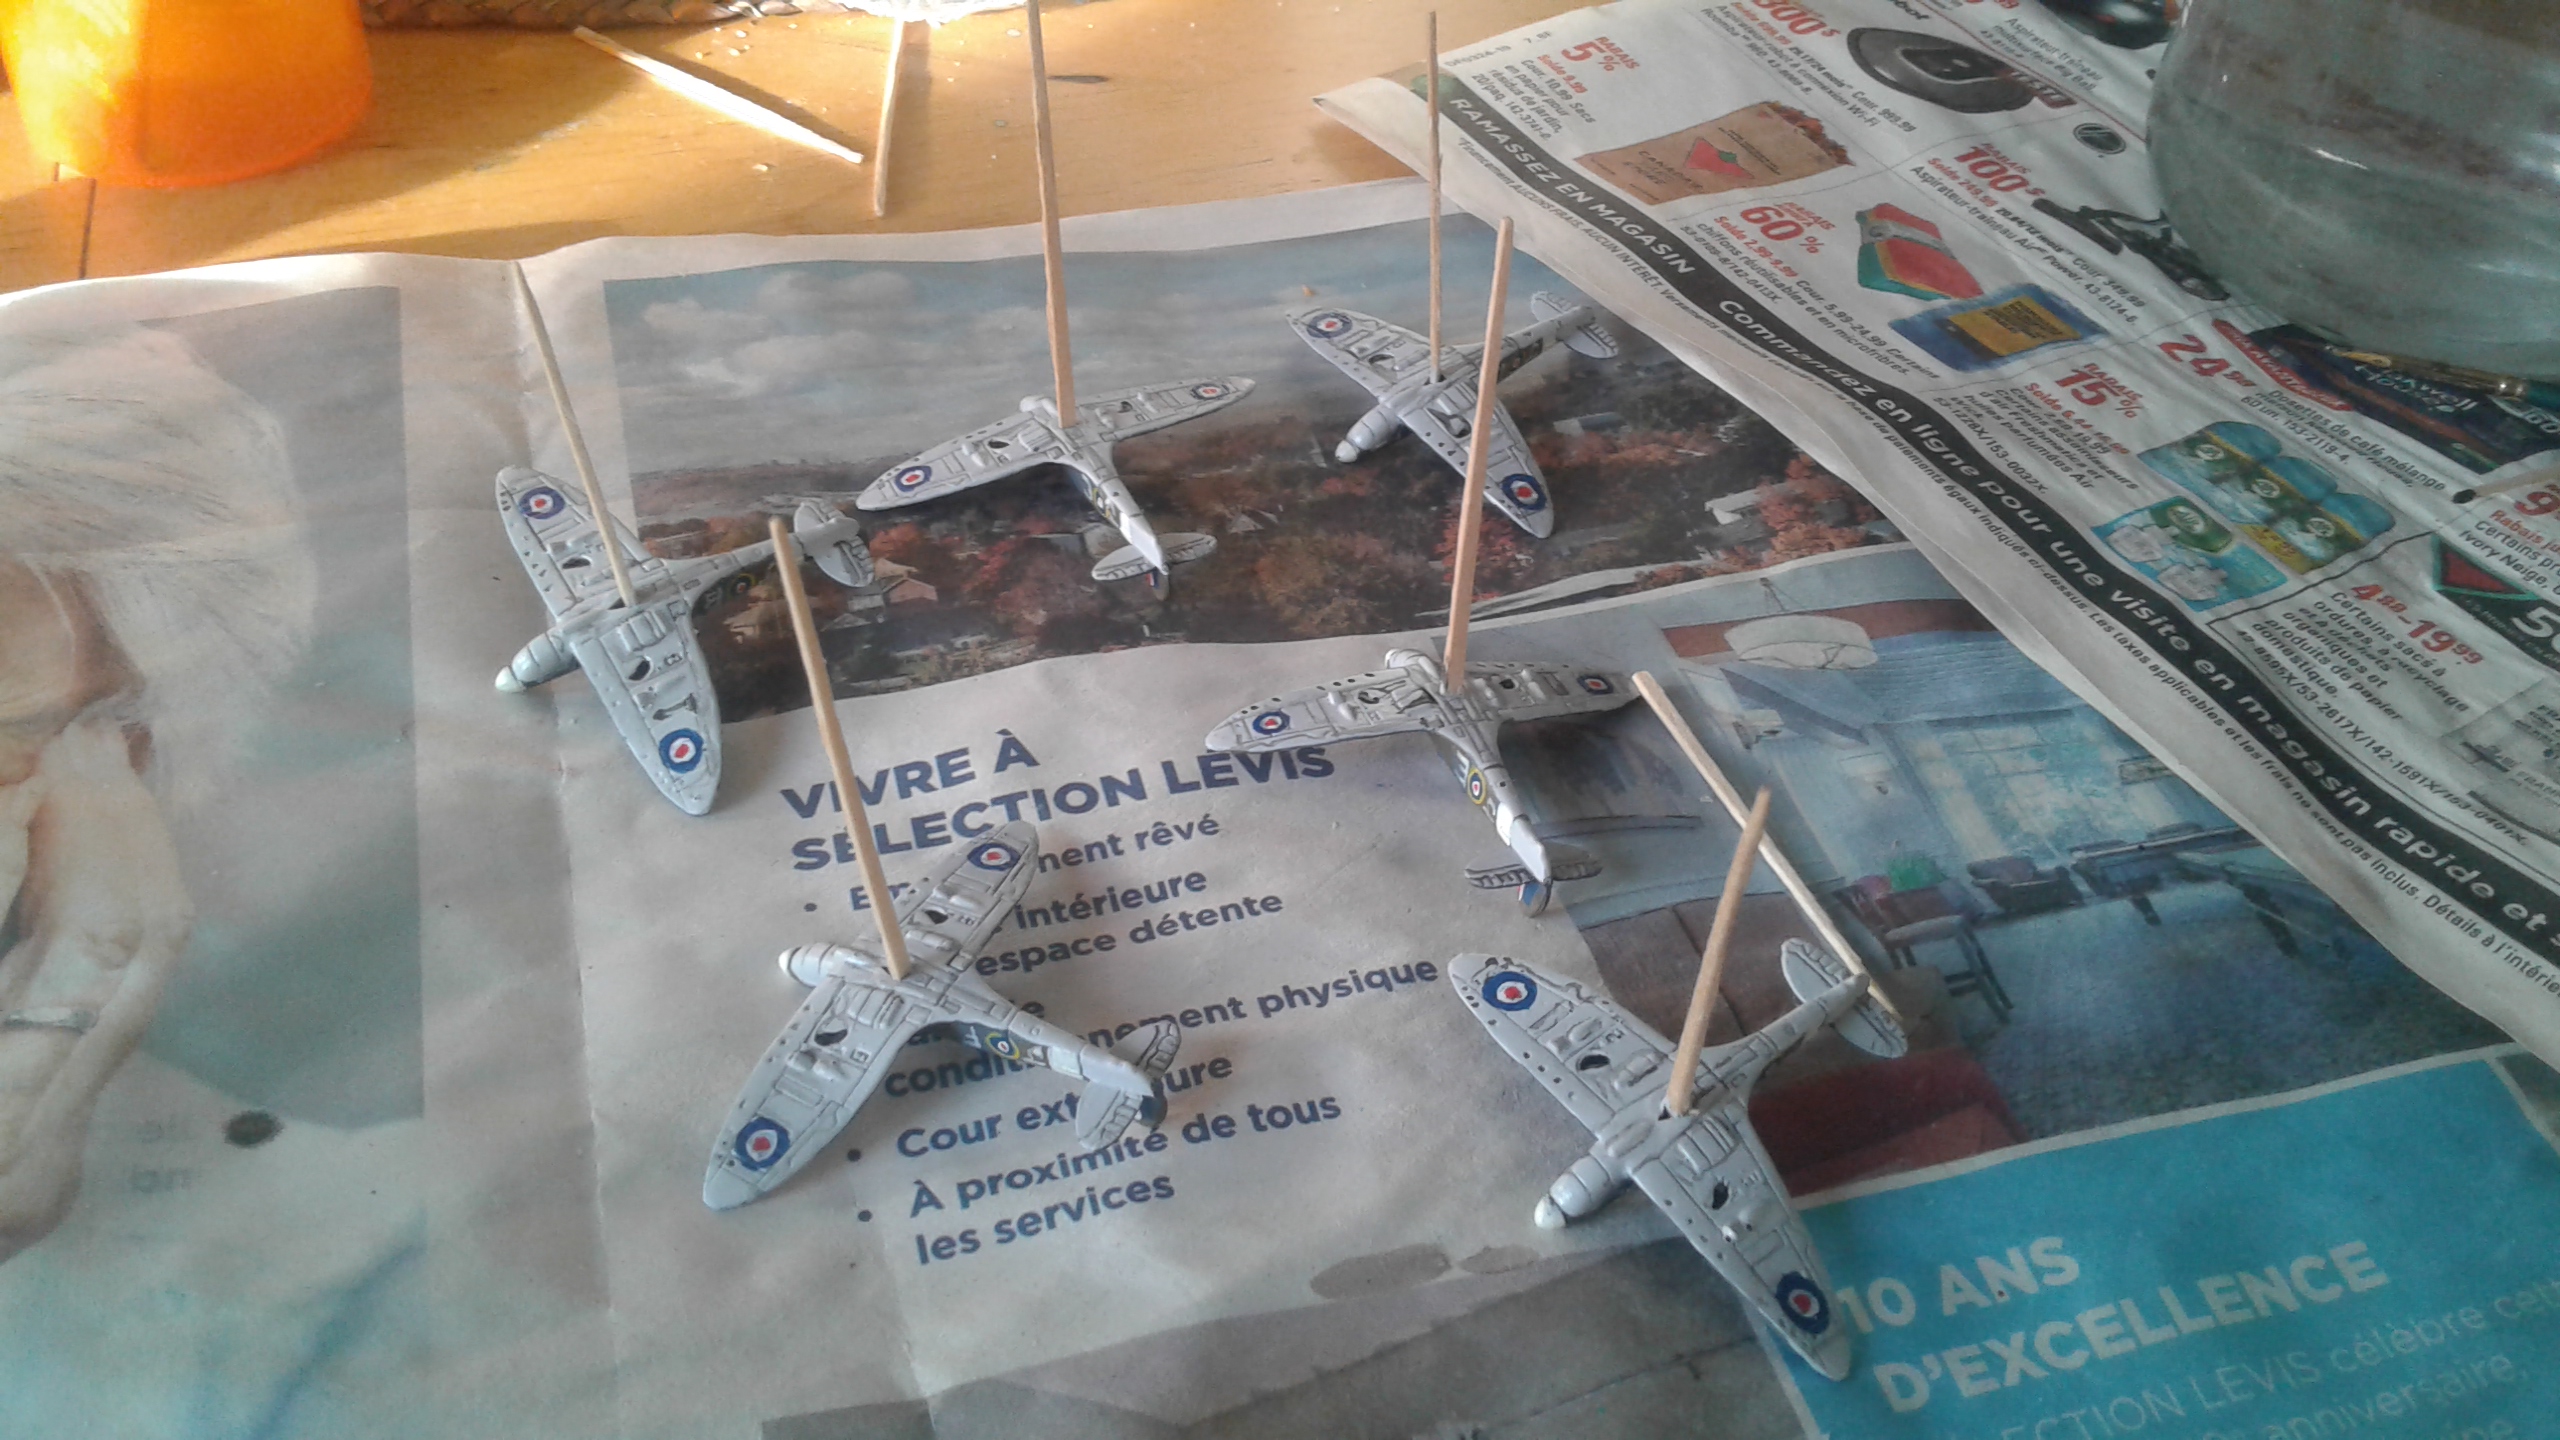
So here is a couple of pictures of the beginning of the painting for the Spitfires. Primed everything light gray as most camo schemes for airplanes involve some kind of white, really light grey or really light blue. No zenith or anything too fancy, a simple rattle can primer. I stole an idea from John and inserted toothpicks in the hole where the flight stand normally goes. This way I can handle each little plane without touching the paint.
The planes themselves are of ok quality. The detail on them is not bad but it could be better. I guess it’s all a question of price vs. quality. Once all painted the detail is still there which is what you want. However, this also means that some details are too gross. For example the tailplanes on both the Spitfire and BF-109 are way too thick. Then again, I guess you couldn’t produce something thinner and have it keep its shape. This happens with the wings with pretty much all o them bending heavily. If anyone has any tips for that let me know.

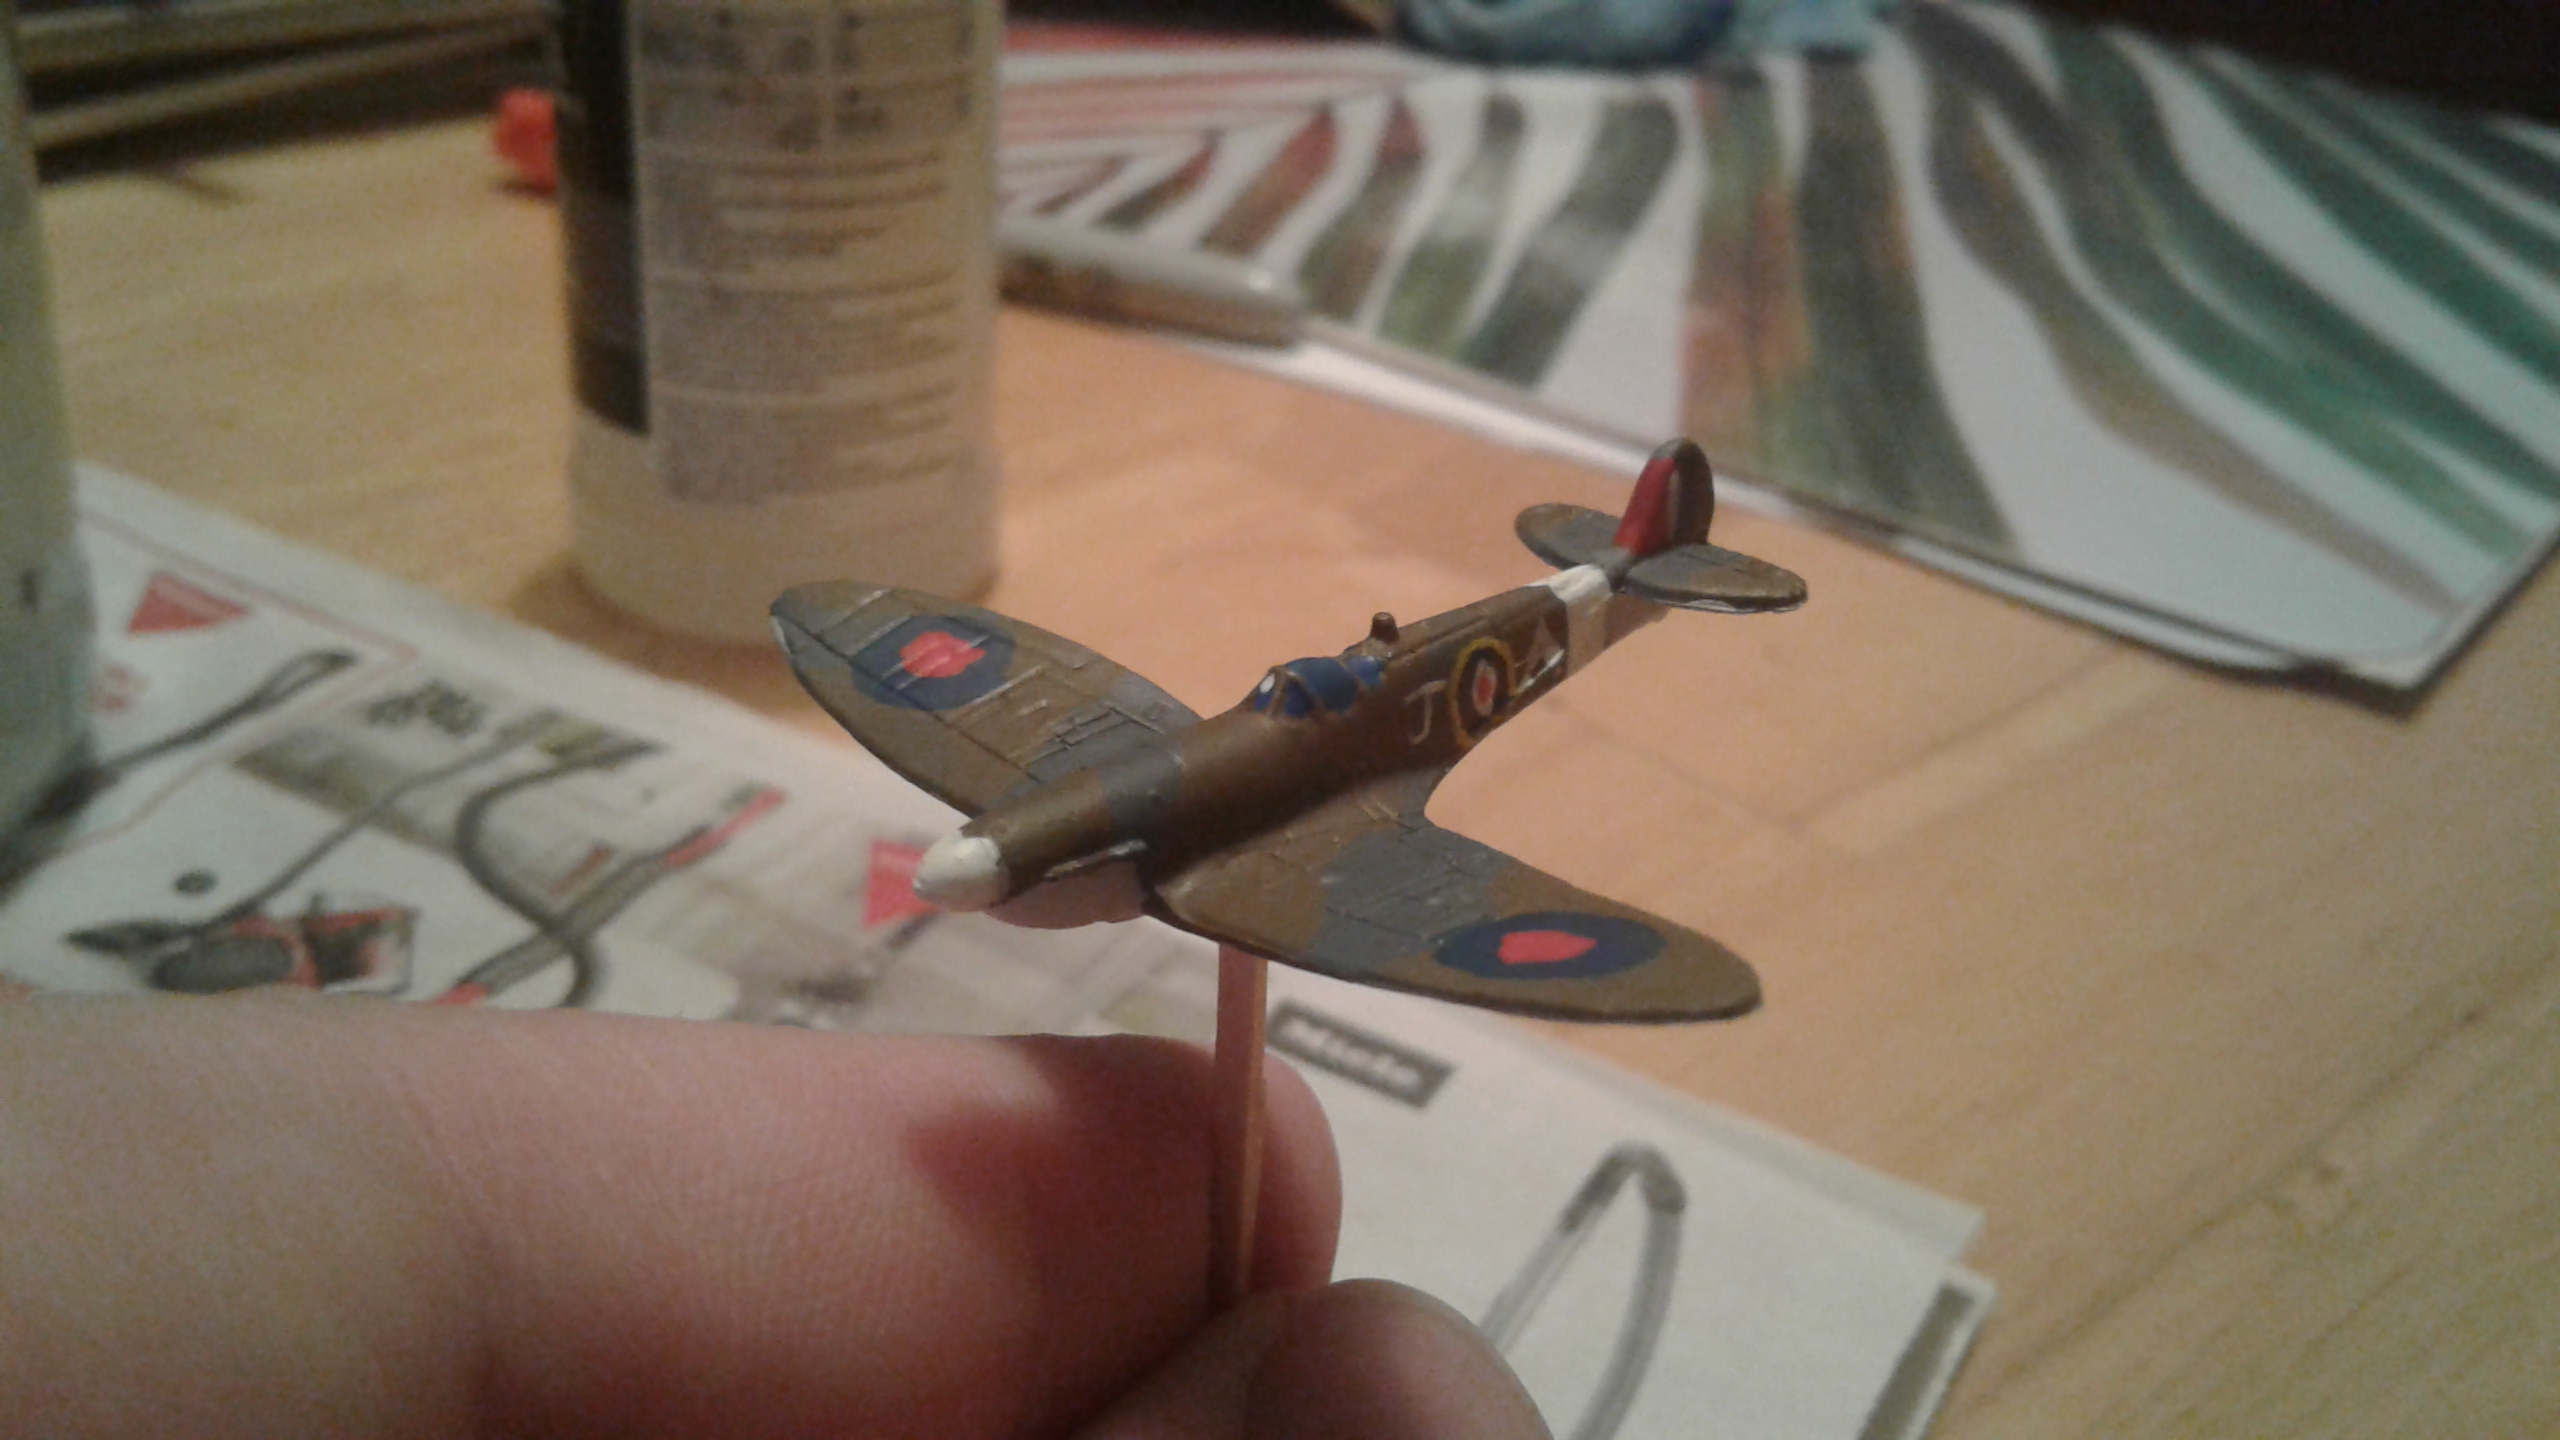
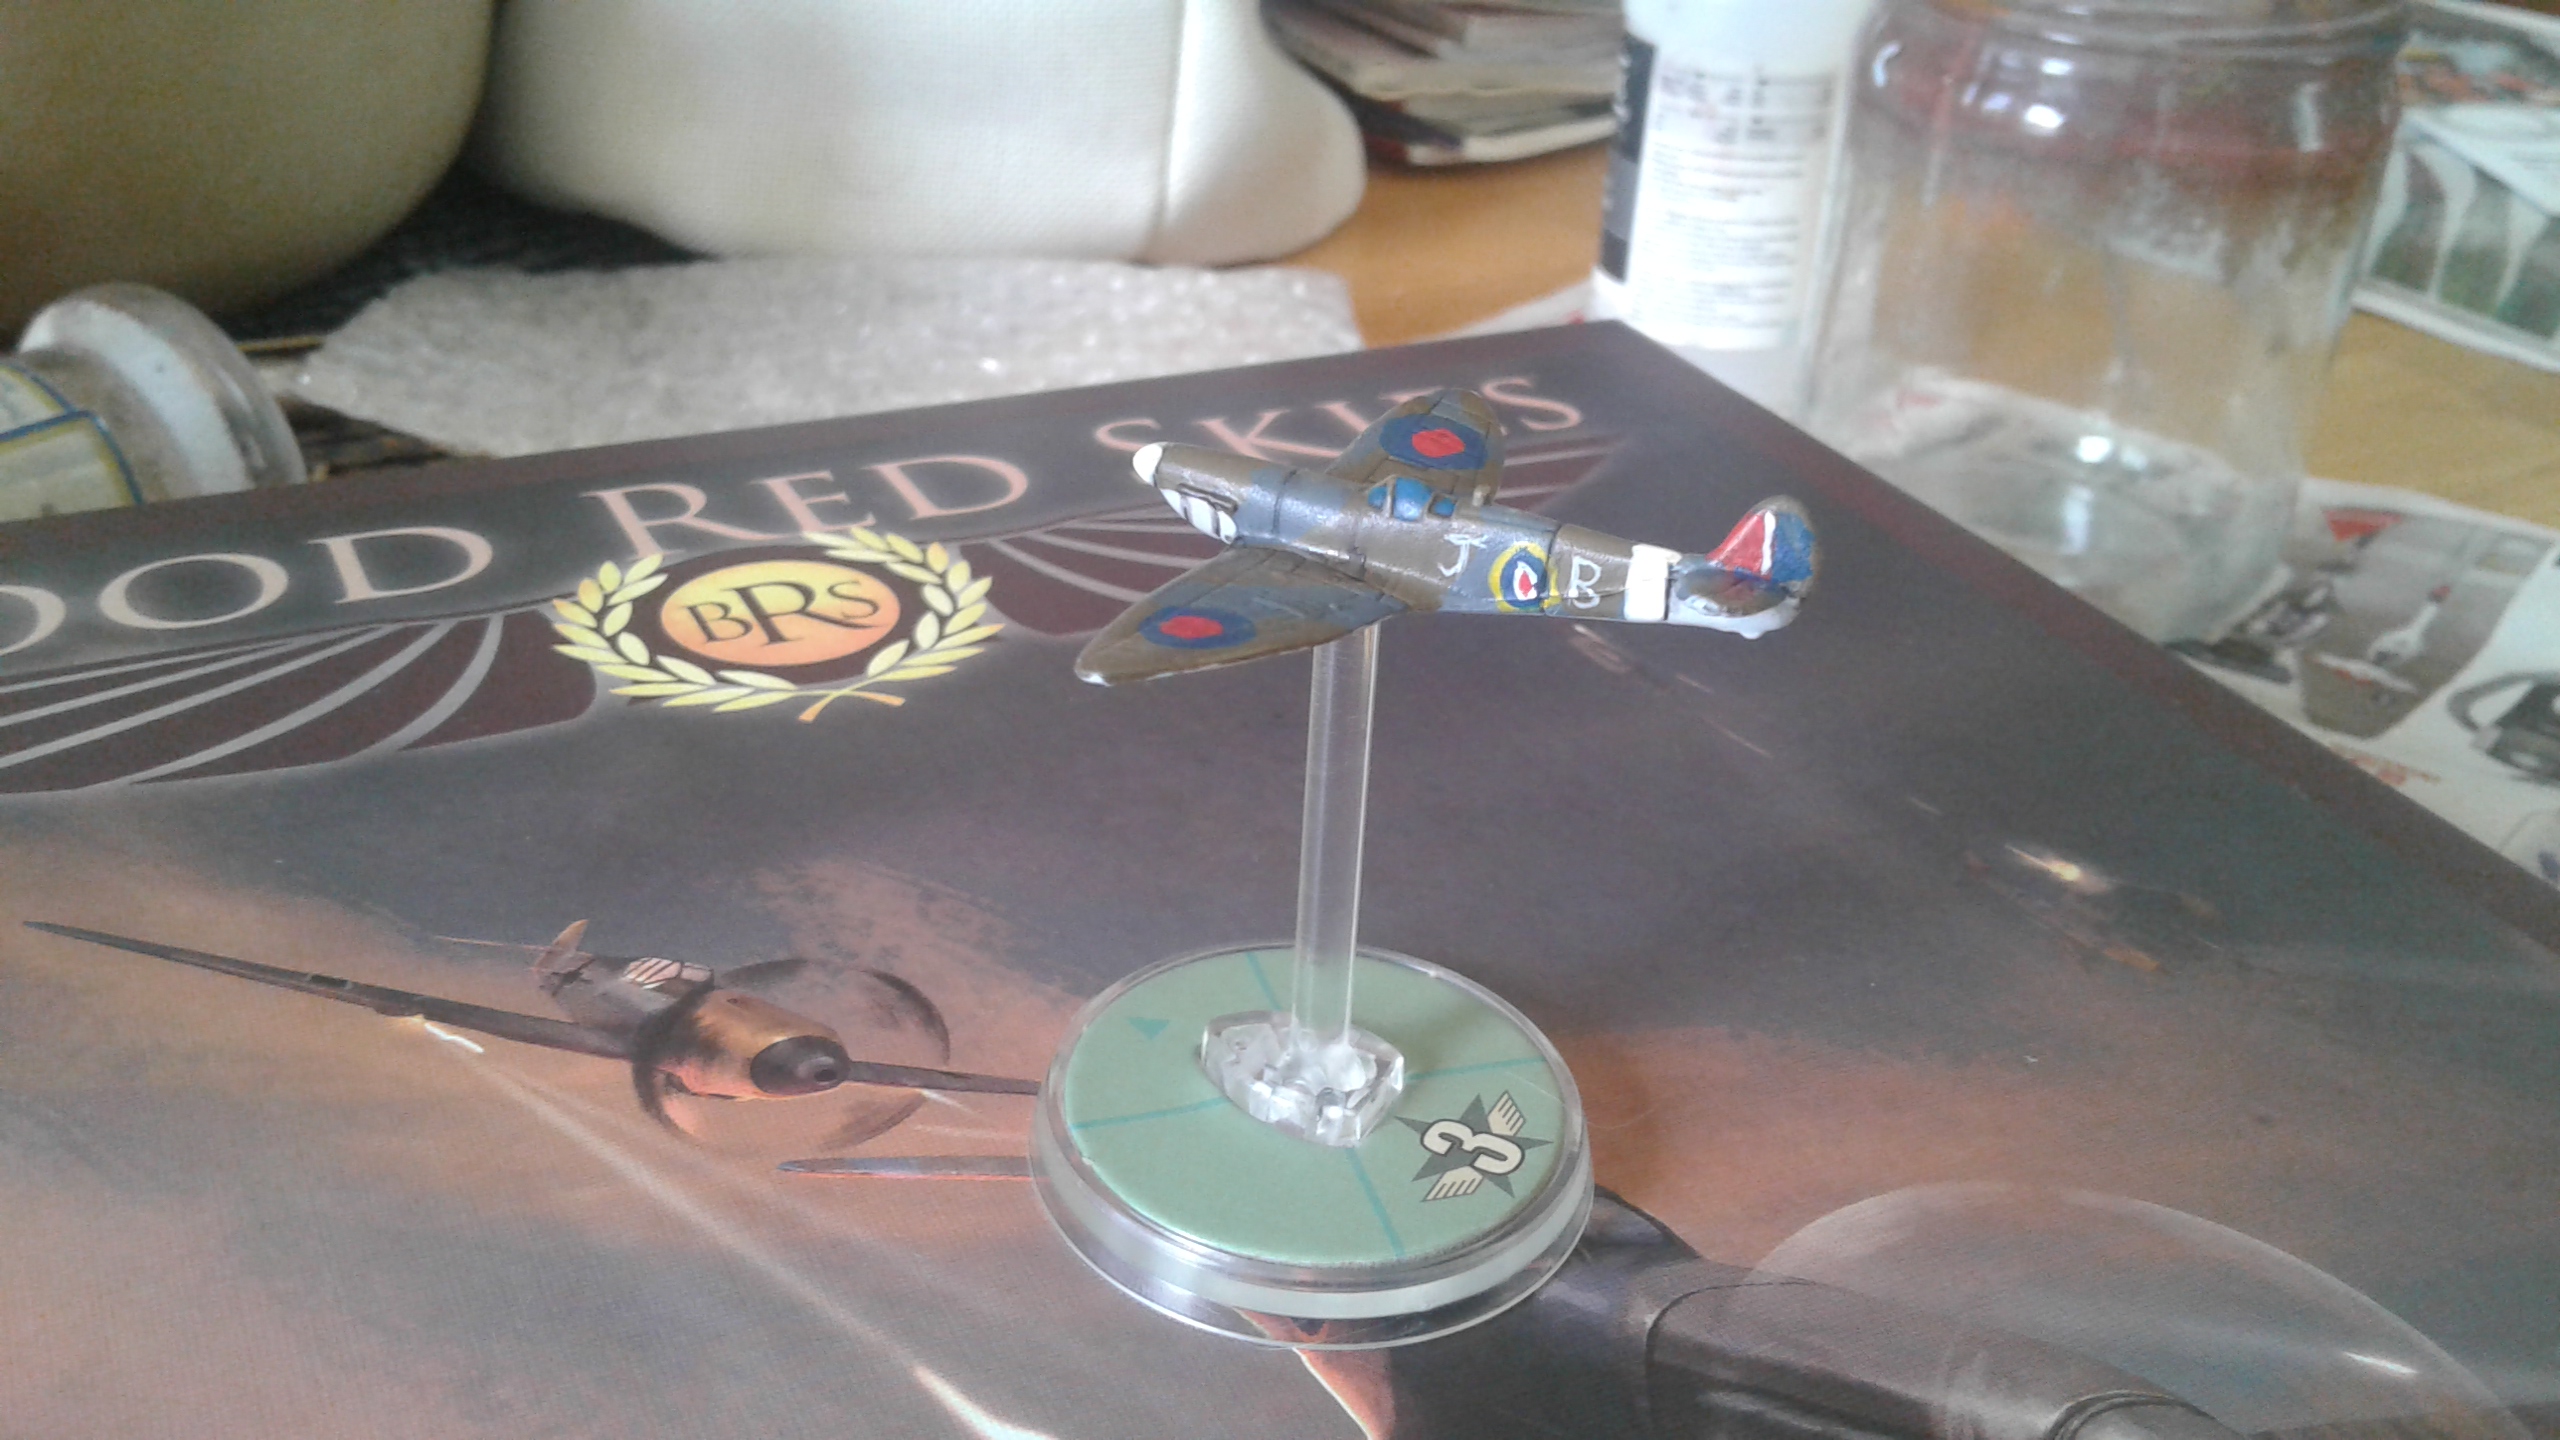
Some random paint scheme.
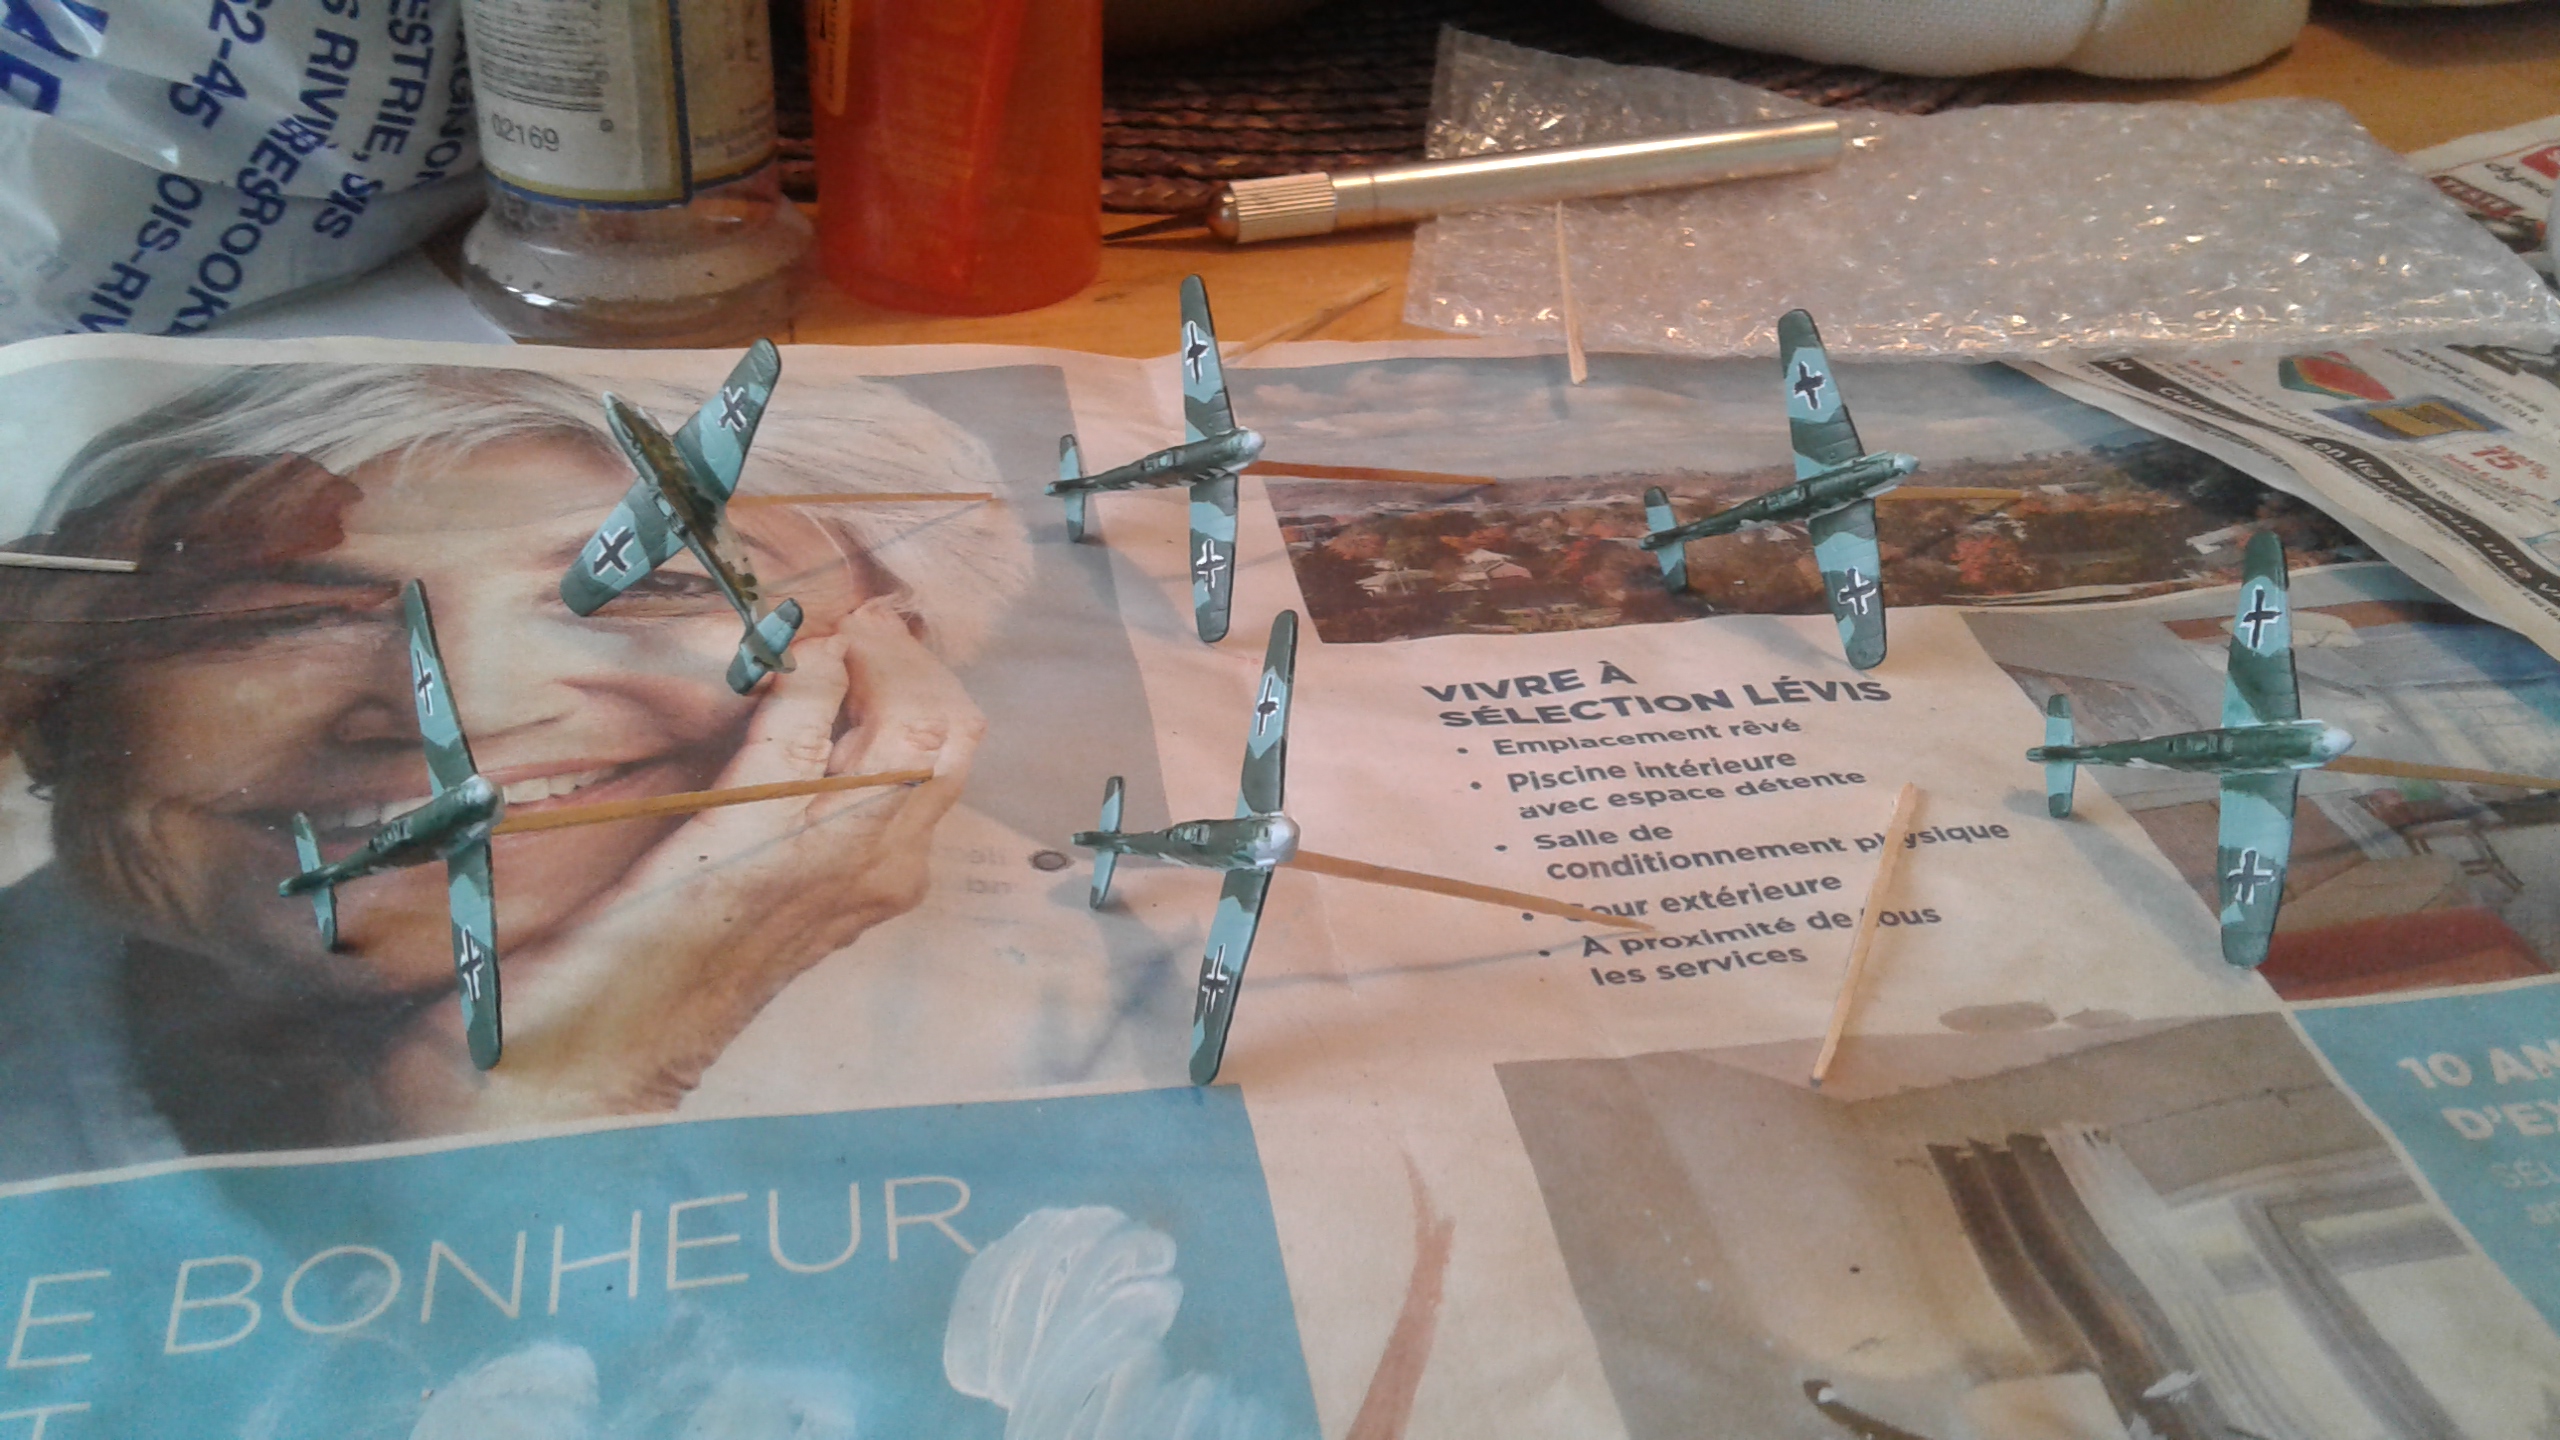
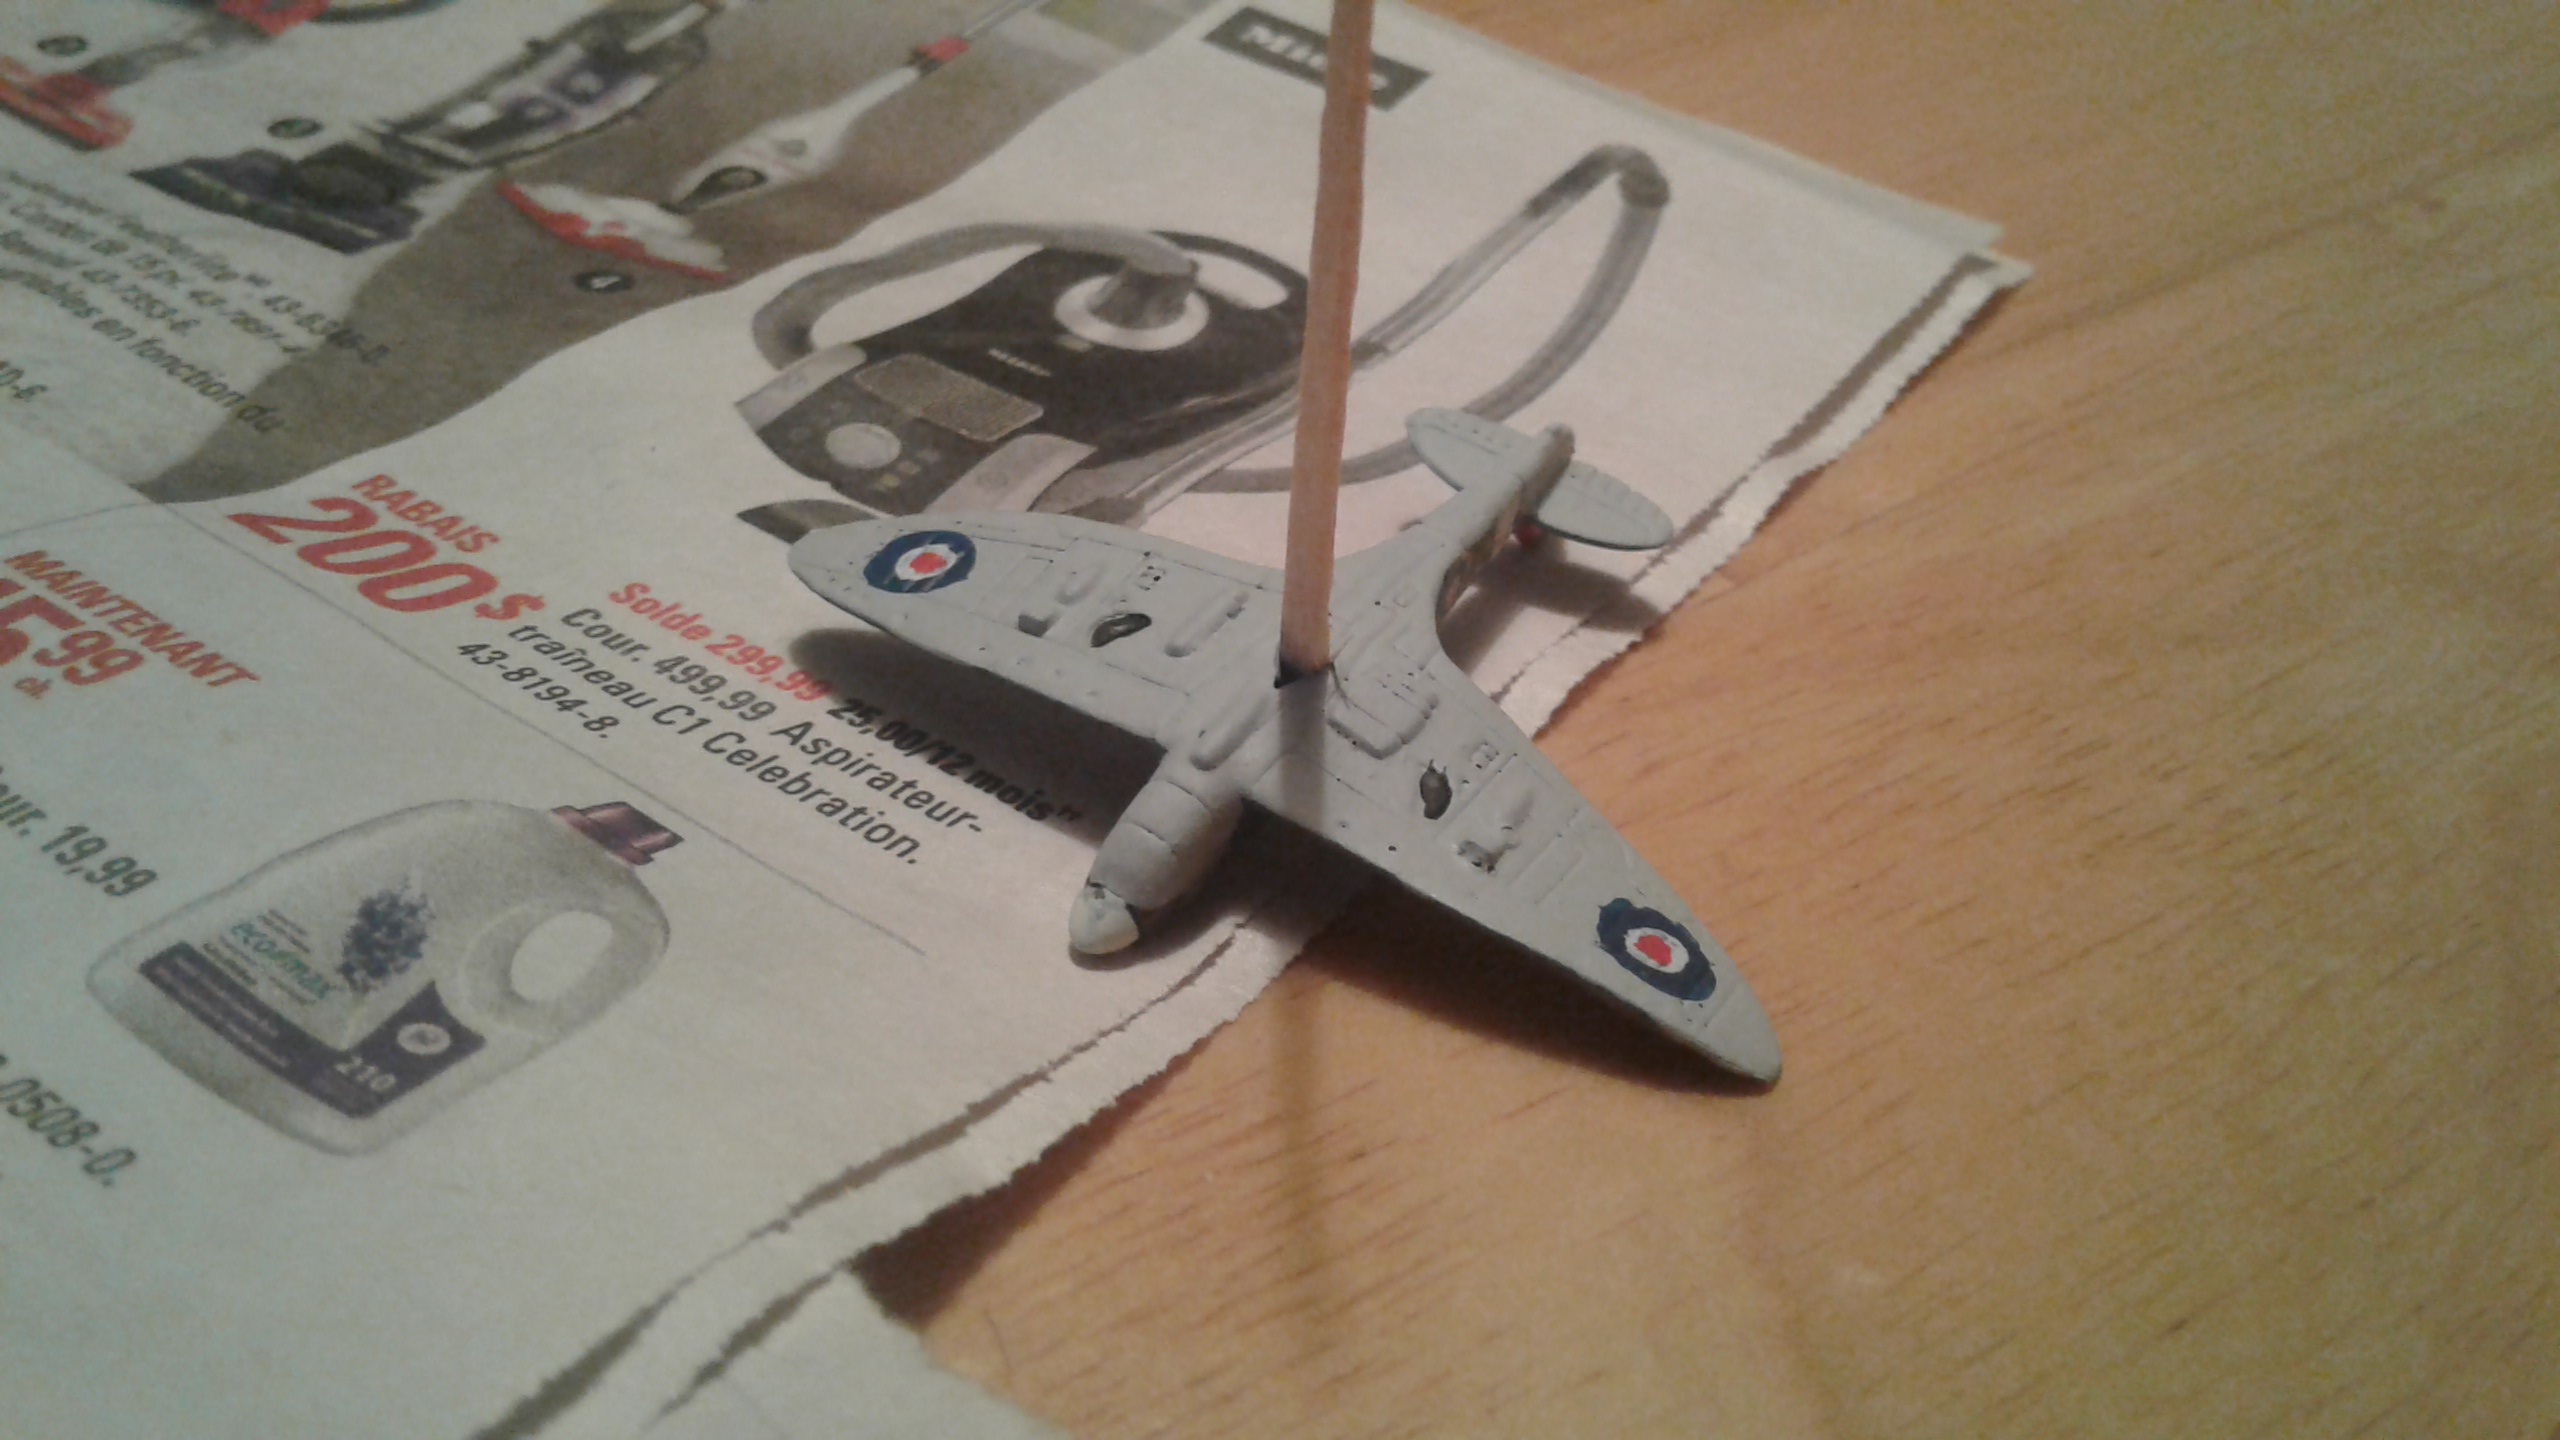
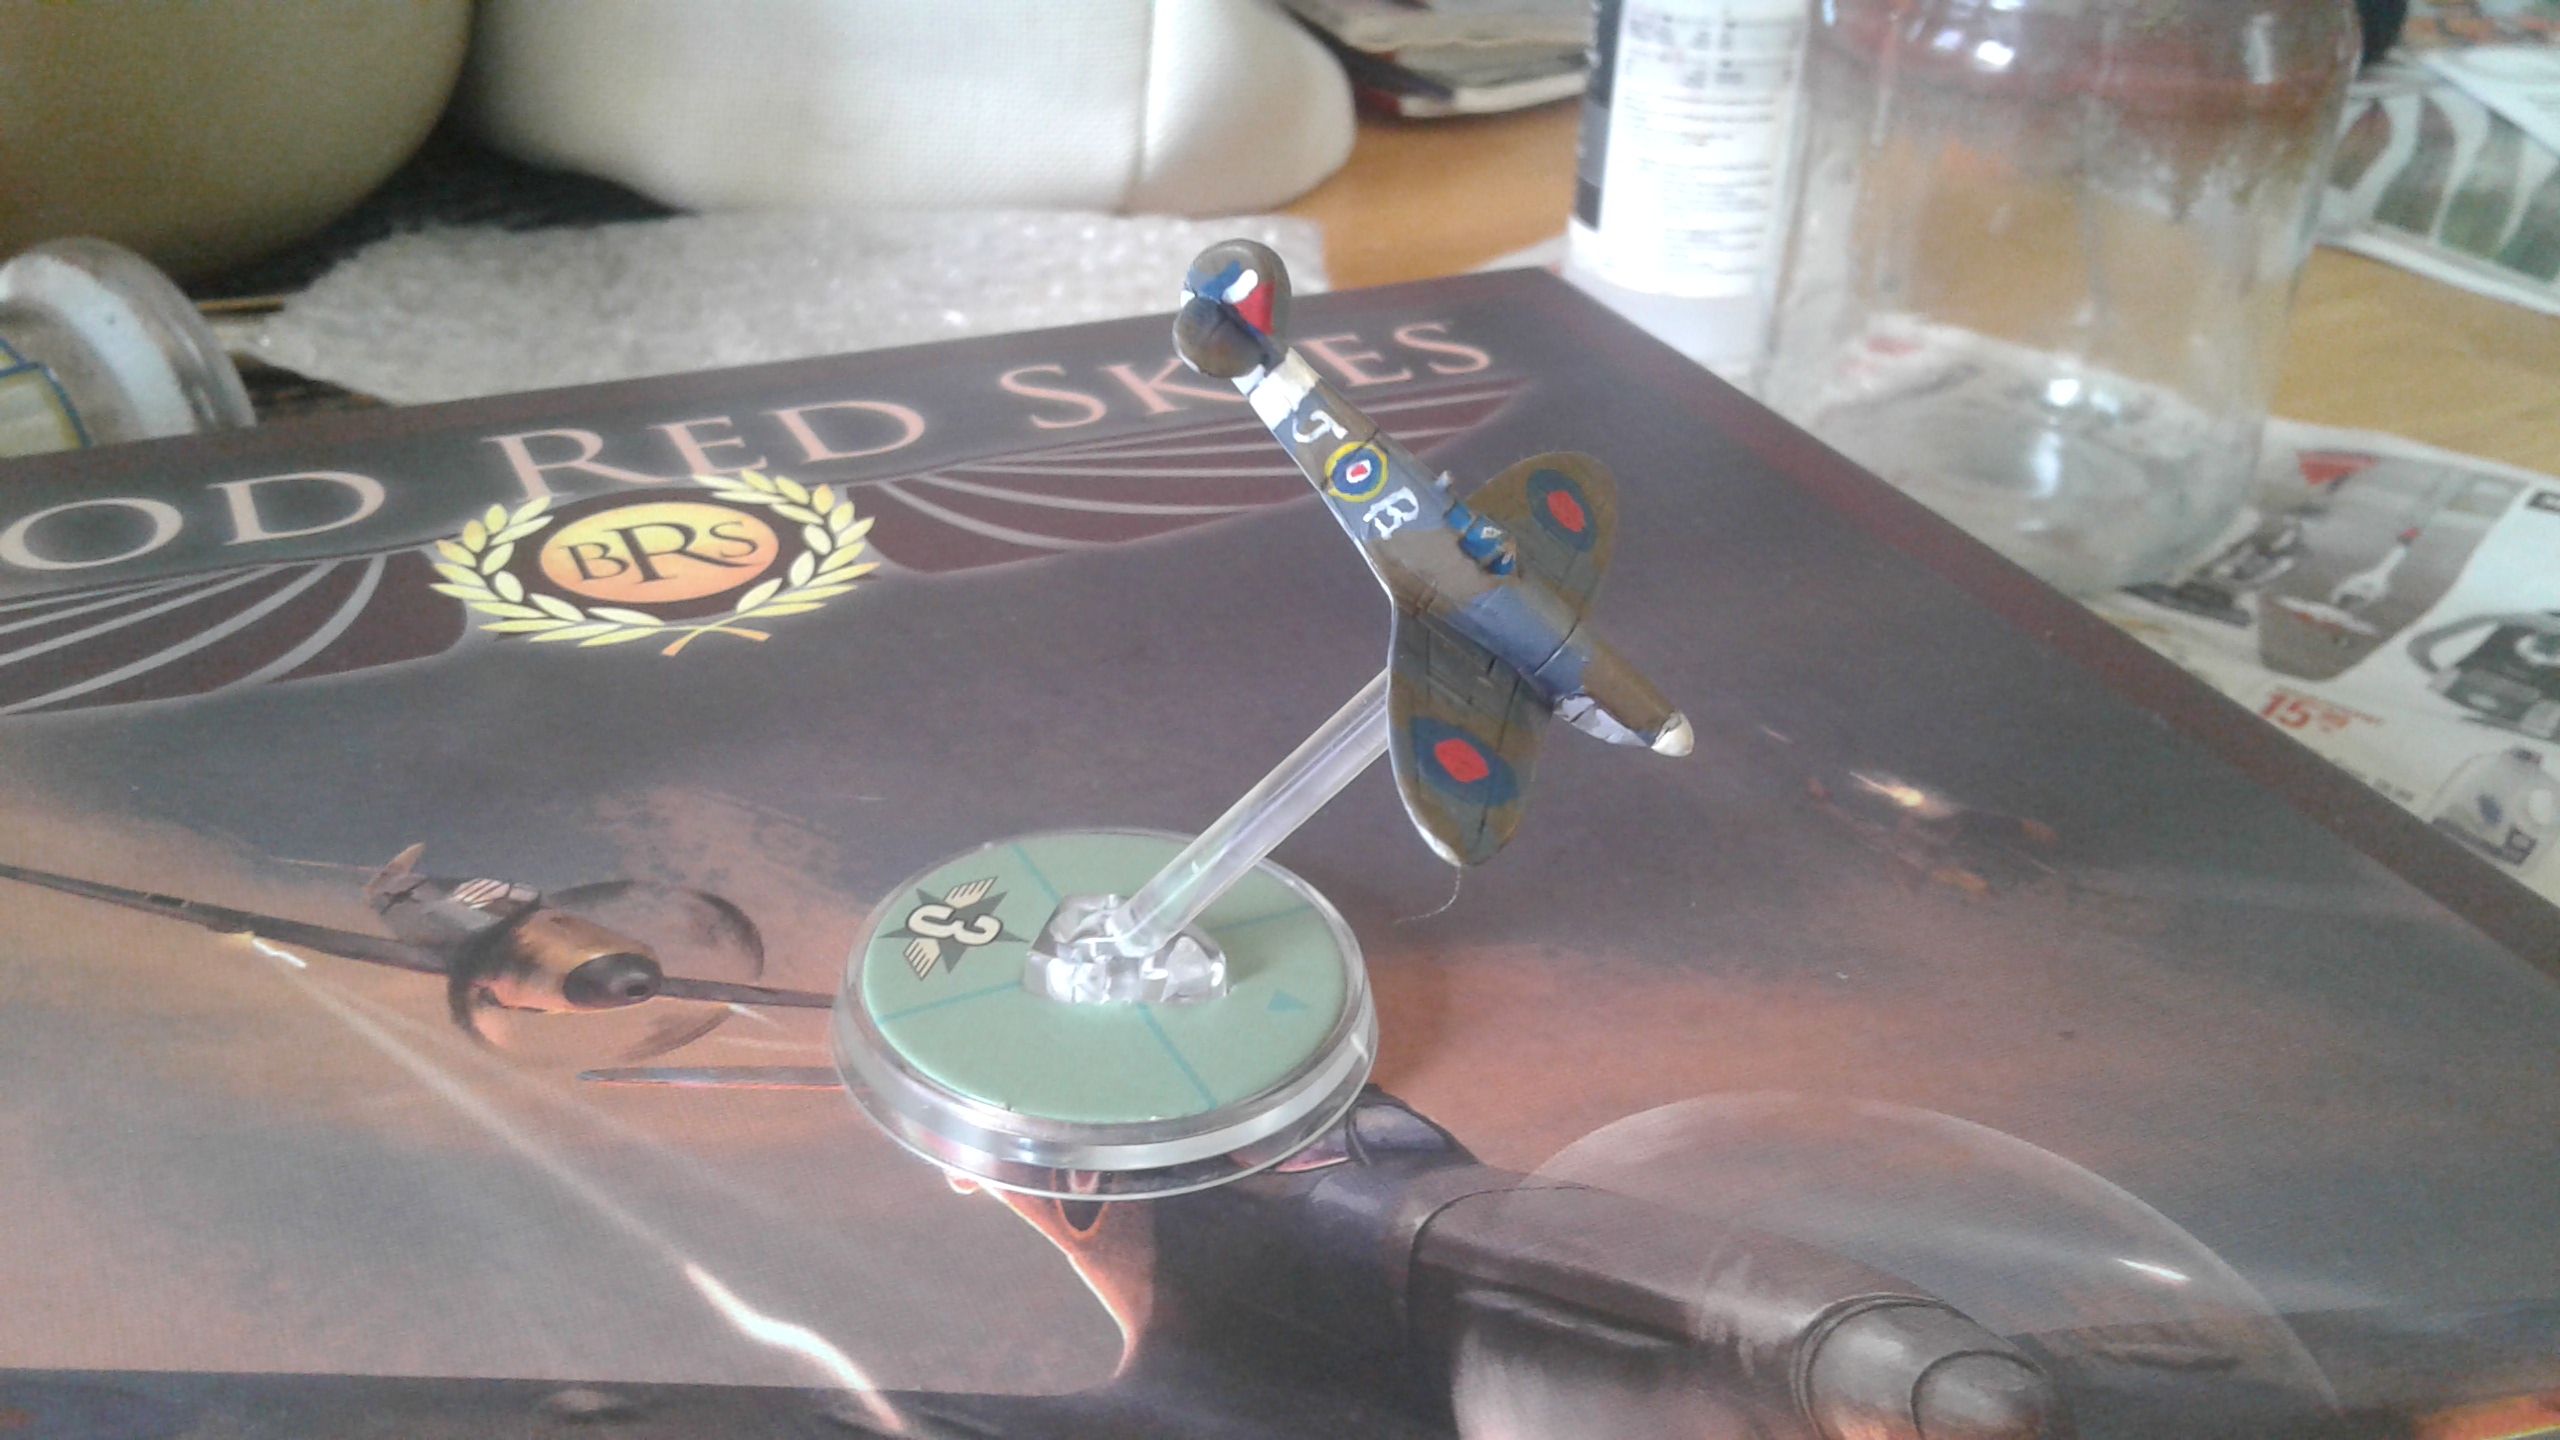
So here is a couple more photos of the Spitfires getting a new coat of paint. I found a random Spitfire camo scheme on the interweb and decided it was cool. Later studying how about painting it, I discovered that it was for a Canadian squadron which is a bonus as it’s my home country. Also, decided to do all markings freehand. This will be good practice for me and I also love doing it. I already learned a couple of tricks like having really diluted paint with flow improver. This helps the brush glide on the mini helps you make straight lines or on these particular photos nice roundels.


Brush control.
Another great thing that I learned while free handing the markings. Having too much paint on the brush is a disaster. I already know that you don’t want paint going into the ferrule of your brush as over time it will simply ruin it. However, it’s also much more difficult to control what happens with the paint. So I tried running the brush on my paper towel to «shape» the tip and remove excess paint. This helped me so much in this task. Great trick that I will remember forever.
Make it glossy!!
Once all the markings were done I rattle sprayed a coat of gloss varnish on them. The goal was for the Nuln Oil wash to seep into all the small recesses and follow the lines etc. Didn’t work that well but I think the result is good nonetheless. Maybe I will try with proper Tamya Panel Accenter or something similar, but it will do for this starter set.

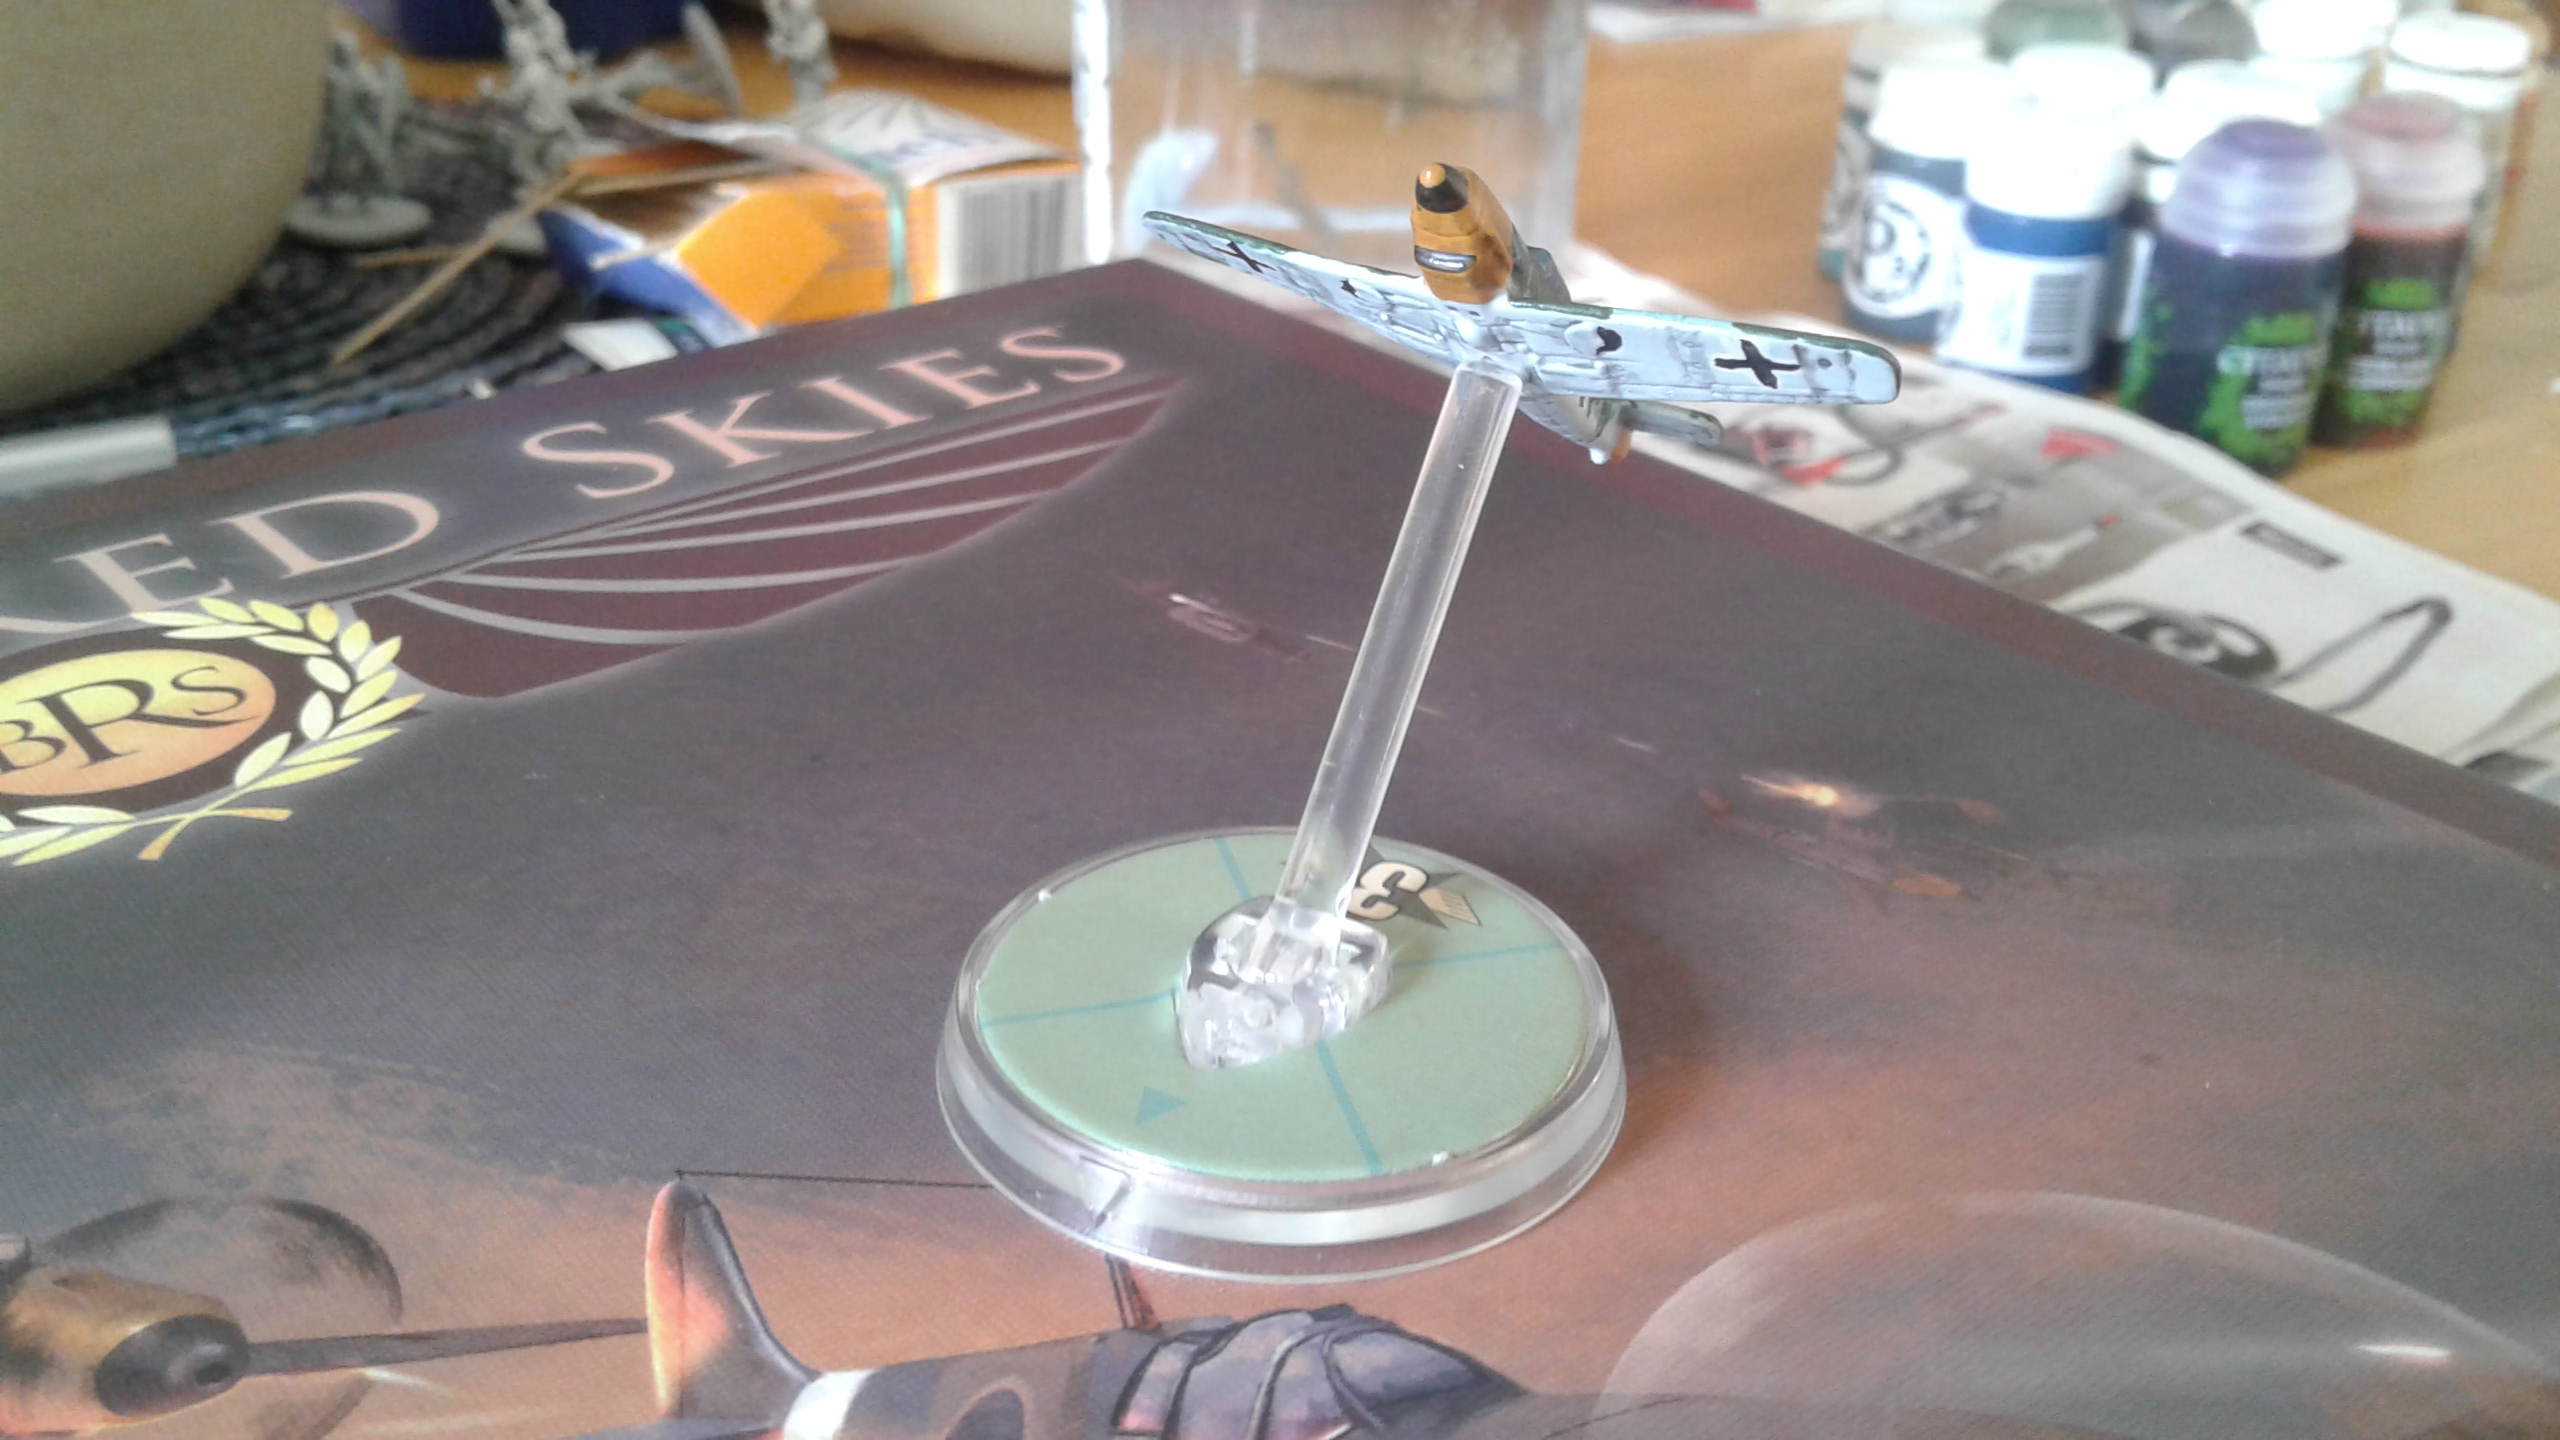
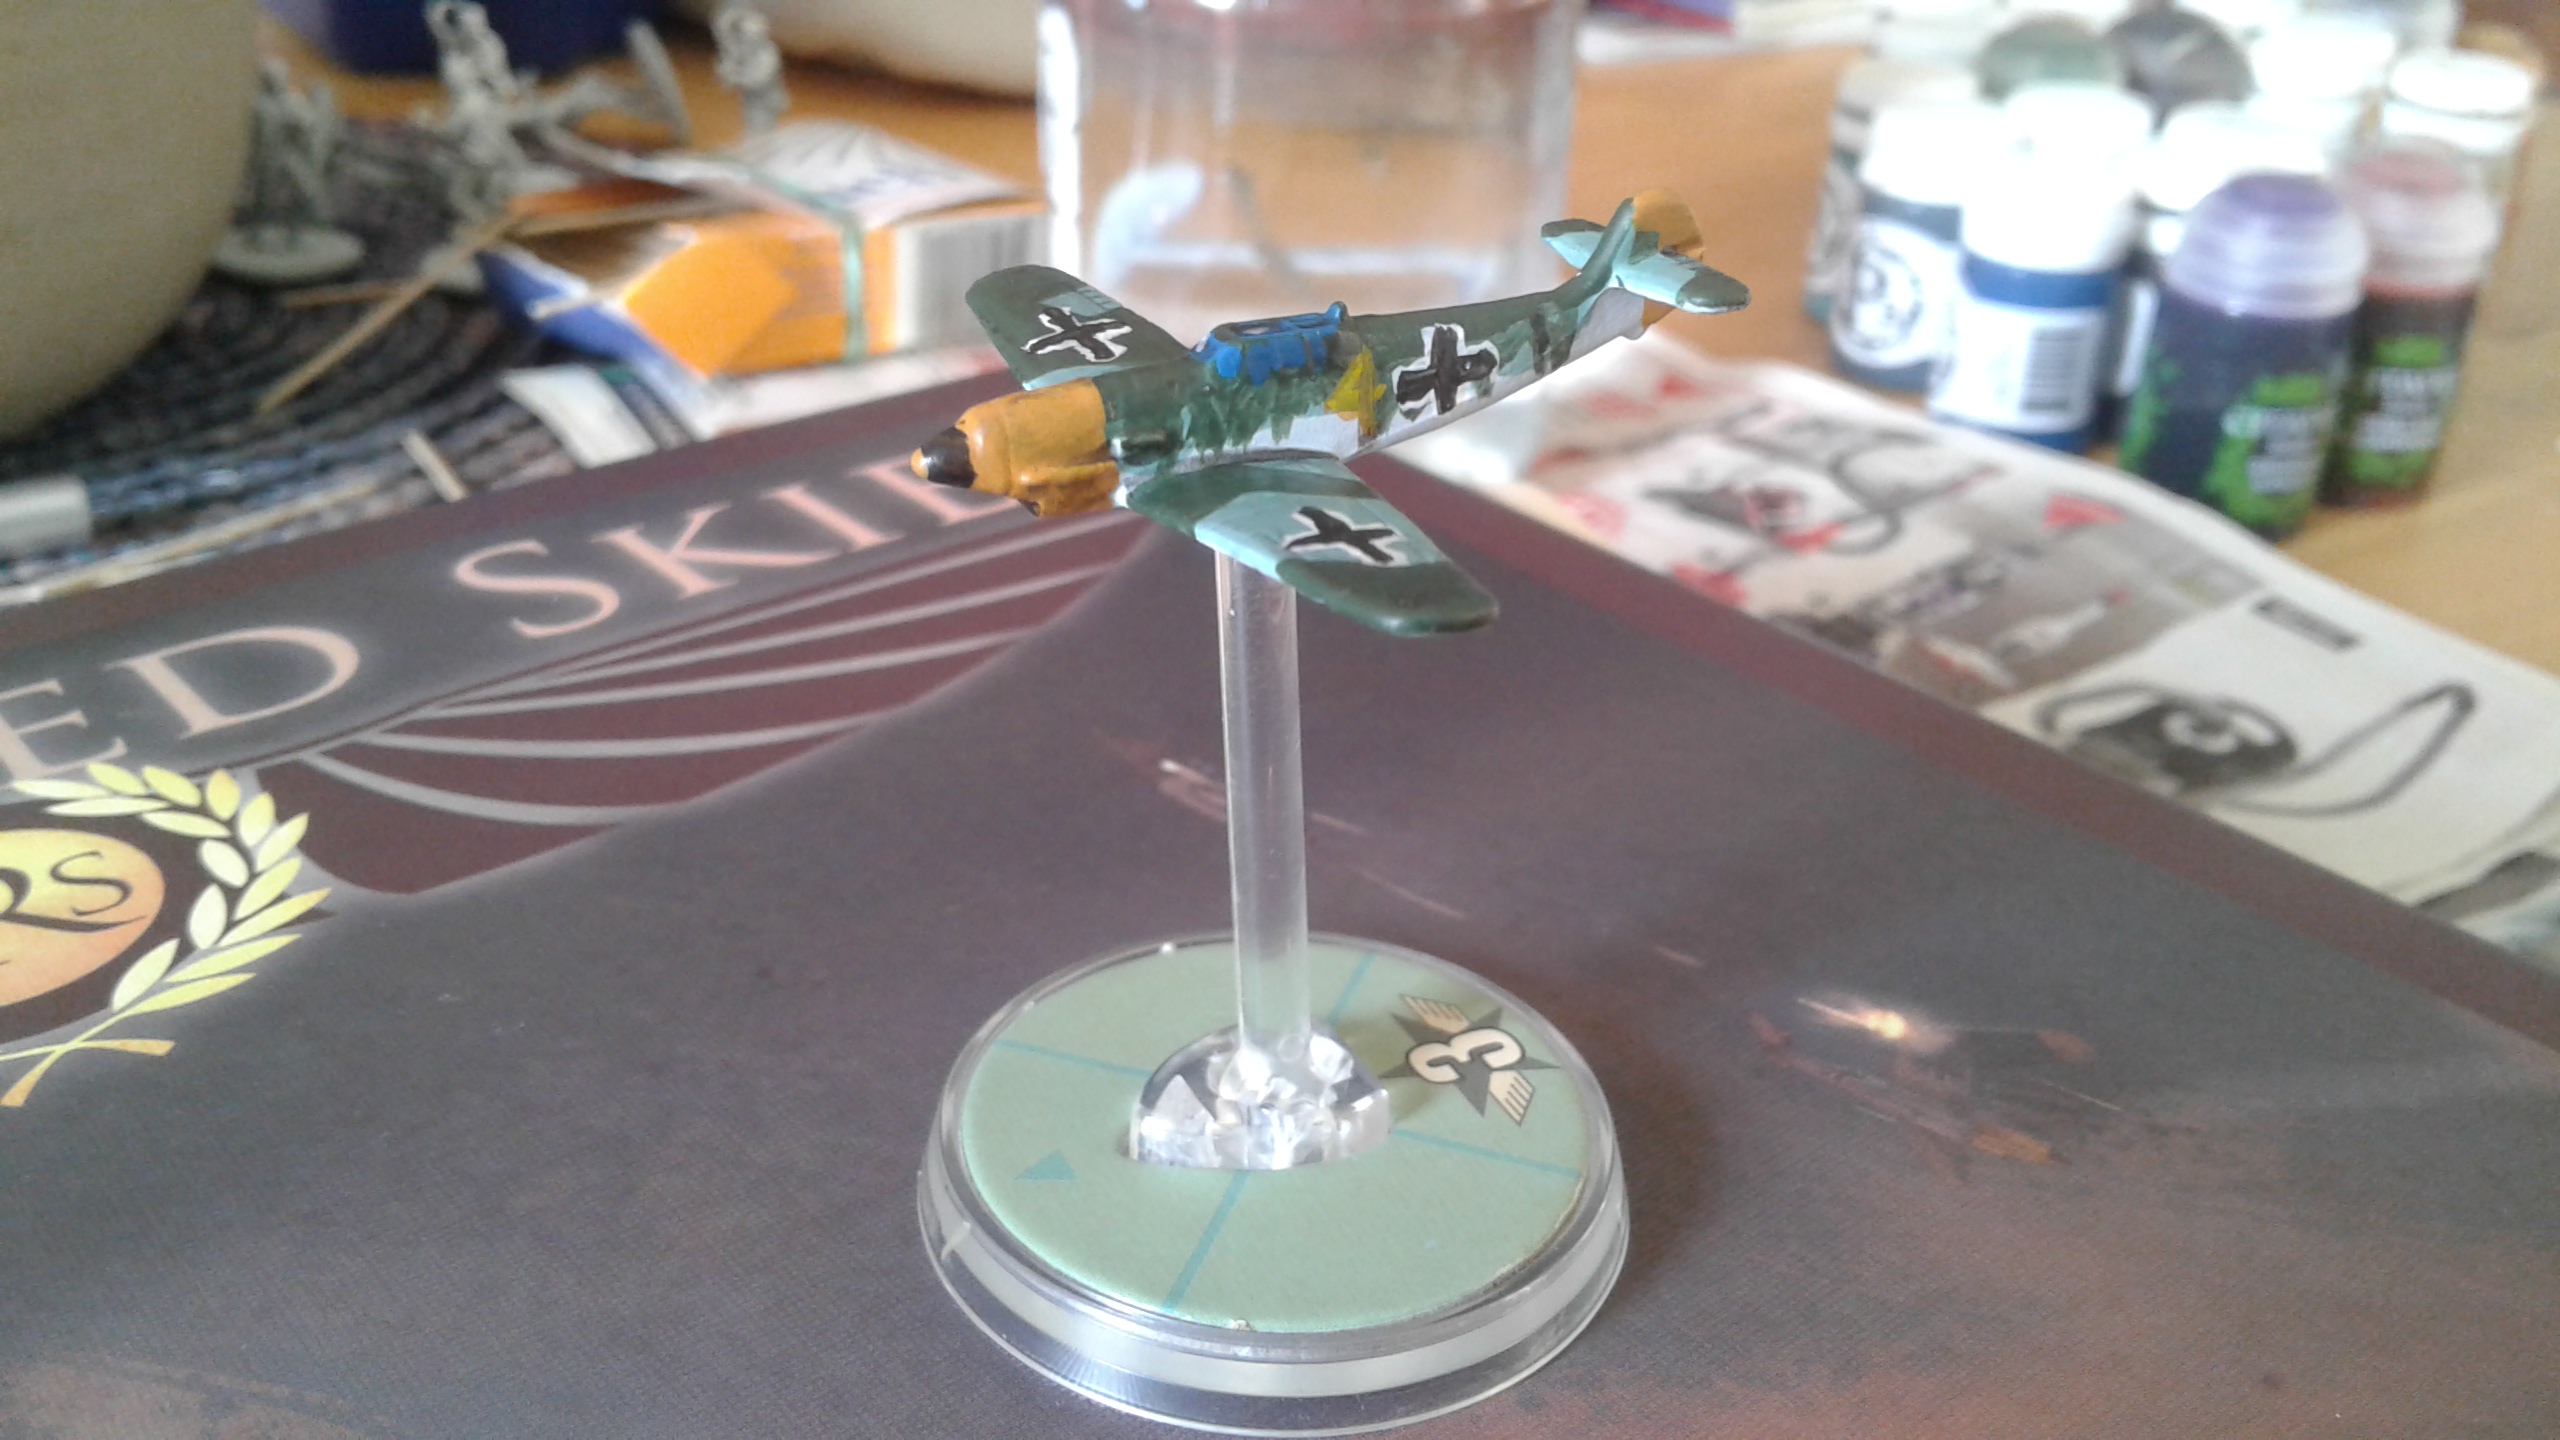
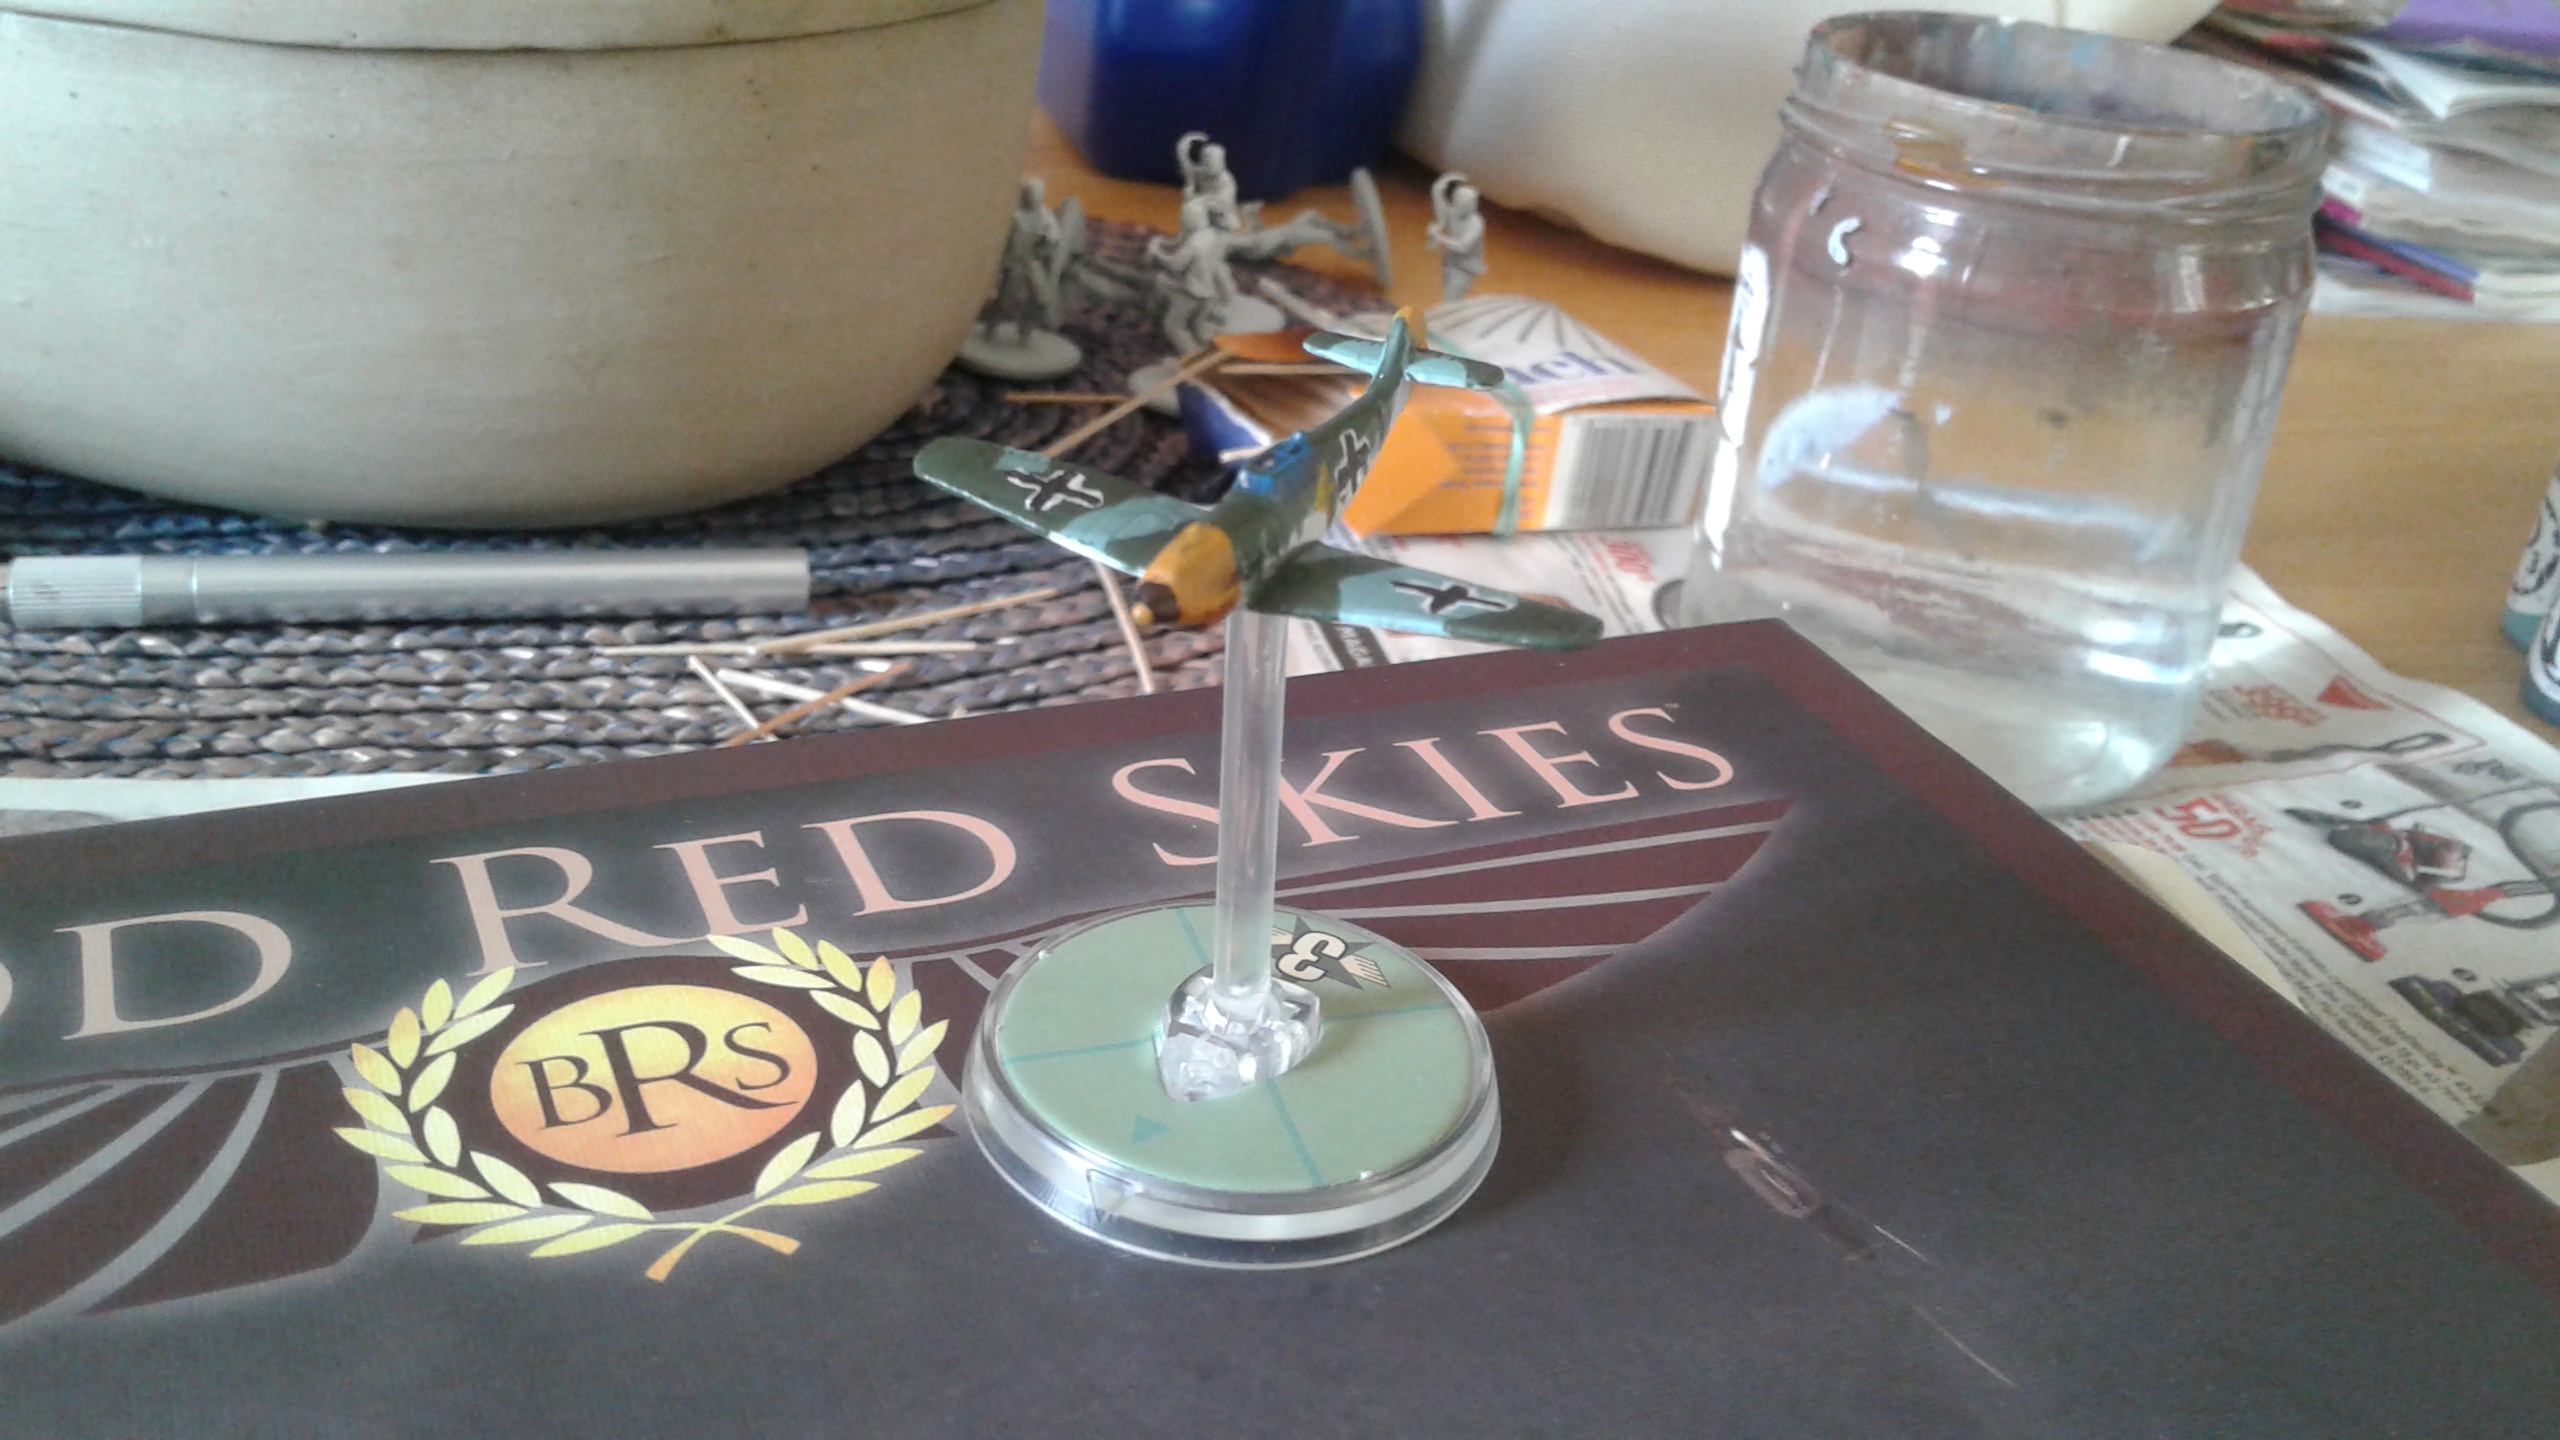
Messerchmitts 12 o'clock high!!
So it is now the turn of the «zee german», Bf 109s to be more precise. Their camo isn’t based on anything on particular. Although I think the yellow noses were specifically used during the Battle of Britain. I used exactly the same techniques as below so I won’t be repeating myself.
Enjoy!