


Fallout Wasteland Warfare Painting Progress


Recommendations: 148
About the Project
Hobby blog on my status working thru my collection of Modiphius' Fallout Wasteland Warfare models
Related Game: Fallout: Wasteland Warfare
Related Company: Modiphius Entertainment
Related Genre: Post-Apocalyptic
This Project is Active
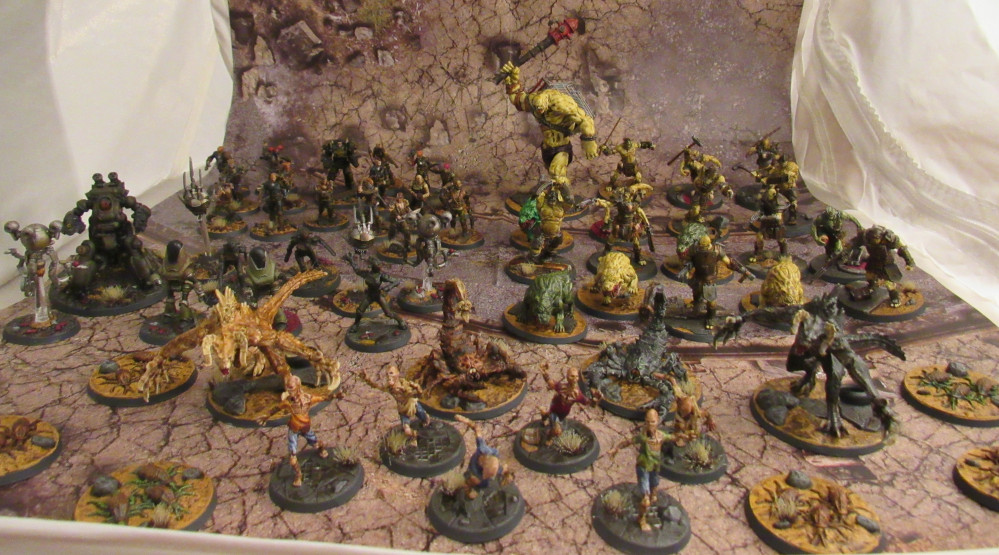
Super Mutants
As my first faction for Wasteland Warfare I decided to start with the Super Mutants, I had seen some really nice posts about using GWs contrast Paints so decided to give them a shot.
I must say I was really pleased with the results, they were easy to use and made grinding thru all of the models fun again. I had been in a bit of a hobby slump staring at all the resin I had to get thru but they really energized my work.
The majority are done with Plaguebearer Flesh and in the case of duplicates I used Militarum Green to provide some variety. Other spots are done with Snakebite Leather, Gor Grunta Fur for wood, and metal is Militarum Gray. For Rust effects I used some Vallejo texture effect with a rust dry brush and some washes.
Bases are all done with standard paints so that they will match across the range of models if I decide to do a faction without contrast (IE Robots with airbrush and chipping effects are on my mind)
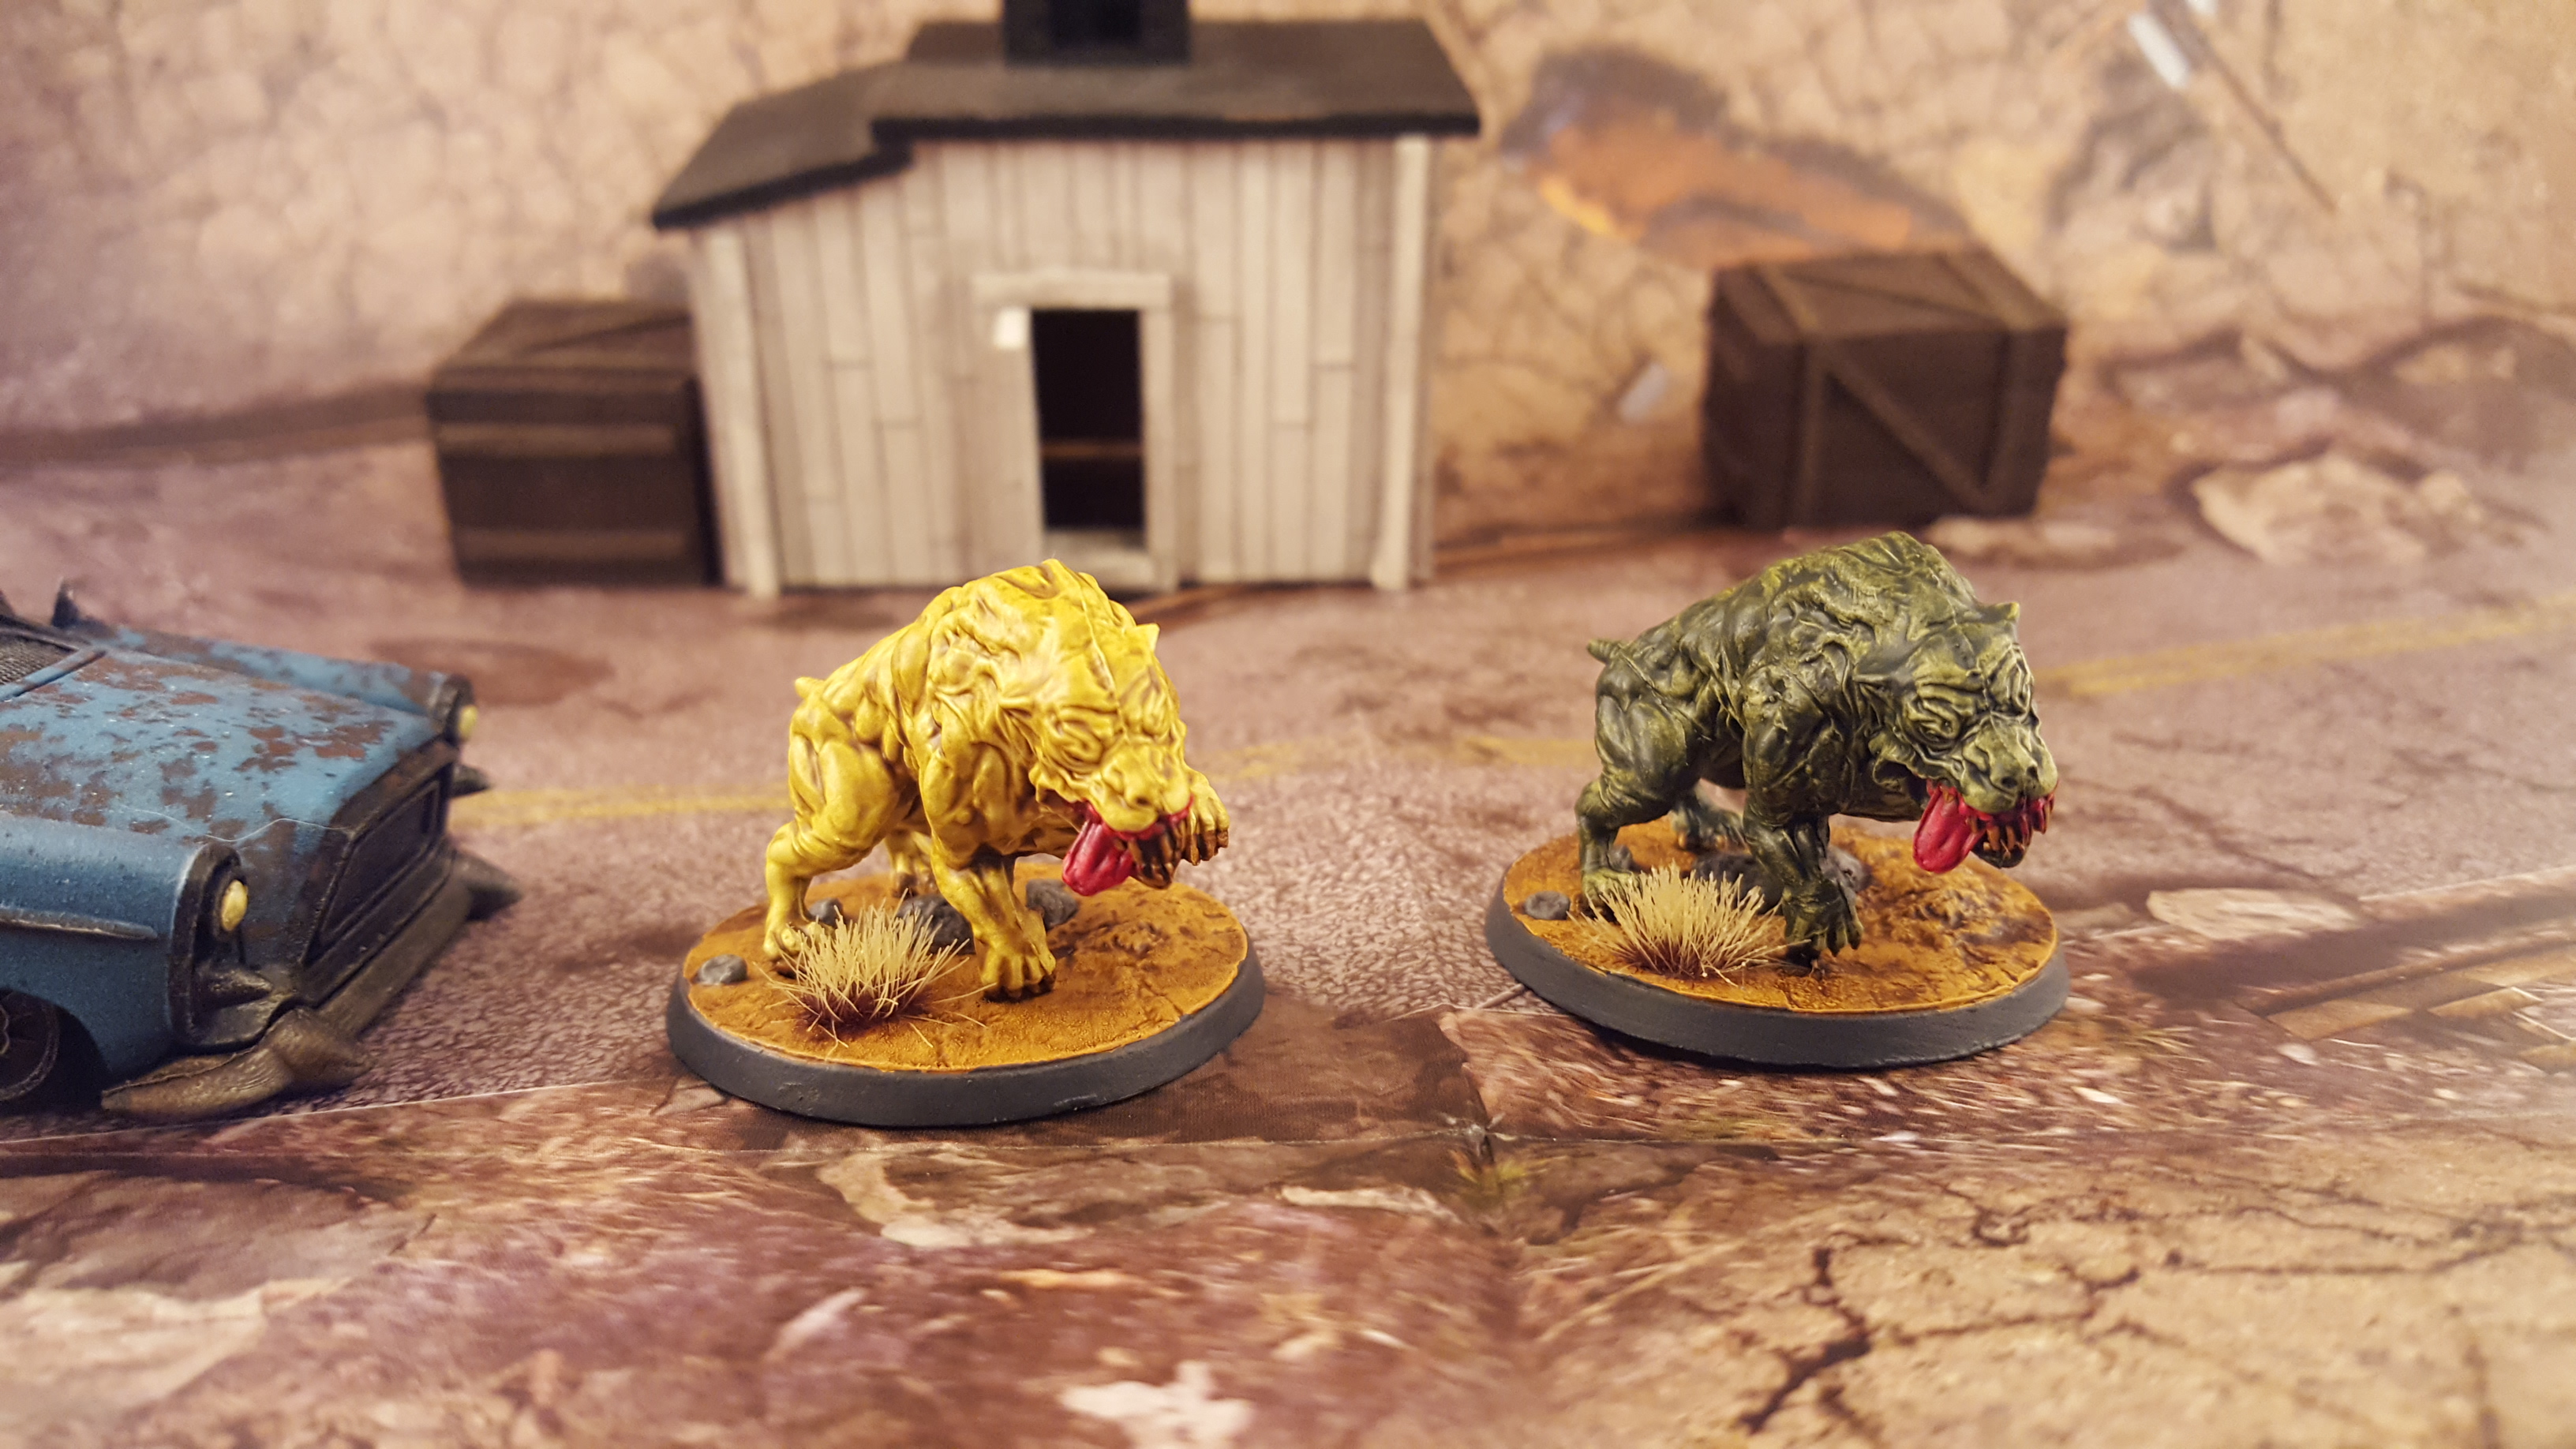
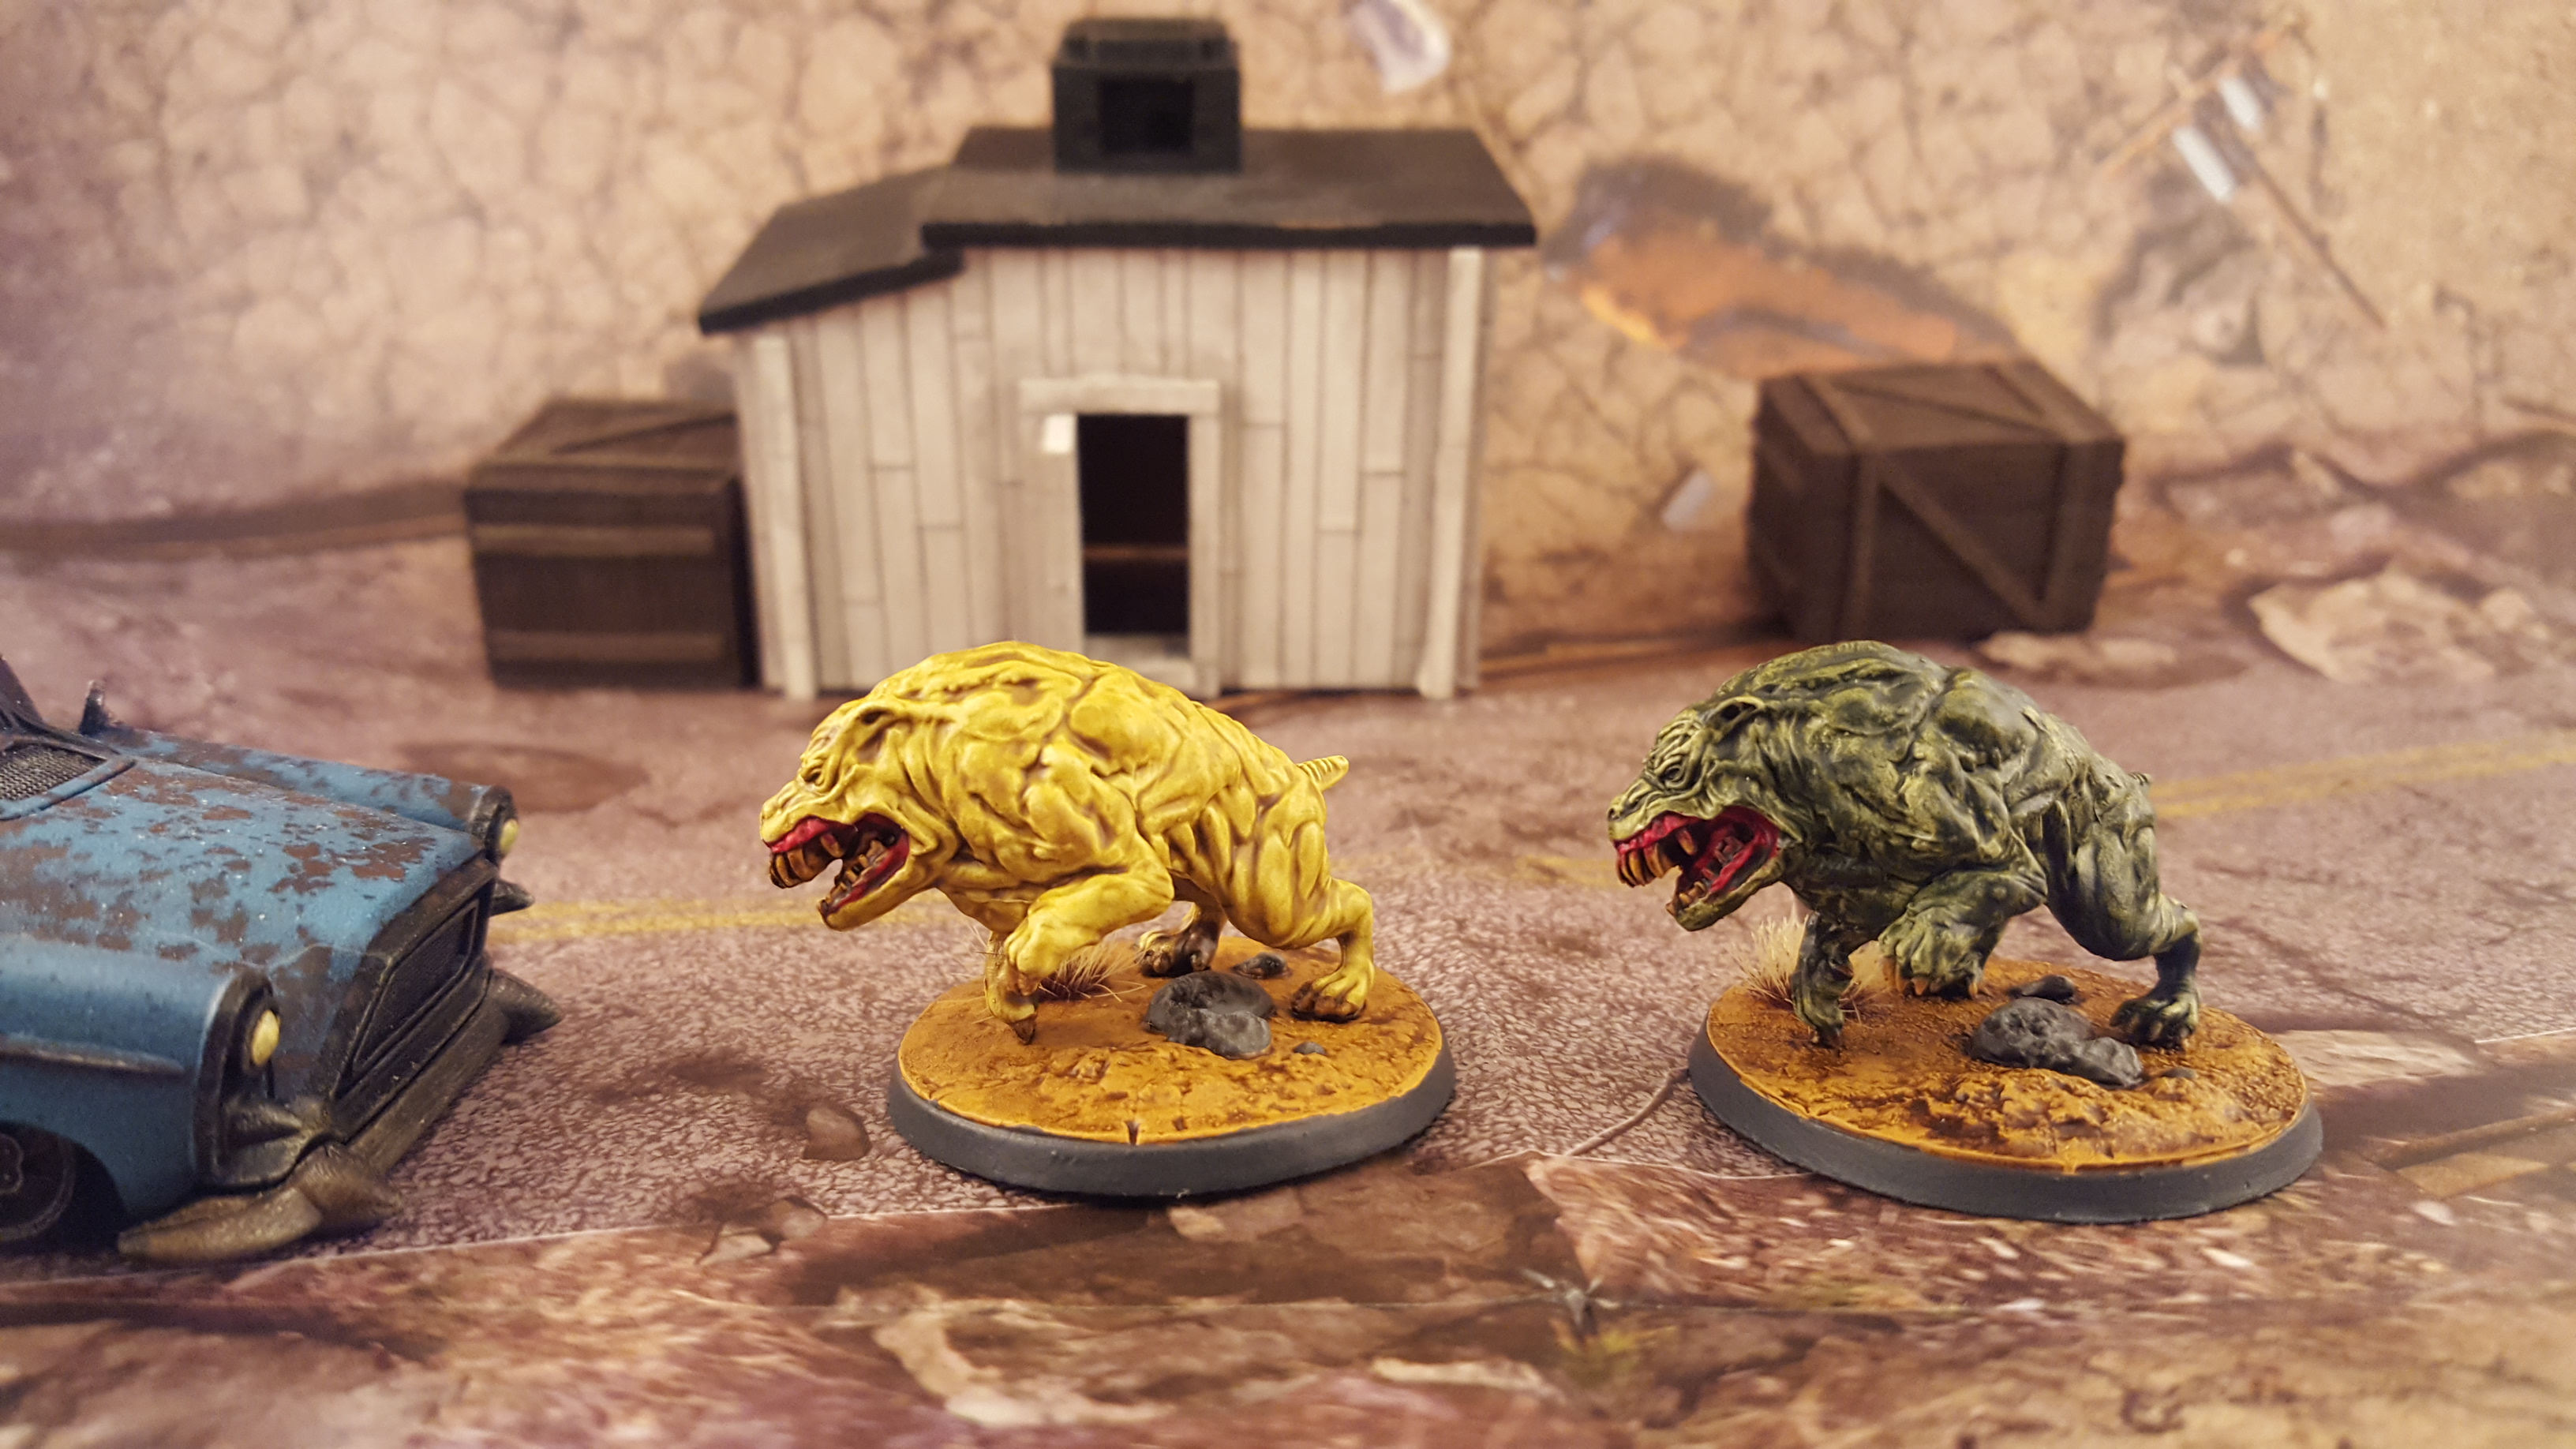
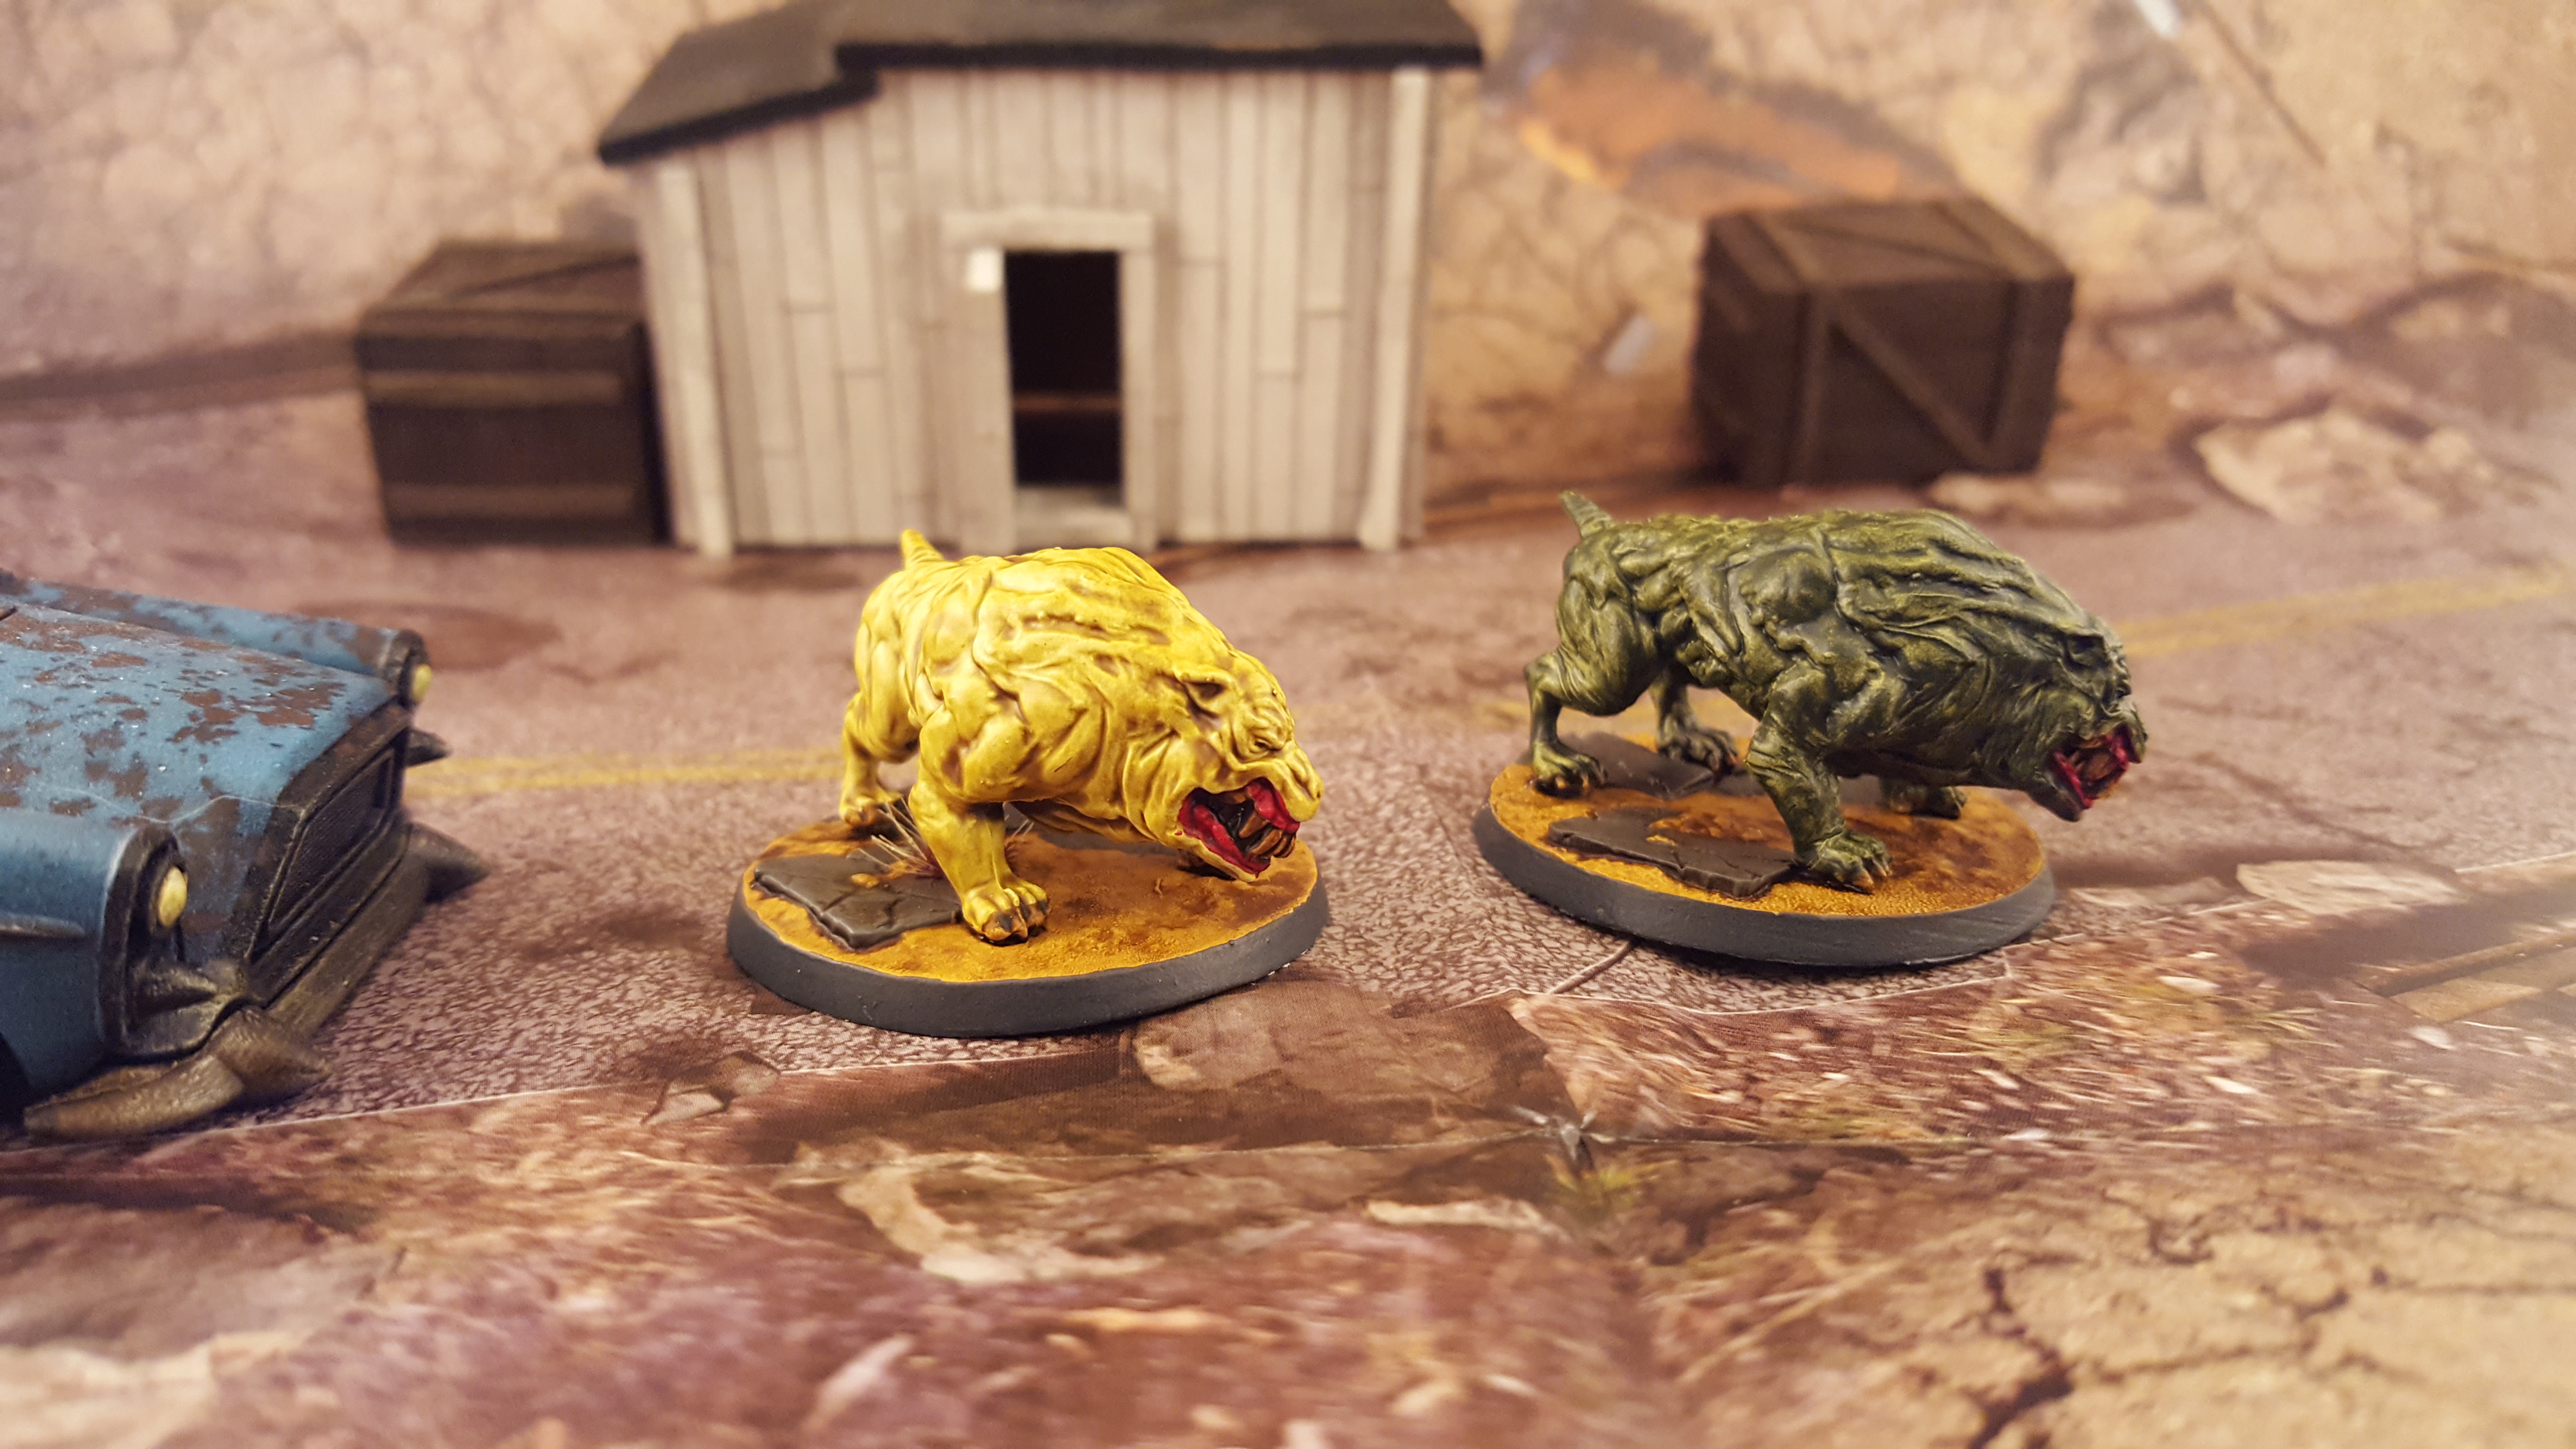
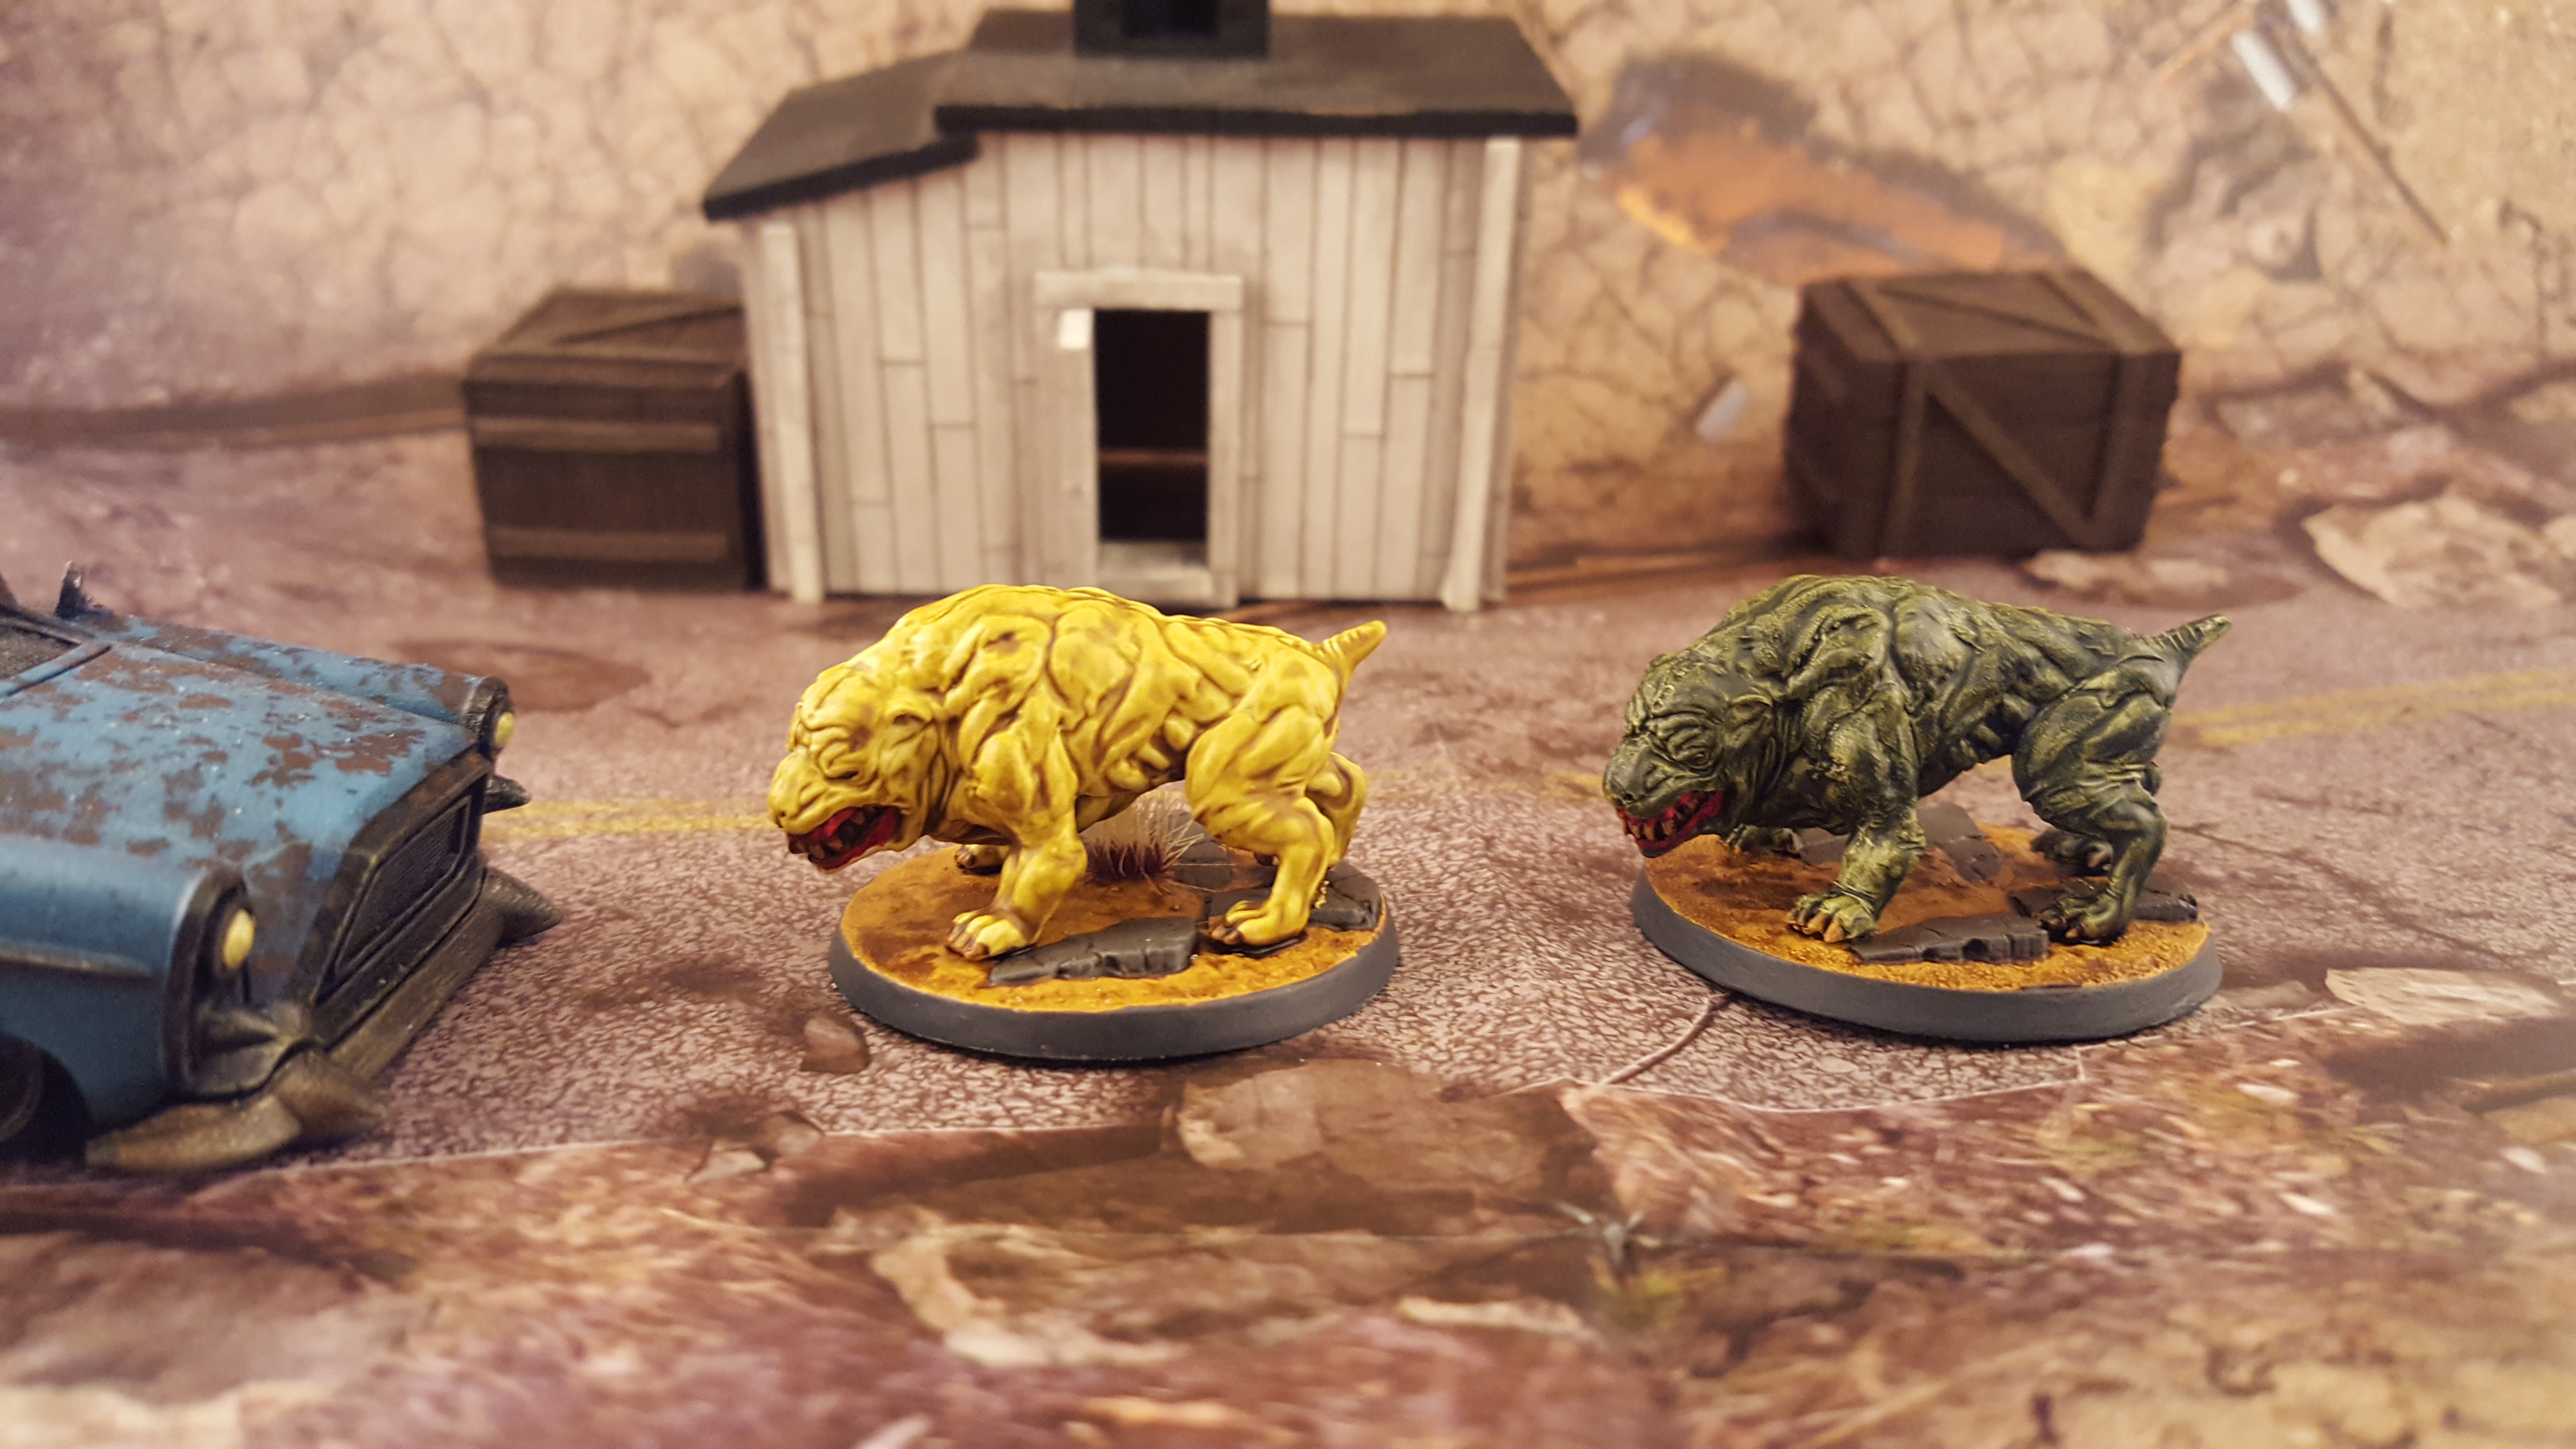

The Hounds are a mix of 2 poses so I tried to make sure there was some variety, I even did a test for a “Glowing” Mutant hound applying some old GW Scorpion Green and various other colors to try and give it an irradiated look.
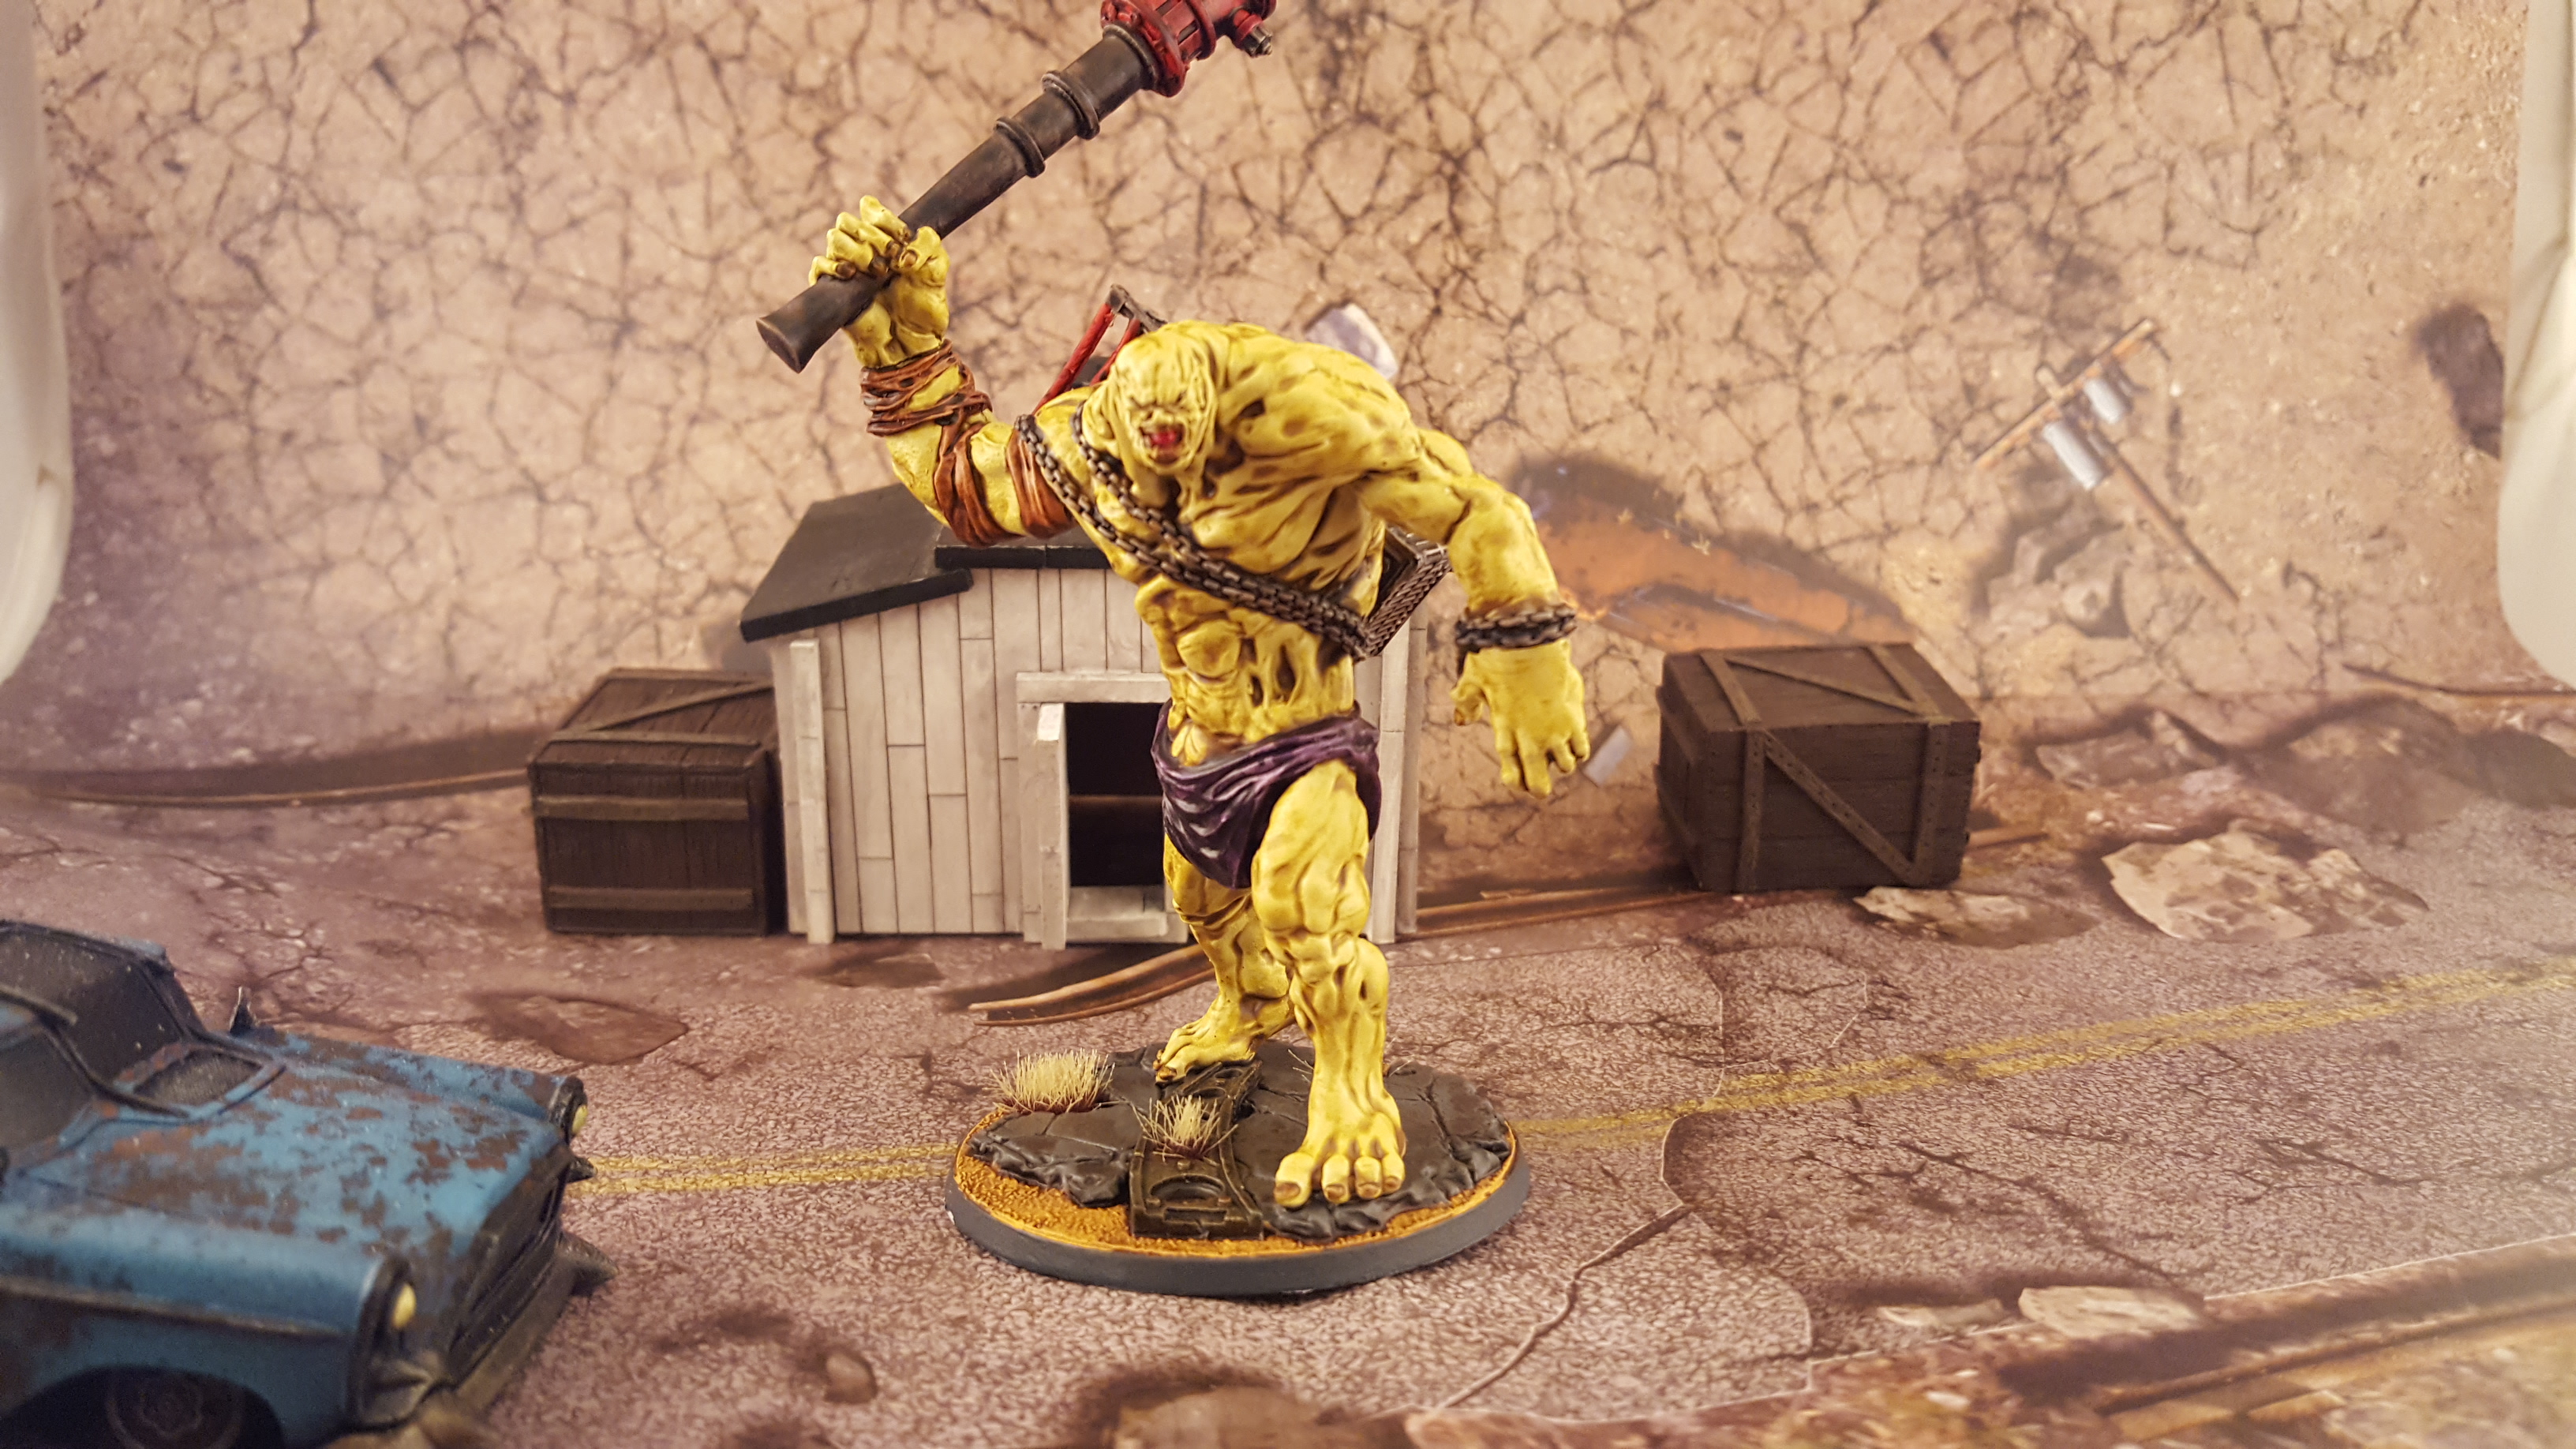
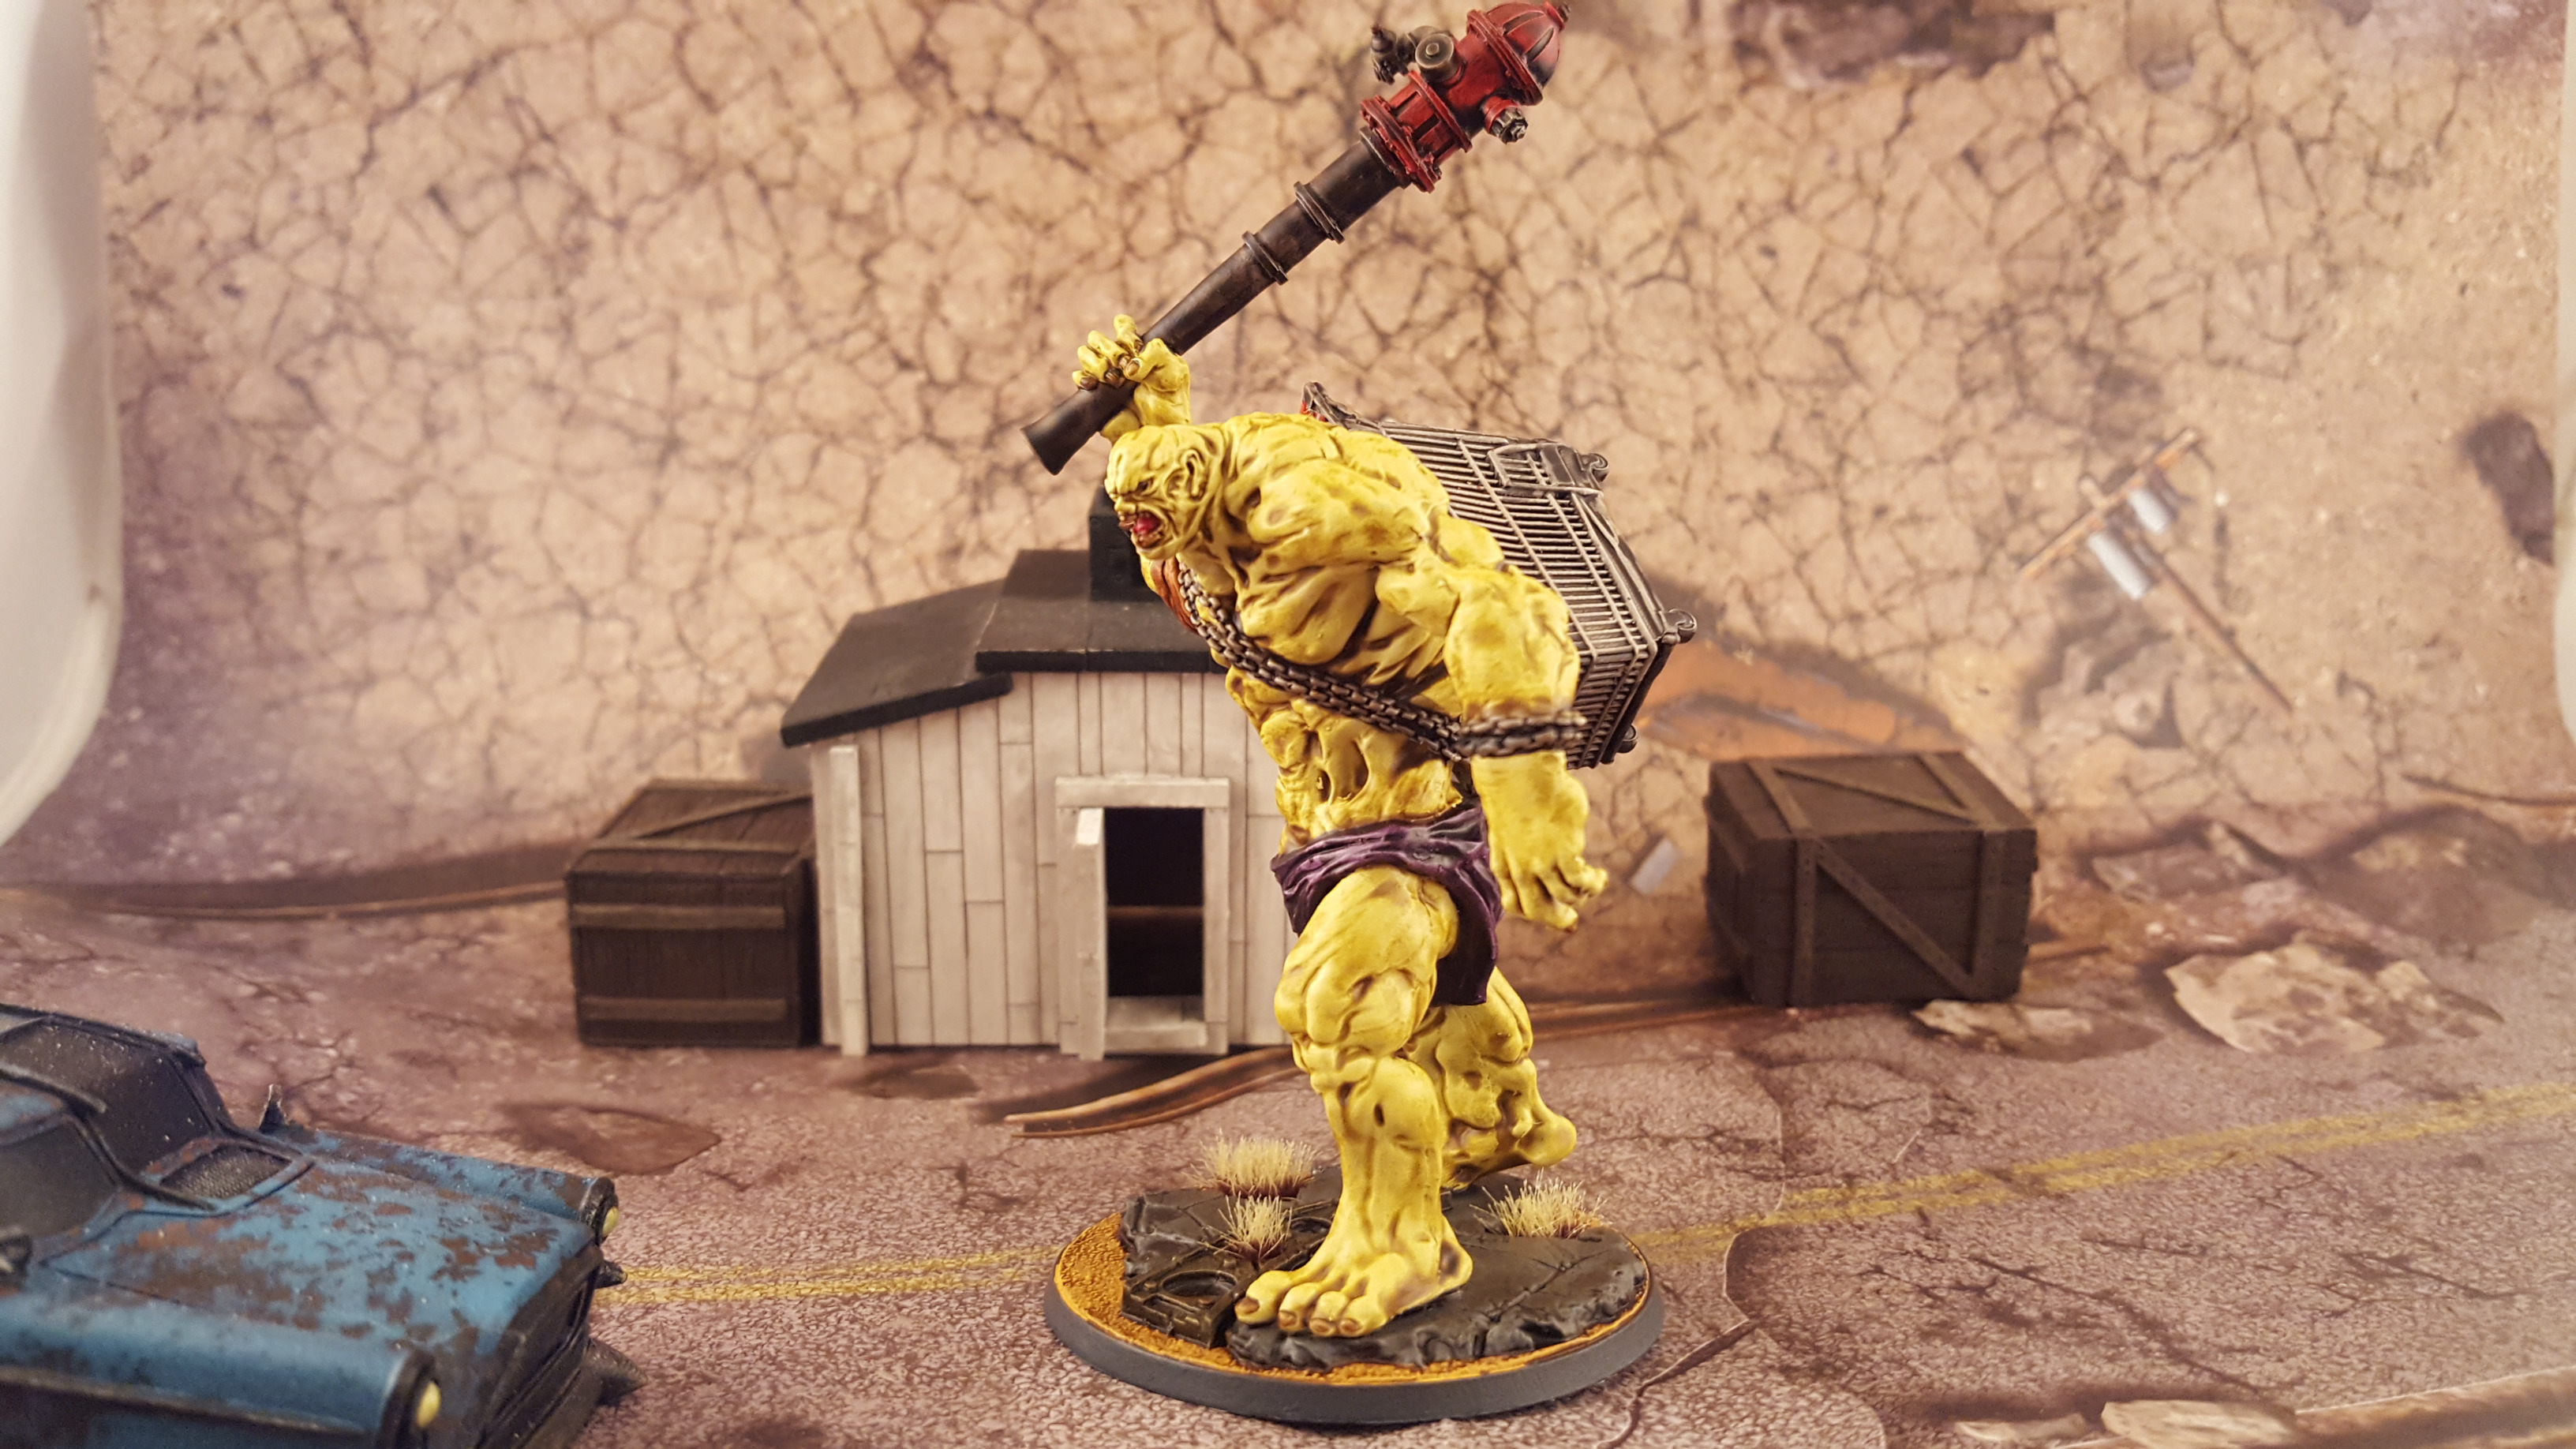
The Behemoth was actually the first model I painted in the range, I mean who doesn’t start with the biggest baddest looking model in their faction? As with all my large green models I went with Purple Pants (I have a Privateer Press Mountain King rocking the same shade) as he will be named Hulk on the battlefield.
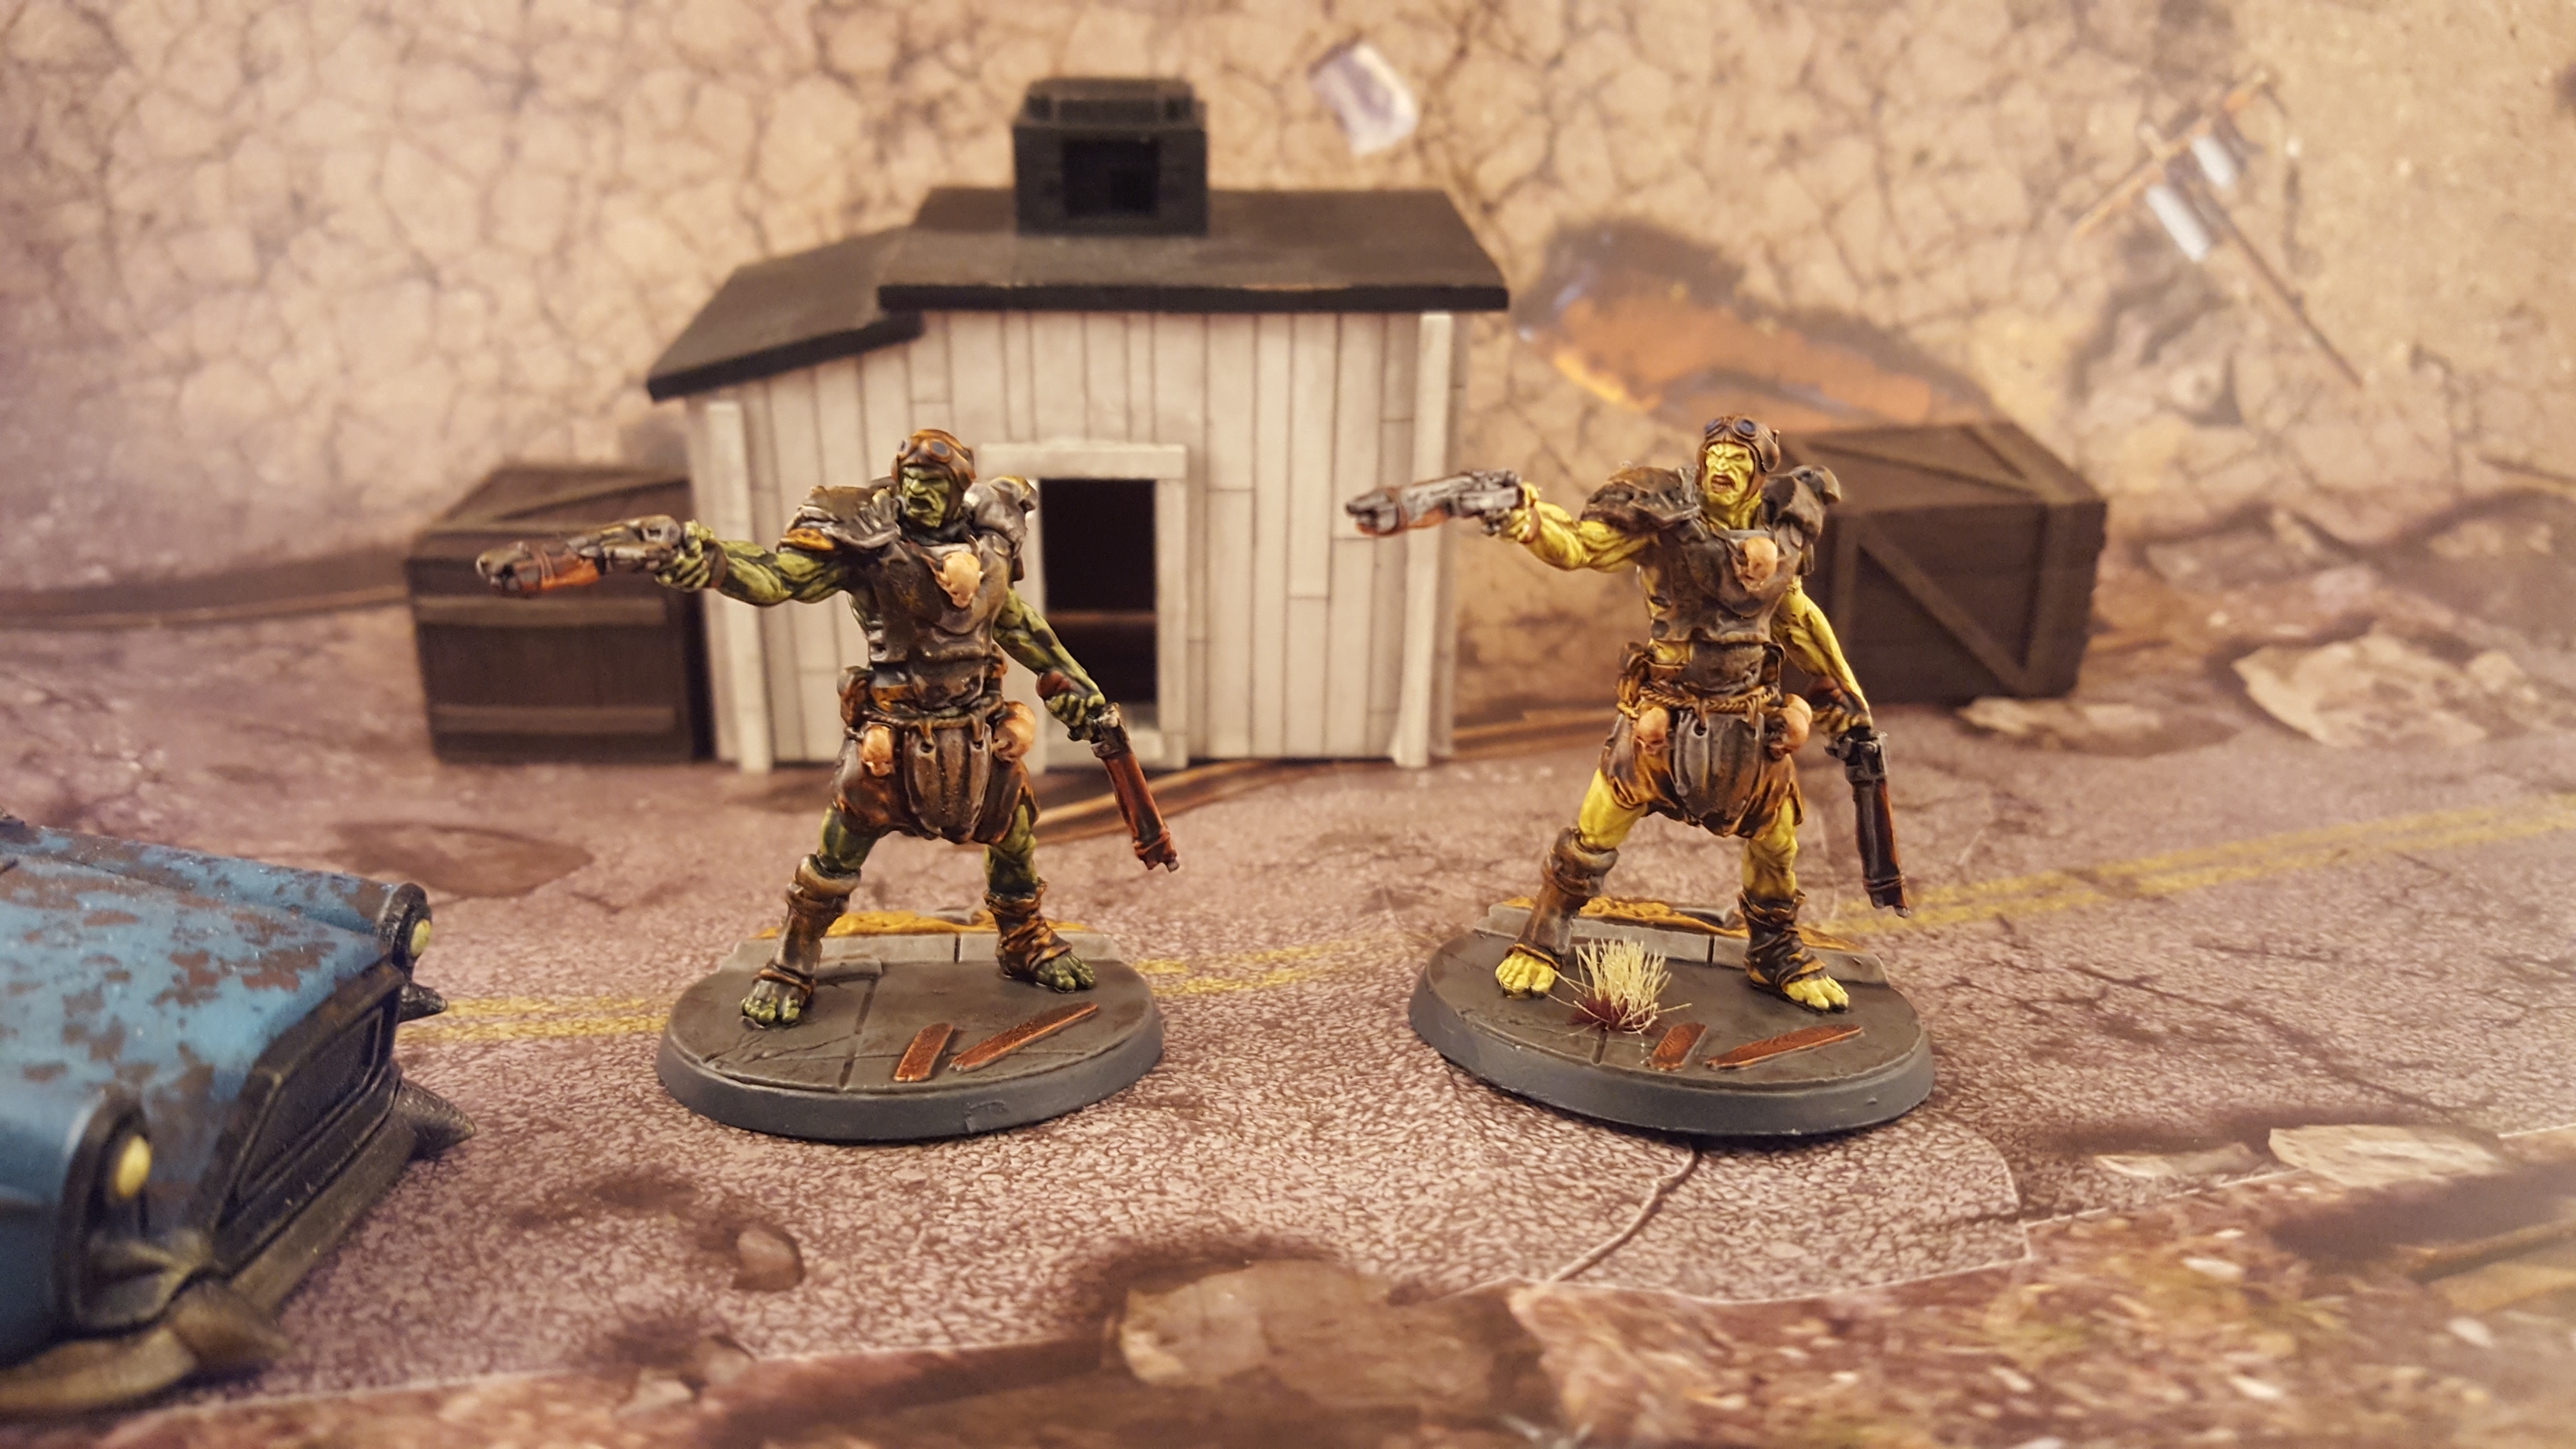
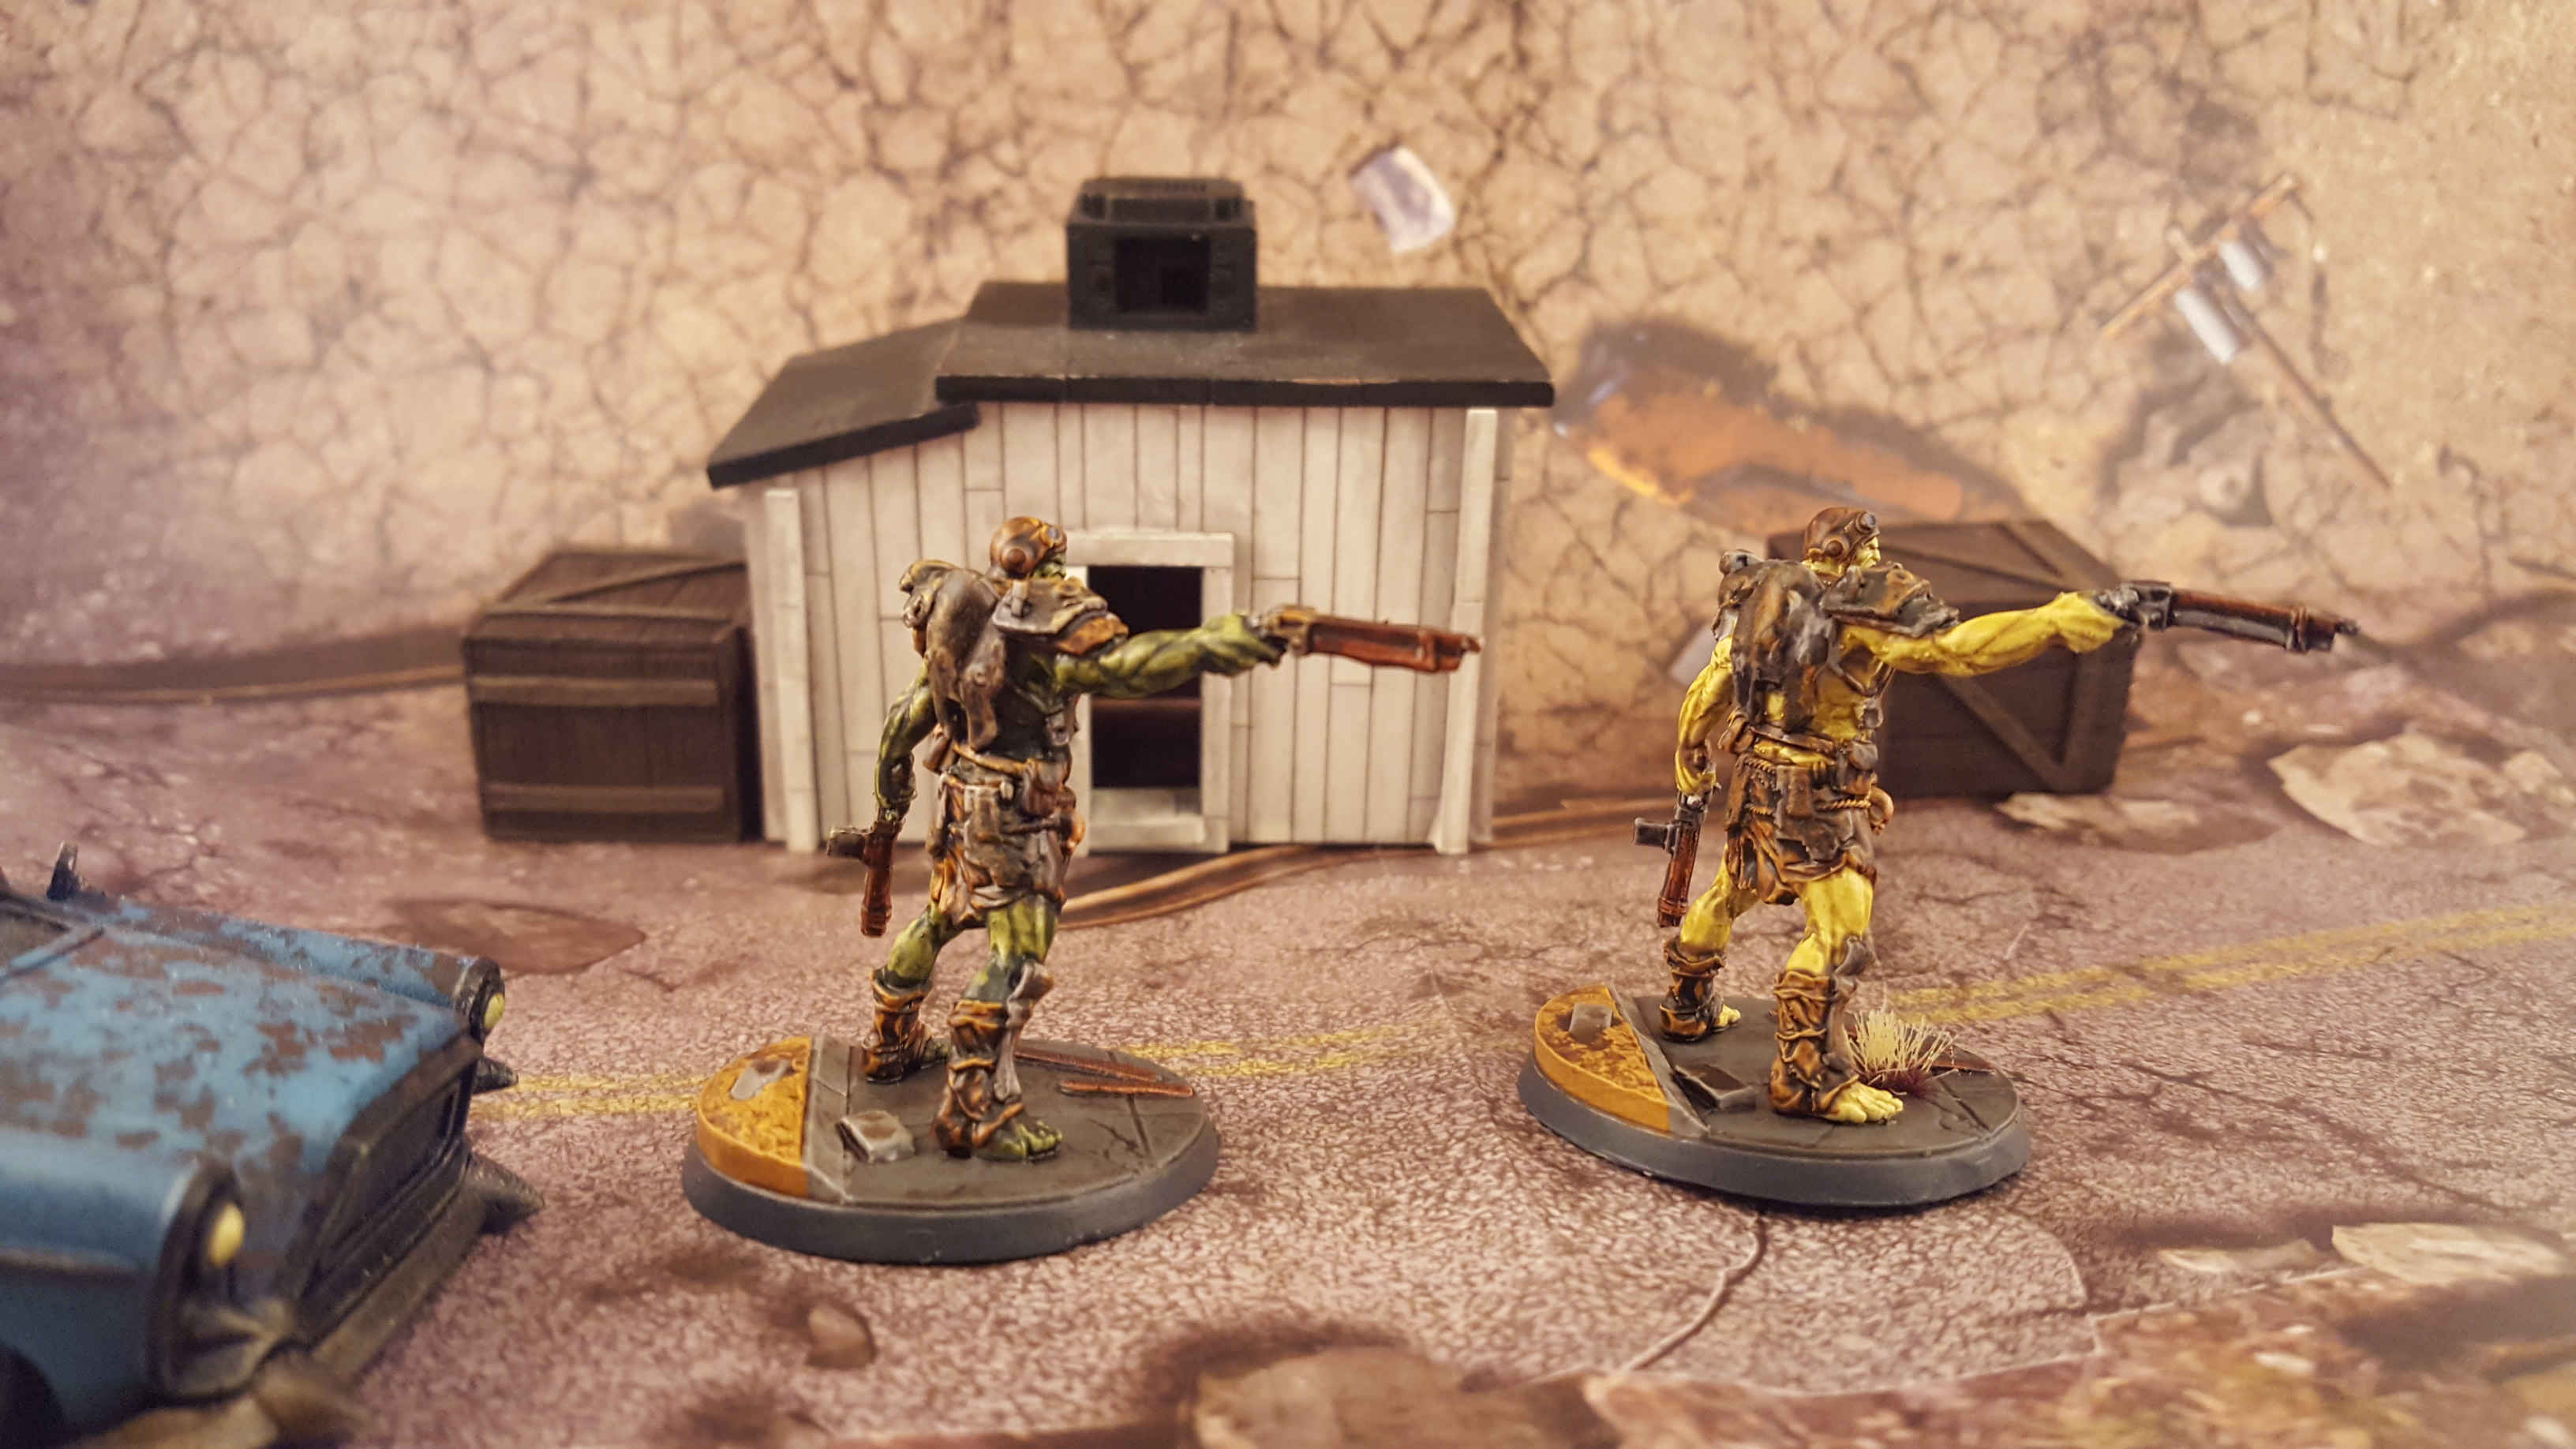
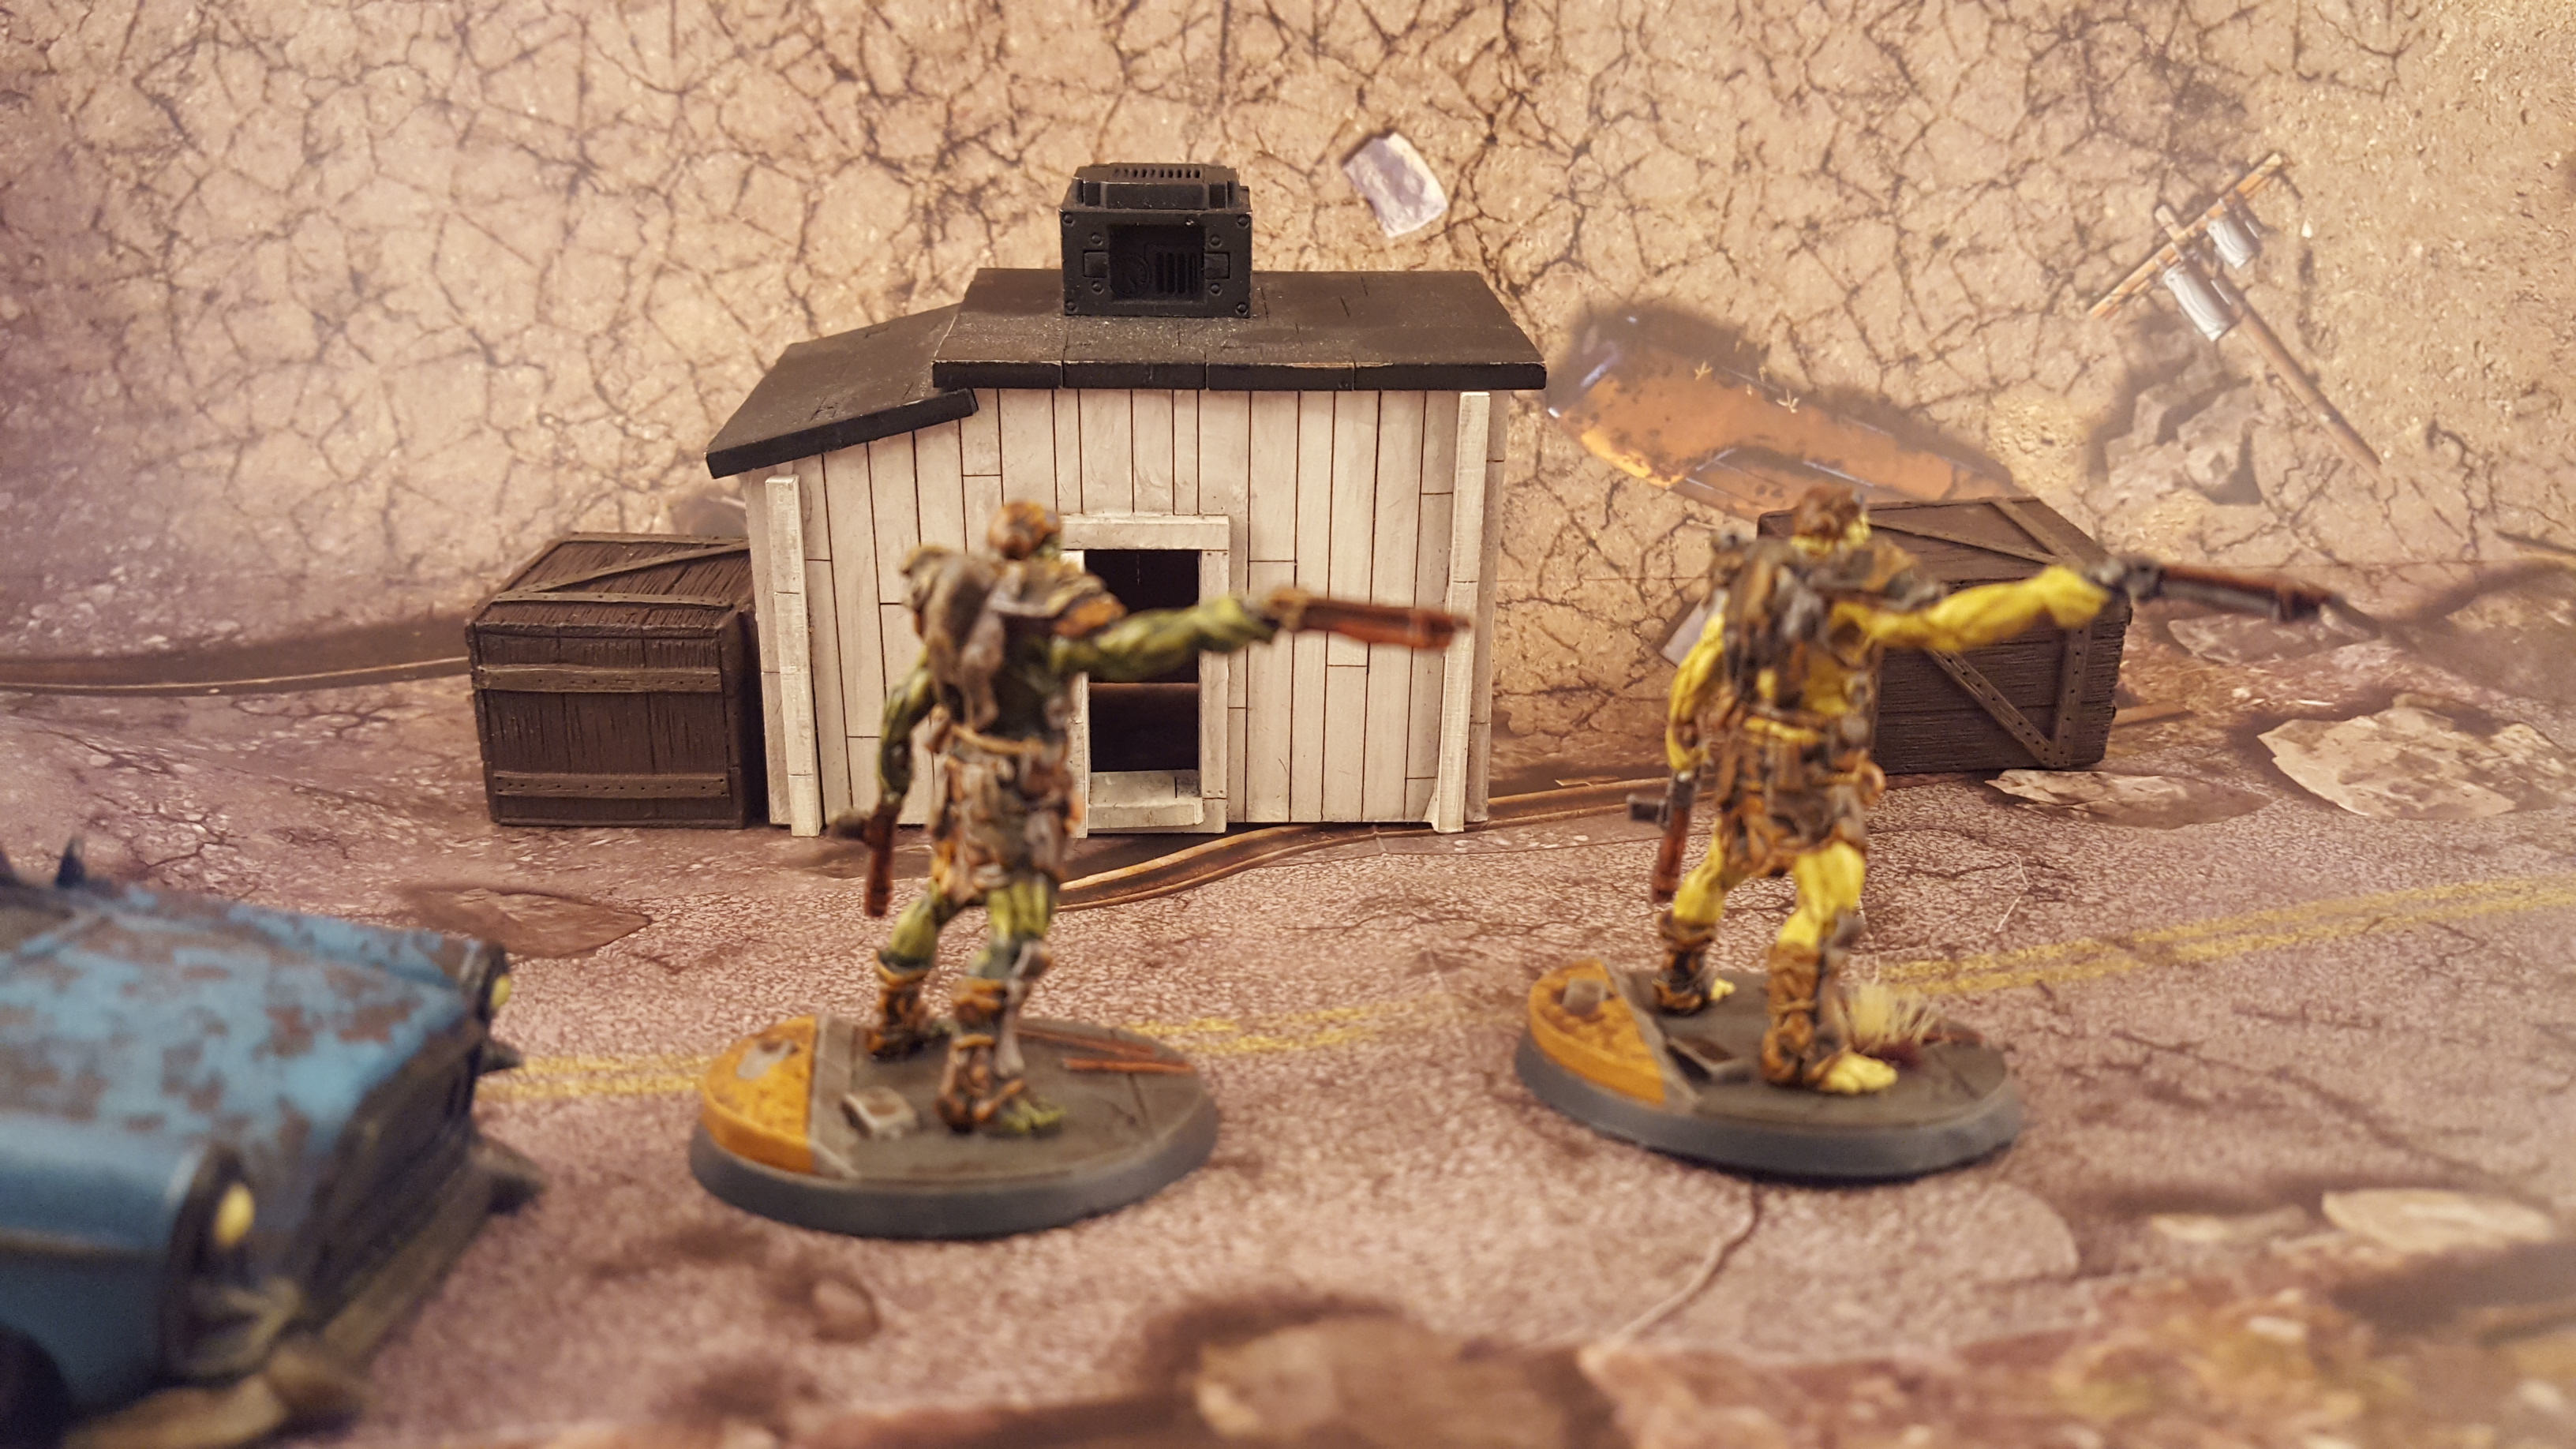


As I received the Resin upgrade to the basic starter I have duplicate models in PVC Plastic as well as Resin, as the Plastic does not hold details as well as the resin models I decided to use the darker green for skin tone on them to help hide the comparative lack of detail. Application of wasteland tufts of grass from Army Painter to various spots help change up the look of the bases between duplicates.
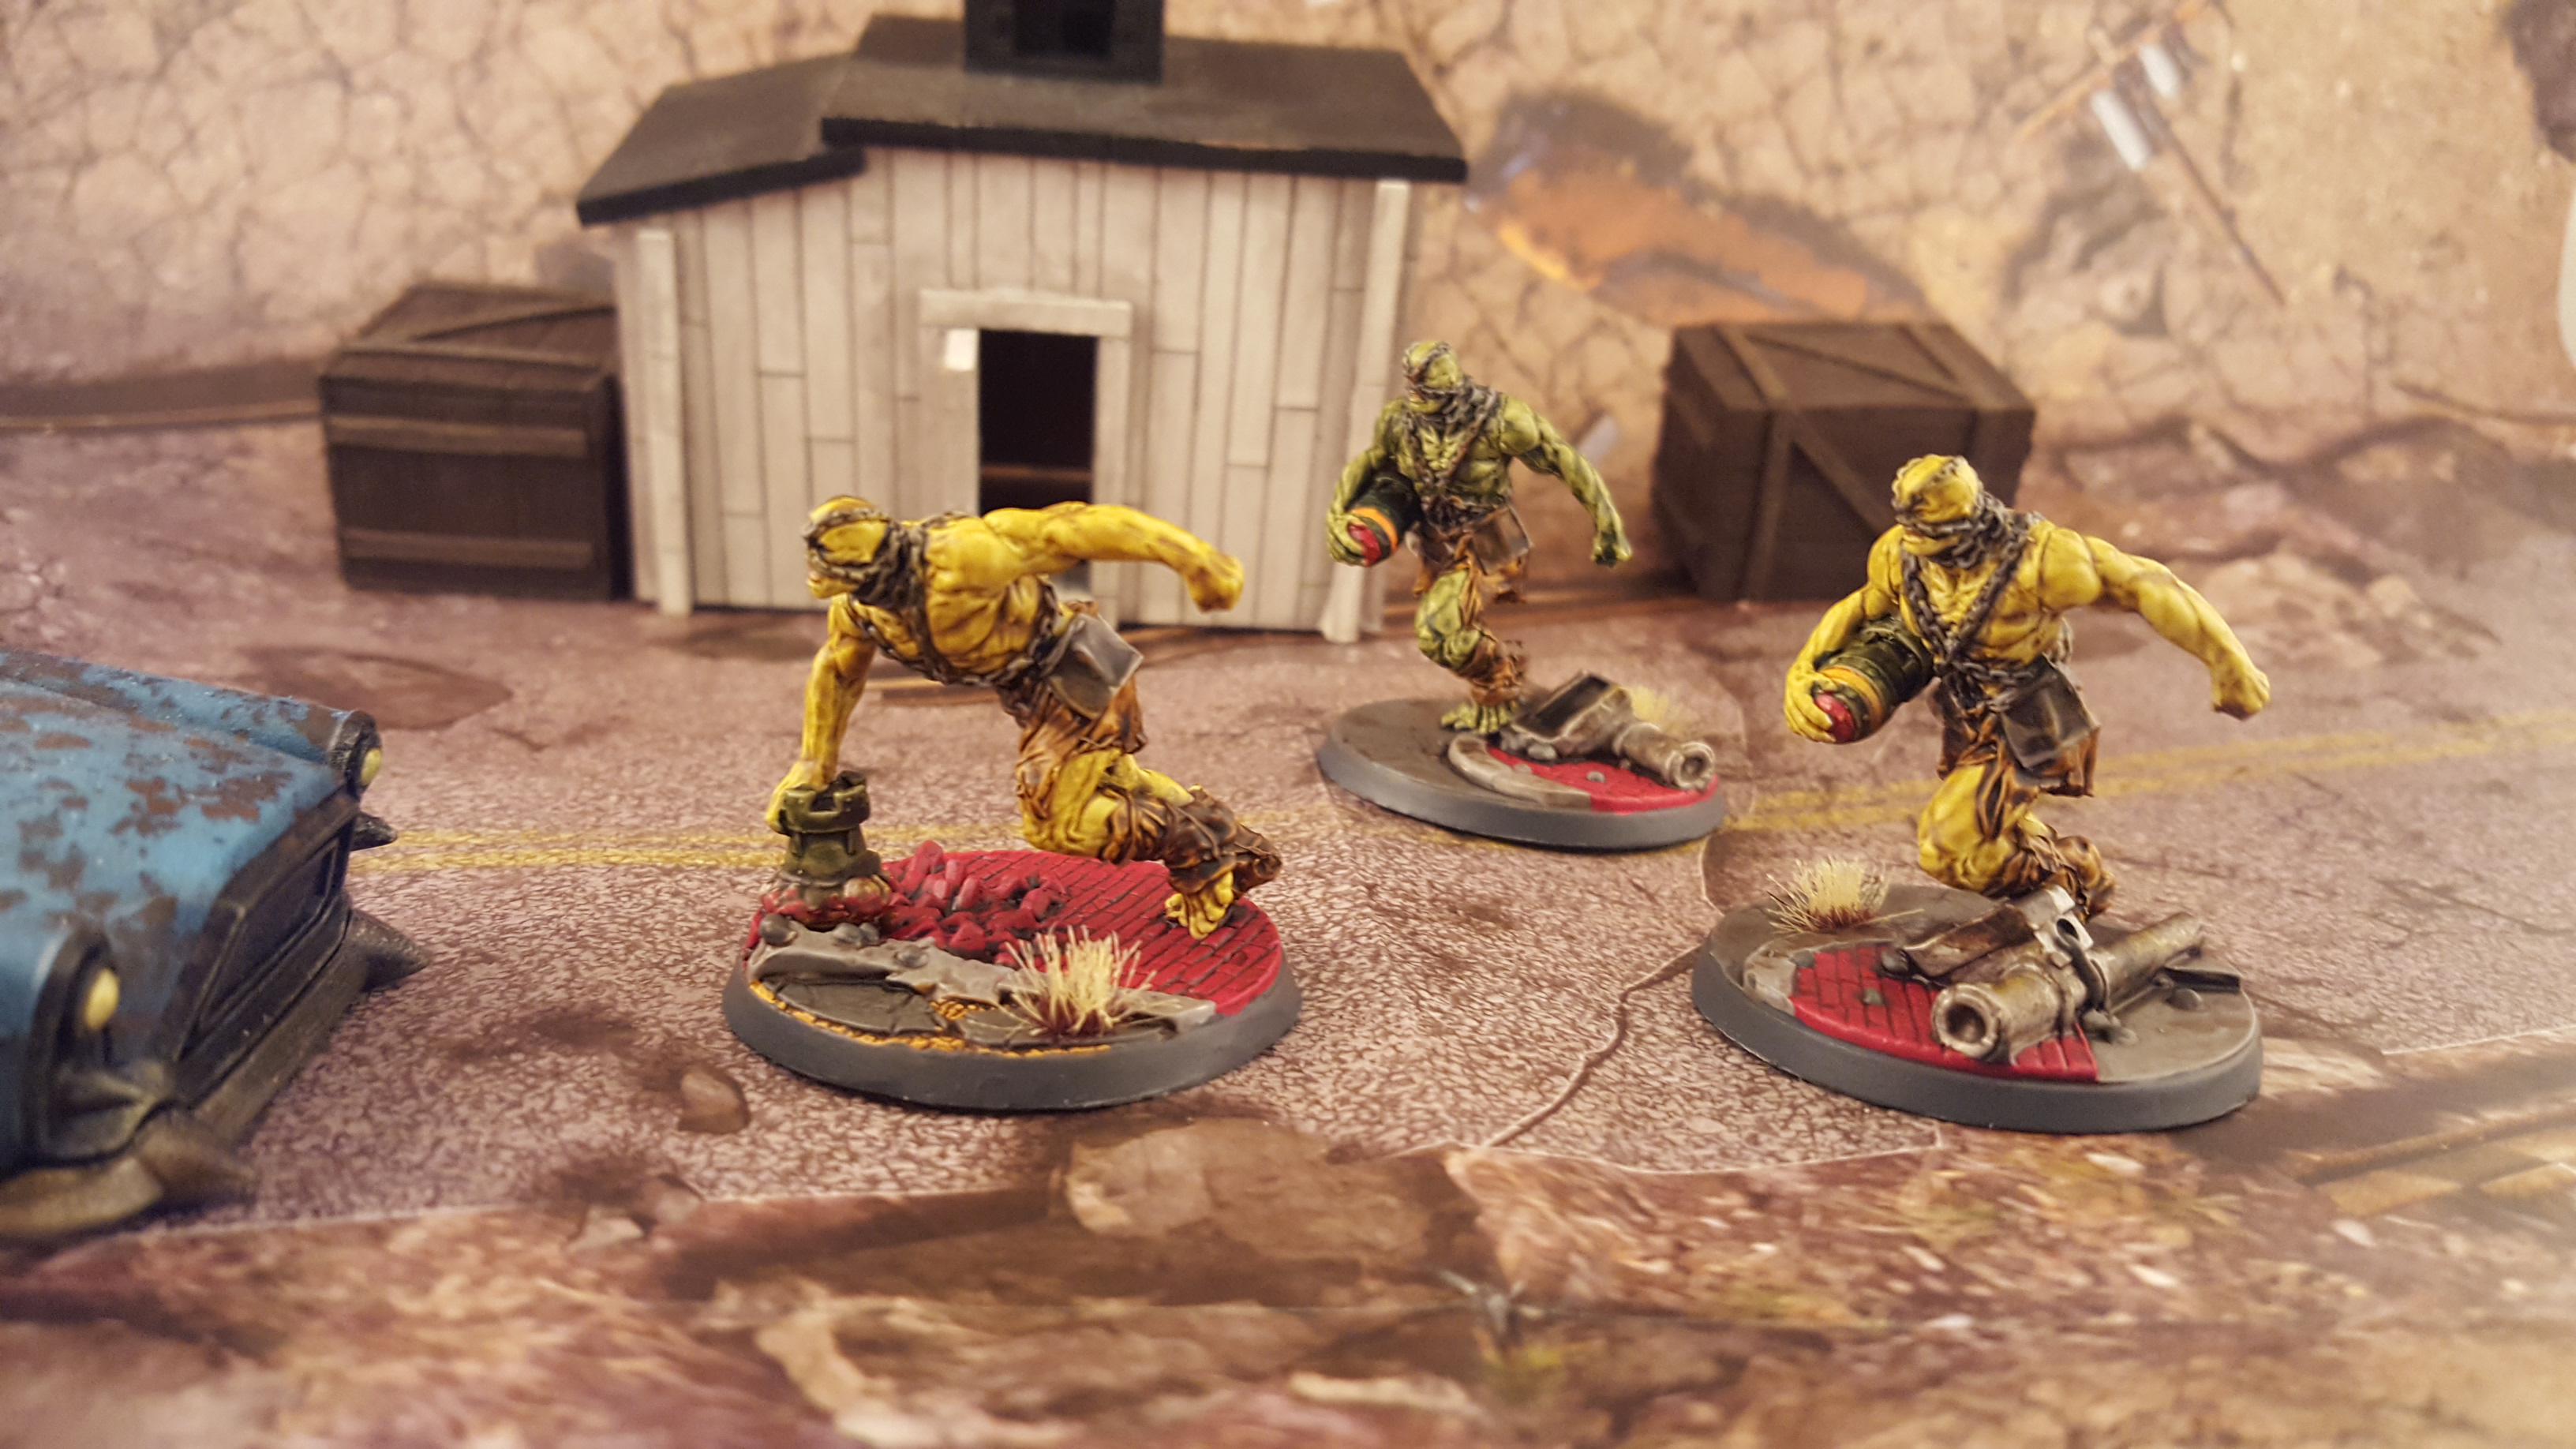
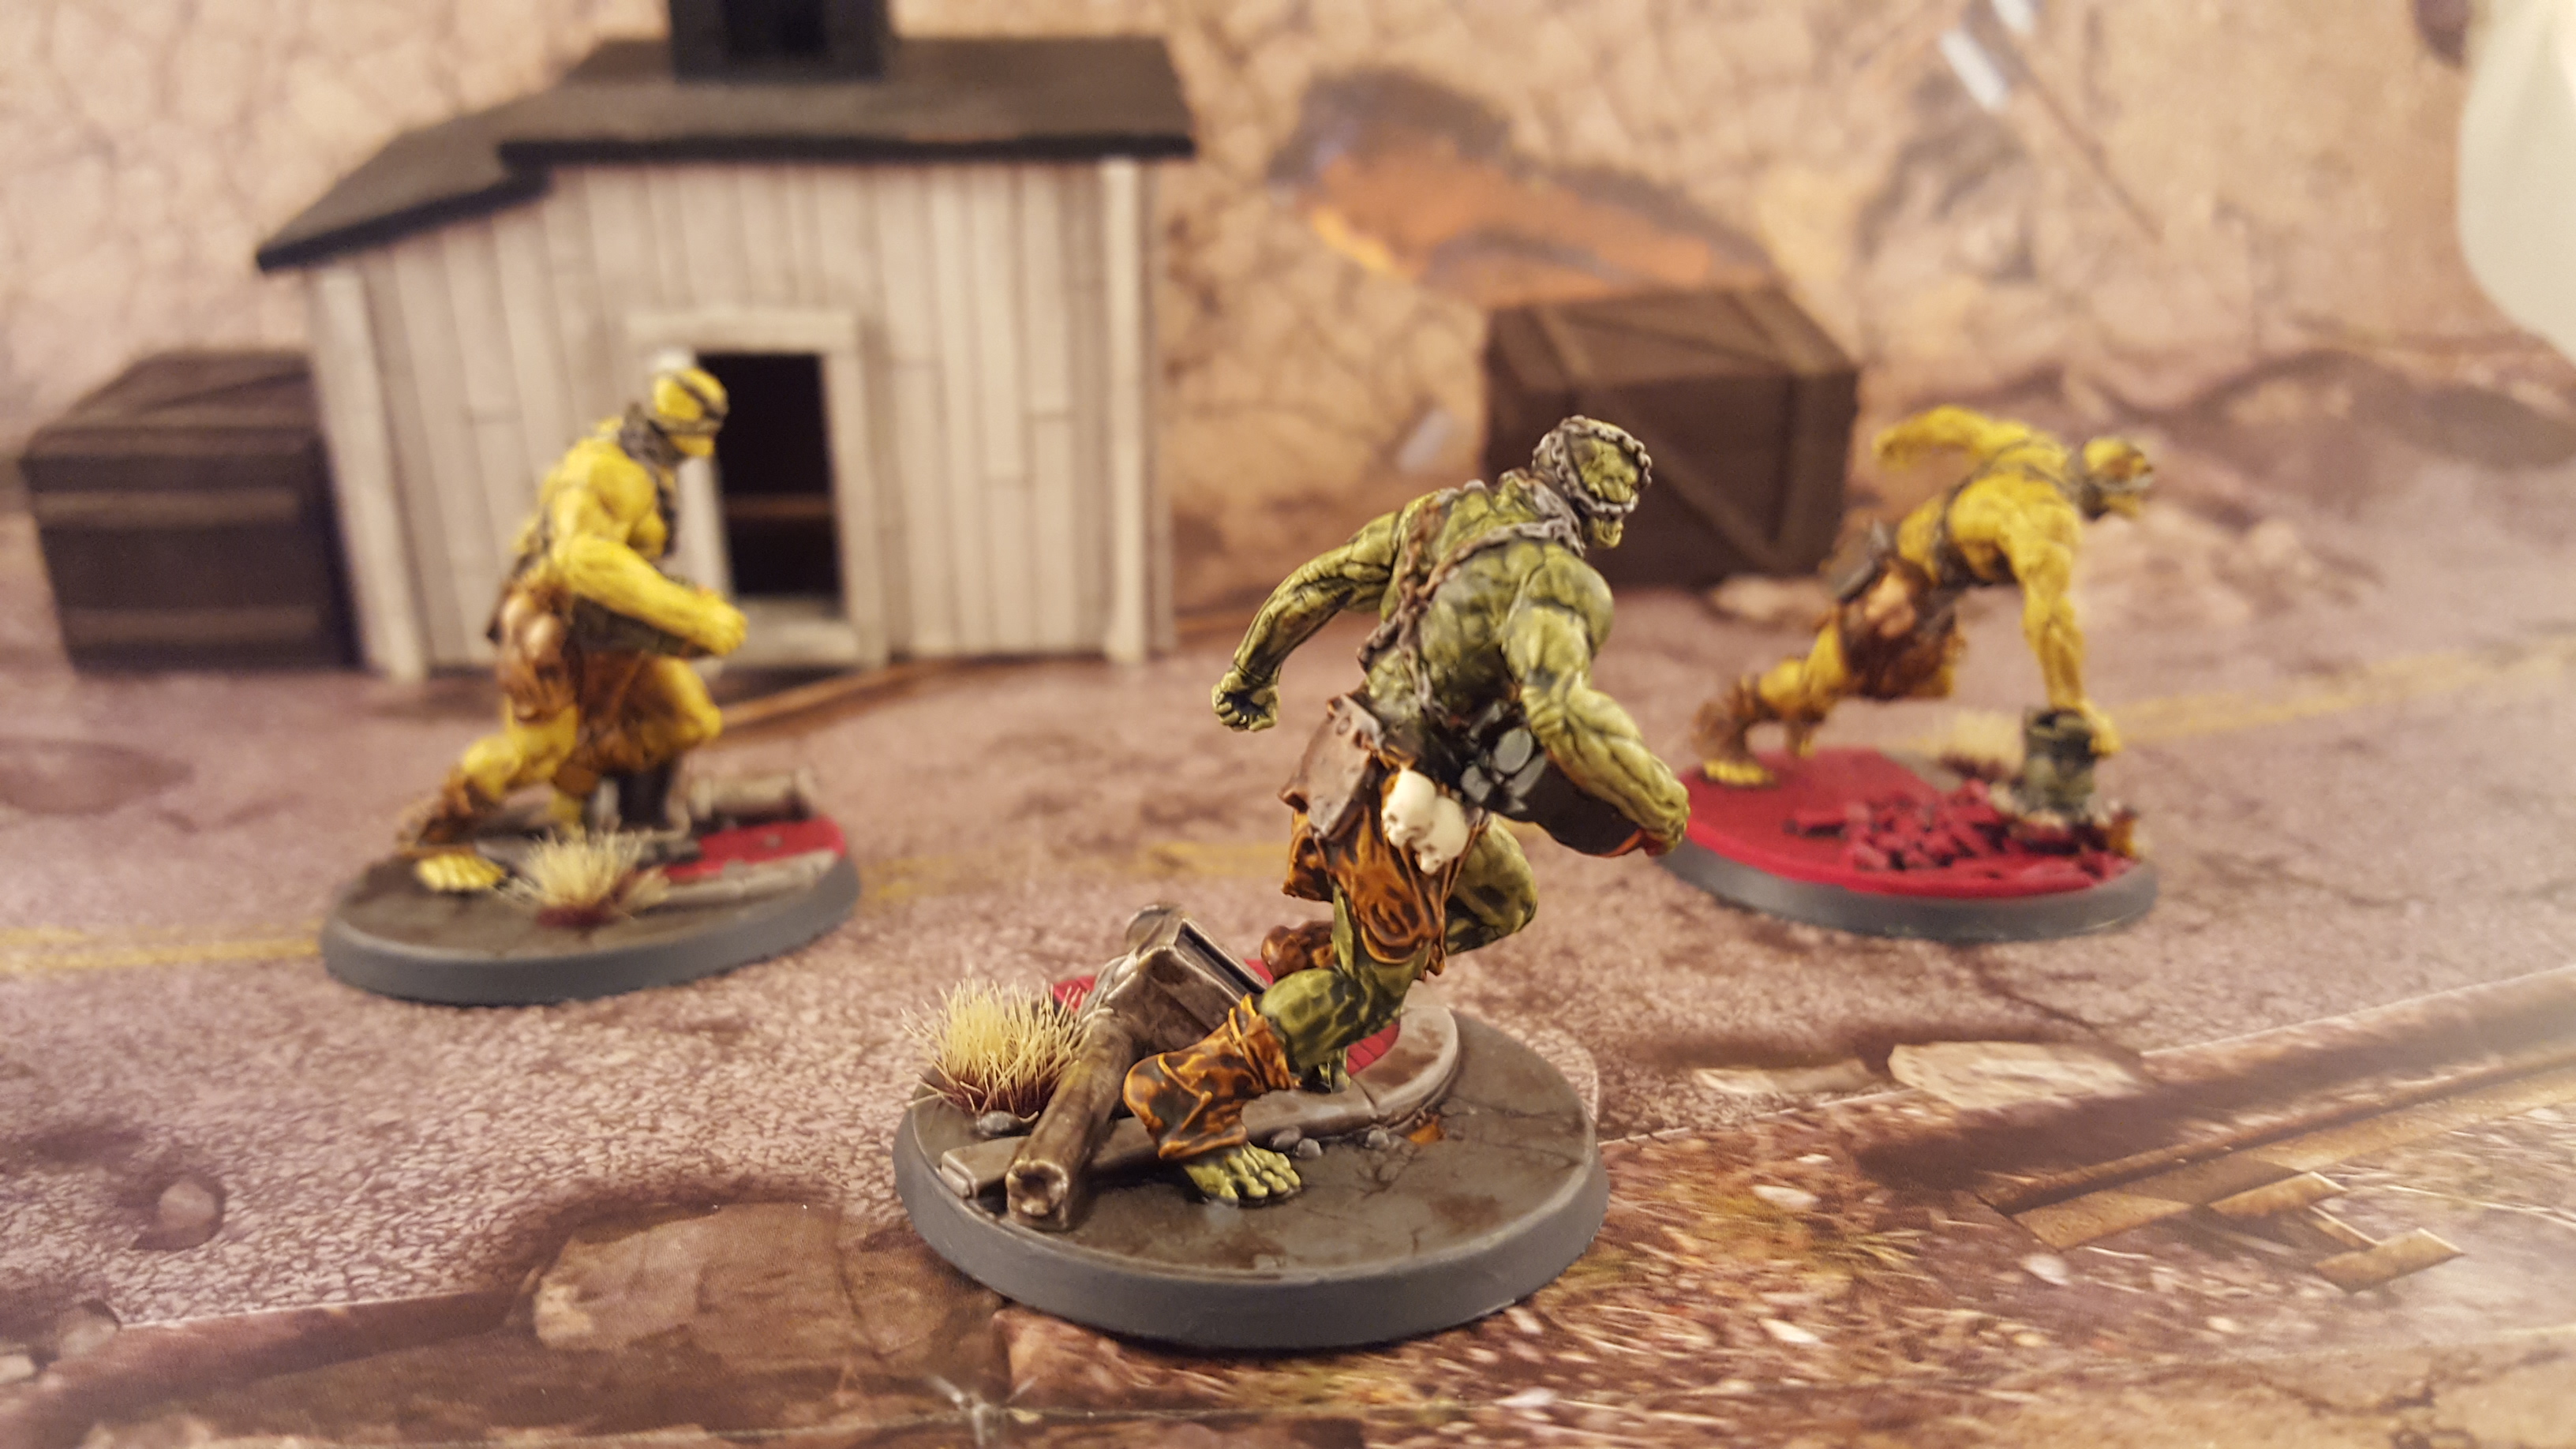
The Super Mutant Suiciders are one of the more interesting looking models in the group, with their chains and dynamic poses as they rush the enemy carrying their mini nukes American Football style into the enemy the only thing missing from the video game is the beeping as they run into you.


The remainder of the models in the current range really help drive the appearance of a hard hitting faction that likes to get in close and tear apart their foes but are not afraid to shoot them up a bit first to.
As I said I had a lot of fun painting these, the contrast paints and my love of Fallout have me looking forward to my next faction to finish up.
Robots roll out!
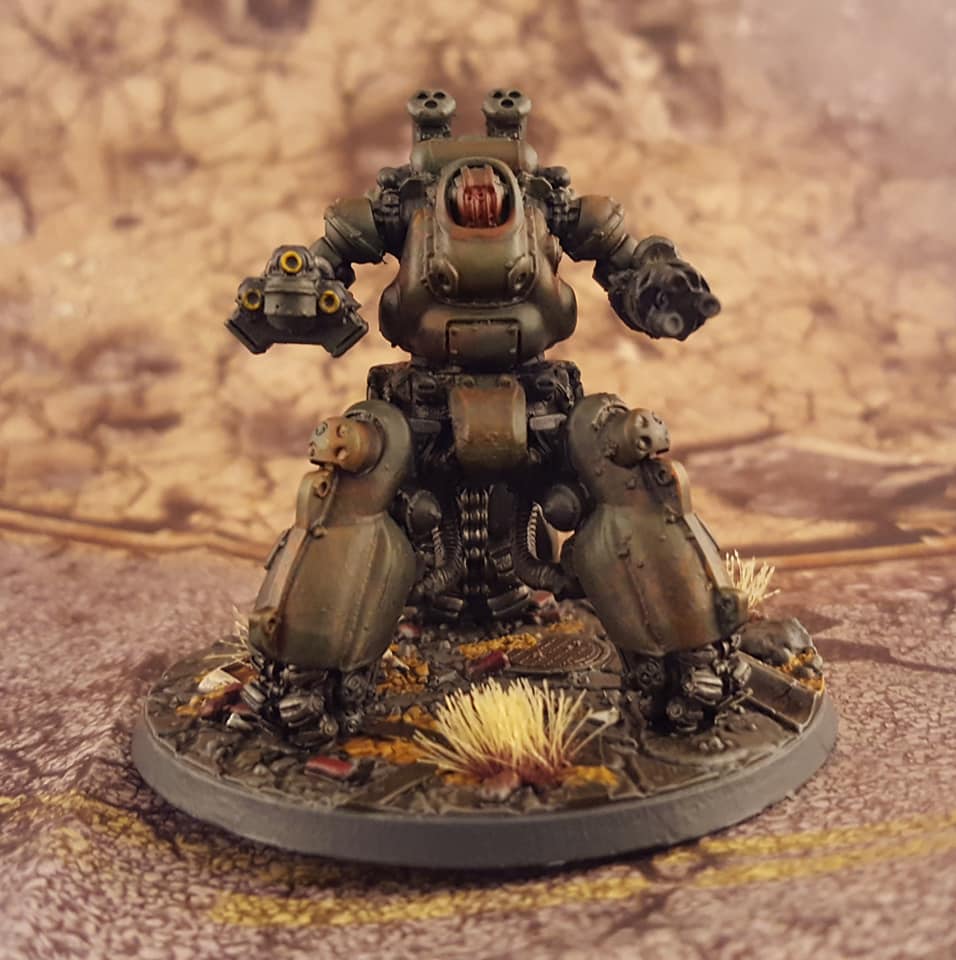
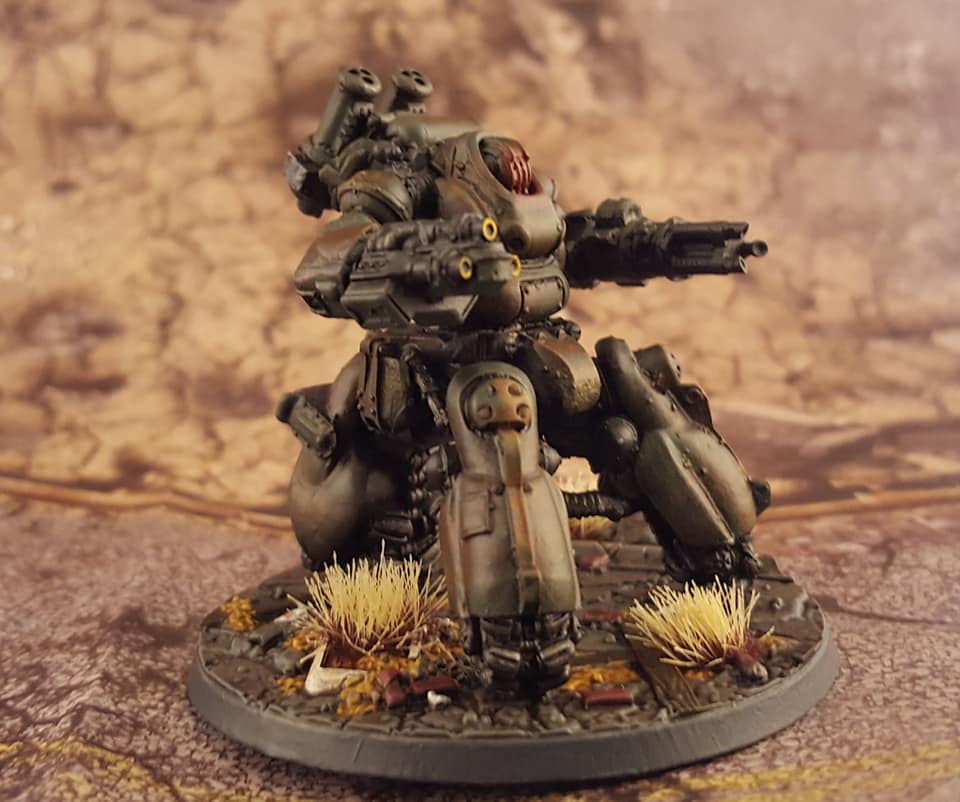
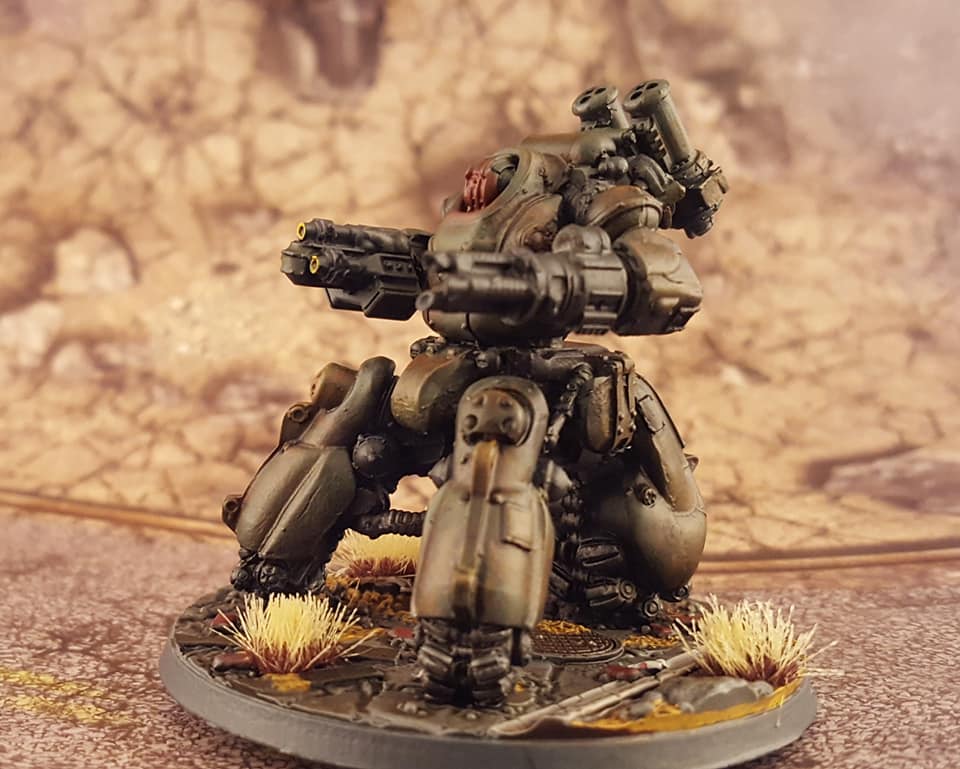
The next faction I decided to work on was the Robots, while these are their own faction they also make great NPC/Enemies in the RPG adaptation of Wasteland Warfare I am running. Rather than GW Contrast paints for these I used primarily airbrush work with salt chipping and then brush work for the details.
As with the Super Mutants I started with the biggest model, the Sentry Bot. This beast is the most powerful of the robots with a mini gun and rocket launcher arm. He comes with an extra mini gun for the dual mini gun varient so I magnetized his right arm in case I ever wanted to swap. I mostly used Vallejo paints for these guys, priming and then doing an under coat of Rust Air paint. After this dryed I applied water to the armor parts to weather and rolled him around in a zip lock bag filled with salt. I like to use a mix of traditional fine grain salt as well as larger sea or kosher to get a nice variation of patches. Once this dried I used my airbrush with no paint to blow off the really loose parts and then used USMC Green a the top coat. After drying I simply flaked off the salt and instant weathering. this creates a very basic weathering scheme that I then updated with a brown wash, then Vallejo Rust effects built up in a few places with a game colour rust dry brush. Guns and the under chasis are dark gray with metallic highlights. For the eye I used contrast blood angels red with a top coat of the Spirit Stone red techincal paint to have the red glow spilling out over the armor.
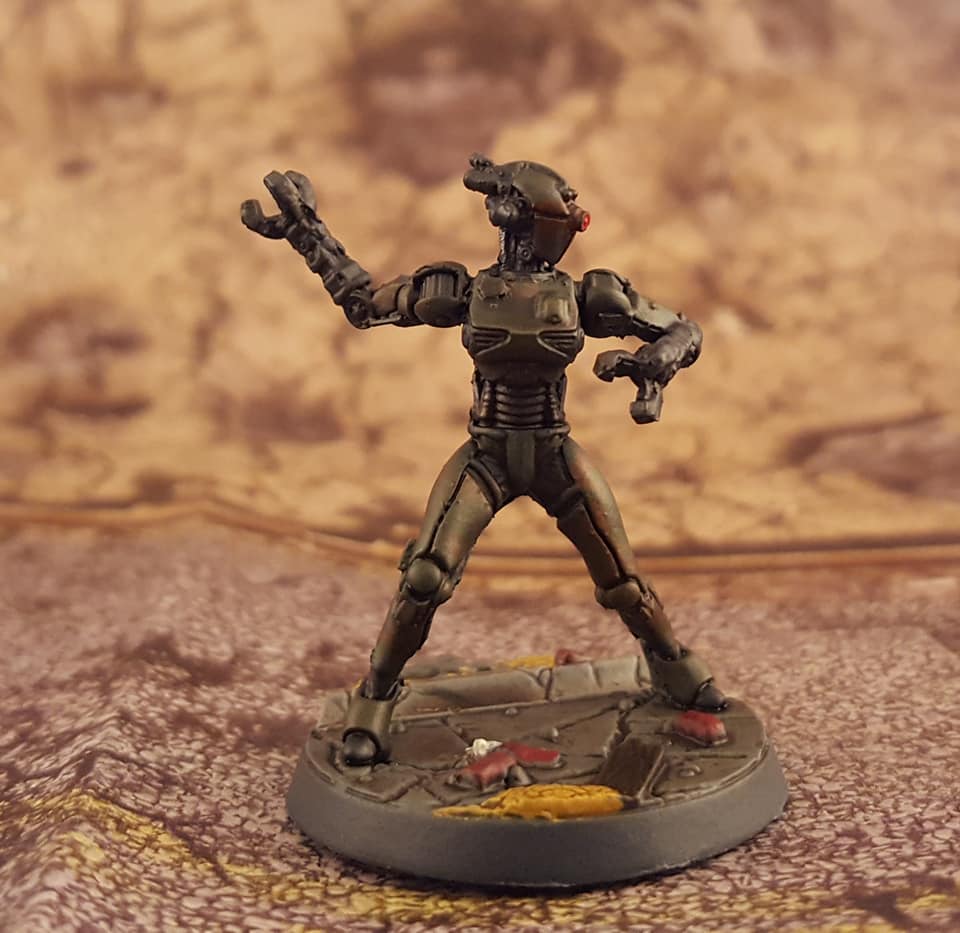
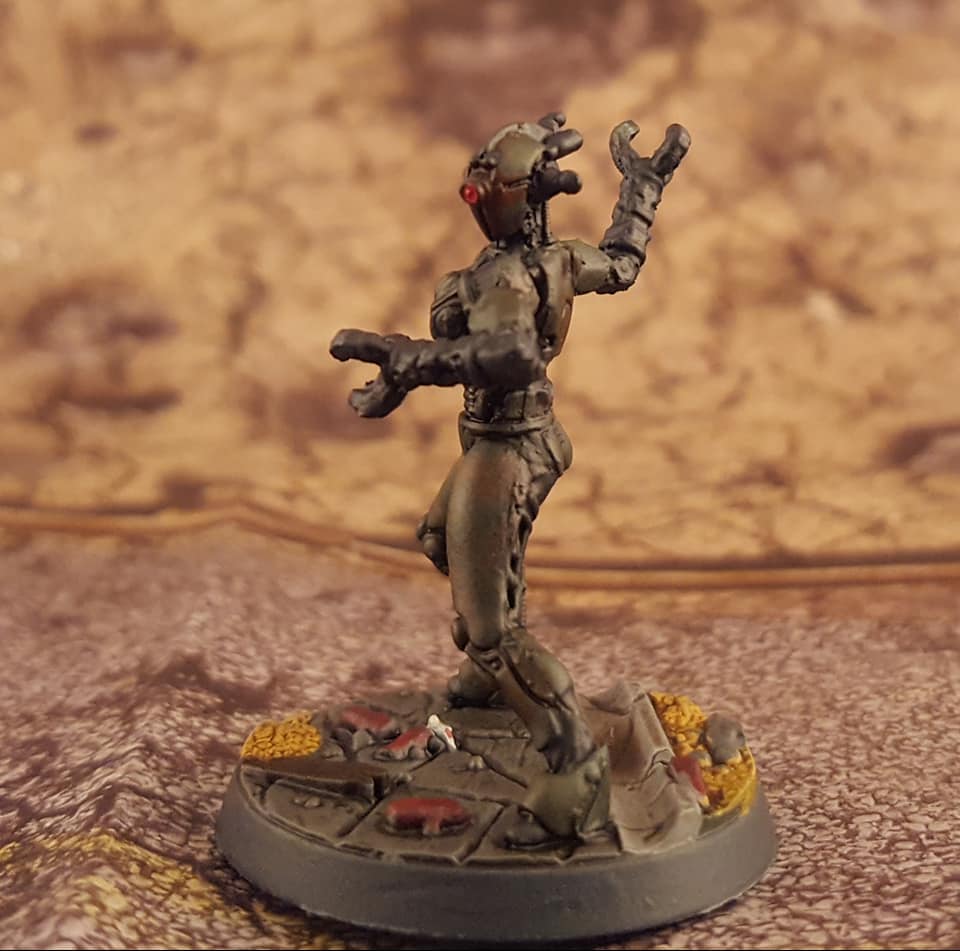
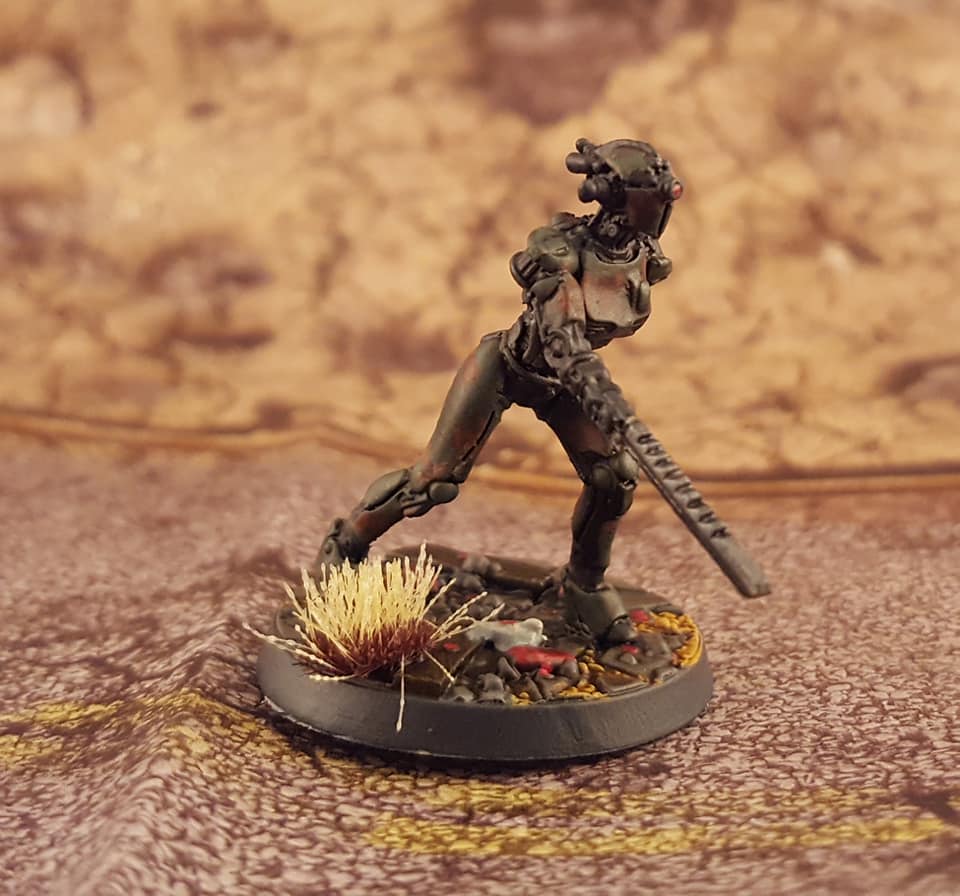
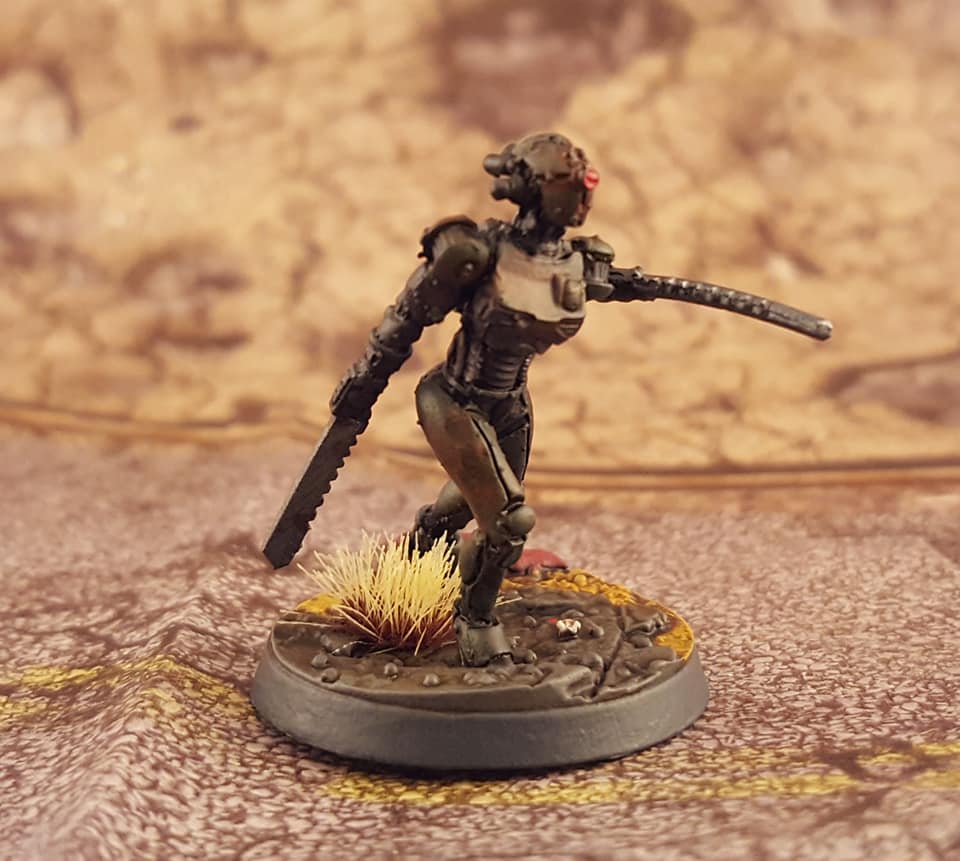
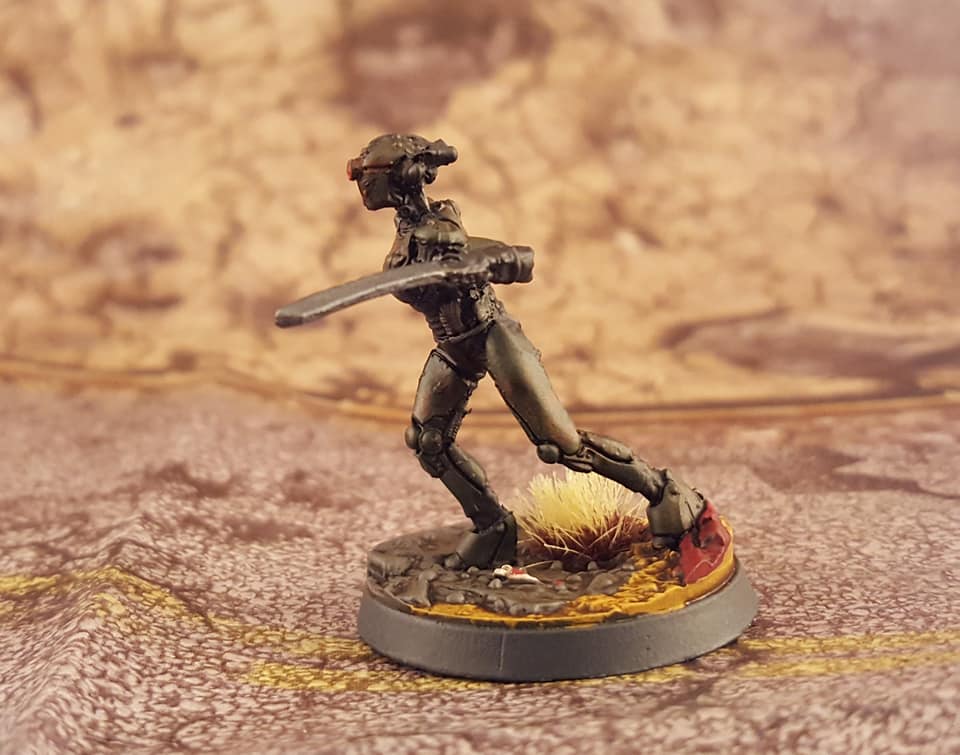
The next up were the Assualtron models, these lovely ladies of death have 3 different poses so there is some nice variation including 2 diff weapon loadouts. I painted these up the same as the Sentry Bot as they are most commonly seen along with that model in Fallout 4 around military bases.

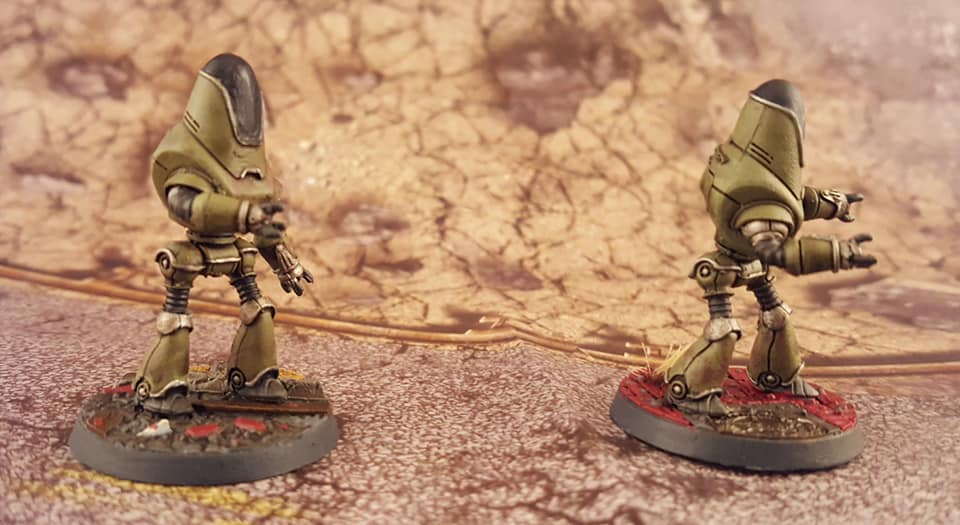
The Protectrons also underwent the salt chipping method however for their top coat as they are a civilian unit I wanted to copy their basic greenish tan from the game. I mixed some green wash with a tan I had made previously for airbrushing from a Vallejo game color and I think that captured the look nicely. I also tried using some crackle medium on top of the domes to simulate cracked glass but that did not work quite as well.

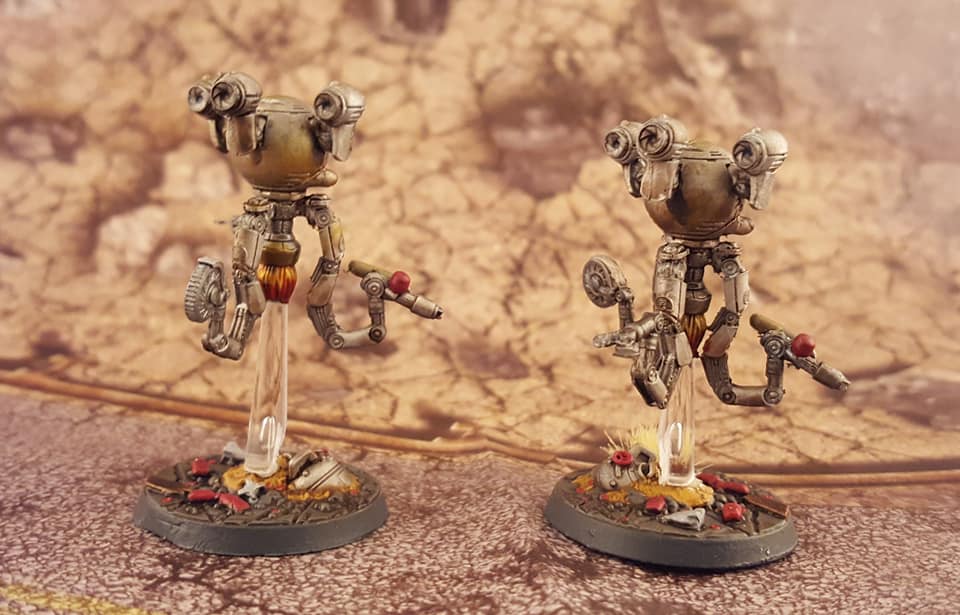
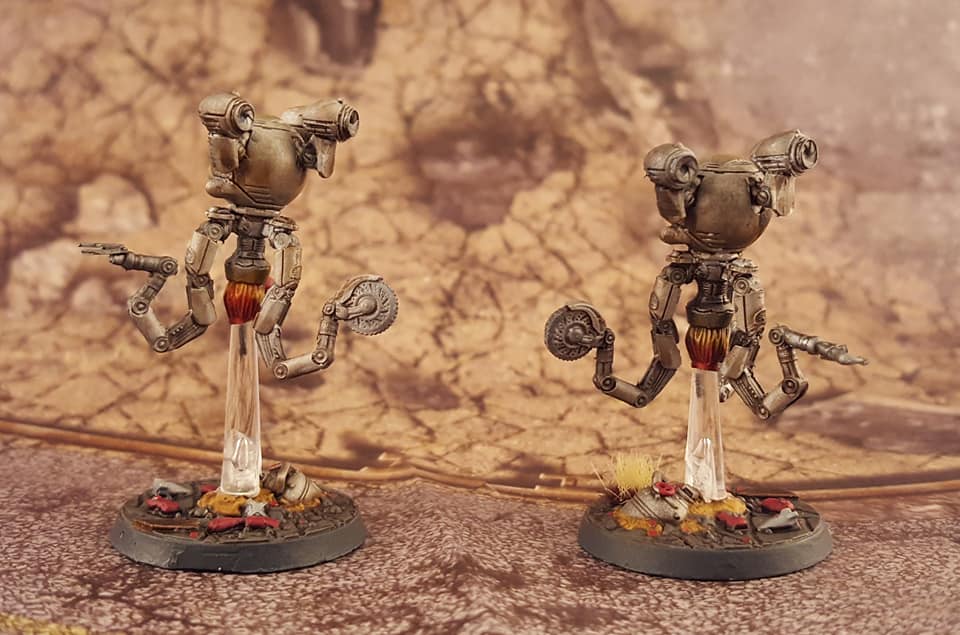
Next up were the Mr Handy’s. These were pretty simple as I decided to go for the basic metallic variant instead of the white of C.U.R.I.E. so I did a quick coat of GW Air Runefang Steel for a chrome look then applied my Vallejo weathering Effects and drybrush/brown washes as with the other models. Prior to painting I did manage to break the grasper arms trying to remove the resin between the pincers, some plasticard fixed that nicely. I also decided to replace the resin post with some GW clear flight pegs so they’d look better as they float along on their jets. The flame colours are contrast red and yellow blended where they meet.
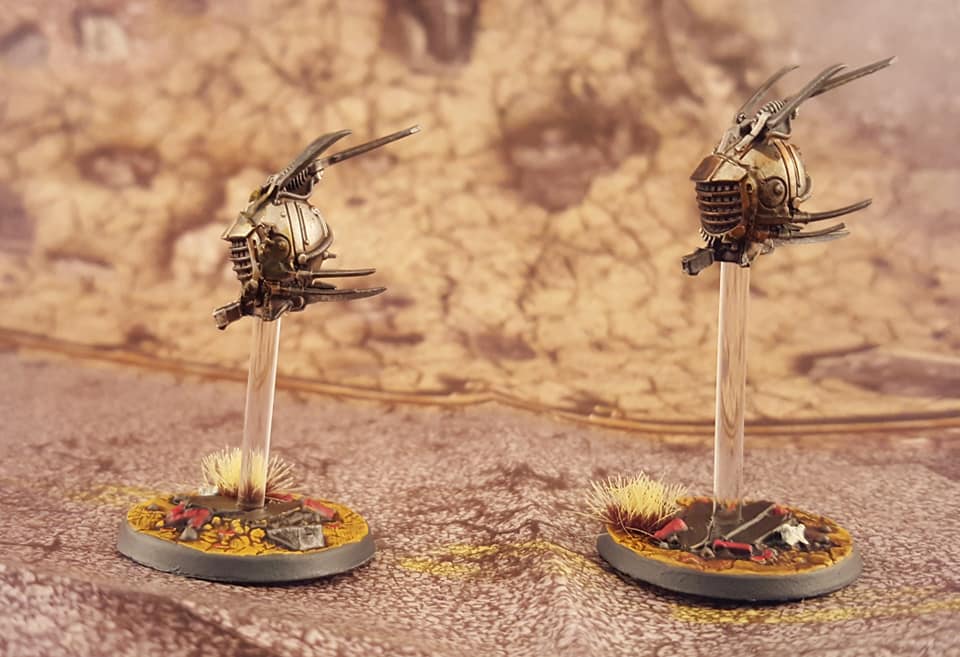
The last ones I did were the Eyebots. These were pretty simple as well as with the Mr Handy’s I just started with airbrushing Runefang Silver as a base then applying the weathering effects. Interestingly enough these actually came with clear flight pegs so I did not have to swap them out.

Creature Feature!
Next up on my journey thru the wasteland was the Creatures of the Commonwealth. As my Raiders had not shown up yet and I am focused on NPC/Monsters for my RPG group this was the next logical group. These were back to using GW contrast paints with some extras for highlights.
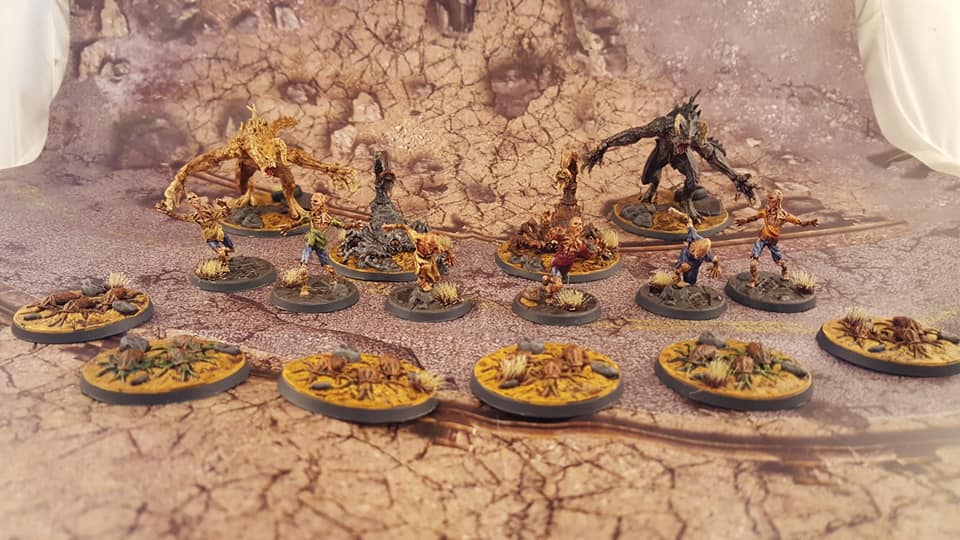
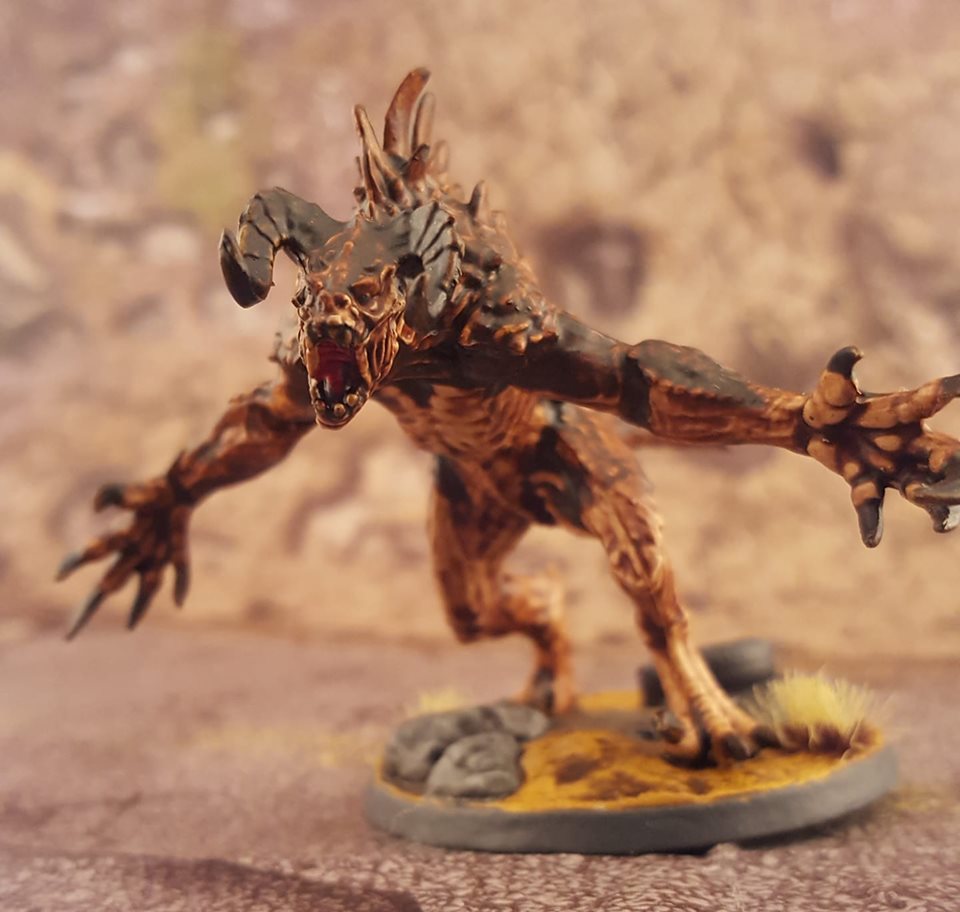
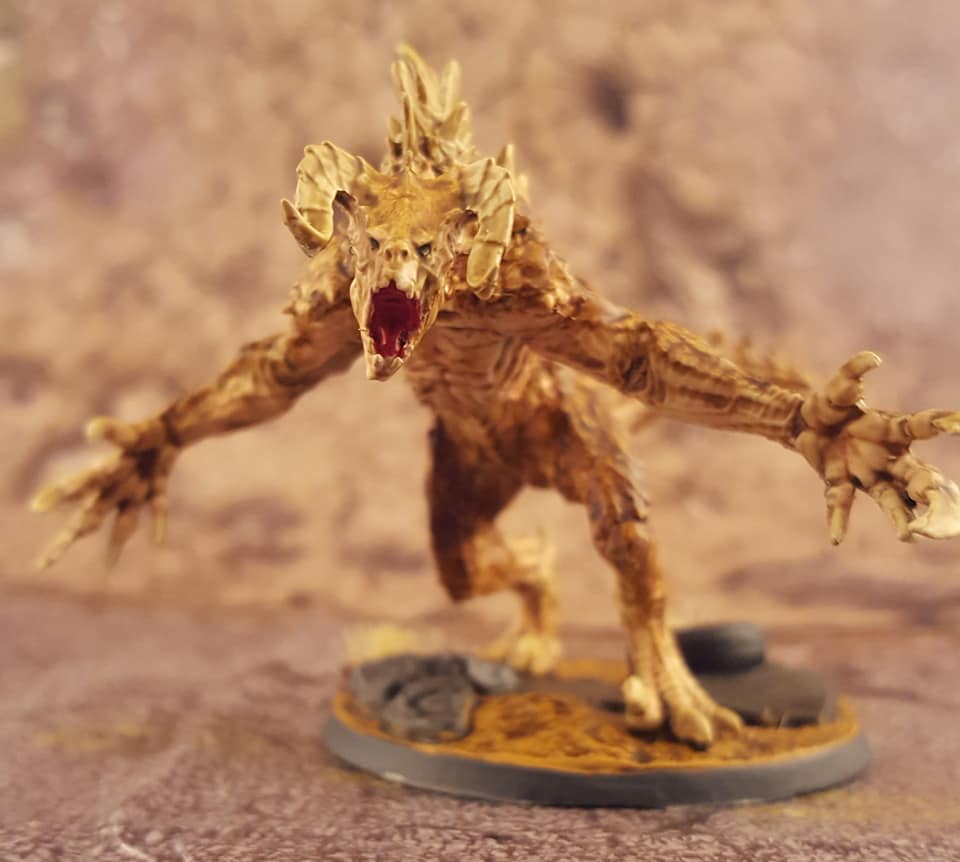
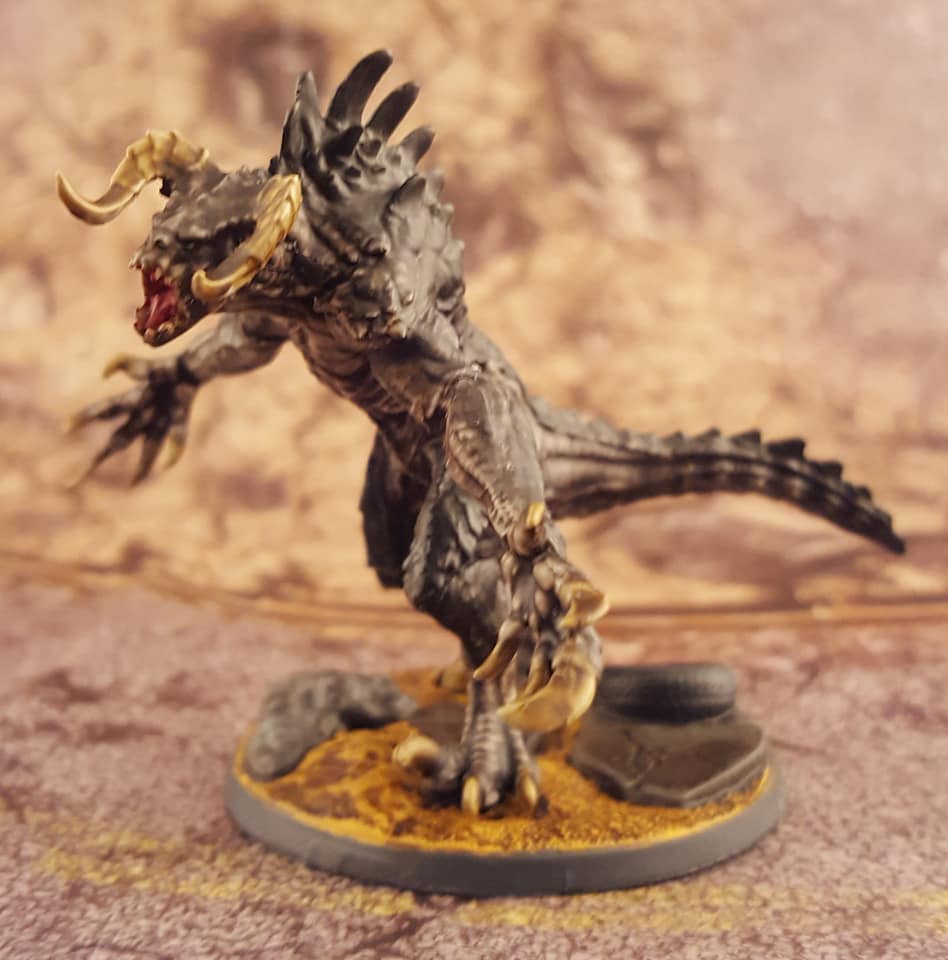
Before I had even started these I had completed the Deathclaw from the core set, using this as a base I wanted to have a “Young” version as the game has introduced weaker versions of a lot of cards so you can include them in smaller point forces. Next I tried to do an albino version but after it coming out pink it was turned into a dark gray/black. I was not 100% happy with the Gray/Black but for now it will do, I may return to it later with a bath of simple green. I also tried some wet blending between shades on these.
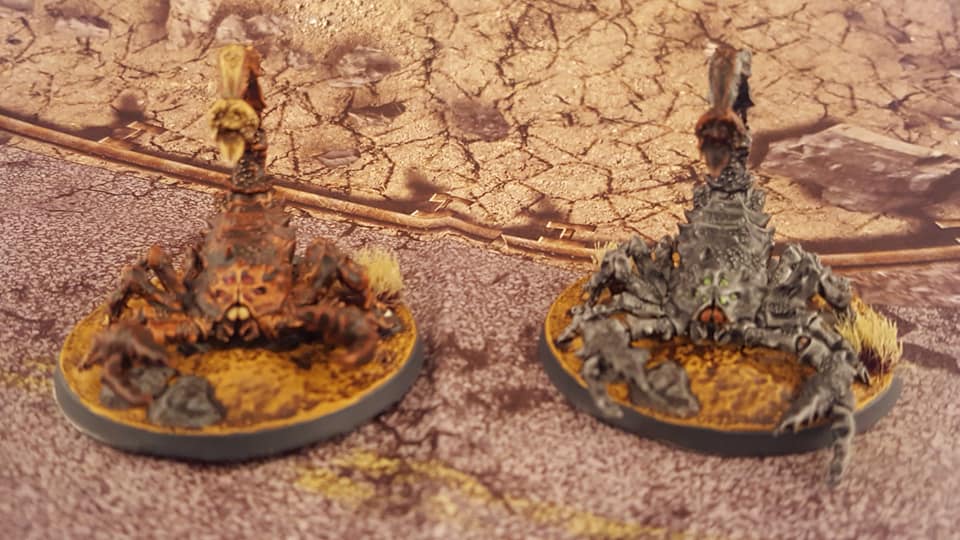
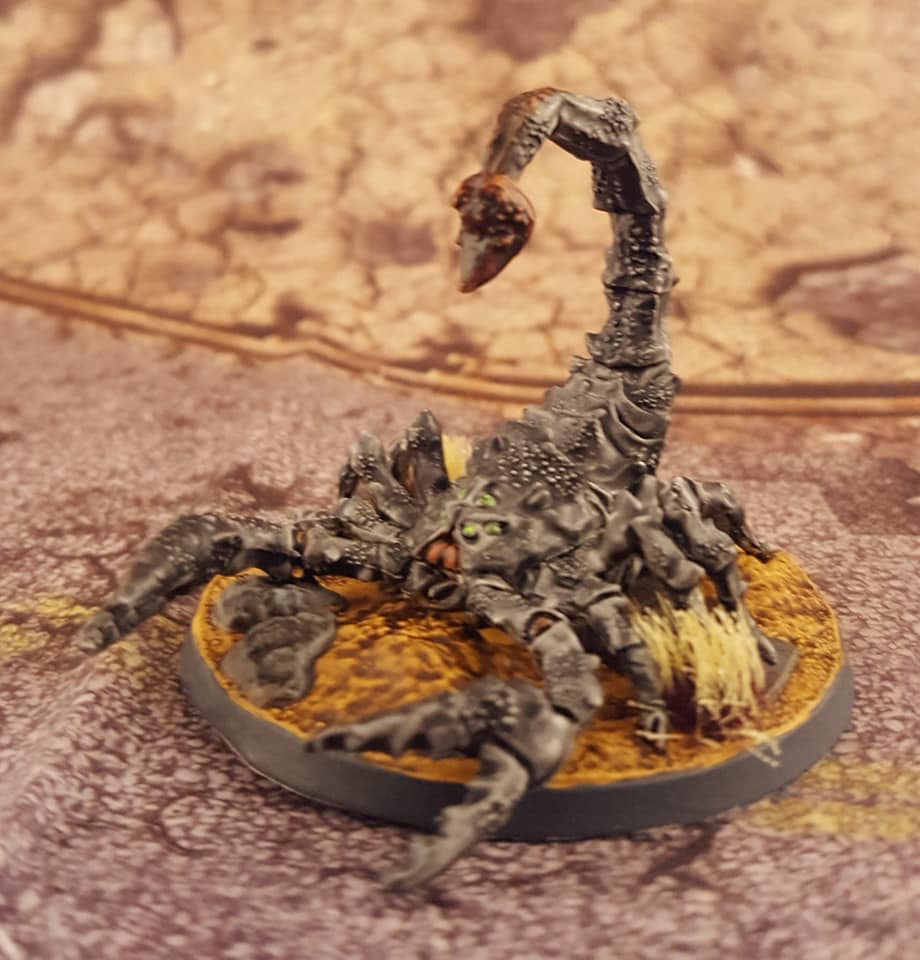
The other large based models in this group are the Radscorpion’s, I went with another reddish earth tone like my first deathclaw and then a much better gray carapace for the other so they are easy to tell apart.

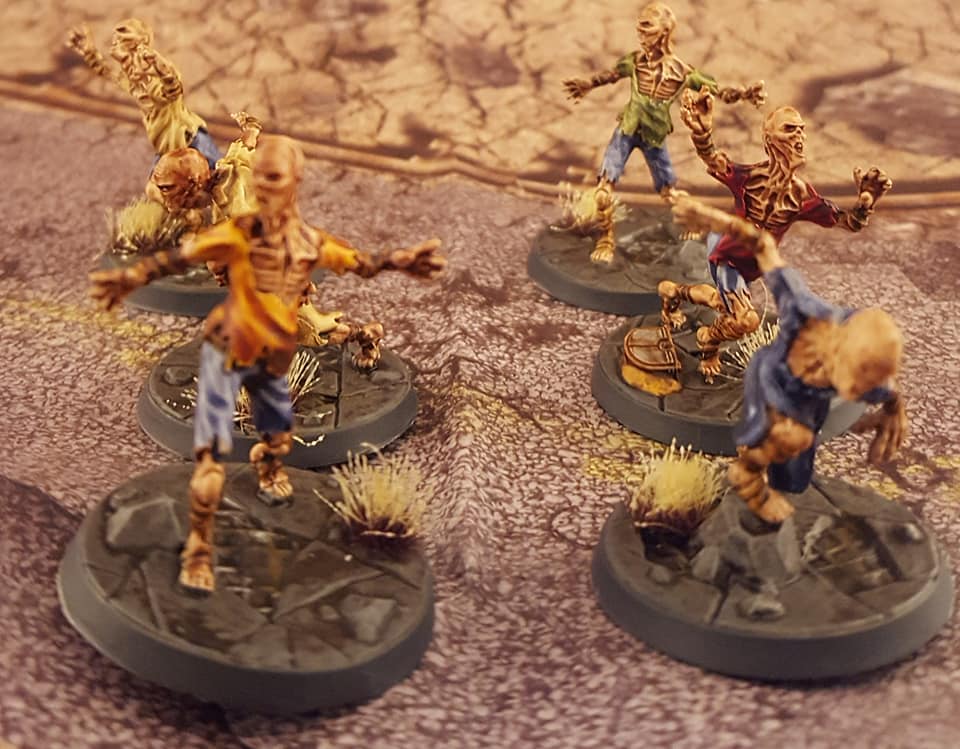
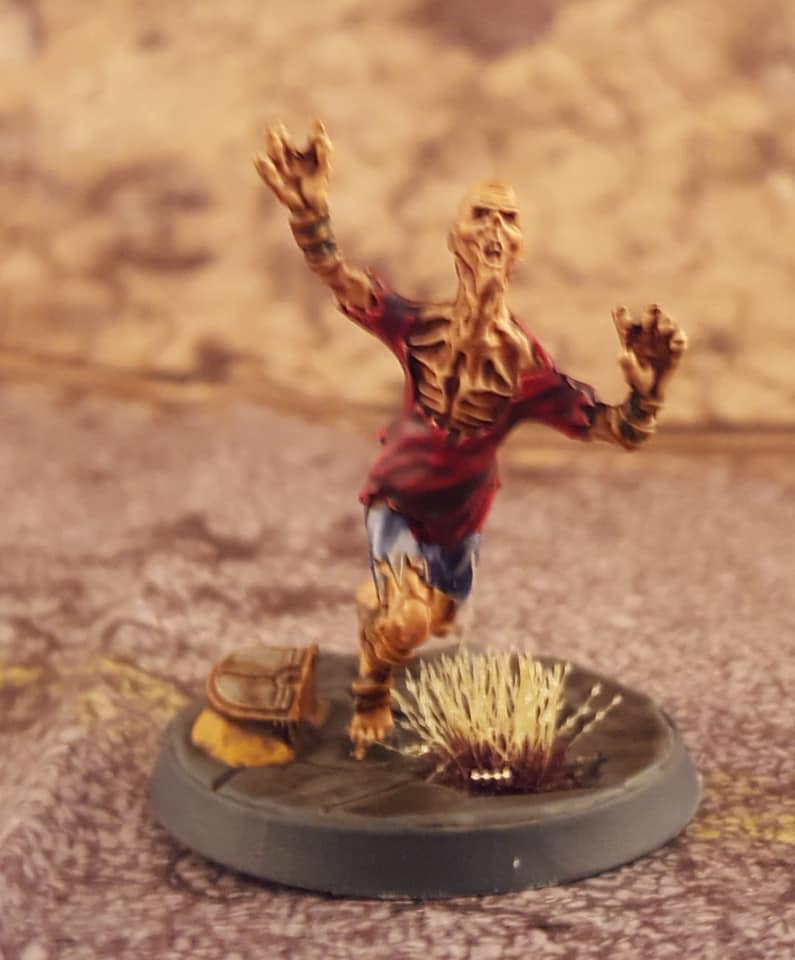
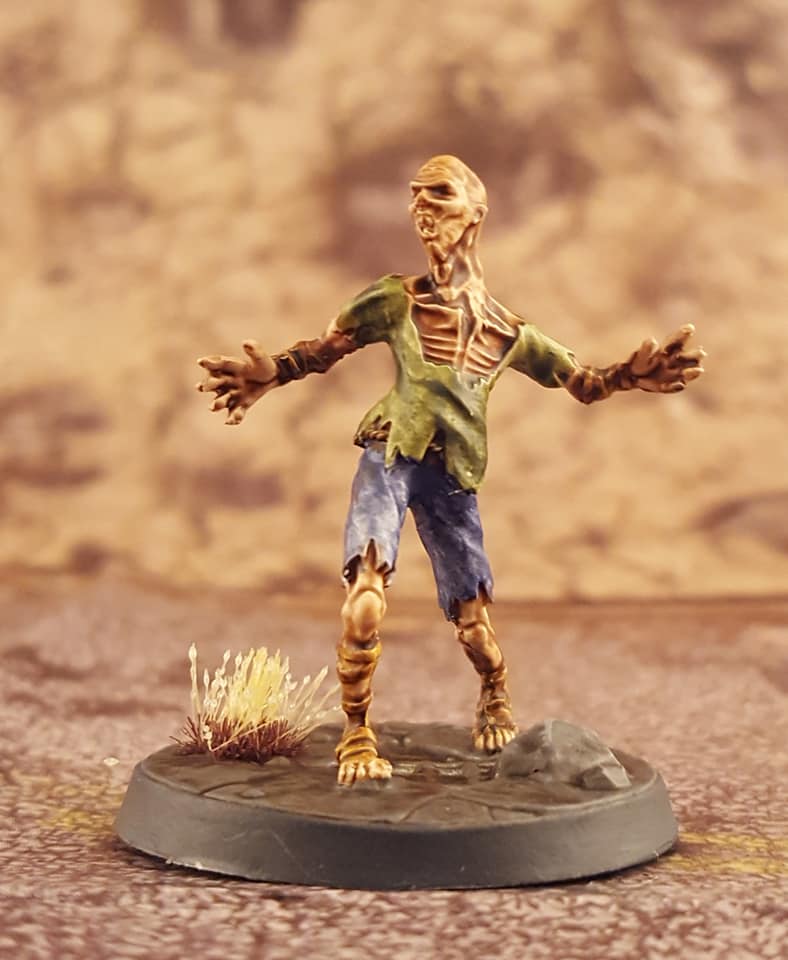
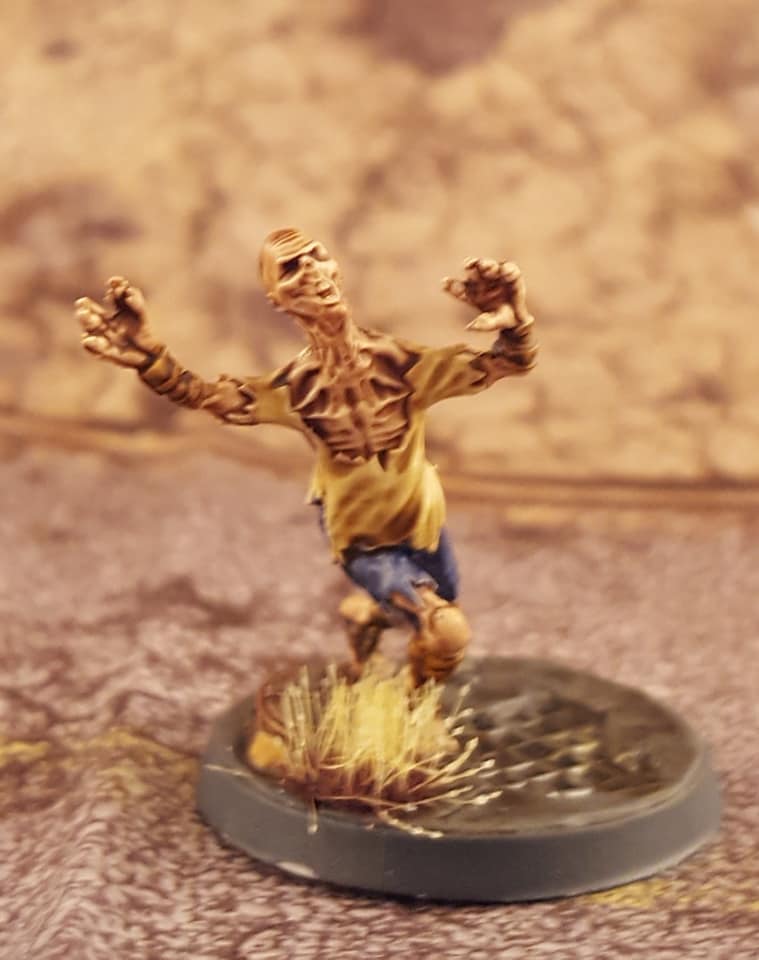
Next up I worked thru the Ghouls, these feral irradiated humans I did up in 2 flesh sets as there are duplicates of all 3 molds, I did one in Gulliman flesh and the other in Darkoath. I went a bit heavy on both to get a more tan look as they would be heavily scarred from radiation burns. For the clothing I diluted some Ultramarines blue with contrast medium to get the jeans look and then the tops/dresses are a mix of various other colours.


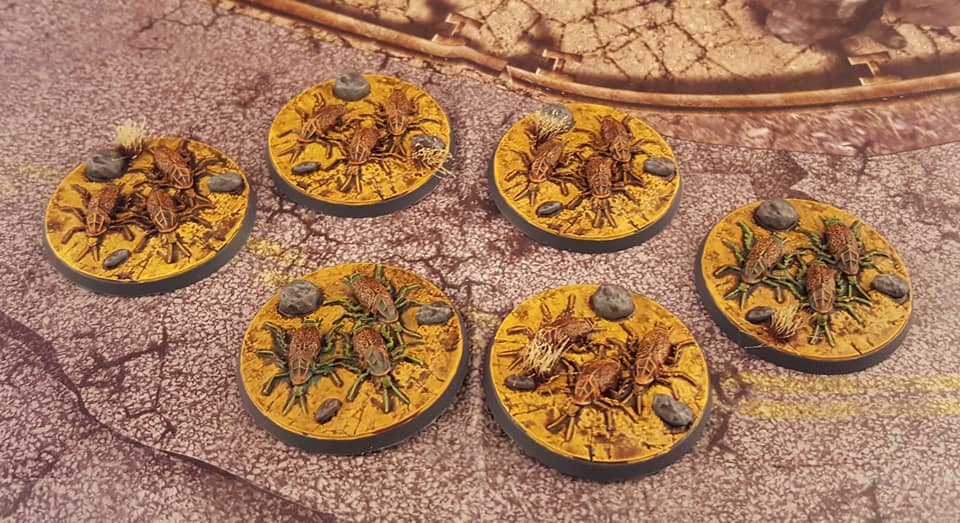
The final set of miniatures are the dreaded Radroach, these bases have 3 roaches each and act like swarms from other RPG games. I did 2 bases as Rad Roaches by painting areas with some old school GW Scorpion Green I have kept in good conditions. Othrewise the more “fleshy” areas are in Snakebite leather with the carapace and wings in the darker shade of Gore-Grunta Fur. Then for the Rad Roaches I did some Agrax Earthshade over them and then a Vallejo green wash pooled next to them for the “Glow”

Painting Break
Had to take a break from painting as the new Raider faction showed up on my doorstep needing assembly so I figured I’d go over them.
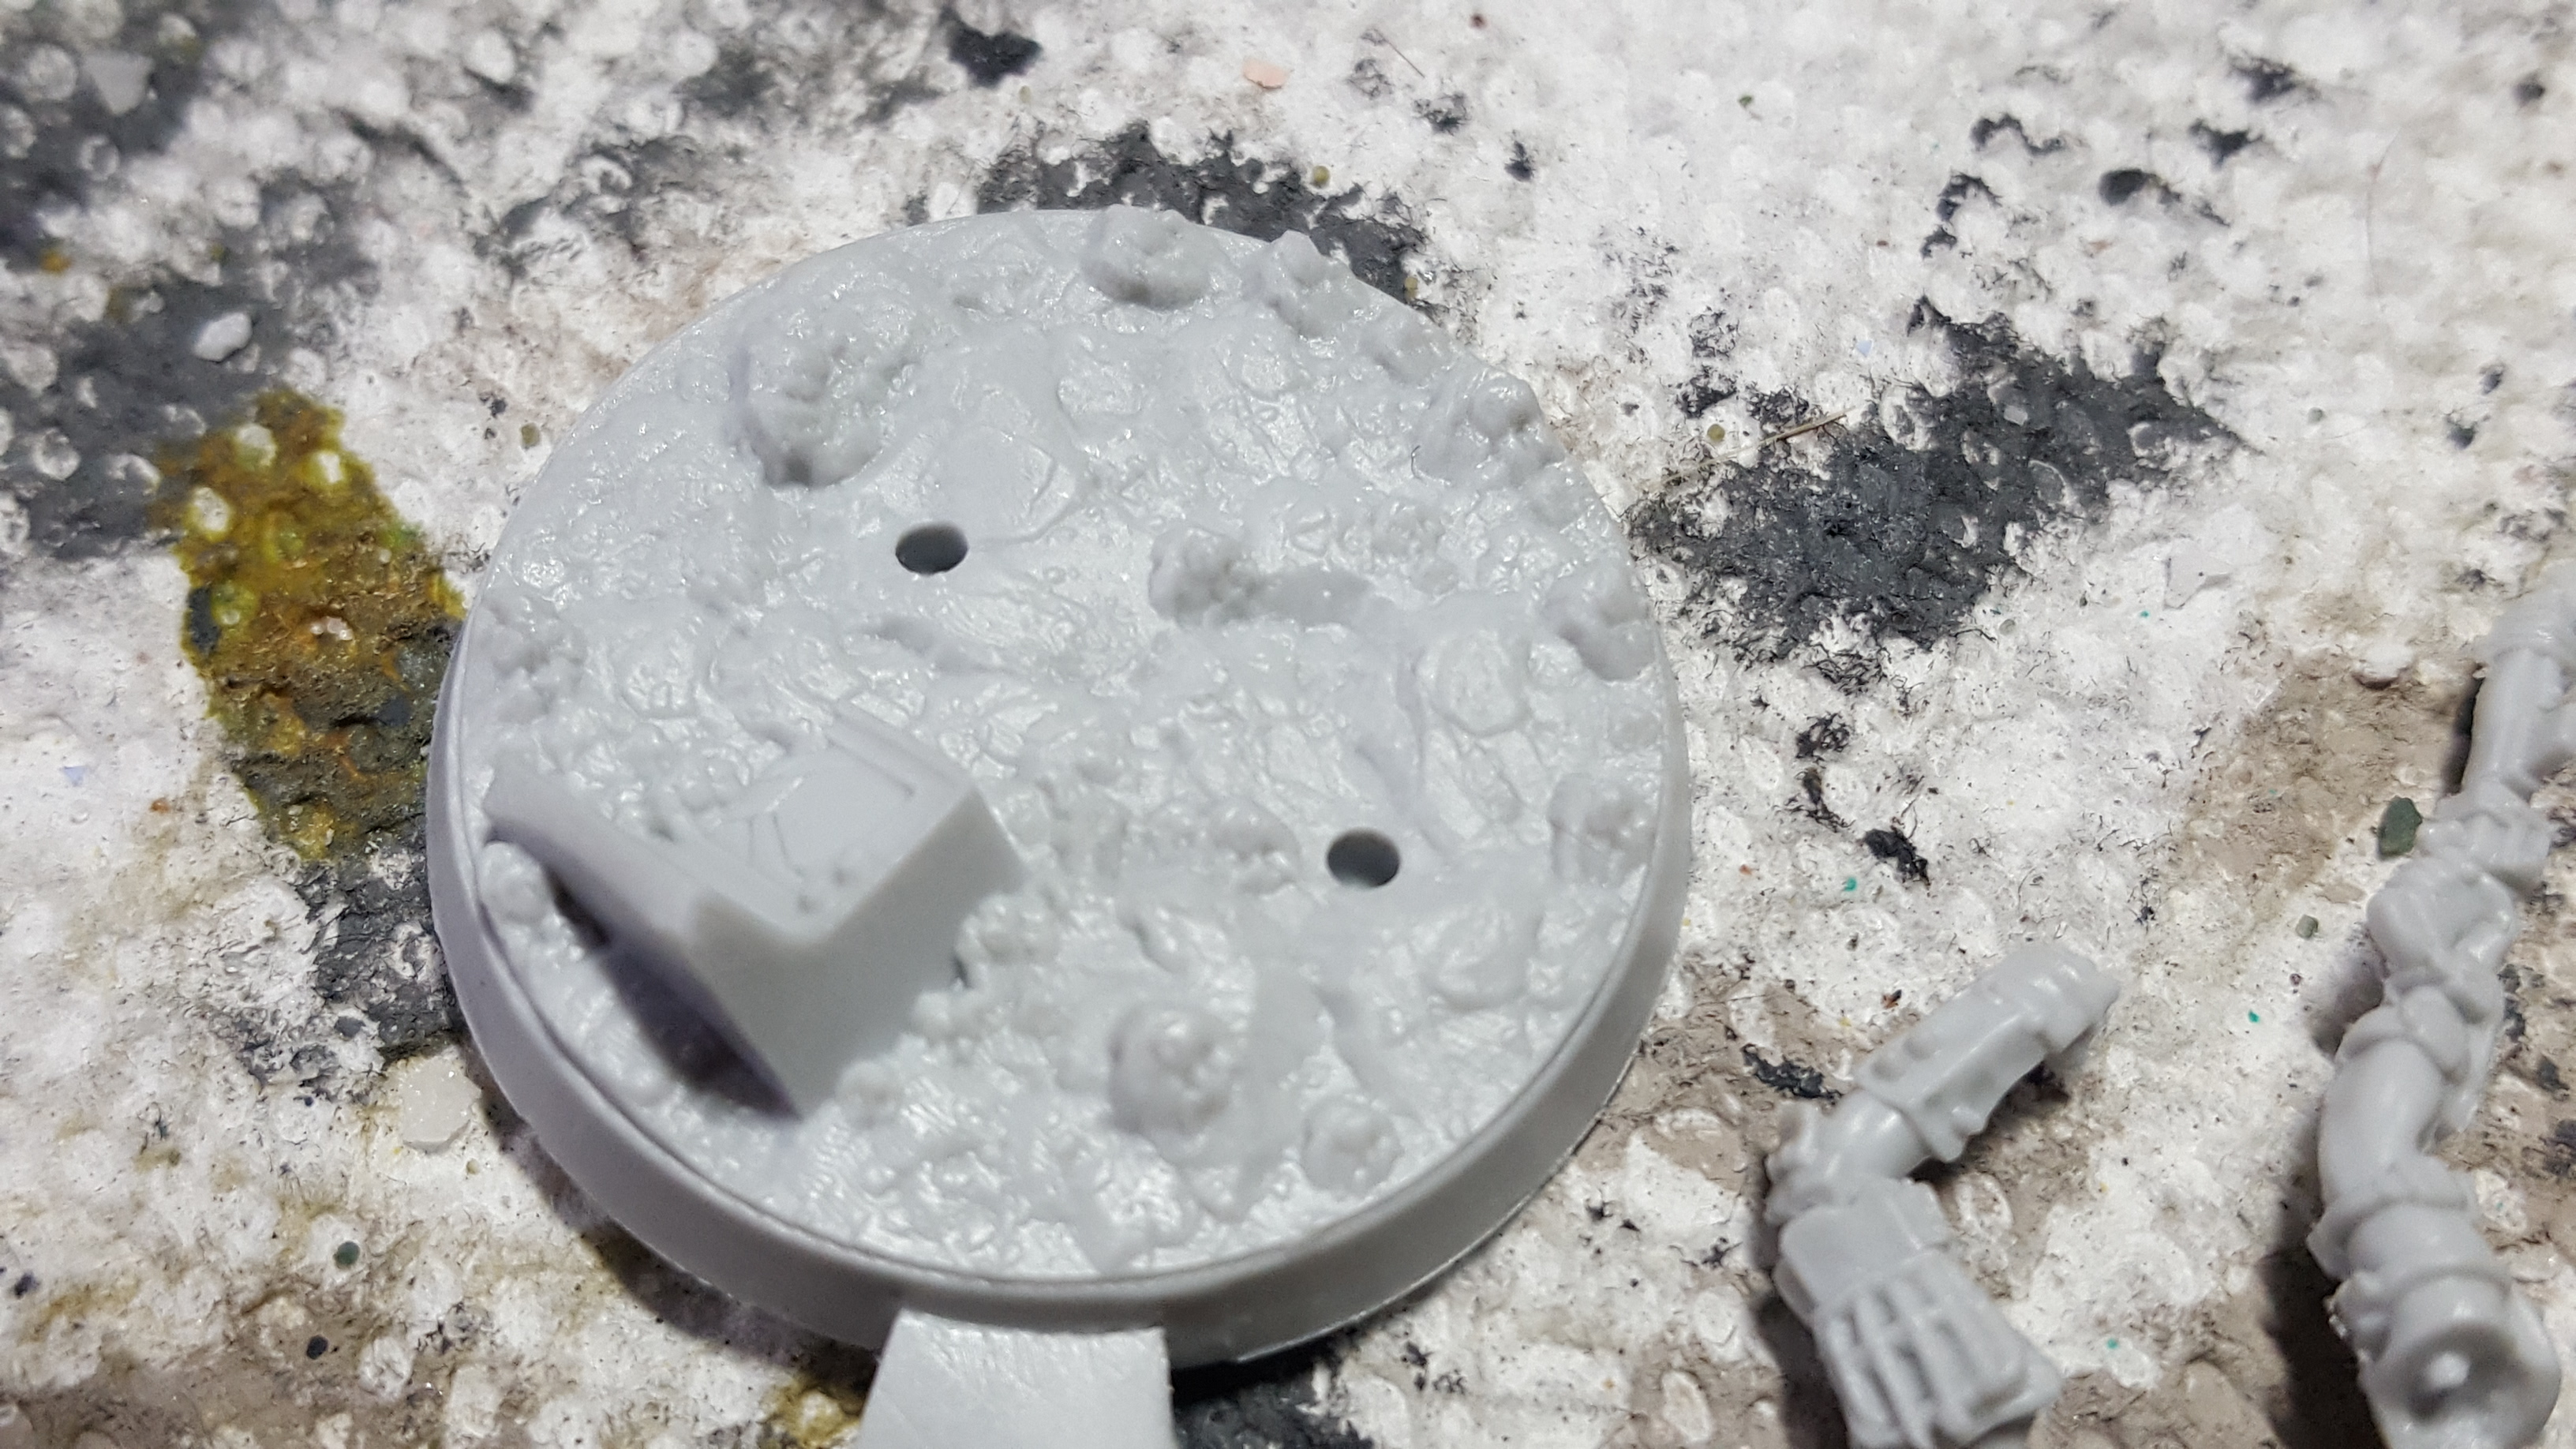
Wasteland Warfare models are Resin (with the exception of the starter set models which are PVC plastic), not as hard as say Forge World or other sources but not so bendy you have to worry about the parts warping if you leave them in the car. All figures come on a single sprue or multiples in the case of more complex models including their base.

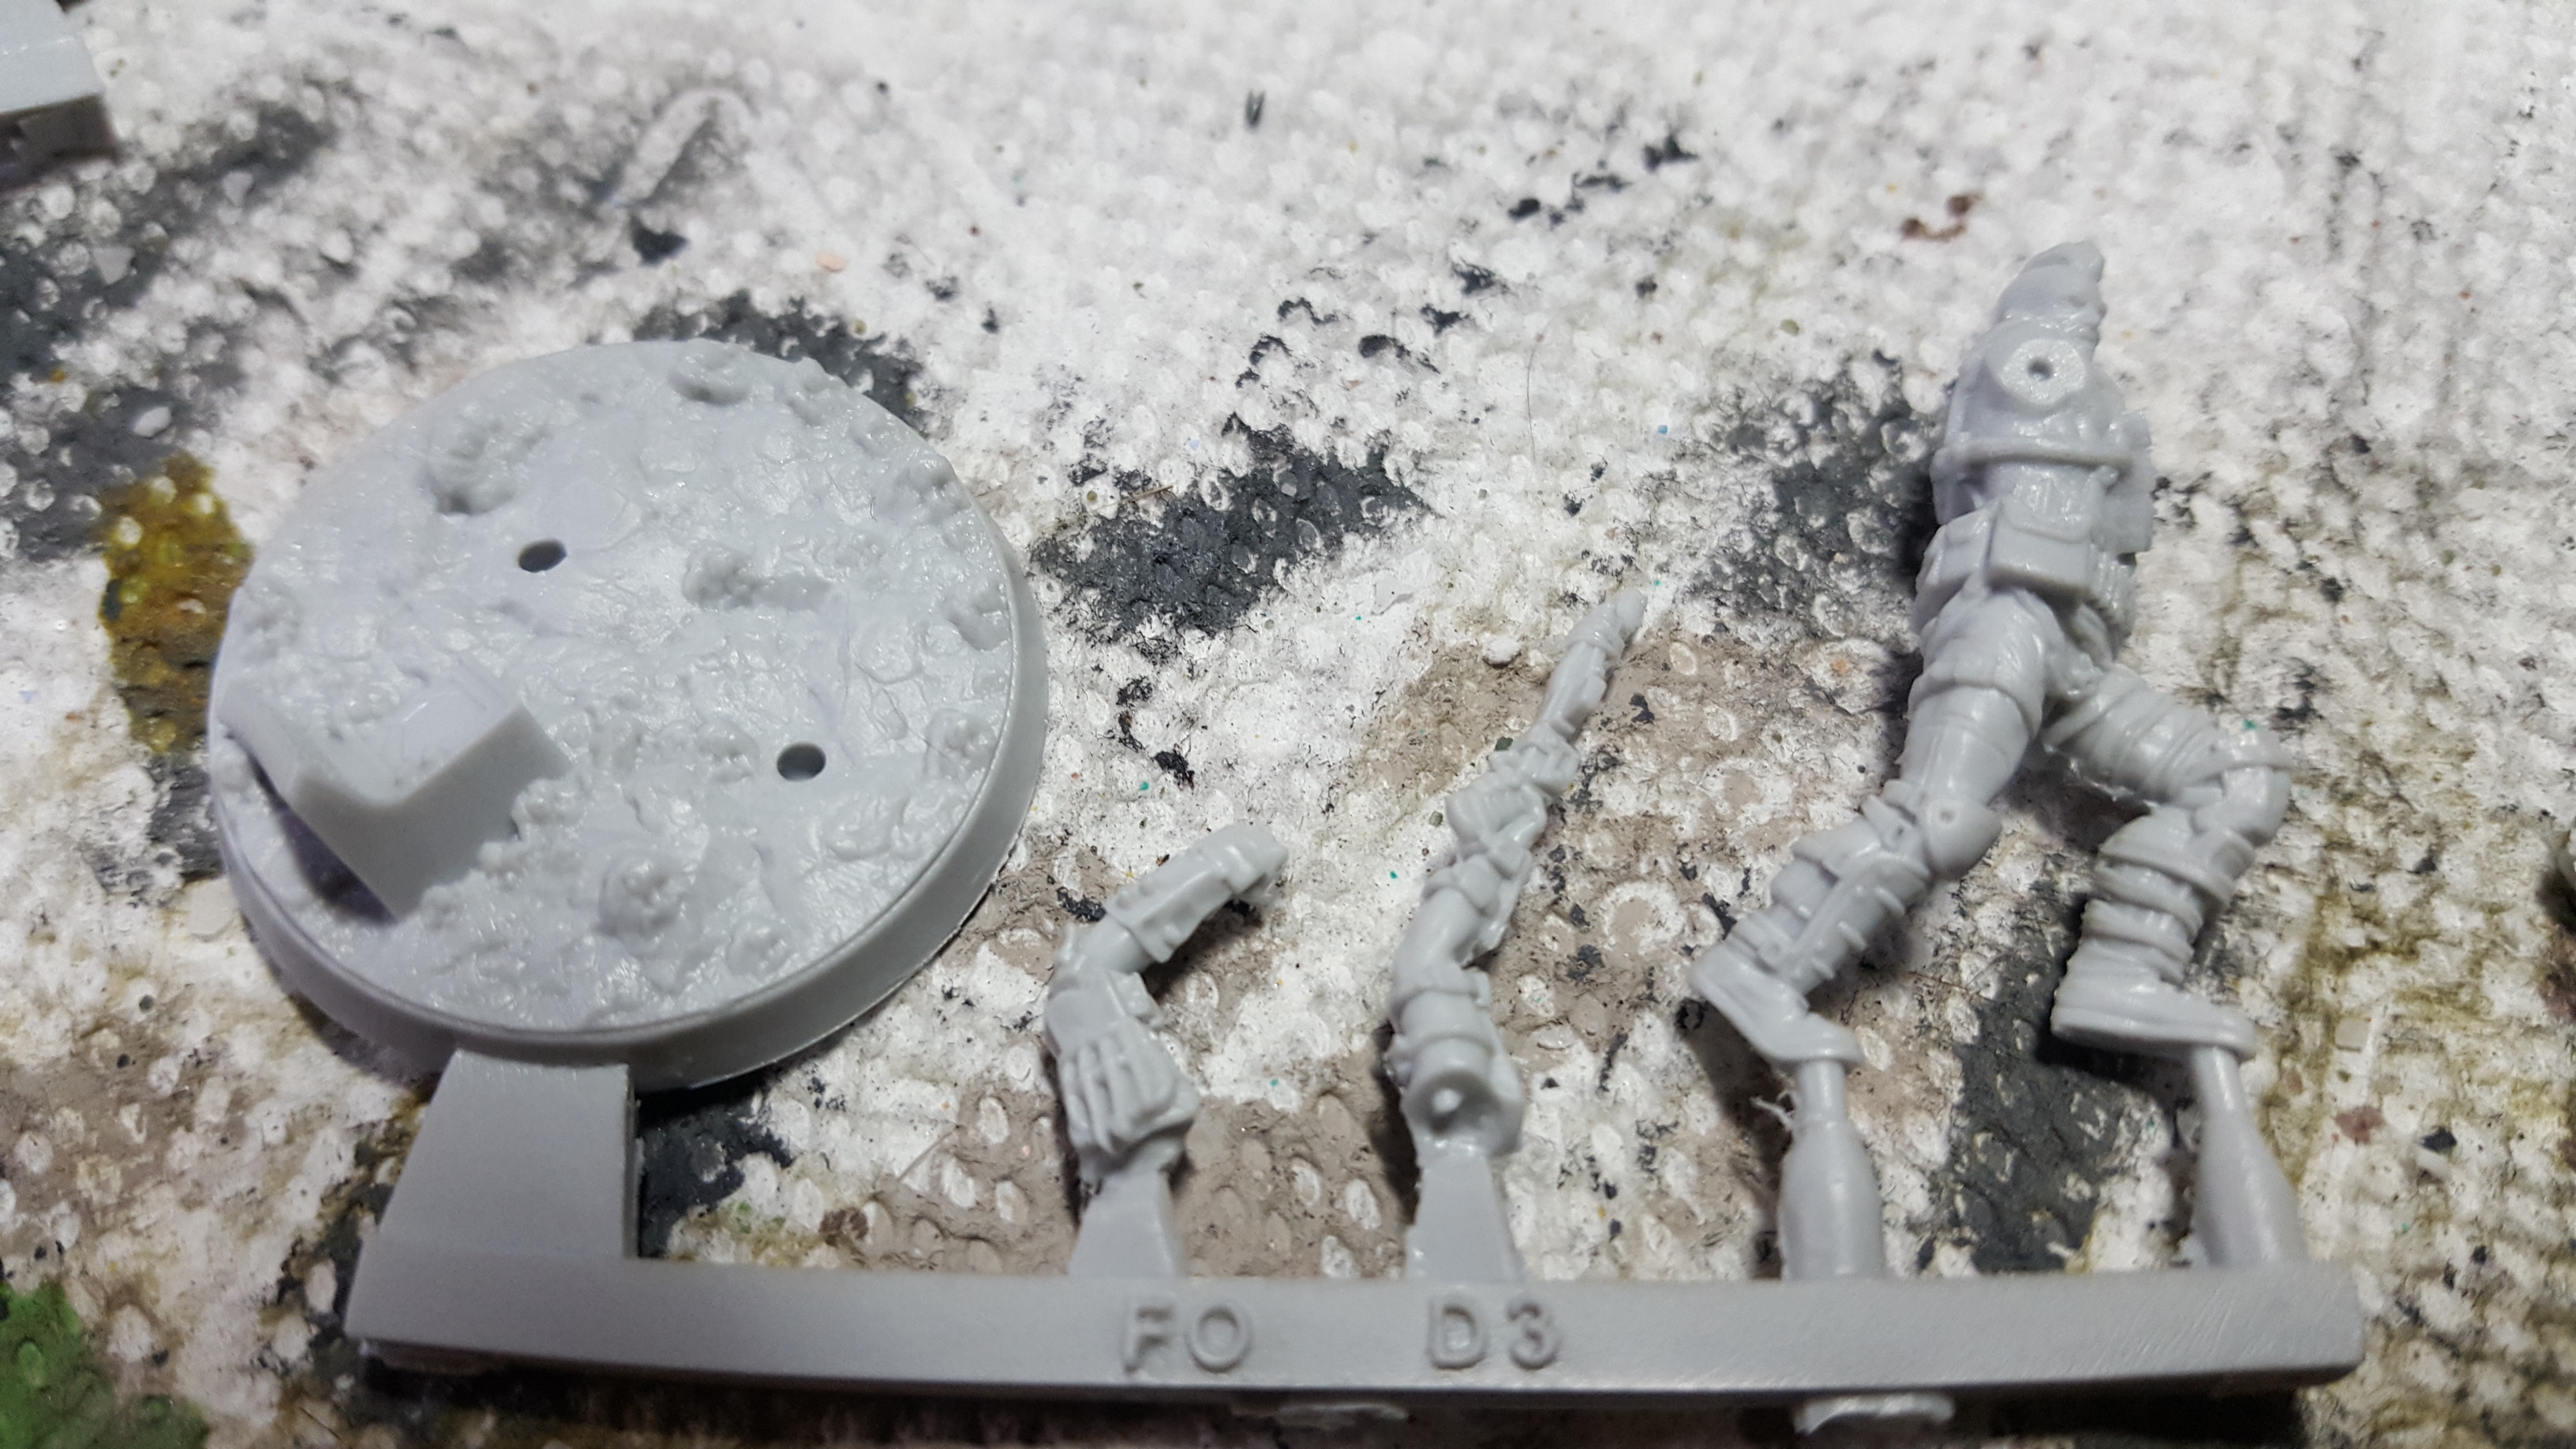
I just want to highlight one of my favorite things about these models, the bases. Every model comes with a unique textured base, complete with Fallout themed items on some (caps, Nuka Cola bottles, the larger ones even up to a Red Rocket piece). They are grouped in similar themes in a lot of cases (wasteland, city, train tracks) and really add to the value of the figures imho.
As these are Resin models I started off by cleaning them in soapy water with a toothbrush to clear off any mold releasing agent that may remain. This helps to insure proper glue and primer adhesion. I have had 0 problems with paint sticking to the resin models, in fact the PVC ones gave me more trouble. I then cleaned off the flash. These tend to only have minor flashing and mold lines easy cleaned off with a hobby knife.
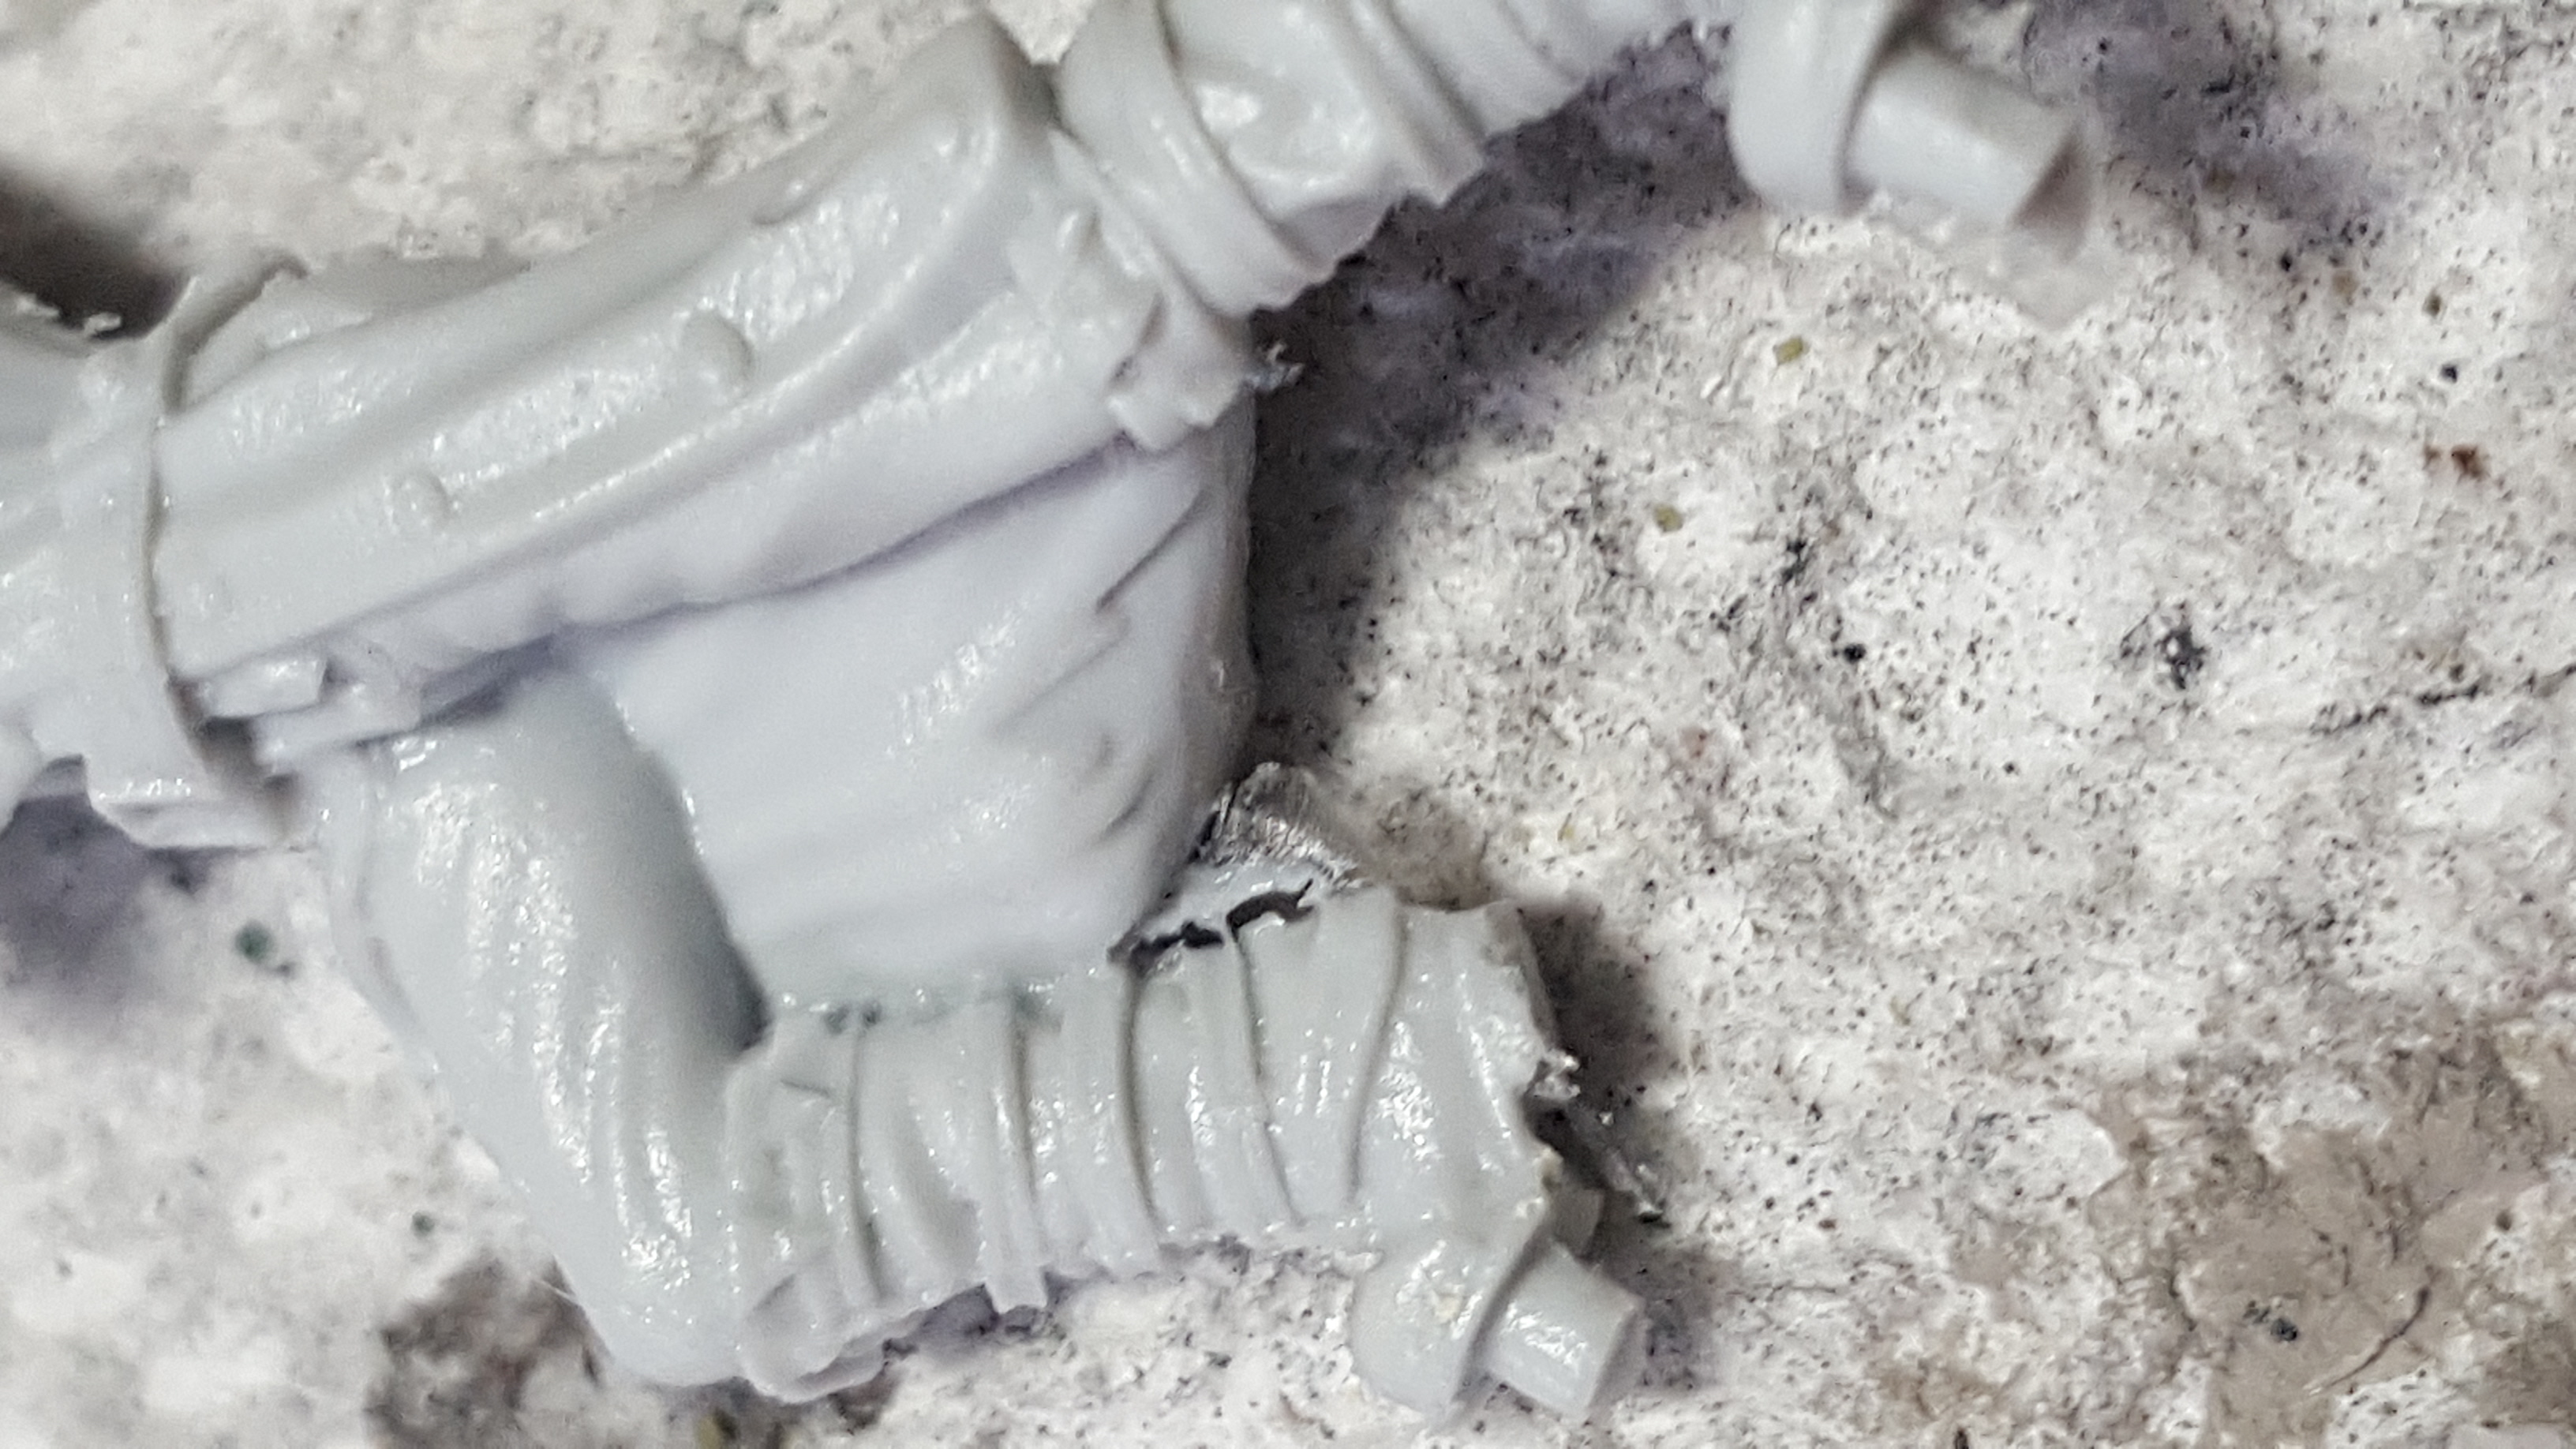
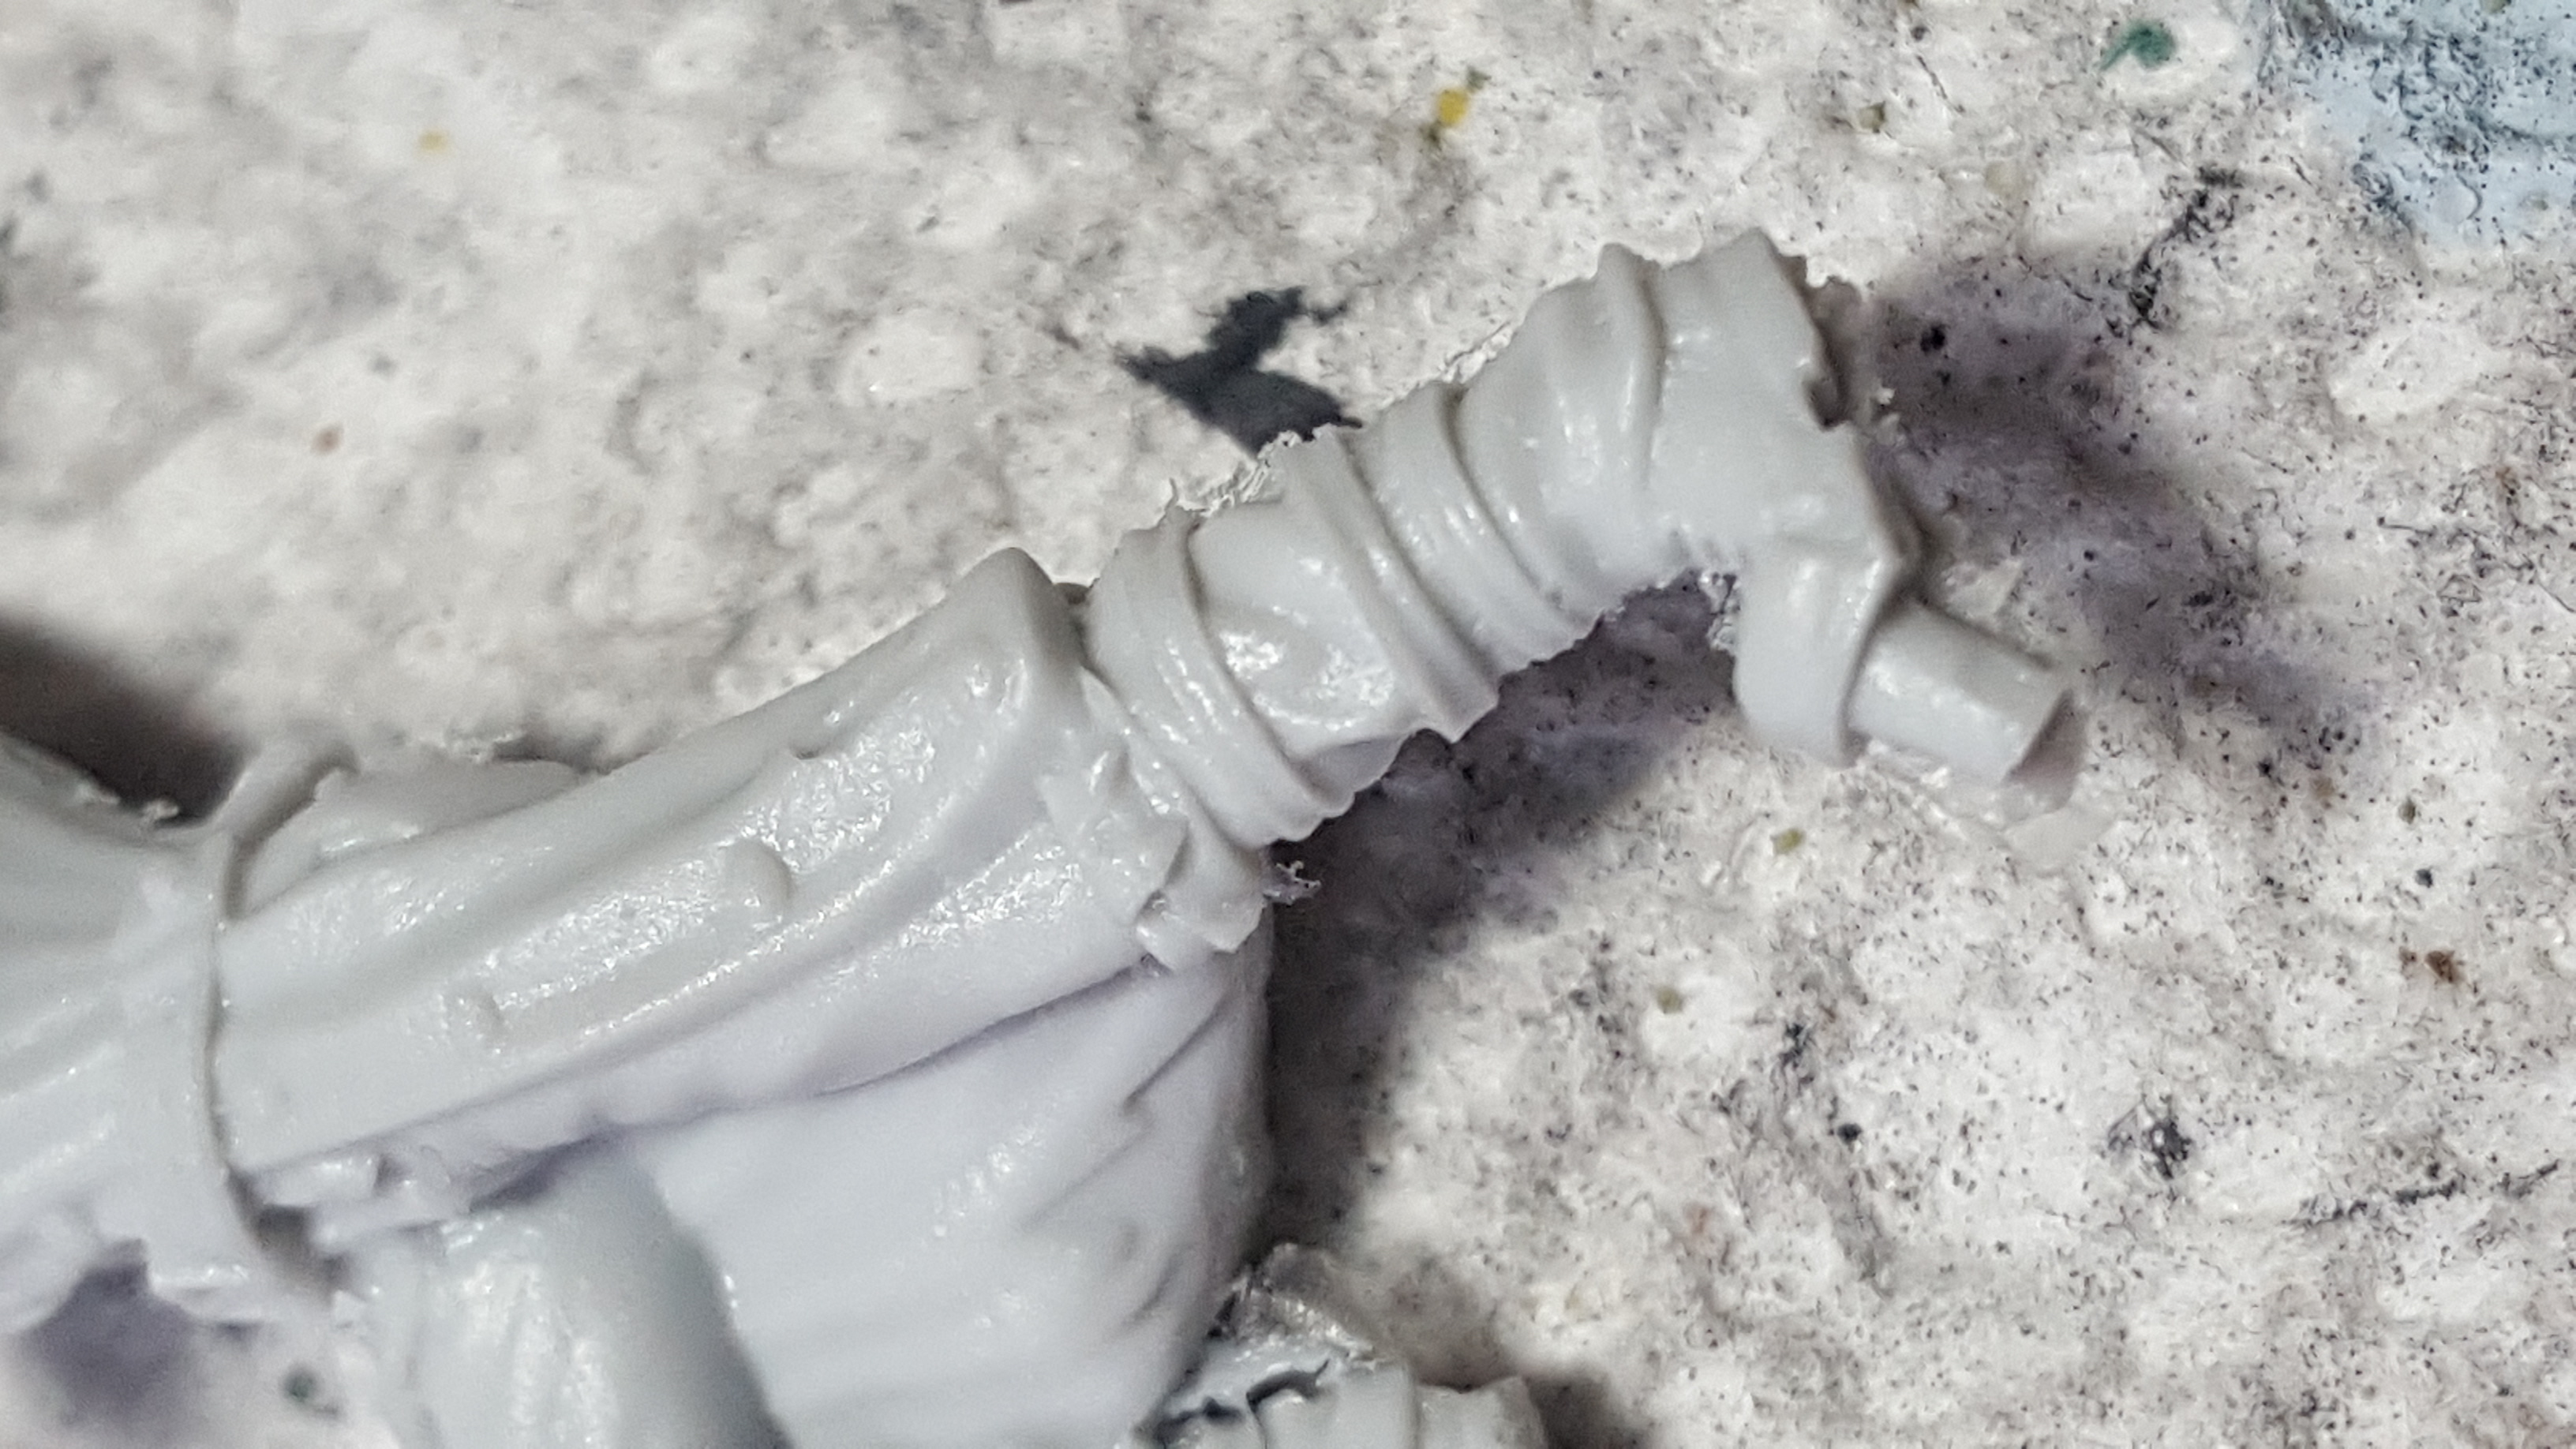
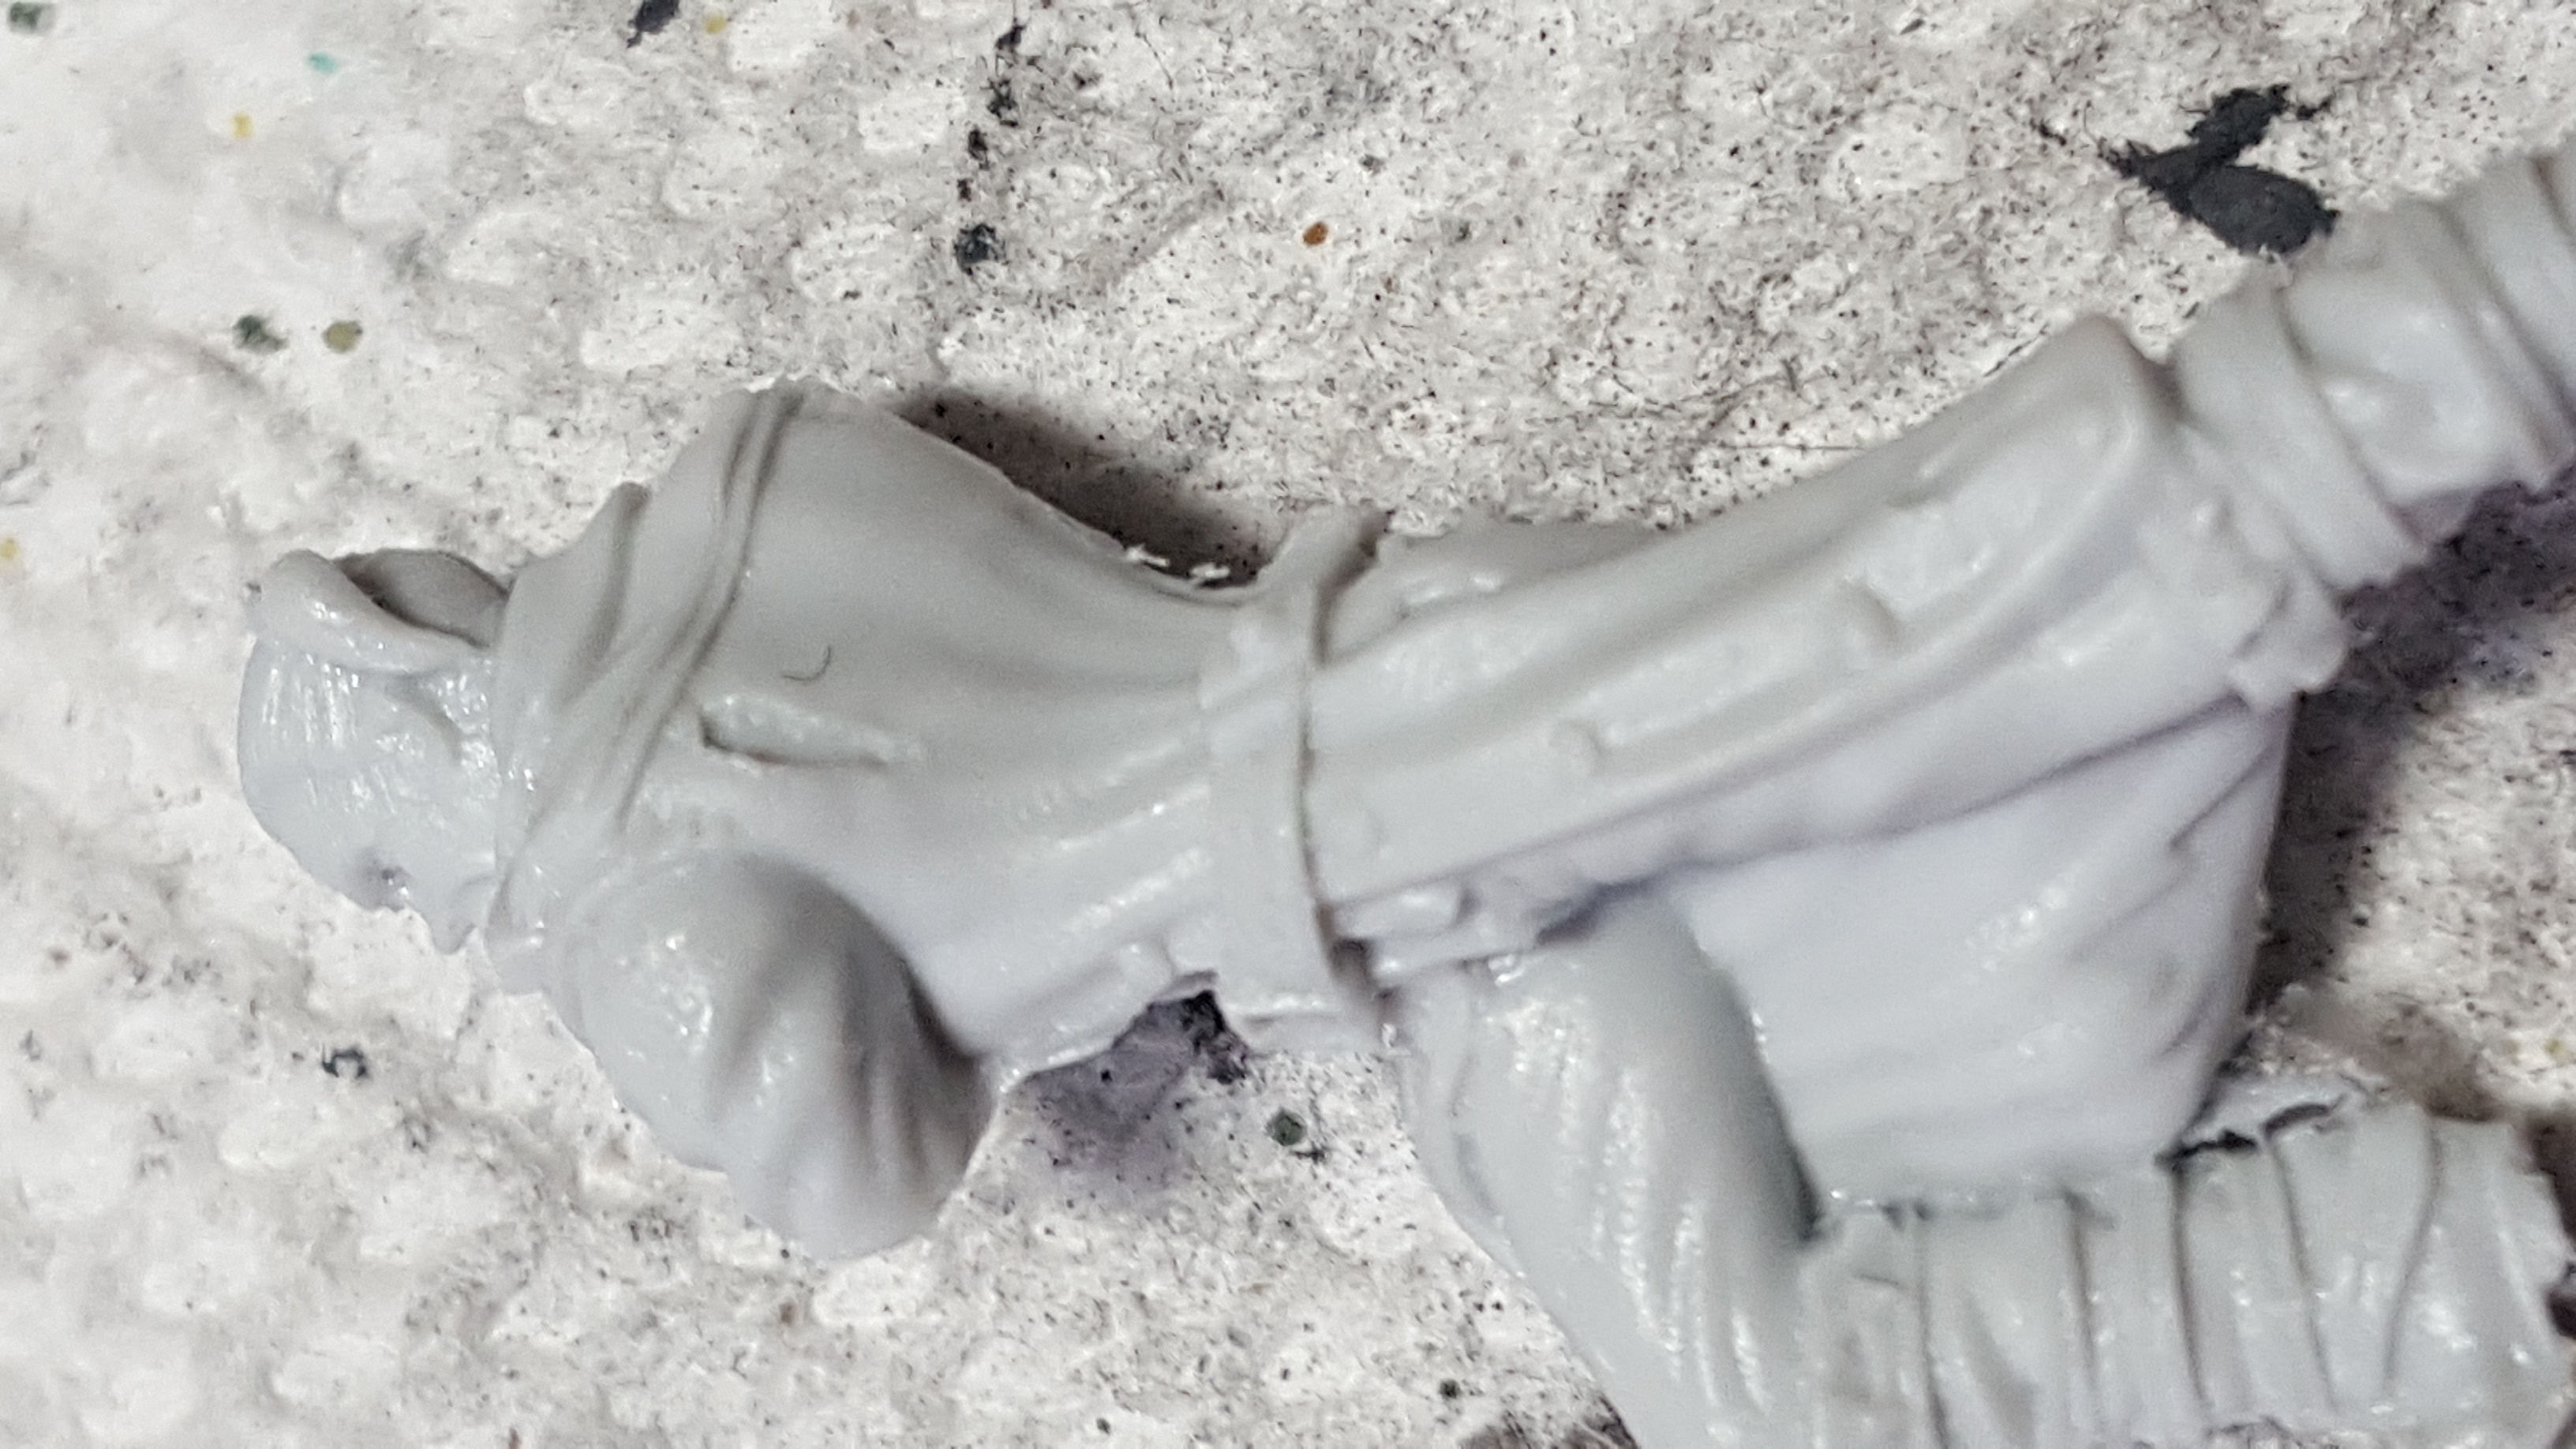
I then assembled them using standard super glue, not model cement. I am currently using a Loc Tite brand as it has a super fine tip and easy to control bottle. These models really have some great detail and capture the look and feel of Fallout.
As I am focusing on painting NPCs for my RPG these will immediately go to the head of the painting queue, and are as of this typing almost done, I should have my next update in the next week or so.
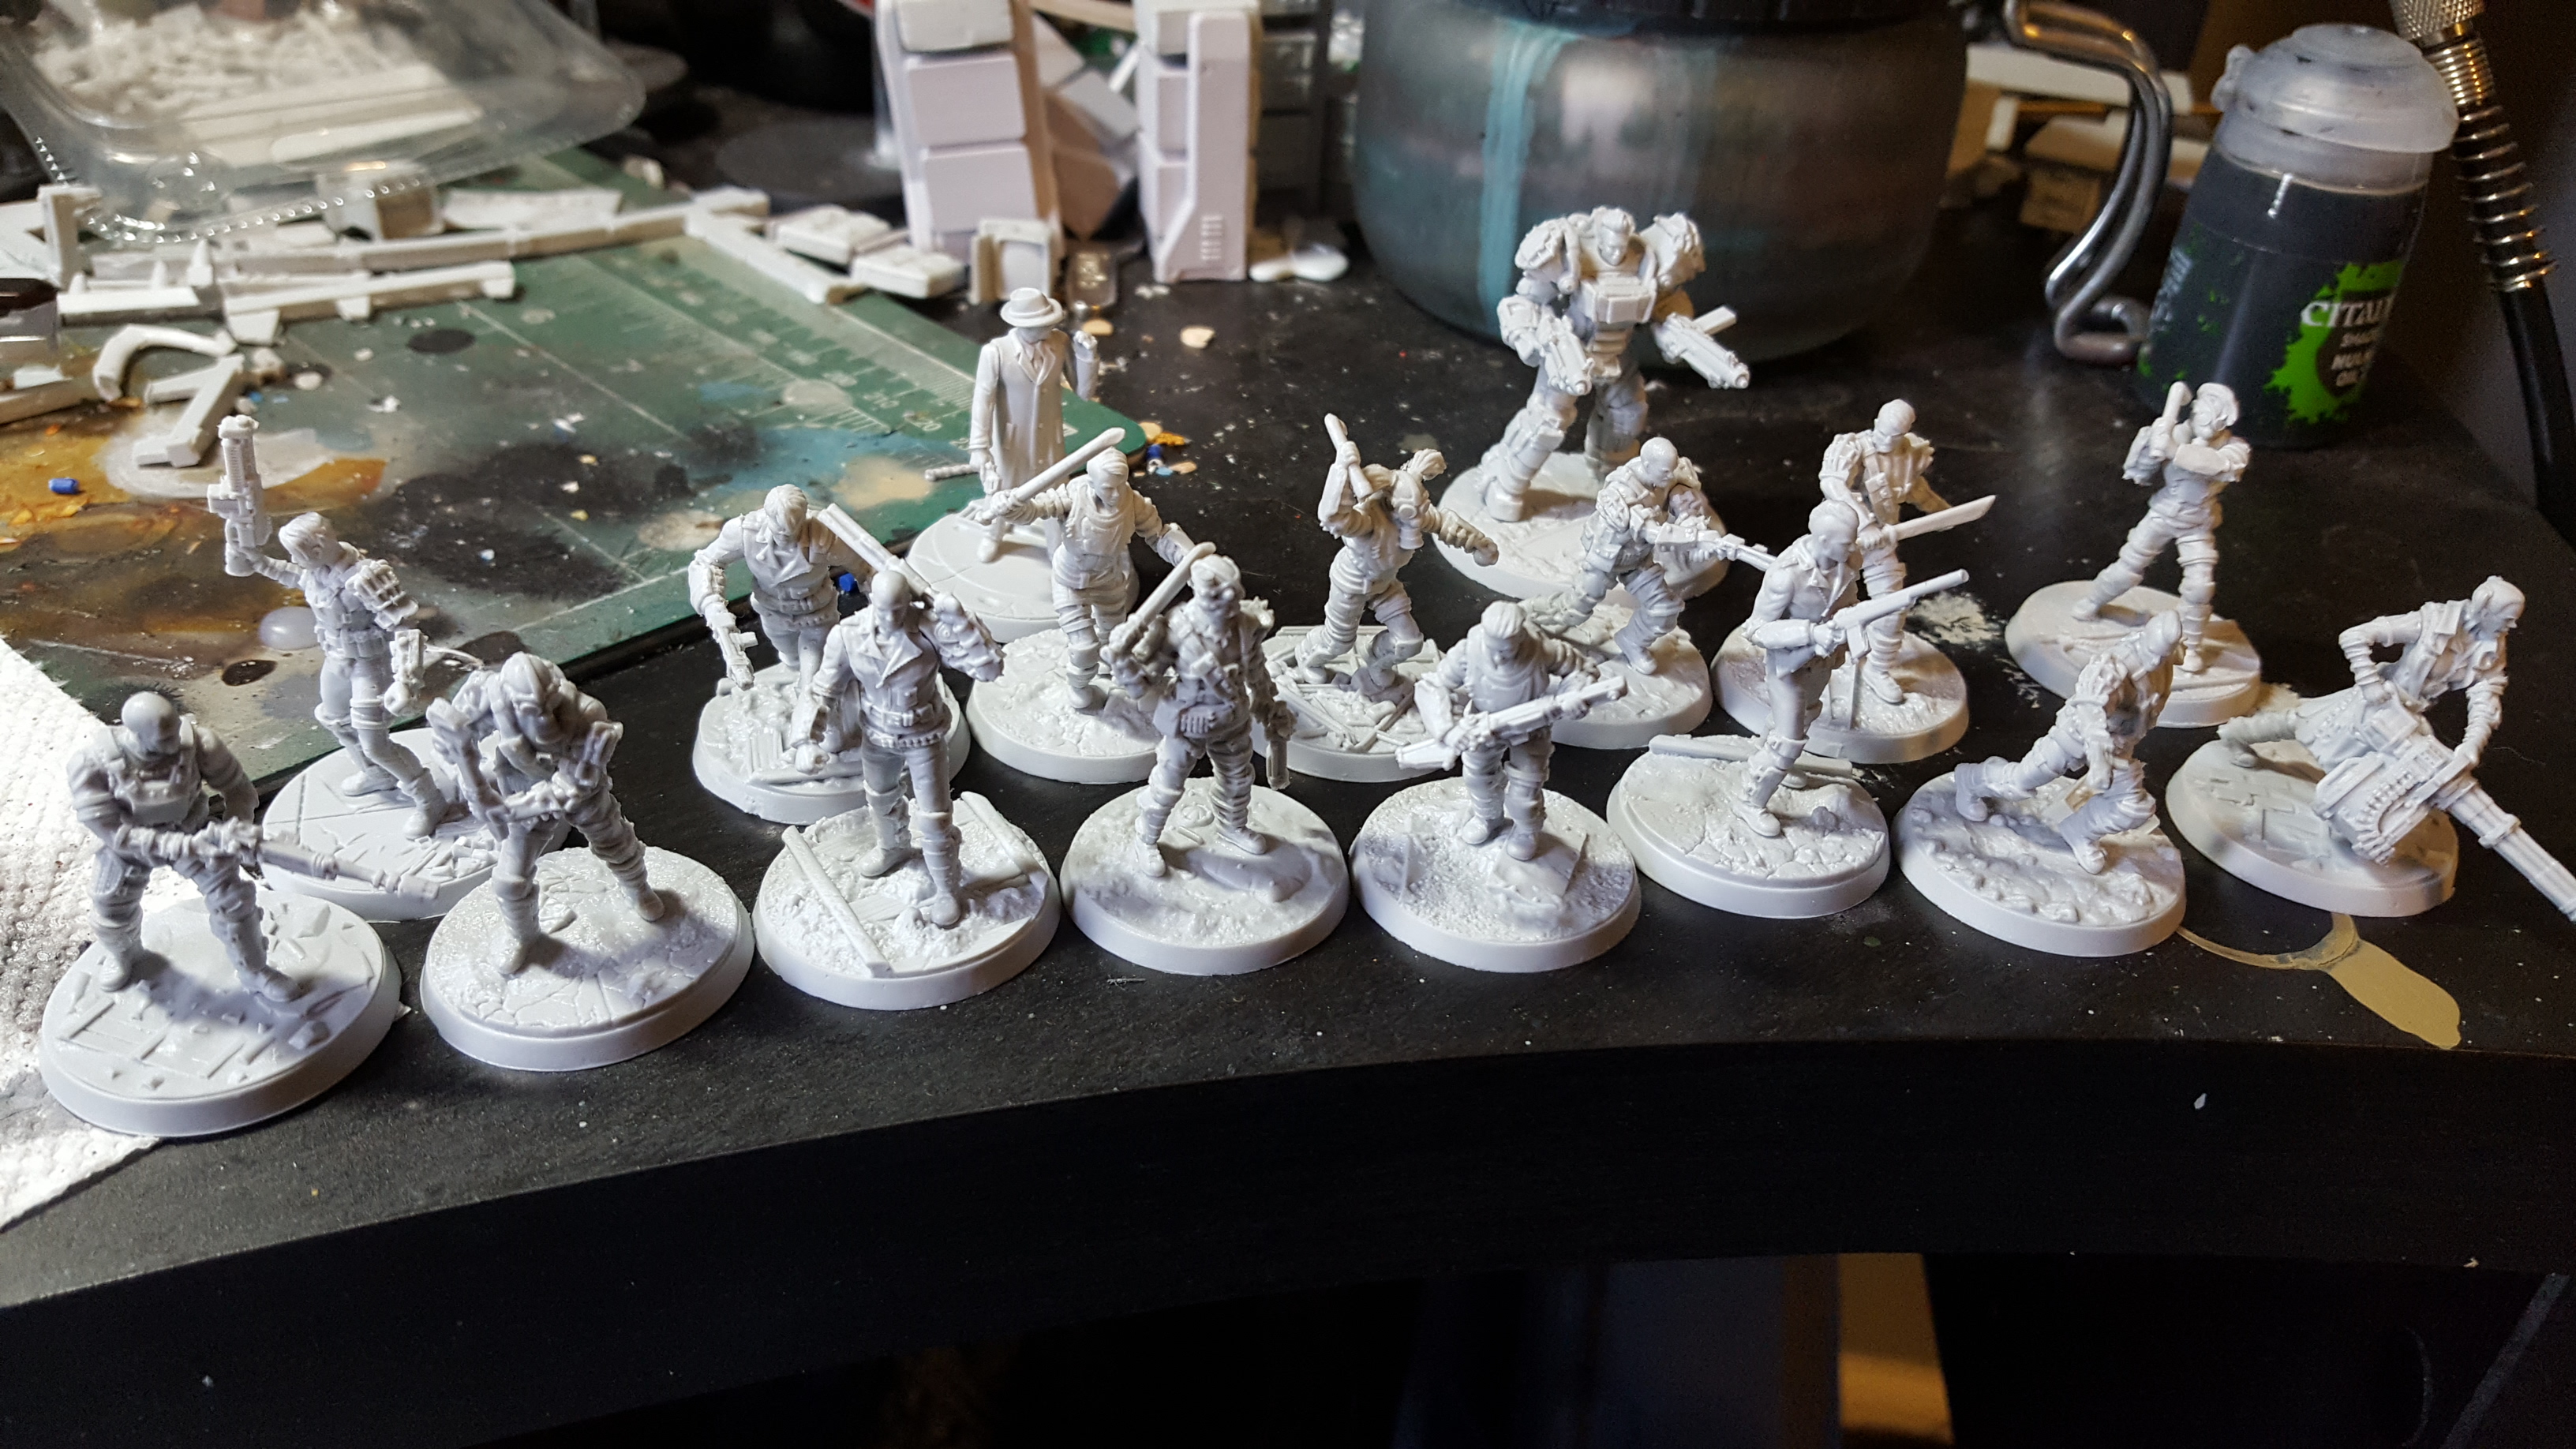
Raiders of the lost Vault

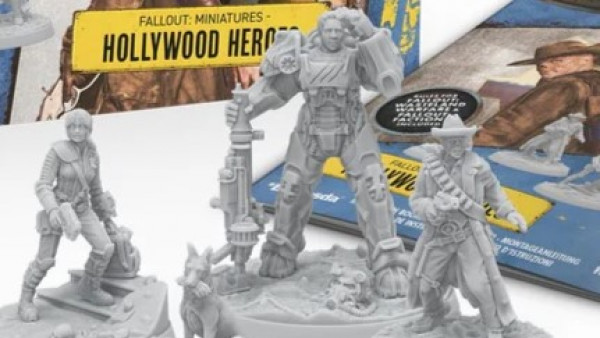
For my next faction I jumped directly to the newest, the Raiders. Anyone who has played the Fallout video games will recognize the ubiquitous bad guys from their distinctive look and feel. These sculpts, as with most of the current range, are based on Fallout 4, with 3 named characters you may recognize.
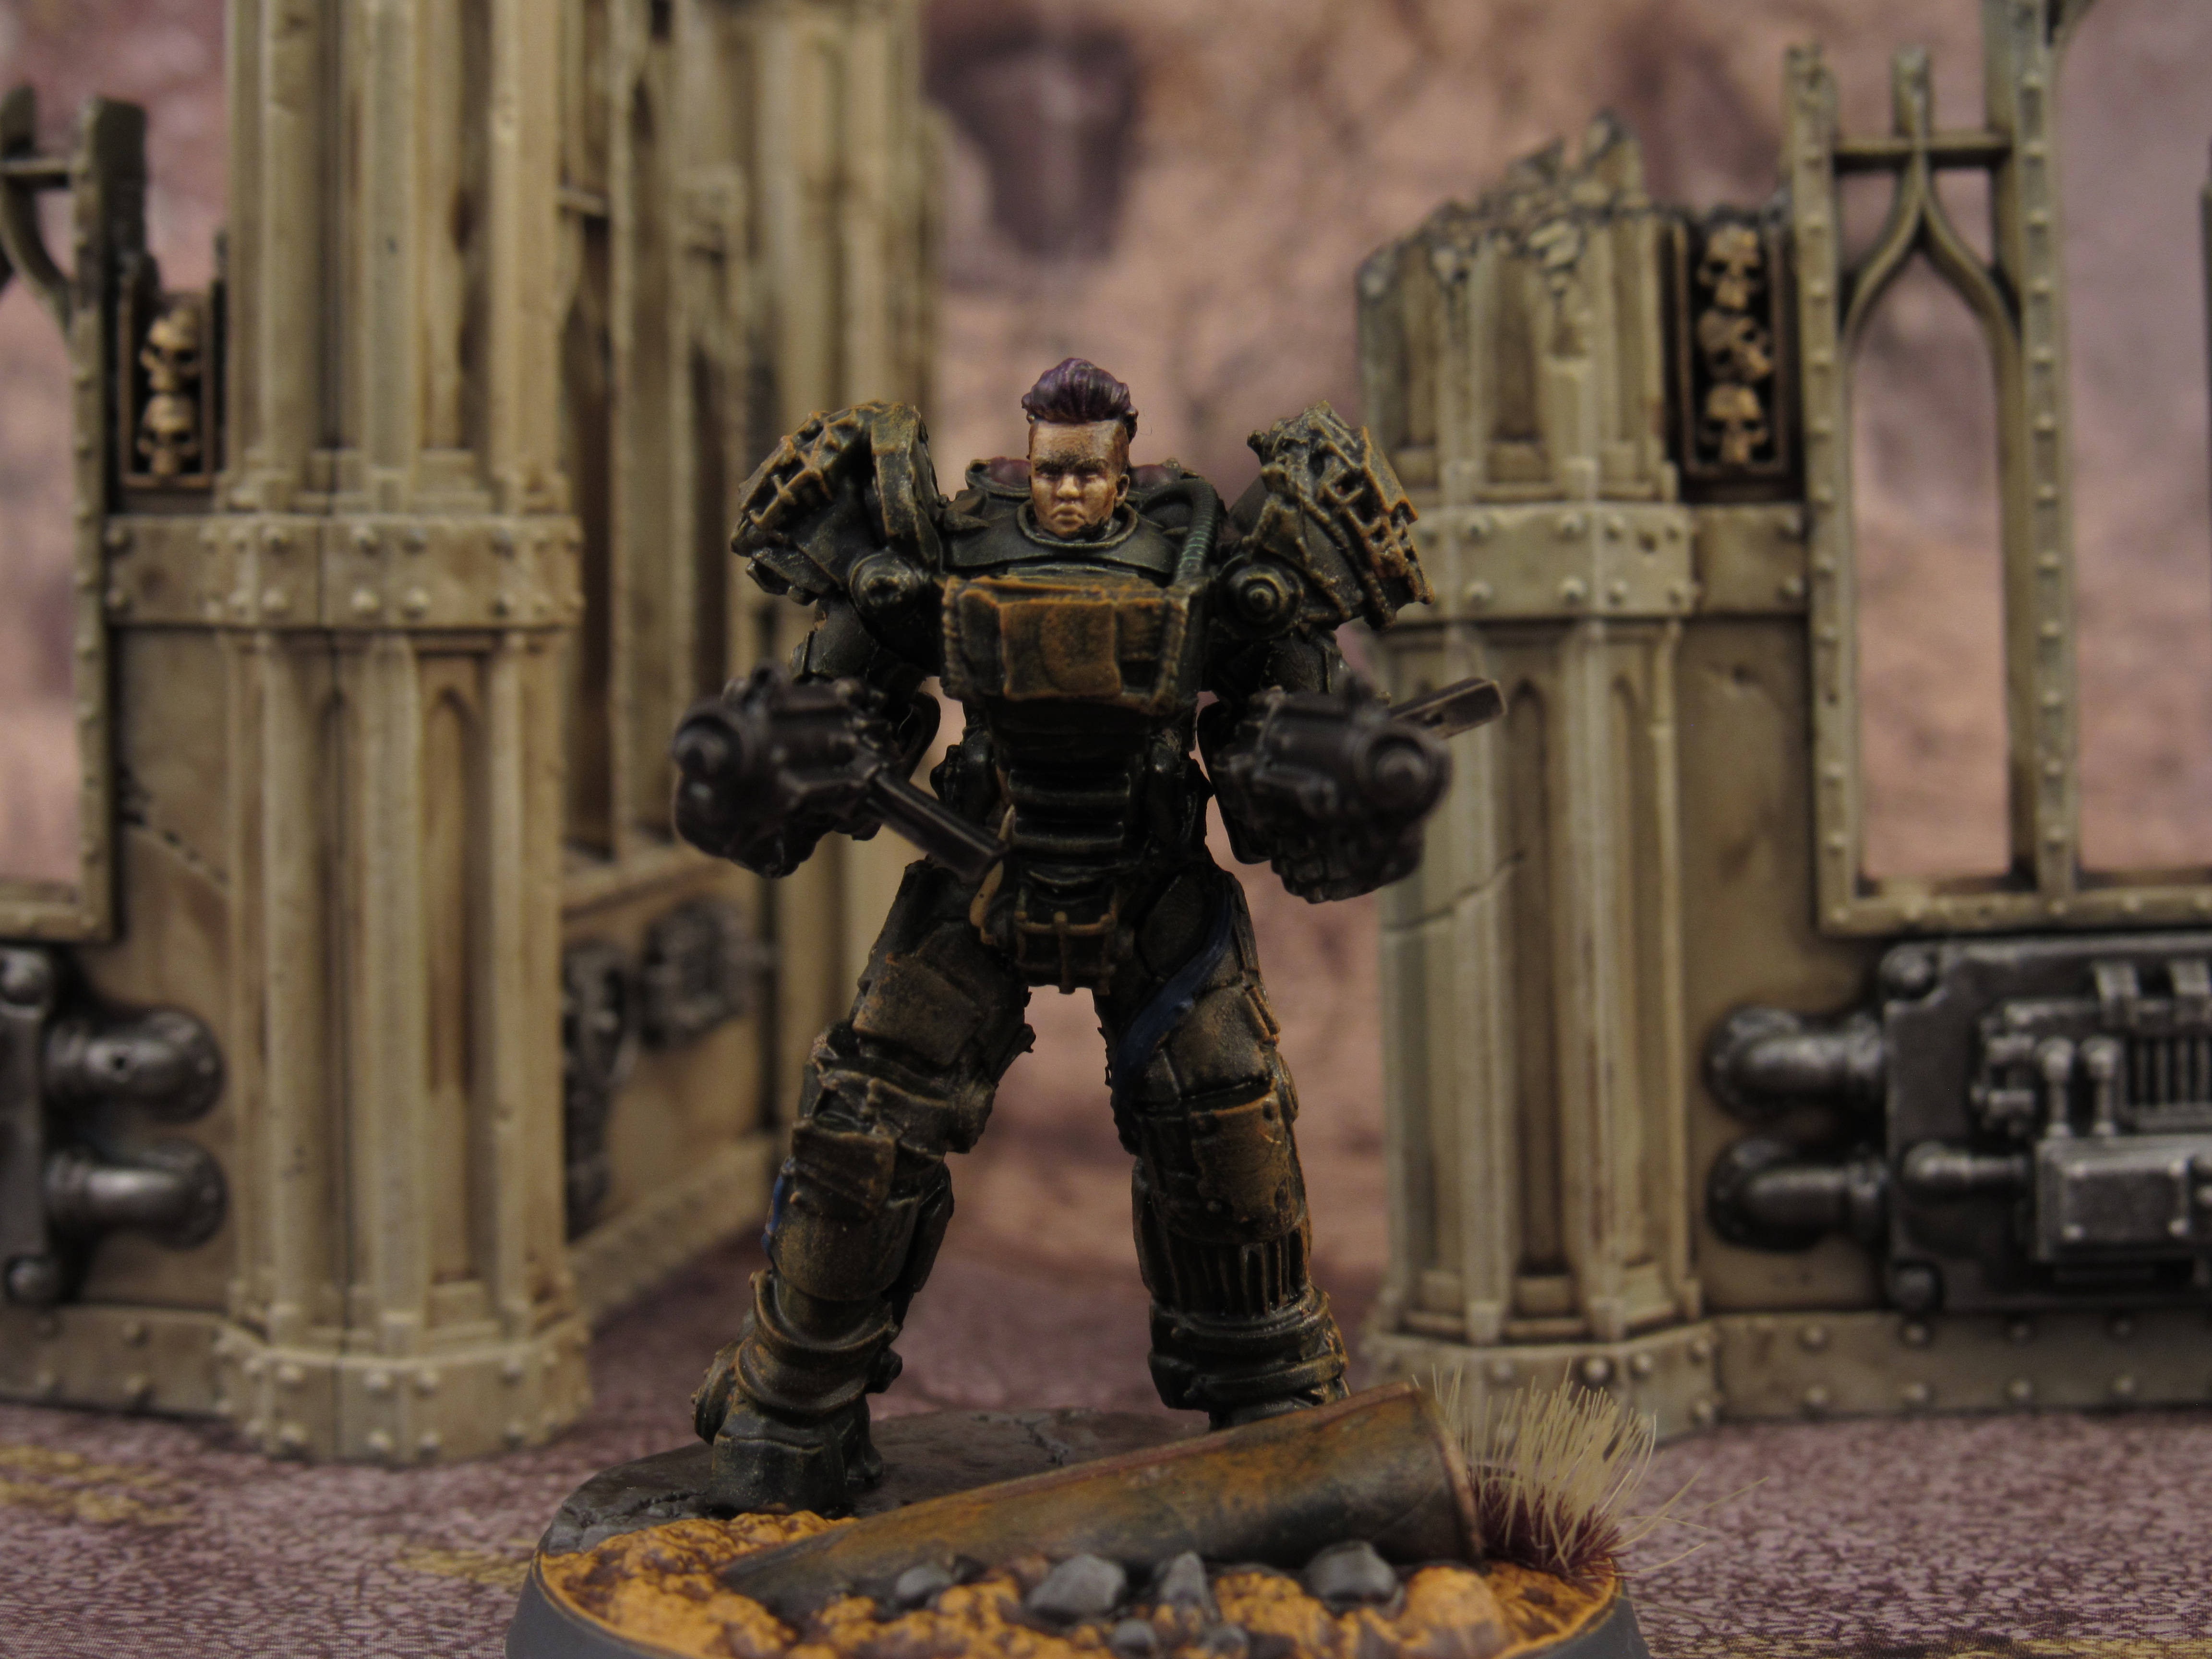
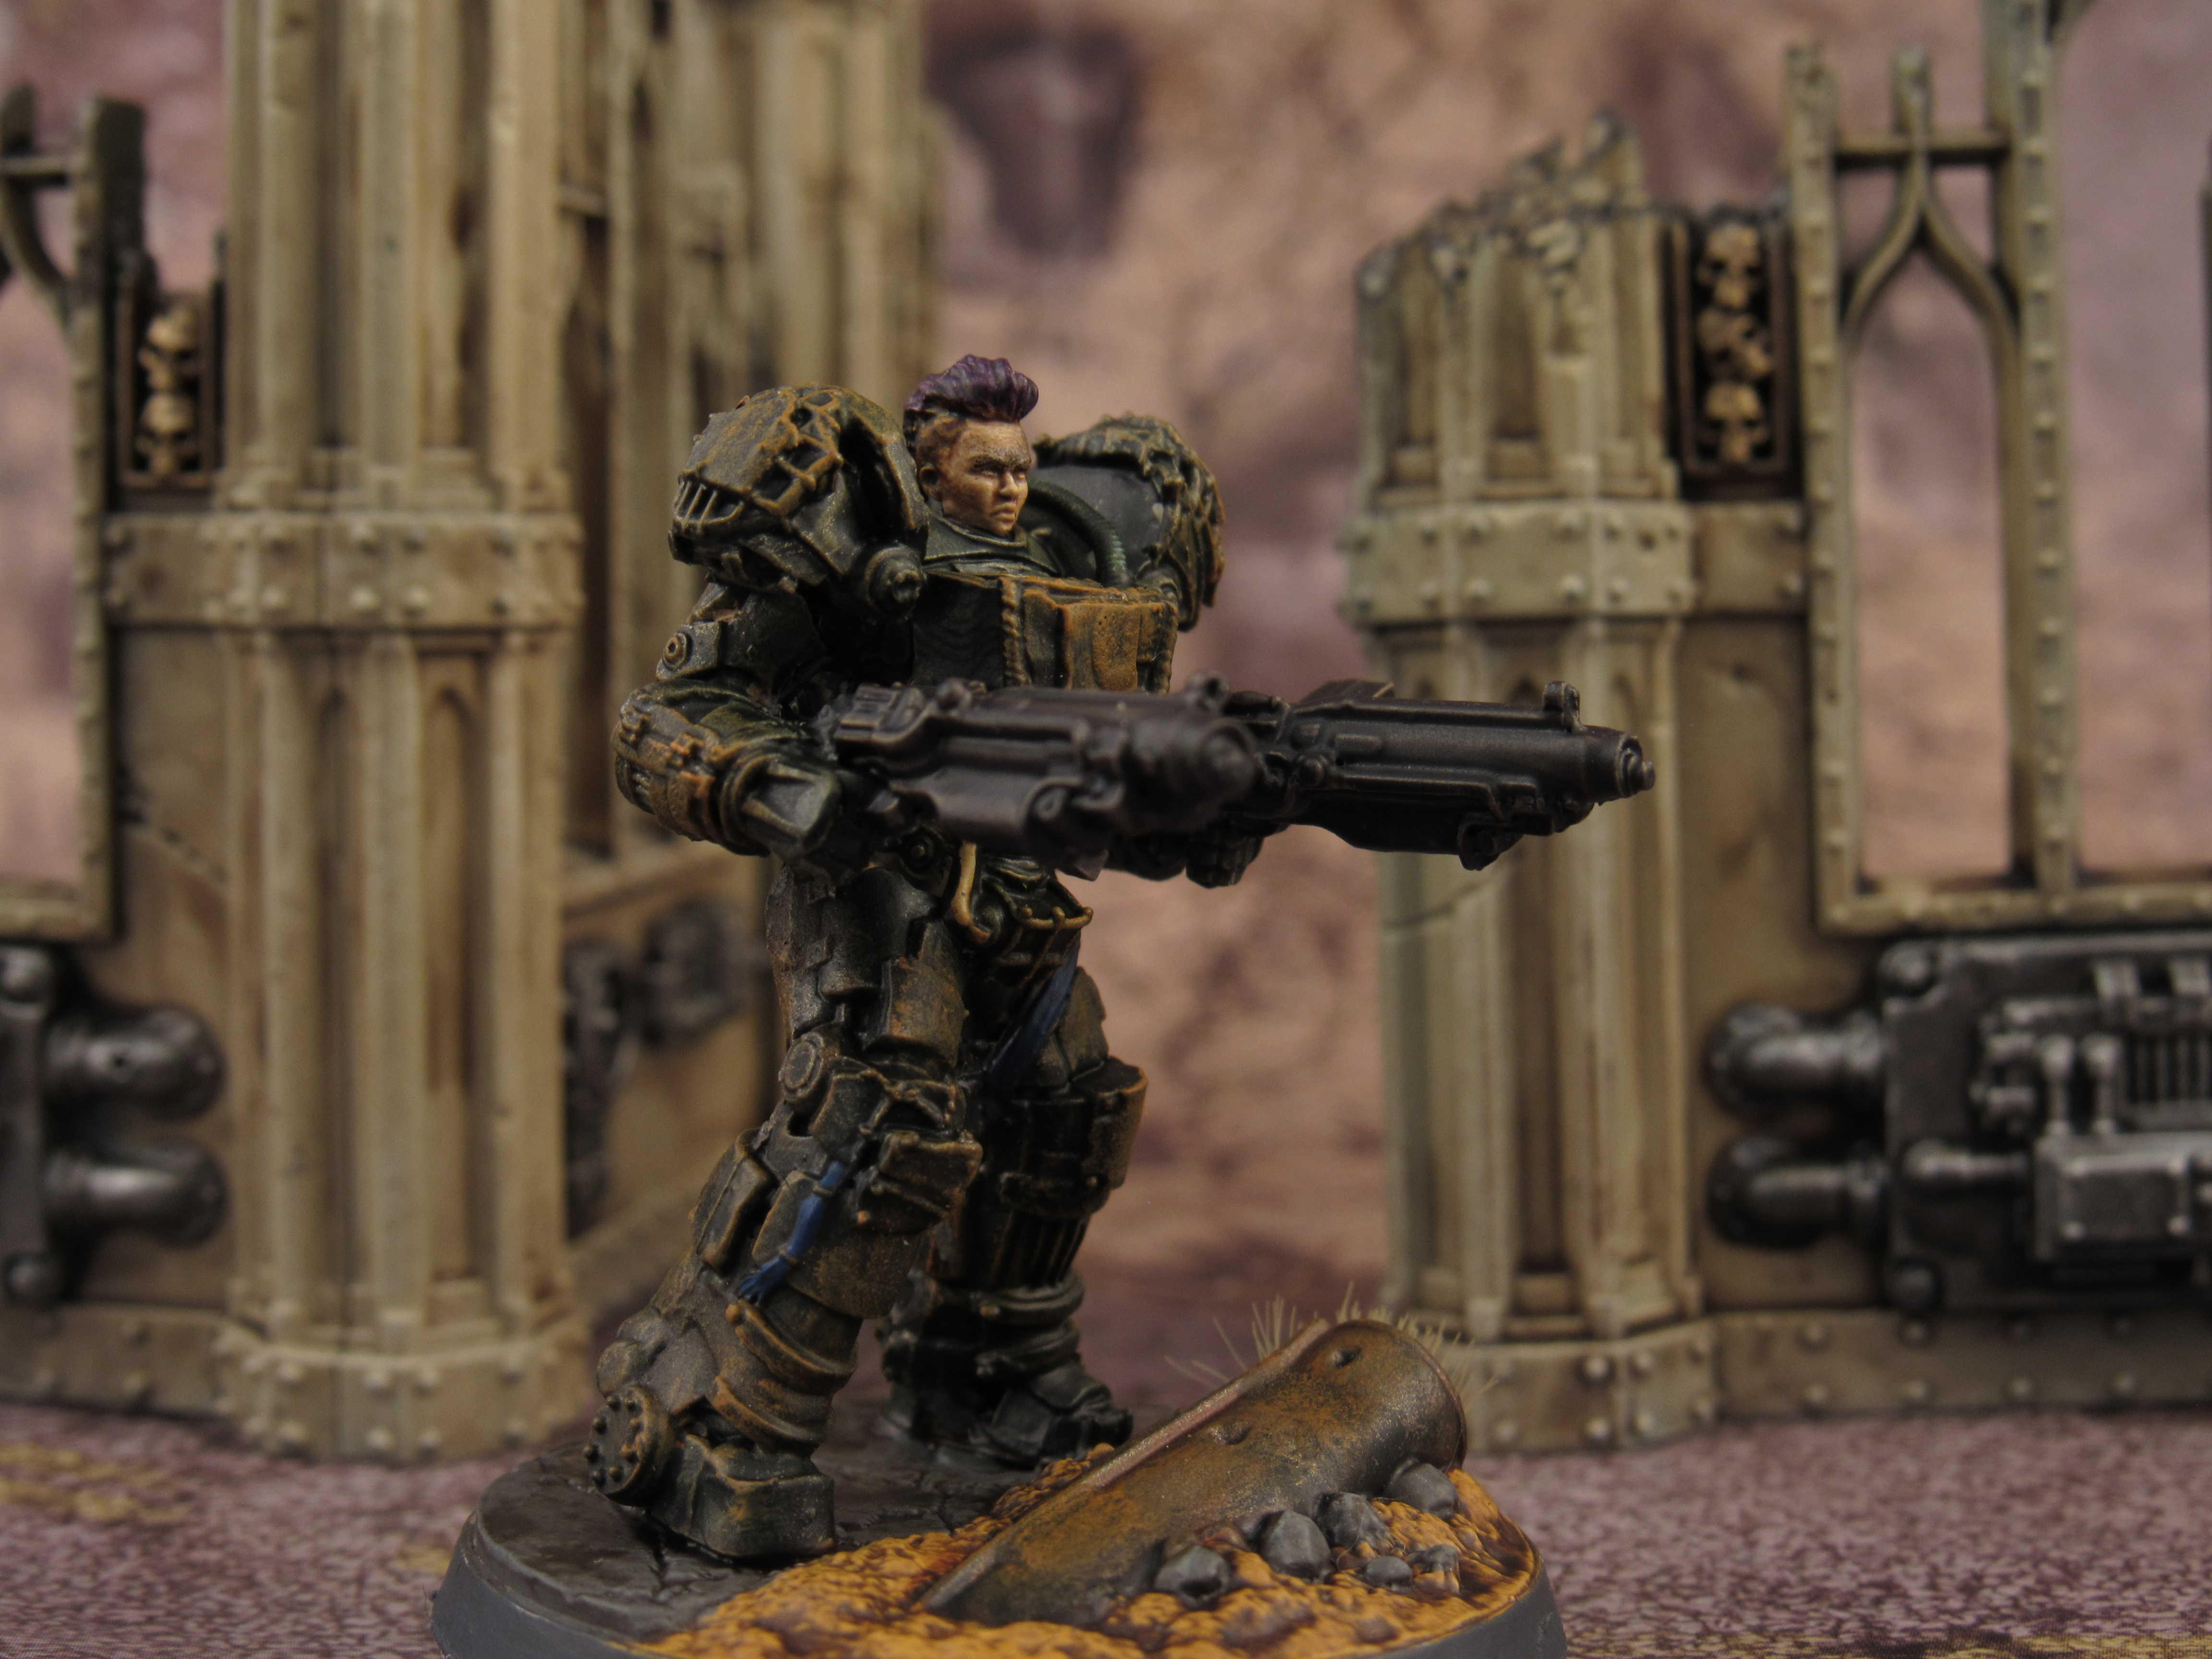

The largest of the new models is in Raider power armor dual wielding Assault rifles. I went with GW Gray Seer primer for contrast paints, using Basillicanum gray to start with a non metallic metal base, I then drybrushed some actual metallics followed by applications of Vallejo rust medium and washes. I then applied additional layers of the rust medium to spots I wanted particularly raised then drybrushed Vallejo rust over these to give them some more color.
The face I applied GW wraithbone base, this allowed me to apply the normal contrast paints for a warm flesh look. I used Guilliman flesh for the skin with some airbrushed on black for dirt and purple for the hair. The shaven sides I applied some slight Snakebite Leather to darken the sides.

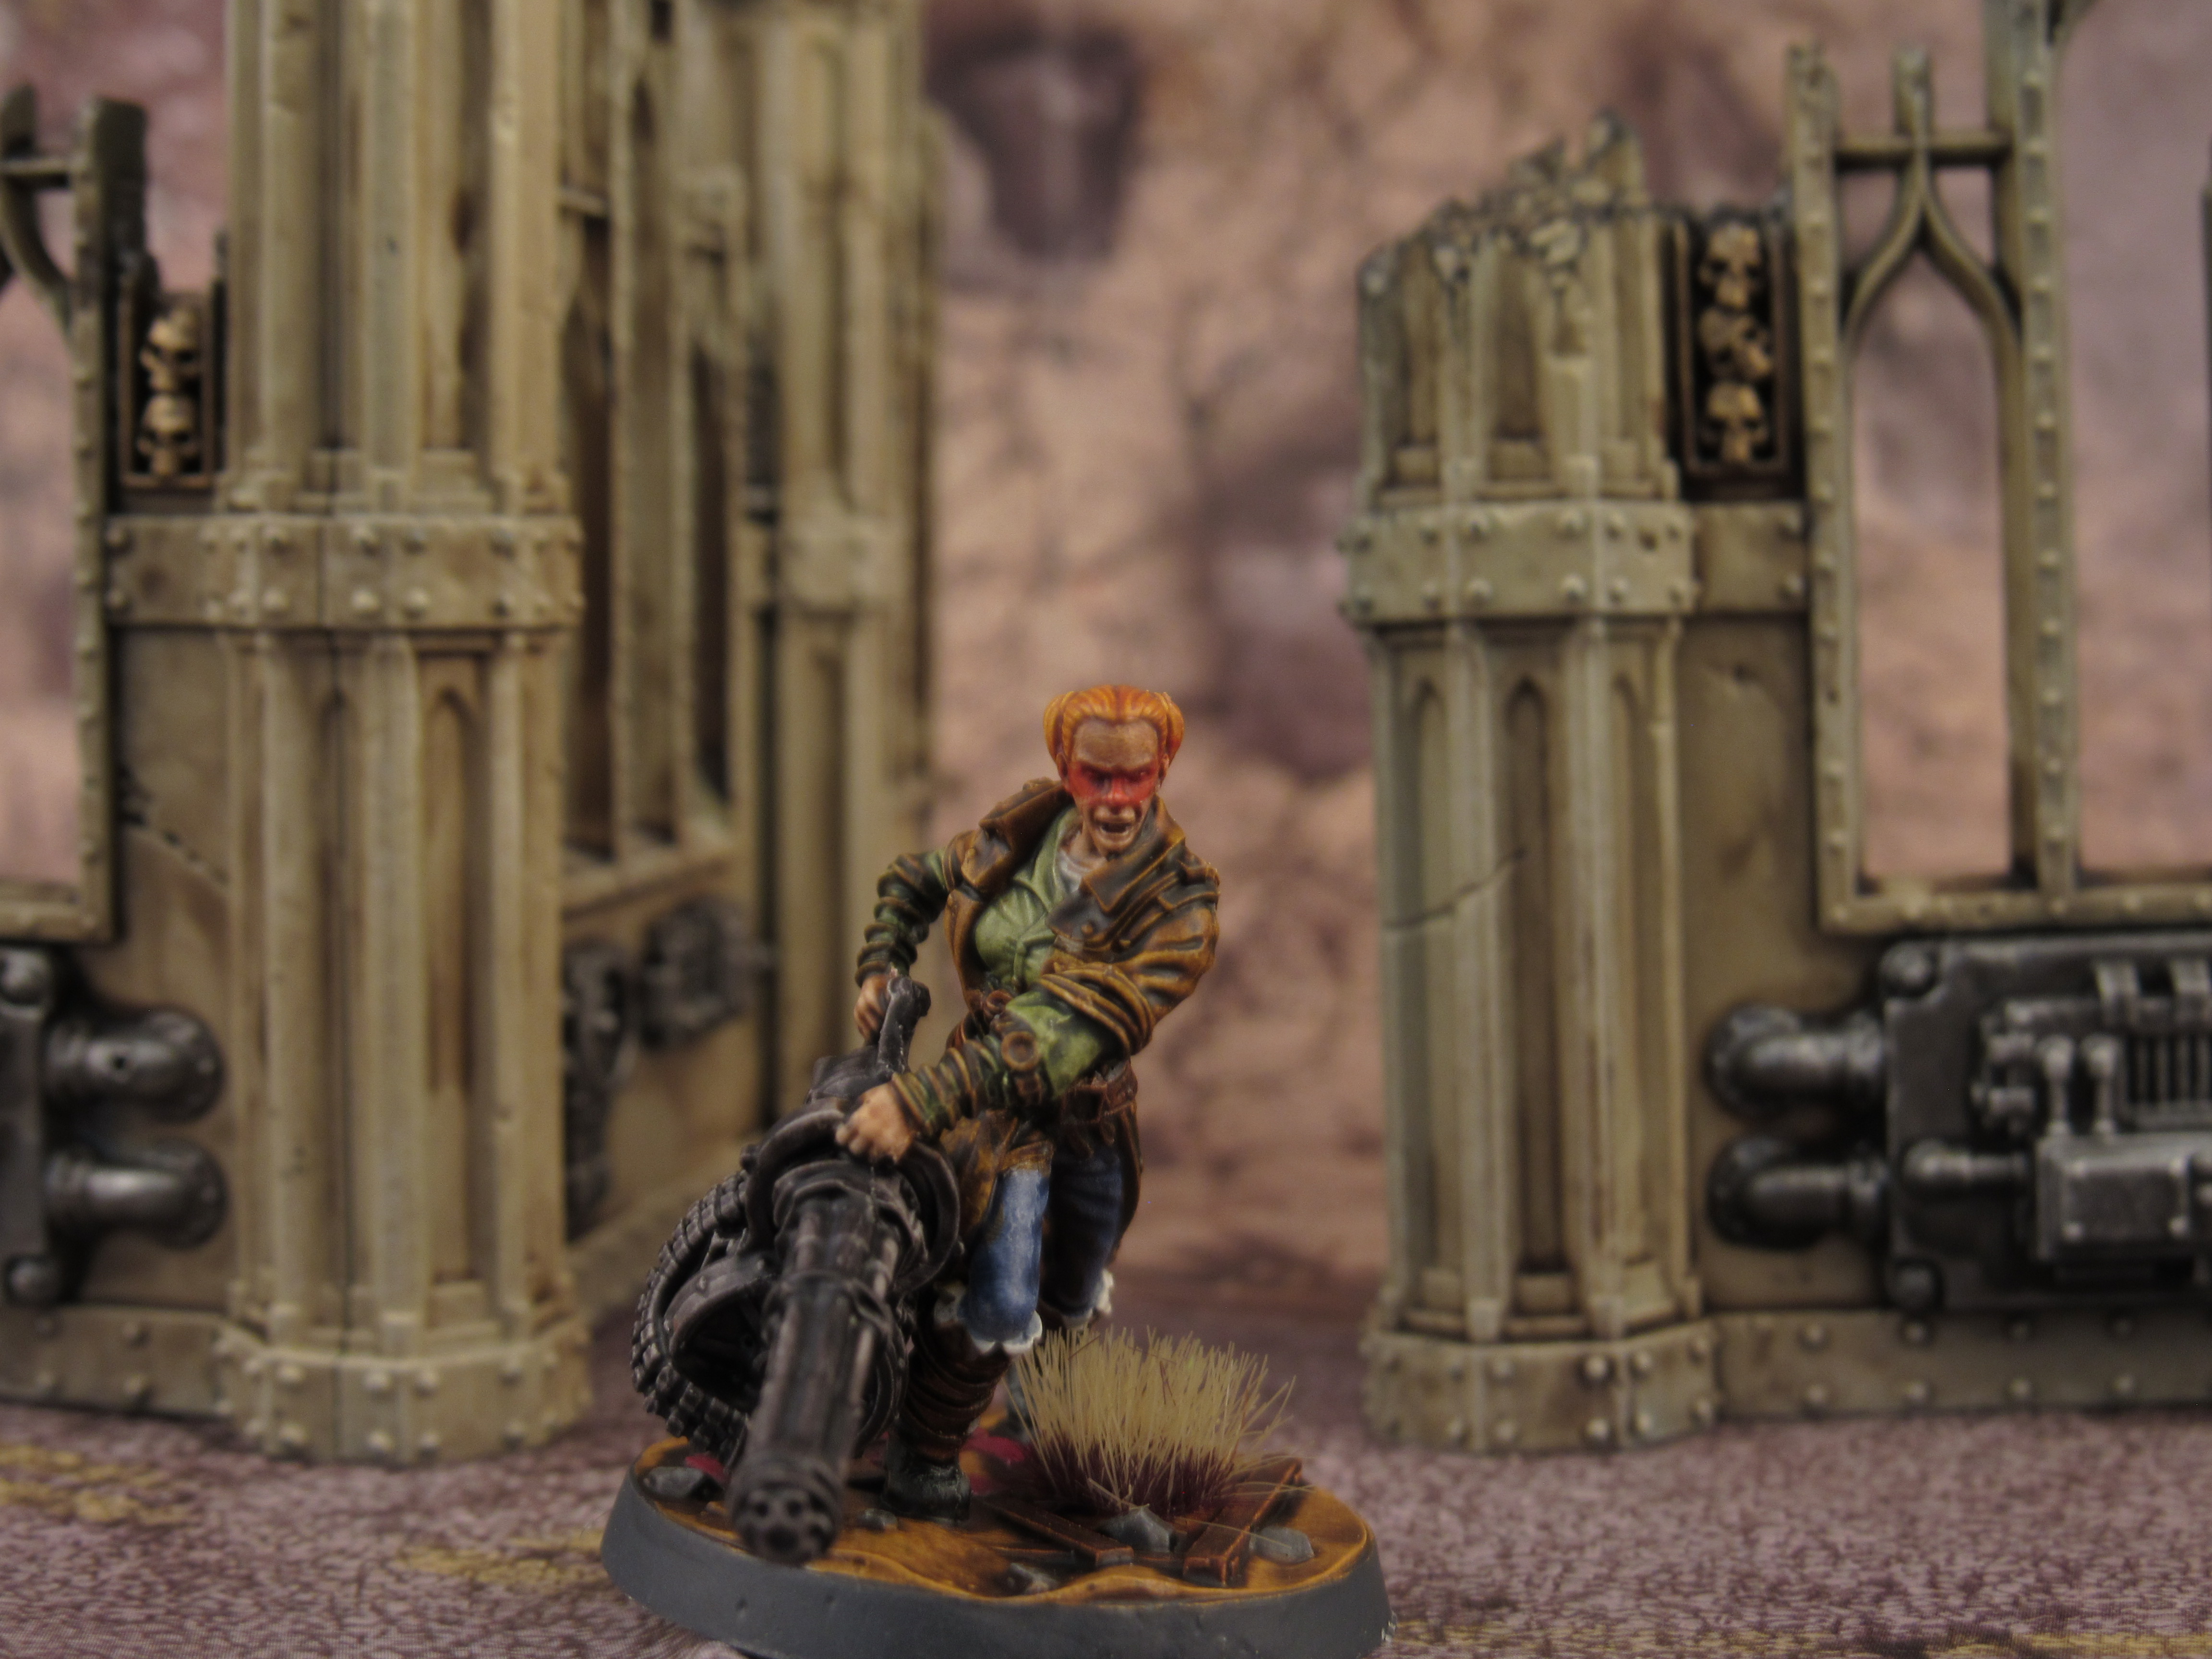
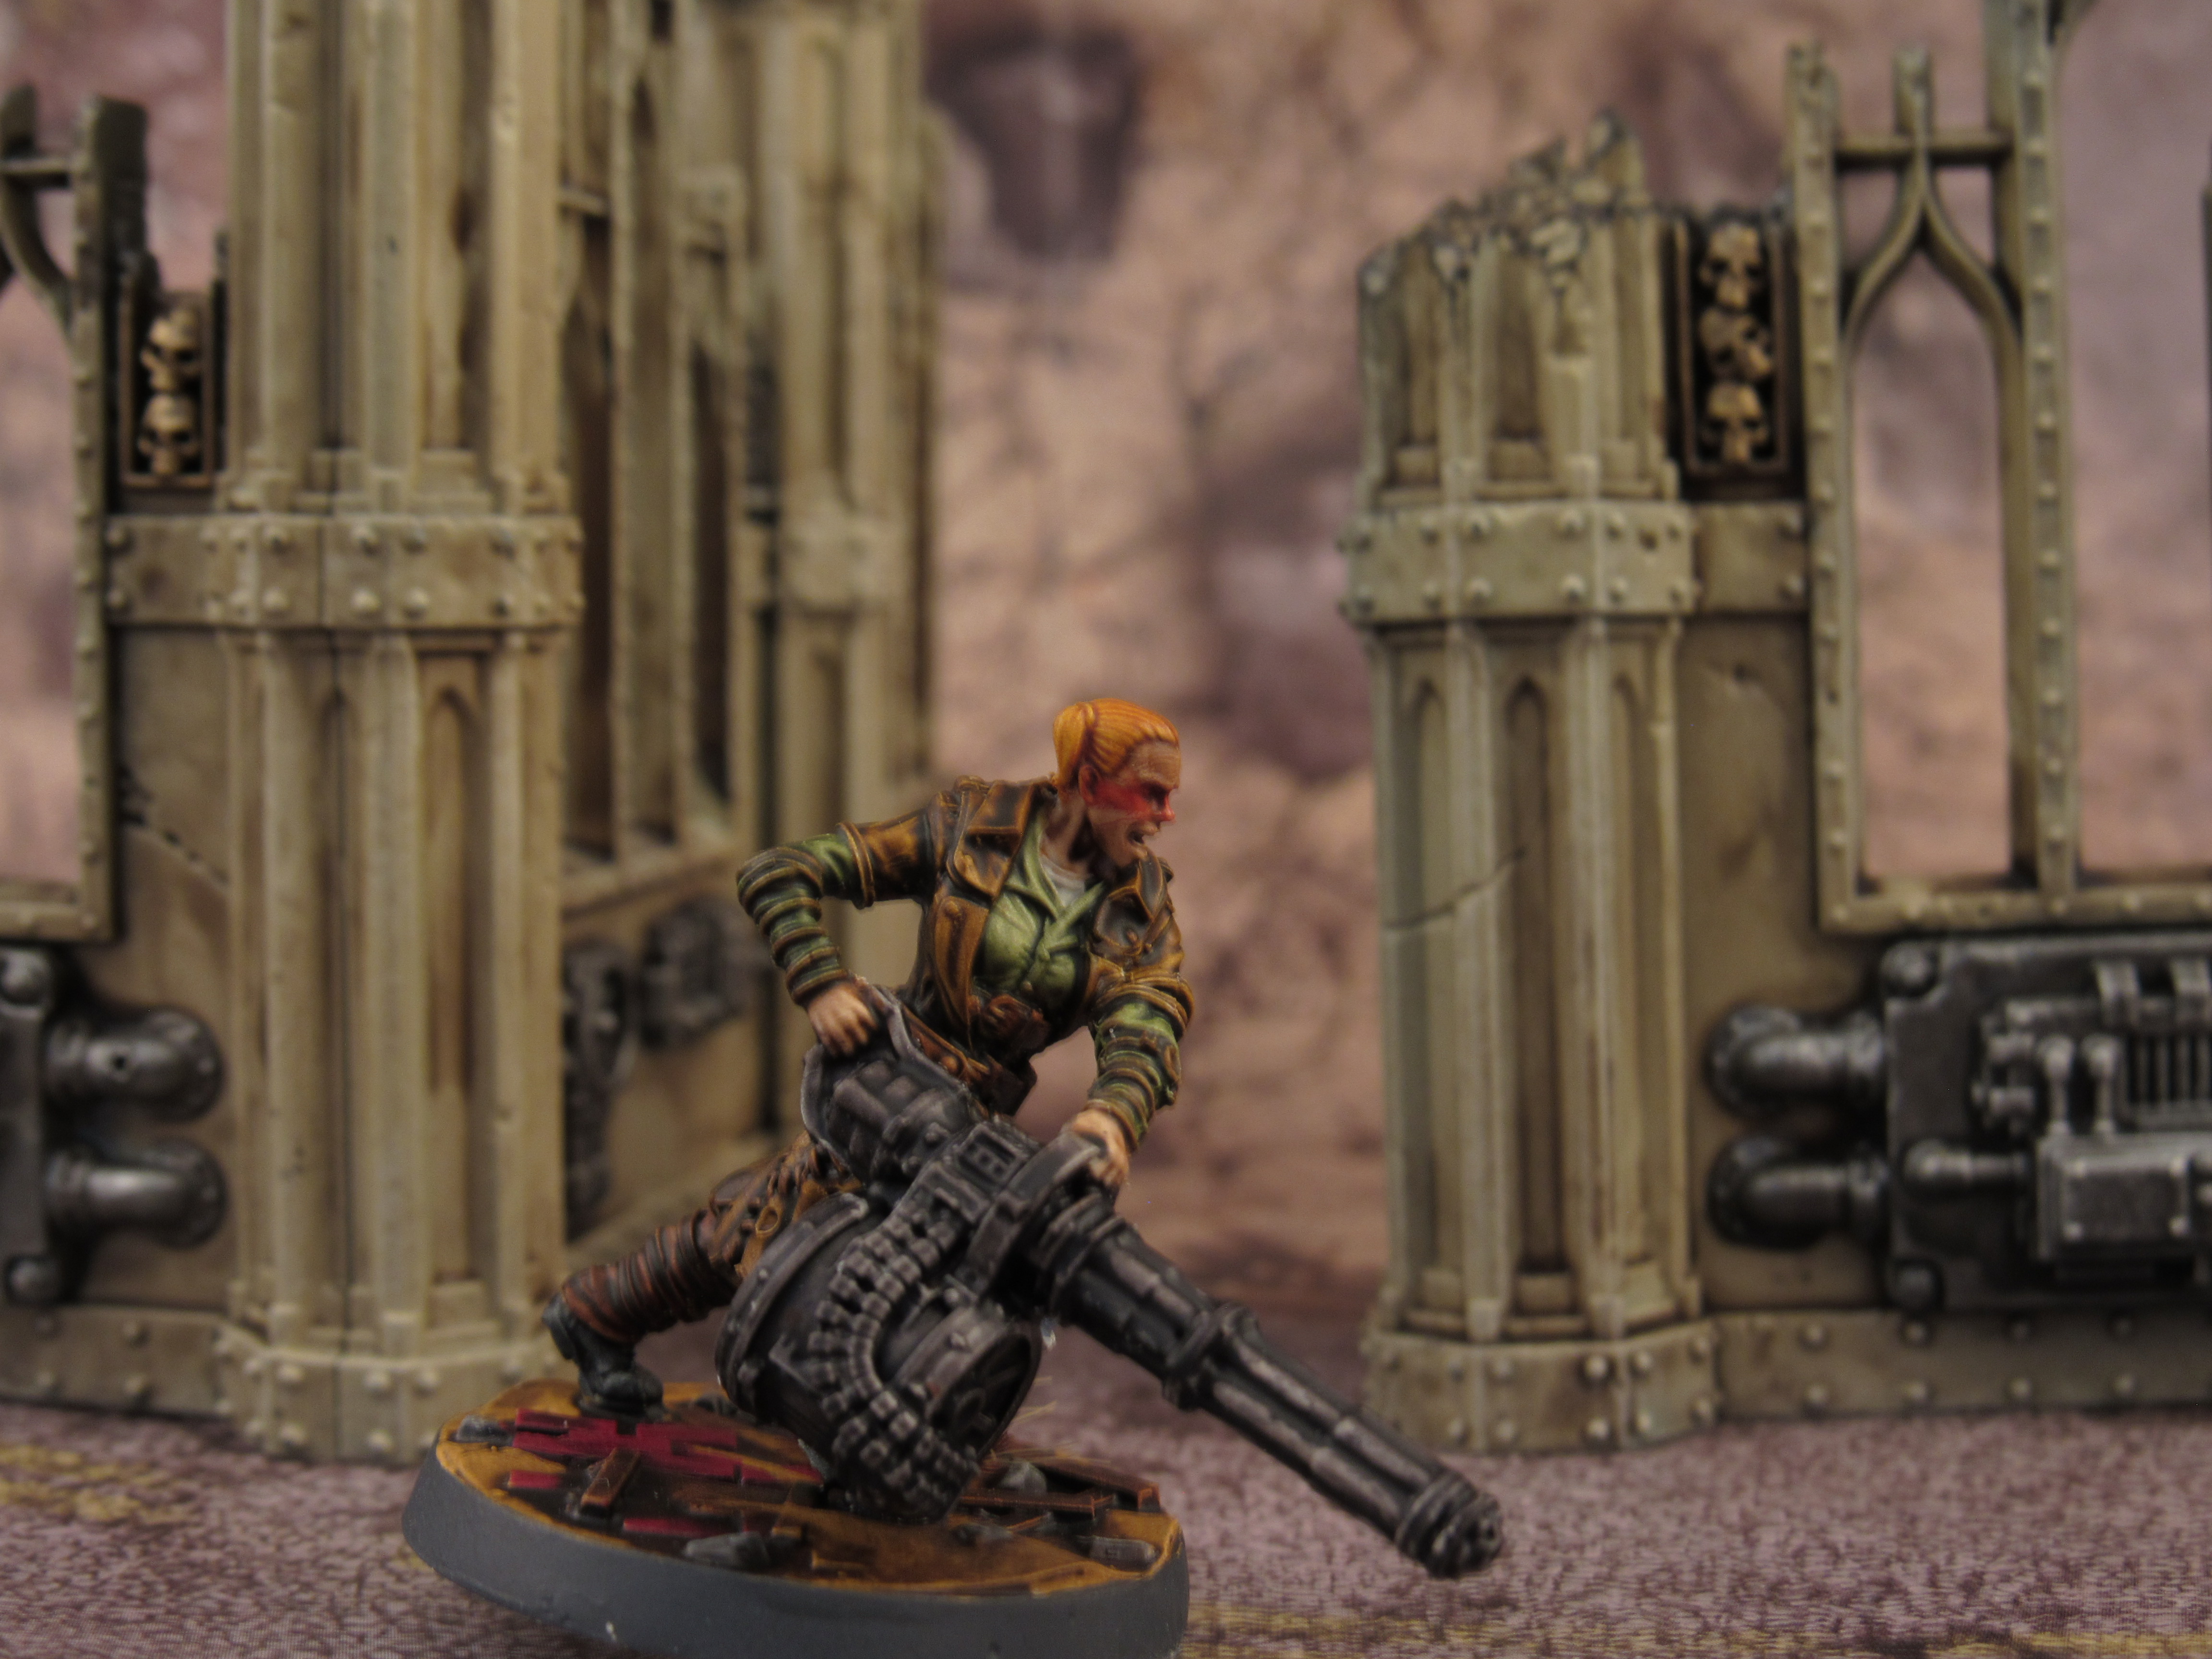


Ack Ack is the first of the named characters in this wave, she is one of the earliest Raider encounters leading a band out of Satellite Station Ophelia against local farms. Her coat is Snakebite Leather with pants of thinned Ultramarines Blue and a Militarum Green undershirt. Early on I decided I wanted to use some tribal and other Mad Max style markings so for her face I did an airbrushed line of red to giver her a fierce hard charging look as she comes at you with her minigun.
The other 2 named characters, Sinjin and Avery, are part of the final encounter in the Silver Shroud quest line. As Sinjin is a ghoul his flesh is a mix of Guilliman and Darkoath to pick out the flaws. They both wear combat armor done up with Plagebearer Flesh and Militarum Green. Avery has black templar leather pants while Sinjins are the same thinned Ultramarines Blue. The raider armor is picked out with Vallejo rust medium and washes with Skeleton horde underneath as the leather and padding.

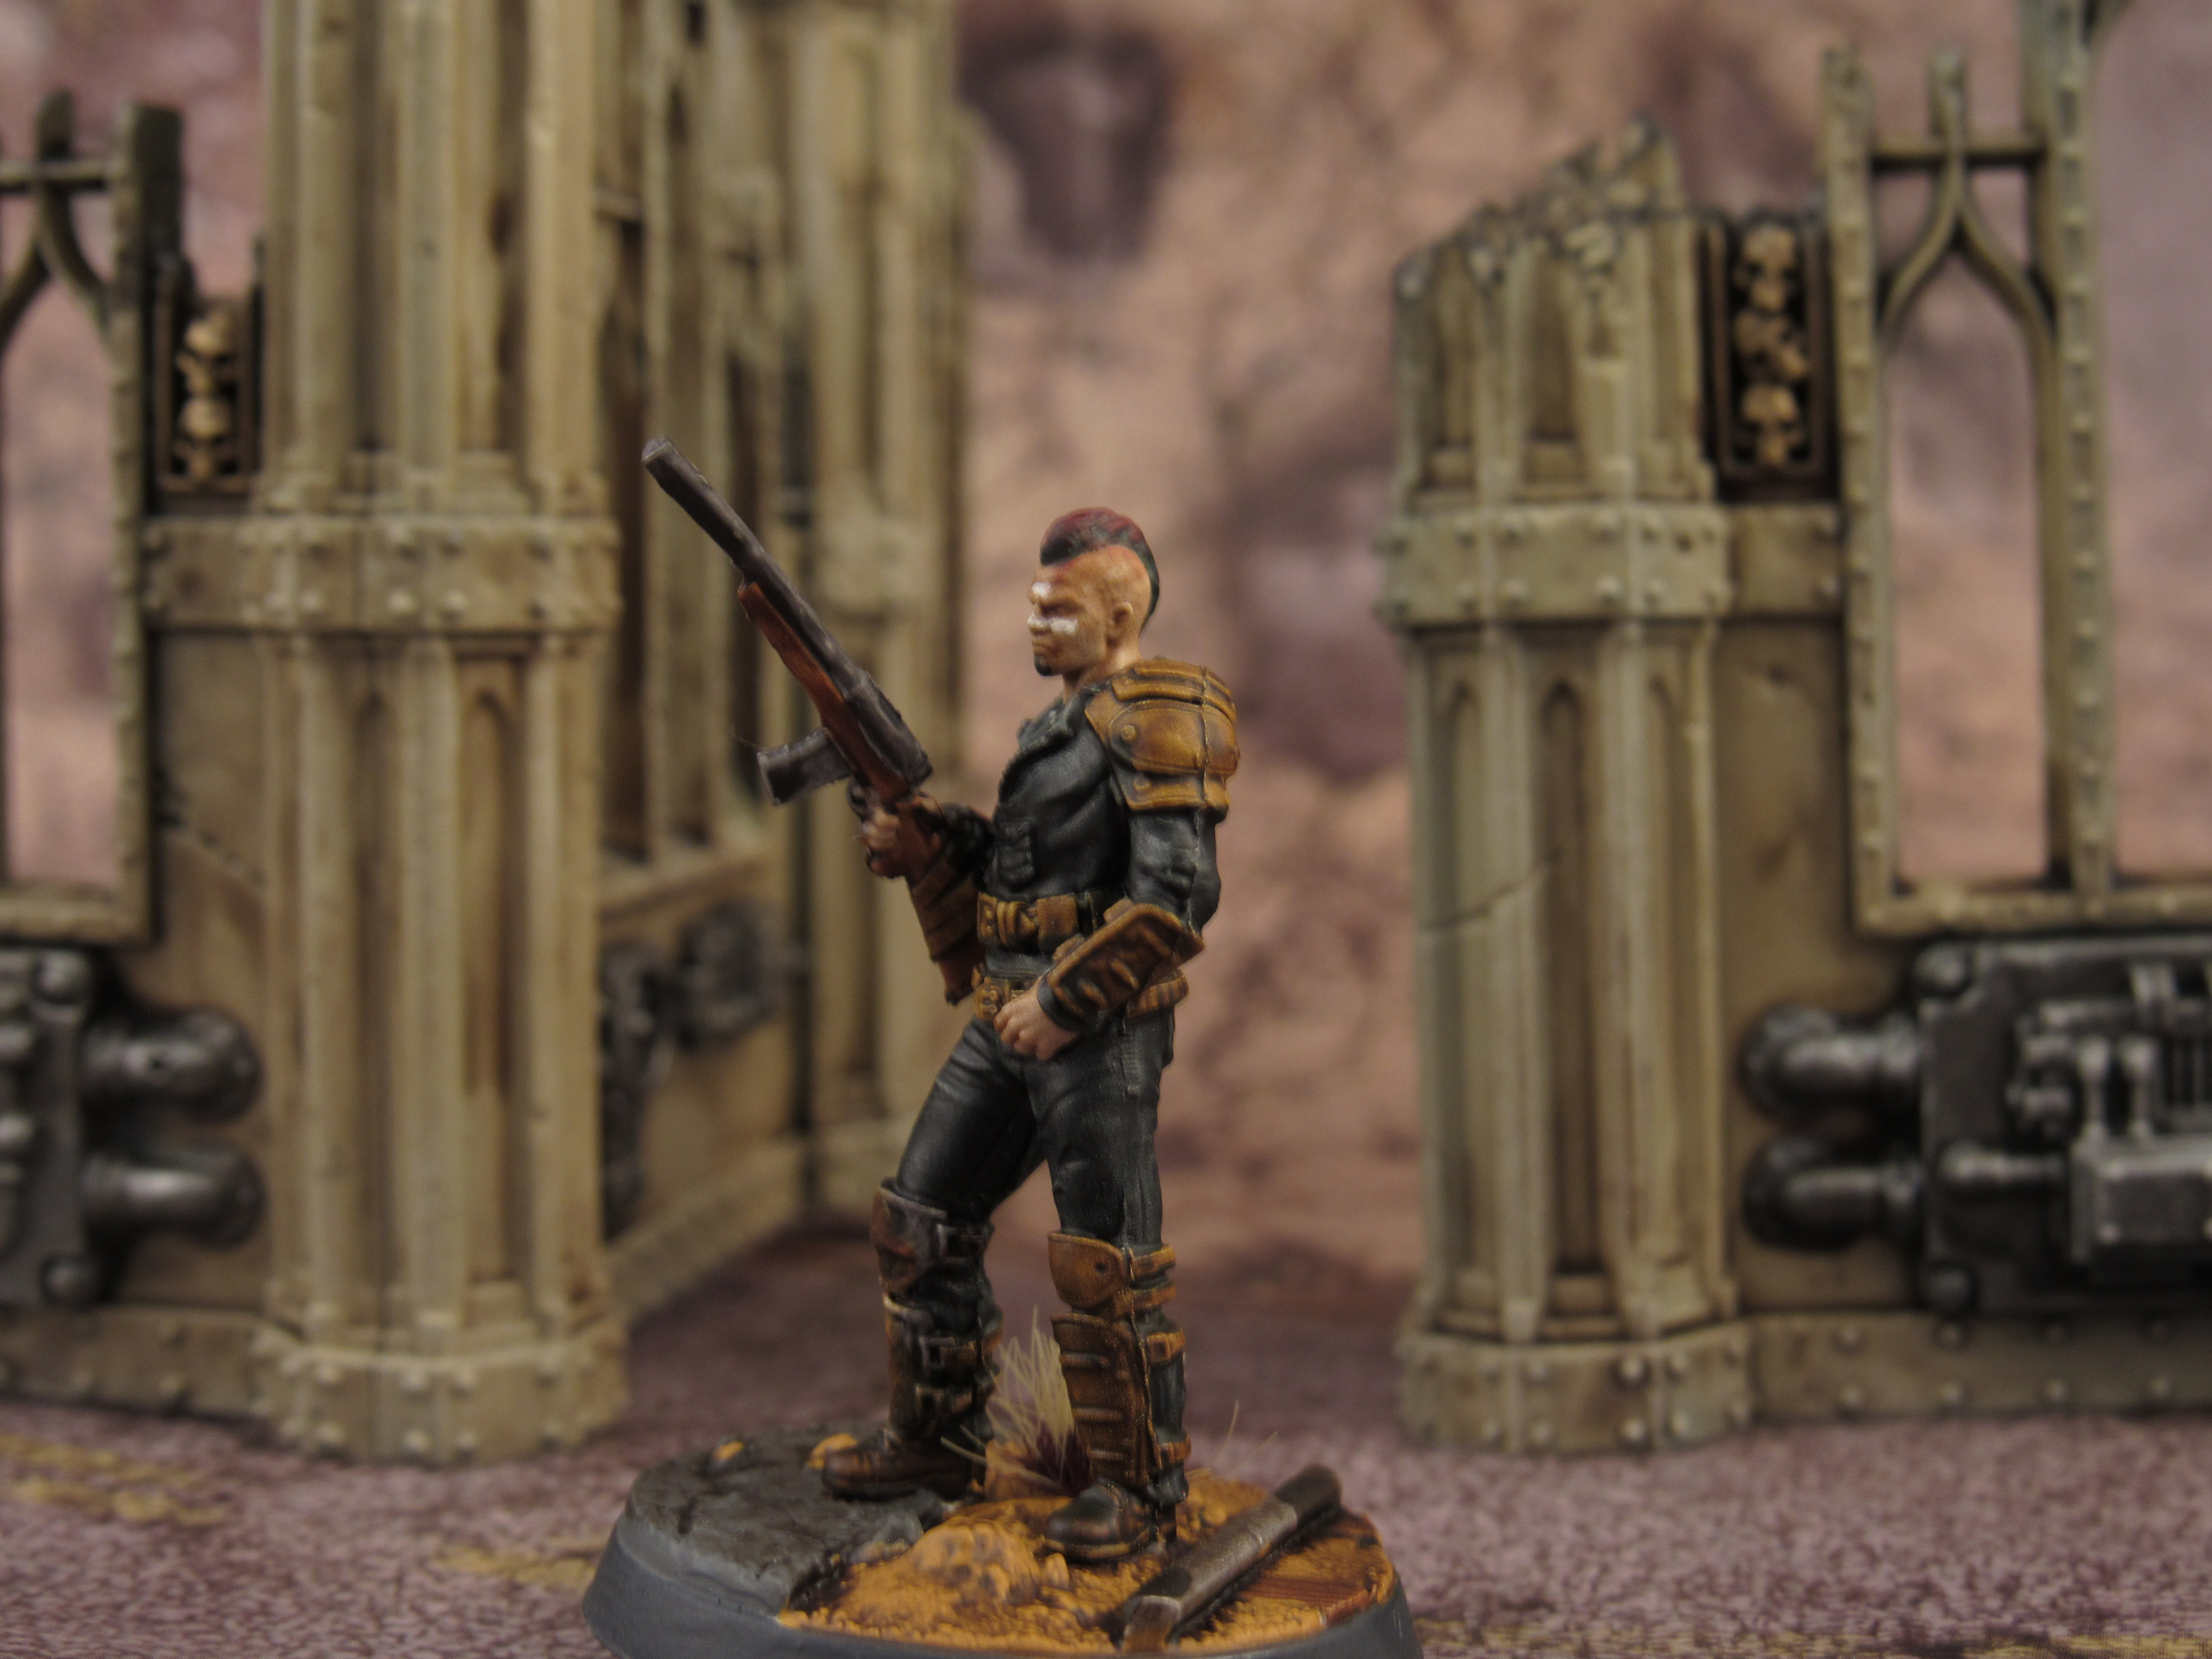
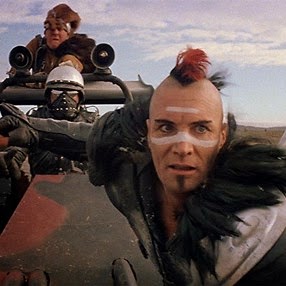
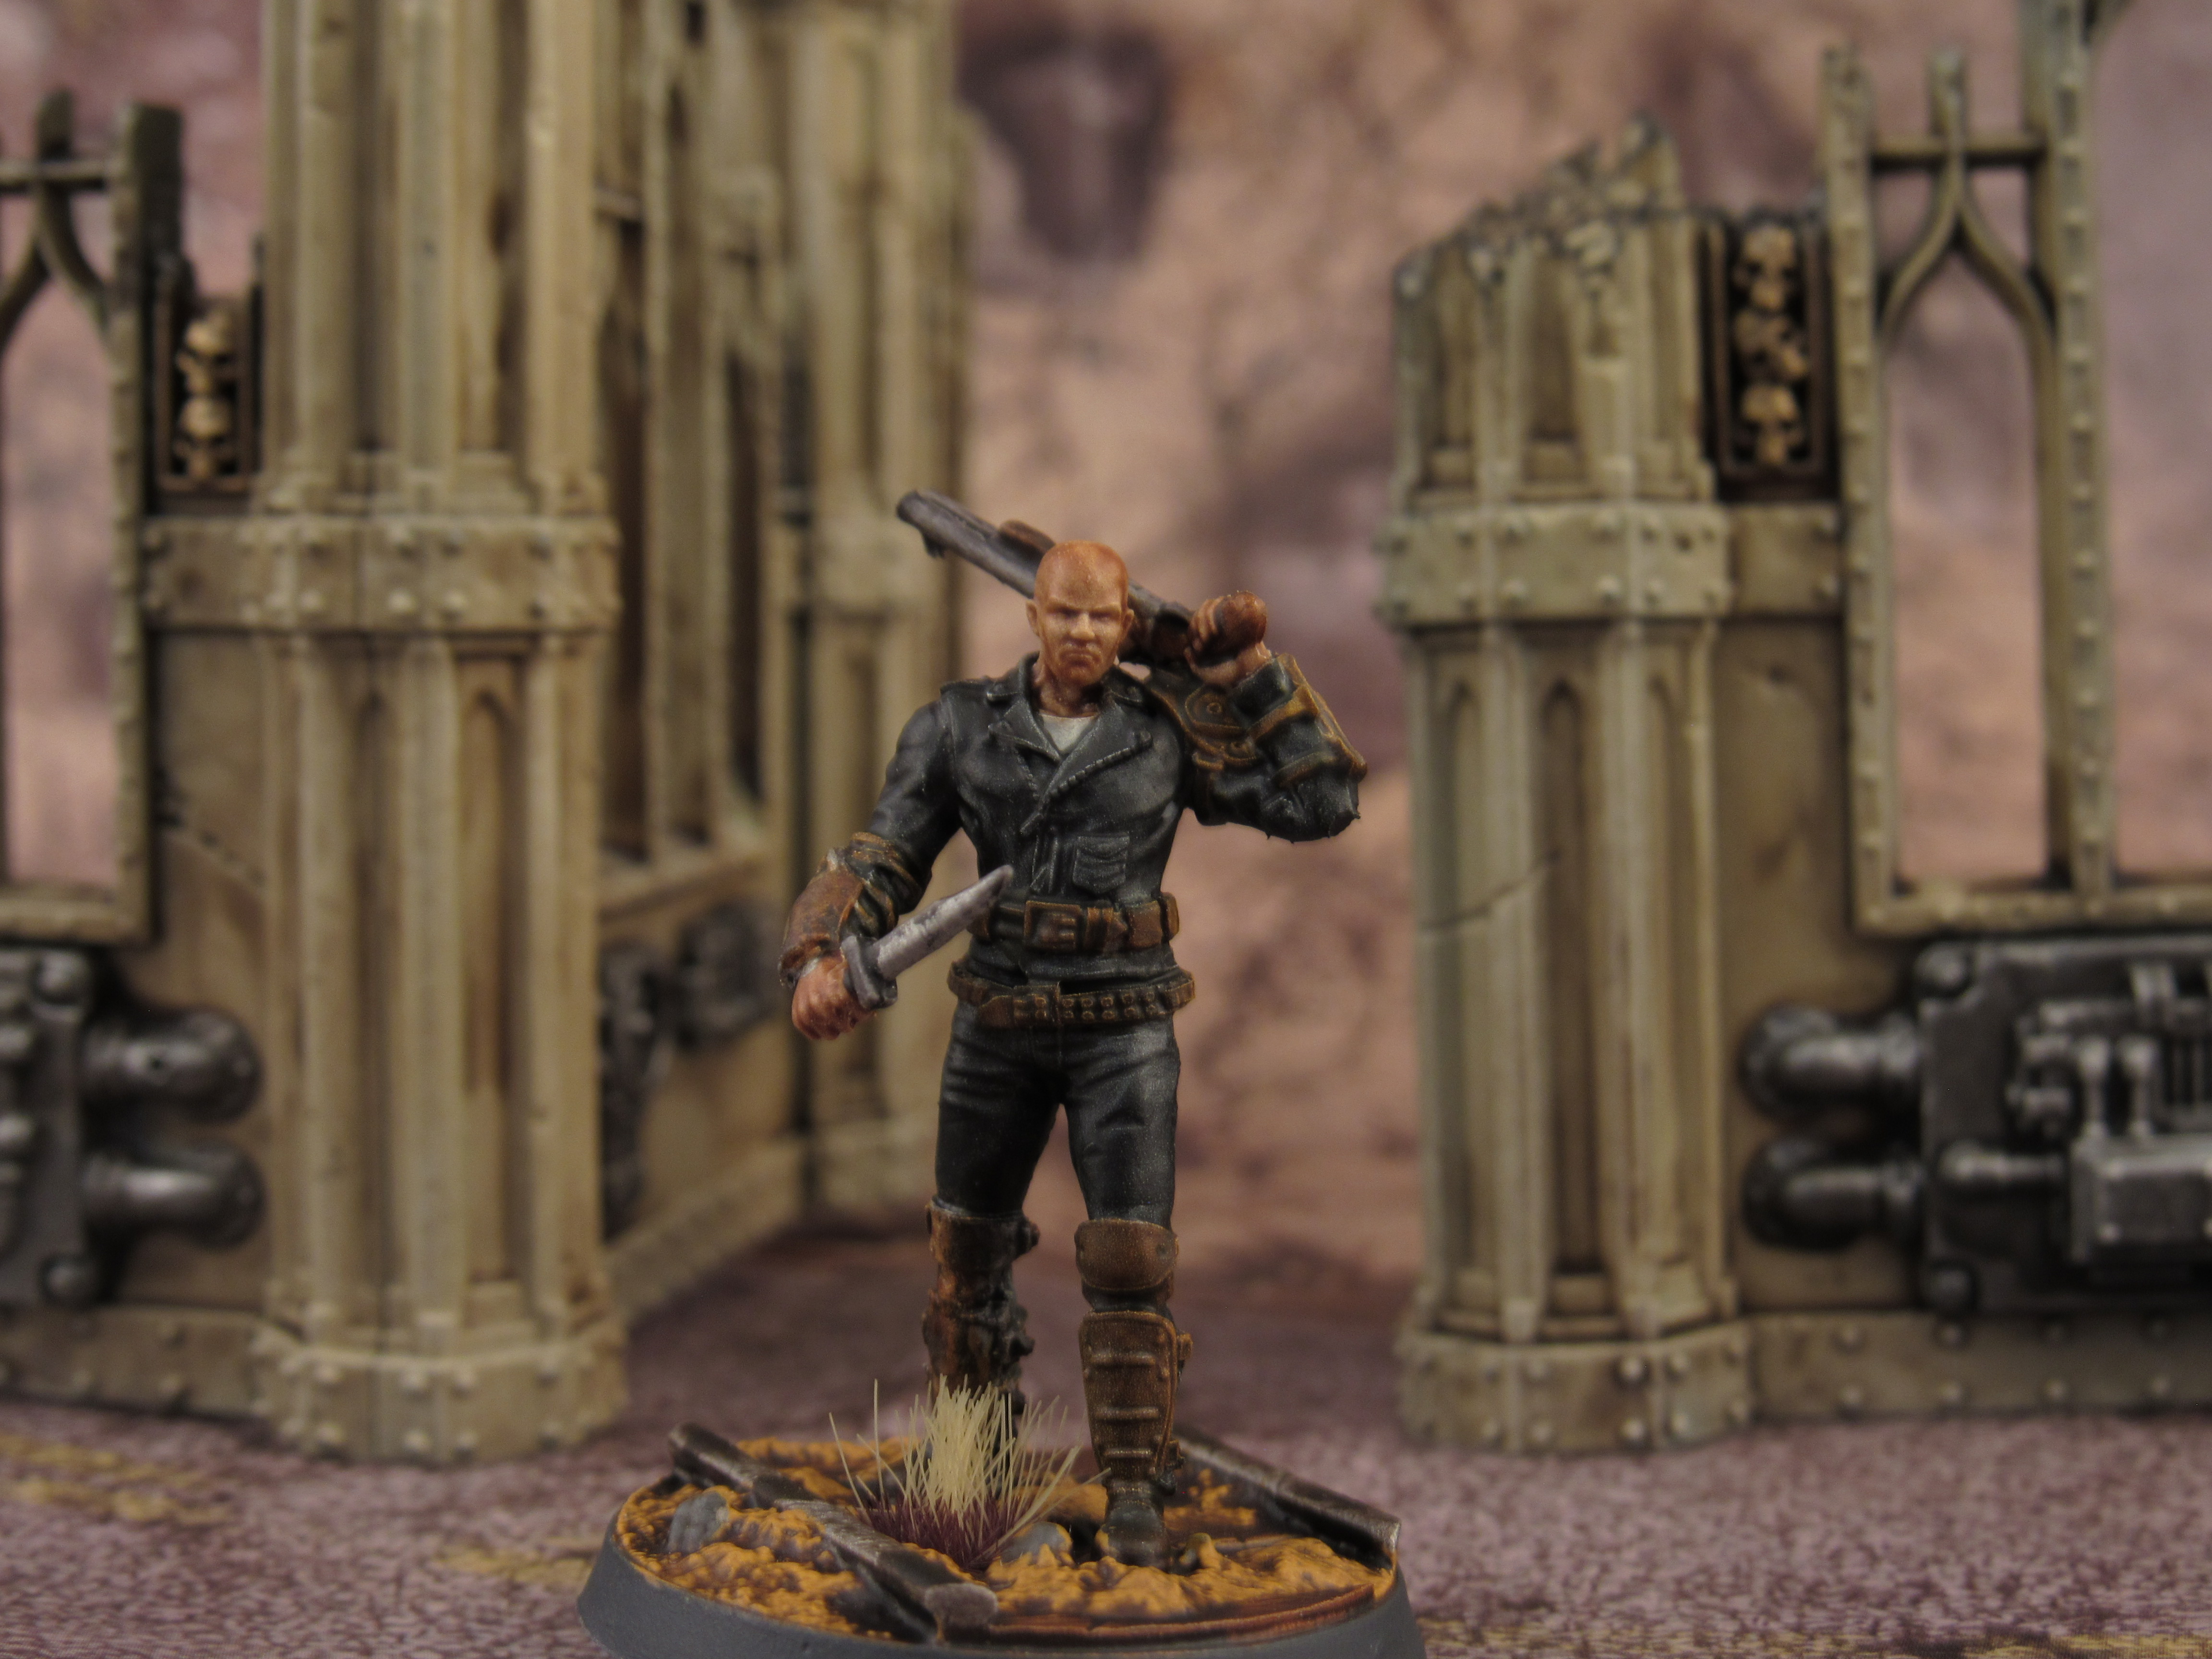
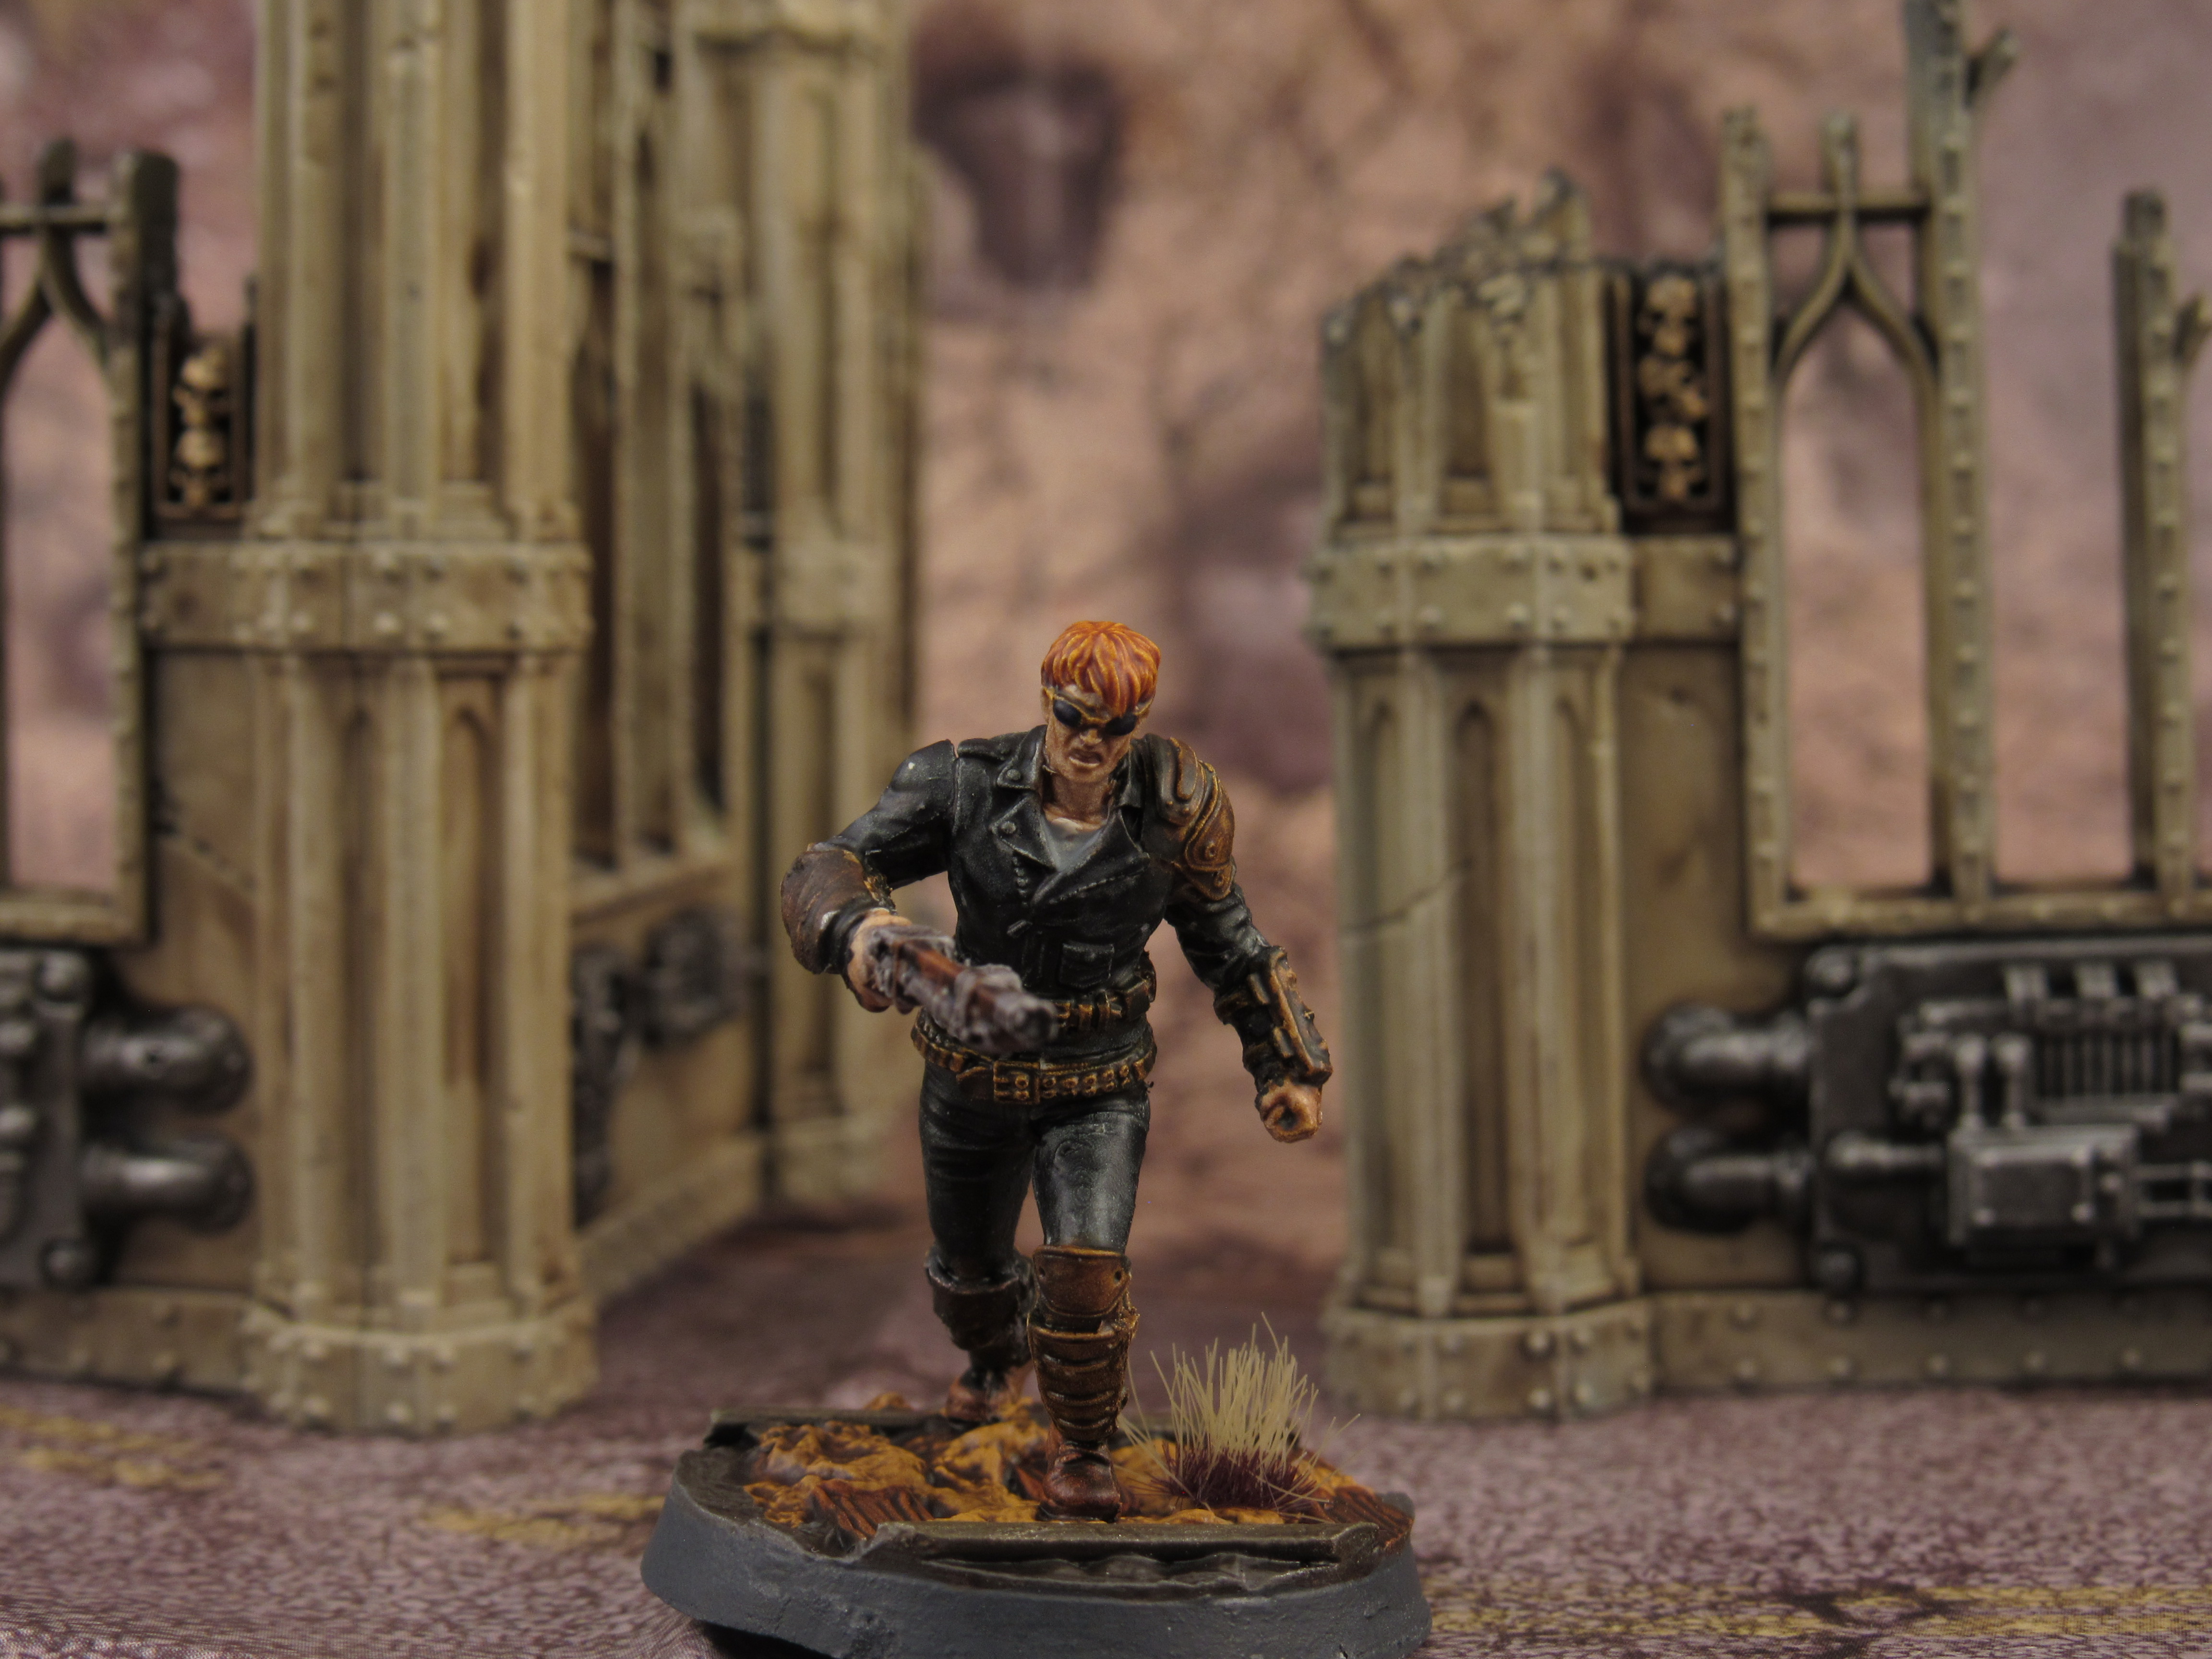
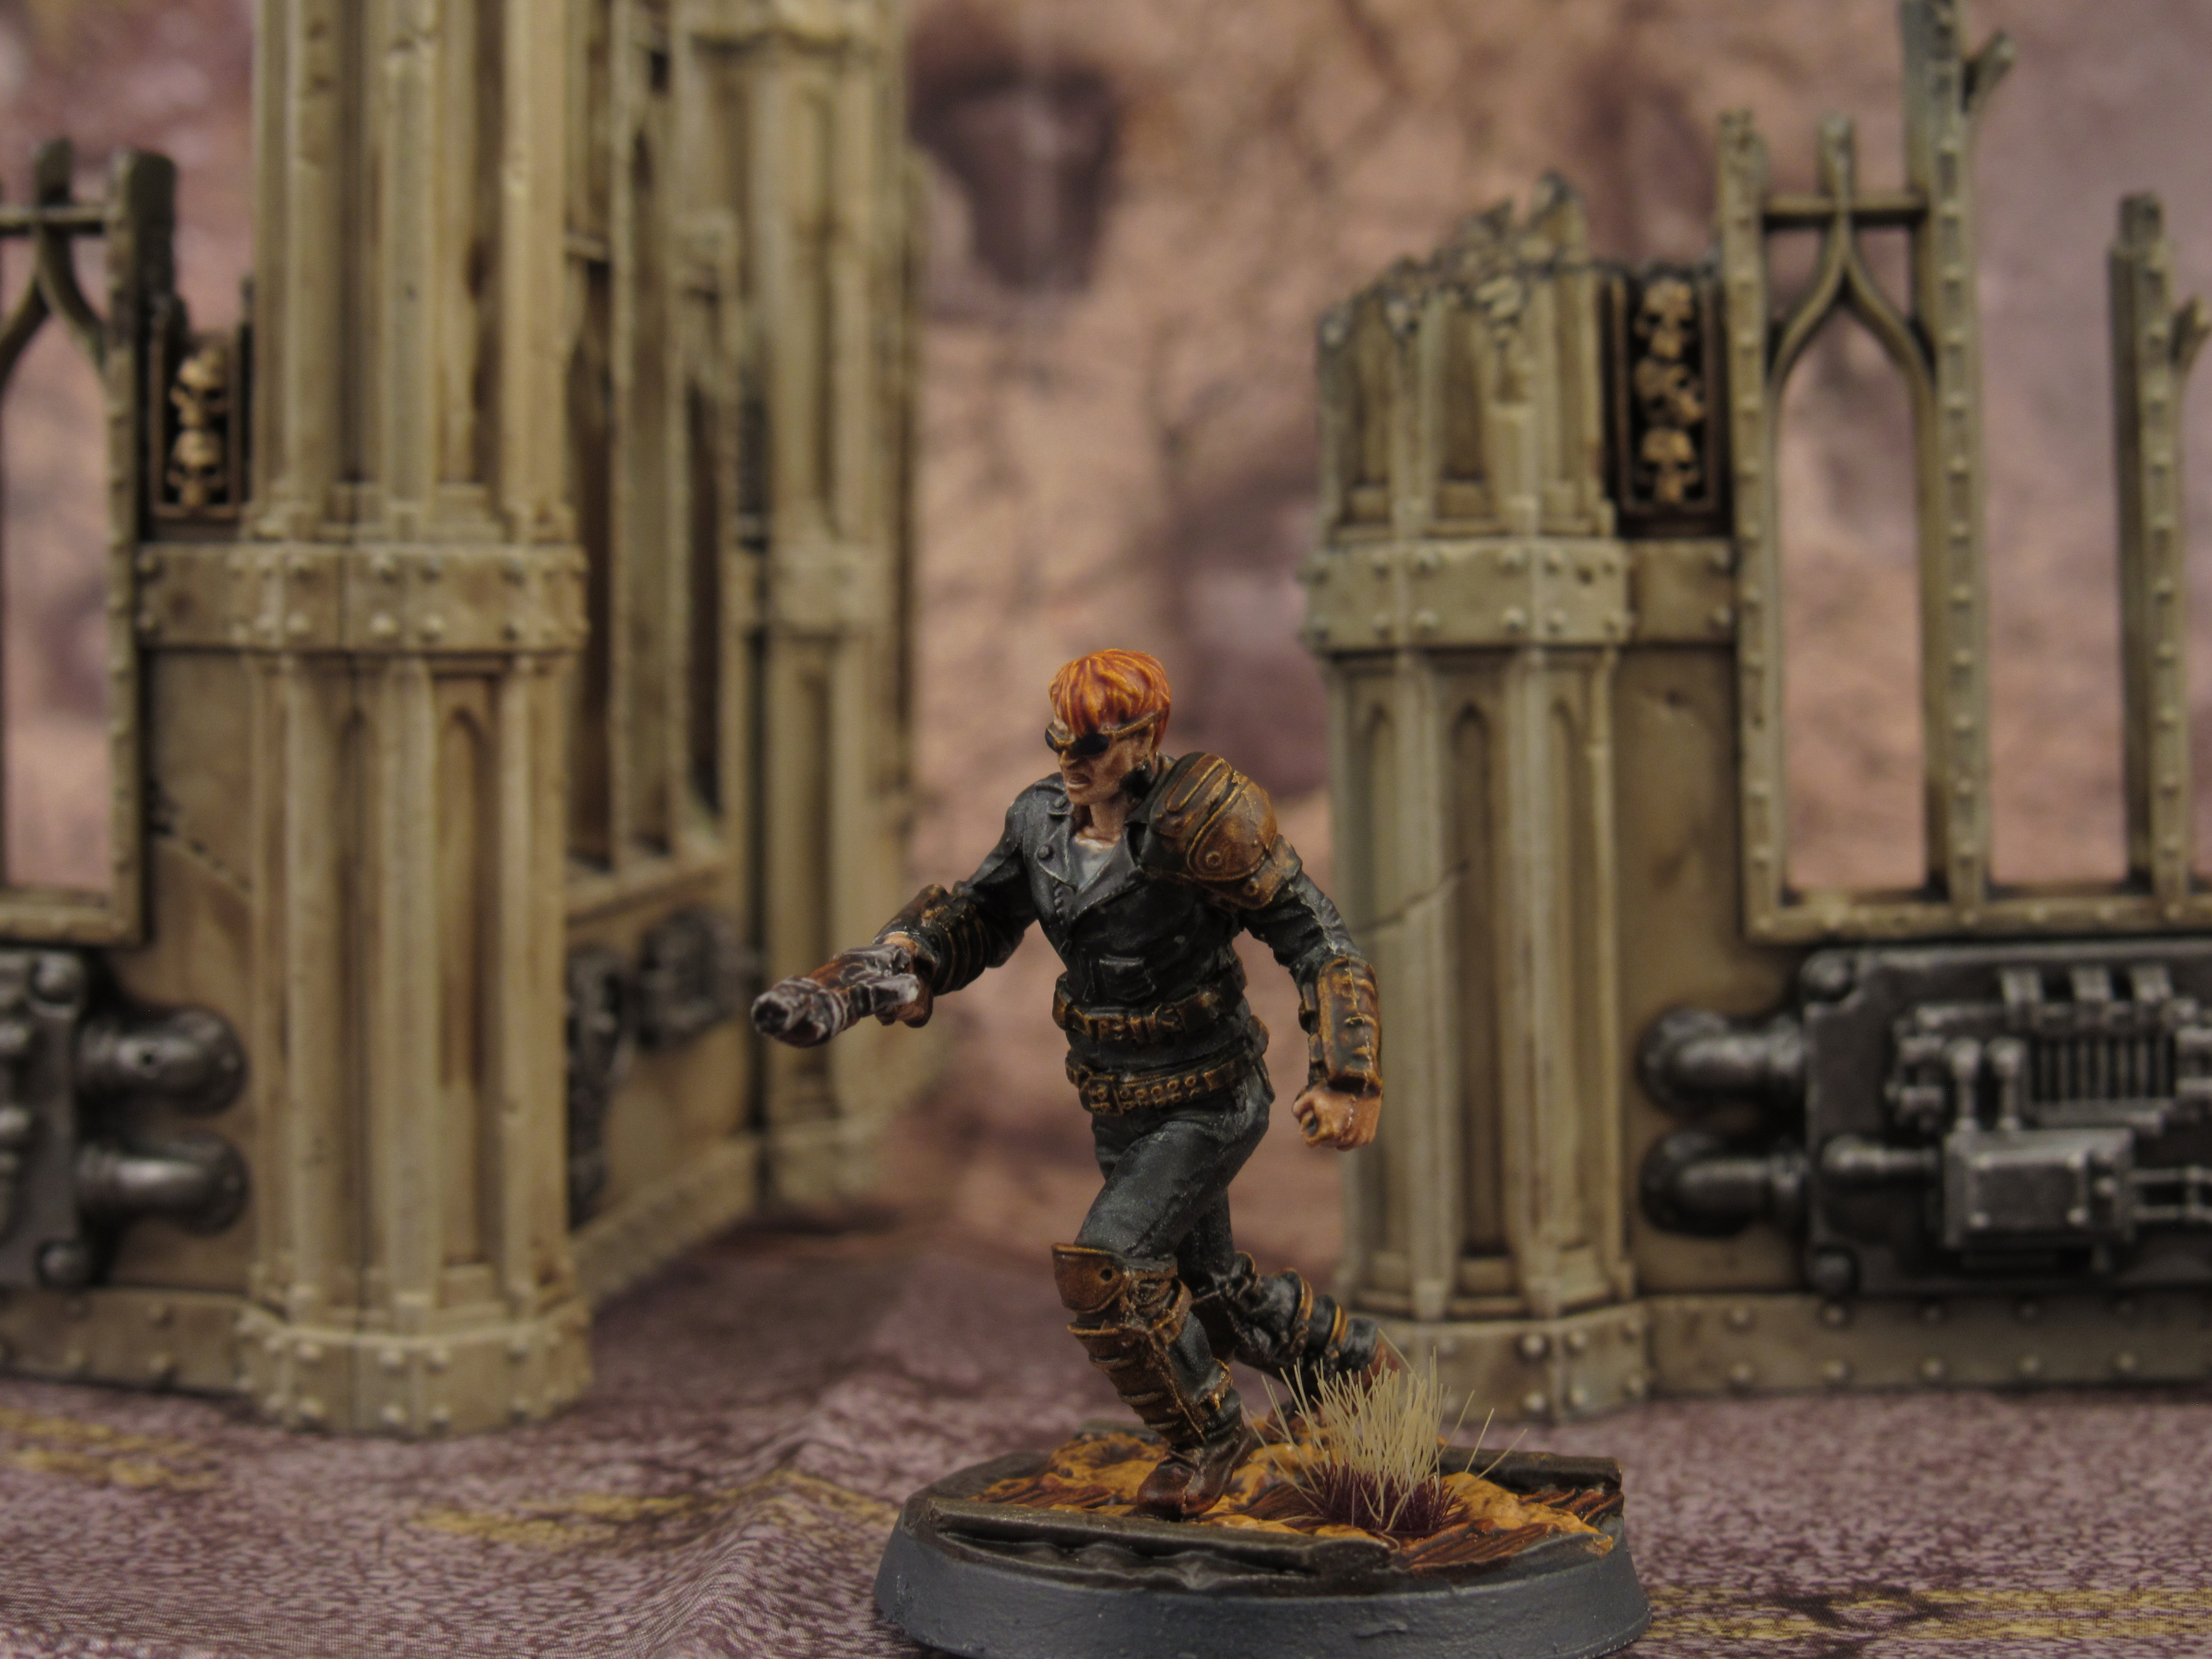
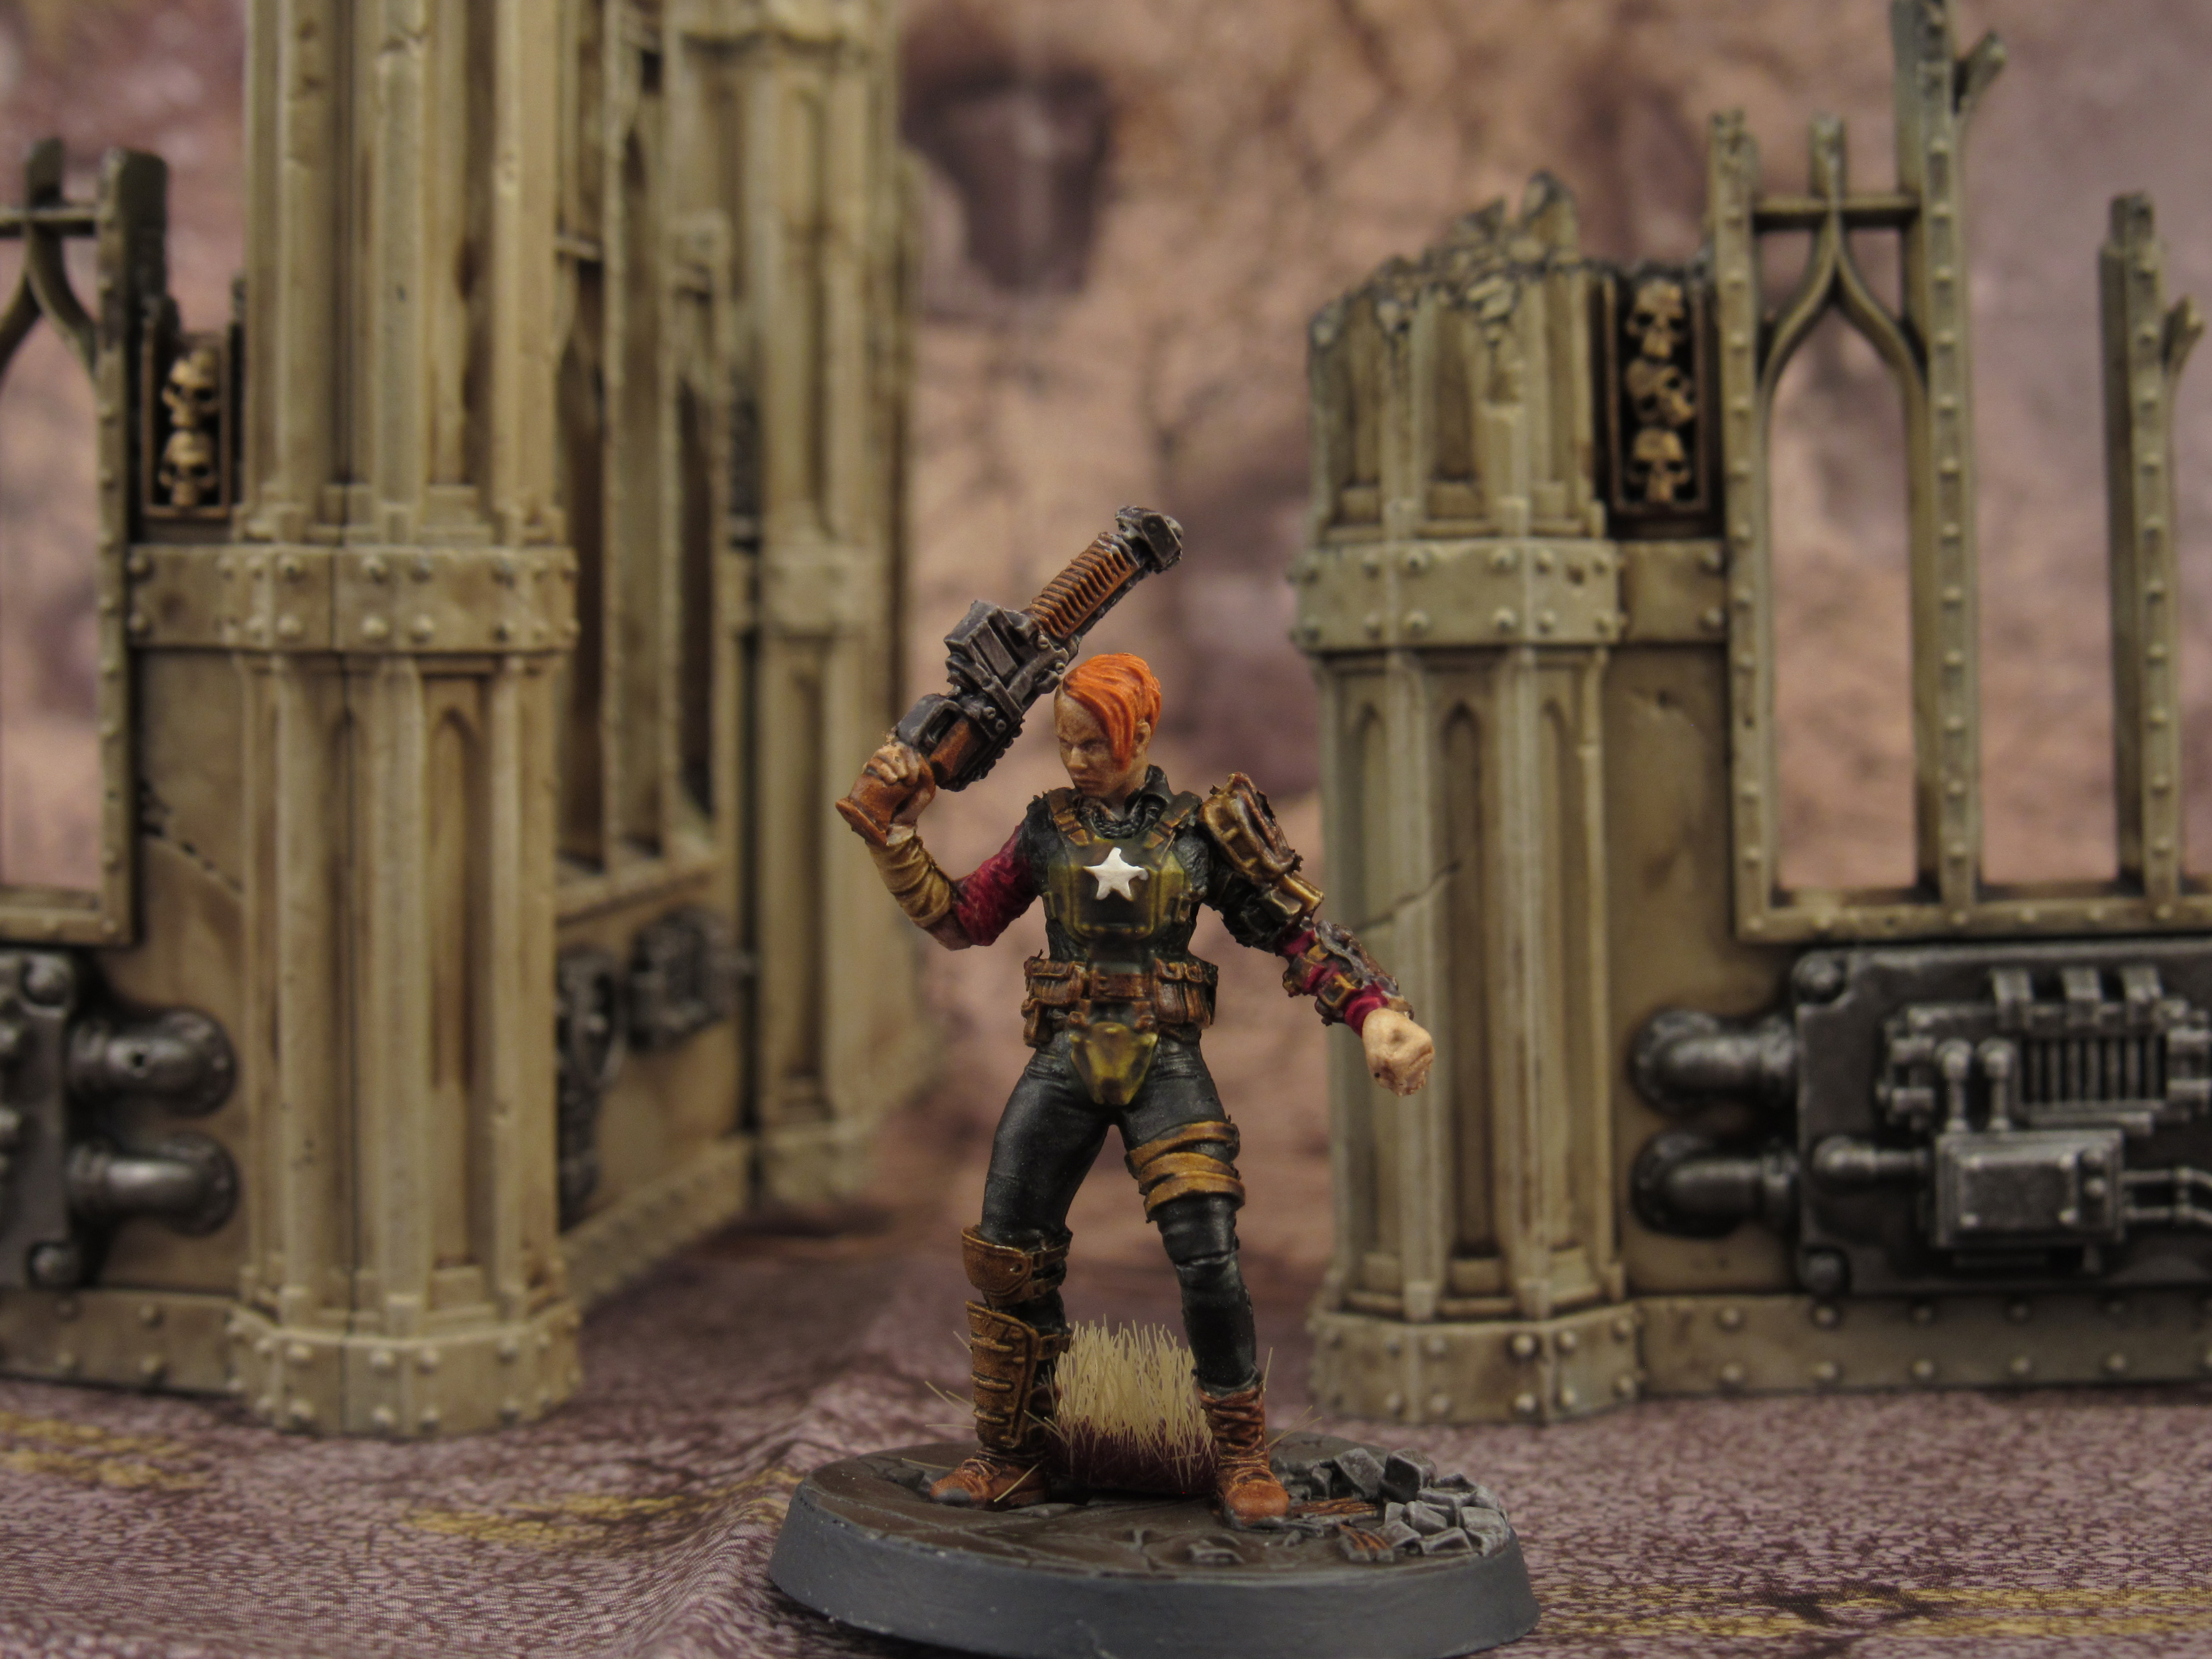
The remaining sculpts are broken down into 2 types, the first are the biker/greaser looking ones. These all have Black Templar leather jackets, some with pants the same others with Ultramarines blue. Straps/bags etc are picked out with Snakebite Leather. These are the lightest armored with leather mostly and an occasional metal arm done in Bassilicanum Gray with Vallejo rust wash and effects again. After some suggestion from a friend of mine I did one of these up as a familiar character from Mad Max
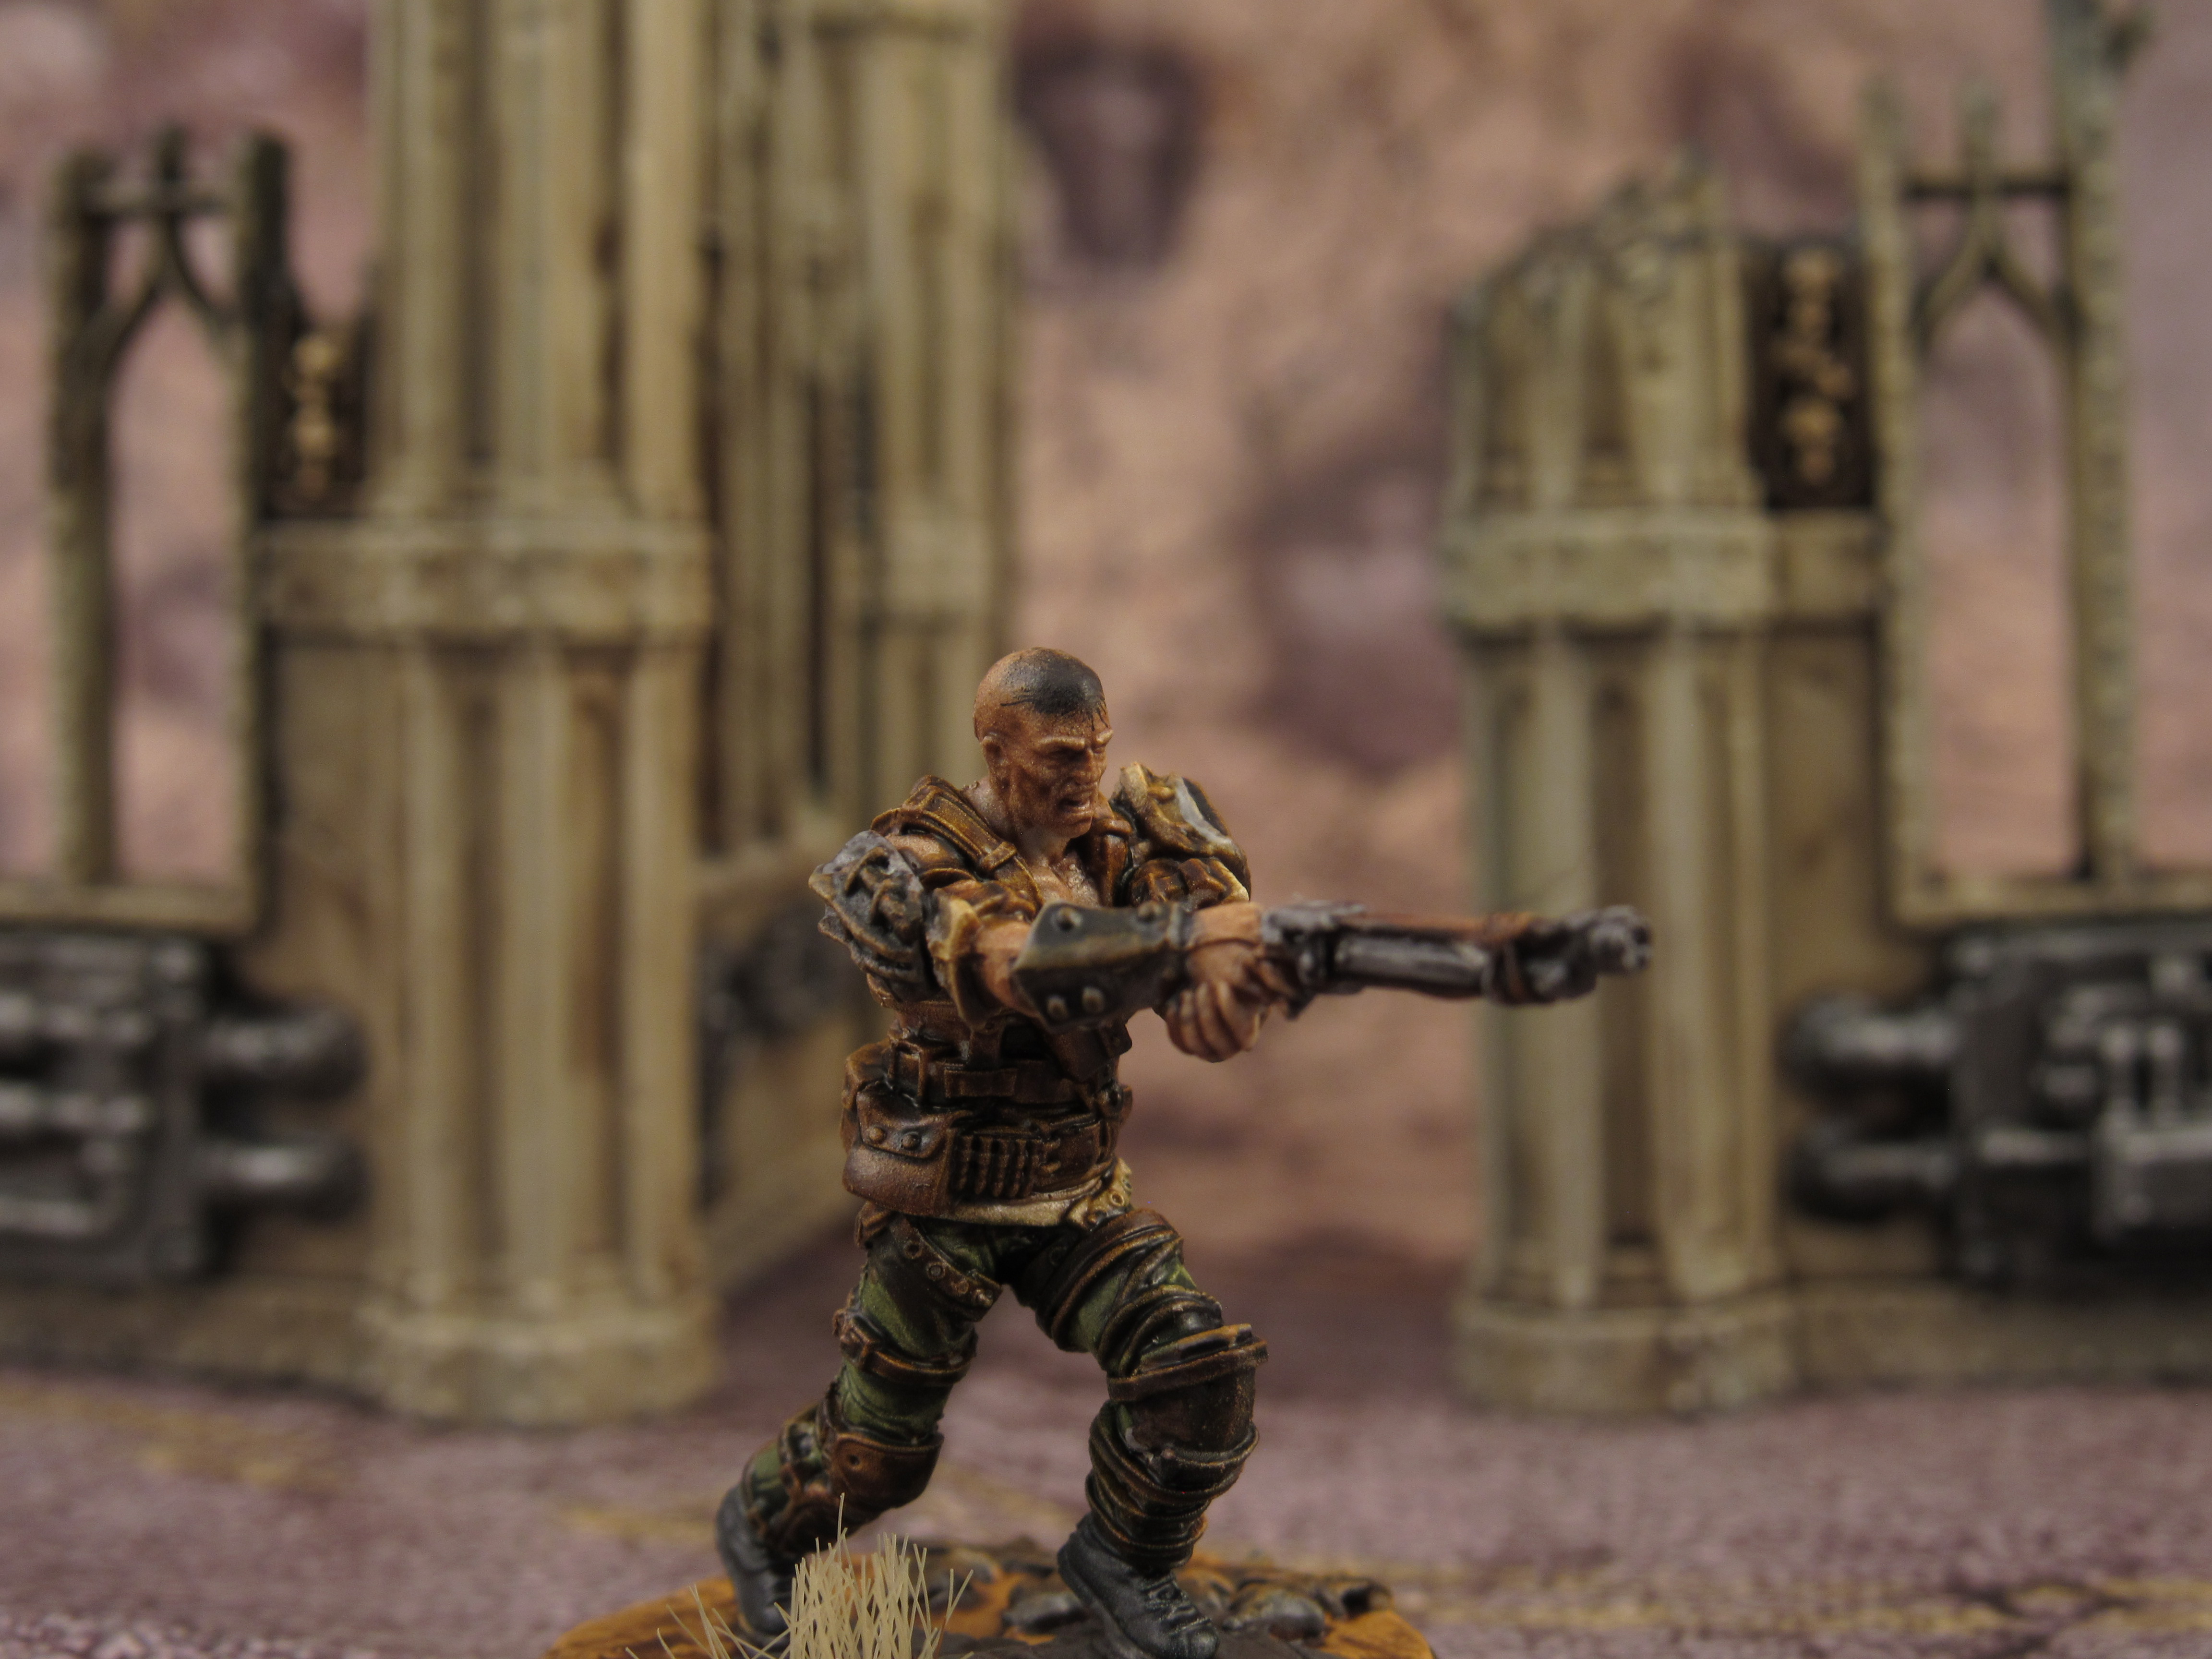

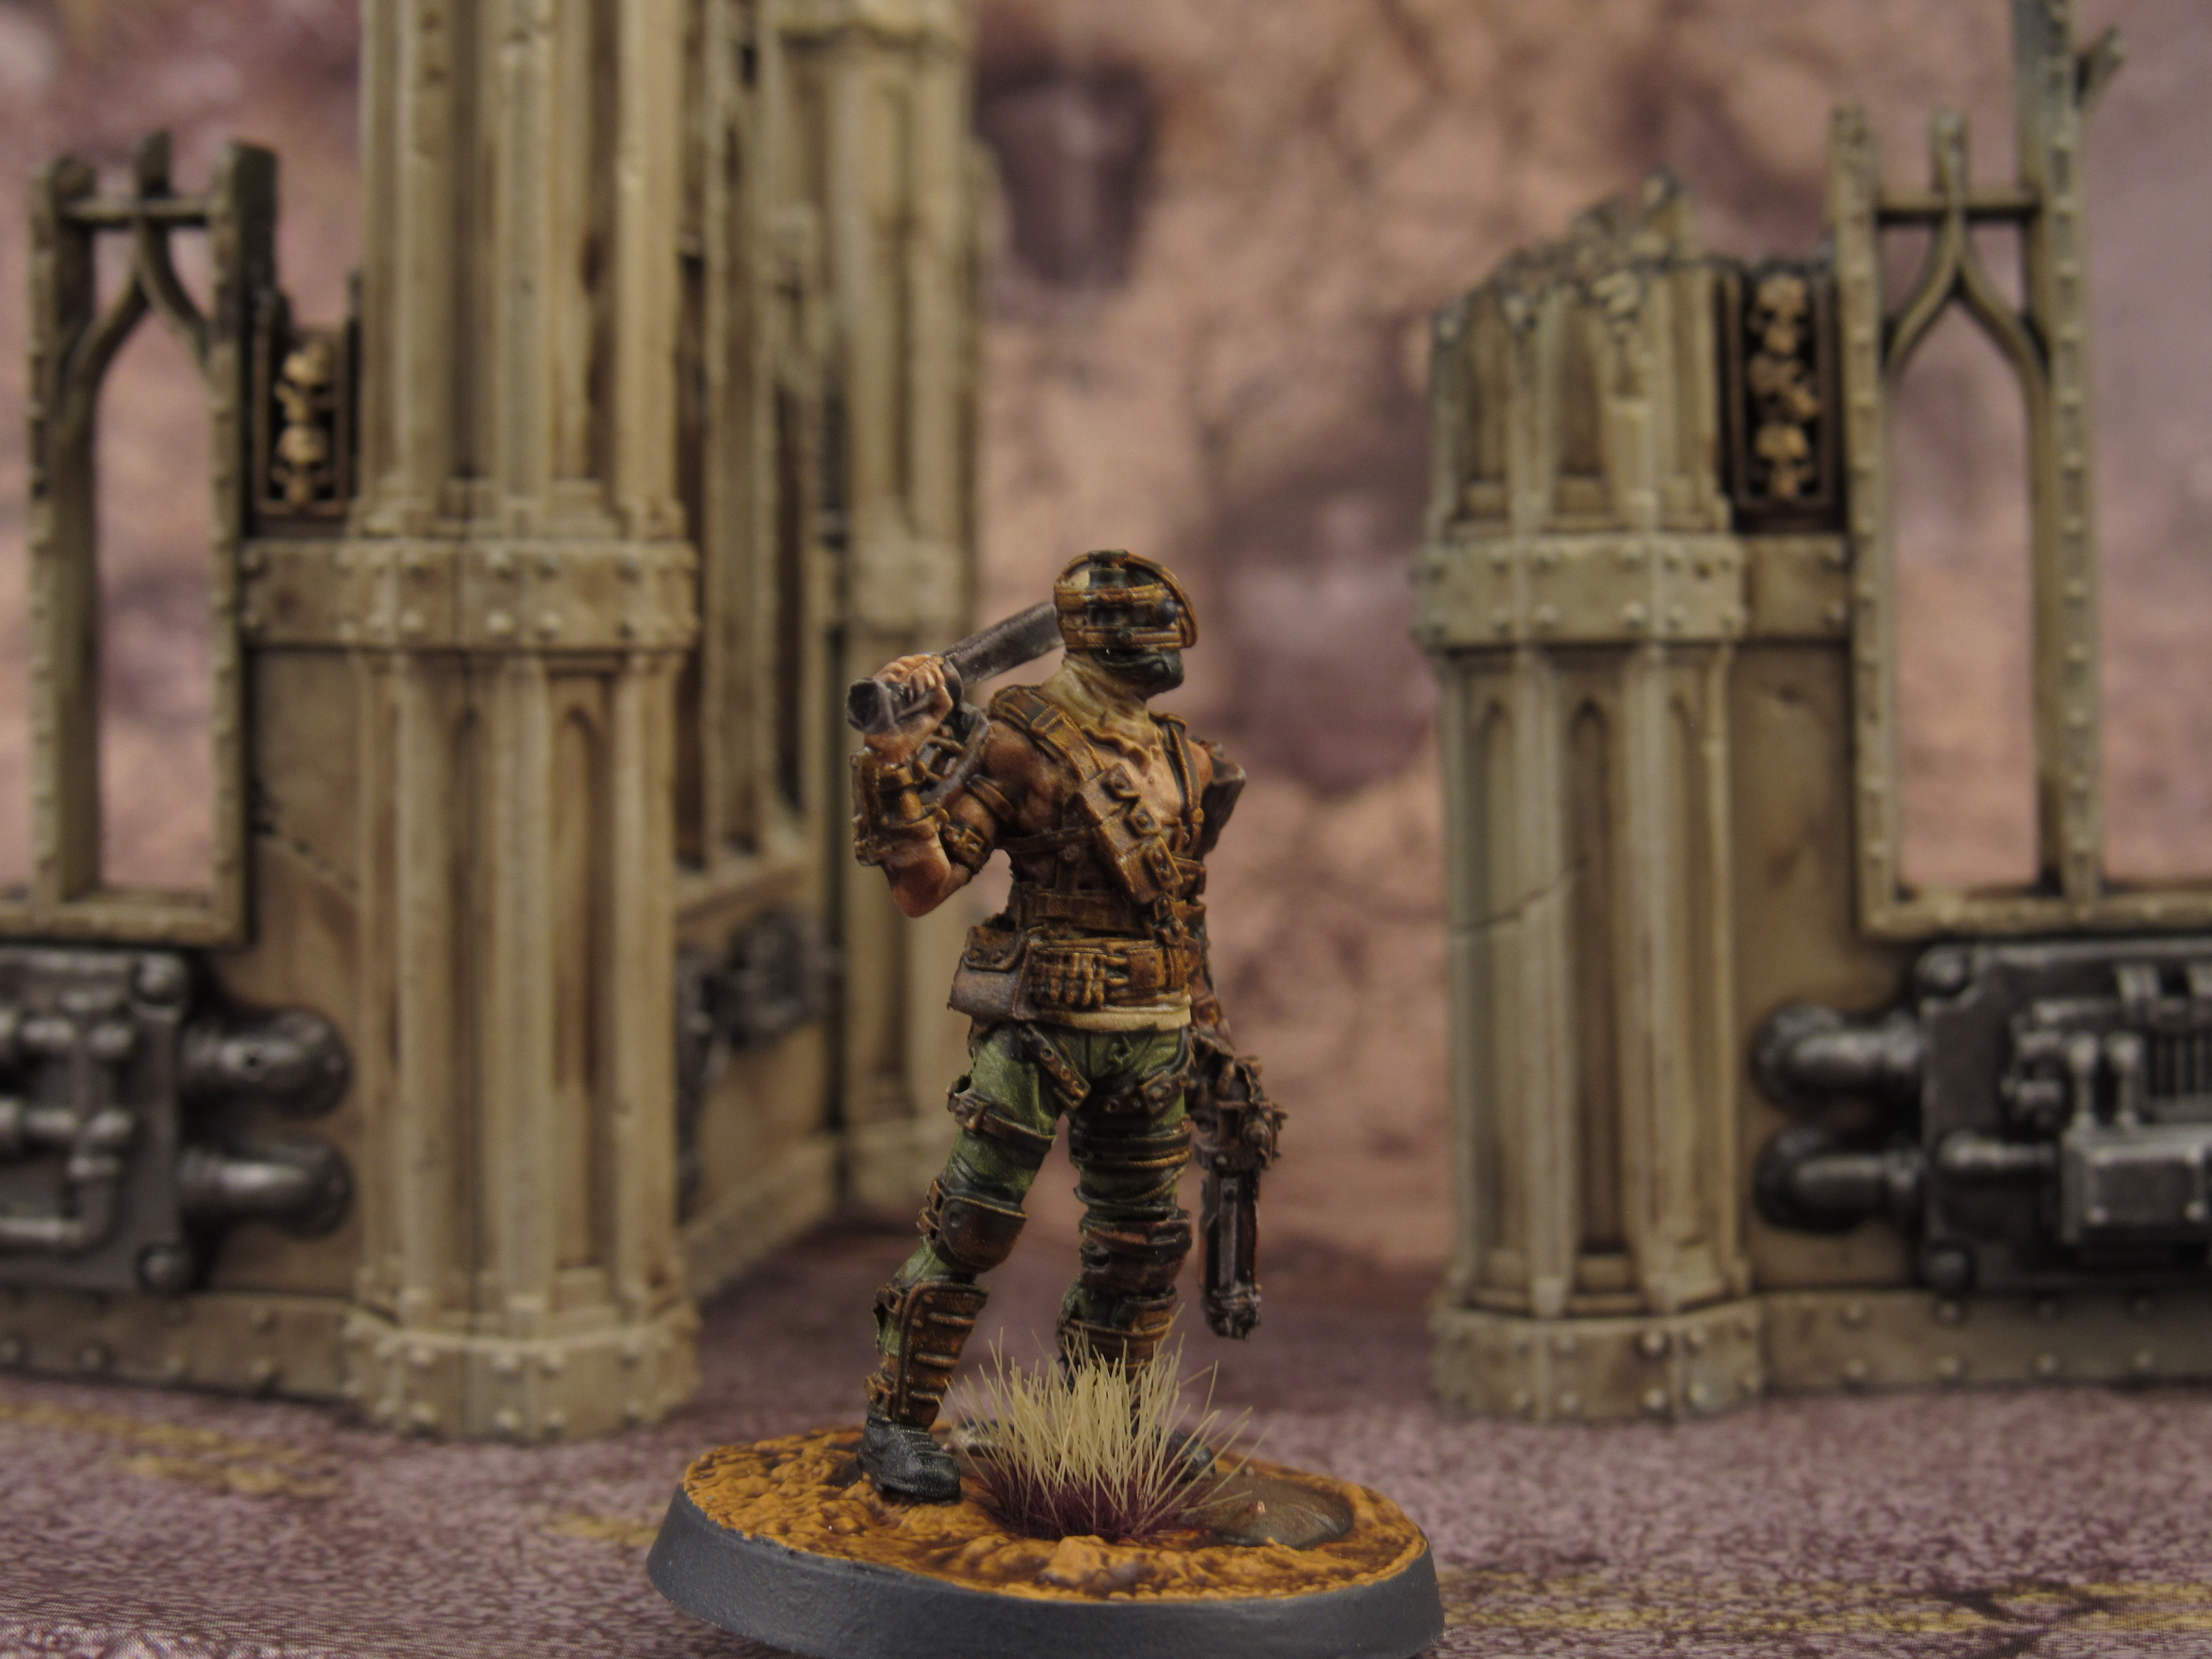
The next group are those in Raider armor, Militarum Green pants with bare chests crossed with Snakebite leather pouches. The armor is the standard Basillicanum Gray with metallics added and Vallejo rust effects and washes/drybrushing over. undershirts and padding are done in Skeleton Horde.

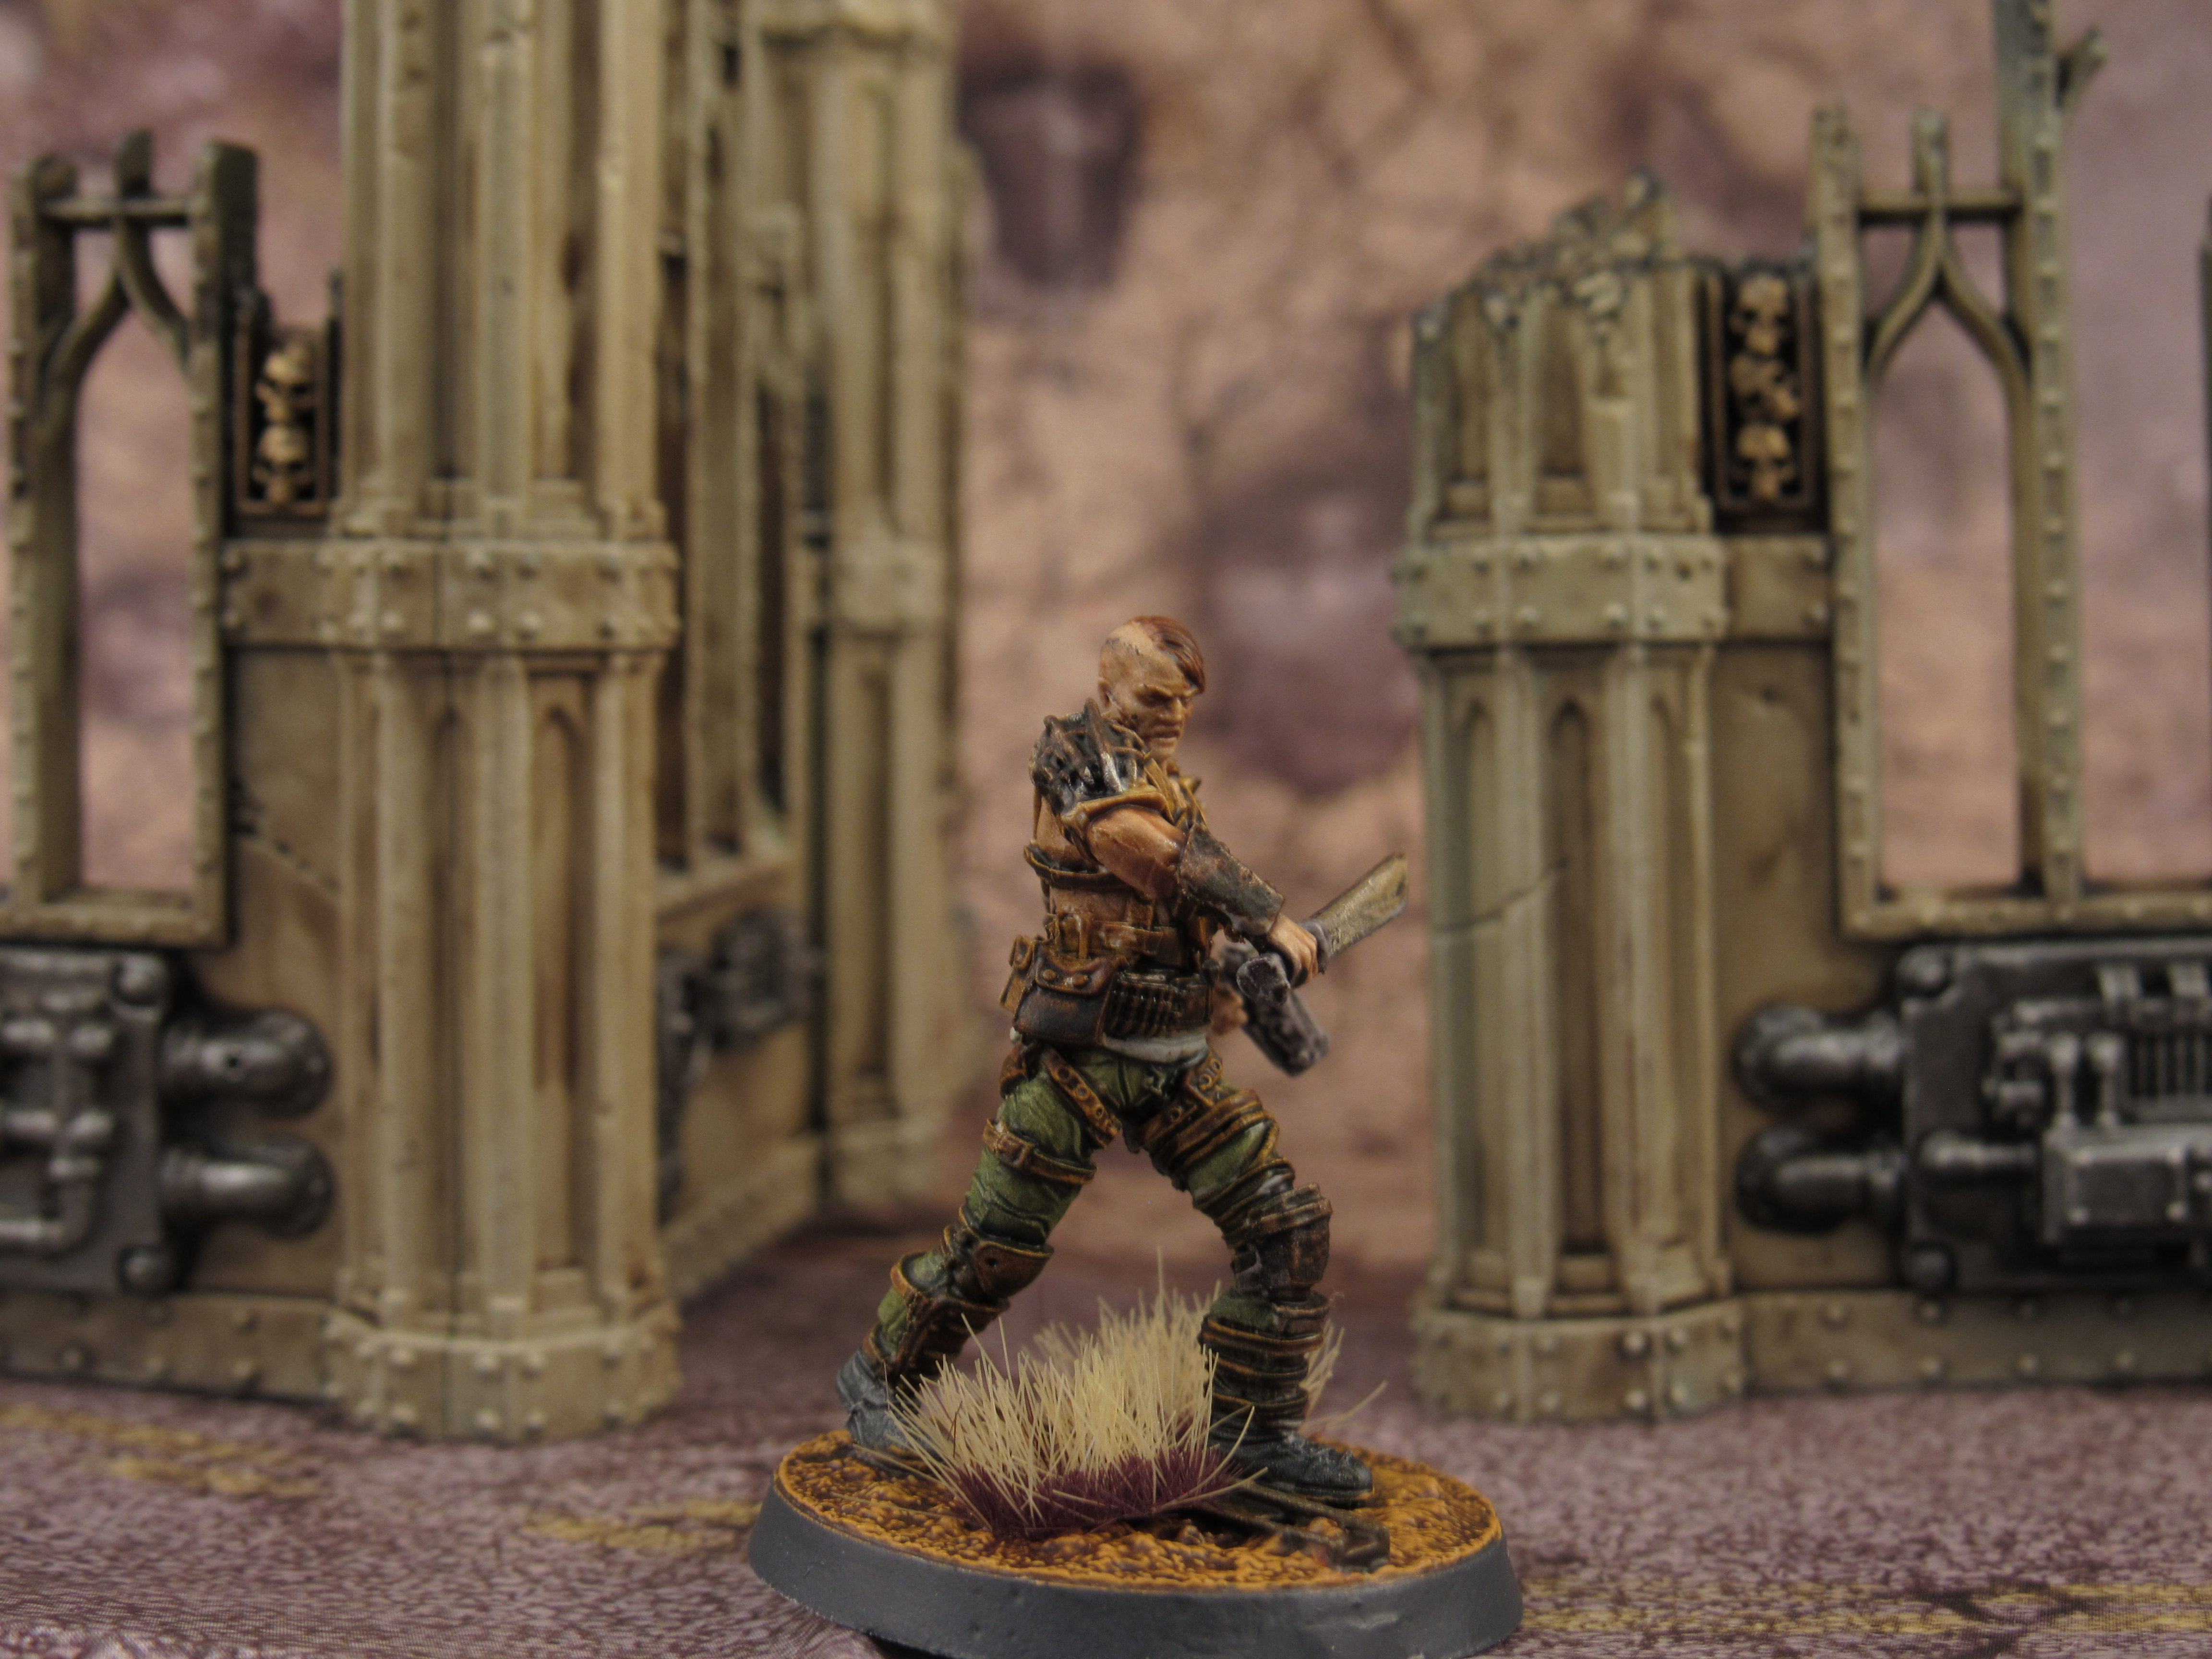
The final group are in Metal chest armor and a mix of leather arms/legs using the same techniques above. I used a combination of airbrushing and lines to develop facial smudging and patterns to give them a hard/tribal look. Weapons I did in Basillicanum Gray with wood picked out in Gore-Grunta Fur. A wash of Vallejo rust was applied on some to give them a worn look.
The raider faction is one of the most visually striking in the line I think, with such a unique mix of looks and equipment. I also used some weapon packs to add additional gear and set them apart from any other sculpts I do.
Next up is the Brotherhood of Steel, my favorite in game faction.
Not Dead yet
So I have not shuffled off this mortal coil but I have been very slack about my hobby time. I have however gotten a few of the additions to the creature sets done up while I have been working on my Brotherhood of Steel minis.
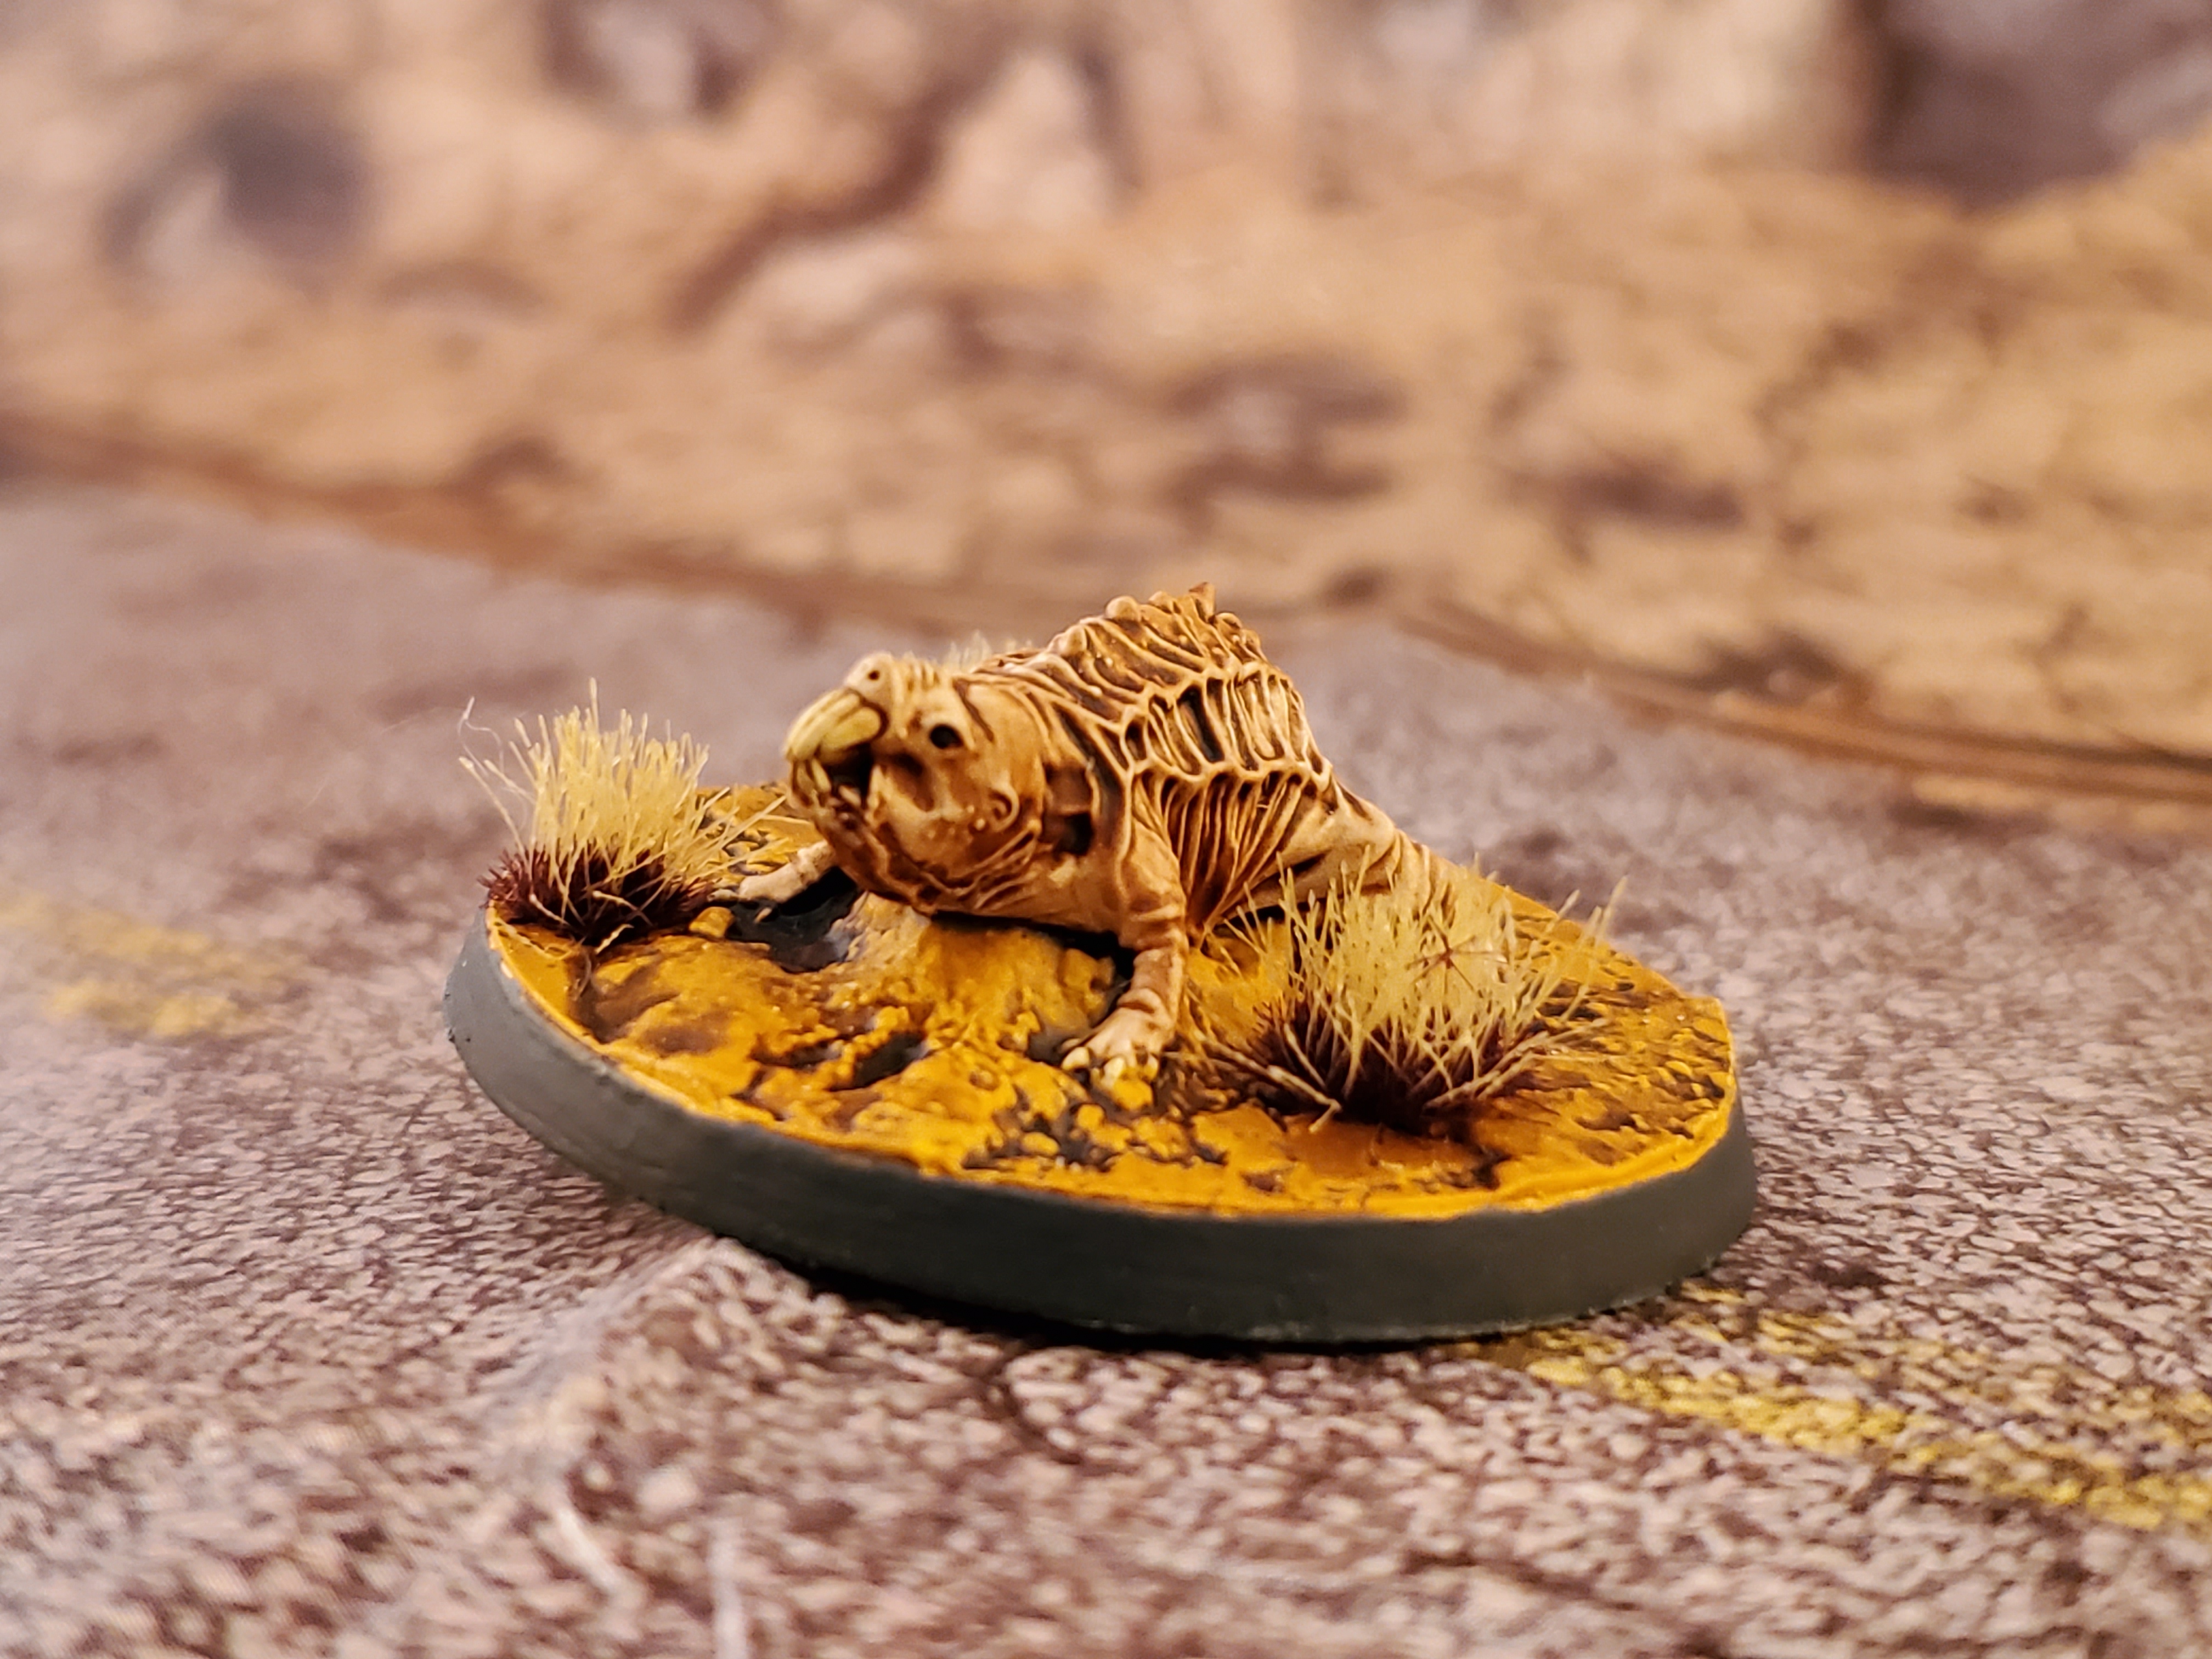
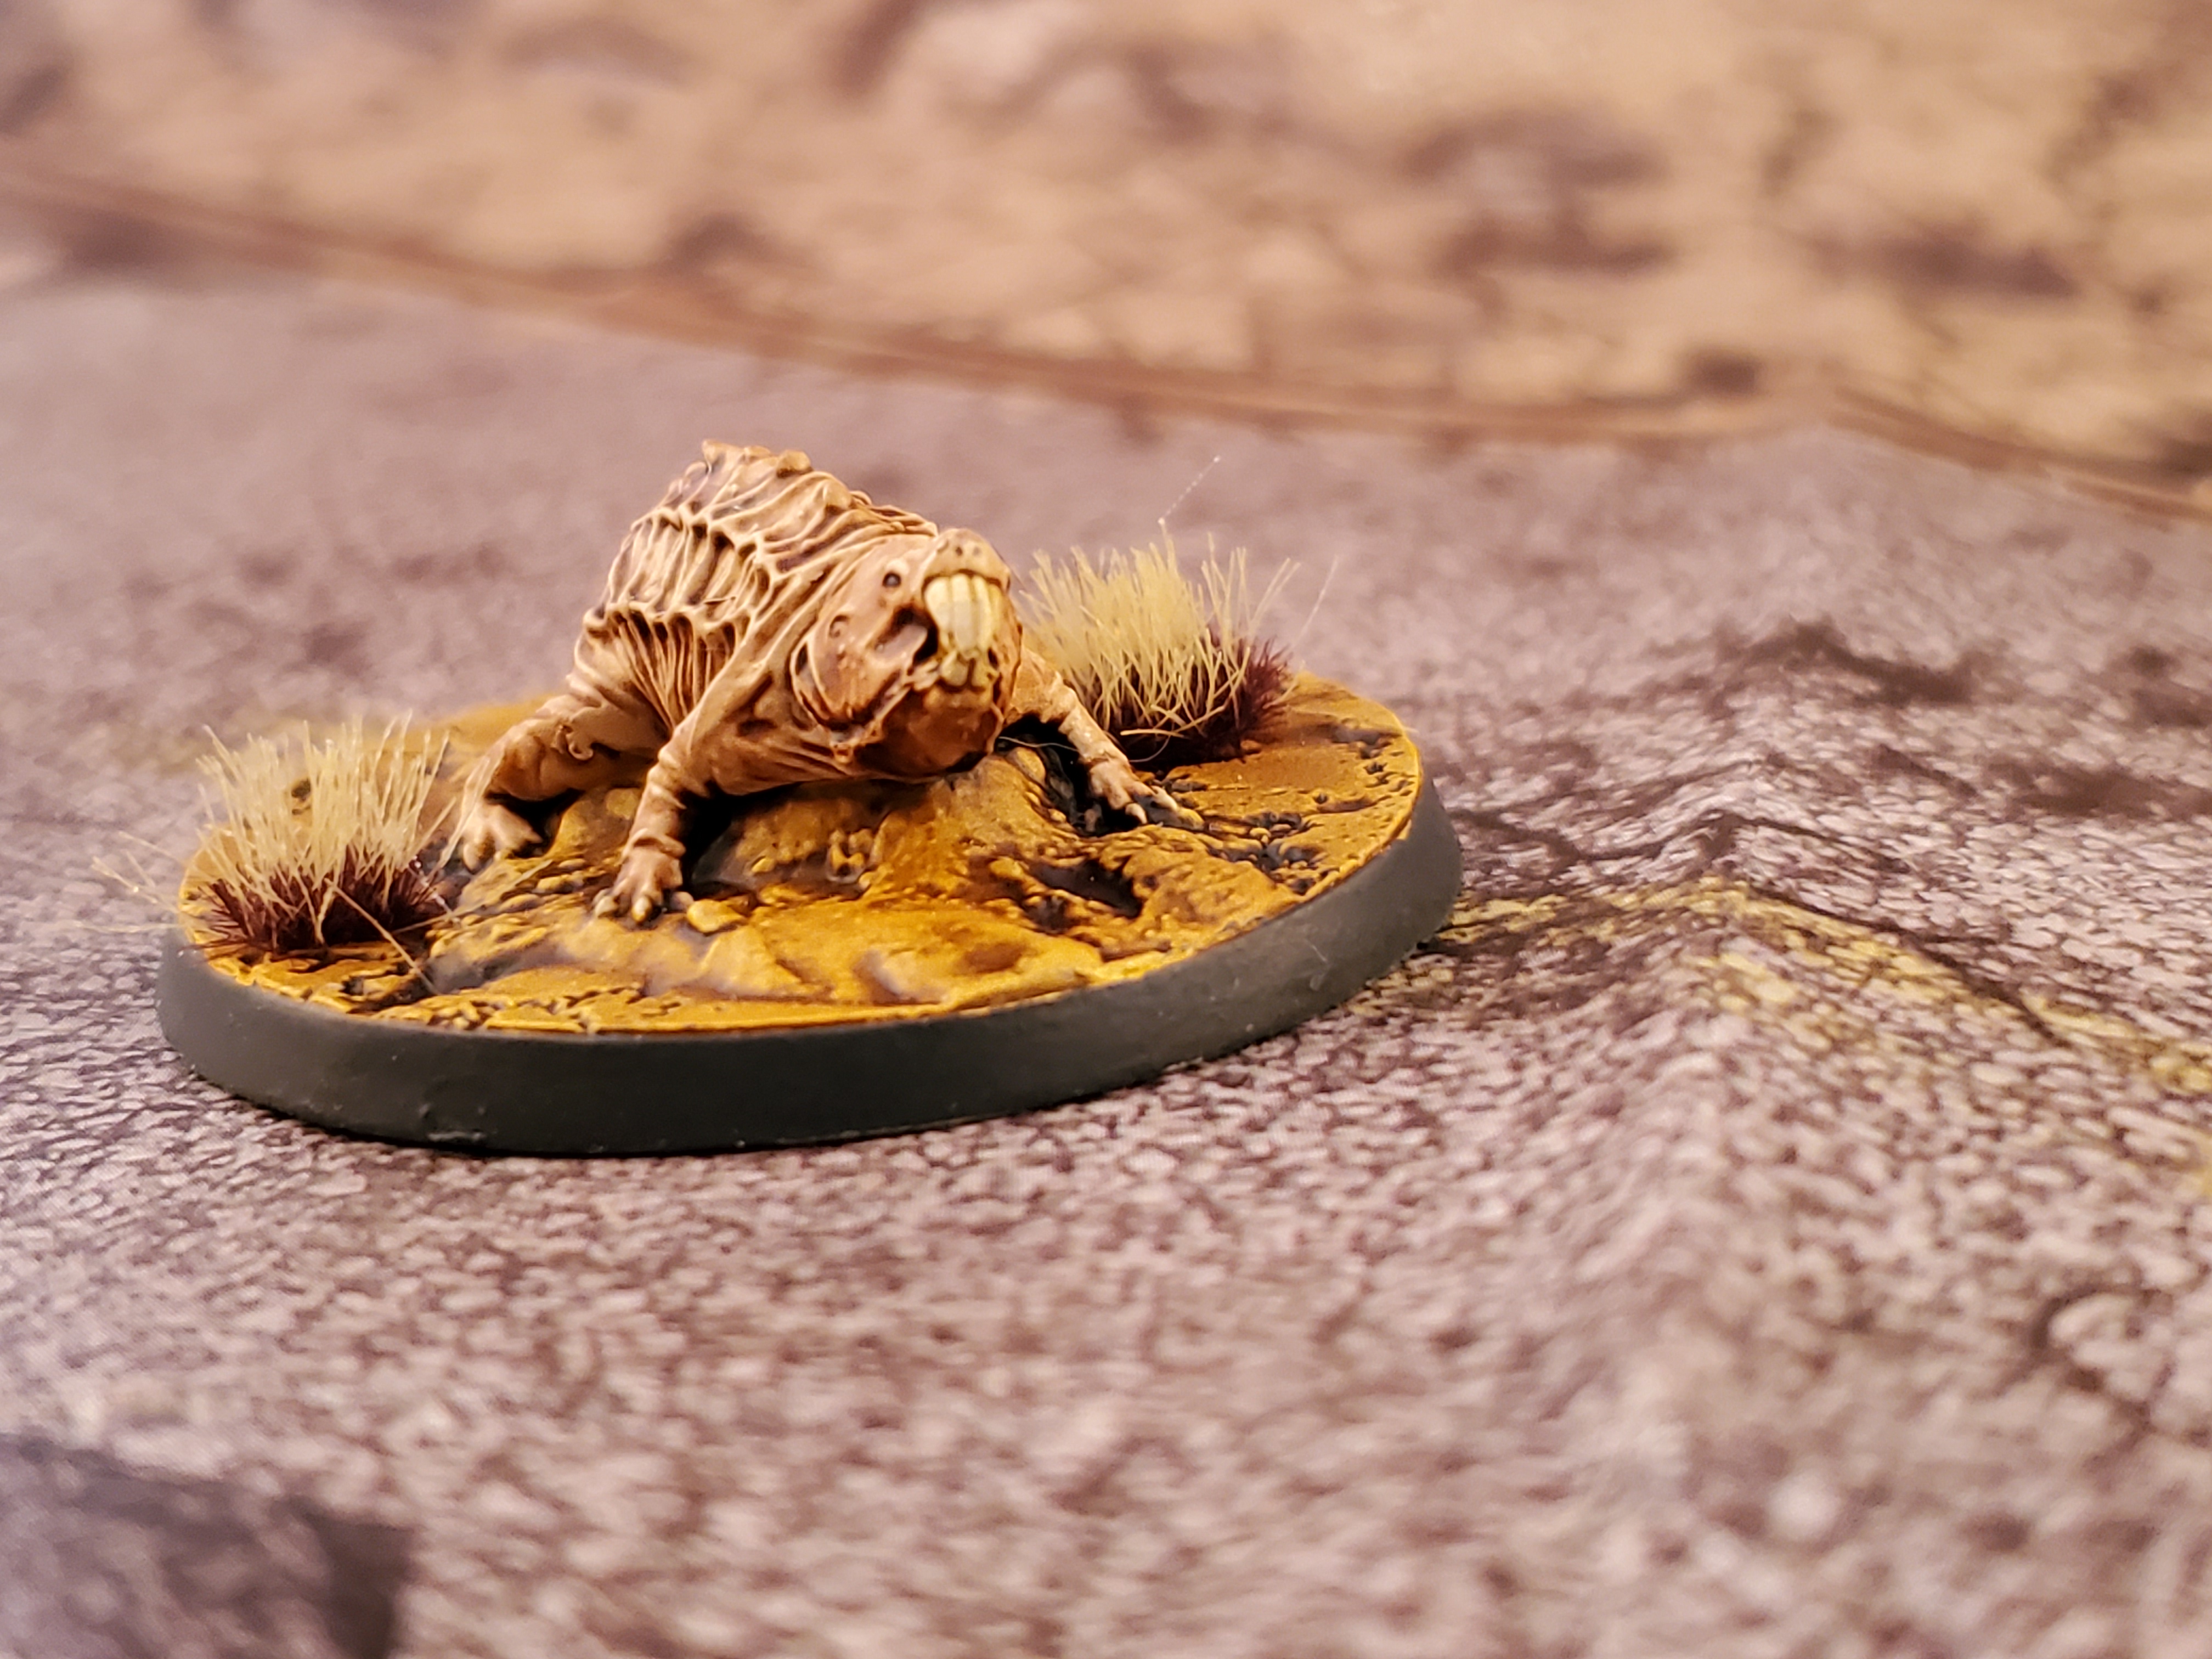
First up are the mole rats, these borrowing mutated terrors are done up in contrast paints: Guilliman Flesh and Skeleton horde for the teeth/claws, with wee black eyes. I picked up 2 sets of them to have a nice horde descend on my players.

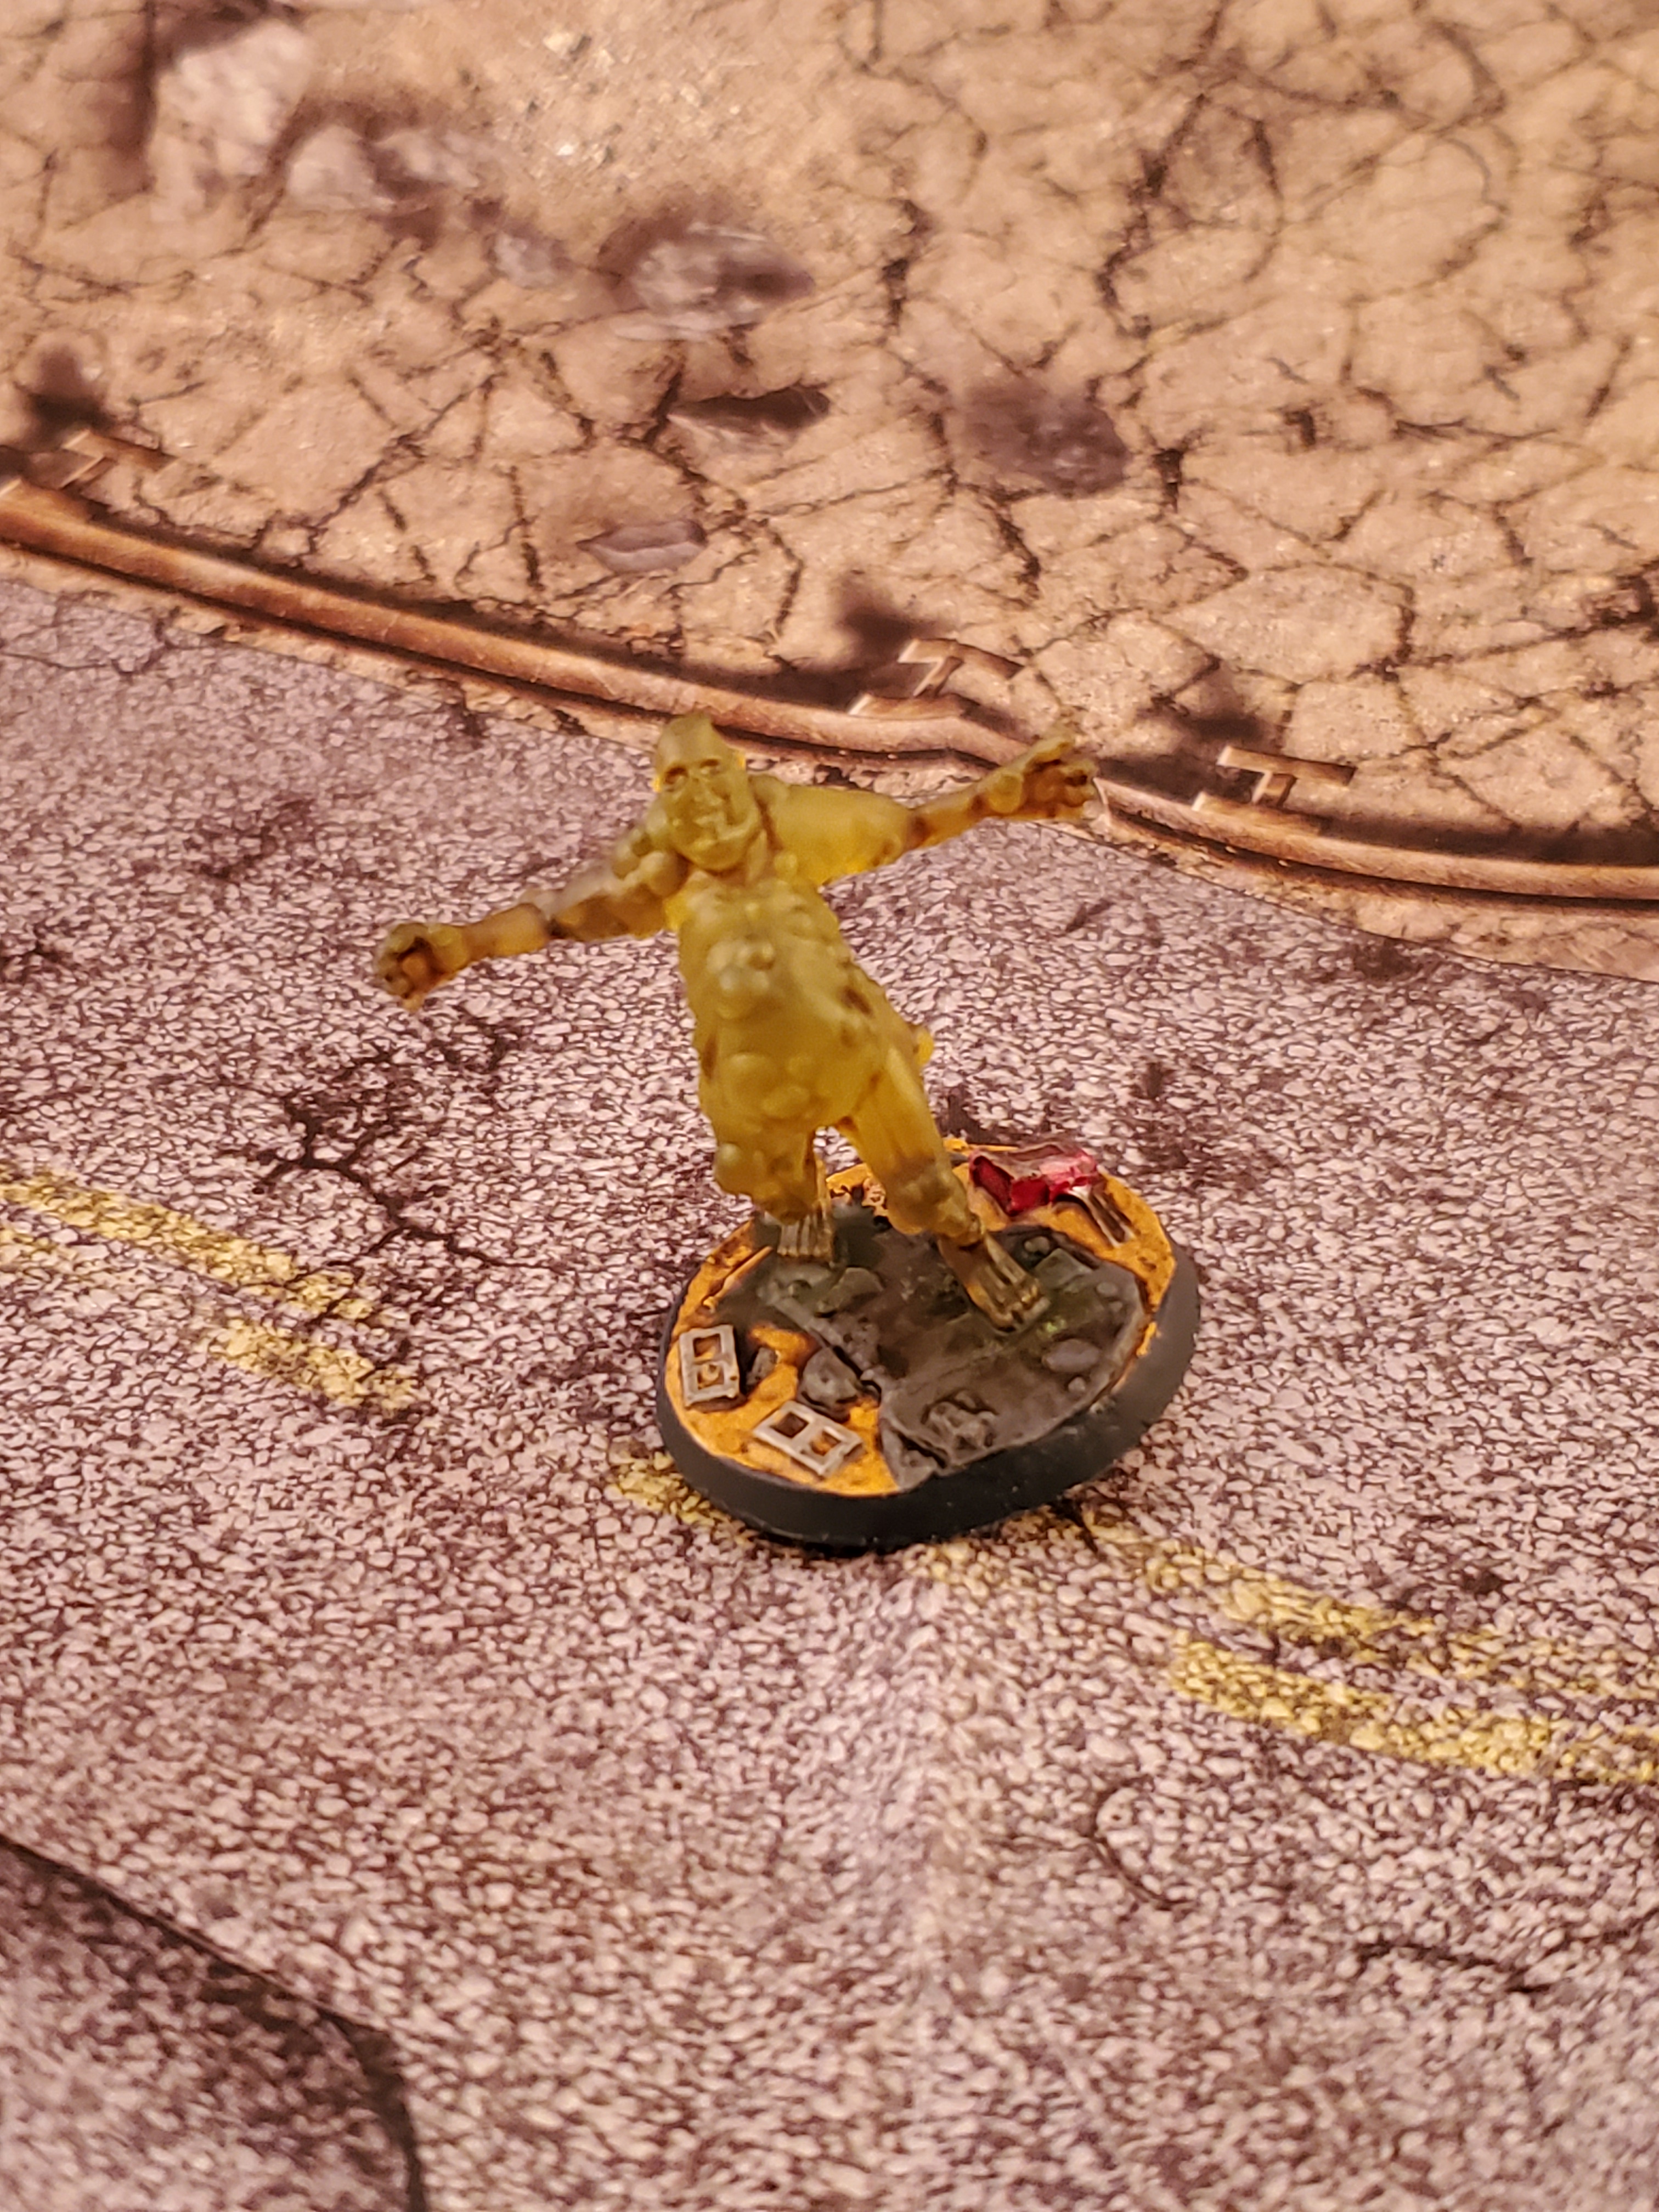
I also picked up some con exclusive Glowing One ghouls, these are done in transparent Green so all I did was add some Plaguebearer Flesh contrast paint as a wash to pick out the crevasses before attaching them to the base.
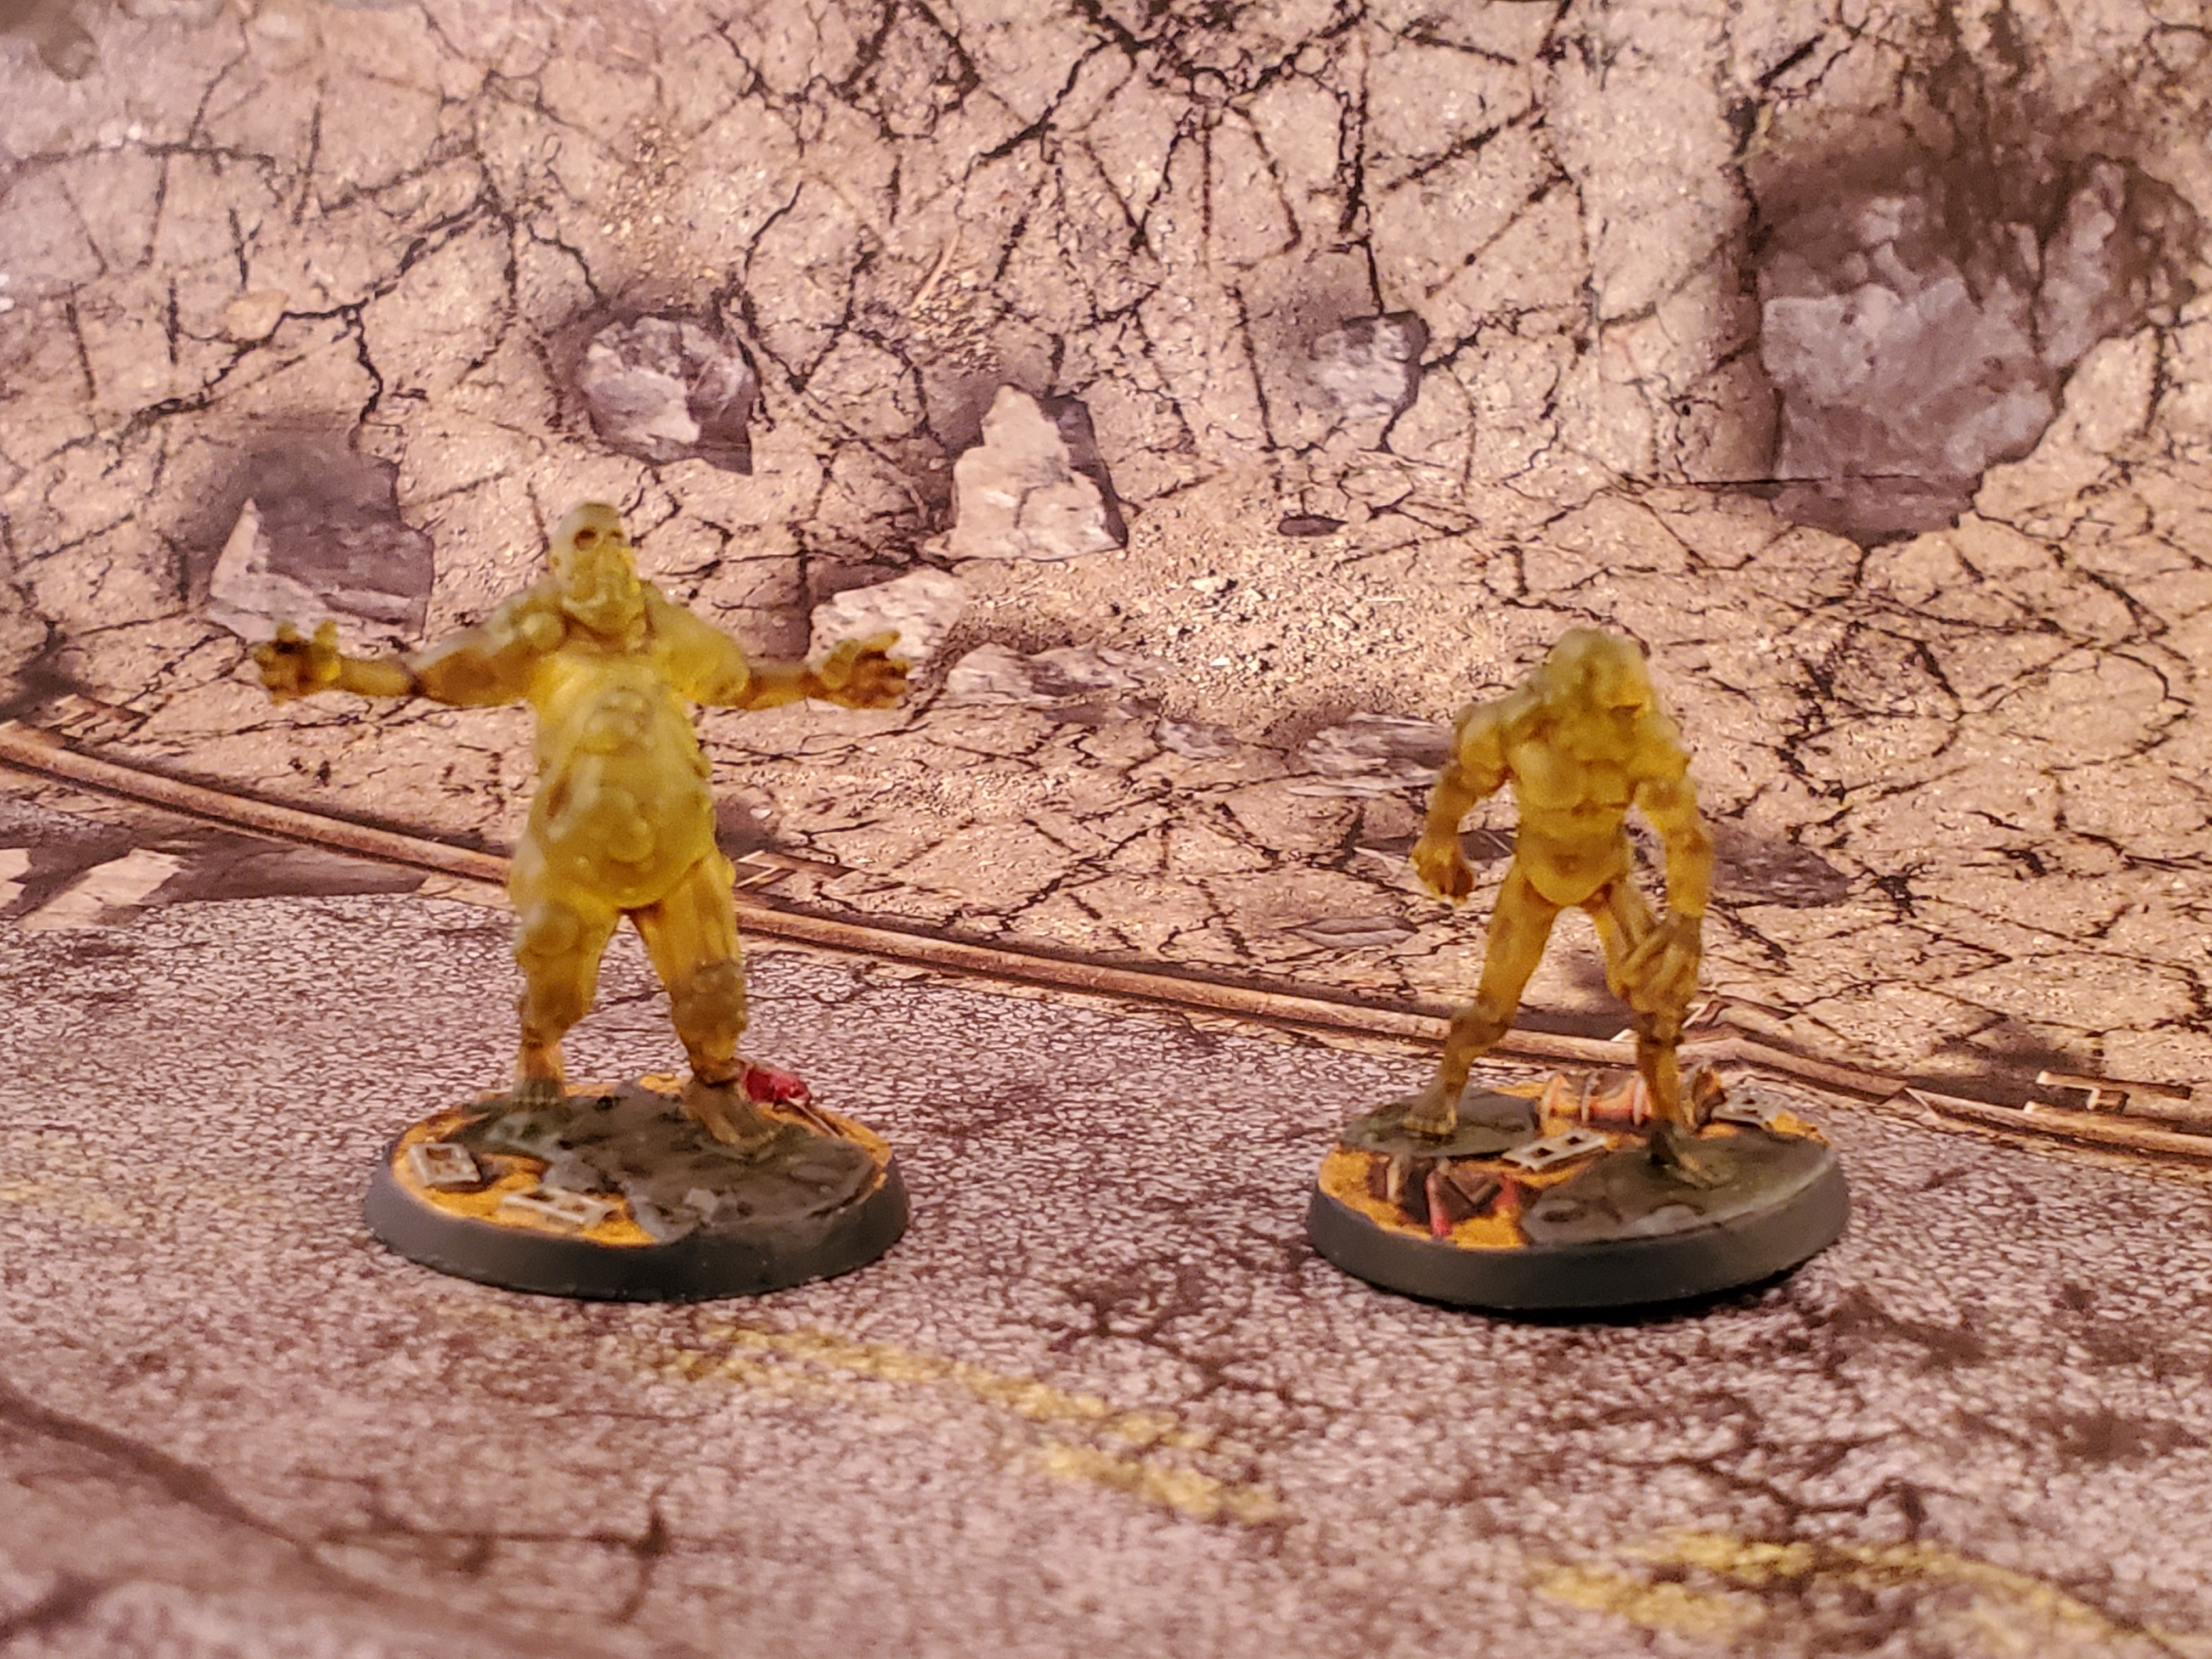
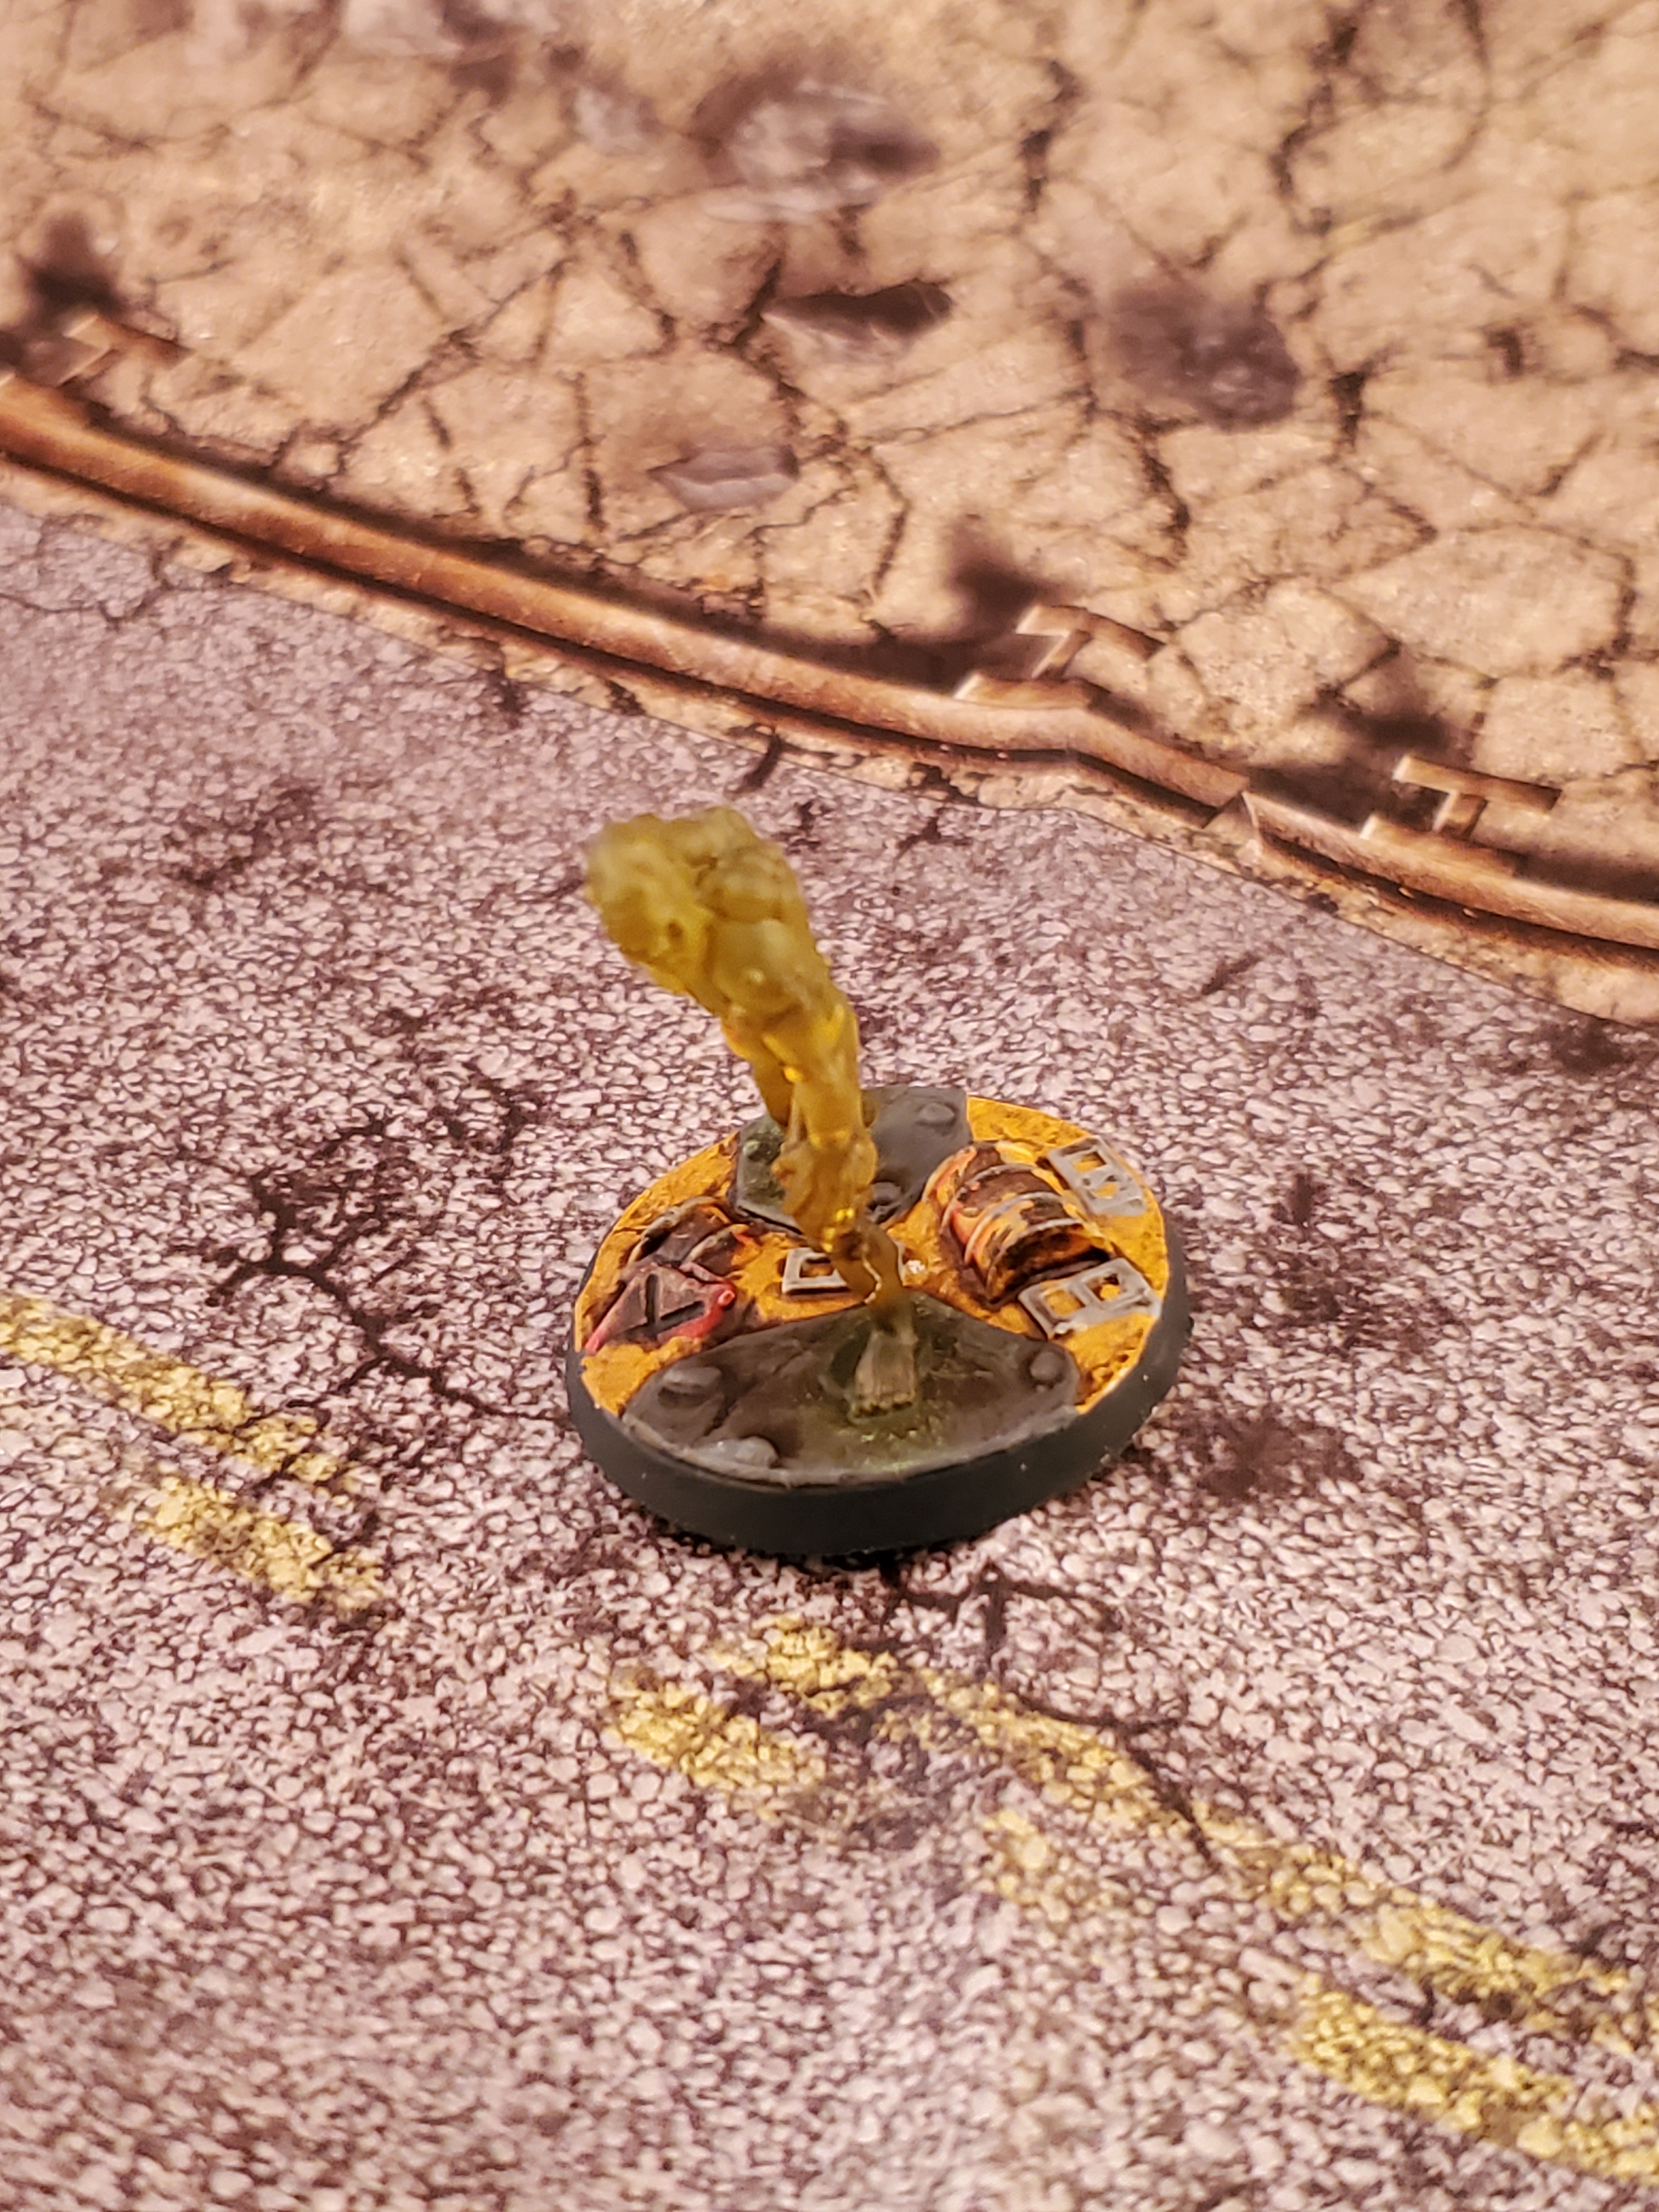
For the bases on these I’ve continued to use my same pallet of gray and Iyandan earth for dirt, a nice brown wash over after picking out any details then applying some wasteland tufts. The tufts really bring the scenic bases together nicely.
Anyway hopefully have some BoS up soon, enjoy these in the meantime!
Enter the Brotherhood
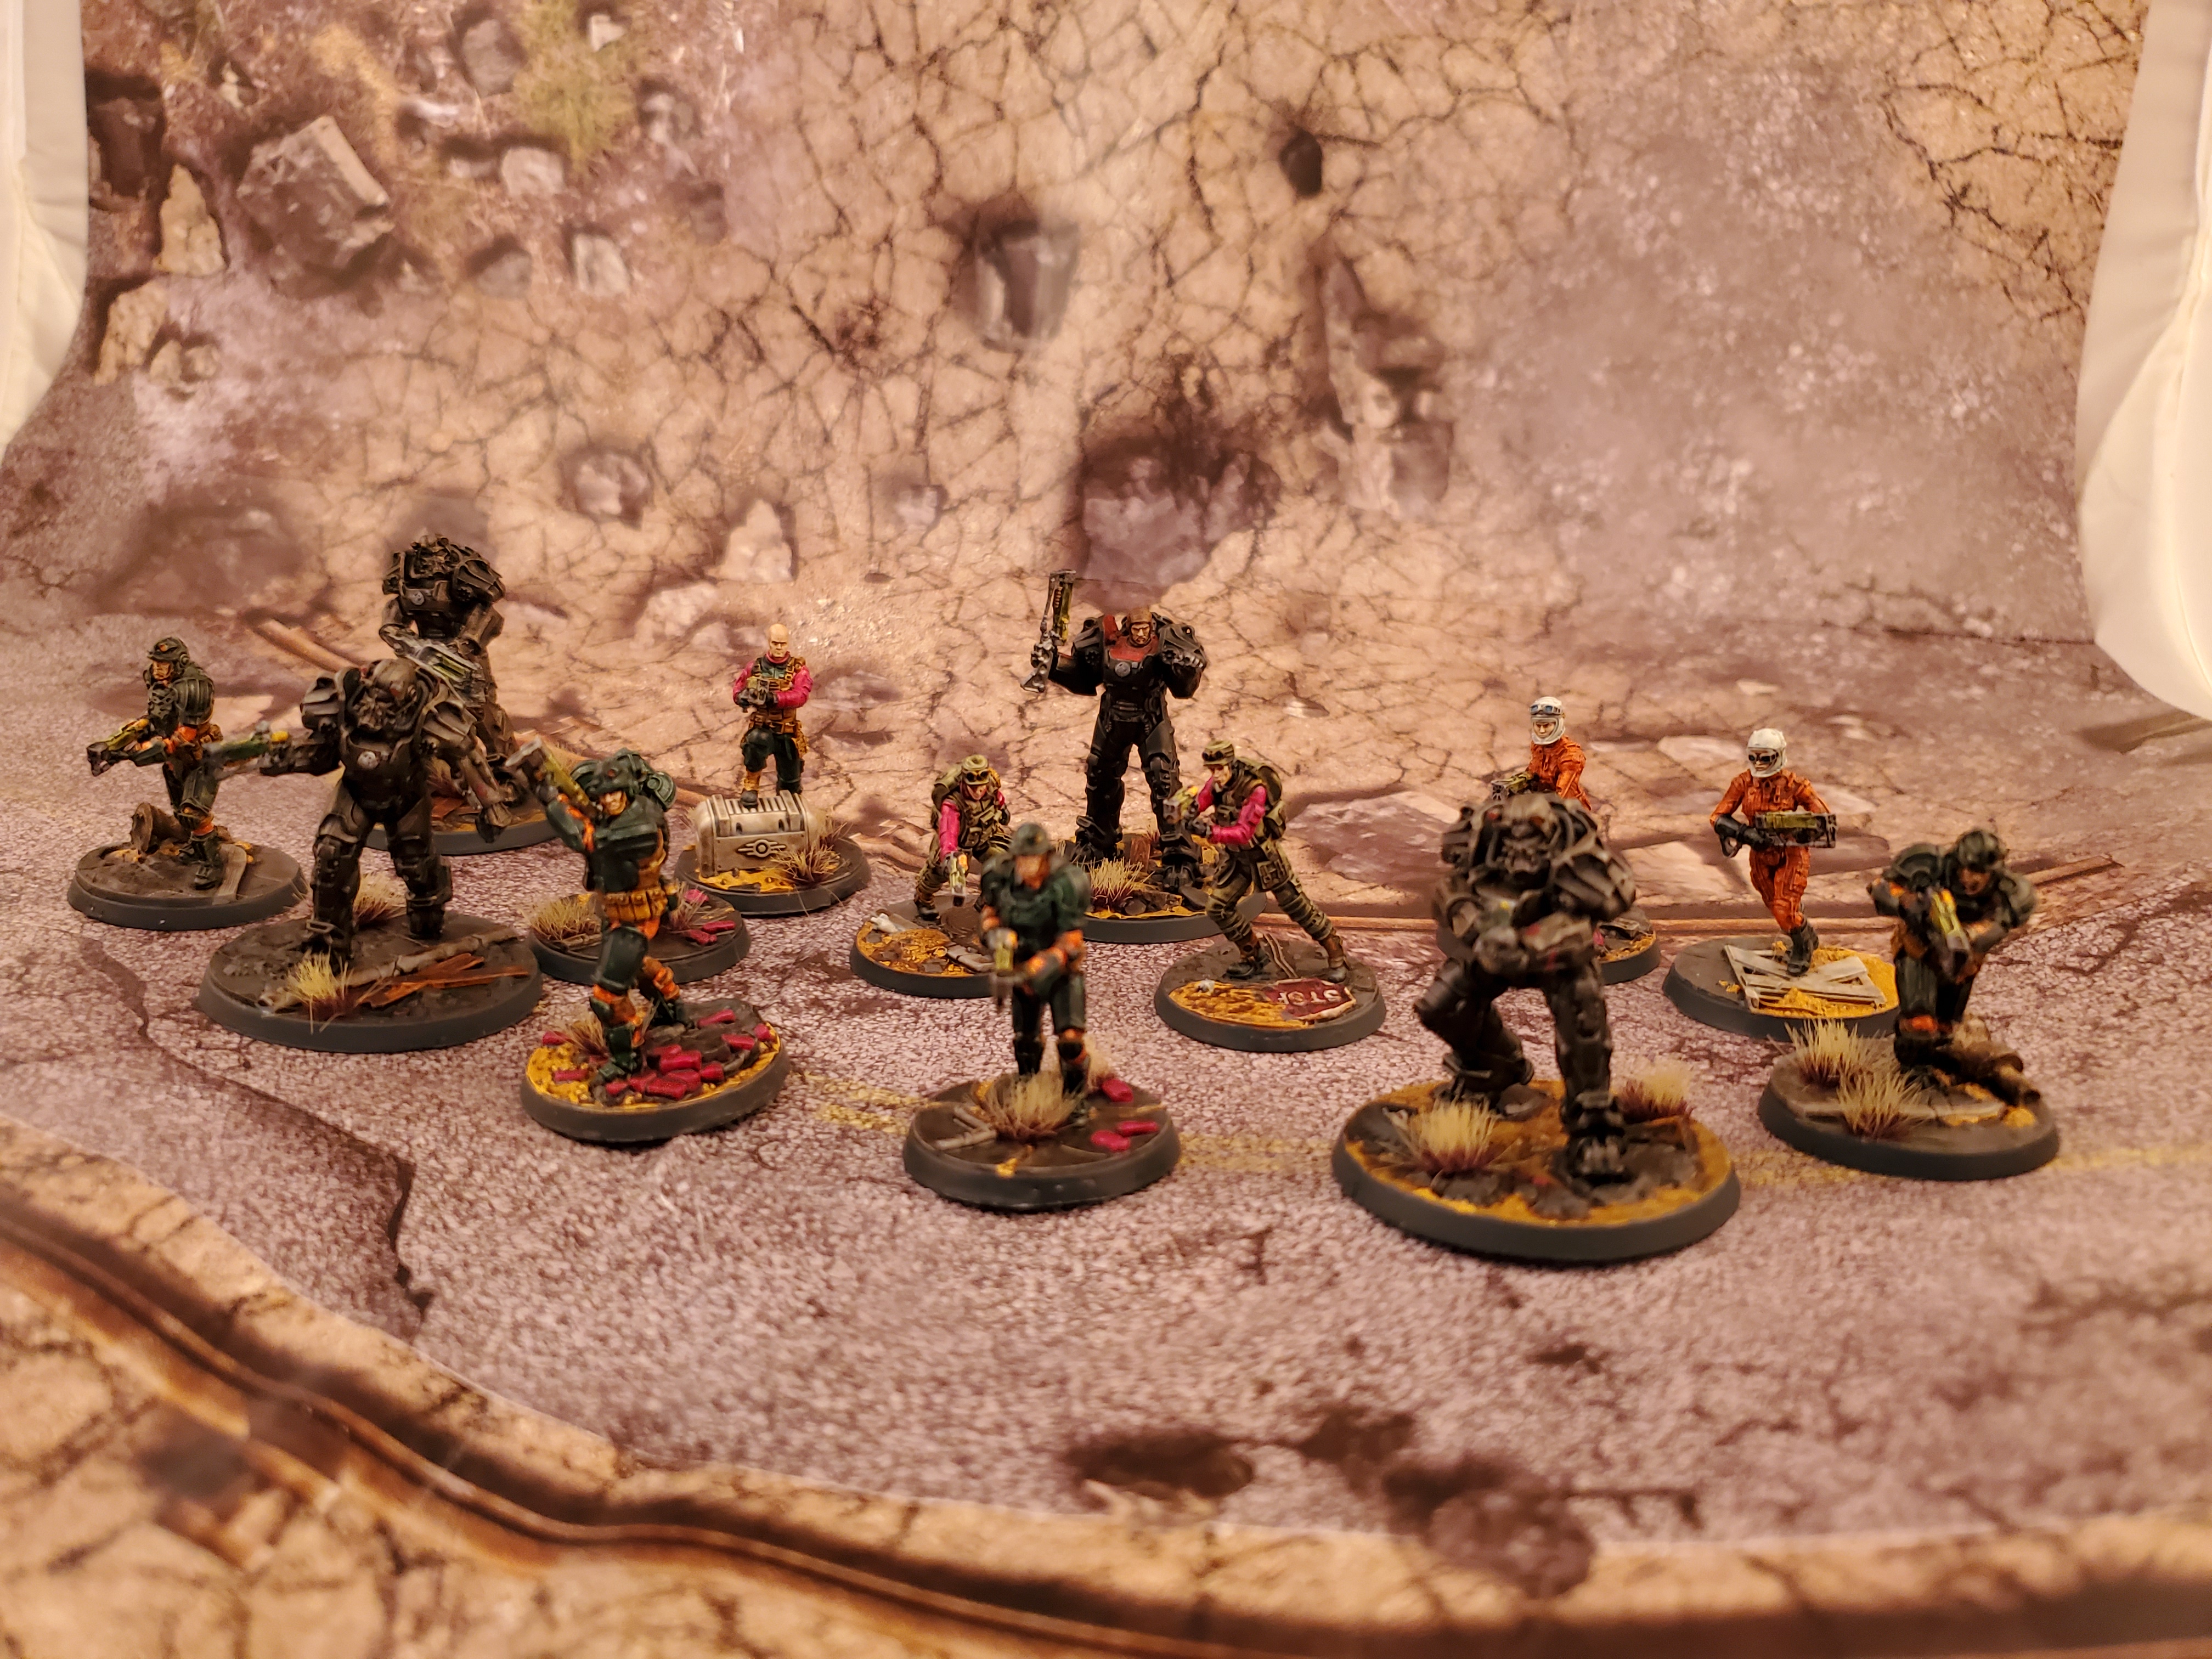
As my favorite faction in Fallout (I mean who doesn’t love hordes of people running around in power armour with massive guns?) I was really looking forward to getting the Brotherhood of Steel finished up. While they have a smaller number of models then some factions (That armor is not cheap) Modiphius has done a great job of expanding and diversifying the range.
 First up you have the Scribes, these guys may not be as flashy as their armored brethren but they are the workhorses when it comes to objective based play.
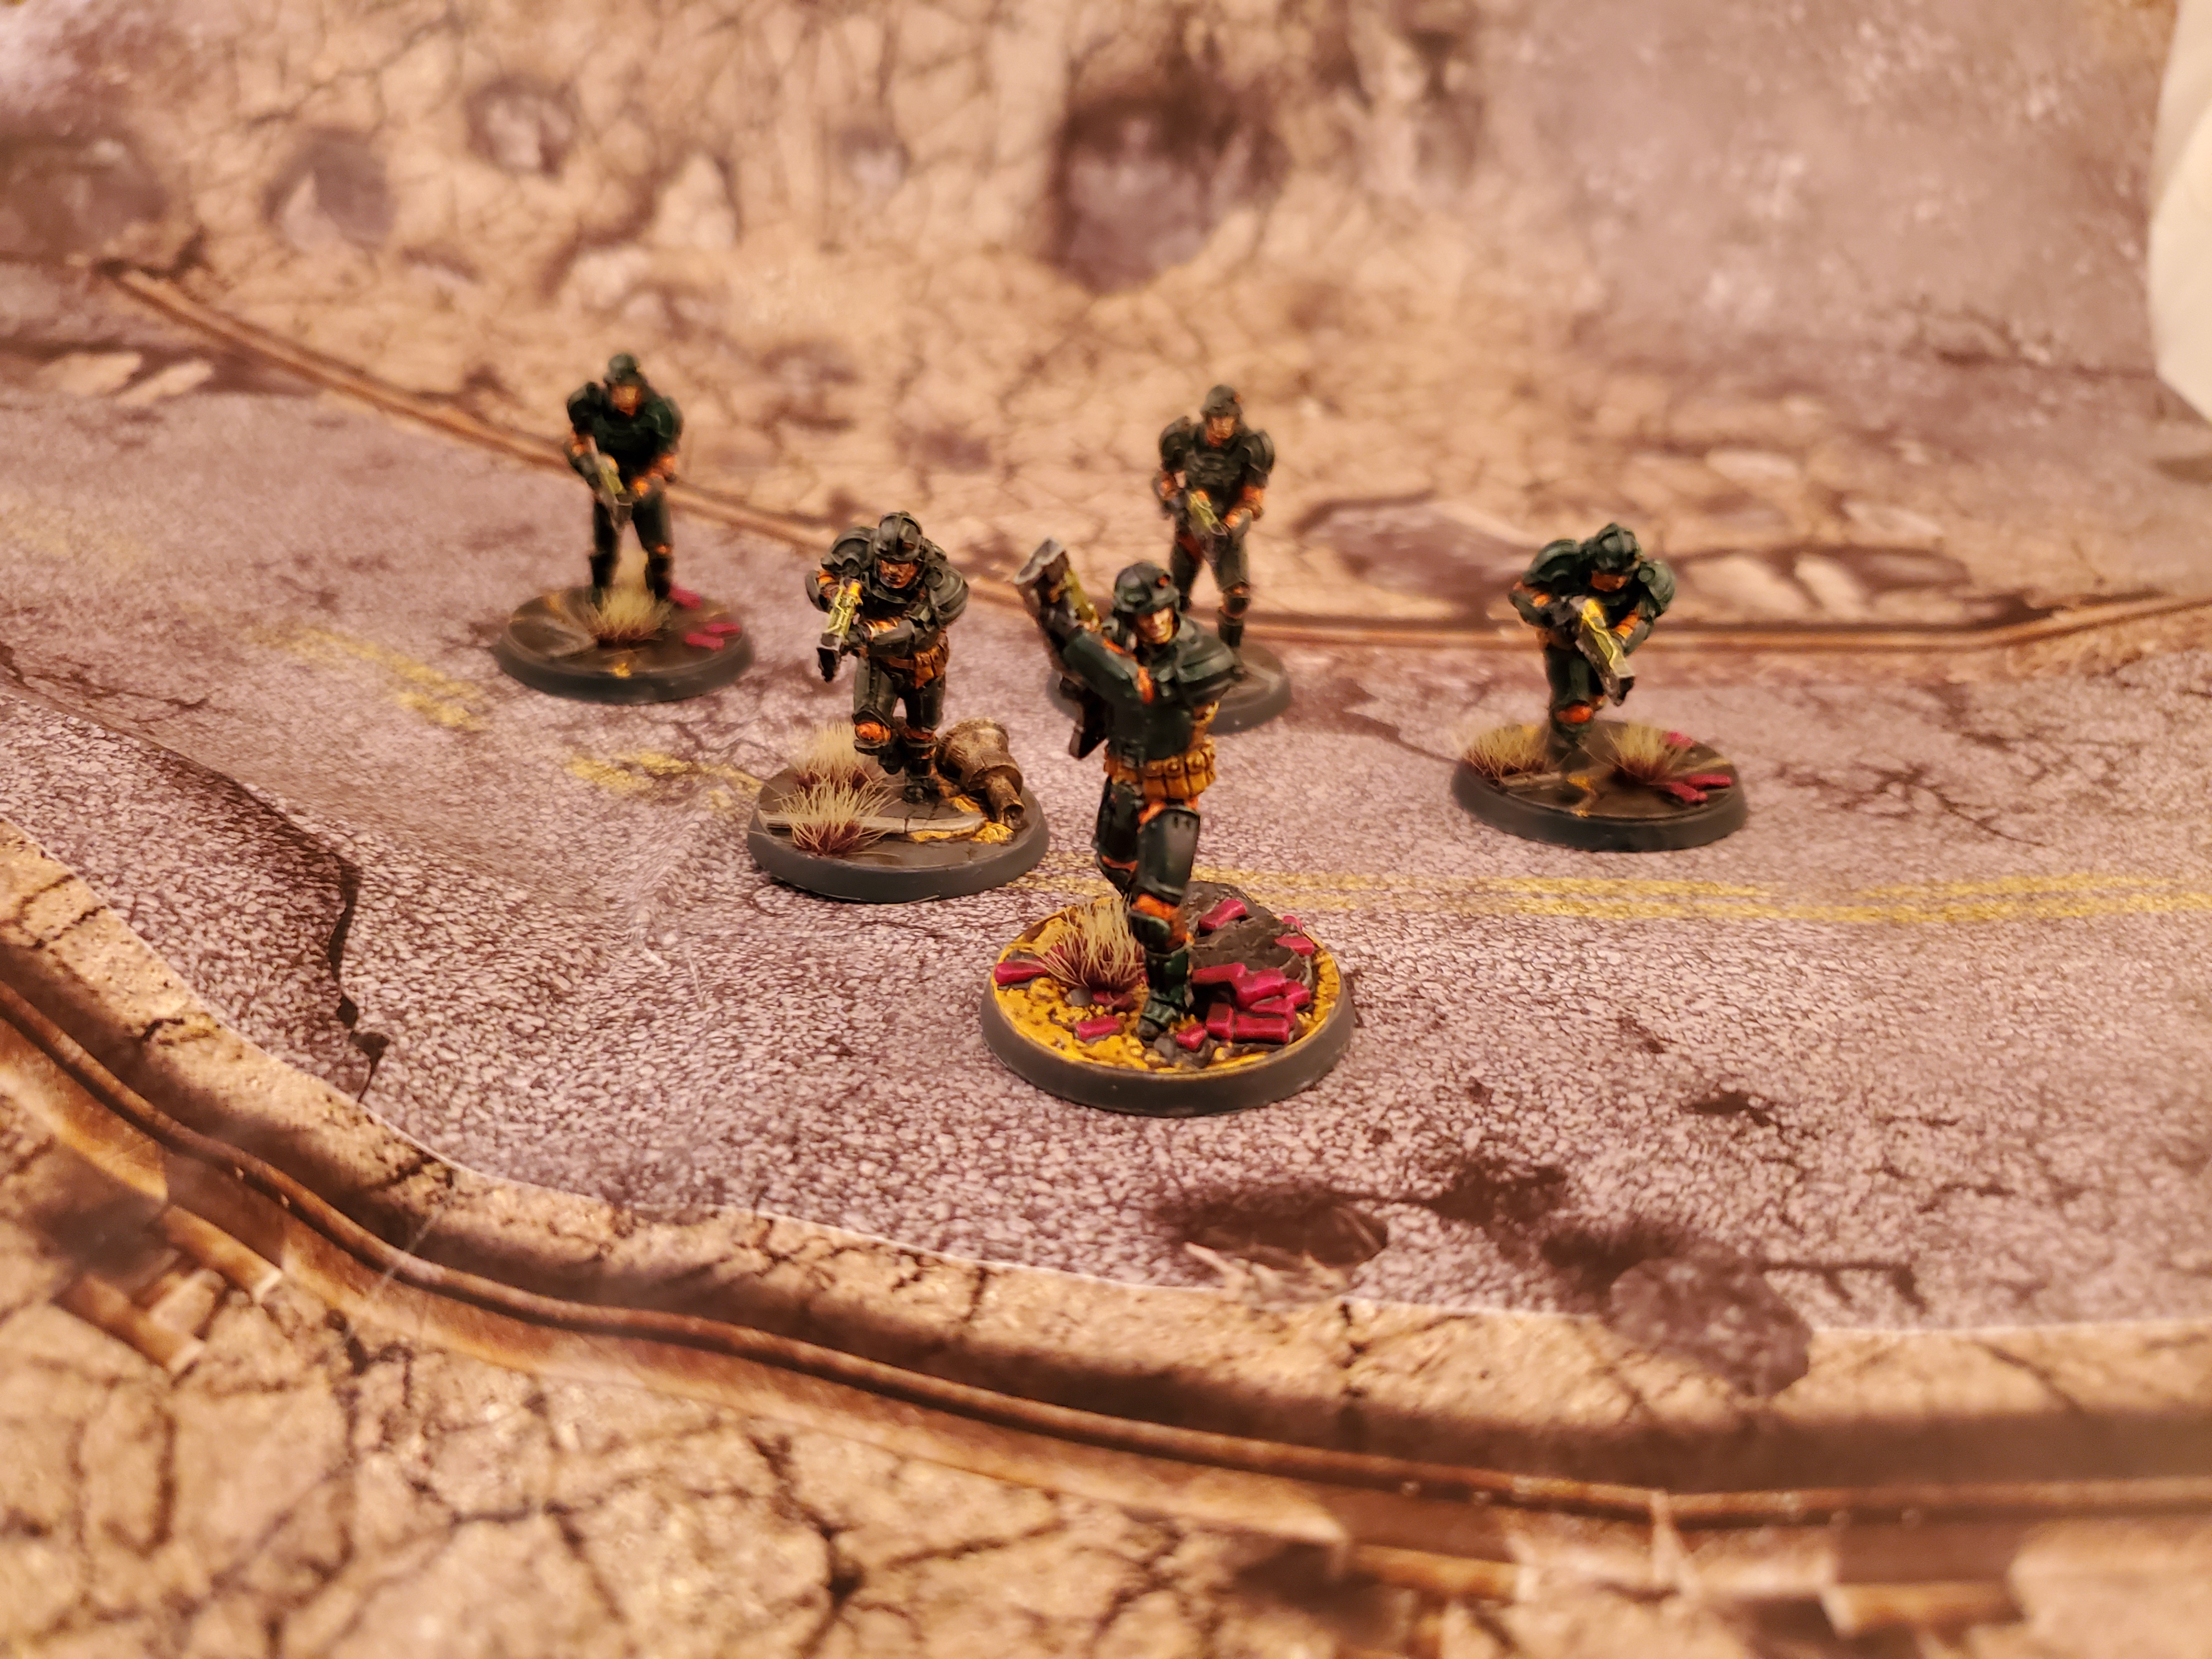 Here we have the grunts of the army, Combat armored equipped with Laser rifles. These will form your core troops in the game and have the iconic orange jumpsuits underneath their heavy armor.
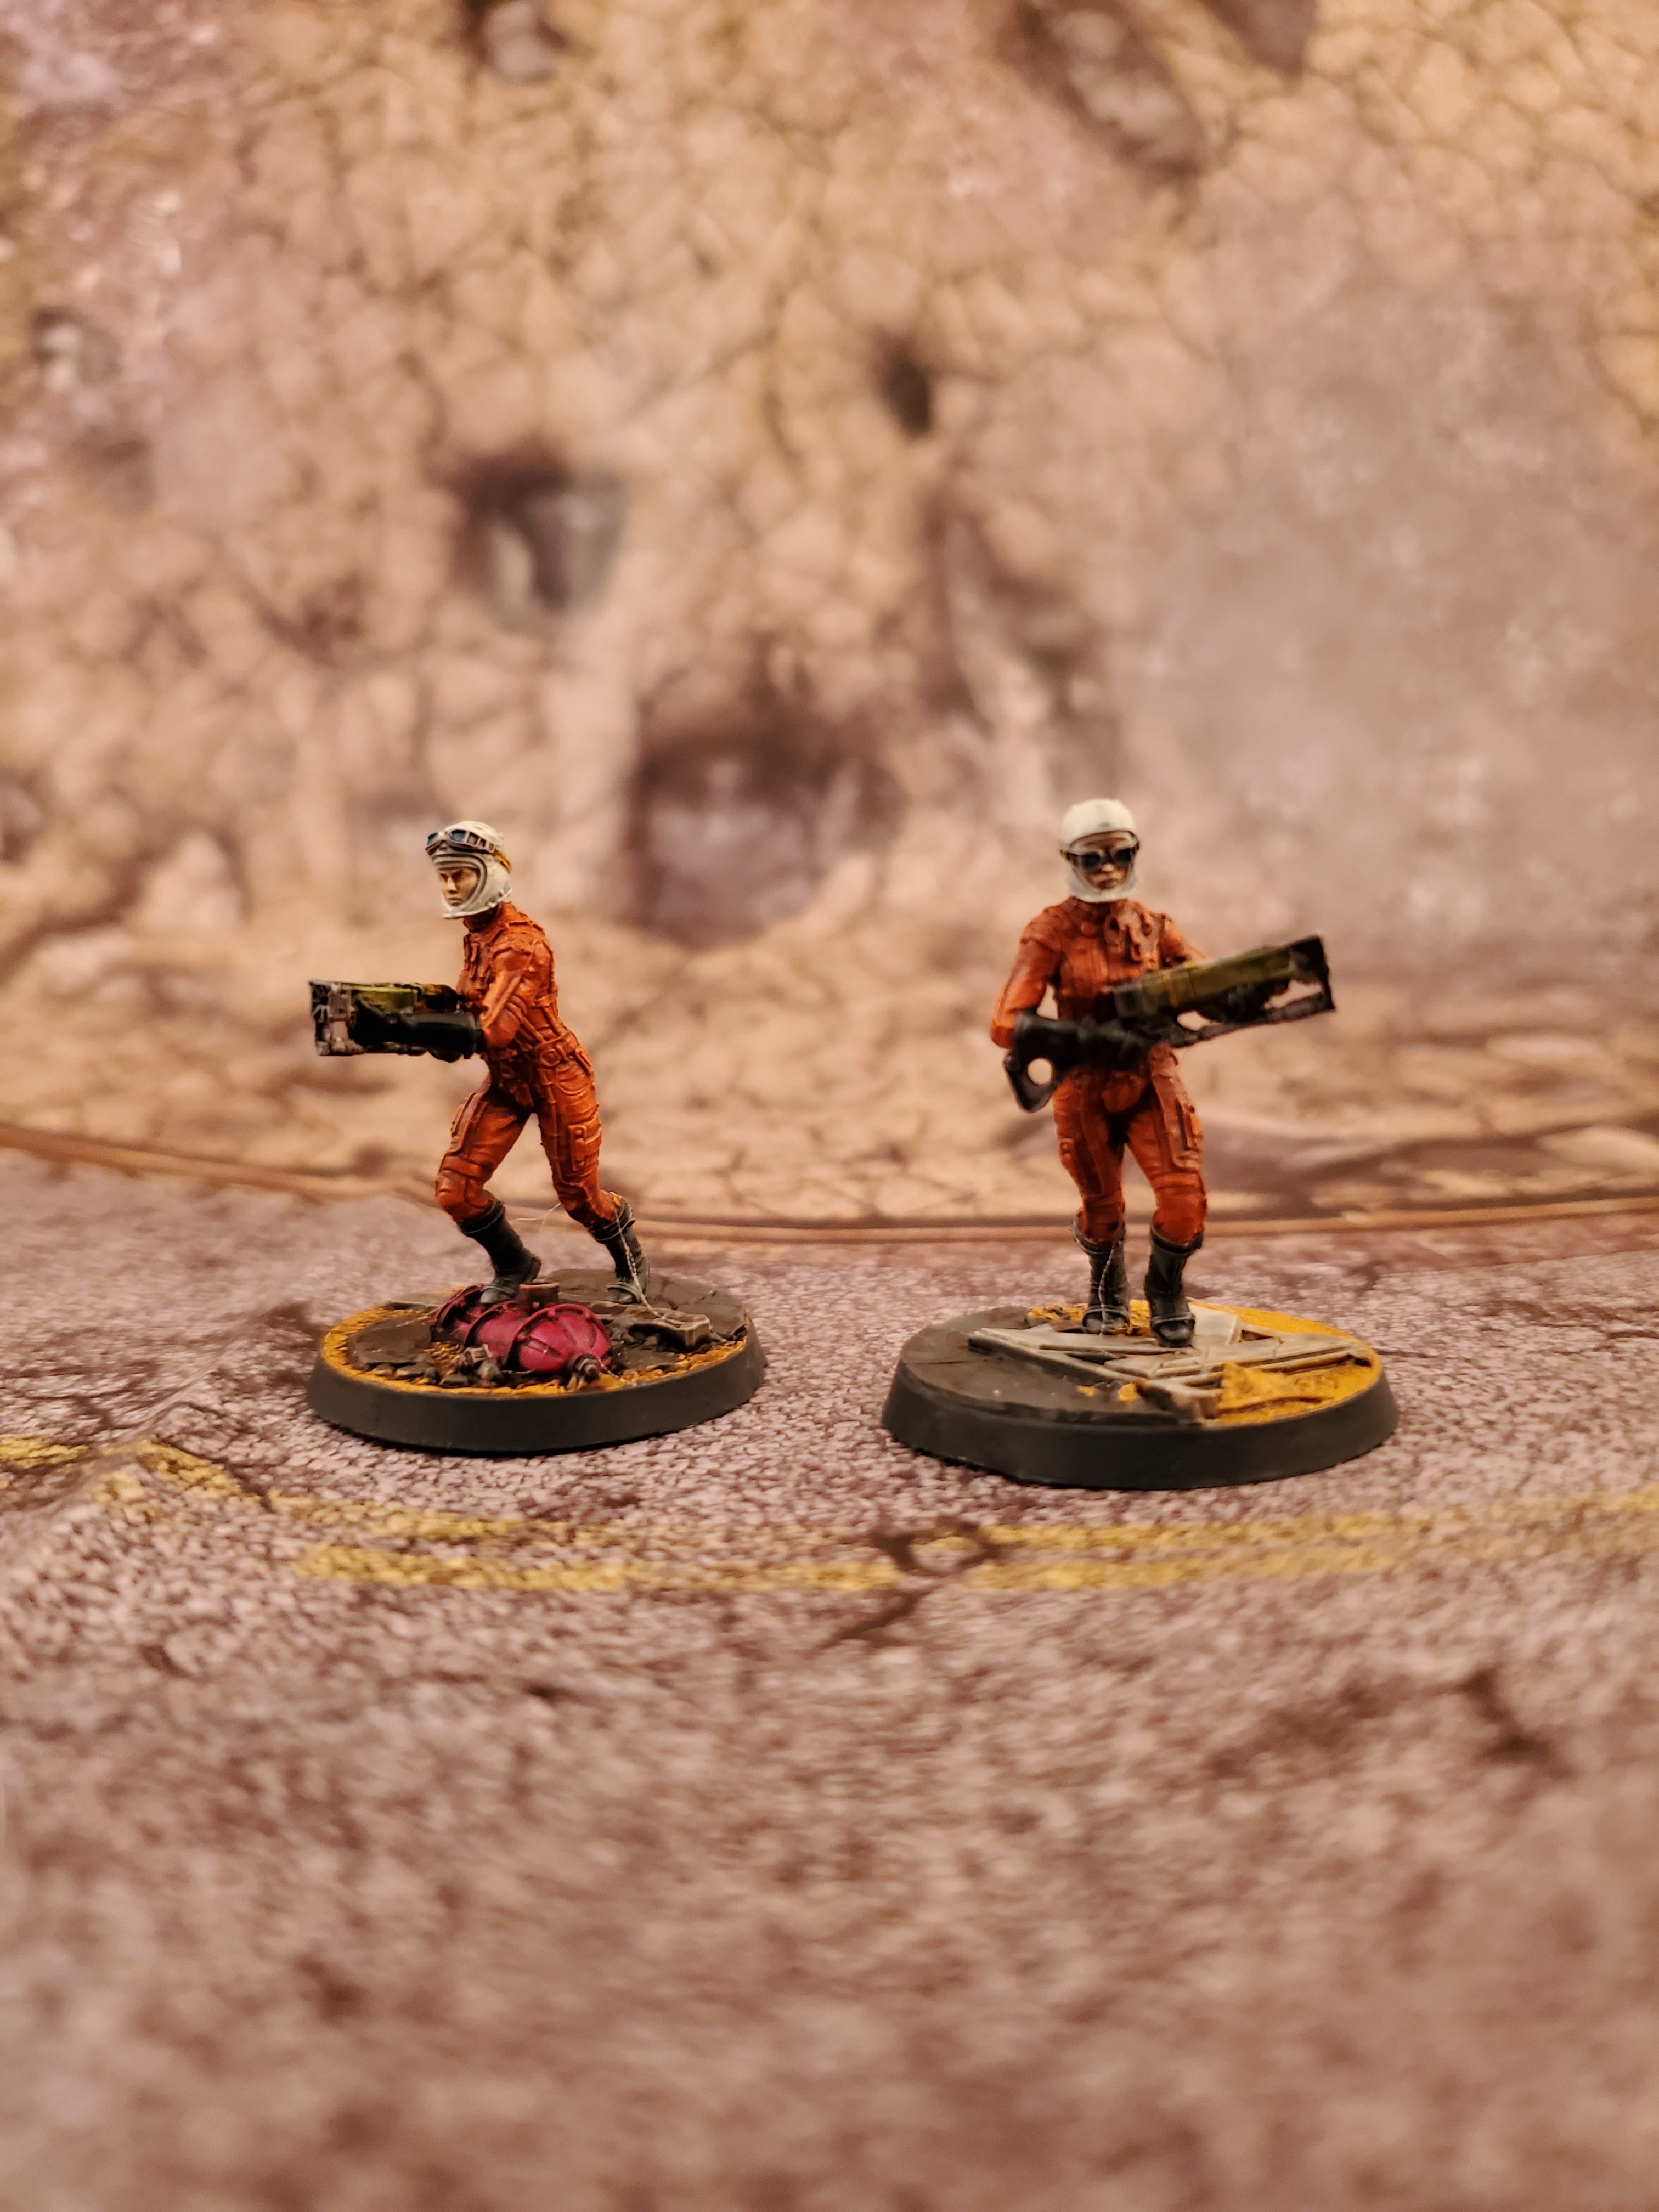 The lancers are a lightly armored alternative forgoing the Combat armor for a faster punch. I had not heard of these troops prior to the game but are an interesting addition.
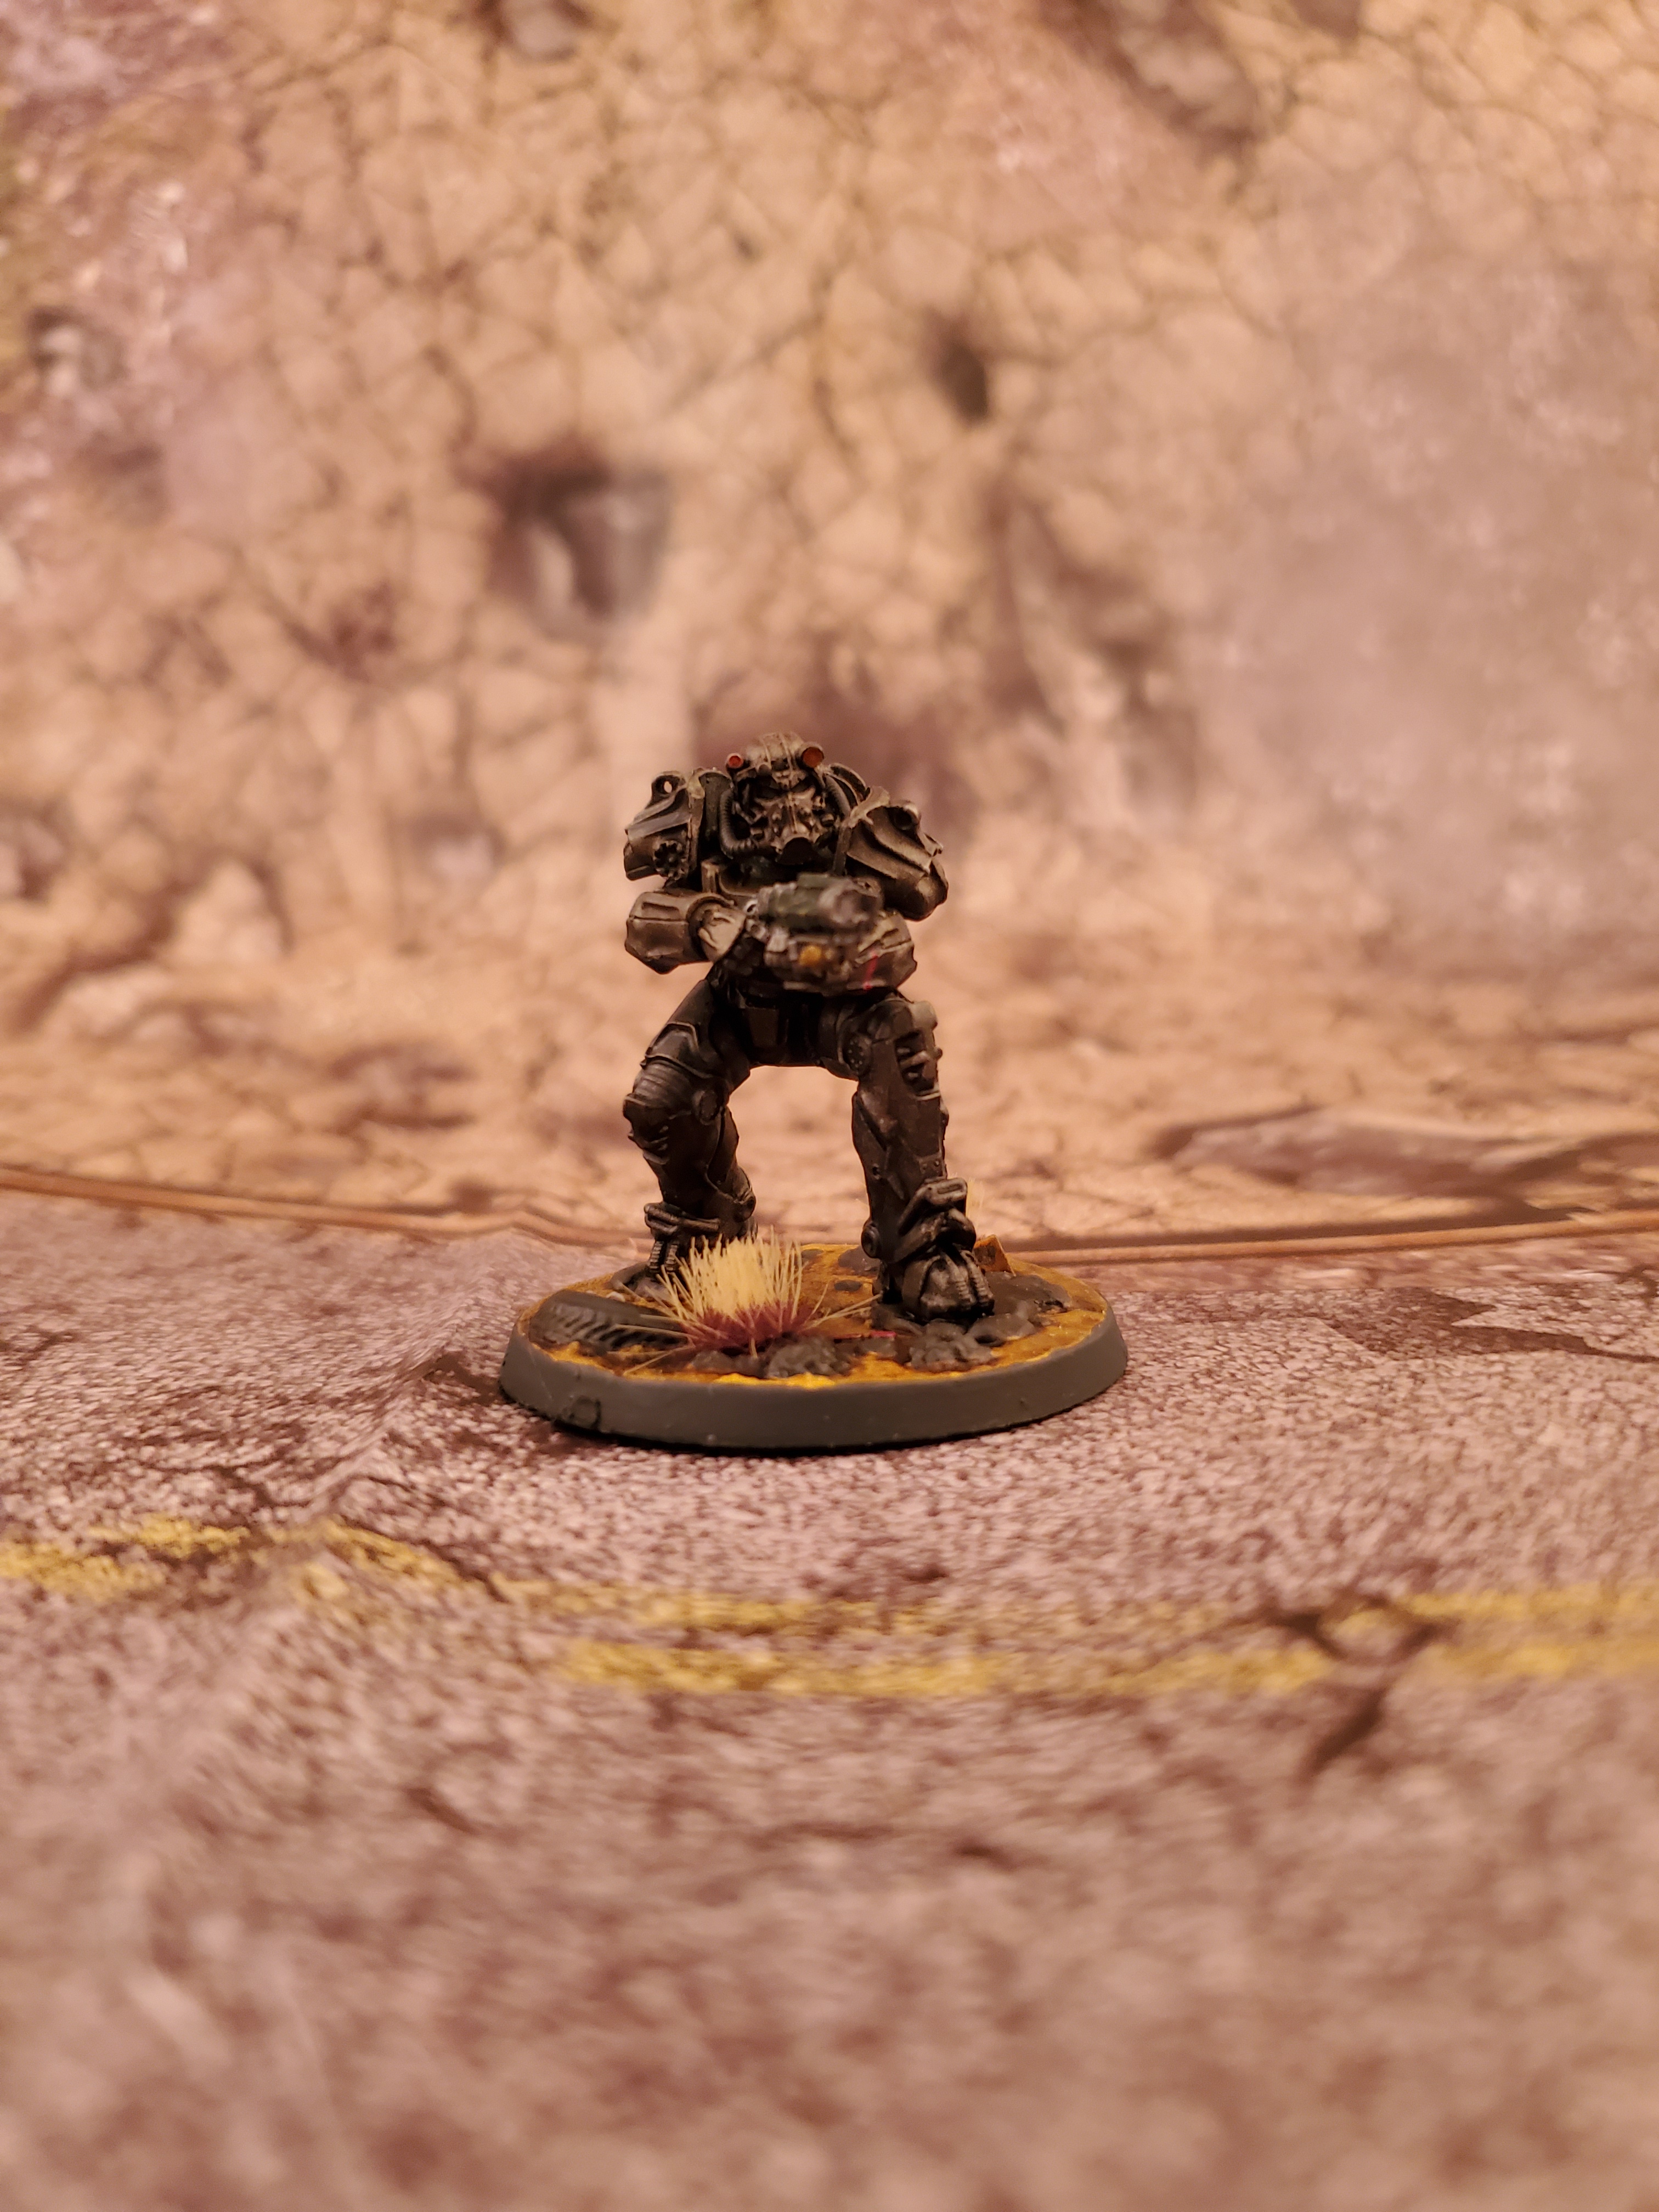
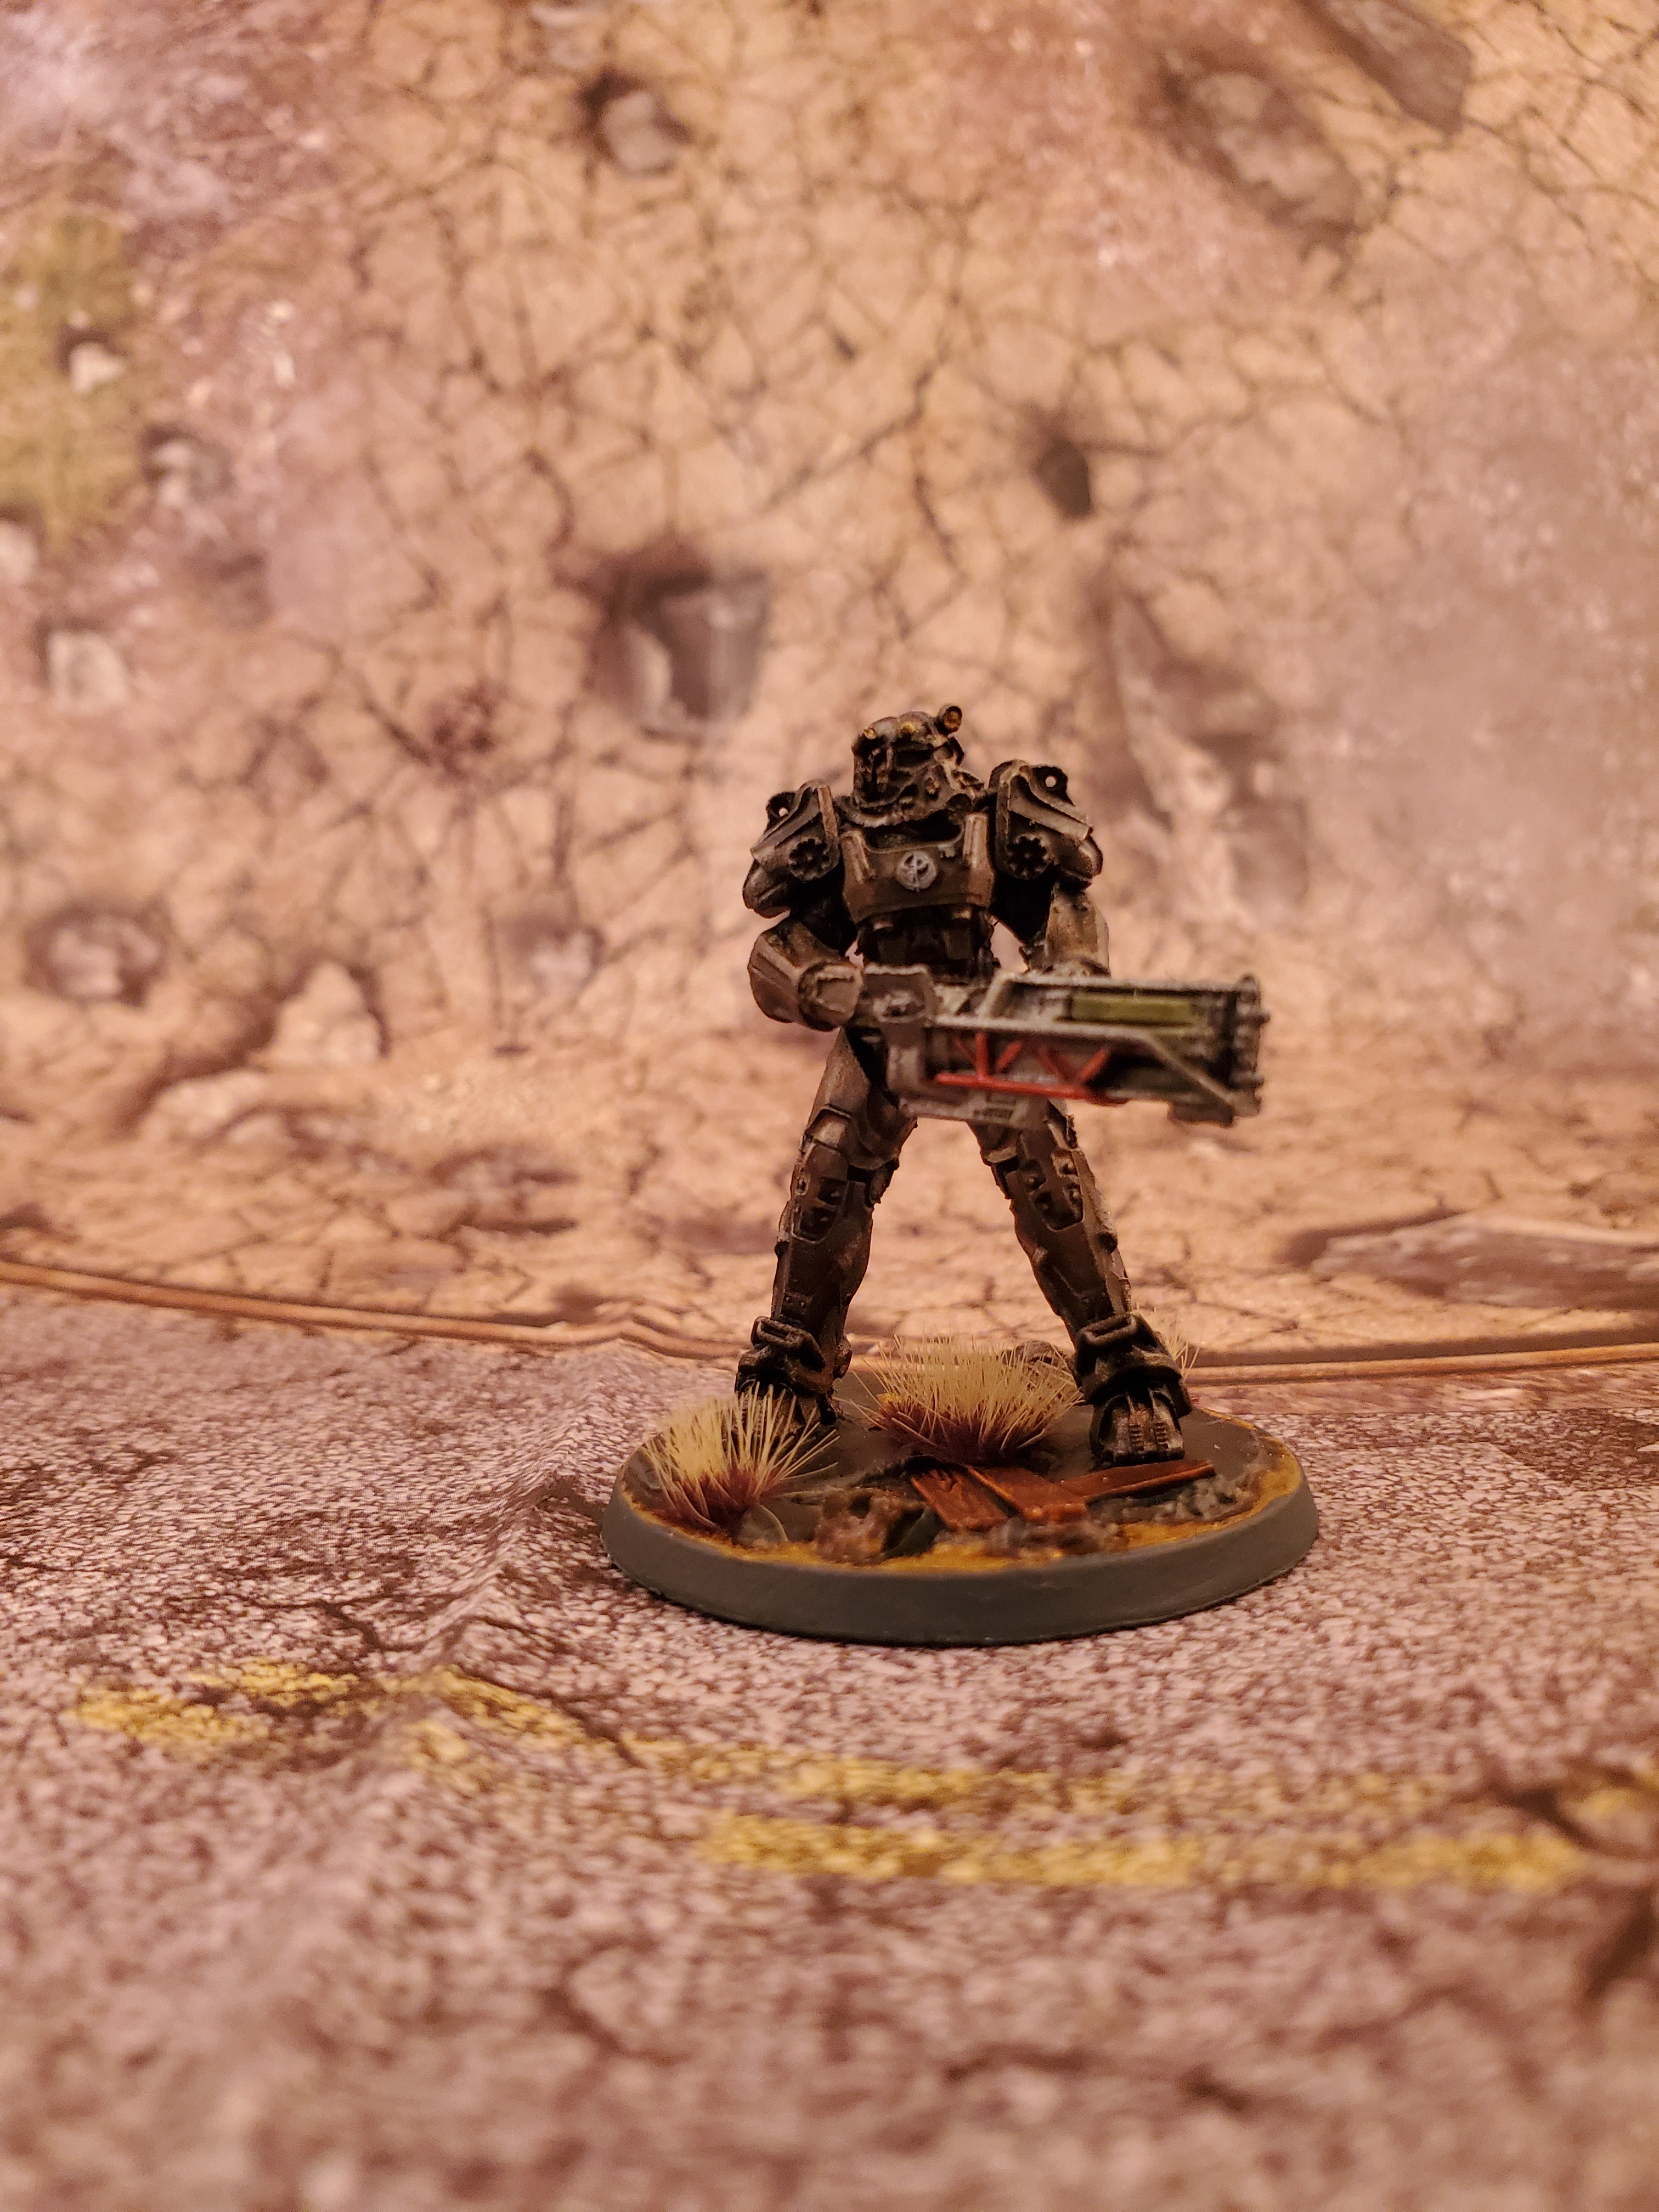
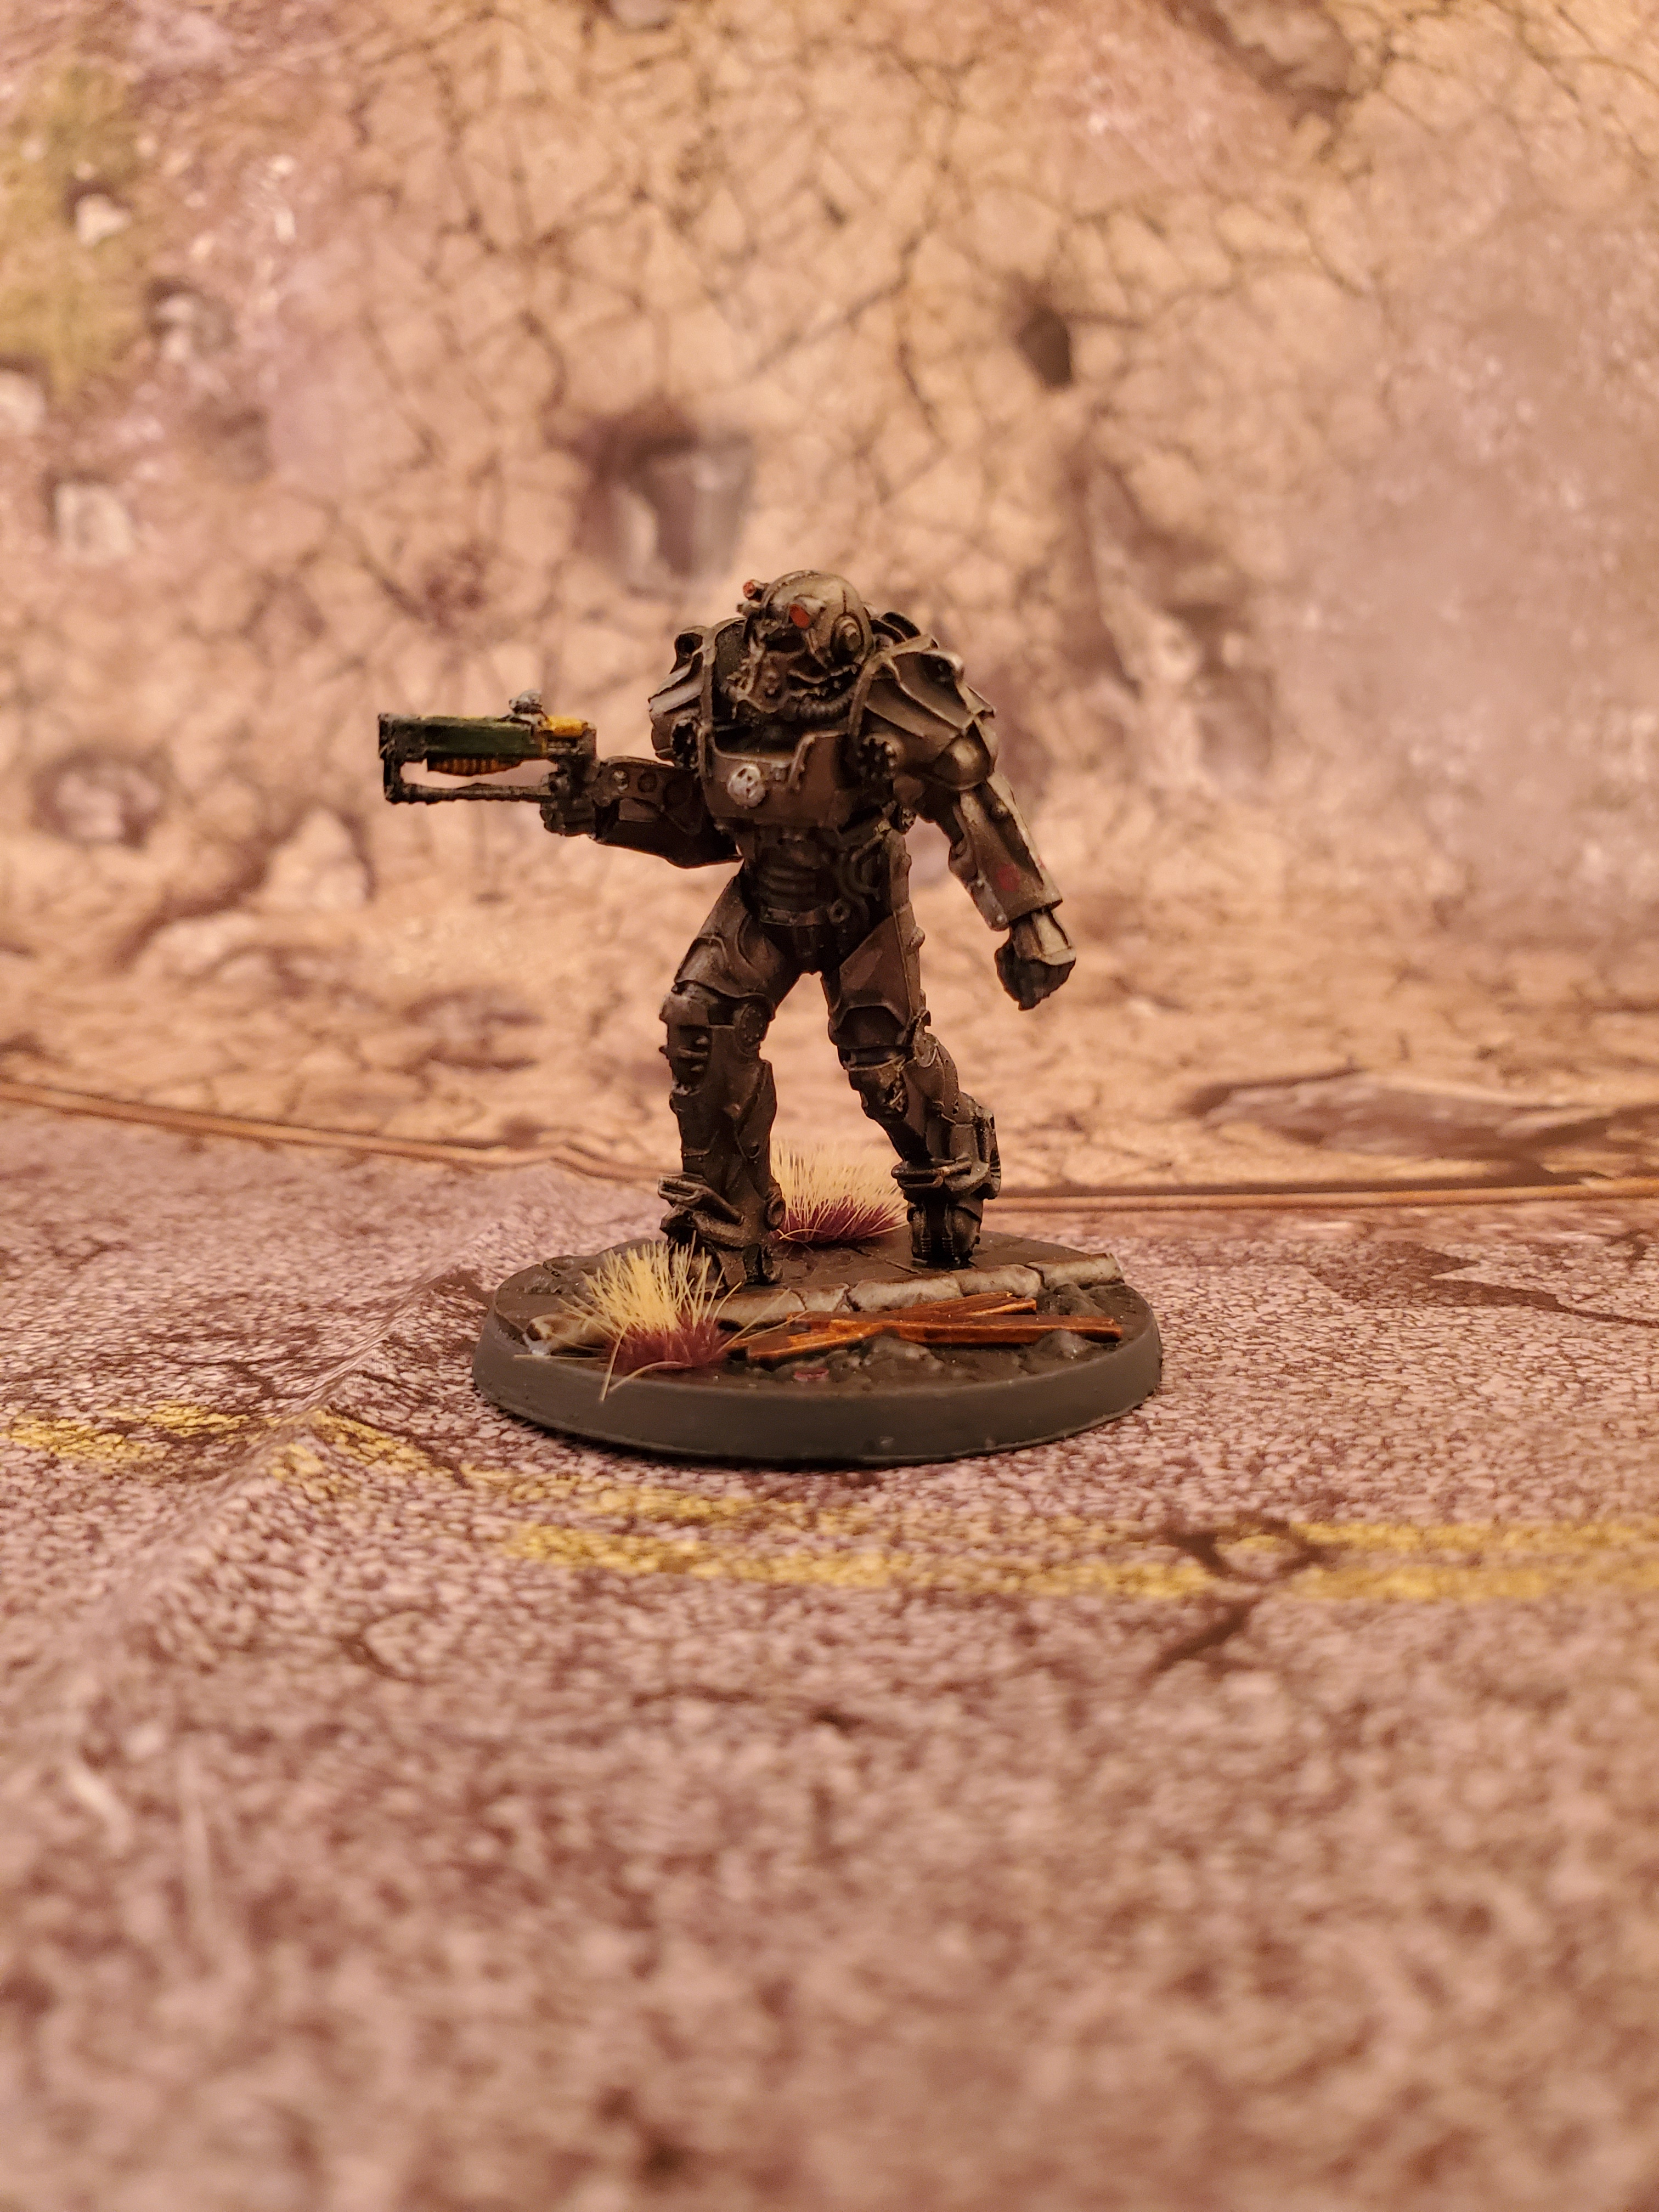
And now the fun part, POWER ARMOR!! First up we have our T60 Knight with automatic laser rifle, crouching down as he sends energy bolts flying down range. This particular sculpt was very problematic and multiple people received replacements due to mold issues with the left armor being “twisted” my 2nd copy still had some deforming but I was able to remold it with some cuts so it looks fine. Next we have the Knight with Laser Gatling, a truly awe inspiring looking model in size and one of my favorite guns in Fallout 76. Finally we have the Acolyte from the Resin upgrade pack of the core set, the lowest ranked model tooling around in a suit he has just a regular laser rifle. While the regular models I did with contrast paints the power armor I used my airbrush to get a uniform metallic then picked out the details by hand and used Vallejo rust washes to weather them somewhat before a final coat of Nuln oil to tone down the effects.
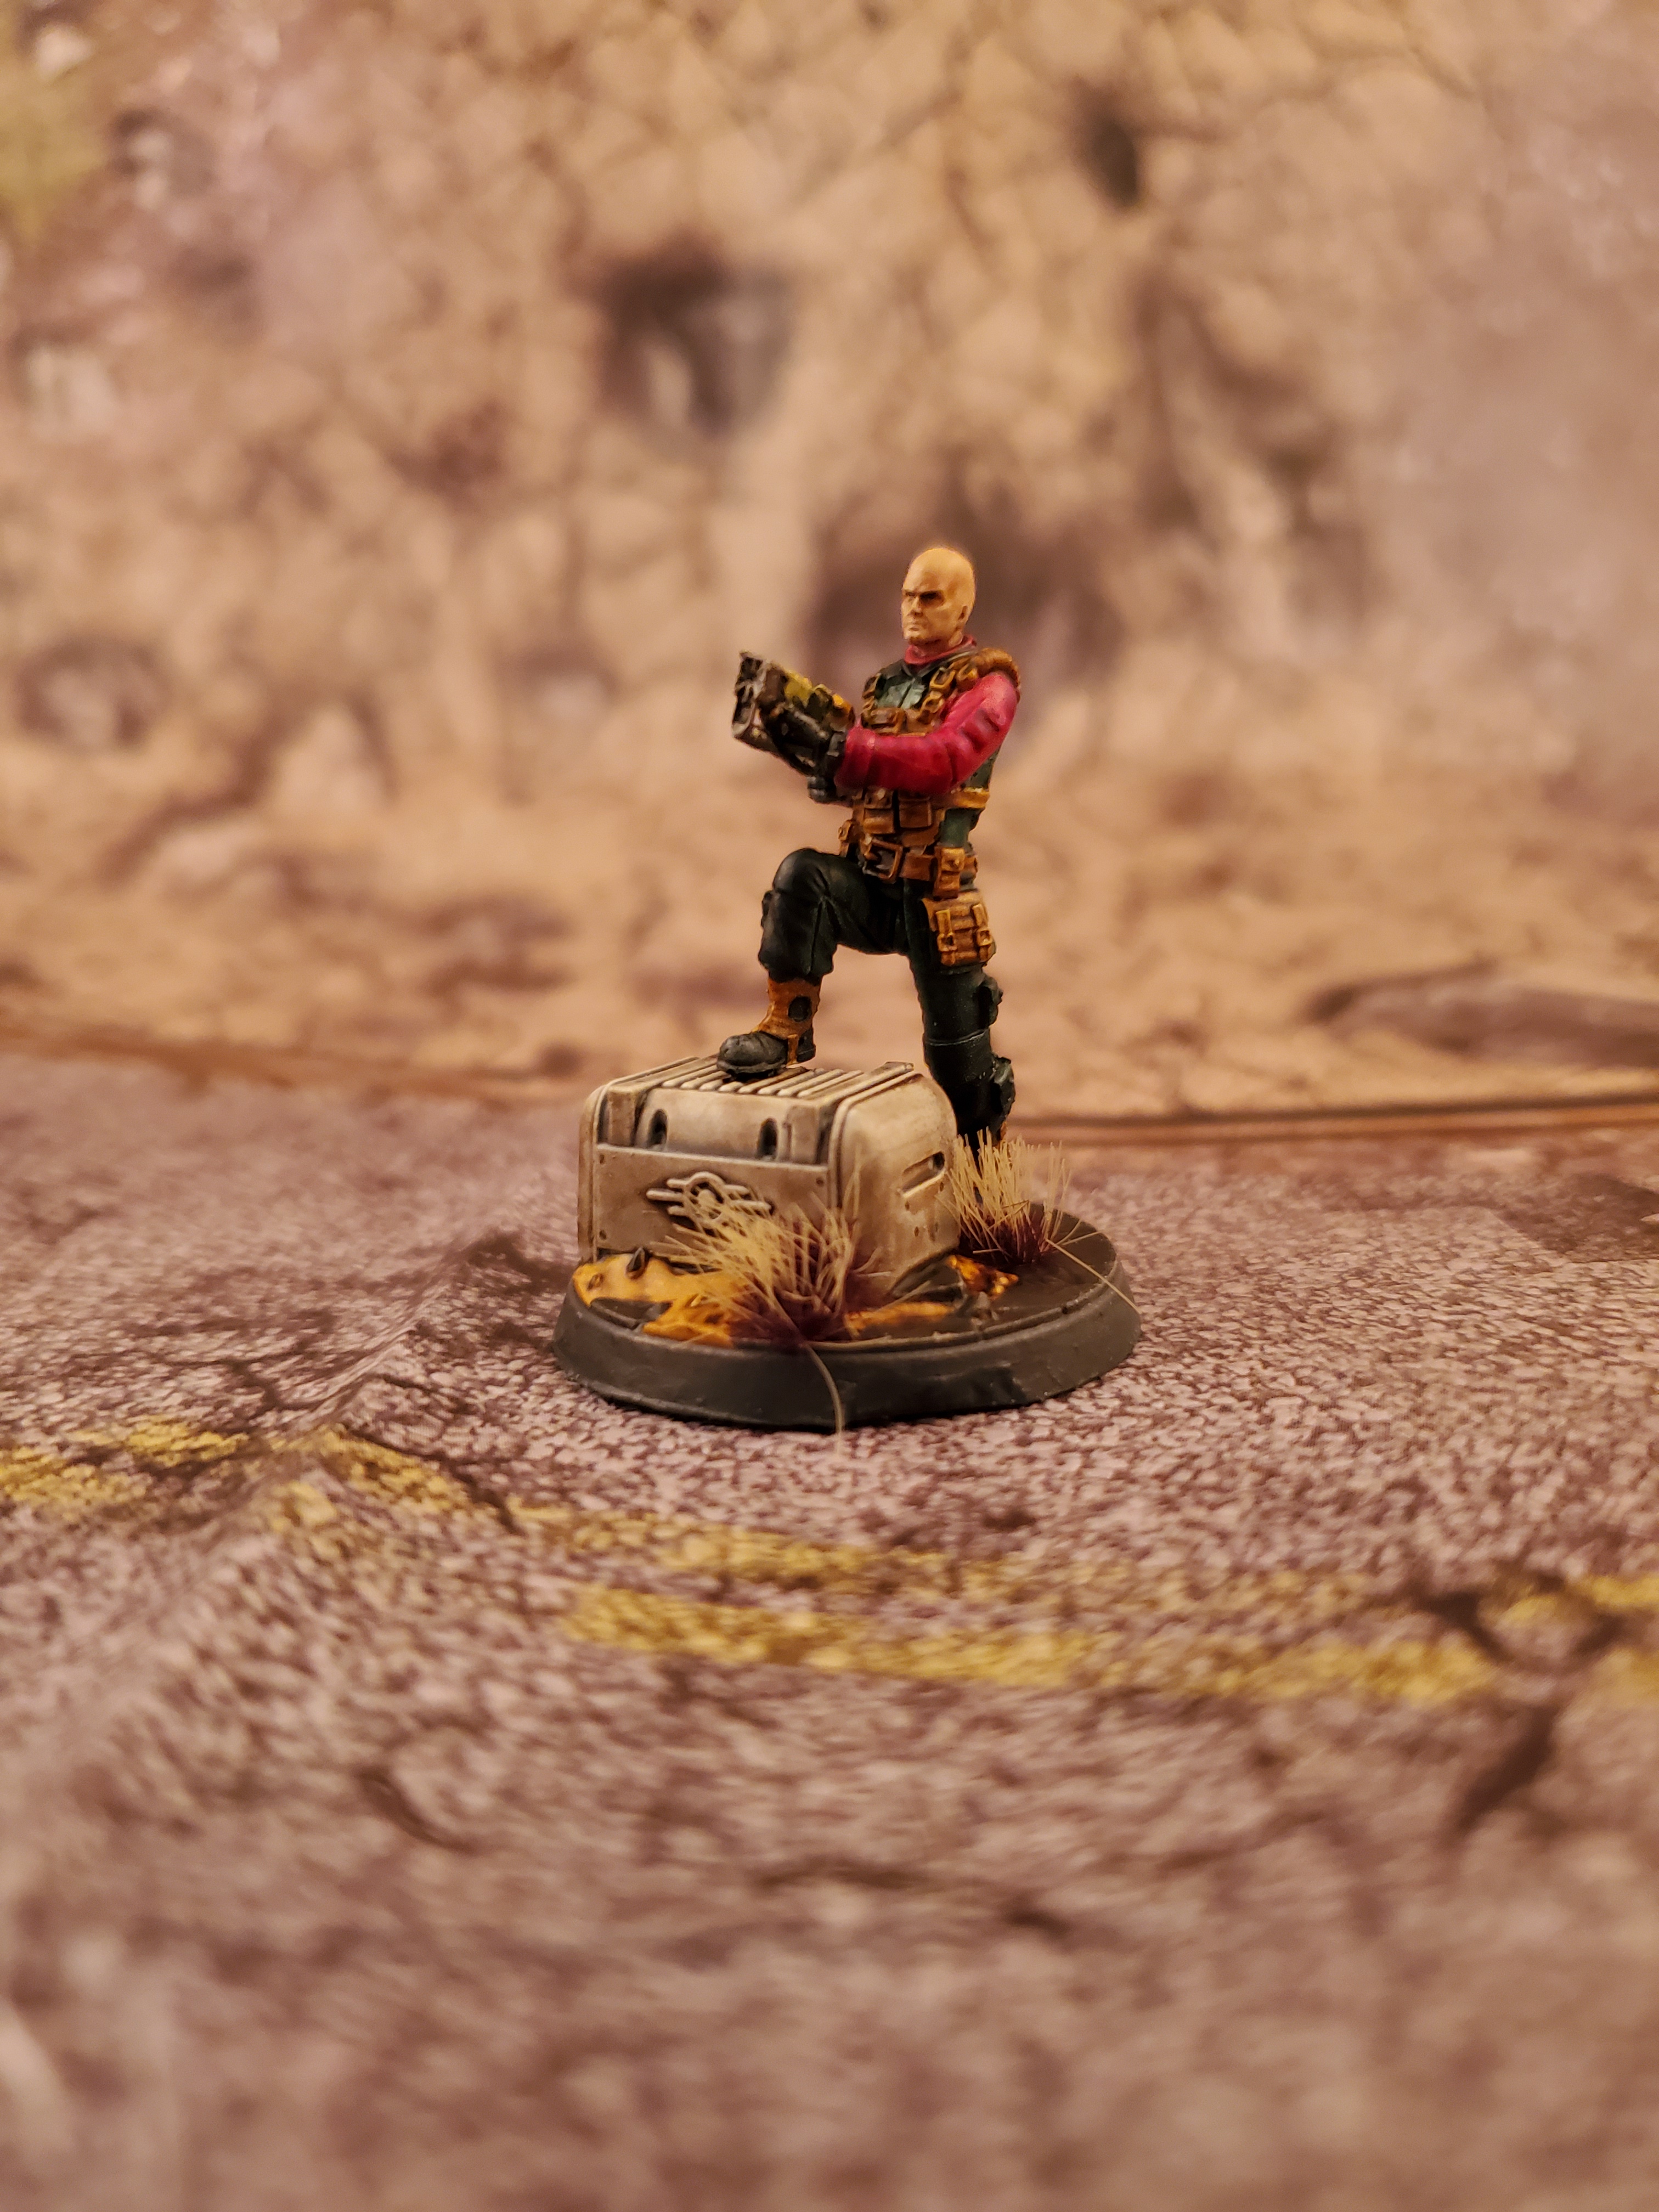 One of the only Character models for the BoS Knight Captain Cade strikes a very dashing pose even outside of his power armor.
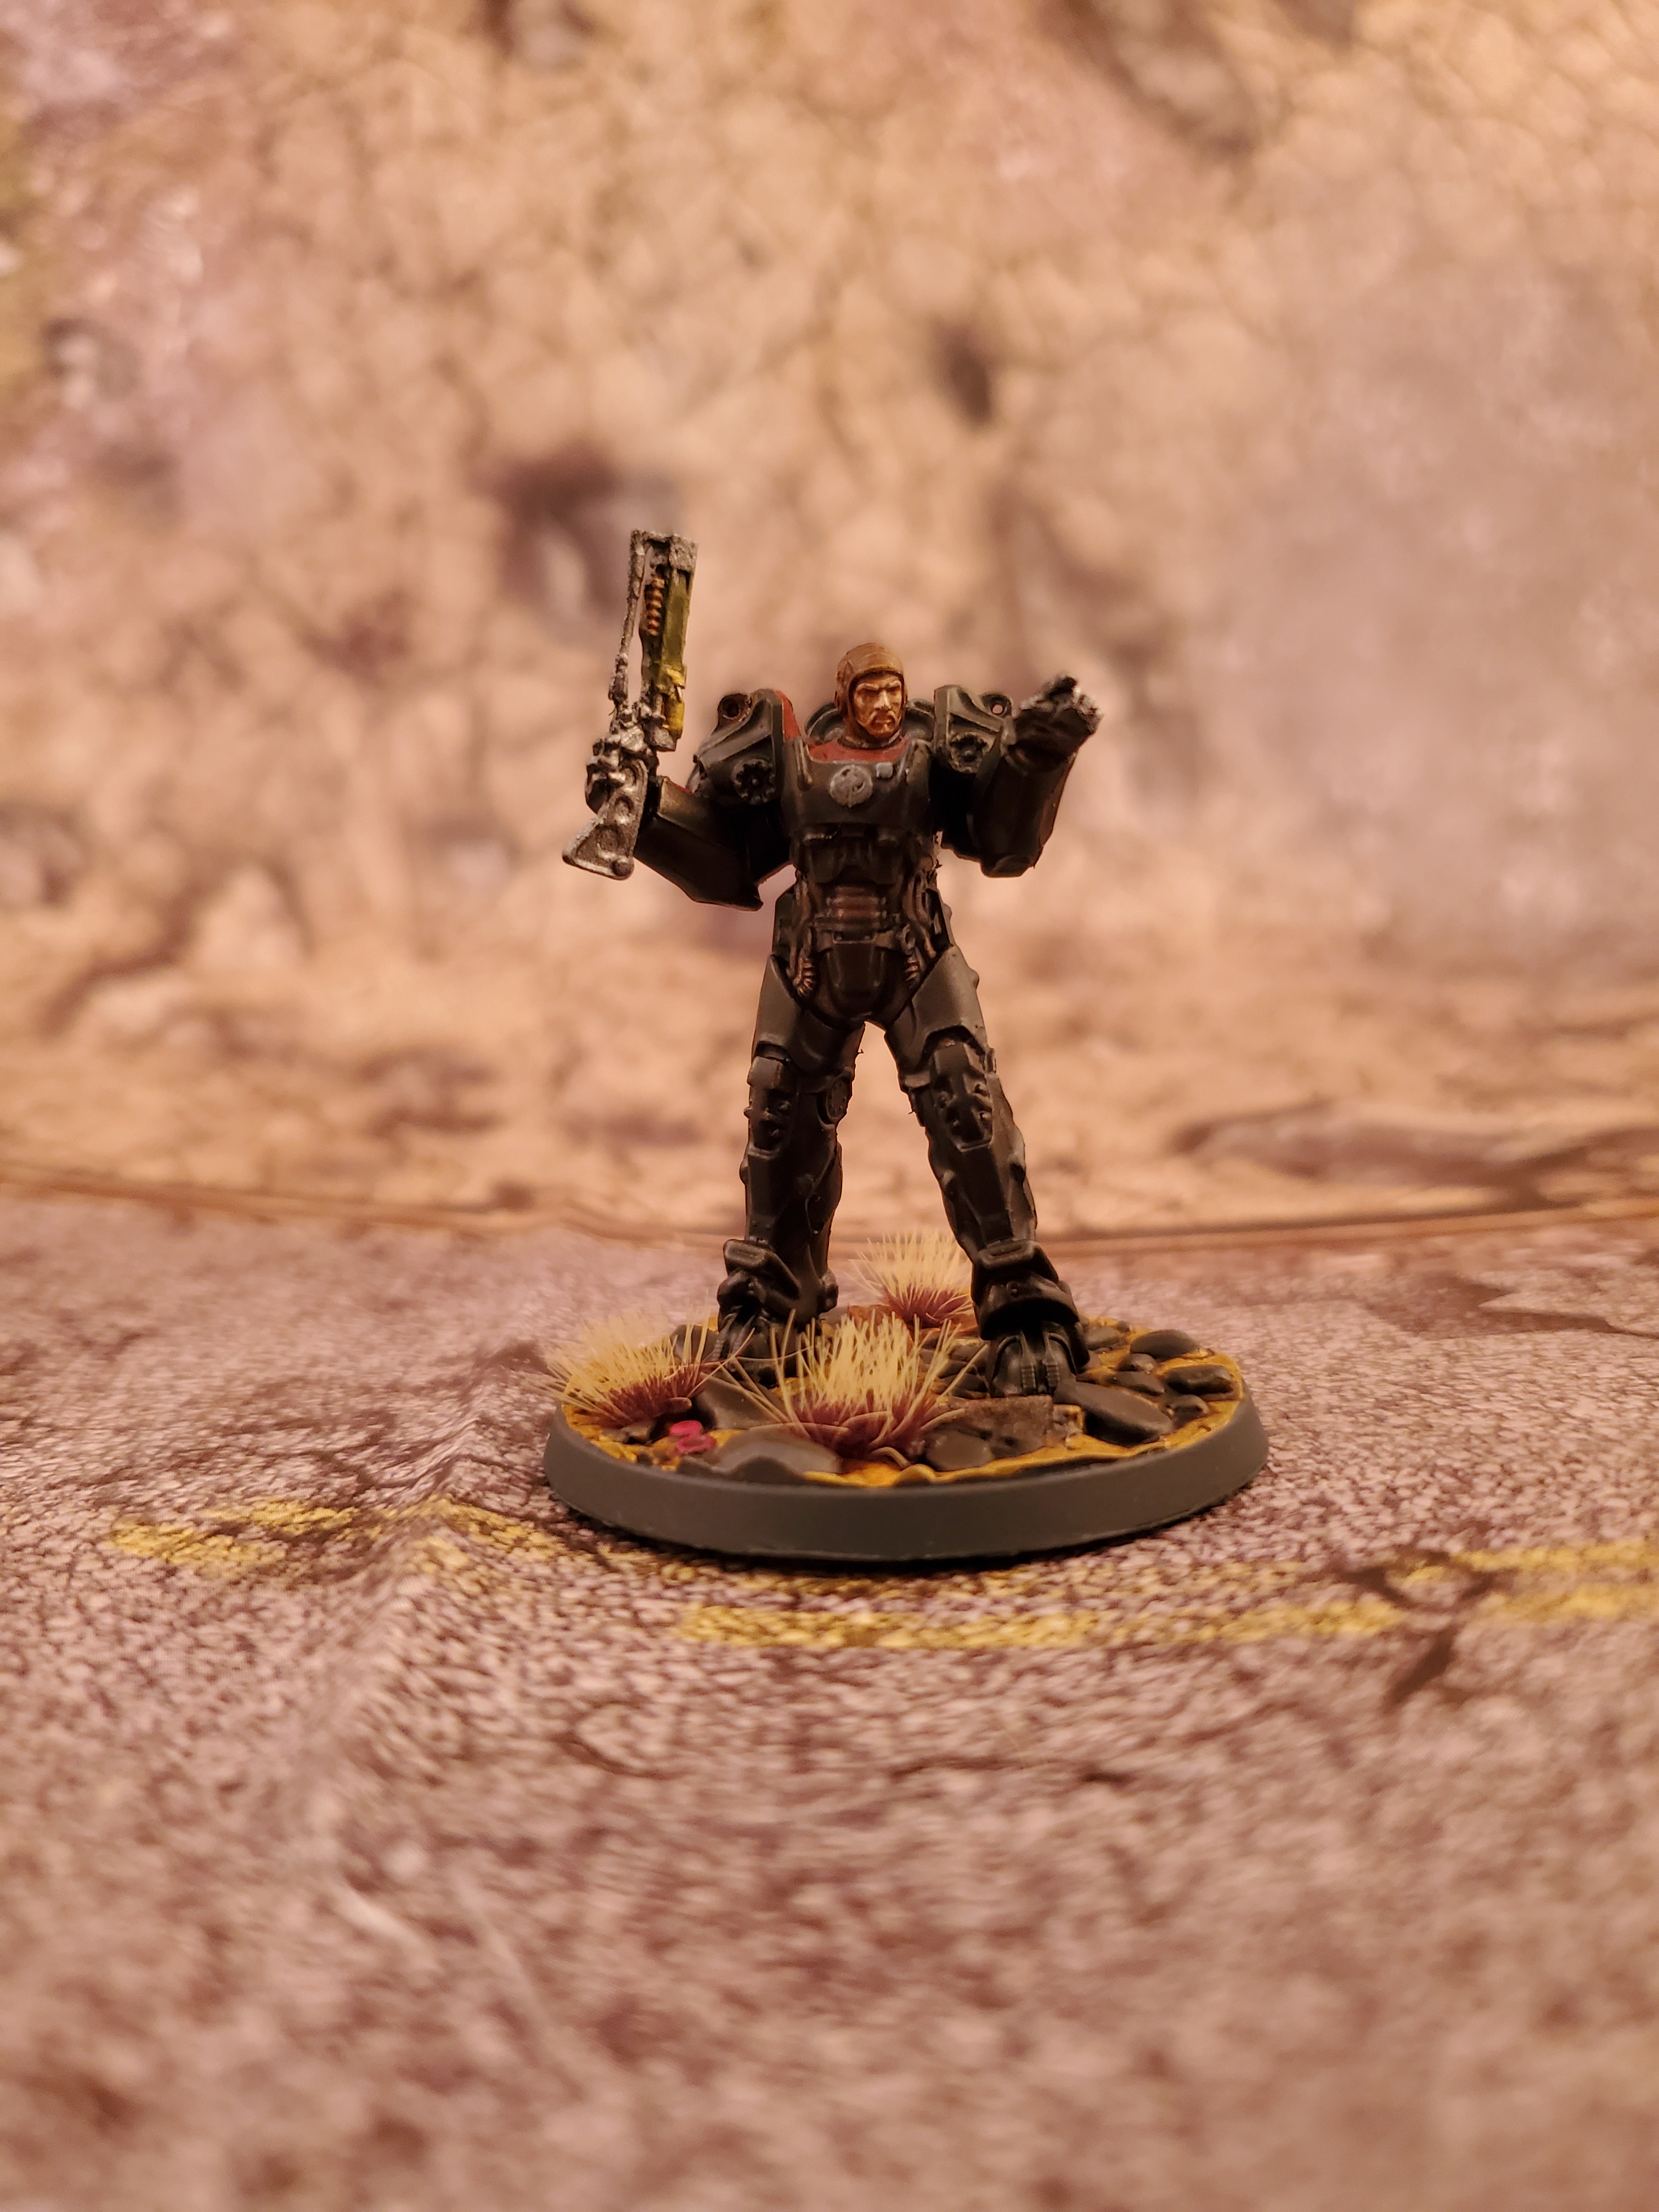 And finally we have Paladin Danse, resplendent in his darker shaded armor with Red highlights
While the BoS range is small right now there are additional character models coming soon, and with their access to high tech arms and equipment if you’re looking for a small heavy hitting force they are the way to go.
Ad Victoriam!
Super Mutant Redux

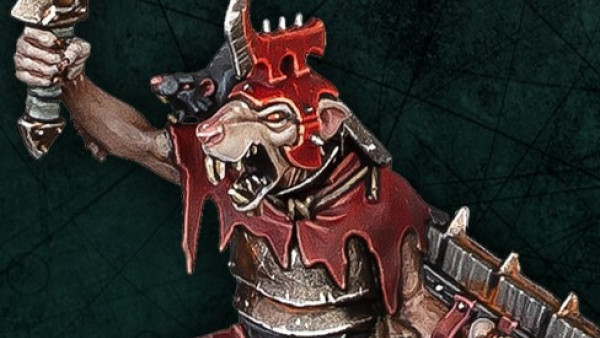
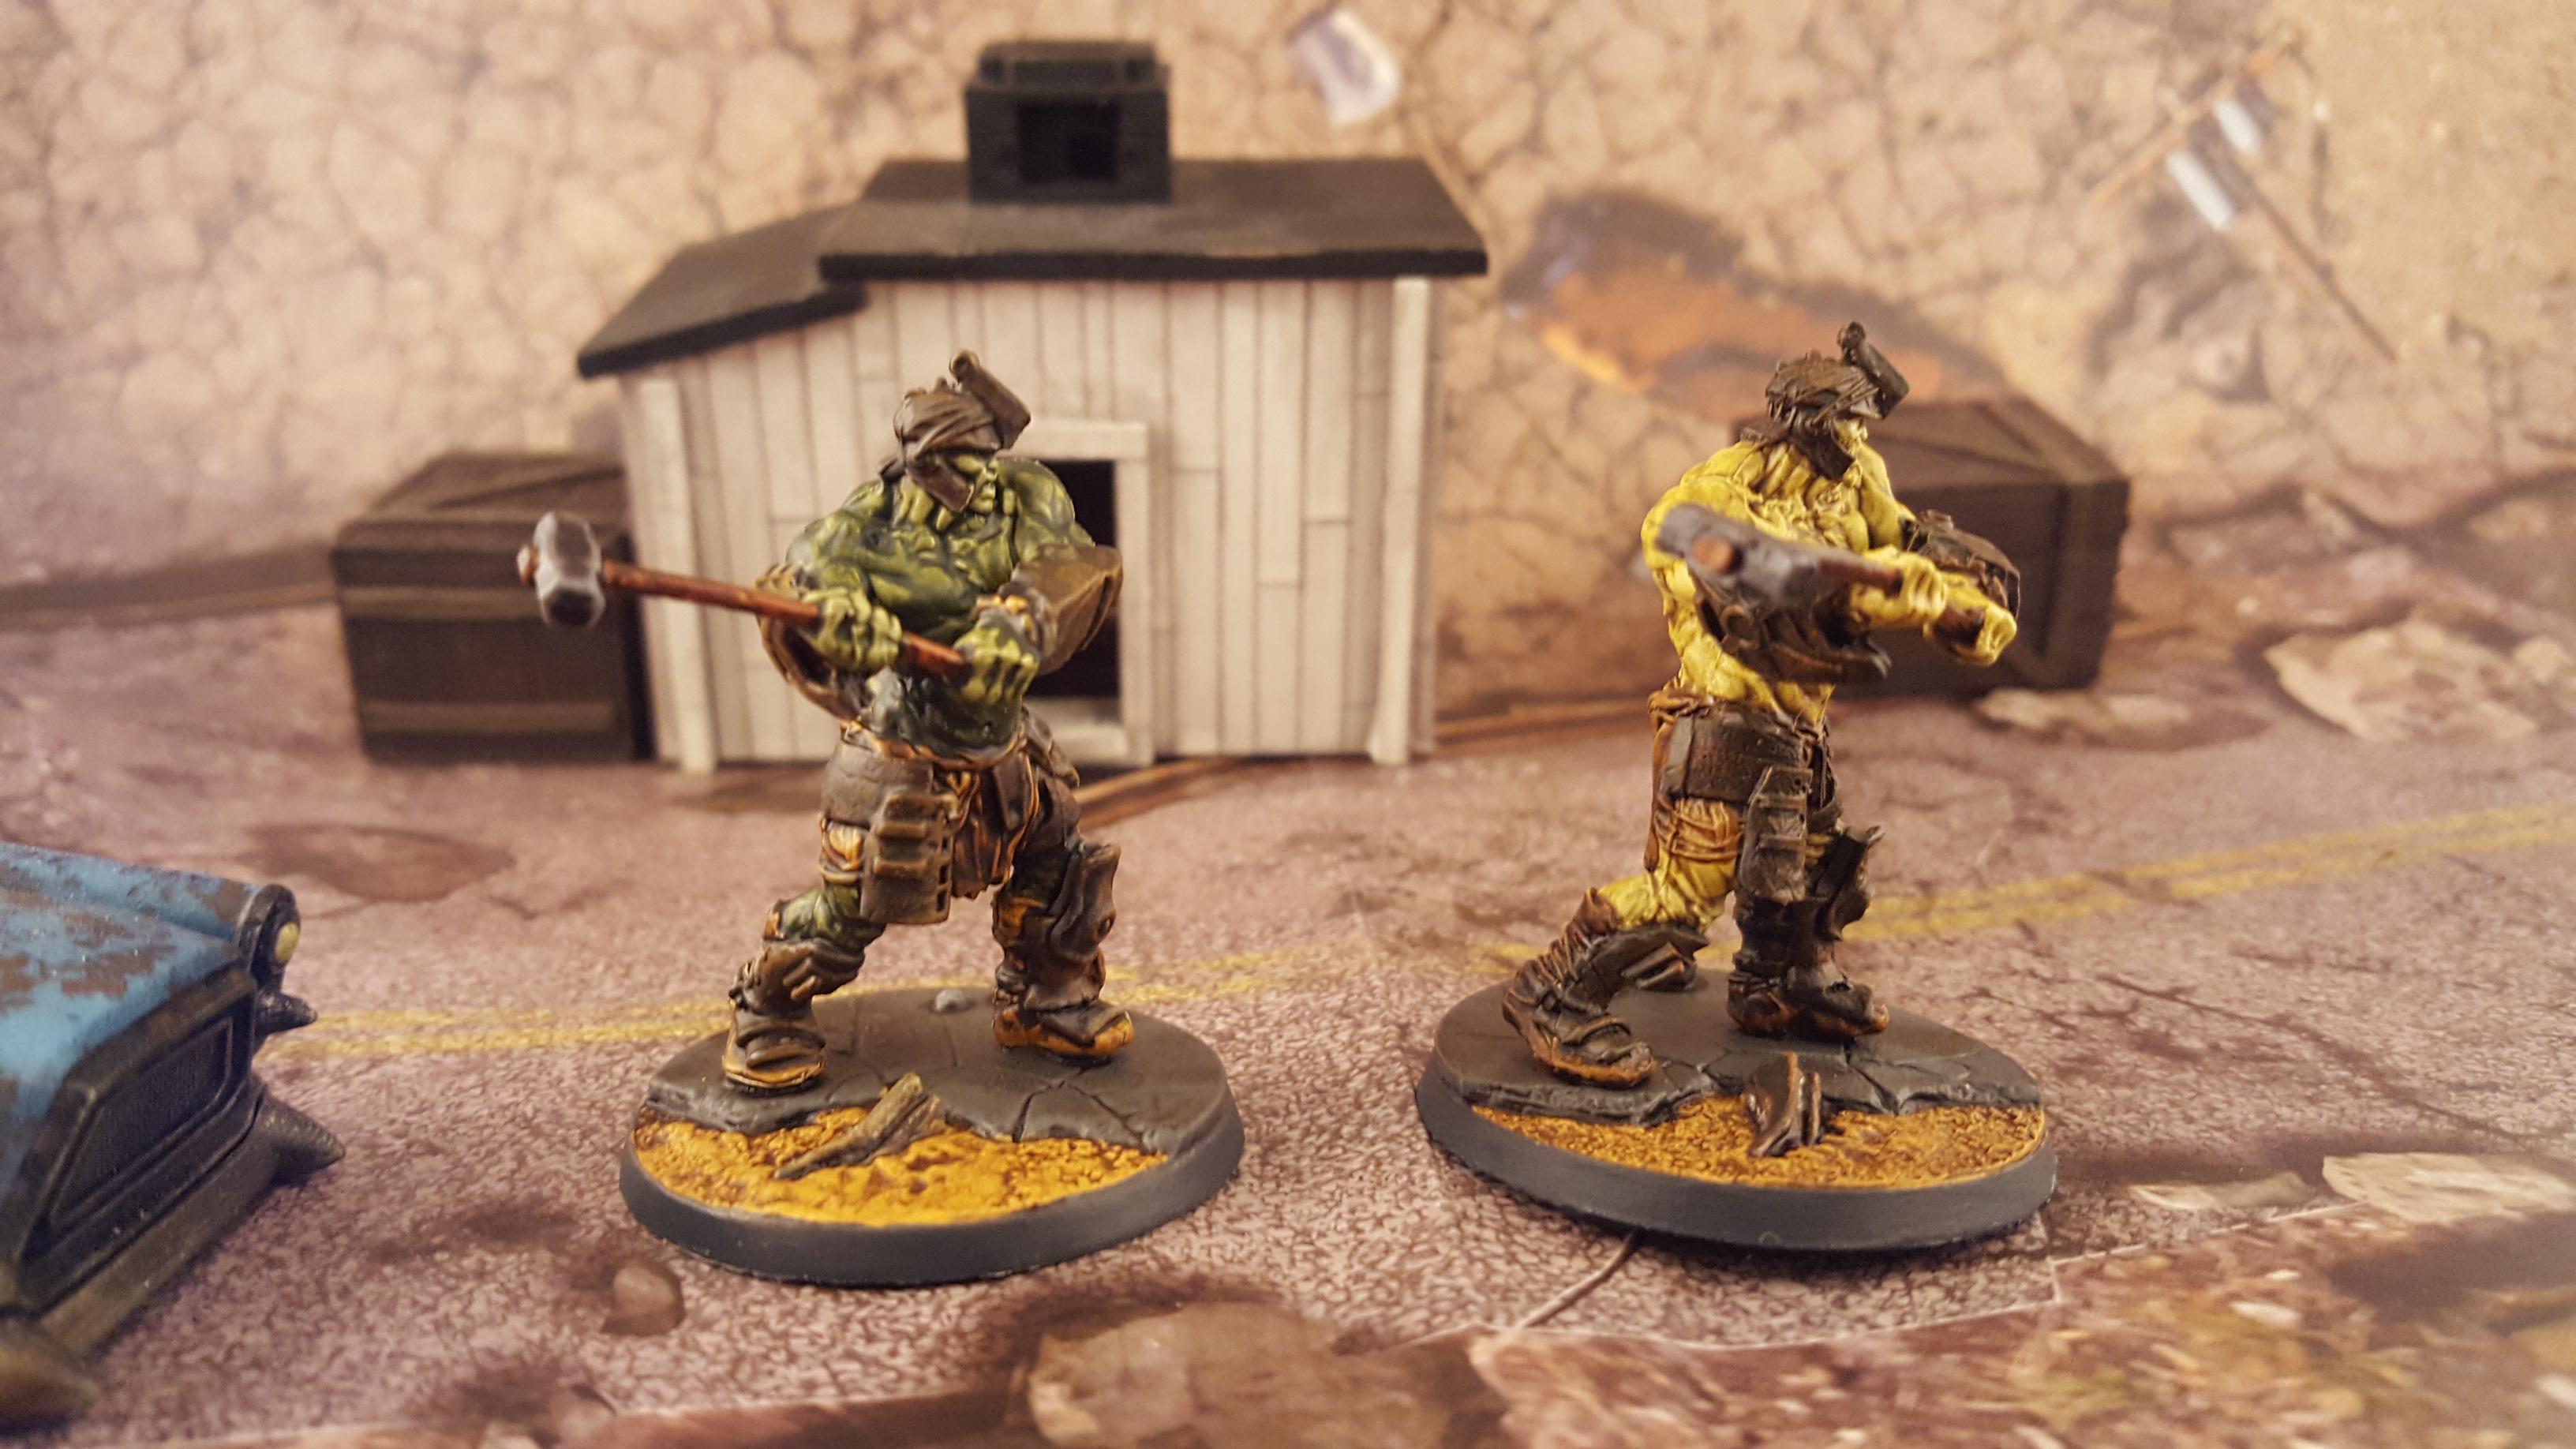
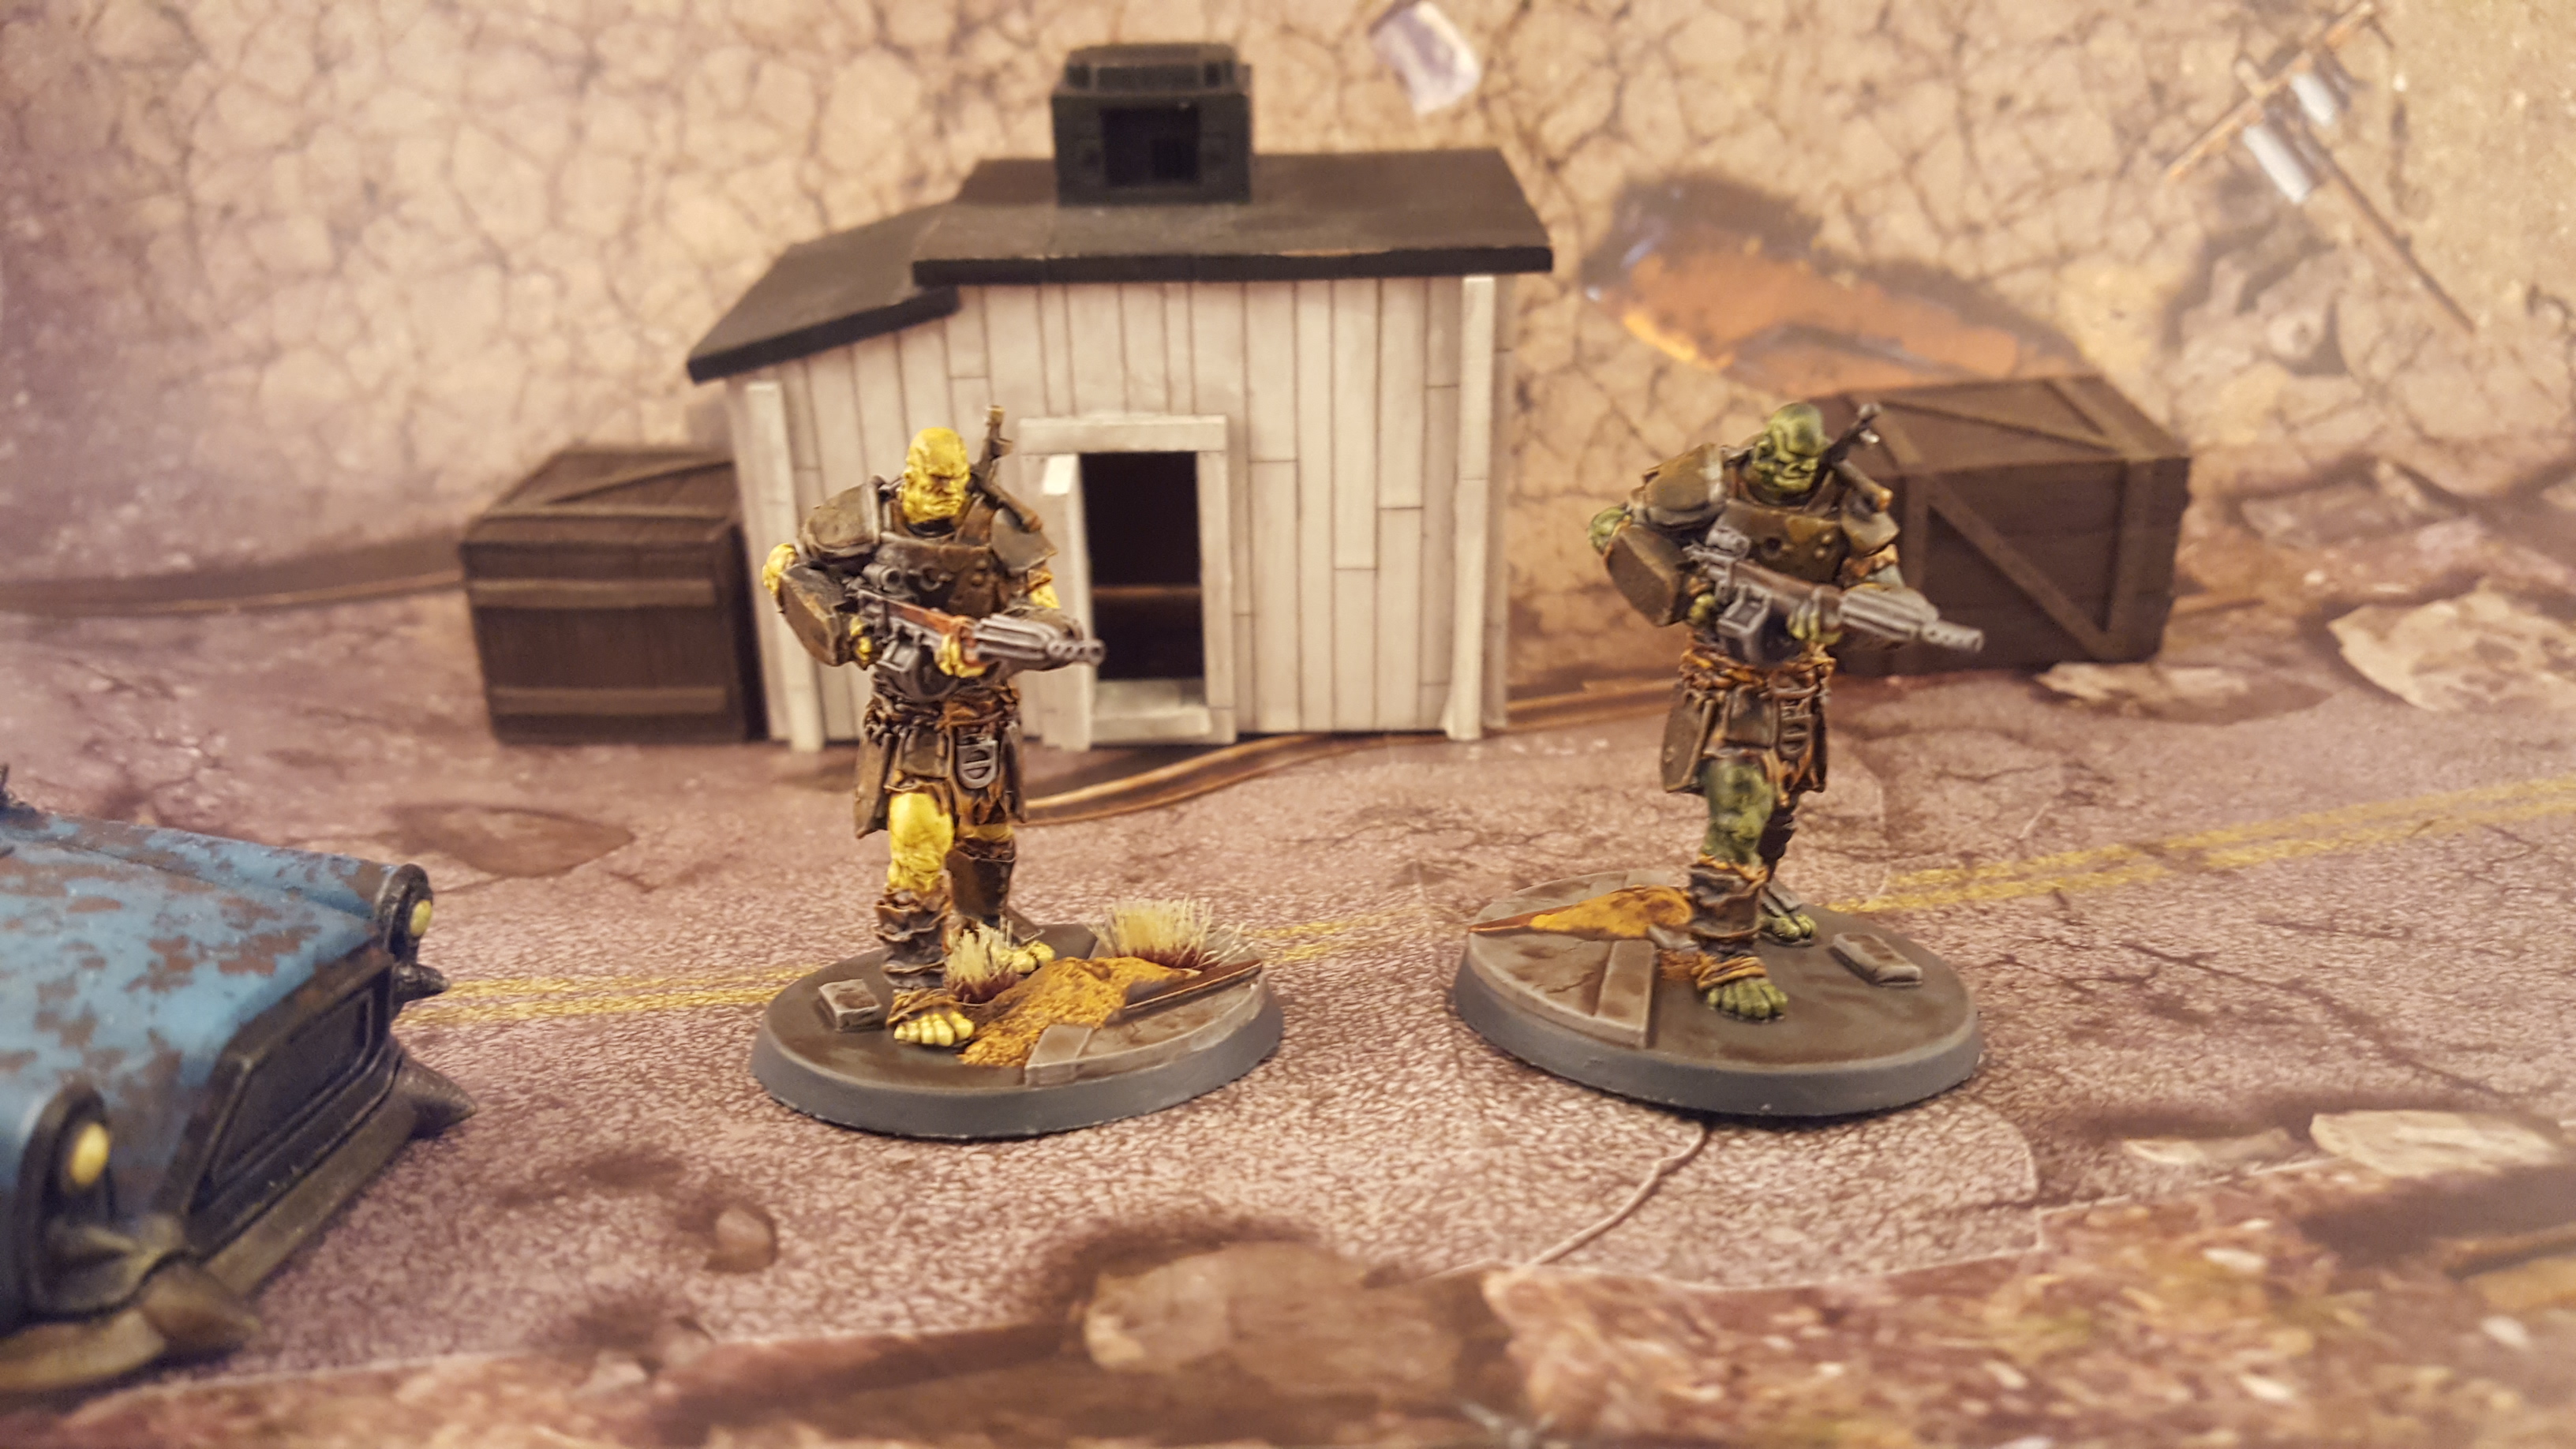
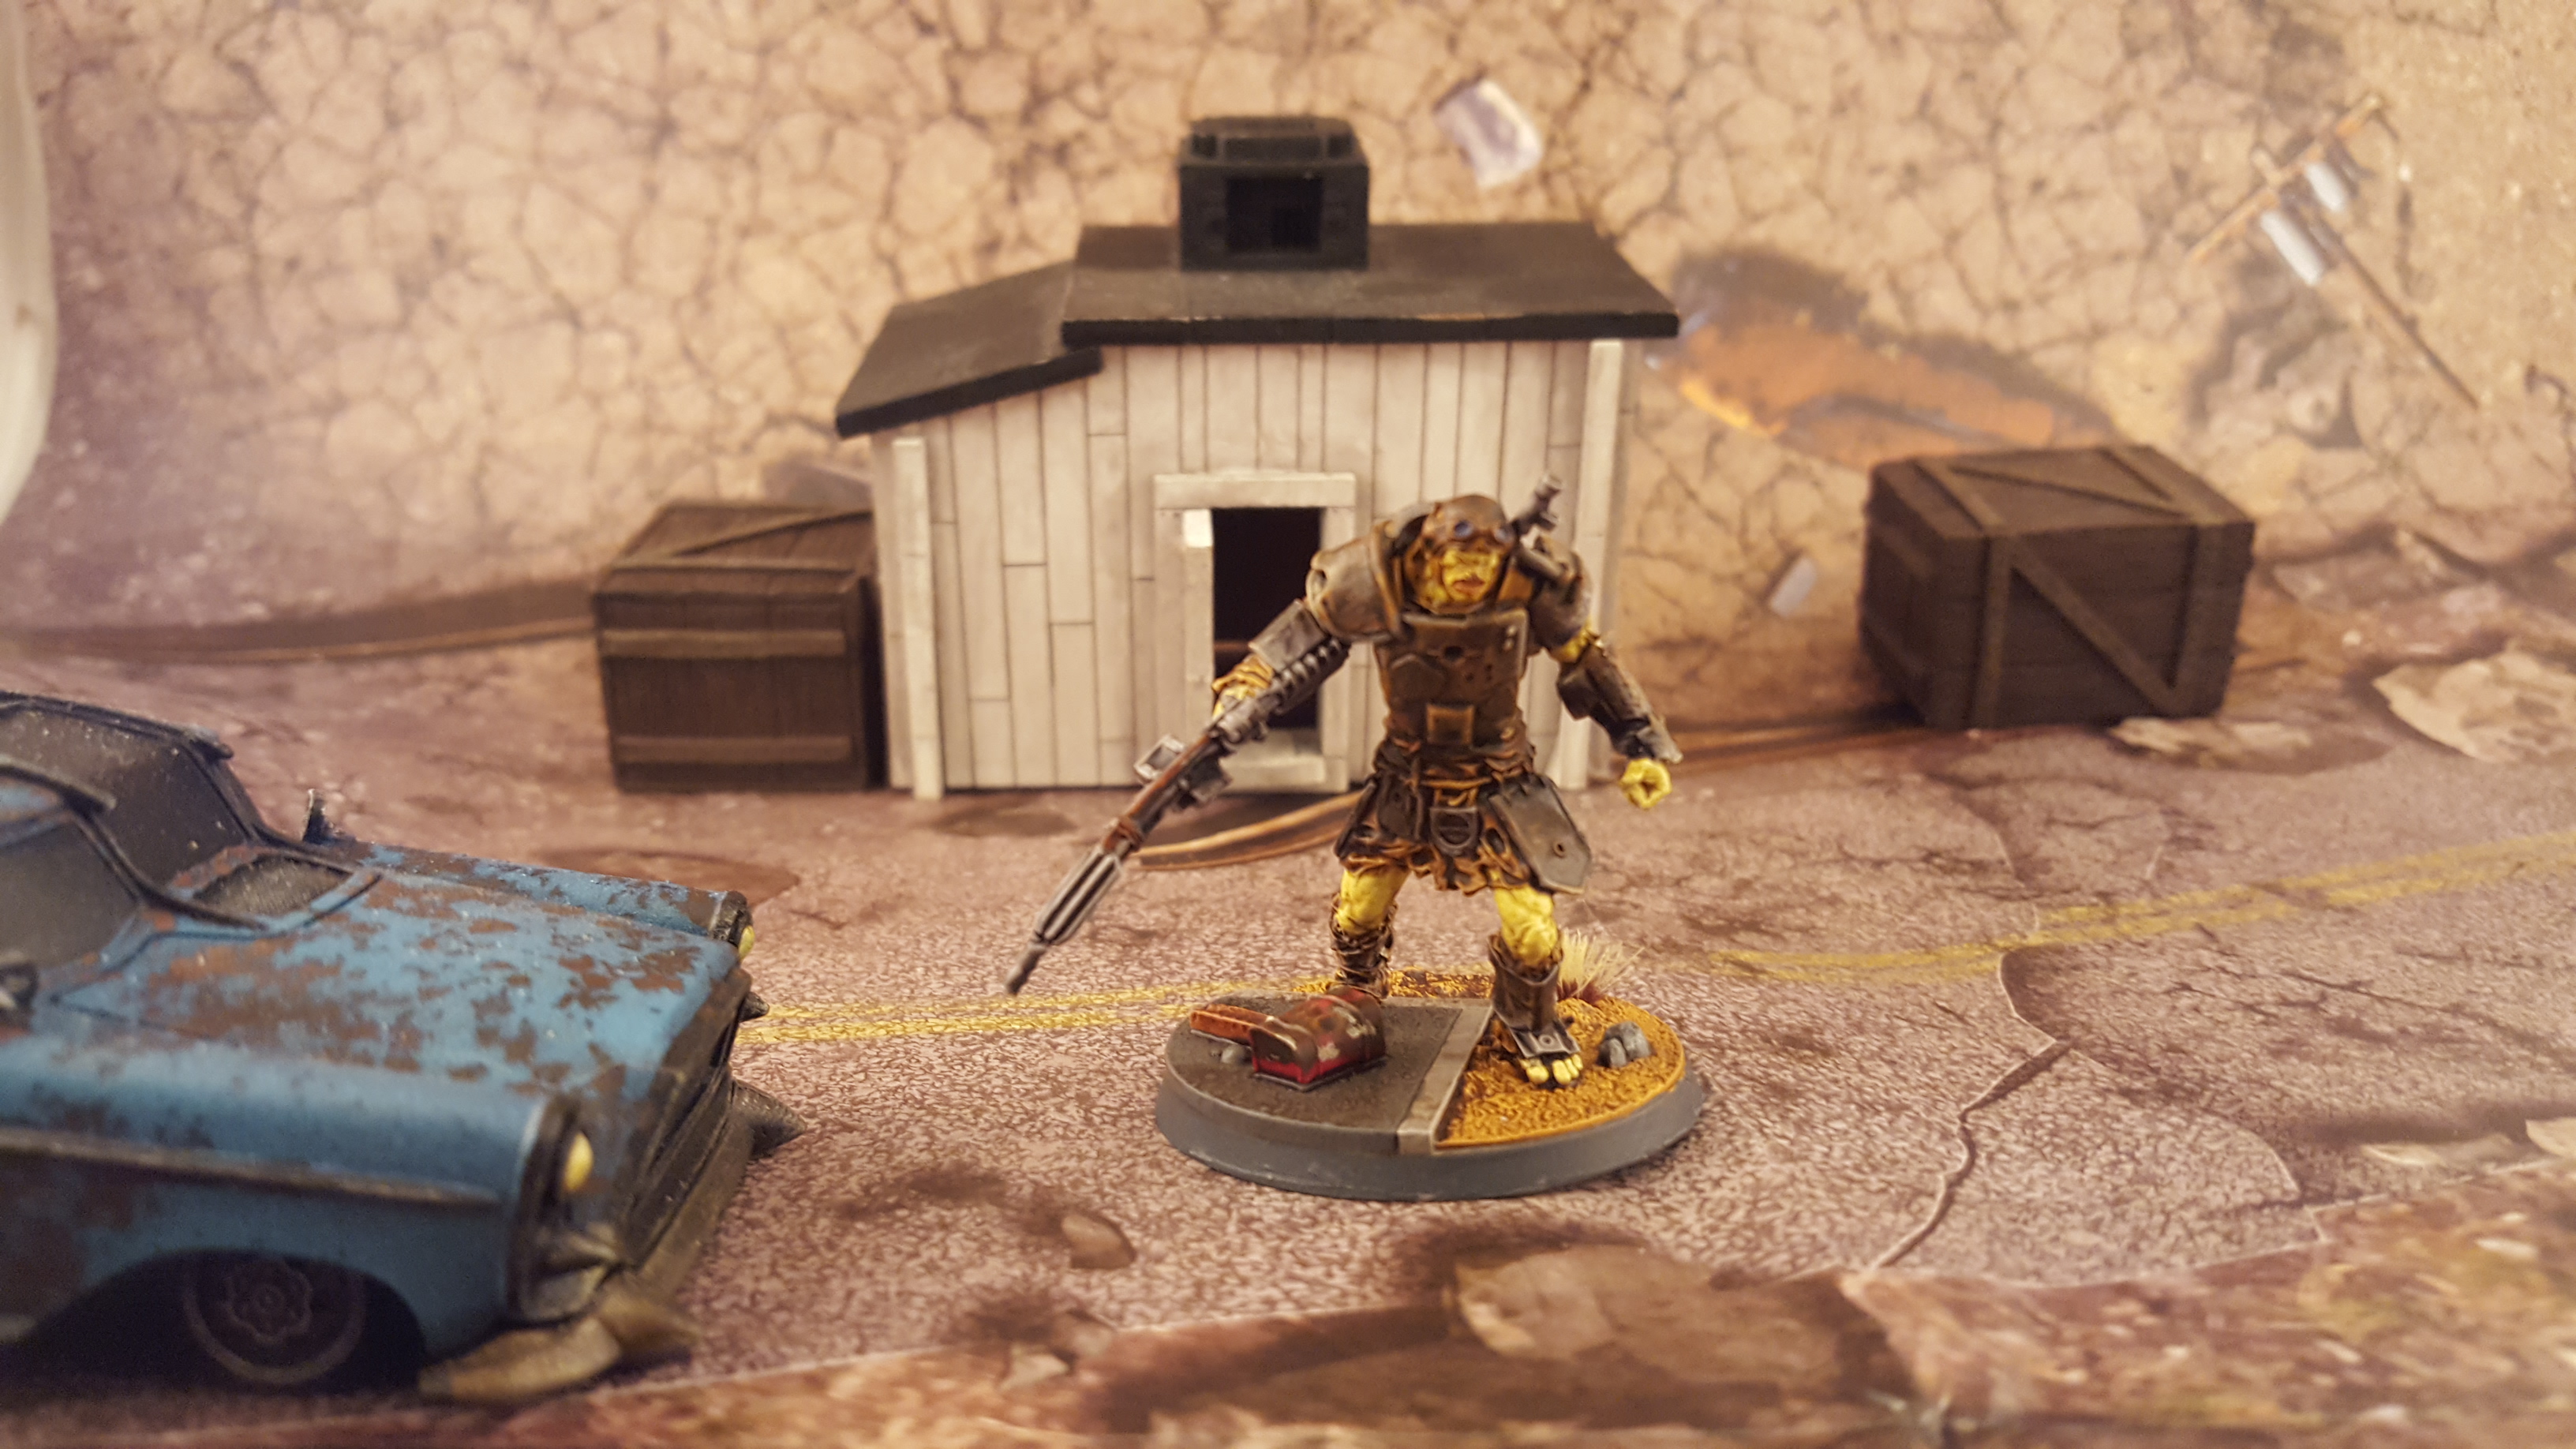
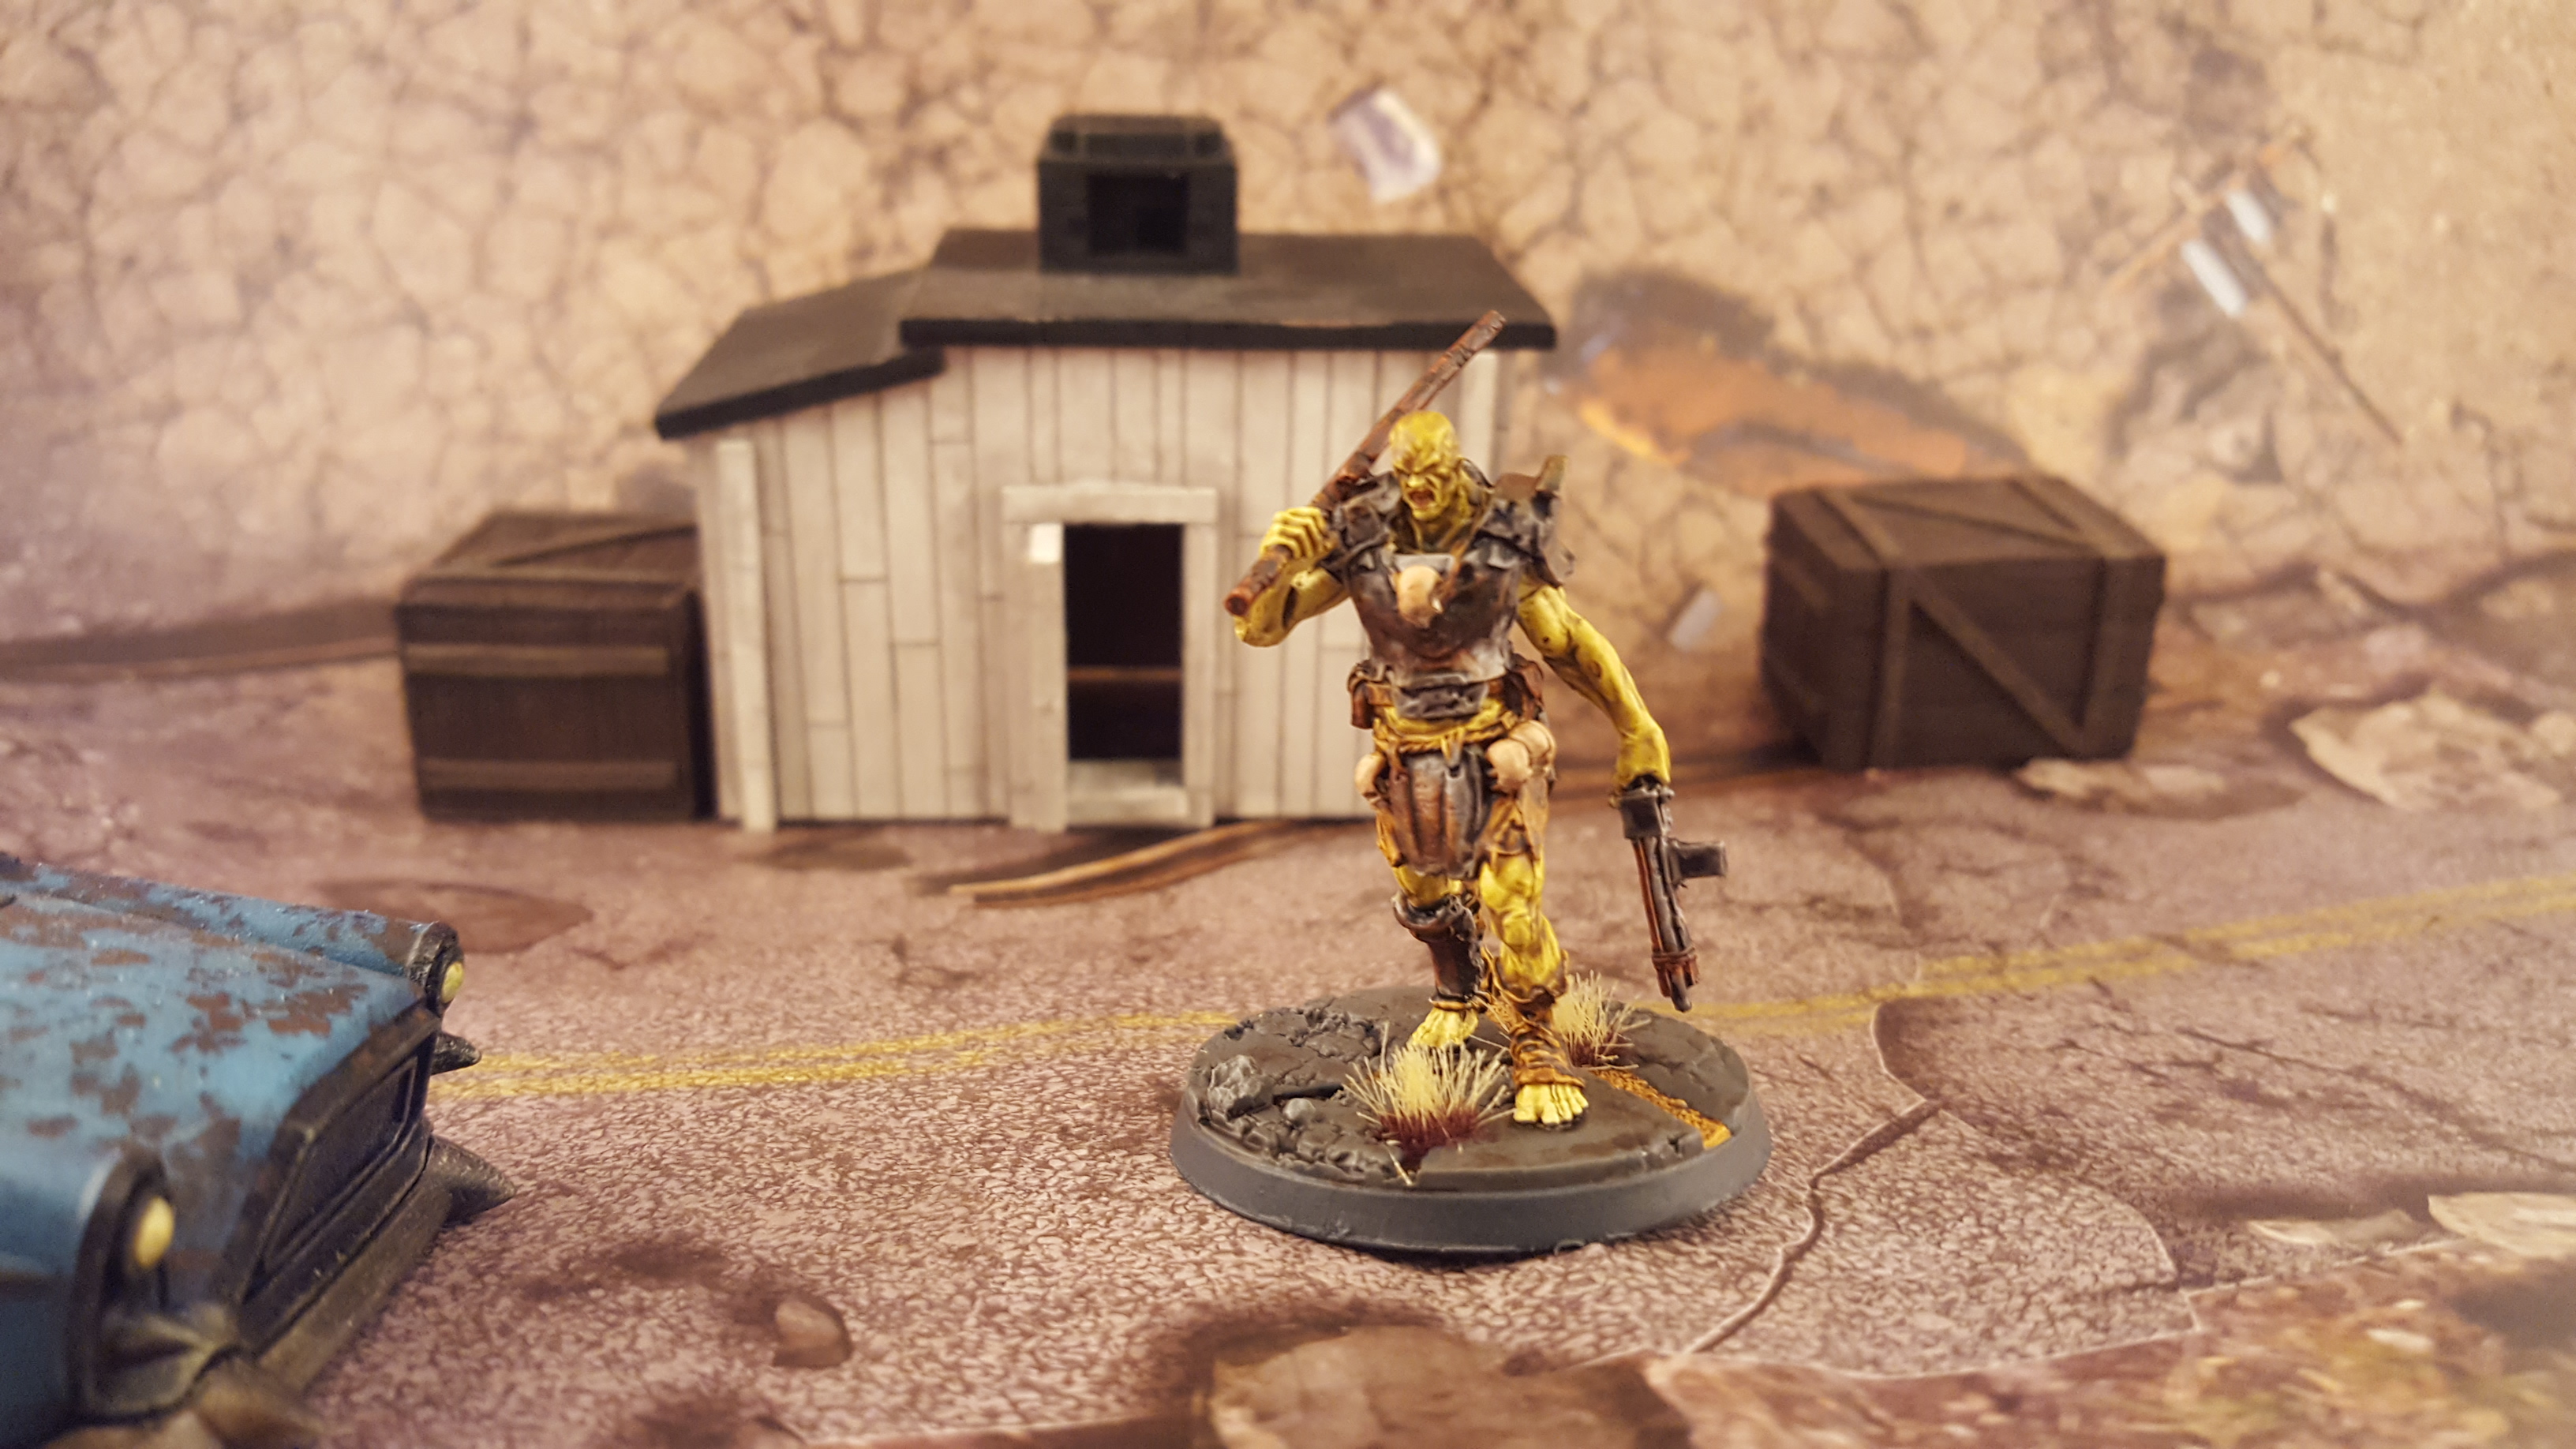
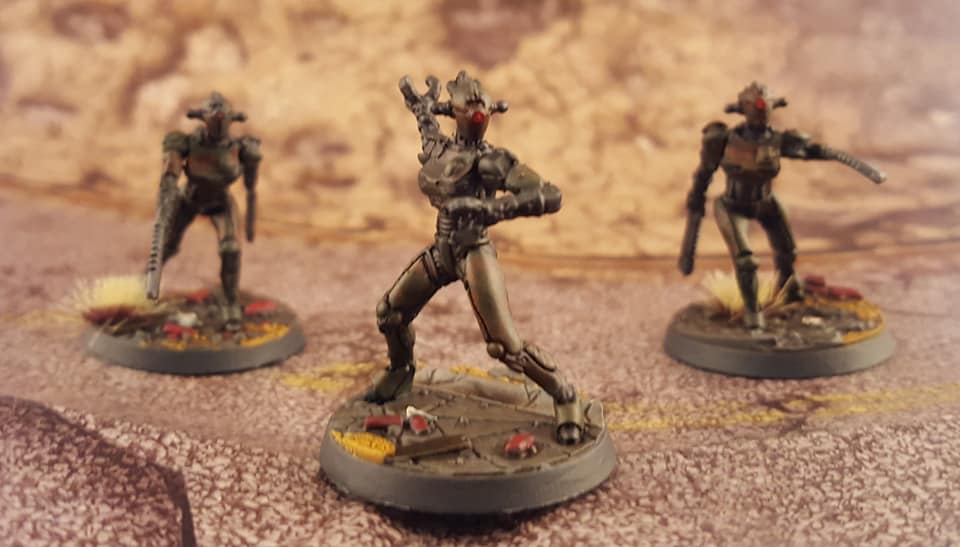
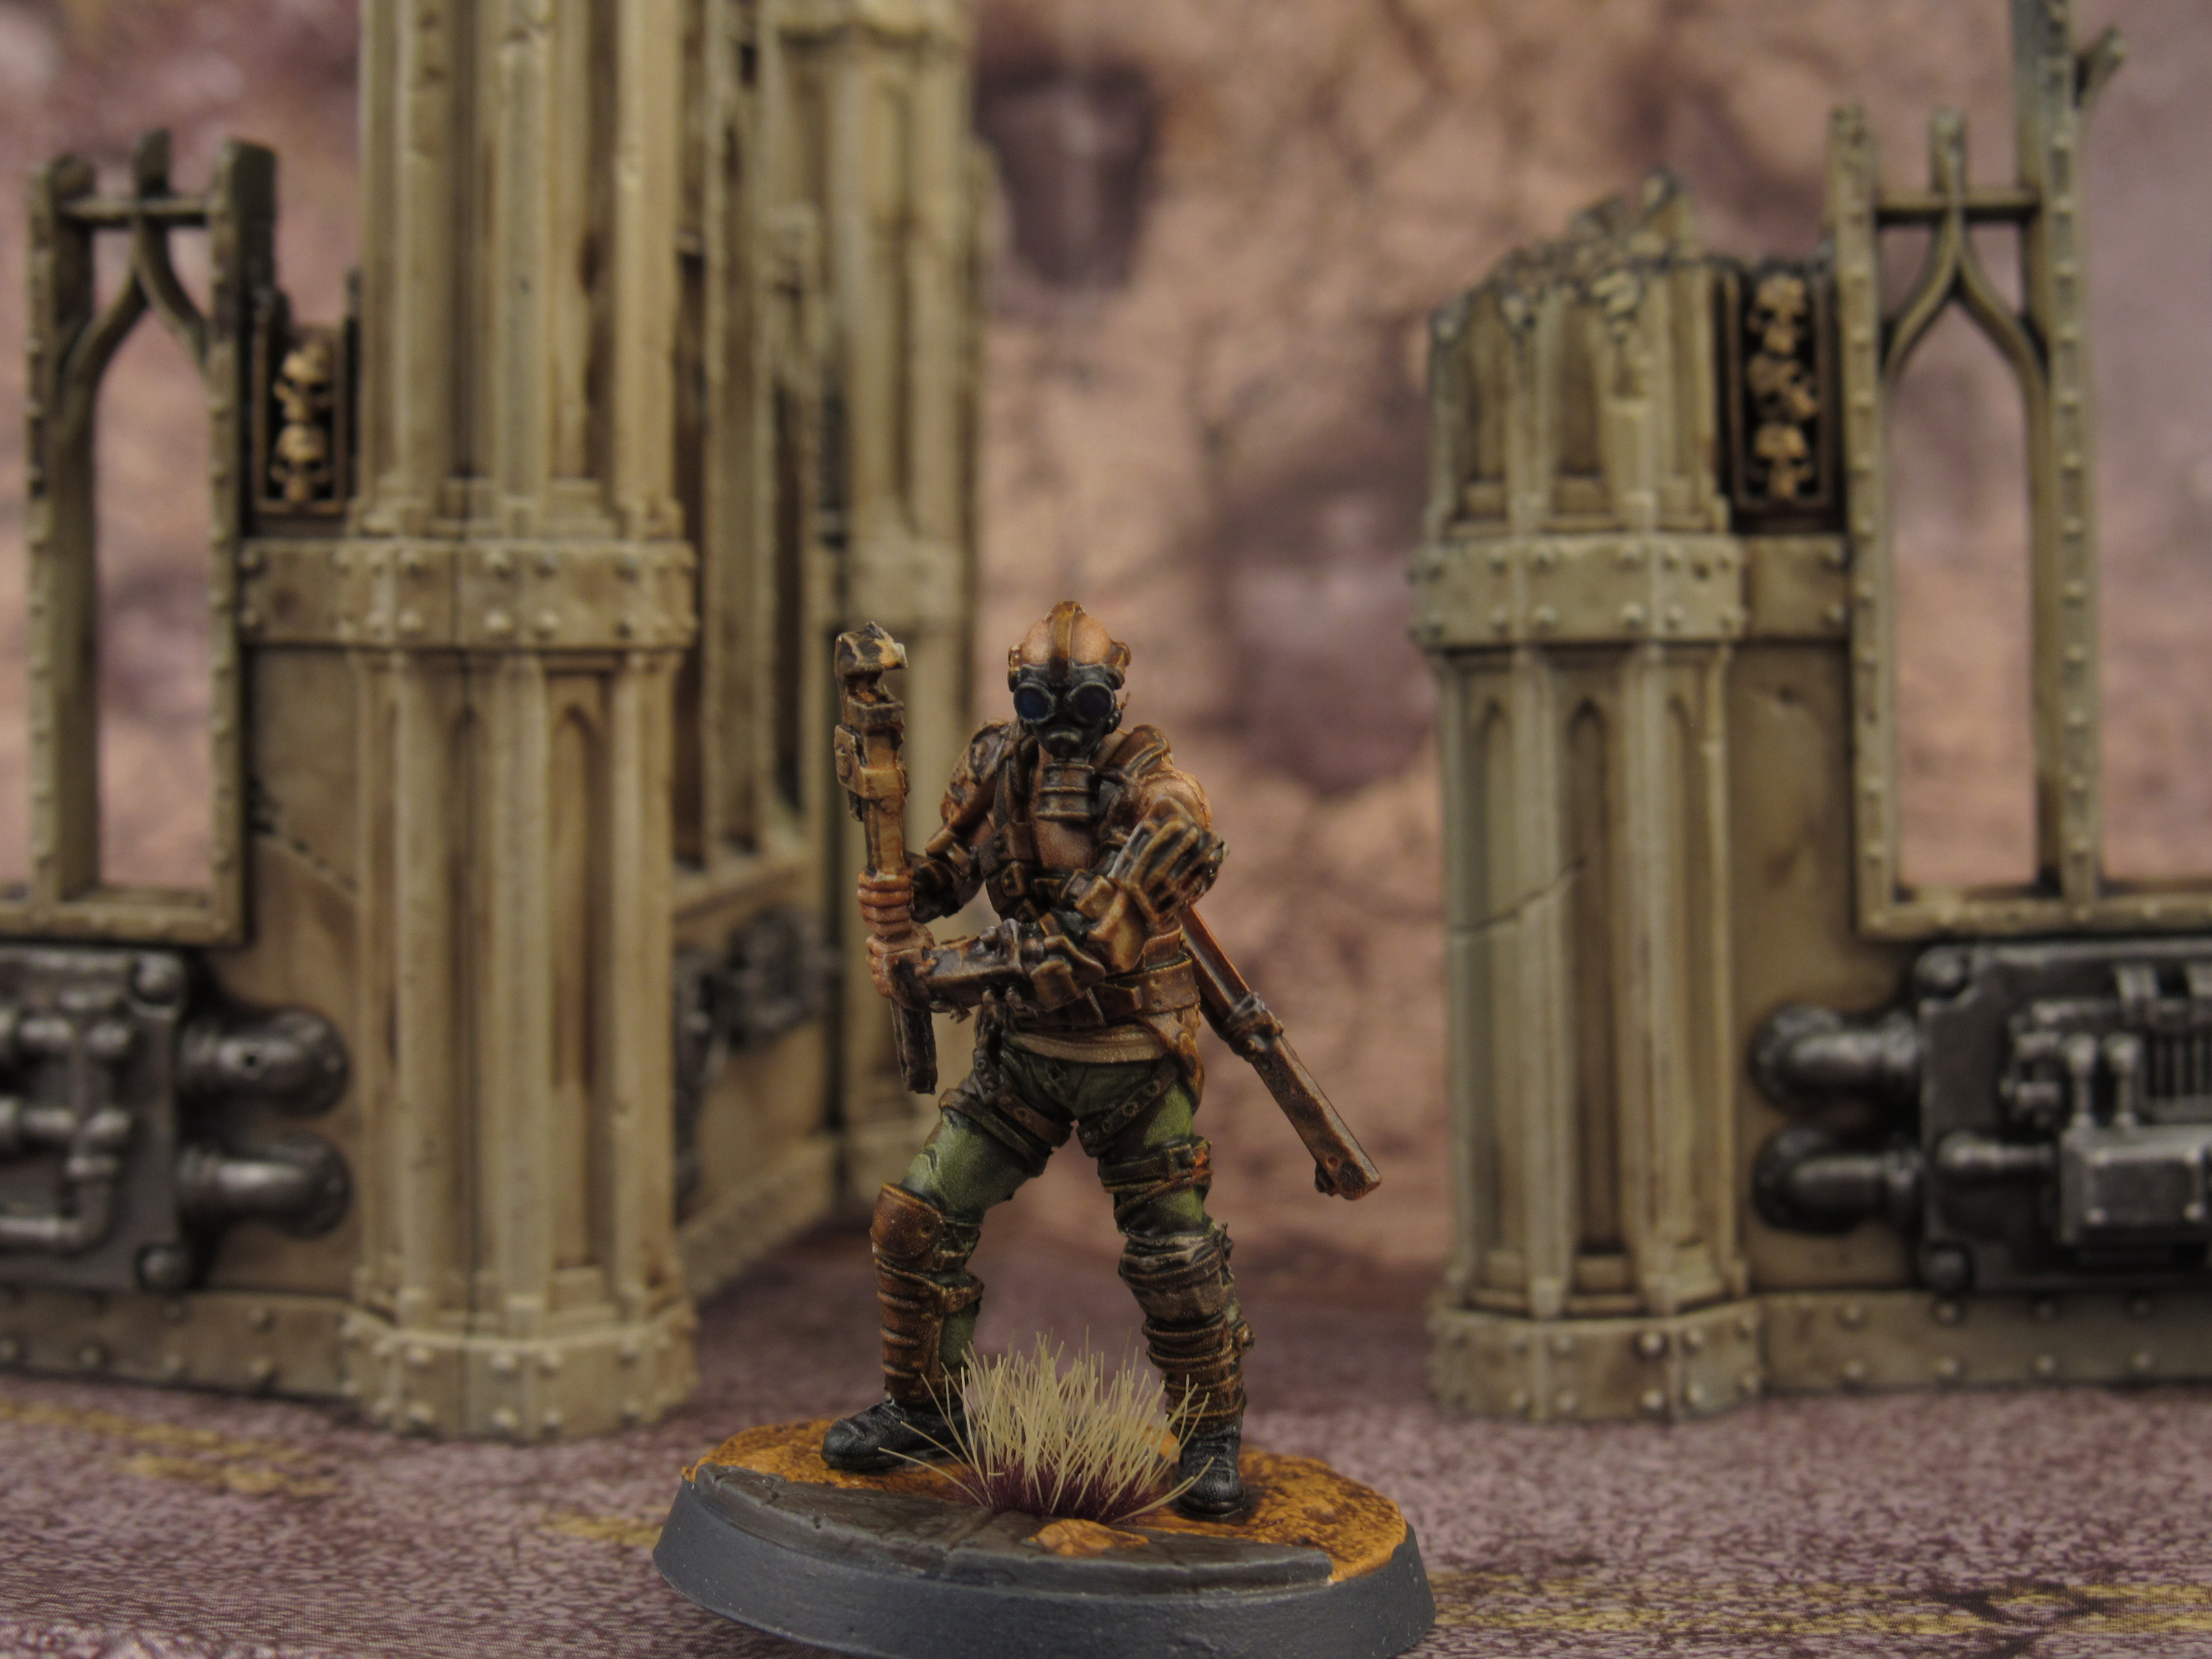
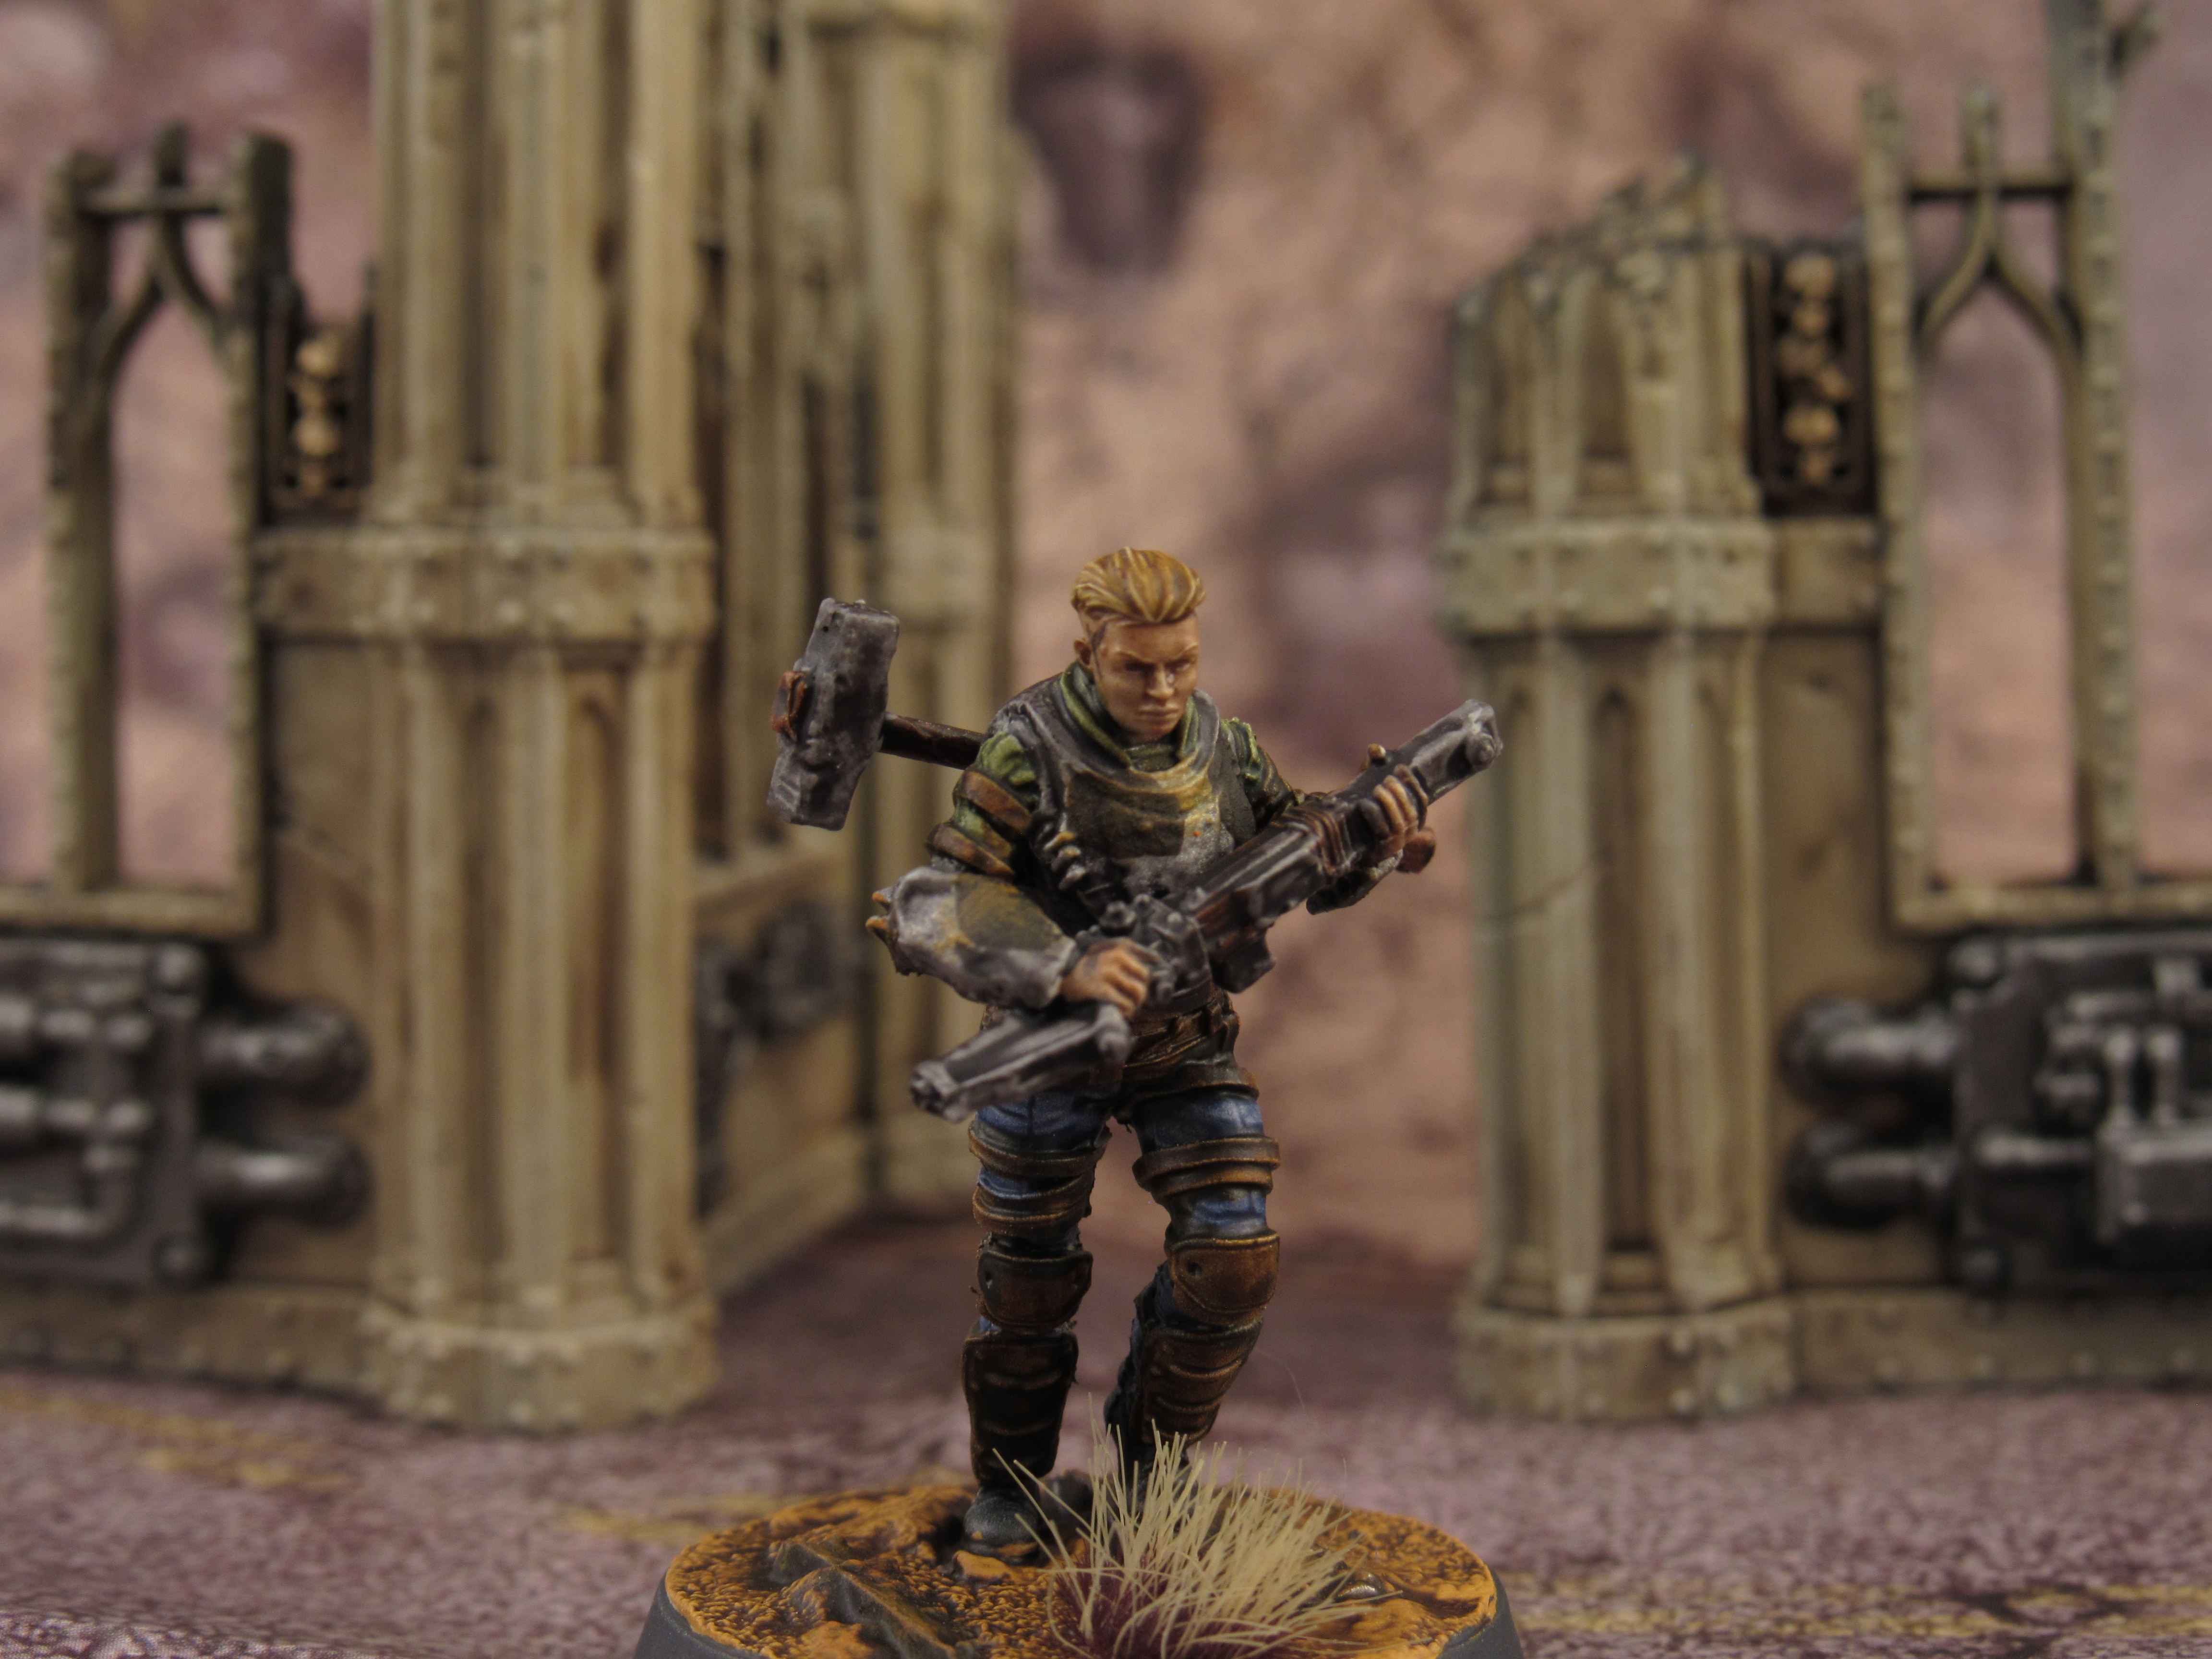
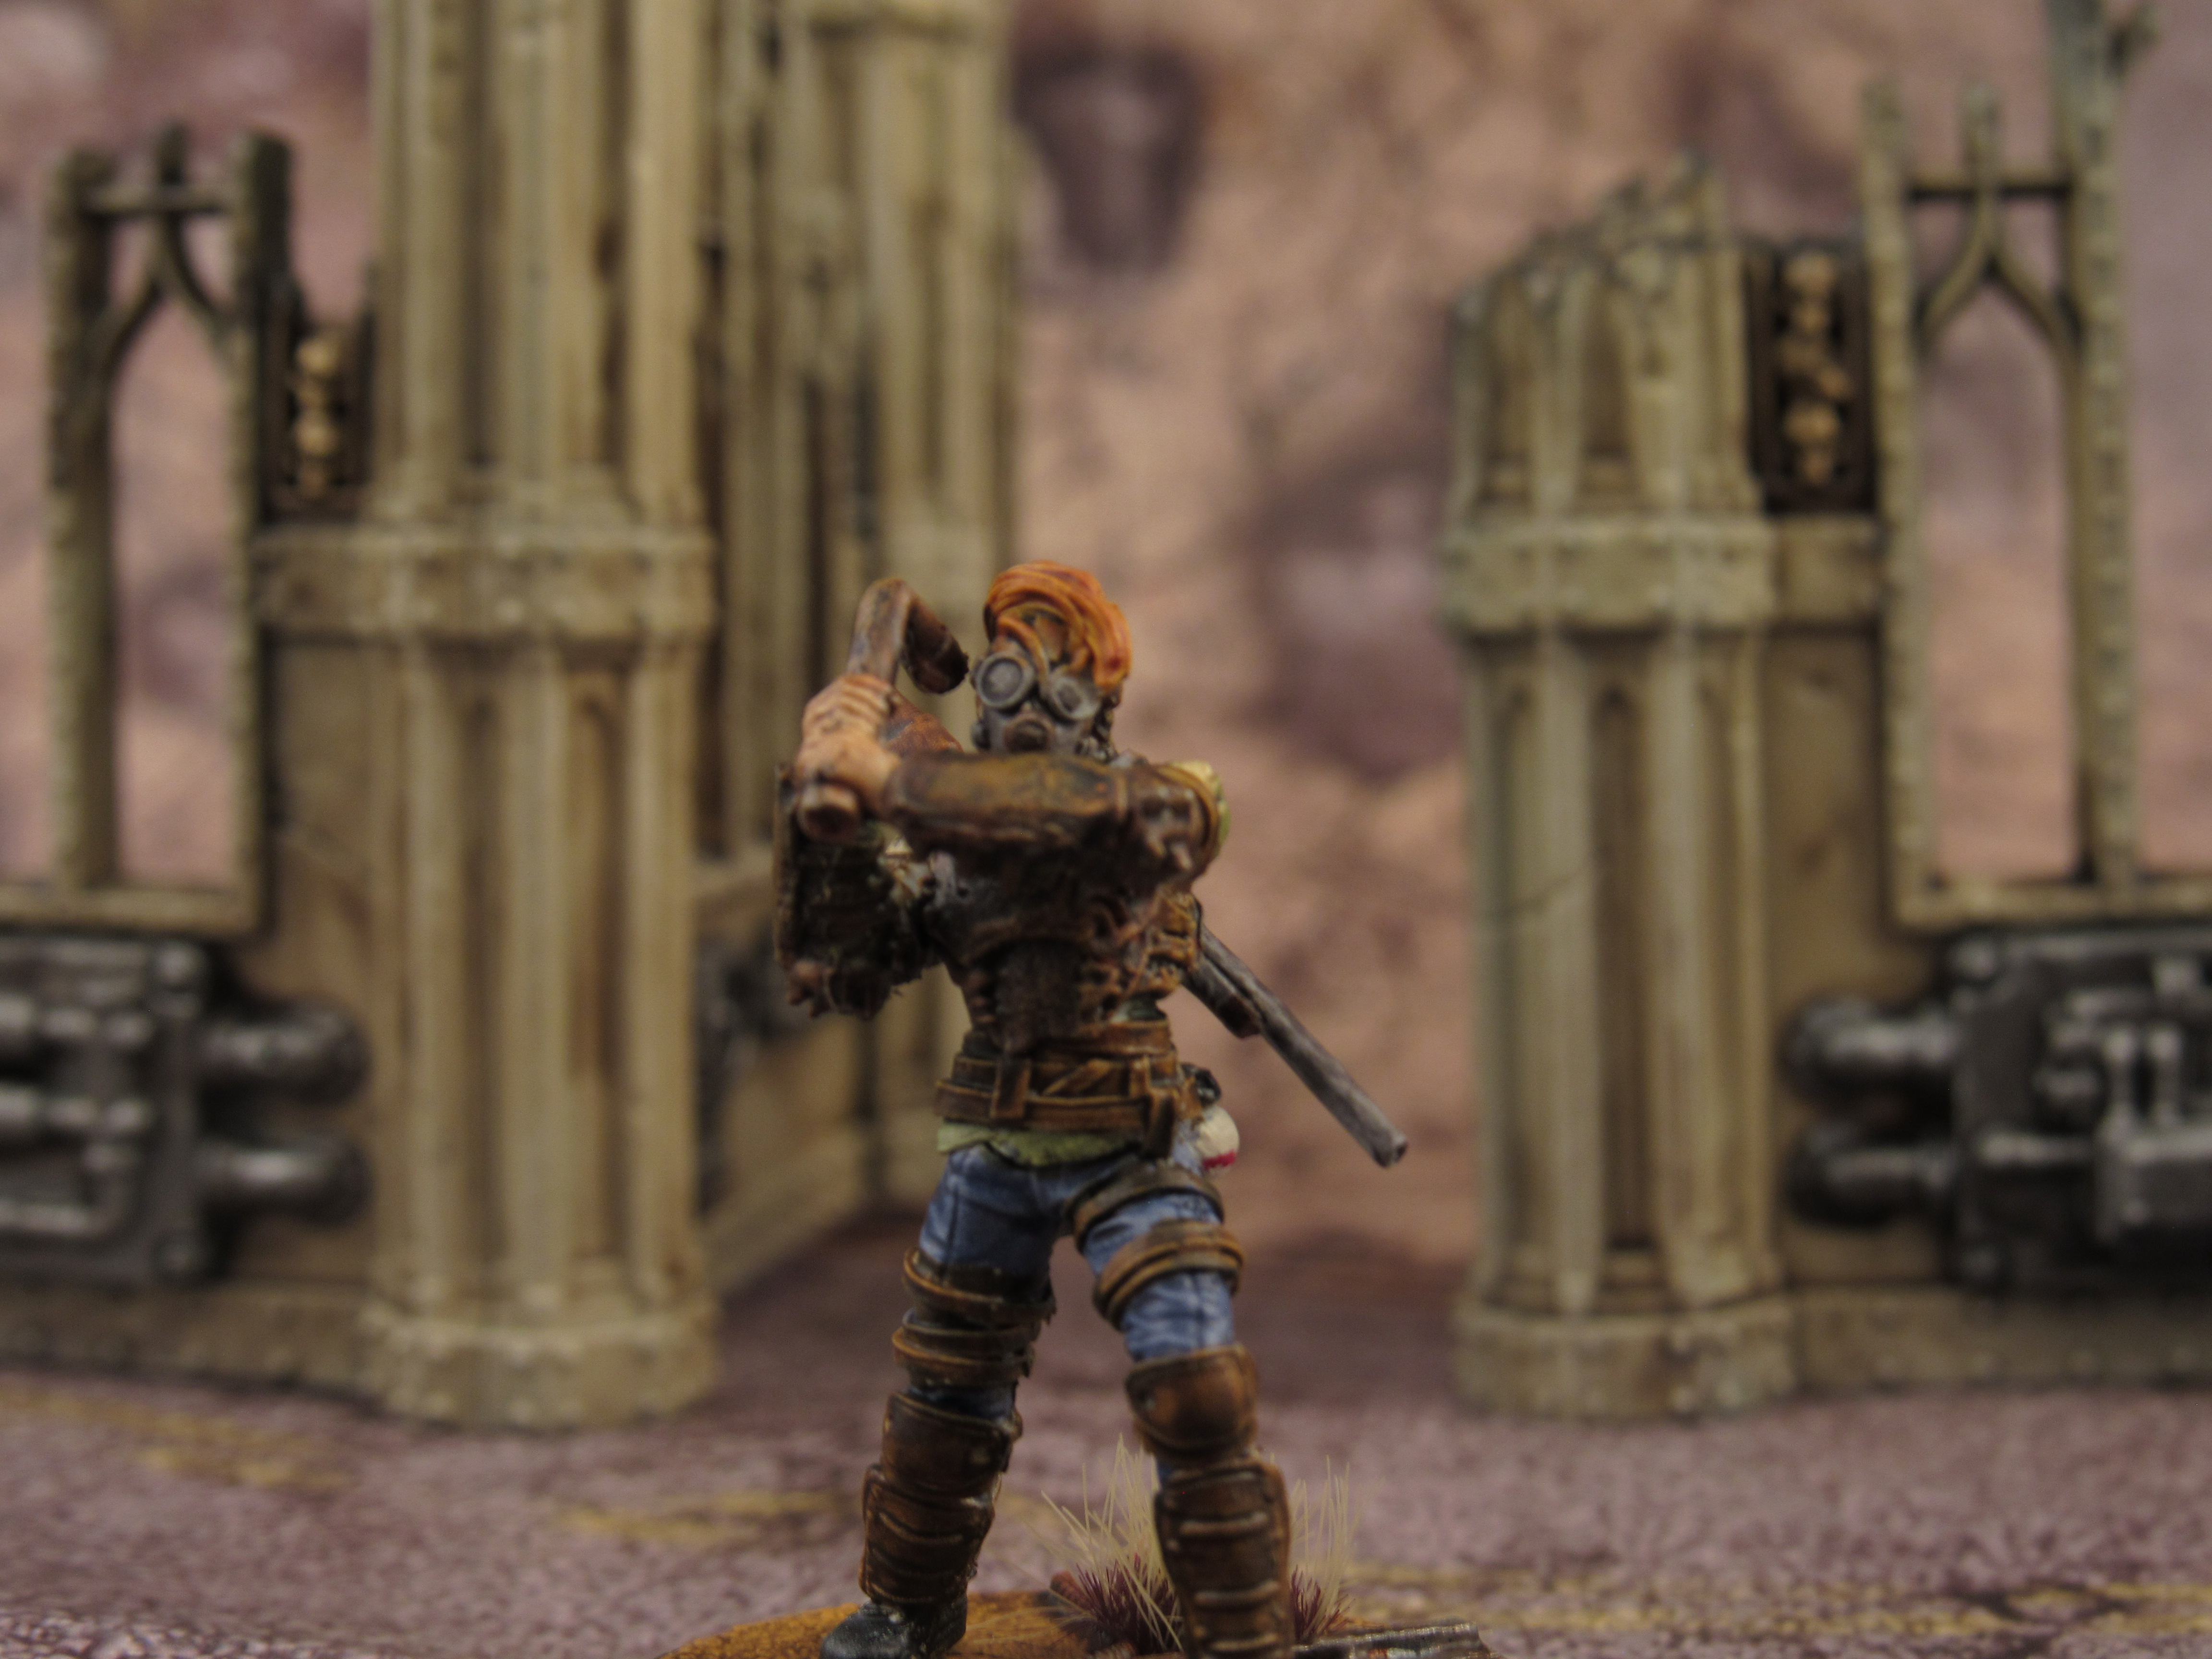
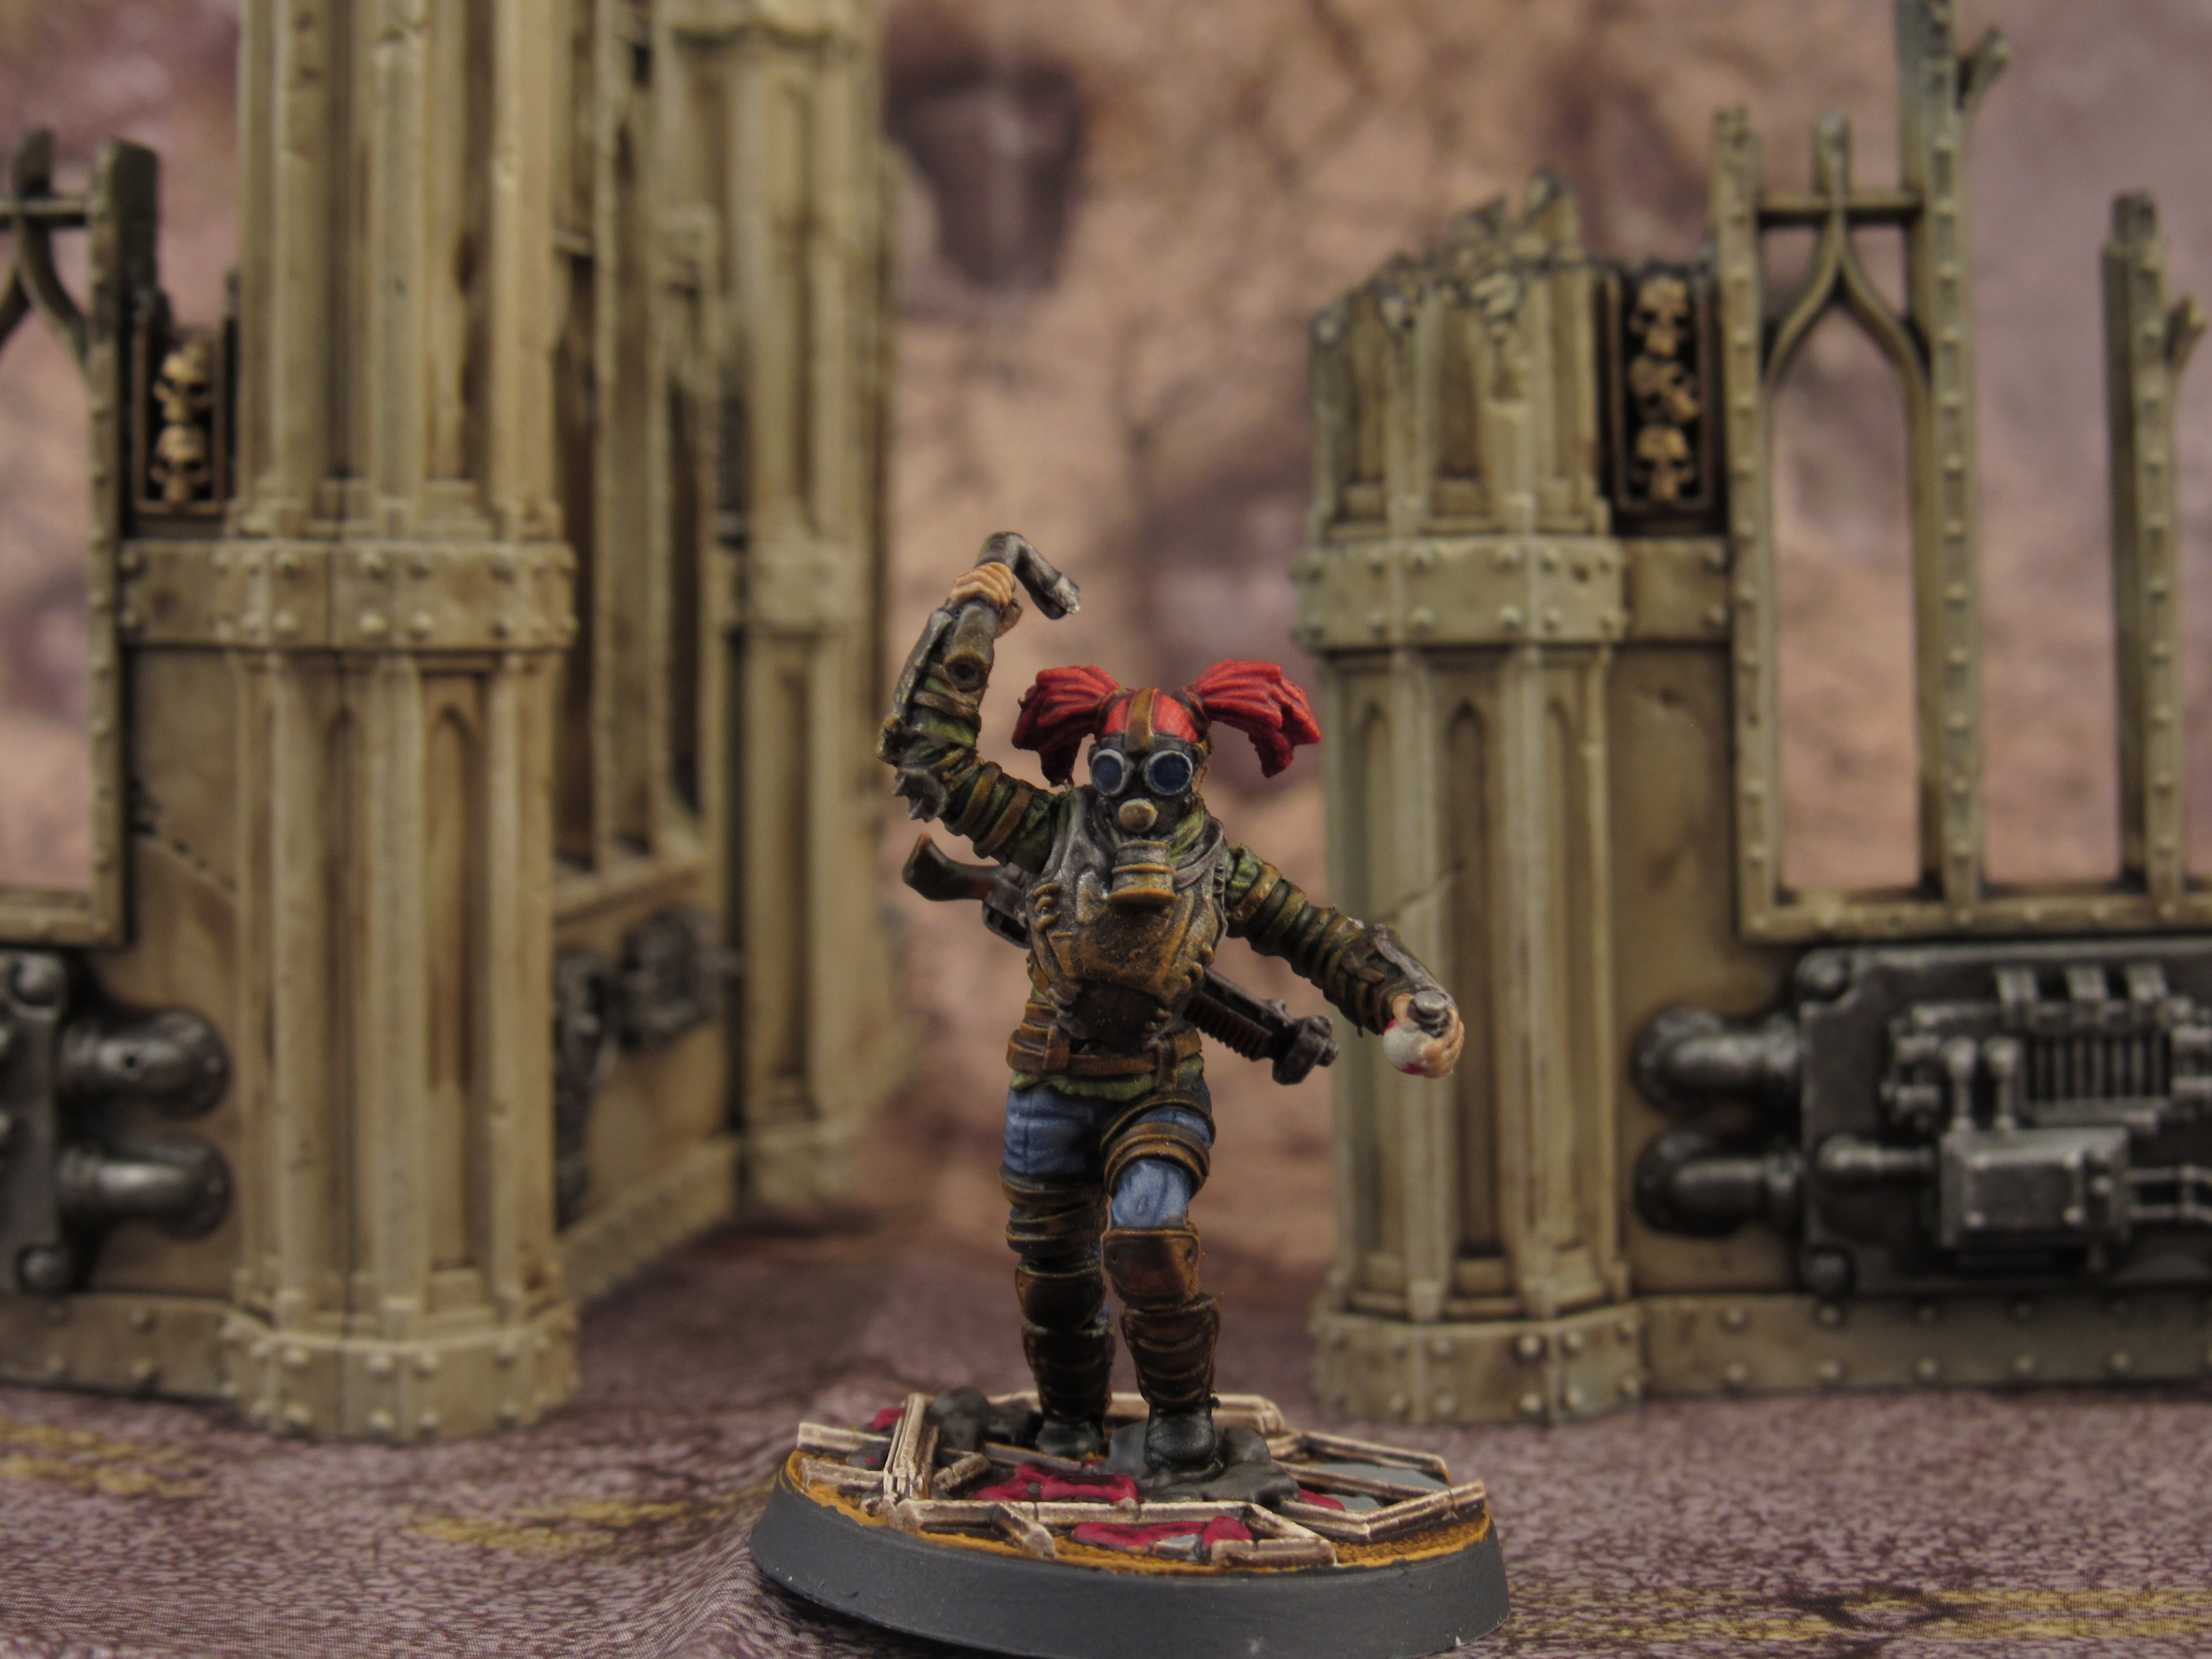
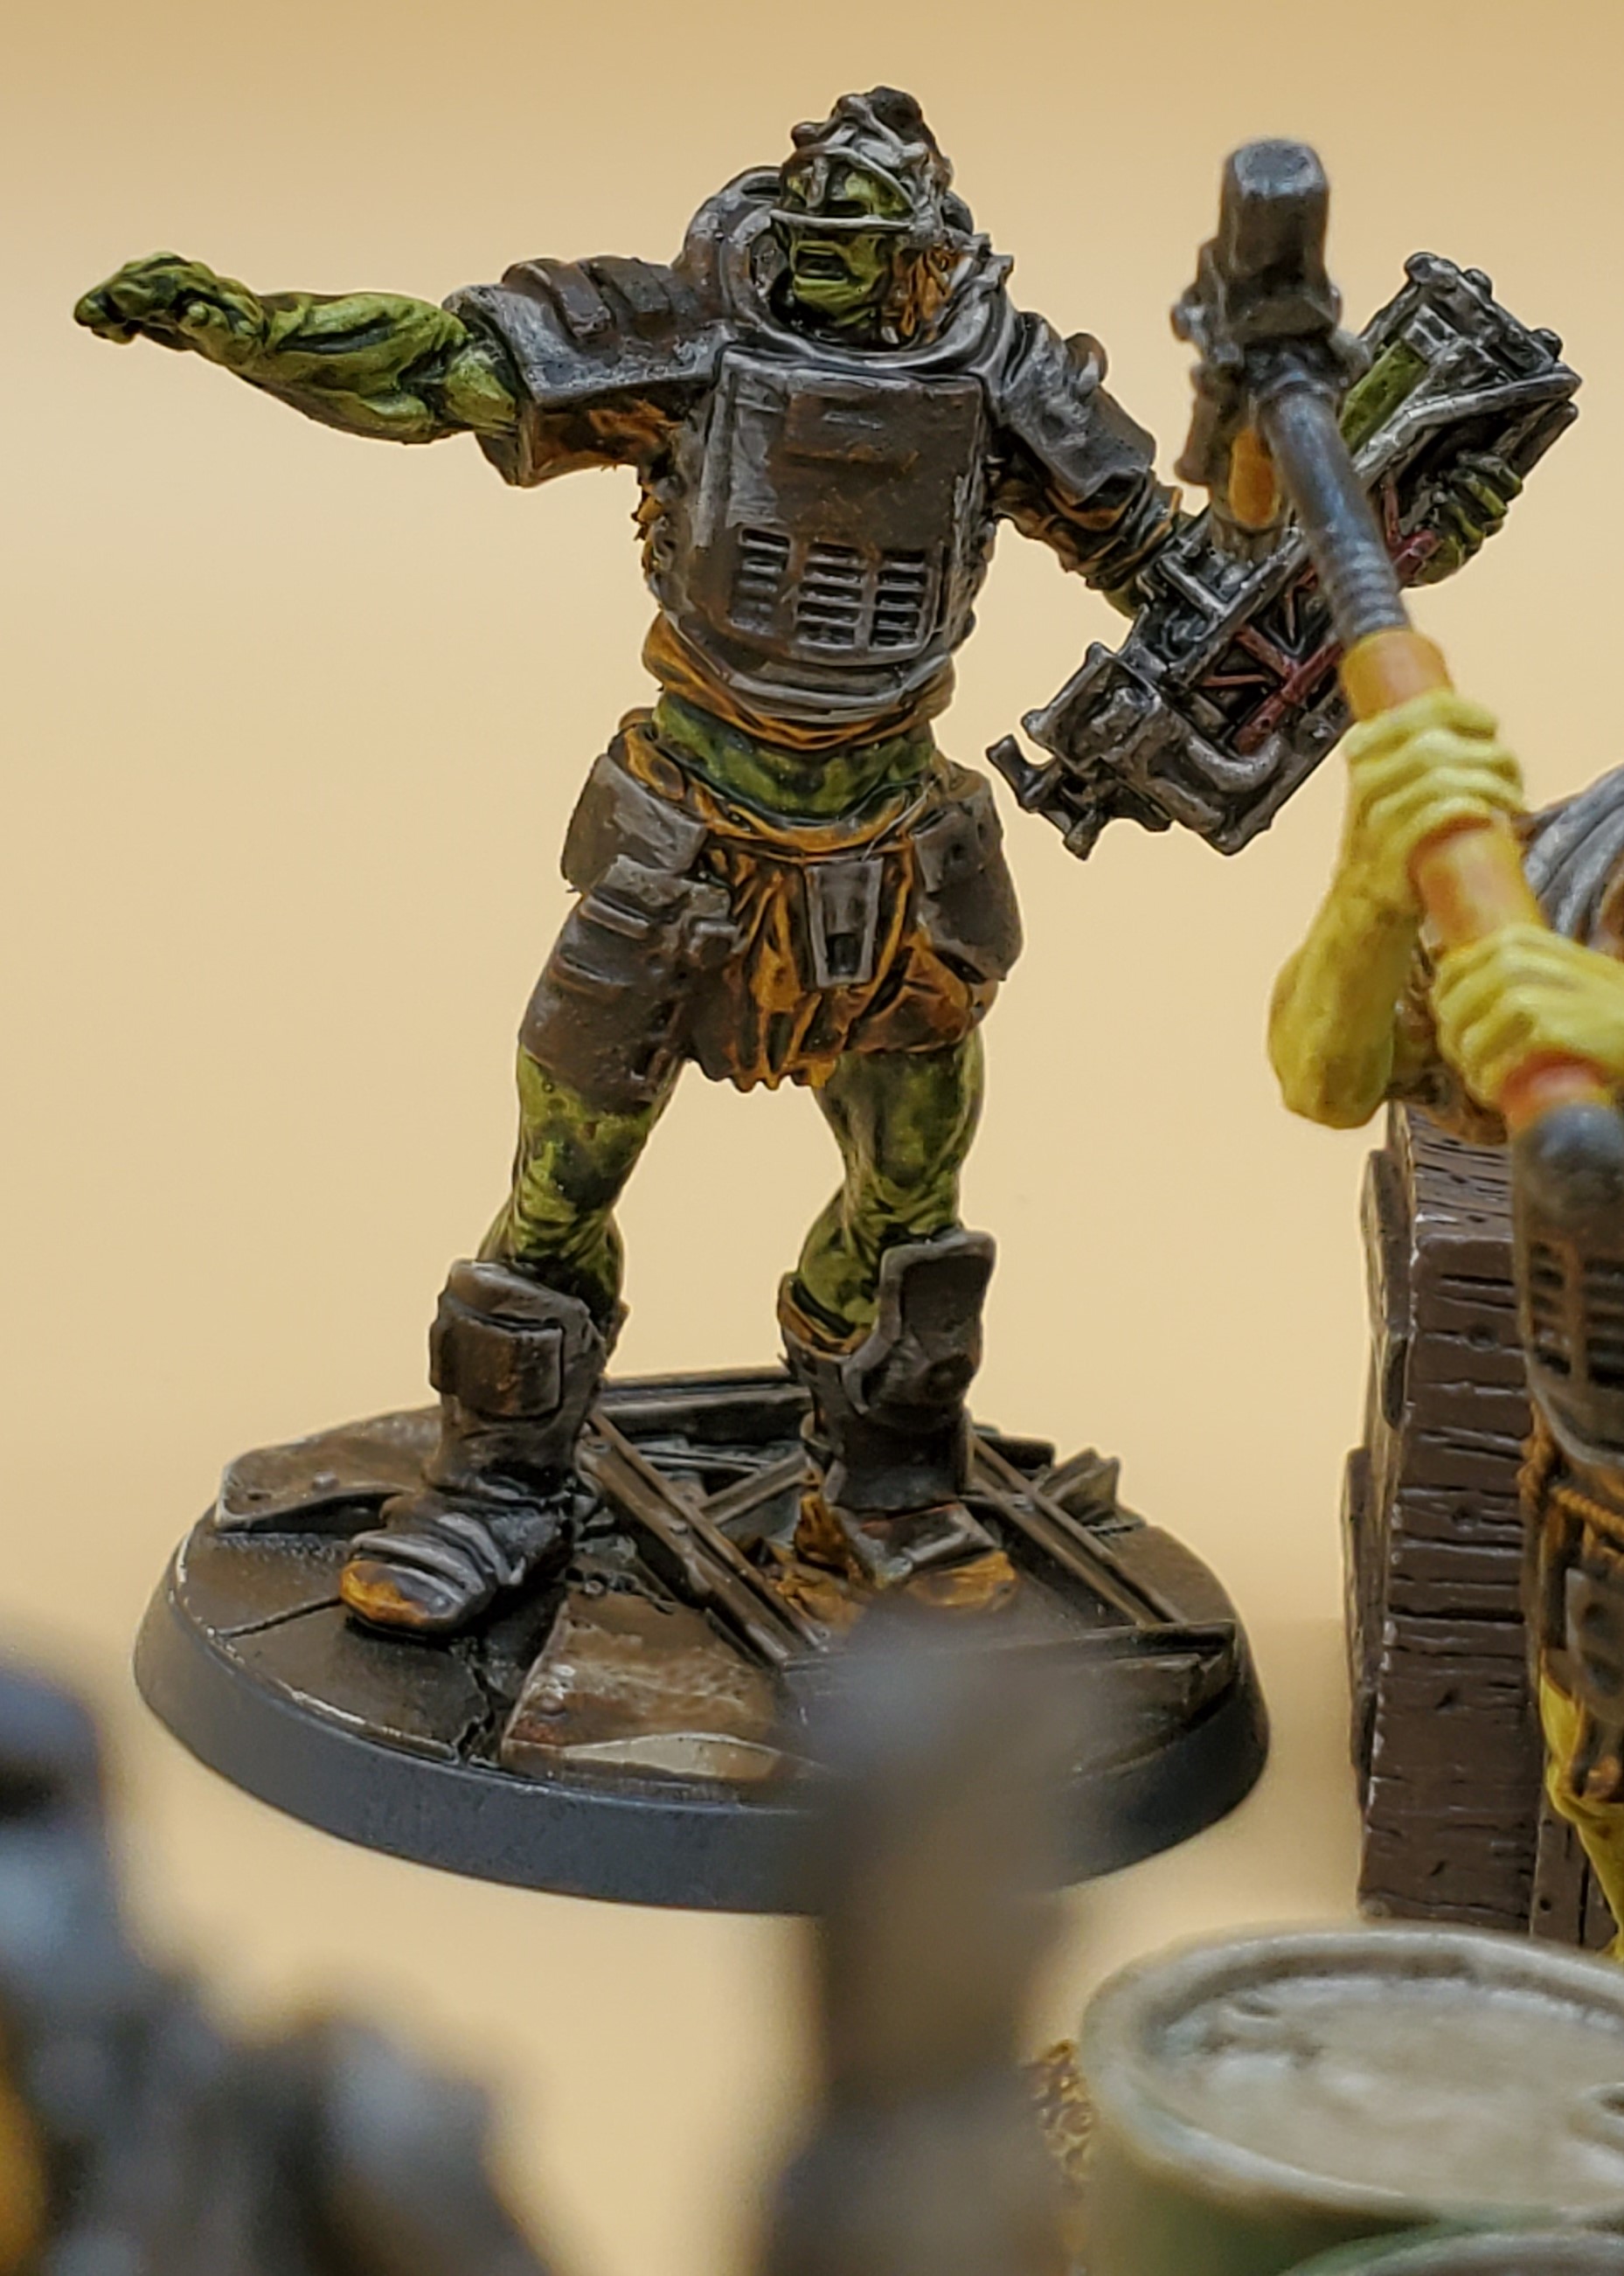
The Super Mutants return!! Or at least Modiphius has released 2 more sets of them so I went ahead and jumped them to the front of the painting queue so I can at least keep saying all my Super Mutants are painted (it’s the little victories that keep you going). This release contains 2 new box sets, the Skirmishers representing 3 hard hitting melee models, and Overlord/Fist for a couple new character models.
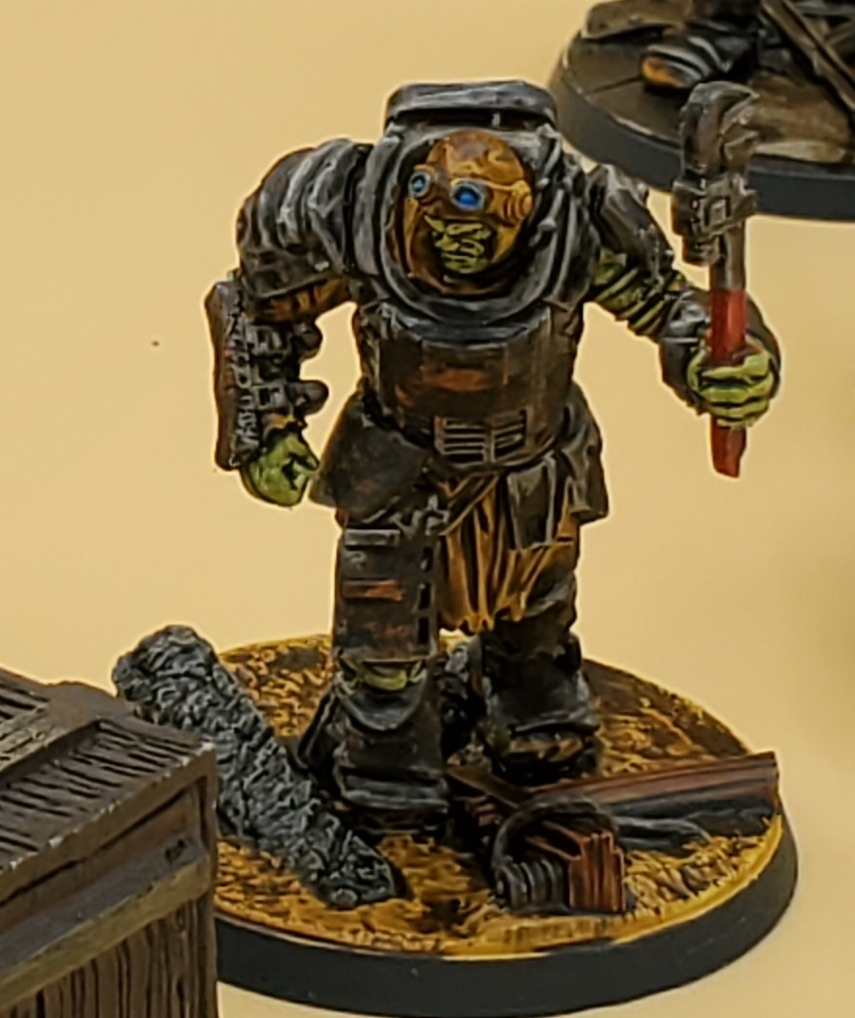
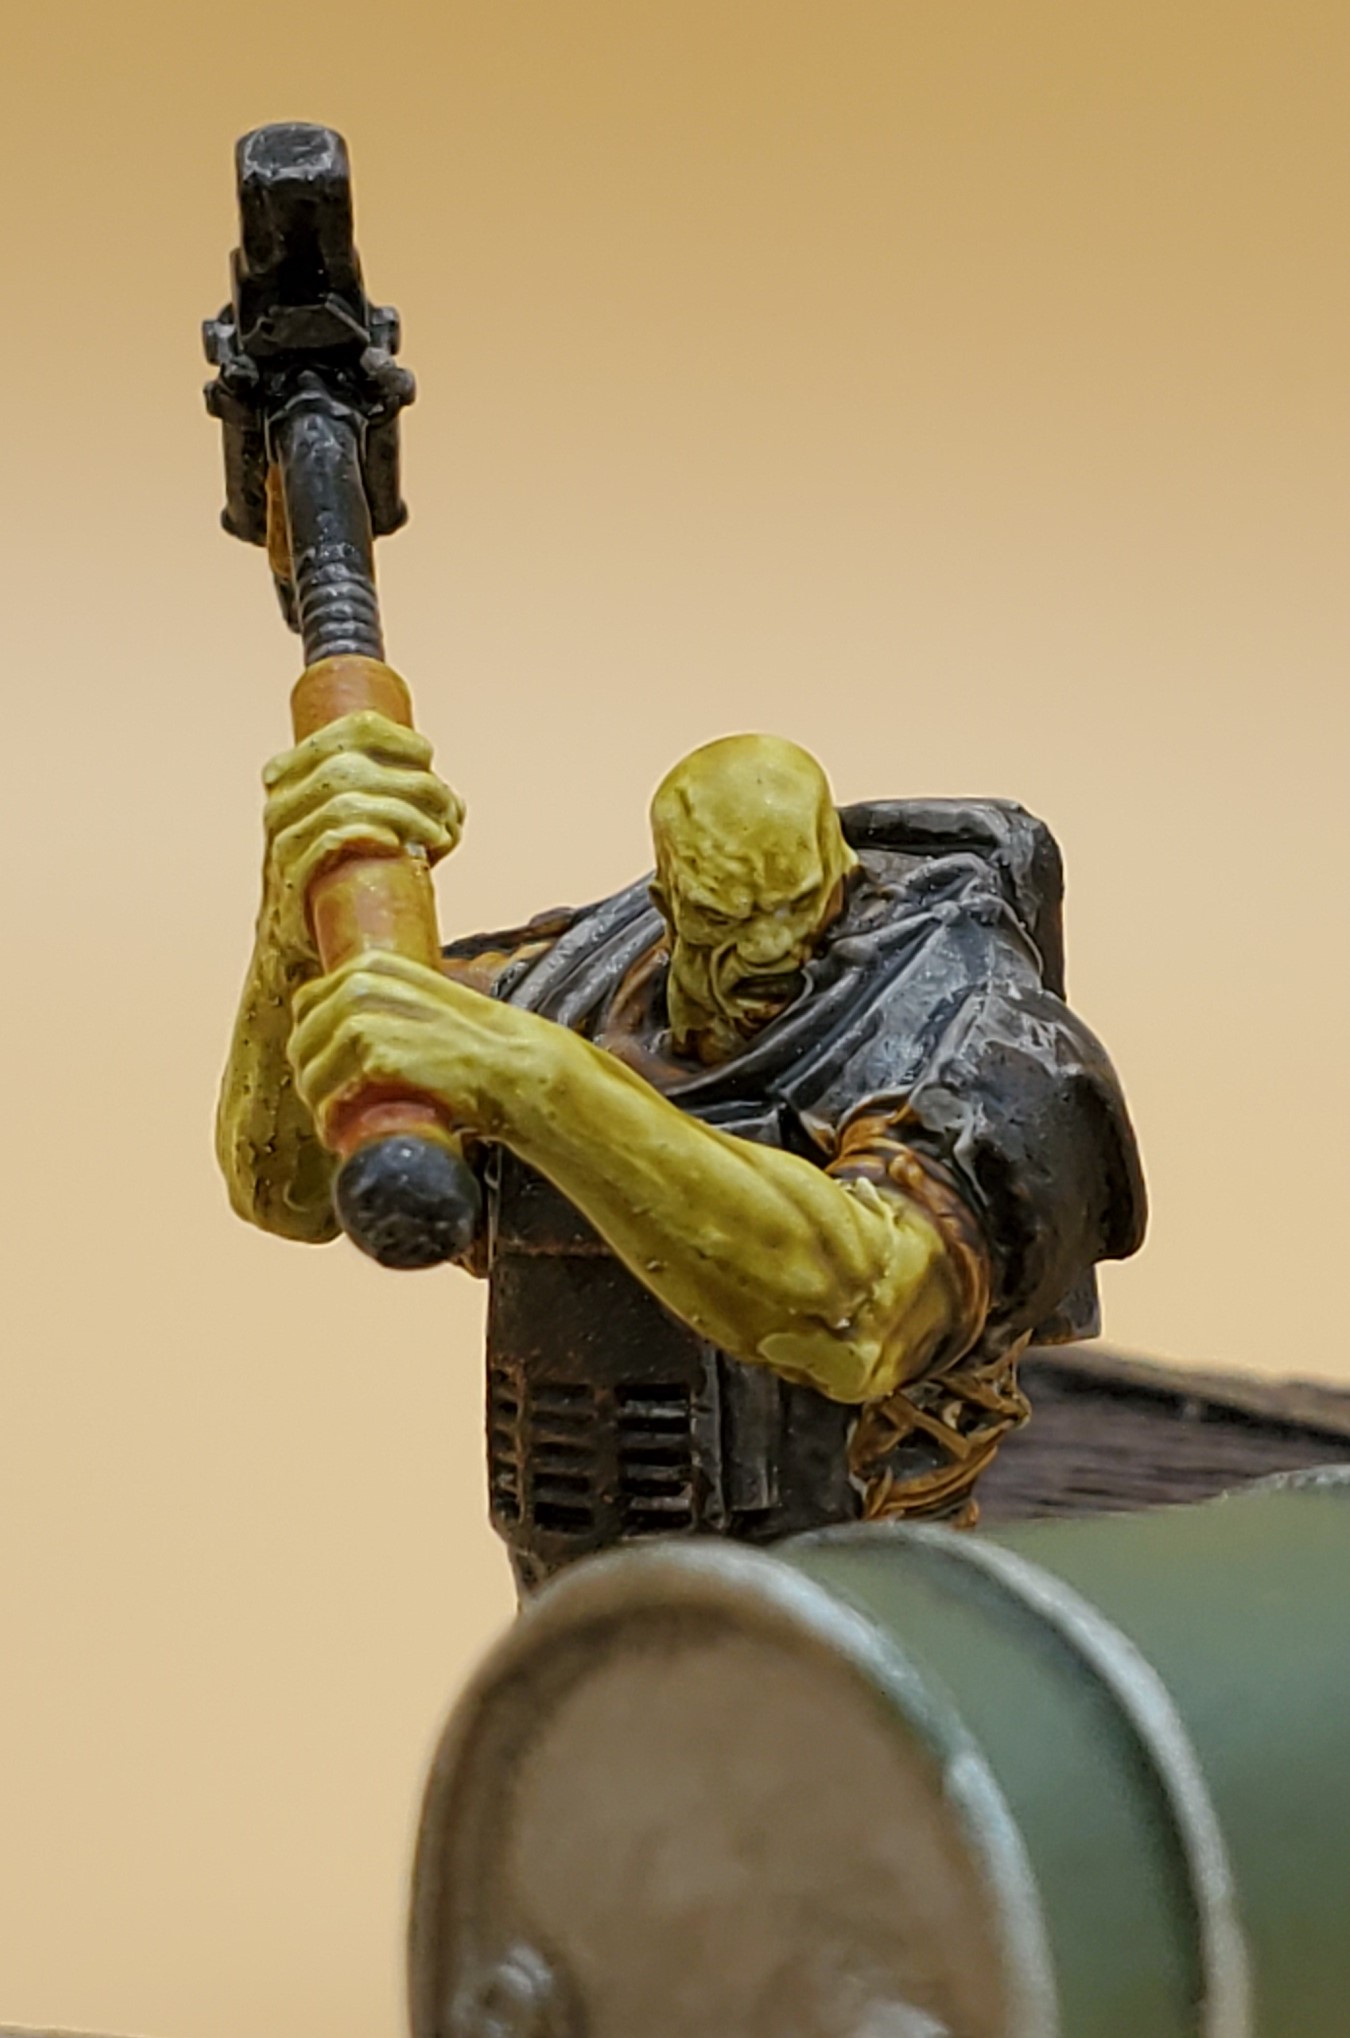
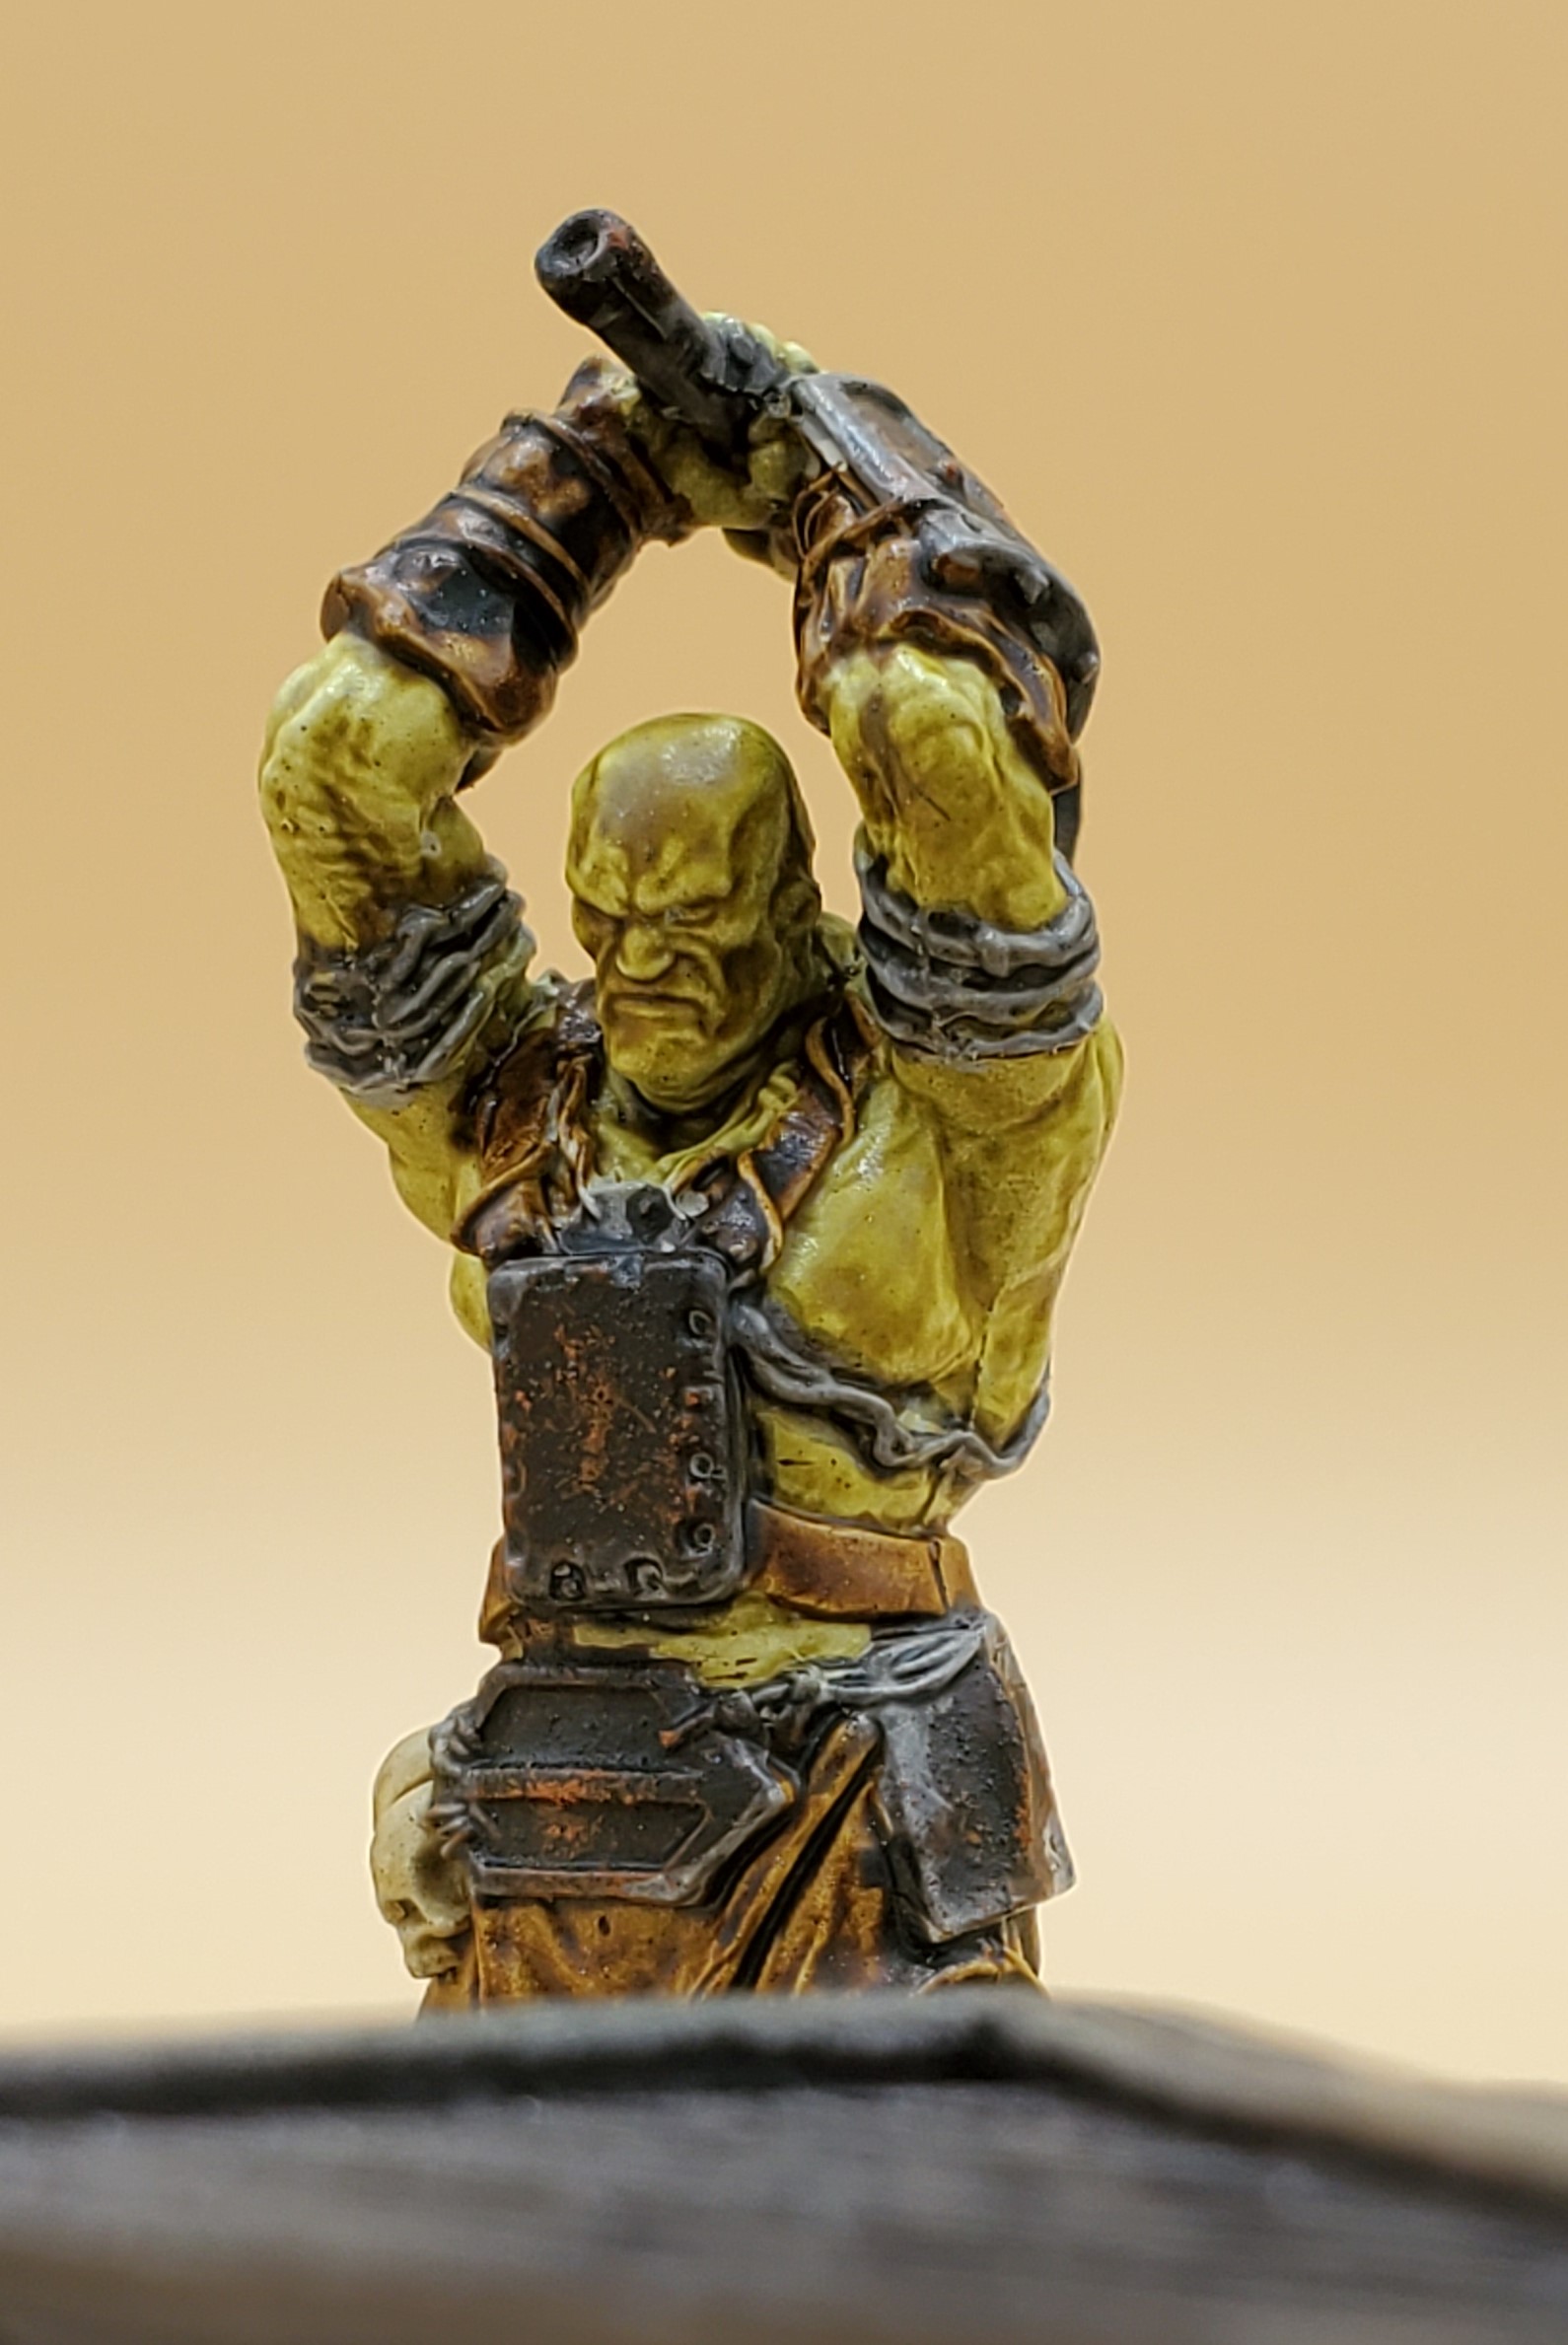
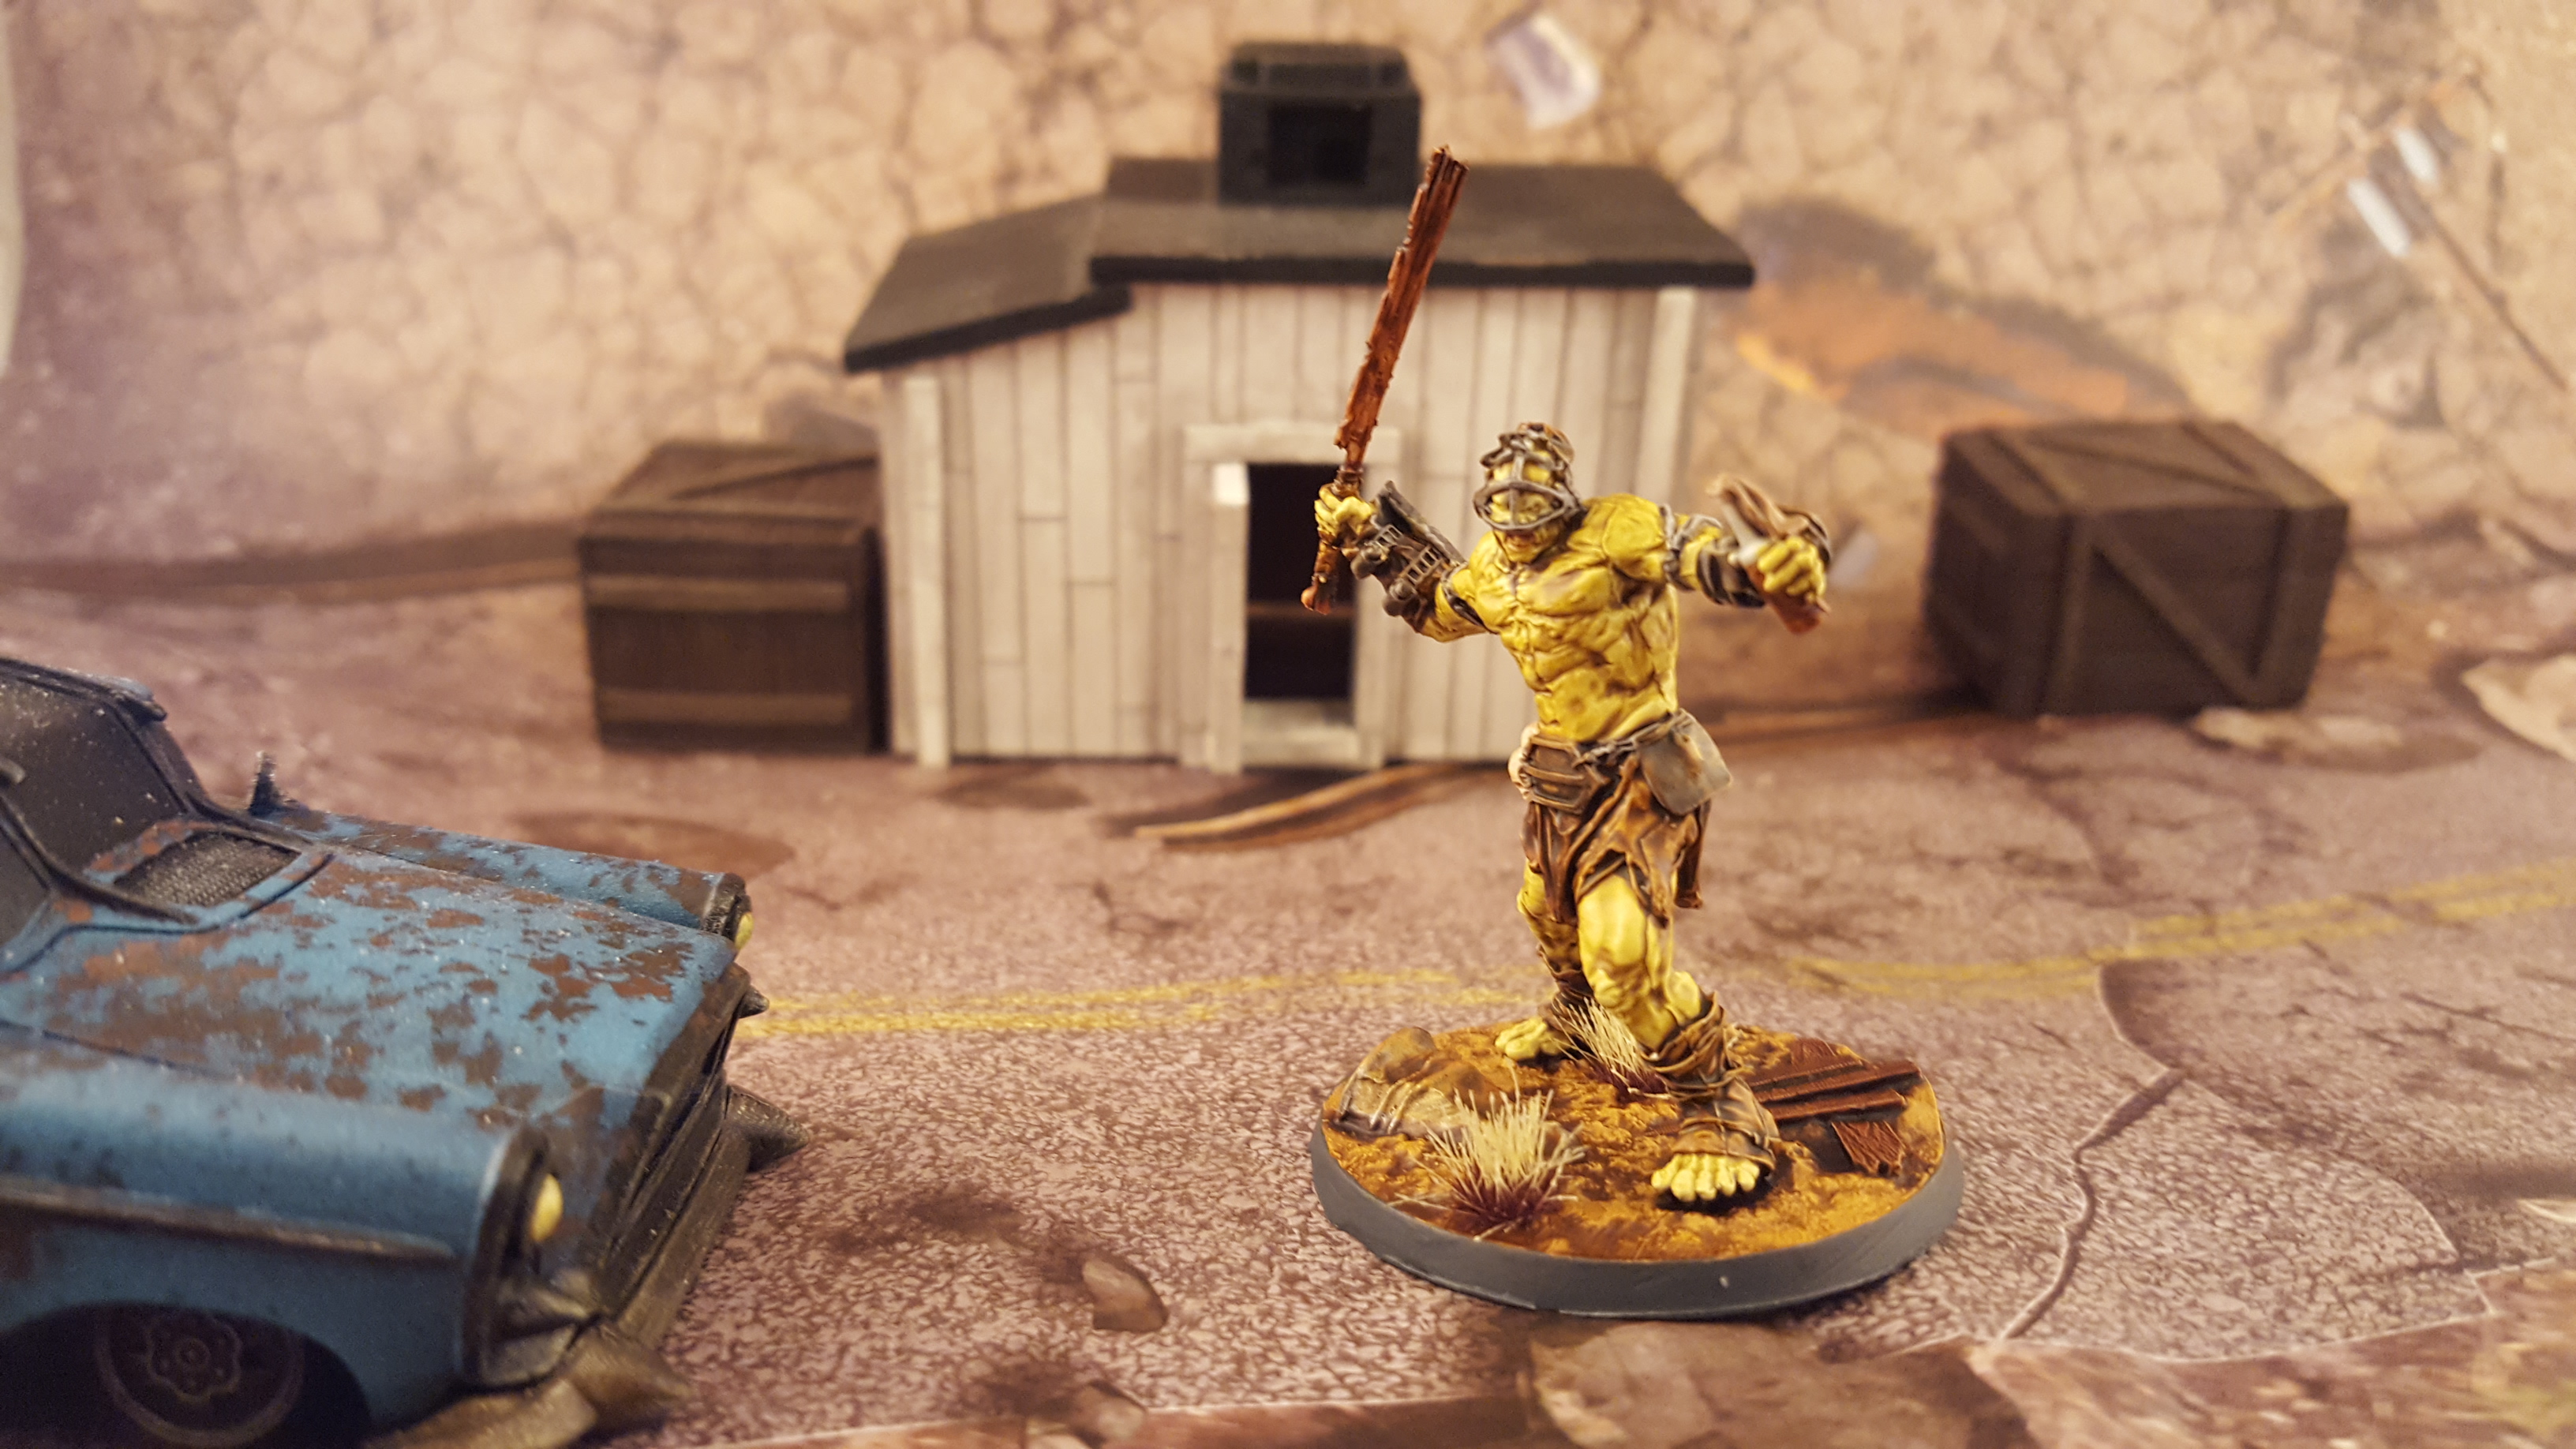
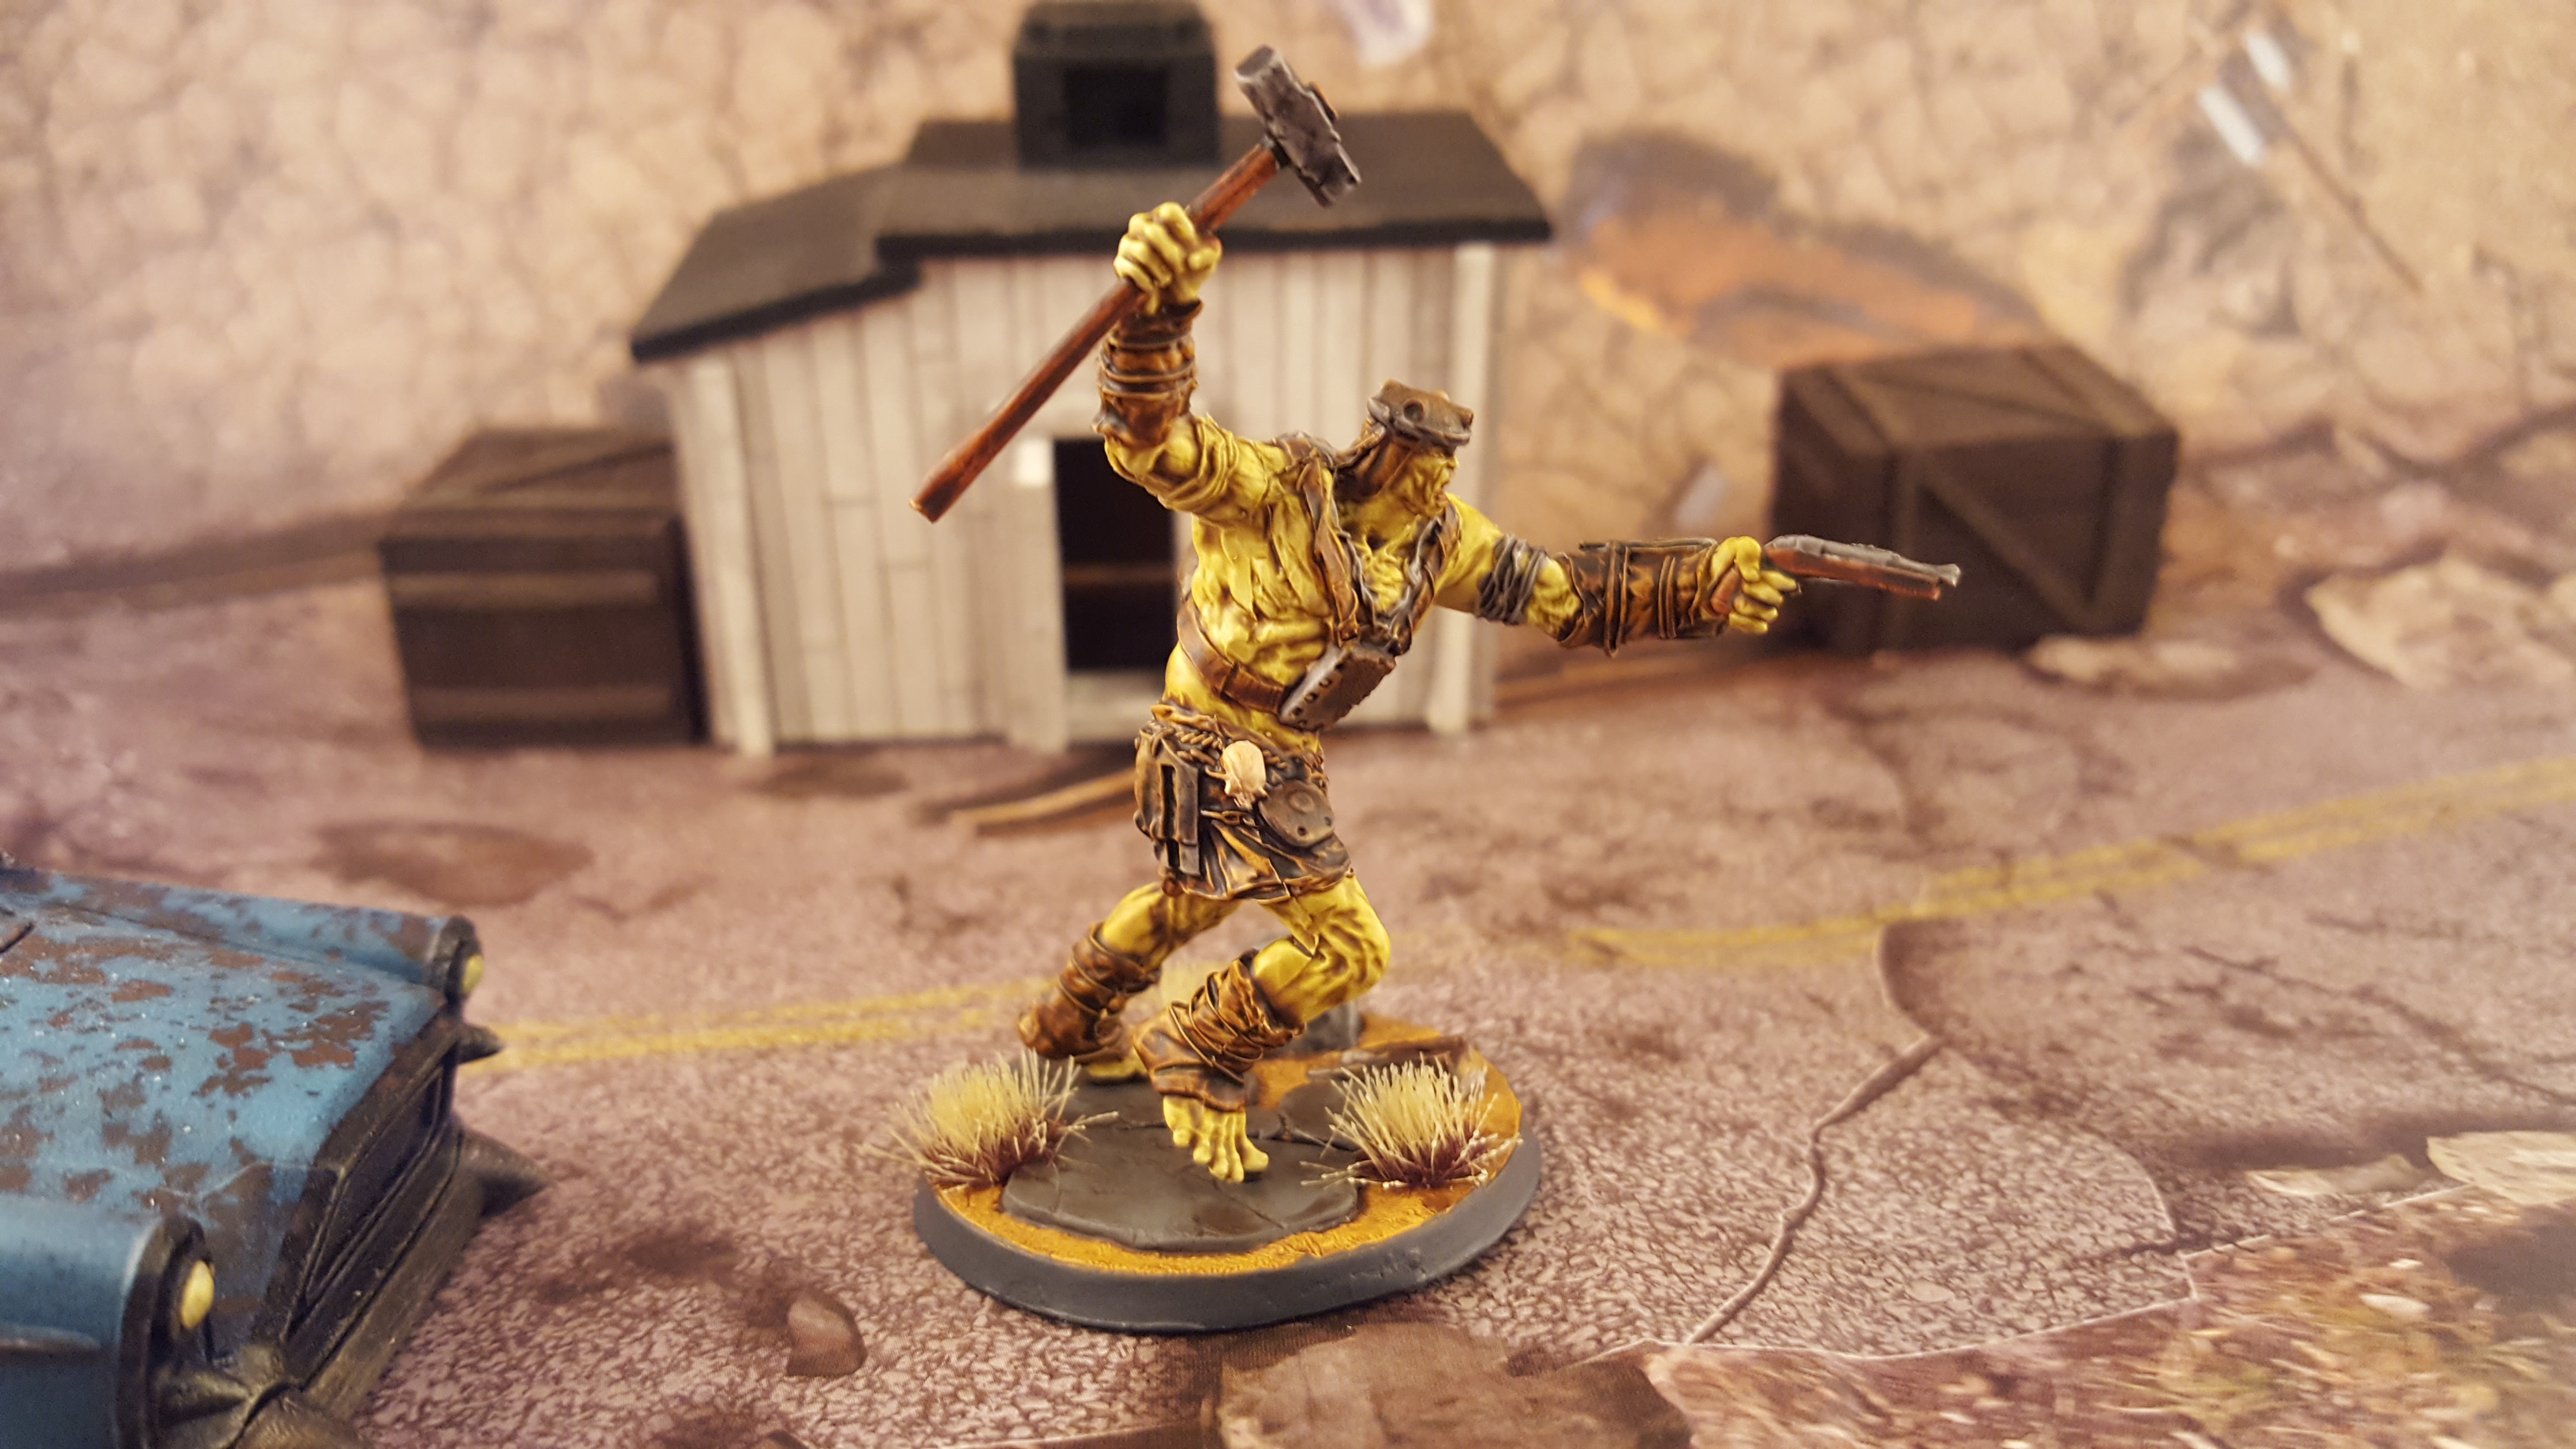
The Skirmishers are a nice looking trio sporting an array of weapons, my favorite is the mutant with a Super Sledge, a rocket powered sledgehammer that has been sorely lacking in the game model wise up until now. These have all been done in contrast paints as they really pick out the muscles etc on the mutants. To add a bit of detailing the metal has had rust effects from Vallejo added then picked out with some orange rust as well.
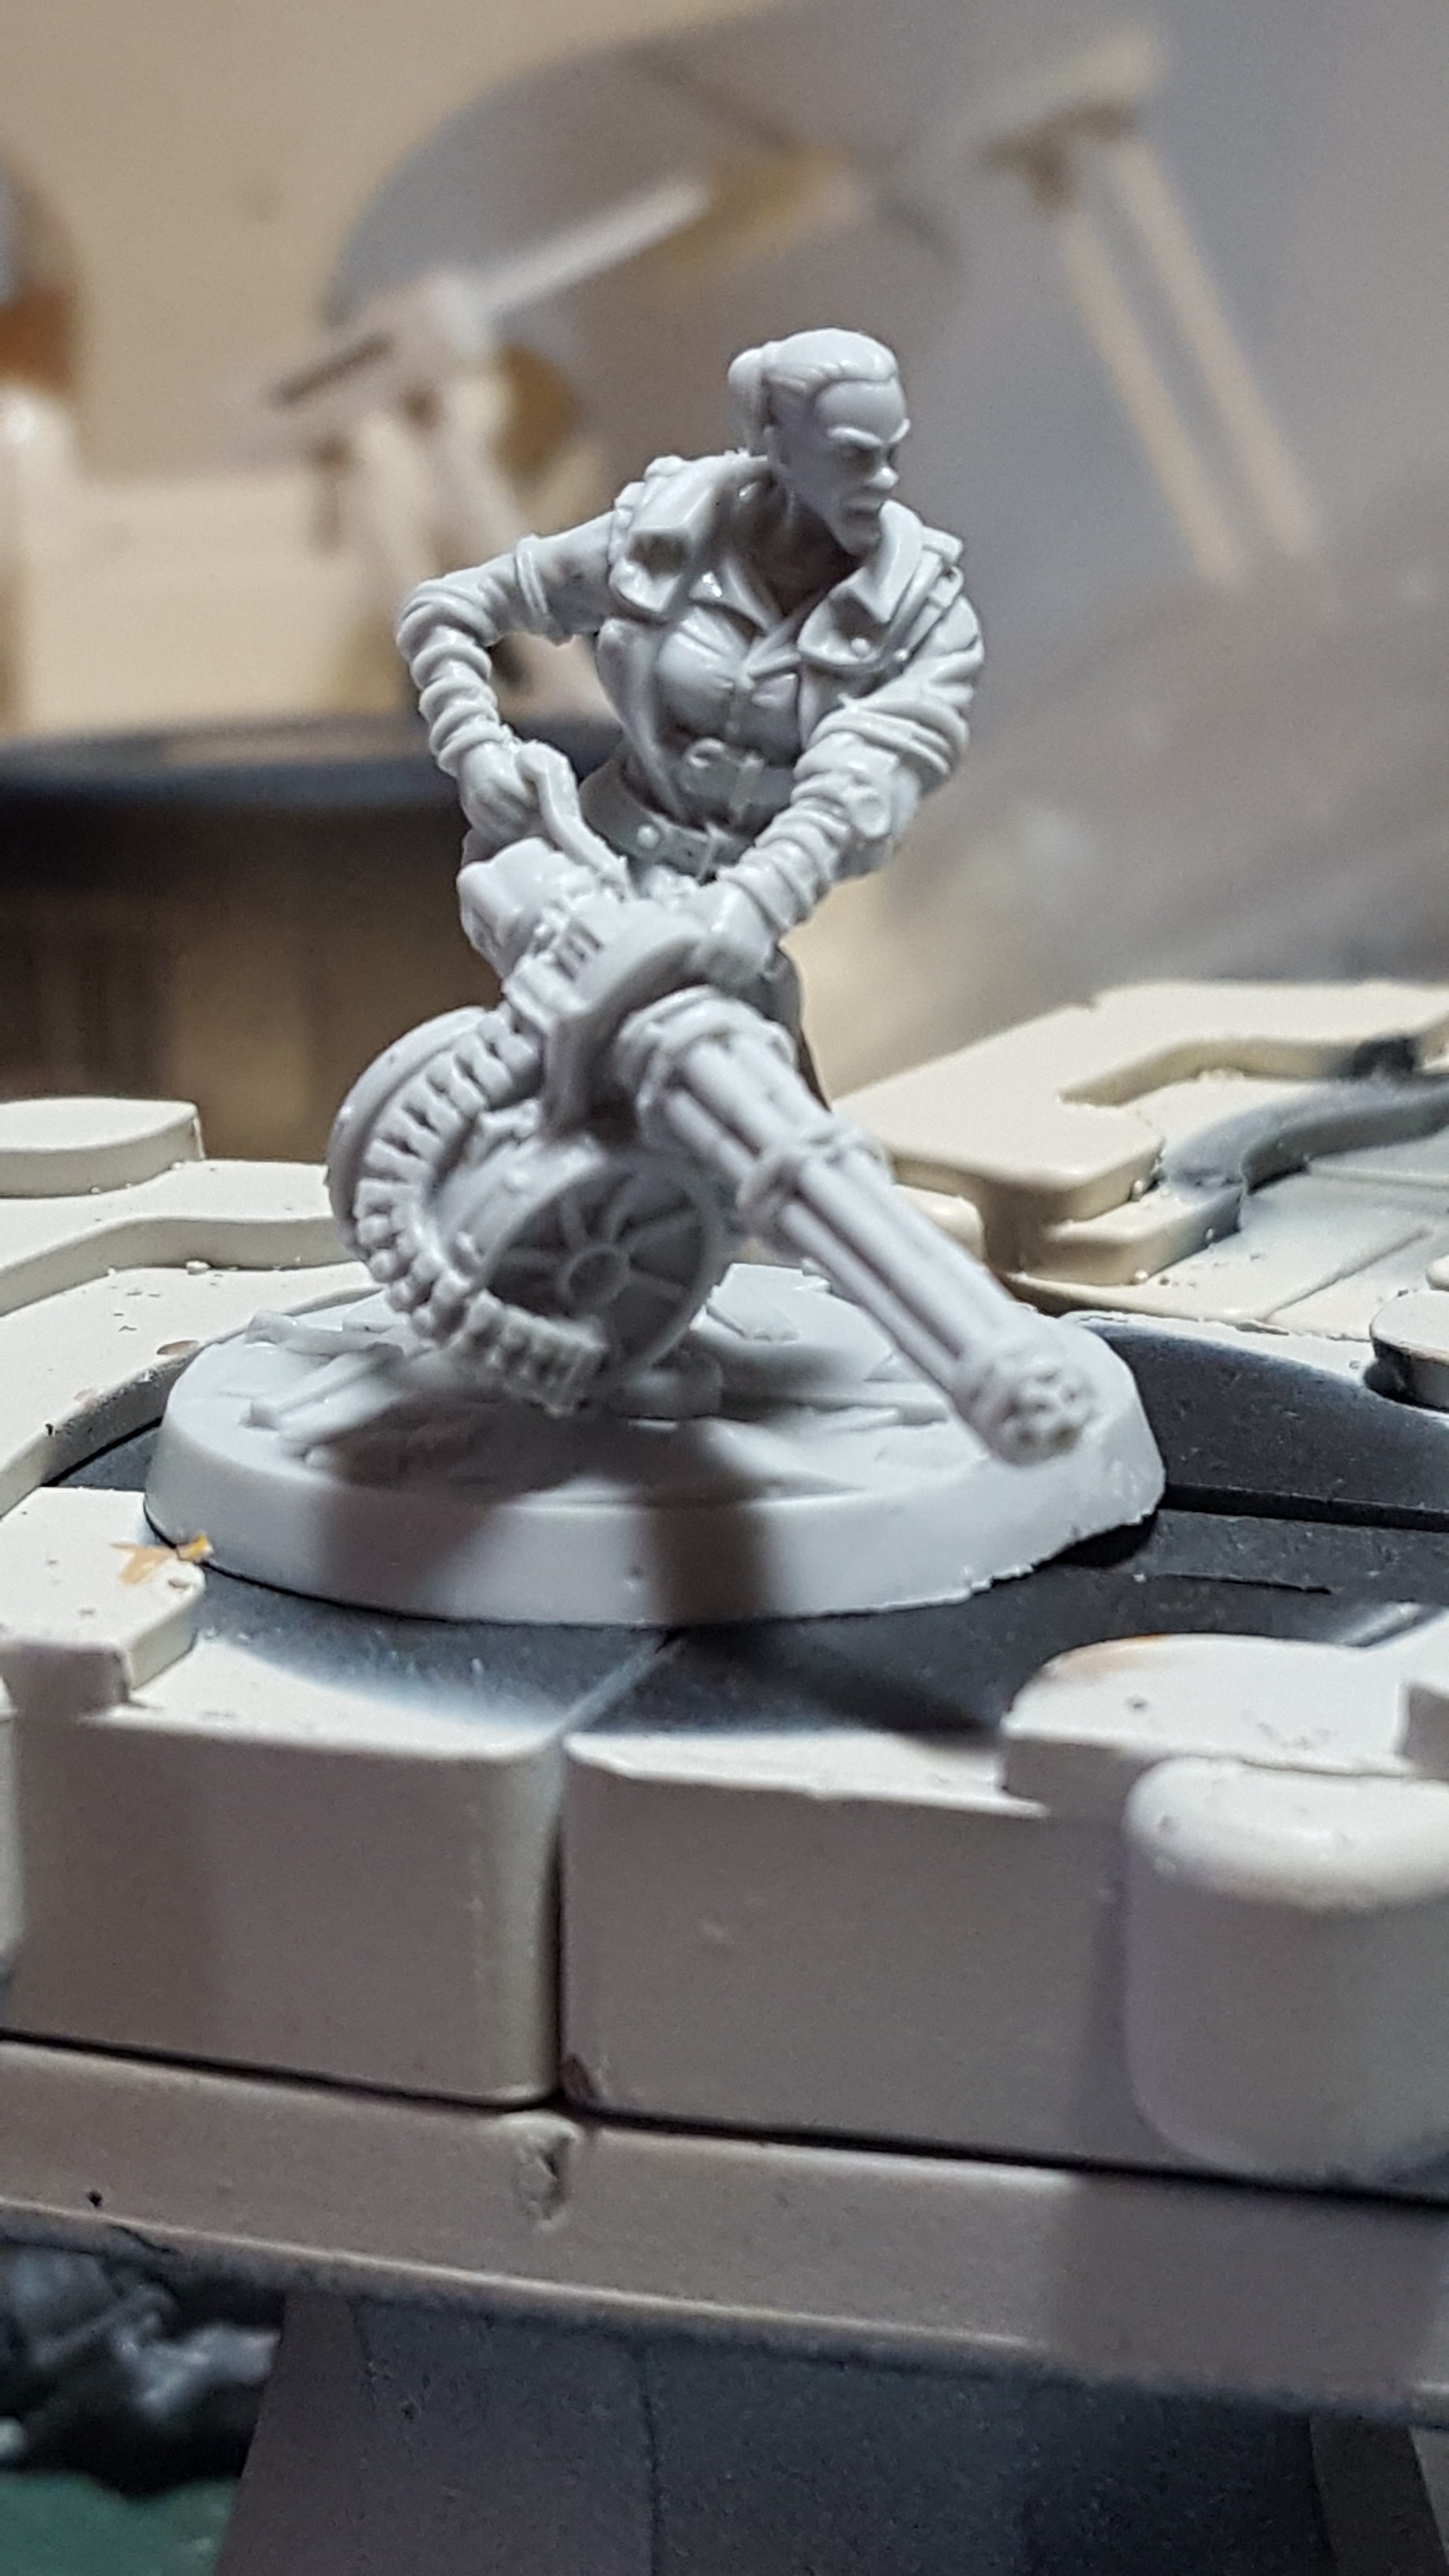
The Super Mutant Overlord is a generic commander and in imposing sight on the battlefield as he leads his hordes. I just want to know who in his gang is smart enough to maintain the gatling laser he’s toting around.
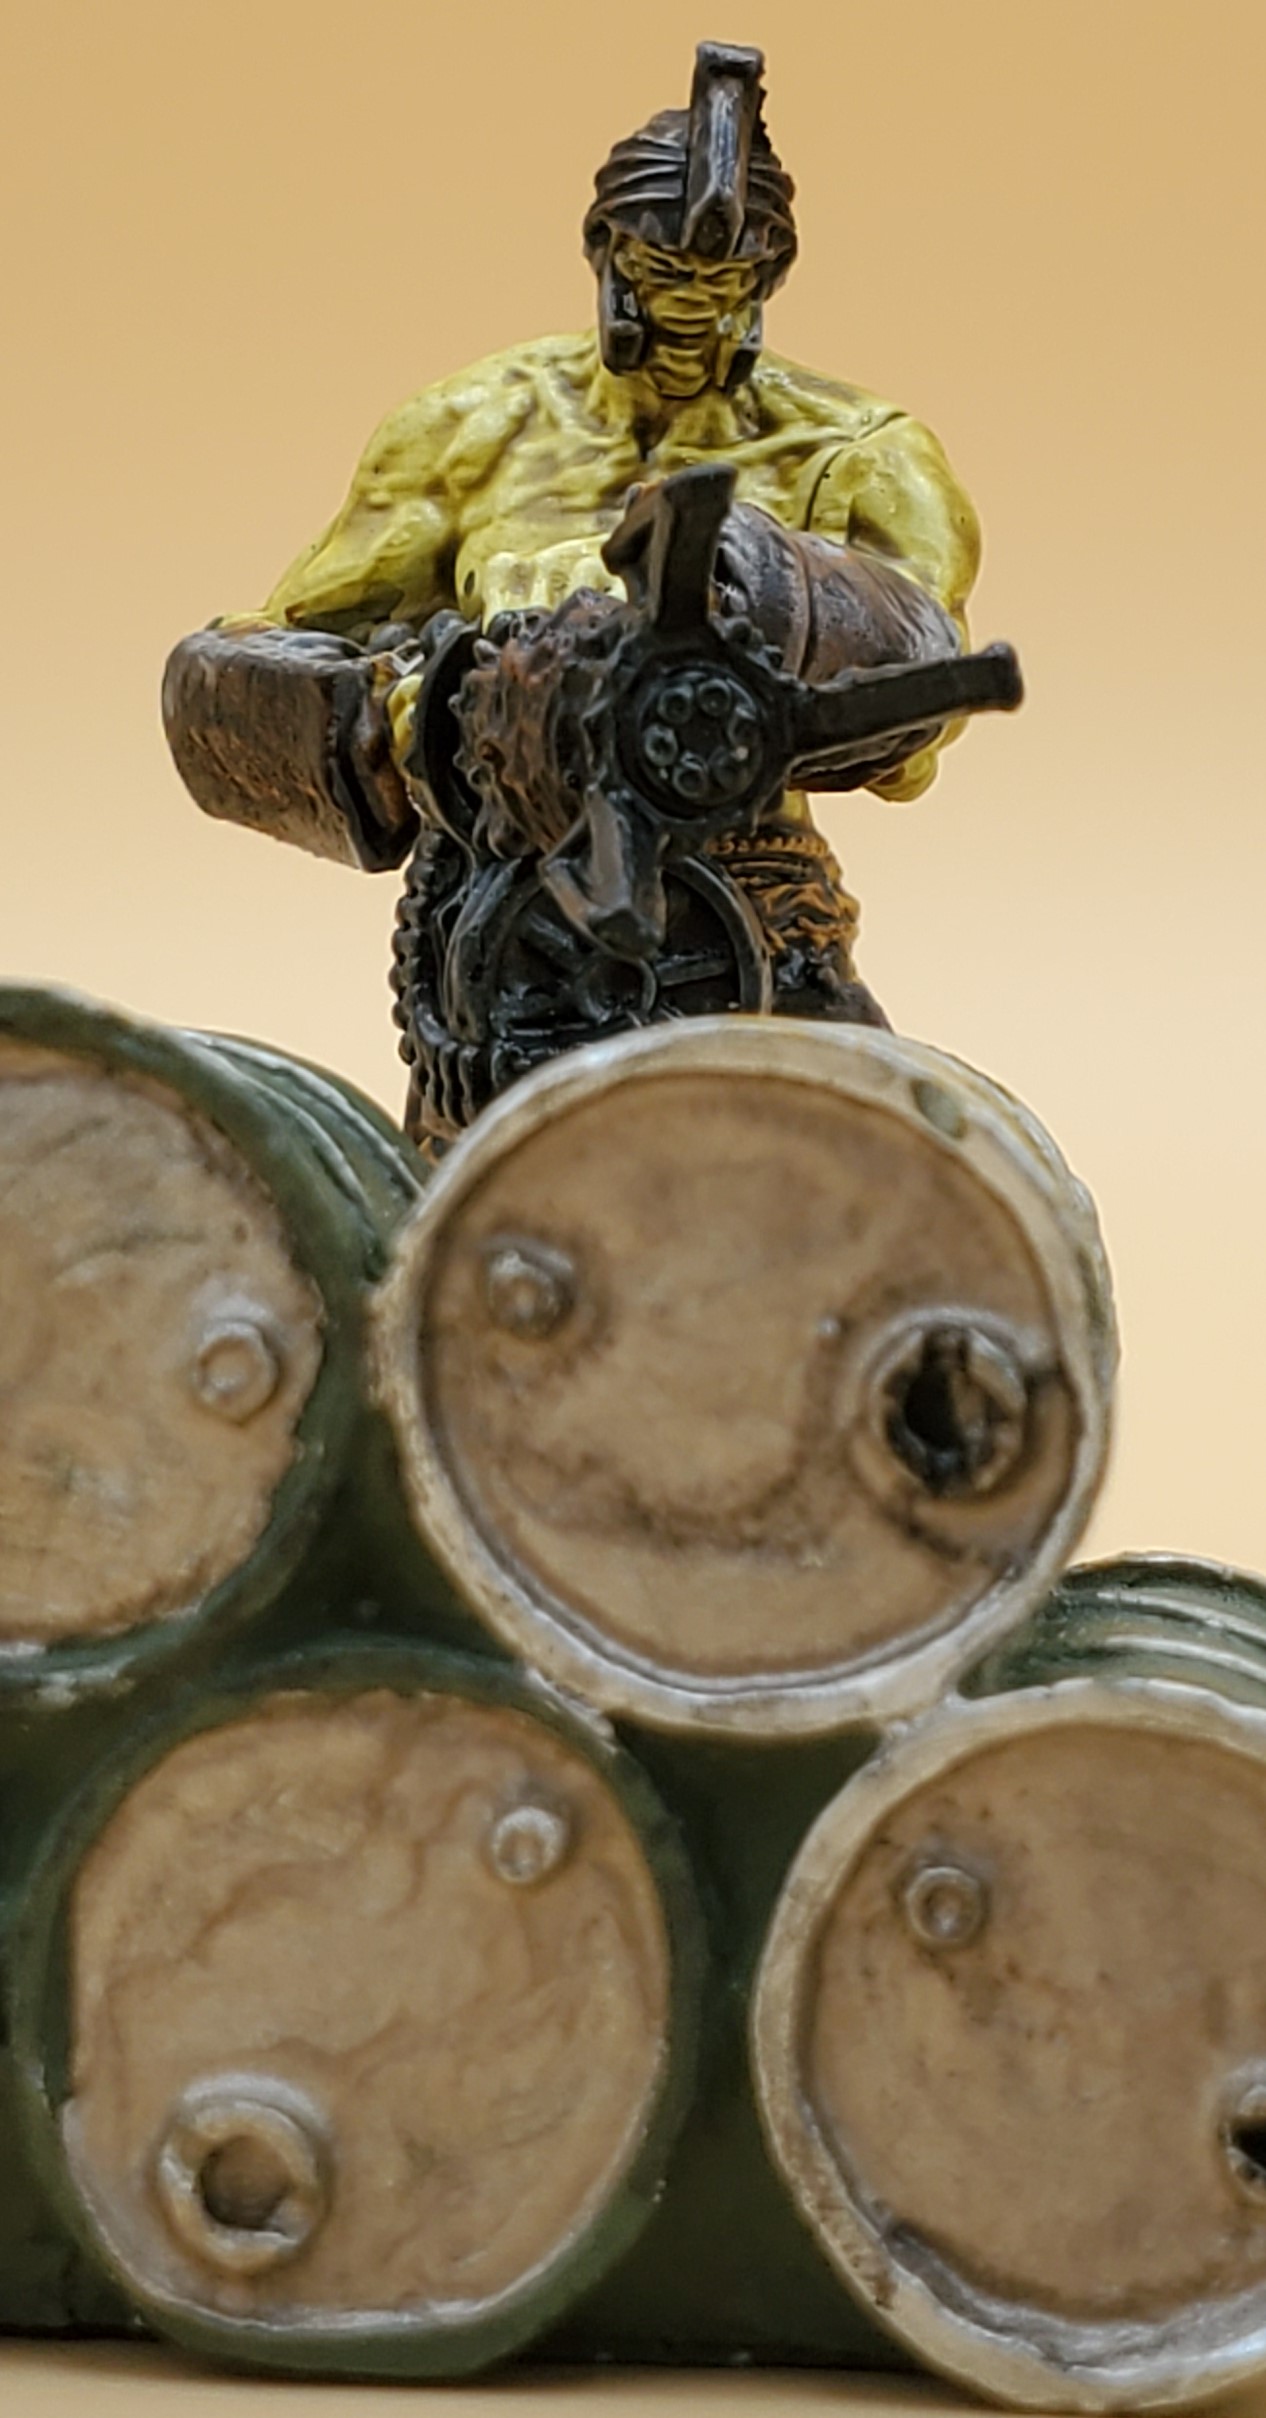
Fist is an imposing character as he stairs down your enemies from behind his minigun blazing away at people as they approach and then finishing them off with the spinning blades attached to the front of it.
These models are a great addition to any Super Mutant force and add some much needed character to the army.
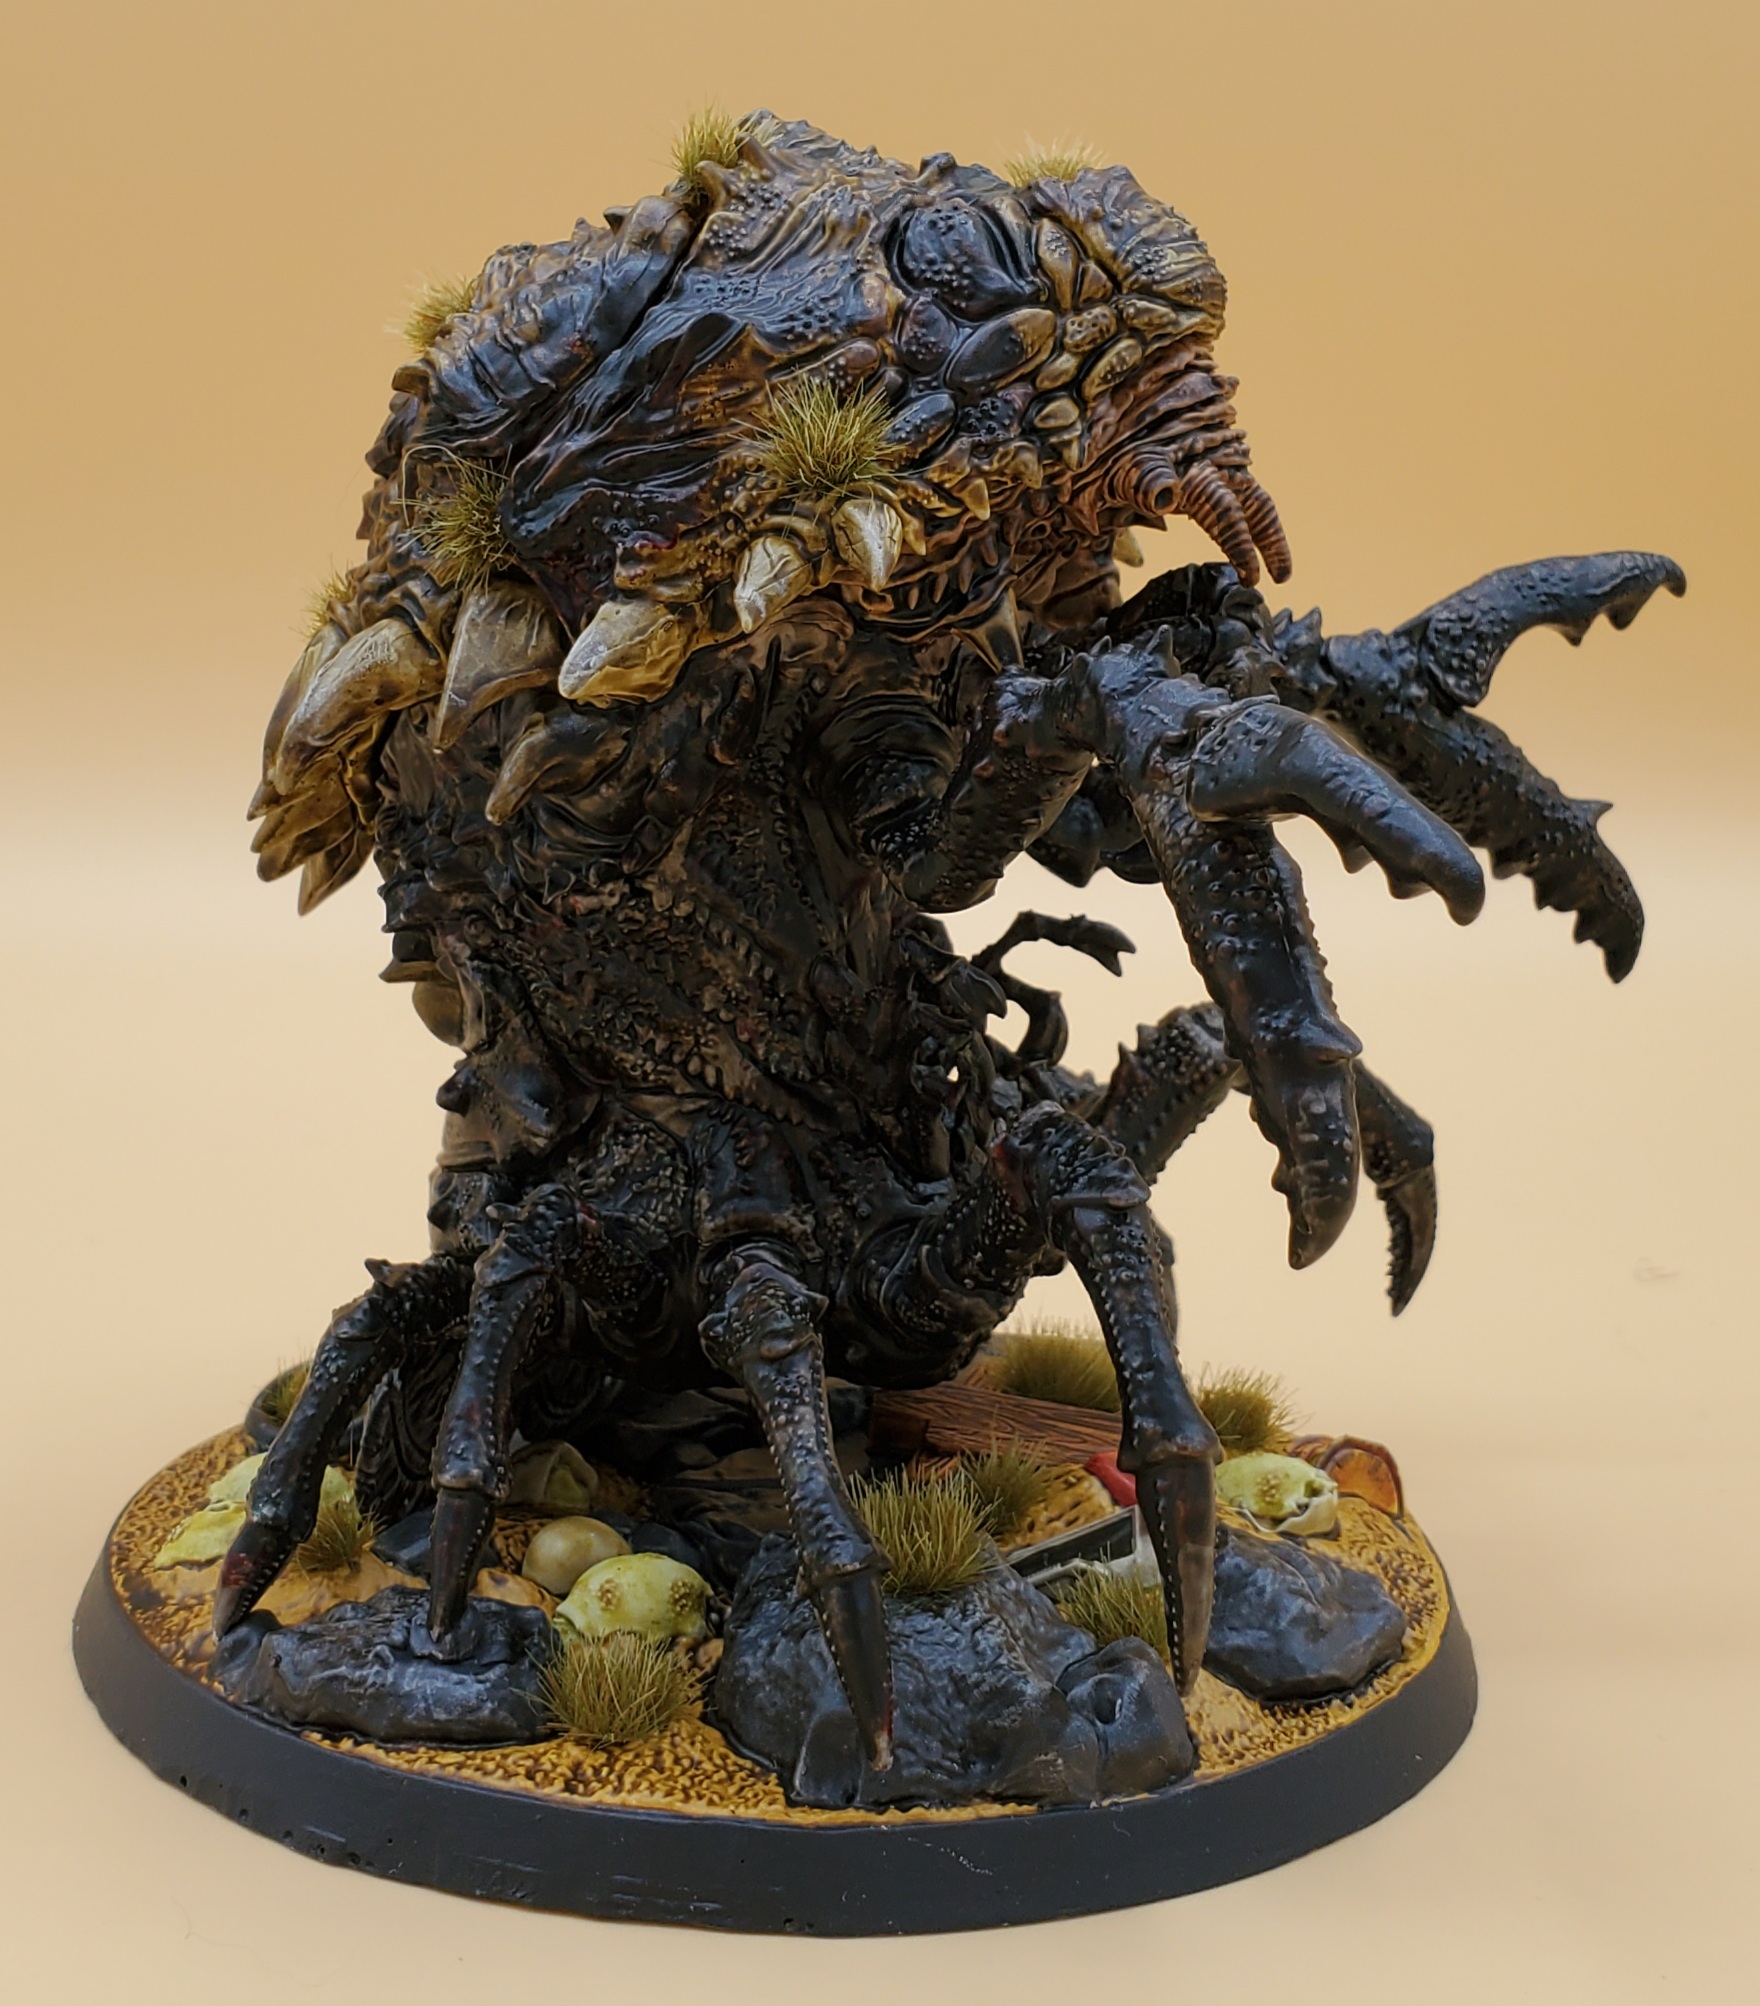
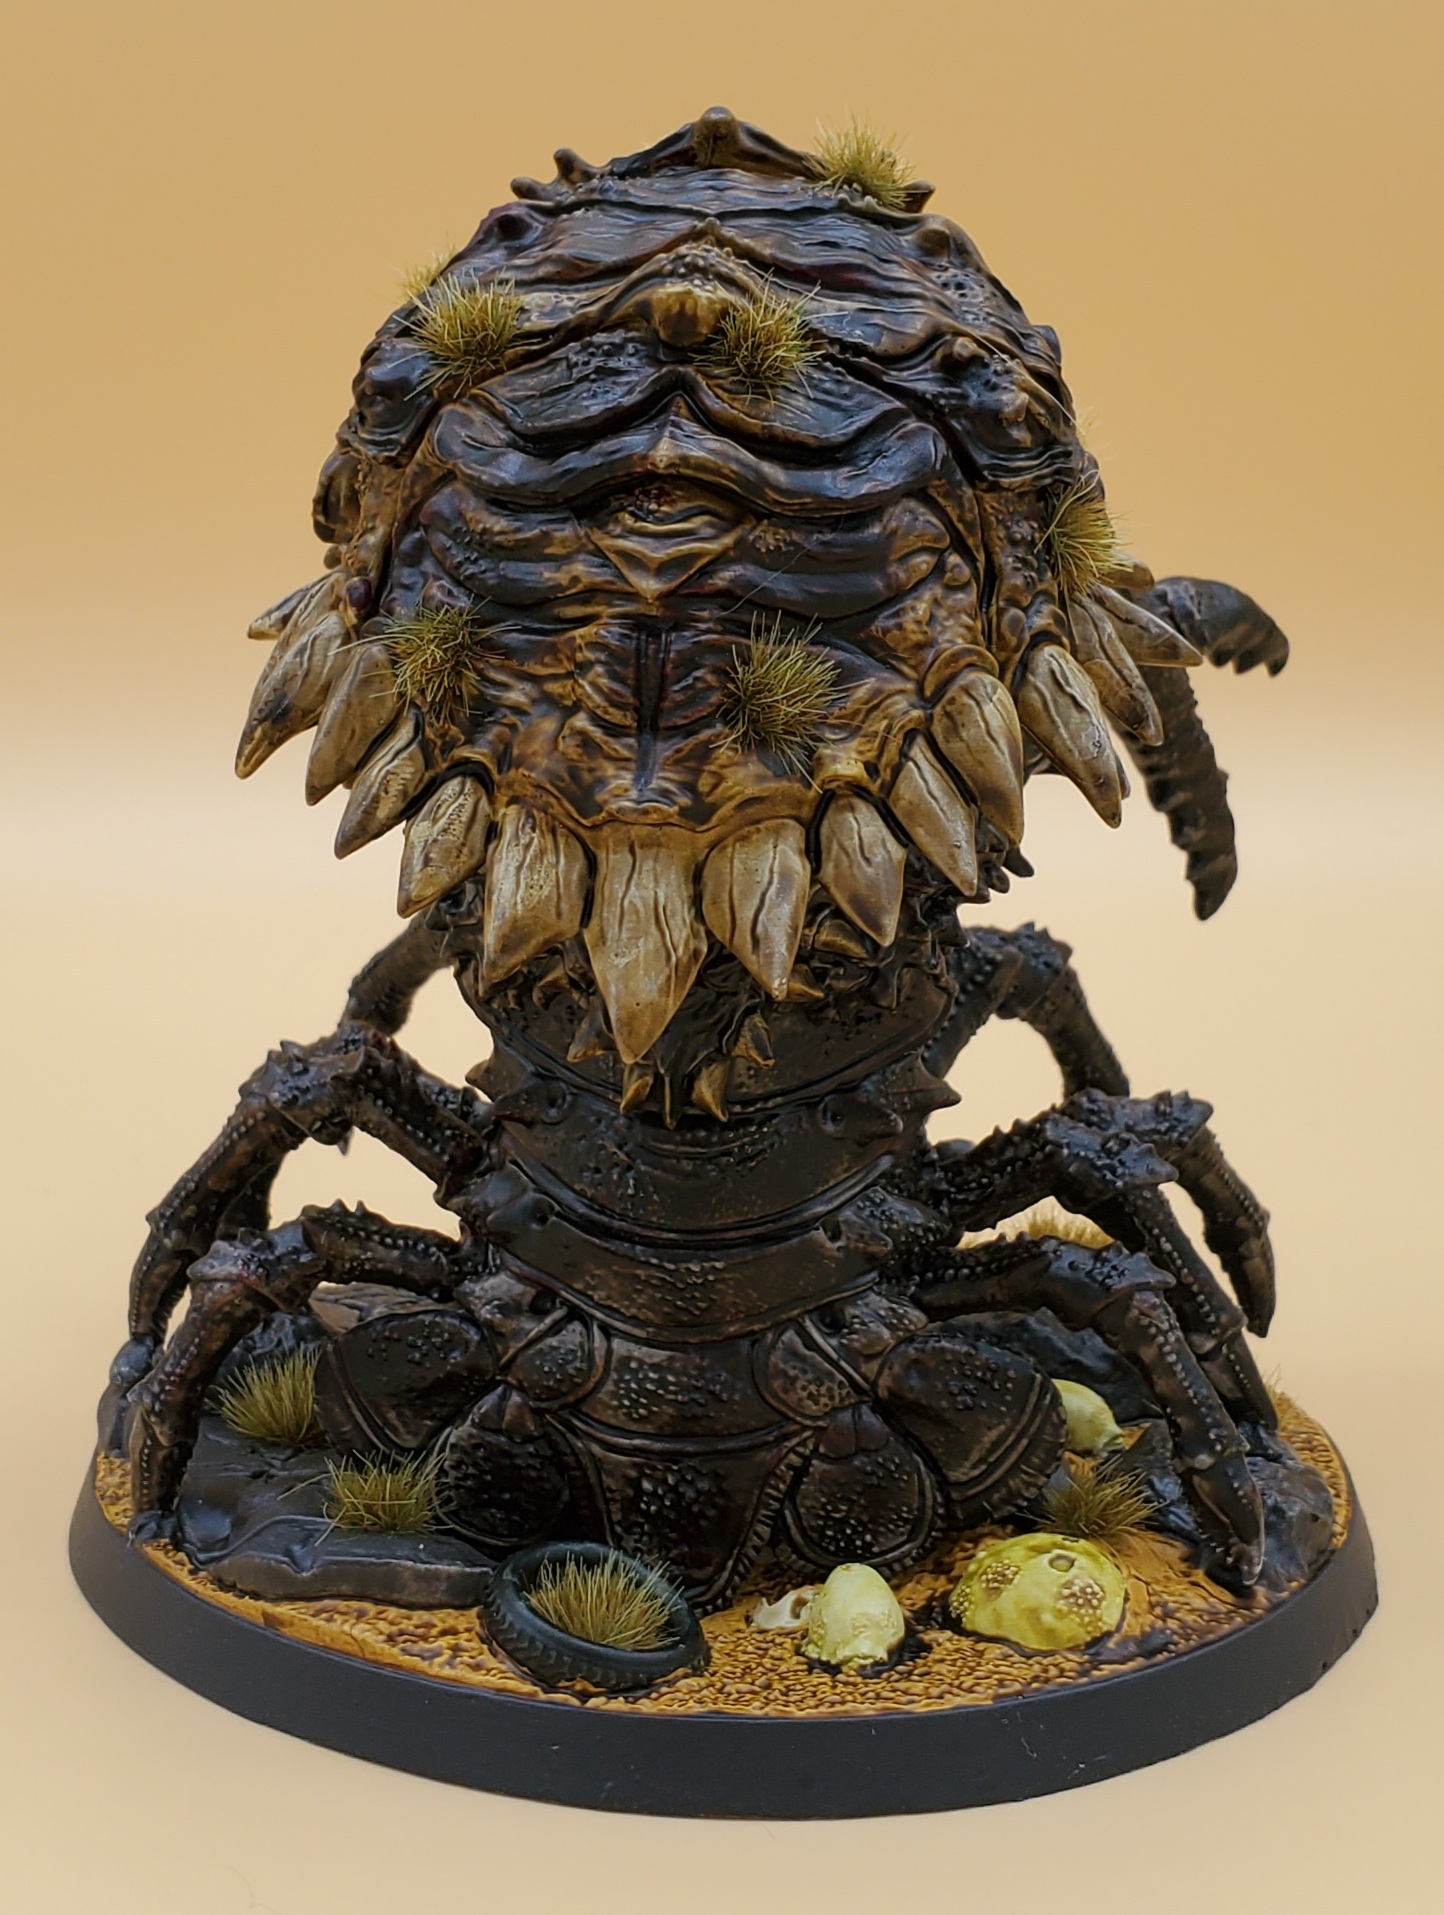
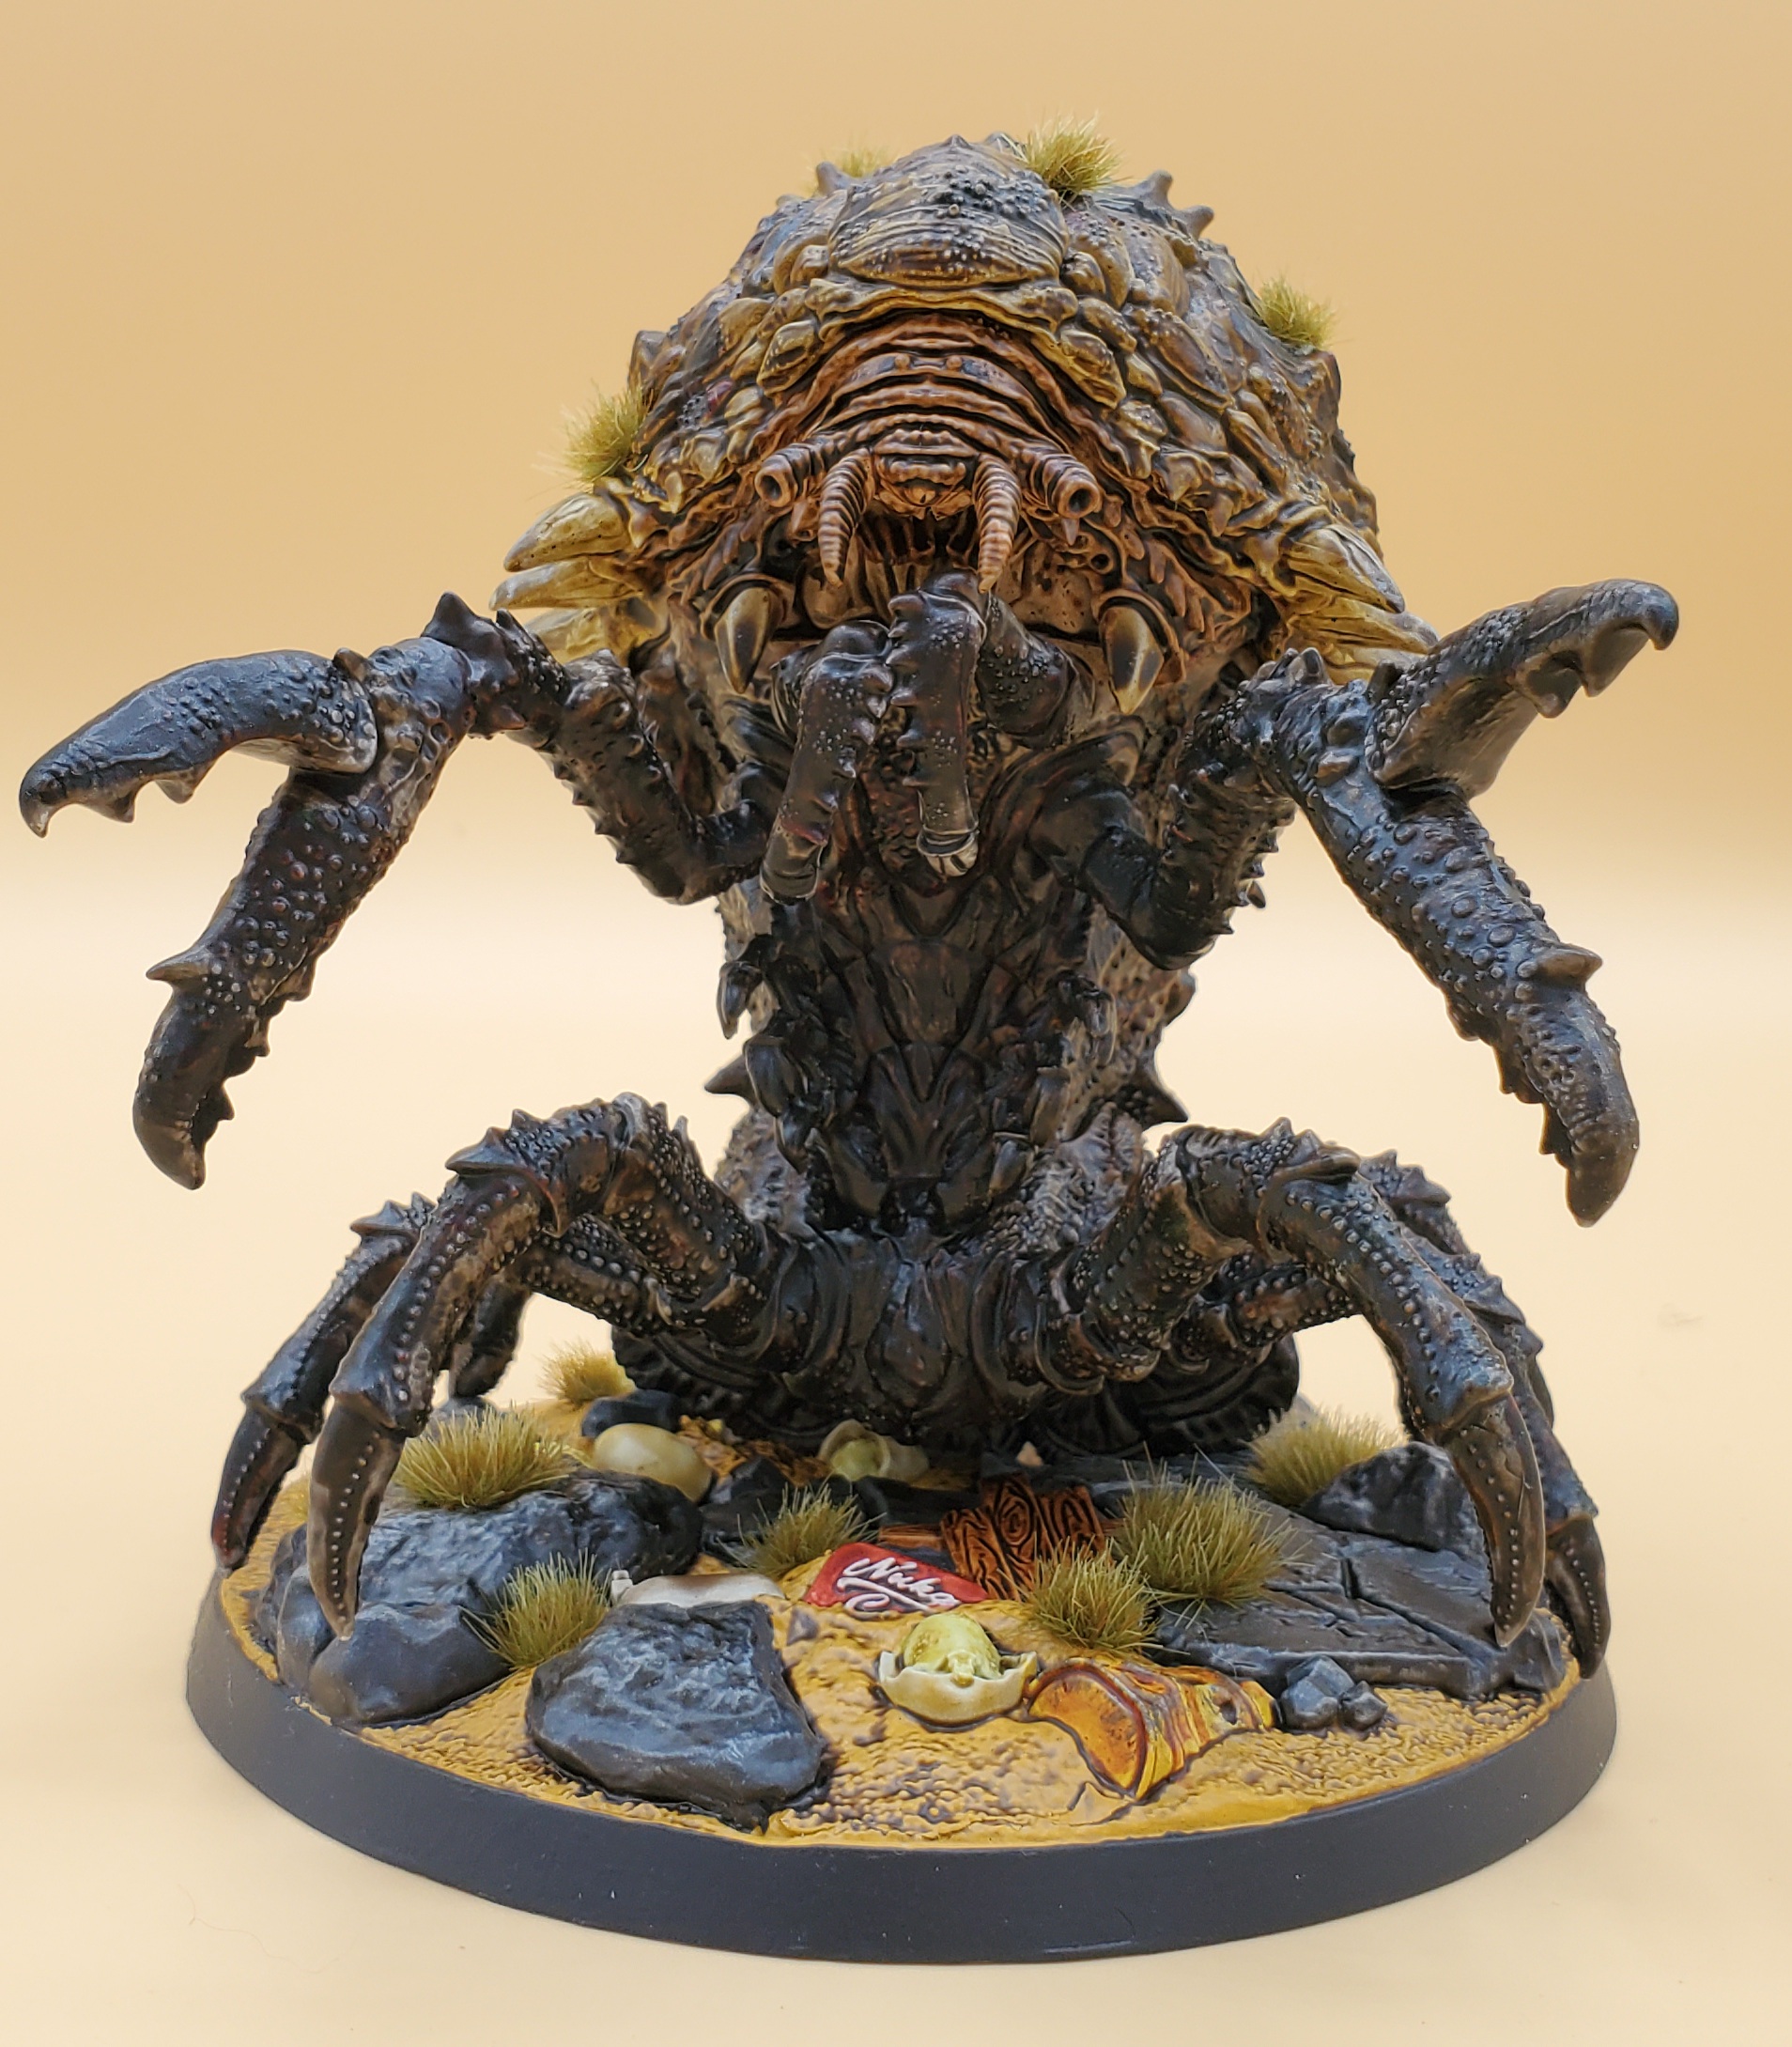
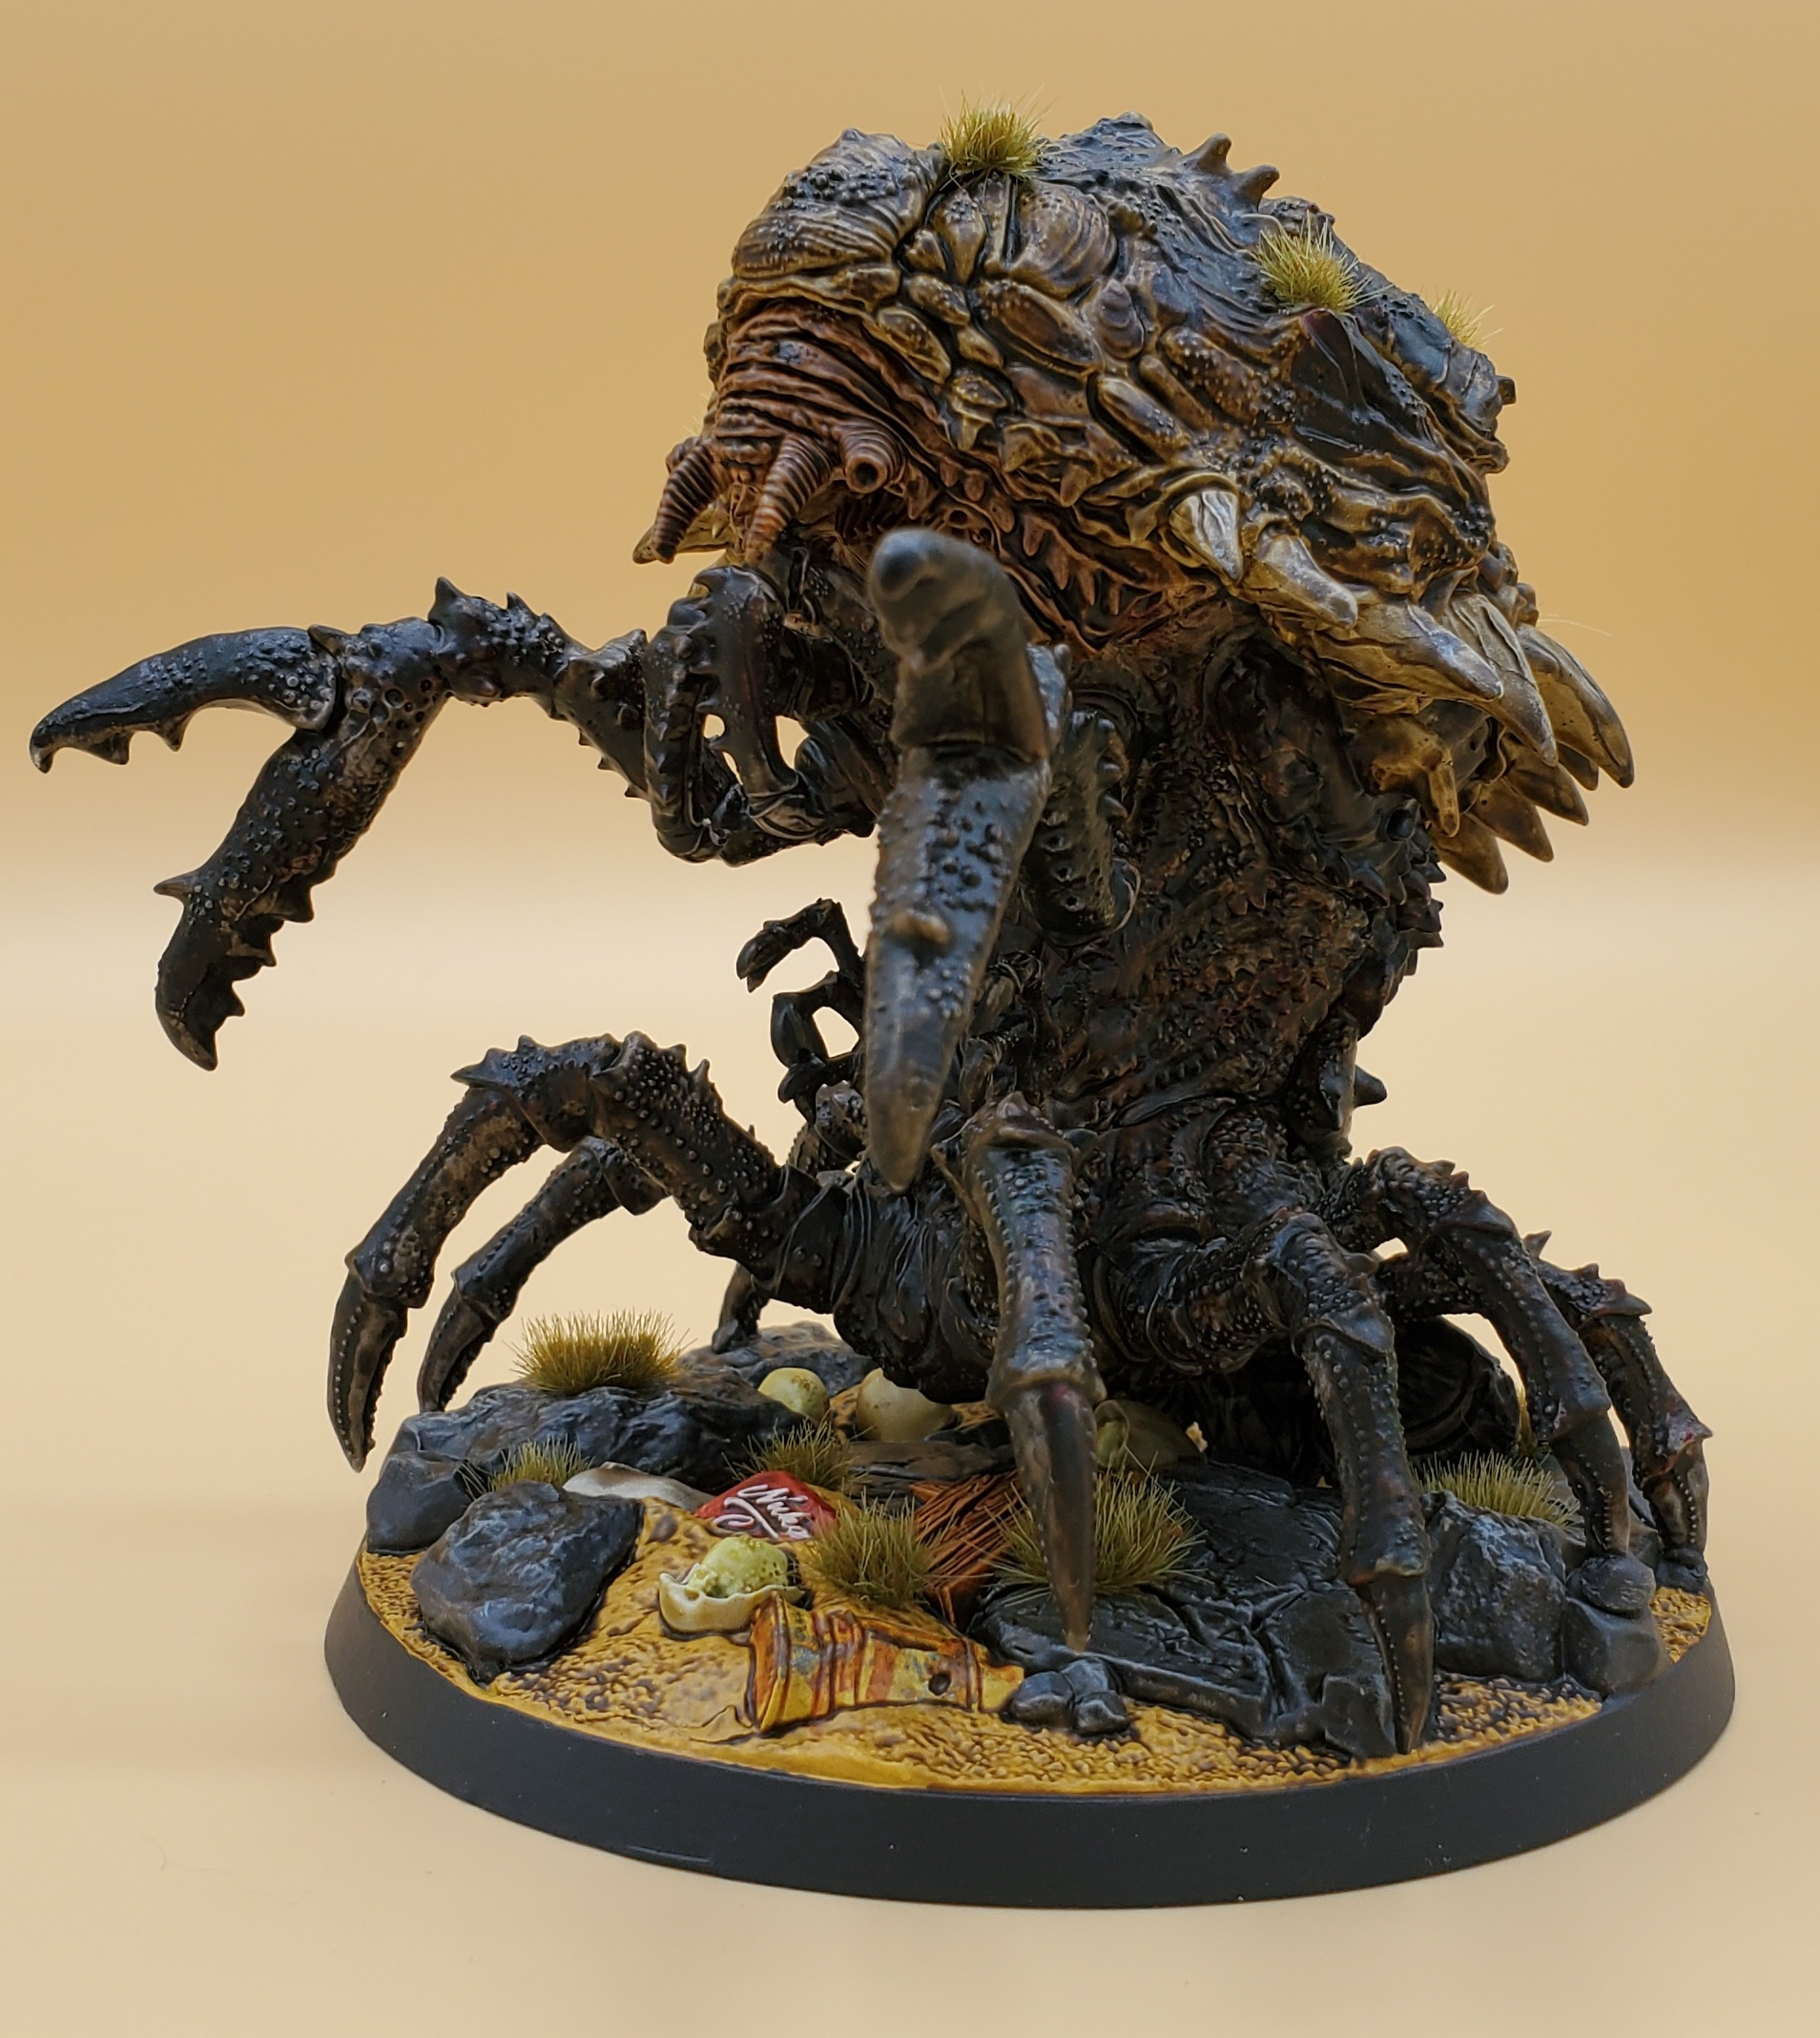
Hail to the Queen
Finally done with painting a friends models so it’s time to resurrect this project in a big way with the Mirelurk Queen! This model is absolutely huge with a very nicely detailed base. While I painted the base with “normal” paints I did the Queen herself with Contrast paints and they worked great with all the details she has. I primed her in Wraithbone to start then did highlights of gray over the top to darken the shell and legs but keep the fleshy interior bits lighter. I then blocked the model out in the following colours,
Face: Guilliman Flesh
Inner body and downside: Basilicanum Grey
Shell: Agaros Dunes
Thorns: Skeleton Horde
I did 2 coats as due to the size of the model sections would loose paint just from flowing away and then proceeded to add some more colour. I took Fleshtearers Red, Dark Angel Green, Ultramarine Blue, Gore Grunta Fur, and stipled them onto the model, blending them together in that order to produce a nice patchwork effect.
Next I applied Agrax Earthshade over the entire model further helping to blend the colors. Finally I did some light drybrush of the thorns with Wraithbone, sealed, and added tufts to the shell.
Big thanks goes to Oliver Riedle of the Wasteland Warfare FB group for his original version of this paint scheme. Also check out the videos after the pictures of the entire process, part 1 is just the base as it has a lot of details, part 2 is the Queen herself.
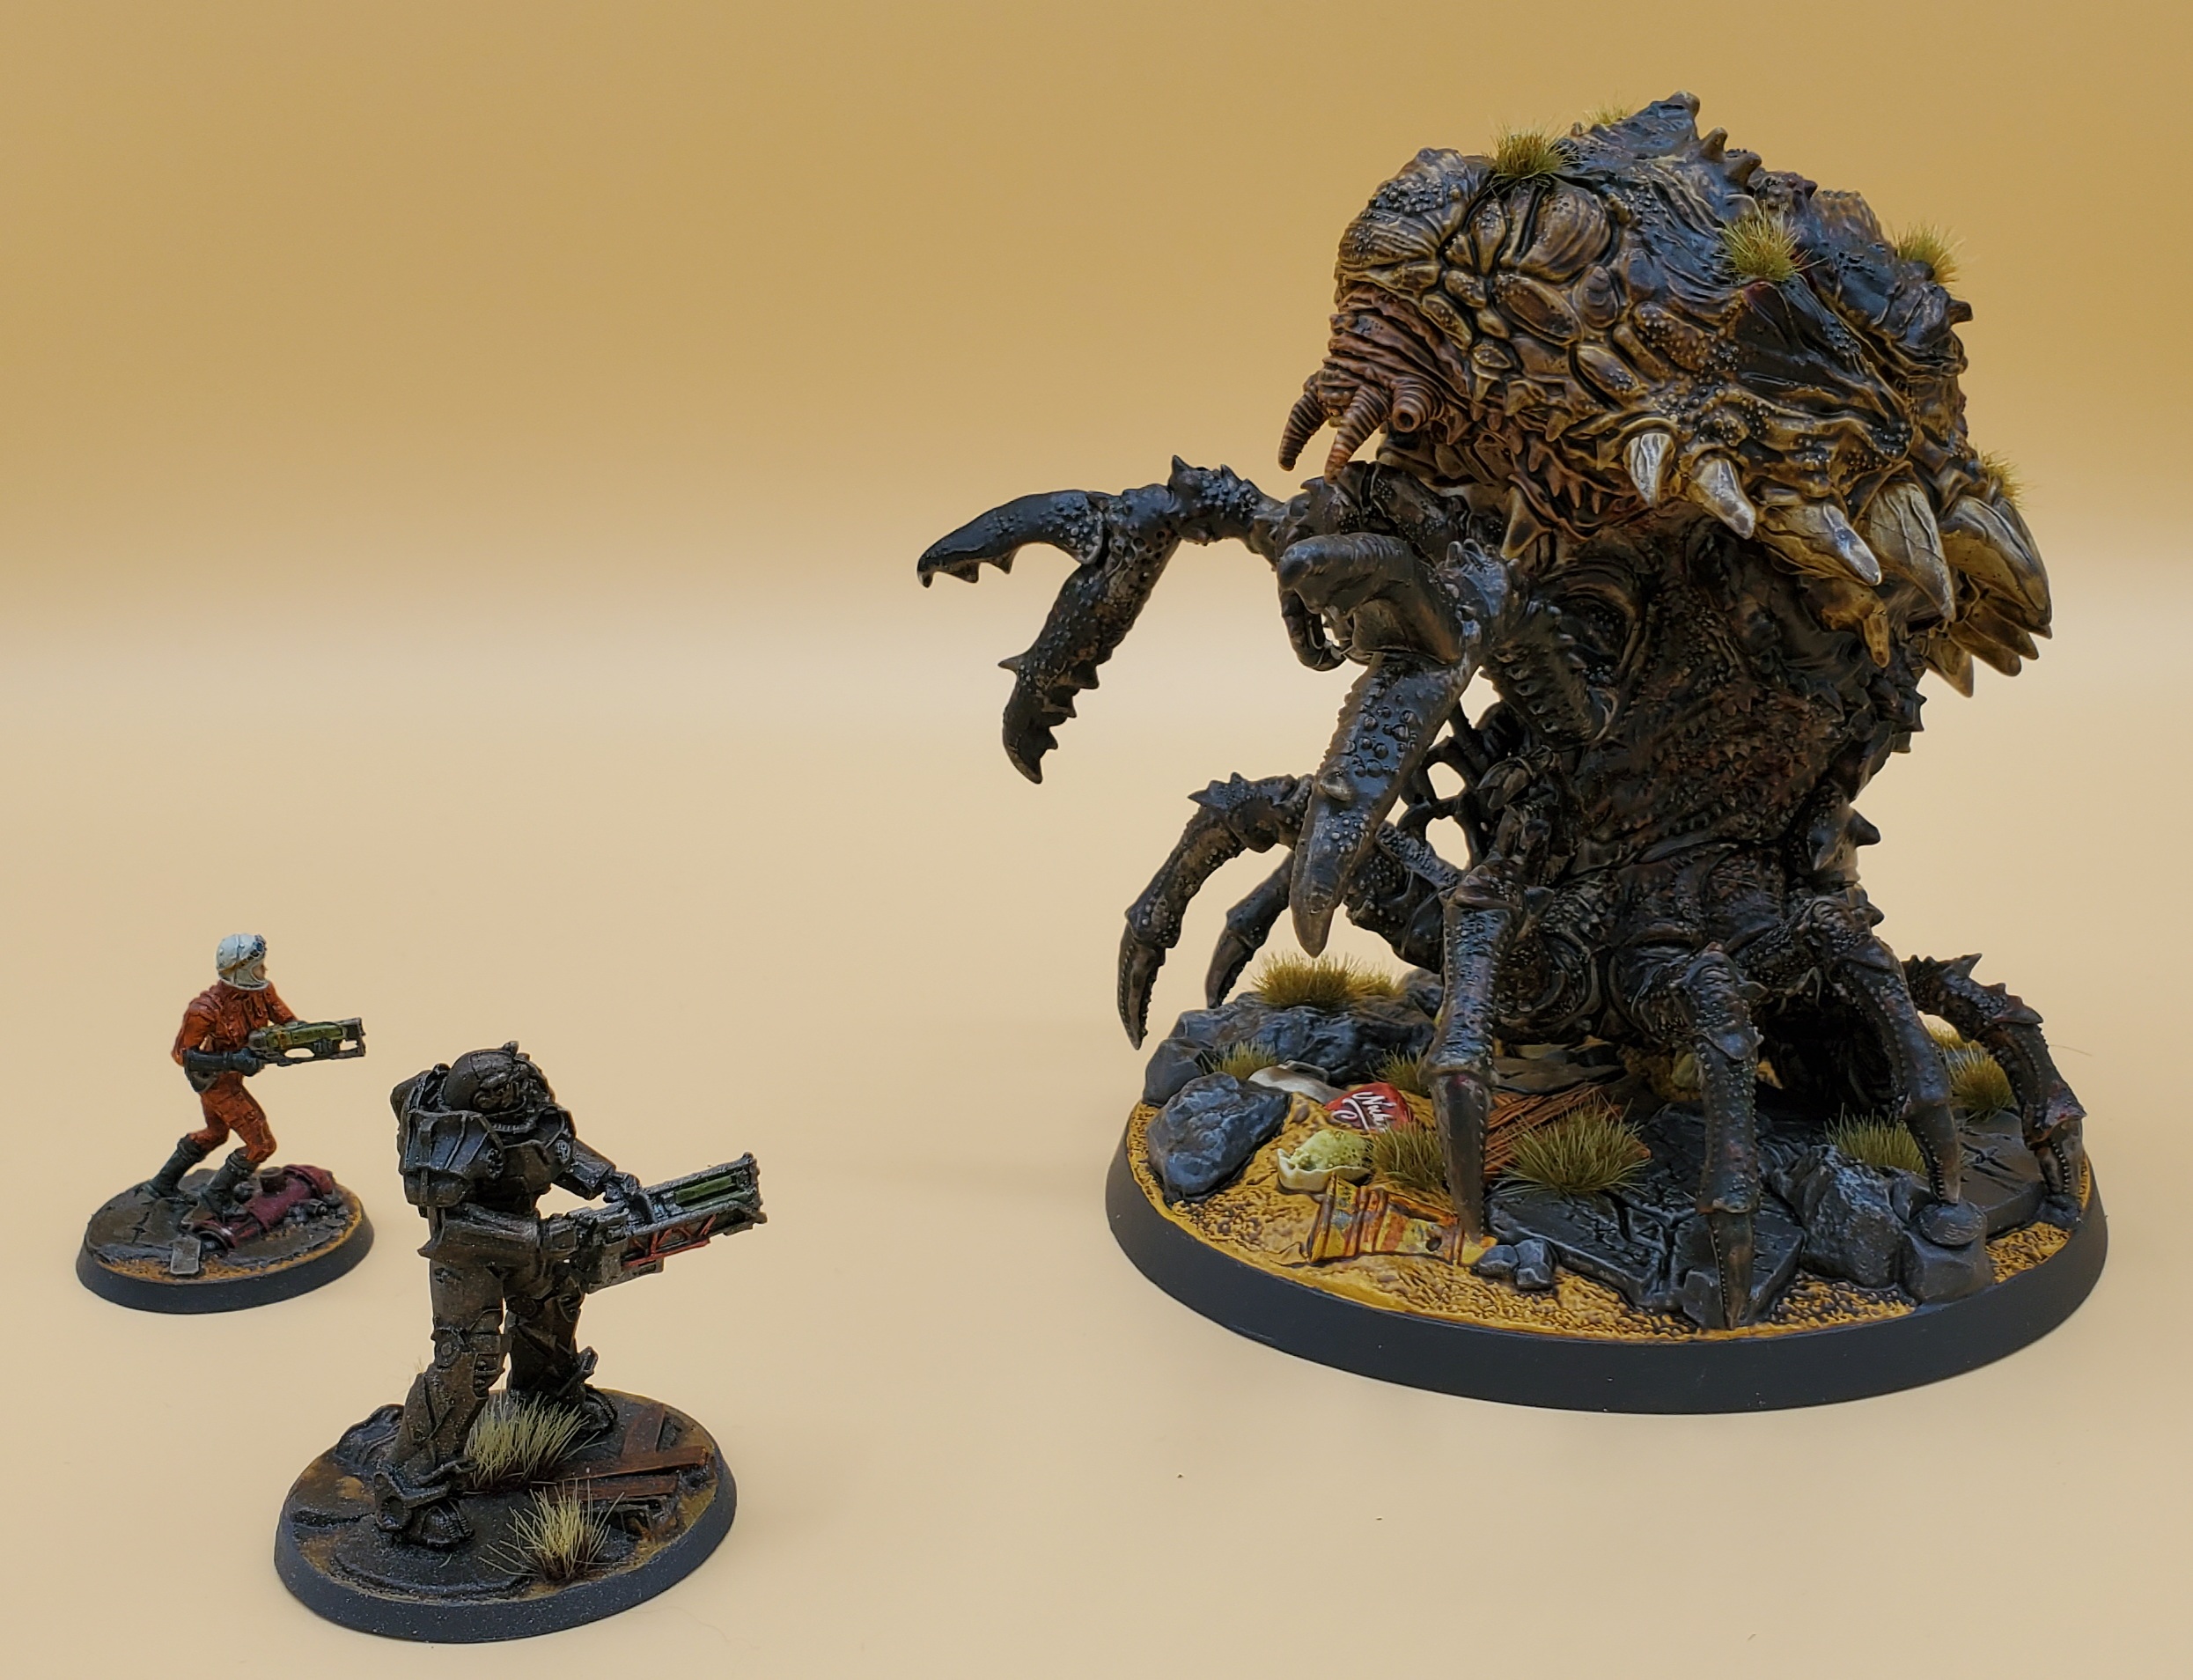 Not going to end well for the Brotherhood