Tiny Furniture’s Snowman and Christmas Gifts
Recommendations: 33
About the Project
Tiny Furniture's Snowman and Christmas Gifts: http://tiny-furniture.com/products/snowman-and-christmas-gifts
Related Company: Tiny Furniture
Related Genre: General
This Project is Completed
Review (originally posted on RPGnet)
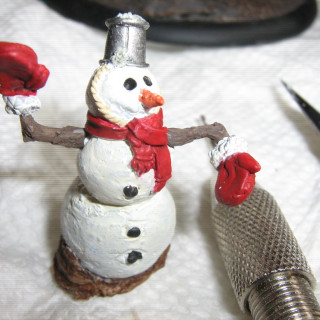
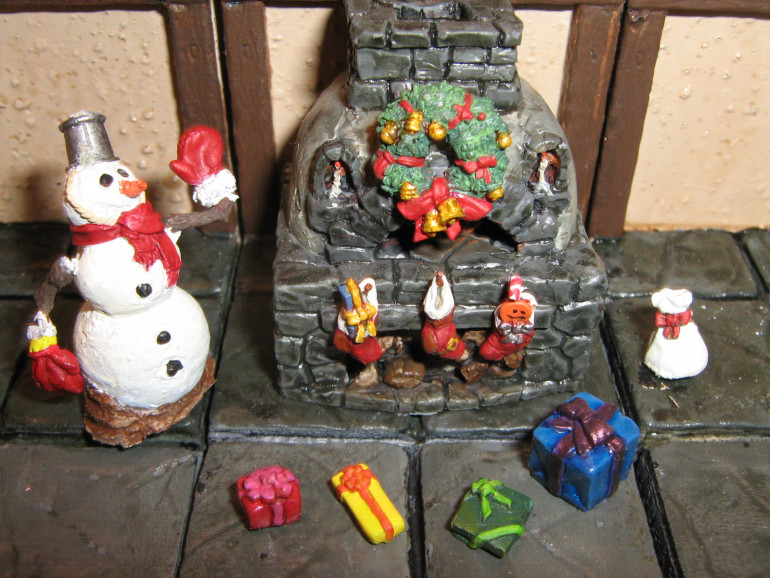
Introduction: It may be too early for Christmas, but it’s never too early to paint miniatures — particularly seasonal ones, with their implicit deadlines. Tiny Furniture also has a lead time of a few weeks to ship their miniatures, so check the miniature’s shipping date in the Tiny Furniture online catalog. The miniature itself is a resin multi-piece snowman, with an assortment of gifts and Christmas stockings. Like other Tiny Furniture miniatures, the set has some wonderful detail, particularly the attention paid to the stockings. The snowman has a metal bucket hat, coal eyes, and a carrot nose. The mittens are mismatched, suggesting its playful, childlike creator. The gifts have tiny bows. The stockings are crammed with gifts and detail, with even mended heels on the stockings. The wreath also has tiny detail, such as bells, jingle bells, and a red ribbon. The model is available painted as well as unpainted.
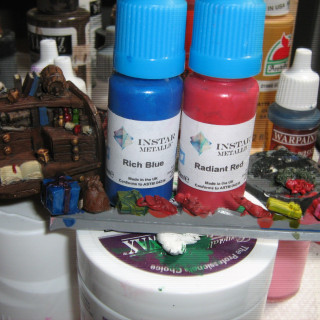
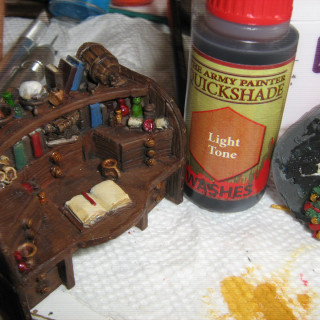
The snowman, gifts, and wreath are suitable for beginning-level painters, while the stockings may require some intermediate level of brush control (Tiny Furniture miniatures are, after all, tiny.) You may also want to have a fireplace miniature to attach the stockings too. I’ve used the fireplace oven from Tiny Furniture’s Medieval Bakery set in the photos. You can make a Christmas tree from various pine trees for model railroads.
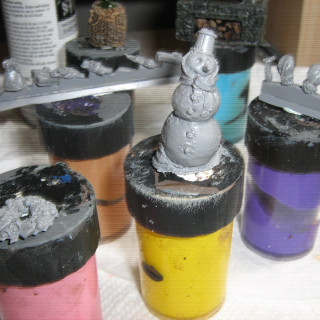
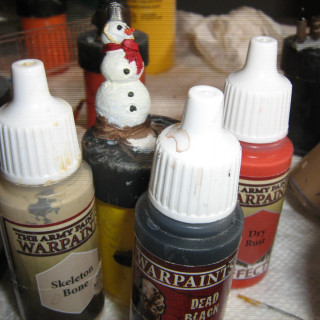
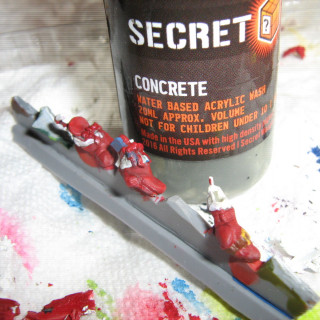
Snowman: The snowman itself consists of a body, and a sprue with two mittens and two “wooden” arms. You can paint the pieces on the sprue before assembly. One of the mismatched mittens has a tiny triangular pattern. Instead of trying to paint each triangle individually, you can choose an analog painting scheme (eg. yellow and green), and paint the “strip” of triangles in the lighter color, then individual triangles in the darker one (or be lazy like I am and paint it all one color…). The mouth isn’t too obvious, so you may wish to paint one in freehand. The arms need to be attached to the mittens. You can first drill a “seed” hole with a hobby drill, then enlarge the holes with the tip of a hobby knife. For the metal hat, I first painted the hat and snow on to of the hat in metallics, painted the snow in white, then wash with a grey or black wash, such as Secret Weapon Miniatures Concrete. I fiddled around with using poster putty as a temporary adhesive, though recommend superglue because of the weight of the “mittens”.
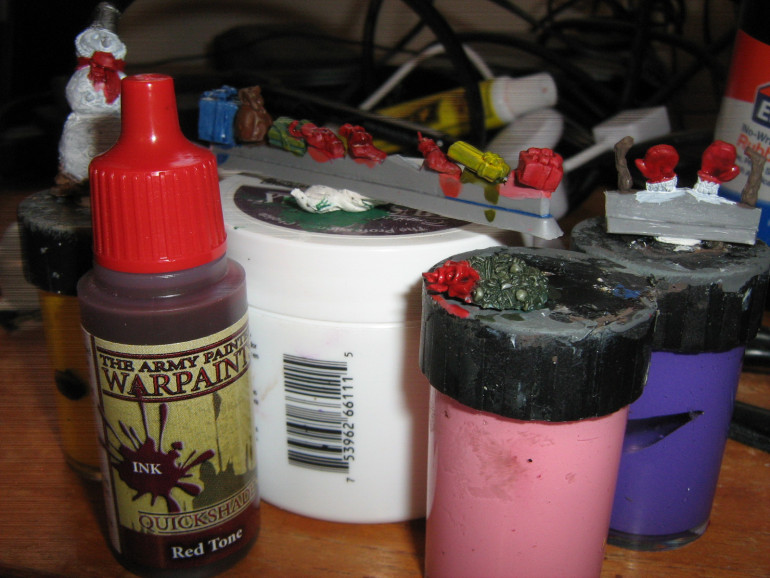
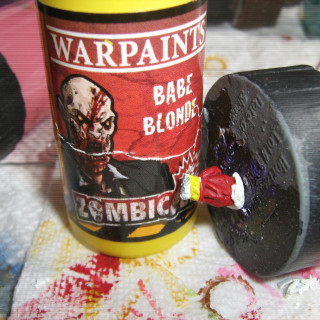
Gifts: You can, of course, use any color scheme you wish for the gifts. Analog color schemes work well (eg. blue and purple, yellow and green, red and orange), as do two shades of the same color, metallic colors, etc. To add contrast, you can ink the edge between the bow and the gift “wrapping” with a dark wash matching the “wrapping” color. Again, the miniatures are tiny, so you can paint on the sprue. If you are using an analog color scheme, you can paint the miniature in the lighter color first, then paint over any mistakes with the darker color.
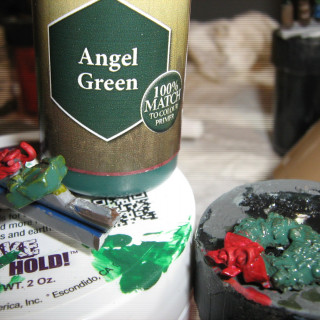
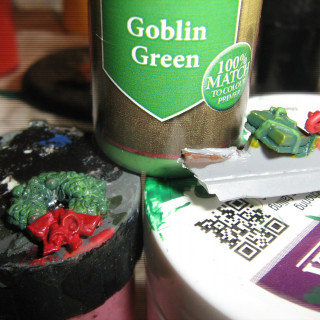
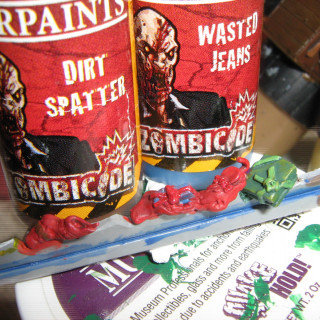
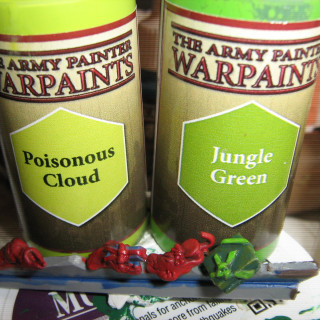
Wreath: The wreath and bow, of course, are painted green and red. For the bow, I used Army Painter’s Dragon Red, followed by its Red Ink wash. For the wreath, I used Army Painter’s dark Angel Green, Green Ink, Goblin Green, and other lighter greens from its Kings of War Greenskin set (!). Gold bells were painted gold washed with brown Army Painter Soft Tone Ink. Silver bells were painted silver Gun Metal also from the Kings of War Greenskin set (!!) followed by dark Army Painter Dark Tone. Merry Orksmass.
Stockings: Because of their small size and amount of detail, these three stockings are on the intermediate side of painting. Besides being suitably tiny, one is stuffed with a present, and the other has a lollipop. All three also have a wooden peg (or metal nail). The stockings also have patches or a small belt as additional details. For the empty stocking, you can use a grey wash to show the “hole” of the stocking. A grey wash can also be used to outline, show texture, and show depth to the white “Fur” of the stocking. I used brown as a neutral color as the patch and belt, to avoid making the small miniature look too busy. For the lollipop, I used orange as an analog color to the red stocking. The lollipop looked a little “blank” to me, so you may wish to do a freehand drawing. I just used a black brush tip pen to add a lopsided smily face to it…
Conclusion: Tiny Furniture’s Snowman set is yet another high-quality, well-detailed miniature I’ve come to expect from Tiny Furniture miniatures. Make sure to order it — and paint it — in time for Christmas!


![How To Paint Moonstone’s Nanny | Goblin King Games [7 Days Early Access]](https://images.beastsofwar.com/2024/12/3CU-Gobin-King-Games-Moonstone-Shades-Nanny-coverimage-225-127.jpg)


