


Looted Snow Globe


Recommendations: 51
About the Project
A grim dark Christmas and a dakka New Year to all of you Beasts / Otters / Cogs! I wanted to create a fun and orkified snow globe. The project has been a lot of fun and come quite close to what I had in mind when I started - plus there a few small tweaks I came up with along the way.
Related Game: Warhammer 40,000
Related Company: Kromlech | Bits of War
Related Genre: Science Fiction
This Project is Active
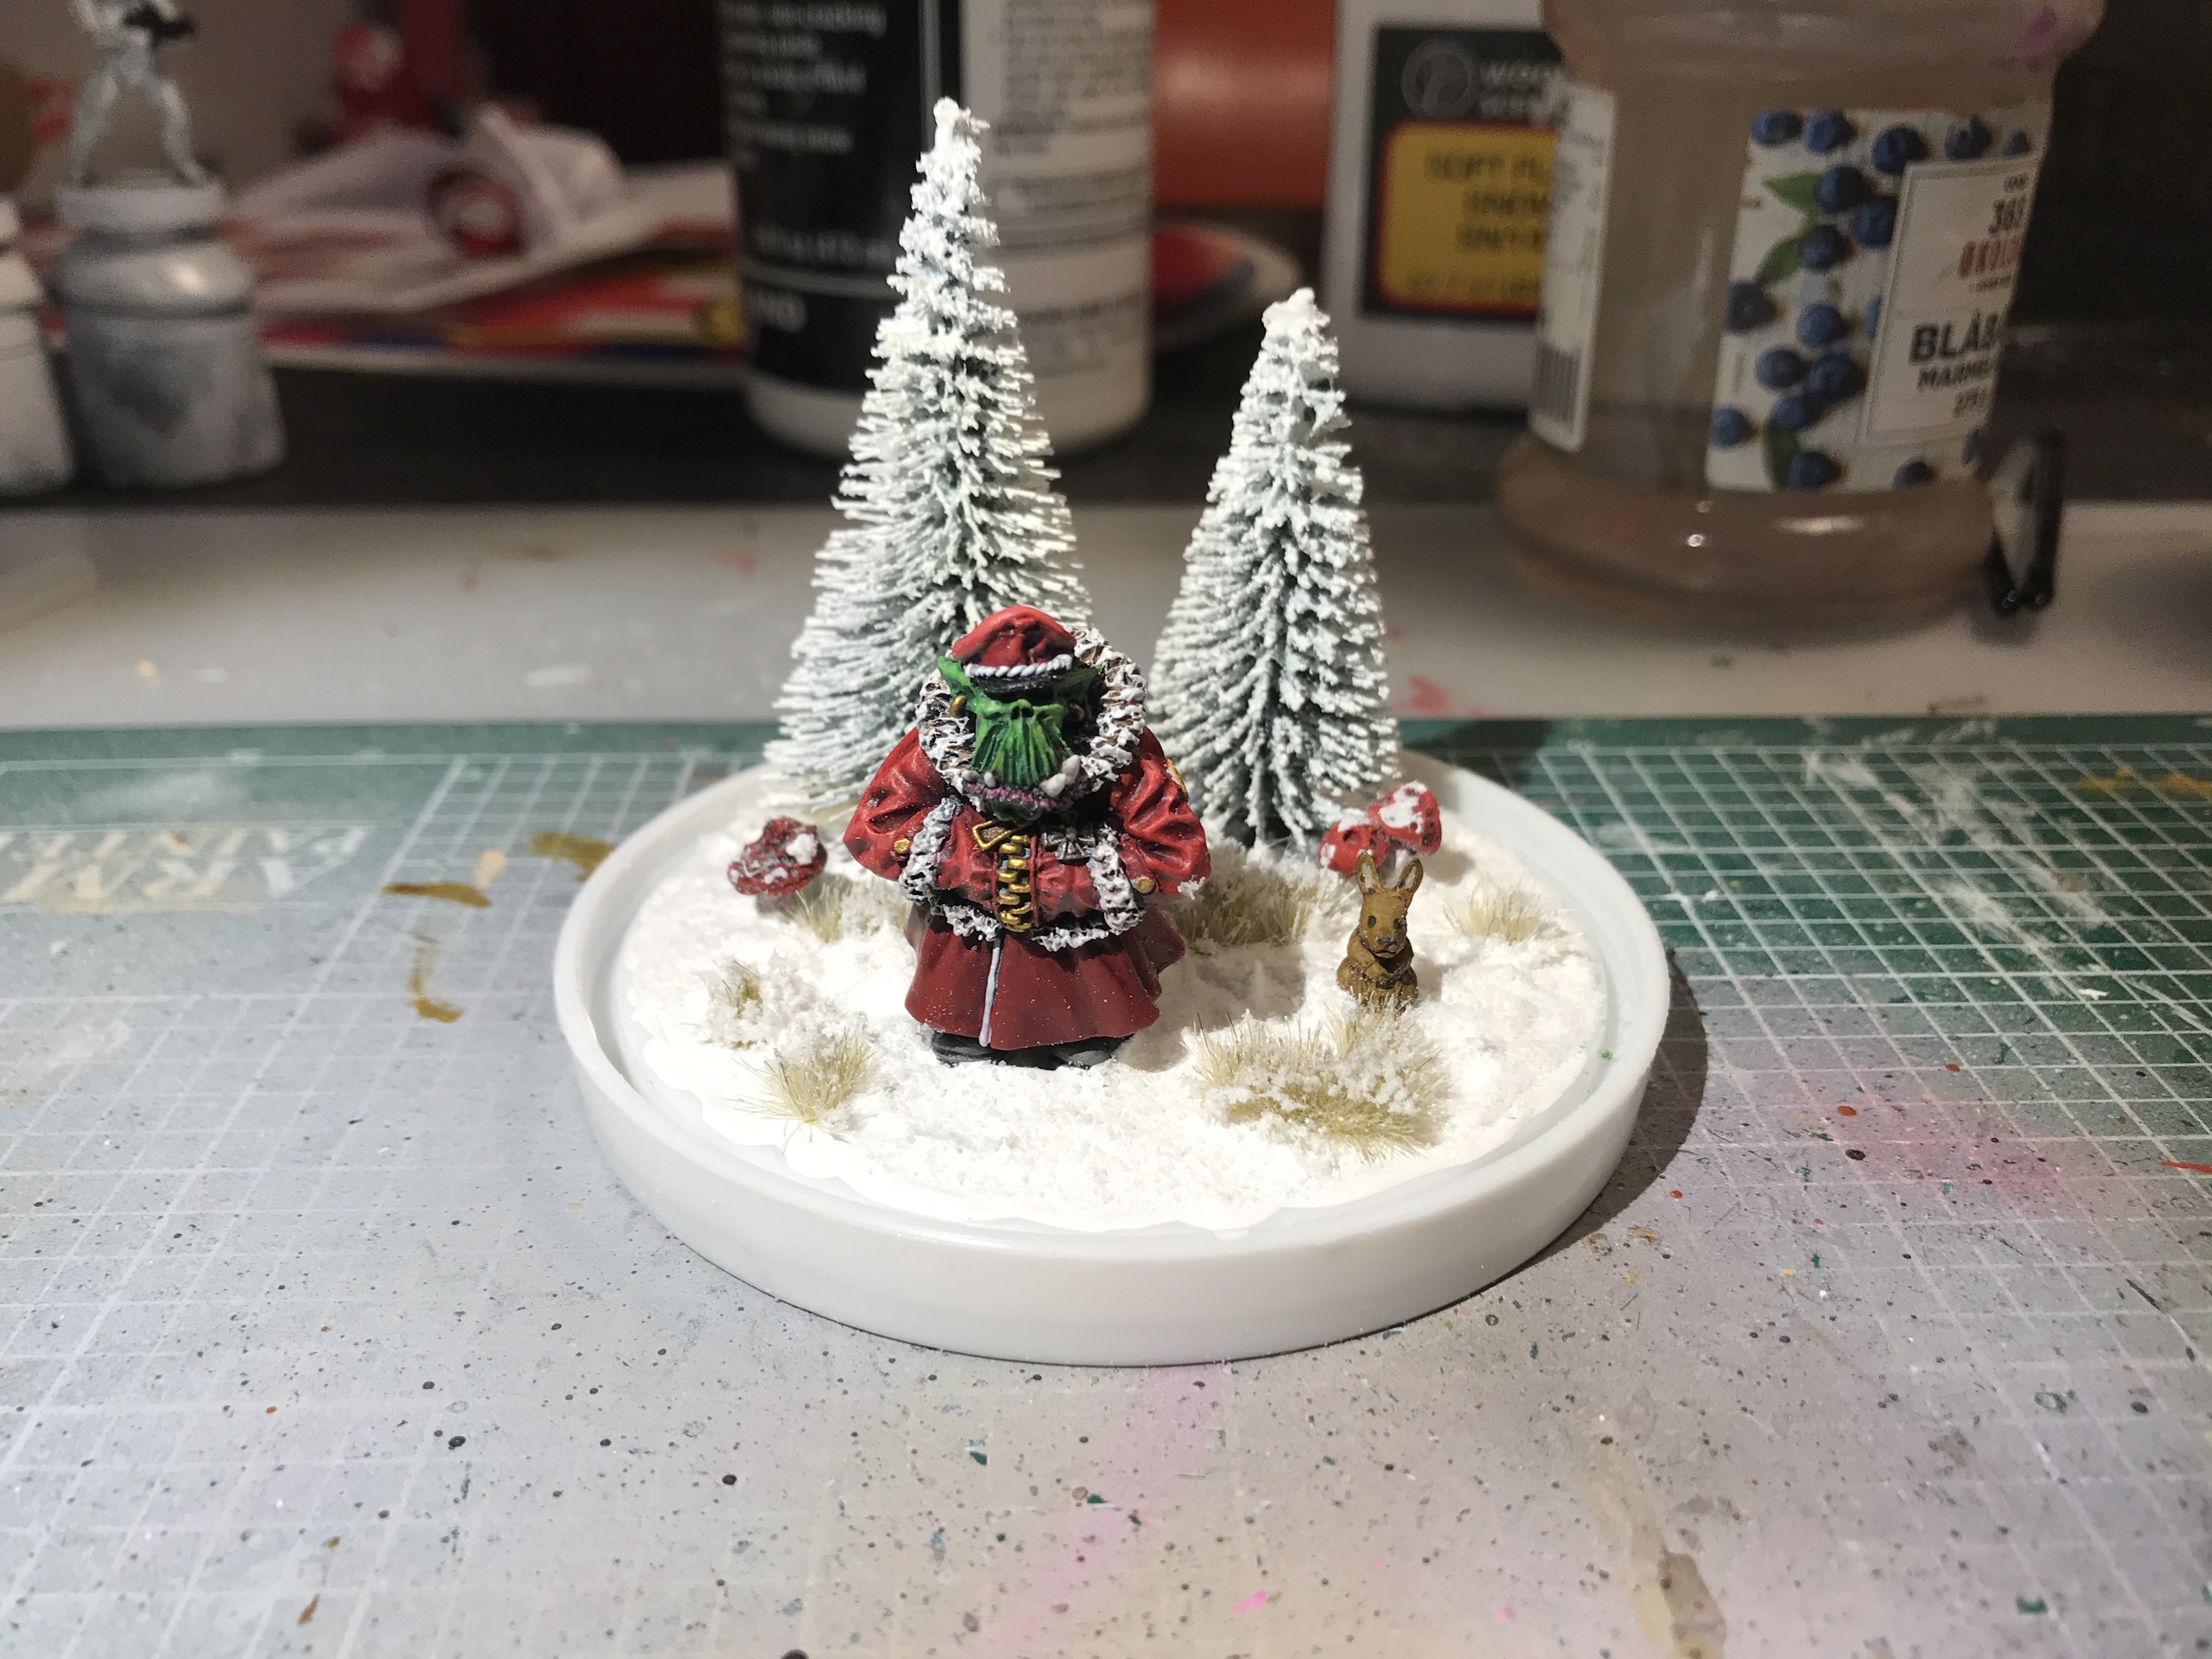
The Ork!
I have had this wonderful Kromlech Commisar for some time. I absolutely love their Orks. I have painted up a number of the other Orks in the ‘series’ but never had a good reason to paint this one as I wanted it to be winter themed. But now was the time!
Get it here: https://bitsofwar.com/home/126-orc-commissar-.html
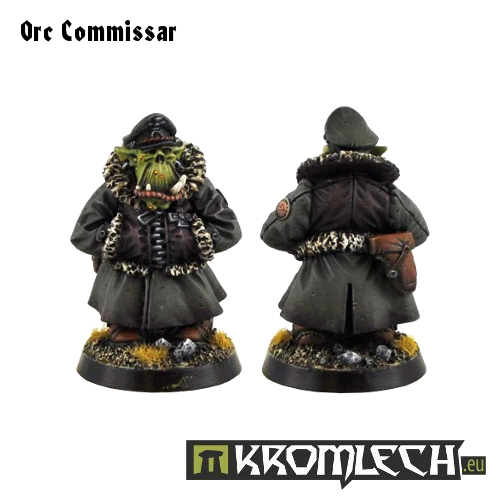 Kromlech Commissar
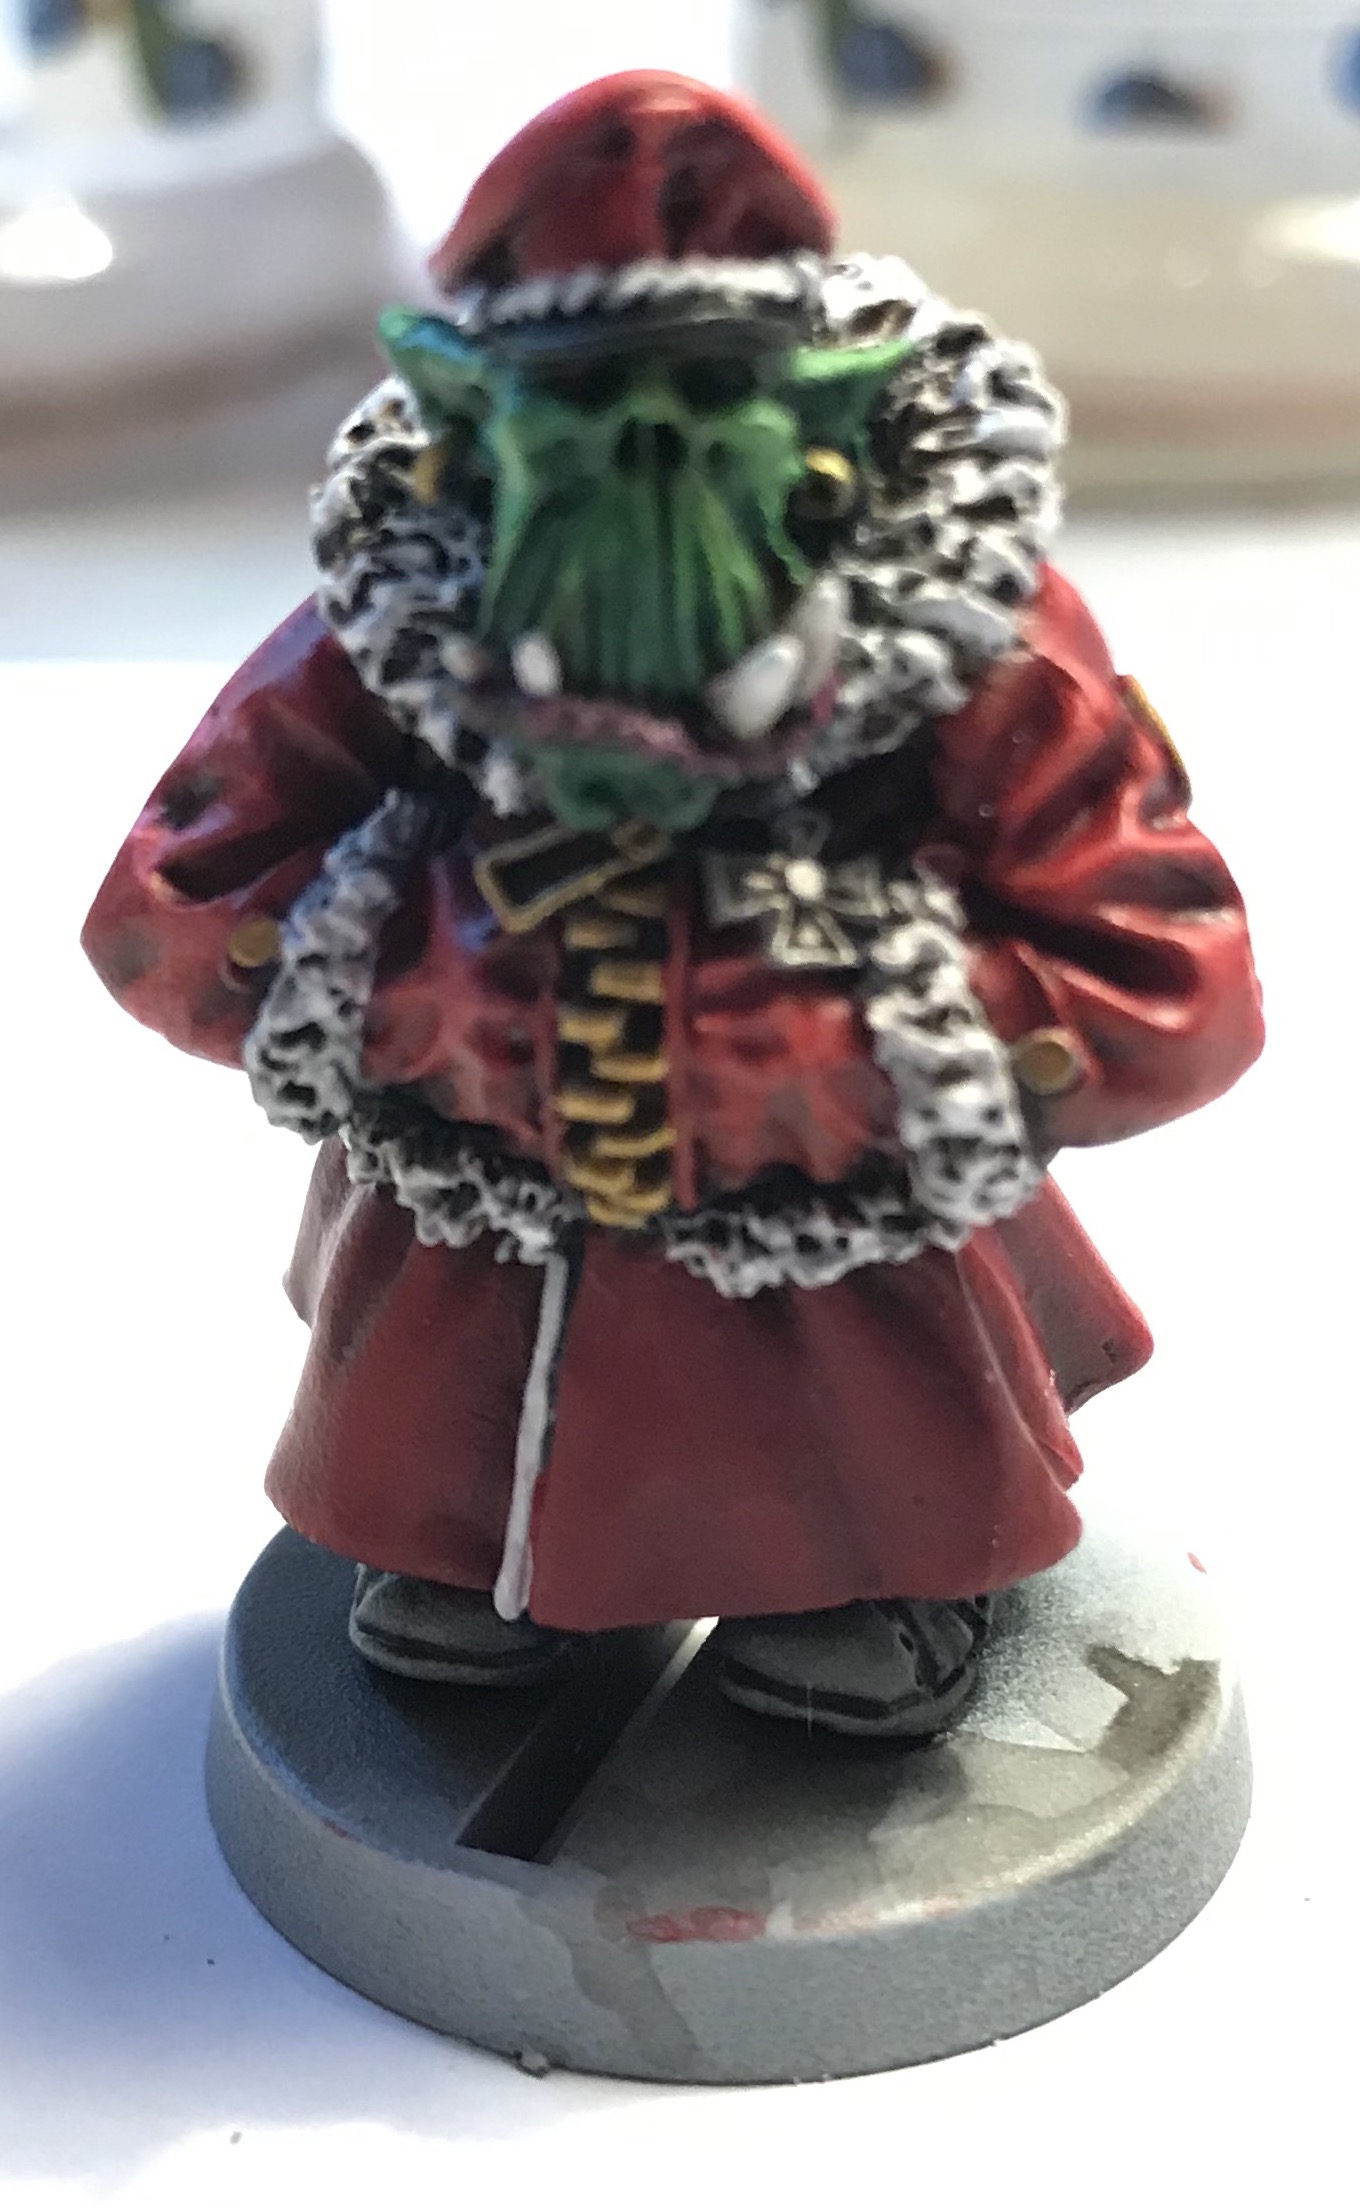
Painting Santa Klaws
First I primed it black with a zenithal white – THEN I PAINTED THE REST OF THE DAKKING ORK!
I am no master painter so I will spare you the details here. Luckily he is submerged in water (and glitter!) so any big gaffes won’t be noticeable. Most important thing is to cover it in several layers of Army Painter Mat Coat hoping it will make it last (some clever chemistry person can chip in here and make me feel stupid).
Adding Snow and Trees
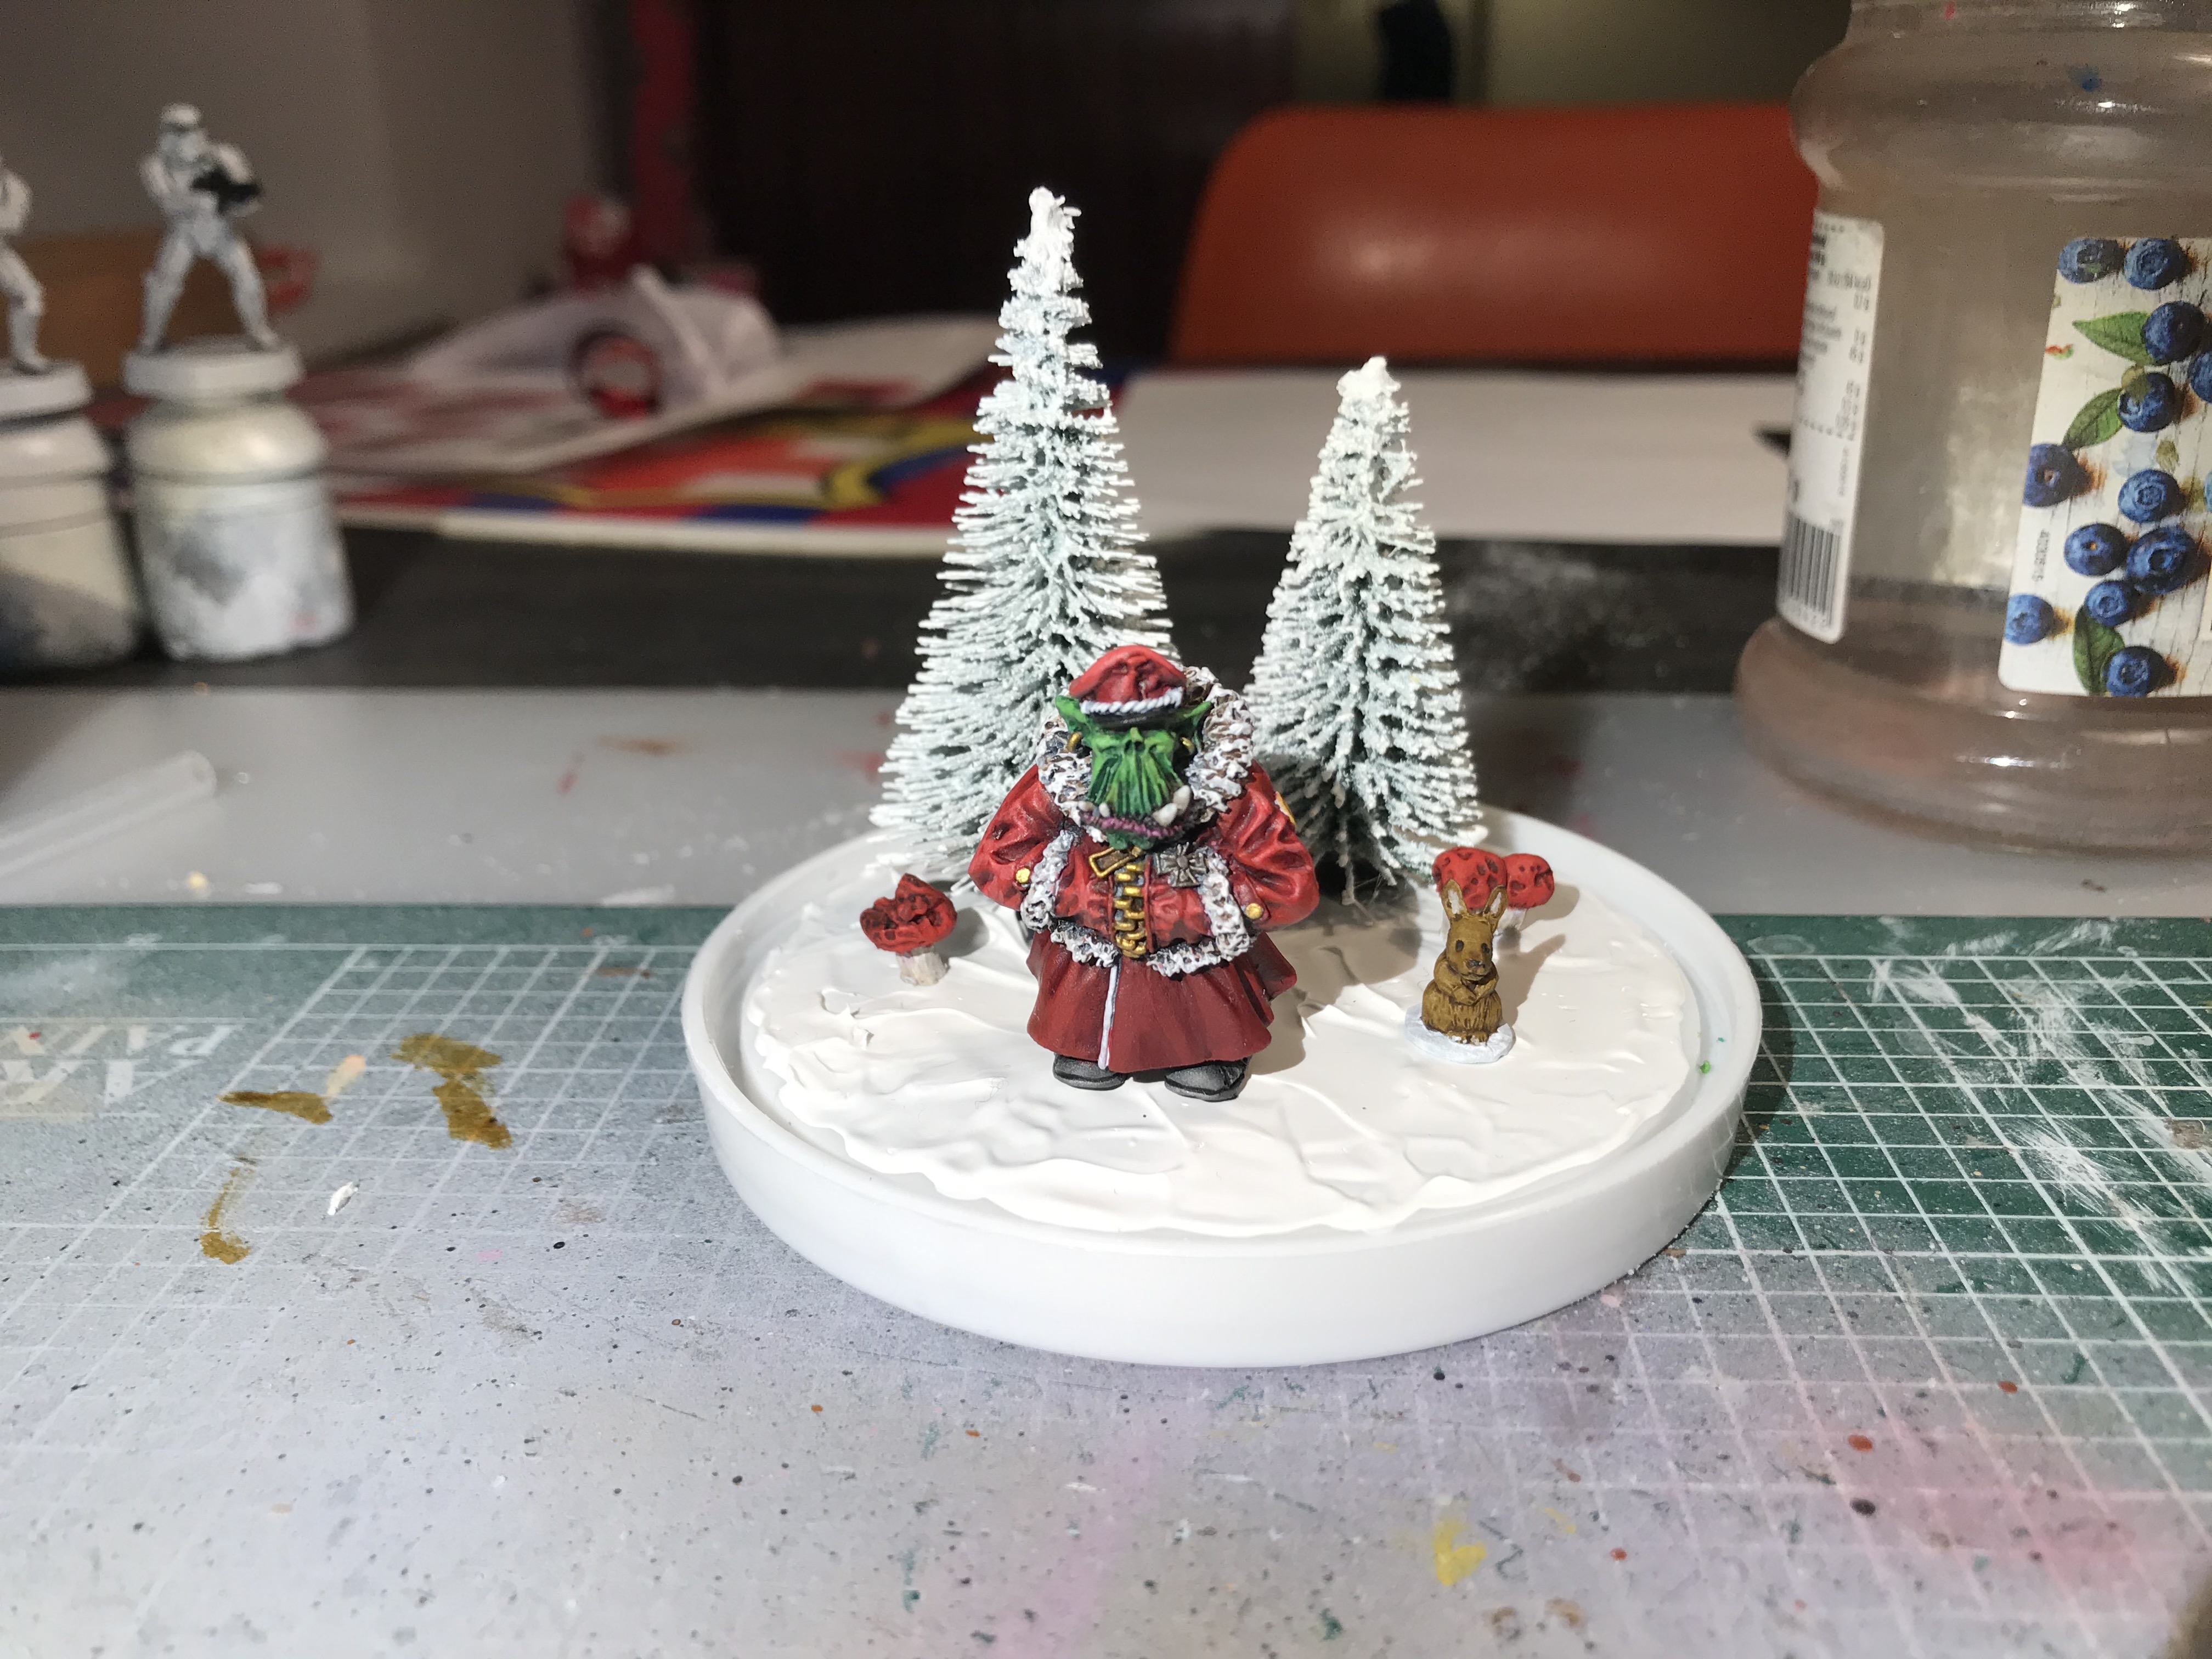
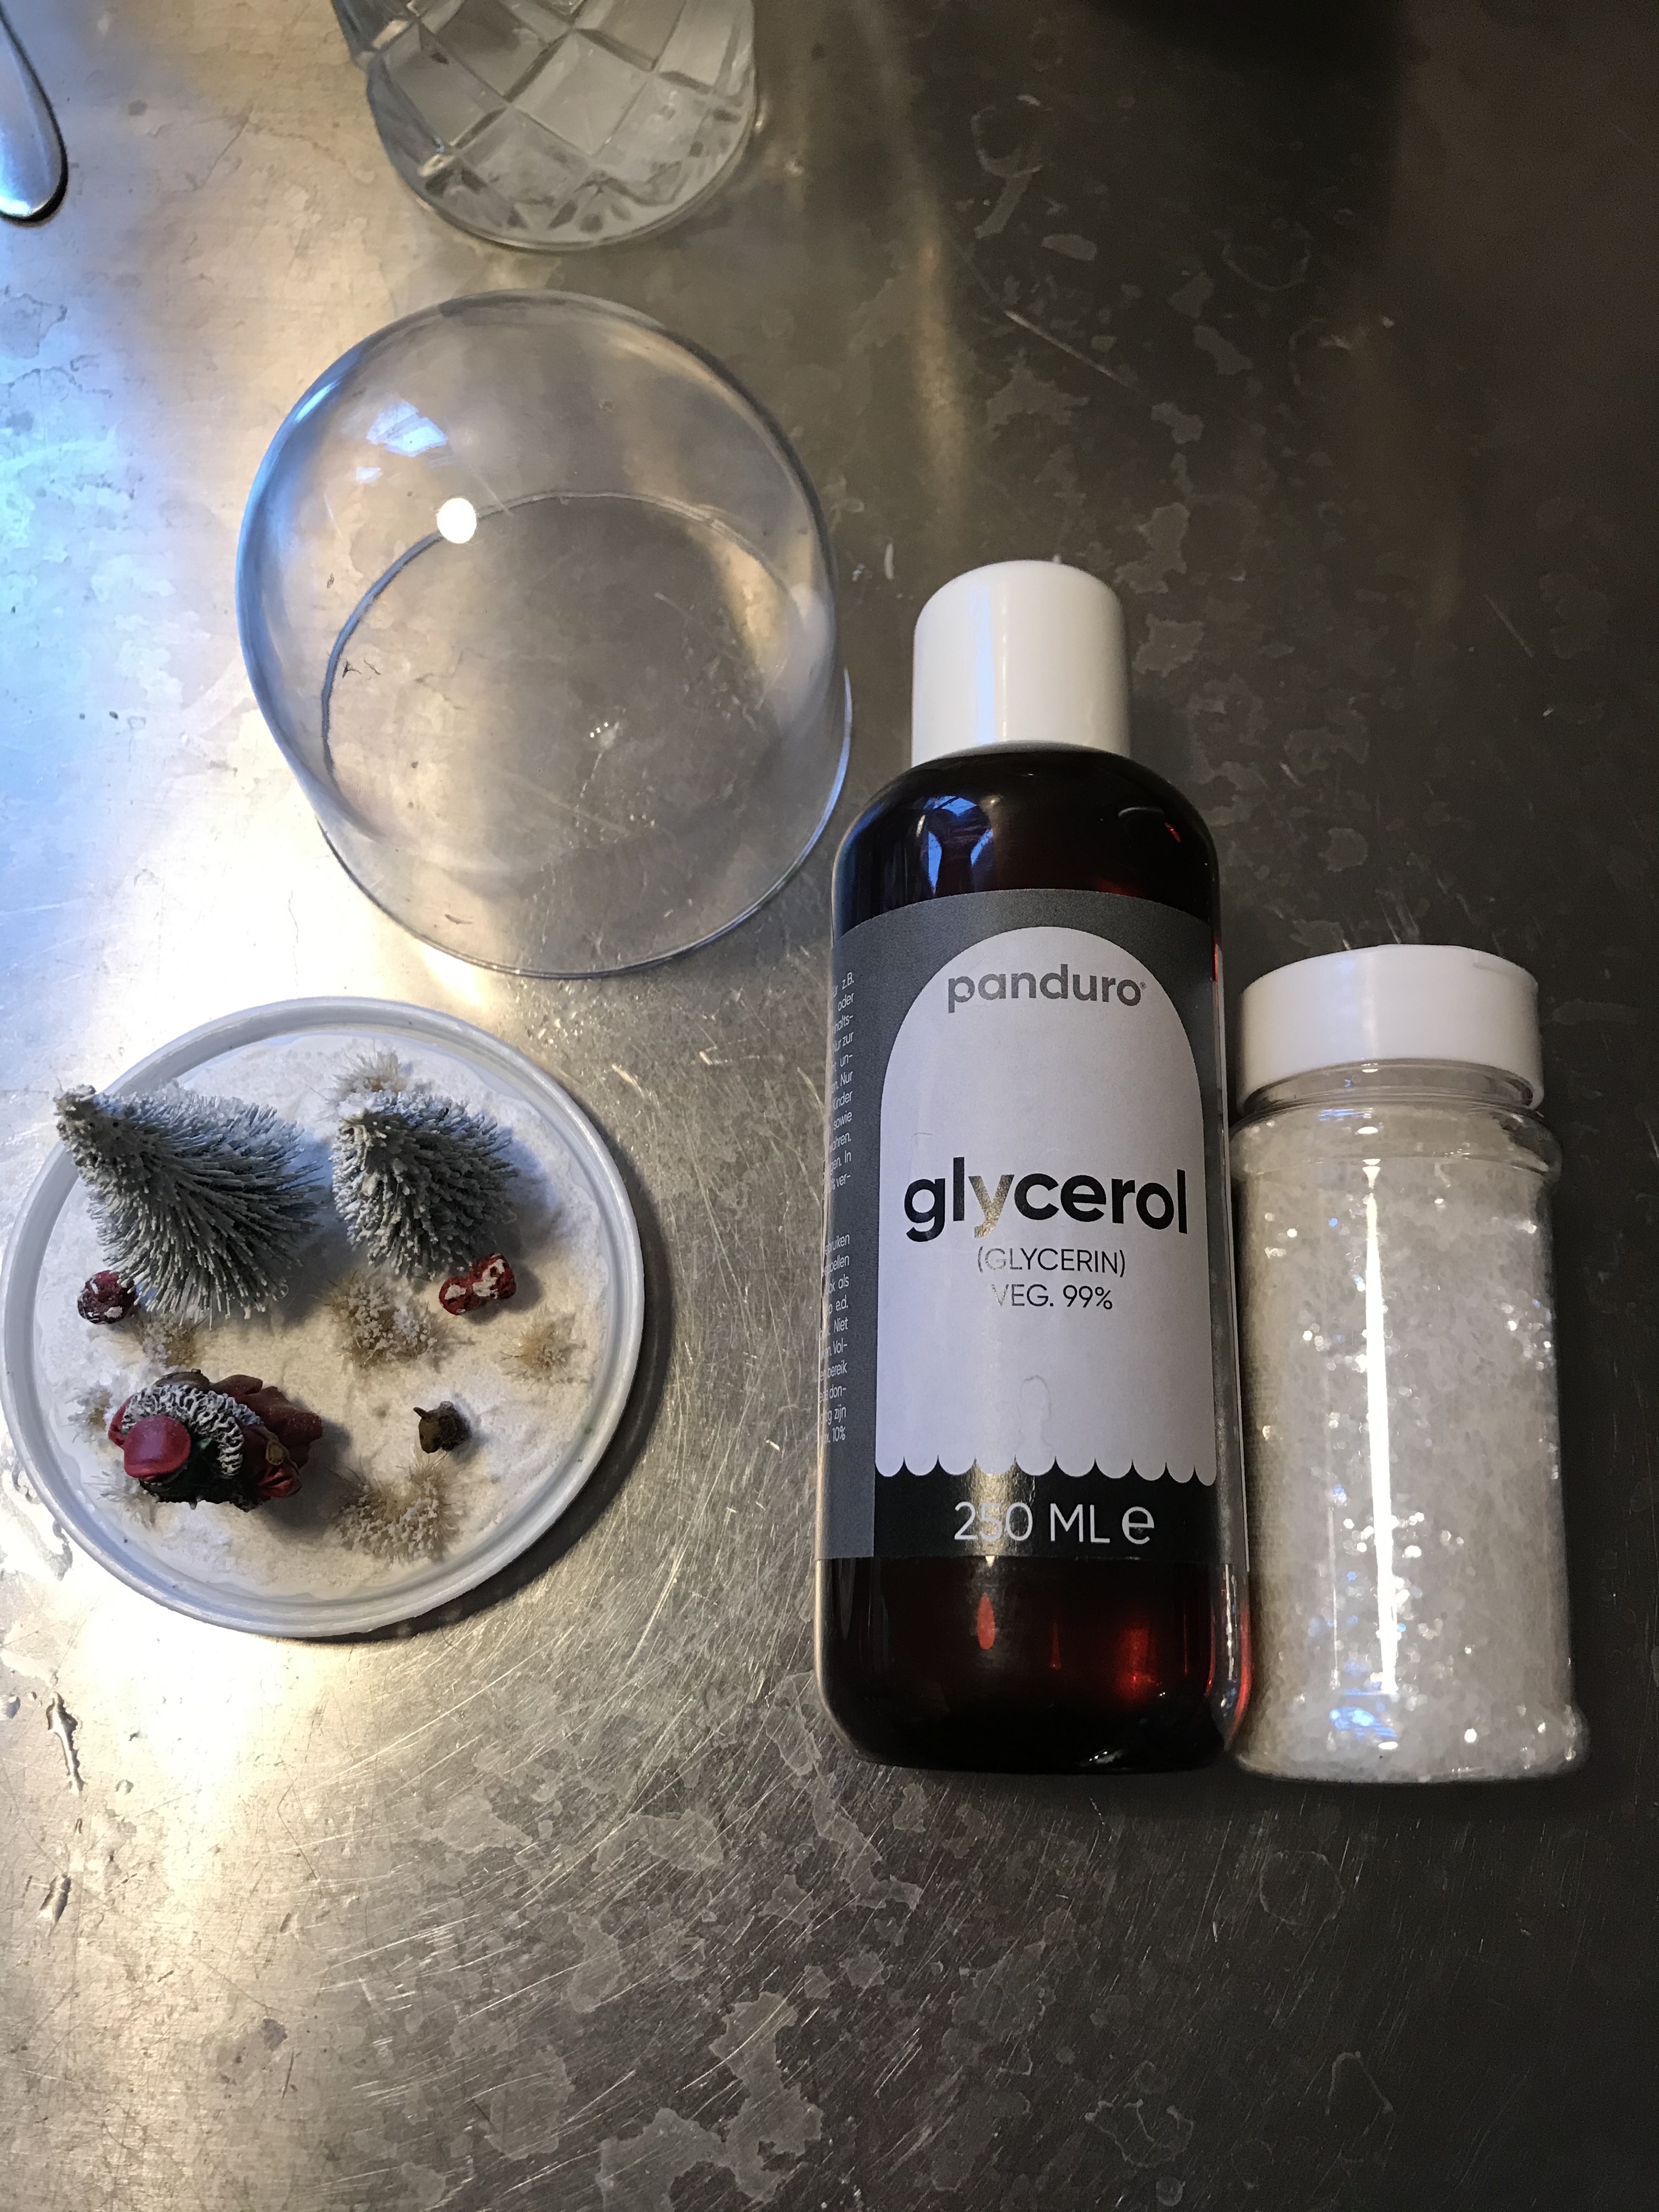
The snow globe I purchased as a DIY set in a variety store (Flying Tiger Copenhagen that has stored in several European cities) and it was about 5 GBP (pre-brexit exchange rate). It came with some play dough and some glitter that I discarded for this project (but the kids got one each and built as according to spec and they turn out quite nice).
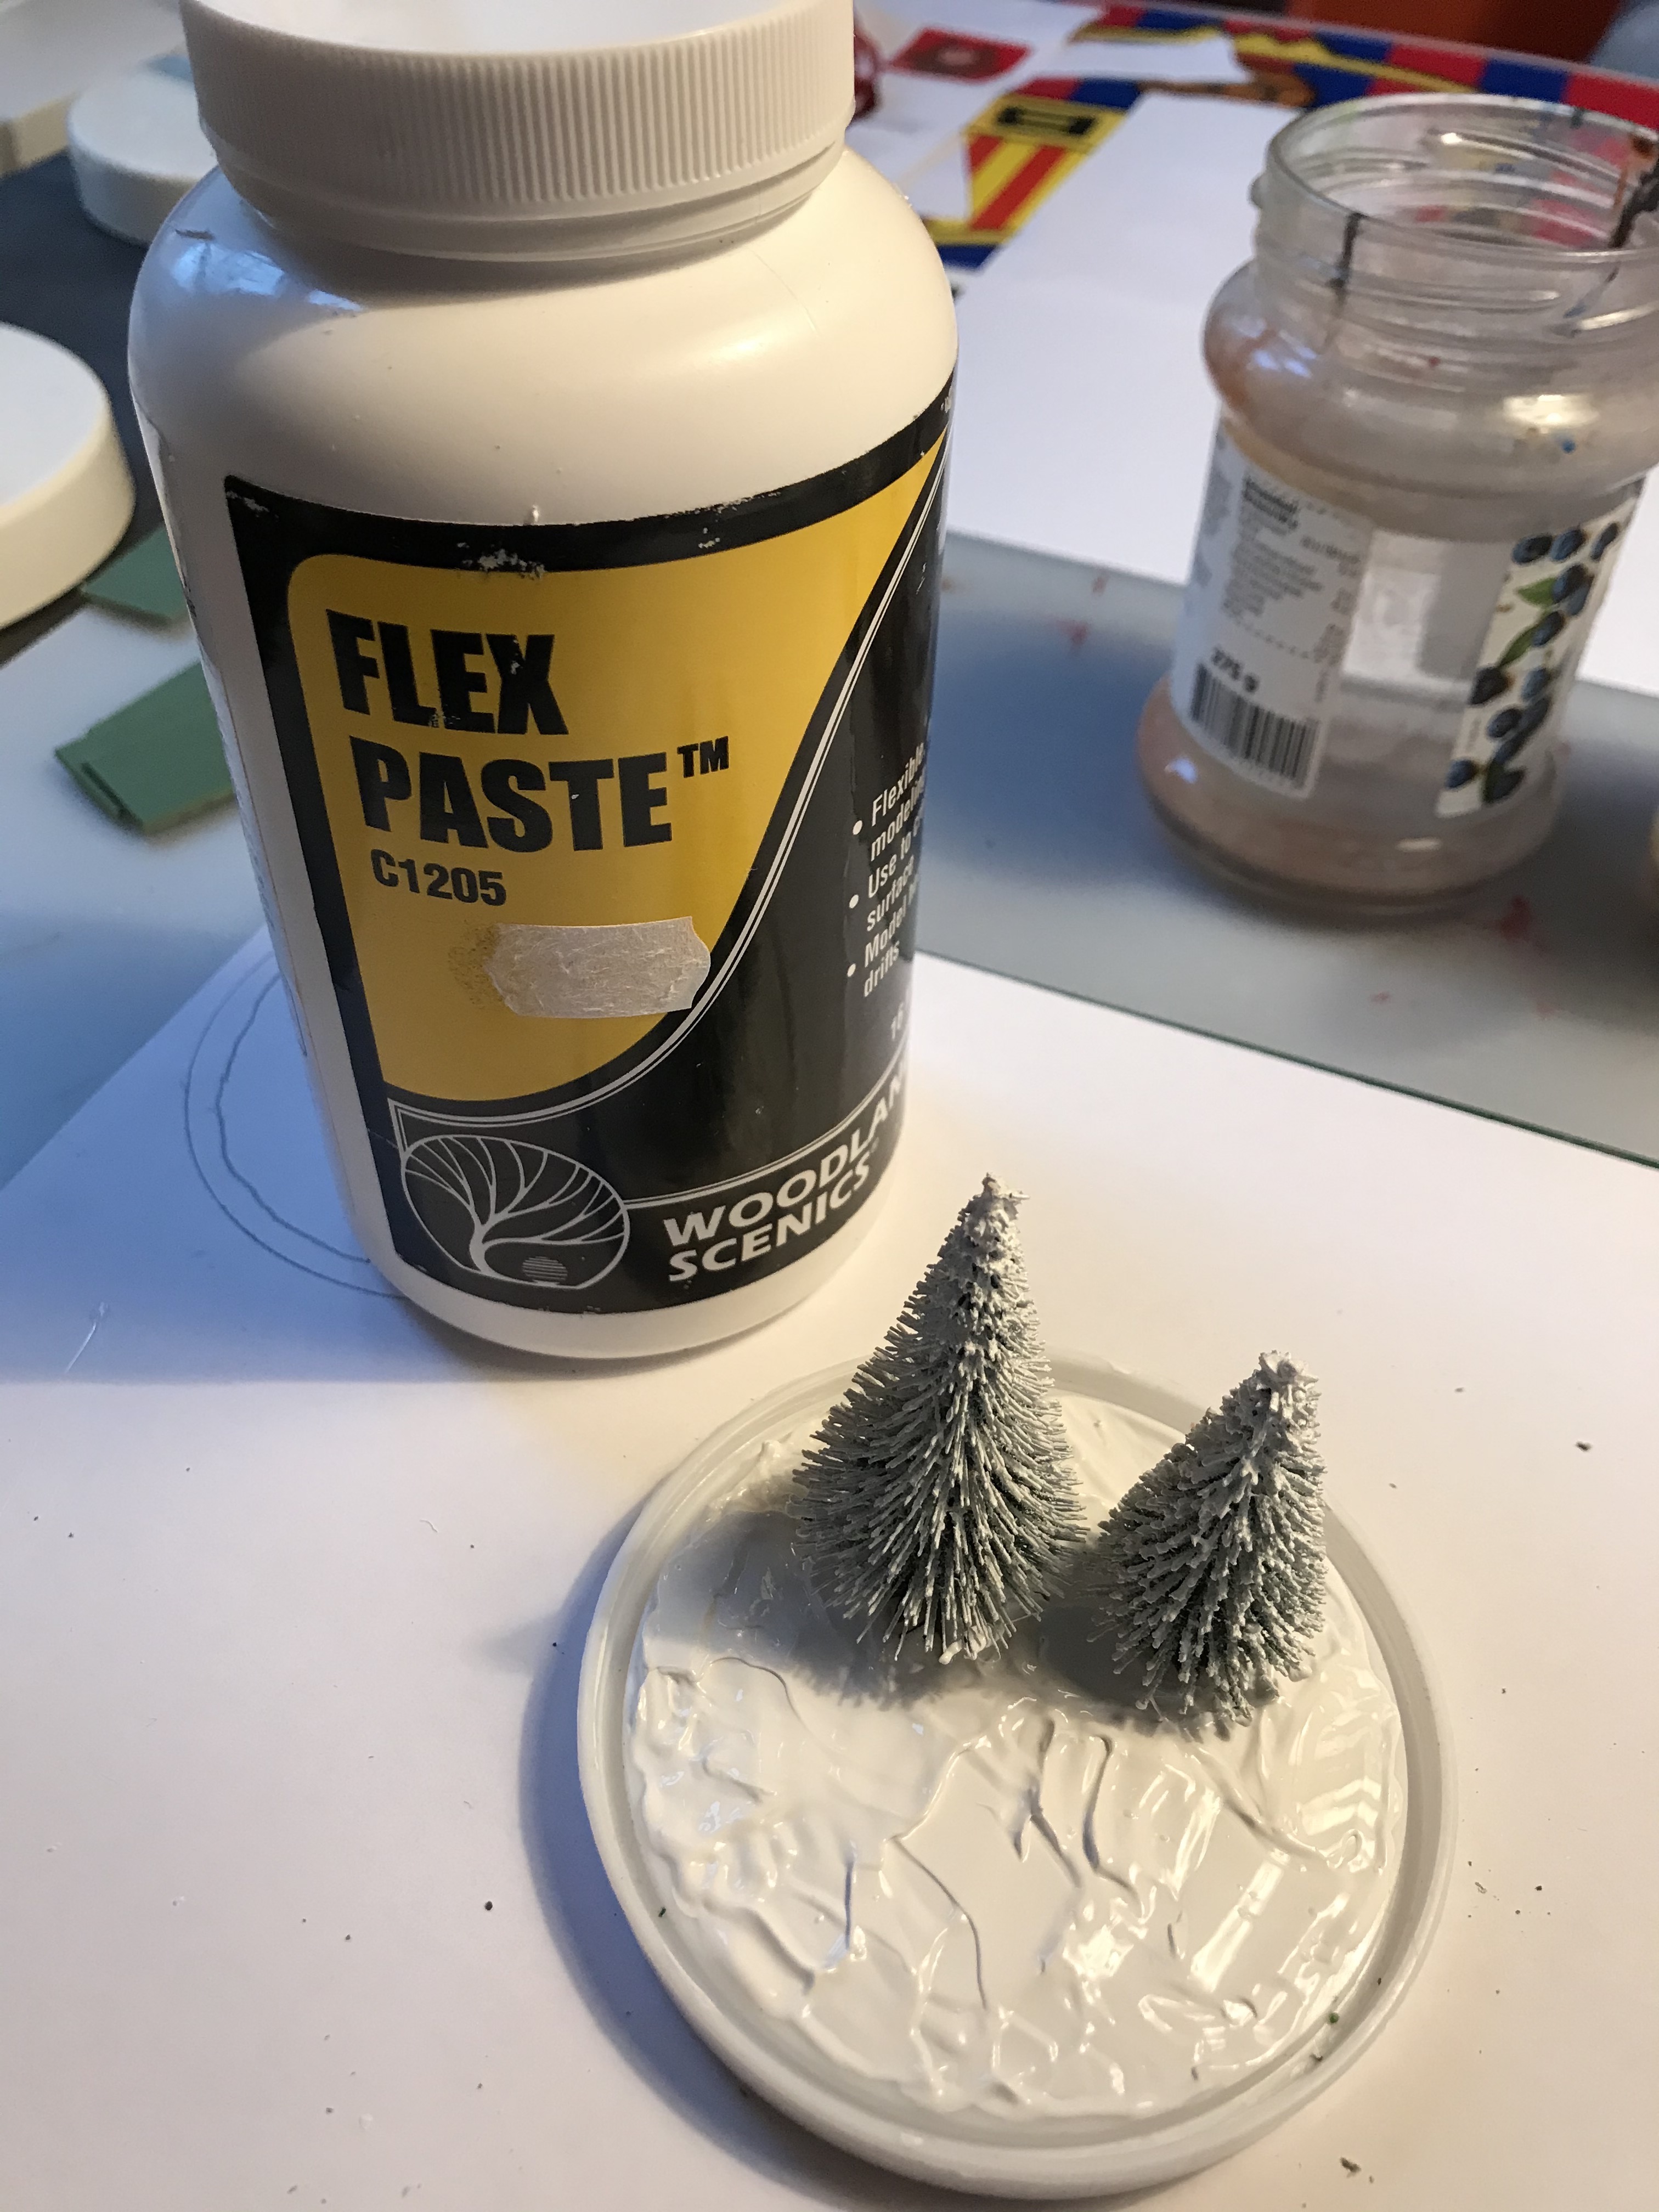
The trees I got years ago as a bundle sale on ebay so I don’t know where they are from. I did however cut them in halves to make them fit. They cam winter-themed.
I covered the ground inWoodland Scenics Flex Paste that I really enjoy using especially for winter projects https://woodlandscenics.woodlandscenics.com/show/item/c1205 I let everything dry for a few days.
Adding the minis!
Now was the time to add the minis.
The bunny is from the wonderful Bad Squiddo that does great models that are otherwise hard to come by. They were actually an an add-on (to get free shipping) when I purchased some other models on the site. Just goes to show that you should always make sure to add extra little things to your cart 😉 https://badsquiddogames.com/shop#!/Bunnies/p/82813463
The painting was again pretty simple; Grey Seer primer, Leather contrast paint, black and white spots for eyes/ears, Agrax Earthshade over the whole thing.
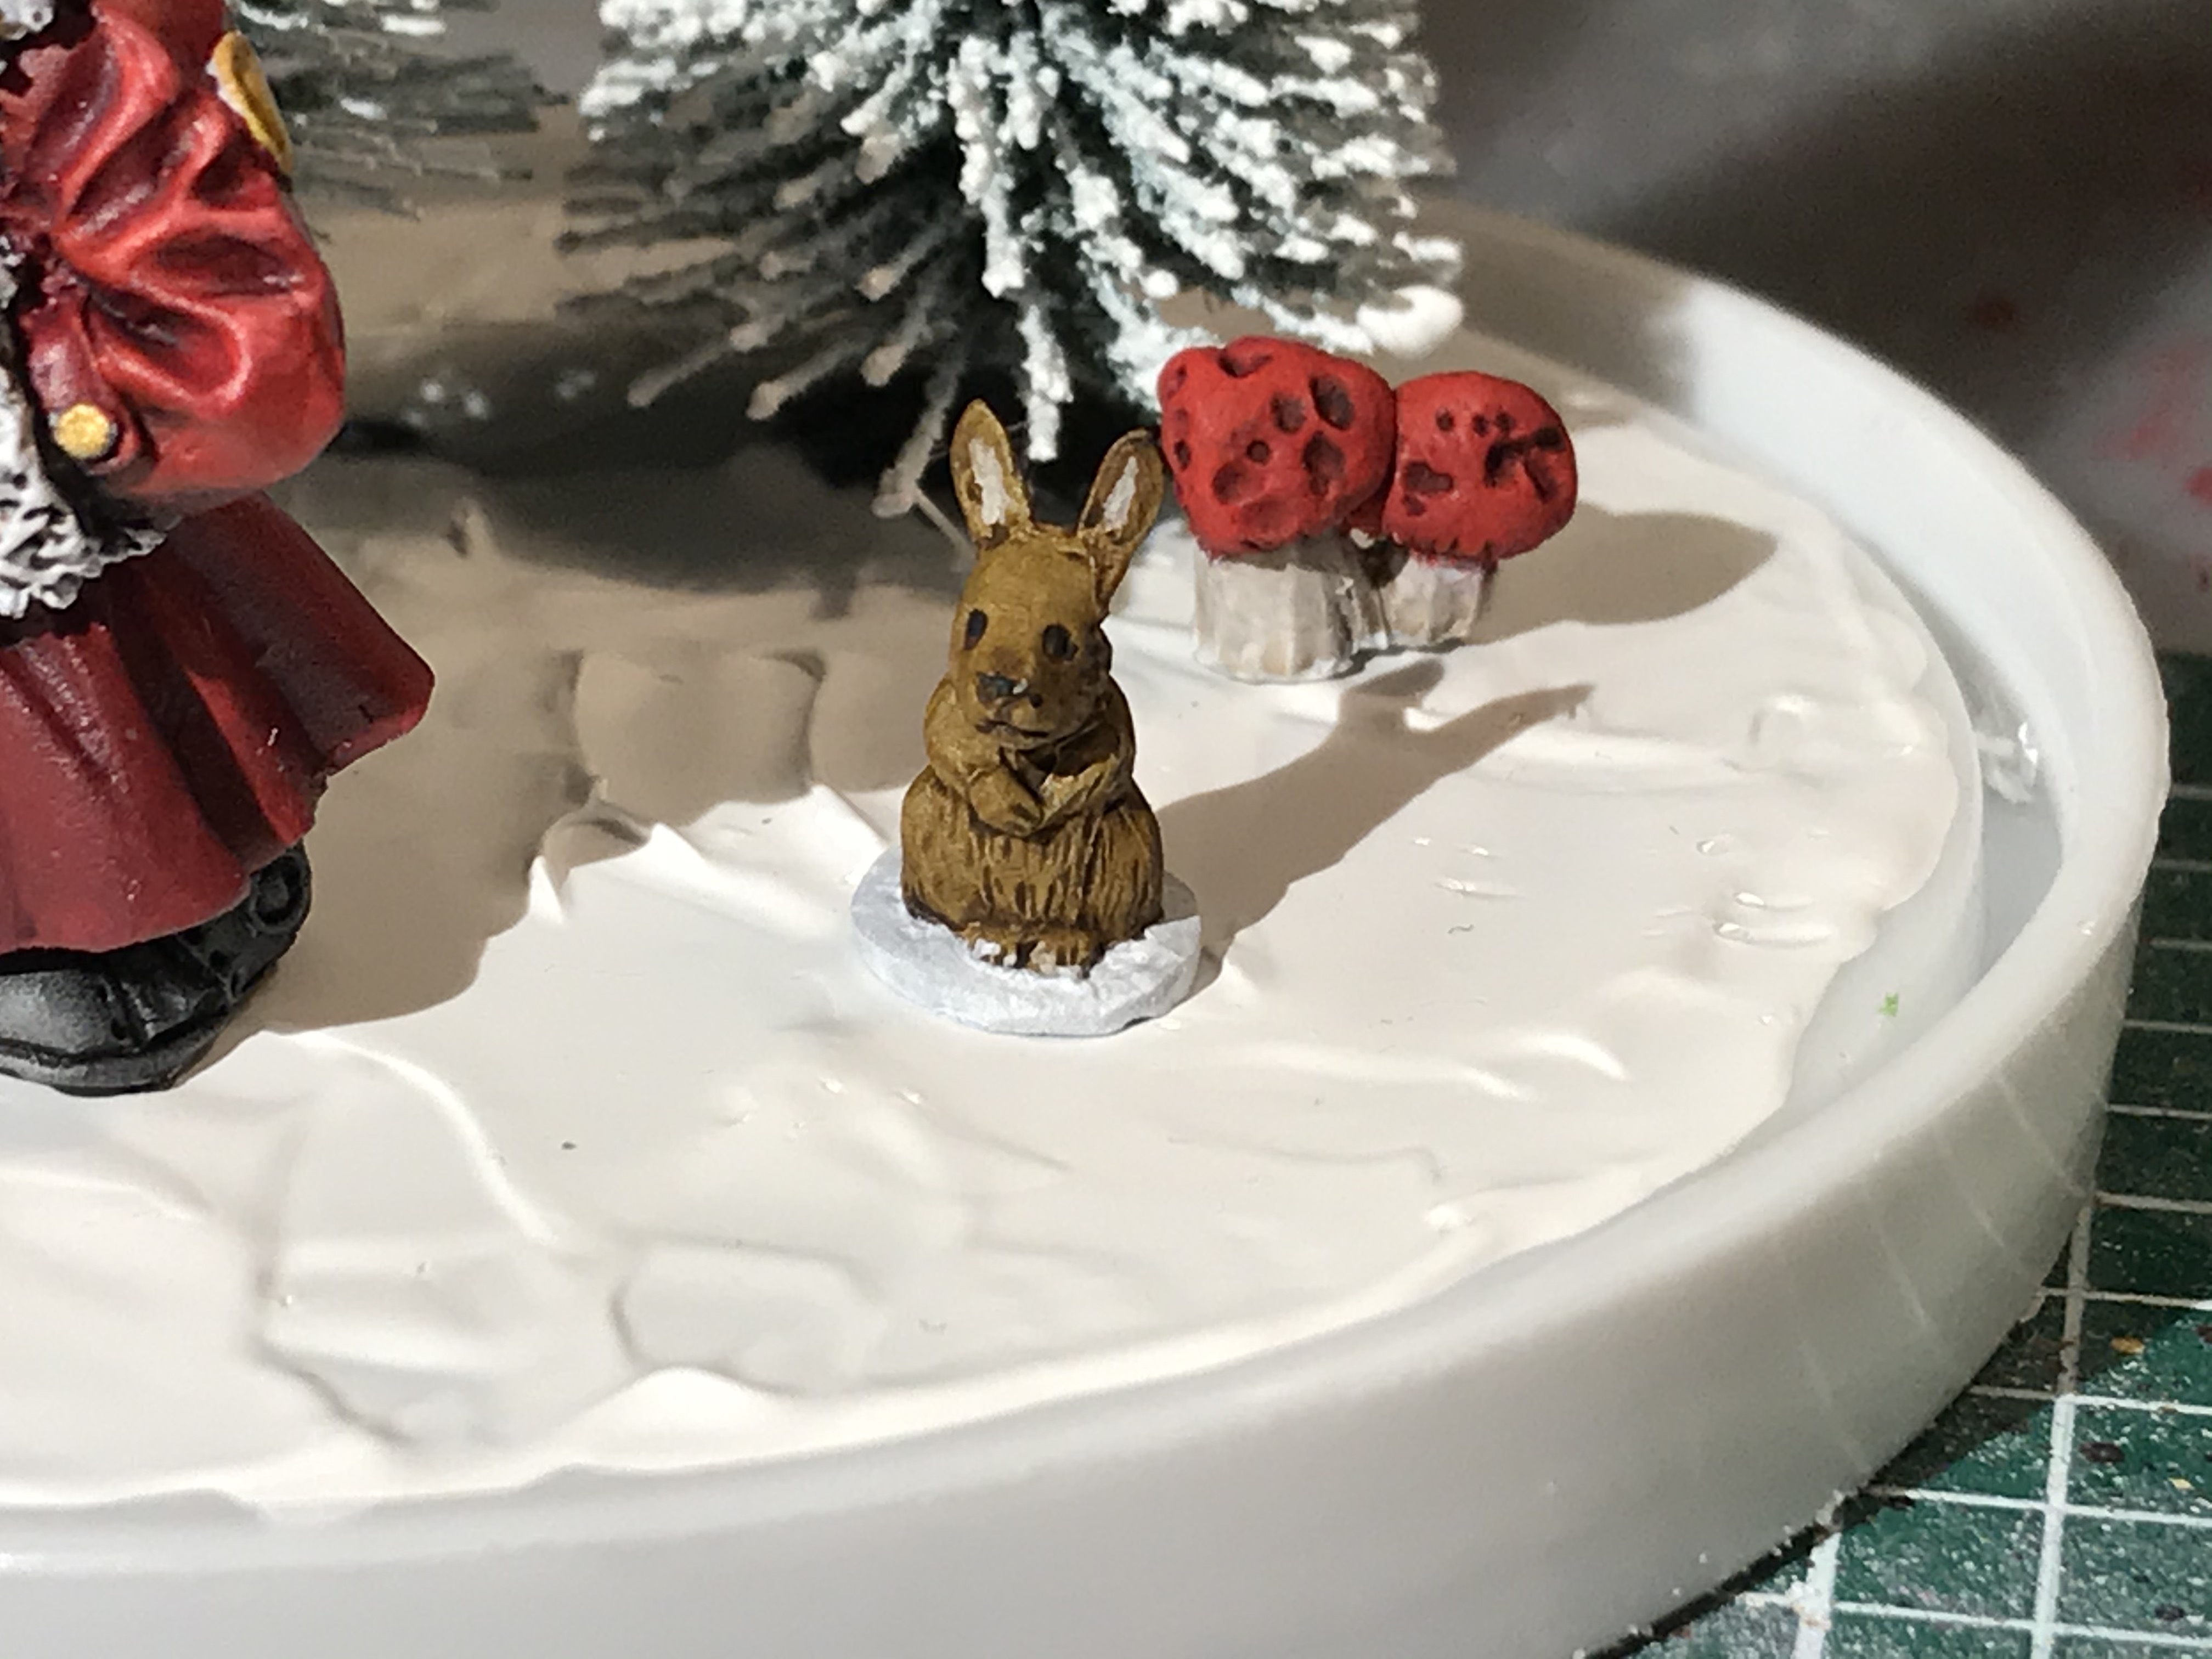
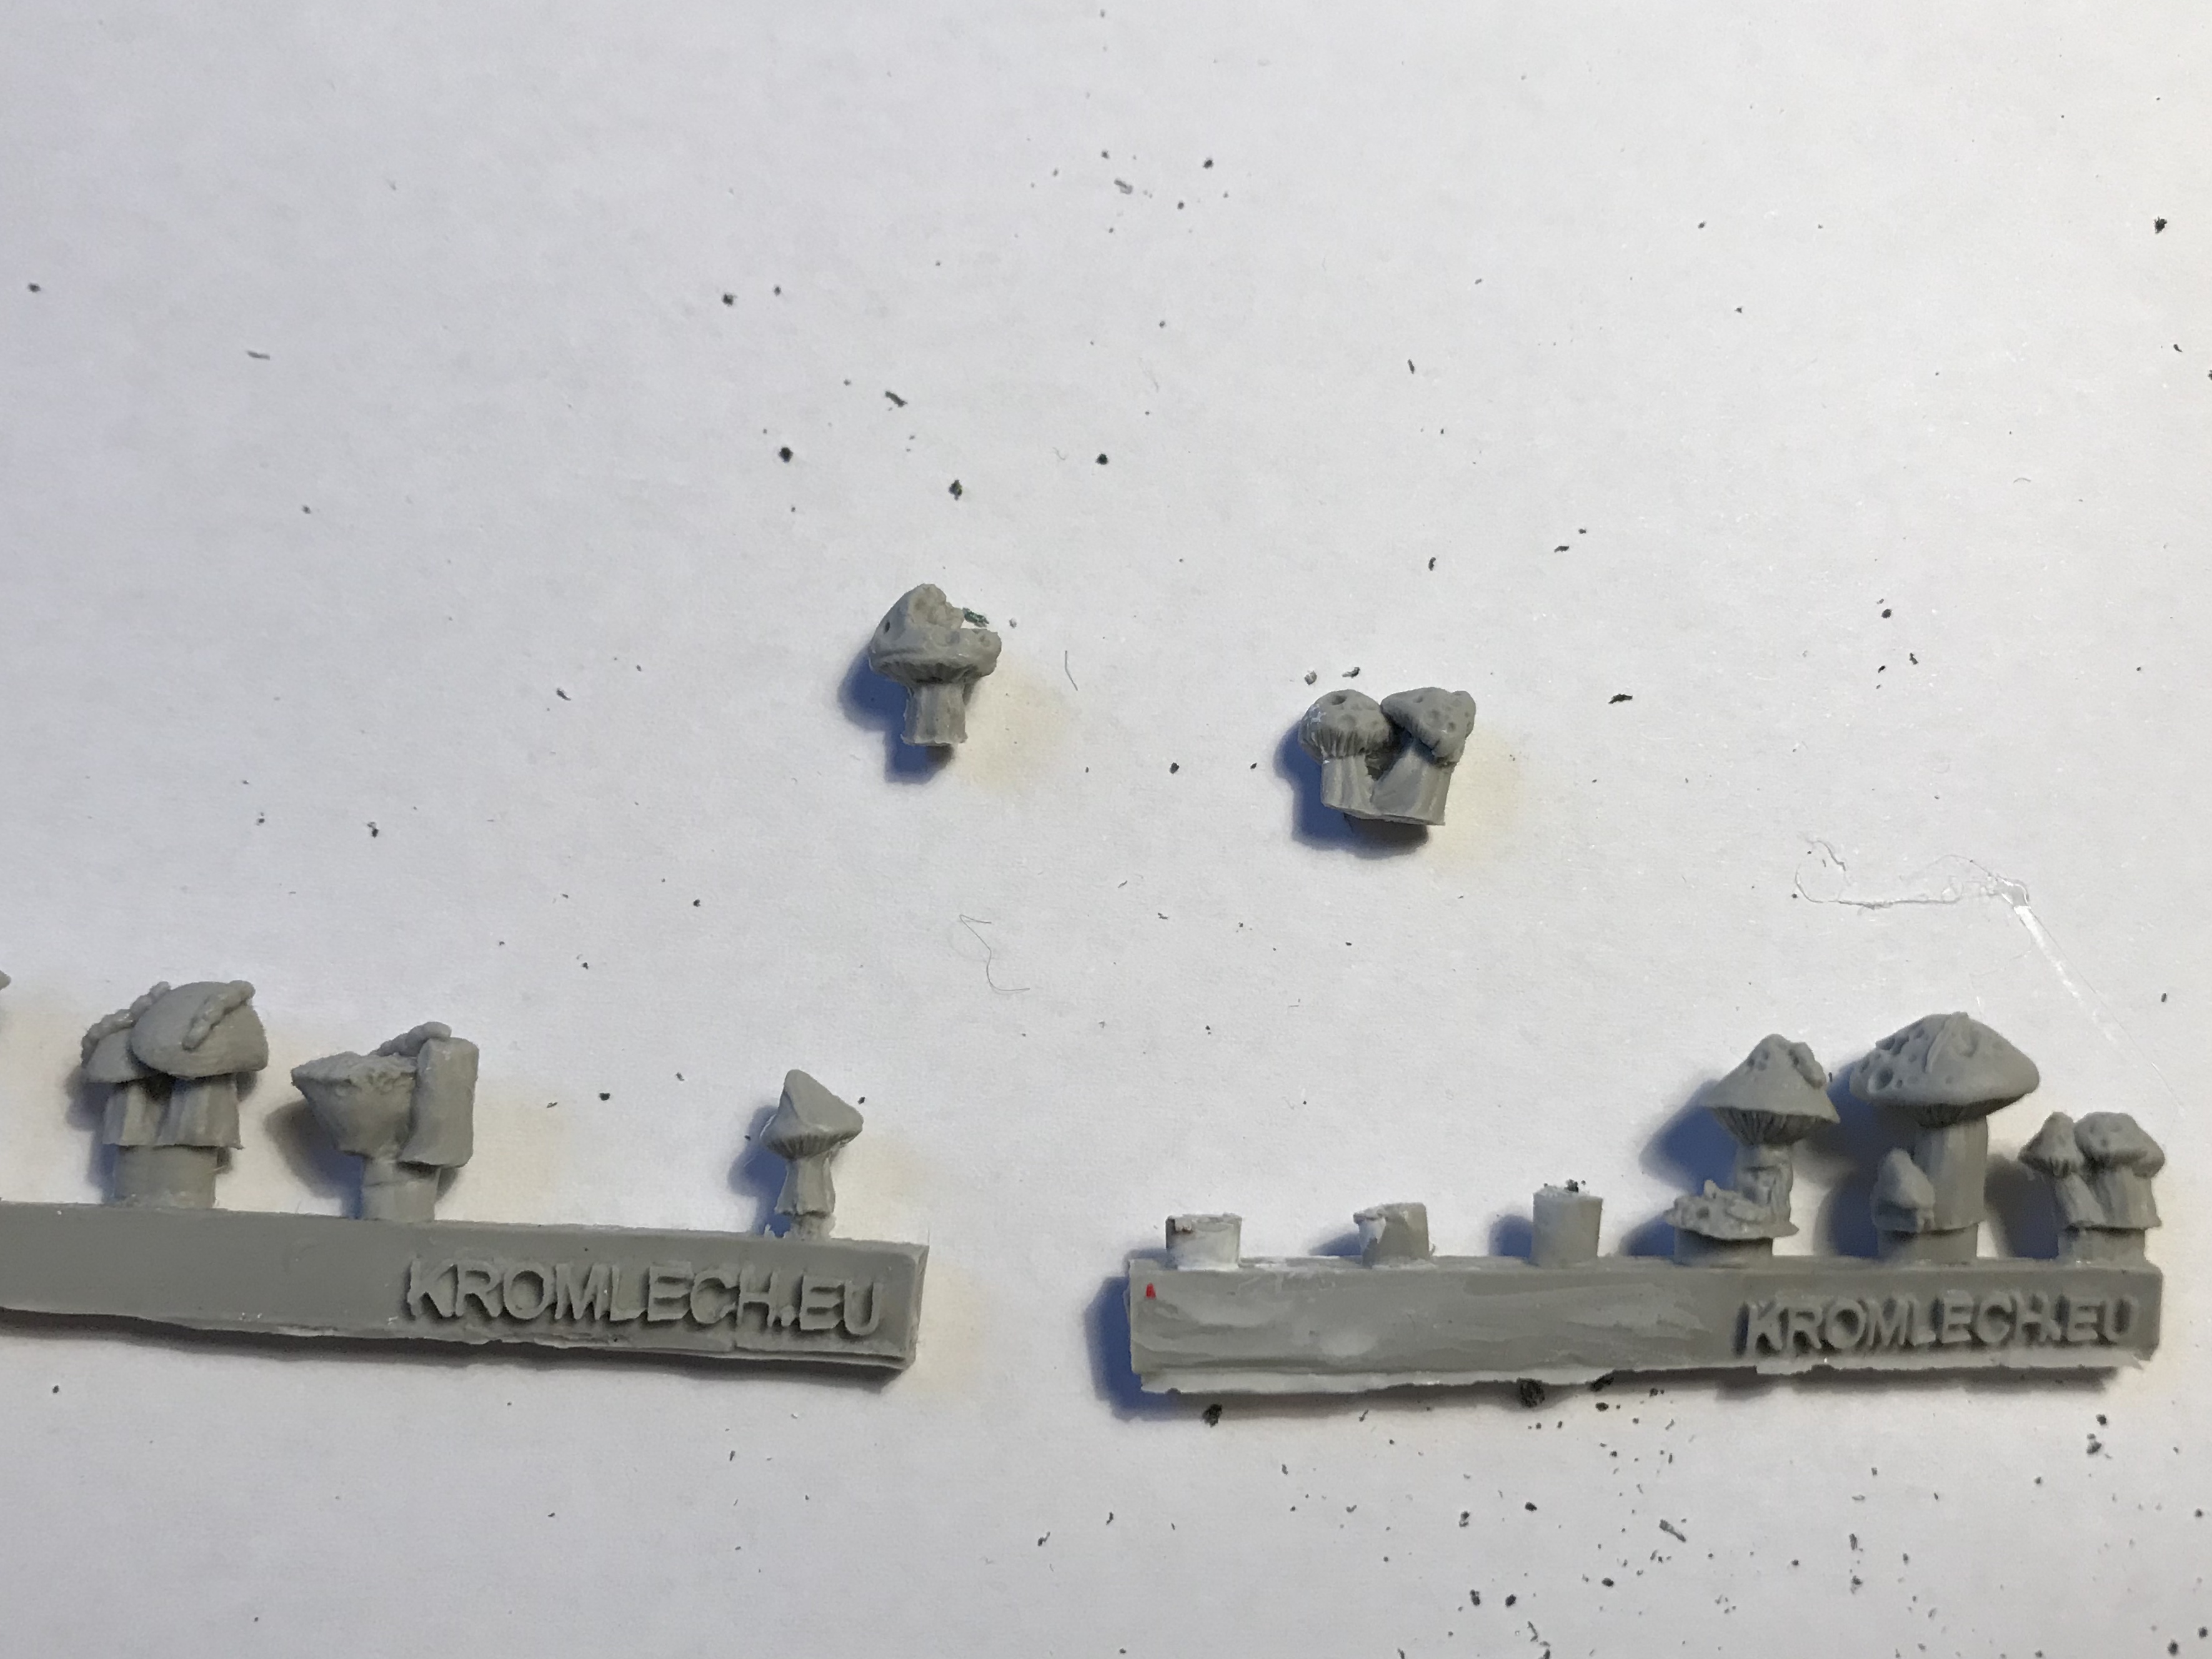
The mushrooms are from Kromlech. I have used a lot of them in my 40K Ork (and Grots!) army and I absolutely love them! https://bitsofwar.com/home/98-mushrooms-.html
Now all together!
Adding more snow!
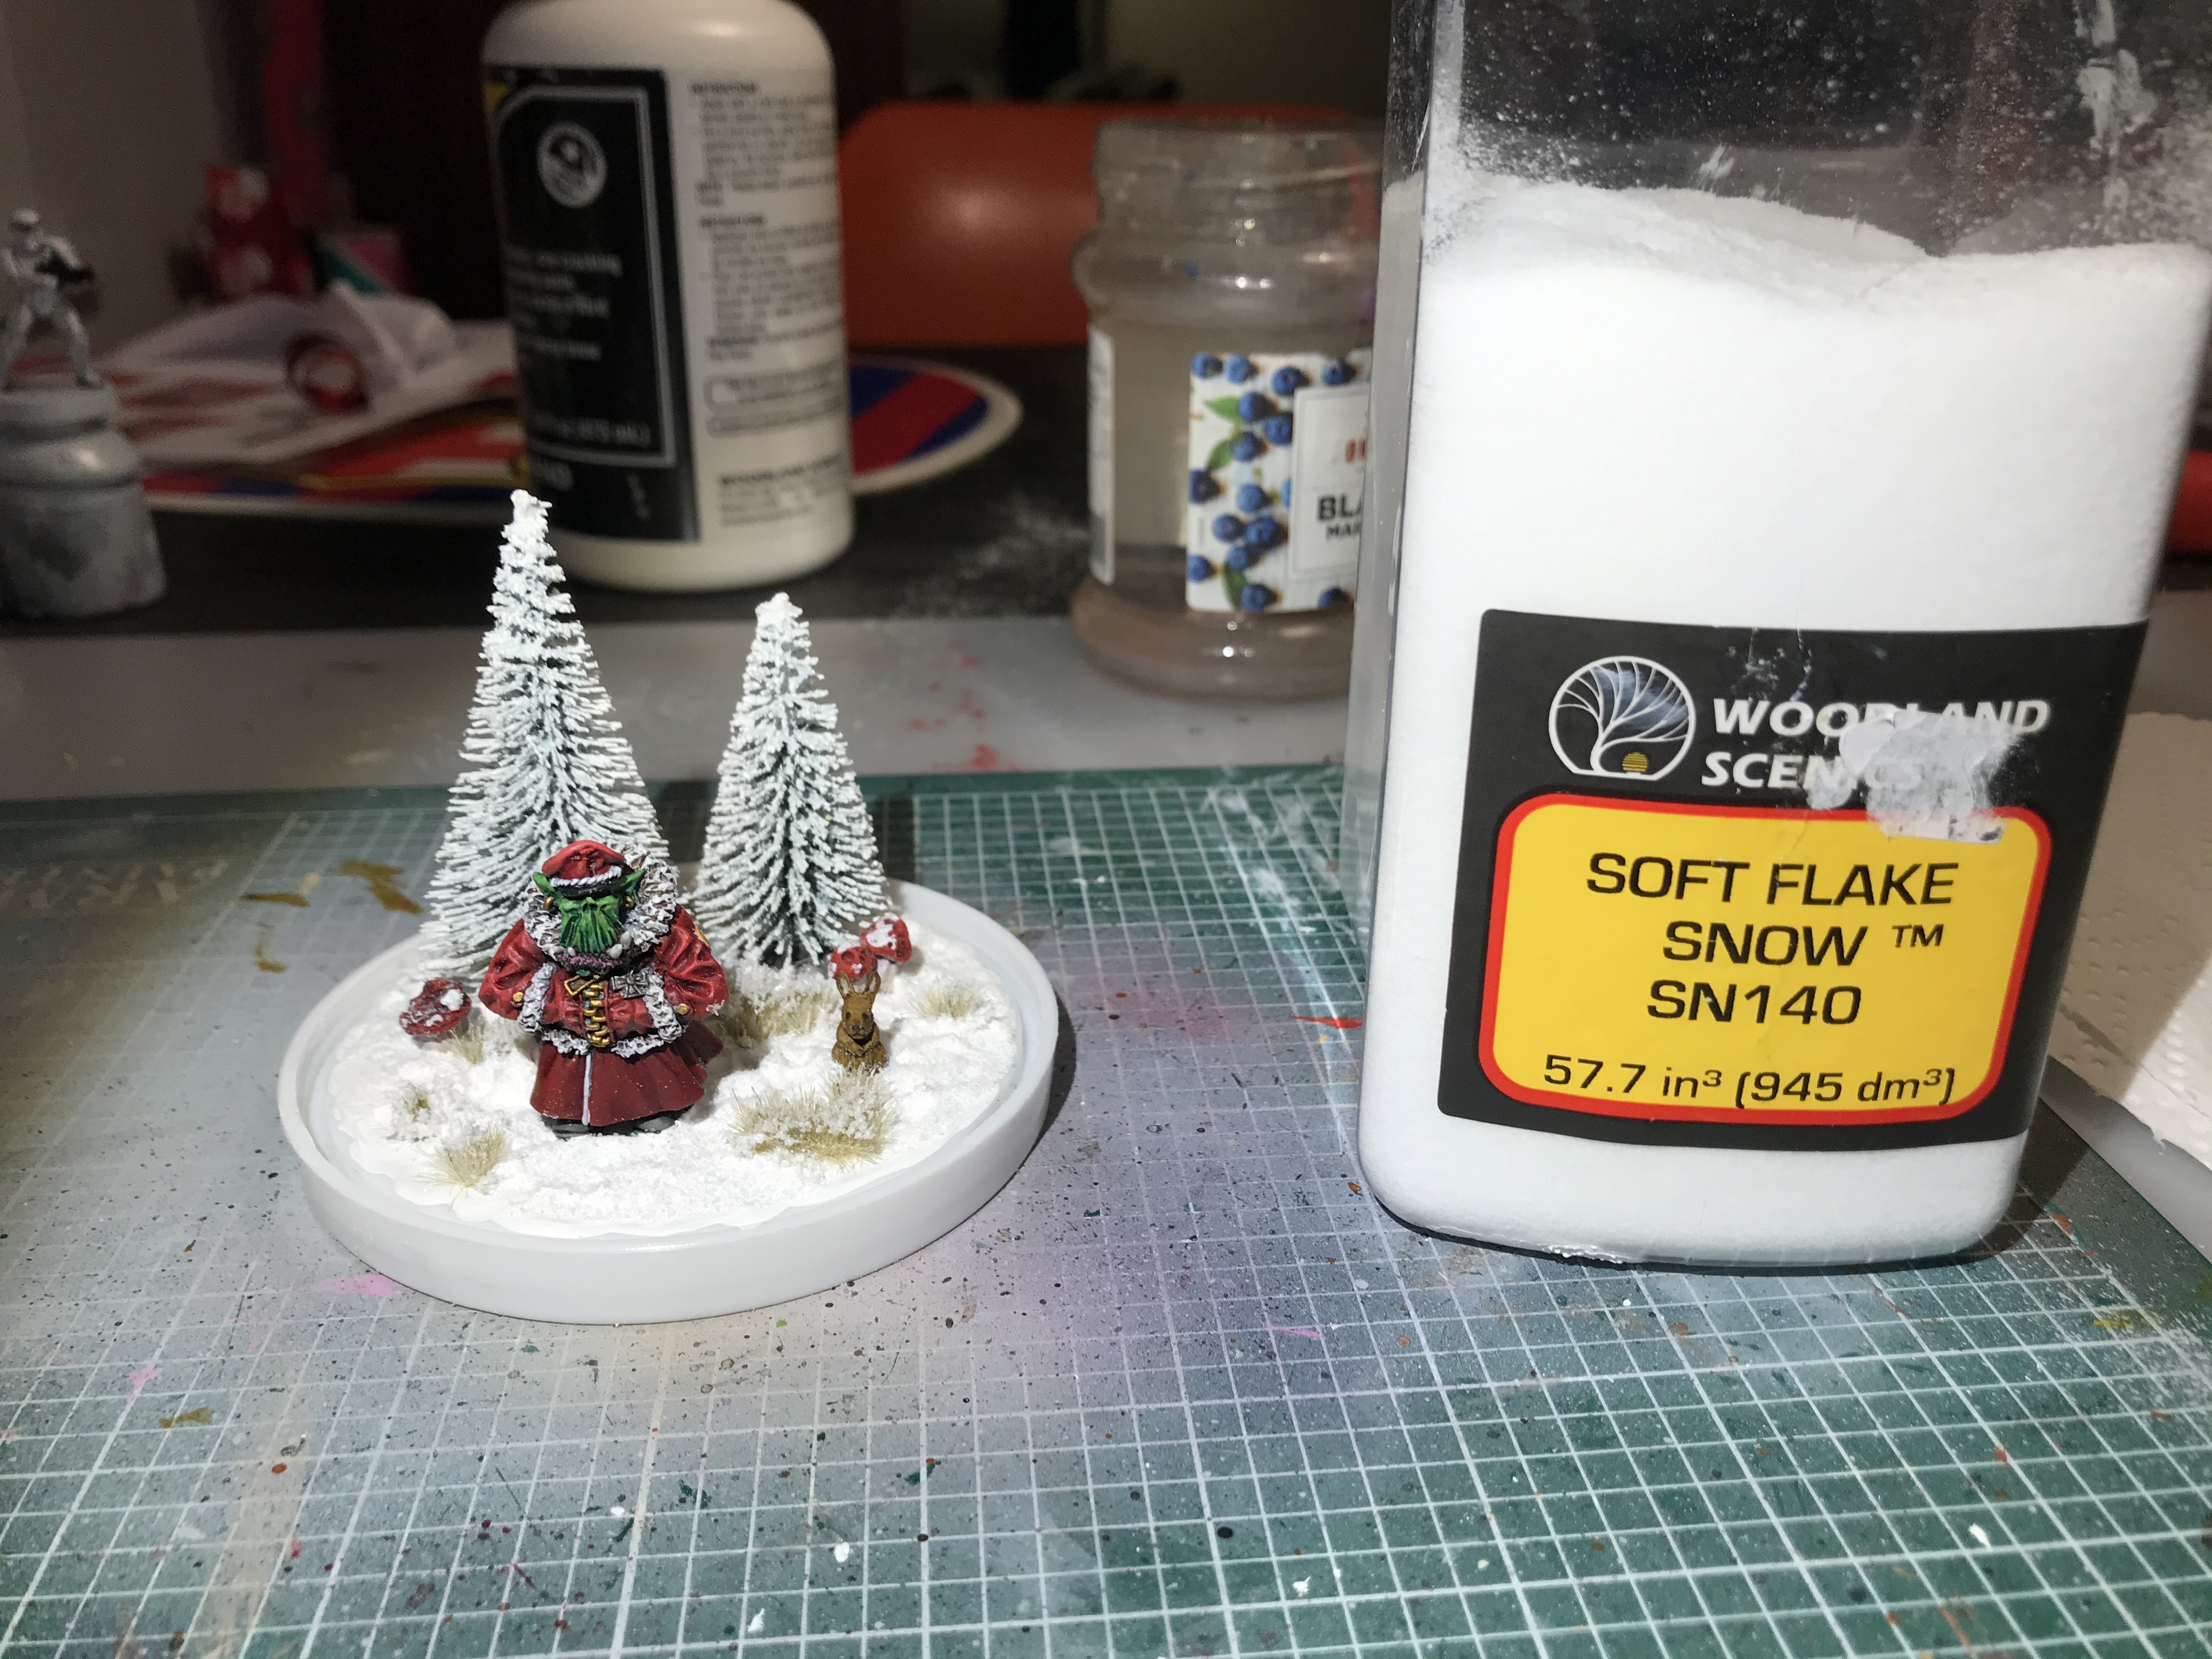
I added another layer of Flex Paste and some winter tufts. I believe they are from Gamers Grass (http://www.gamersgrass.com/4-5mm-grass-tufts/20-50-5mm-winter-tufts.html) but I could be wrong. Sorry! I added some Flex Paste to the top of the tufts as well to make the snow stick (next step).

While the Flex Paste was still dry I sprinkled the whole thing with Woodland Scenics snow flock https://woodlandscenics.woodlandscenics.com/show/item/SN140/page/1 I have used this product many times and I really like it…
Ready for snow (and water)!
Now everything was ready for the final – and most scary – part. I let it dry for several days just to be sure…
Adding glitter to my Ork... Now that's a first!
In order to give the water the right consistency (to make sure the glitter doesn’t just drop immediately but instead swirls around) I added glycerol. I would say I added two tablespoons of glycerol to the mix in the bowl.
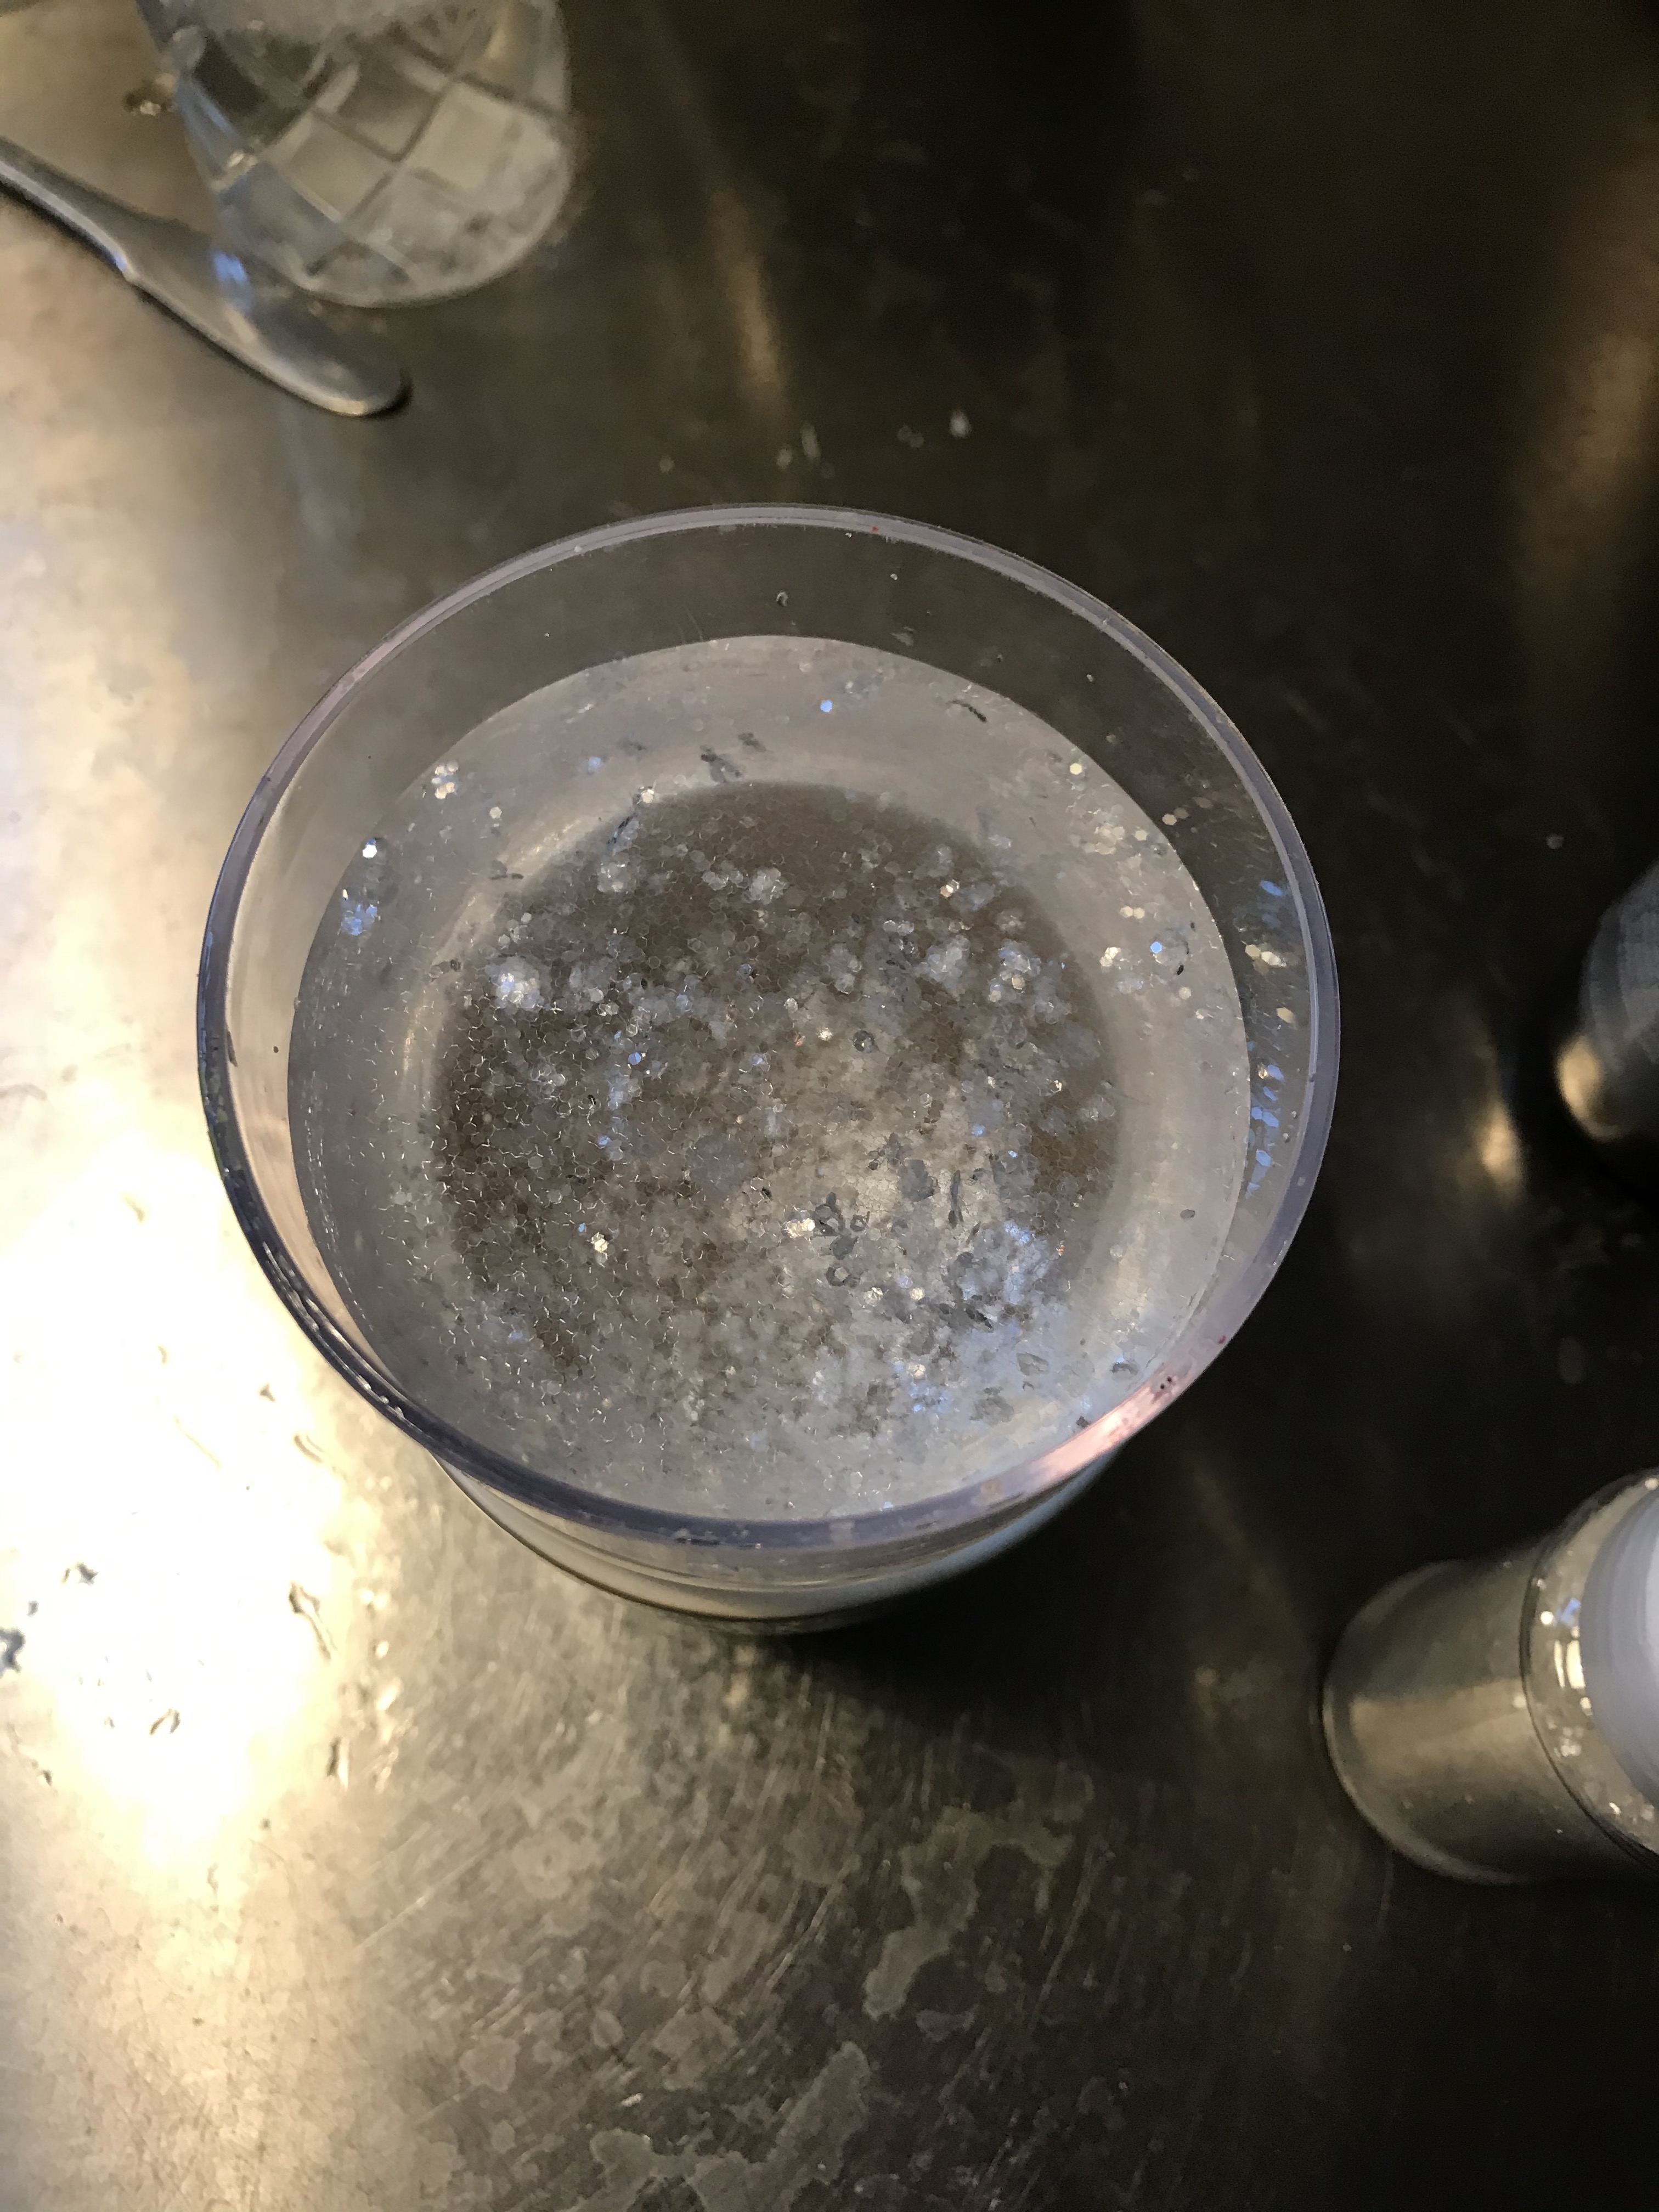
Glitter. Now this was actually the most time consuming part of the project. It turns out that glitter is not just glitter – there a several kinds. I tested a lot of them (in my kids’ snow globes of course). What I learned was: a lot of ‘fake snow’ isn’t heavy enough to drop to the bottom. A lot of glitter is too small or simply ‘sticks’ to the models. So I ended up with some quite big (and white) glitter that I also found in Flying Tiger.
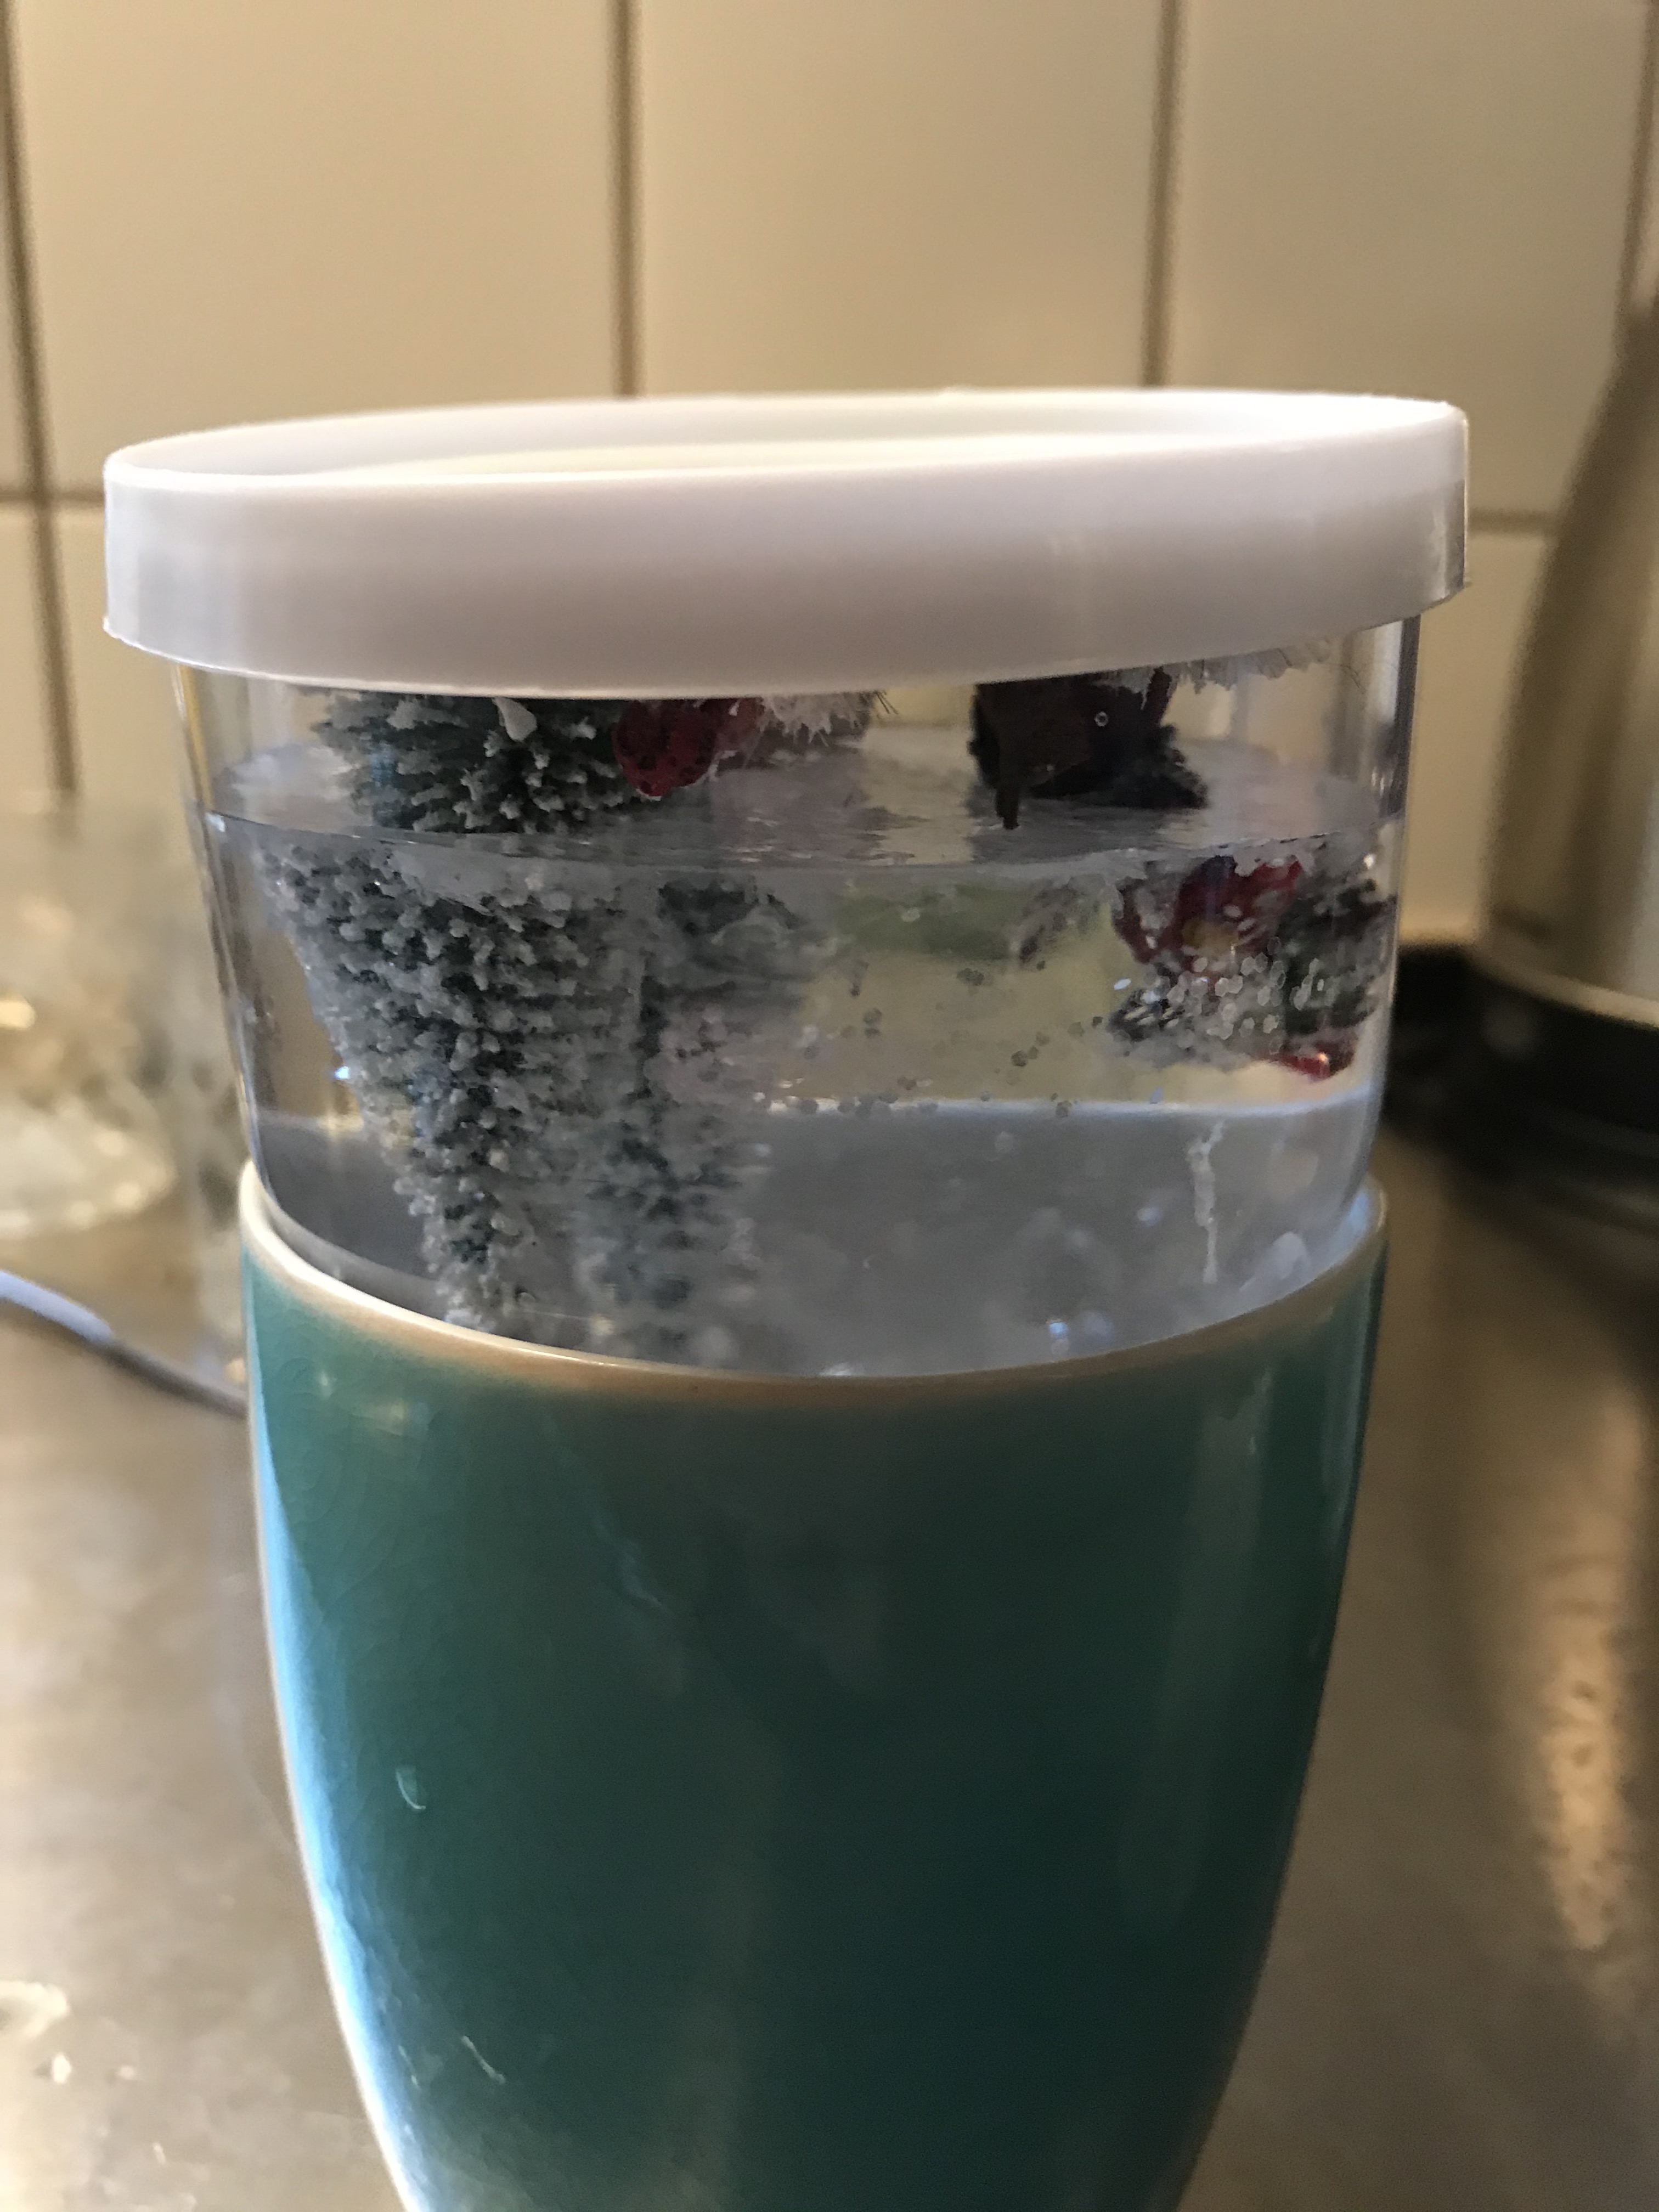
Dive!
Last step was trying to find out how much water was needed in the globe to make sure it was not too much or too less. I am sure some physics / math guru could tell me how to calculate it but I just tried until it more or less fit.
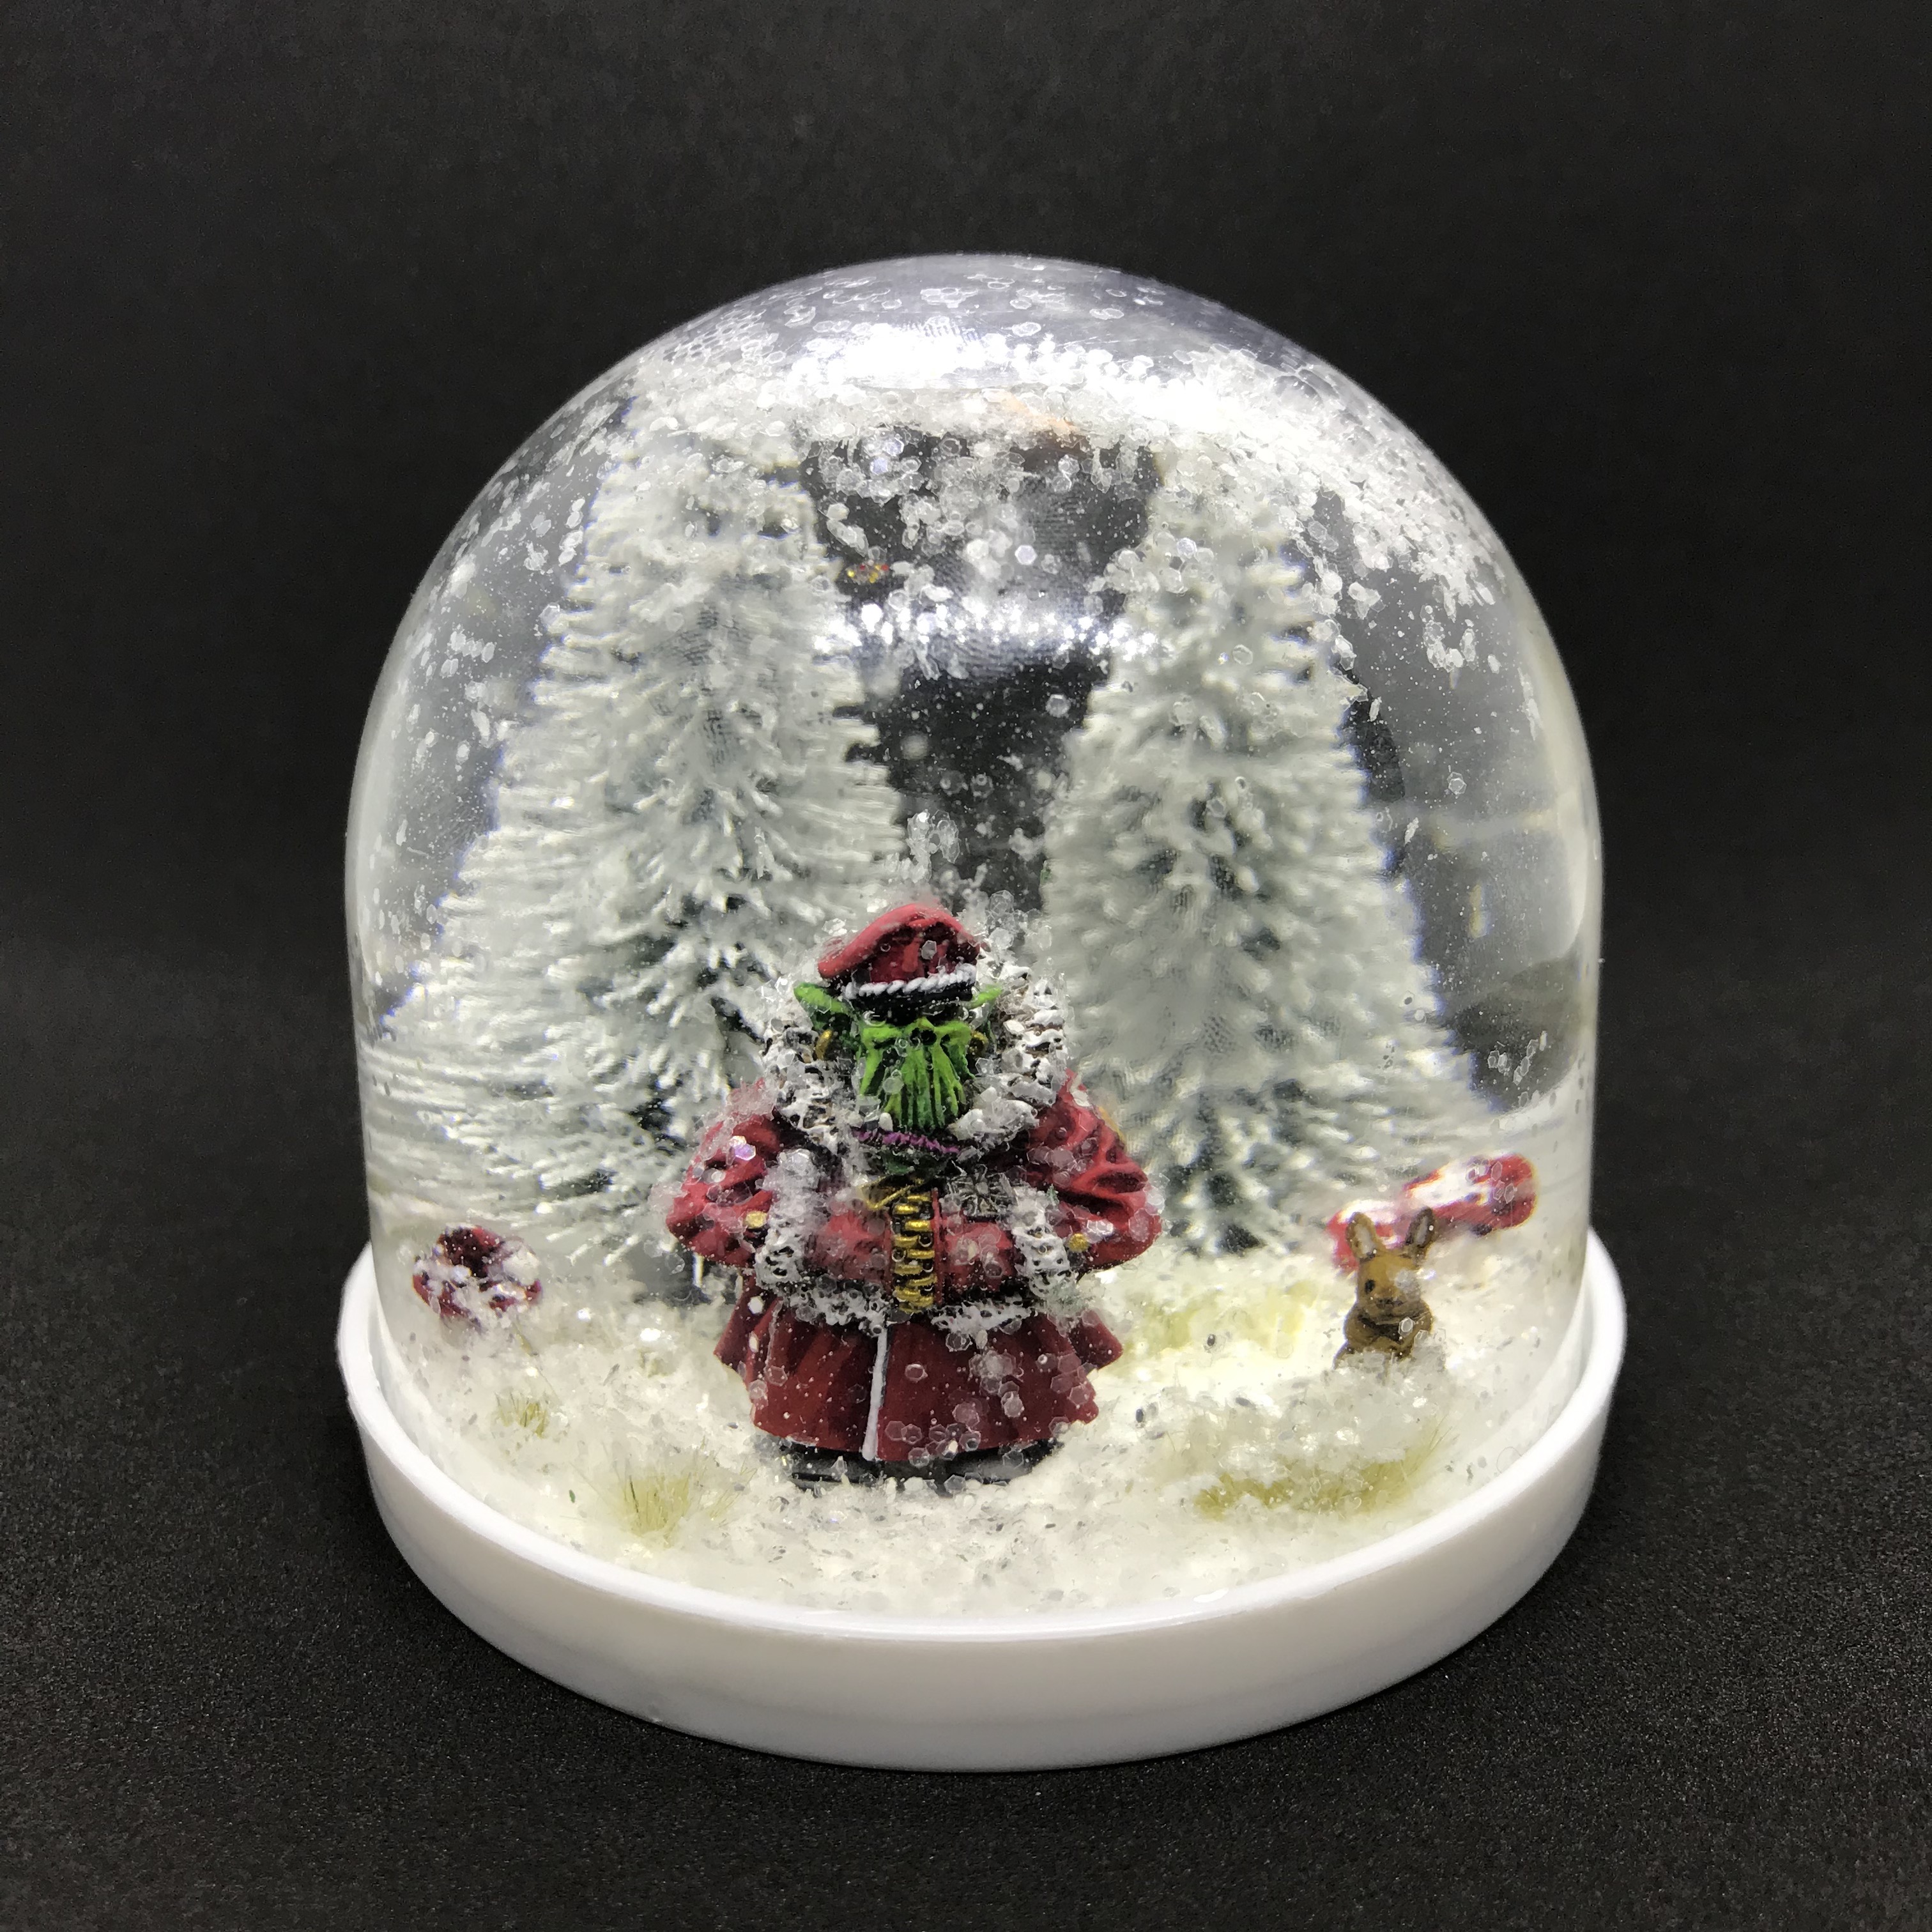
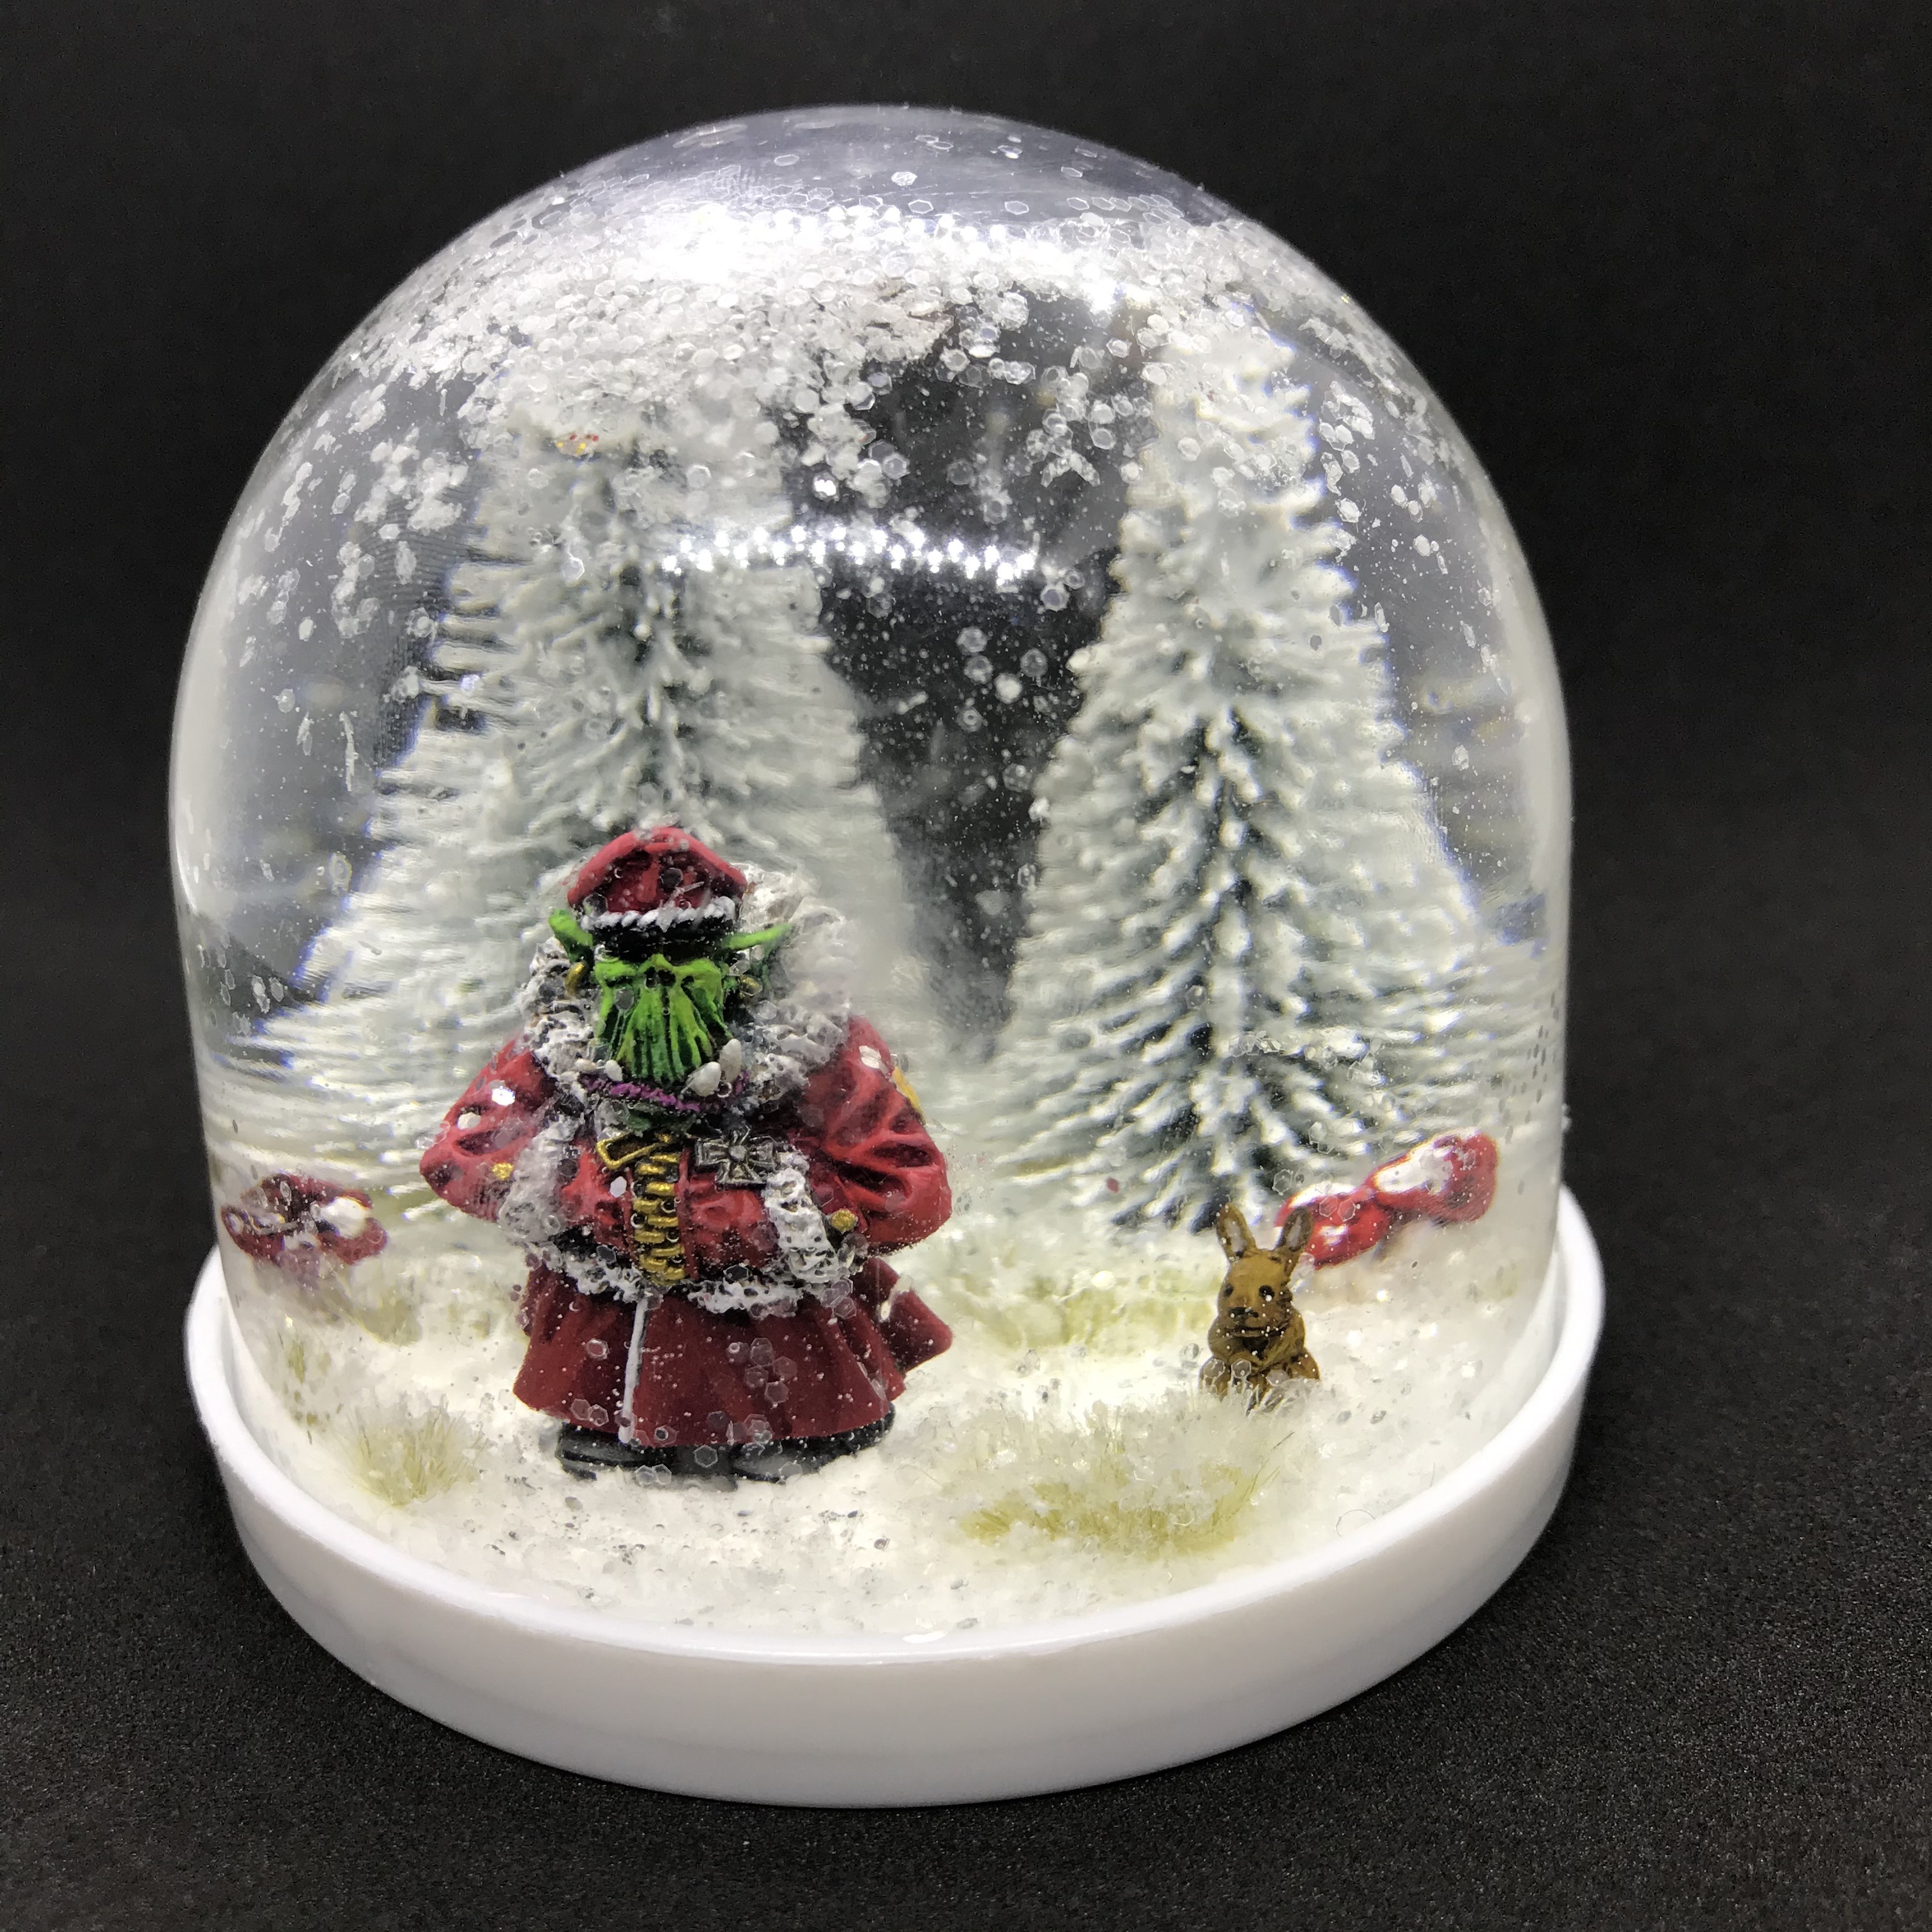
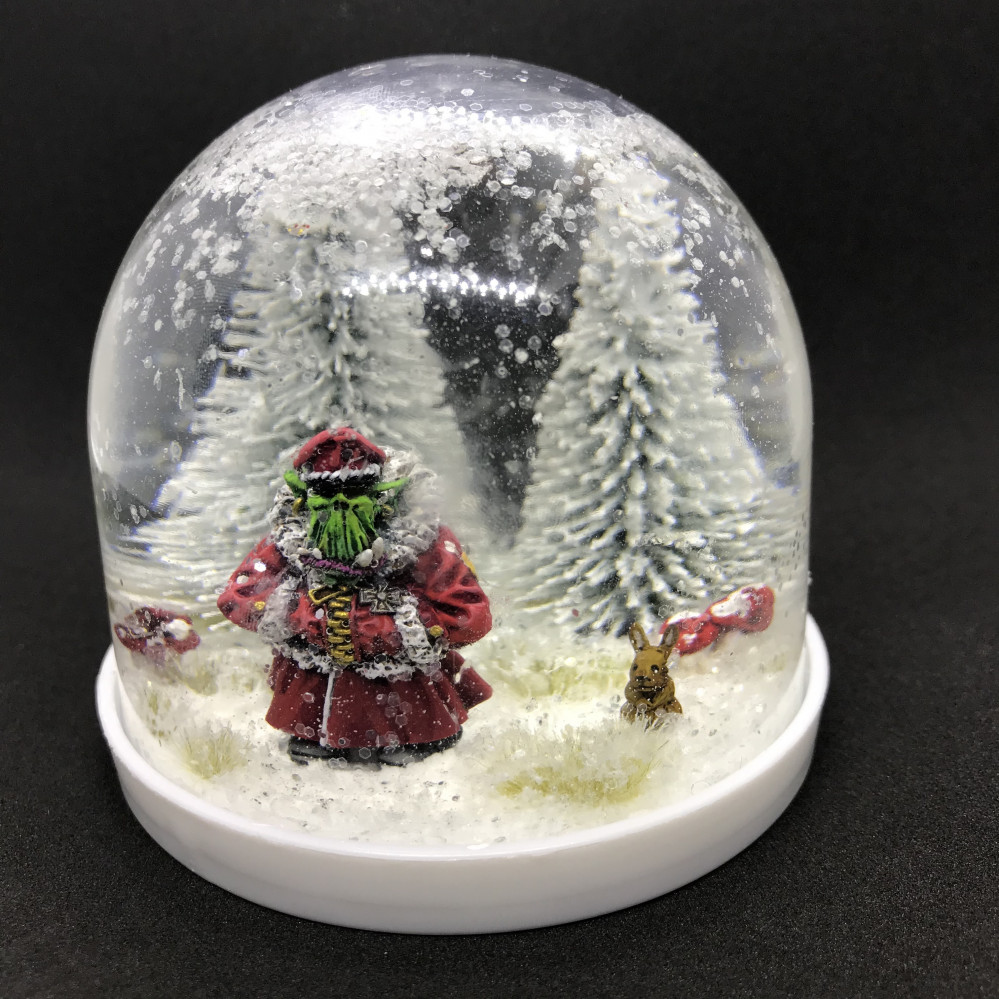
The Finished Snow Globe
That’s a wrap! A really fun project that I enjoyed doing. Hopefully you find it enjoyable as well. Please leave your tips and tricks and let me know if you have experience with similar projects.
PS This final photos were taken in the Greenstuff World Lightbox http://www.greenstuffworld.com/en/inicio/787-portable-lightbox-studio-with-led-dimmer.html