Getting Zona Alfa to the tabbletop
Recommendations: 162
About the Project
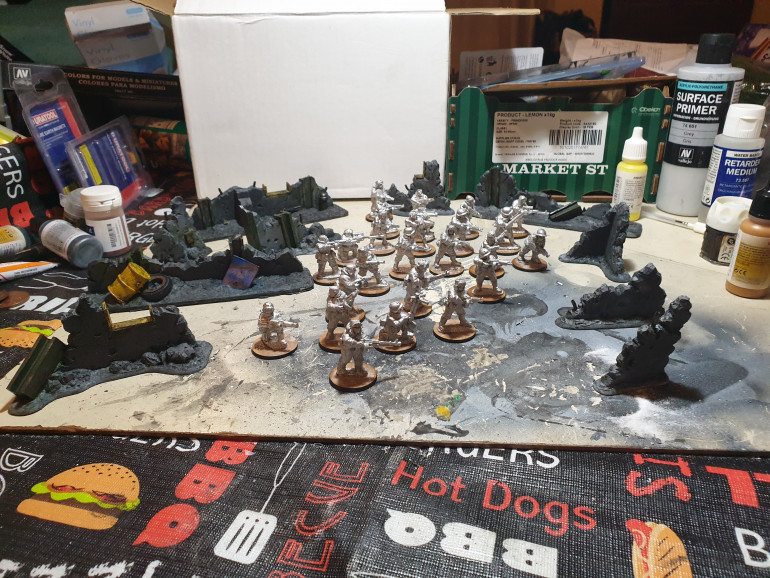
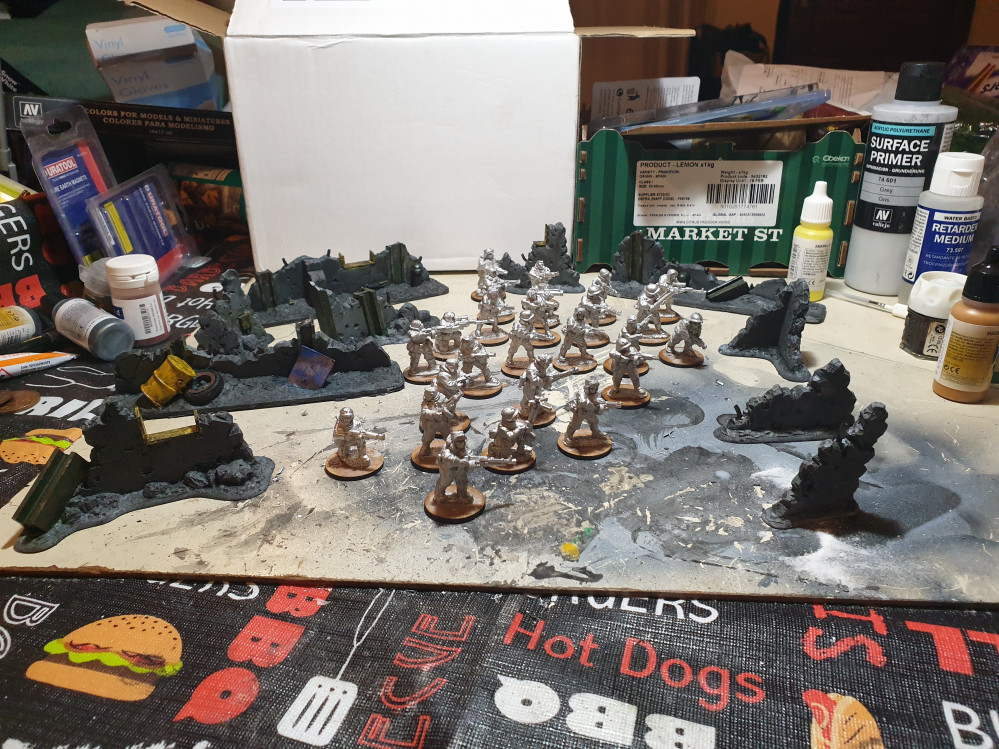
Getting terrain & miniatures painted so I can do some solo wargaming Everything has been sitting in boxes for between 3 months to seven years waiting for me to get round to it Terrain - warworldgaming.com War torn City Rubble & Barricades sets - Warlord games - wooden fence pack & resin dragons teeth tank traps Miniatures - Copplestone castings Neo Sovs & partisans
Related Game: Zona Alfa
Related Genre: General
Related Contest: Spring Clean Hobby Challenge (Old)
This Project is Active
Camouflage pattern & faces
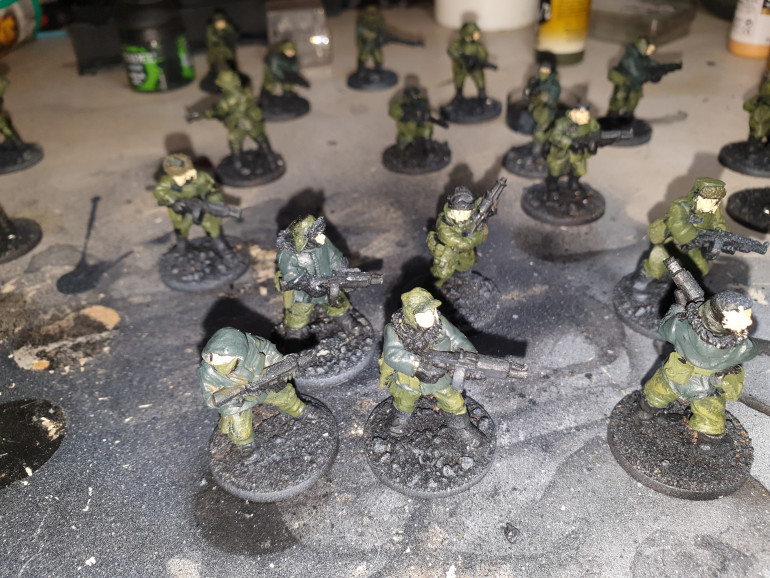
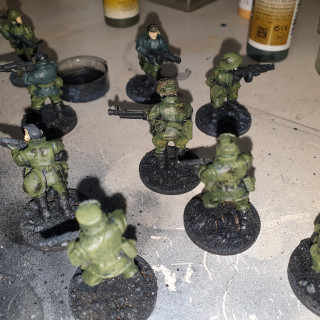
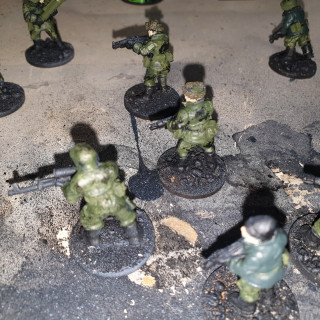
Next I added a faux “digital-ish” camouflage pattern on the medium olive uniforms, I used camopedia https://camopedia.org/index.php?title=Russia to get an idea of what sorts of patterns & colours were used.
Because the miniatures are “Neo-Soviets” so are future/alternative history models I didn’t try to copy any designs but I wanted them to look semi realistic if possible.
One guide I read suggested loading the paint onto a stiff brush like a toothbrush and dragging a finger over the bristles so the paint “flicks” onto the miniature, But in the end I used pieces of sponge to dab the paint onto the miniature.
Firstly I added Vallejo 71.025 to 71.092 medium olive to lighten it up using a rough ratio of 2 drops yellow to 5 drops olive. This was then sponged onto the trousers, jackets helmets & some of the webbing/holsters BUT not the coats.
Then a some black primer was sponged onto the same parts of the miniatures.
What I learnt from trying this method?
It’s random and for me produces mixed results some bits look good, others not so good. The too much paint on the sponge just gives a blotchy pattern but not enough paint looks good close up but can disappear from looked at from a distance. I also think it needs a reddish brown colour to stop it looking so green.
Another thing I learnt was that faces are still a problem for me, after using 70.995 flat flesh to paint the faces I’m really not happy with them, but I never am, I just can’t see to get flesh right as for eyes etc I’ve learnt not to bother, with my level of ability I just have to hope the shading wash hides/mitigates as much as possible….
Basecoat
Was going to use the airbrush to lay down the basecoat – 71.092 Vallejo medium olive but I knackered the airbrush when striping & cleaning it for the first time by managing to break the 0.3 nozzle so I’ve had to order a spare.
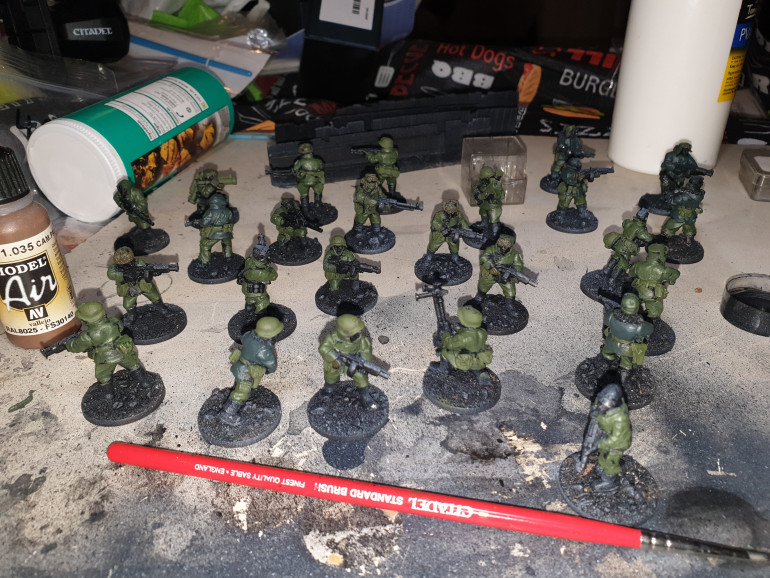
This meant I had to break out the paint brushes to basecoat the model, this required a couple of coats since I’ve only got Vallejo model air paints in the colours I wanted to use. This was on the trousers, uniform jackets and coveralls on the snipers & the non furry parts on the ushankas (hats).
Most of the fur on the ushankas was then painted with 71.043 olive drab along with some of the gloves – not sure about this colour the fur isn’t really standing out so I might change this.
I left the boots, woolly hats, ski masks & guns in the black undercoat though I will probably go over them later.
Some of the models appear to be wearing coats and possibly smocks (they fasten together at the crotch & sort of remind me of fallschirmjager) these were painted 71.018 Cam Black Green to give some contrast. Some of the gloves and scarves on these models were painted with the medium olive.
The helmets, webbing/belts/holsters and the rocket launchers were painted with 70.890 reflective green and I have to admit it doesn’t really look any different to the medium olive.
Undercoating
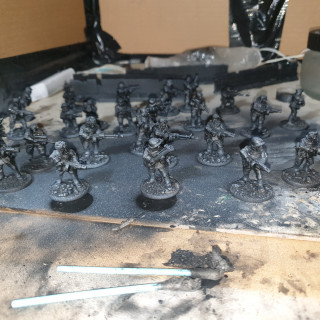
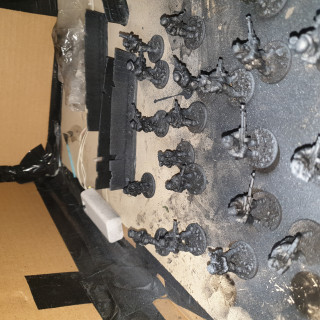
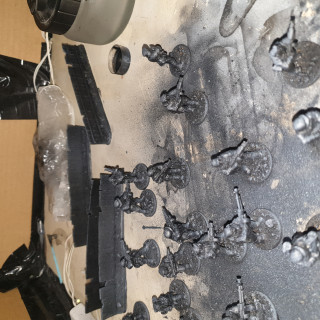
The models were then undercoated using an airbrush – still learning how to use it so just a black undercoat & a white Zenithel highlight both were Vallejo surface primers.
Models based
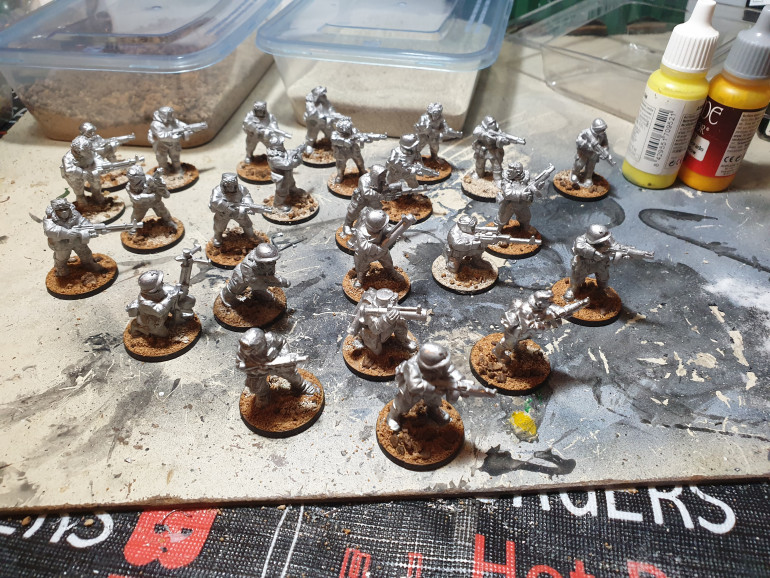
Went with sand & gravel, painted thinned down pva to the bases, stuck the models into a mixture of sand and gravel, tapped off anything loose and tidied up the edges and left to dry.
After they’d dried any obvious patches were re-covered and left to dry. finally a mix of 50/50 water & pva with a drop of washing up liquid to reduce surface tension was layered over all the sand and gravel and left to dry overnight.
Next
The Copplestone miniatures have been stuck onto bases & I’m not sure how they’re going to be based, either sand & rocks or GW astrogranite texture paint.
Finishing off the rubble & barricades
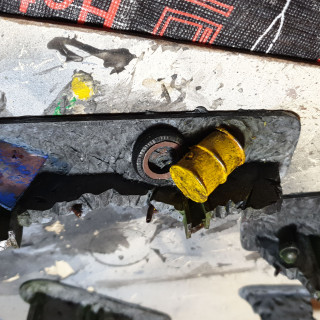
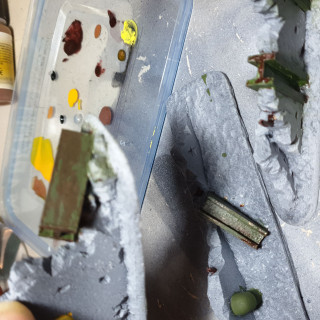
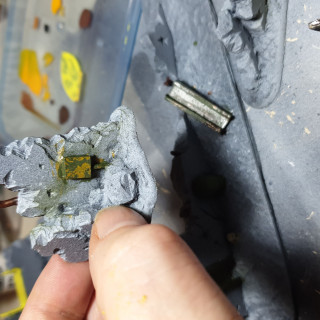
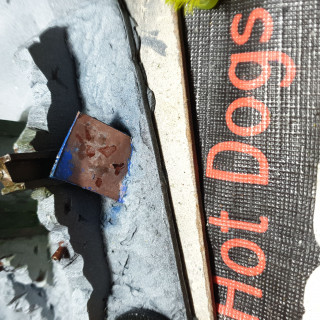
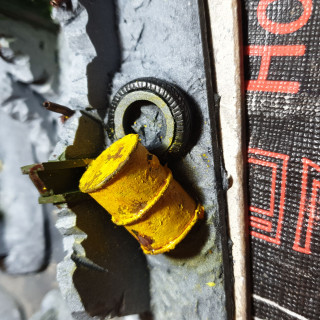
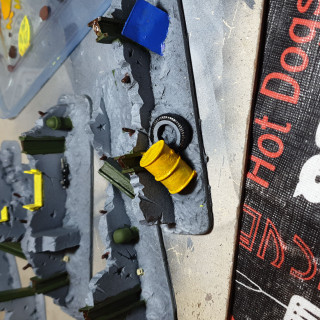
After leaving all the paint to dry overnight, I finished weathering the terrain pieces, using a small piece of torn sponge I added some small patches of Vallejo 71.069 rust to the drum, girders, rebar & sheet metal. (I also decided I’d taken too much of the blue from the sheet metal so used another piece of sponge to add more 70.930 dark blue to it).
Next I covered all of the terrain pieces with a GW nuln oil wash and a layer of army painter stong tone on the drum & window sills. I finished by lightly sponging vallejo 71.072 gun metal onto some raised areas.
Weathering/chipping
Next up was weathering all the metal areas , using water and a toothbrush the top layers of paint were “distressed” to let the paint underneath com through. This was done on the drum, sheet & girders.
Blocking out the colour
Next I blocked out all the metal areas(drum, girders, metal sheet & rebar) with valljo 70.039 hull red & then used a sponge to layer patches of 71.069 rust on top of it.
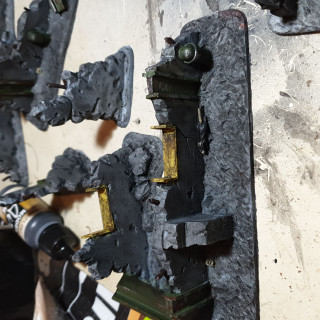
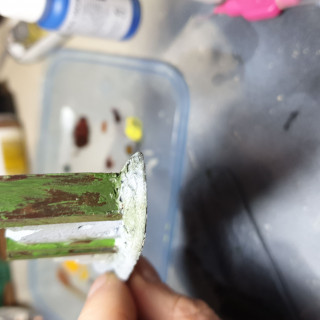
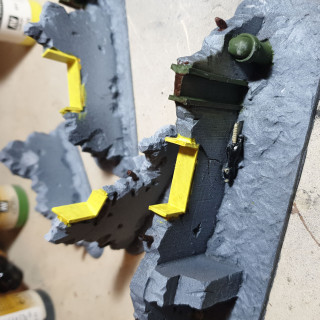
Next I covered the metal sections with Vallejo chipping medium (I should have covered the 1st coat with varnish but the How to video I watched didn’t do it so I didn’t). I then went over the window sills with vallejo72.007 golden yellow and then 70.952 lemon yellow. The drum was painted with the lemon yellow then the golden yellow. The tyre was painted with Vallejo 70.862 black grey, the sheet was painted 70.930 dark blue and the pipes and girders with 70.890 relective green.
Getting Zona Alfa to the tabletop
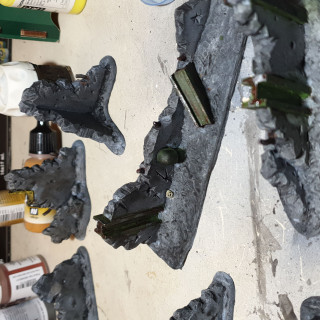
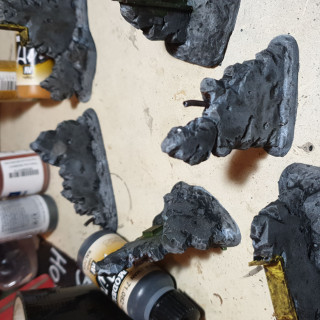
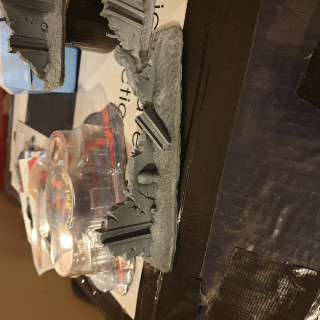
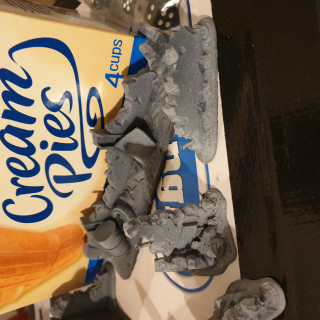
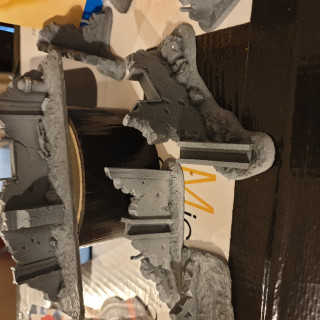
First thing I did was undercoat the urban Rubble & barricades sets using an airbrush (1st time using one). Black then Zenithel highlighted with white then all over with grey (all were Vallejo primers)


![How To Paint Moonstone’s Nanny | Goblin King Games [7 Days Early Access]](https://images.beastsofwar.com/2024/12/3CU-Gobin-King-Games-Moonstone-Shades-Nanny-coverimage-225-127.jpg)


