![How To Paint Moonstone’s Nanny | Goblin King Games [7 Days Early Access]](https://images.beastsofwar.com/2024/12/3CU-Gobin-King-Games-Moonstone-Shades-Nanny-coverimage-225-127.jpg)


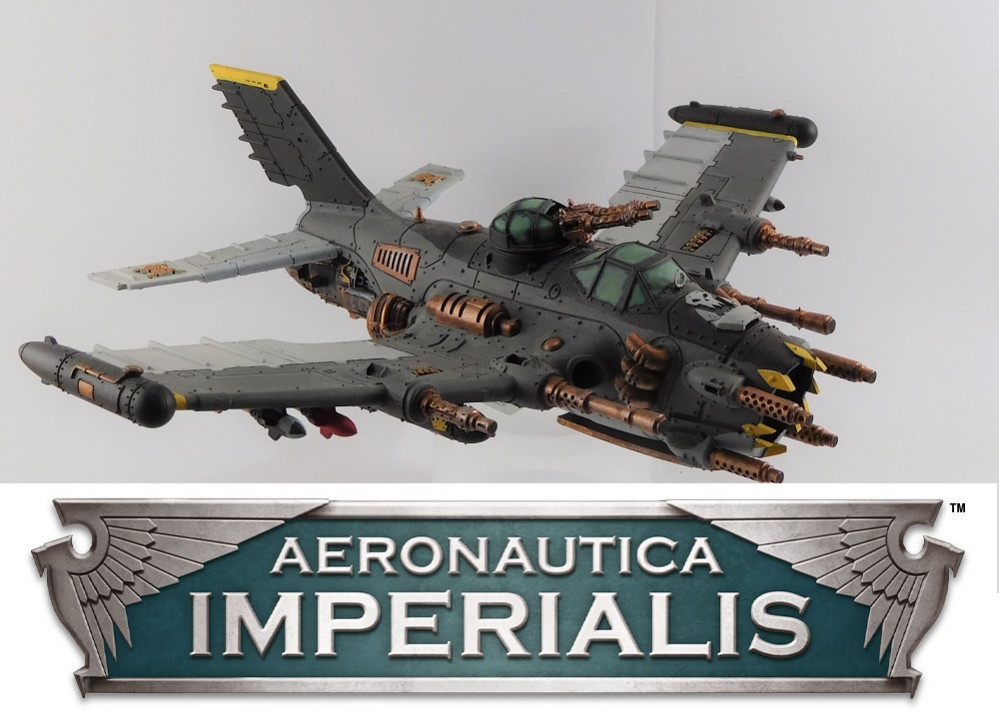
Ork Aeronautica


Recommendations: 199
About the Project
Painting Ork fliers for Aeronautica Imperialis.
Related Game: Aeronautica Imperialis
Related Company: Games Workshop
Related Genre: Science Fiction
This Project is Active
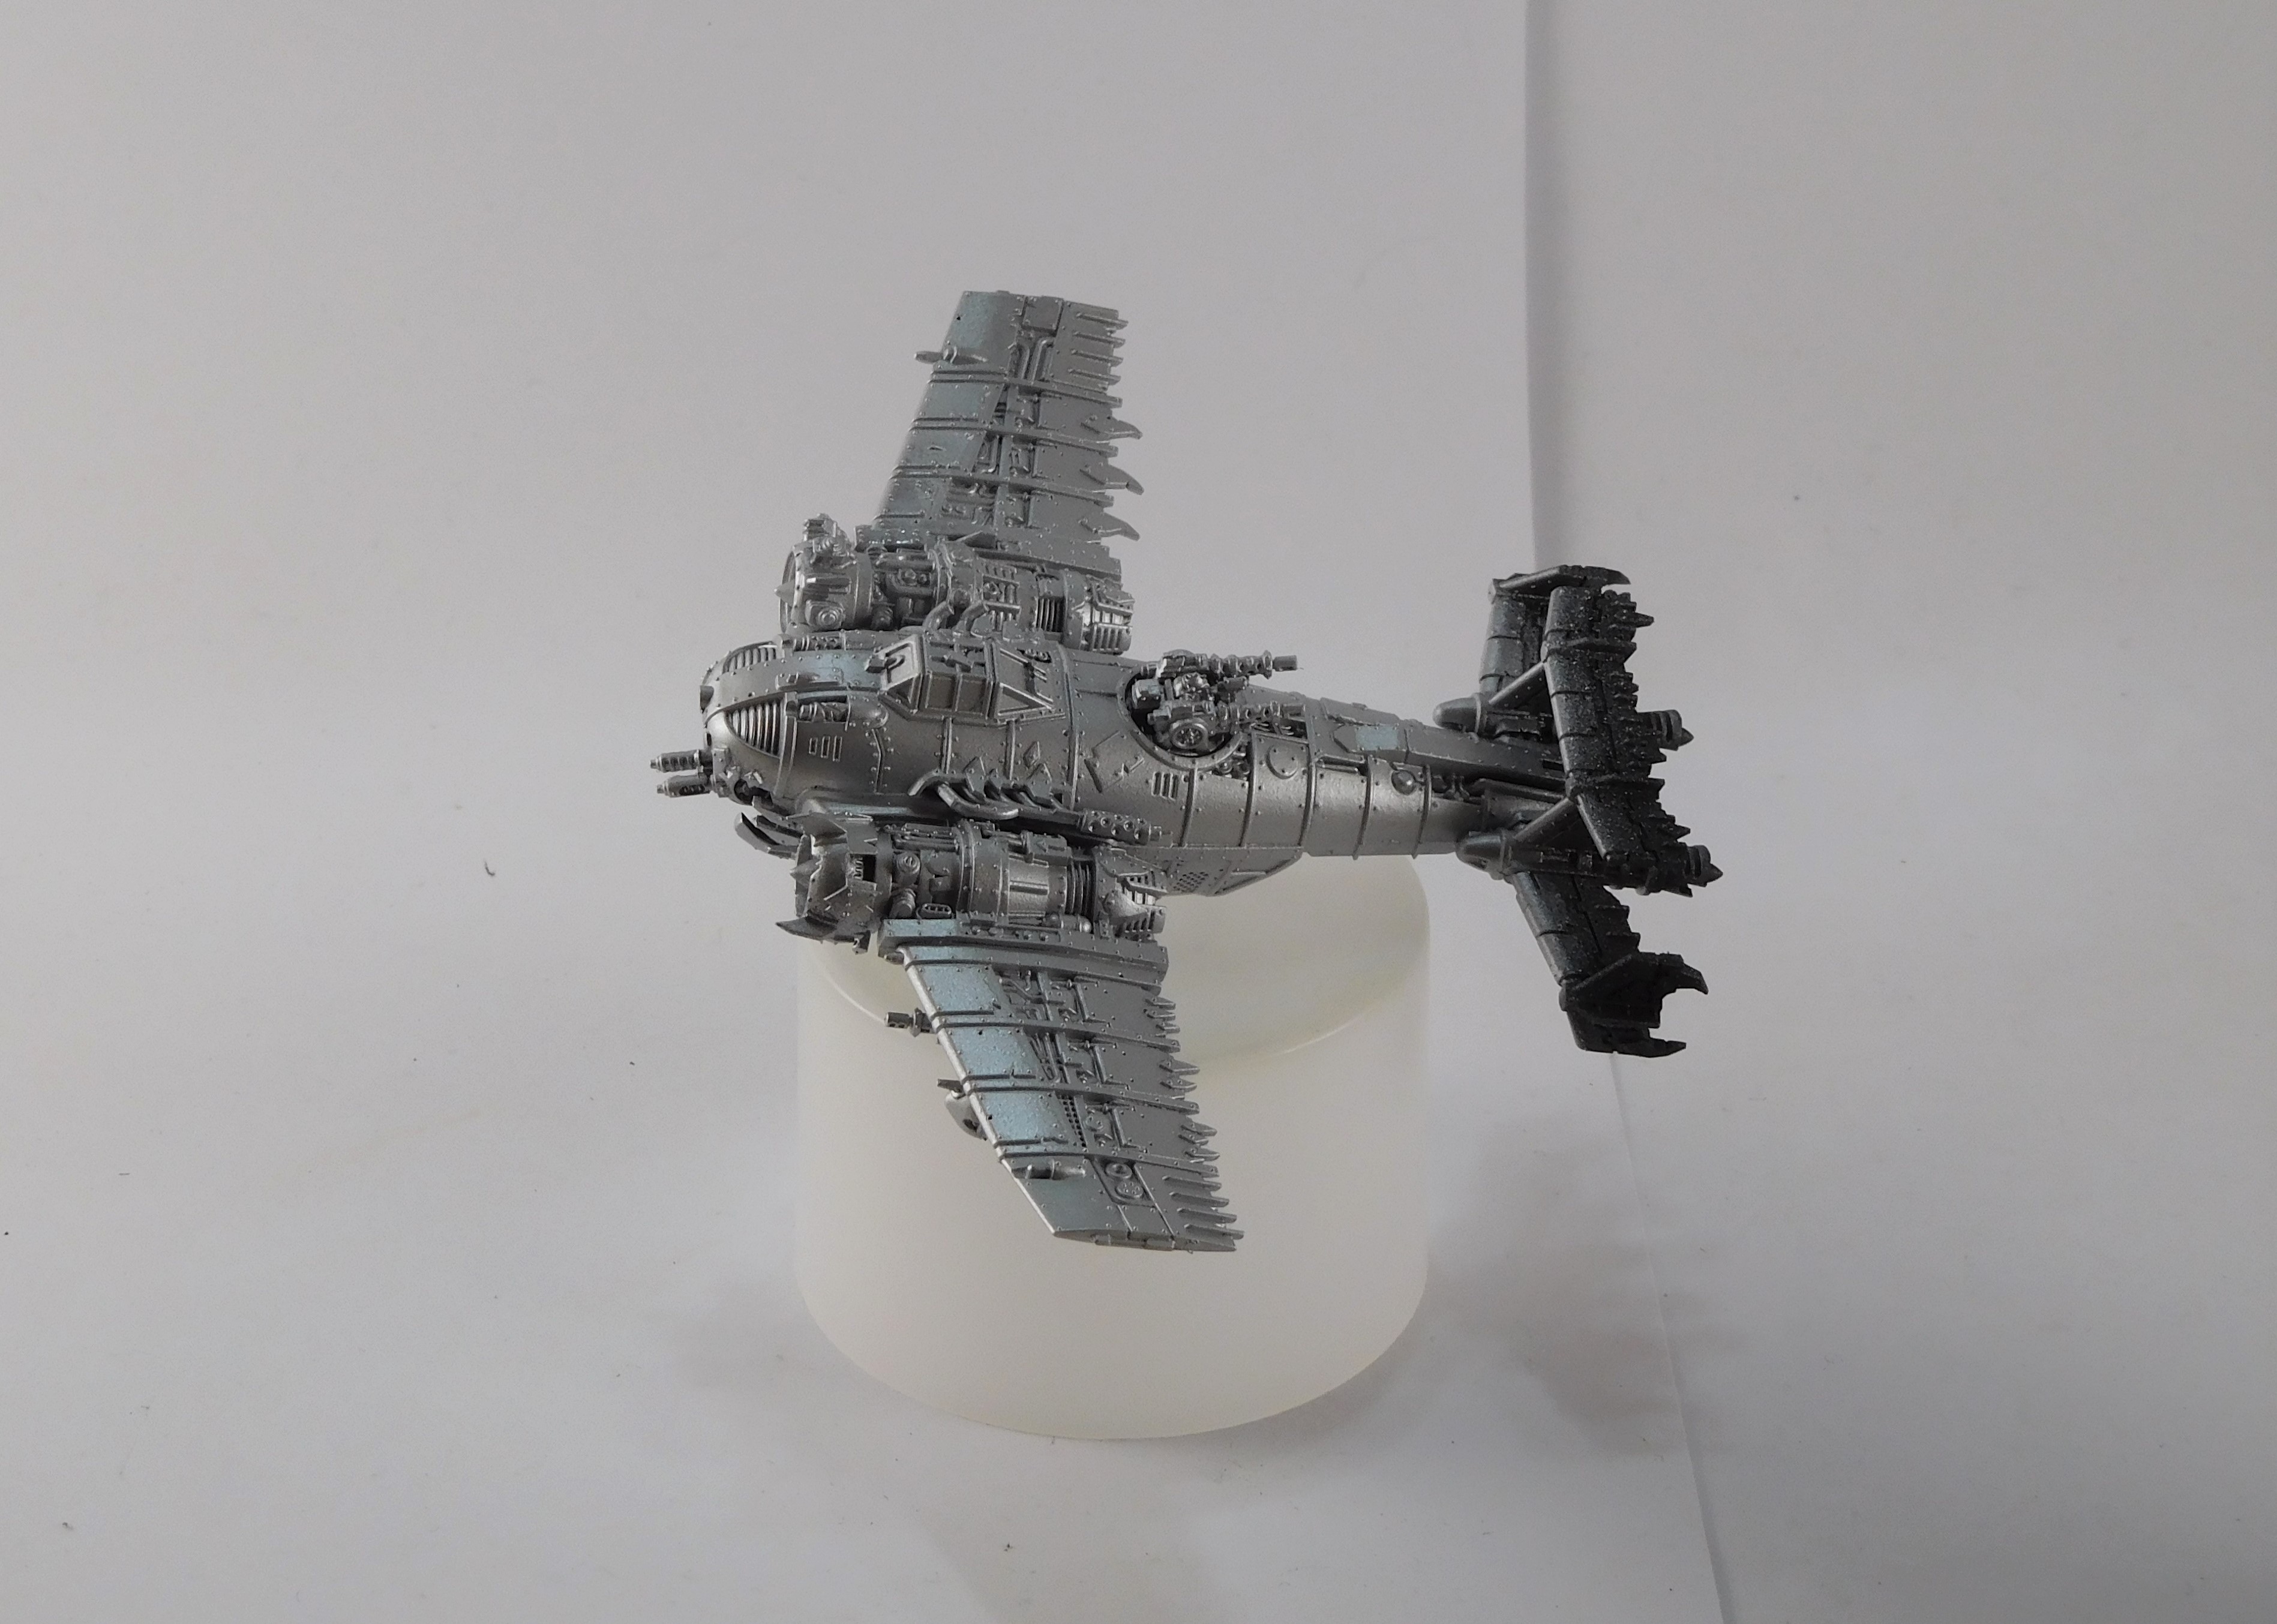
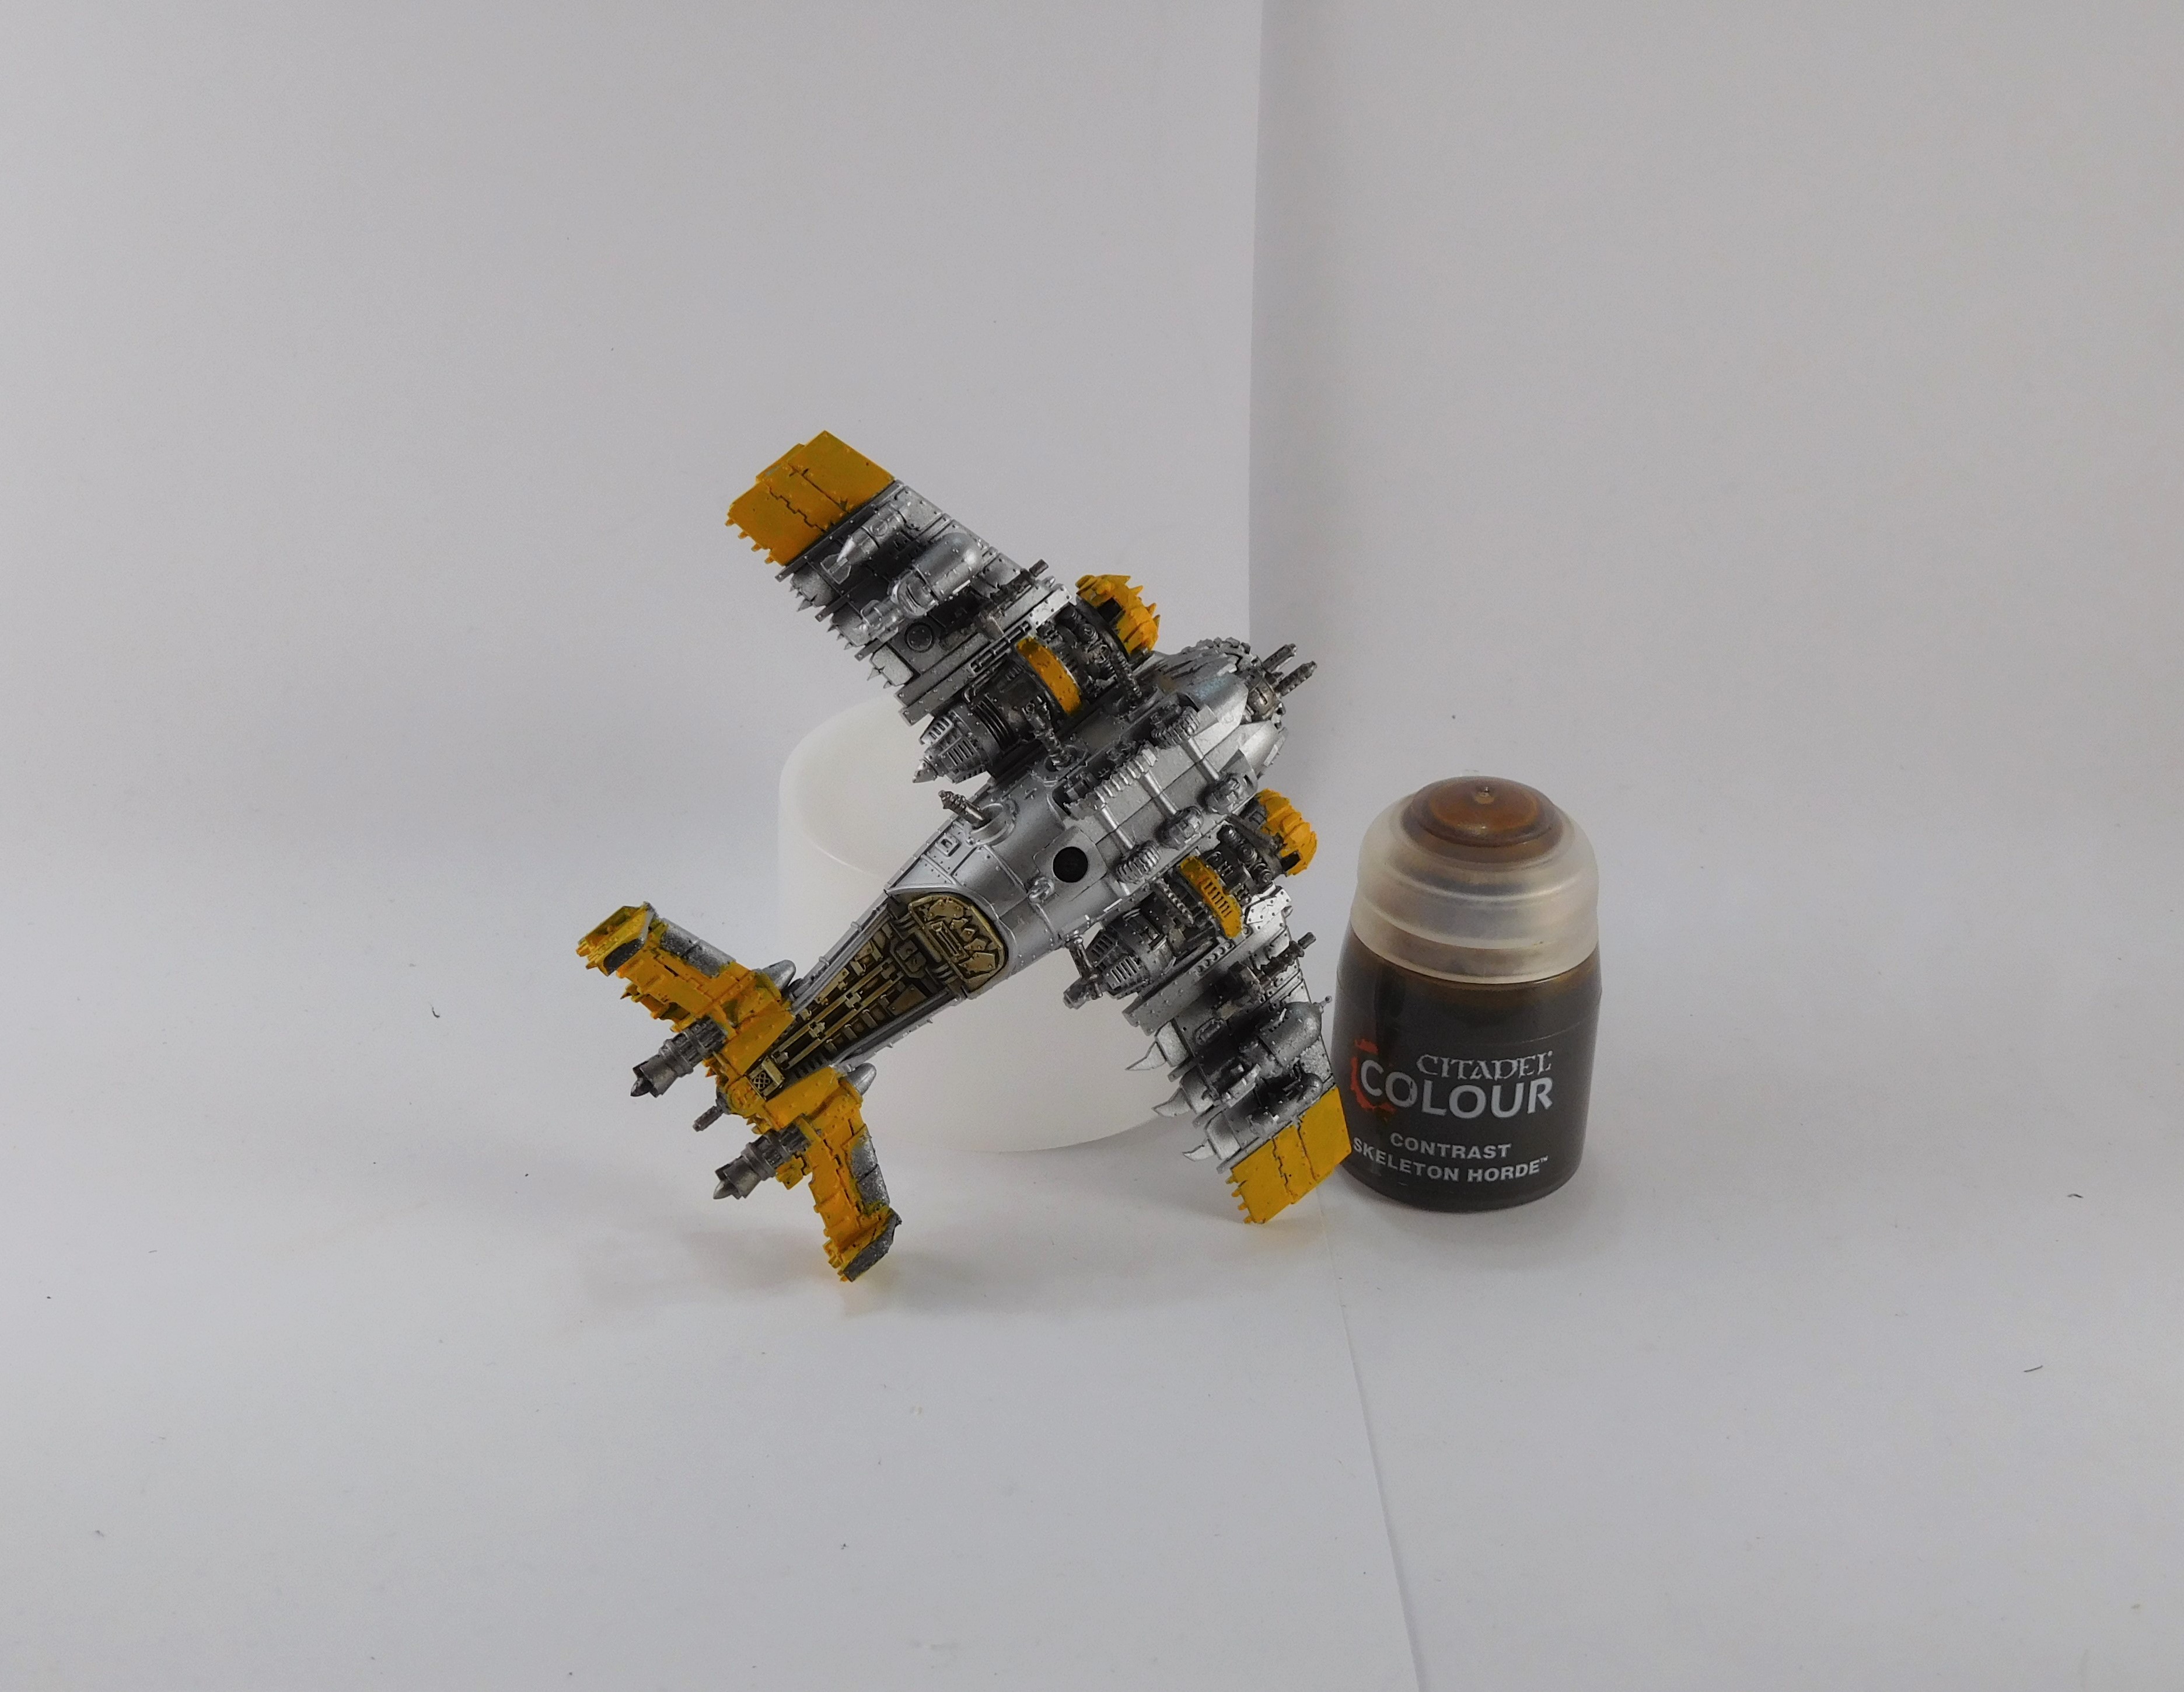
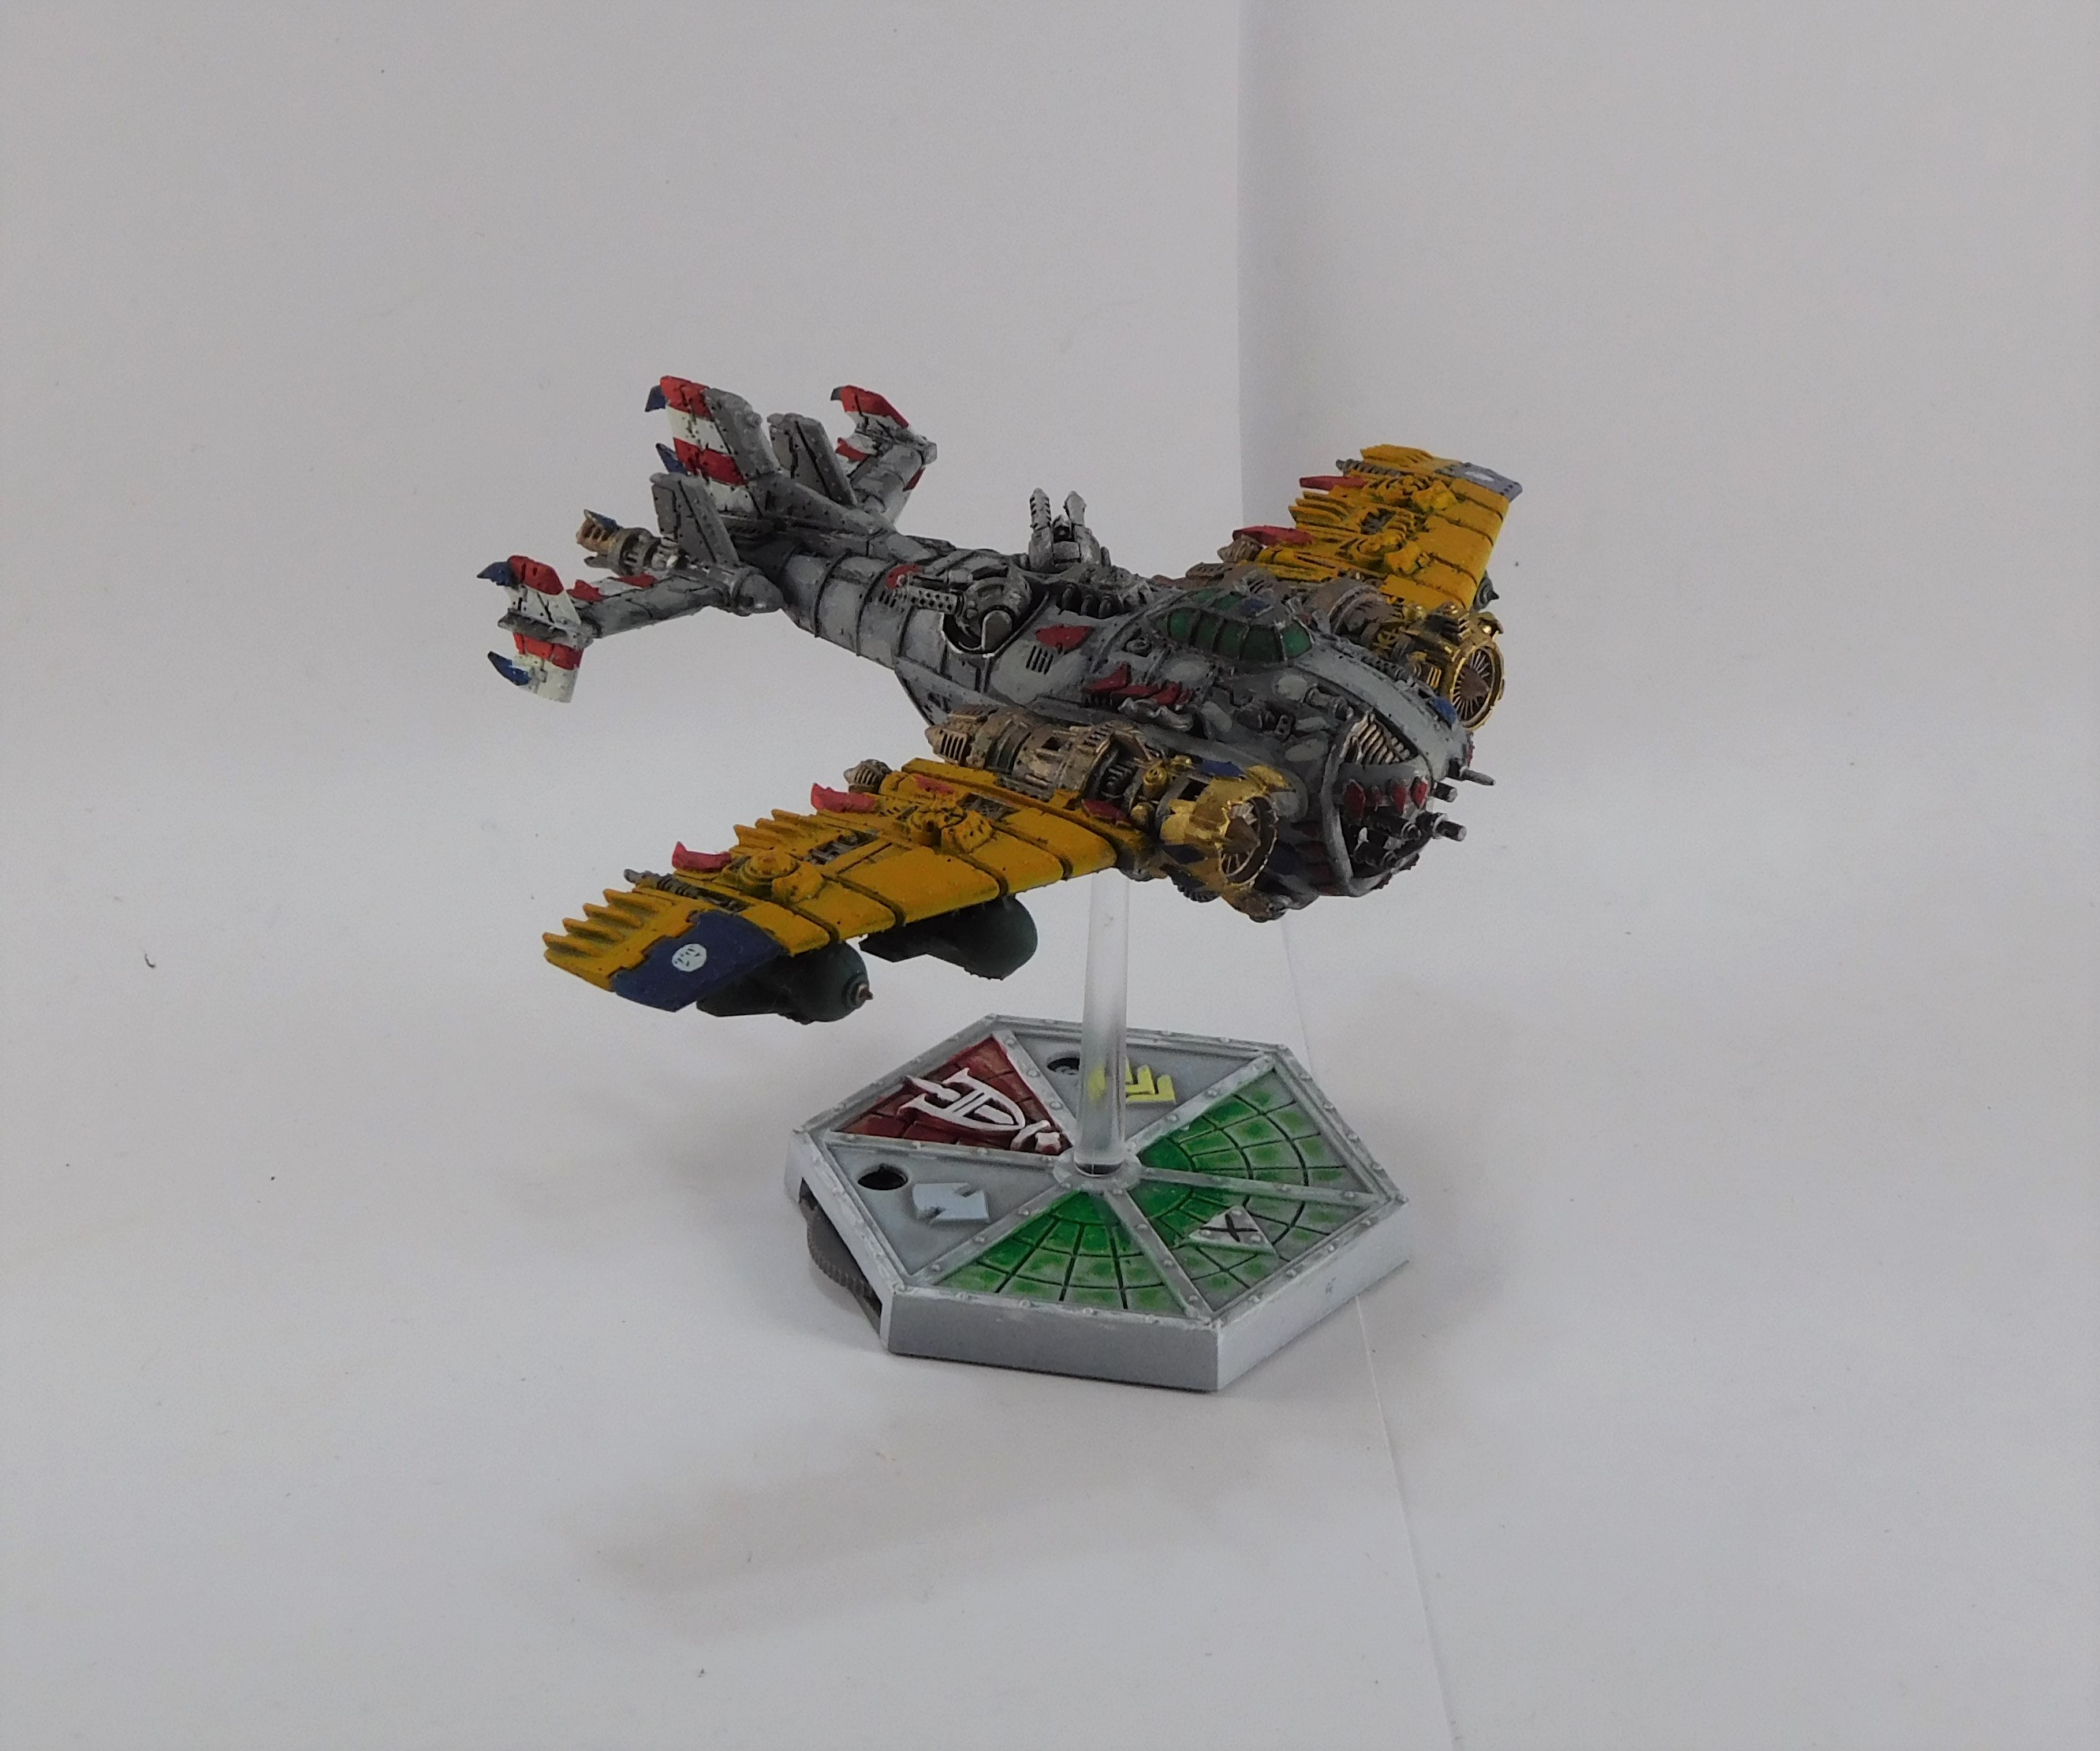
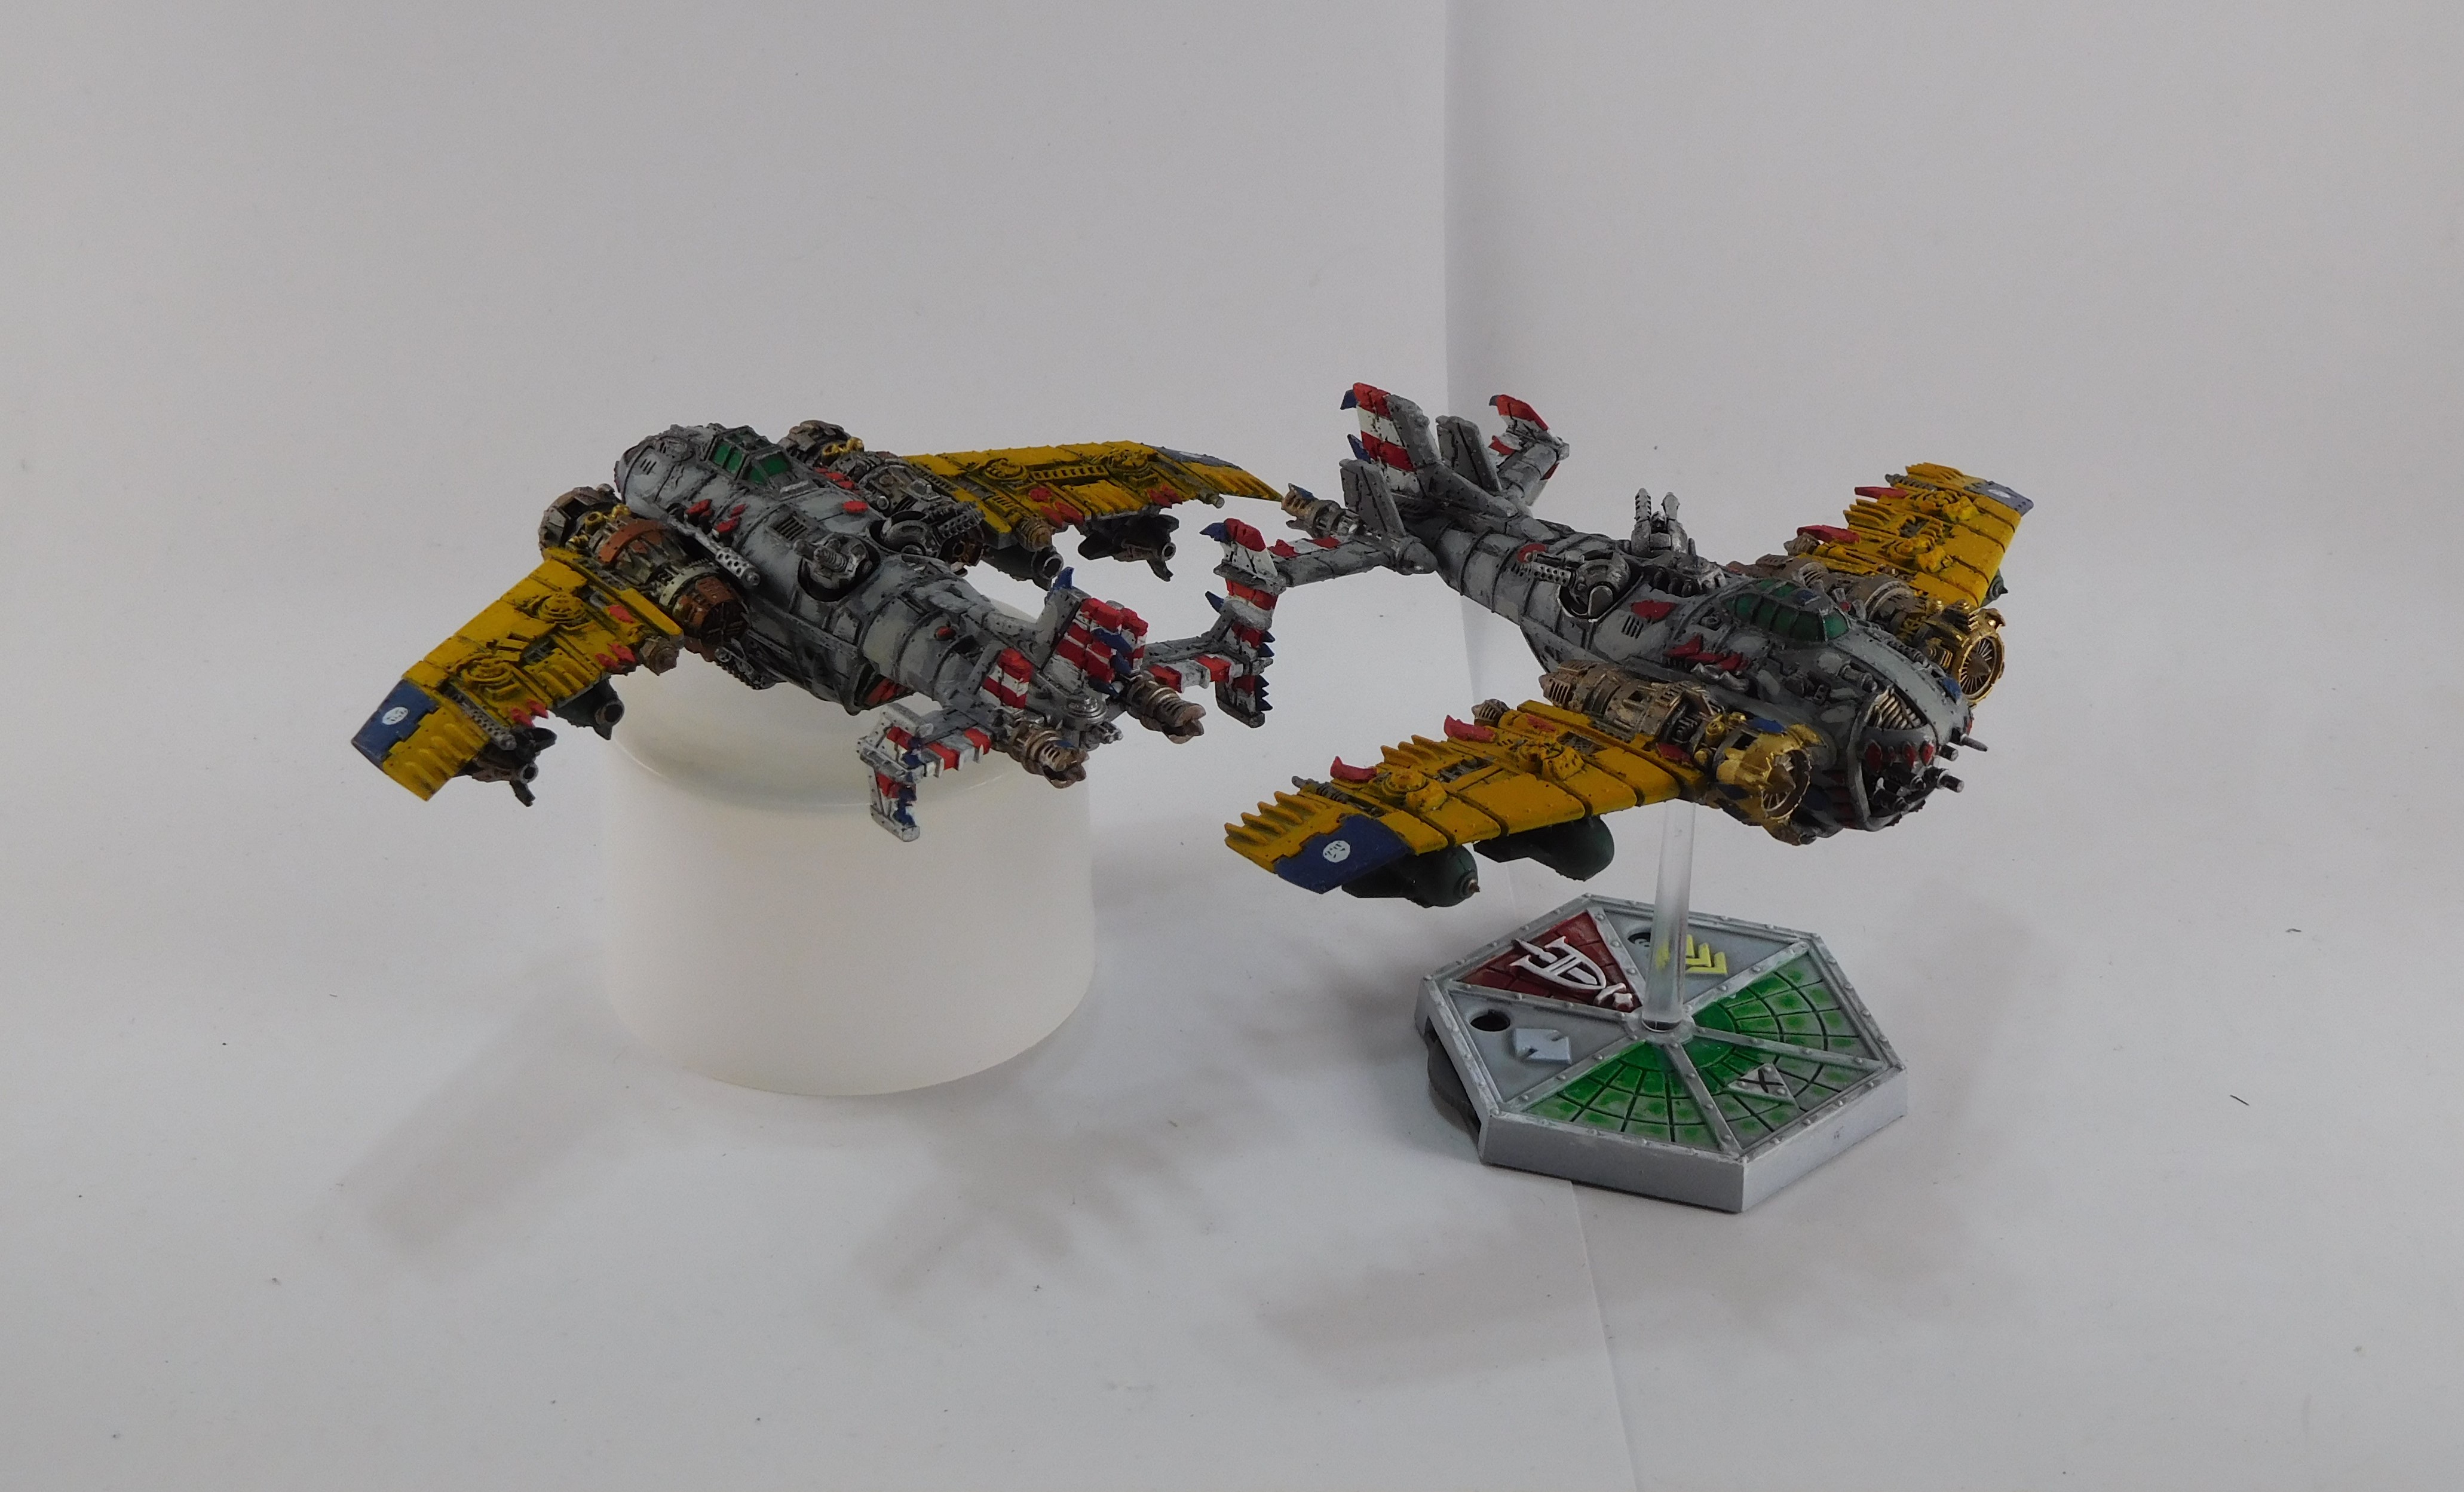
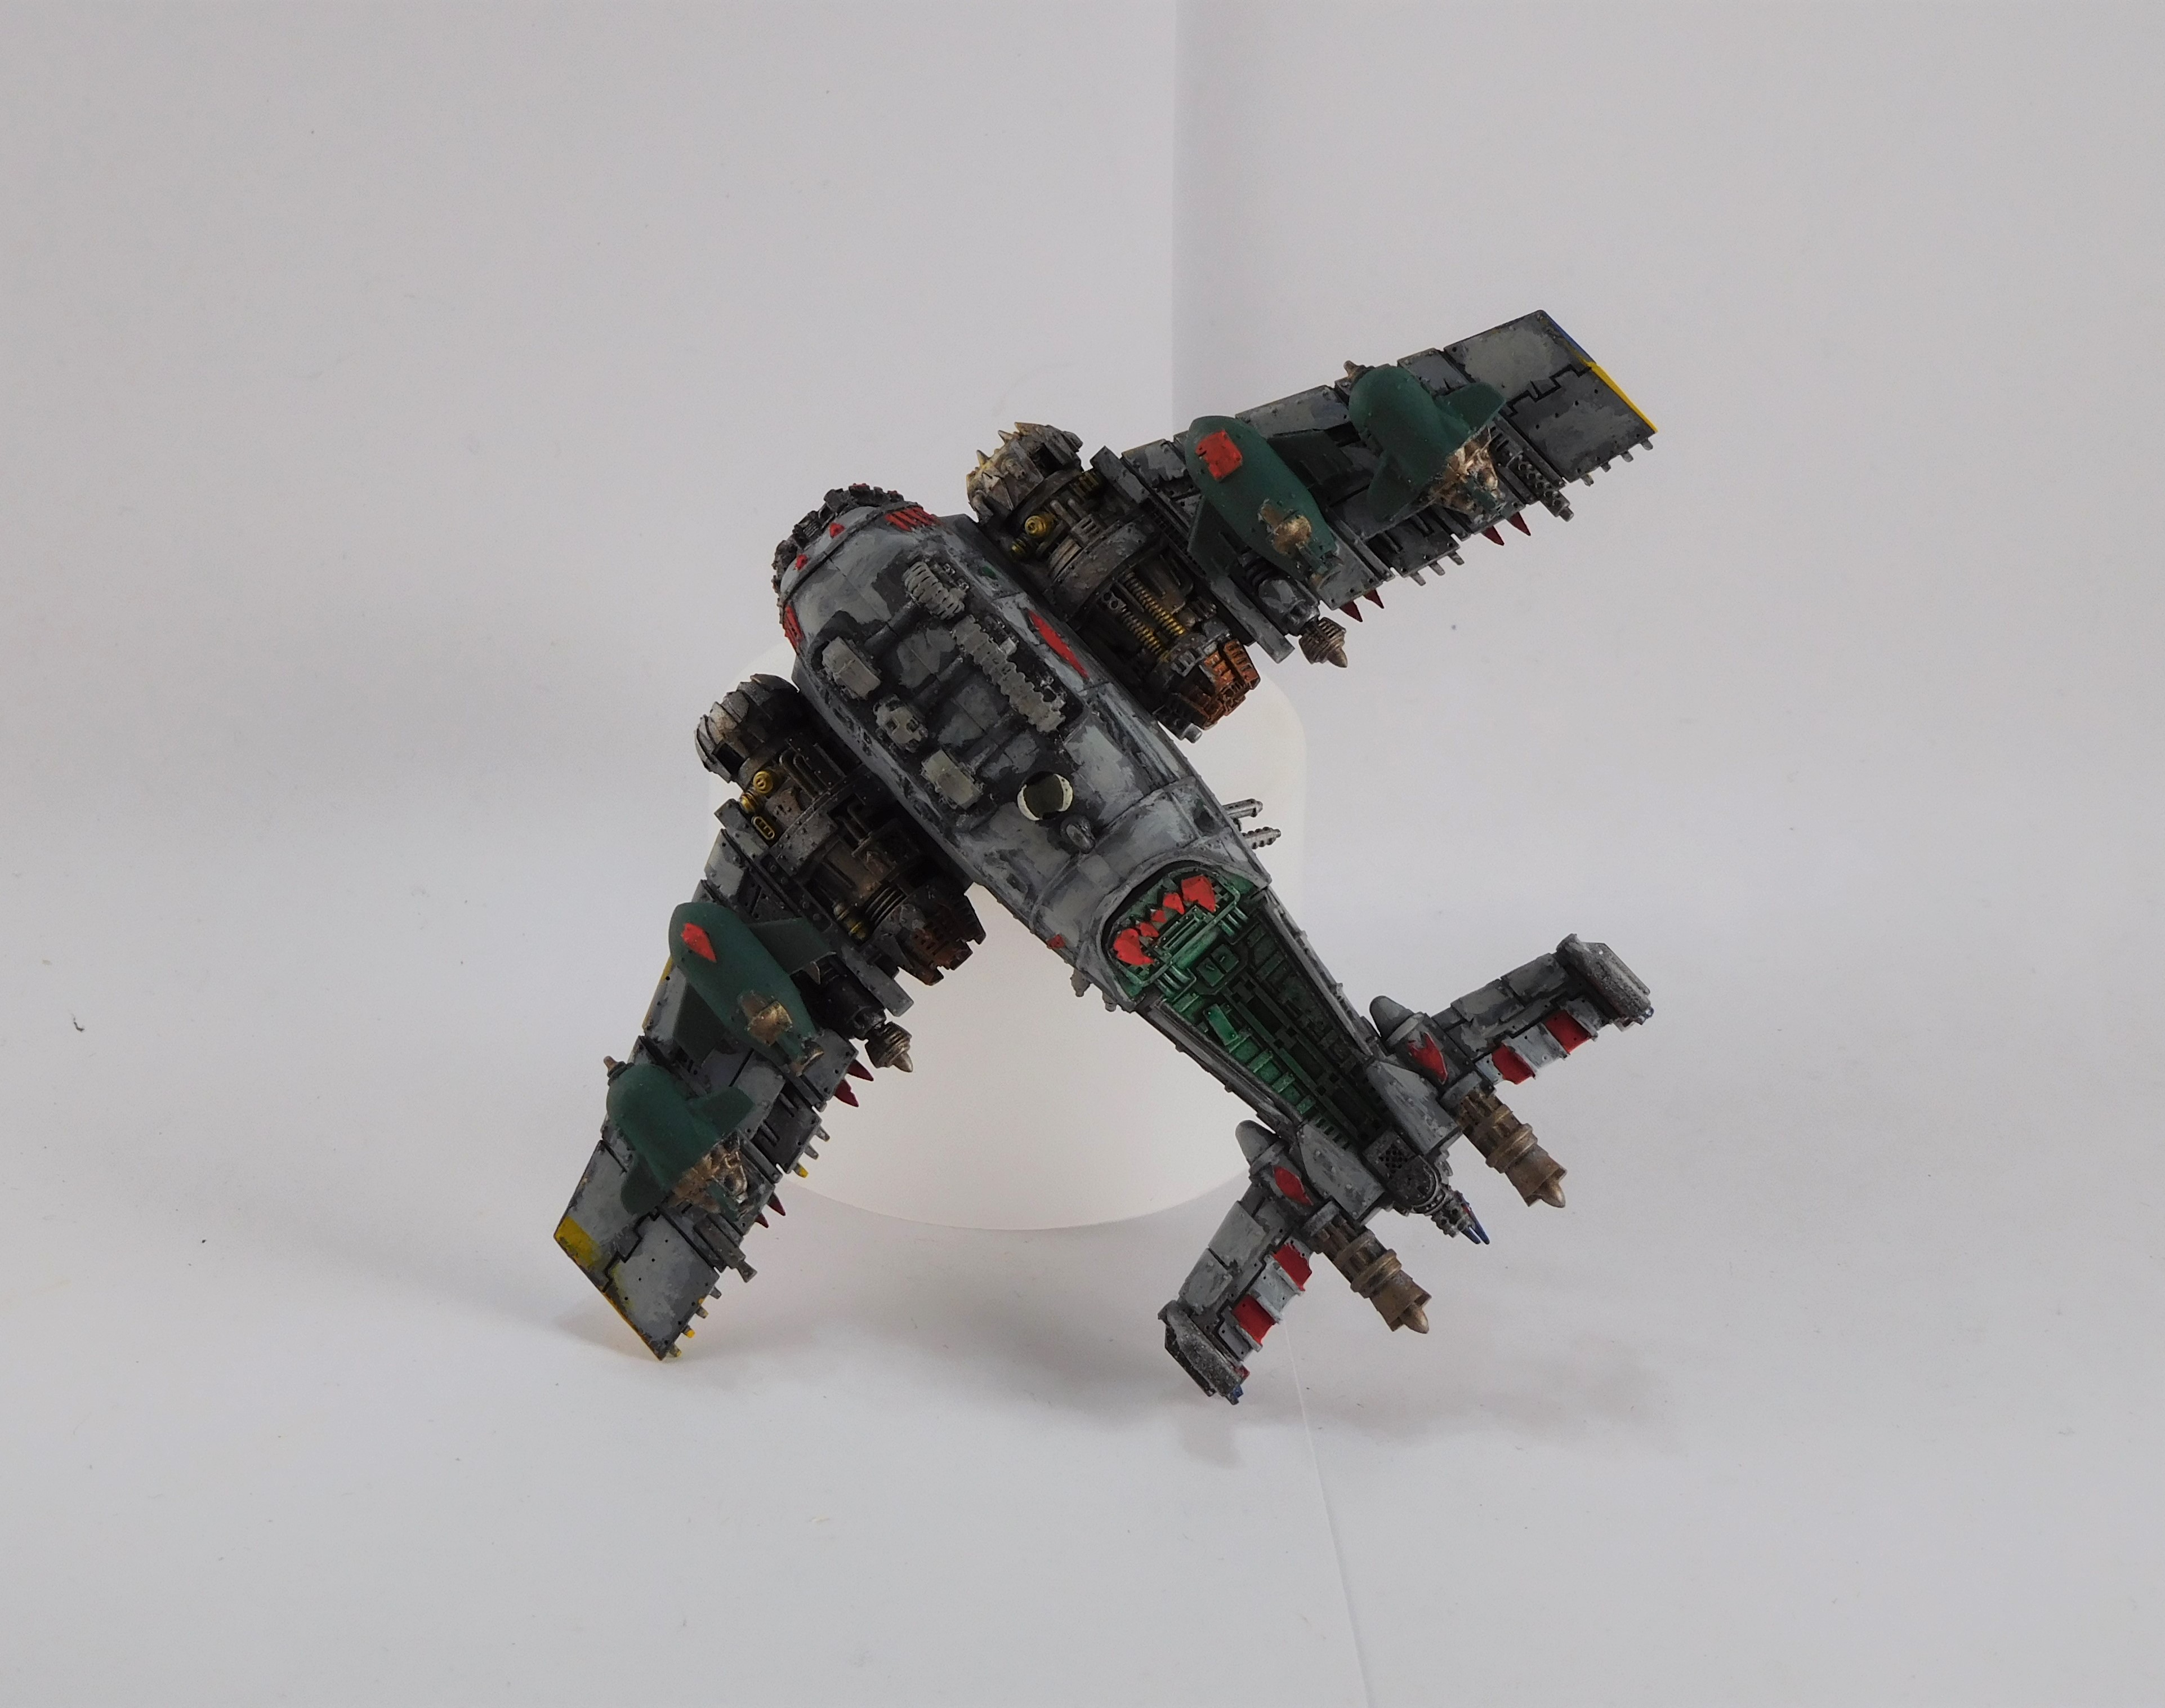
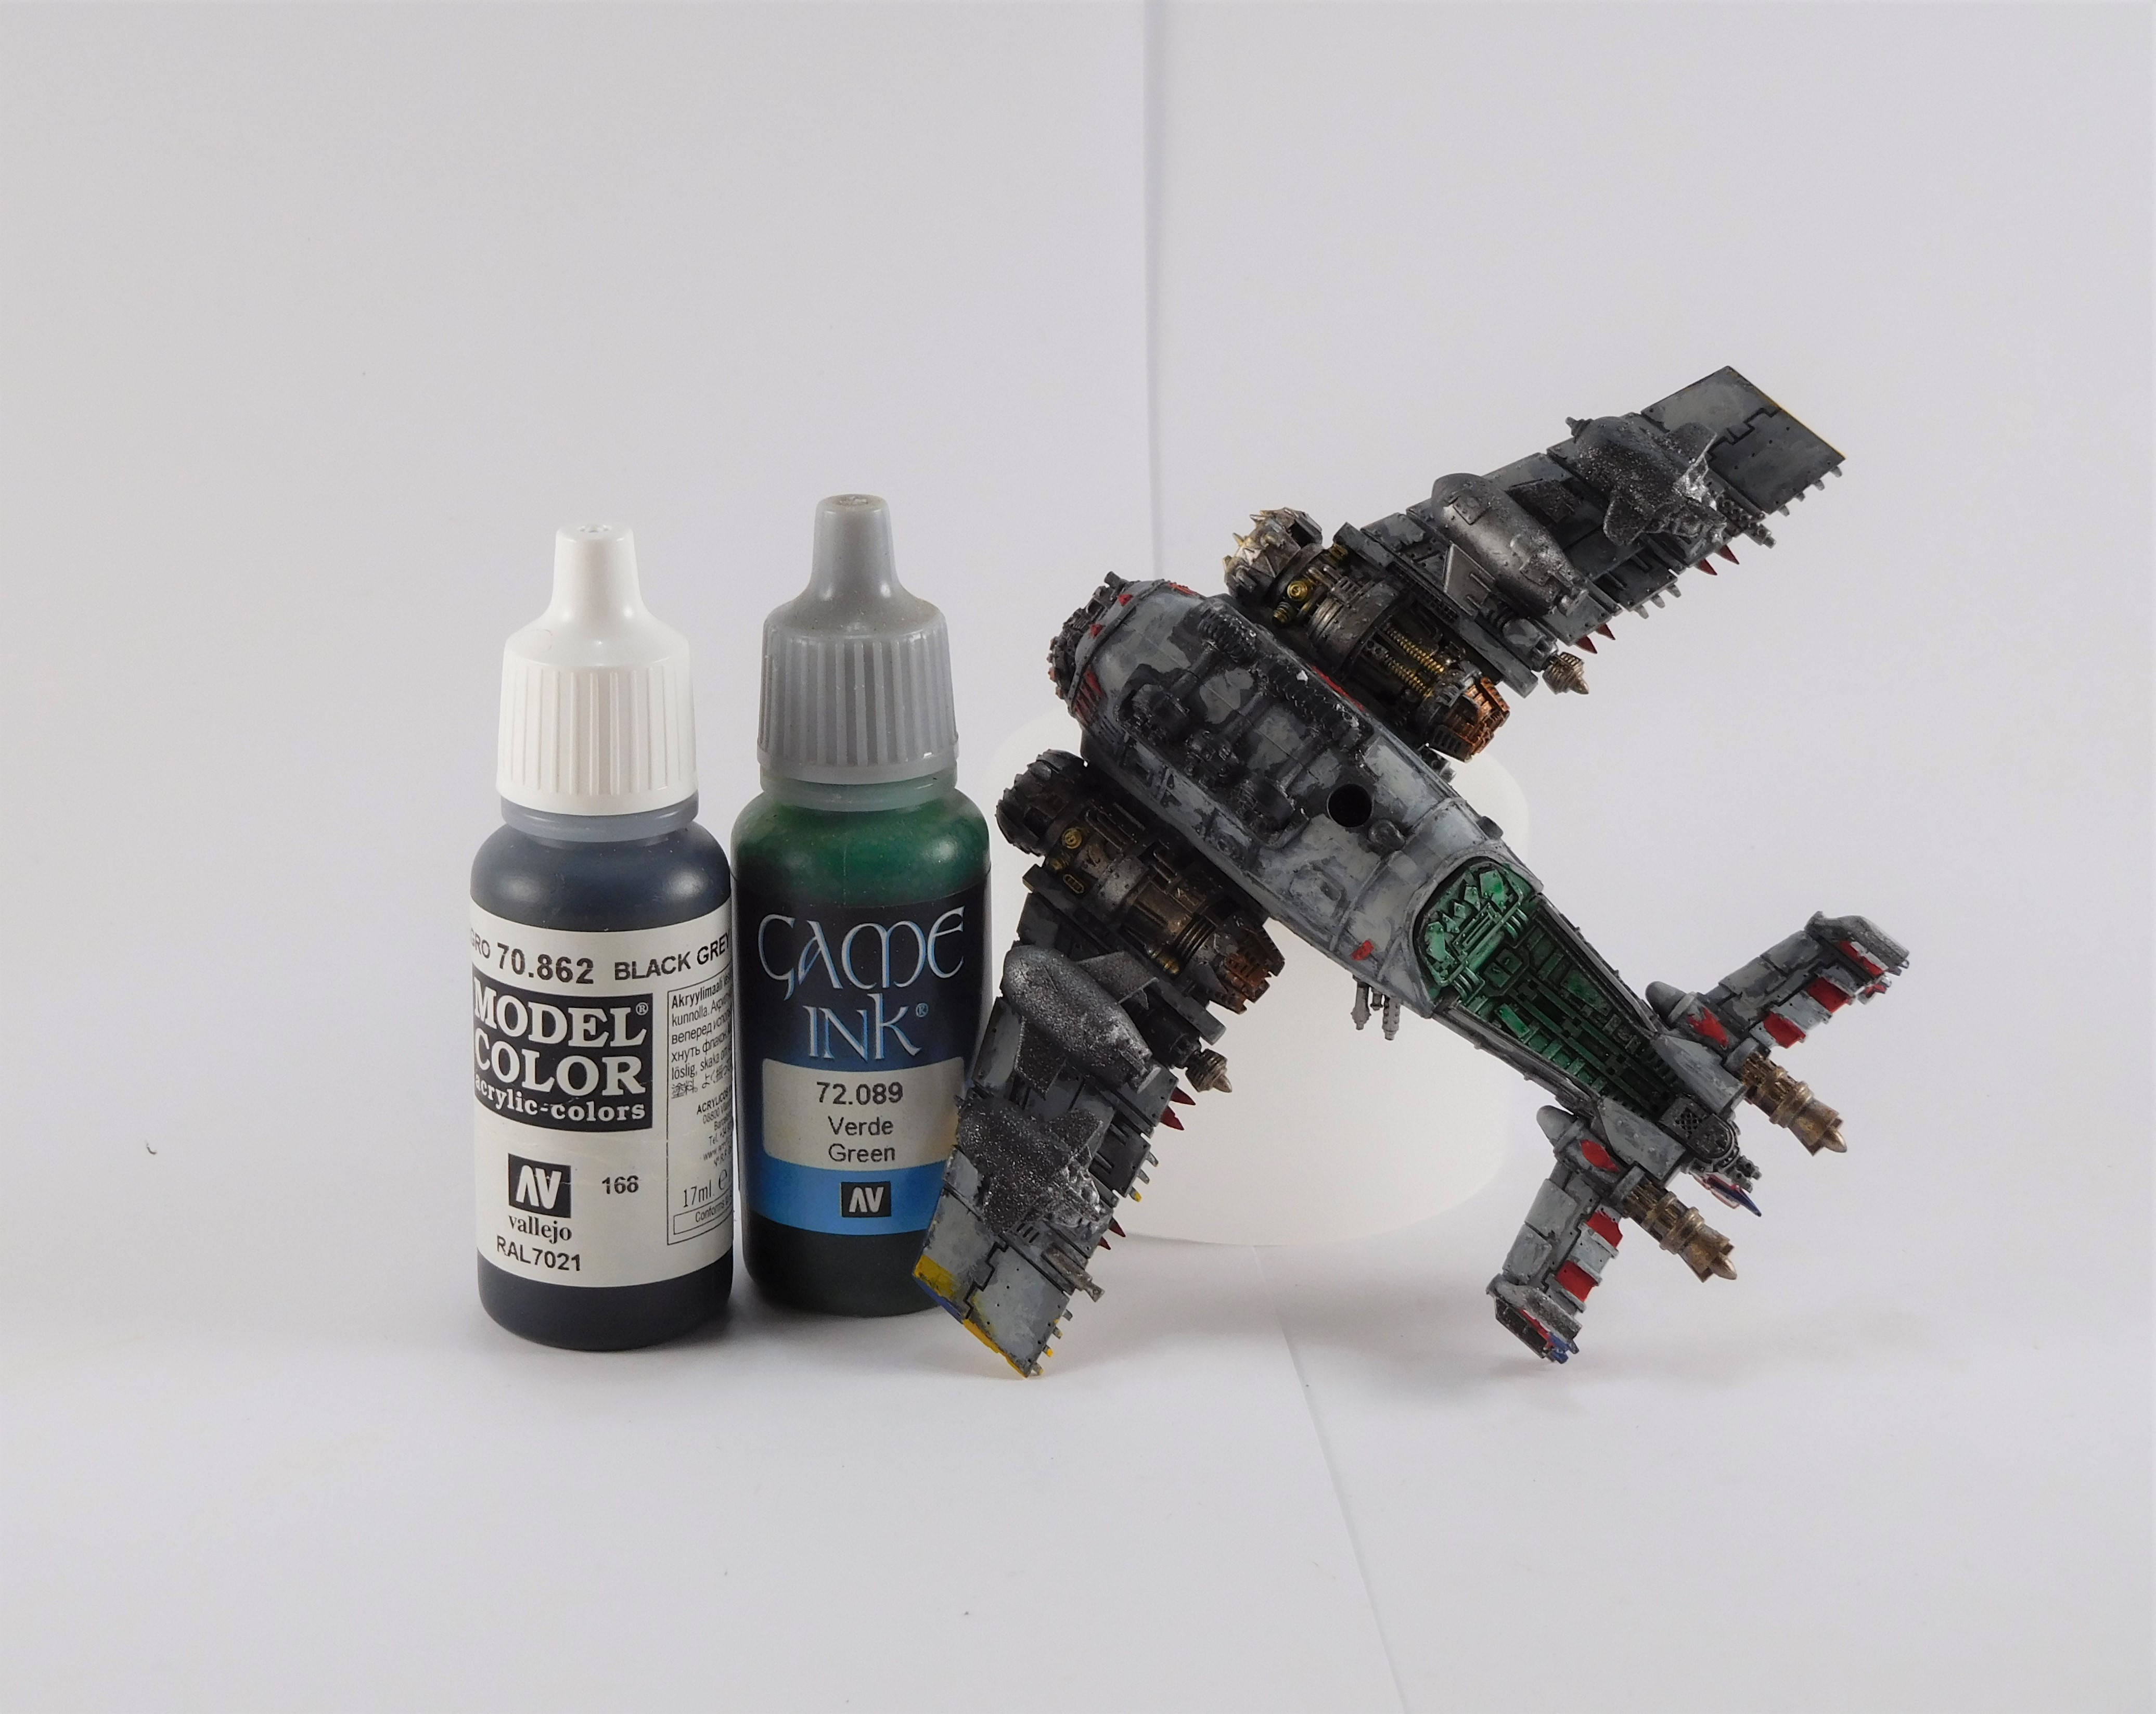
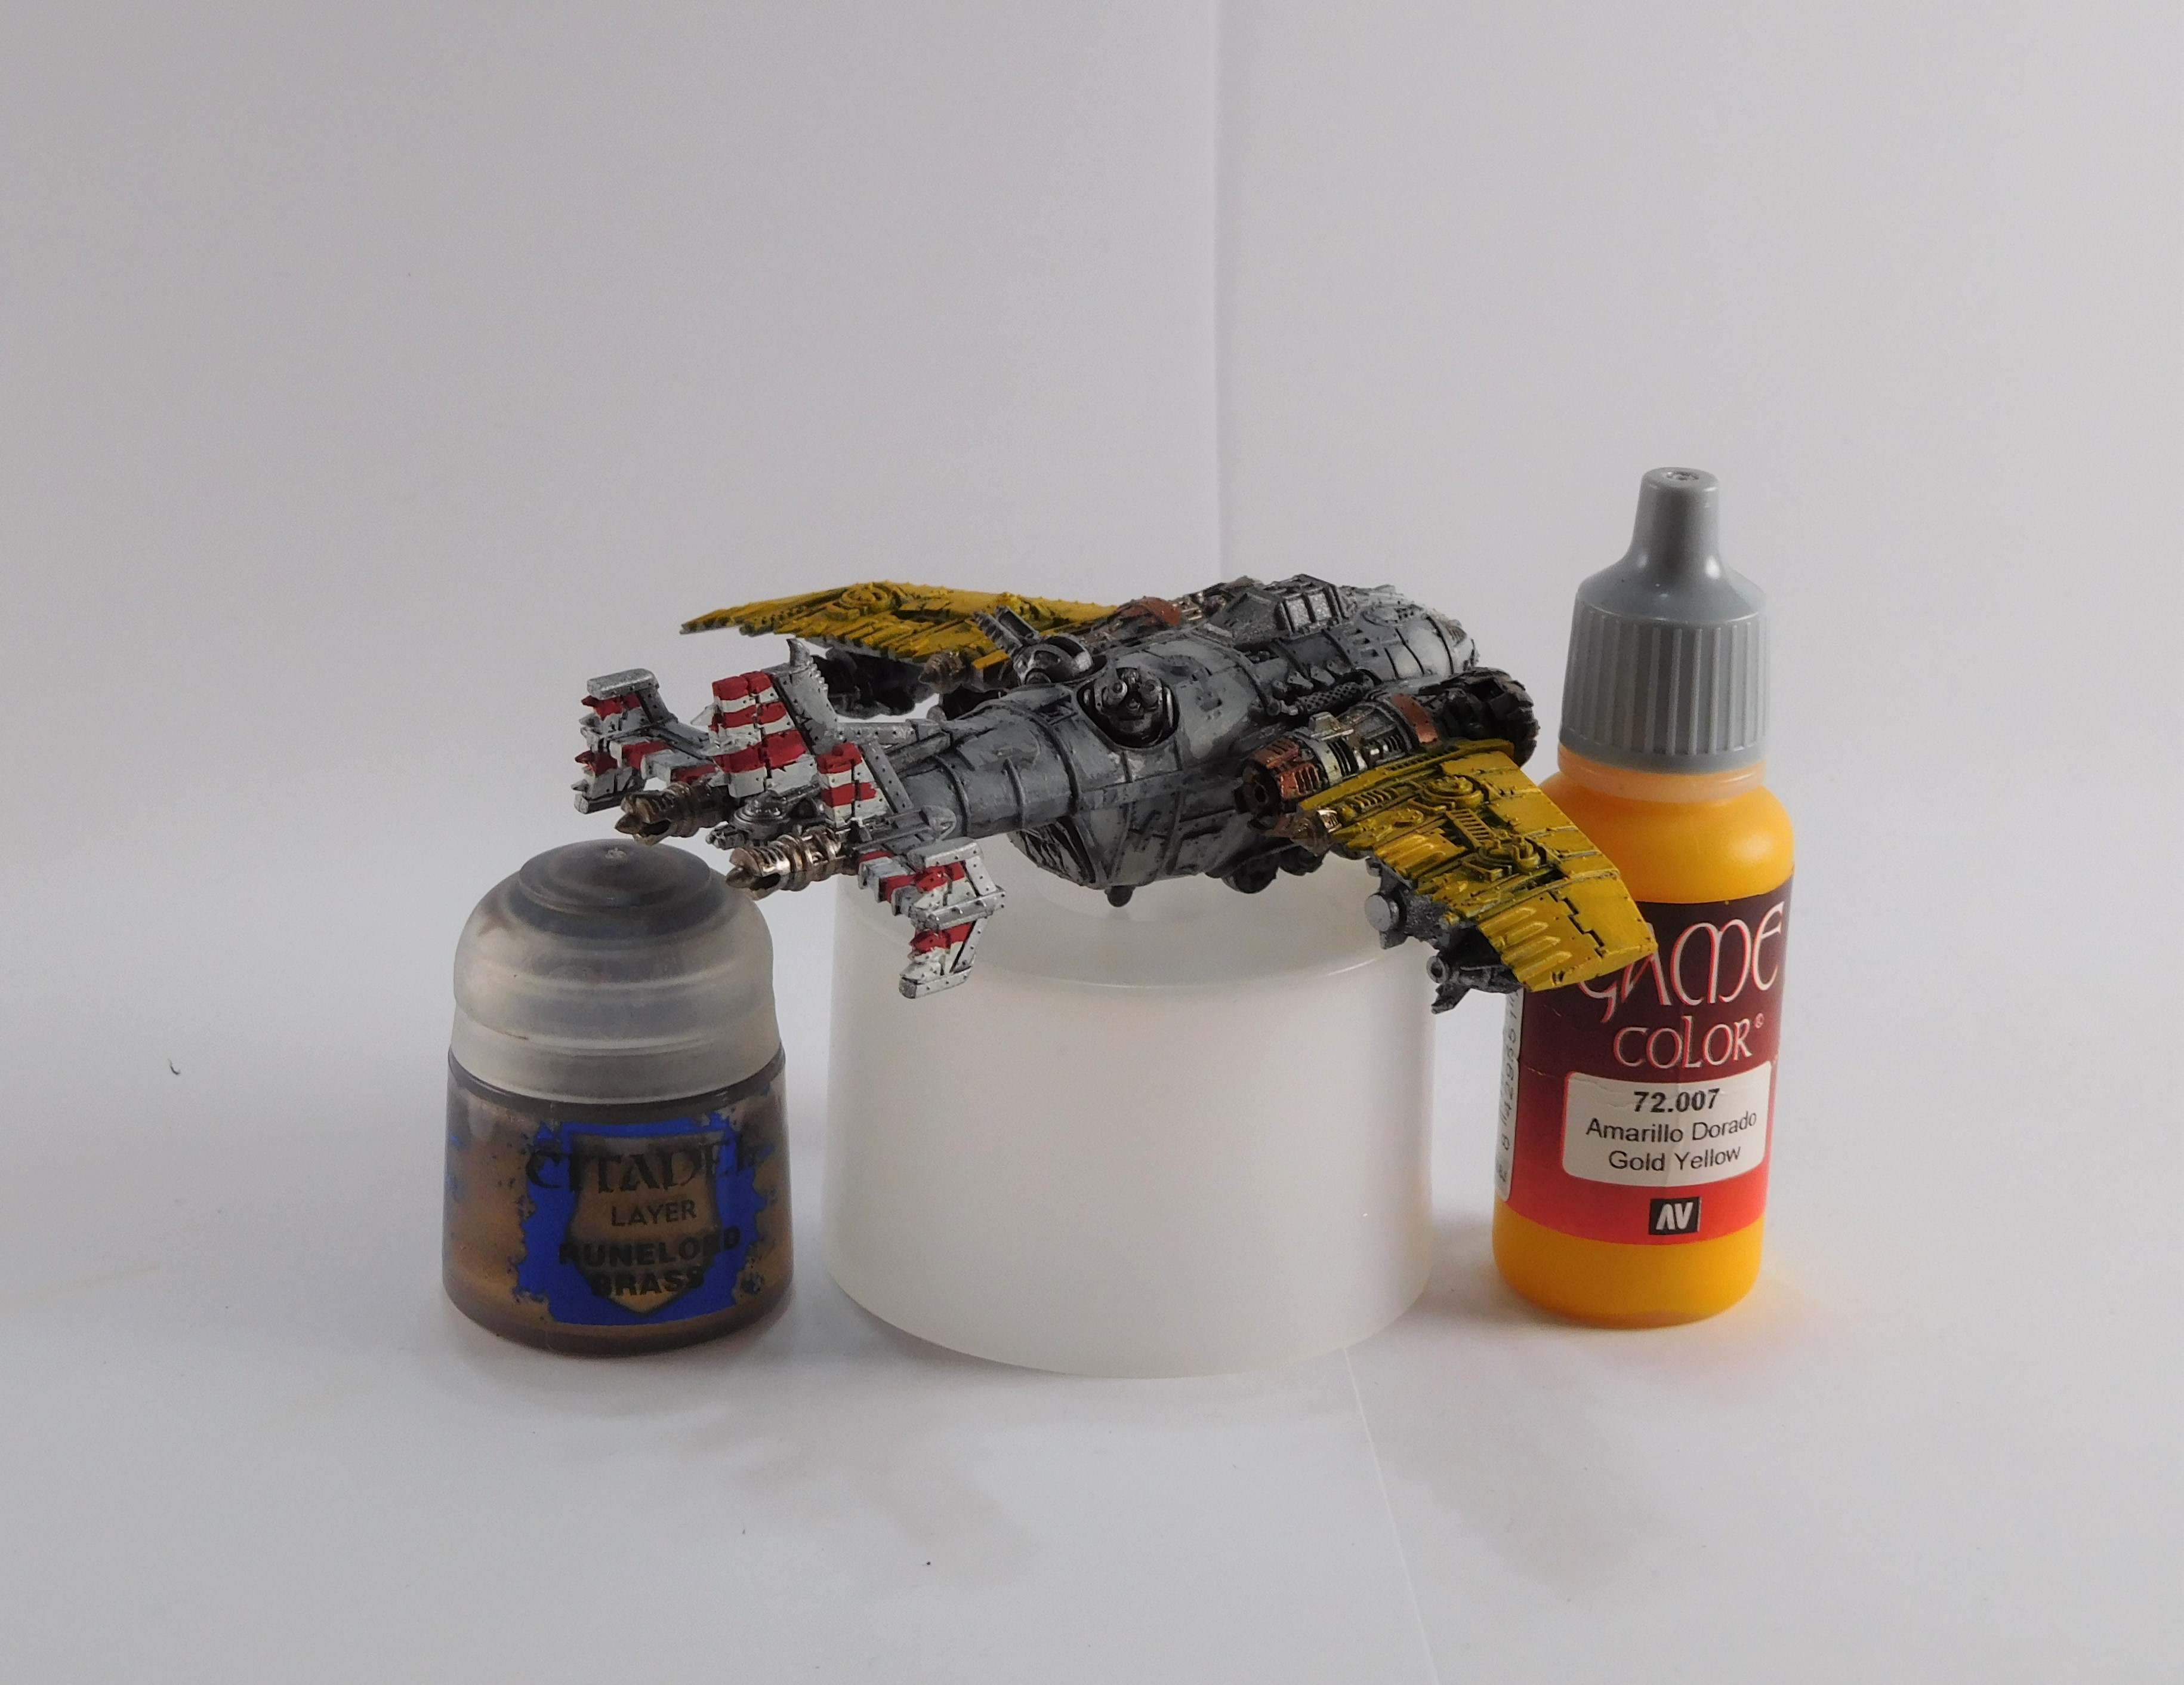
Eavy Bomber Part 1
The Eavy Bommers where assembled with big bombs and extra big shootas.
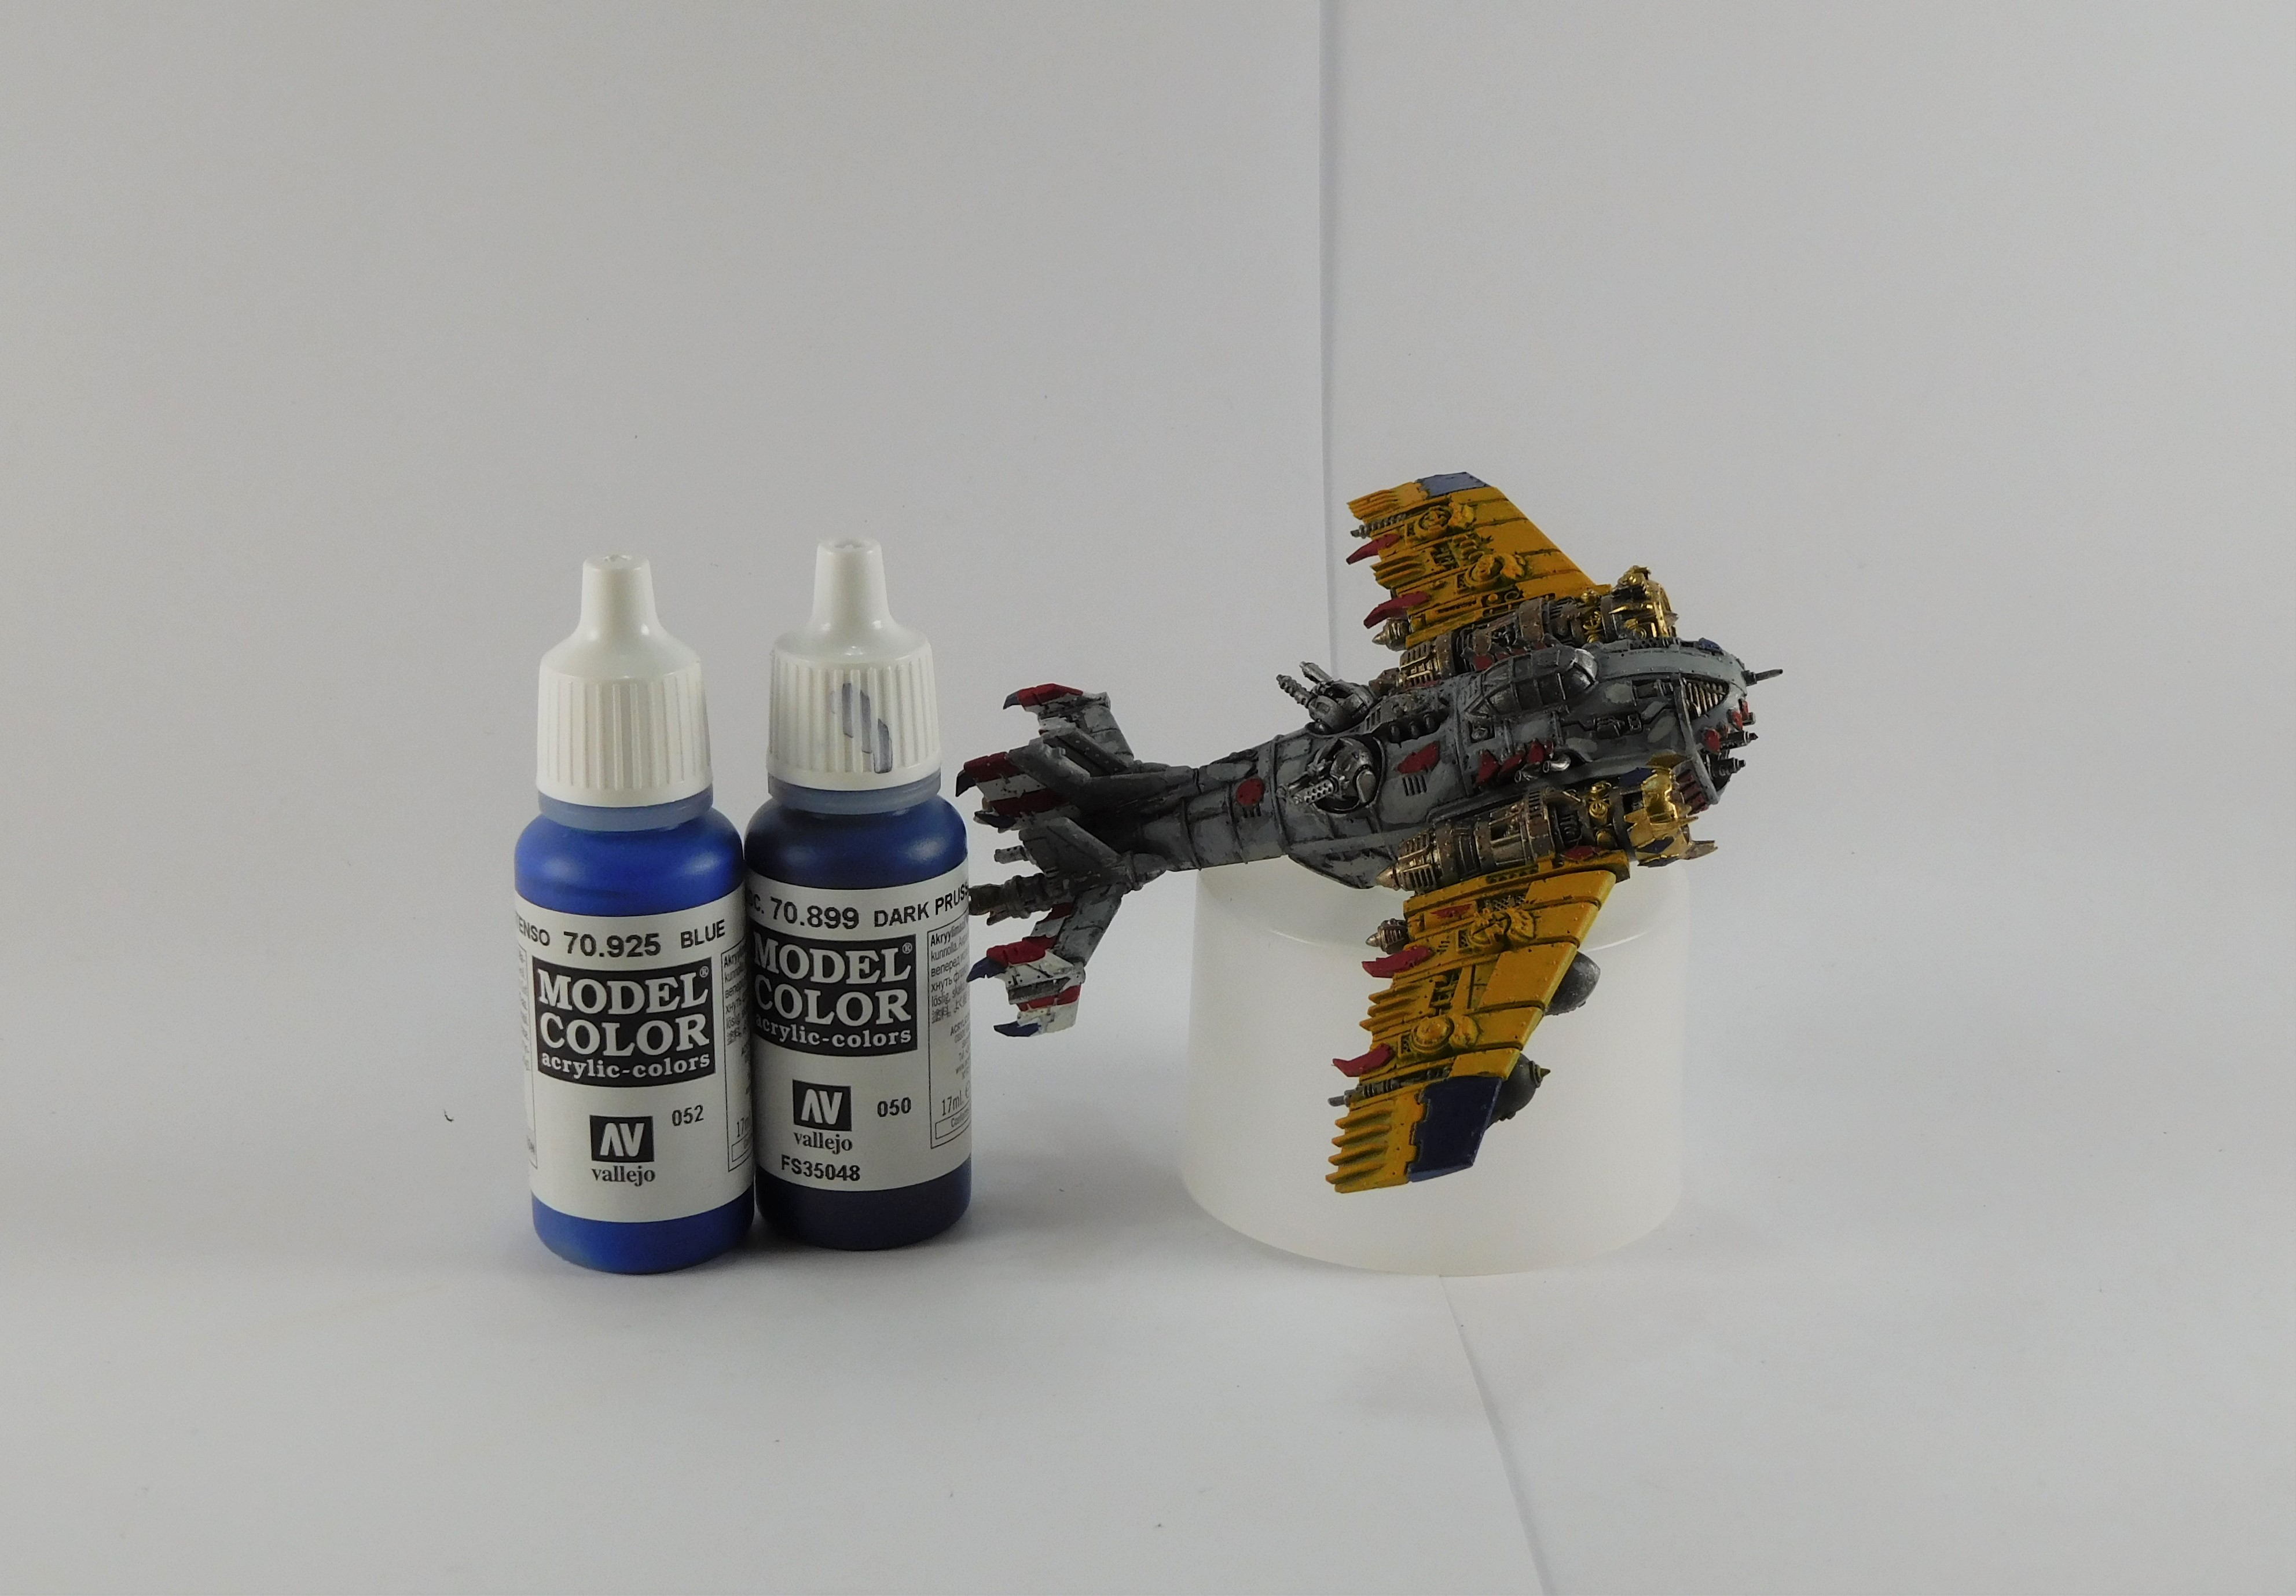
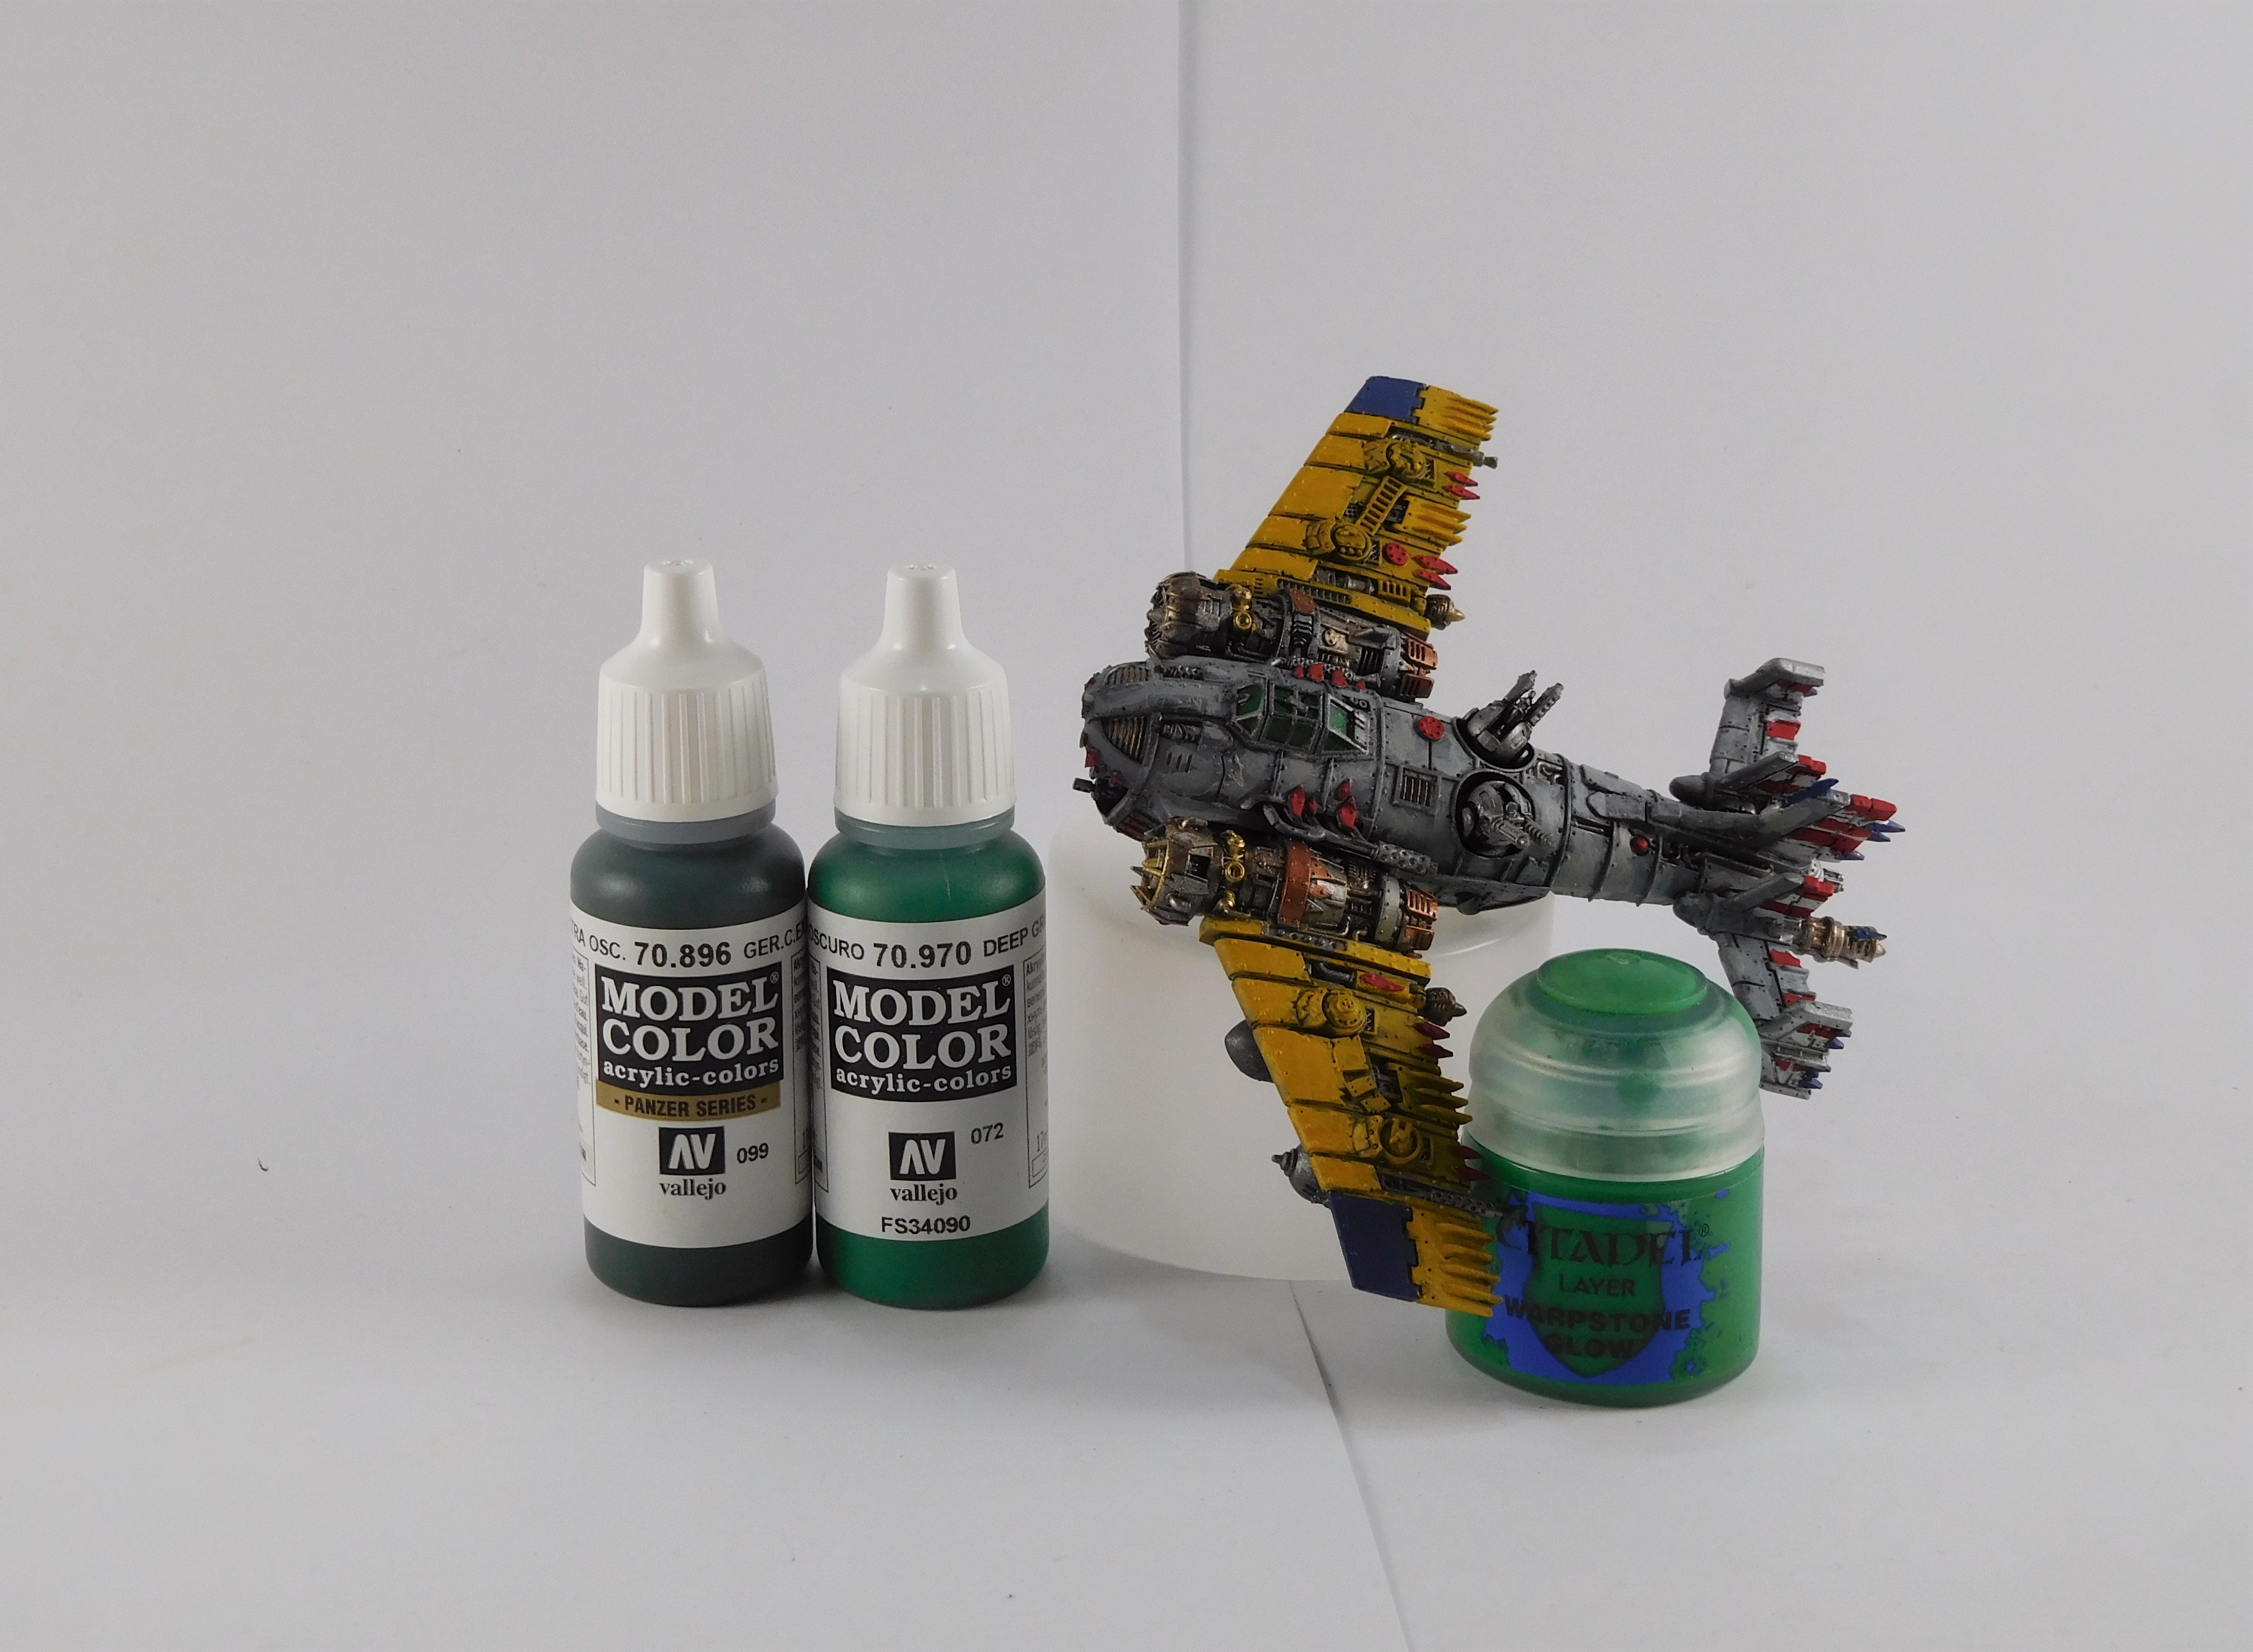
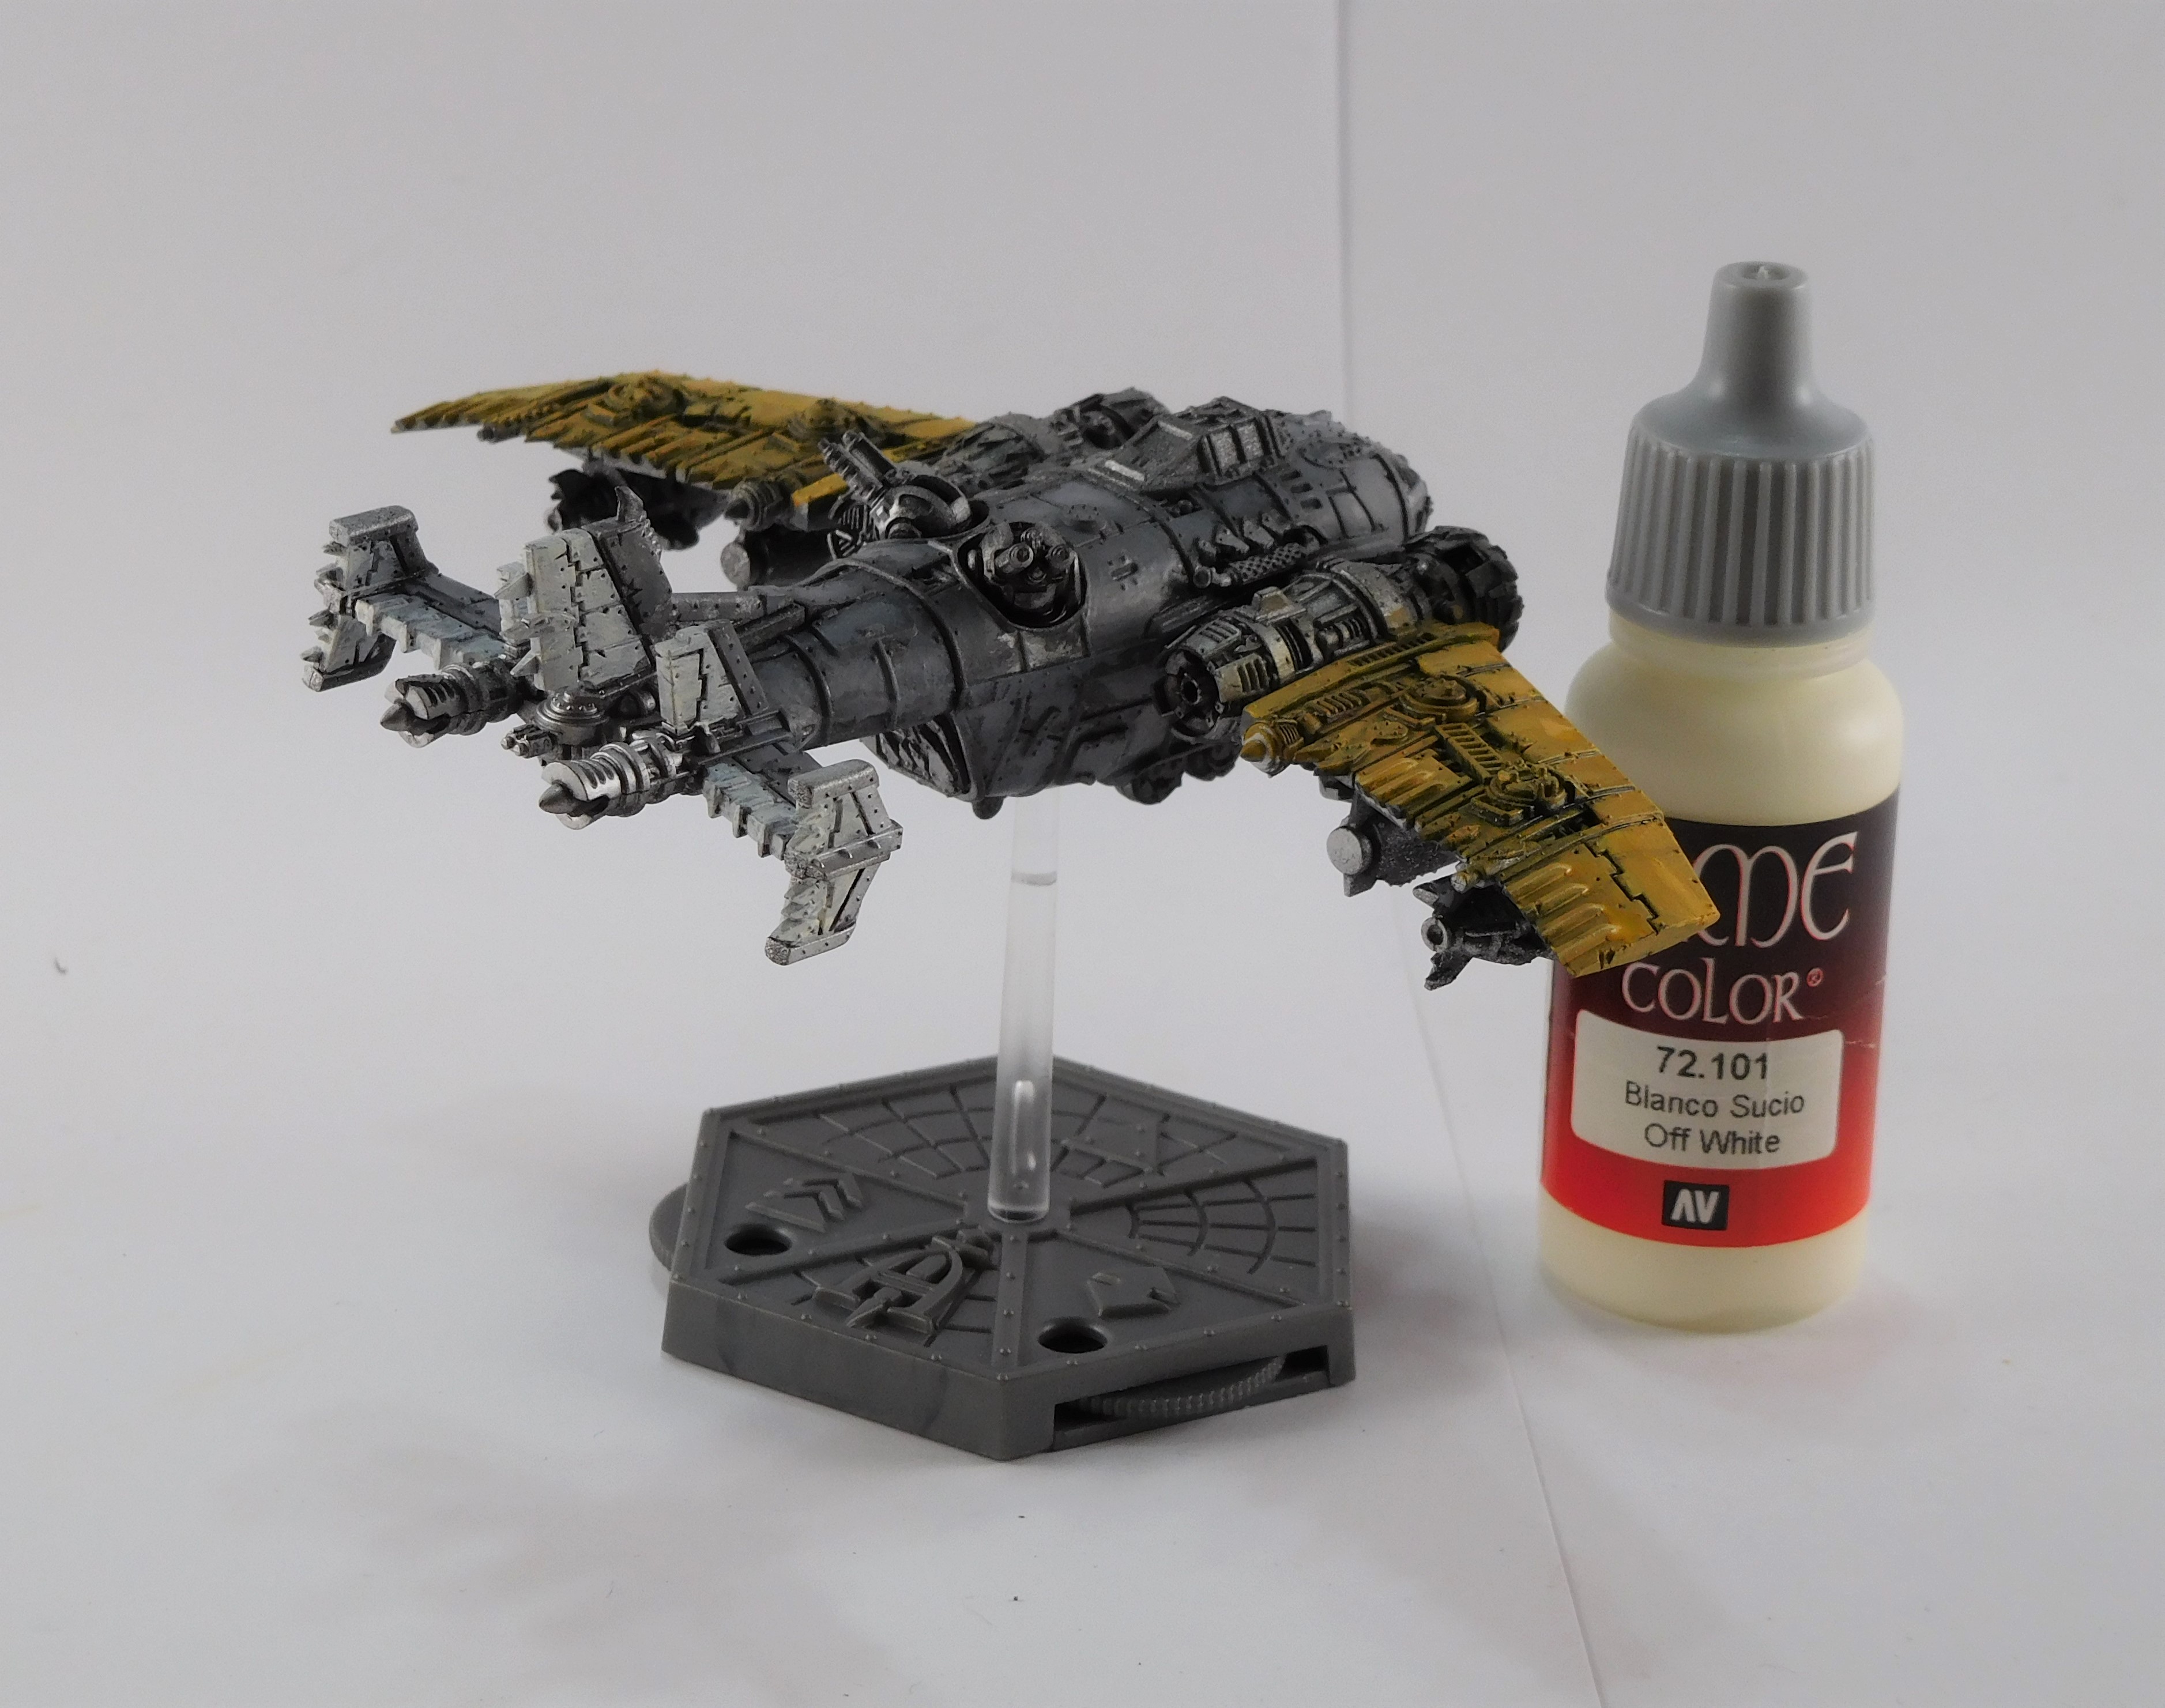
As always, started with an airbrush of black primer. This was followed with airbrush of silver and aluminum. There was attempt to do a zenith of aluminum, but that did not quite work. The tail section was left bare primer as this was going to get a coat of yellow base paint.


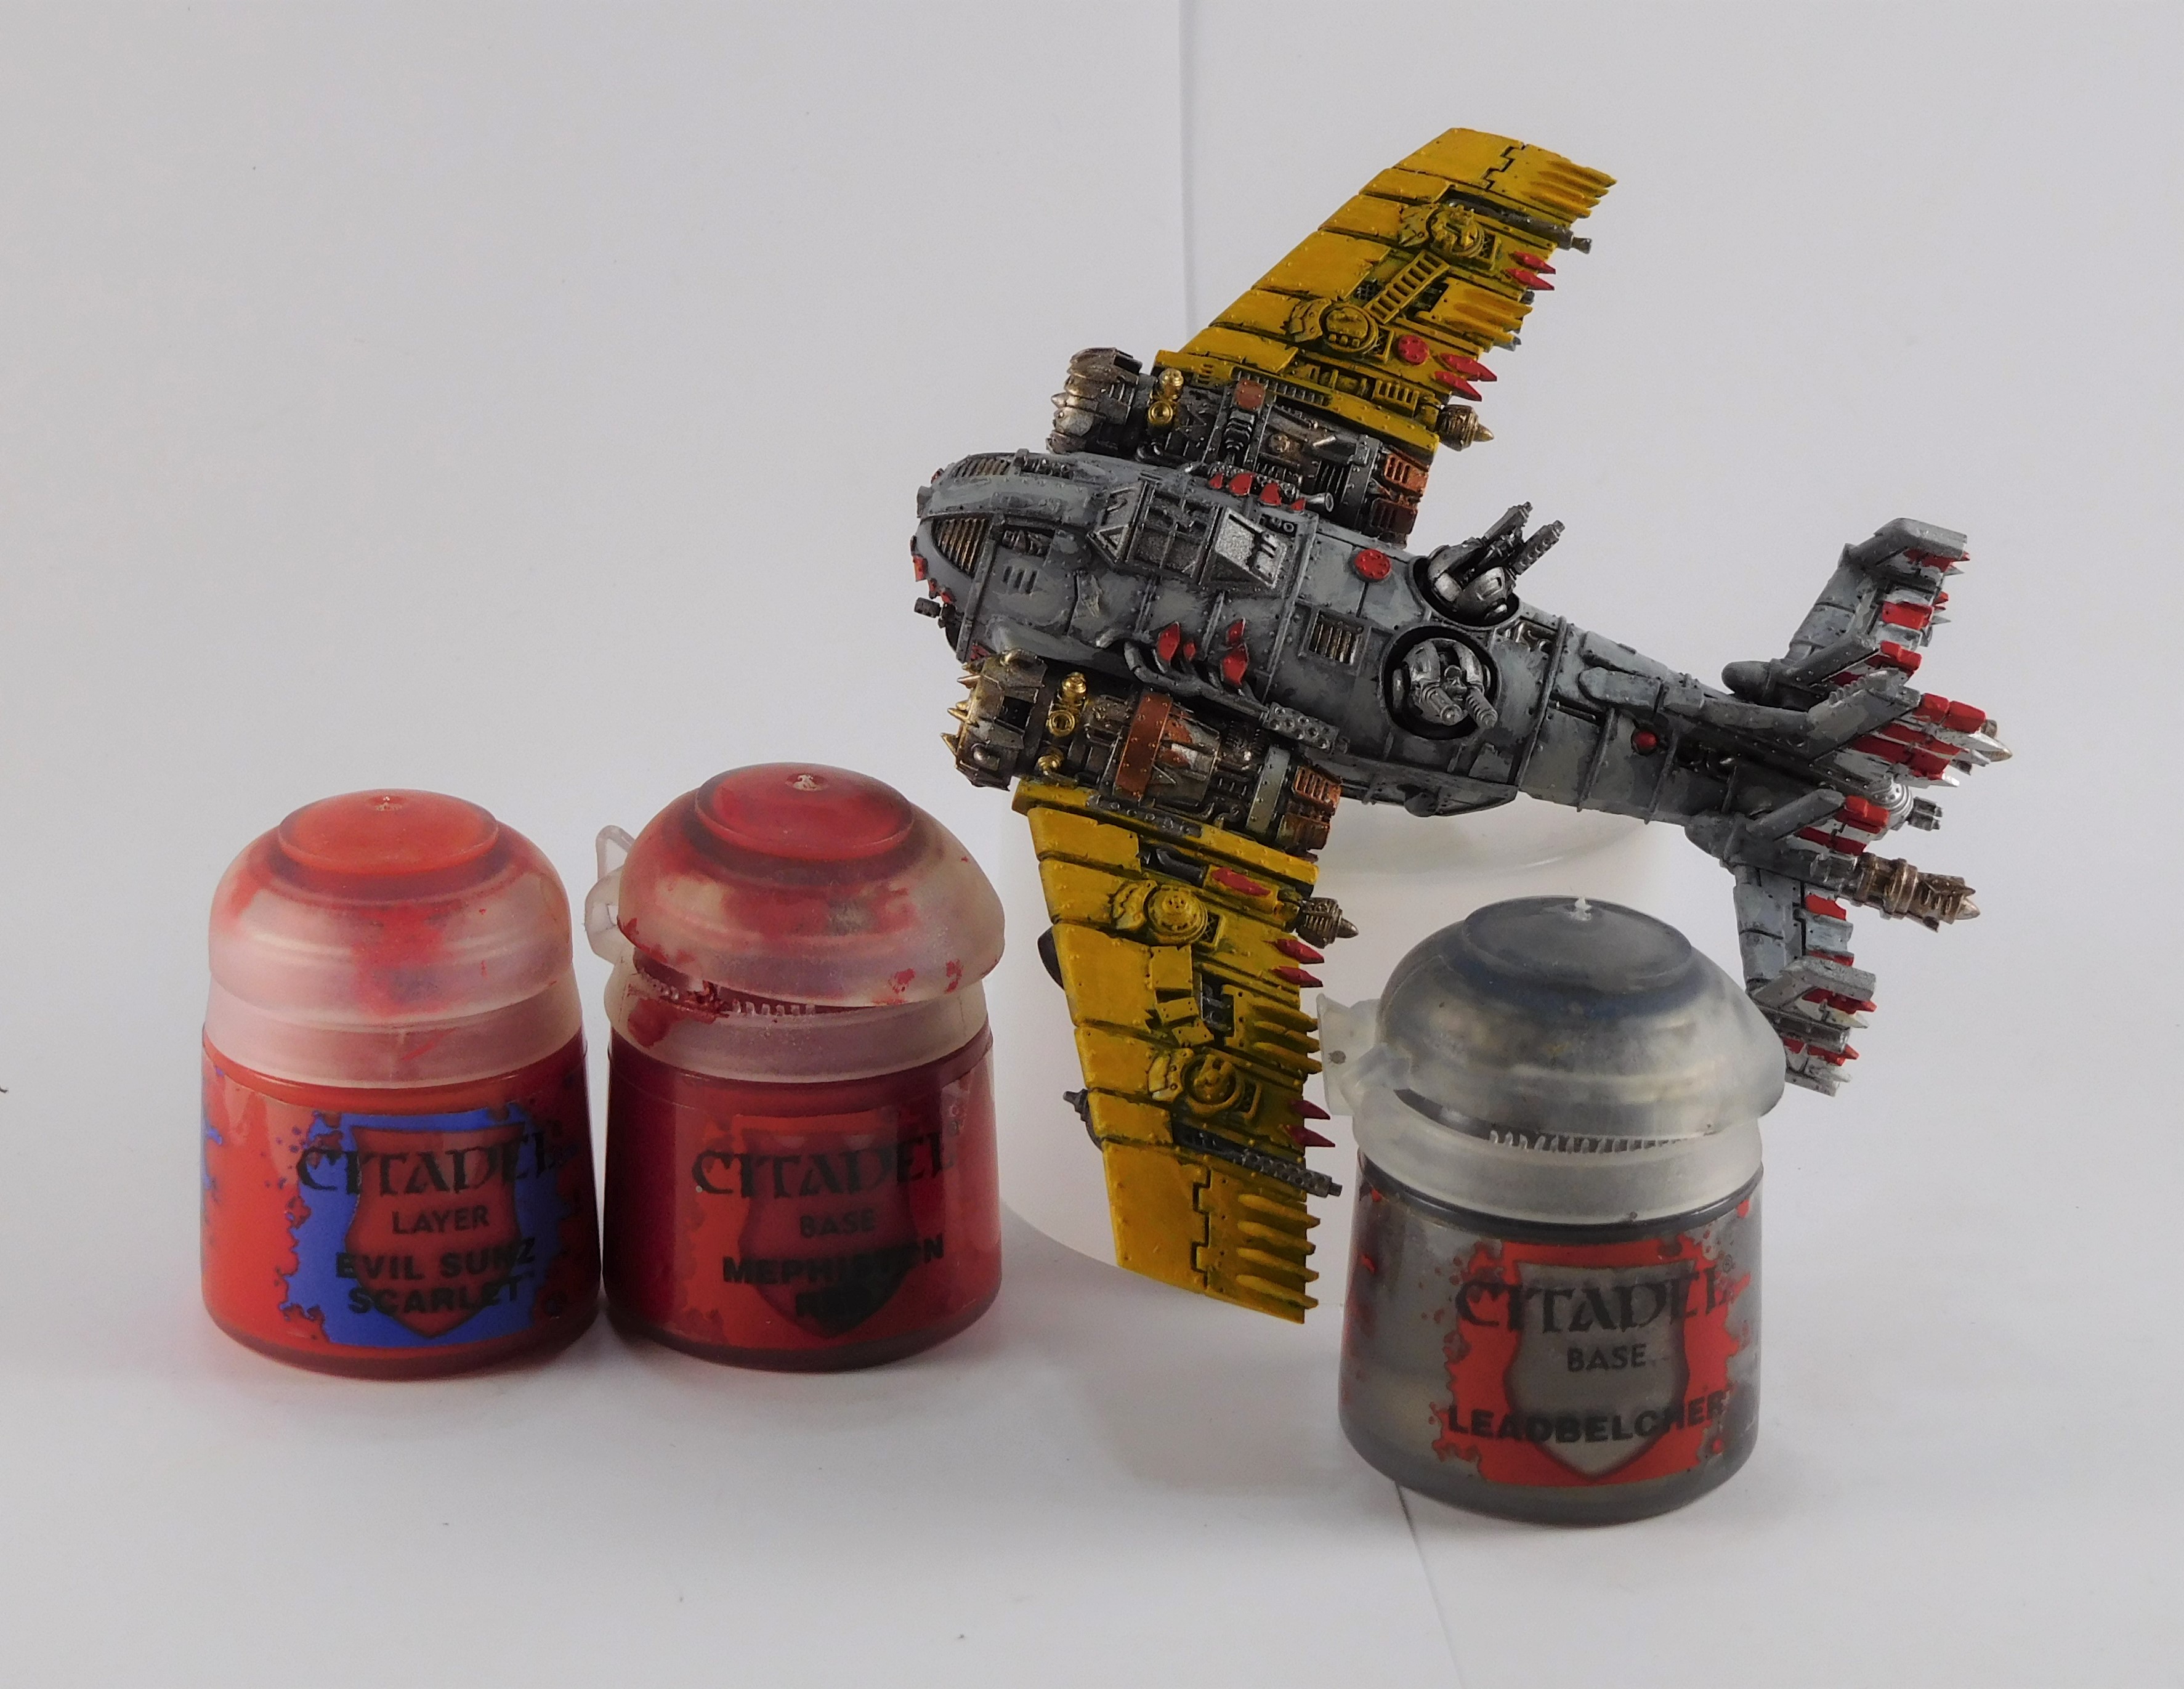
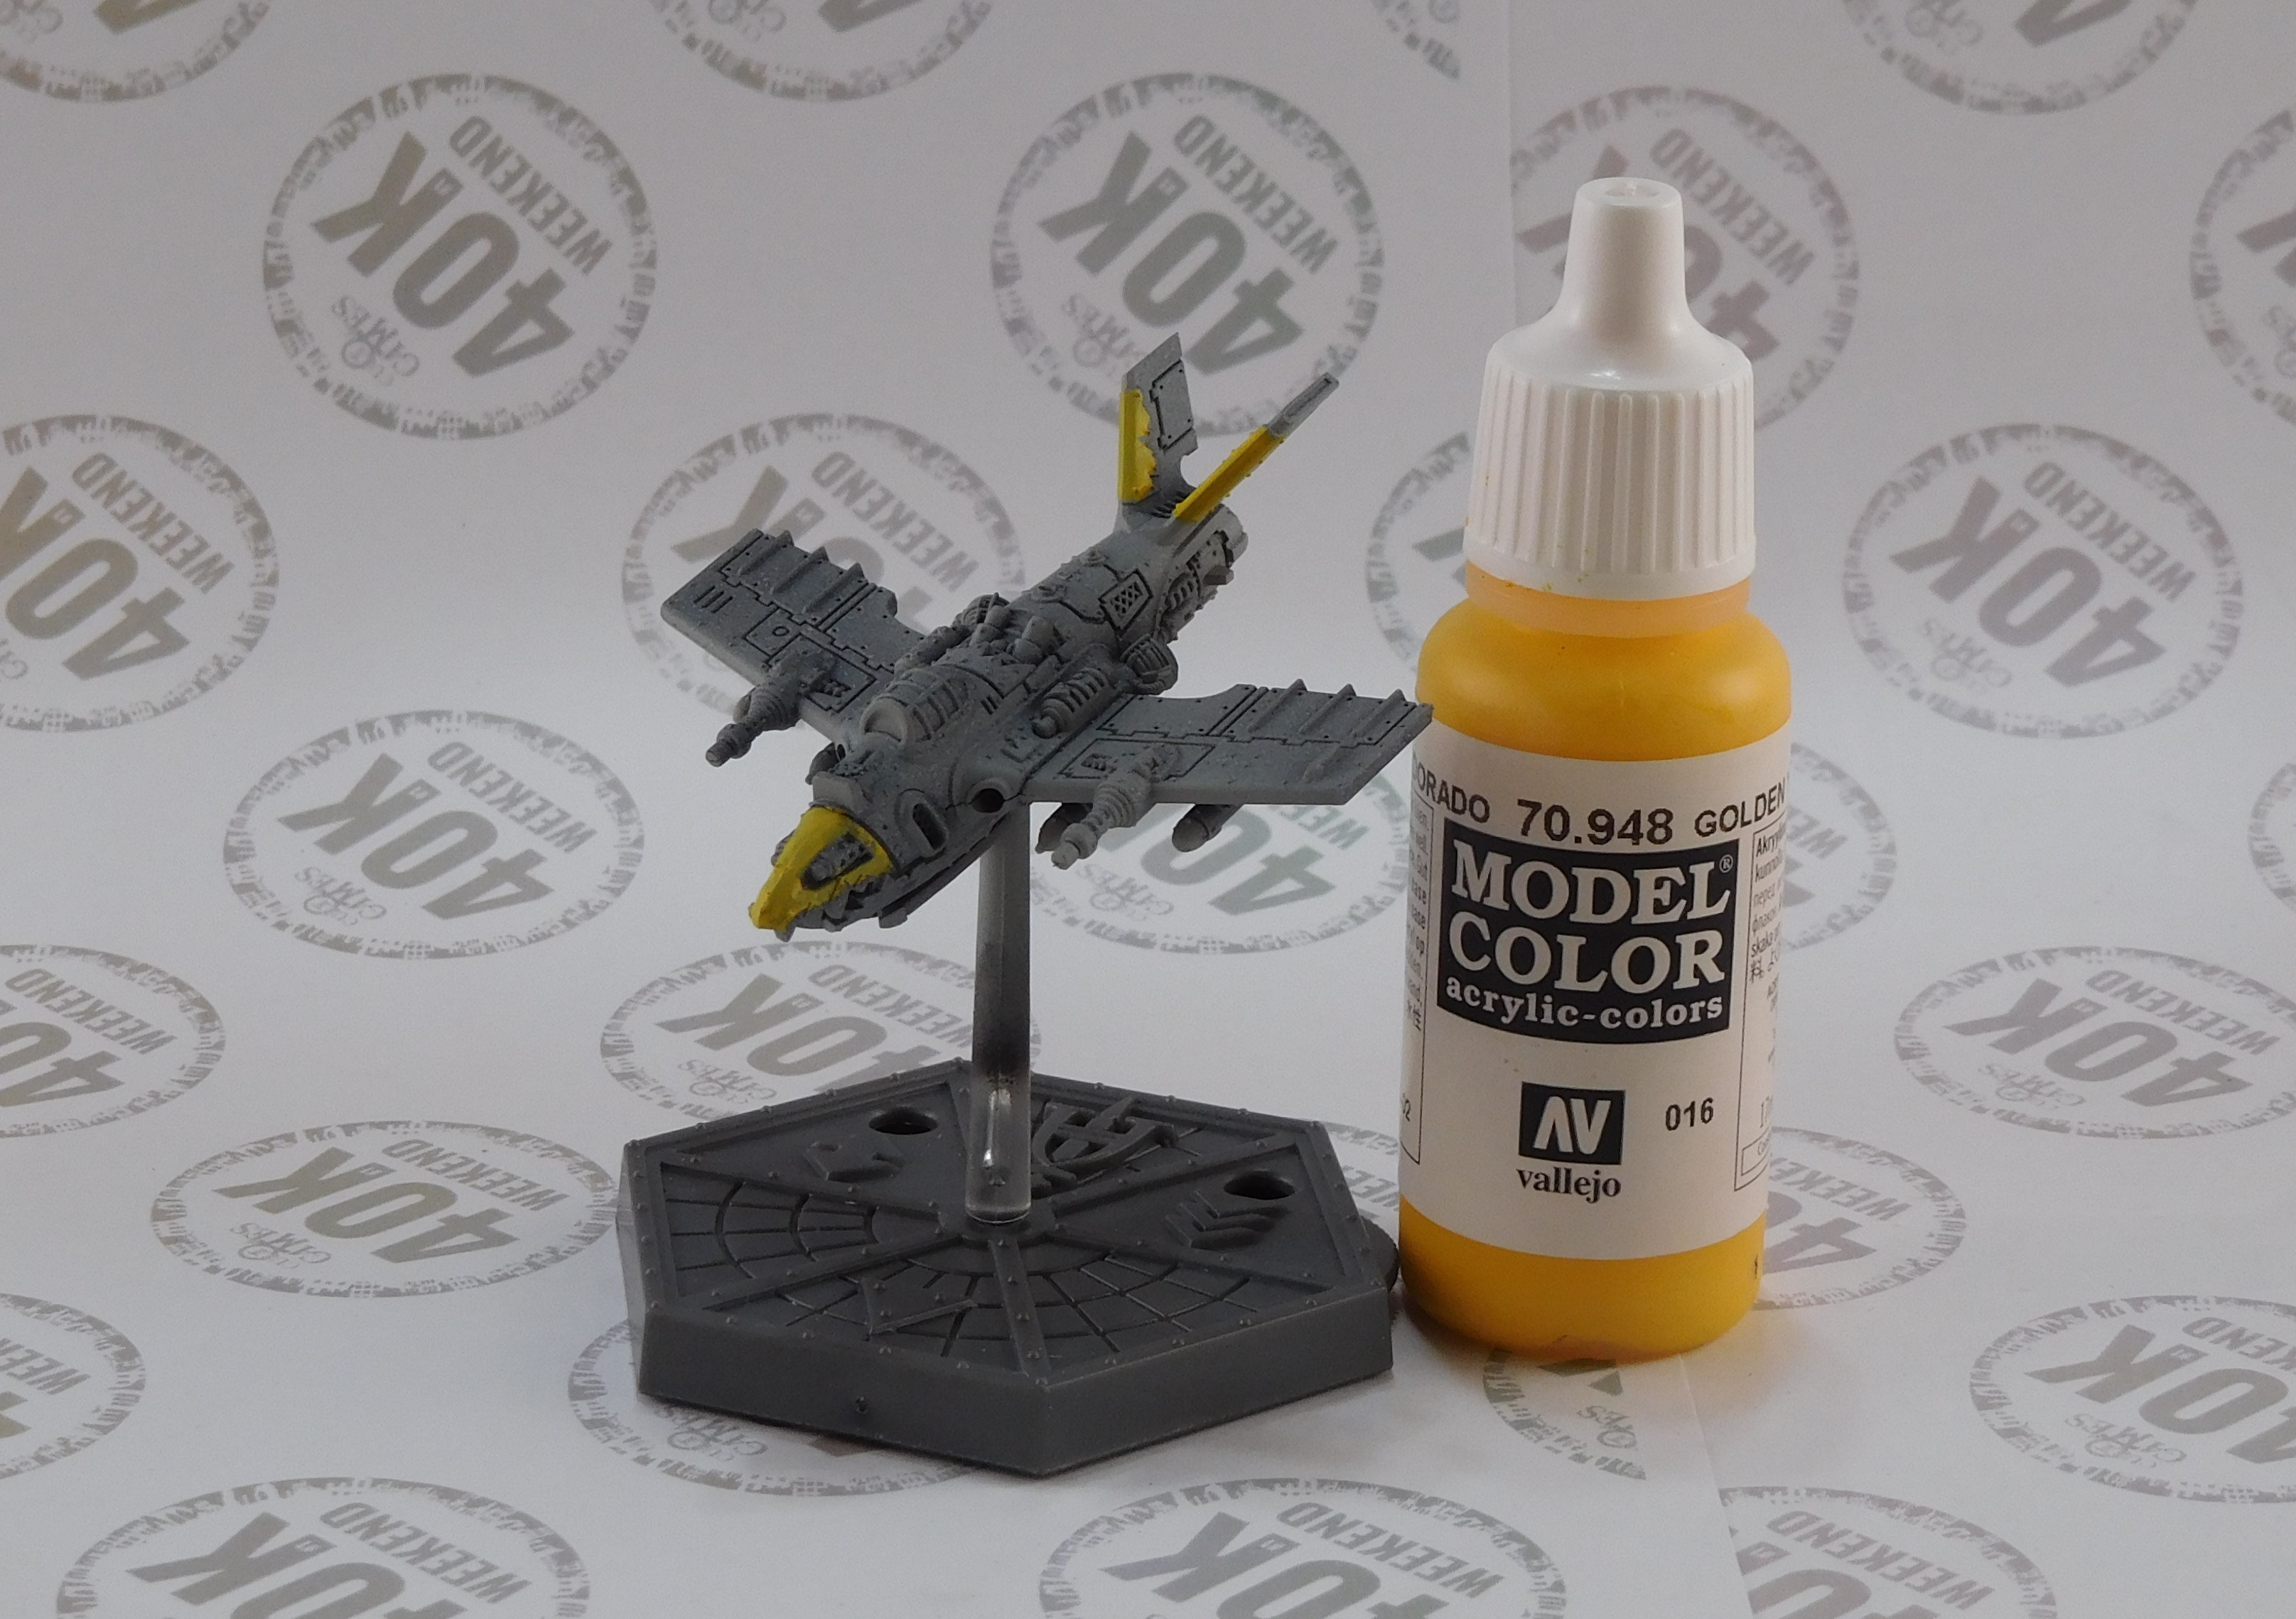
The tail section was painted yellow base paint. The engine cowling and the wing tips also got a coating of yellow base paint. The leading edges of the tail were not painted, as they will get a coat of blue or black paint later. Lead belcher was applied to the engine tech bits, the gun parts, and the engine nozzles on the tail. The gun parts include the big shoots mounted underneath the wings.
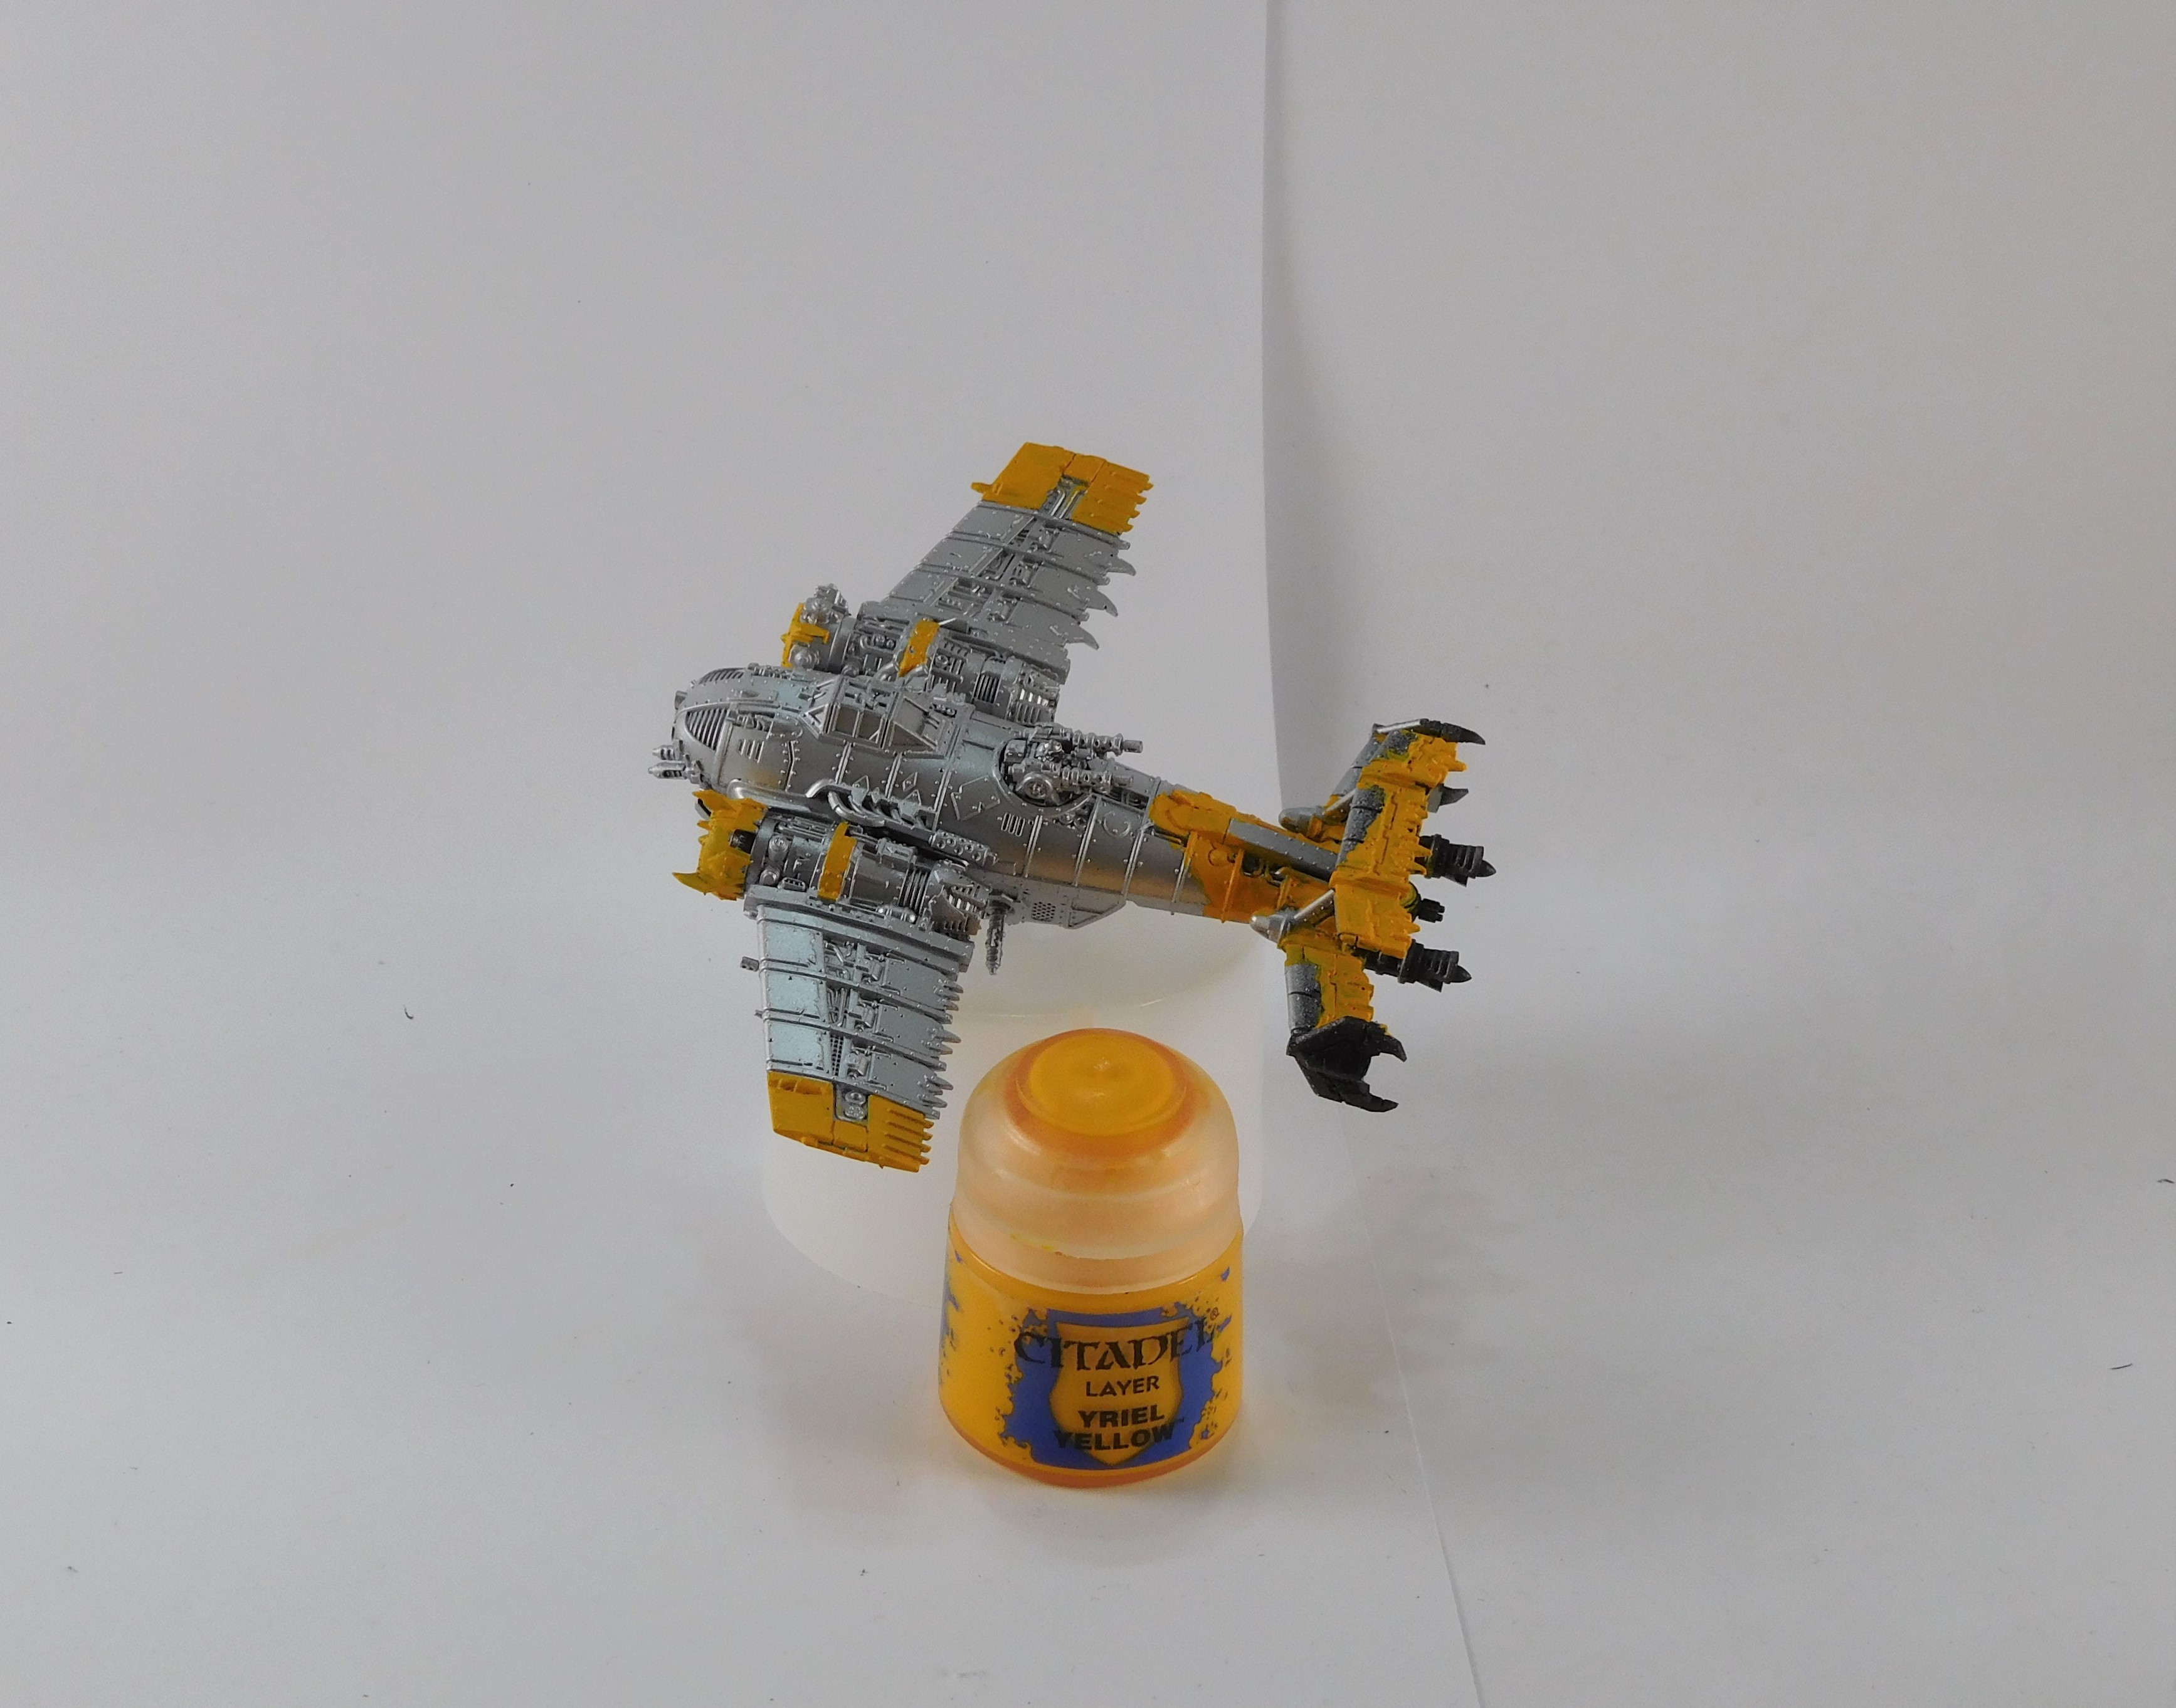
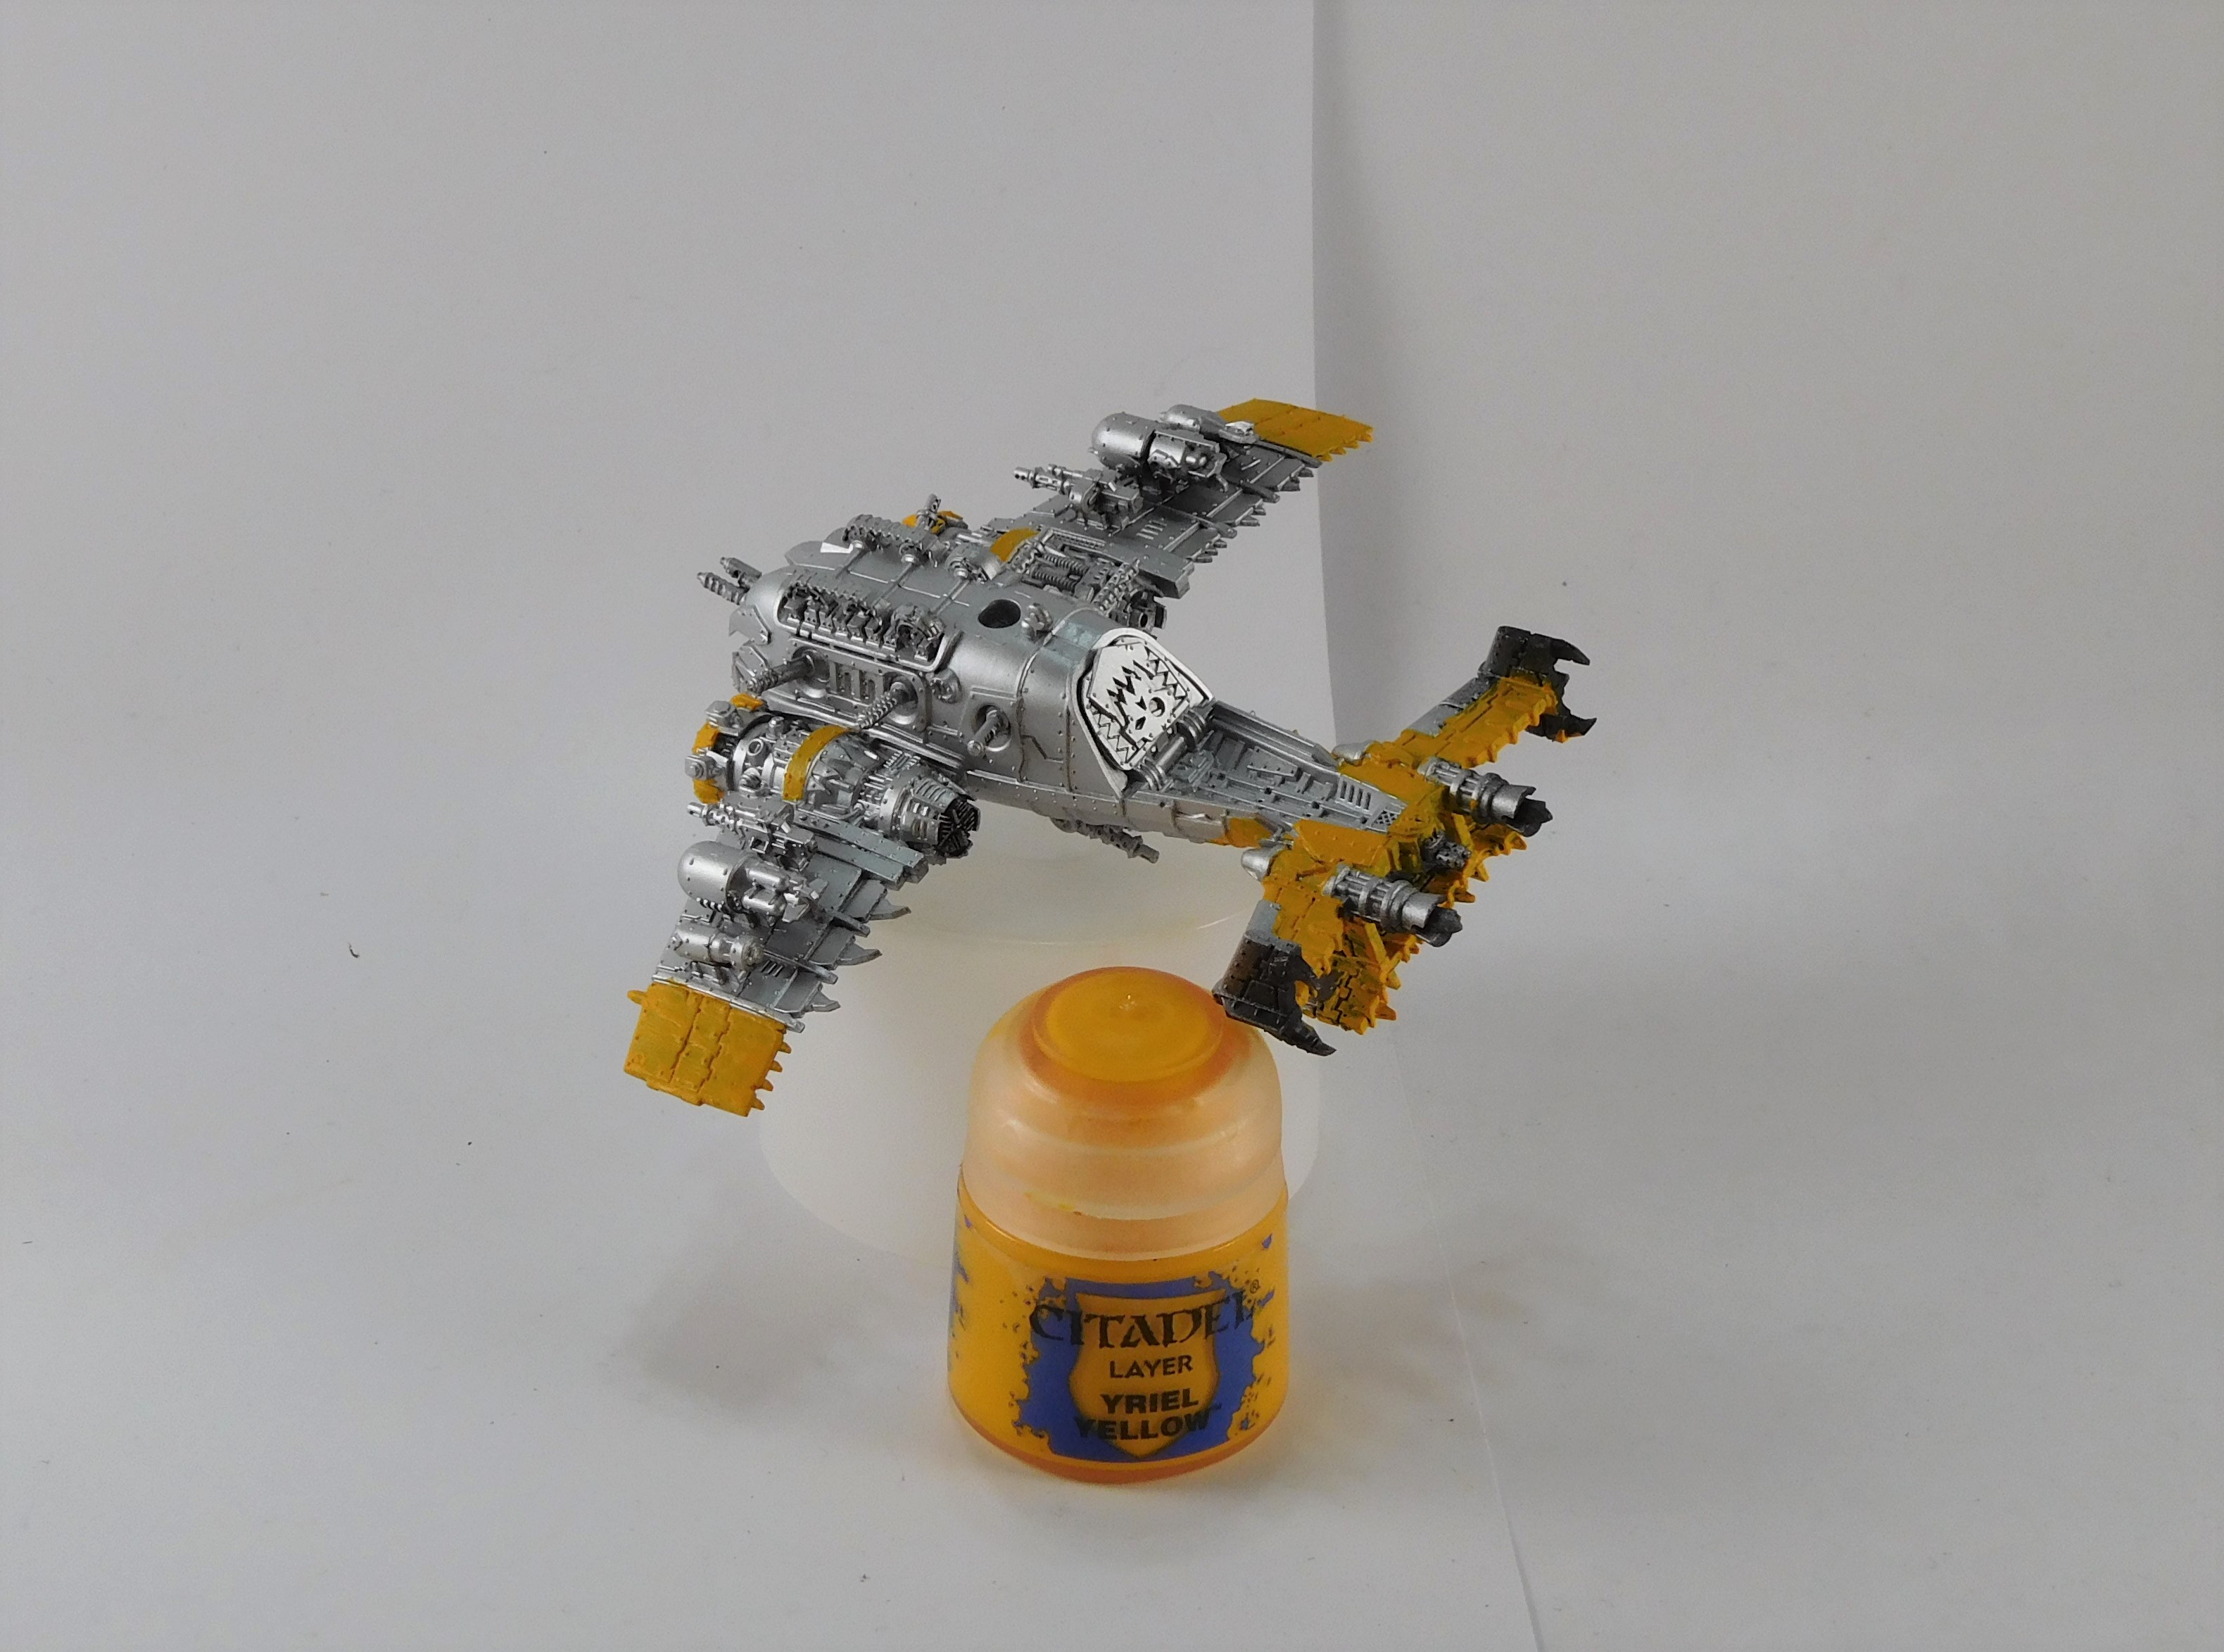
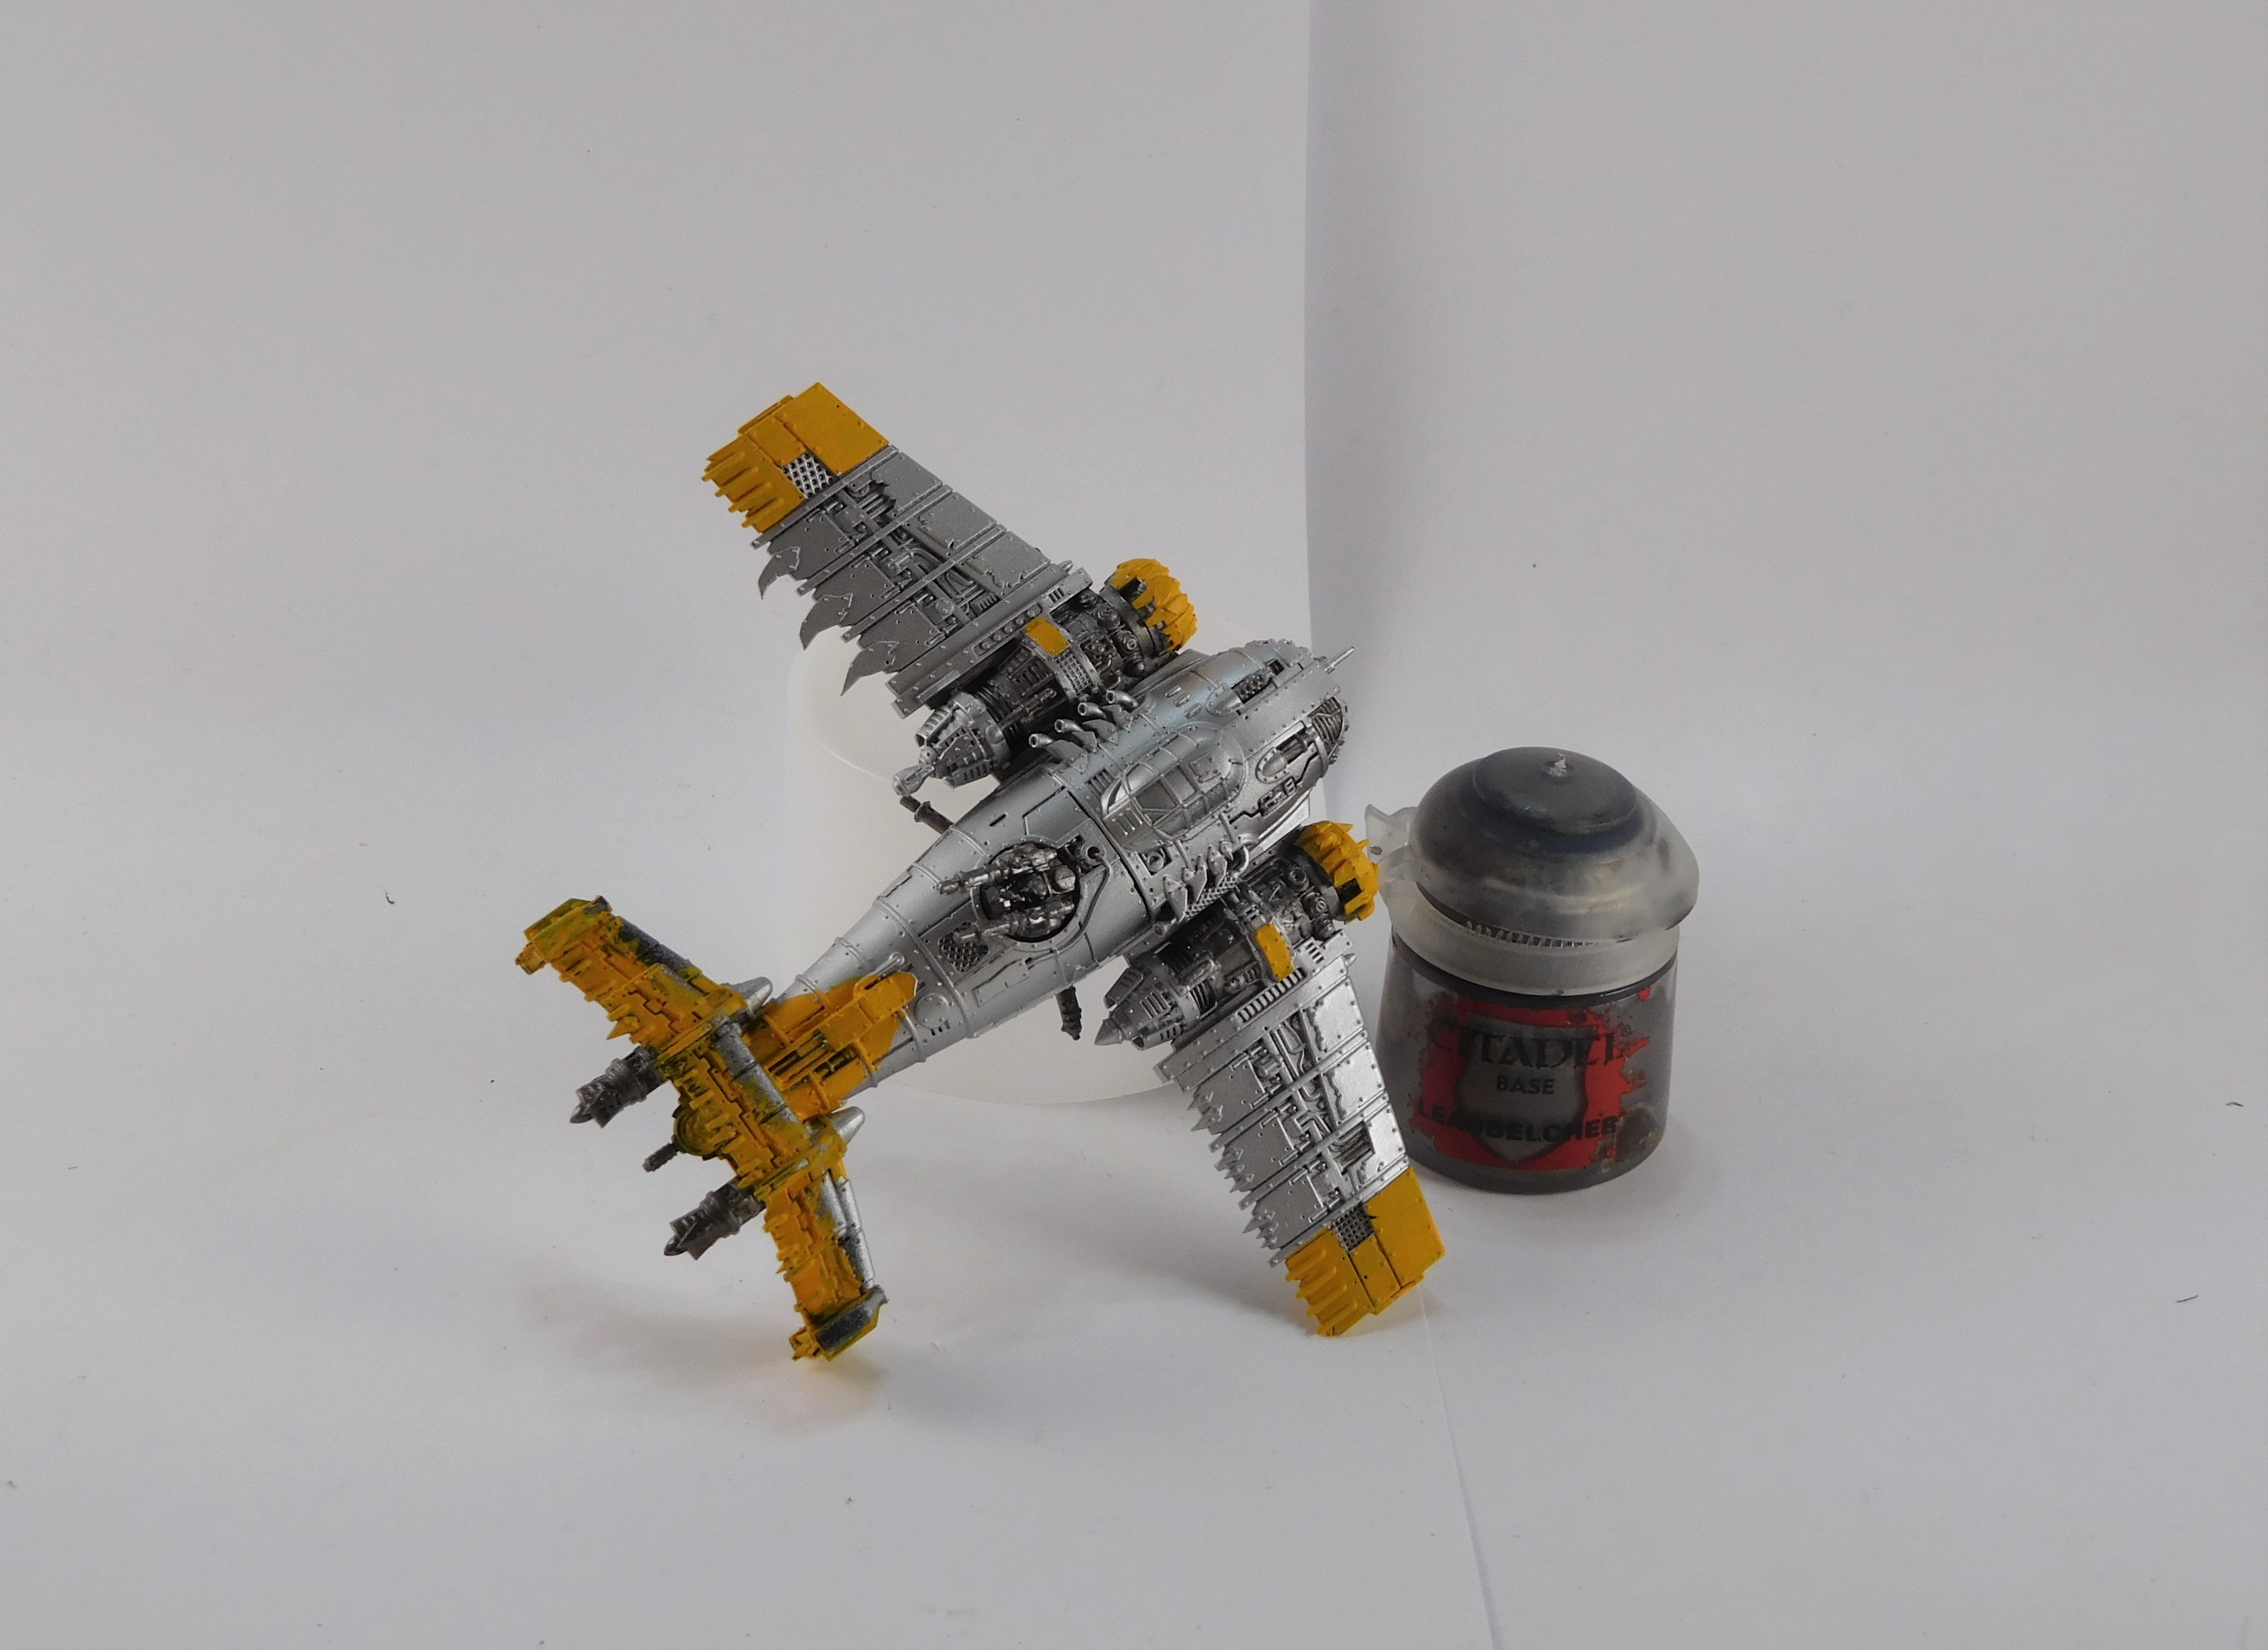
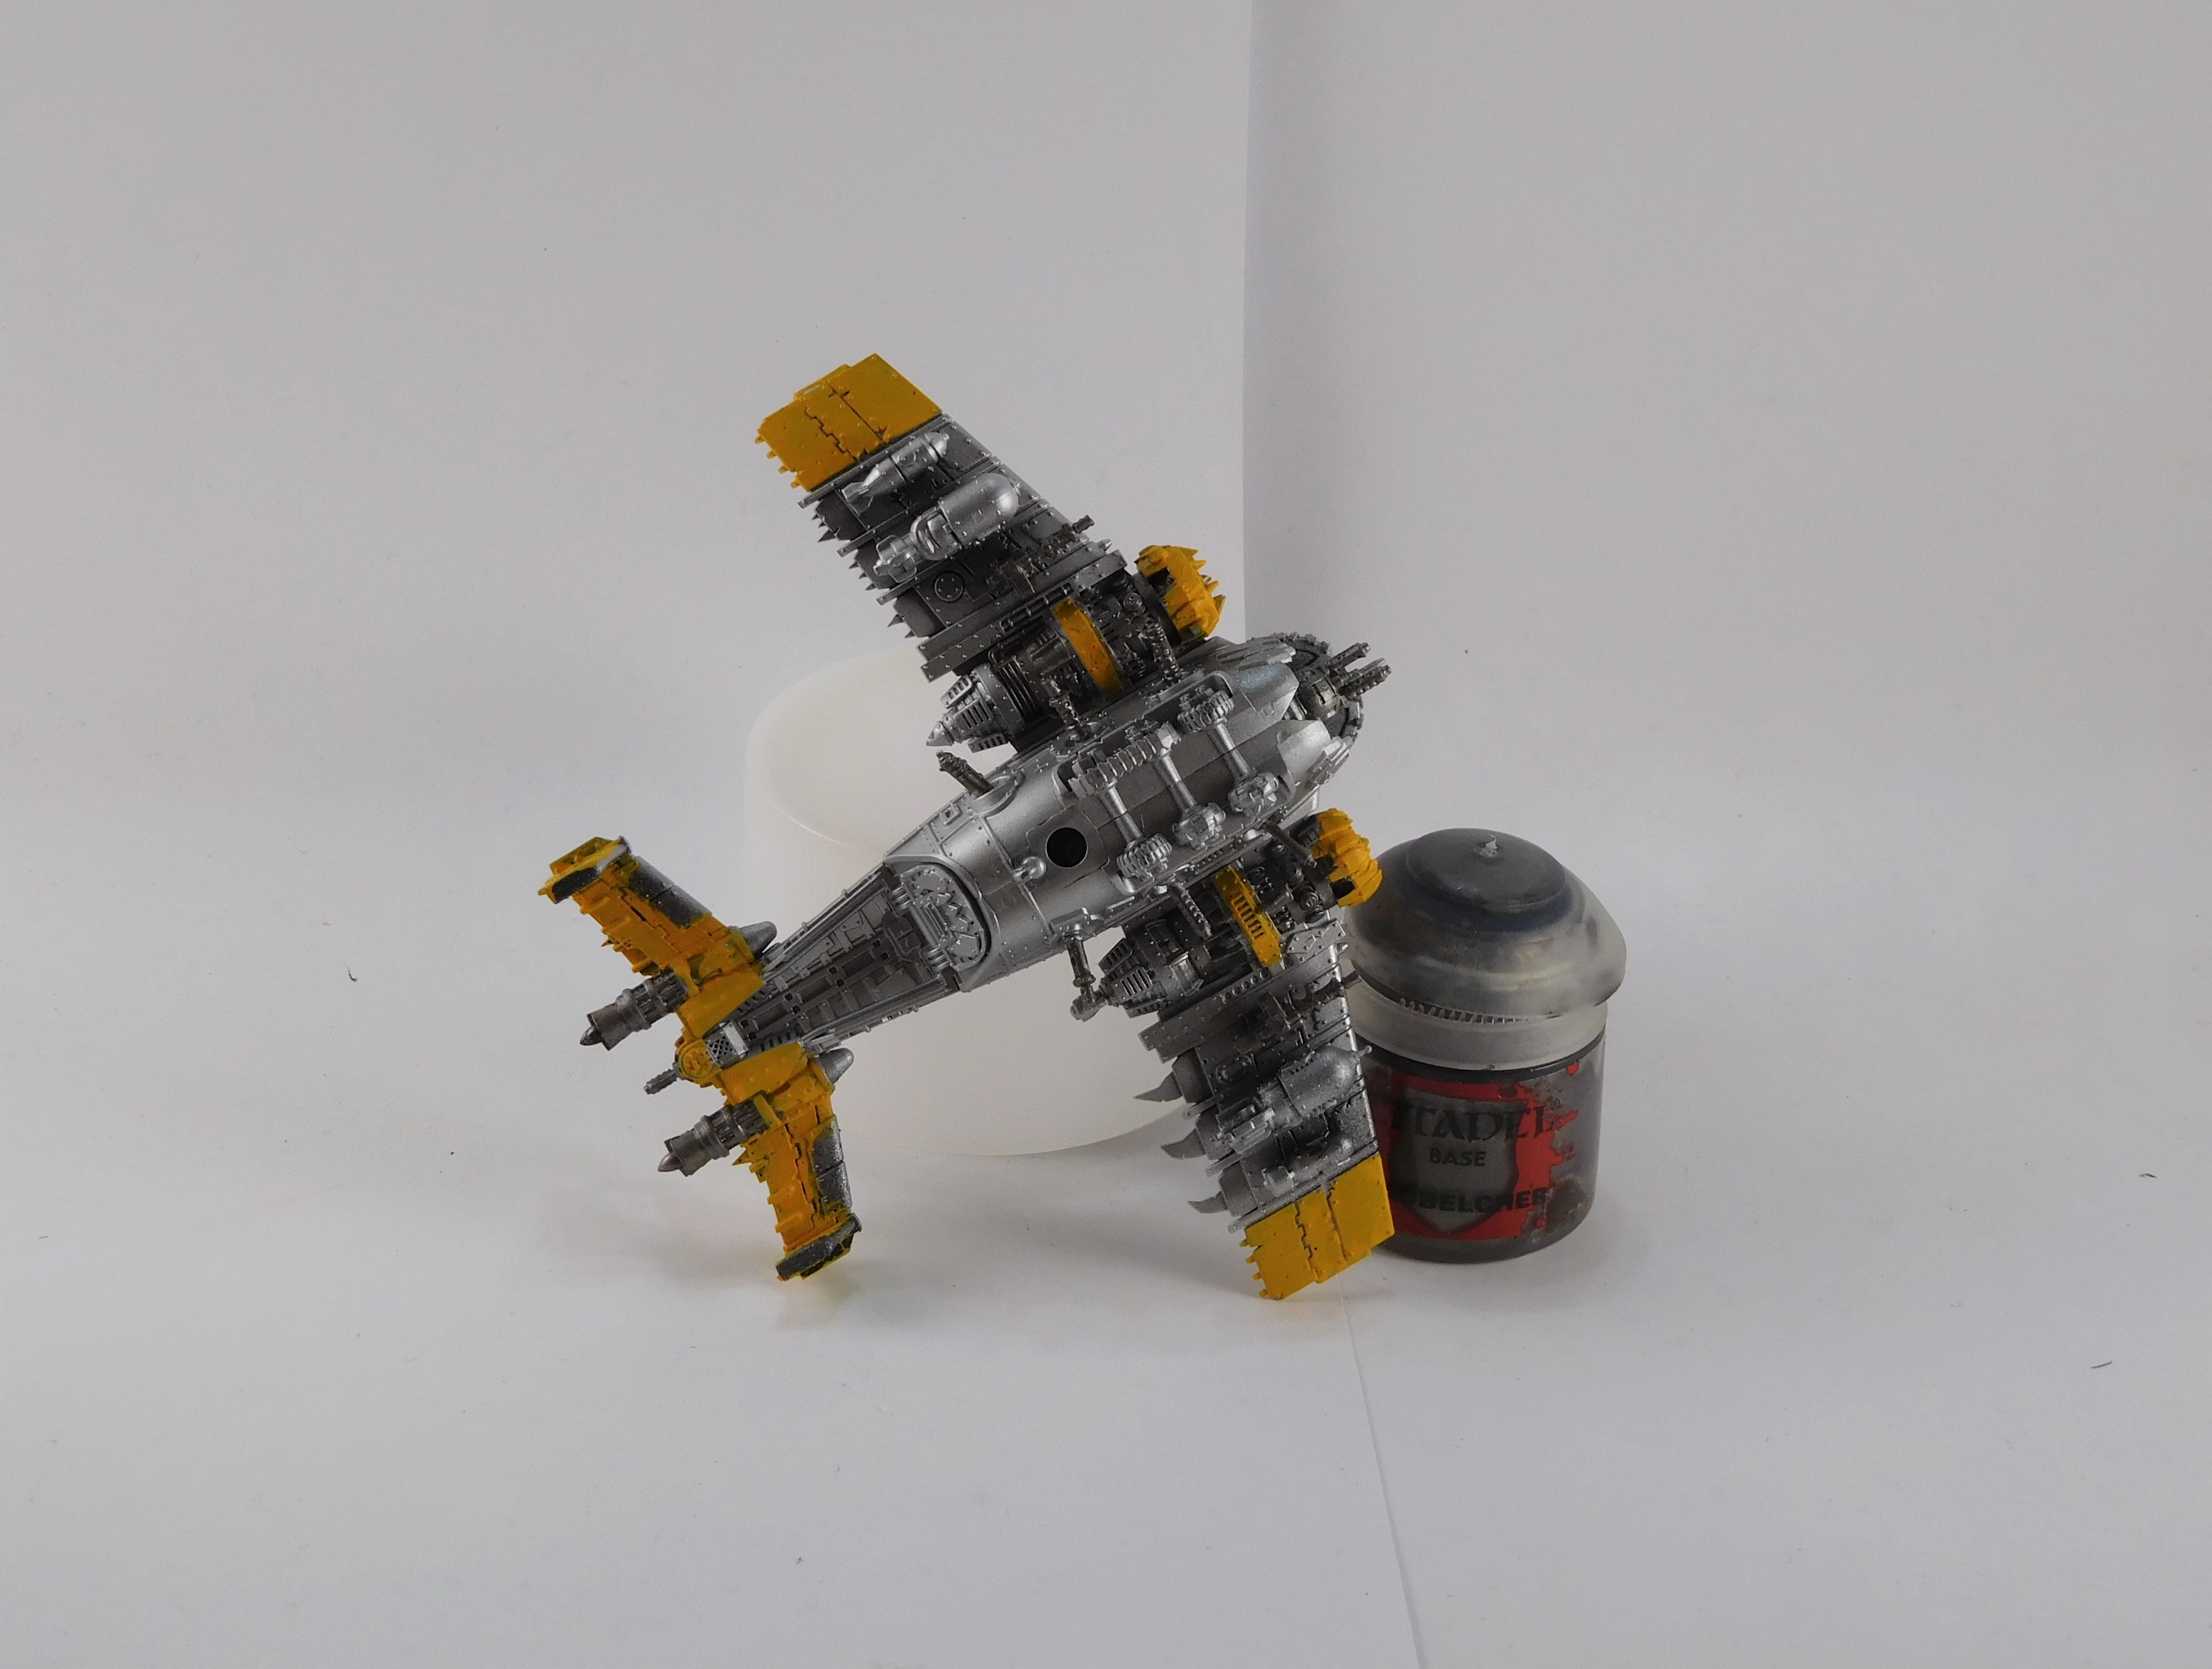
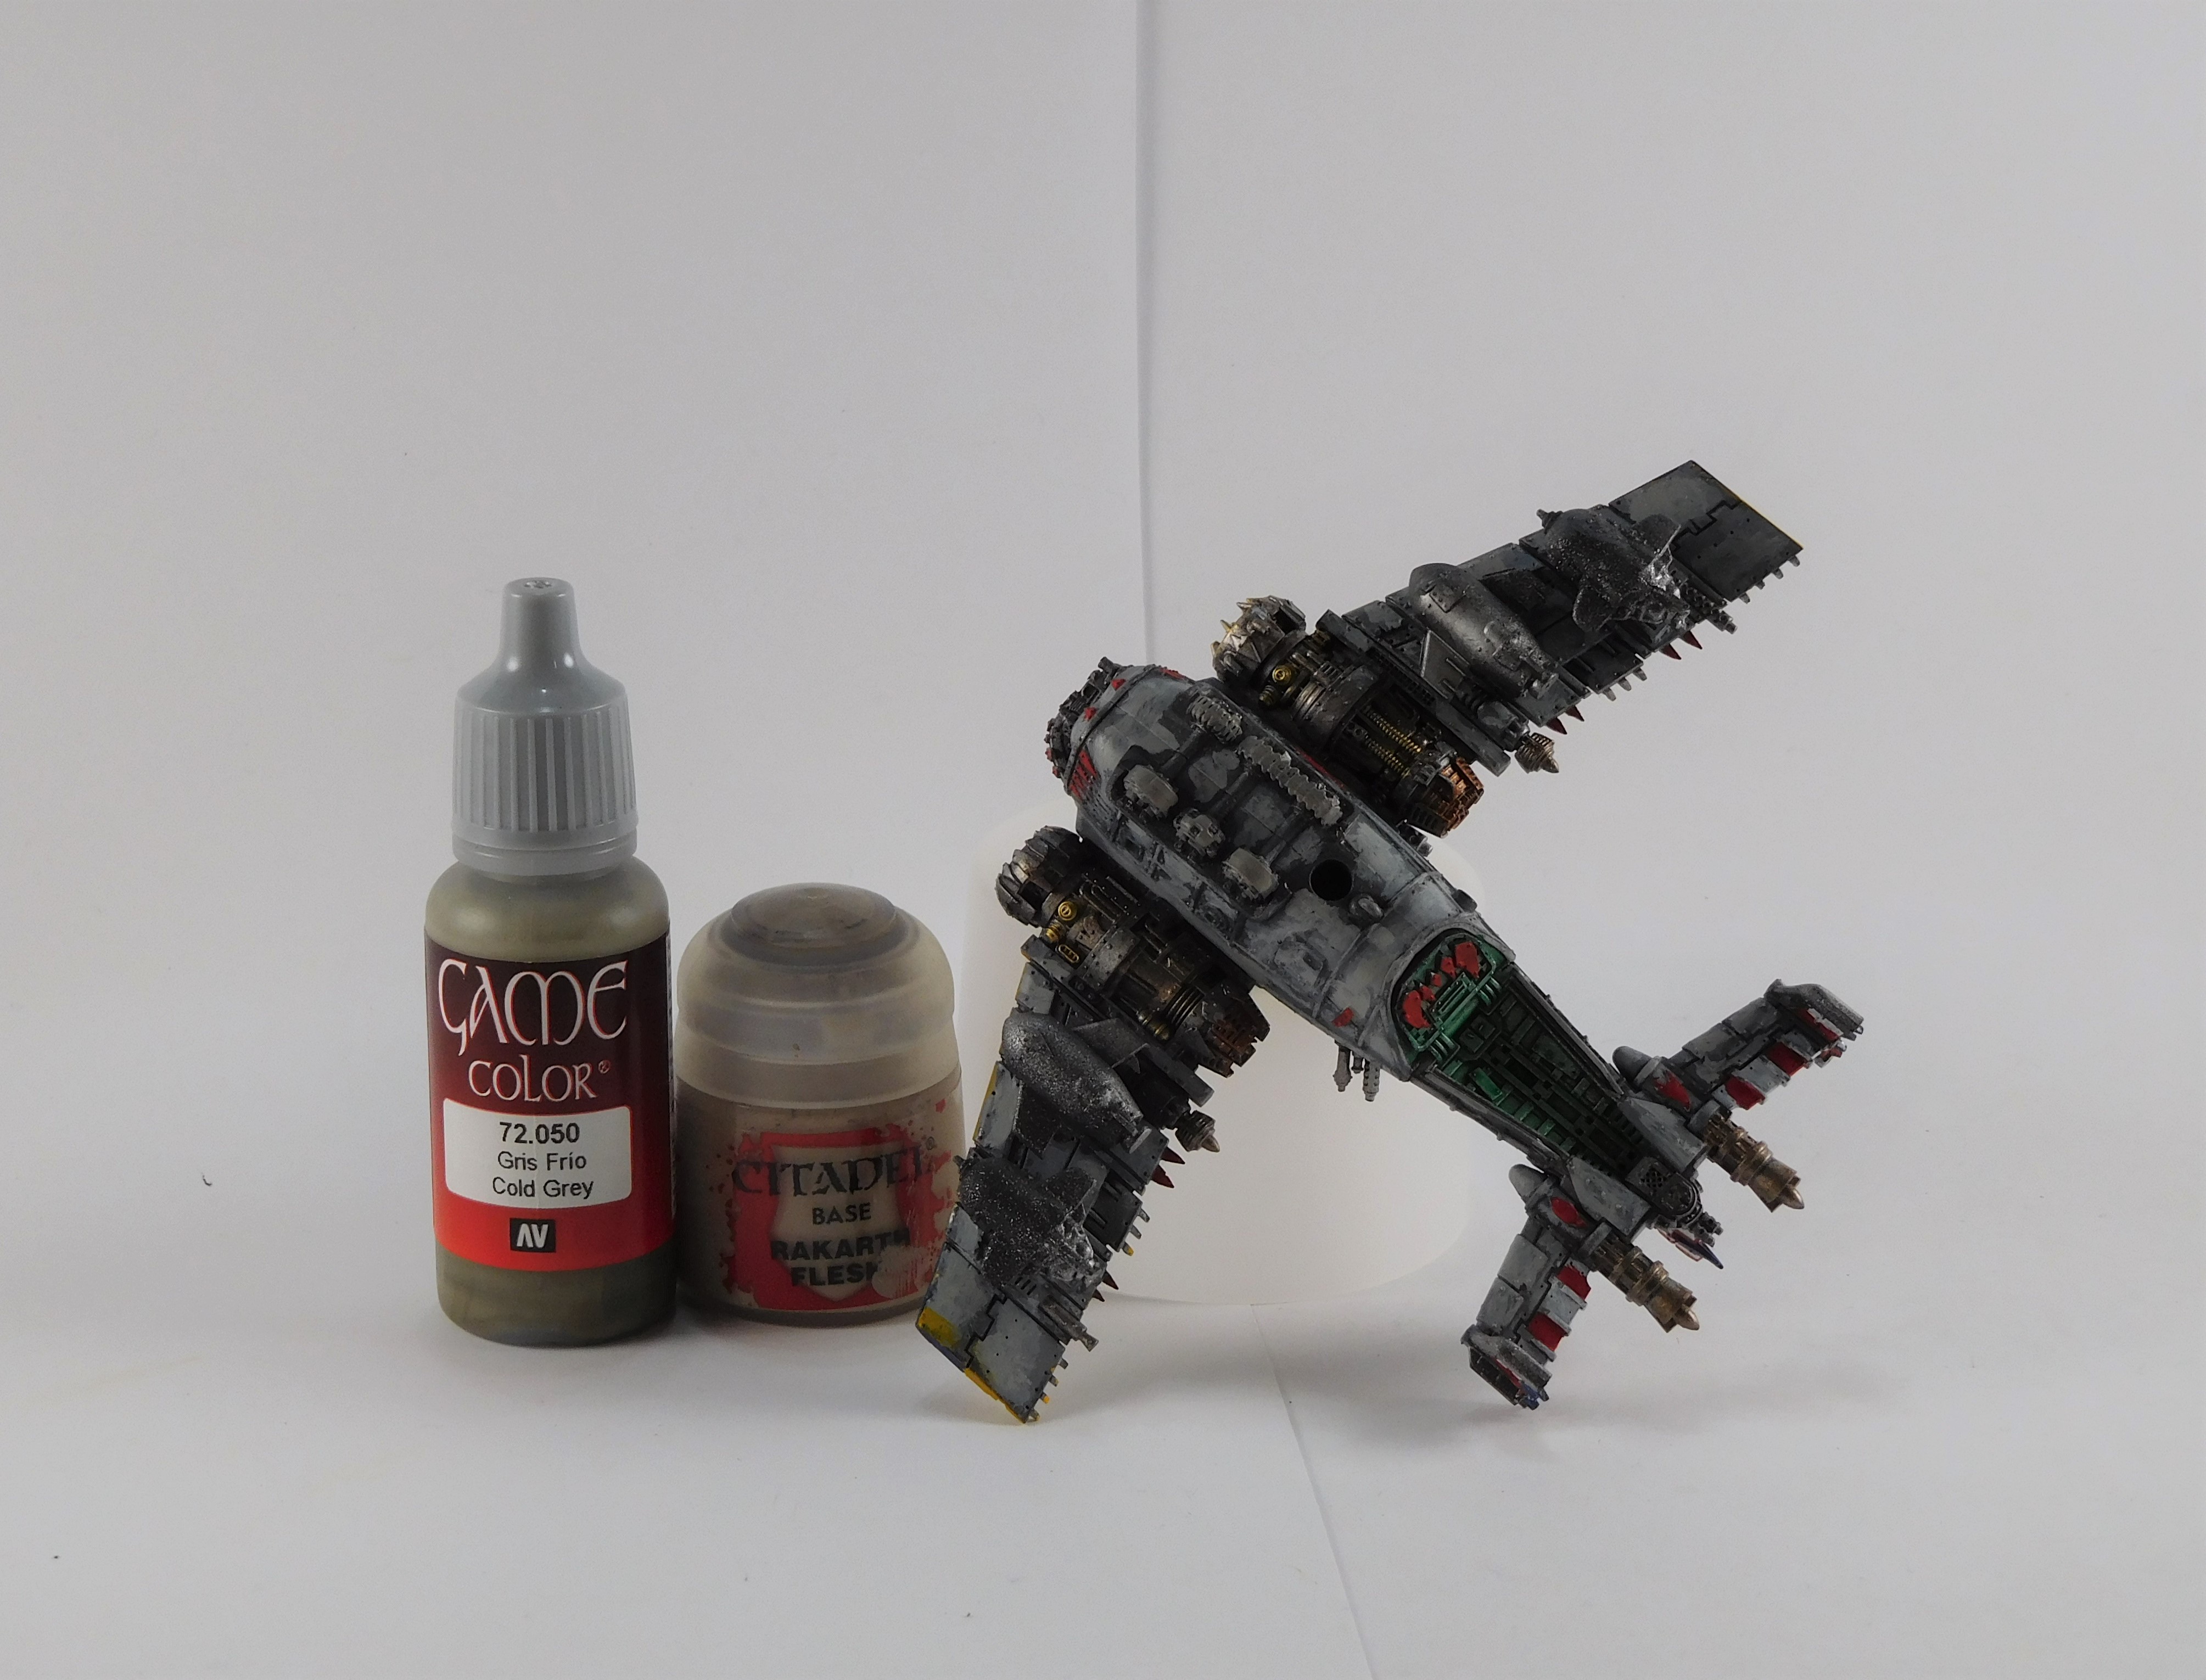
The access hatch and under the tail structure was given a coating of skeleton horde contrast paint. The contrast paint was thinned one part water to two parts contrast. For the exposed section of the wings, Runelord Brass was applied. Random vents and access holes were also given a coat of this brass.

Ork Eavy Bommer Idea
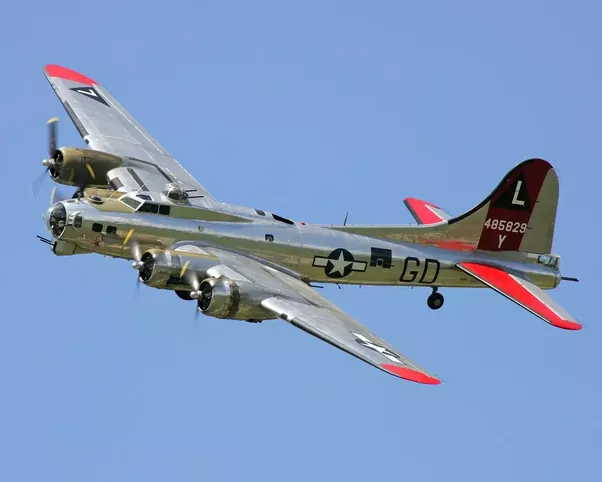
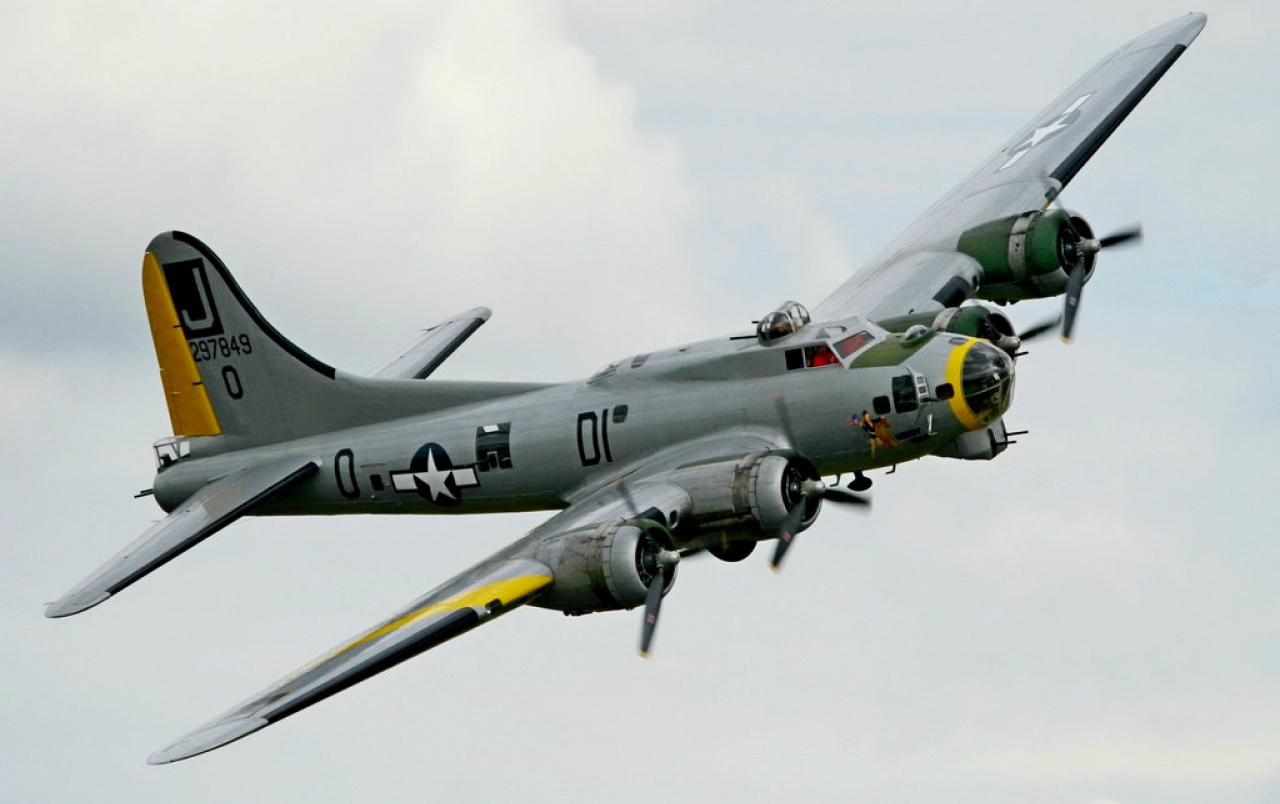
Next on Ork aircaft to paint is the Eavy Bommer. With all the gun turrets and ports, it kind of reminds me of a B-17 Flying fortress. Below are some random pictures of B-17s as found on the internet.
Some American aircraft in world war 2 where not painted and left bare aluminum. I kind of wanted to do a silver or unpainted aircraft.
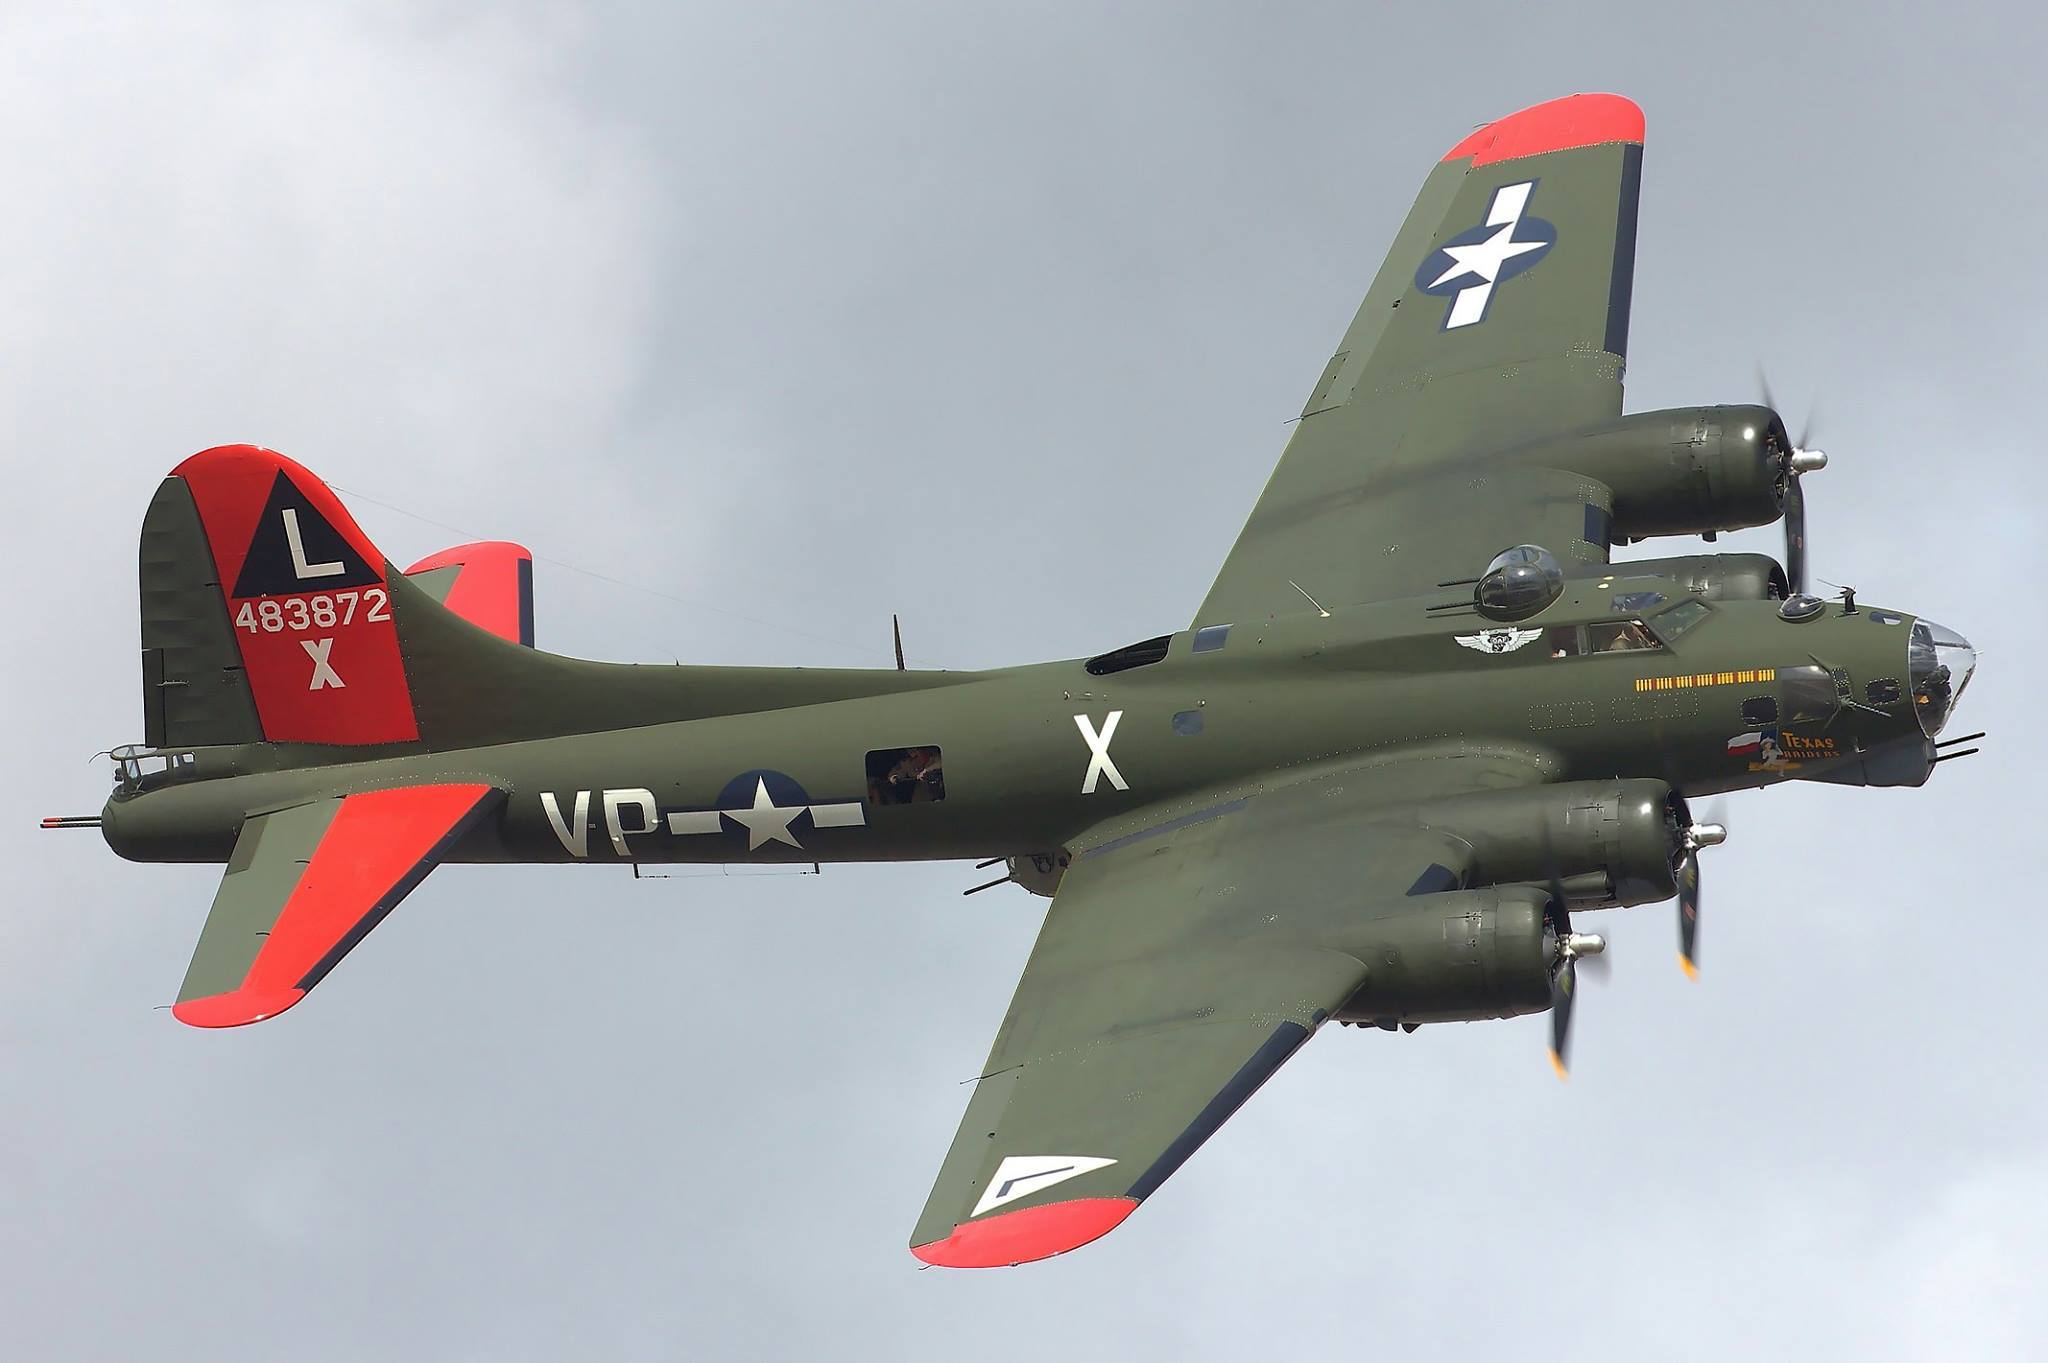
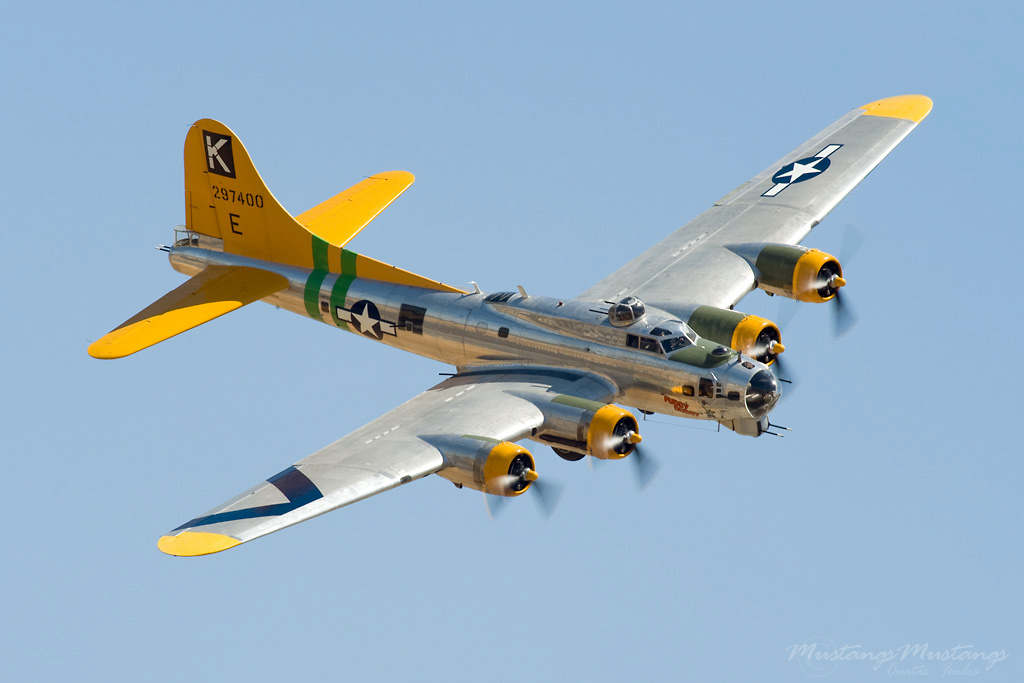
Of the pictures above, the one on the right interested me the most. It had a lot of silver/bare aluminum and a splash of that ork bad moon yellow.
The plan is to base the Eavy Bommers with silver/aluminum. The tail section is to be yellow, along with the wing tips and the front engine cowls. A bit of Black or dark blue to be used to accent the leading edge of the wings and tail sections. Engines and guns painted a lead belcher steel.
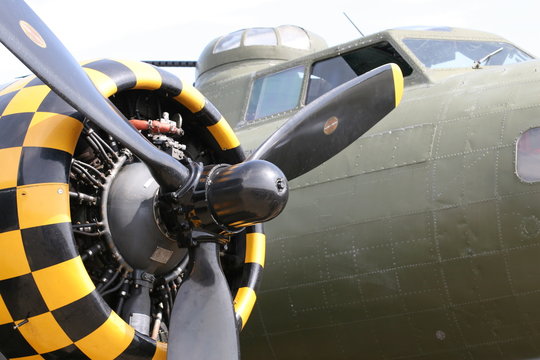

One detail that I want to add is some detail to the engine cowl. Above is a picture of a B-17 with the engine cowl having a yellow and black check pattern. The second image is a Fokker Wolf (German plane), where there is a red and yellow pattern on the engine cowl. Must try something along this line.
Finish the Grot Bombers
Finished painting the grot bombers. Not a lot of details this time.
Added decals using method previously outlined.
Applied a gloss vanish followed by an anti shine varnish.
Painting the Grot Bomber 2
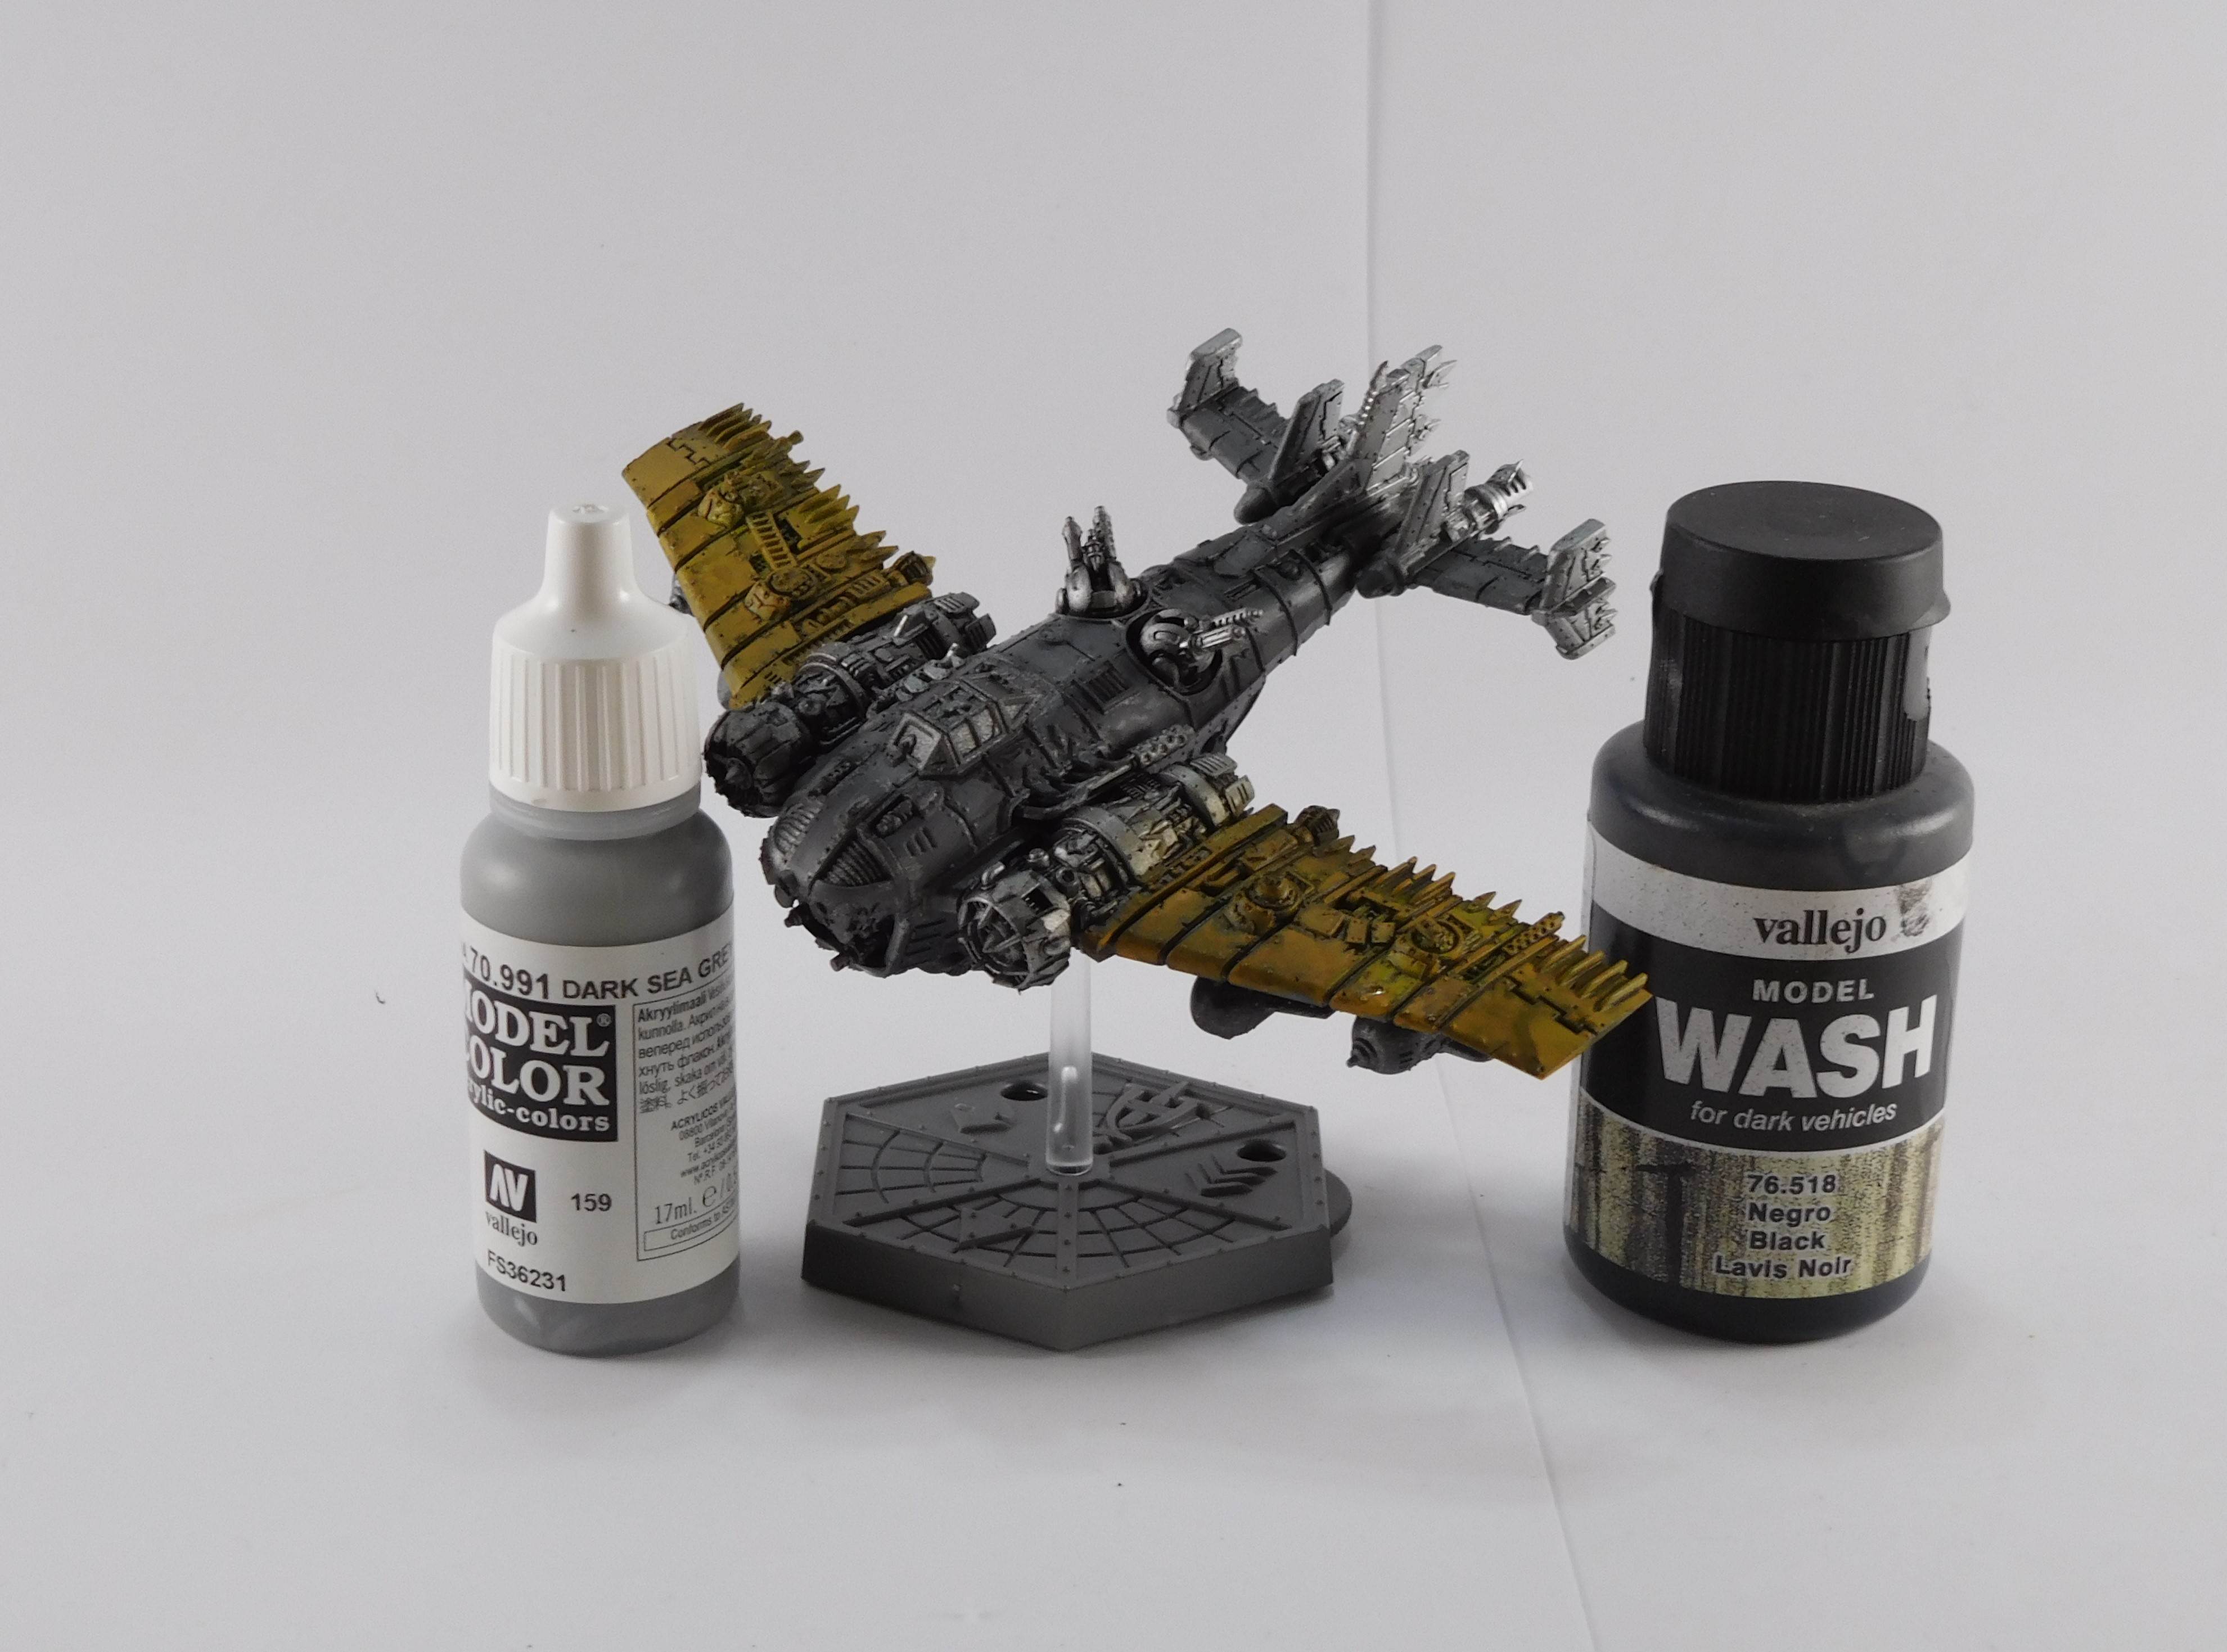
Starting to paint some of the smaller details. Some of the engine bits received a coat of gold paint. The various exhaust pipes received a coat of lead belcher. There are a number of Ork tooth like panels, these where painted red along with several random panels or hatches.
Two panels on the wings where painted blue in a couple of layers. These blue panels will eventually receive a decal.

The cockpit windows were painted in layers of green in the same way as was done on the dakkajets.
I read some where that some Japanese world war two aircraft insides where given a green varnish to protect then aluminum. I have wanted to use that some place. For the bombers there is a section of the under side, that I could see being unpainted aluminum, this section was given a wash of green ink.
The wheels and treads get a base of Black paint. Two layers of brown/grey dry brush was applied to the wheels and treads.
Next, the grot bombs got a Olive coating. Runelord Brass was painted on the bomb engine nozzles.

Painting the Grot Bombers
Now starting to add some of the details.
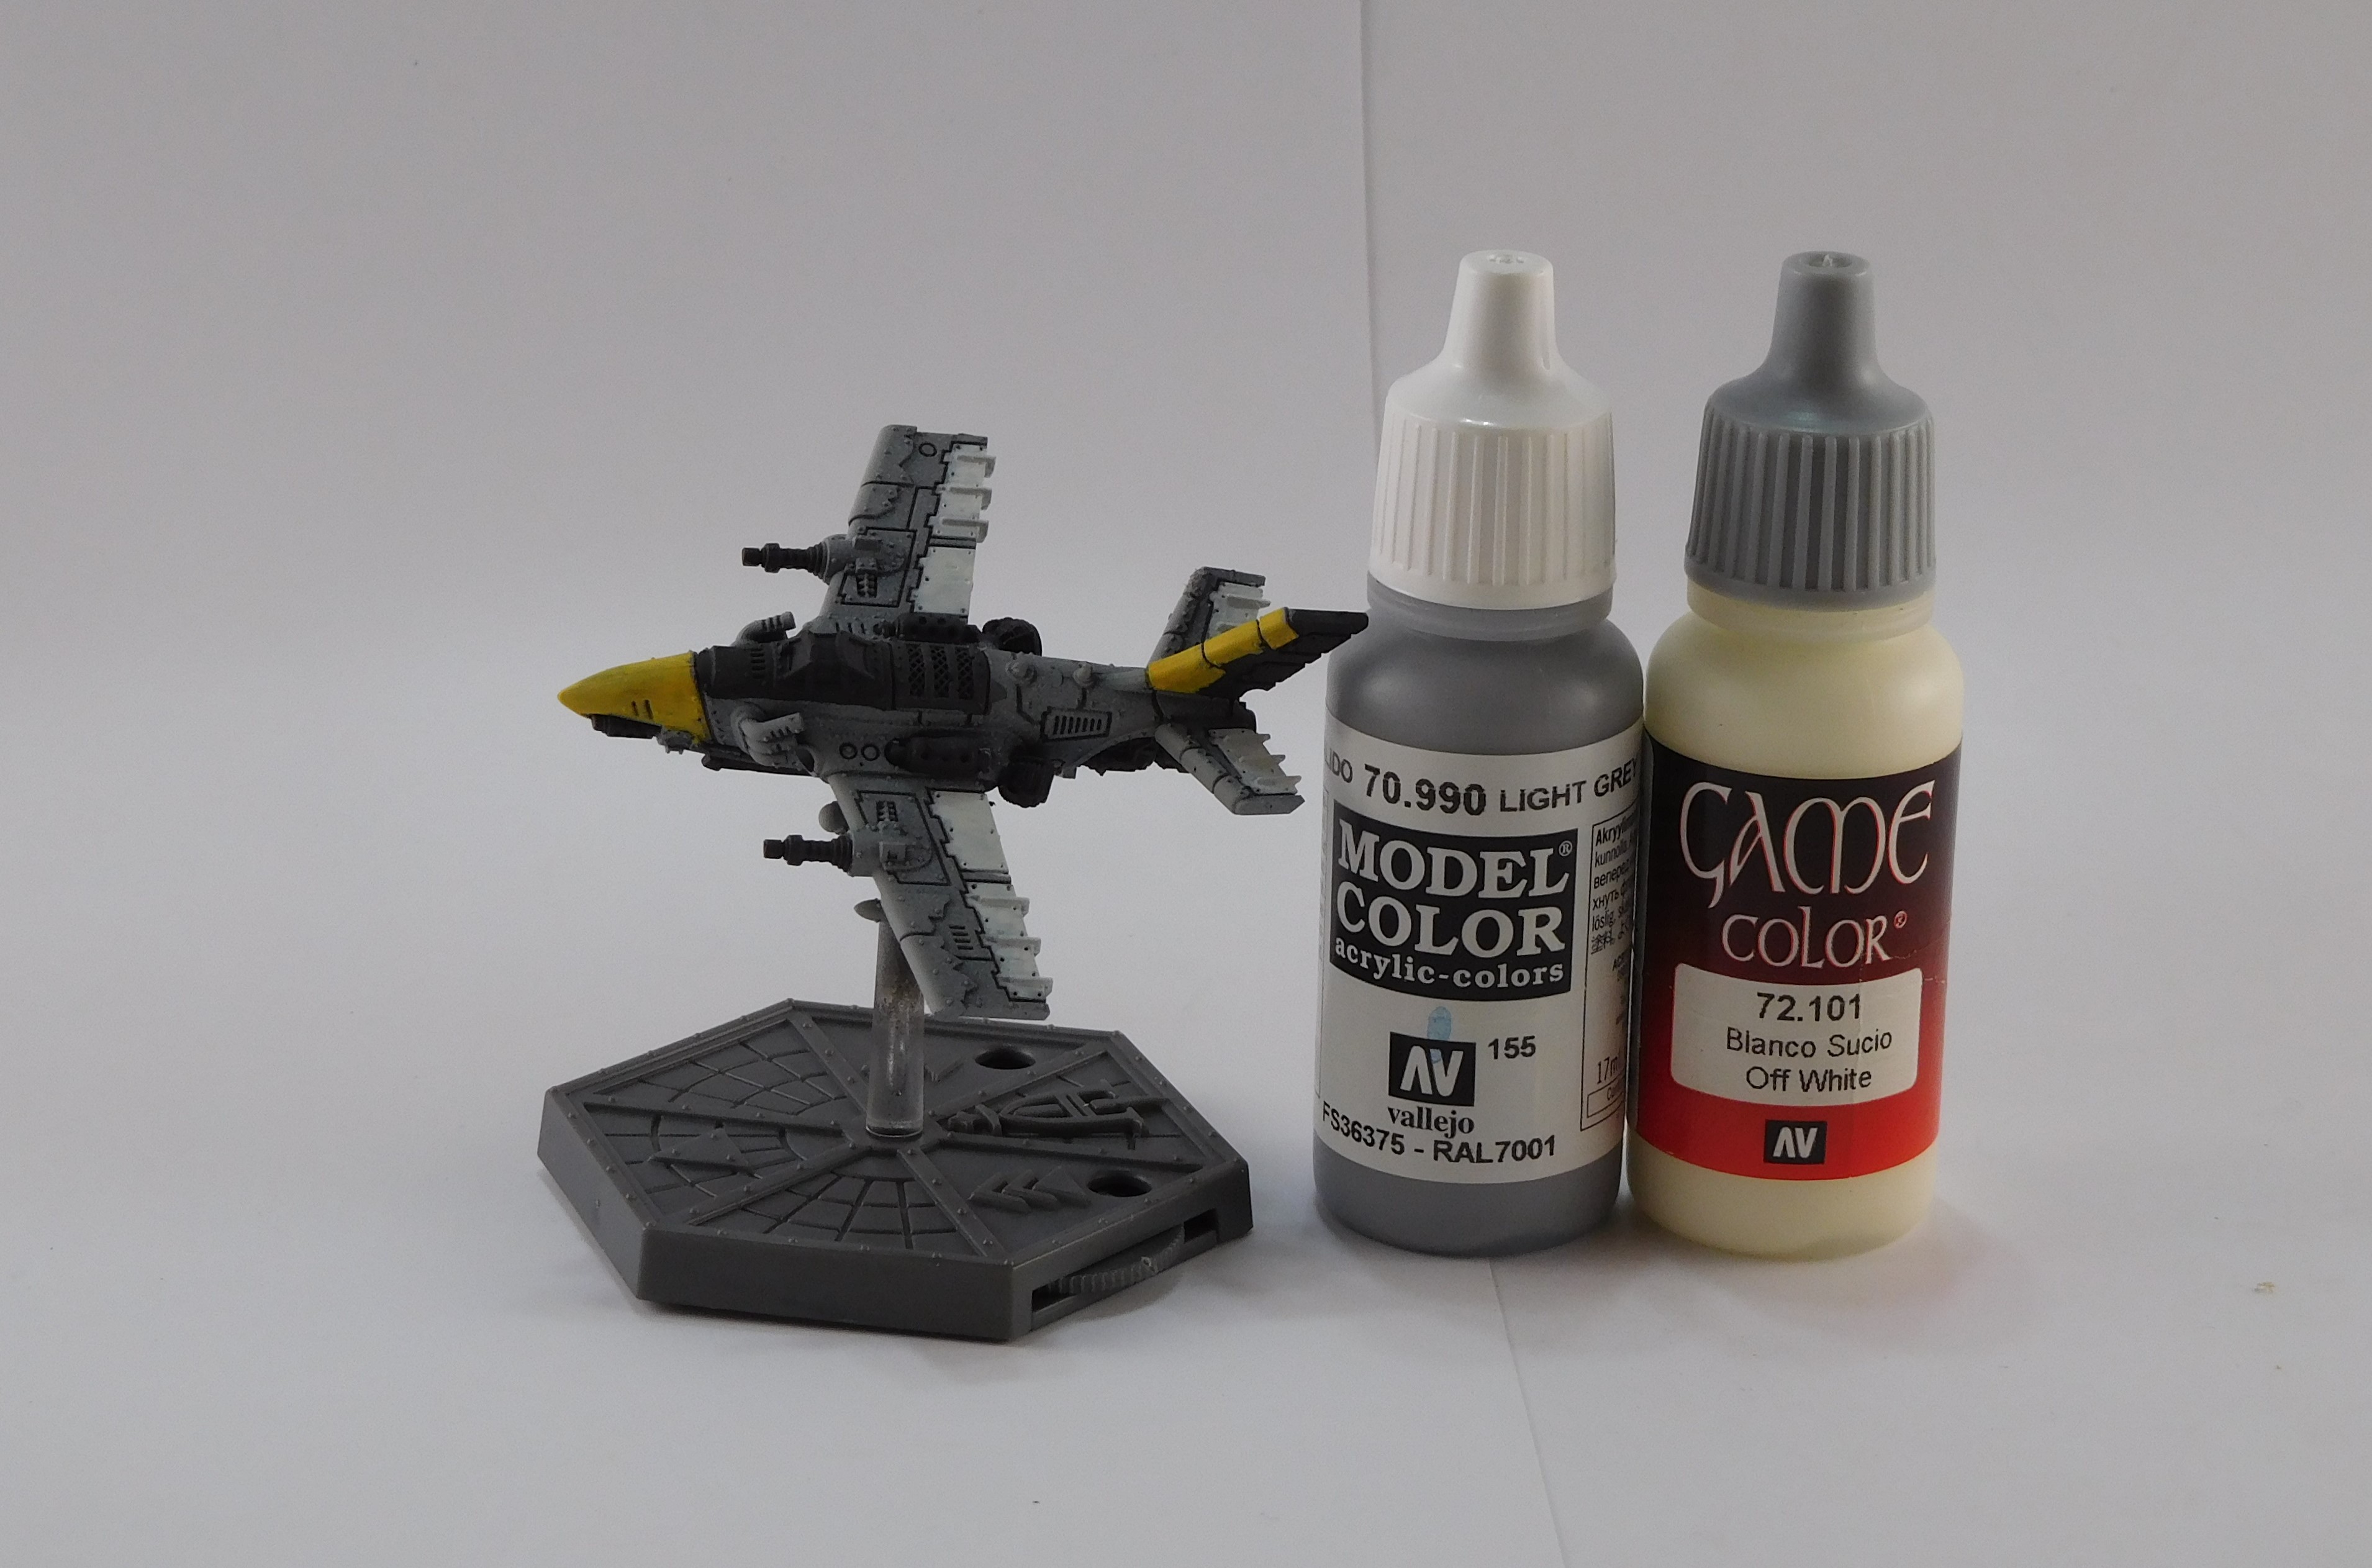
The tail plane was painted white. A couple of coats where required. Attempts where made to avoid putting white paint in the panel lines on the tail.
Red stripes where added to the white sections. A little bit of going back and forth with the red and white paint was required to keep the lines neat. Keep in mind Orks are not necessarily going to make the line perfectly straight.
Some of the panels on the engines and engine exhausts where painted brass/bronze. This was a bit random, just to make the engines look kind of junky or made of different parts. More bronze will be added in later steps.
Some more stippling was added to the fuselage with a lighter grey. This was in part to fix a few mistakes.
A lighter brass/bronze was painted on the engine nozzles sticking out of the tail and the smaller secondary engine nozzles on the wings.
The yellow part of the wings were given a wash of yellow ink. This wash helped to make the yellow look more uniform on the wings .

Blocking in the Base Colours
For this project there are some pictures that I forgot to take. The grot bombers where primed black with an air brush. The primer was followed with an airbrush of aluminum paint.
The wings received a coat or two of yellow paint. The fuselage was painted/stippled several layers of grey. The original layer of grey was a bit too dark. Even after all the layers of paint there are still spots of aluminum shows through.
A Black wash was applied to show off the panel lines. The wash darkened the models so another coat paint was applied. The wing got another coat of yellow and the fuselage was stippled another layer of grey.


Grot Bomber Idea
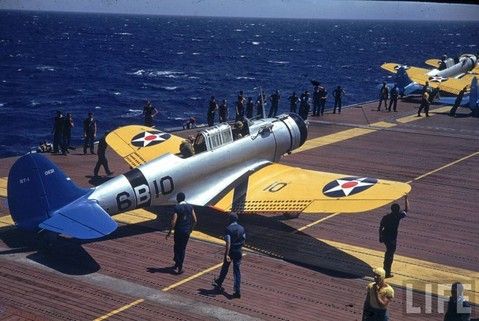
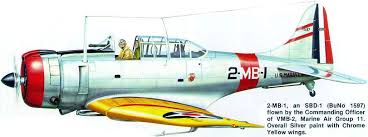
I had watched a documentary on the battle of Midway over the summer. In the documentary there were several pictures and clips of film from the time. One of the film clips showed several planes on a US aircraft carrier. This one clip stood out as the planes where not the typical blue or grey of the time, but had bright yellow wings. A search of google yielded several pictures of US navy planes for the time. Below is a typical grey Wildcat with the original US navy markings; and some Dauntless aircraft with the yellow wings.
Early in the history of the US Navy, there was a belief that if the plane went down in the option, the yellow wings would make it easier to spot. Some time early in World War 2 this idea was abandoned.
The aircraft with the yellow wings would have the fuselage either light grey or unpainted aluminum.
Other planes had the tail painted with red and white stripes.
Also the marking at the beginning of the war, the US Navy planes sported a blue circle with a white star that had a red dot in the centre. After fighting with the Japanese, there was concern that the red dot might cause misidentification. The red dot was removed.
So the plan is to paint the Grot Bombers aluminum, stiple grey on the fuselage, paint the wings yellow, and the tail have red and with strips.

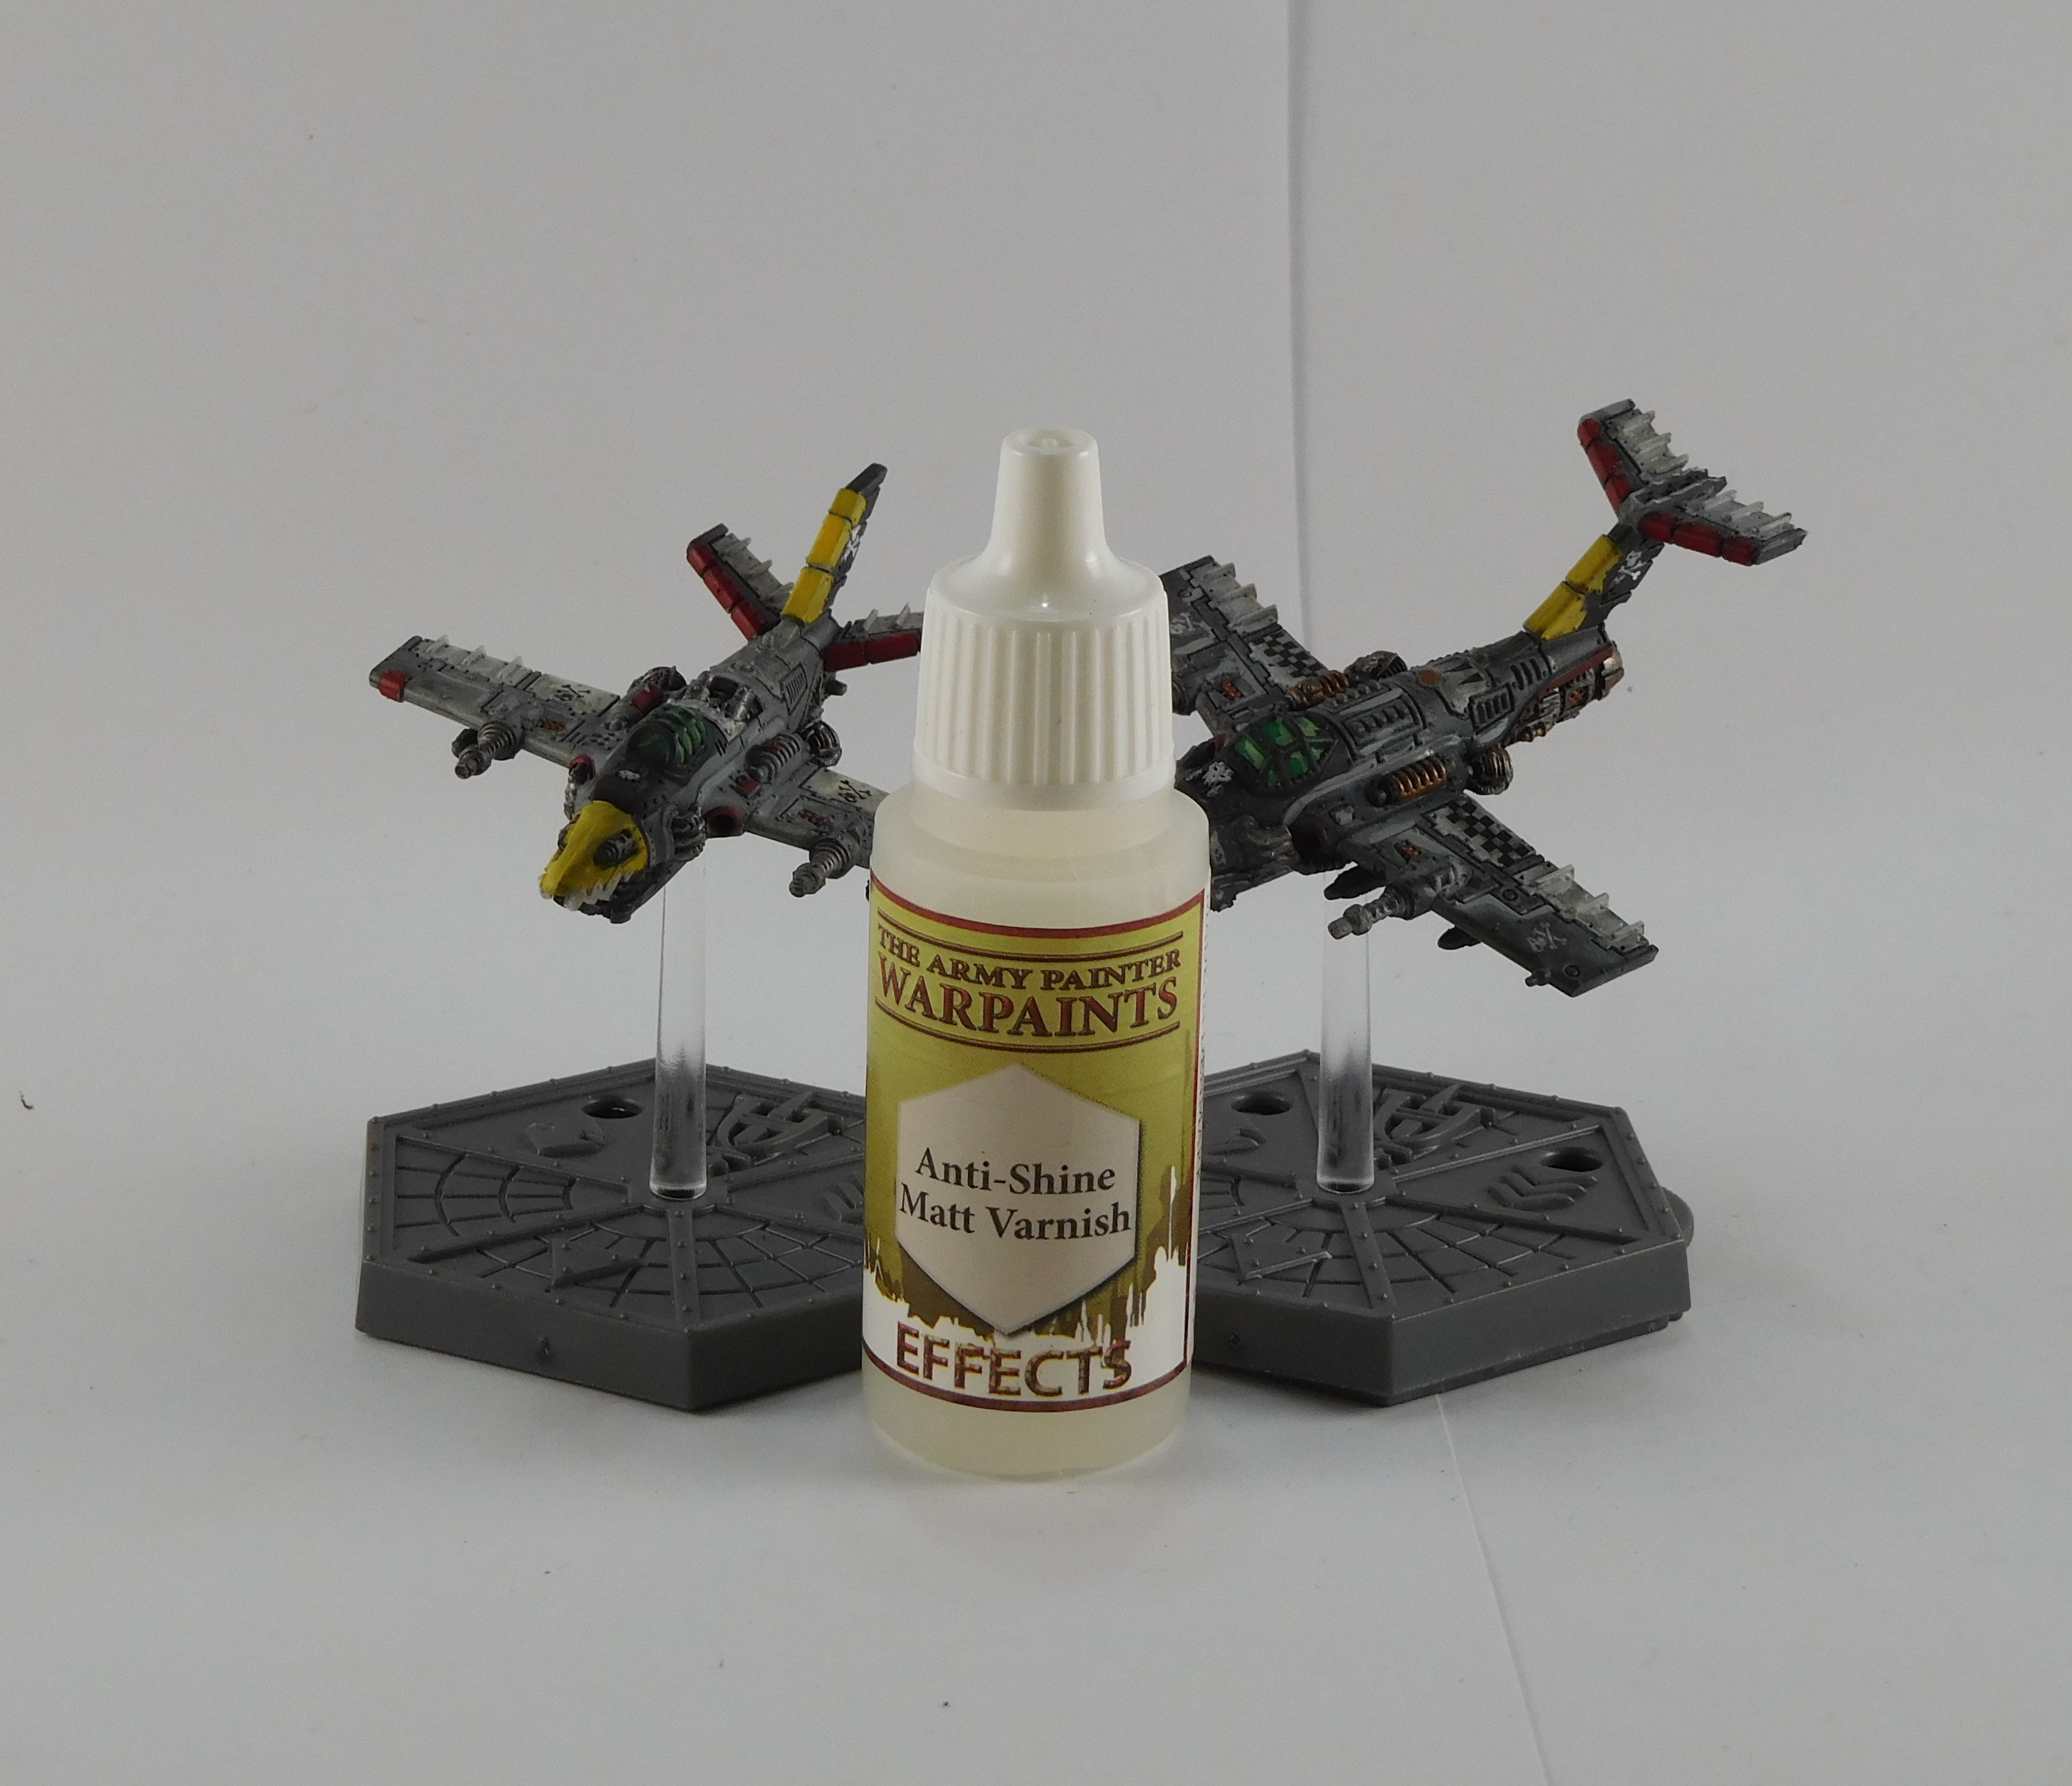
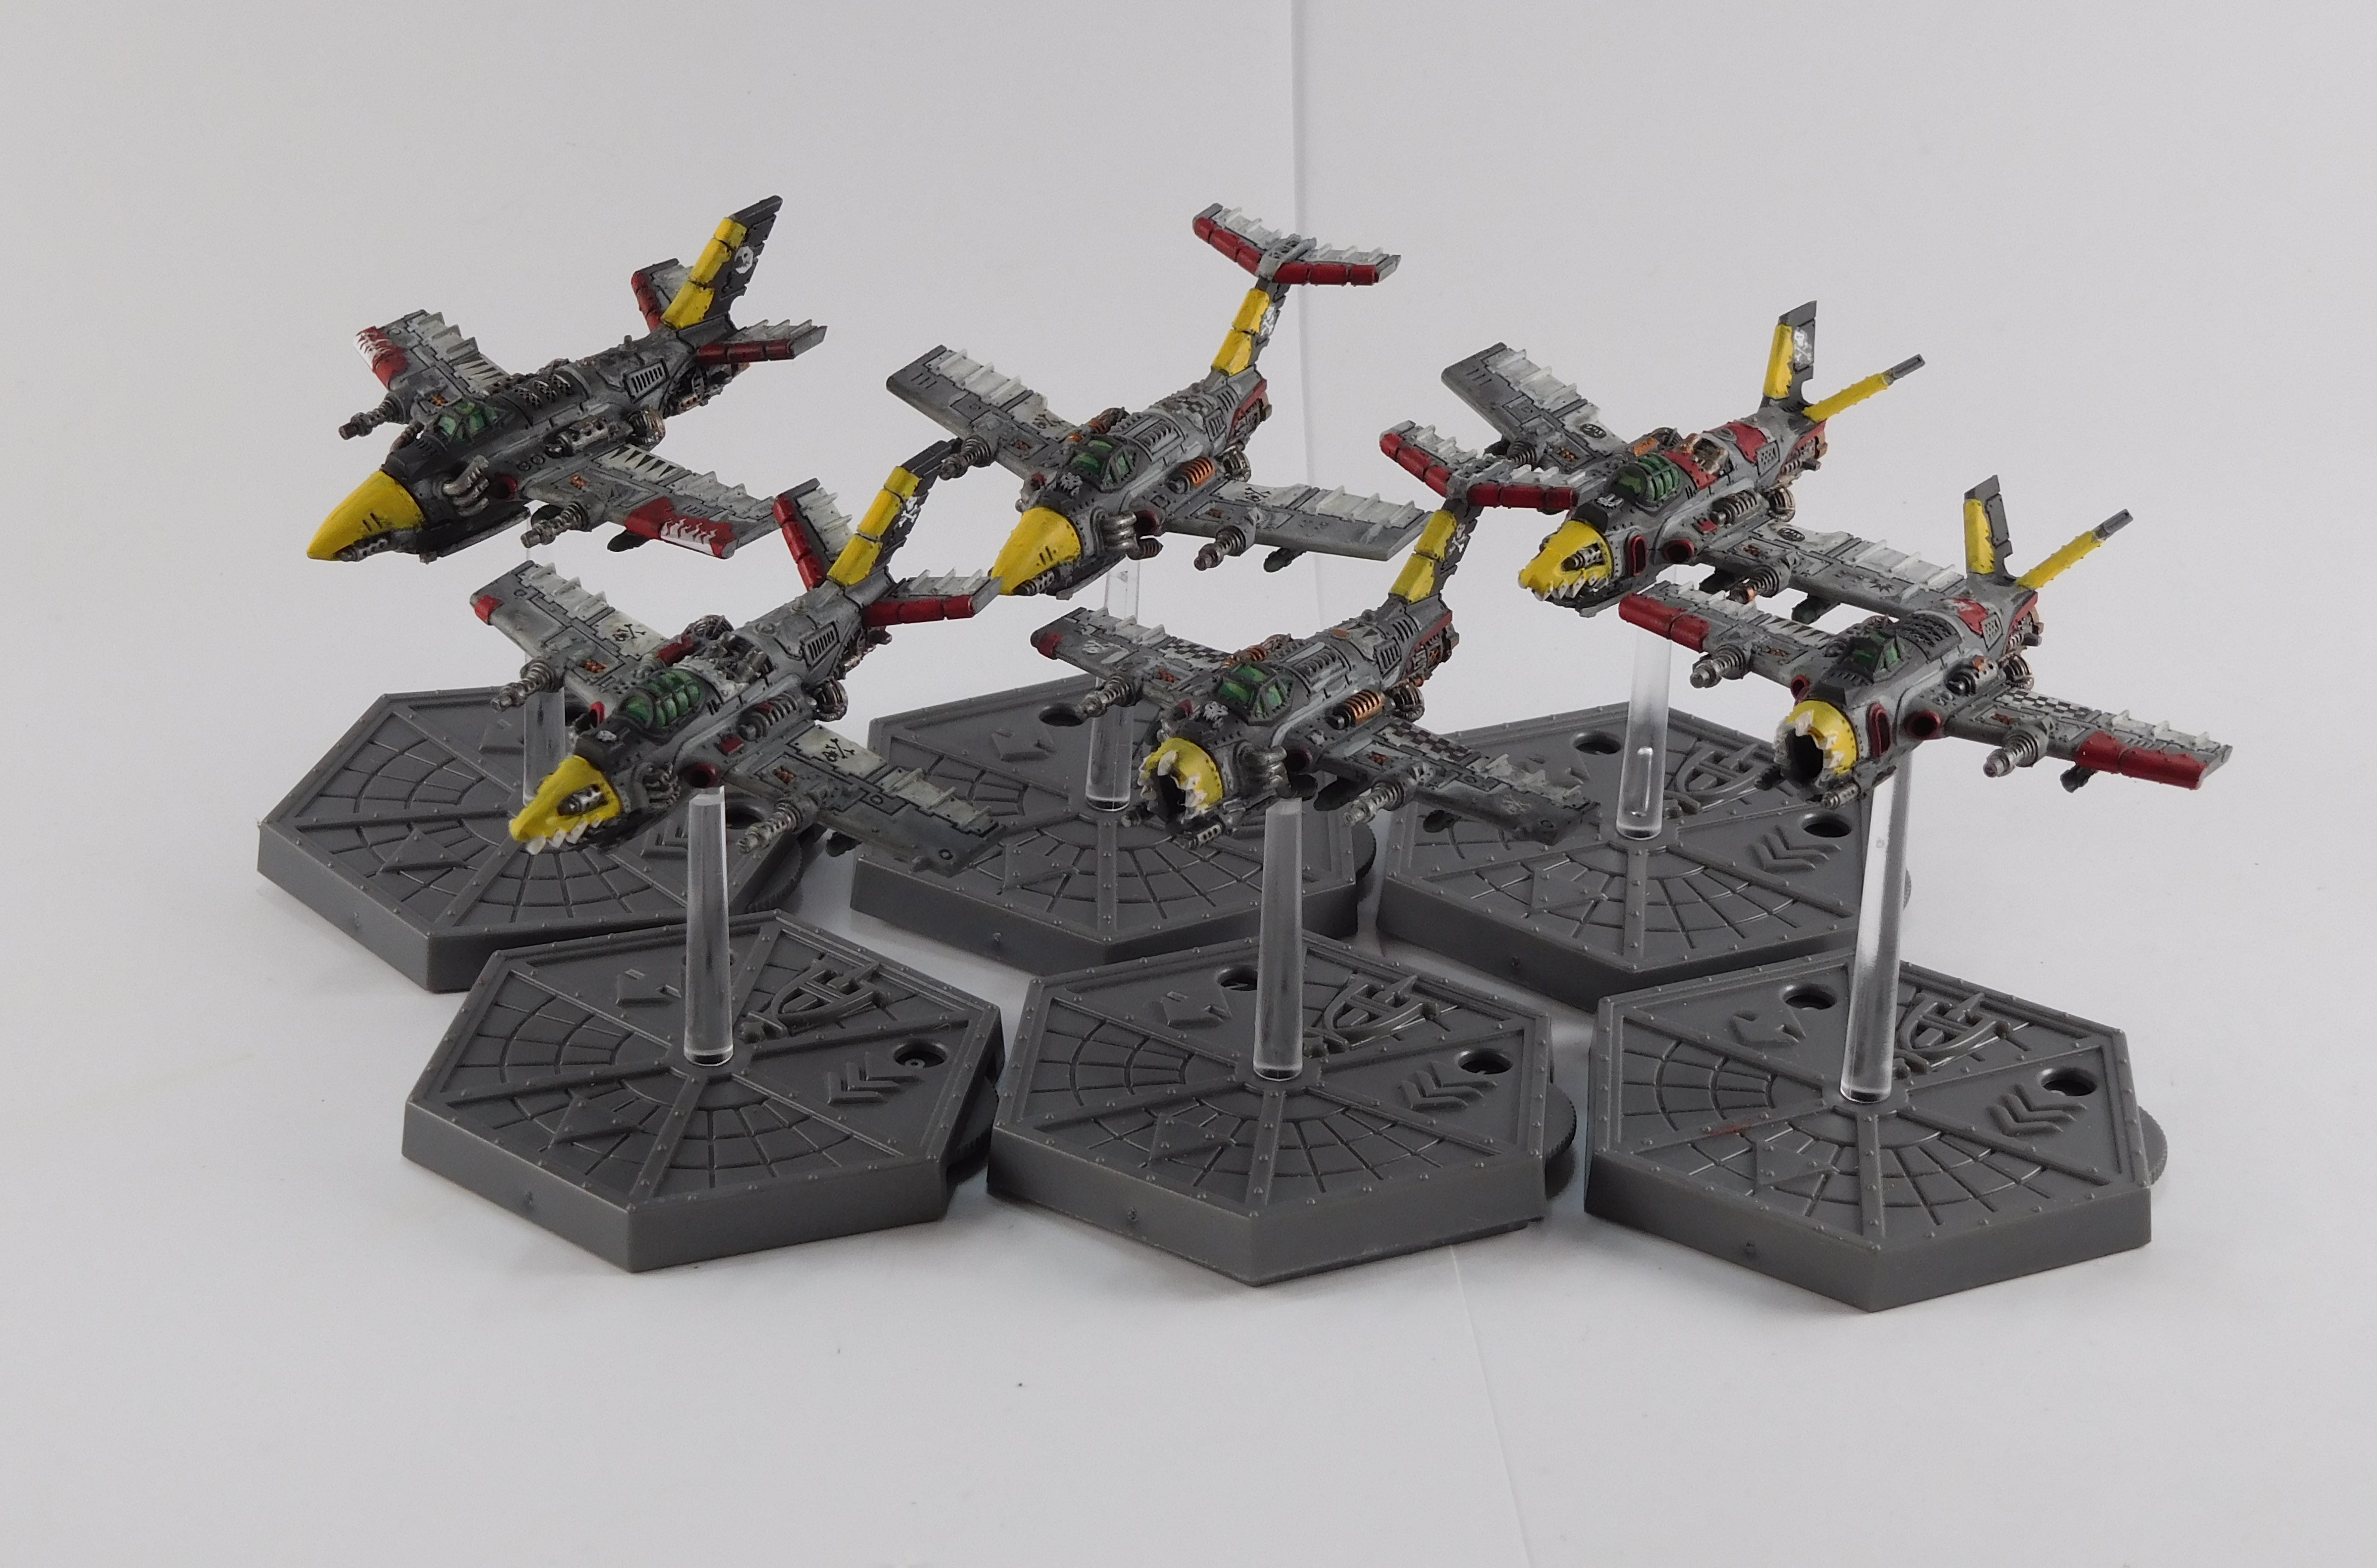
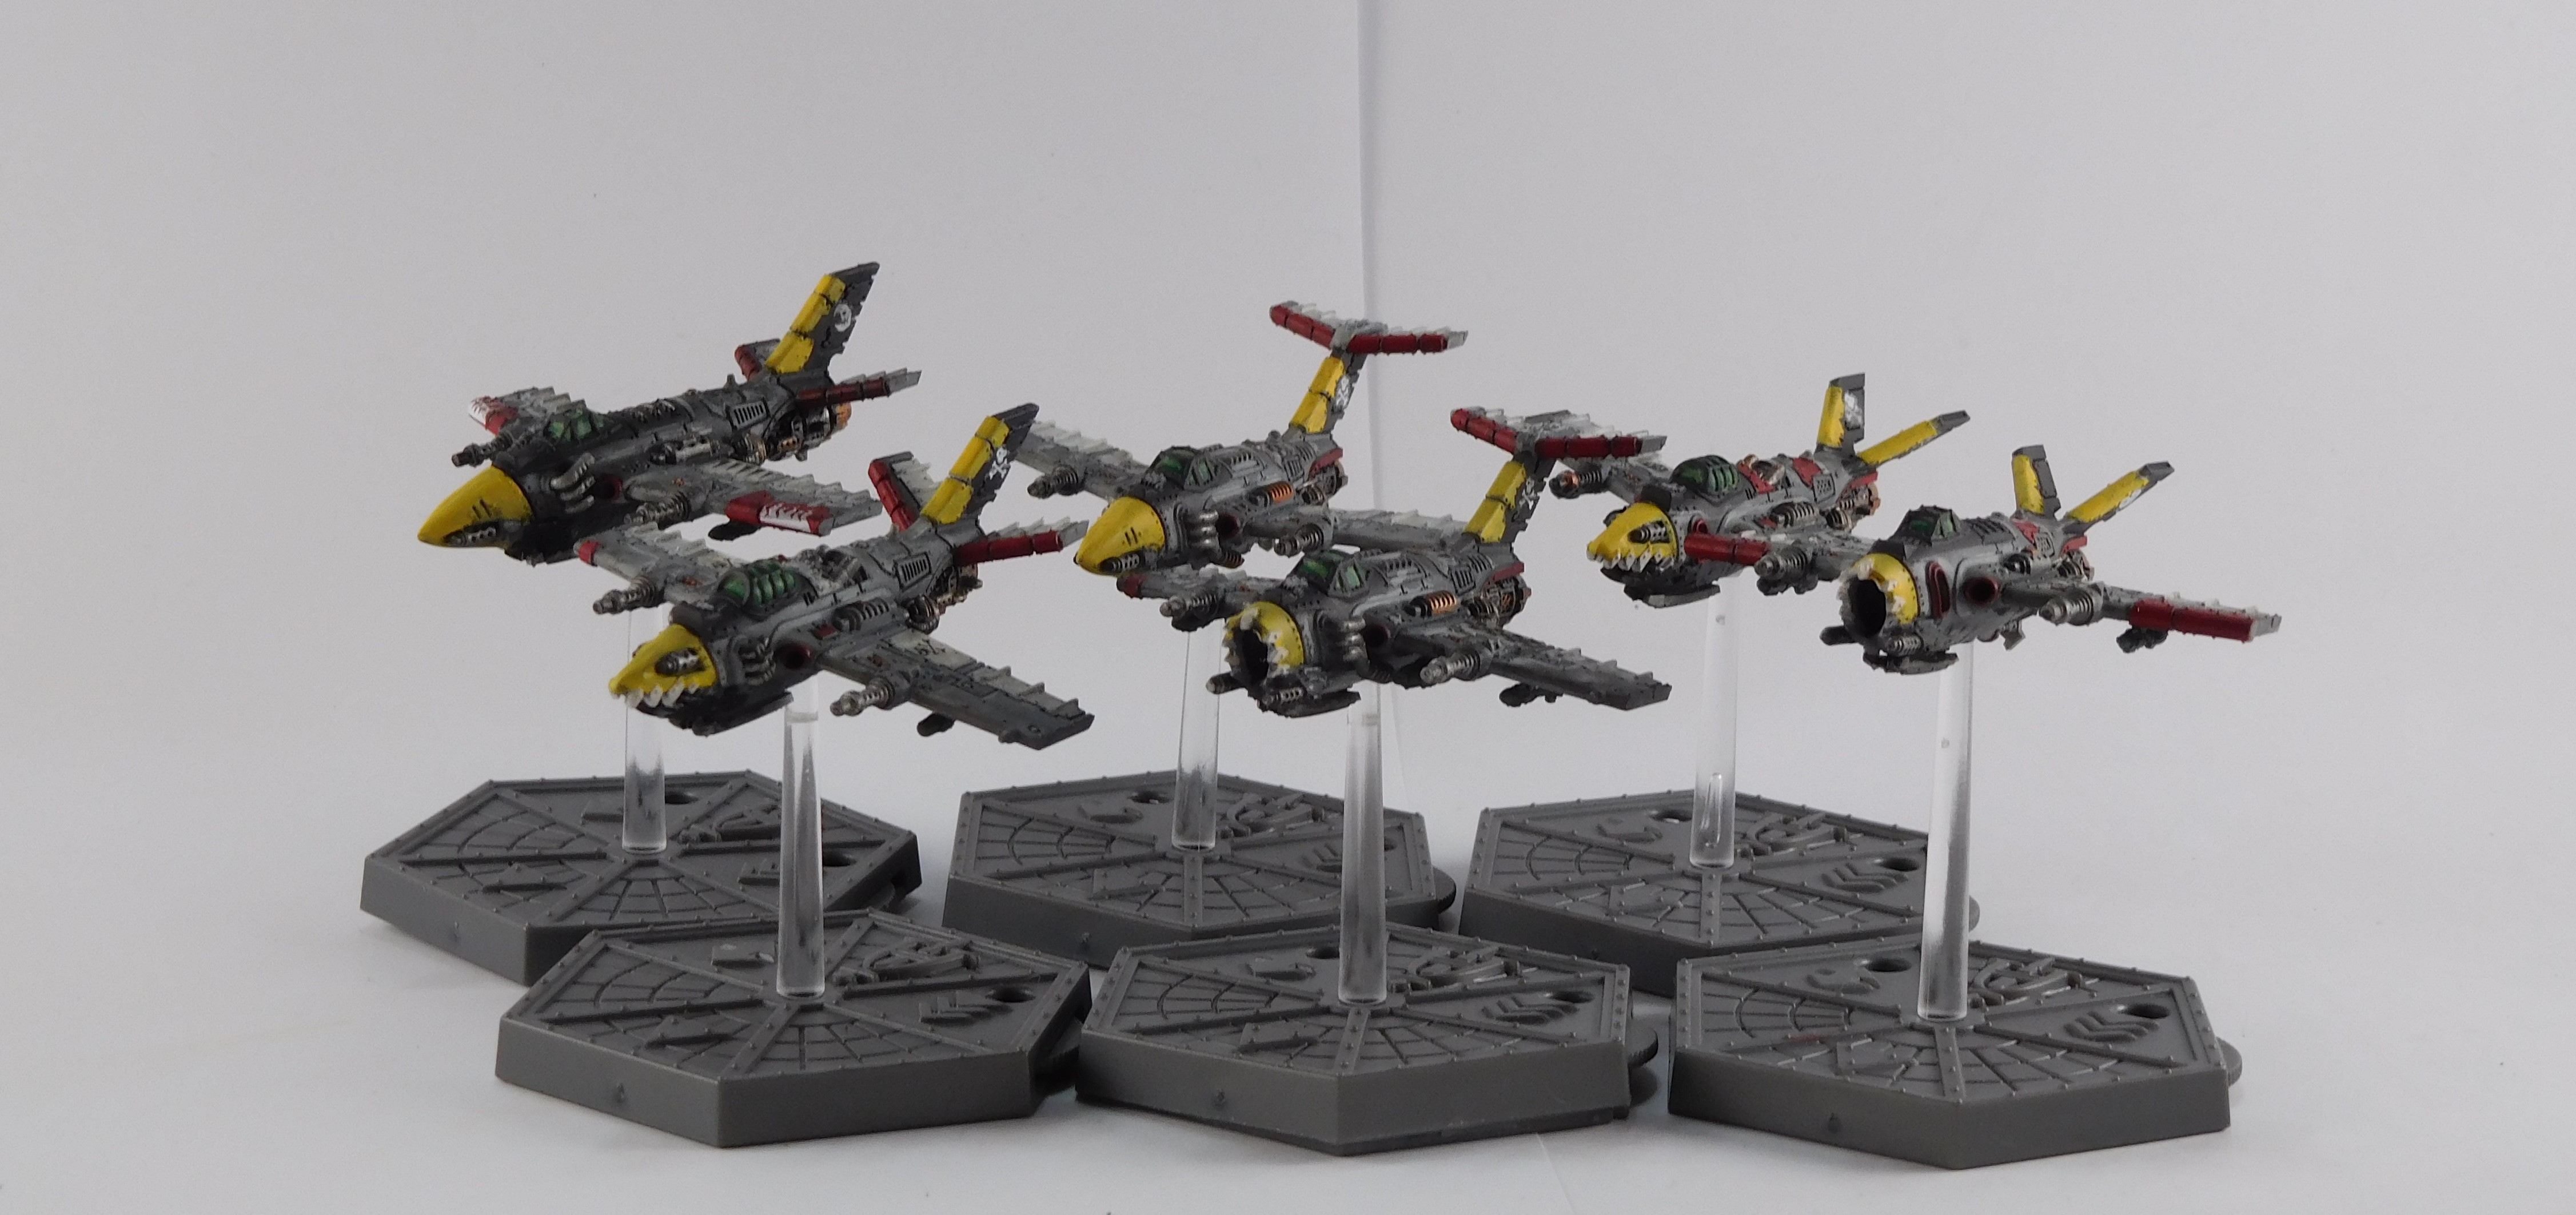
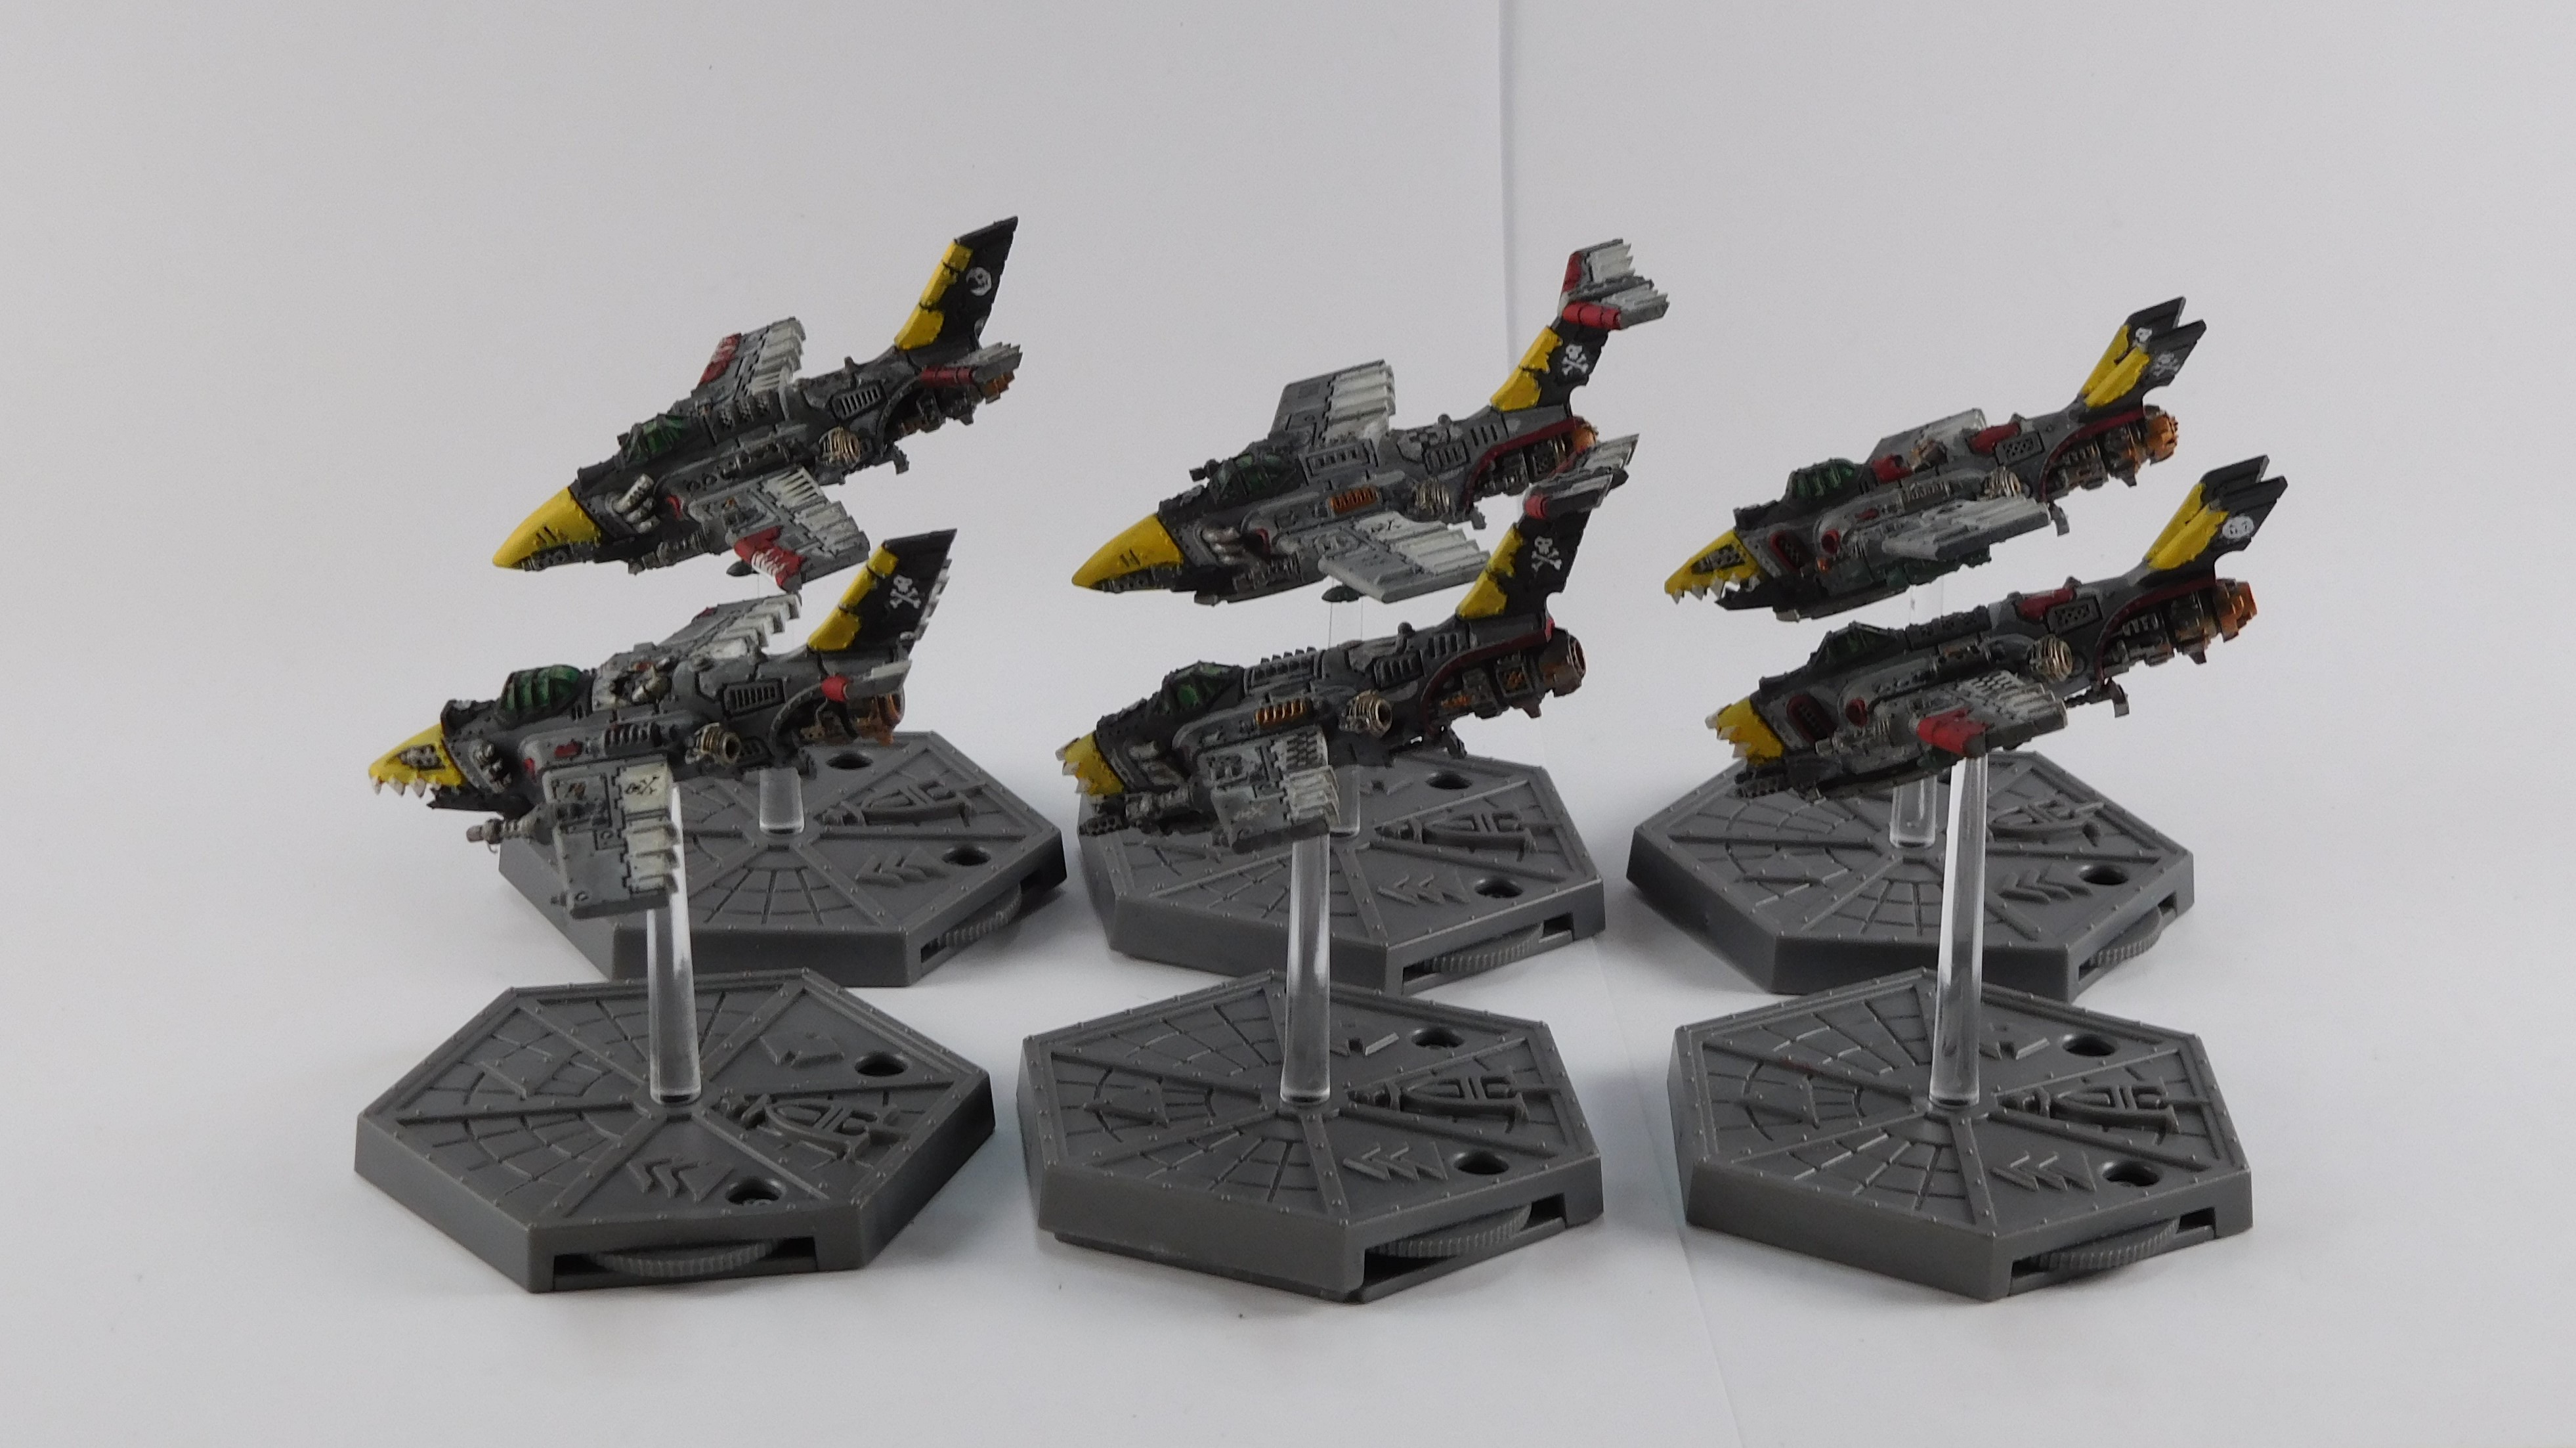
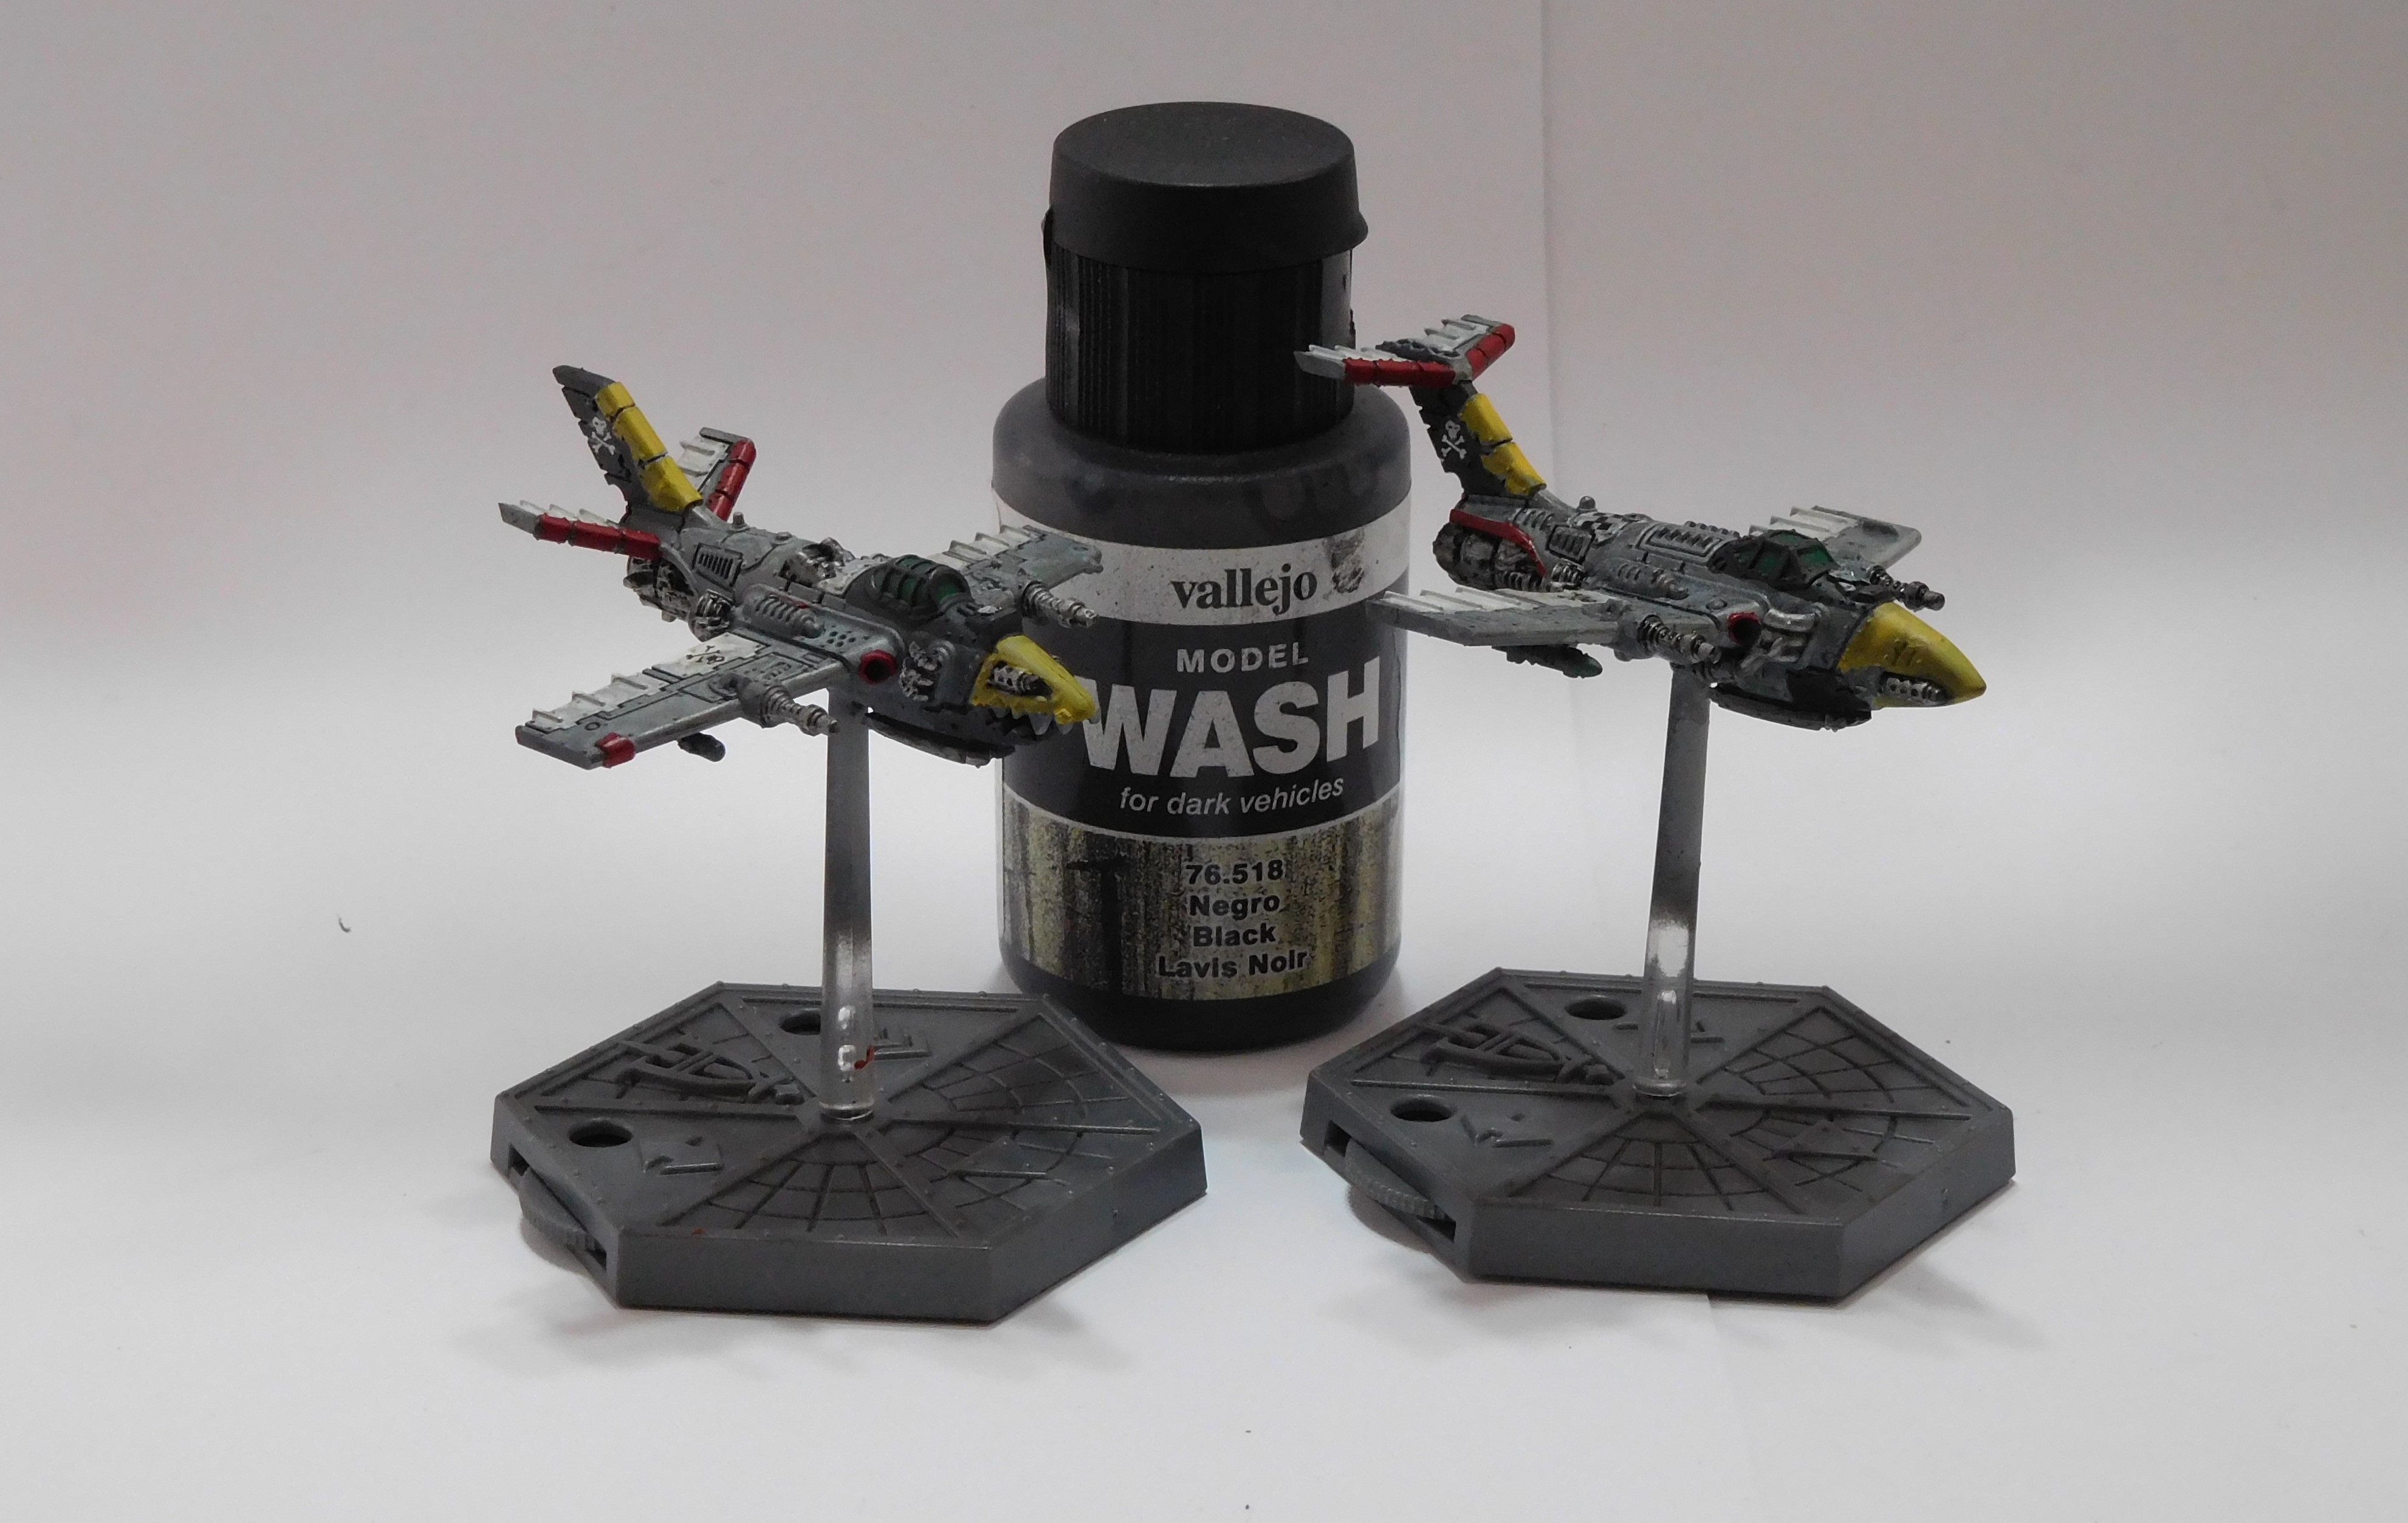
Finish Dakajets
For the final step on this squadron of Dakkajets was to apply a final clear coat. For this I used the Army Painter Anti-Shine Matt Varnish.
Below are few pictures of the squardron. This is the end of the Dakkajets section, stay tune for the next ork aircraft.
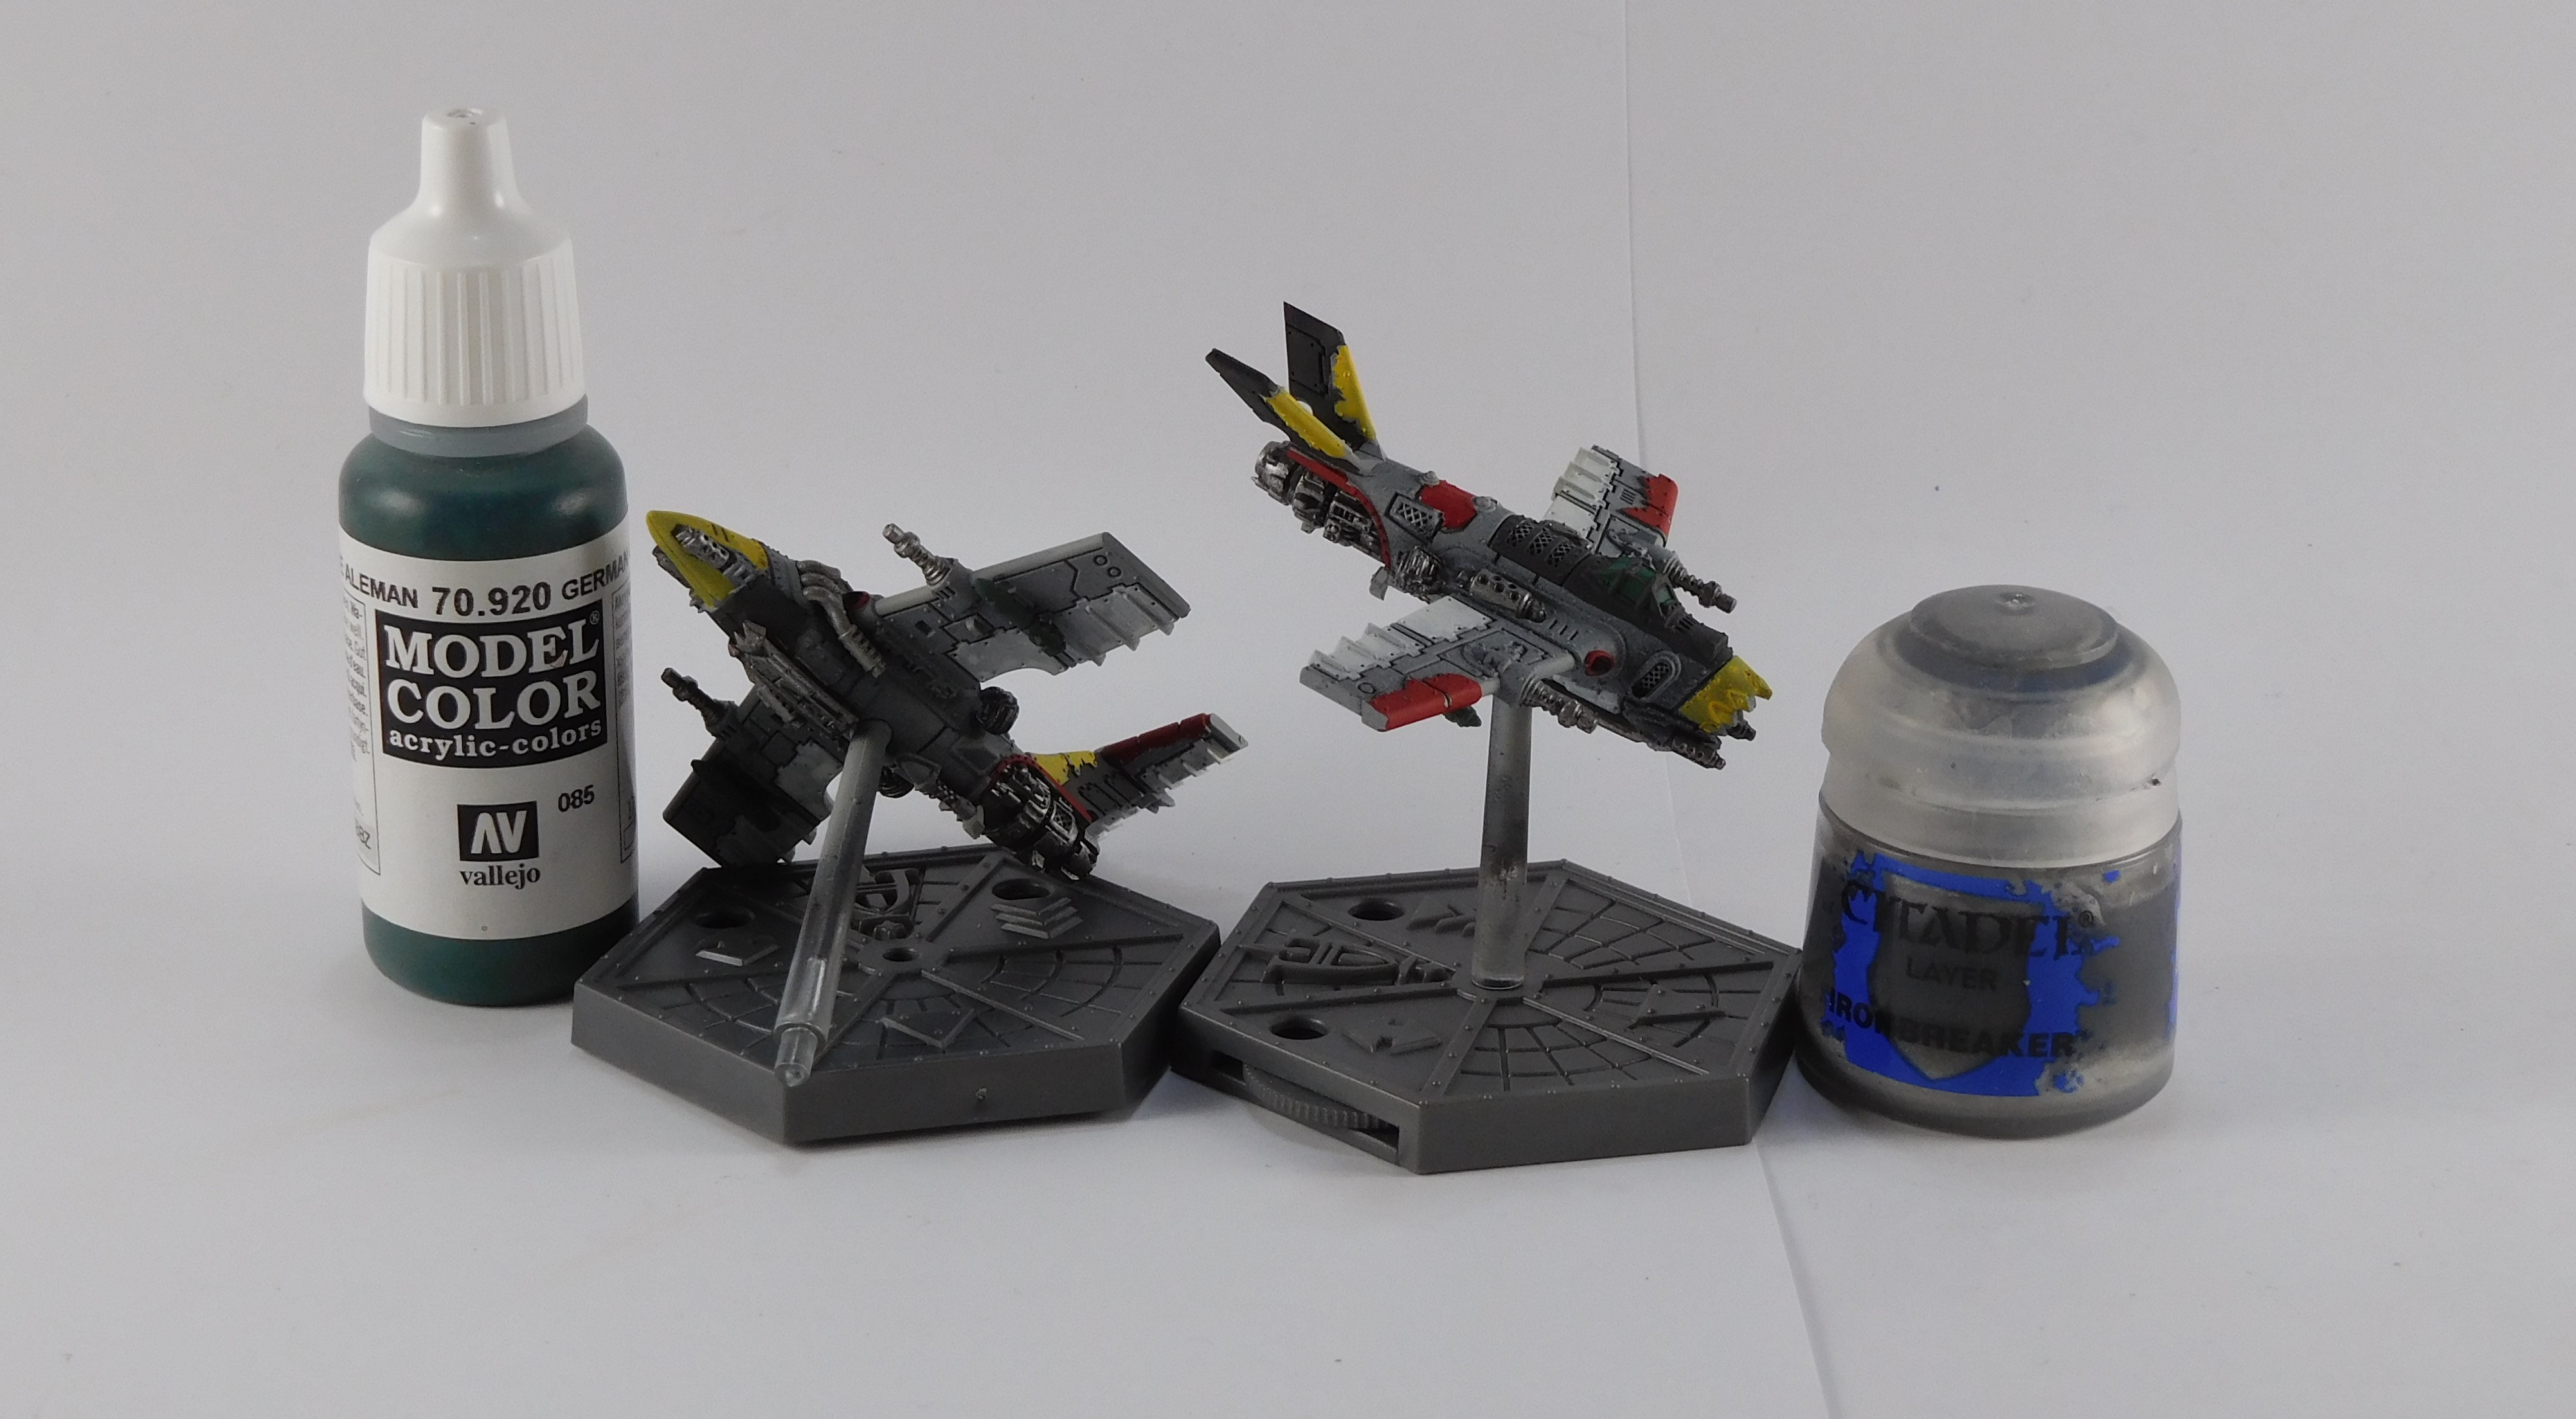
Painting Details
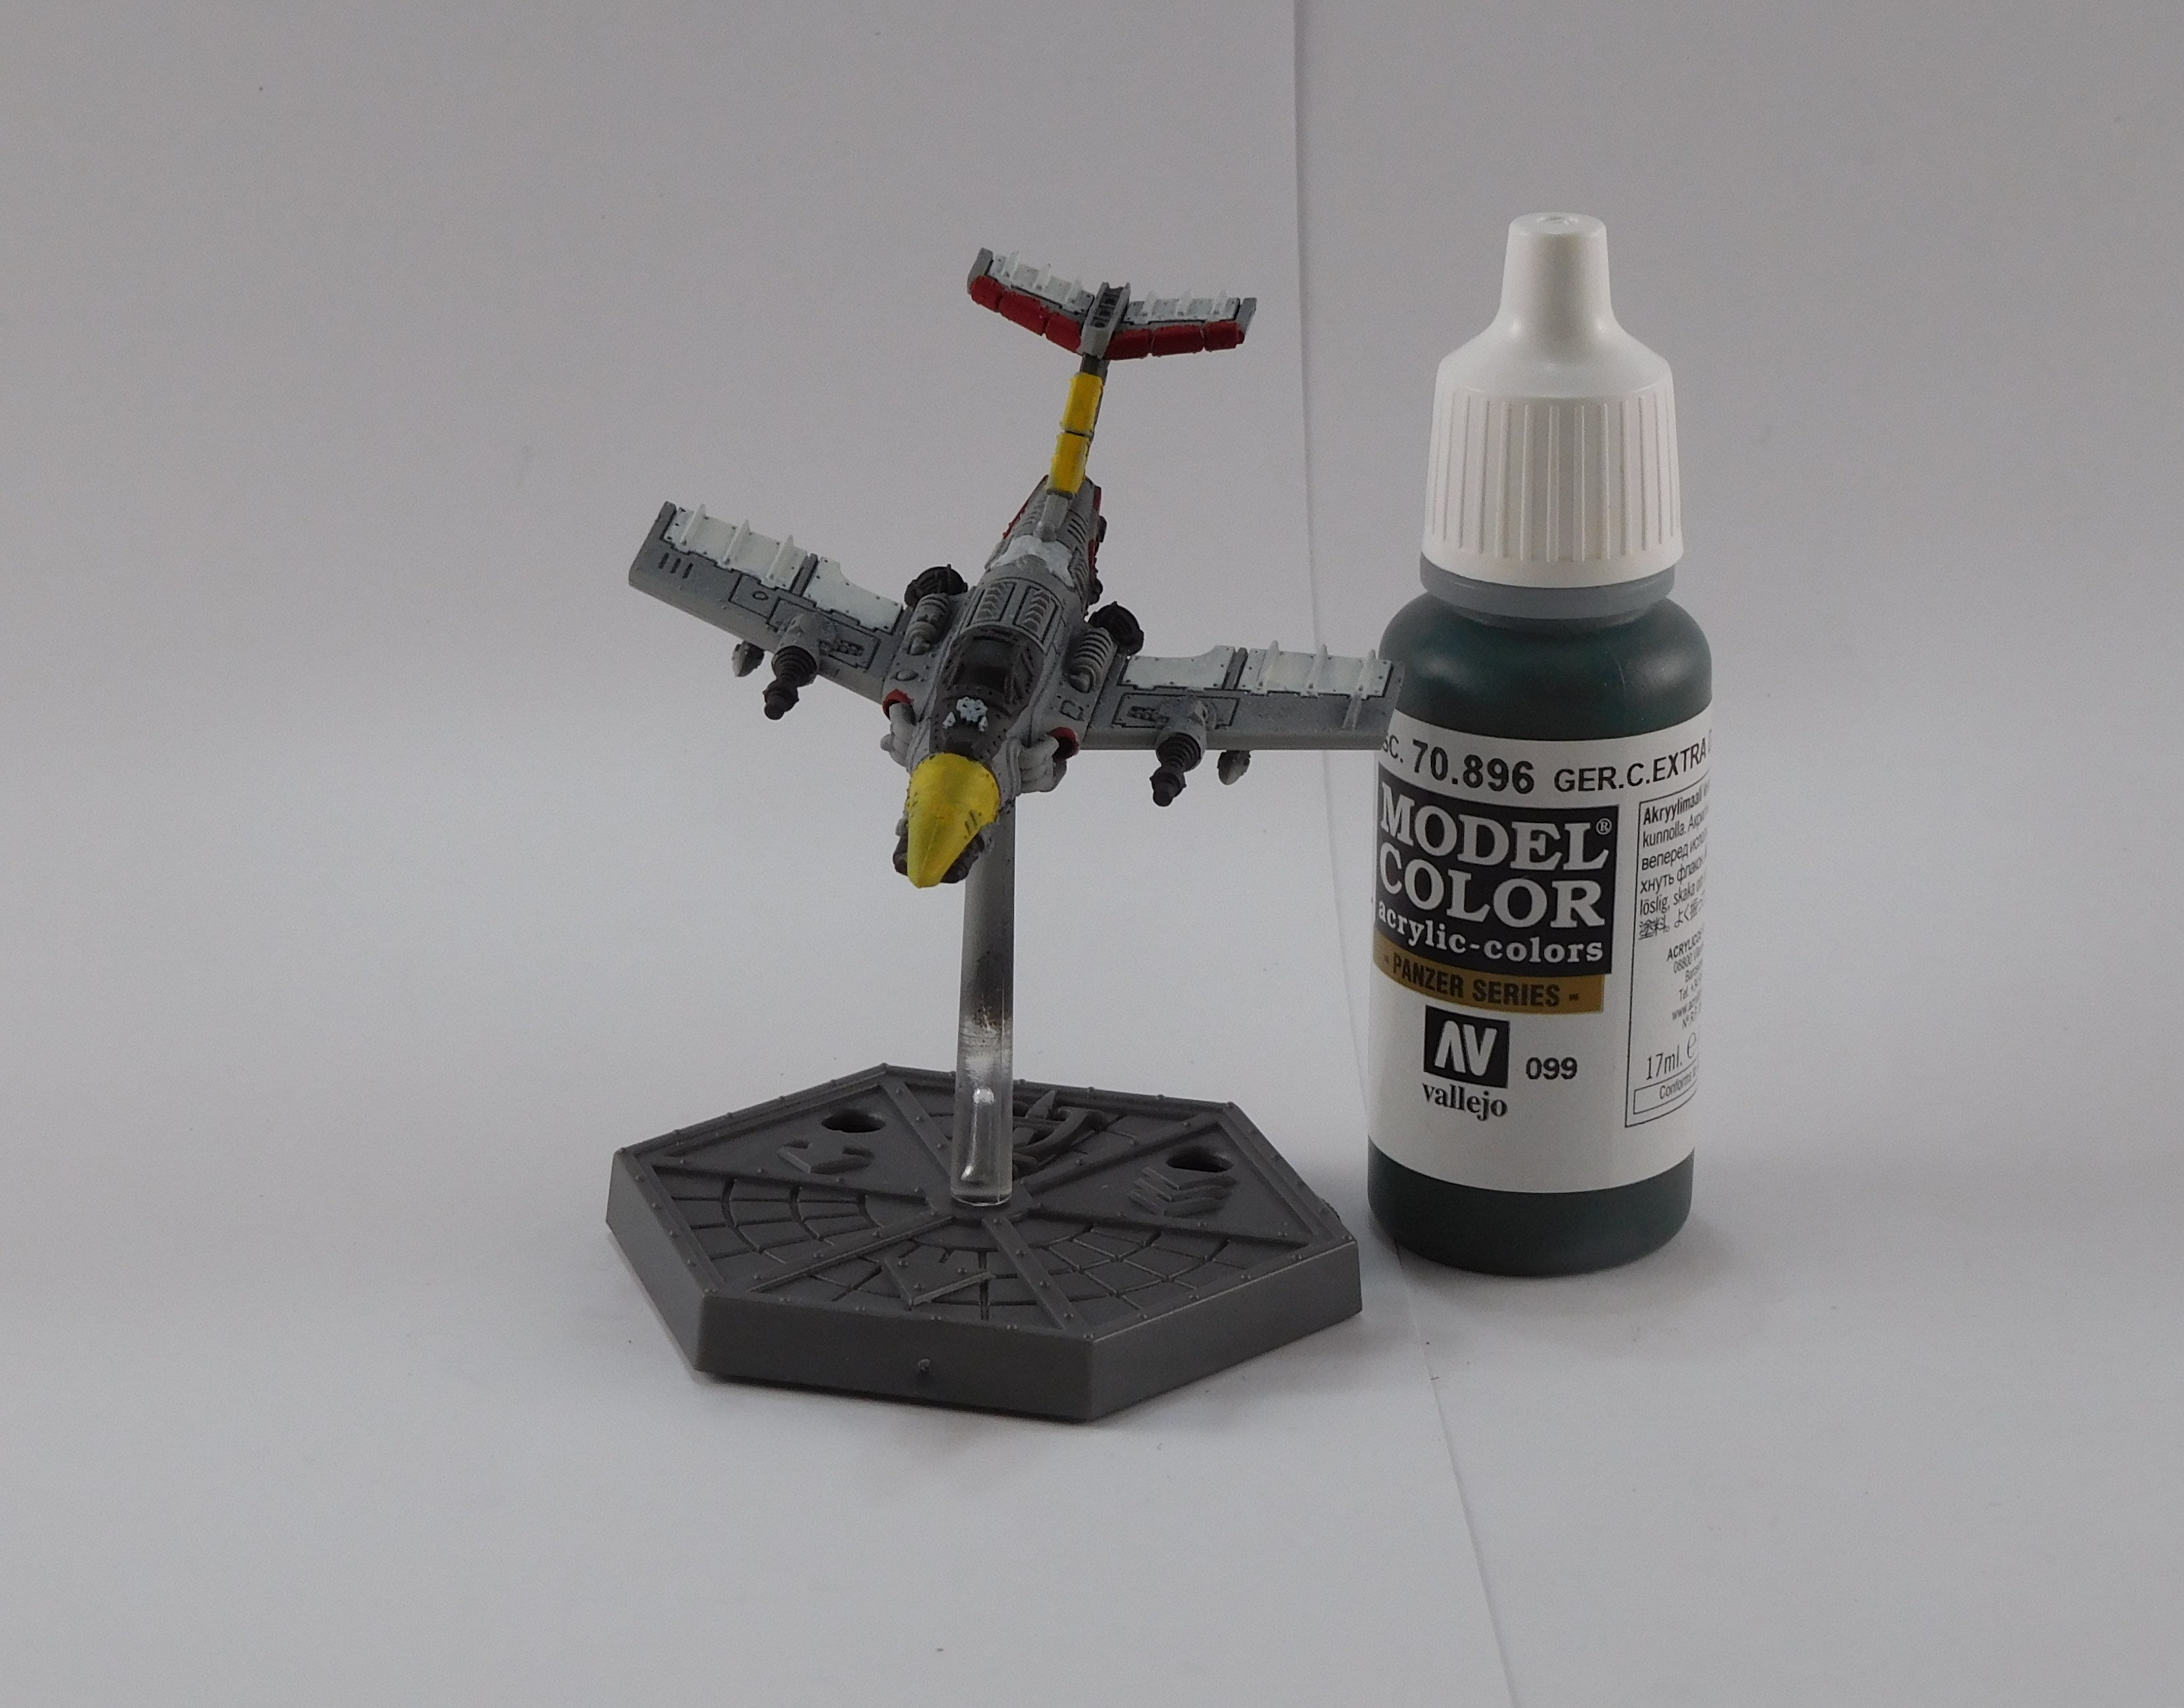
Starting to paint the fiddley bits. The rockets under the wings where painted green, or Vallejo German Uniform. The metal bits got a coat of Citadel Ironbreaker. The metal bits include the engine nozzles, gun barrels, and exhaust vents.
Decals from the kit where applied. As per the source material, white skull and crossbones decals where applied to the vertical tail fin. Various decals from the kit where applied like the flame pattern and the checkered strips. Some of the decals where cut to fit.
I should have applied a coat of gloss varnish before applying the decals, but I was in a bit of a rush.
A bit of water down Vallejo decal fix was applied to the surface prior to applying the decal. After the decal was applied, the decals were coated with water down decal softener to make sure the decal conformed to the surface.
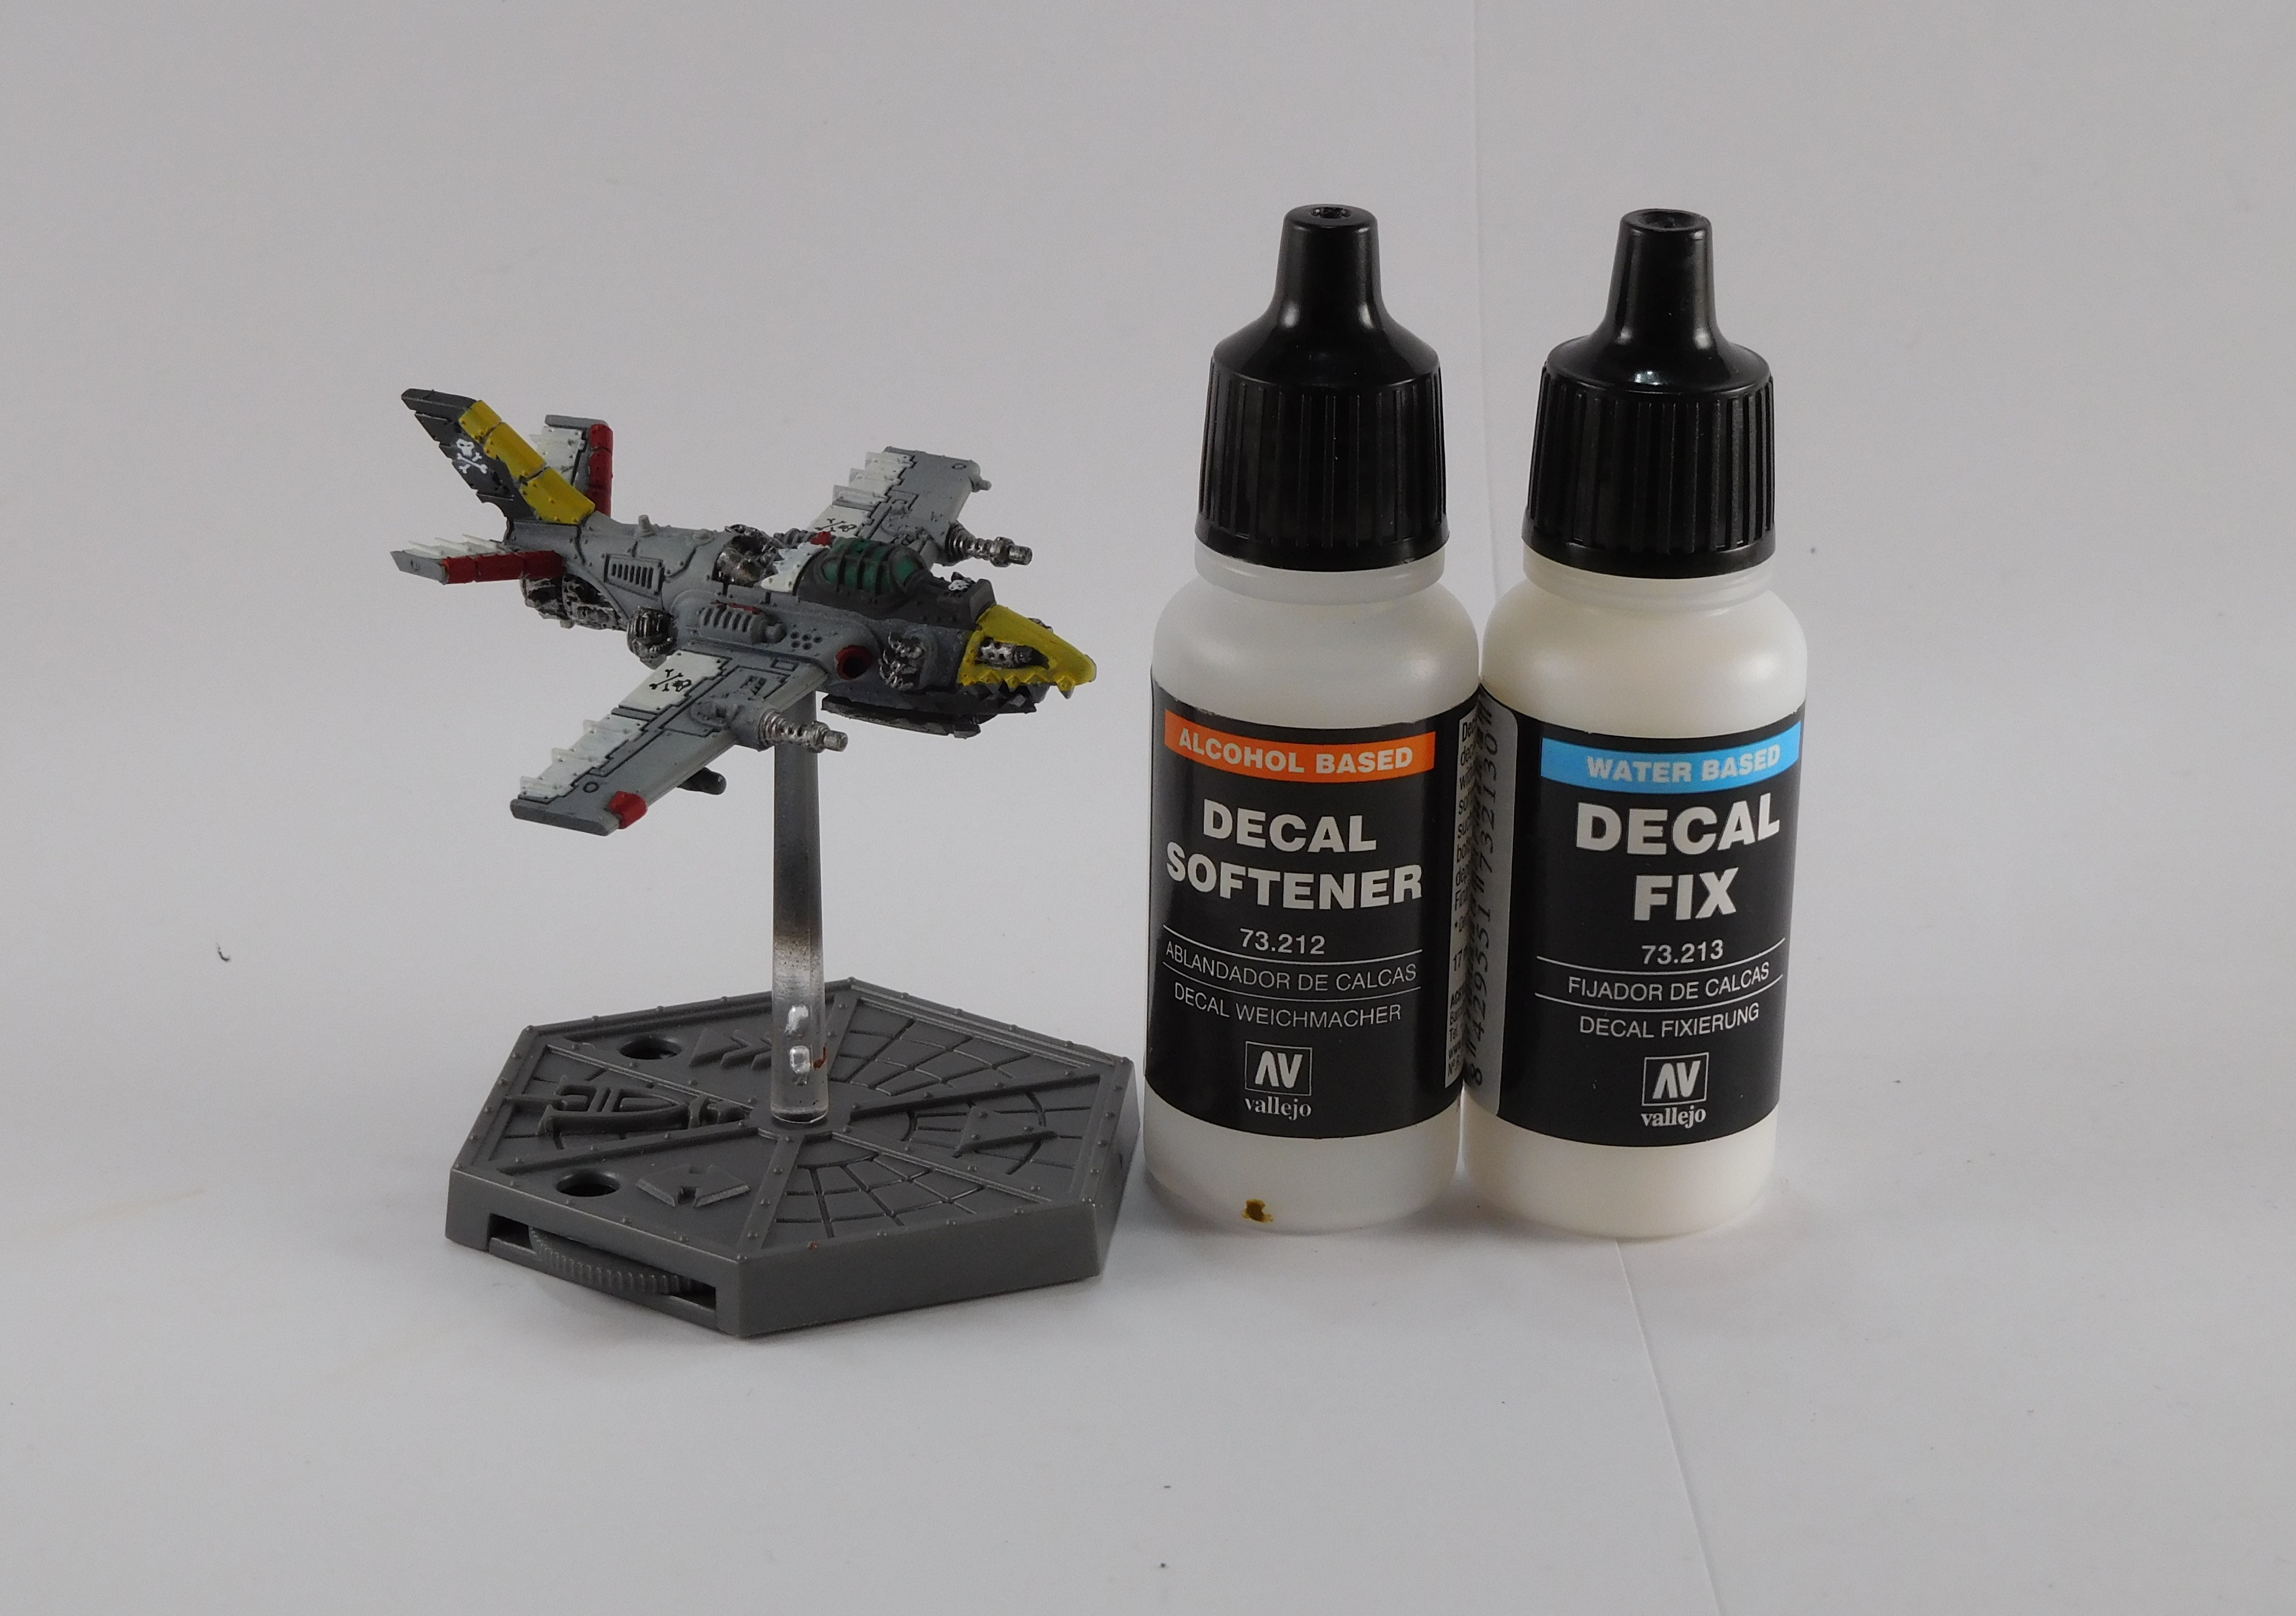
The decal were allowed to dry over night before proceeding to the next step. A Waterdown black wash was applied to the models. The black wash was to help show the panel lines. Then the models were set aside to dry again.
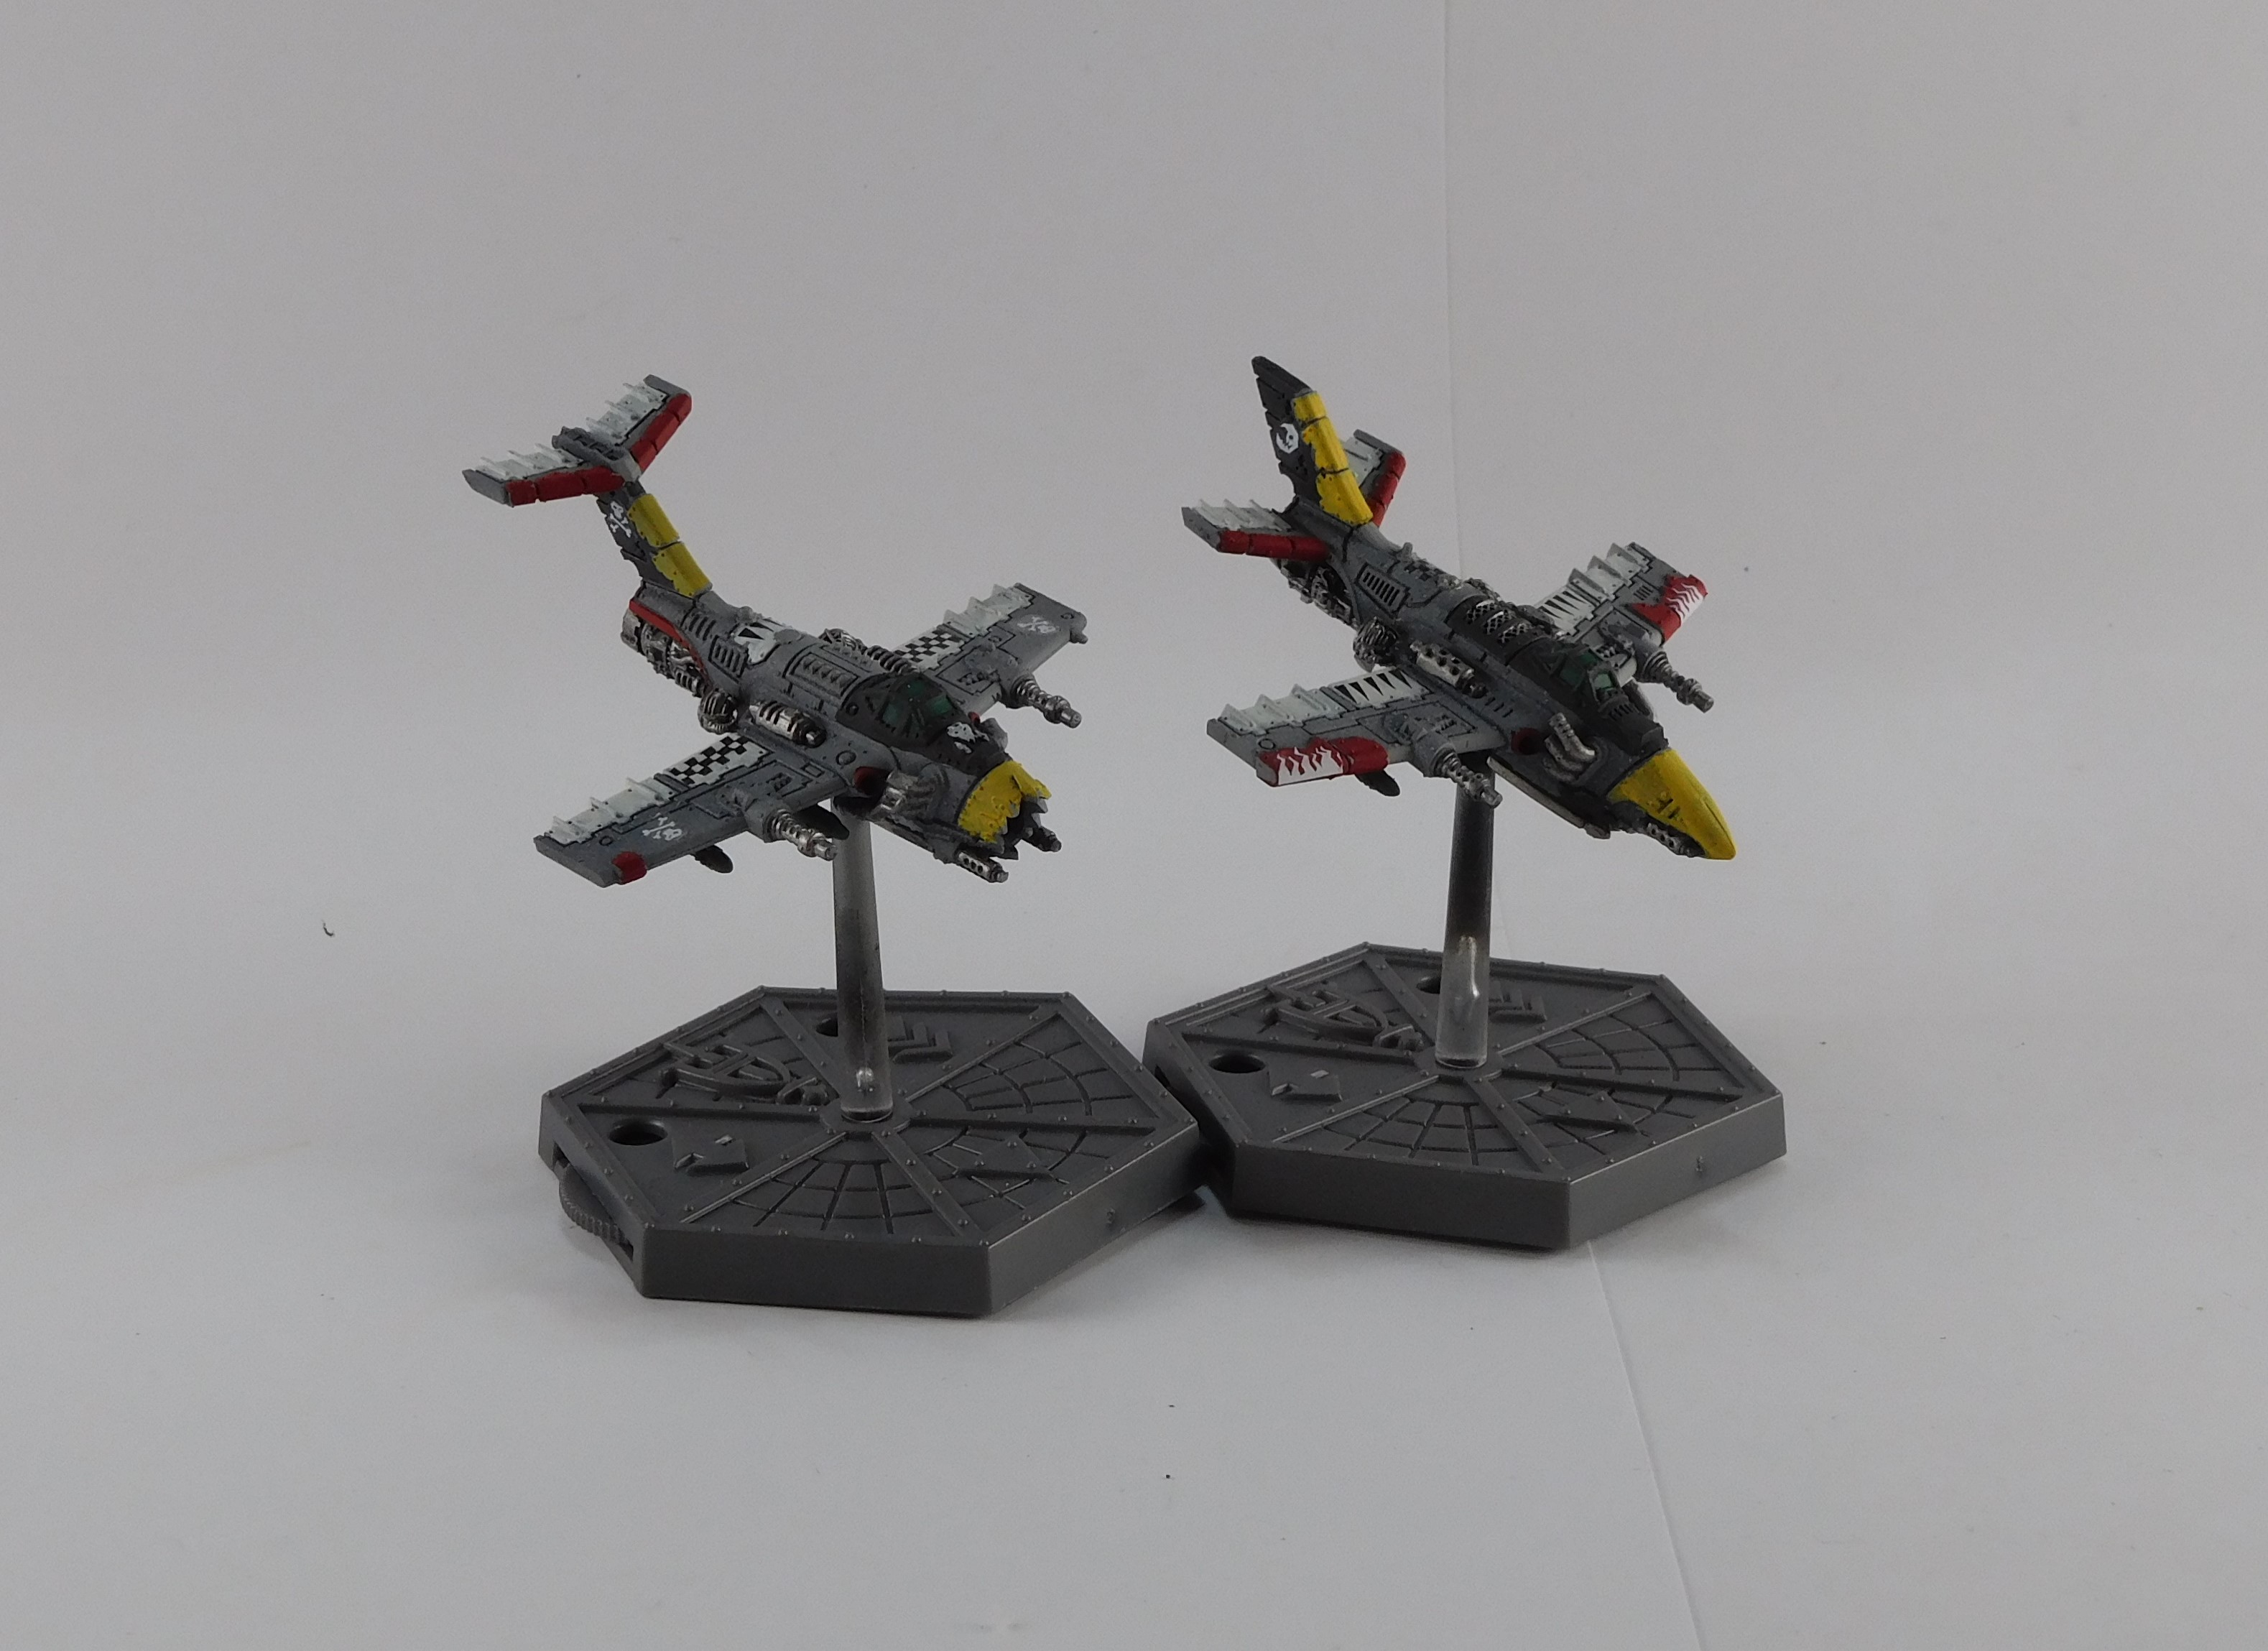
Now was the time for finishing details and touchup of paint.
The windows received an extra layer of highlight by applying Citadel Warpstone Glow. The yellow panels where given a touch up. Some of the gray and white bits where touched up.
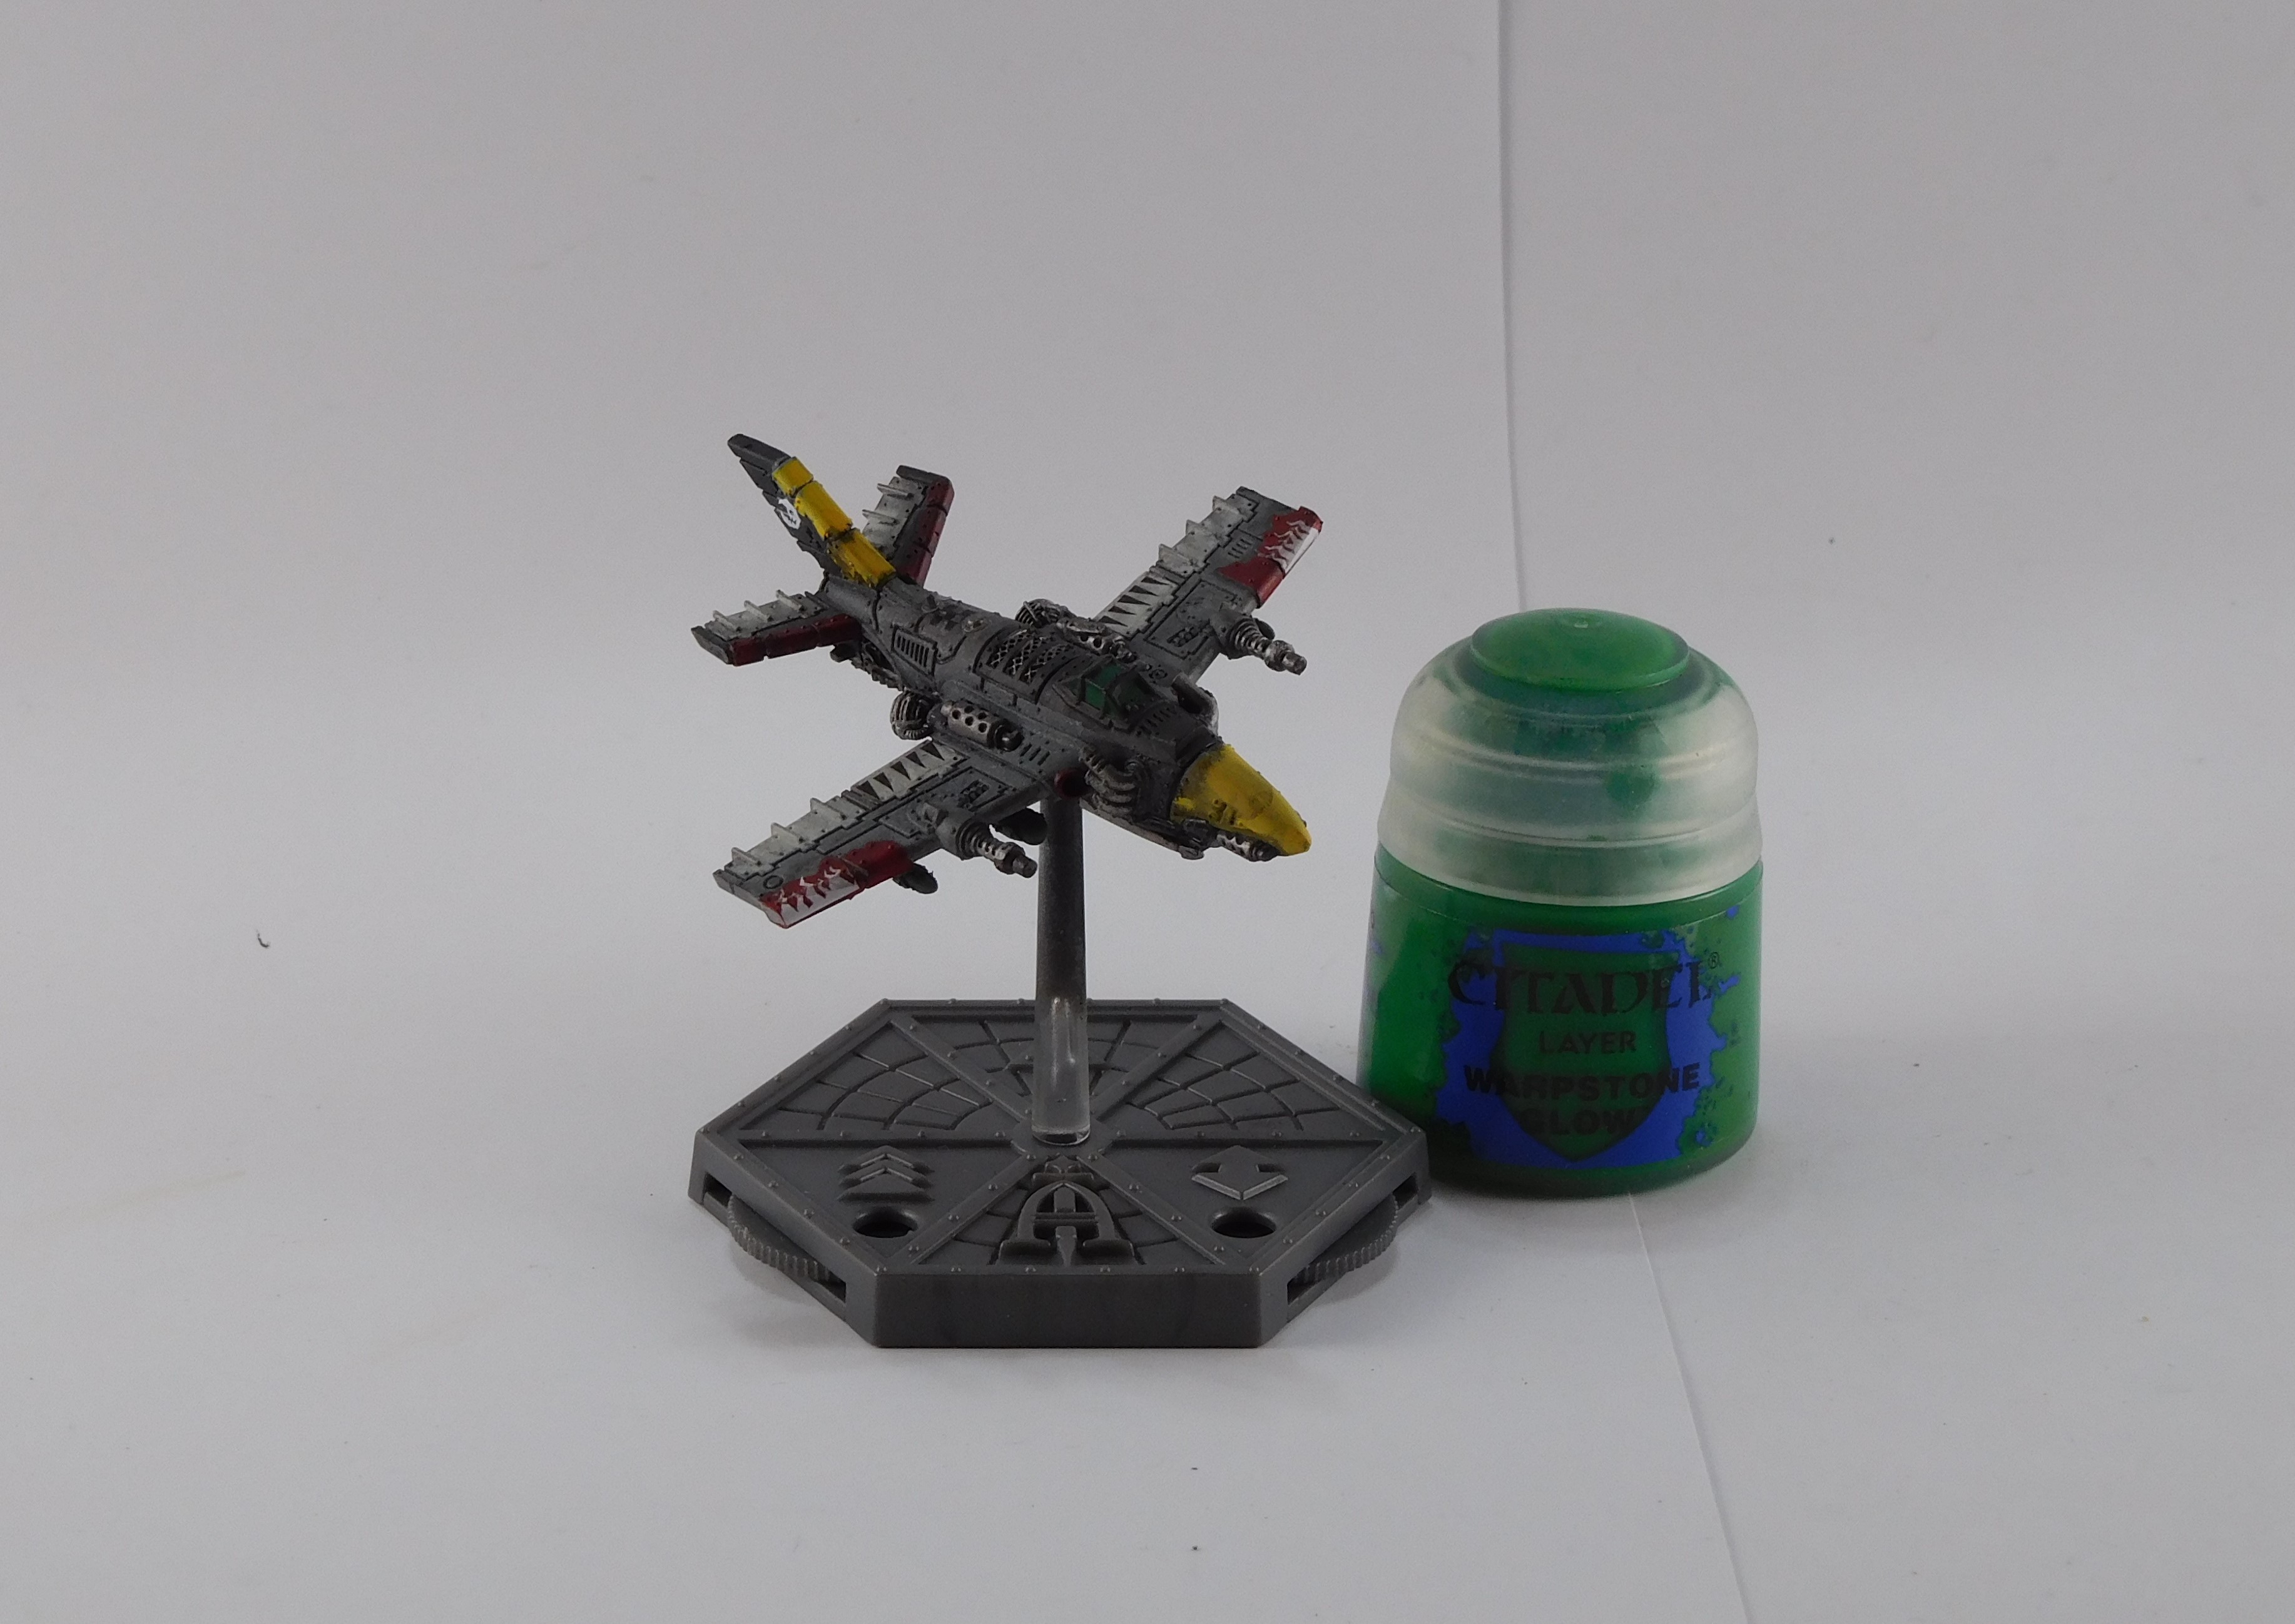

The final bit was to paint the little tooth like plates found round the aircraft nose. This was the bit of Citadel Pallid Wych Flesh, which is a off white.

Basing and Blocking
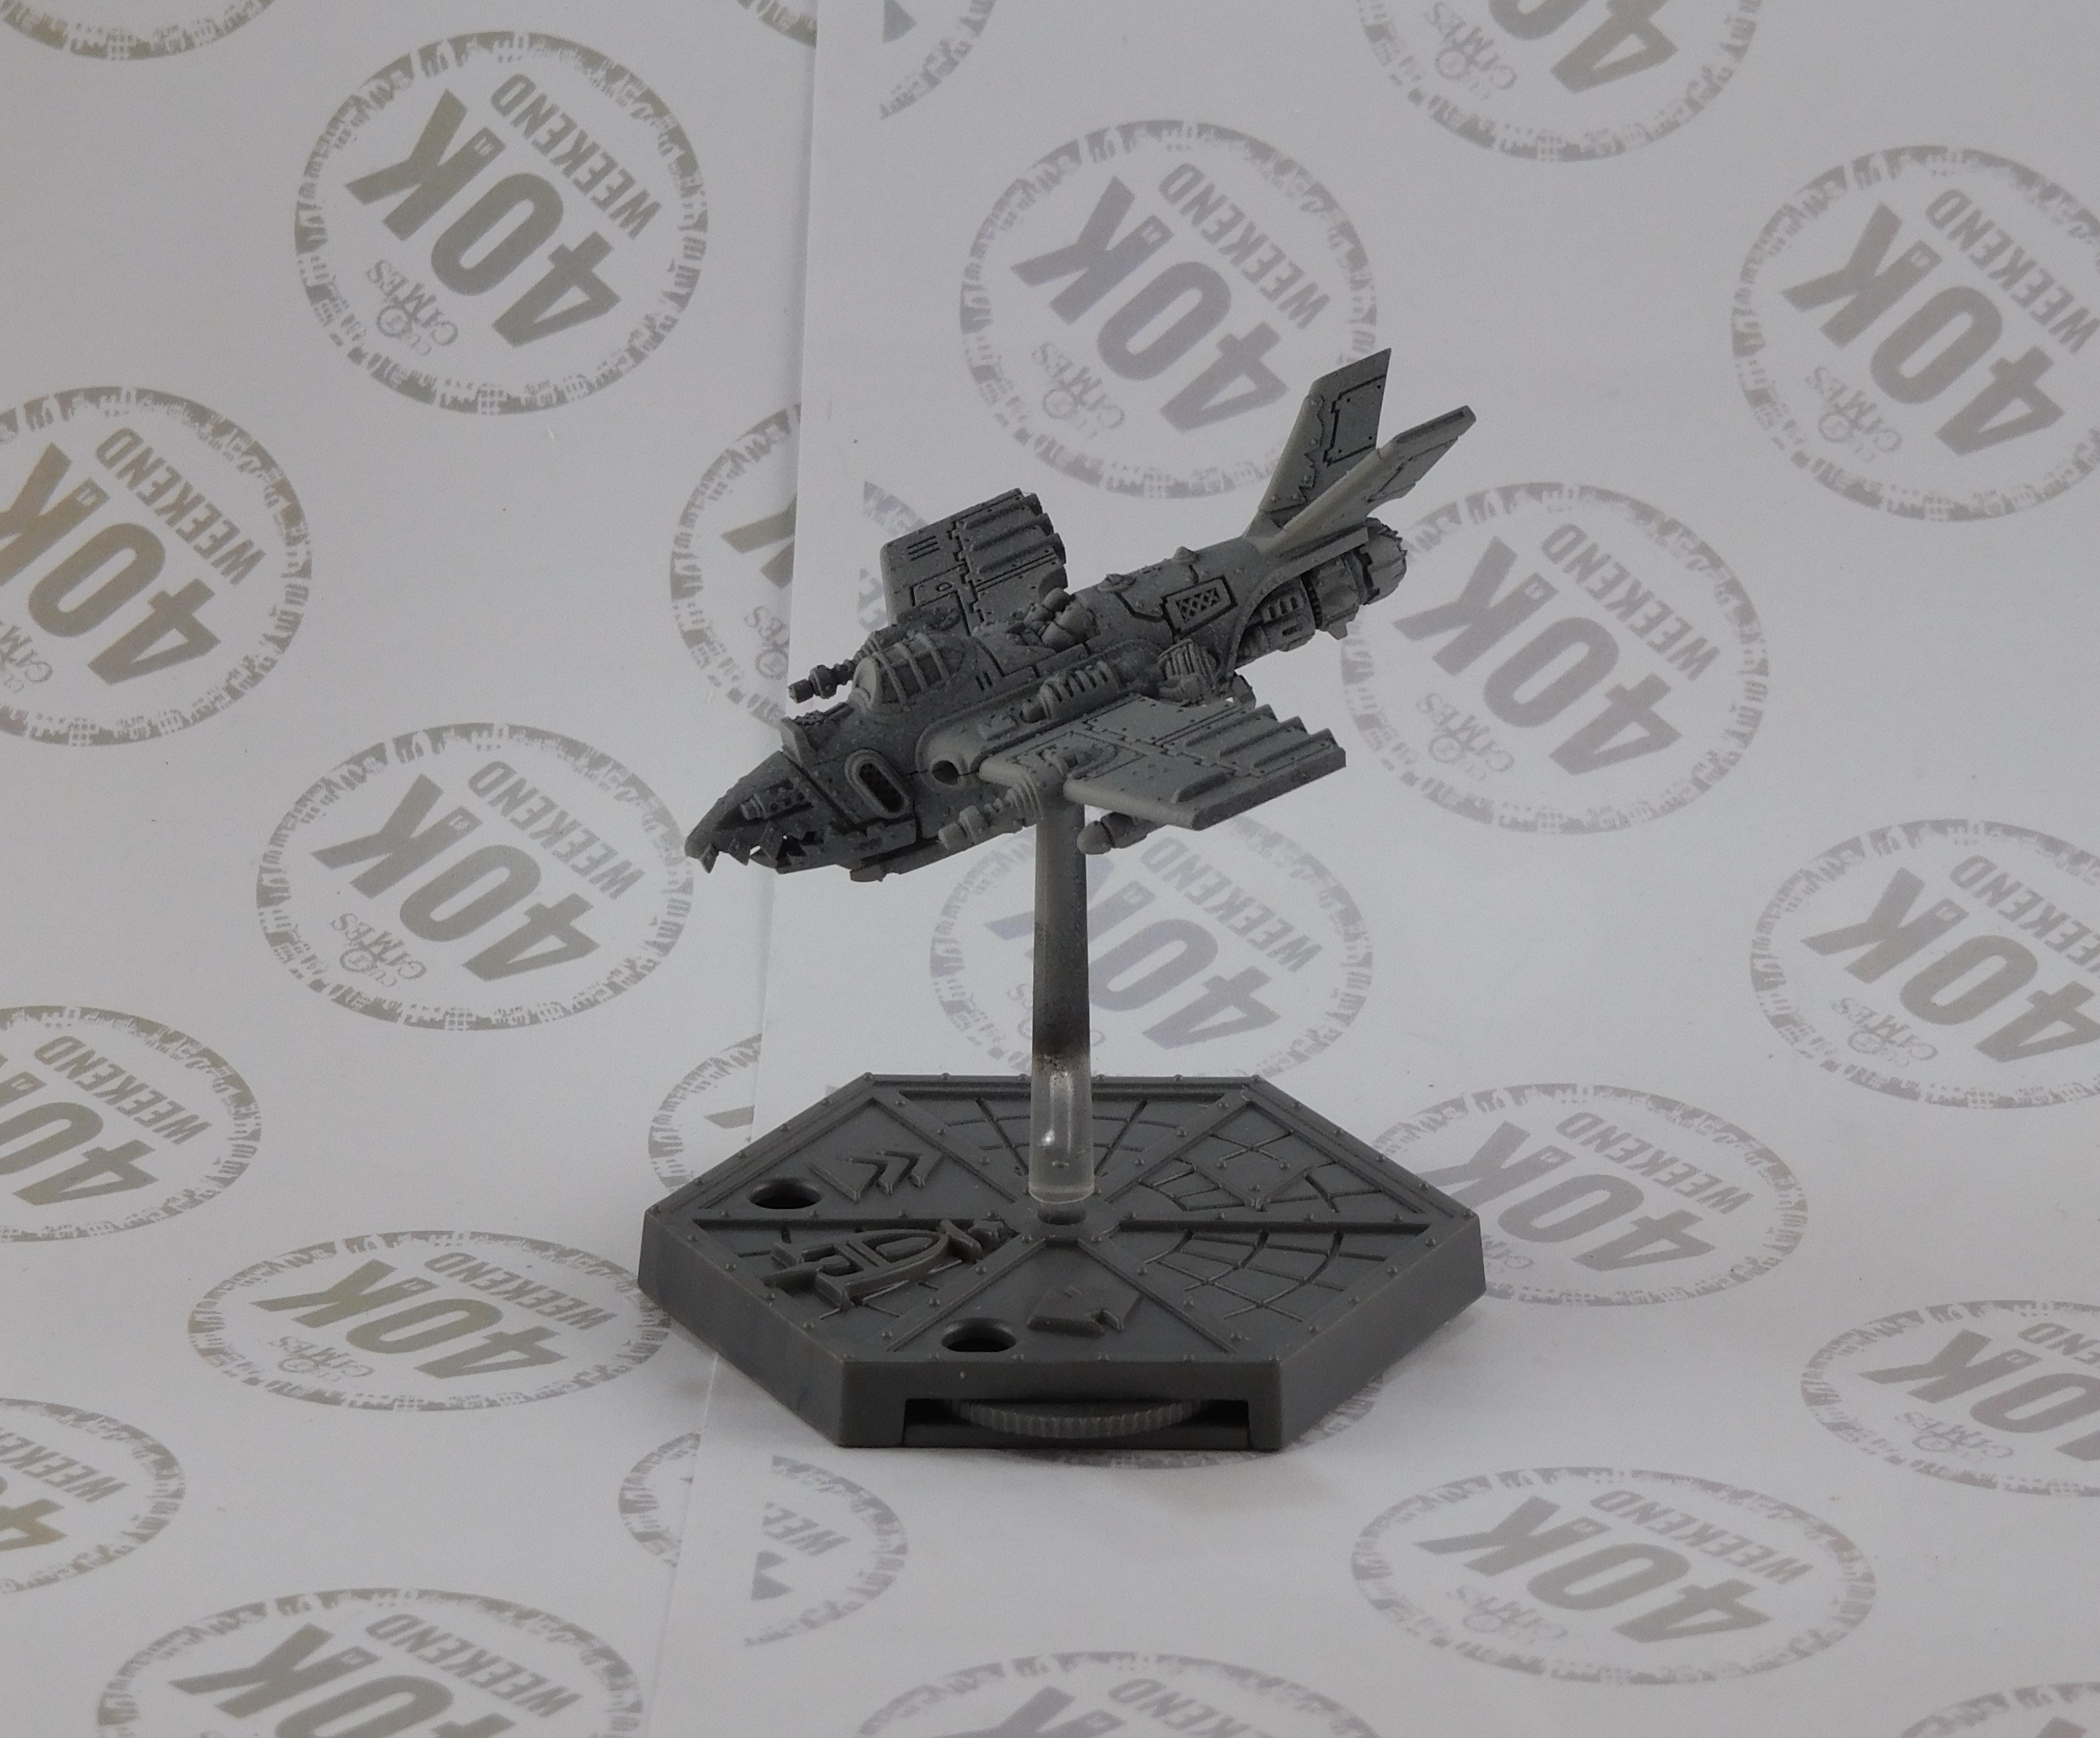
Step one, the models where painted black using Stynylrez acrylic primer (no photo’s this time).
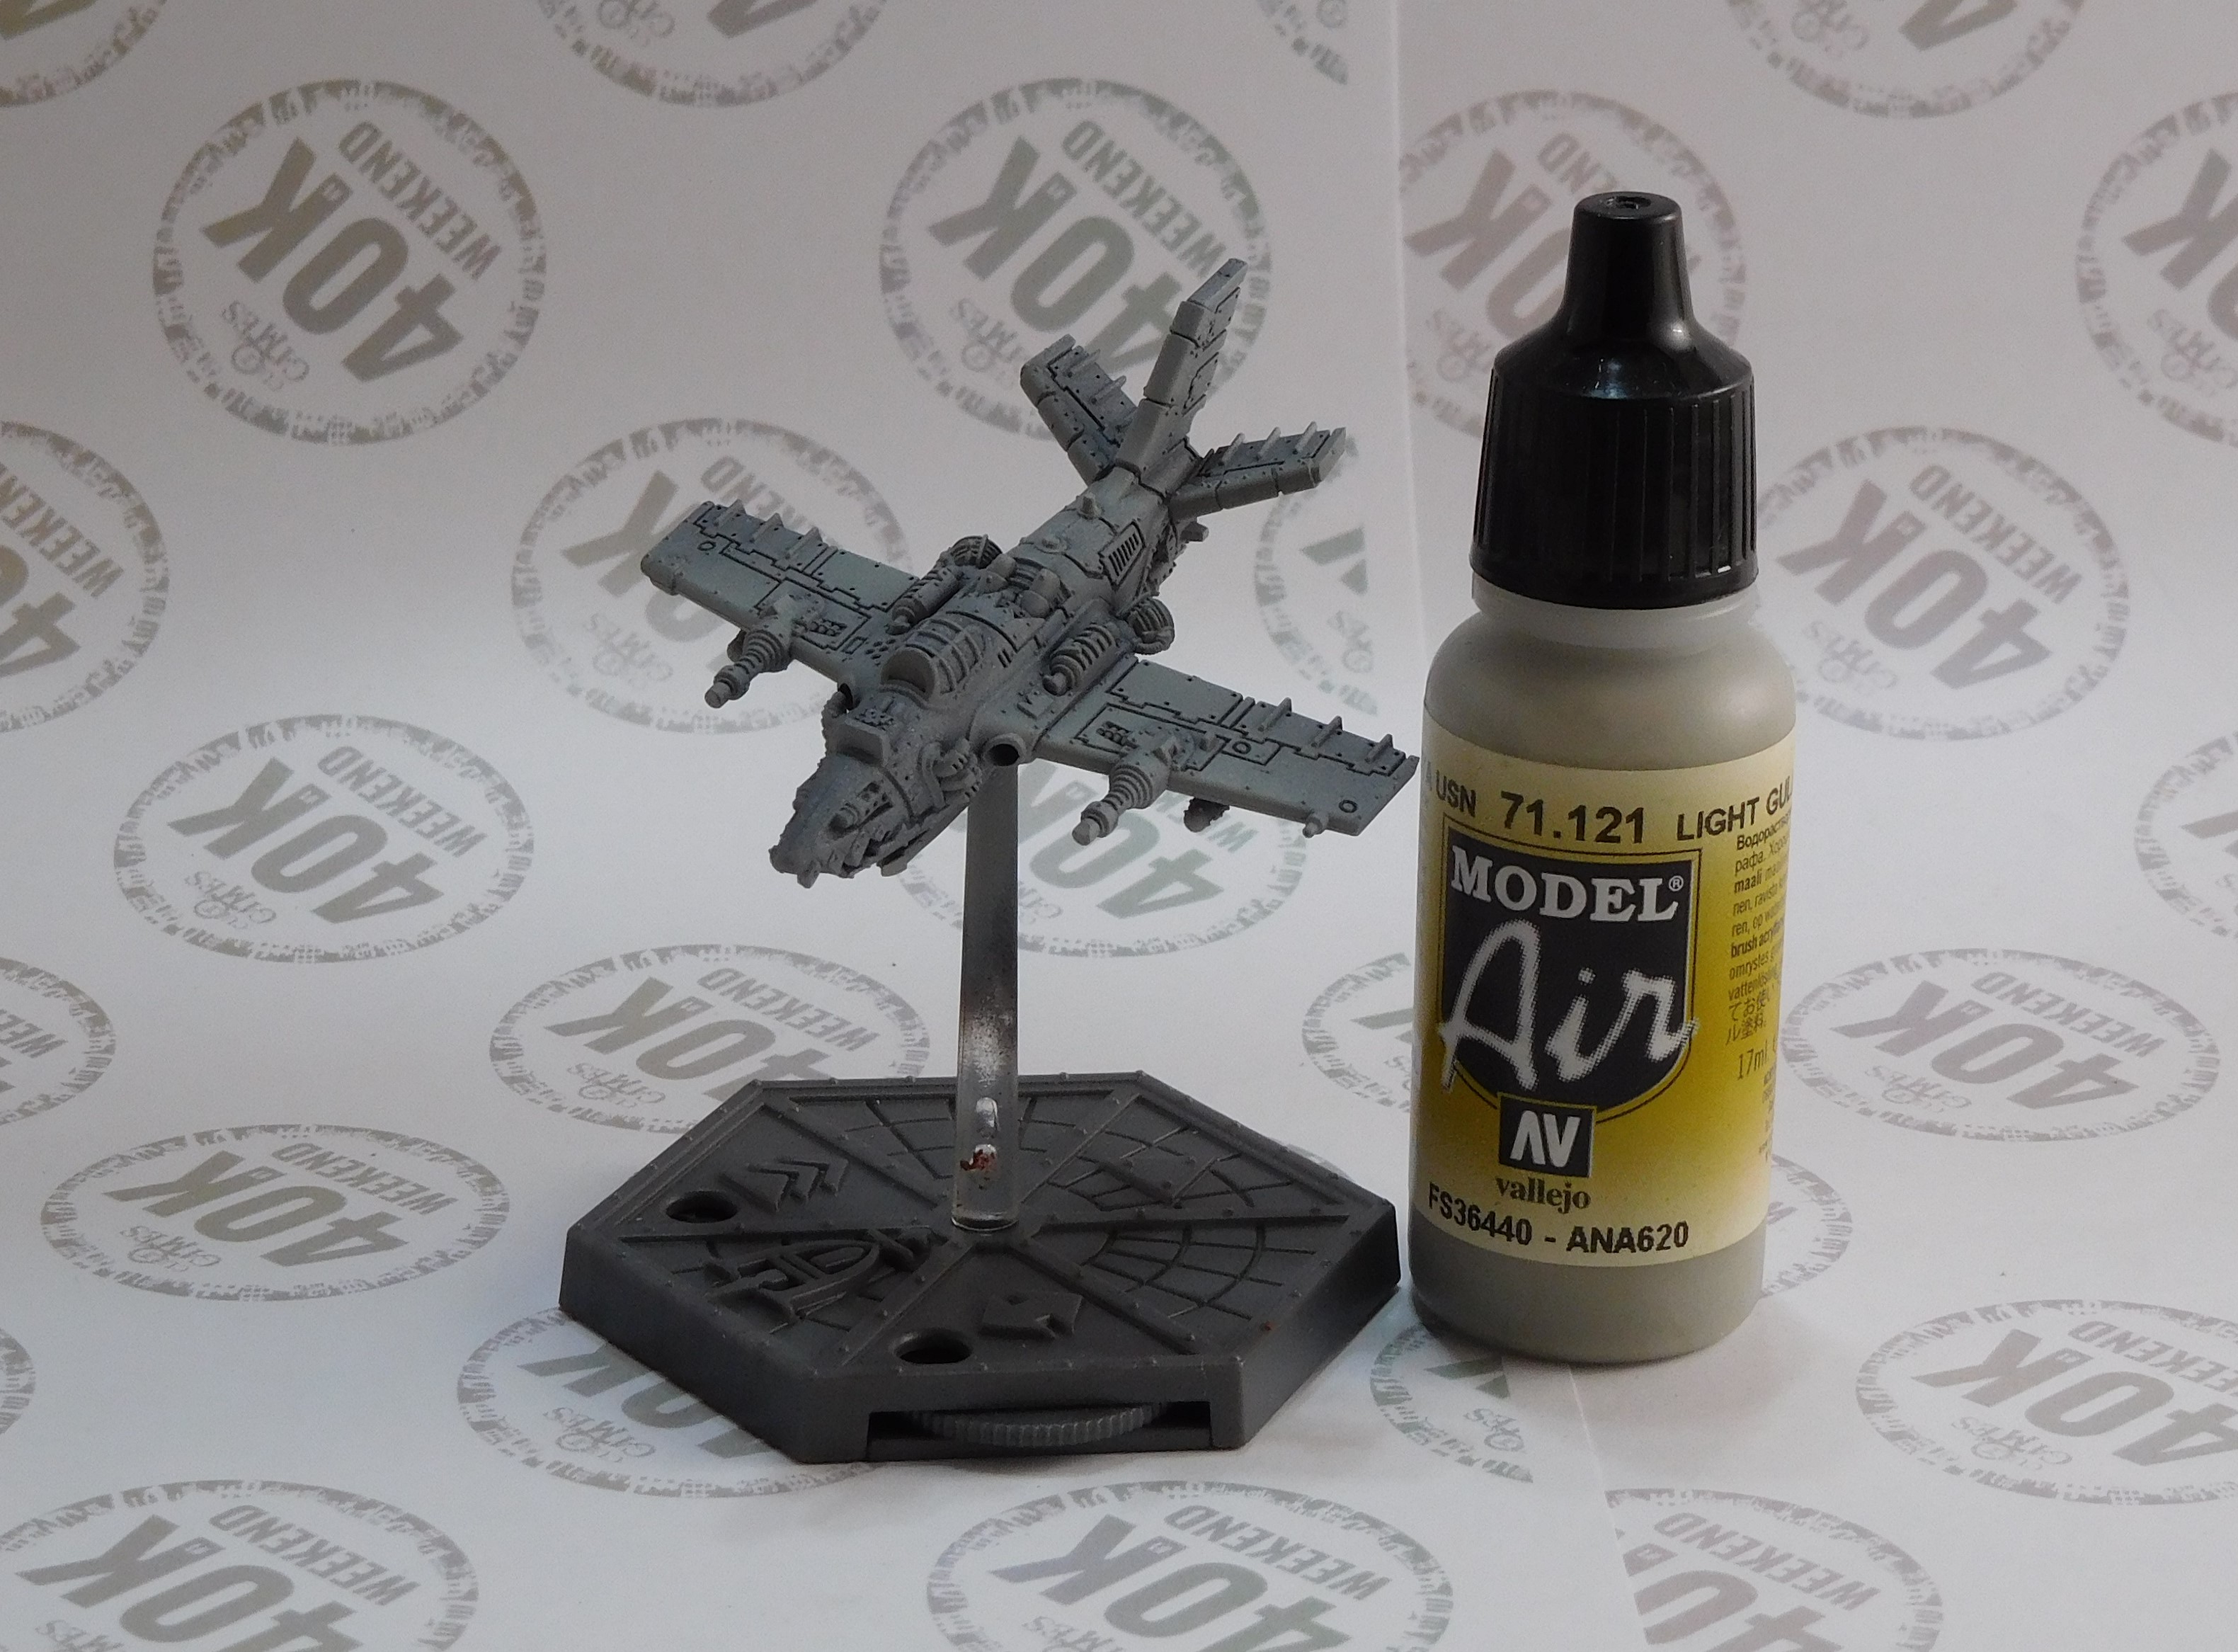
The models were then based with a Vallejo Light Gull Grey paint, as seen below.

Next step was block in some of the main colours. As per the source material, the tails was painted black with some yellow trim. The nose has yellow. Any part to be painted metal was based black. The area around the canopy was painted black.
The control surfaces on the wings were painted a mix of light grey and white. Some of the panels on the aircraft were painted red (red ones go faster).


The canopy was based with a dark green and then some deep green was used to add highlights to the windows.

Ork Aeronauts the Idea
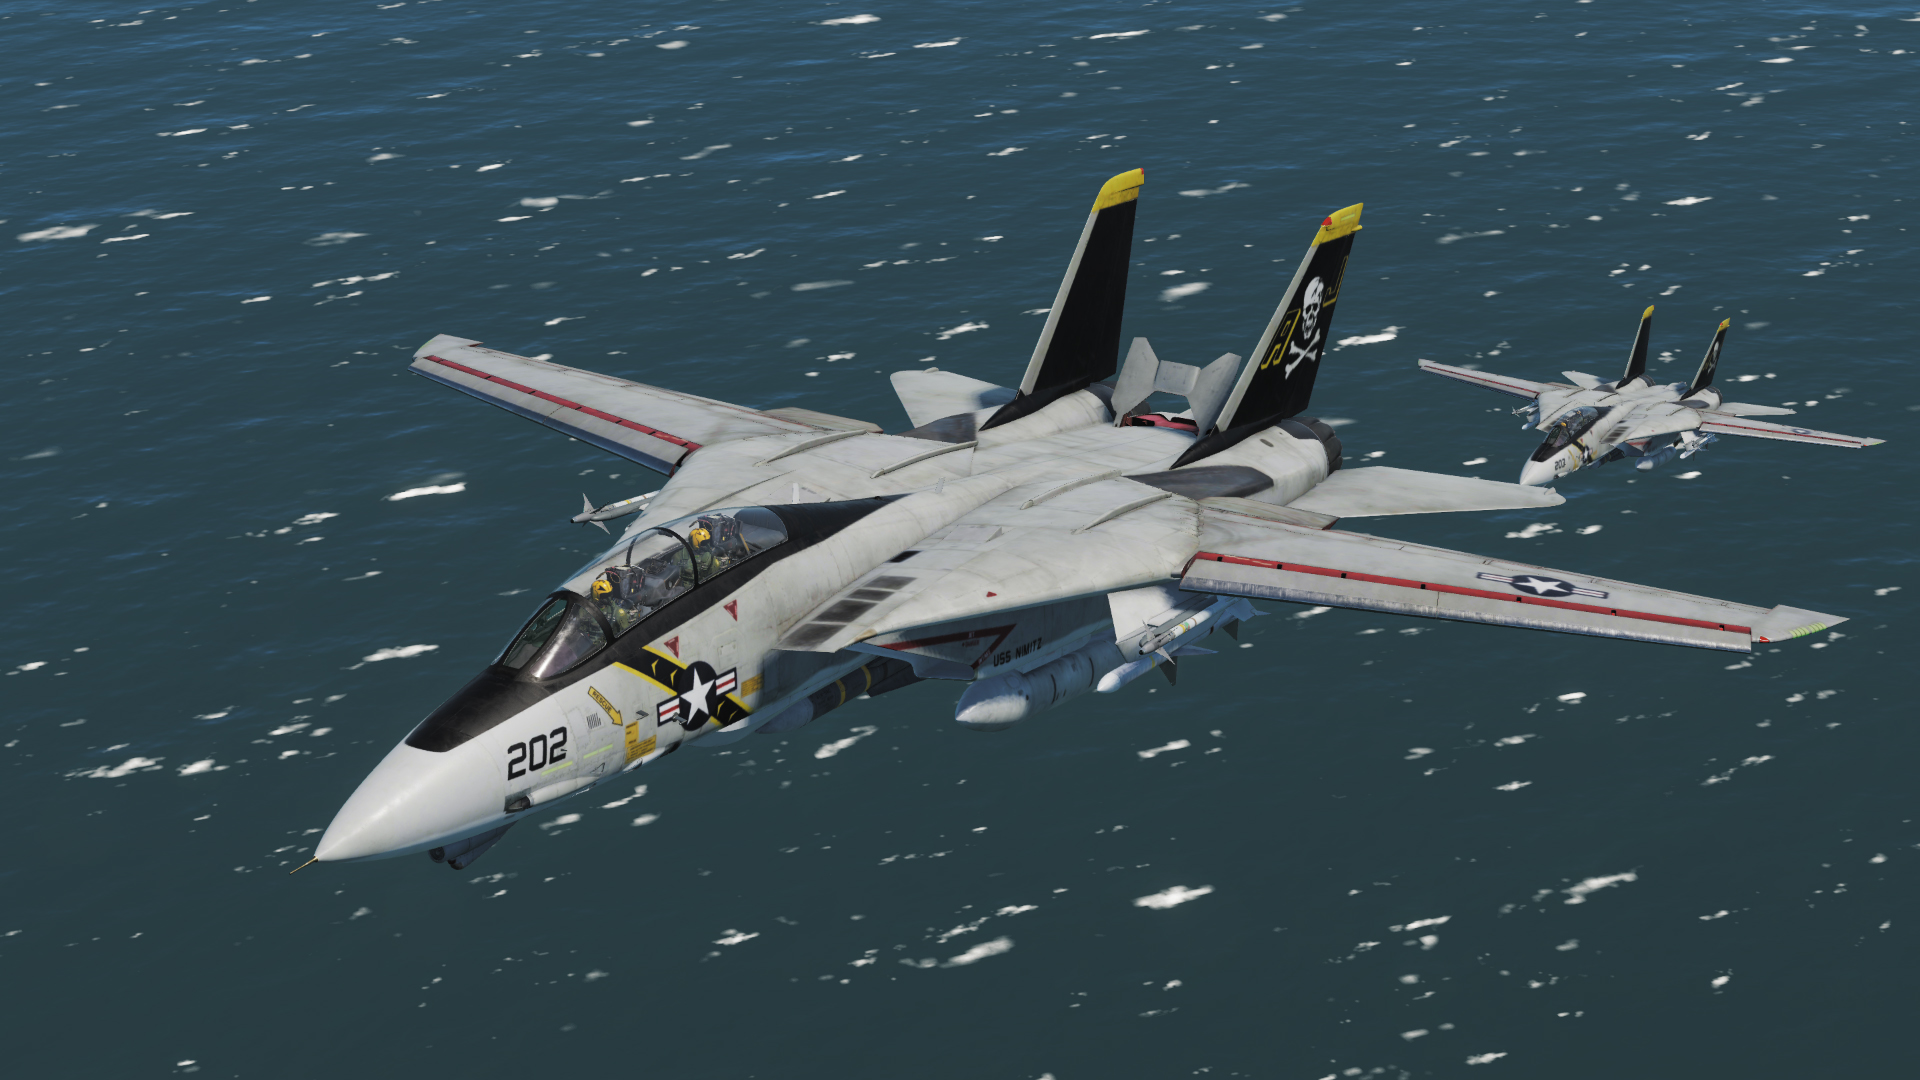
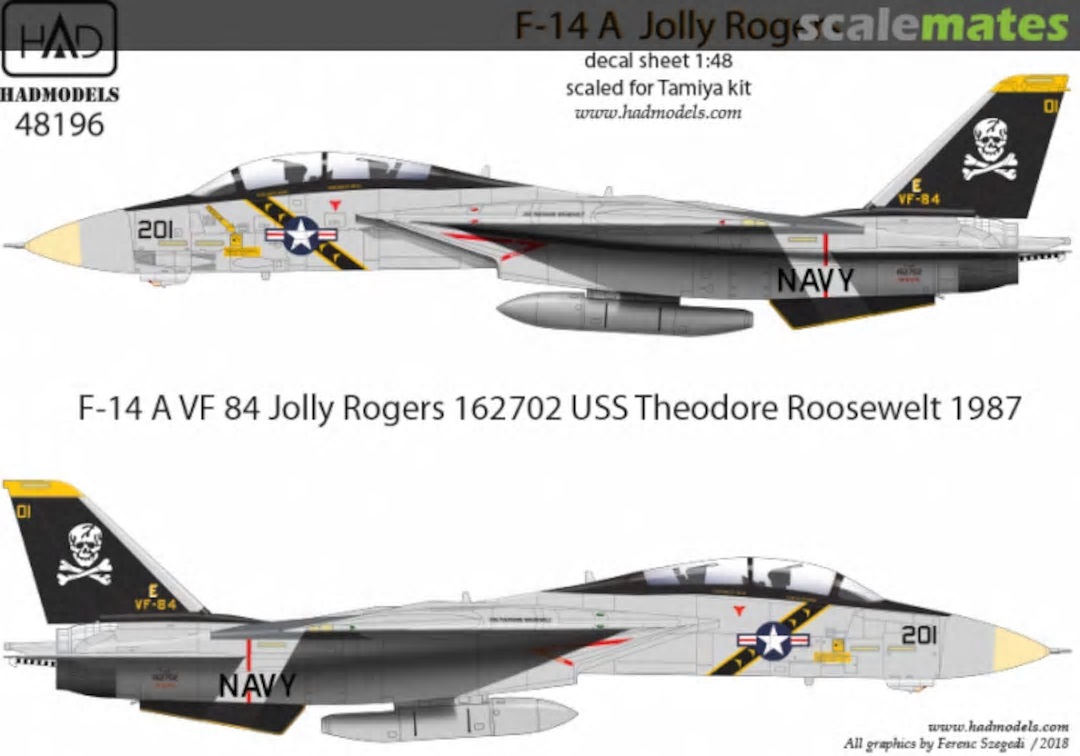
The US airforce had an aircraft squadron who’s insignia was the jolly roger or skull and crossbones. This started with a squardon back in World War 2. In the 1980 and 1990, the insigina was used by the VF-84 squadron. They flew the F-14 Tomcat.
Over the years the squadron paint scheme has changed colours. Sometime in the mid- 1980s, they switch to a low profile paint scheme; that is the aircraft where painted a uniform light grey and no other visible colours. Apparently that was not popular with the air crews and so they switch back to the more iconic look.
The classic paint scheme is a grey aircraft, control surfaces painted a lighter grey, black rudder with a yellow stripe, black around the cockpit. The late 1980’s saw the nose cone get a light yellow coating, and a red strip along the wing.
I had painted a 28mm Dakajet with similar colours, but that was before I did some research. Working from memory is not advised. The plan was to do a paint some Aeronautica Imperialis Dakajets using a similar paint scheme not to different to the 28mm model and the VF-84 squardon.
Points of interest that may be copied from the VF-84 squadron: the black rudders with yellow stripe, some white insignia on the rudder, black around the cockpit, white control surfaces on the wings, yellow nose, and some where a bit of red.
Below are some reference pictures and a reference to the Vallejo paints.