Fus Ro Dah
Recommendations: 164
About the Project
This will be a project log of my journey working on the elder scrolls call to arms miniature game by Modiphius.
Related Game: The Elder Scrolls: Call To Arms
Related Company: Modiphius Entertainment
Related Genre: Fantasy
This Project is Active
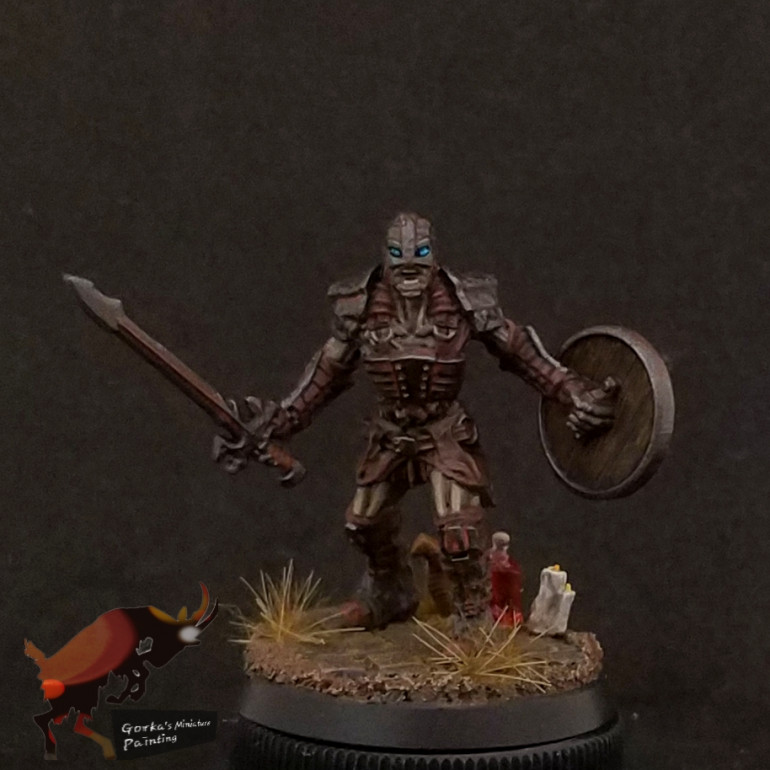
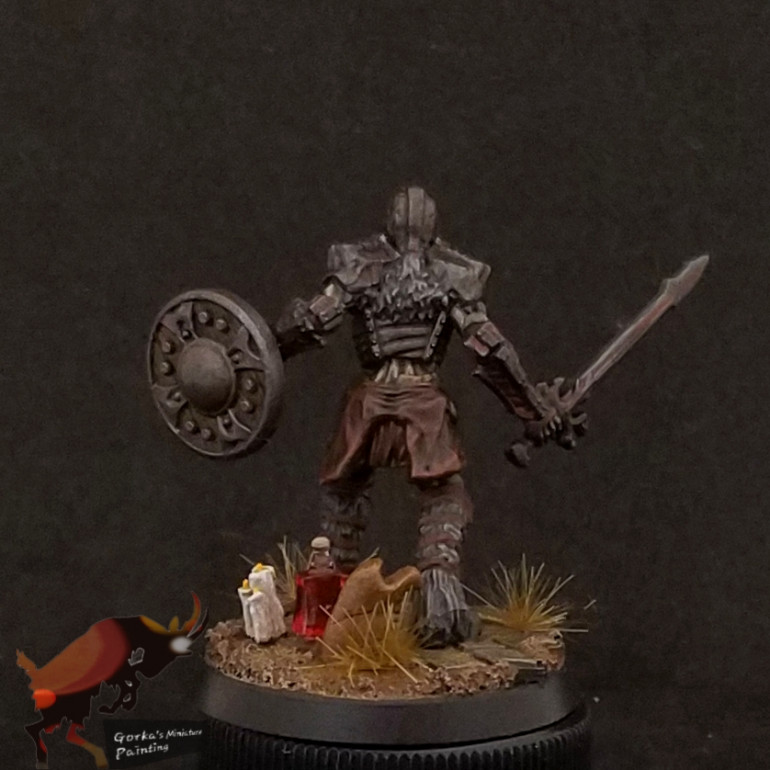
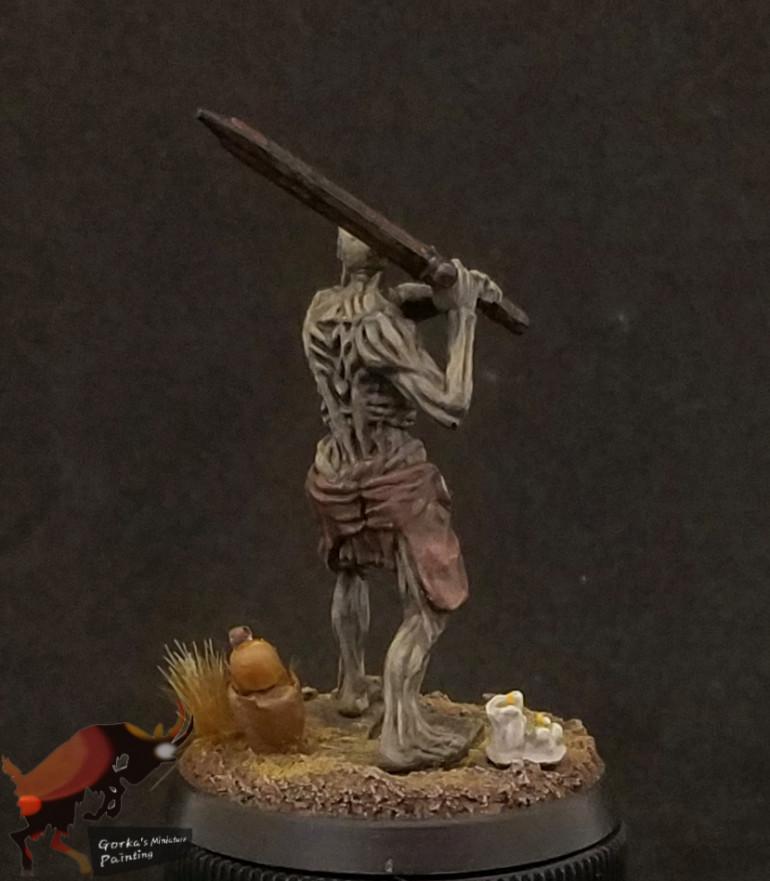
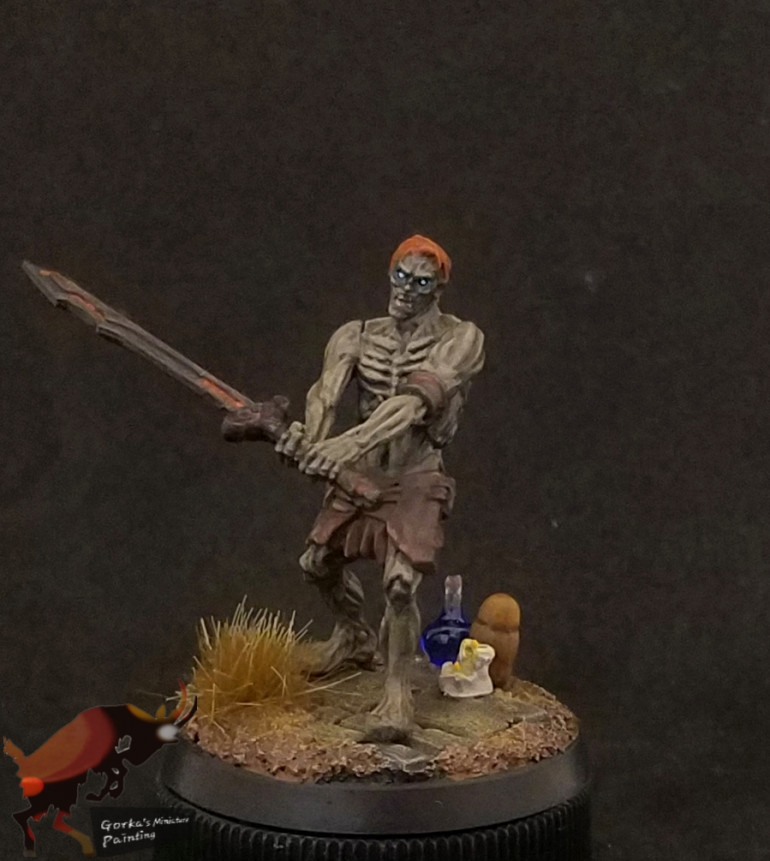
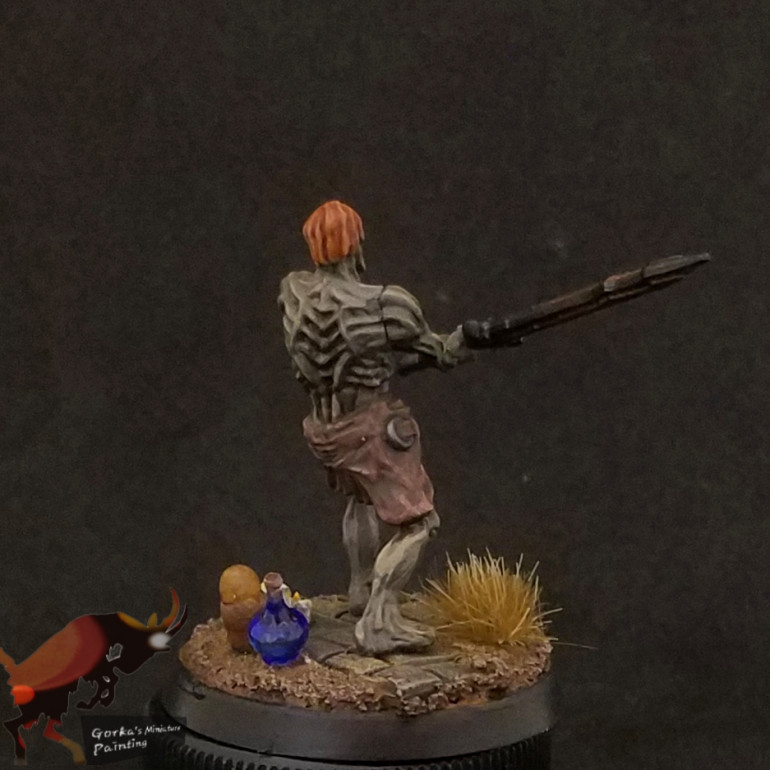
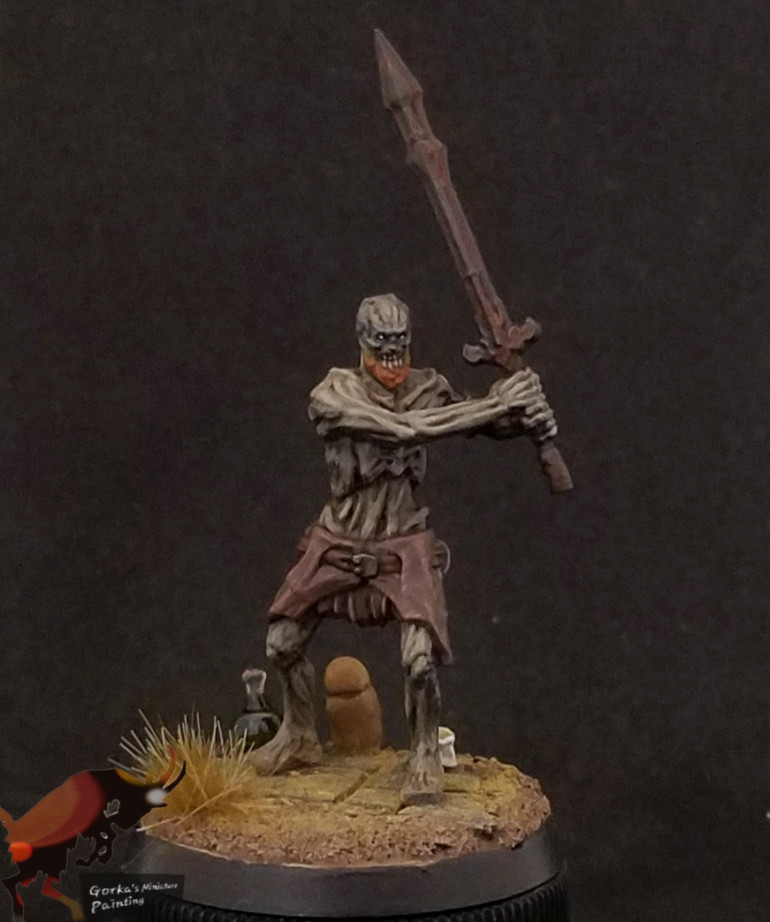
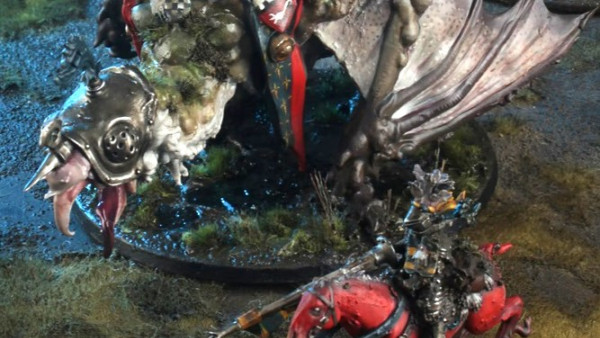
Draugr Overlord
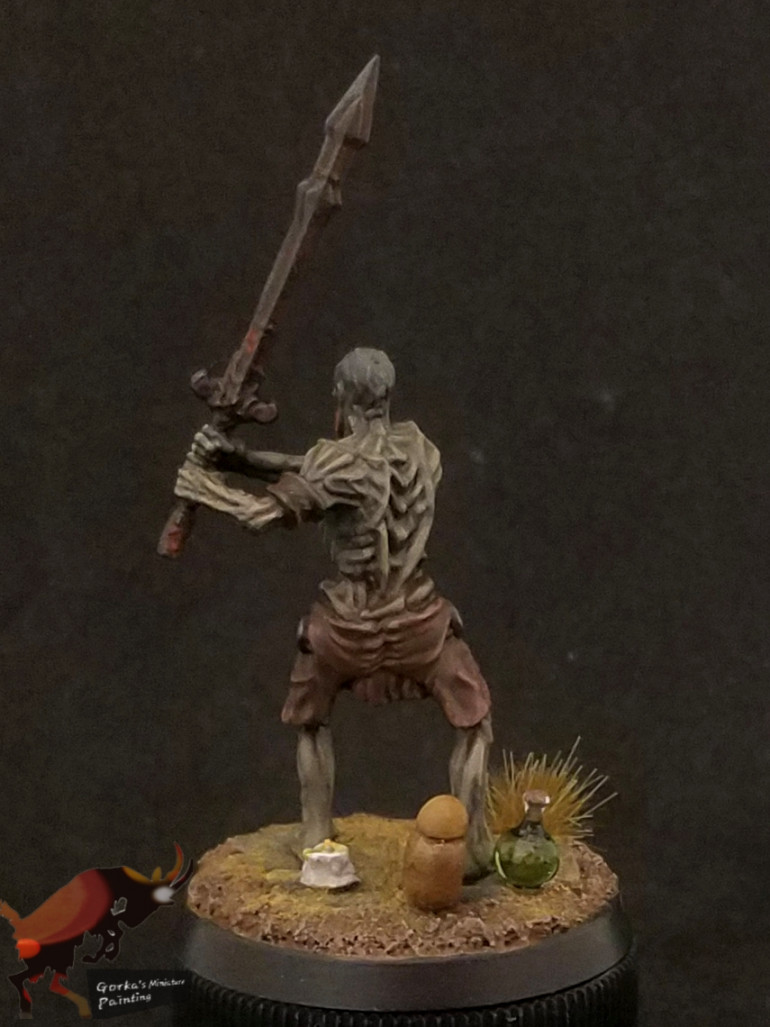
My finished draugr overlord. Still went with the potions on the base. Next up will be the dragonborn and that will make 2 of the 3 current boxes complete.
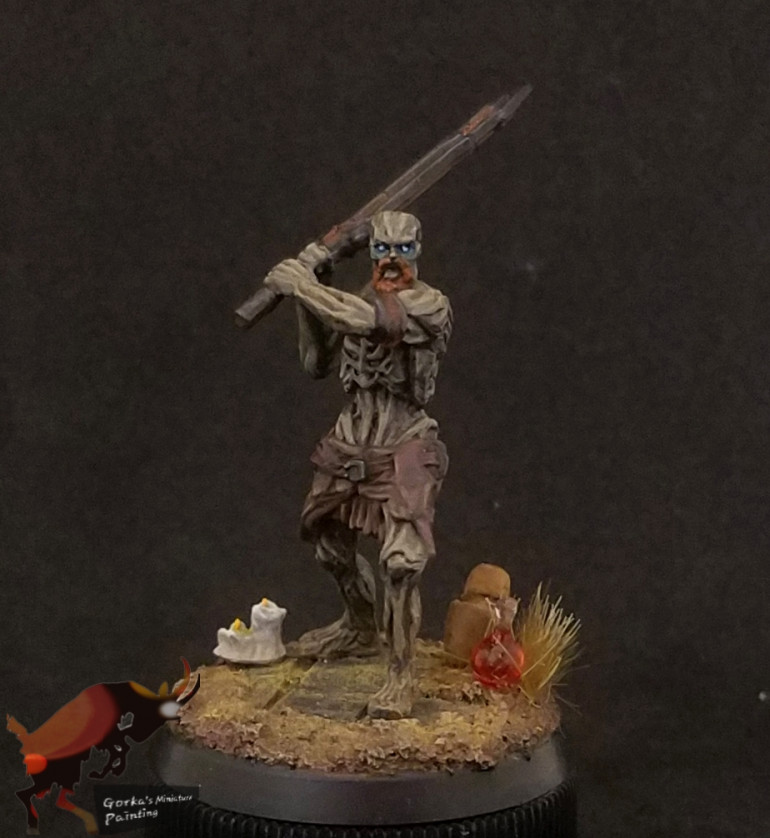
Draugr
So after a little break im back with more elder scrolls stuff. This time with the draugr. I went with potions and burial urns on the bases instead of alchemical ingredients. Thought it would fit the models better.
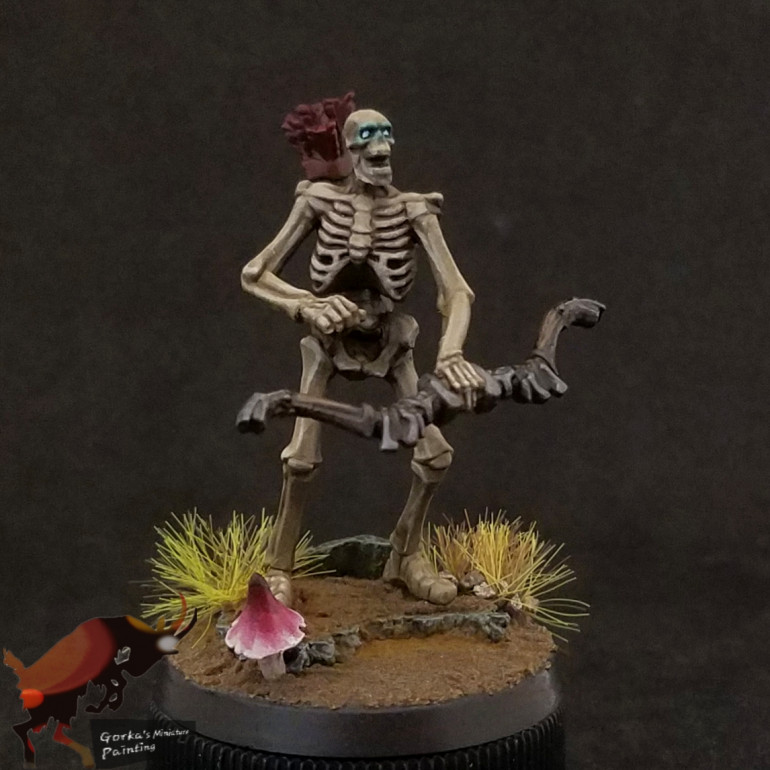
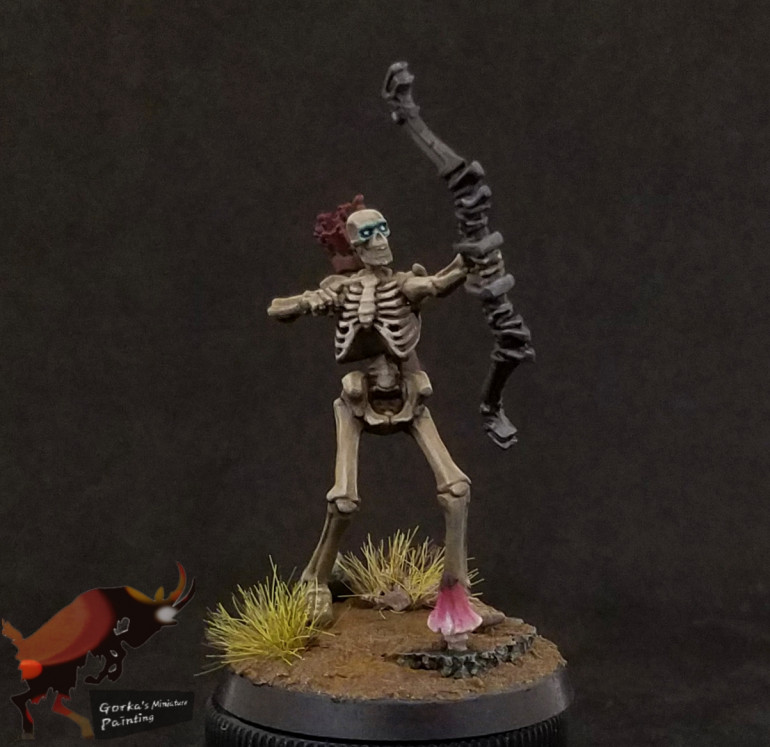
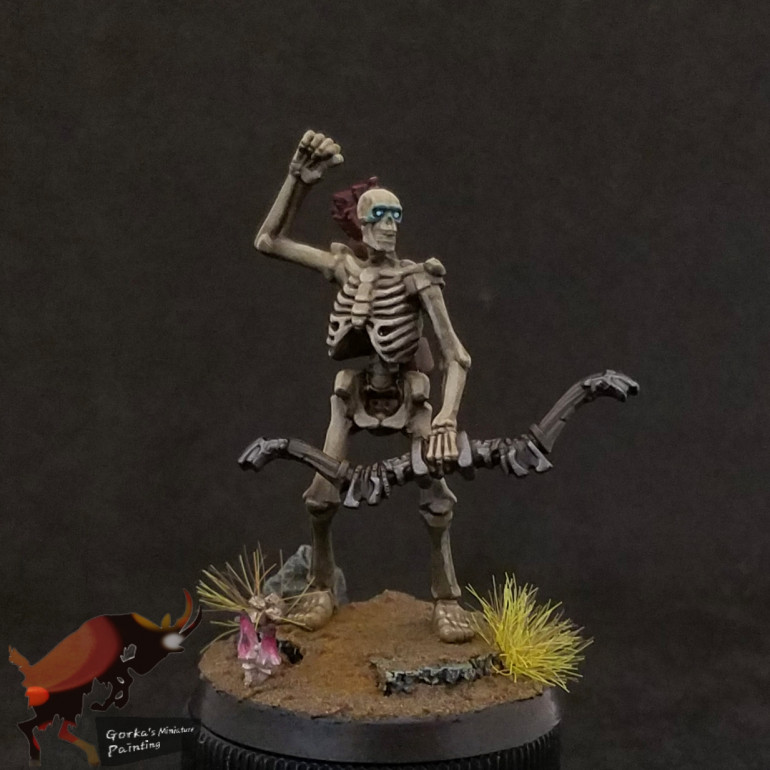
Skeletons
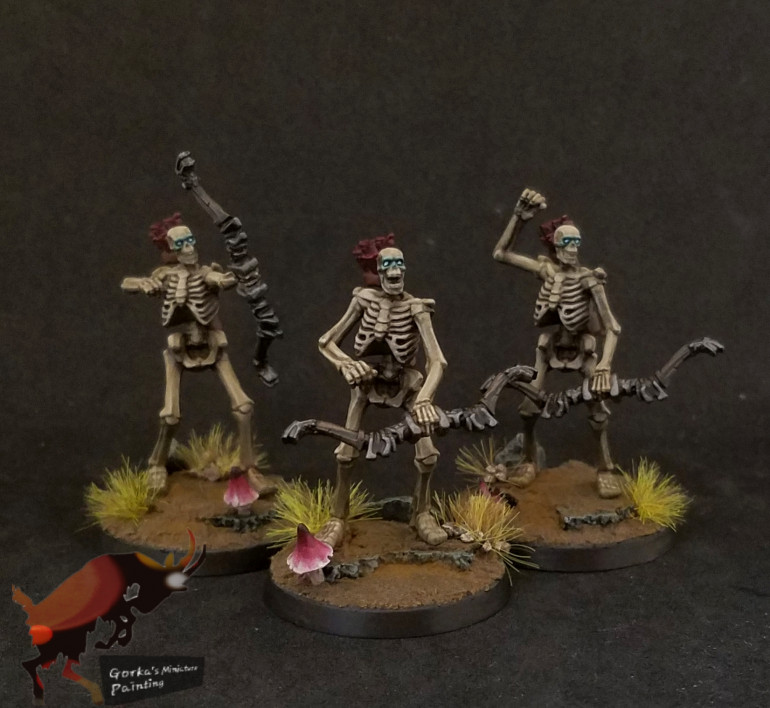
So I decided to start the Bleak Falls box. The first thing up is the skeletons. I didn’t want to go to crazy with them. Just some quick airbrushing, a wash and final highlight. I also decided to add some bleeding crowns to the bases. Im going to try and keep with the theme of one alchemical ingredient on each base.
Yrsarald thrice-pierced
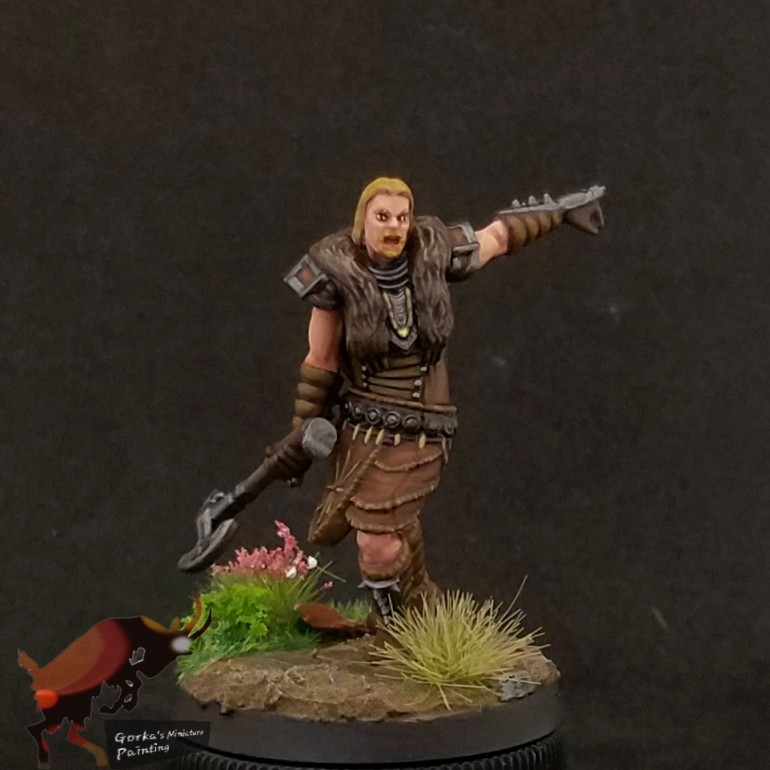
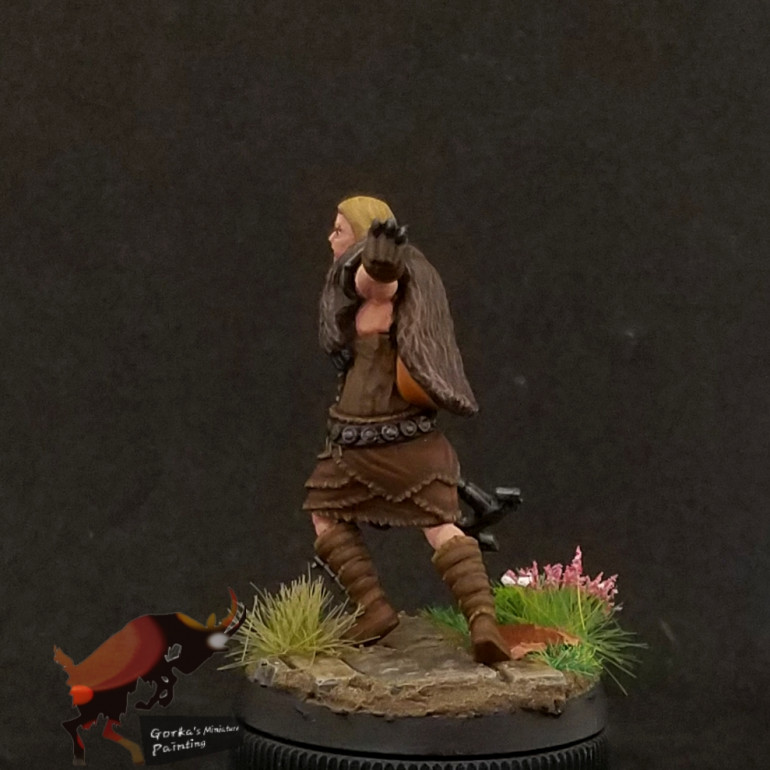
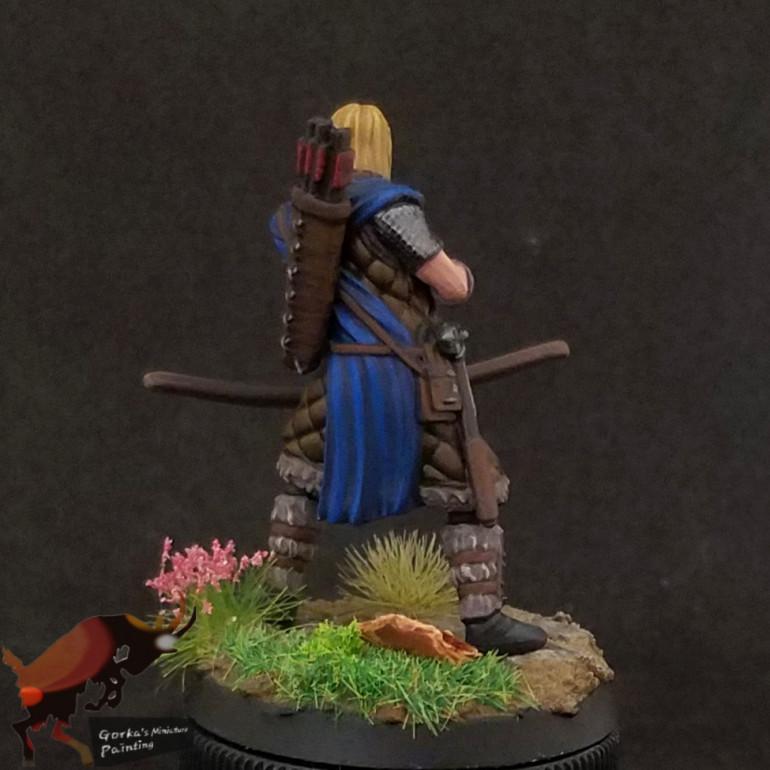
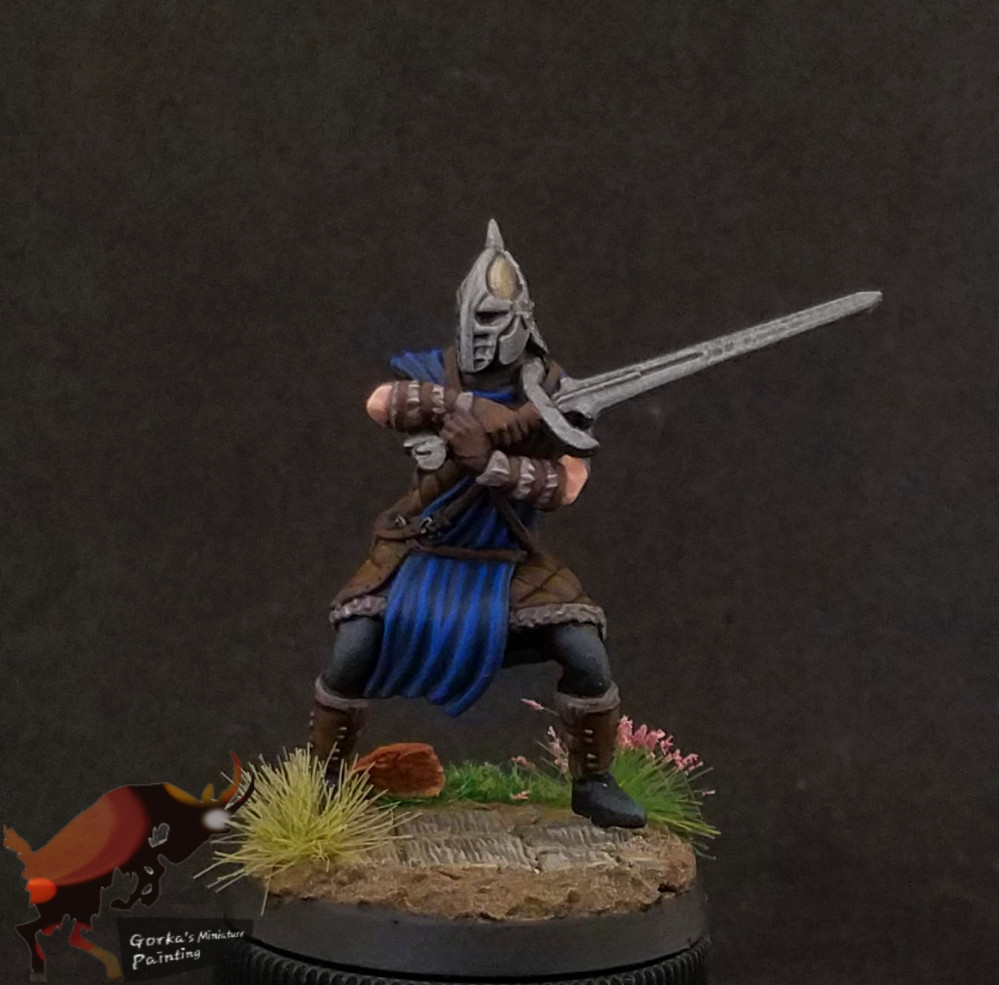
Yrsarald thrice-pierced is the next model finished. And with that all the stormcloaks that are currently released are painted. I think I will be moving on to the Bleak Falls box next.
Ralof
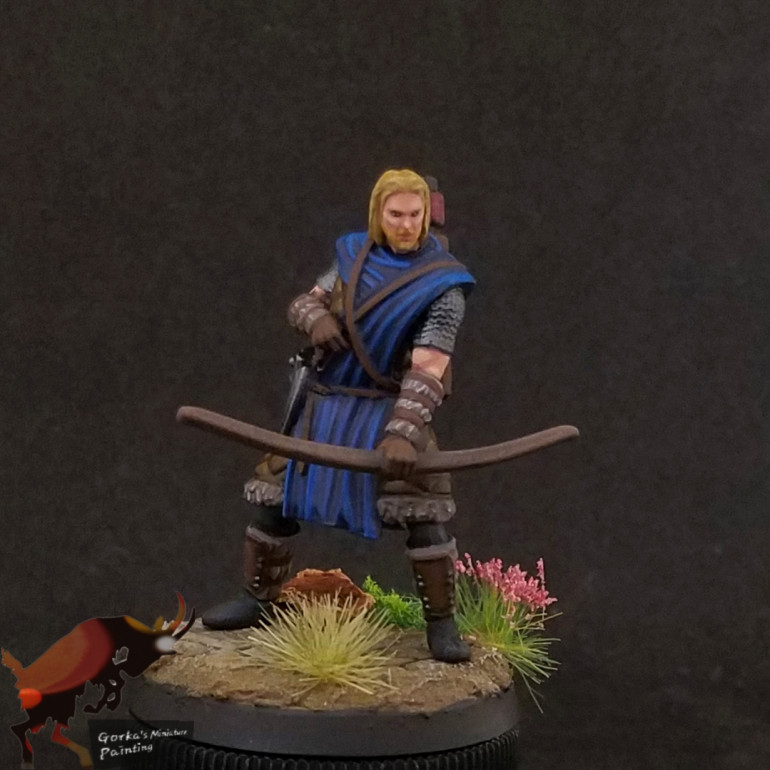
Ralof is the first hero character finished. Yrsarald thrice-pierced is next.
Padded armor
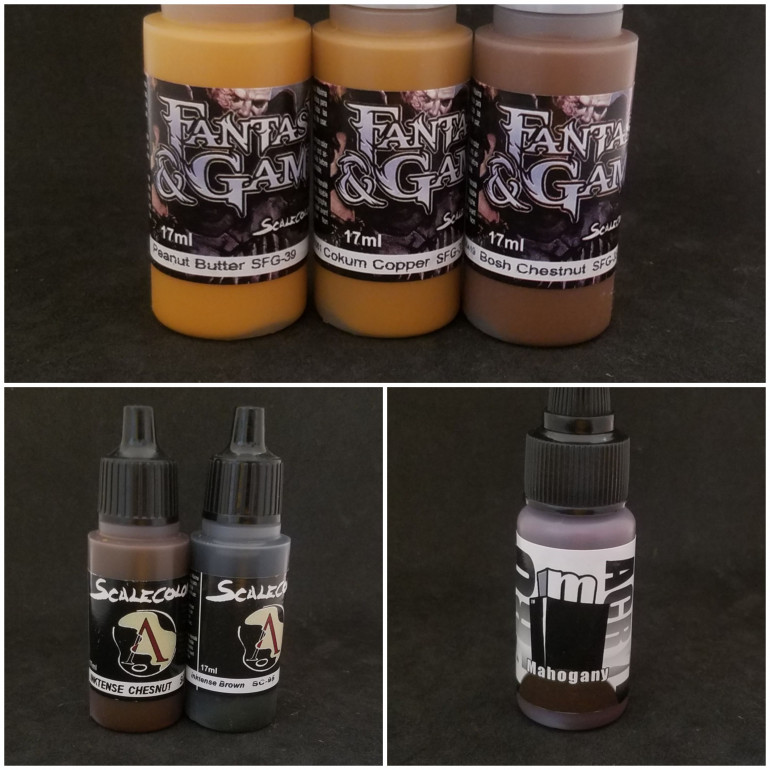
I didn’t take pictures while I was working on the pieces so hopefully this works out. If it does I will refine it more. If not I will try to remember to take pictures while im painting. These are the paints I used
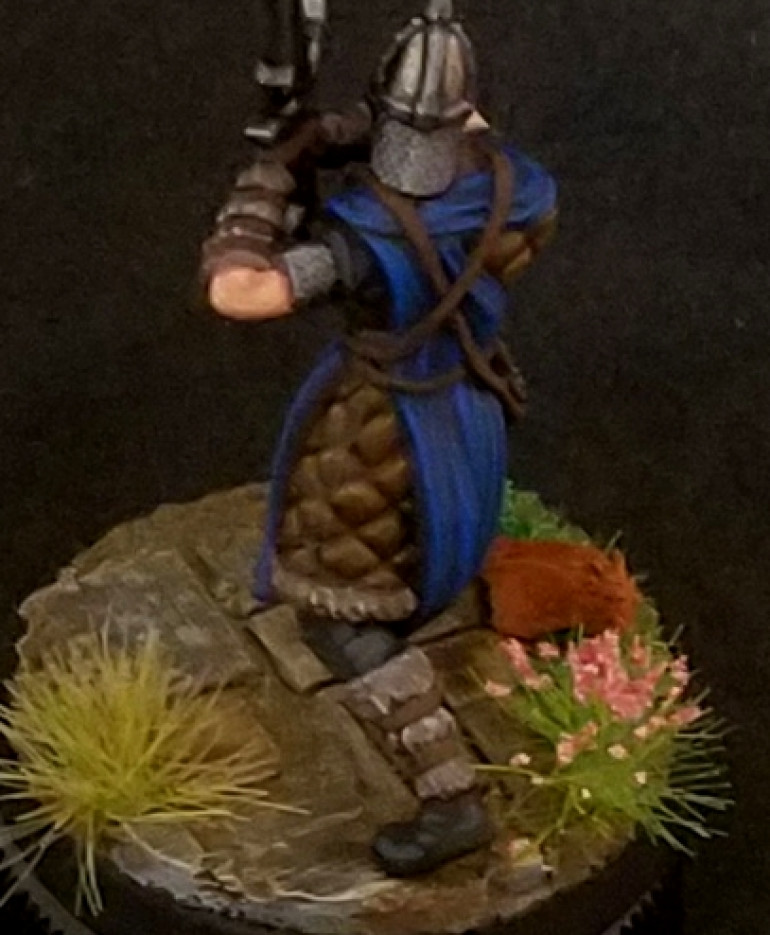 Next I put a layer of bosh chestnut on the center of each pad. Basically you don't want to get this in the valleys between each bump of padding.
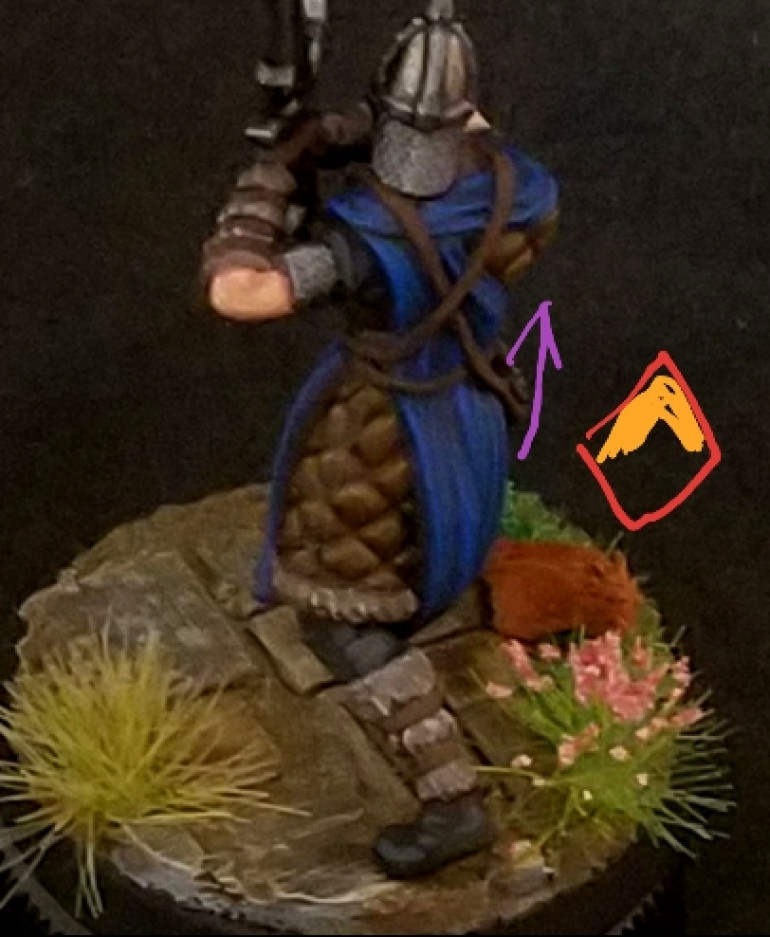 Next I applied a thin layer of cokum copper on the upper side of each diamond. I did this buy pushing the paint in a upward direction toward the top point. Its important to only have you brush strokes going in the same upward direction as it will help ease the transition.
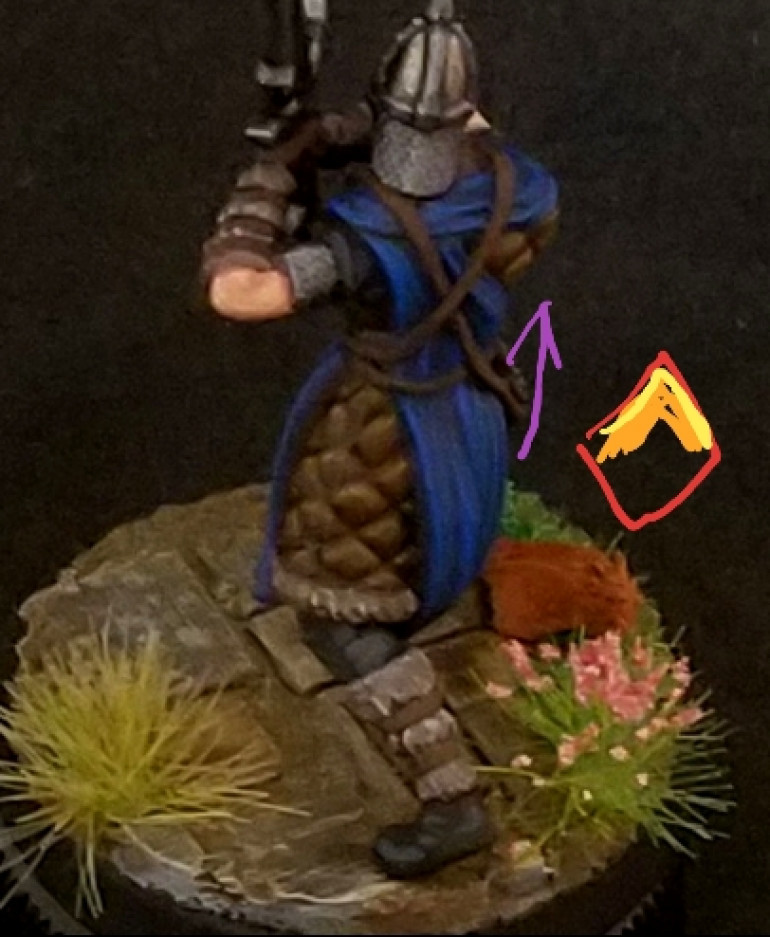 Next using peanut butter I did a highlight in the upper corner. Represented by the yellow line in the drawing on the side. Again keep your brush strokes going towards the point
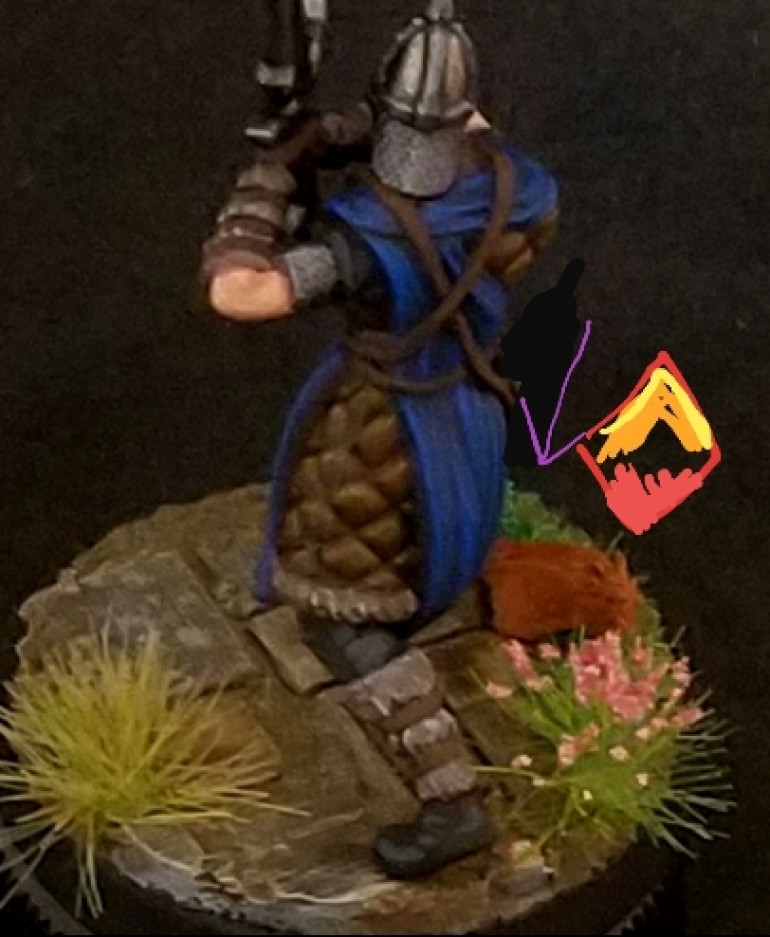 Next use bosh chestnut in a glaze like consistency and start from the base of the cohum copper transition in a downward stroke. This will help easy the transition and strengthen the original coat of chestnut.
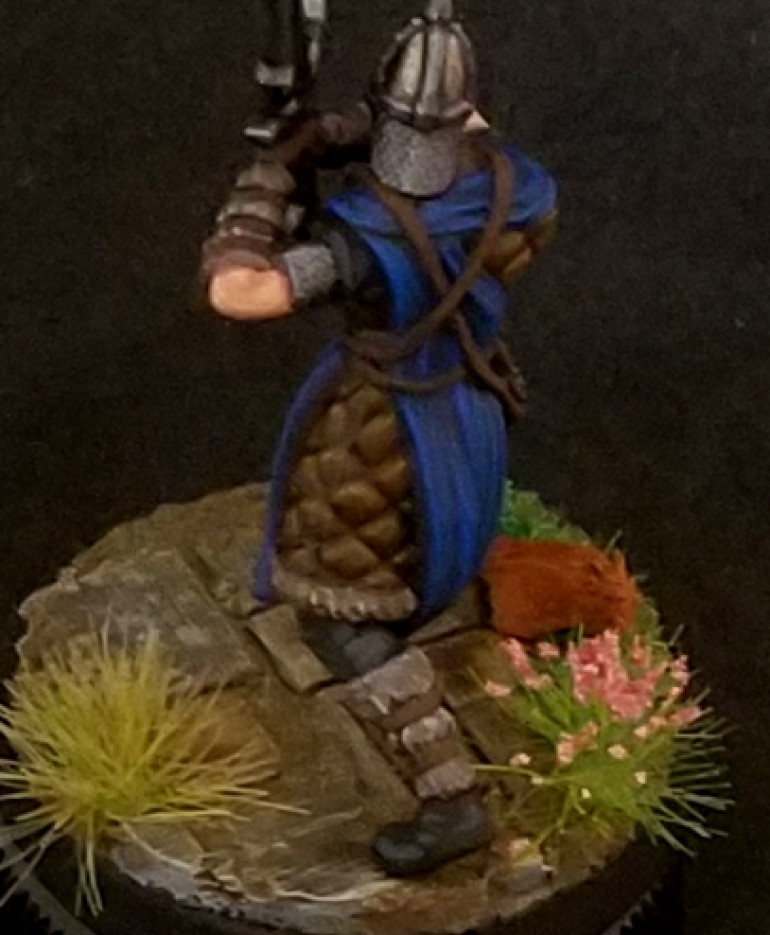
Once that is dry apply a glaze of chestnut ink. This was done over the entire surface of the padded armor. Even the valley areas. It is very important that you dont let this pool. Think of it as clear plastic wrap covering a bowl or dish. After the glaze dries I applied a dark/black line with brown ink. Think of this as a highlight but with a dark color in the recessed areas. This was done in the valley areas. And with that done you should have something like this.
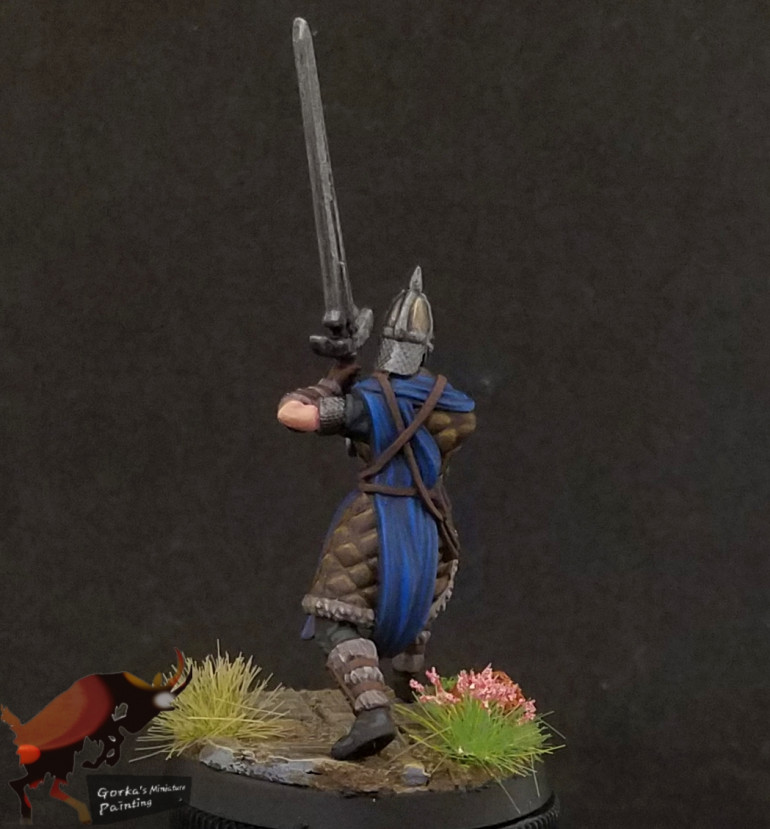
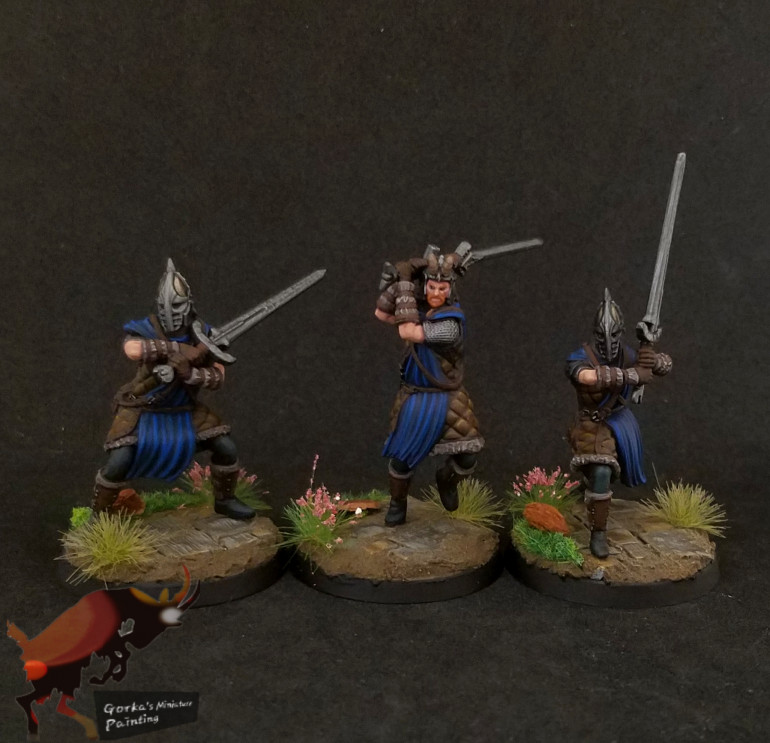
Stormcloak soldiers
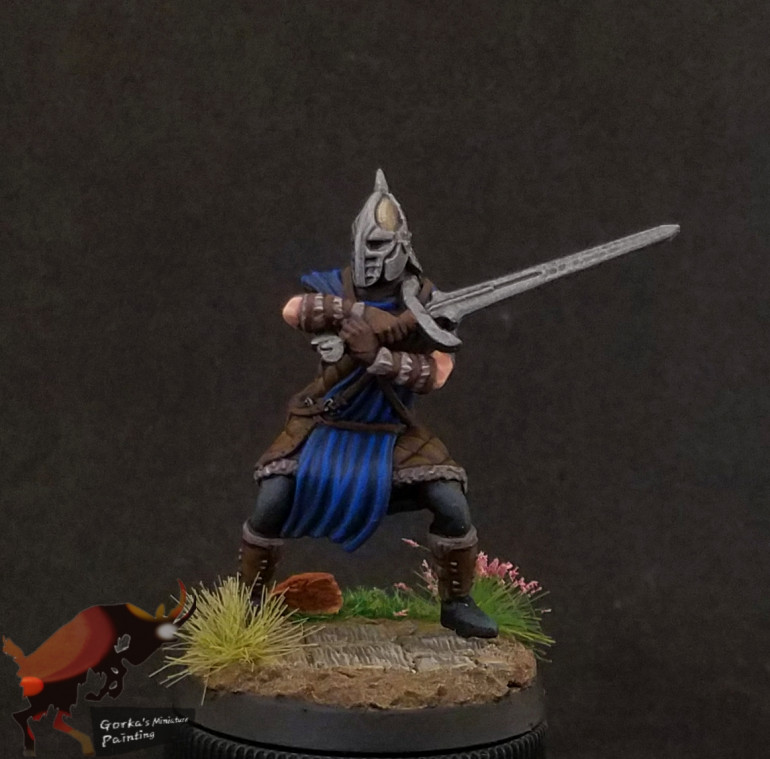
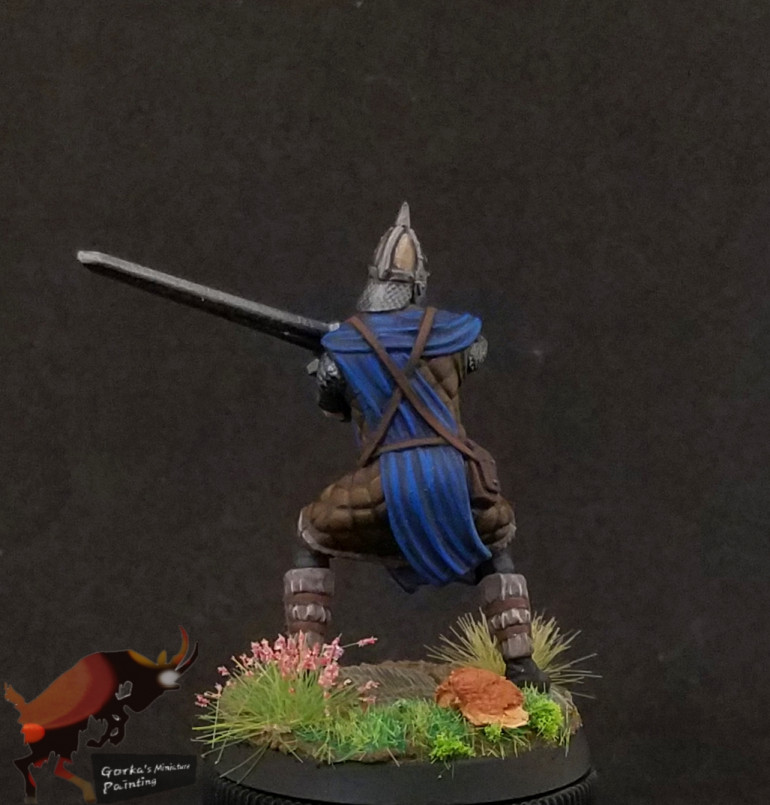
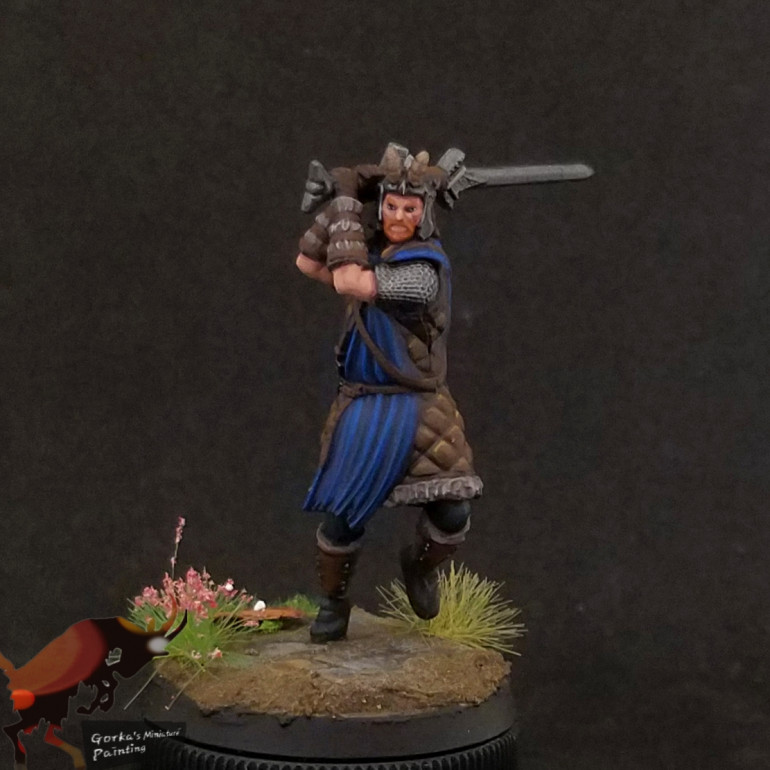
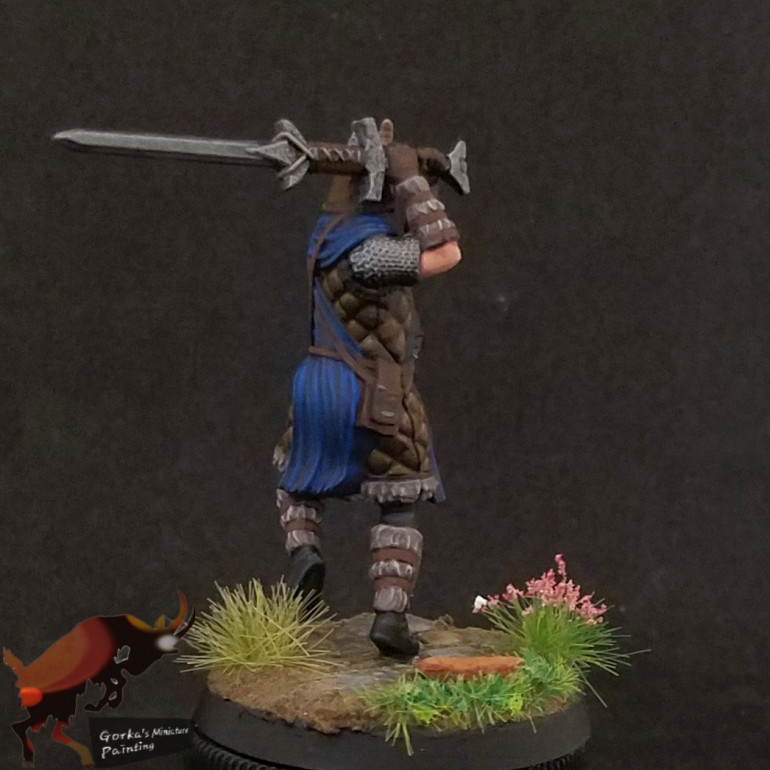
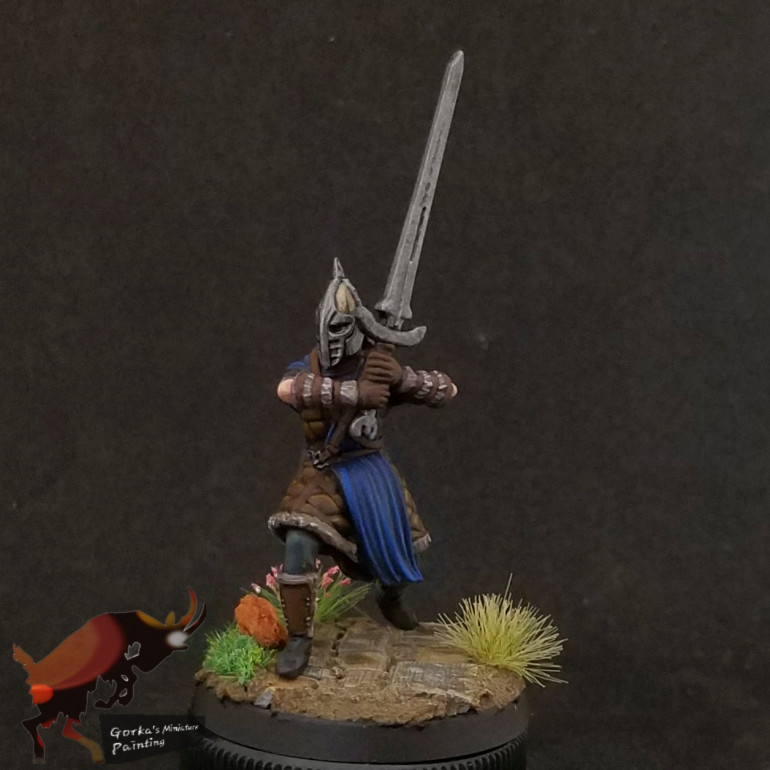
I figured I would start this project log with some finished pieces. I started with my stormcloaks as they were my preferred faction in the game. In the next update I will go over my technique for painting the padded armor.


