![How To Paint Moonstone’s Nanny | Goblin King Games [7 Days Early Access]](https://images.beastsofwar.com/2024/12/3CU-Gobin-King-Games-Moonstone-Shades-Nanny-coverimage-225-127.jpg)


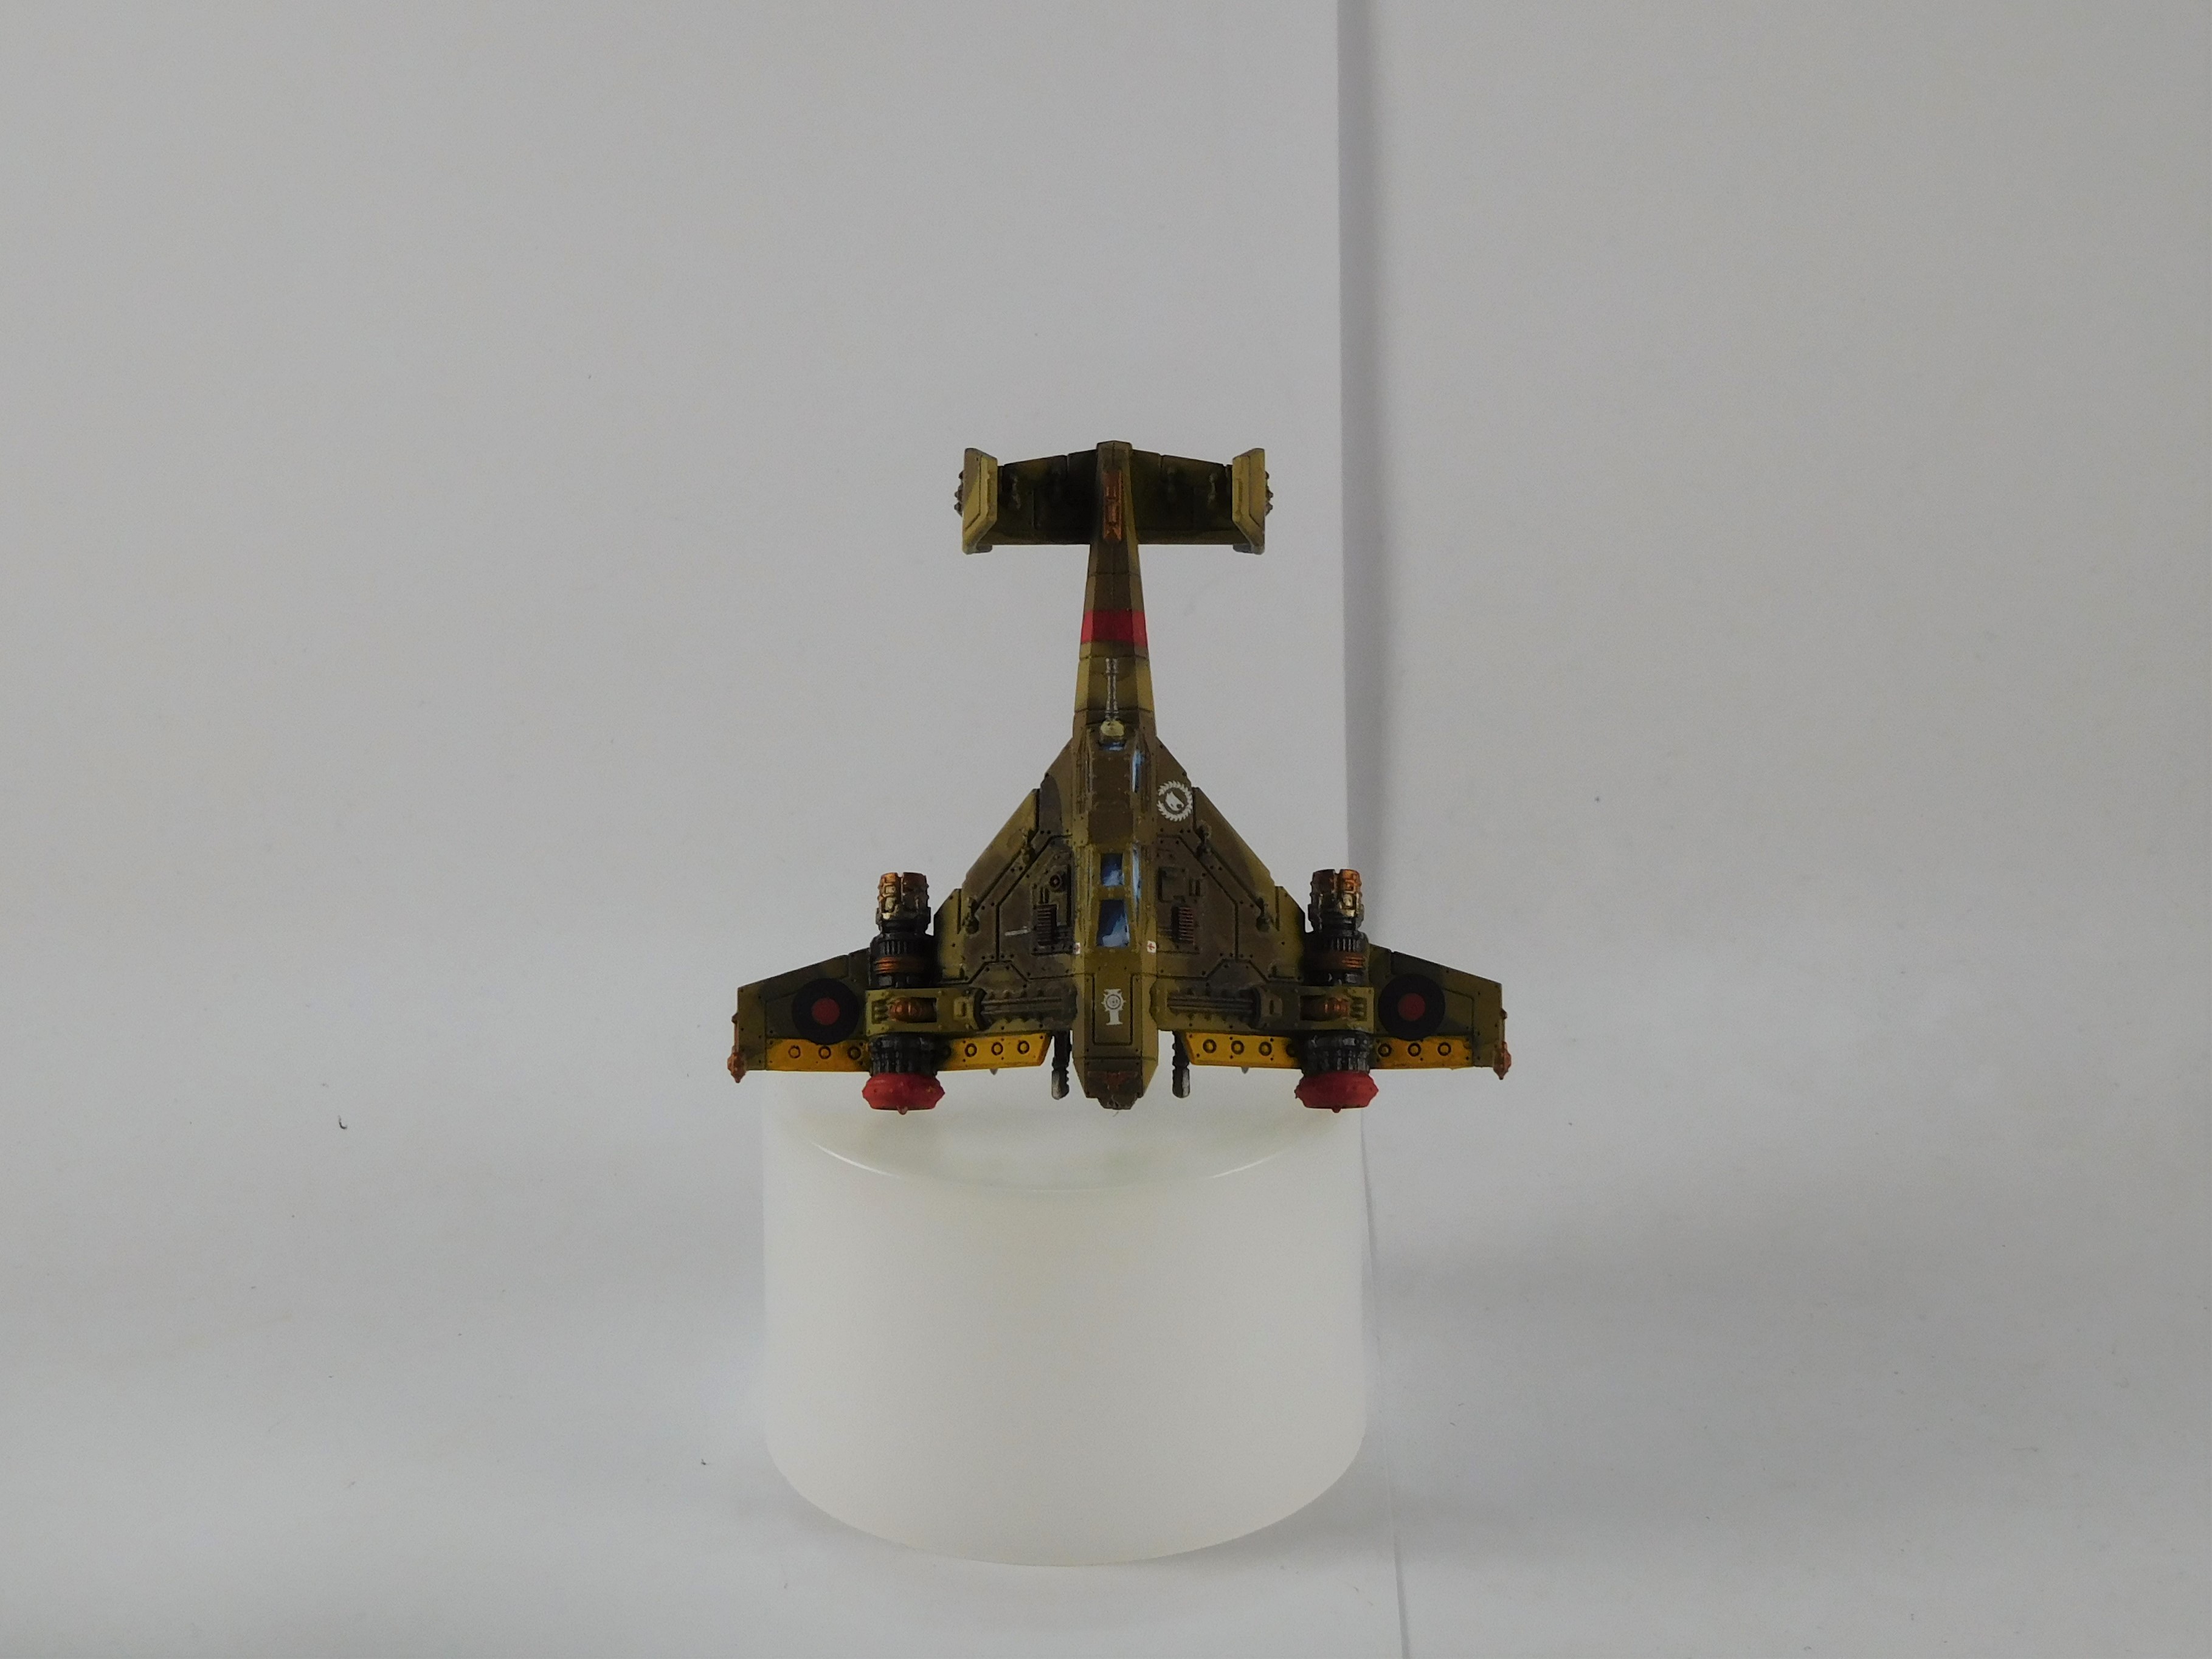
Desert Avenger Strike Fighter


Recommendations: 44
About the Project
Painting Avenger Strike Fighter for Aeronautica Imperialis.
Related Game: Aeronautica Imperialis
Related Company: Games Workshop
Related Genre: Science Fiction
This Project is Active
Part3: Finishing Steps
Painting the missiles; following the process as per previous projects.
The hellstrike missiles had the head of the missile painted a white. The body of the missiles painted green with a lighter green highlight. Lastly the nozzles where painted metallic.
The lead aircraft had skystrike missiles, which were painted white.
The models were given a coat of gloss varnish in preparation of applying decals.
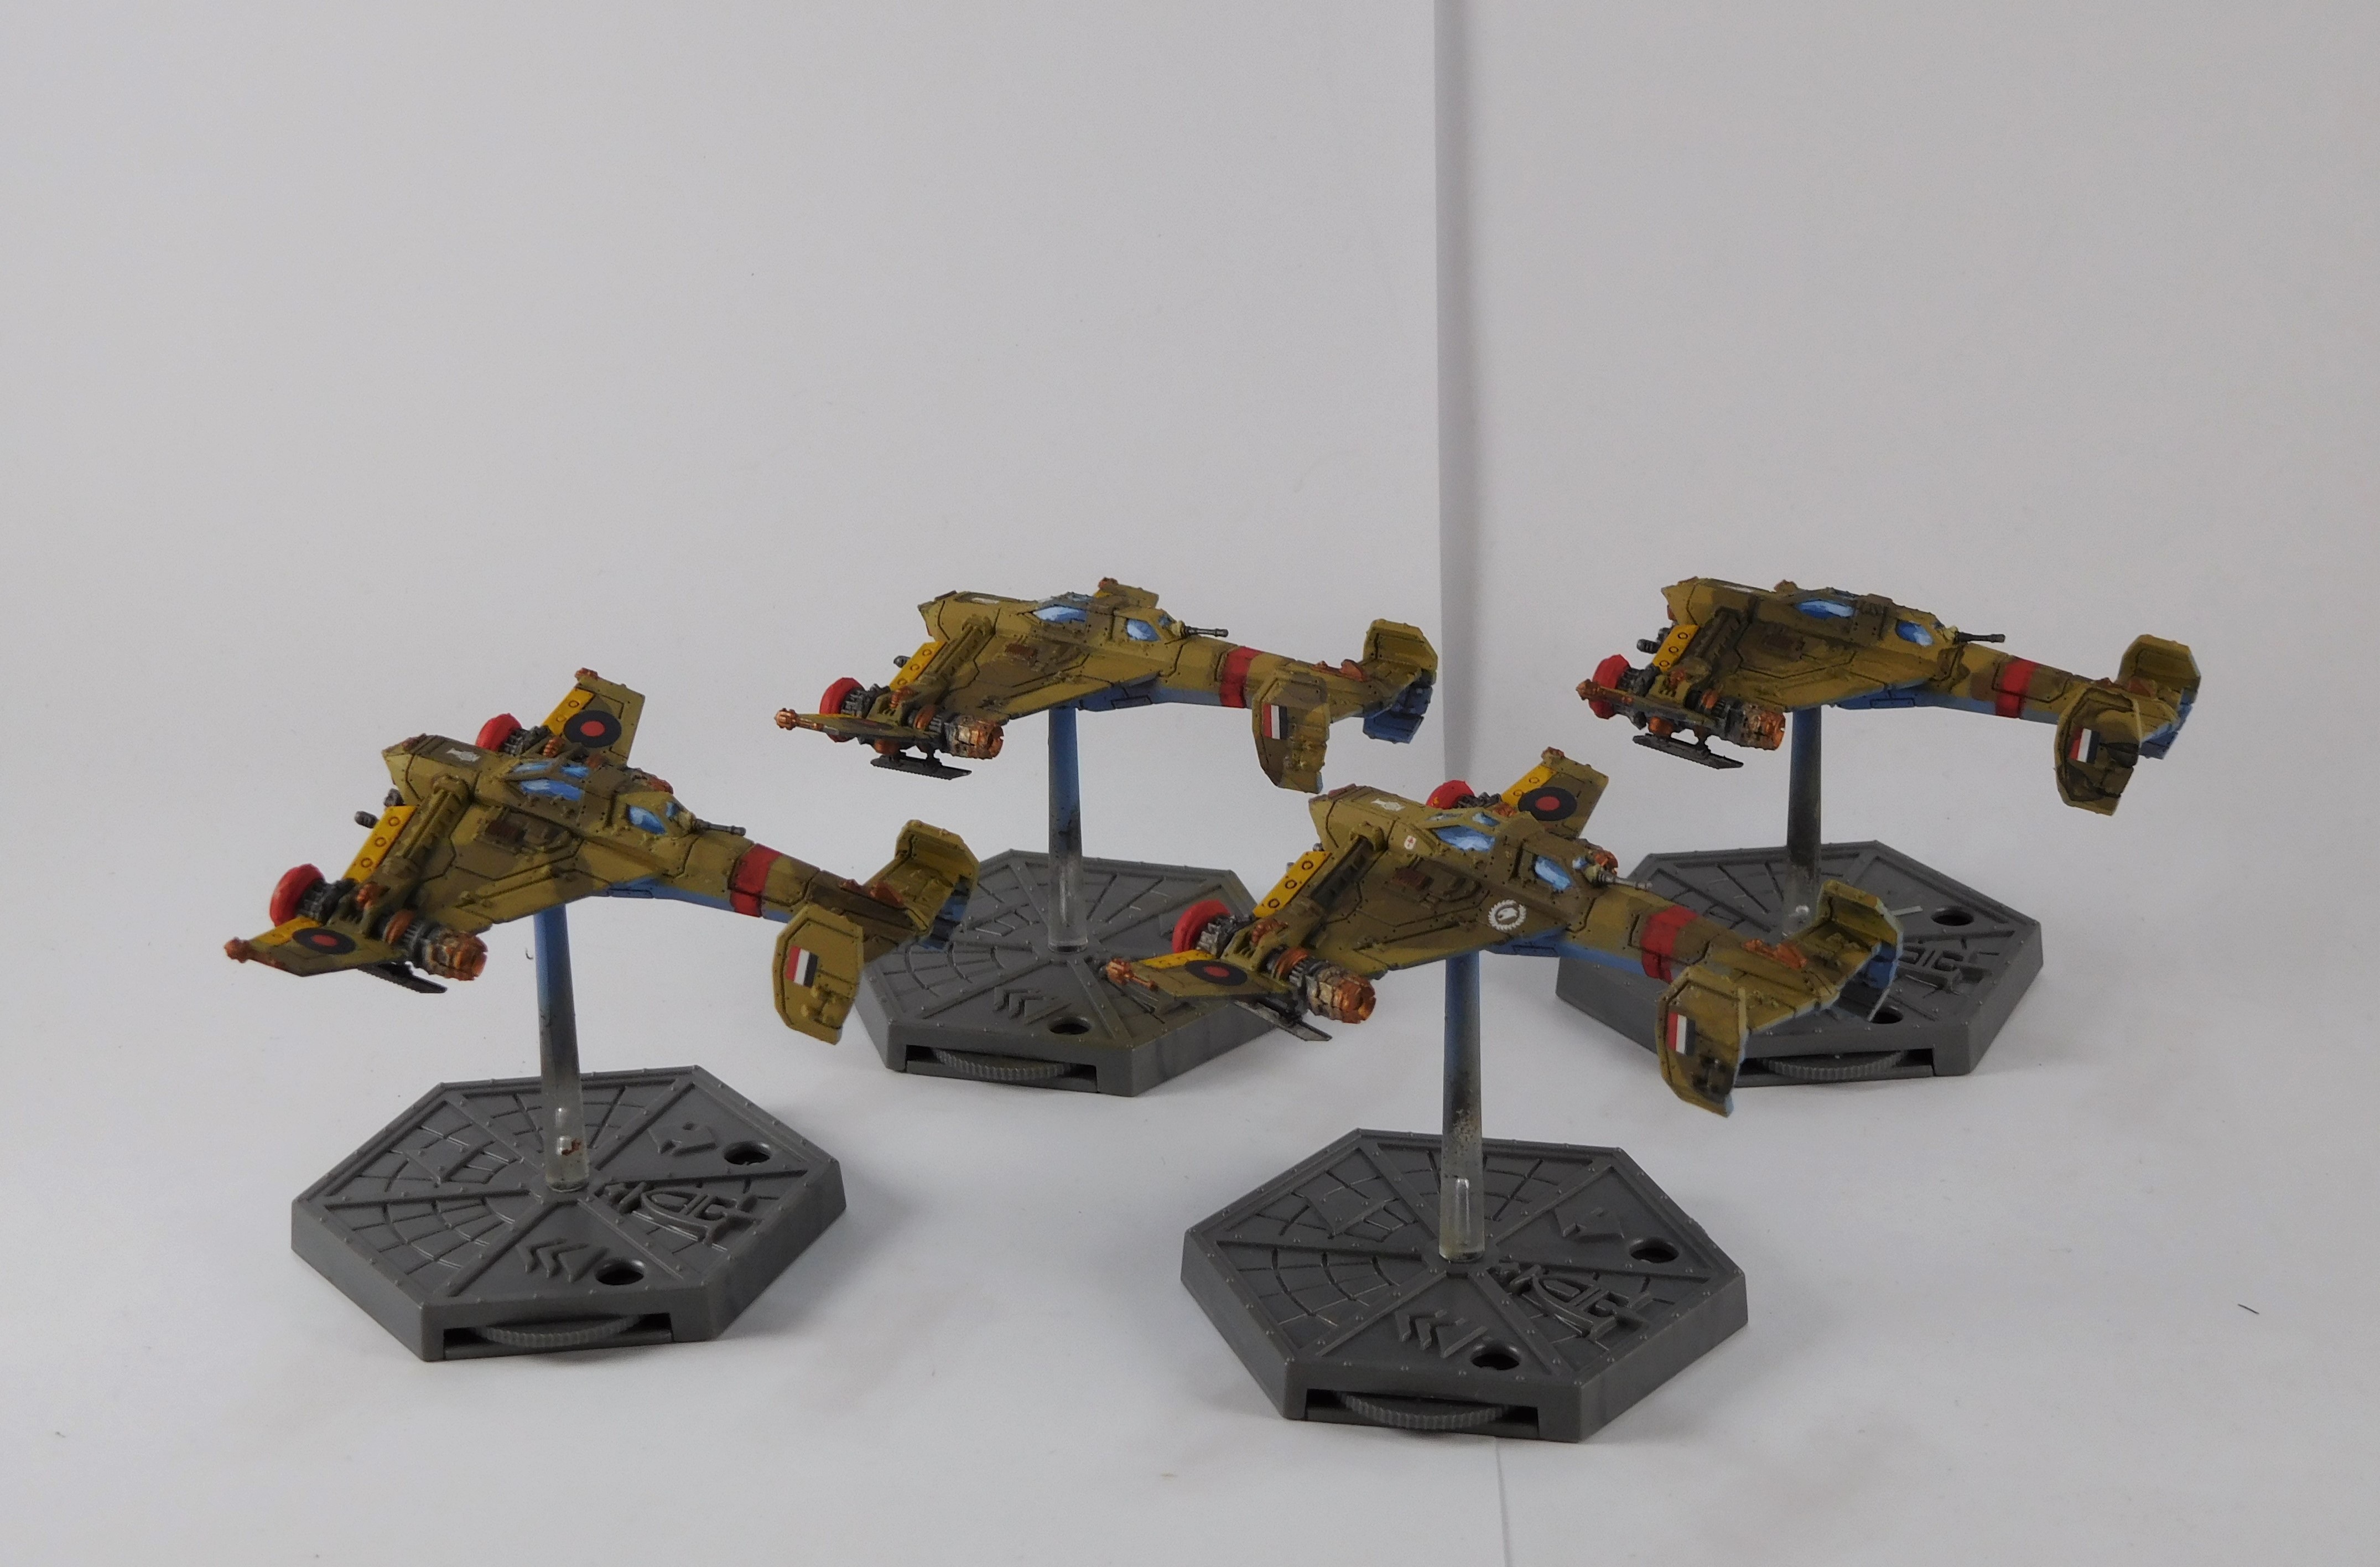
Numbers were added to each model; this was to help tell them apart. Most of the decals were from Warlord Games’ Blood Red Skies.
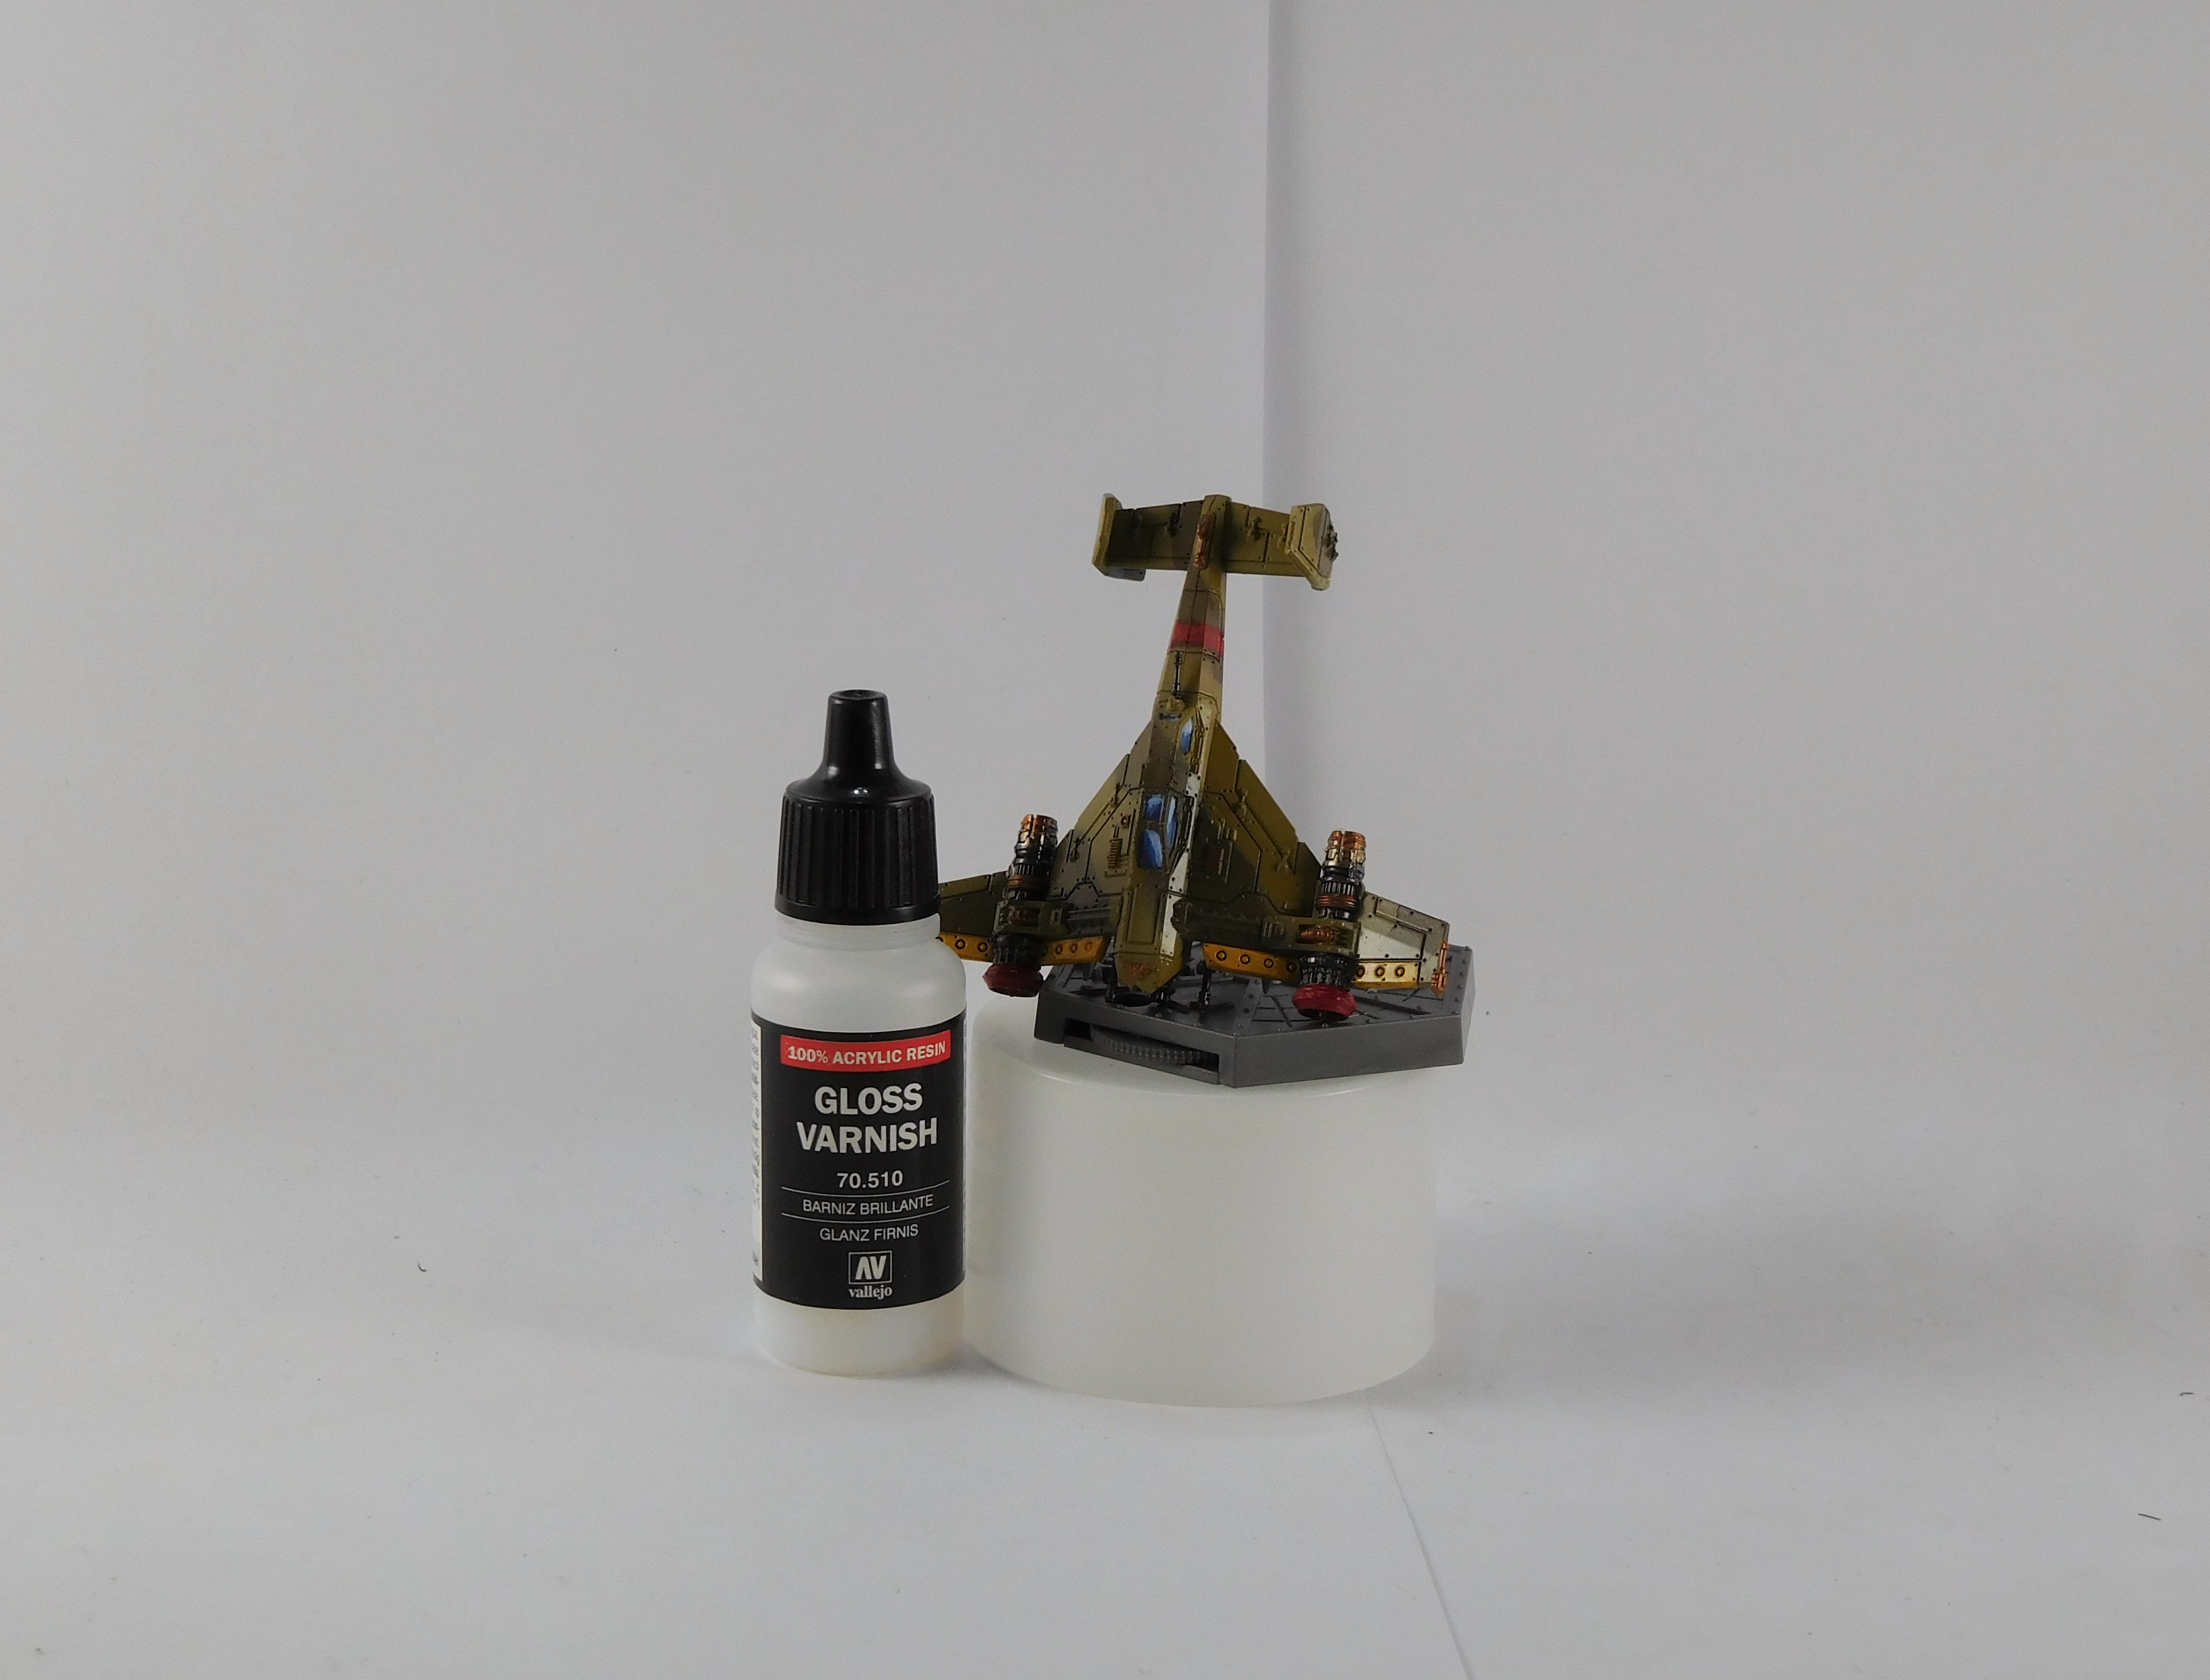

A second coat of gloss varnish was used to seal the decals (no picture).
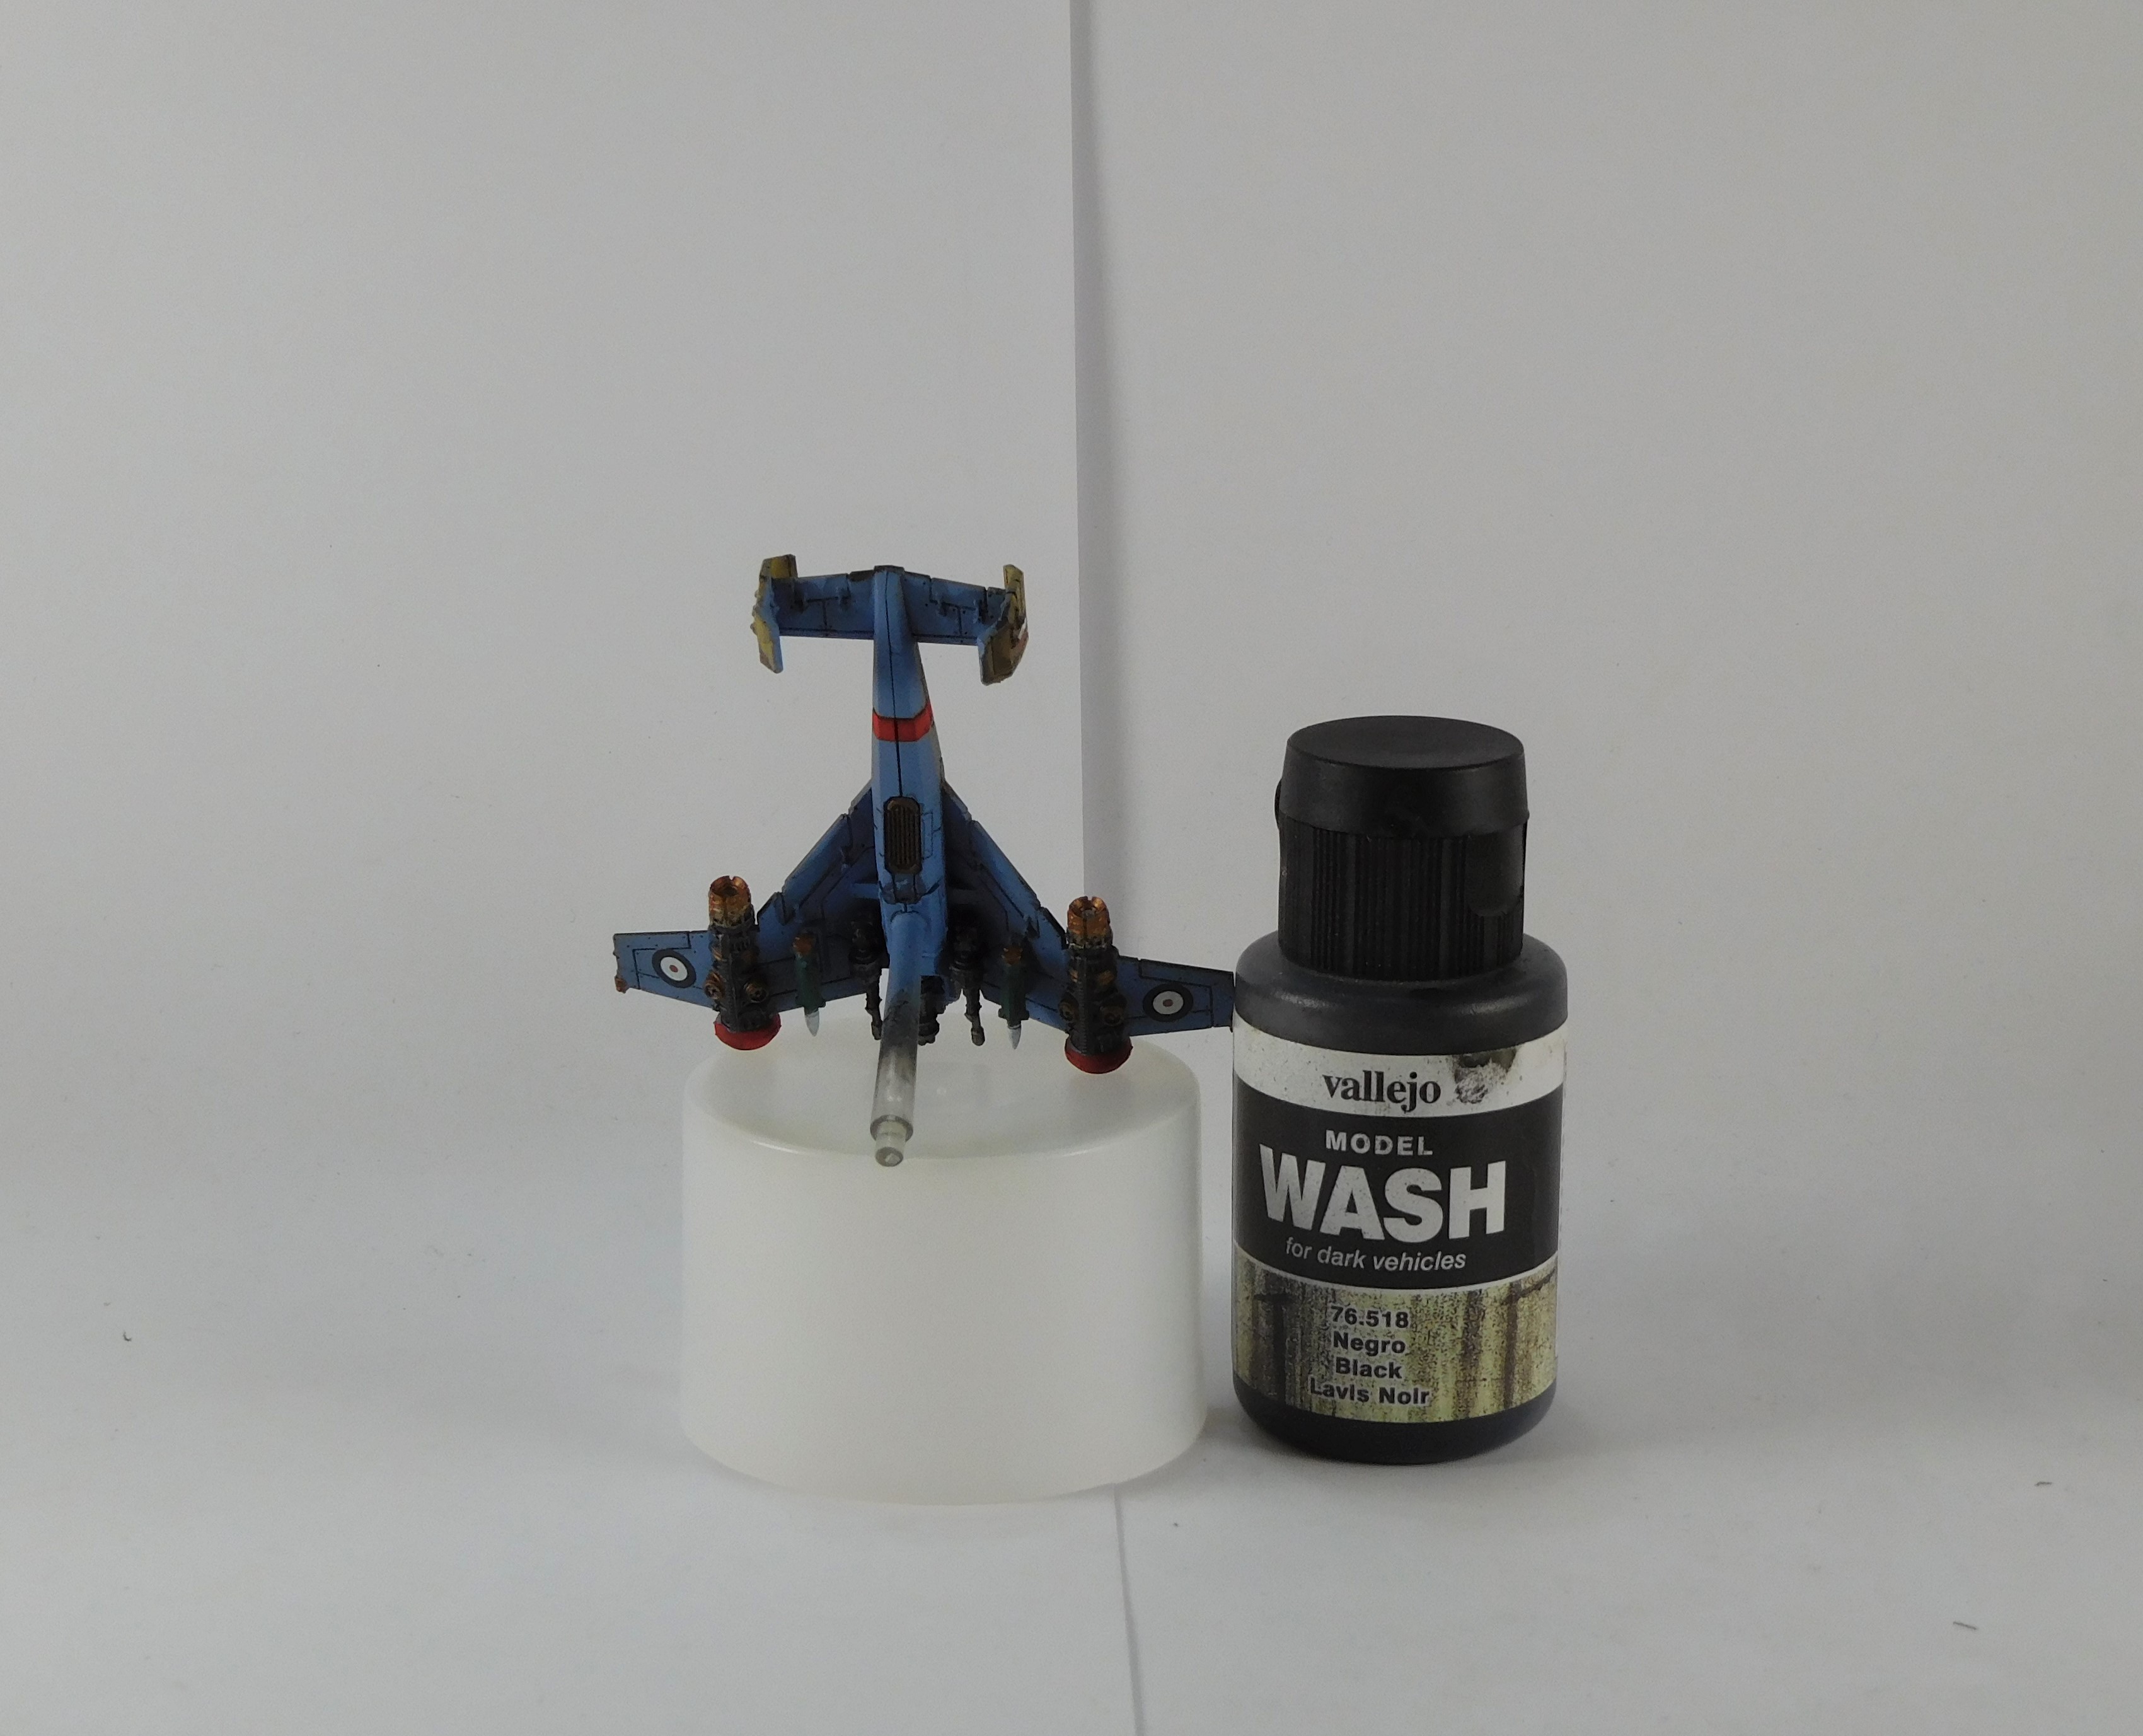
At this time a bit of touch up was done. A bit of tan paint was added on the tail gunners position. A watered down black wash was applied to highlight the panel lines.
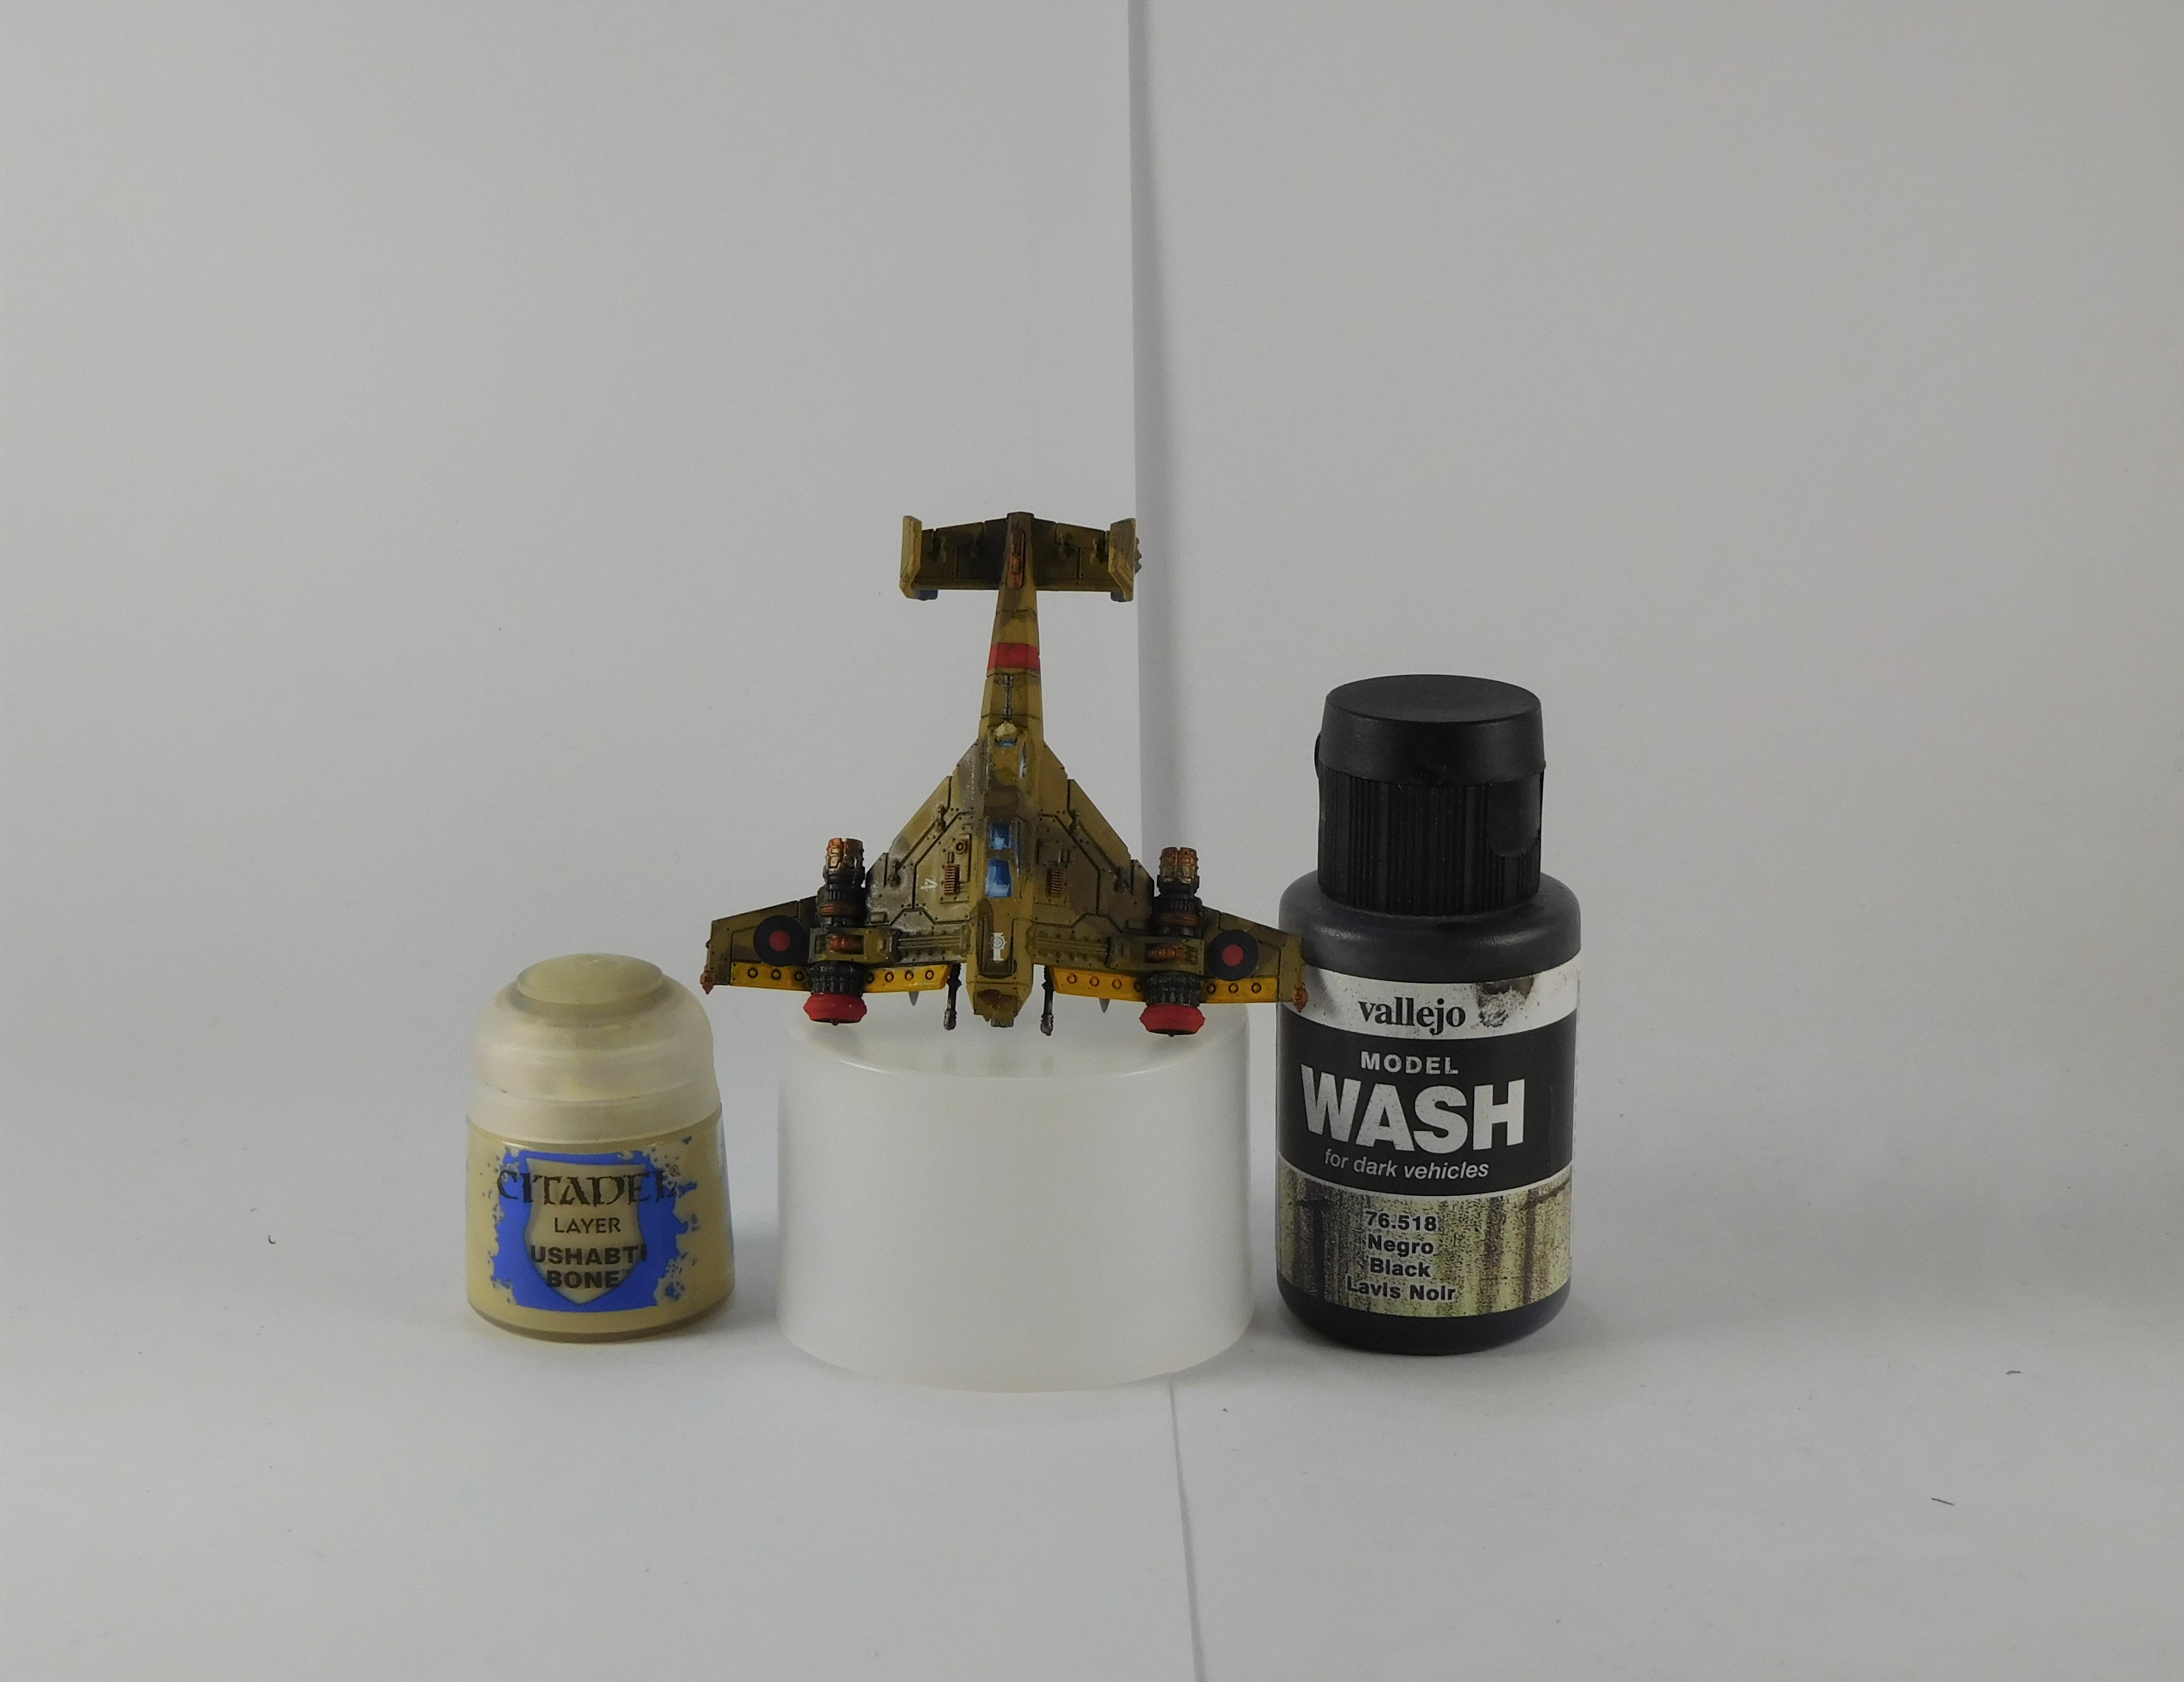
The final steps was applying Army Painter Anti-Shine varnish to the models (not pictured.)
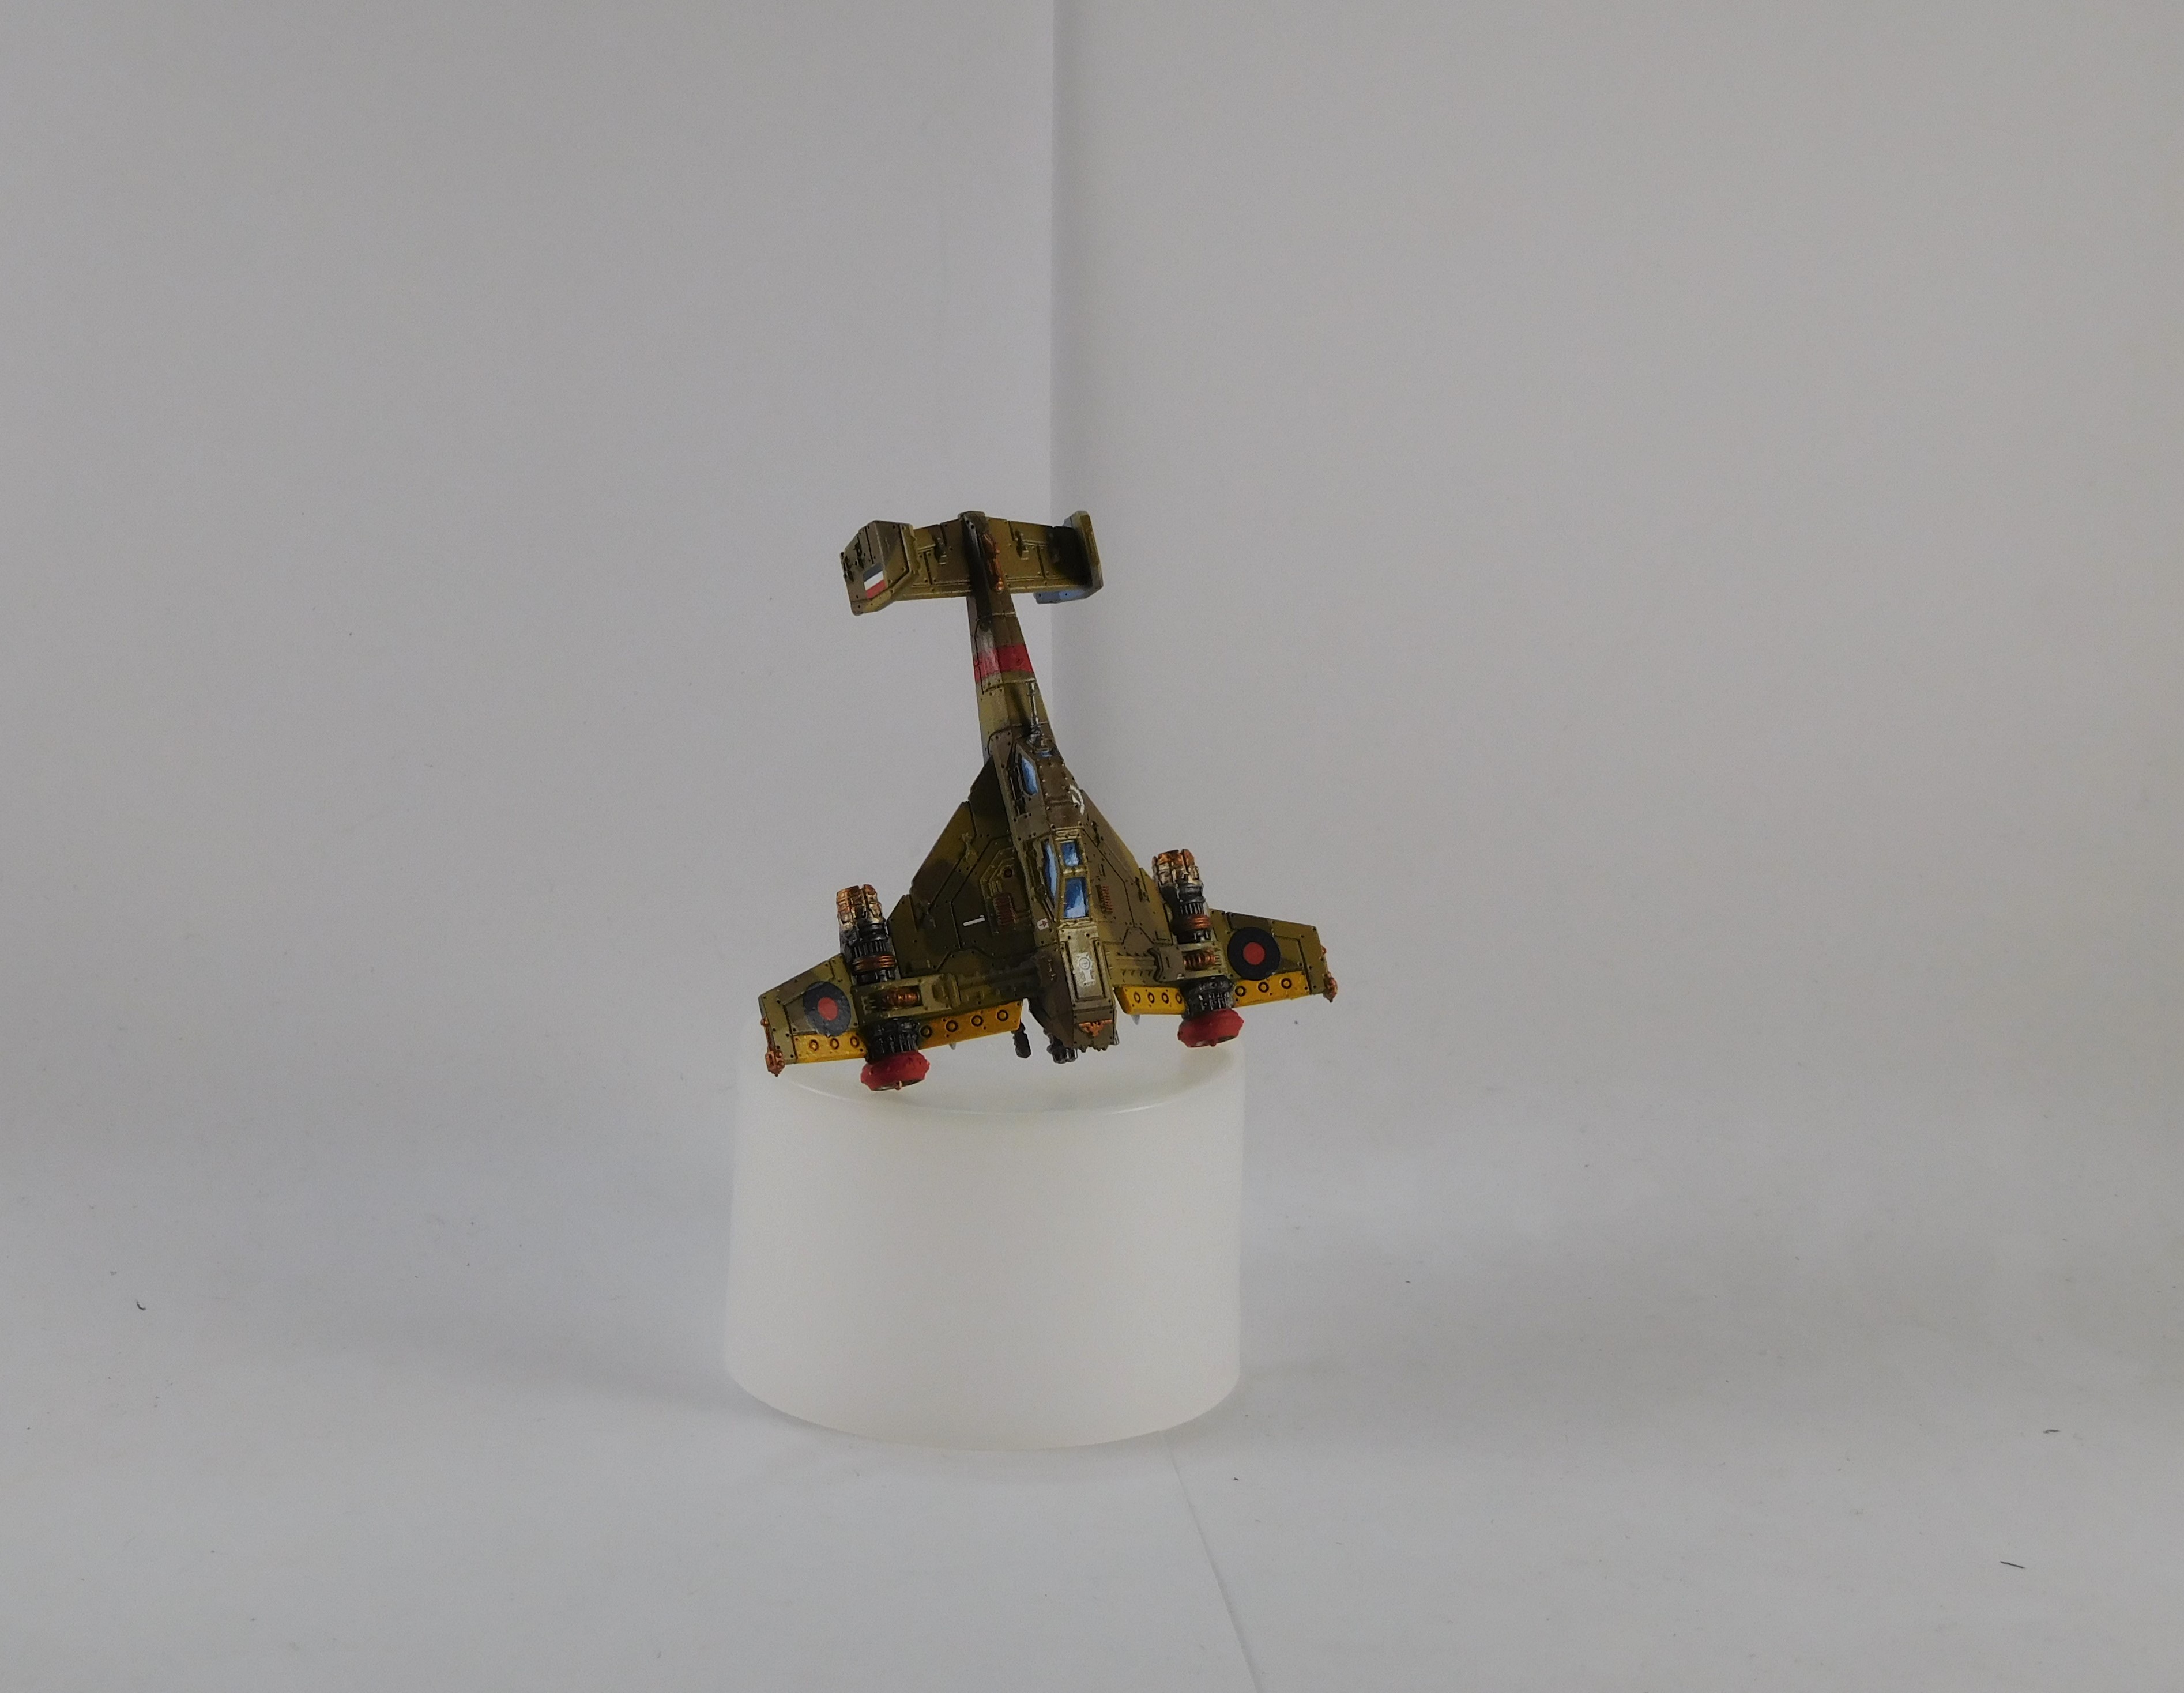
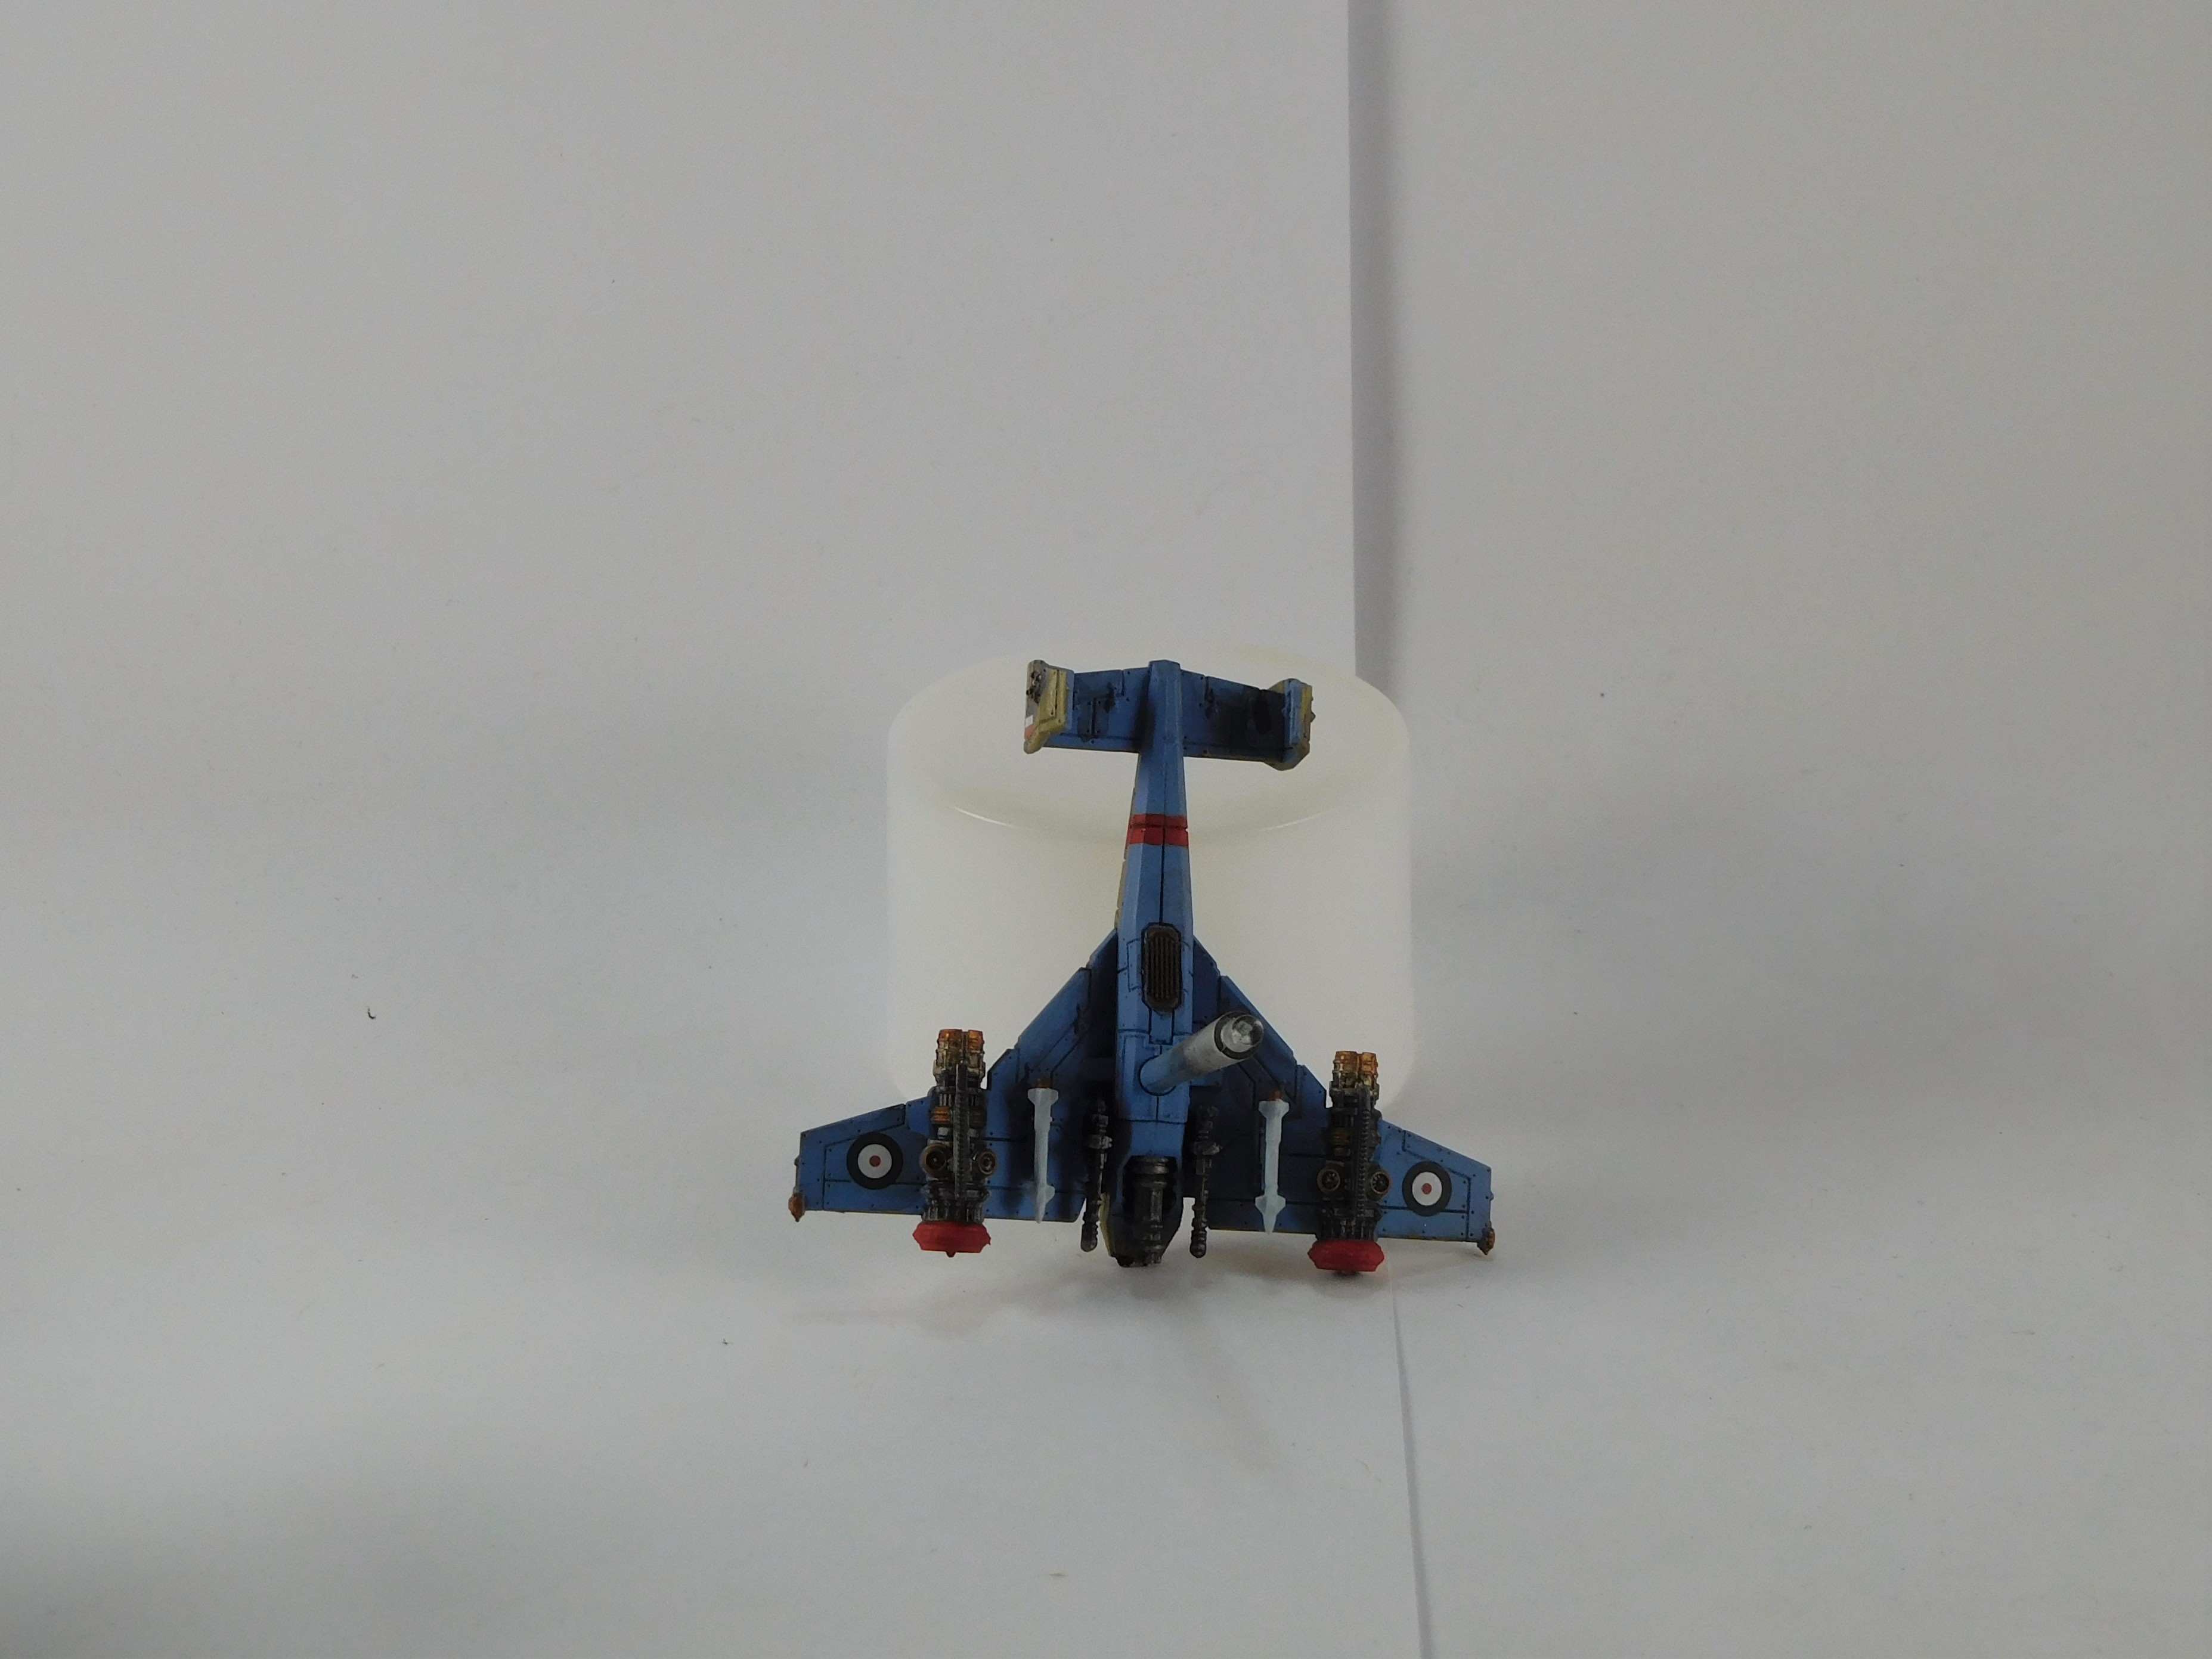
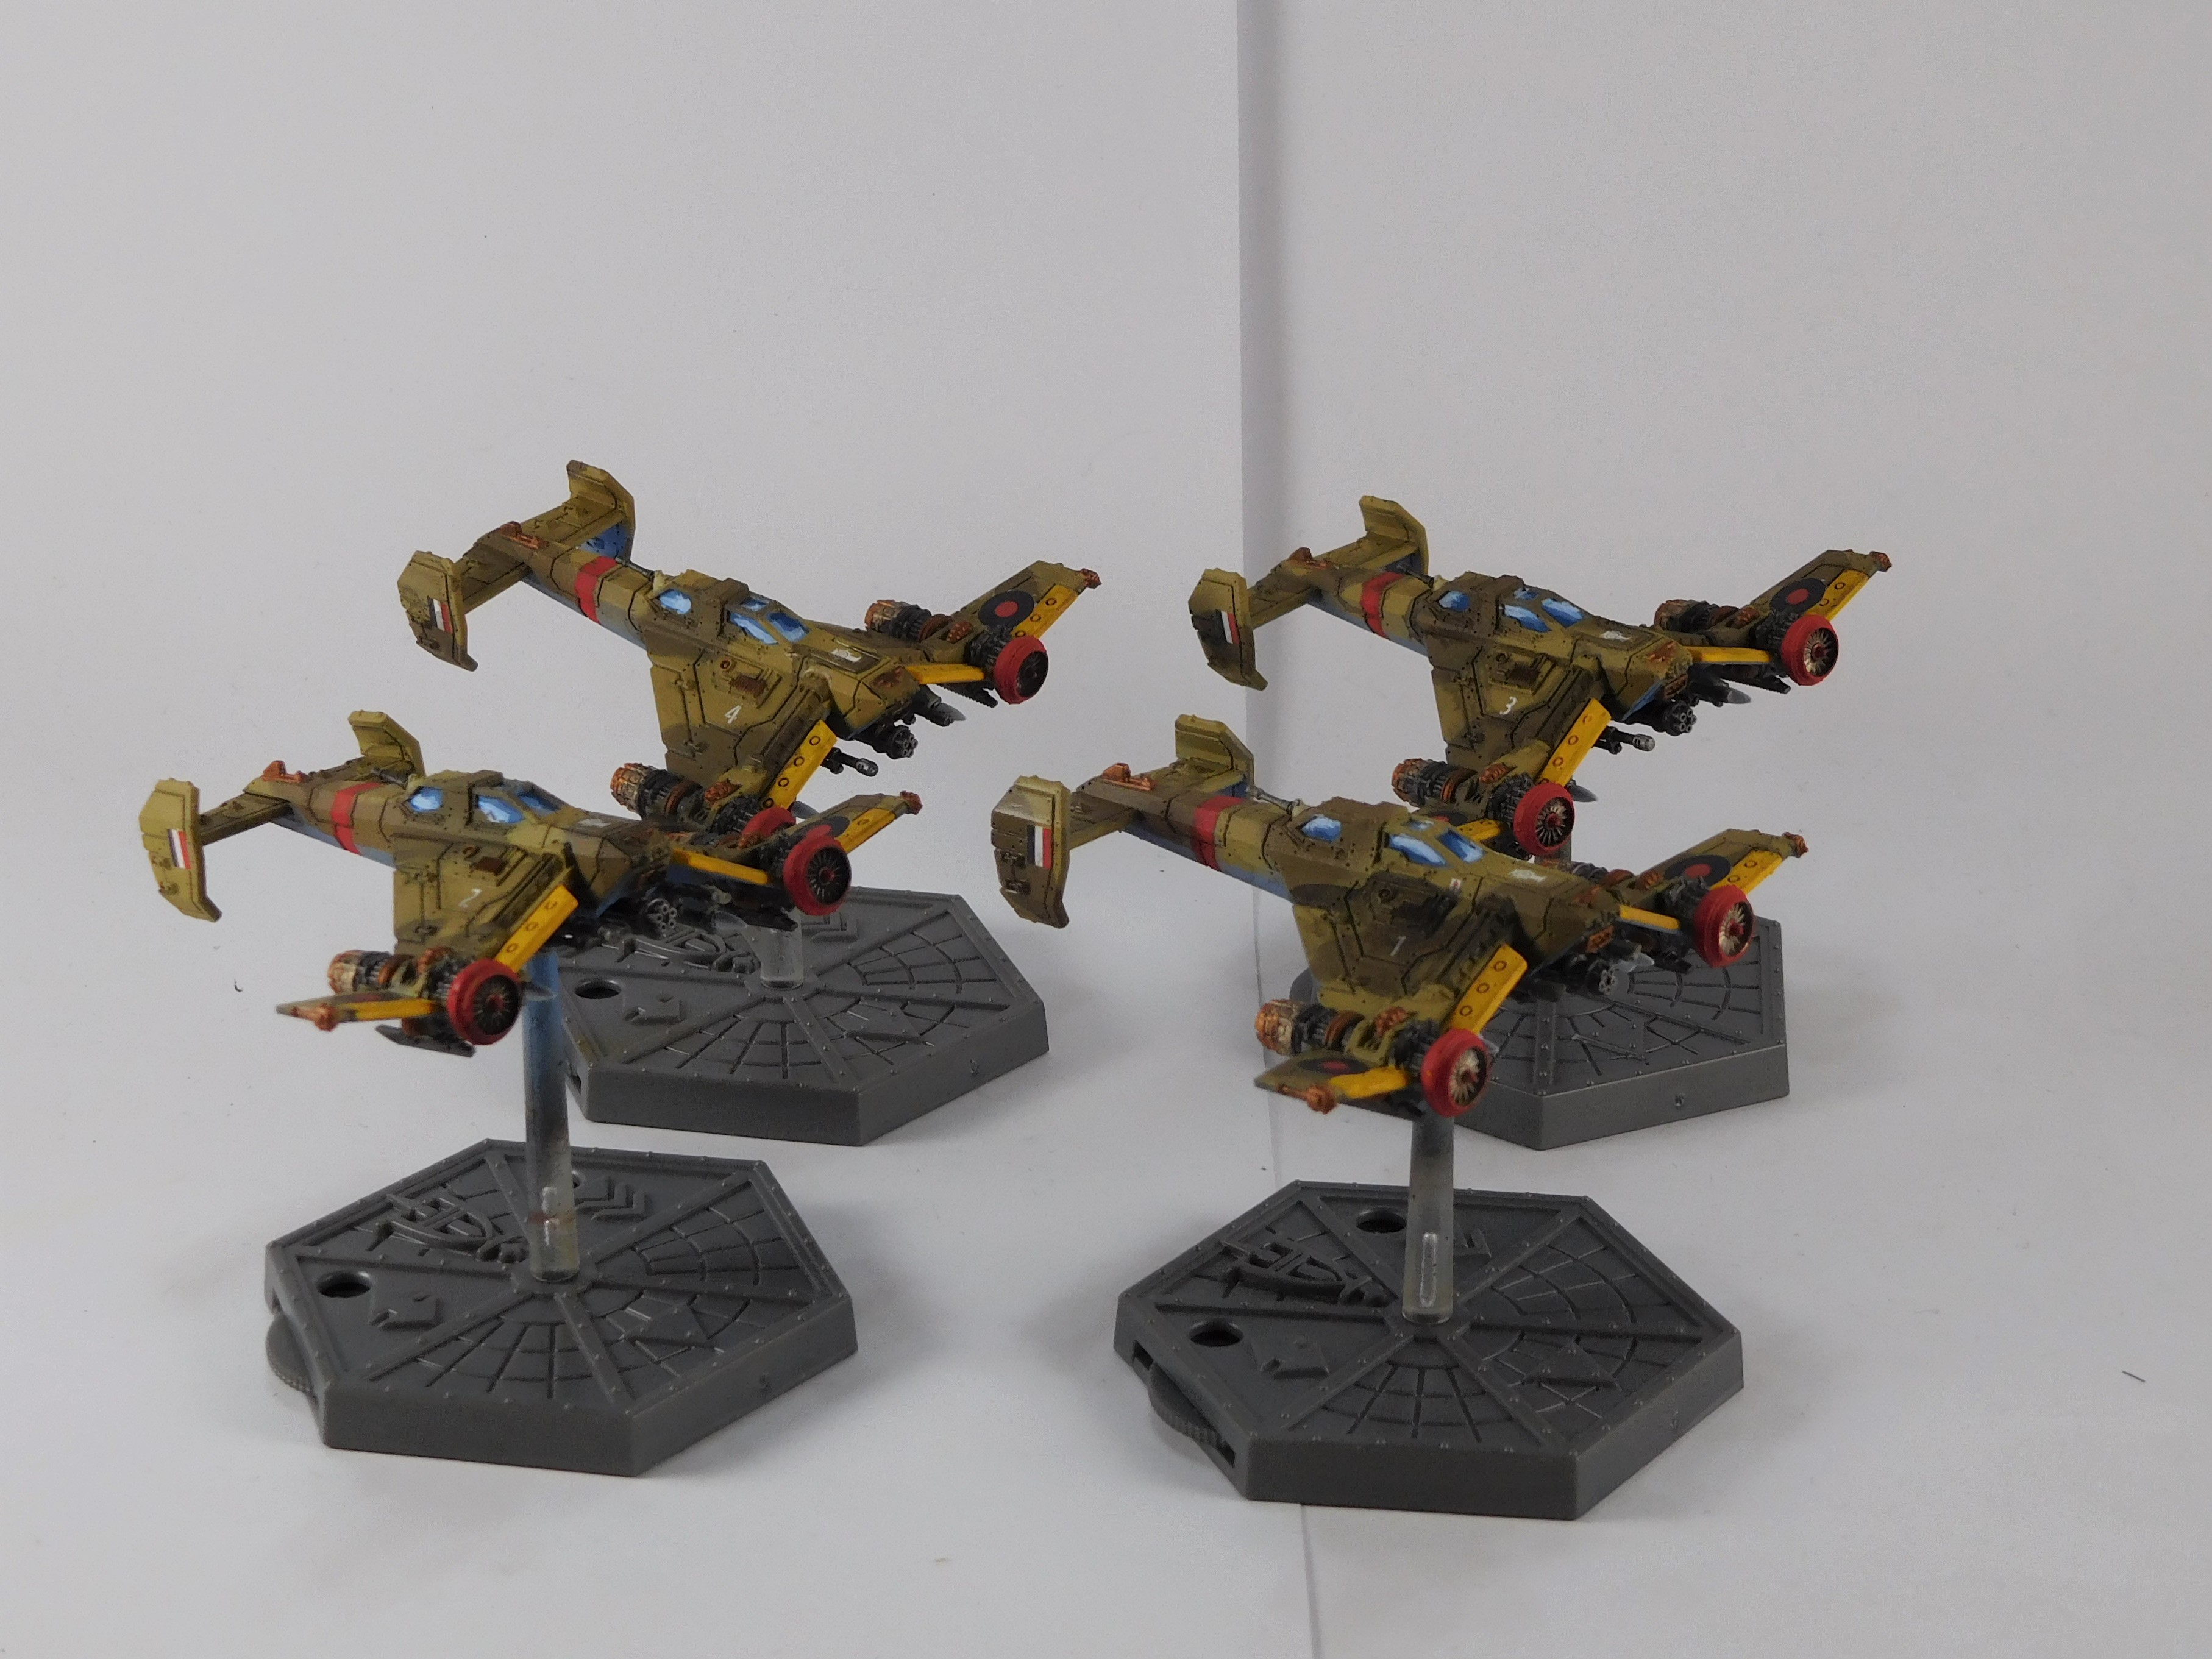
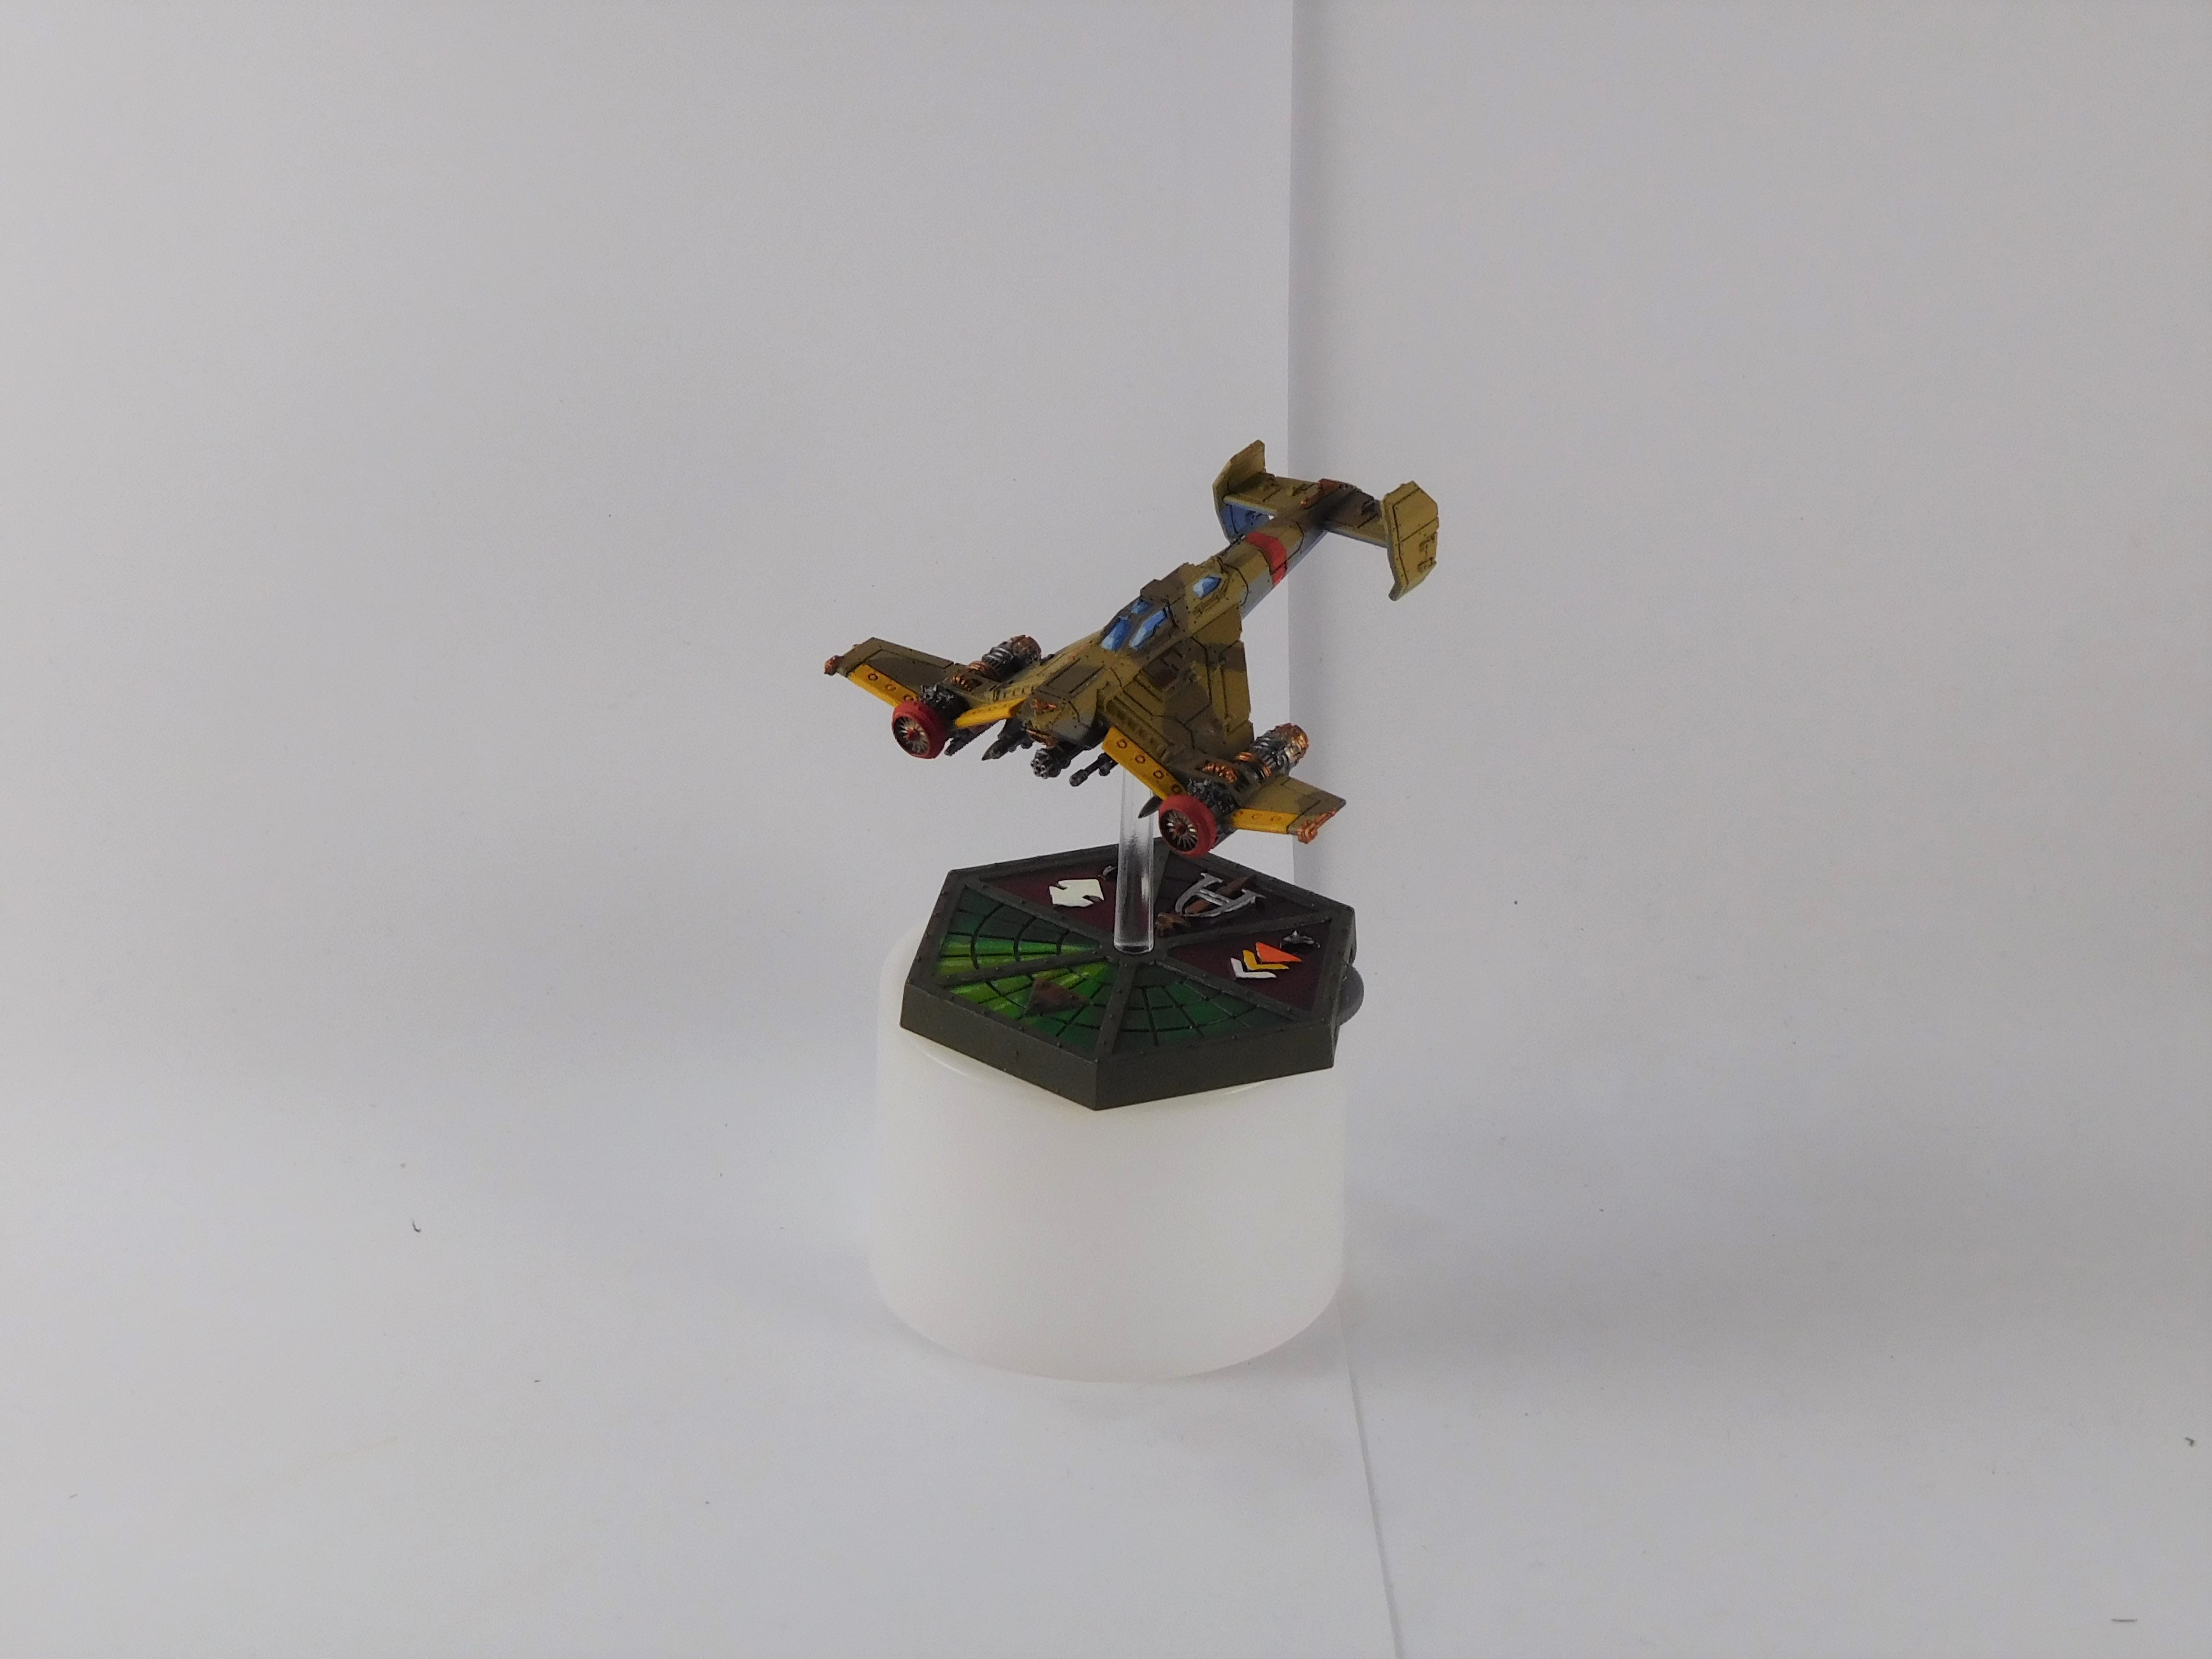
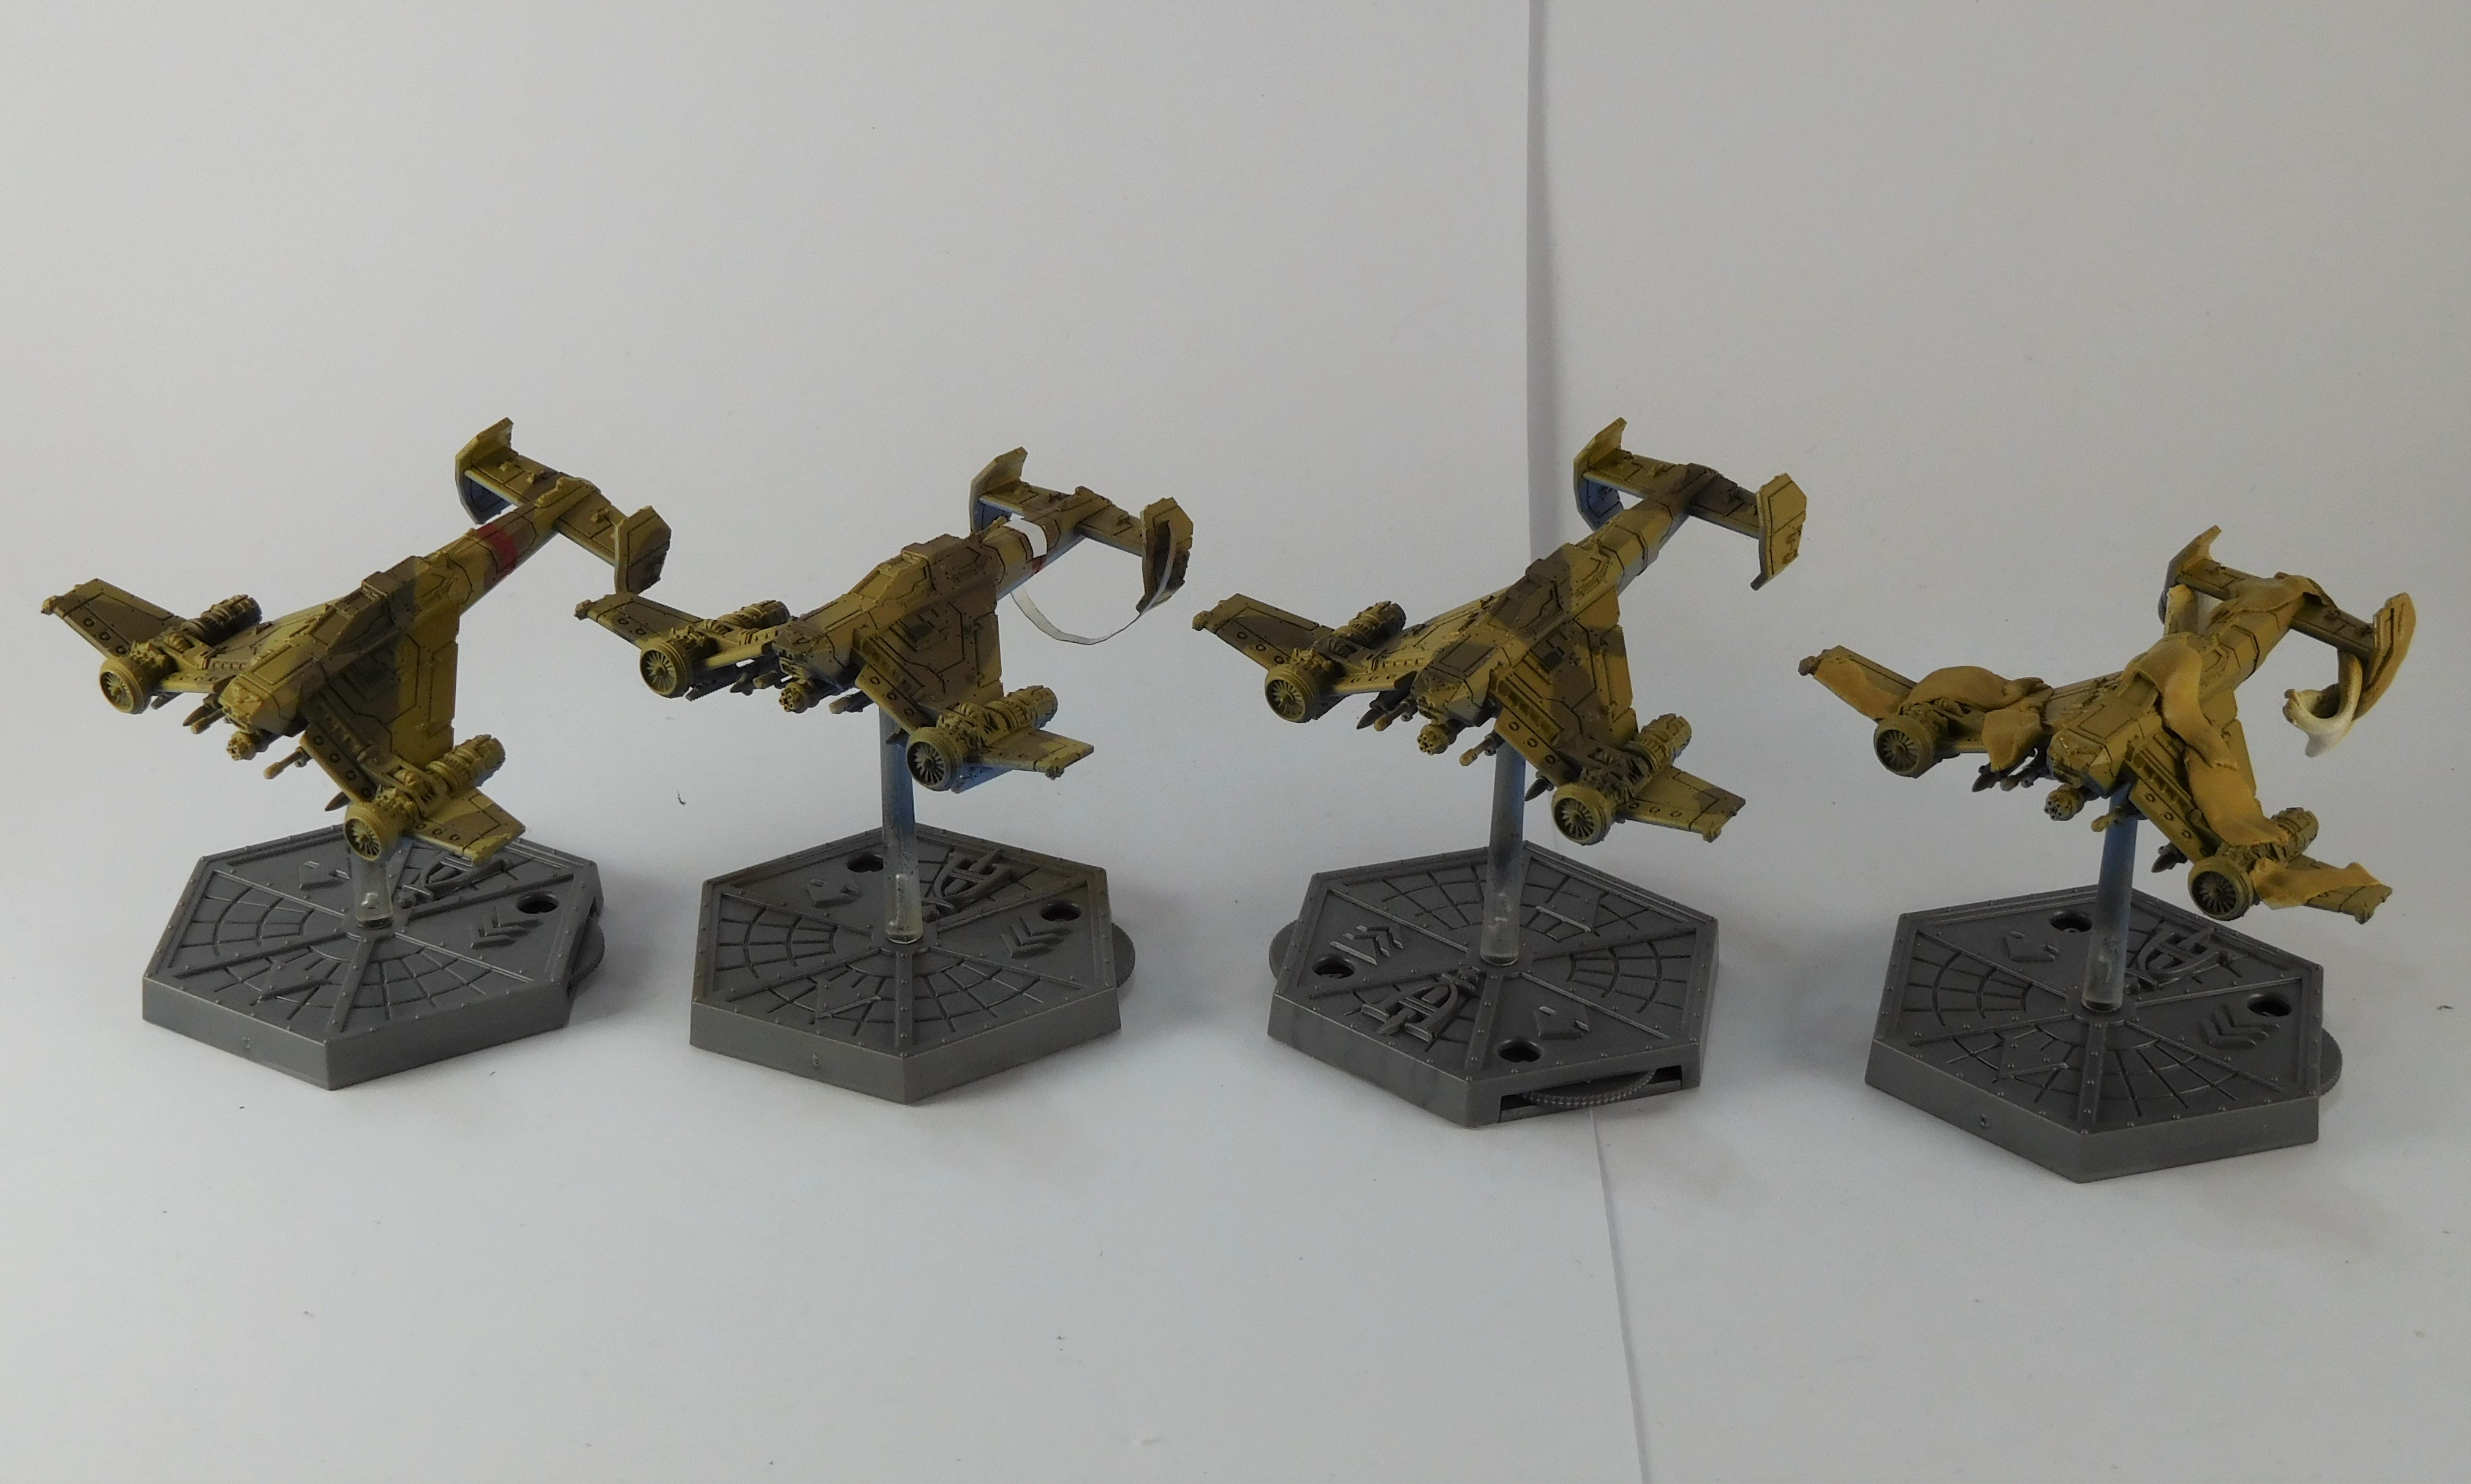
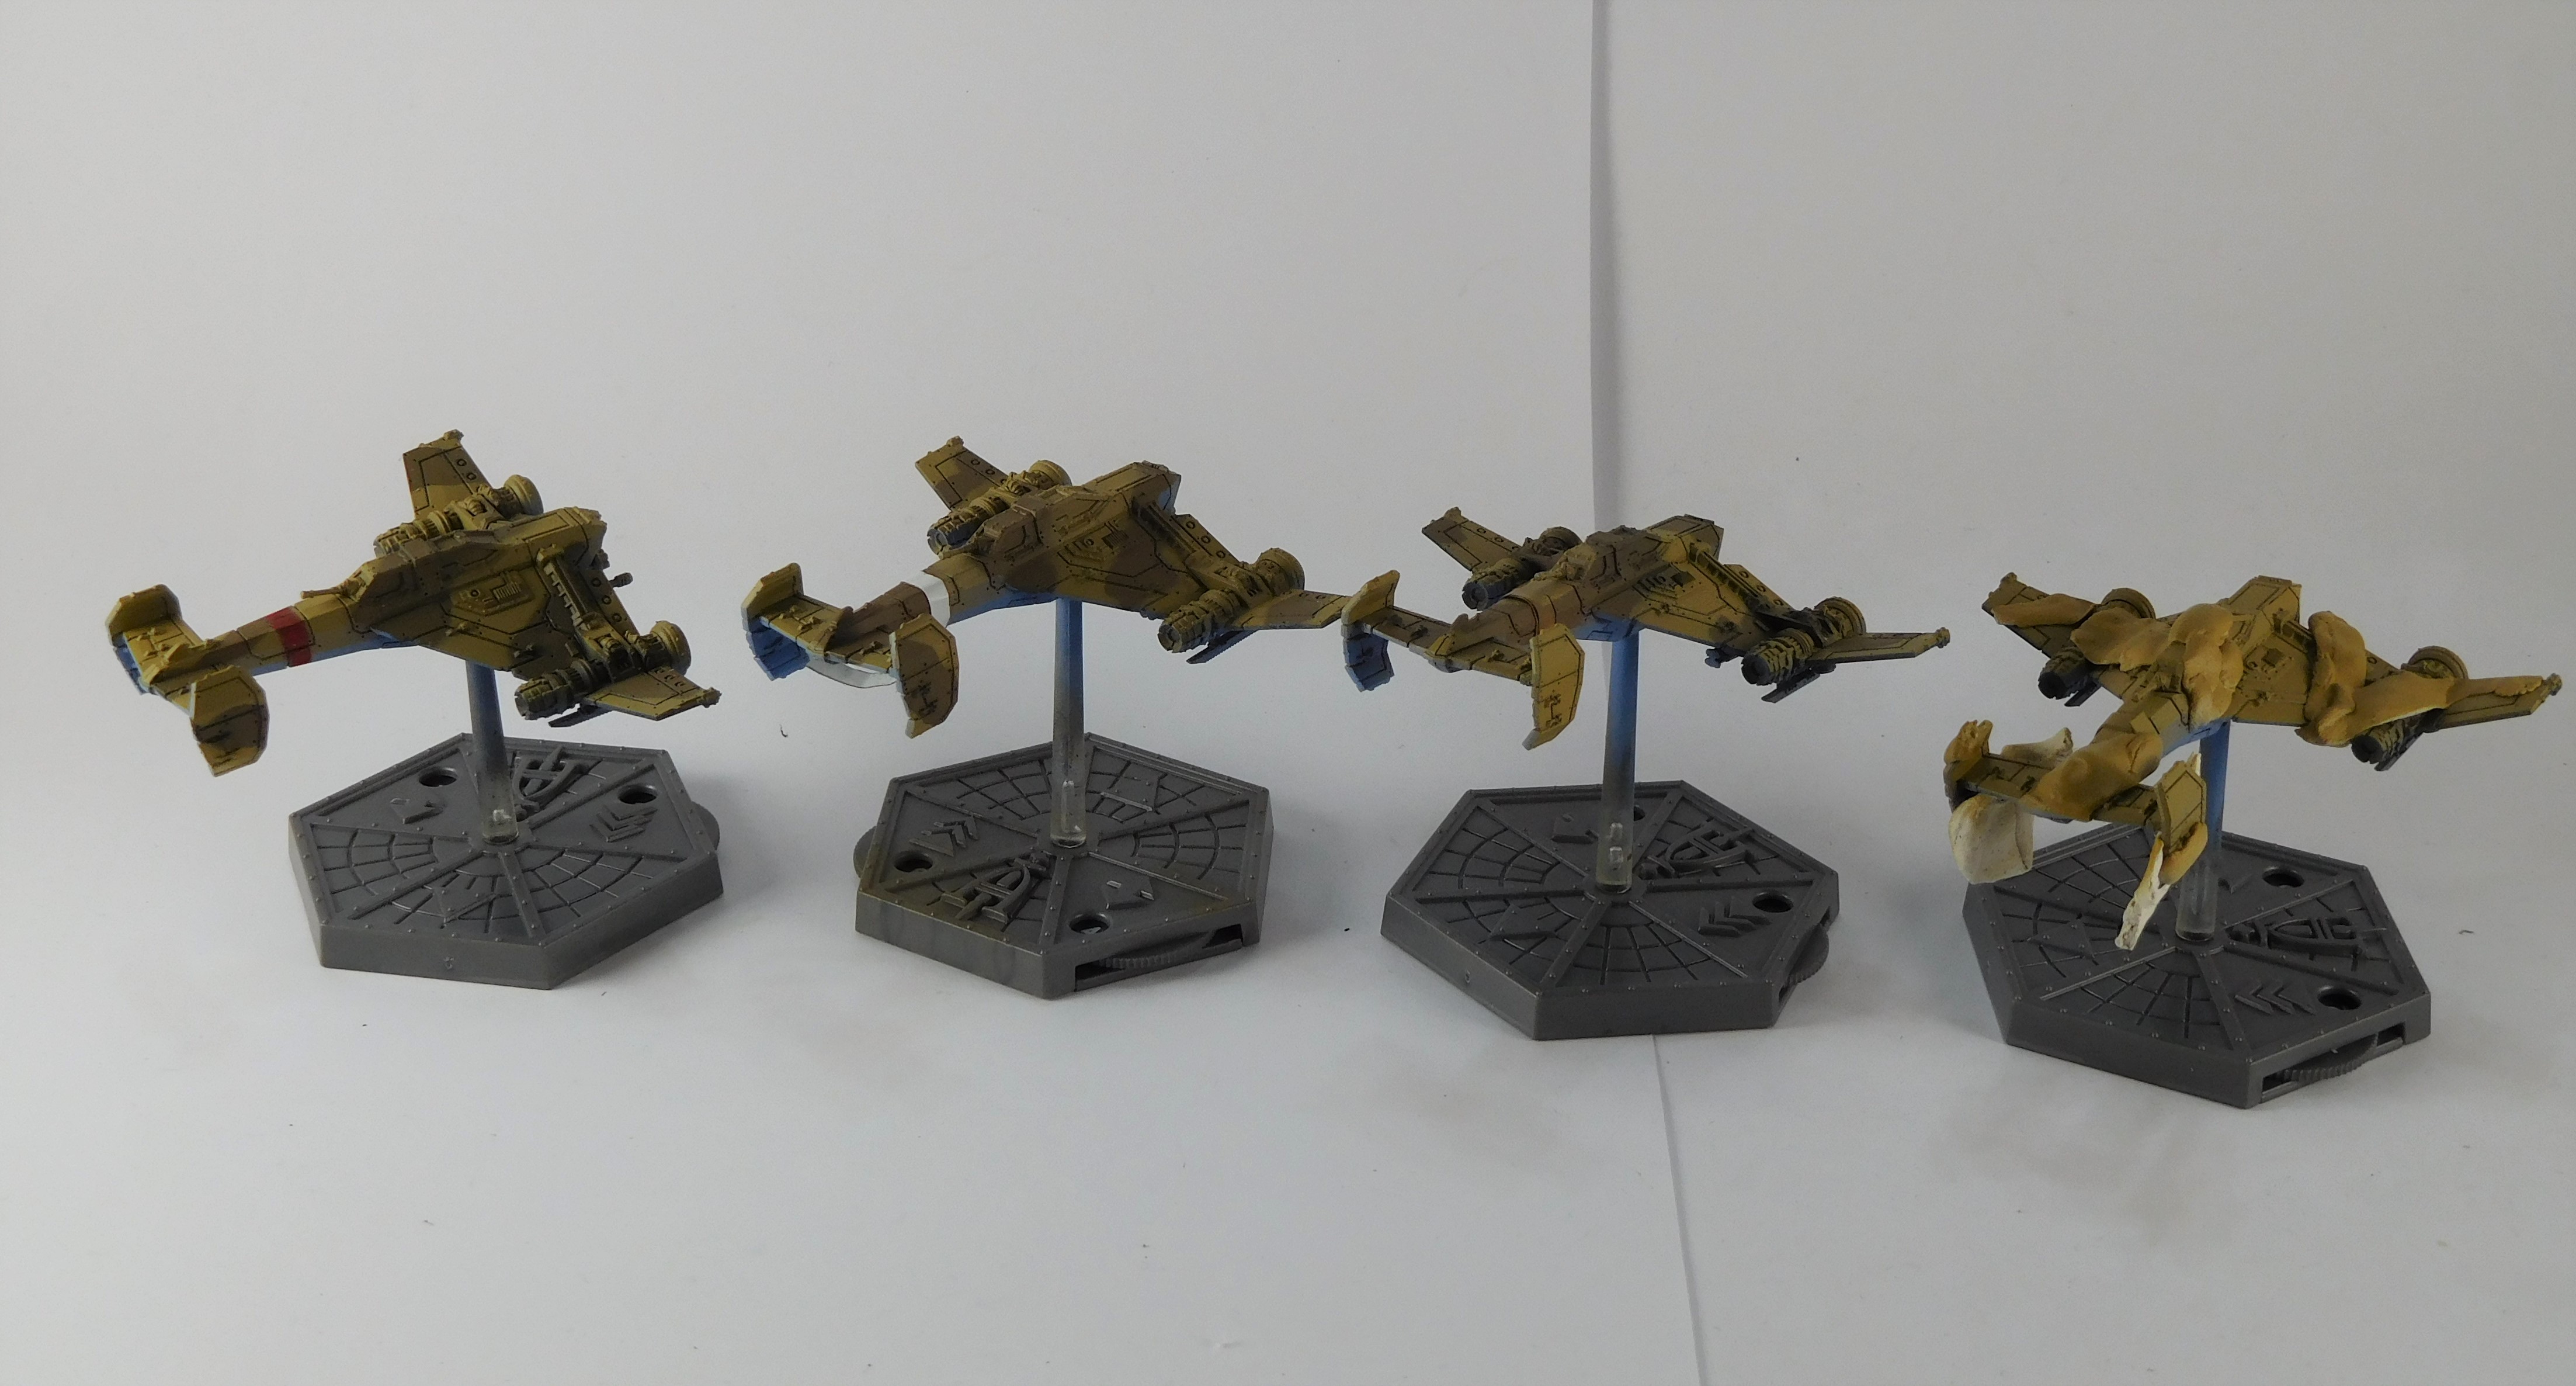
Below is the finished models.
Part 2: Starting the Details.
Onto painting some of the details…
The leading edge of wings where painted yellows, but only the top surface.
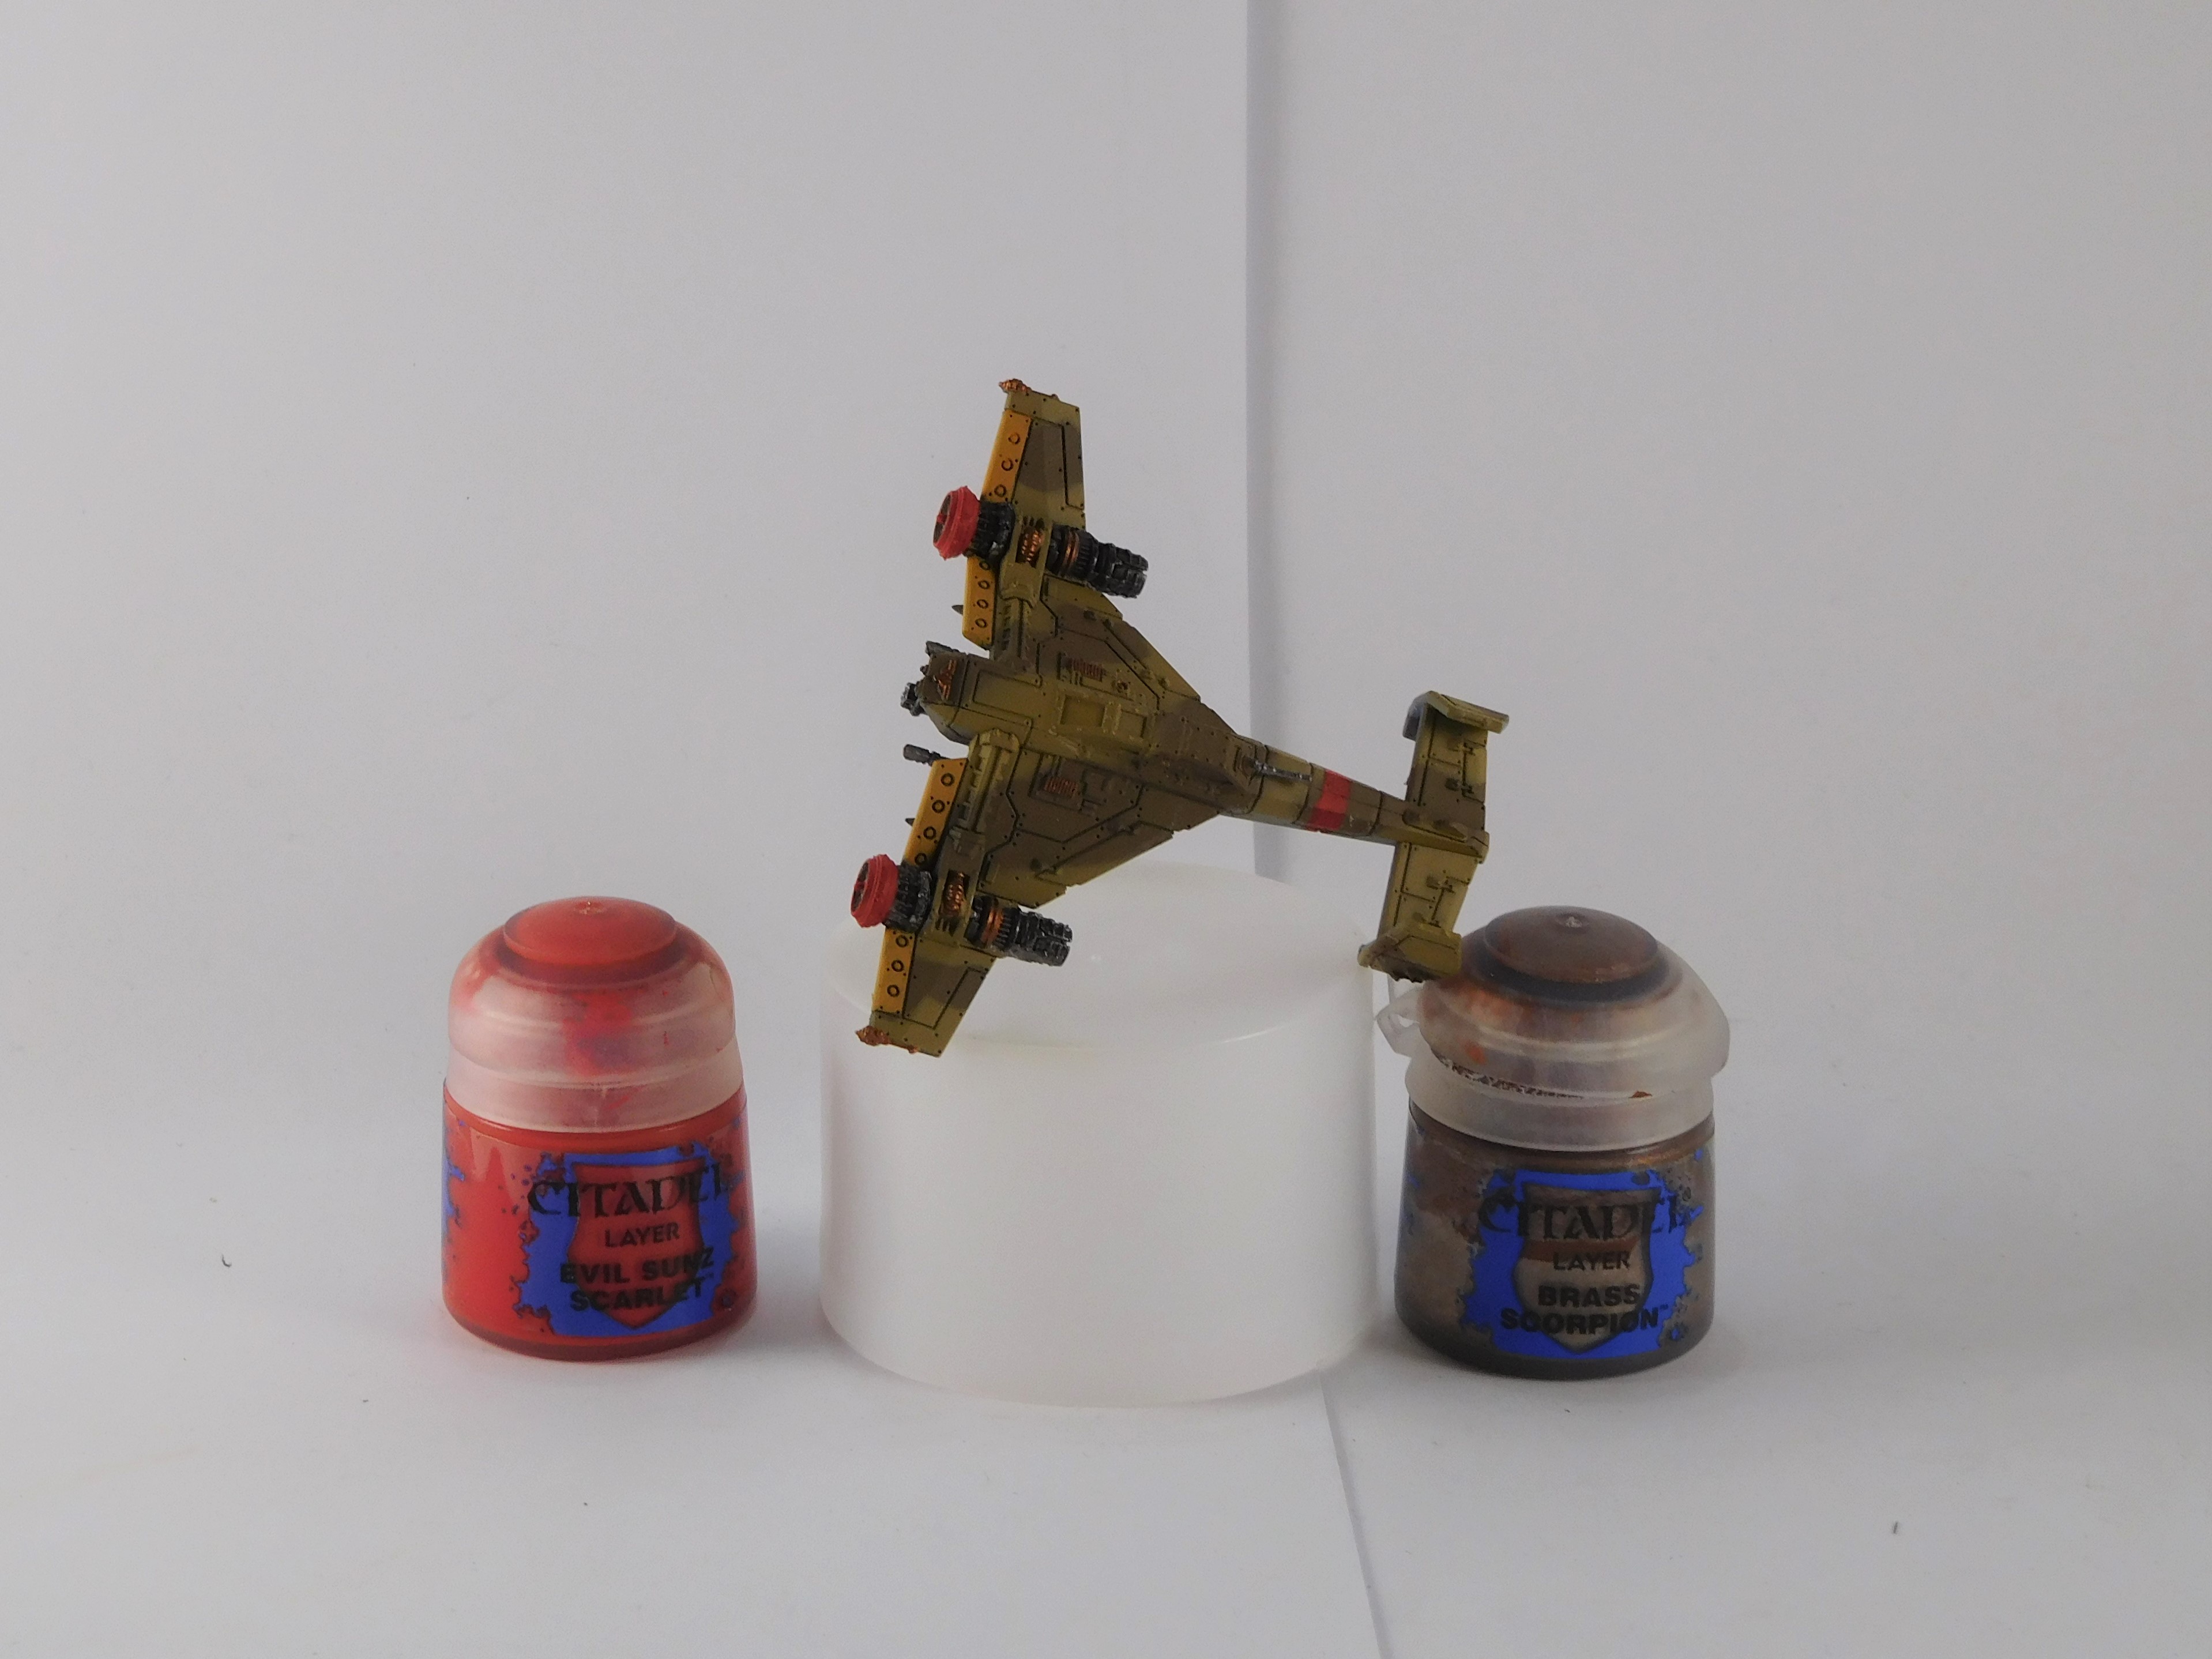
Using some new Vallejo metallic paint, the engines, guns and other metal bits where painted.

The engine cowling were painted red; this was to match the red on the propeller hub from the reference pictures.
Random panels on the engine where painted brass. Brass was used to pick out some tech bits like the wing tip lamps.
The engine exhaust were painted light bronze (although a light gold would have worked). This was followed with a coating of dark gold. This is to simulate the metal changing colours due to the heat of the jet exhaust.
The guns received a dry brush of GW Lead Belcher as a highlight. There is a grate on the underside of the aircraft and this received a coating of brass.


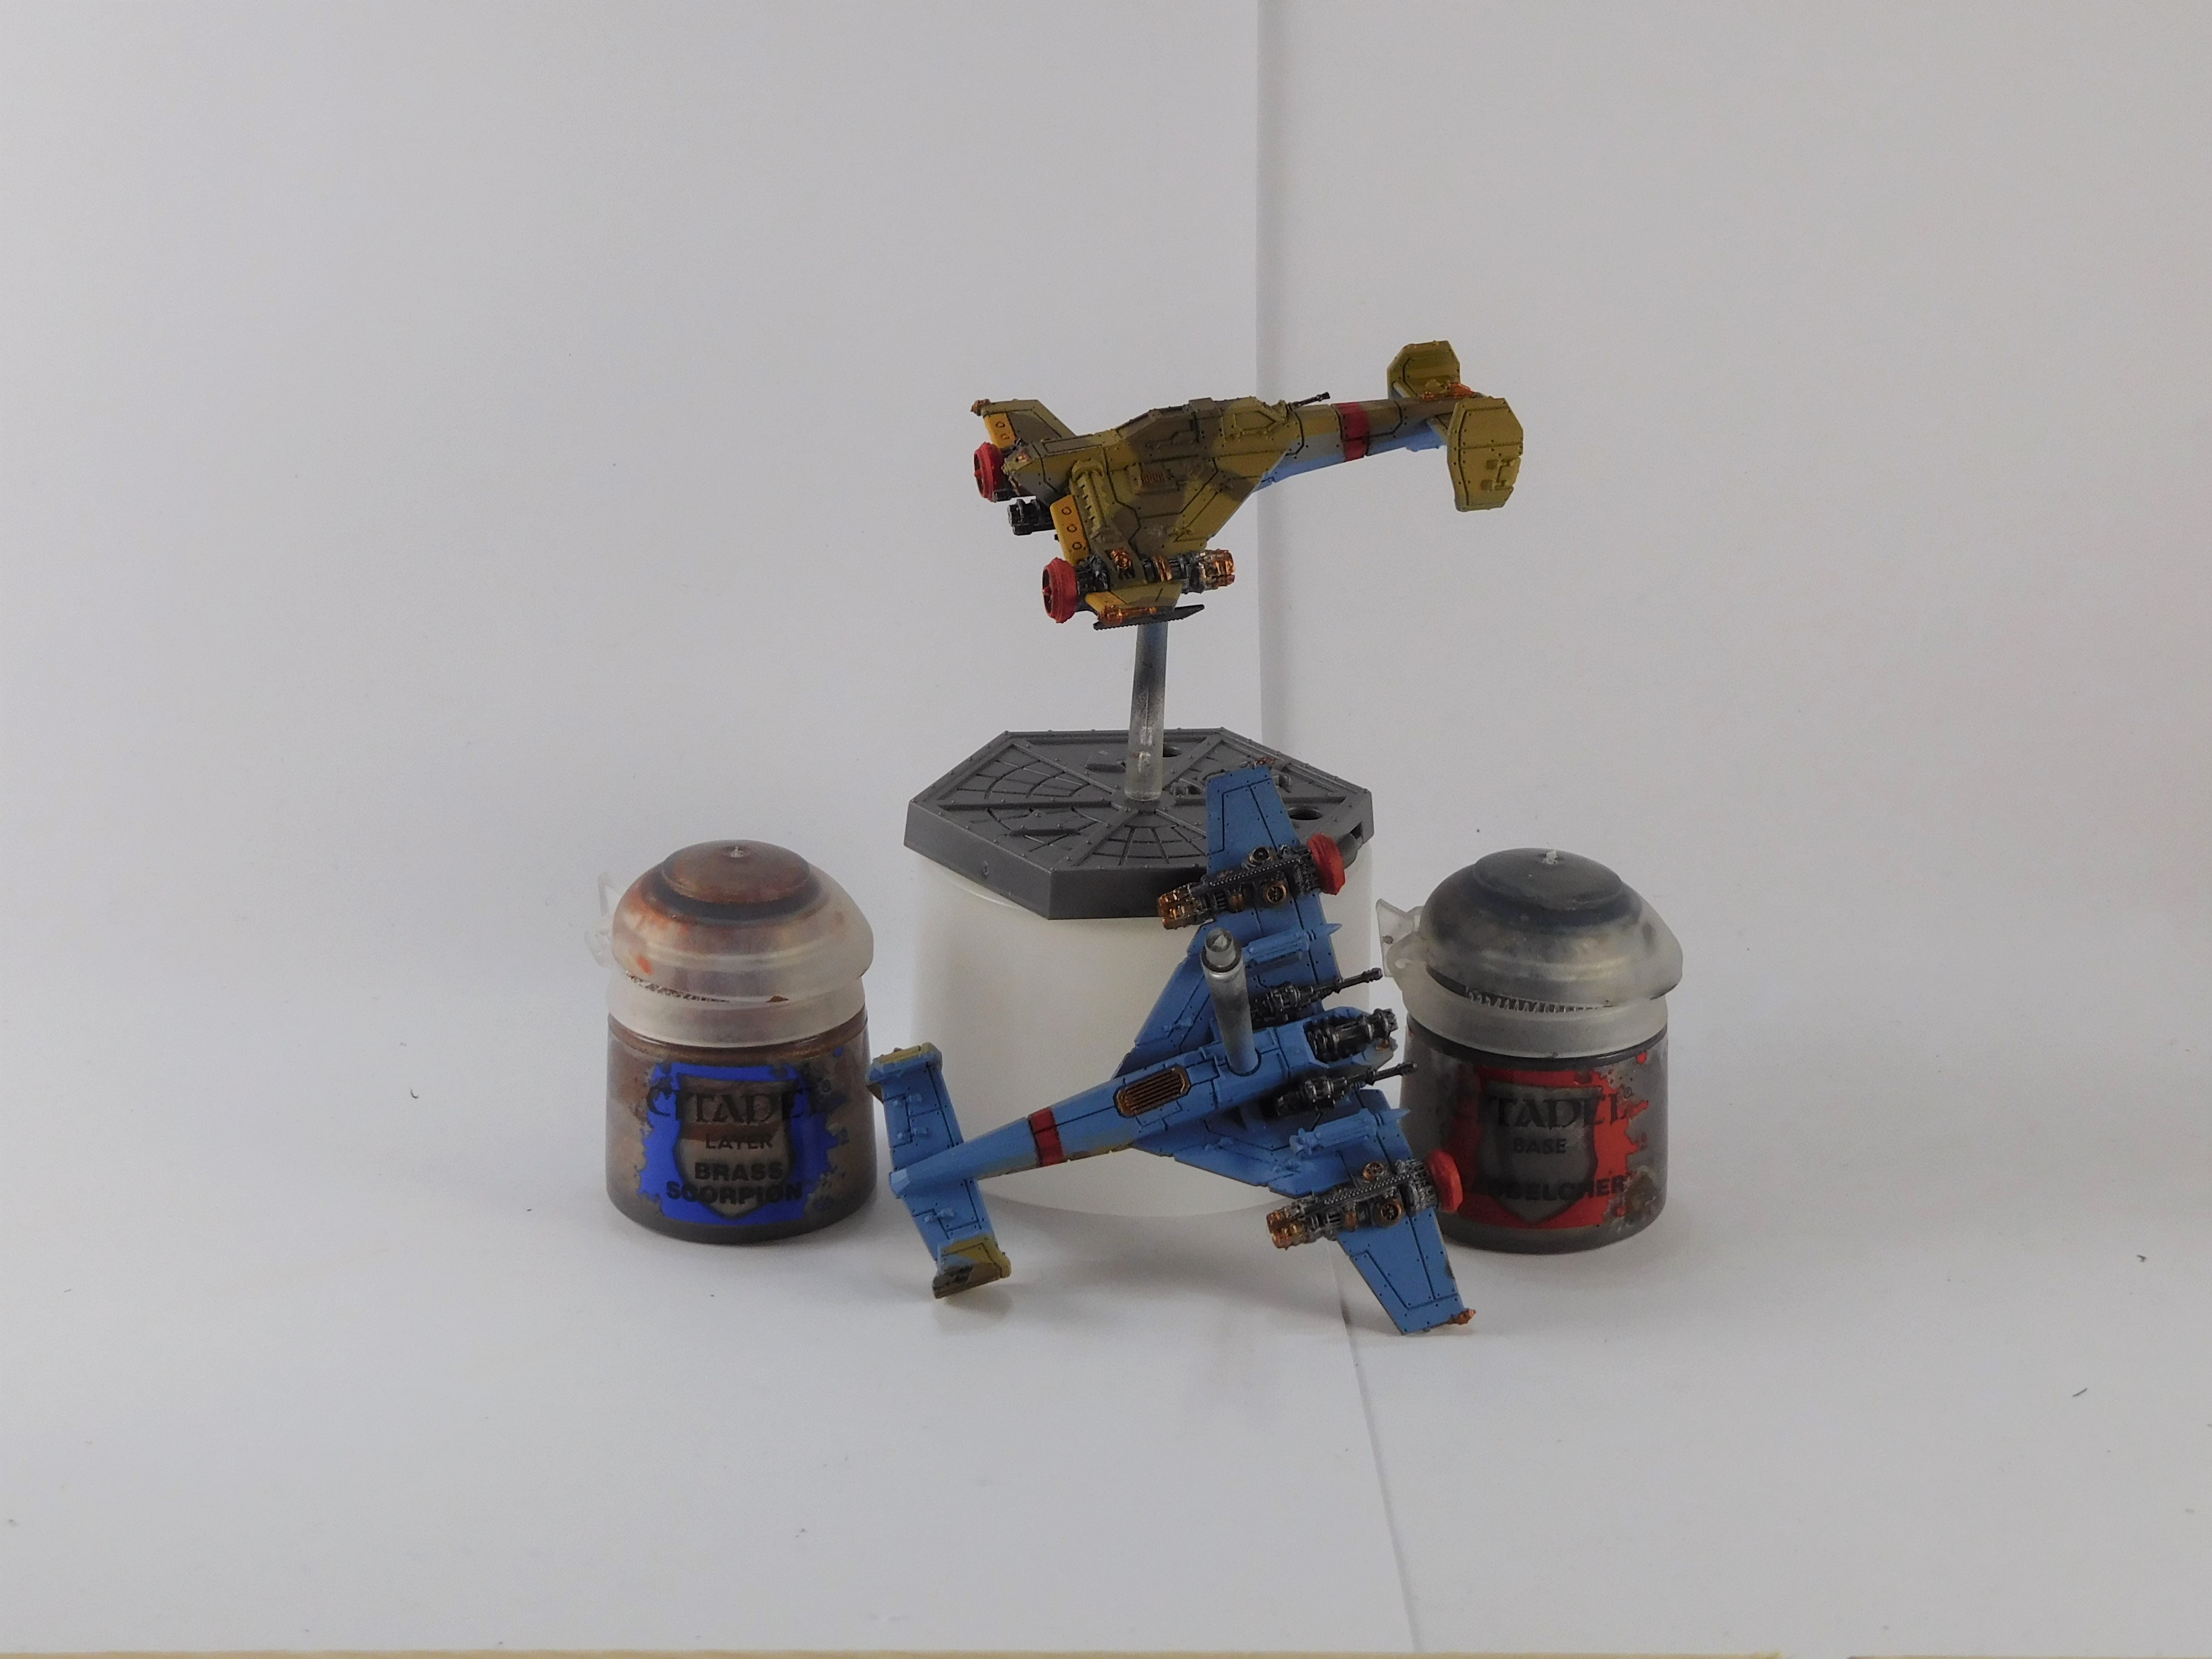
The leading edge of the wings received a second coat of yellow paint, but this time a brighter yellow.
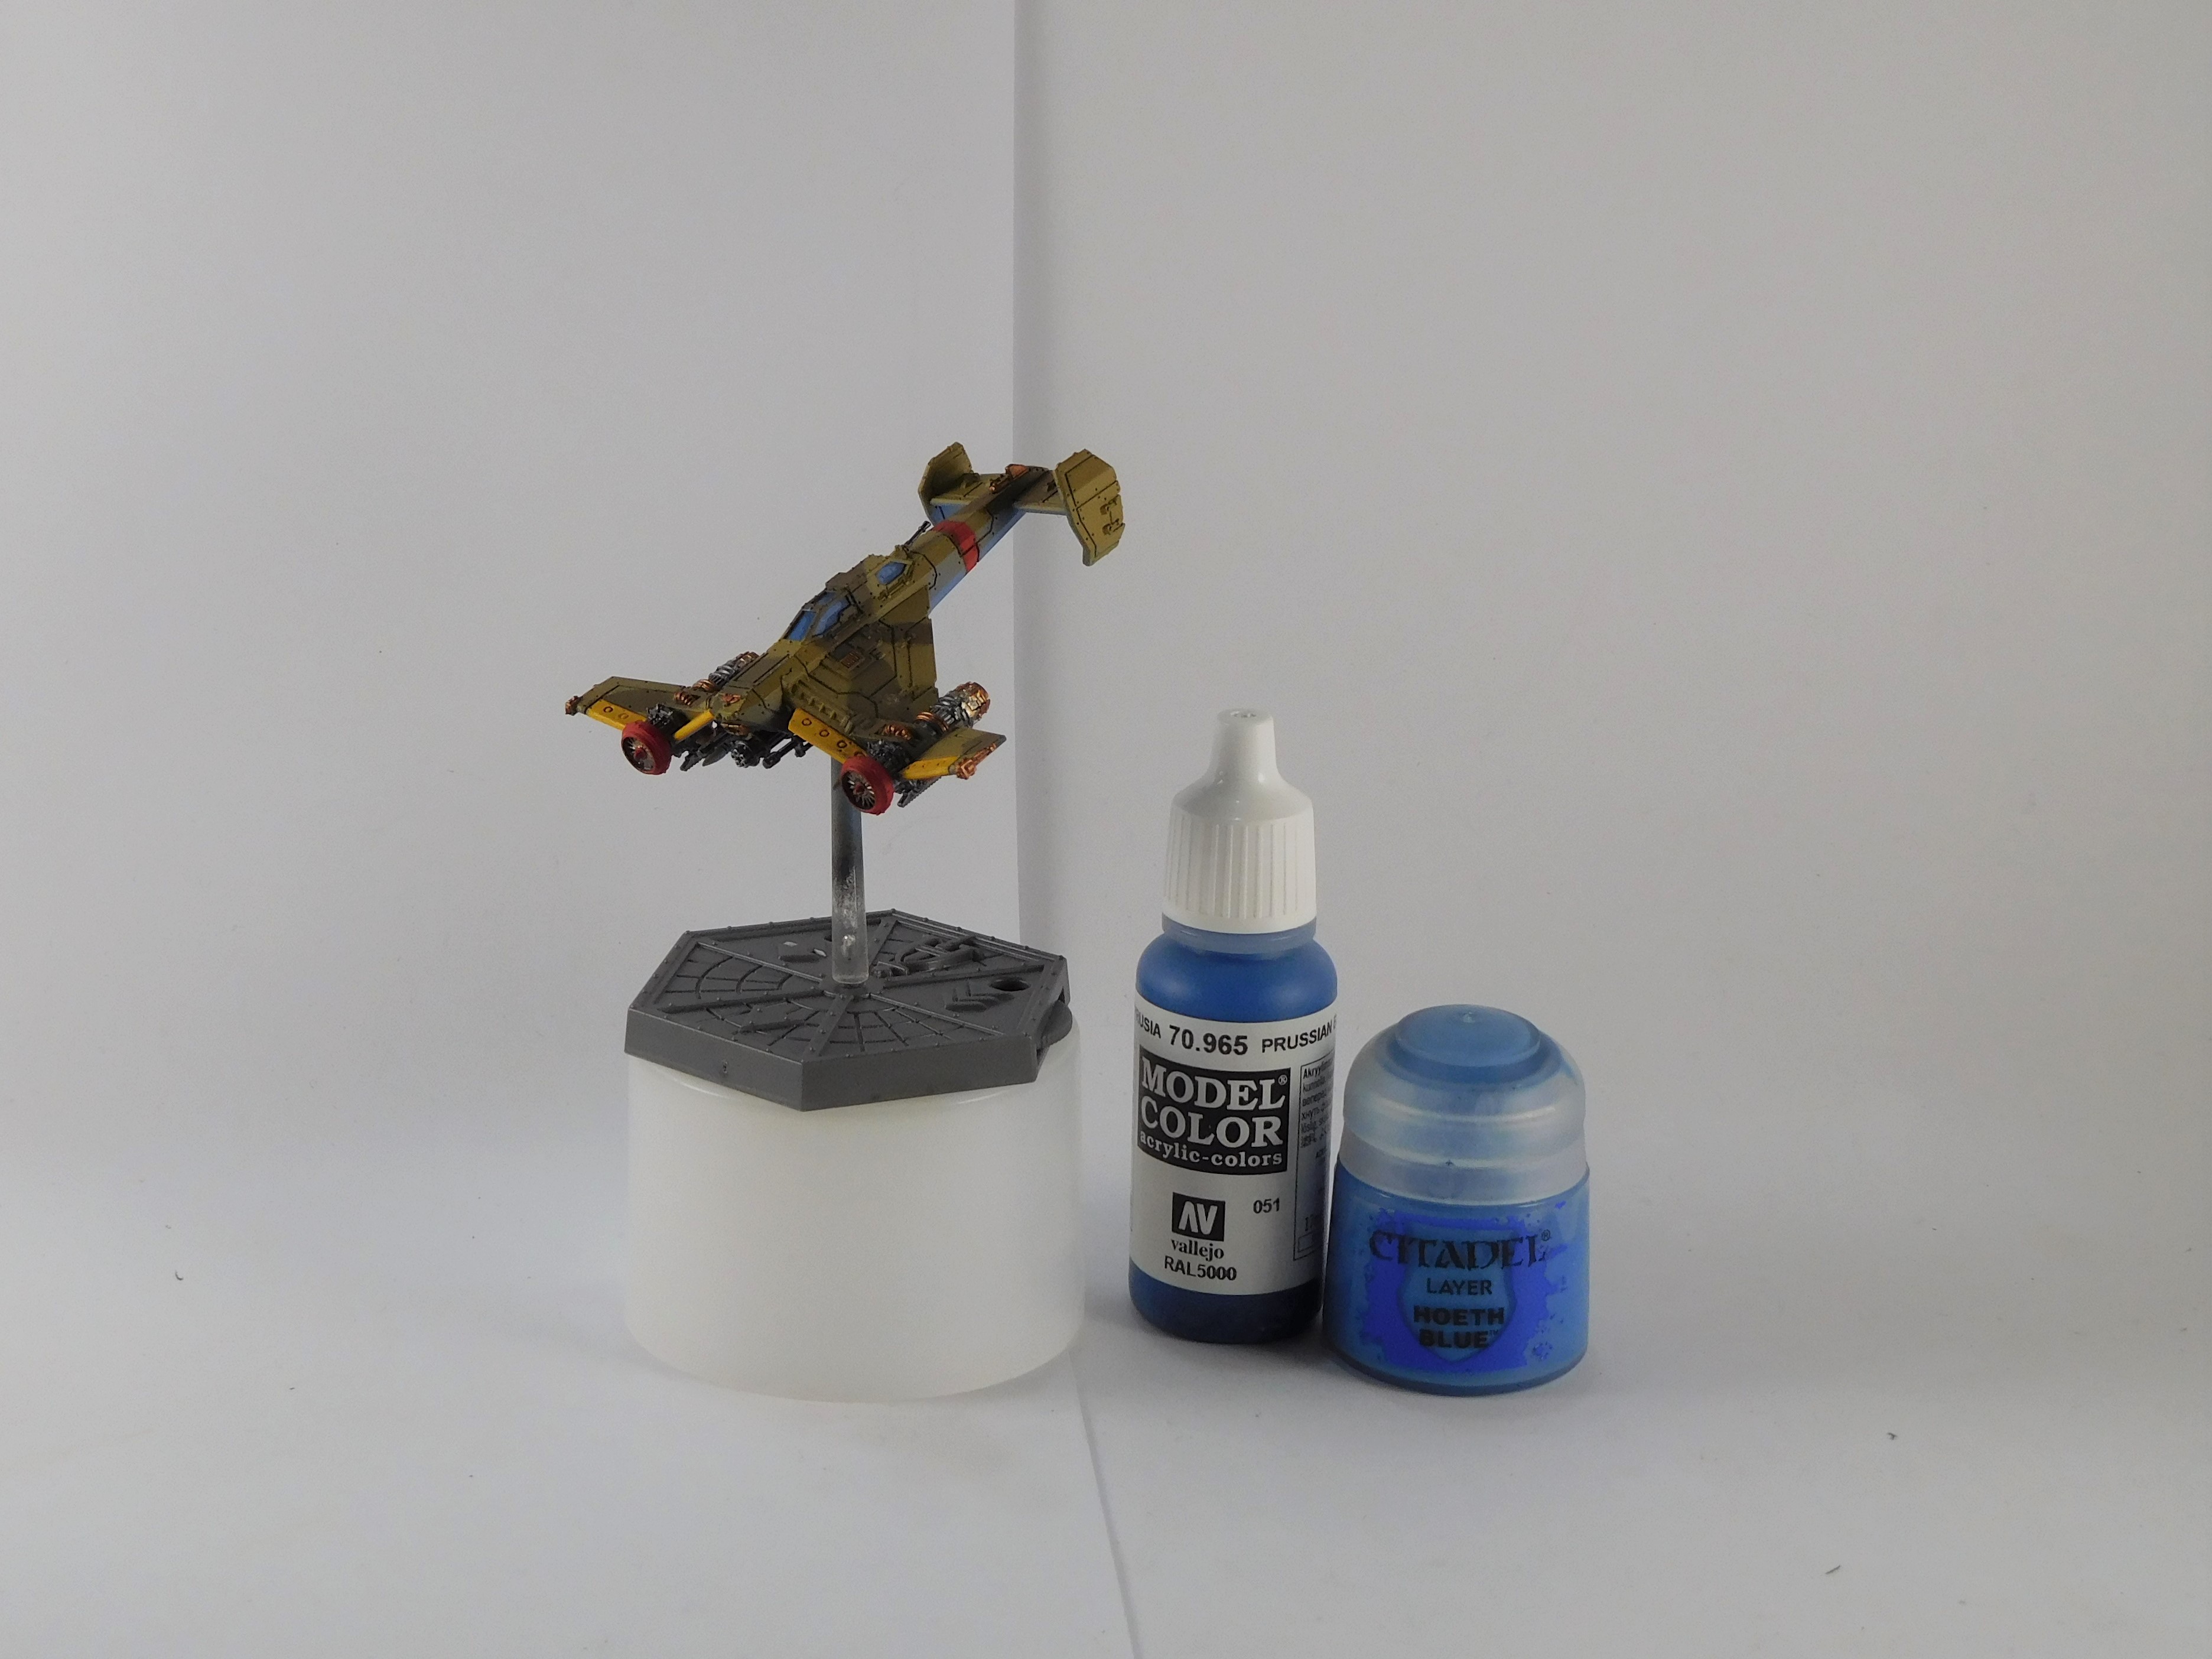
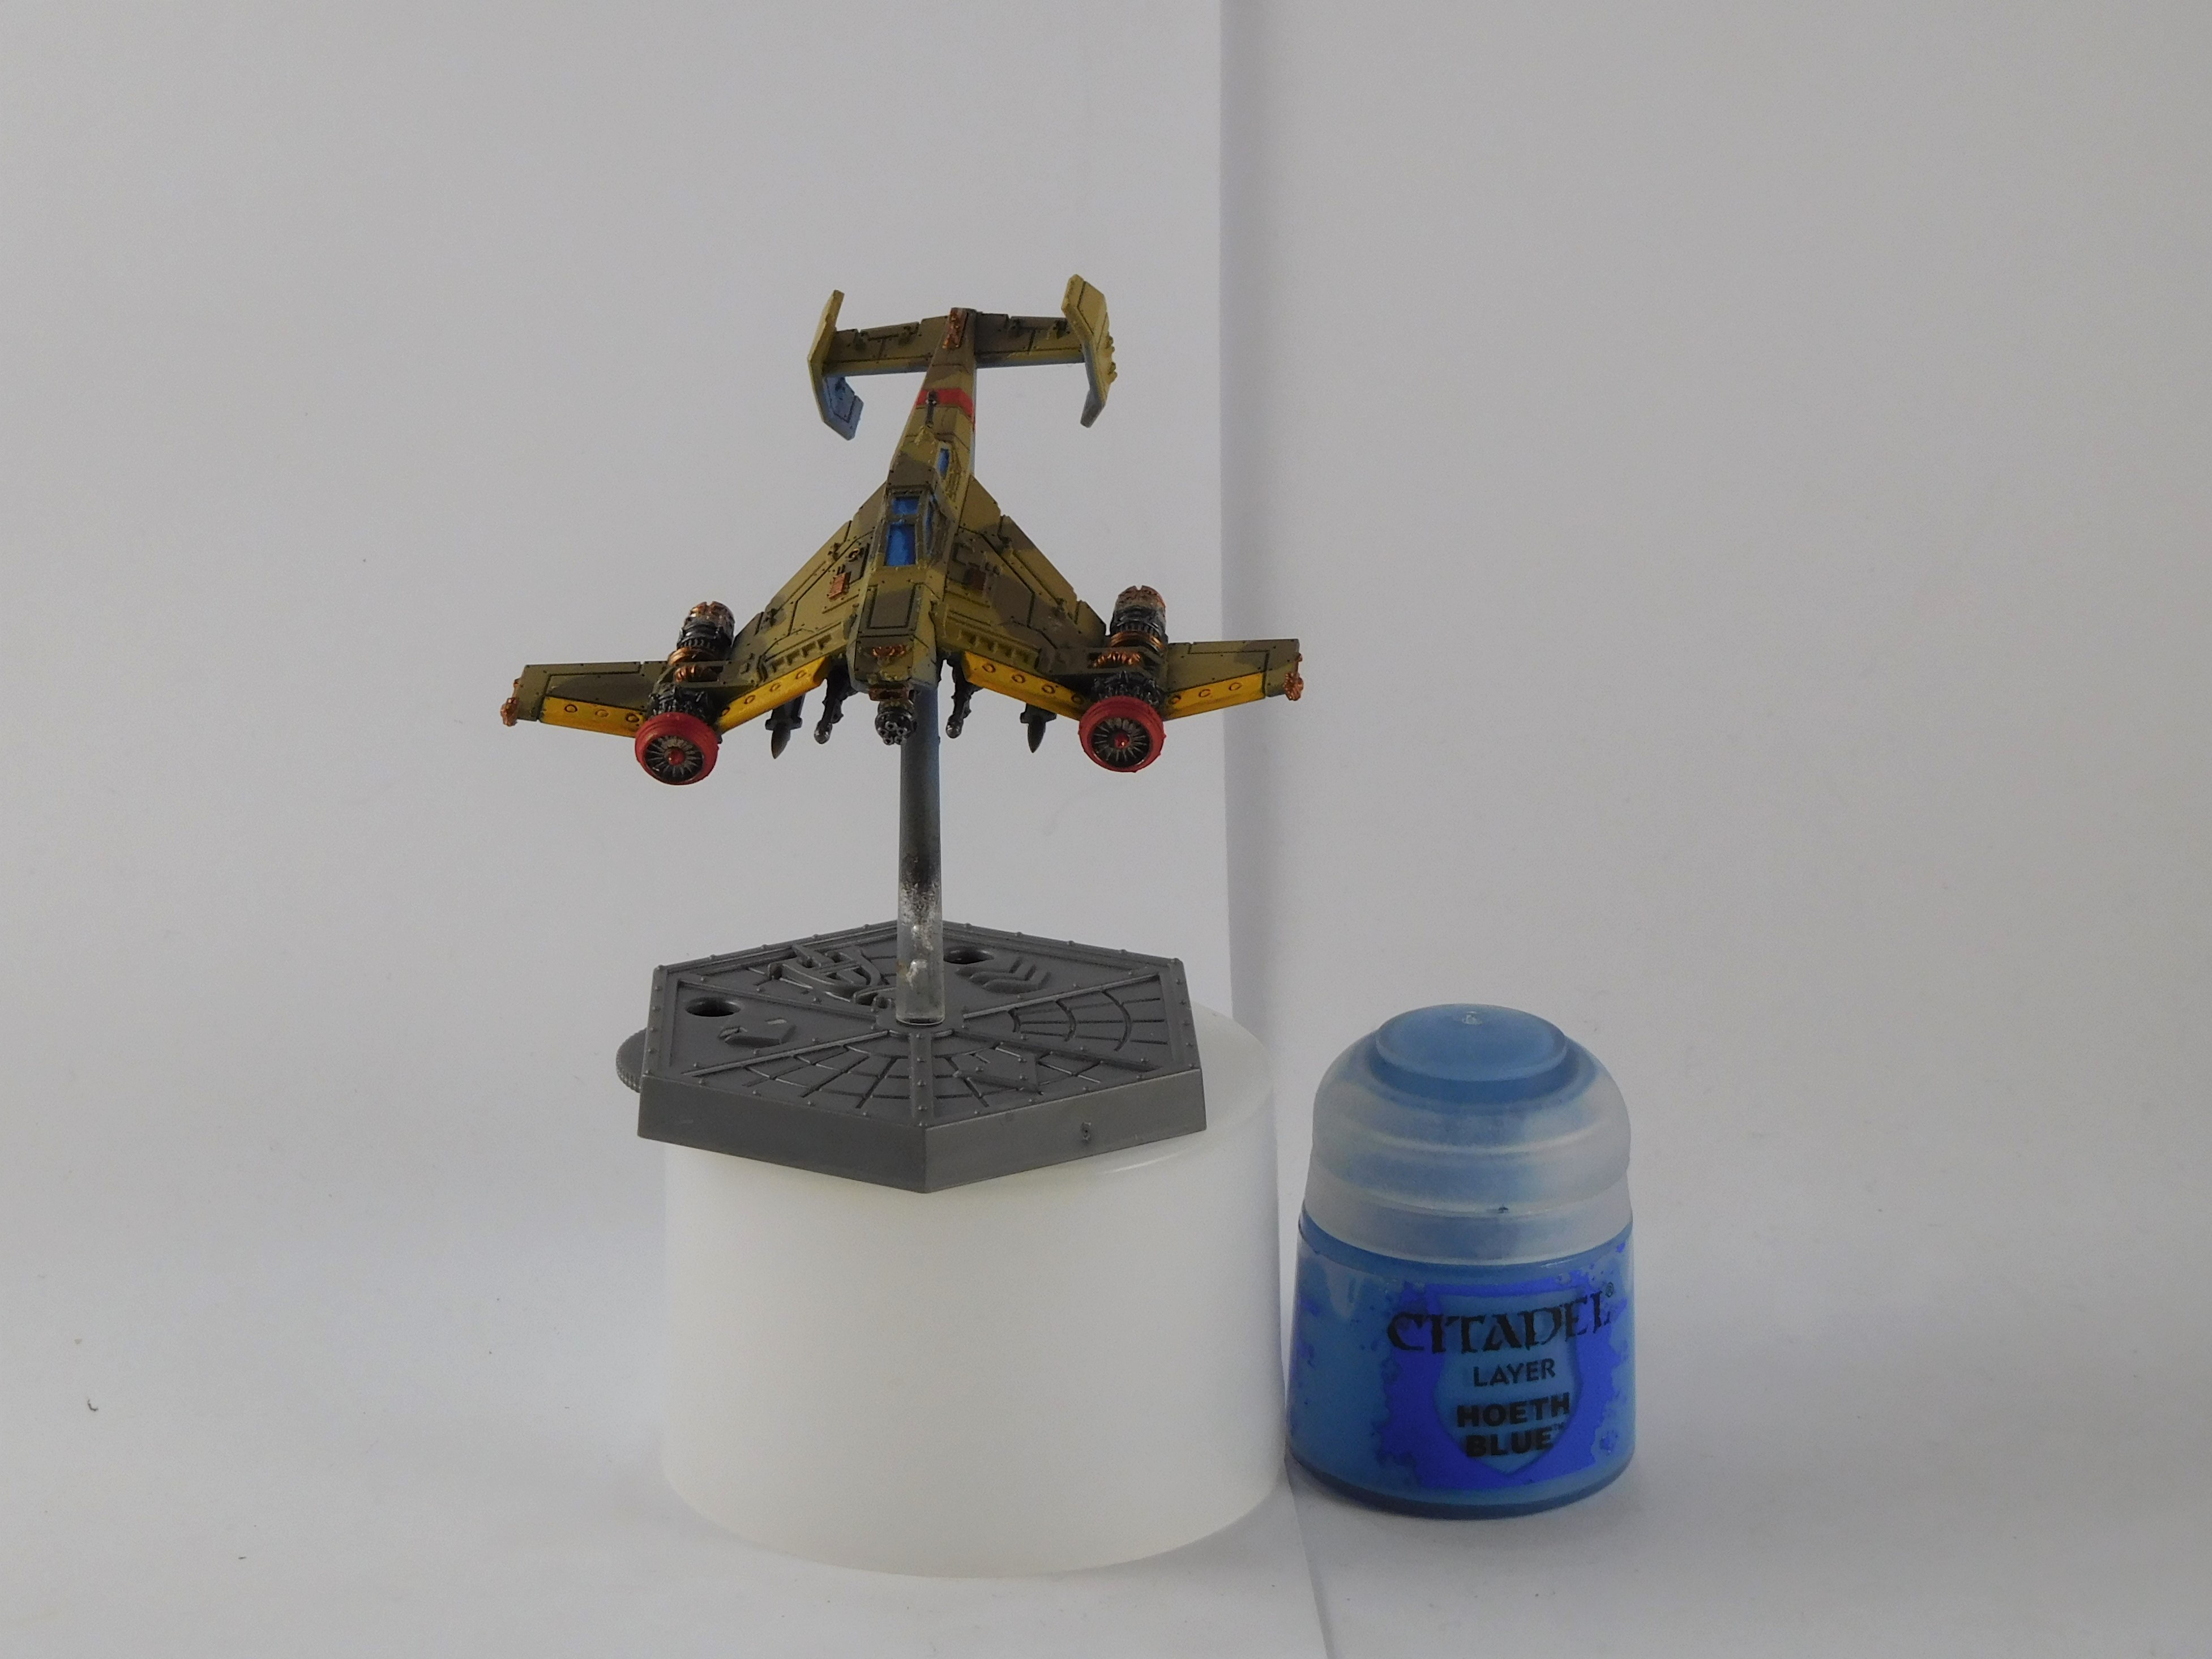
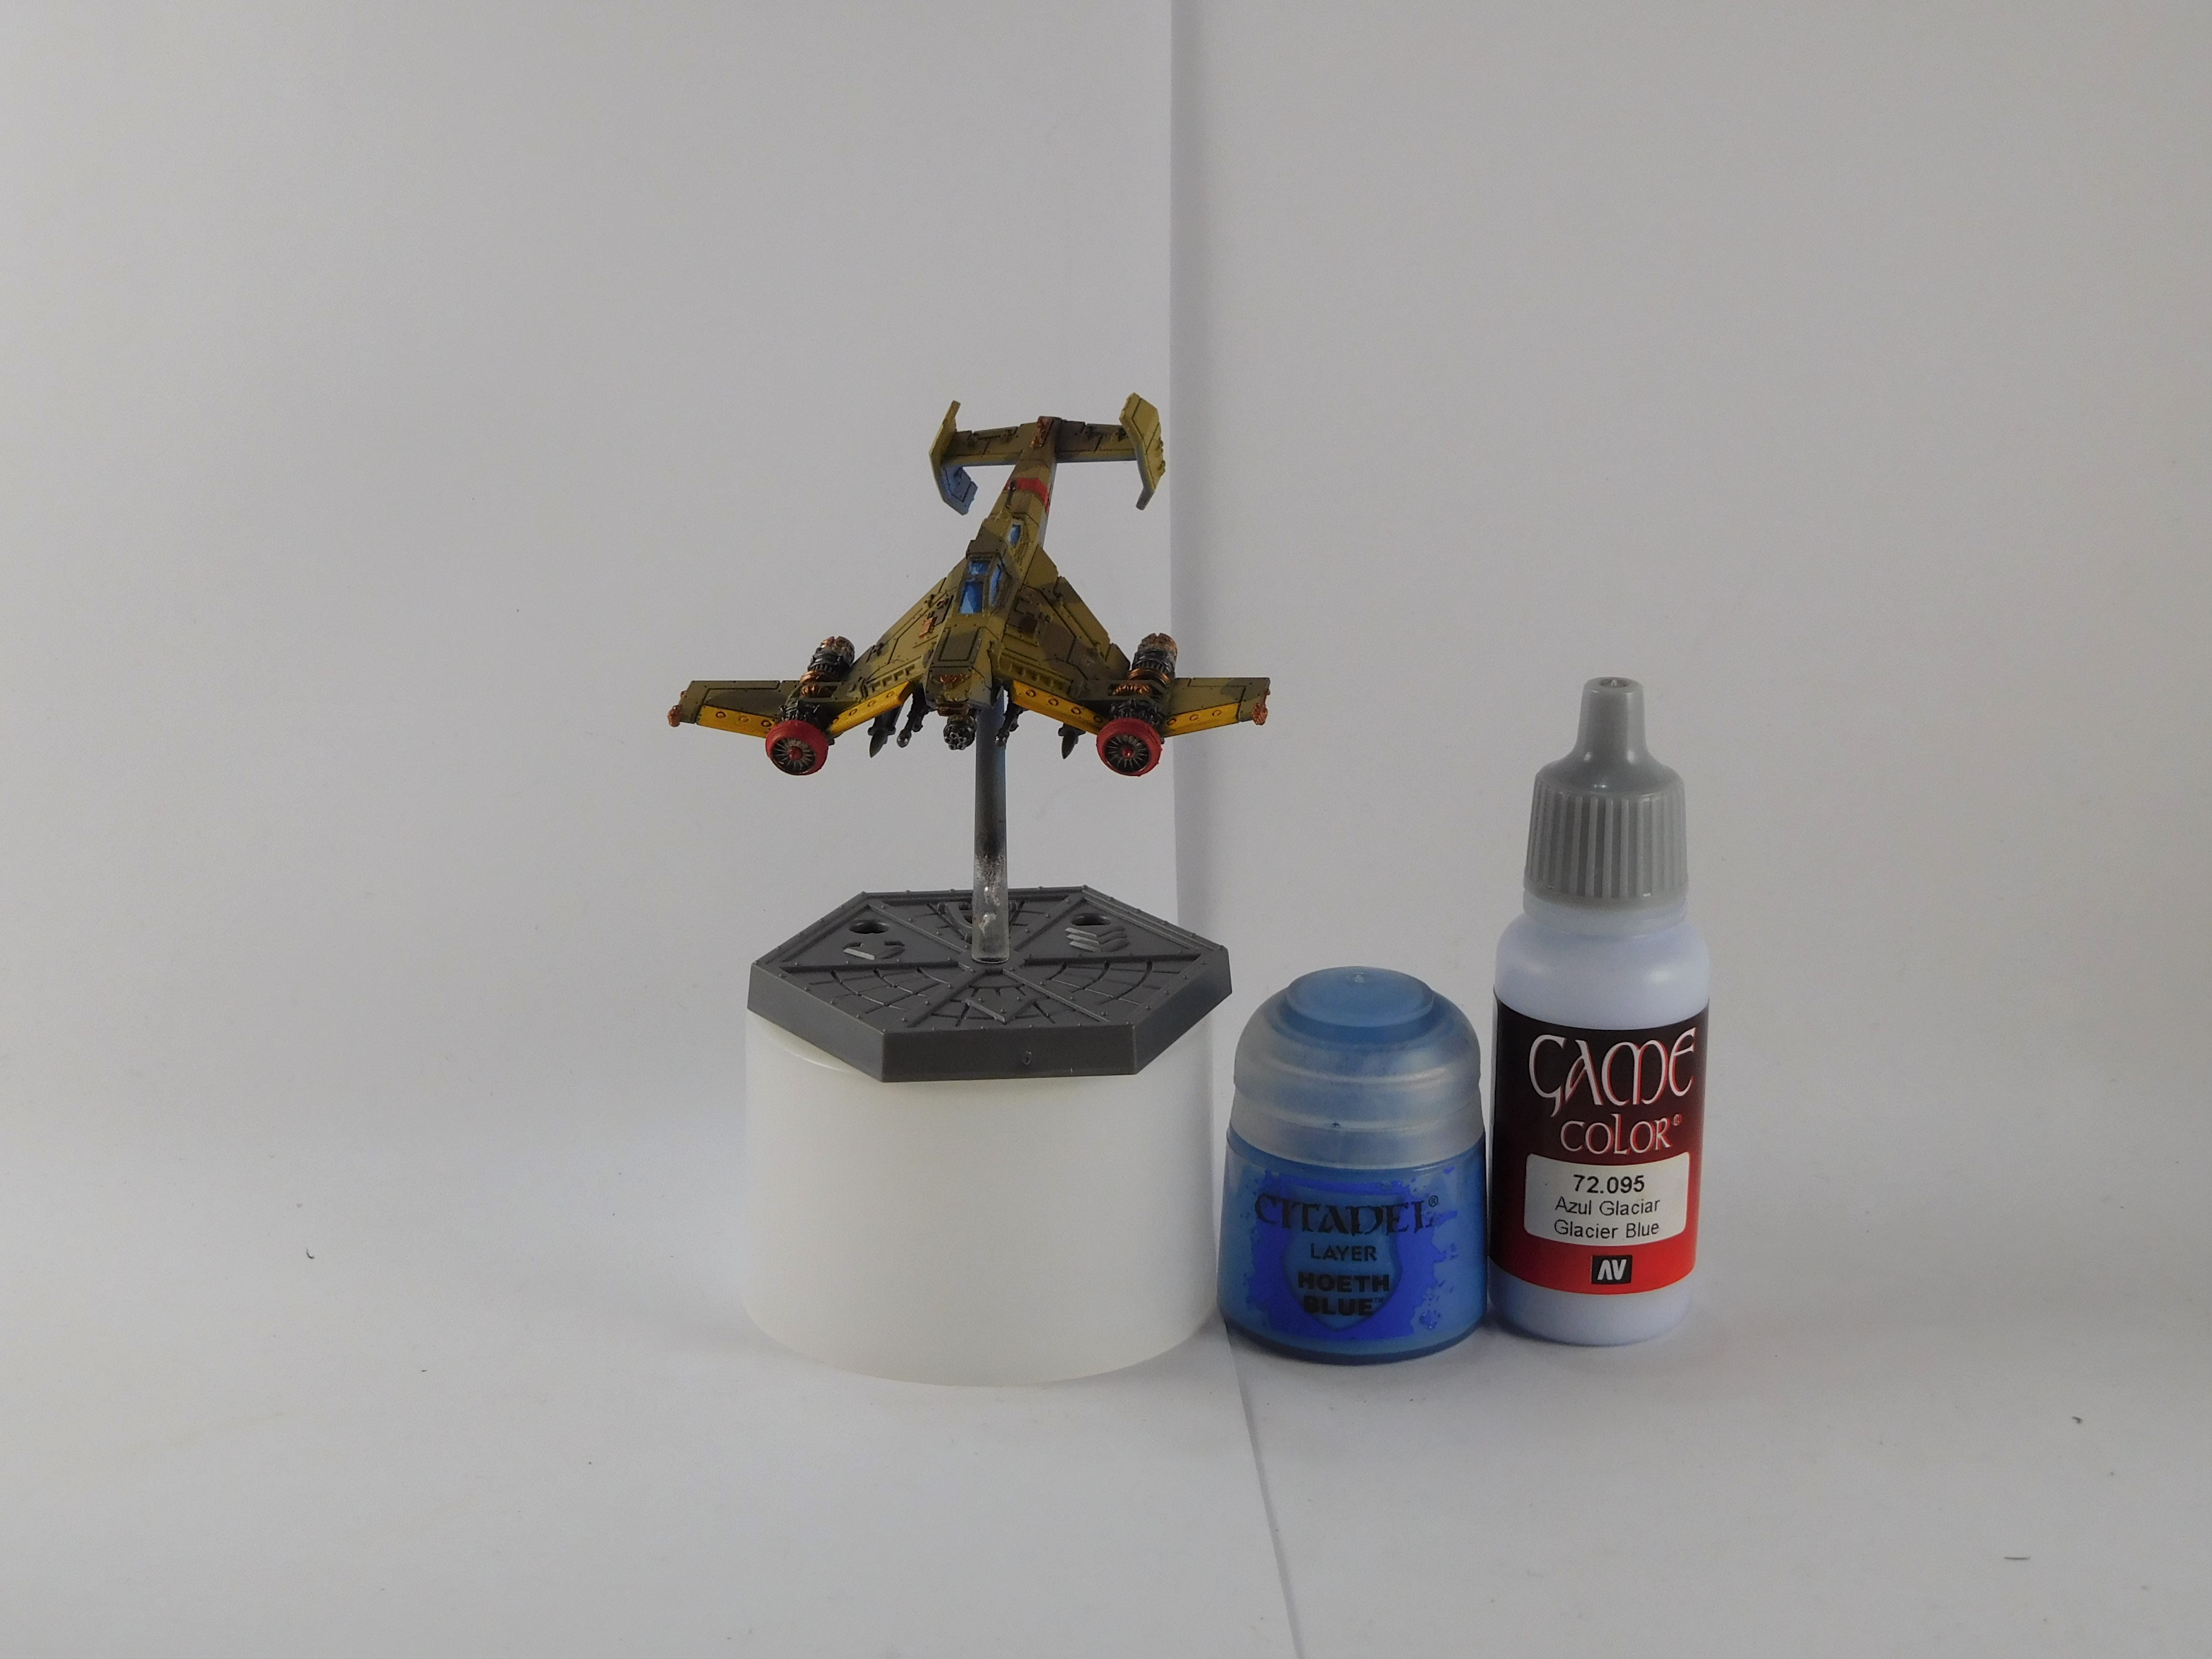
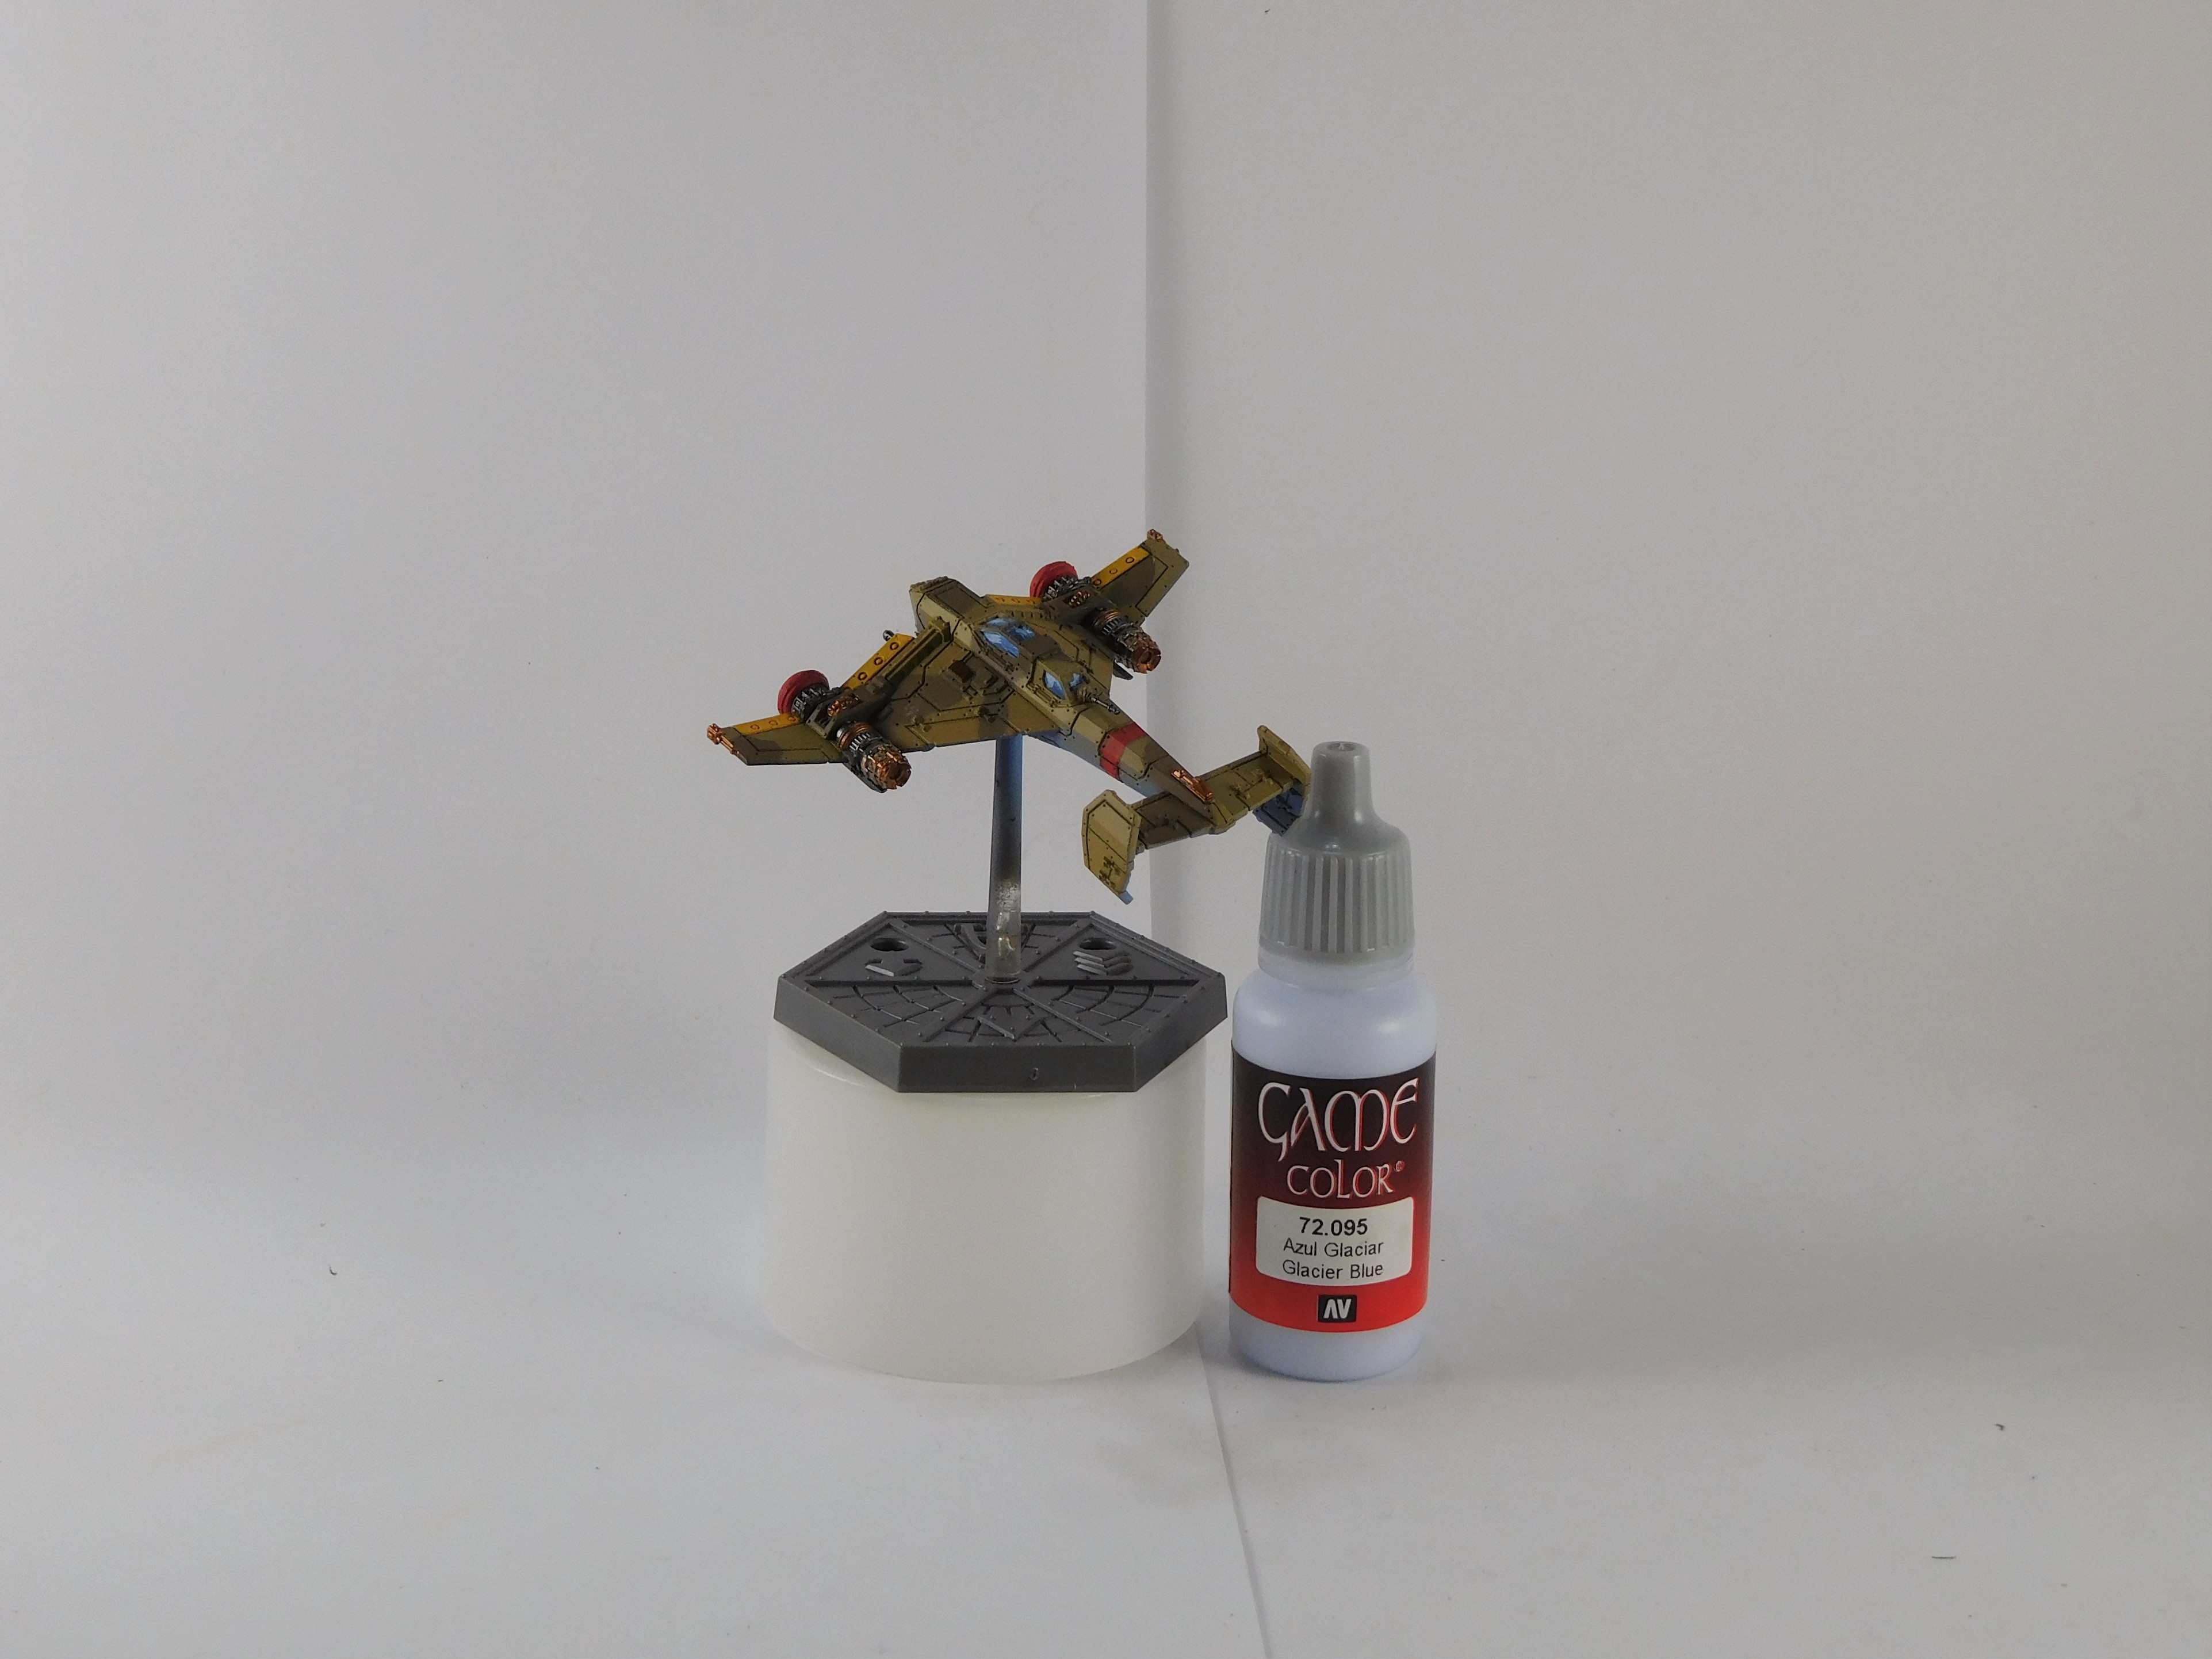
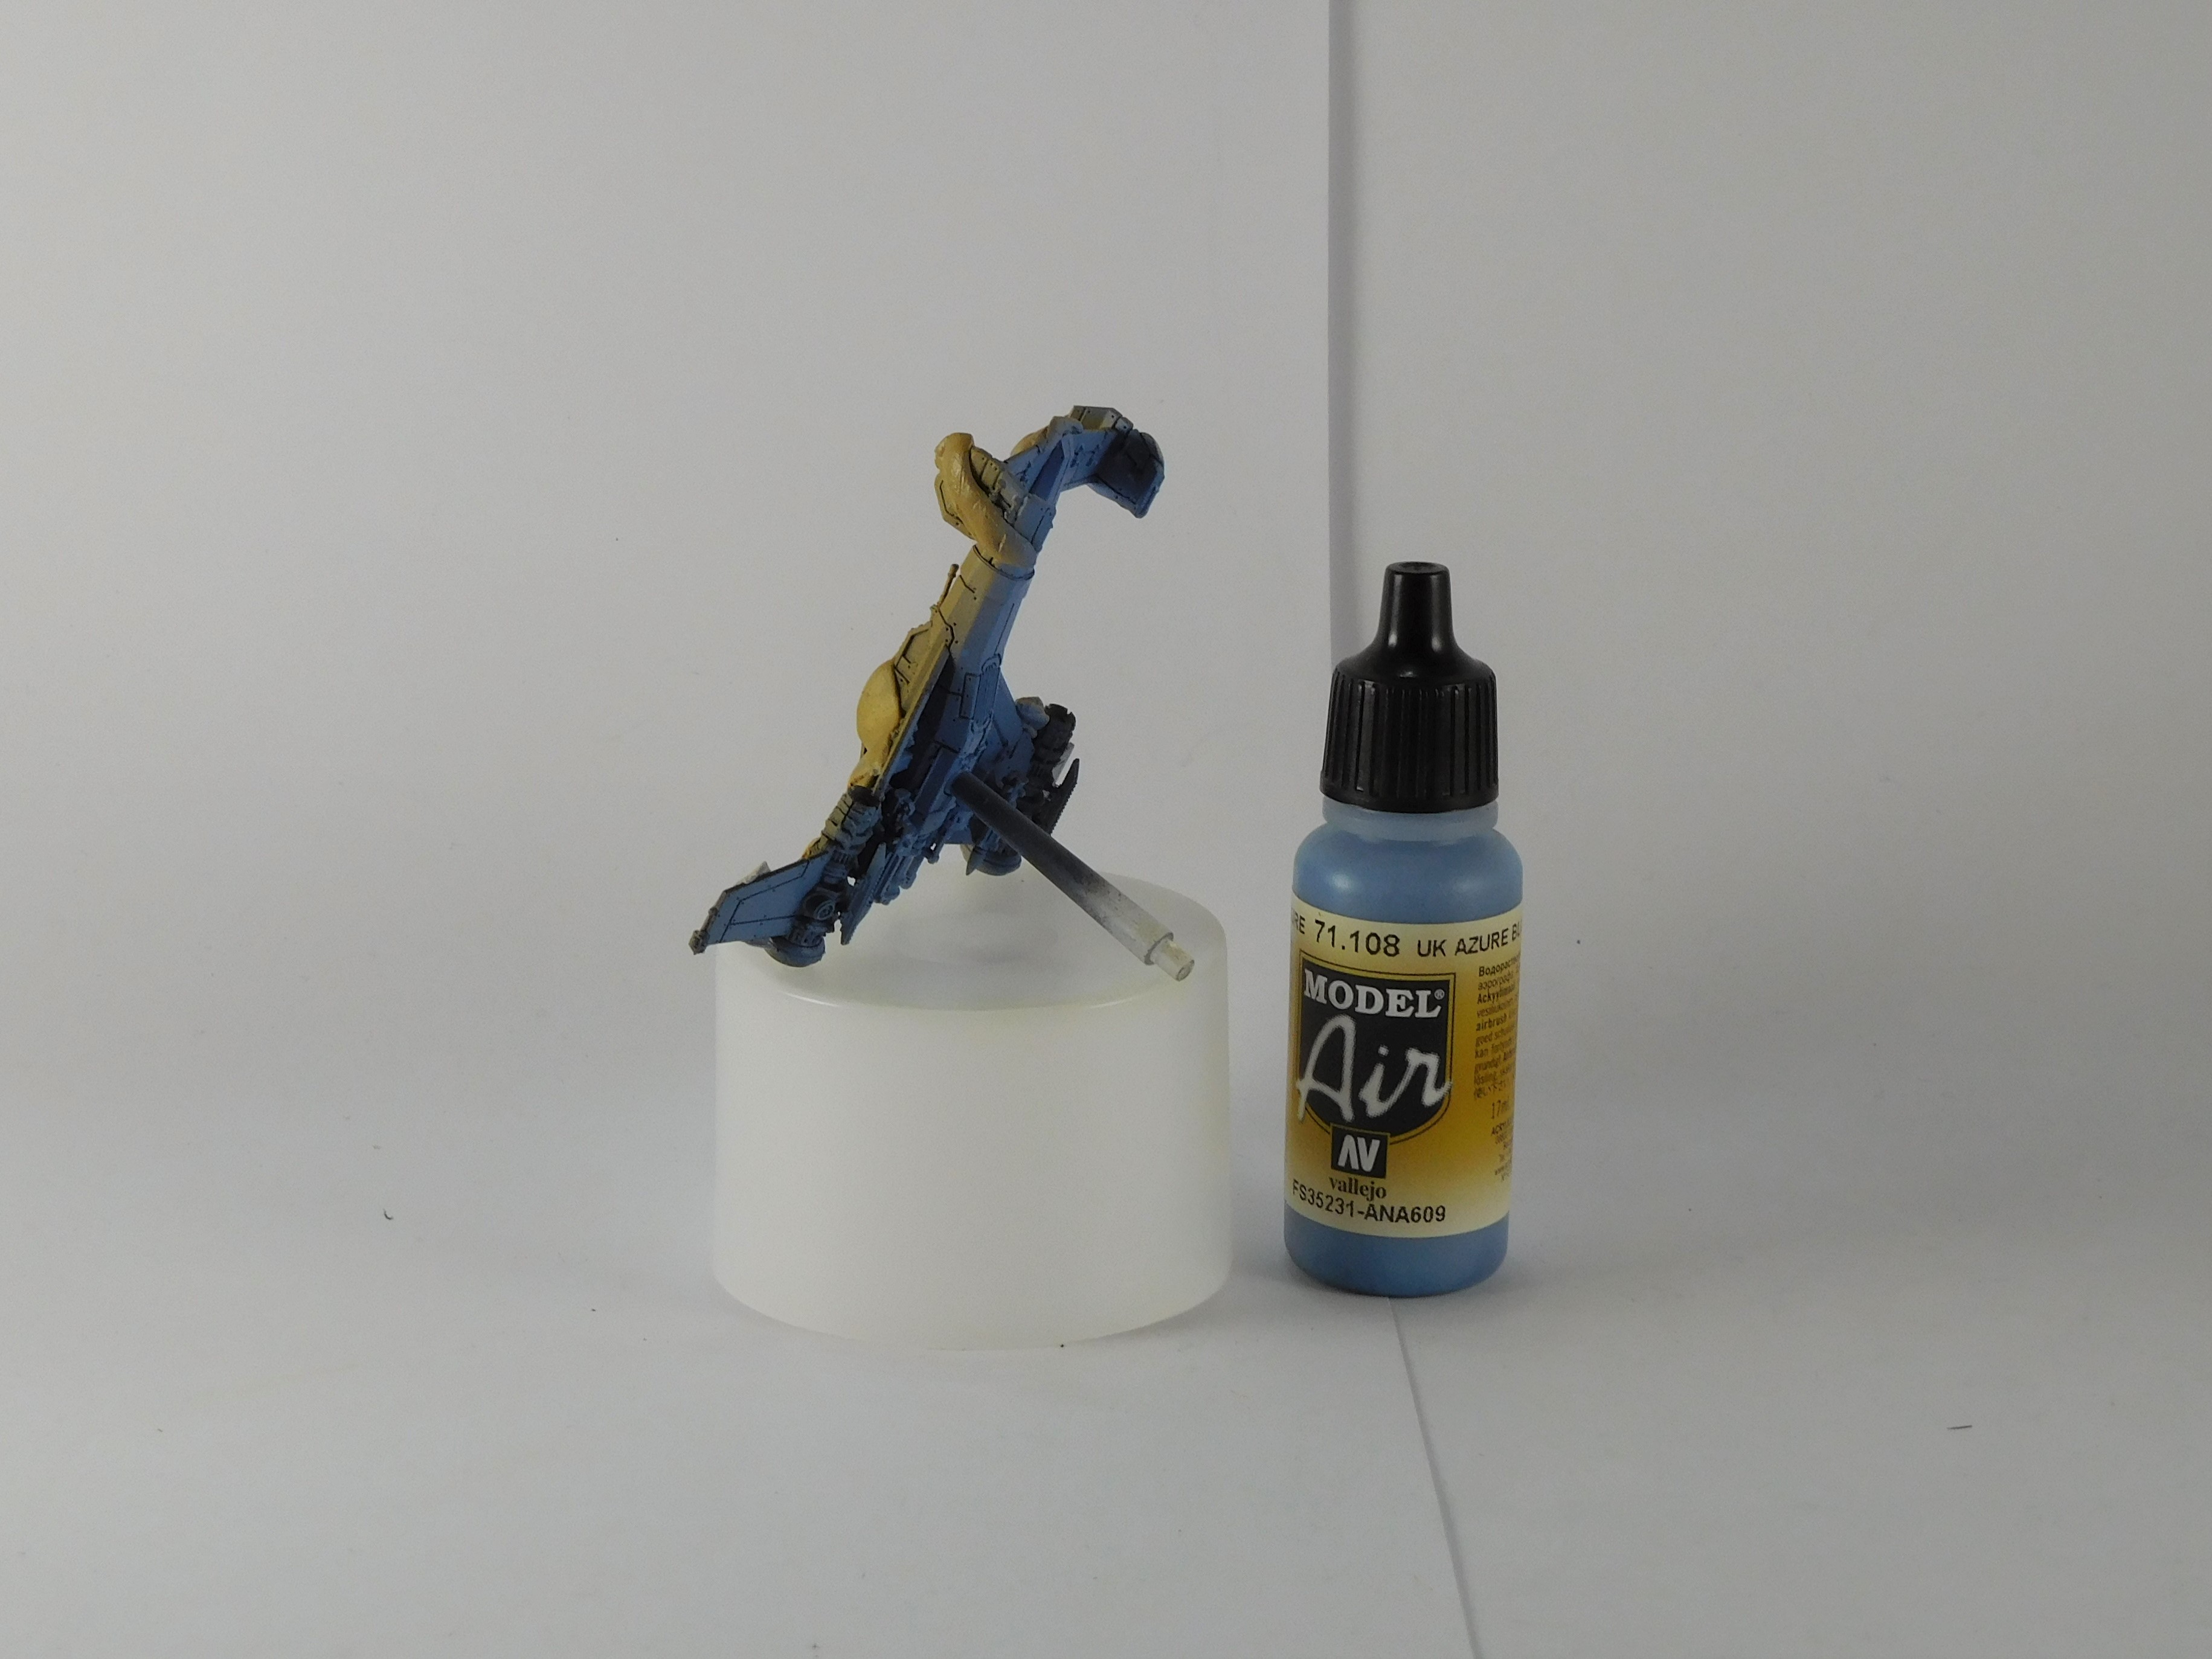
The windows of the cockpit where painted in blue. This was the same method as used on pervious models.
The process starts with blocking in the windows with a dark blue. This is followed with painting lighter layers of blue while leaving some of the previous layer still visible. That is until the final layer of very light blue which is just a dash applied.

A bit of tough up was required at this stage. The Vallejo airbrush paint can be brushed on. Just keep in mind that this is a really thin paint.
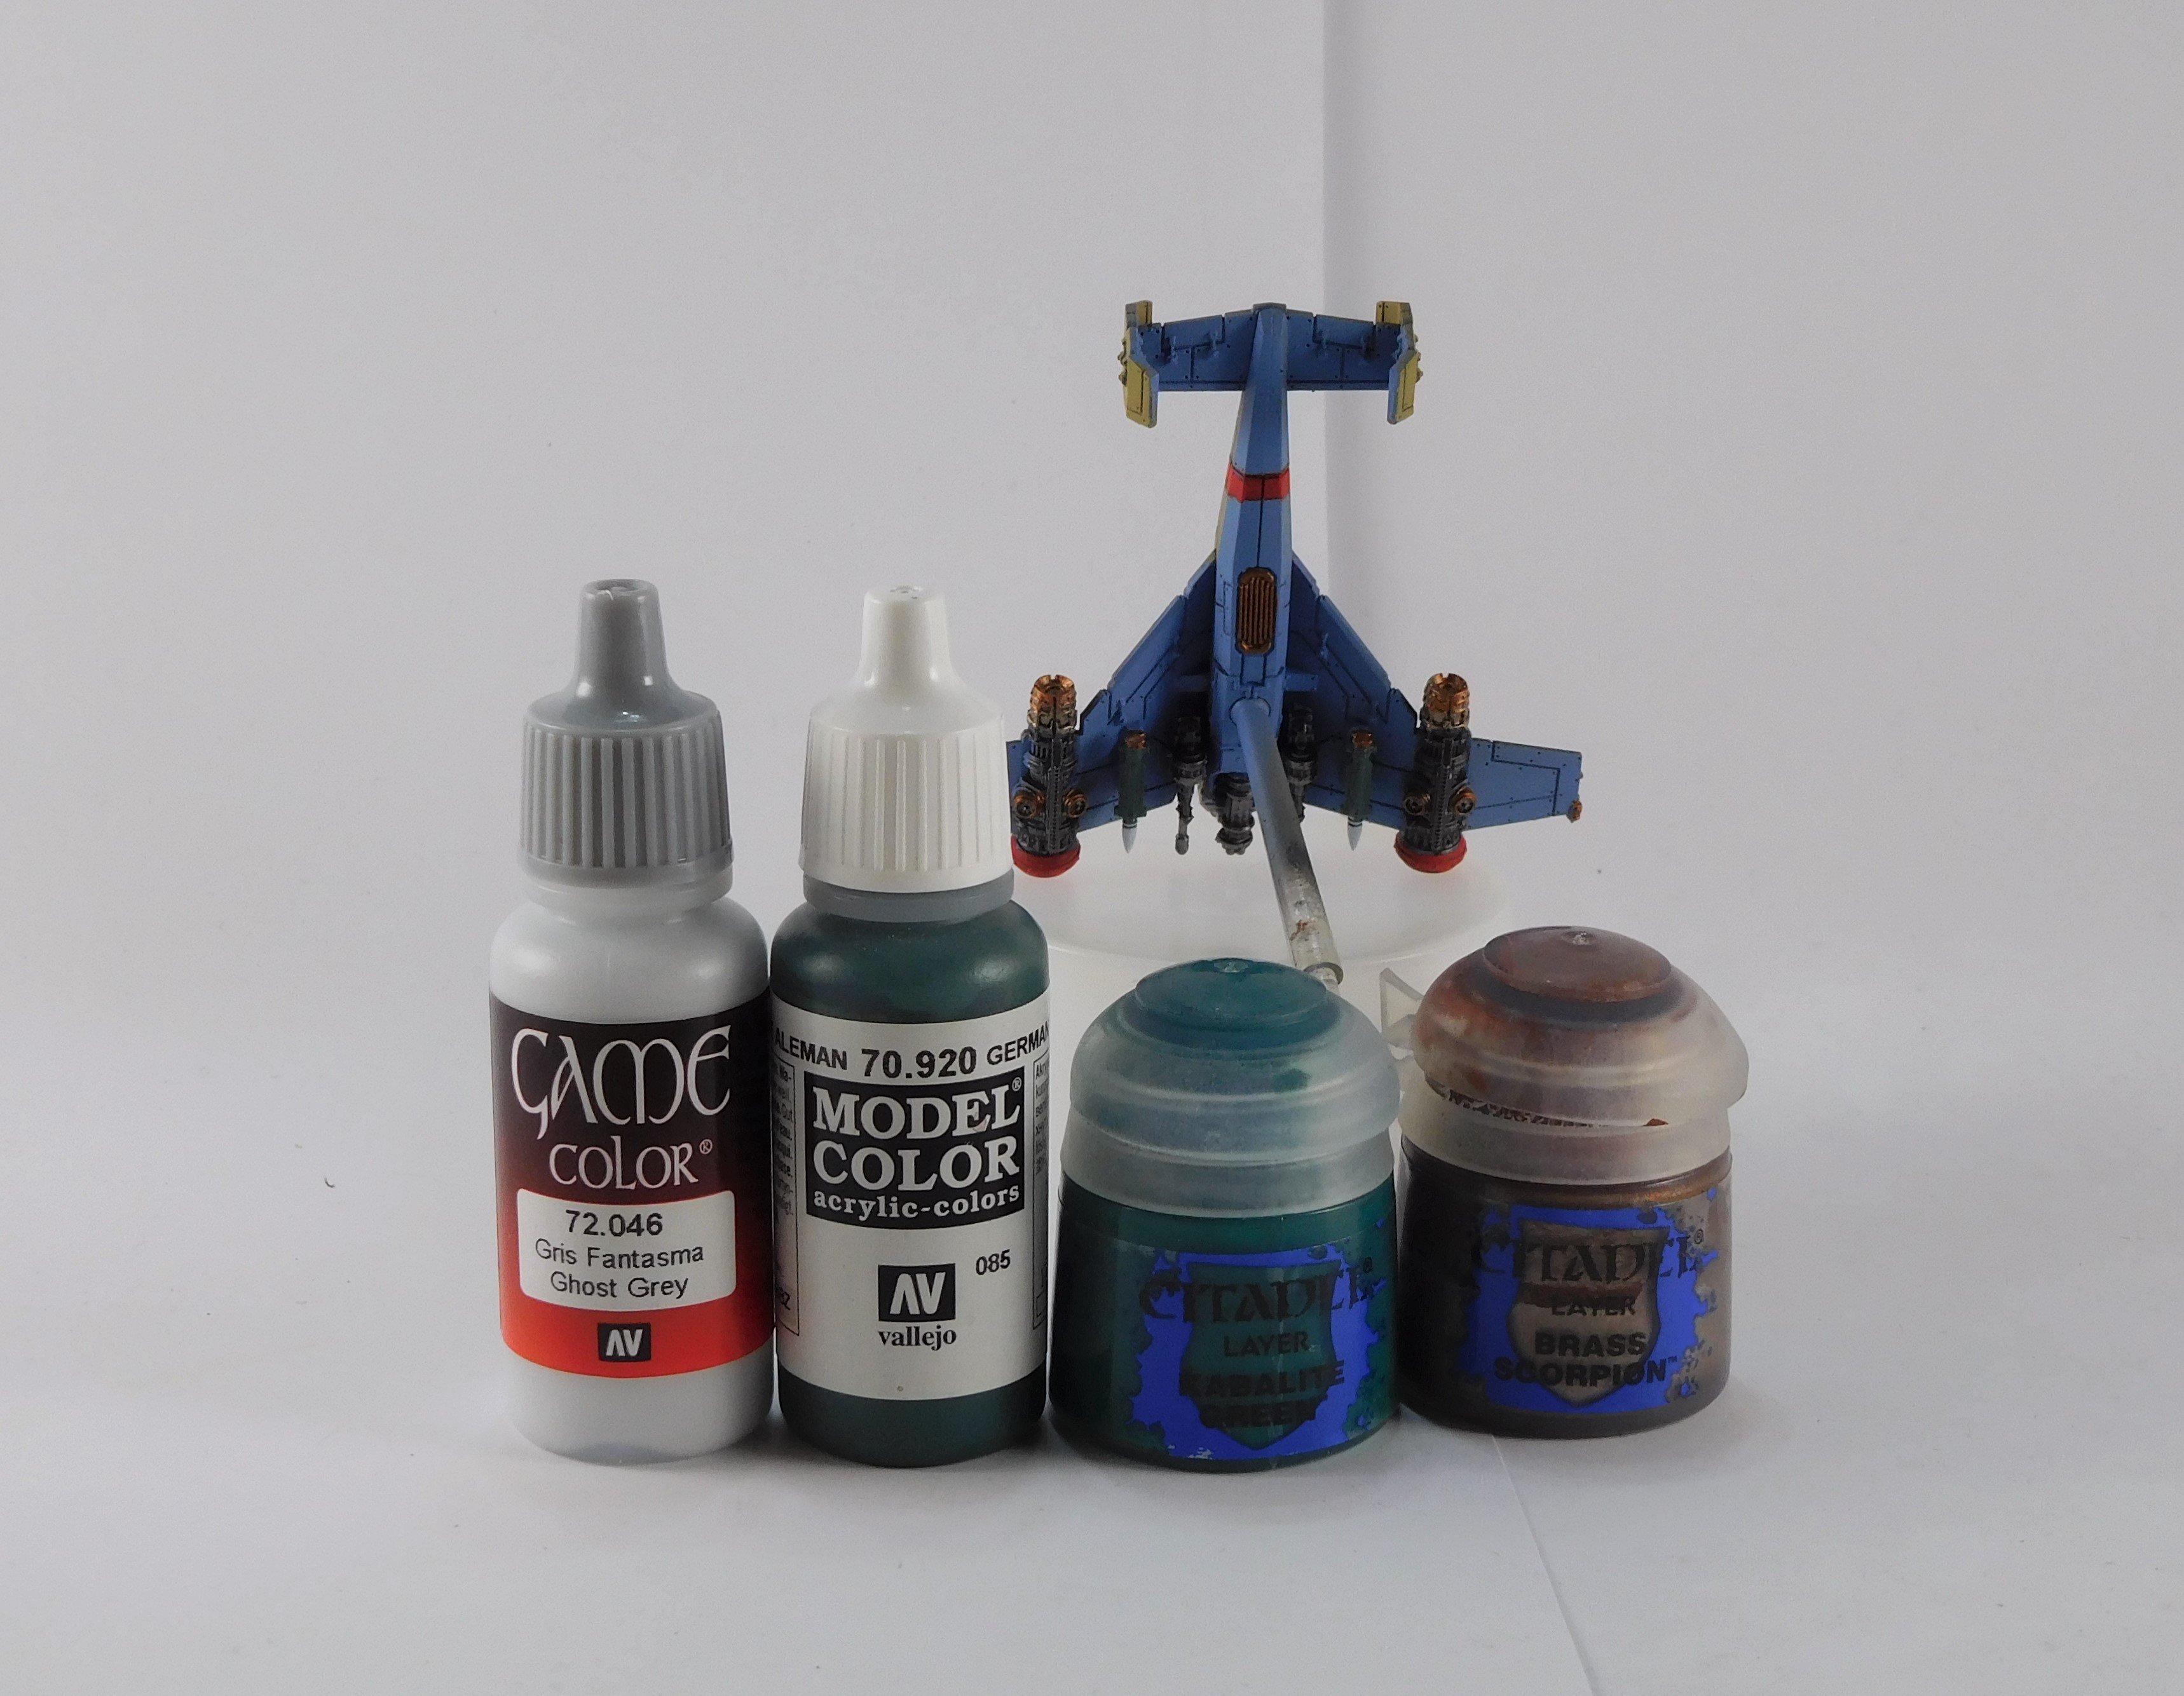
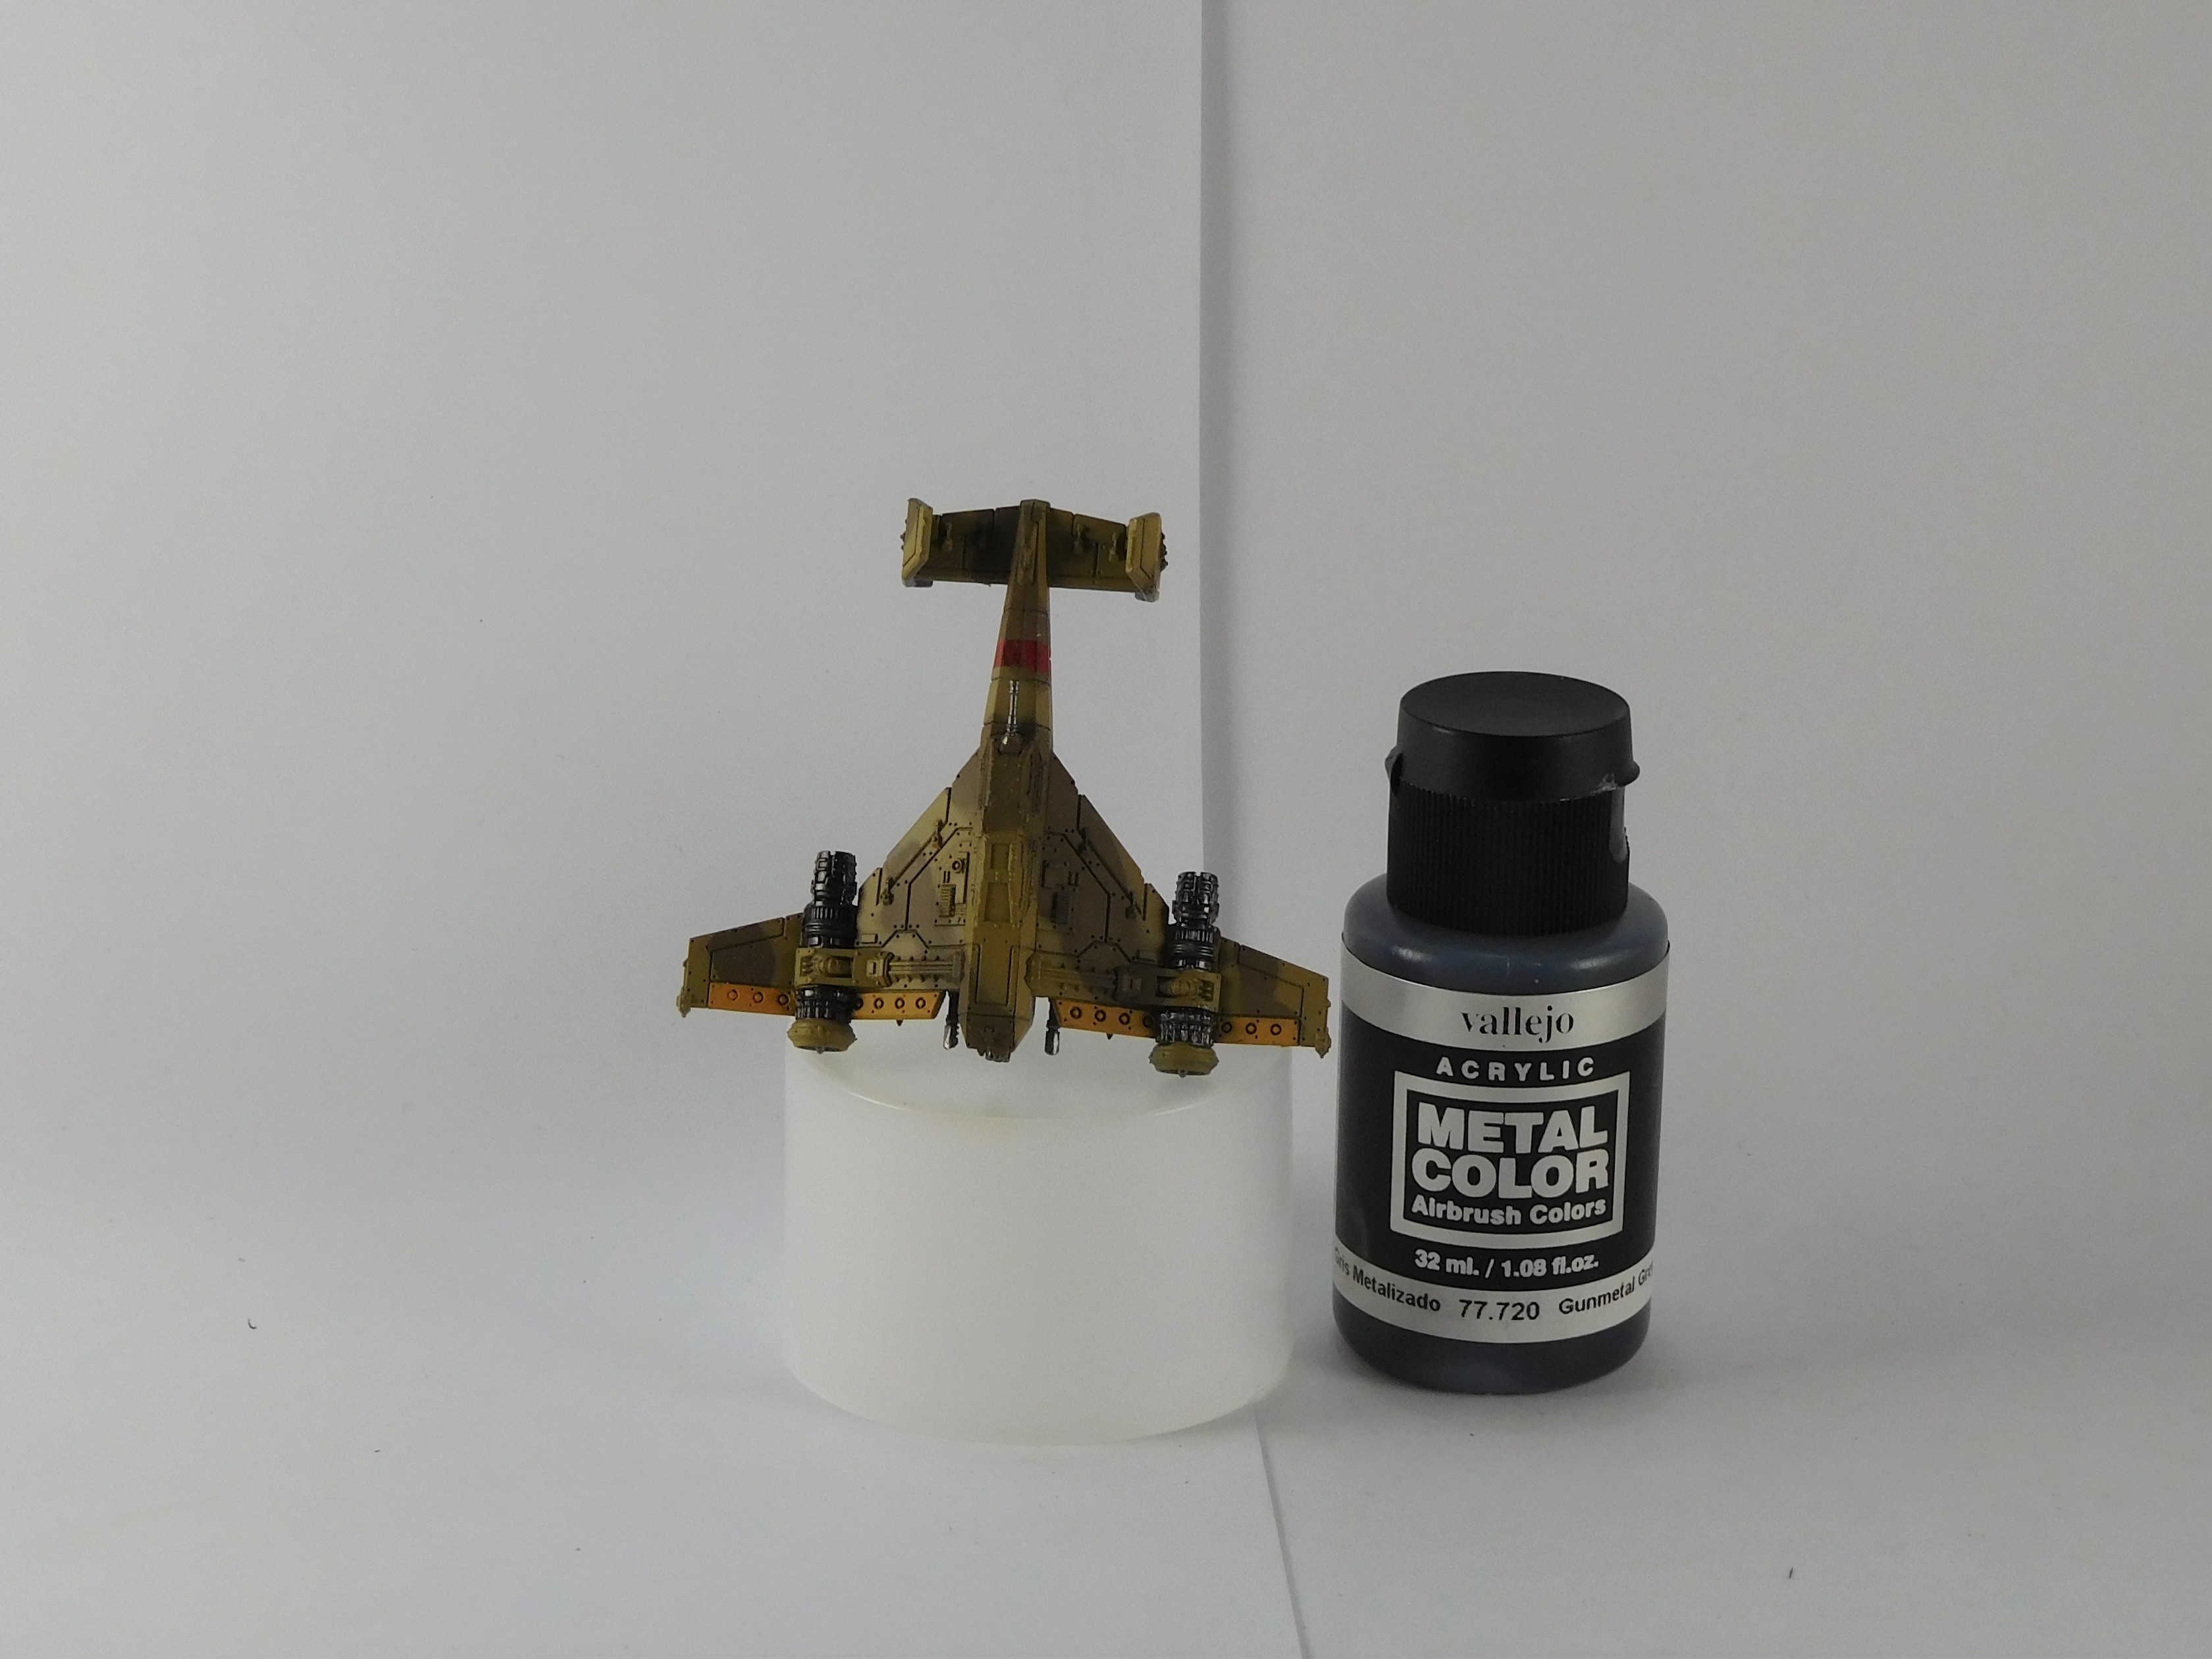
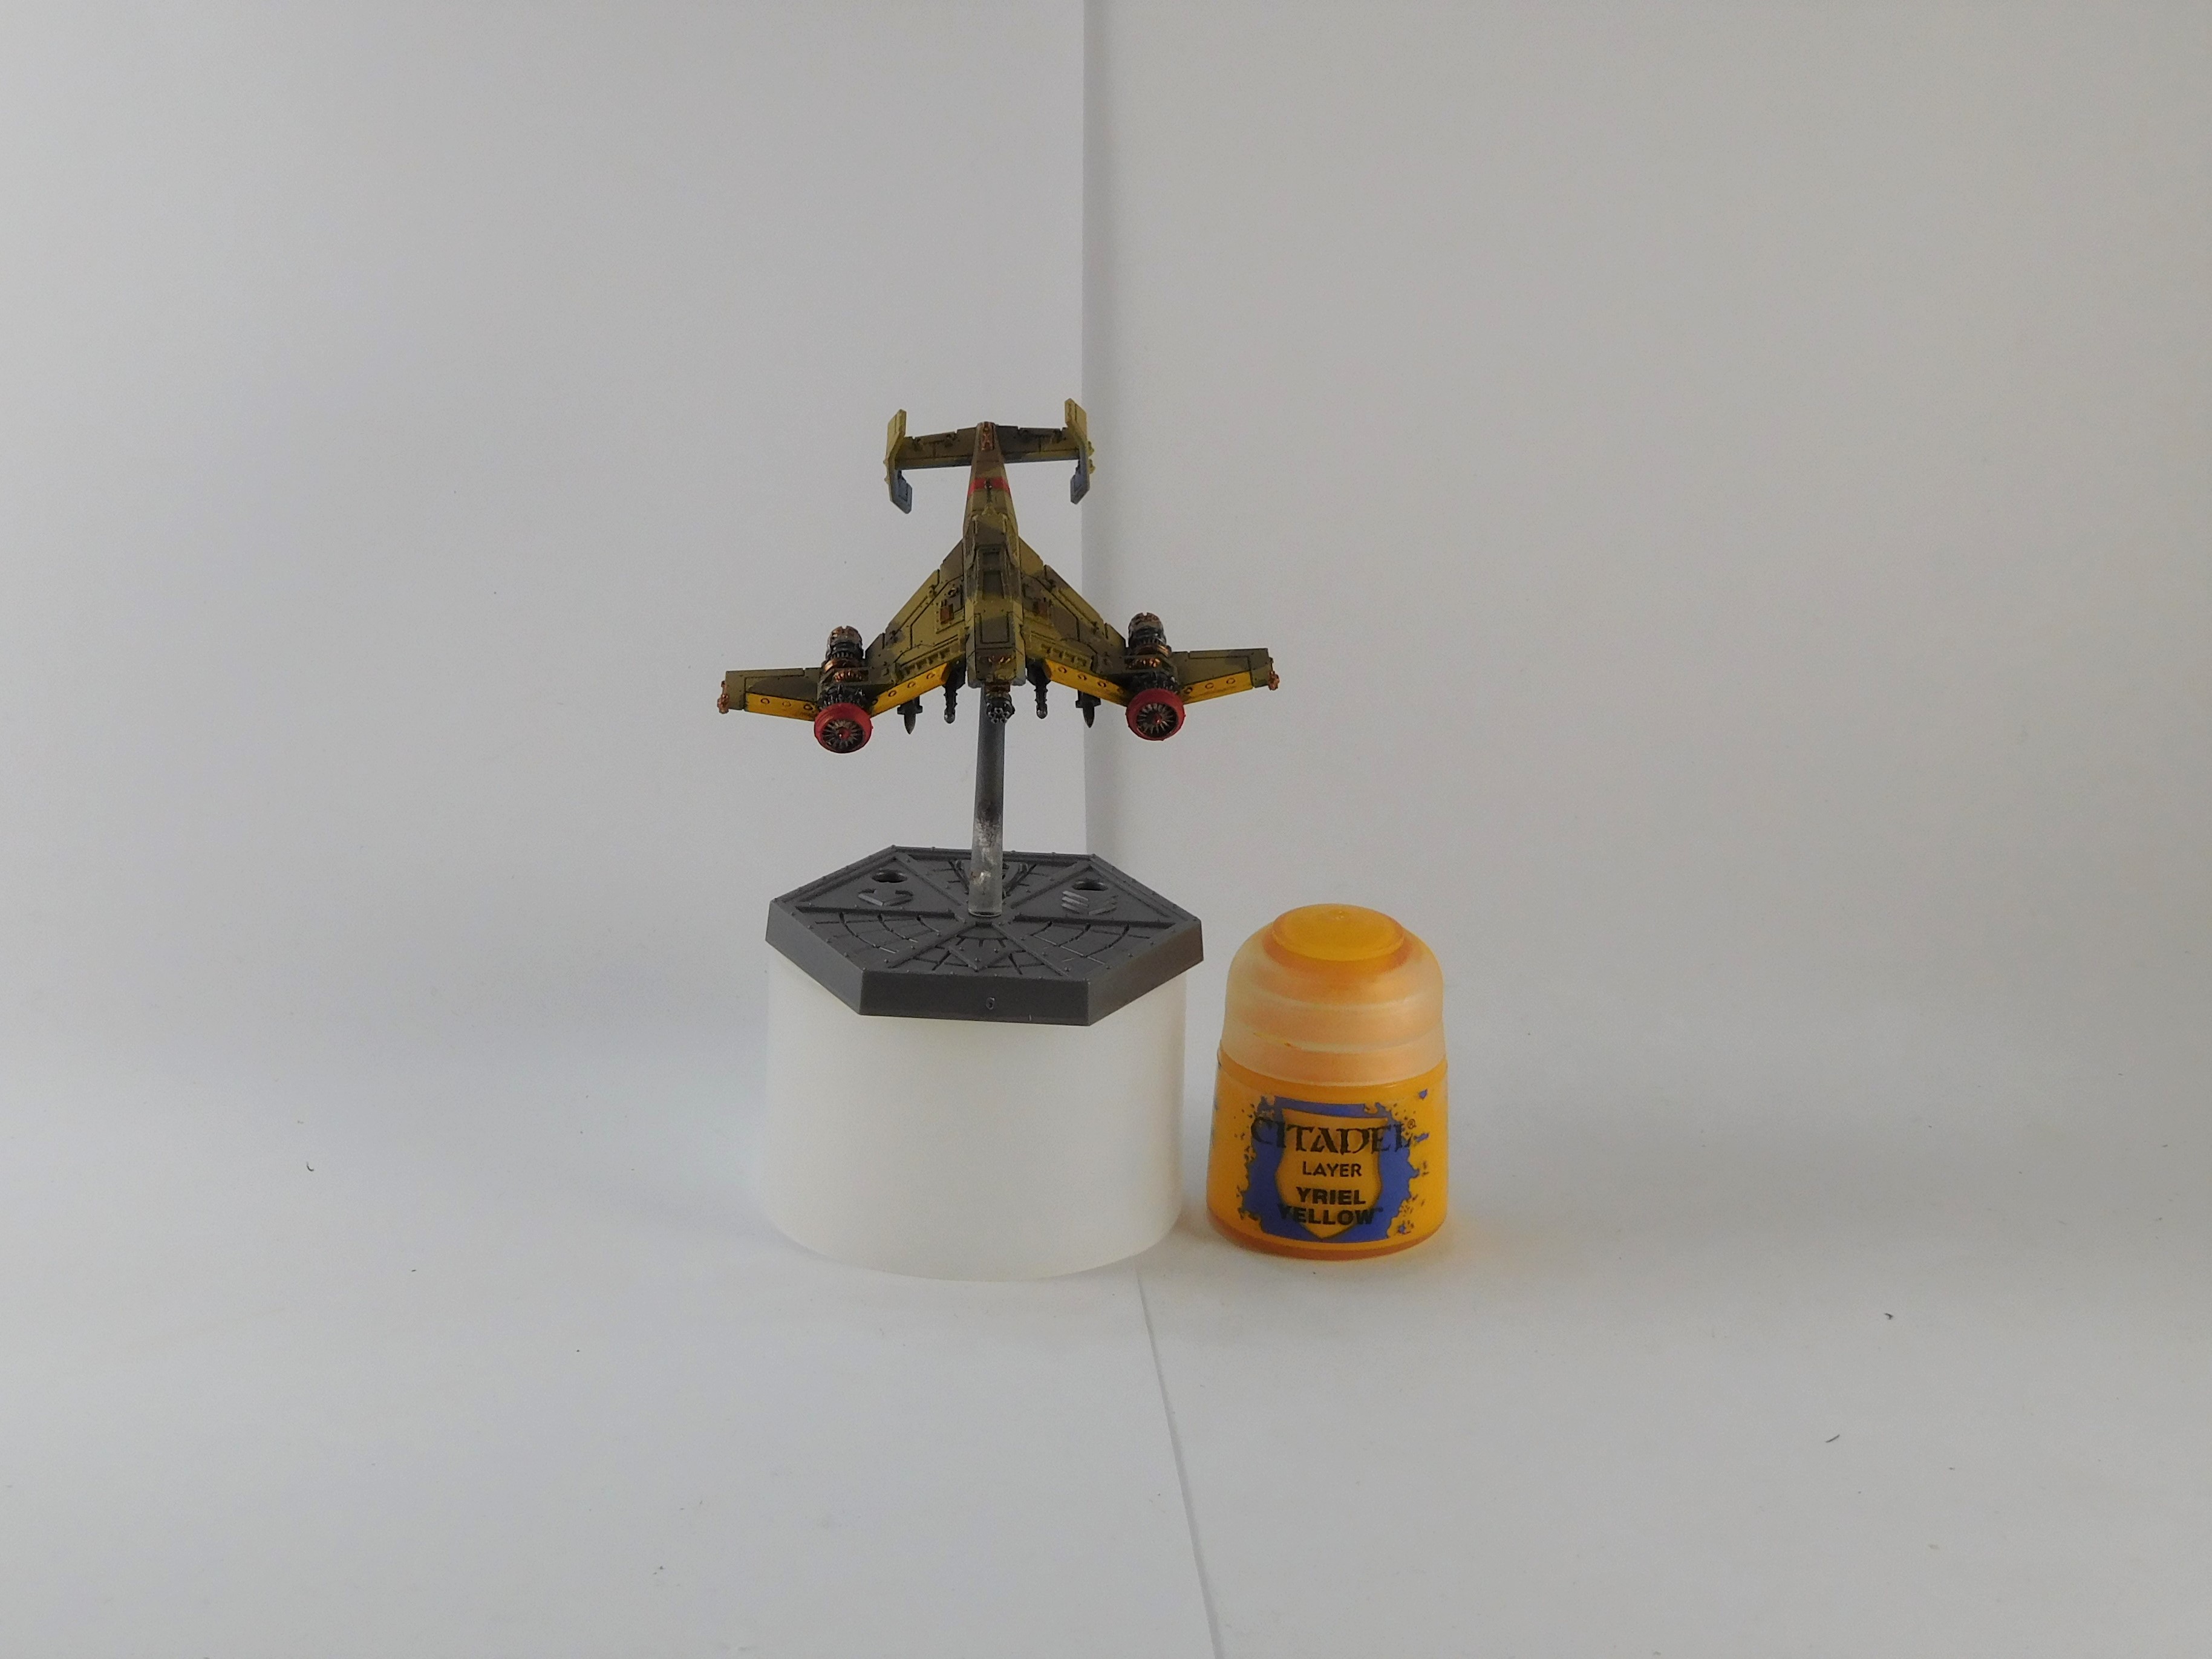
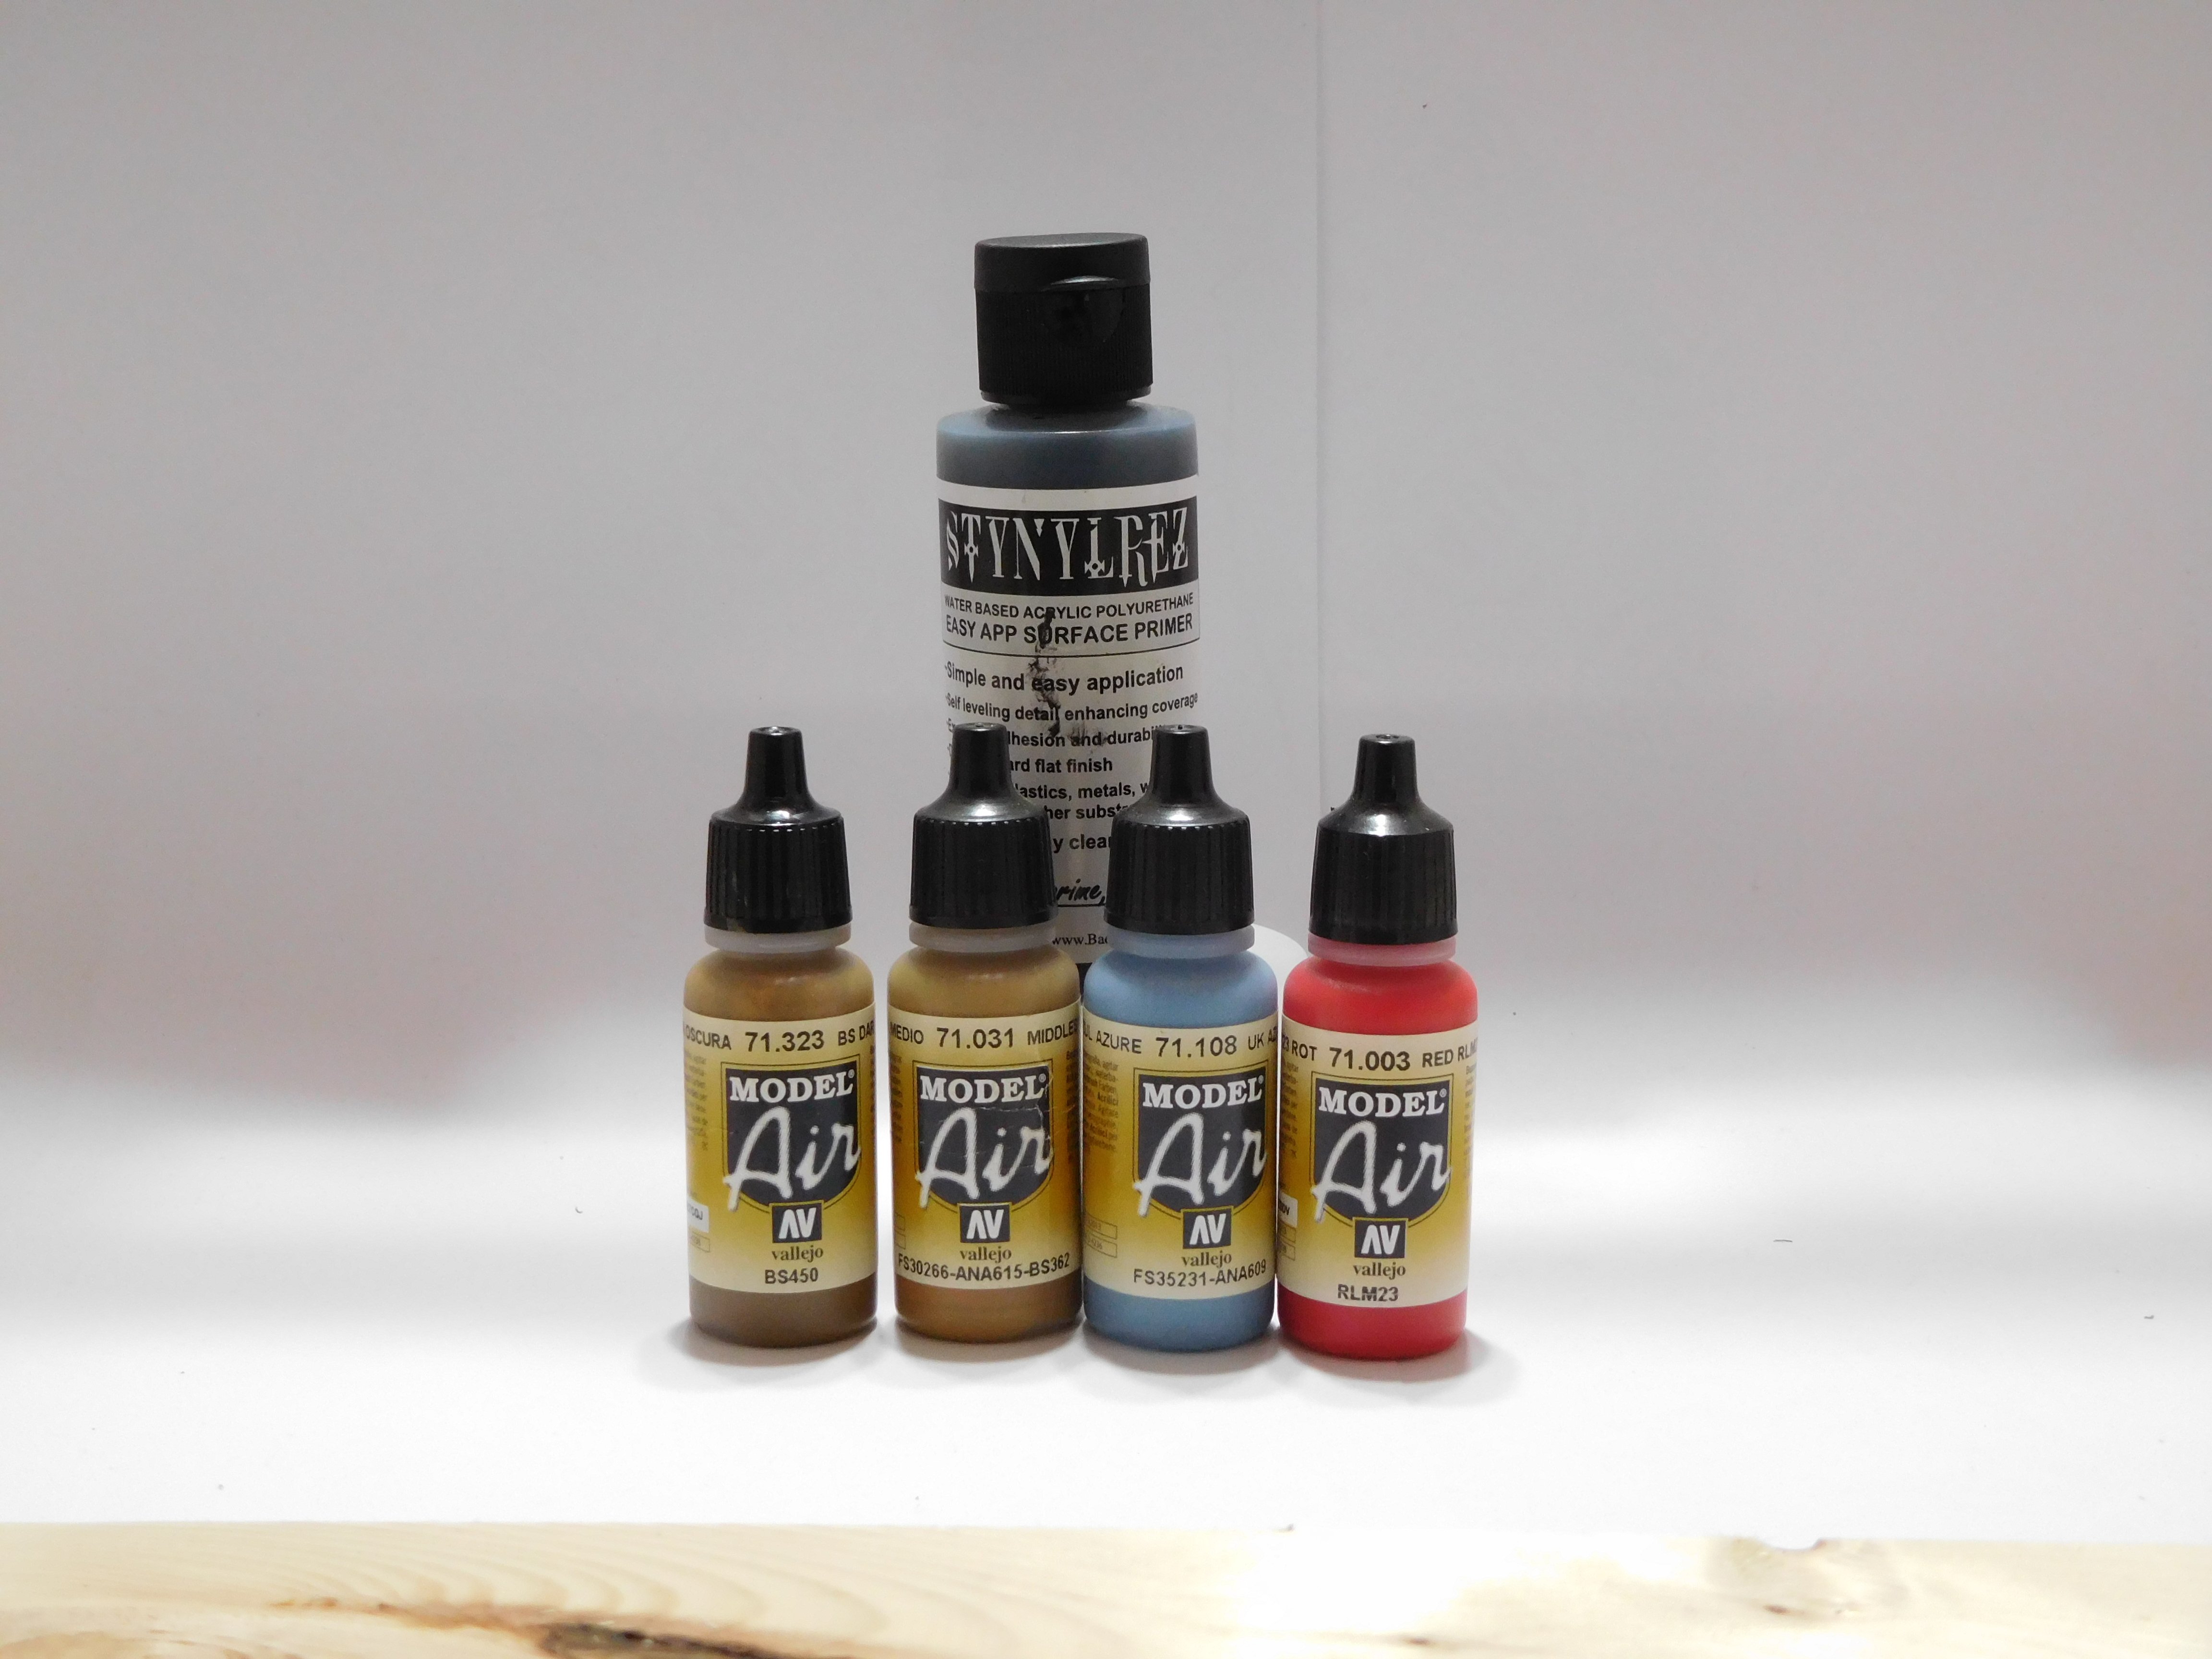
Part 1: Blocking In The Base Colours.
The first step is to make sure your airbush is clean. The first picture shows the paints required to do the blocking.
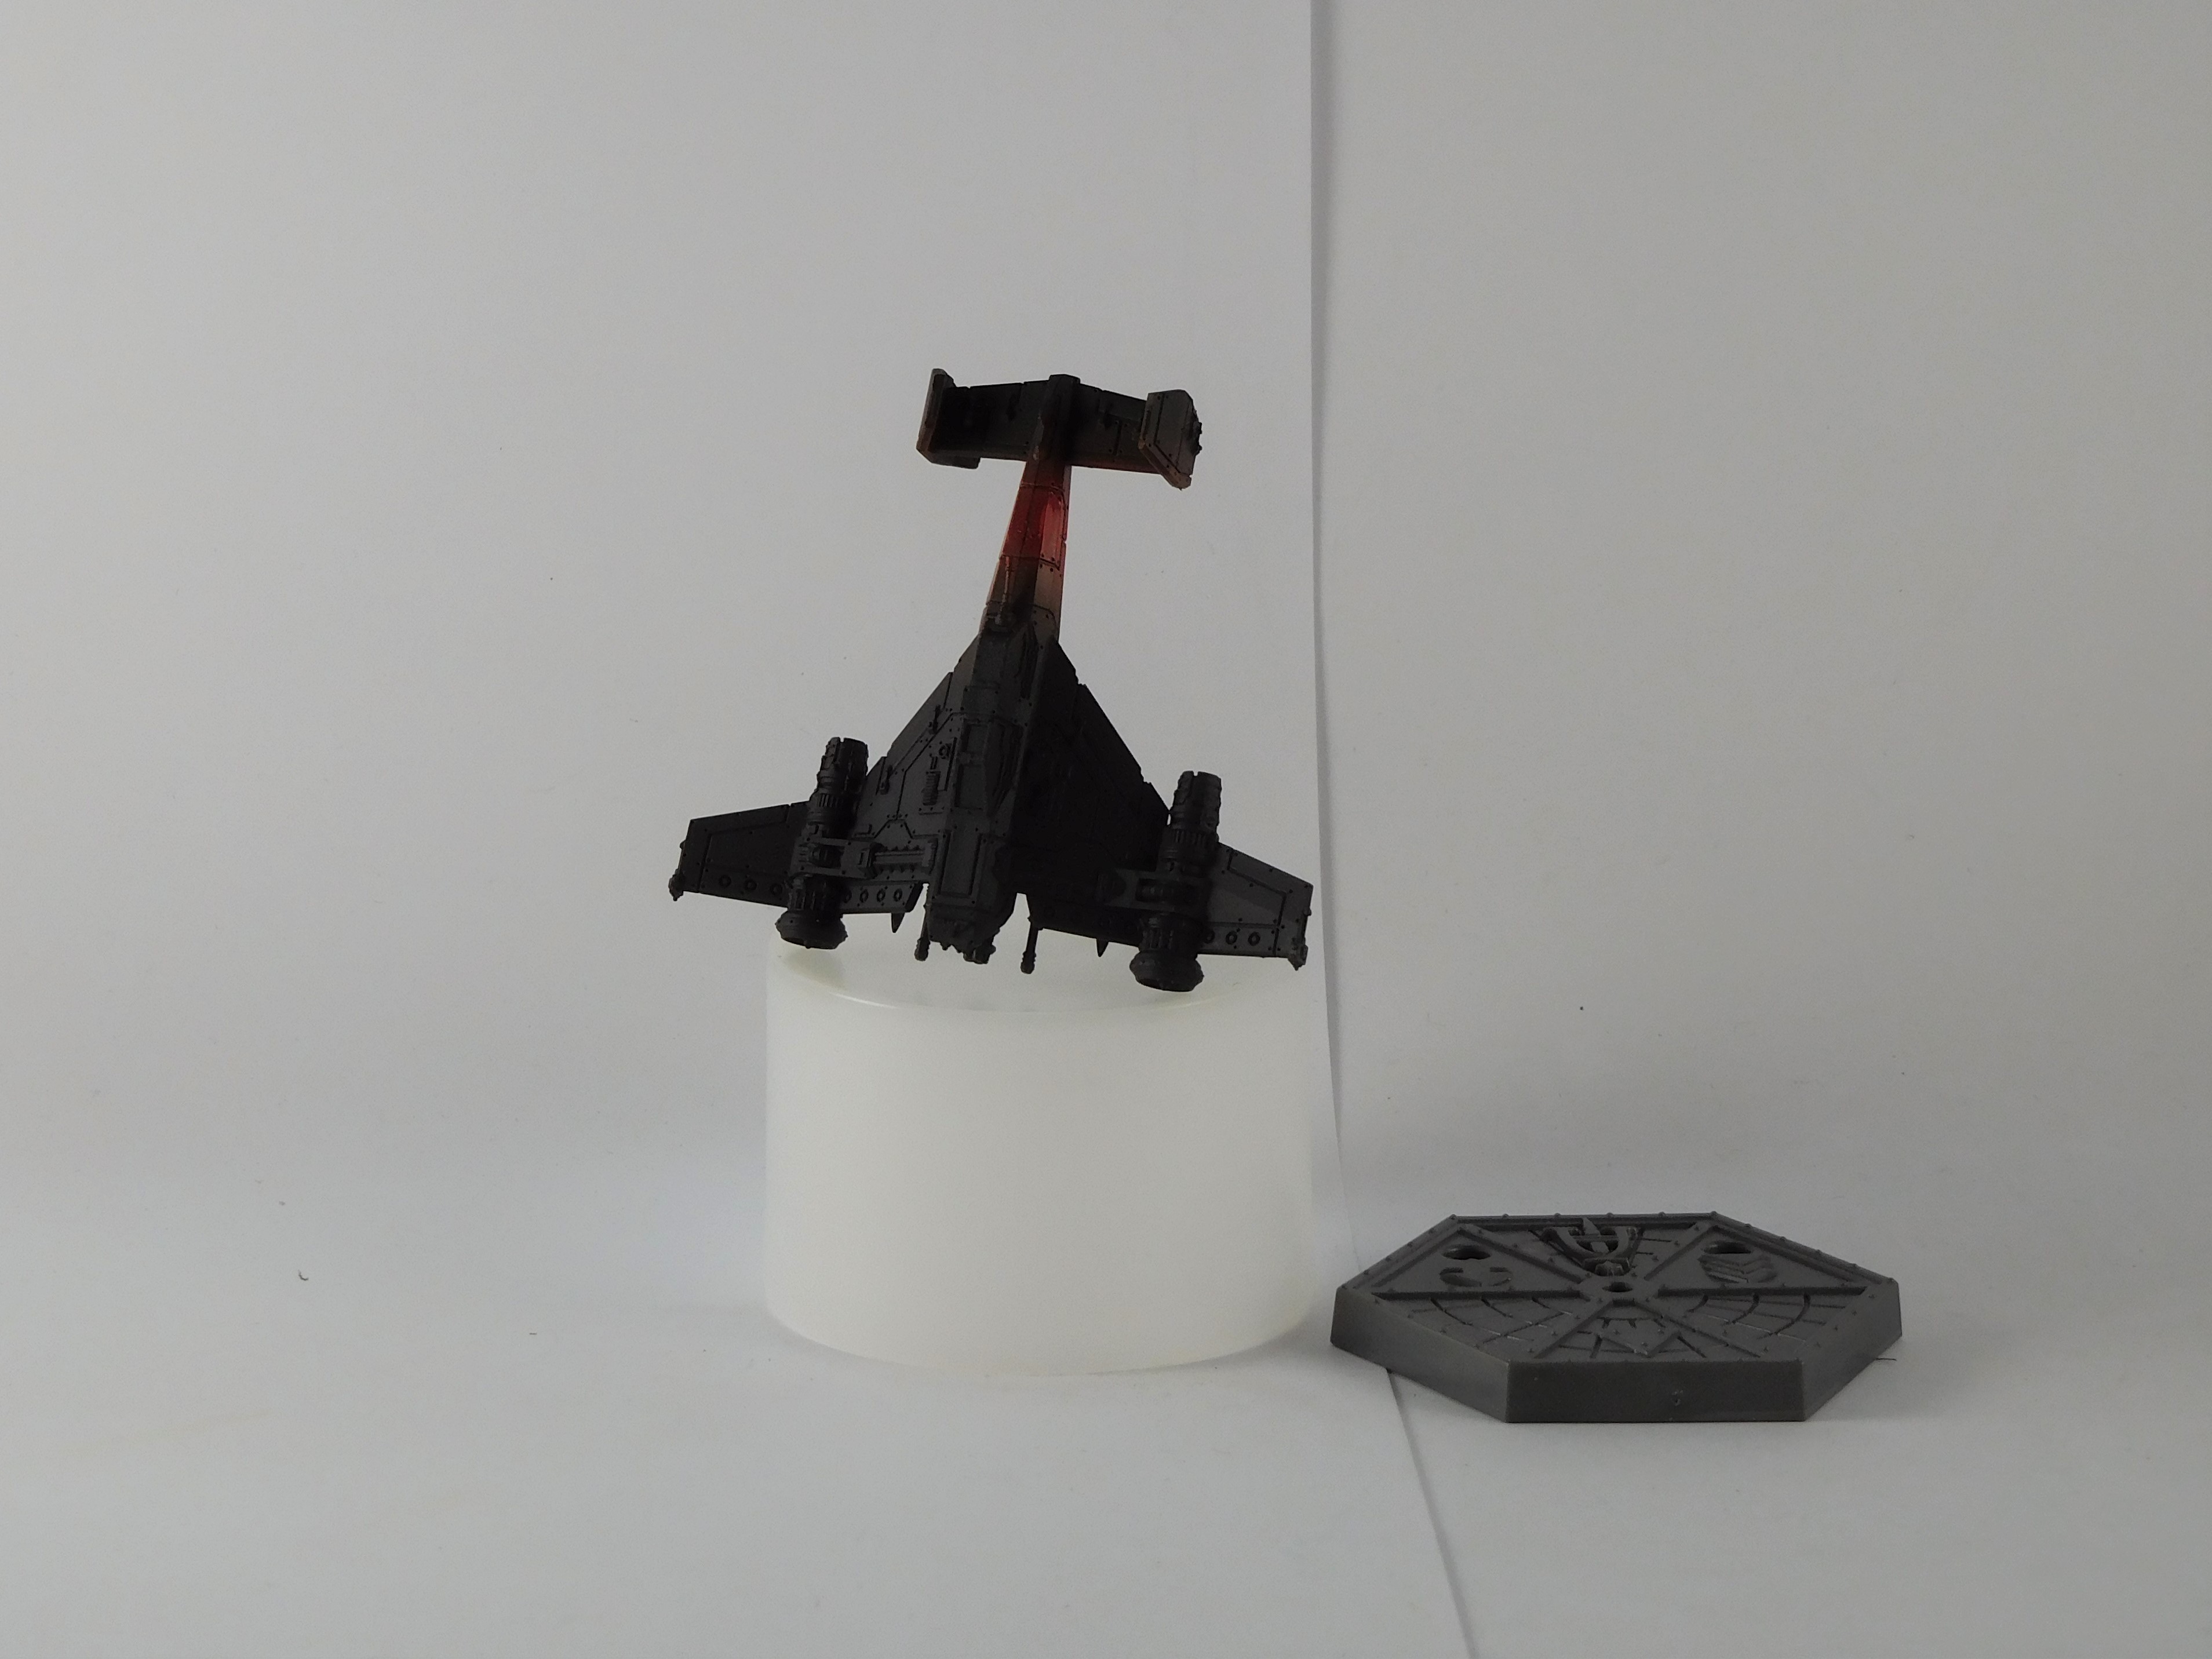
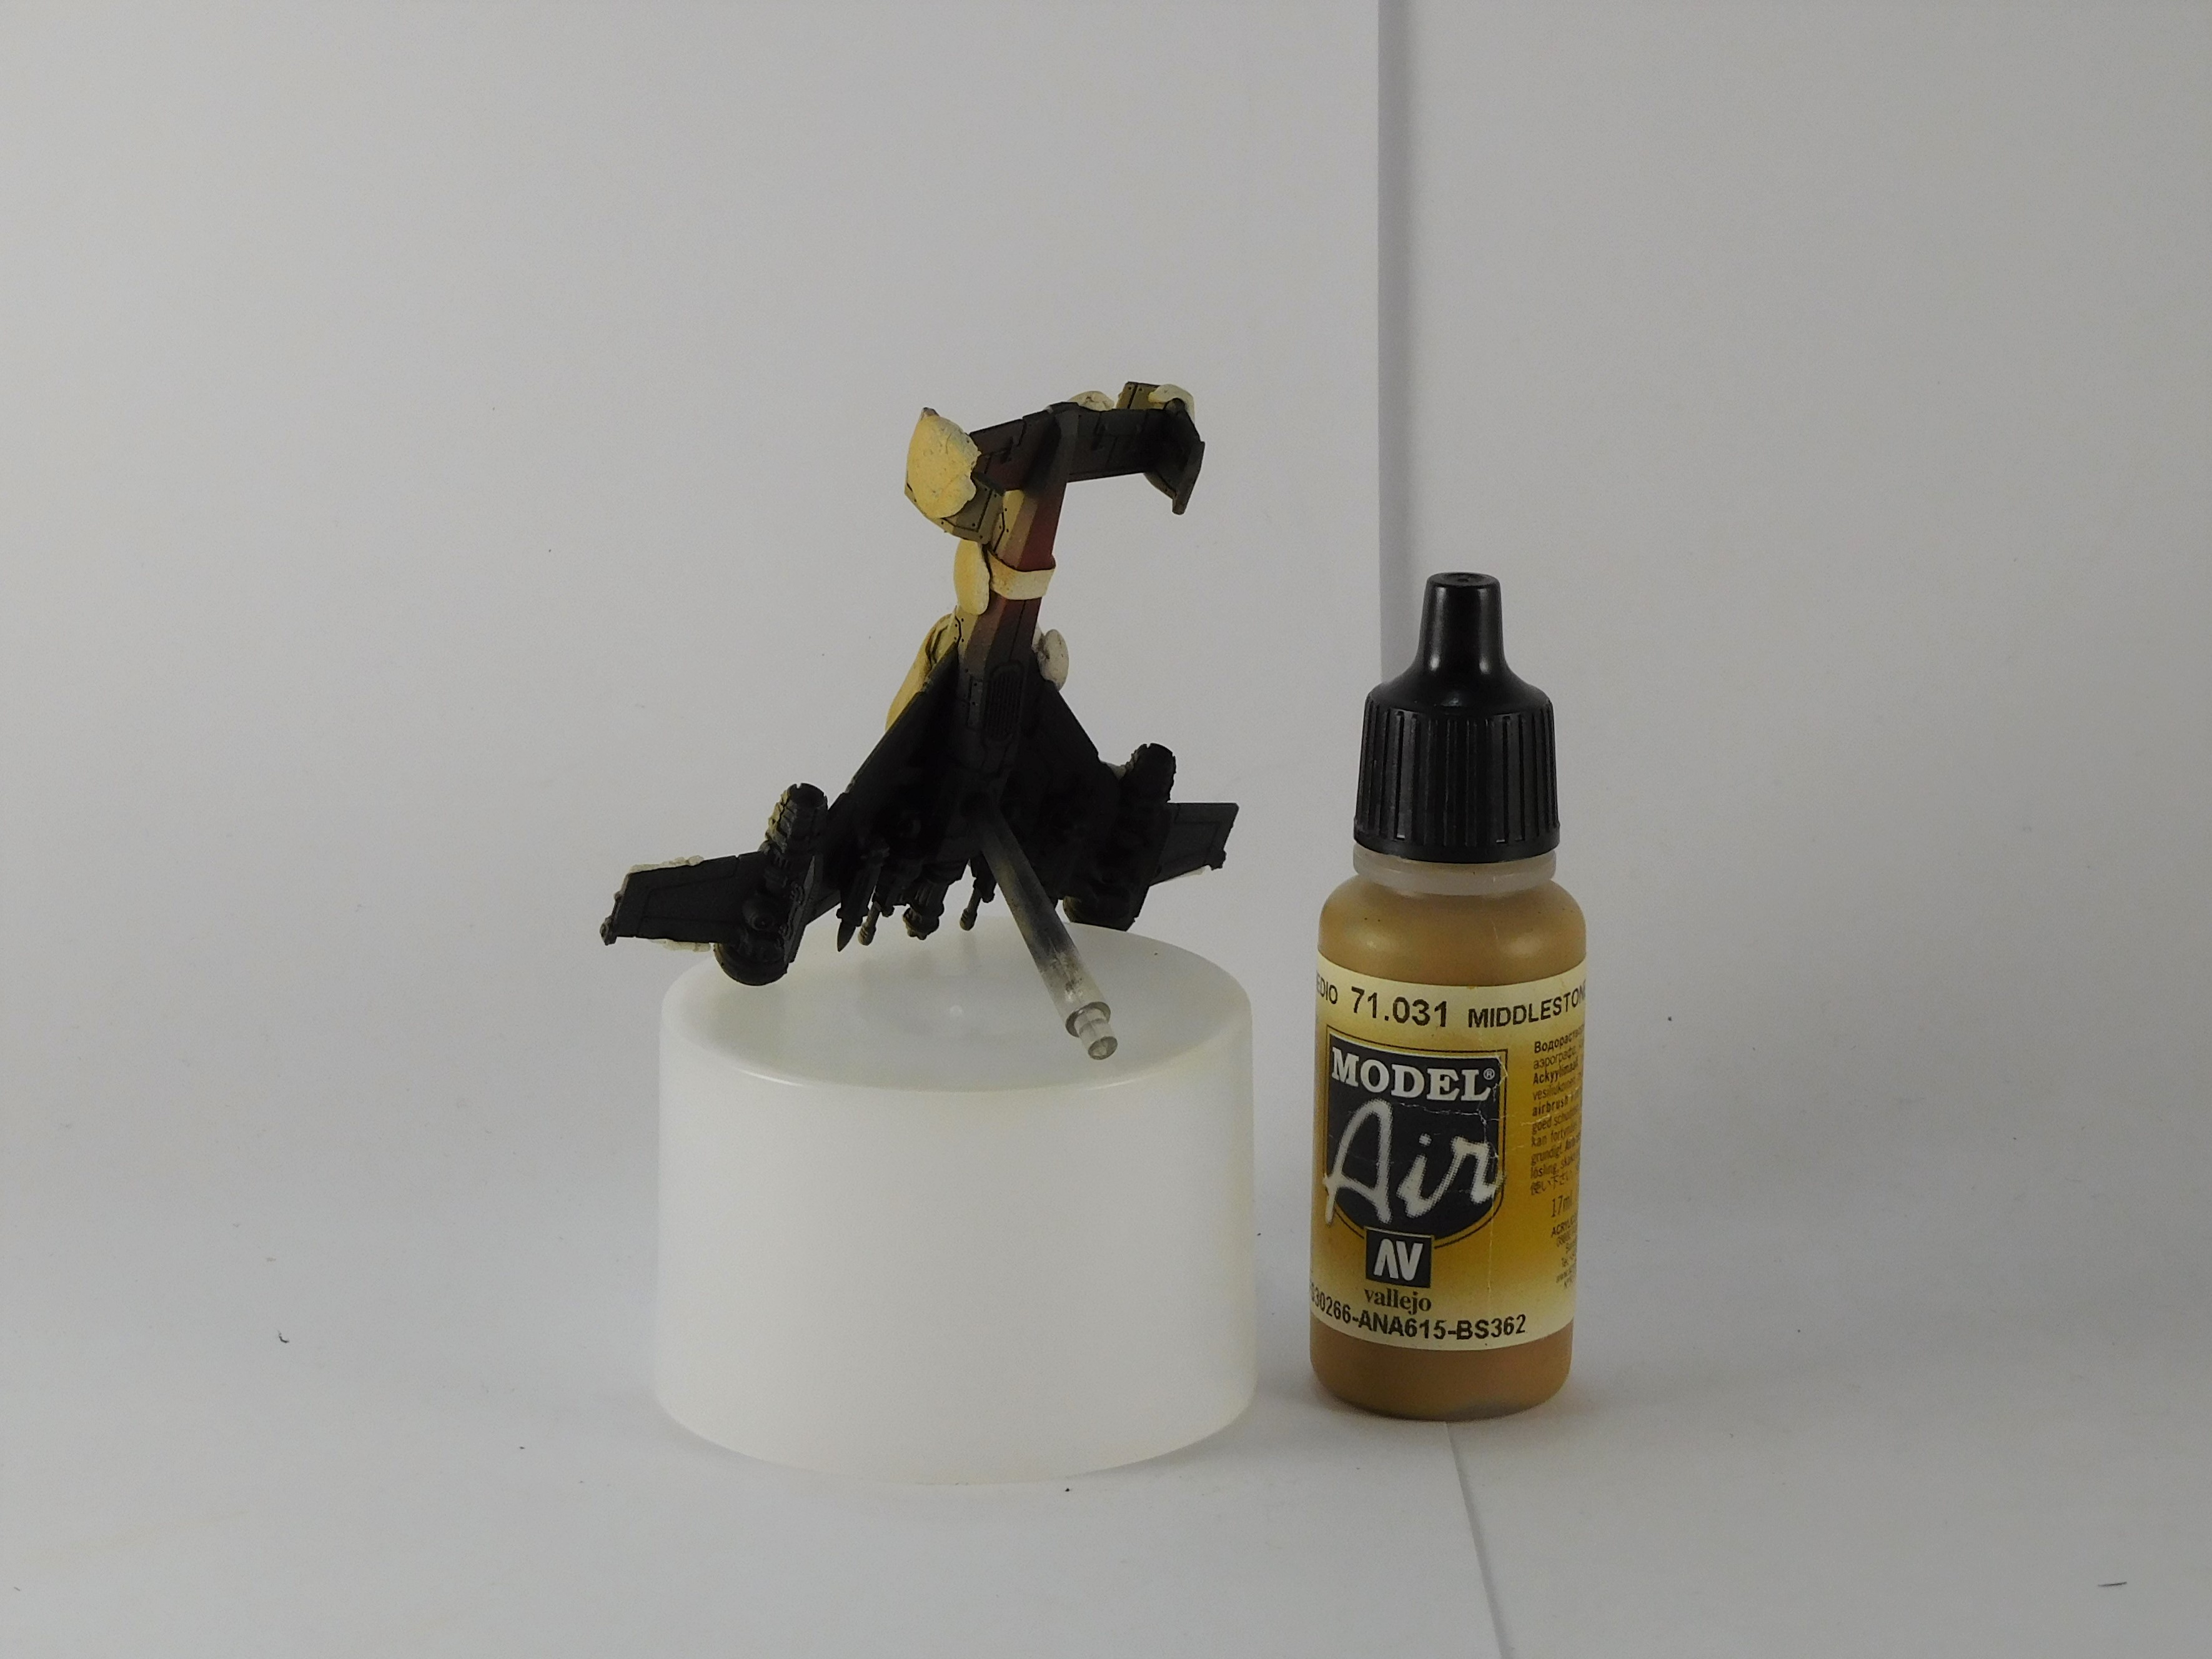
The models were prime black with an airbrush.
A section of the fuselage was painted red. This would be the basis of the fuselage stripe.
Next masked fuselage where the stripe is going to go; this is to keep the stripe red.
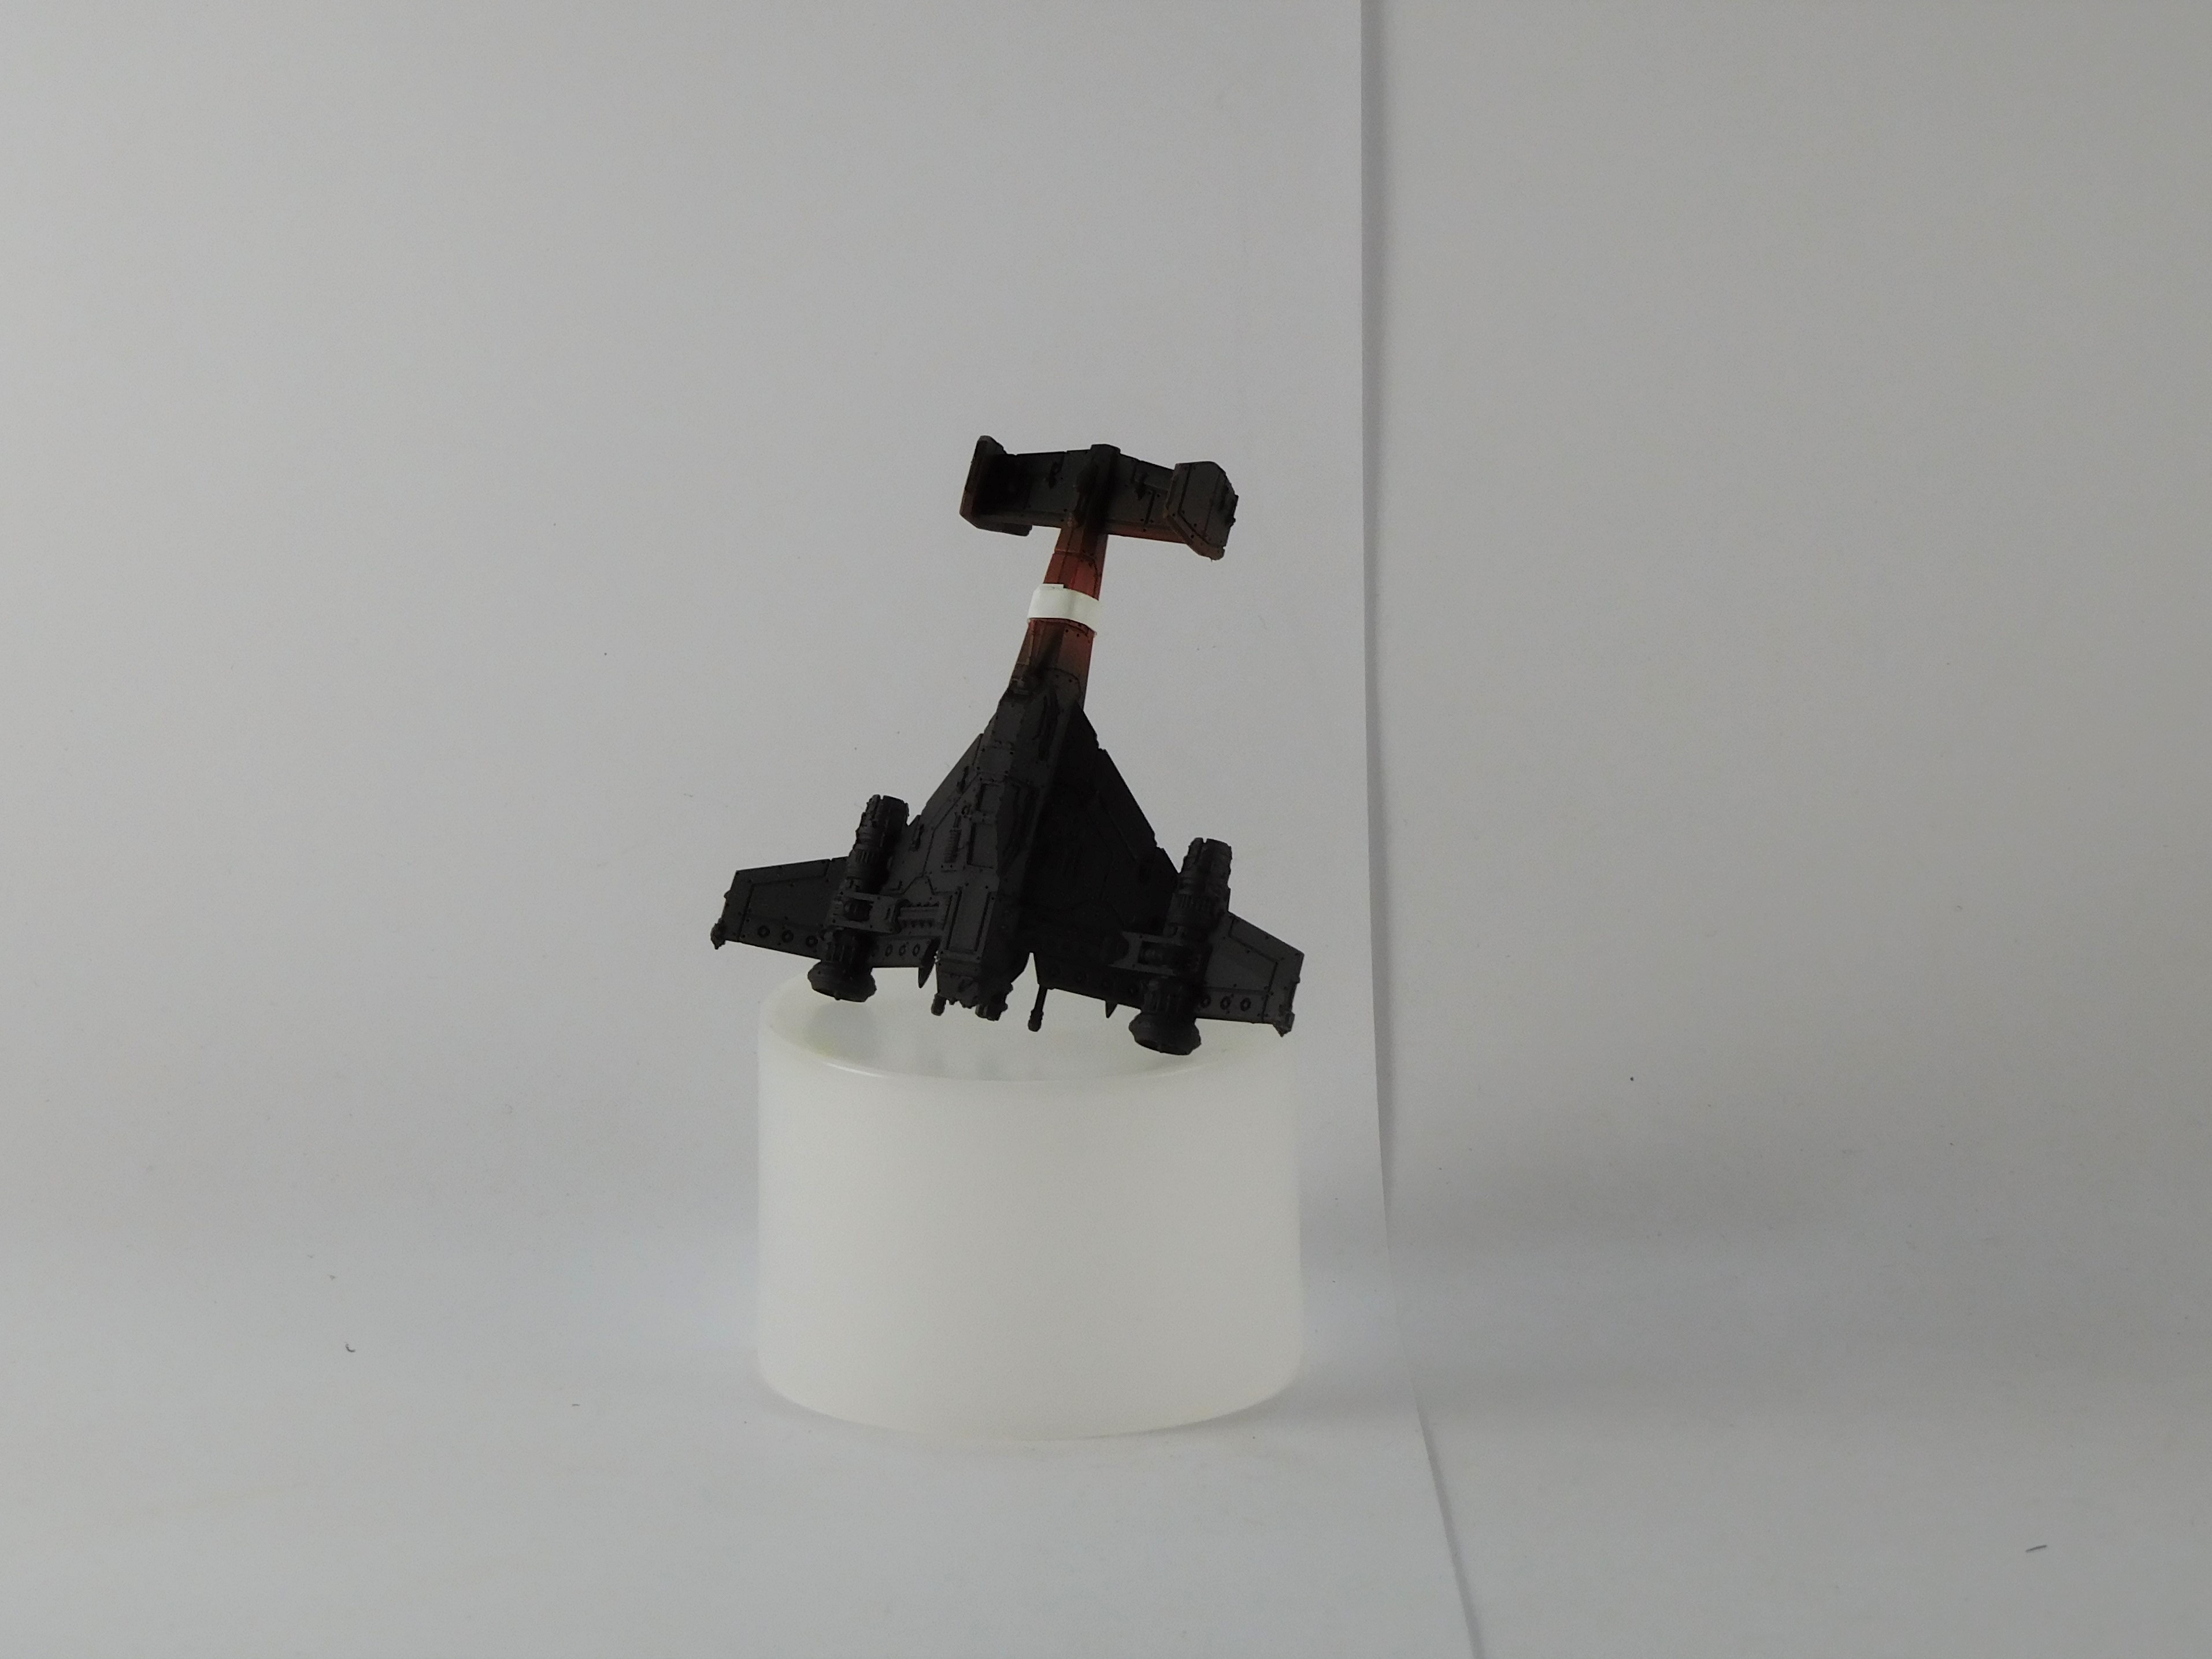
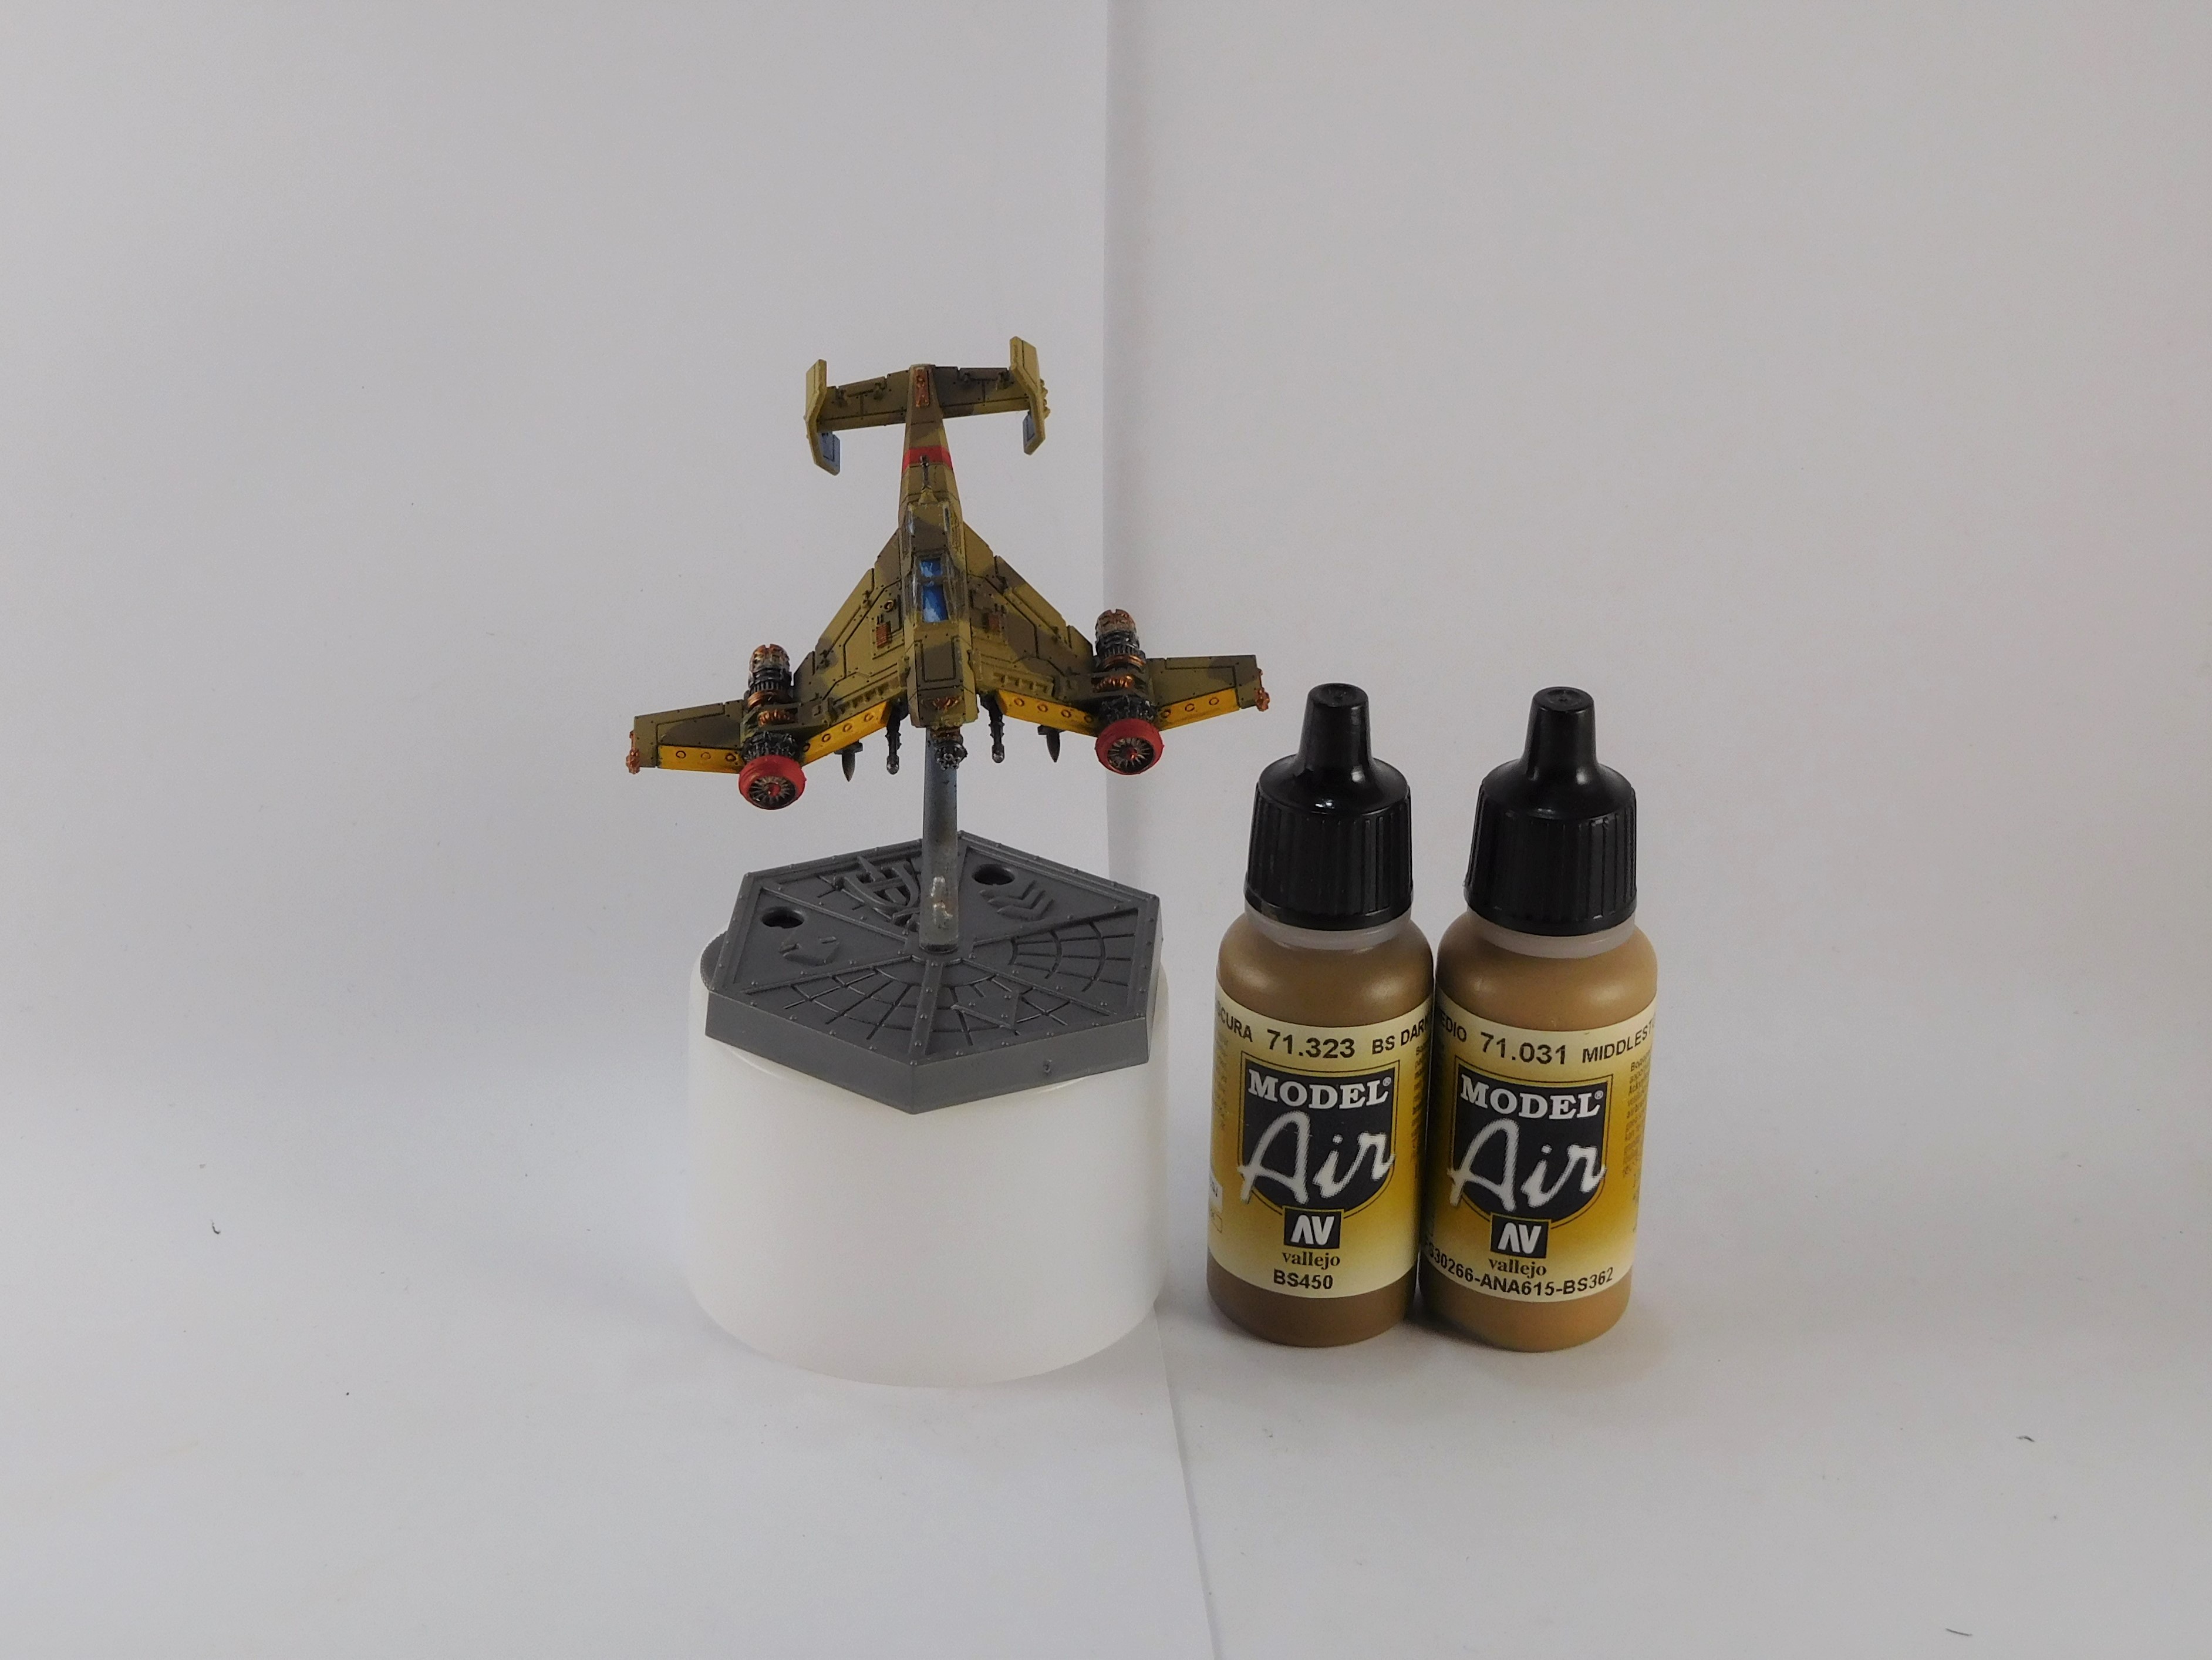
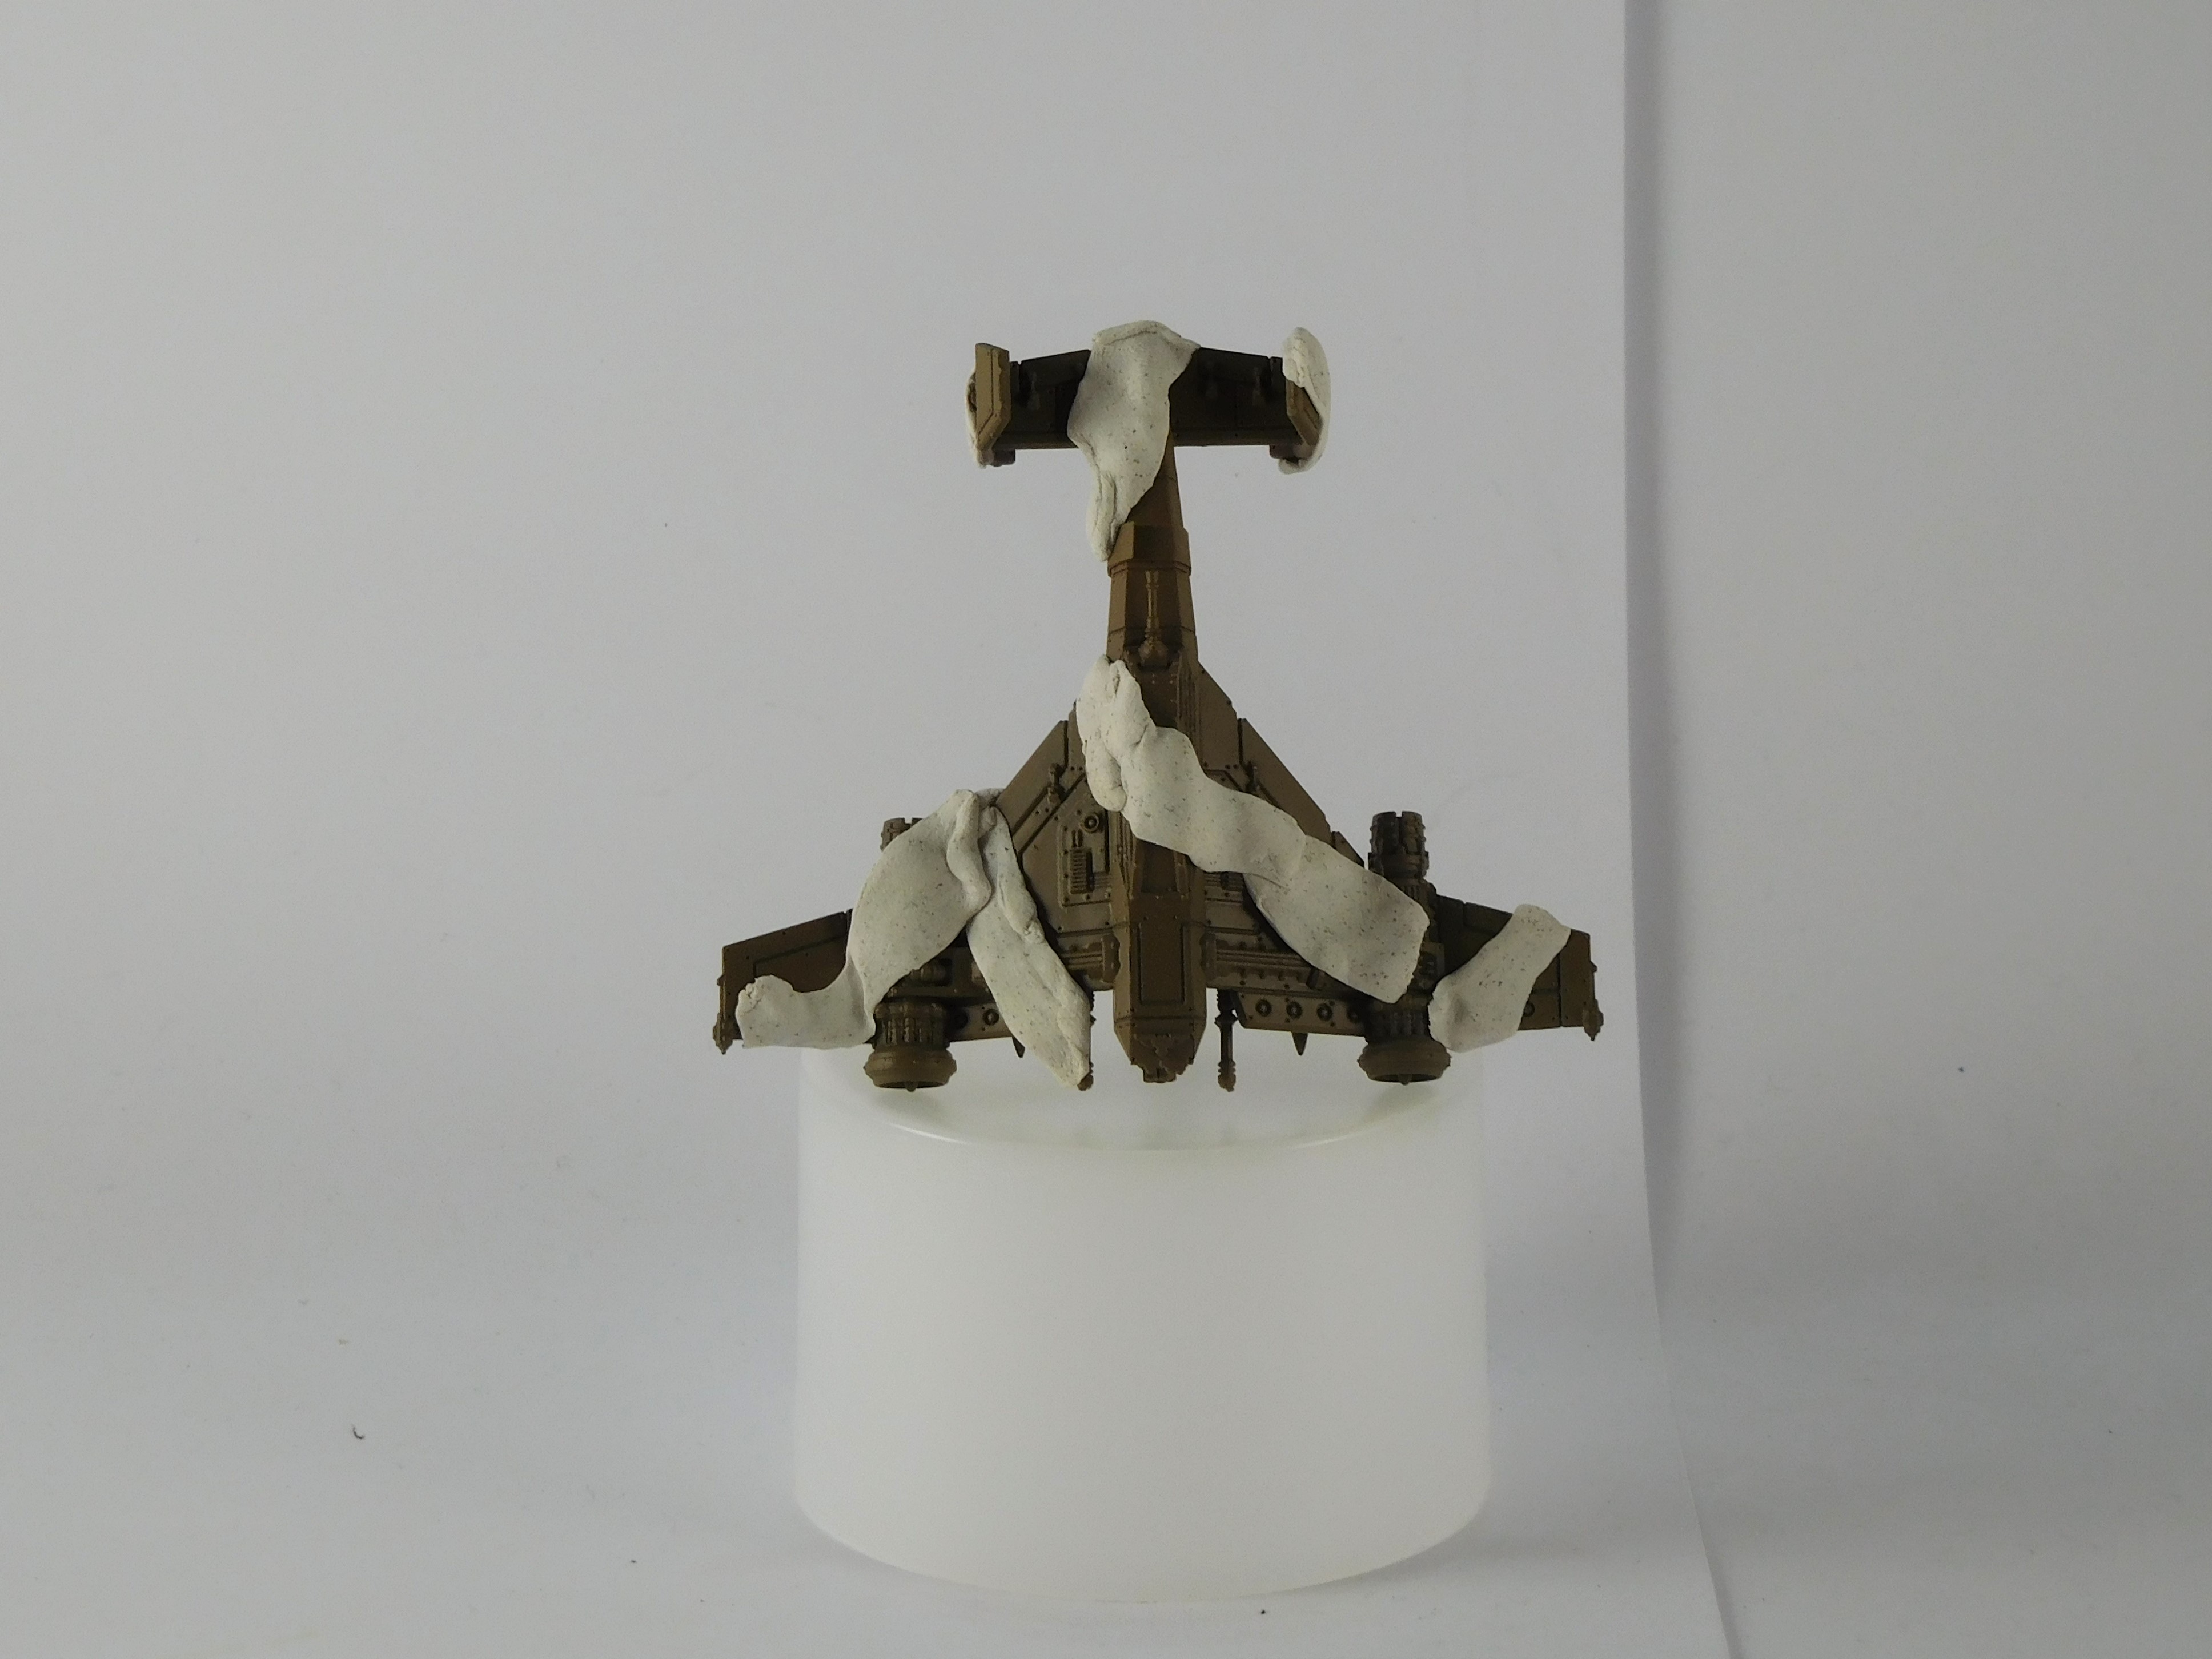
The top surfaces painted with the dark brown. Underside left black.
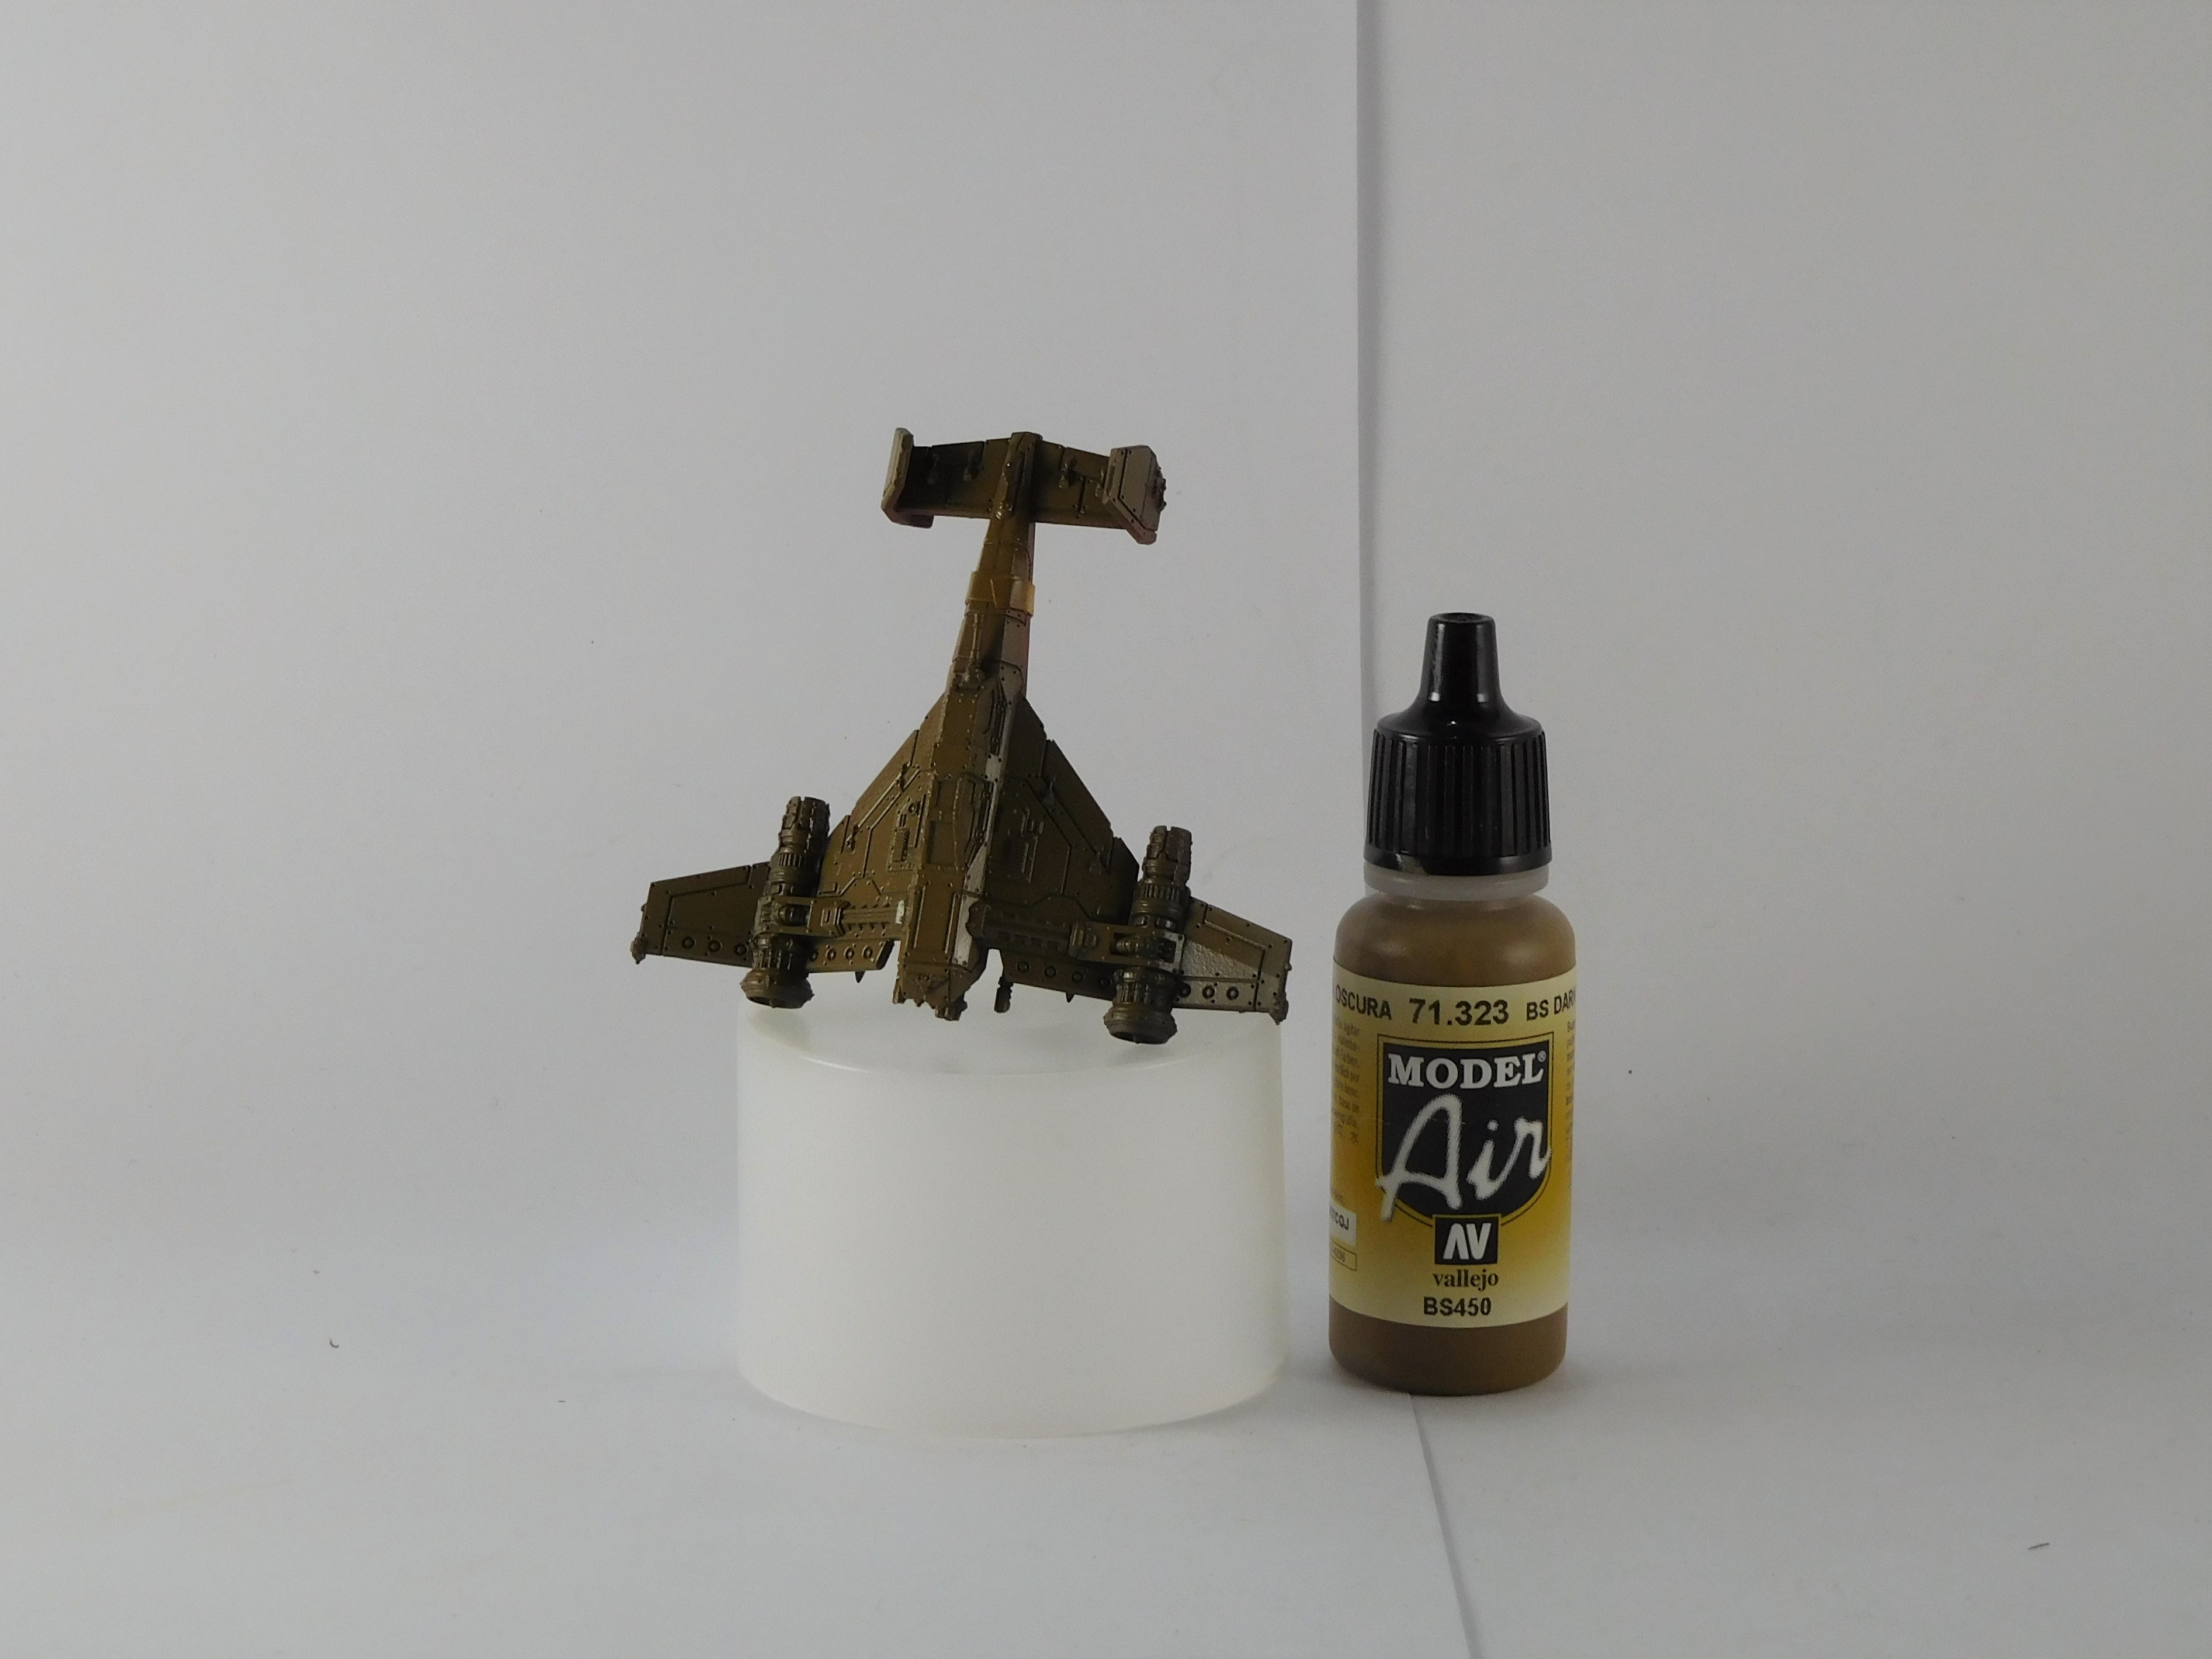
Blu tack was to mask areas of top Surface. The masking is to protect the areas that are to be left dark brown.
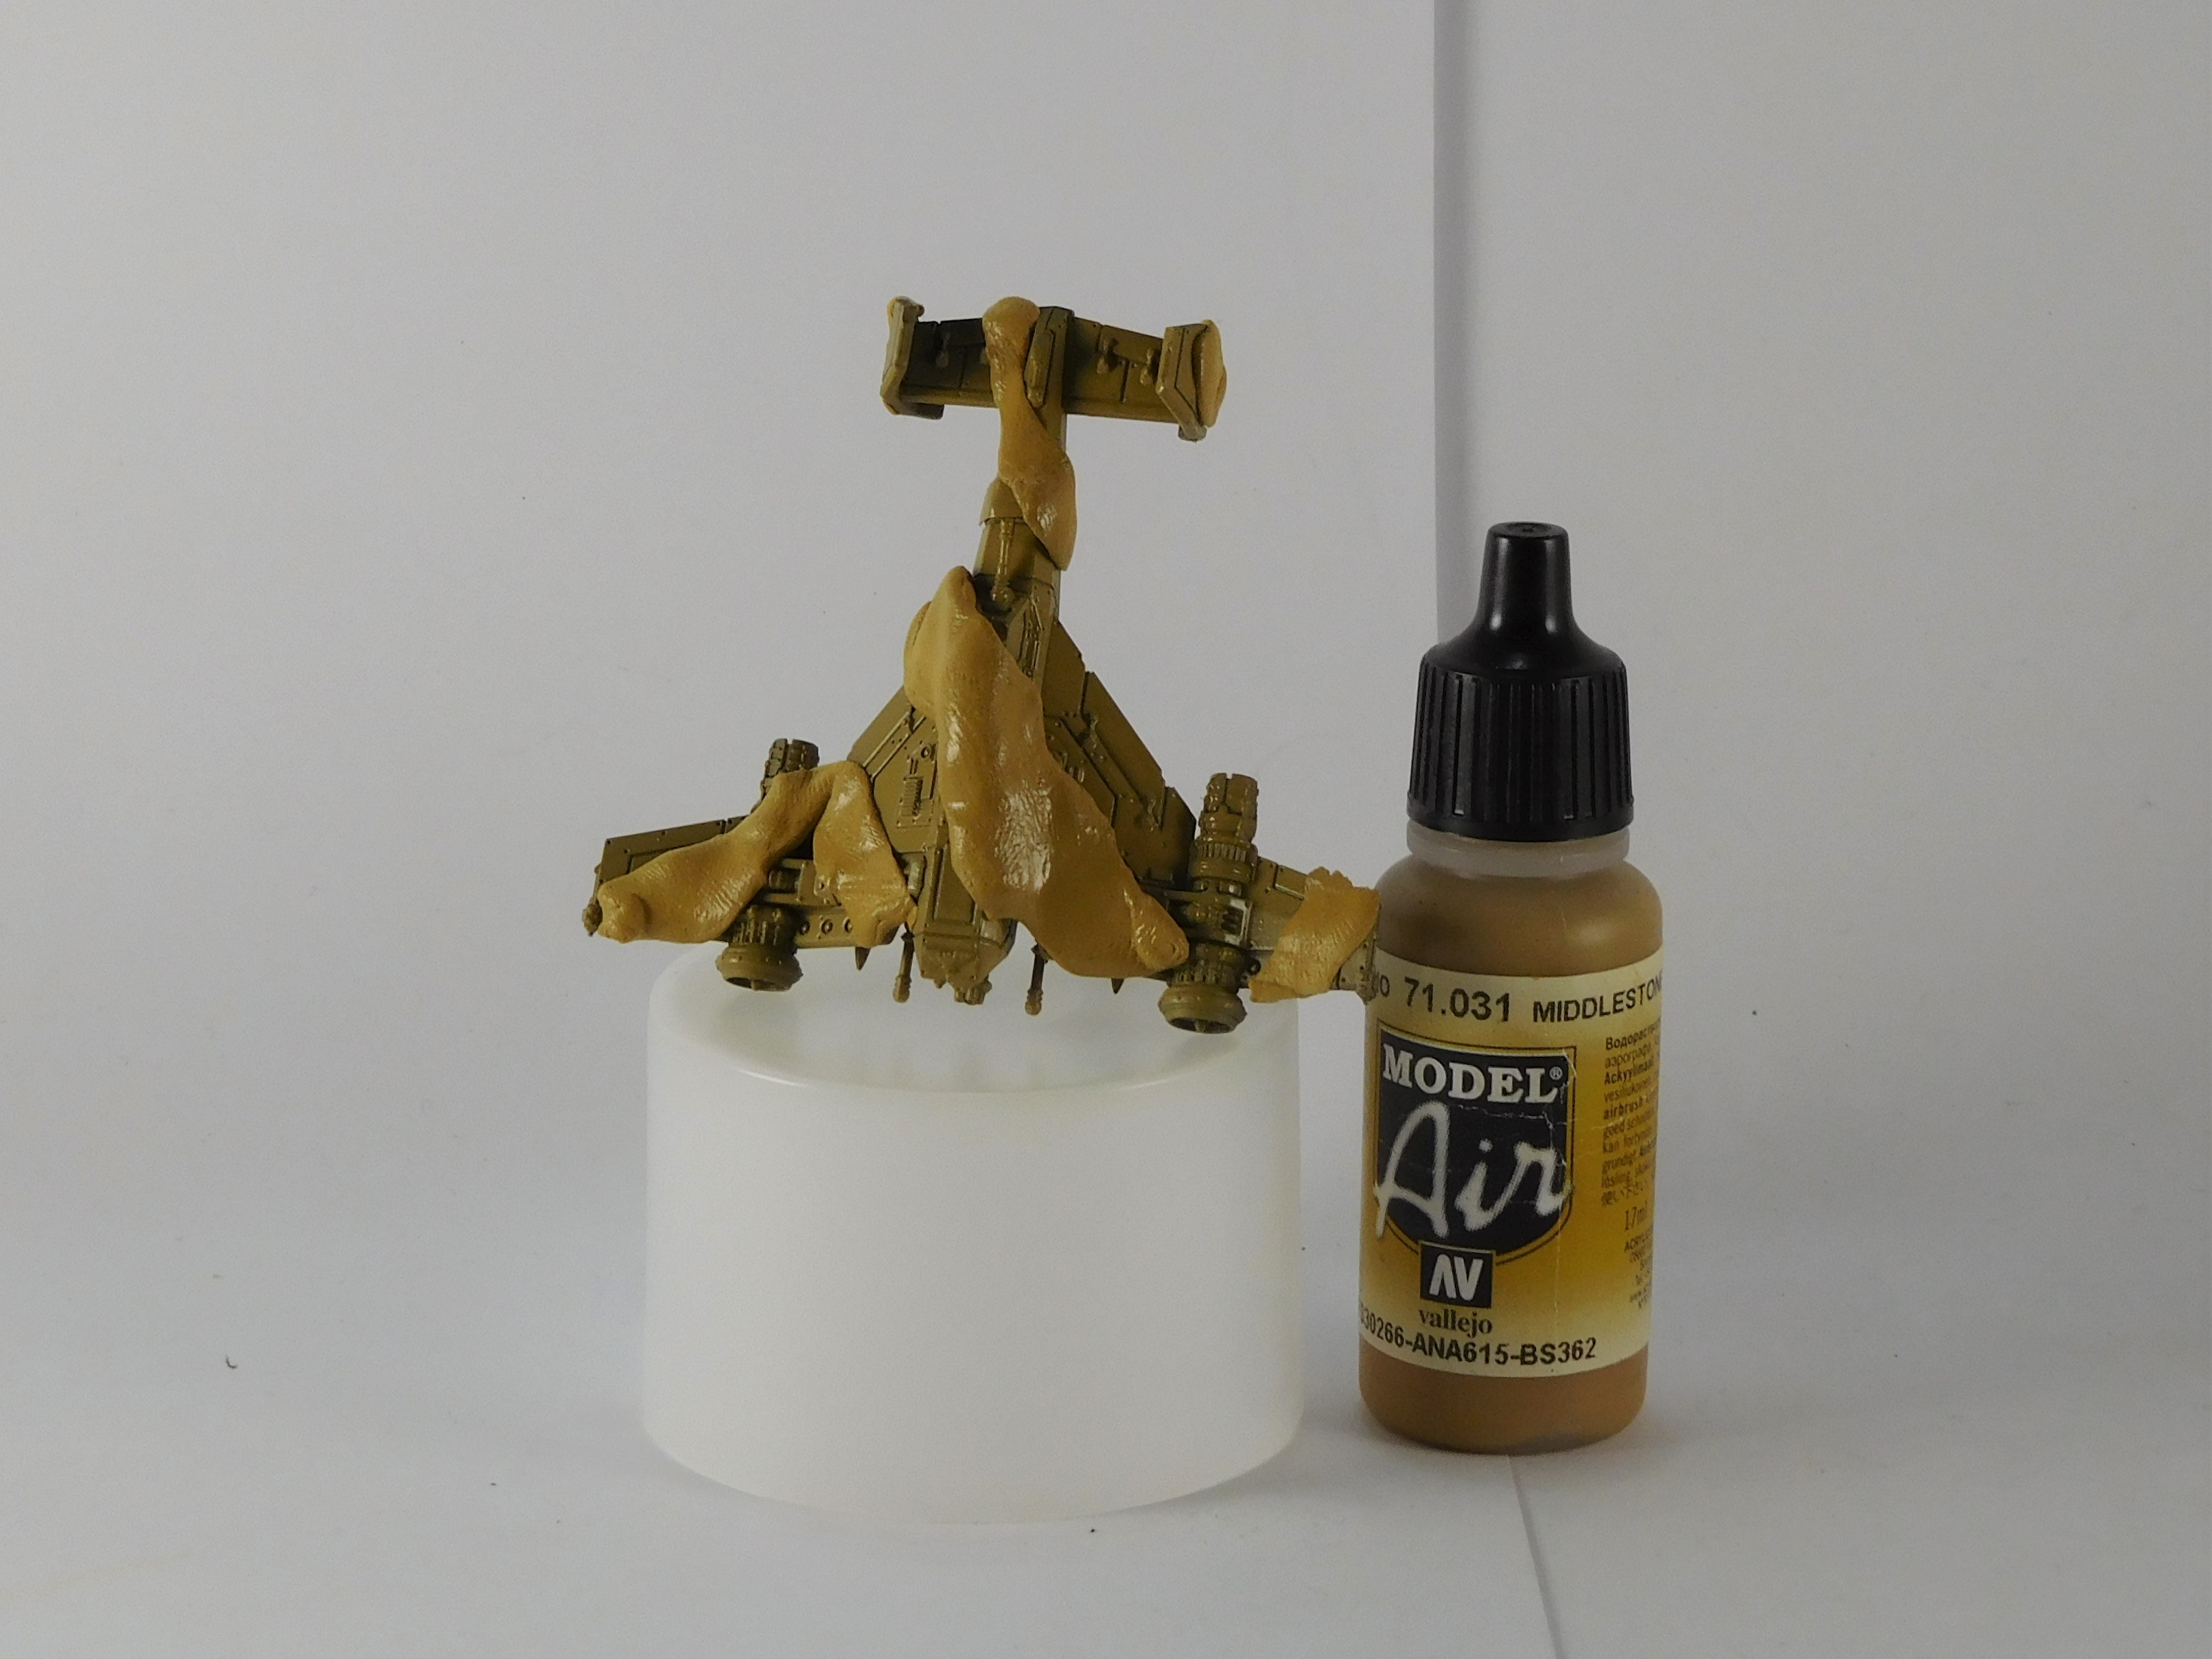
This was followed with a coating of light brown to the top surfaces. Again the underside was left black.
The masking is left on until all the blocking in is done.
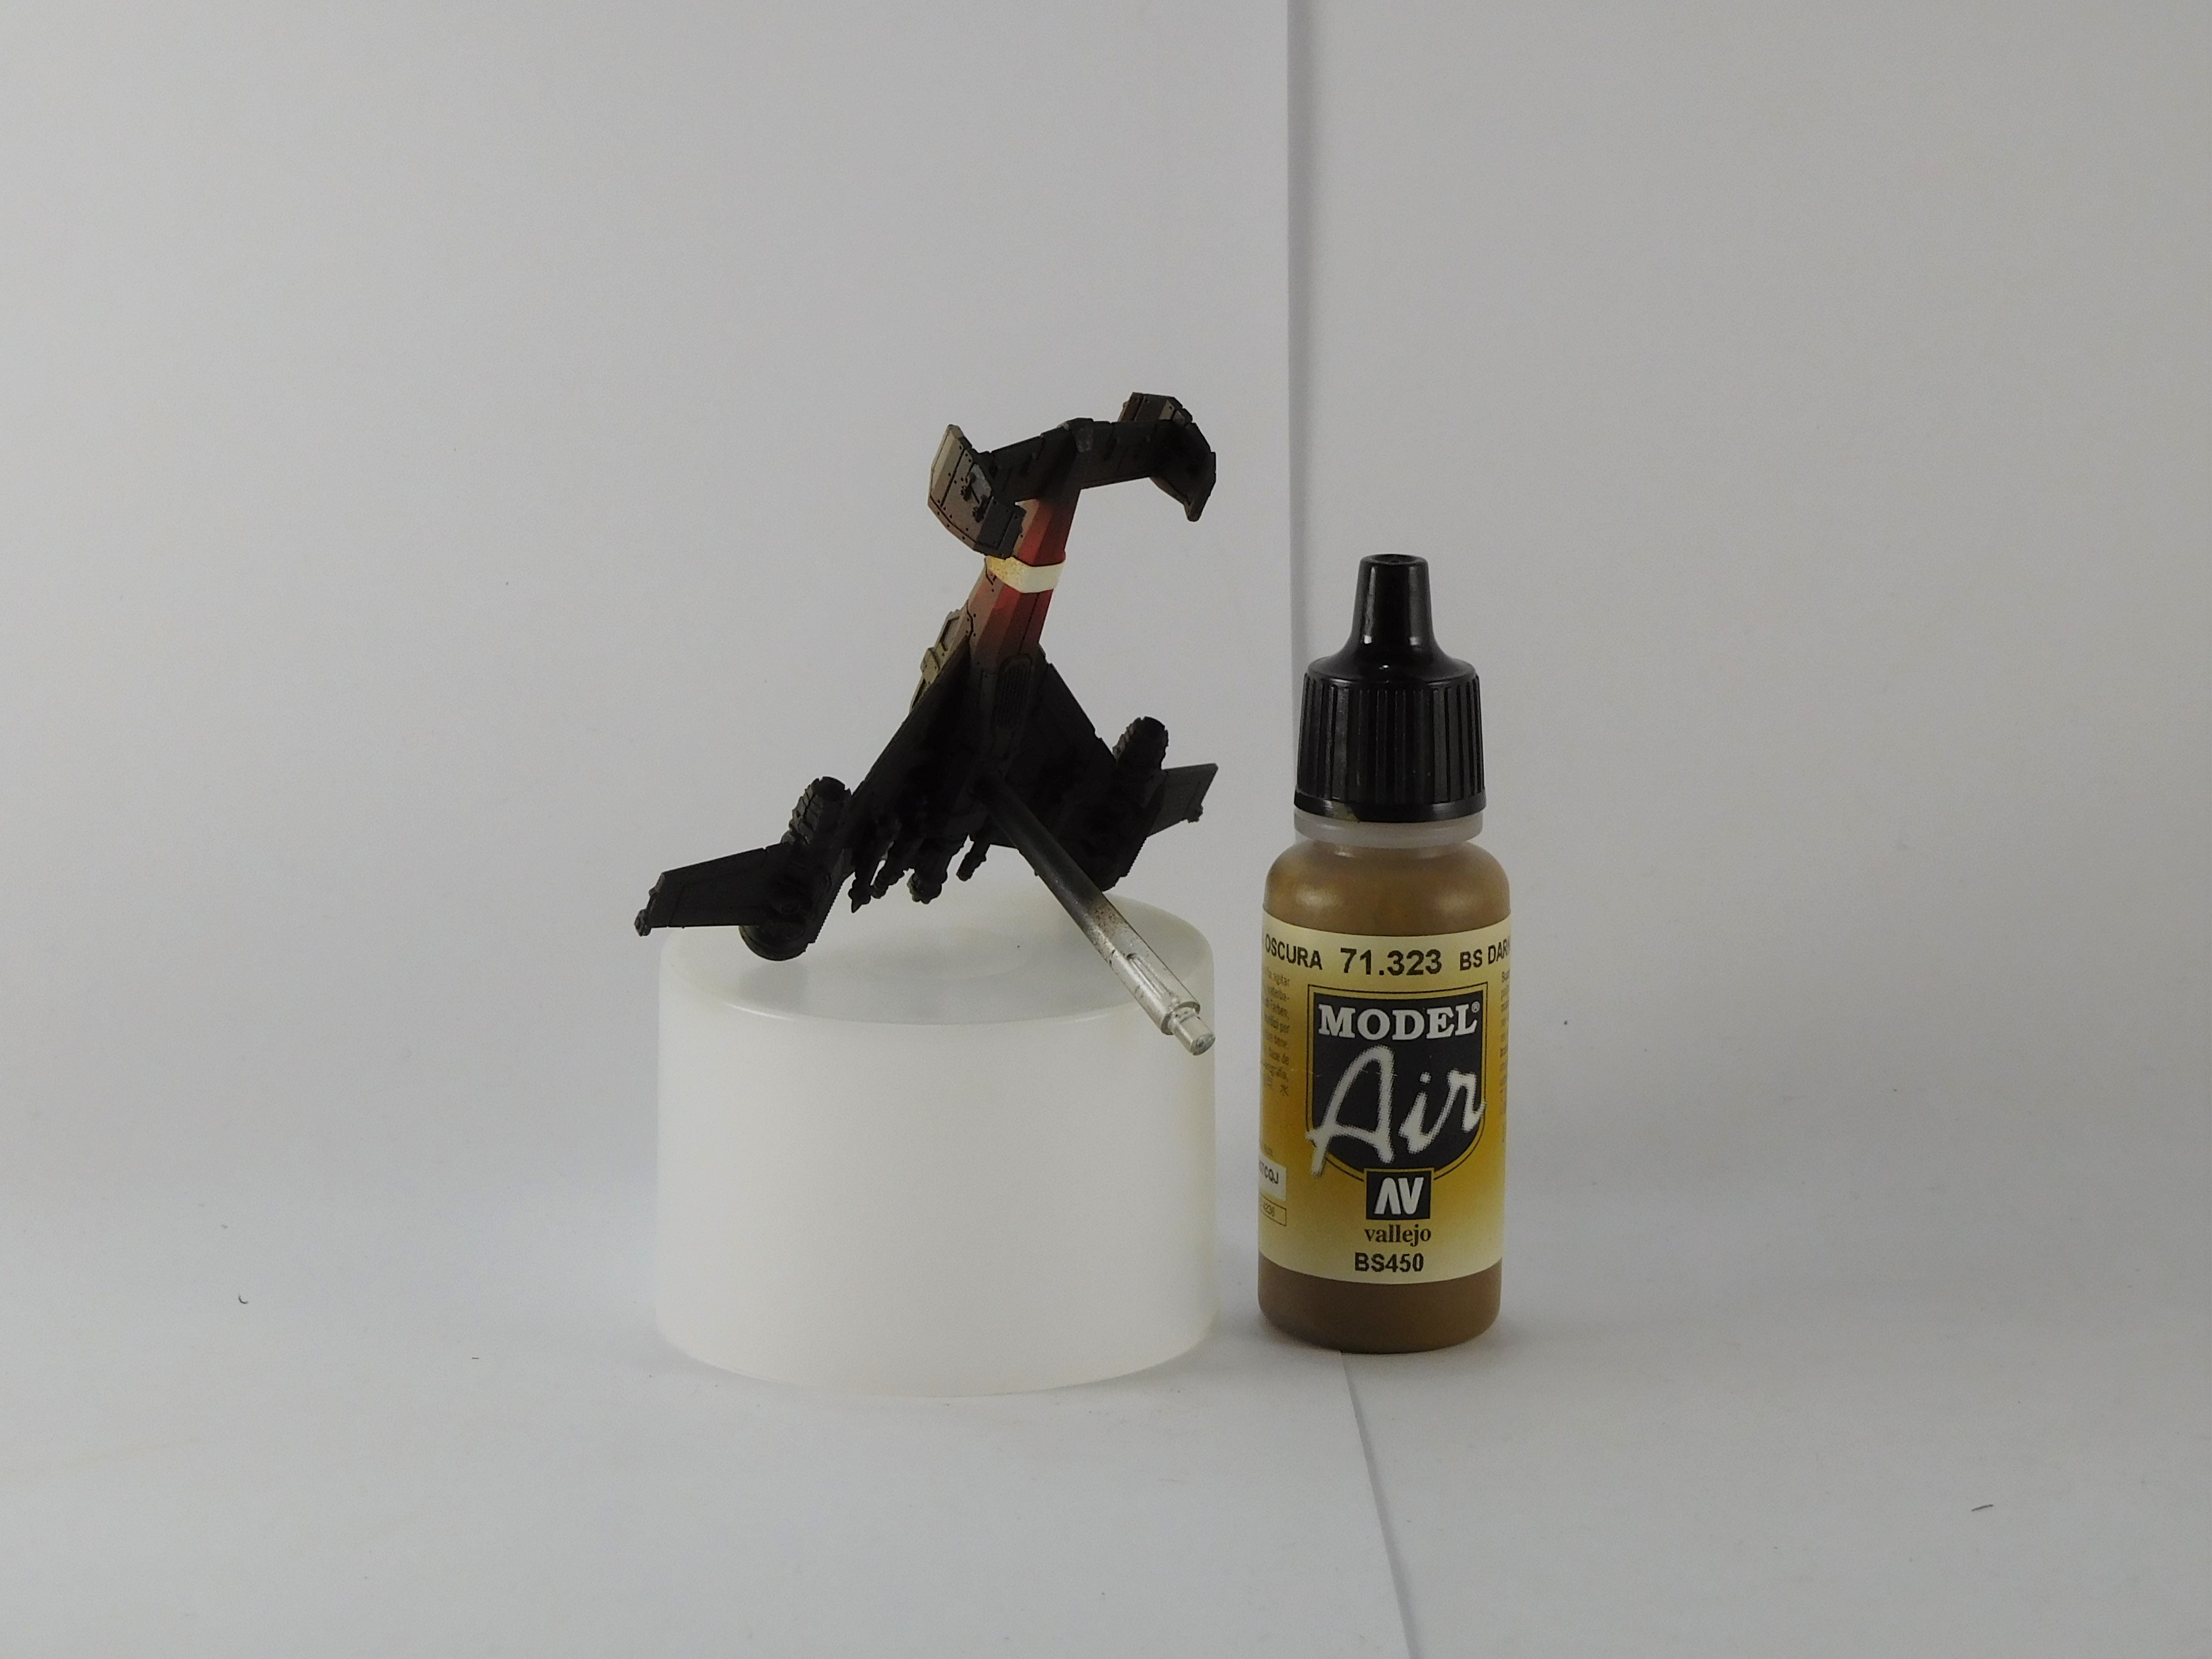
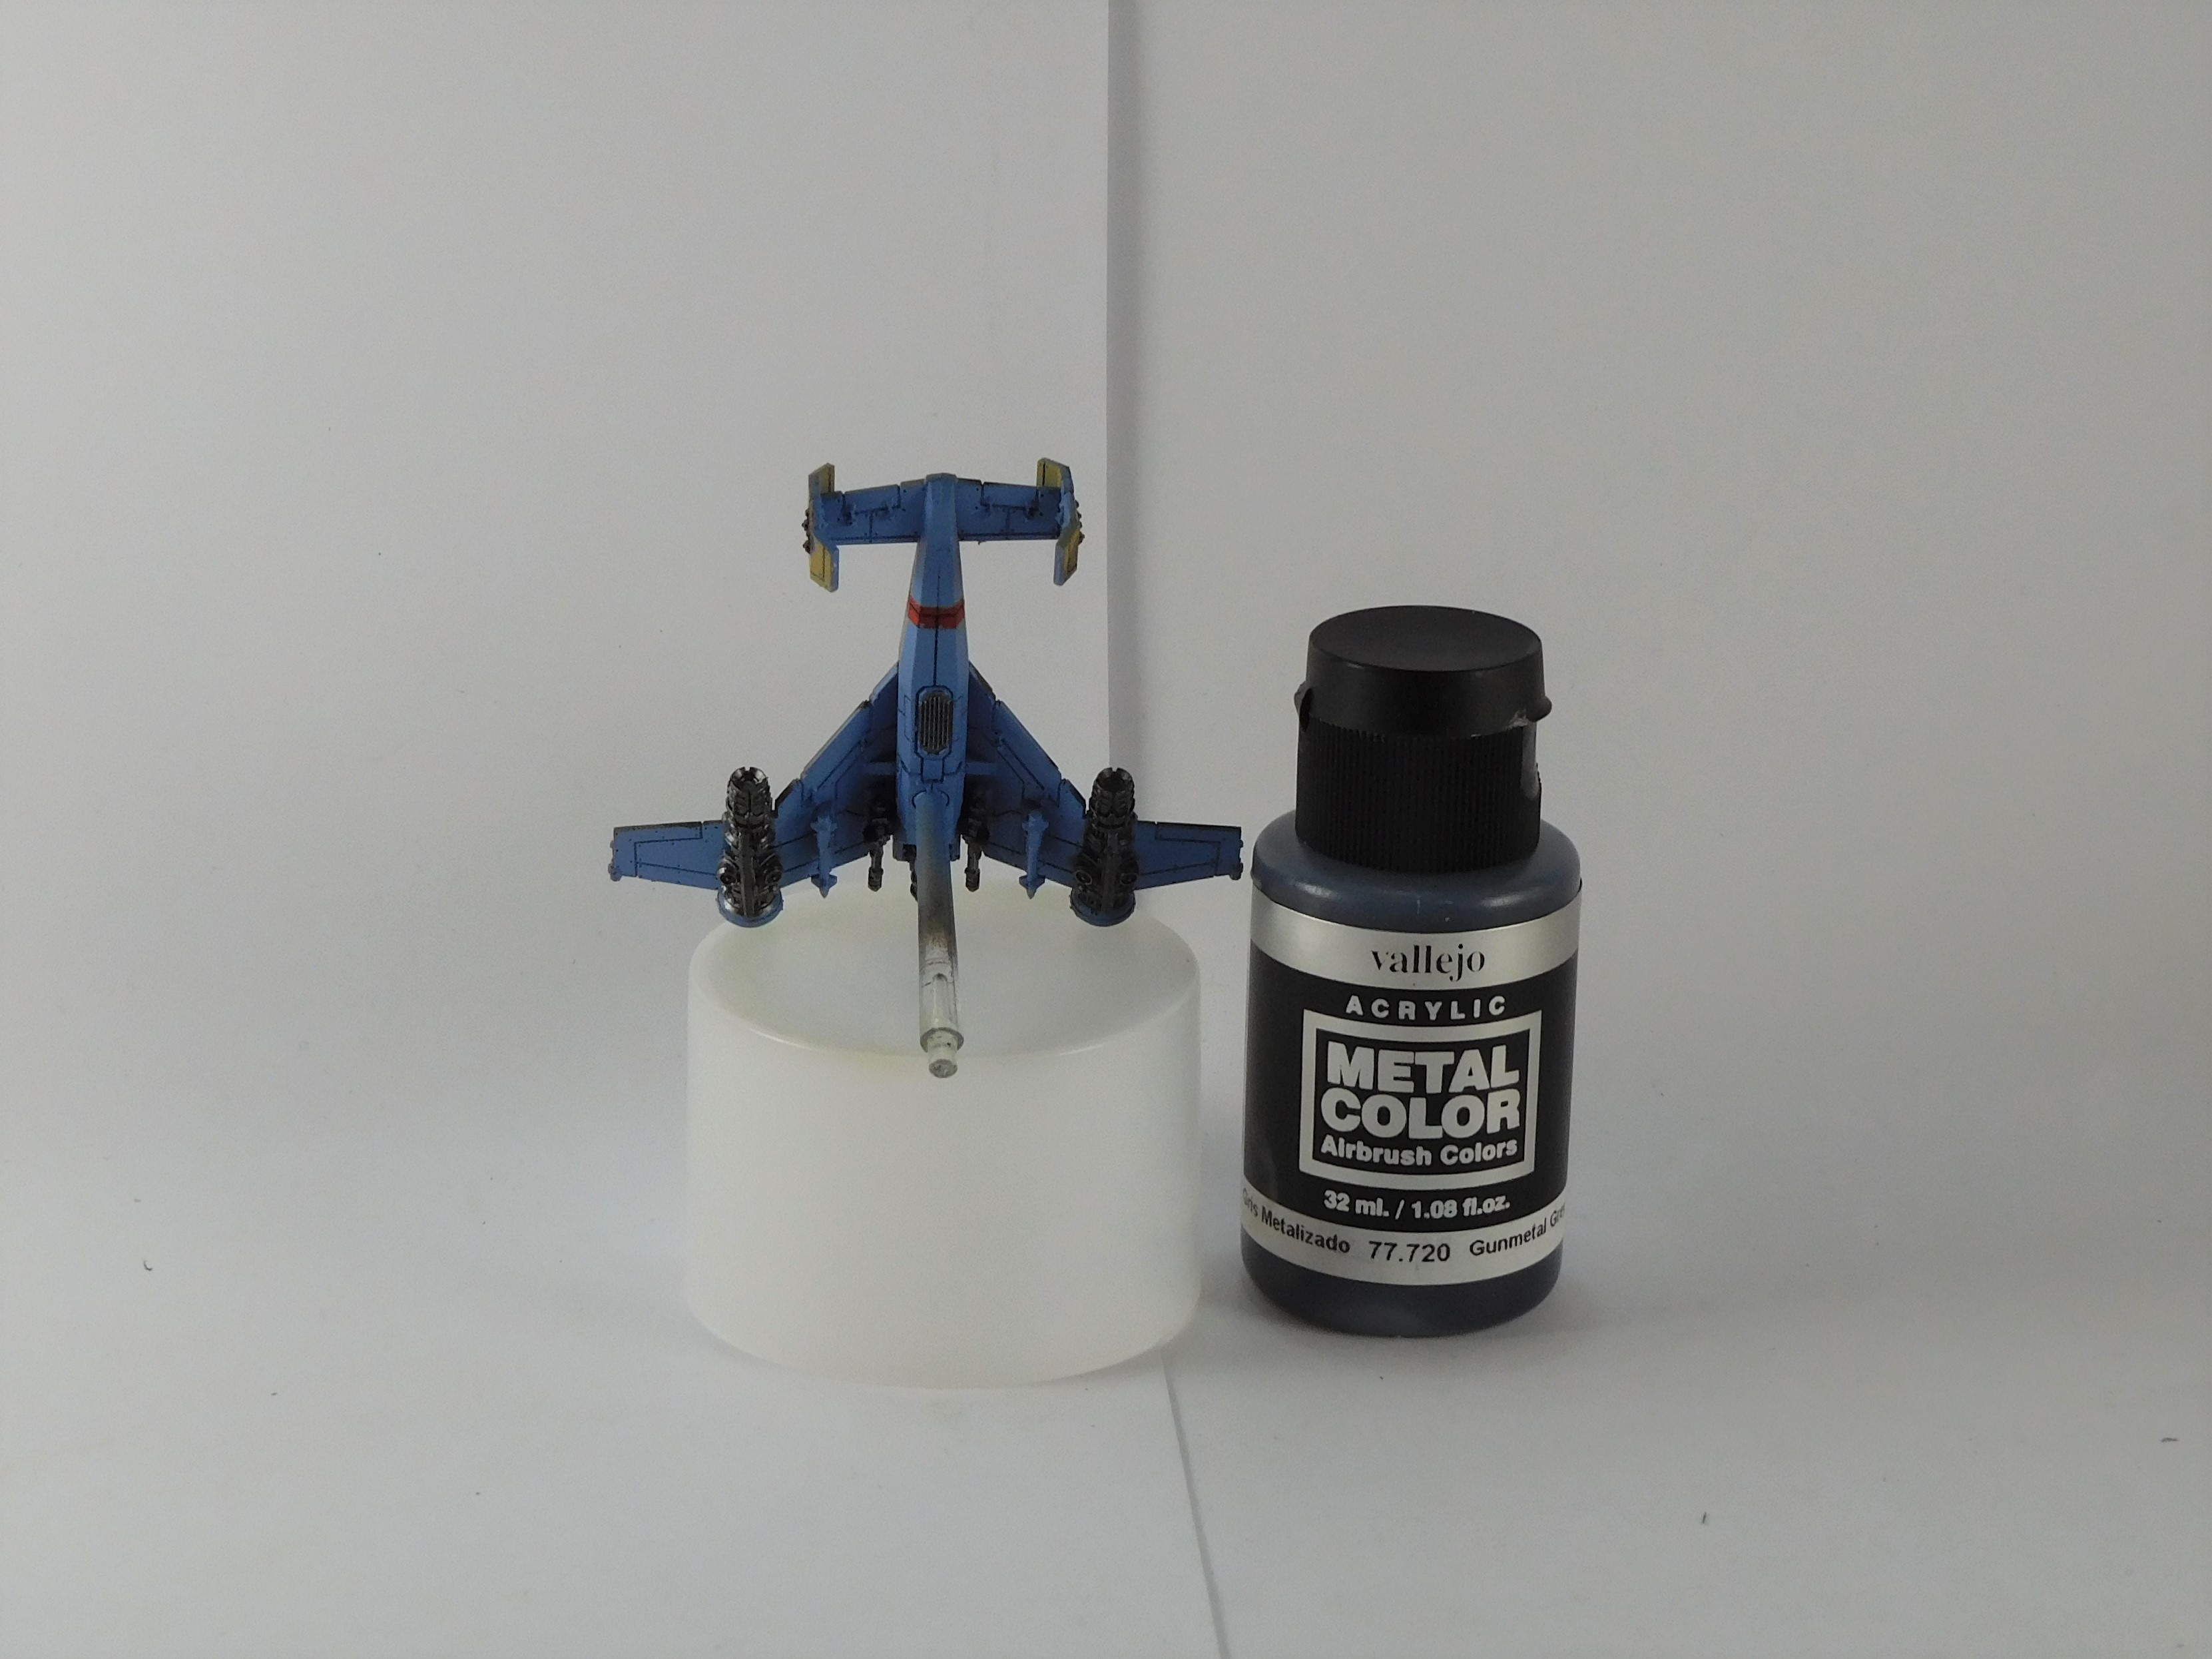
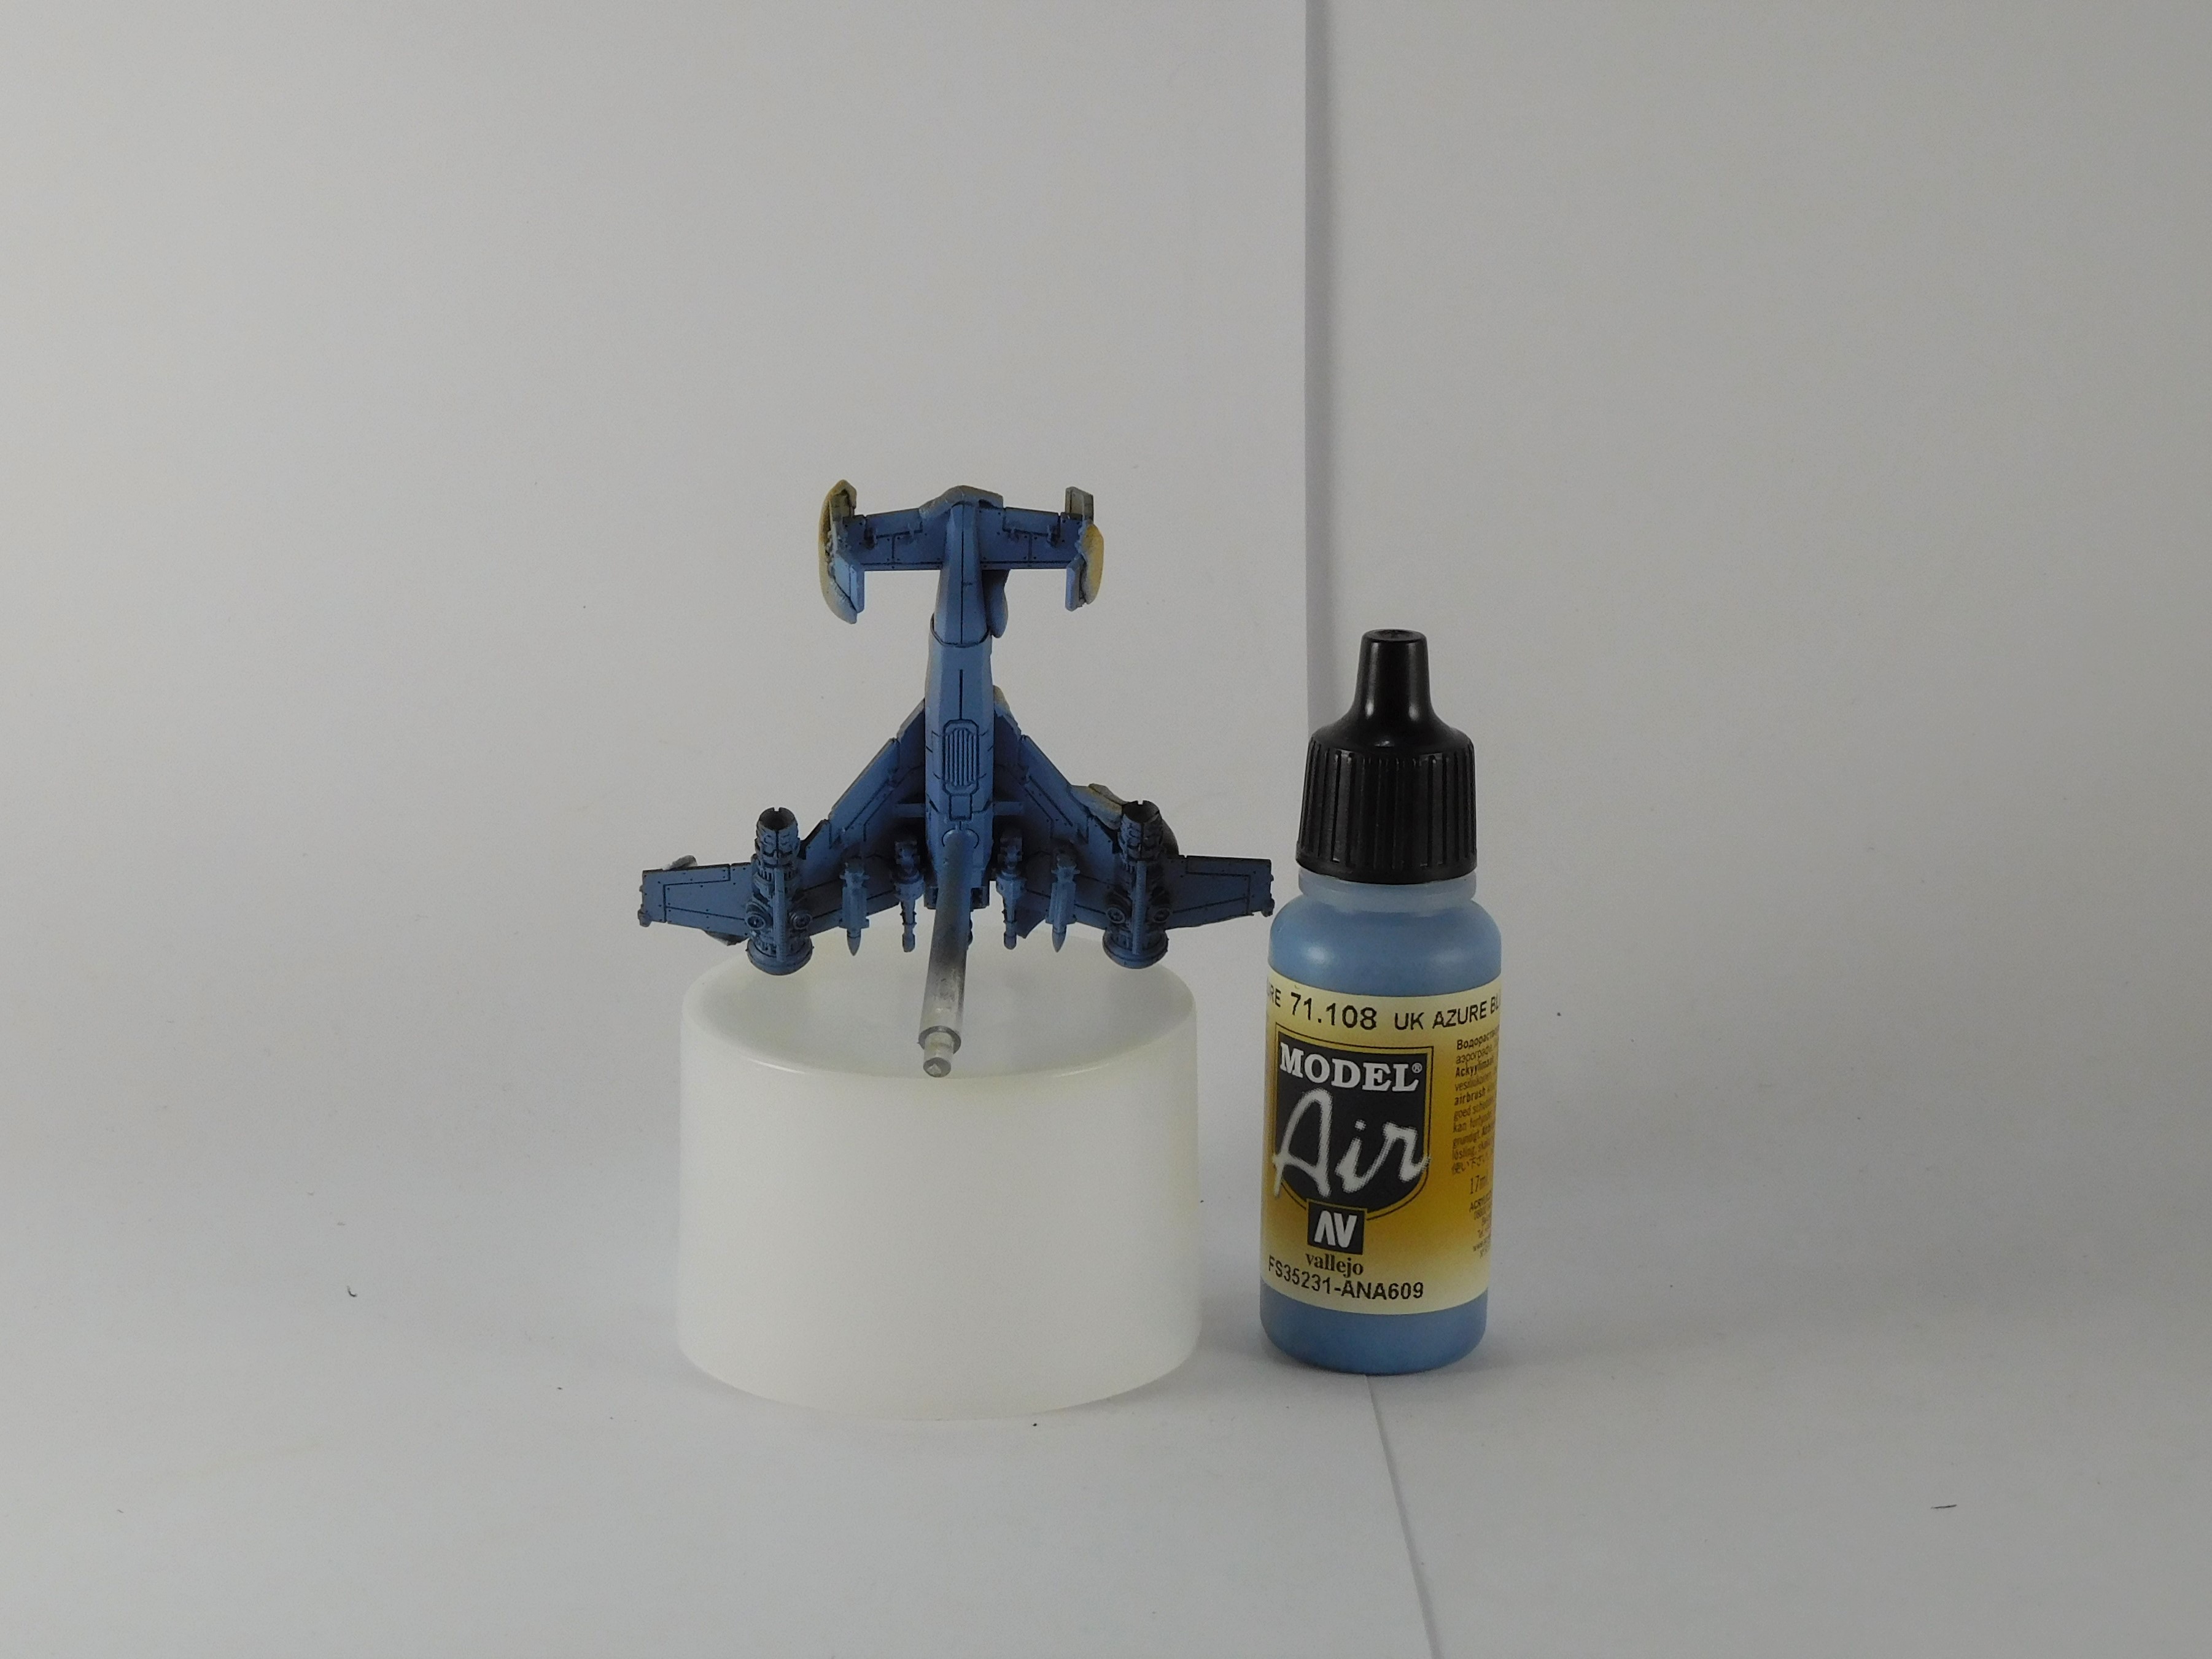
Next, the underside is painted light blue (aka sky blue).
Effort was made to avoid getting blue paint on top surfaces, but some tough up was required. Notably the vertical tail sections needed tough up. Blu tack was applied to protect the blue surfaces as light brown was added as touchup.

The paint was allowed to dry before removing the masking. The blu tack comes off quite easily. The masking tape can be try. The pictures below show that masking being removed in stages.

The Concept
For my Aeronautica Imperialis, I have a World War 2 RAF paint scheme (see RAF Lightning, RAF Thunderbolt, Marauder Bomber and Marauder Destroyer). When the Lightning Fighters came out, I was going to continue this trend.
I have a separate project for the bases (see Aeronautica Imperialis Bases).
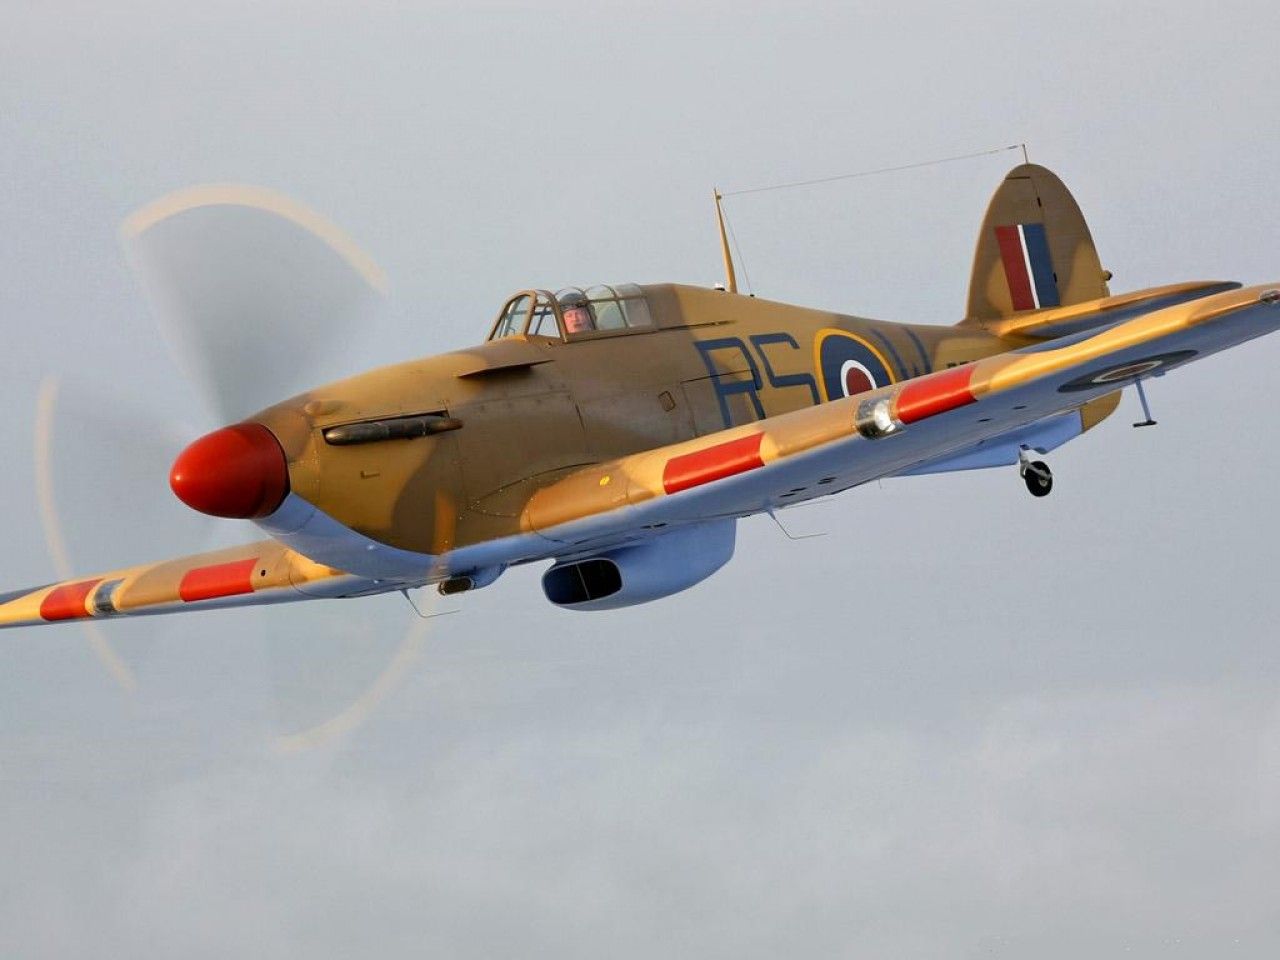
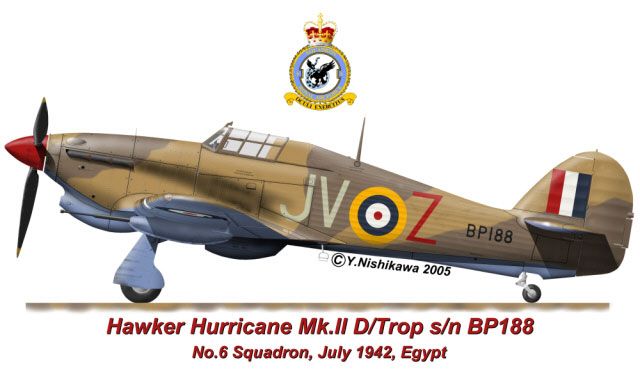
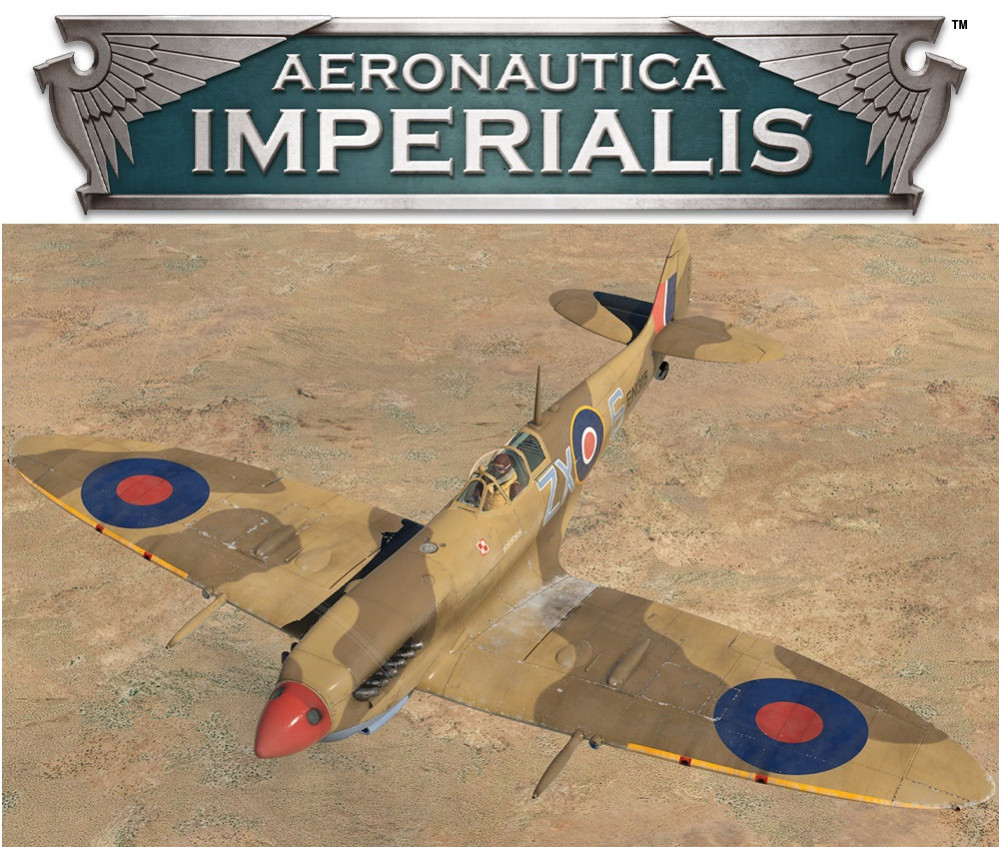
My Avenger Strike Fighters shall be painted reminiscent of the RAF desert scheme. Below are some random pictures of Hurricanes with the desert paint scheme. The title image is a Spitfire with the desert paint scheme. Note the underside of the aircraft have a light blue colour. The top surfaces is a two tone light and dark brown. The dark brown is the same brown used in Marauder Bomber project. In the reference pictures the propeller hub is painted red, this colour is due to squad or campaign marking. Some pictures that have the leading edge of the wing painted yellow.
All the pictures are source through an internet search using Google.