


![How To Paint Moonstone’s Nanny | Goblin King Games [7 Days Early Access]](https://images.beastsofwar.com/2024/12/3CU-Gobin-King-Games-Moonstone-Shades-Nanny-coverimage-225-127.jpg)


Orinoco’s Occasional Forge Fathers Project


Recommendations: 927
About the Project
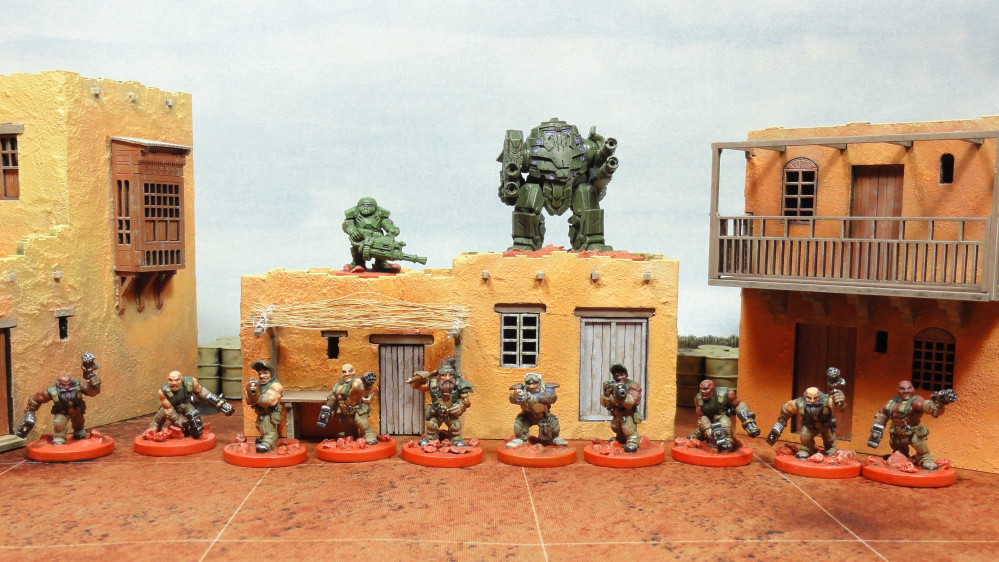
With Deadzone 3.0 out it's about time for some reinforcements for my Forge Fathers. Most of these have been sitting in an unpainted/semi-painted state for some time now. Eventually this project will move from Deadzone through Firefight to Warpath with a bit of Stargrave in between. The key word is eventually as I intend to do other projects in between batches of this.
Related Company: Mantic Games
Related Genre: Science Fiction
This Project is On Hold
Shiny Happy People
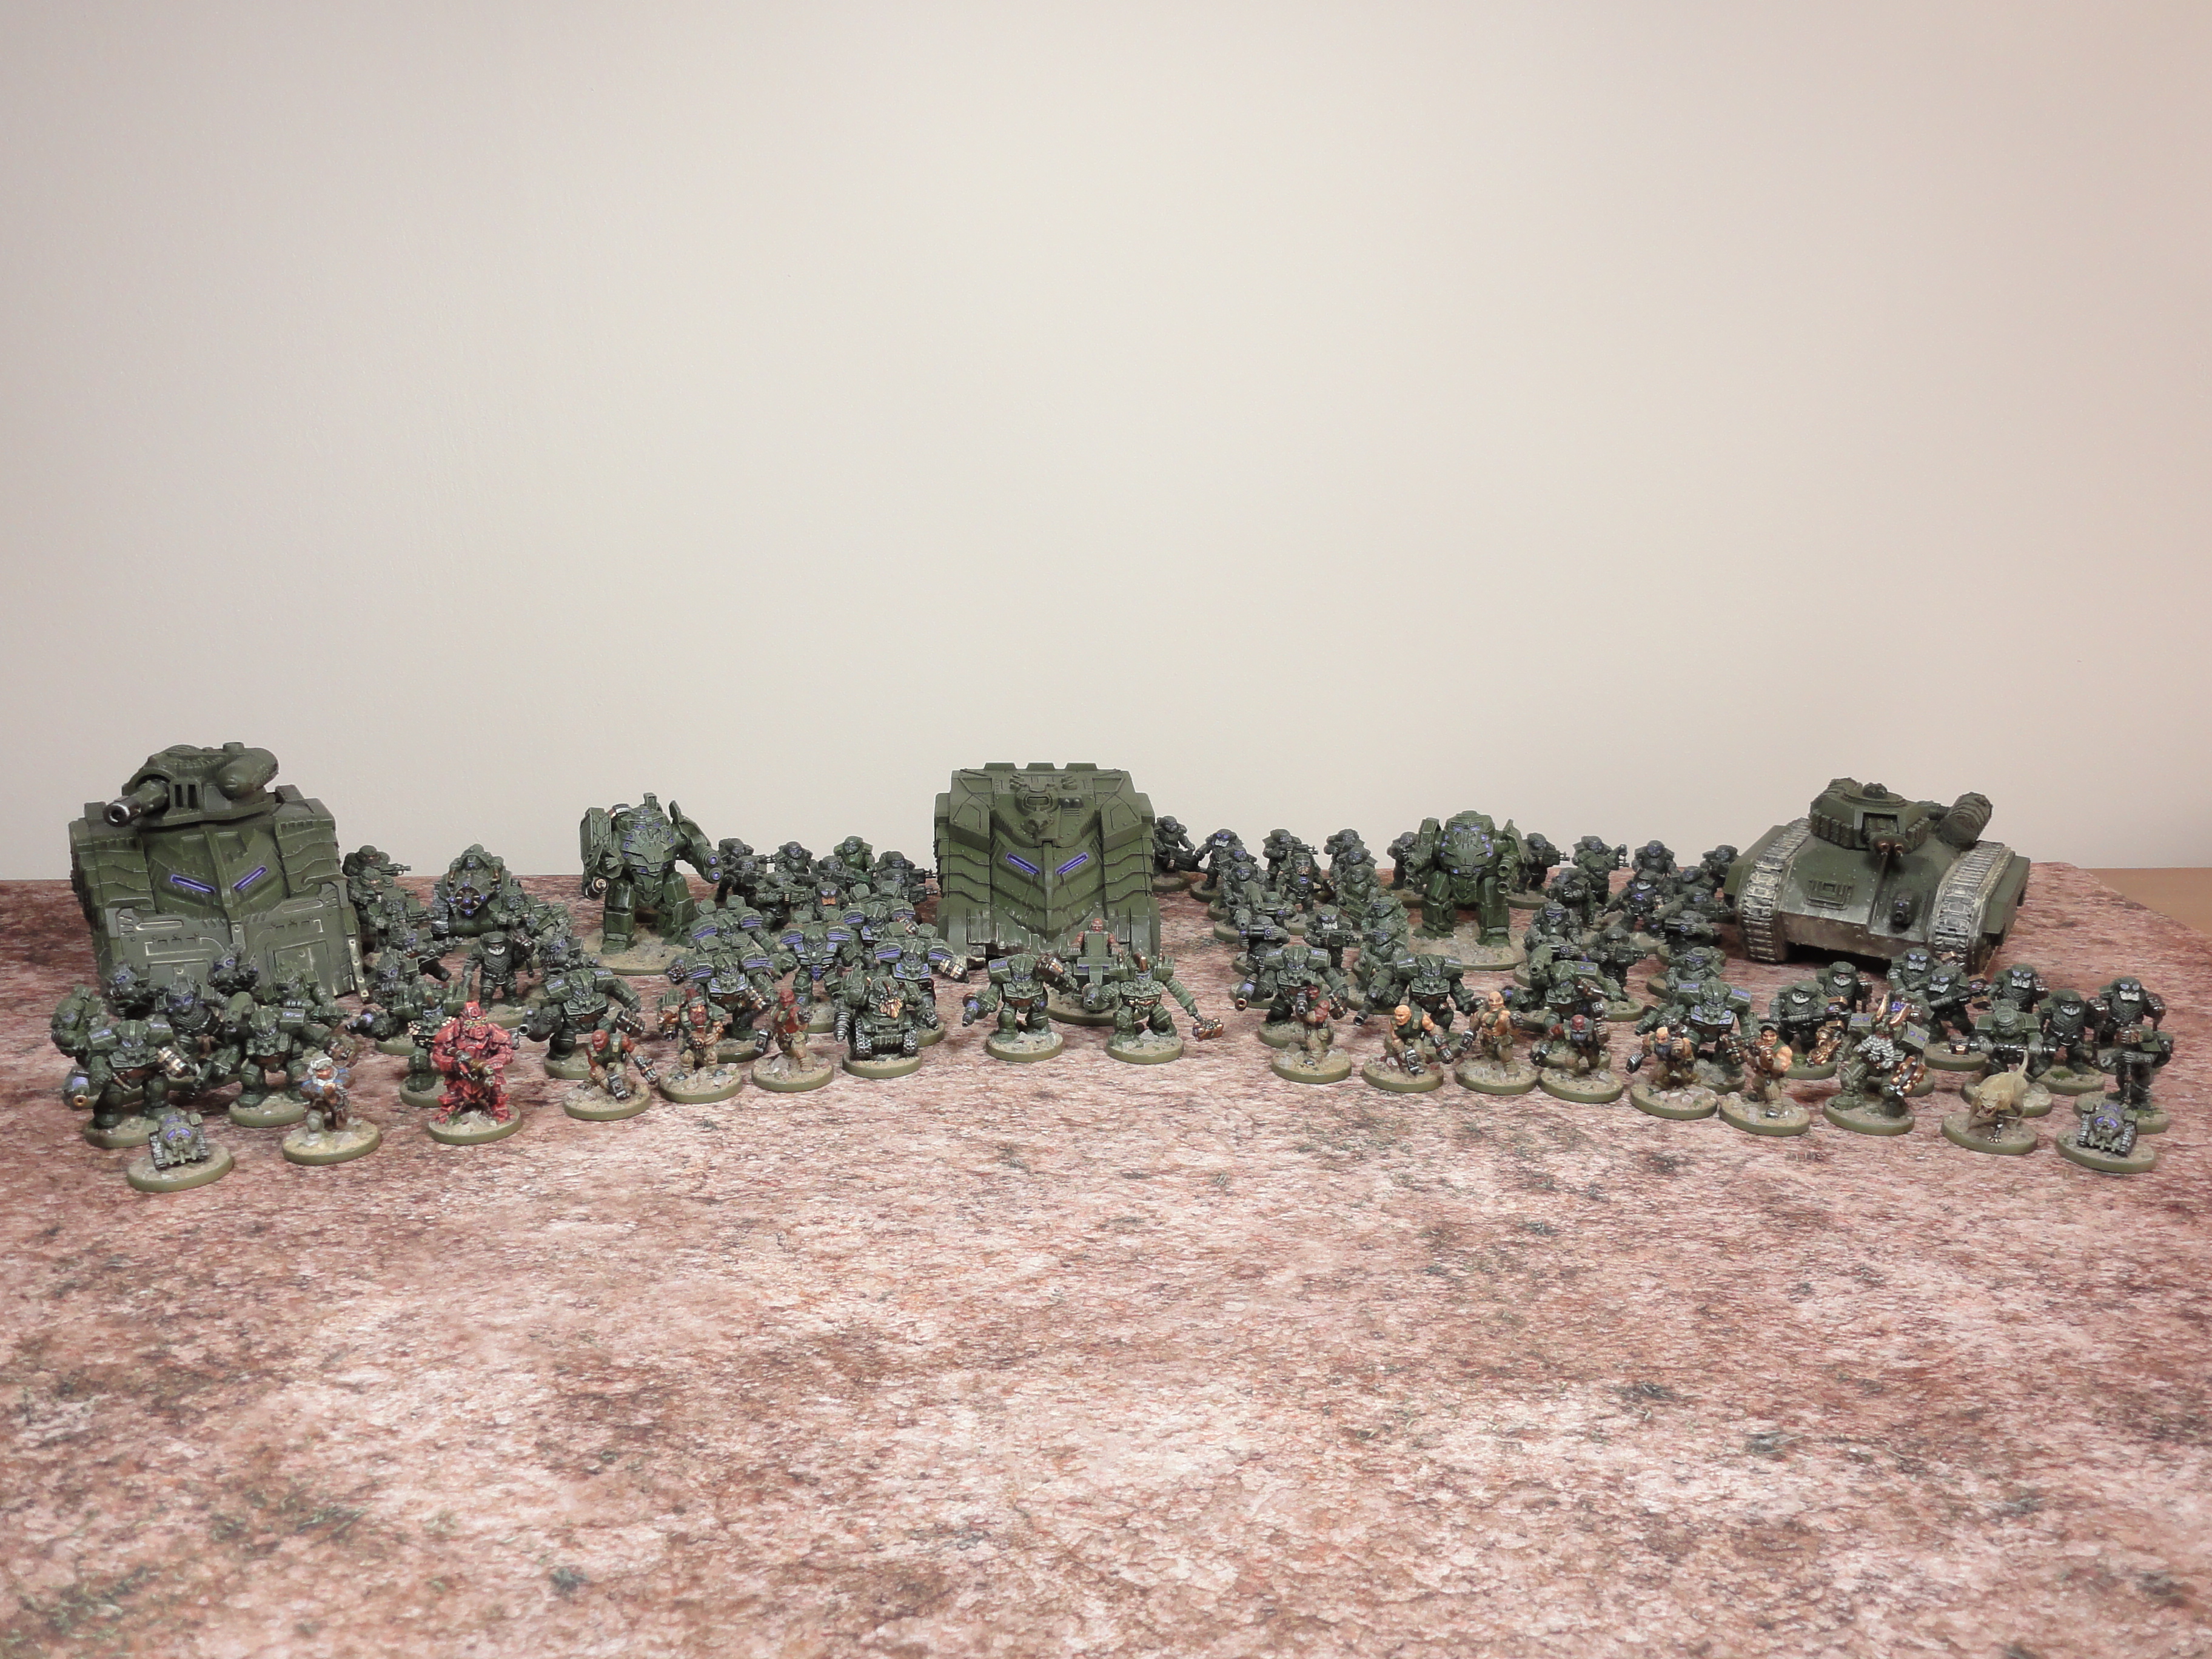 Everything so far
Putting this project on hold. Definitely have enough miniatures for Deadzone and Firefight and probably Warpath. I’ve managed to use all my Steel Warrior kits (unless some are hiding in a safe place). I still have plenty of other Forge Fathers I can occasionally add. There’s another tank kit, Hultr half tracks, Militia, more Hammerfist Drop Troopers, Brokkr Valkyr bikes, more Forge Guard, Heavy Inferno drills and Jotunn Weapon Platforms.
Going to go over to my League of Infamy project and paint up a couple of figures to have an Elf Vanguard force (sneaking suspicion that there maybe a tidy up / new edition of Vanguard next year with the release of the Twiglets). Then start up 3 new projects. One will be ‘Making some use of the things that I find’. So homemade pin/wound counters, GW style spikey plants made from polystyrene eggs rather than balls, fixing up some old trees and random stuff like that. The other 2 will be mainly Frostgrave related. One for terrain and one for figures mainly to try and reduce my pile and try to play before another edition comes out. Further forward (next year?) I really need to get one of my Kings of War armies done.
If I had a hammer
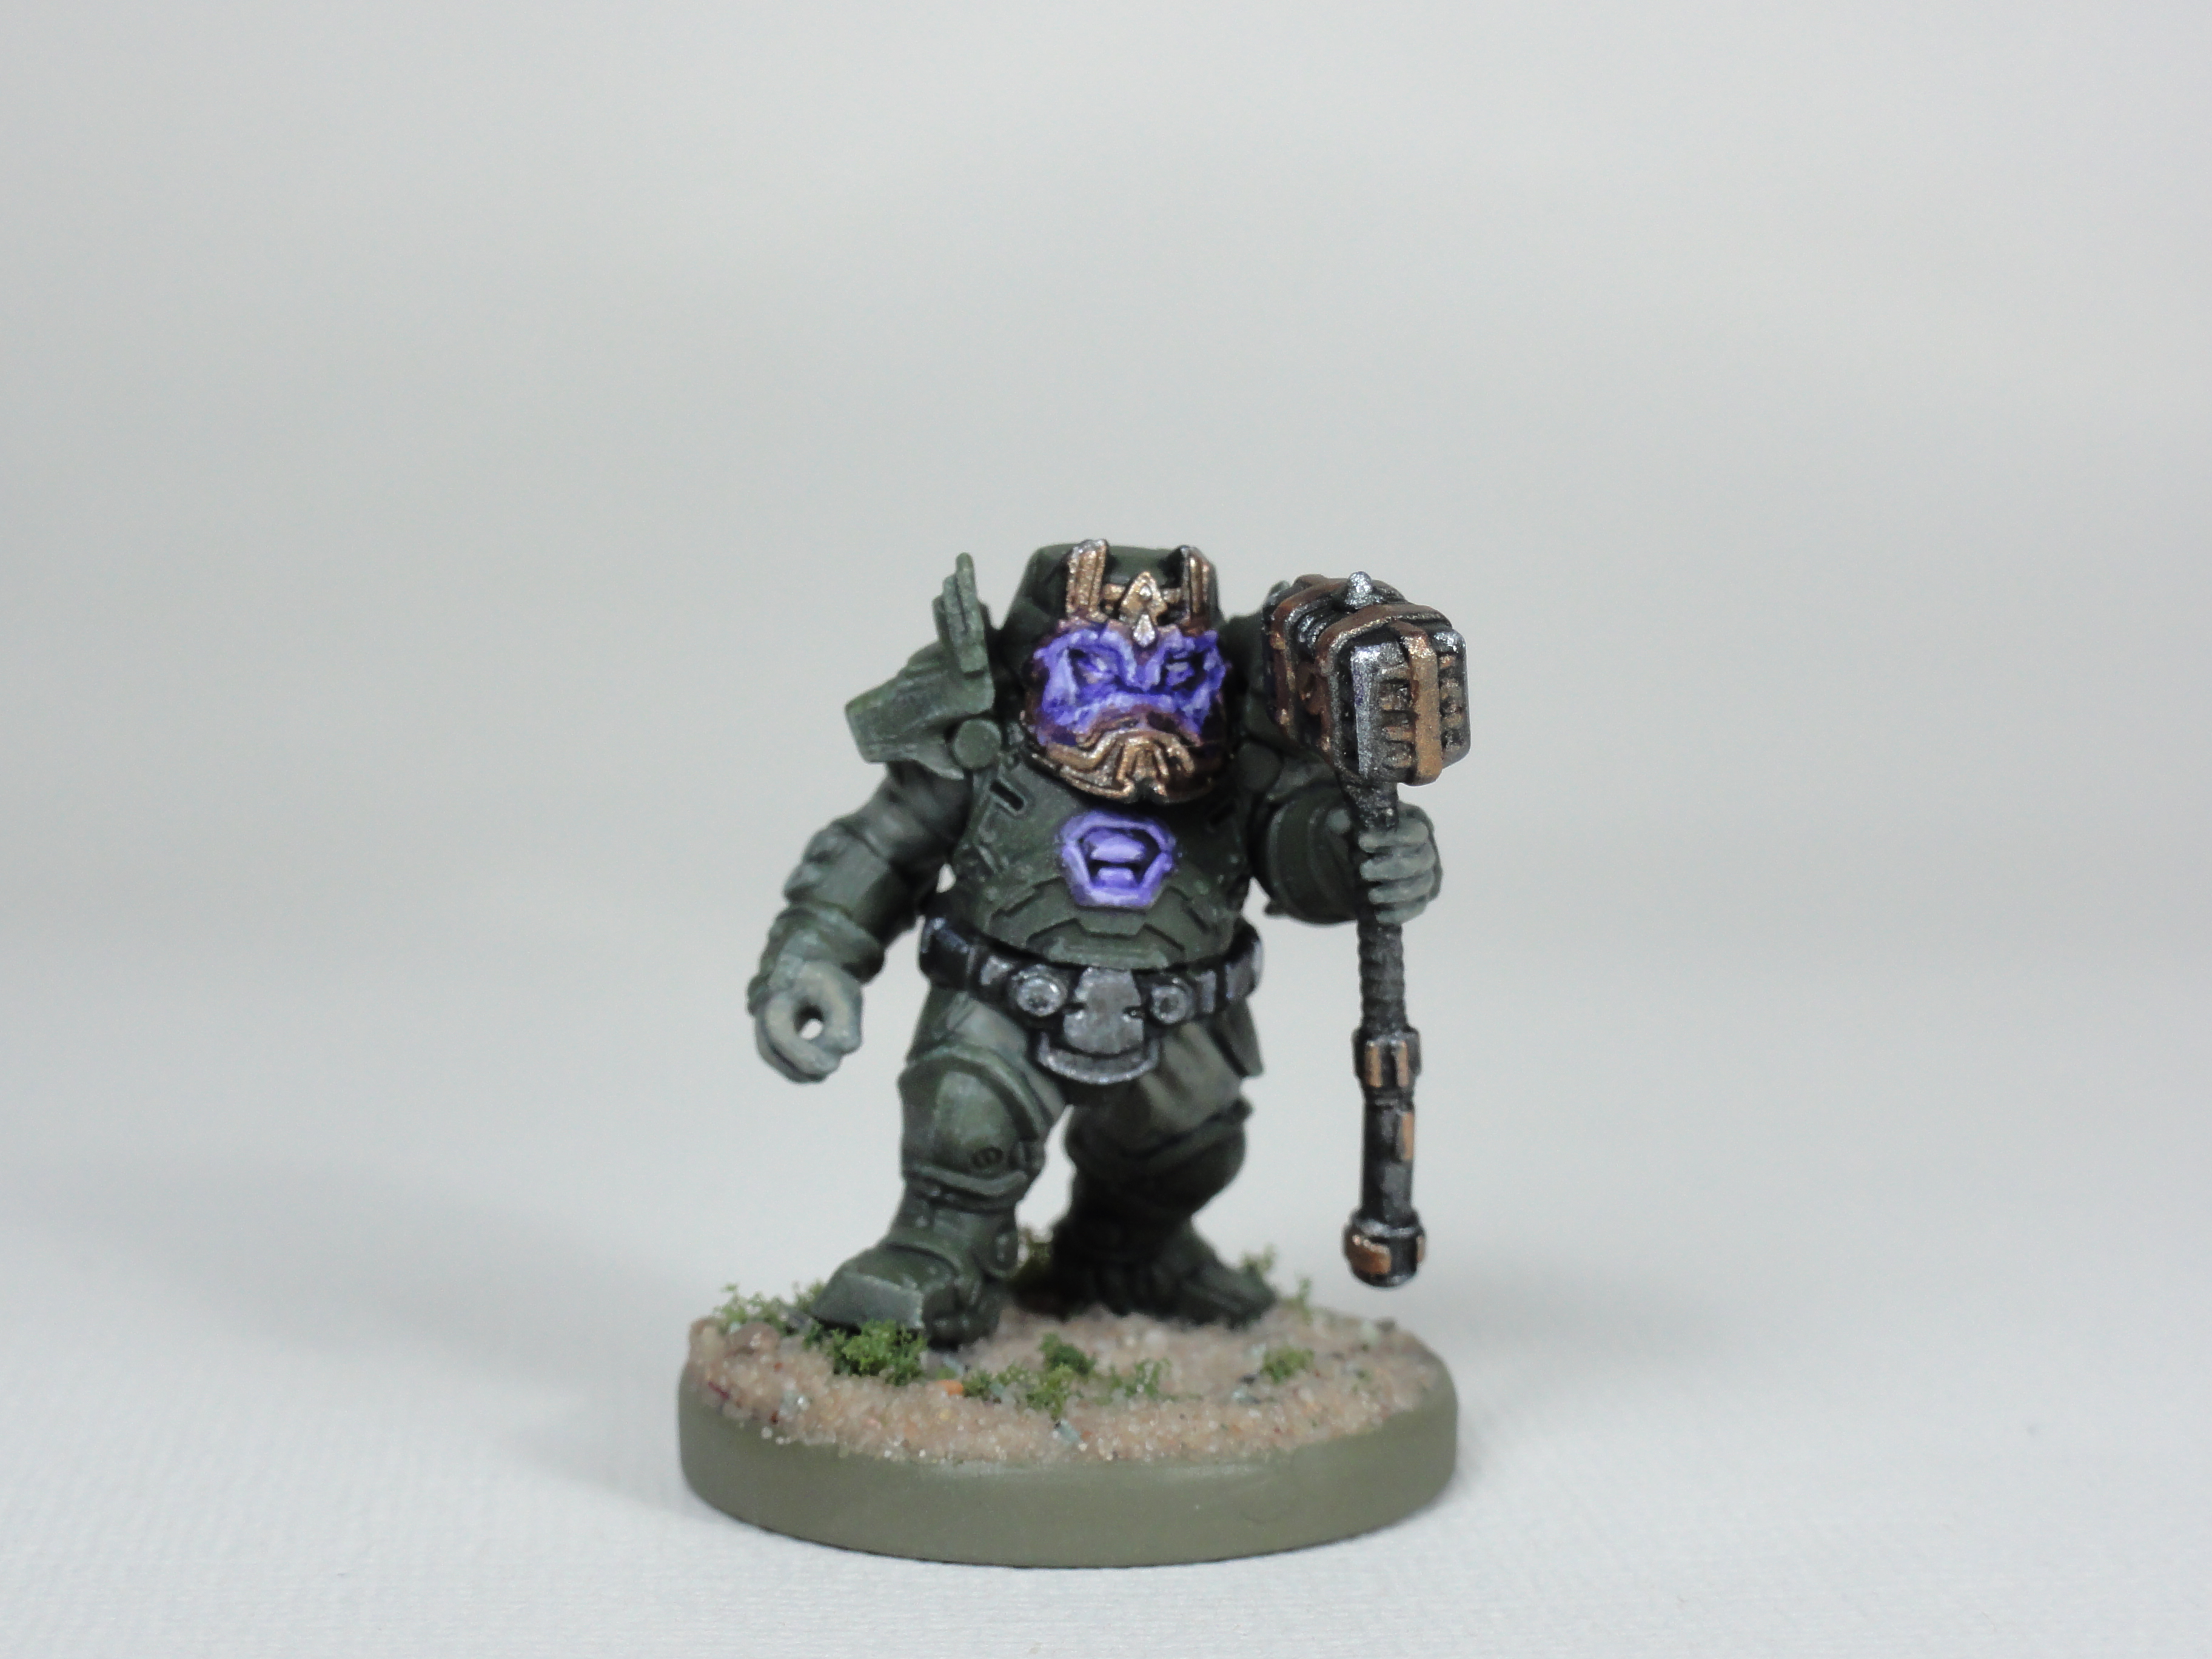
 Before Sundancer presses his button the line on the vambraces are meant to be there. If only there was a vambrace expert available to explain that metal vambraces are in two parts. Also was thinking that some of the gloves where designed like batting gloves for cricket, but that might actually be a flaw (not a mould line!).
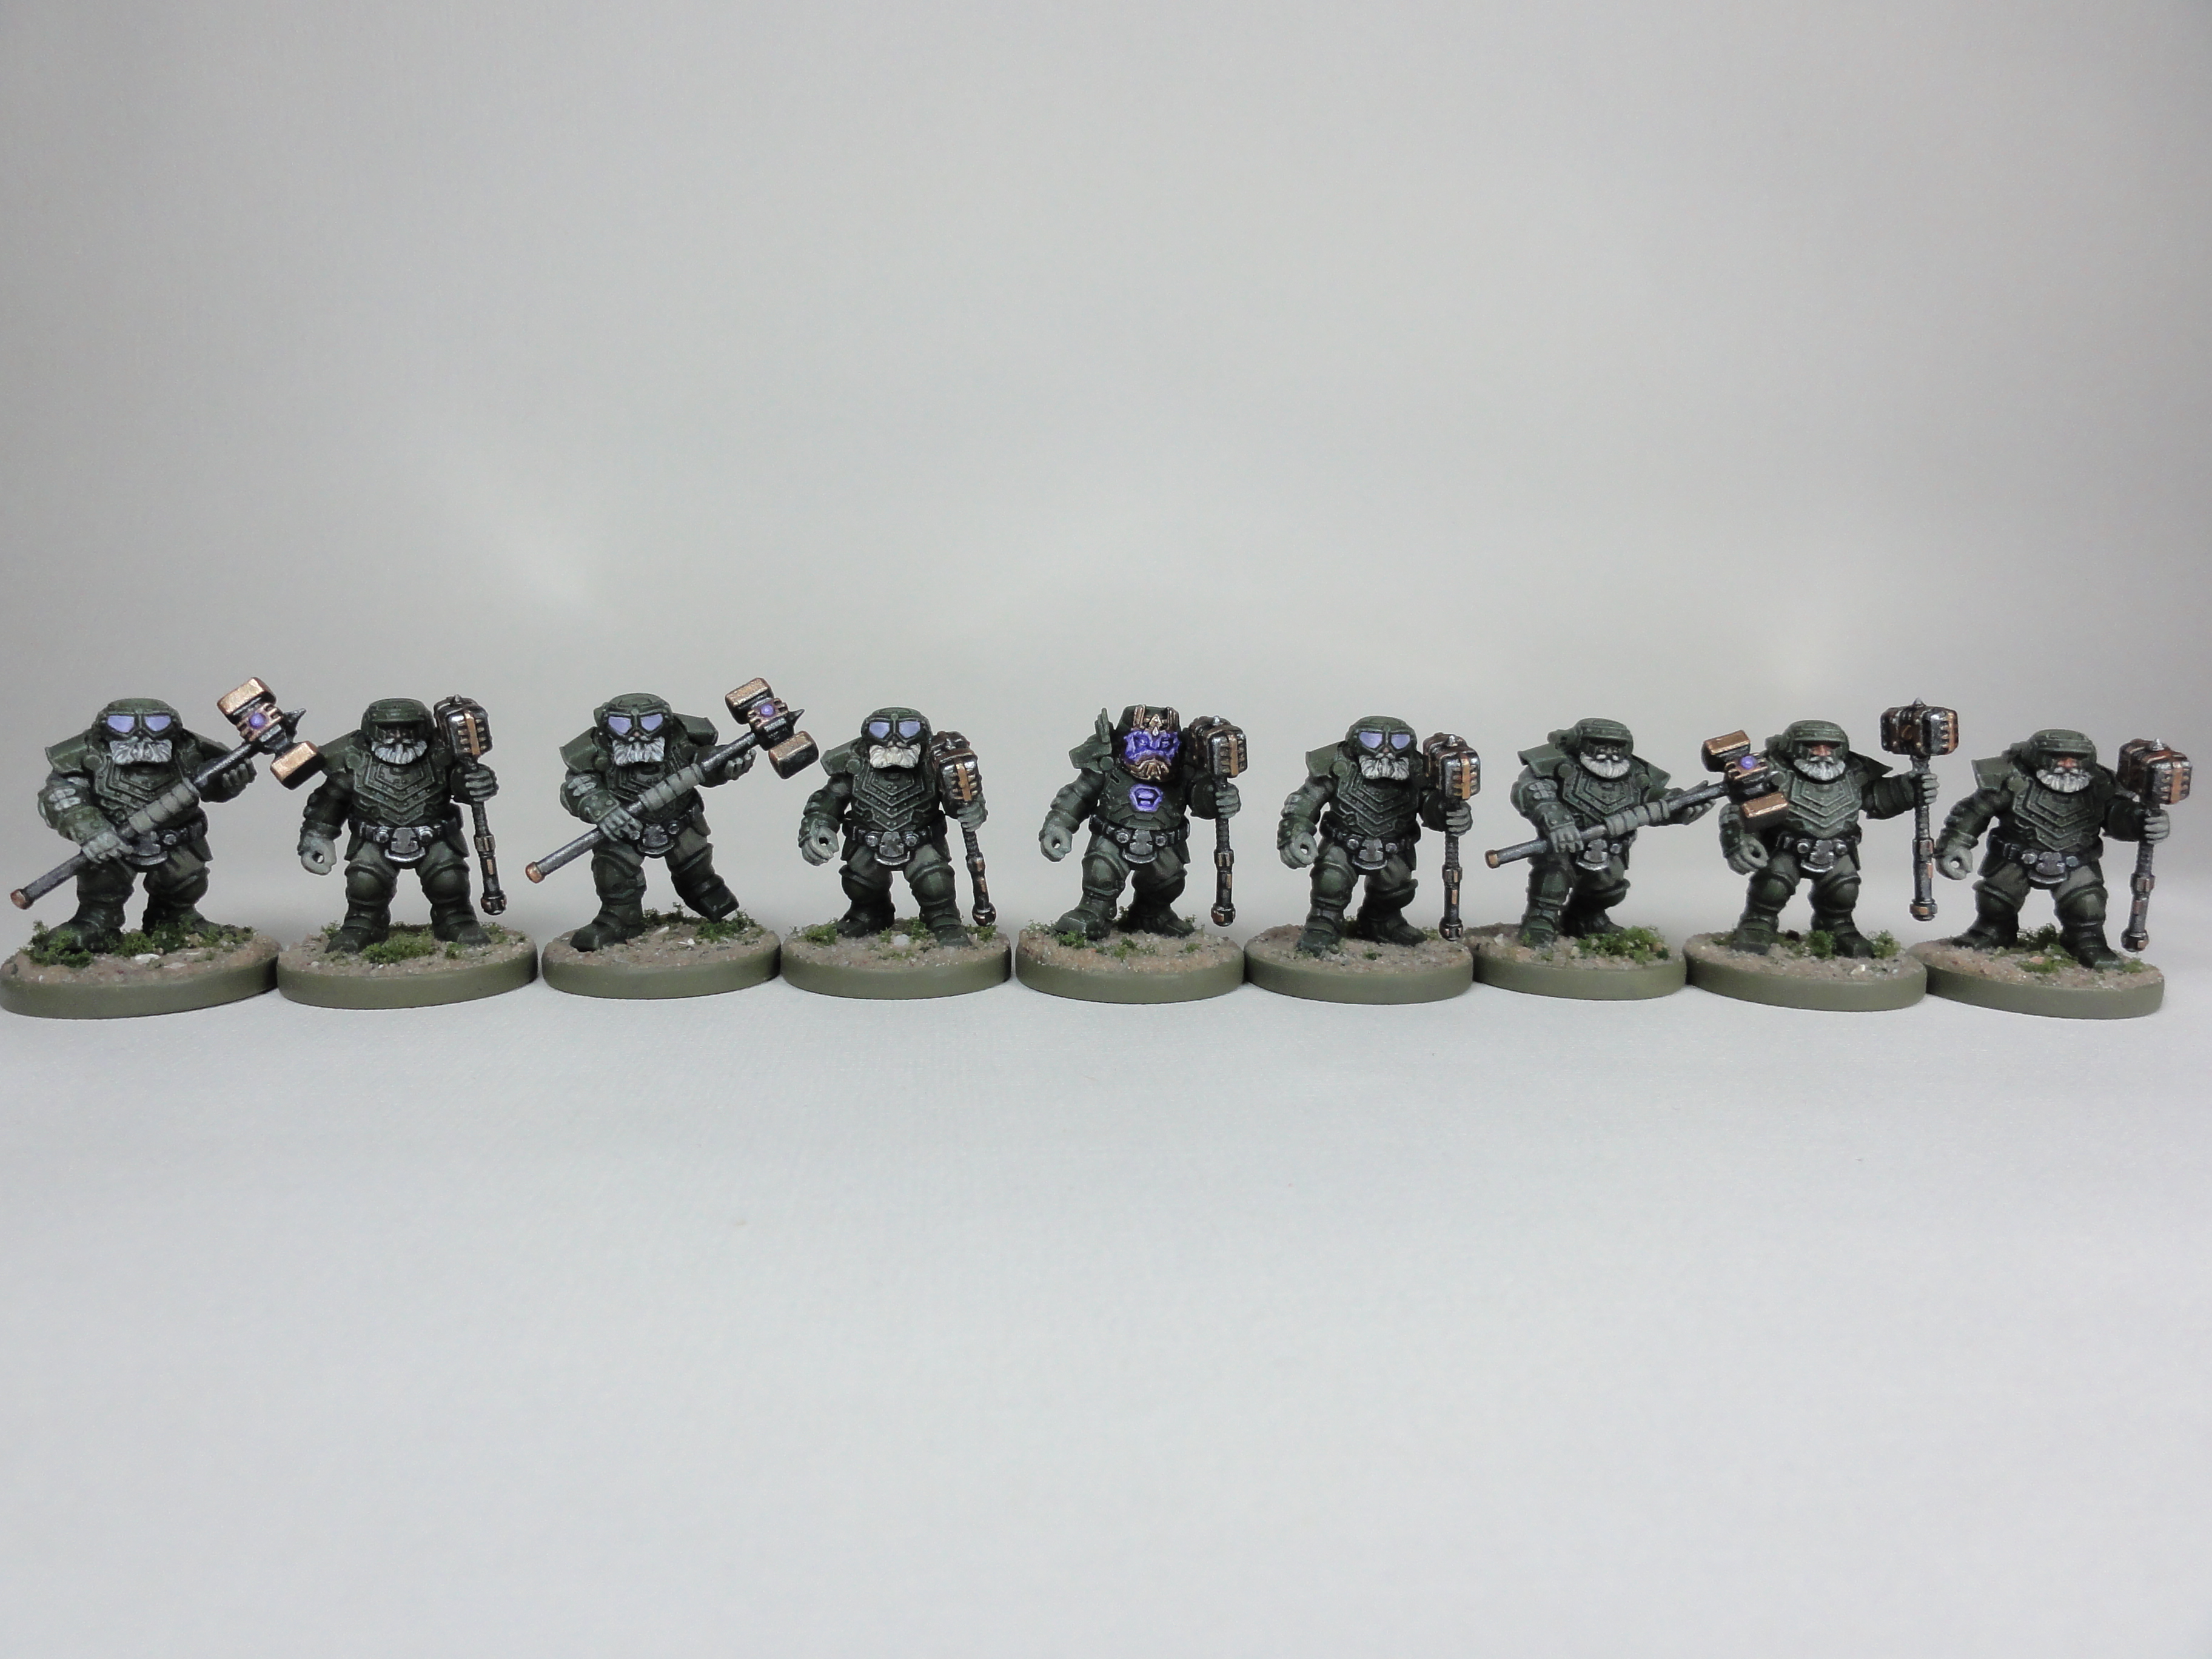
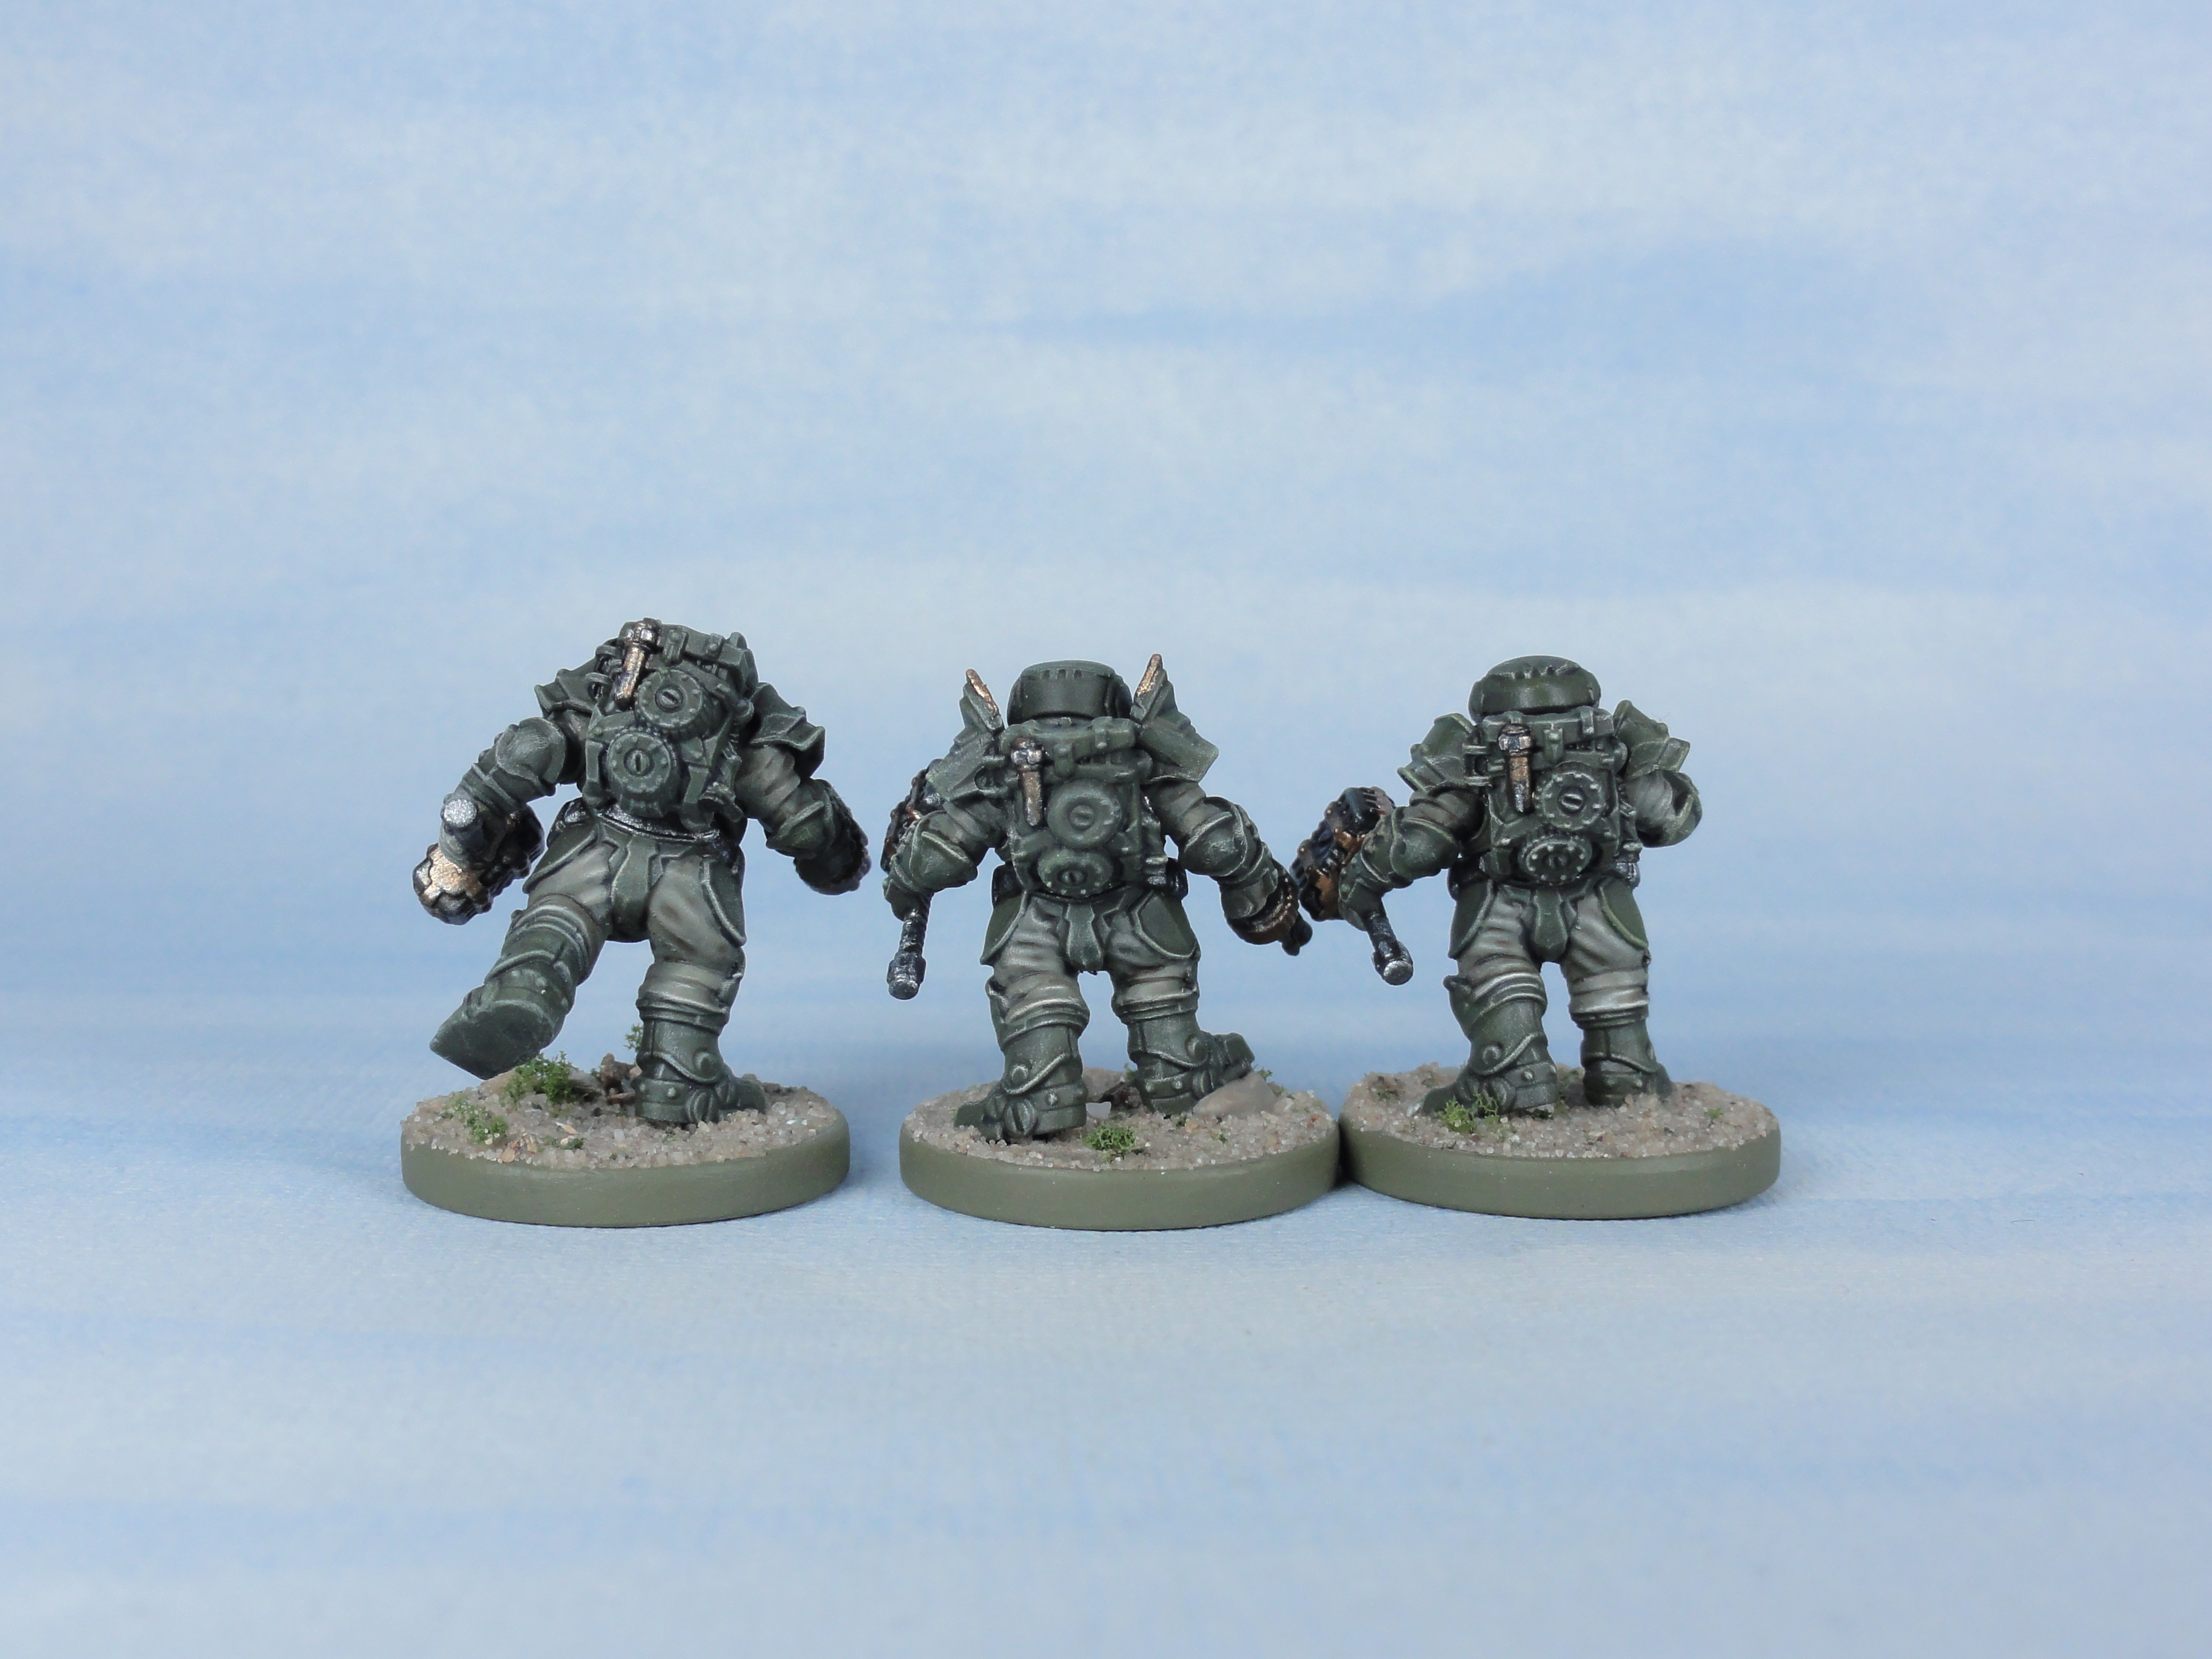
Nine Steel Warriors converted to Thorgarim to add to the one that I’ve already done. Six have just had a stick bomb from the Steel Warrior kit stuck to the end of the shaft to lengthen it for double handed use. Three are using a hammer from the Mantic Dwarf Ironclad sprue (possibly the command sprue) with a mine/shield projector stuck on it. The nine right arms are spare Magma Cannon and Hailstorm Autocannon arms with the weapons cut off and handles drilled out and shaped. They’re not lined up properly but it’s the best I could do (There’s also a Bill Clinton joke in there somewhere but I don’t know what it is).
For painting it’s the same scheme as the 7th and 8th of April, but sprayed from above after priming with Medium Olive (Vallejo Model Air).

Next: Group photo and putting project on hold
Opposites Attract
3rd upload attempt. Is it the Paula Abdul title?
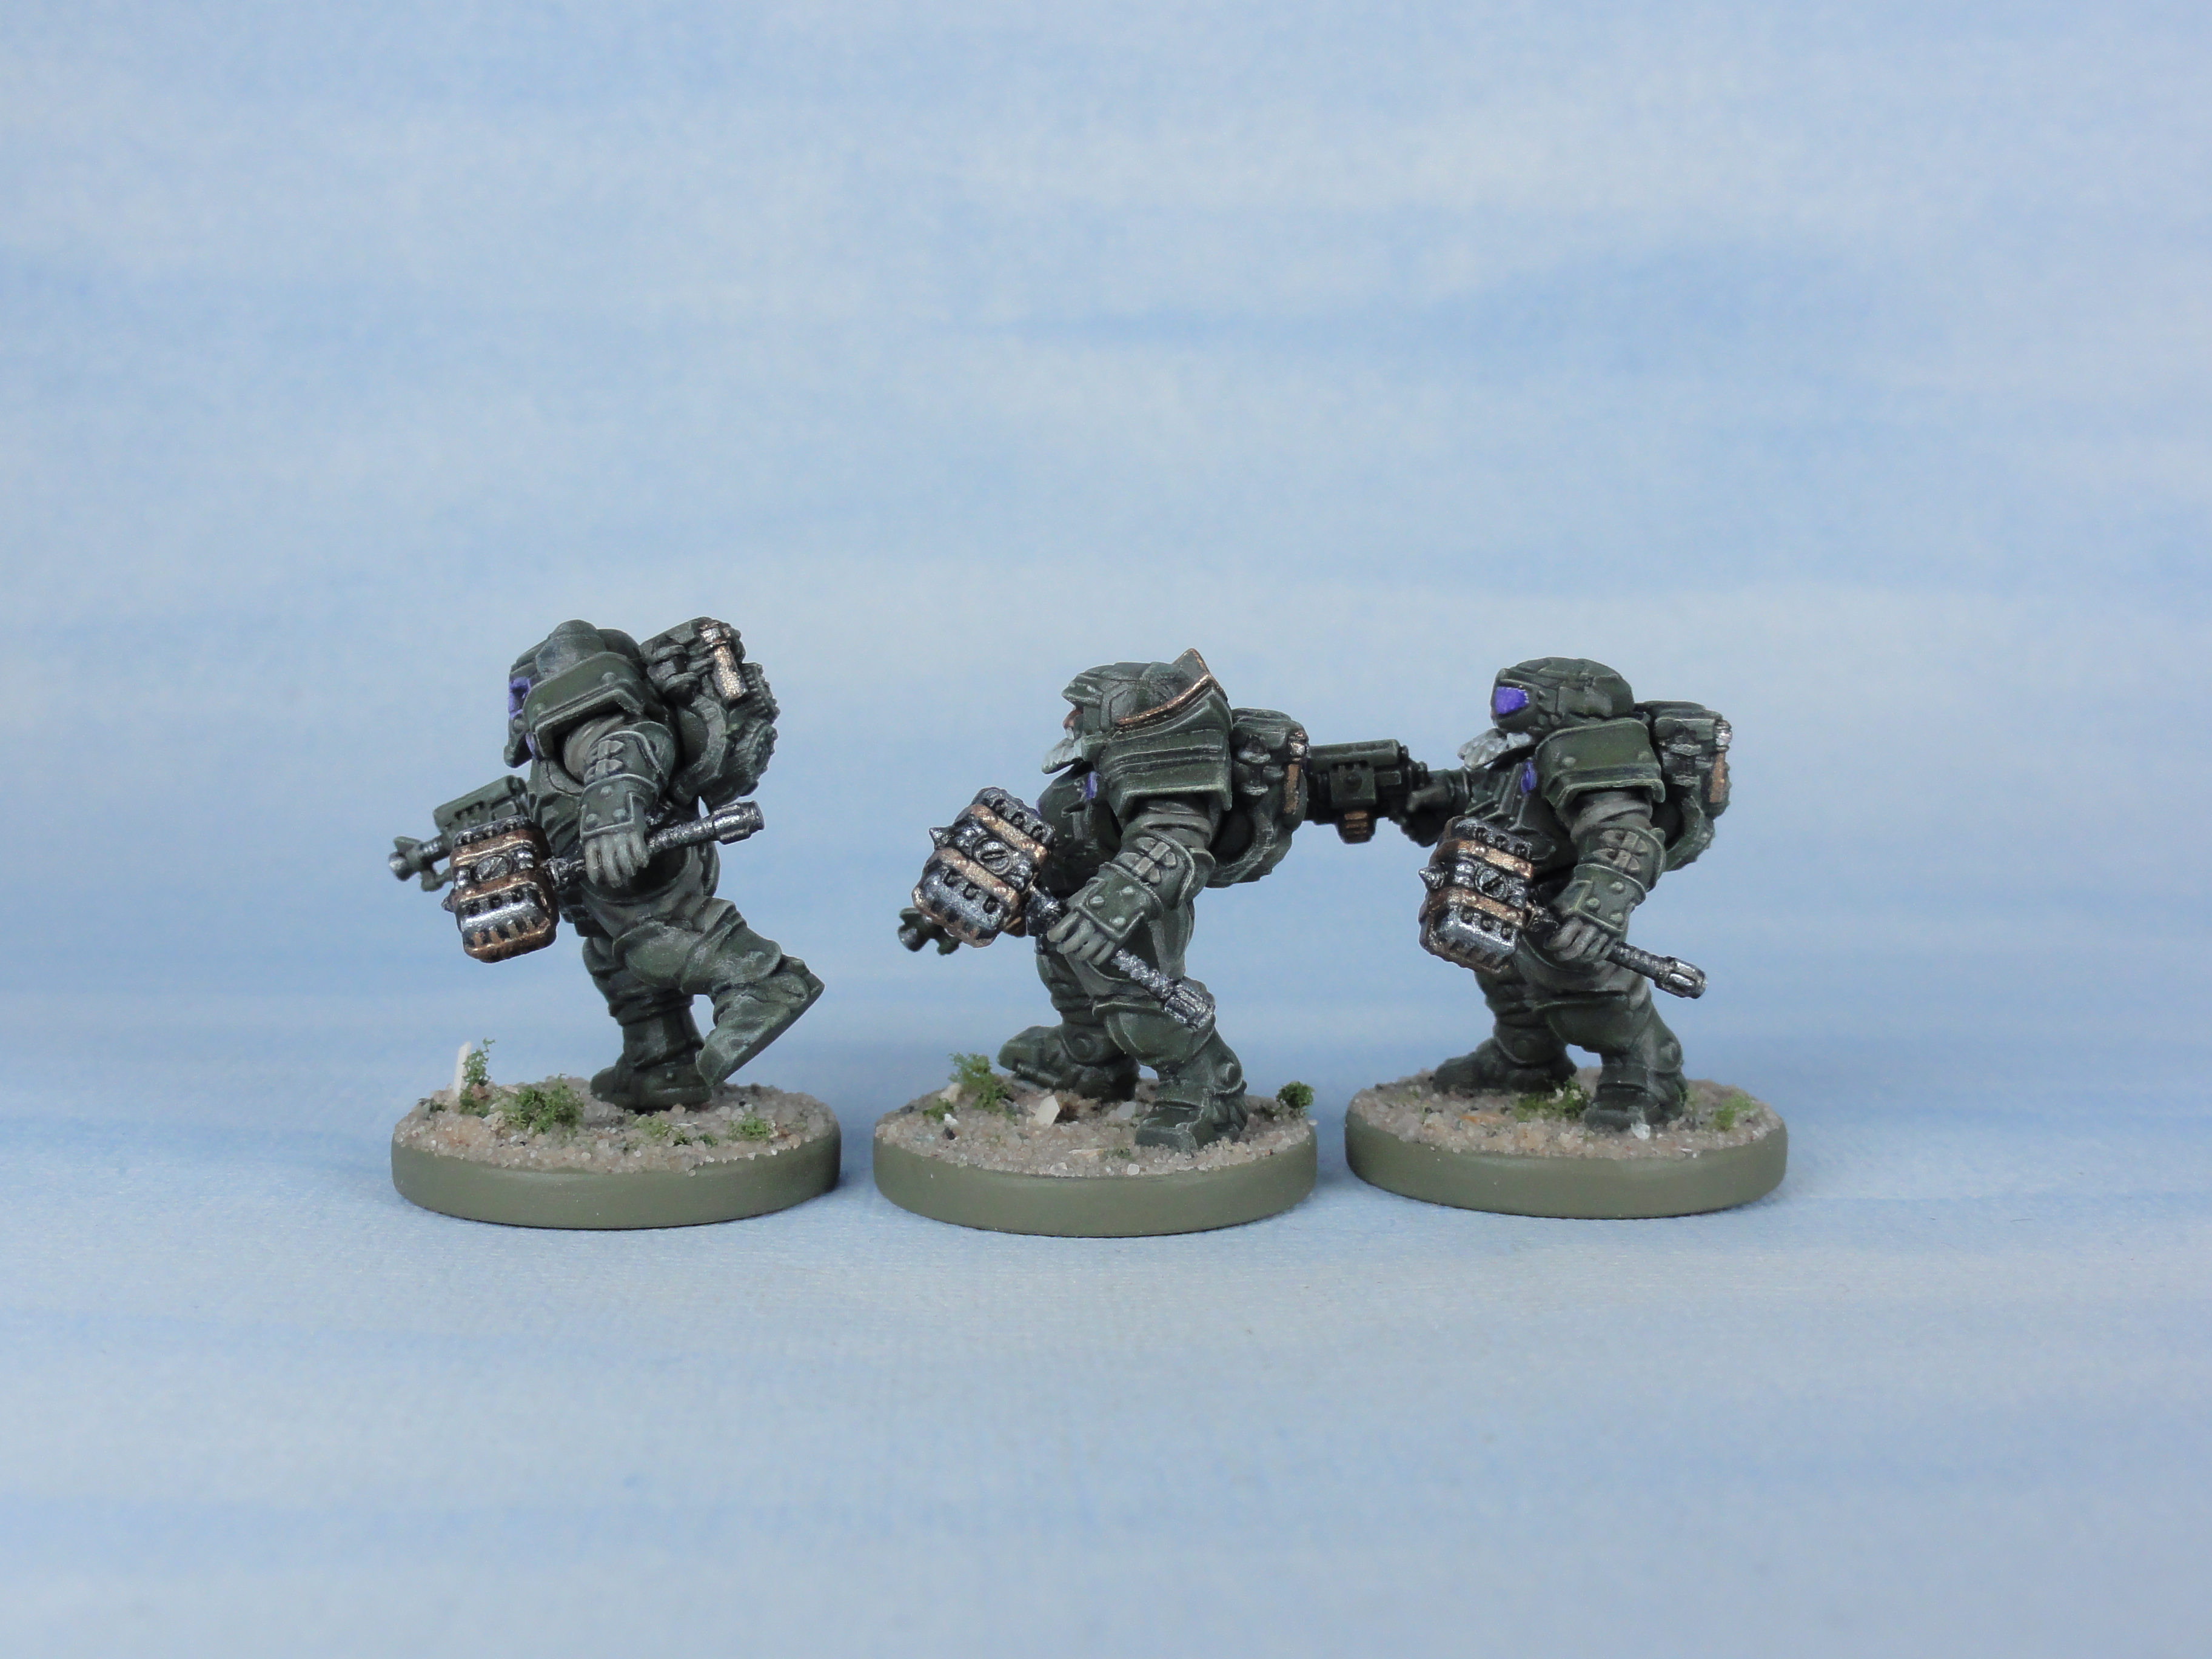
Six more Forge Guard to go with the four already completed to give me two squads with options.
Same scheme from 07 and 08 April 2022 but with Medium Olive (Vallejo Model Air) shot from above after priming.
Each gun arm is magnetised apart from the Forge Guard with the shoulder launcher which had a magnet attached underneath the shoulder before assembly by drilling from below.

If everybody looked the same
 'Hear the thunder, hear the roar'
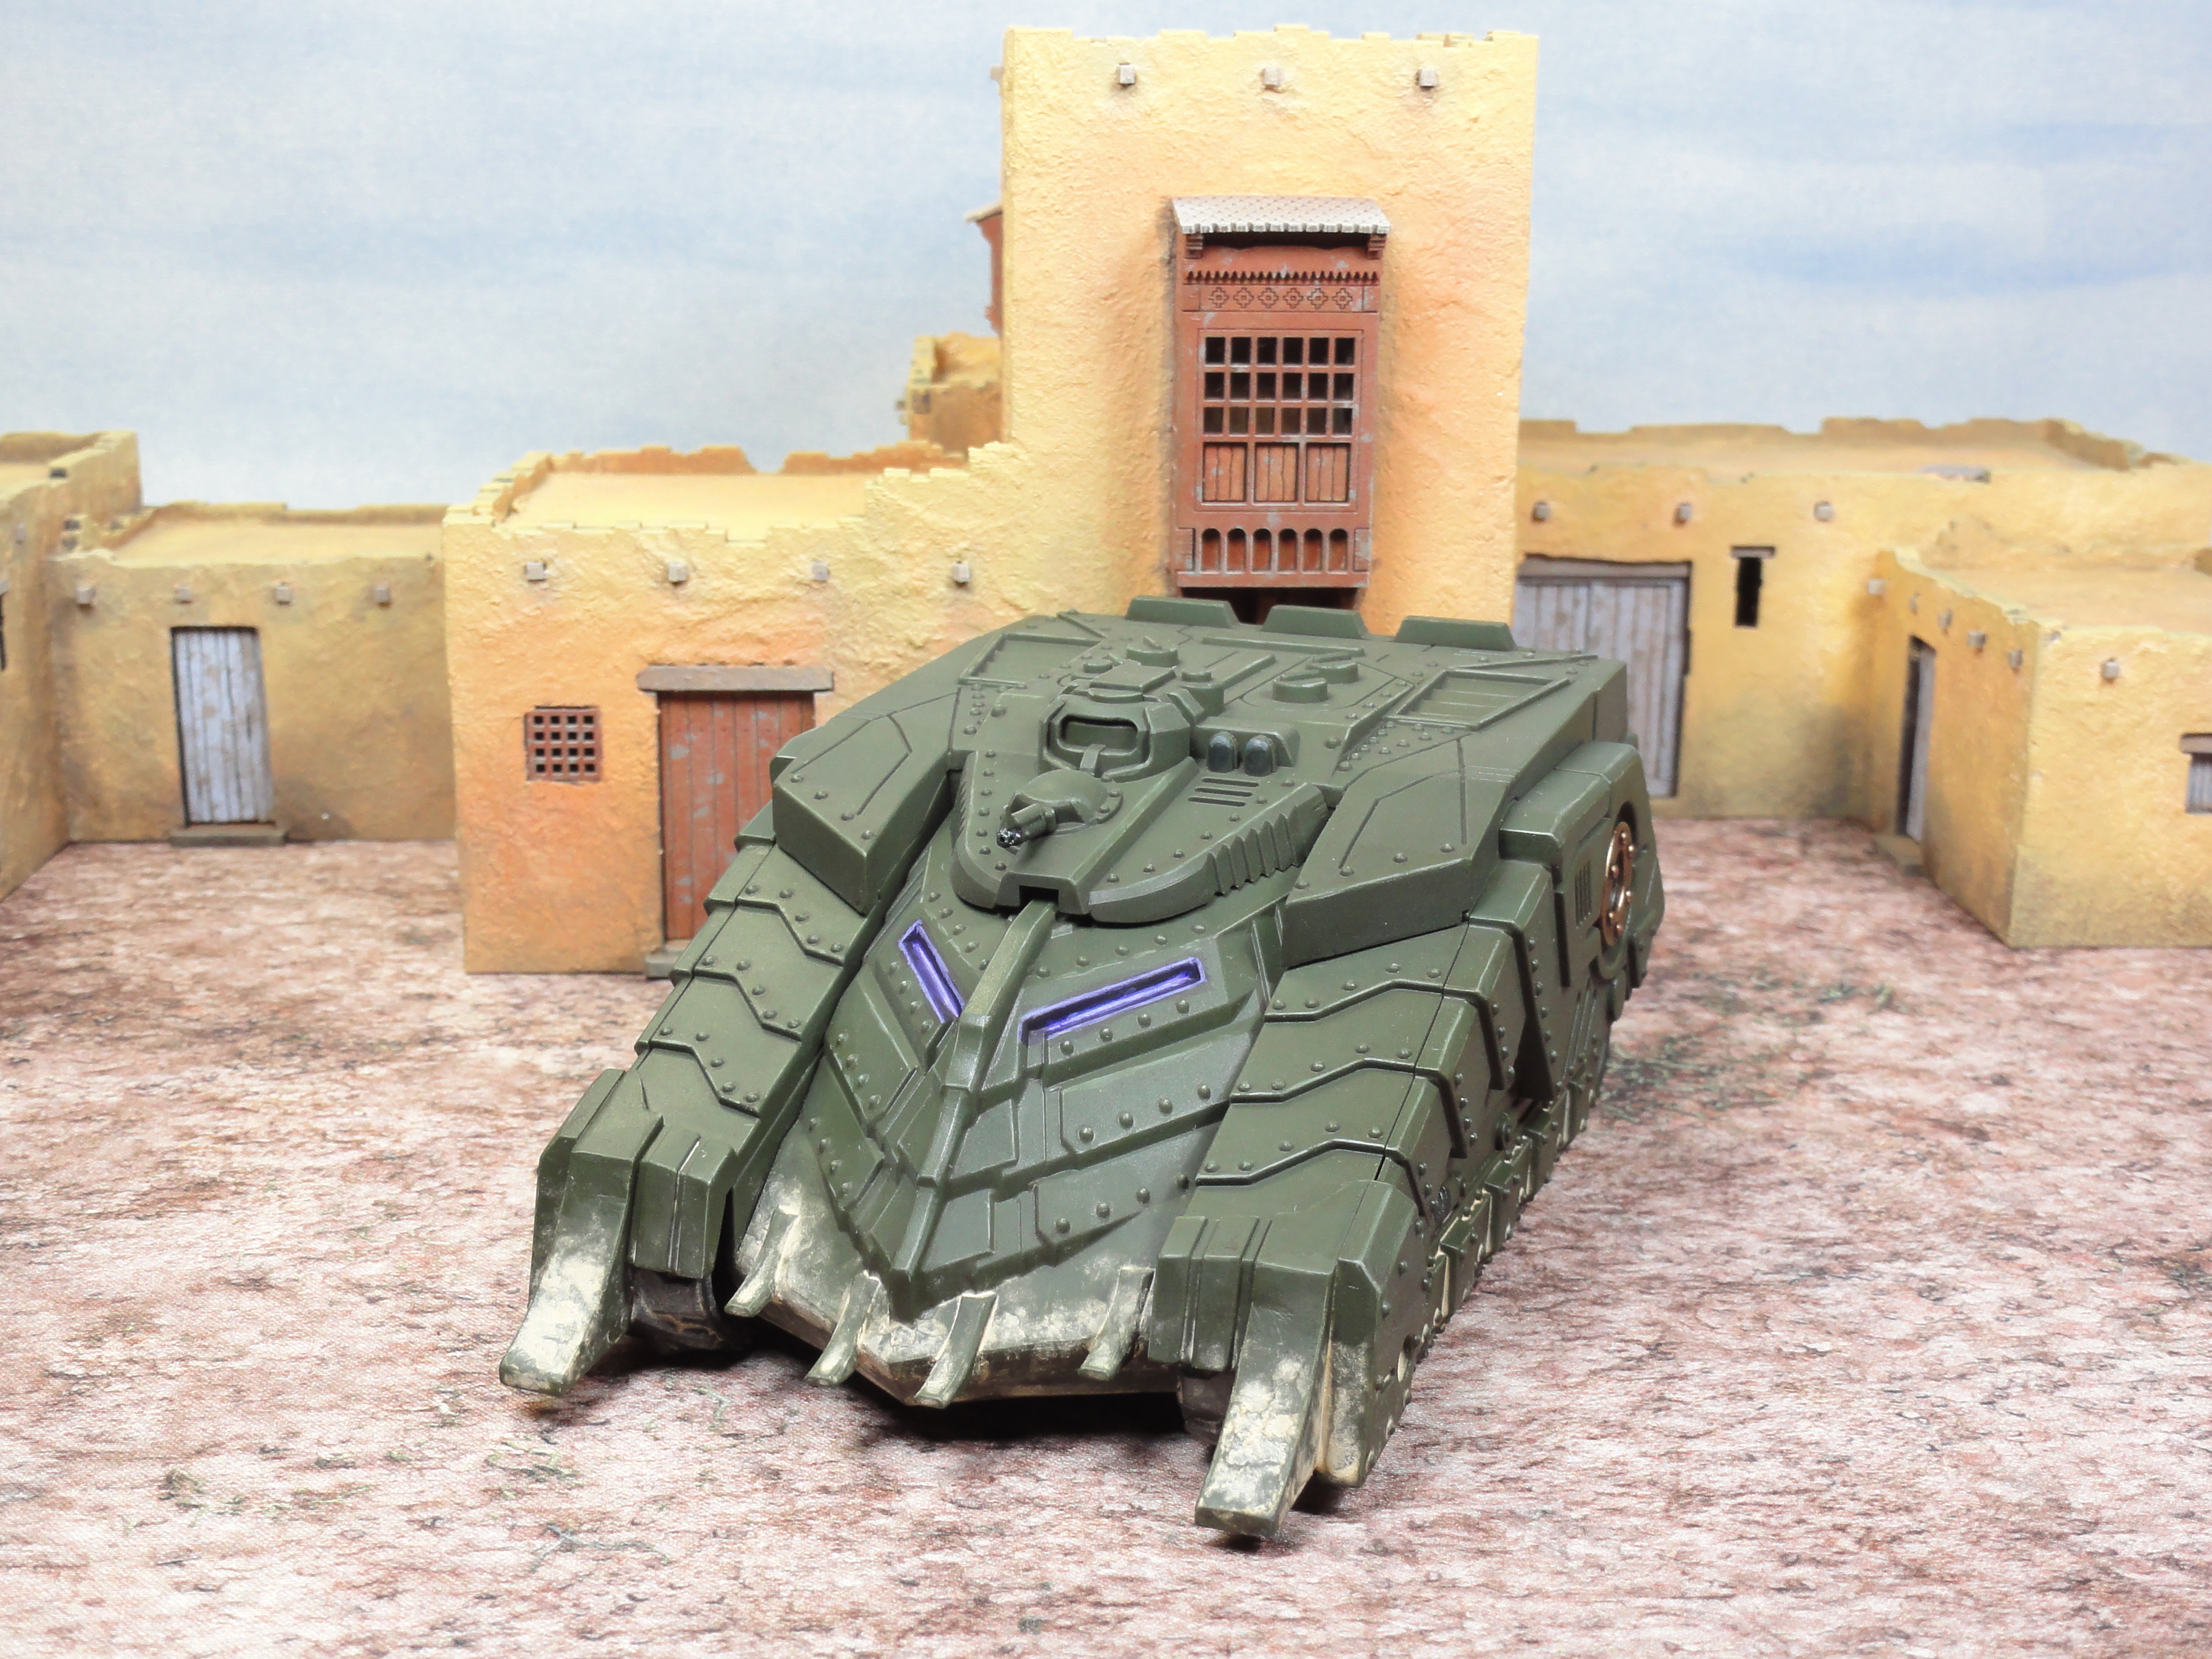
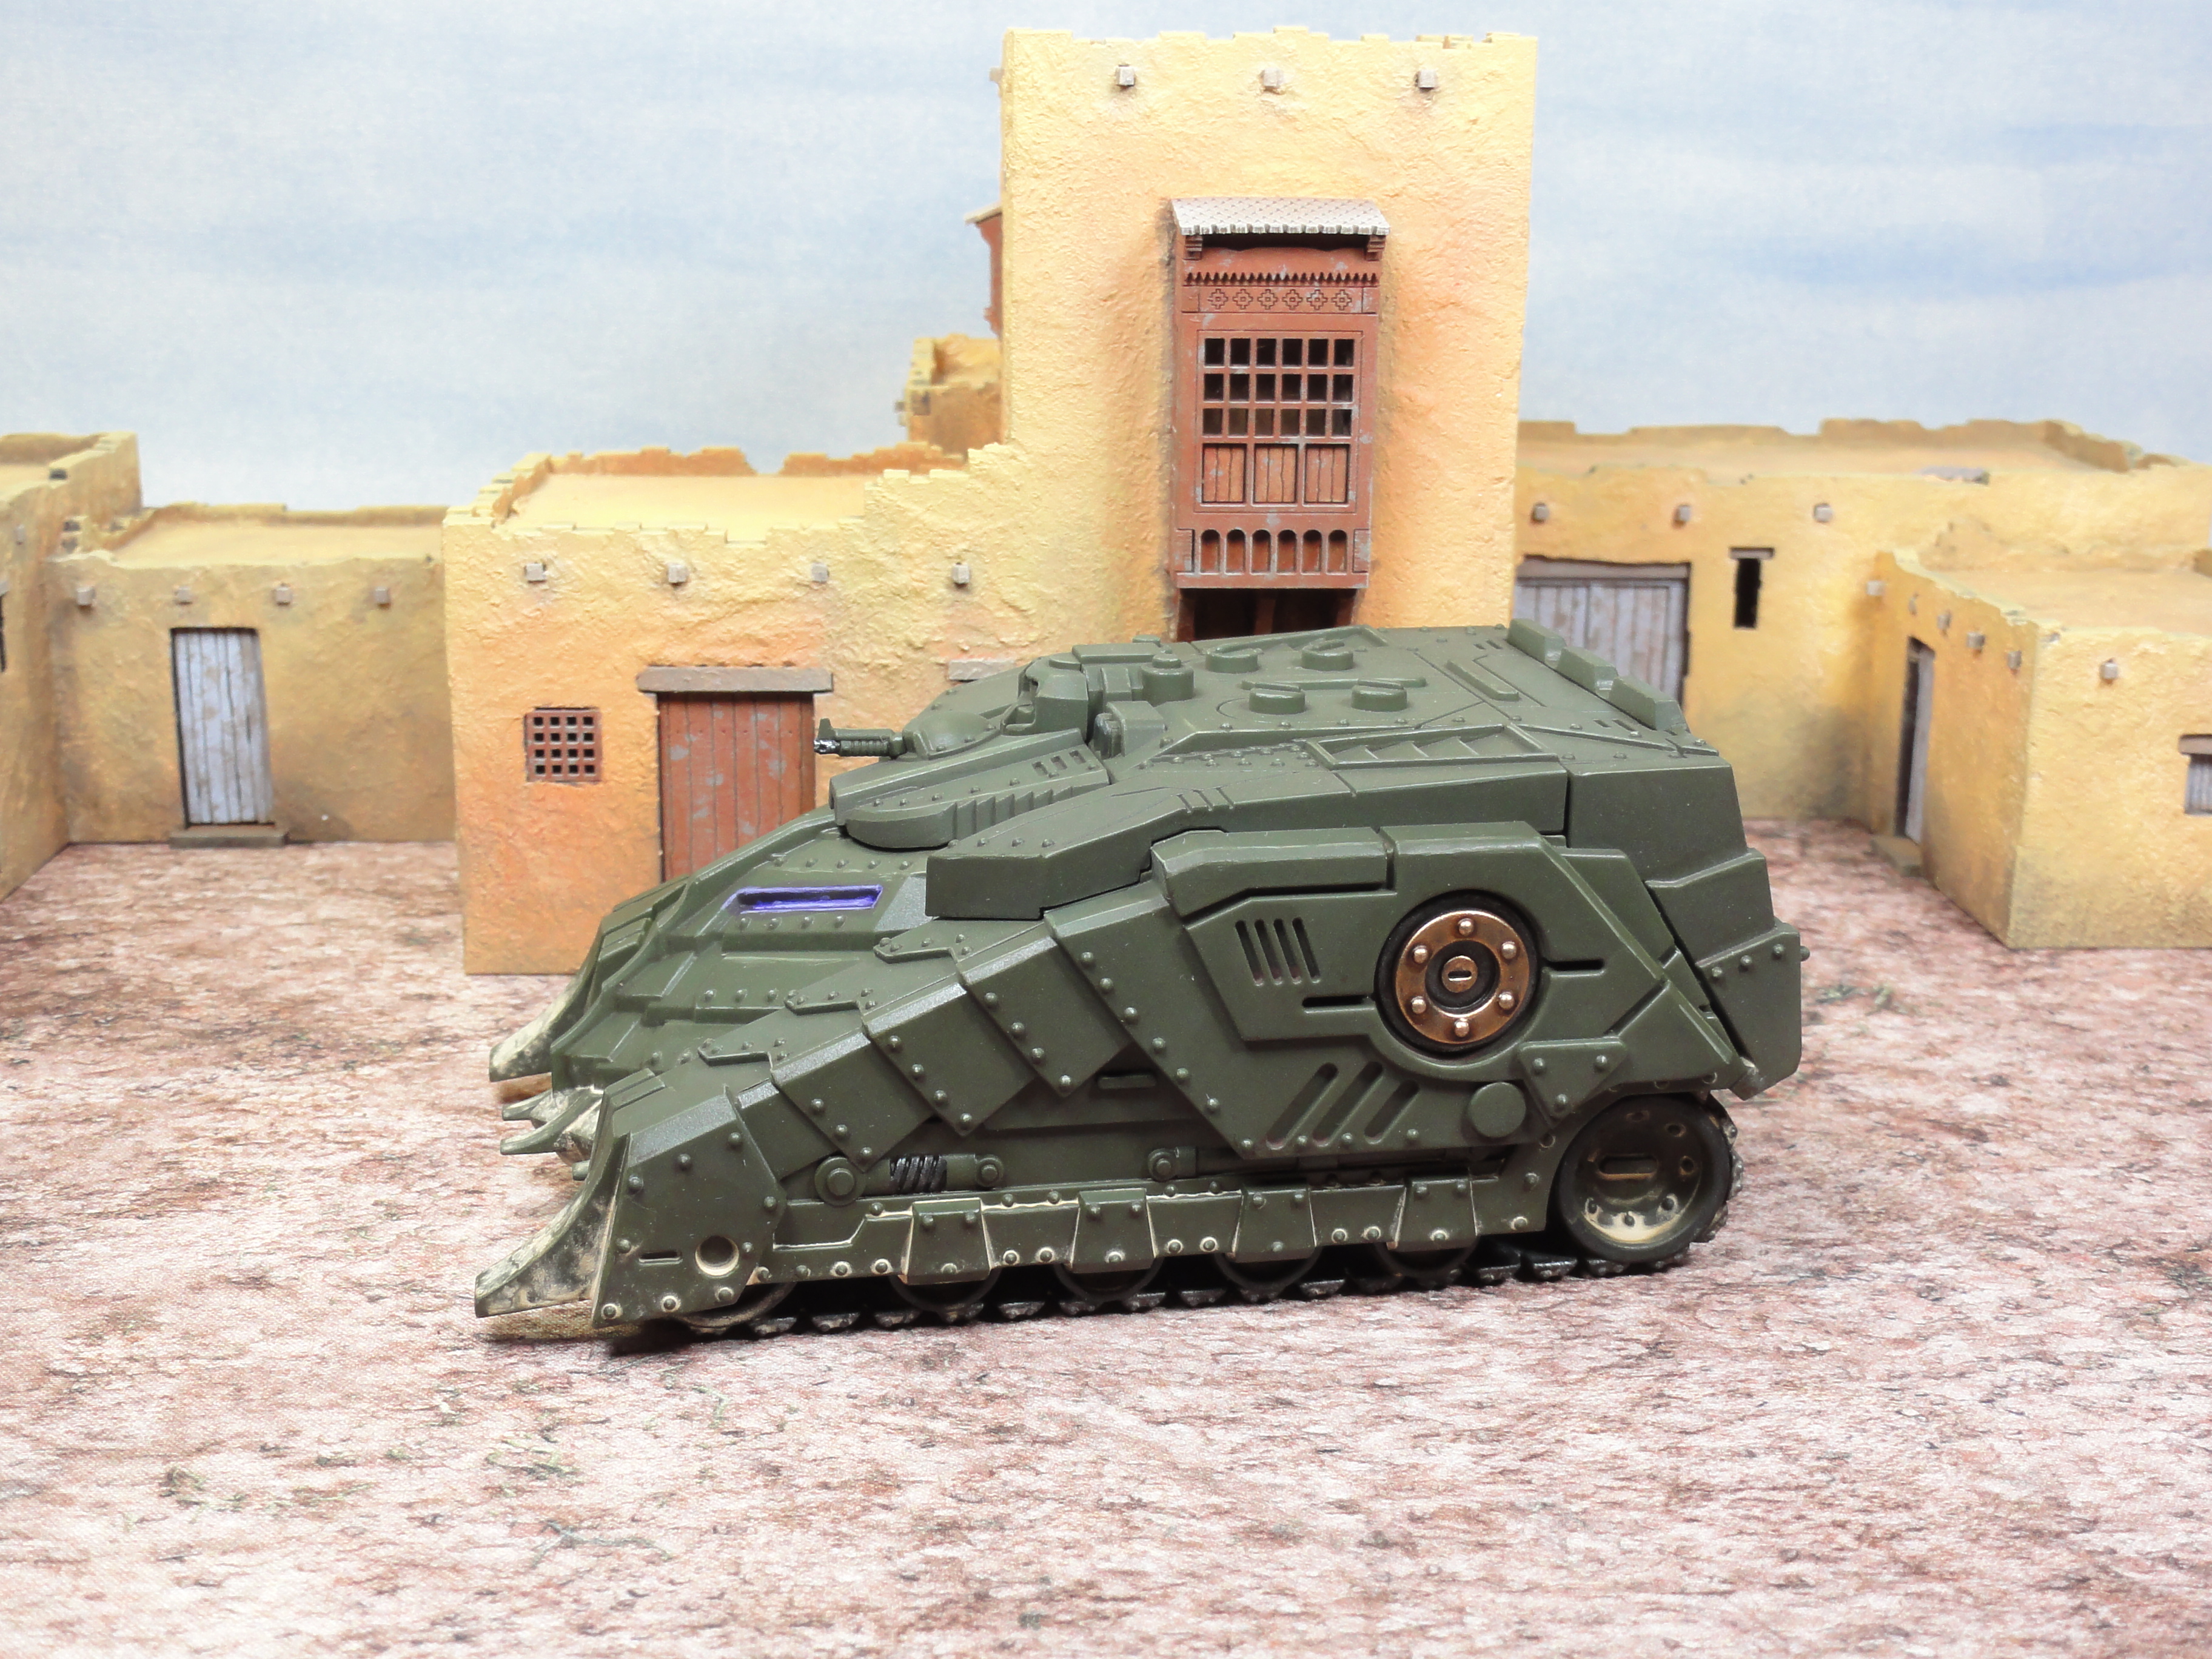
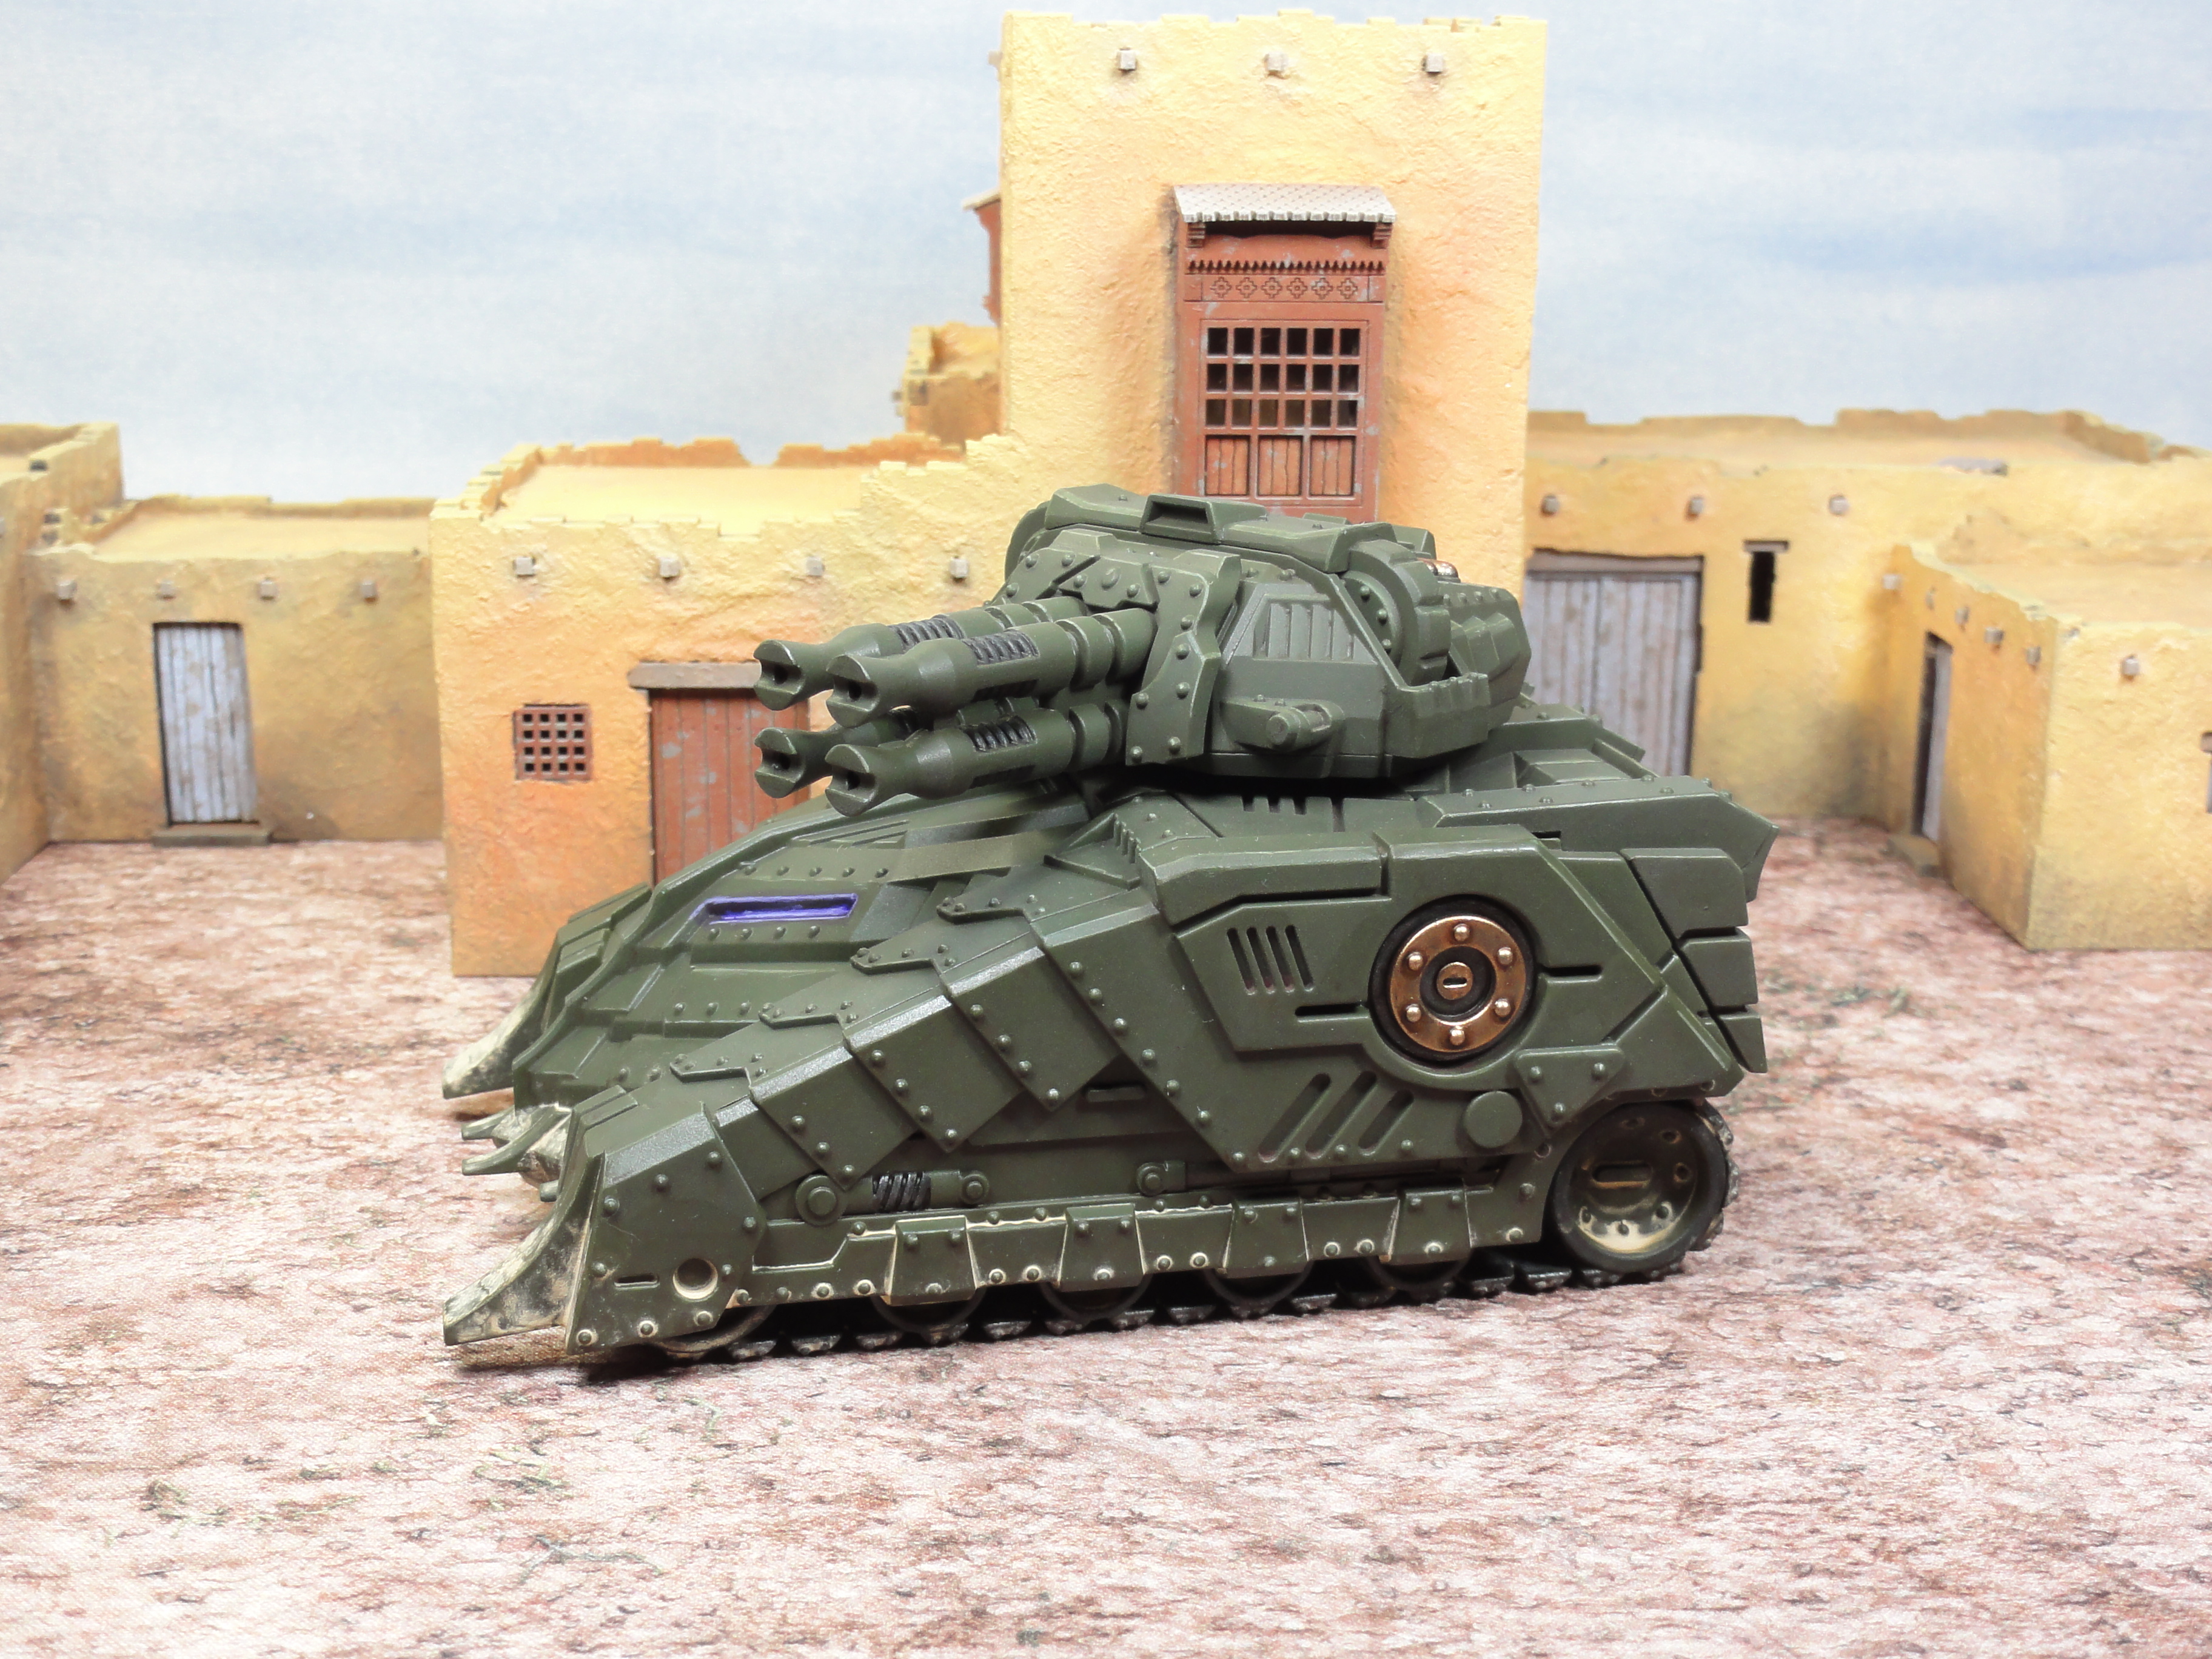
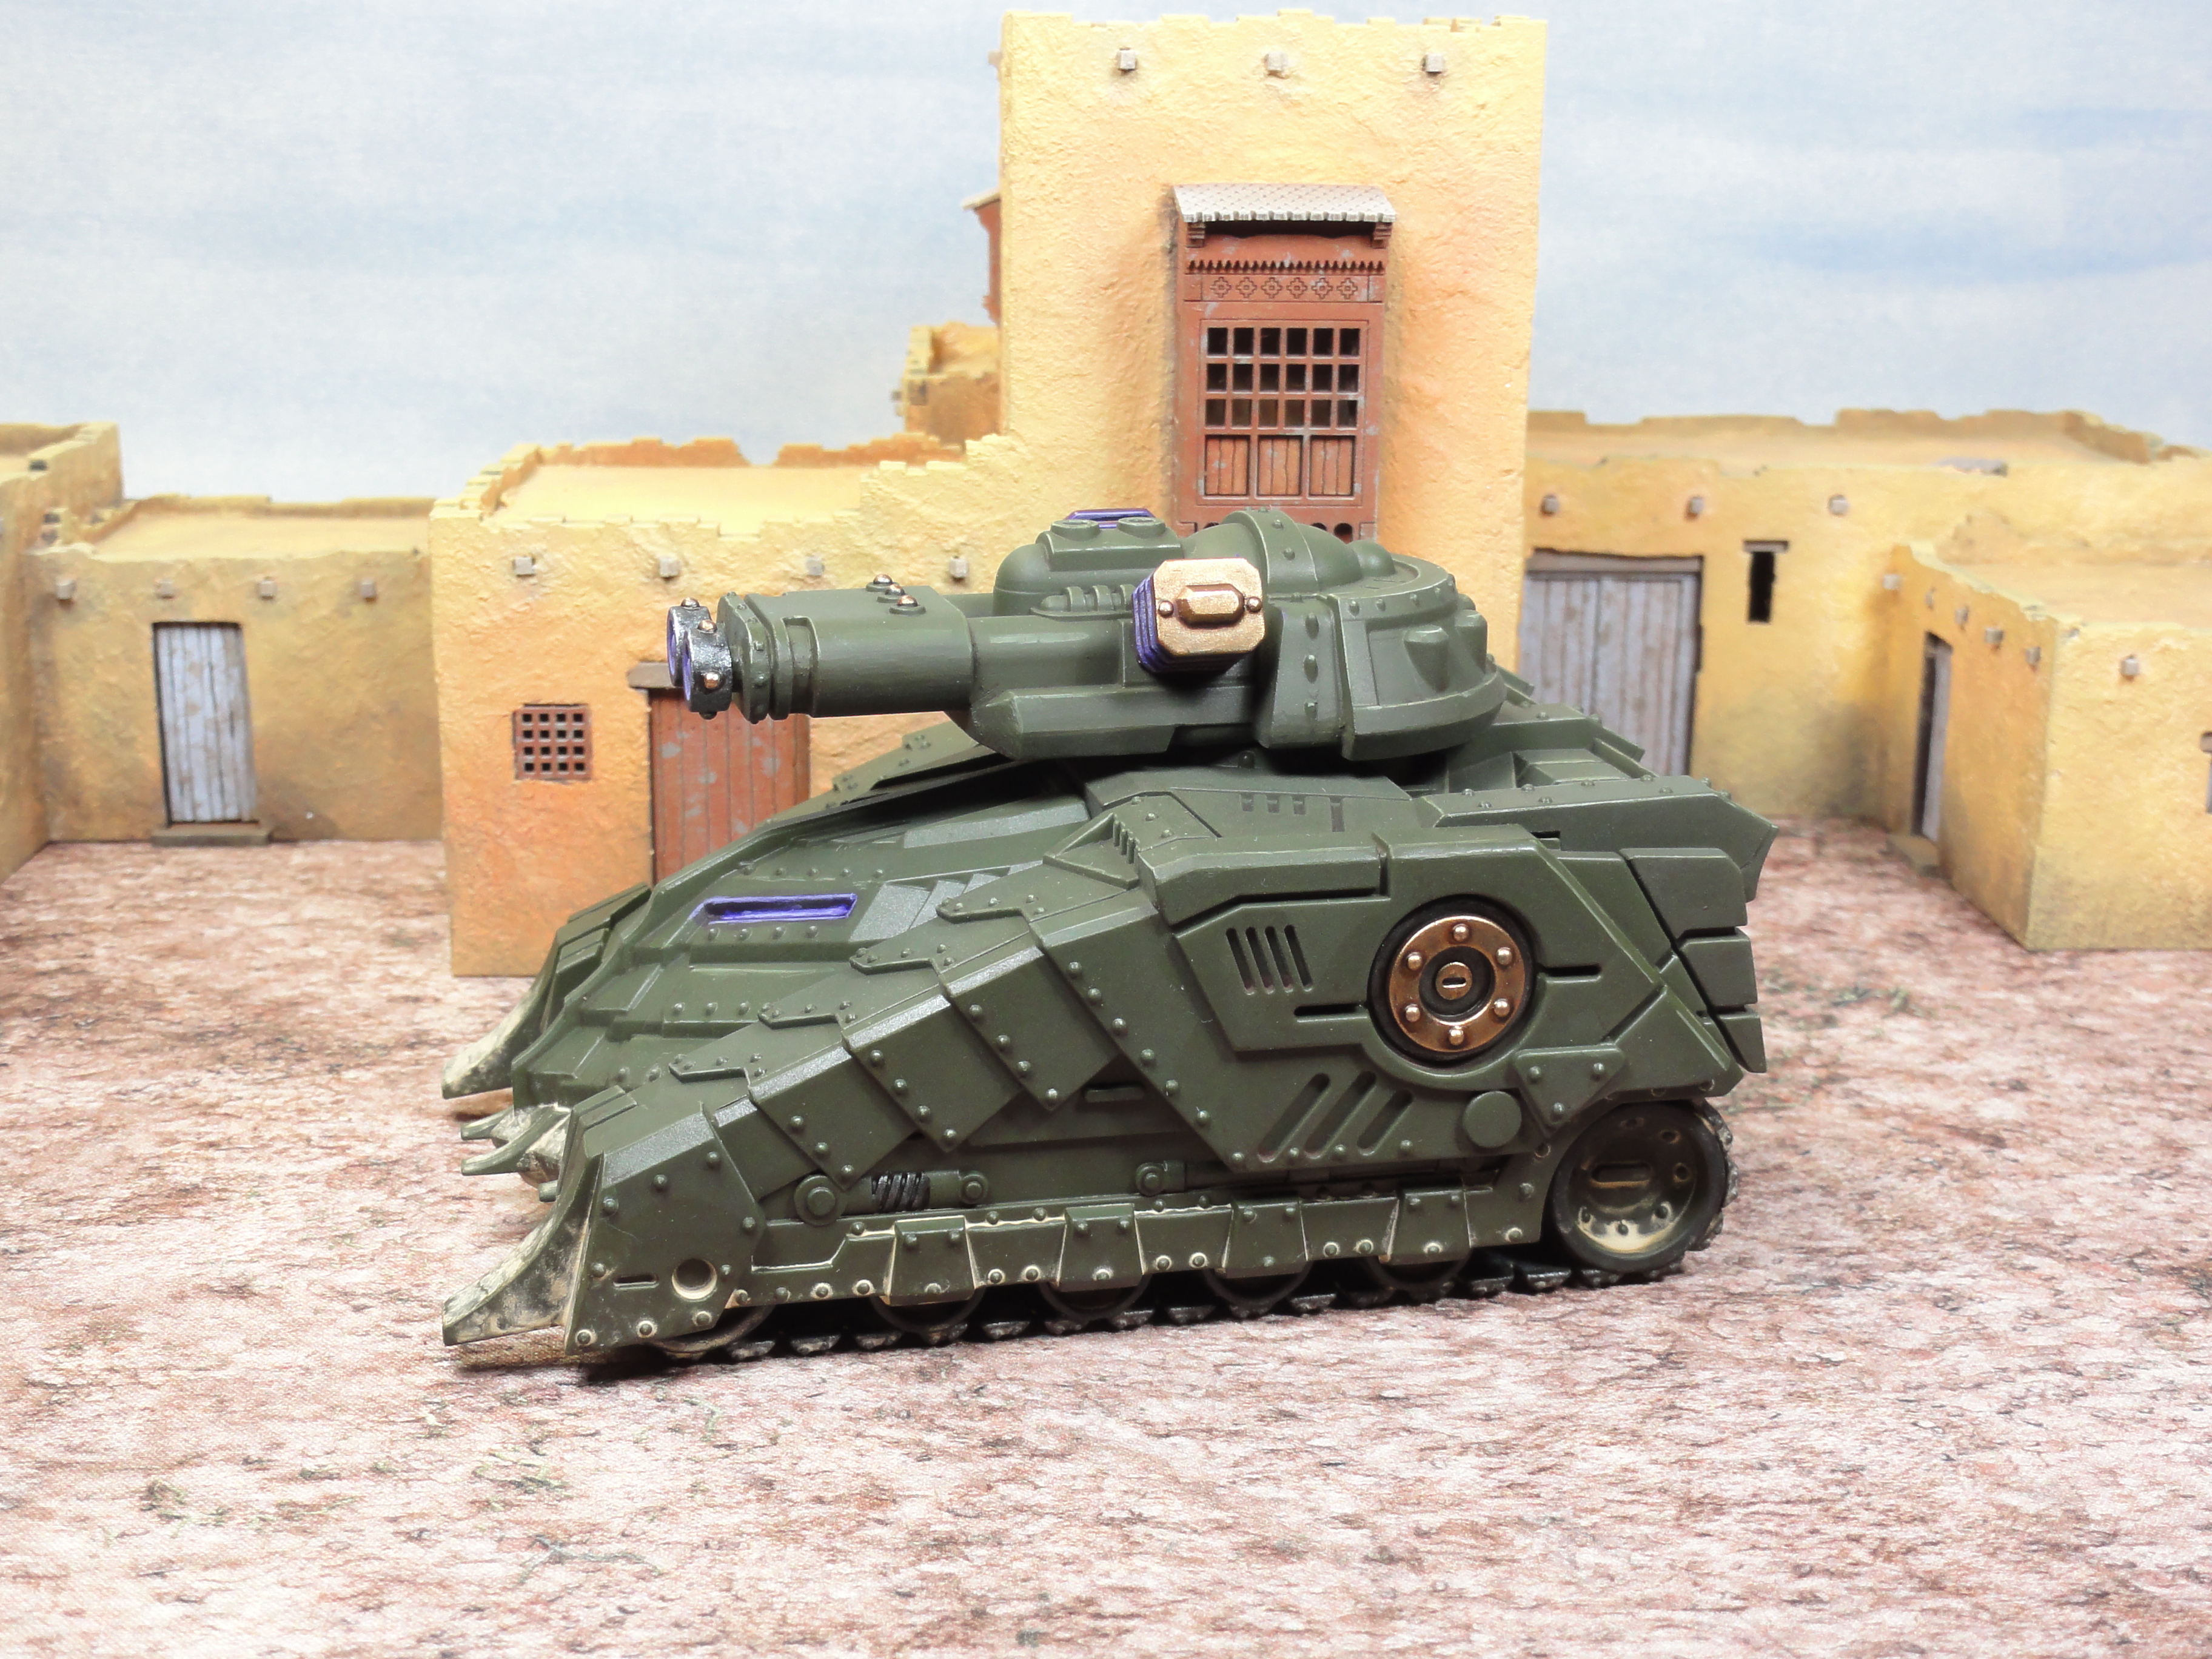
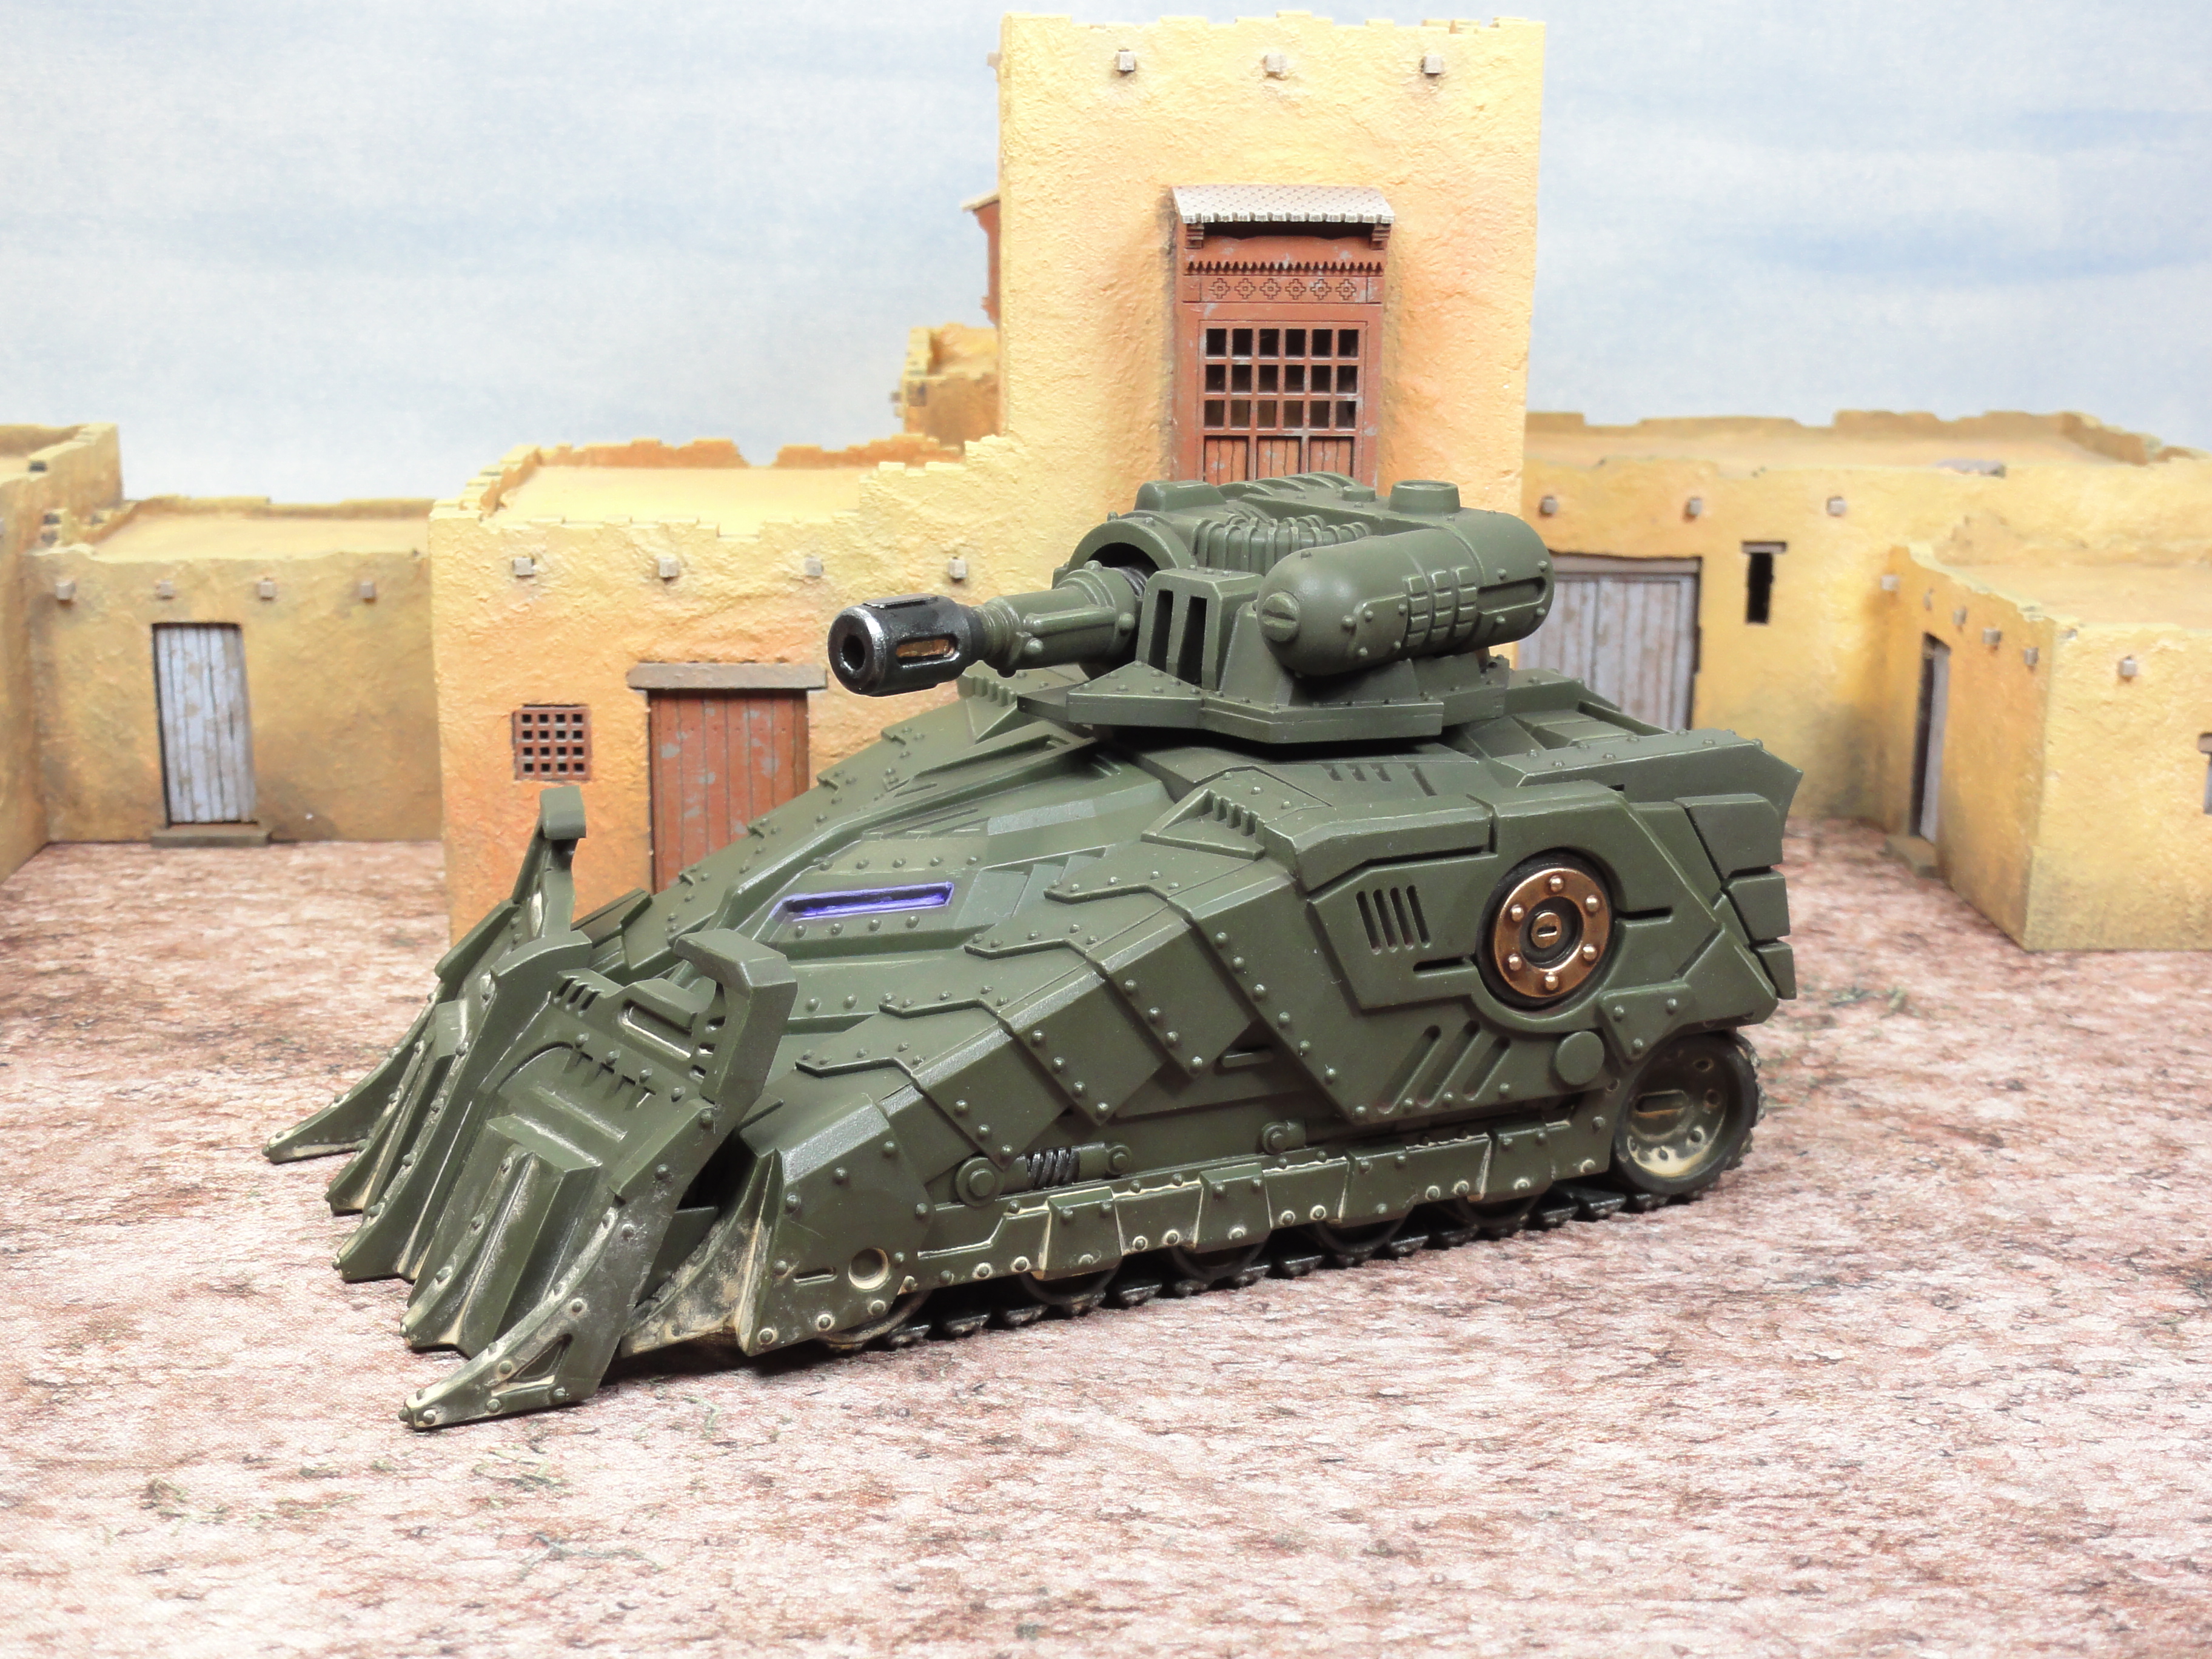
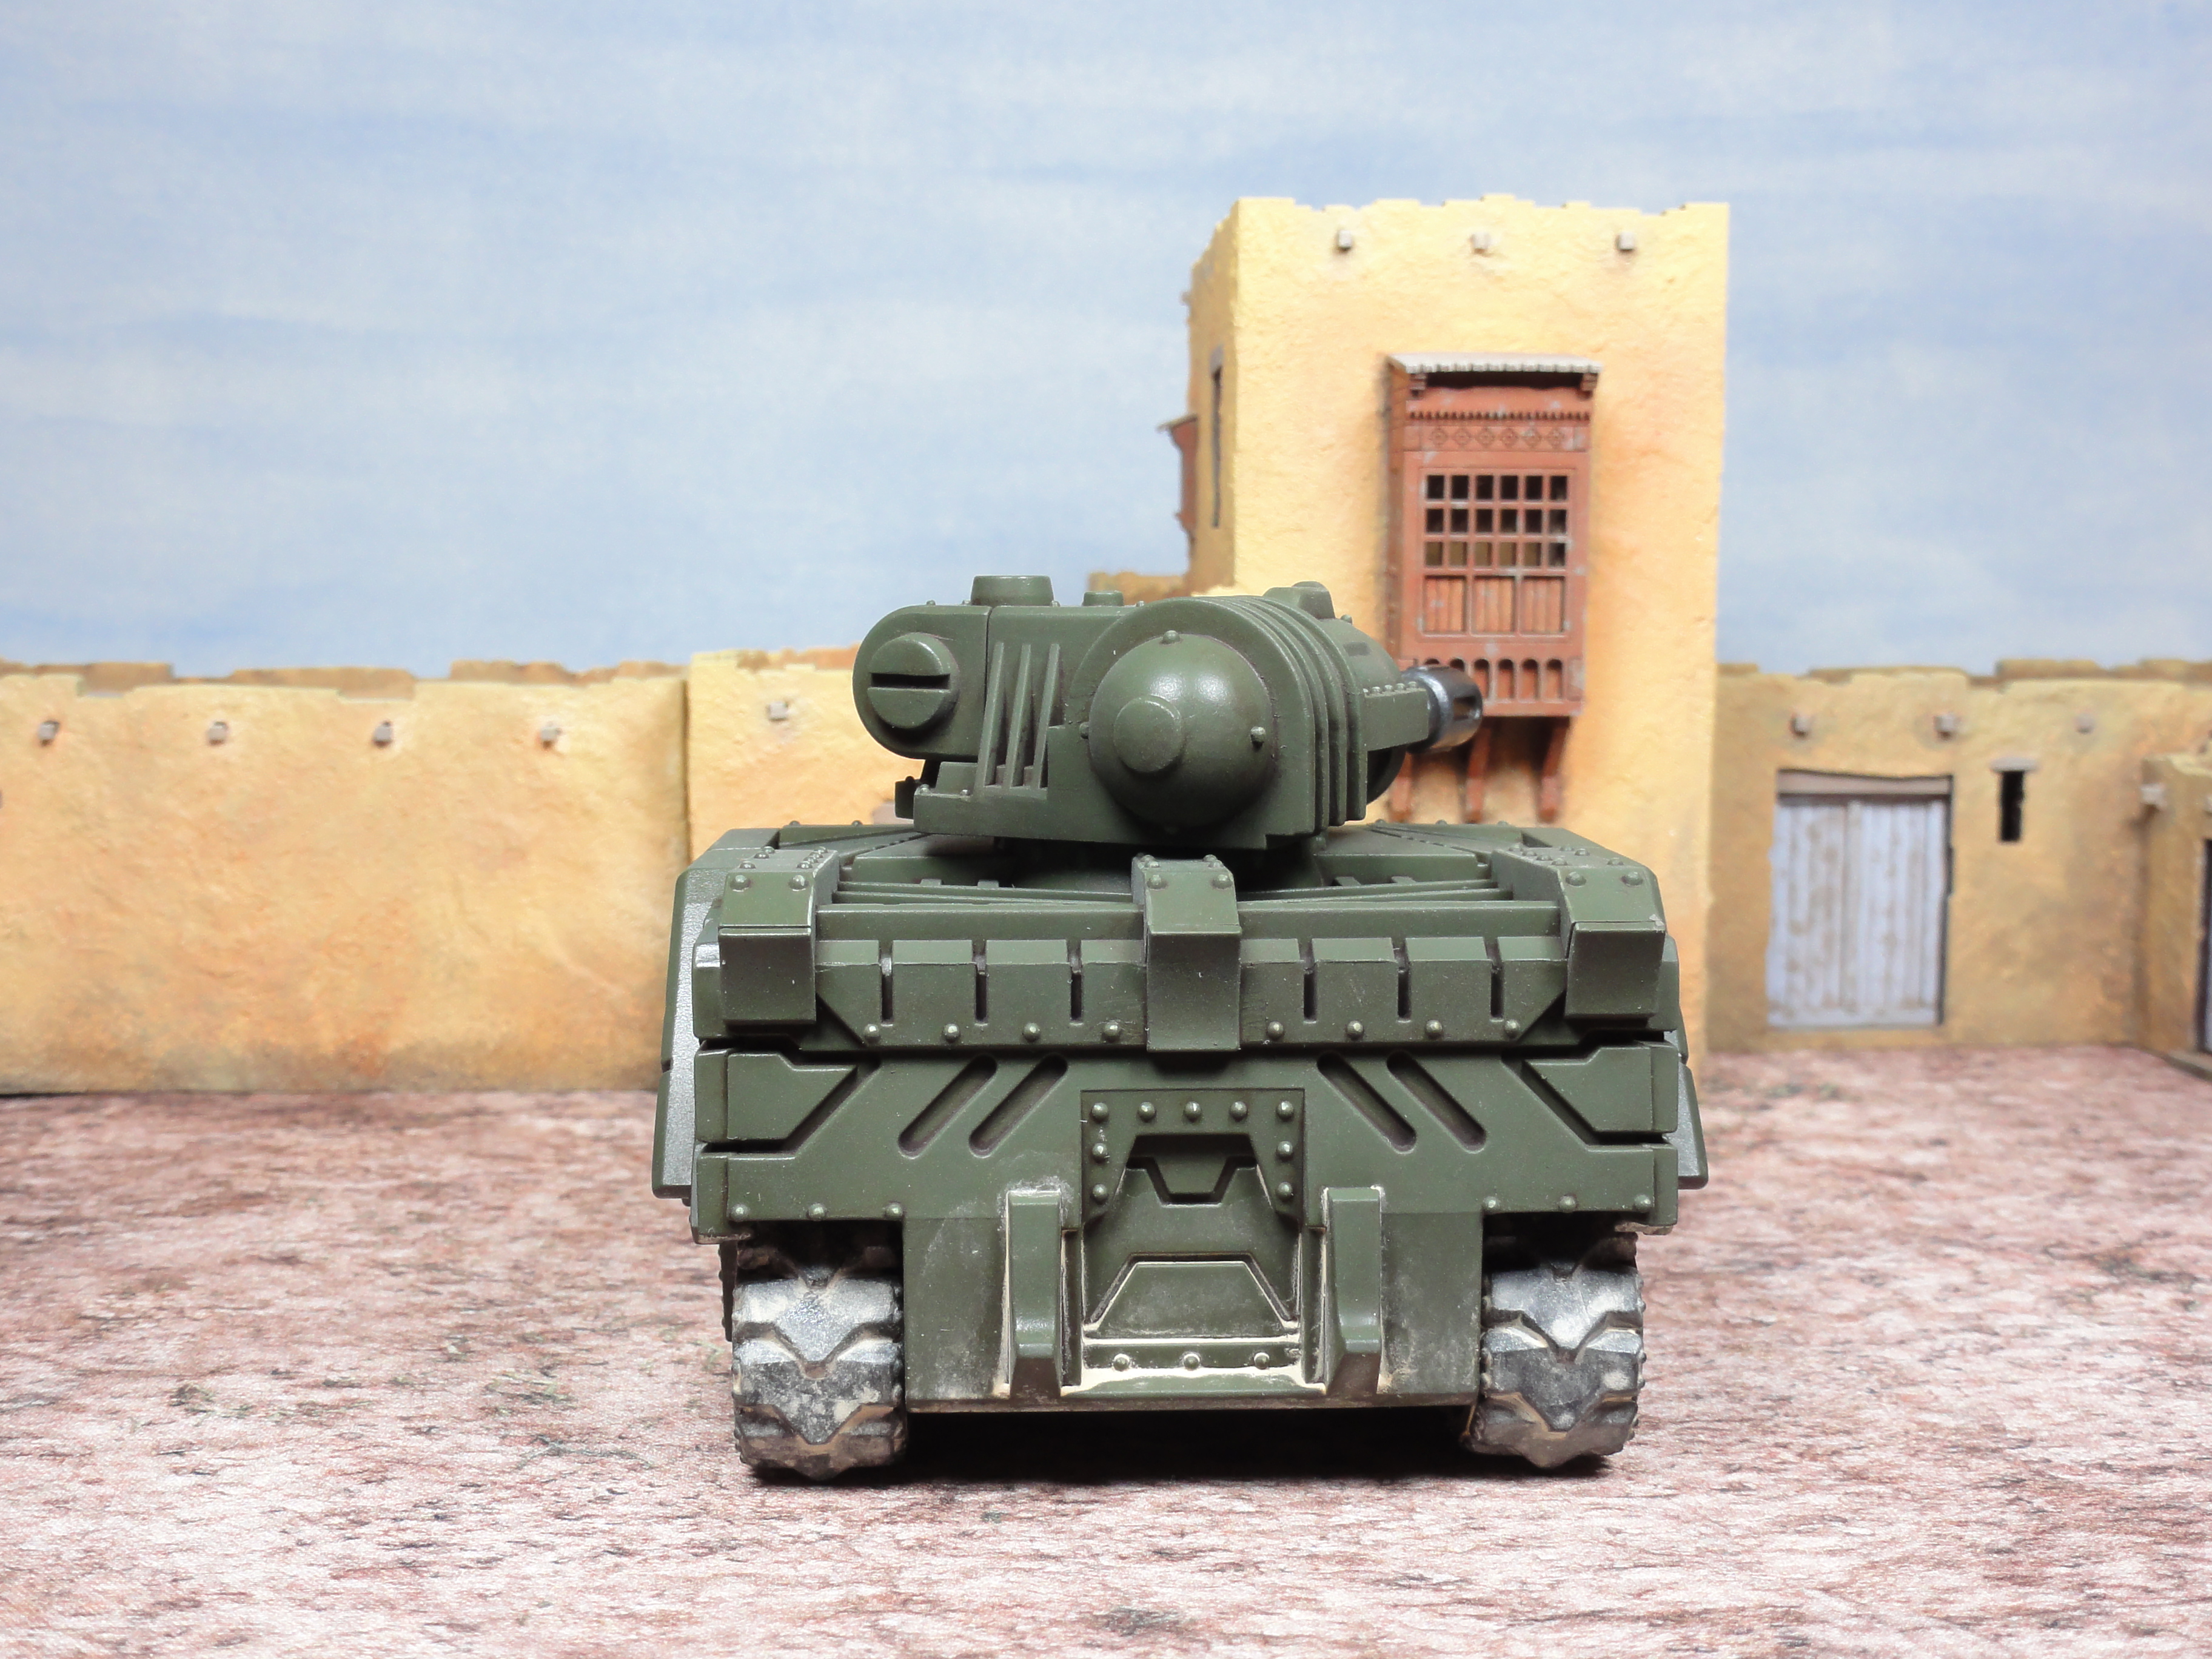
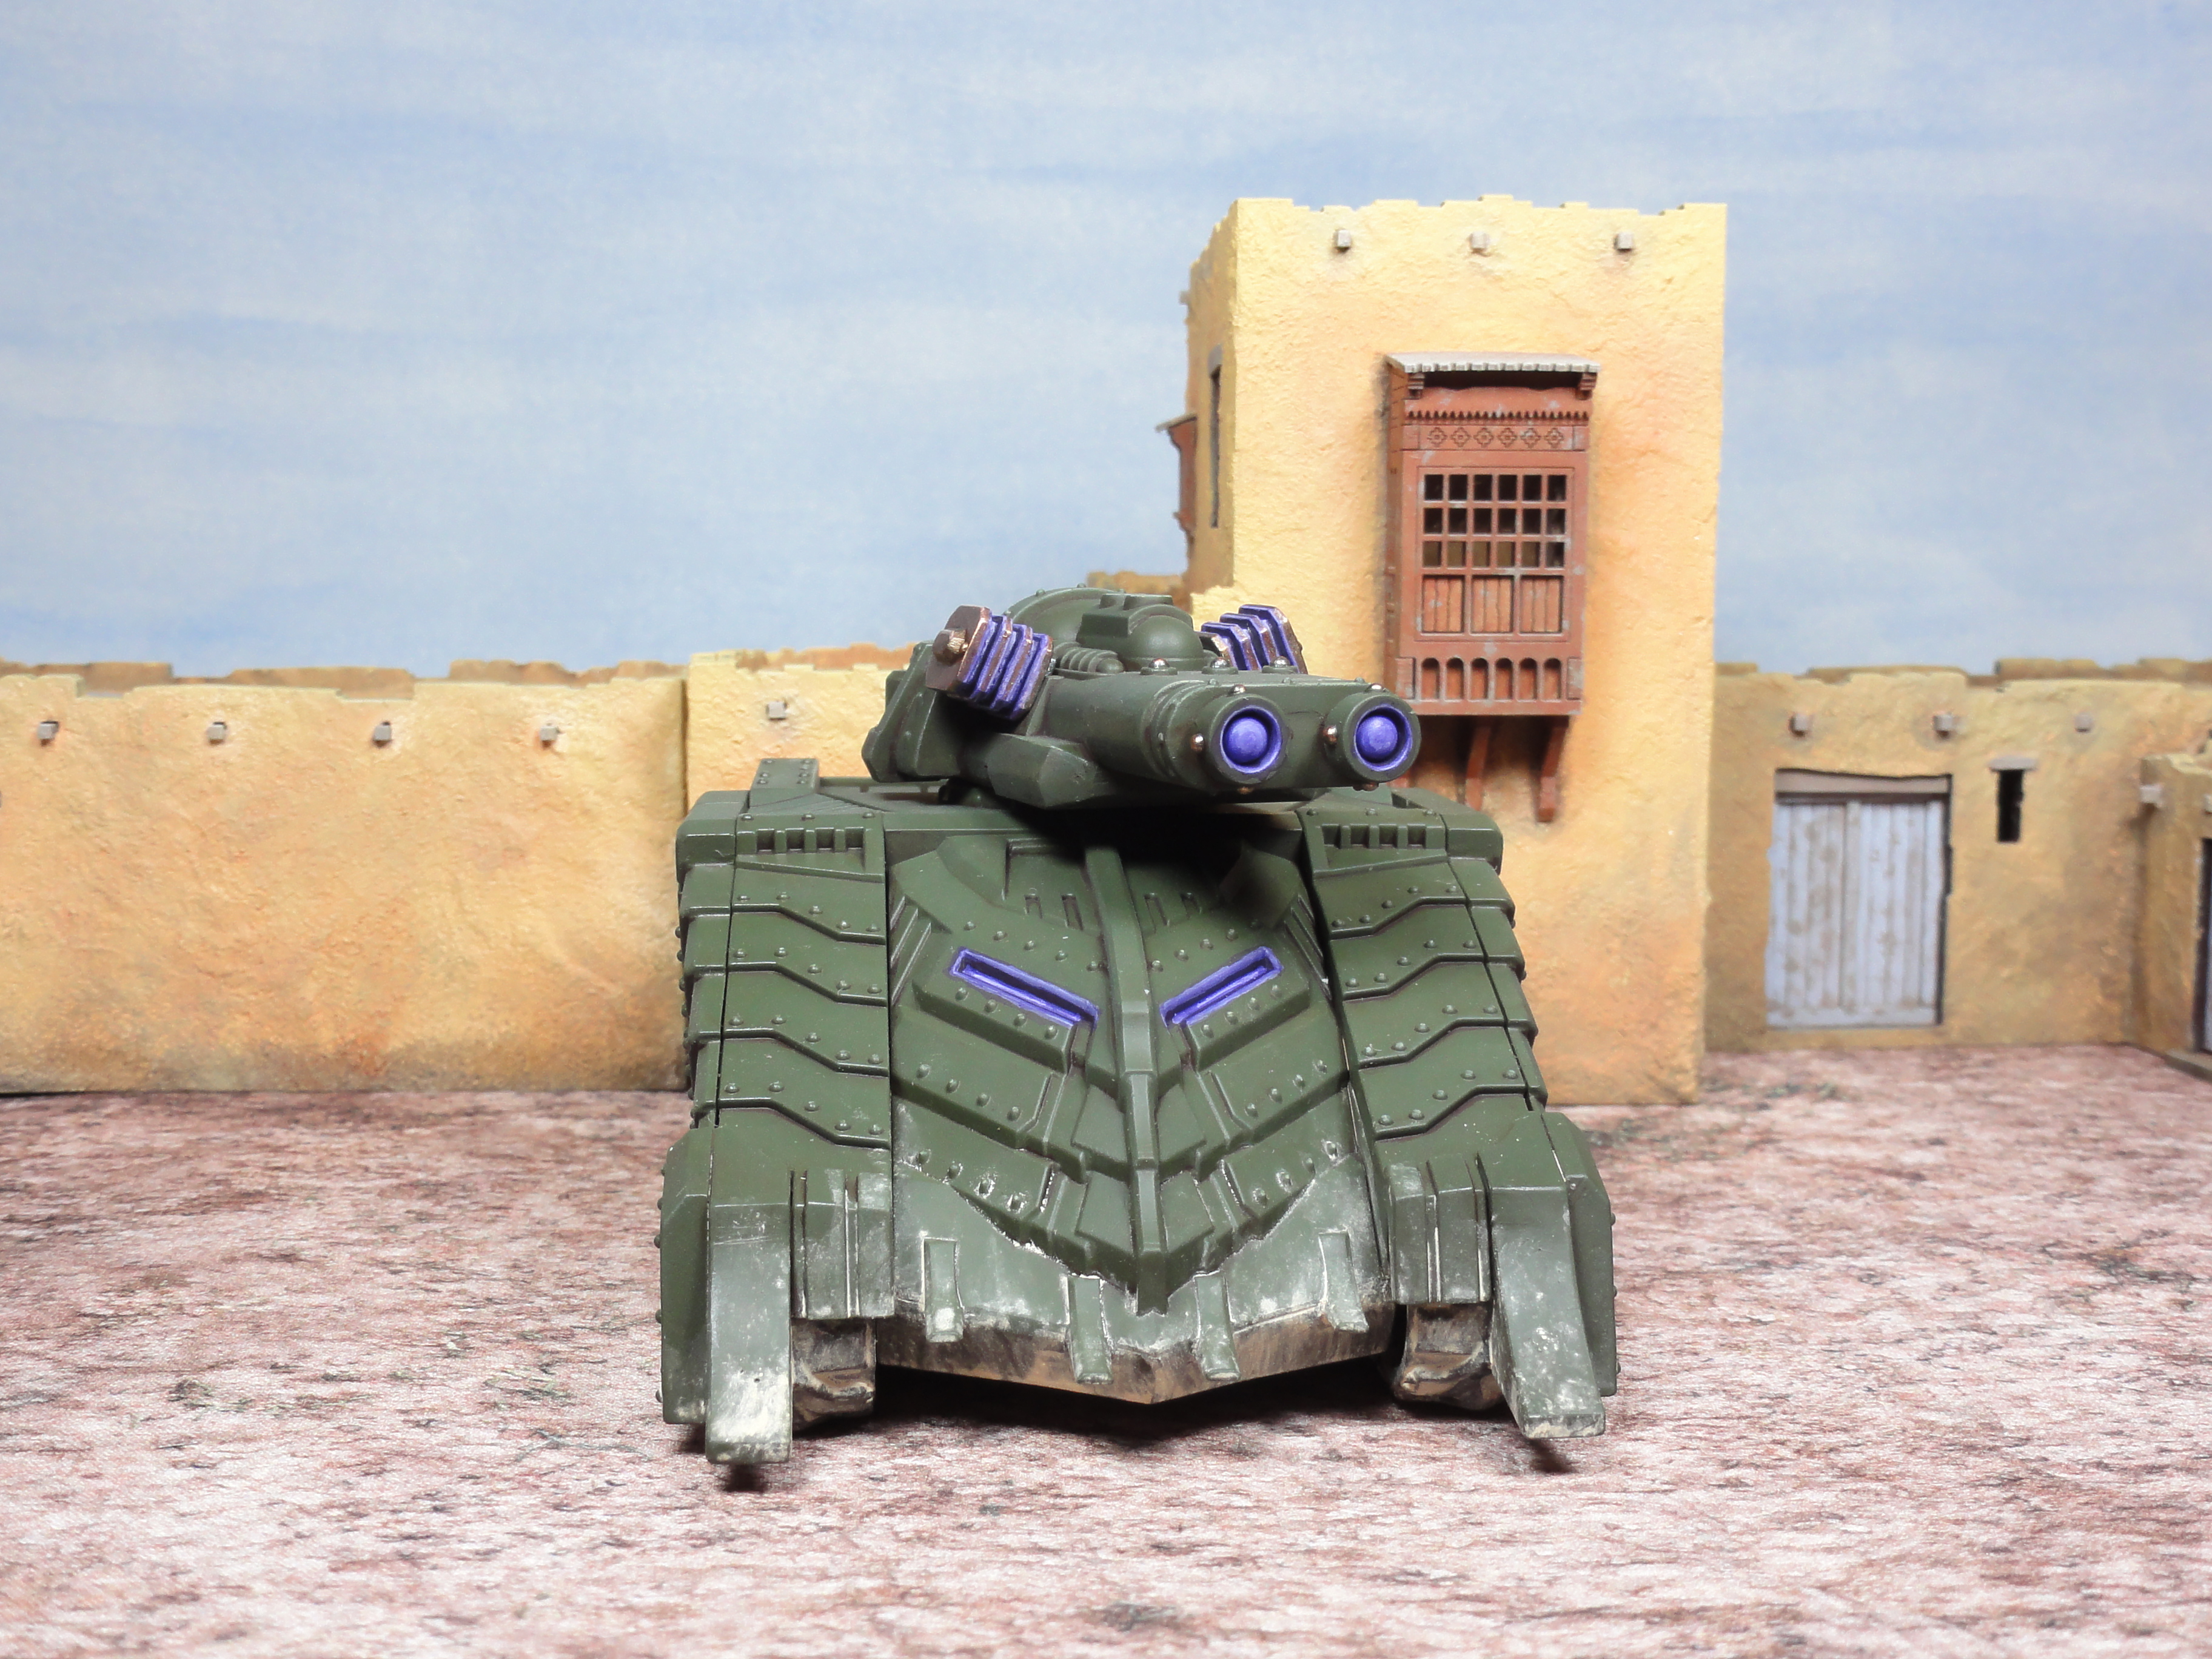
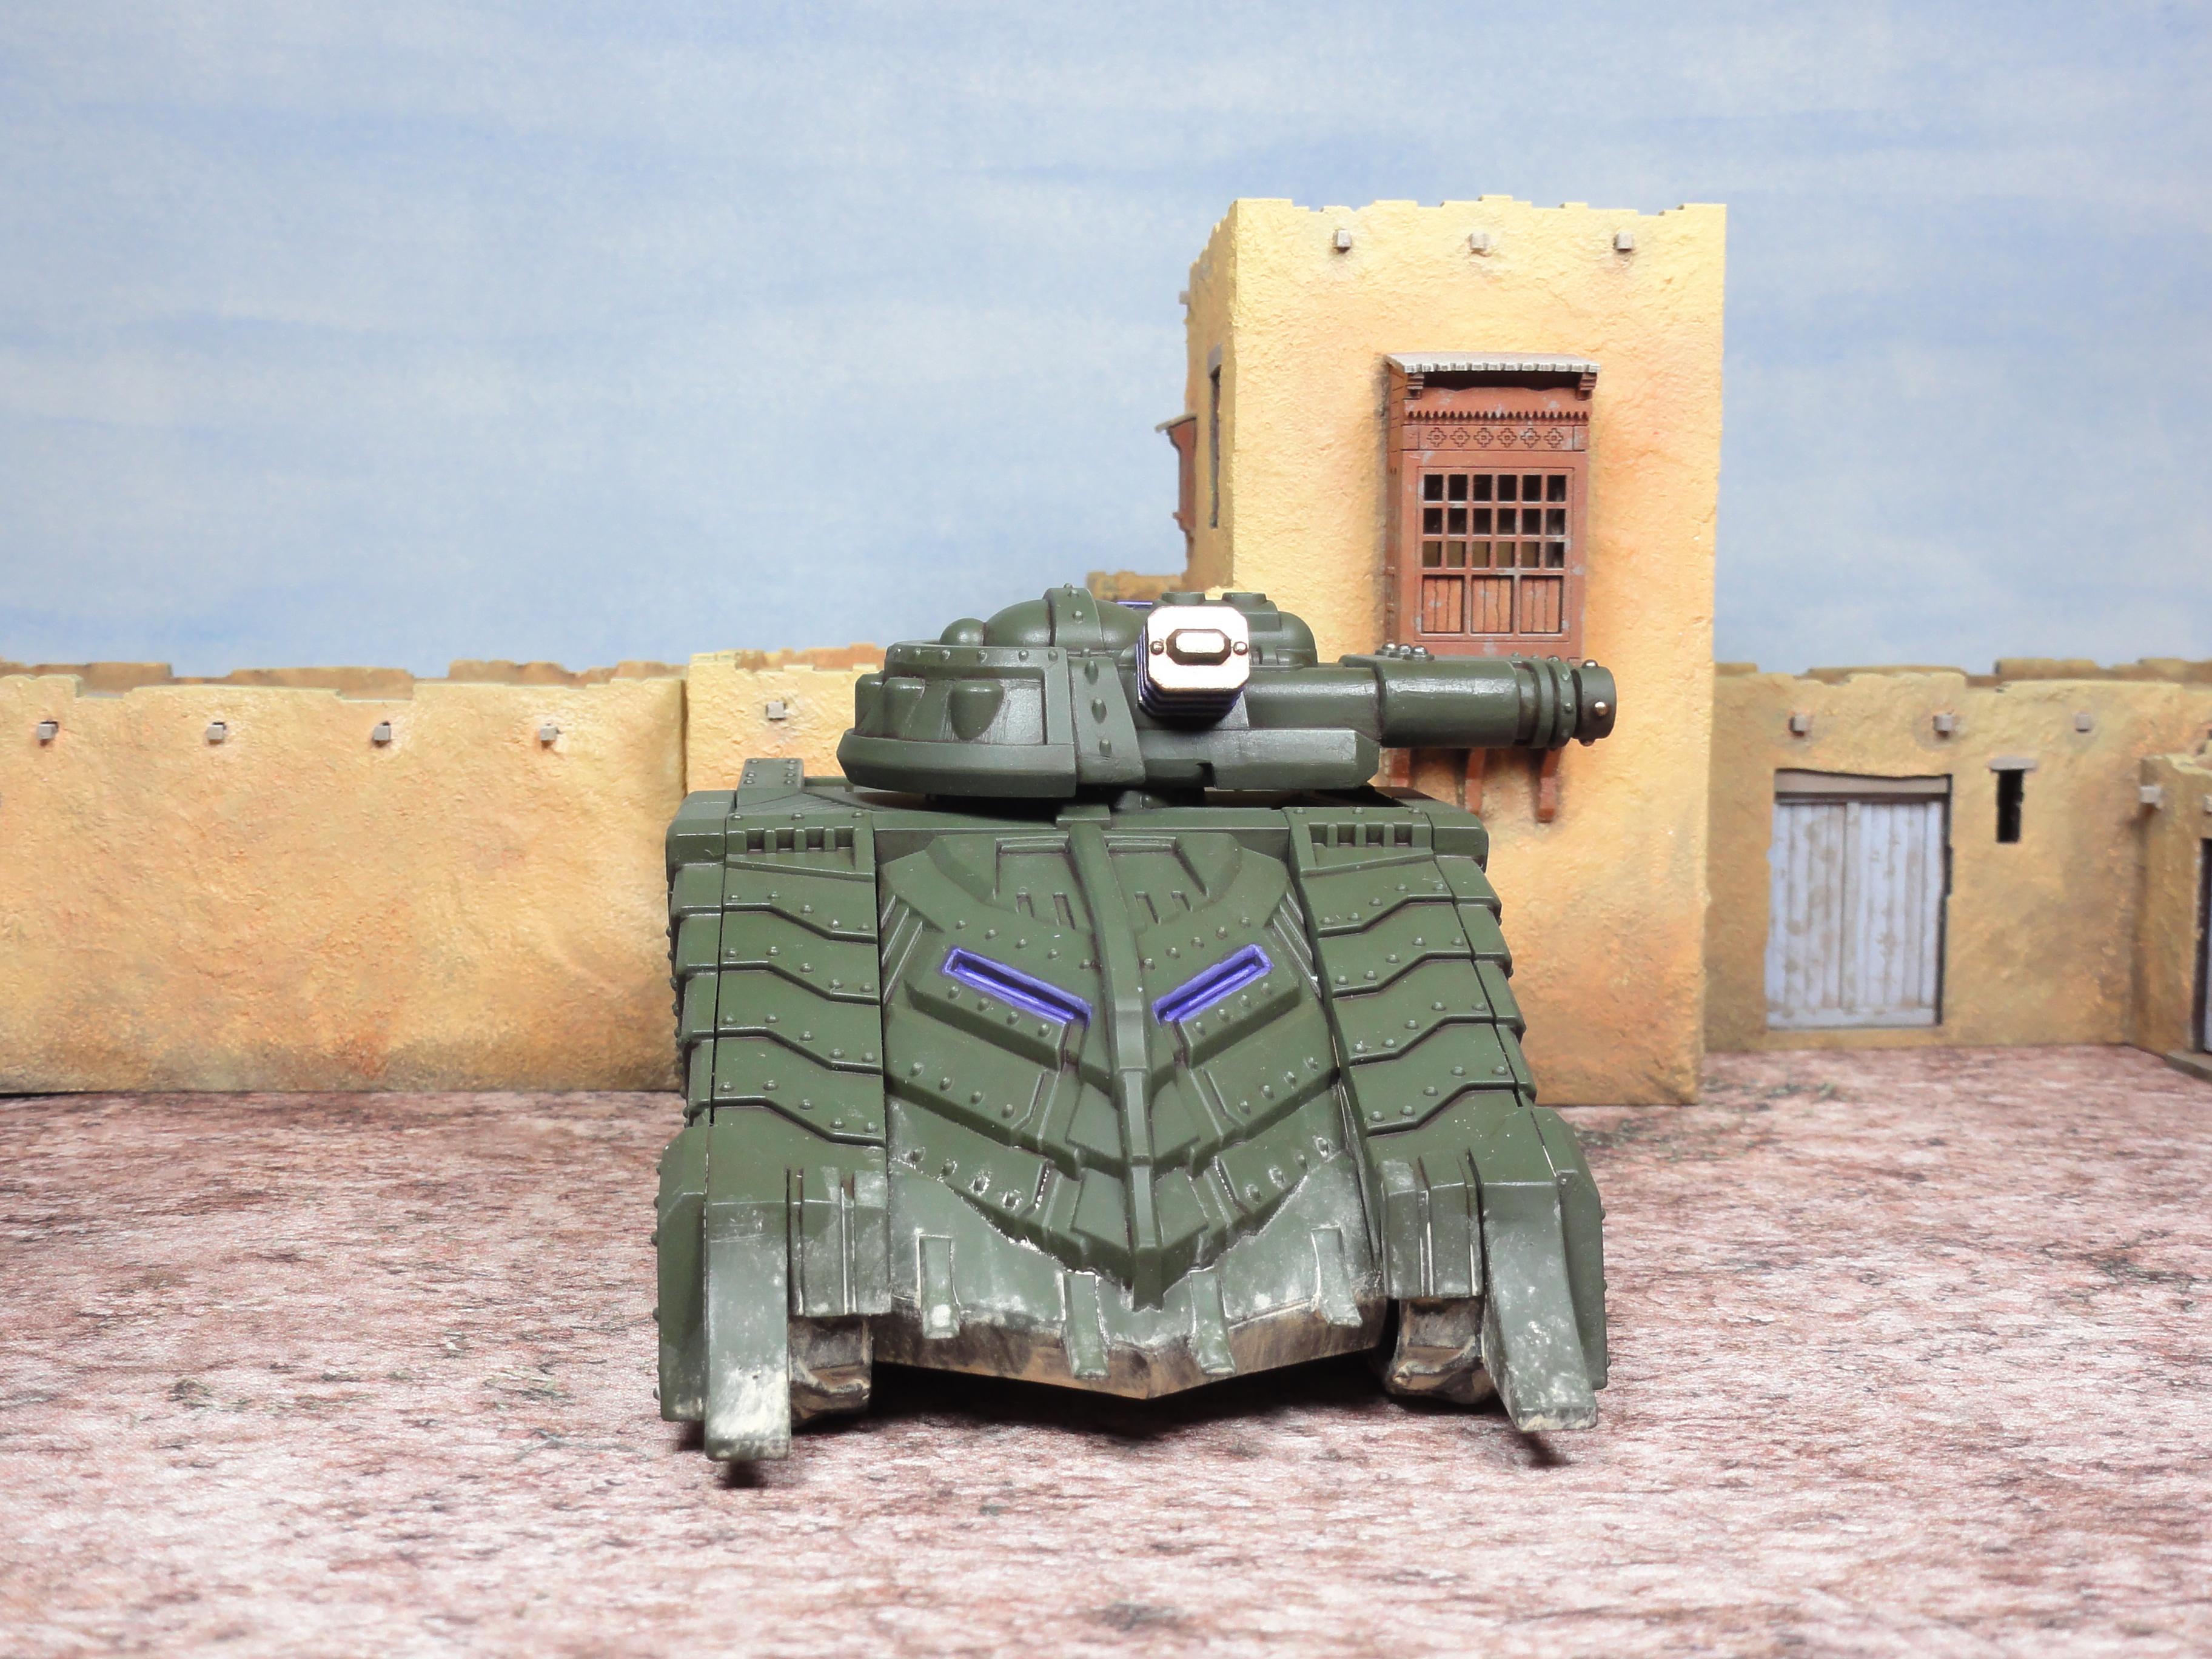
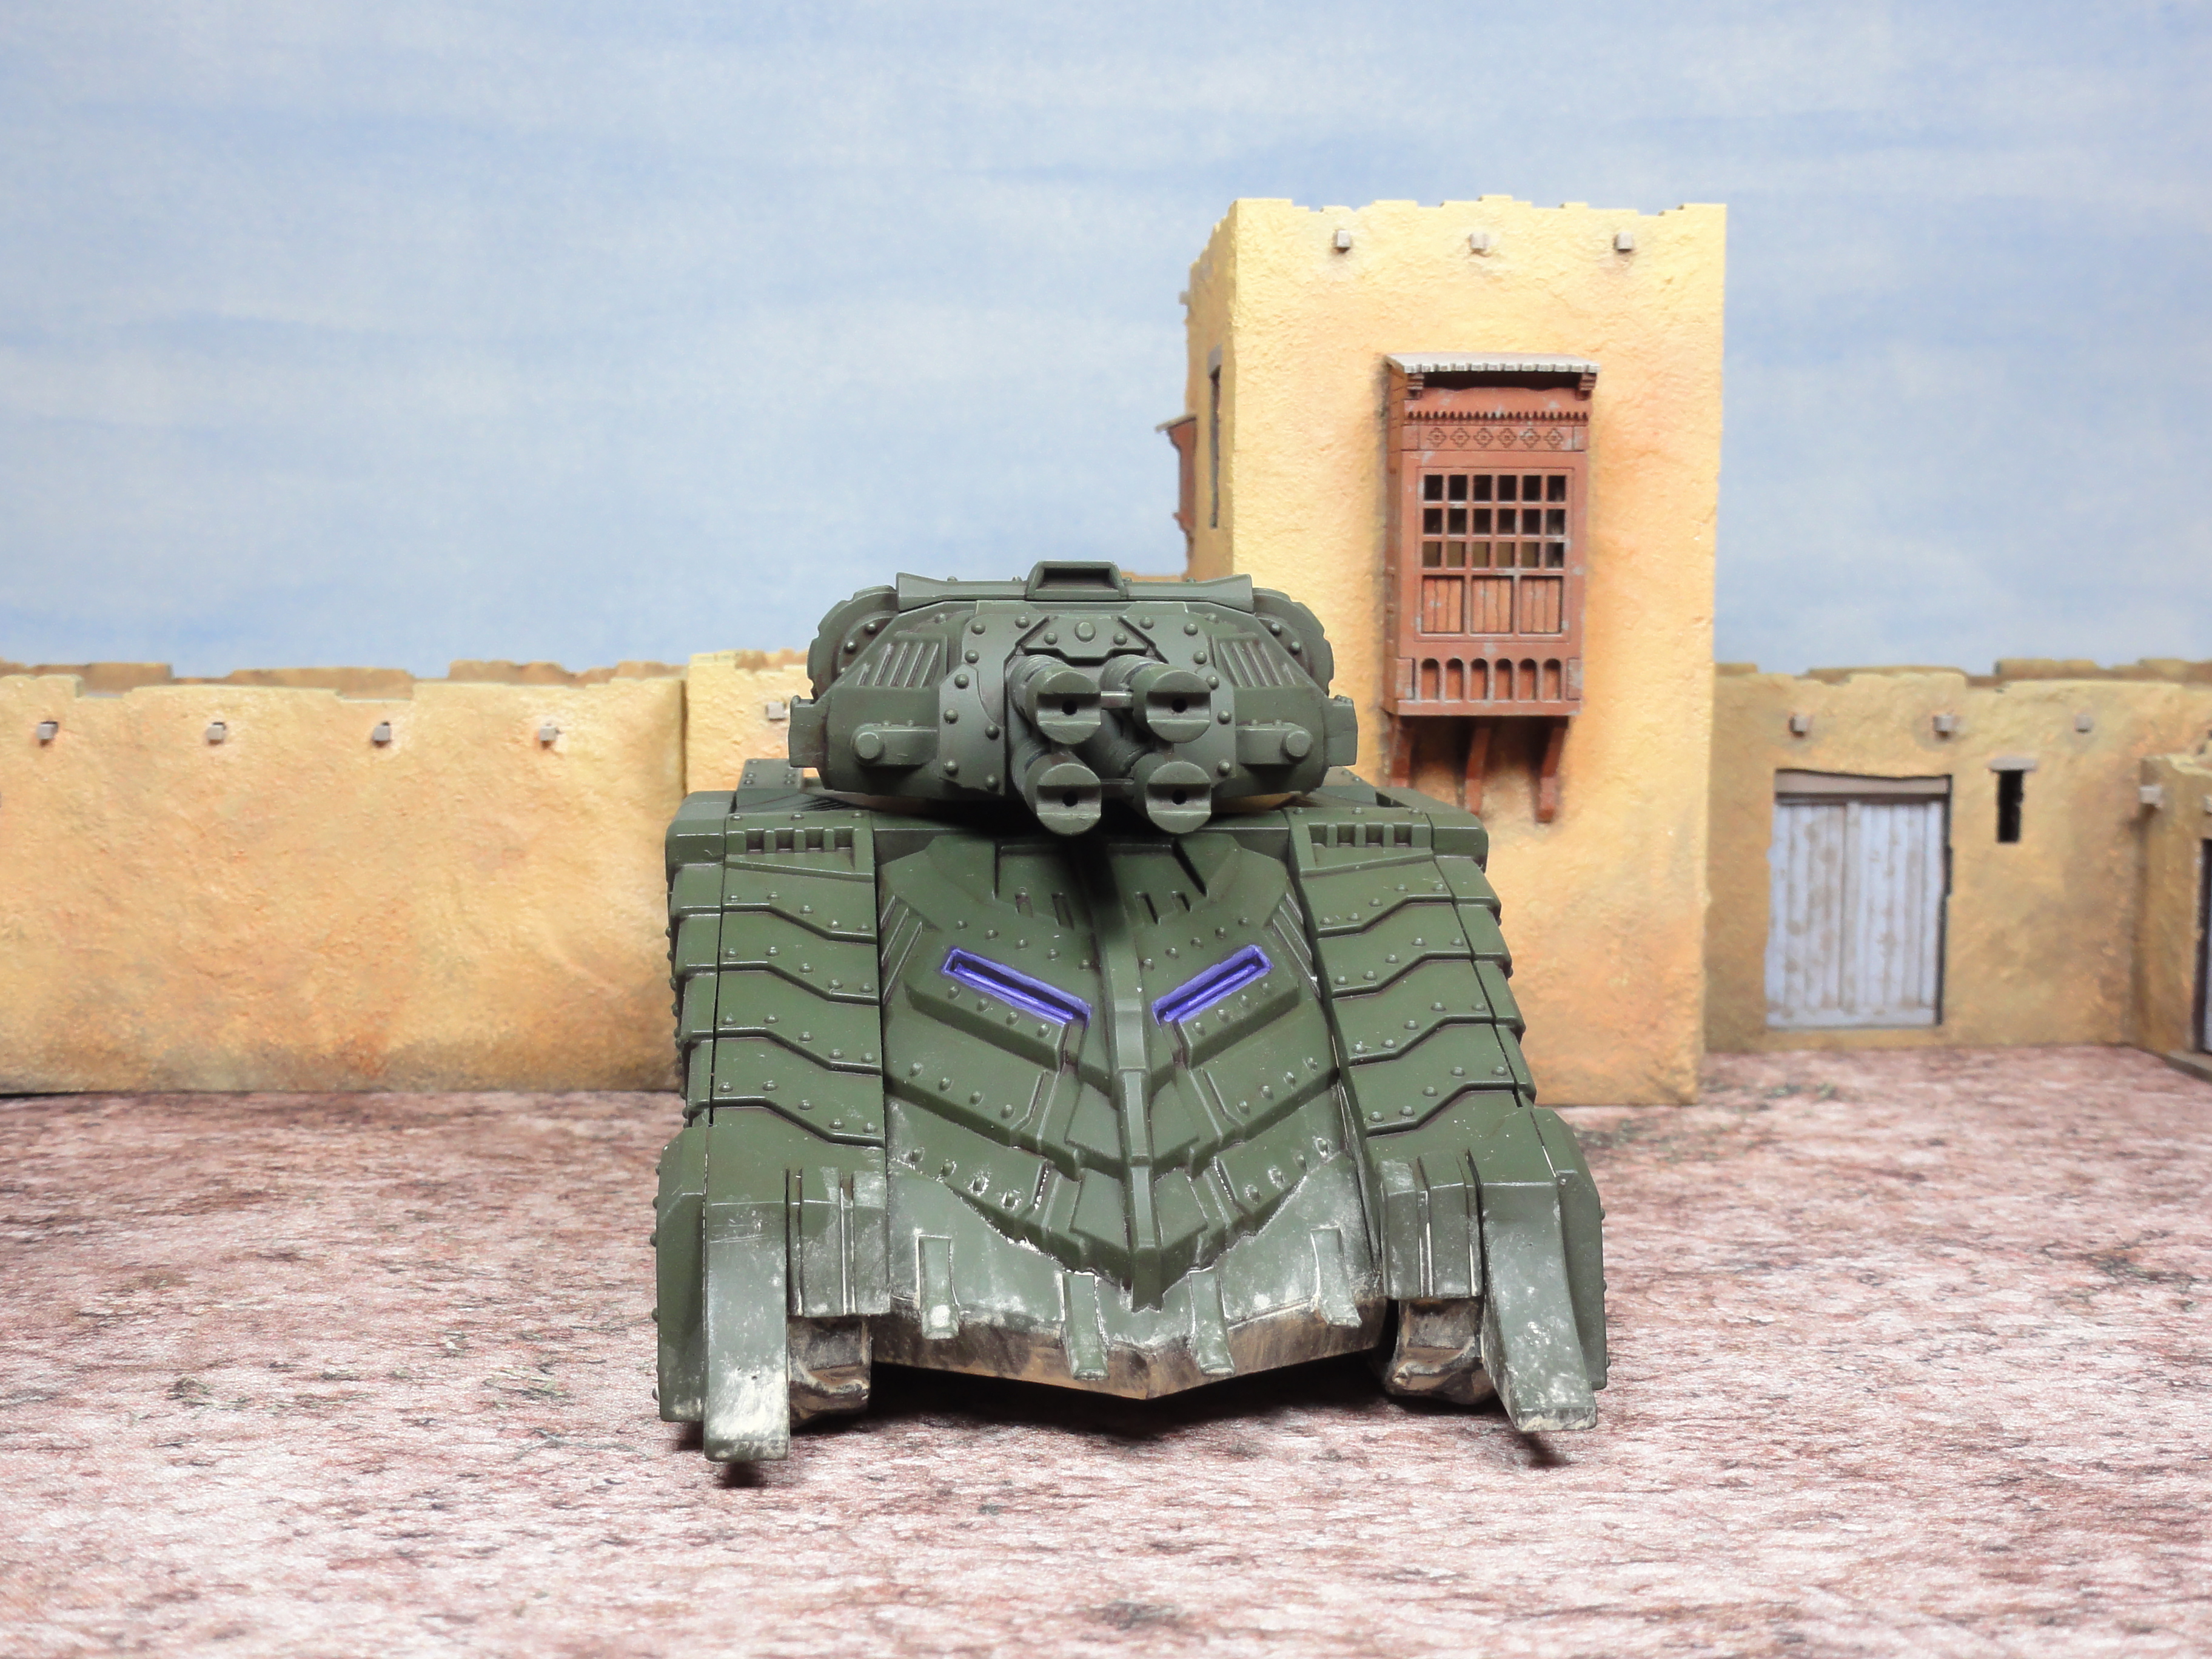
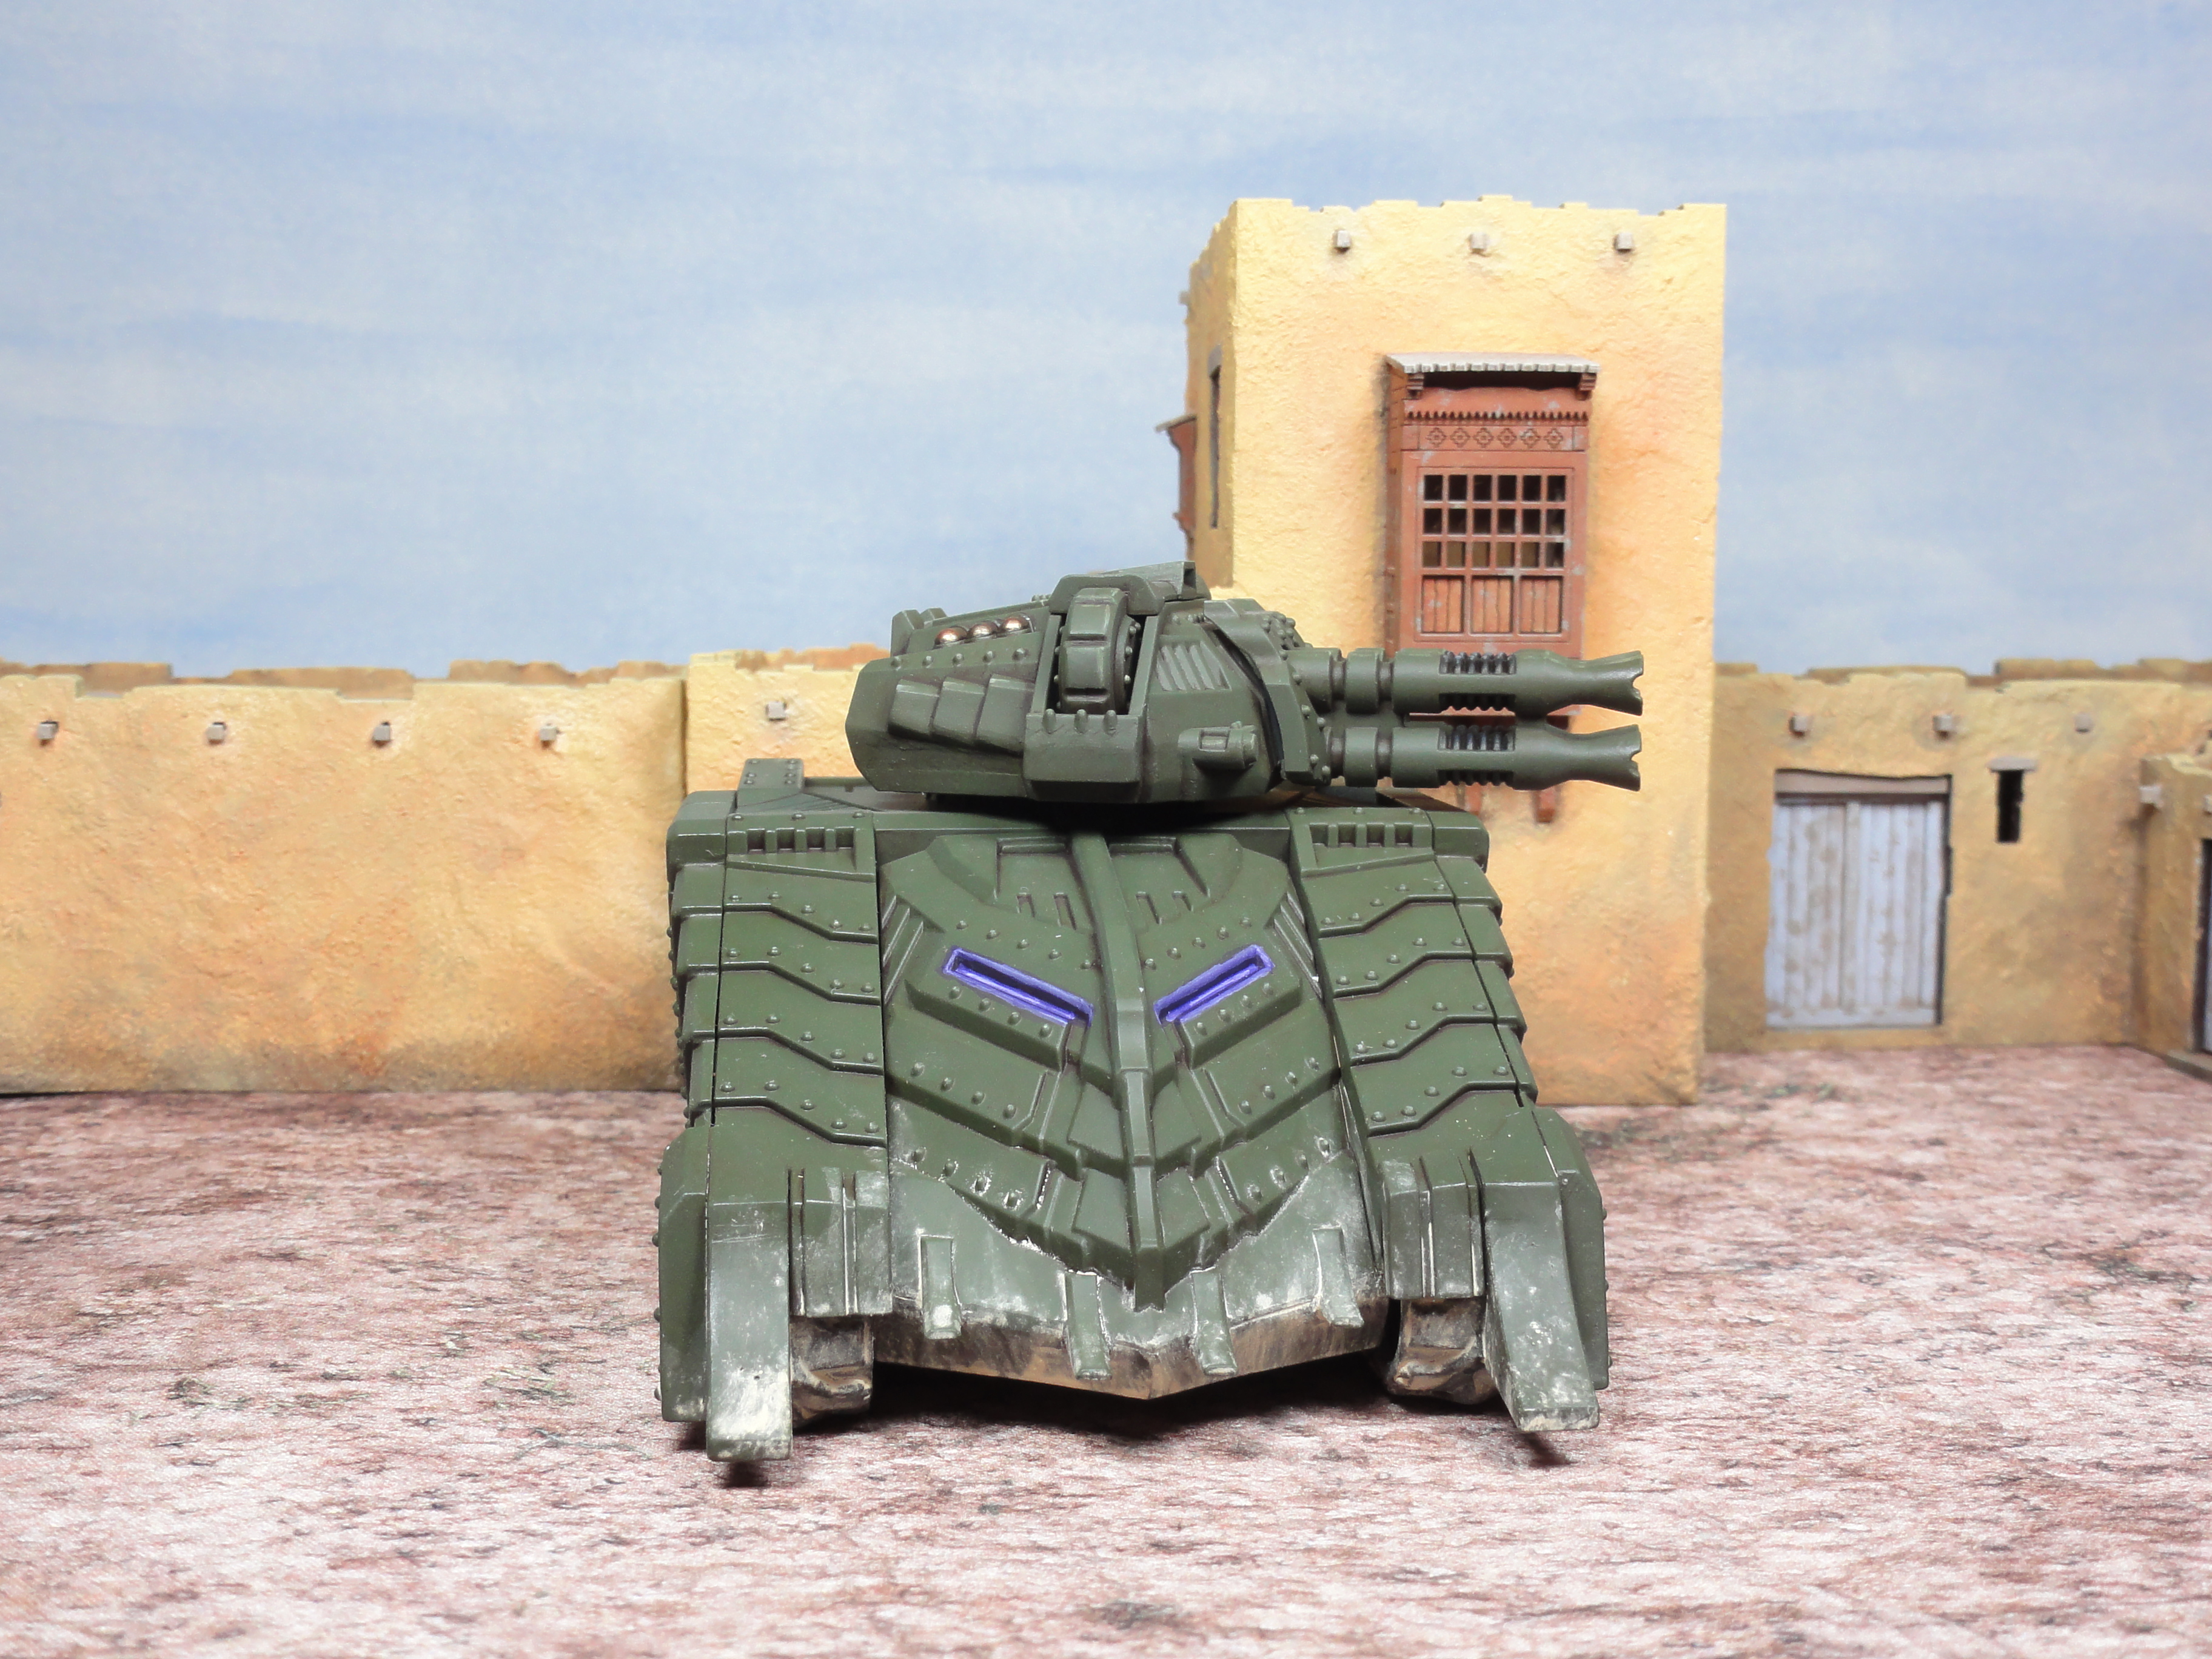
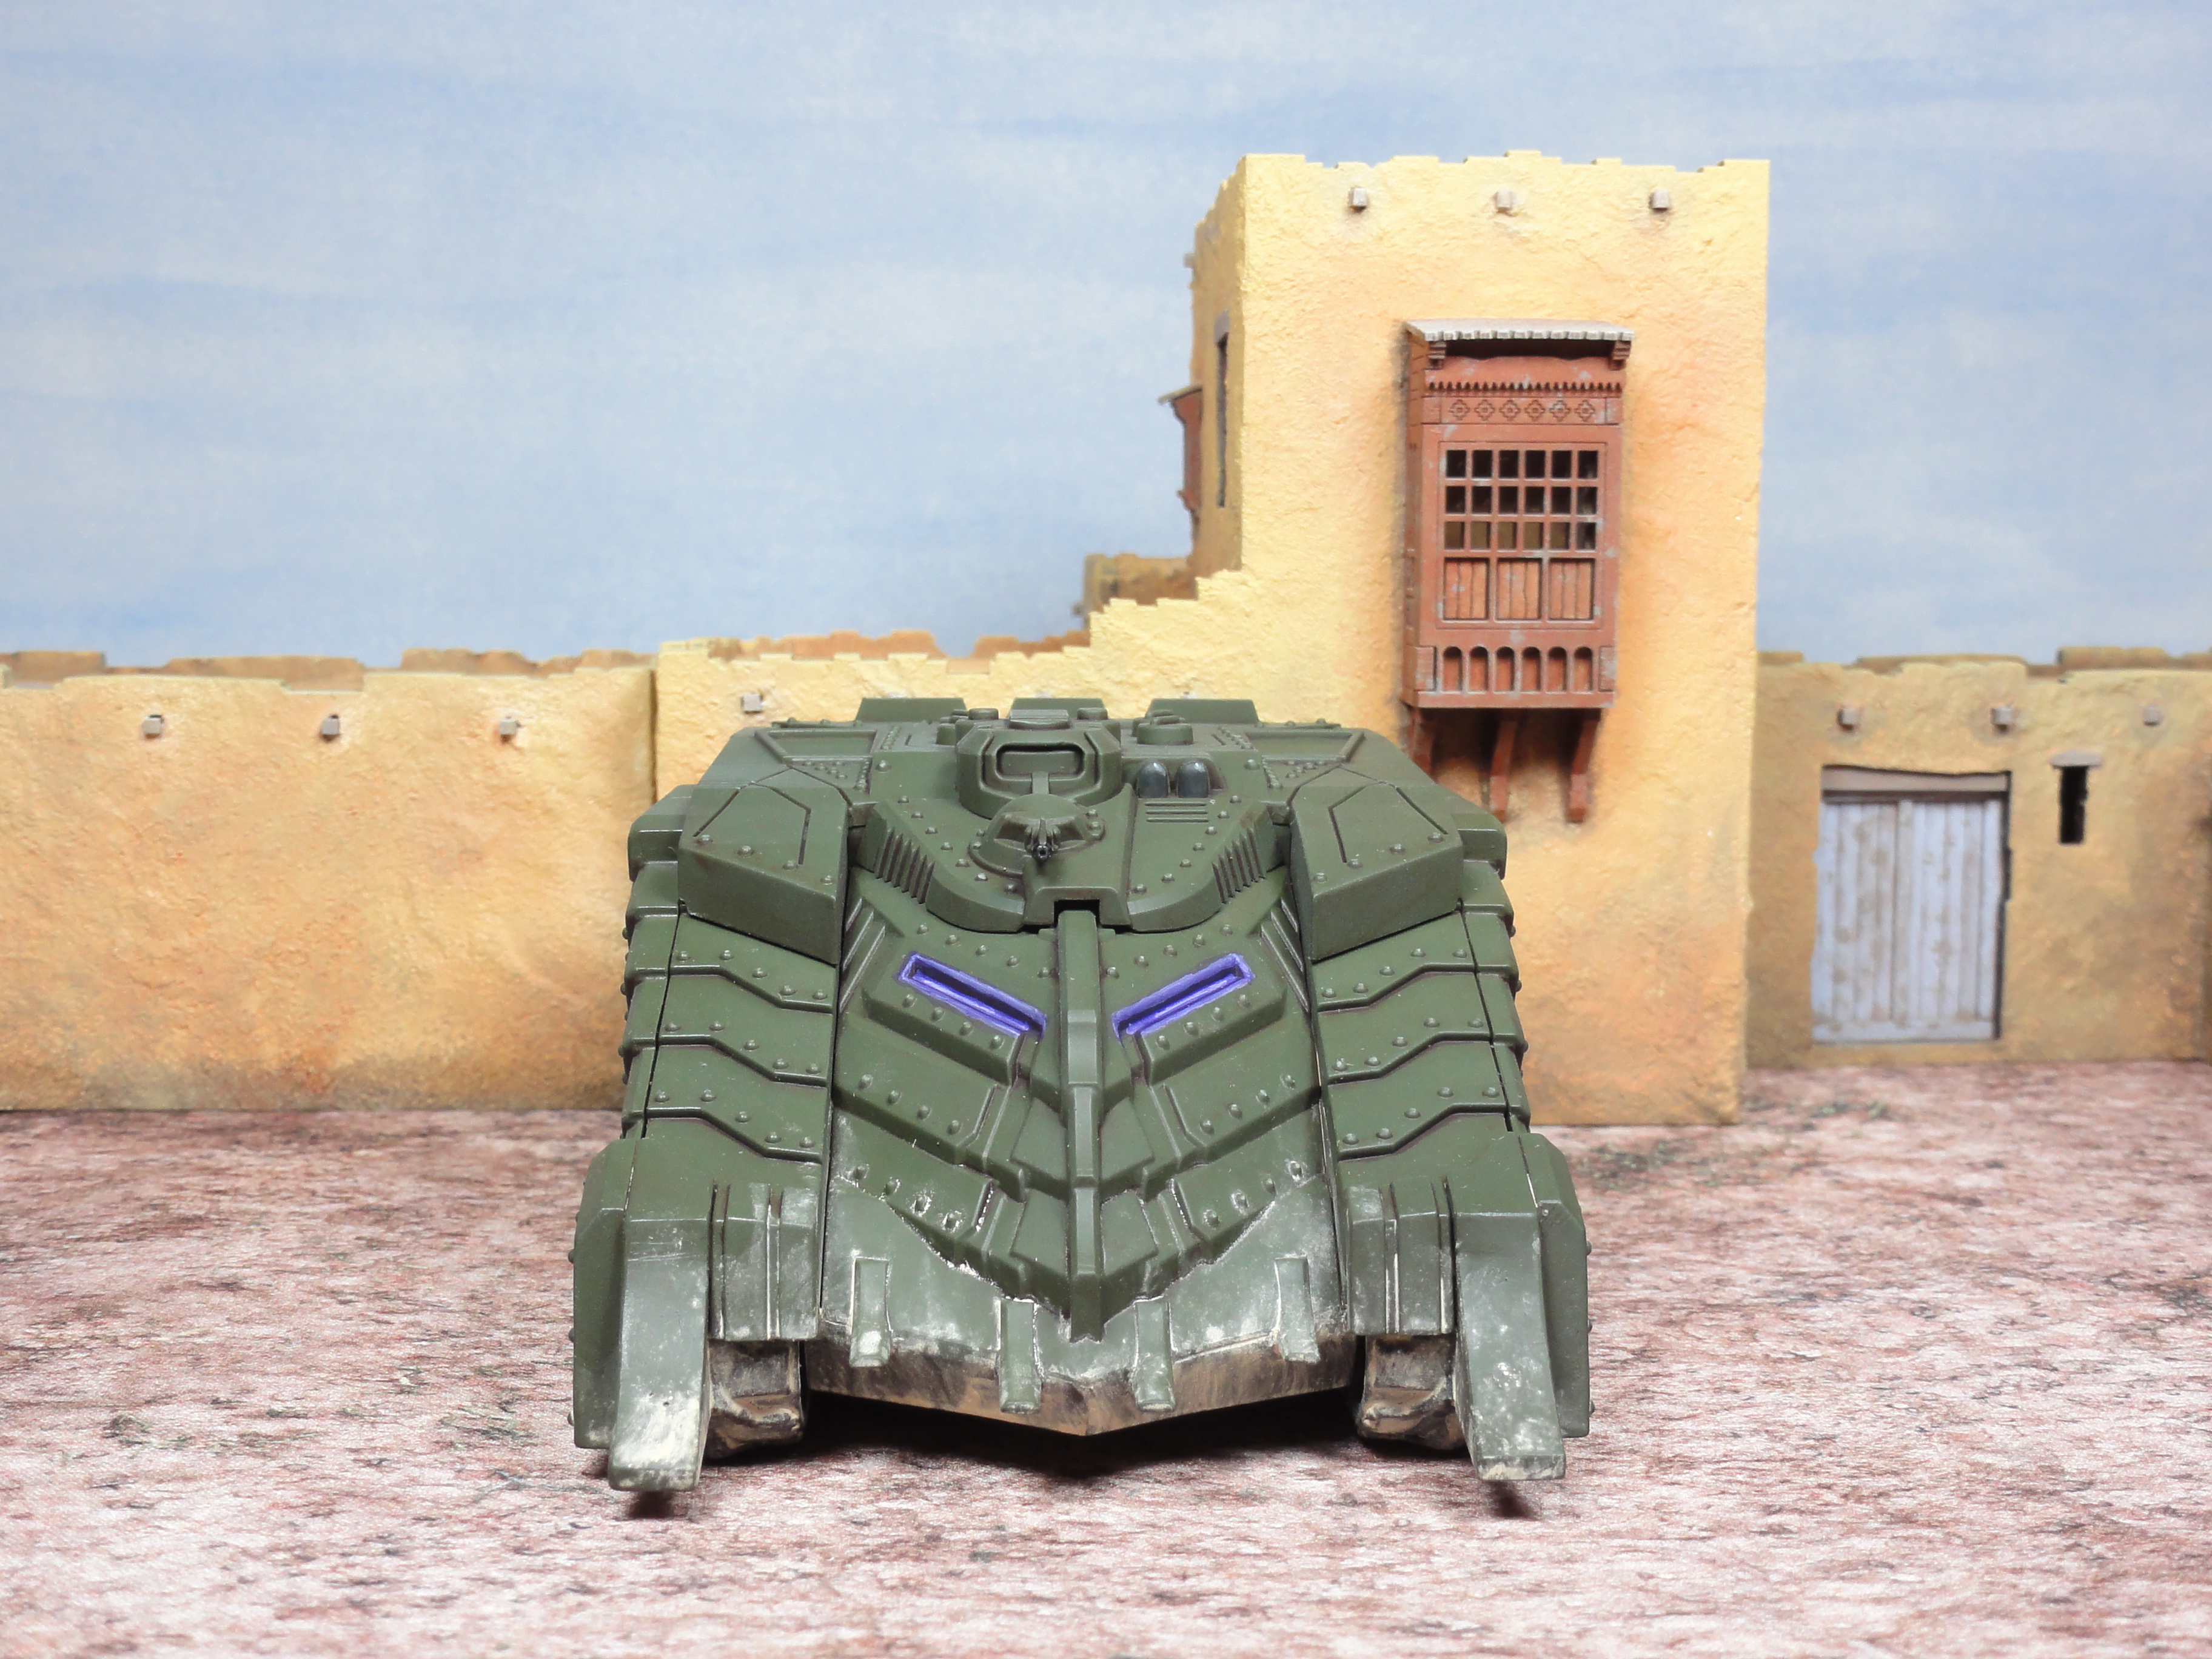
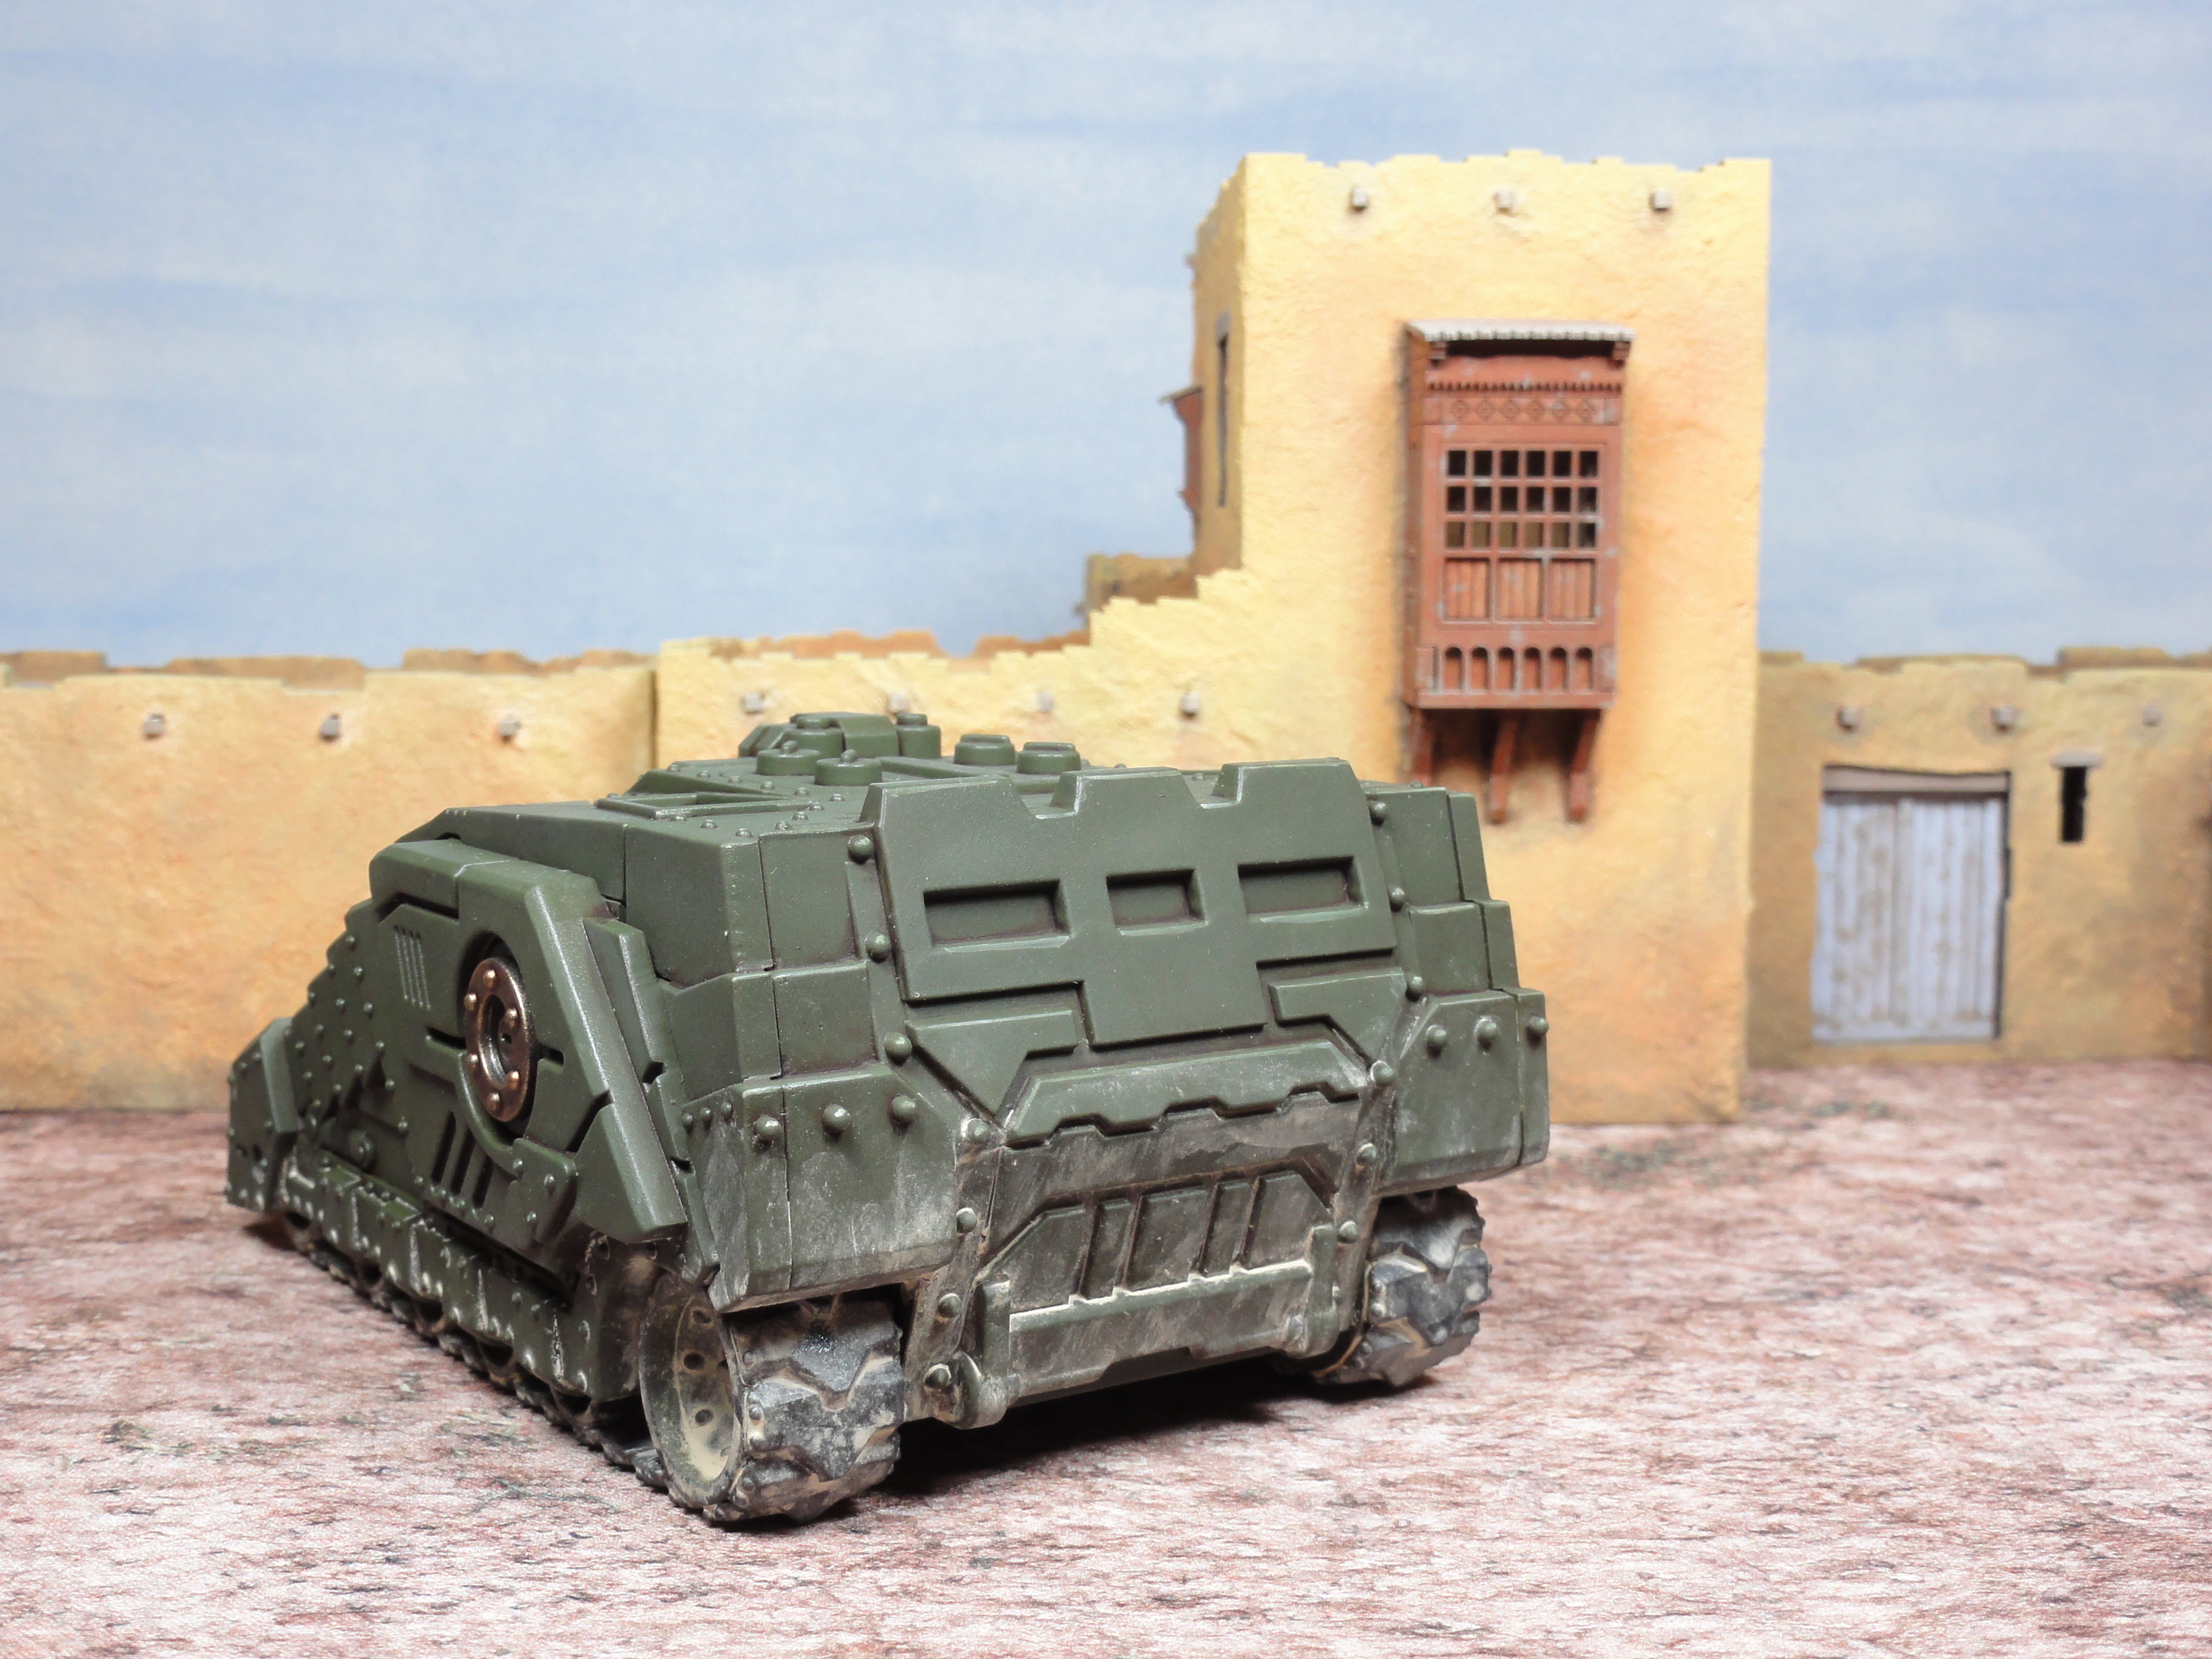
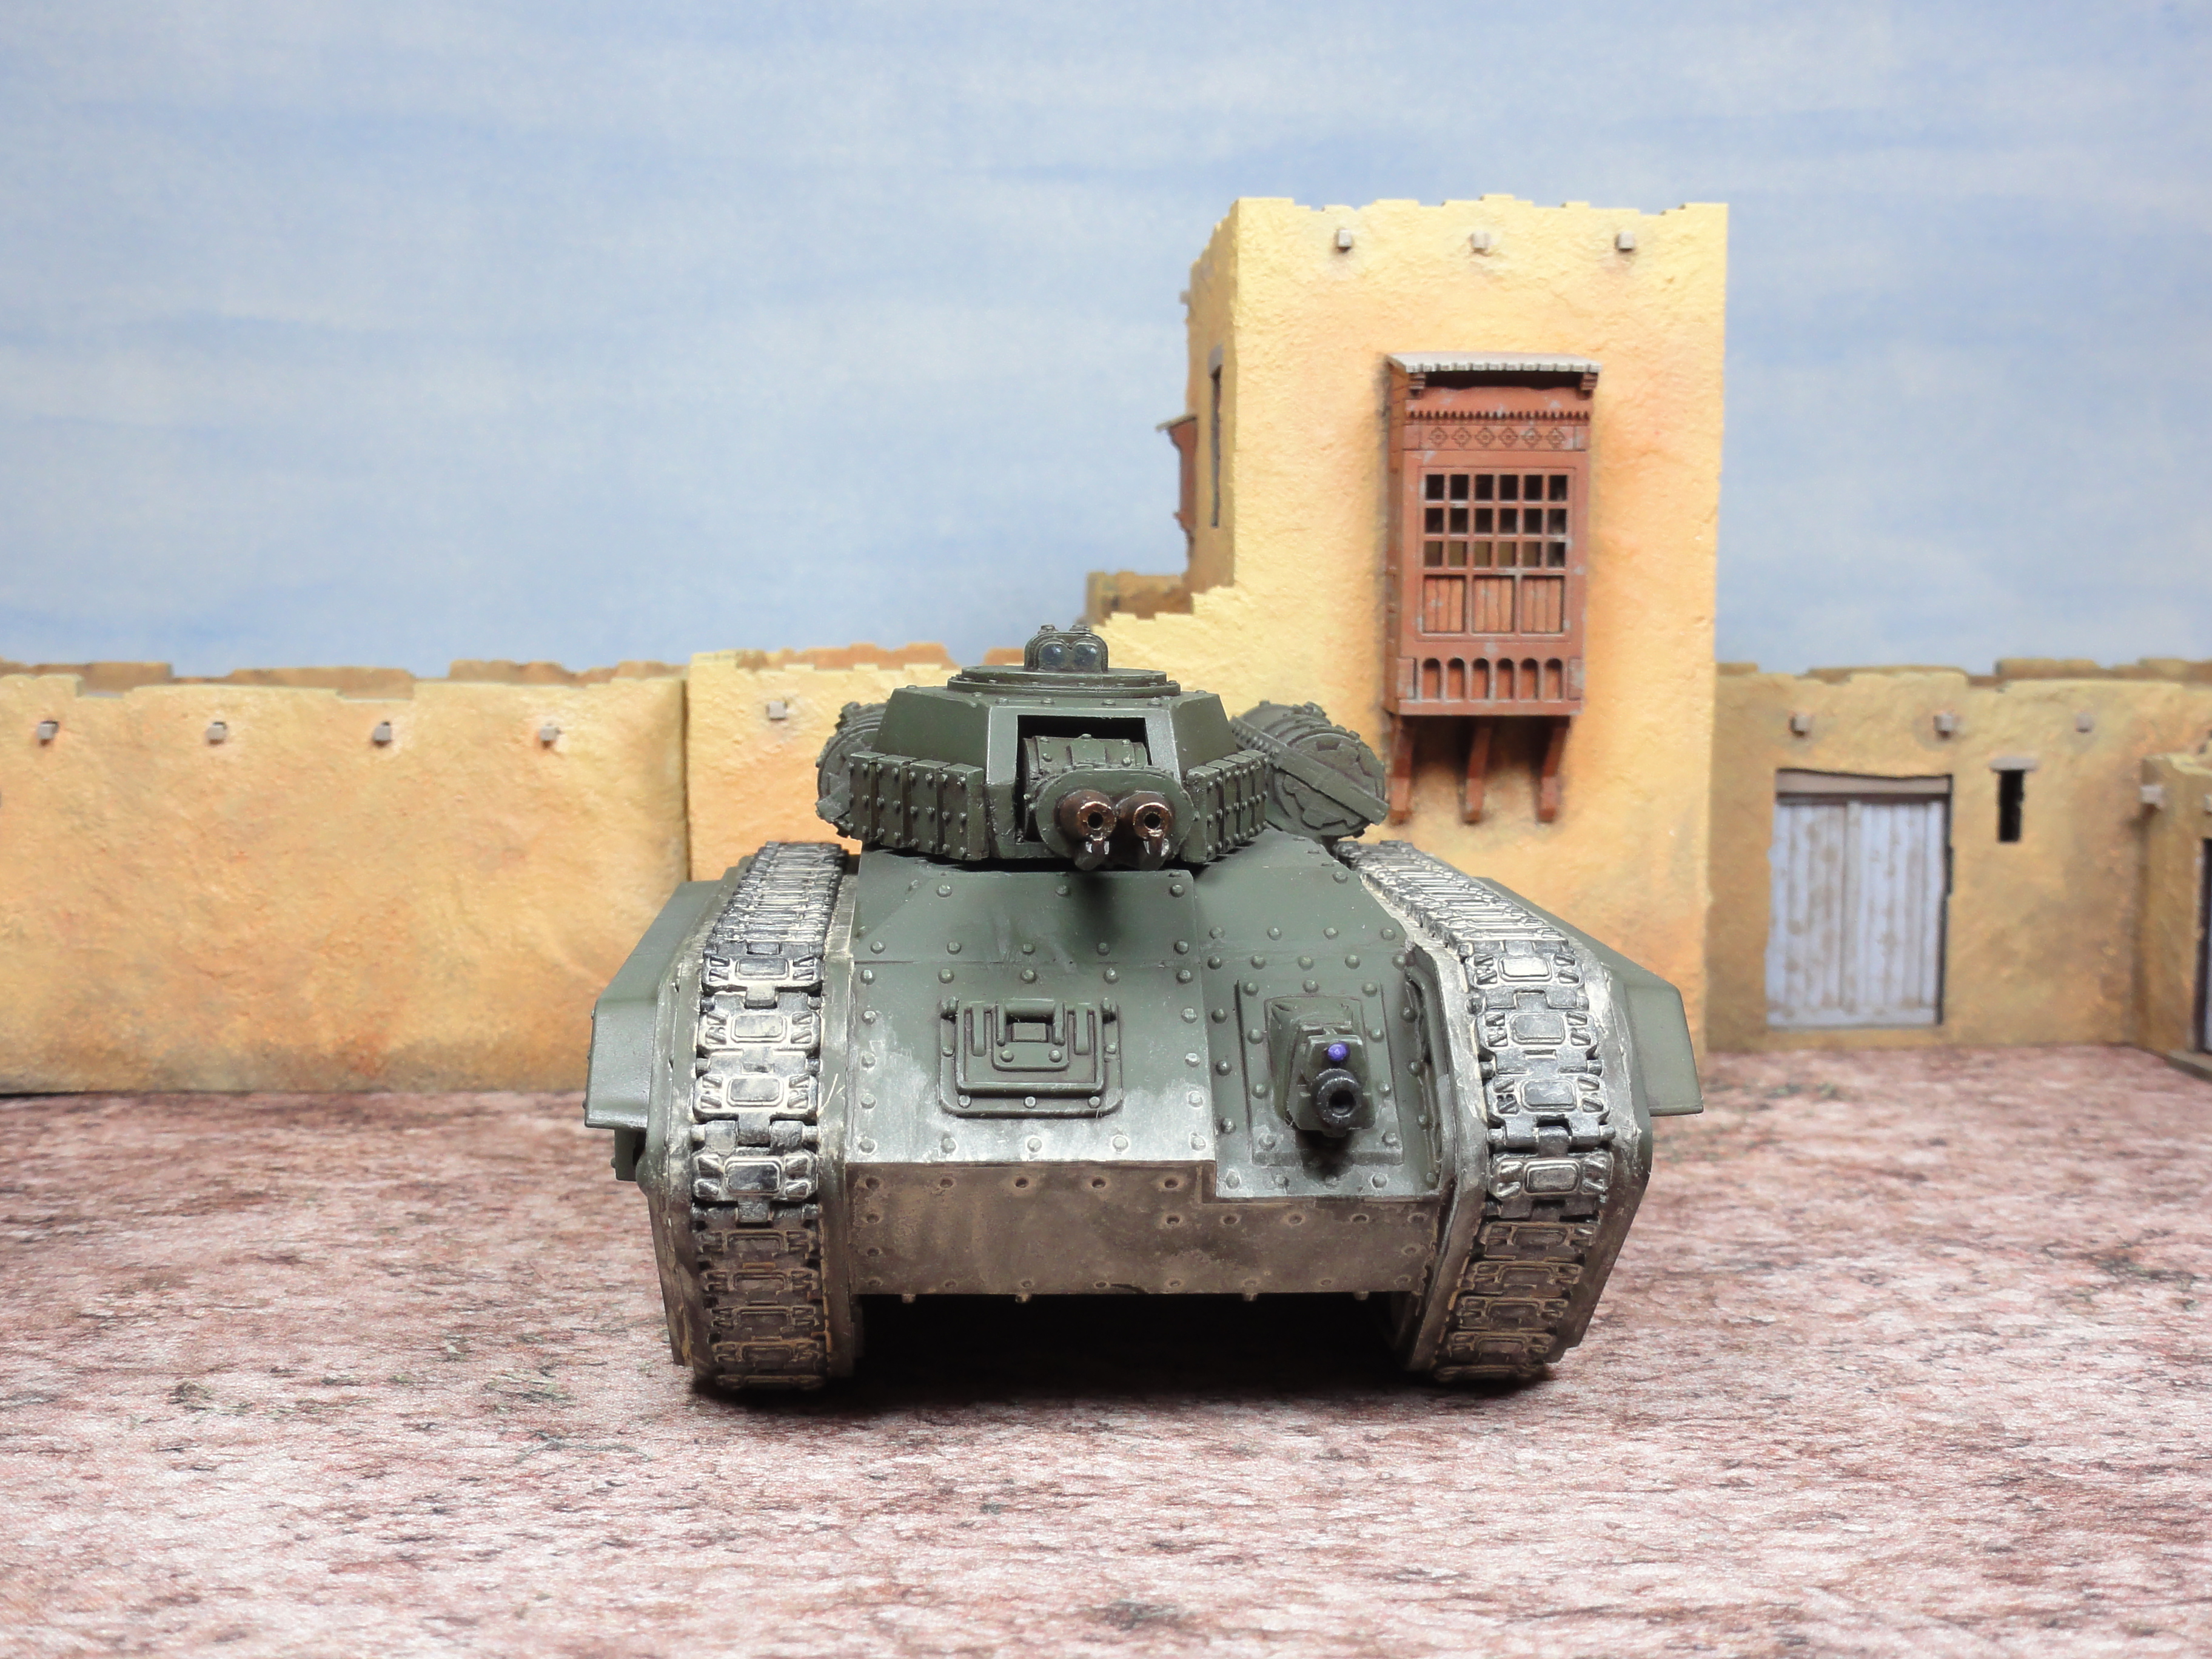
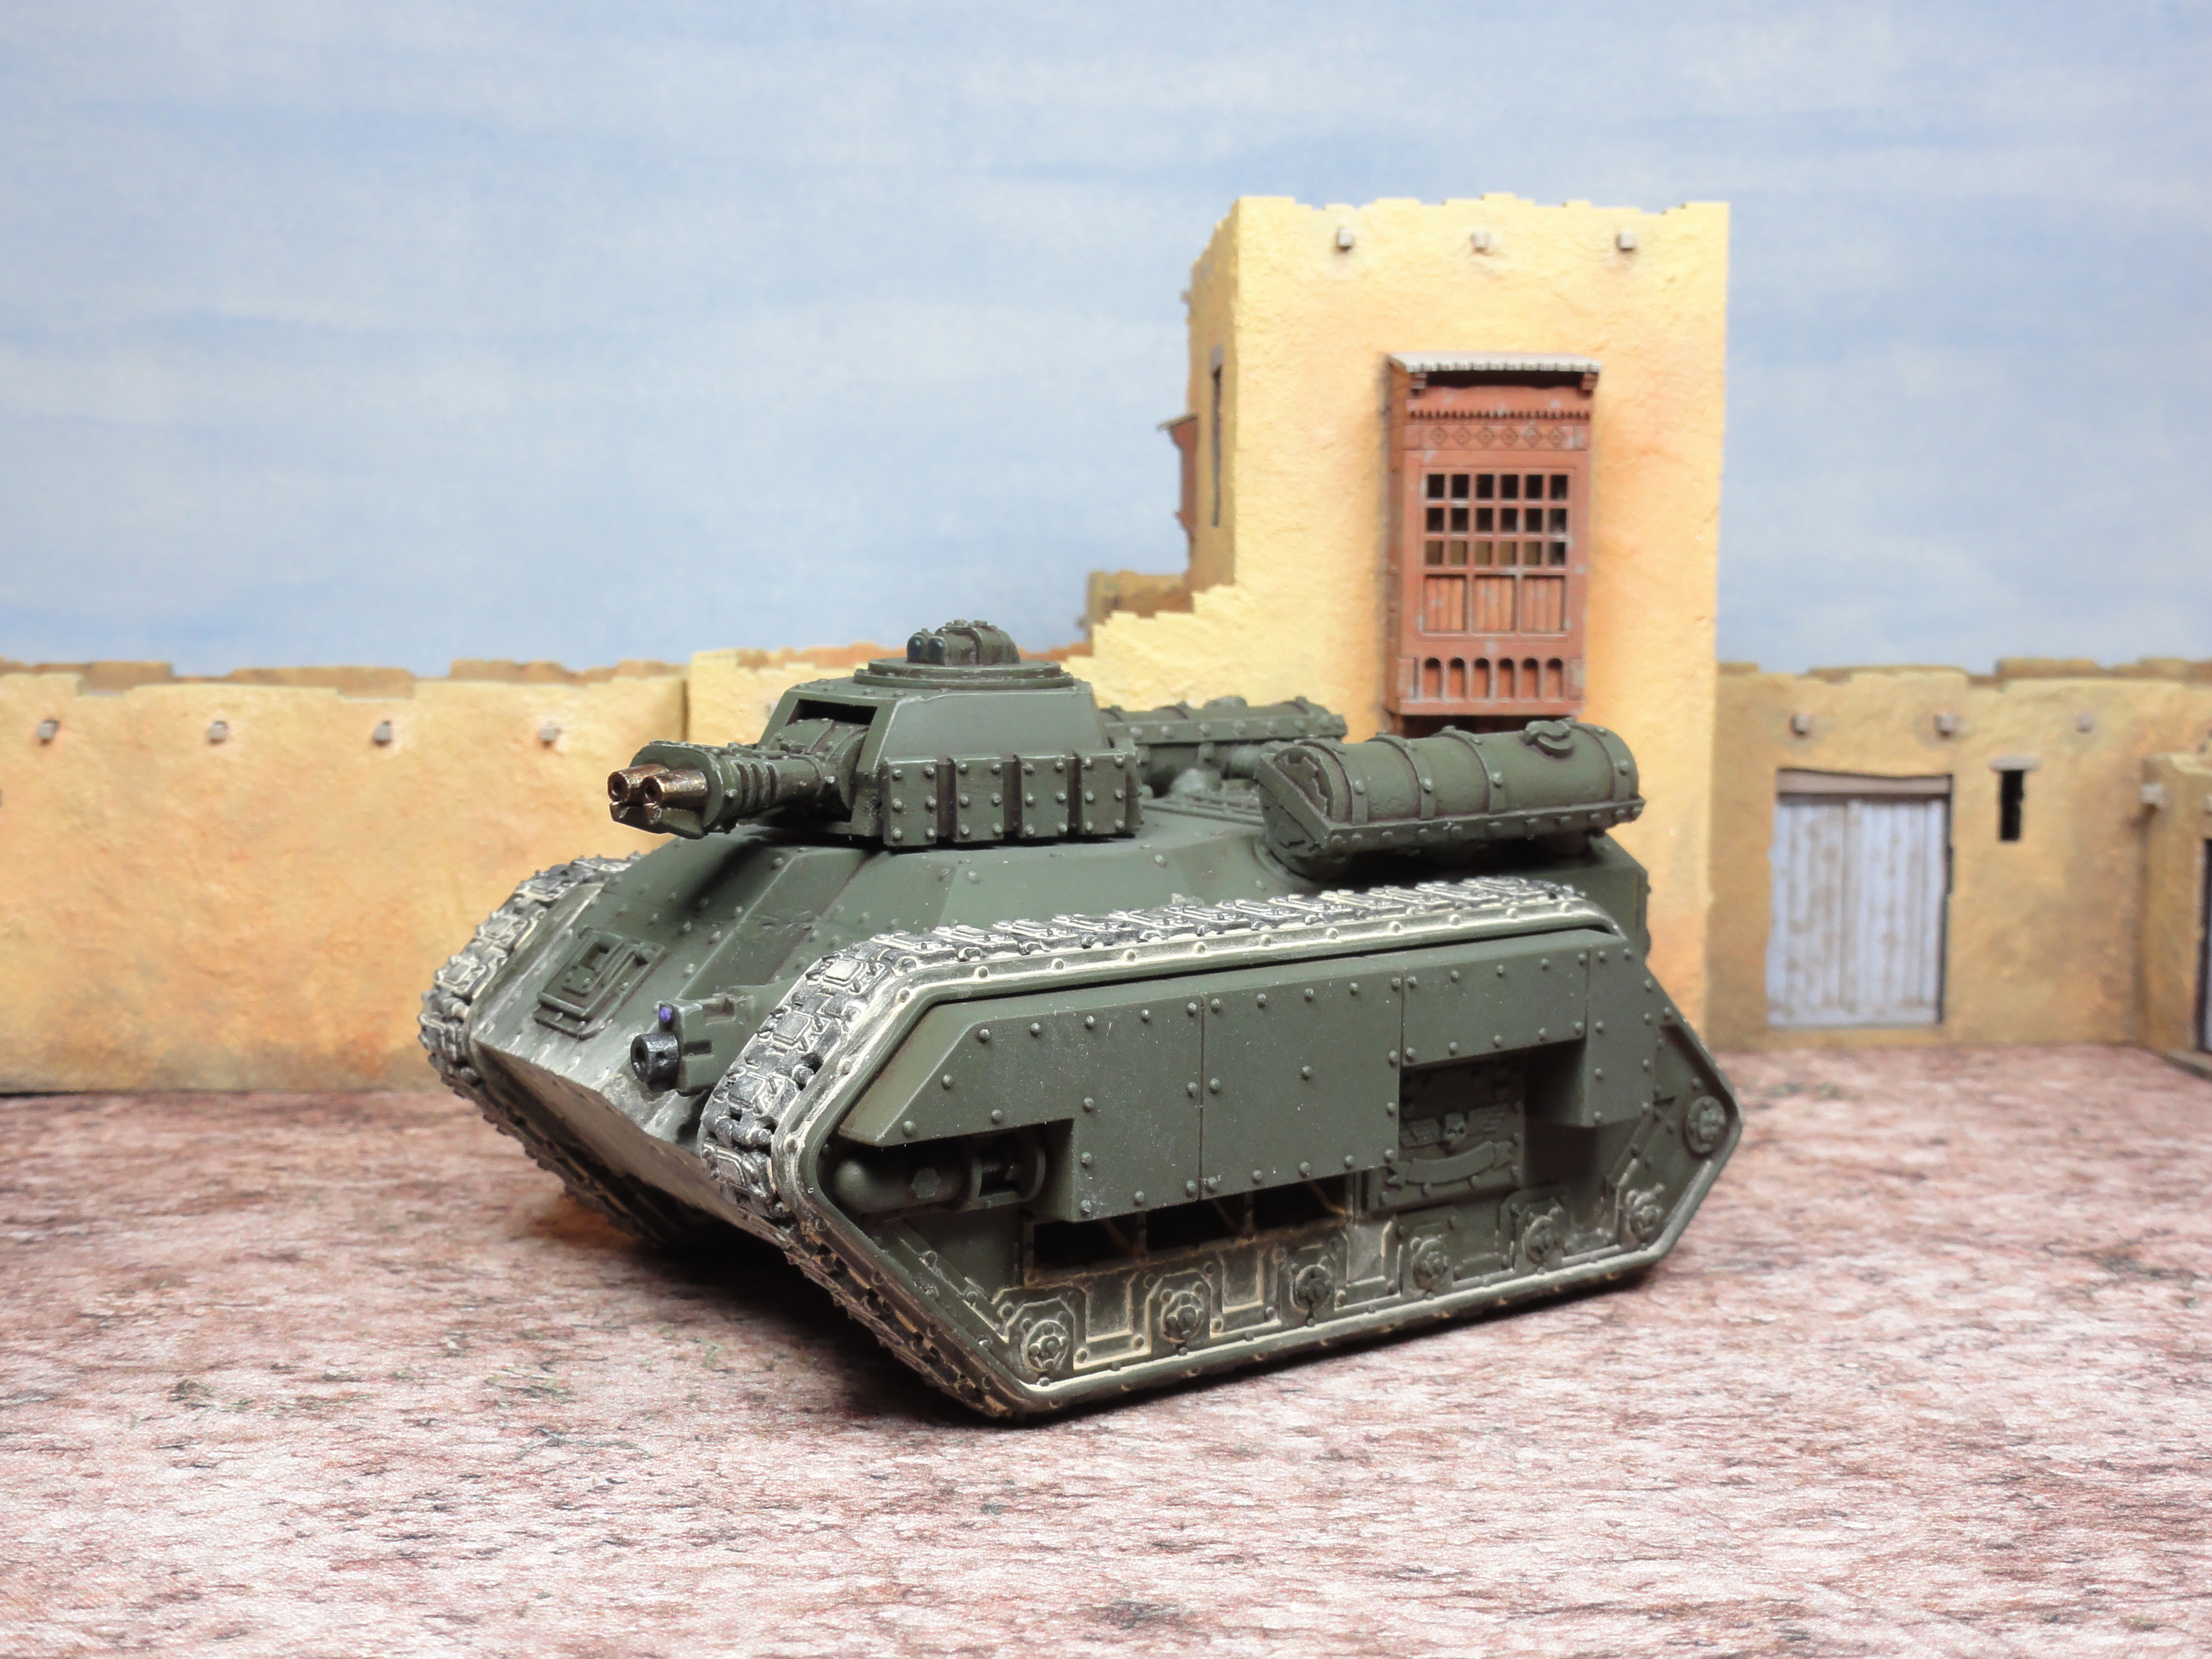
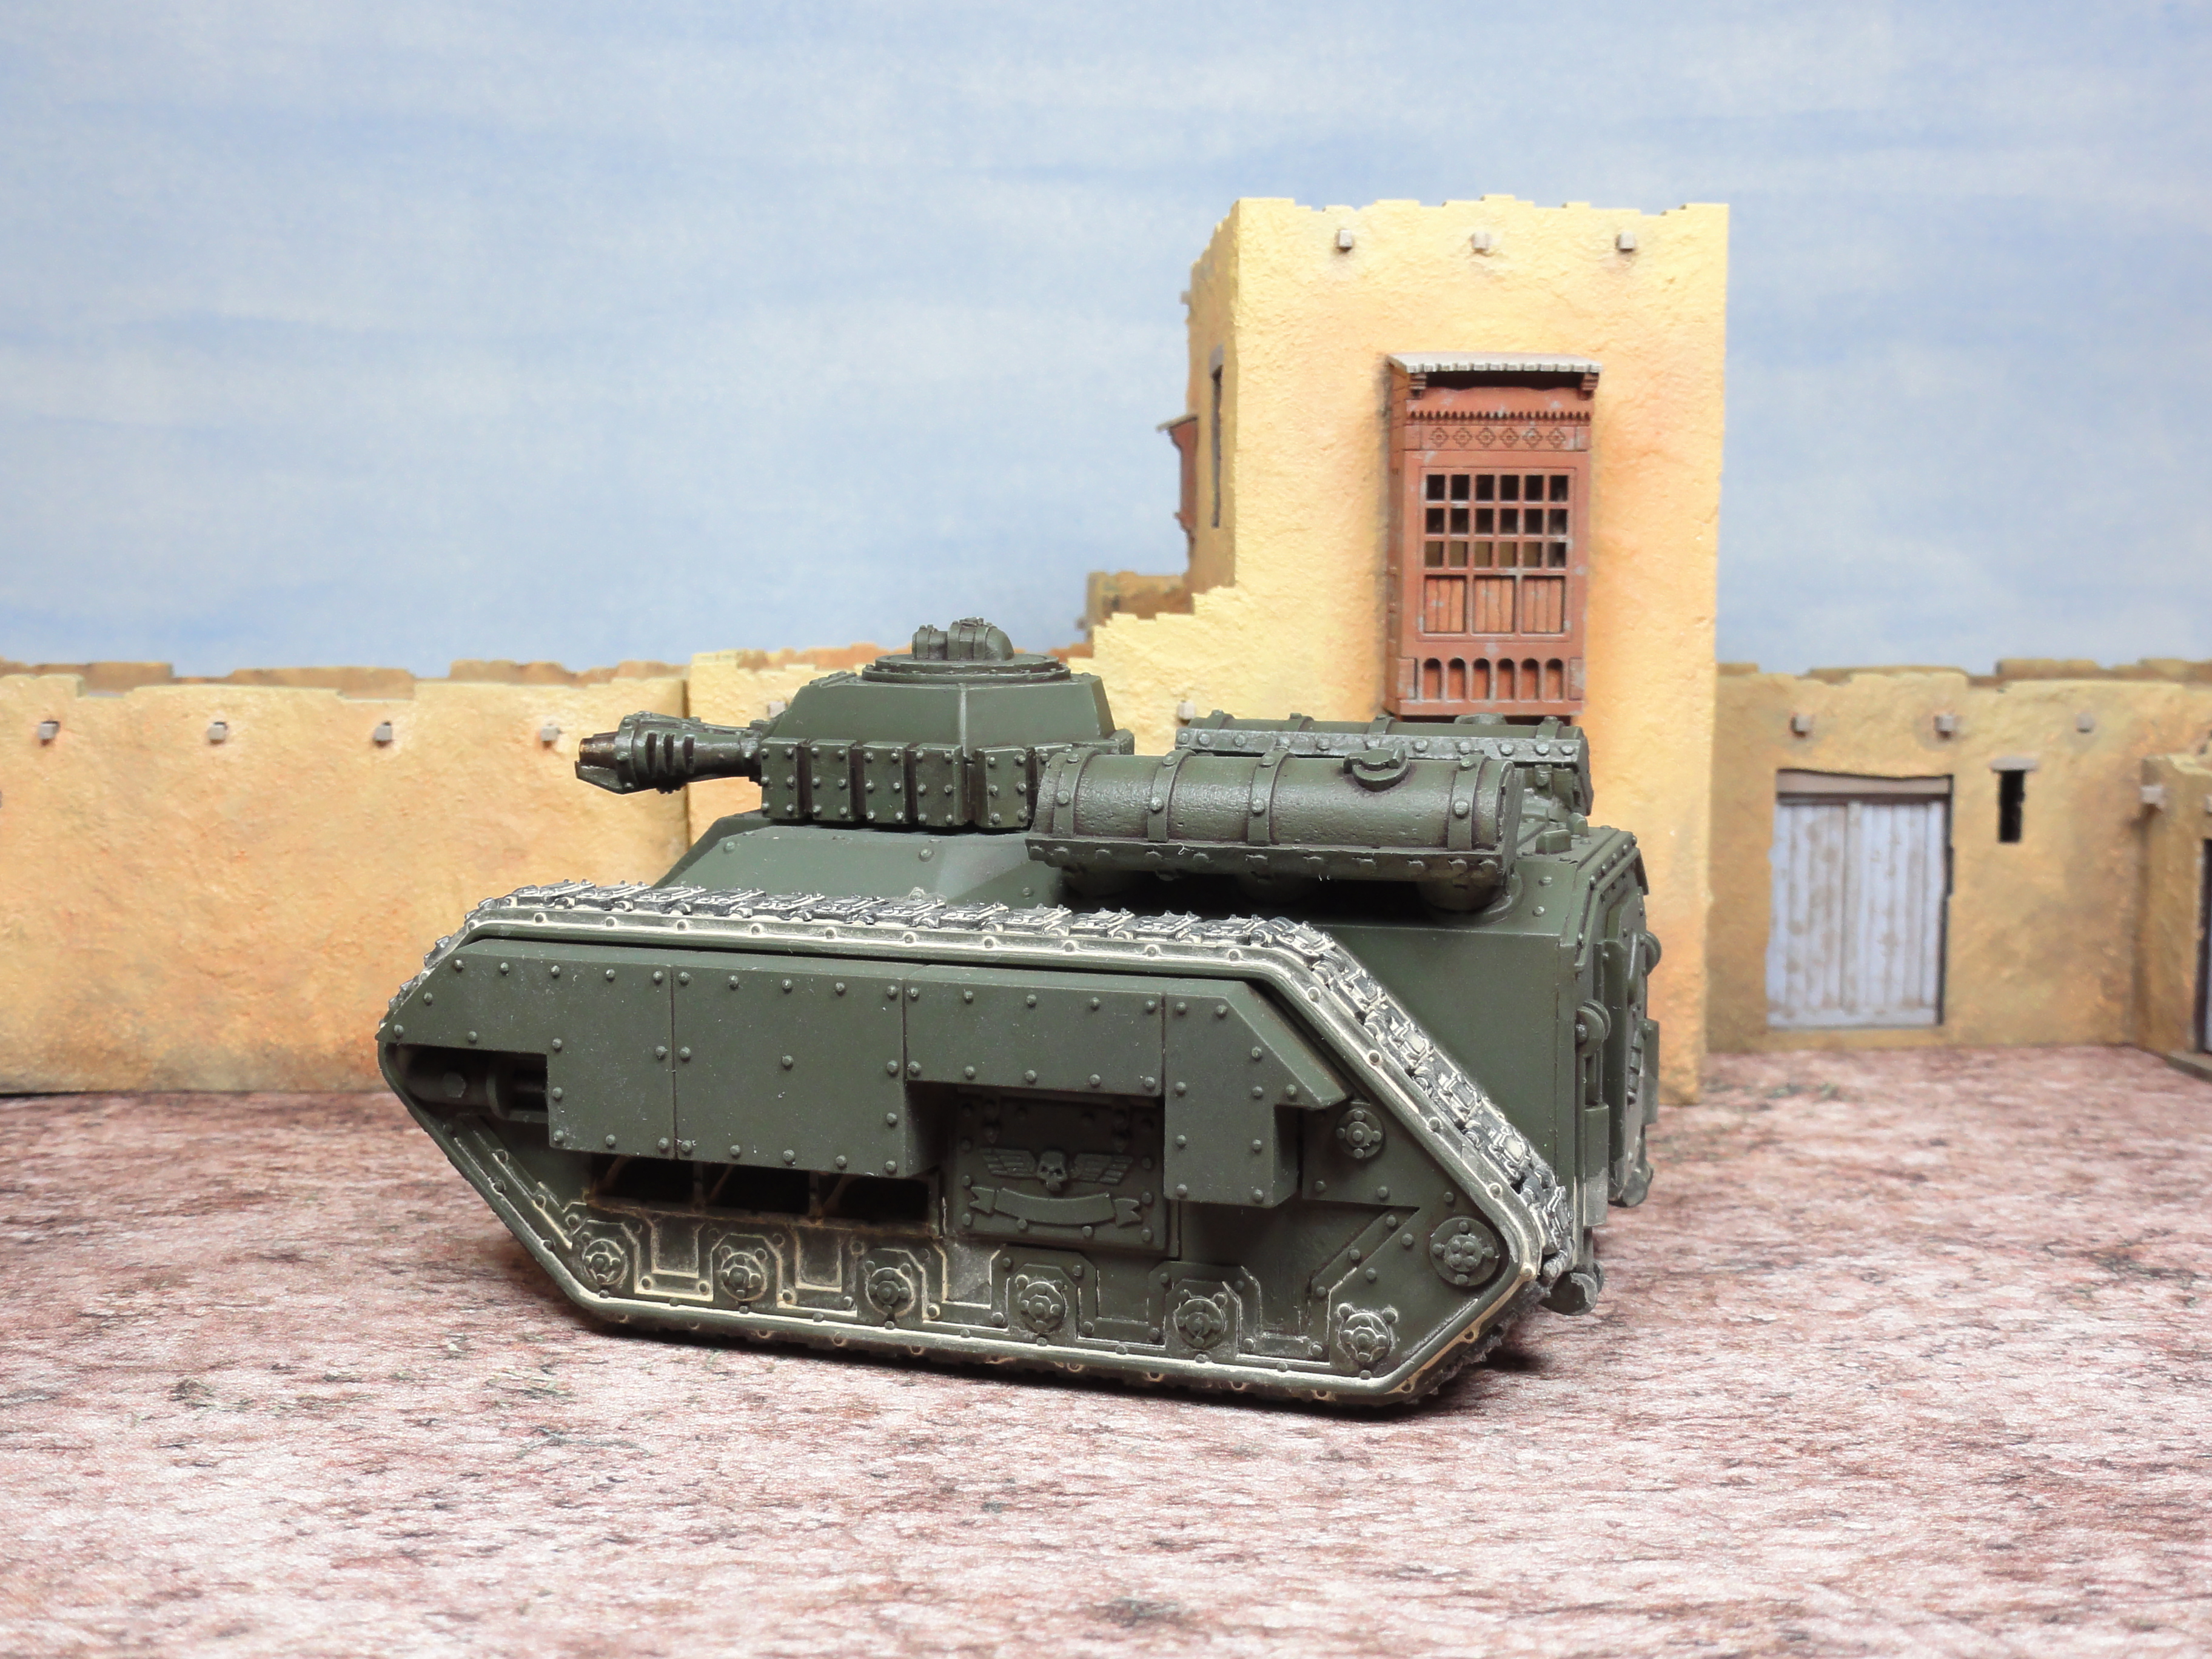
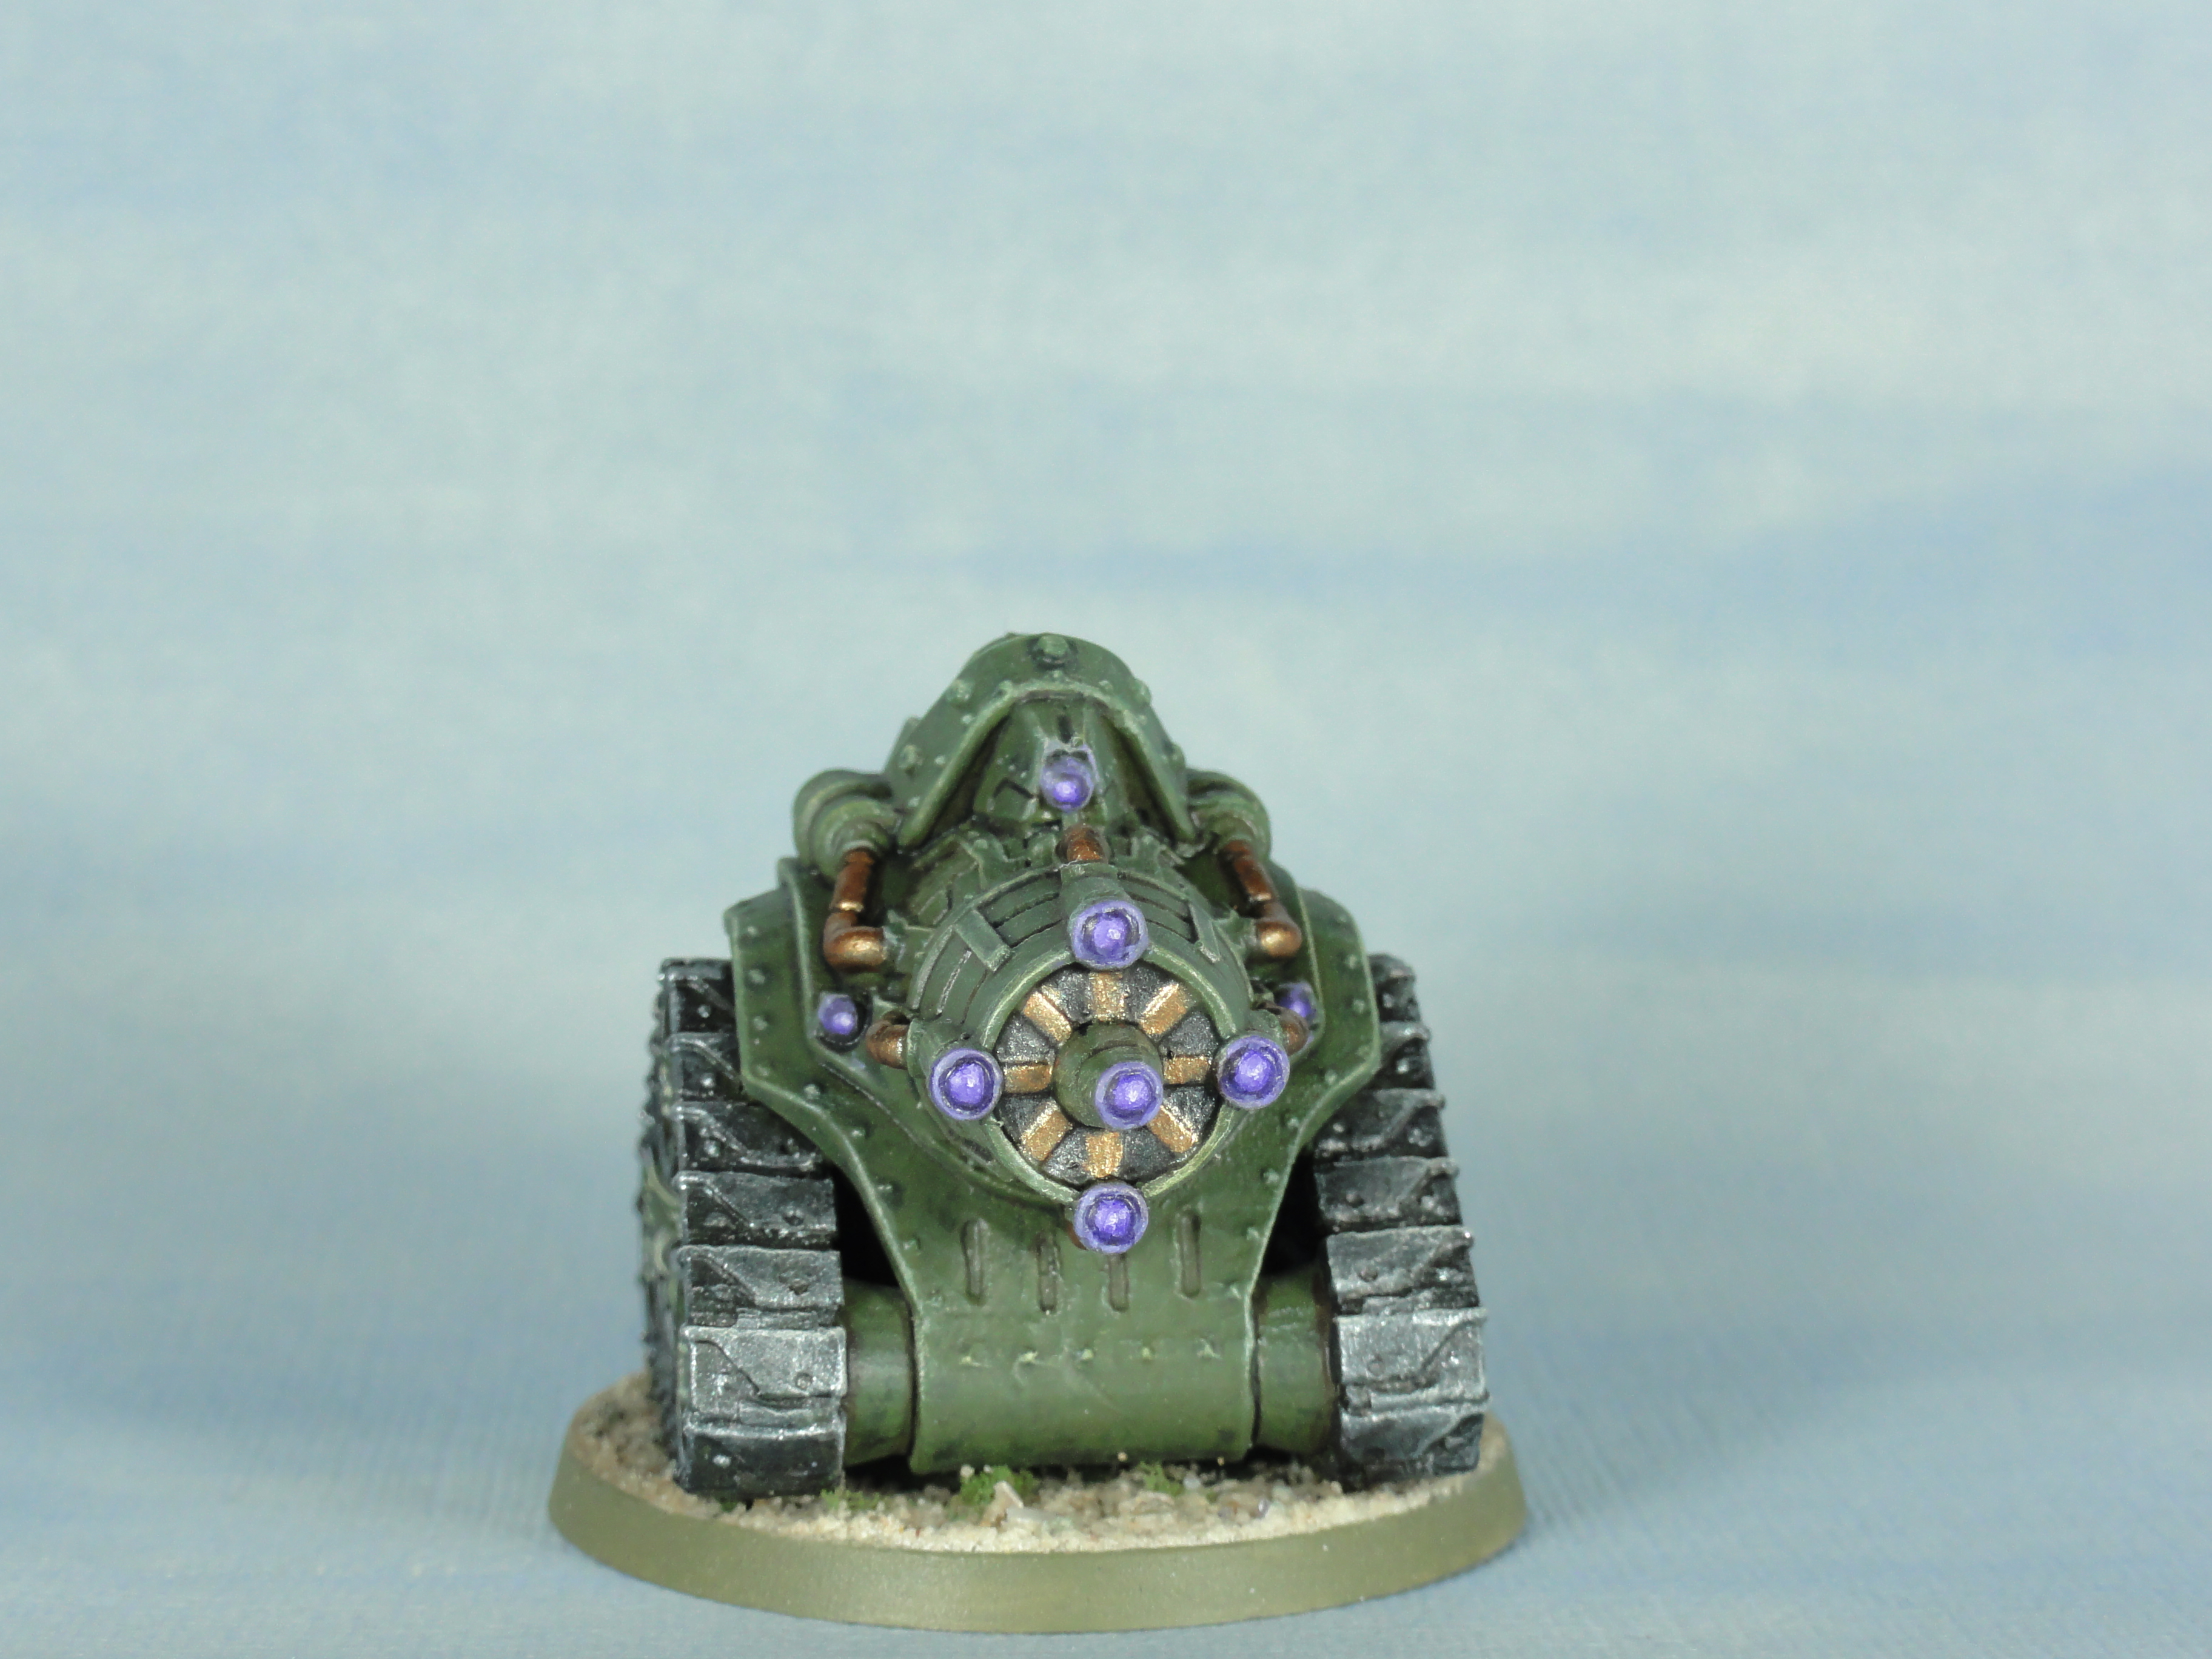
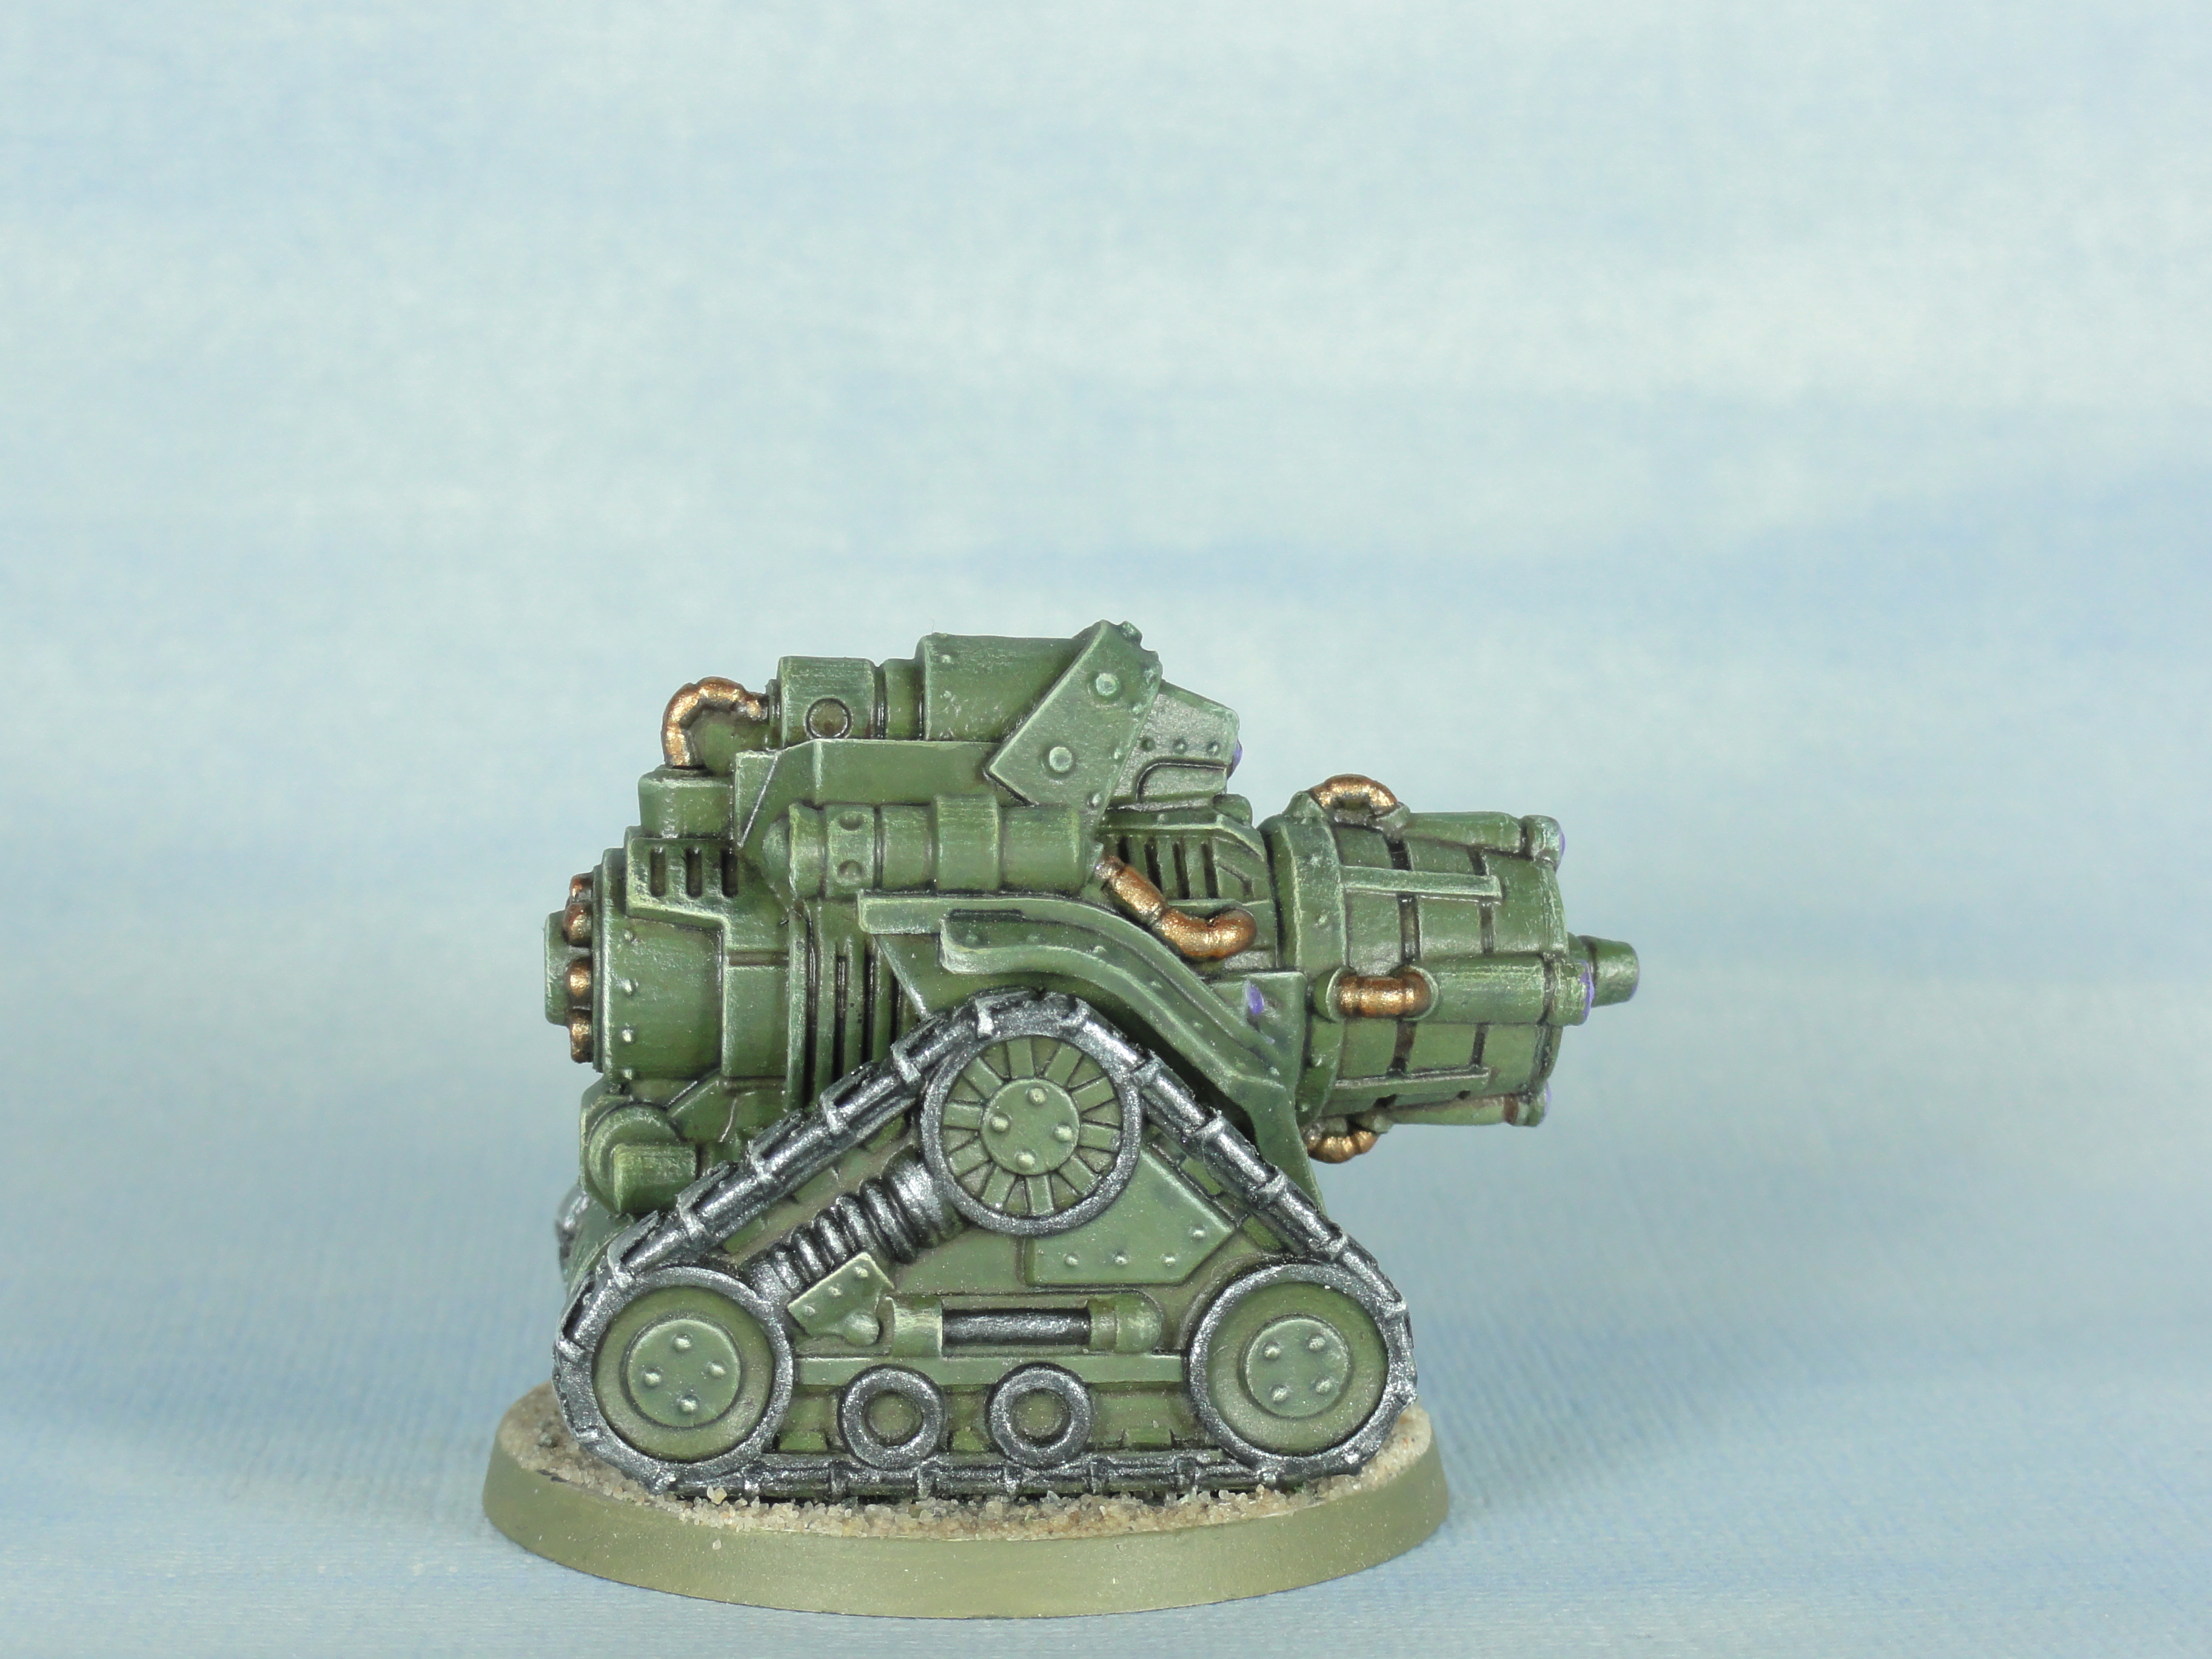
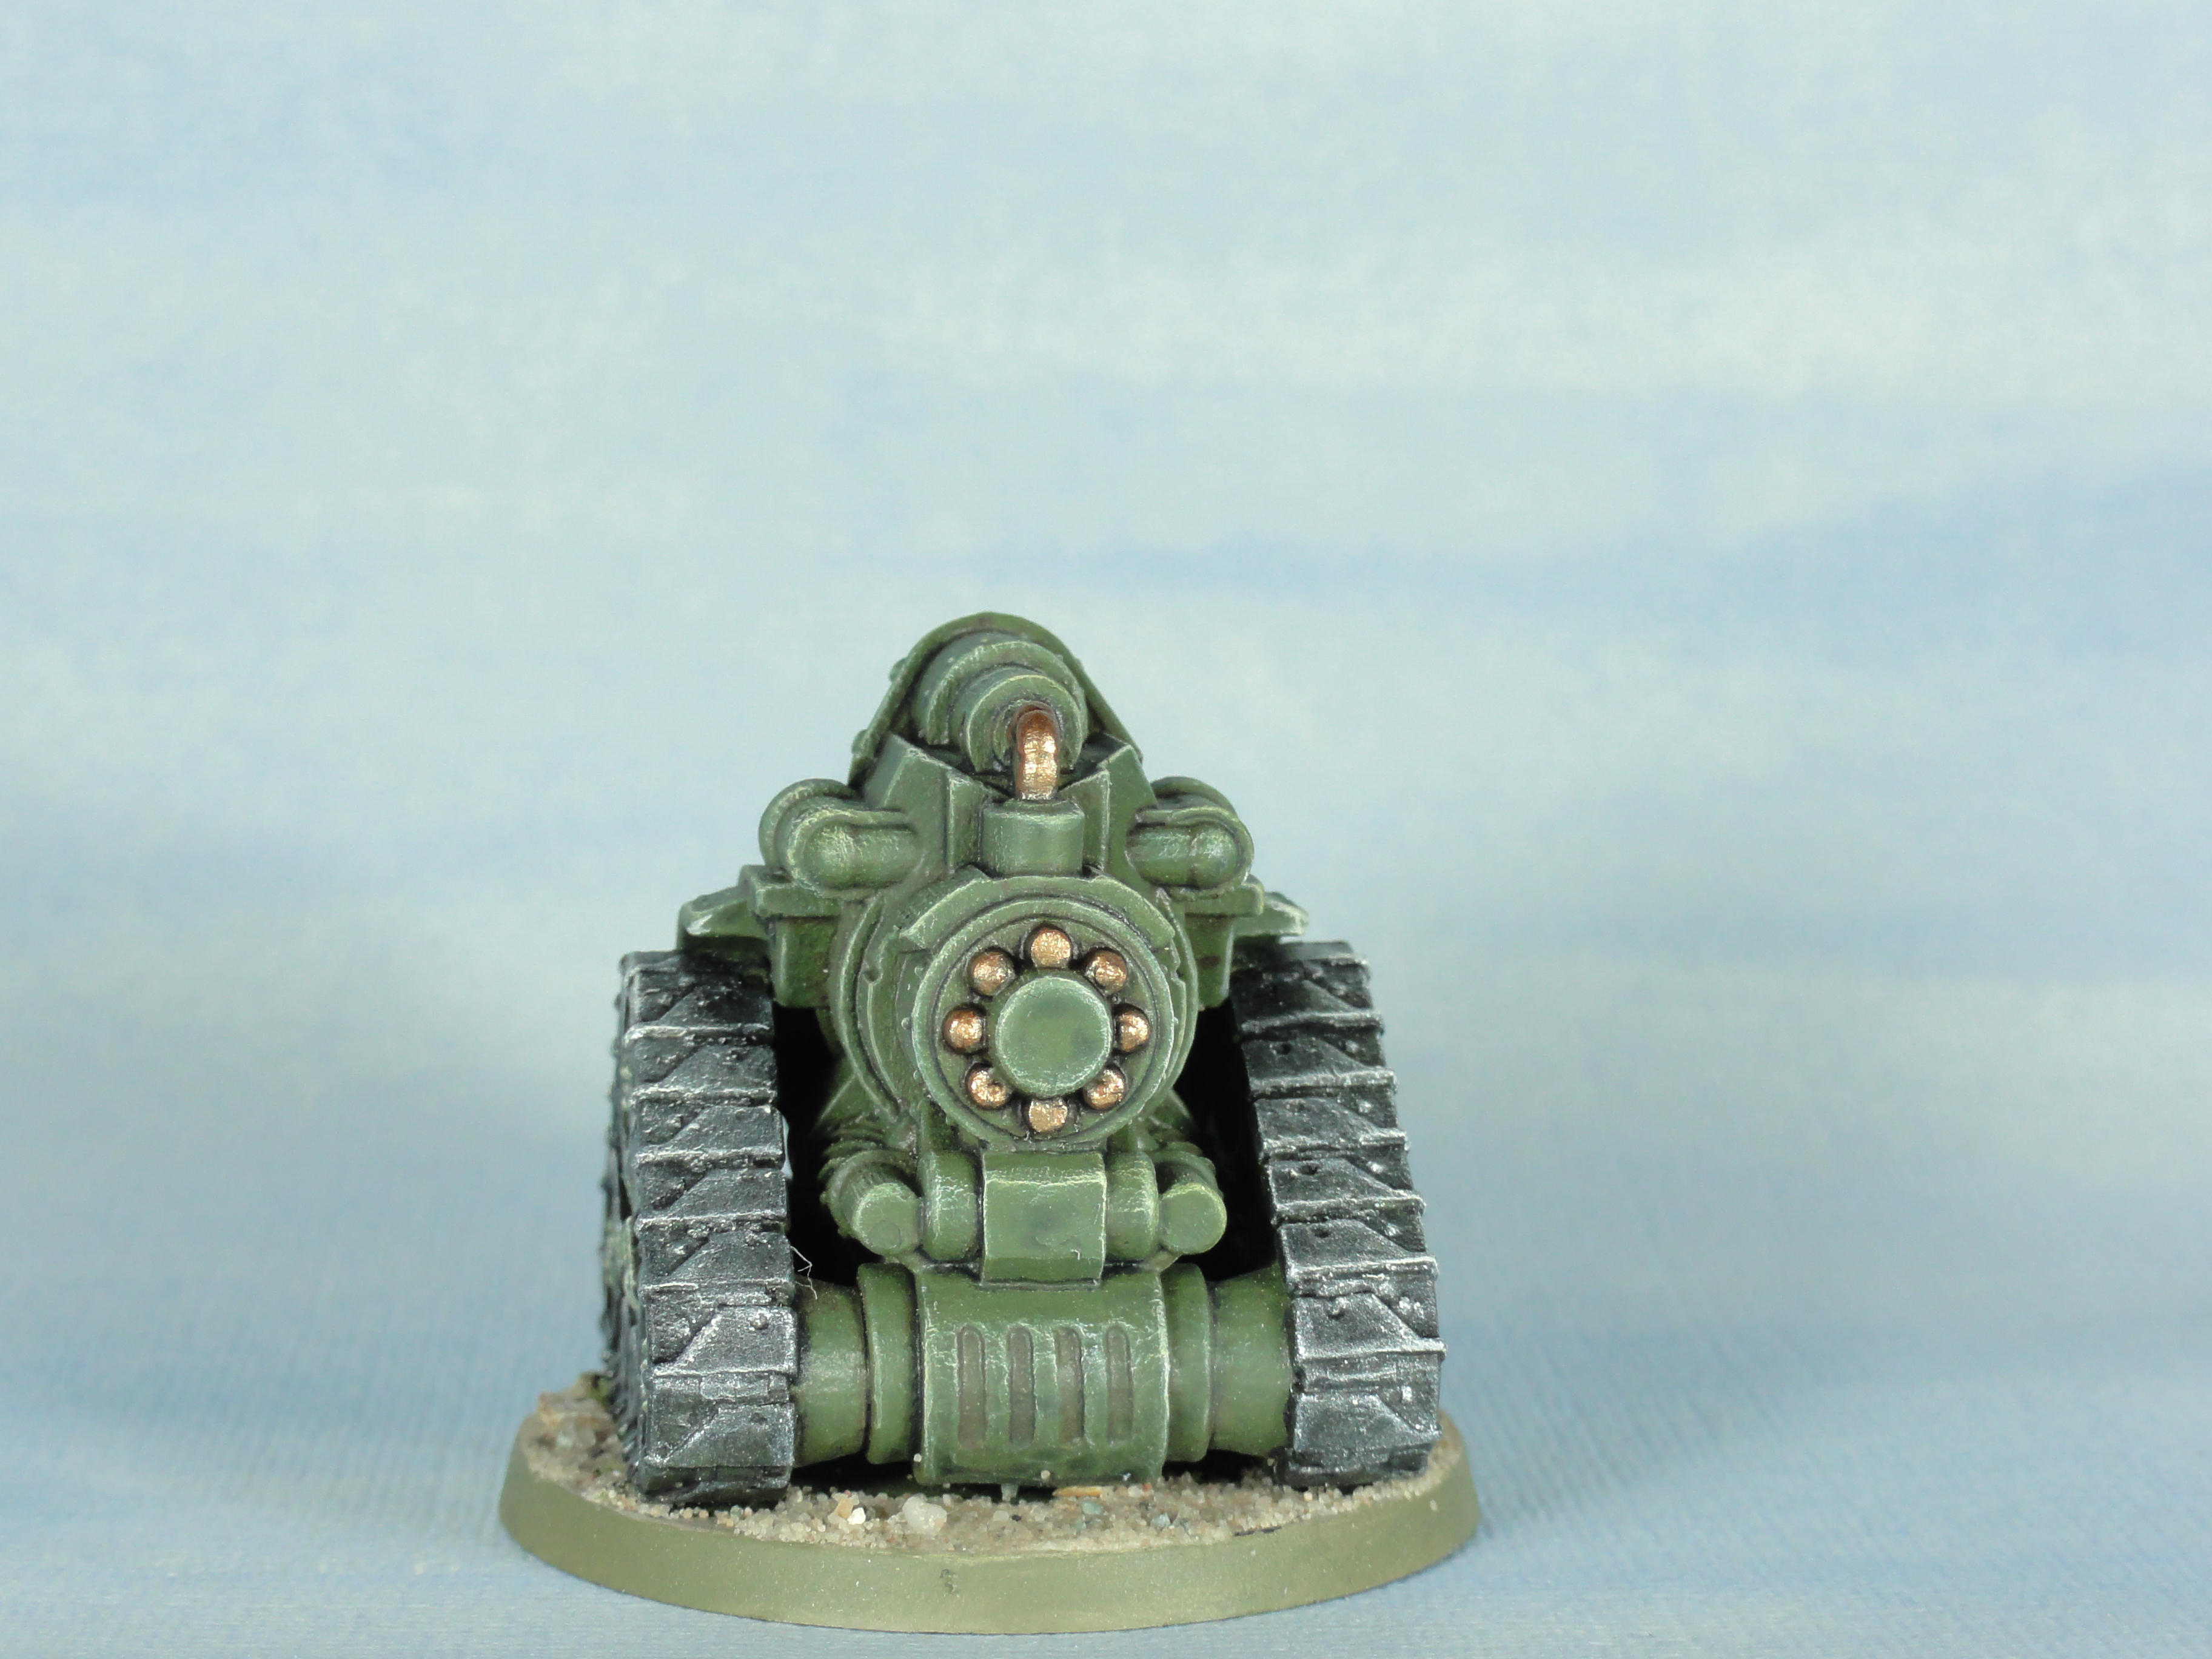
Another vehicle kit done. Same method and build as the previous entry. Used a thinner ink wash this time, but went a bit too thin with it. I’ve included some side profile shots without the dozer blade as requested by Sundancer in the gallery below as well as the different variants.
You can't always get what you want
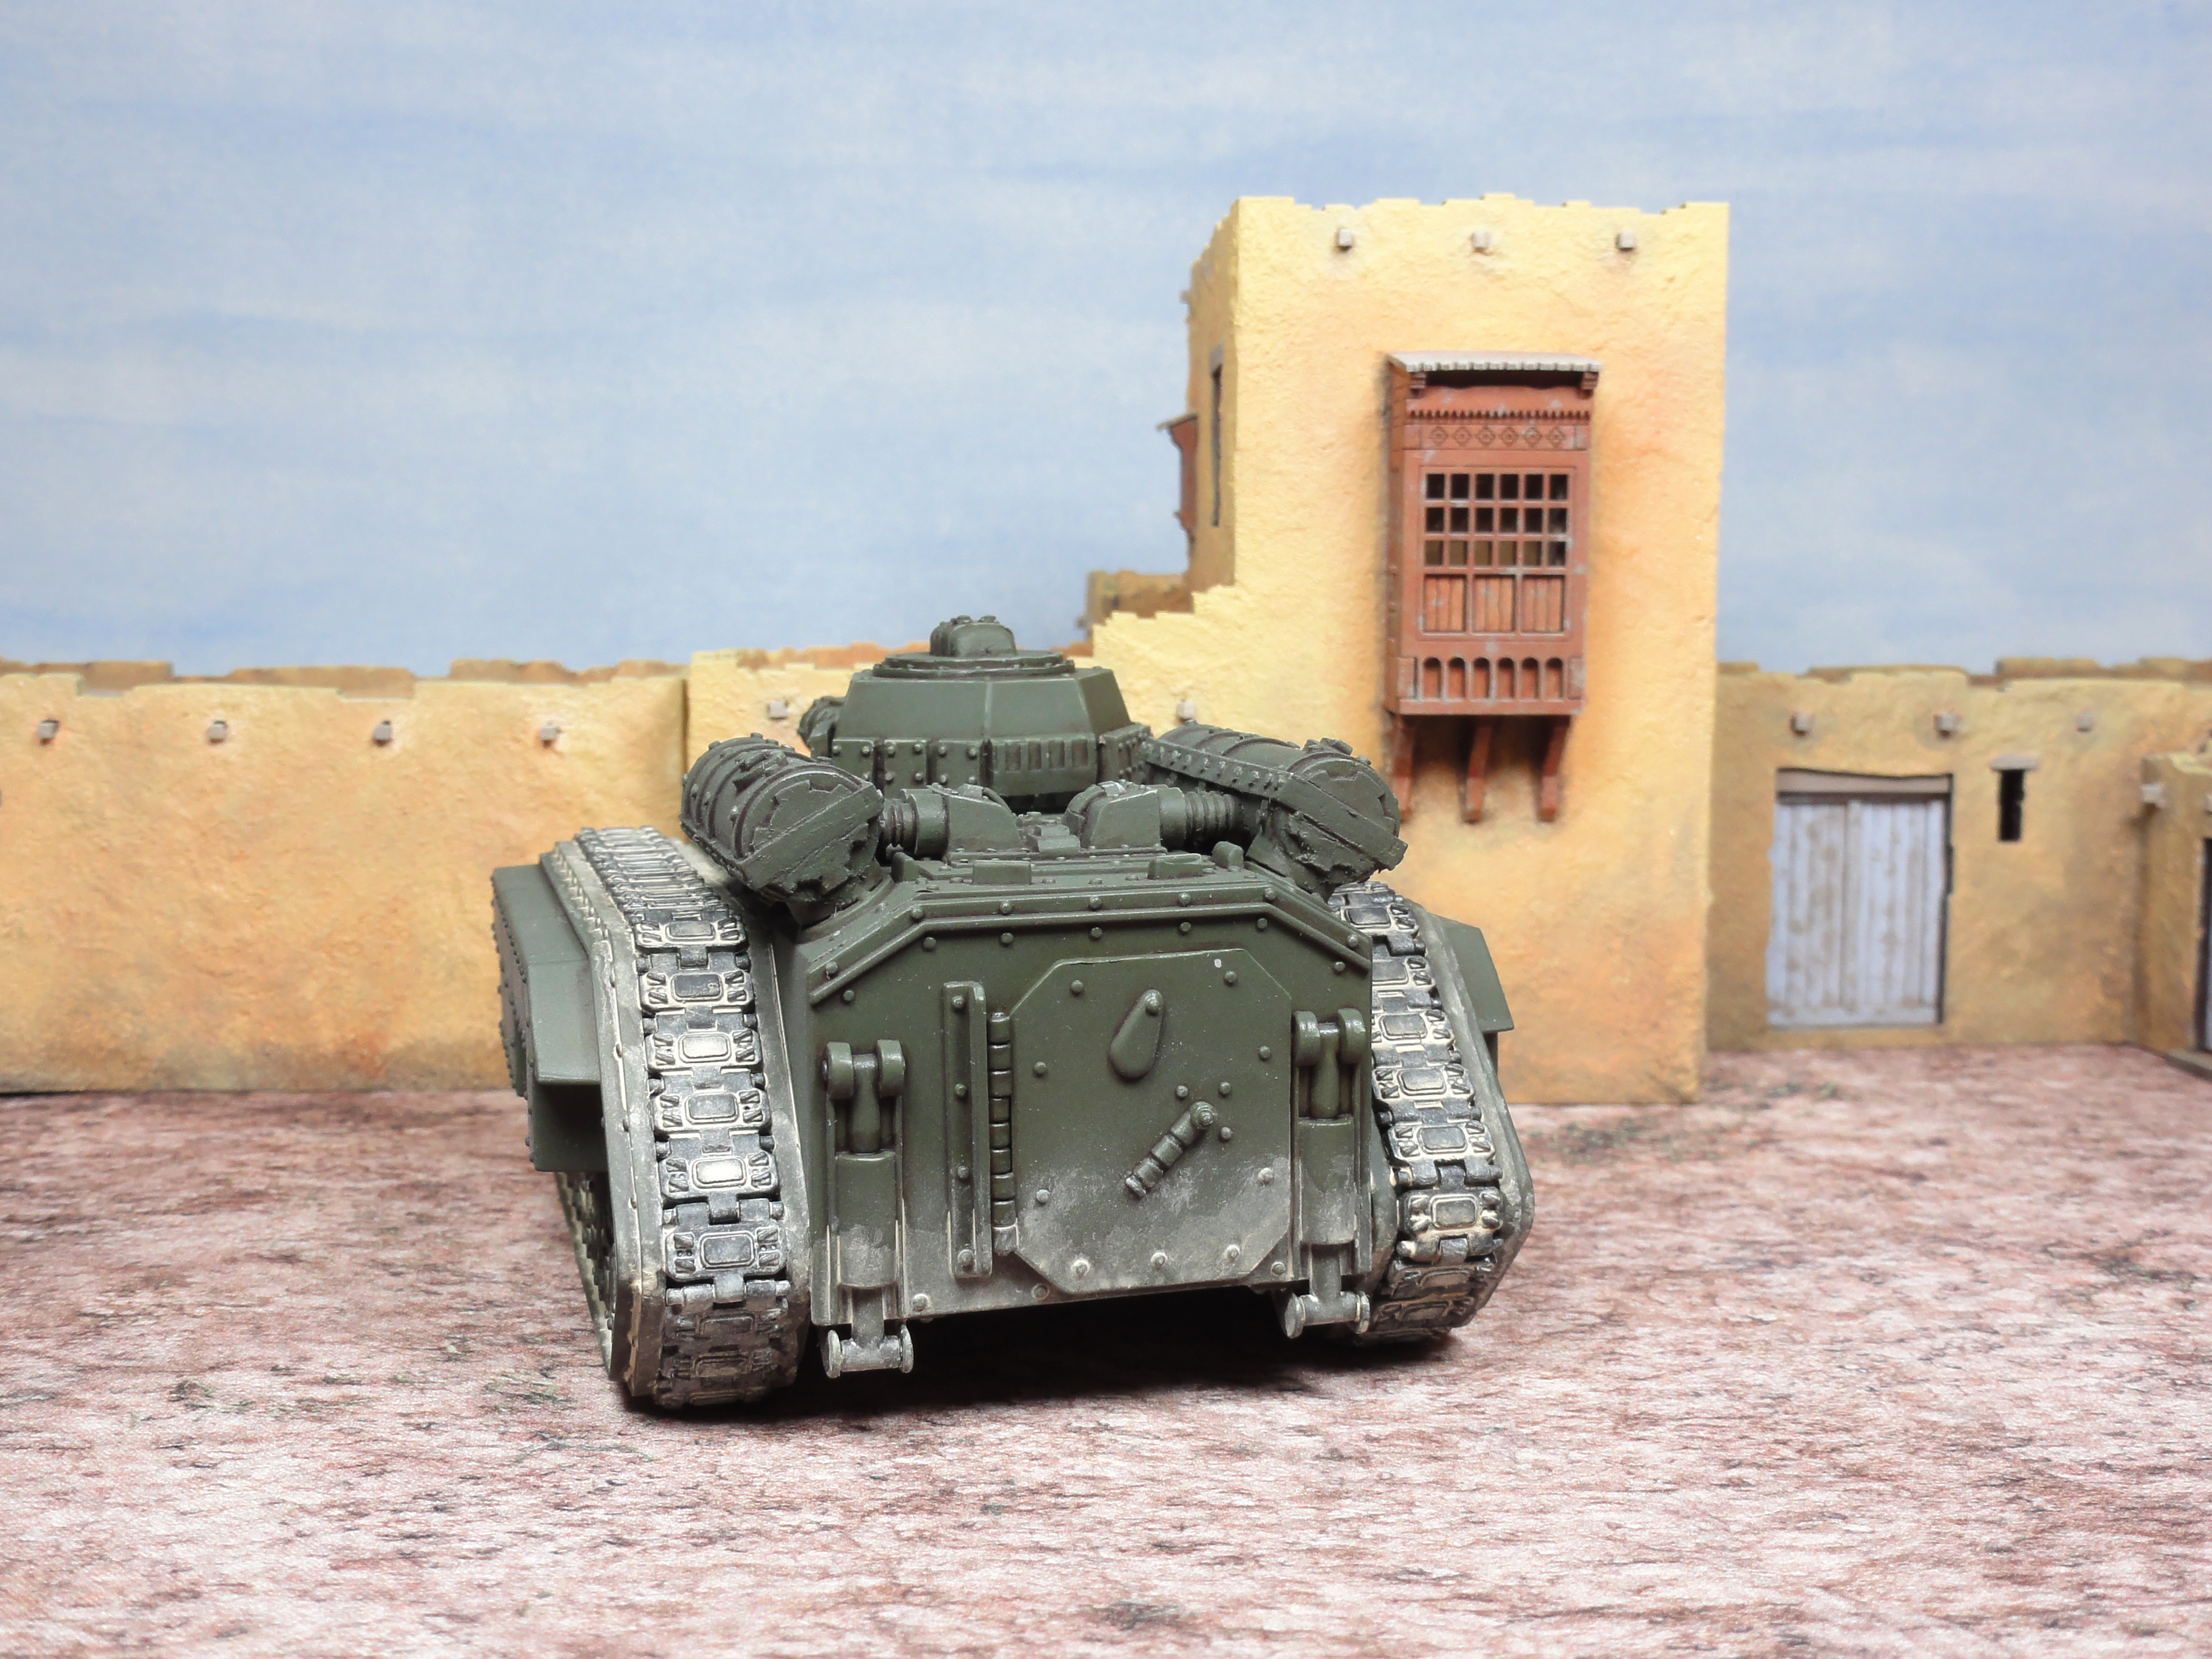
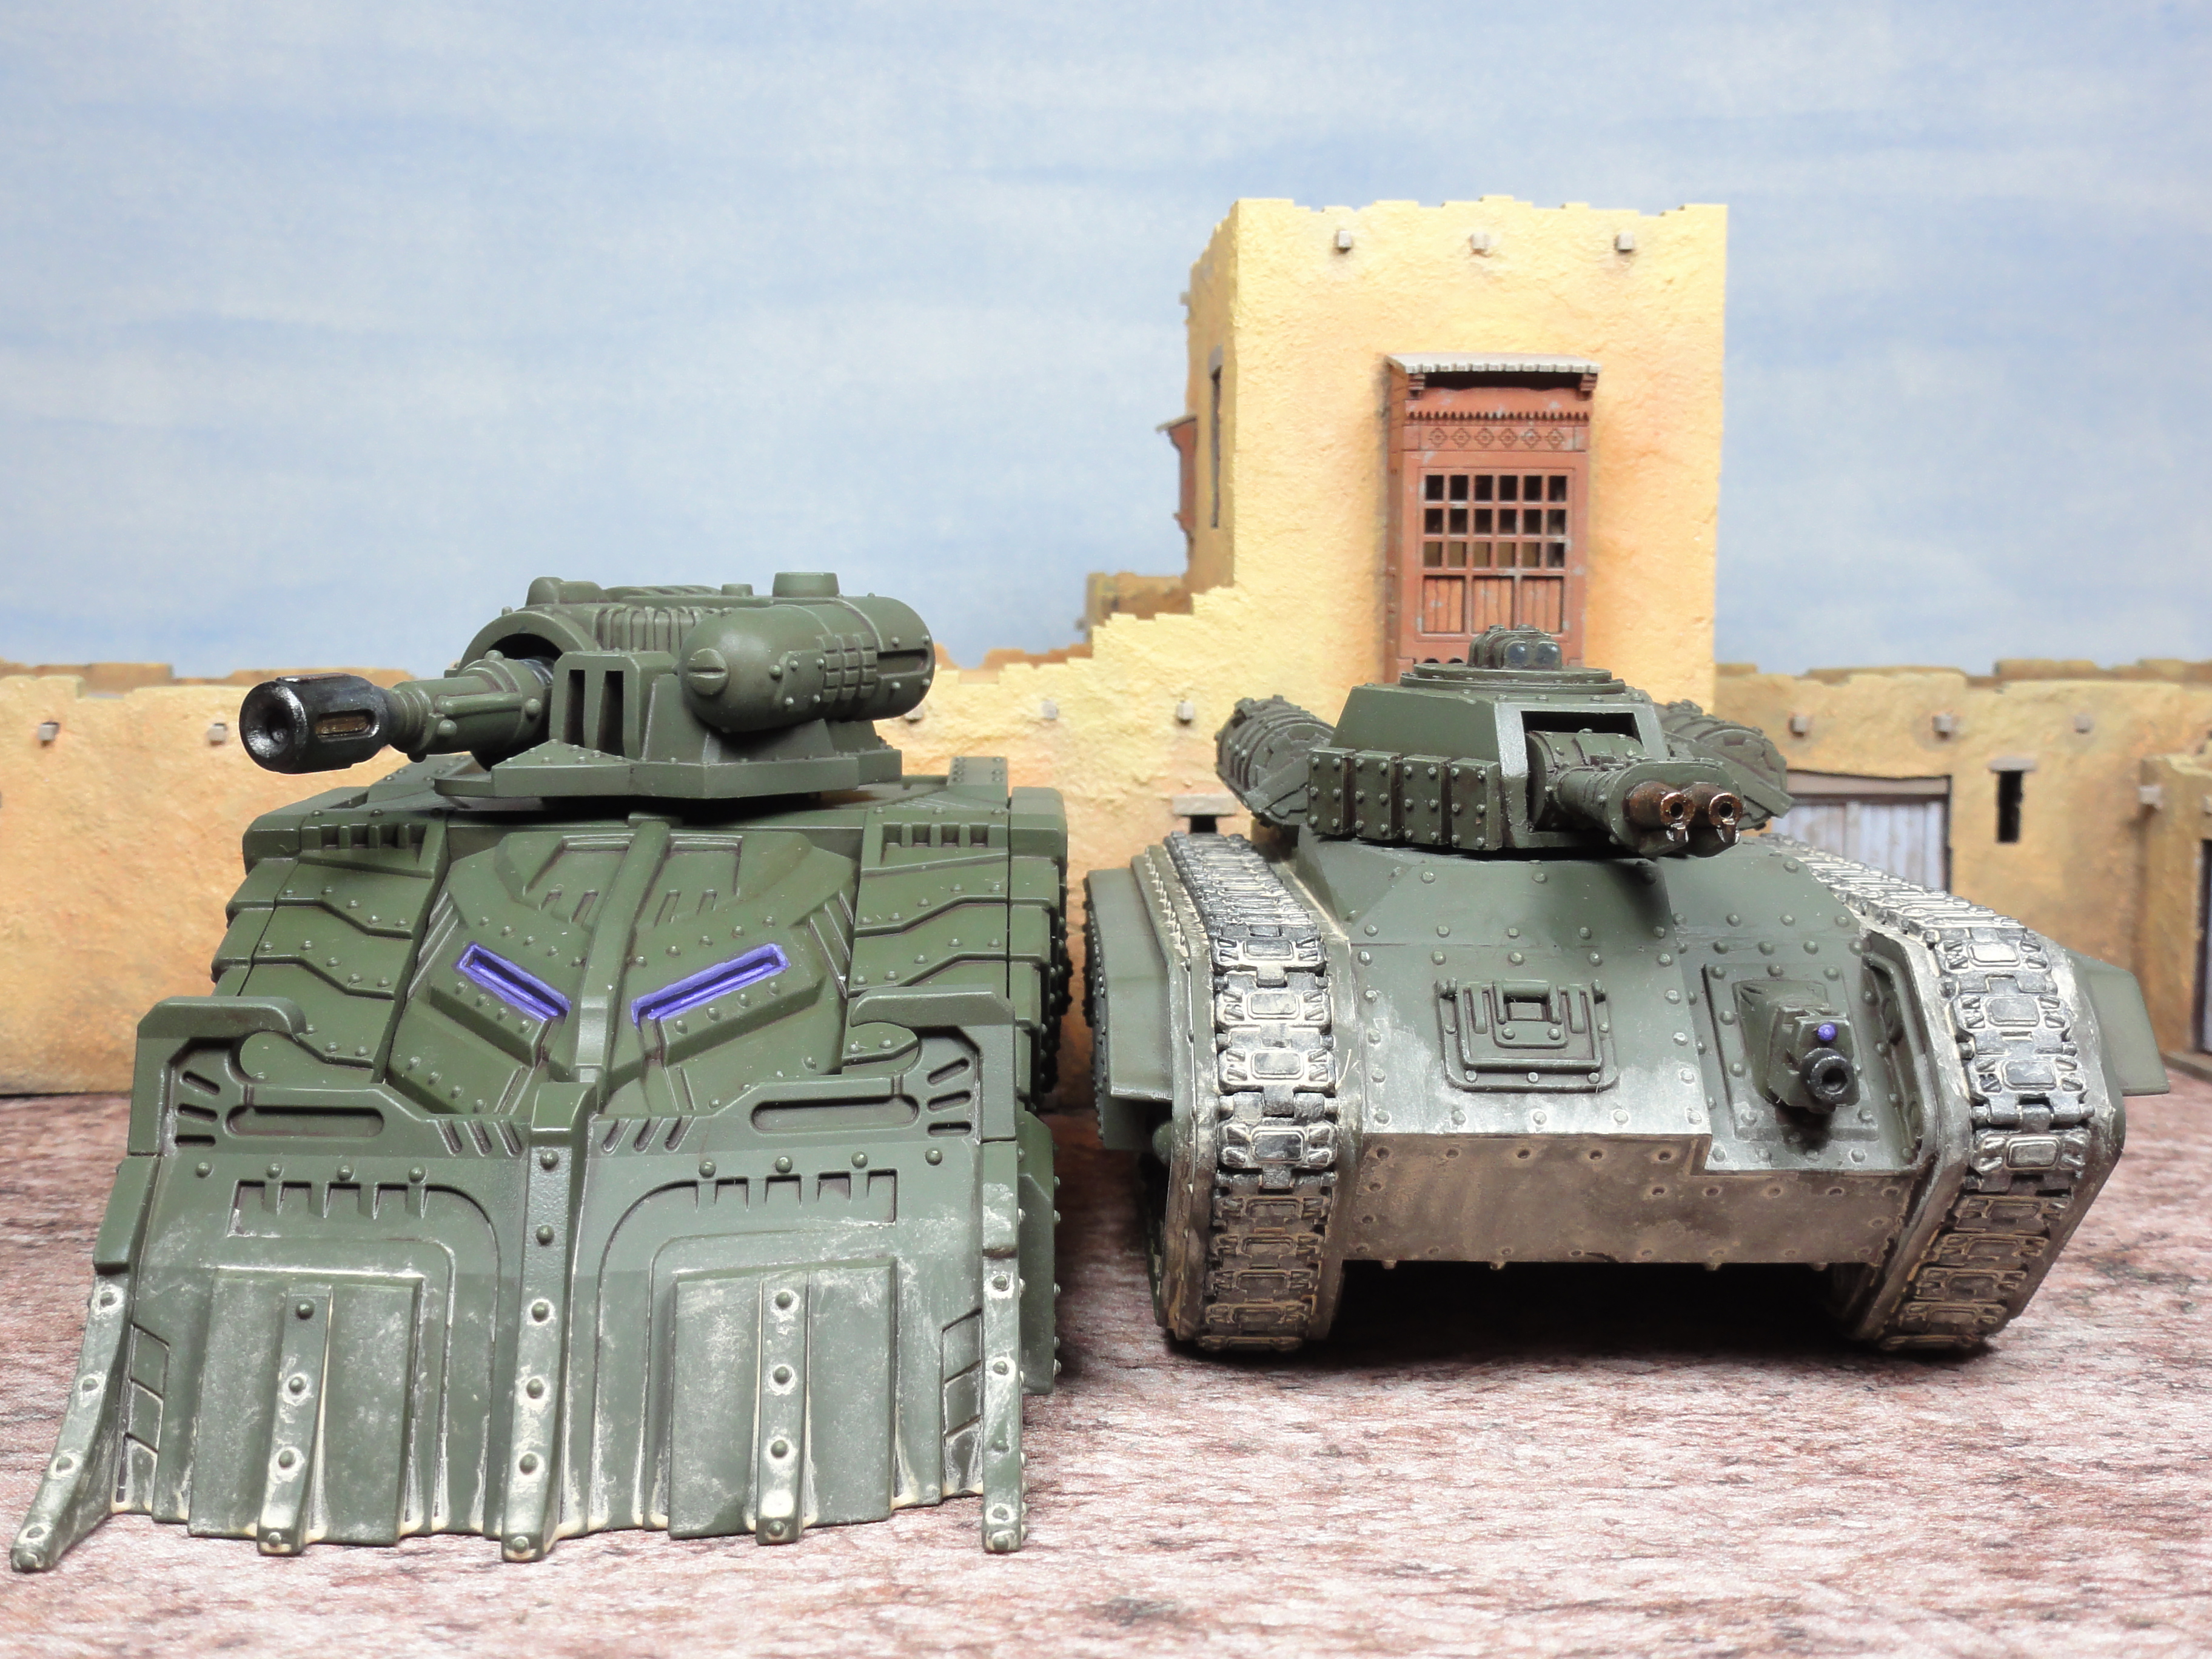 Left: Brandr Urban Assault variant from Mantic's Sturnhammer Battle Tank kit. Right: A 1995 GW Hellhound being used as a Brandr Urban Assault Vehicle
For the Mantic kit I followed Mantics assembly video https://www.youtube.com/watch?v=frioedUc67A
The video shows the same method that Gerry described in an XLBS.
The only things different I did was drill holes in the front forks to bury magnets underneath a layer of overly thick Sprue Goo ( https://www.youtube.com/watch?v=BH8xp0BJwQo ) for the bulldozer blade to attach and I had a thin disc magnet taken from a box of fudge that glued nicely to the underside of the turret ring. The different turrets had a 1mm magnet stuck to the underside. It’s is only really the Heavy Magma Cannon variant that needs this as the others will sit in the turret ring with out magnetization.
I might trim down the internal post on the vehicle as it is quite tight for changing the rear pieces.
 Interchangable pieces
Painting both vehicles
I primed everything with Vallejo Russian Green Surface Primer, then everything got an all round 45 degree spray of Medium Olive (Vallejo Model Air RAL 6003).
Next anything I wanted highlighted got a touch of Pale Sand (Vallejo Model Color) followed by a glaze of Vallejo Glaze Medium mixed with Reflective Green (Vallejo Model Color RAL 6003).
Anything metal was given a coat of black and the road wheels/runners/round things in contact with the tracks were painted Panzer Dark Grey (Vallejo Model Air) around the exterior edges.
I then proceeded with my first attempt at an oil wash. Firstly everything was gloss varnished. I then mixed some Burnt Umber Oil Paint (Winsor and Newton Winton Oil Colour) with some Artists’ White Spirit and a drop of Liquin. This wash was applied to everything, left an hour, then removed with eye shadow pads and makeup sponges dampened with the same white spirit from areas I didn’t want. In future less oil paint to white spirit would be better.
Oil washes Gerry: https://www.beastsofwar.com/painting/oil-washes-basics/
Vince: https://www.youtube.com/watch?v=oQmhcSRsiPo
Everything was Matt Varnished after the oil wash was dry.
The metals were given a coat of Gun Metal Grey (Vallejo Model Color) mixed with the tiniest amount of Panzer Dark Grey. Anything bronze then got a coat of Bright Bronze (Vallejo Game Color) mixed with the tiniest amount of Red Leather (Vallejo Model Color). All the metallics were then washed with Army Painter Strong Tone. The Bronze was then highlighted with the Bright Bronze Red Leather mix with a touch of Silver (Vallejo Game Color) added.
Then came my first use of weathering pigments. I decided that I would mix Light Yellow Oxcide (Vallejo Pigments) with Vallejo Airbrush thinner then apply to the track and lower areas. Then tried to correct anything with thinner. Like the oil wash less pigment to thinner in future.
Last any purple glow was applied in the same way as described in previous posts and a mixture of Panzer Dark Grey and white were applied to any possible rubber type bits on the guns and used for any possible periscope lenses.
Thoughts on:-
Oil Washes and pigment powders: I’ve ended up half way between the two. I could have not used the pigment powder and left the vehicles with a factory look or not used an oil wash but a low concentration wash of pigment powder and airbrush thinner to give an overall dust effect.
Photography: I’ve also managed to take pictures that don’t show the shading properly. A better angle from slightly above might help.
Finished result: I’m happy. They’re gaming pieces and I can always go back to them.
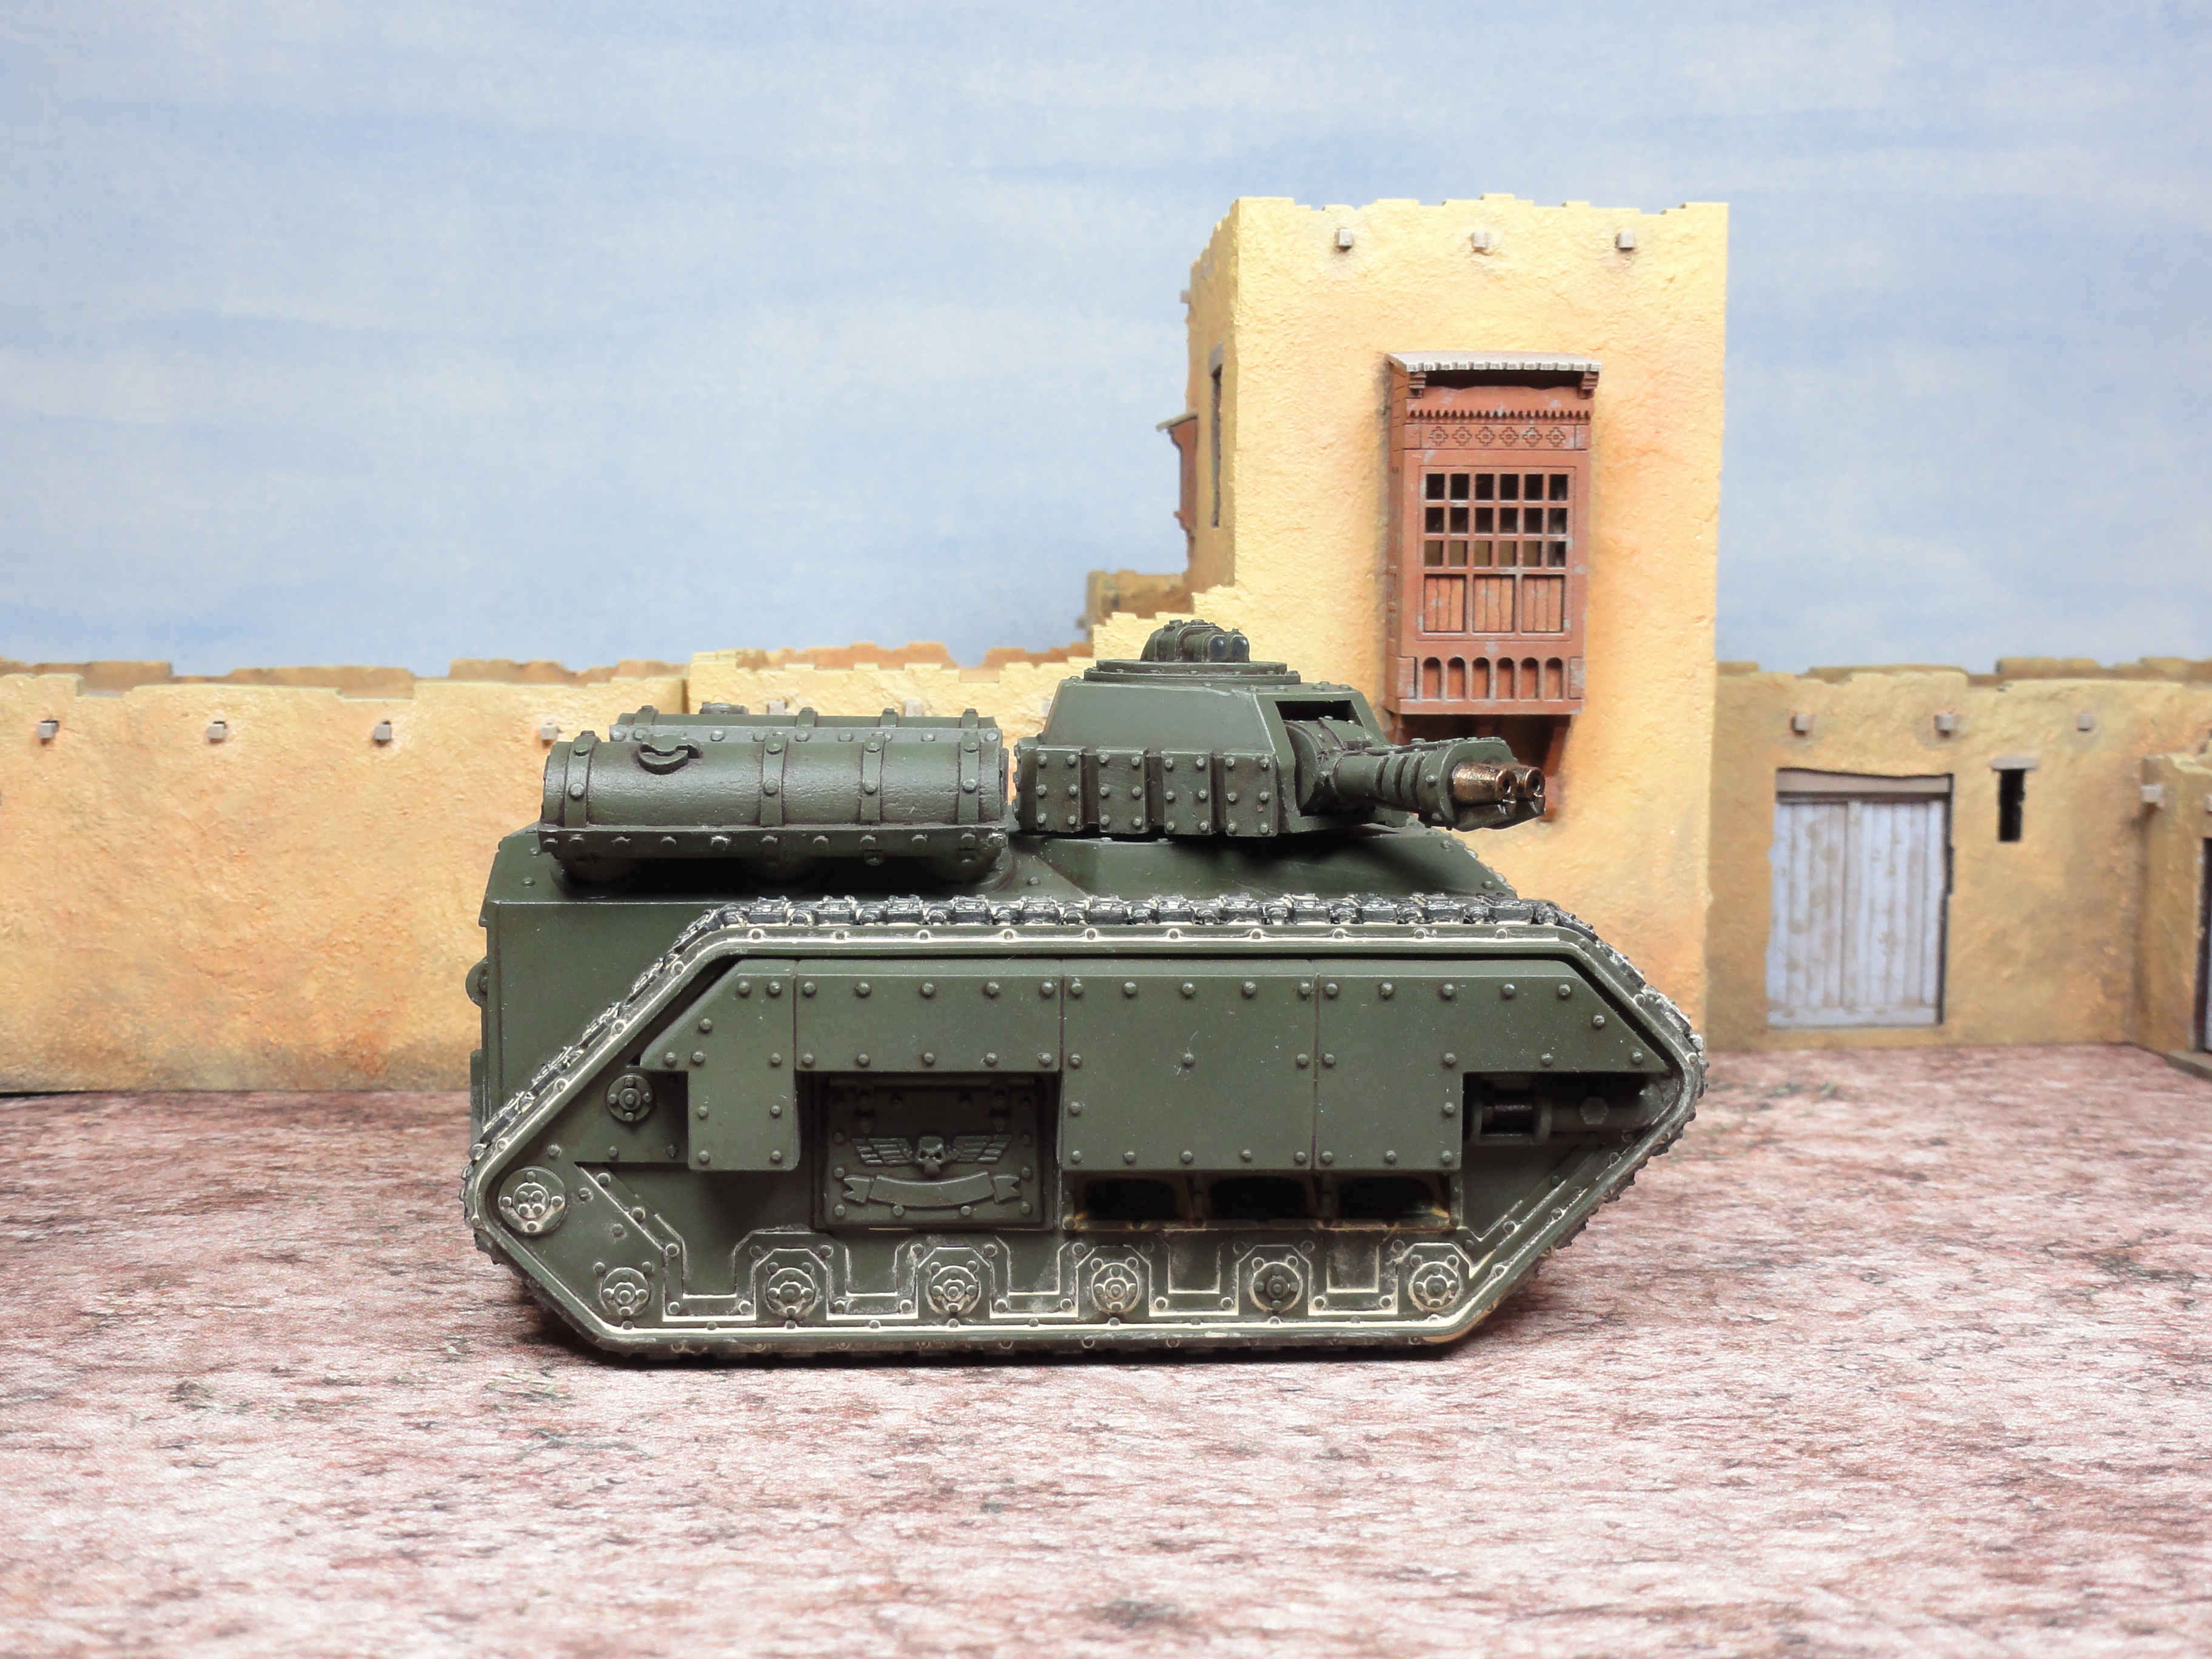
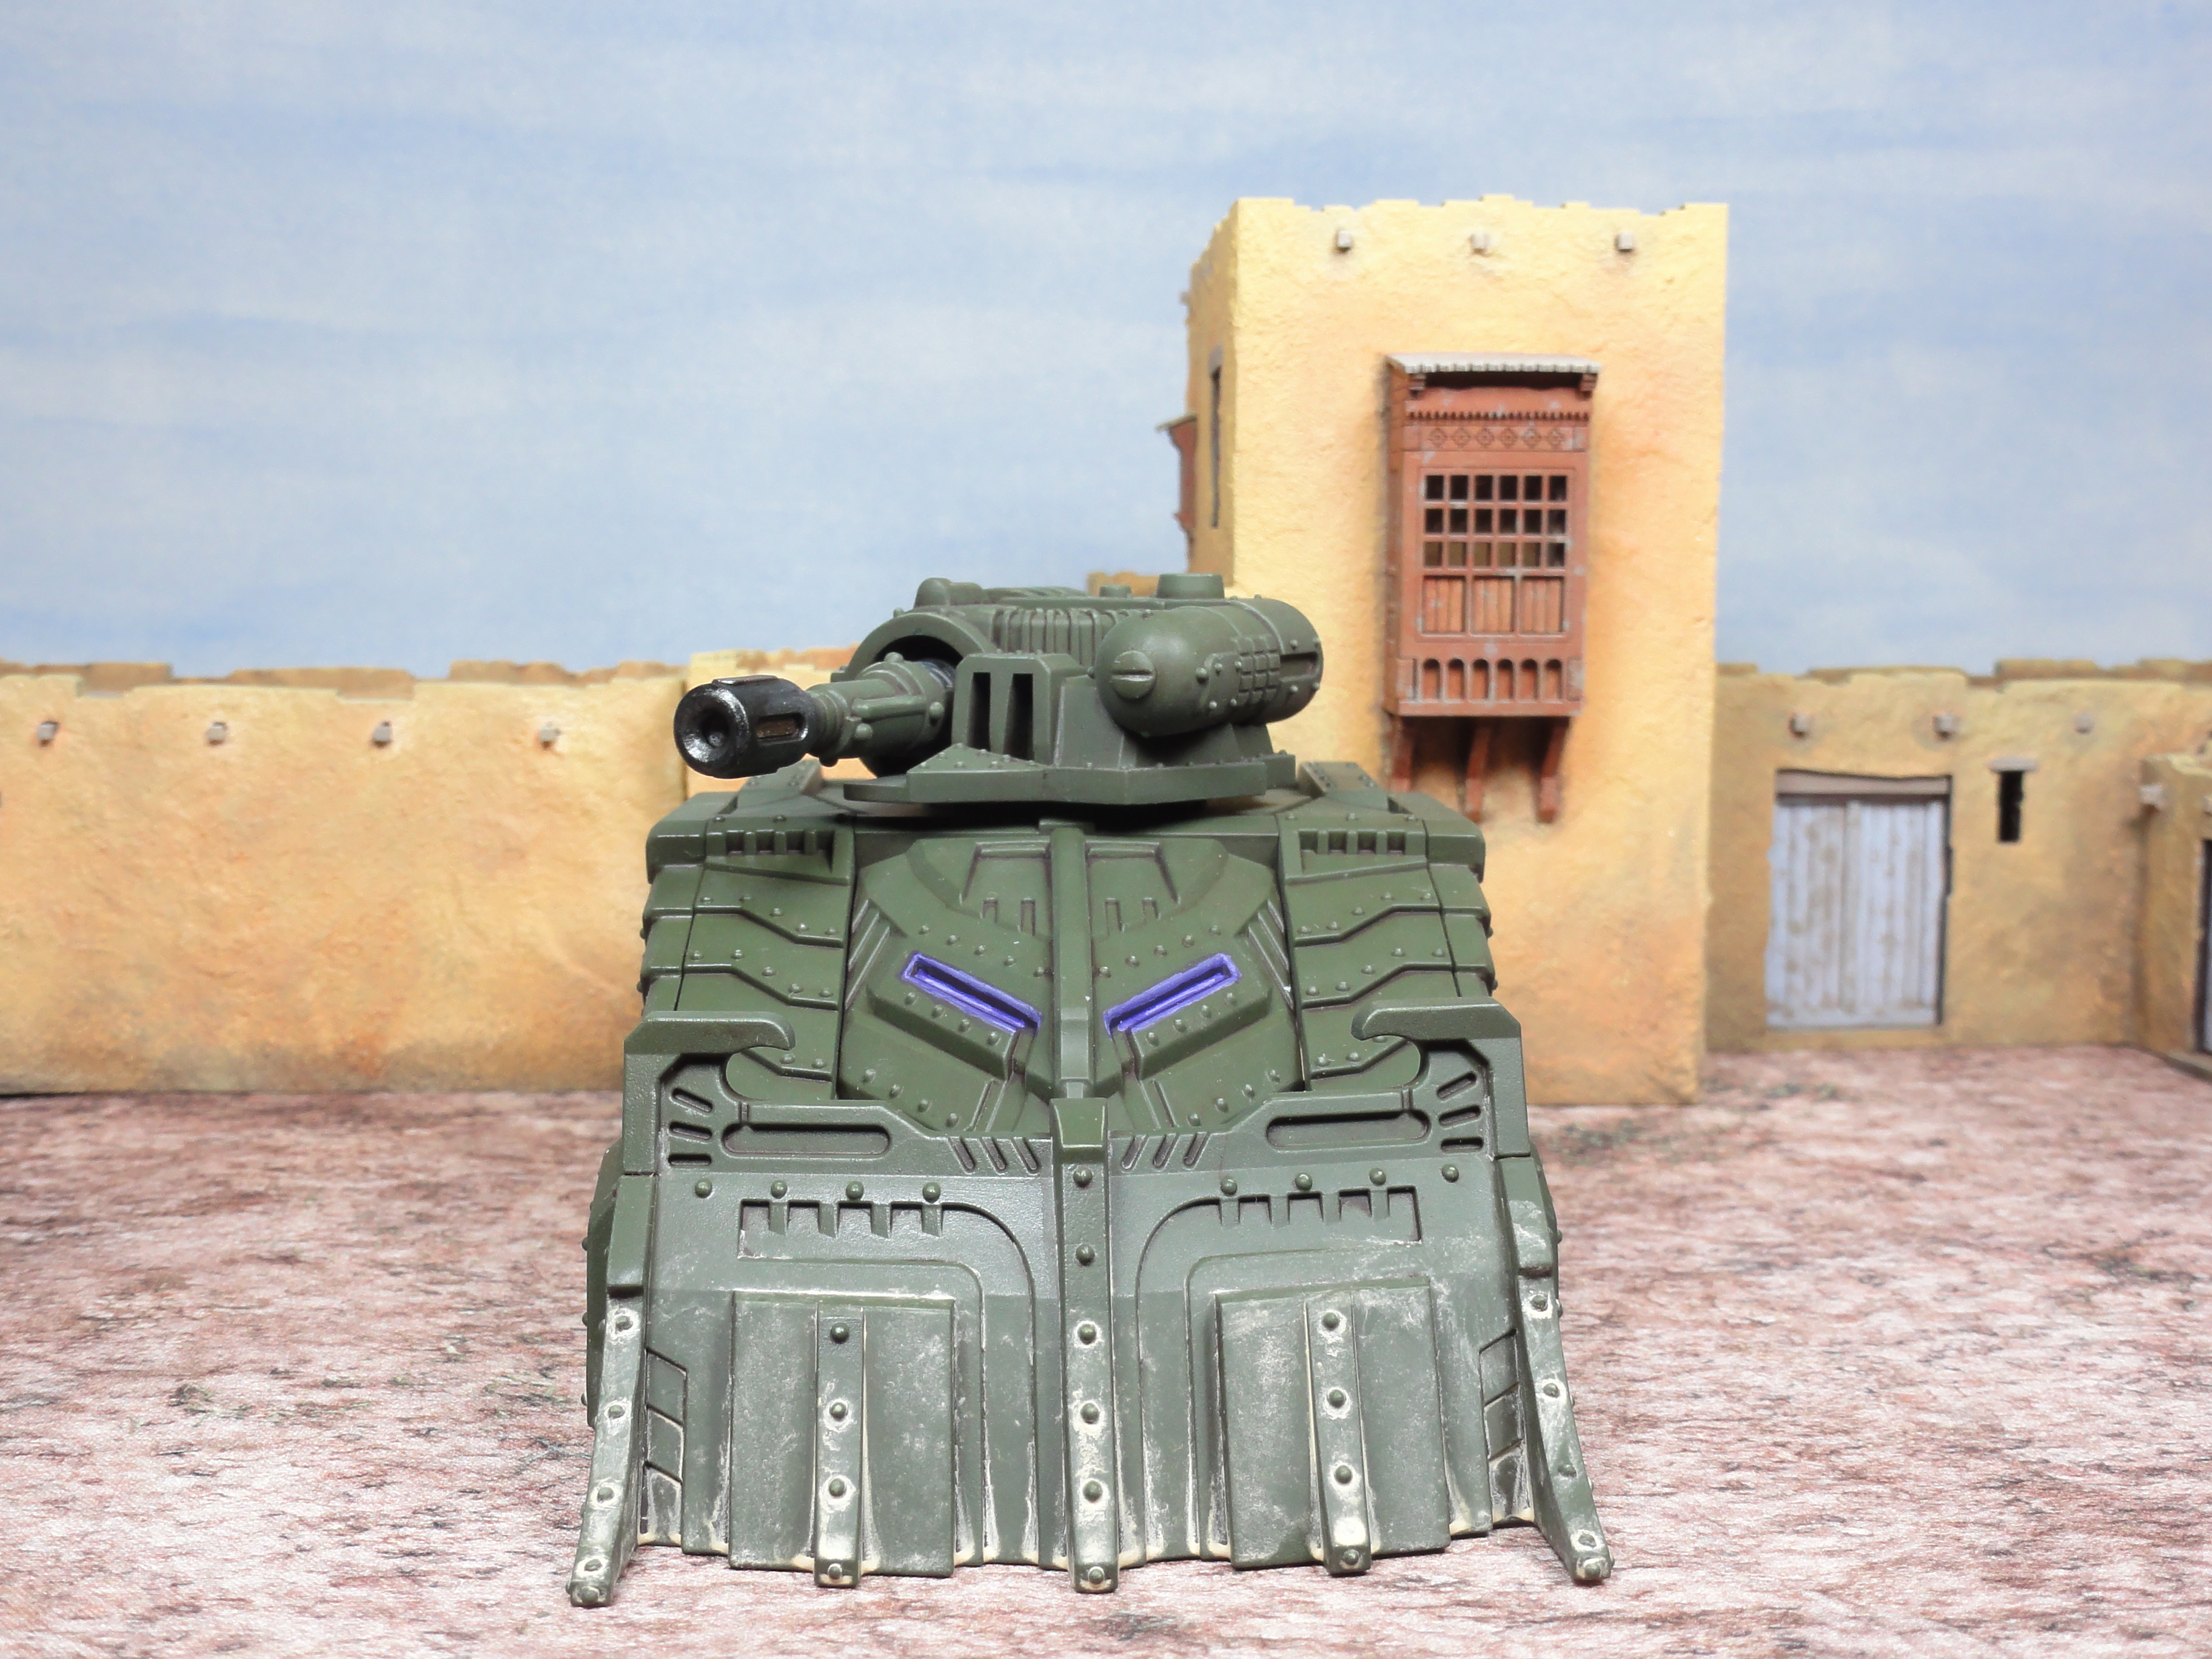 Brandr Urban Assault Vehicle
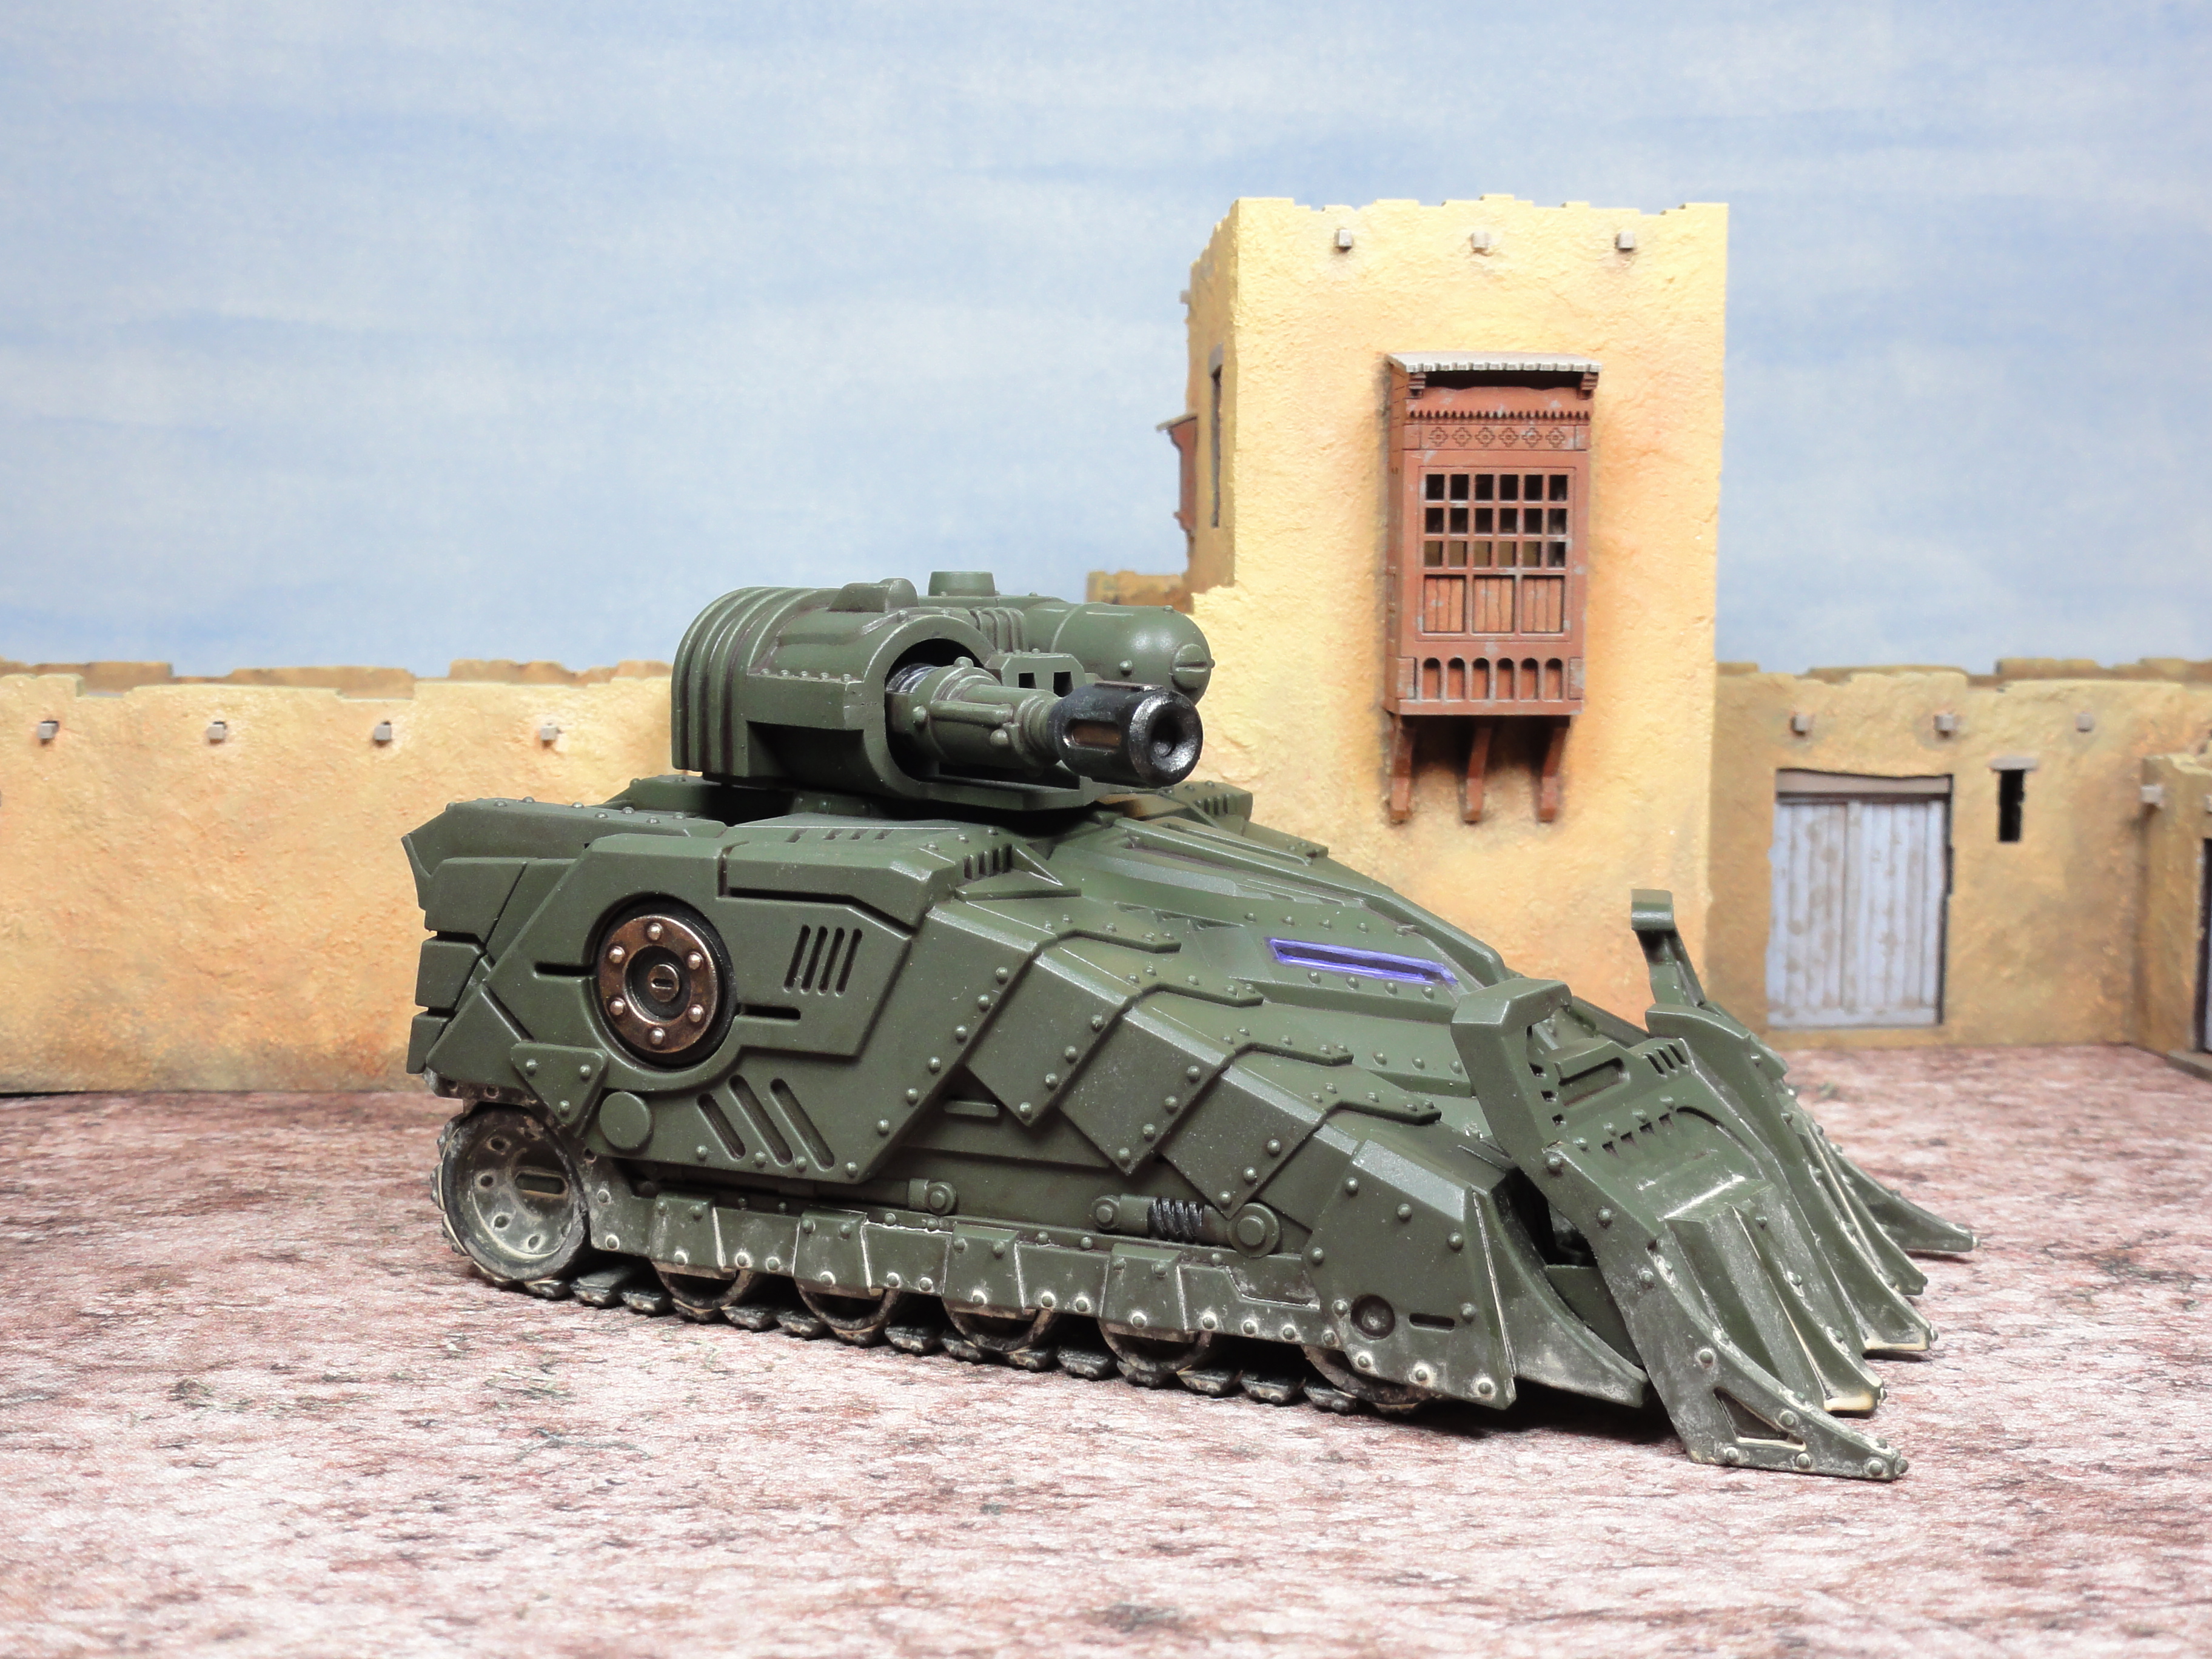

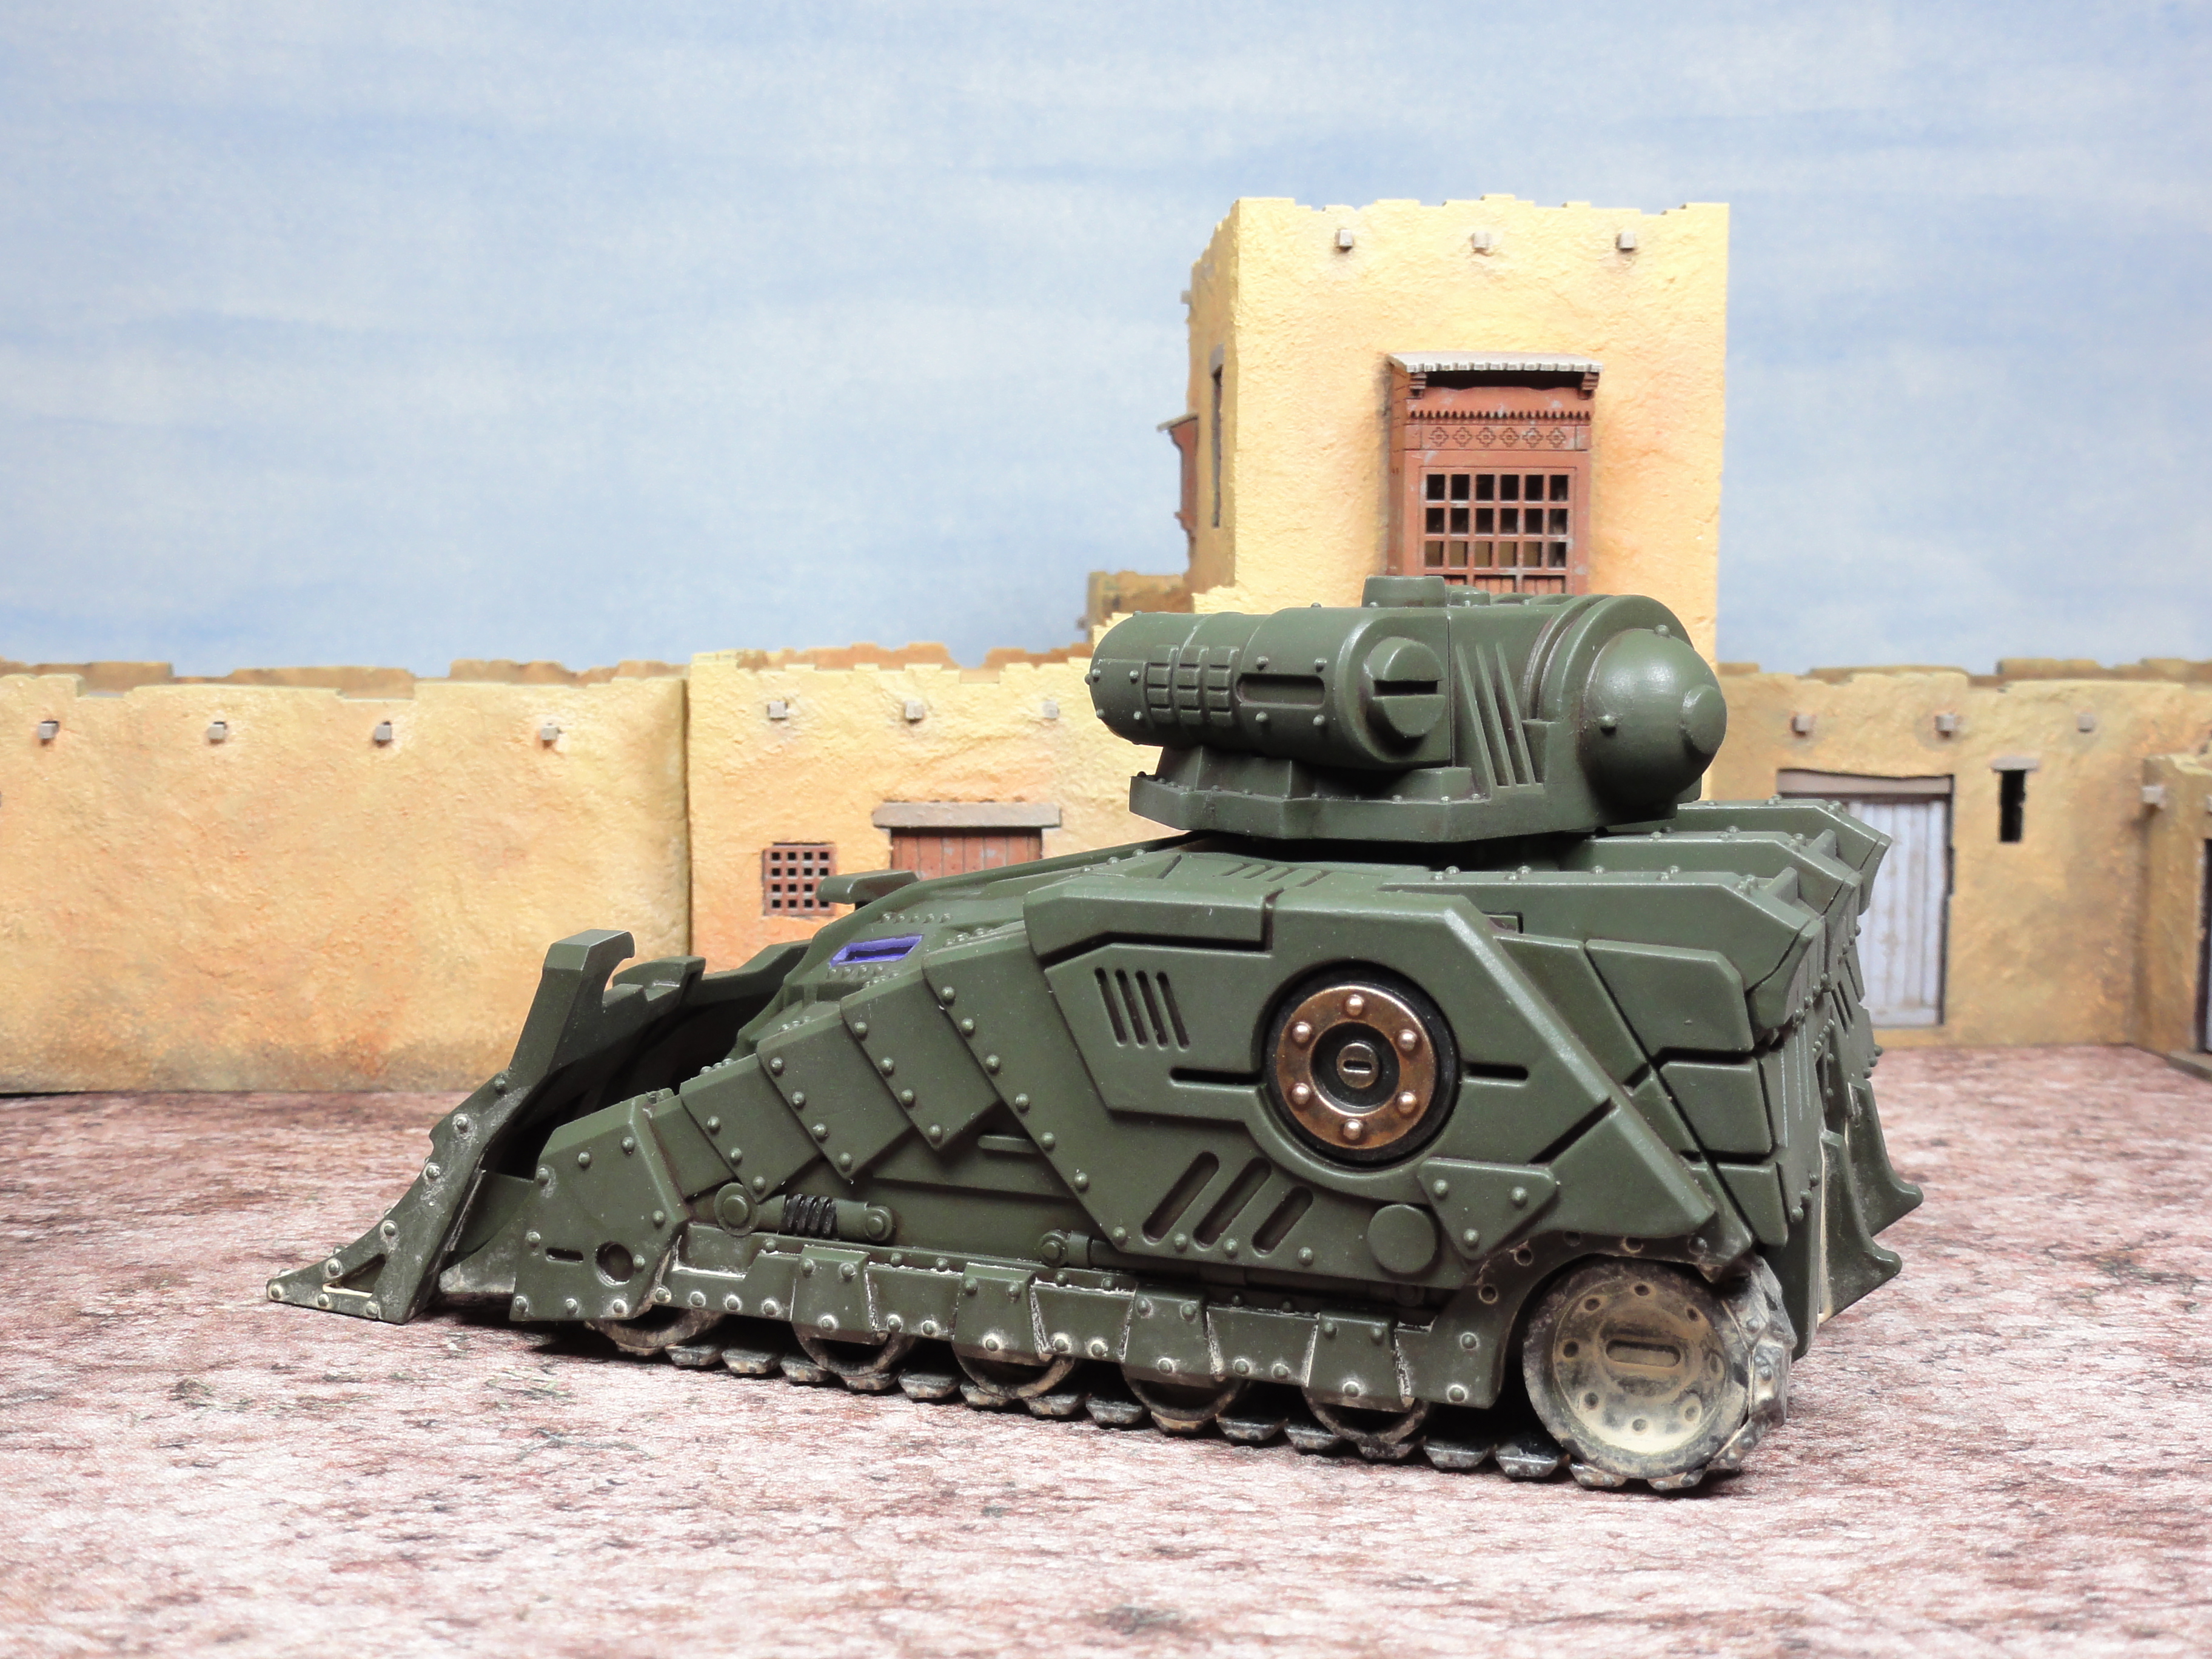
Below are two images each for the Sturnhammer Battle Tank Heavy Magma Cannon variant, Sturnhammer Battle Tank Quad Heavy Hailstorm Cannon variant and the Drakkar APC.
Below a 1995 GW Hellhound with one set of tracks glued the wrong way round by an younger me and never painted until now. The Hellhound was originally meant for my Blood Axes.
And the beat goes on

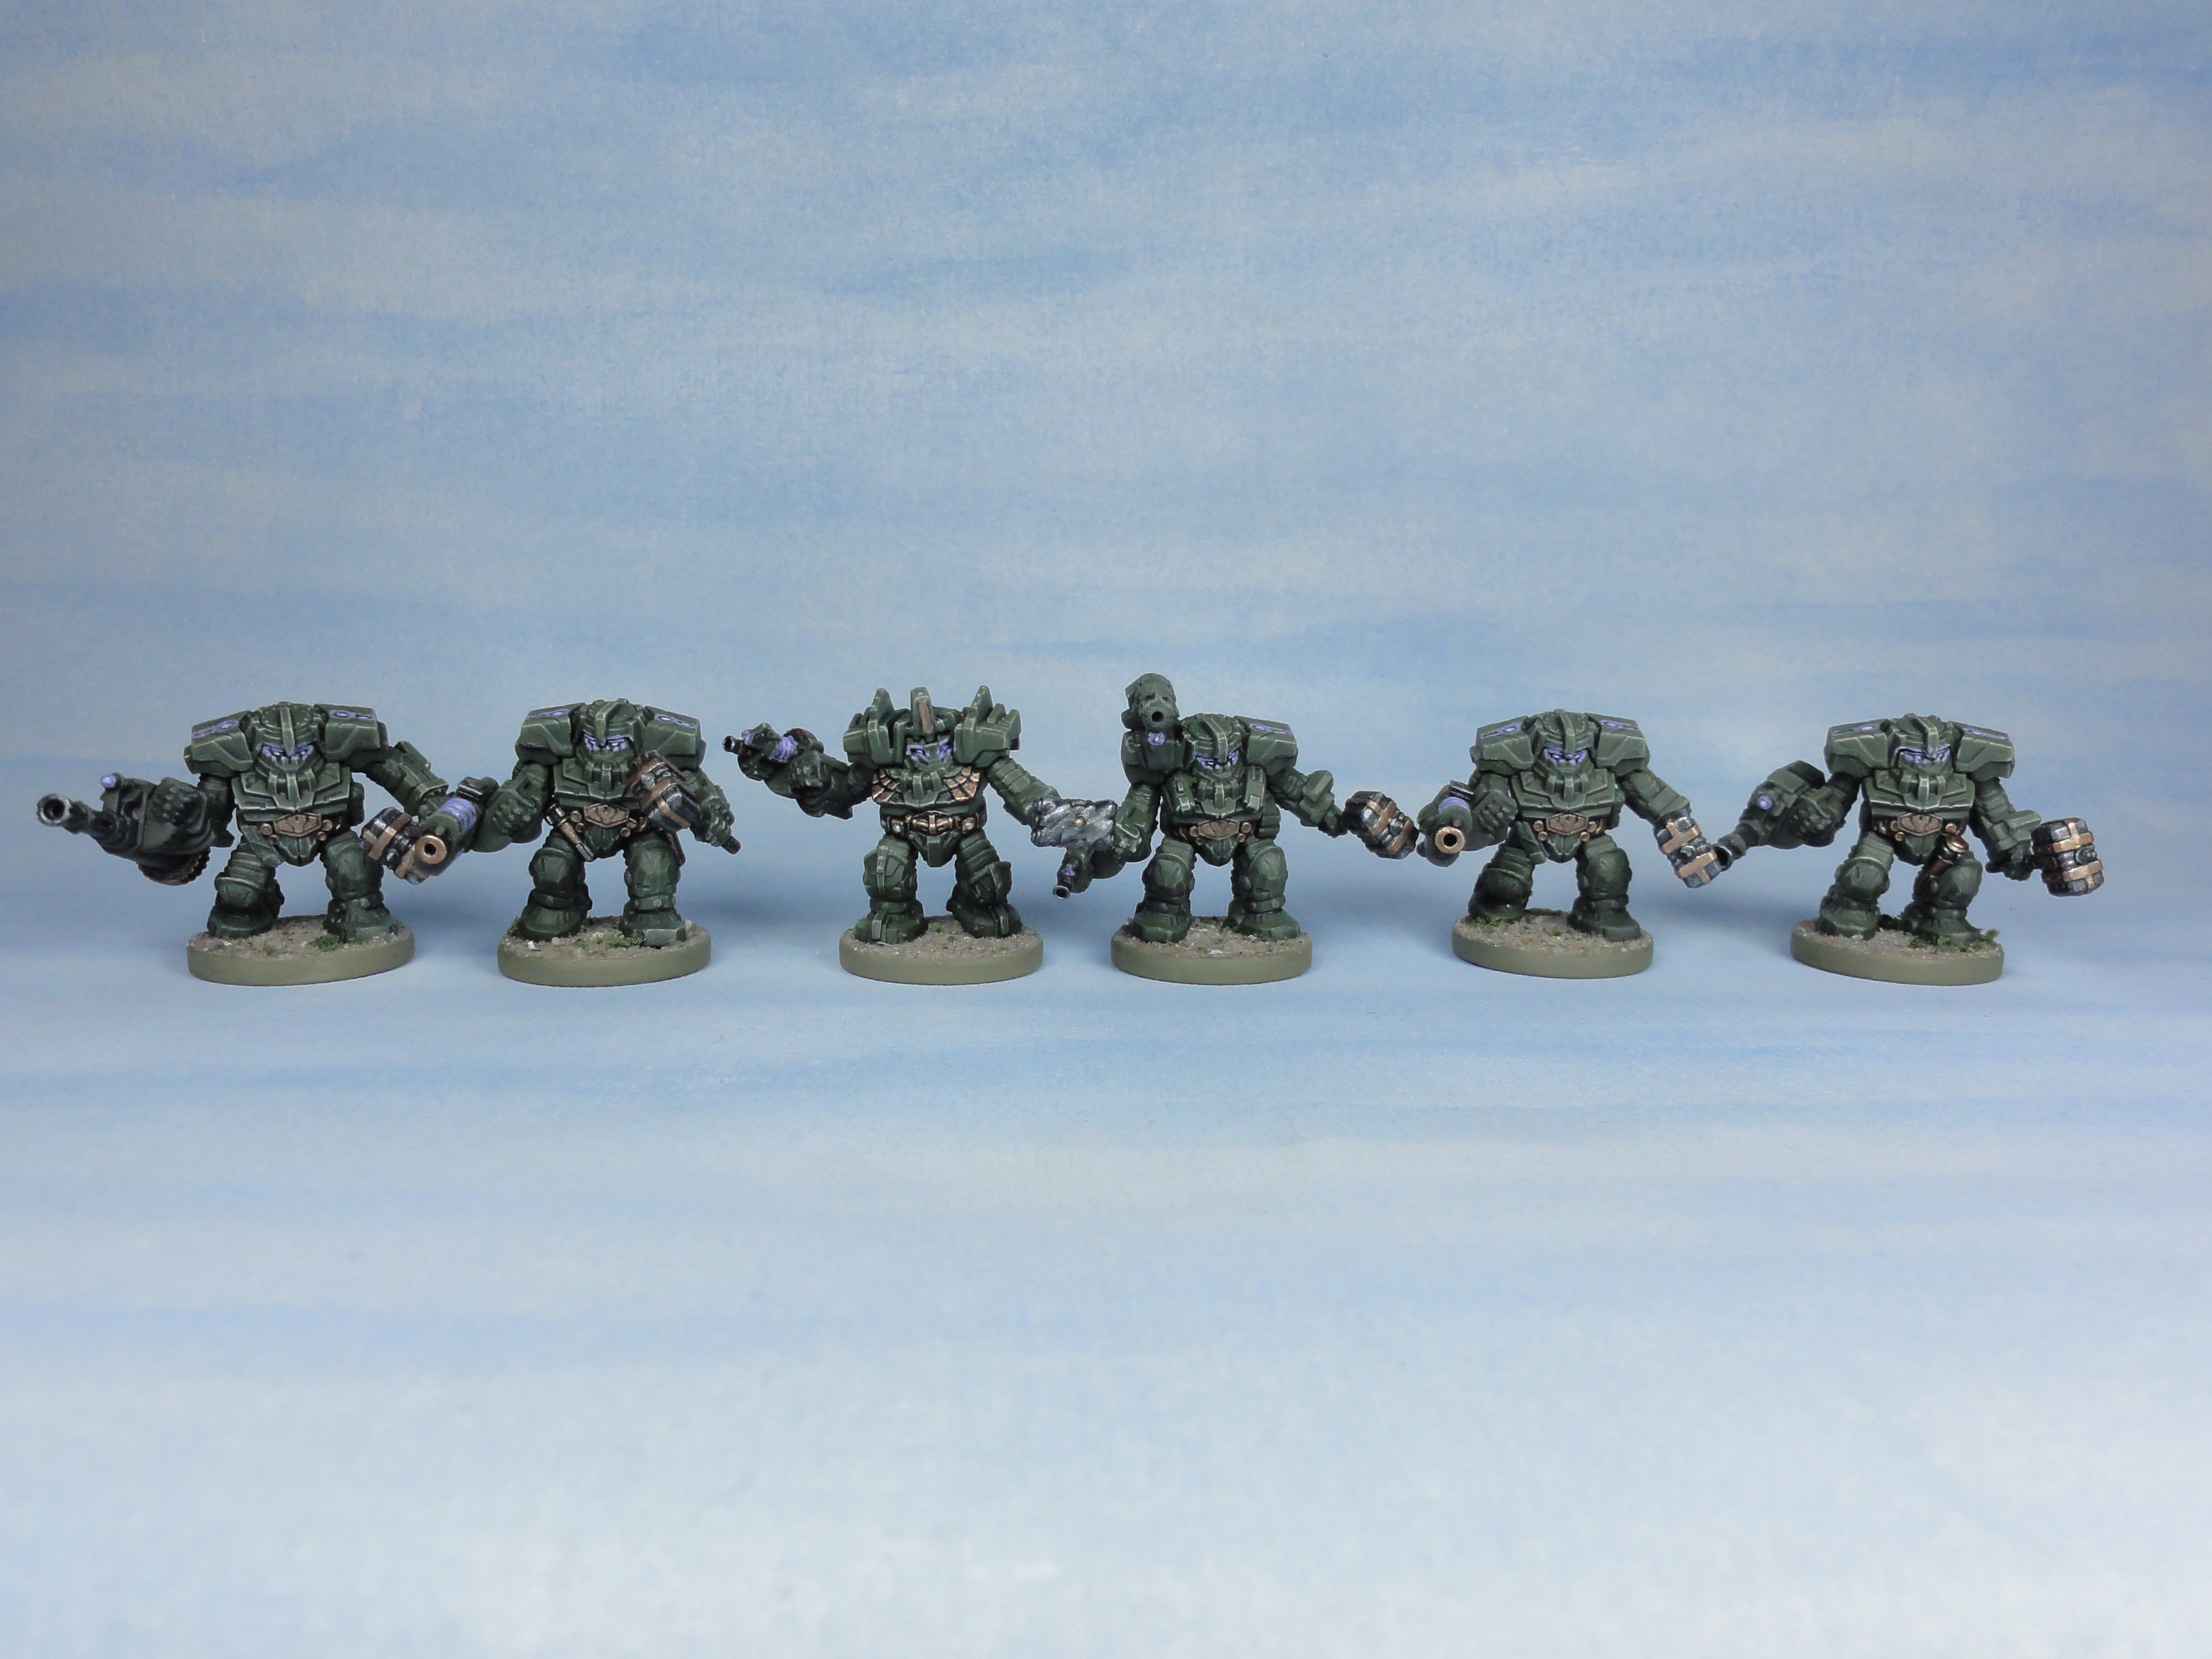
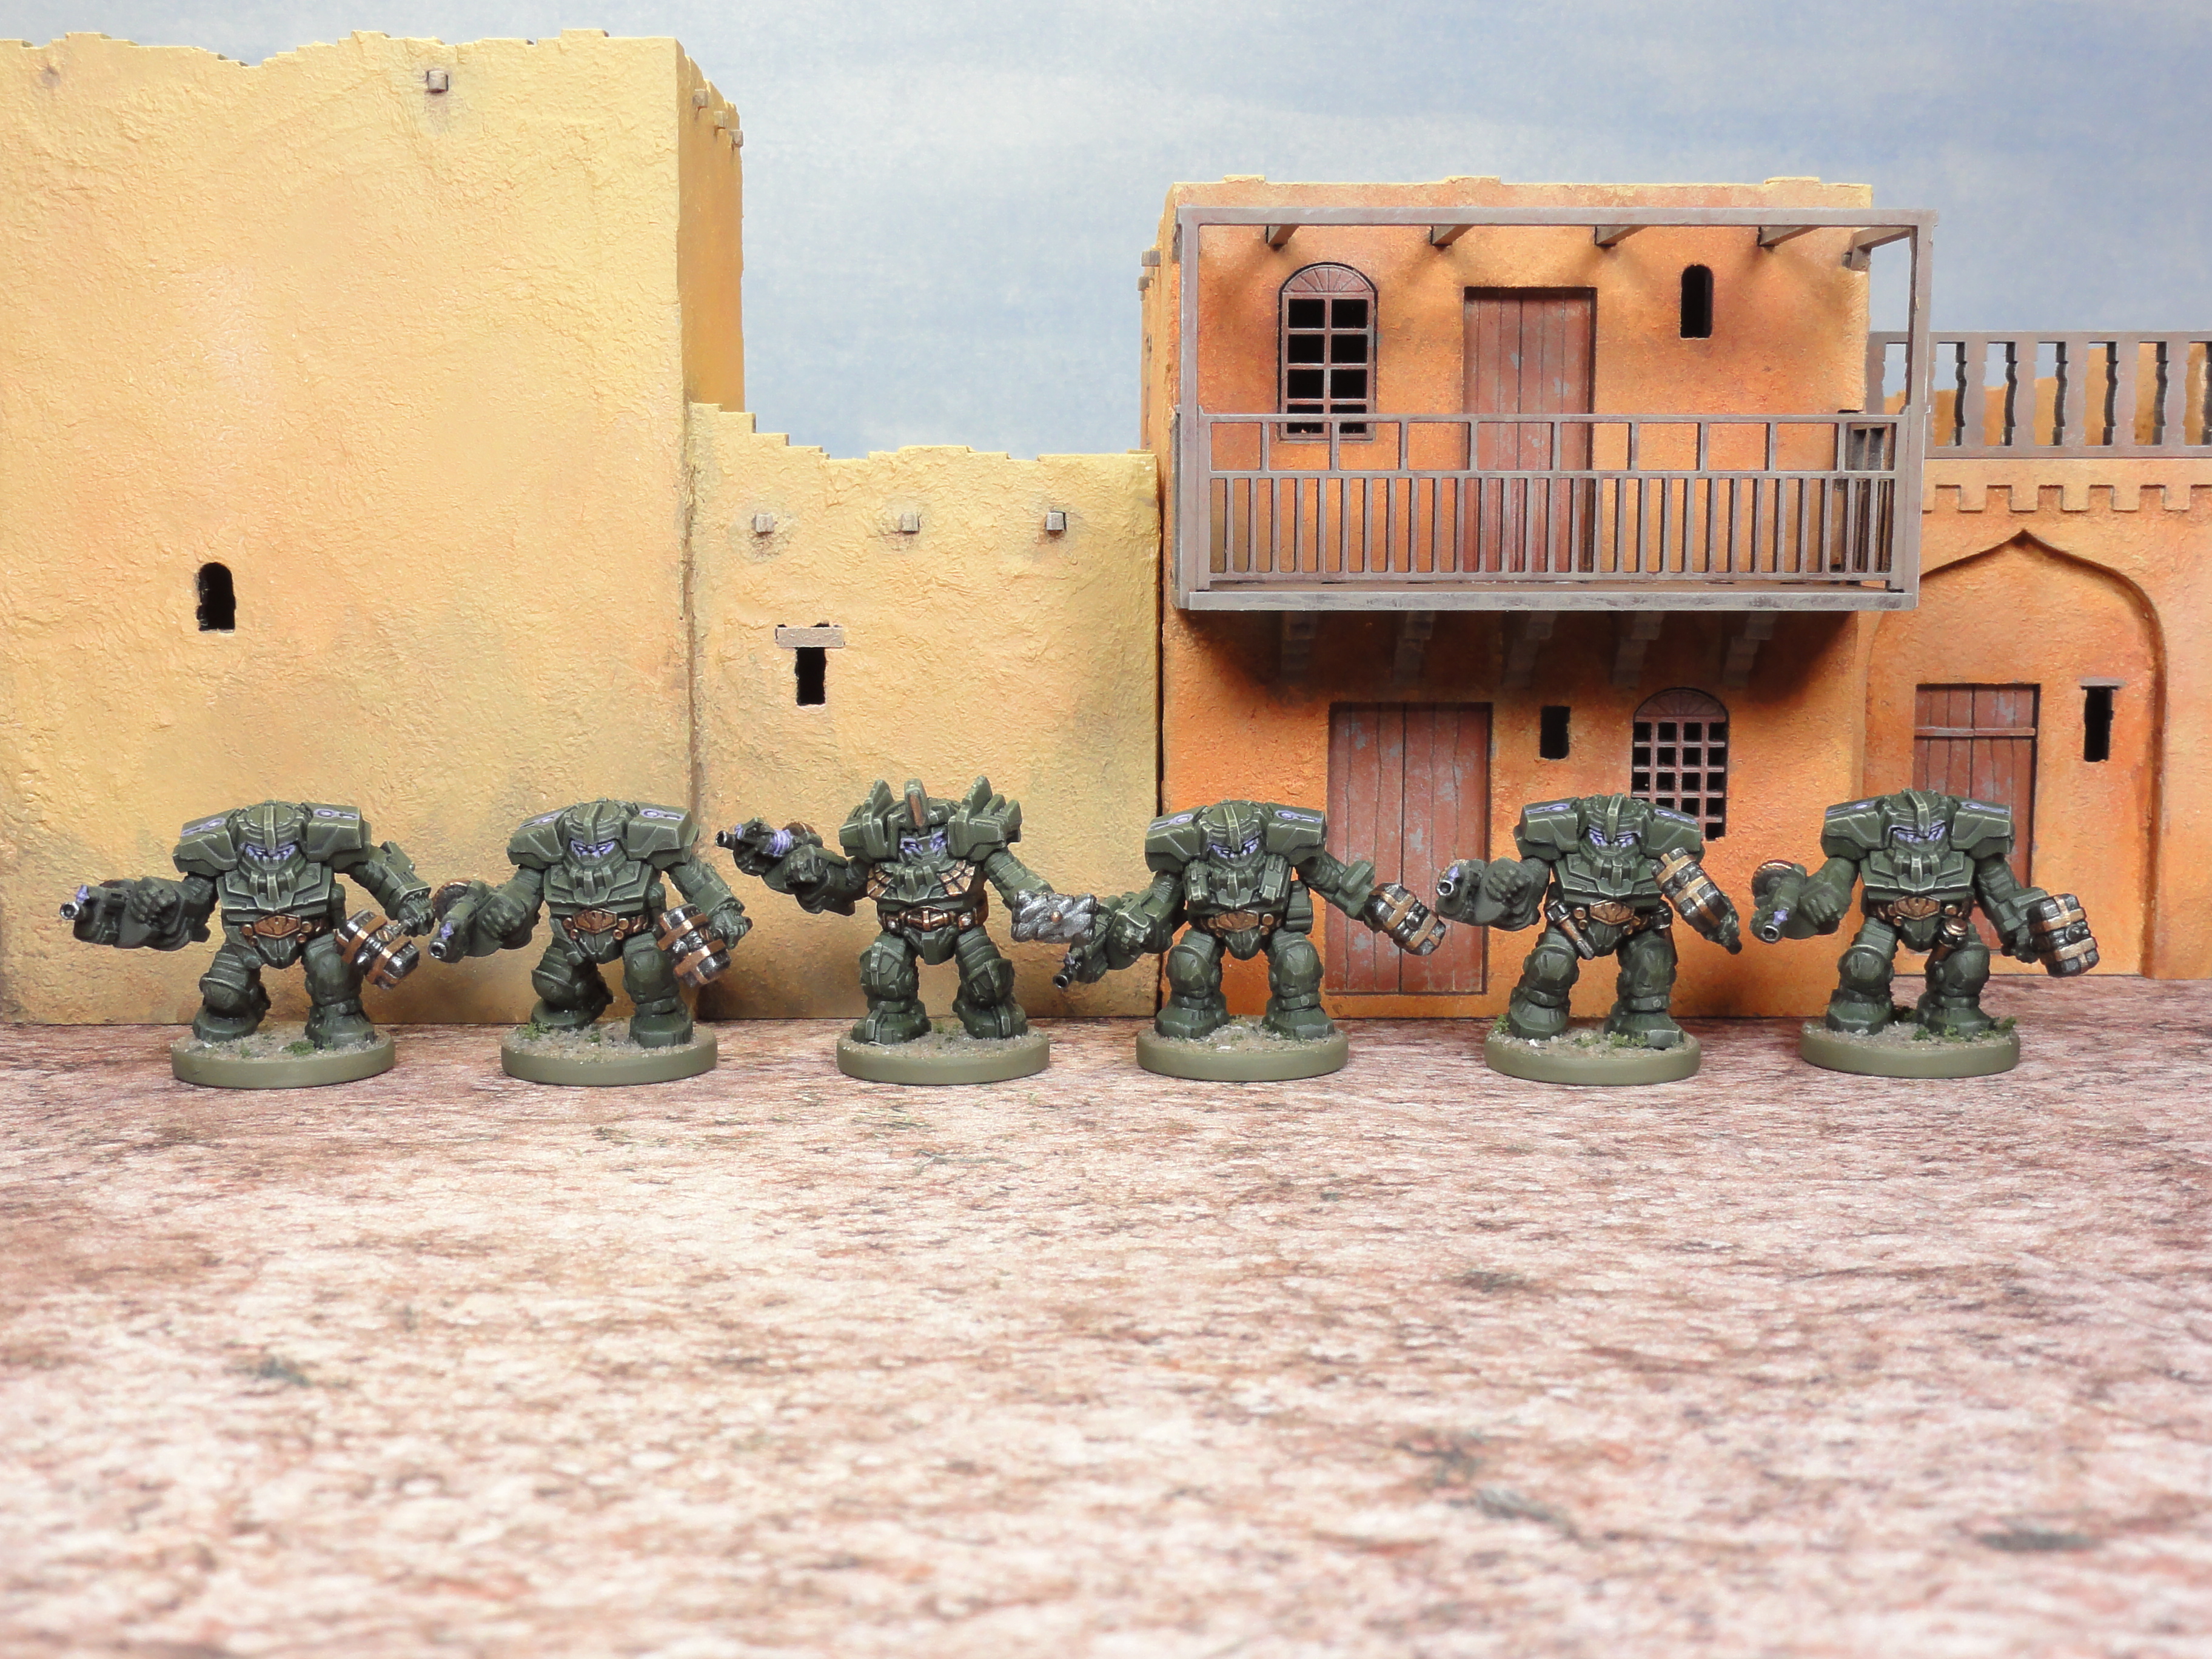
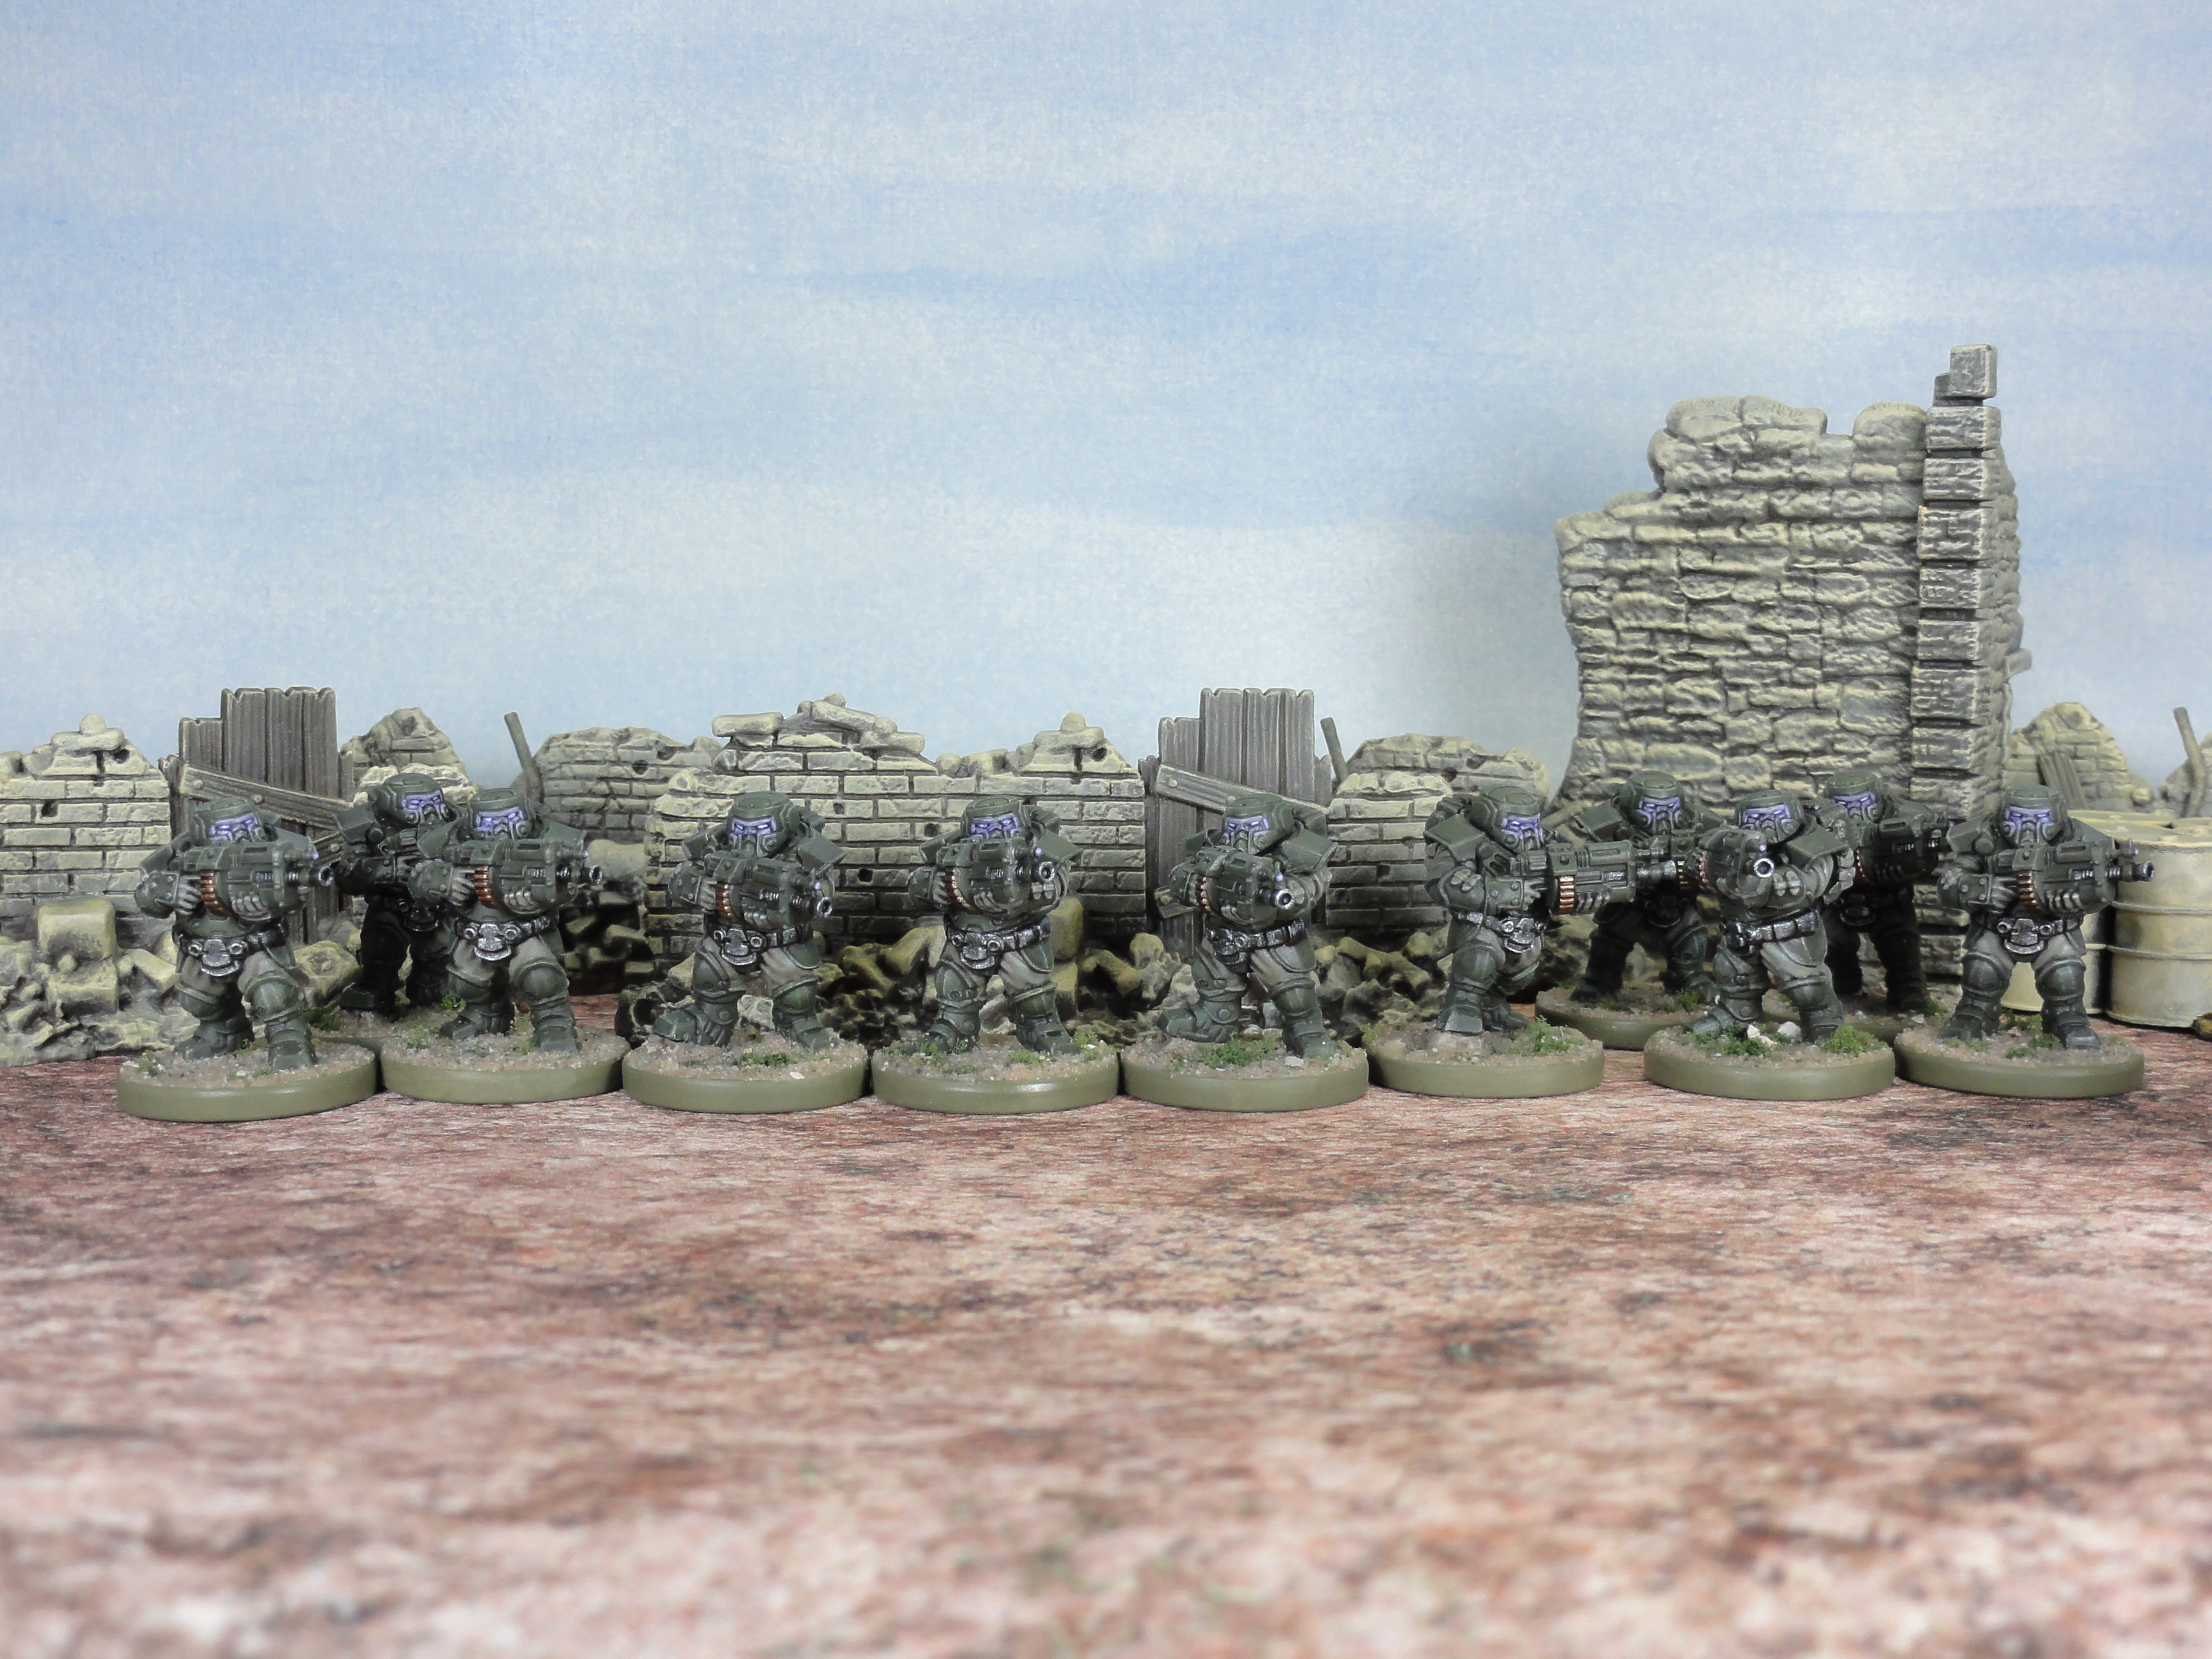
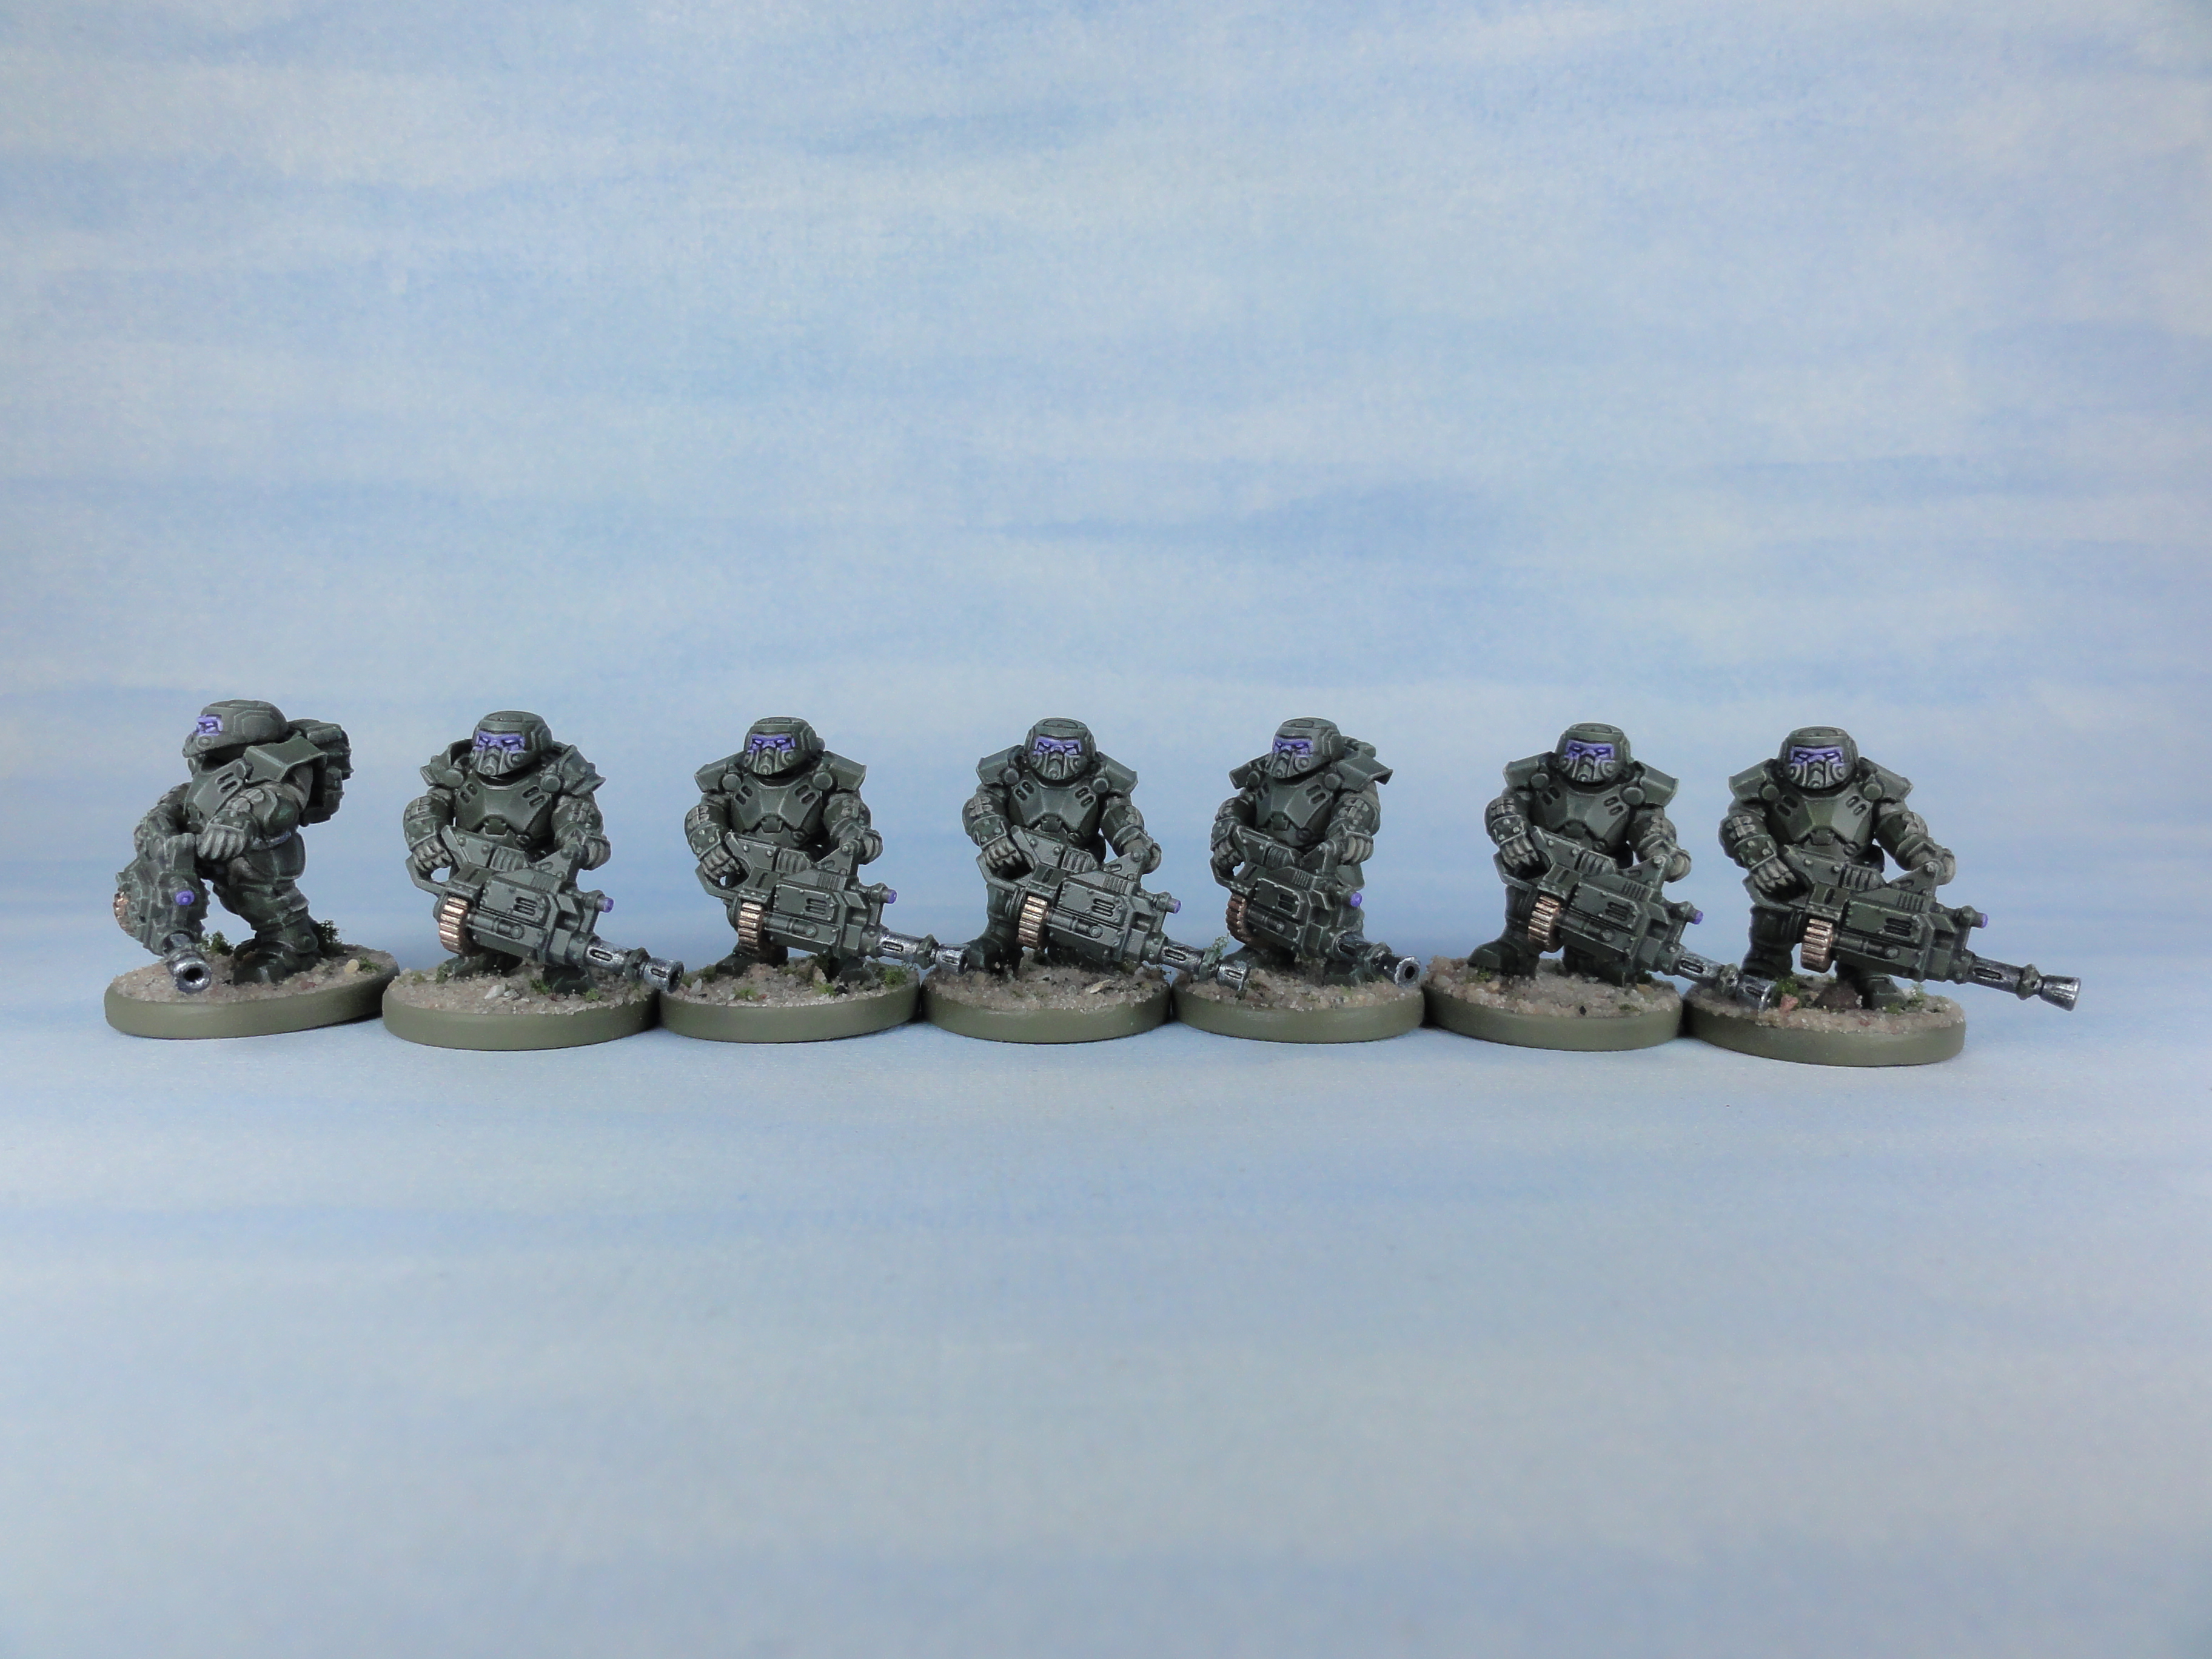
I’ve not had much time to paint recently, but here’s 18 (there’s 3 off camera) more Steel Warriors to add to my force. The step by step paint scheme is in the ‘Pure and Simple’ post from April 7th.

Next up armoured fighting vehicles
We are not alone
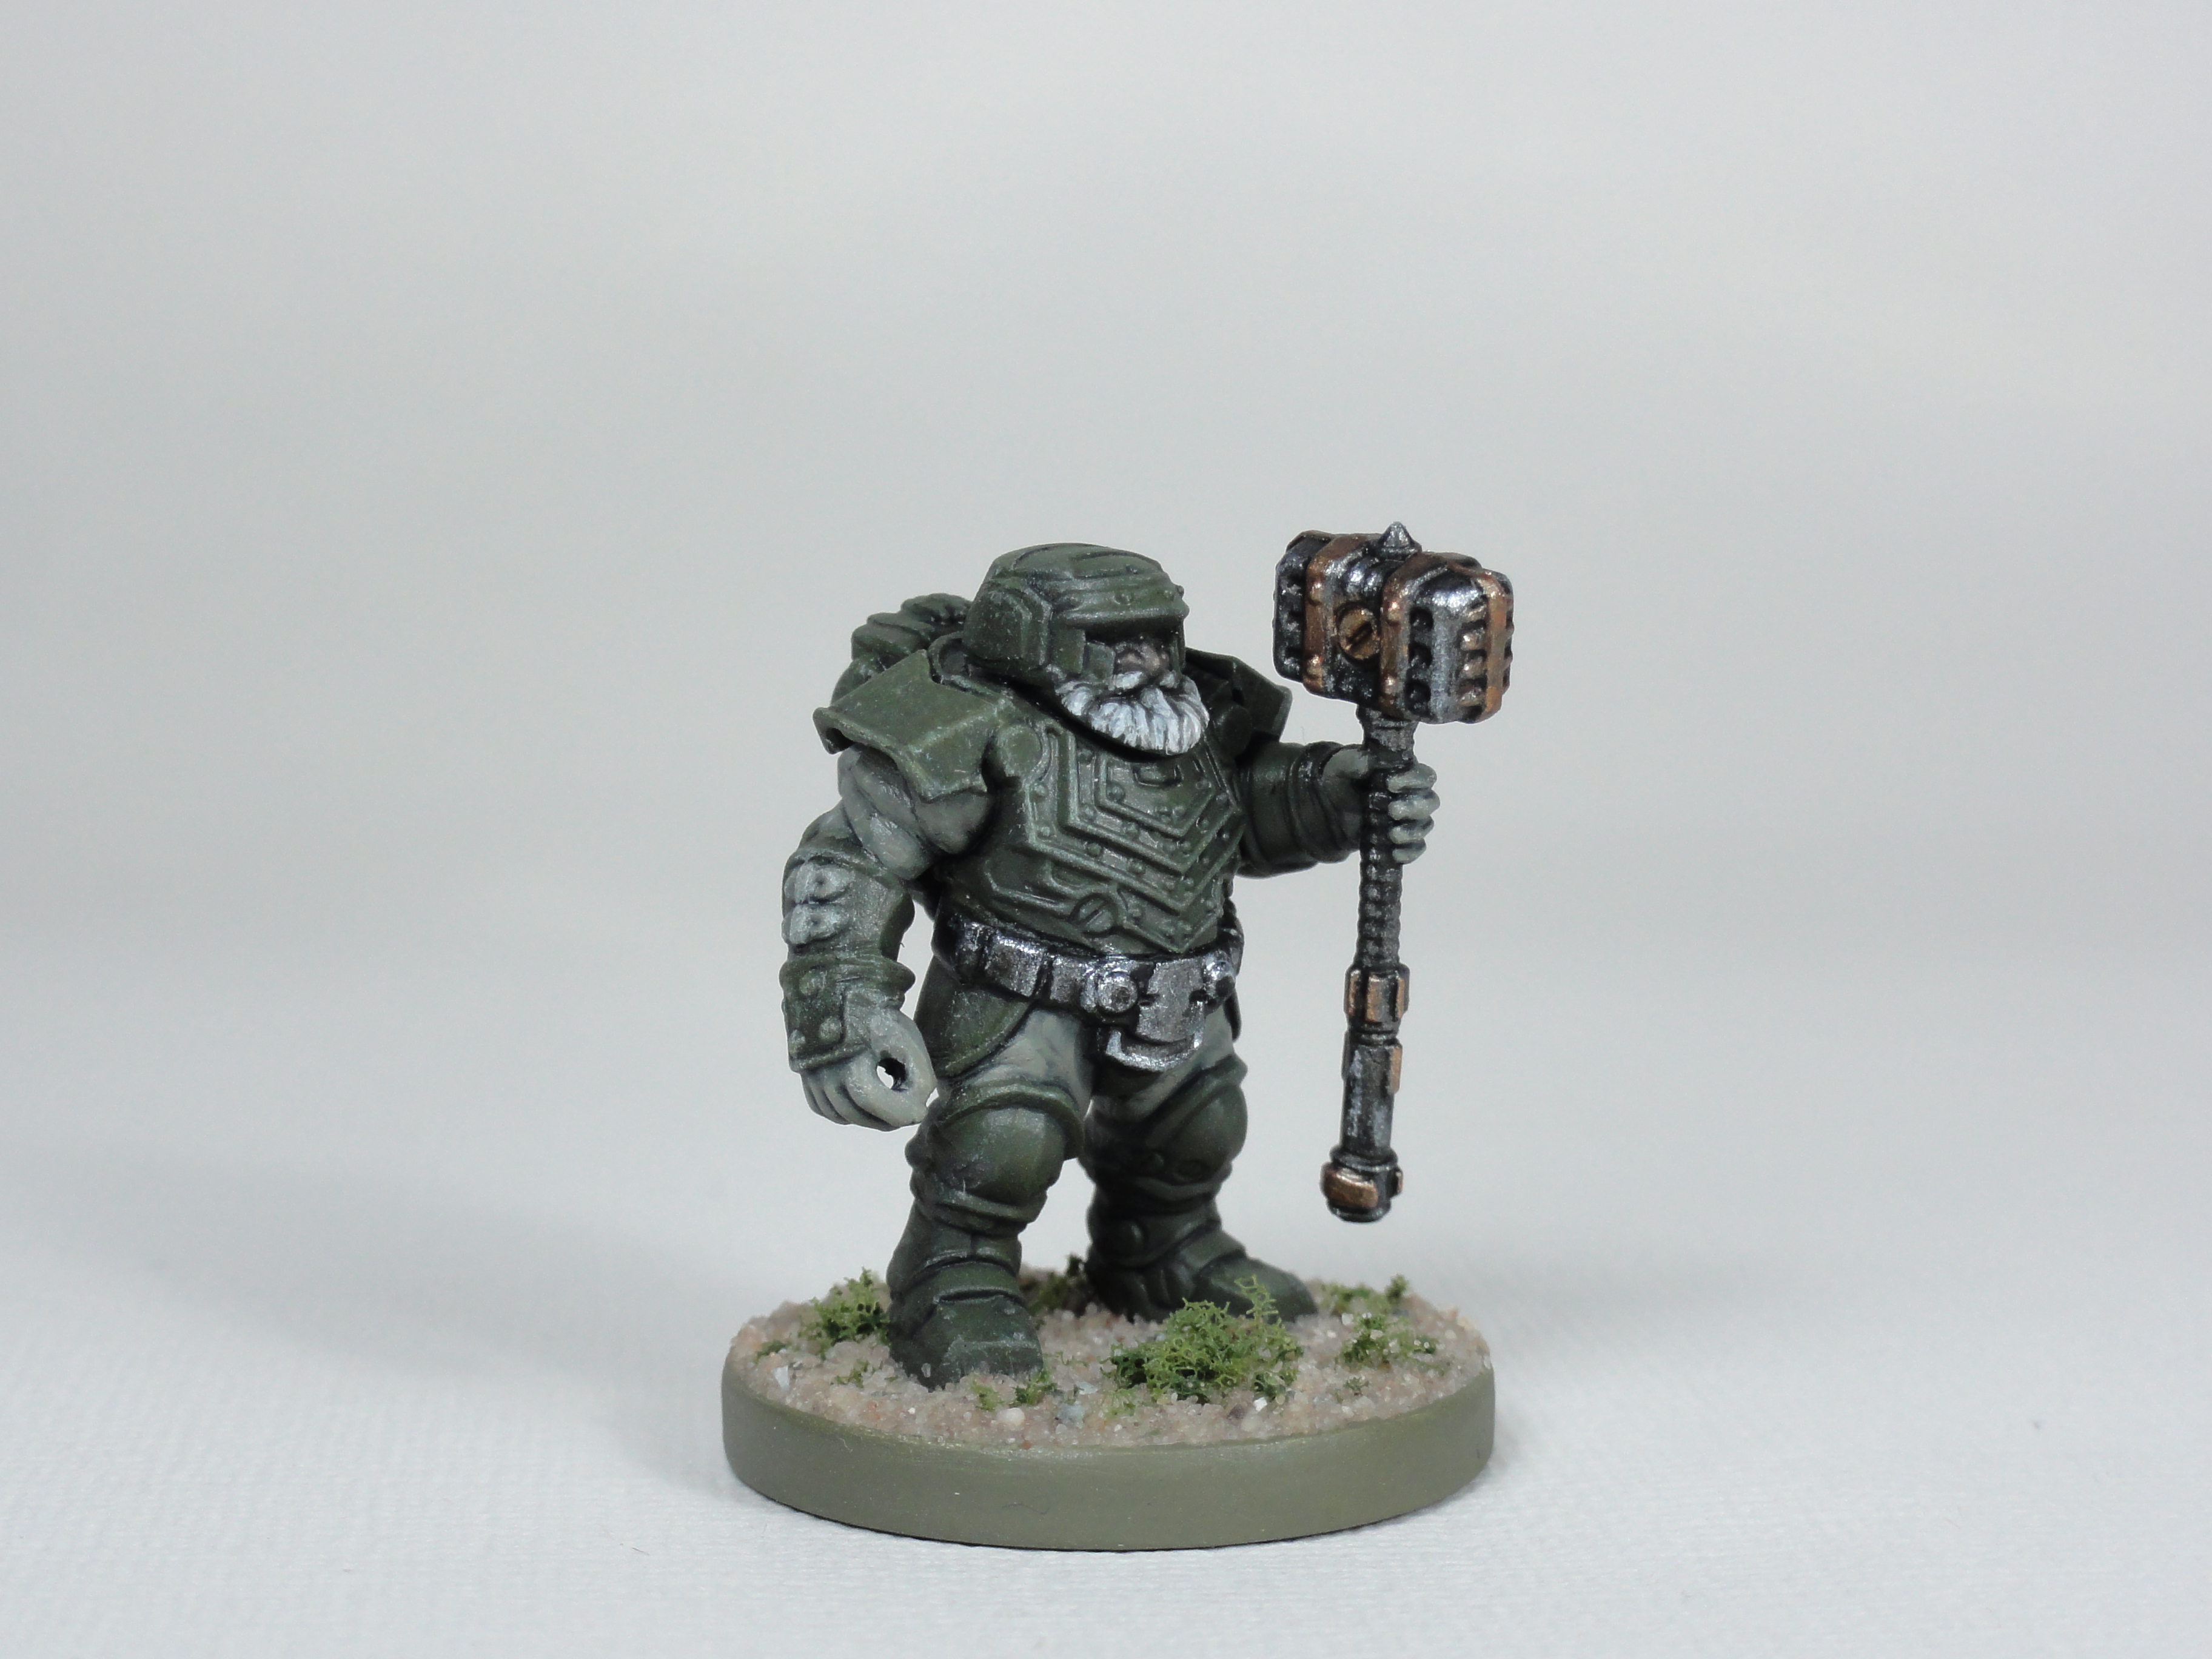
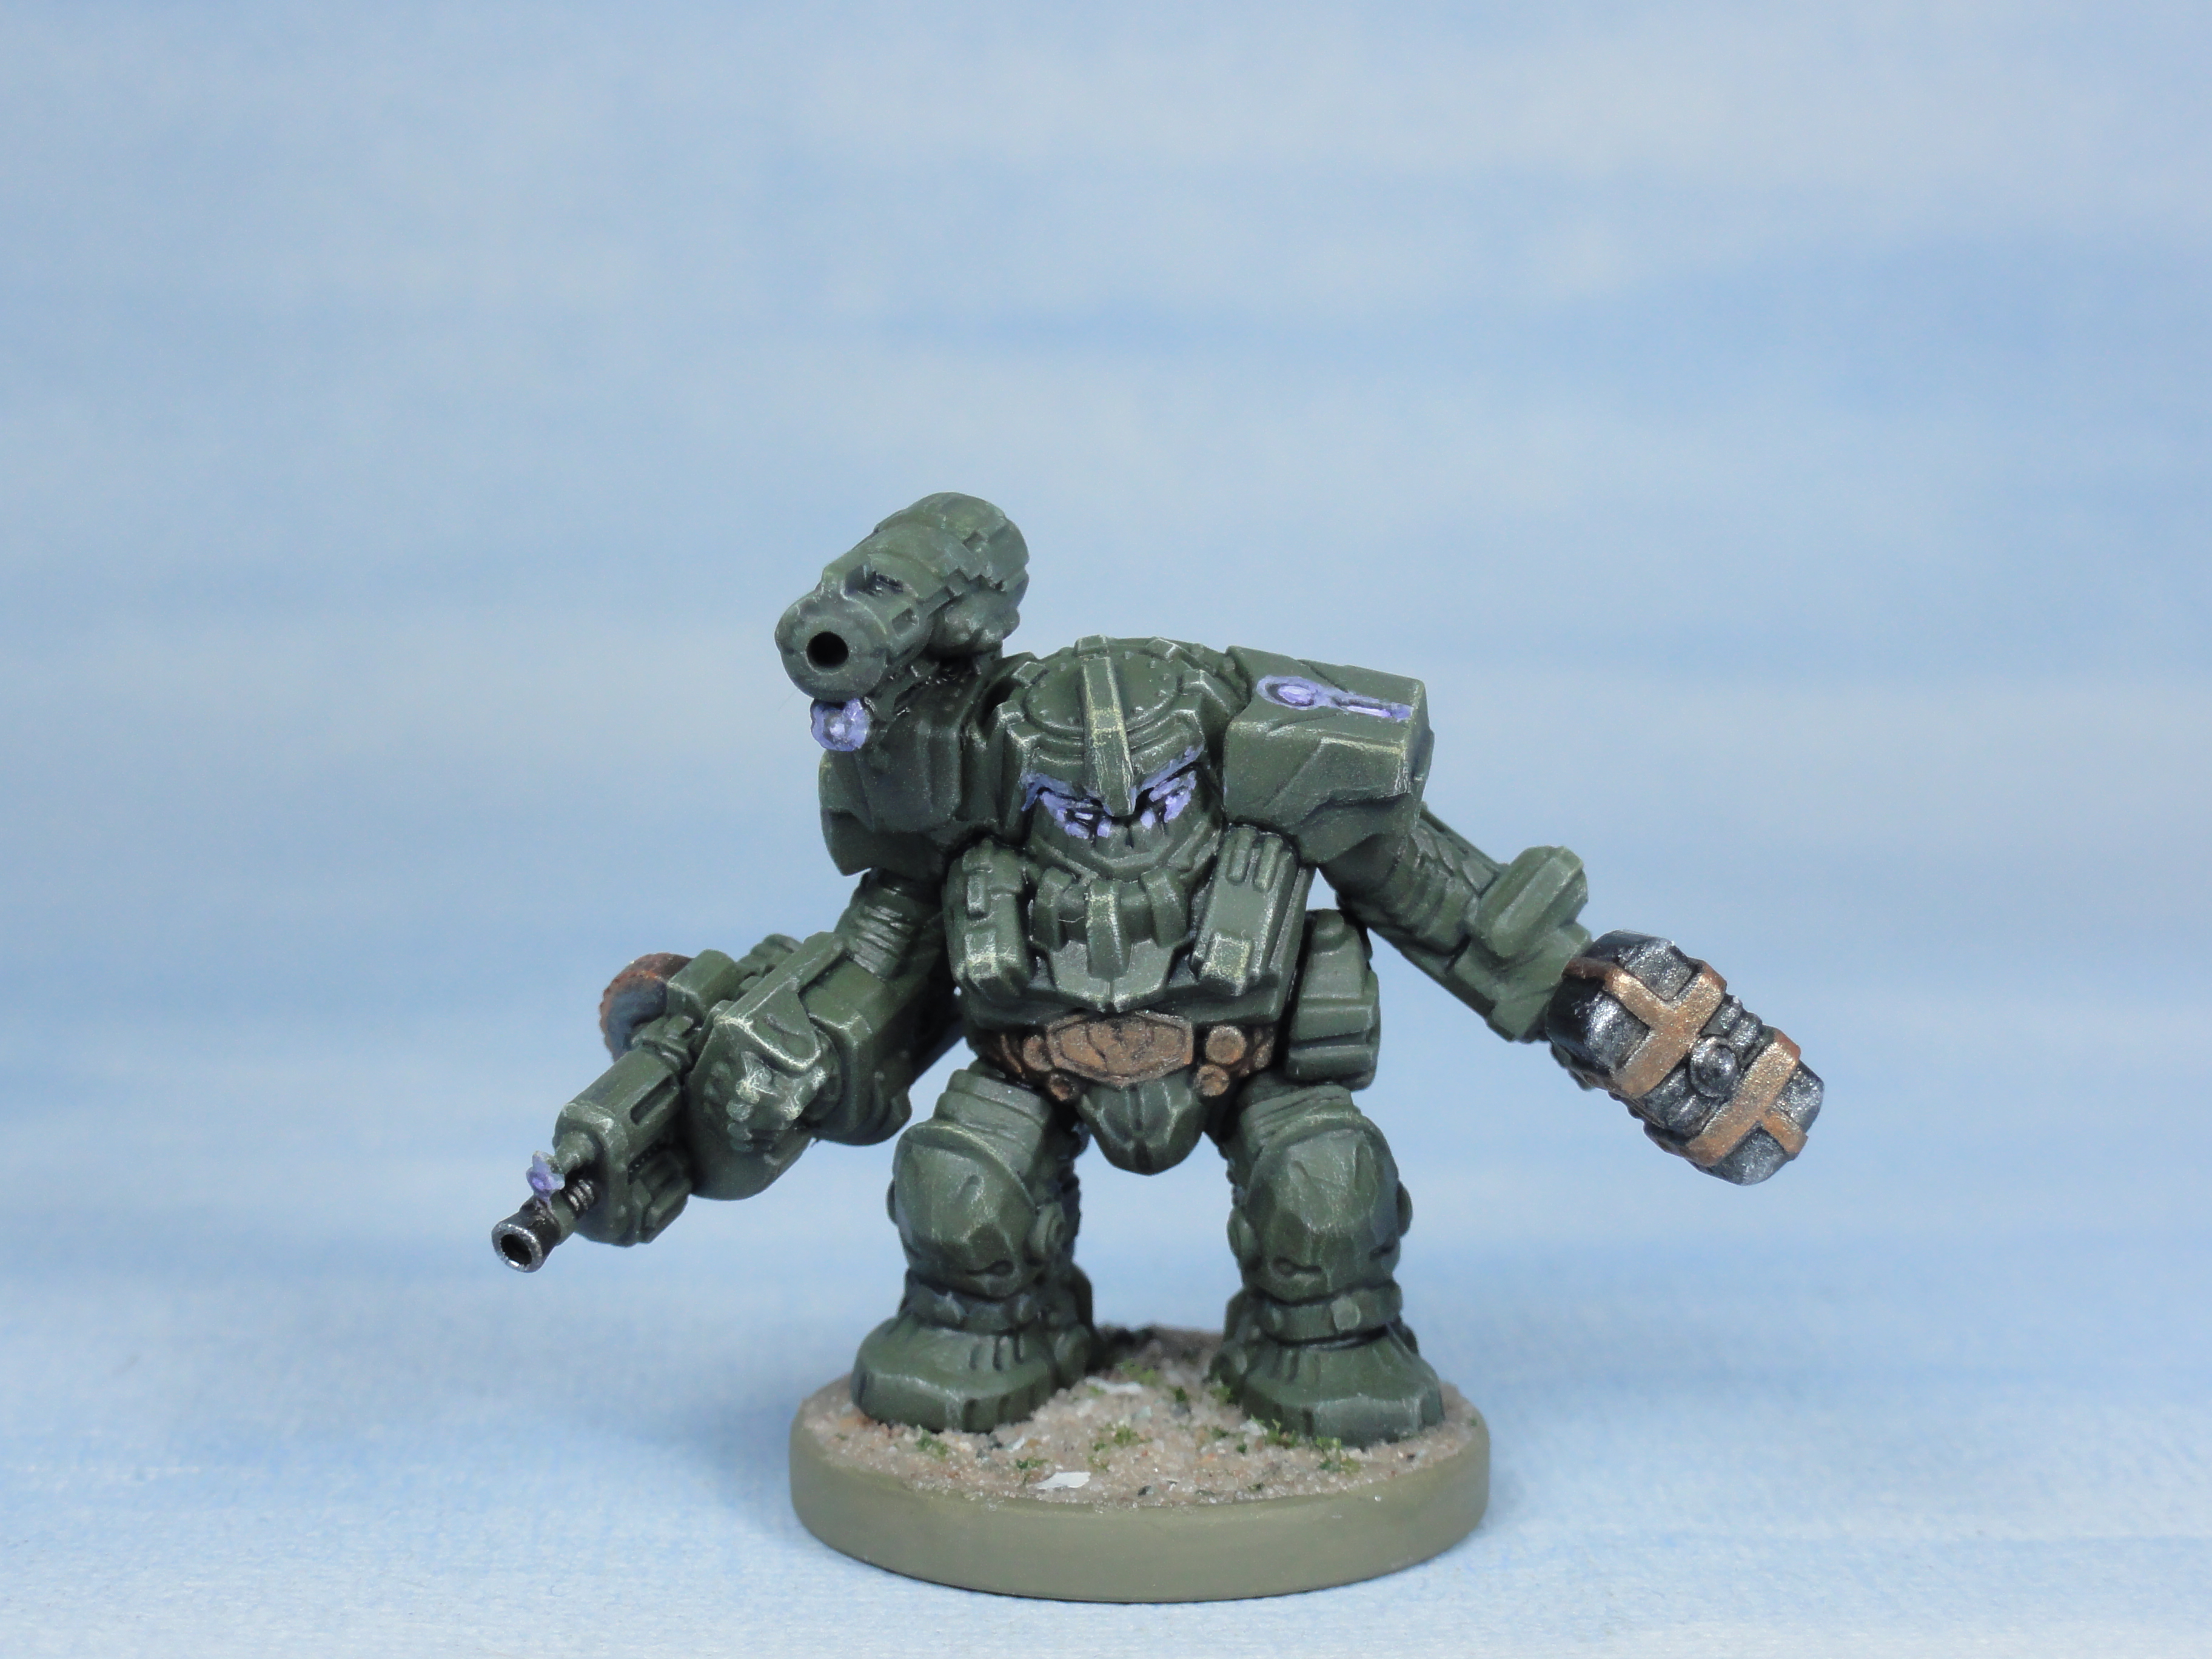
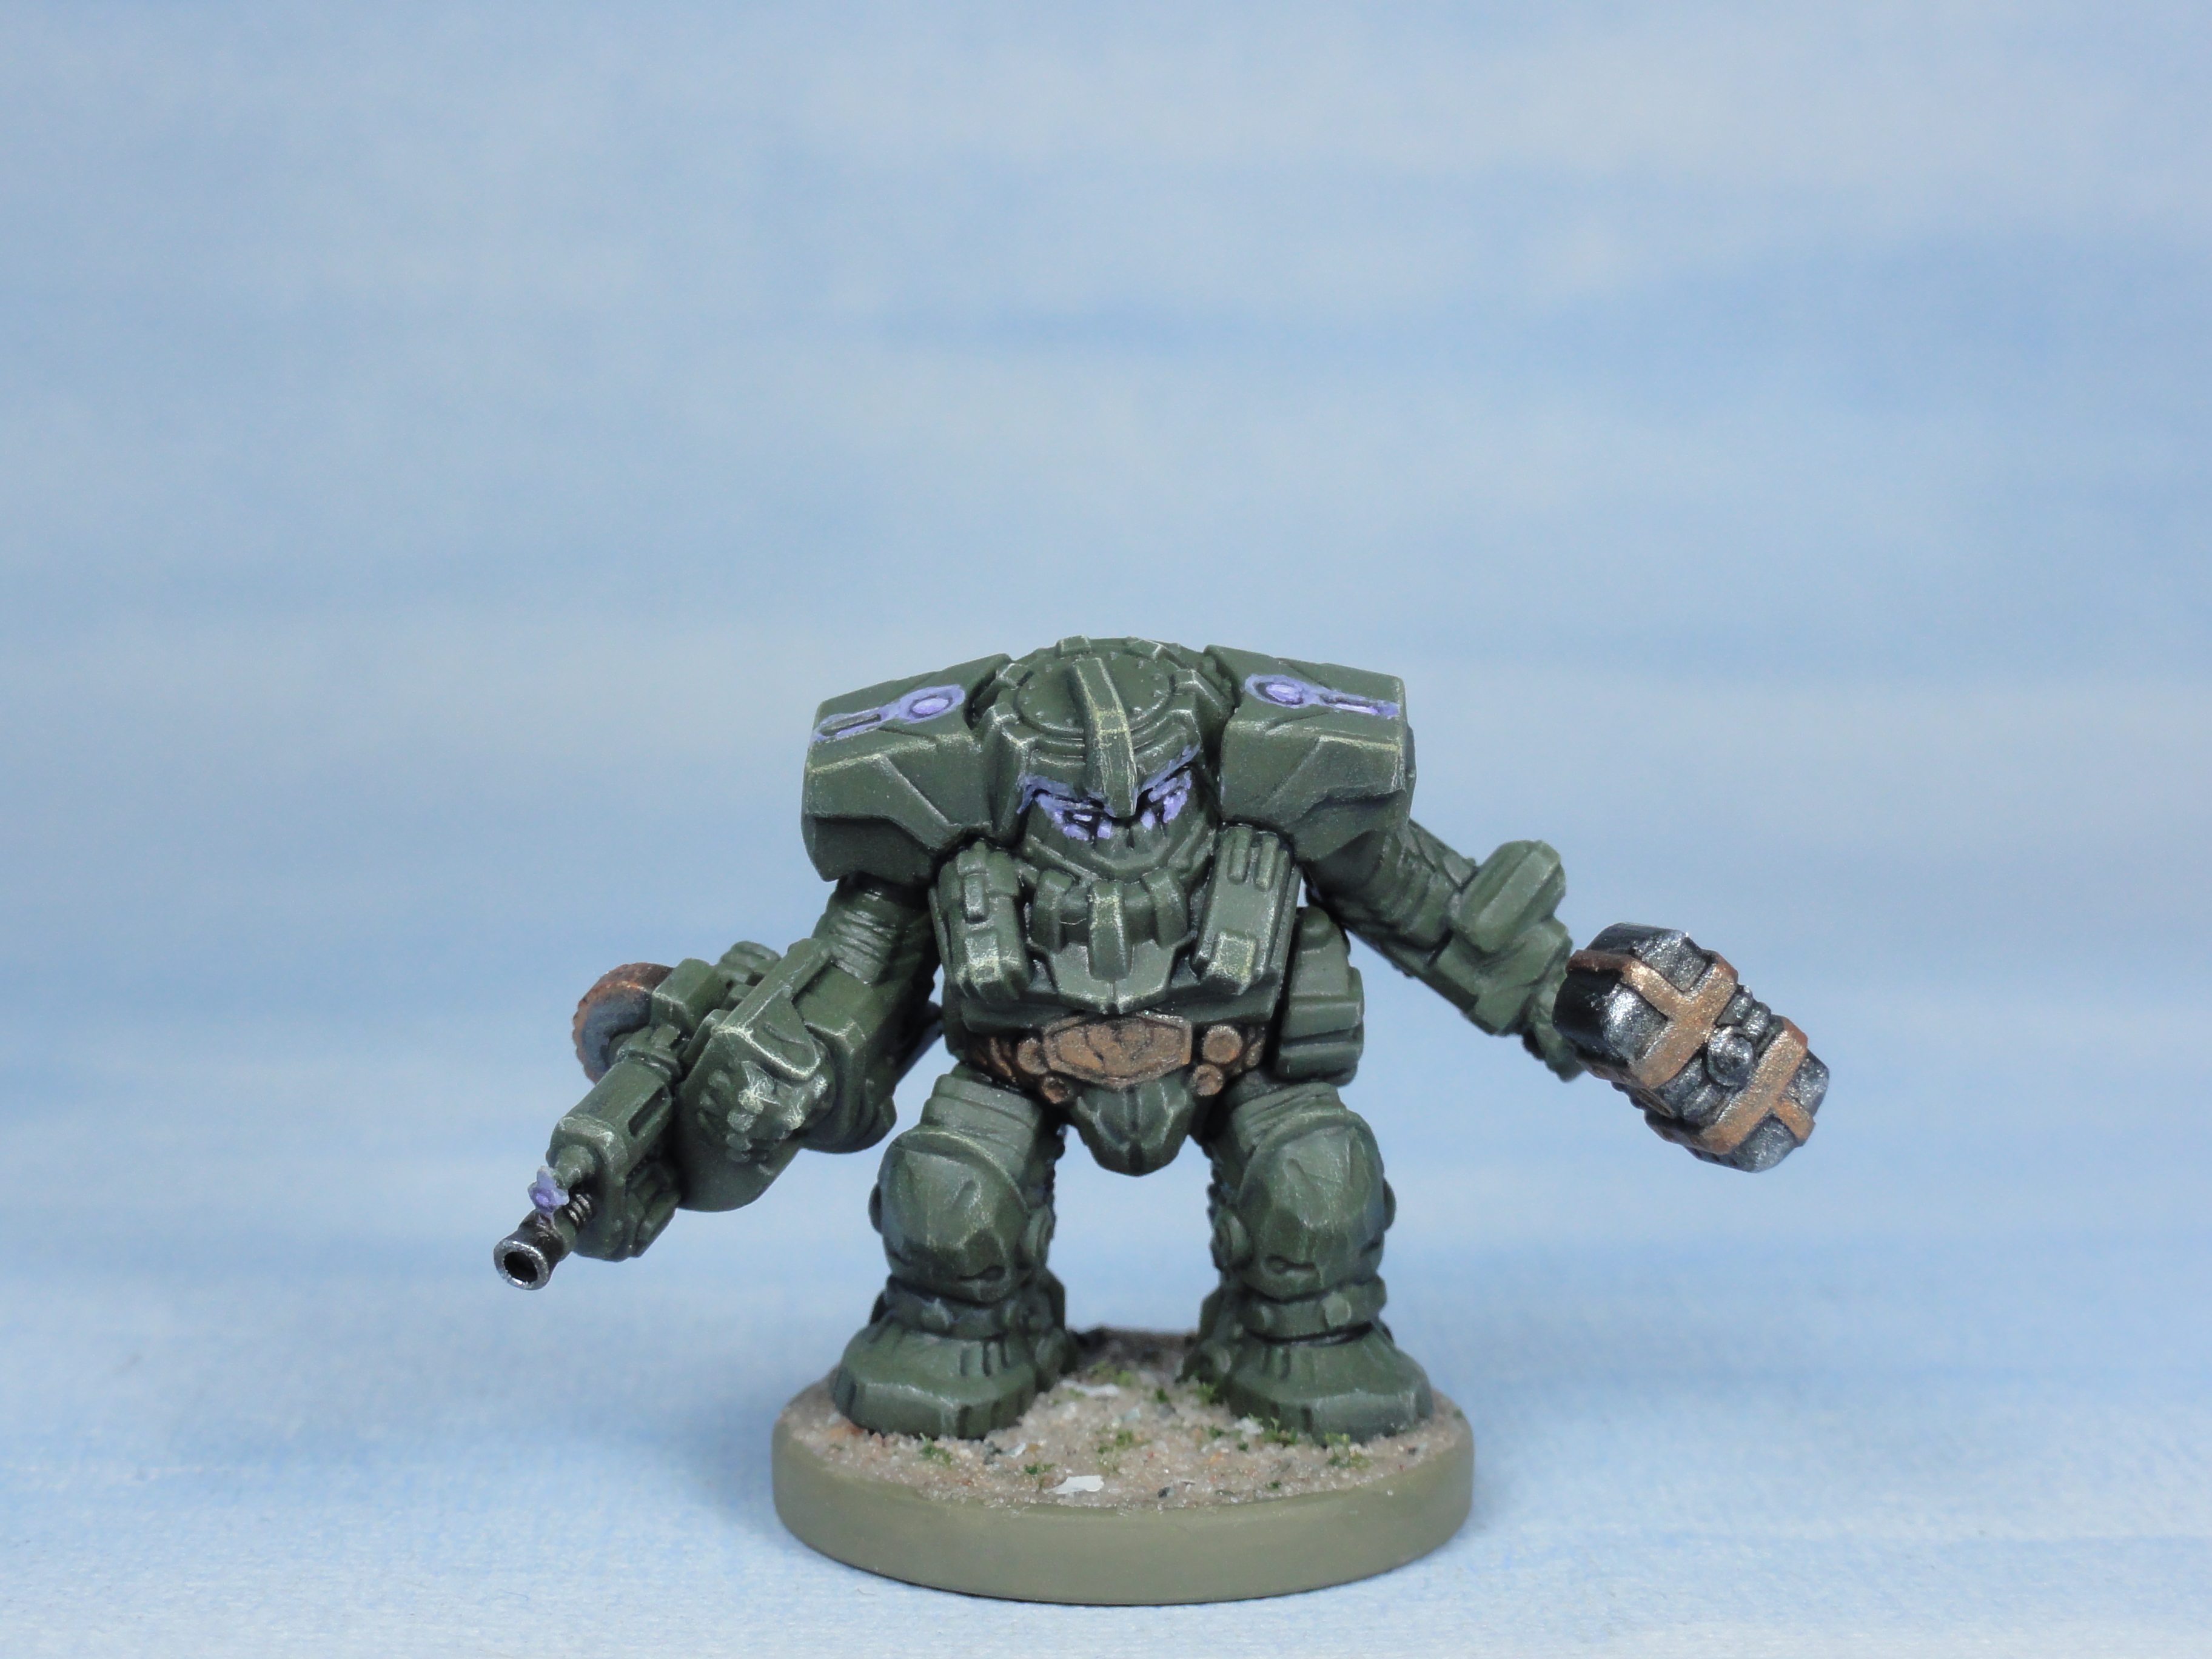
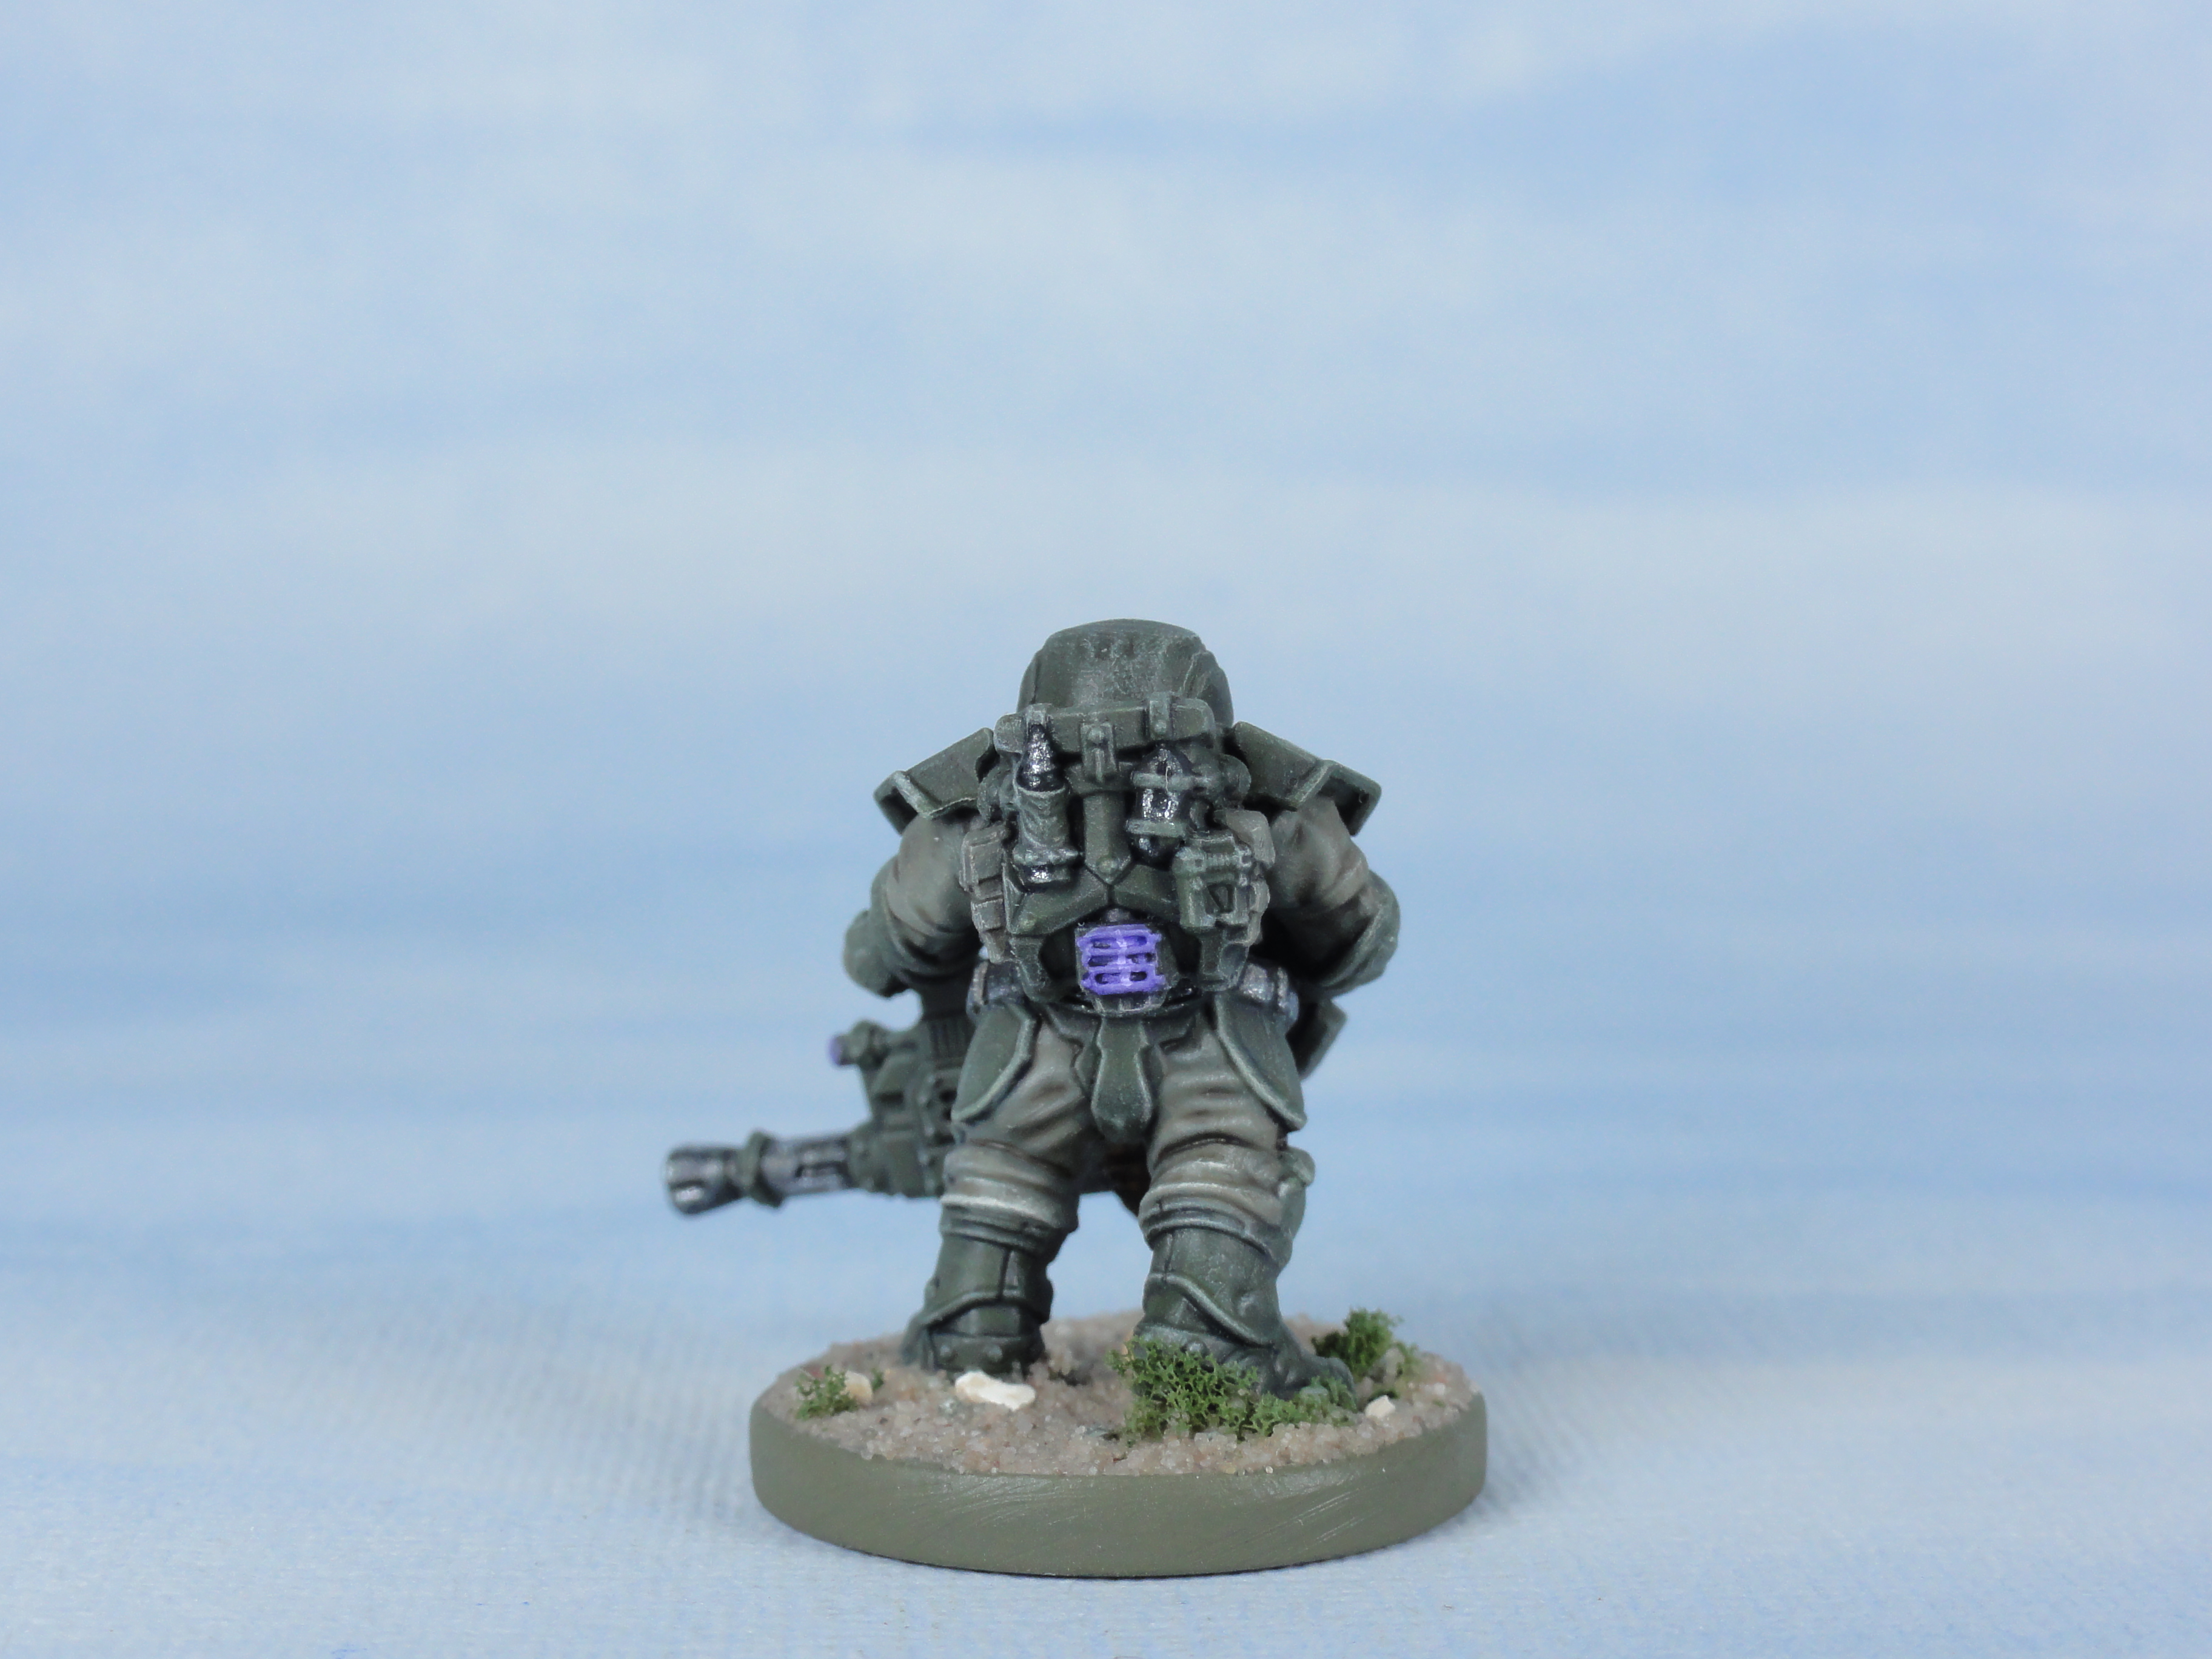
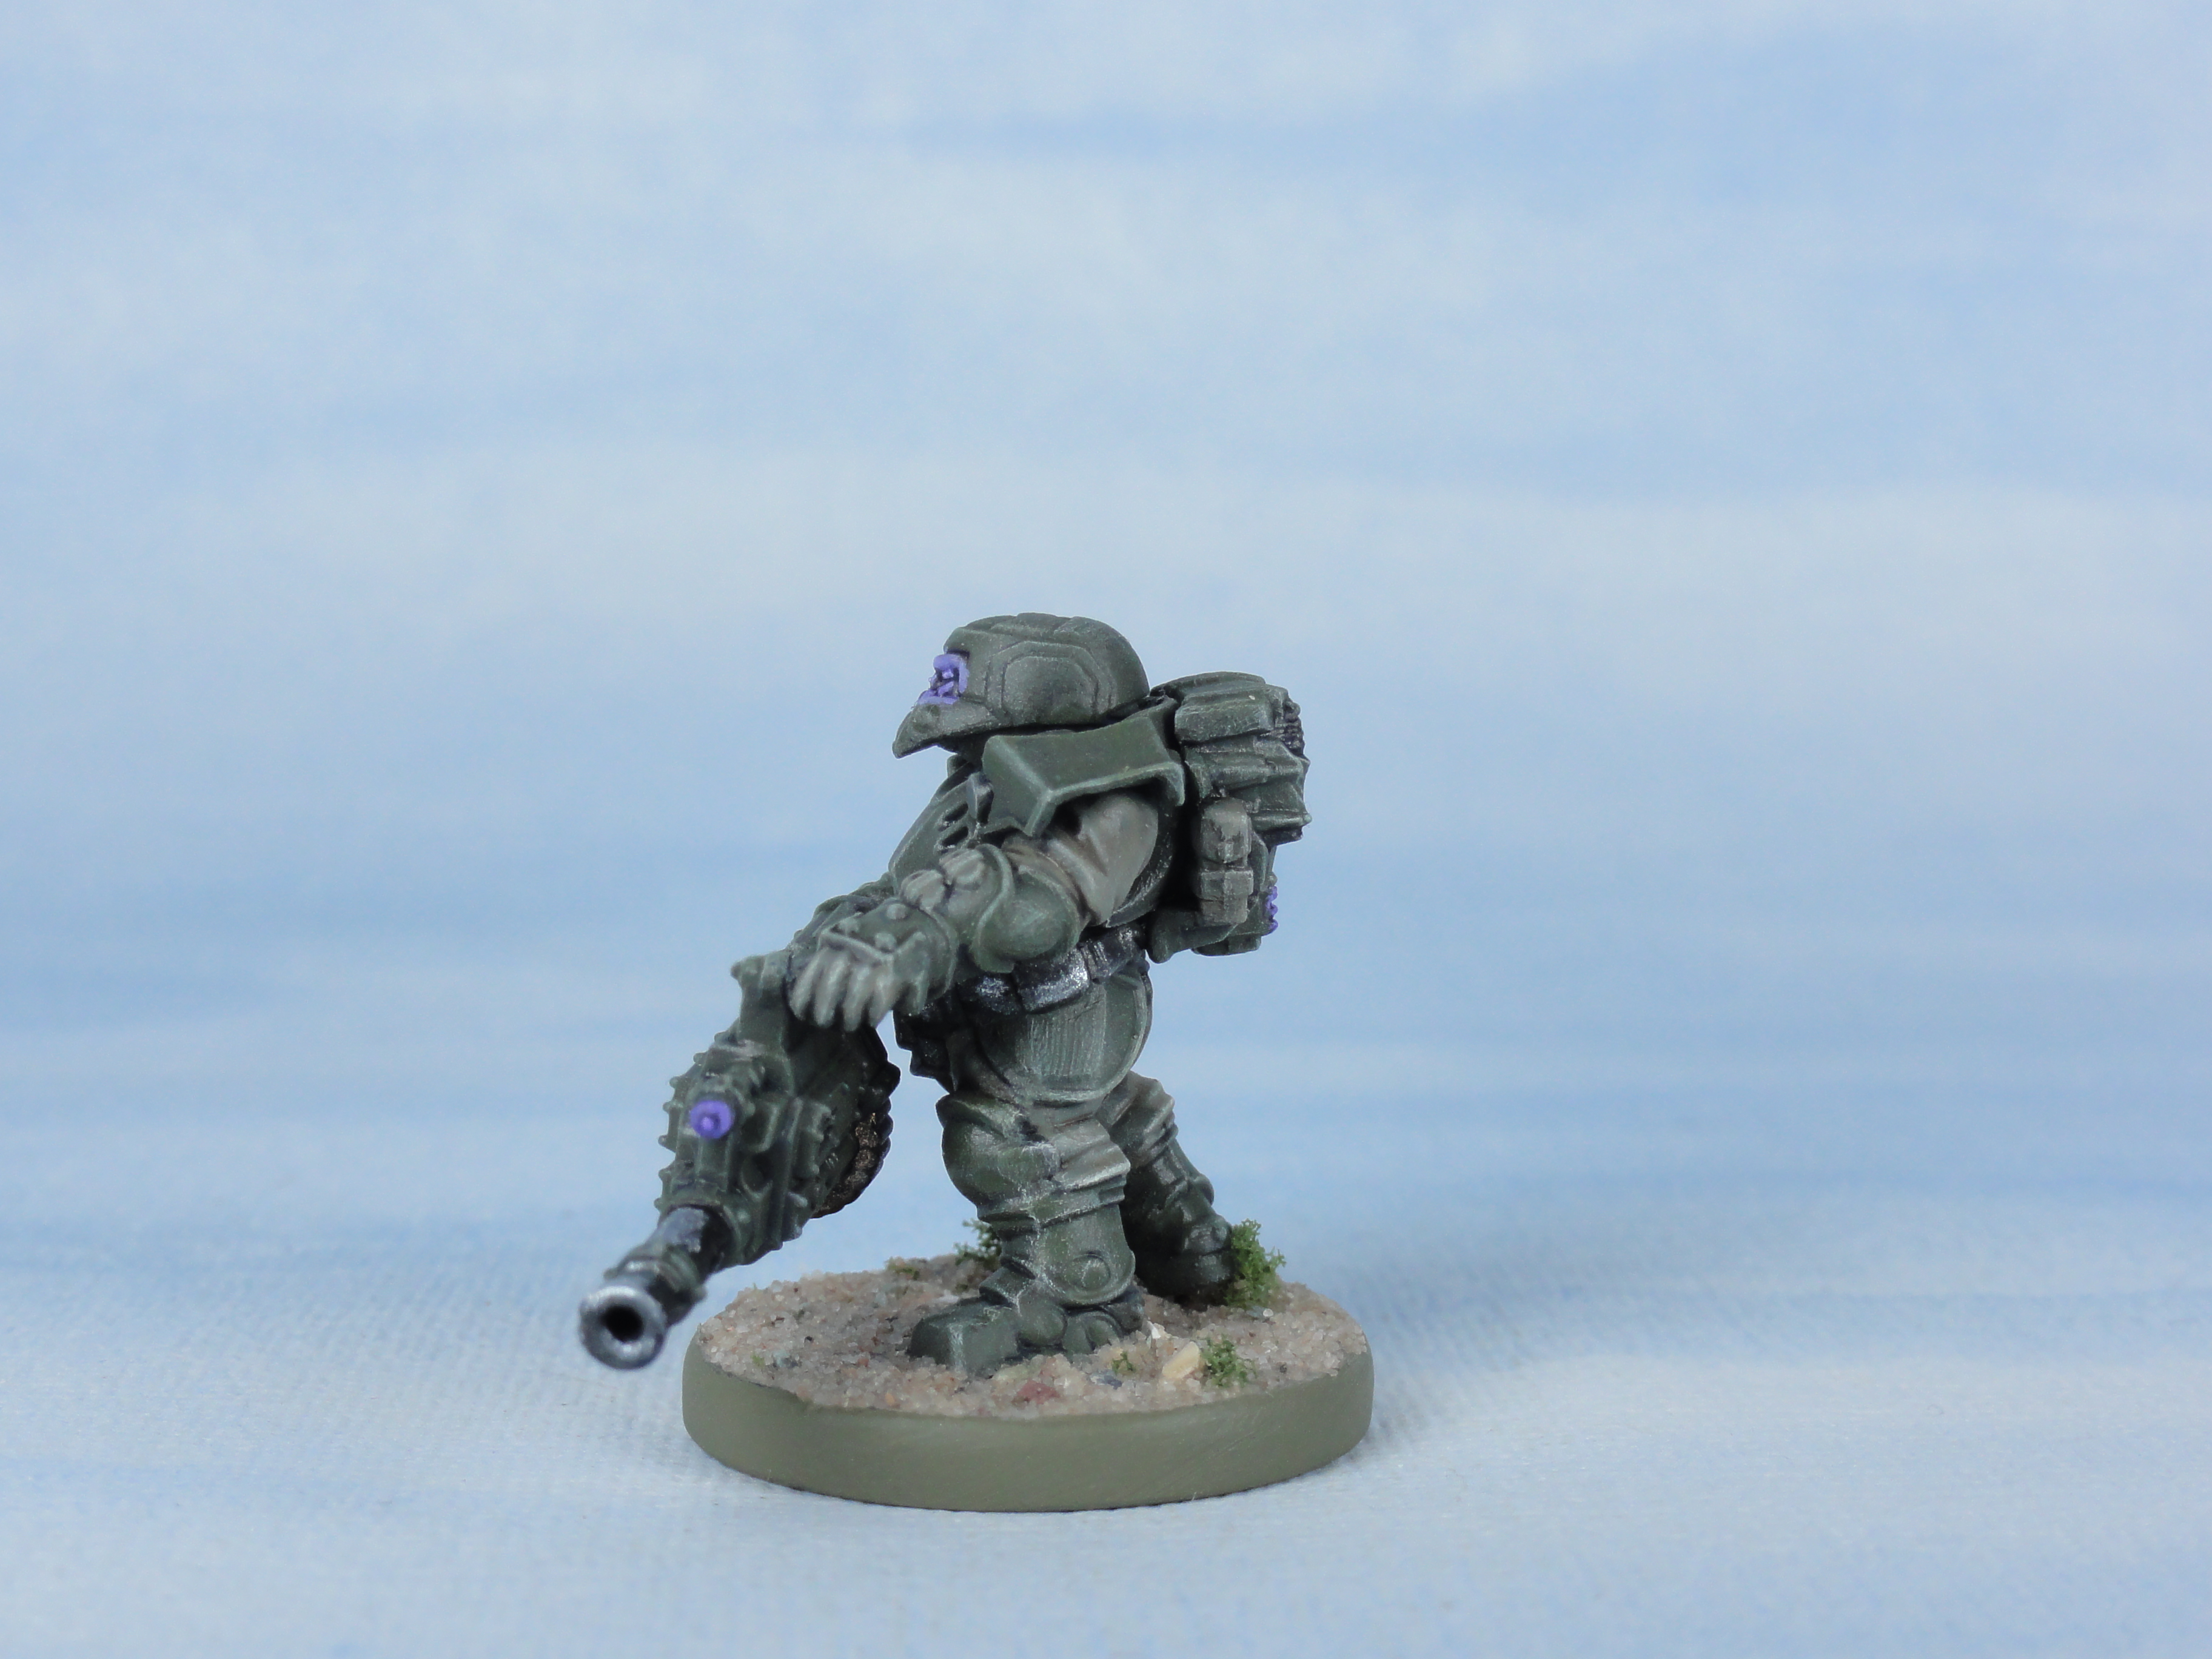
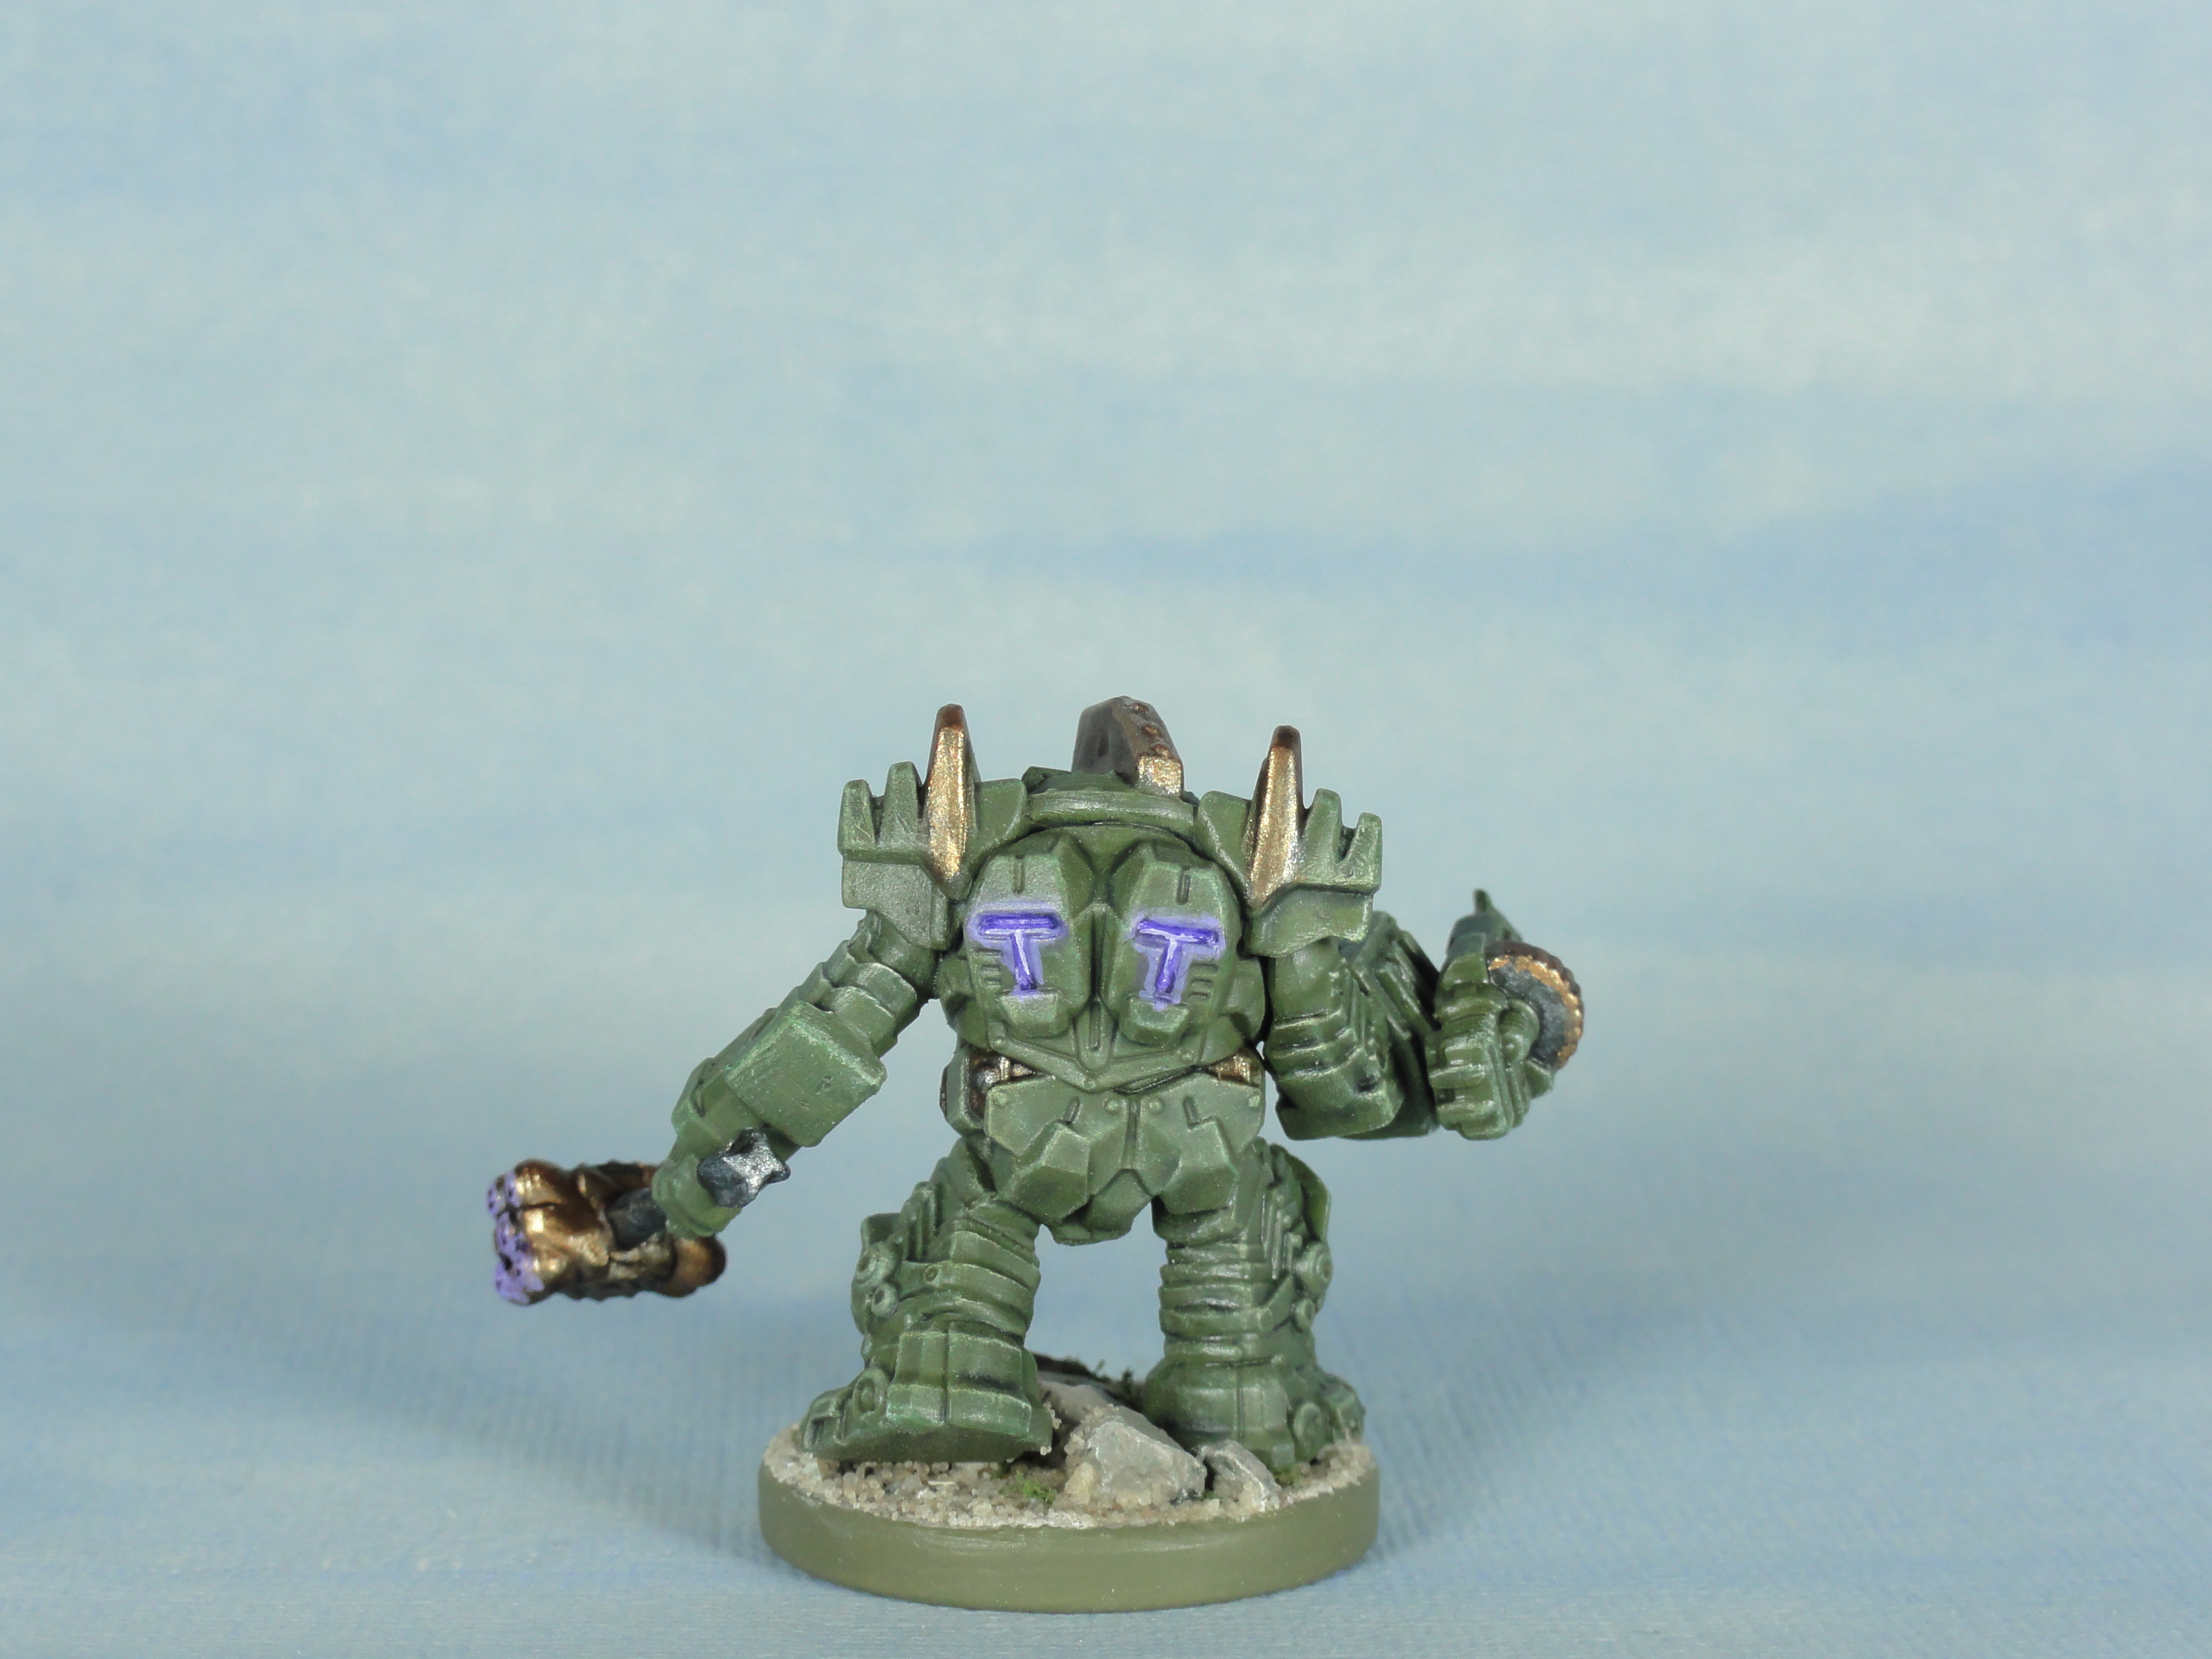
 Steel Warrior Huscarls or squad leaders
Same scheme that is detailed in the posts from 07 and 08 April 2022
Skin:
- The Green Primer and wash acts as the shade.
- Layer of Dark Skintone (Vallejo Game Color)
- Layer of Dark Skintone mixed with Tan Earth (Vallejo Model Air)
- Previous mixture with Barbarian Flesh (Army Painter) to highlight
Beard:
- Base of Green Grey (Vallejo Model Color)
- Layer of Green Grey mixed with Ivory (Vallejo Model Color)
- Highlight Ivory

Two Hearts
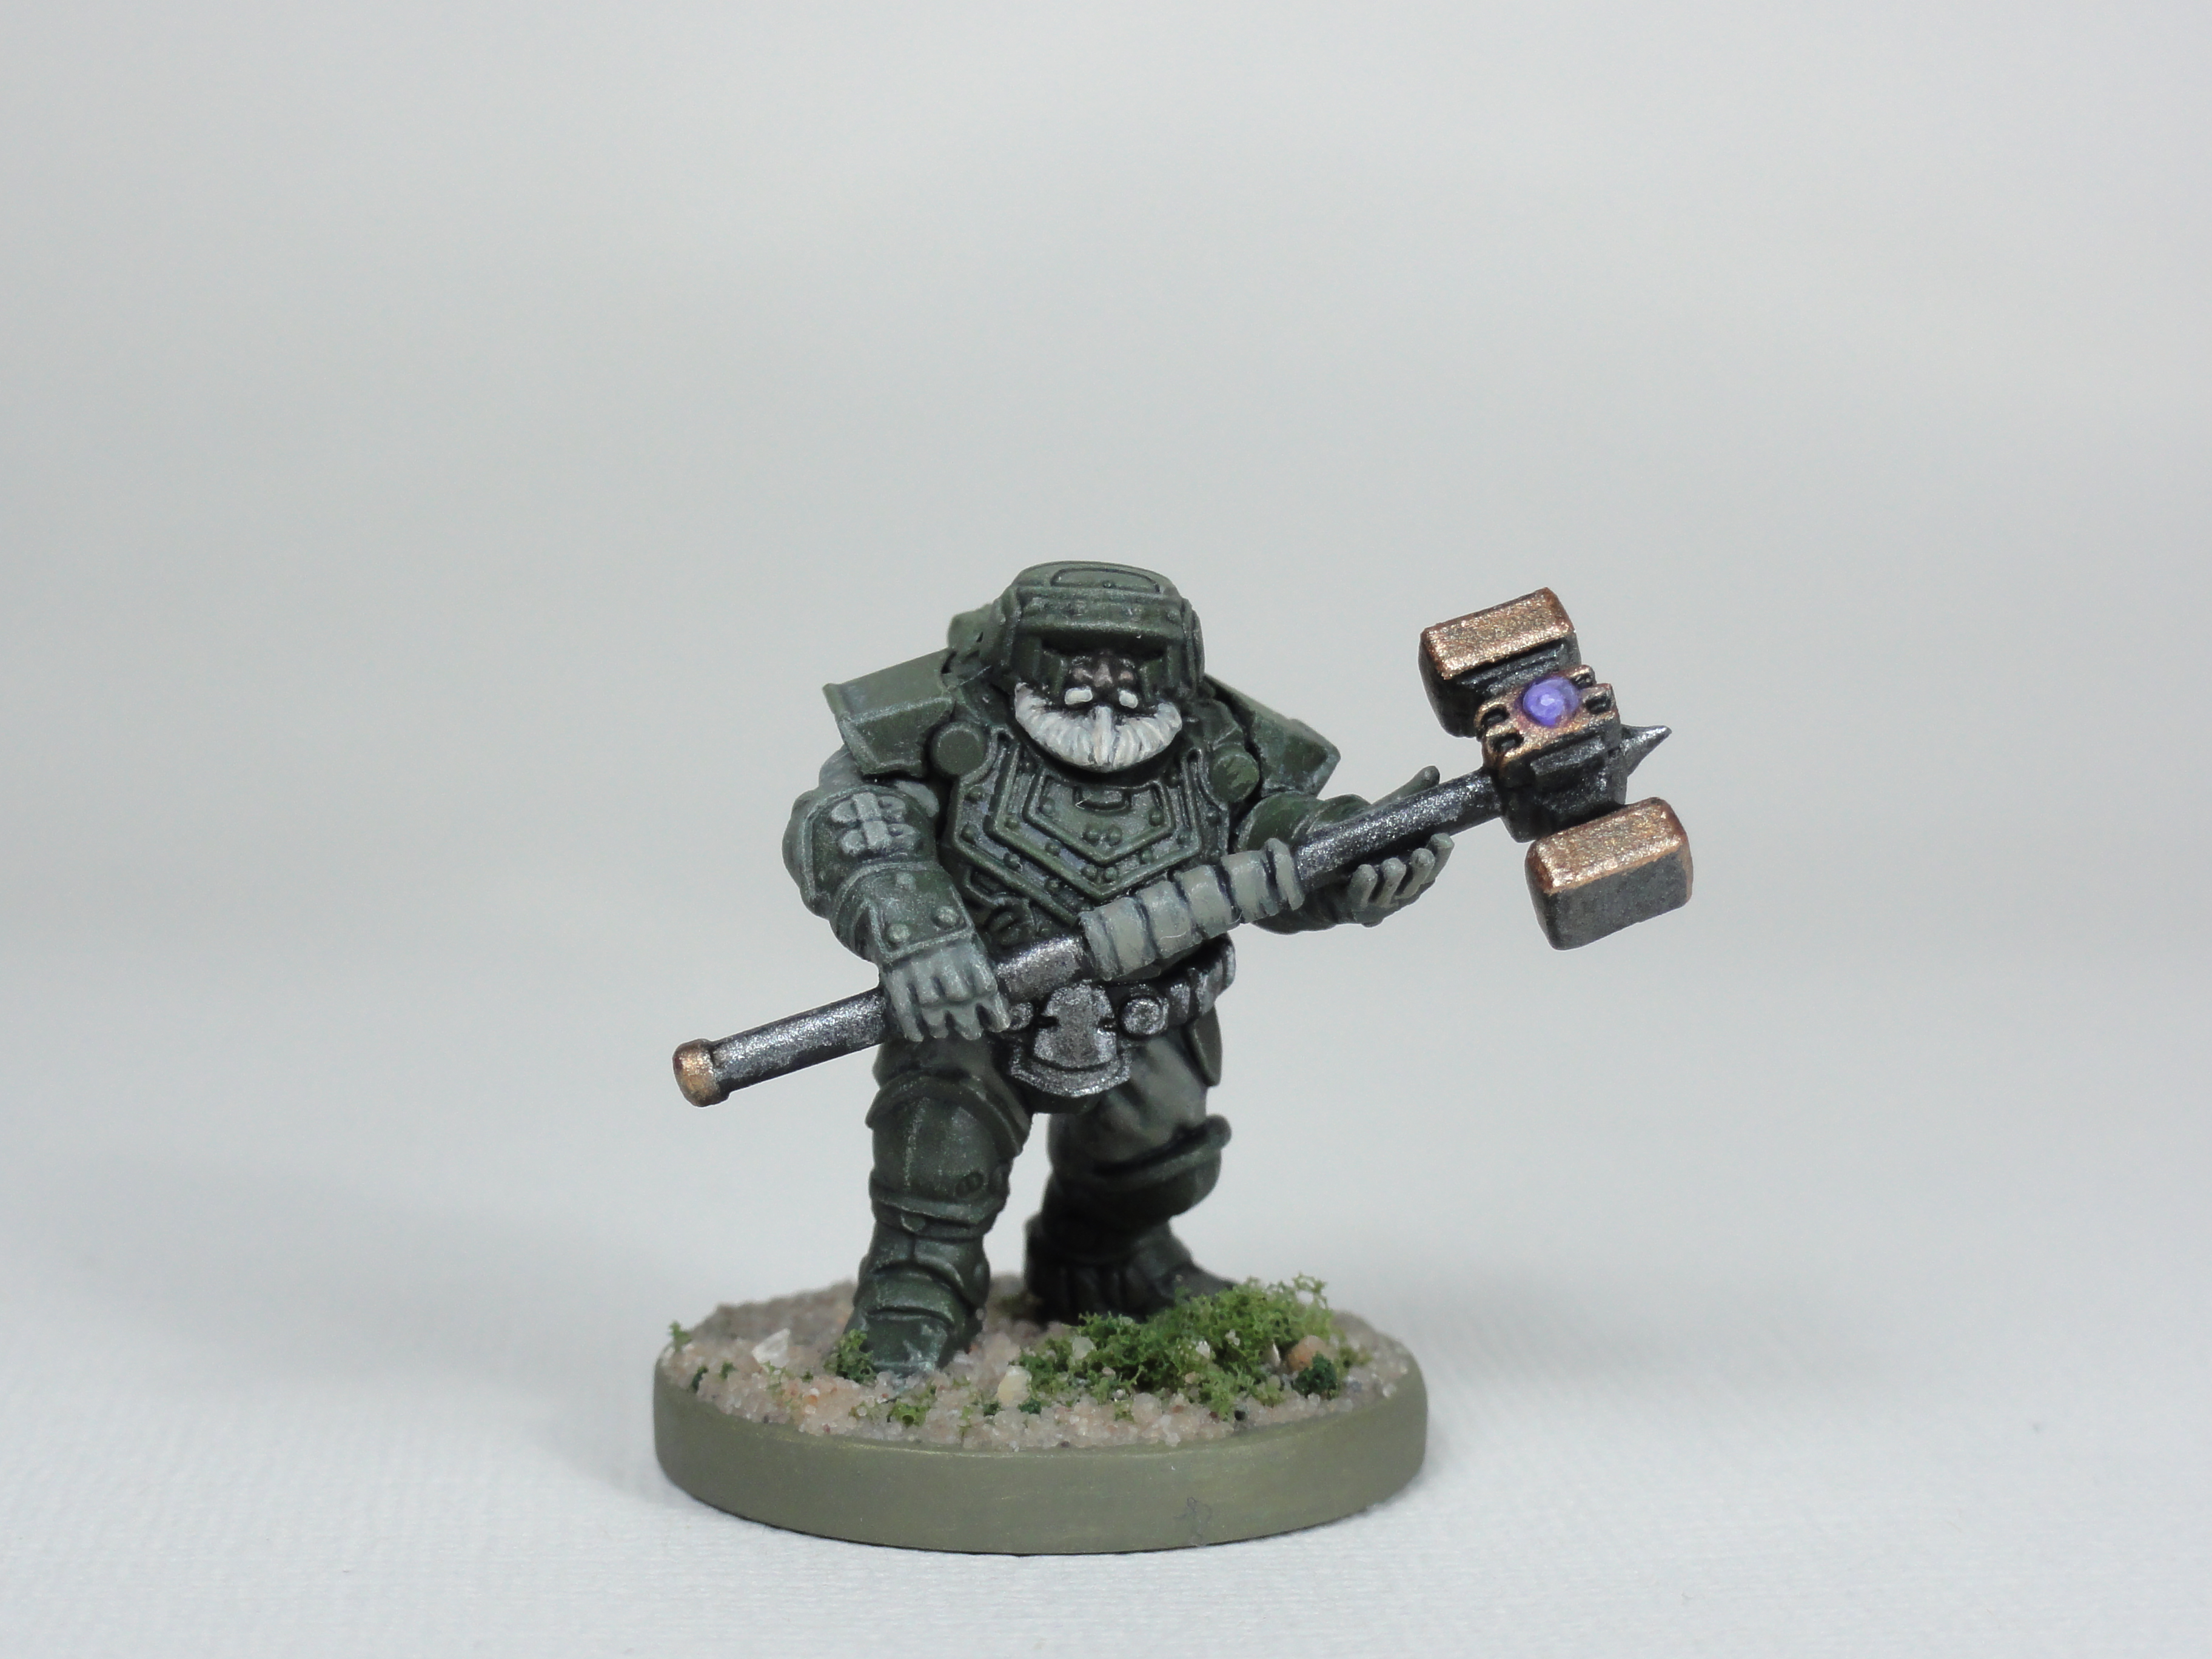
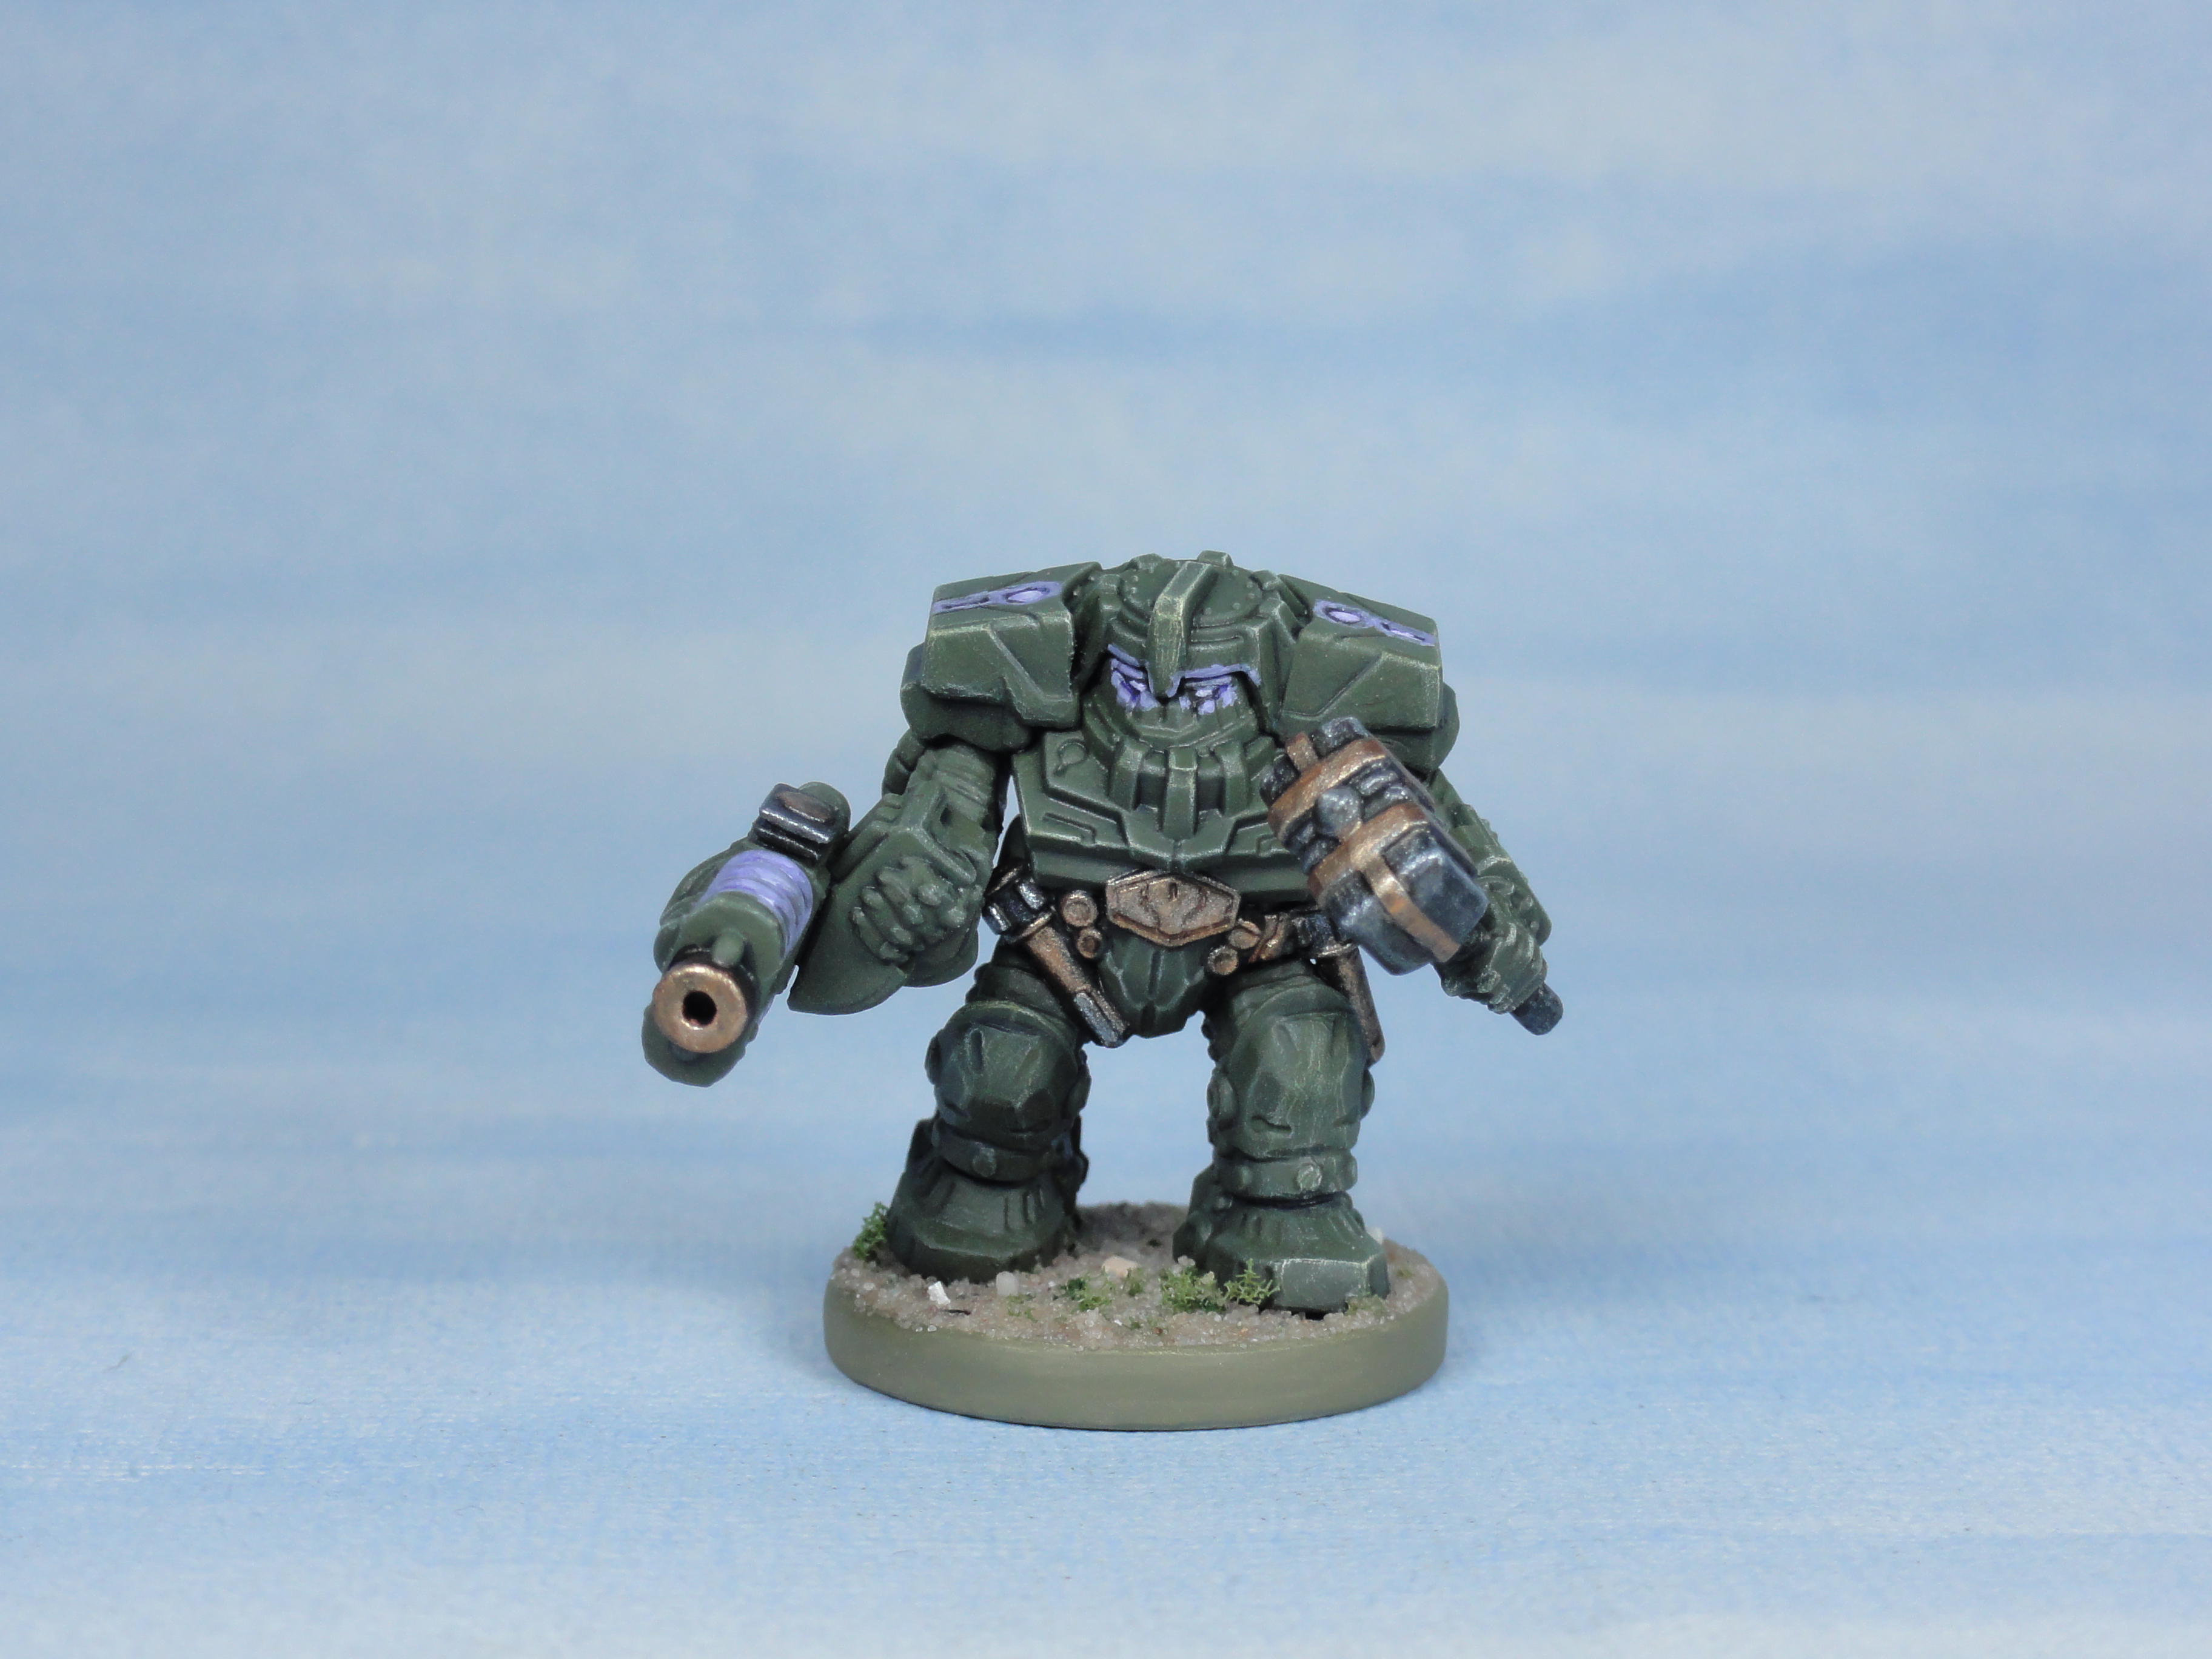
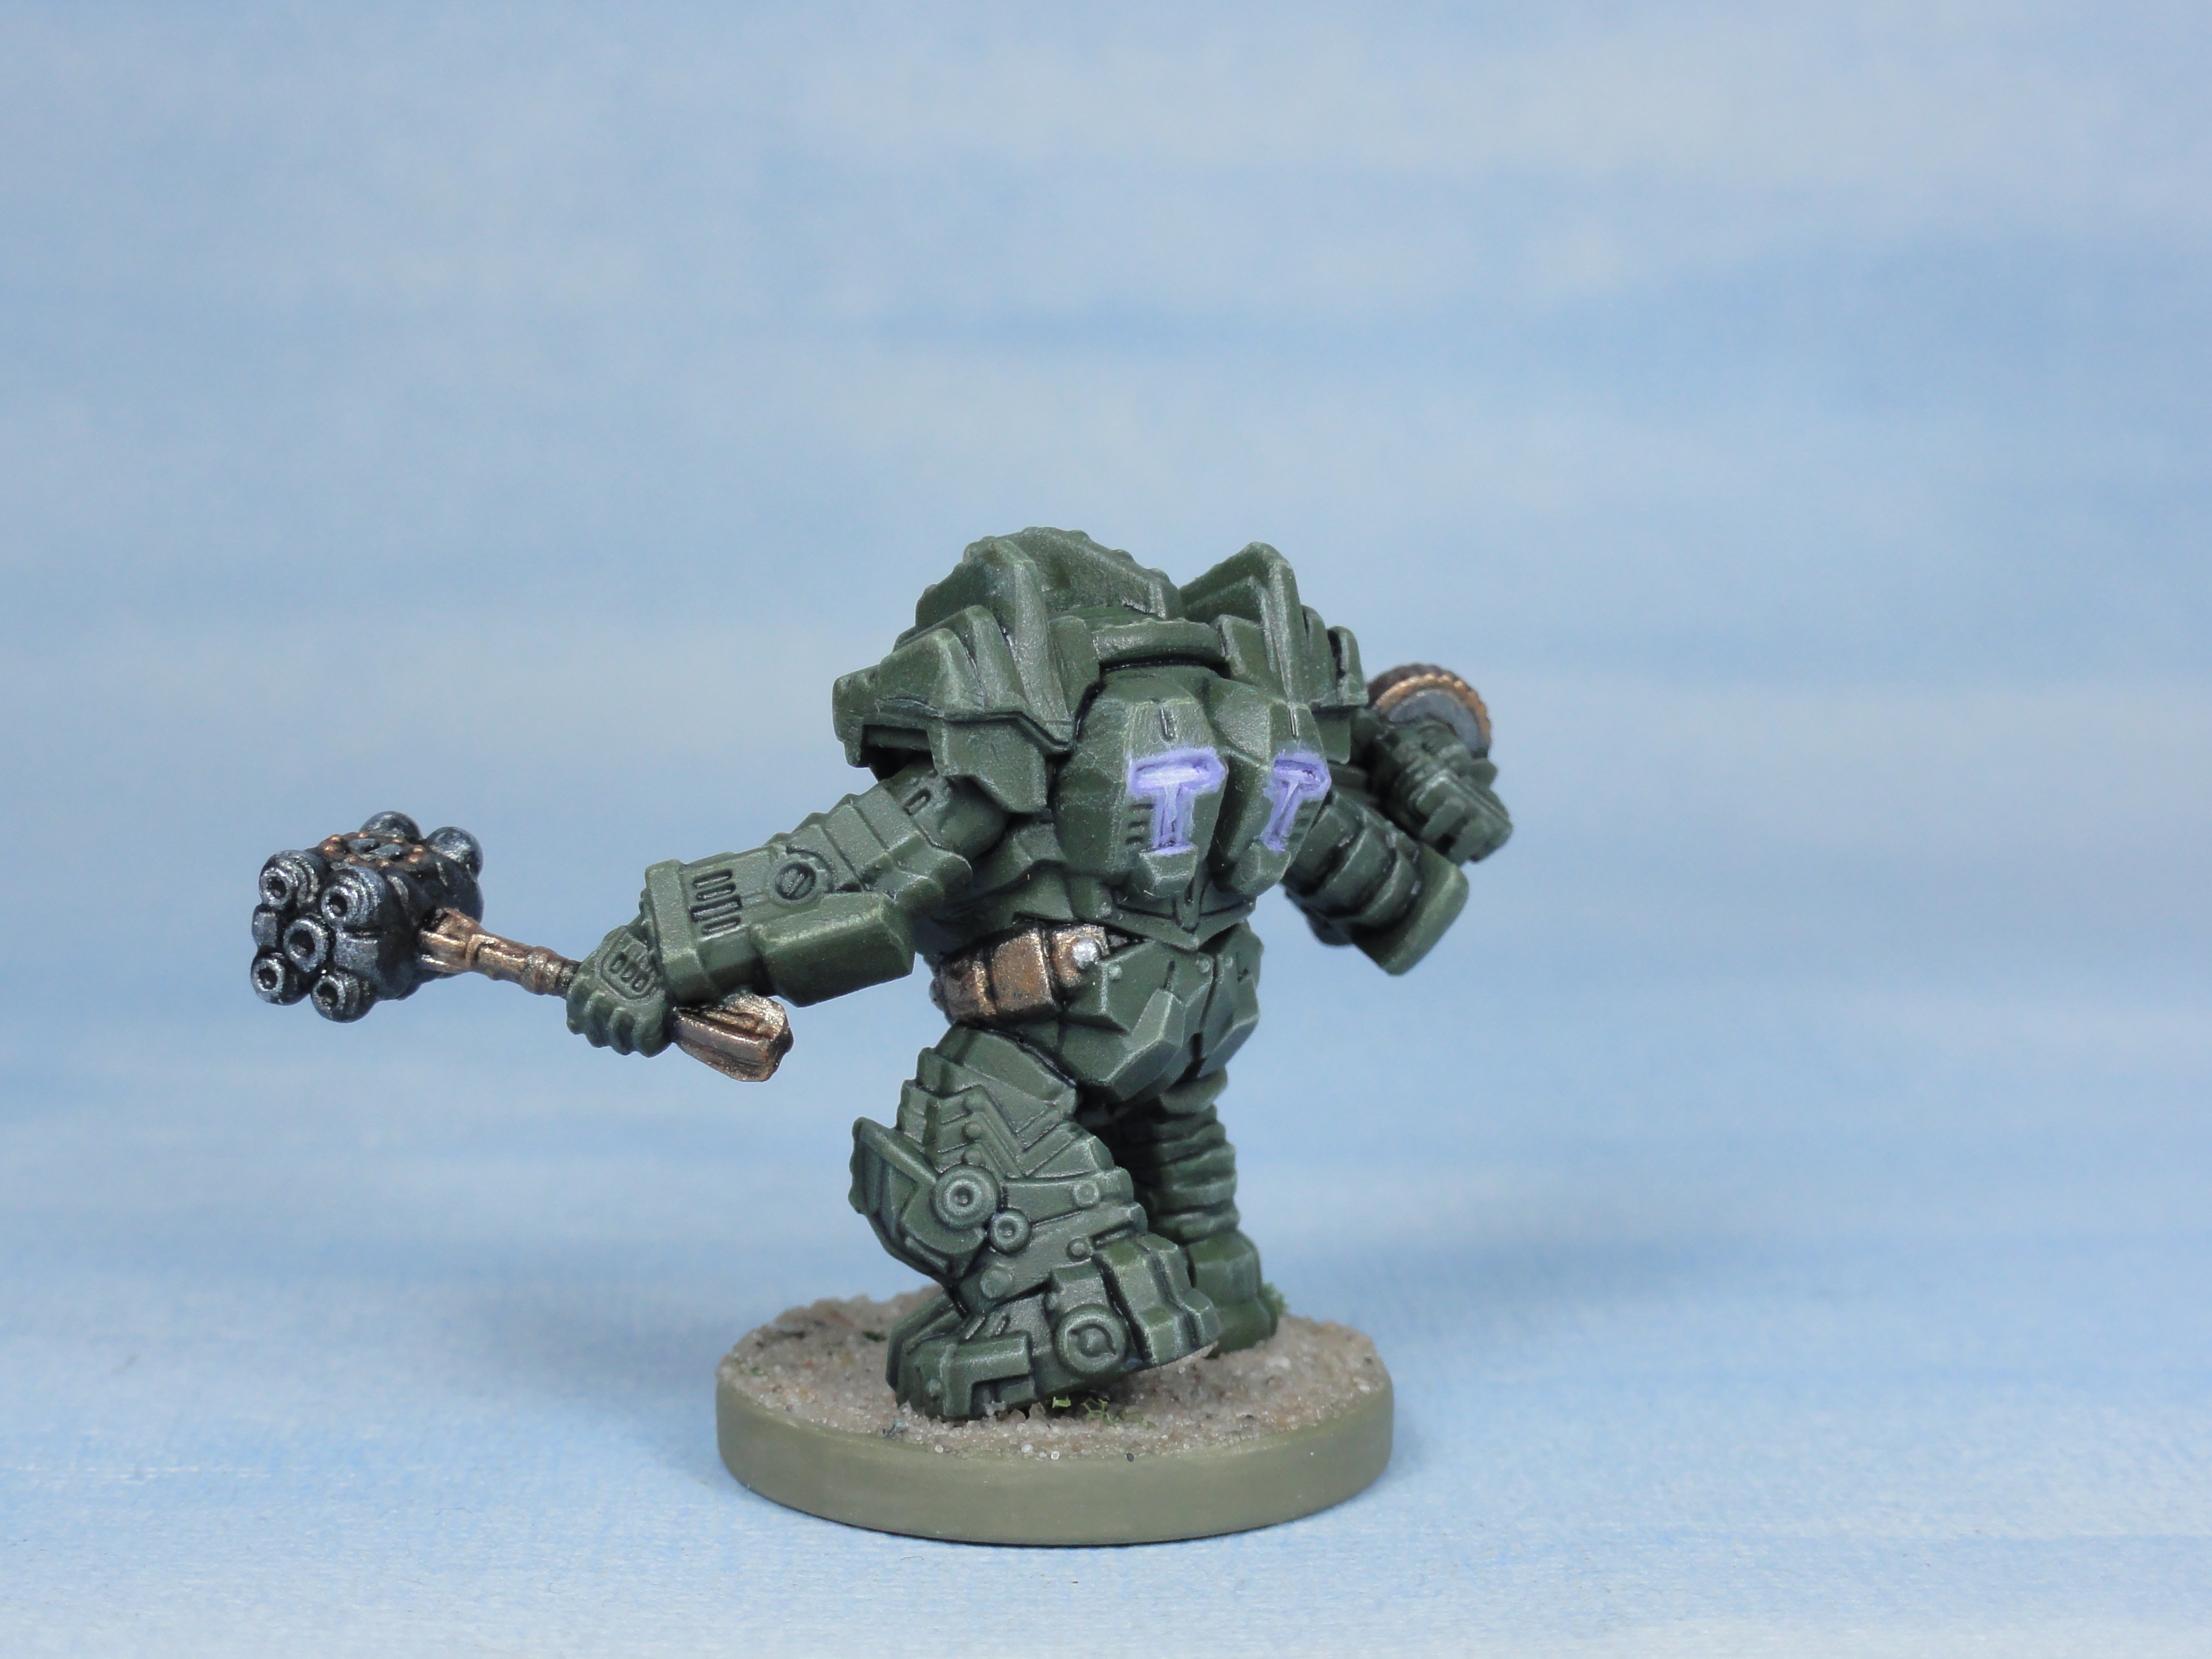
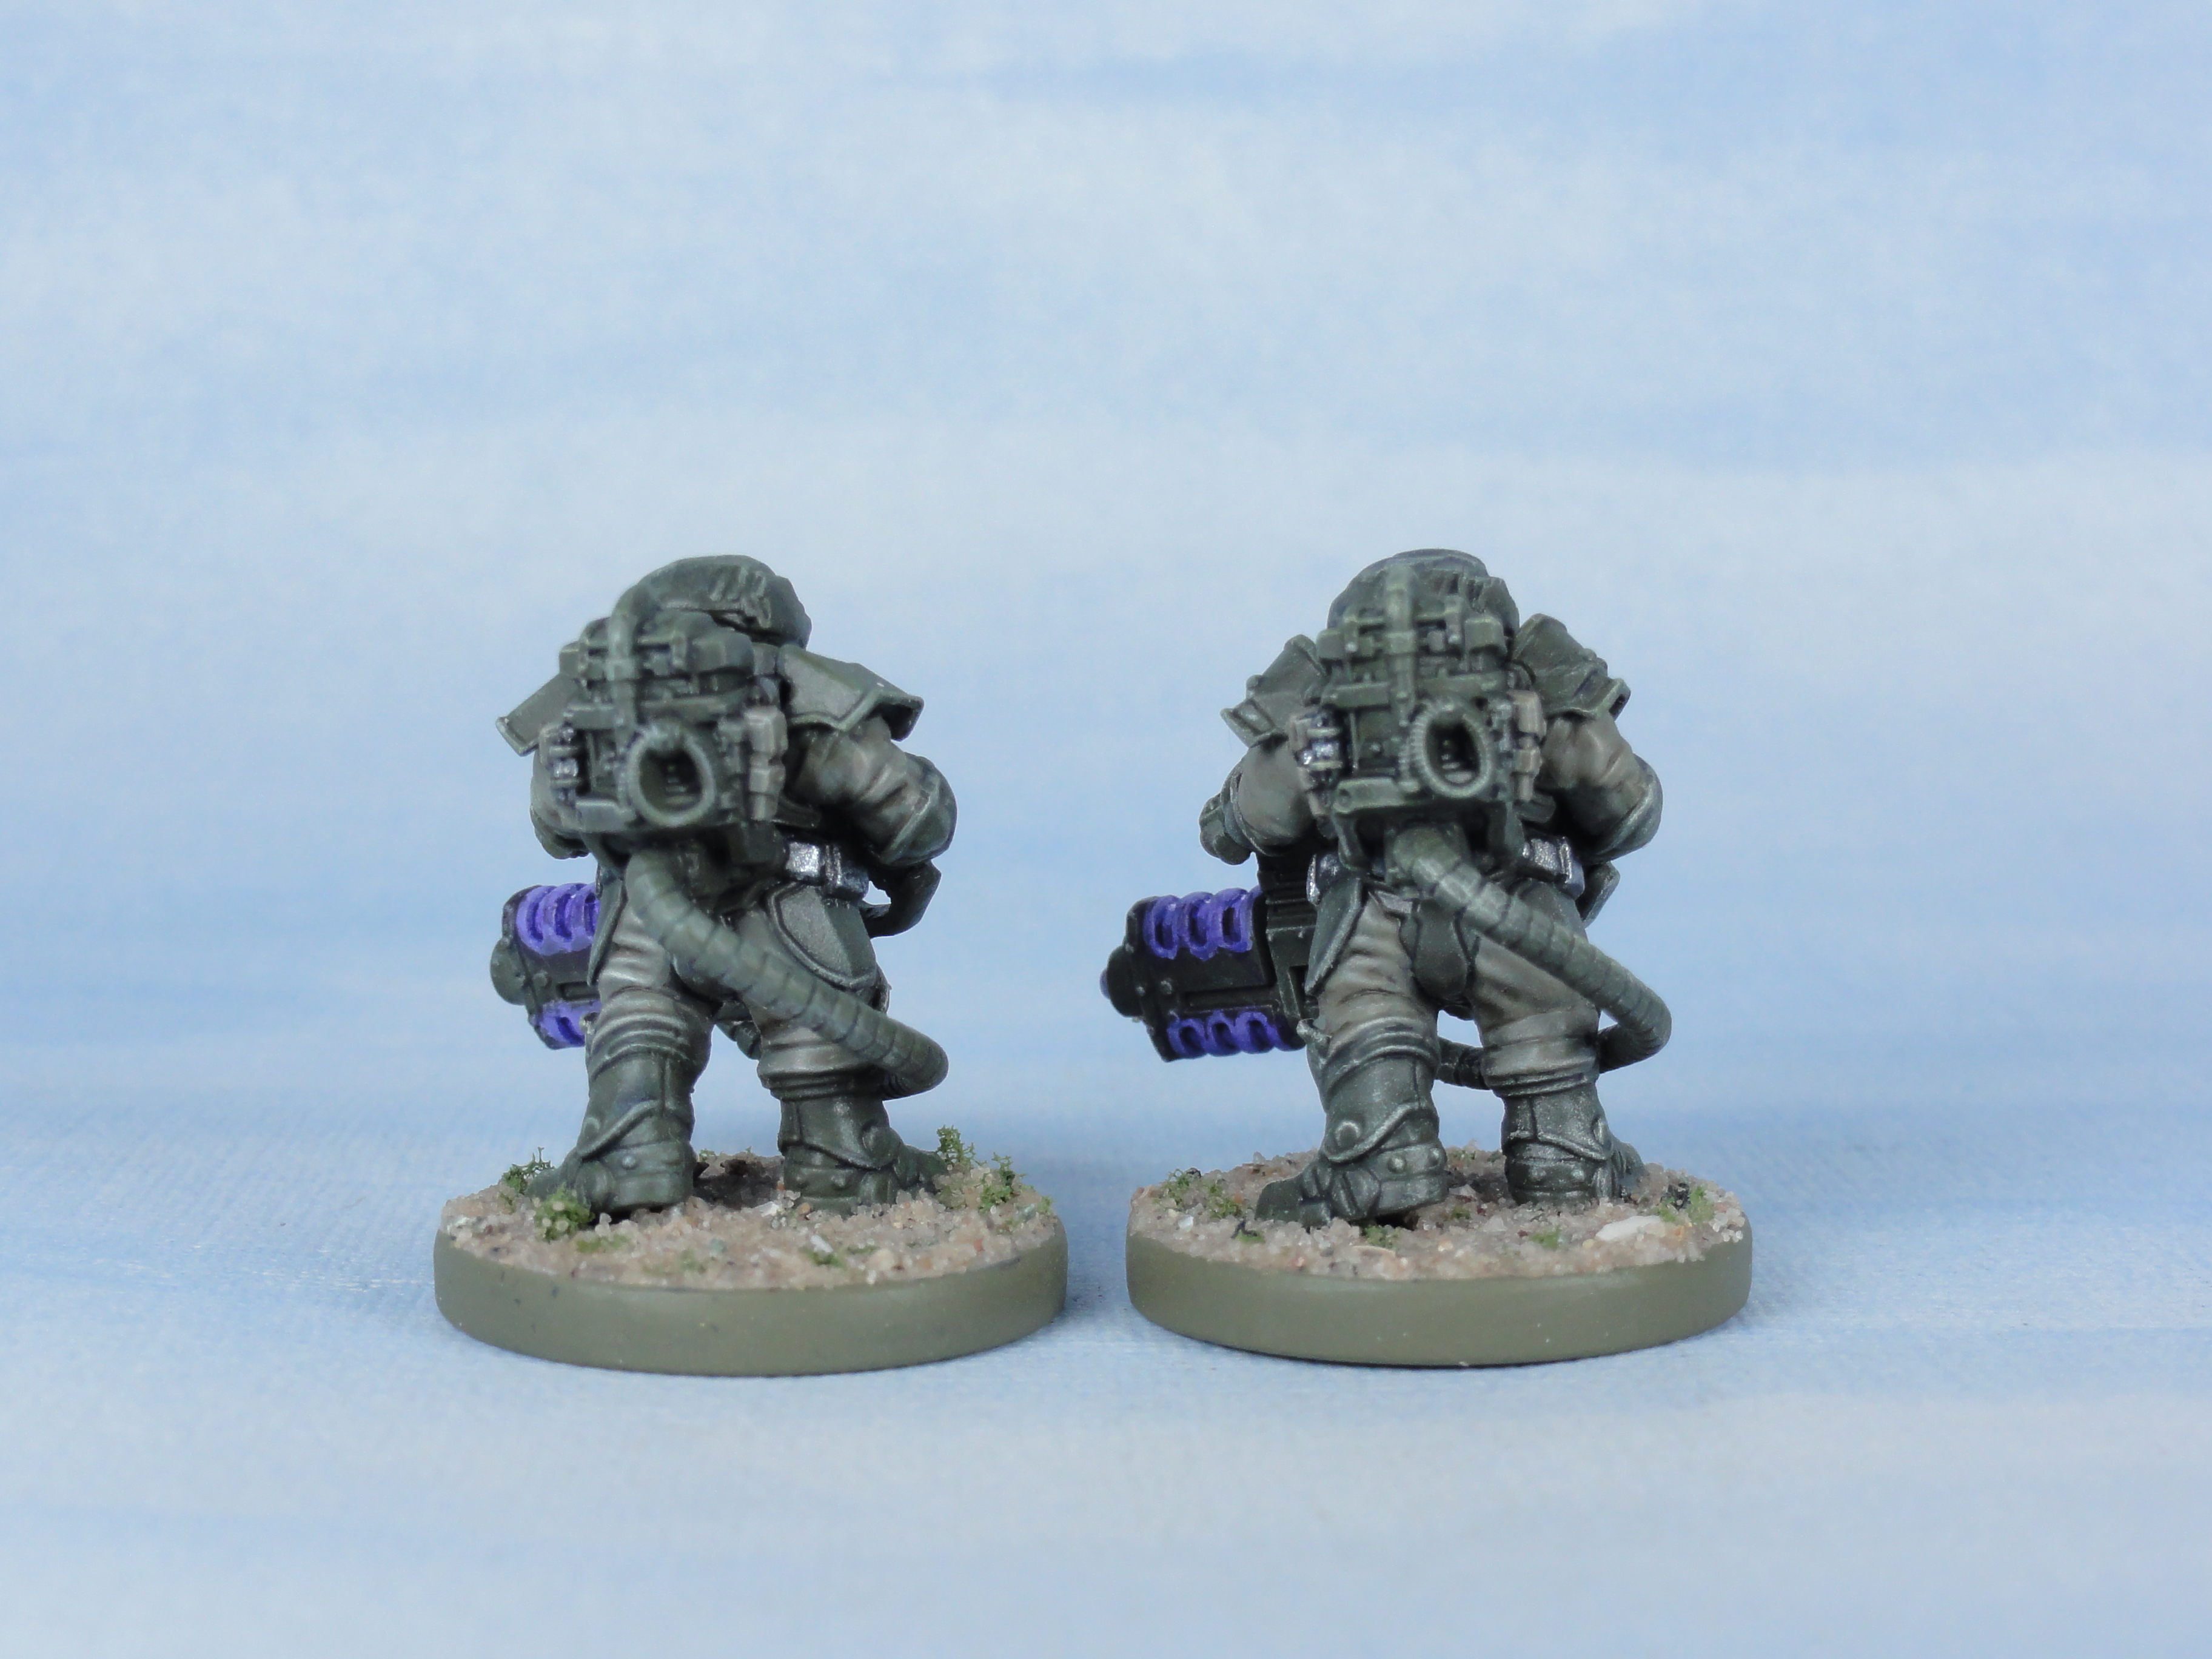
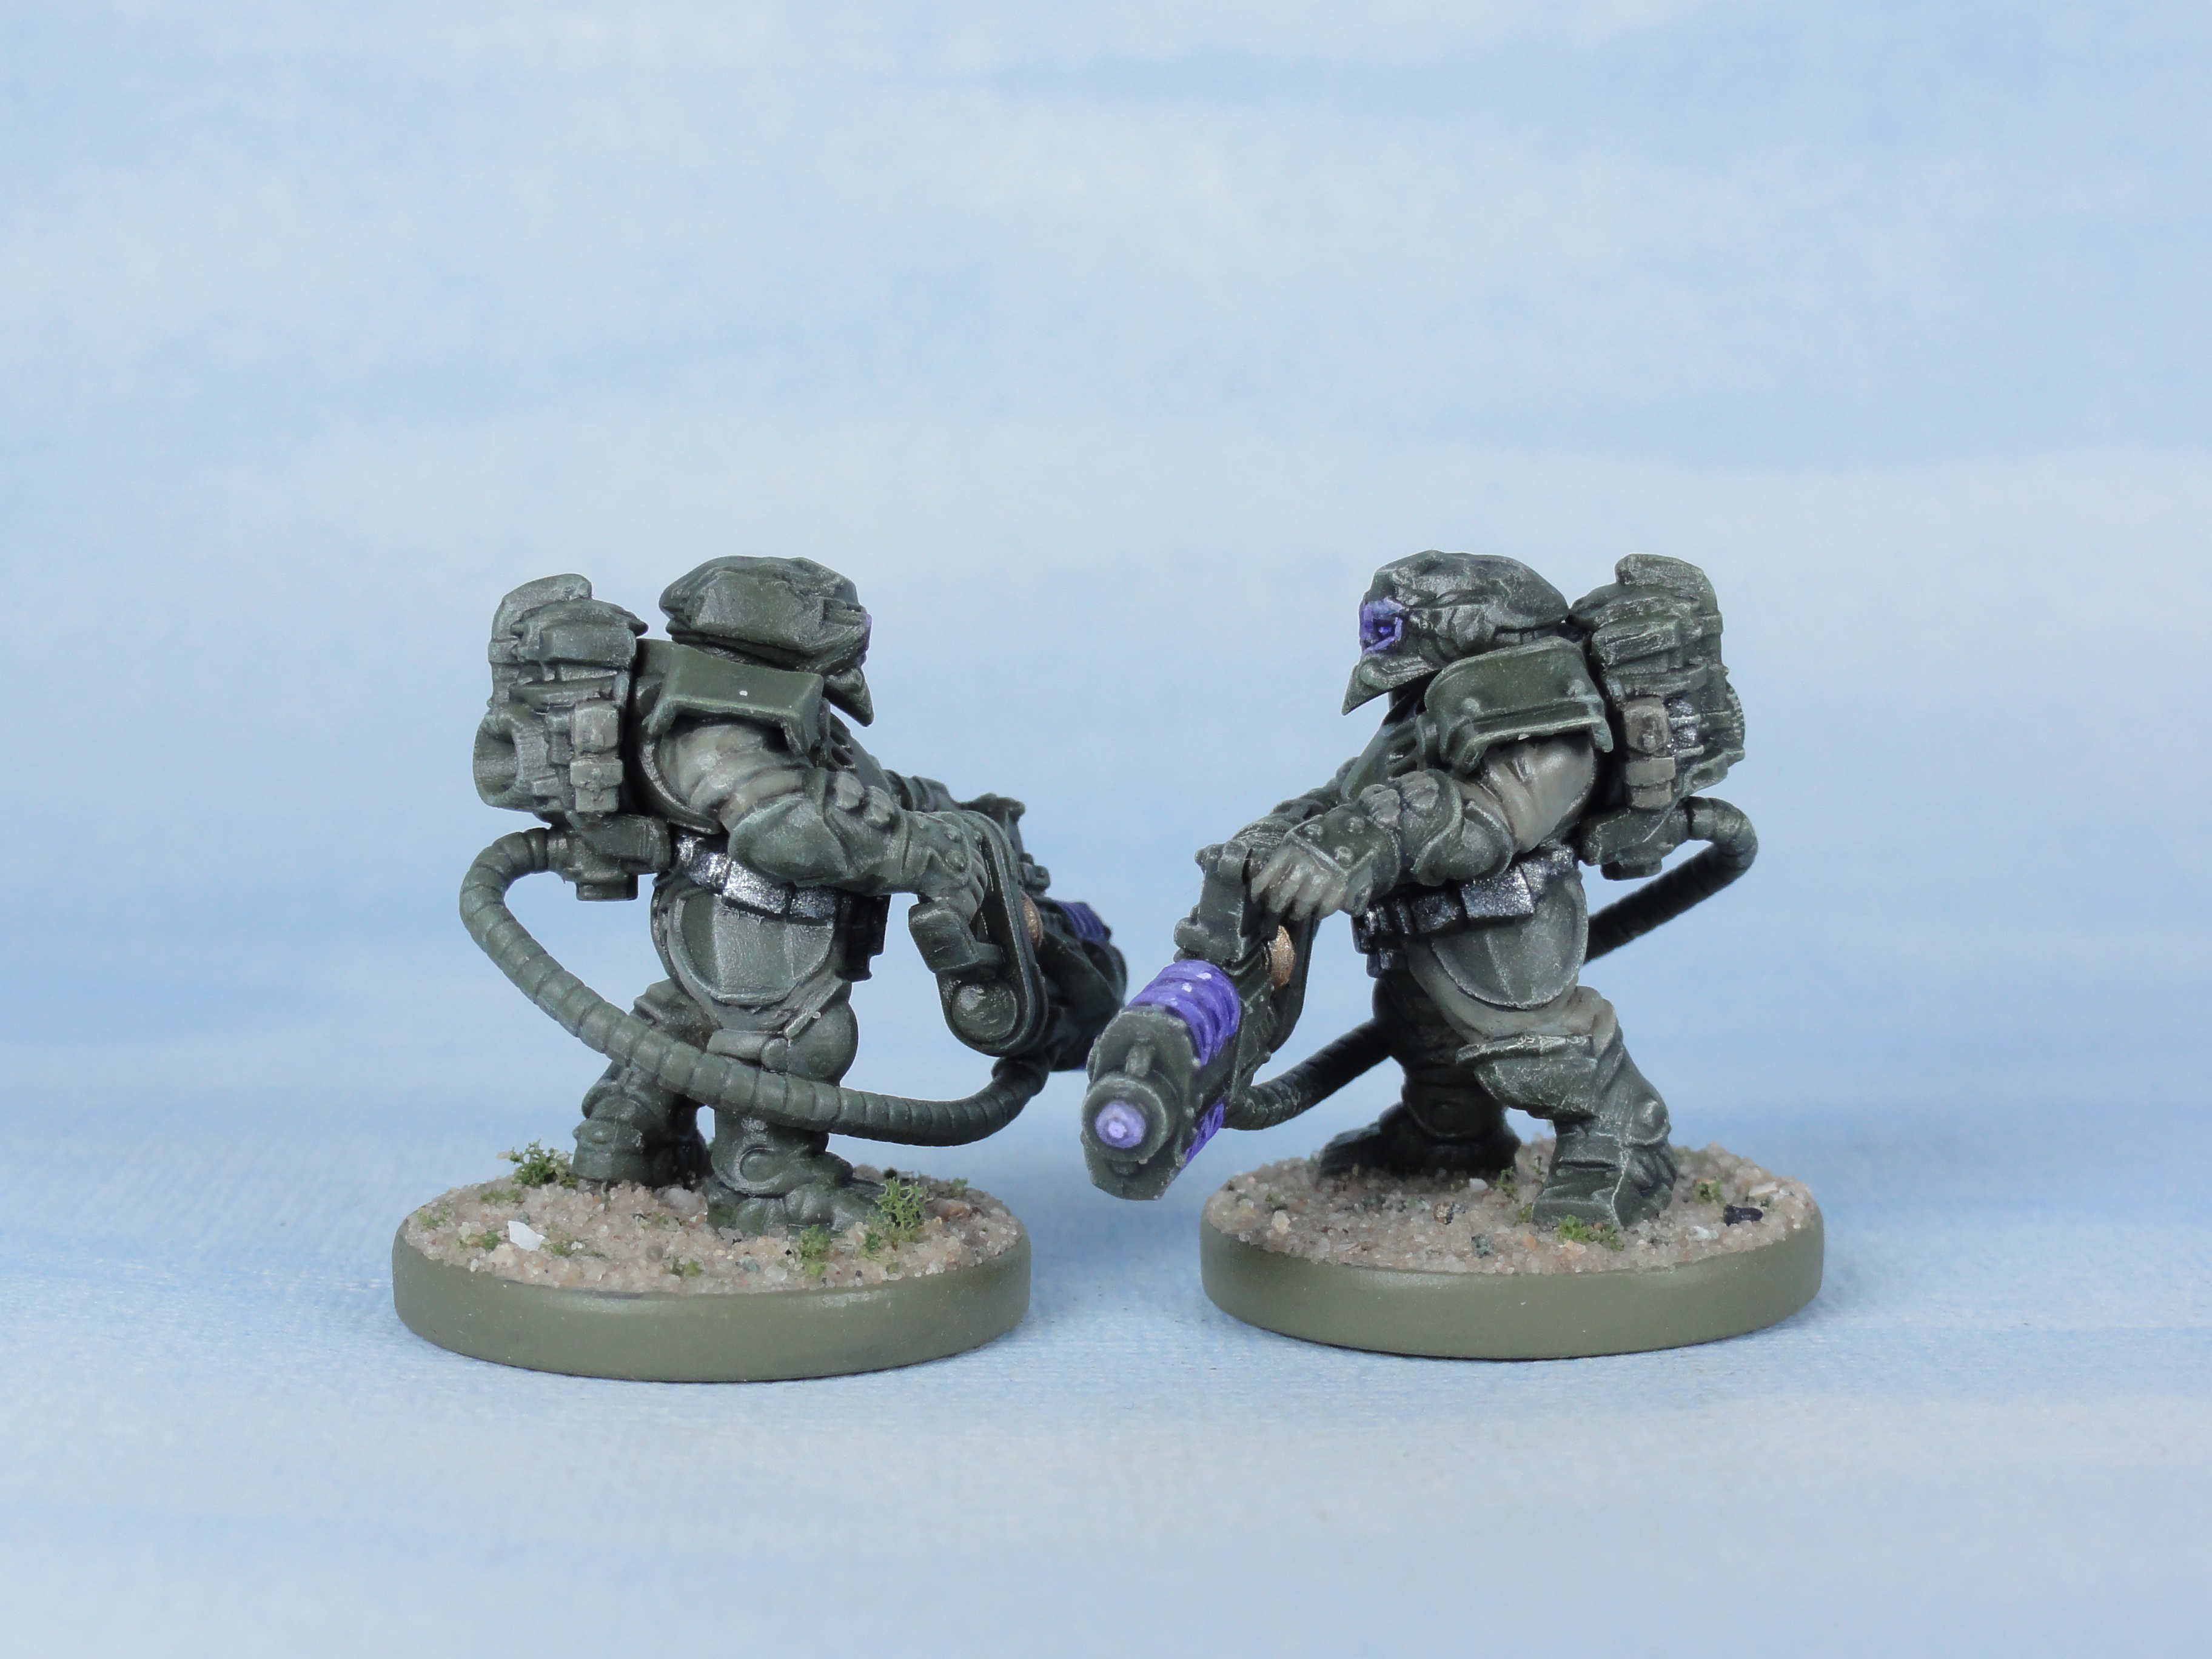
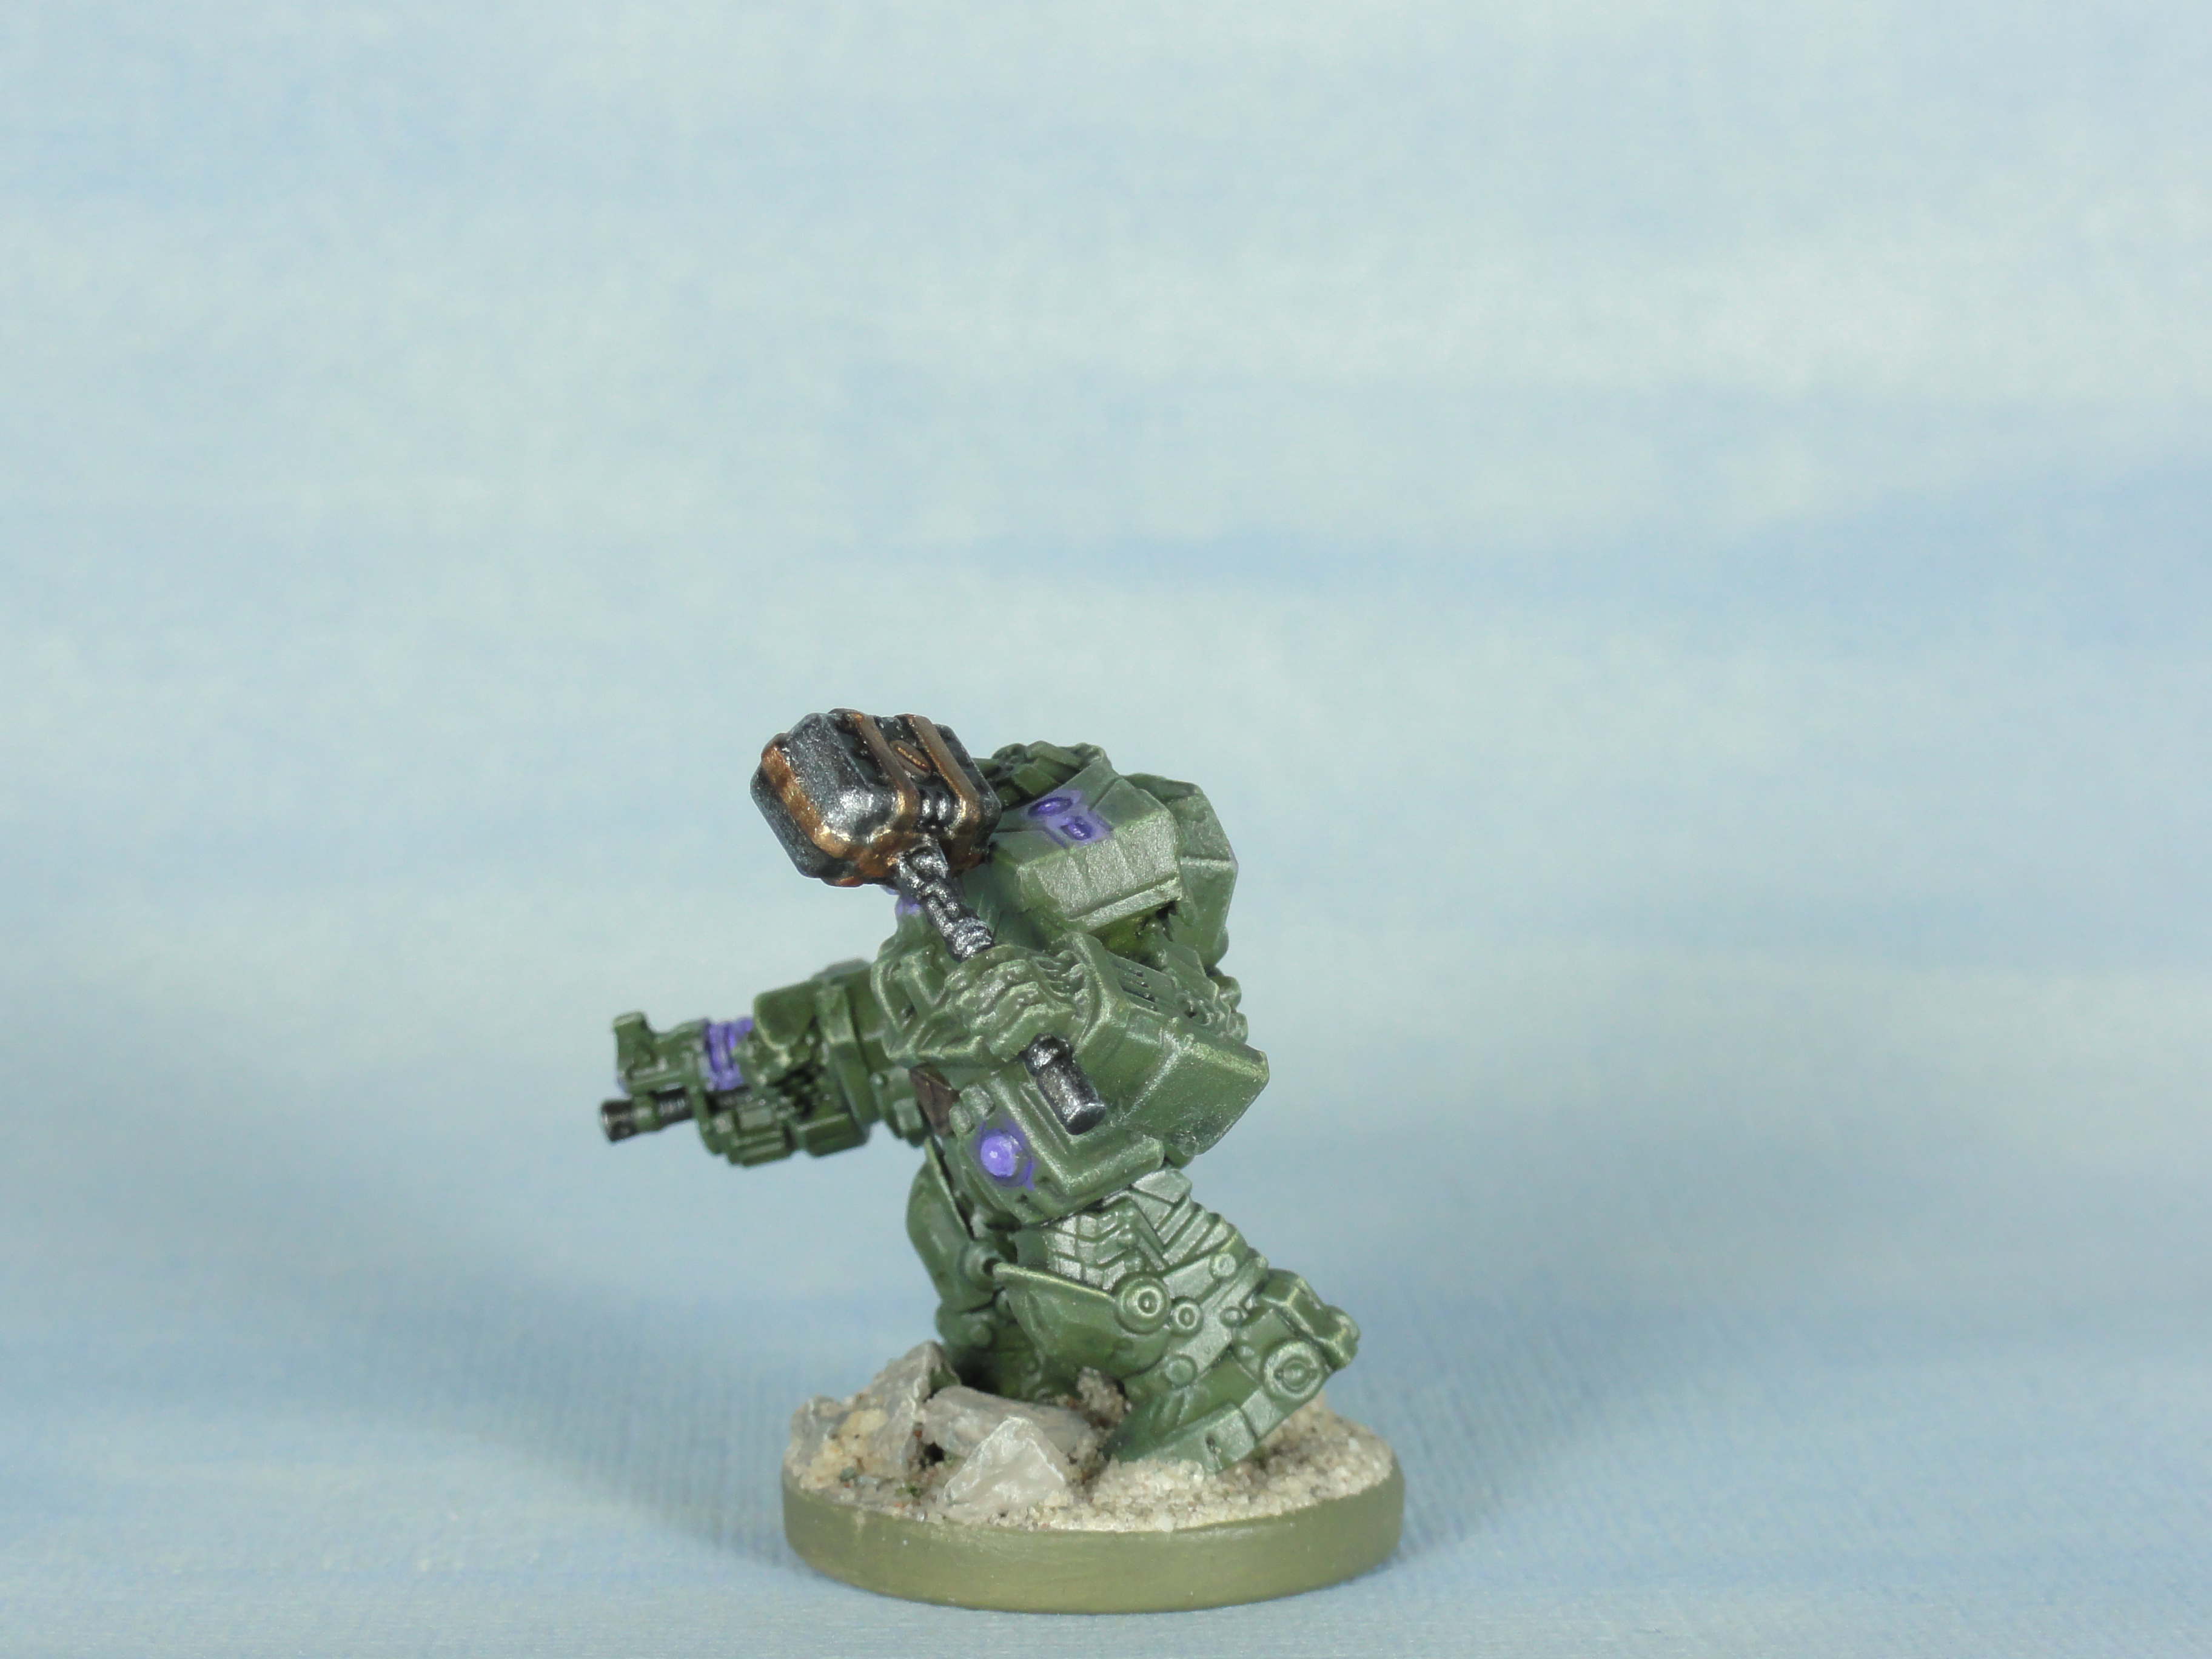
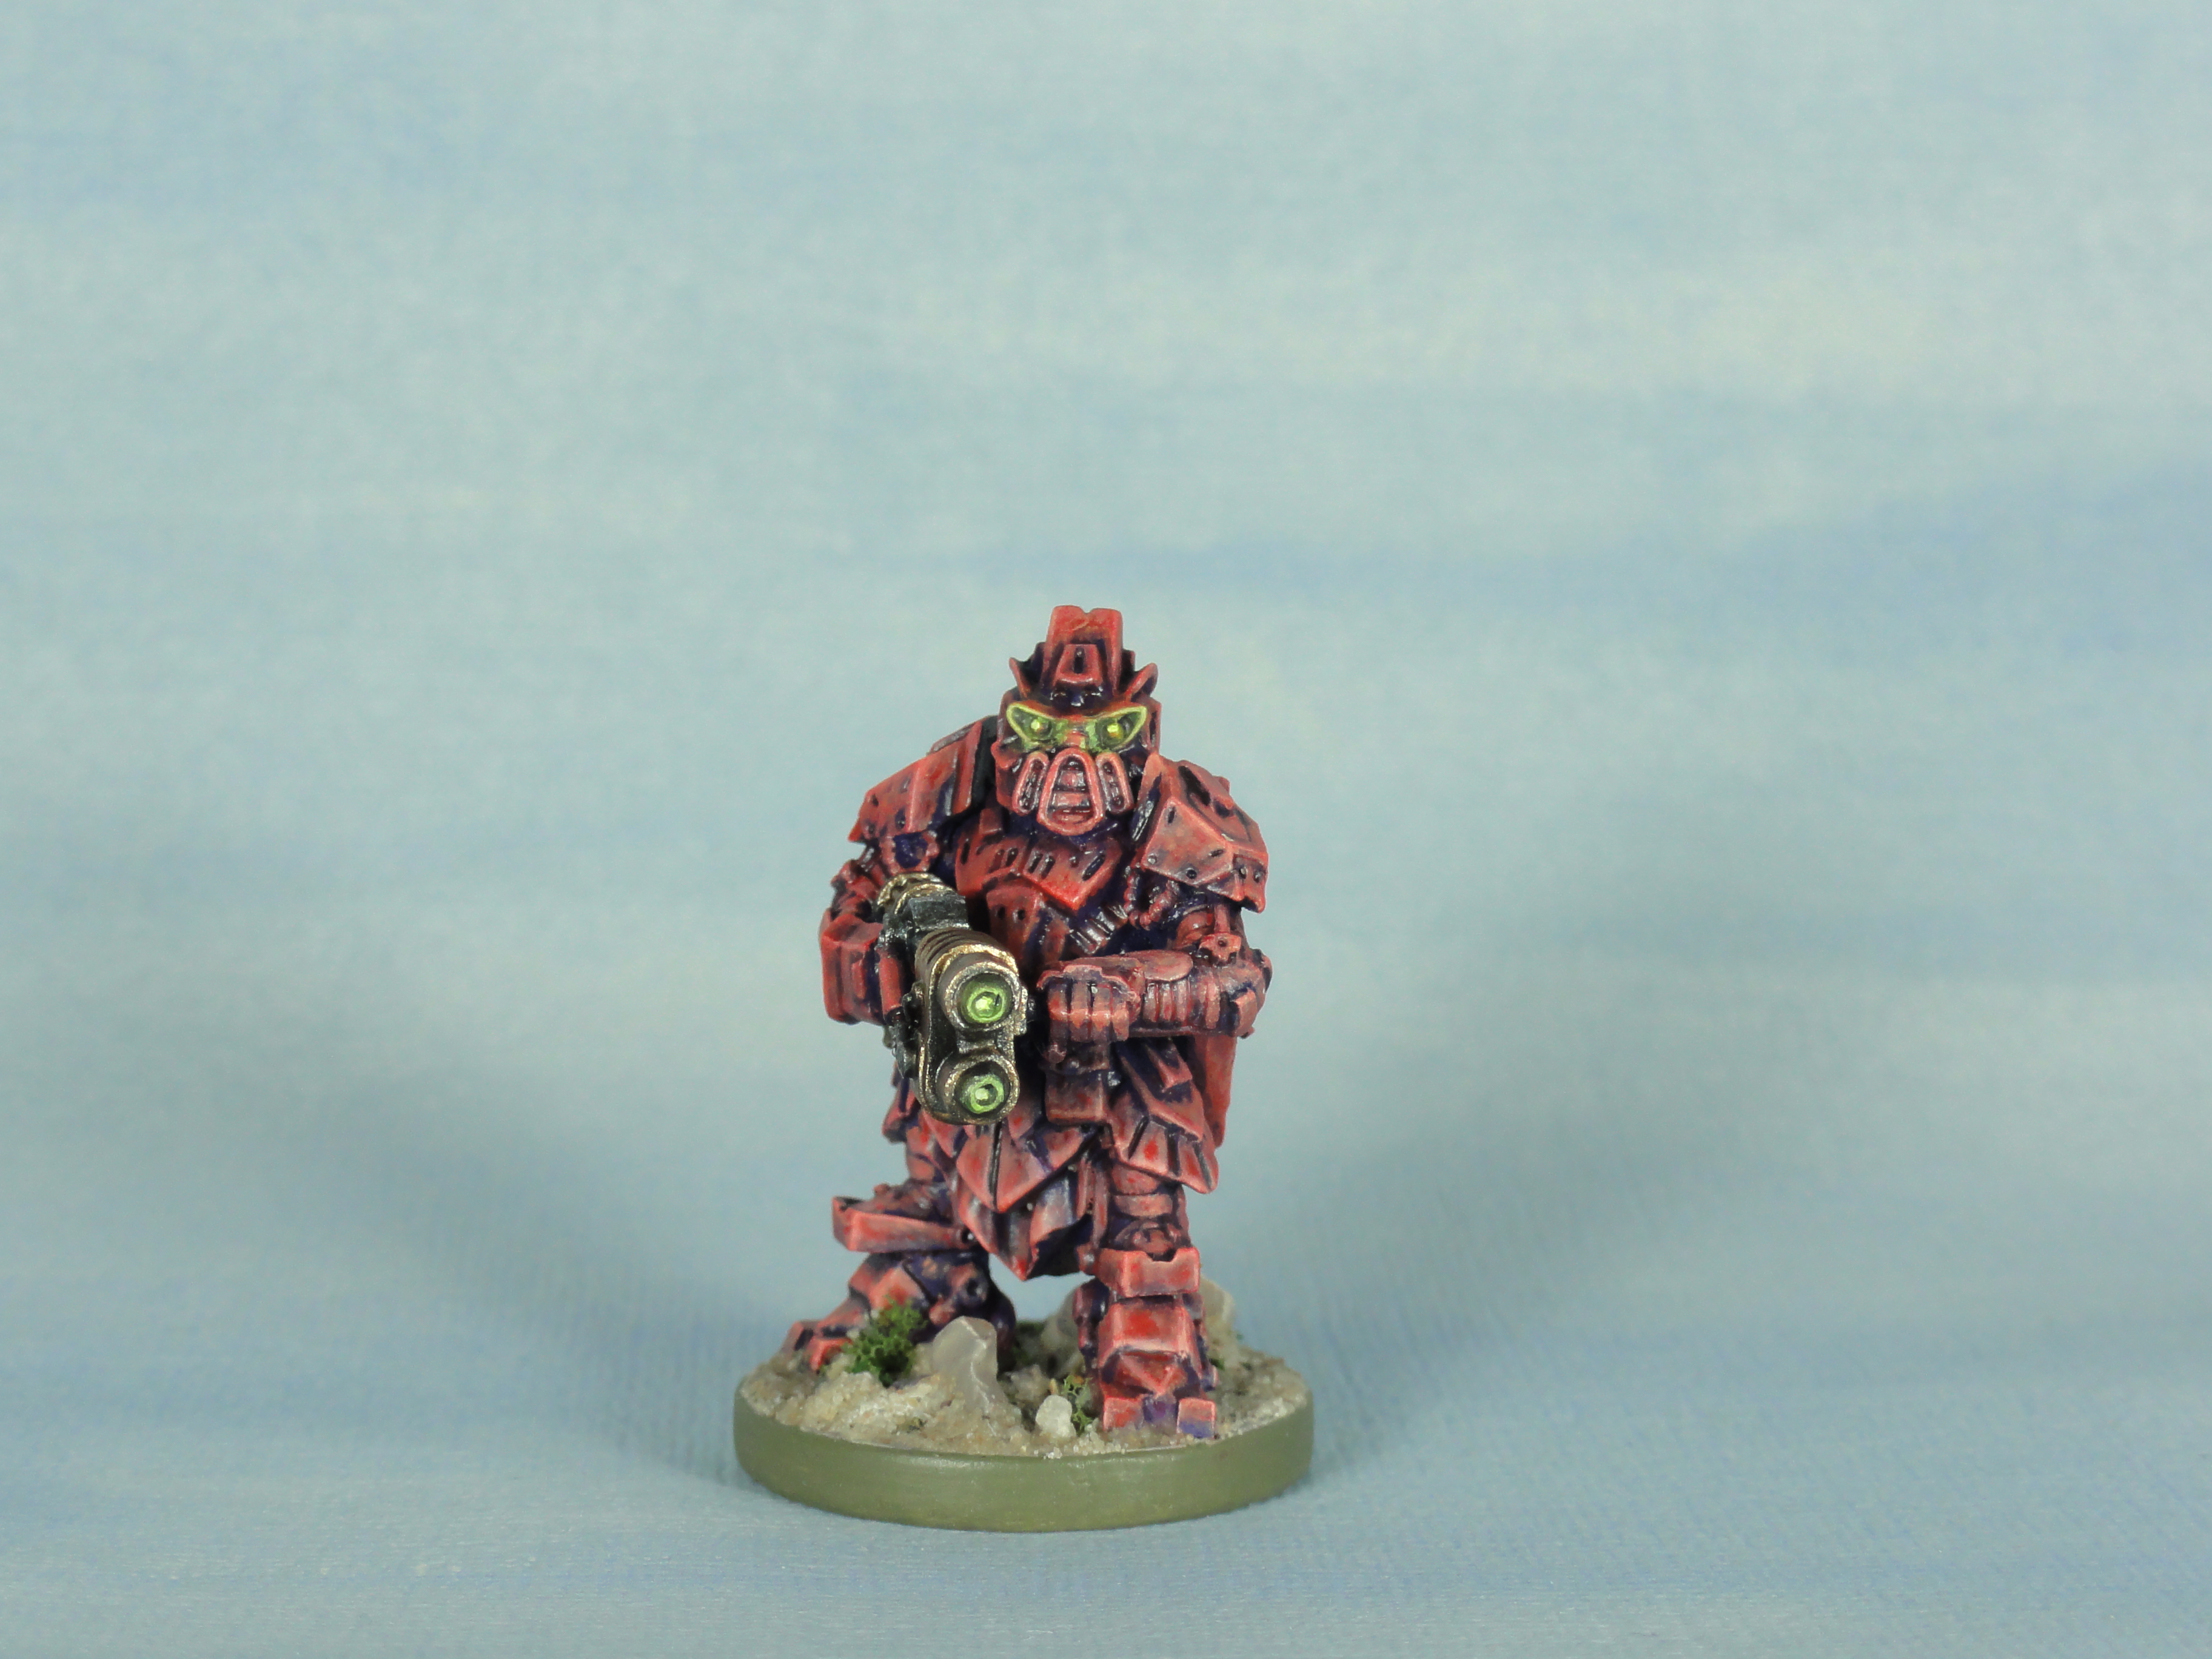
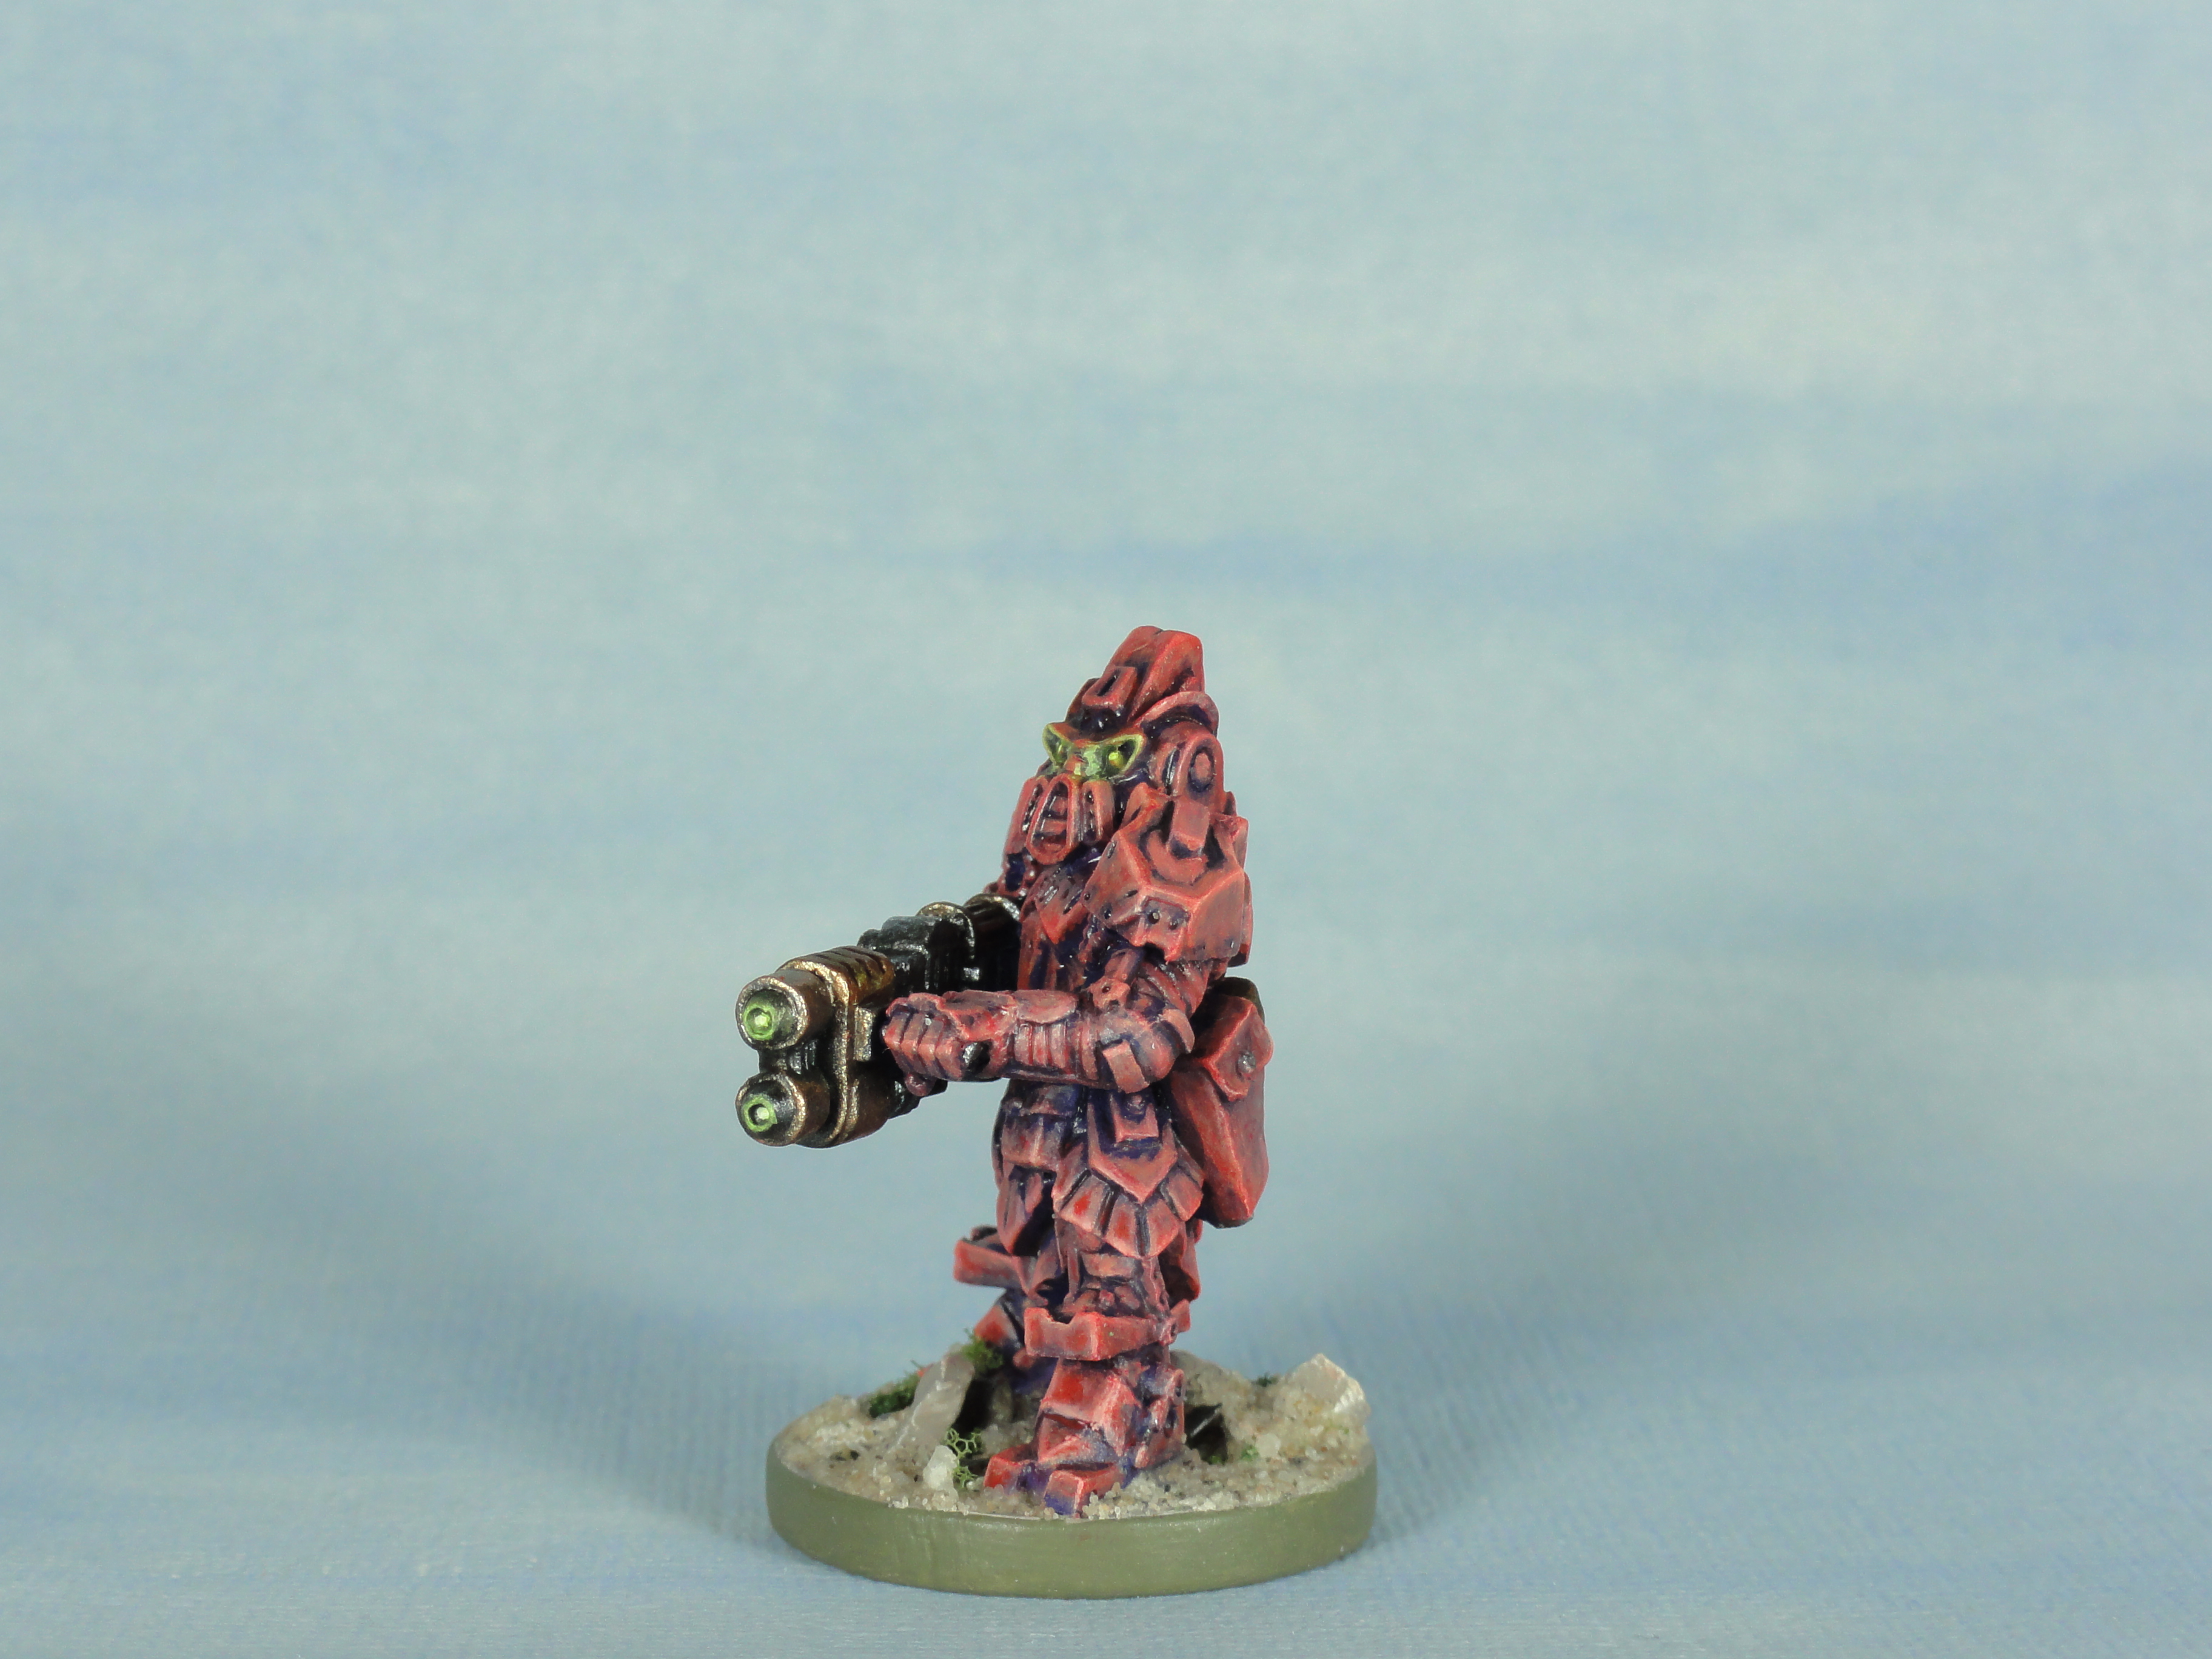
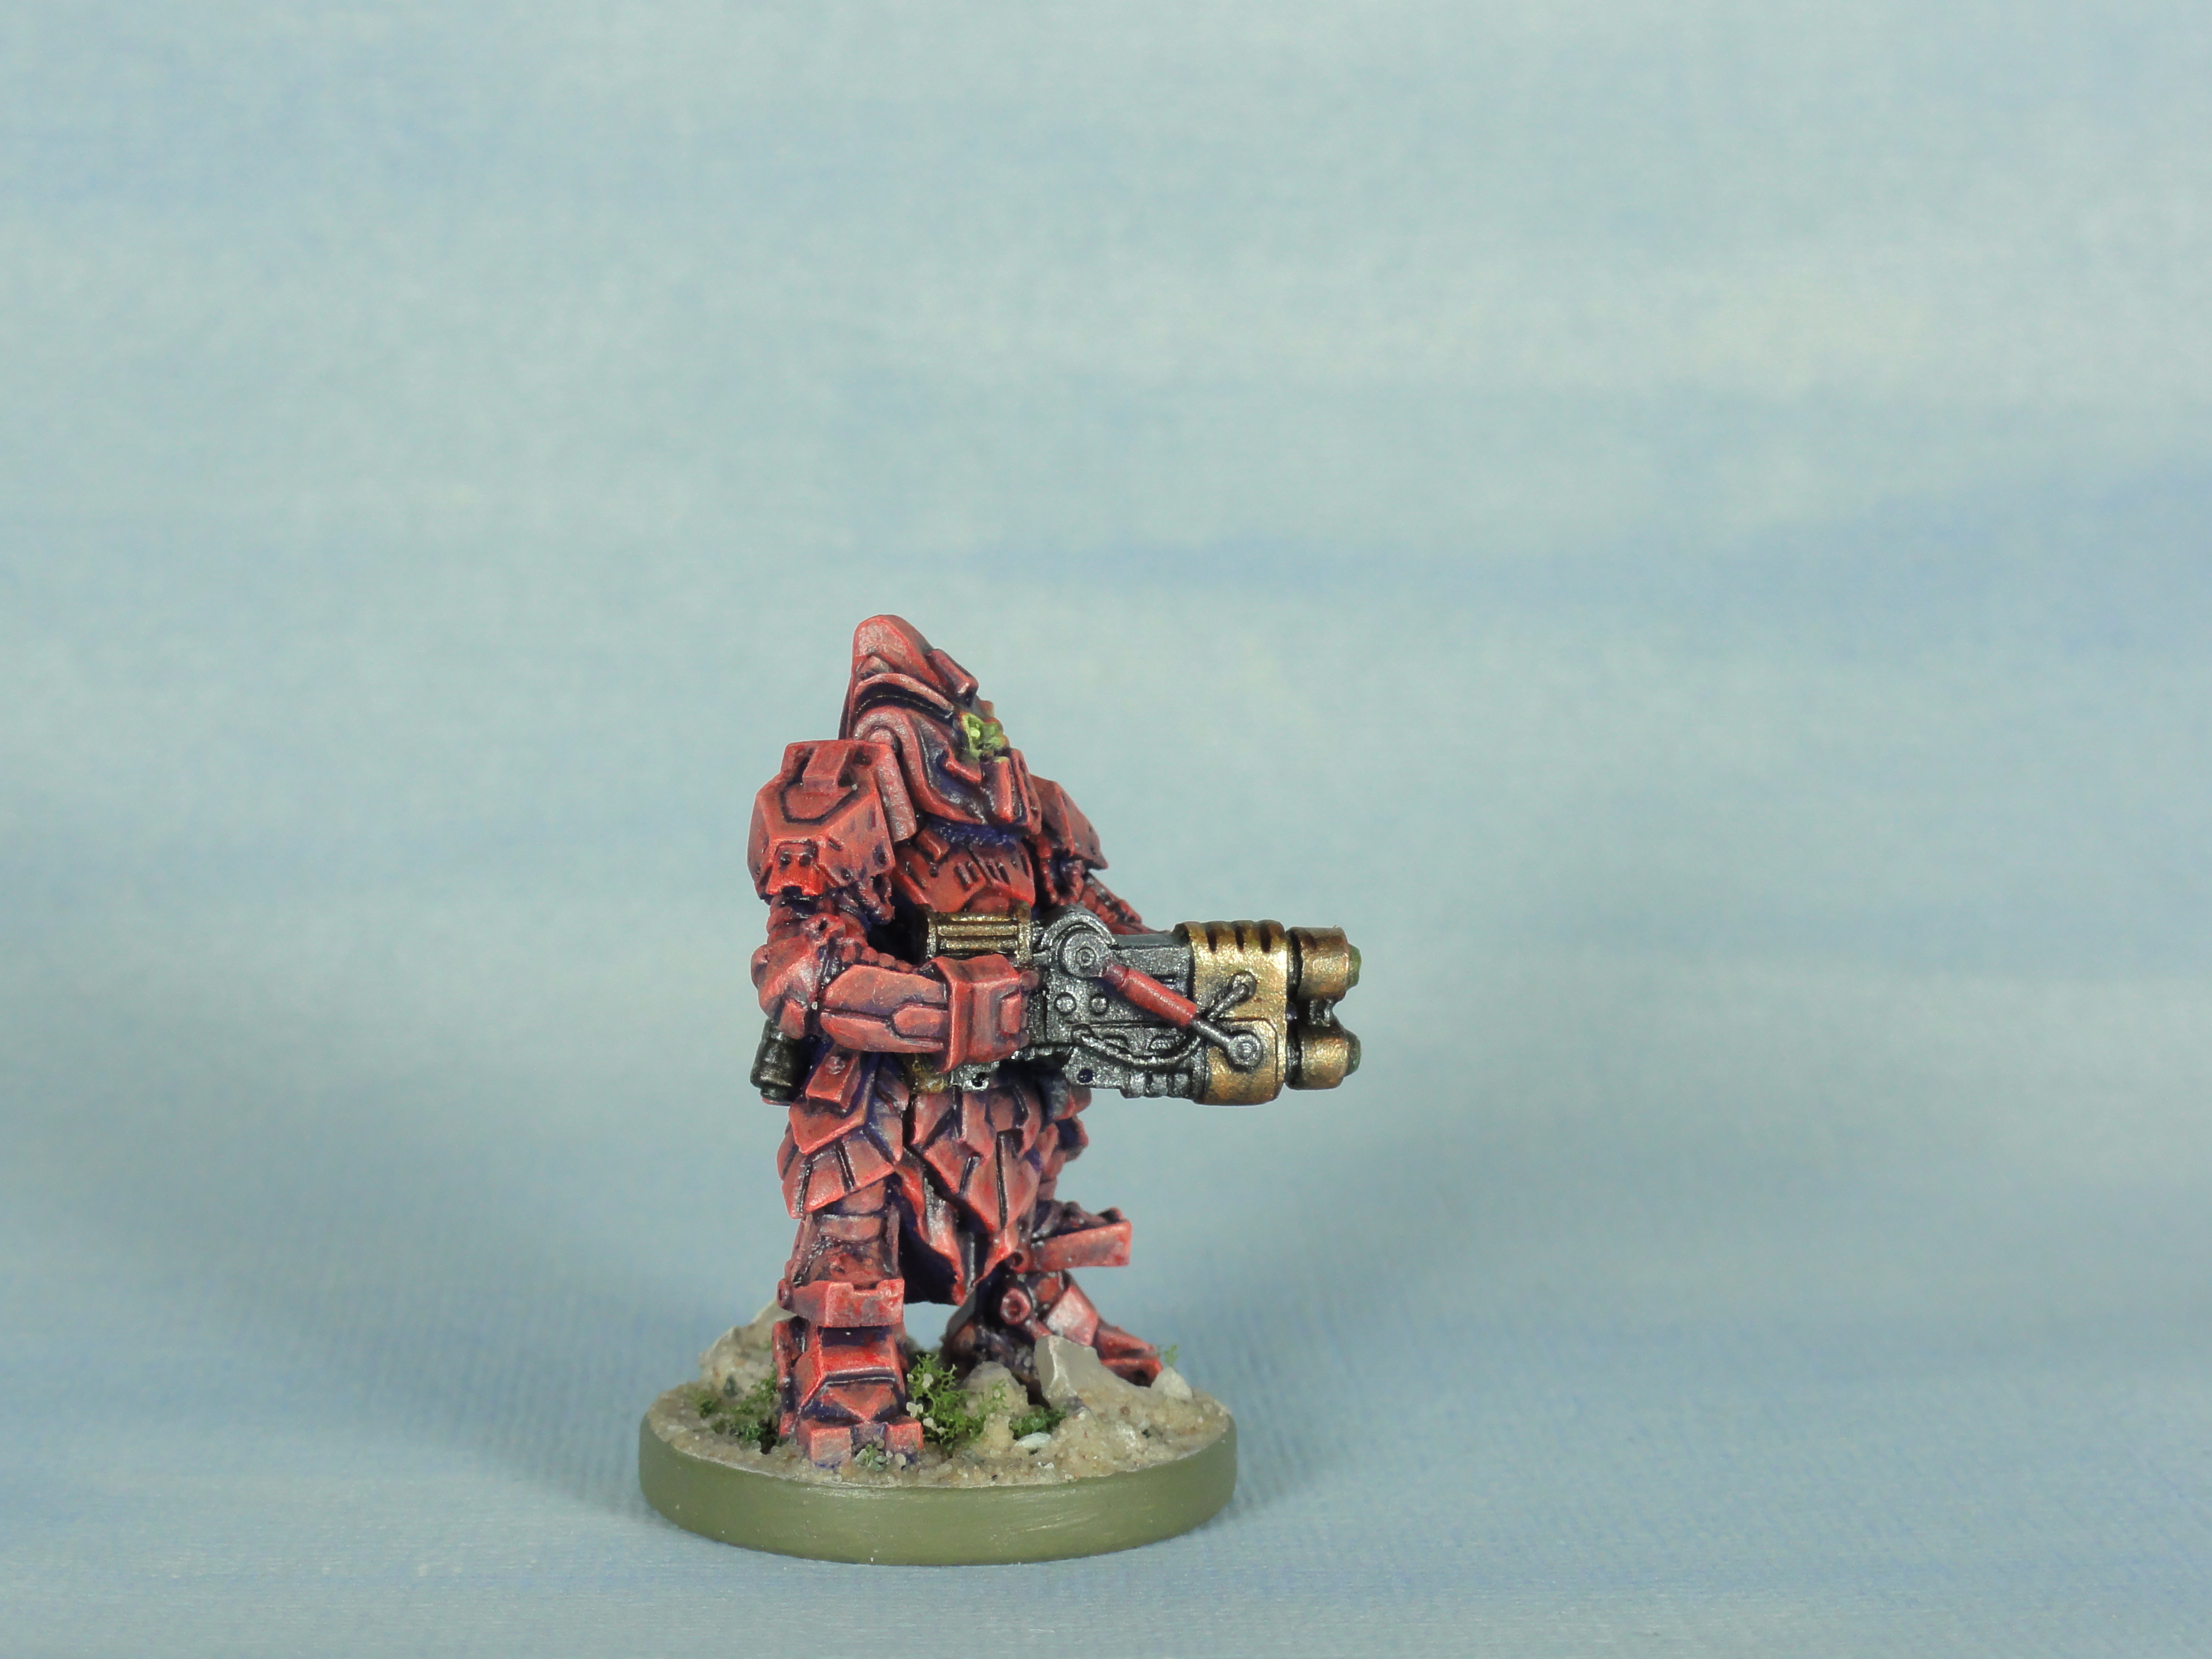
 Steel Warrior Magma Issilgarims
Same scheme that is detailed in the posts from 07 and 08 April 2022.
I’ll go back and fix the purple on the weapons at some point. Tried a few times but need to step back from it for now.

Lucky Number Slevin
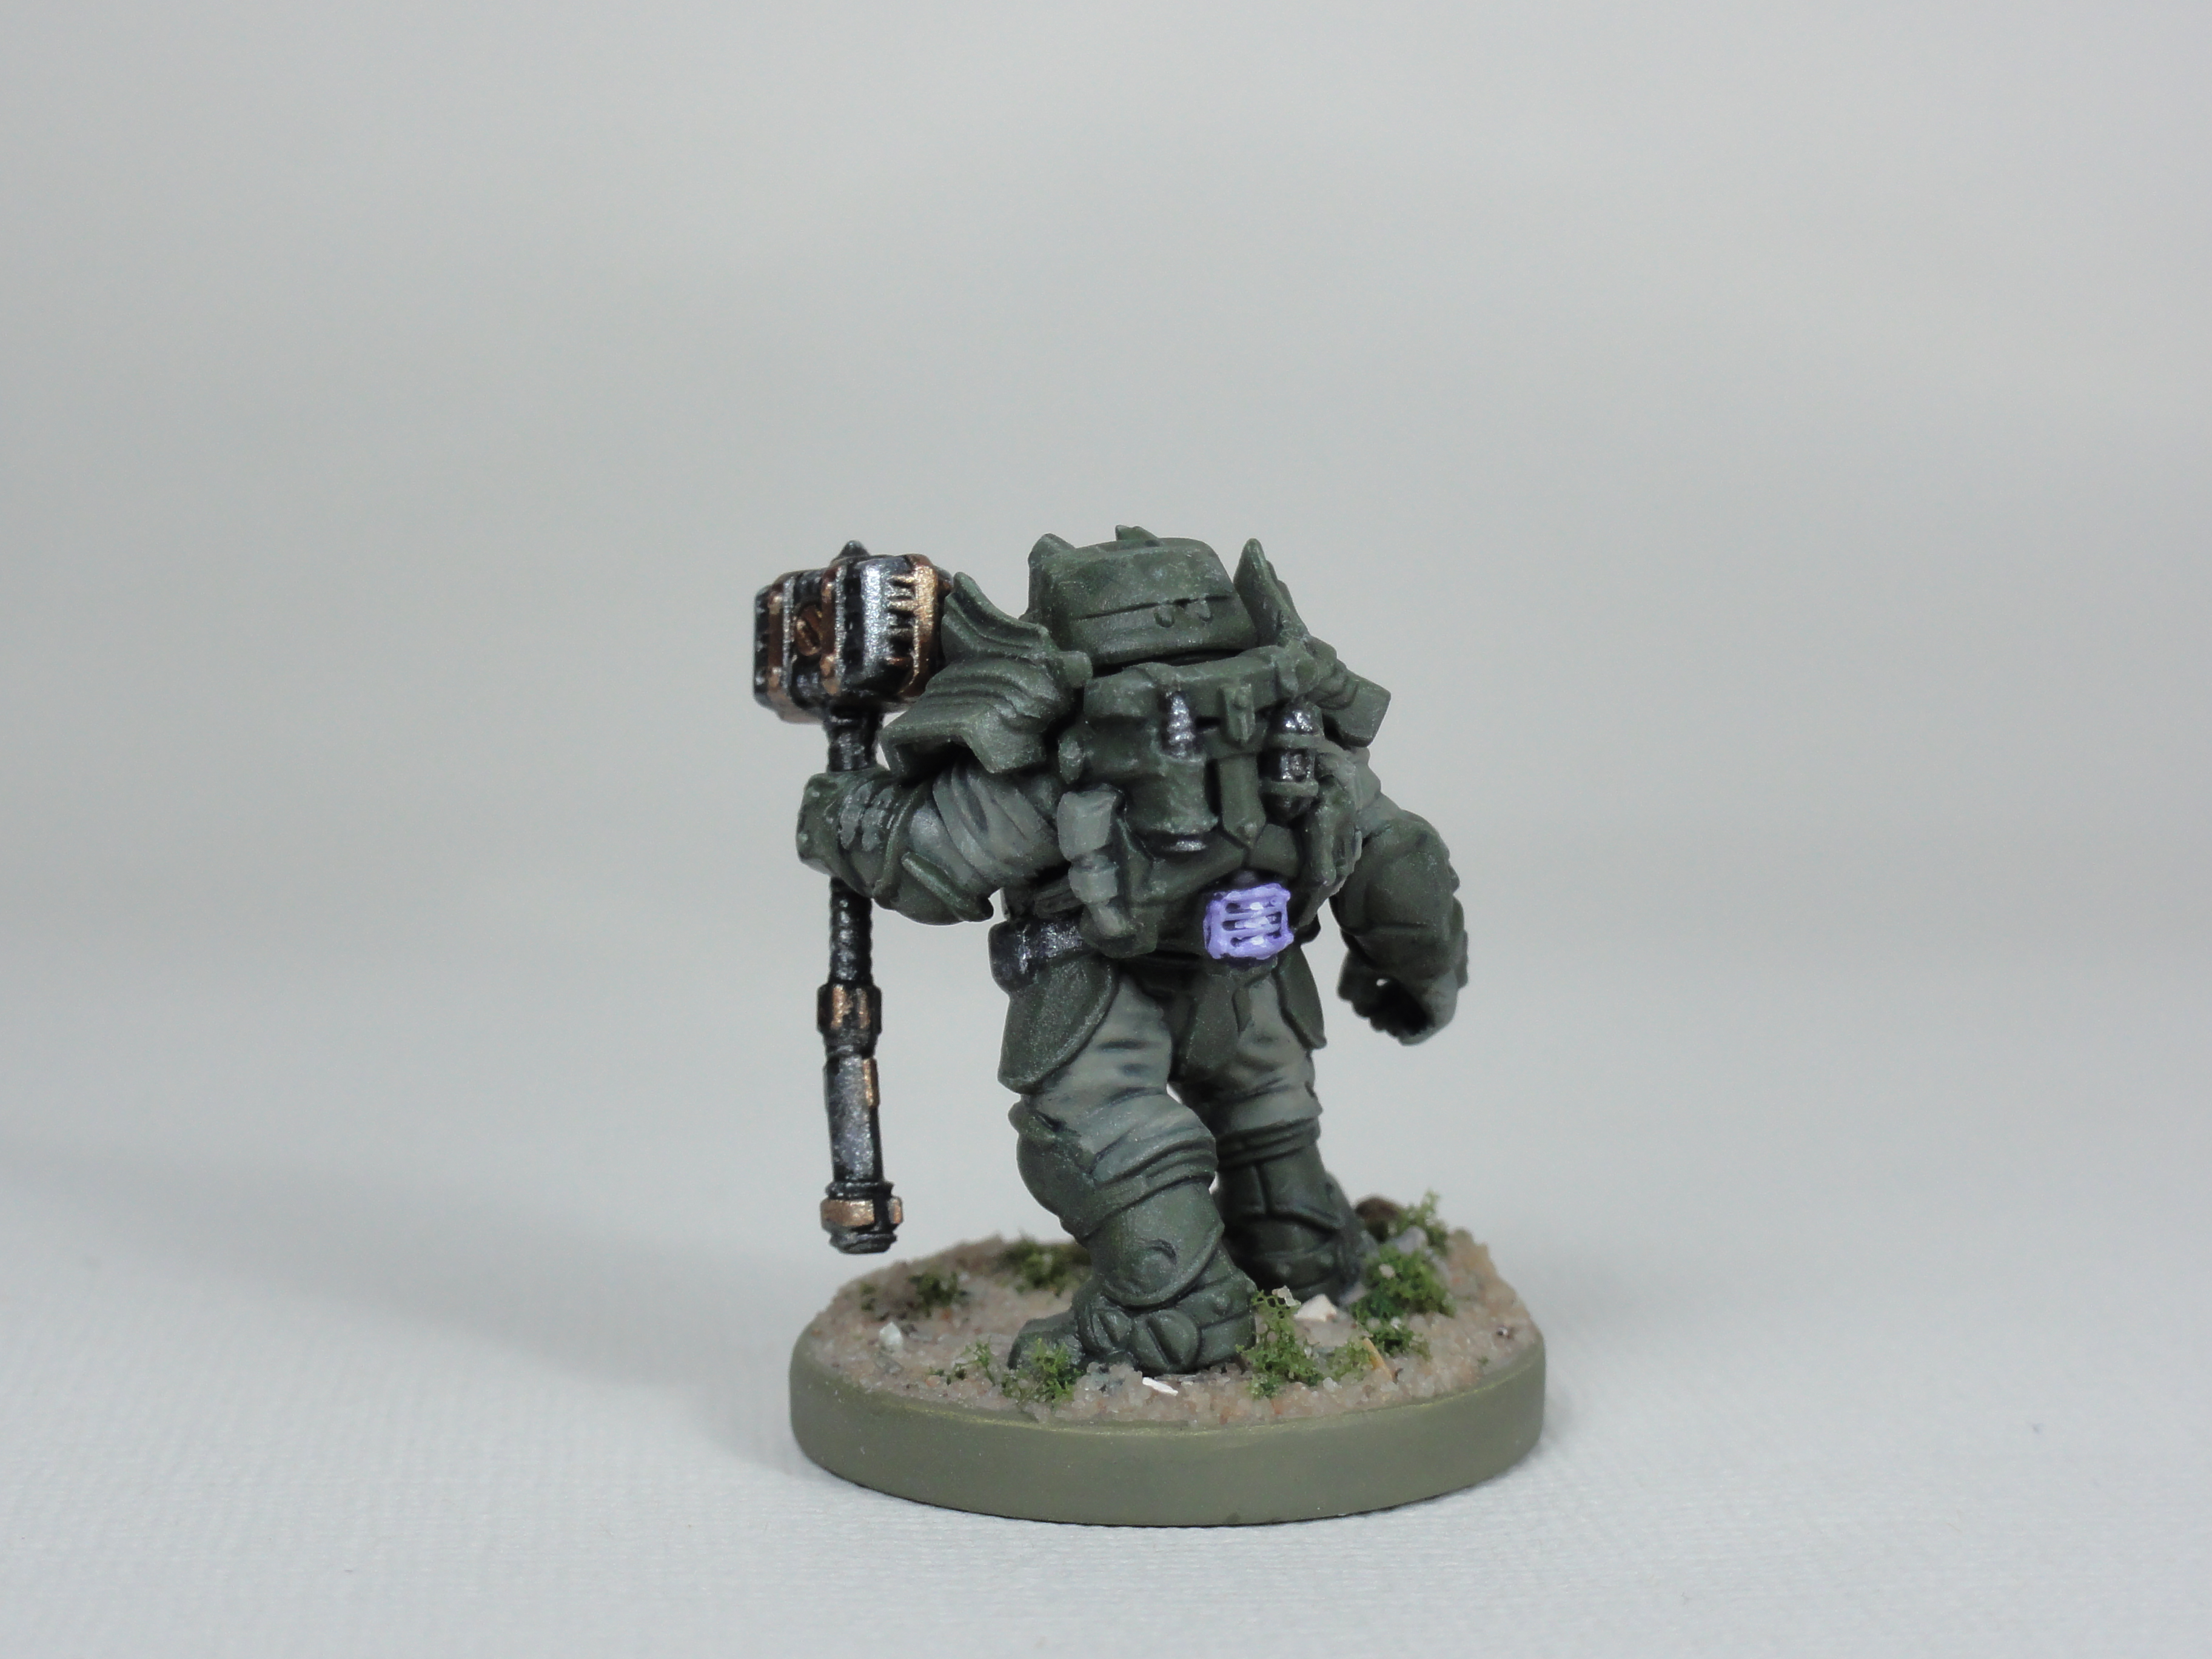
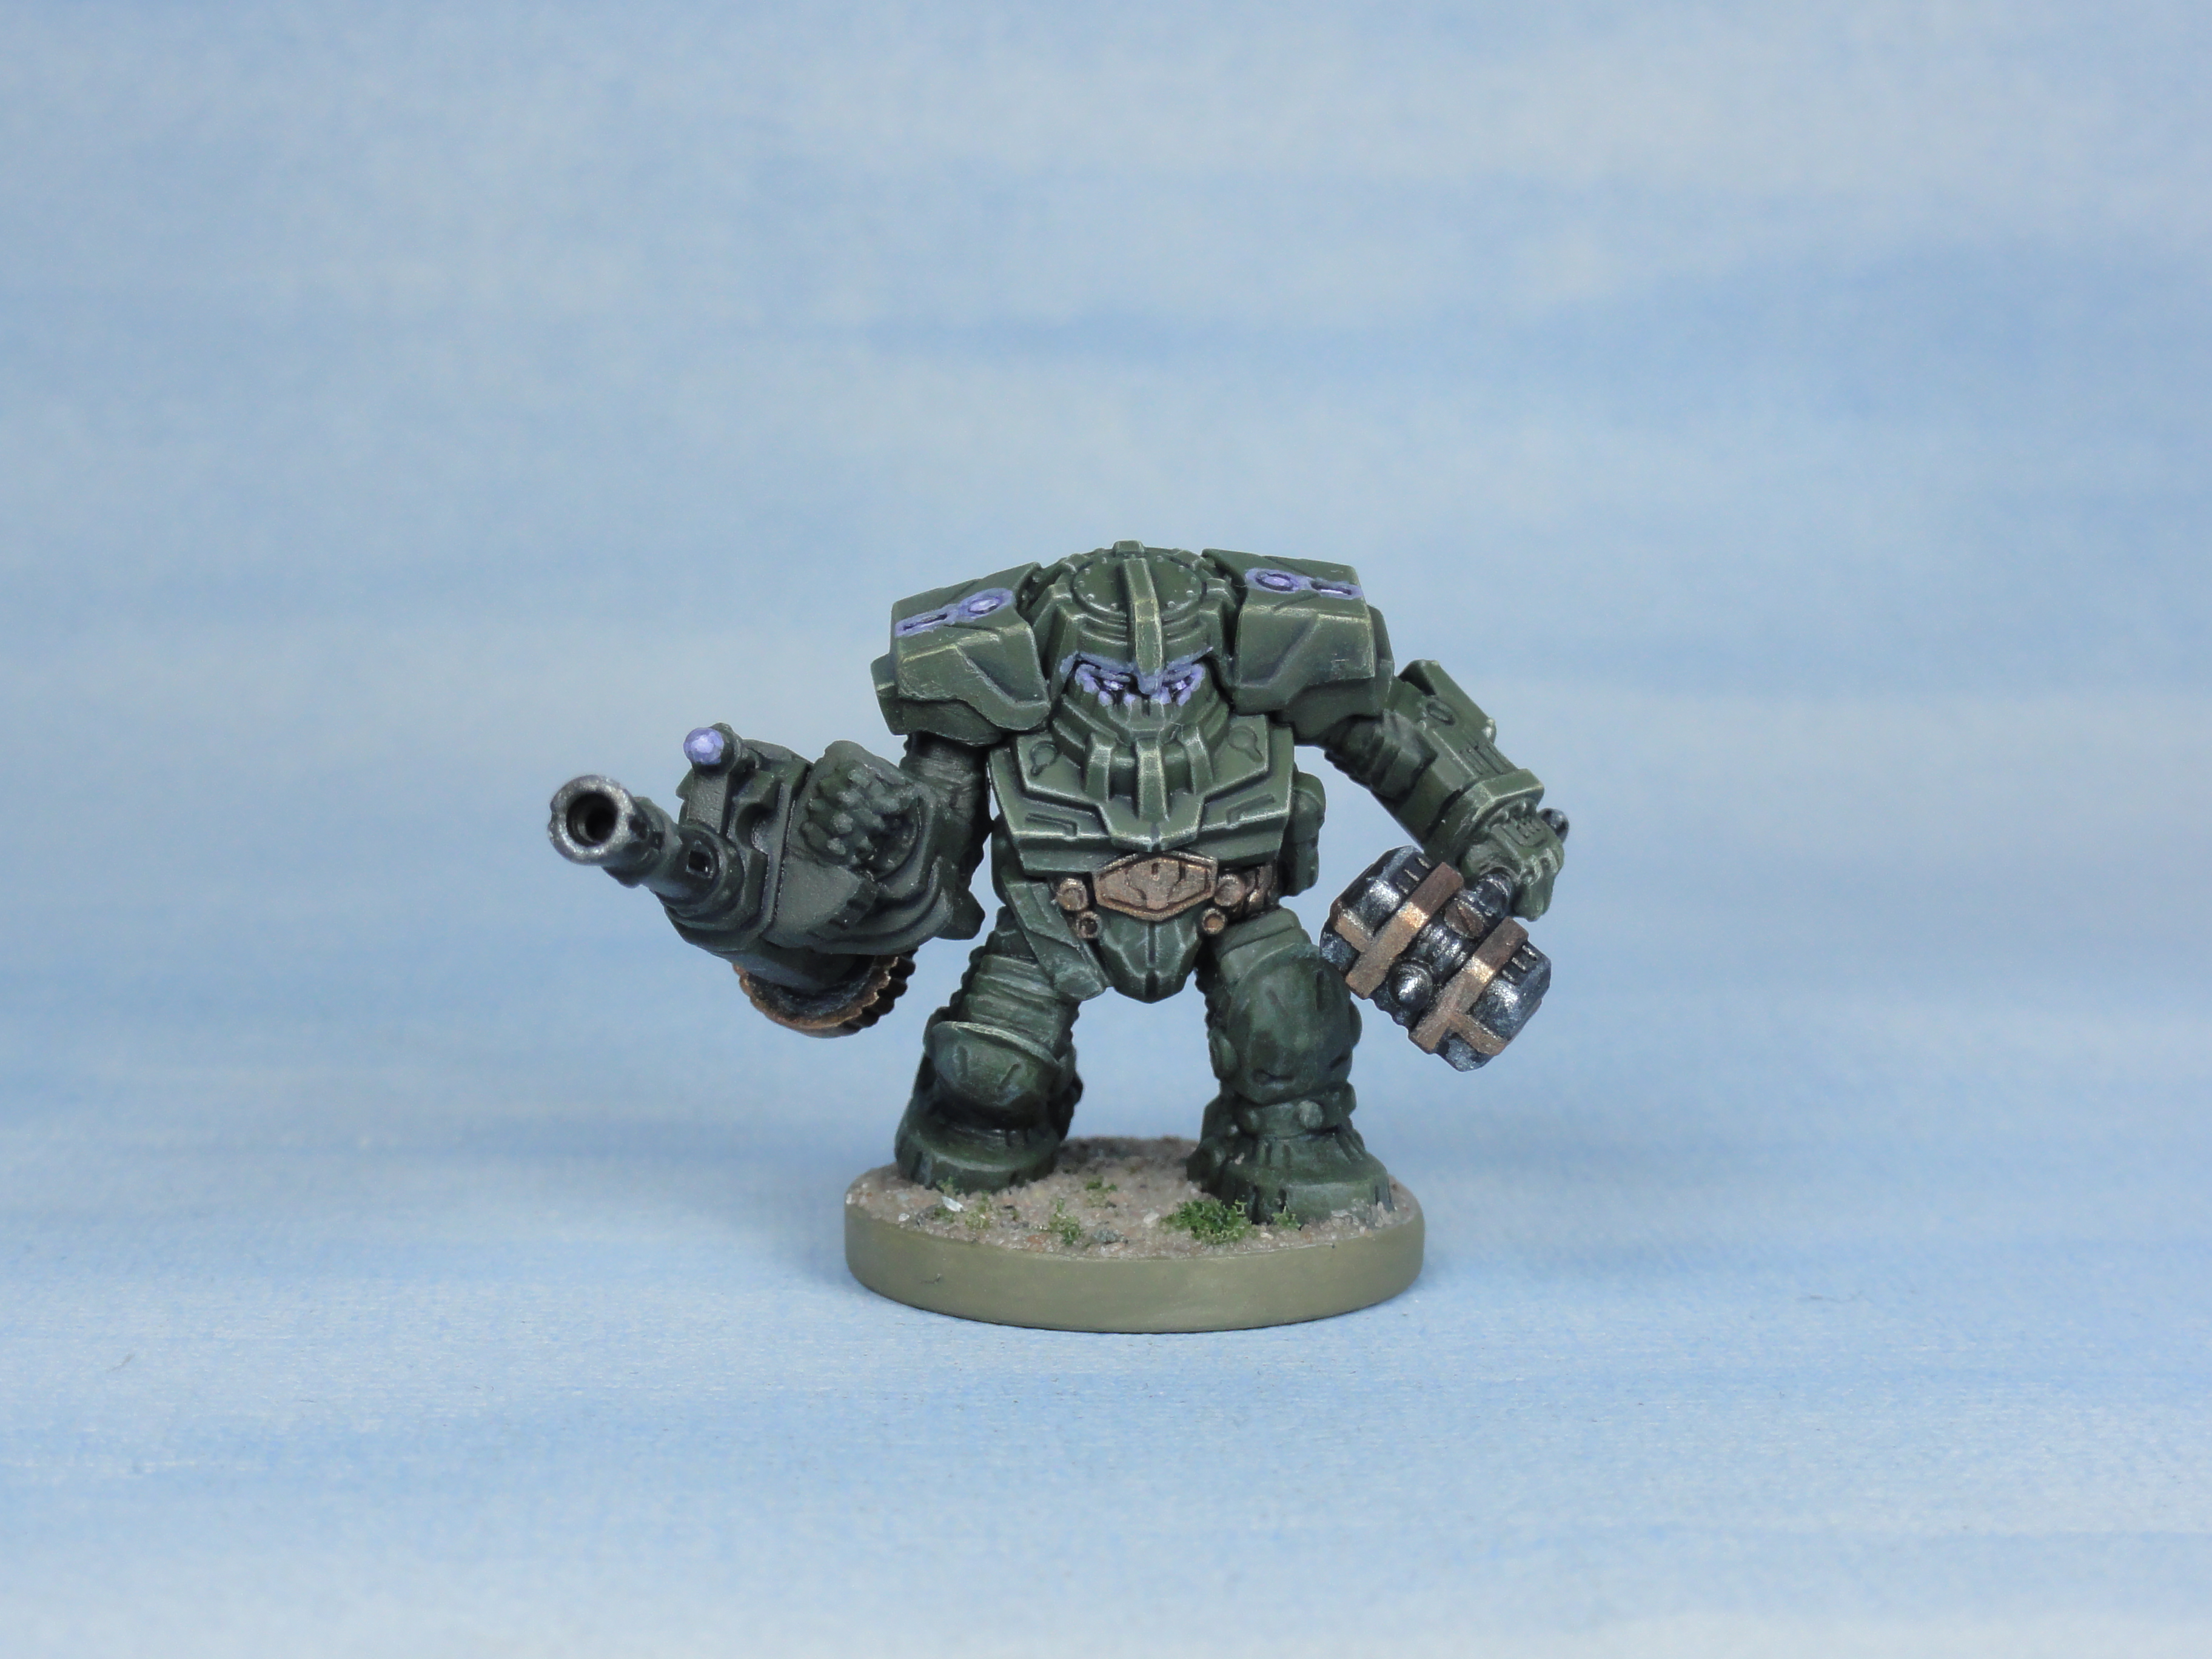
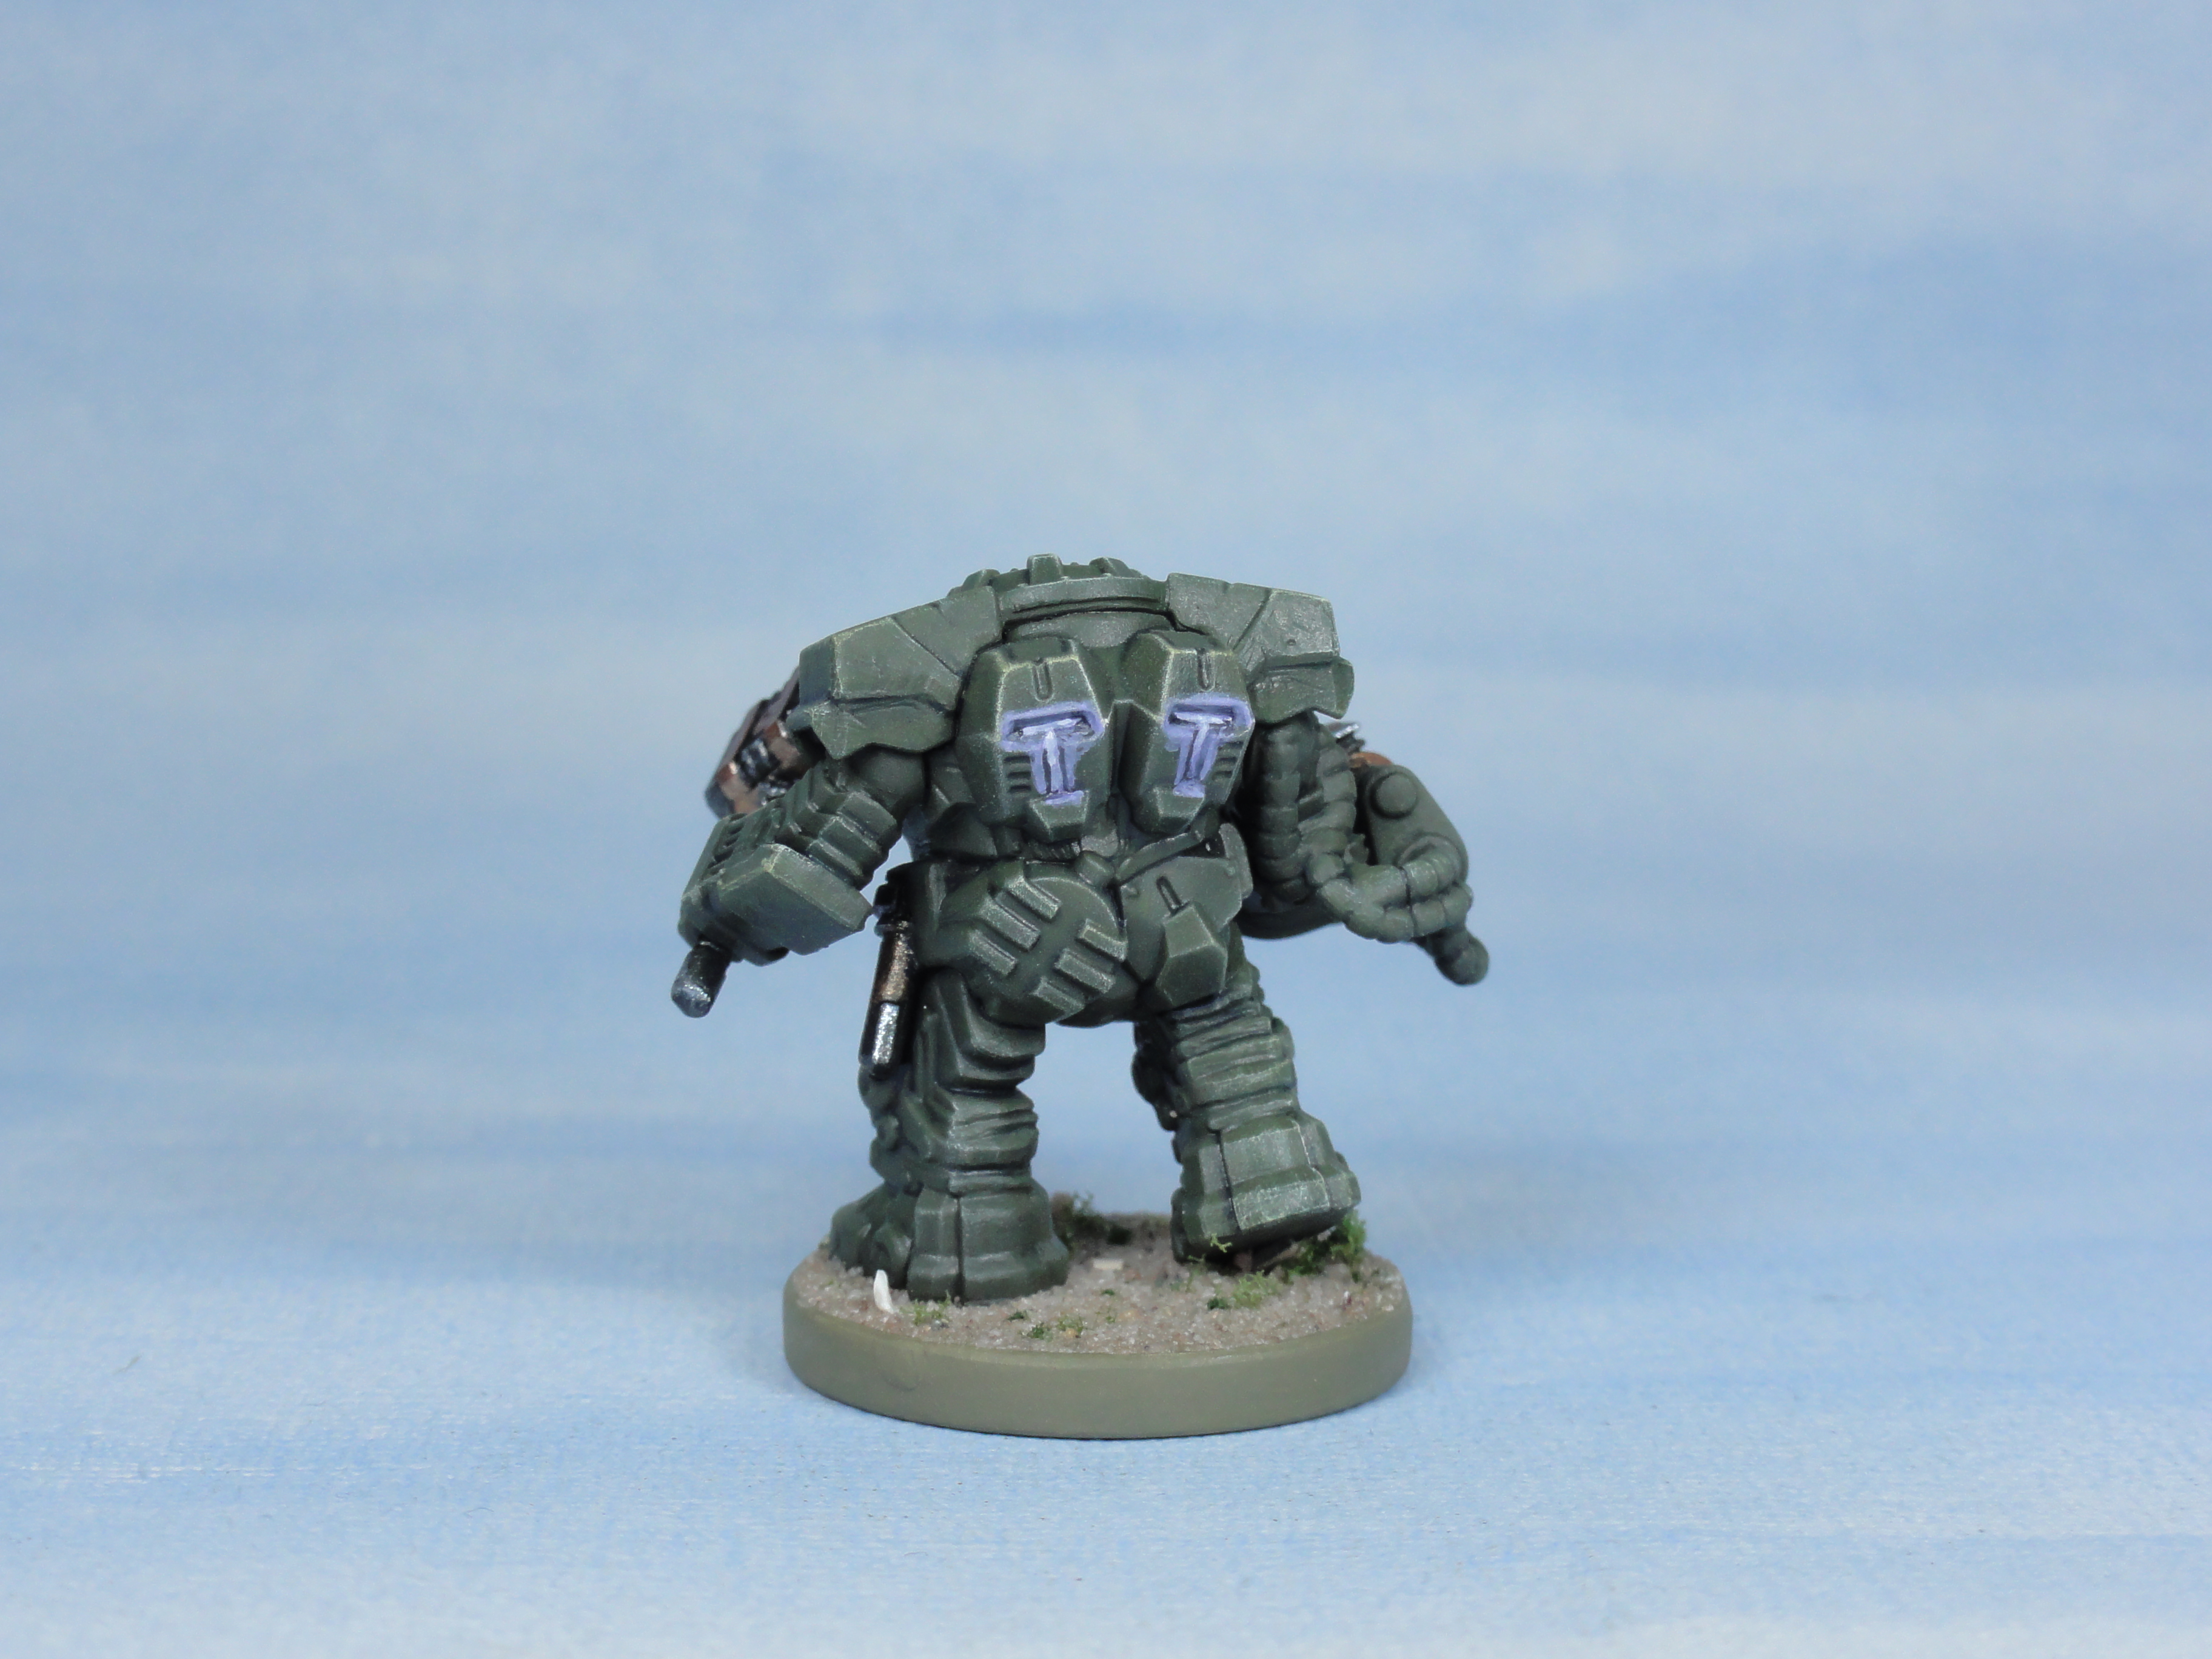
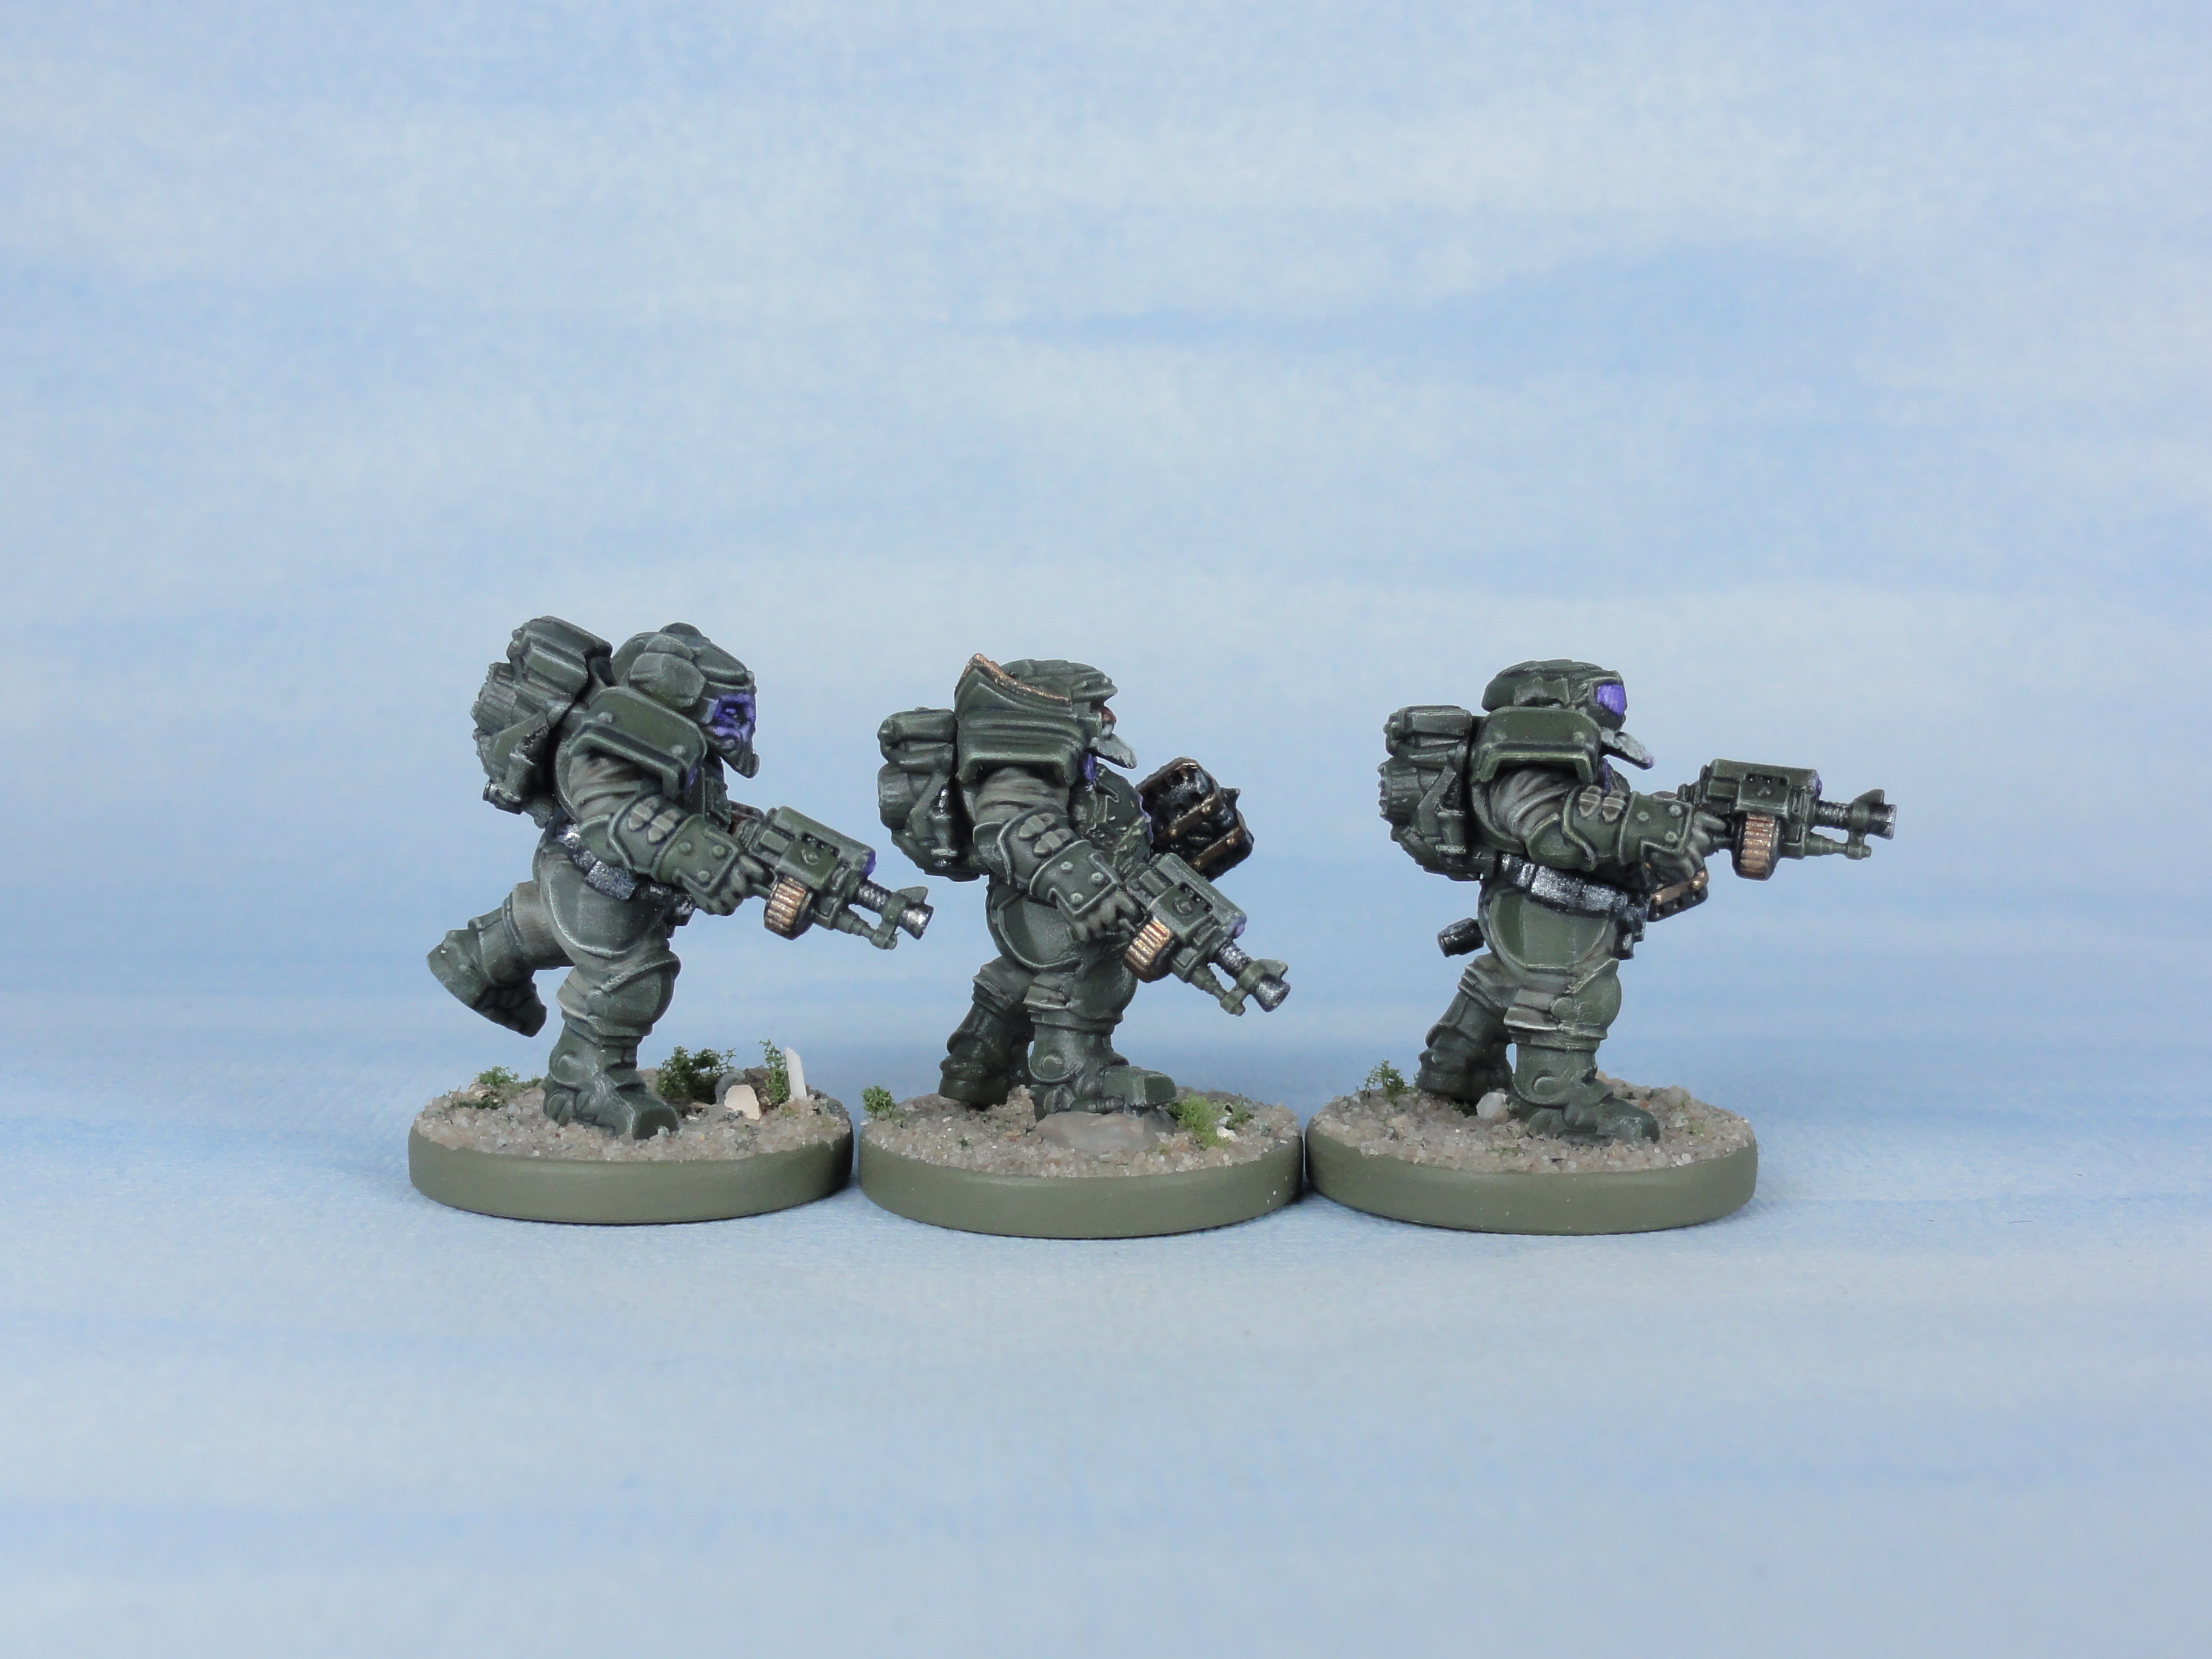
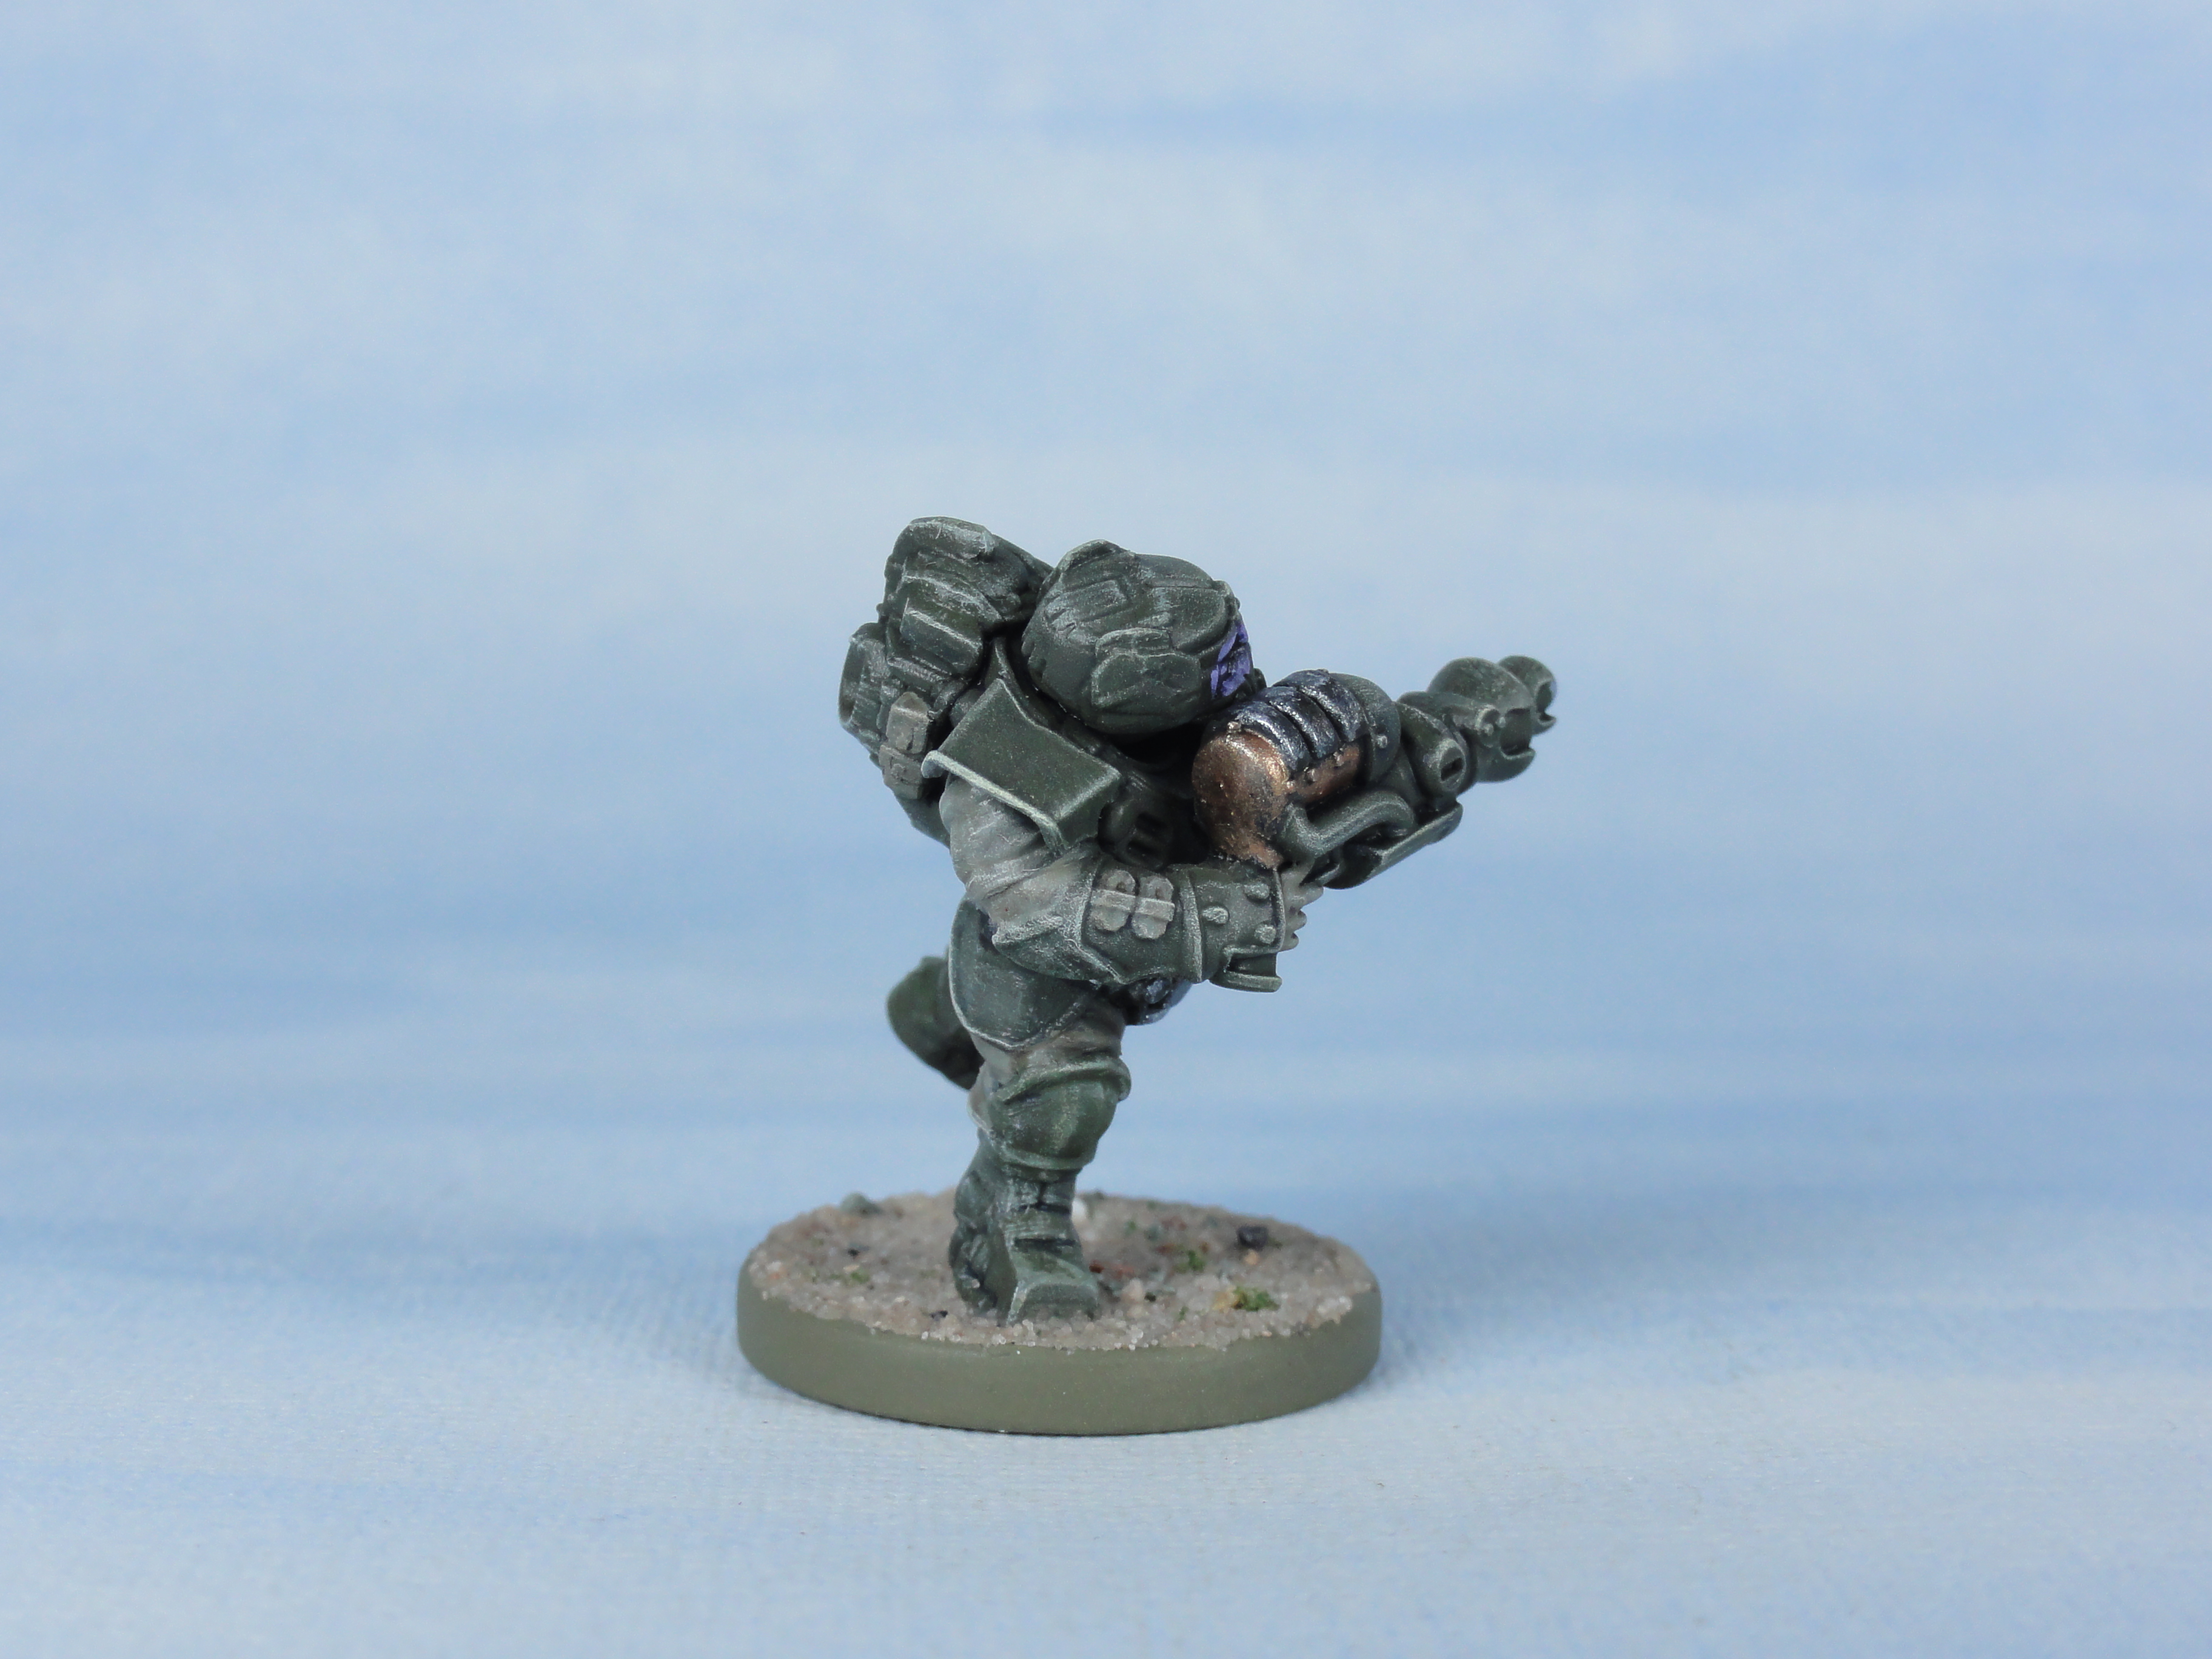
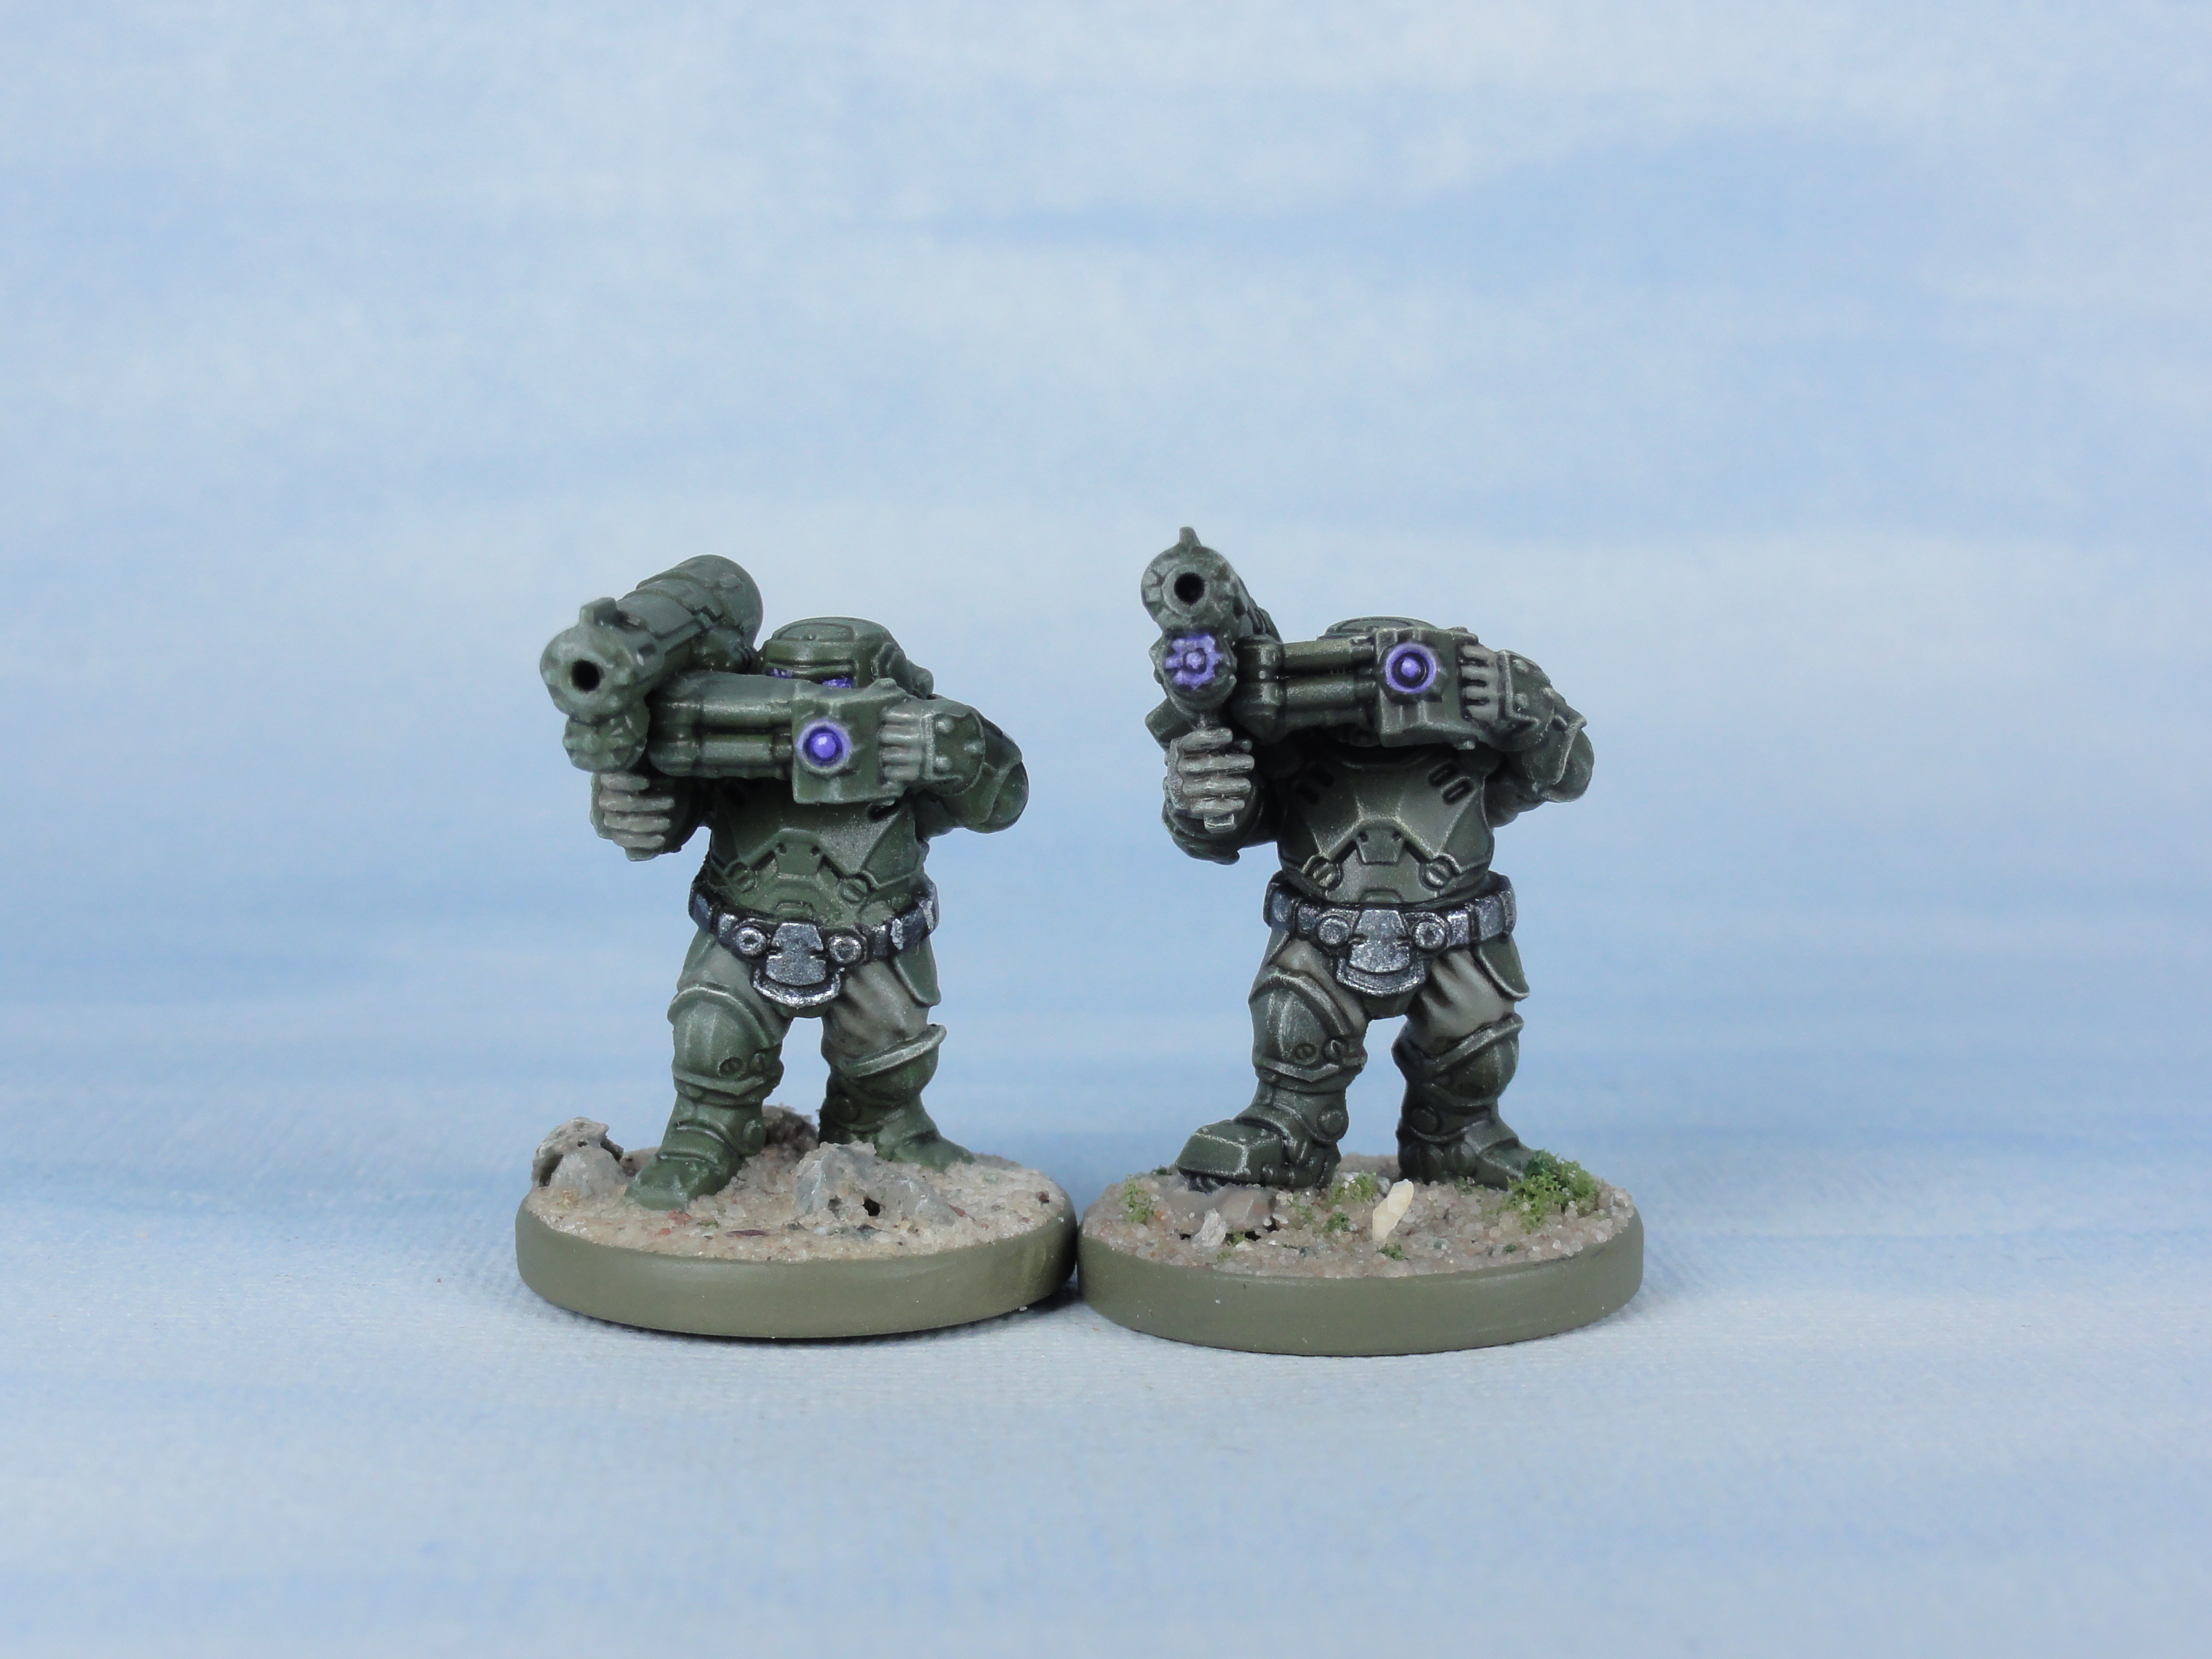
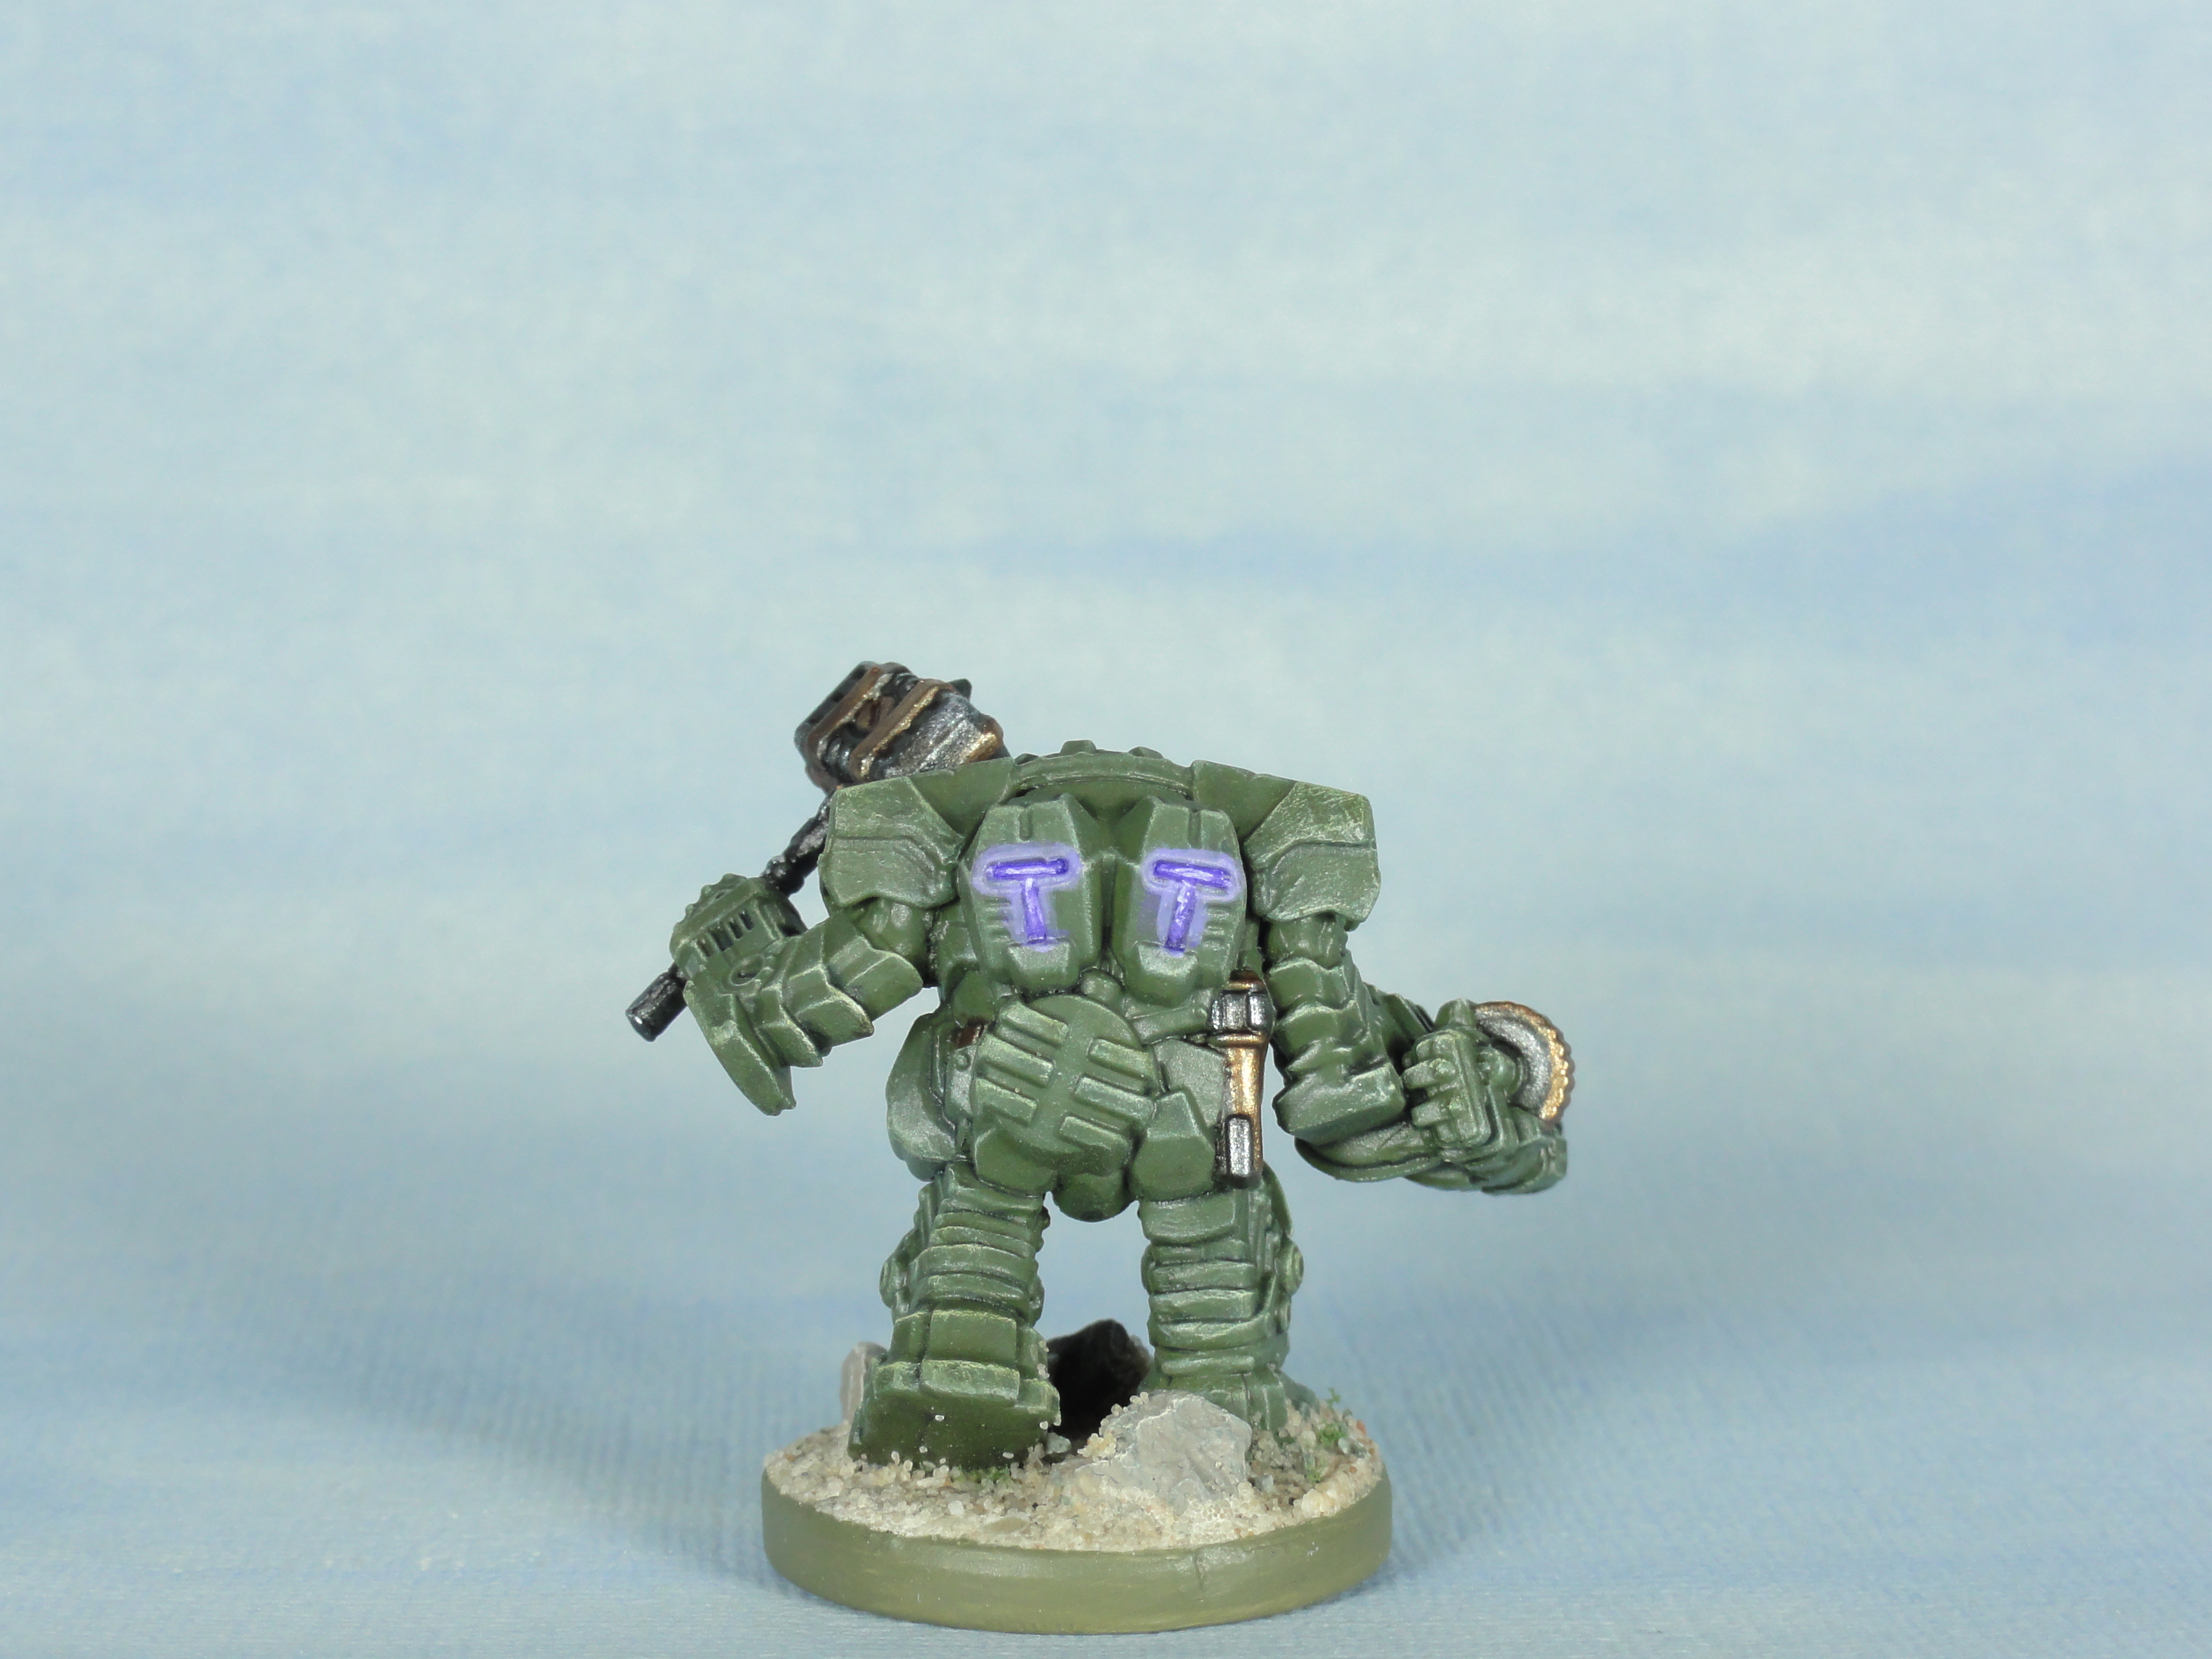
 Steel Warrior Brakkarim
Same scheme as the post from 07 April 2022.
For the bronze Bright Bronze (Vallejo Game Color) with a spot of Red Leather (Vallejo Model Color) was applied on top of a base of Gunmetal Grey (Vallejo Model Color) mixed with a spot of Panzer Dark Grey (Vallejo Model Air). Silver was mixed into the Bright Bronze mix to highlight.


Pure and Simple
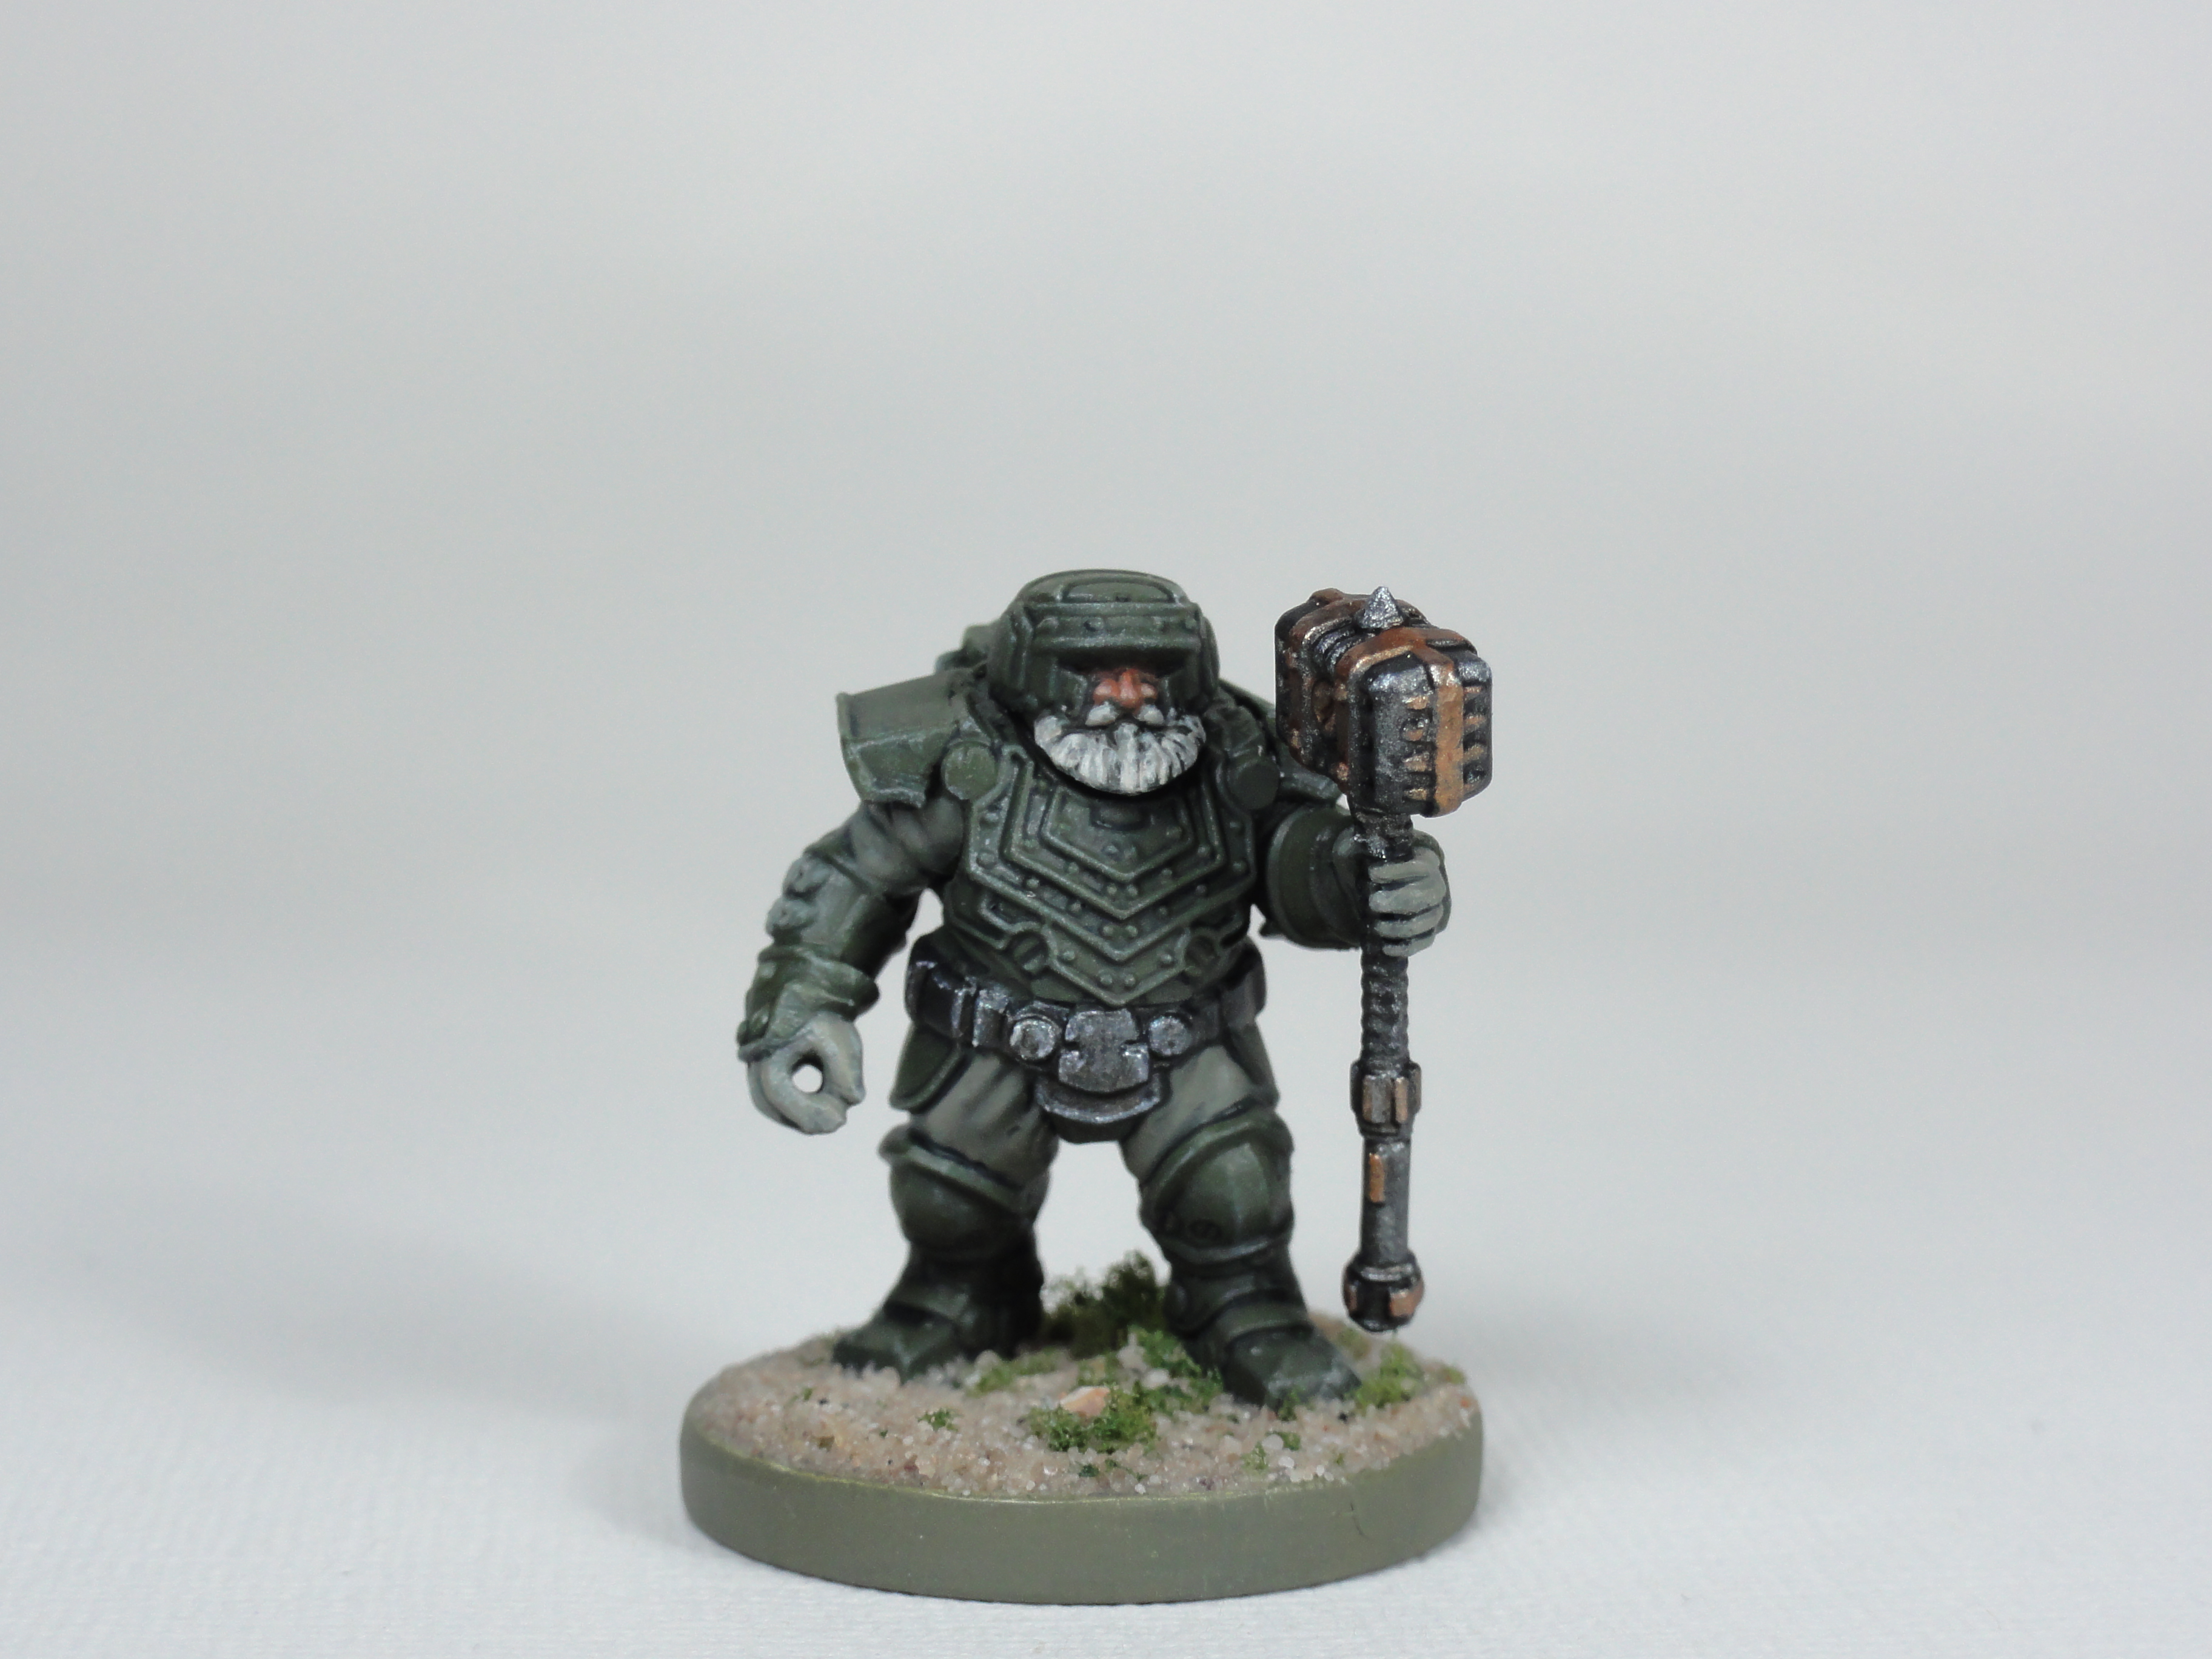
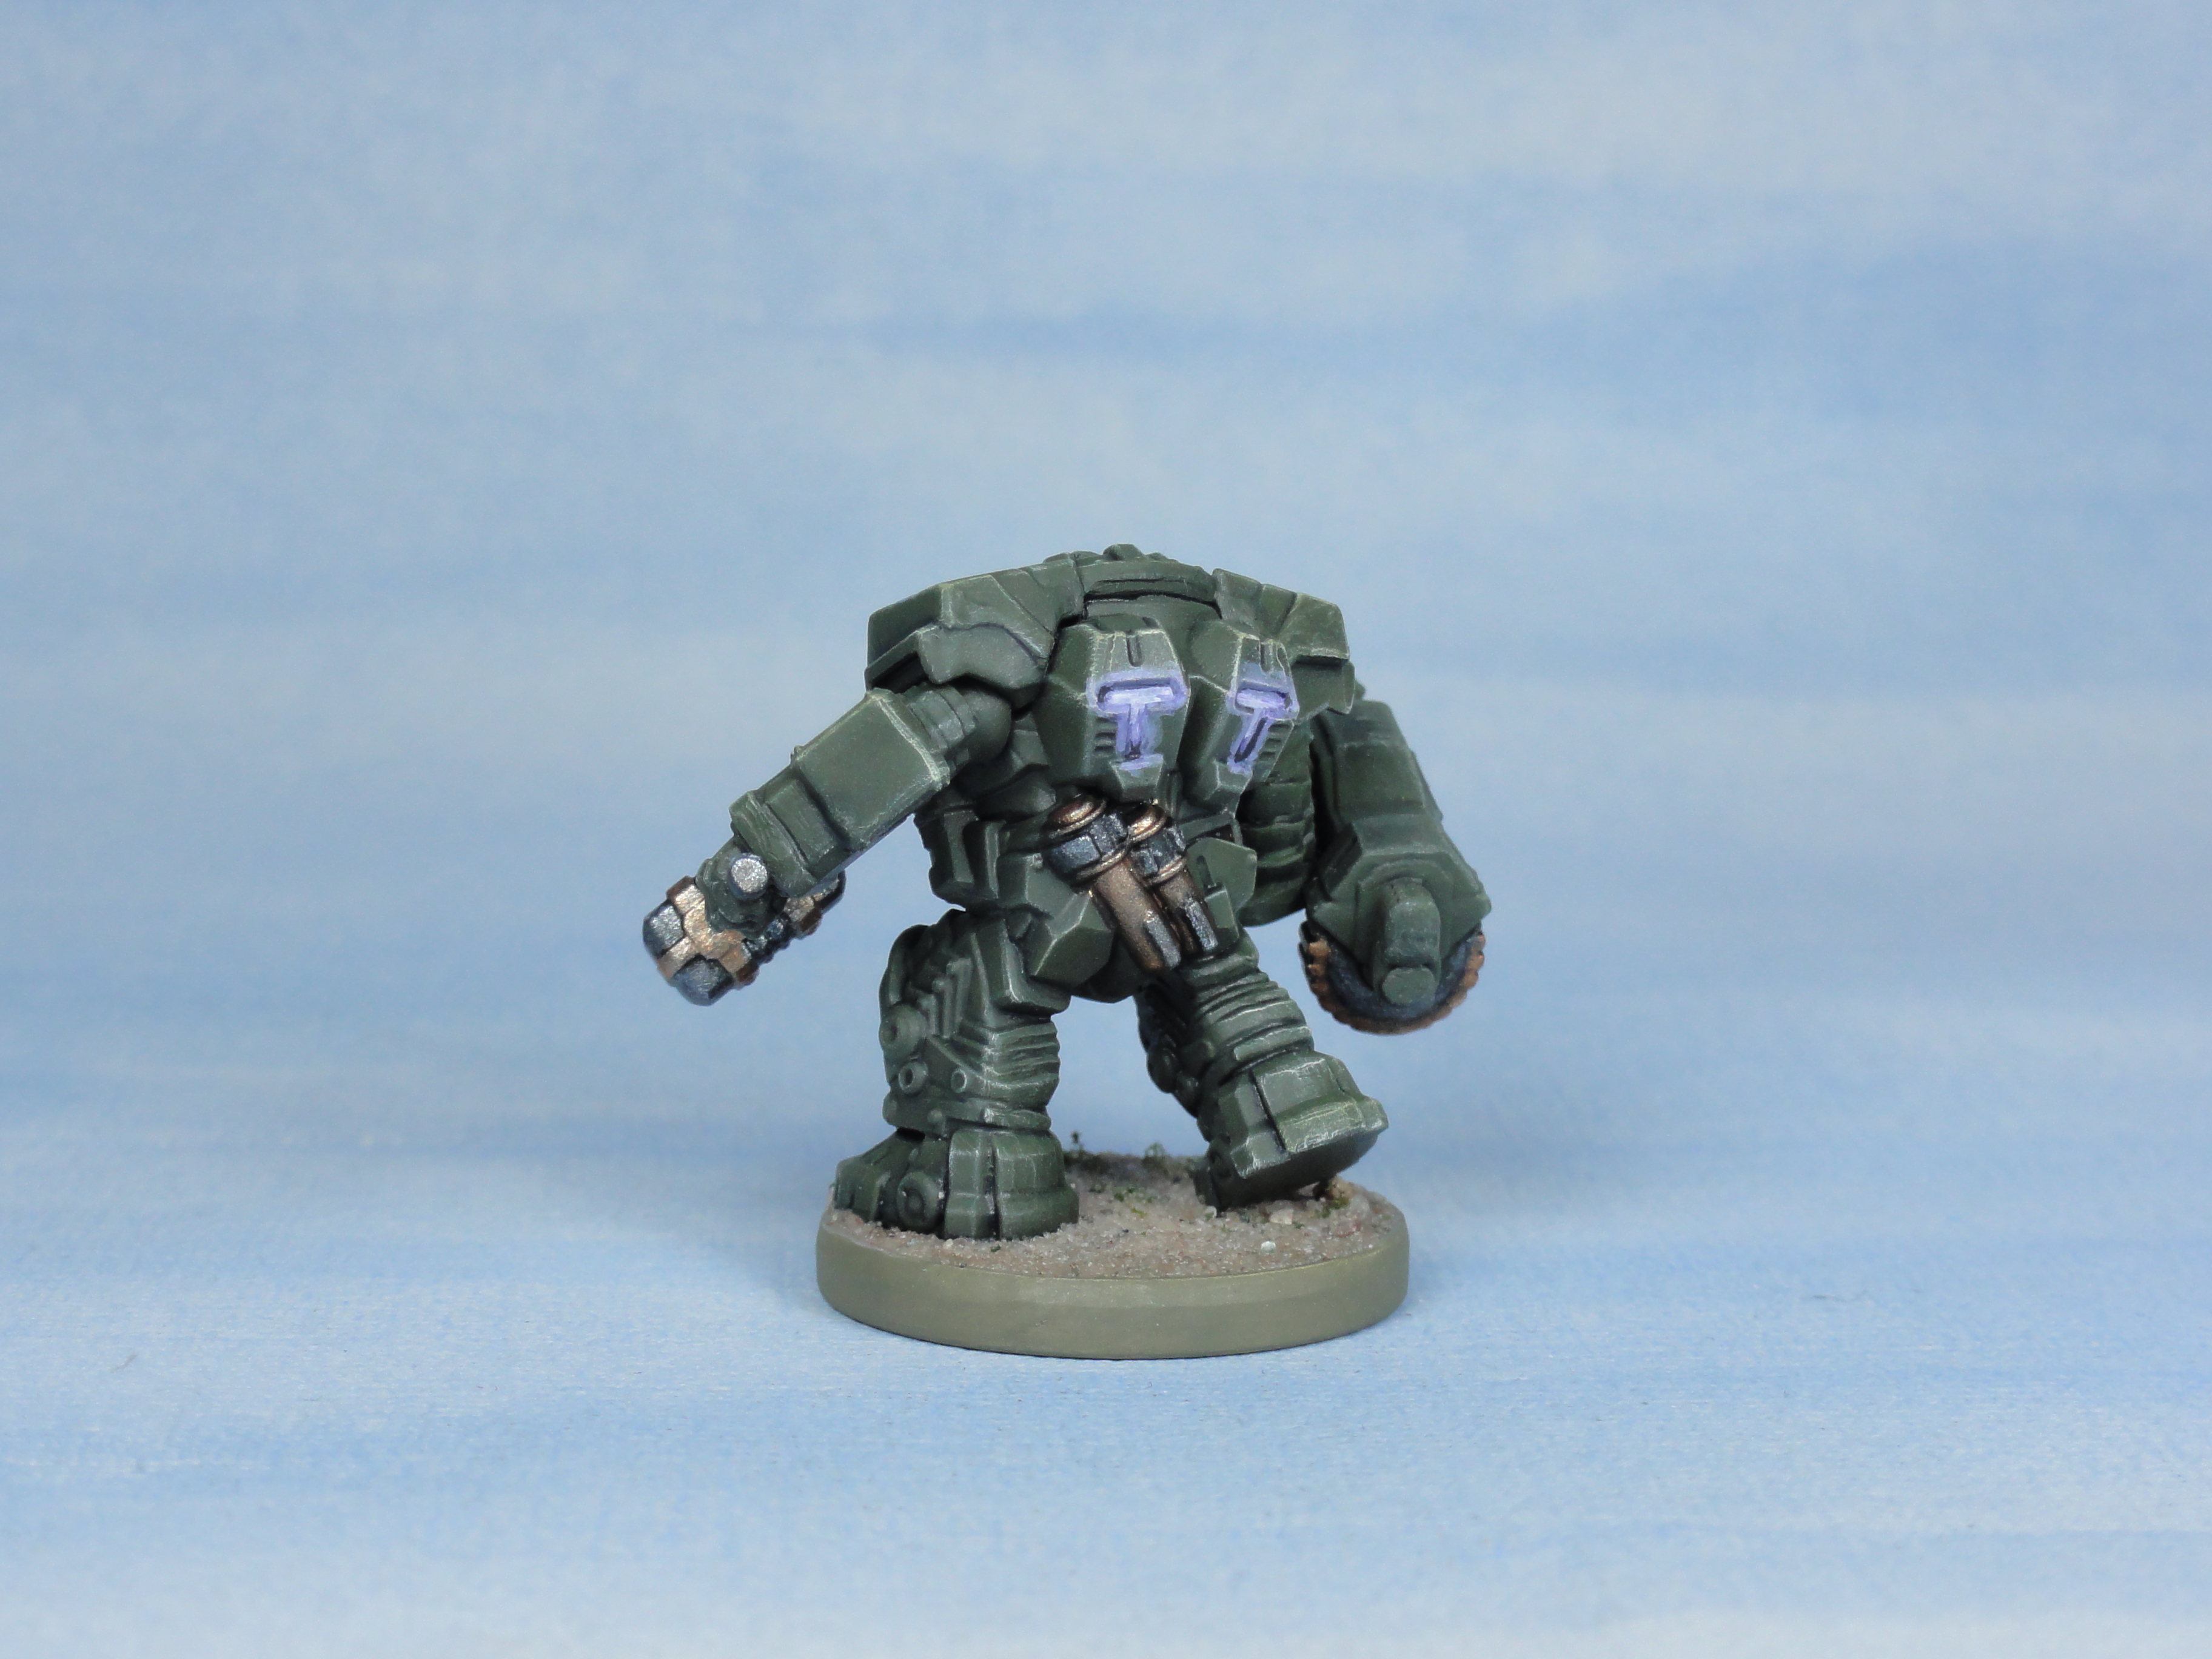
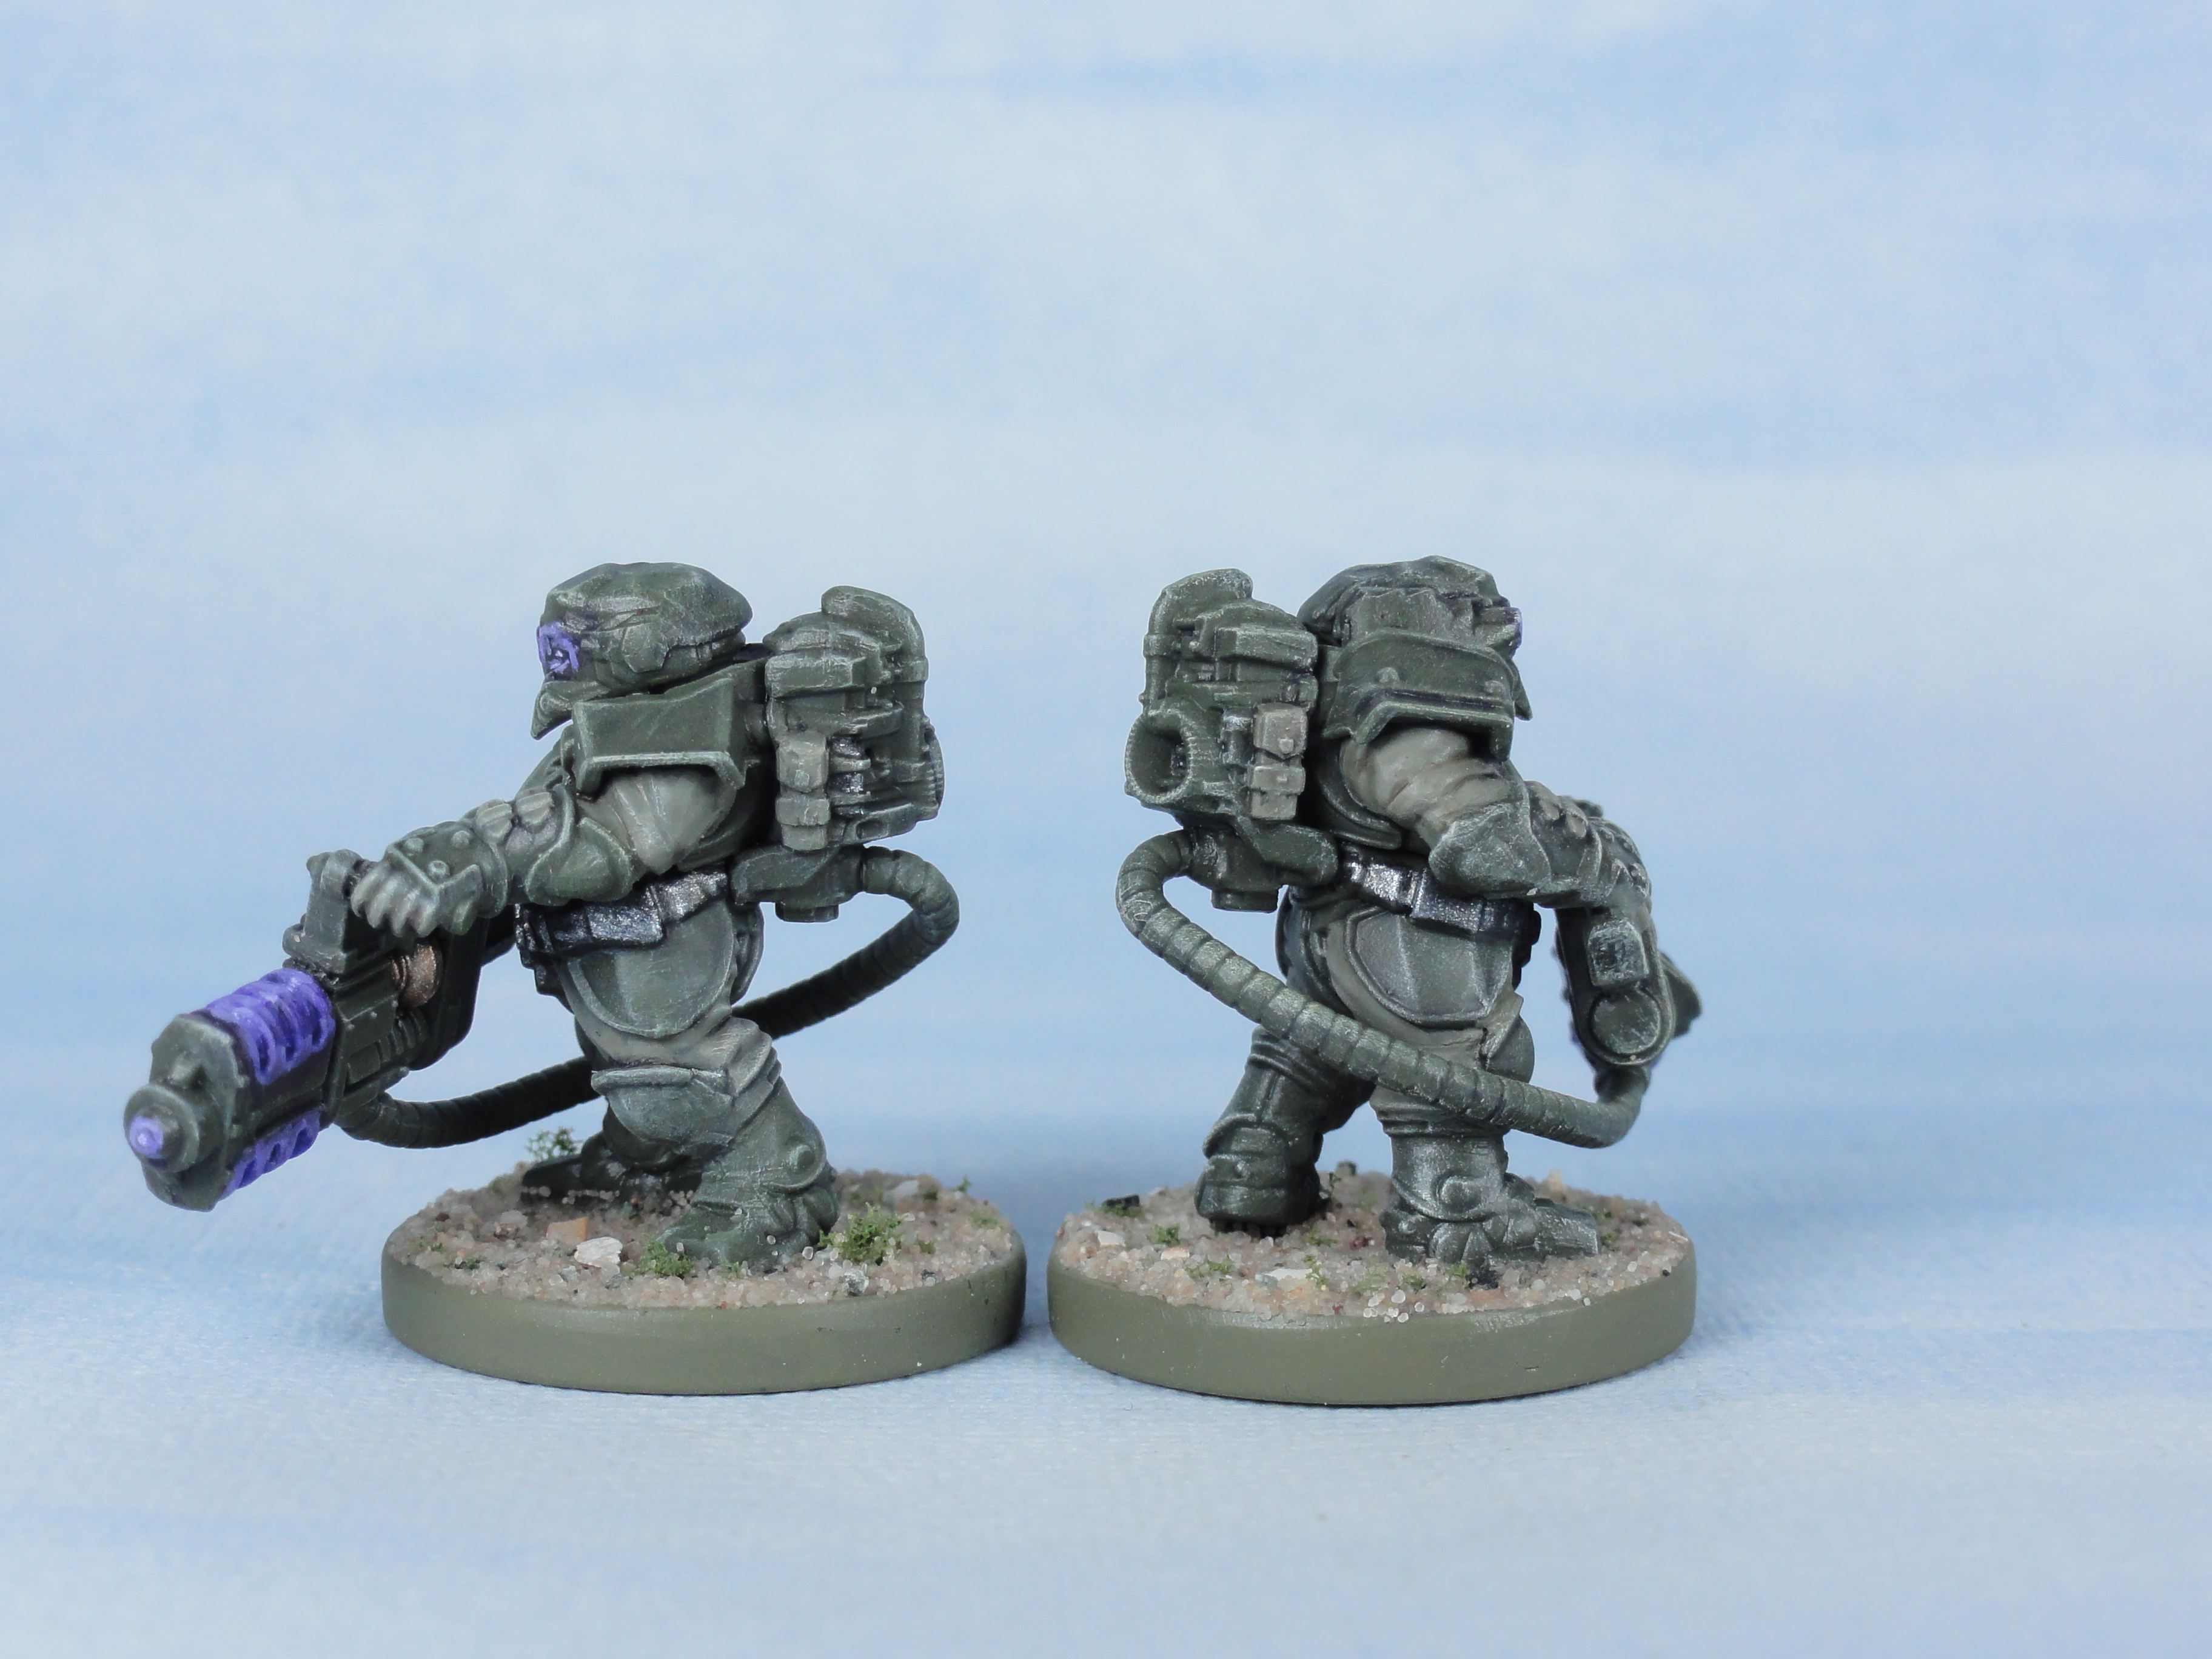
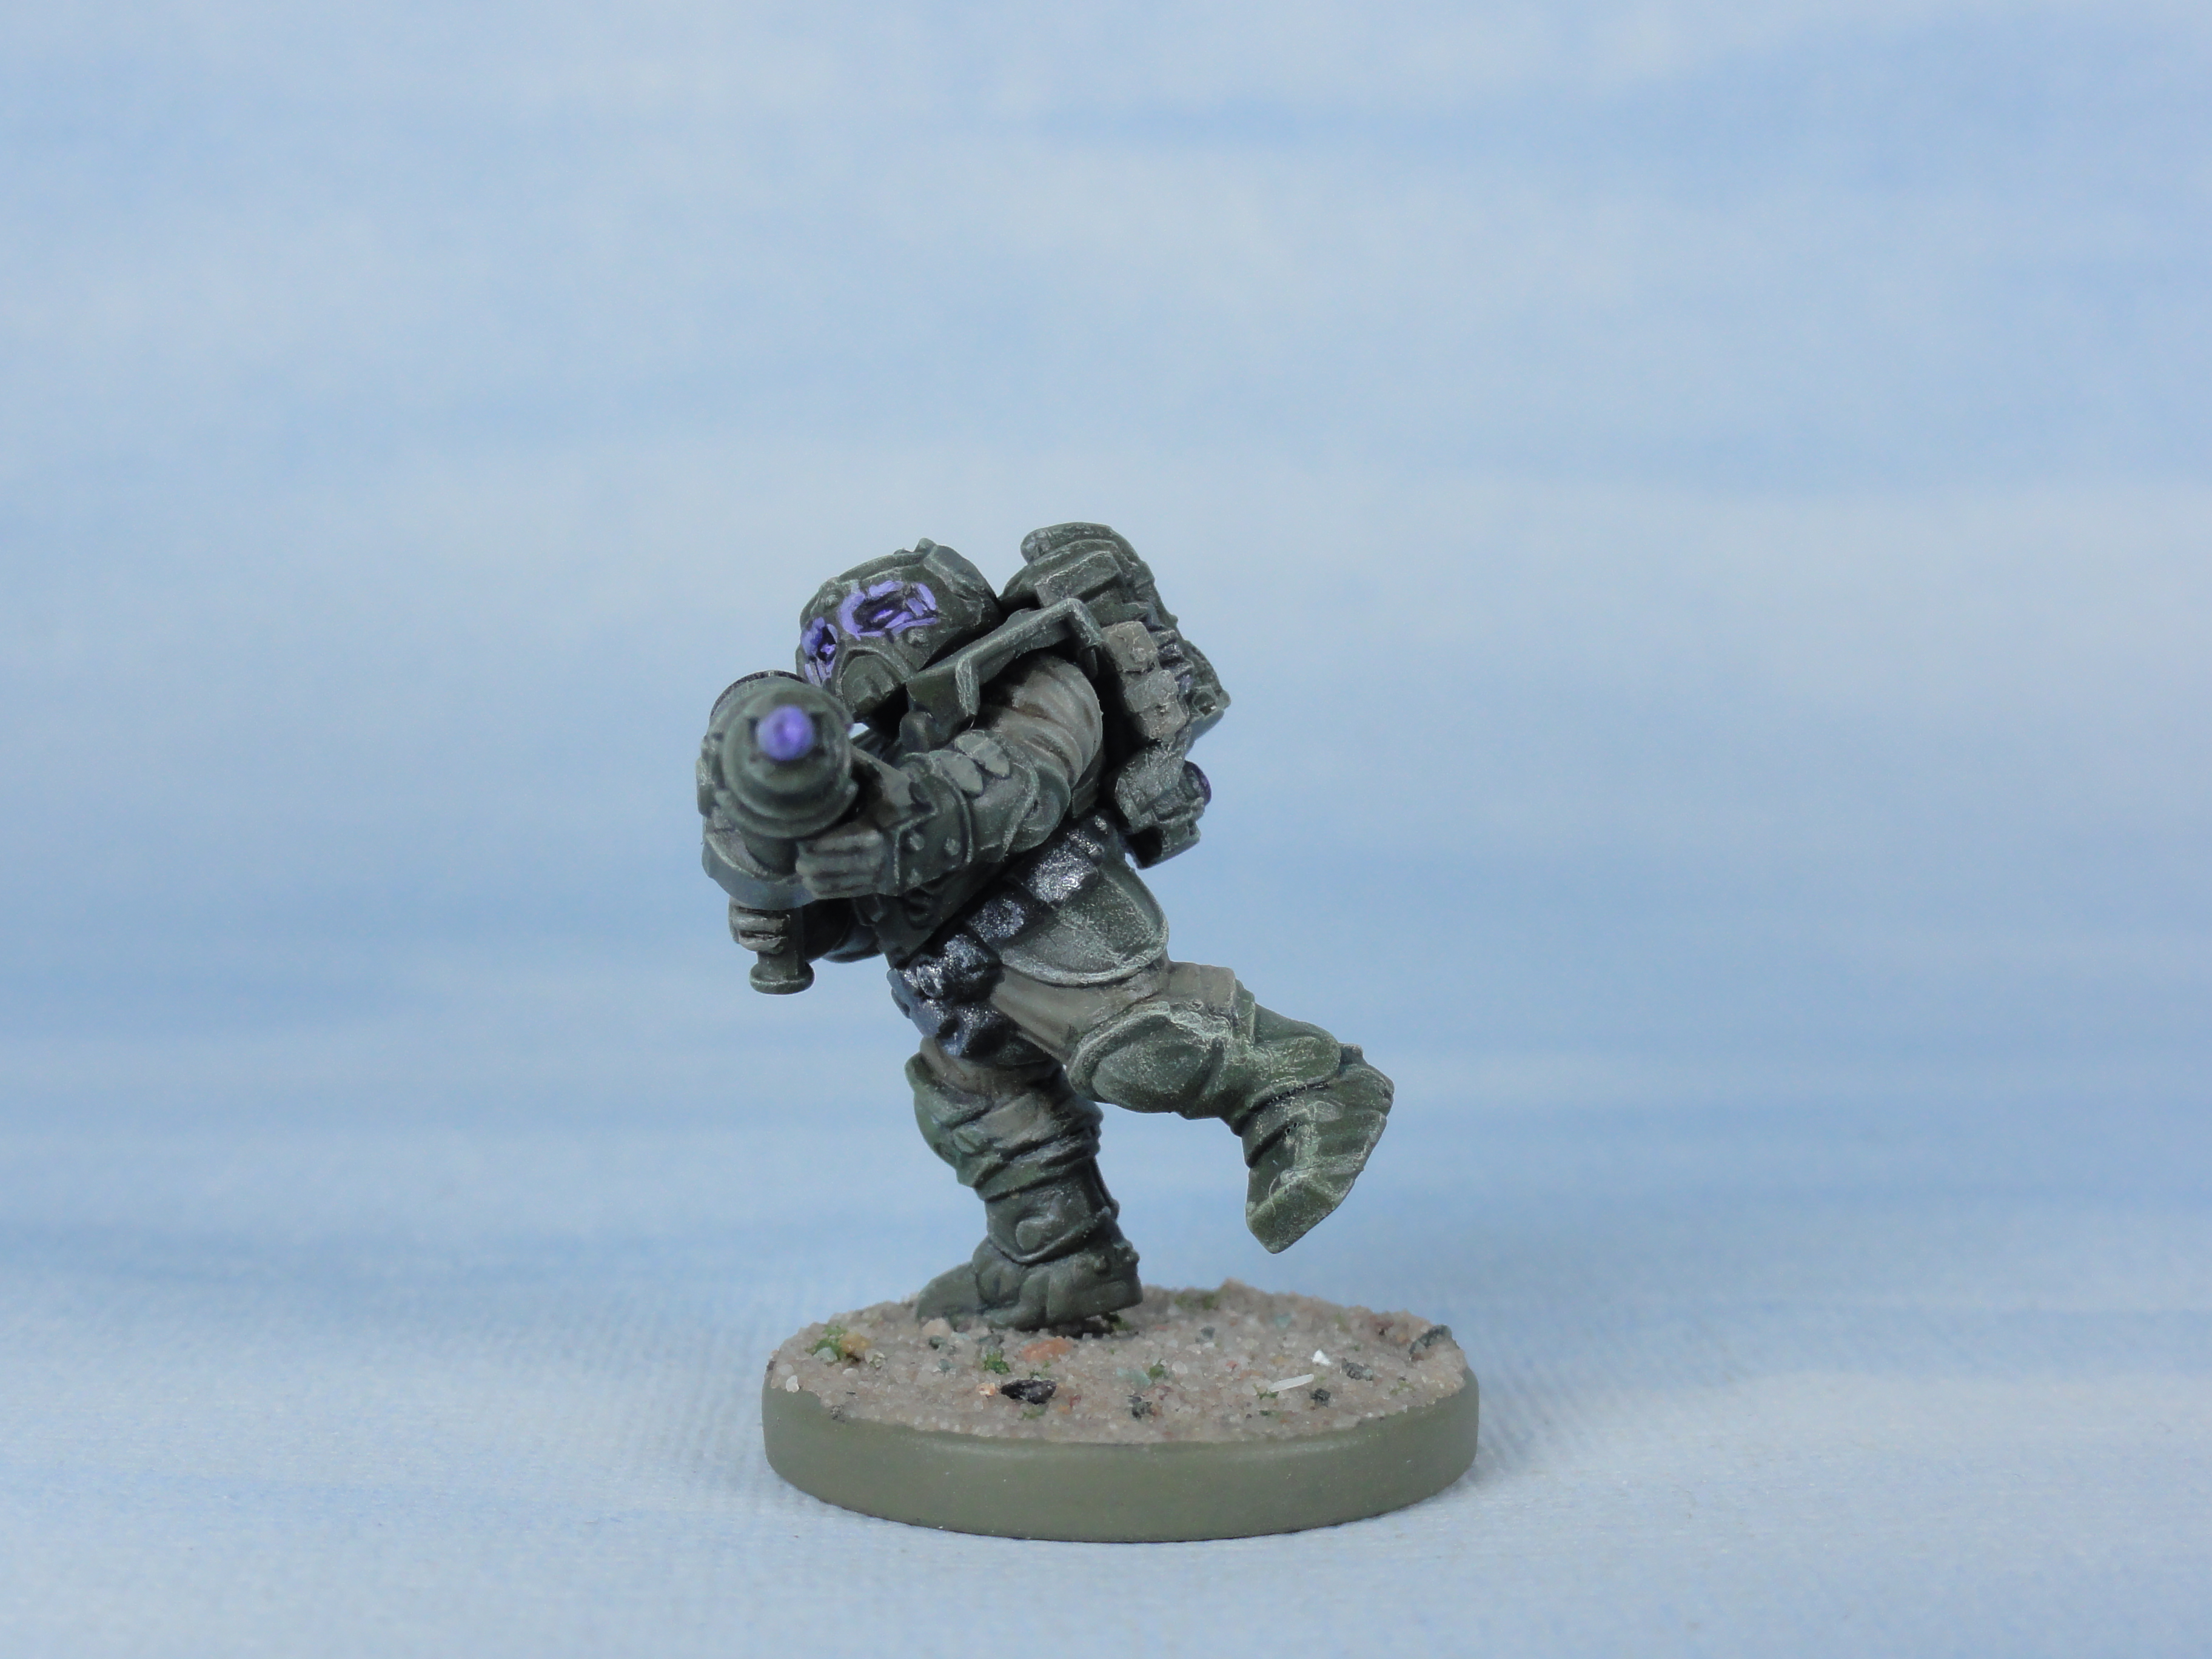
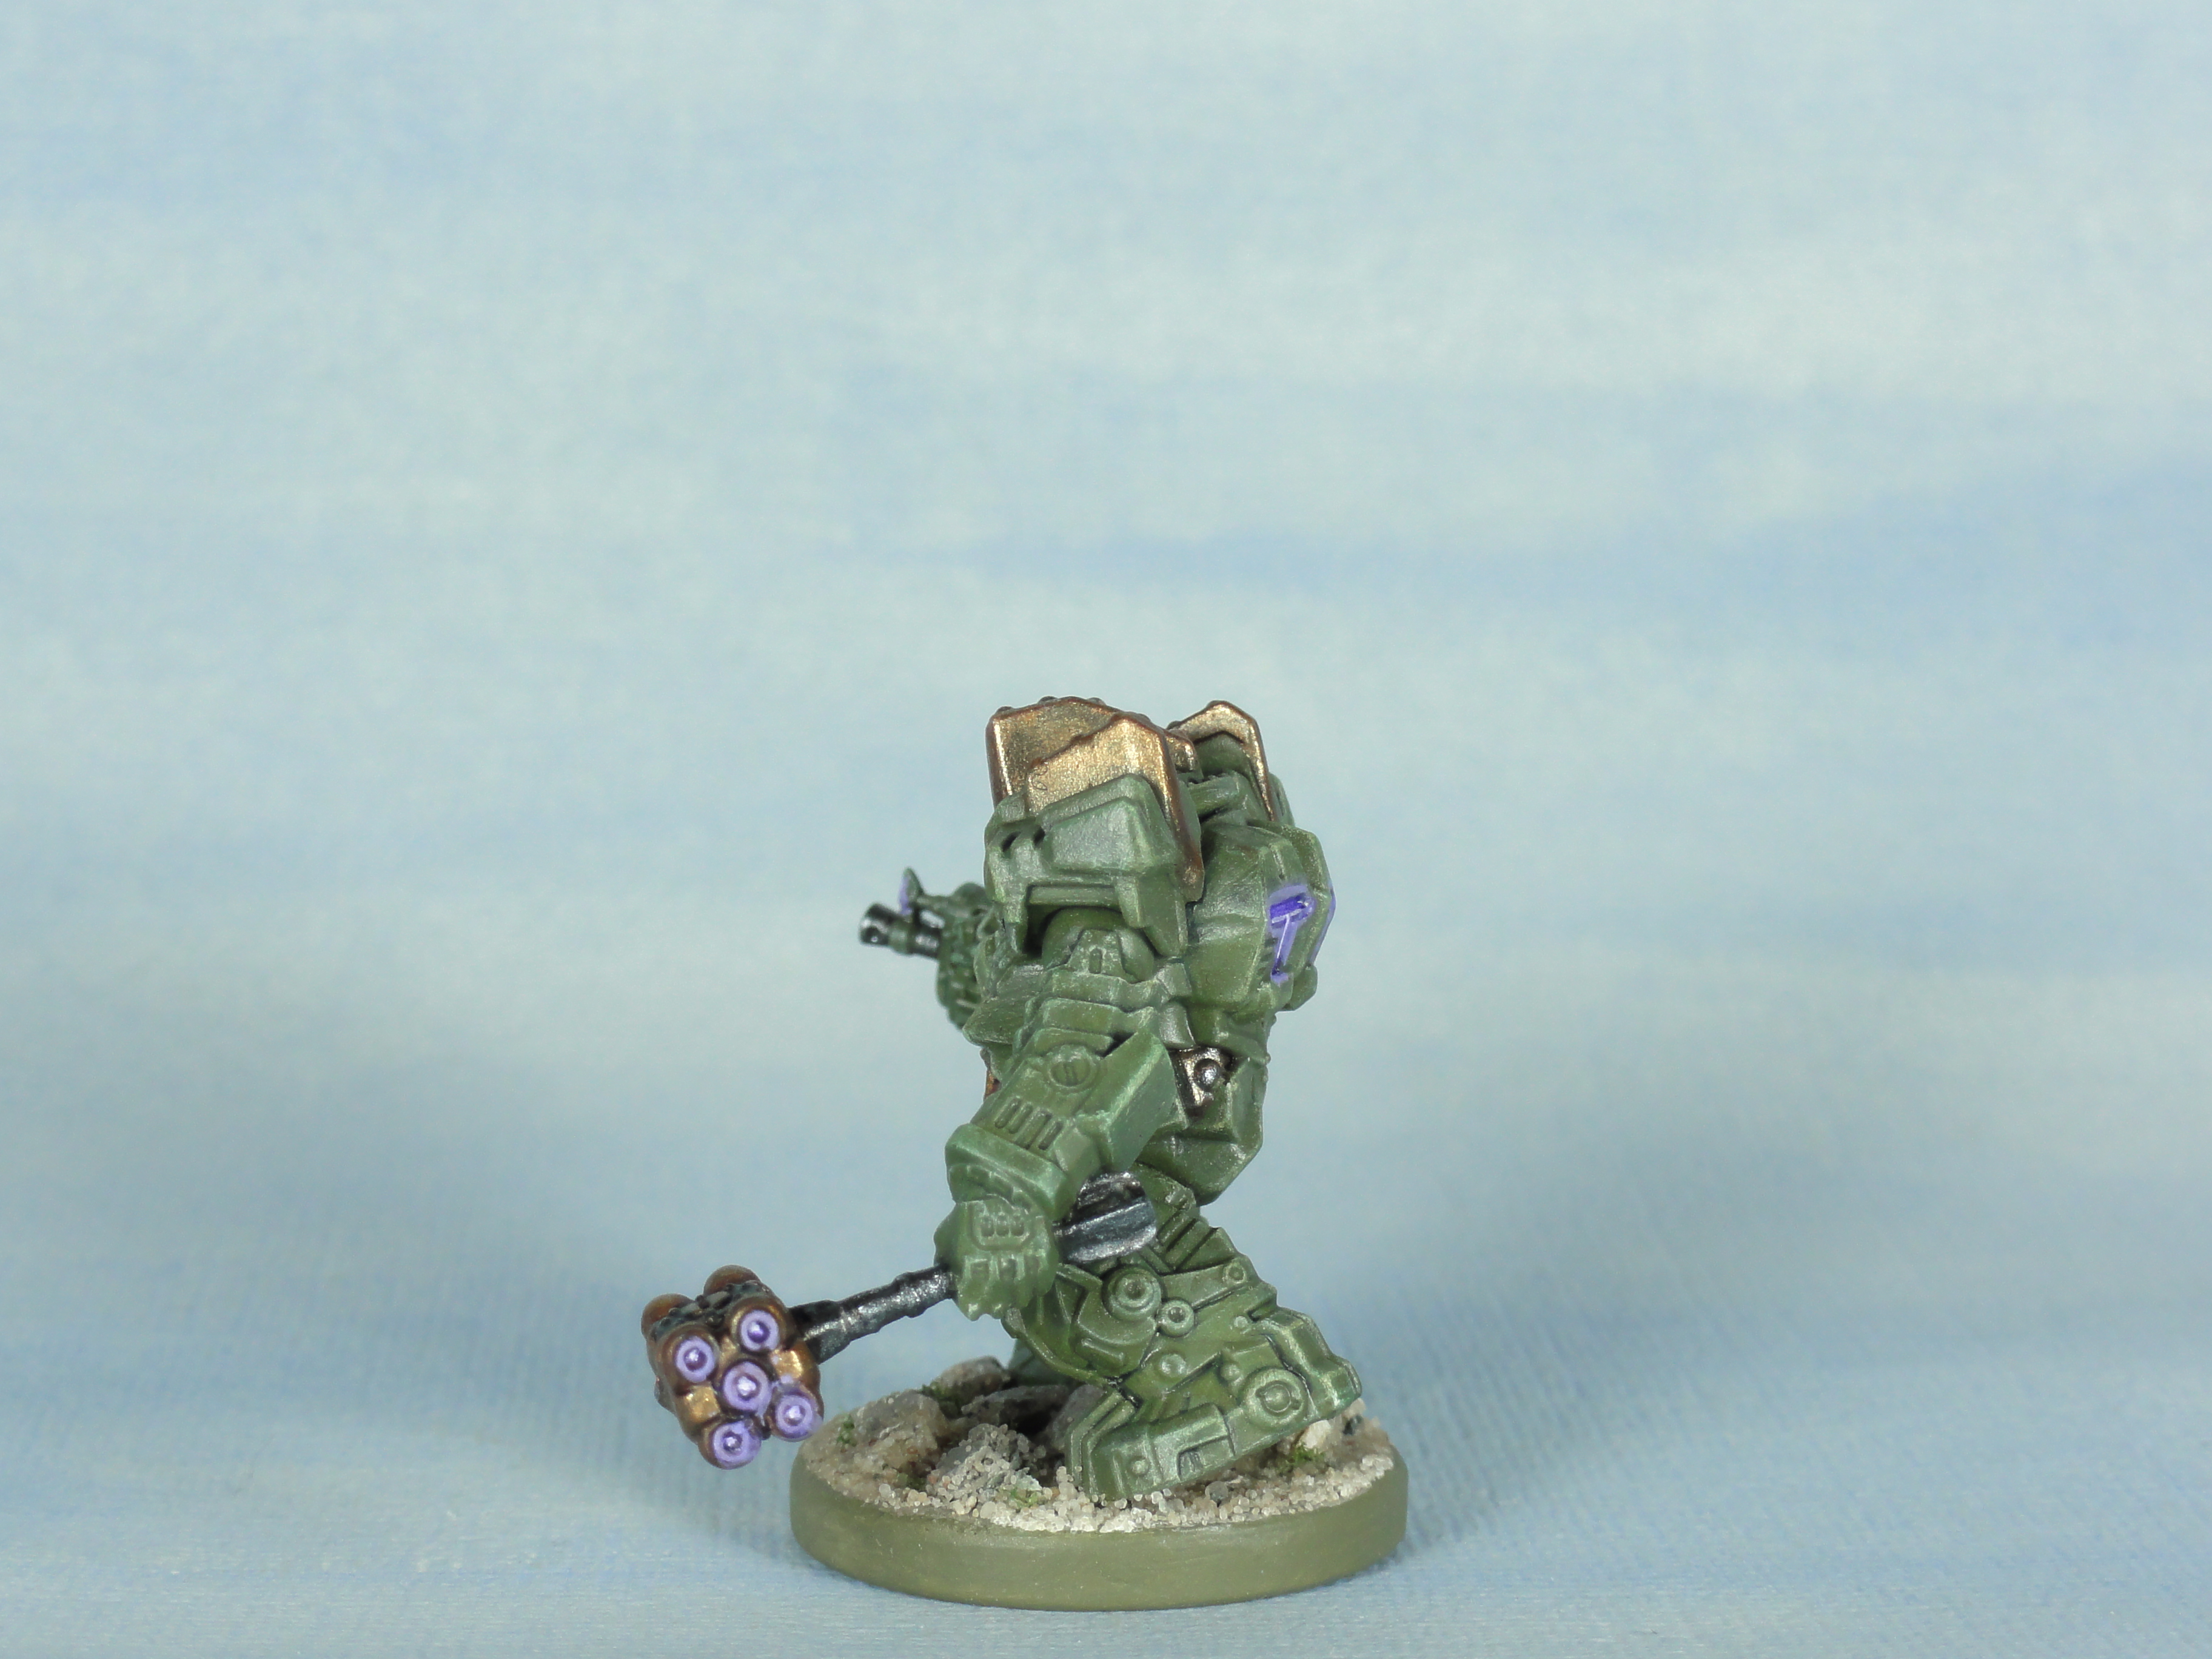
 Steel Warrior Missile Issligarim
Next in the painting queue was some Steel Warrior Specialists that I had assembled a while ago but not primed. This allowed me to use a different primer to try and skip a step. The result was a bit darker, but for me close enough to stand side by side and just claim that the older one has been window weathered (apparently someone did this in a magazine once).
The lighting is slightly different as I had a led bulb’s driver explode so got rid of the whole batch and got a different brand that are hopefully more reliable.
This is just the first entry for the batch I’ve painted. I’ll post the rest over the next few days.
 Left: previous colour scheme from 22nd Dec 2021. Right: New scheme
What I did:
- Primed – Vallejo Russian Green Primer
- Washed – Paynes Grey Ink (Daler Rowney) homemade wash (https://www.beastsofwar.com/featured/gerry-can-how-to-make-diy-professional-washes/)
- Dry brushed – Pale Sand (Vallejo Model Color)
- Painted any cloth Green Grey (Vallejo Model Color) followed by a wash of Army Painter Strong Tone and another dry brush of Pale Sand
- Glaze* – Reflective Green (Vallejo Model Color) and some Vallejo Glaze Medium was applied to the armour to tint the highlights and smooth out the armour
- Anything that was going to be metallic was painted black
- Purple – Sam Lenz’s How to Paint Glowing Eyes – Painting With the Pro https://www.youtube.com/watch?v=aOCaK3H-EmM using Purple Ink and White paint
- Base – IDF Israeli Sand Grey (Vallejo Surface Primer) then rimmed with Heavy Grey (Vallejo Game Extra Opaque)
- Gloss Varnish
- Basing Material – Home made mixture of bird sand and stuff https://www.beastsofwar.com/featured/gerry-can-how-to-make-custom-basing-mix/
- Matt Varnish (Not really matt more of a satin but I’ve got tons of the stuff Vallejo Matt Varnish)
- Metallics – Base coated Gunmetal Grey (Vallejo Model Color) mixed with a spot of Panzer Dark Grey (Vallejo Model Air)
- Metallics – Washed with Army Painter Strong Tone
- Metallics – Highlighted with Silver (Vallejo Game Color) mixed with a spot of white
*At the moment when I’m glazing I put a drop of Vallejo Glaze Medium on my wet palette separate from the paint, then dip the tip of my brush into the medium then the paint and mix that small amount separately on another part of the palette. I find that if I mix more than the amount I want on my brush the mixture absorbs too much water from the palette. Conversely using a dry palette increases the working time considerably compared to just paint but the mixture is obviously drying out and becomes thicker over time.
As mention previously Medium Olive (Vallejo Model Air) is a match for Reflective Green (Vallejo Model Color). The Model Color of Medium Olive does not match either.
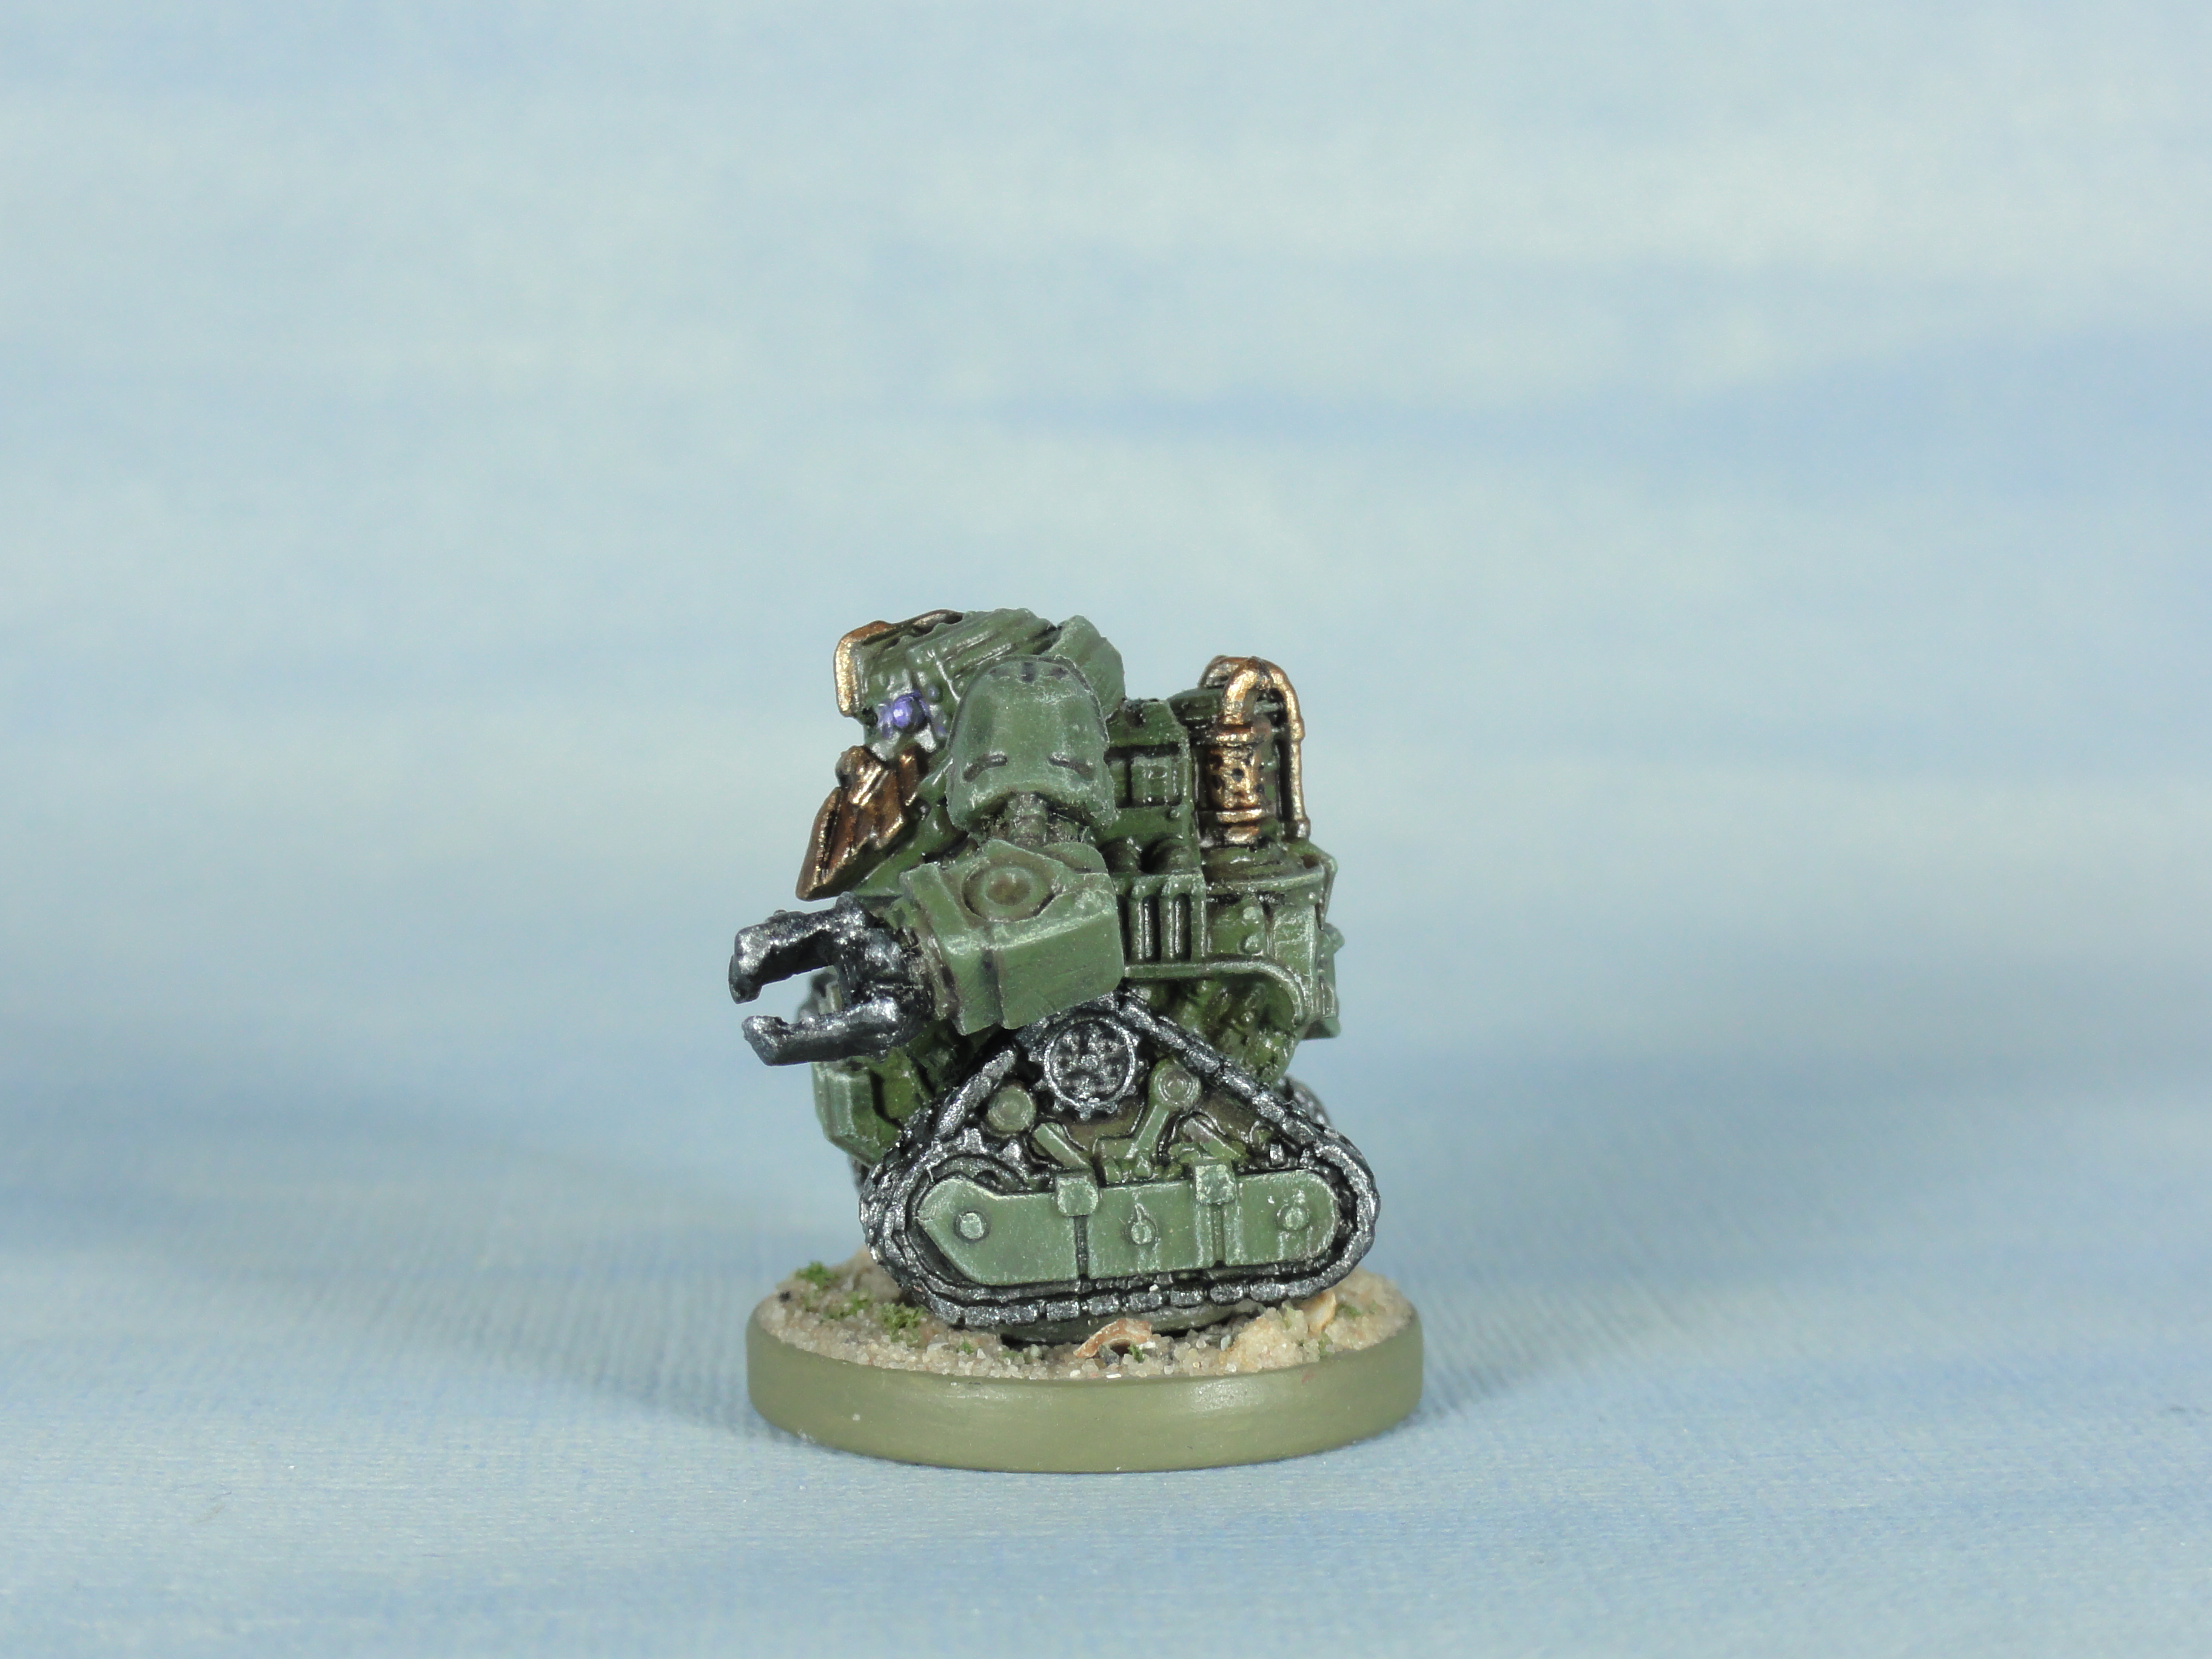
Can you dig it?
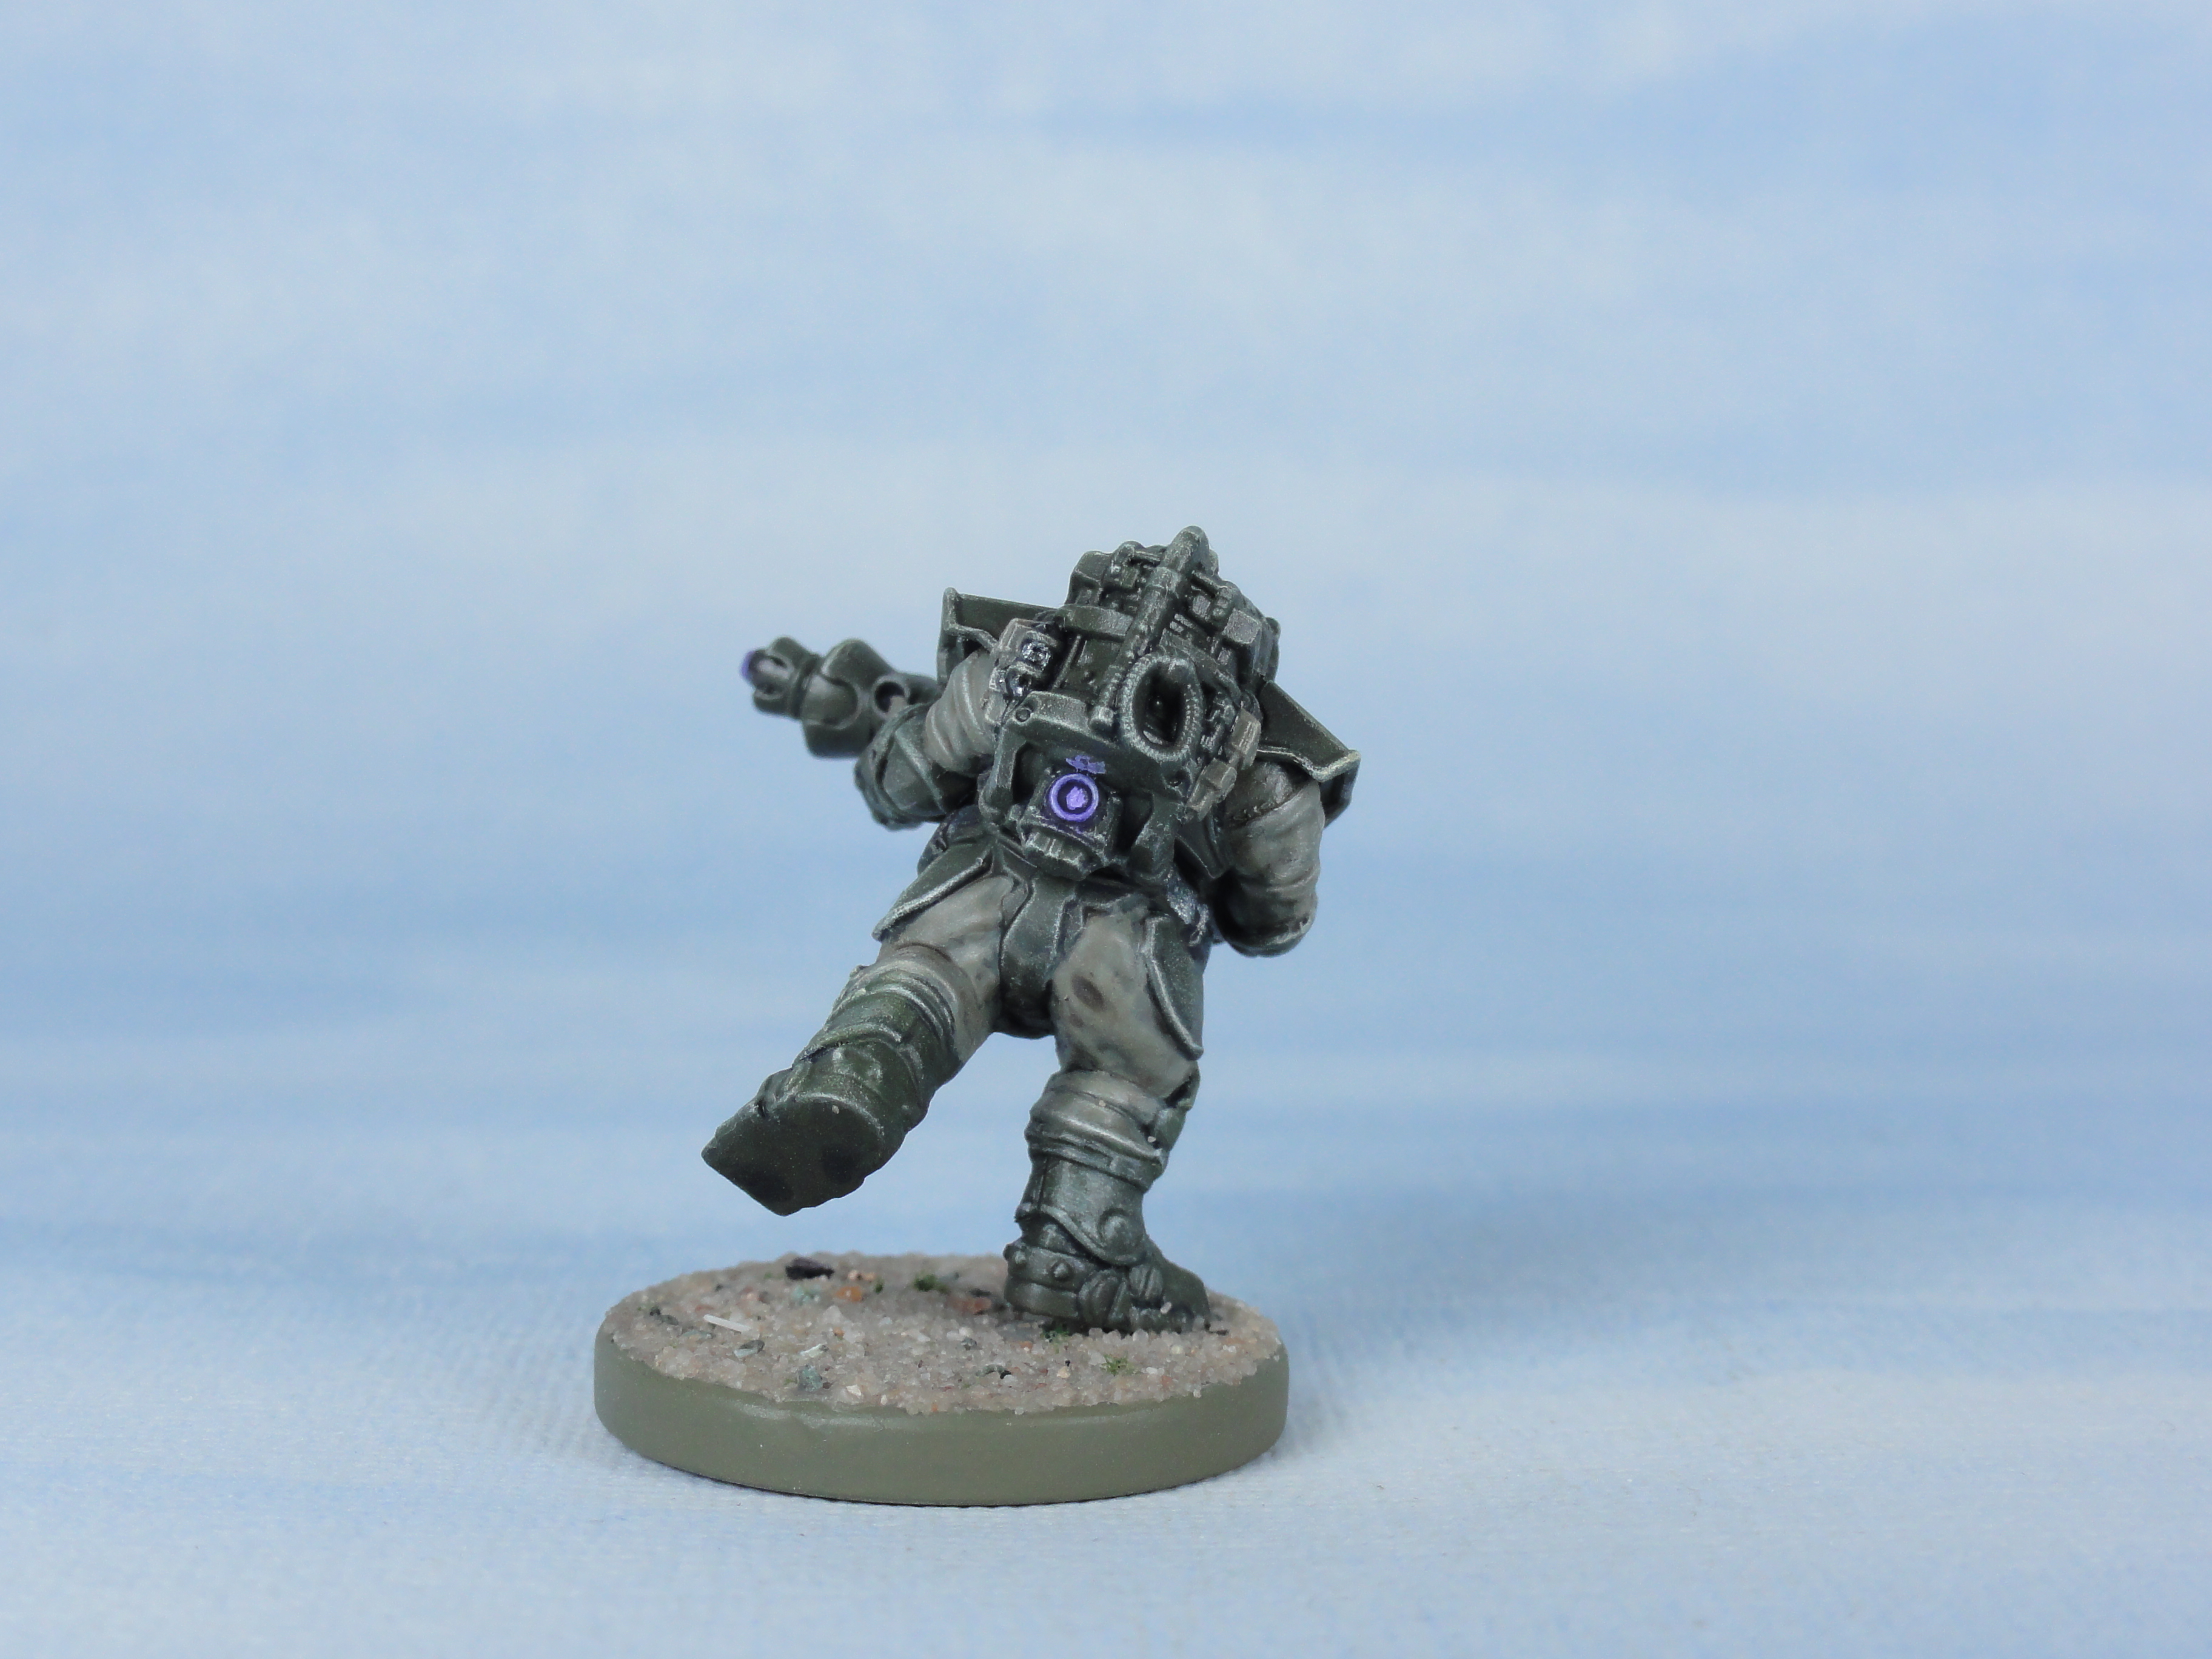
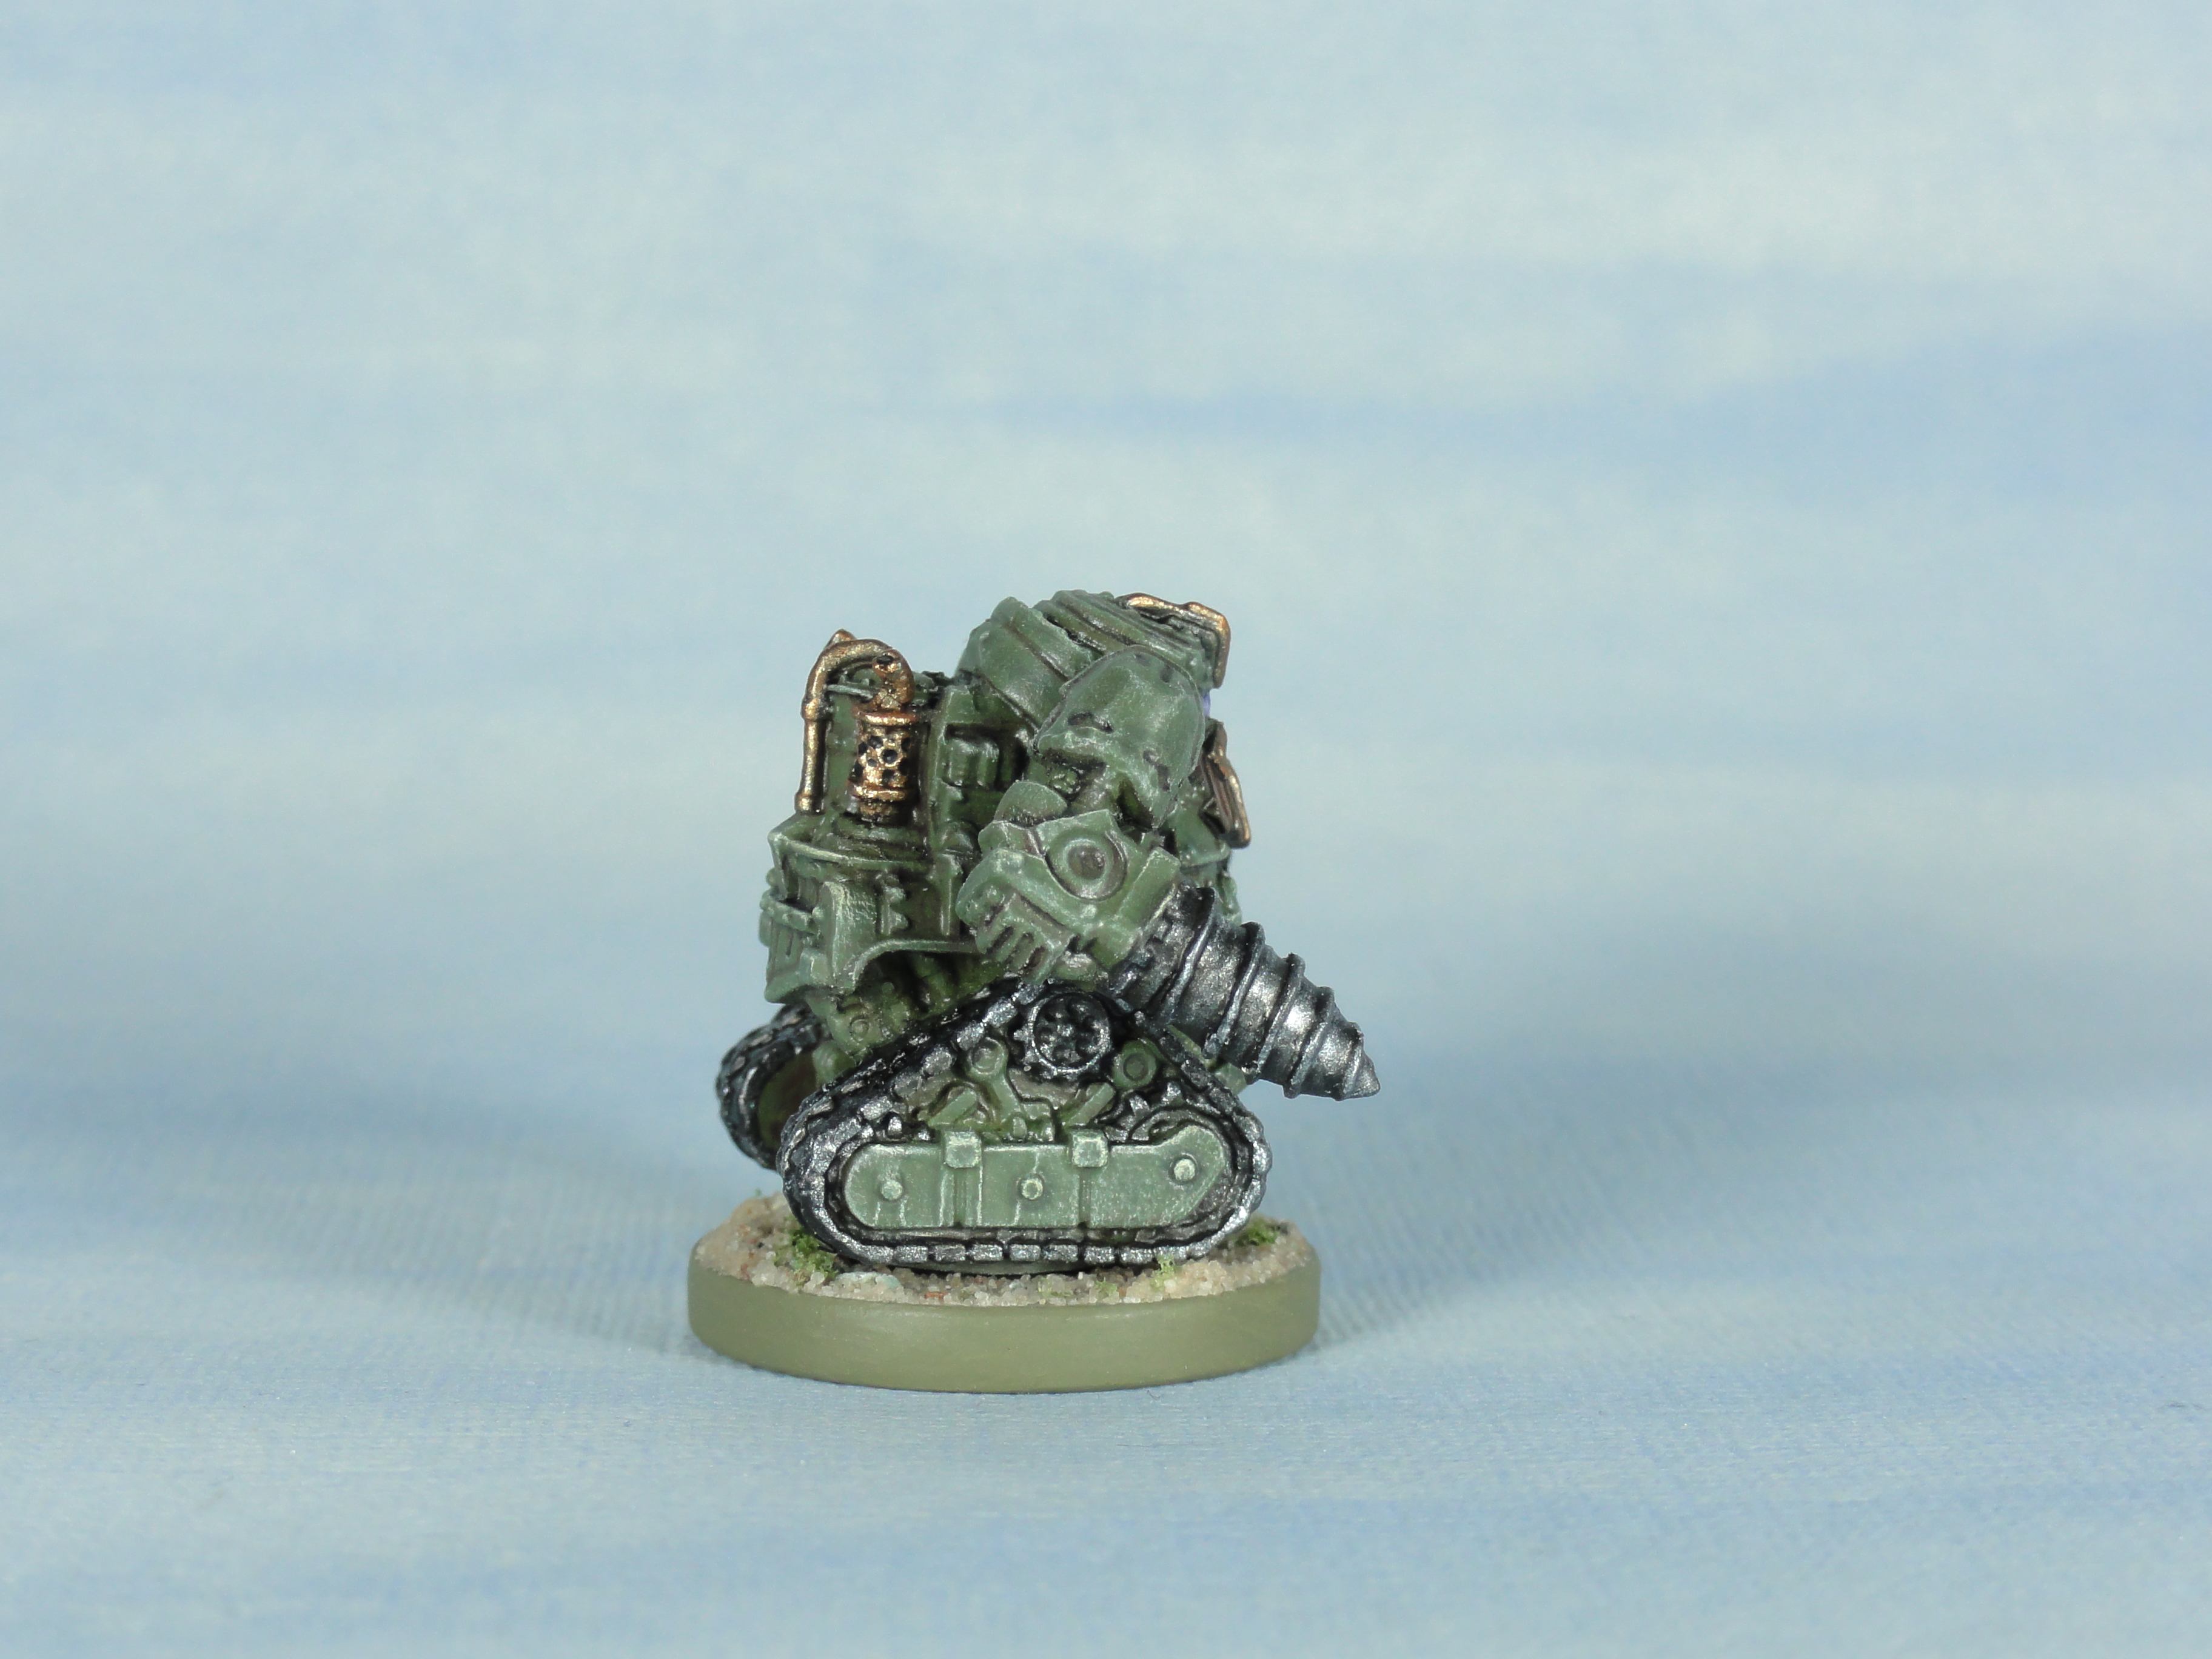
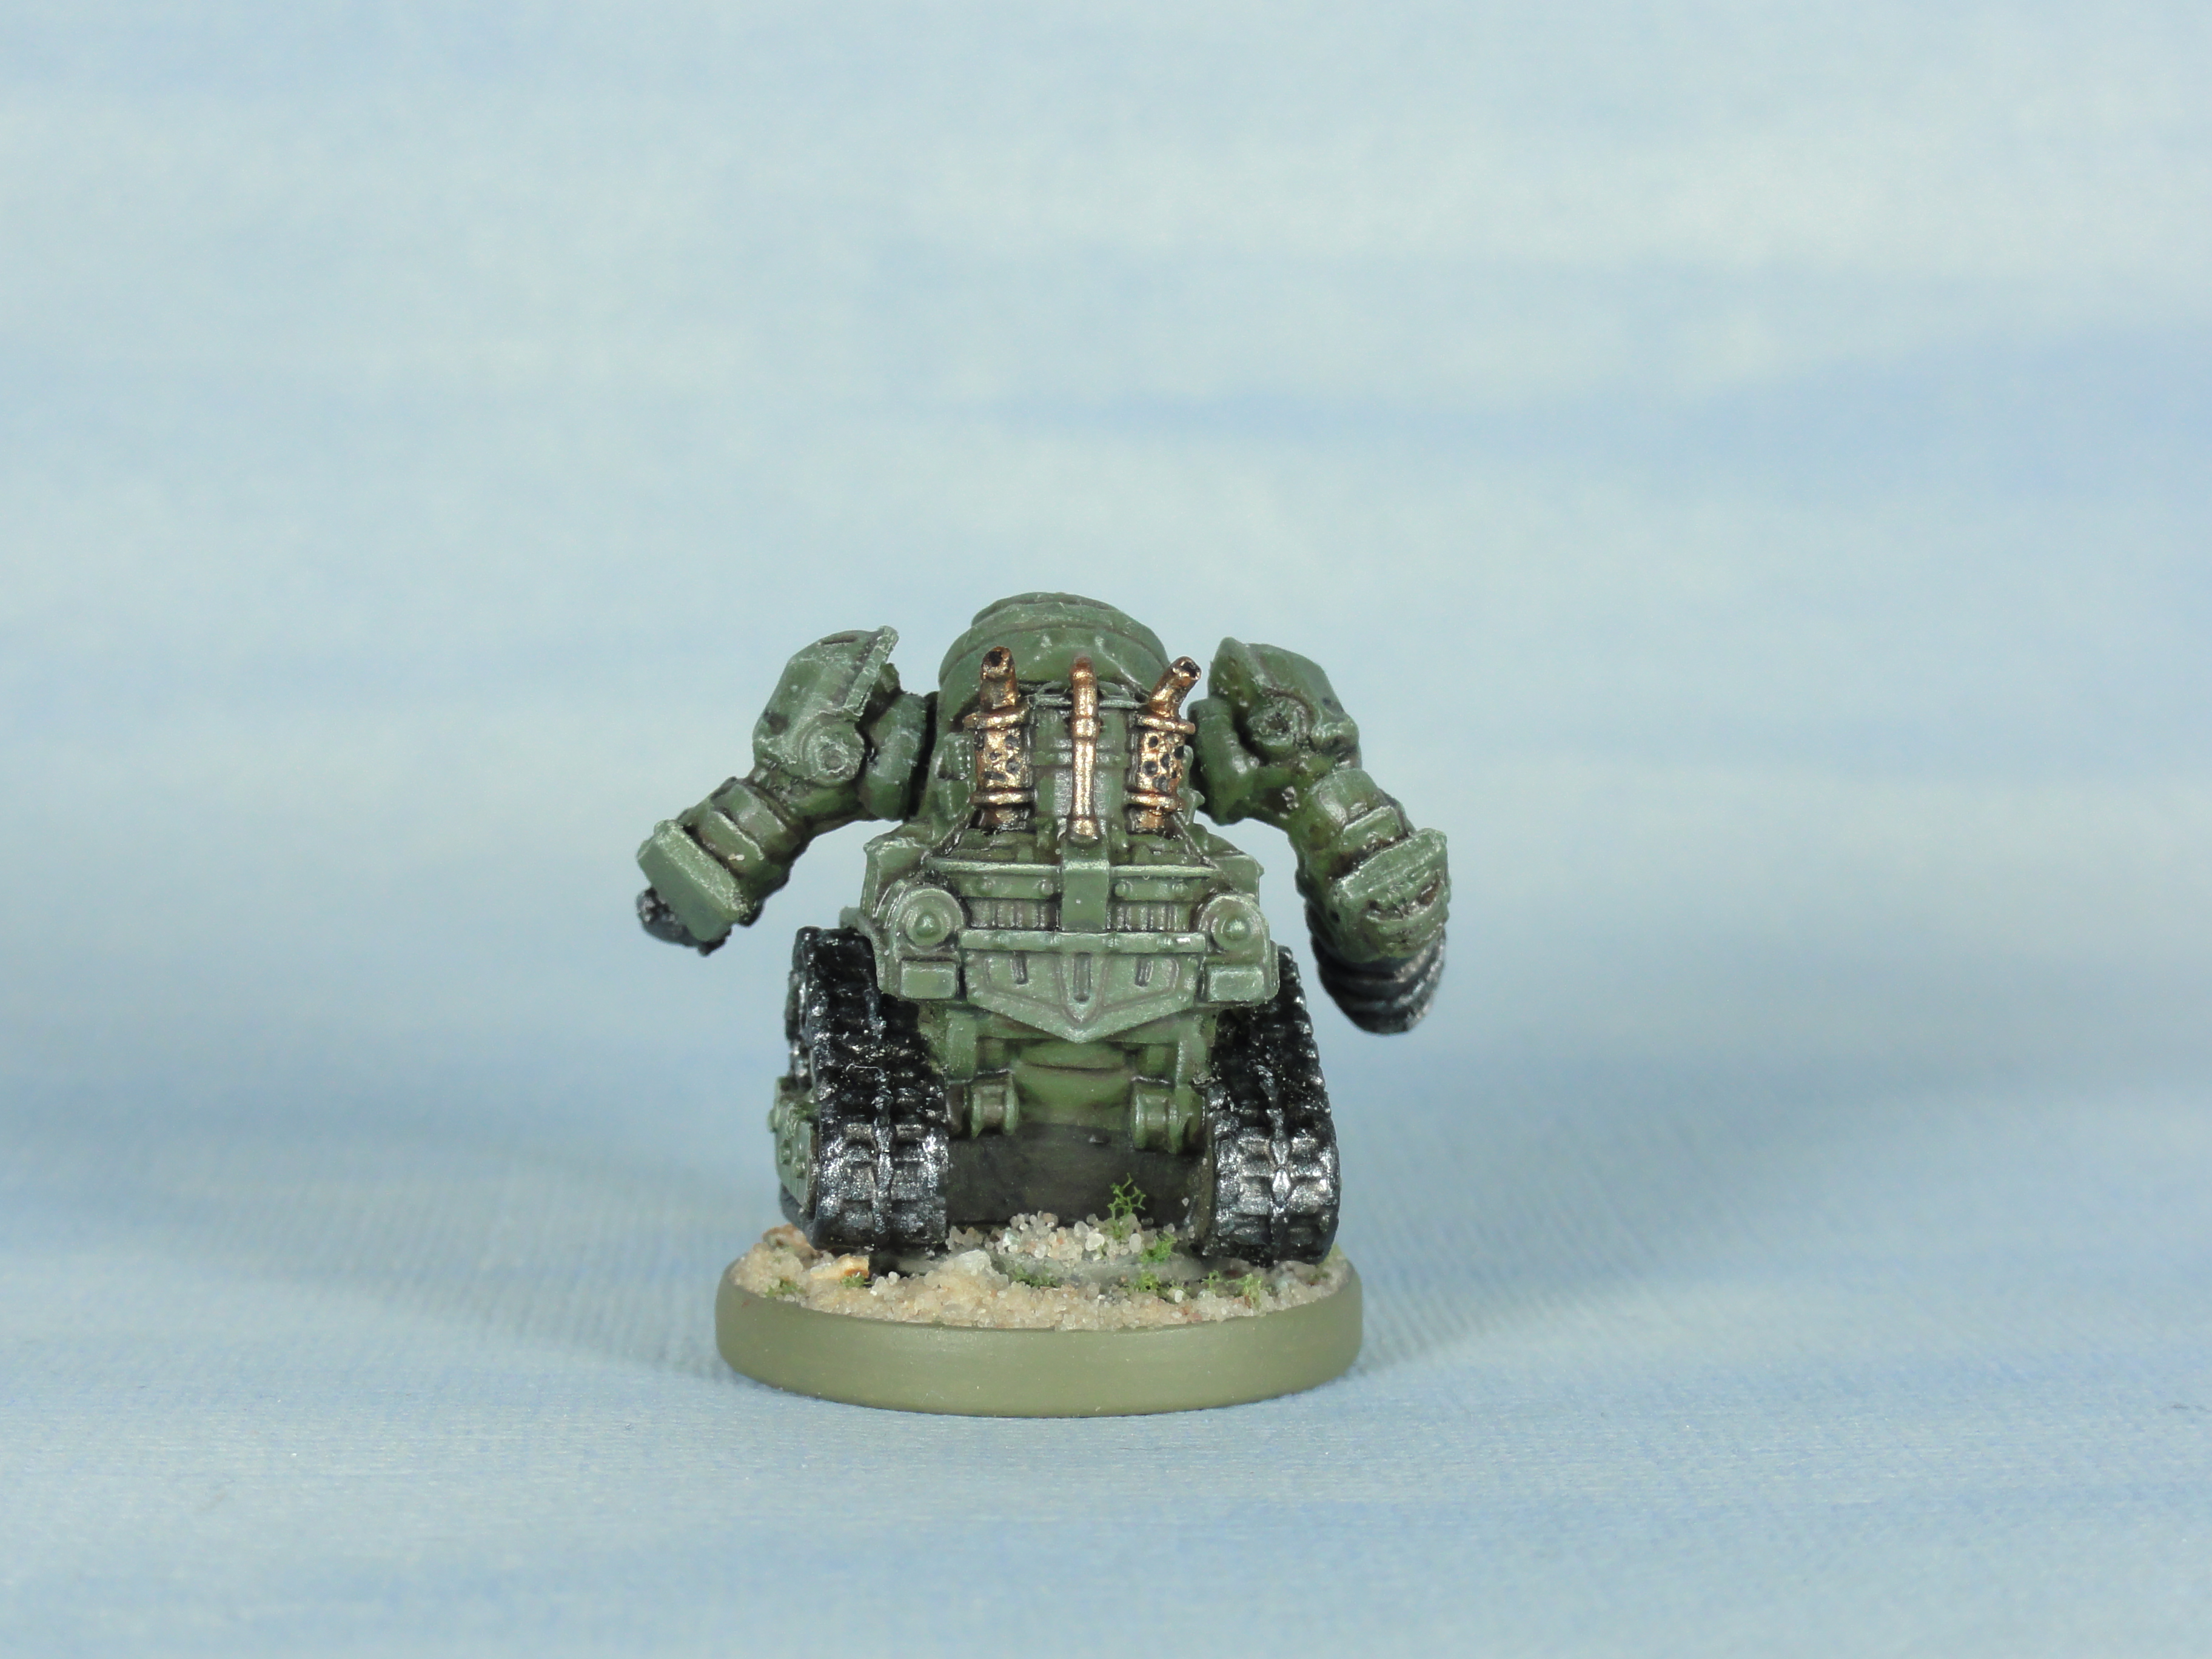
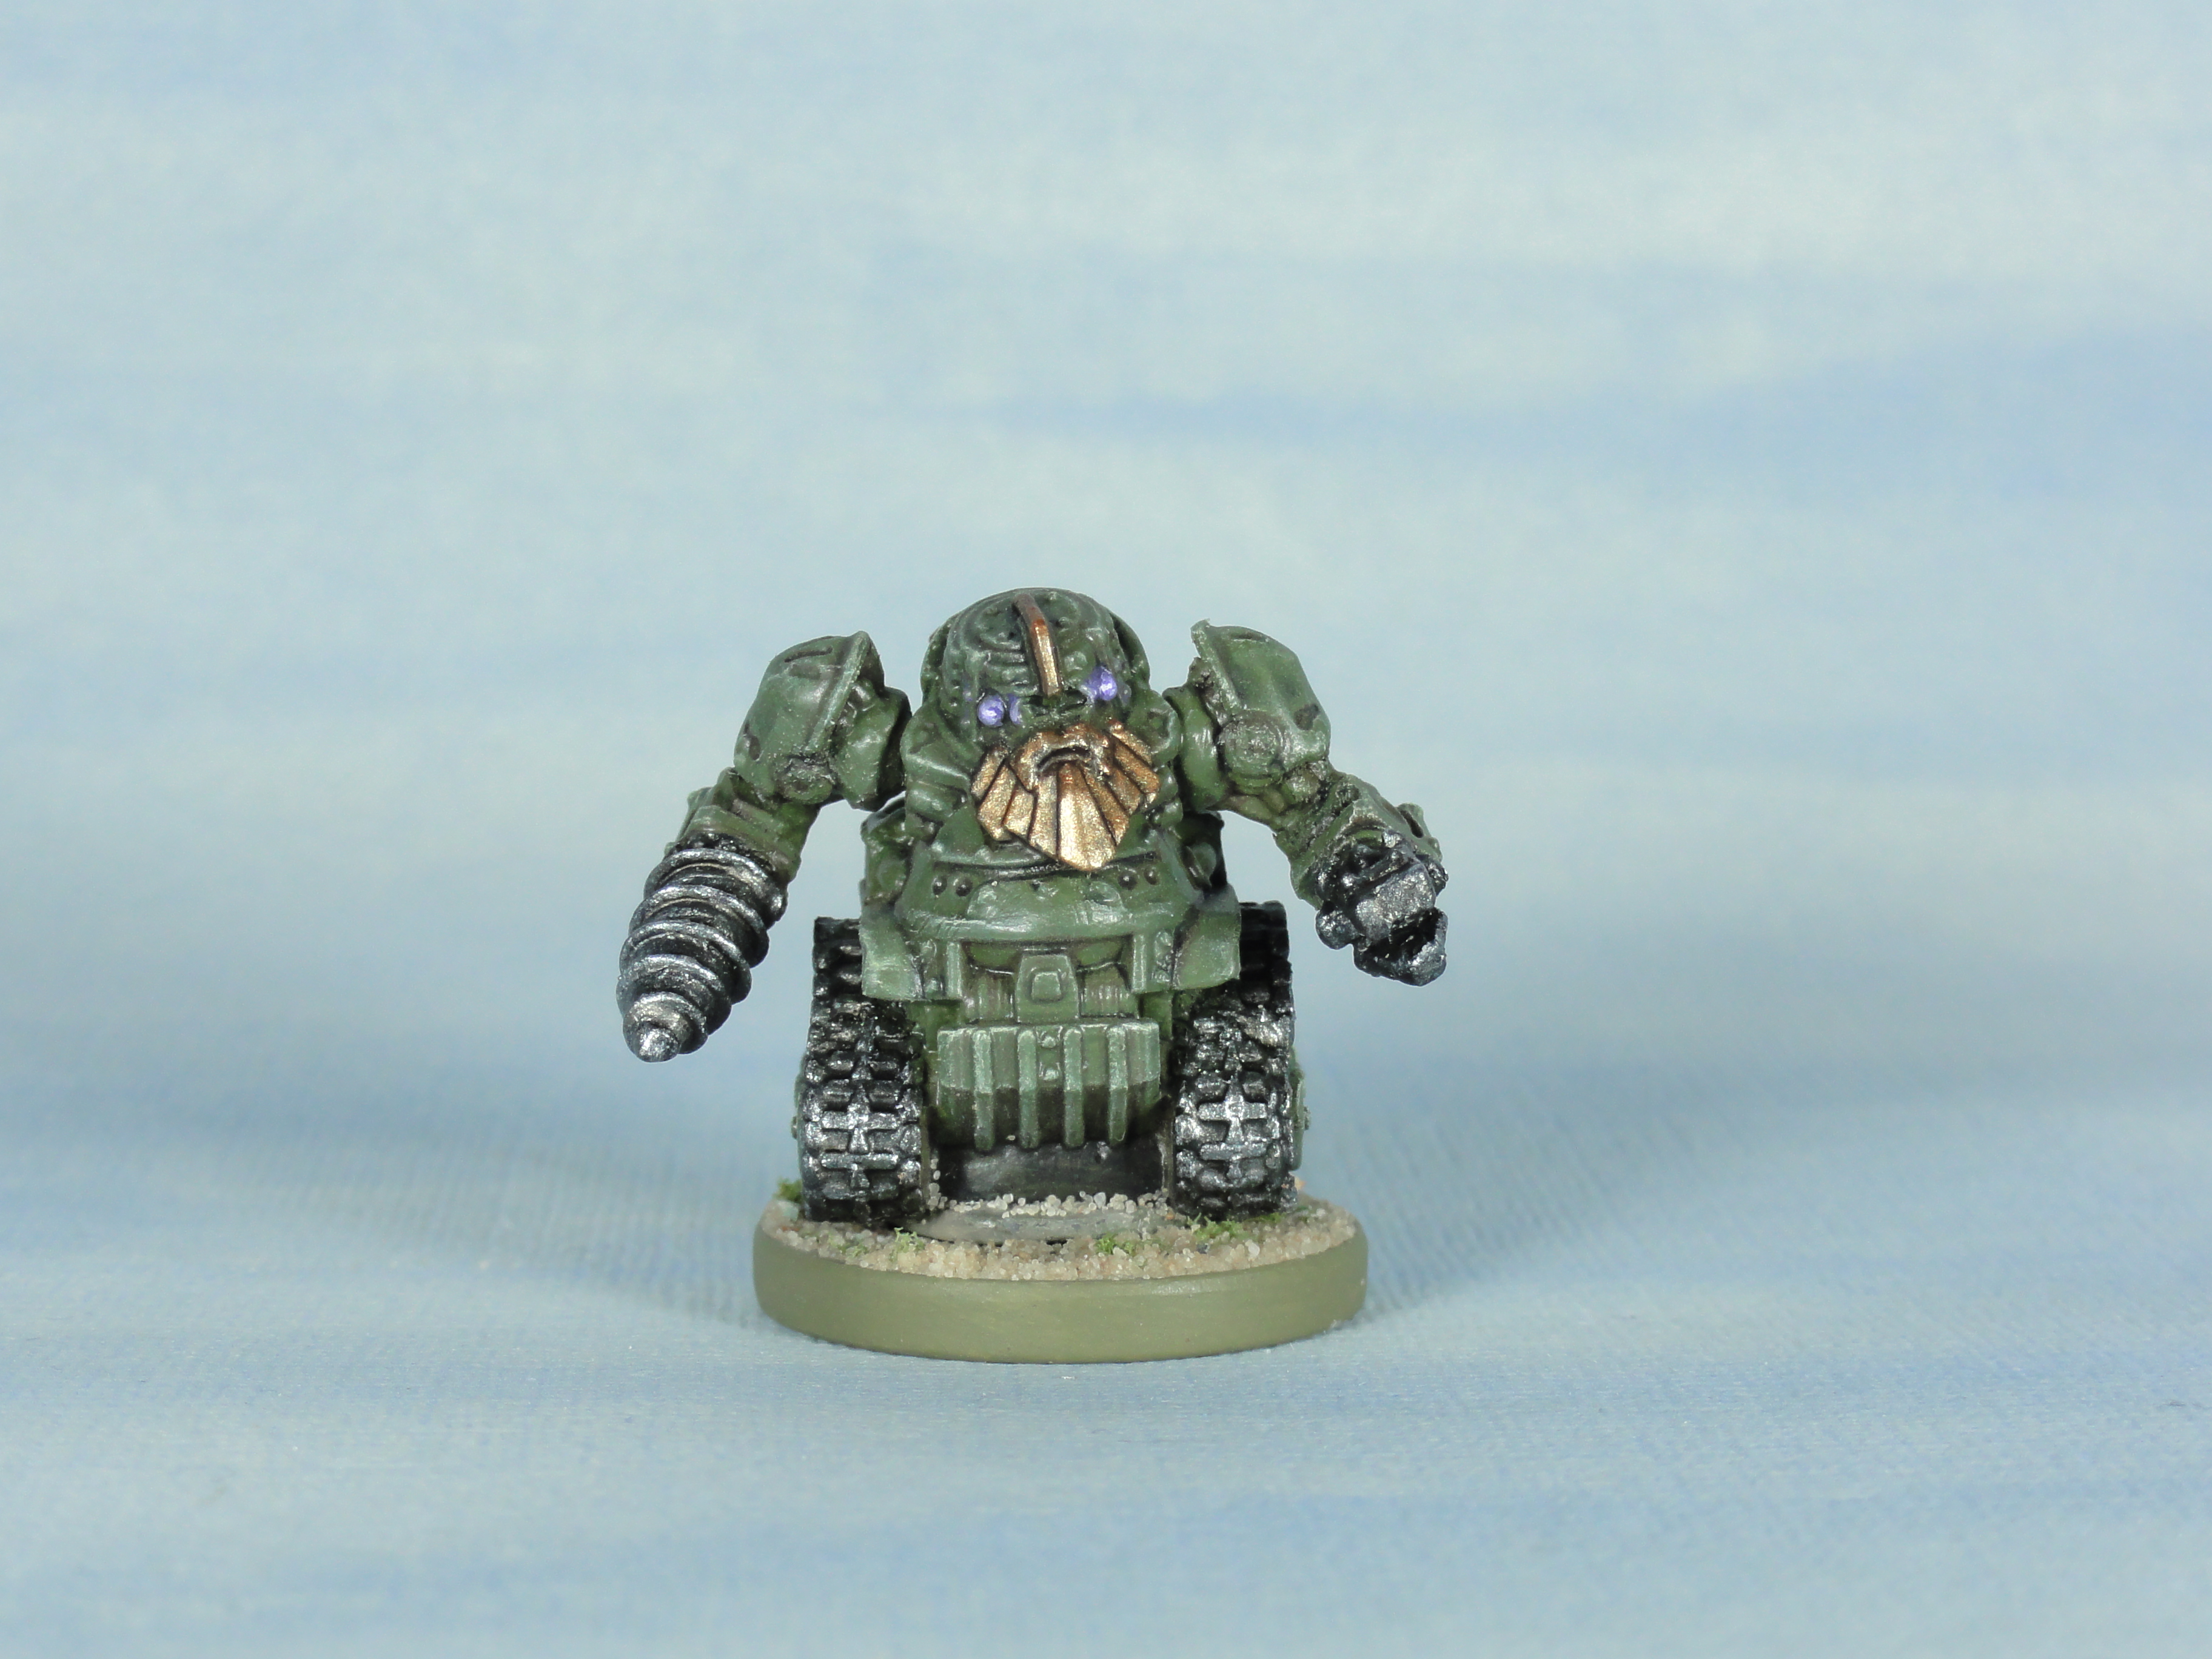 Excavator Robot
The same method of painting as the rest of the armoured Forge Fathers in this project was used (see early entries).
The base was magnetised in case I want to use the Excavator Robot in Dreadball.
That’s all the Forge Fathers that have been sitting partially painted finished. Next is 20 Forge Fathers that have been sitting built for a while and a trial of a different primer.
Don't stop. Hammer time
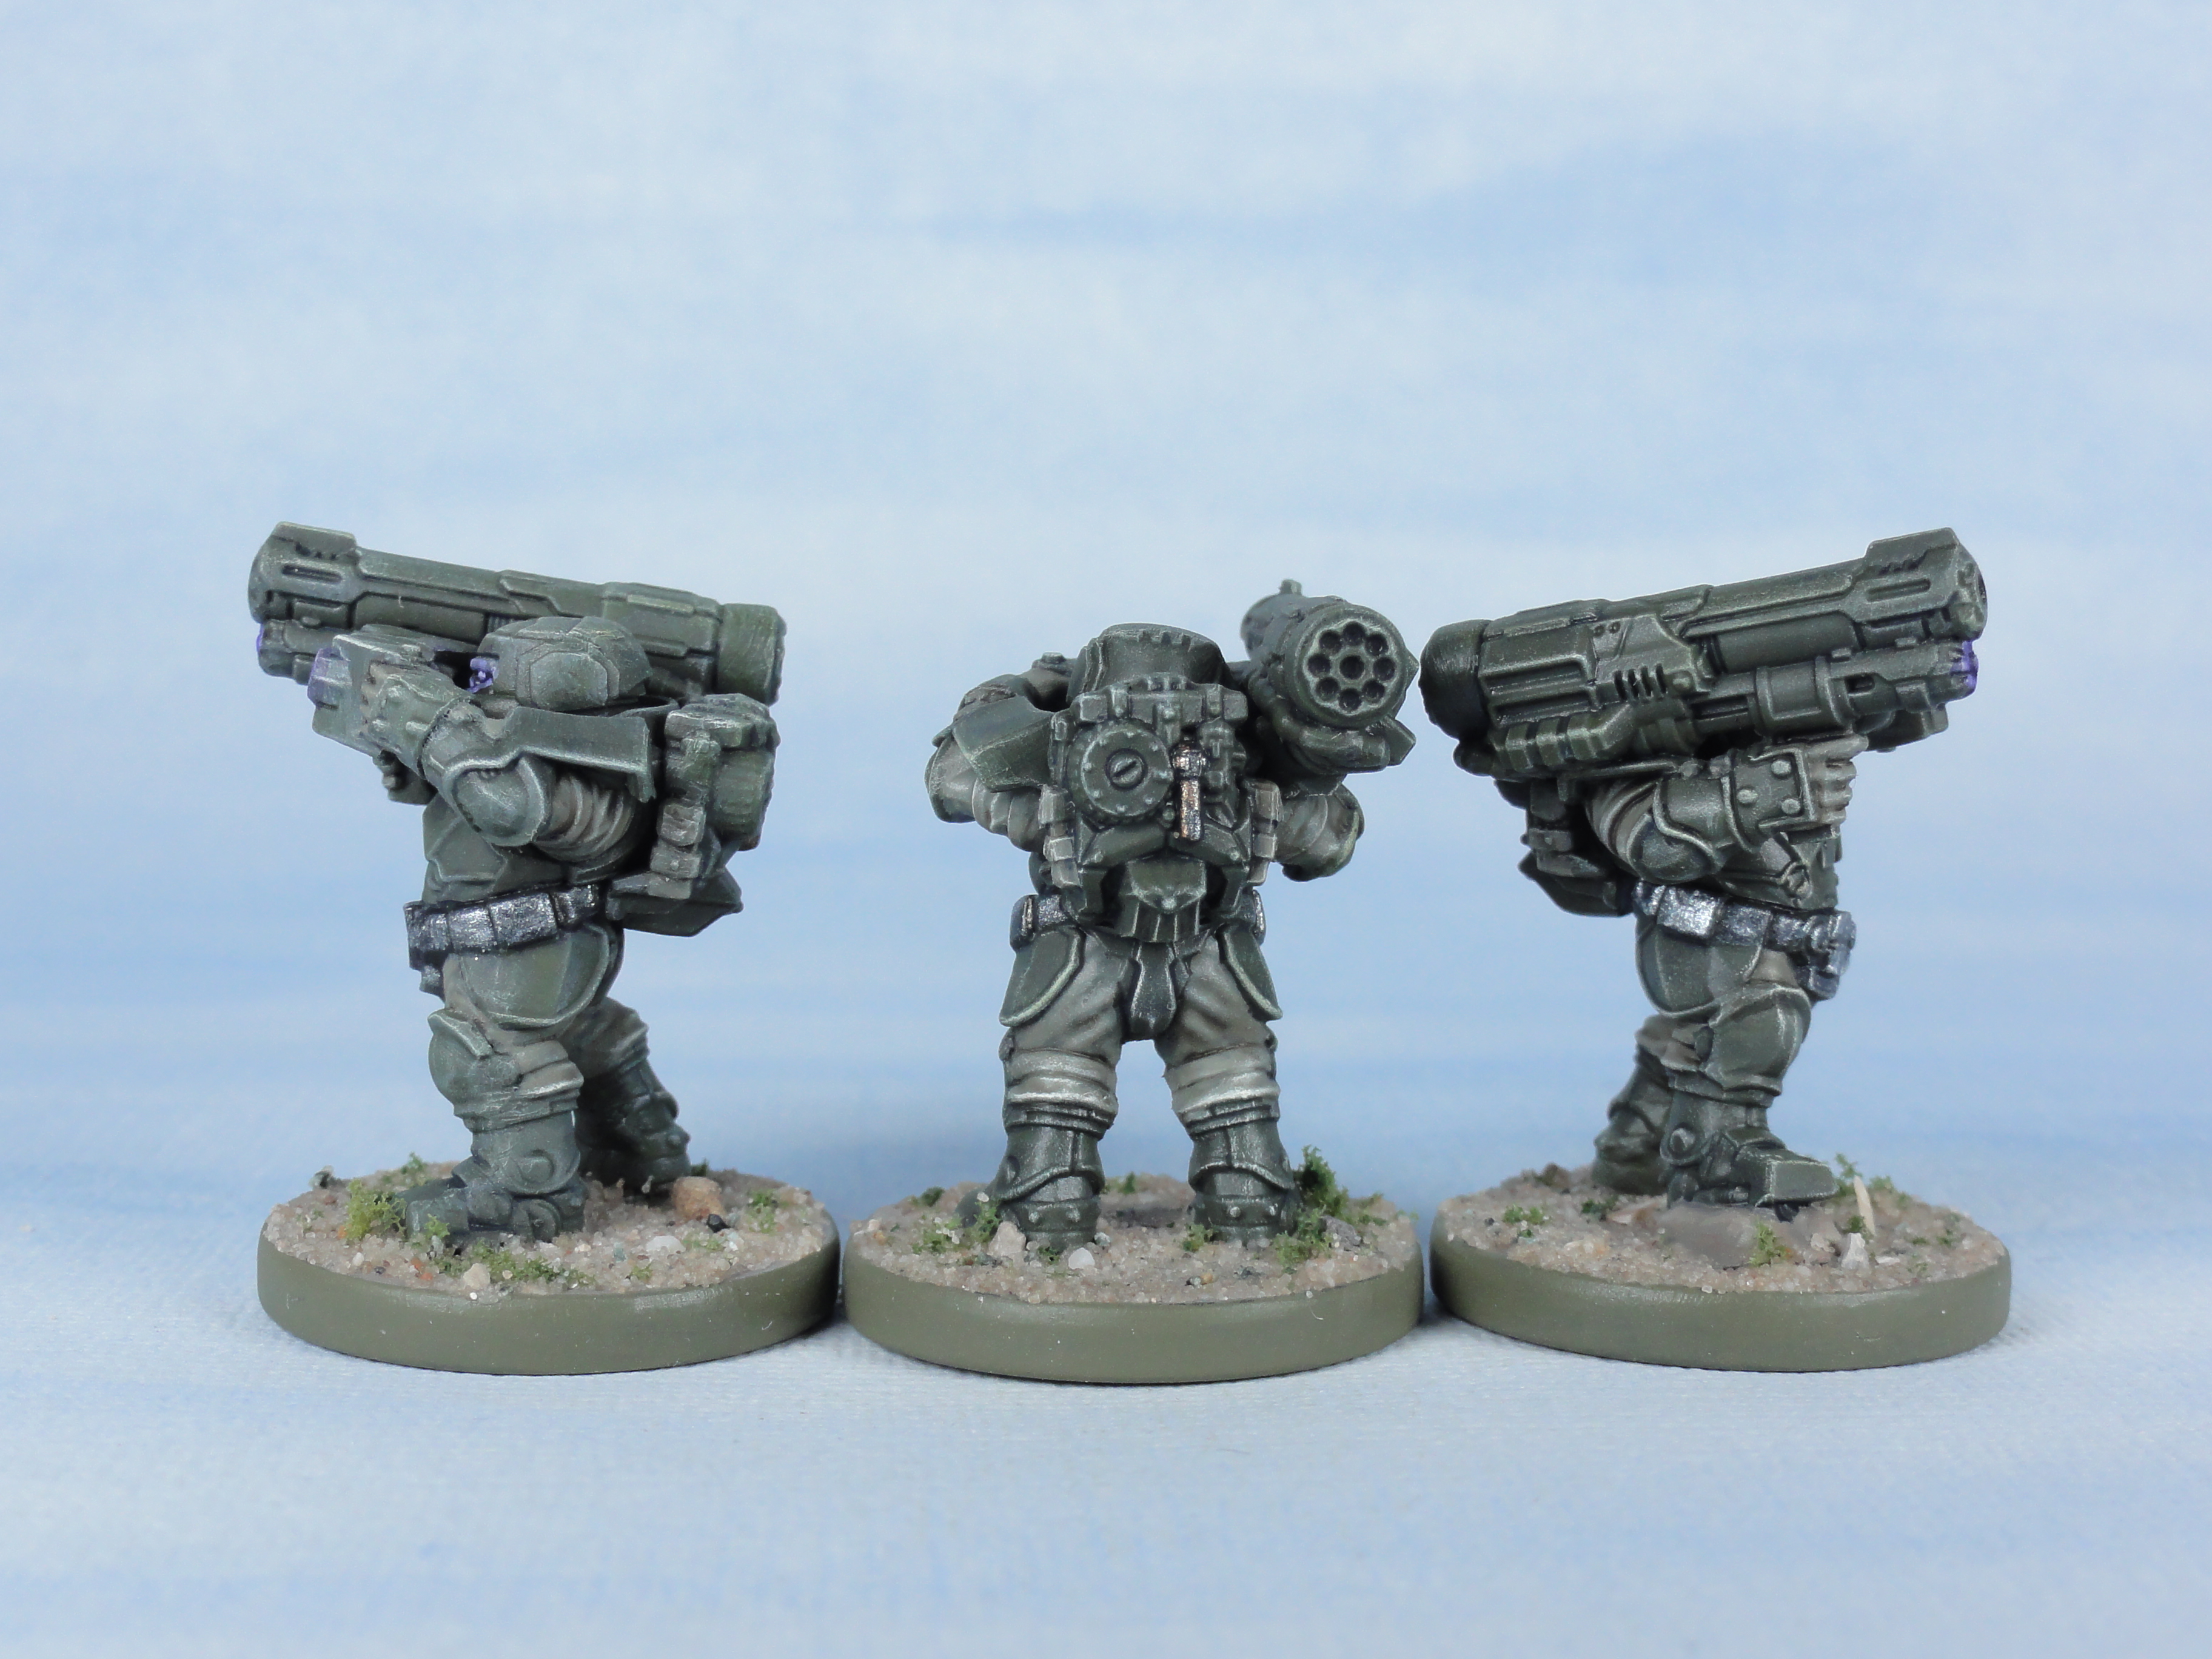
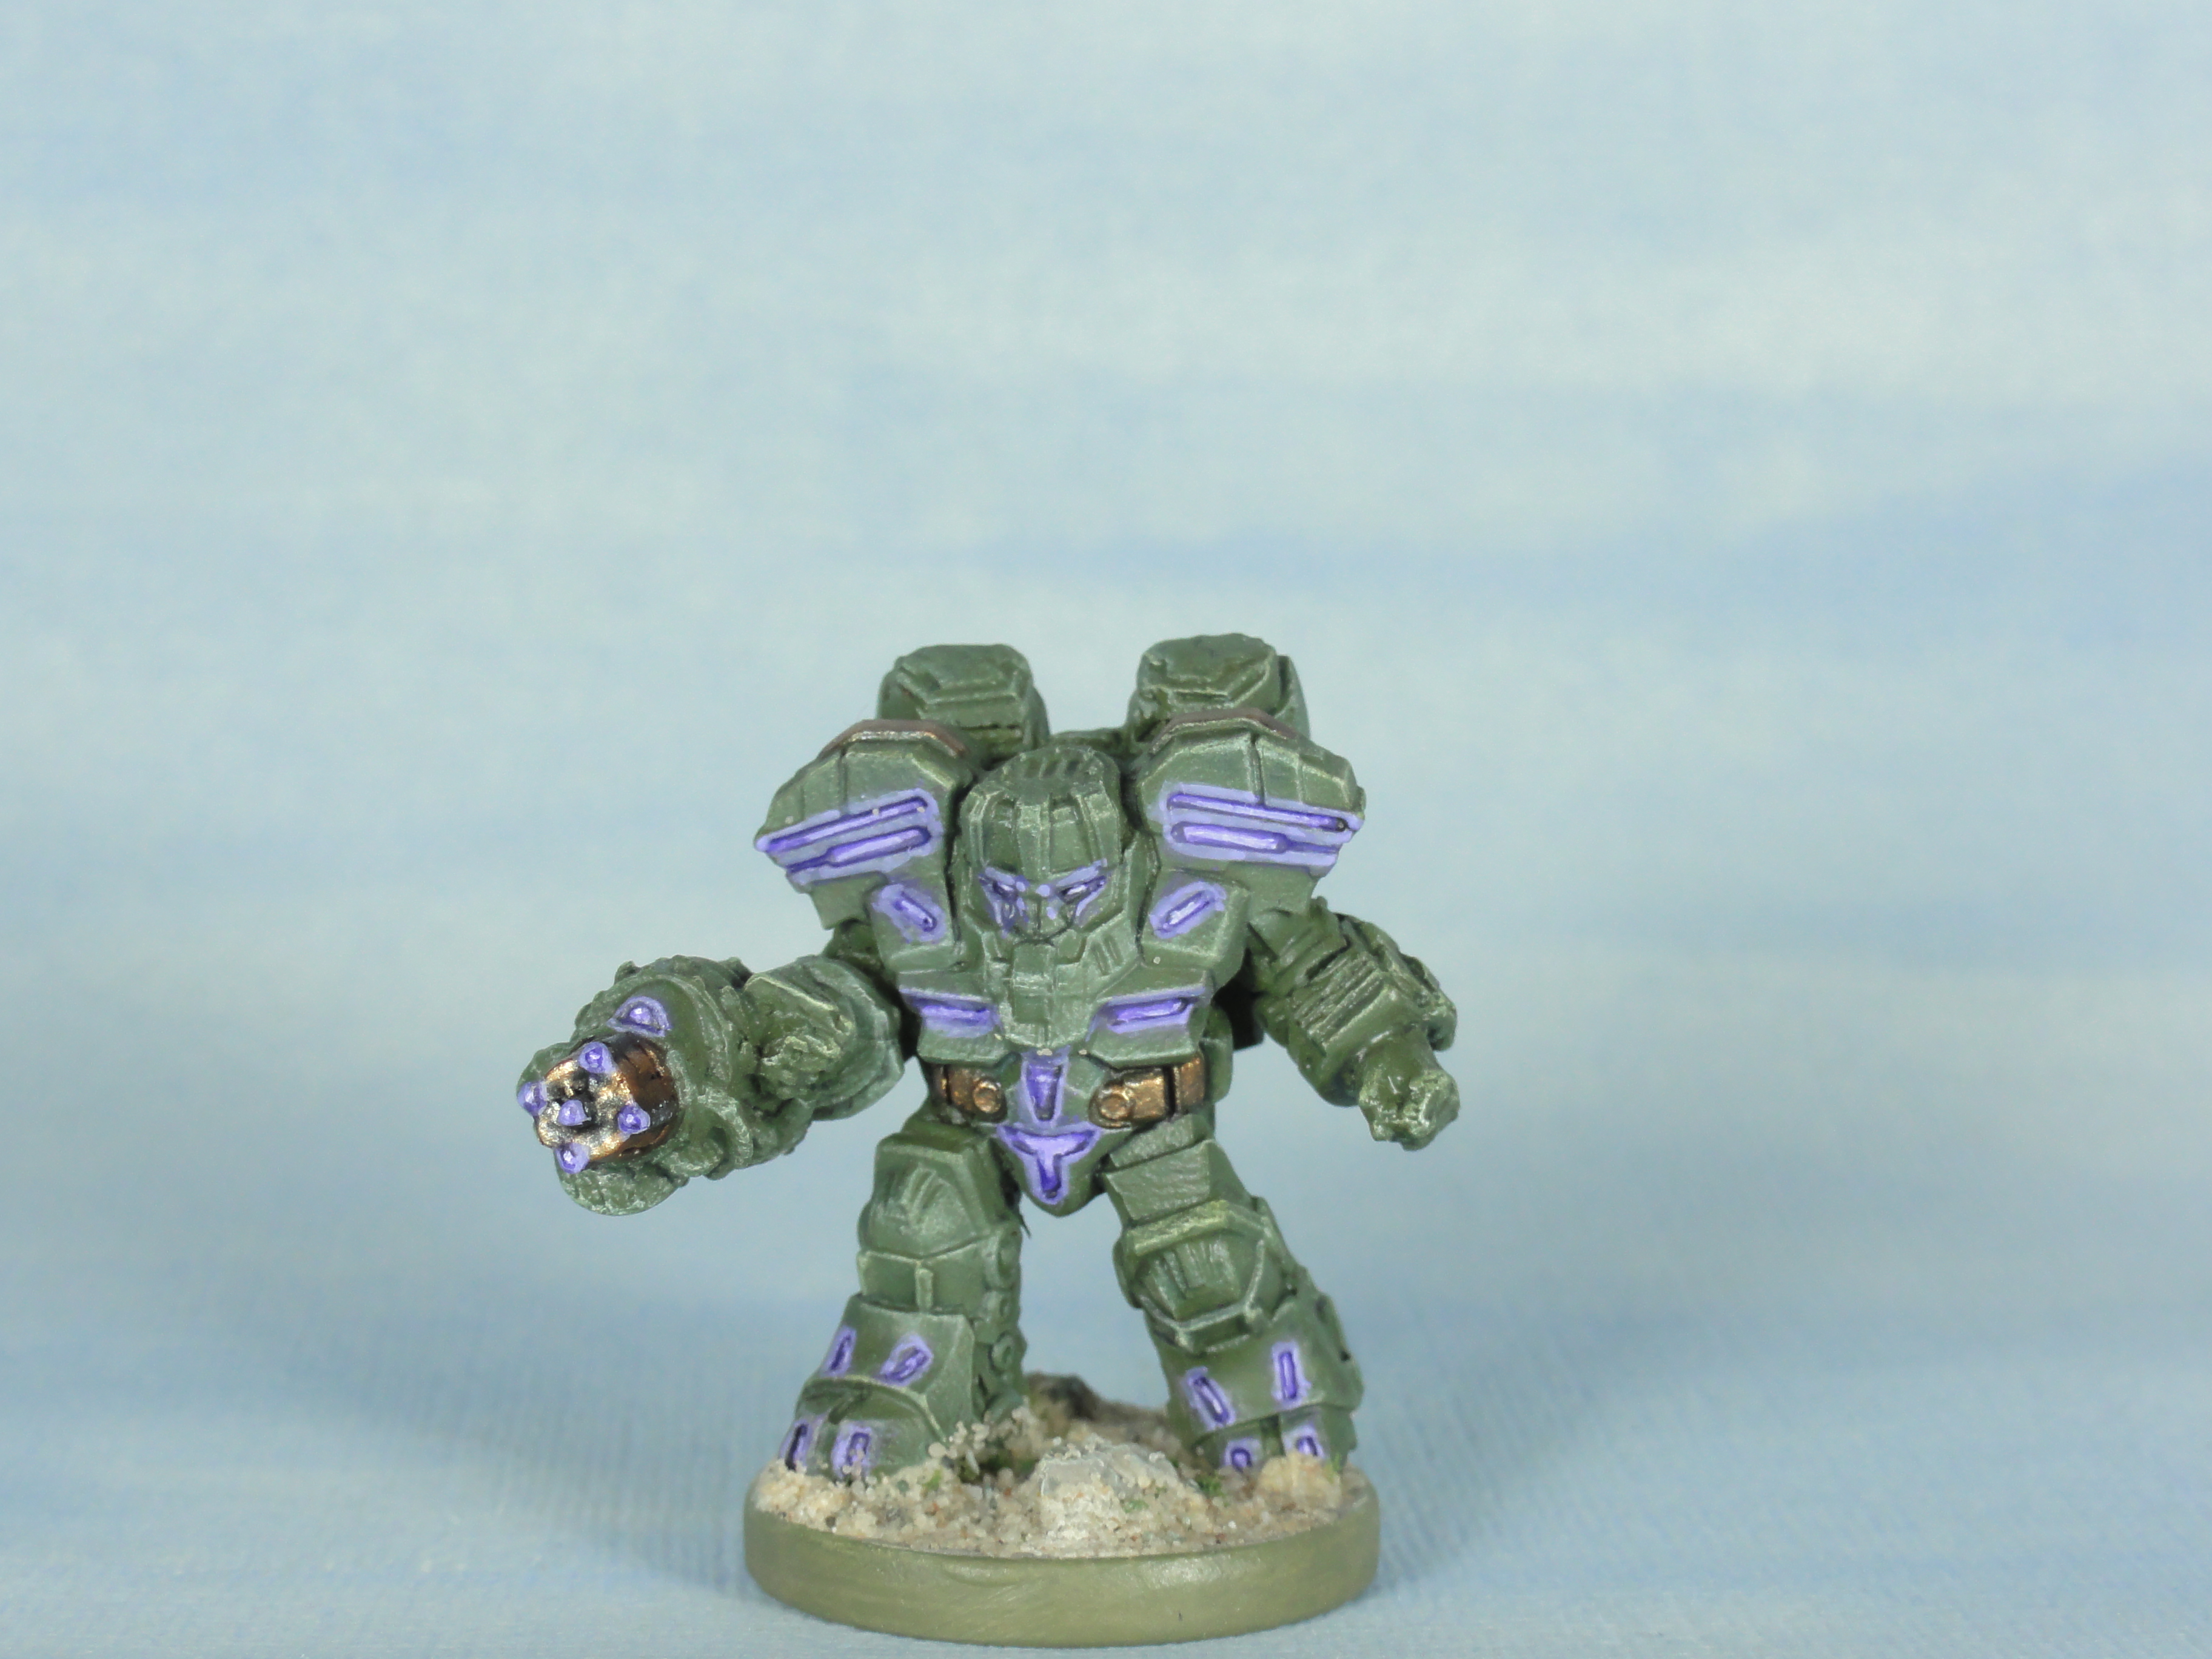
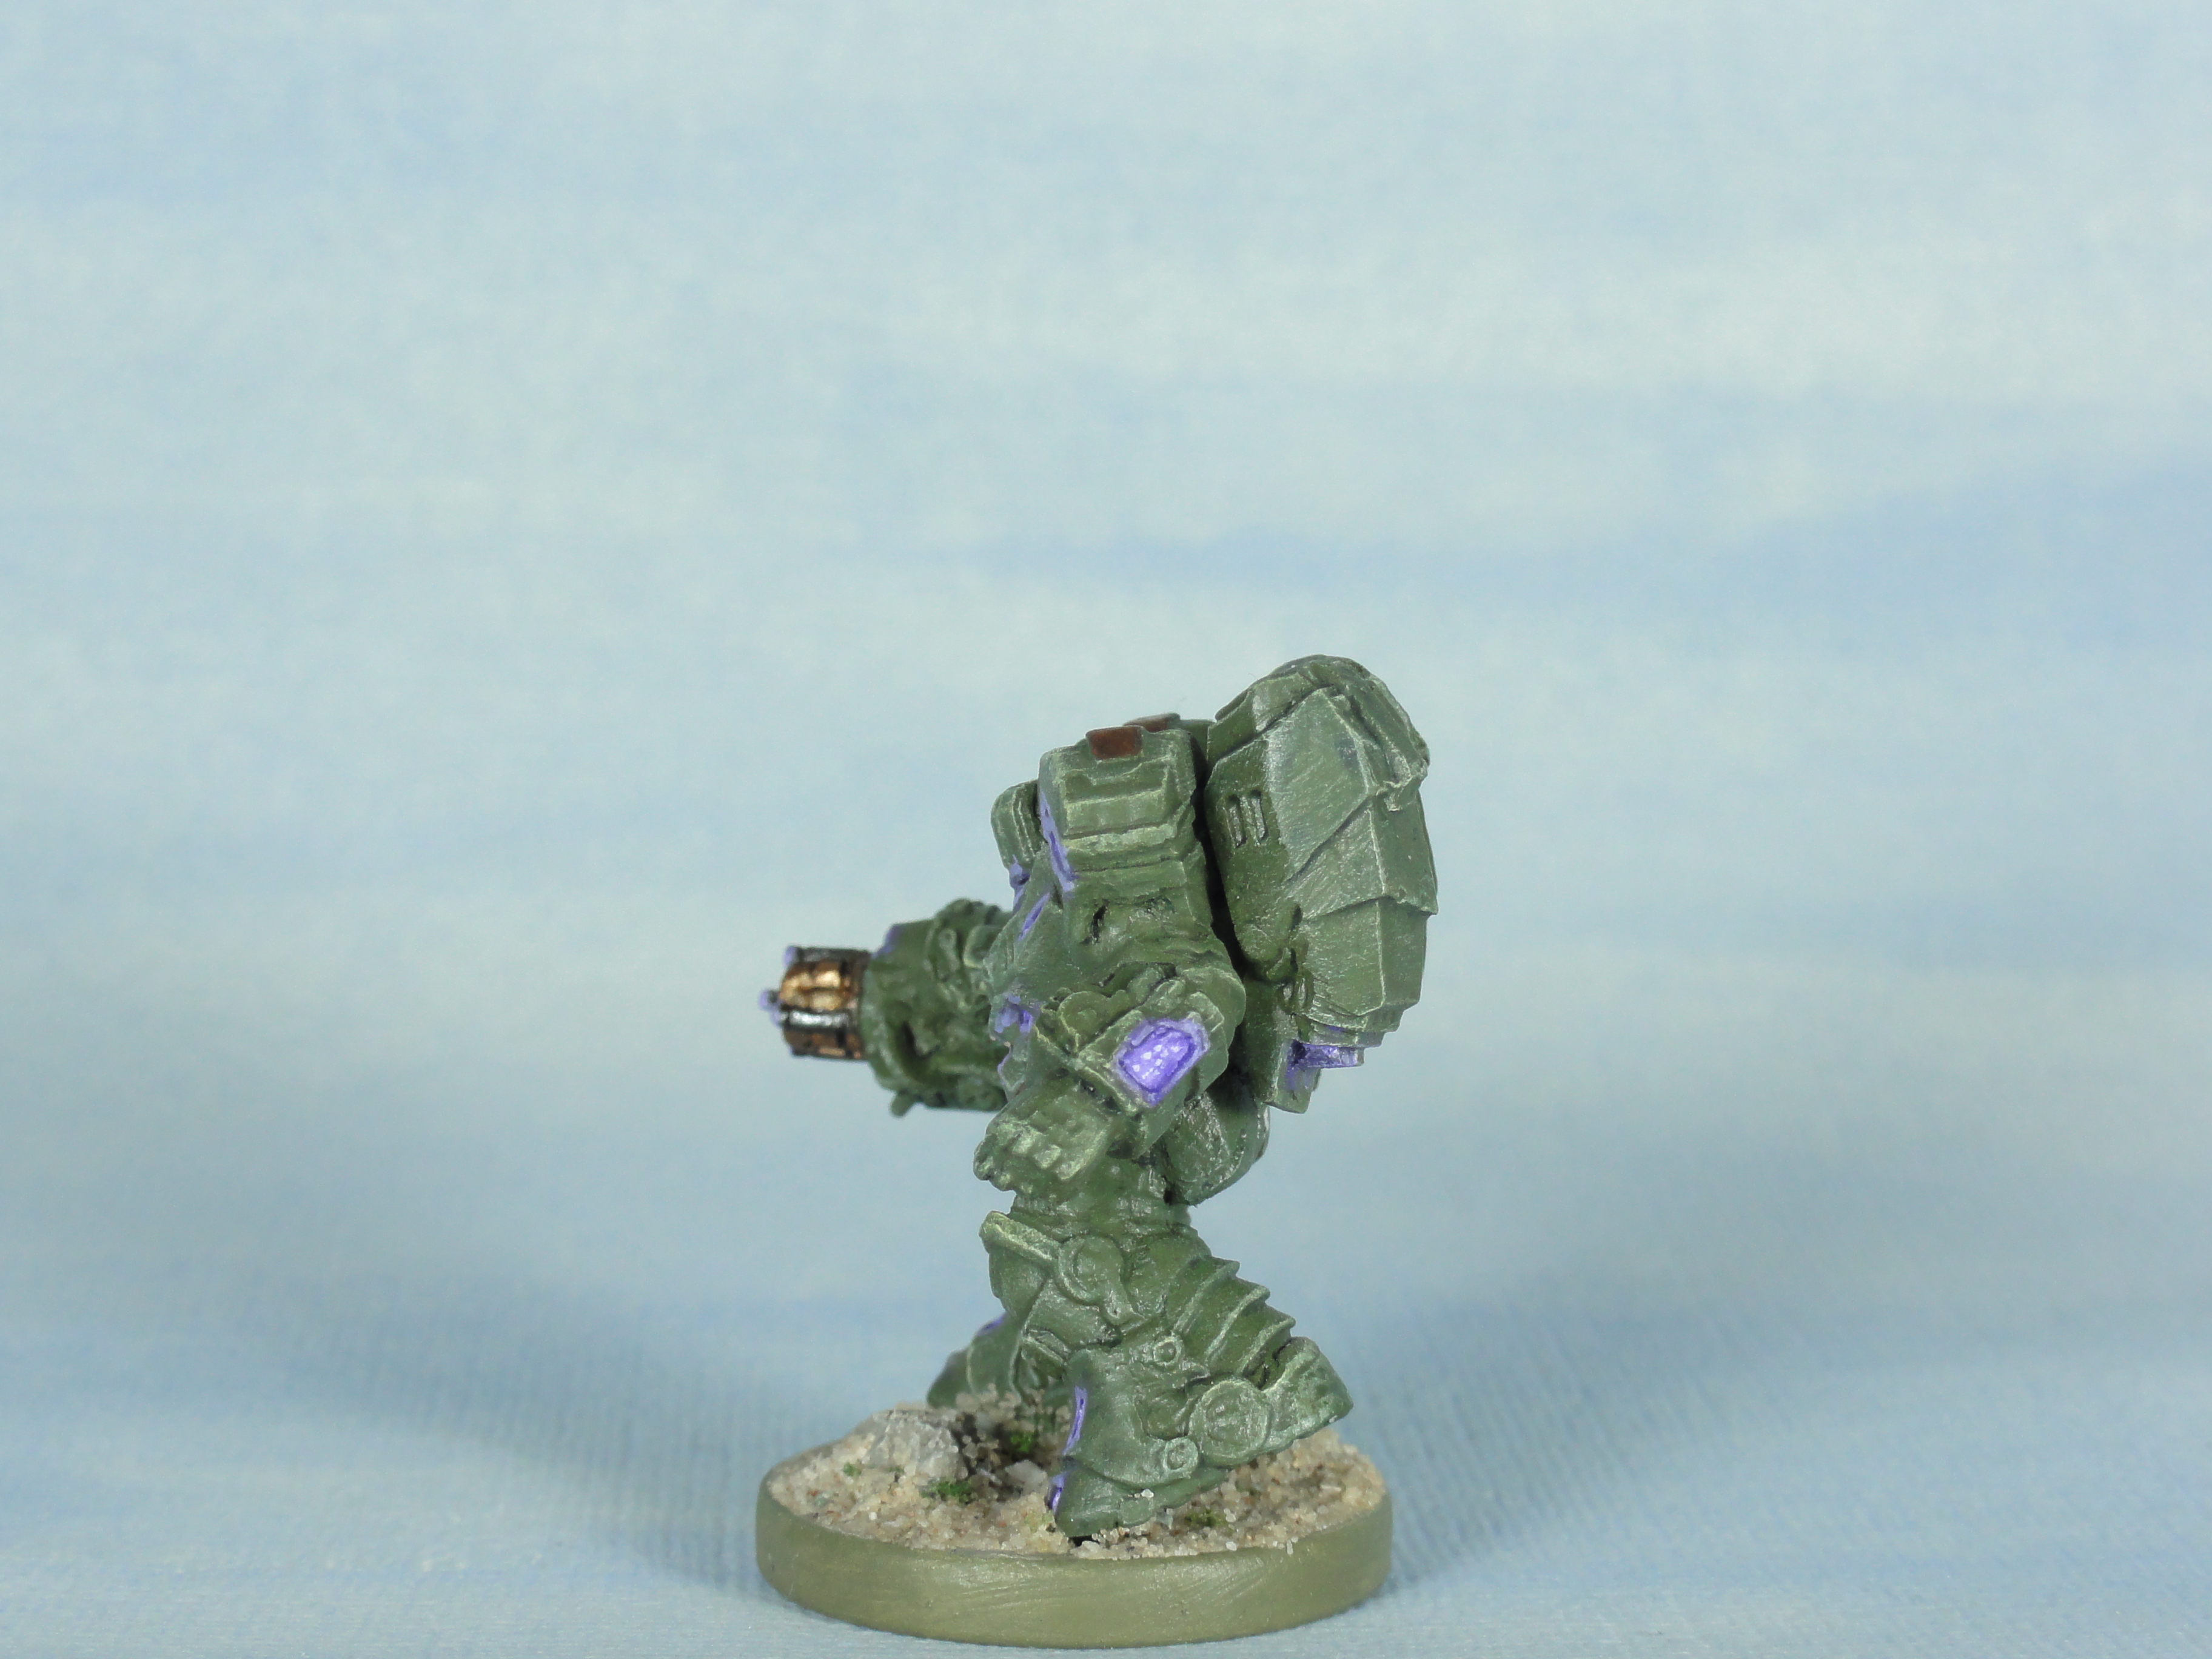
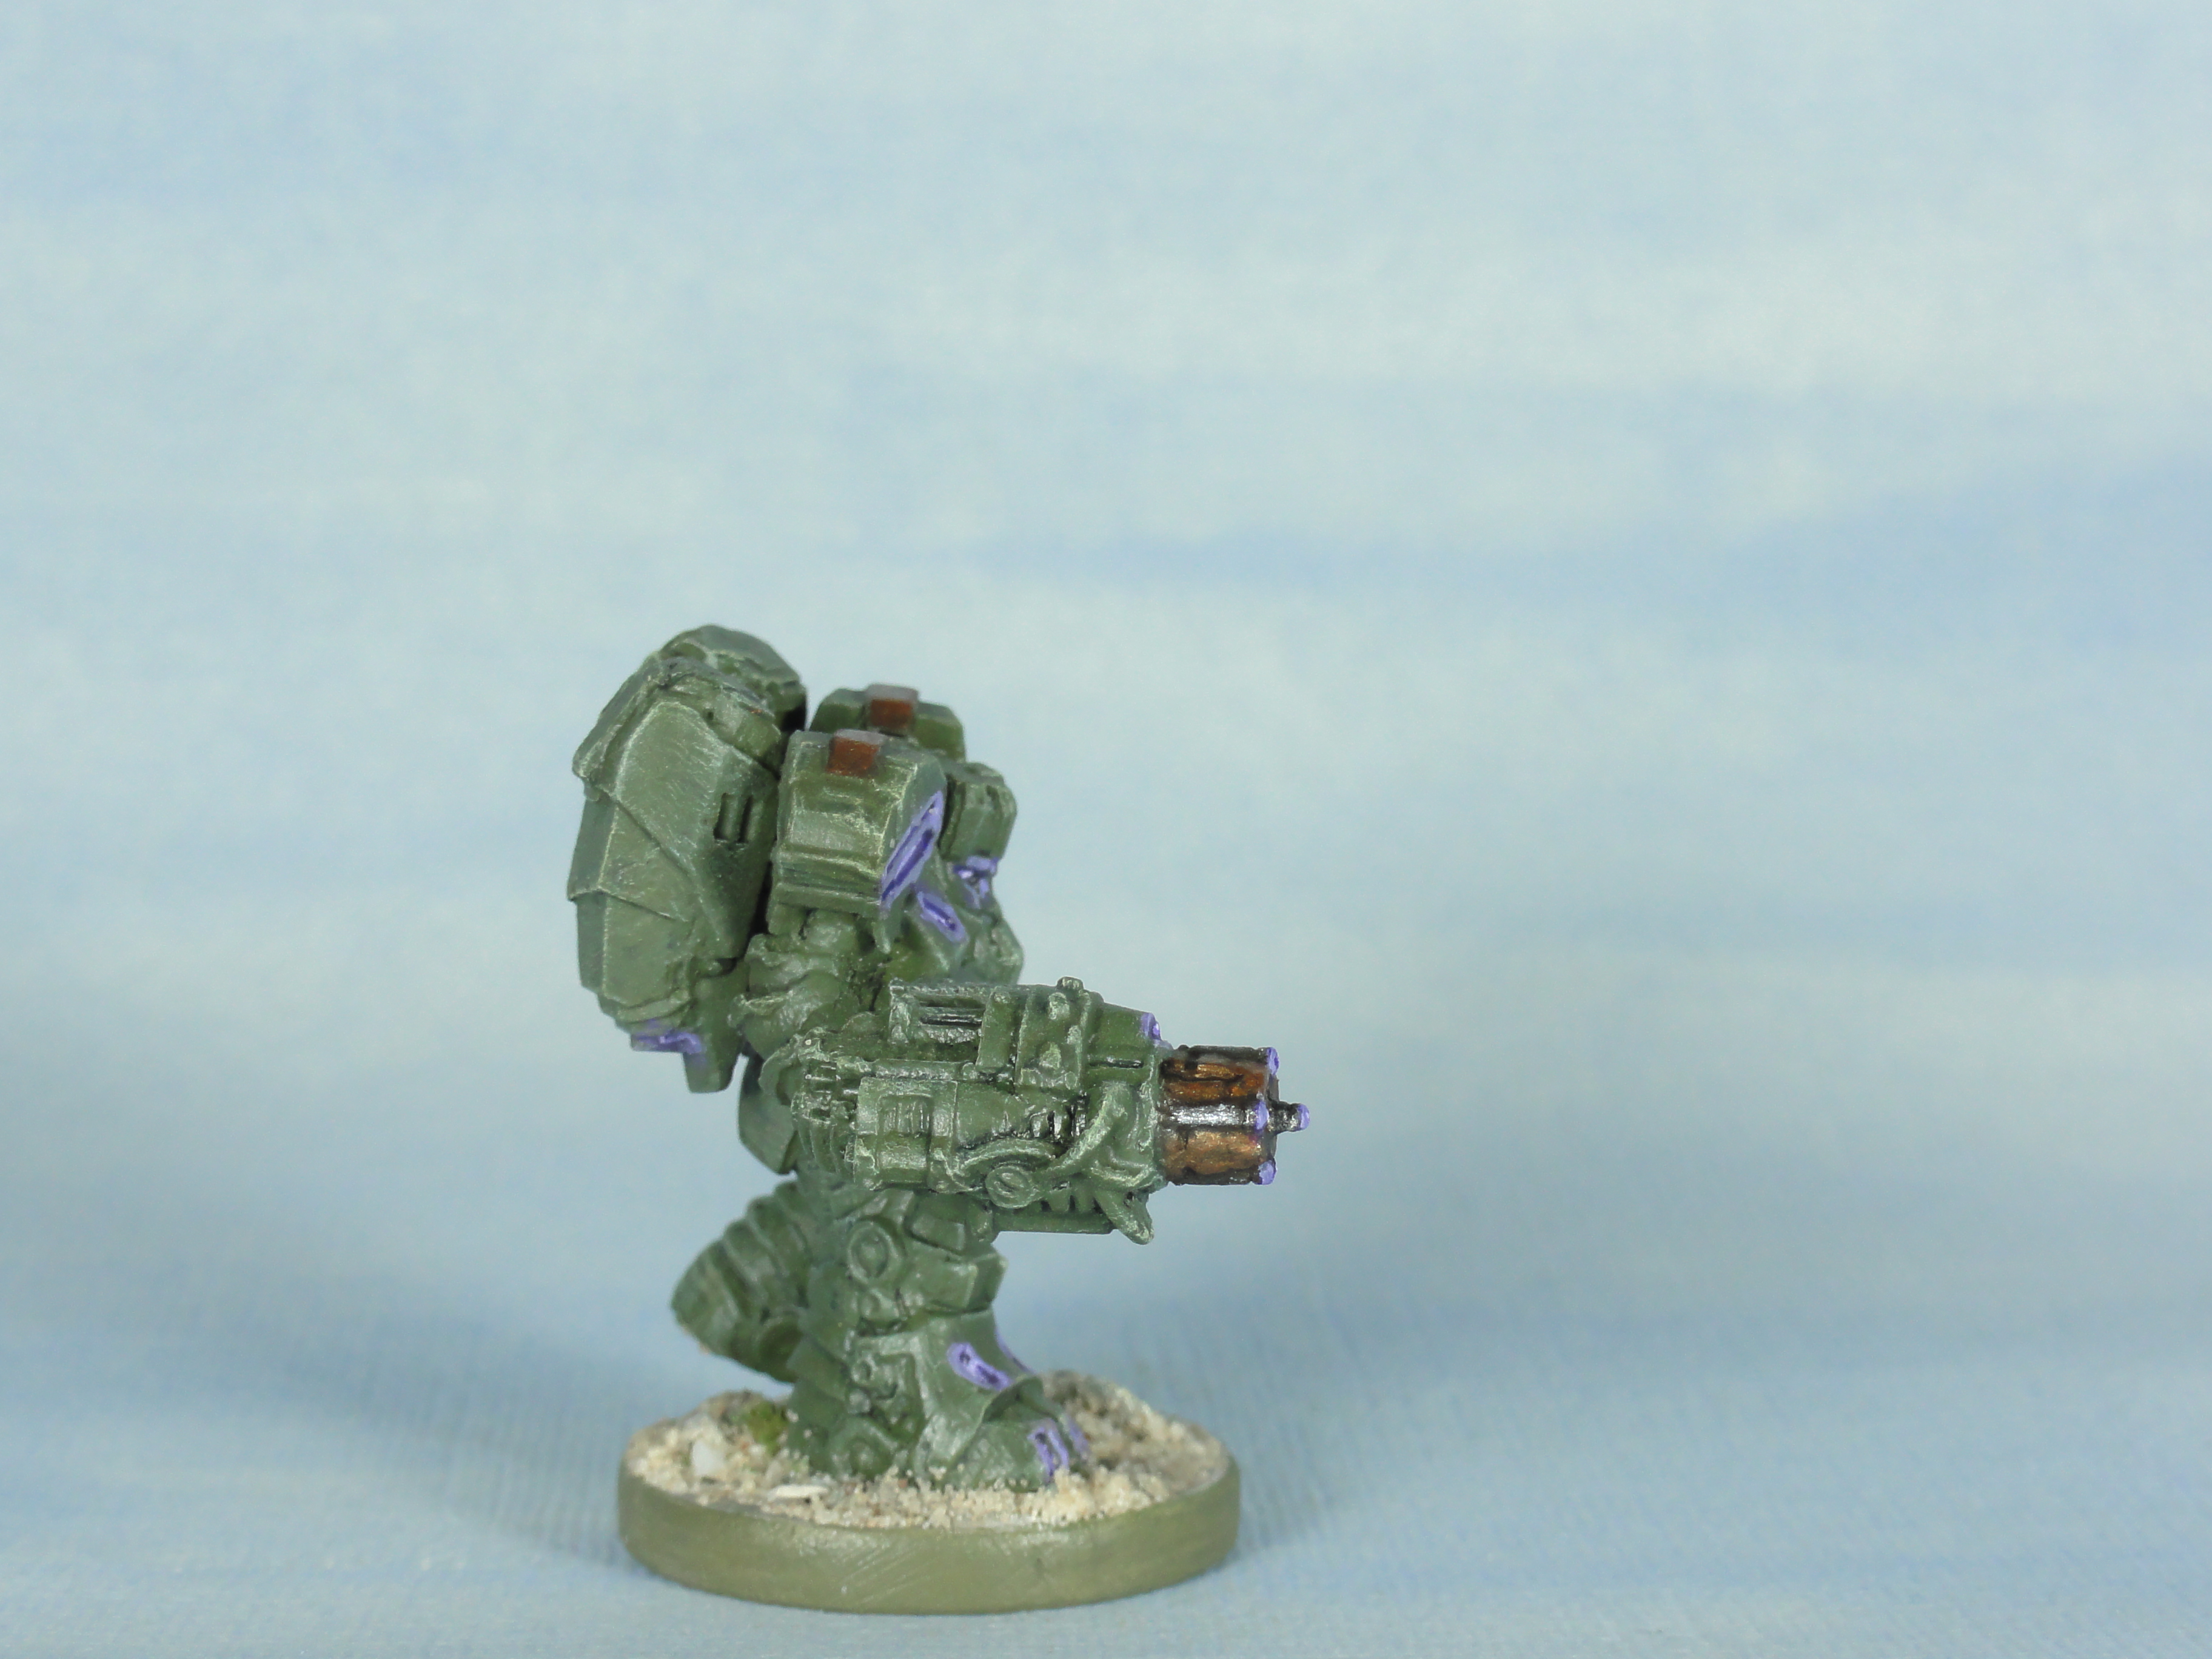
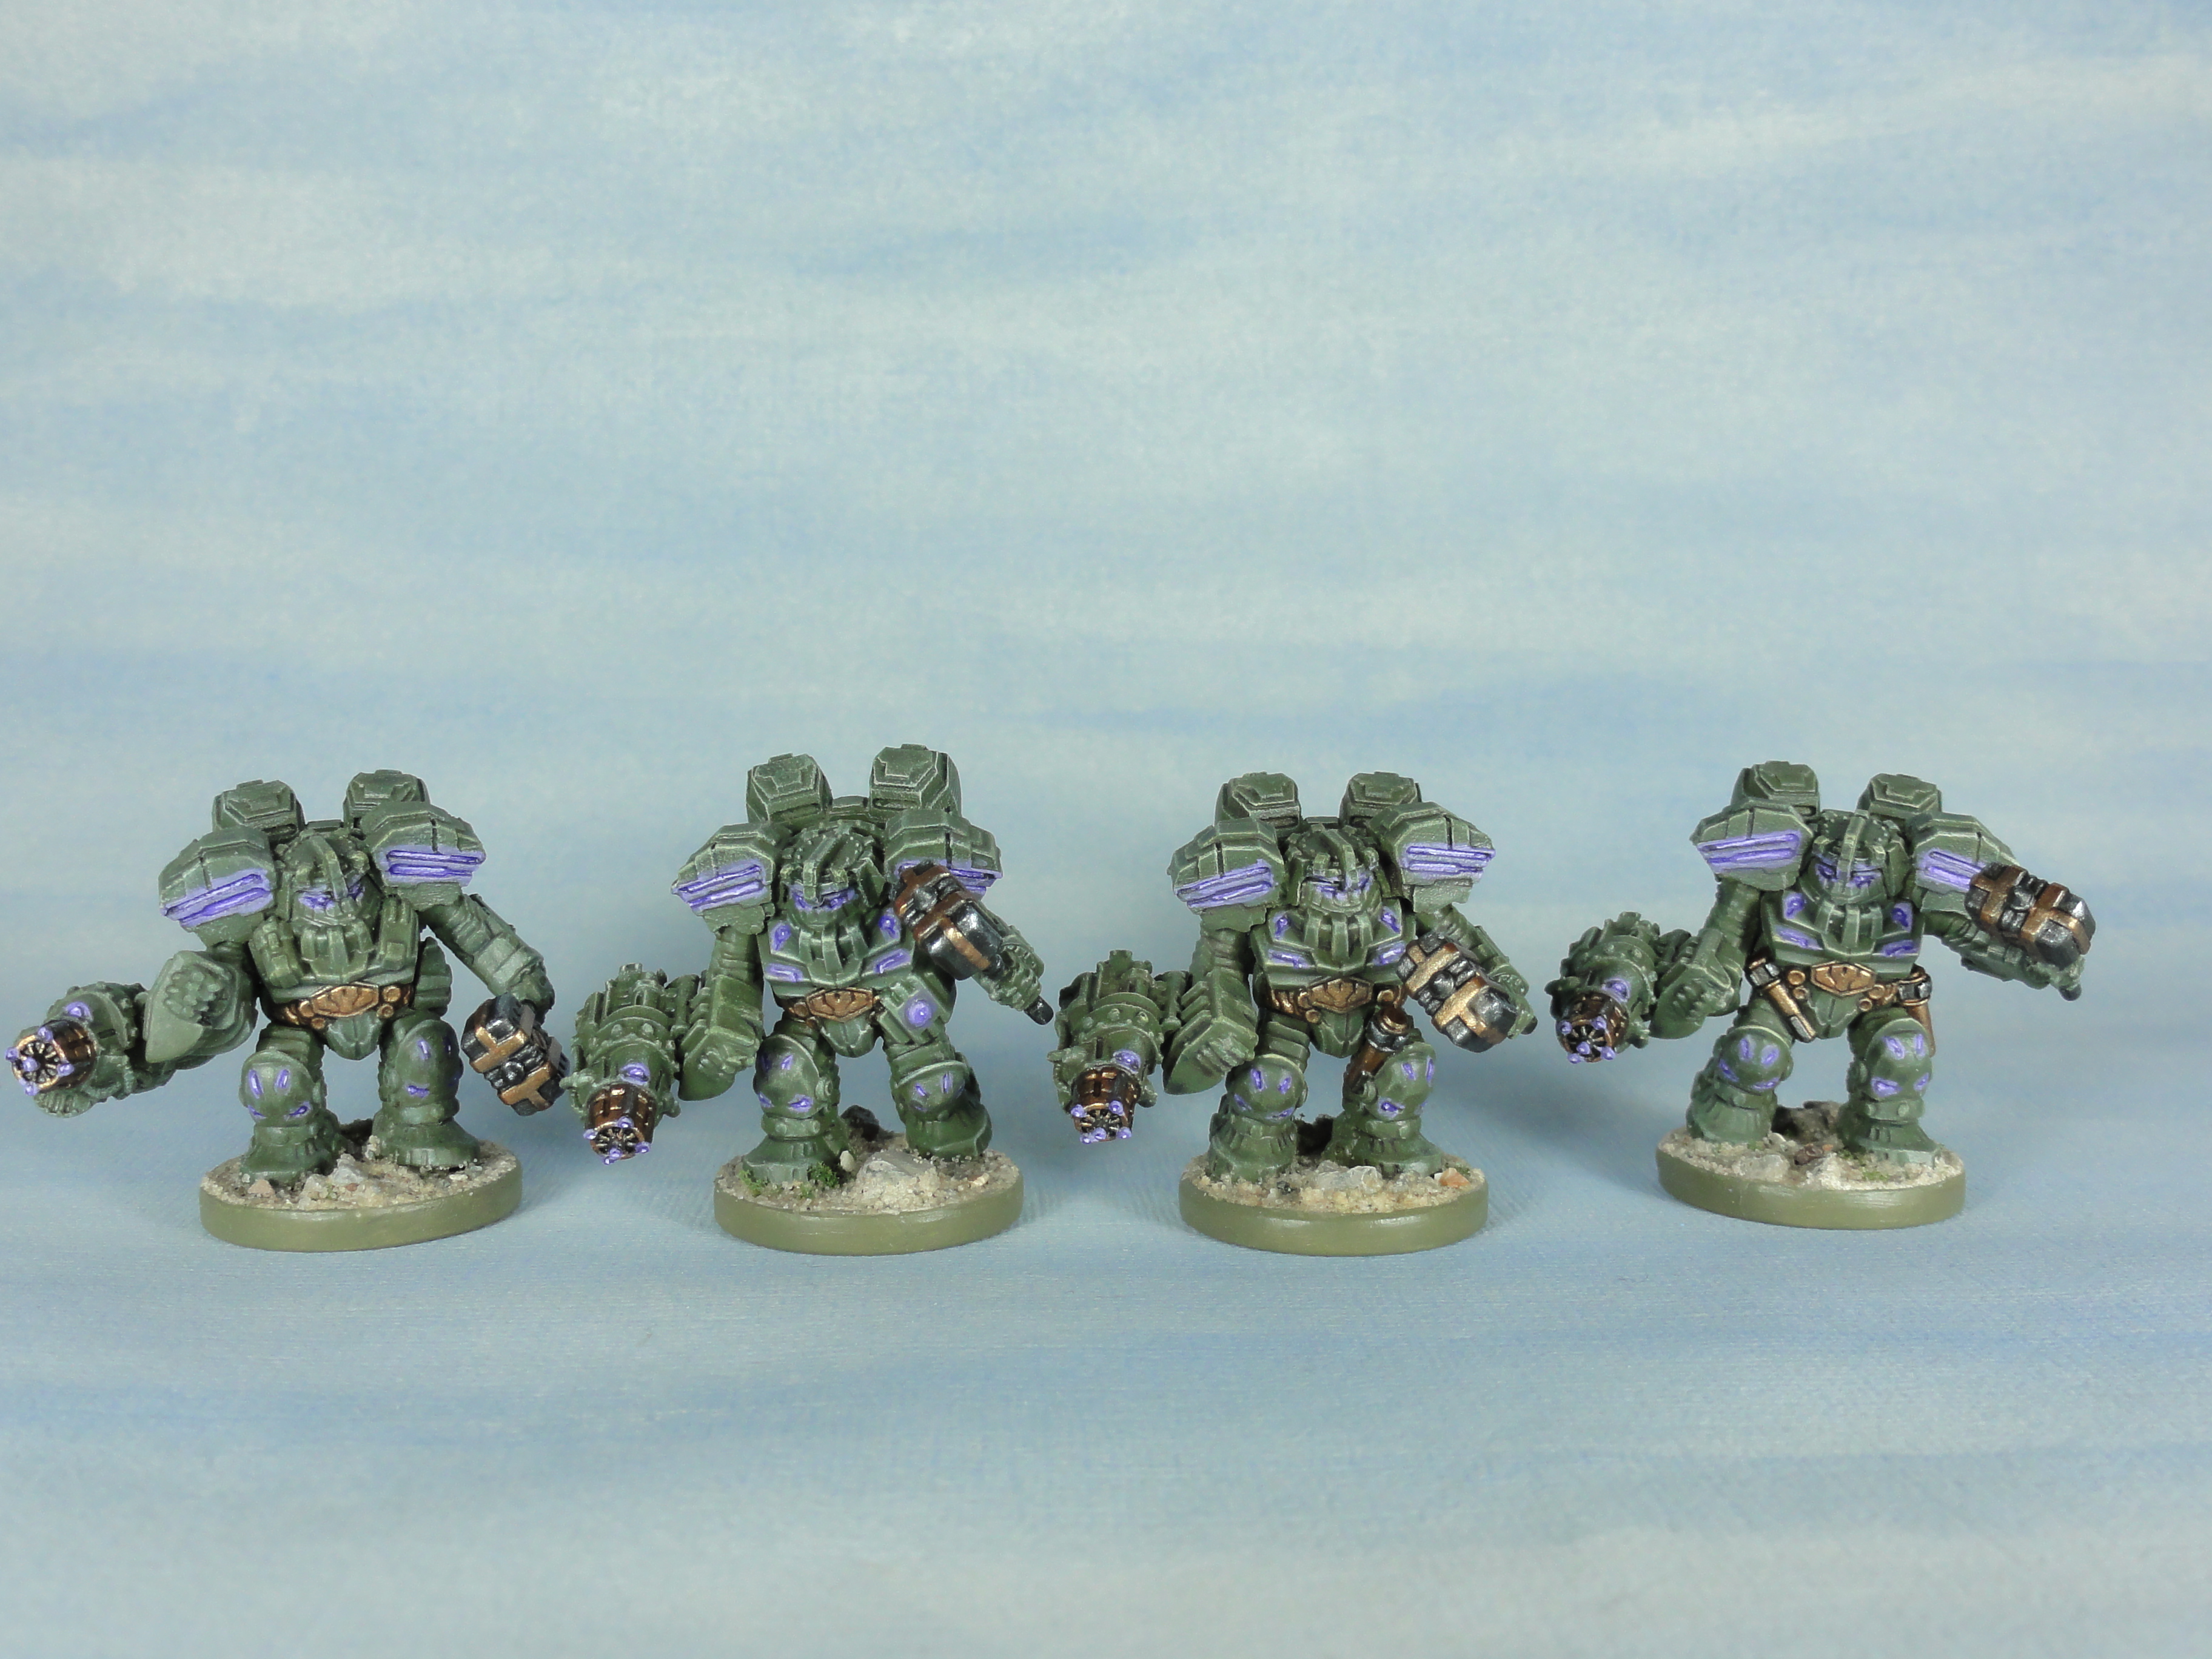 Hammer Fist Drop Troopers
The same method of painting as the rest of the armoured Forge Fathers in this project was used (see early entries).
As with Bjarn the armour and equipment was originally intended for mining asteroids so I painted more glow effects on the drop suits compared to the other armoured Forge Fathers. My thinking being that they act as scanners for the rock and locator lights for others.
(Disclaimer: No parachute pants were harmed in the making of this entry)
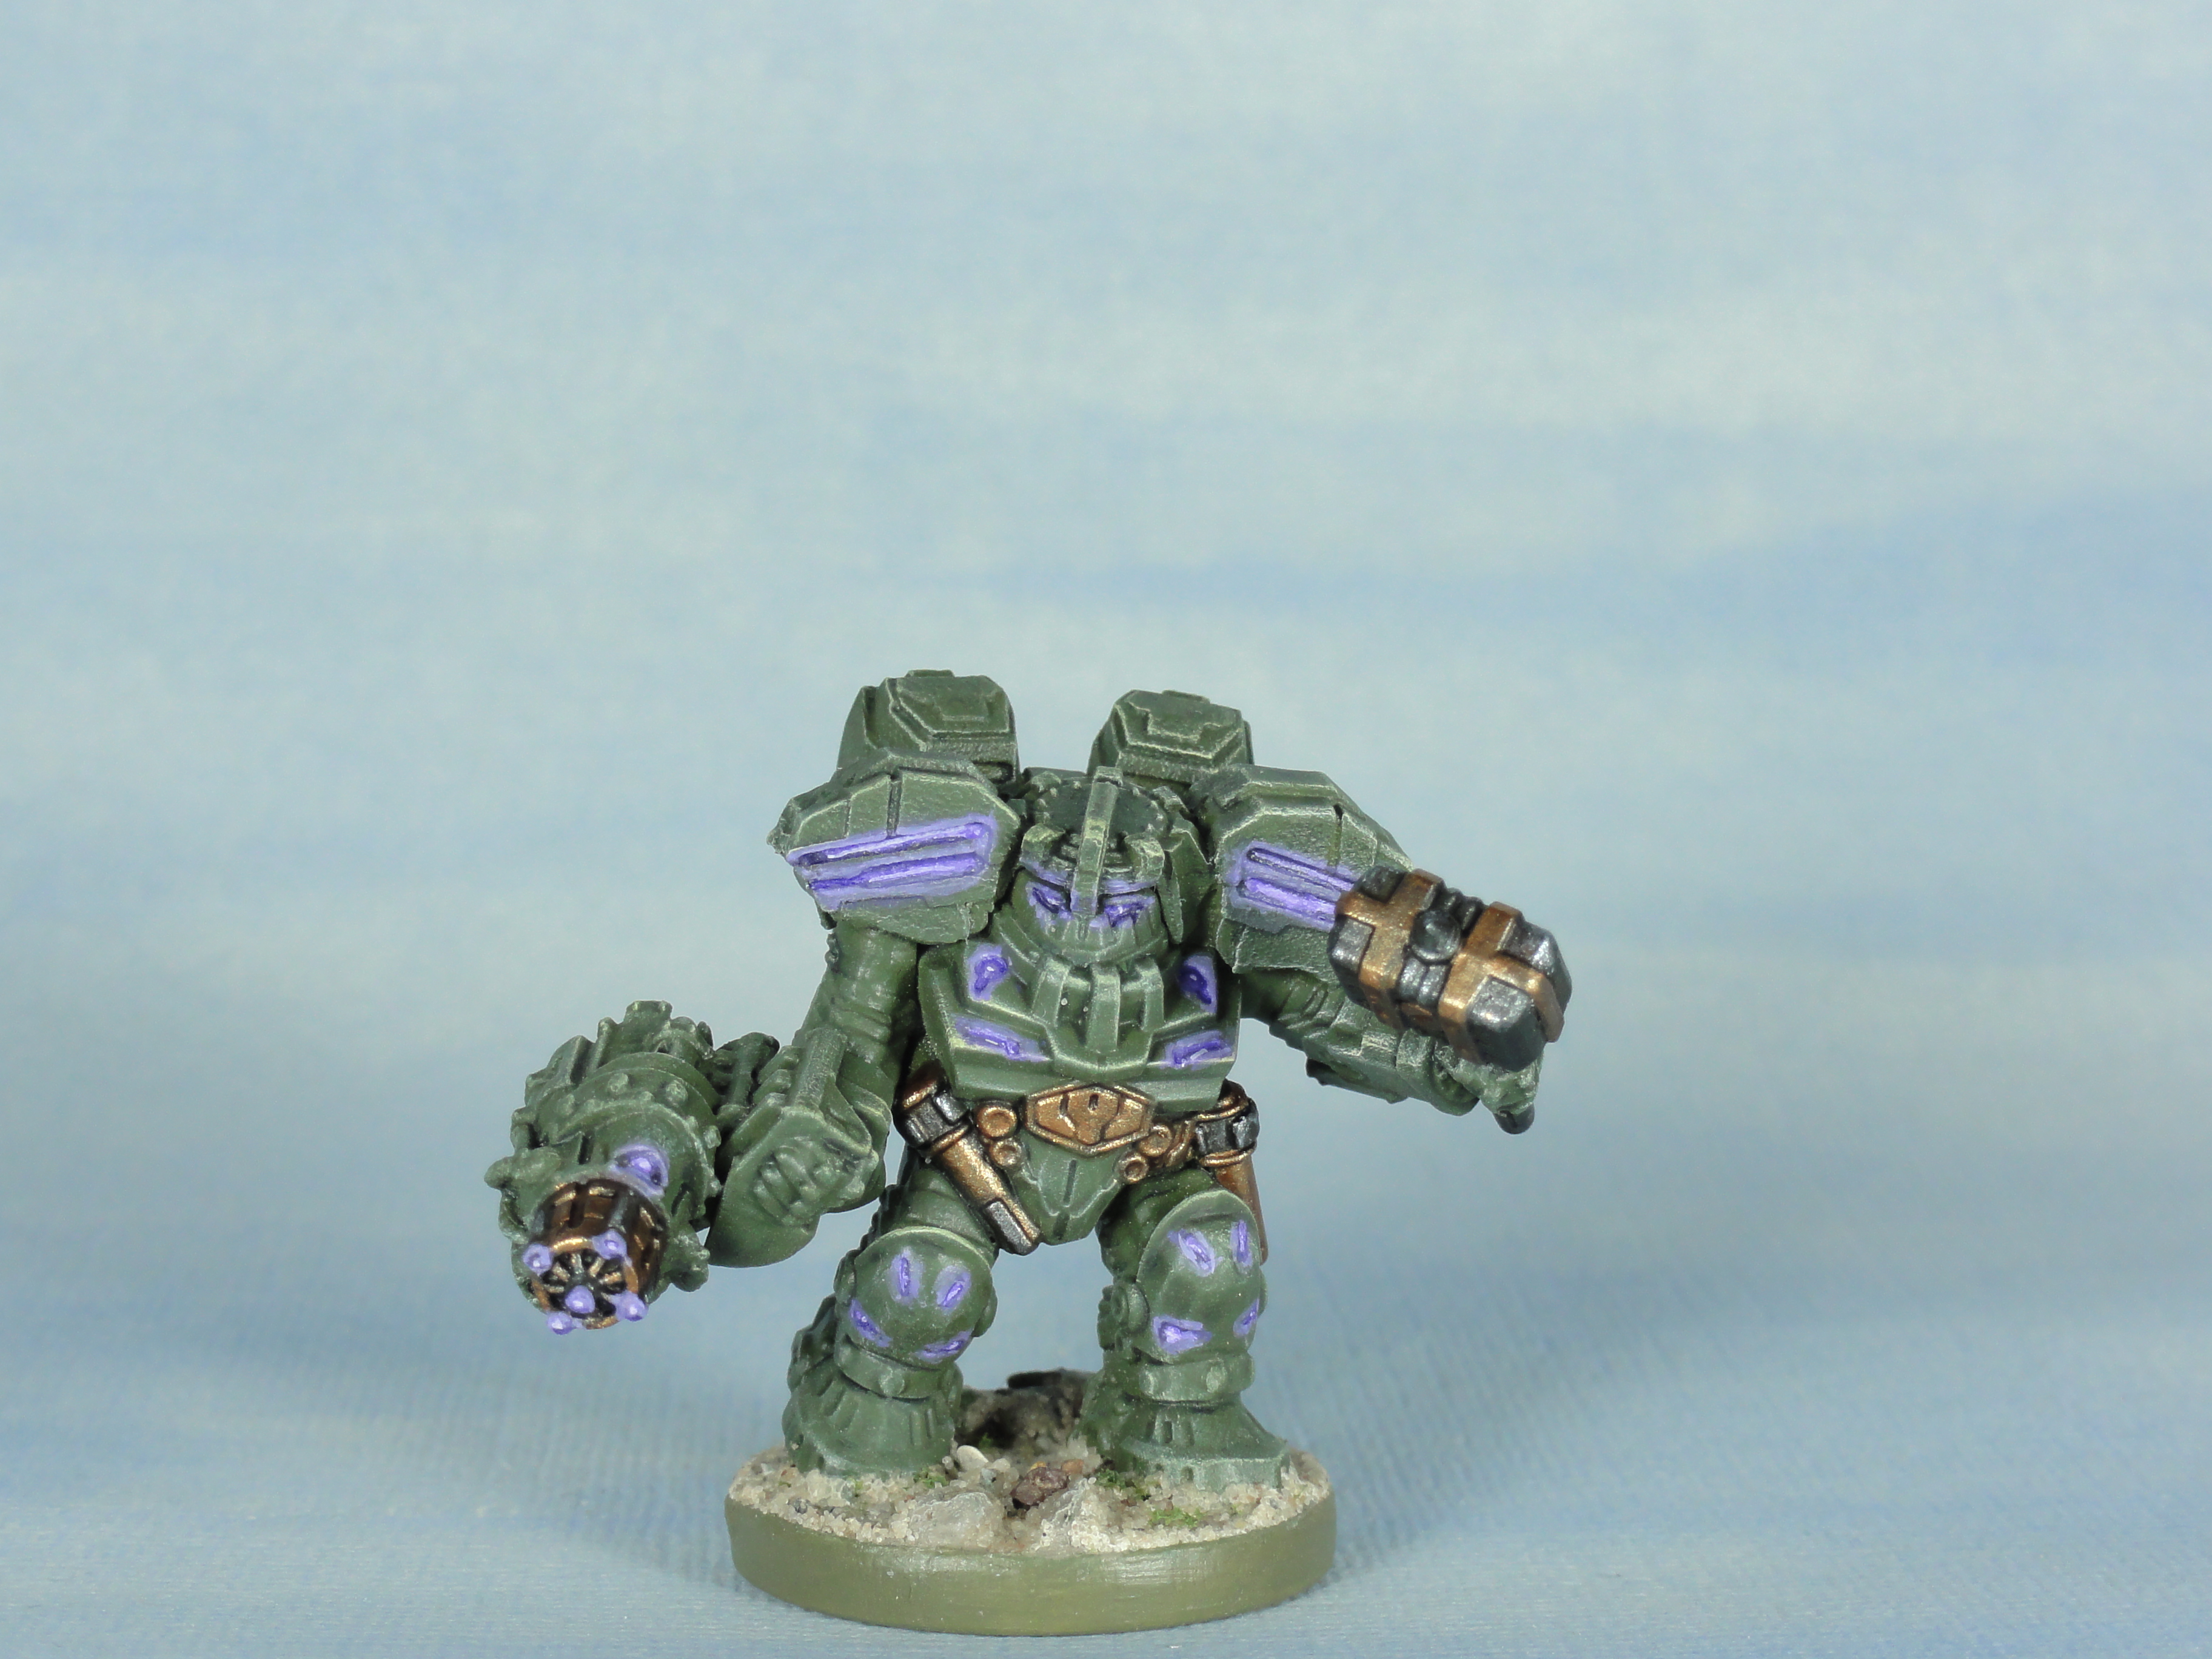


I was Bjarn under a wandering star
 Bjarn Starnafall
Same method of painting as the rest of the armoured Forge Fathers in this project.
Bjarn’s armour and equipment is originally intended for mining asteroids so I painted more glow effects on the drop suits compared to the other armoured Forge Fathers. My thinking being that they act as scanners for the rock and locator lights for others.

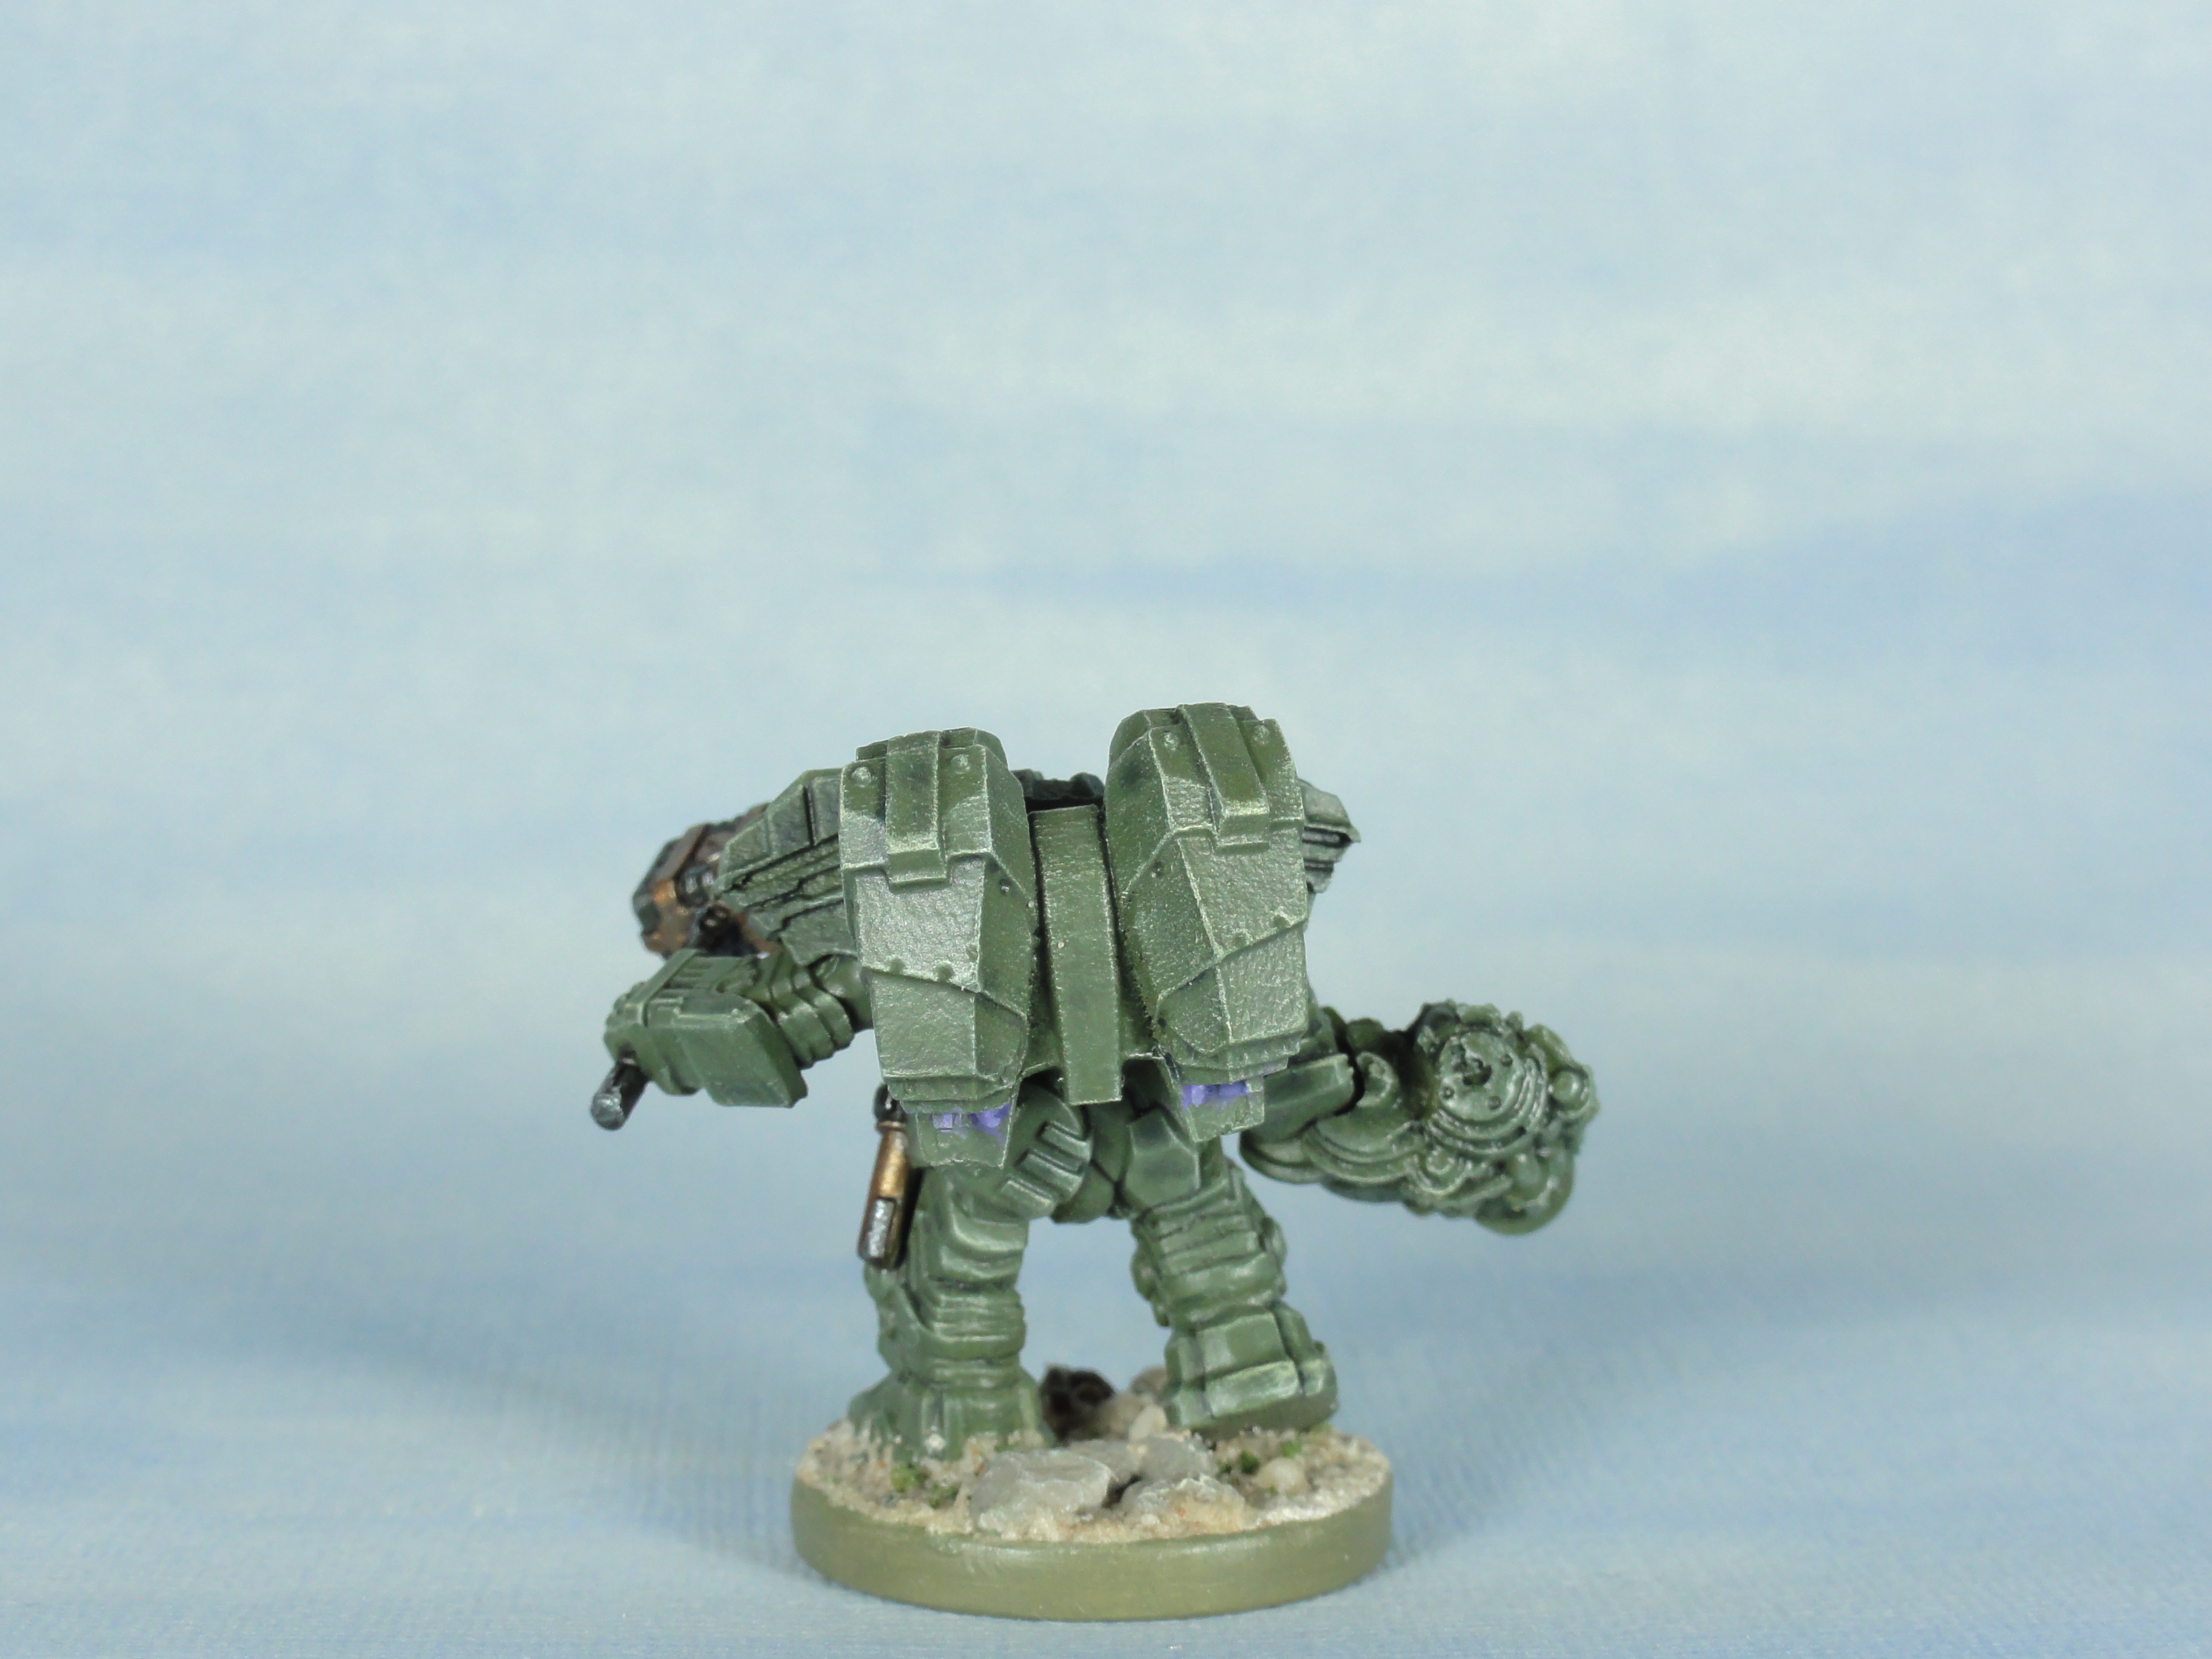
A Couple of Forge Guard
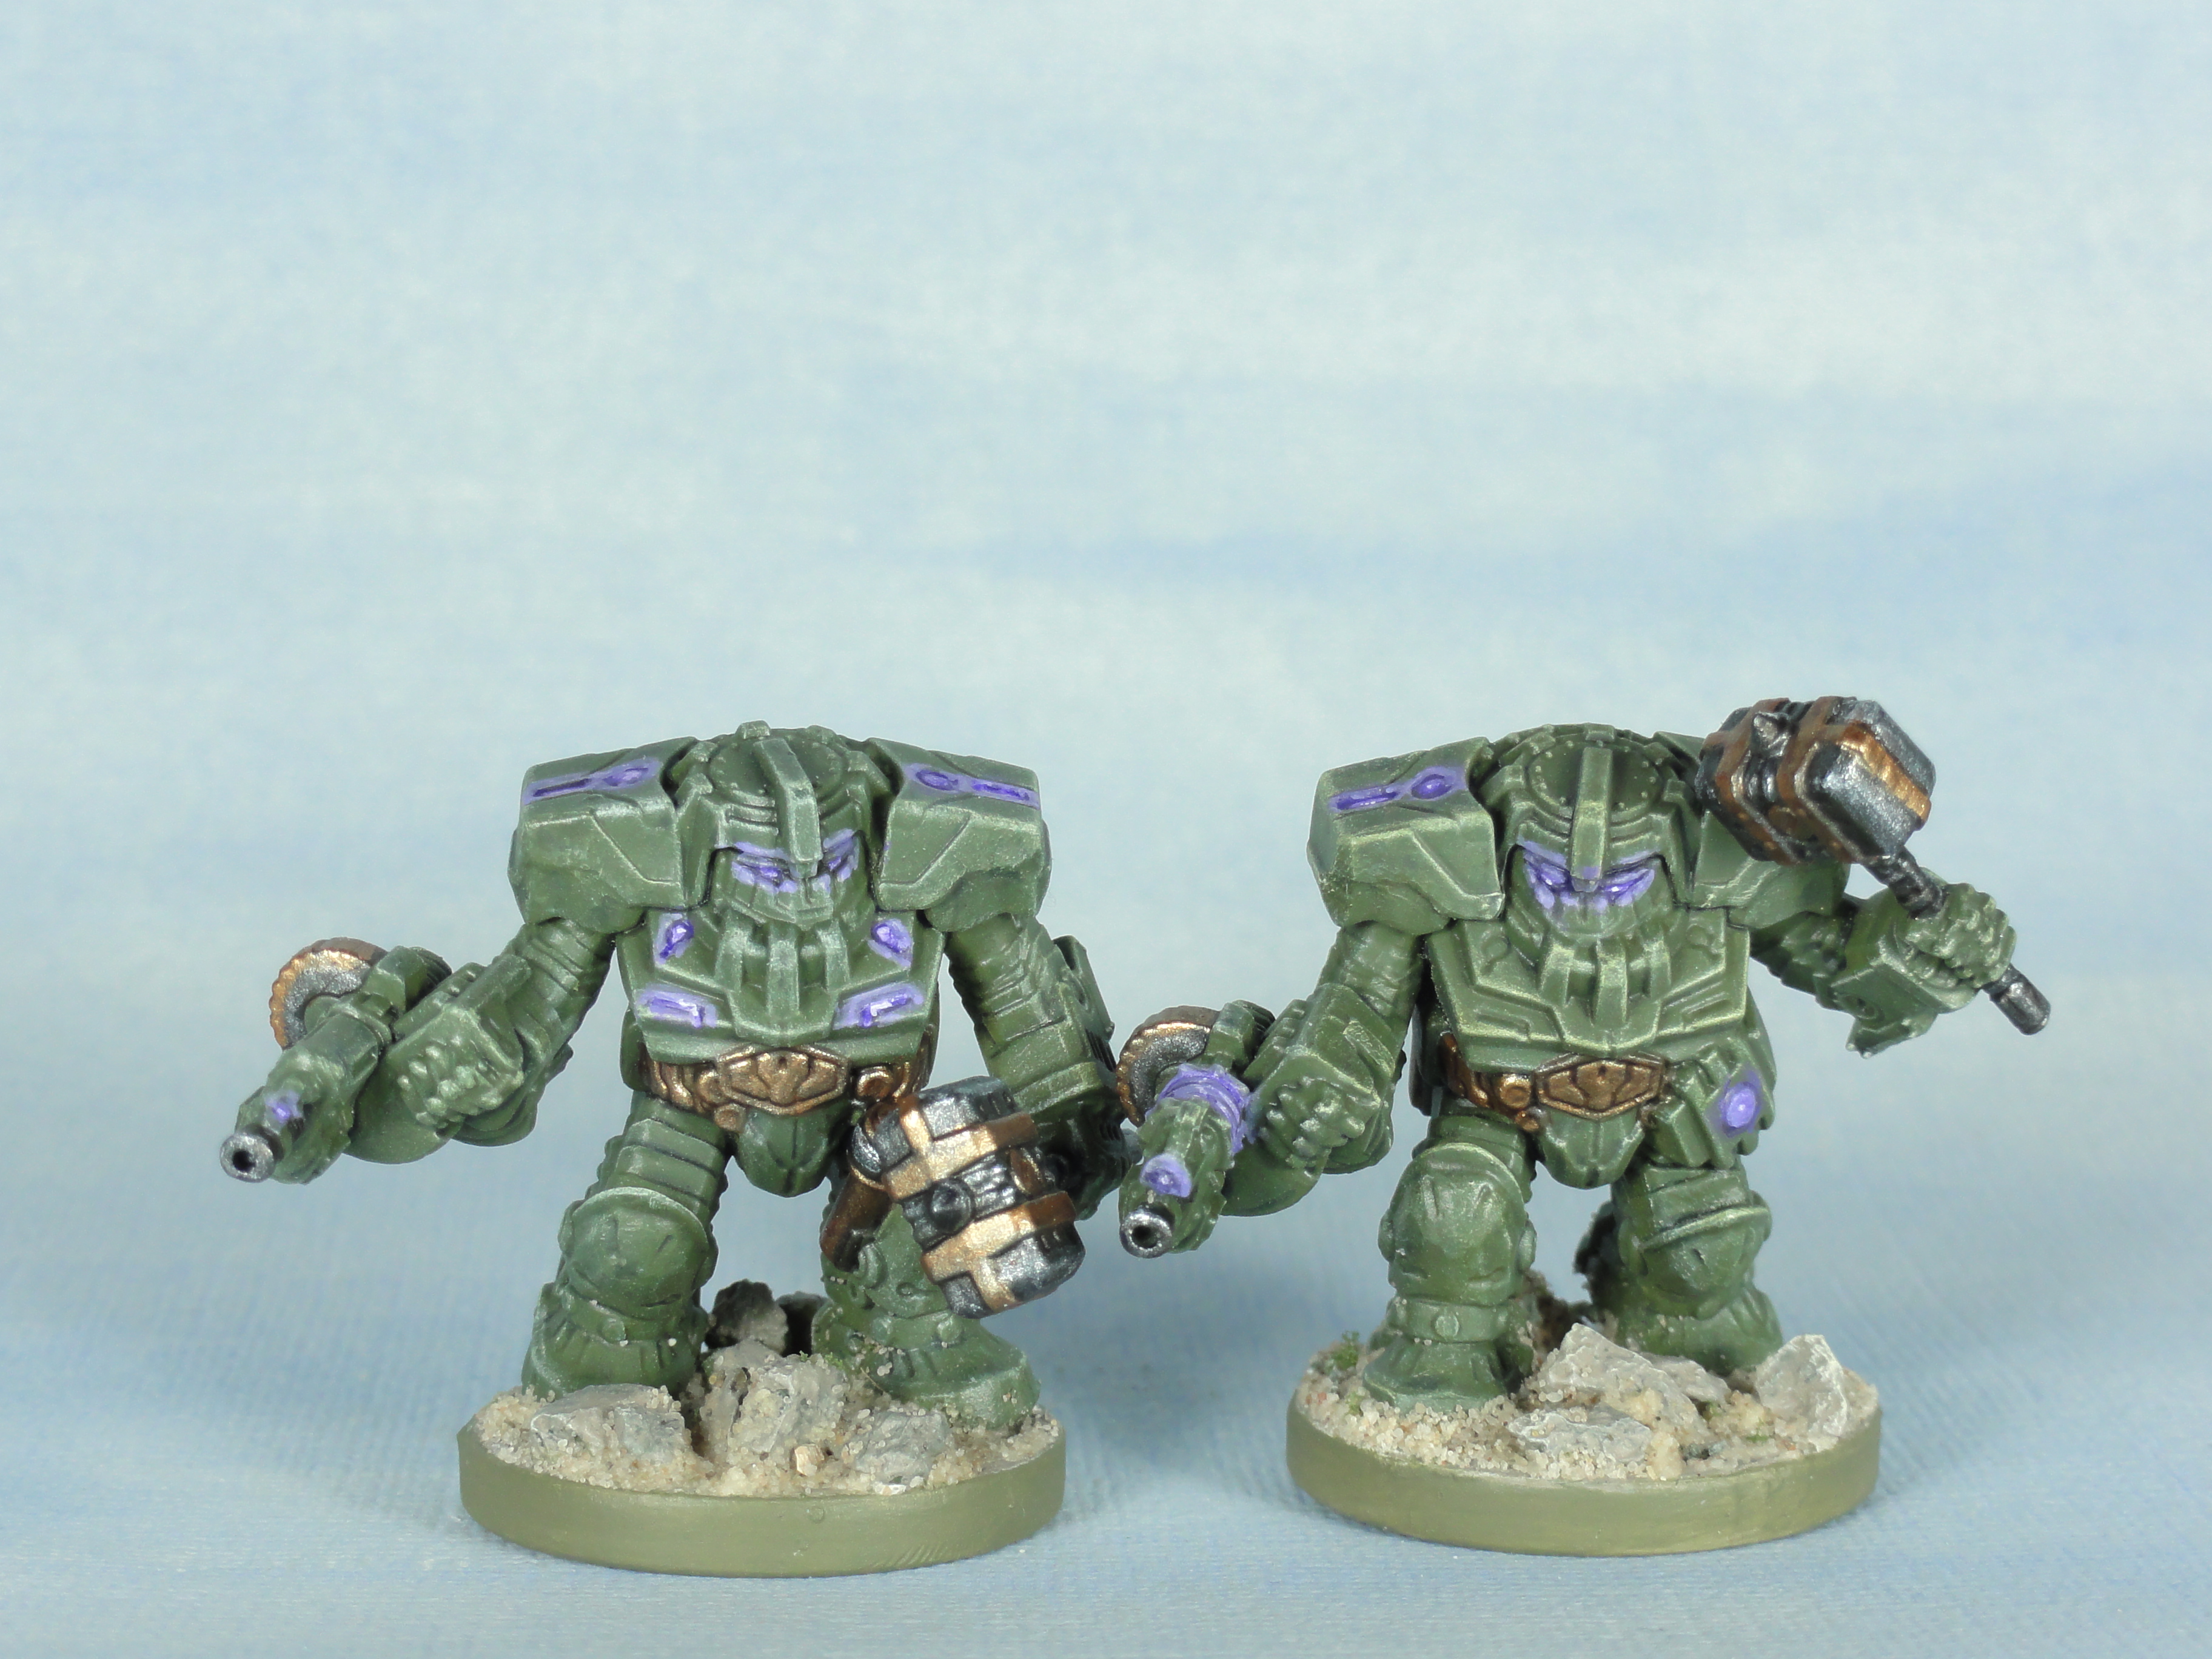
Same method as the missile version which in turn follows the method described in the Ingulf post near the start of this project.
The Forge Guard with the lights on the chest wasn’t meant to have them. He/She just happened to be in a batch of figures that were getting lights and was accidently picked up.
Forge Guard Huscarl/Lord

All the usual methods that have been previously used in this project were used again here. Was tempted to do the chest piece in bronze, but thought it would be too much bling.
Motor Bikin'
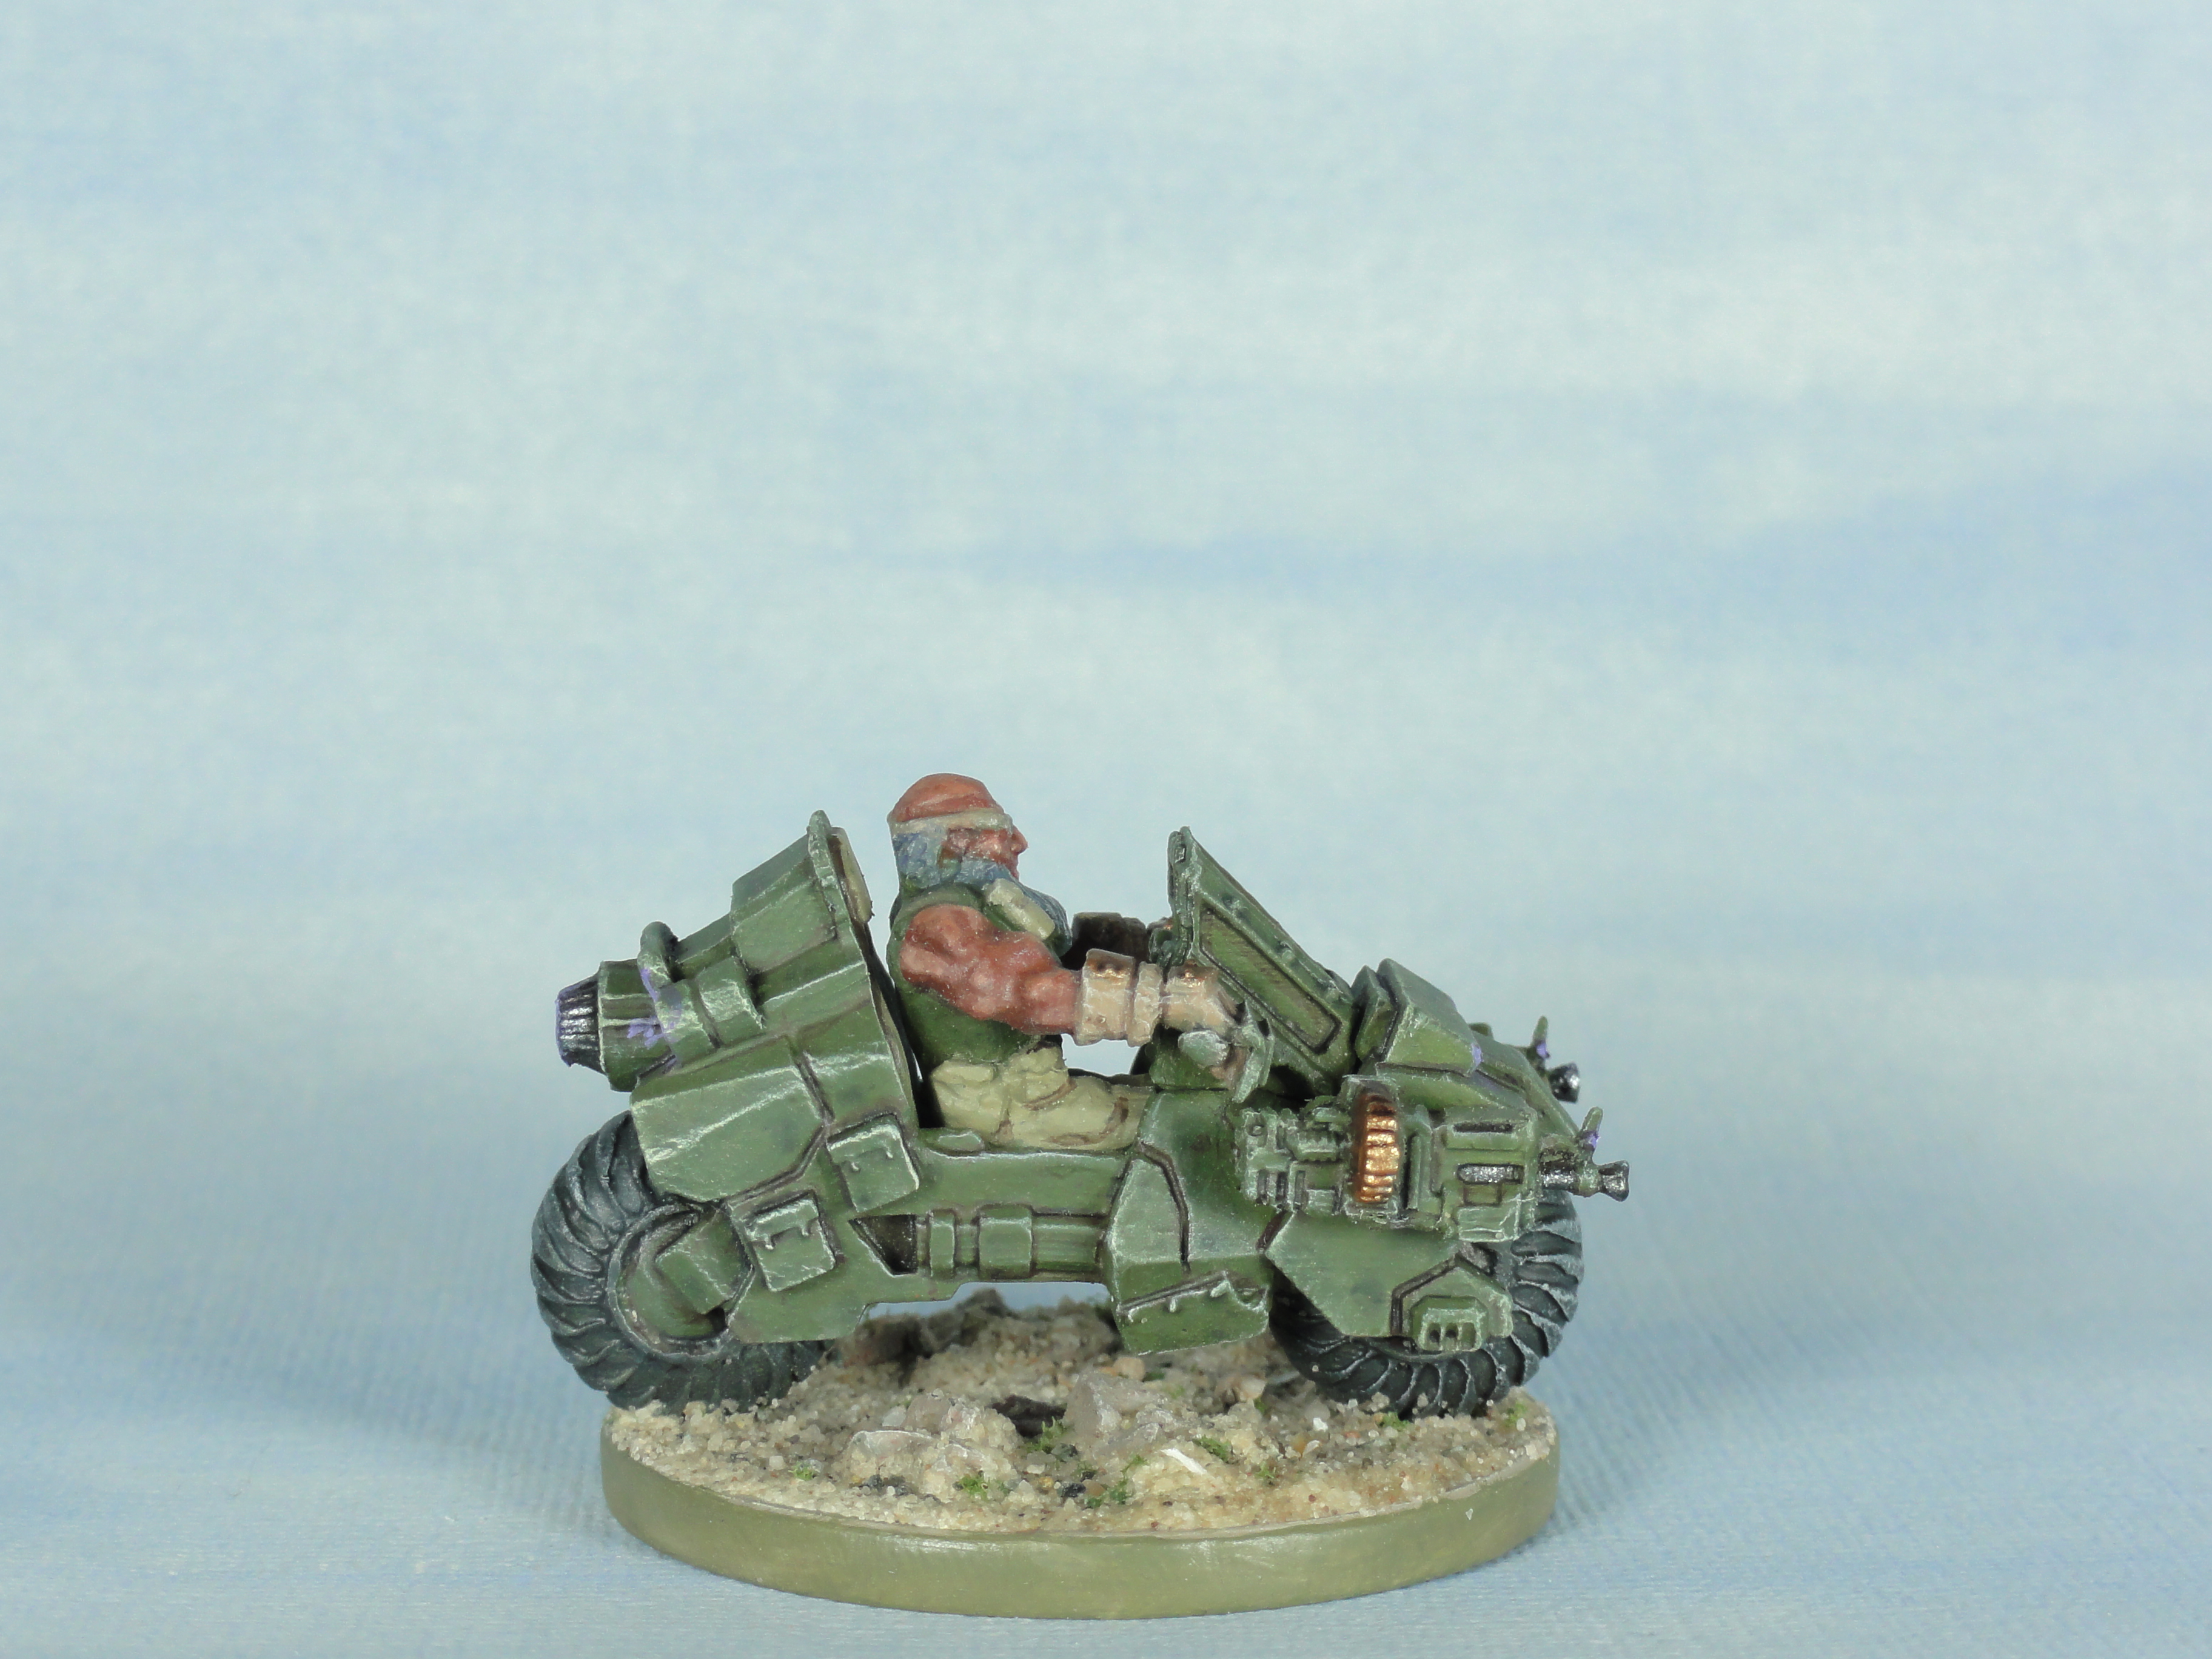
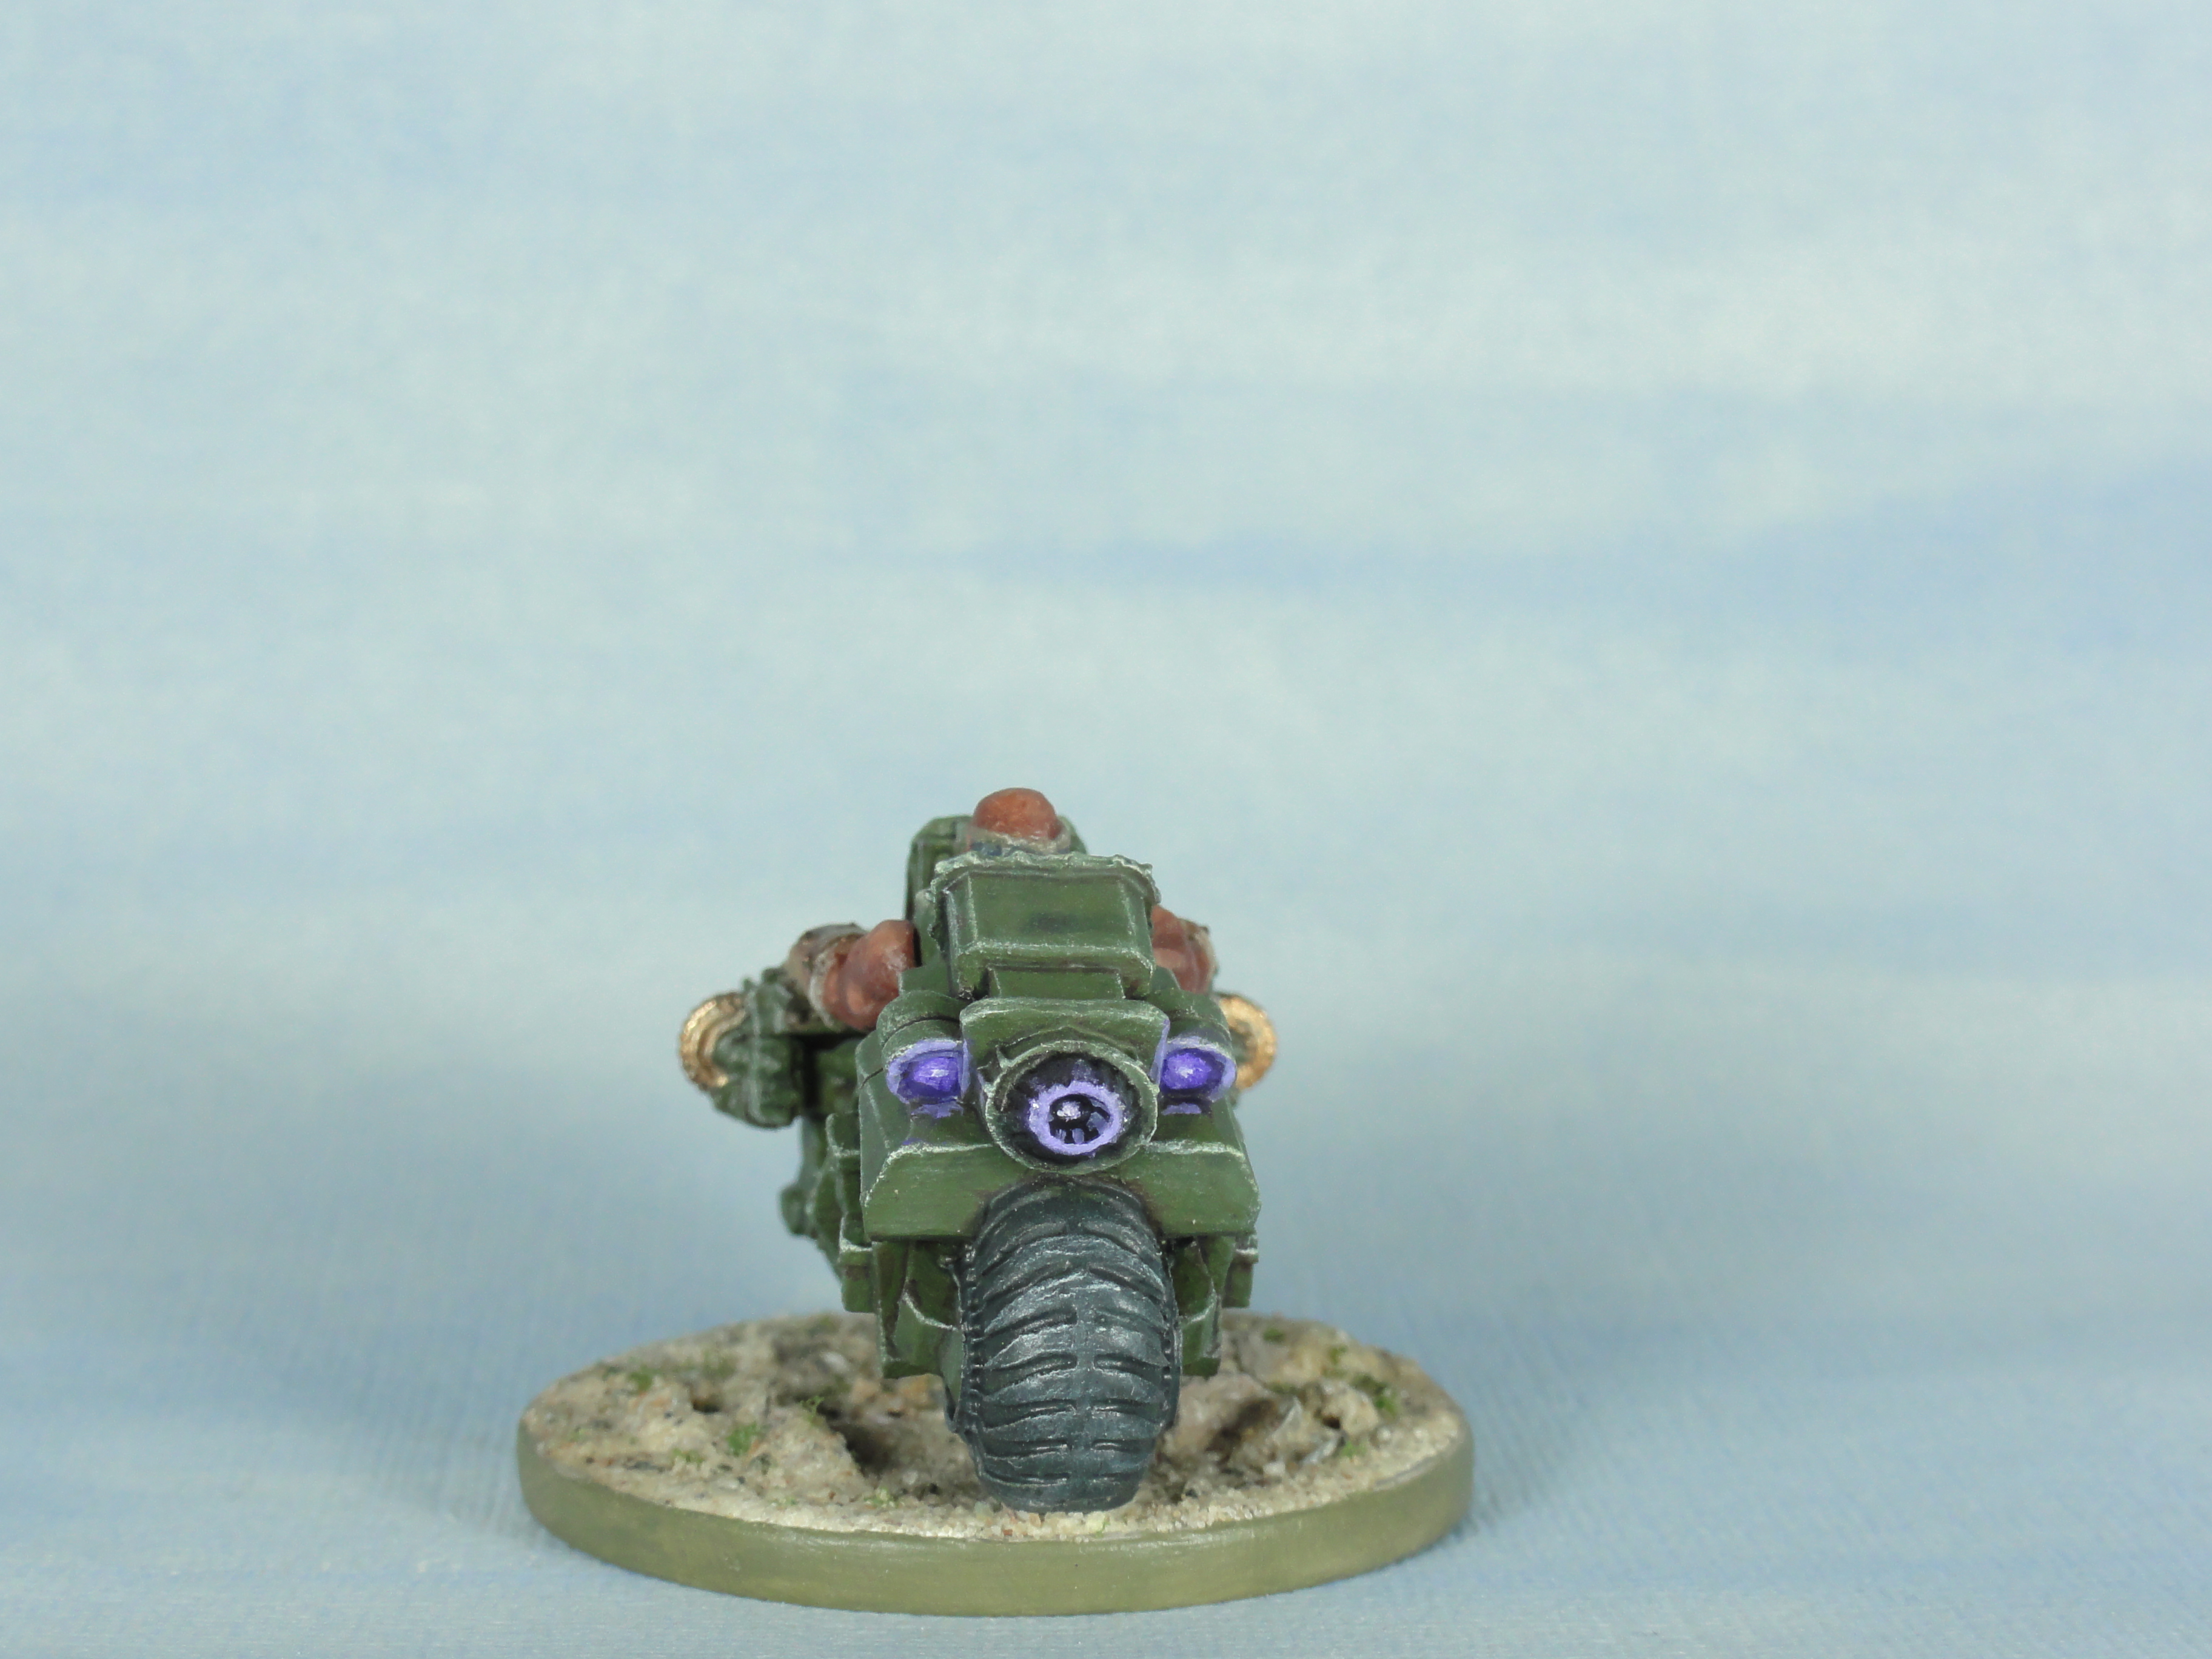
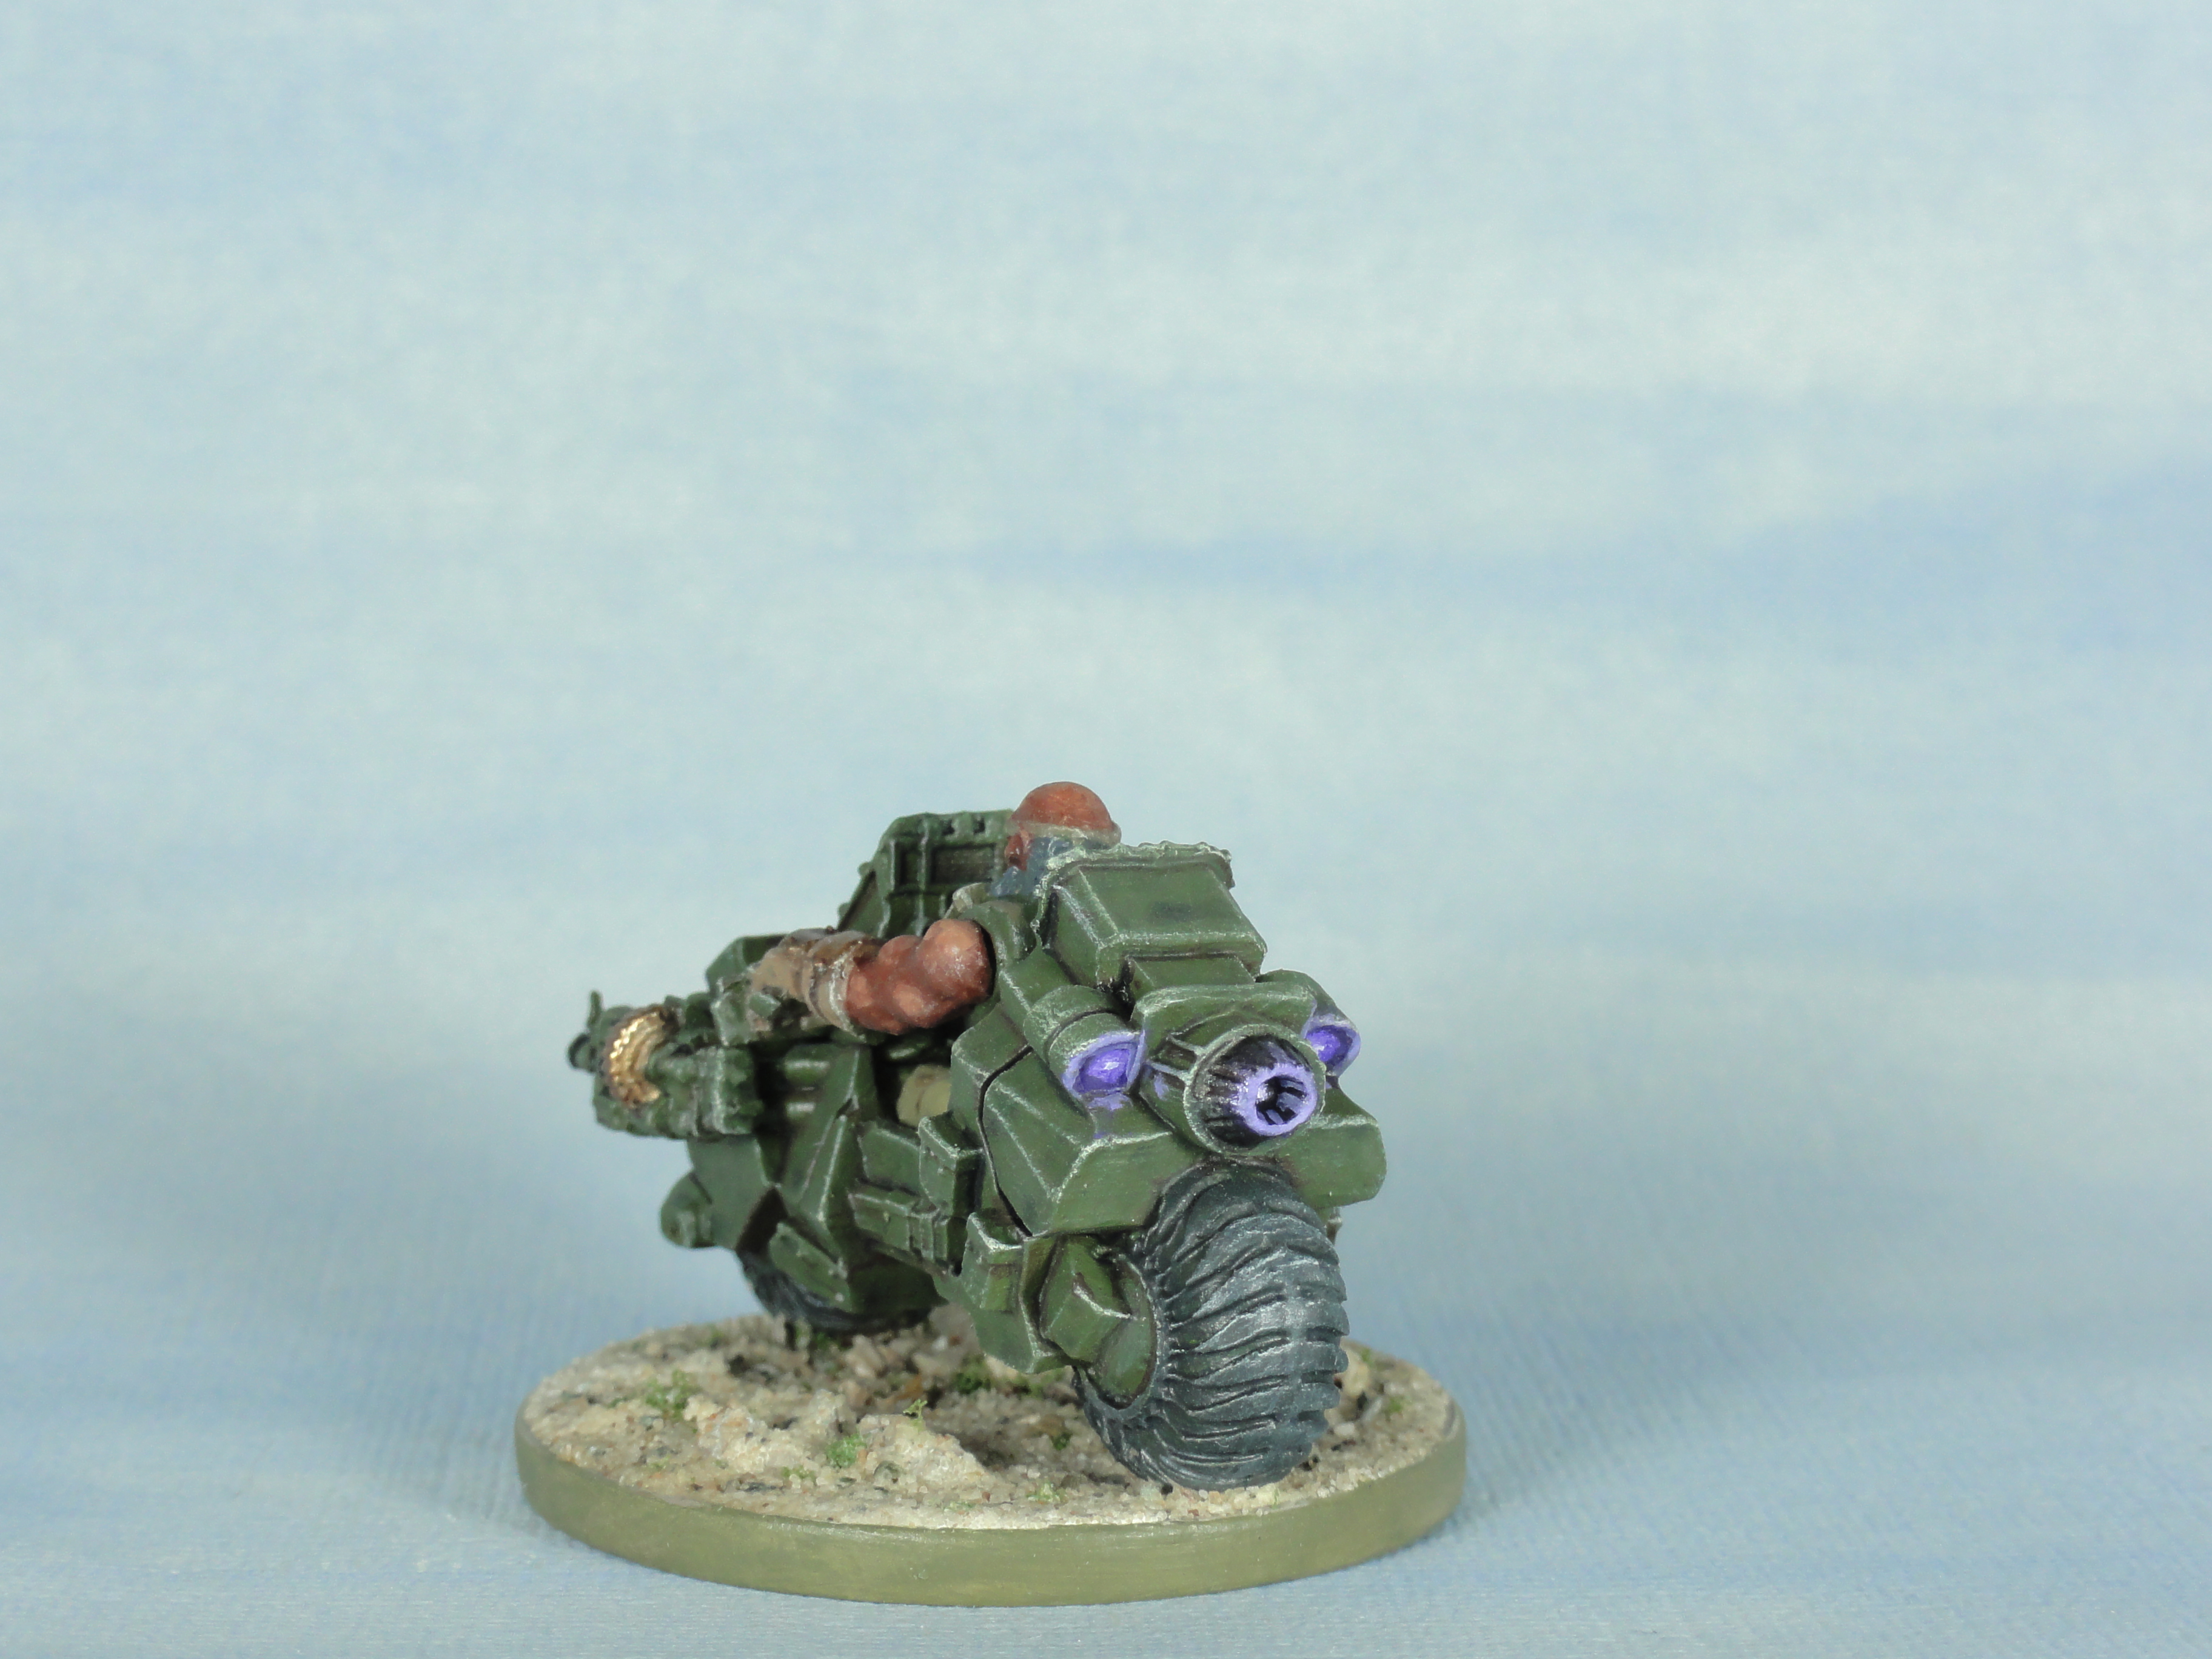
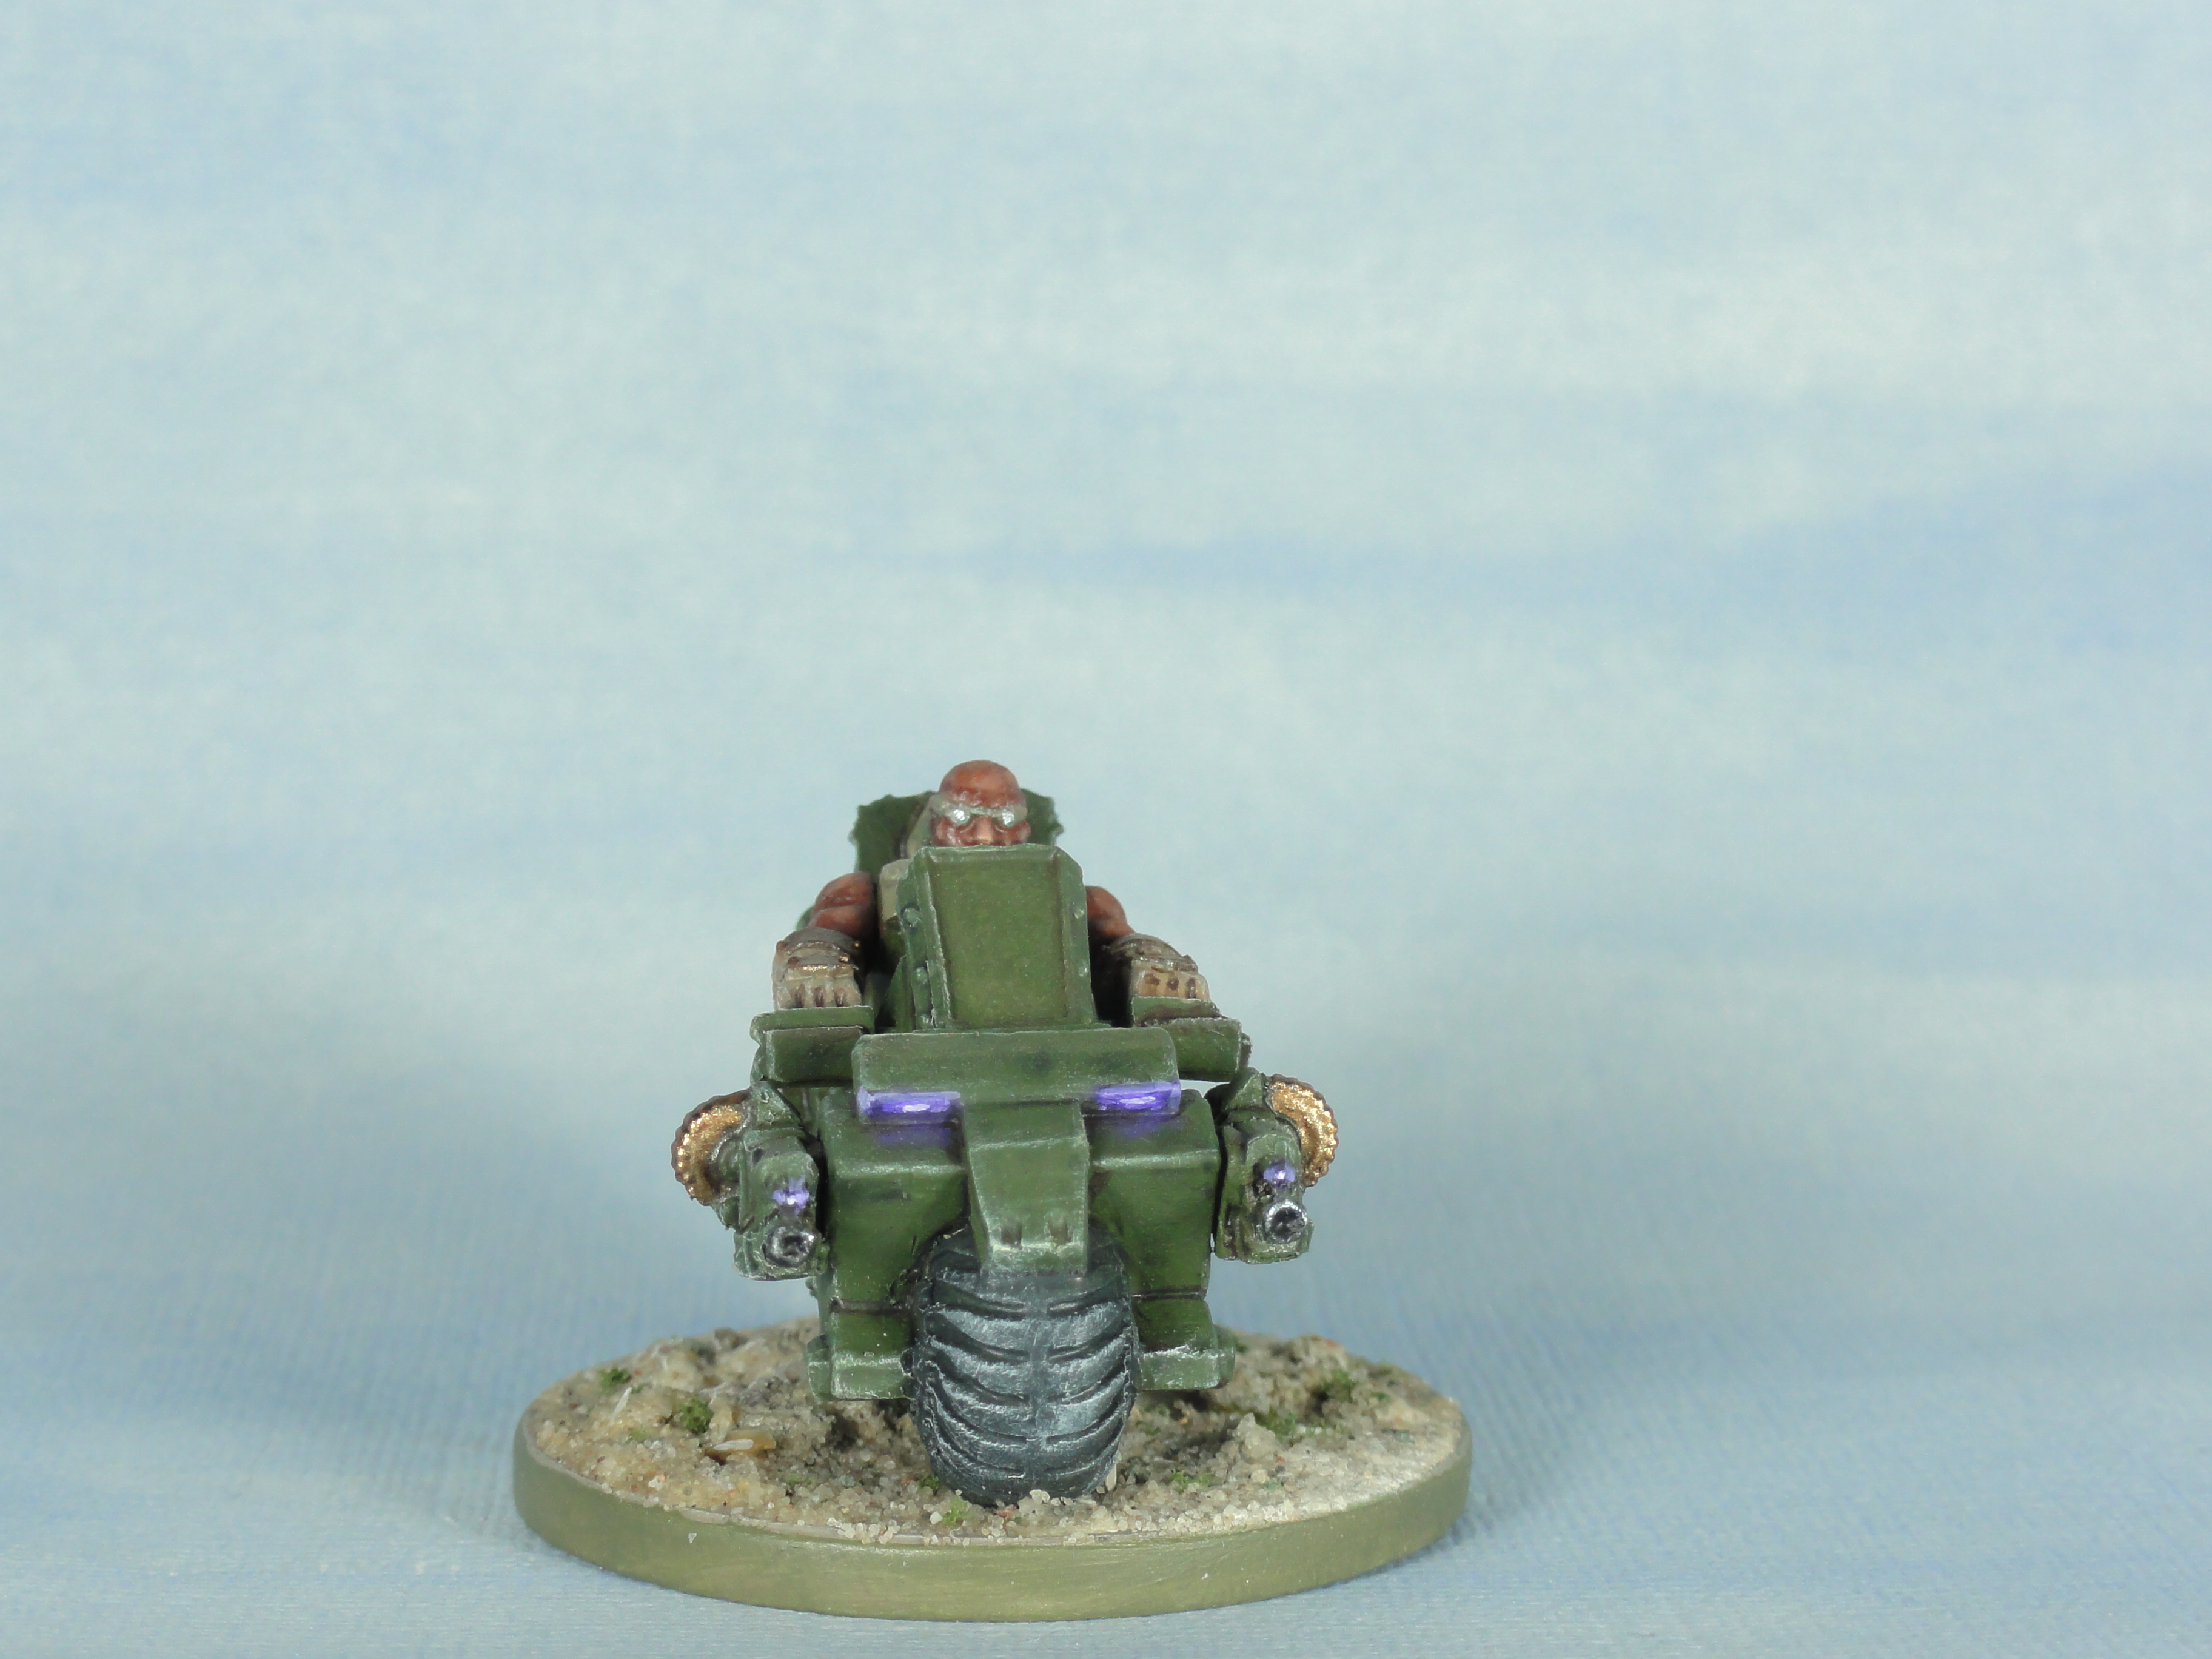 Brokkr Valkyr
The Valkyr had been sitting partially painted for a while. I used the same methods as before (See Ingulf) for the green, purple and metallics.
The tyres are Panzer Dark Grey (Vallejo Model Air) drybrushed with Pale Sand (Vallejo Model Color).
I re-highlighted the skin with mixtures of Dark Skin Tone (Vallejo Game Color) and Barbarian Flesh (Army Painter).
If I can find/paint the rest of my bikes I might put some sort of symbol on the front armour plate.
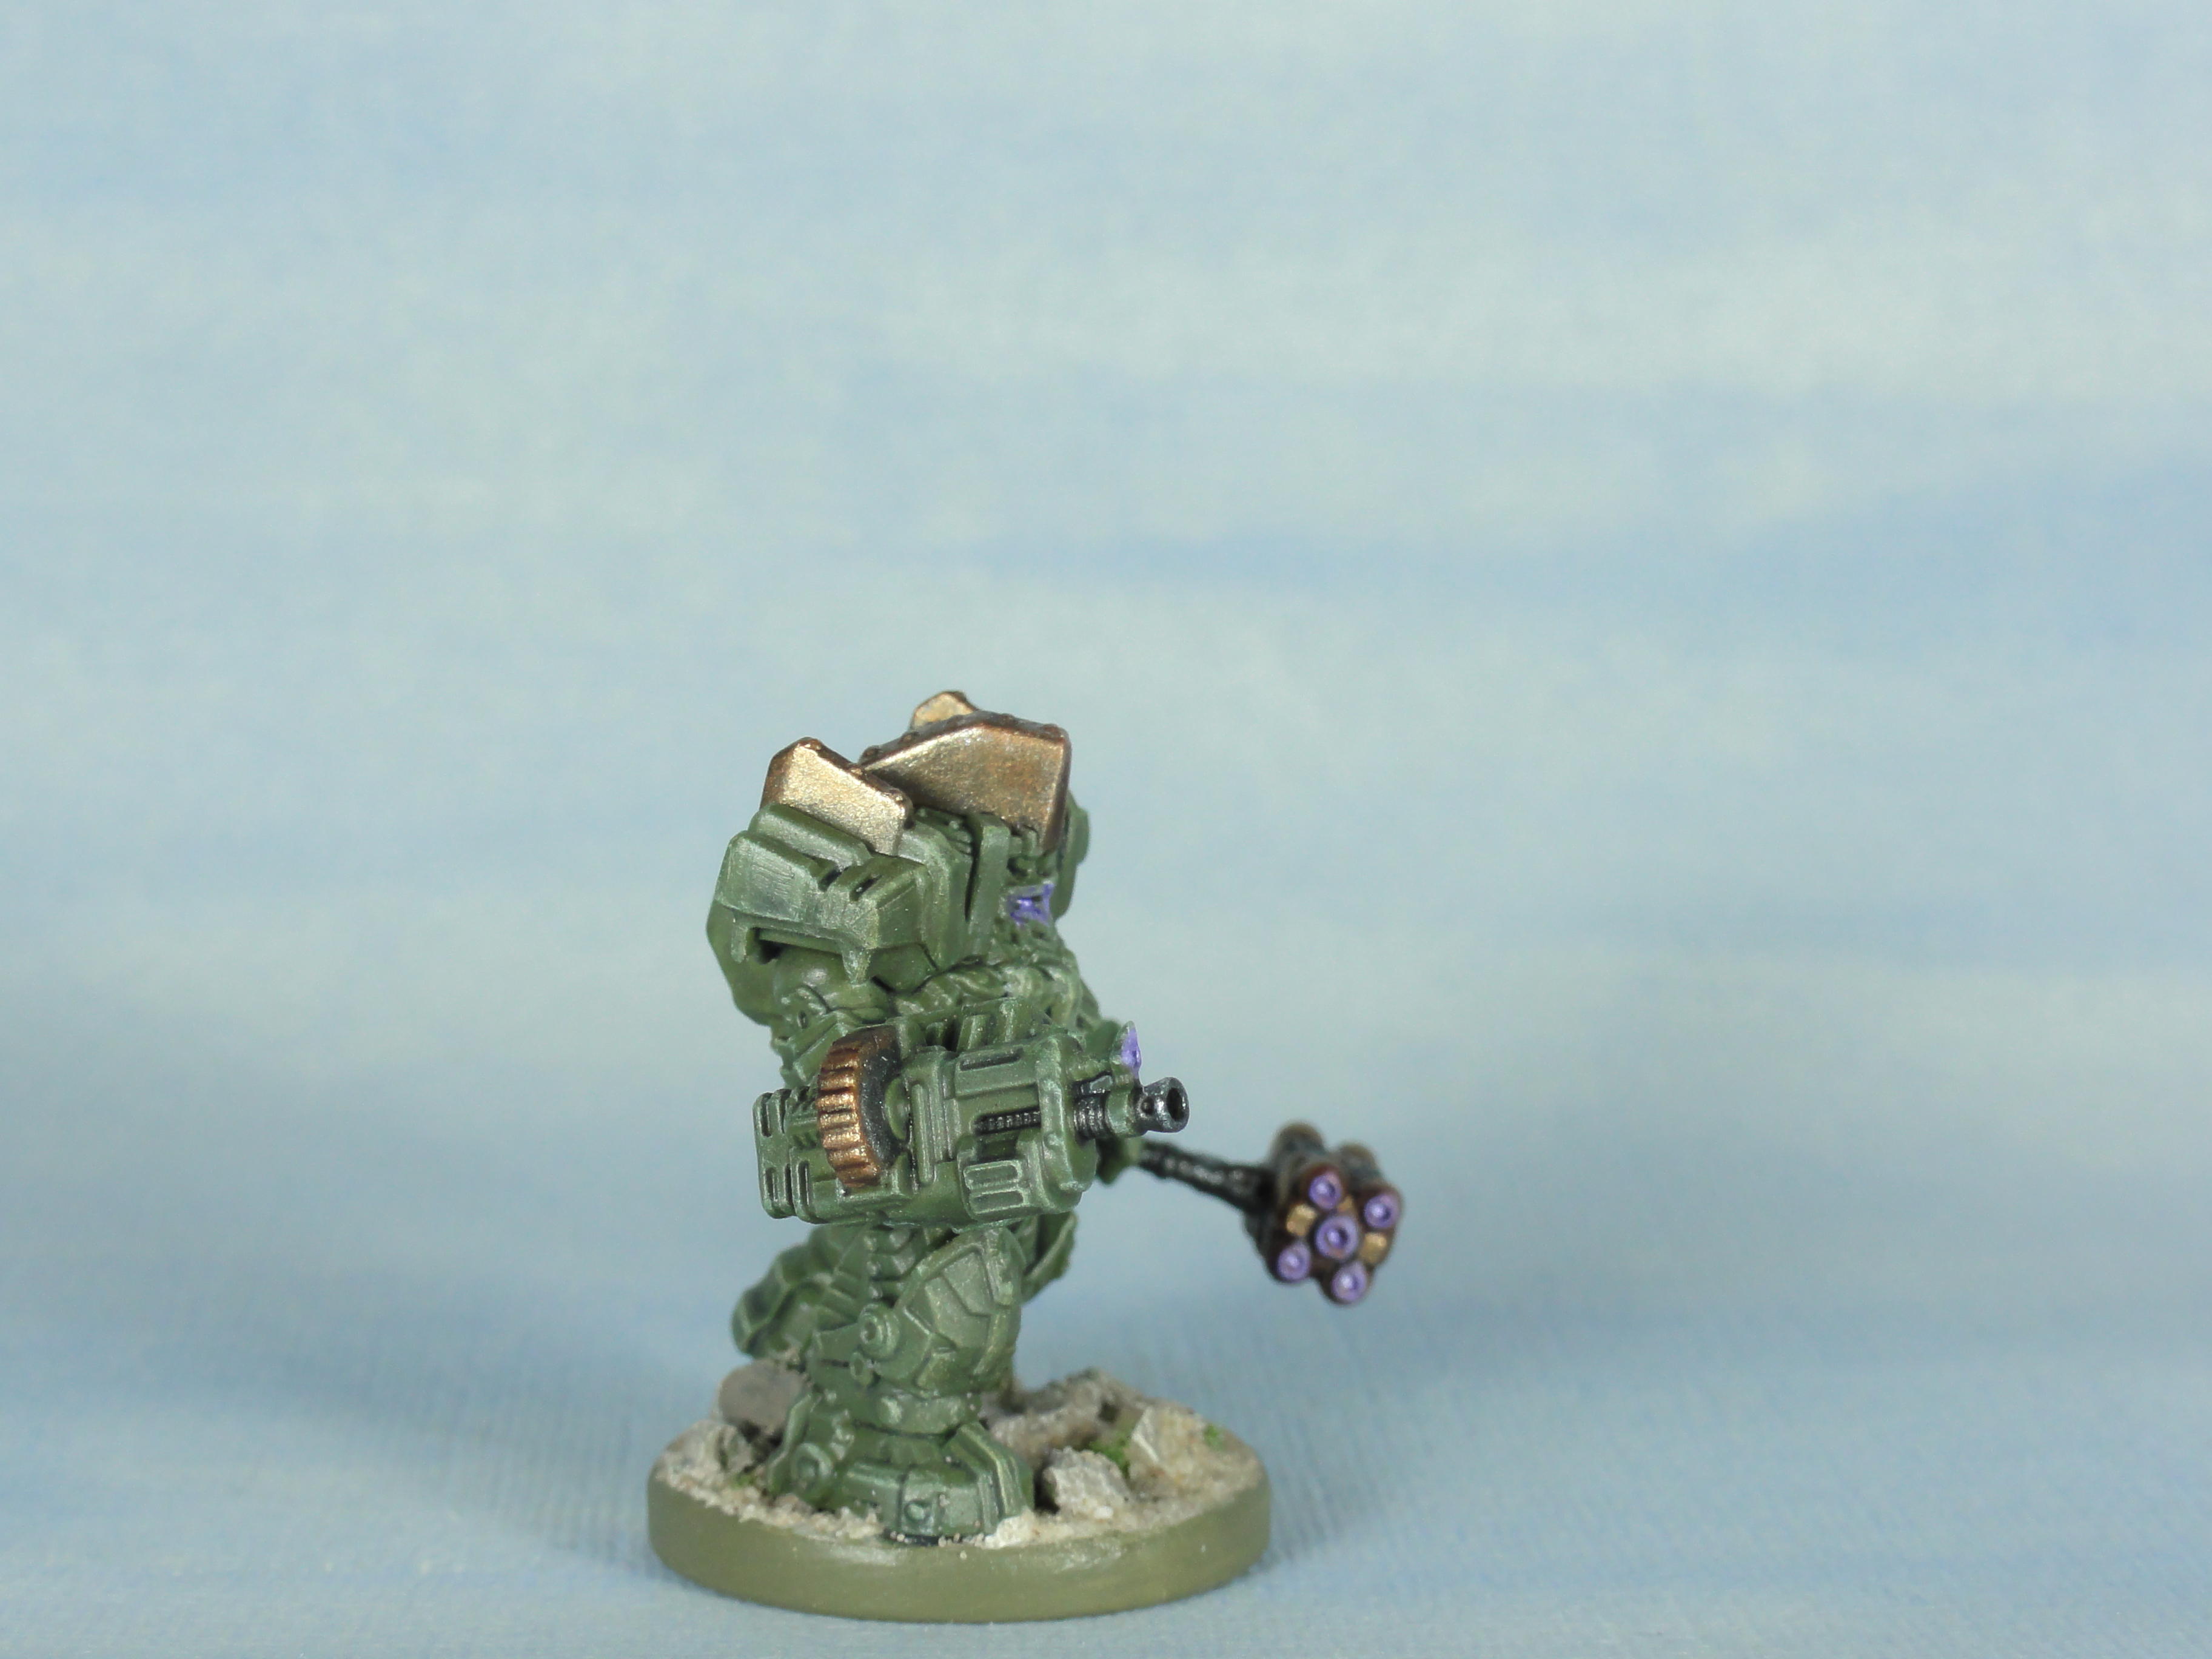
Heavy Inferno Drill
Same method as in the Ingulf post, with the exception that the Bright Bronze was applied on top of Gunmetal Grey. Going for a purple glow effect rather than crystal lenses. Pale Sand was dry brushed on the track to try and dust it down a bit.
I bring you fire
 Not sure if the sculptor is a fan of The Far Side or Dame Edna Everage with those glasses?
The Helfather had been sitting base coated in Royal Purple (Vallejo Game Color) for a while, so I drybrushed it with Pale Sand (Vallejo Model Color) and layered it with, Tan Earth (Vallejo Model Air), Barbarian Flesh (Army Painter) and Ice Yellow (Vallejo Model Color).
Some old Plasma Red Citadel Ink was then applied over the layers.
The problem with the ink I used was it was very water soluble, so when I varnished I ended up with spotting in areas as it reactivated. Some matt varnish mixed with the ink might stop this happening.
The only difference for the metallics from the previous entries (See Ingulf) is that the Bright Bronze was applied on top of Gunmetal Grey to lighten it a bit more.
The green glow uses the same technique as the previous purple but with Daler Rowney light green ink instead https://www.youtube.com/watch?v=aOCaK3H-EmM

I’ll post the other stuff I’ve painted recently in the next few days rather than in one batch.


