


![How To Paint Moonstone’s Nanny | Goblin King Games [7 Days Early Access]](https://images.beastsofwar.com/2024/12/3CU-Gobin-King-Games-Moonstone-Shades-Nanny-coverimage-225-127.jpg)


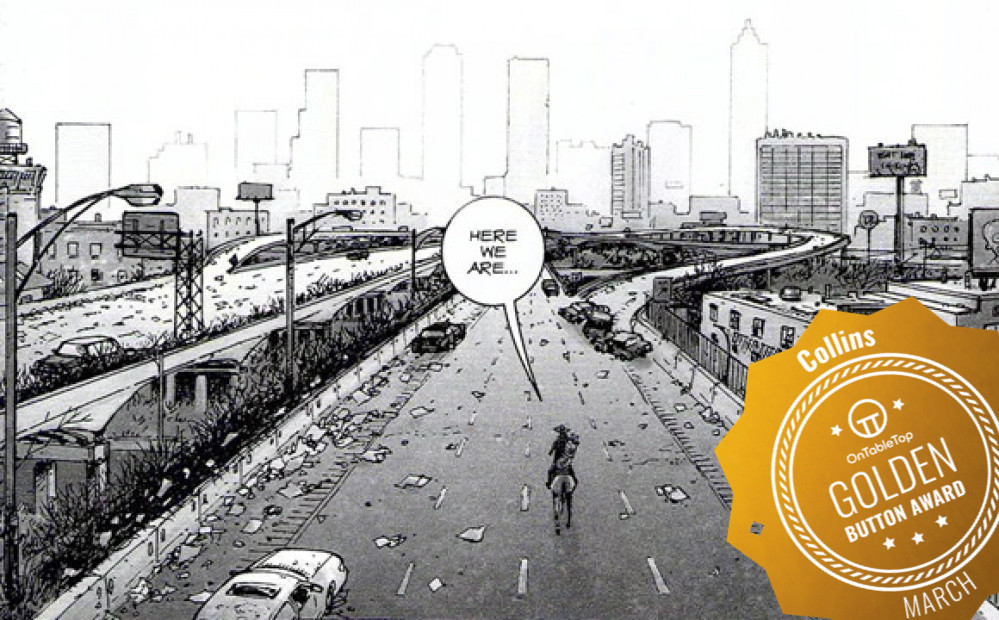
Collins builds the world of the walking dead


Recommendations: 758
About the Project
In this project I will be building boards that are interesting and unique from The Walking Dead and using them in another project as I document my solo play through of Mantic Games The Walking Dead All Out War. I may take inspiration from the comics or the TV show, i'm not fussed for timelines etc and i'll be making my own story for Rick along the way. Enjoy this project is the building and prep project, go view my other one for the storyline (battle reports)
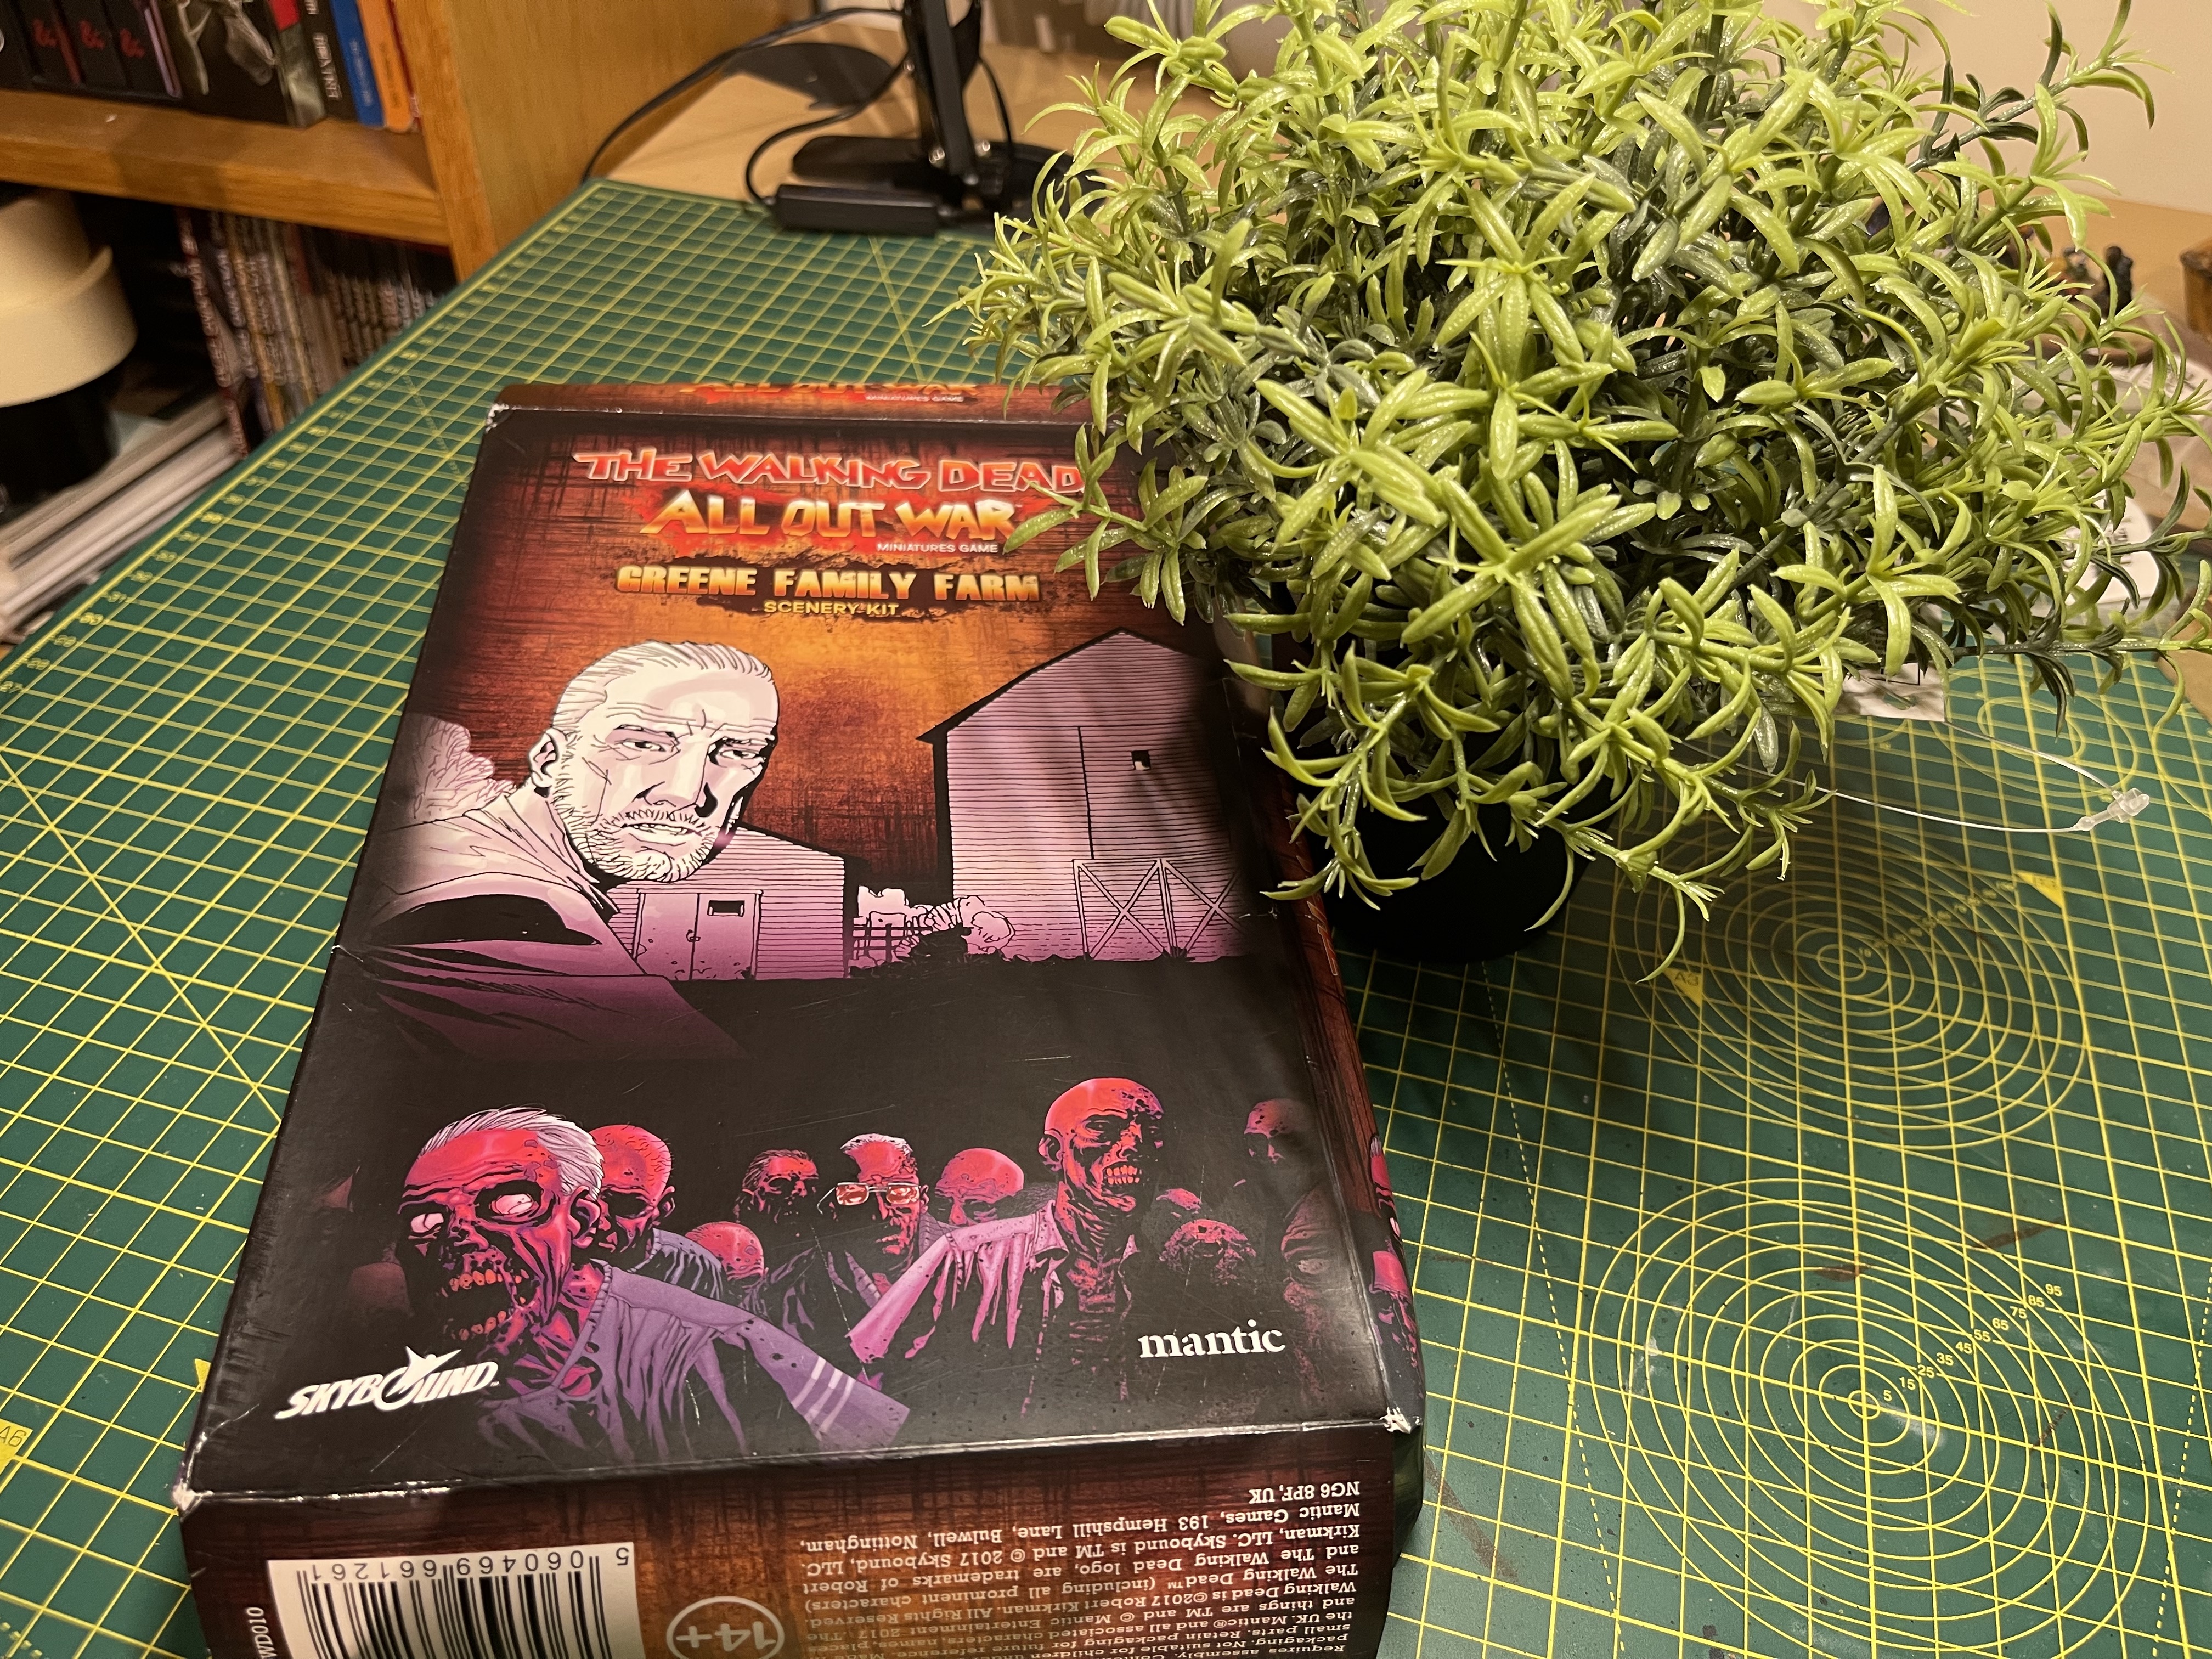
Related Game: The Walking Dead: All Out War
Related Company: Mantic Games
Related Genre: Horror
Related Contest: Spring Clean Hobby Challenge 2023
This Project is Active
Roadtrip!
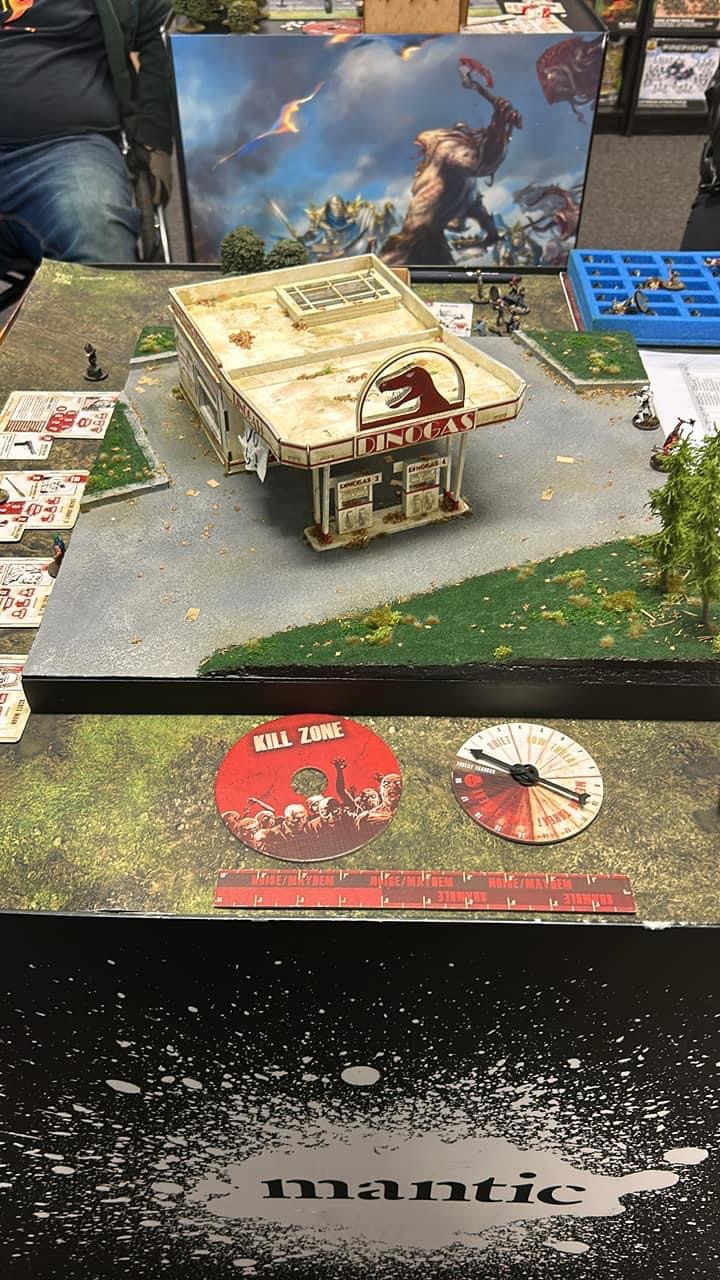
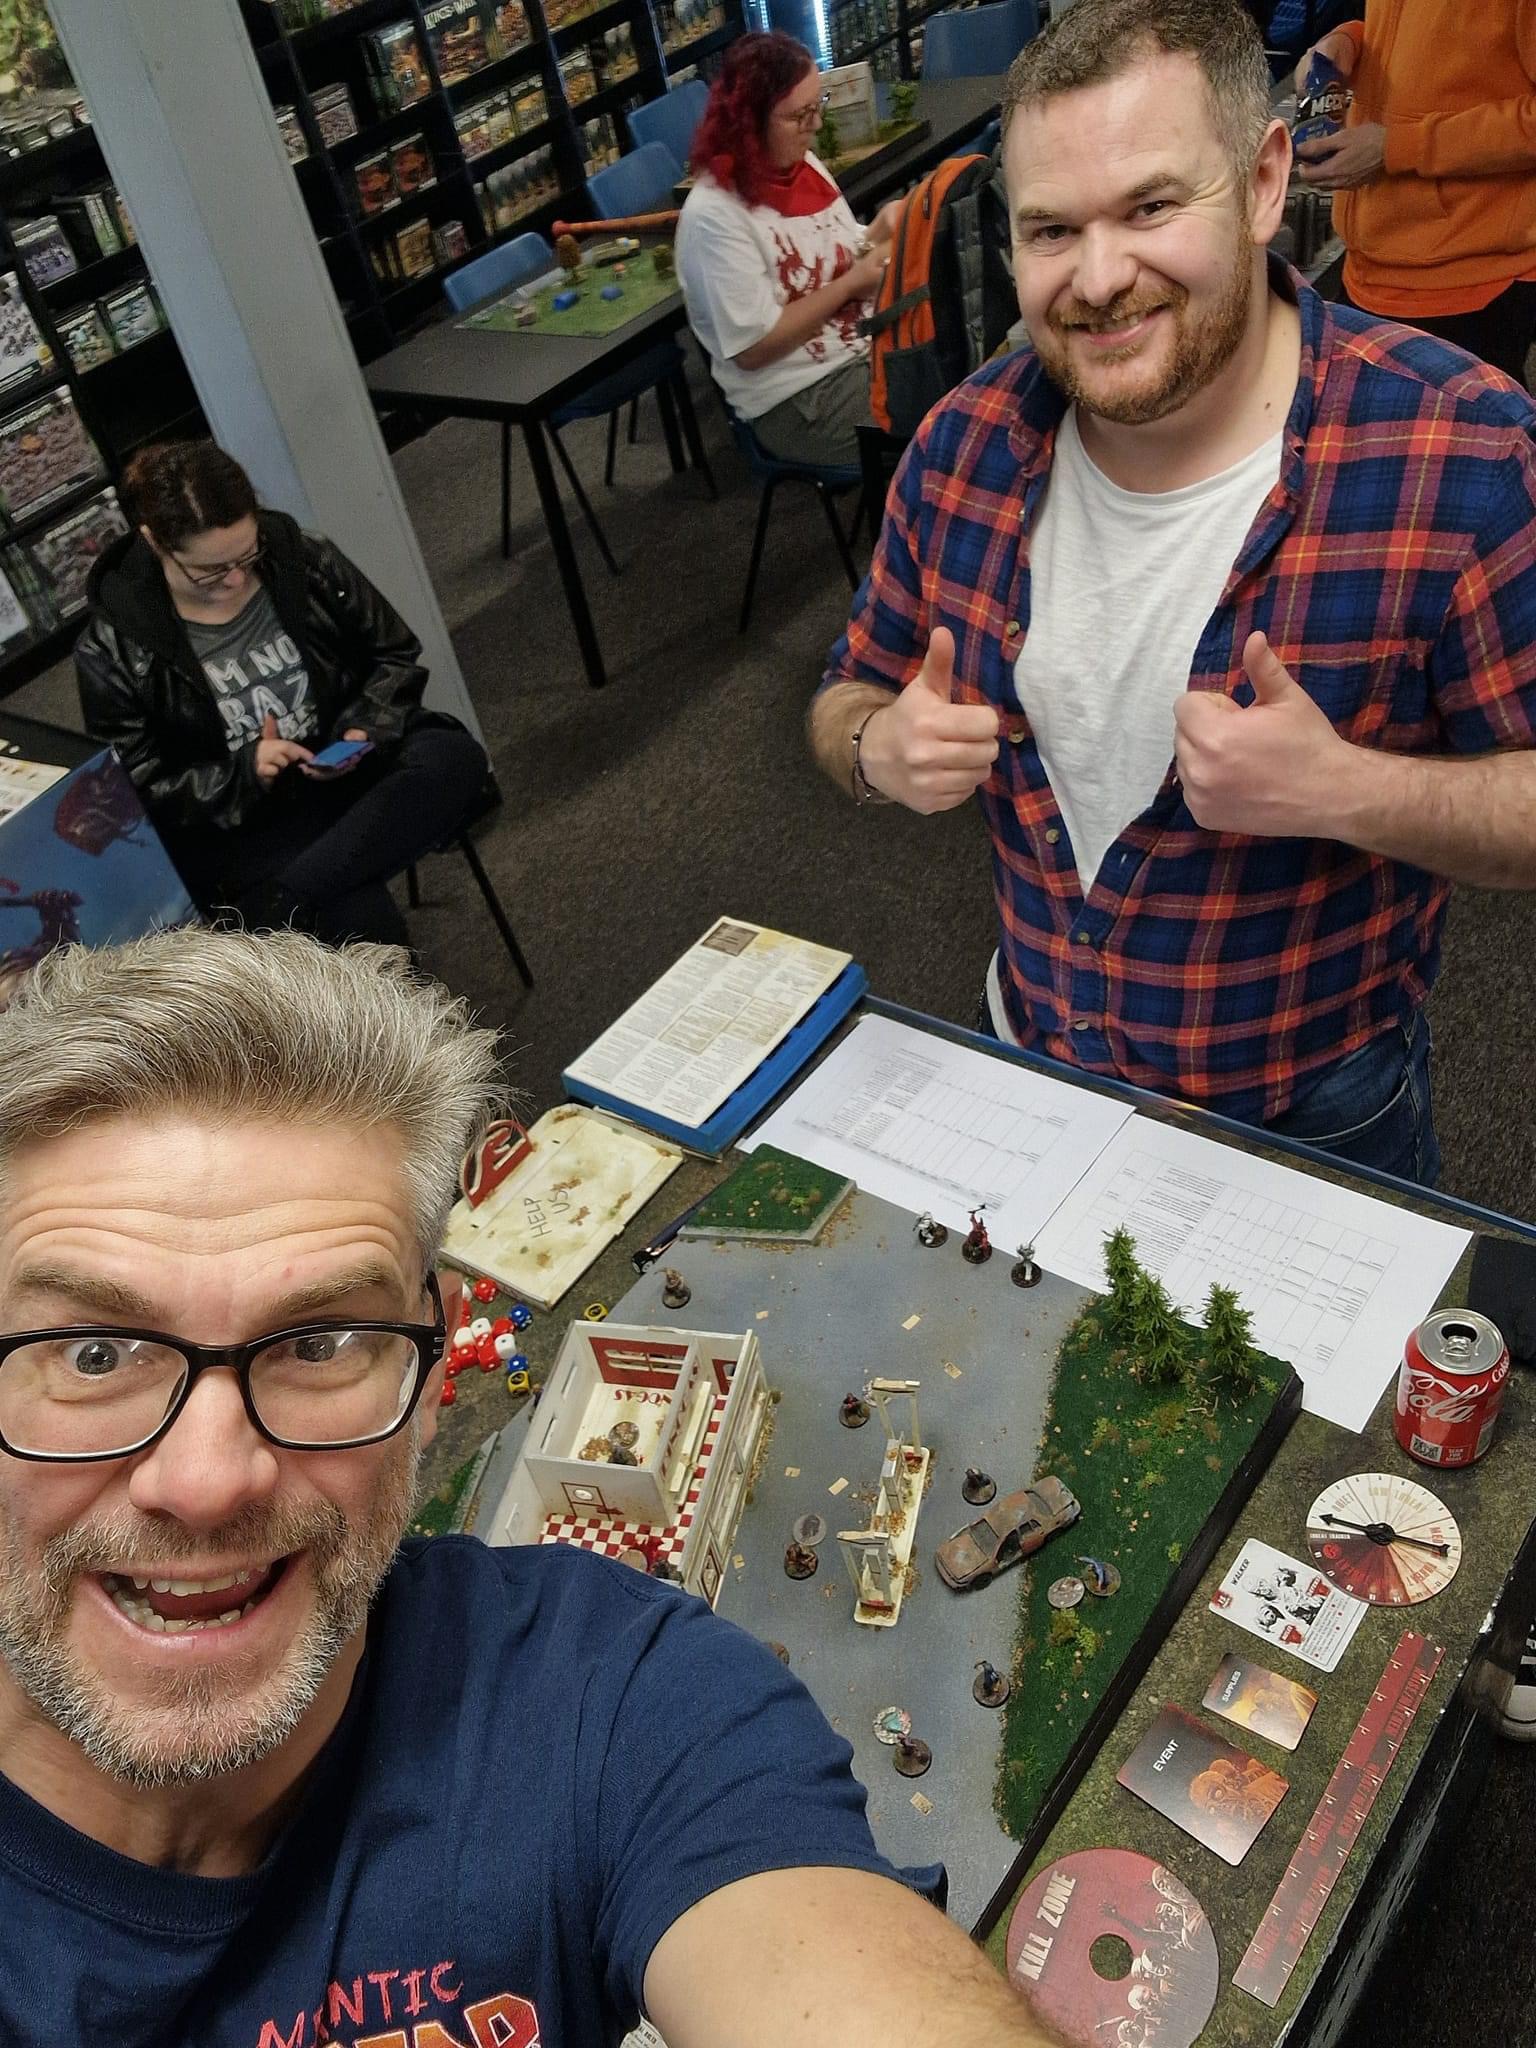
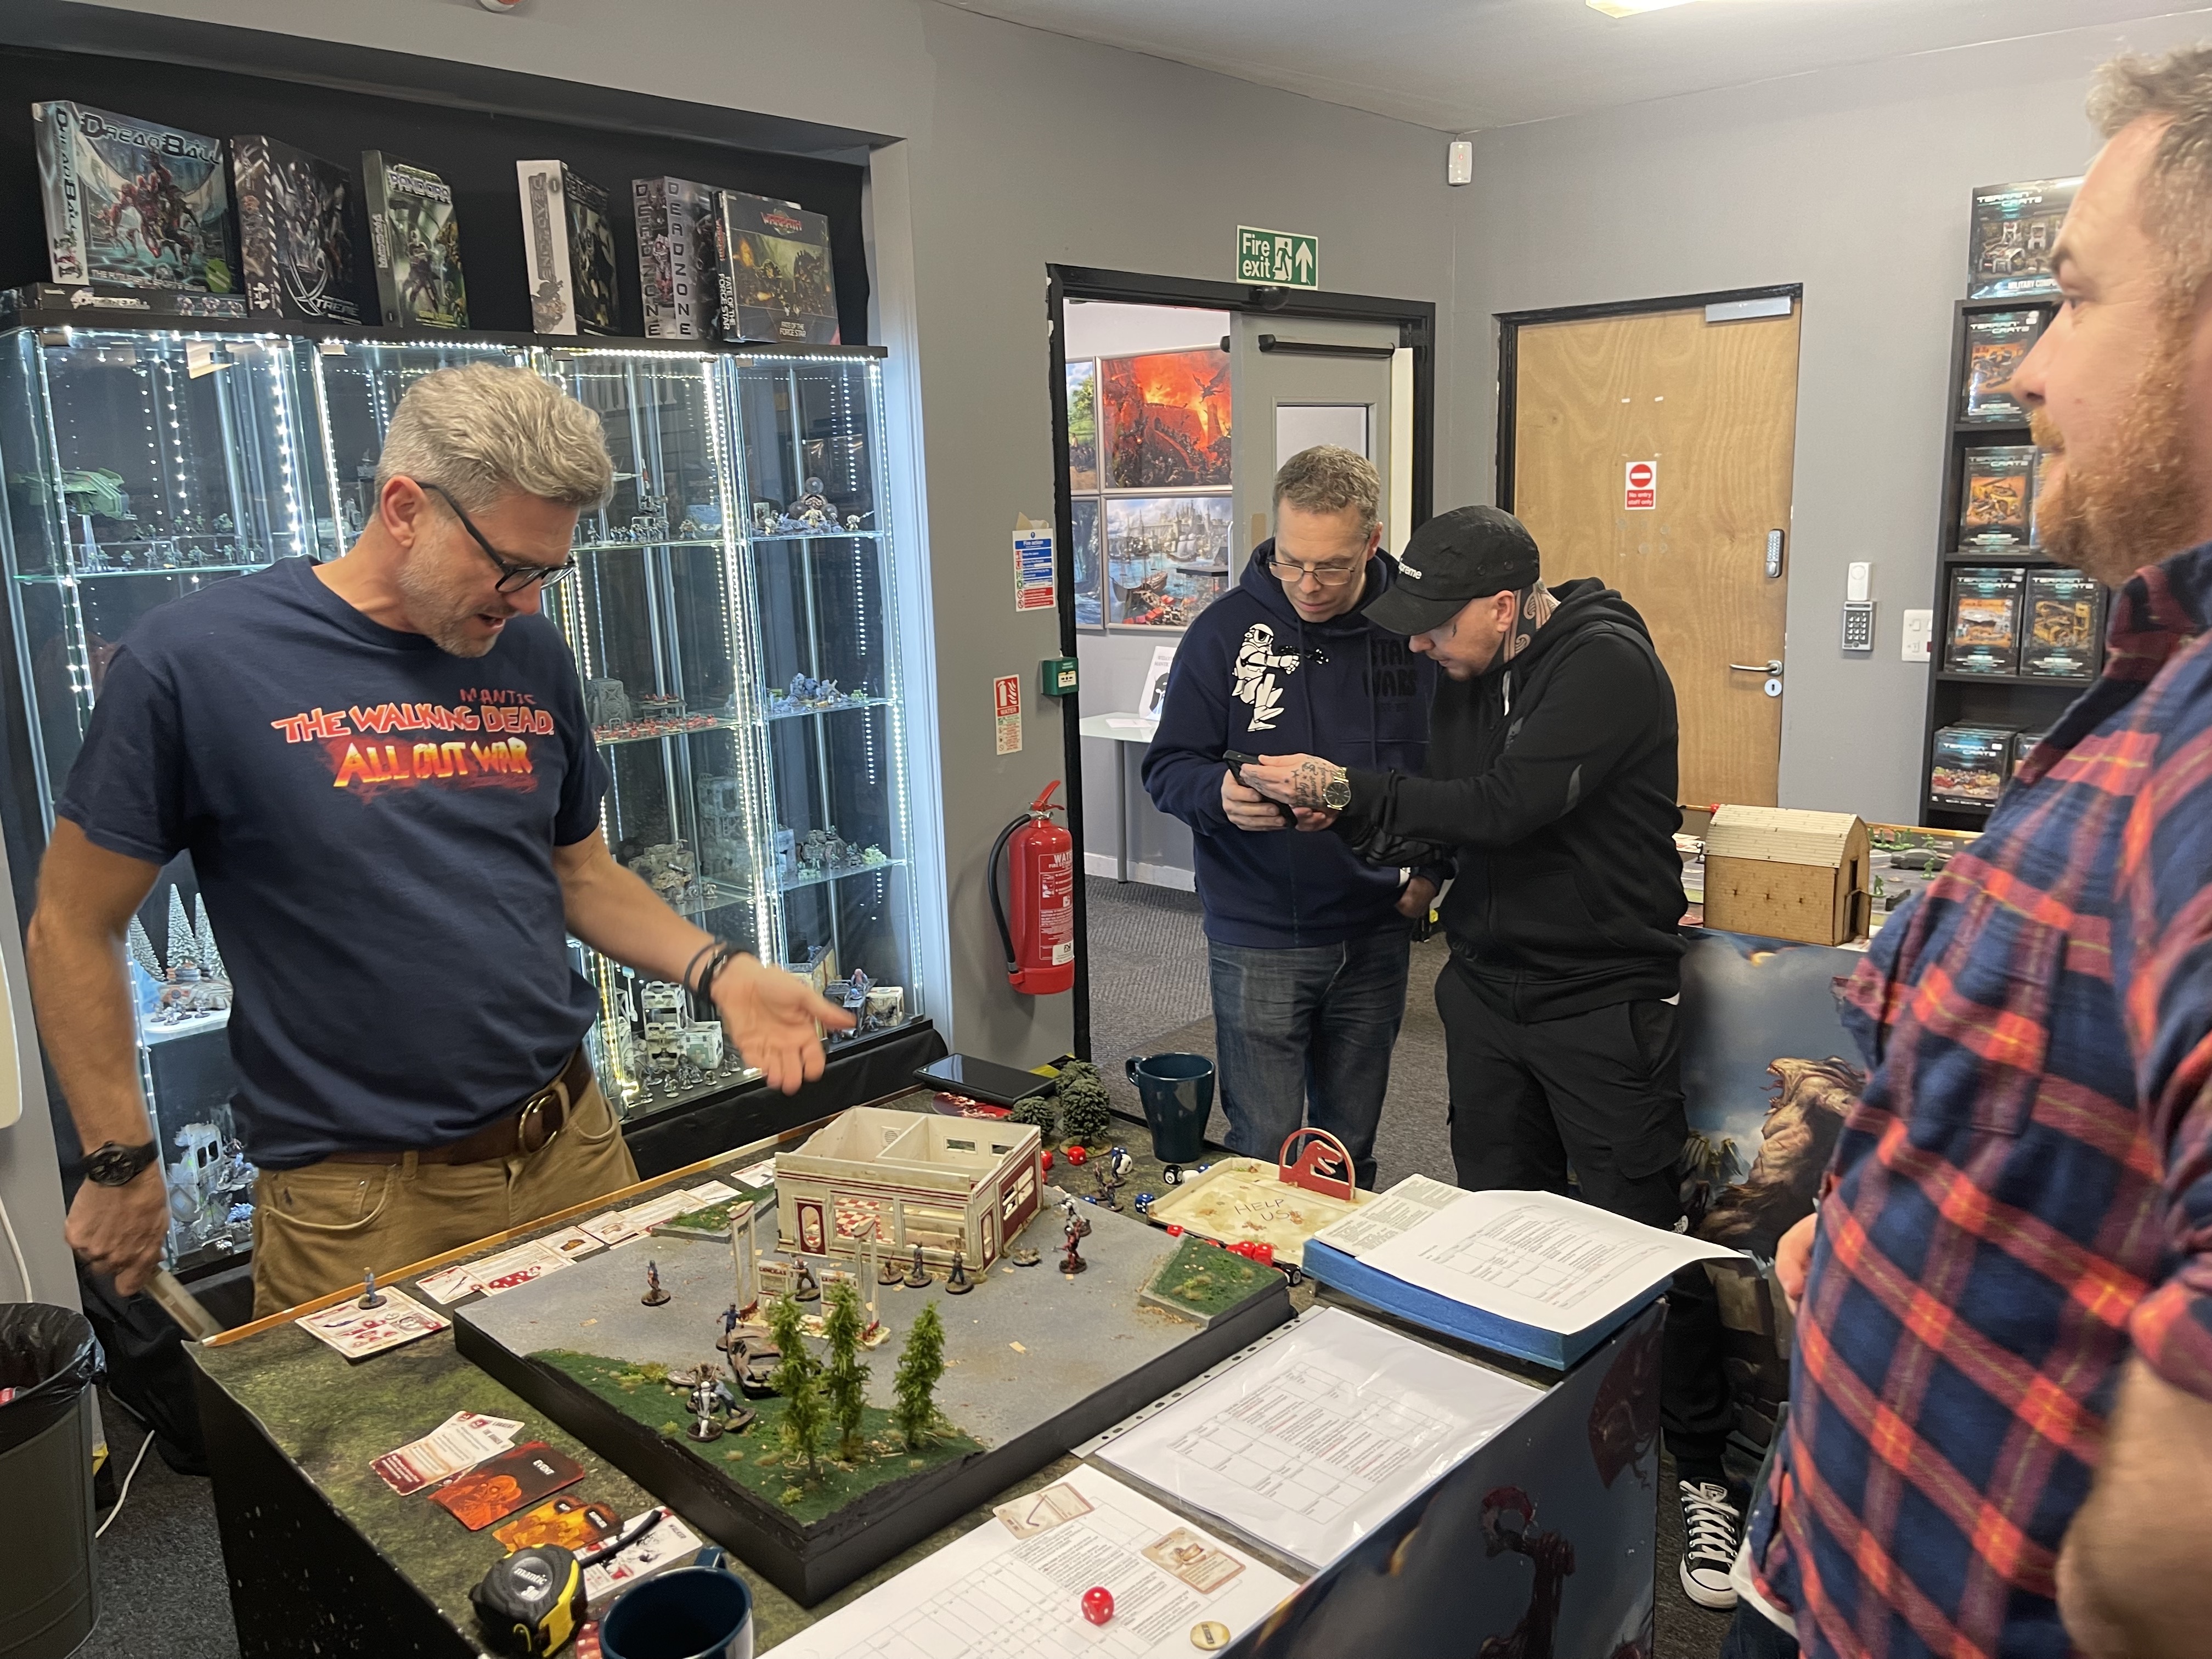
Today was the Mantic open day / relaunch event for the walking dead.
I took along my boards and a small 150 point list to see what havoc I could cause…turned out not a lot of havoc but plenty of mayhem due to taking guns and using them quite liberally.
The boards went down a storm, people clearly loved playing on something so detailed and I heard nothing but compliments.
The ‘first’ grudge match between Ronnie and Paul was played using the gas station board and the brand new commonwealth models.
there was also a raffle with a number of ‘last of these ever’ prizes involved, mostly involving the fancy event only models and the last coreset in the current format. I added the gas station board to the prize pool and nearly won it back haha. I instead took away the super fancy brass etch token set.
Congrats to the new owner of the award winning walking dead gas station board

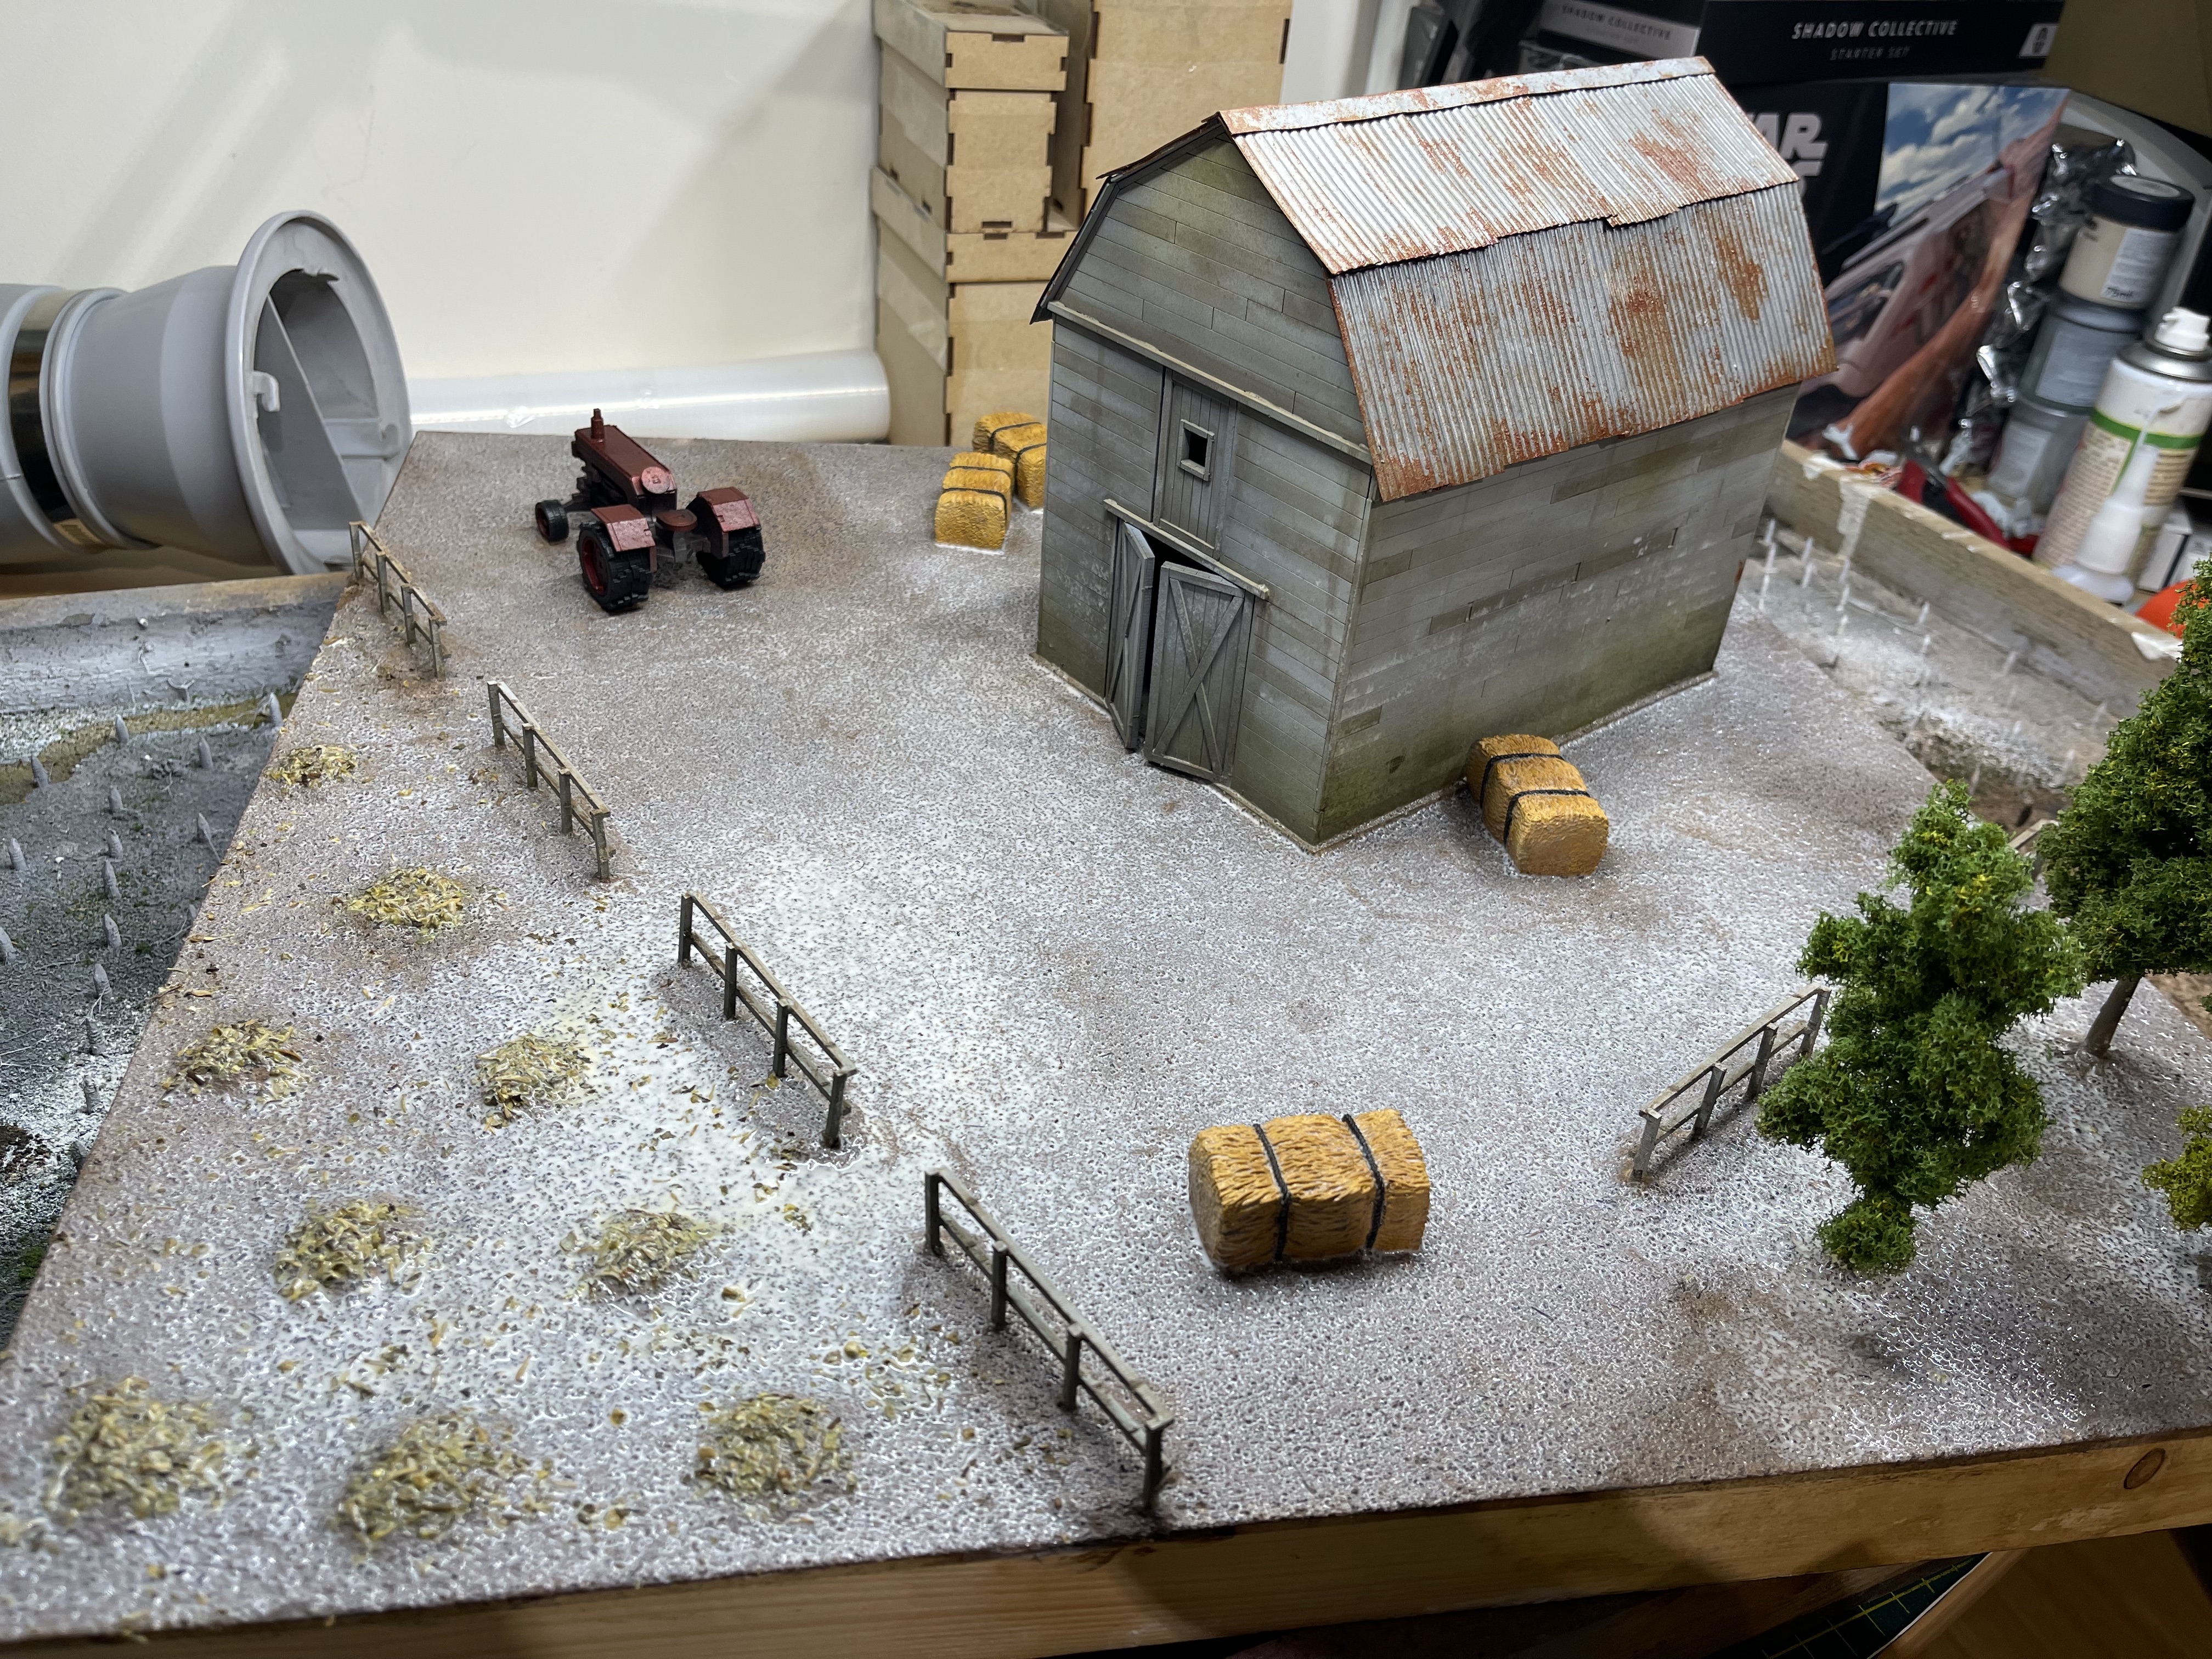
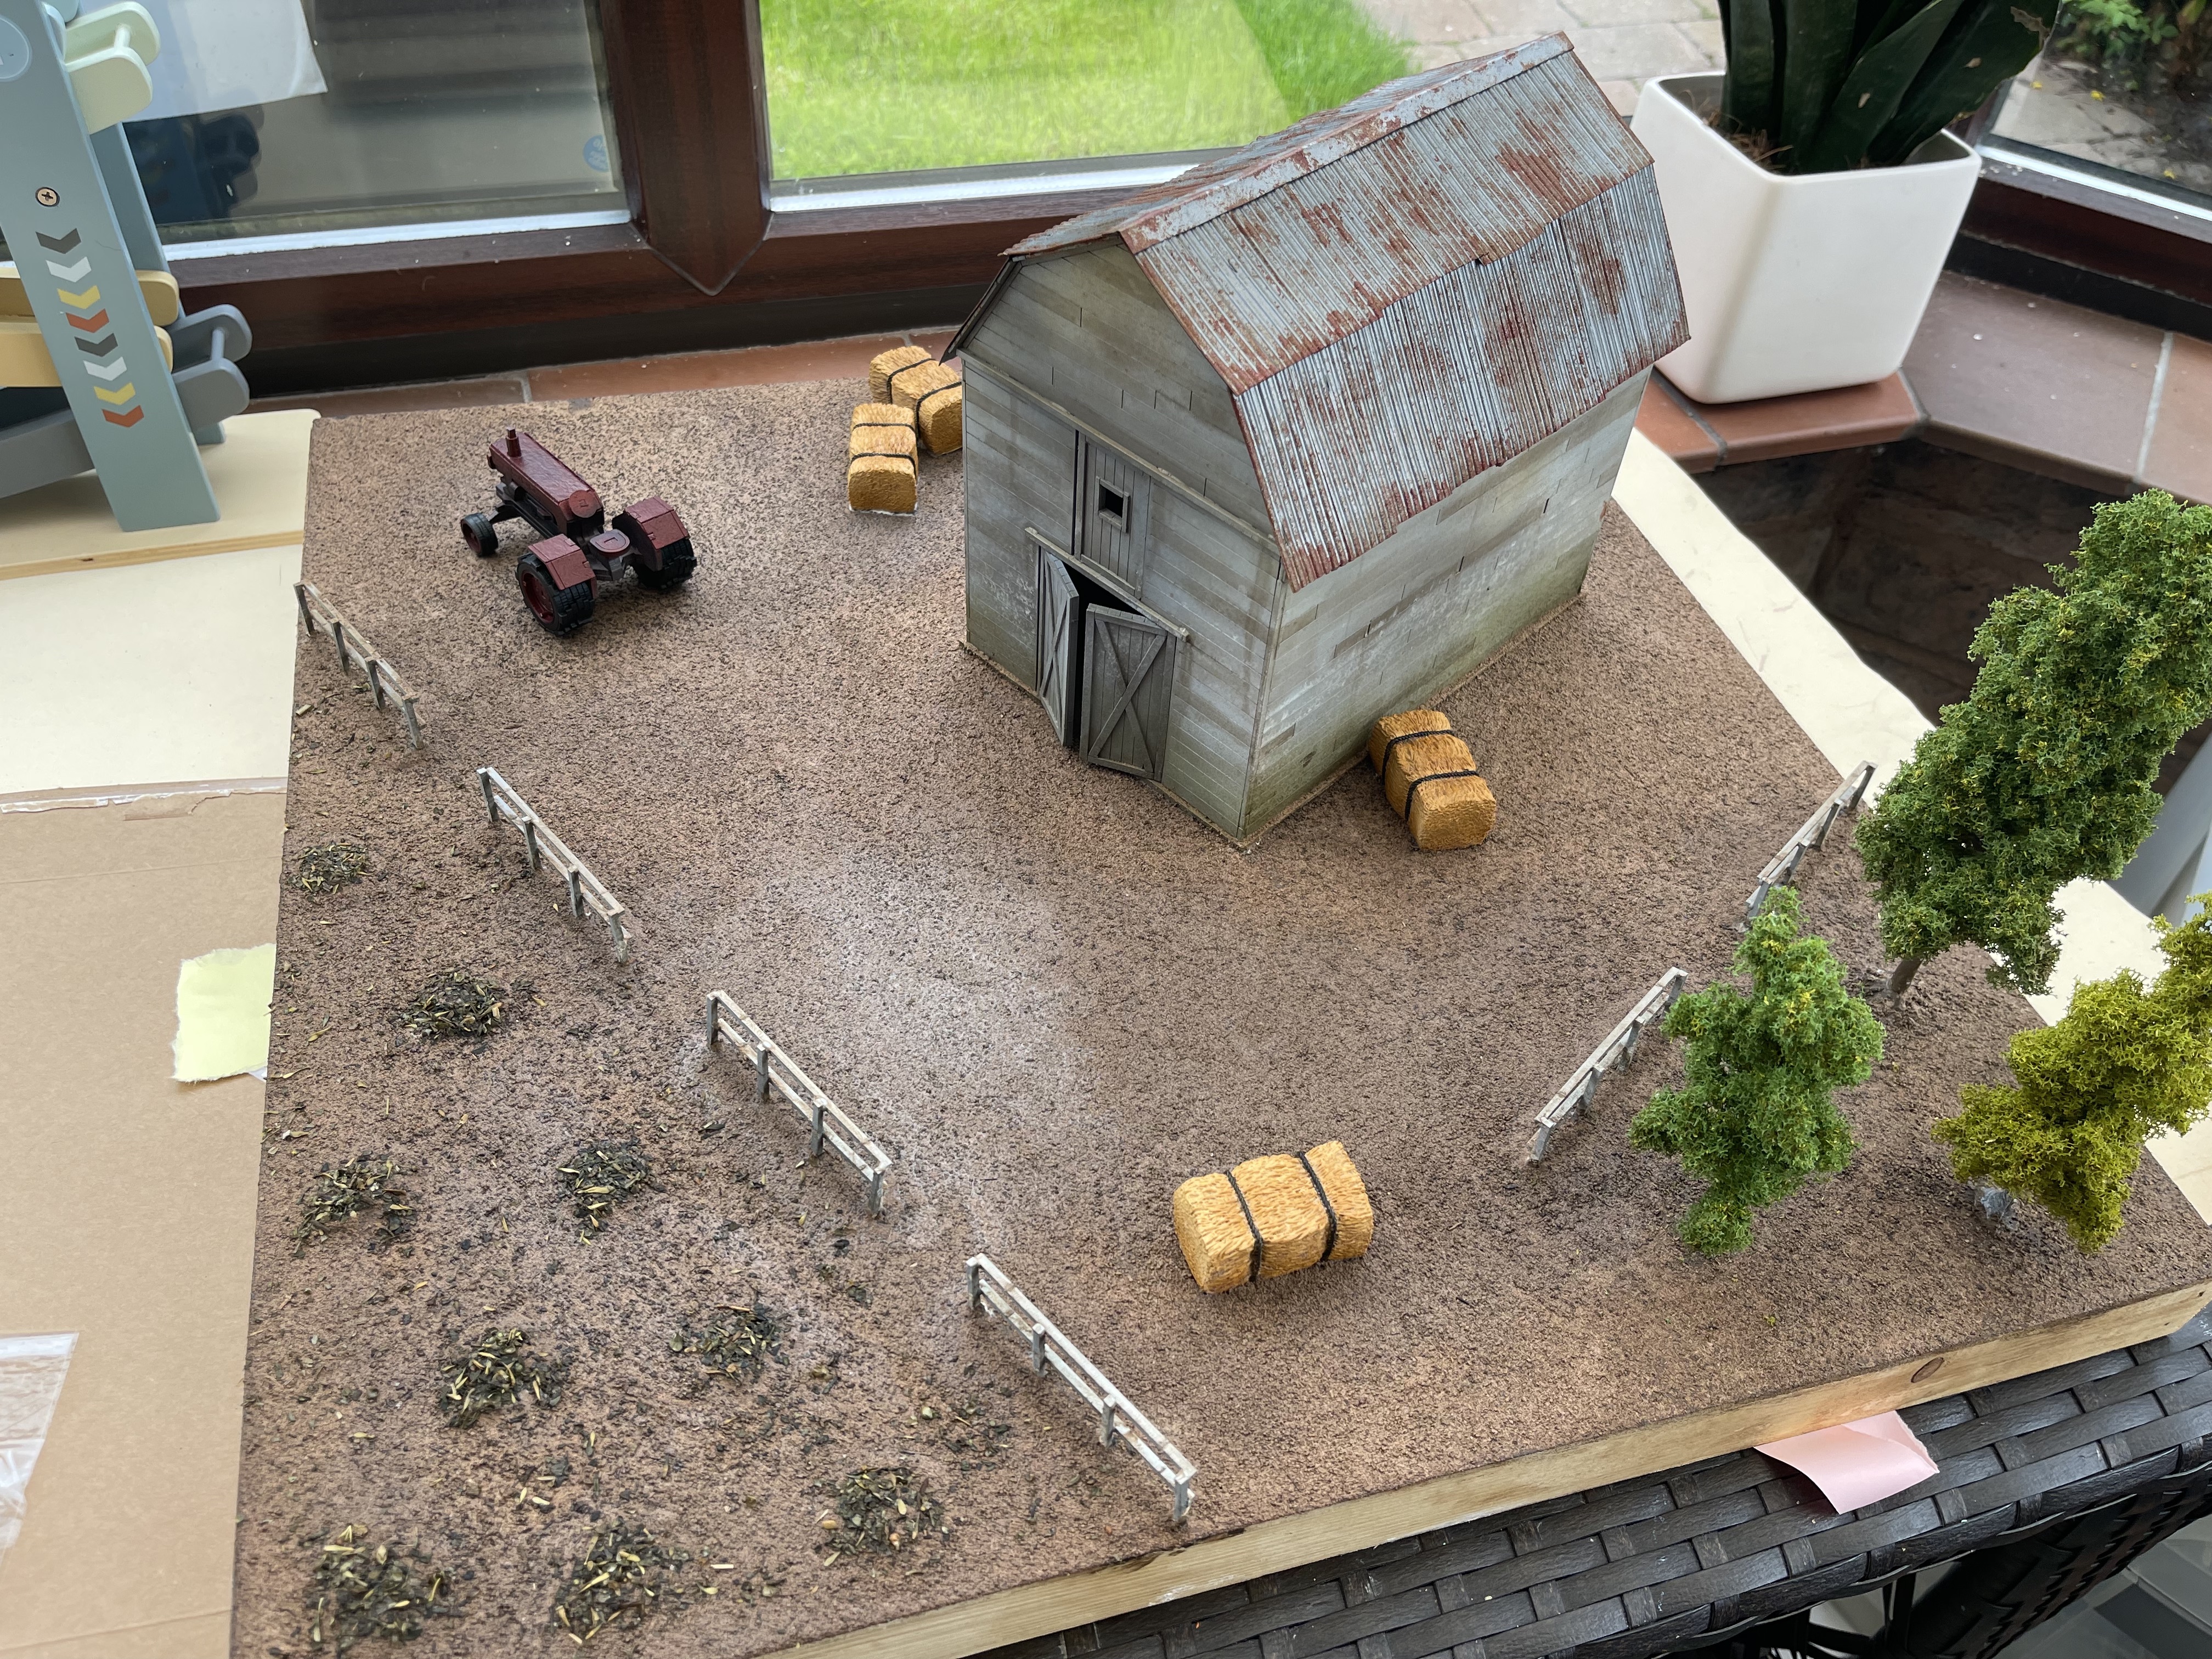
Finished board 3
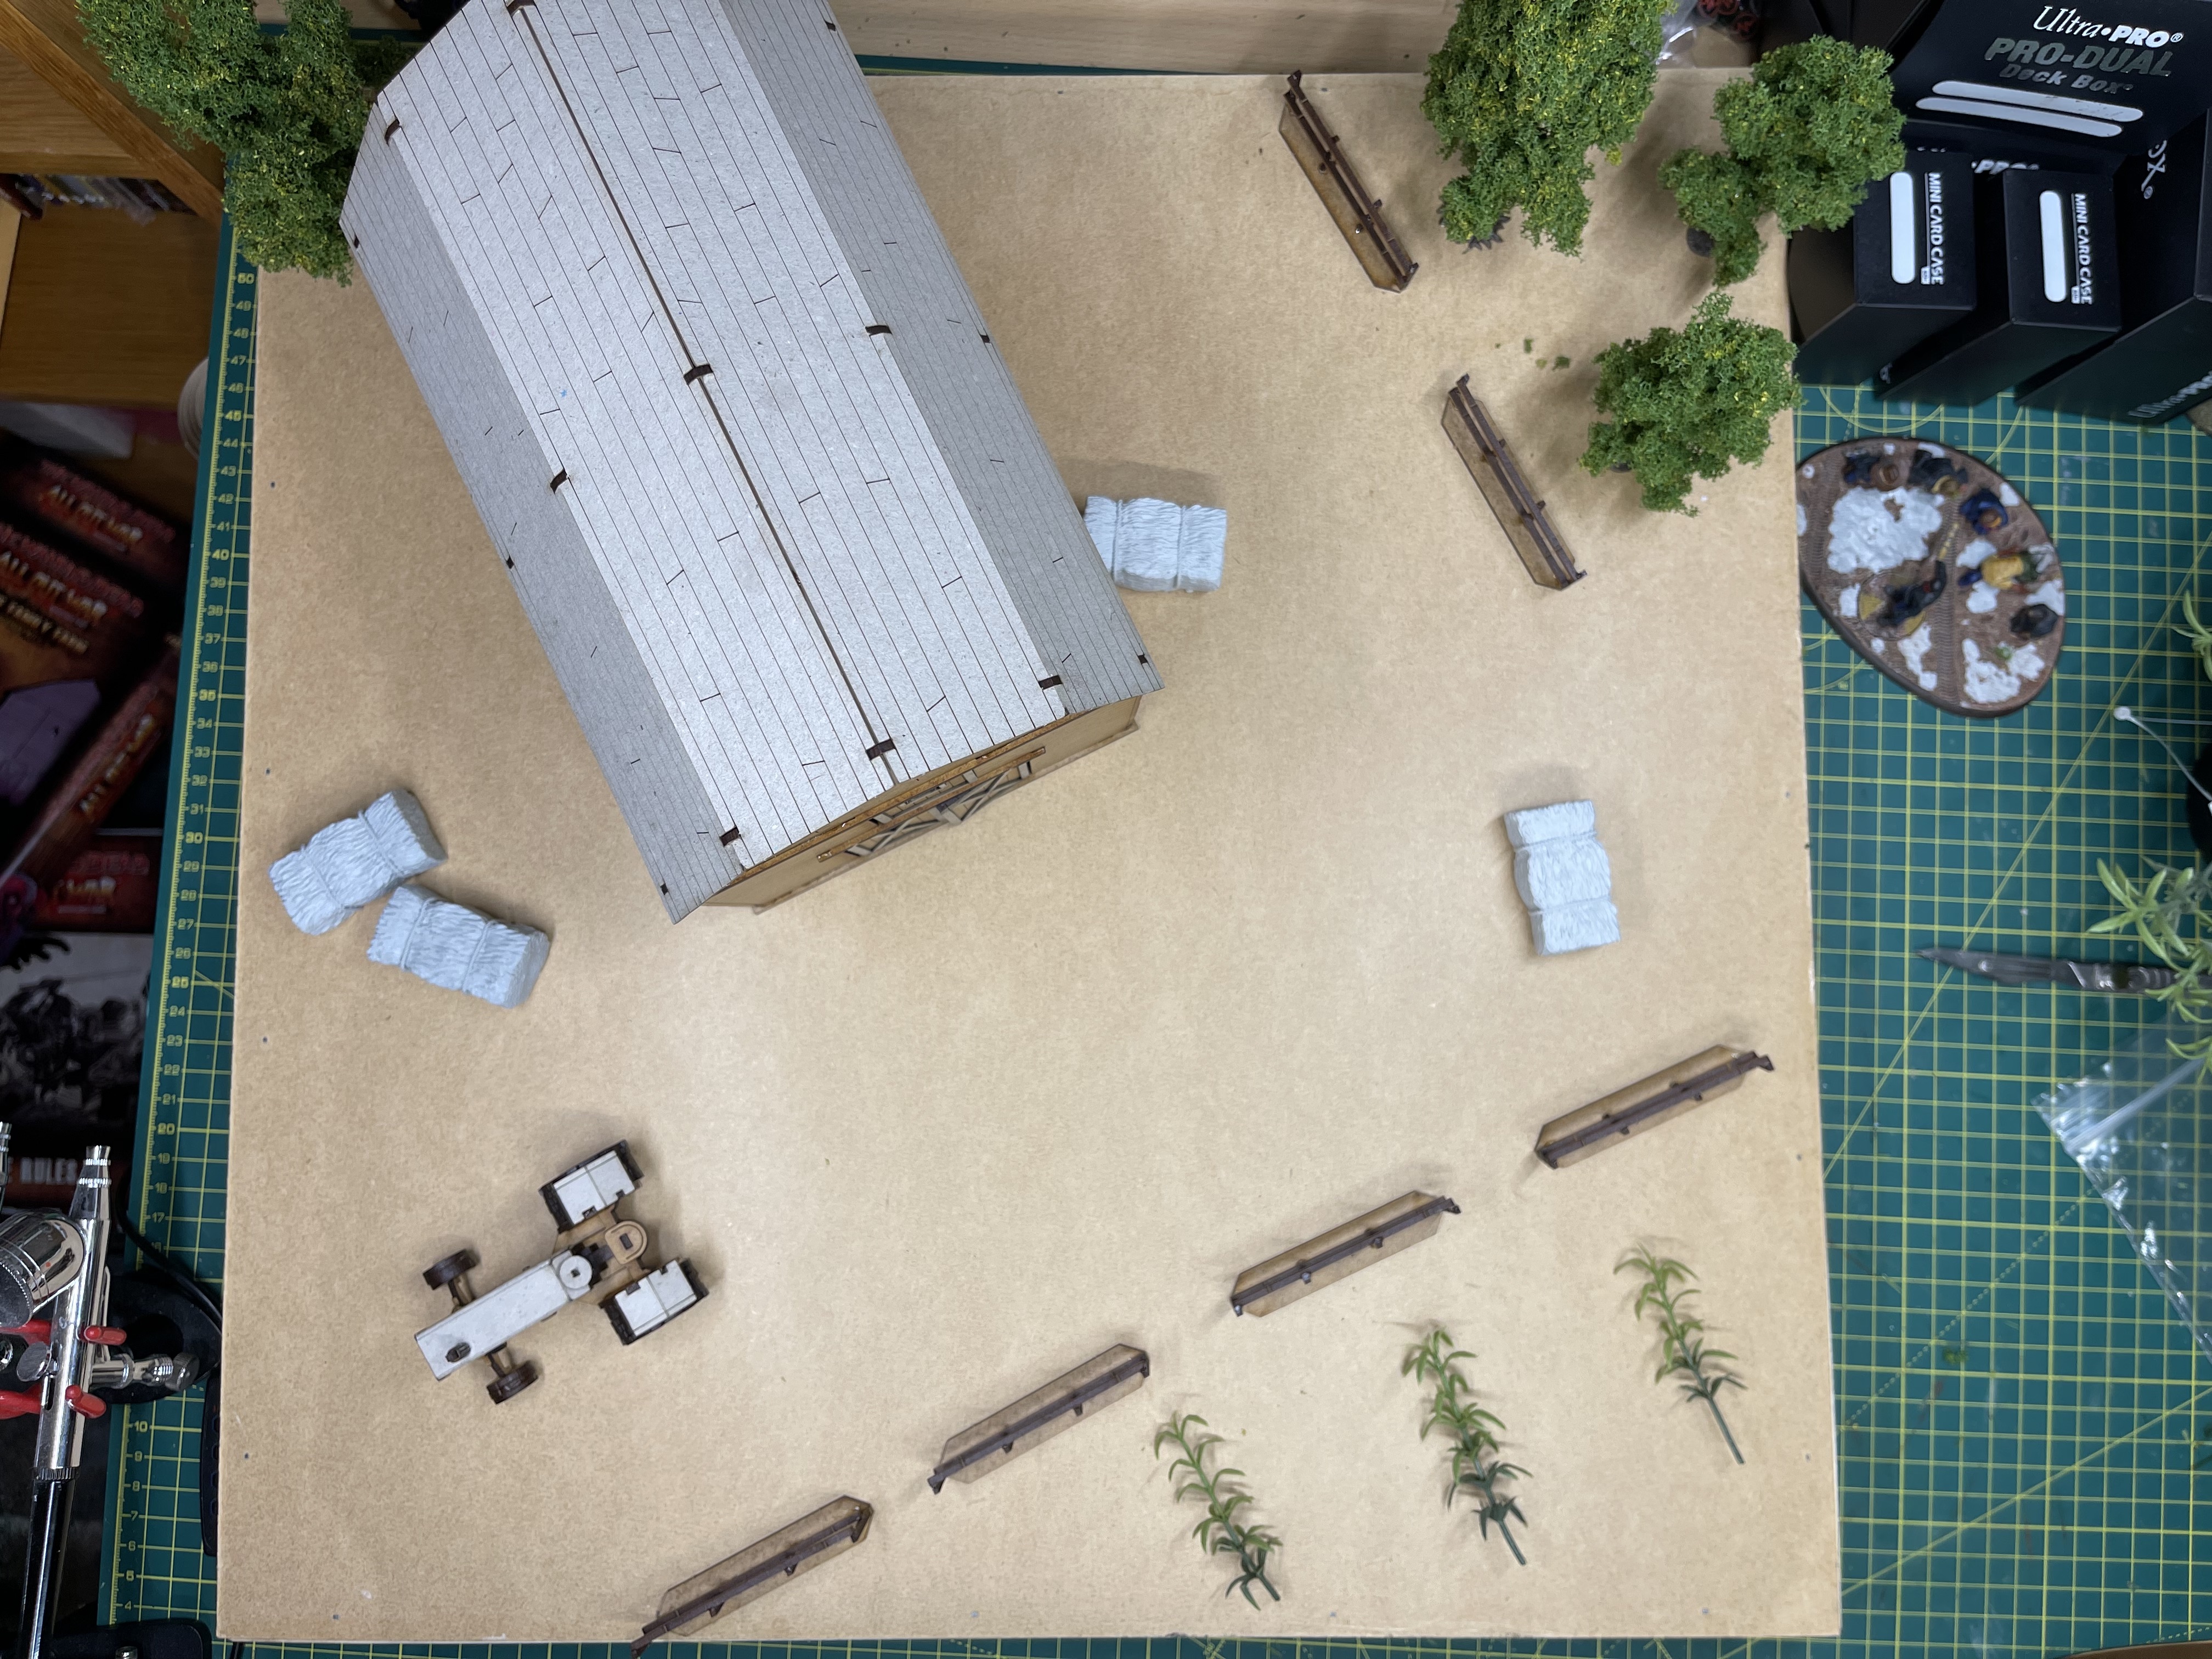
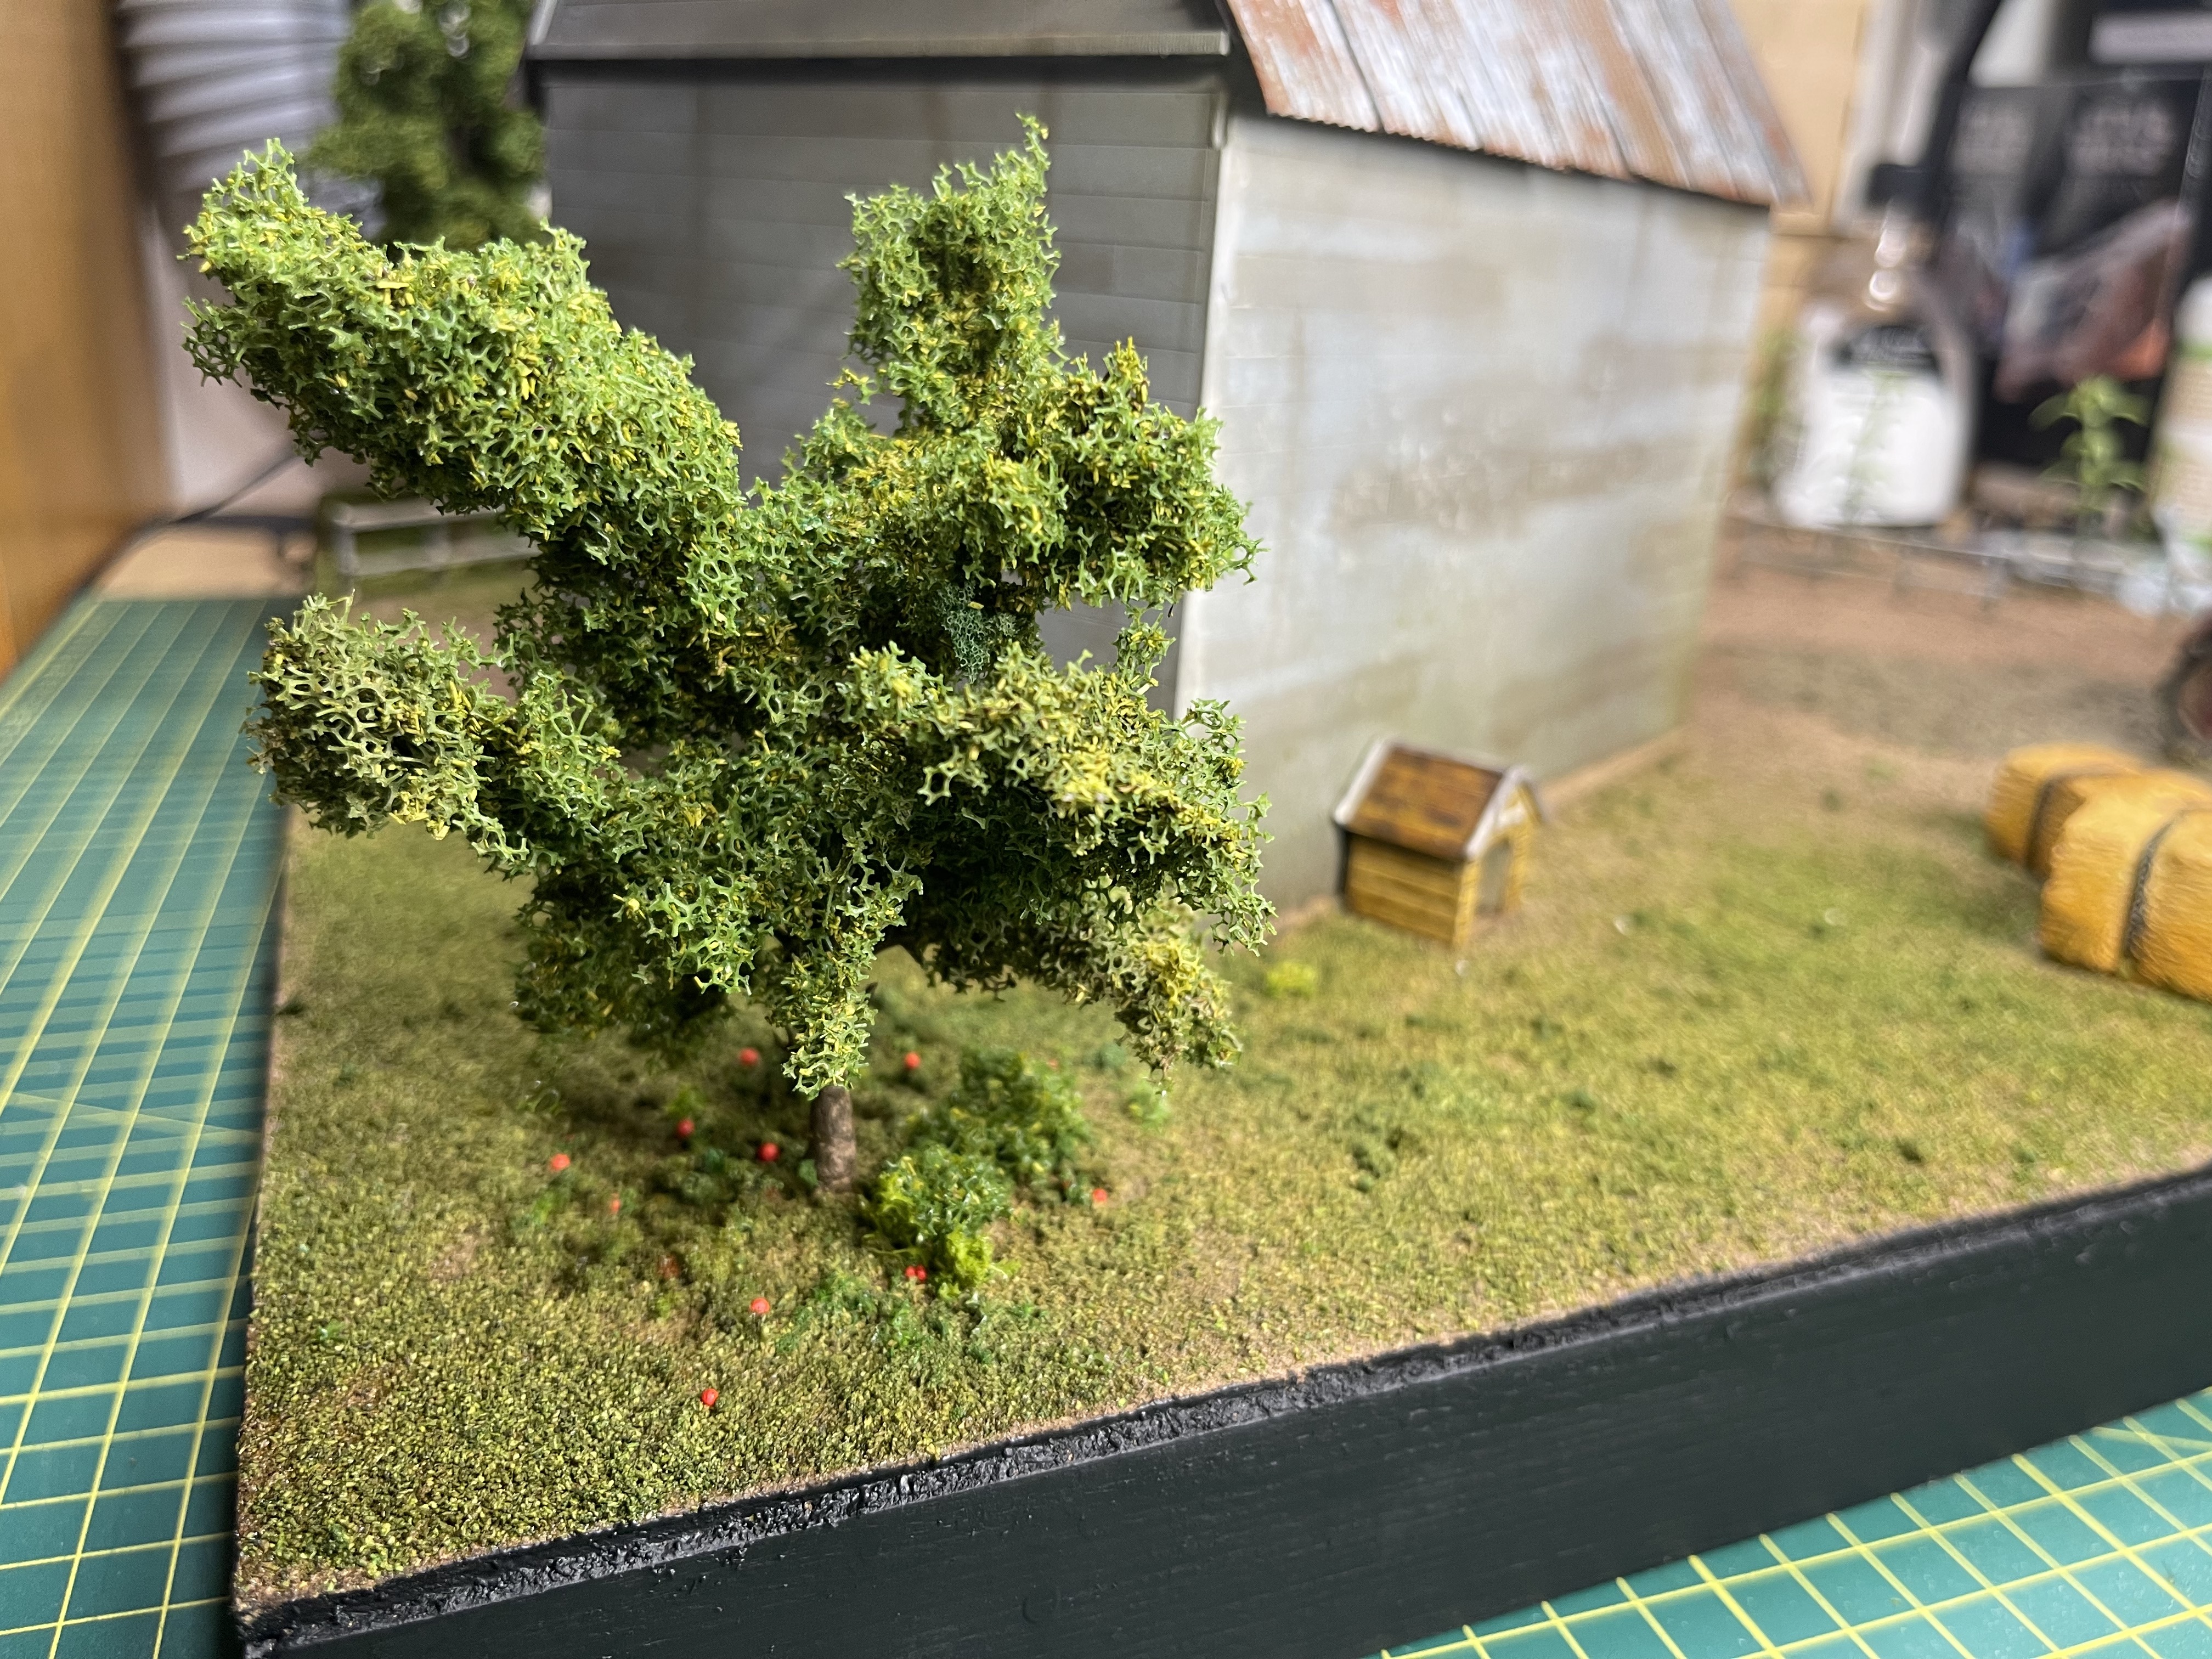 all the apples have fallen off the tree
 dog house and some hay bales
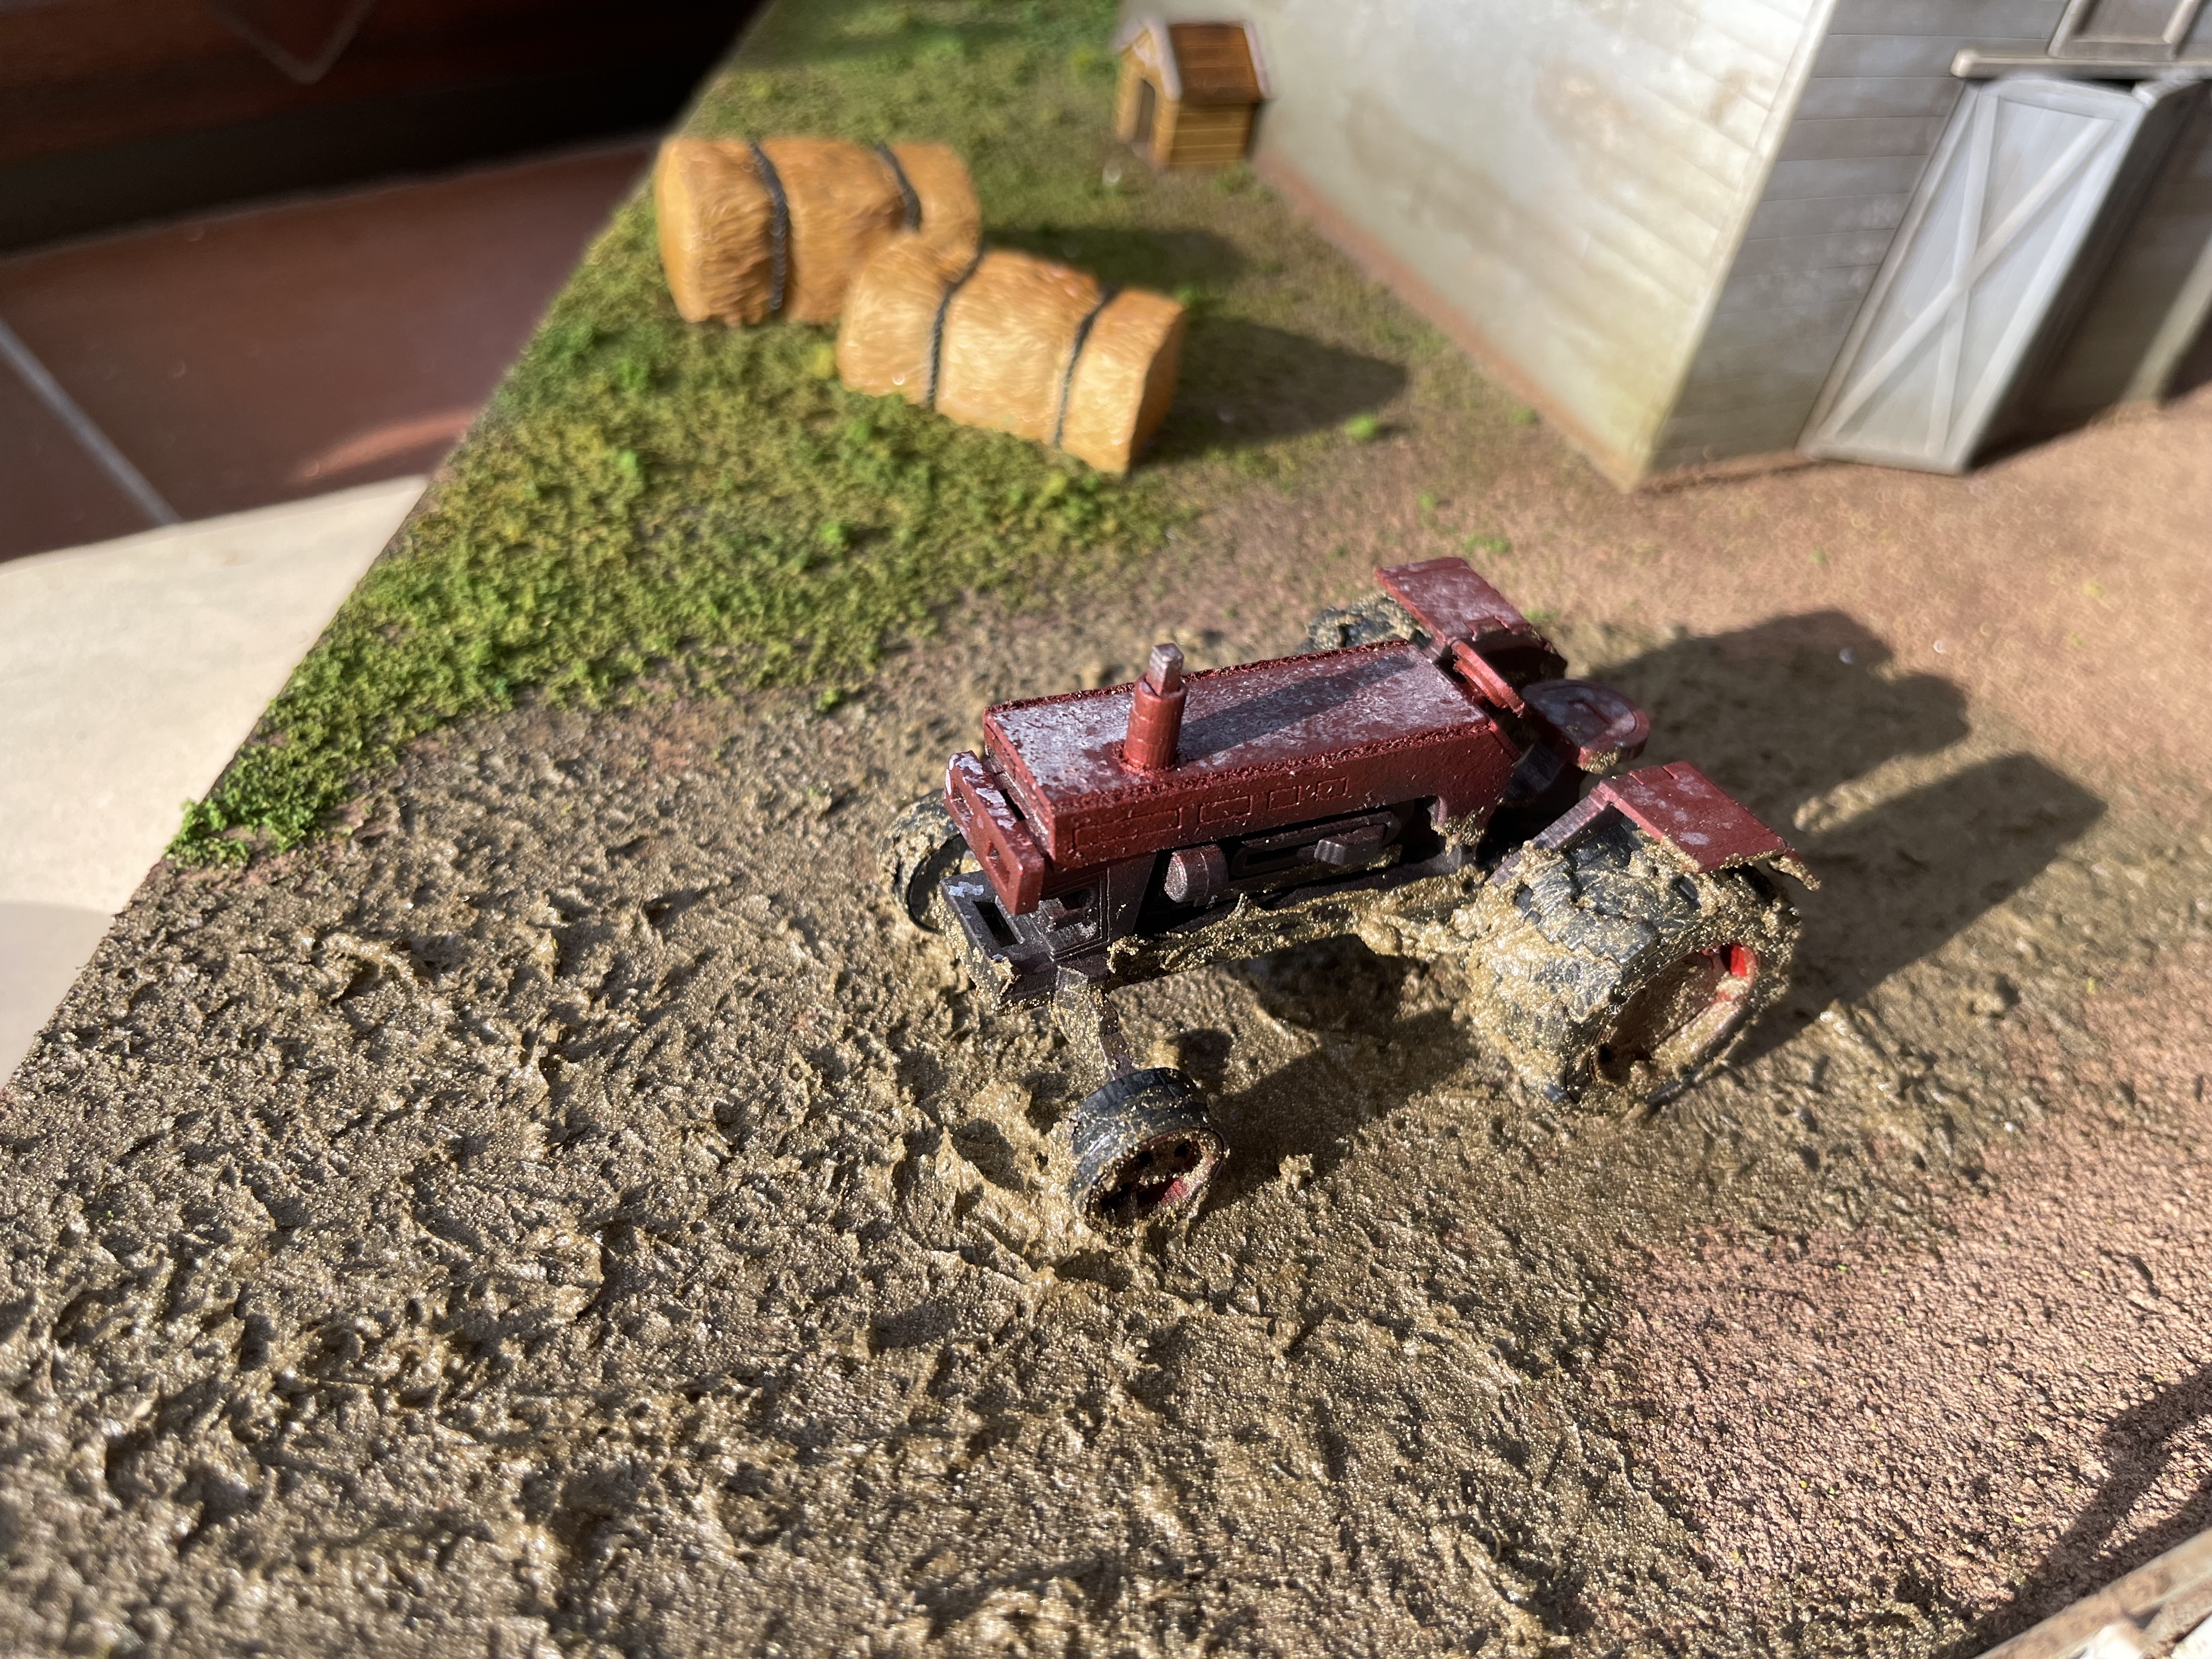
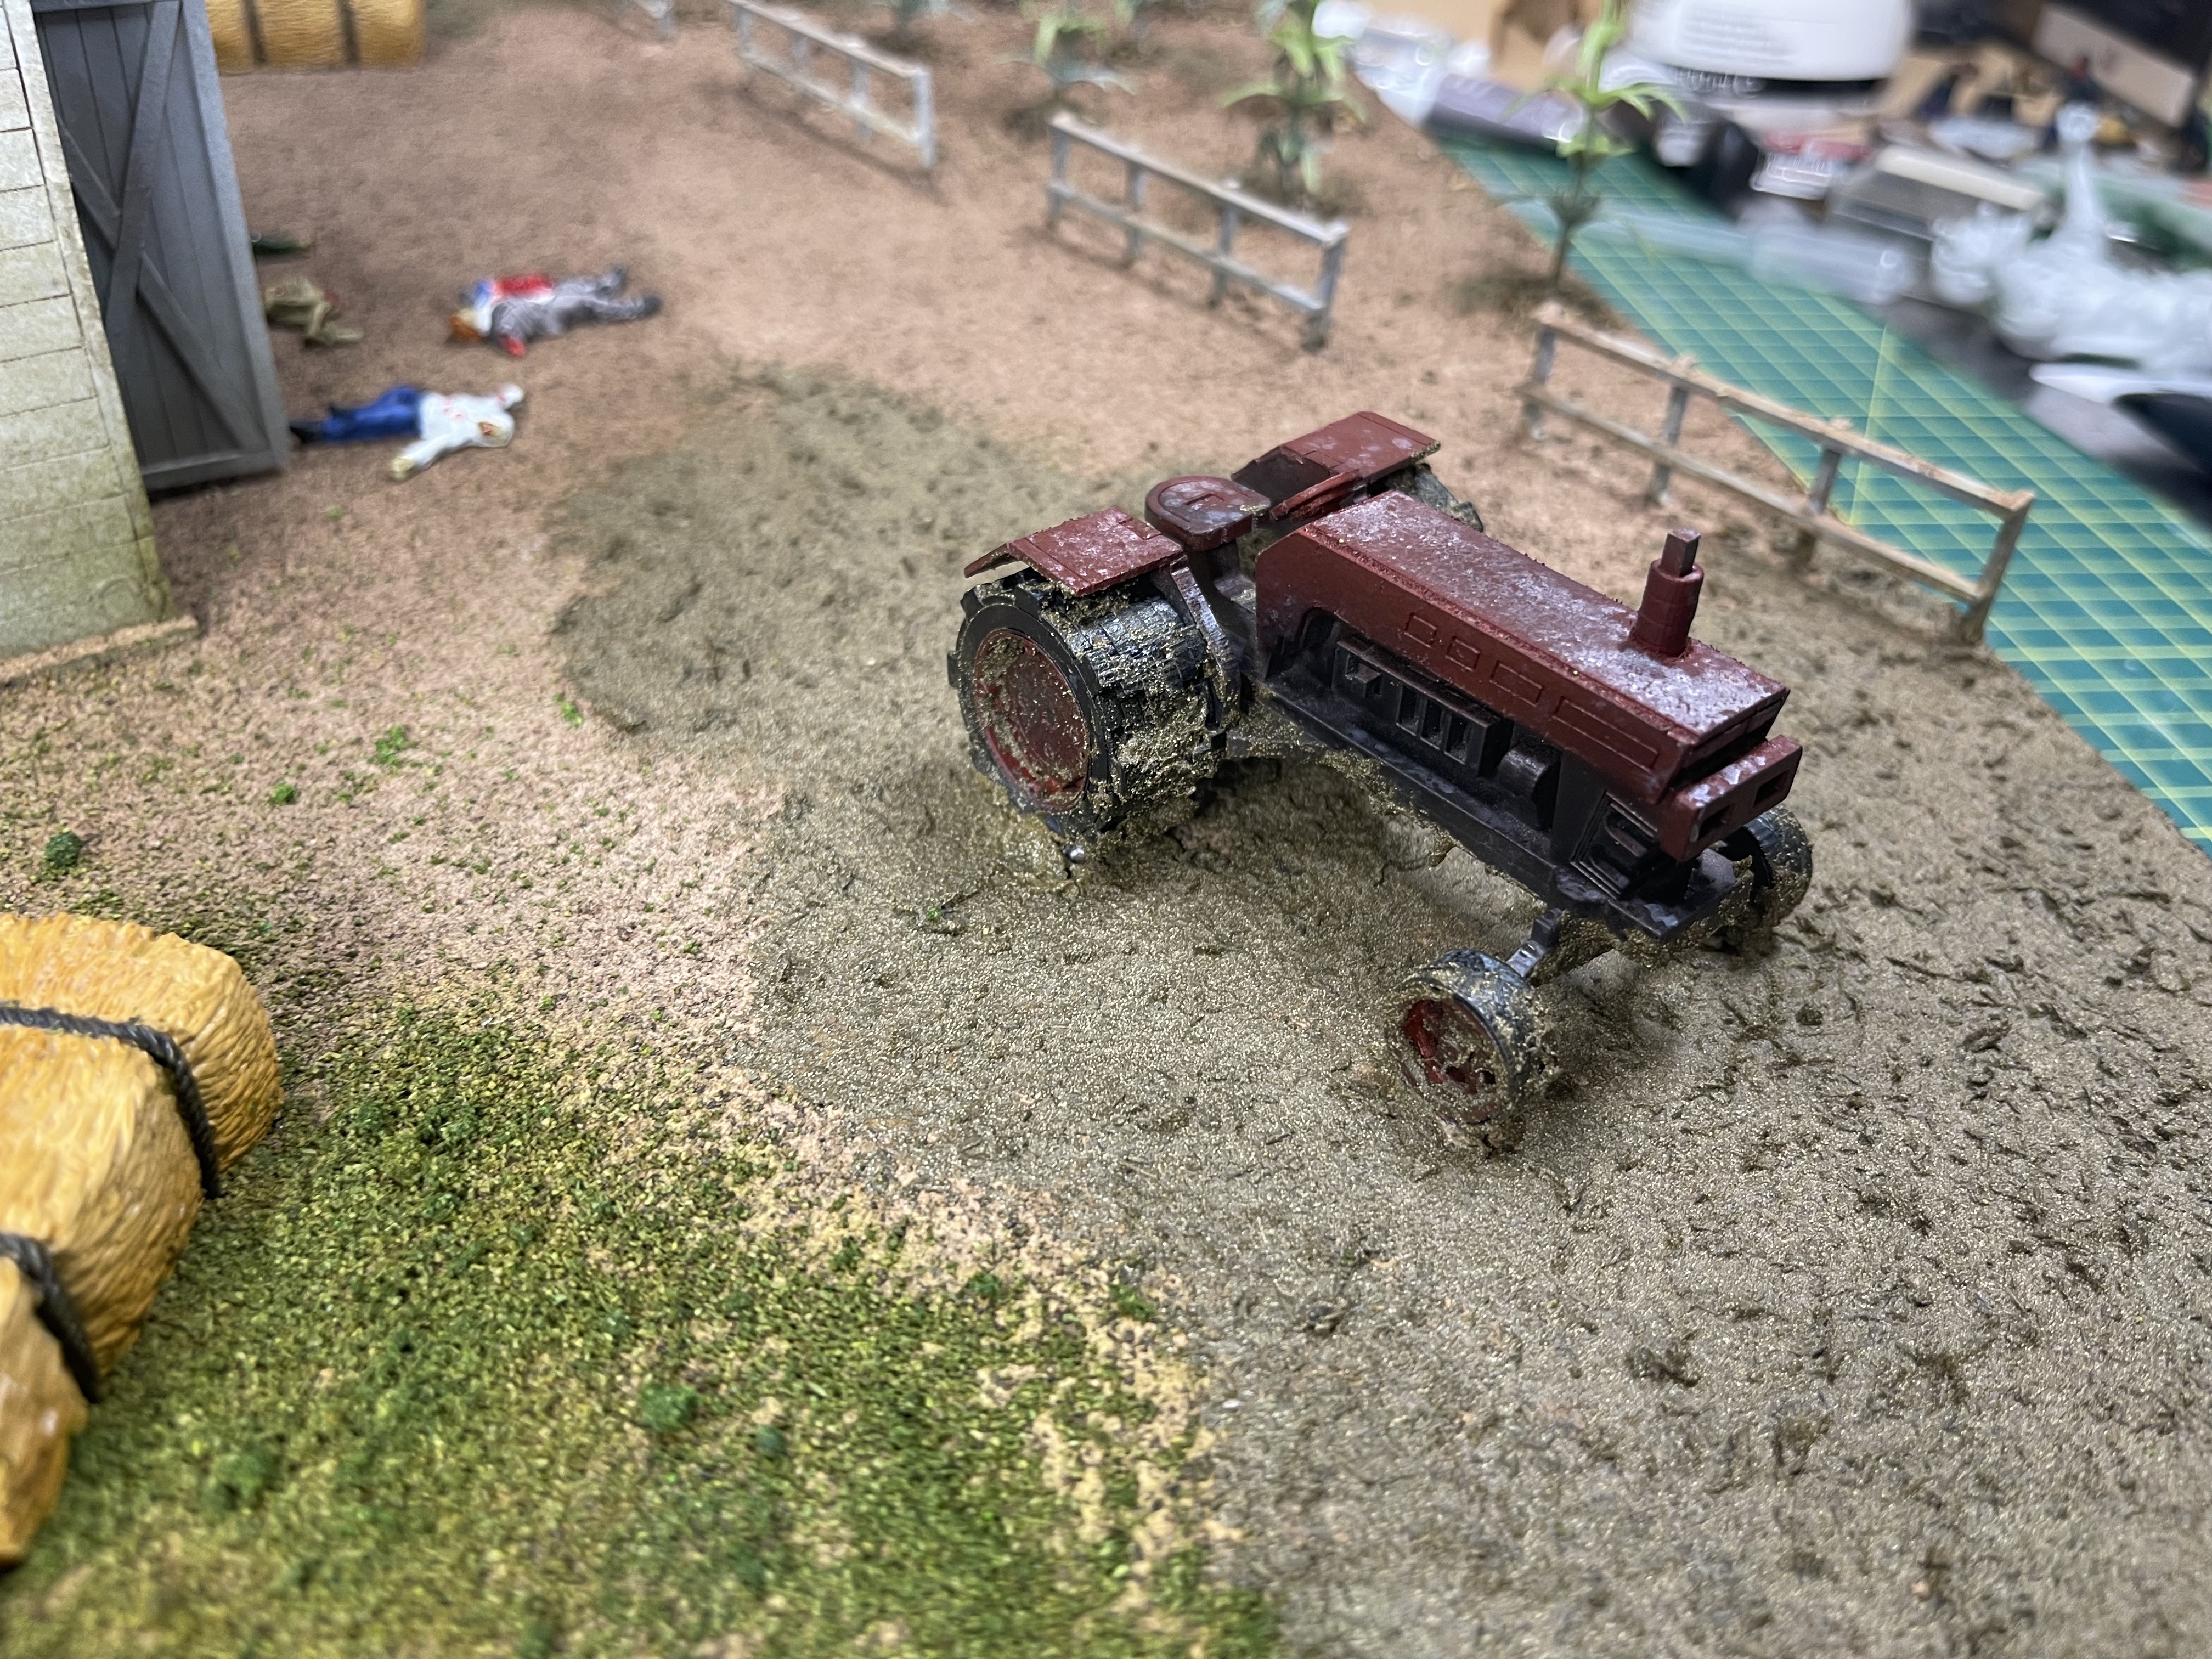 the tractor suffers from the varnish 'booming' when I put the ground cover down (ISO and PVA/Water mix)
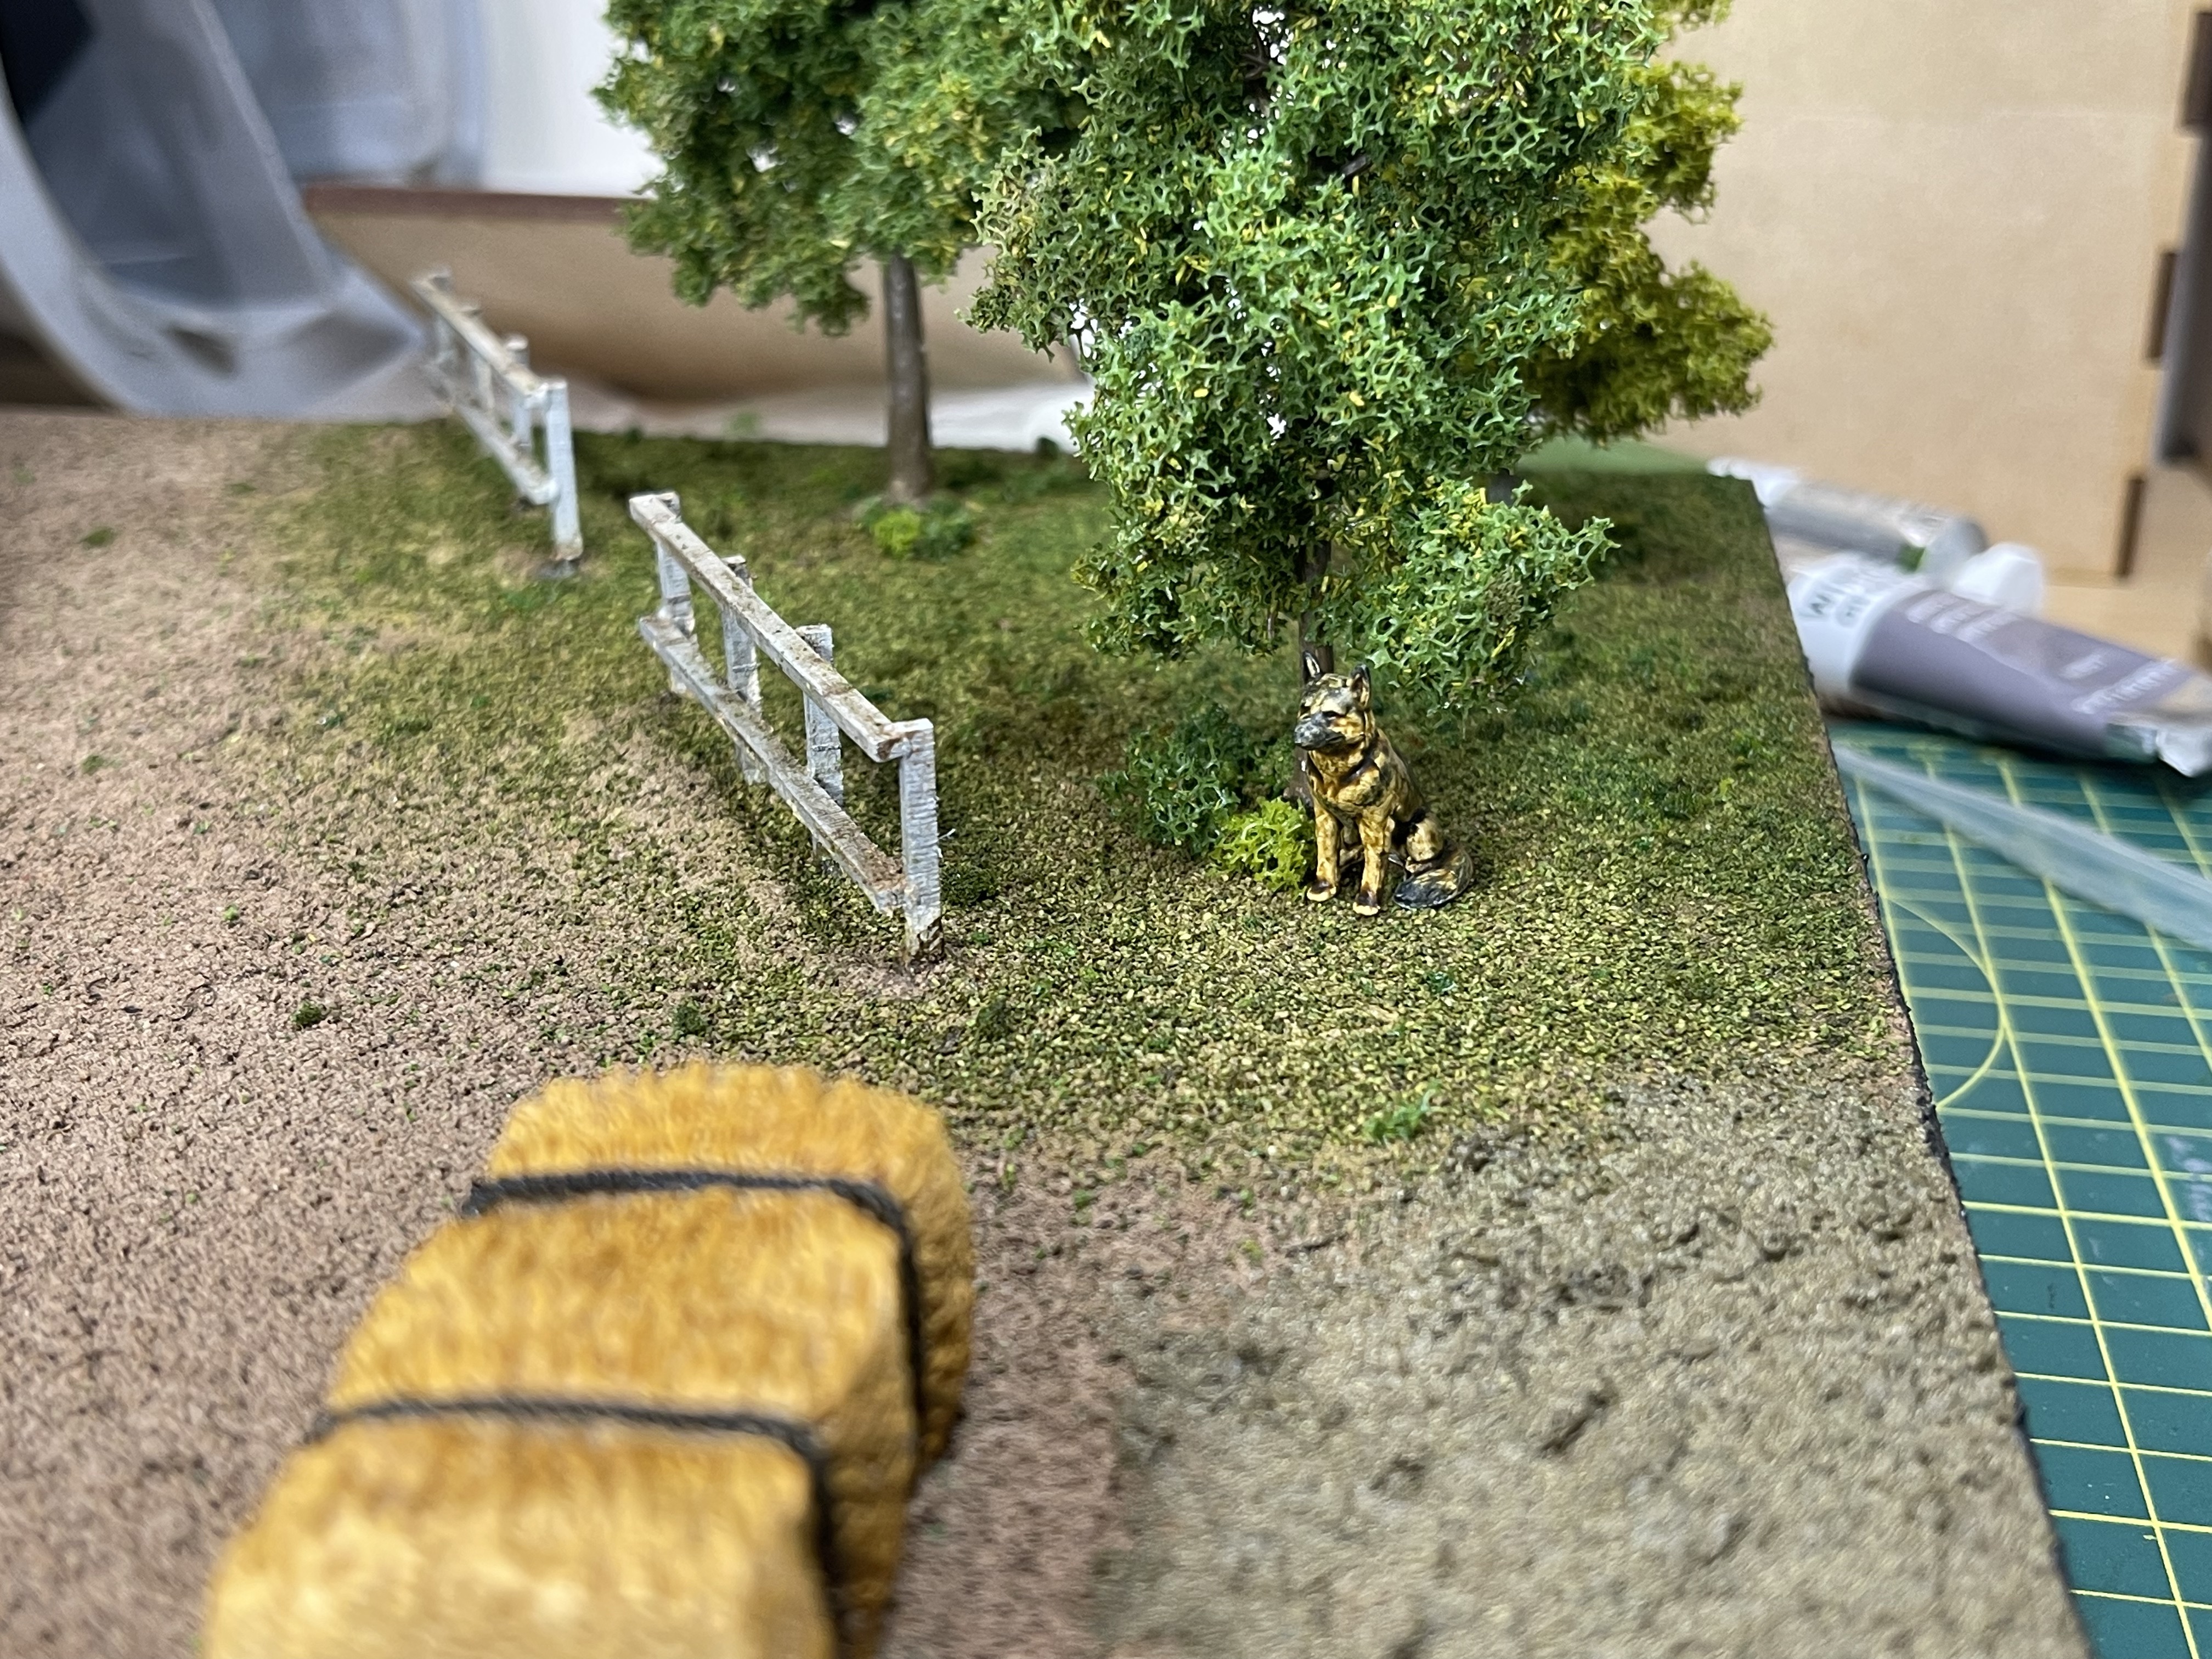 The dog is hiding under the shade, awaiting the opportunity to run to the dog house
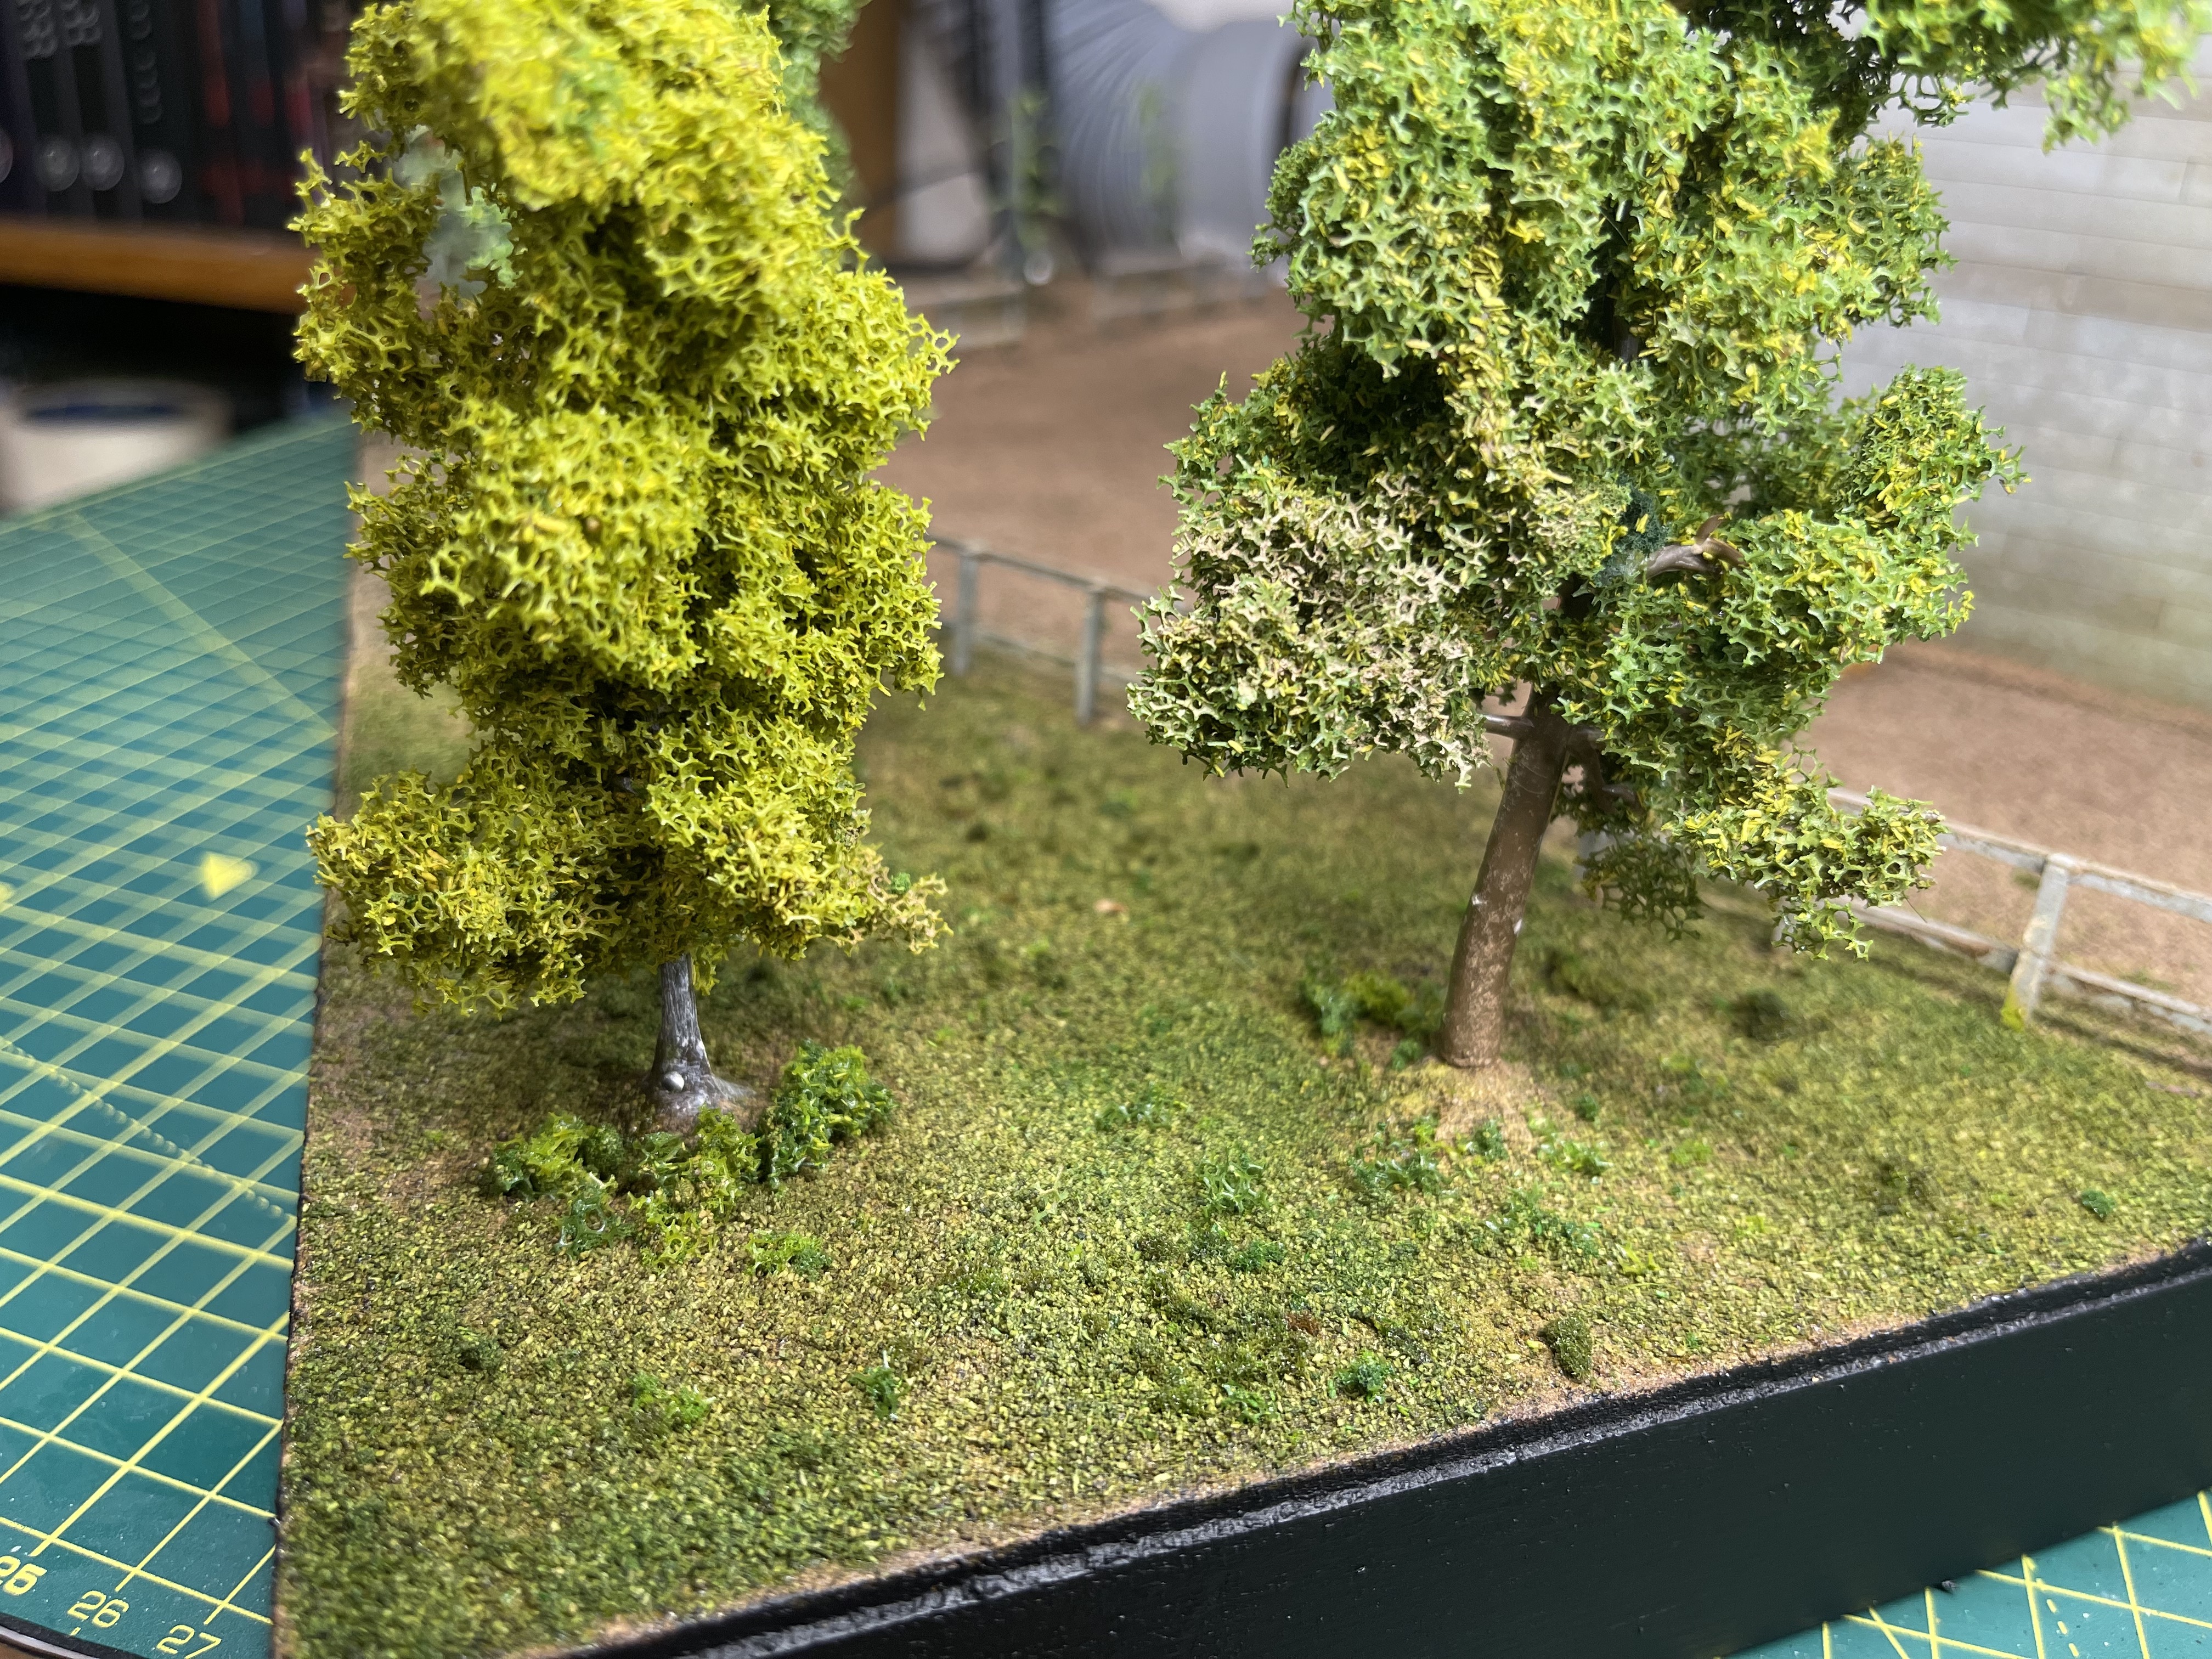
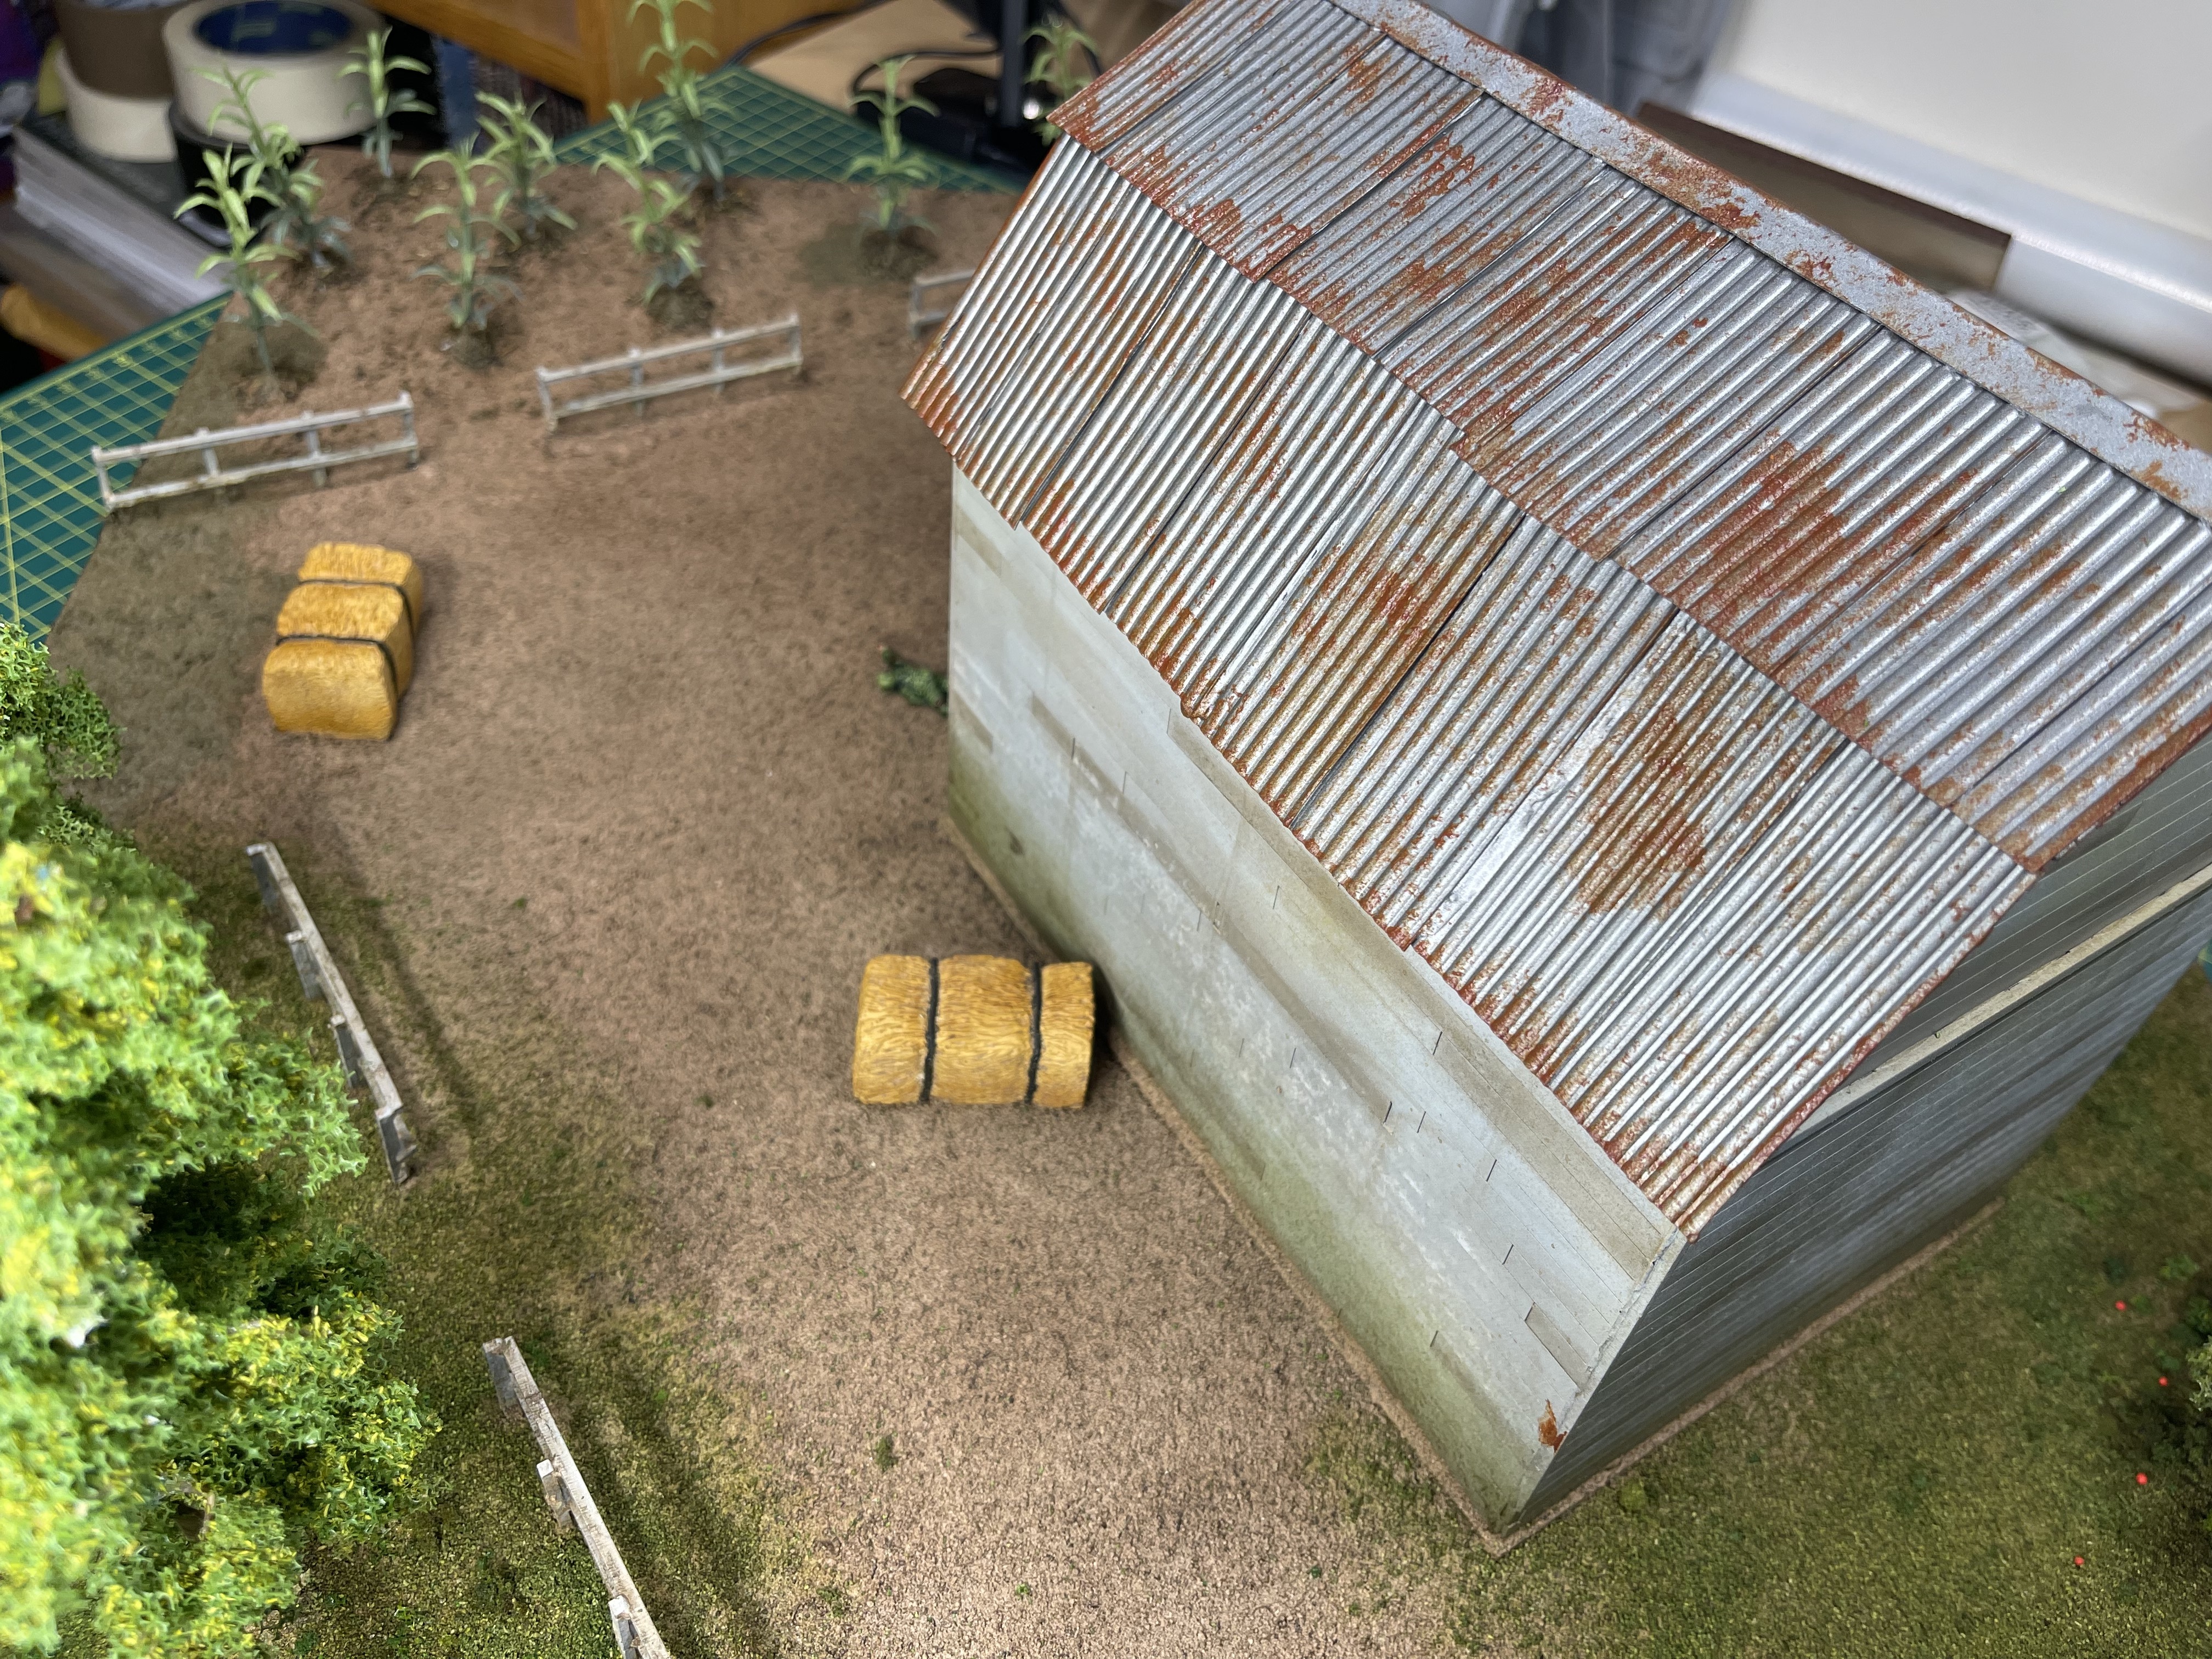
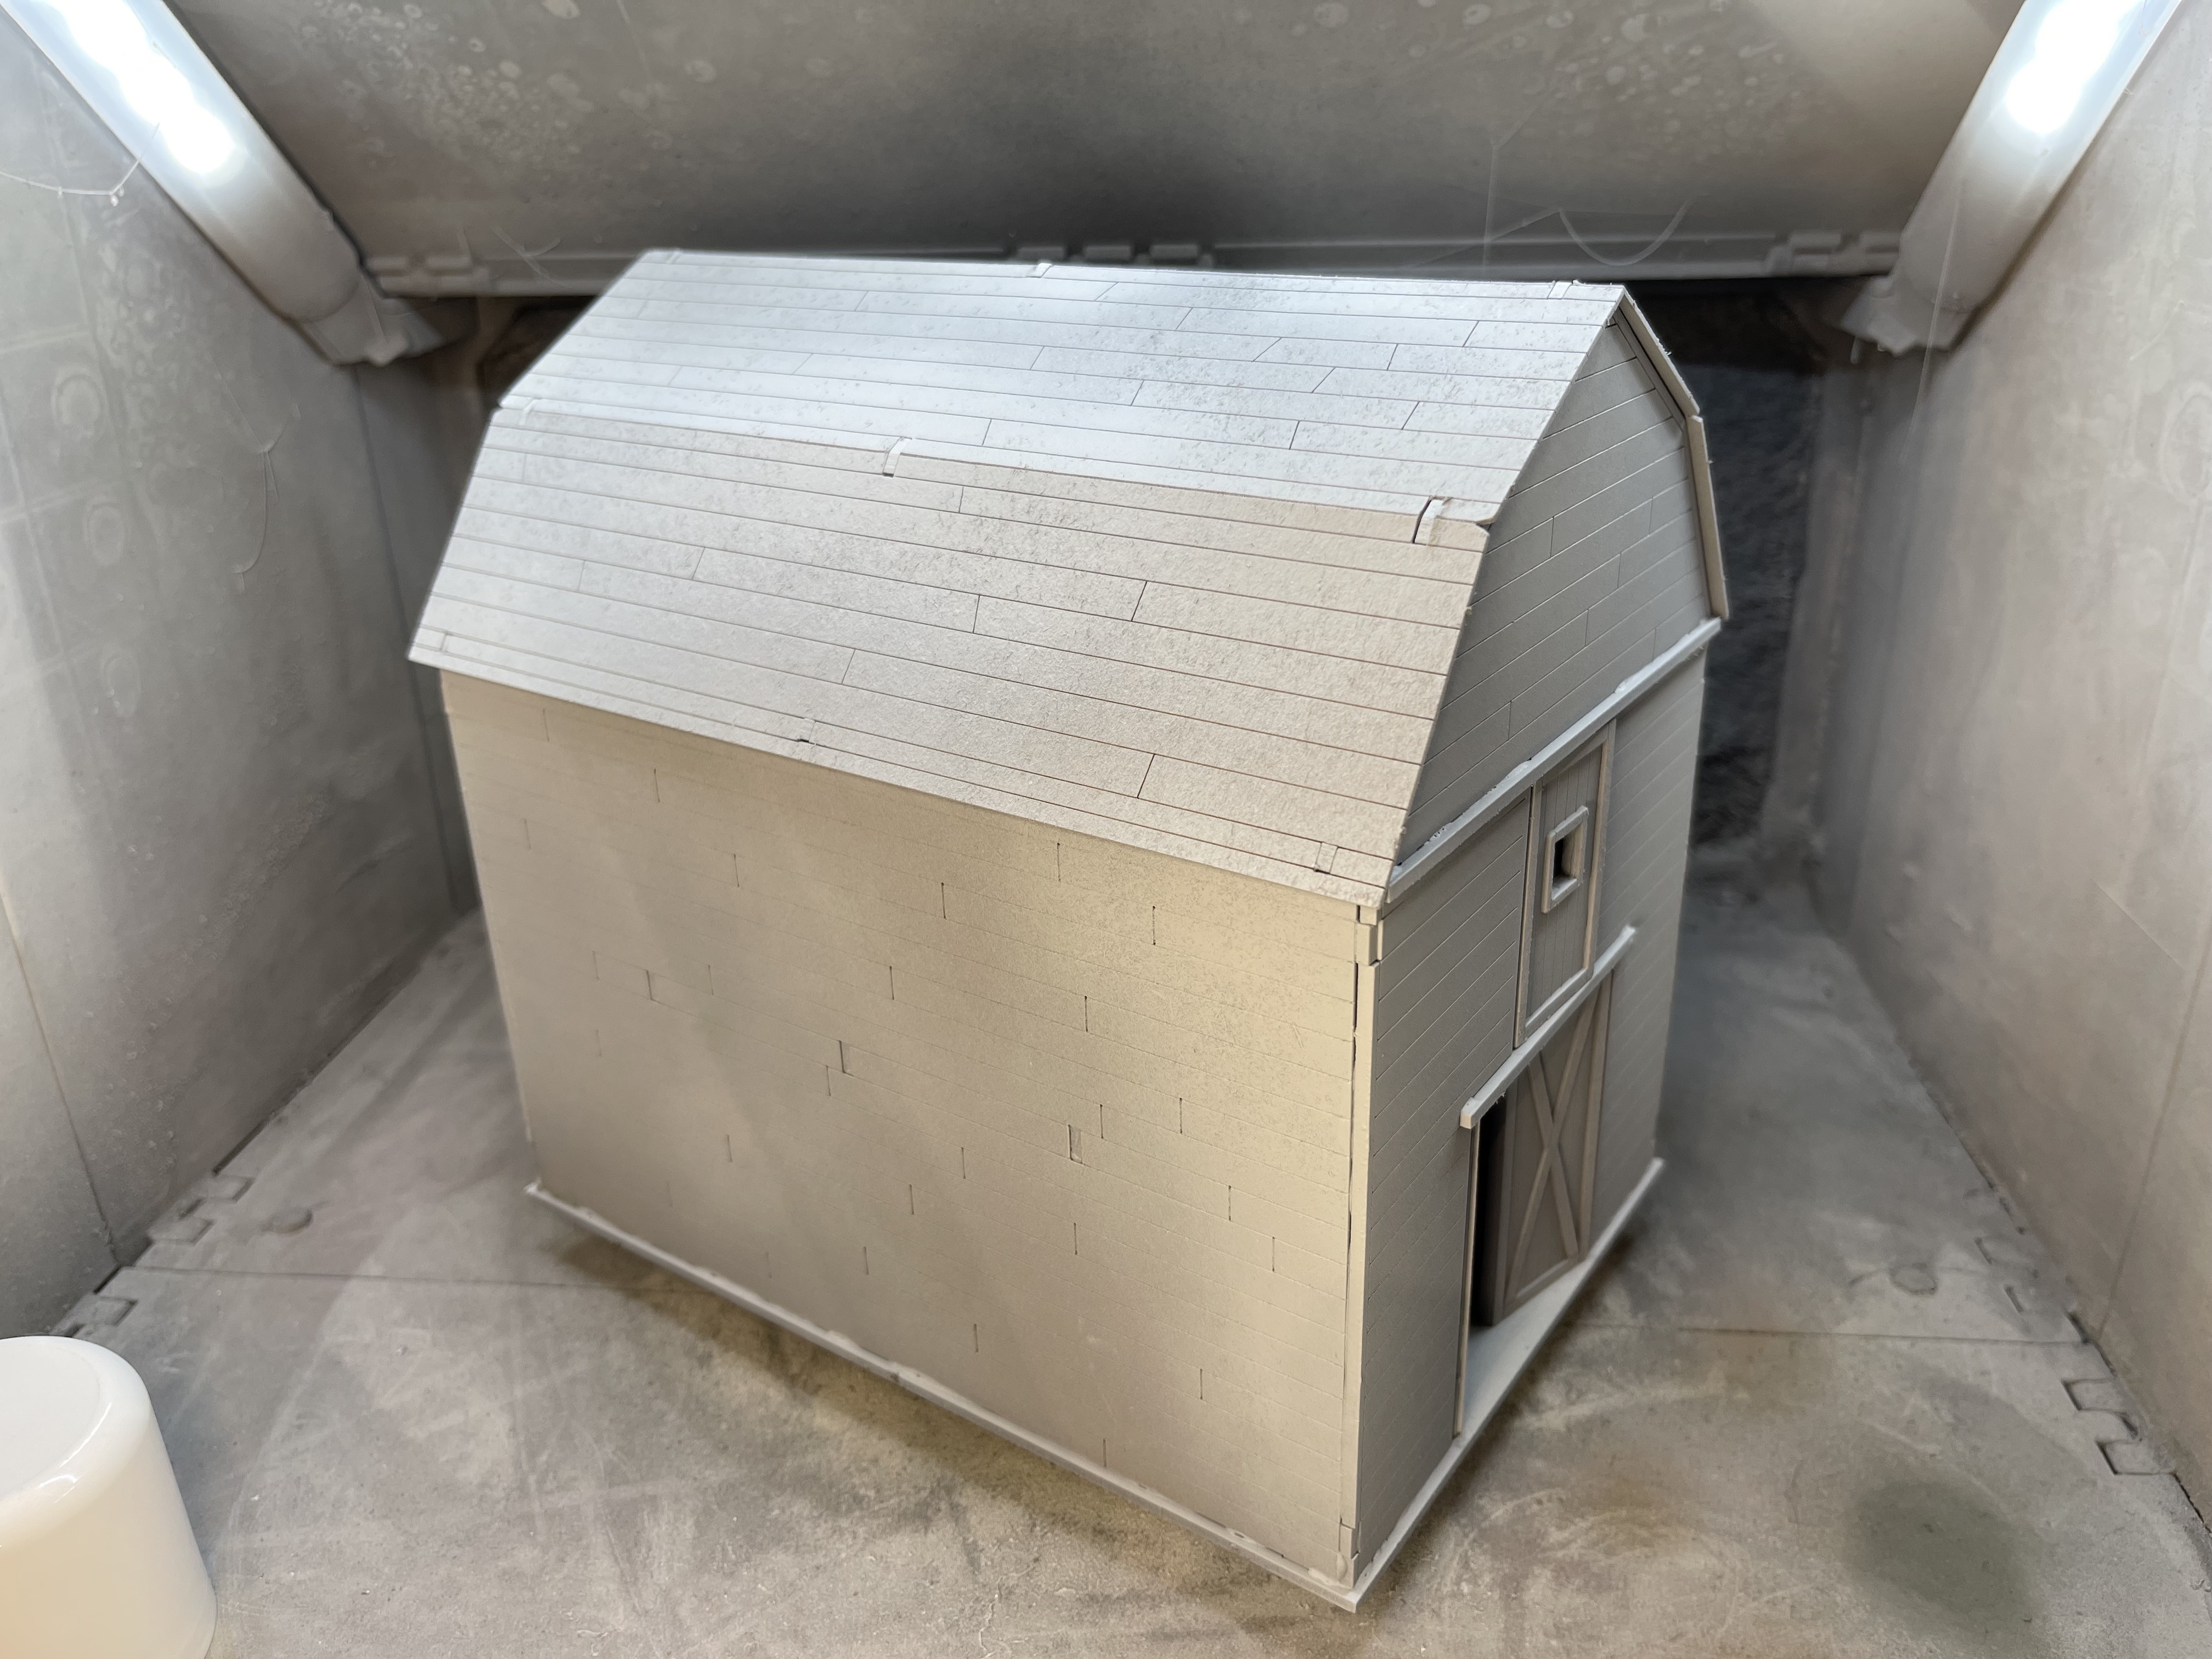
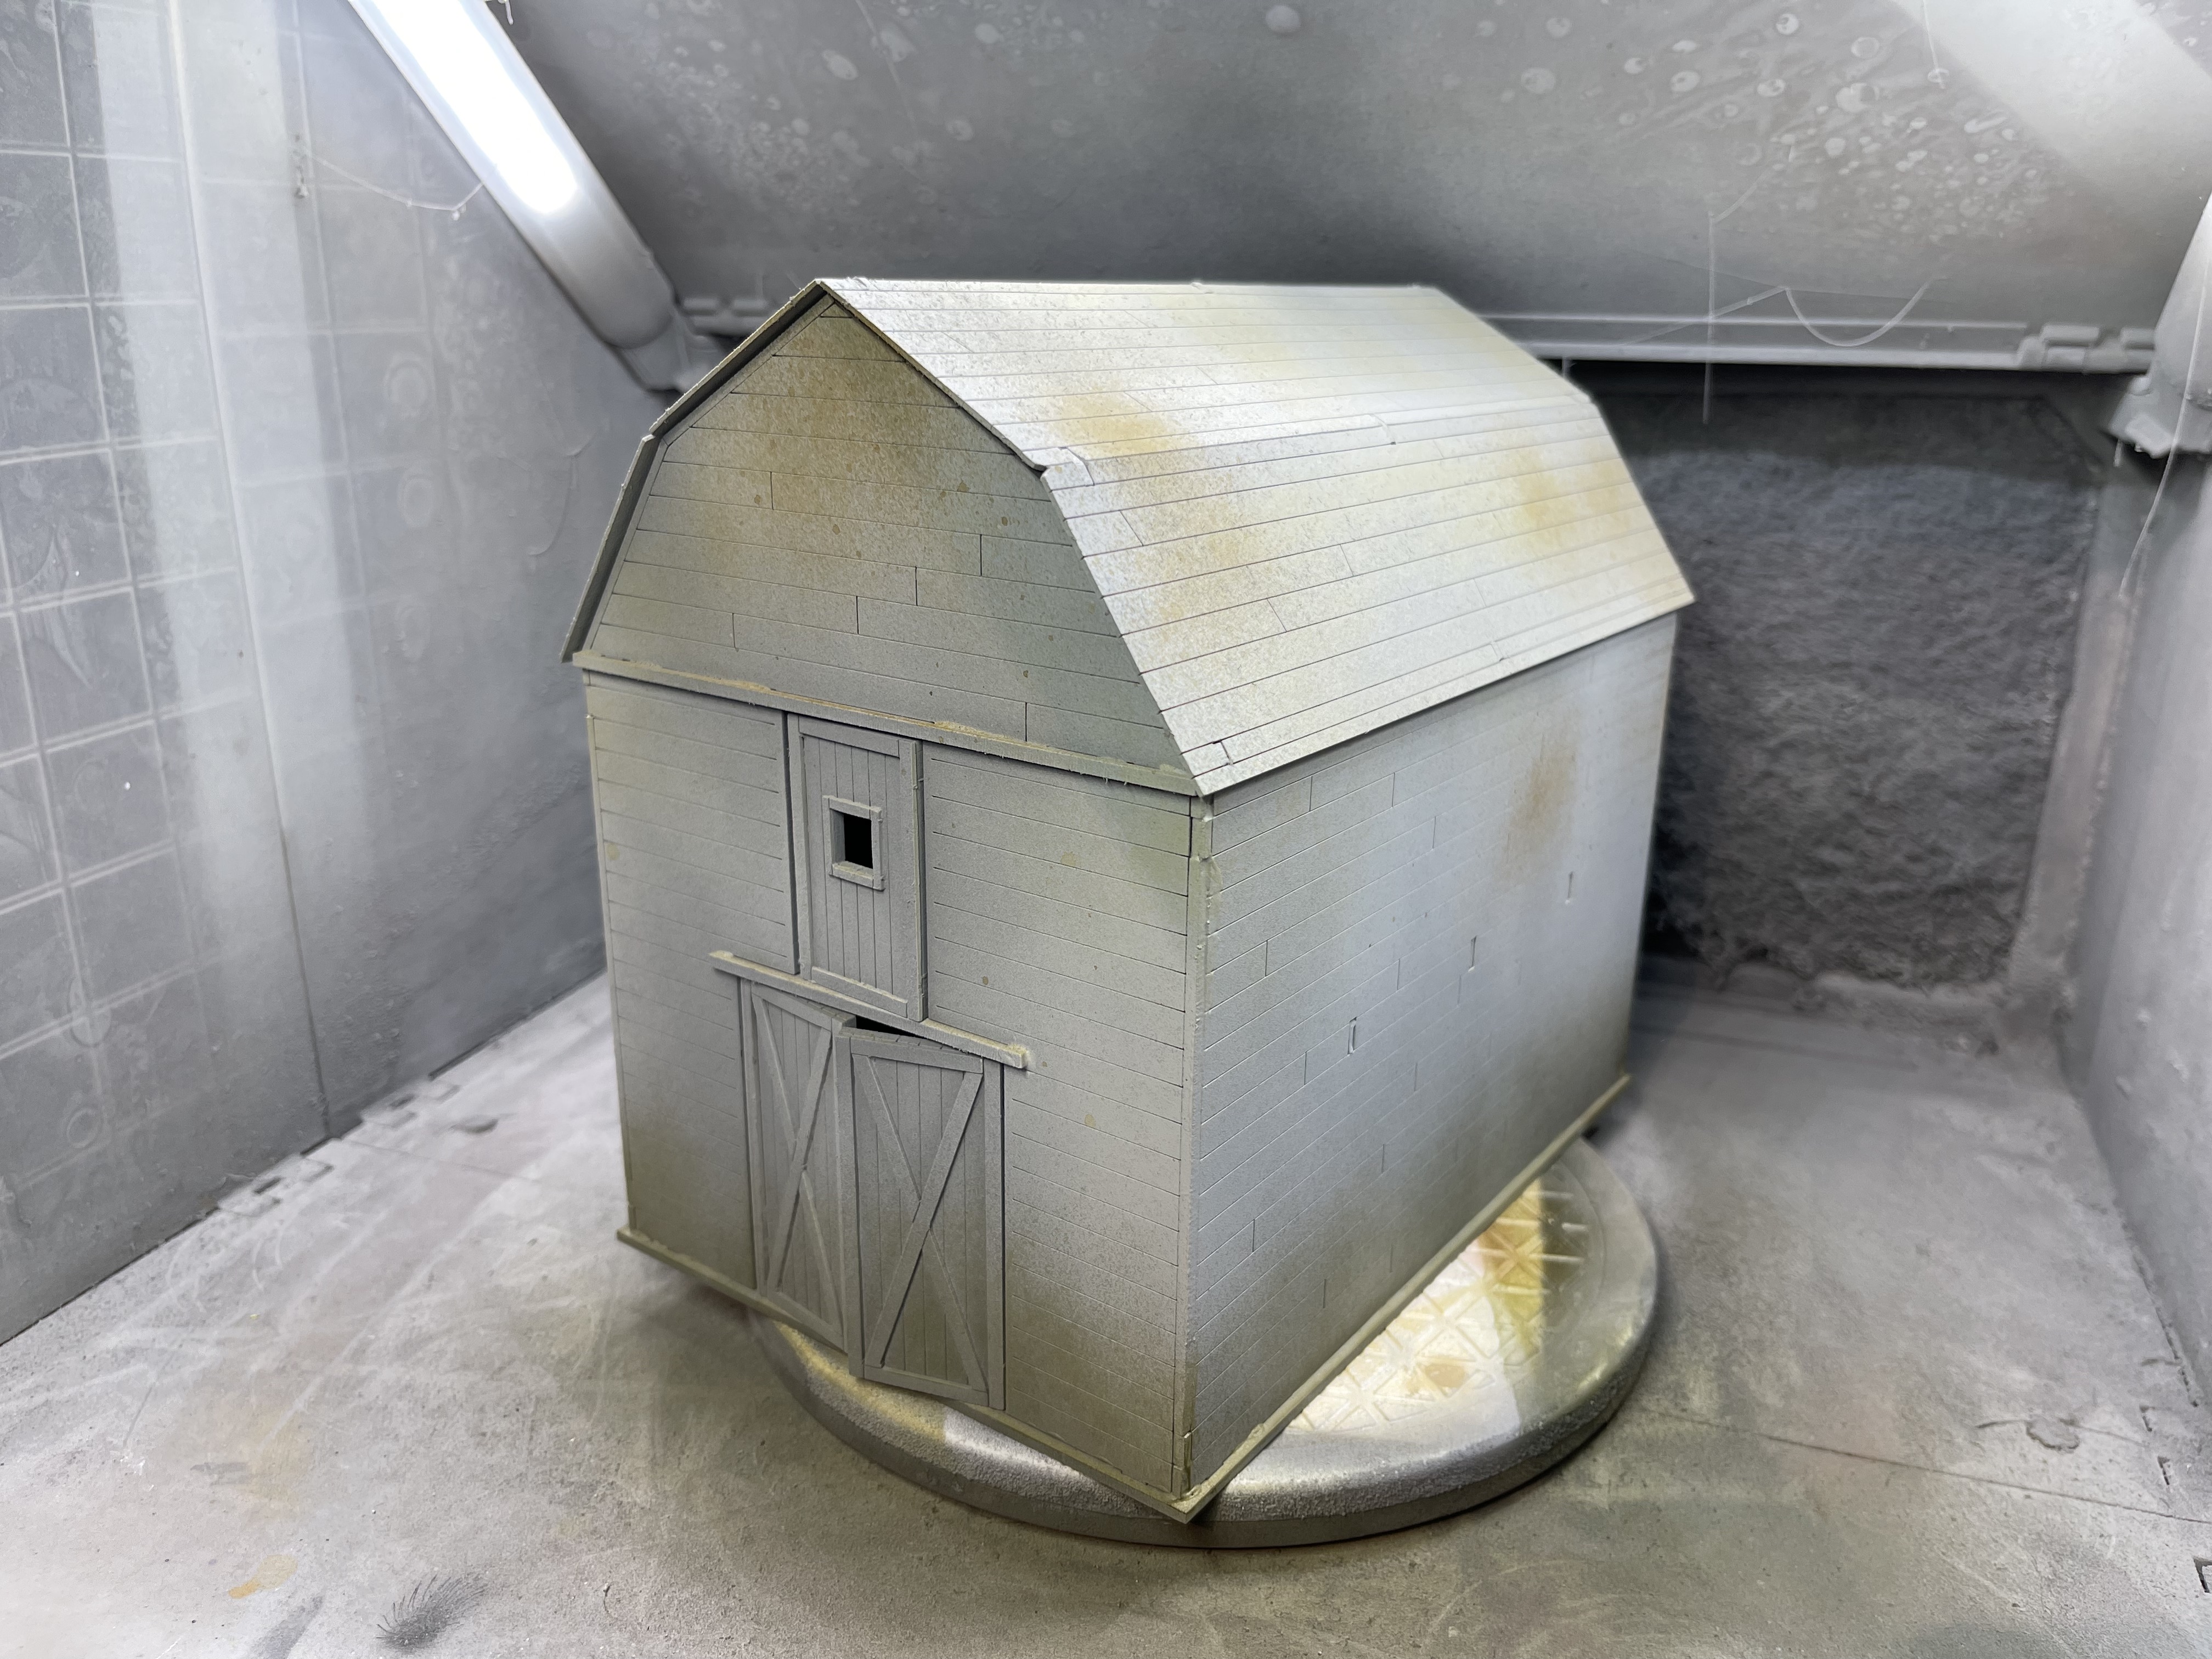
 weathered barn side
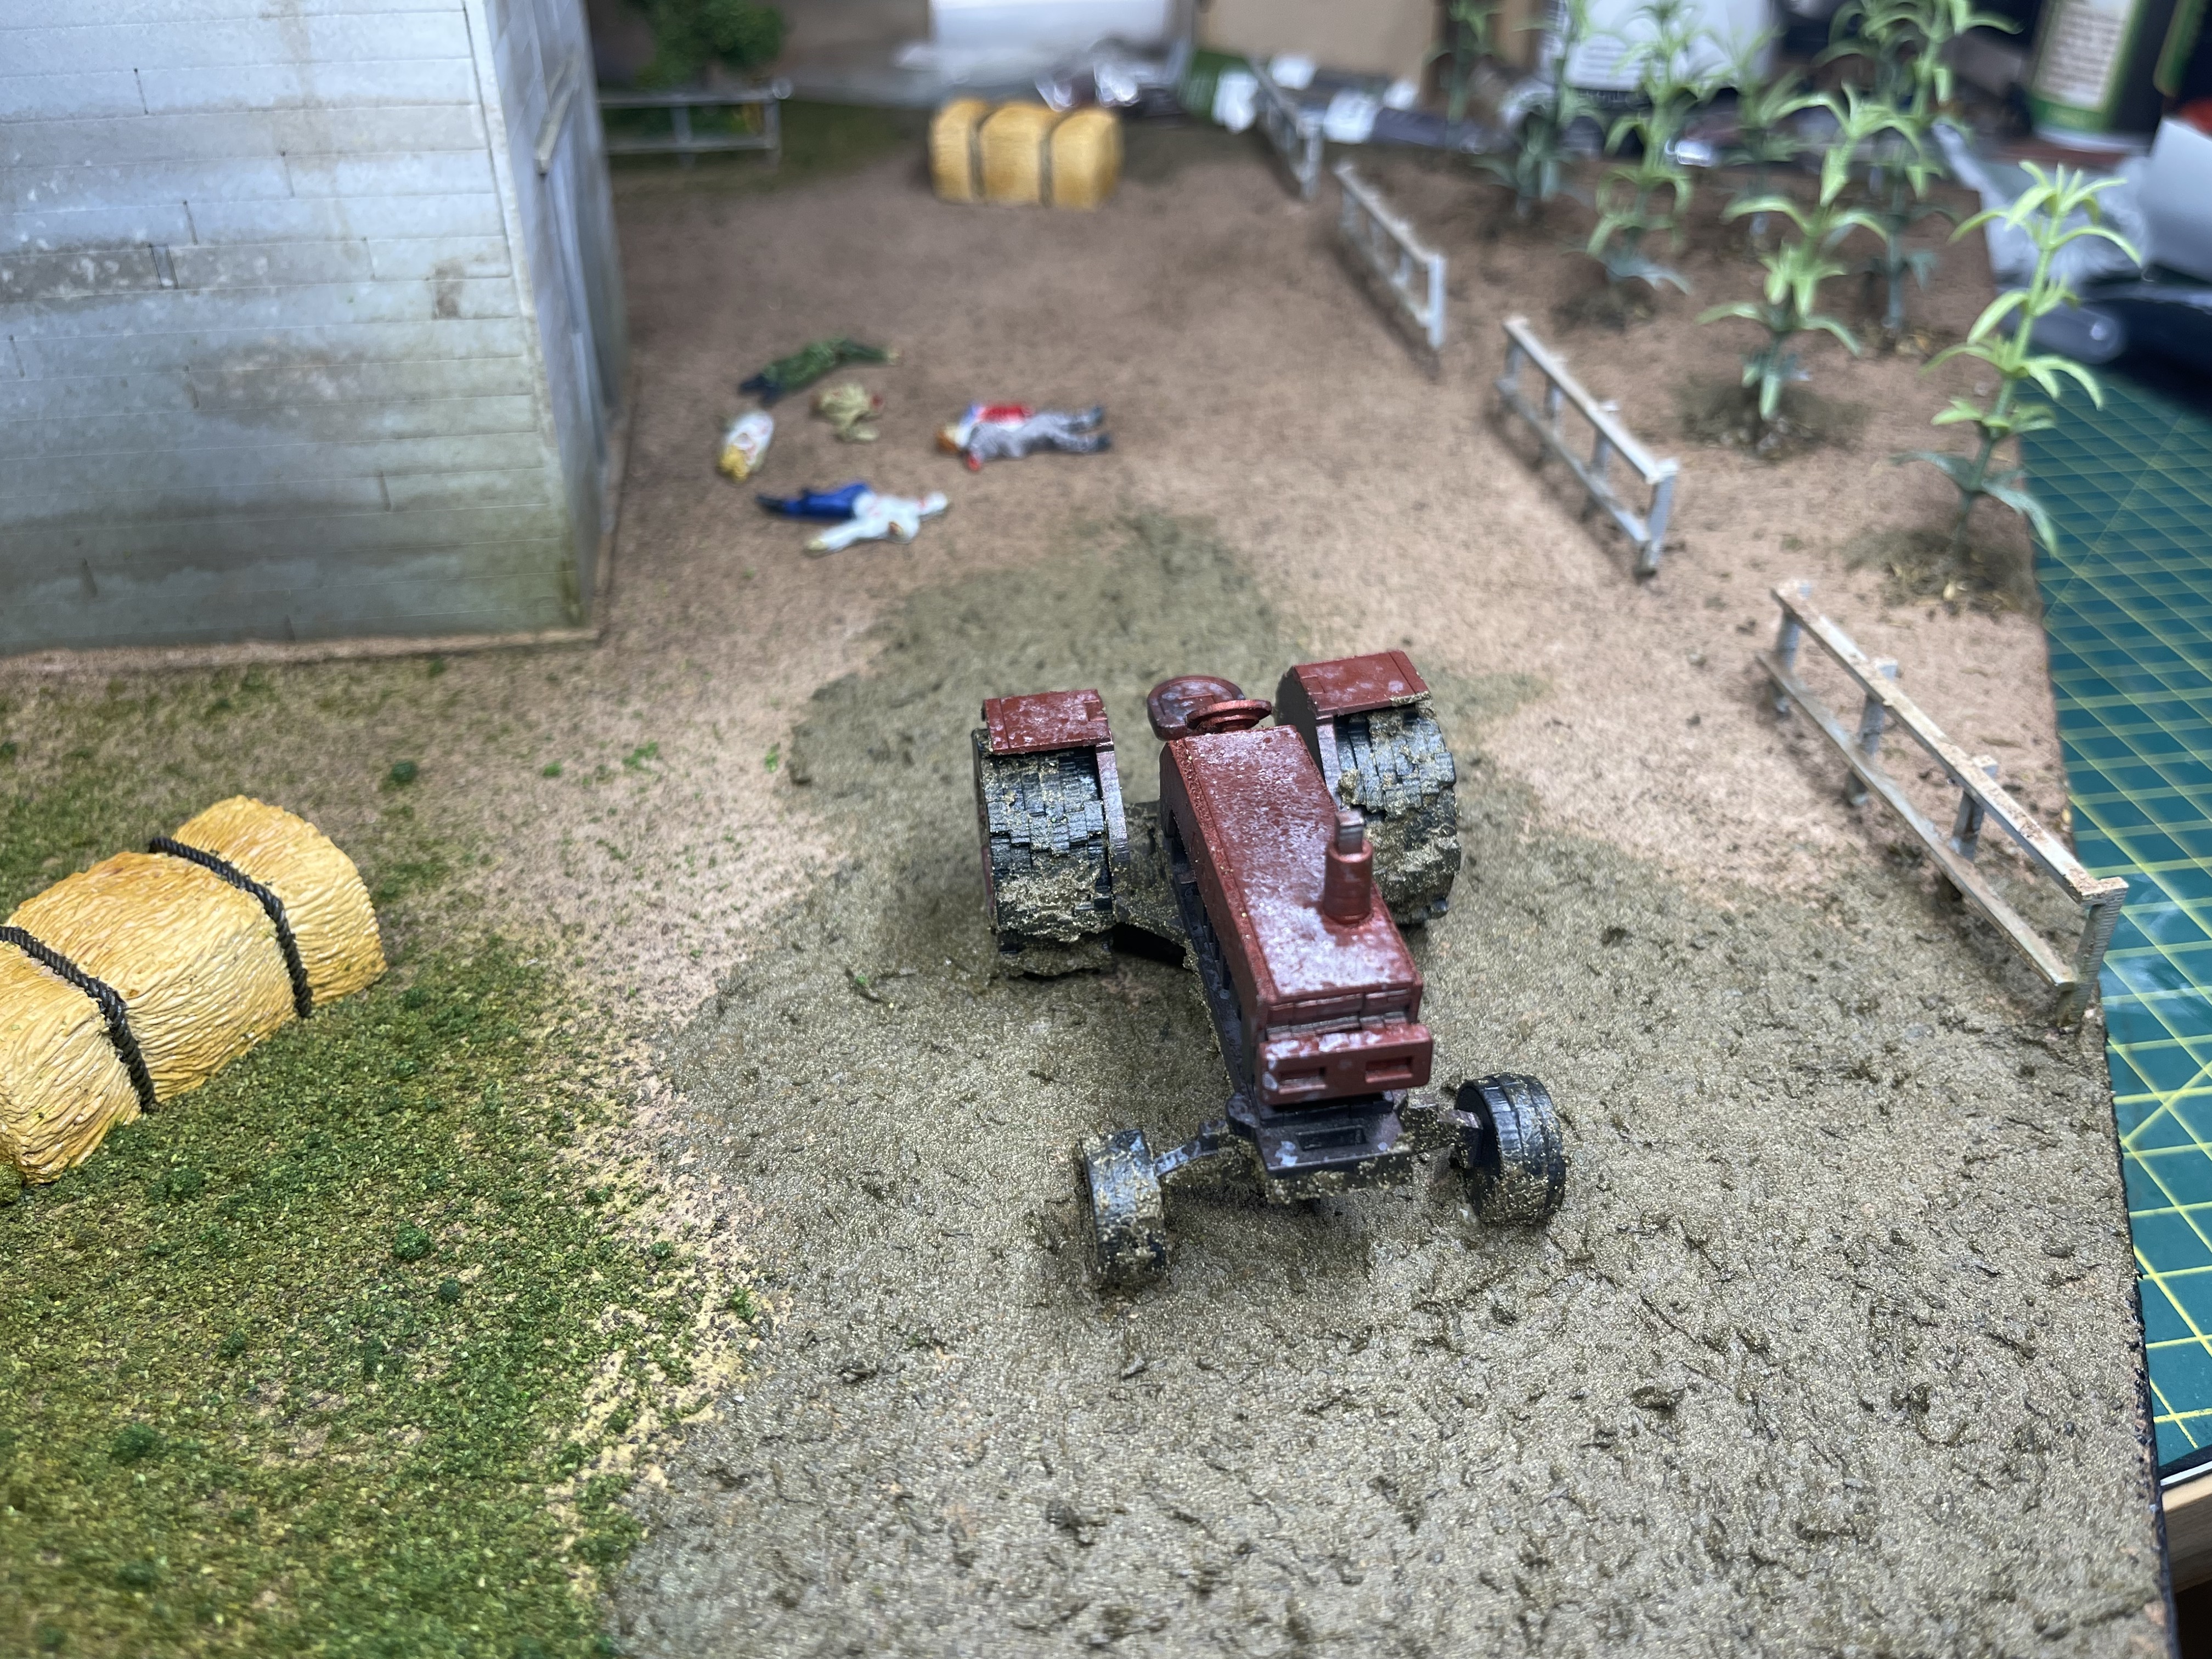
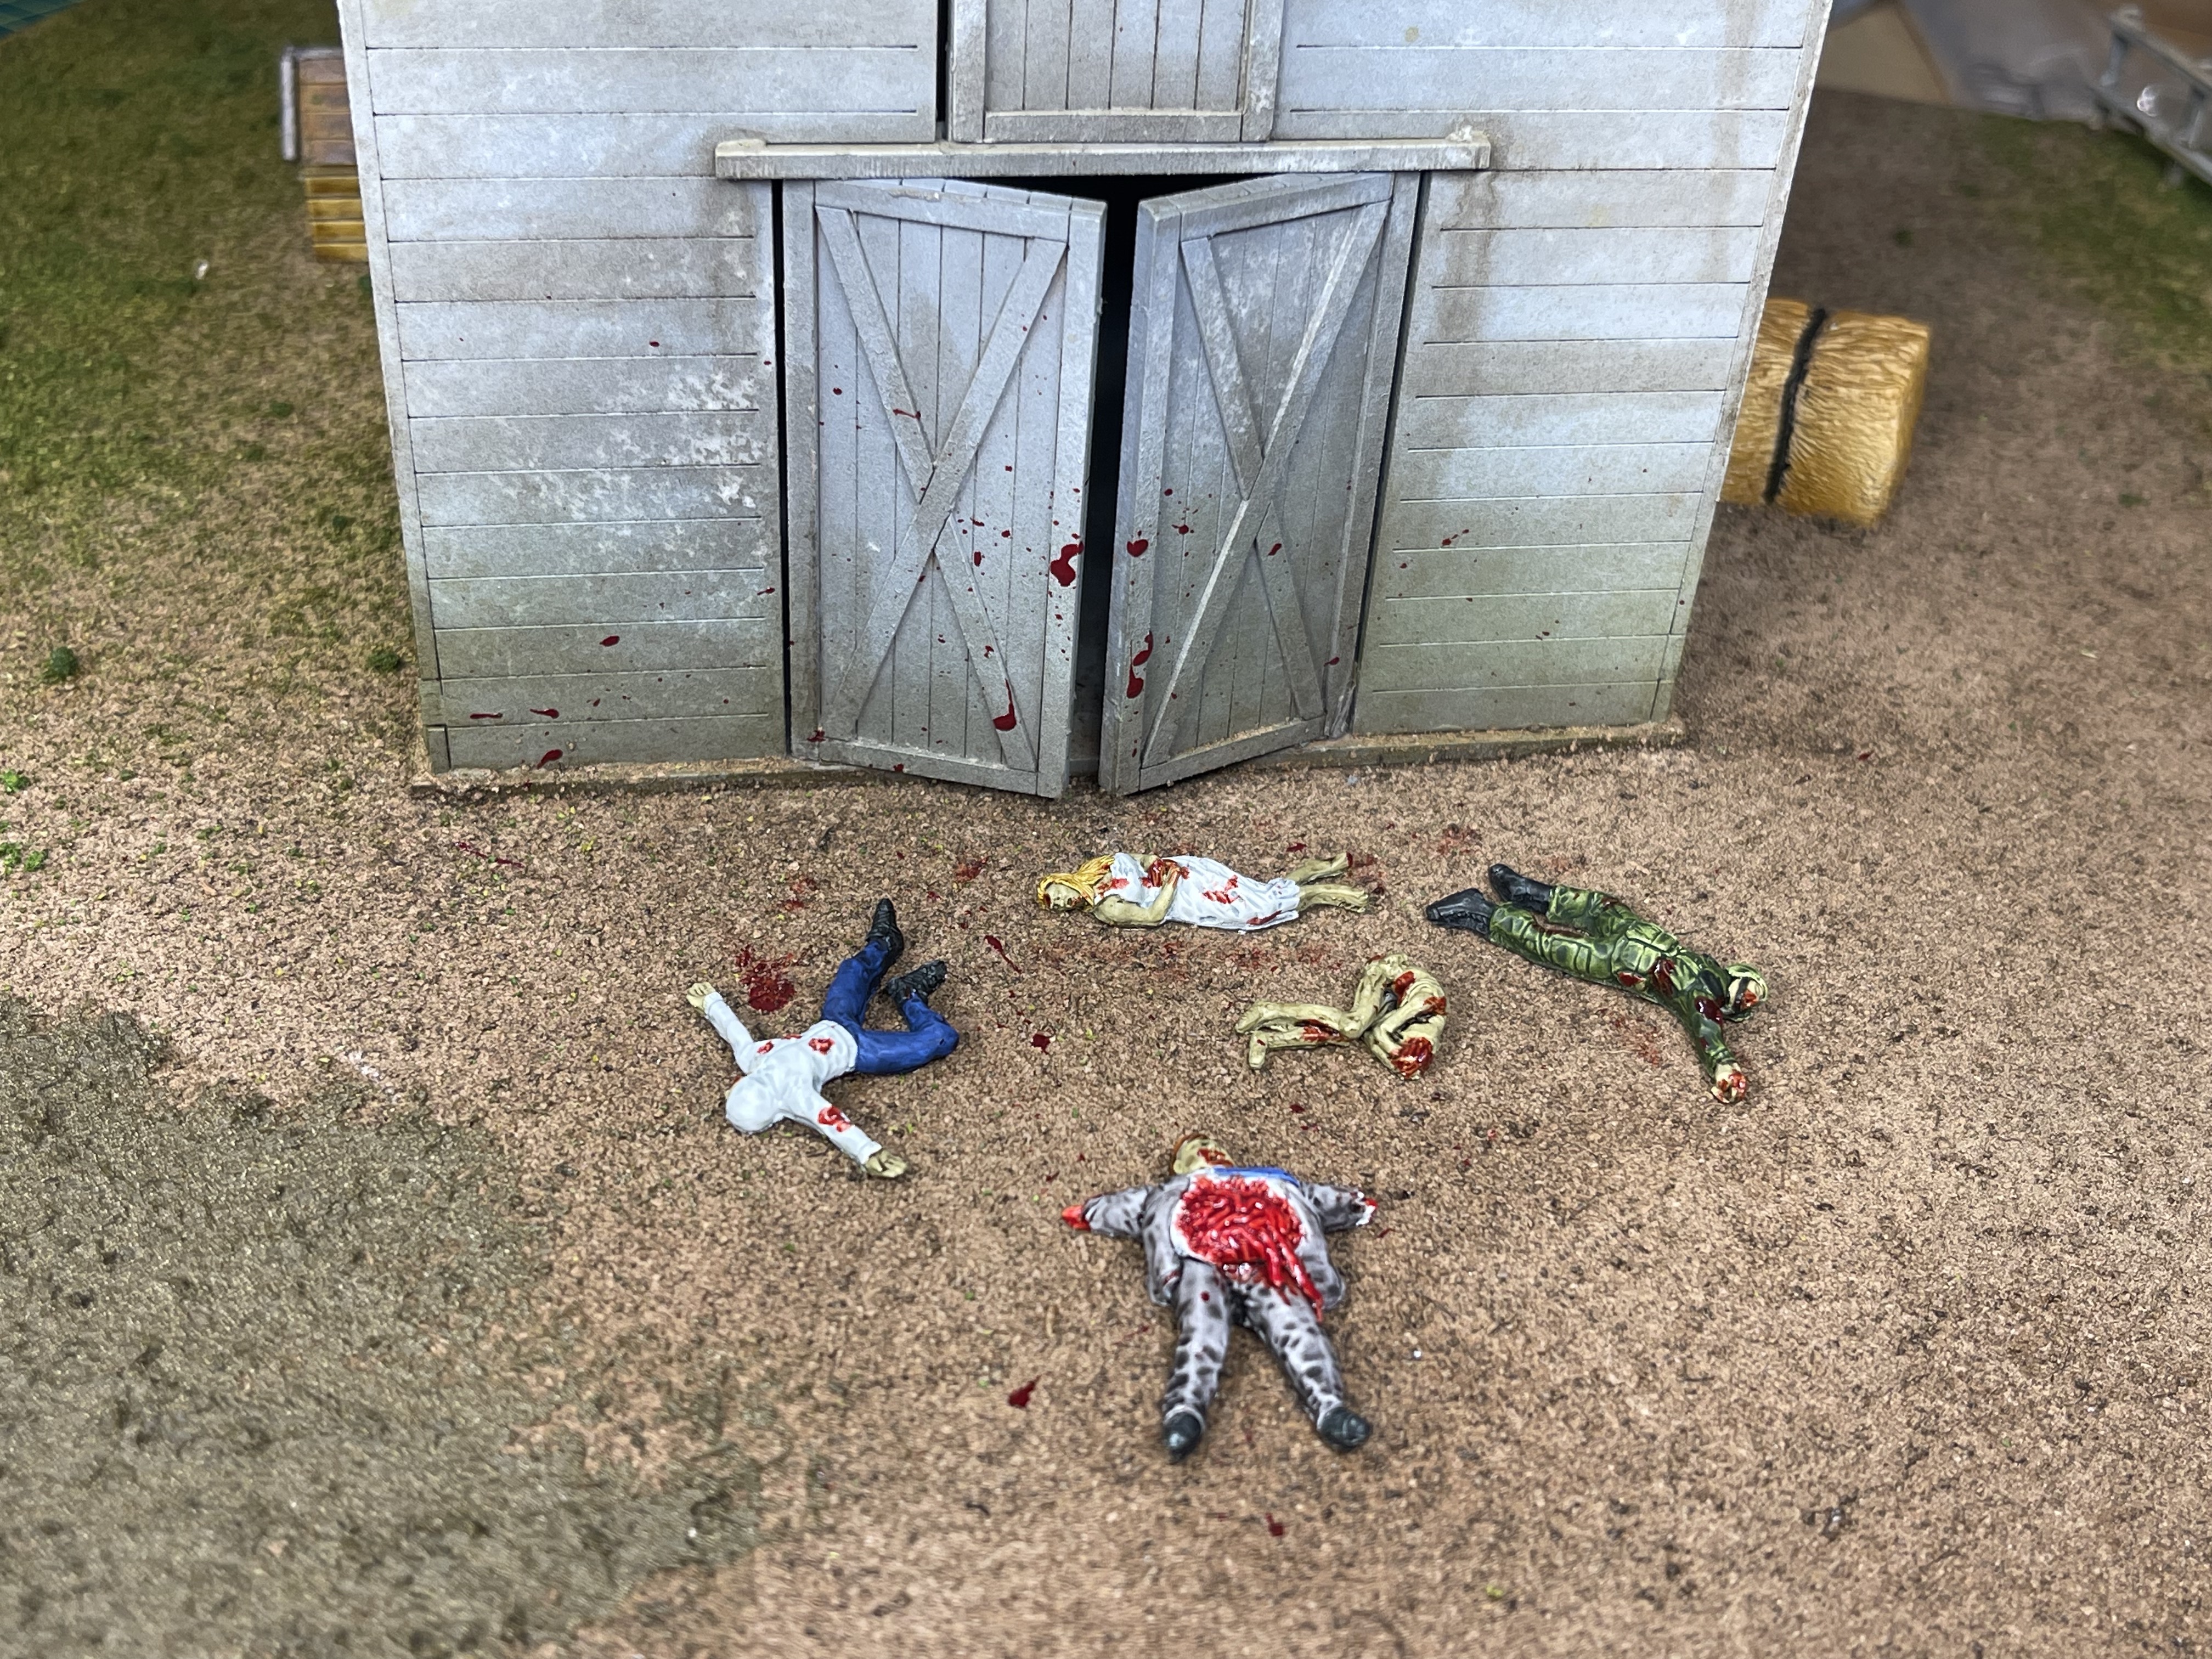
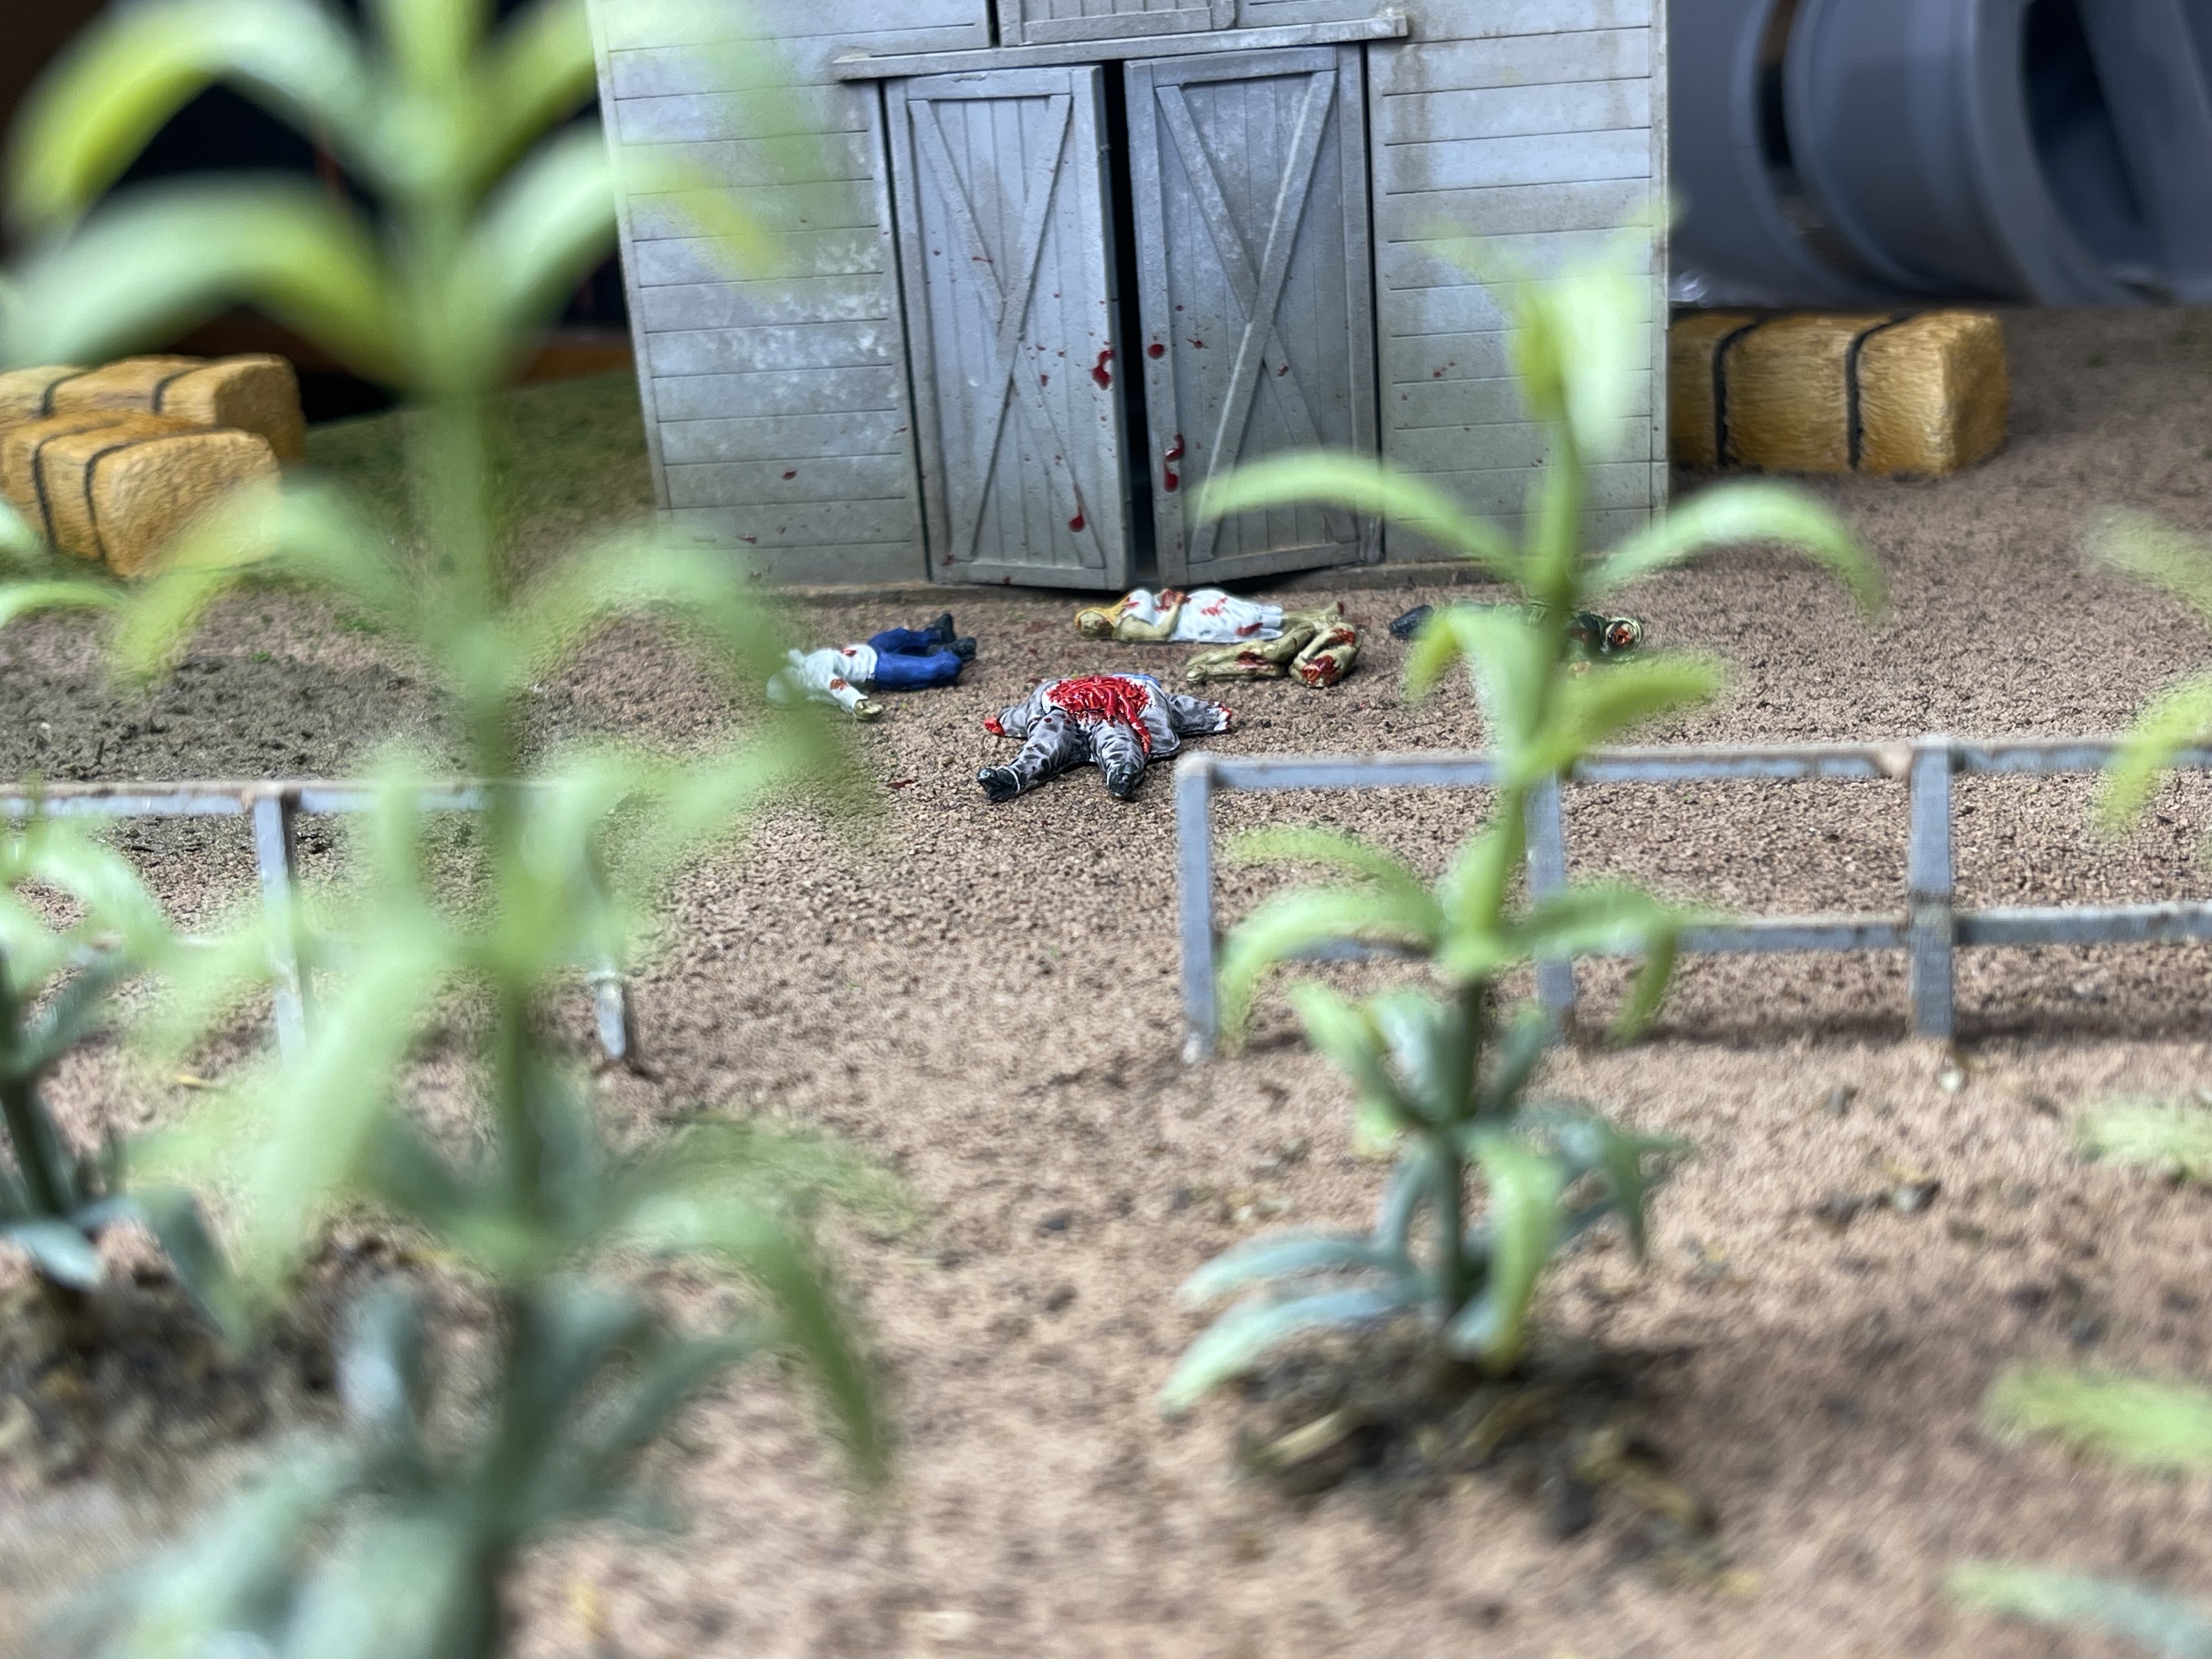
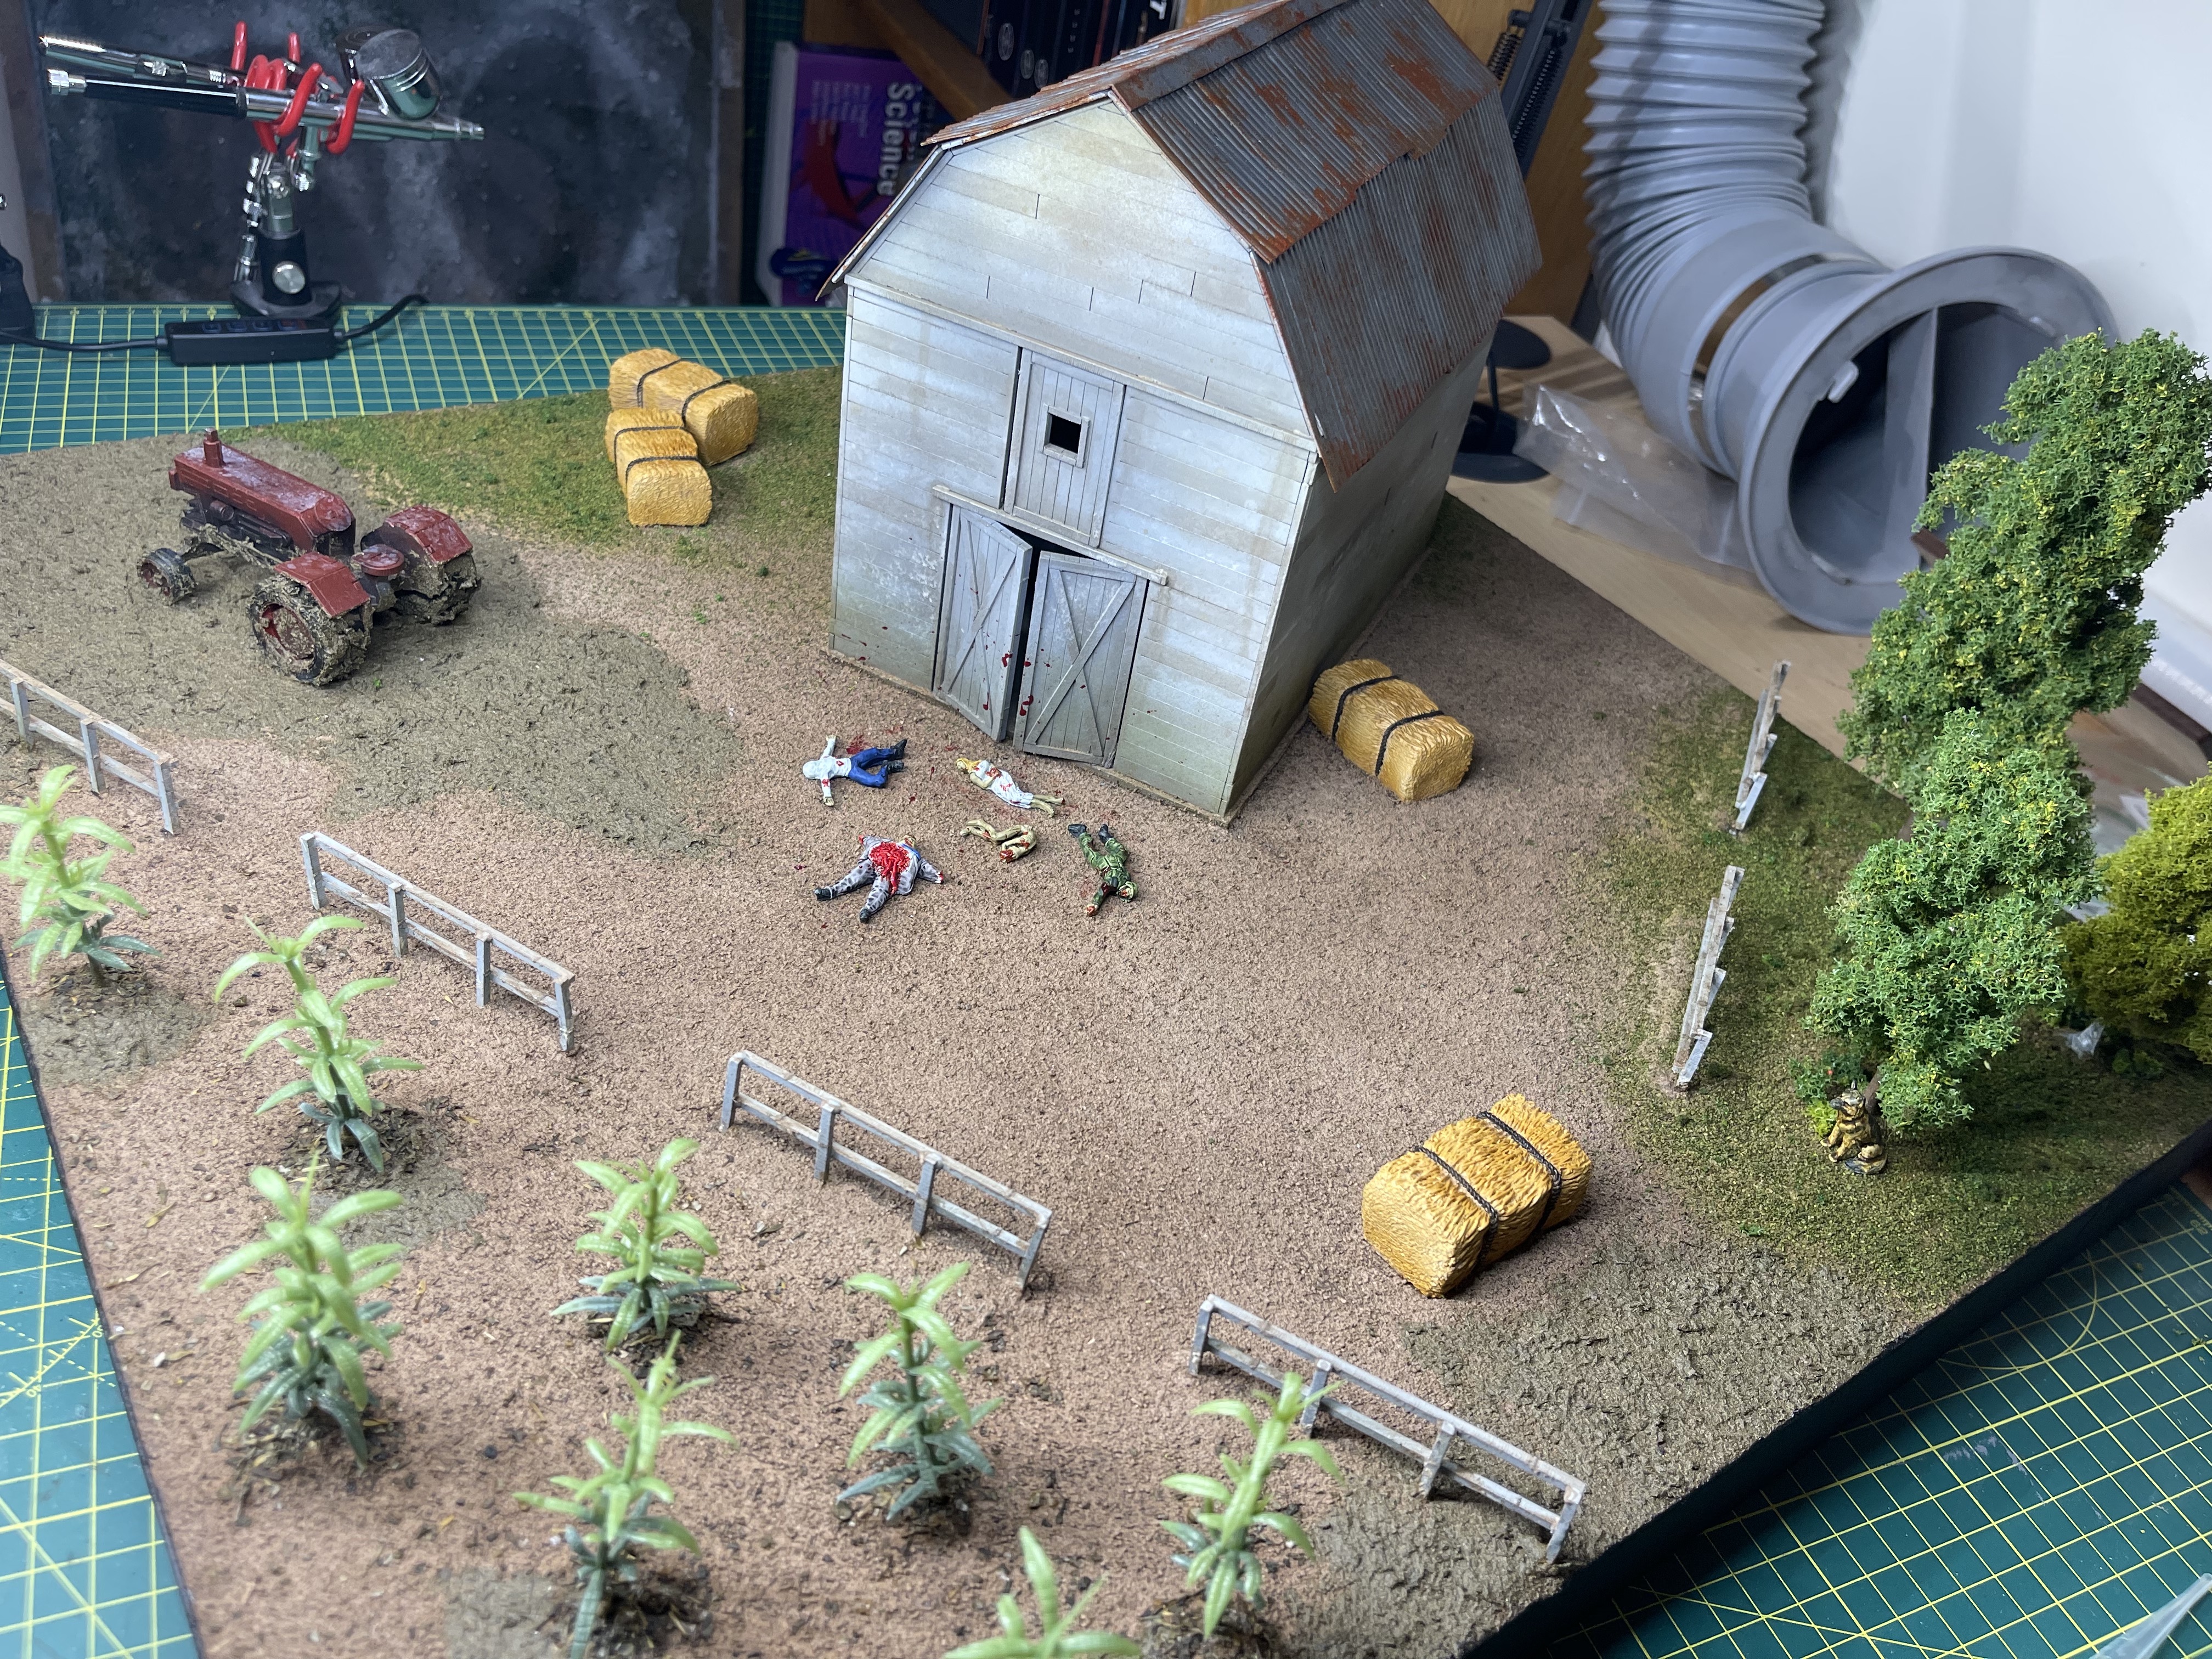
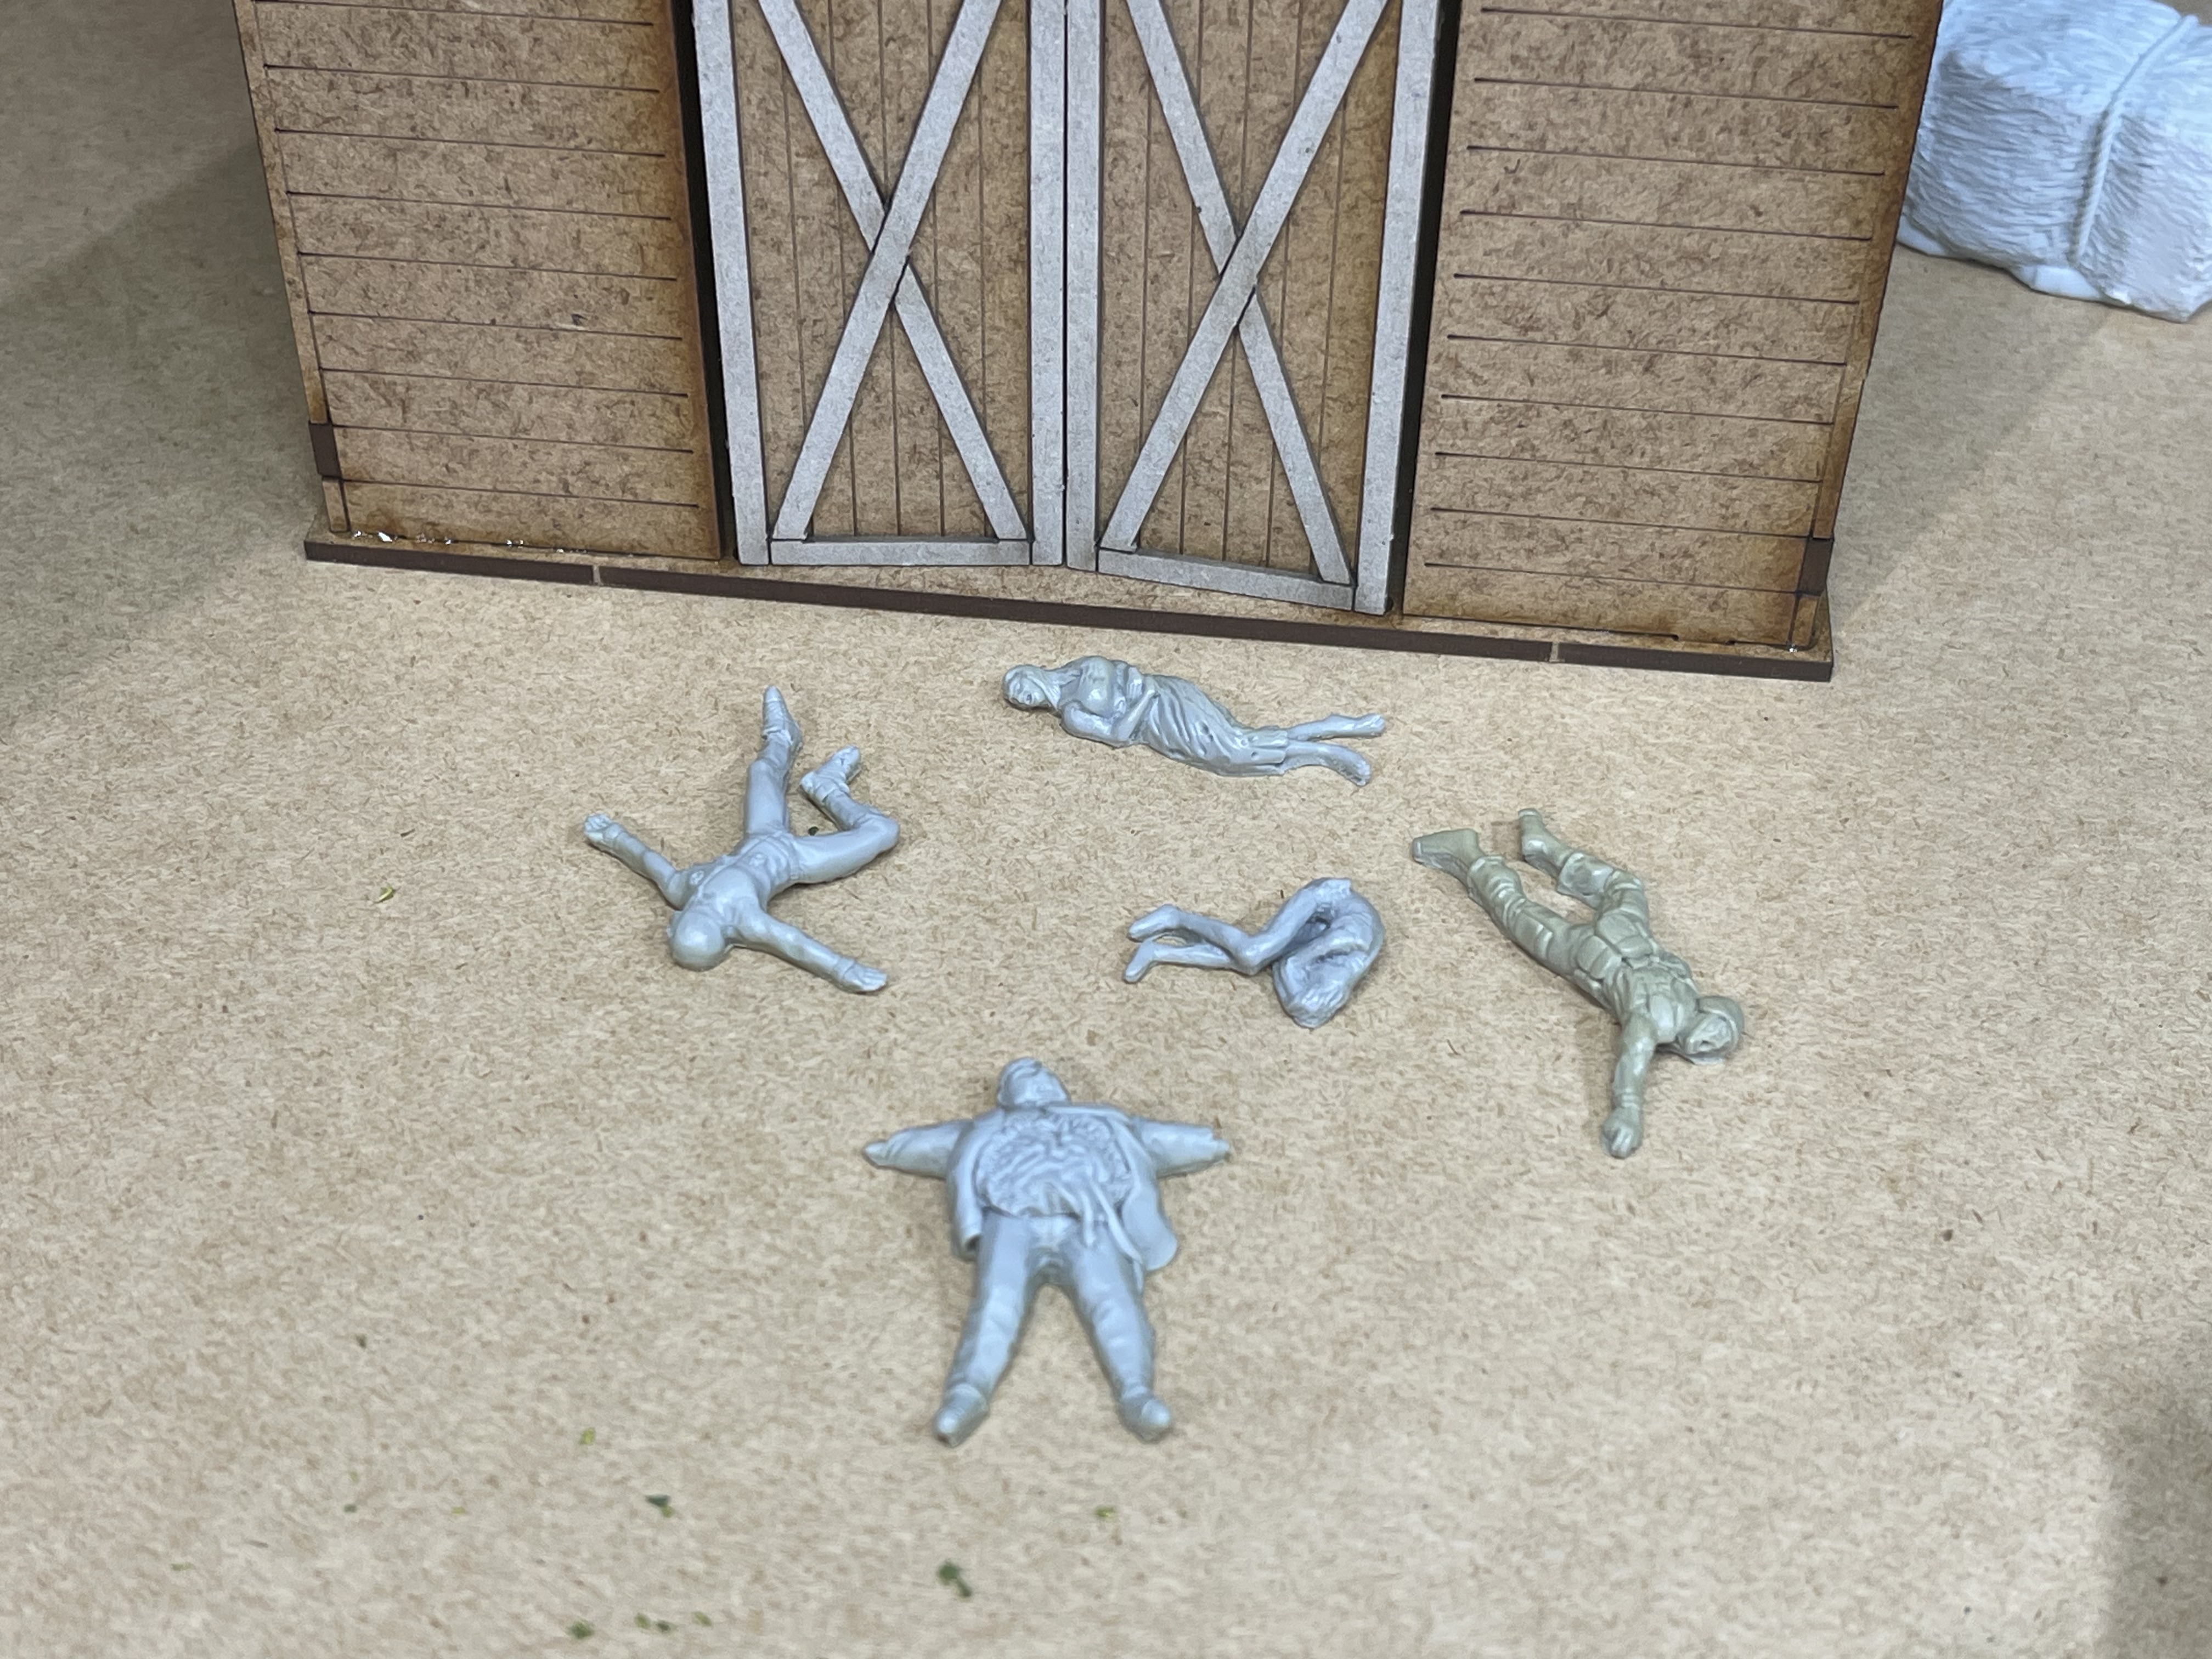
dead bodies everywhere

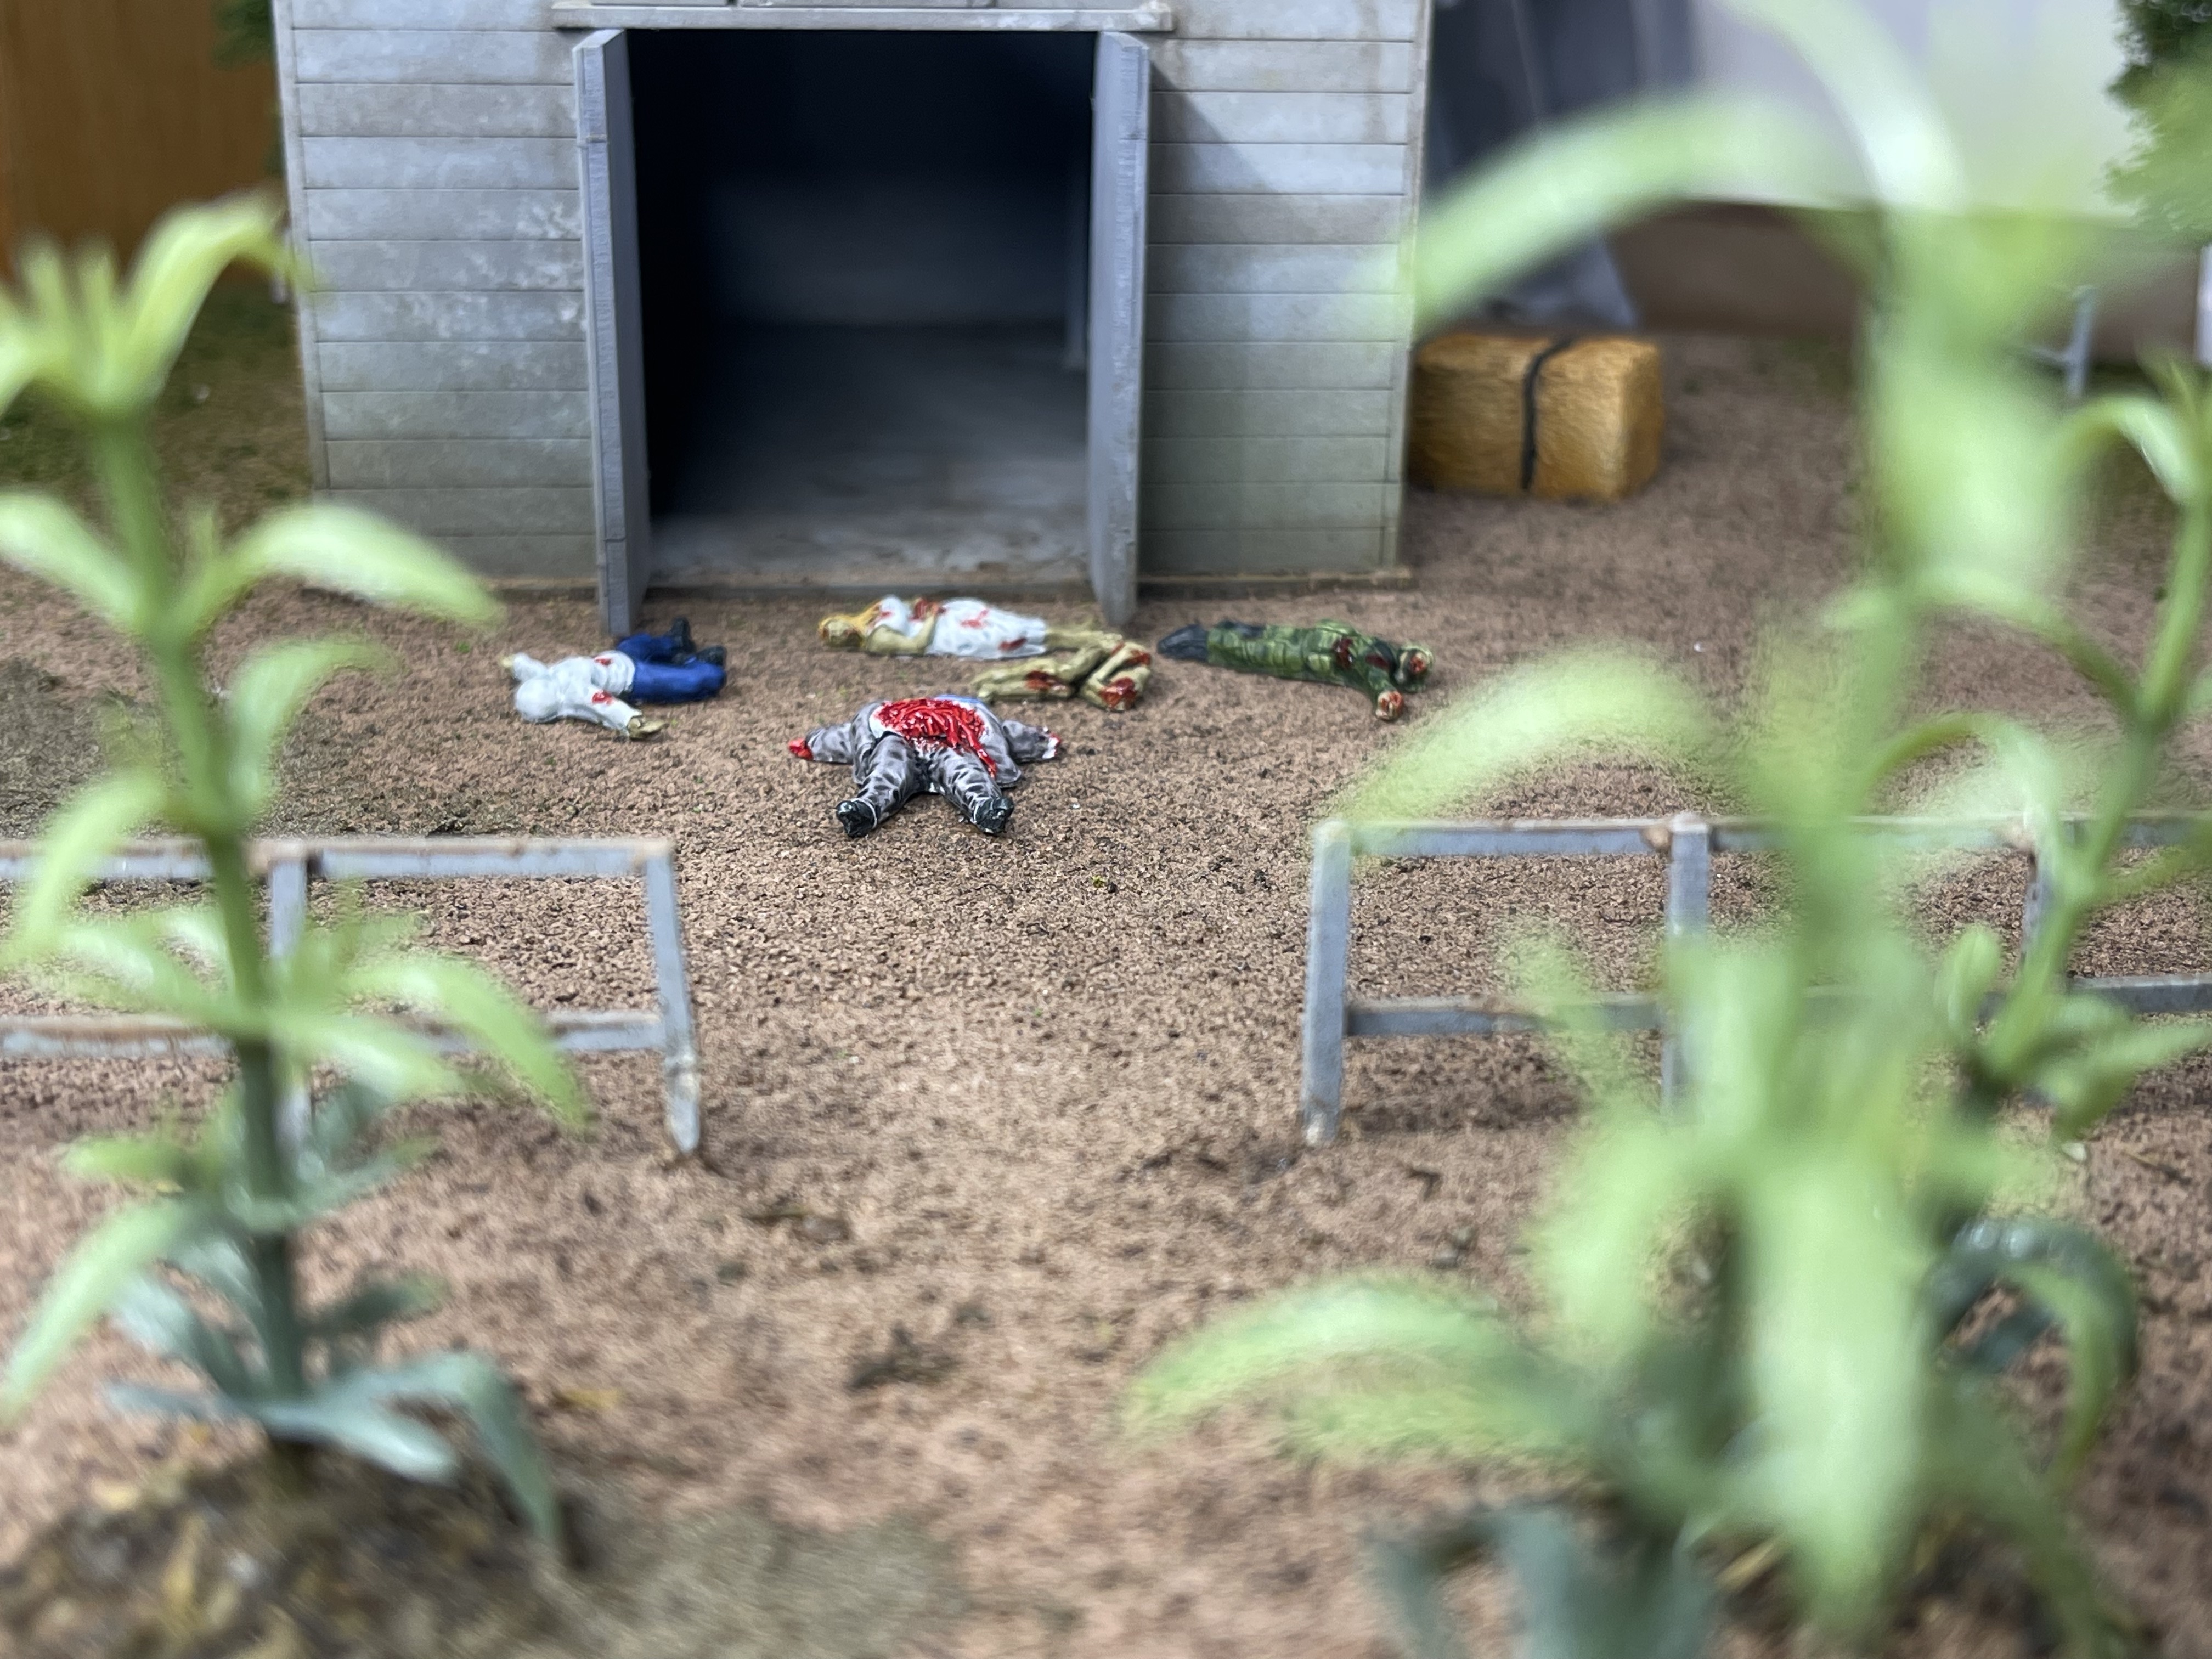
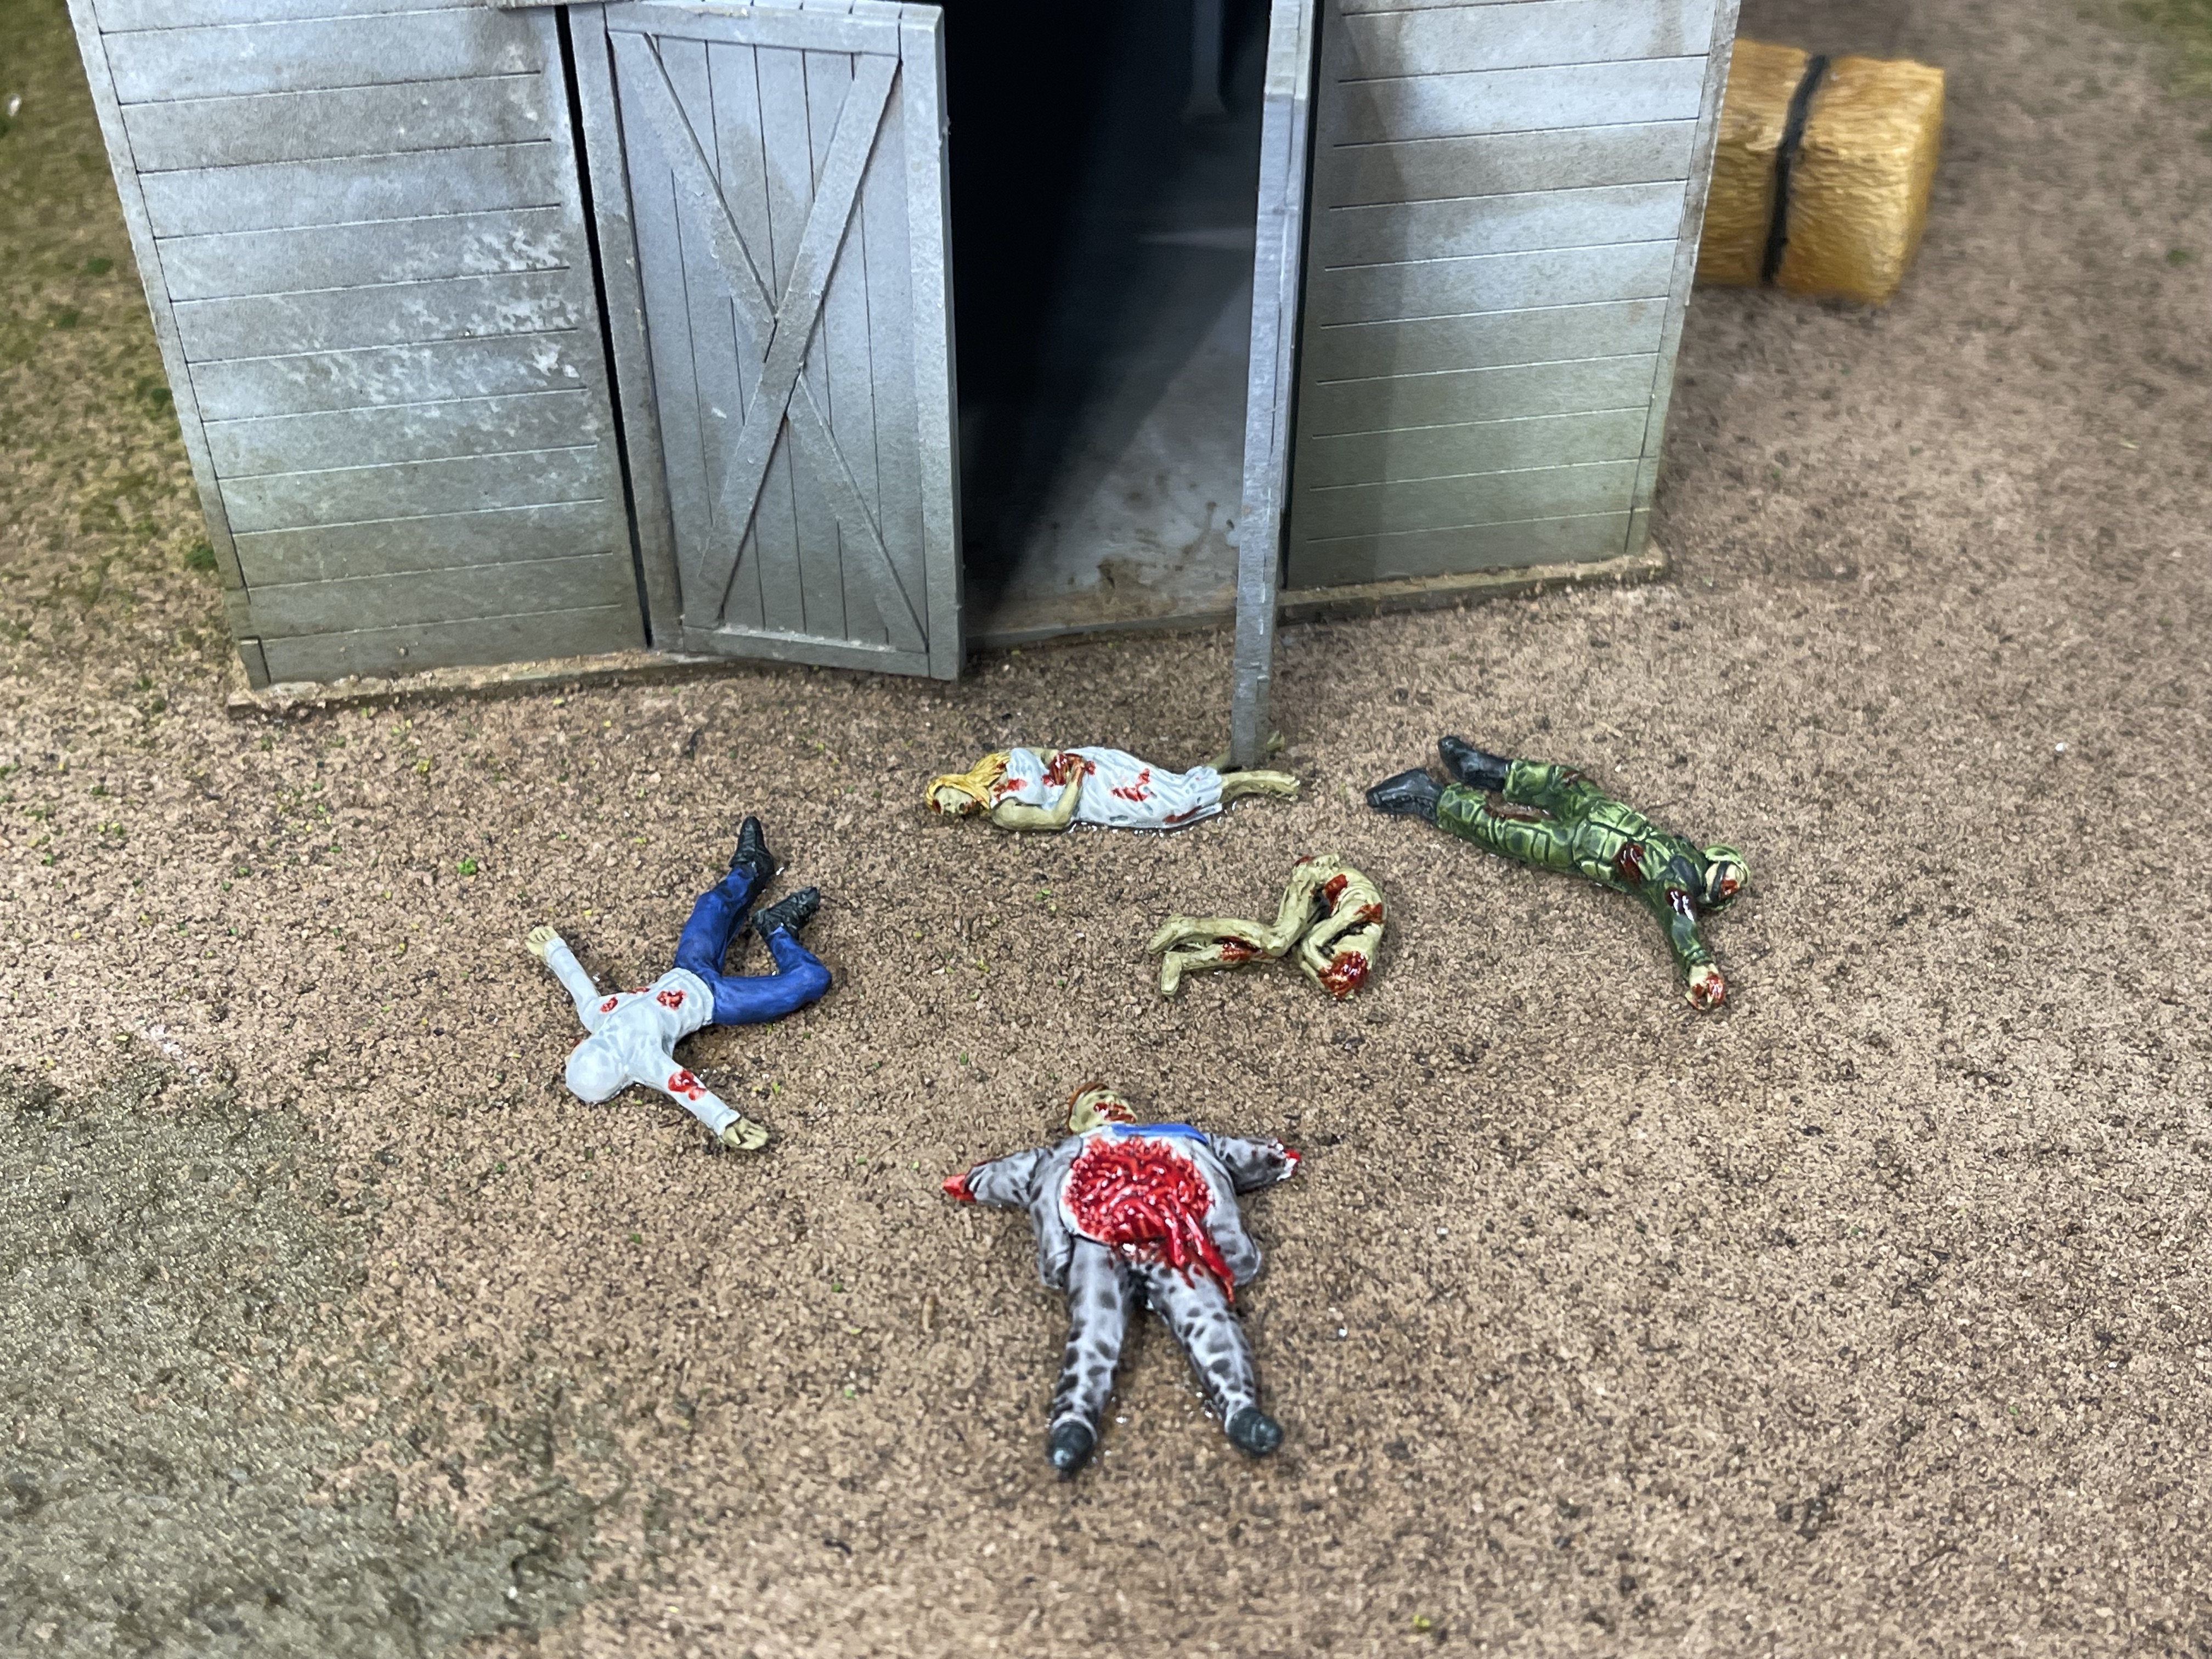
the eagle eyed among you will notice that the doors can still open over the top of the dead lady’s legs! I totally designed it to happen like that…
anyway, when looking at this it strikes me that something is missing!


blood splatter achieved using blood for the blood god and a stiff brush. flicking the paint onto the barn and ground nears the dead bodies.
adds a little more character I feel
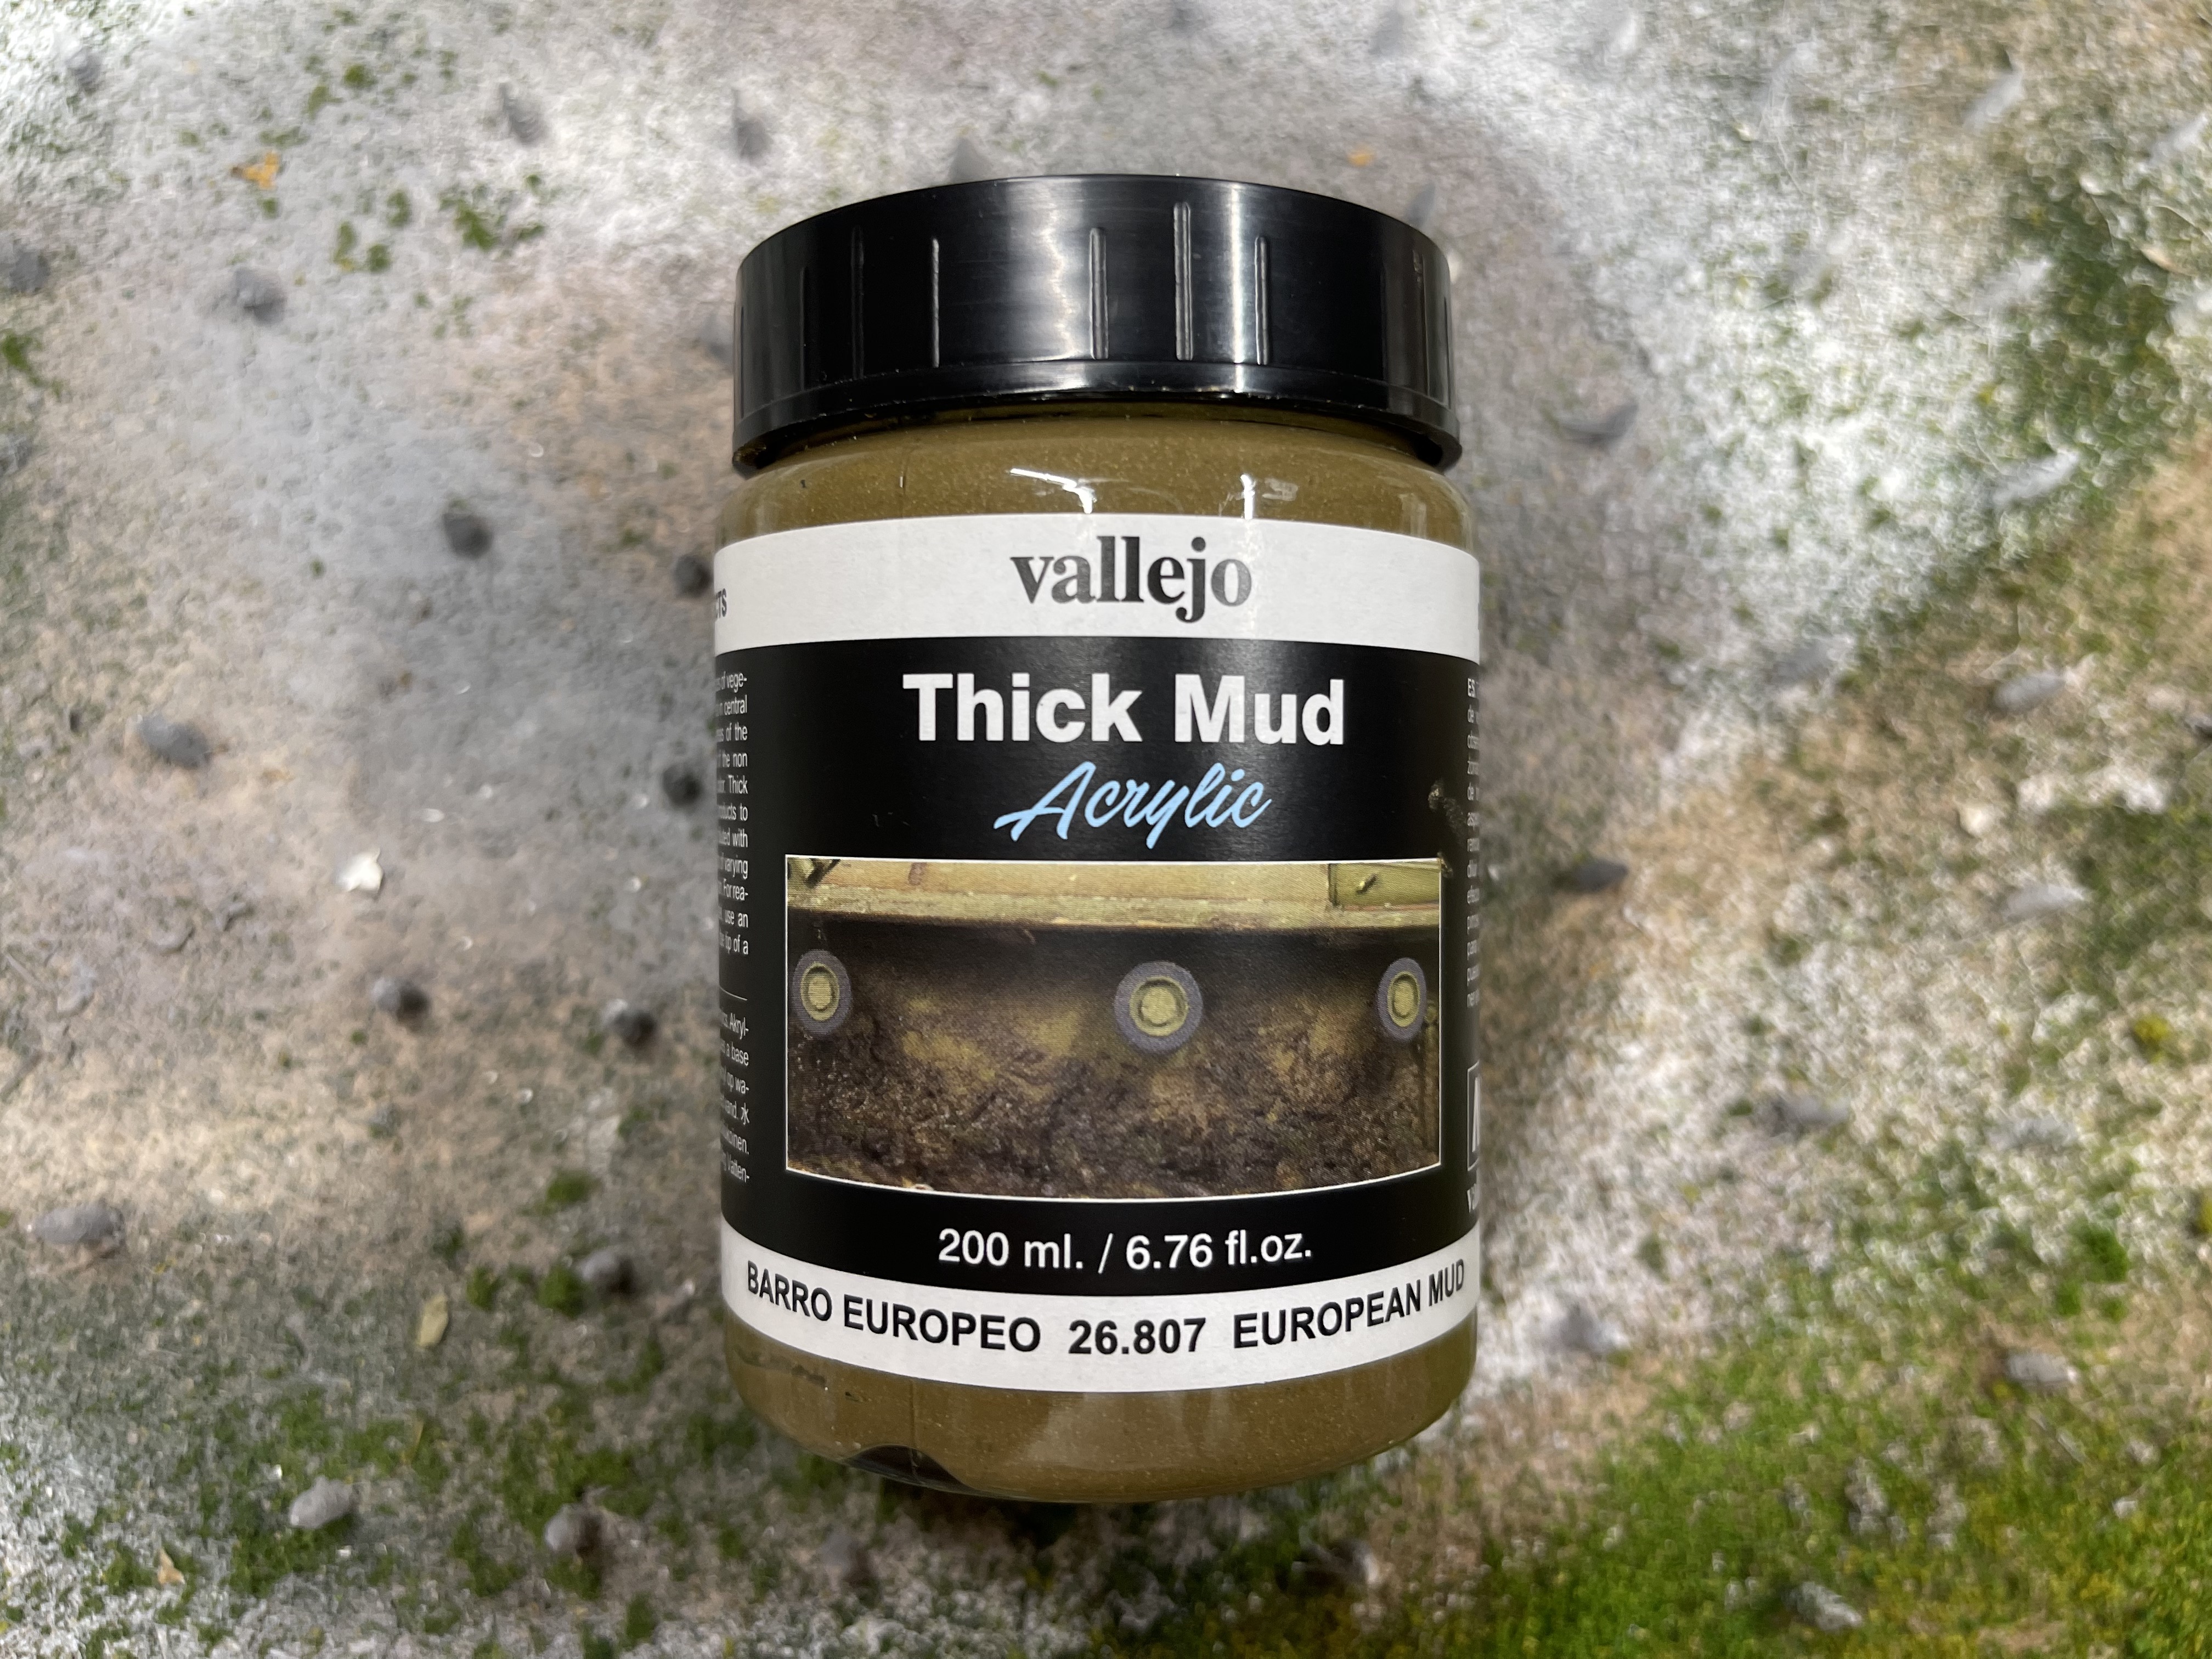
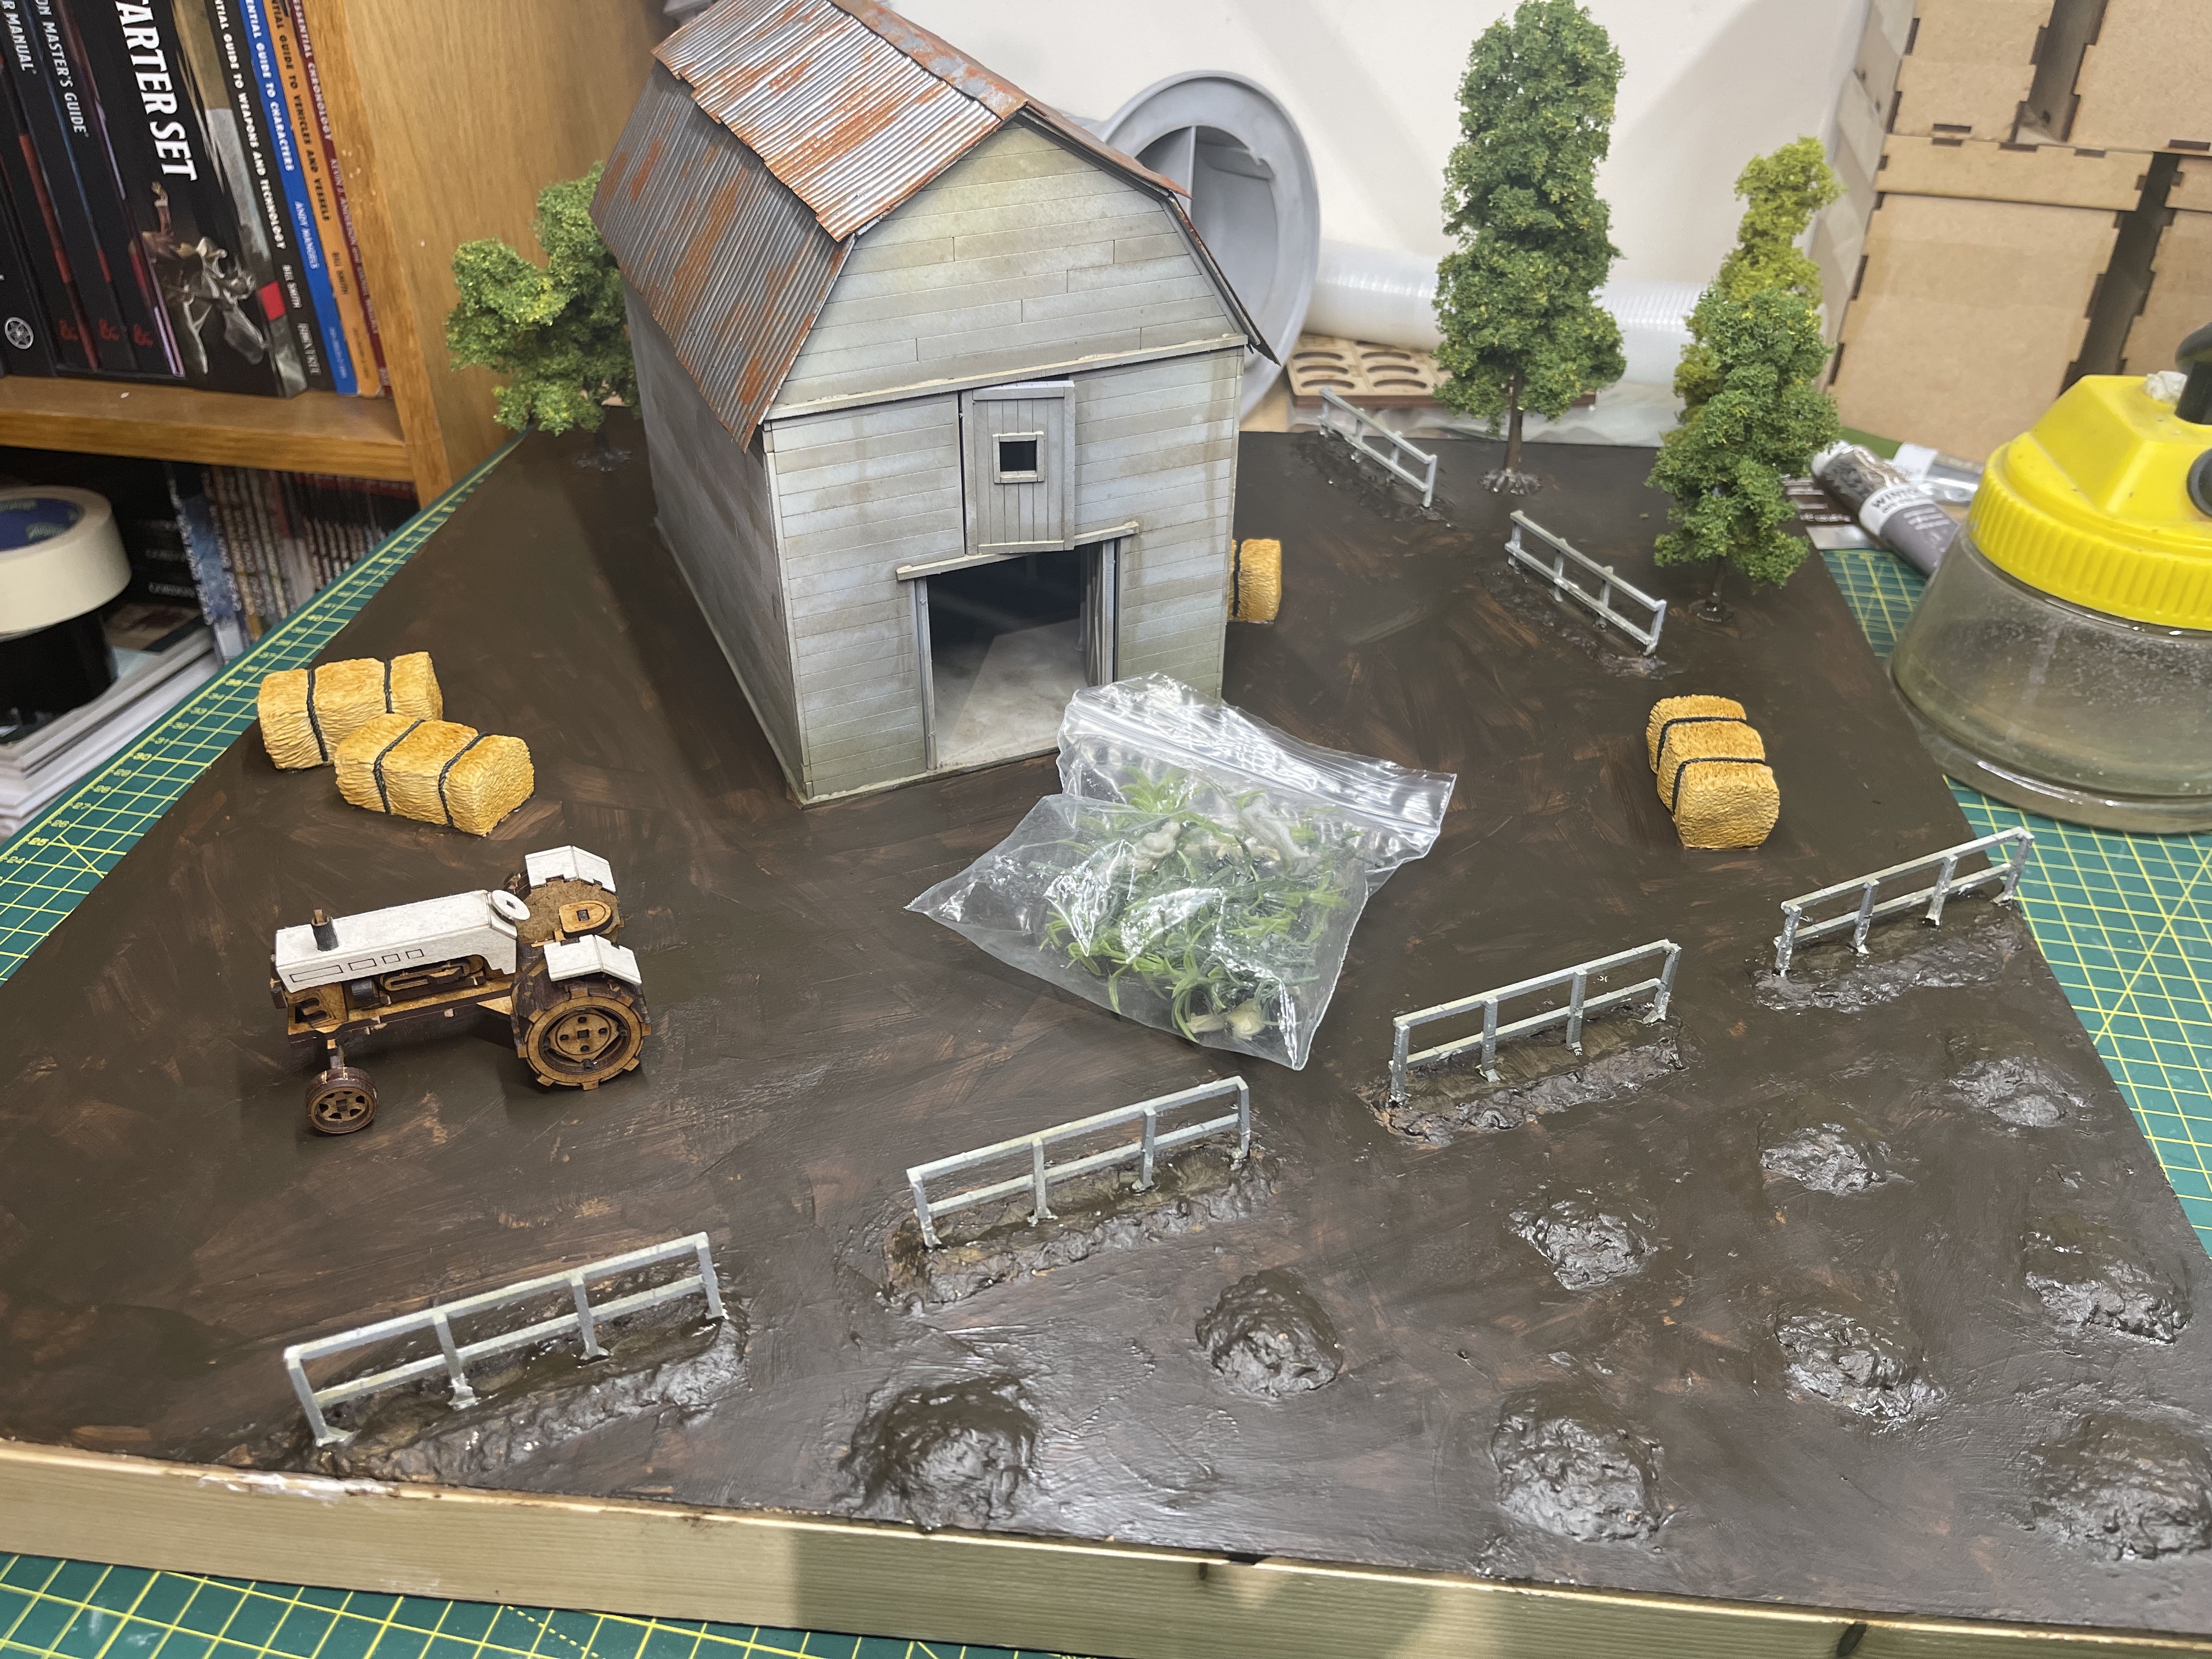
wet mud and superglue woes

I know that Georgia in TWD is quite a dry area when the group visit the farm but I wanted a few different areas, field, green bit, dry brown bit and also churned up mud. Wherever there is tractors and plant there is the opportunity for it to churn up the ground.
in steps the Vallejo thick mud mix. I bought this for another project and didn’t really like the results so its kicked around ever since. I threw caution to the wind and slapped it on hoping for the best. I used an old fat paint brush to get a random texture. I did try to get tyre tracks in the must but it didn’t work out. after that I placed and superglued in the tractor completely forgetting about how moisture makes the glue mist/frost/bloom….
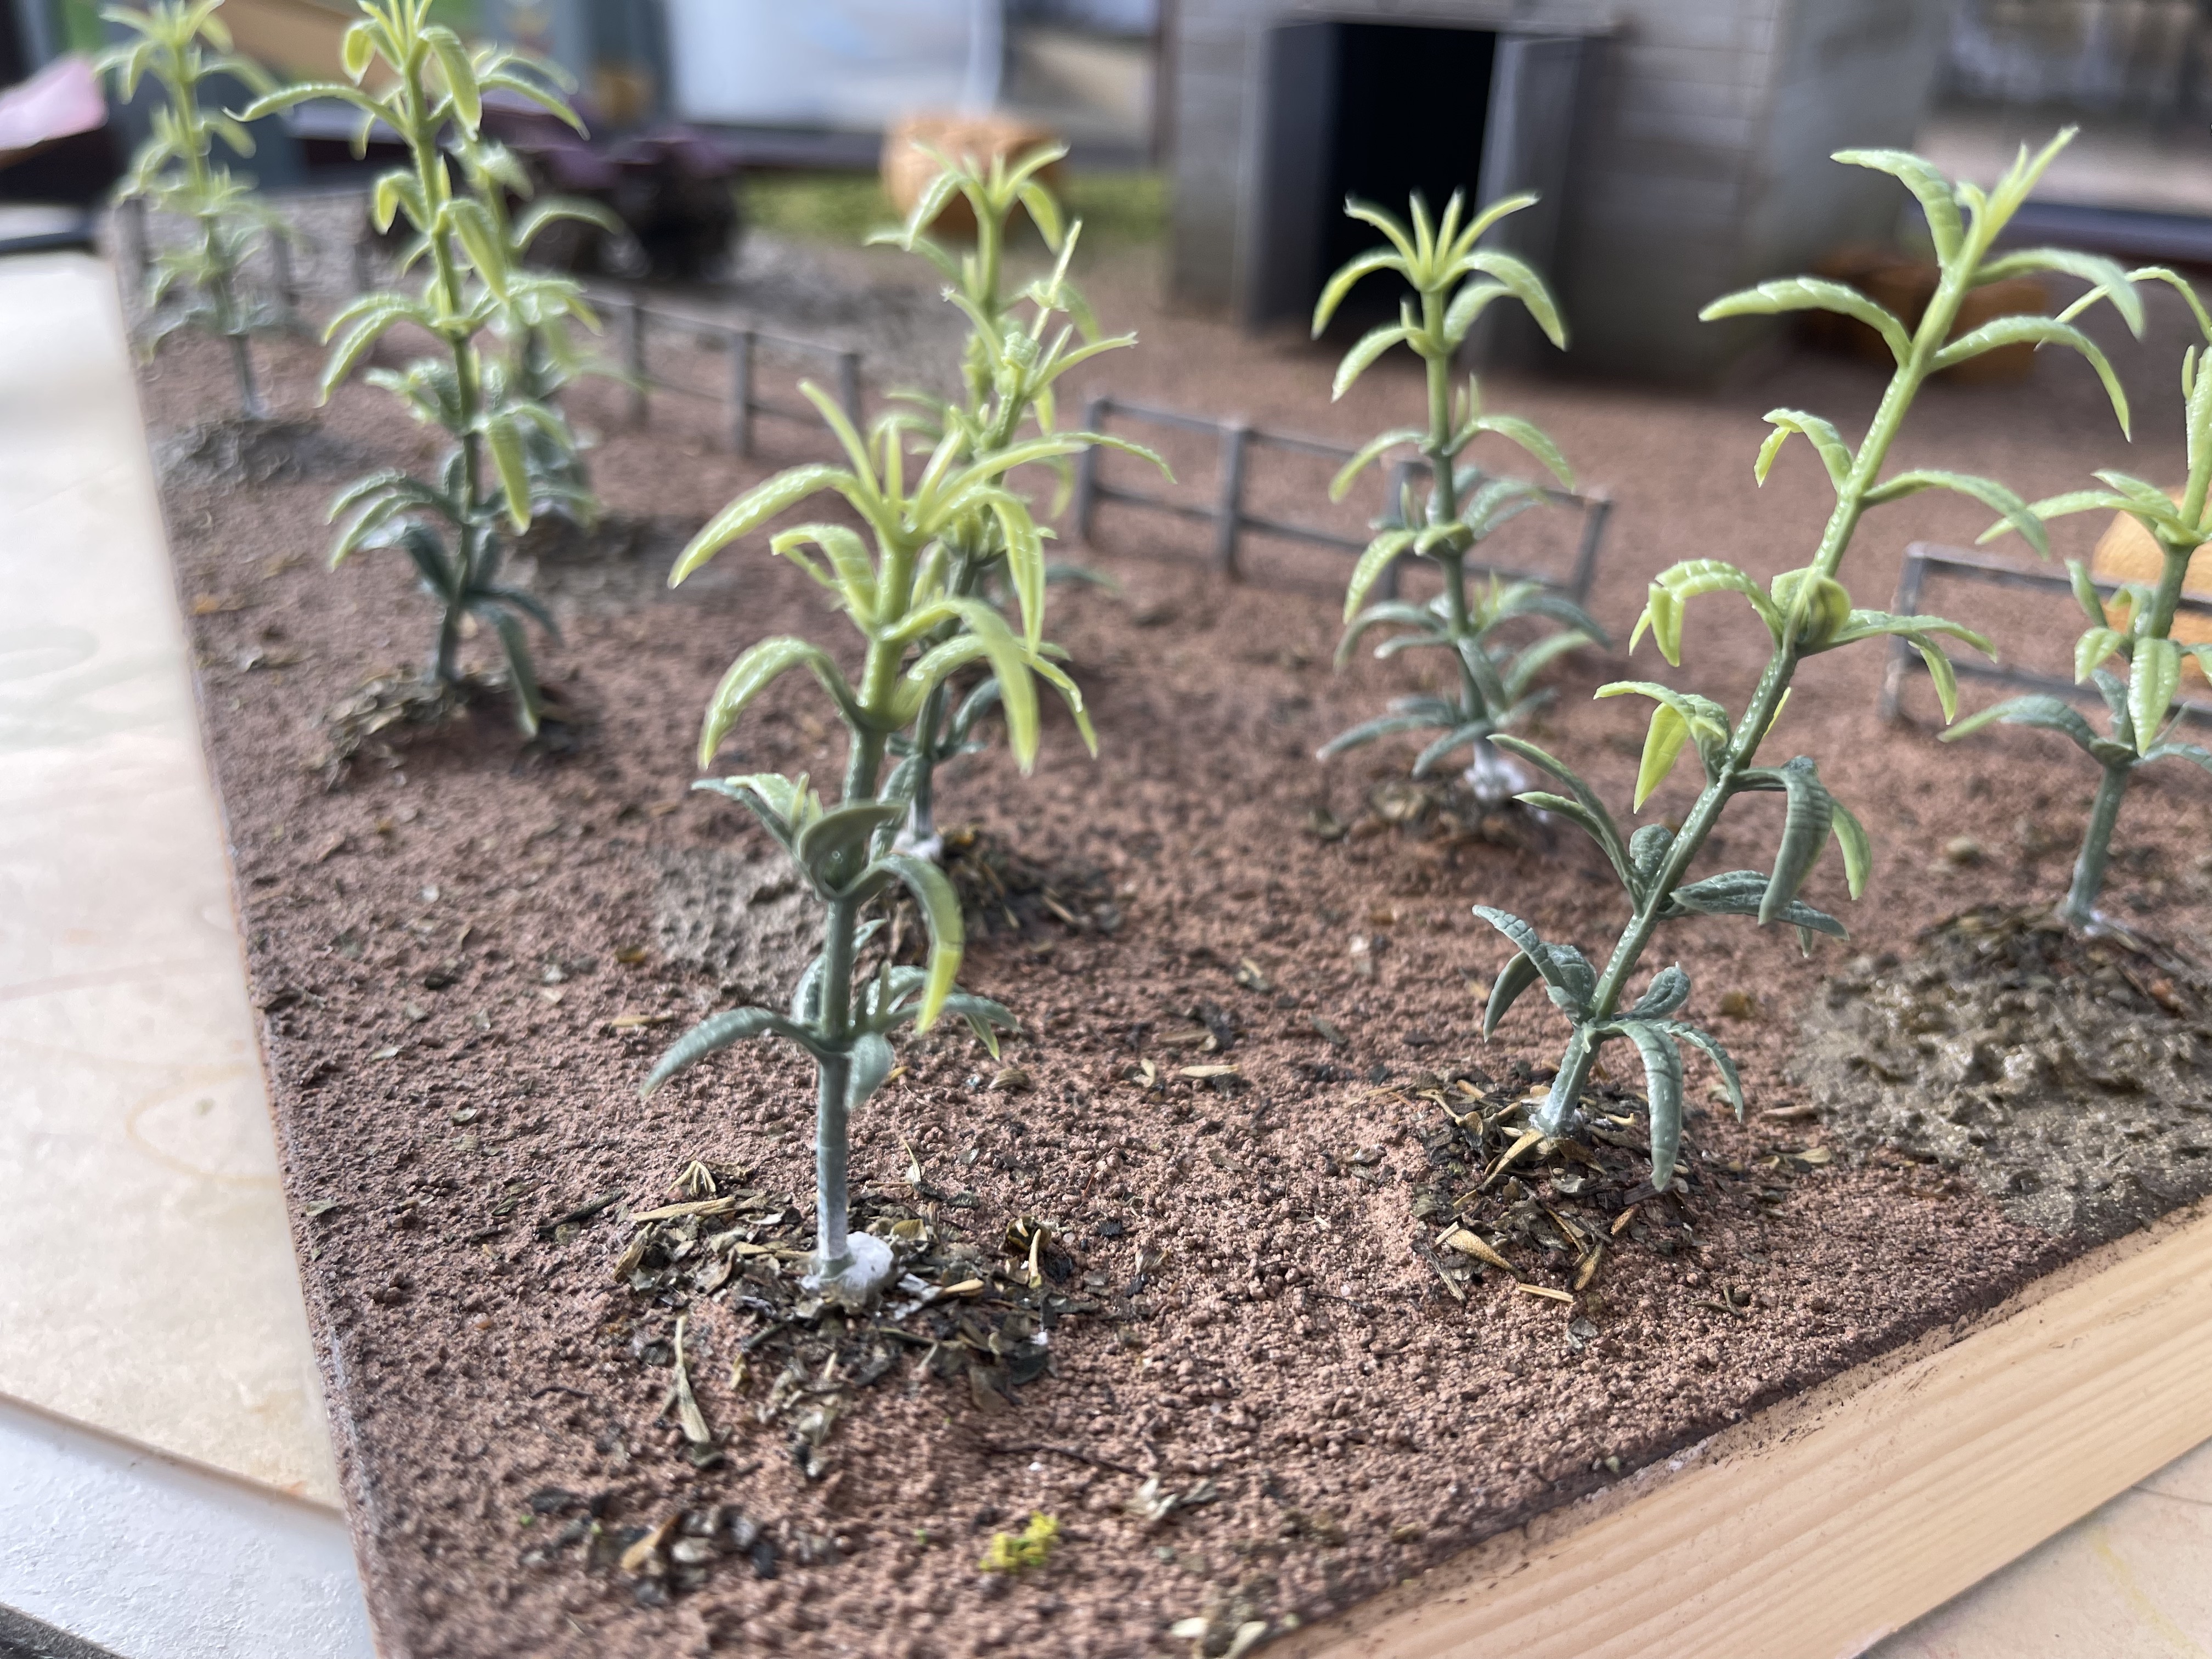
continuing the gluing with abandon in the hope of finishing it before my son woke up I predrilled holes and dumped a blob of superglue in them before shoving in the corn stalks. there must have been moisture from unset/cured pva glue in the mixed herbs because this all bloomed too.
might fix it with a bit of brown paint unless I am happy to just accept it as is.
Im now gonna leave it for a while to fully dry and see how things are before adding in the final touches (dog and dead bodies)
Dog houses, ground cover and floofwoof
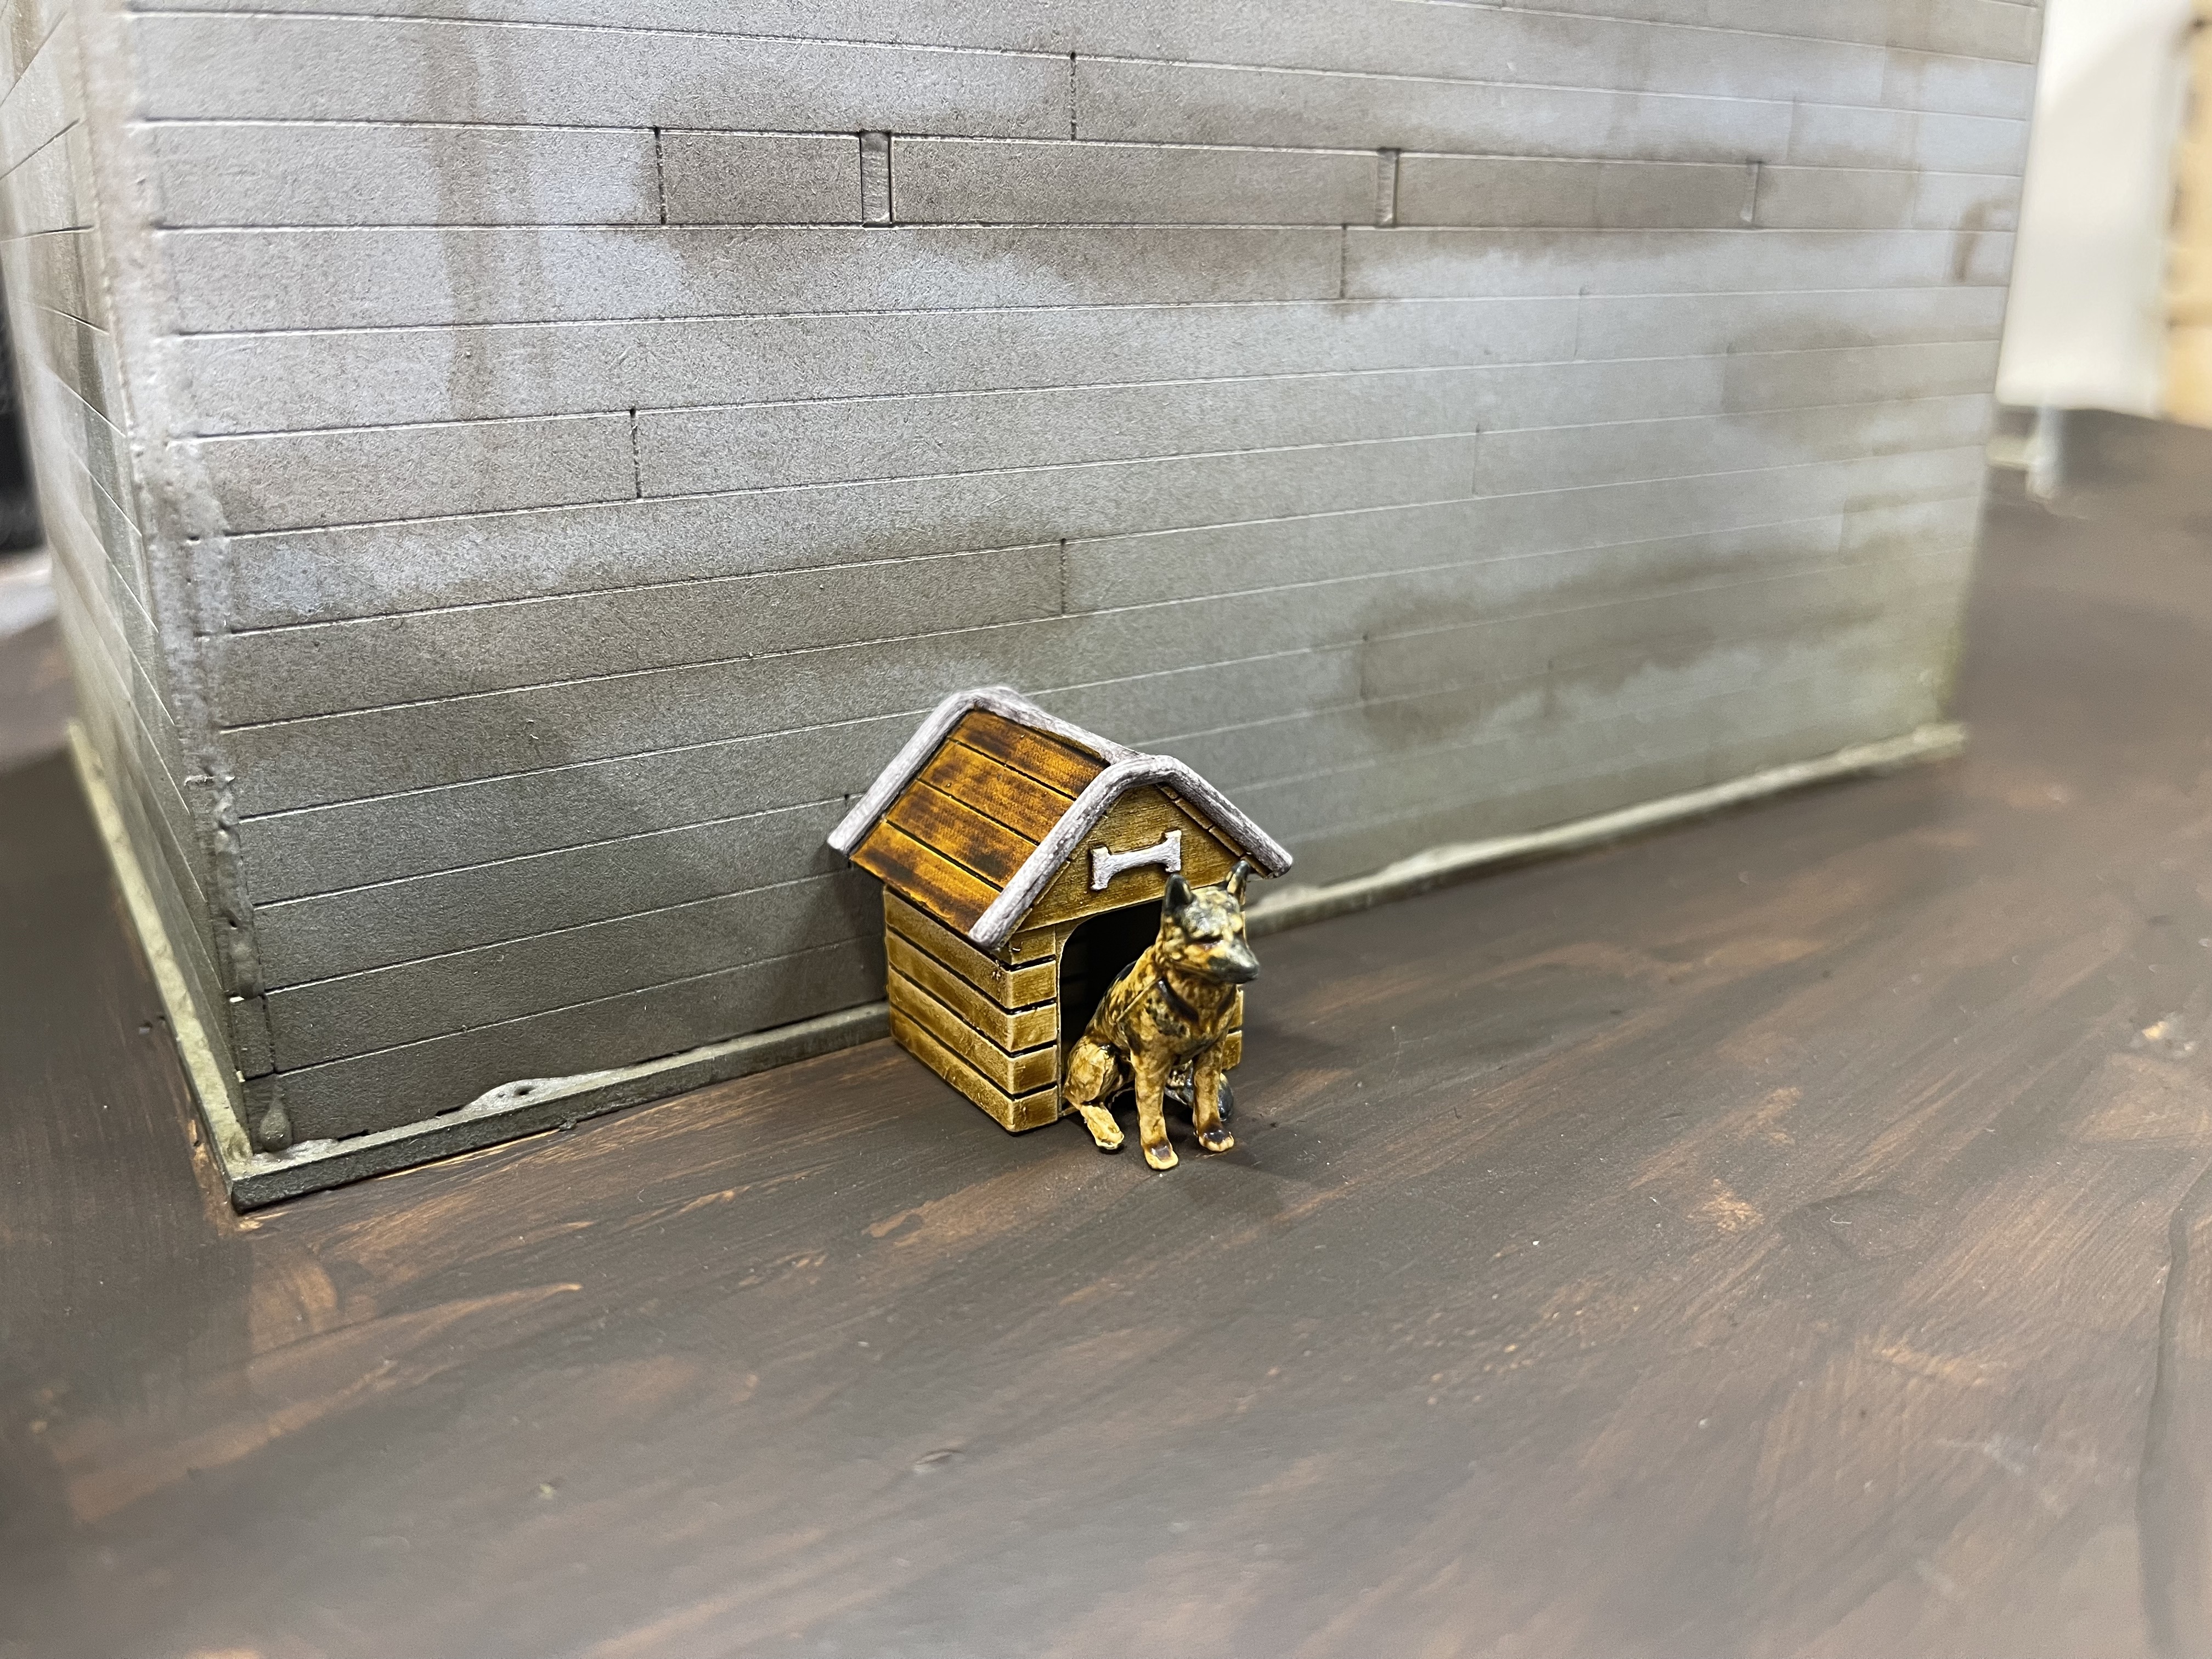

so I got the dog house stripped reprimed and decided to contrast paint it up to make up for the faff. it doesn’t look like wood by comparison just due to the nature of contrast but it will do.
The German Shepard is something that I got in a mantic terrain crate blind buy and the details are soft but again, contrast on it and call it done. I think I’ll hide this guy in the corn field or under the trees or something just as a point of interest elsewhere, almost as if he is hiding from the undead monsters that roam around now.
the ground texture is the same as seen in my other project to build tables. basically baked soil and tile grout.
I added mixed herbs to the field area as I expect there would be some debris from the crops, although most fields are quite clean (or so google image search says, see here but also here)
Tractors and cockups
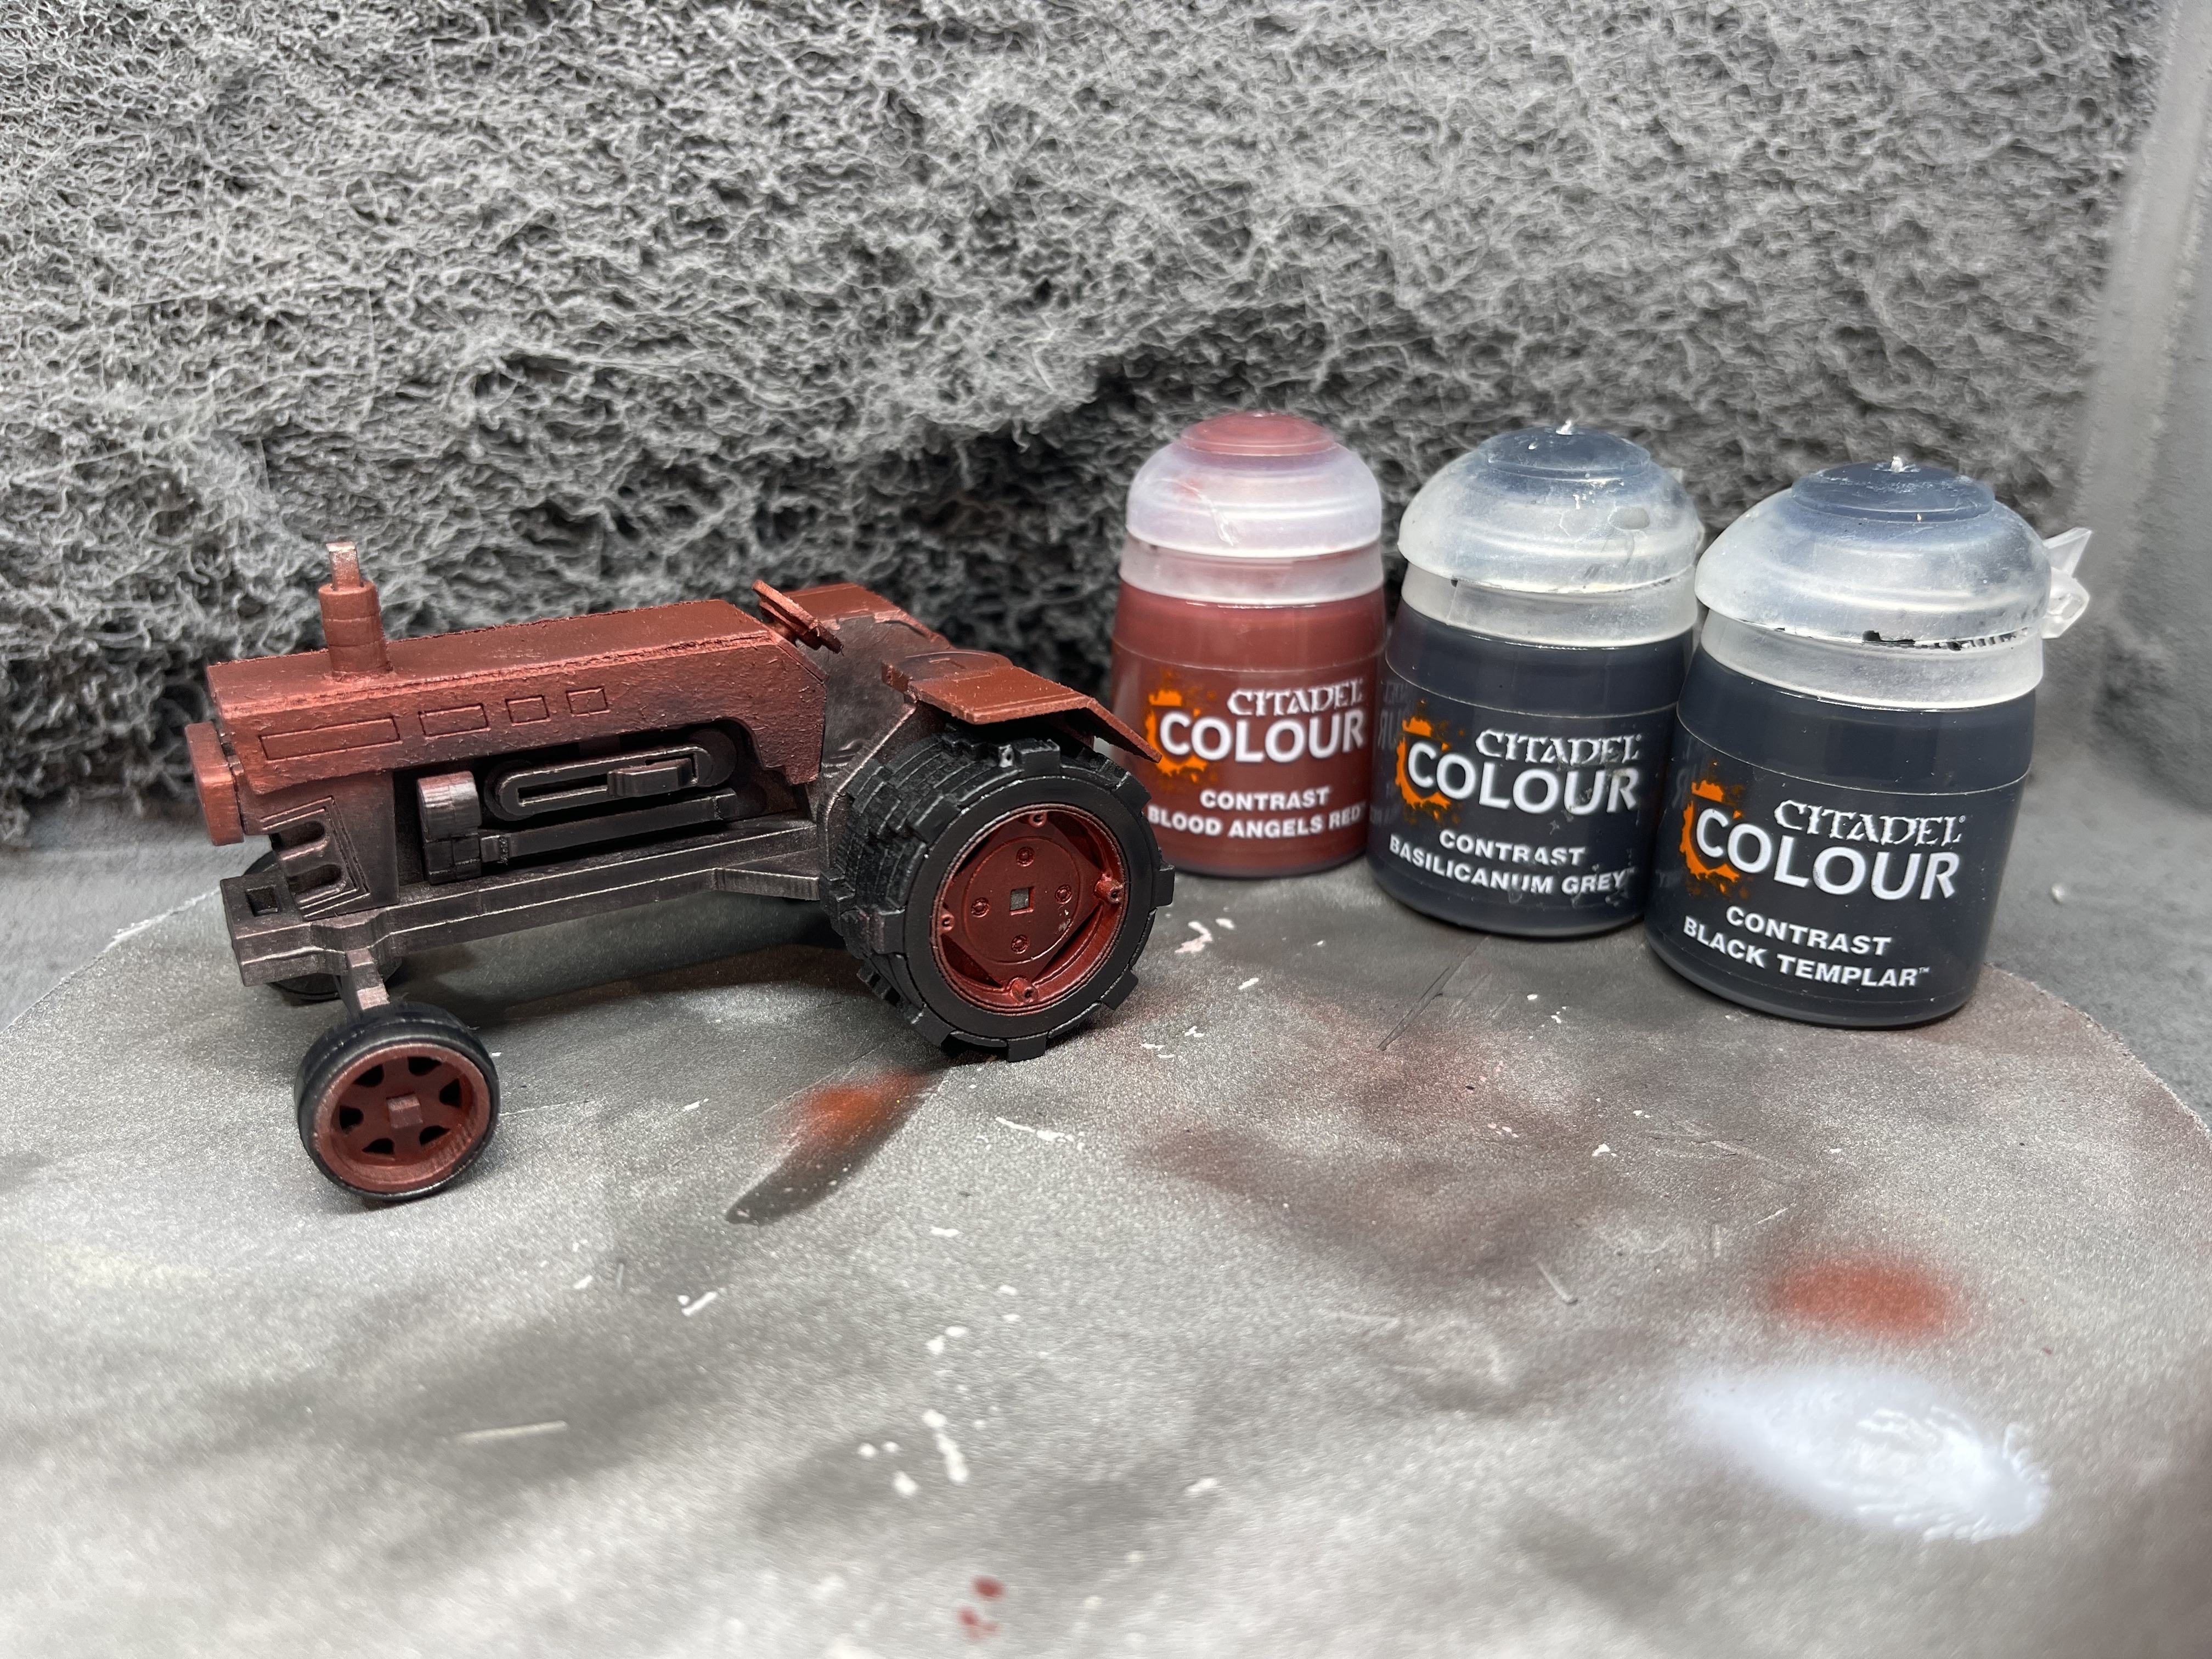
the tractor I wanted to get done quickly and decided to try and use the airbrush. im not very familiar with this tool so practising on scenery is a good way to try it out and not worry too much about the results.
primed in rattle can gun metal silver then airbrushed on contrast red heavily to where I felt there would be trim or red paint (to make it faster, obviously, wargghh!) then I dulled down the metal areas left over with the grey and finally slapped black on the tyres.
its not an accurate way of doing a tractor but is is quick so it’lll do.
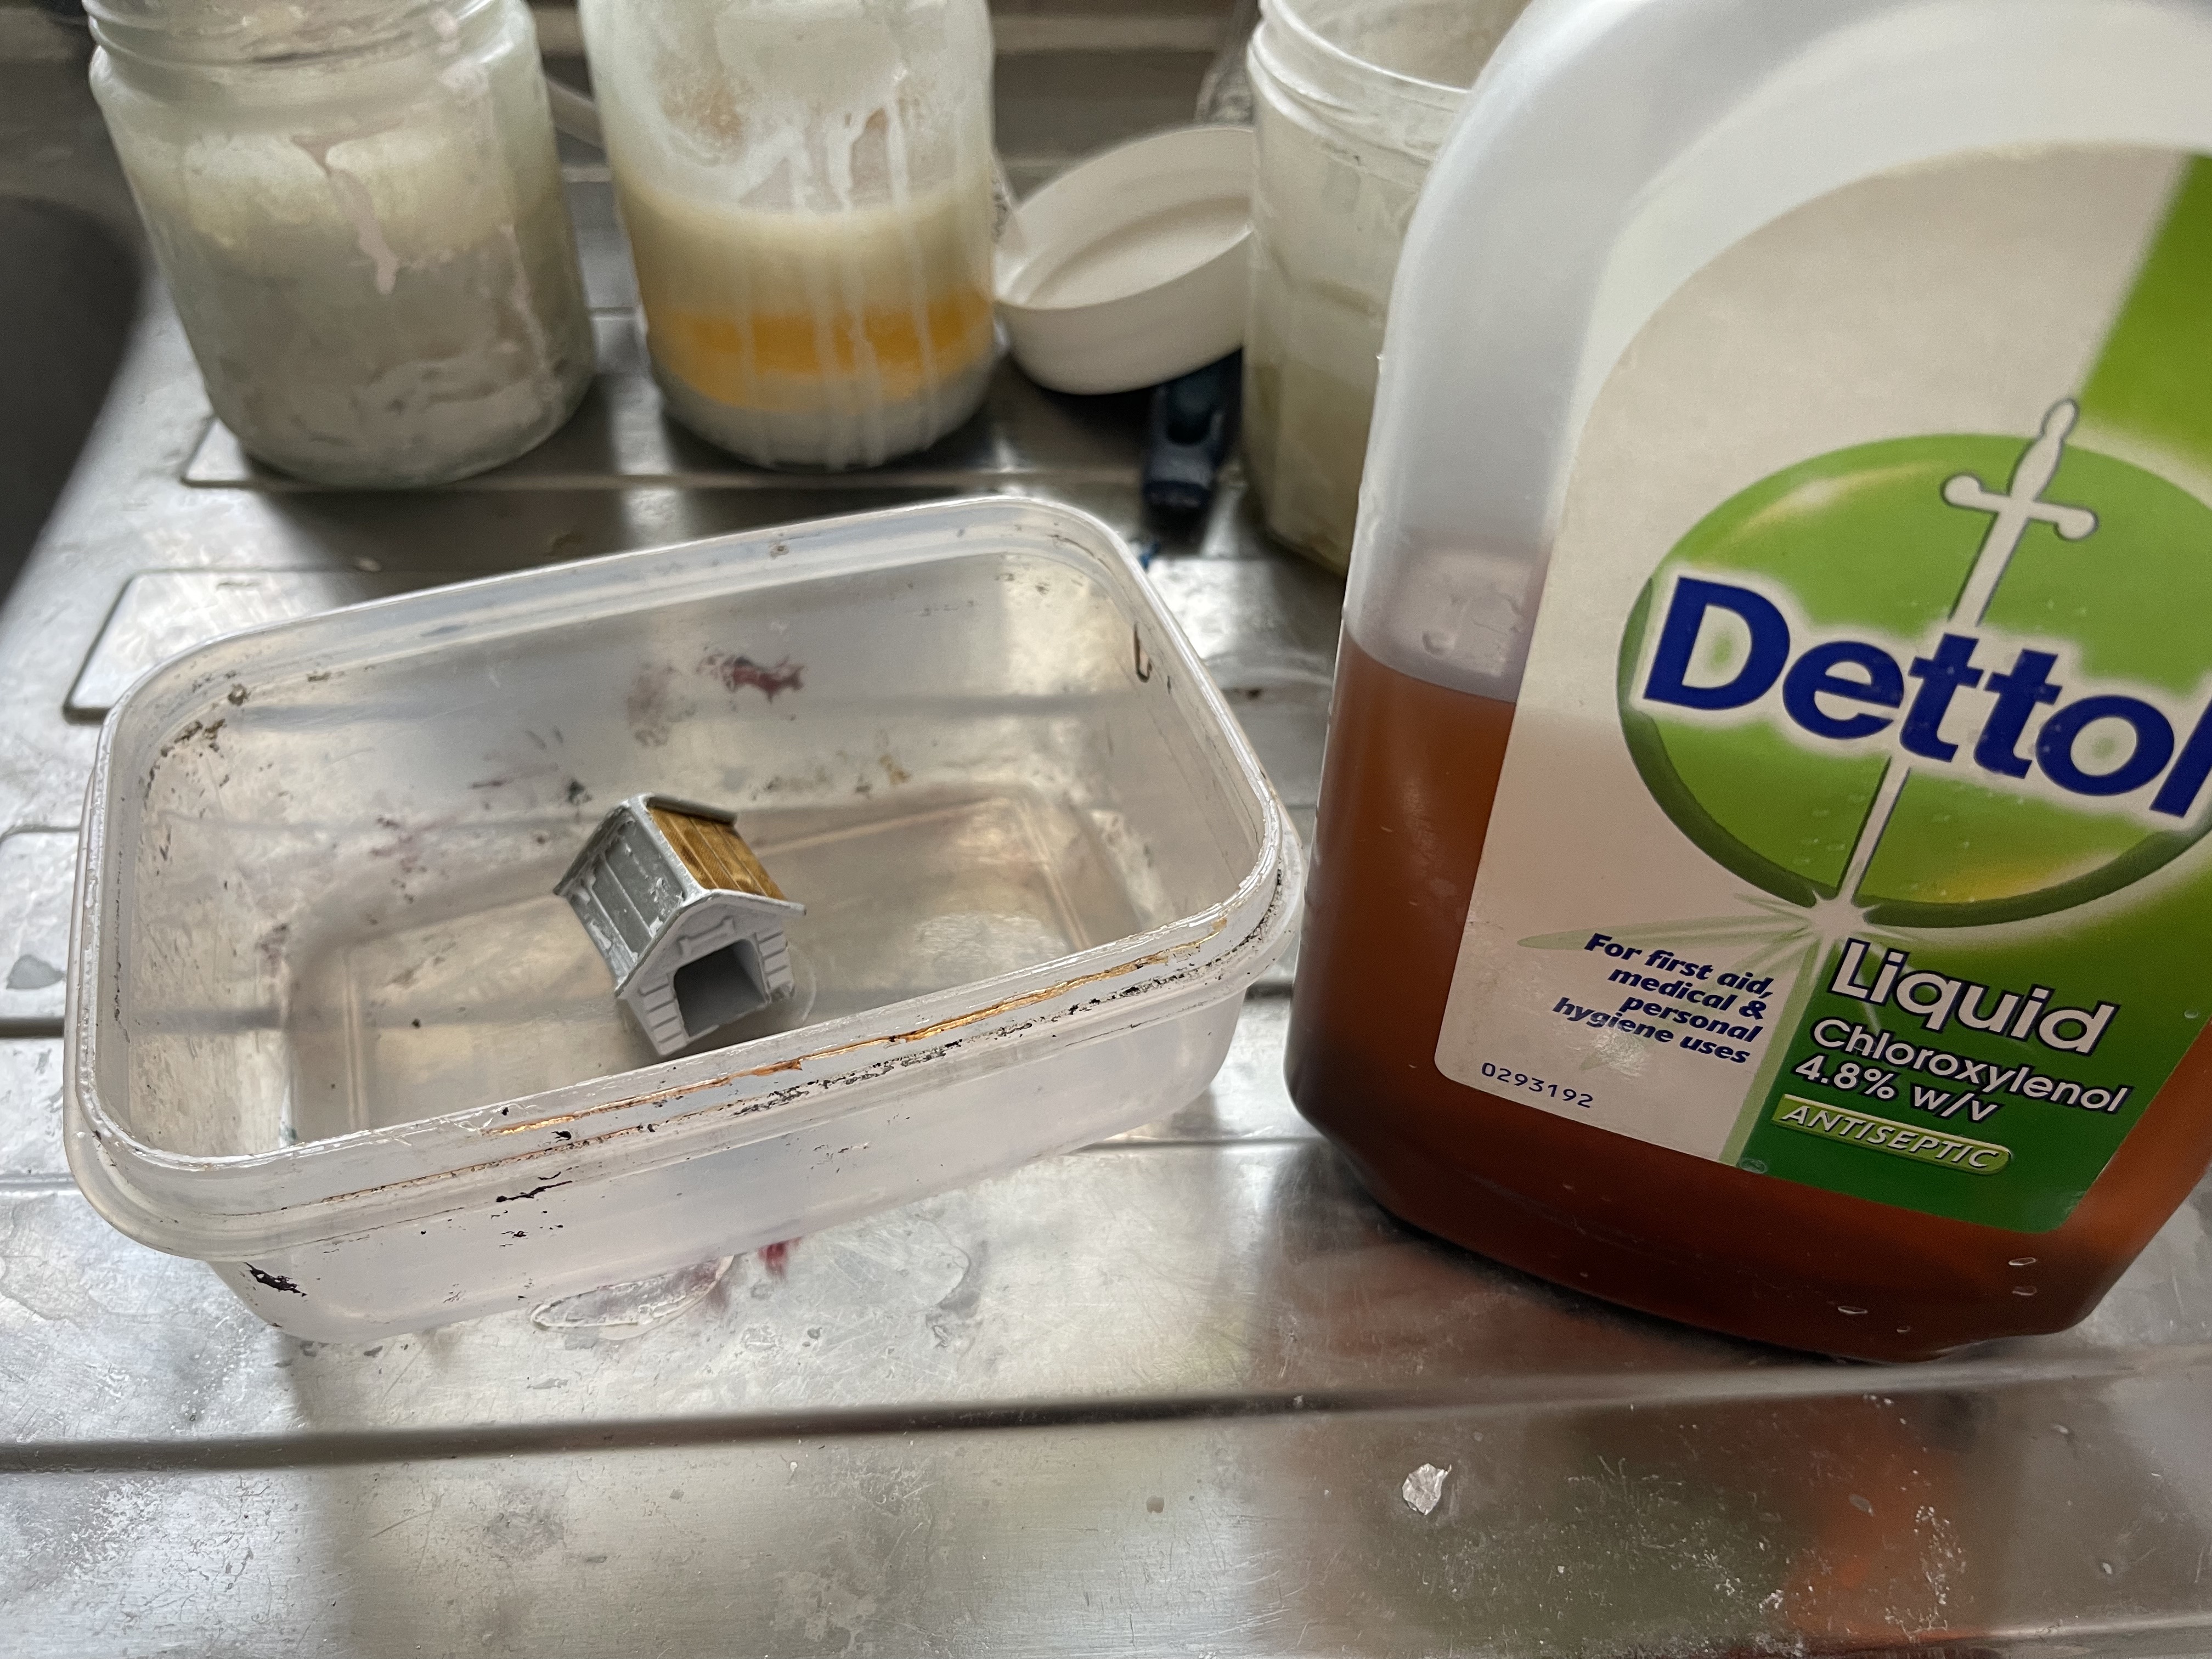
The cockup is that I forgot to wash the dog house before priming it so as soon as I started painting it I found myself rubbing the primer off…. annoying as its now got to go into the dettol and be started again after a scrubbing. c’est le vie
Glue, scultamold and brown paint
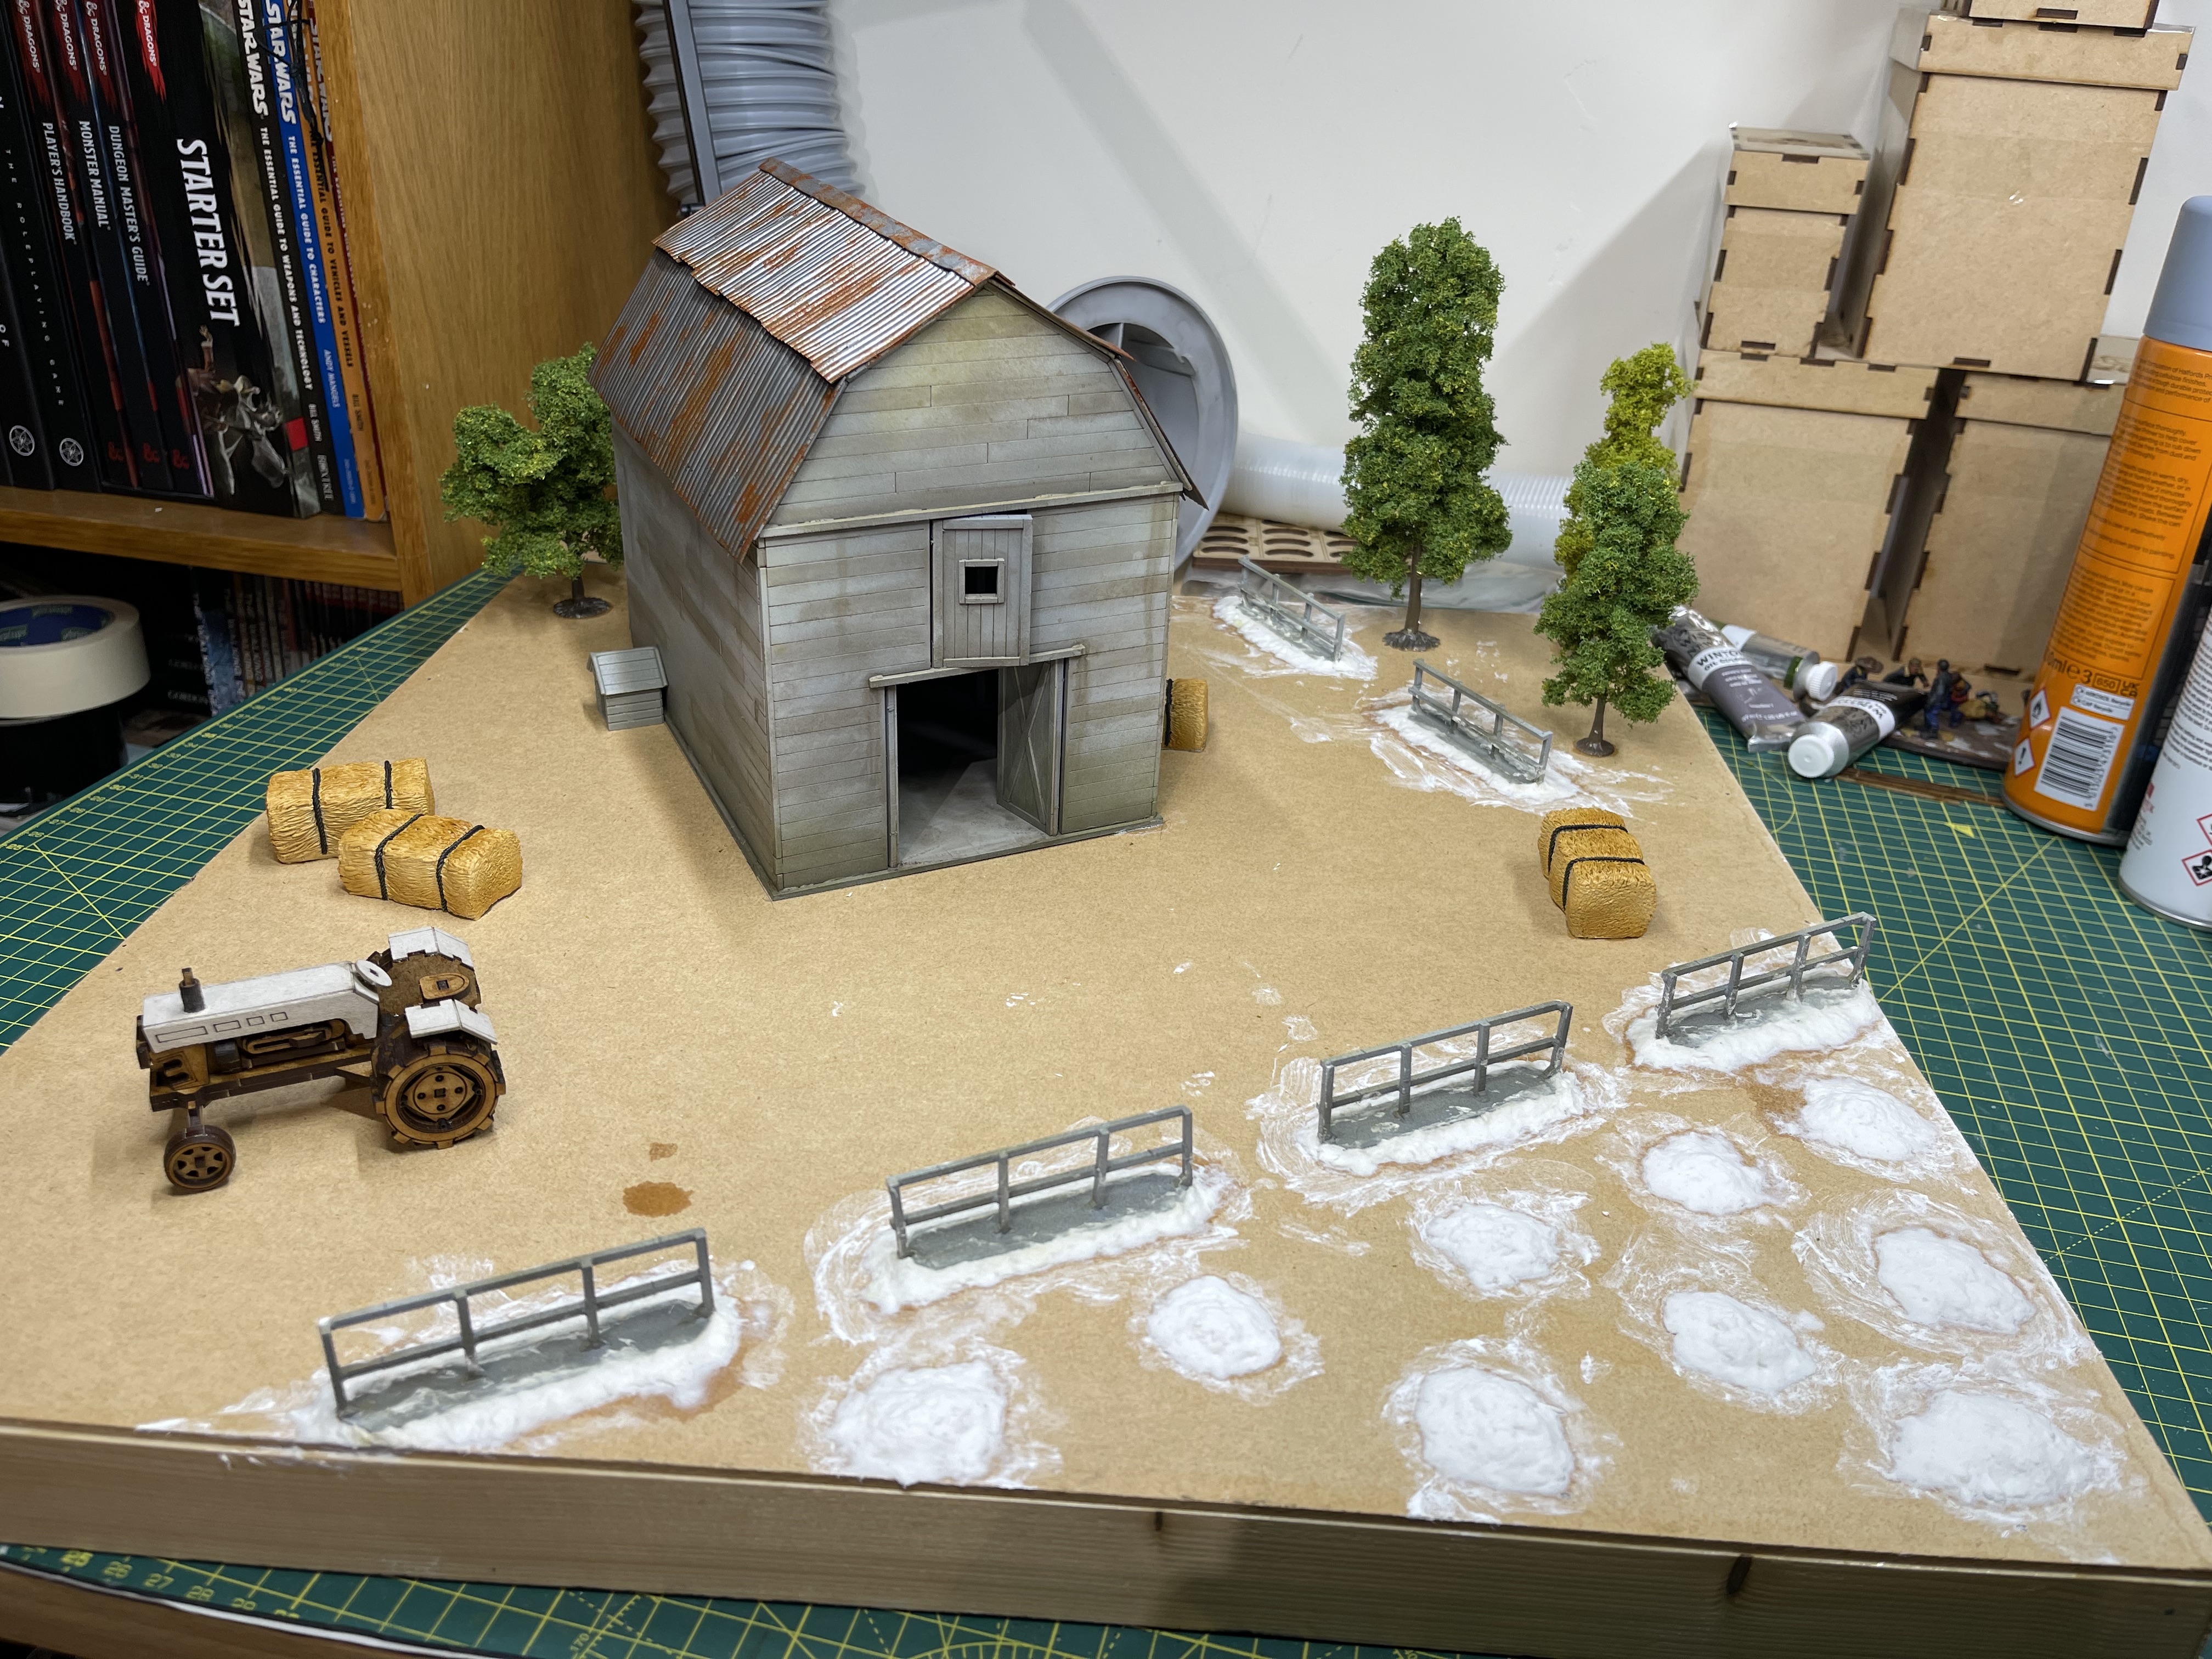
I got a bit excited and started sticking stuff down a bit prematurely…
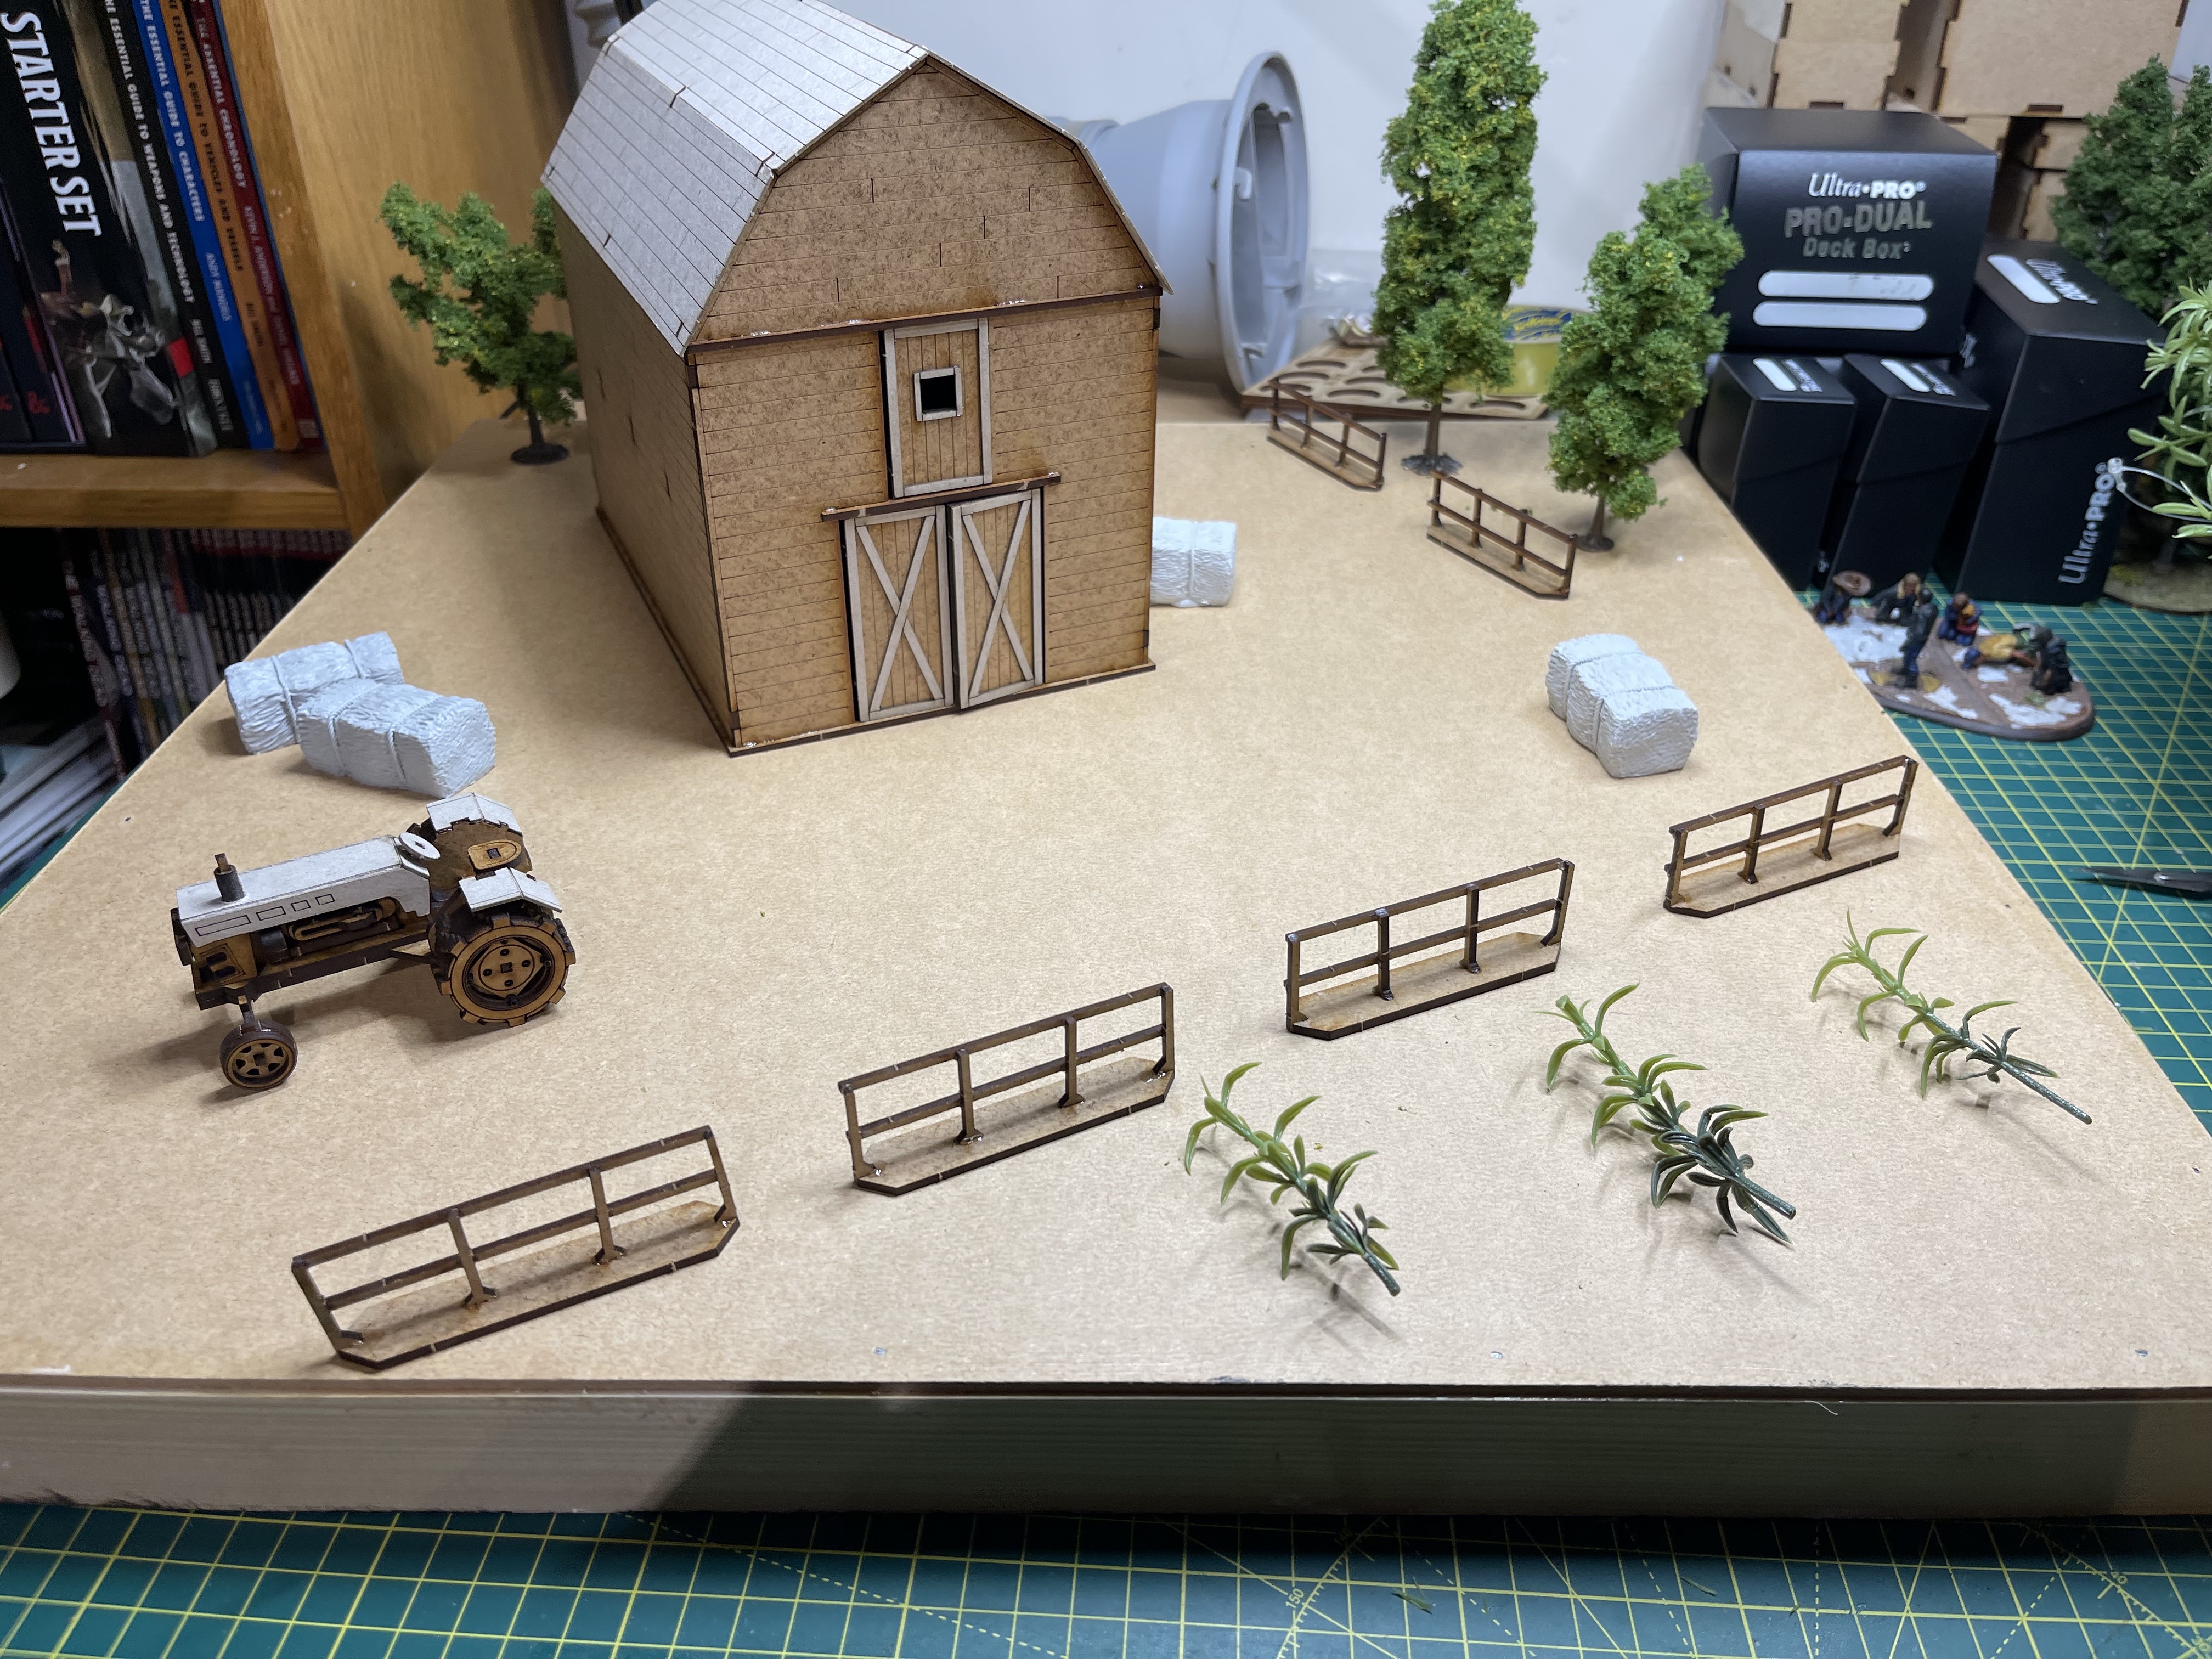
fencing done the same as the barn superglued down with the hay bales, barn and a few Heki trees who apparently are the providers of the 4ground tress (as was), they’re very similar if not the same so they’re probably the same, cheaper too but no bases.
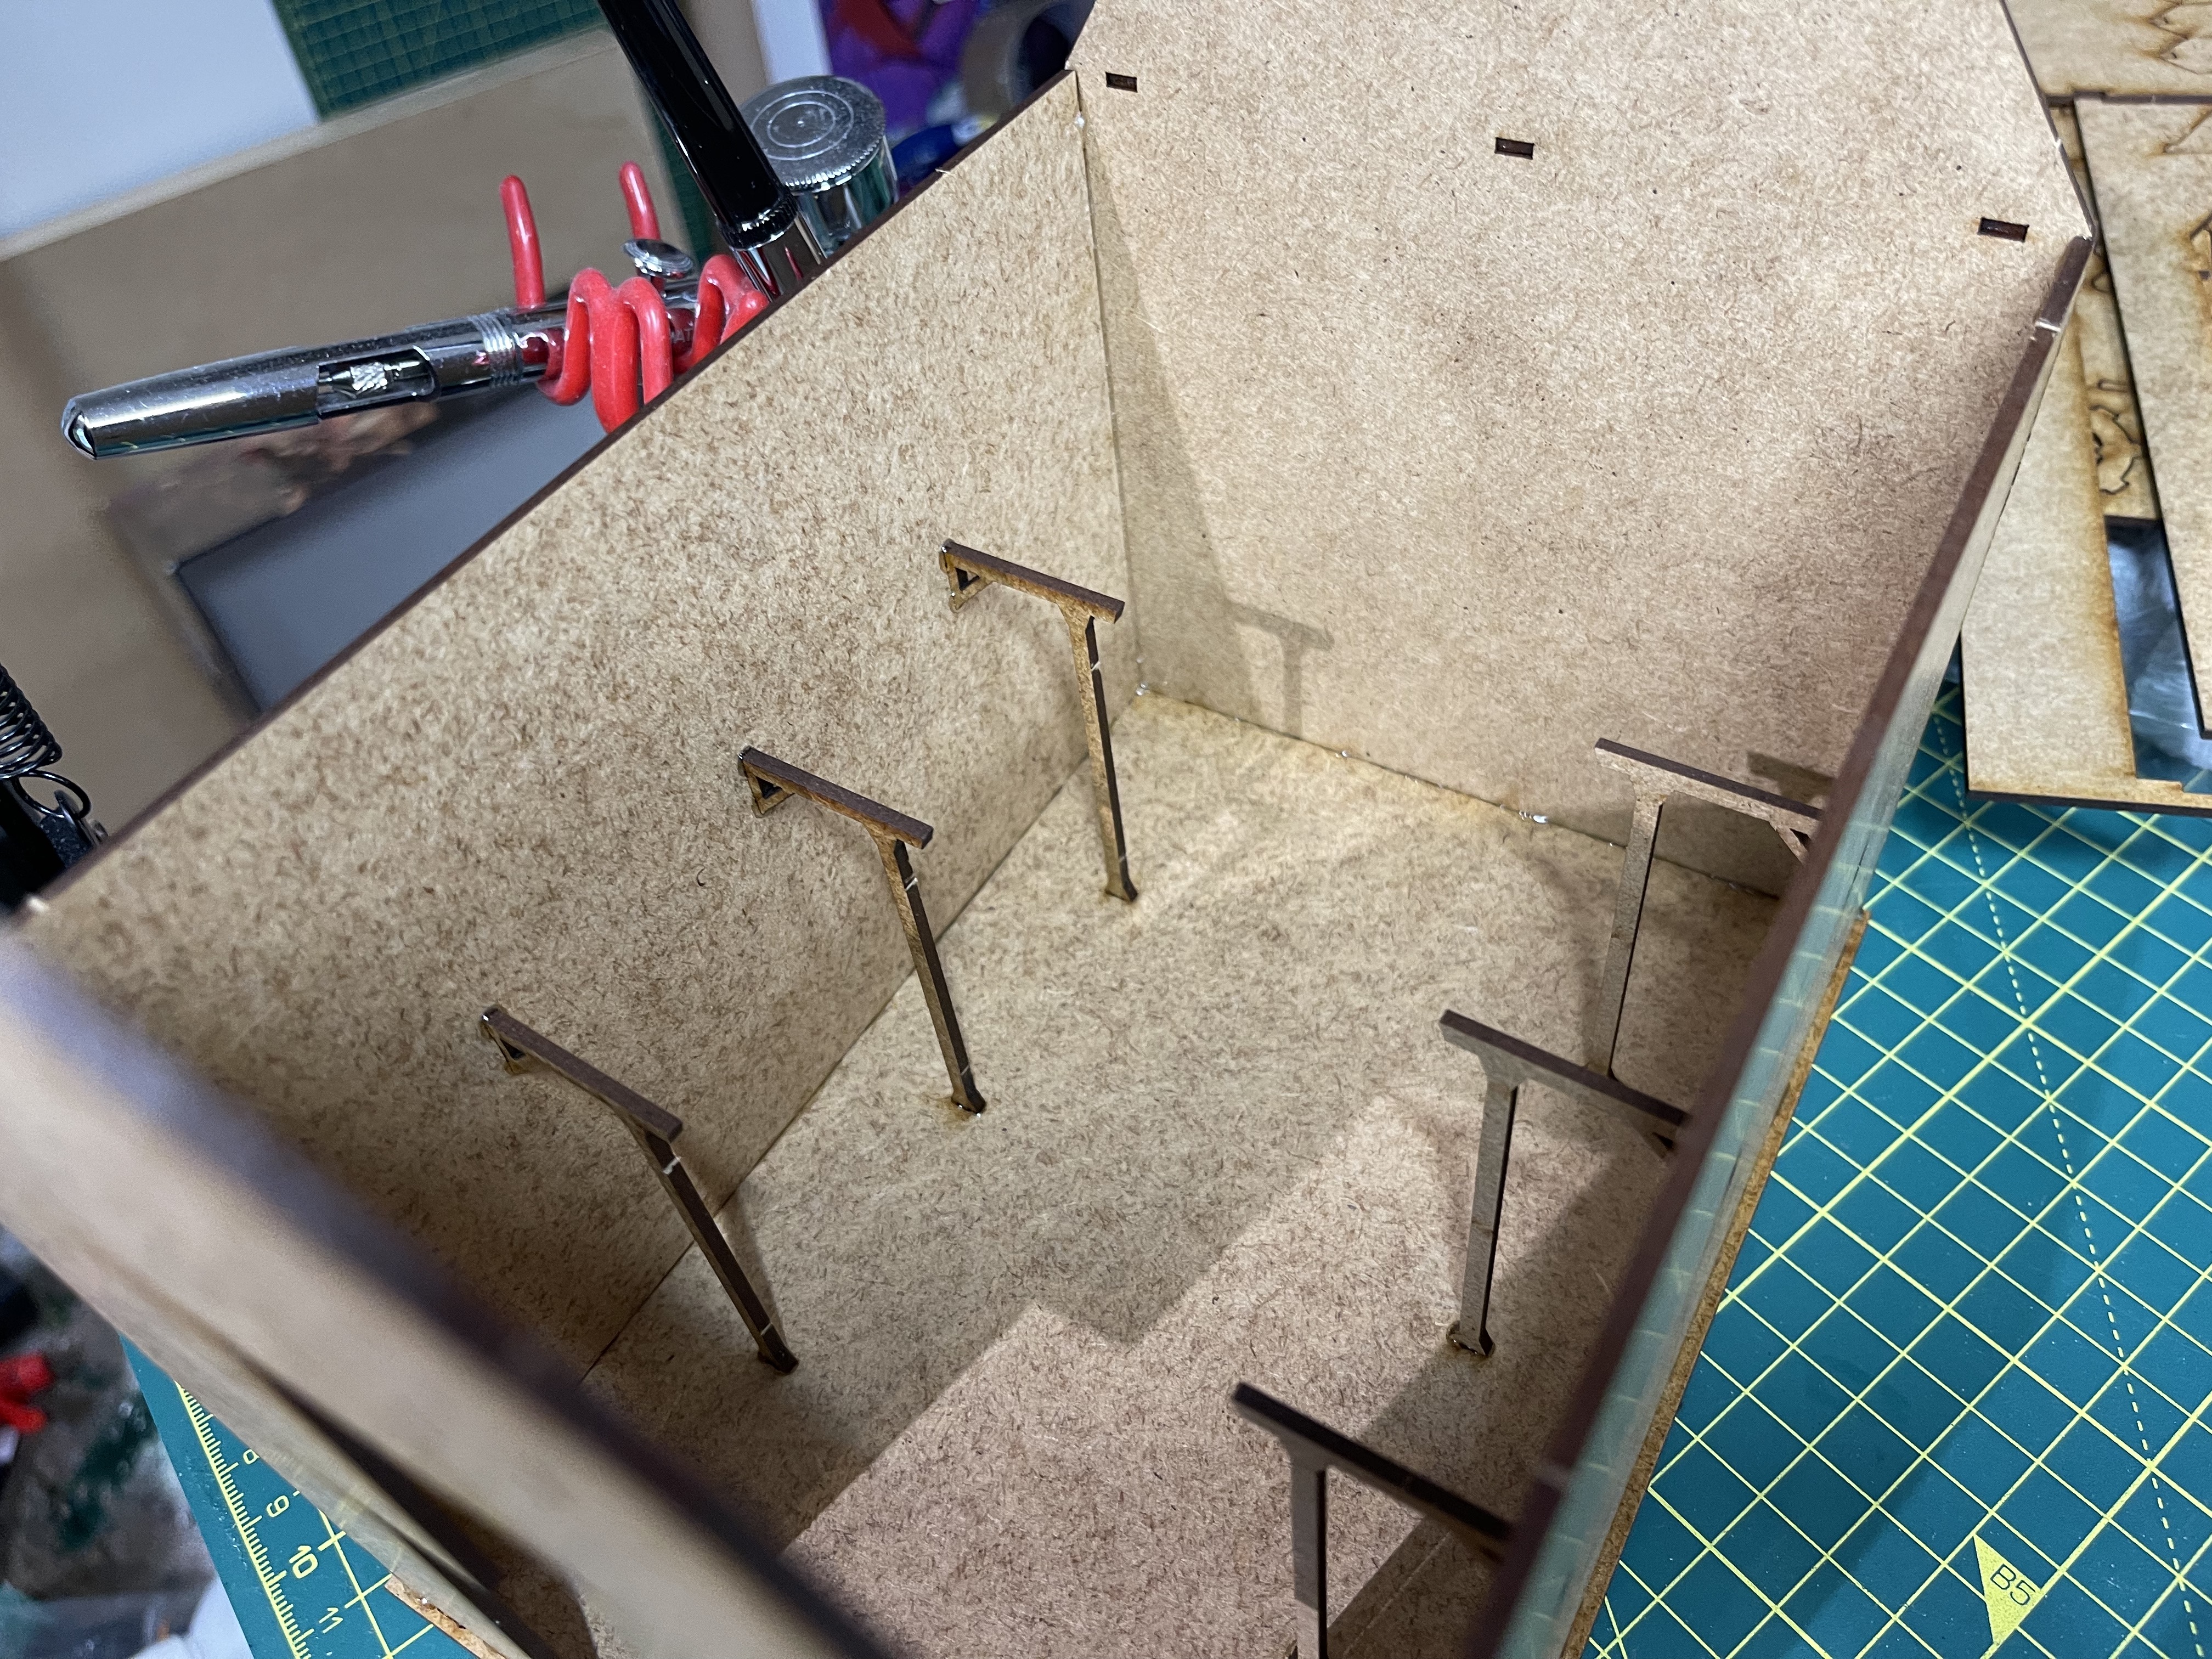
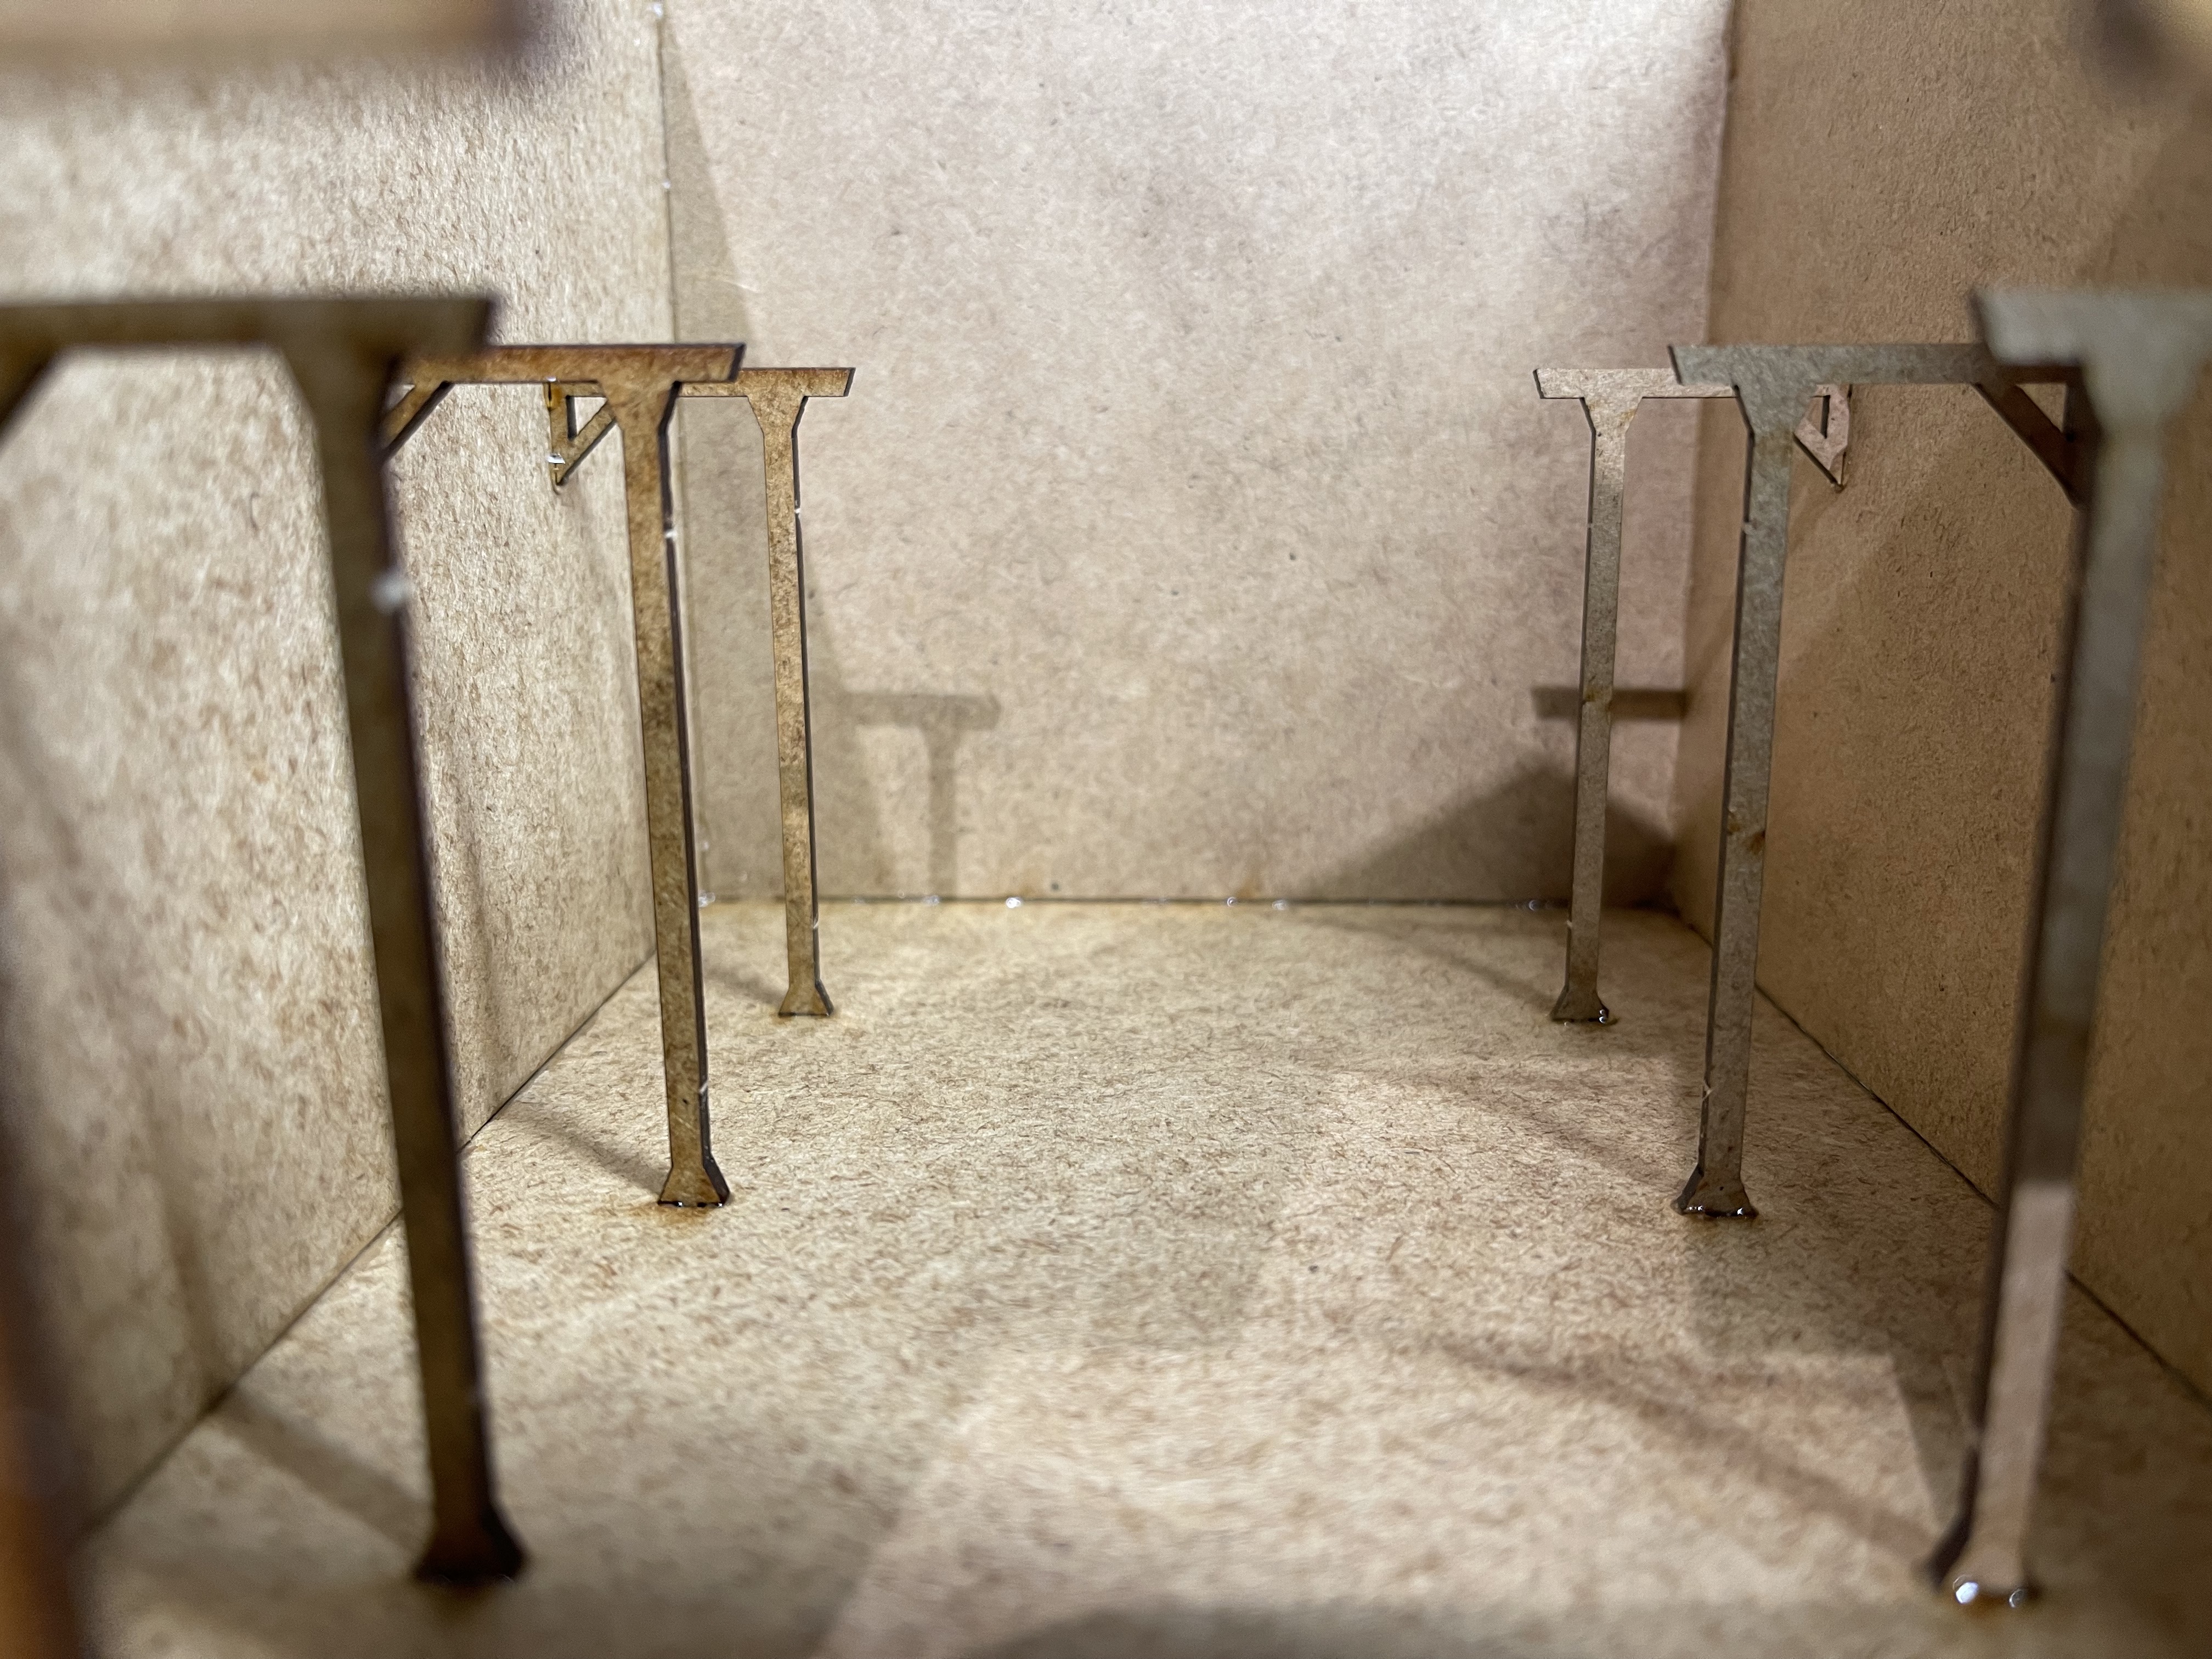
I need to drill the base to put the crops in so I decided to build up little mounds of sculptamold just so I don’t accidentally drill all the way through the base board and knacker the board on the other side (that will never be used again).
it gives a little bit of interest too in terms of differing ground height but the reality of the situation is that they’ll be swamped by the crop plants.
Hay bales
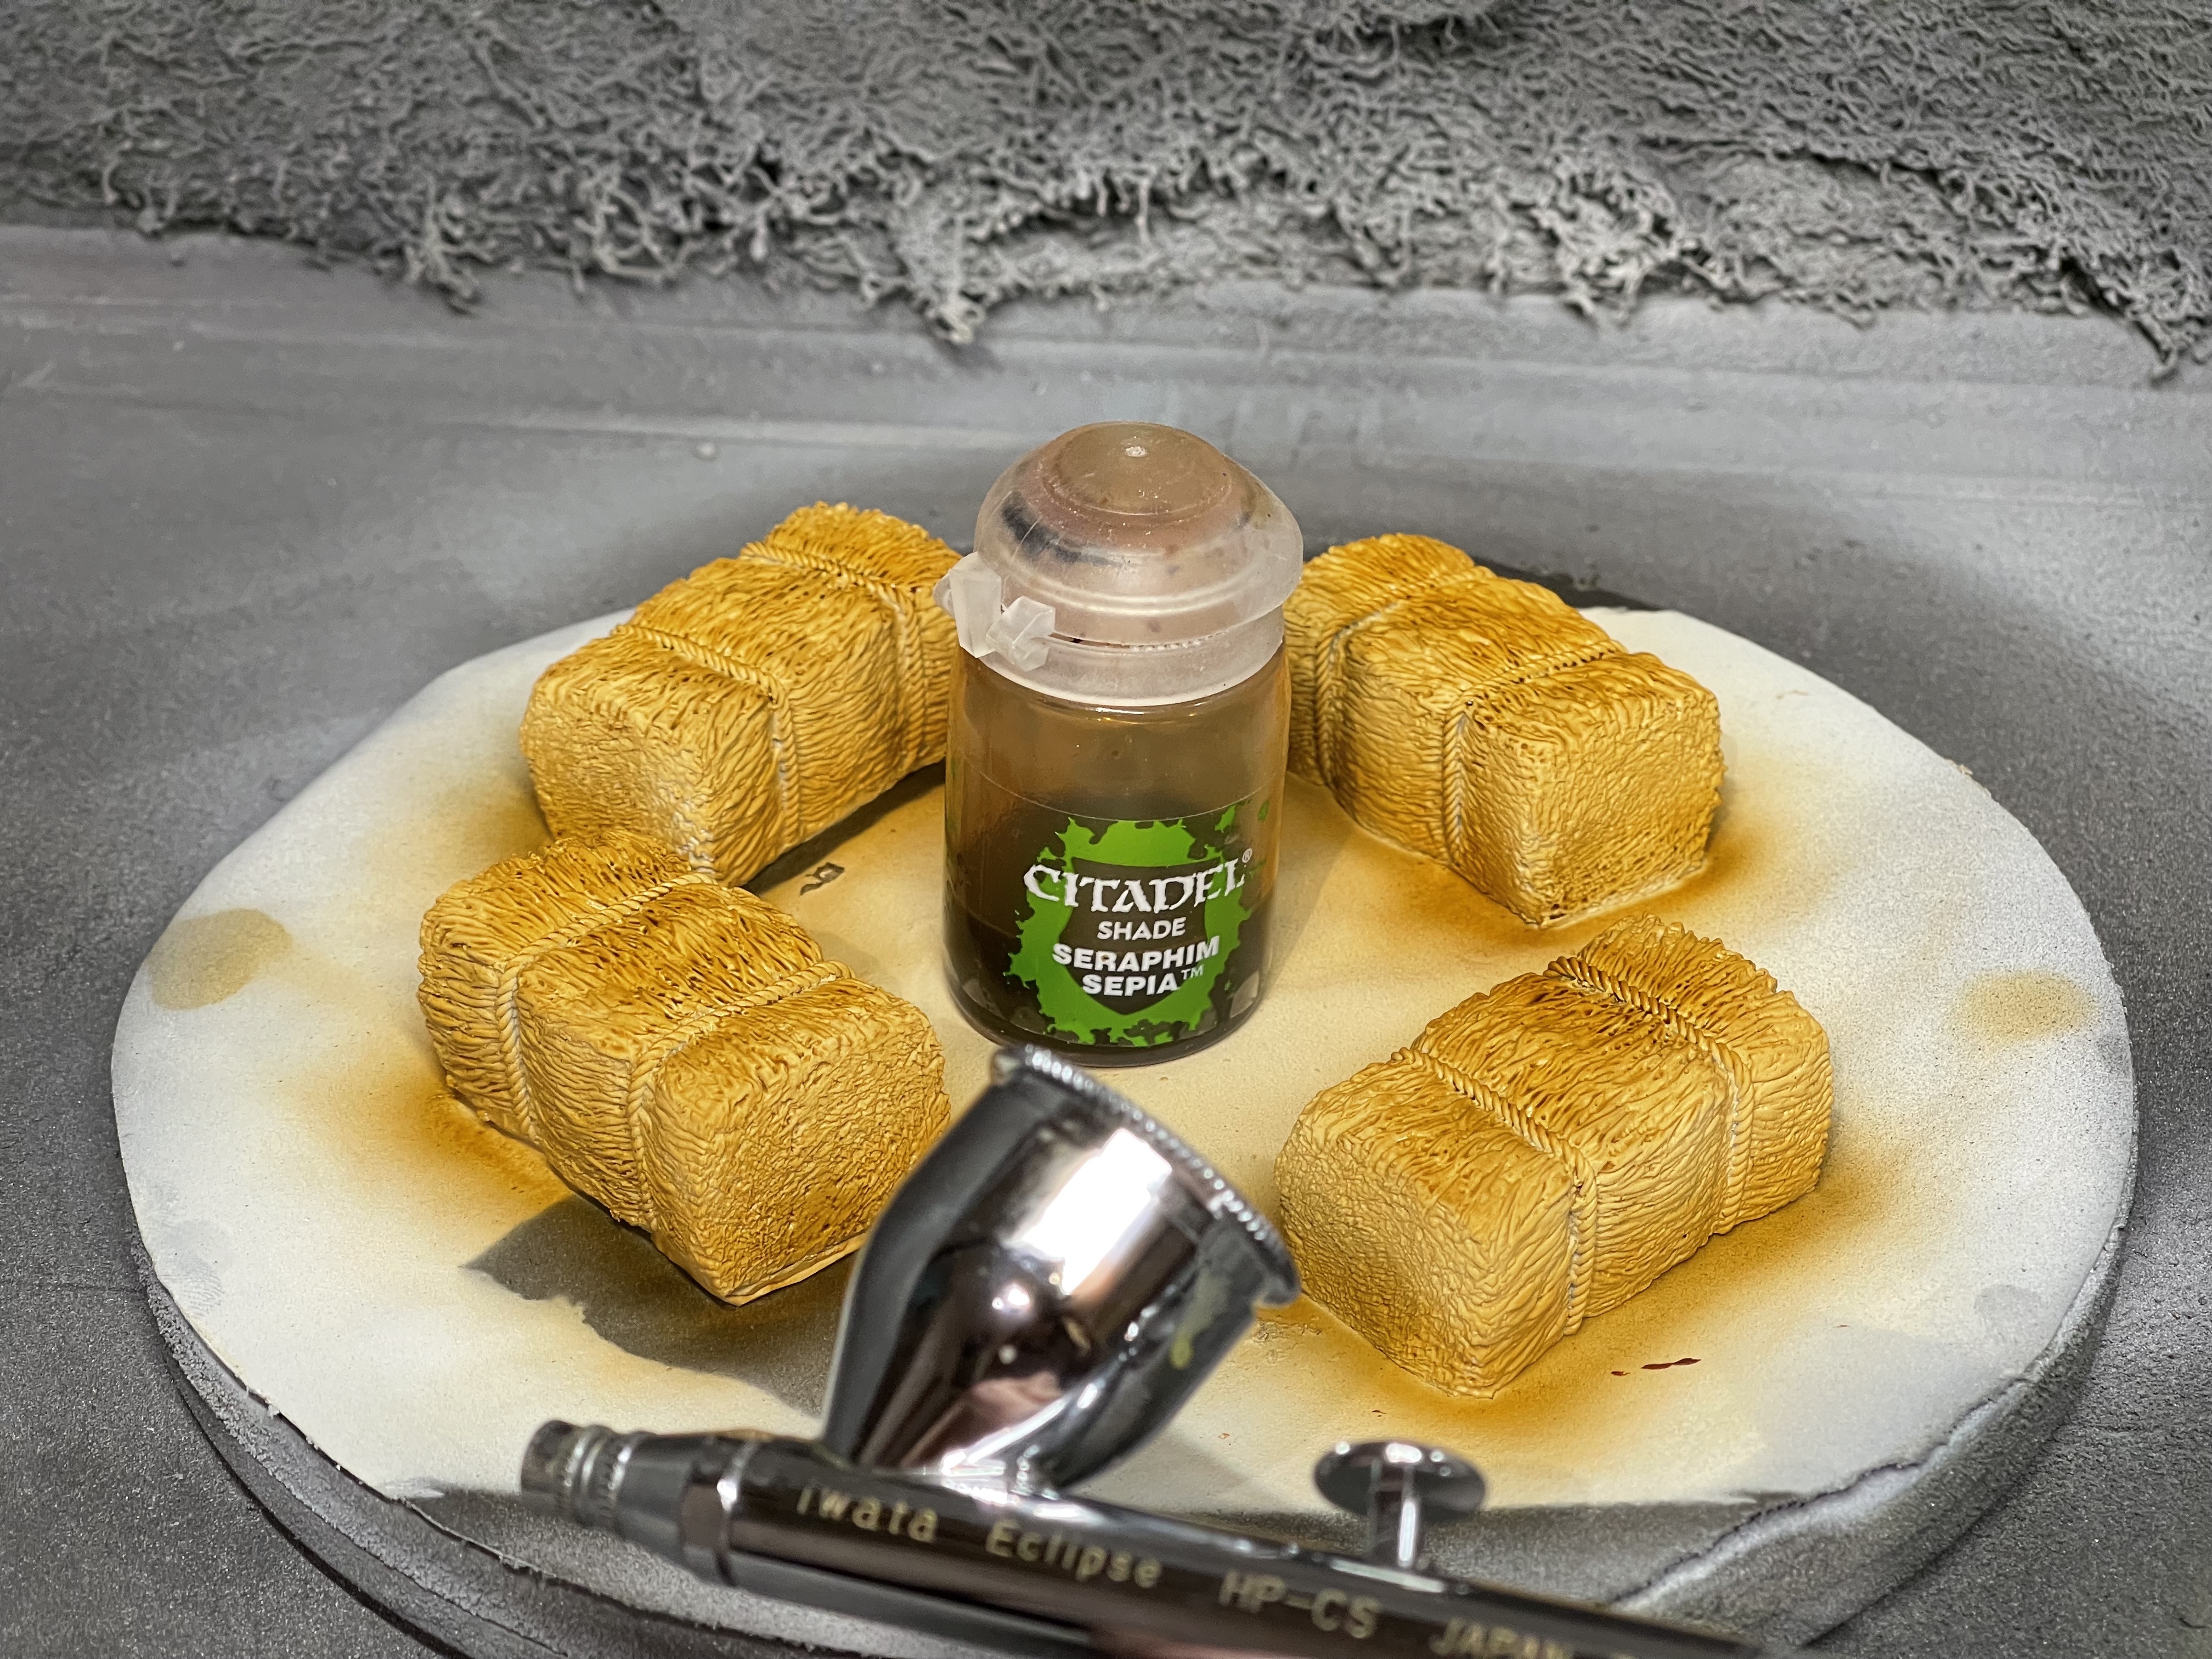 prime white, then airbrush a few layers of sepia on. I went heavier on the ground level and the centre of the top to add a bit of depth to the bales
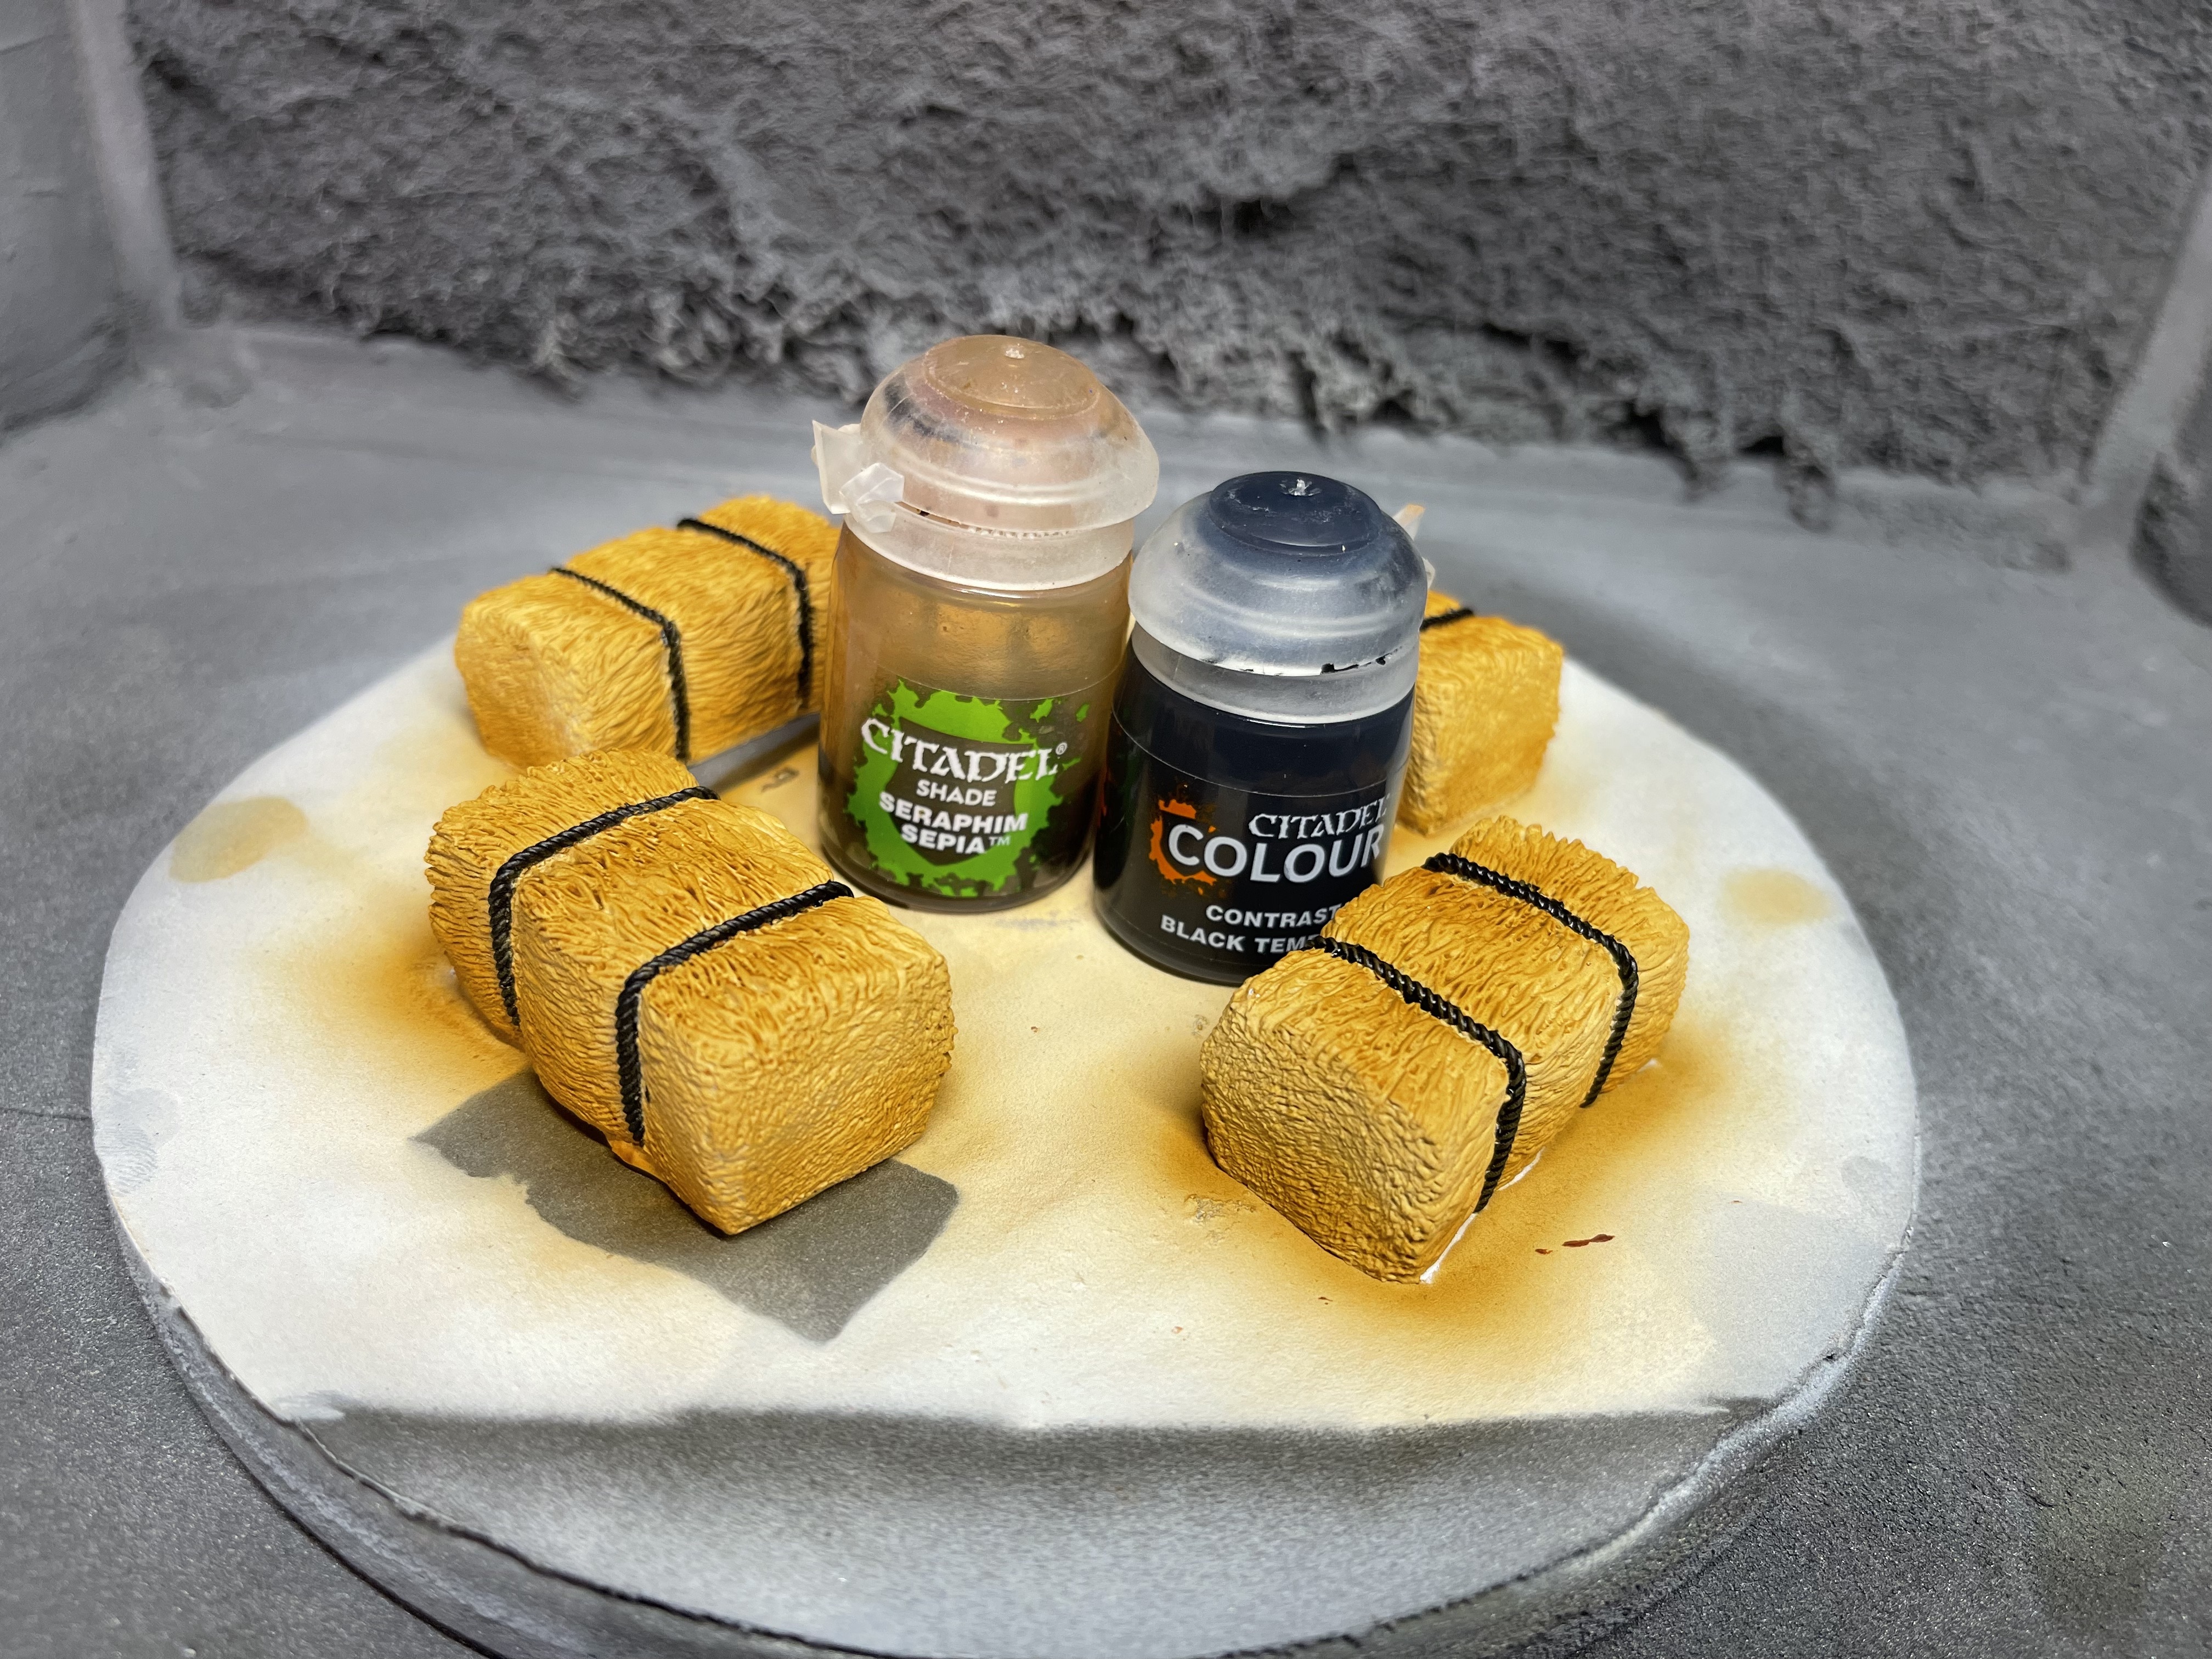 I wanted to do blue string but the contrast I had didn't work out well so I went with black instead.
making it more interesting - tin roof
so thanks to PanzerKaput instead of processing a load of cardboard I bought some Drawer Liners, YBQZ 30cm×200cm Double Anti-Slip Shelf Liner instead
https://www.amazon.co.uk/dp/B096NX75YL?psc=1&ref=ppx_yo2ov_dt_b_product_details
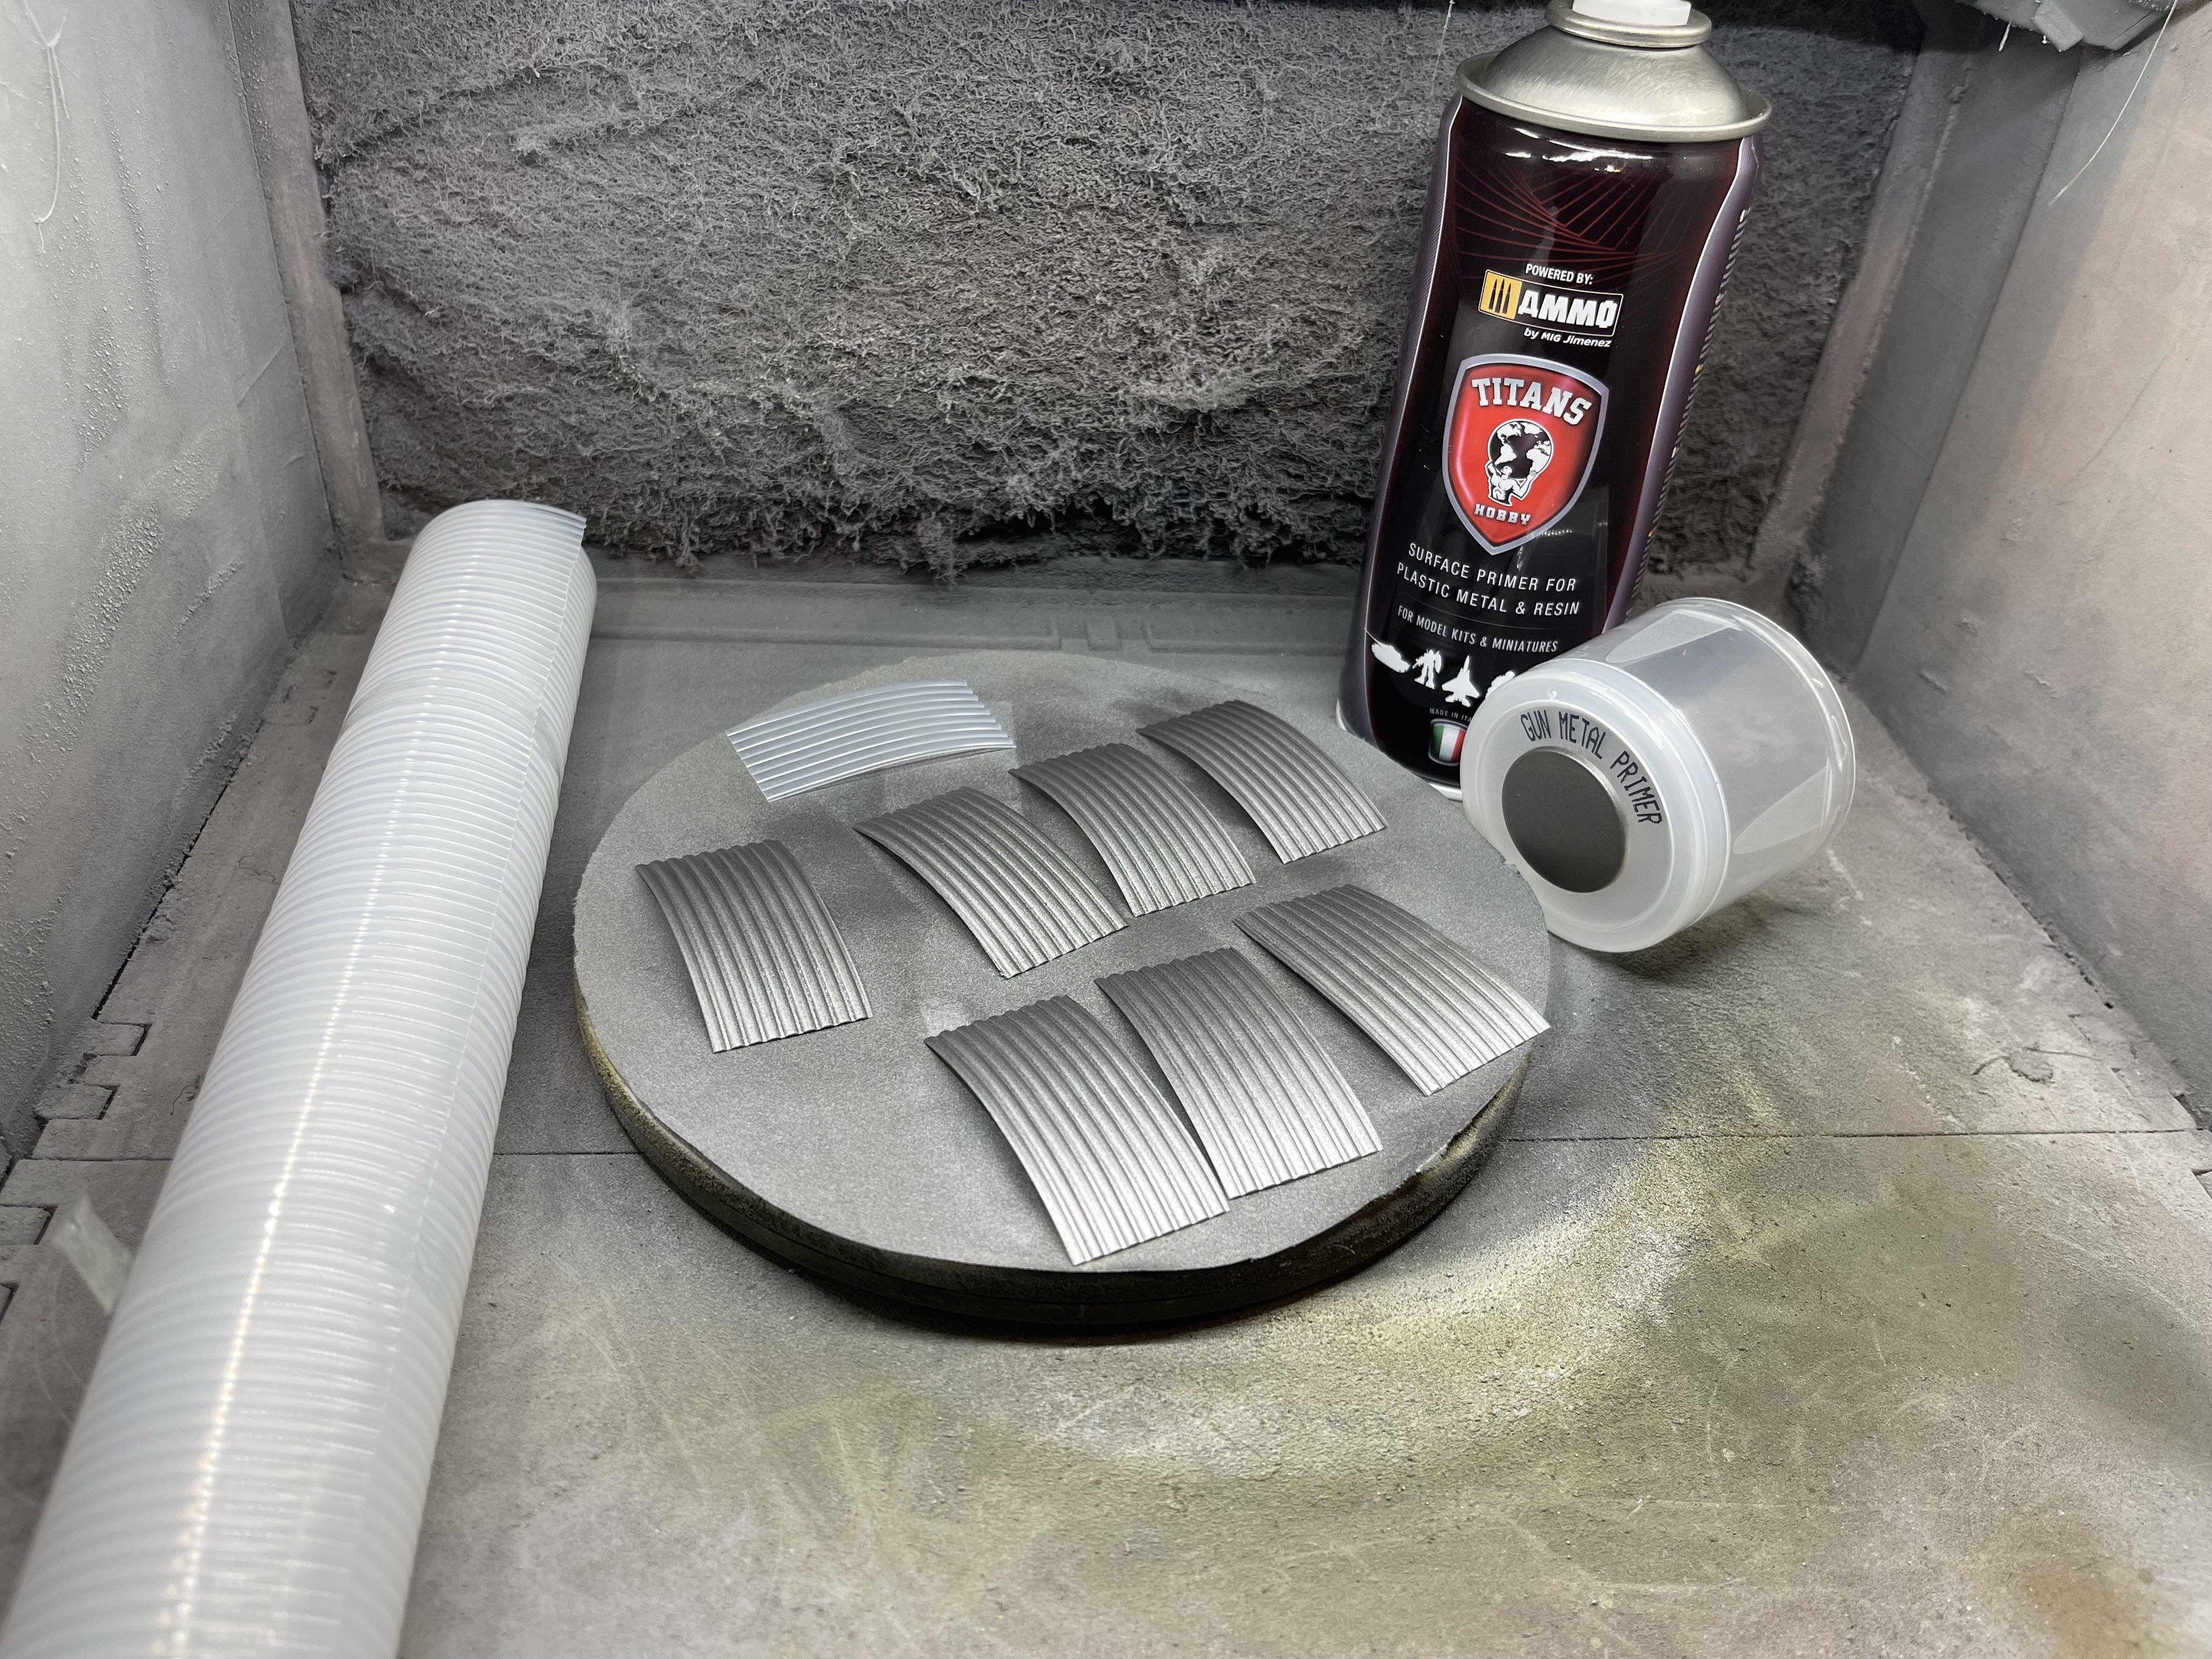 cut into appropriate size bits (6cm x 3cm for me) primed it silver (don't waste your time/paint doing this now)
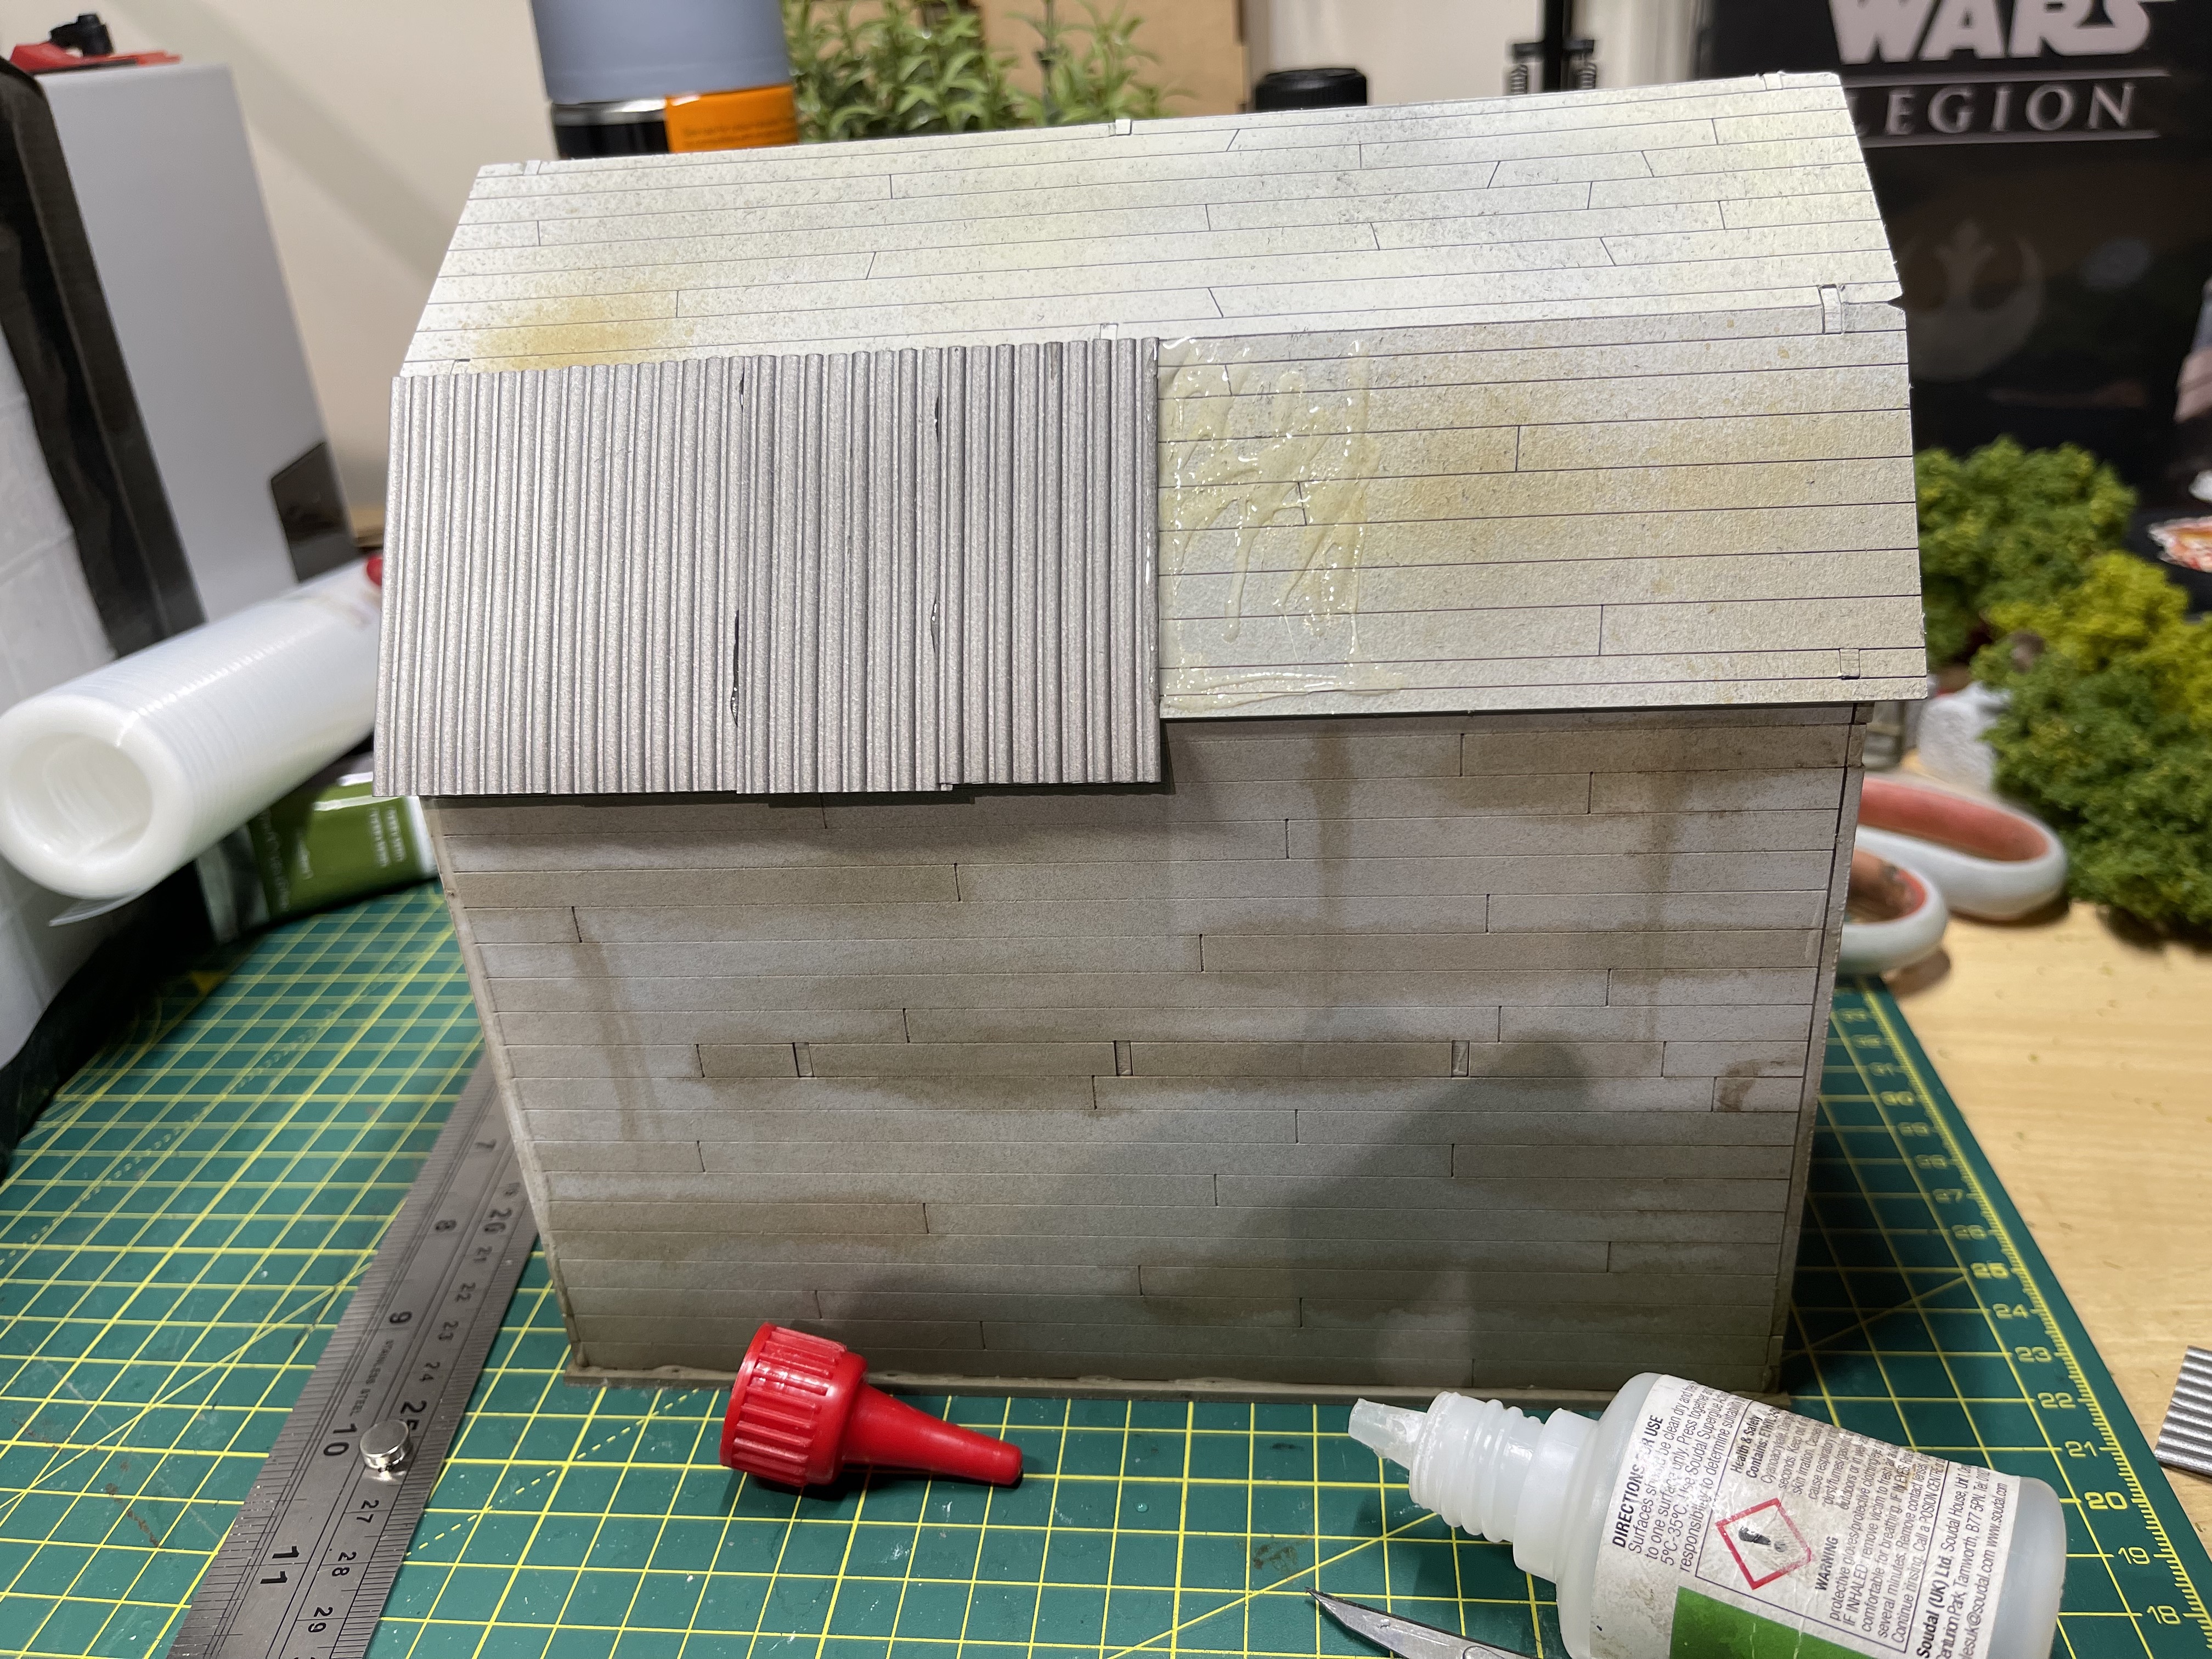 superglue it on making sure to overlap it
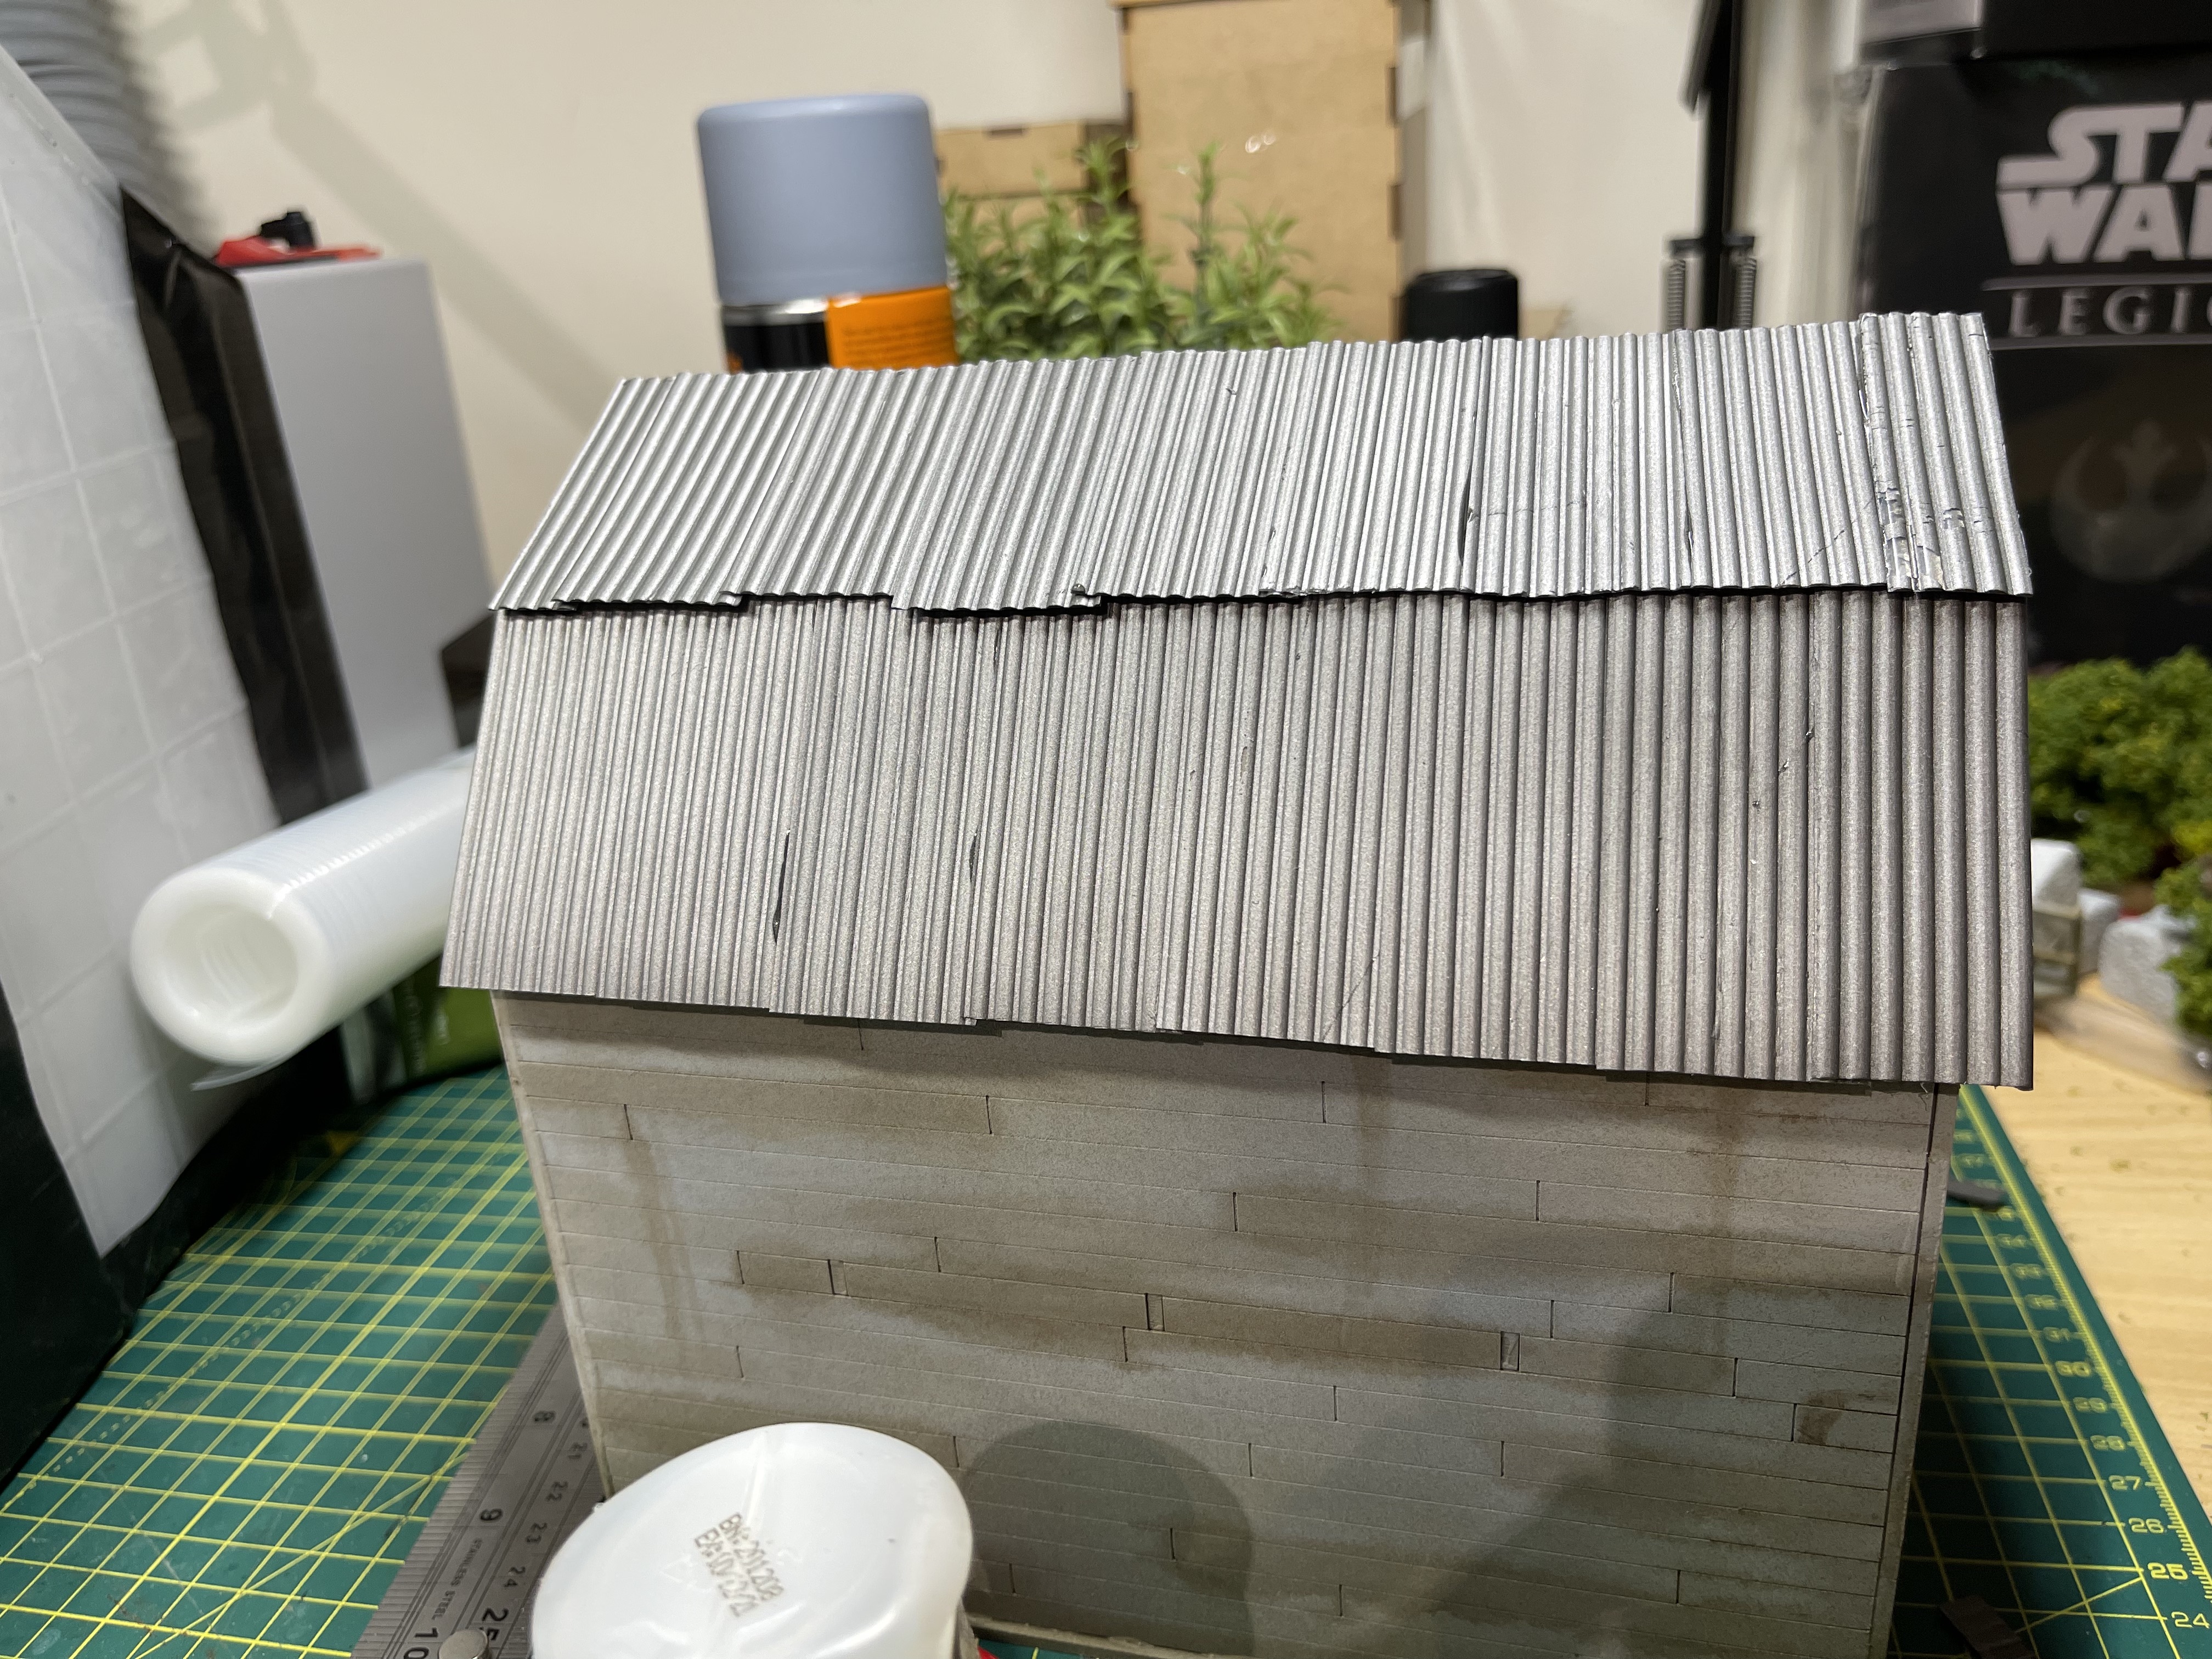 glue on the top layer offsetting it by 1.5cm (half a panel) to make it look more real
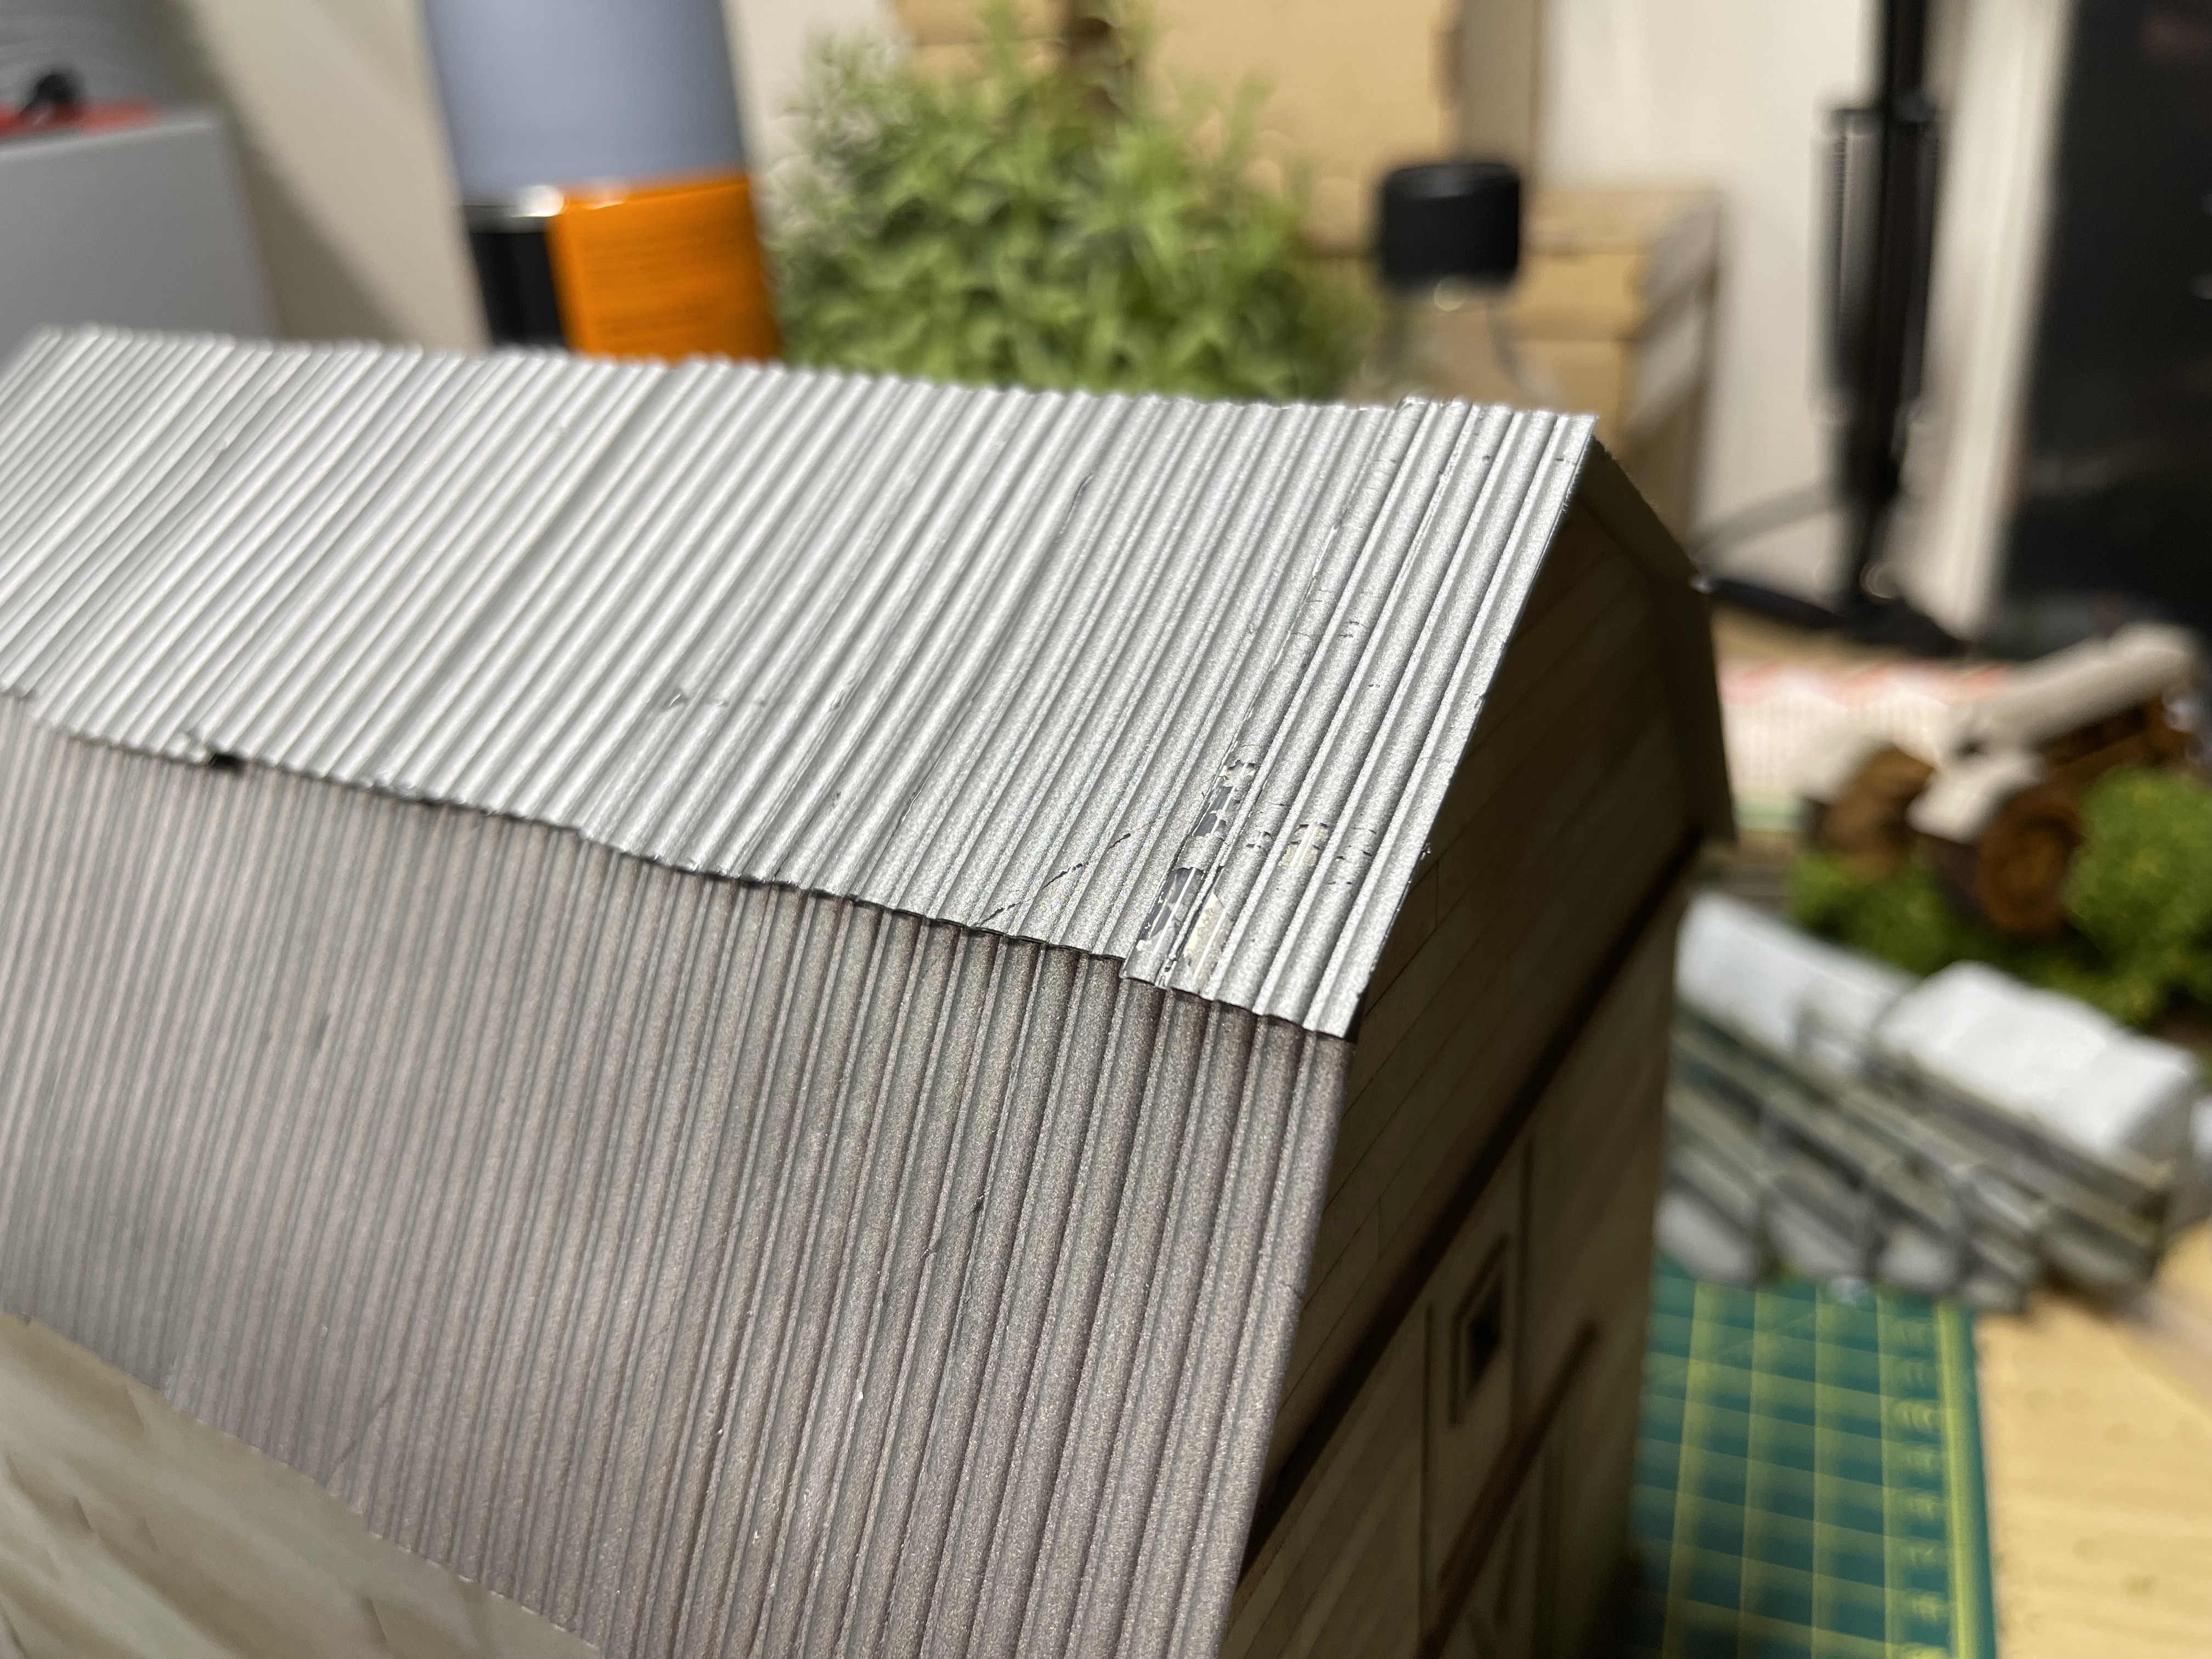 realise that priming before gluing was pointless as you simply rub it off with activator spray and glue mix
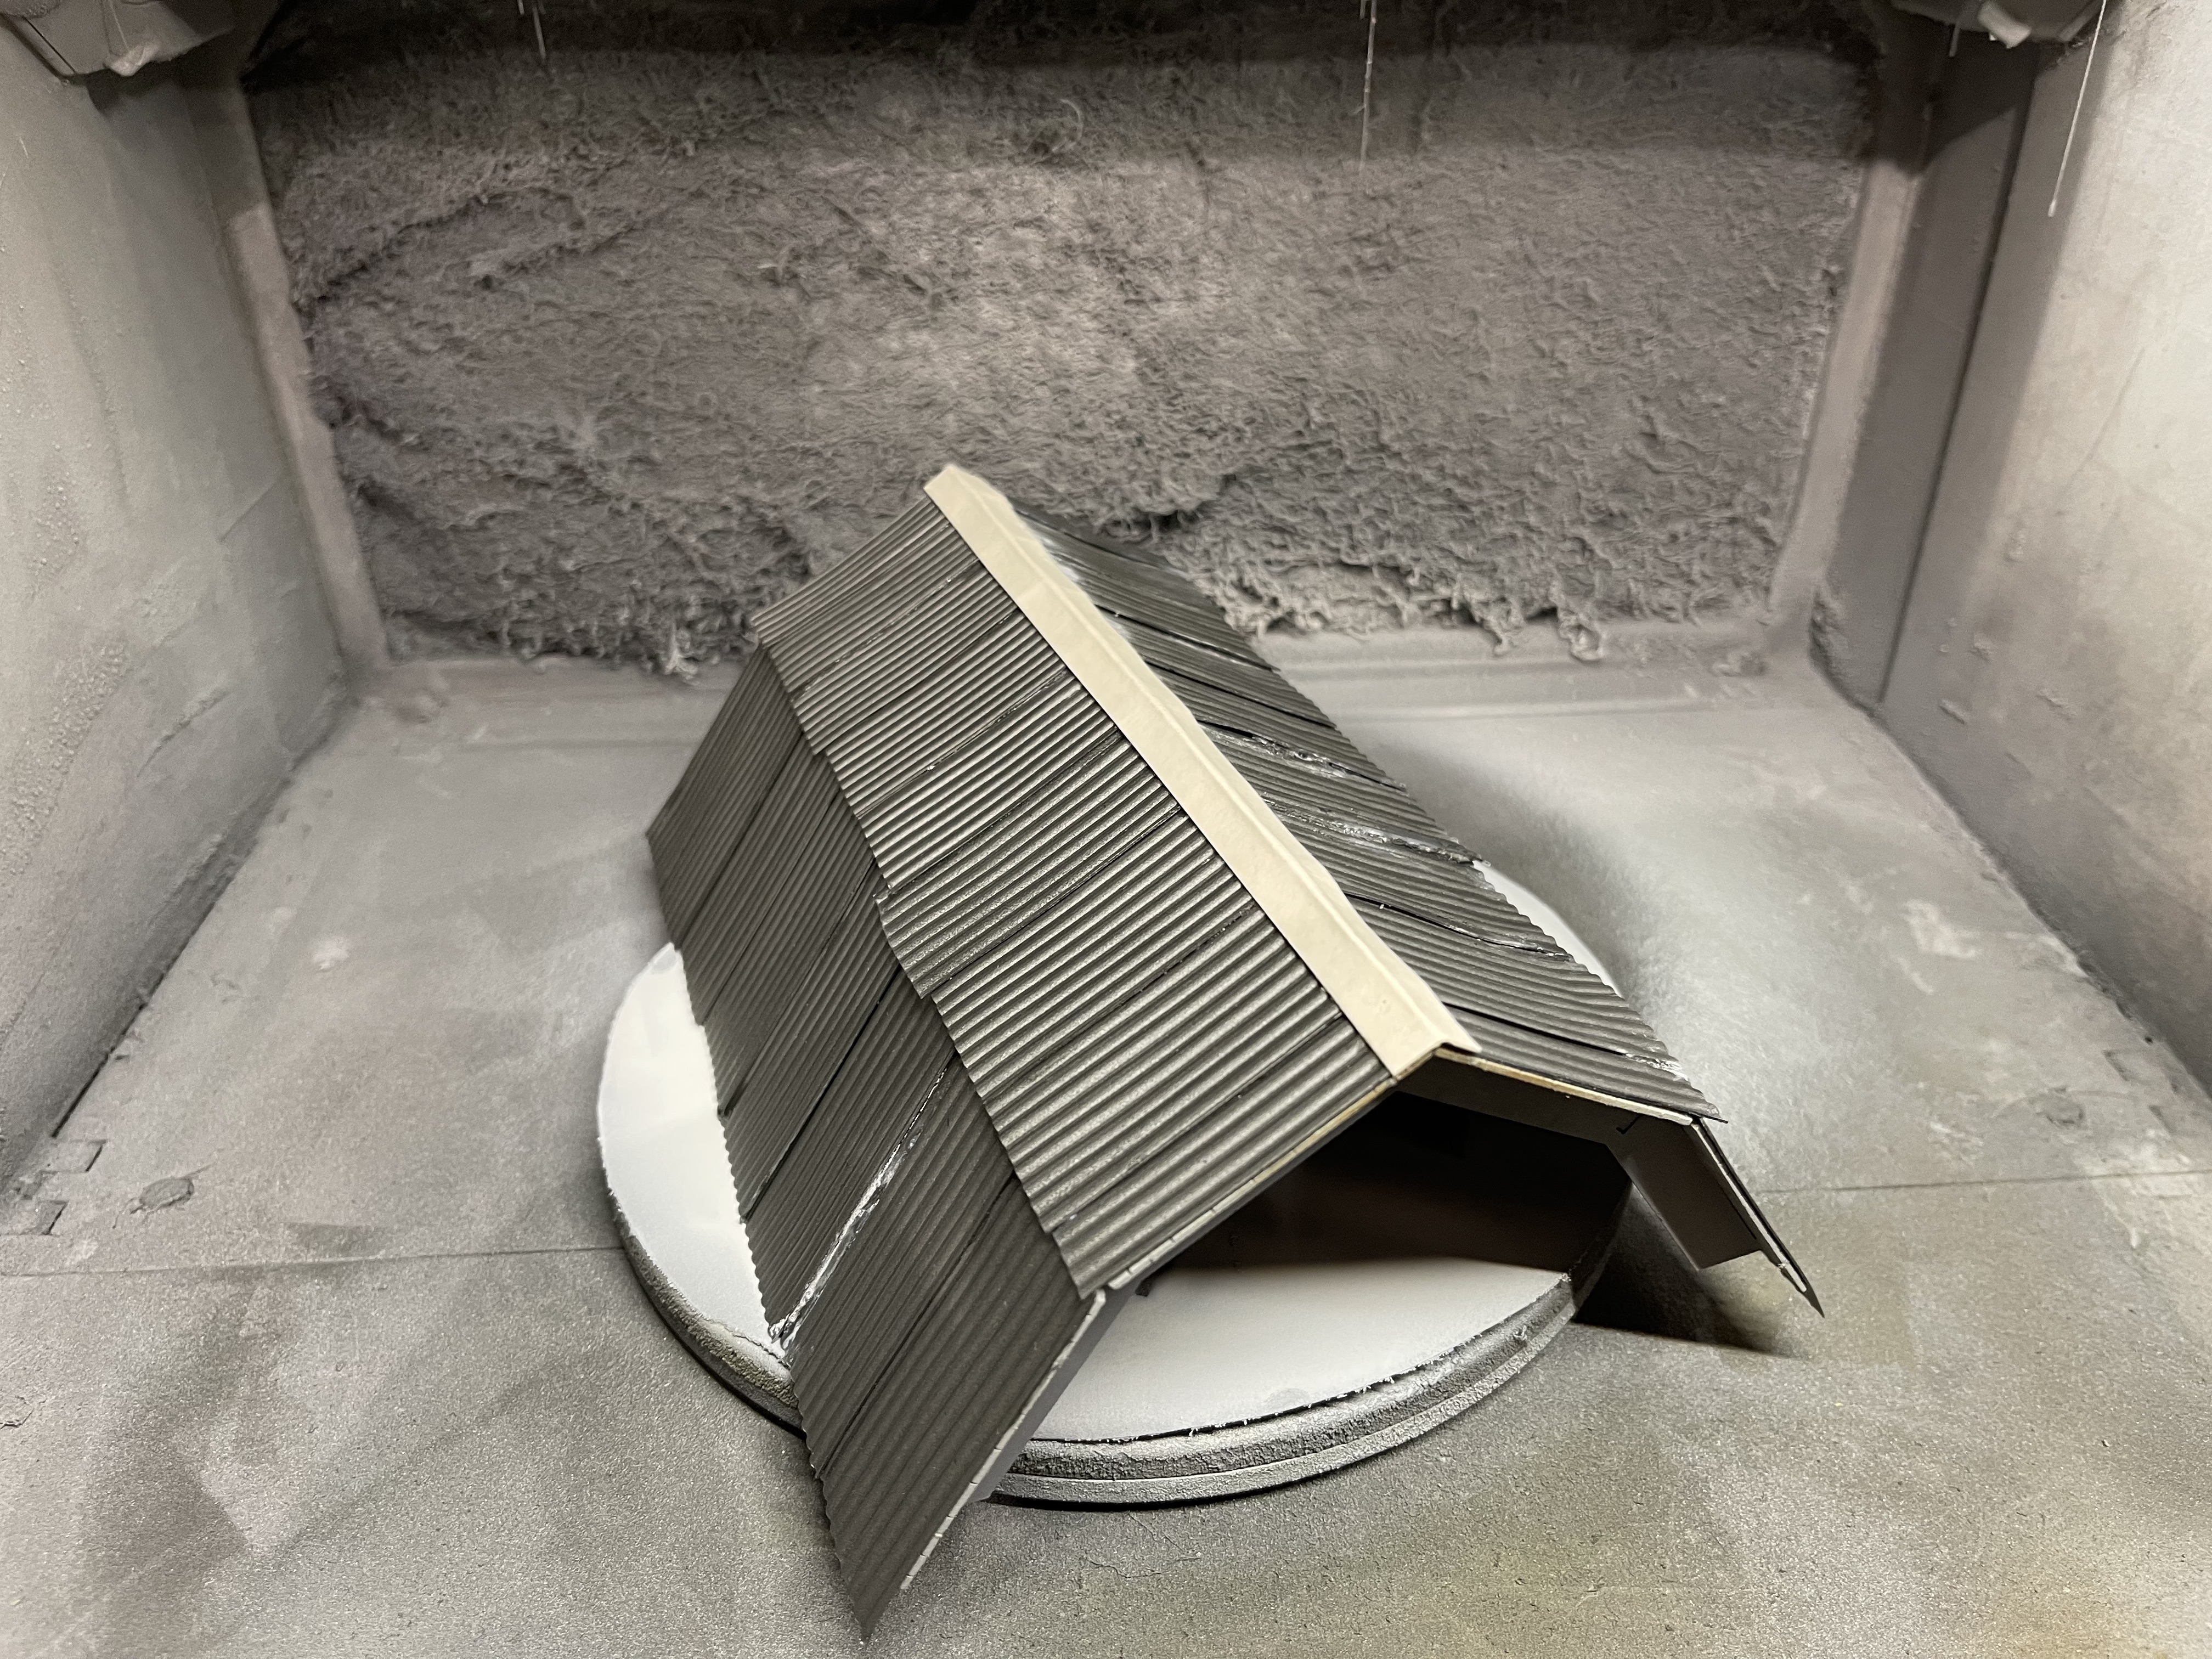 cardboard strip for the pitch leading
 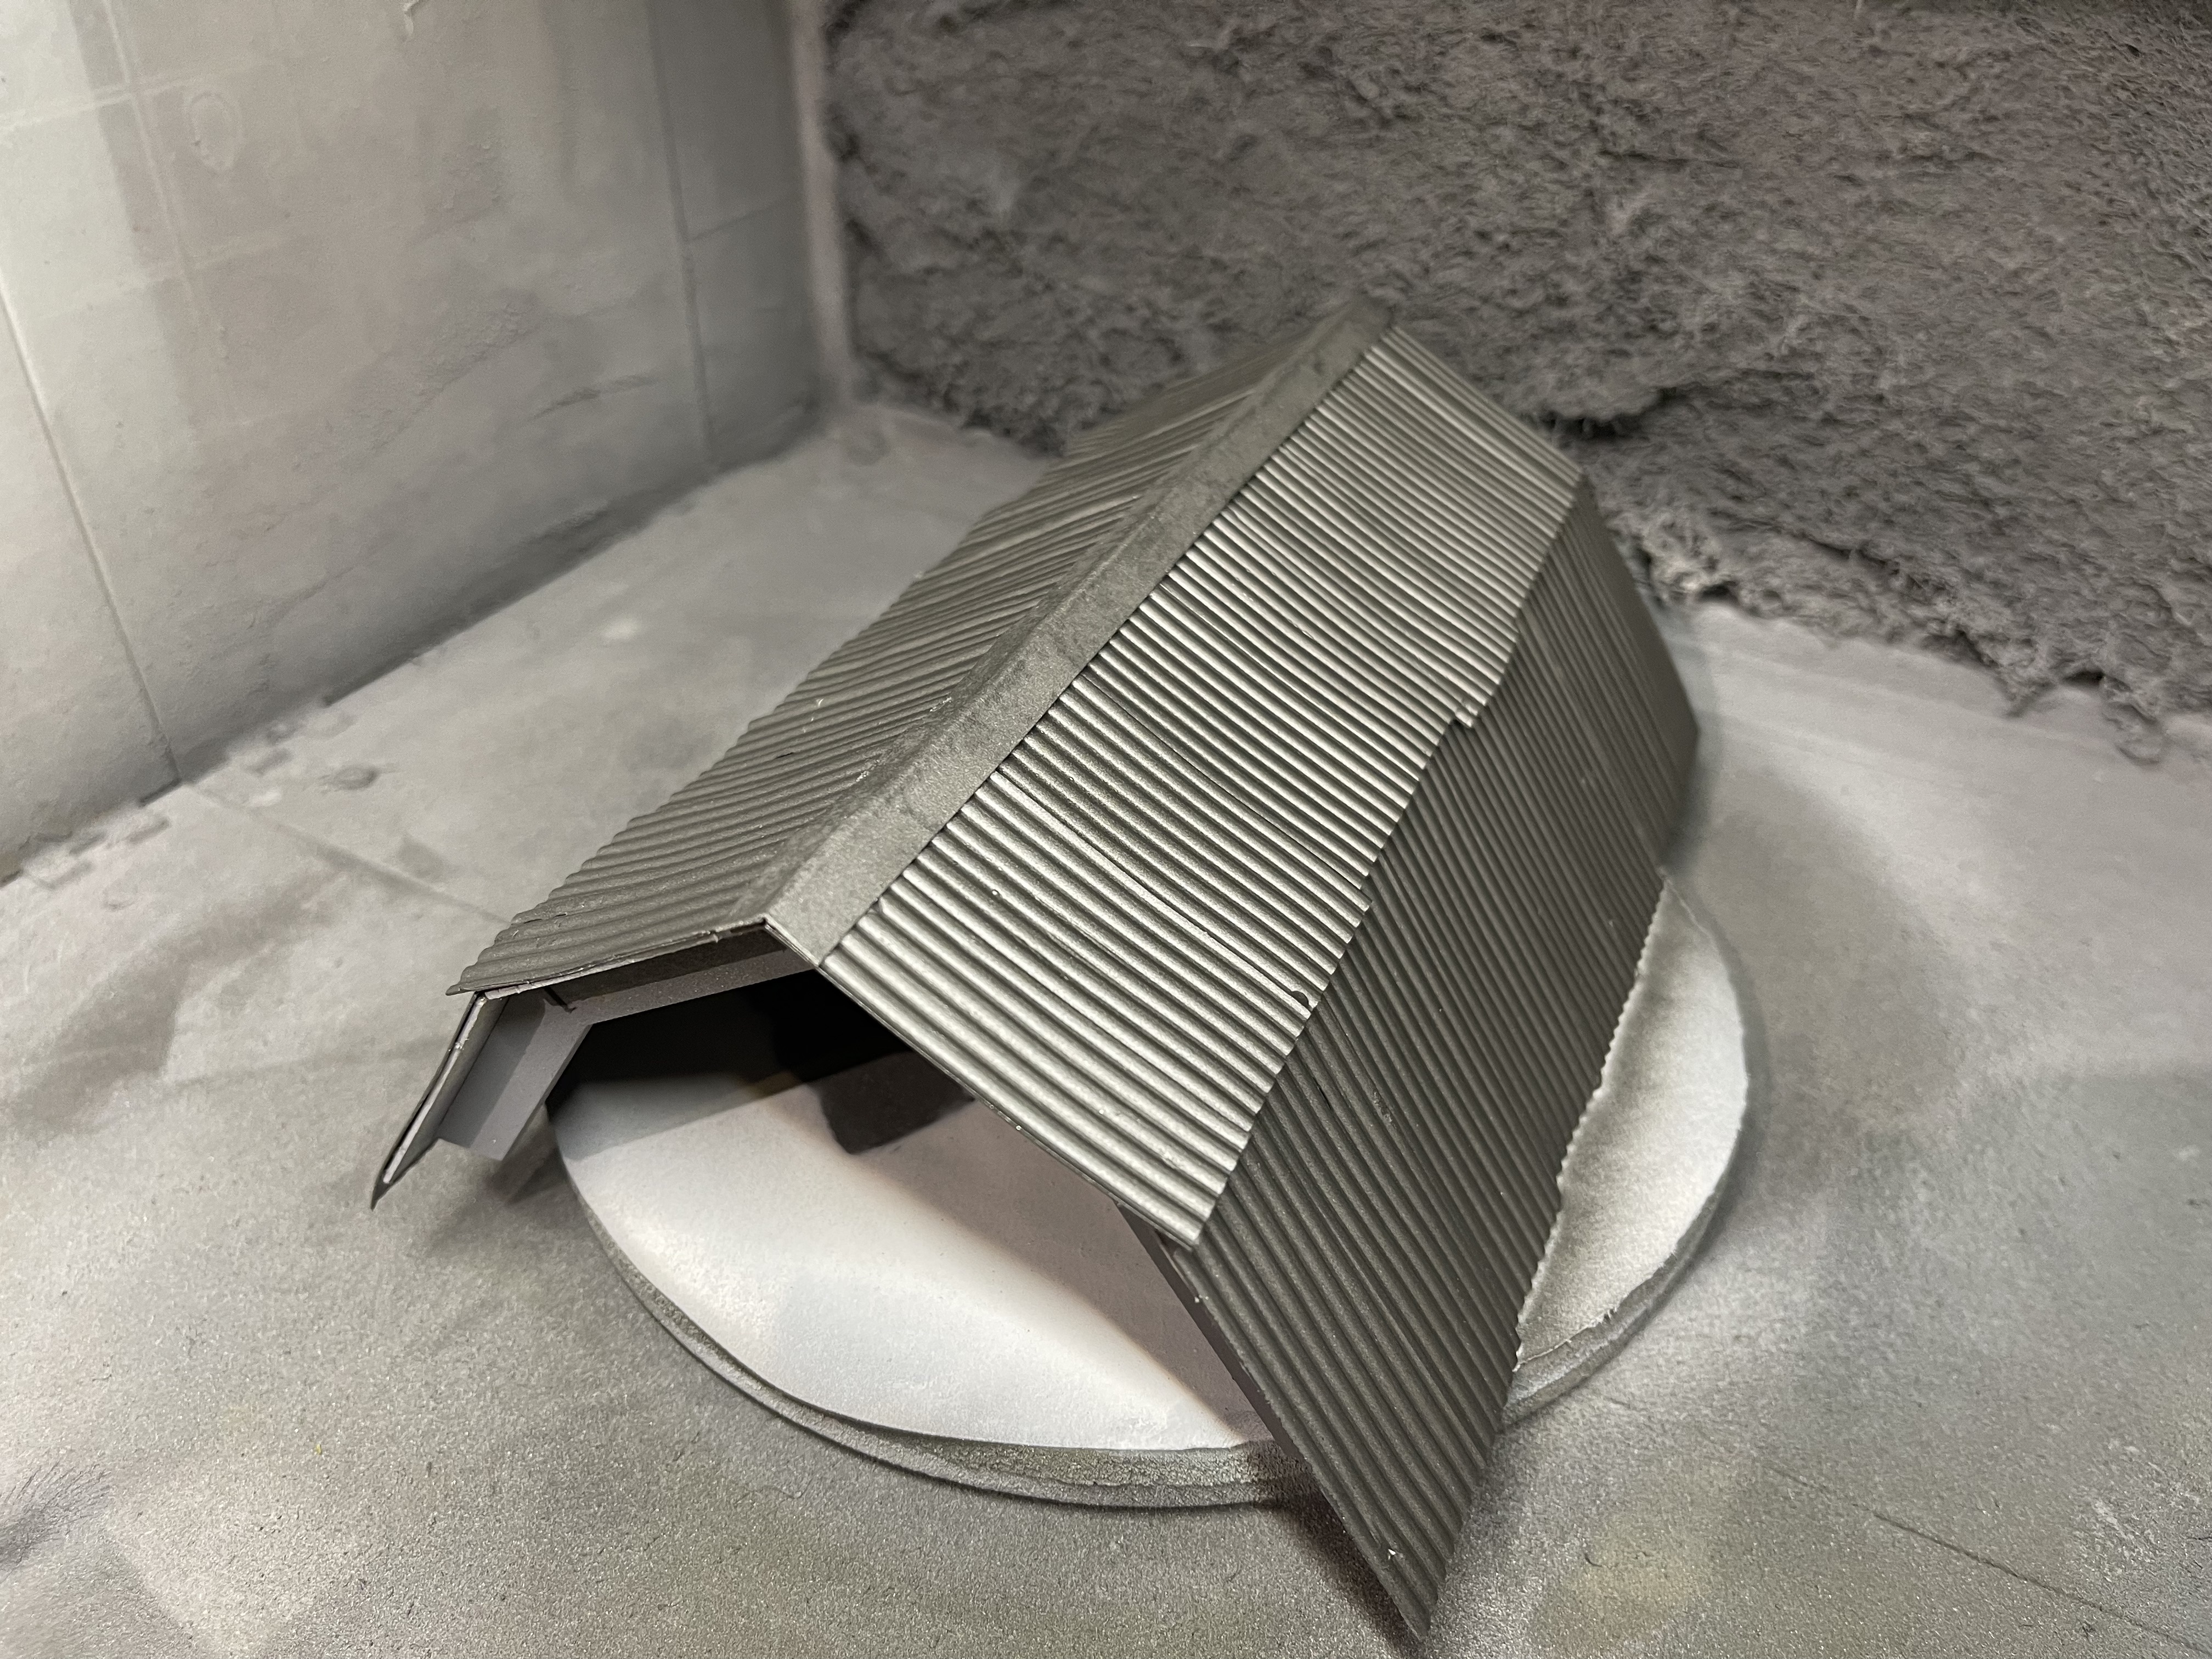 prime everything silver
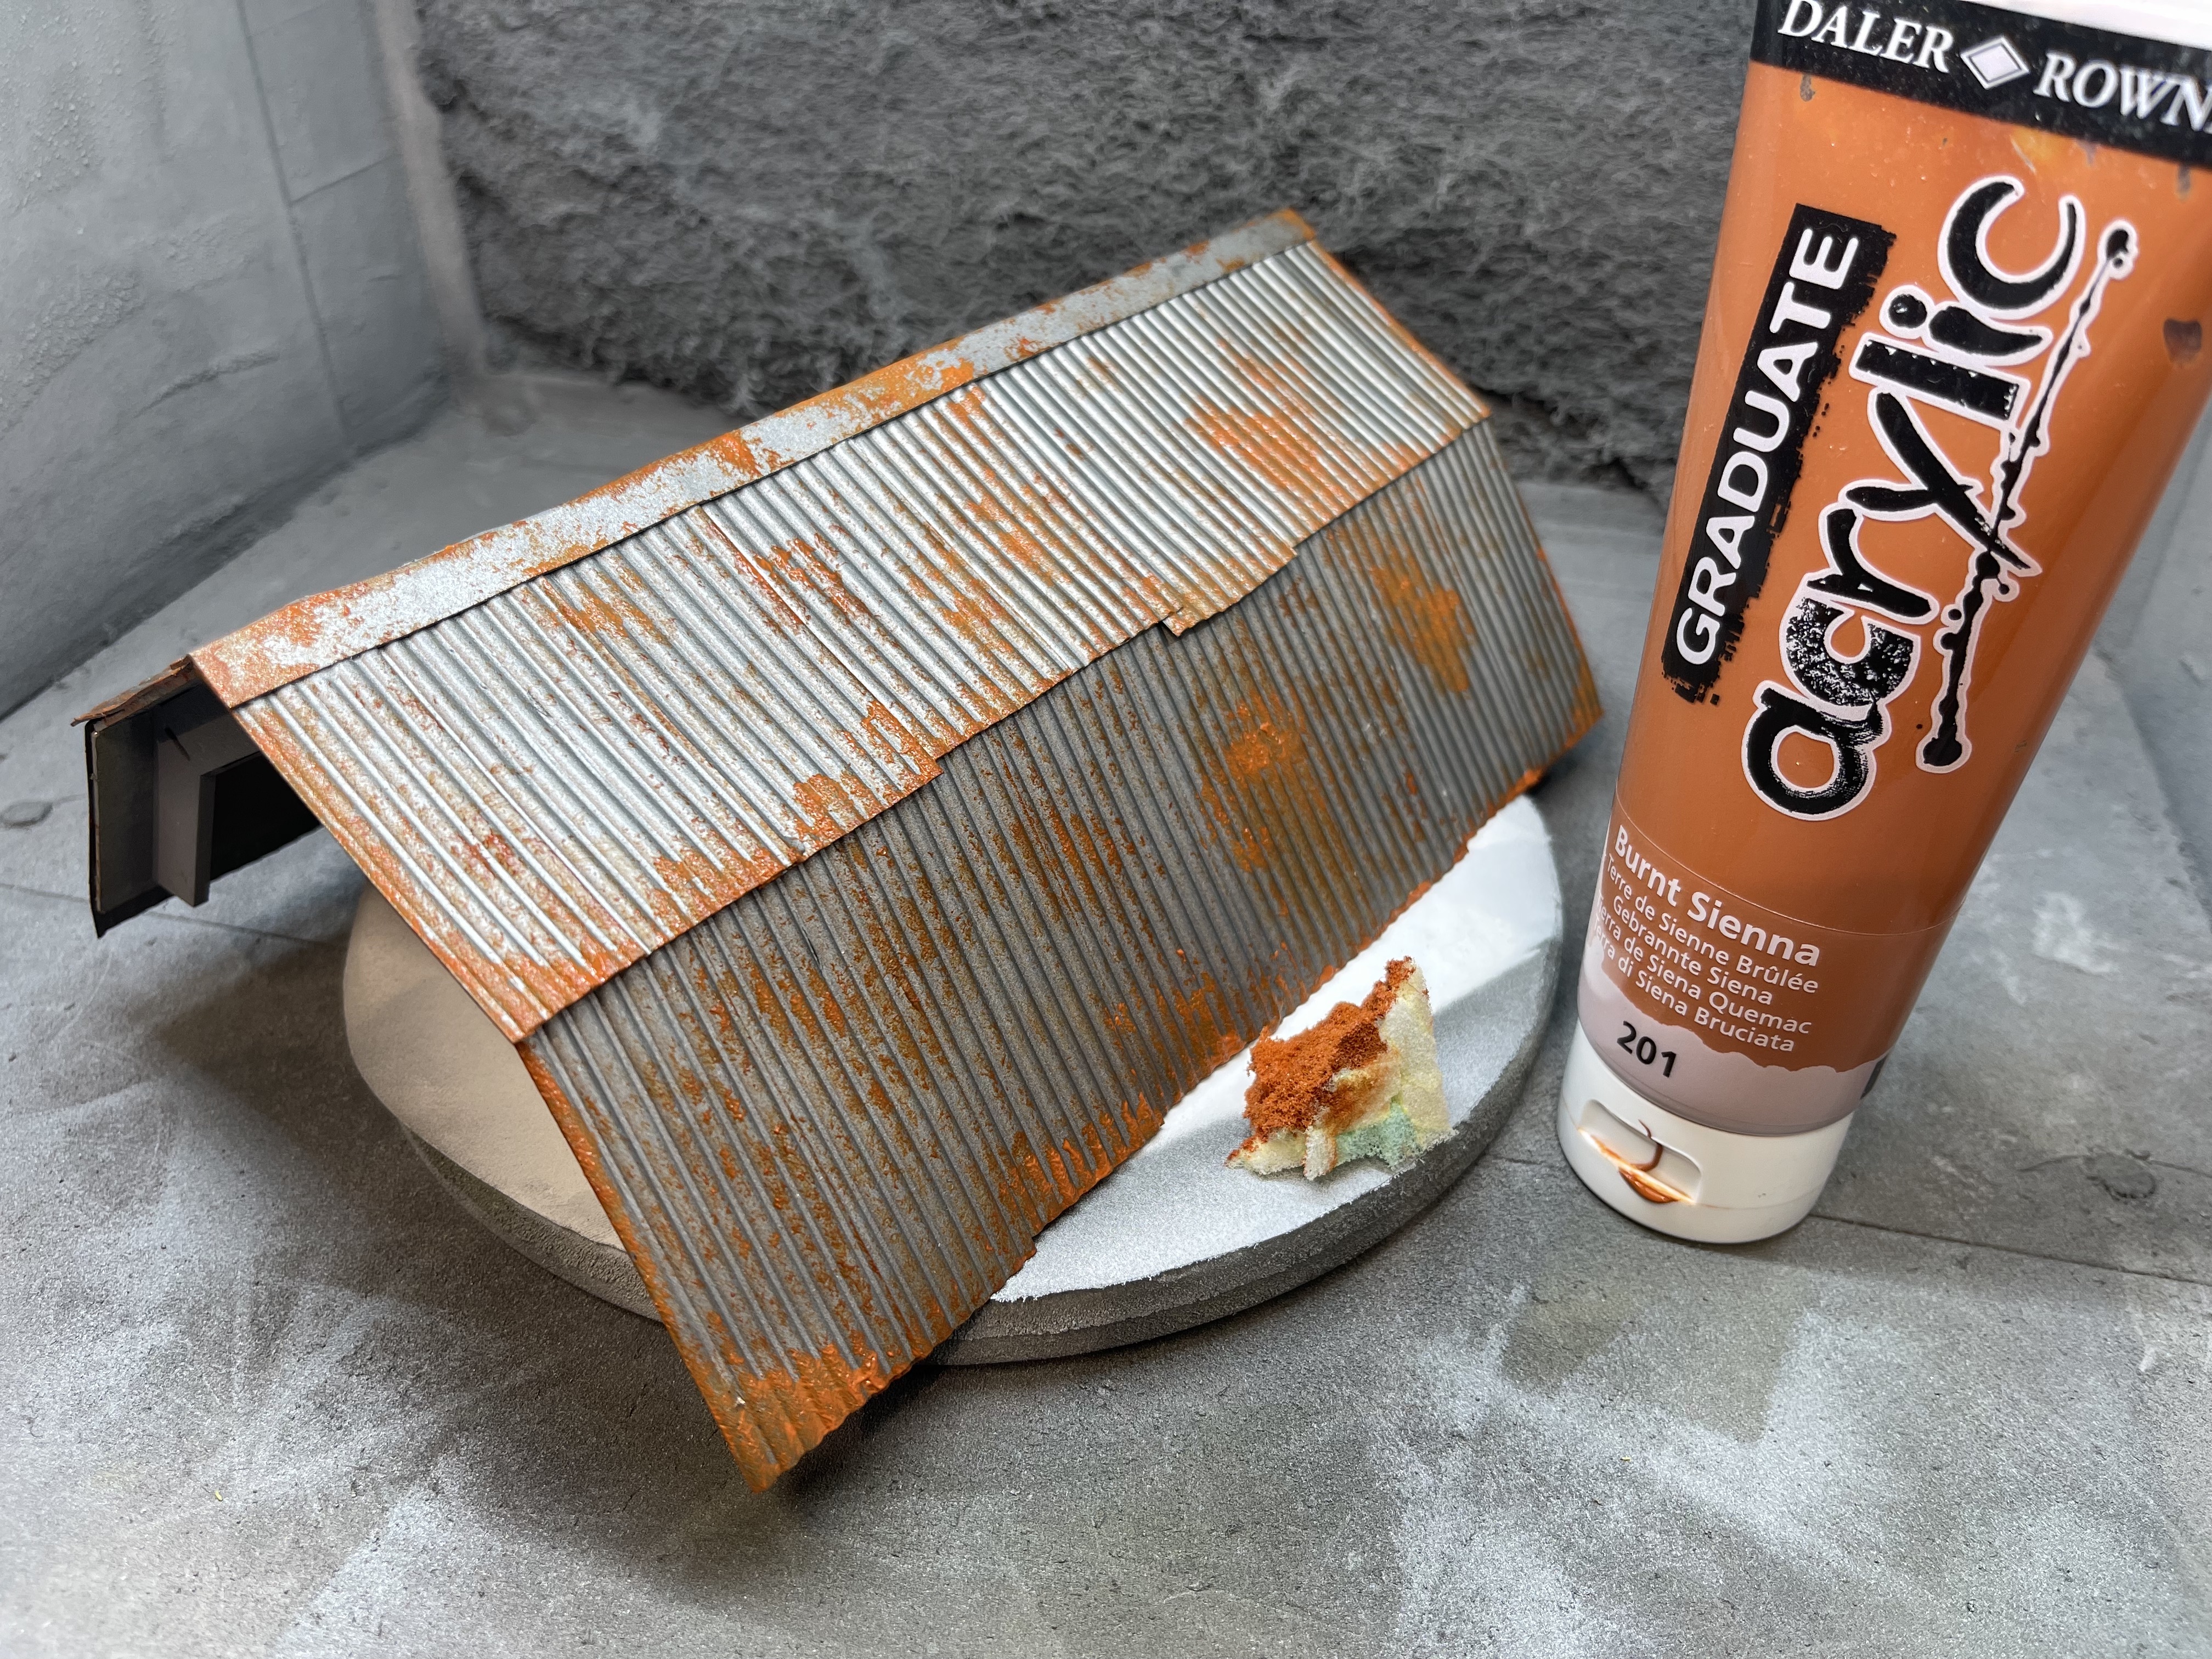 sponge on rust coloured paint randomly (or heavily) to get desired look
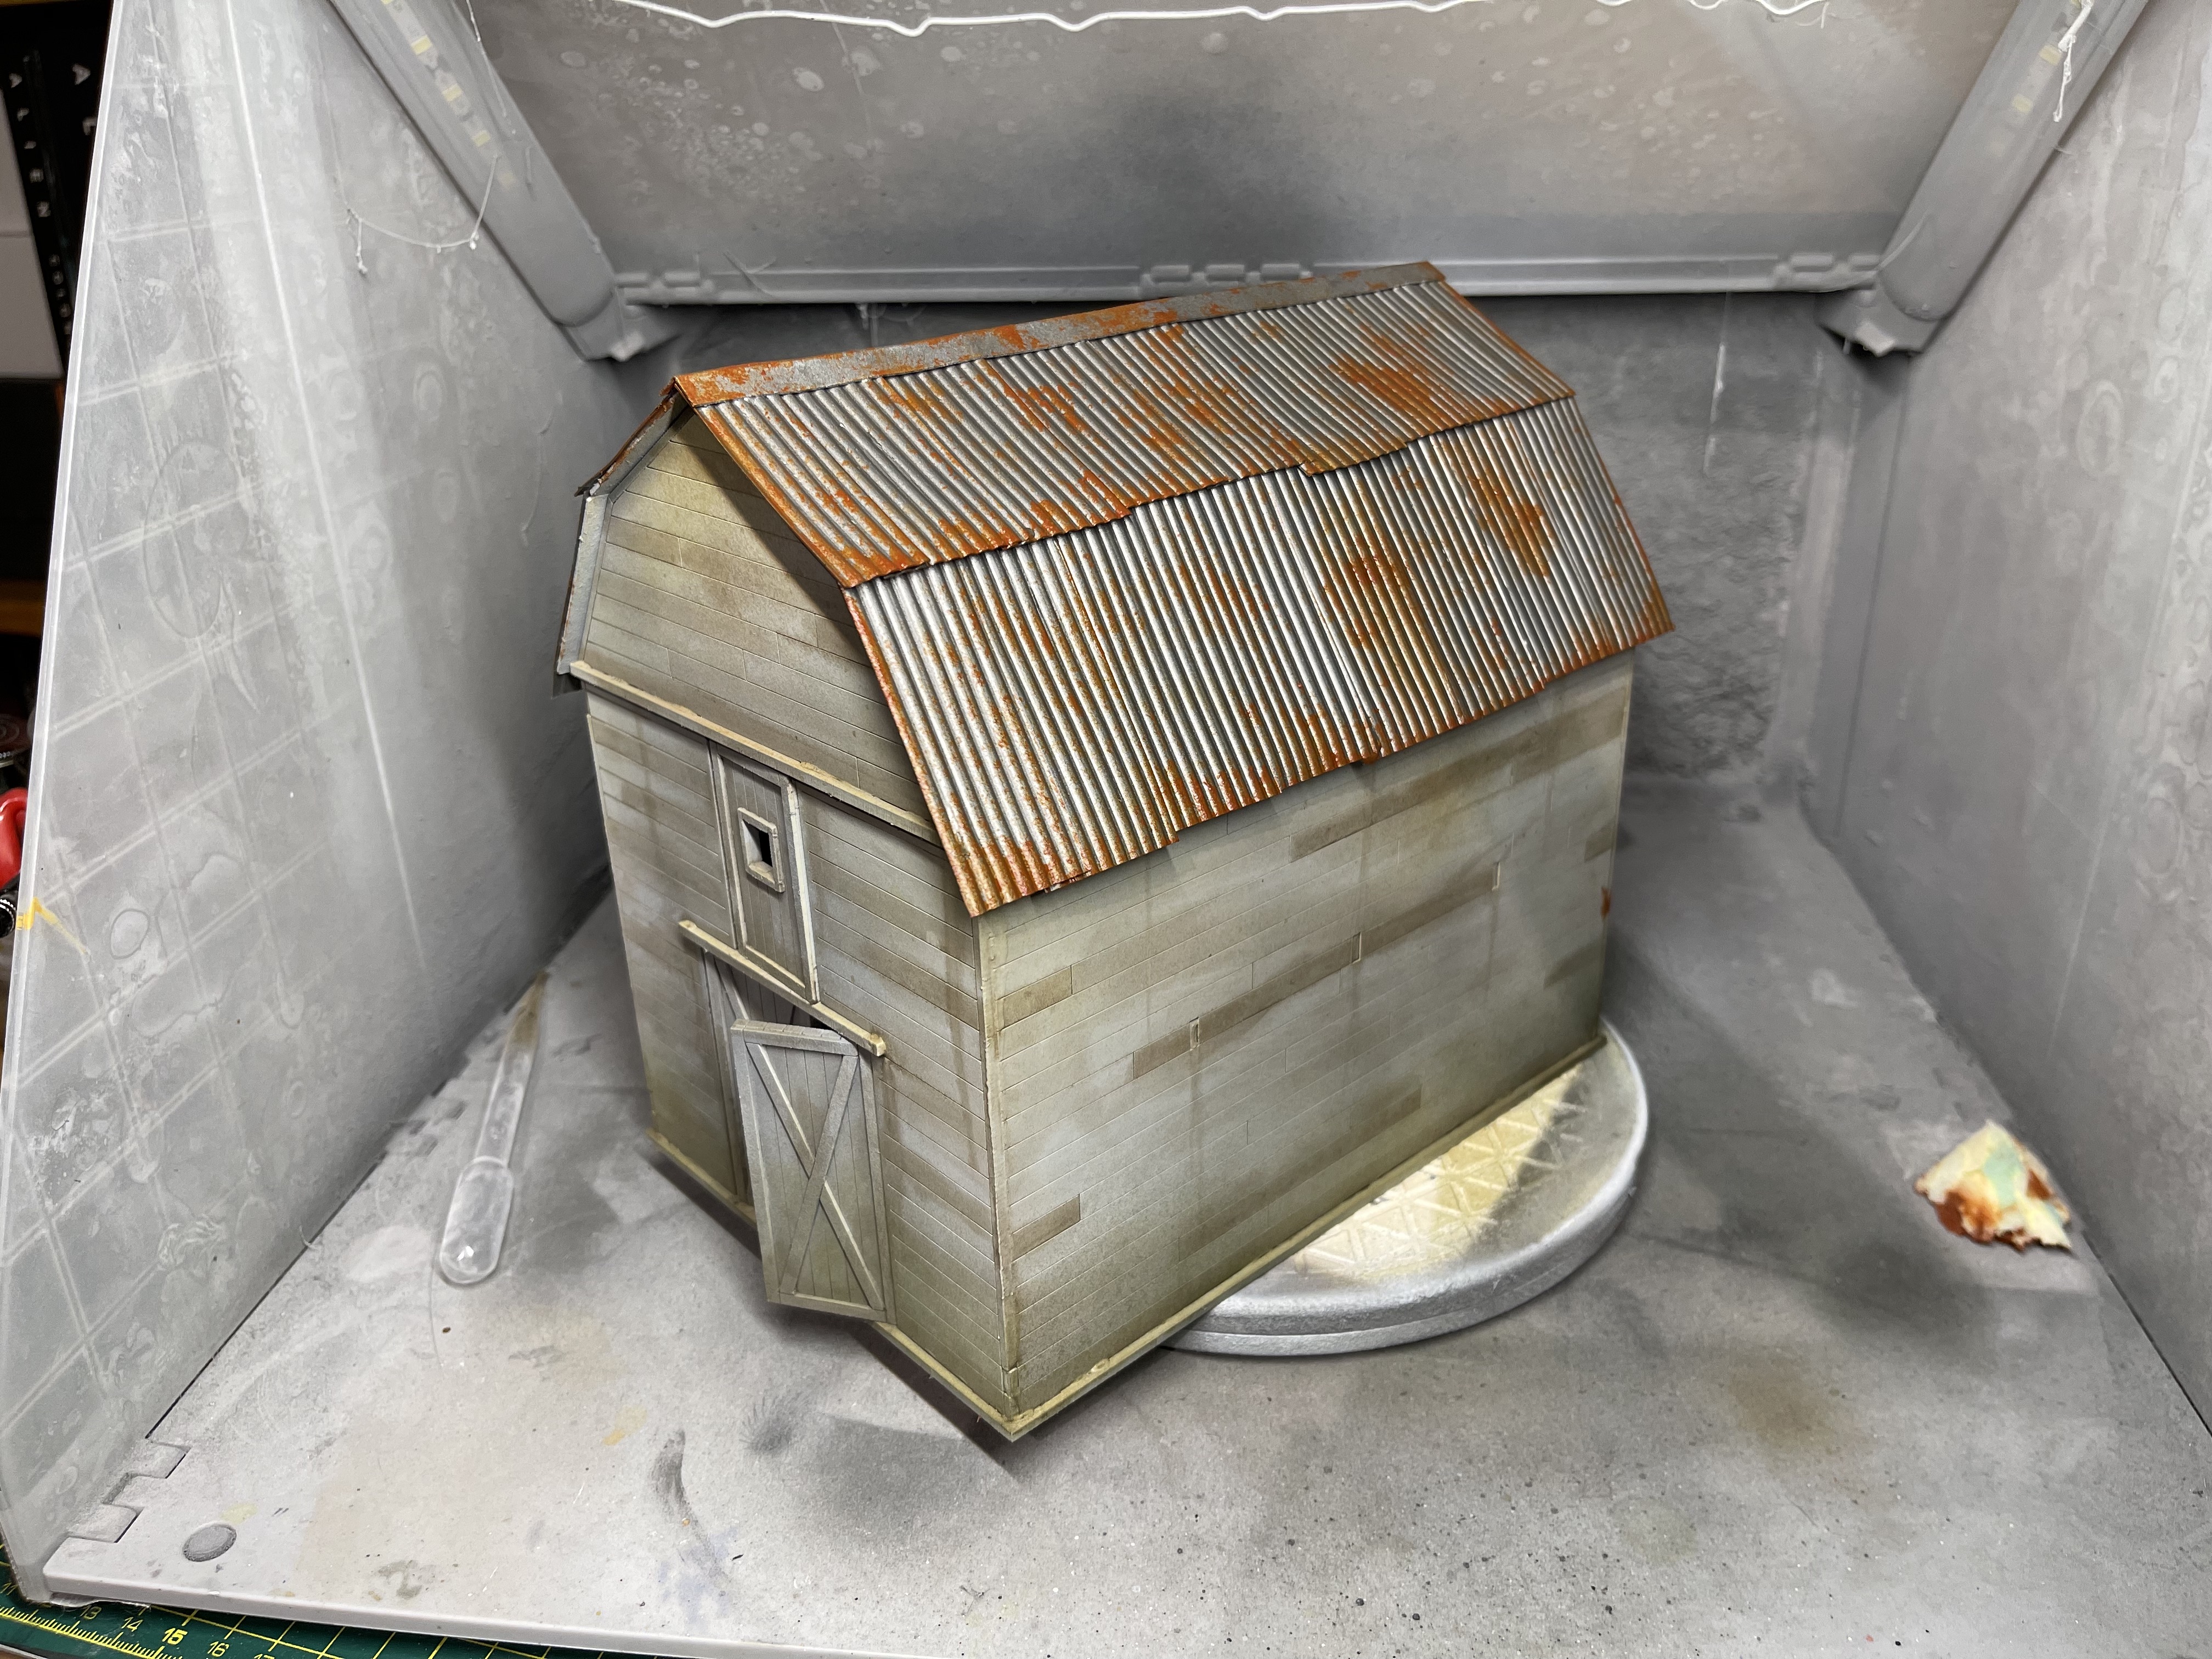 now the building isn't entirely grey
silvered wood
 model mates / dirty down weathering
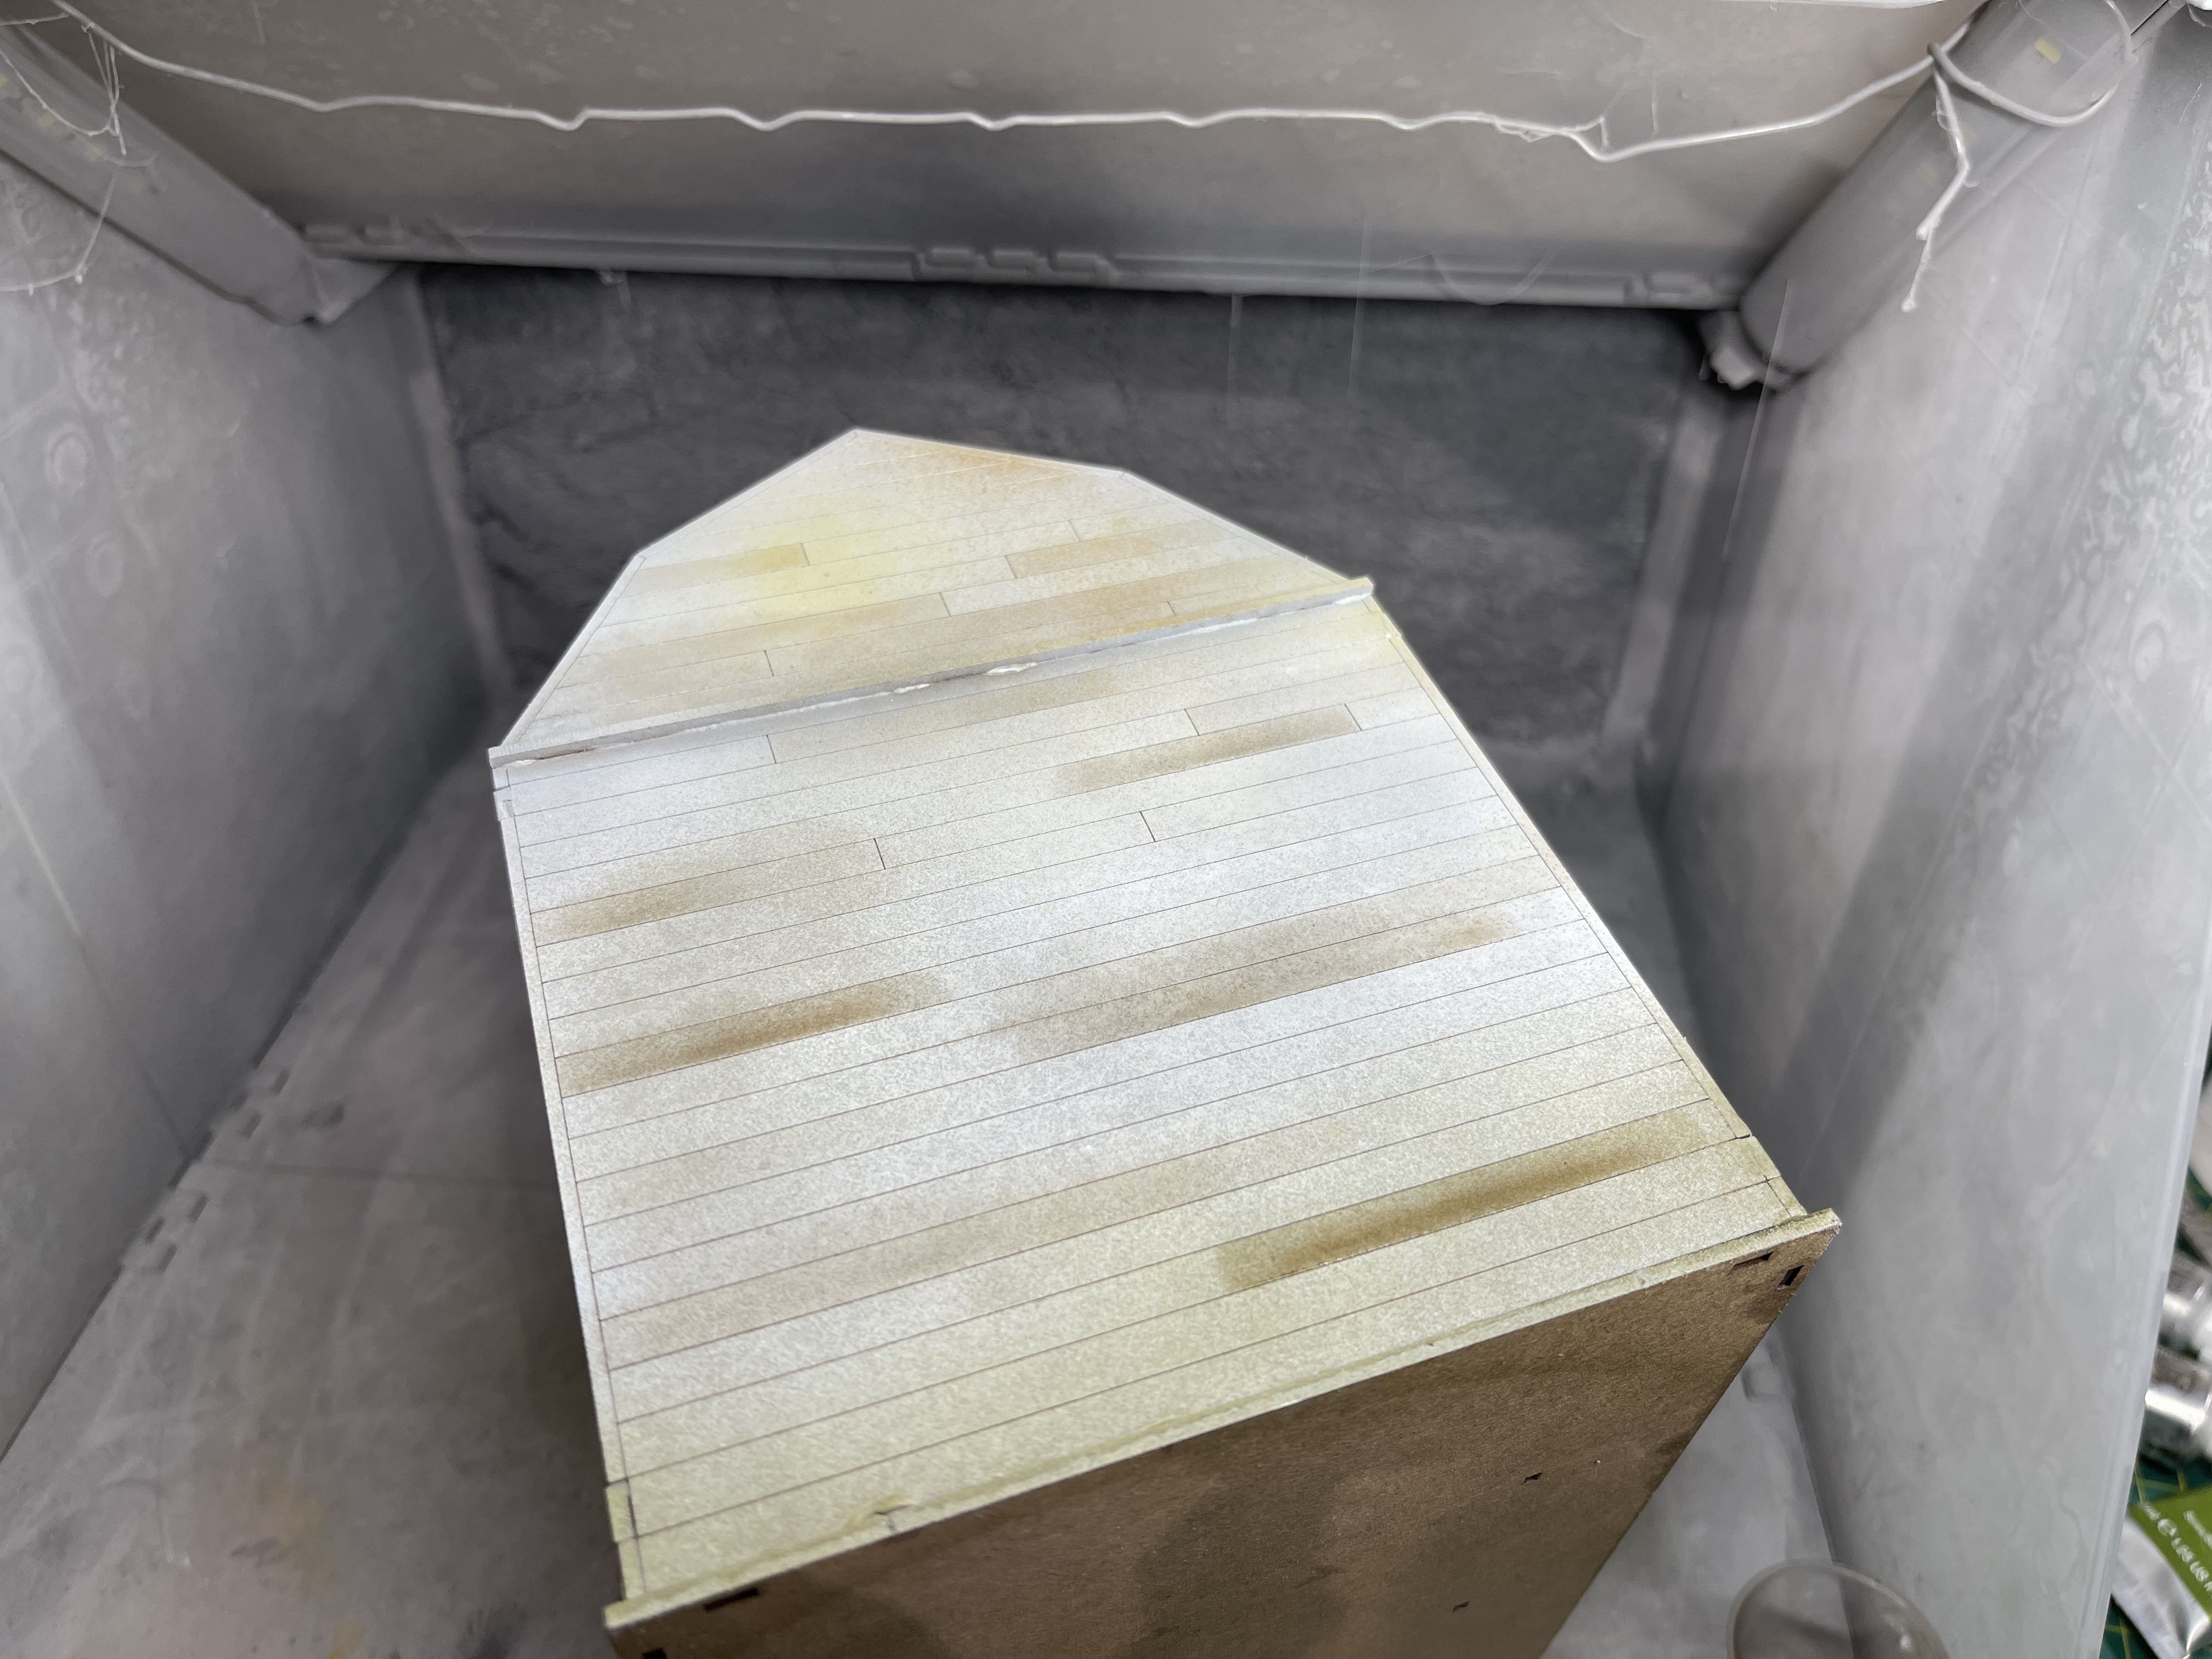 now following the GerryCan video
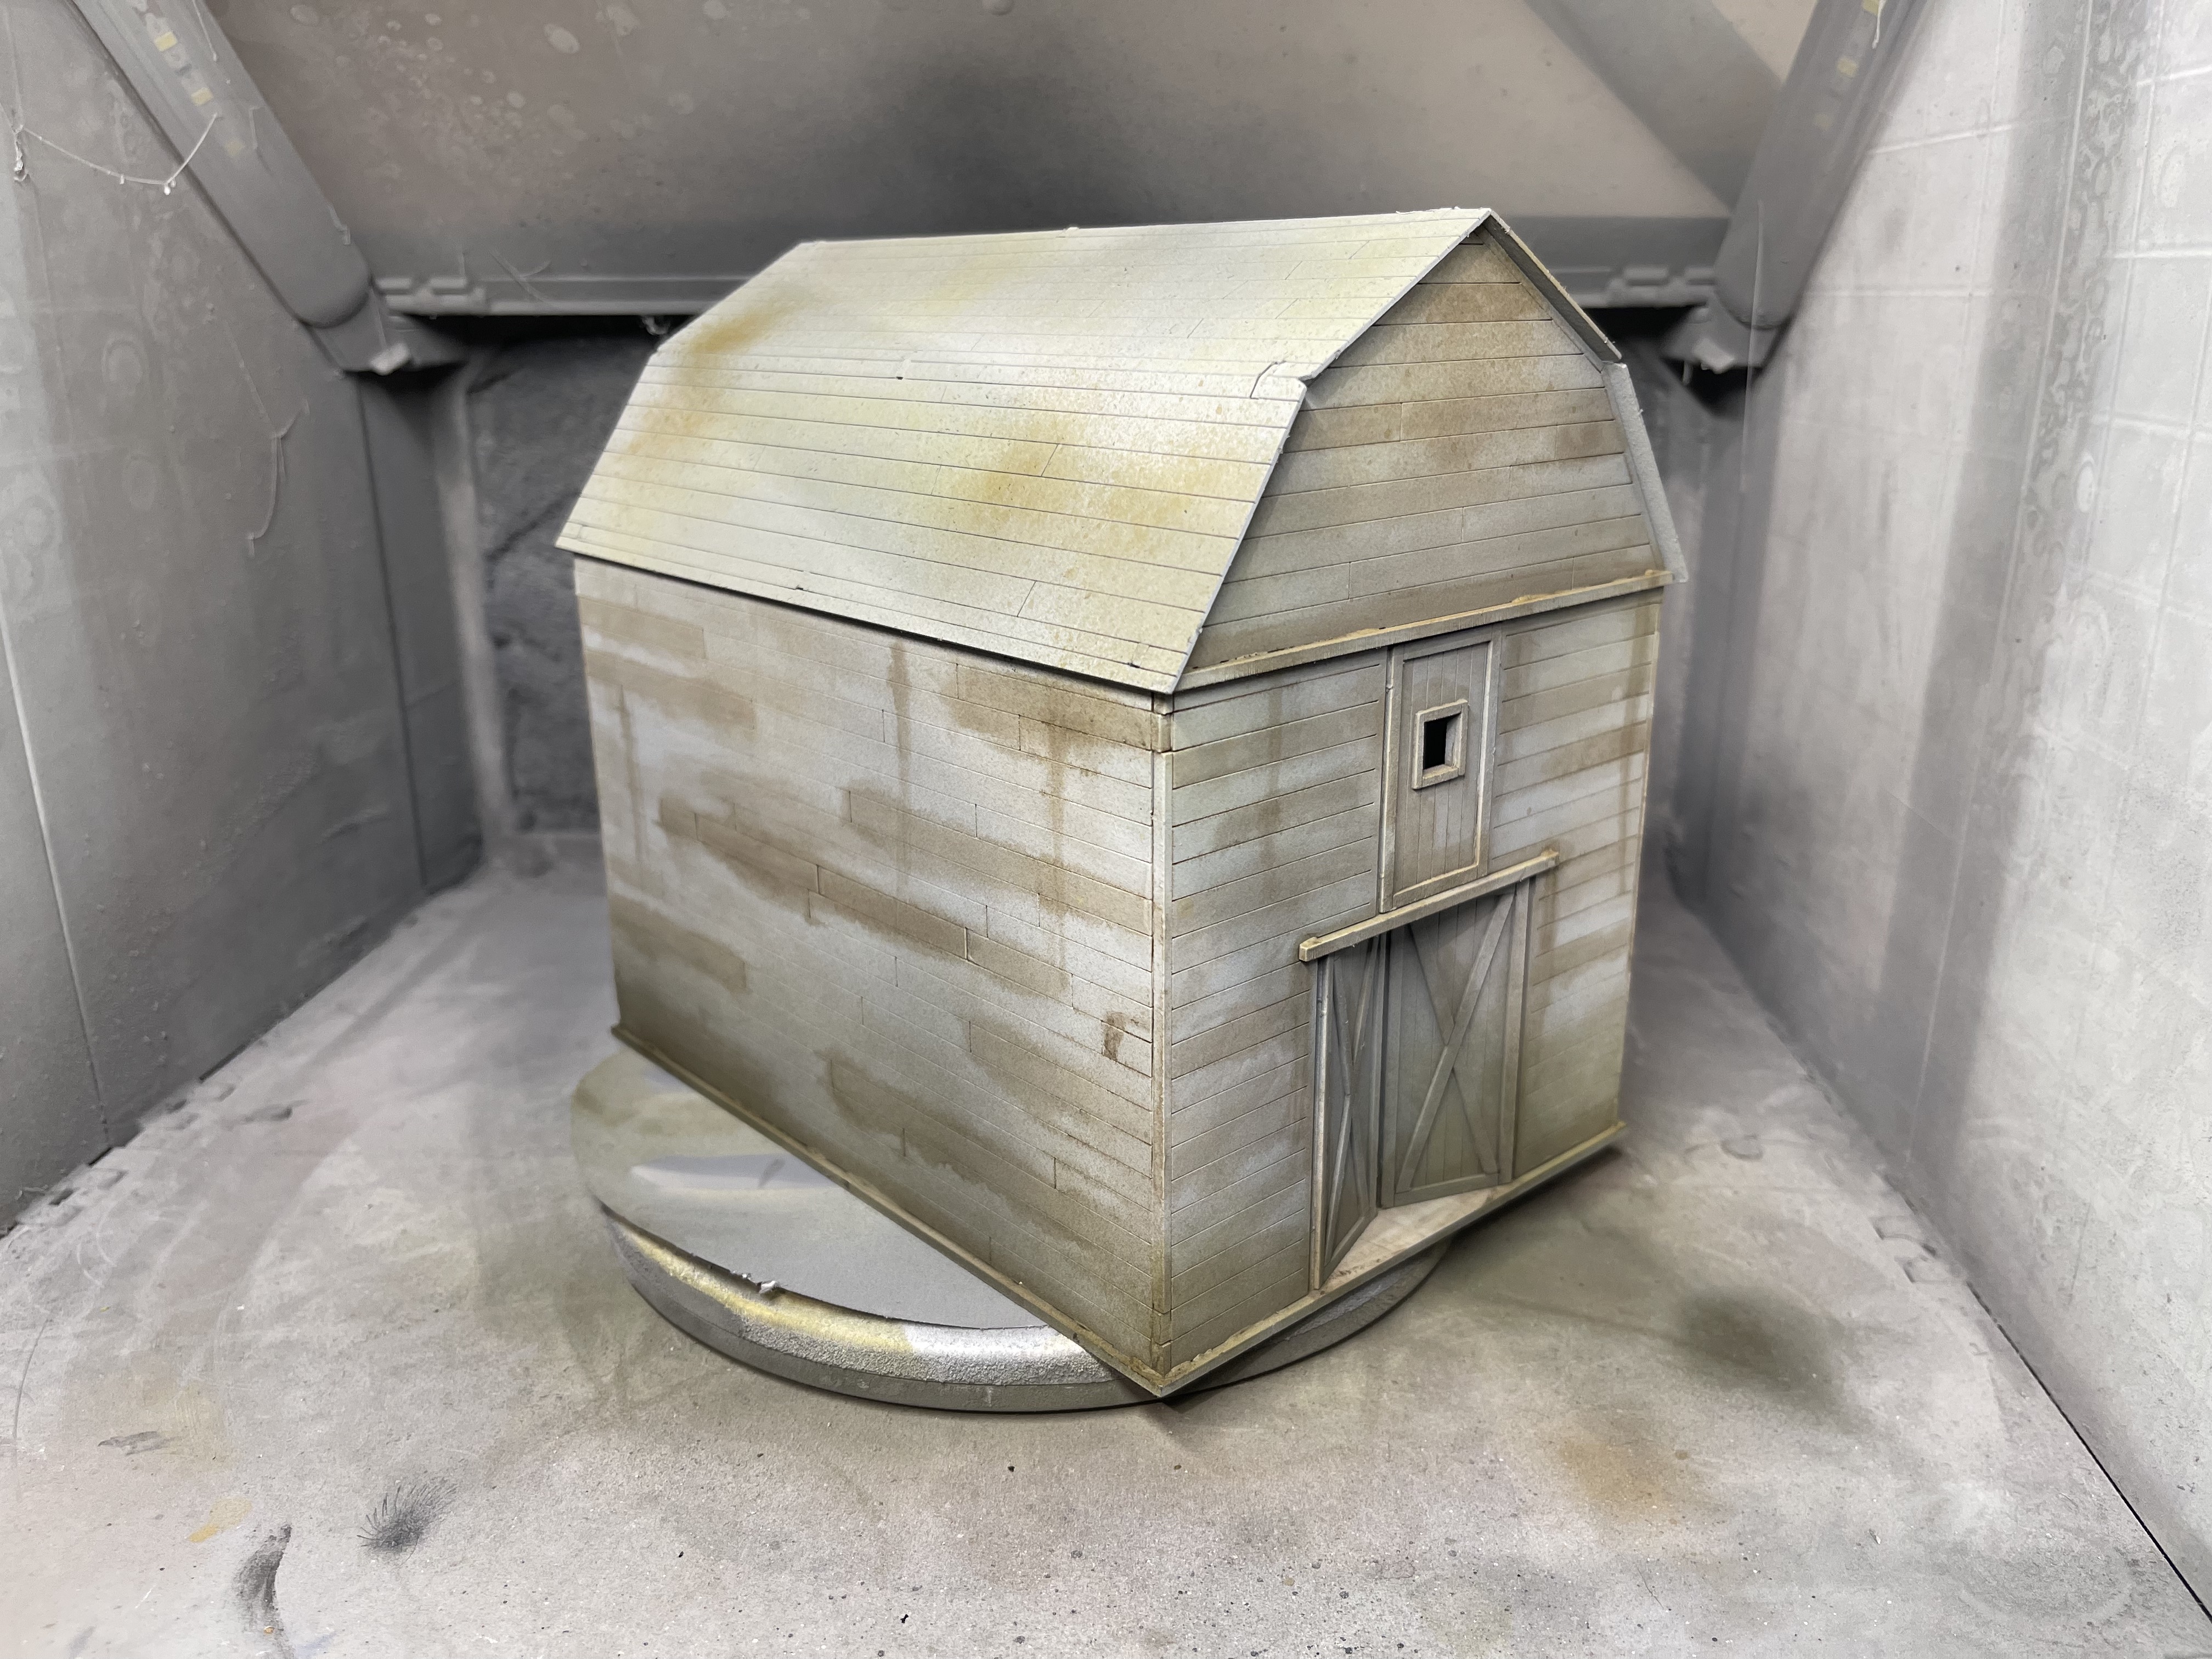
I didn’t really follow the GerryCan because I couldn’t be arsed but also I had already gotten half way through when I reached out to the squirrel lord for help.
what I did instead was to take his ideas and suggestions of weathering planks individually and ran with that and the brown oil wash I had already made. instead of bathing it though I simply followed some of the planks. worked out fine.
Another golden button saved by Gerry 😉
you wanted zombies and doggo! you got it!
 TTcombat dead zombies
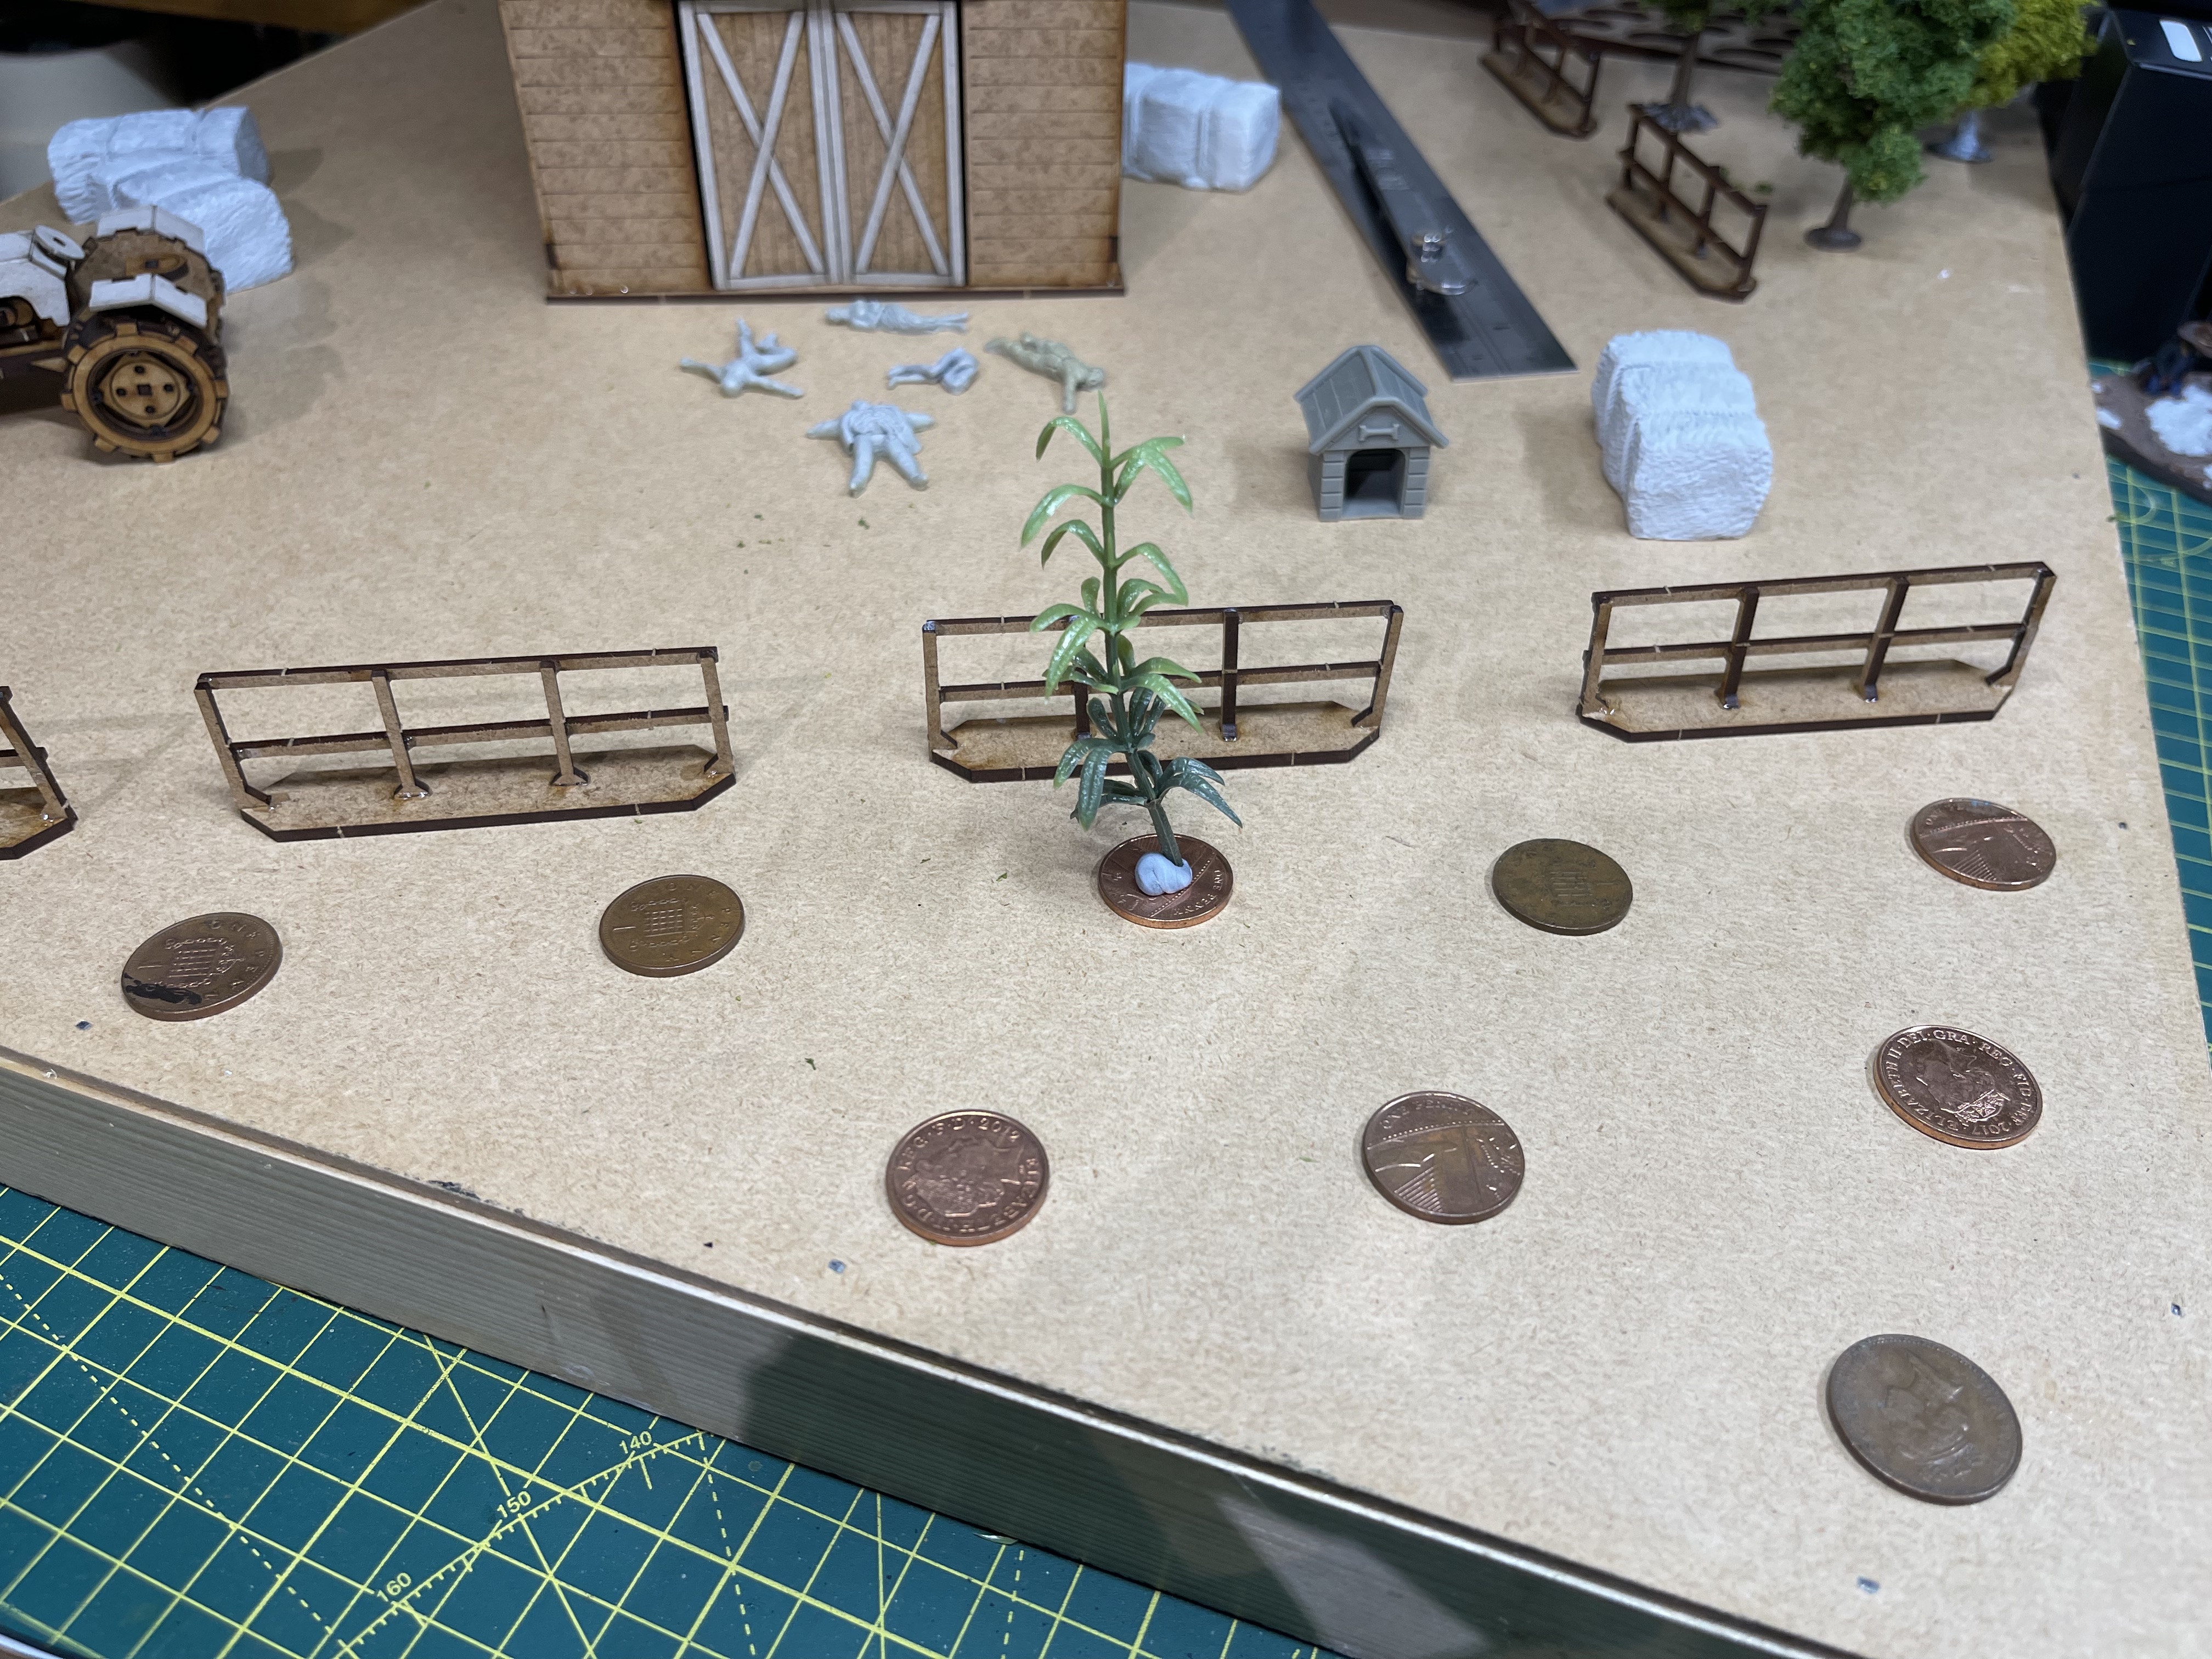 dog kennel in the background
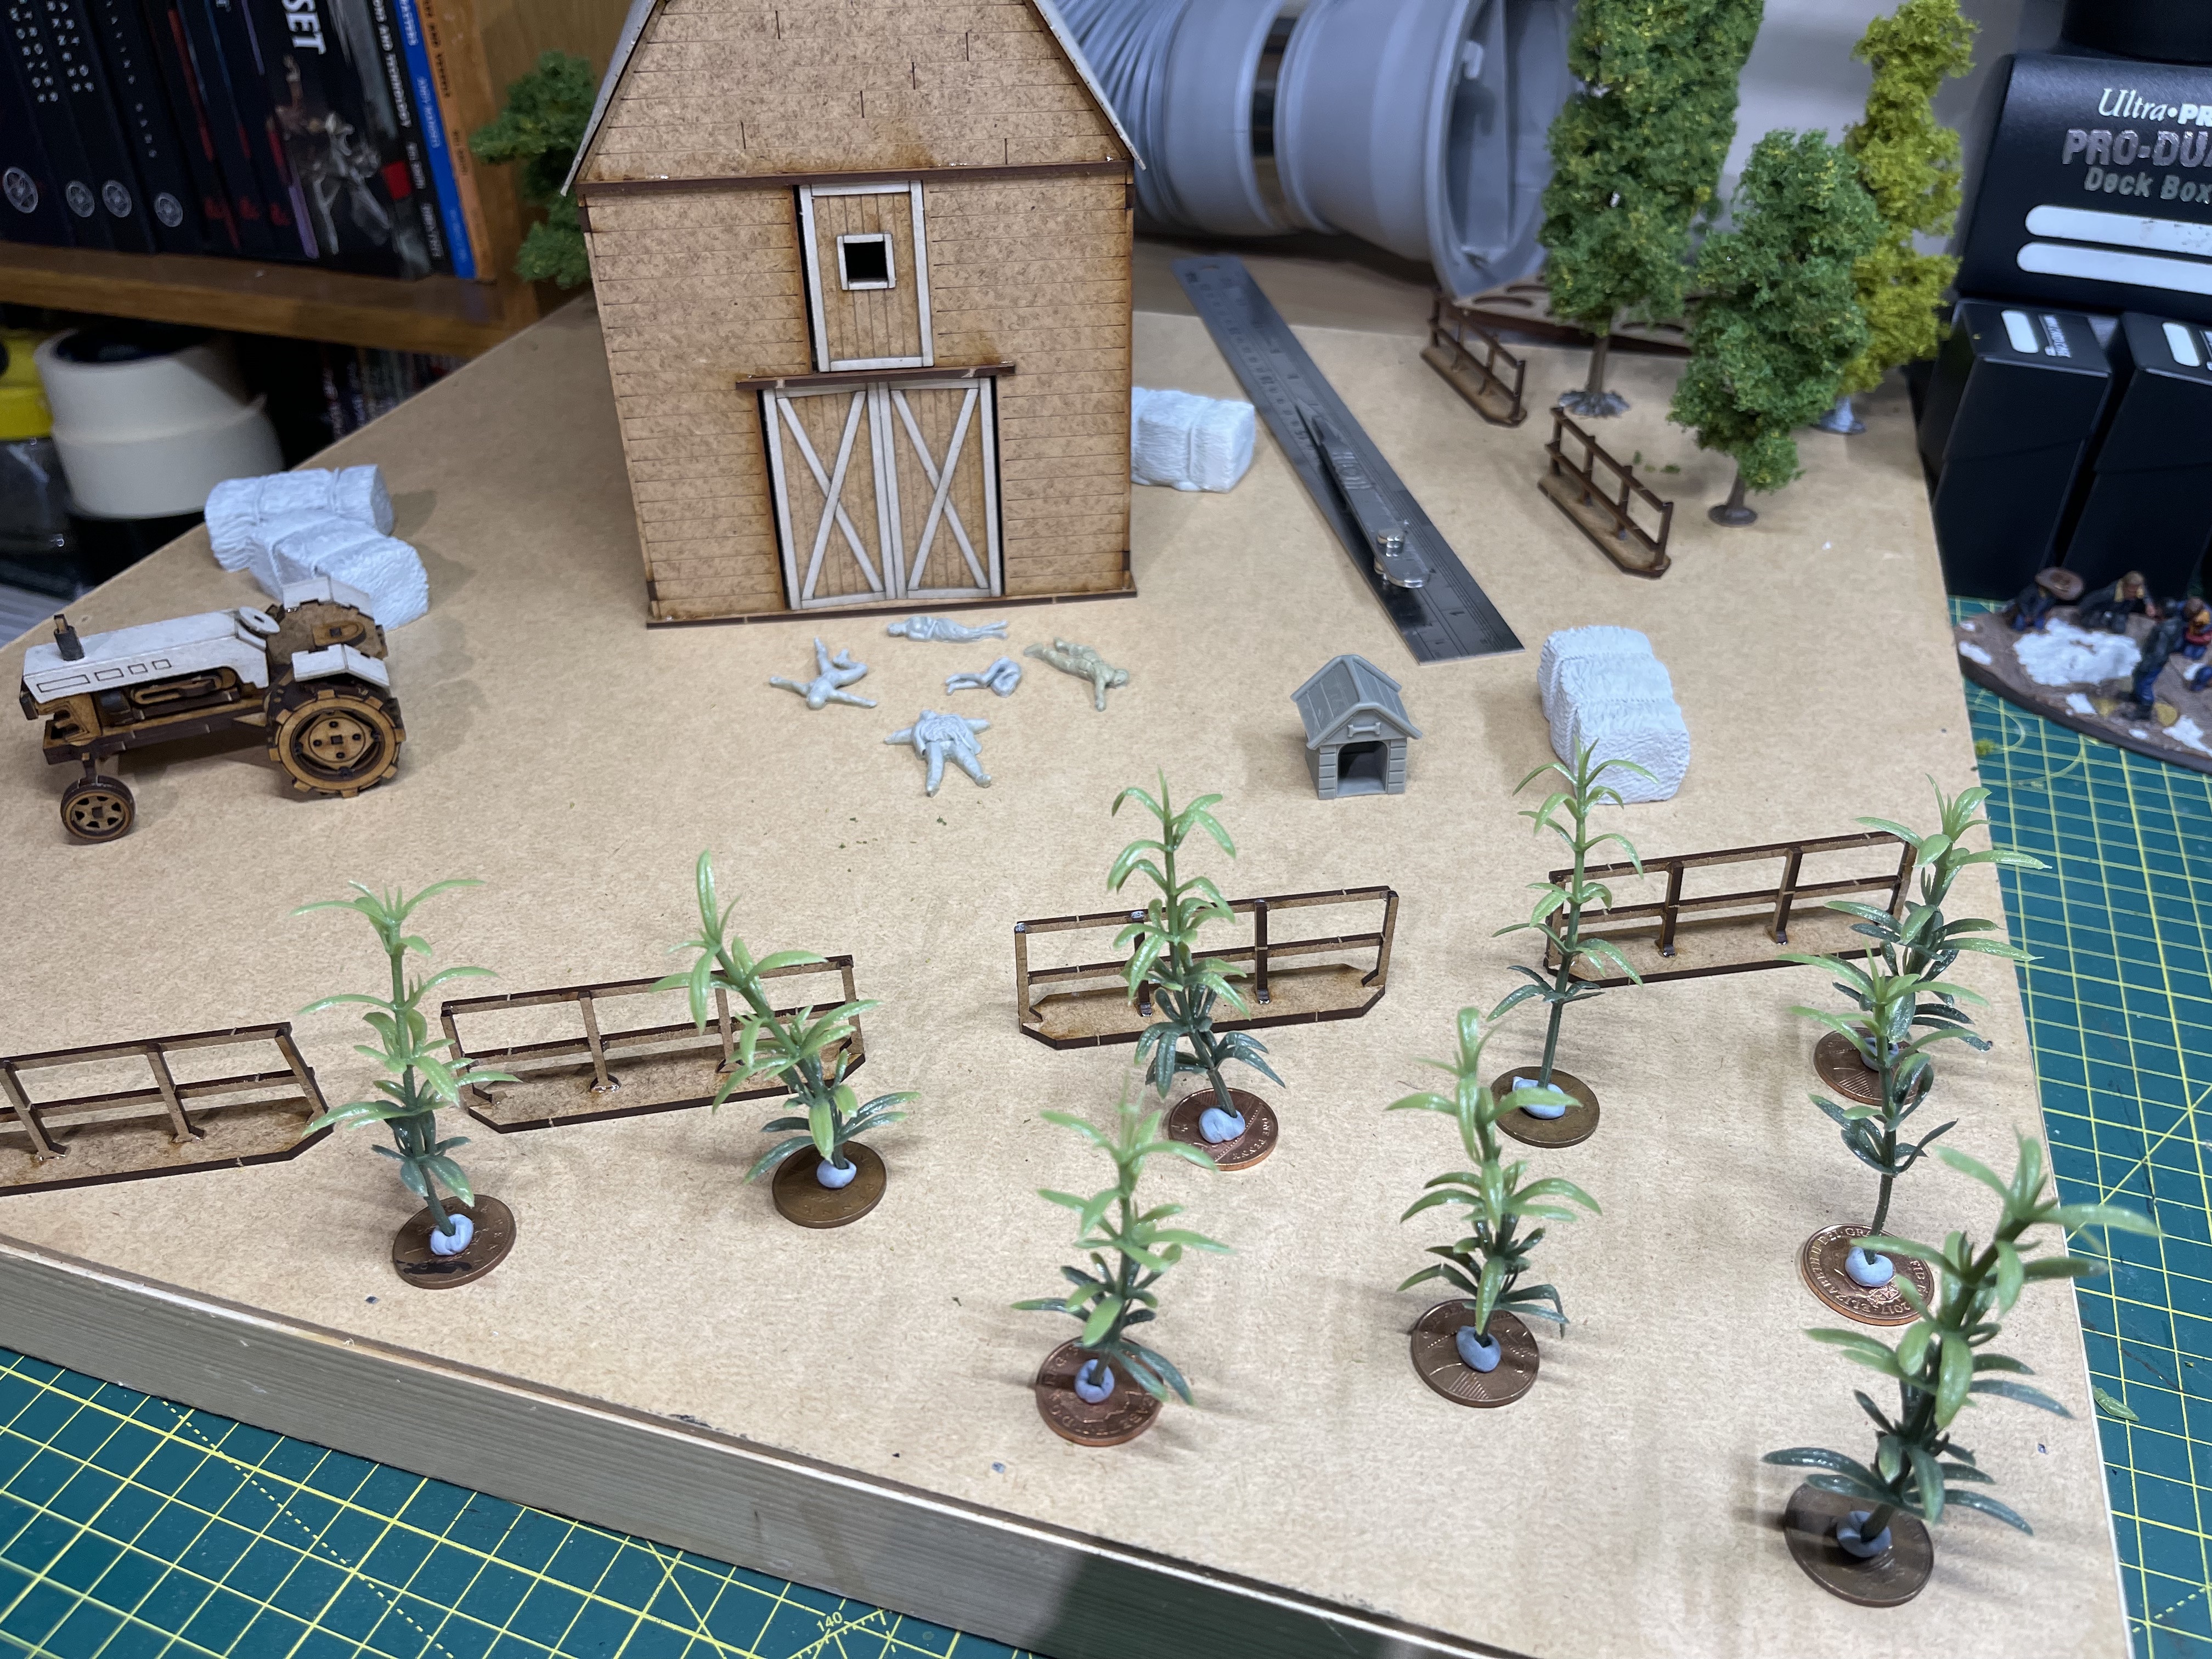 this should give the impression of a corn field and still have enough space to move models between them
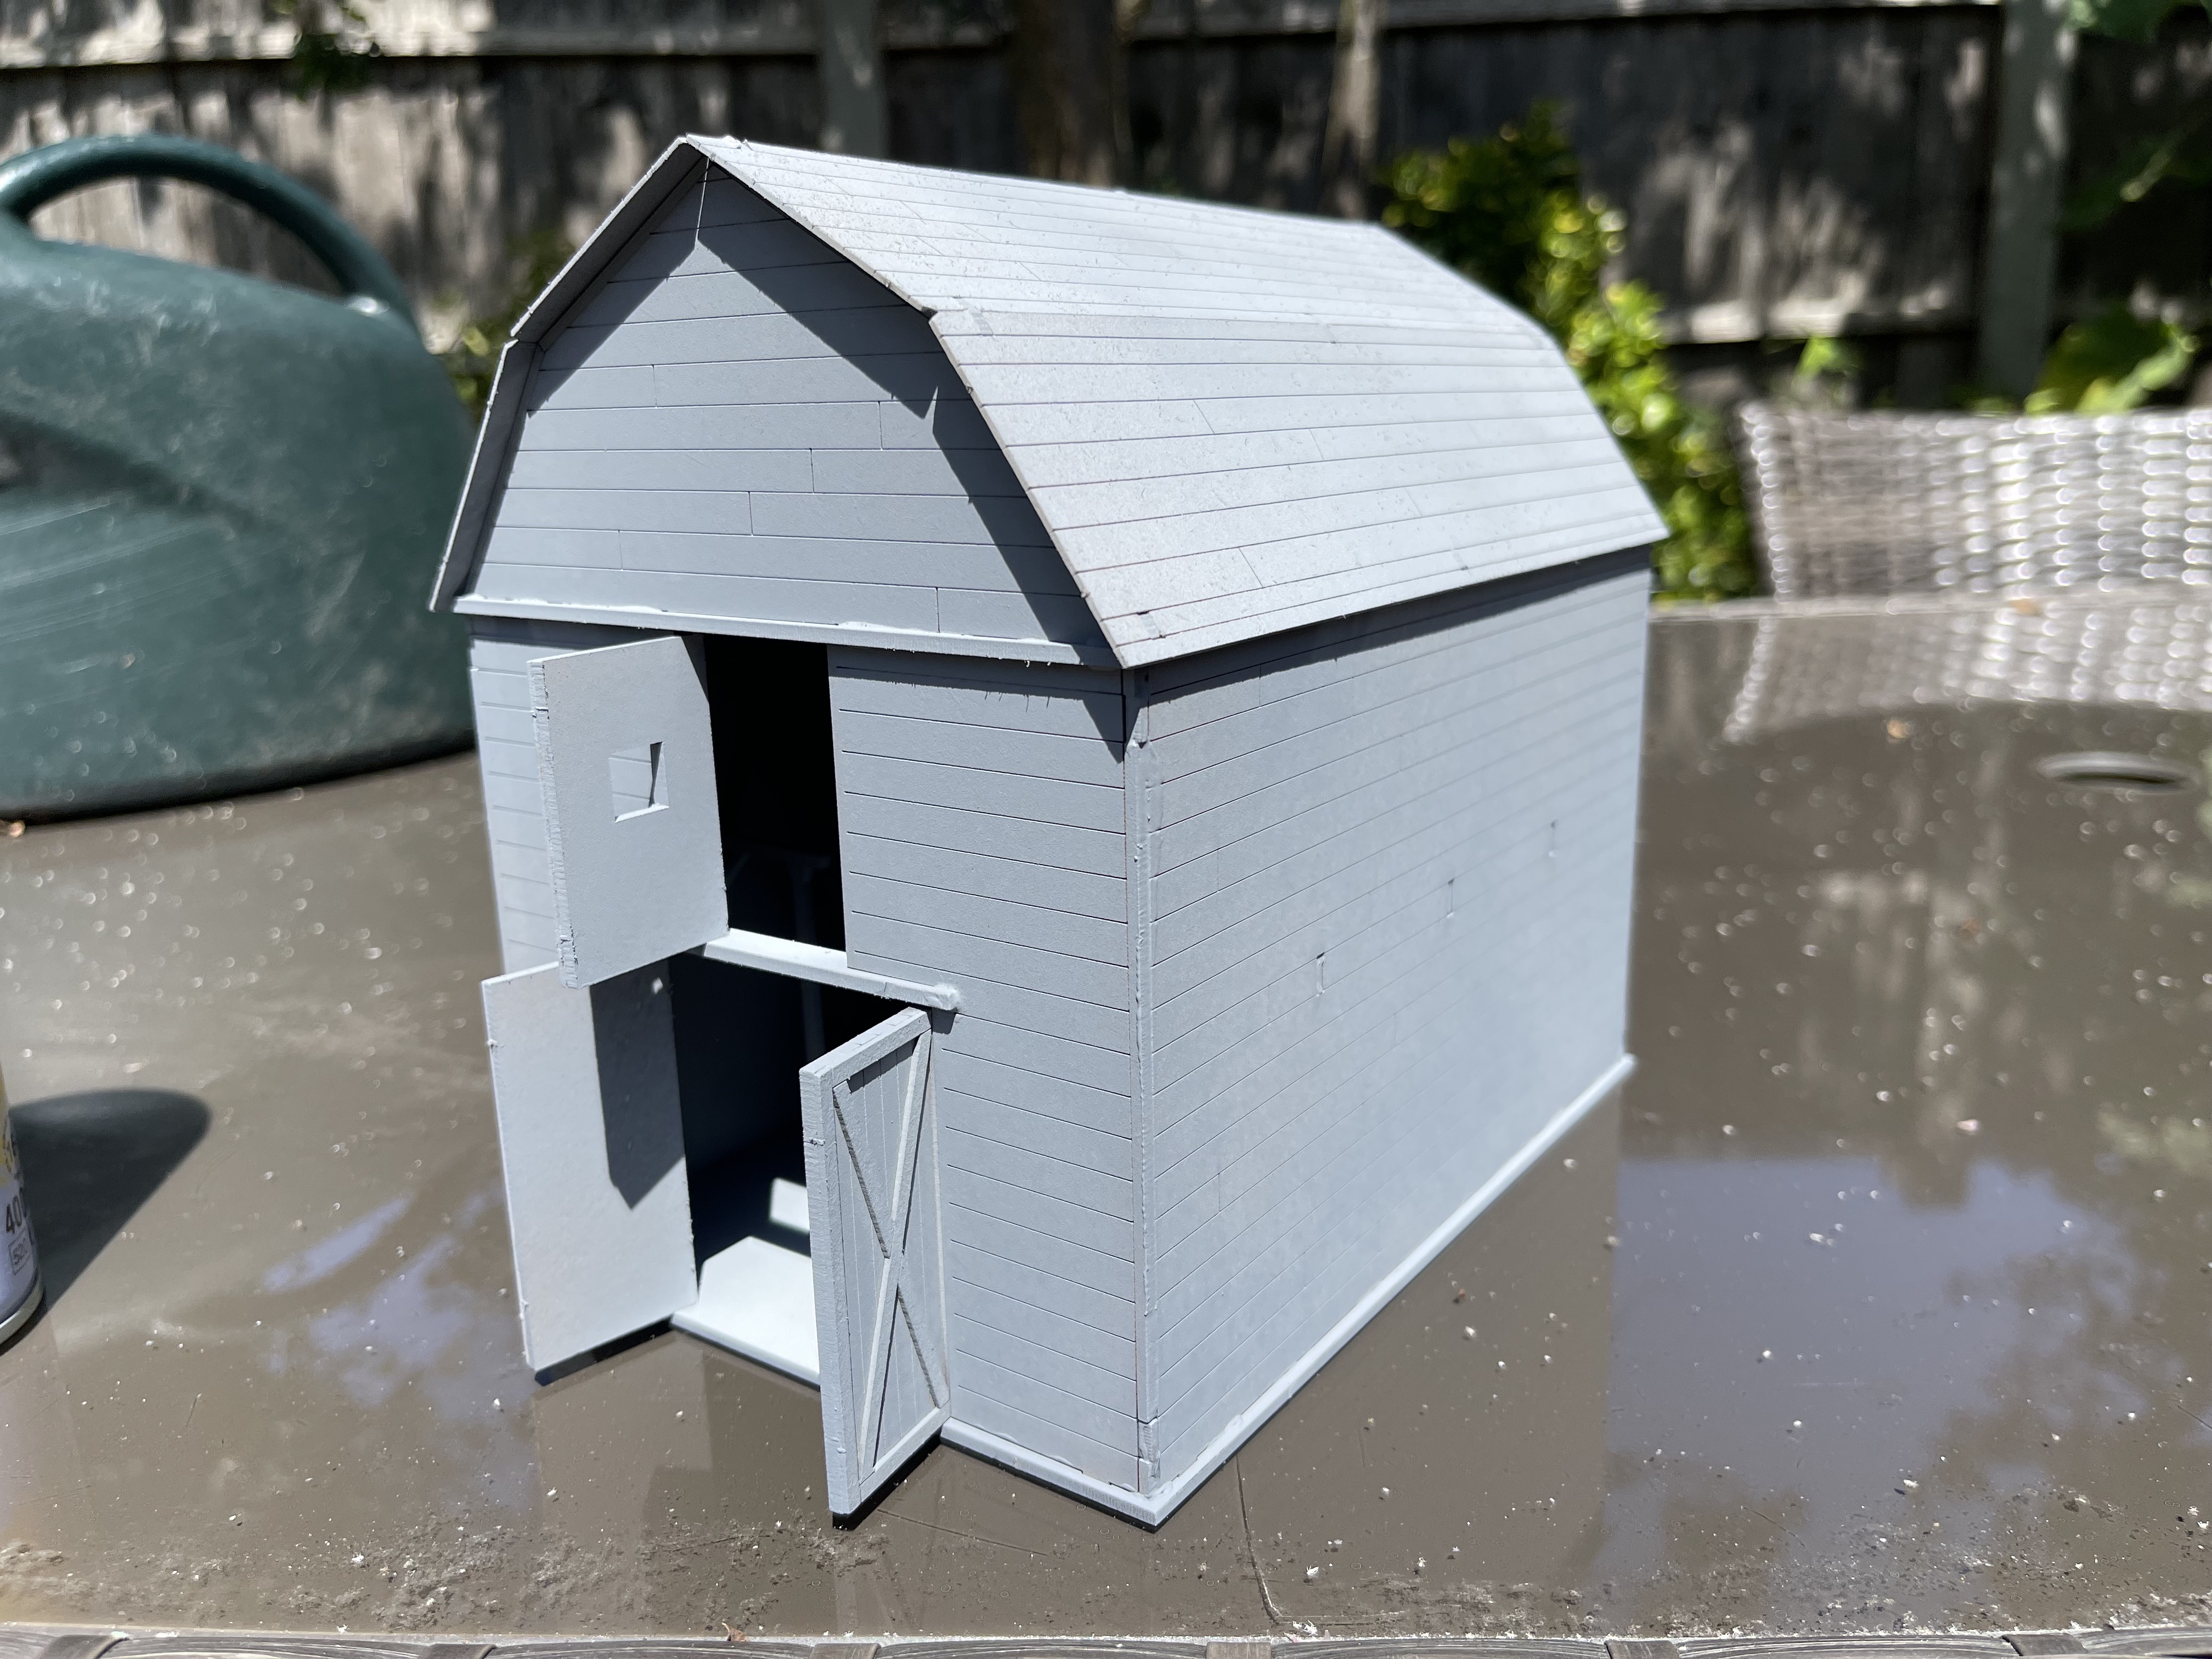
Build a Barn
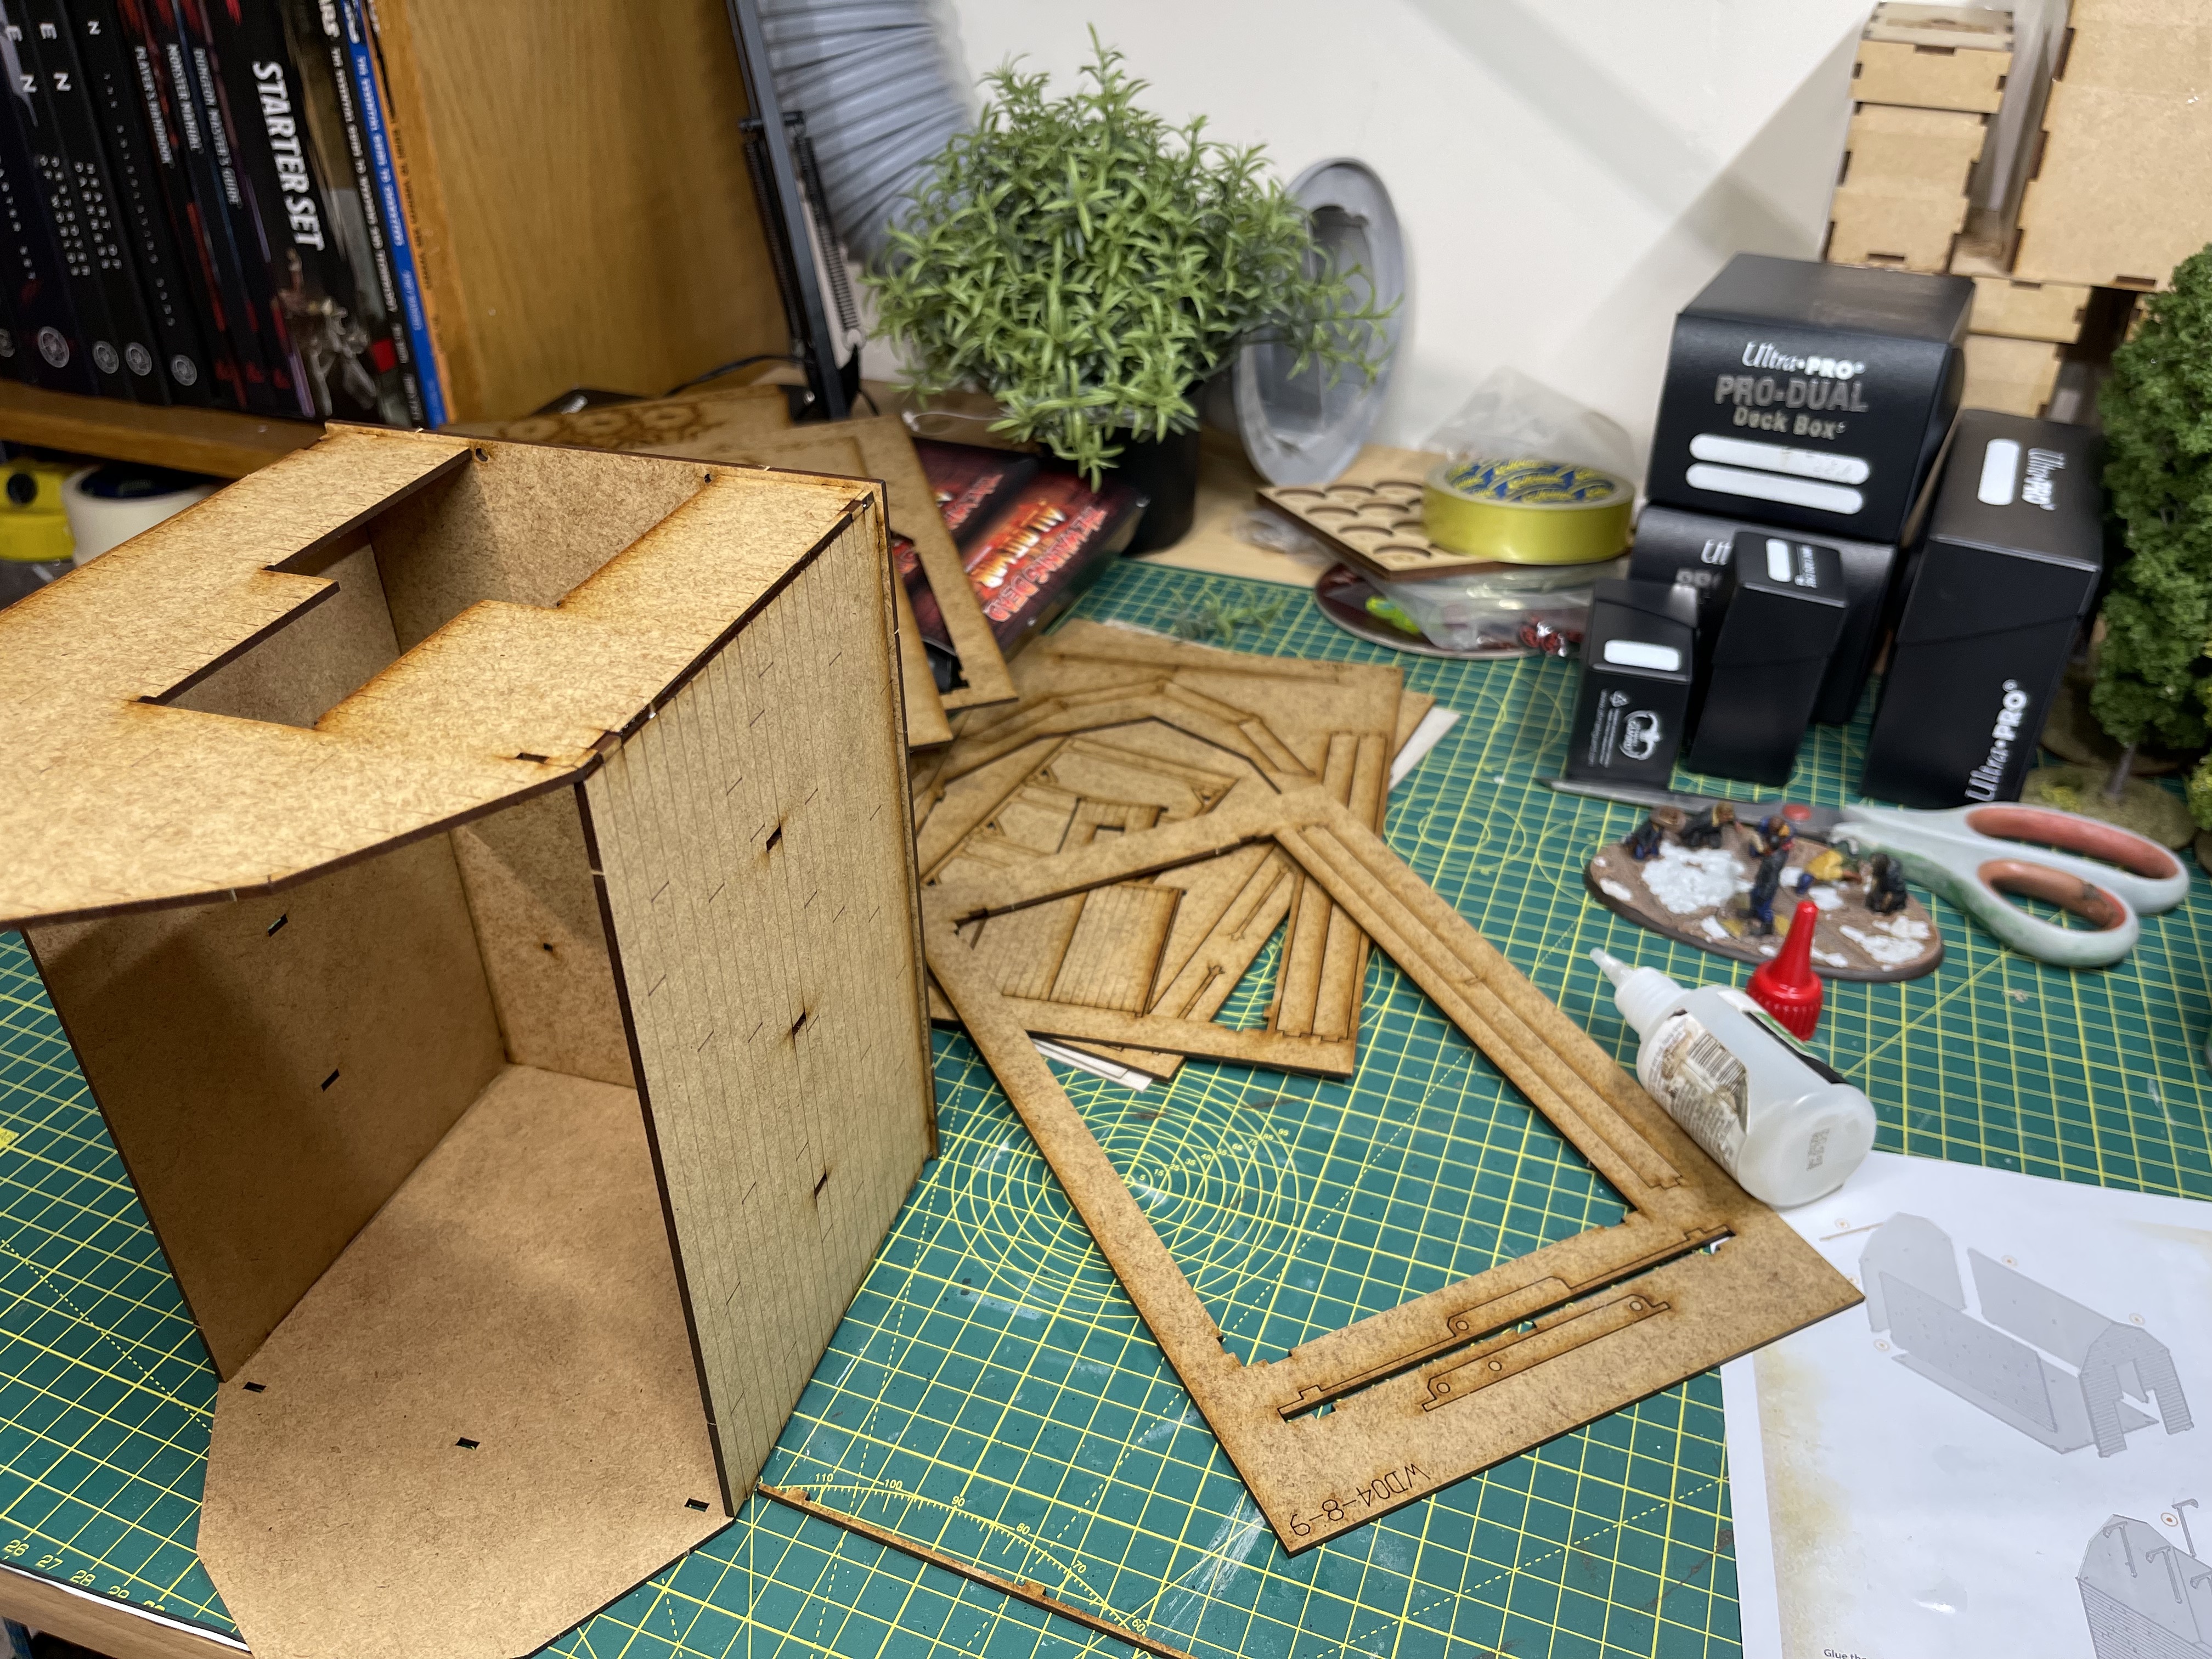


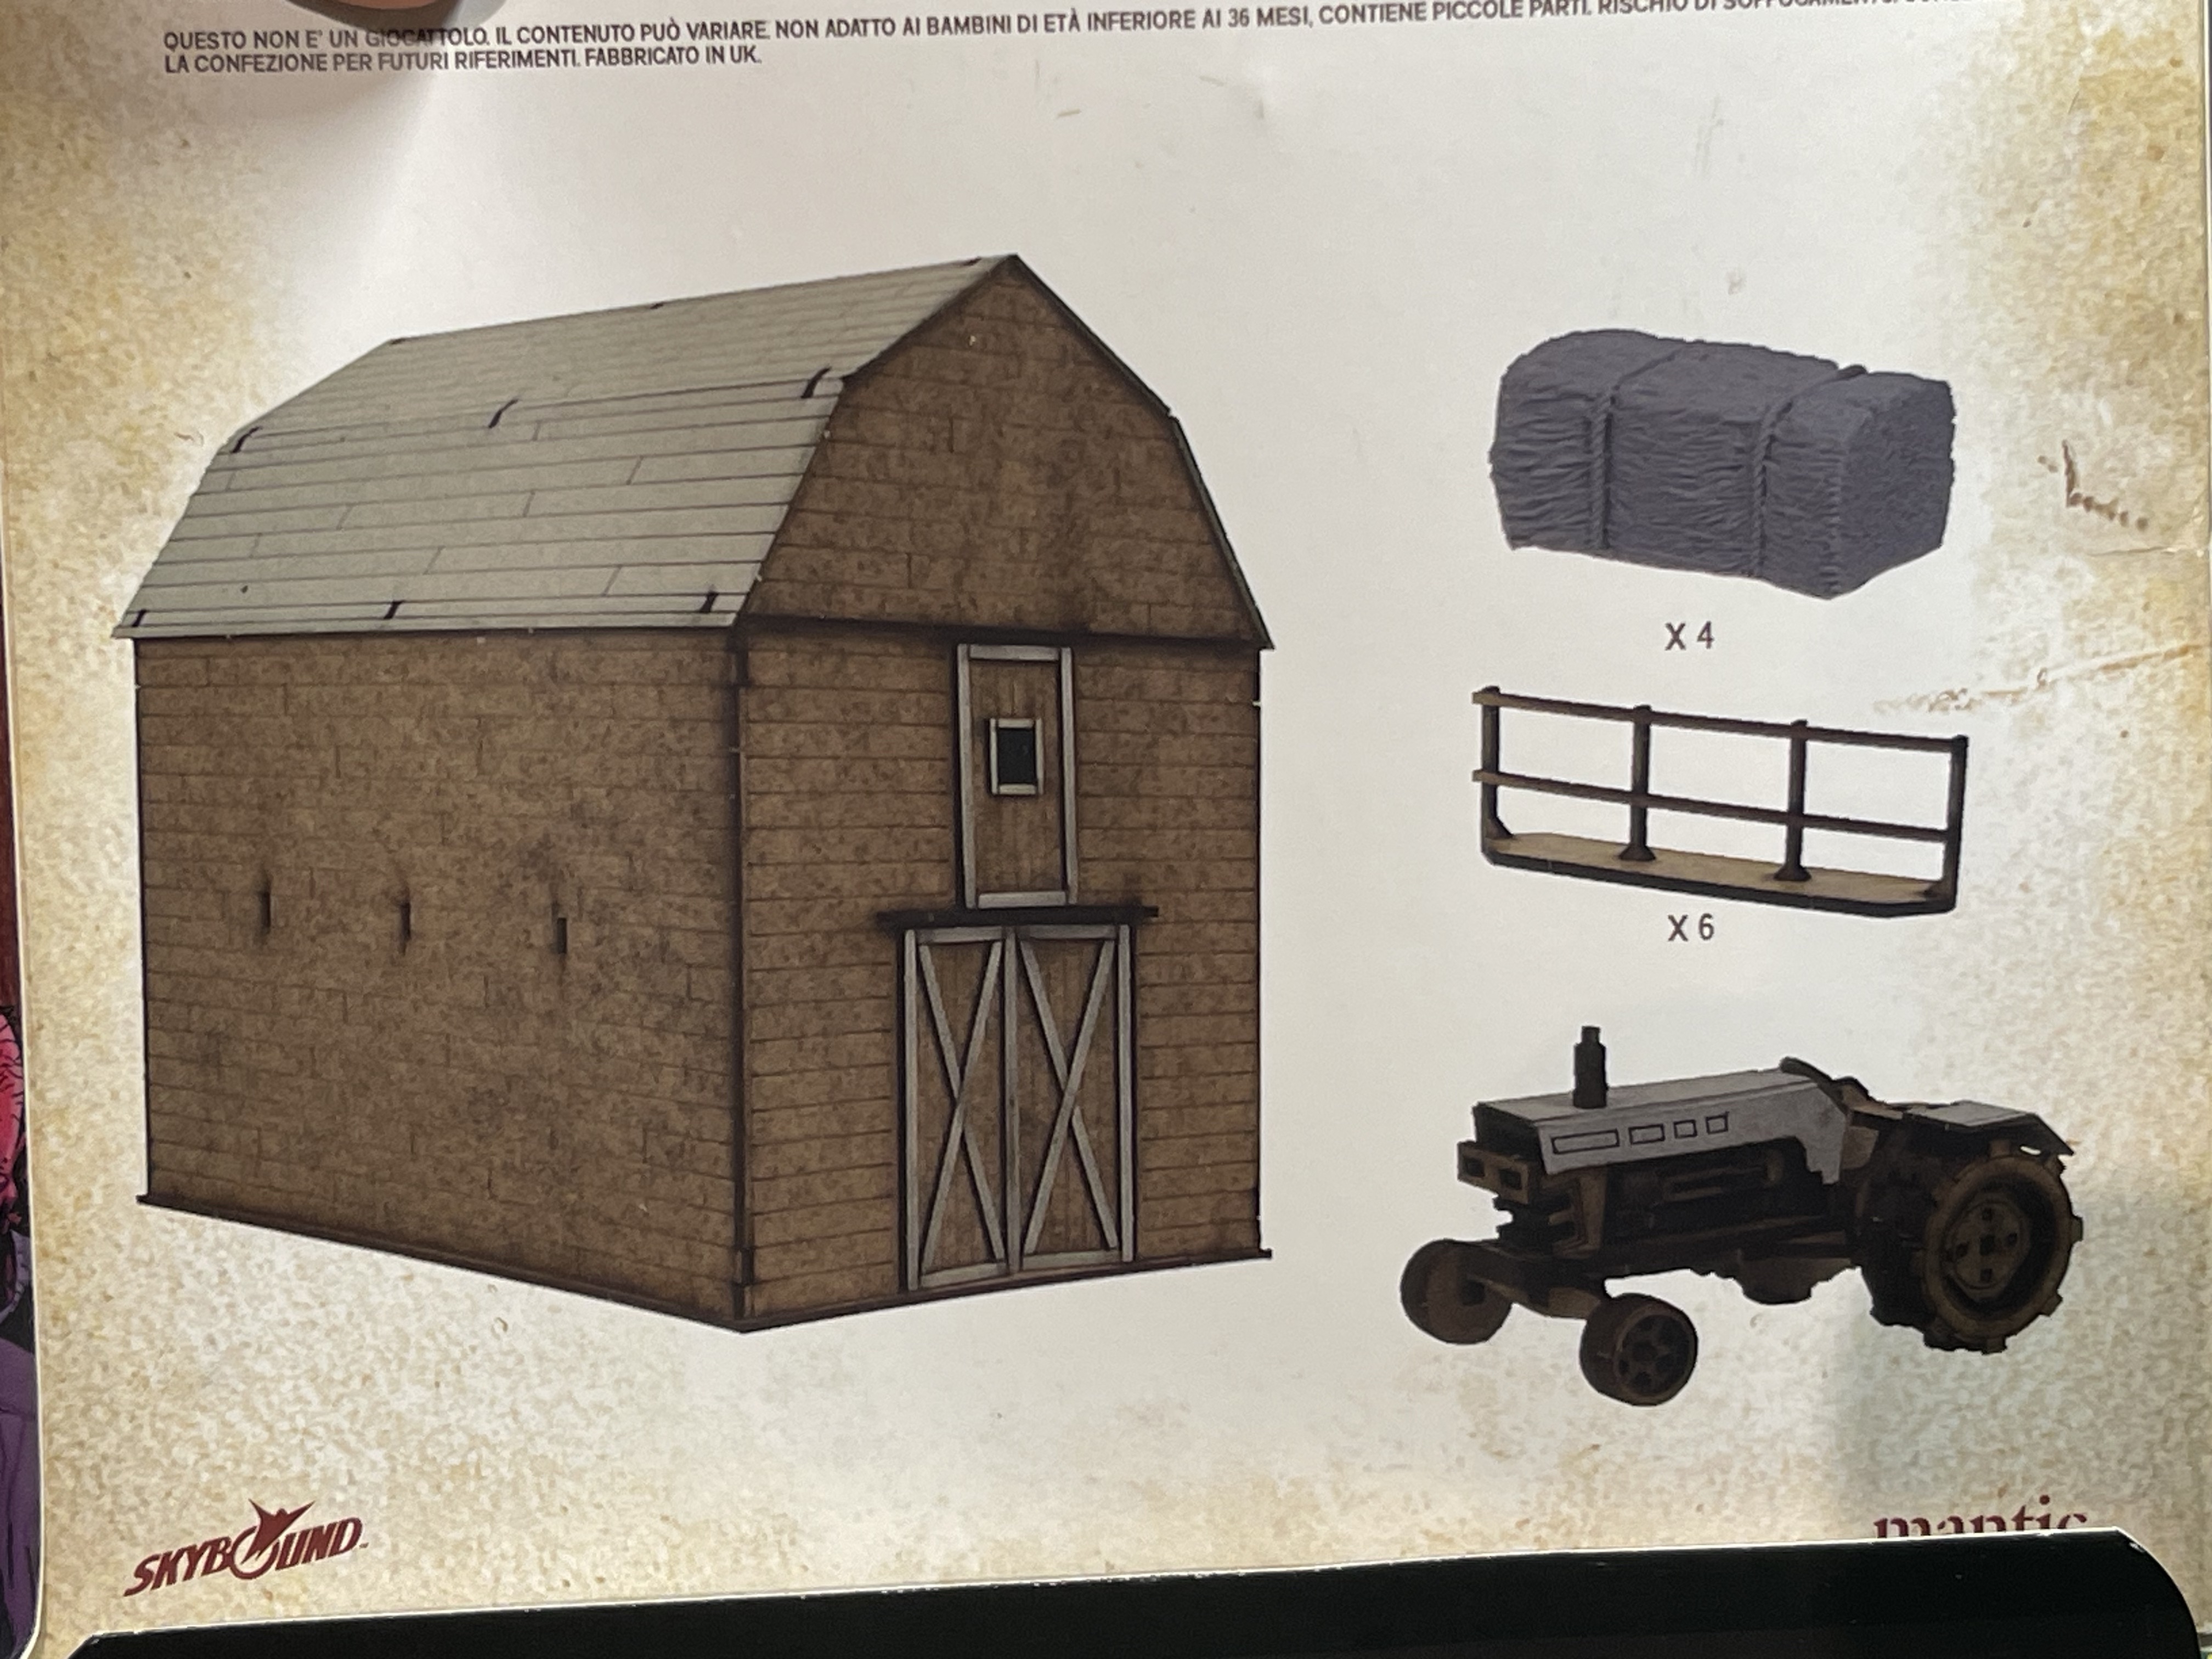
So now that I’ve got the licensed barn done and built I need to work out what i can do with the table space around it.
First stop, the rule books! second stop, google the TV show
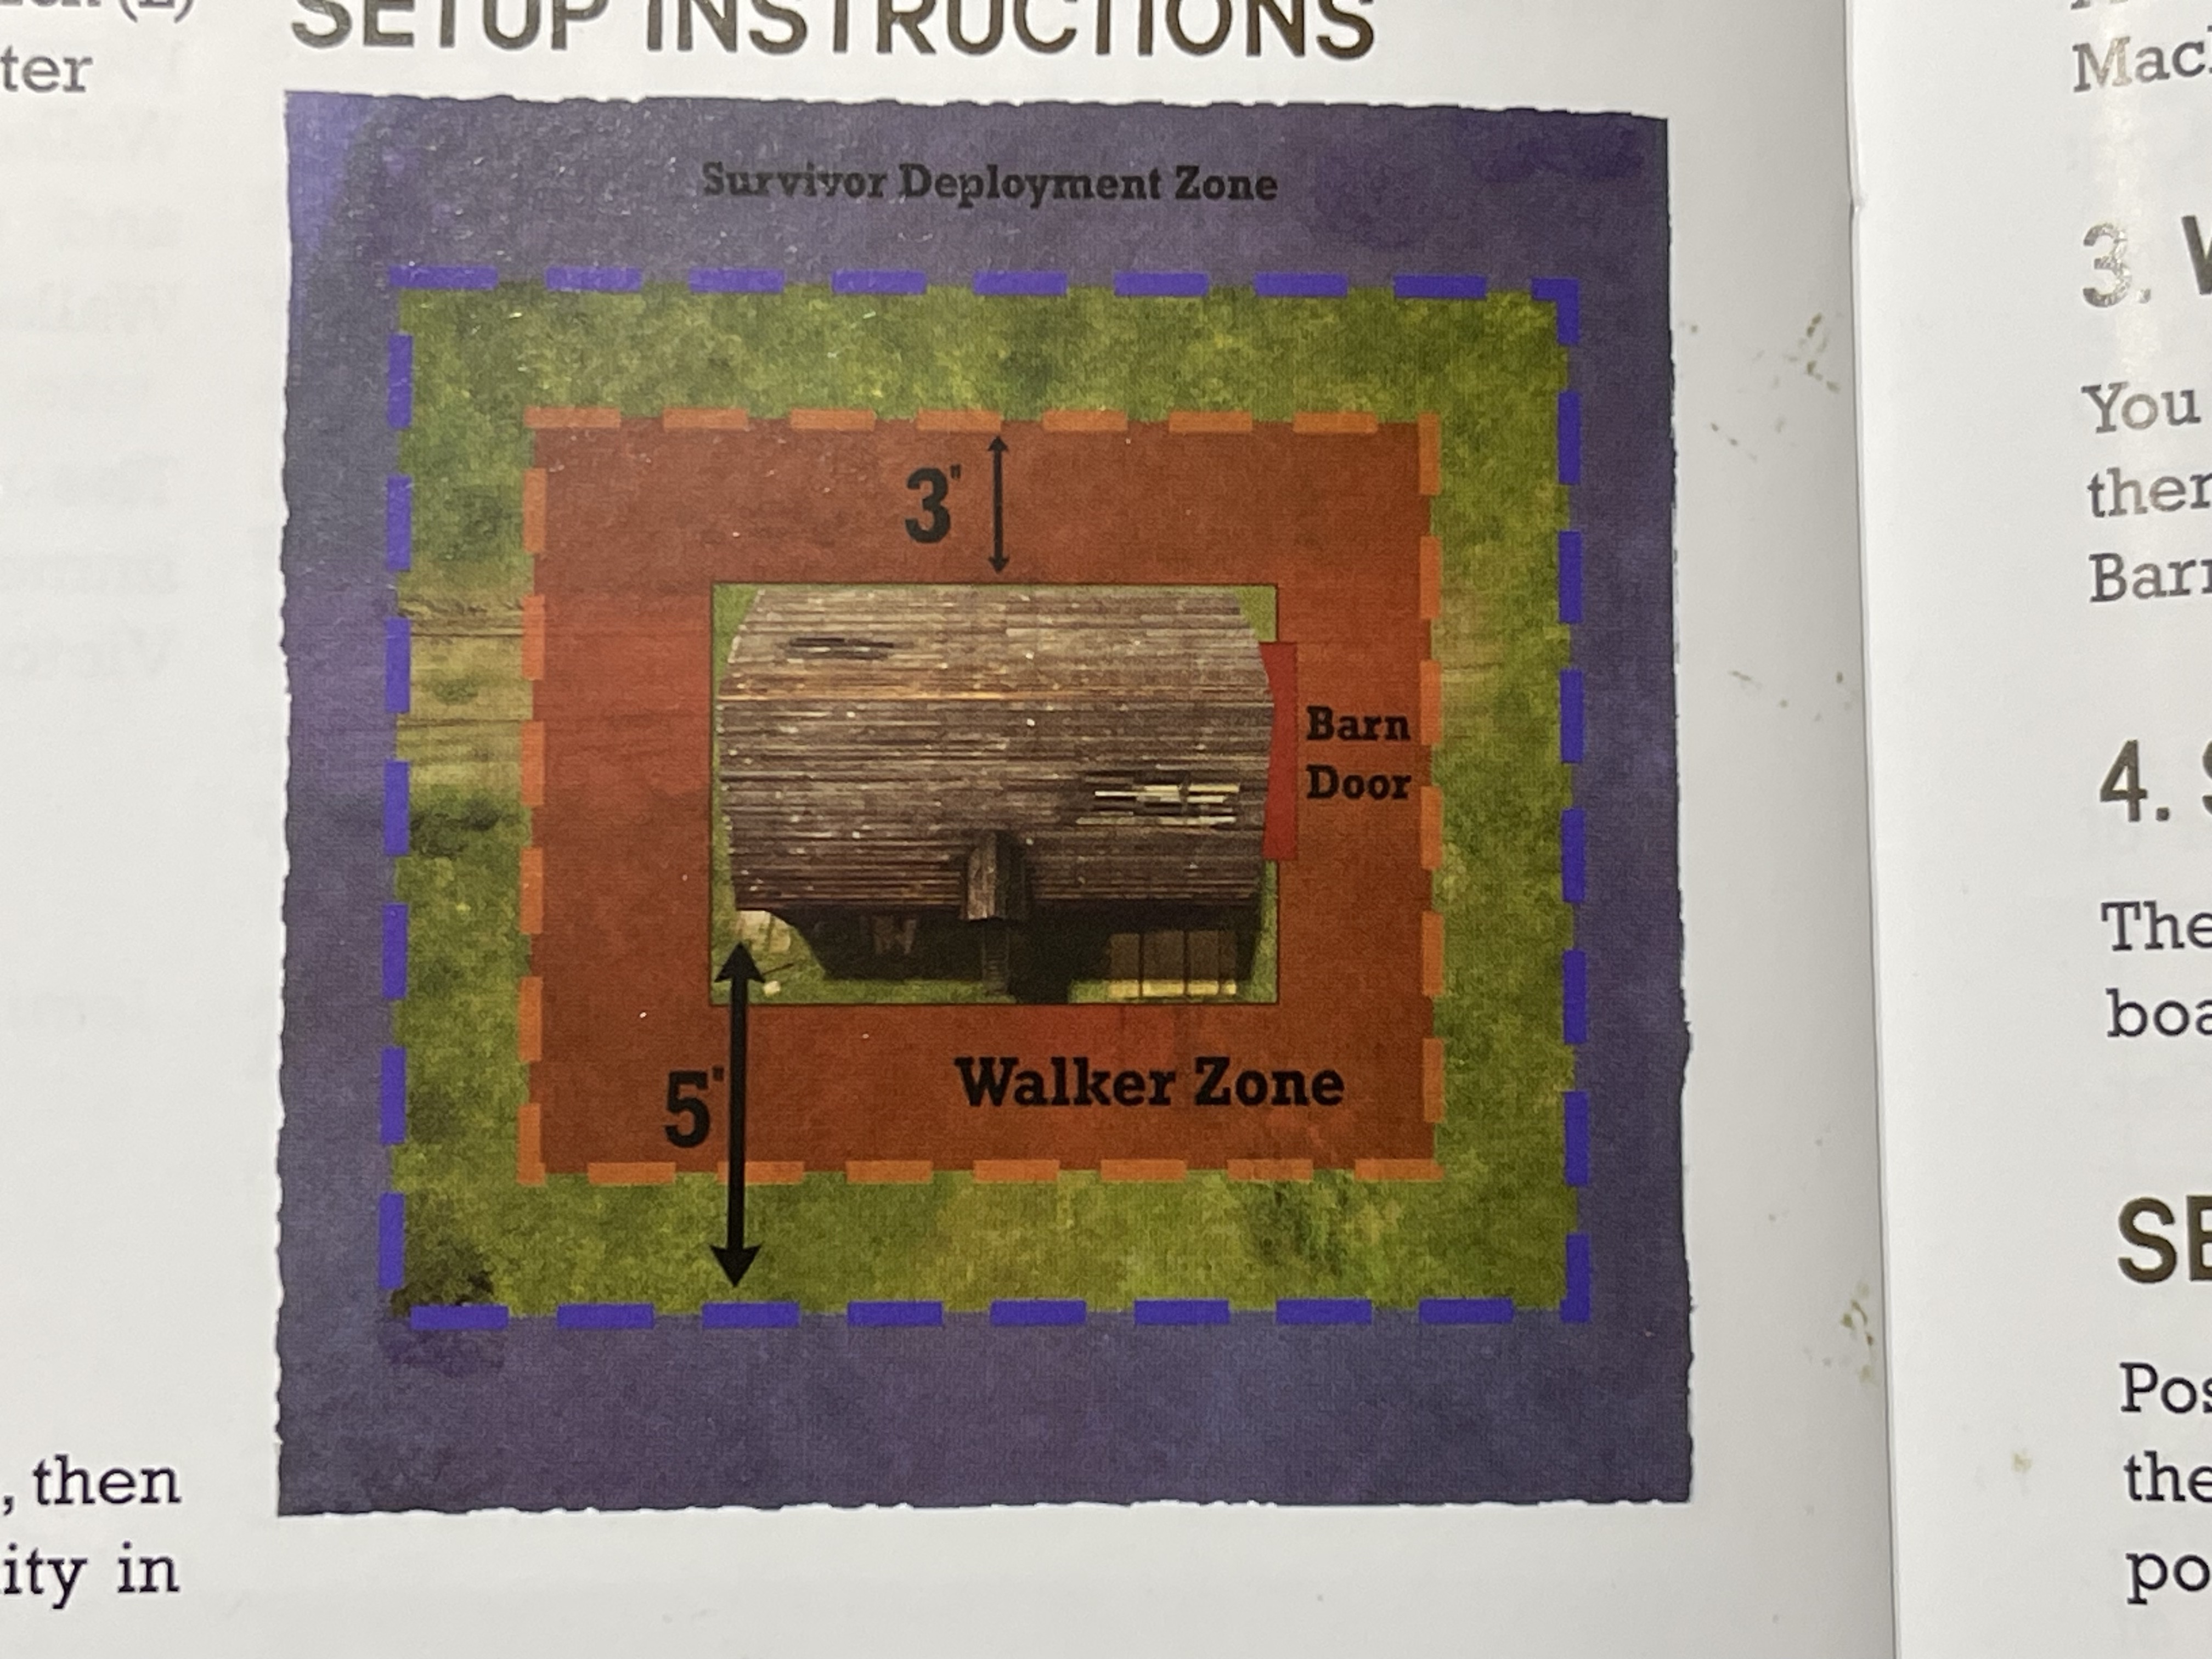
There are two missions in ‘miles behind us’ that utilise the barn.
One to fight a defensive type scenario over the fence and one where Rick and co find the never ending waves of walkers stored in the barn (spoiler alert).
Personally I think that the second table is a bit of a meh one but the first one doesn’t have enough going on in it and is very ‘squared off’. you may have noticed with the gas station that I put it on the wonk, I think I’ll do the same here simply to get rid of the right angled stuff and create total cover areas that can often plague games.
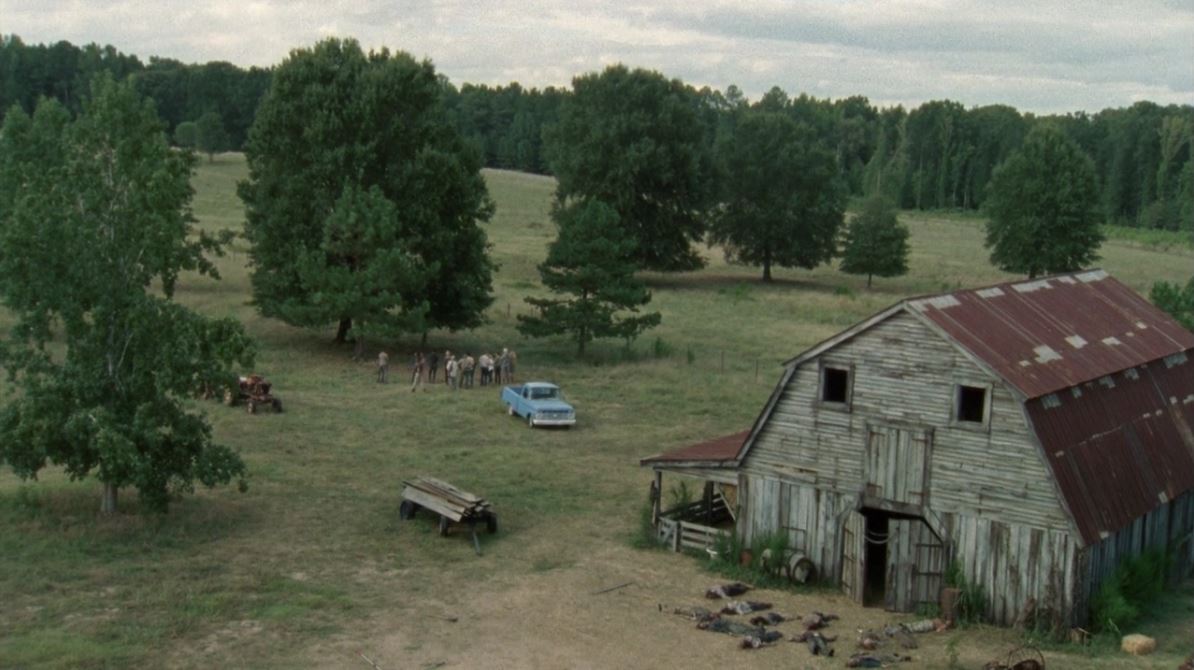
I’ll add in a few cool details like trees and whatnot as in the TV show the group camp out by the trees. I’d like to have a well too but I think there just isn’t enough space for it and to be honest I do not have one, so I’d have to find one and print it out (or buy one).
I’m also going to make a cool corn/maize field as point of interest and really stress that it is a farm, I think the Greene family were animal farmers but this is all for an alternate timeline and now they’re corn farmers.
I just need to think about a few things…
Do I need to add in a bit of differing ground heights?
Do I need a dog kennel for faithful fido?
answers in the comments please!
Lets talk farming and corn
I’m now looking to move onto the next board.
It’s going to be Hershel’s farm. There are at least two games to play on it but they do have different layouts so I might need to get creative to make it as multifunctional as possible.
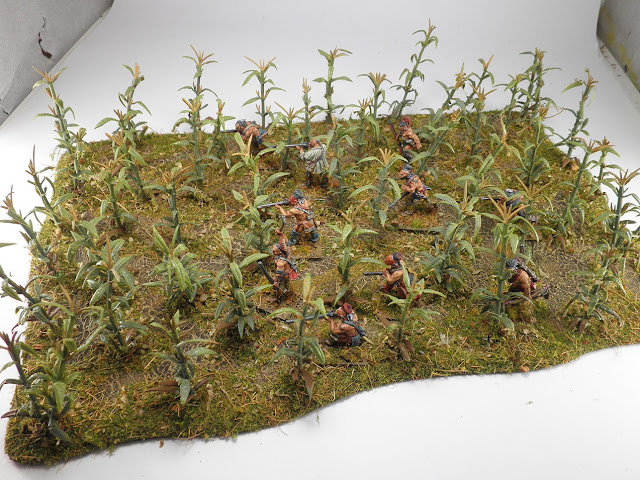
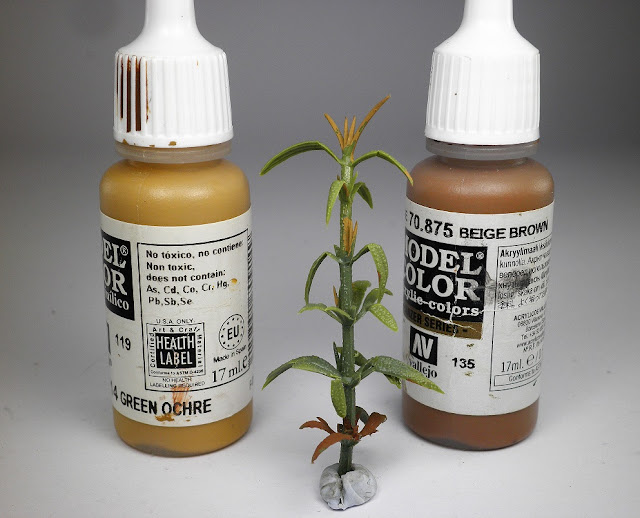
So why the plastic plant I hear you ask. I want to use this as an opportunity to try and make something that currently cannot be bought. Cornfields.
I have been trying to find some of the model railway stuff made by JTT but it seems they aren’t in stock anywhere and simply are too expensive. They do look great though.
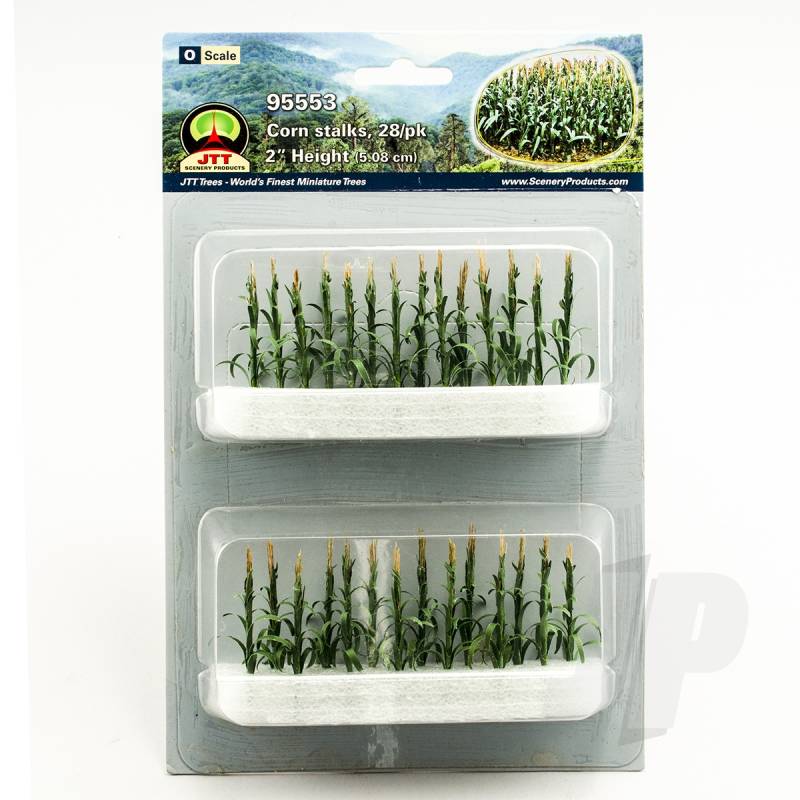
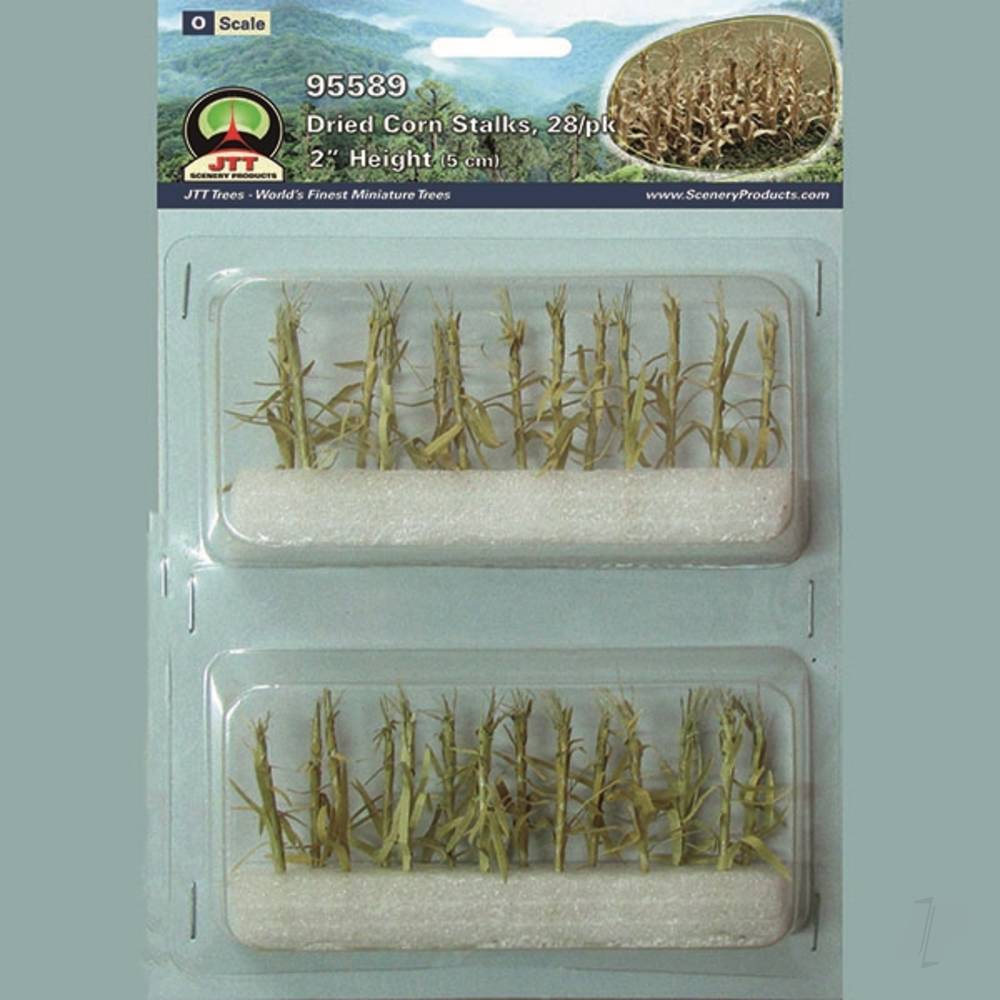
thankfully however someone has already run up against this problem and solved it with ikea house plants.
http://iagsmgm.blogspot.com/2022/03/scratch-built-cornfield.html
I would throw all the accolades at the author on this this one, I’ll give it a go and see how it works out, I expect the paint will peel off after a time but still, it’ll safe me a lot of money in exchange for time.


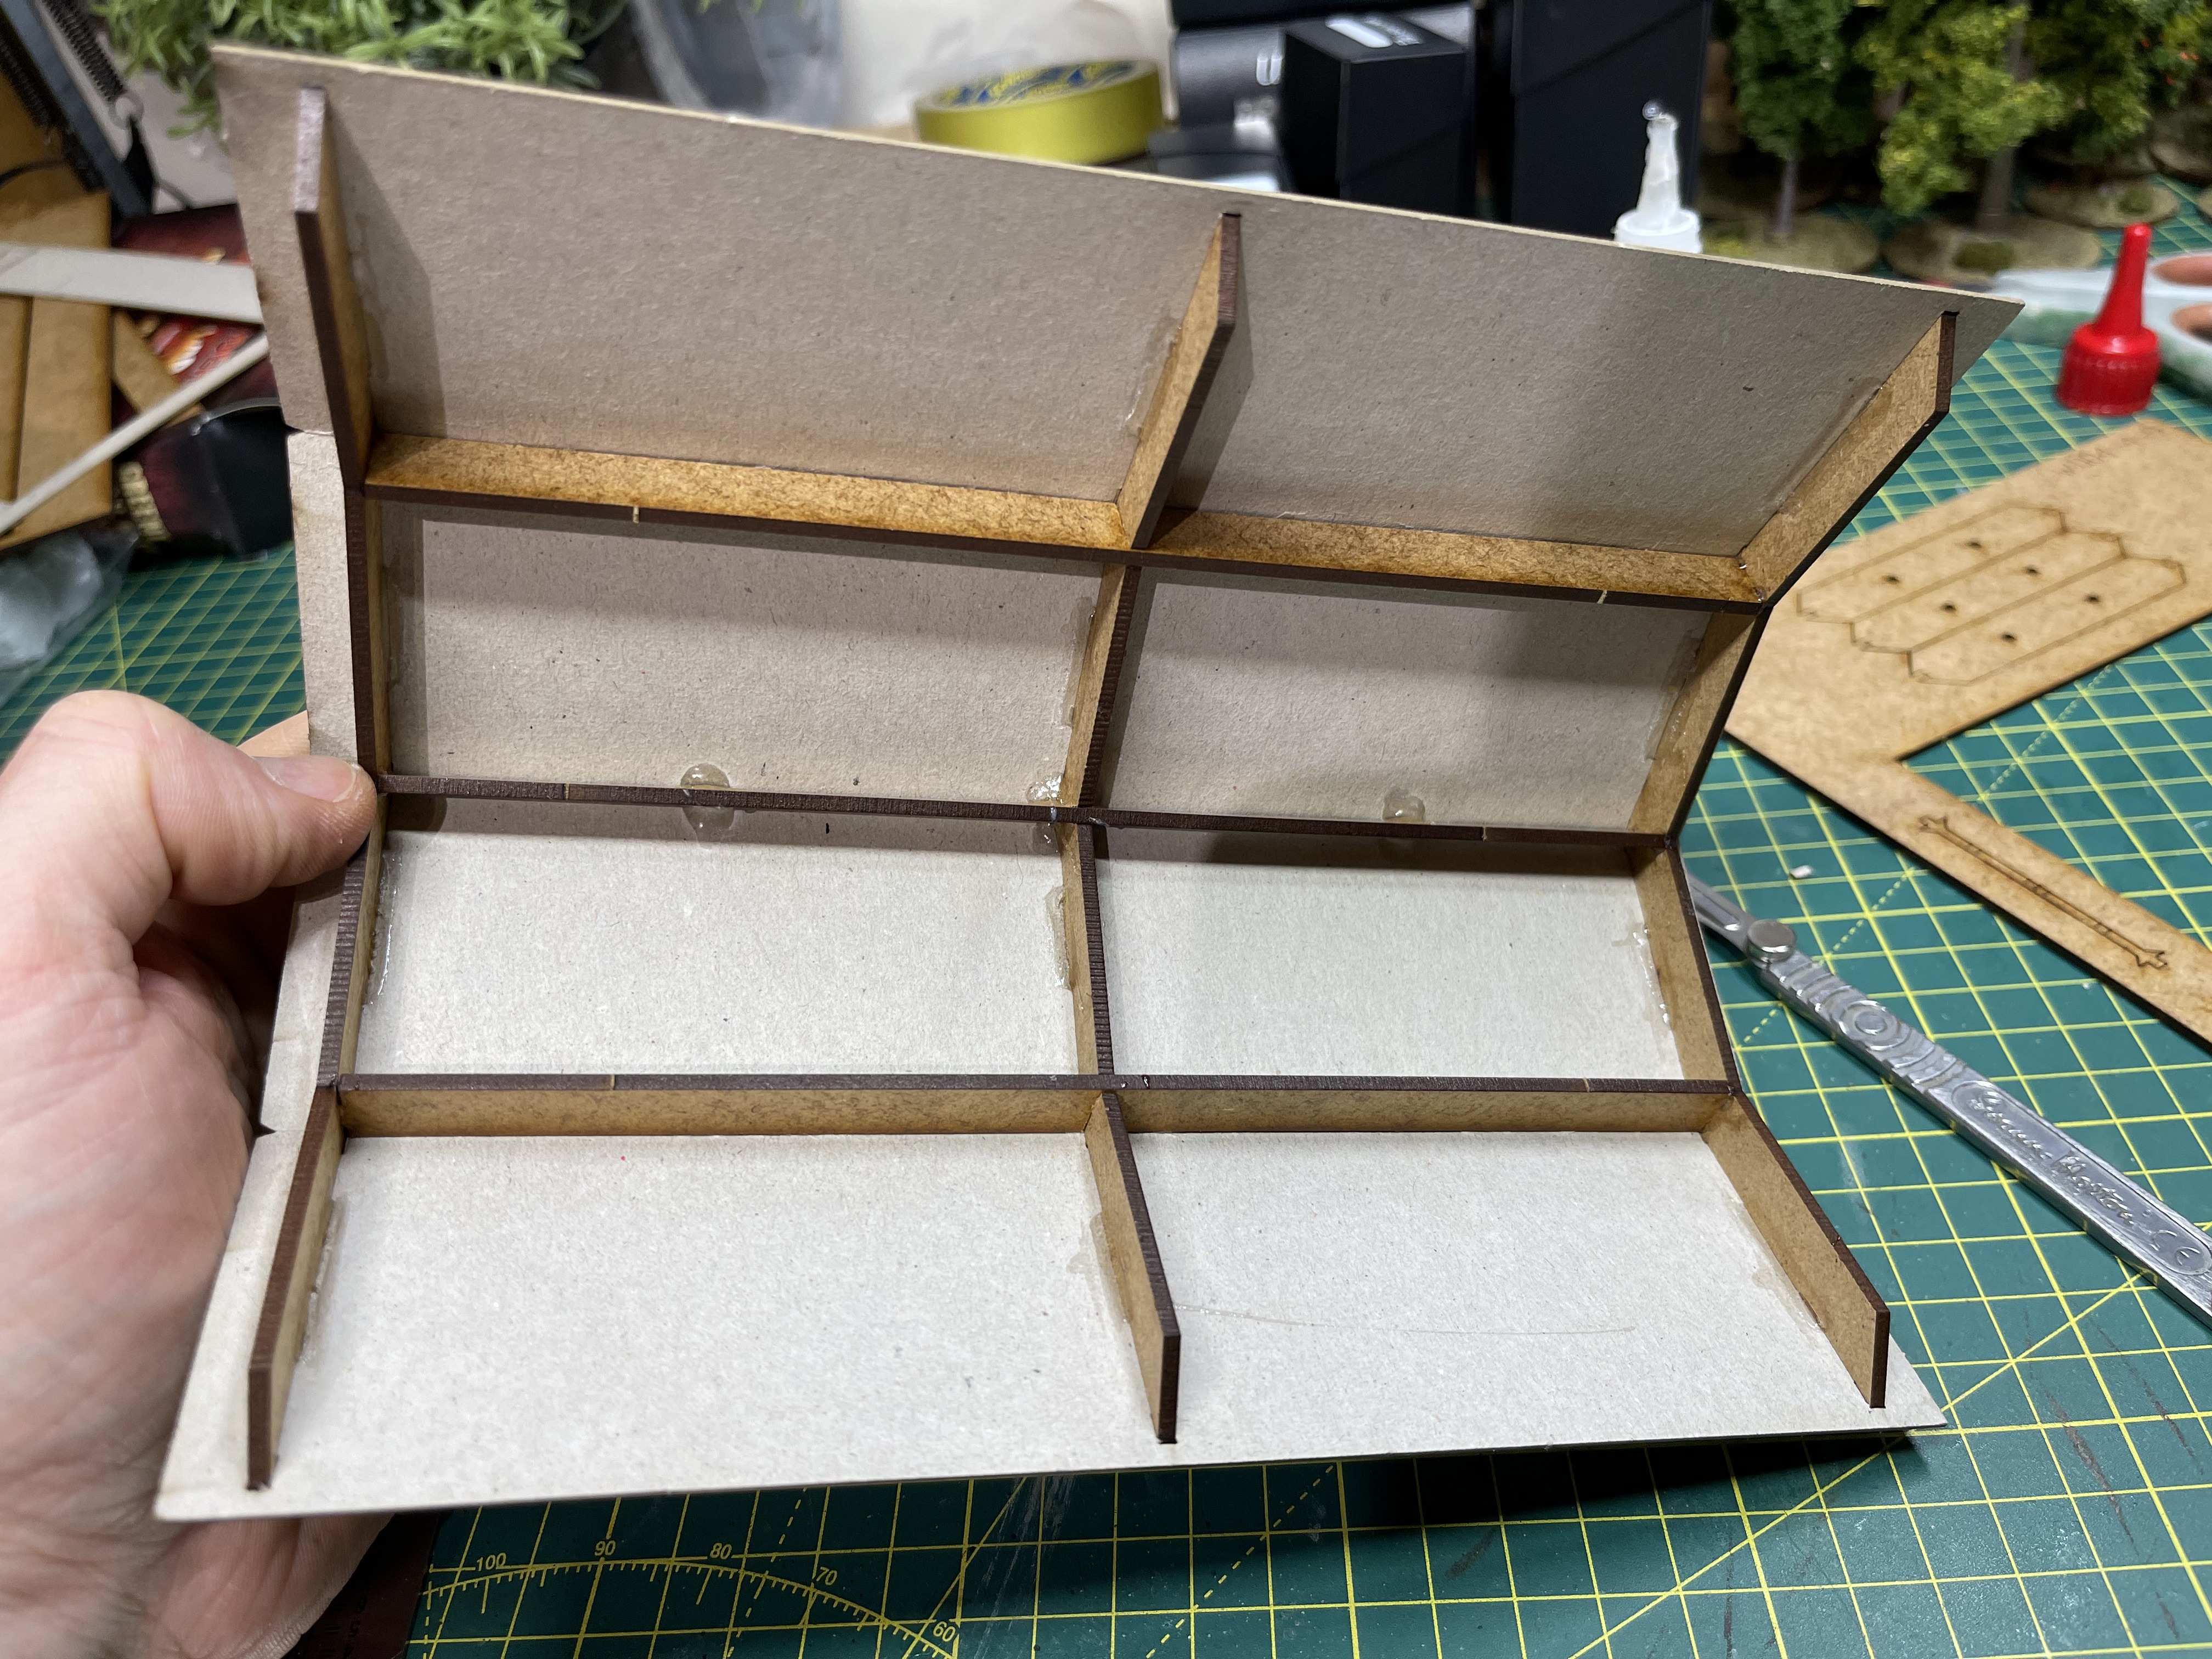
Improving the threat tracker
I’ve played 5 games for this comic series so far and I’ve become increasingly frustrated with the threat tracker.
It doesn’t sit flat and the indictor can be easily moved by a minor accidental knock.
To solve this I’m going to use 2x 5mm by 1mm magnets, superglue and some clippers.
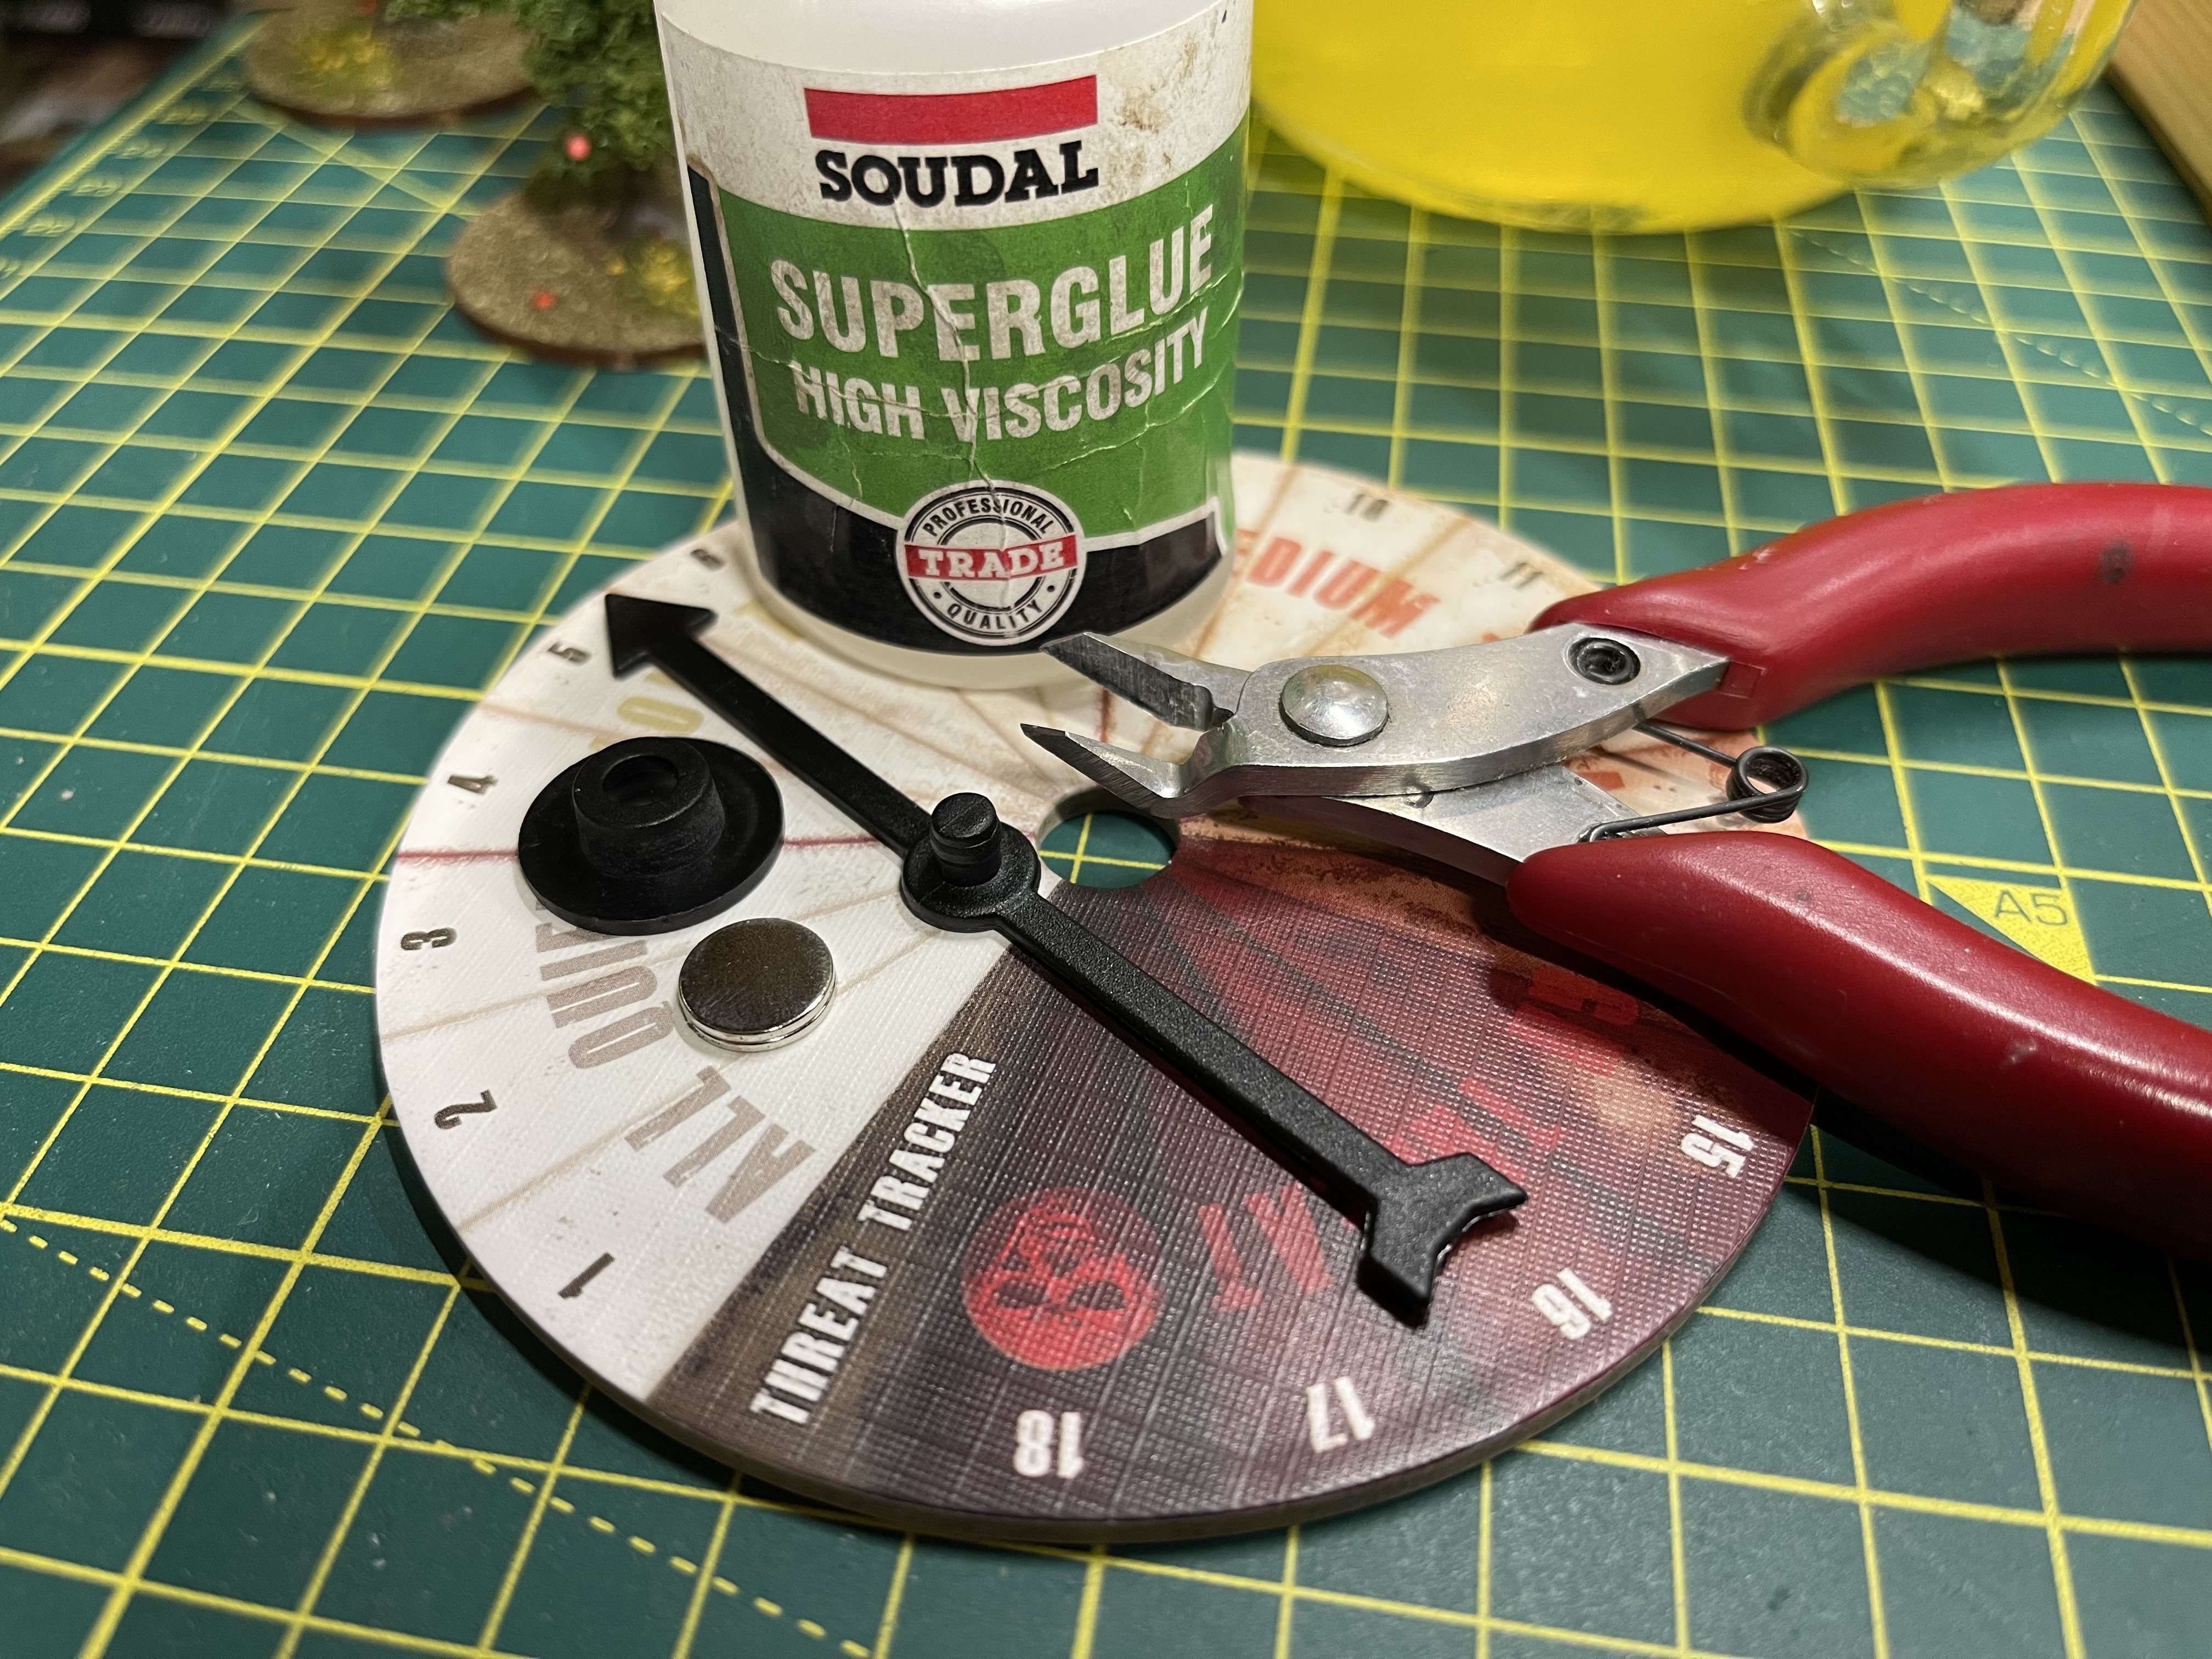
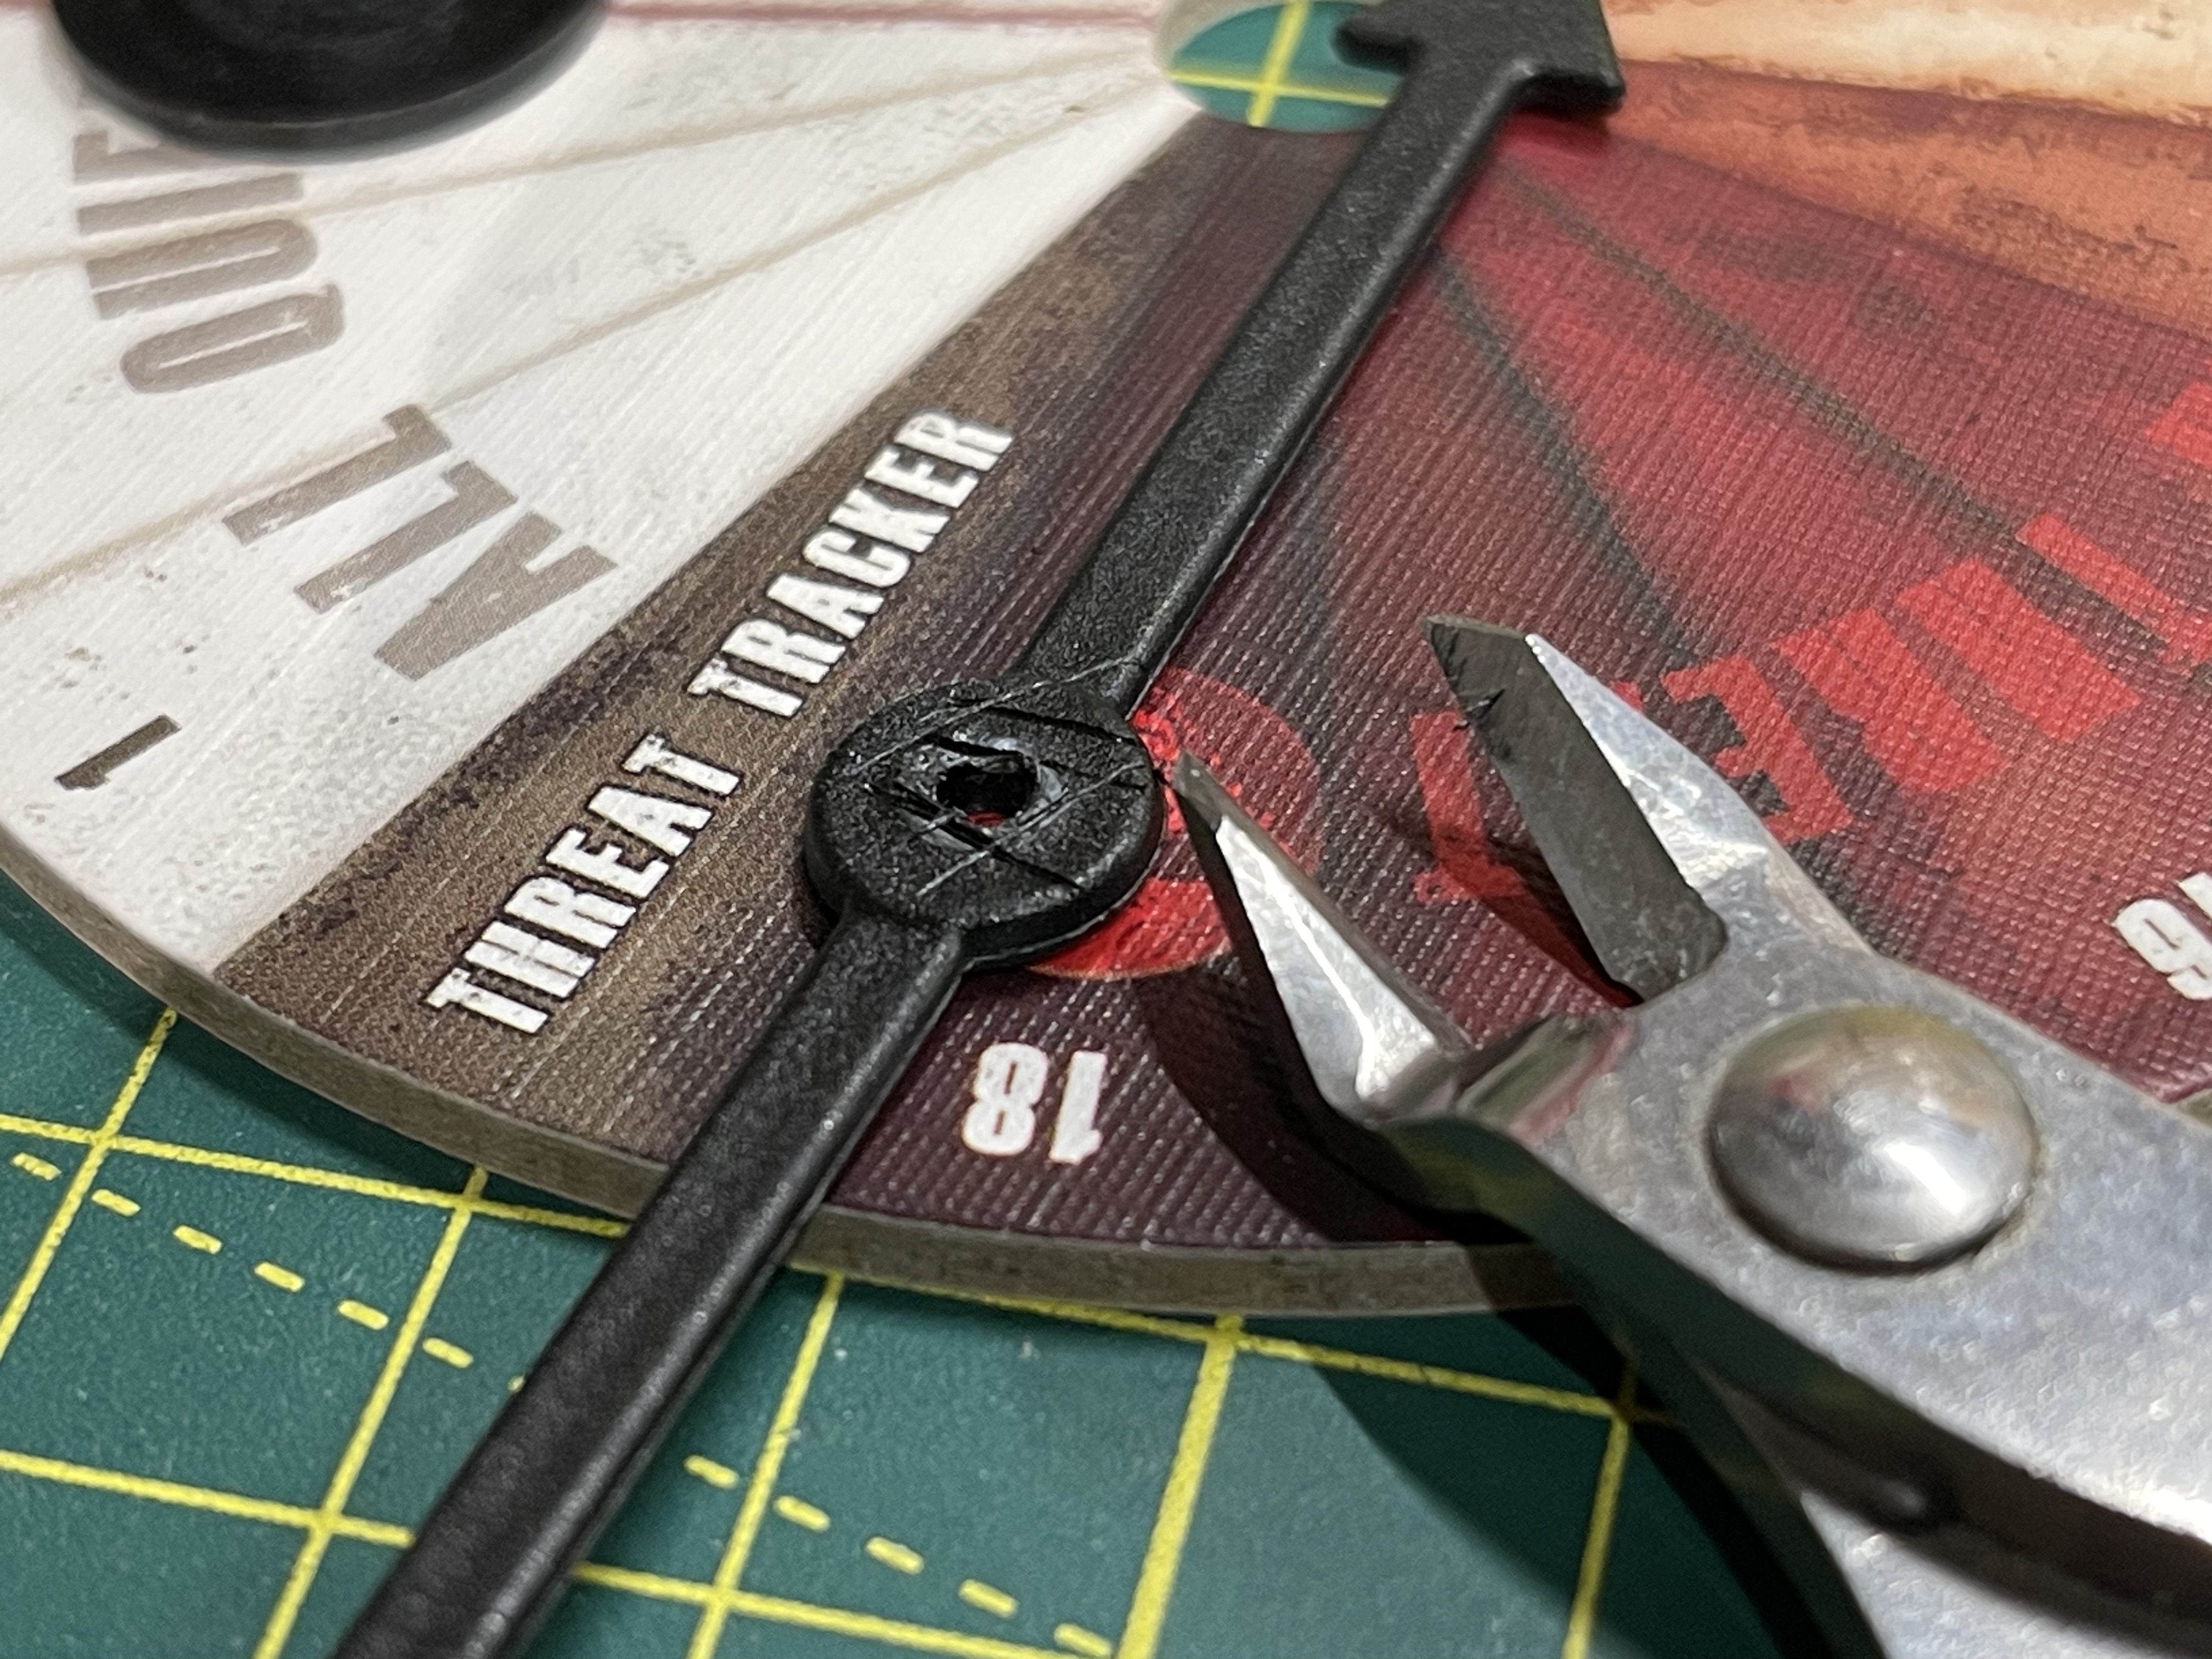 cut the male parts of the join off and score in some groves for the superglue to bind to
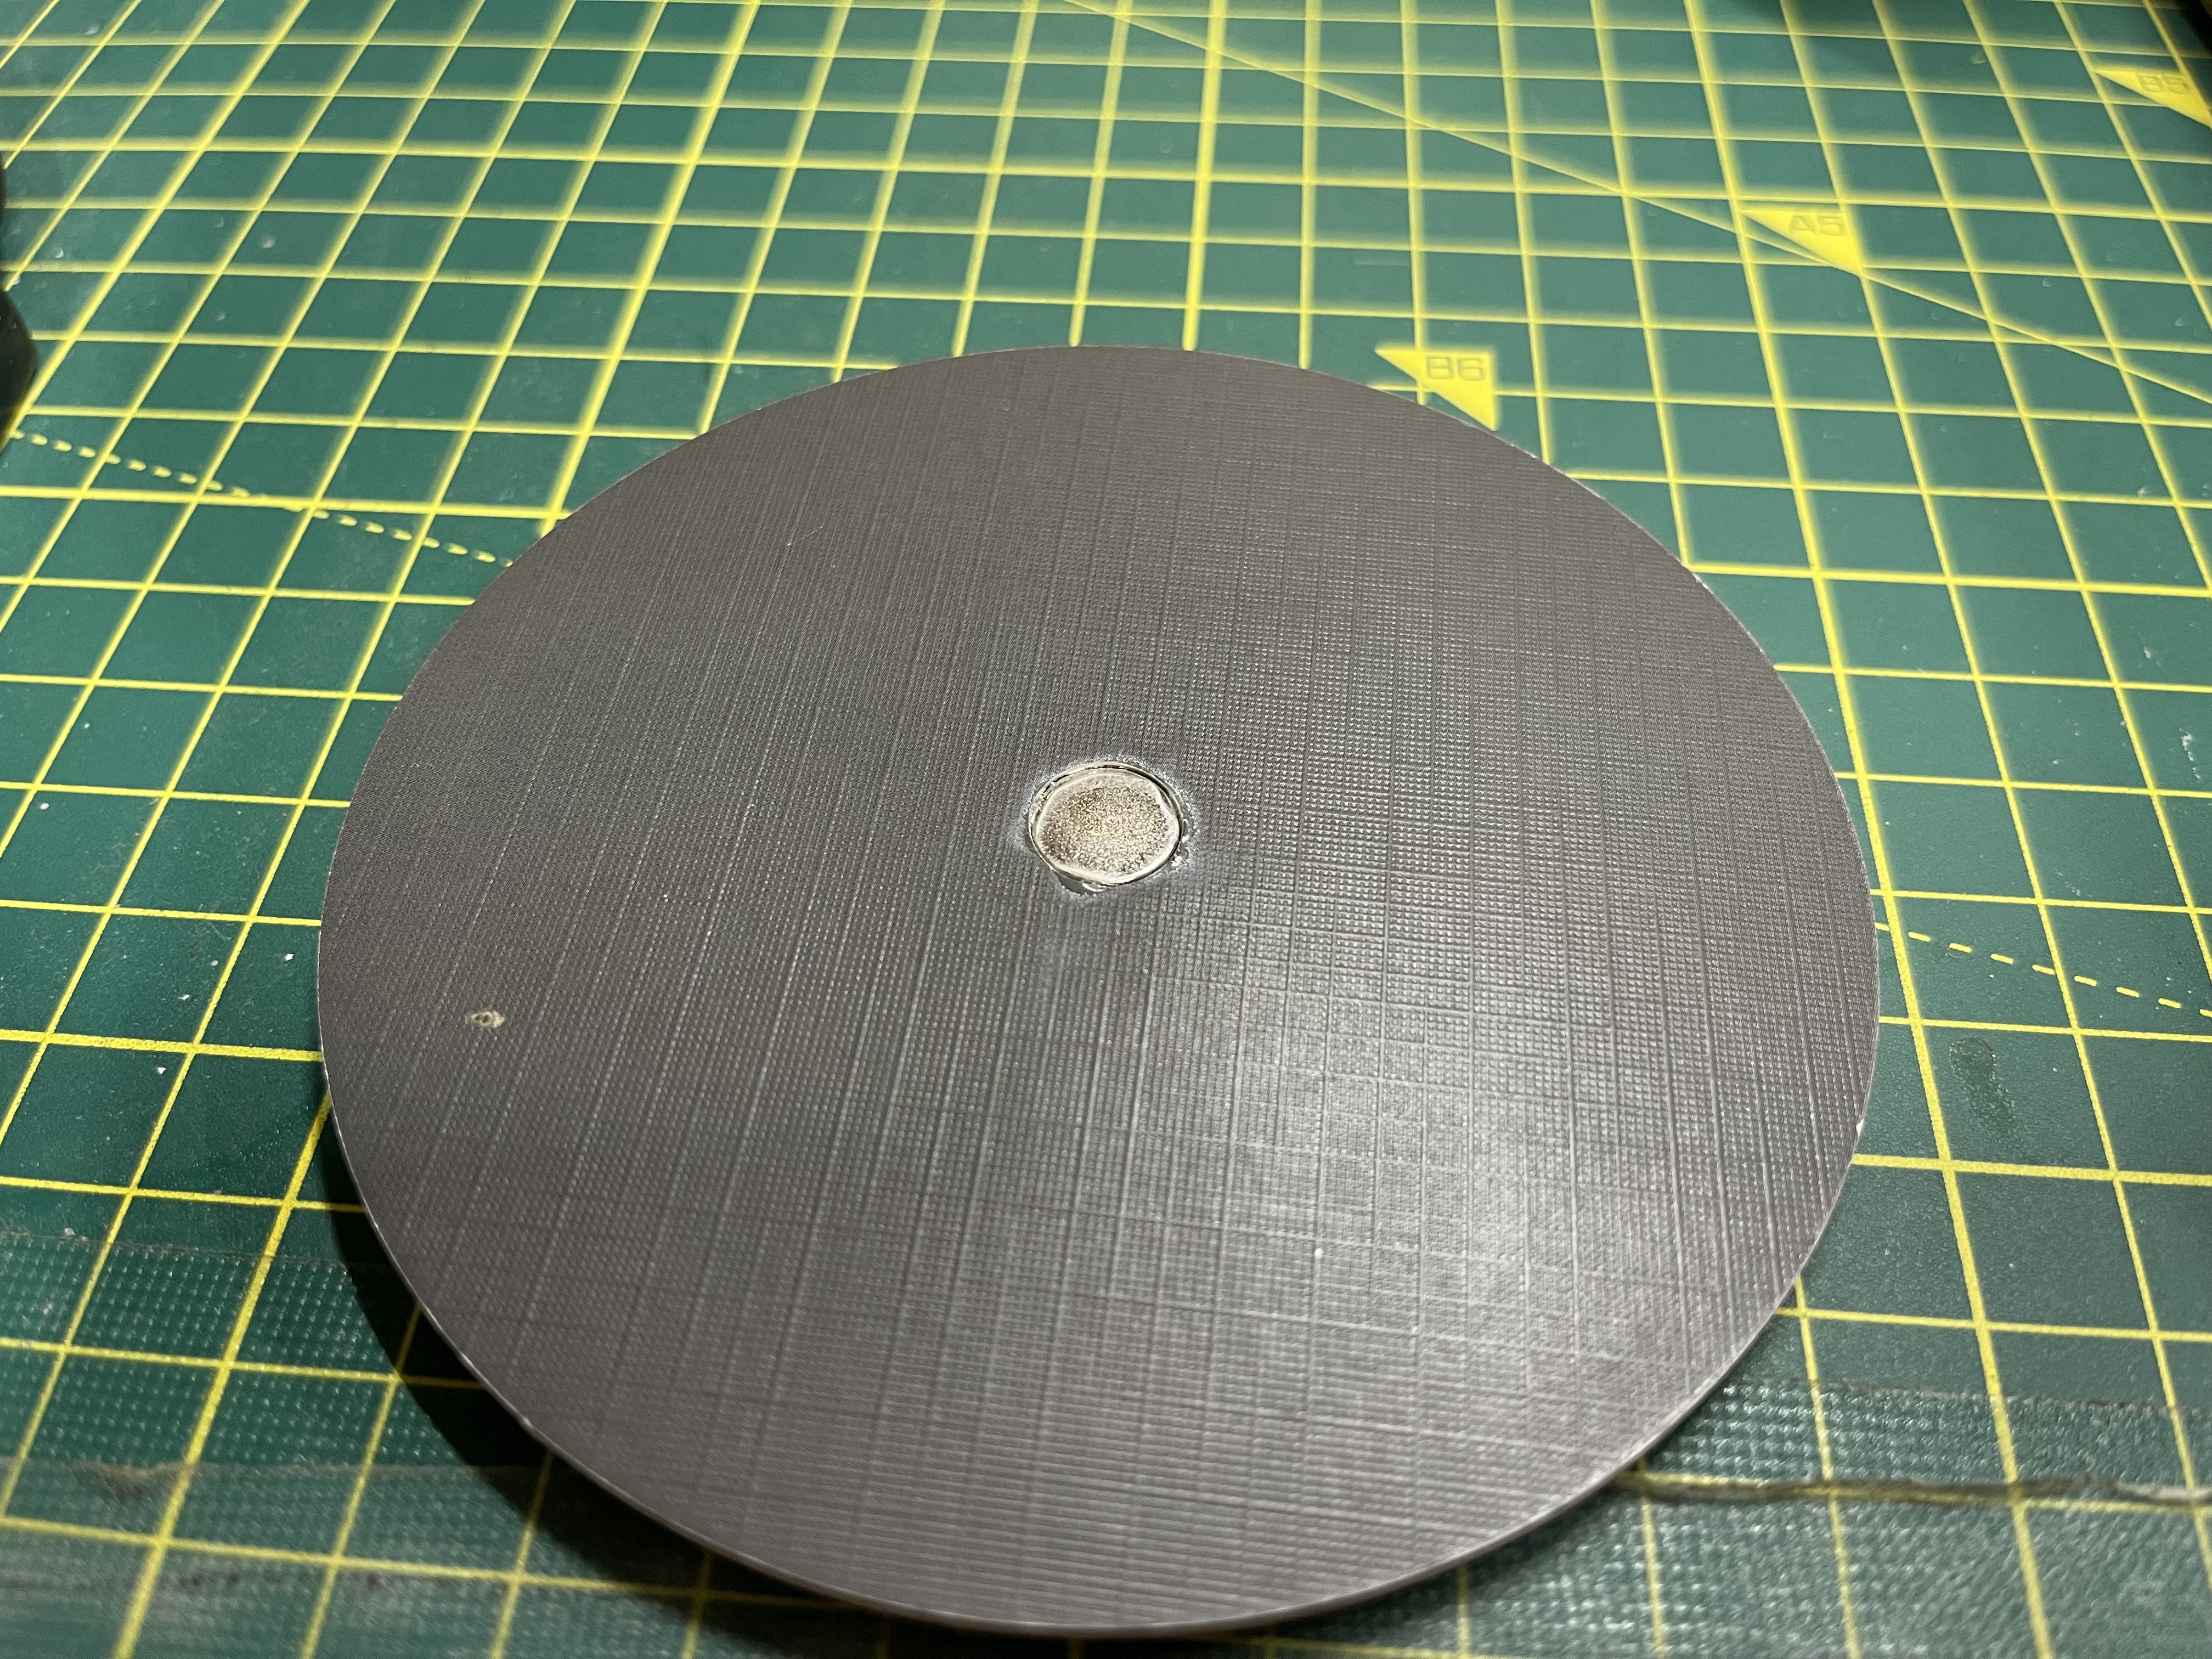 glue a magnet to the indicator arrow and then another inside the cardboard hole
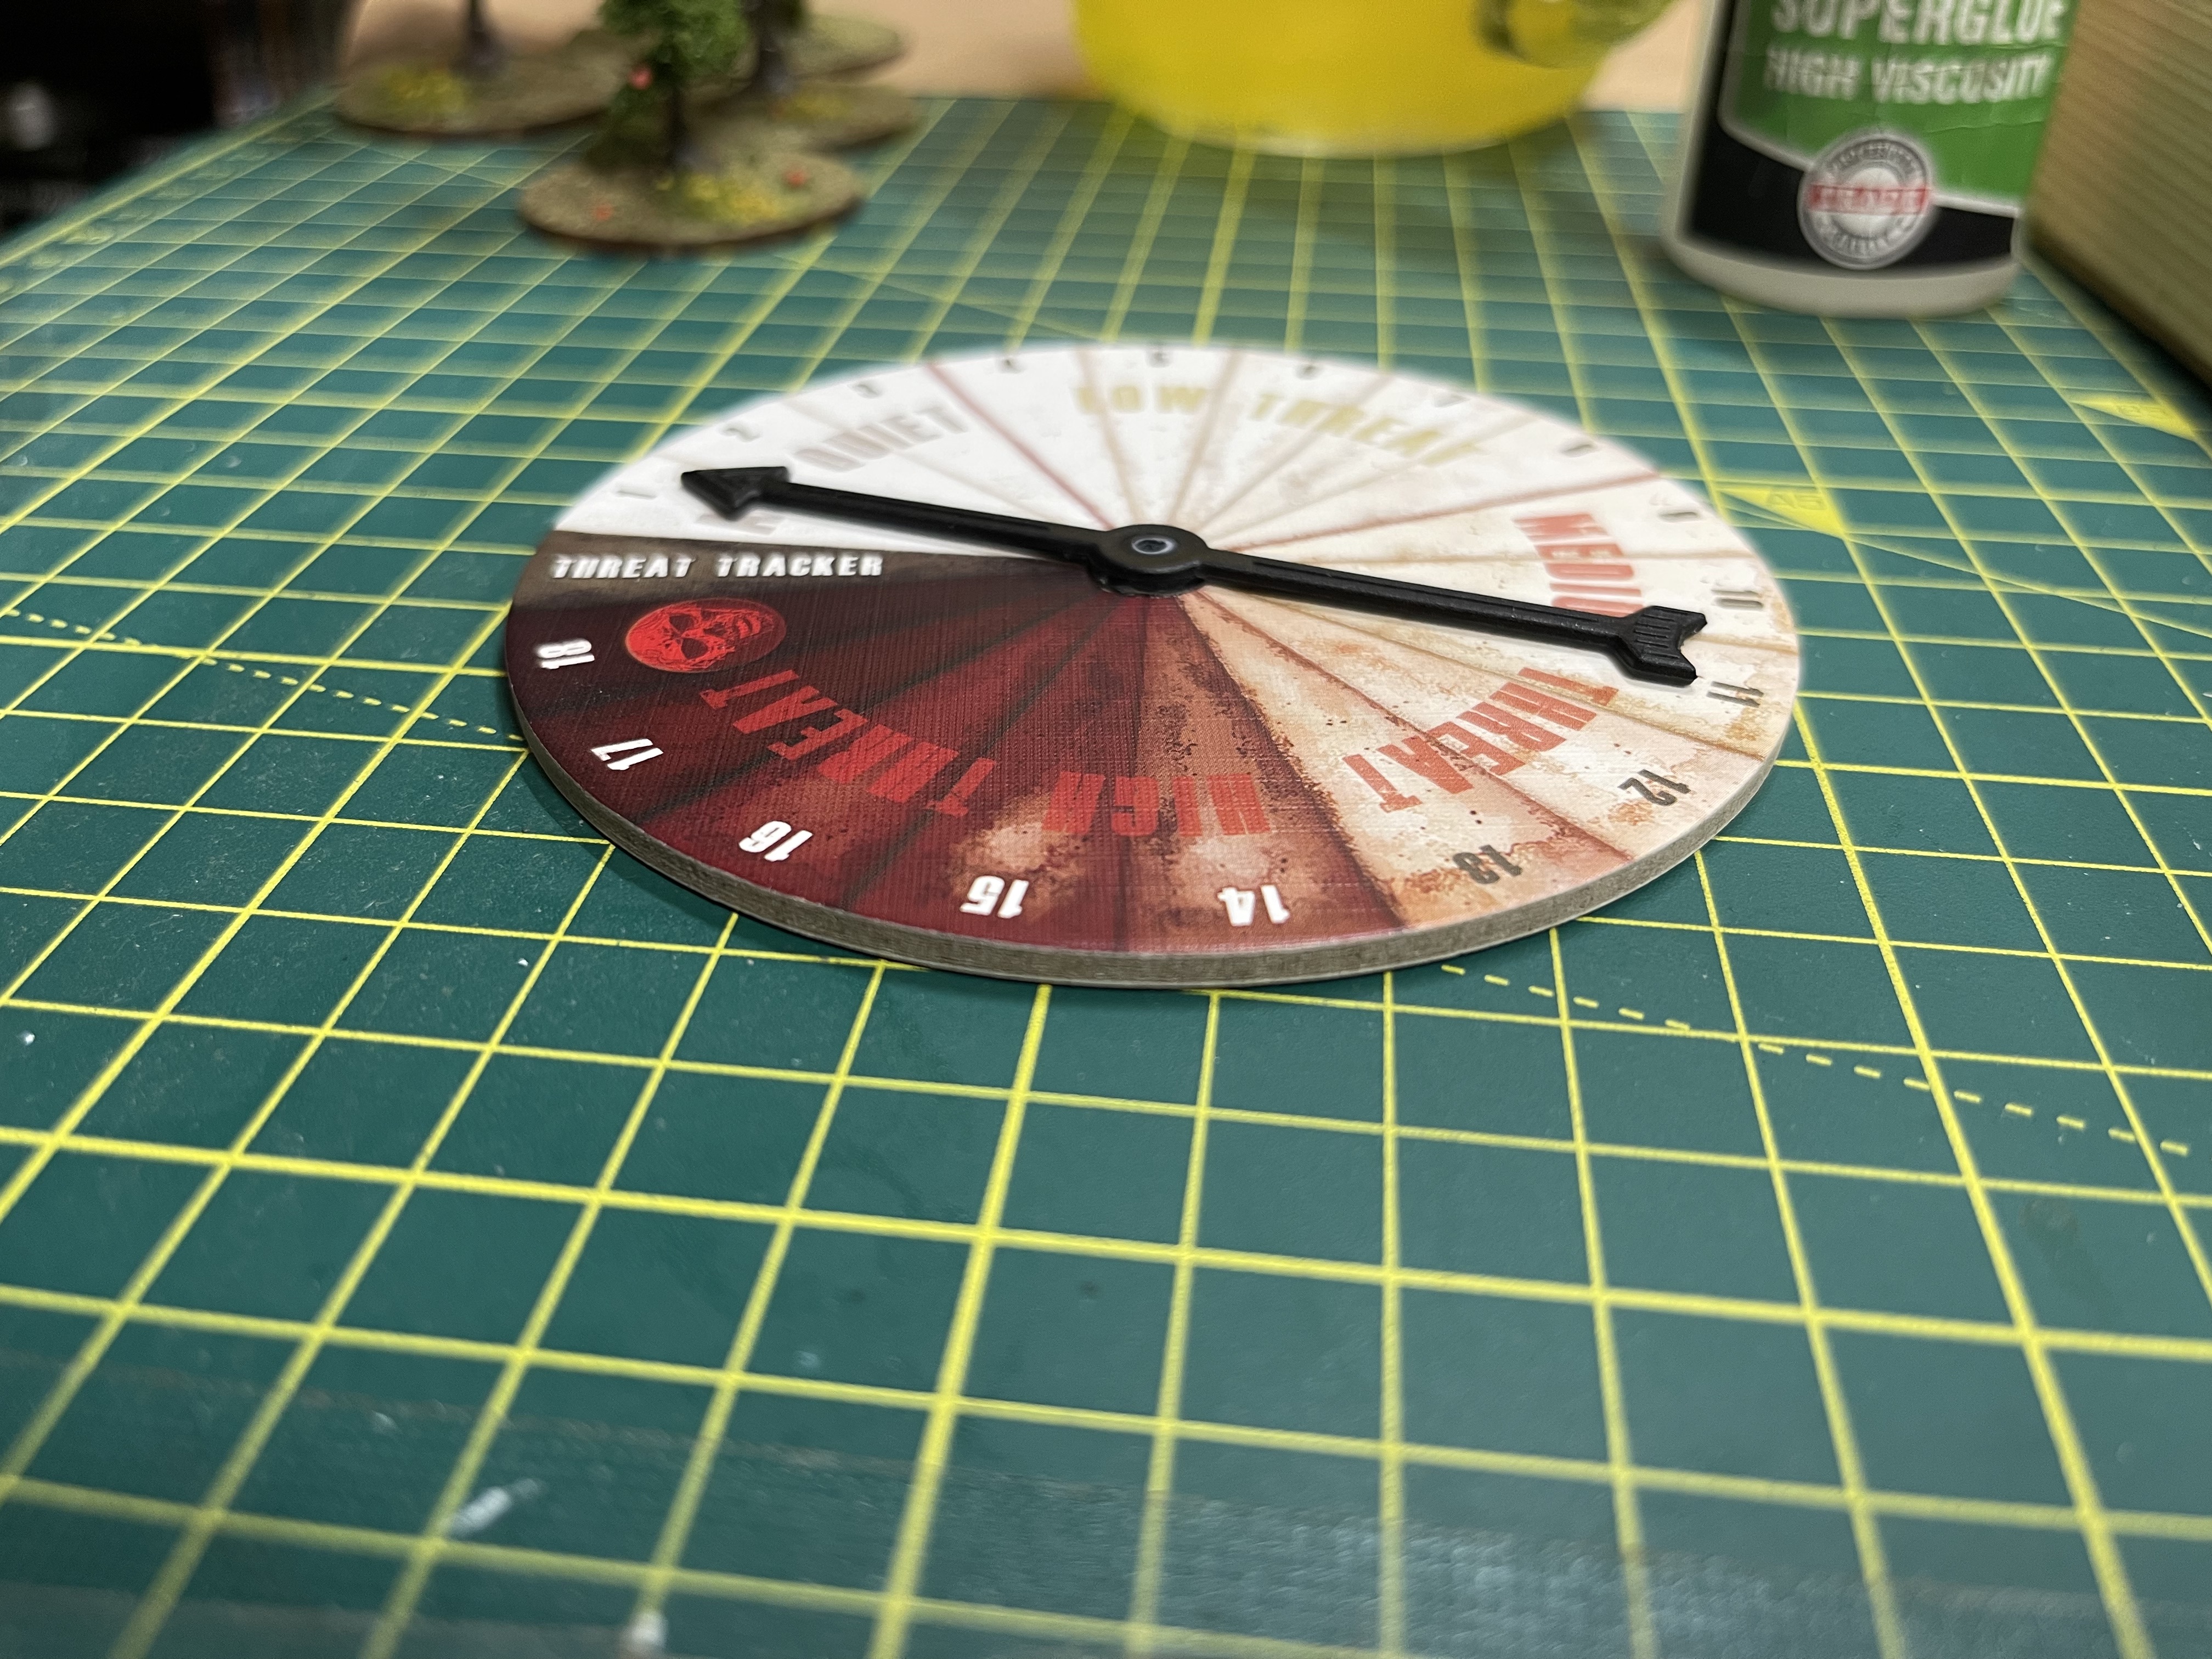 now it sits flat and the indicator arrow only moves when you push it, not when you accidentally knock the threat tracker
Billy and Ben
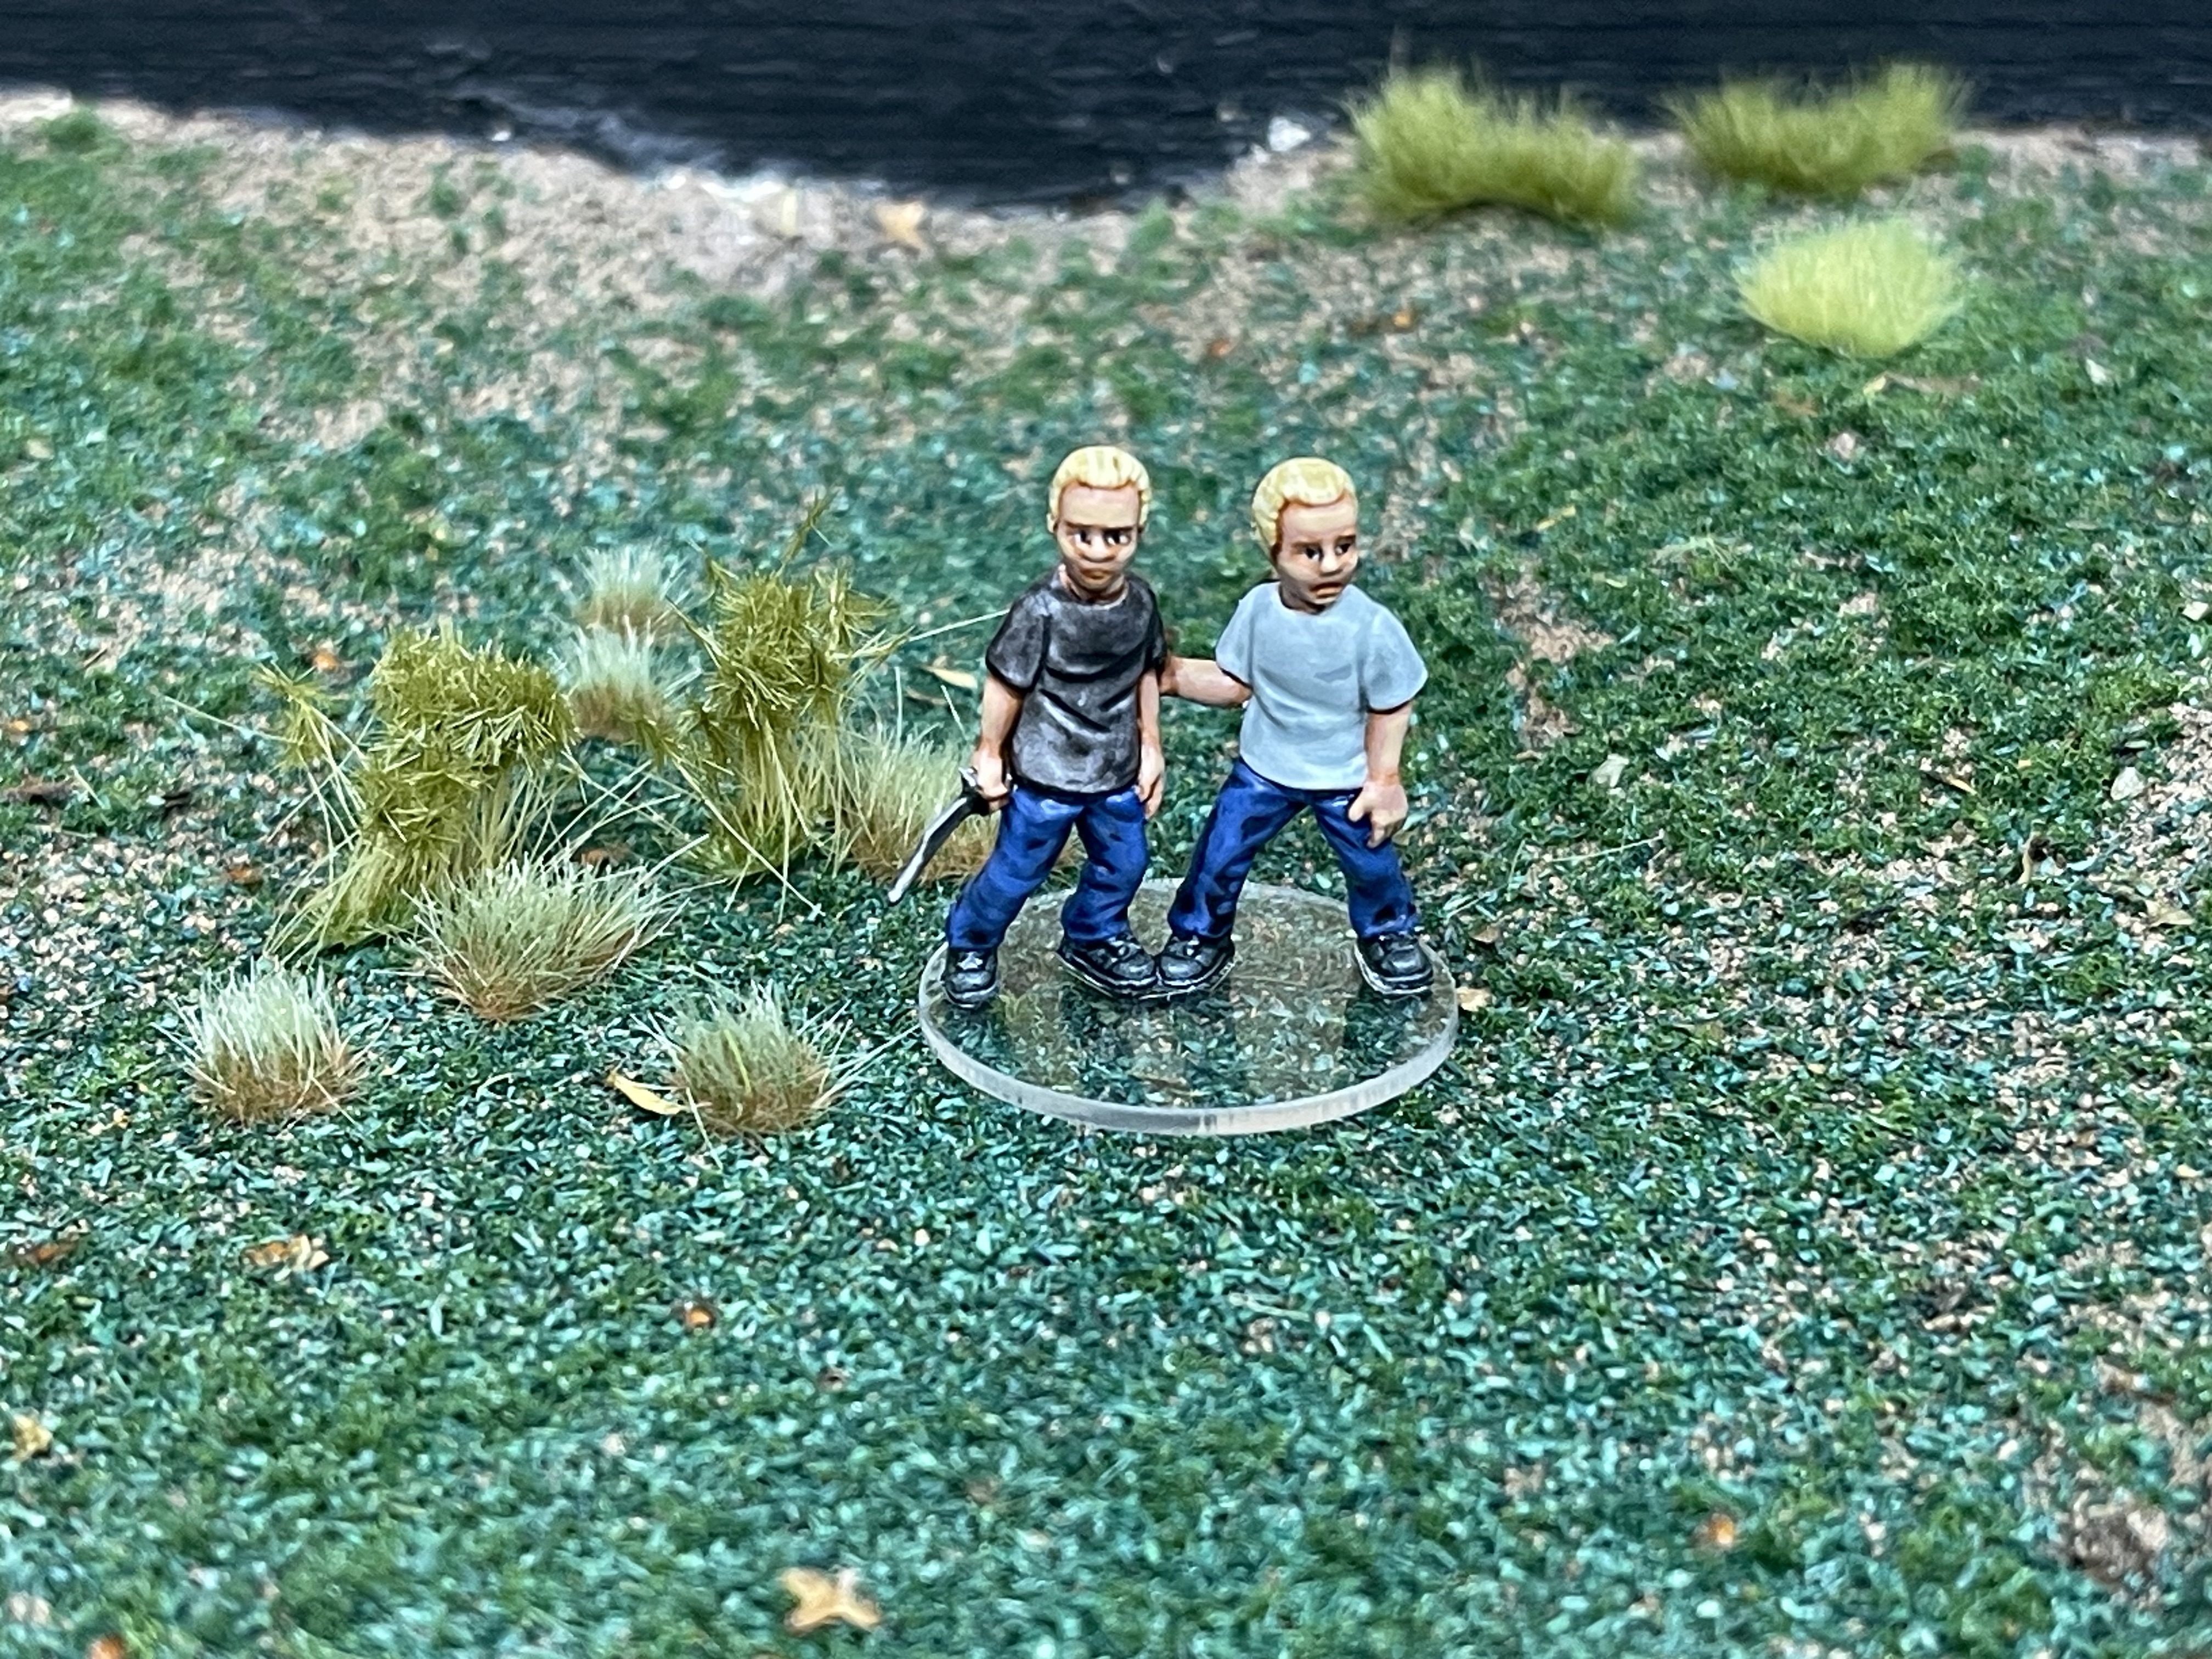
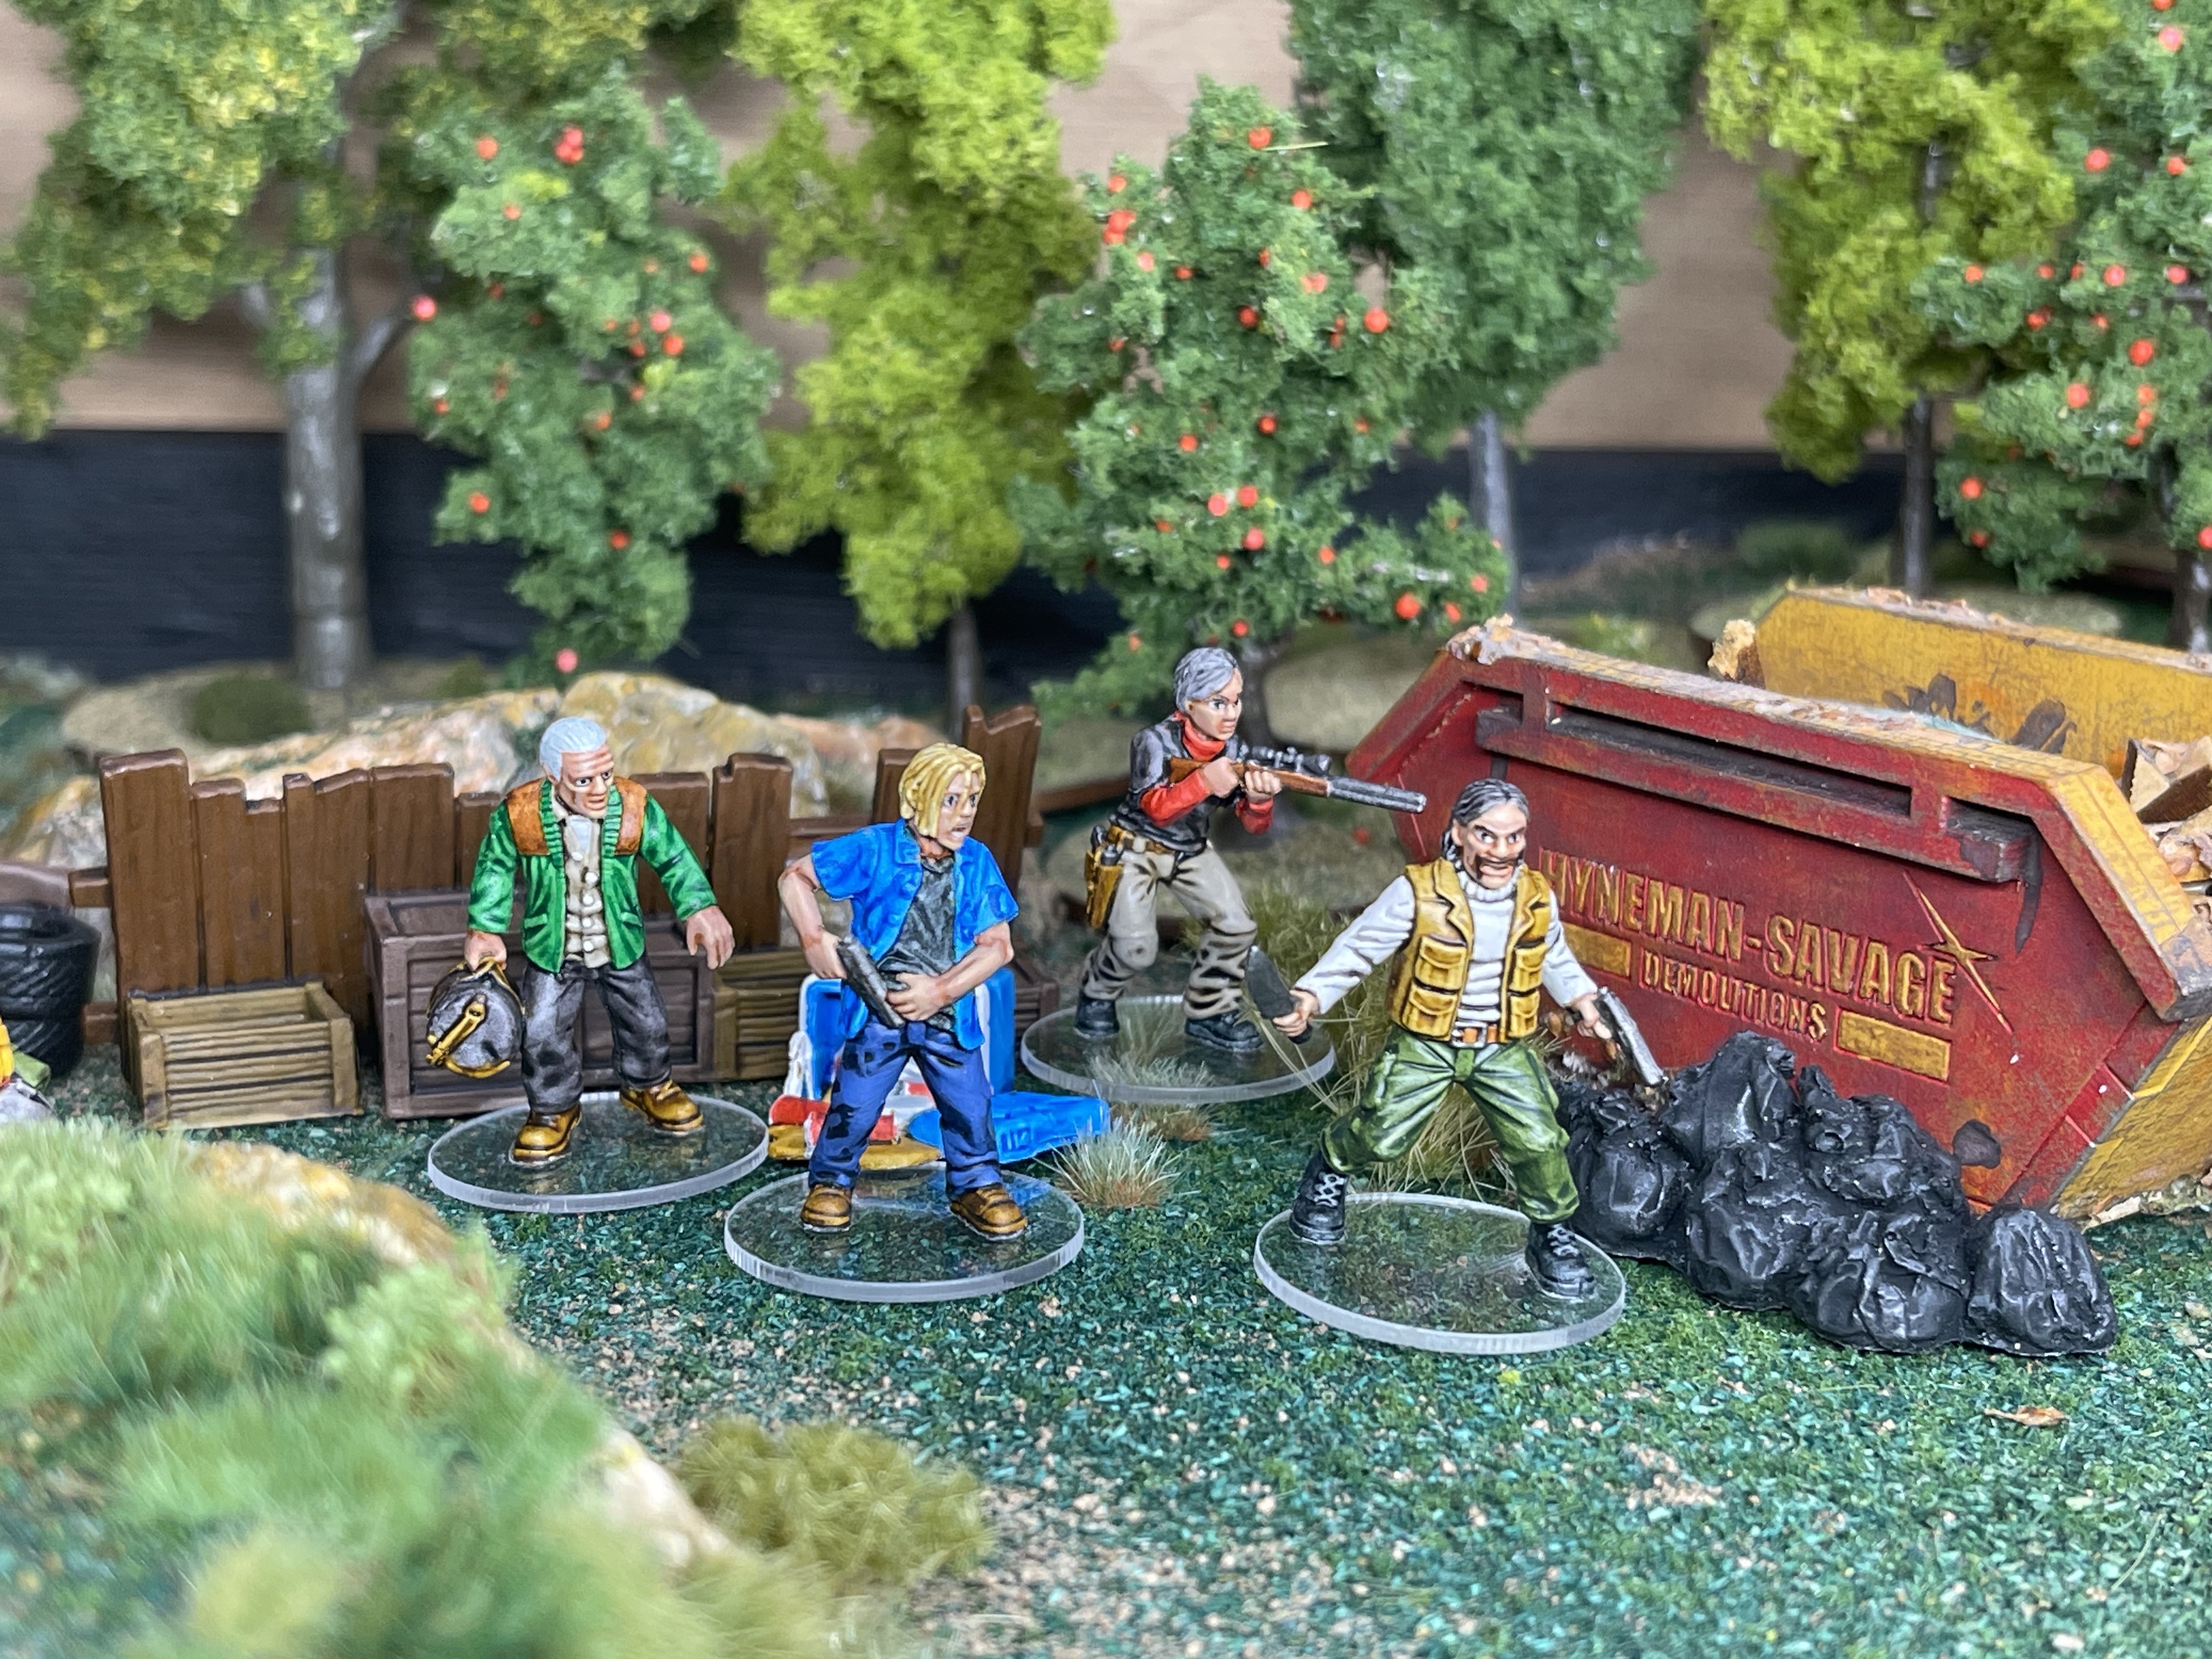
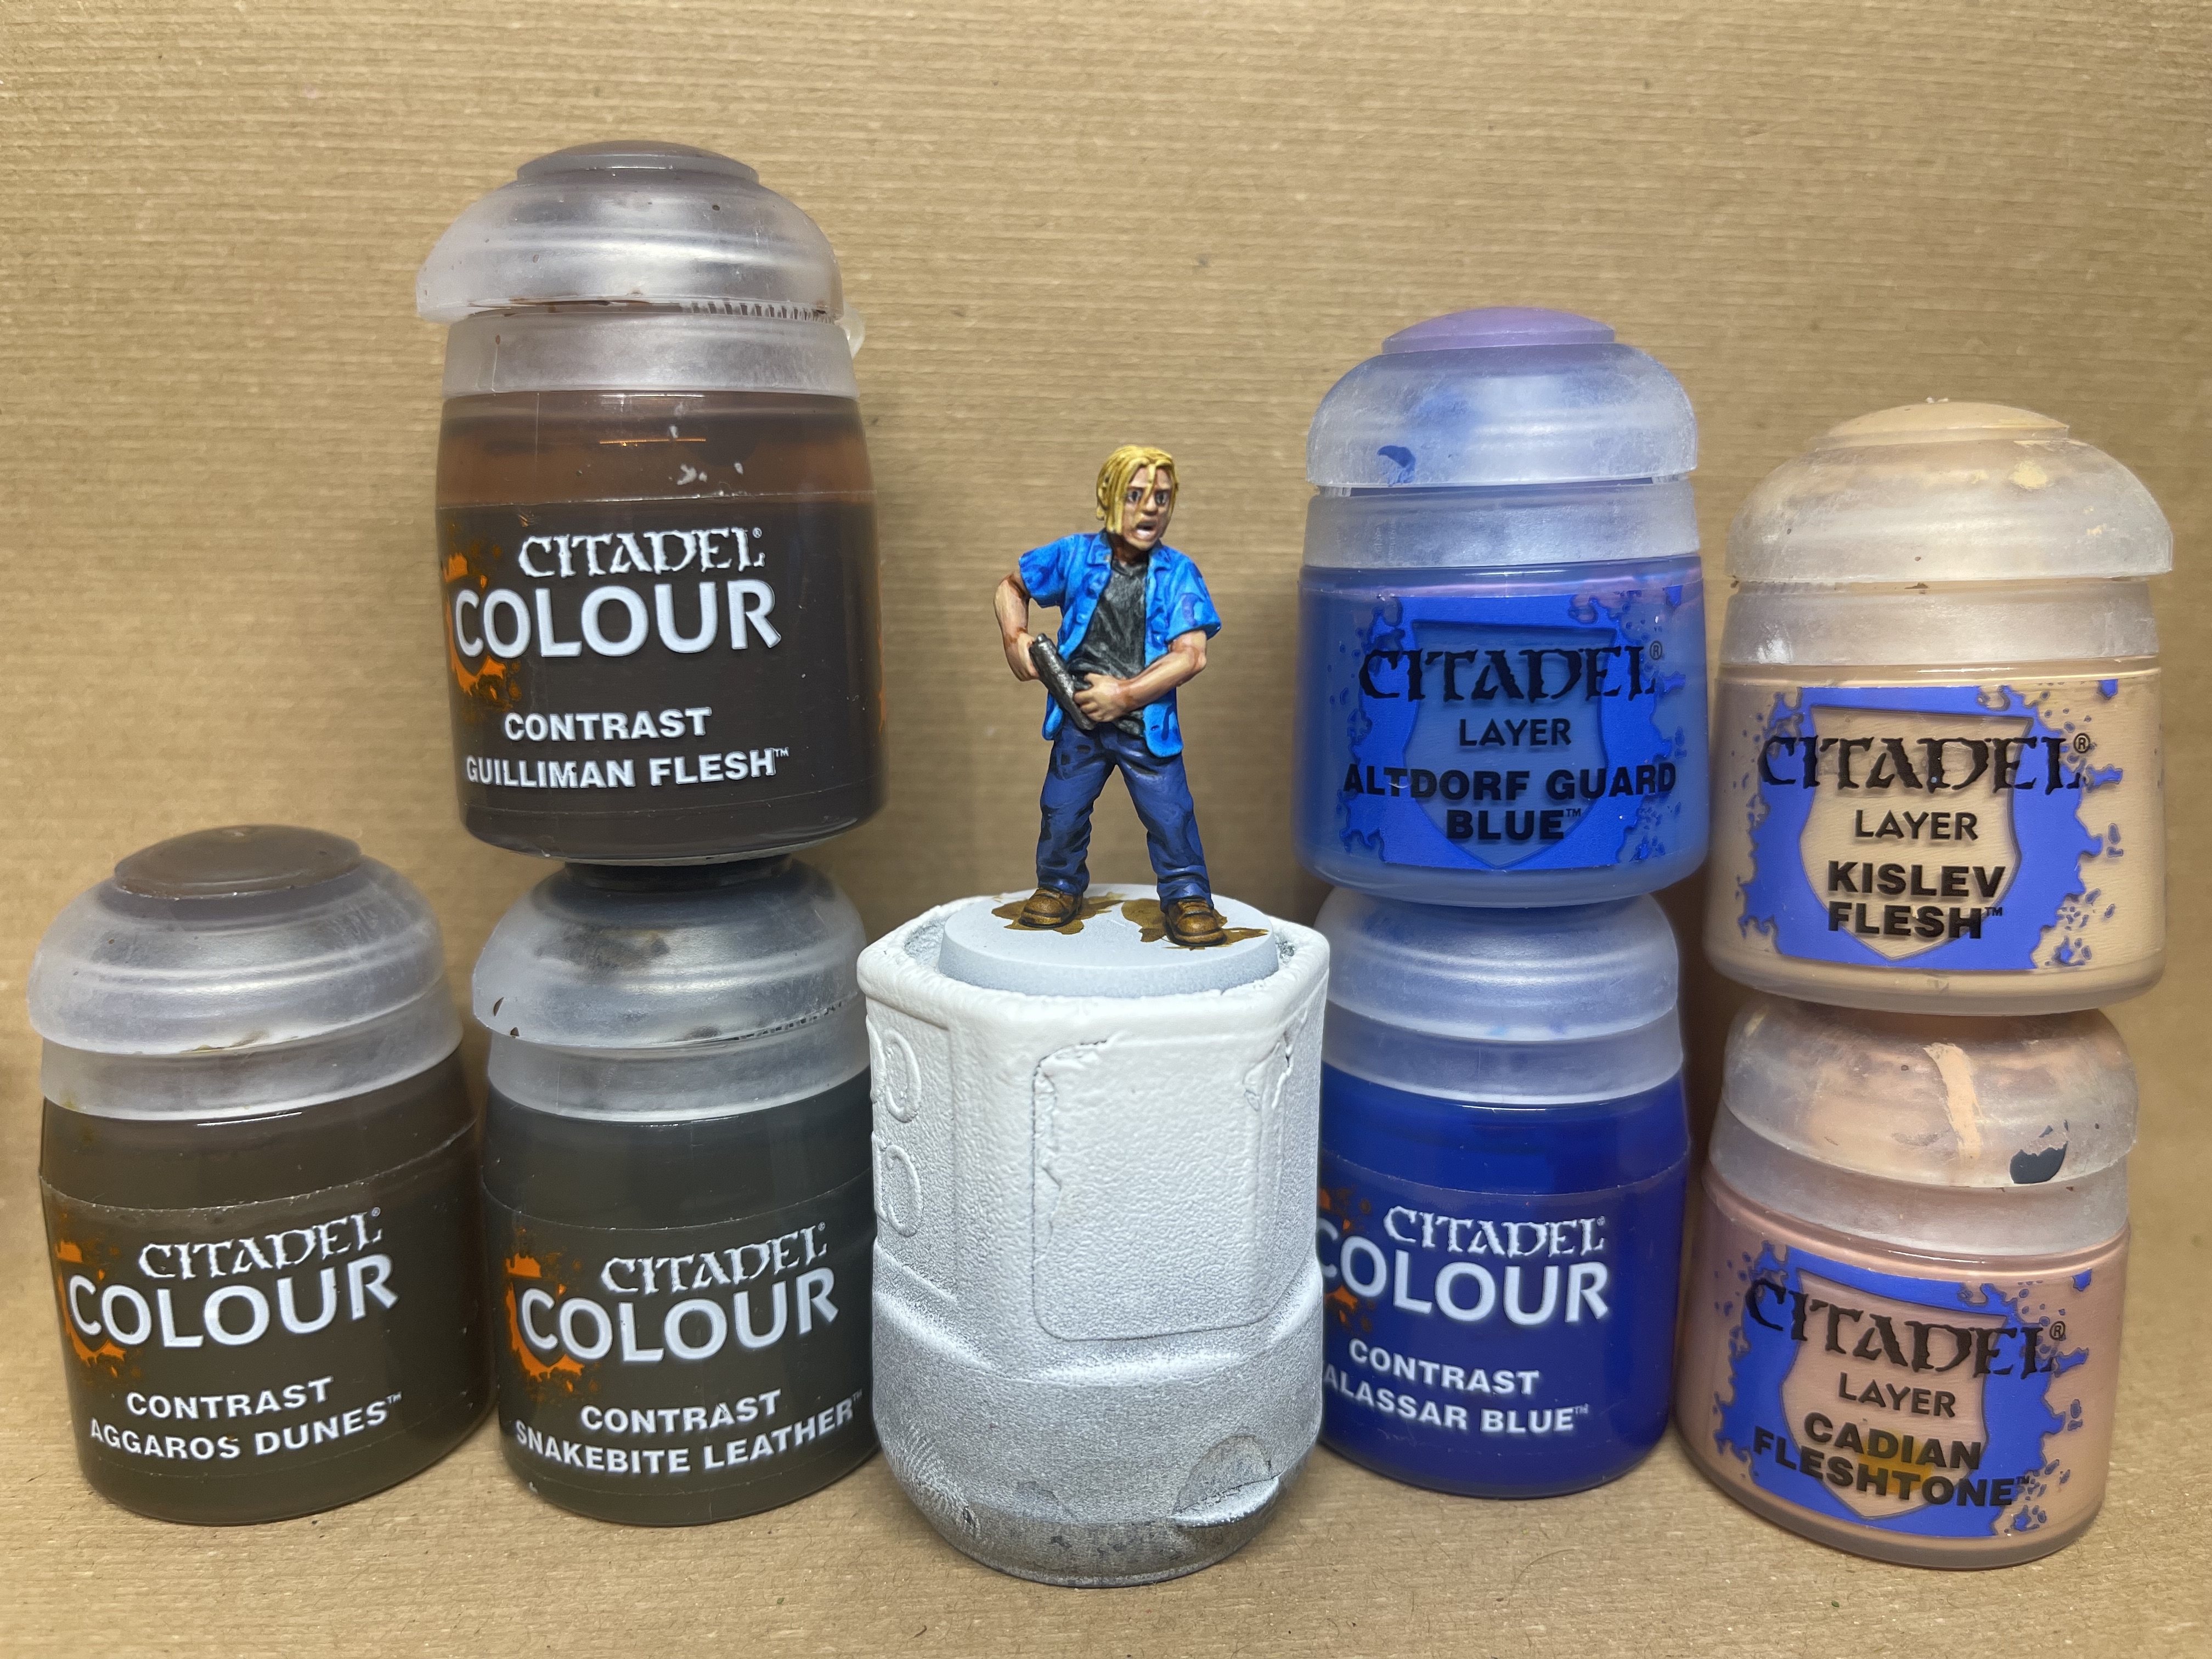
The last of the Atlanta camp is complete!
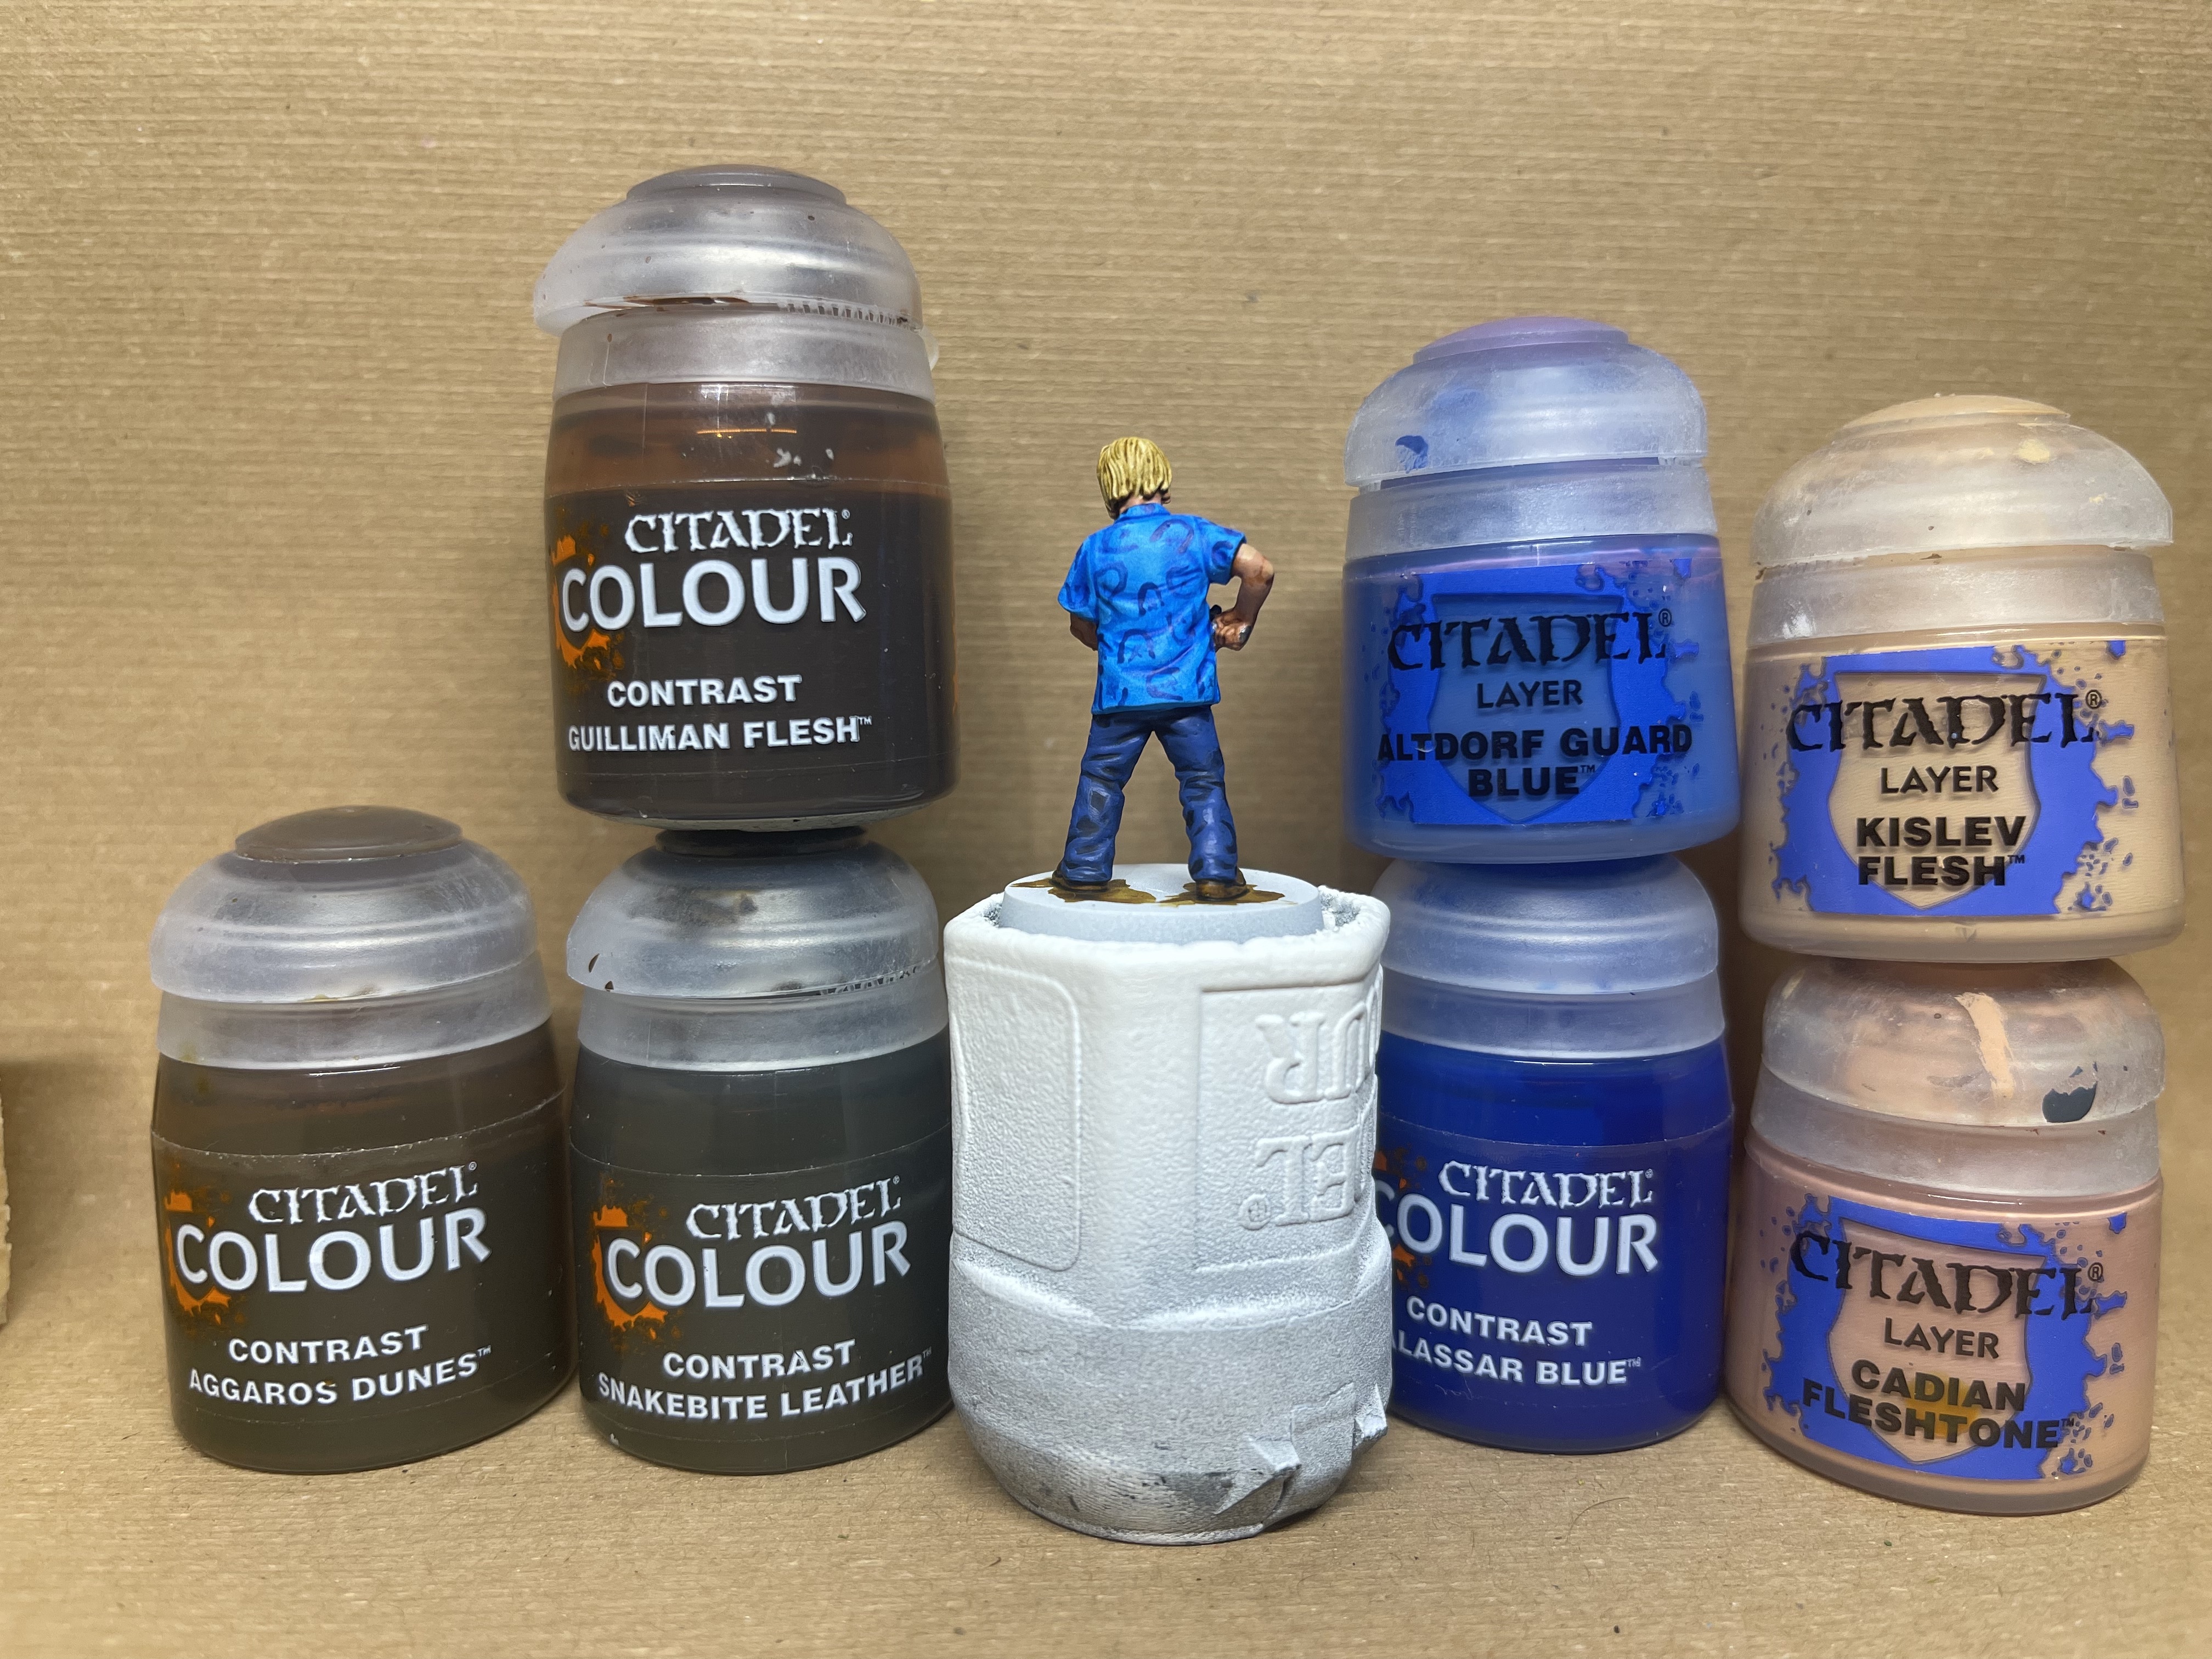
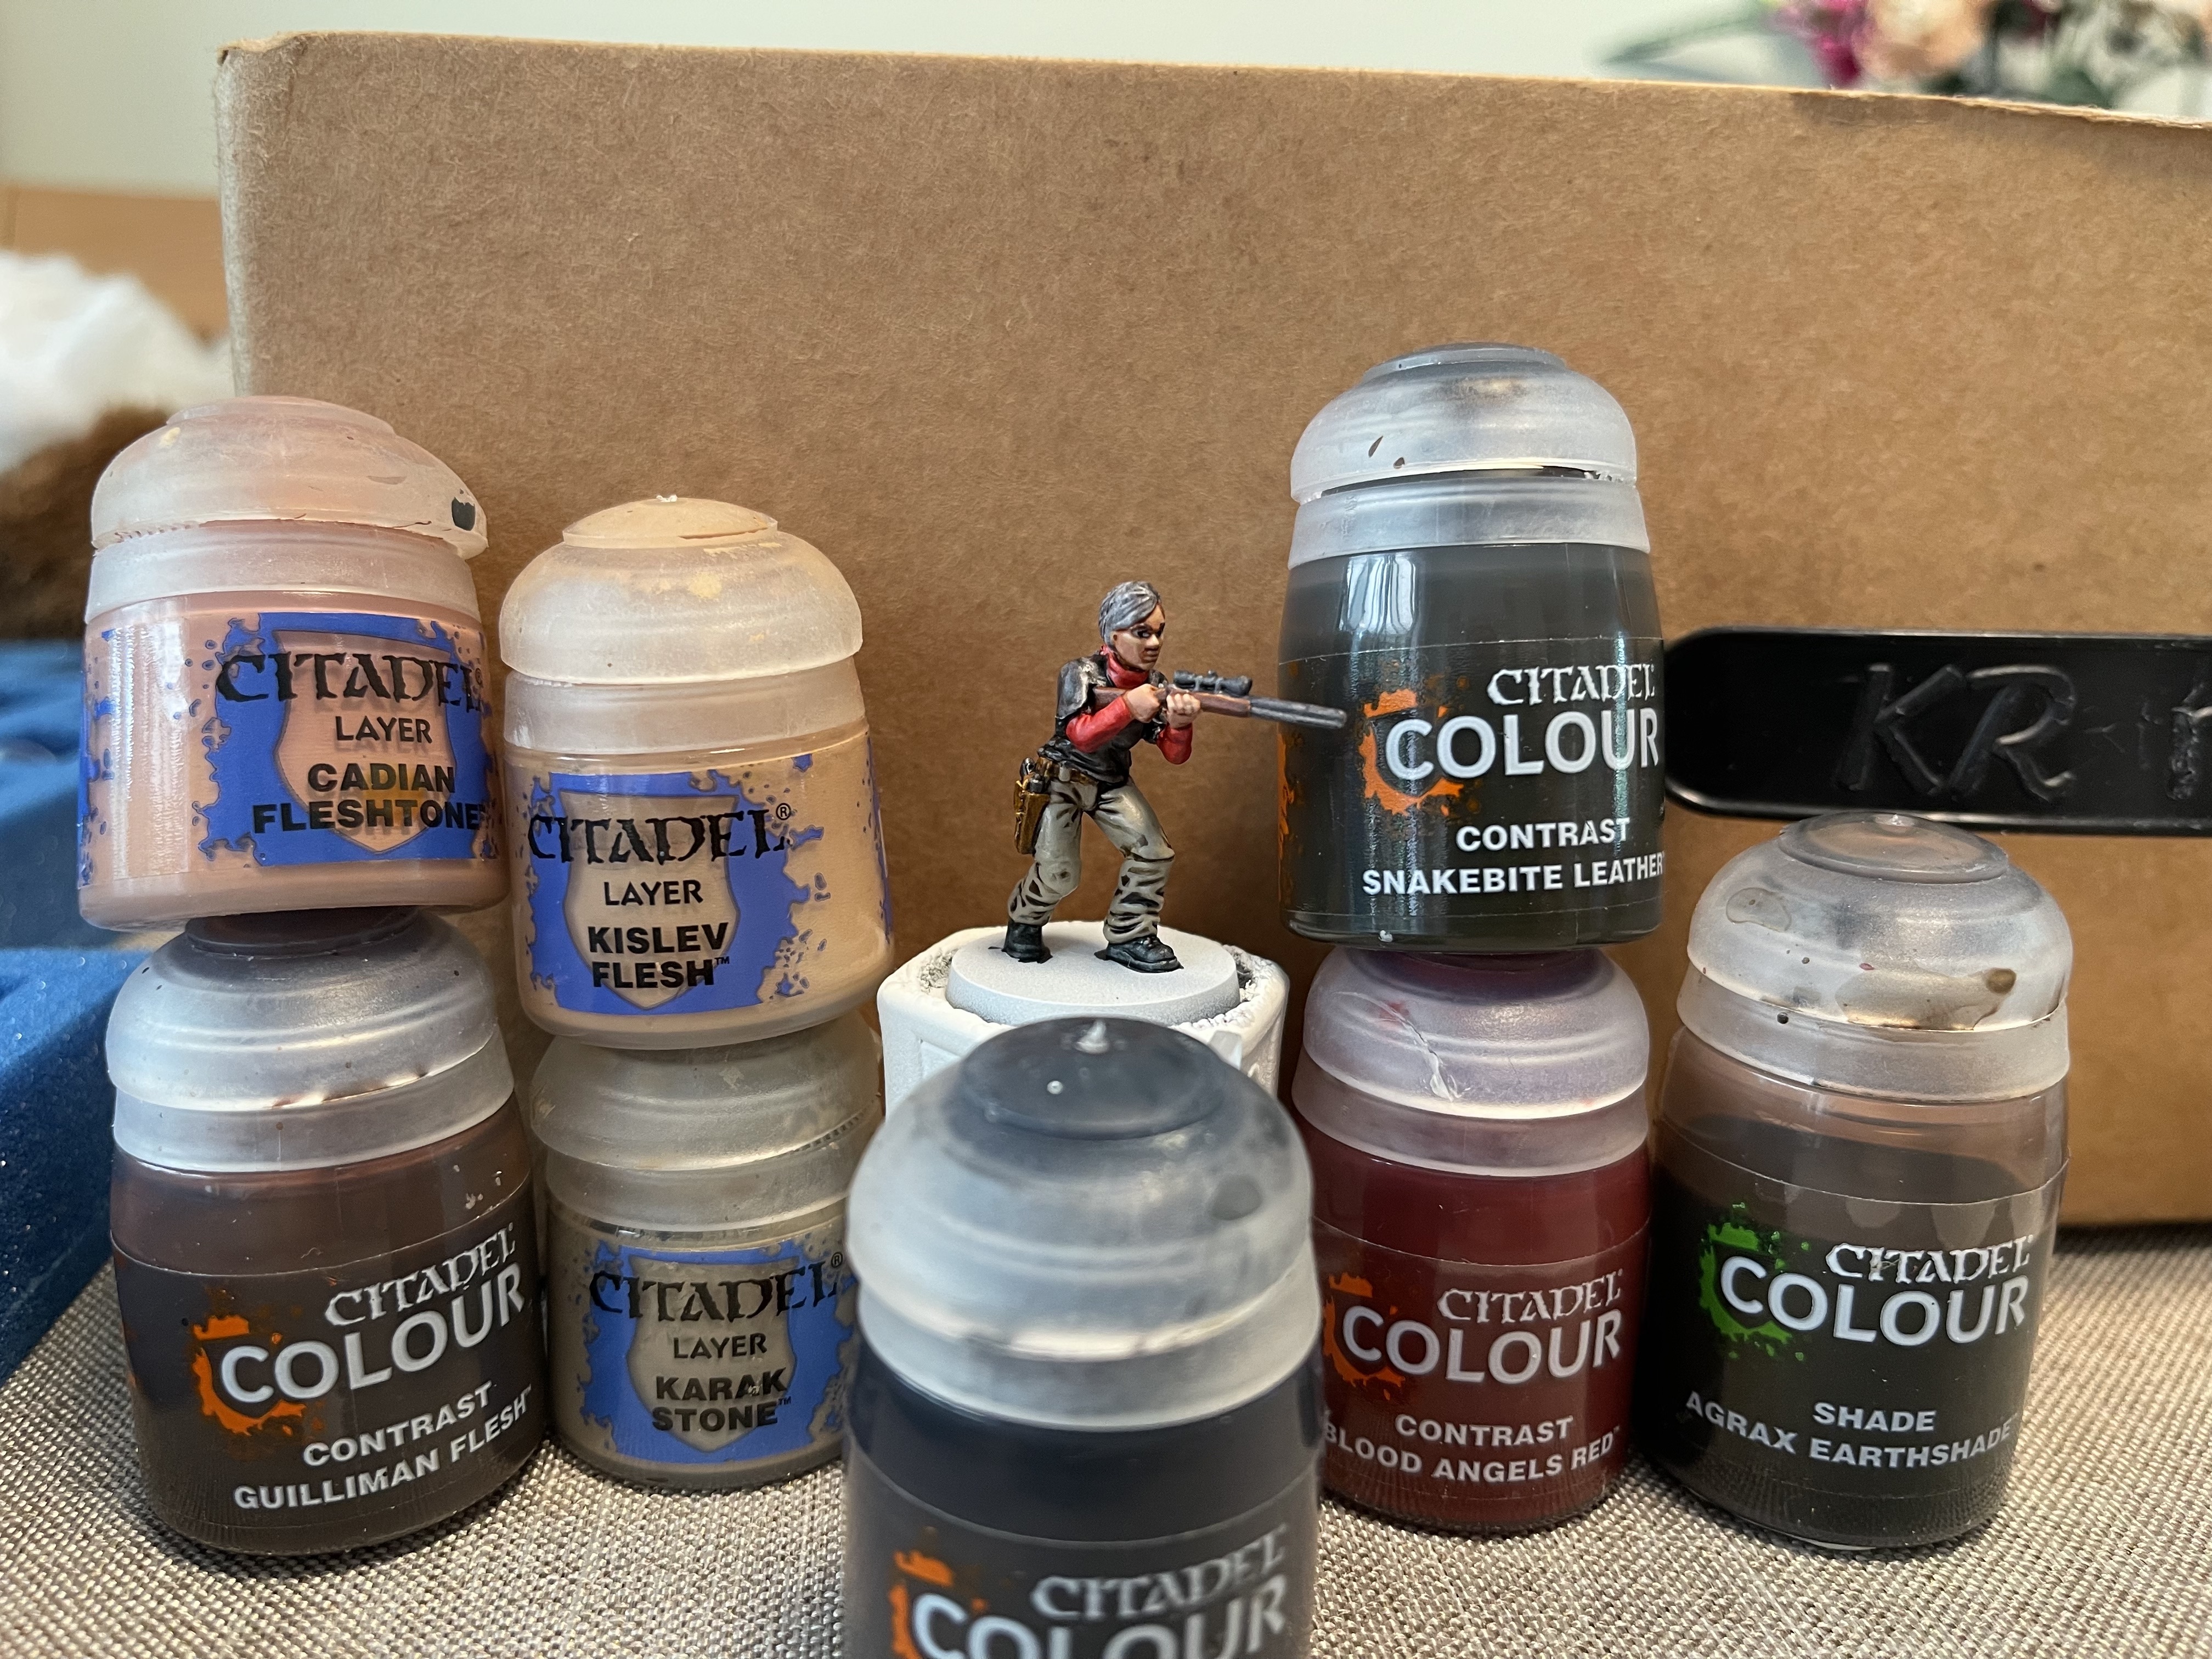
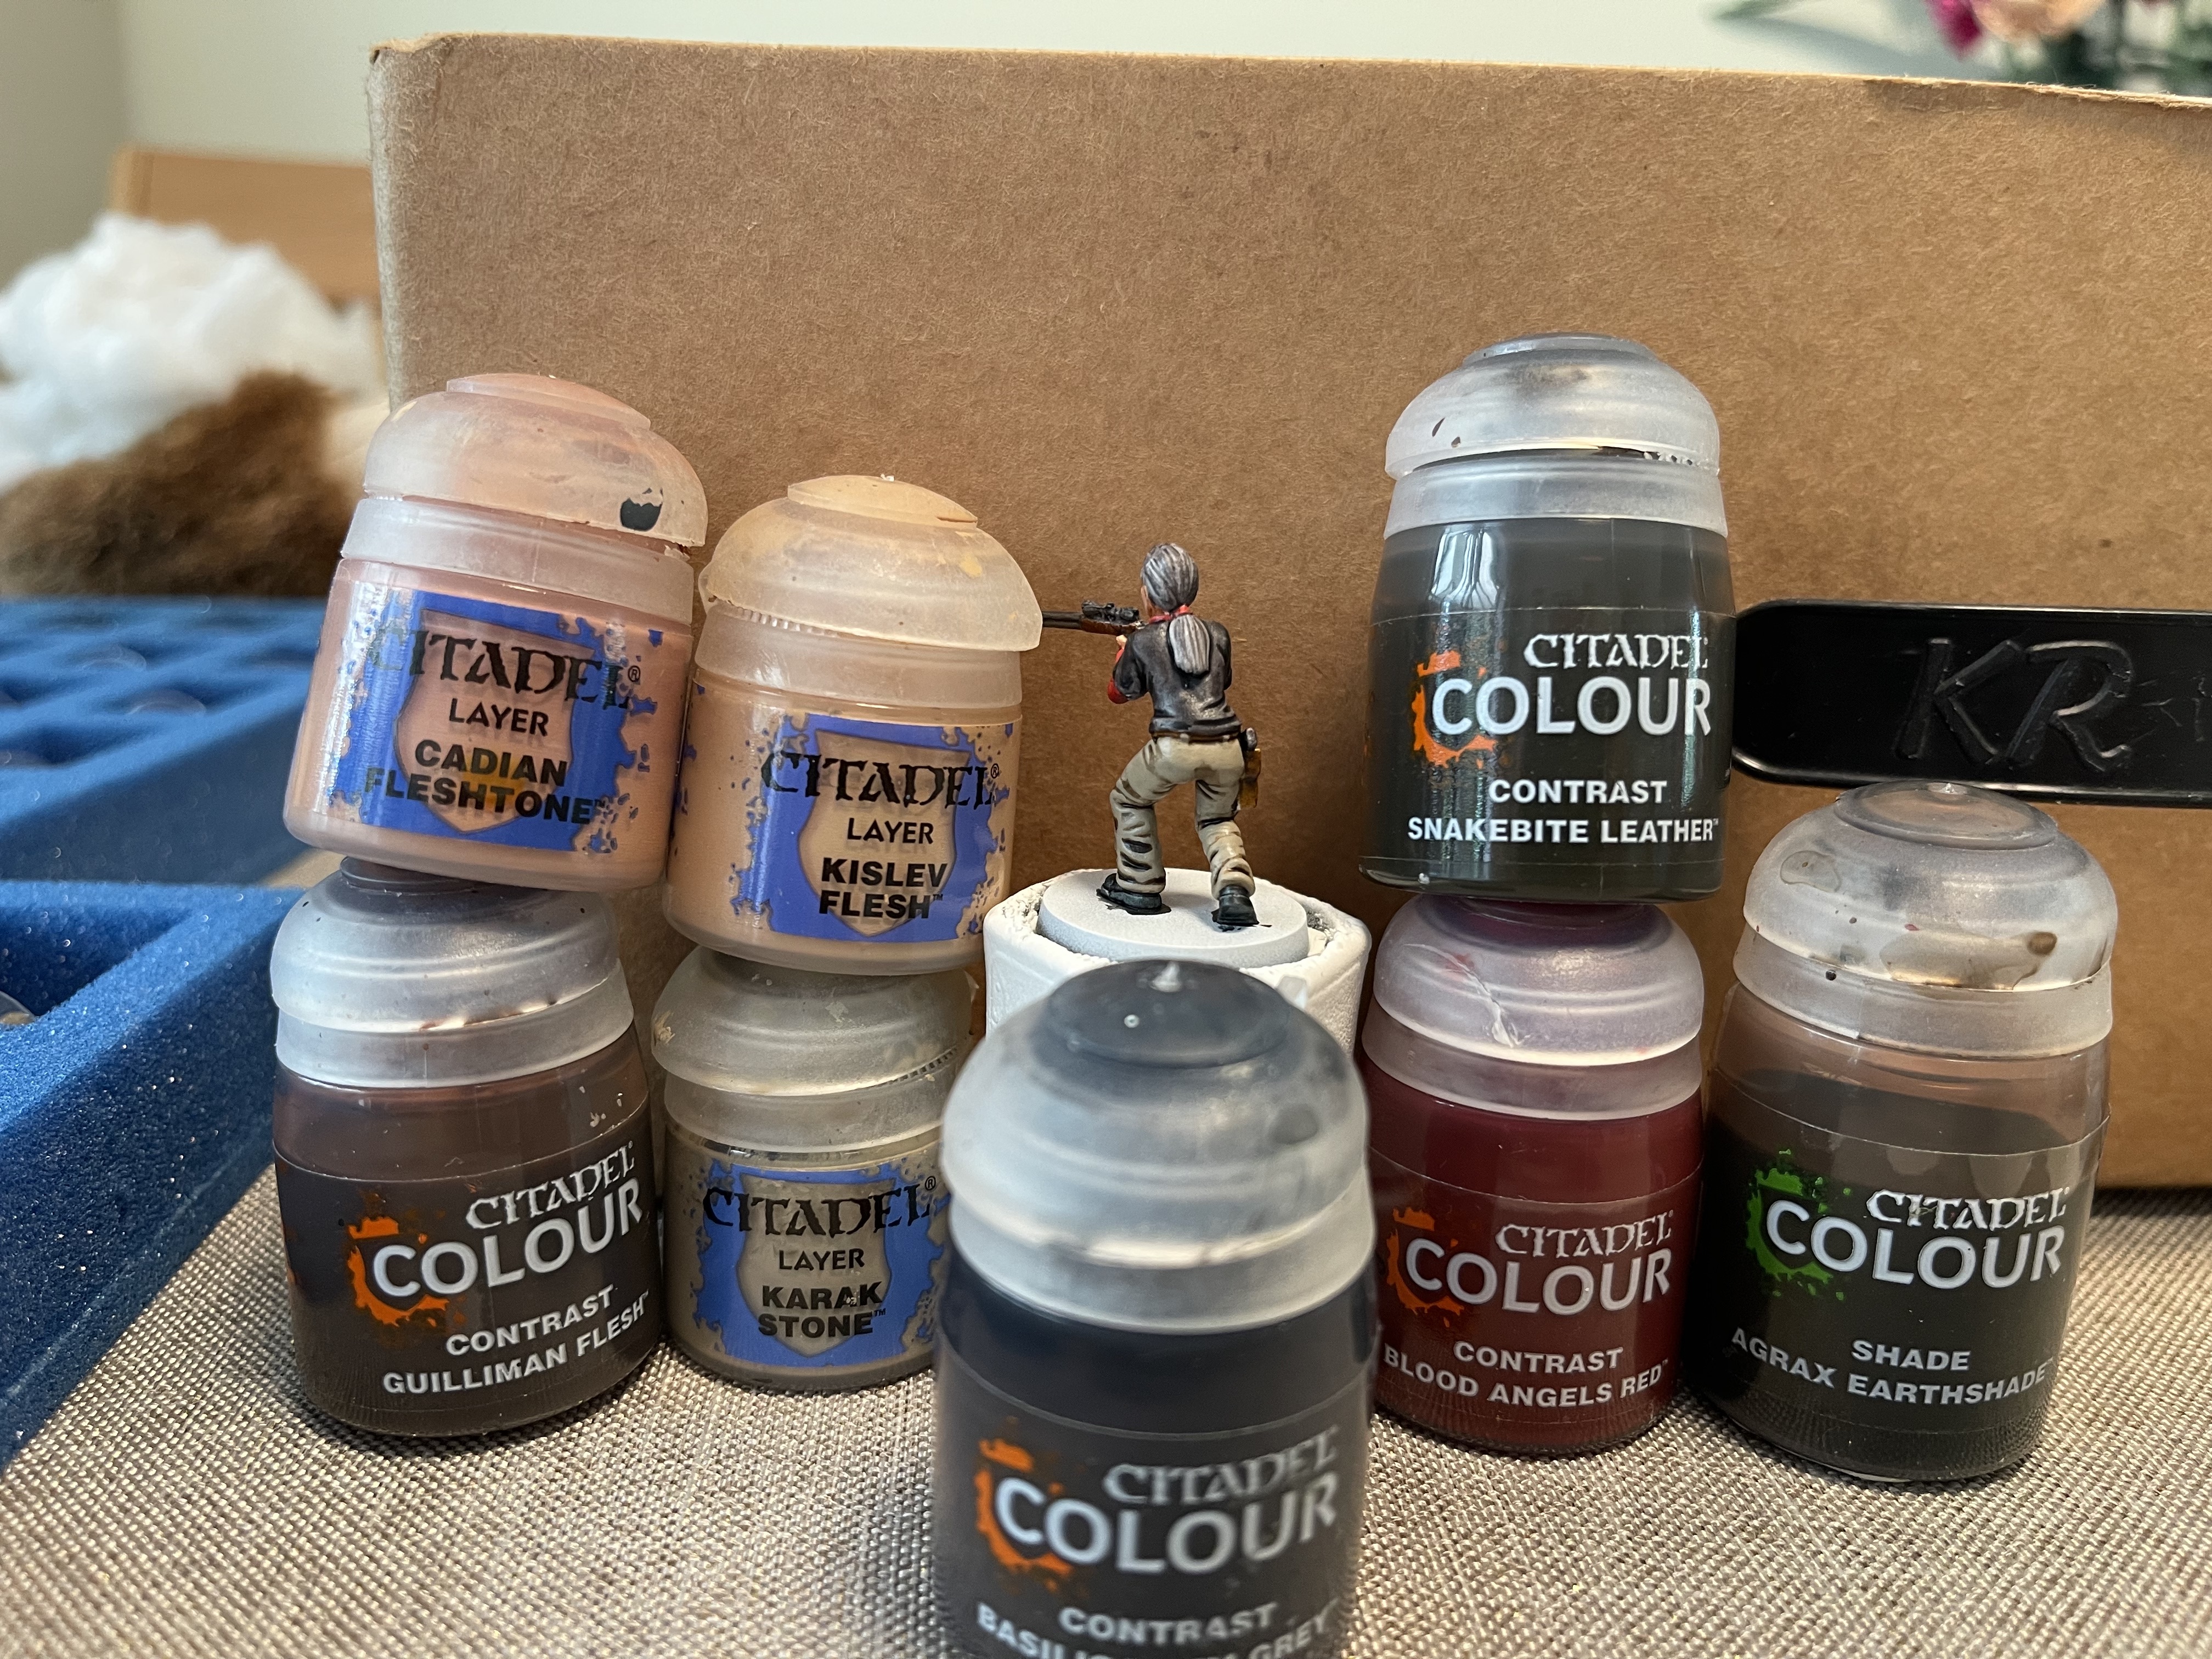
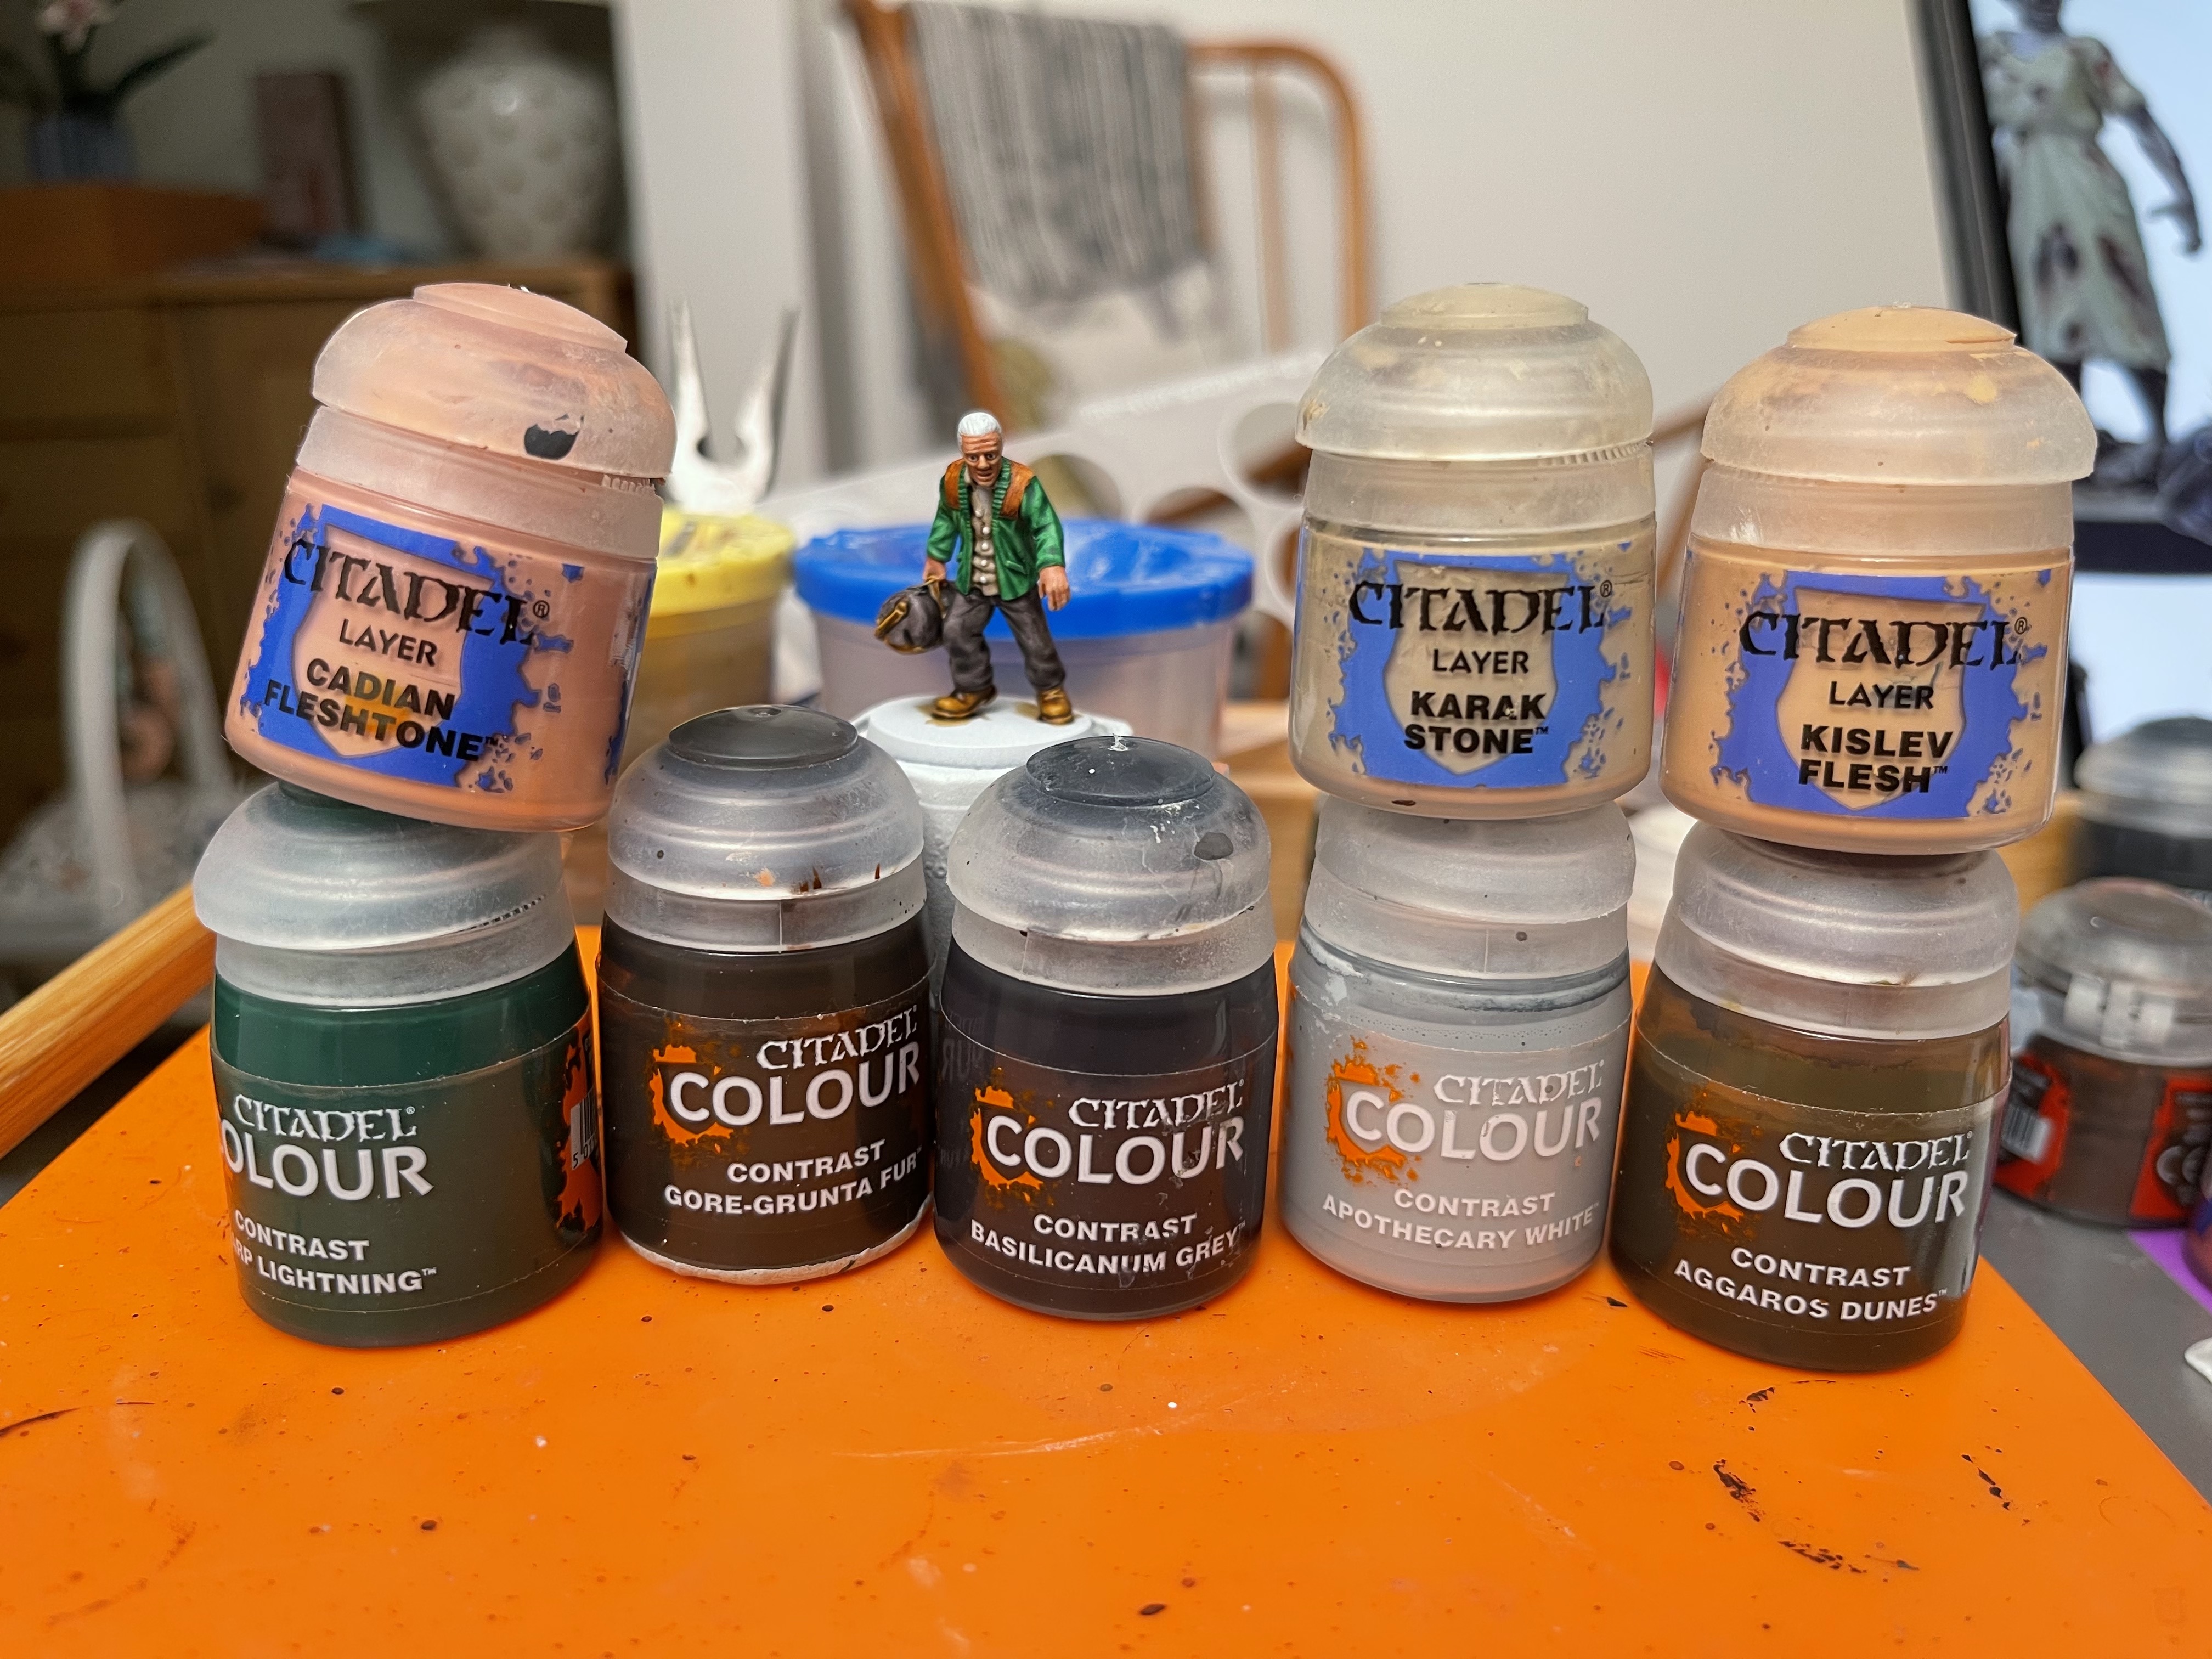
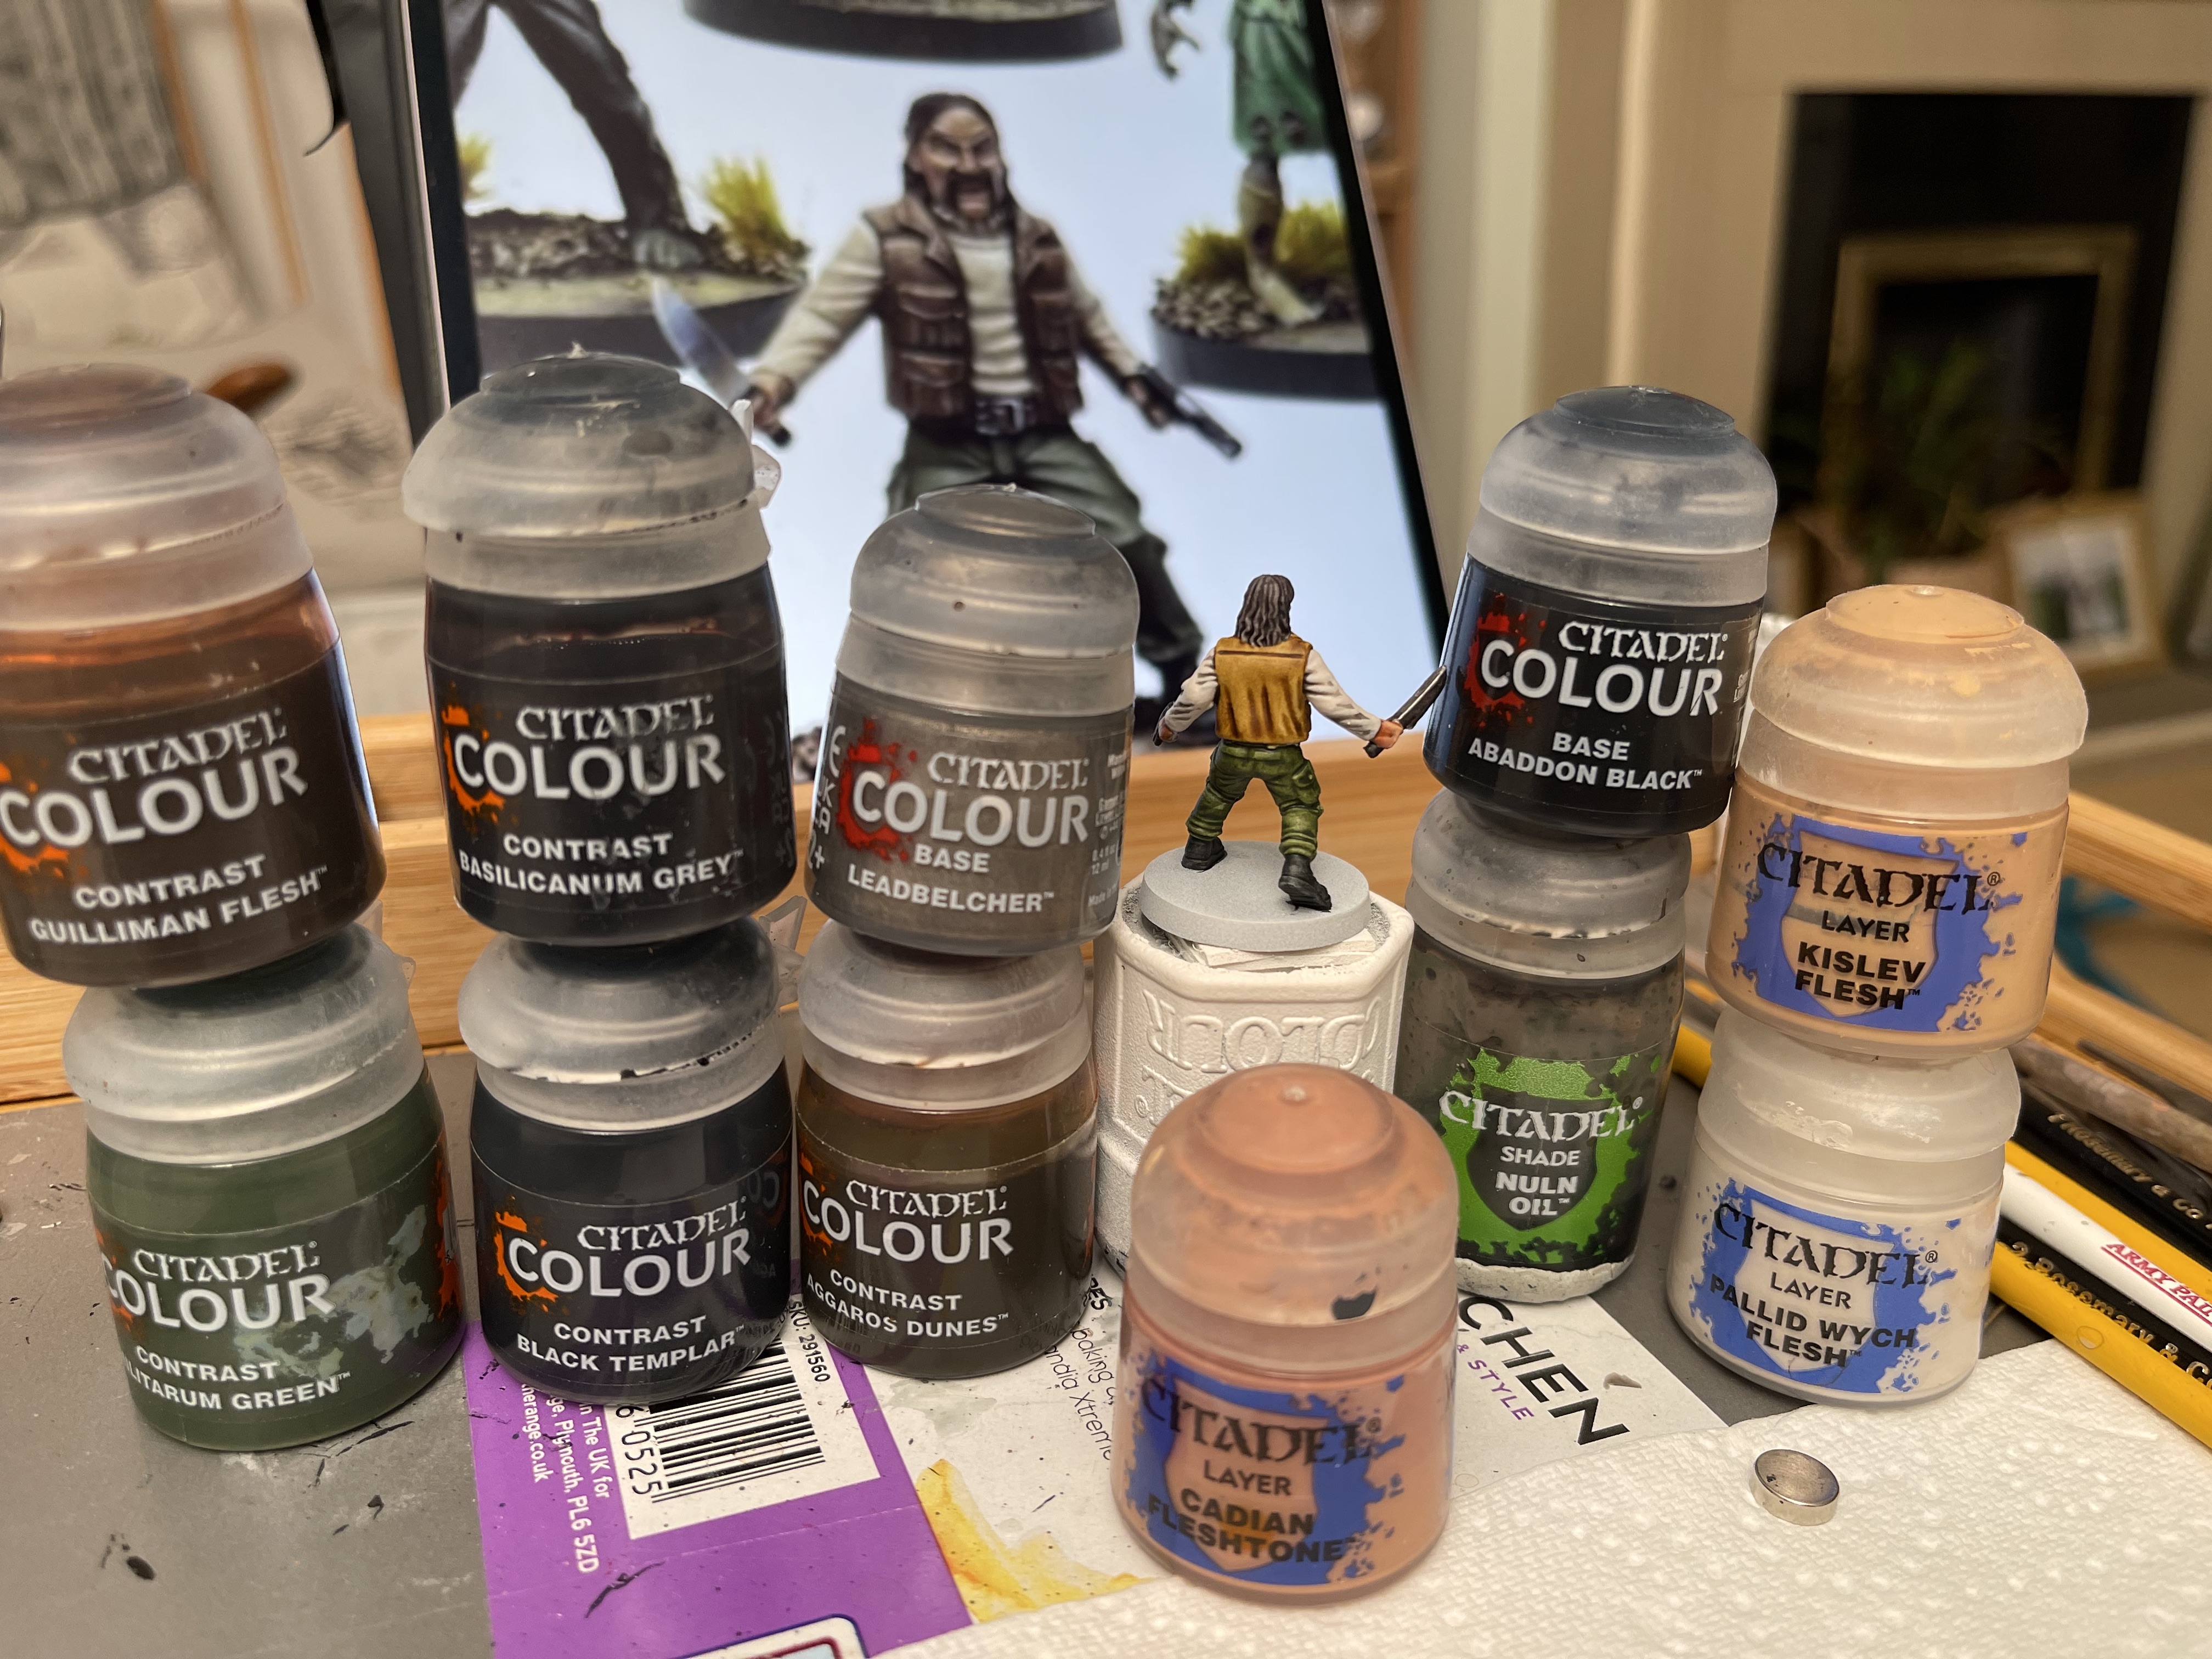
these were quite quick to be fair, basic blue jeans and then two different contrast paints for the t-shirts. apothecary white and basilicanum grey
 the whole family in the newly set up camp outside Atlanta


