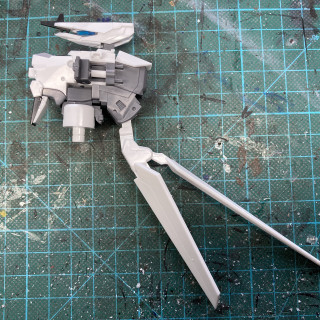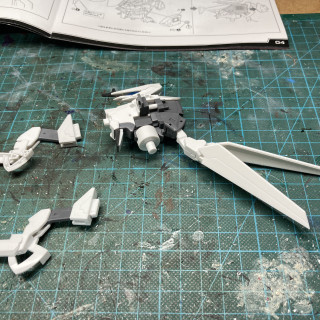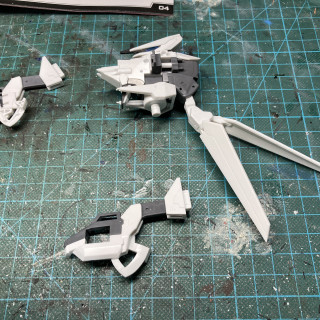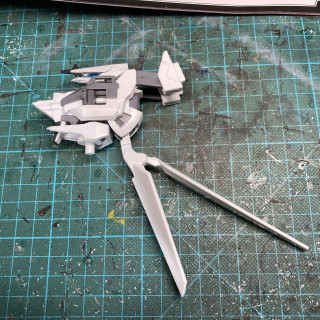
Building The Tsugumori – Or Demonsub’s First Gunpla
Recommendations: 163
About the Project
A project to show and document my building of my first Japanese model kit of a mecha, usually known as a Gunpla kit. The kit in question is from the anime and manga Knights of Sidonia and is the Tsugumori, the garde unit our viewpoint character pilots. I’d build it over the course of my birthday week off.
Related Genre: Science Fiction
This Project is Completed
Ordering The Kit
Ever since John peaked my interest in several episodes of the XLBS with his various Gundam kits I’ve been on the lookout for one of my own. Rewatching the anime, The Knights of Sidonia, I really liked the look of the garde units they use in the show and the main character’s garde unit, the Tsugumori was available as a kit.
After several days (or weeks) of humming and harring I ordered it (with the help of some eBay money I made from selling my old Vampire Counts army). I reasoned that it would be a birthday present to myself.
The kit was a Japanese import to the US and via Amazon to me.
While waiting for this to arrive I knew I wanted a stand to support my model in a variety of poses once it was built. After a quick check with John on Discord I ordered mine from https://www.kikatek.com (which was the least expensive I could find that was also in stock in the UK, Amazon was asking for at least double the price). Their dispatch was really fast and the base arrived in a few days.
So a day ago my model kit finally arrived, all the way from Japan via the US. As I had my birthday week off work I’d build it over the course of that week.
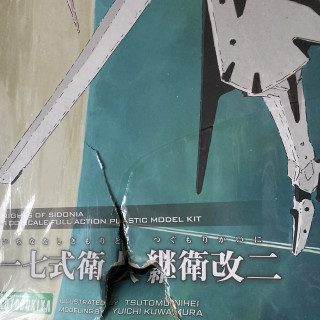
There was slight damage to the box but a quick check and there was no damage to the plastics inside.
I checked the contents to make sure nothing was missing. All was present and correct.
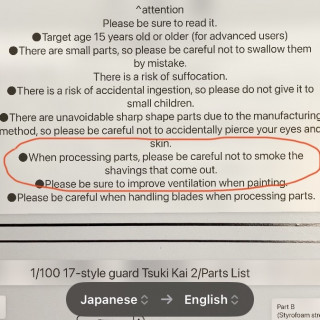
Looking over the instruction booklet it was all in Japanese but the diagrams seem to be easy to follow so this wasn’t going to be an issue. Anything that I would have problems with I can use my phone to machine translate (by taking a photo and highlighting the text on my iPhone).
Now I’m going to take this slowly, have a look through the book and make a start.
Making A Start
Reading through the instruction book presented no problems and the instructions were easy to follow. I used the translation app on my phone to double check a few points. While not perfect I got the general idea.
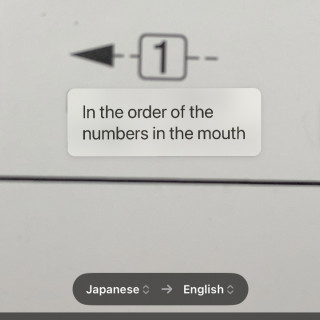
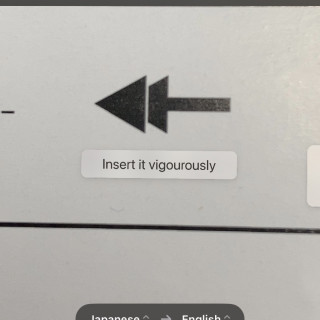
There were a few funny translations which I’ll share now and again in this blog.
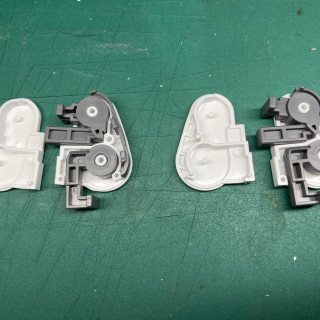
So building and assembling seems quite simple so far. Clip the parts out for each diagram, clean off any remaining sprue gates with my modelling knife and needle files, look out for mould lines, all the usual plastic kit stuff we all do naturally with plastic miniatures.
Instead of glueing everything together it’s all push fit (so far). Everything clips together very well and is quite secure.
There’s also plenty of rotating and pivotal parts even in just the tiny piece I’ve assembled. All this without glue, amazing.
I took things slowly, enjoying the build while watching a live stream on YouTube. It took around an hour and a half to do this small part from the first page, and I actually found the whole process fairly relaxing.
Finishing The Fuselage
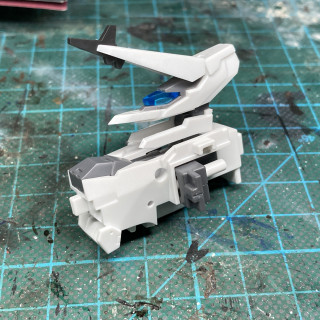
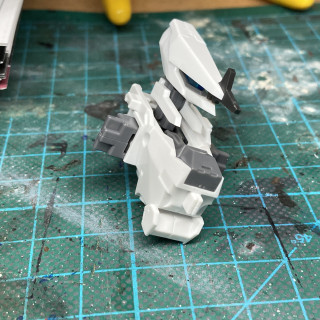
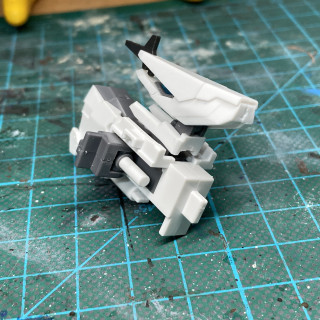
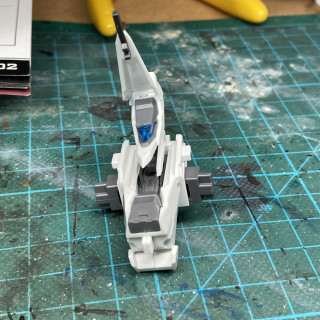
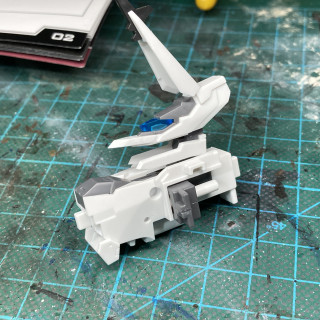
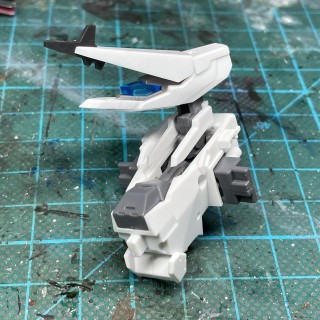
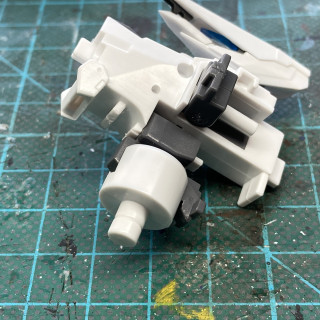
The next parts went together very well. The long thing pointing down is the beginnings of the engine unit, and the whole thing can pivot.
One the two sides went on the whole thing felt very solid, and started to feel a little weighty.
With the front of the cockpit and the two arm connectors connected that was the first part of the build completed. The two arm connectors can actually be slid forward and back. The amount of movement in this kit is amazing.
Building The Arms
Rather than take photos at every stage I thought I’d speed things up a little.
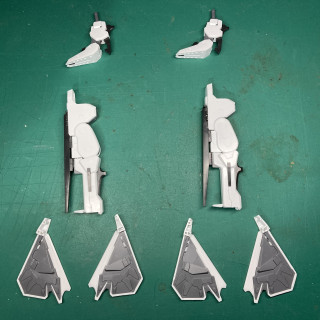
The shoulders were assembled first then the arms, then finally the hands.
The finished arms. The hands required little effort to pull out and push in but are strong enough to stay put. Hopefully they won’t loosen with age.
Things are certainly starting to take shape now.
Leg Day
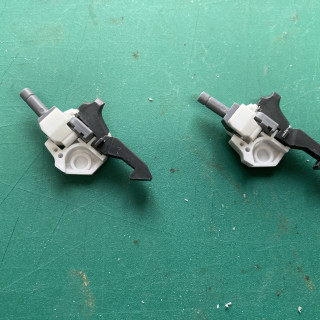
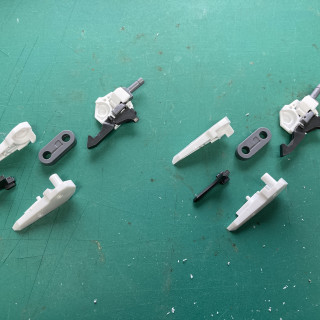
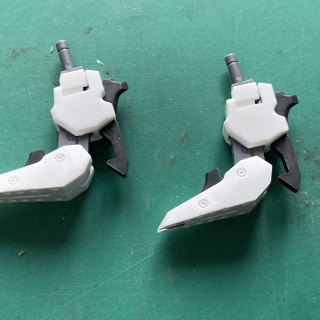
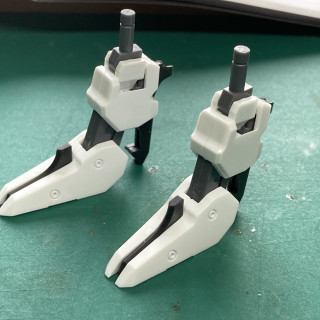
First the feet. For such simple parts there are quite a few pieces that go here.
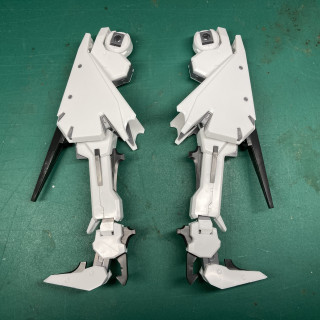
Next the legs. Just look at the image below at how complex this part is. Amazing!
I then the waist was built.
Now I could assemble the lower half and the torso. The whole thing is very flexible and poseable.
… and then the arms.
Fantastic! Still not done yet. There’s the back unit and weapons to go. Then the base and a few transfers.
Building The Back Unit and The Base
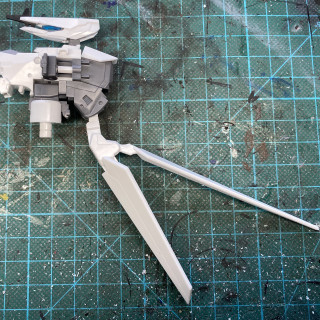
Now for the back unit which houses the main engines of the garde. I like this rail system which allows this central grey part to slide back and forth.
The extendible pointed section fits in here and allows the whole back pack to extend and shrink.
Now to build the base, if only so I have something to hold the model up for now. This was purchased as a separate kit.
The instructions had their own interesting translations thanks to my phone.
Assembly was straight forward and required a small screwdriver at one point. The base came with various attachments, one which I selected that inserts into a hole in the model.
It was a little fiddly to position the model, with the odd bit falling off. I can see that this is not a toy to be played with, but more of a model to be carefully posed and displayed (and not to be touched after, unless to change the pose or weapon load out). I guess using glue would significantly make the model stronger.
Next is to build the various weapons.
Final Bits and Bobs
The model comes with several weapons which can be swapped in and out as seen in the anime and manga. These include the ballistic acceleration device (or a very large rail gun), Gatling guns (the rectangle pieces), spherical detonation ammo (the missile launcher type pieces), high vibration blades (basically power swords), and compound artificial kabi blade (samurai sword).
Next up was to add the water slide transfers. The number 704 refers to the pilot flying it, in this case the main character Nagate Tanikaze. The white transfer in Japanese refers to Toha Heavy Industries, the in-universe manufacturer of the Tsugumori.
I’ve been reading the manga of the Knights of Sidonia and I like how one of the characters in the series actually collects and builds various models. It’s also shown in the anime as well.
Just for scale here how big the model is against a 28mm miniature.
The Finished Results
That’s the kit all built and finished. I may be tempted at a later date to paint various parts of the model, such as the fingertips (which should be black) and a few other parts. Then there’s always the possibility to try my hand at panel lining.
But for now I think it looks good enough so I’m calling this project finished.
Here’s a few pictures I took of the finished model in various posed and load outs.


![How To Paint Moonstone’s Nanny | Goblin King Games [7 Days Early Access]](https://images.beastsofwar.com/2024/12/3CU-Gobin-King-Games-Moonstone-Shades-Nanny-coverimage-225-127.jpg)


