


Elessar2590 TerrainFest 2024


Recommendations: 22
About the Project
I have several terrain projects in mind, some Dunland Hovels, some Epic Battles Pike and Shotte Terrain and some other bits and pieces I have lying around.
Related Genre: General
Related Contest: TerrainFest 2024
This Project is Active
Making a Bog Advanced
Why I split this the way I did
This Project will be split between basic and advanced tutorials.
I’m not a pro but it can be daunting to pick up a project when you see complicated techniques or specialised paints/equipment and I want to make it as accessible to people as possible.
Also some people want to make terrain that looks good but doesn’t take all day or a dozen types of grass to make.
Because of this I want to make terrain building as low stress and low prep an activity as possible. Since the dawn of time wargaming tables have been sparse and I think a lot of that has to do with people’s perception of how hard it is to make terrain when it’s really dead easy.
 Pick out the rocks with Stonewall Grey or another light Grey, drybrush them white once that layer has dried.
 Using PVA glue first apply green static grass to the model and the using PVA glue apply dead grass tufts. Spread both of these around and don't clutter the piece.
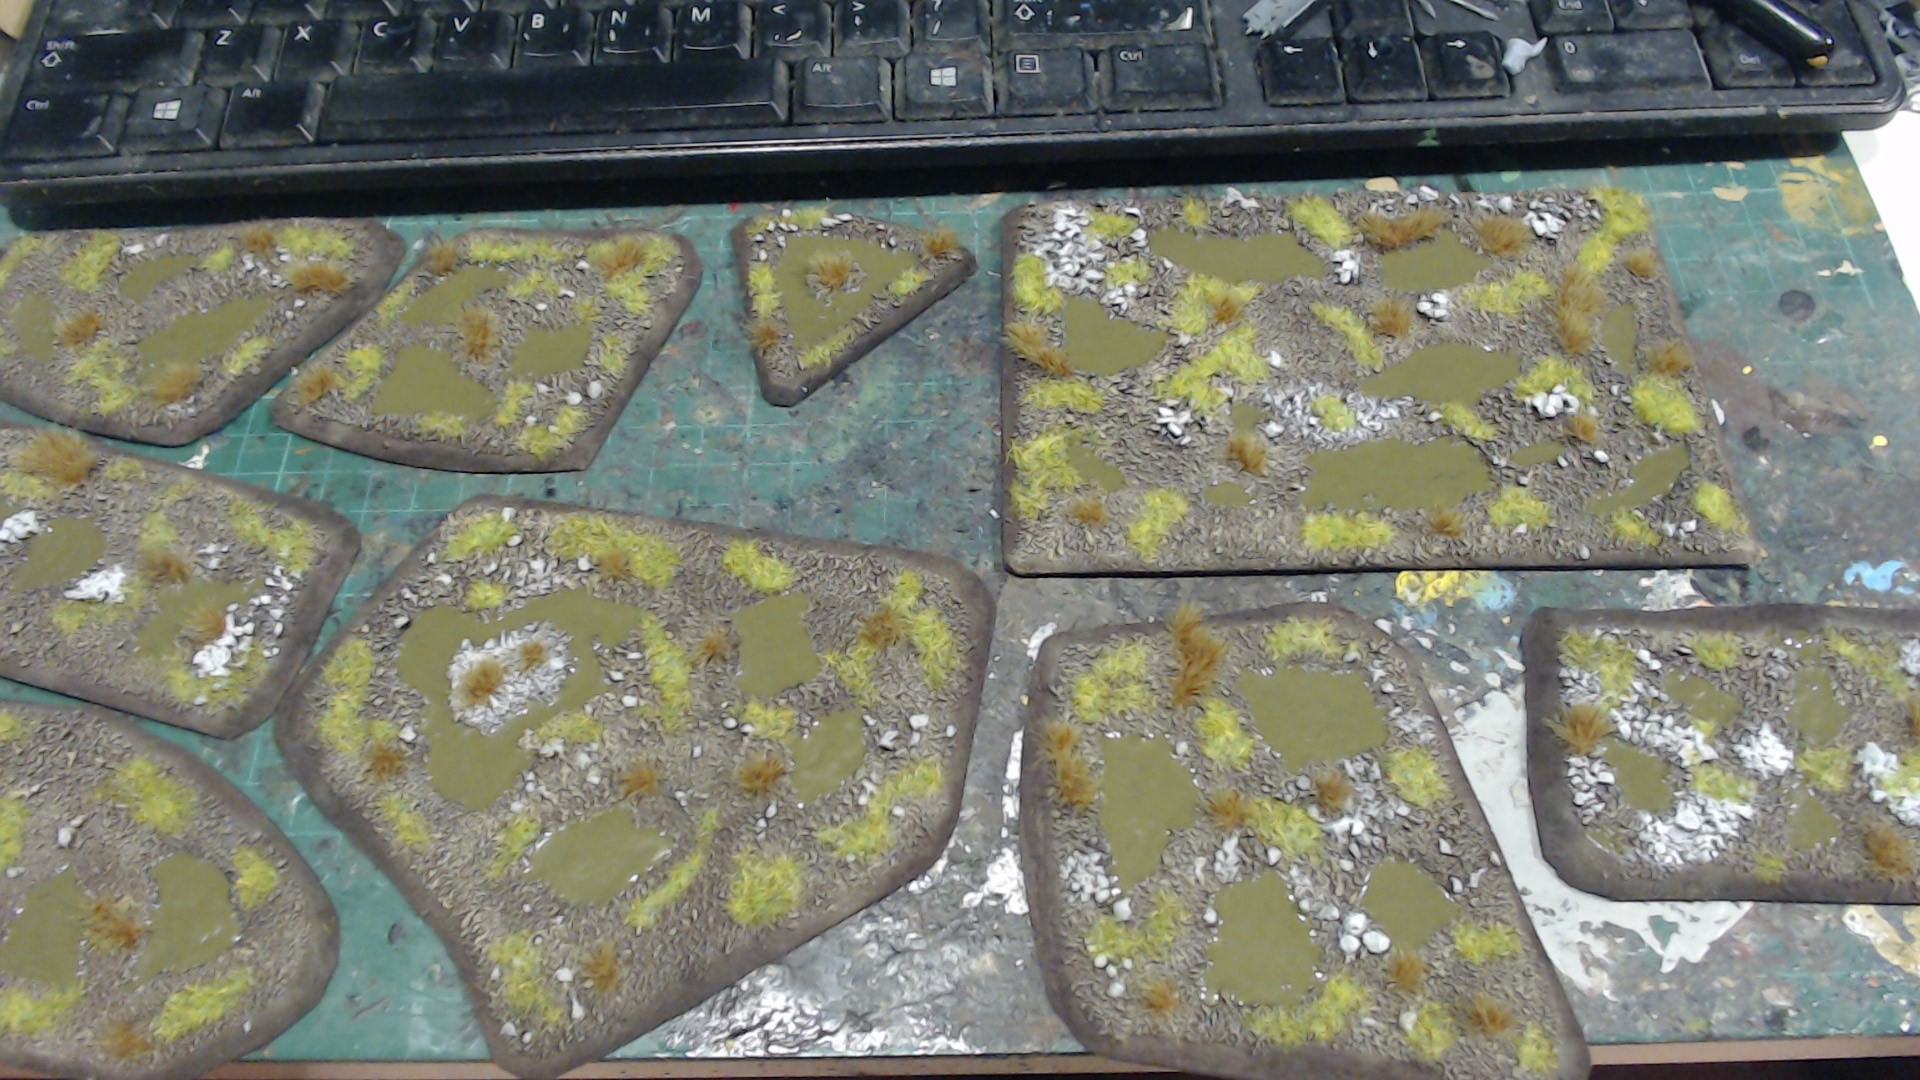
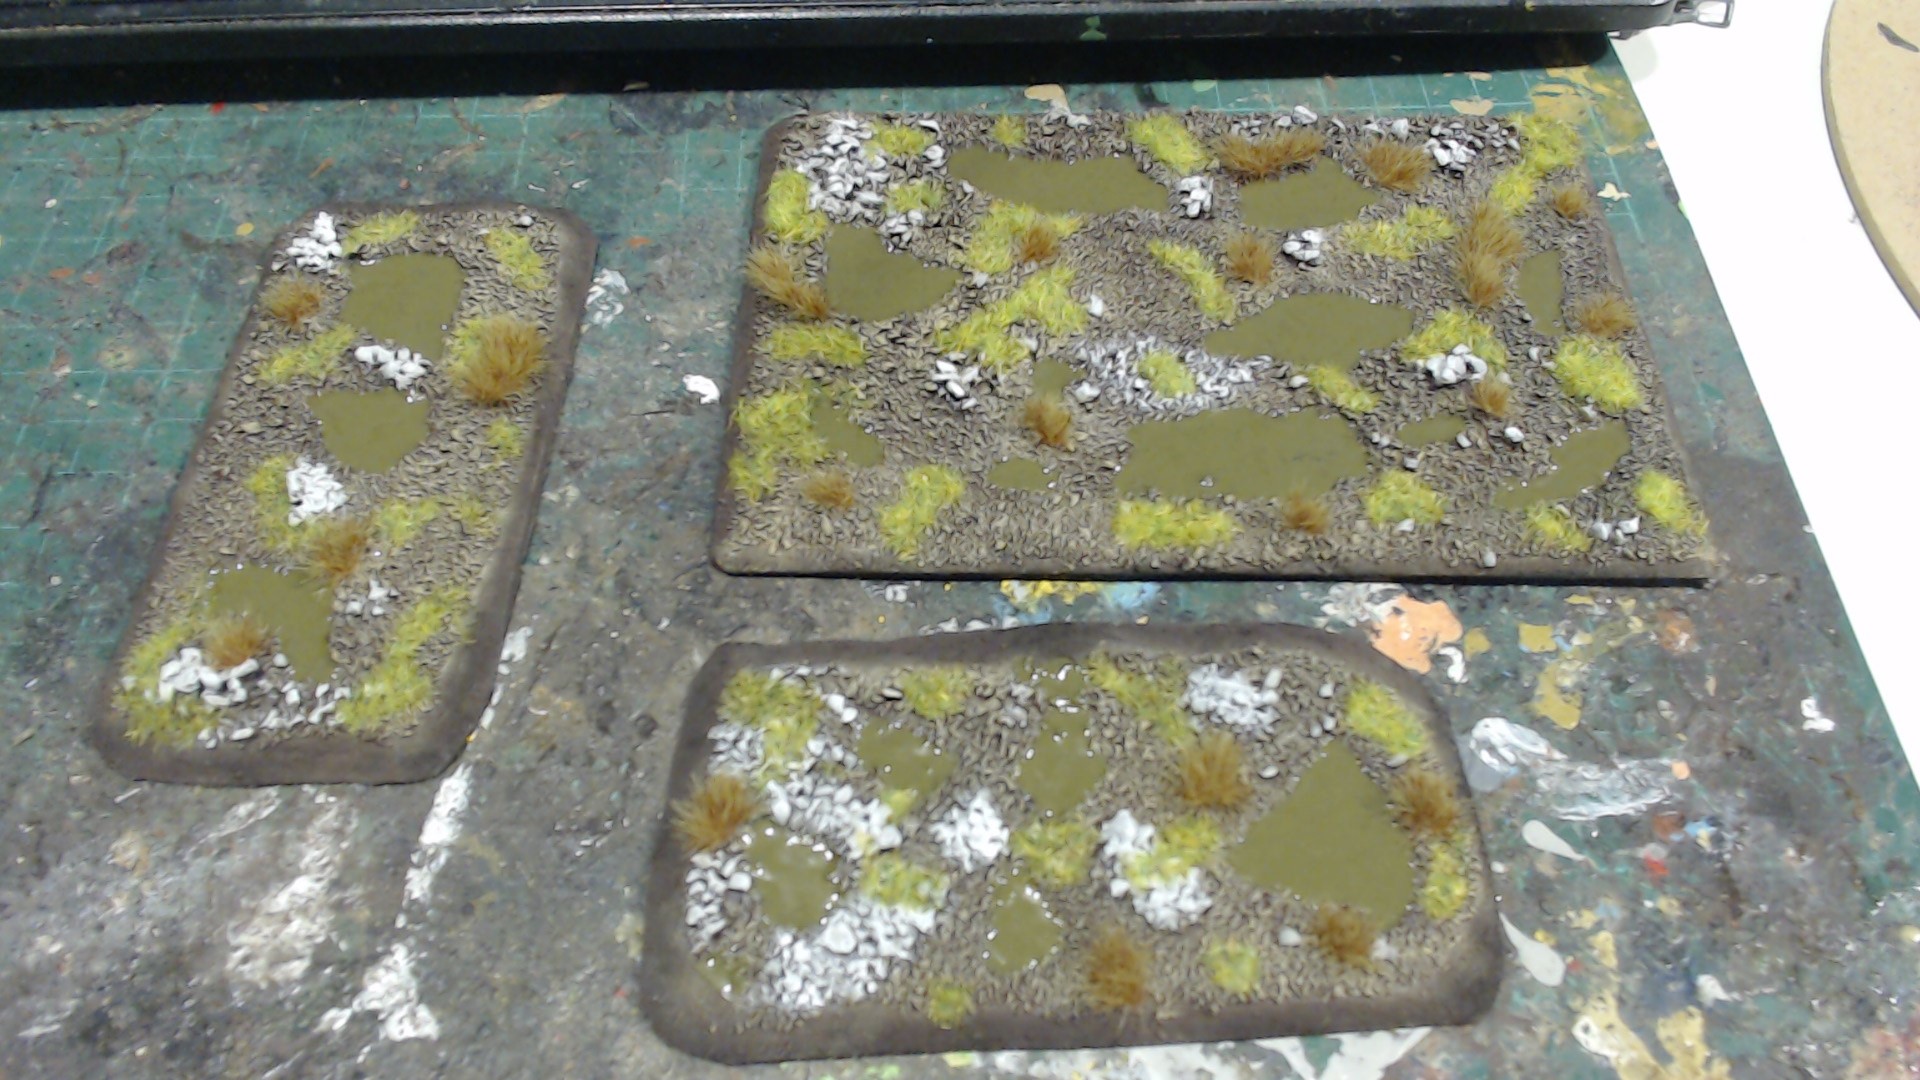
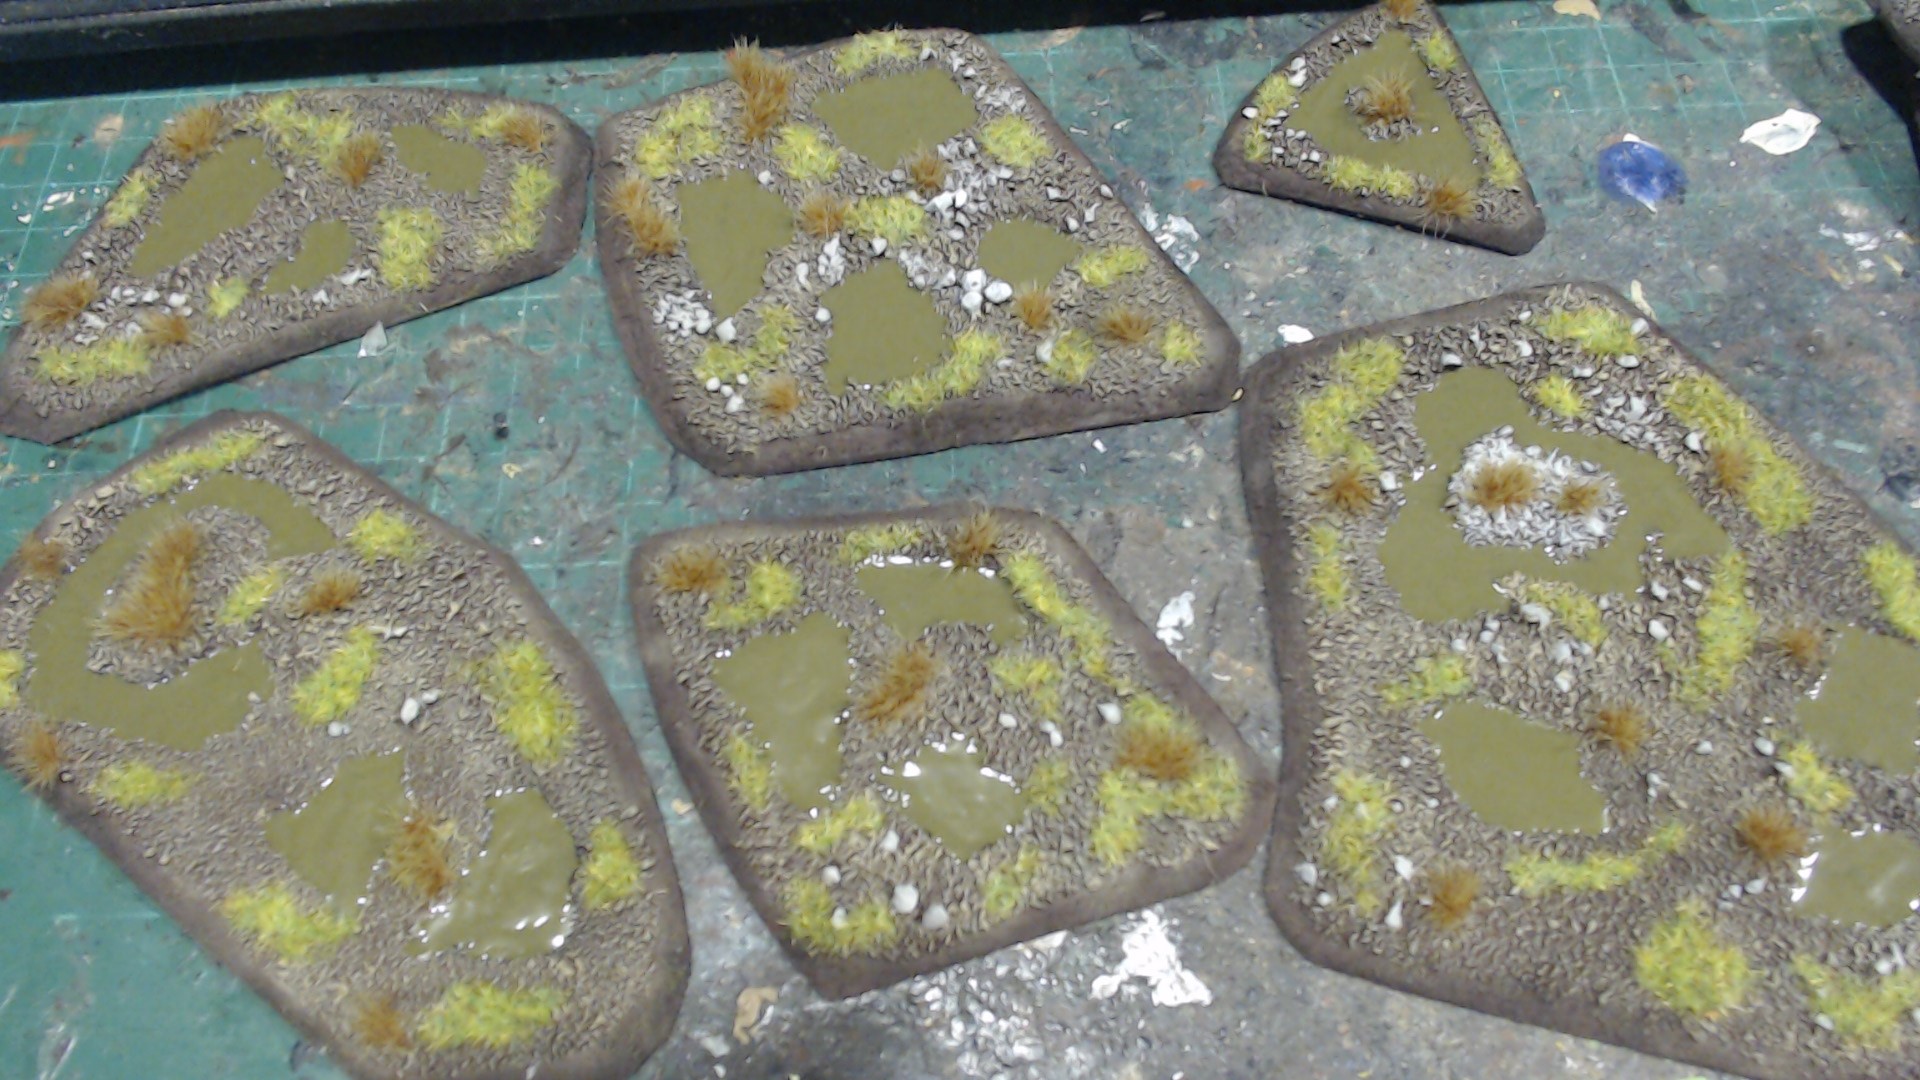 Paint several layers of gloss varnish or water effect over the green bog
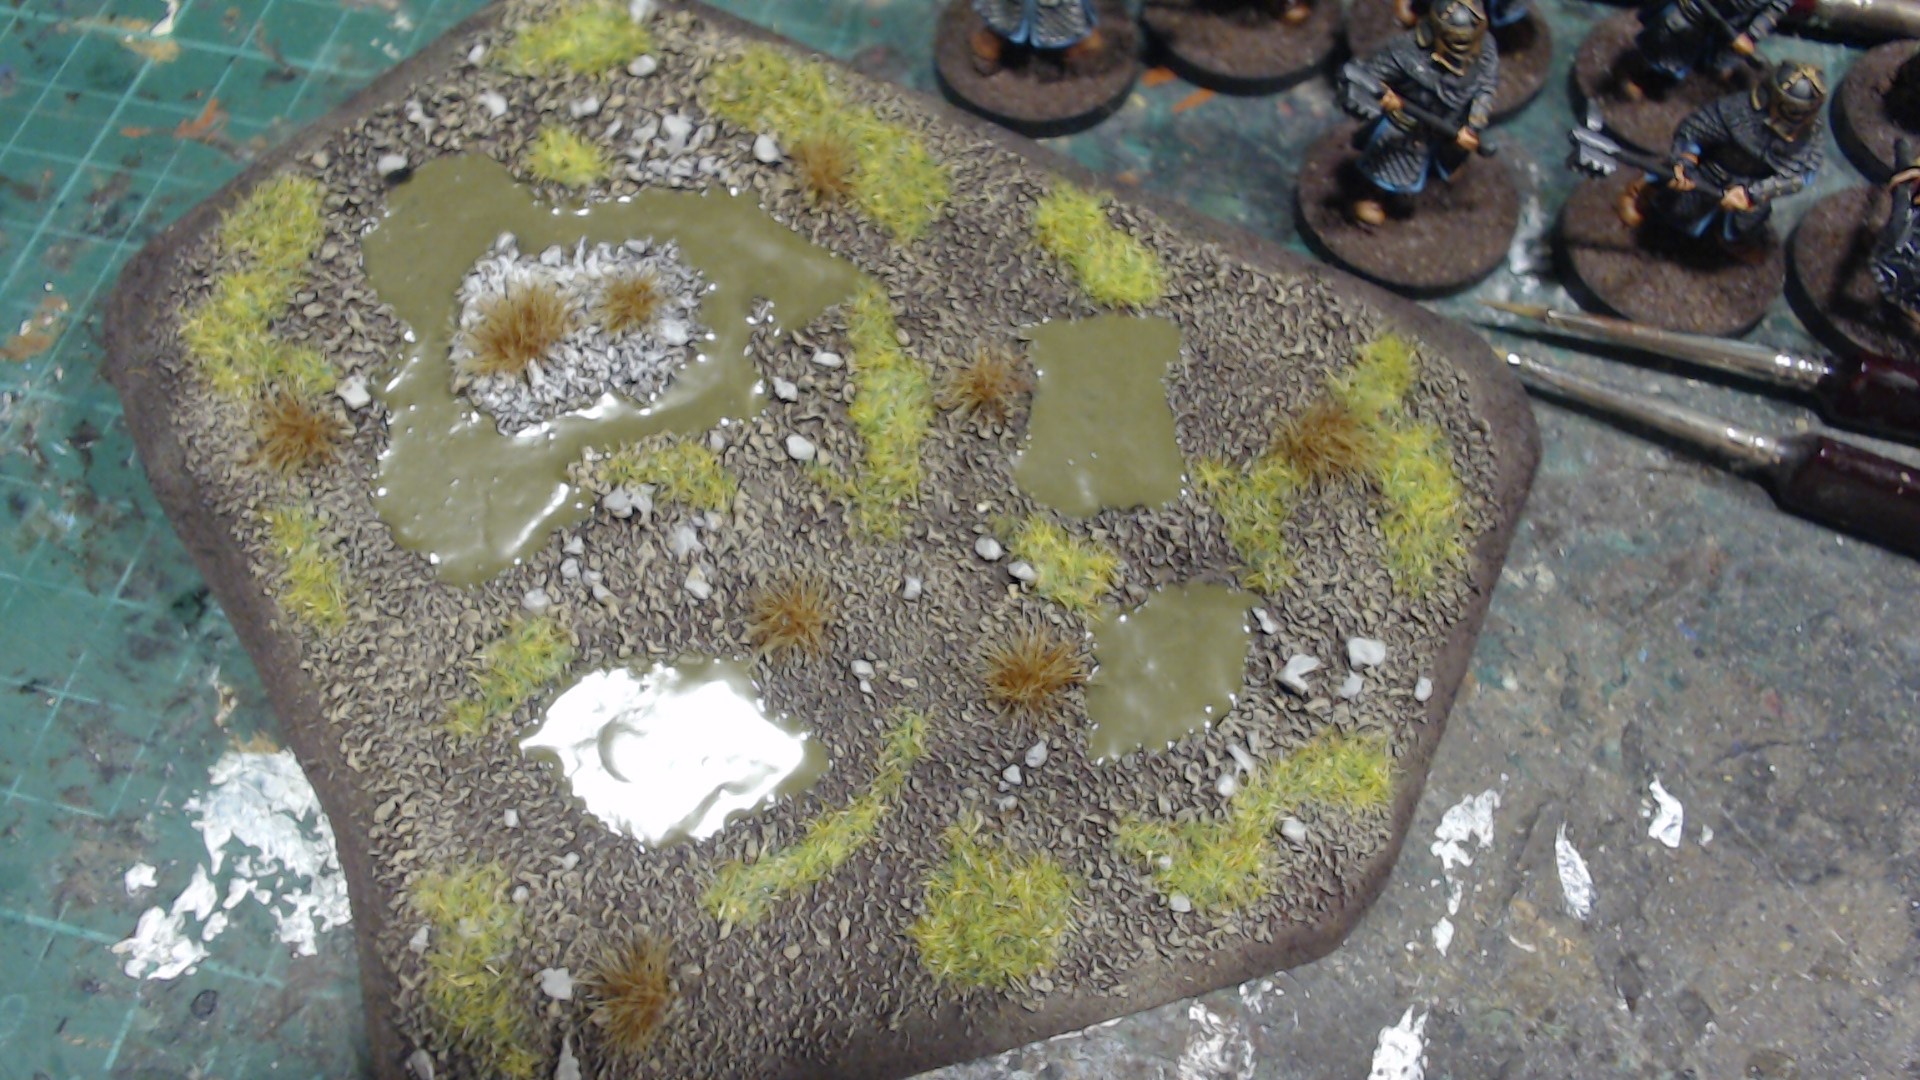 A better image of the water effect, still hard to see in image form
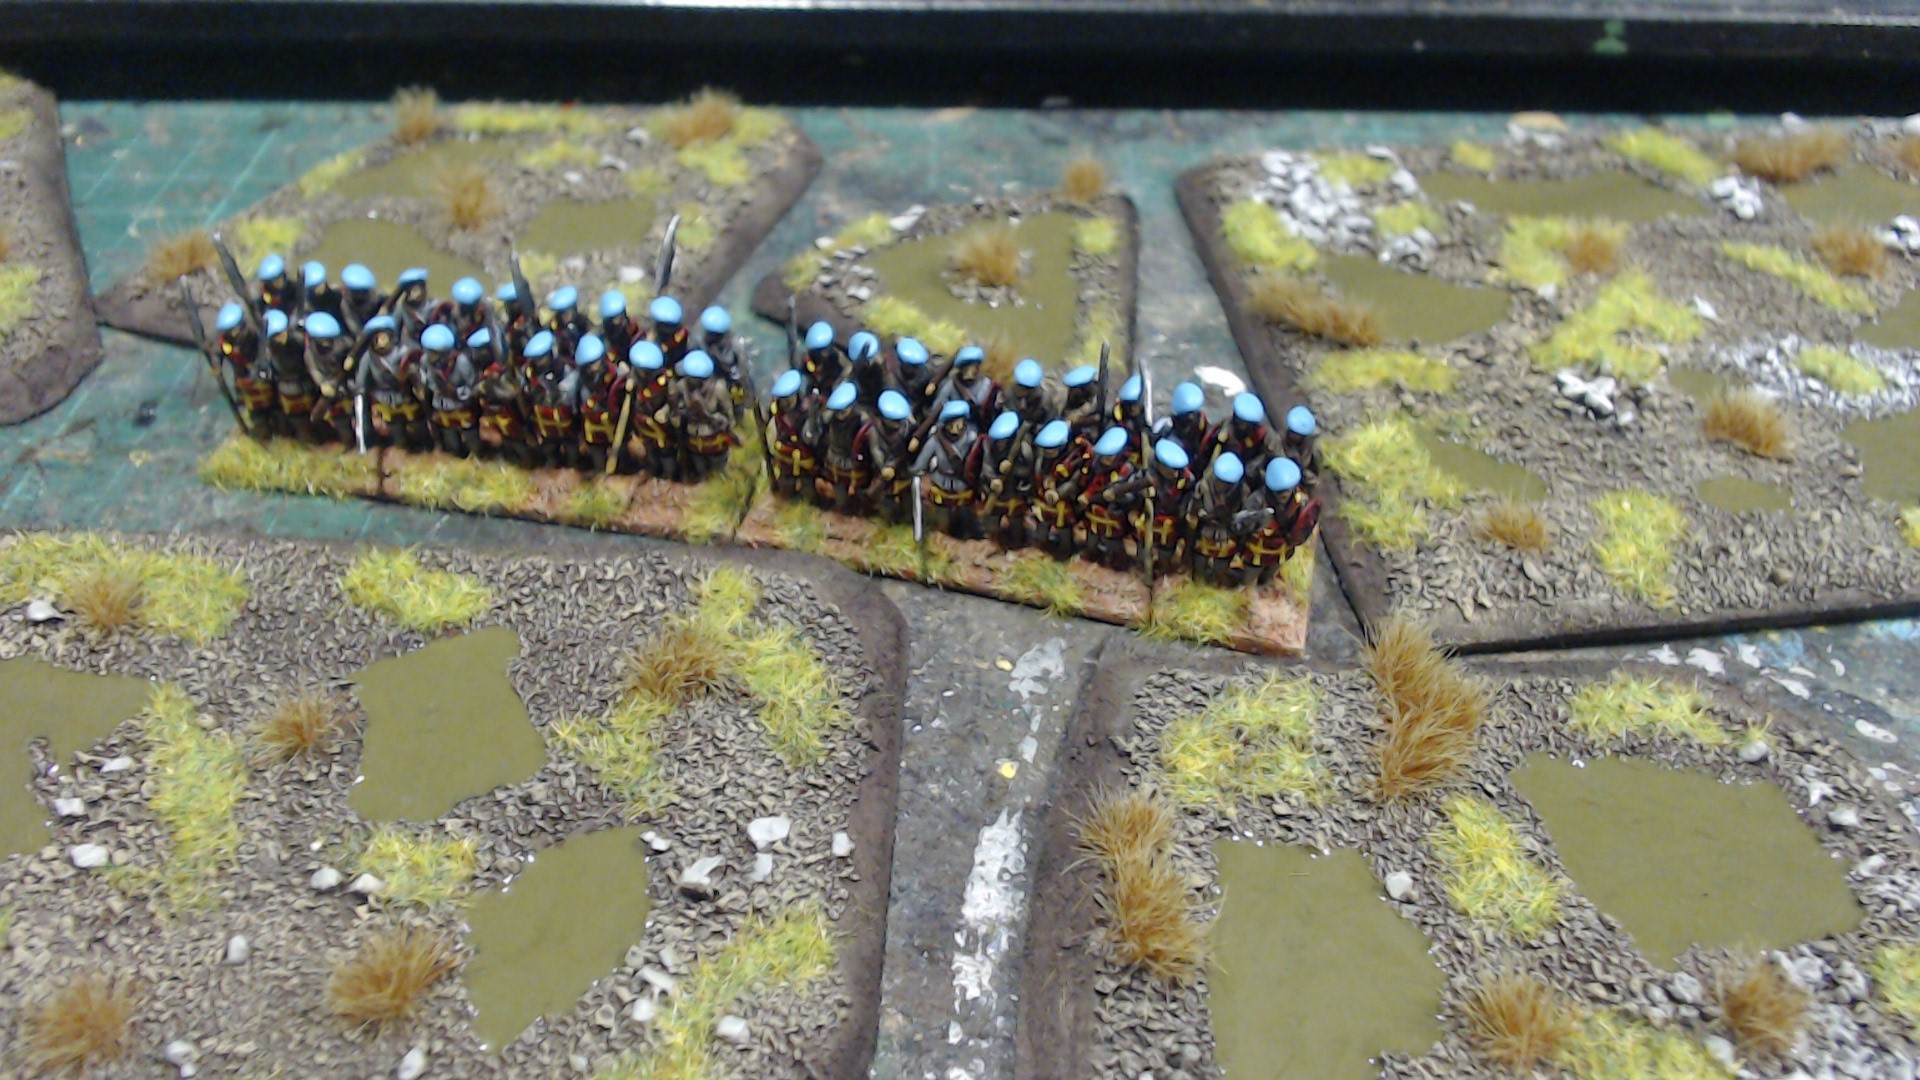 Here you can see how the terrain works with 10mm Miniatures like the Warlord Epic range, these are 10mm Highlanders 3D Printed from pandailbianco67 on Cults
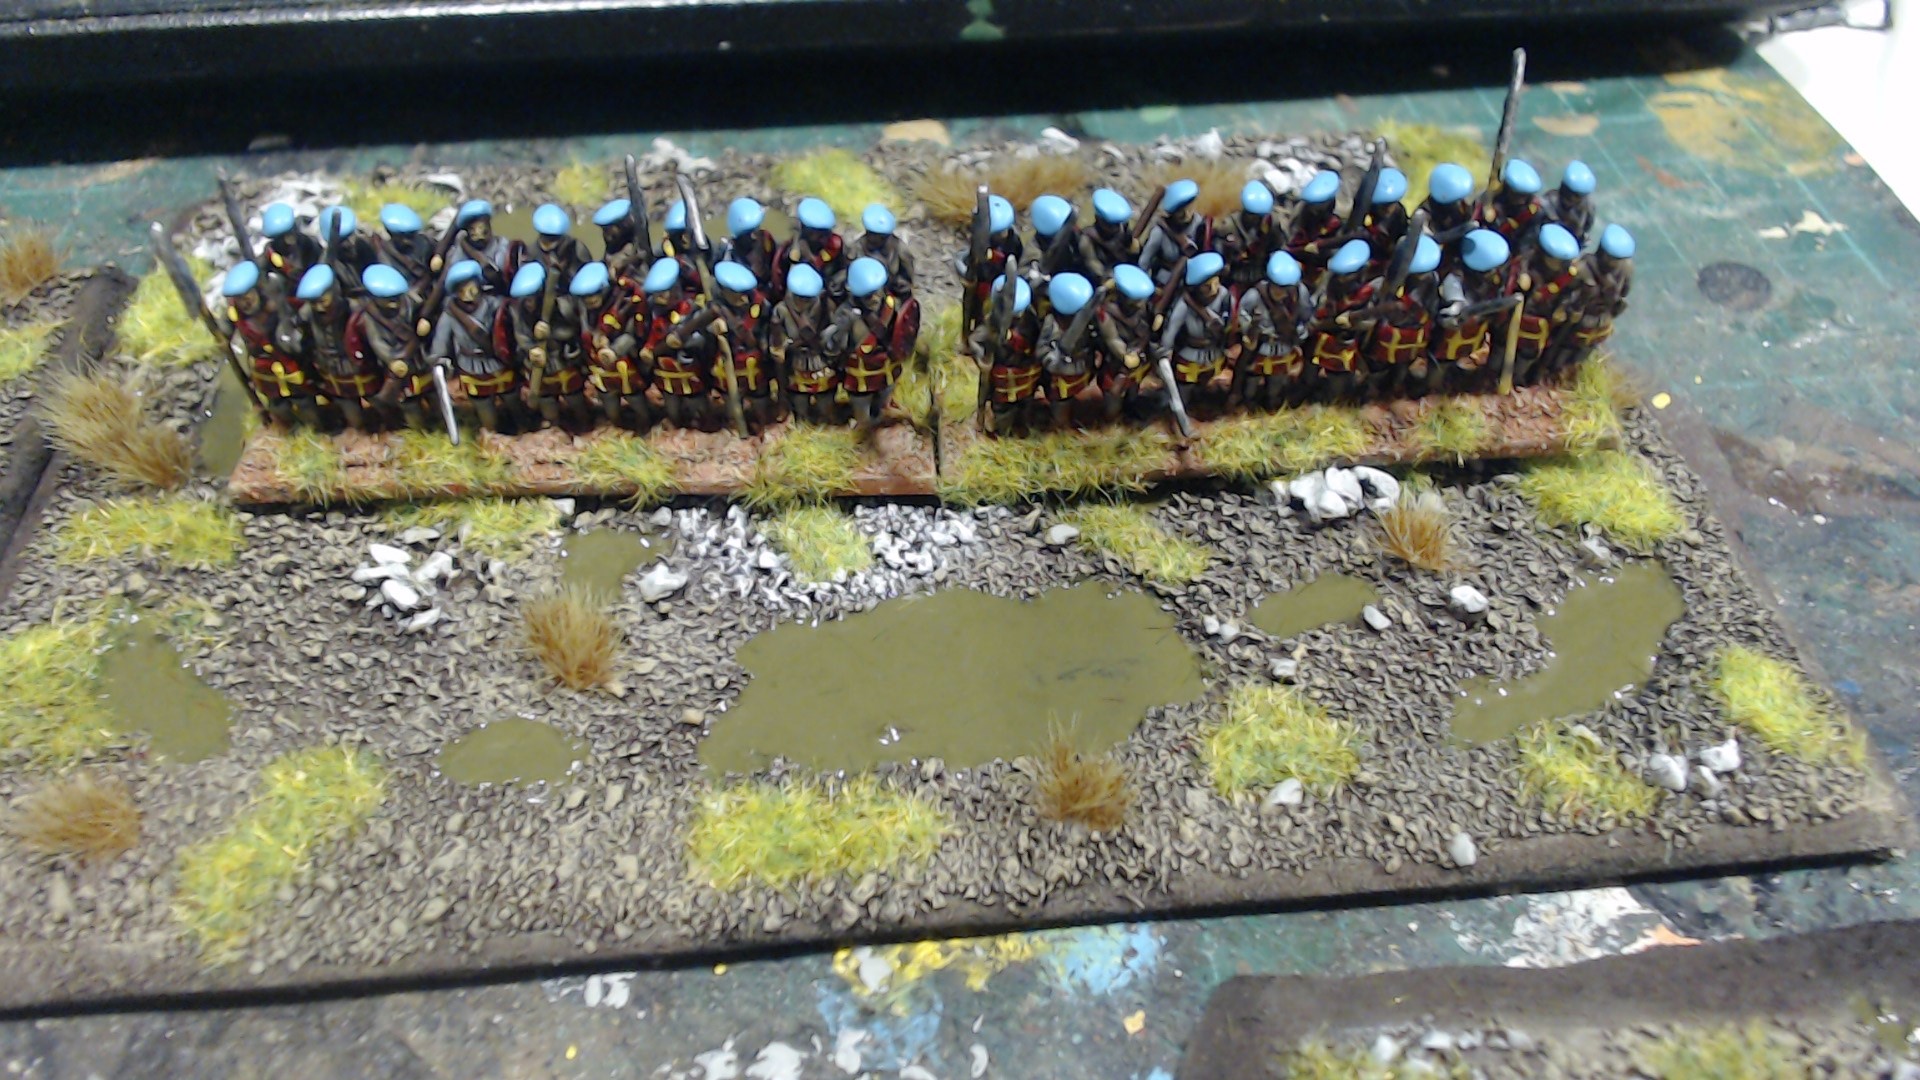 While I'm not a fan of larger pieces of big area terrain one or two can really help to make a battlefield more interesting
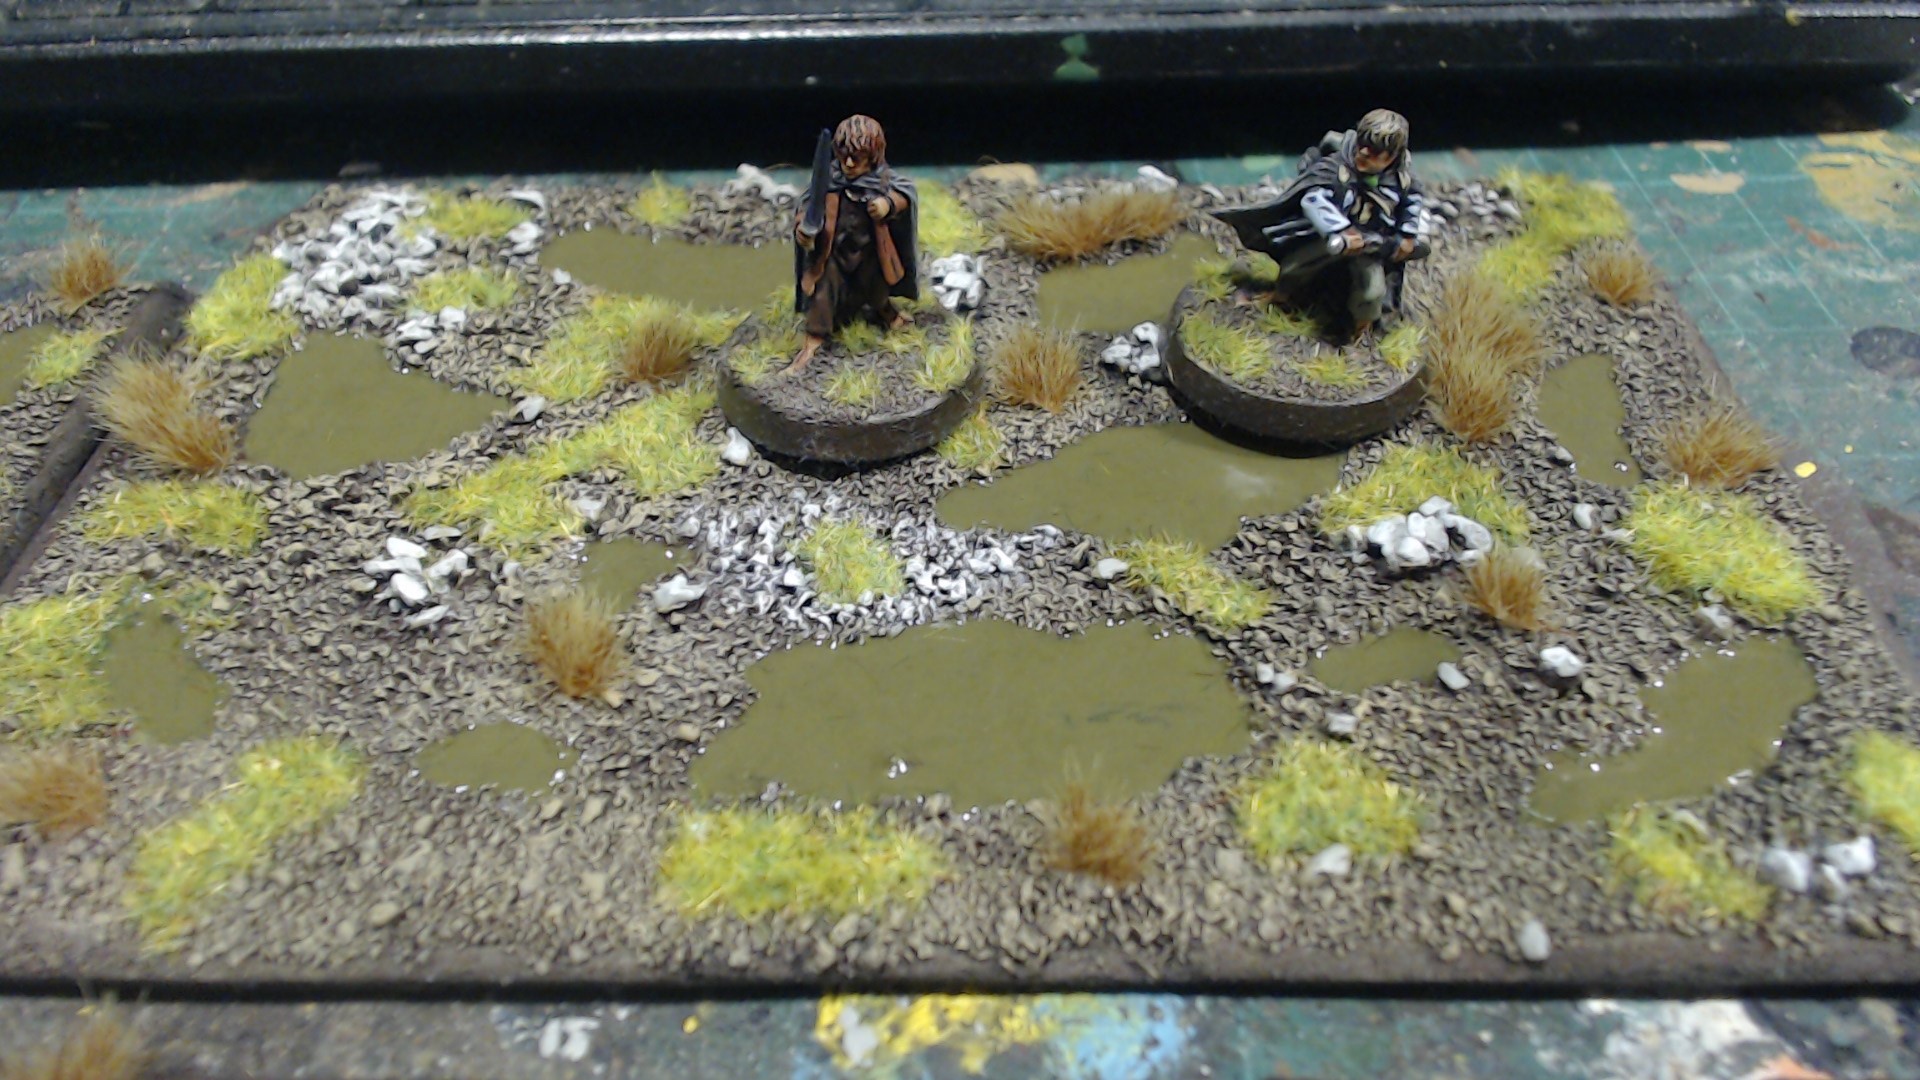 The bog also works for fantasy or historical or sci fi games of a larger scale, here Frodo and Sam could very well be in the Dead Marshes with this terrain.
There you go, some simple scatter terrain made from basing supplies you already have laying around and some dirt cheap MDF. Let me know if you have any tips or if you try it yourself link your Project down in the comments so that I can check it out.
Making a Bog Basics
 You'll only need some MDF, a Stanley Knife and regular basing material for this one.
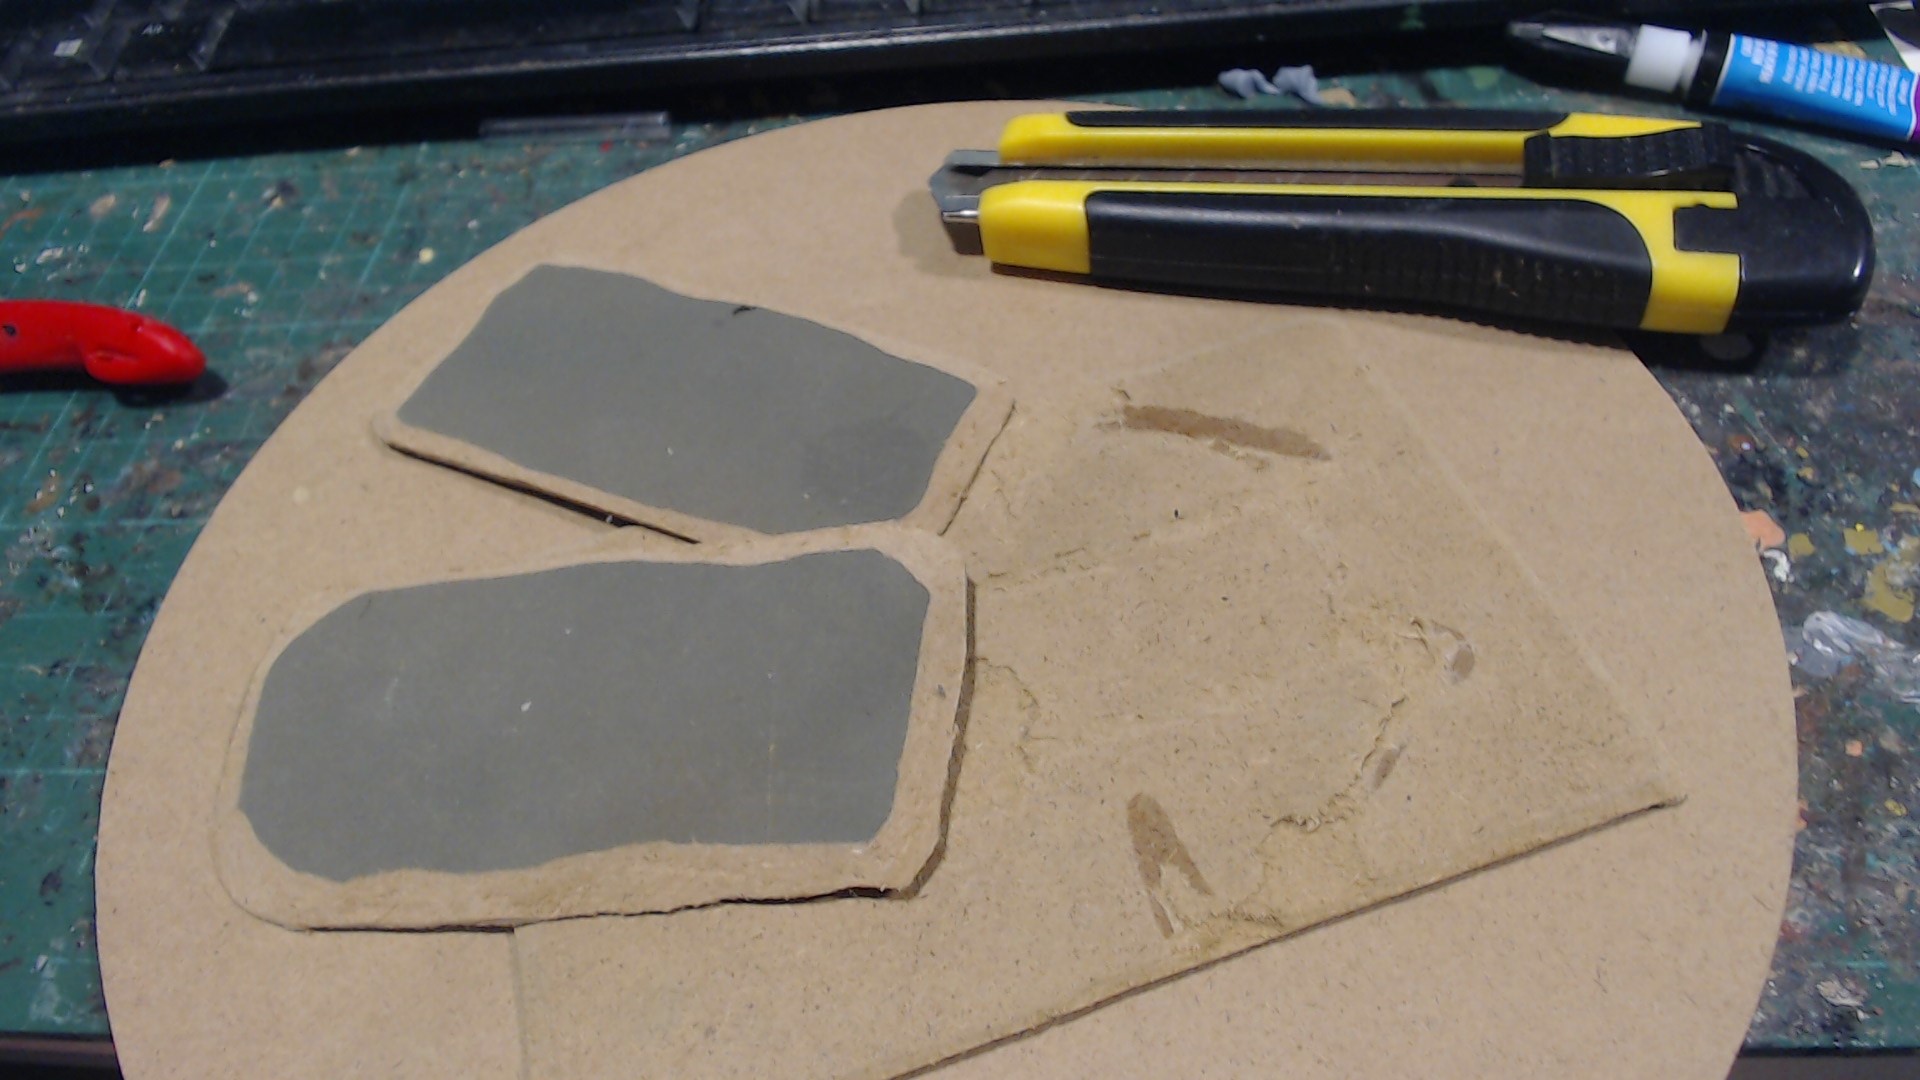
 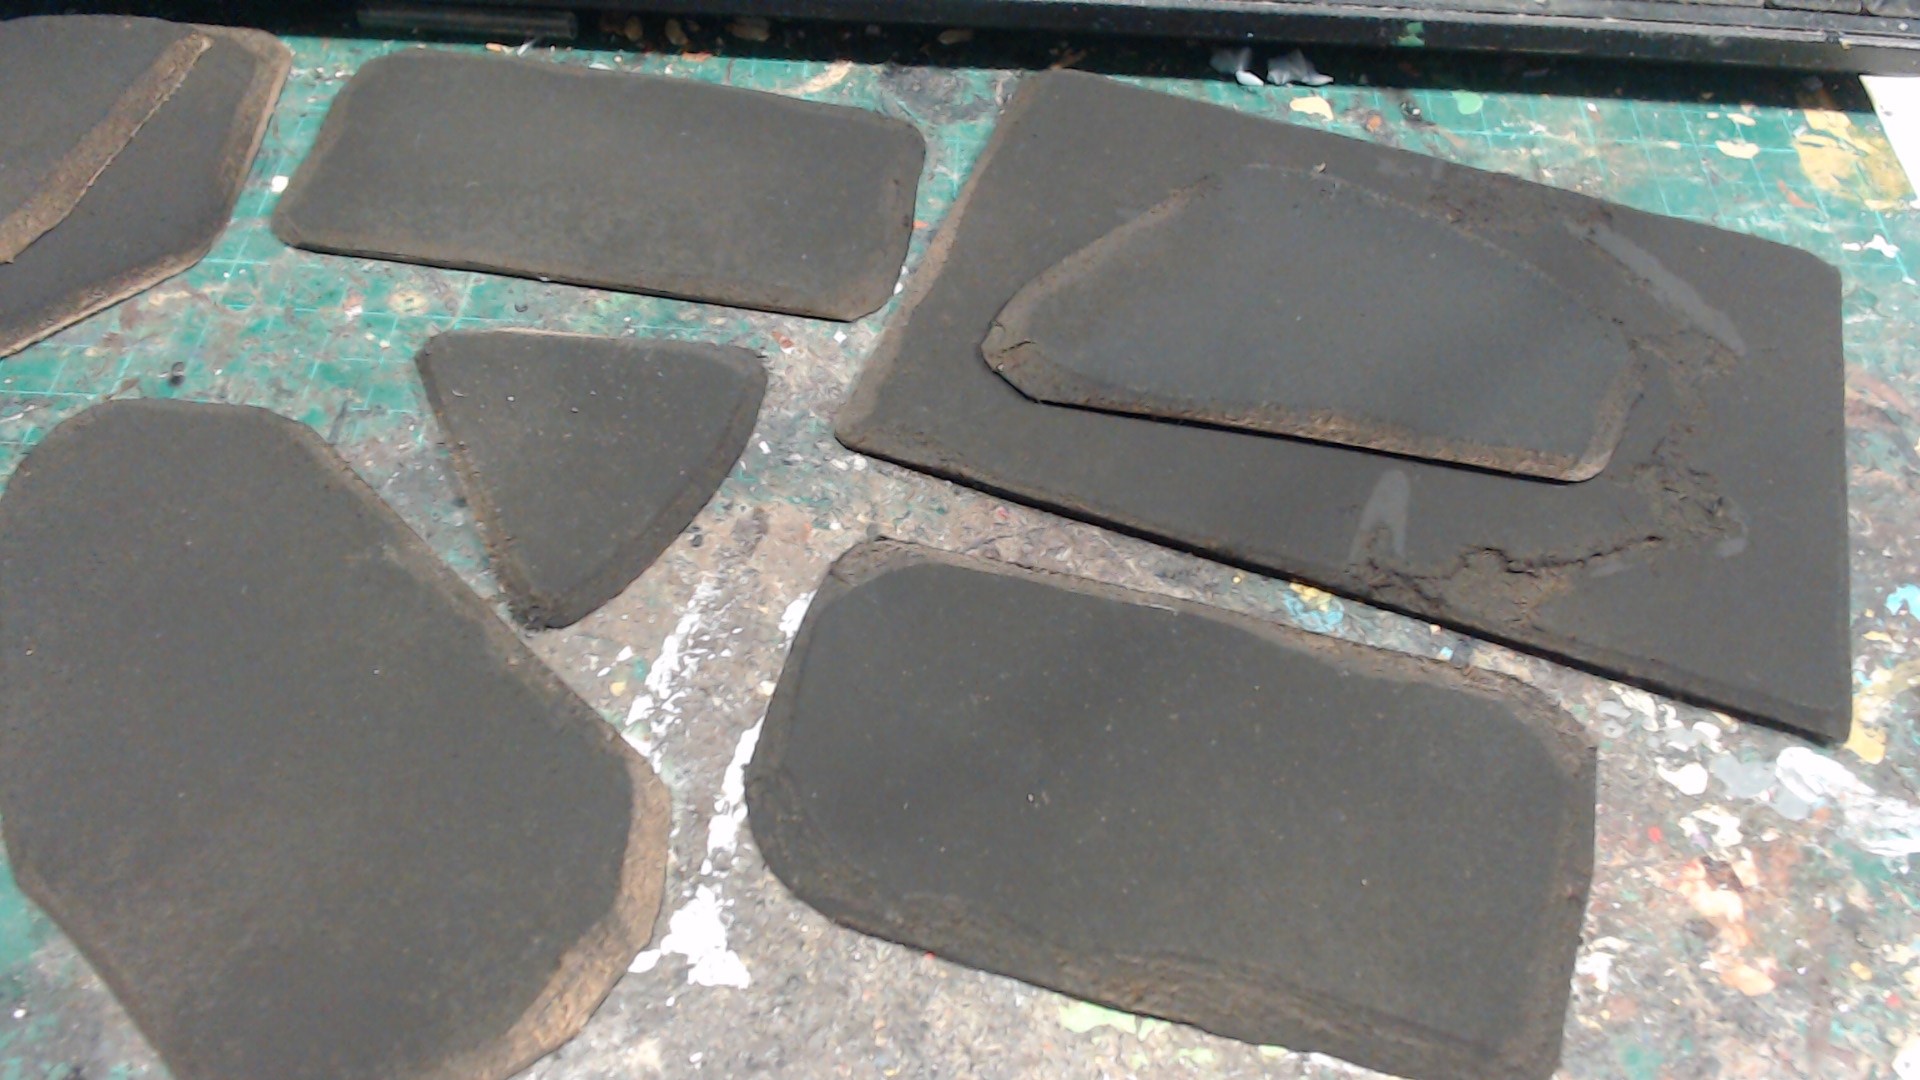 Cut out some shpaes from your MDF, I made some big and some small but tried to make most of them non uniform and non rectangular. Making terrain with a curved footprint, I believe, helps it blend in better on the table. Using the knife carefully cut a slope or chamfer into the edge of the MDF which will help it blend into the tabletop and also helps clean up any rough cuts. I like to spray a light coat over the MDF to help stop the worst of the warping
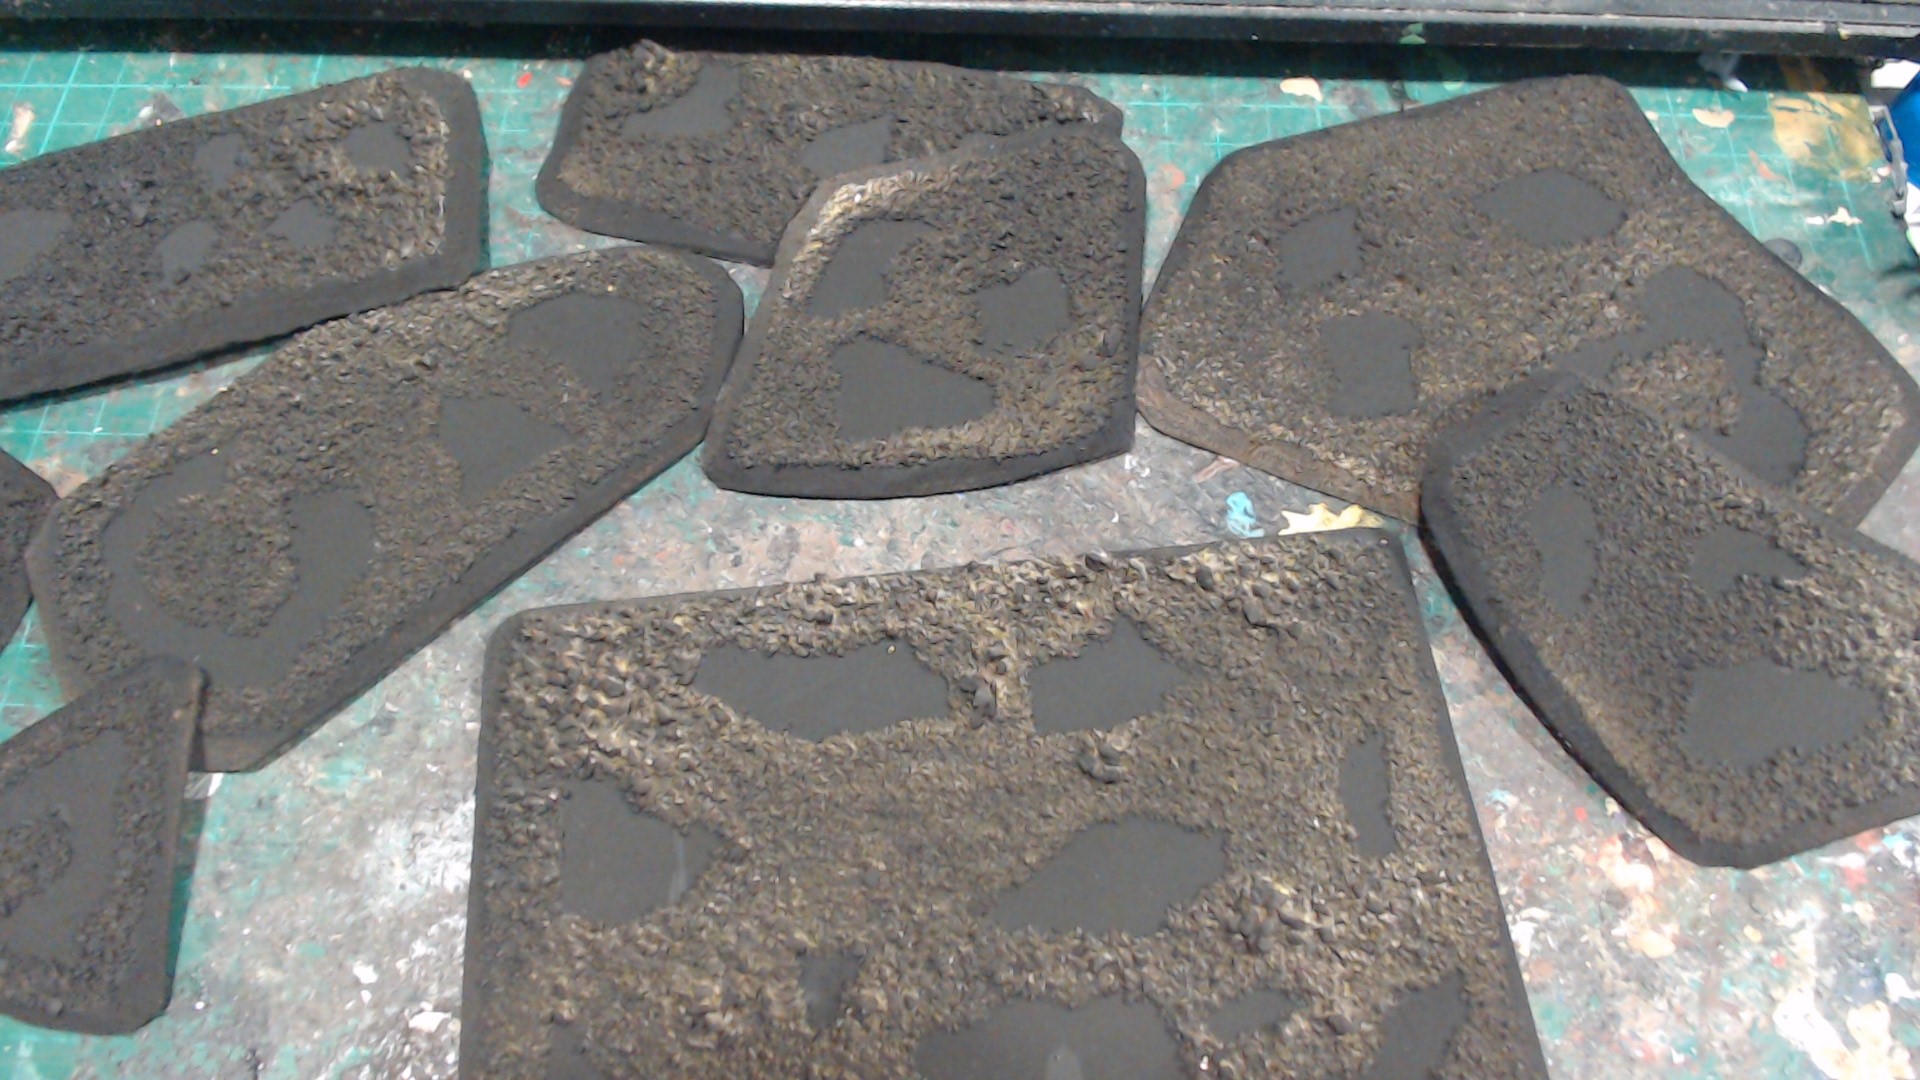 Using a mix of normal basing sand and more gritty sand base the bogs leaving irregular shapes which will be made into water pools. Again spray or otherwise seal the basing material.
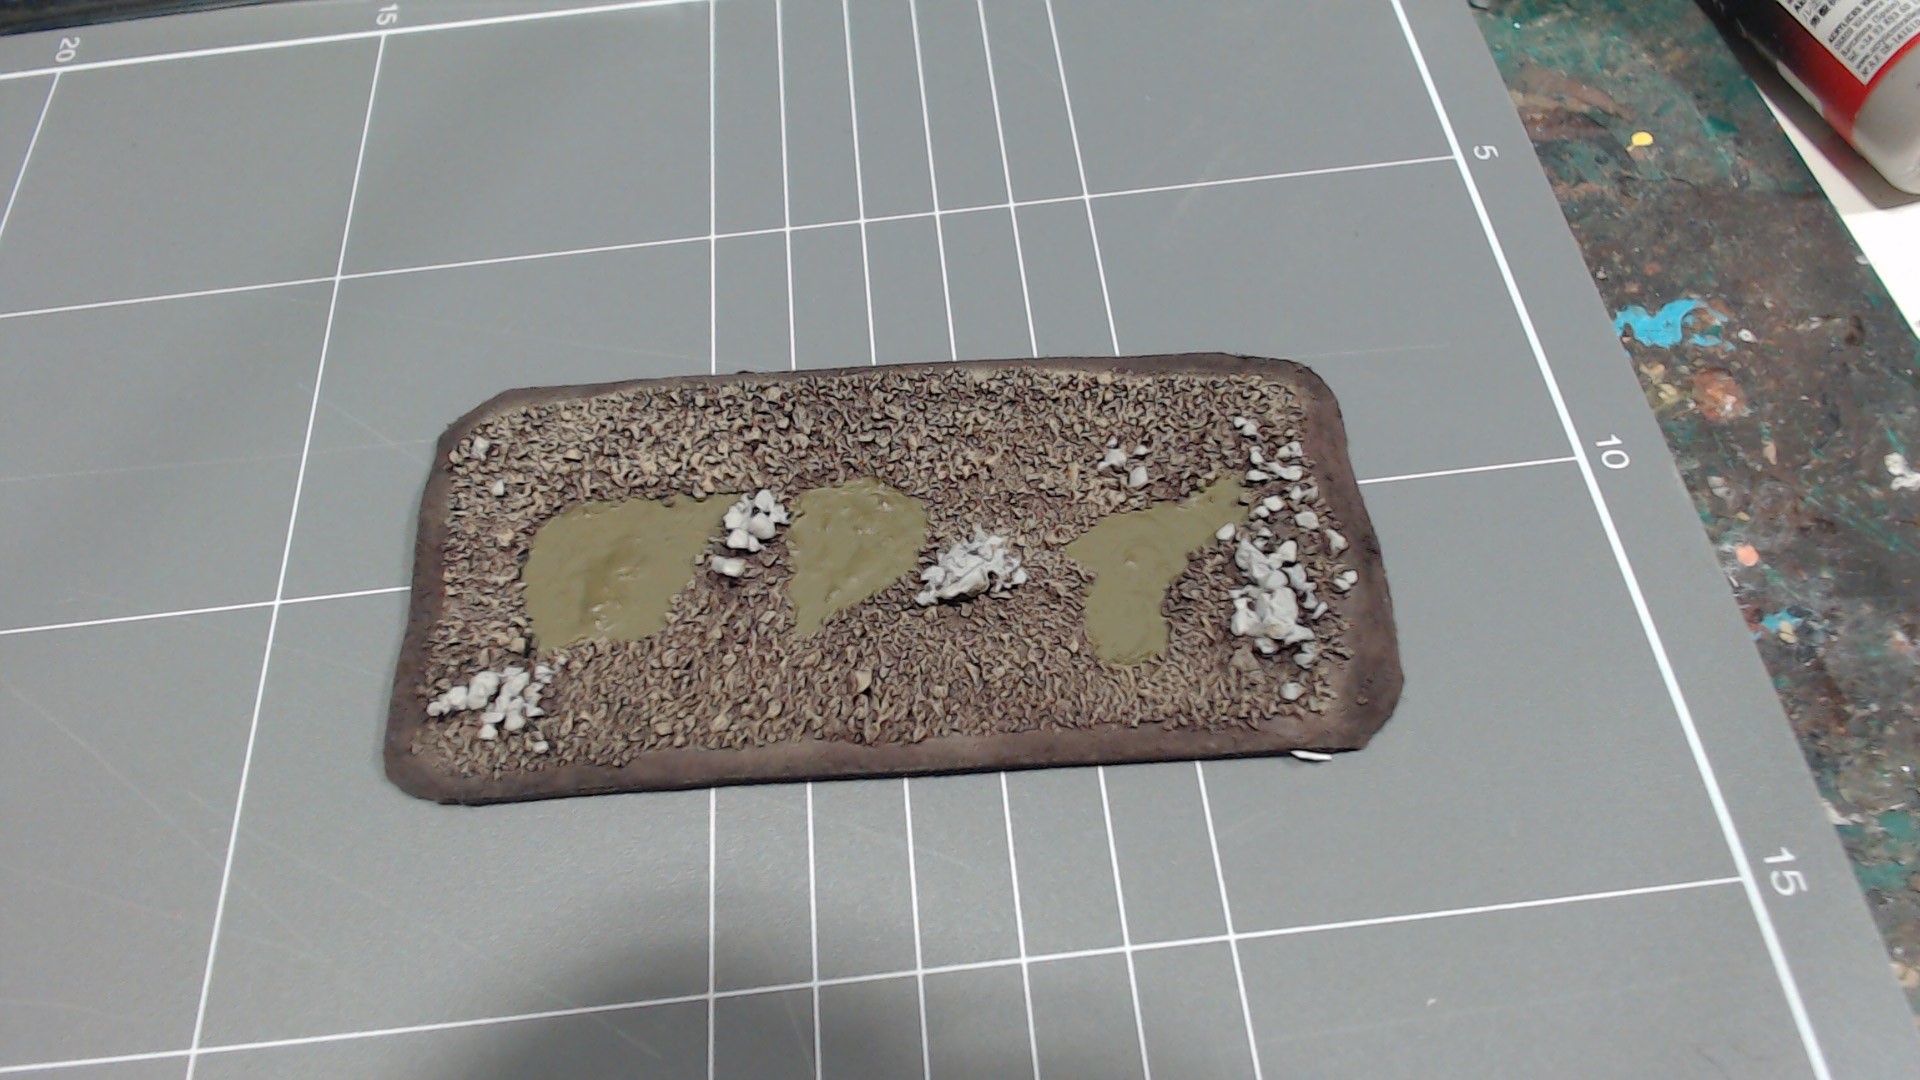
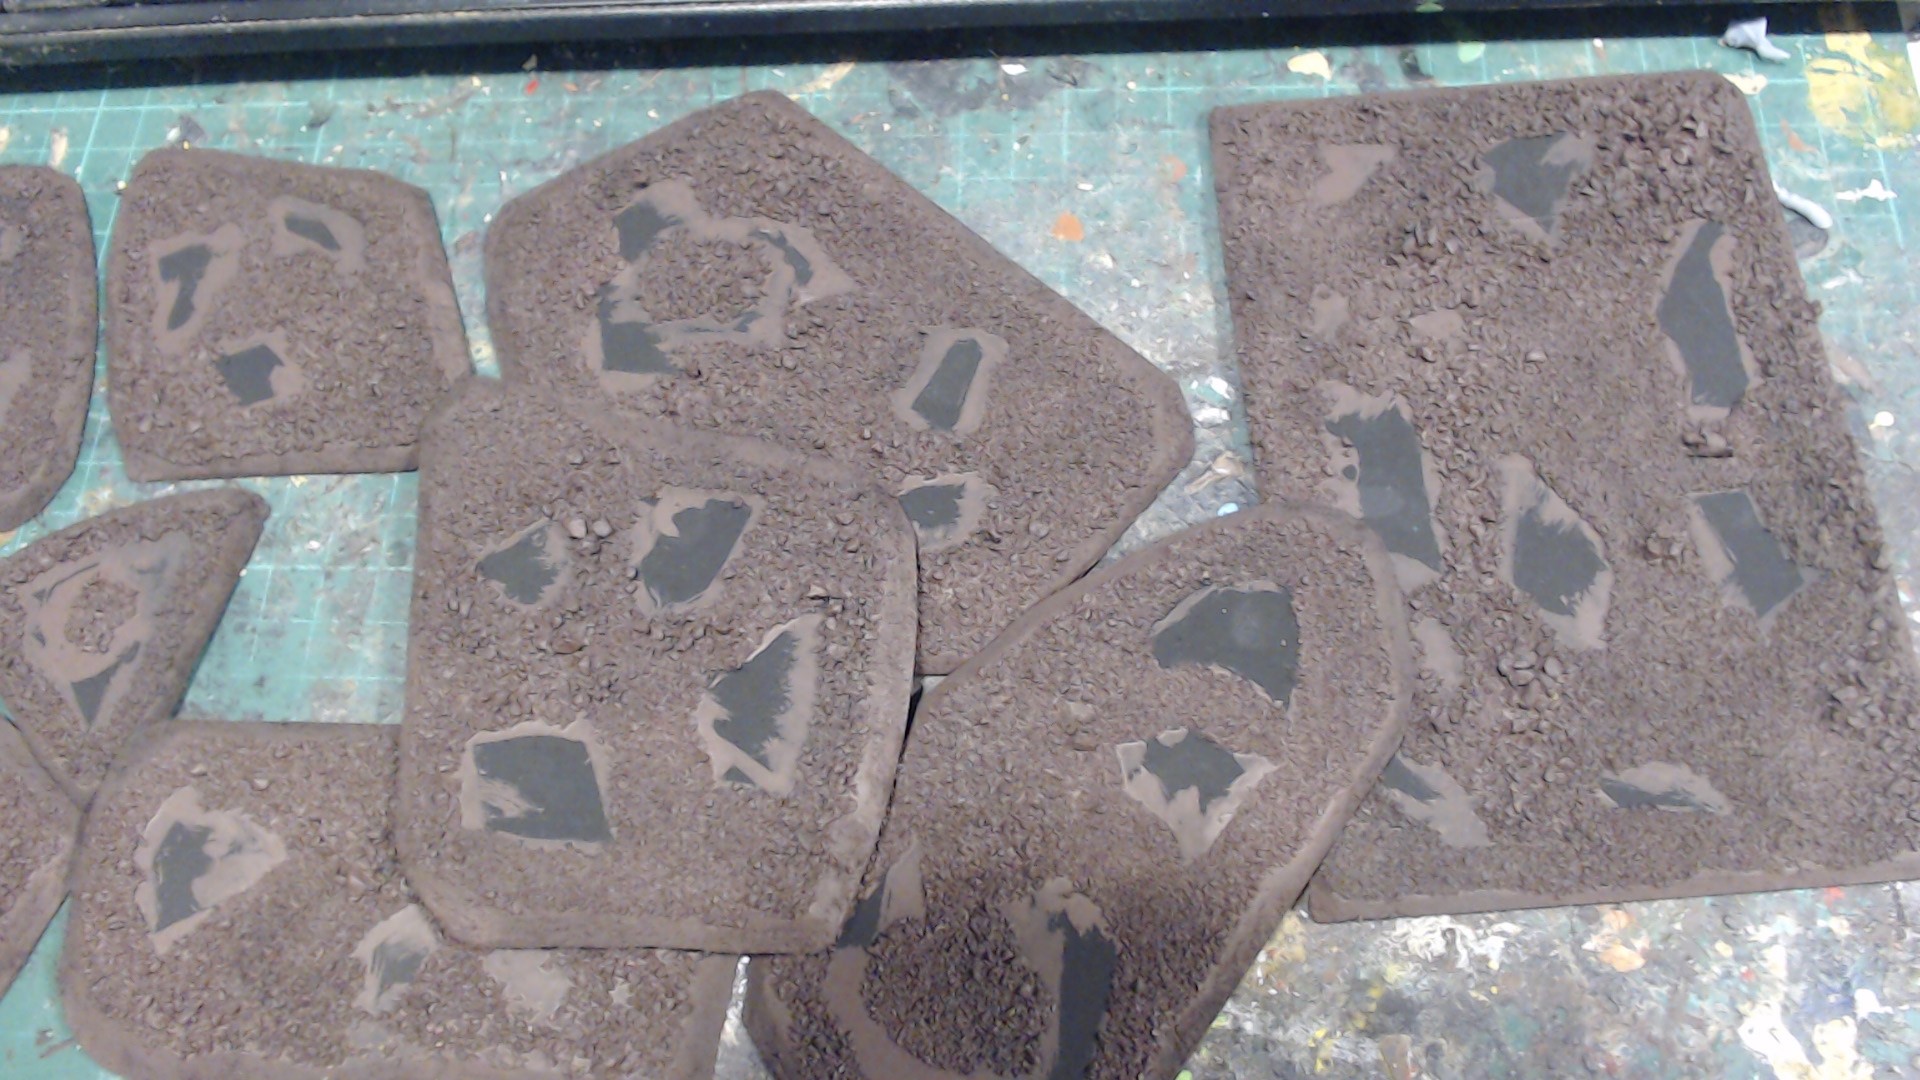 Paint the basing mix with Catachan Flesh, watering it down so that it flows and gets good coverage but no too much that it becomes transparent.
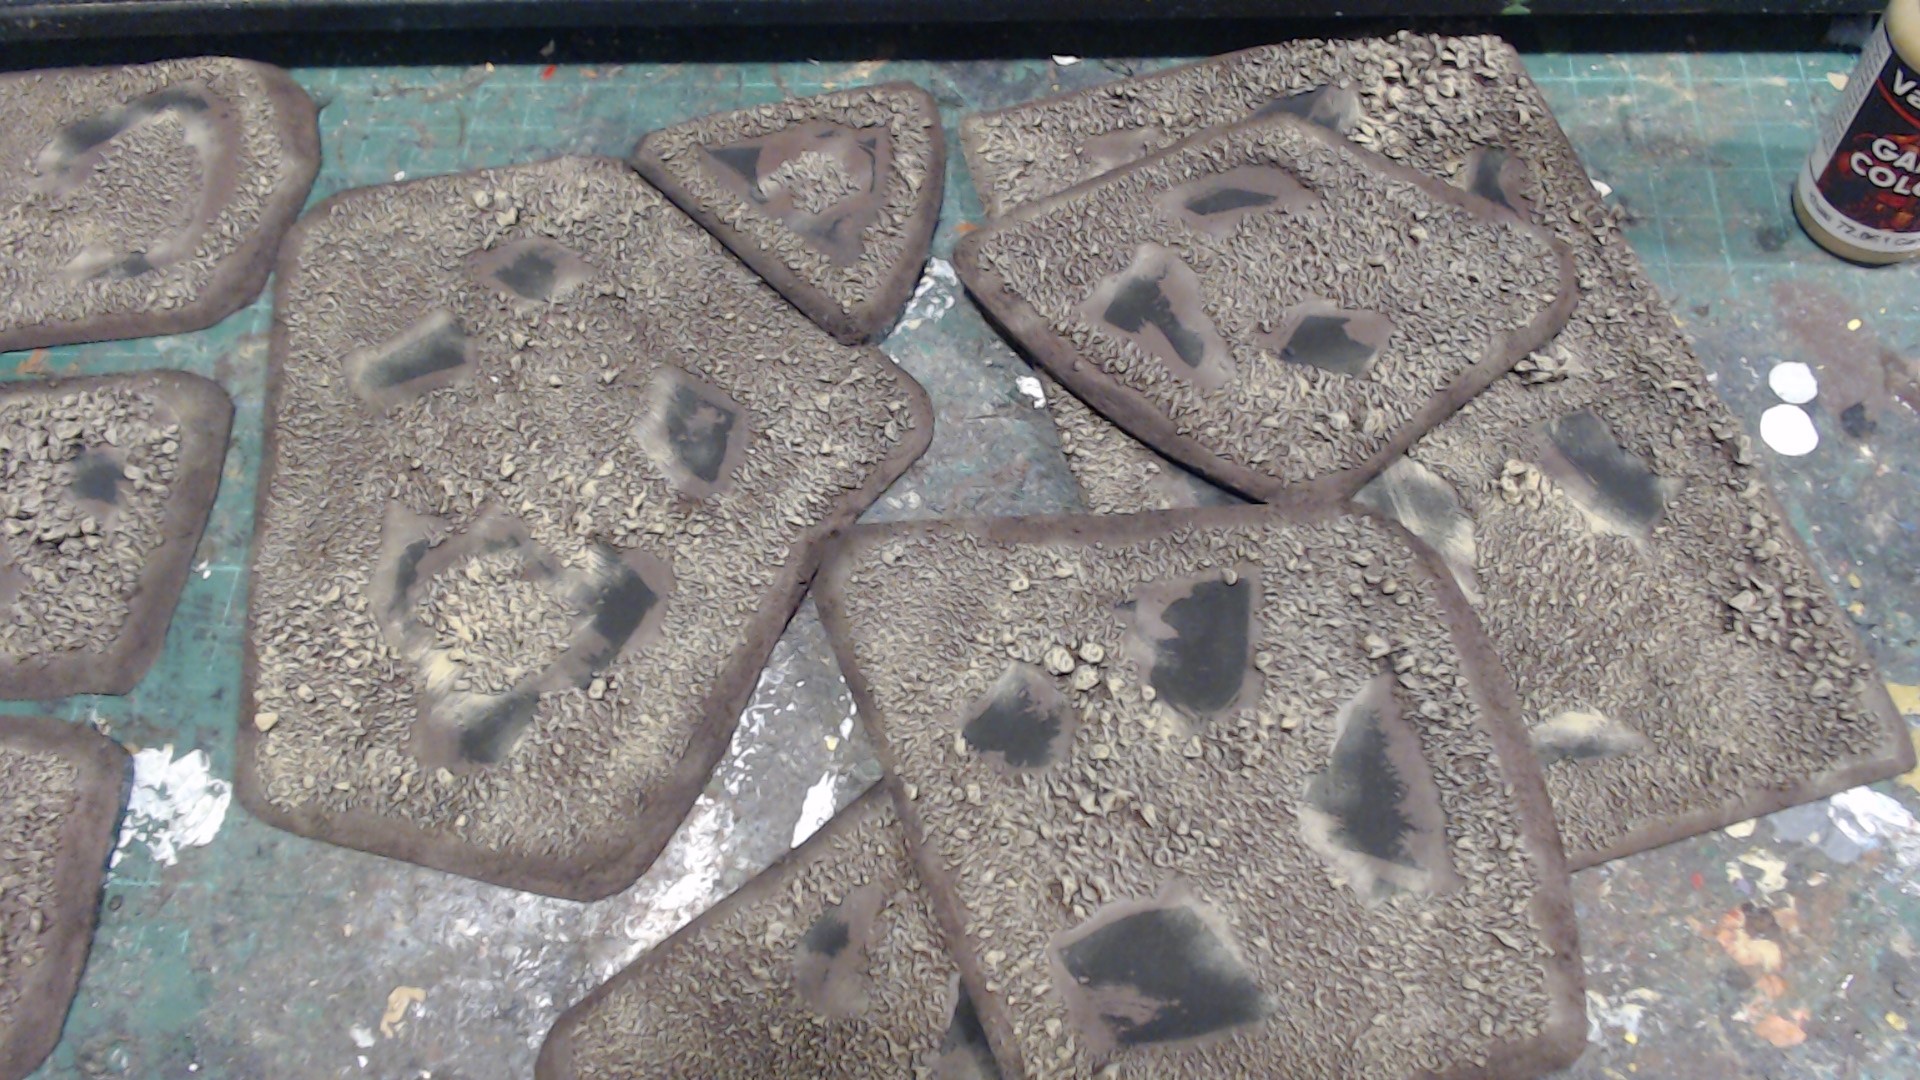 Drybrush the basing material with Vallejo Khaki. All the colours I list are just the ones I used, feel free to substitute them for others.
 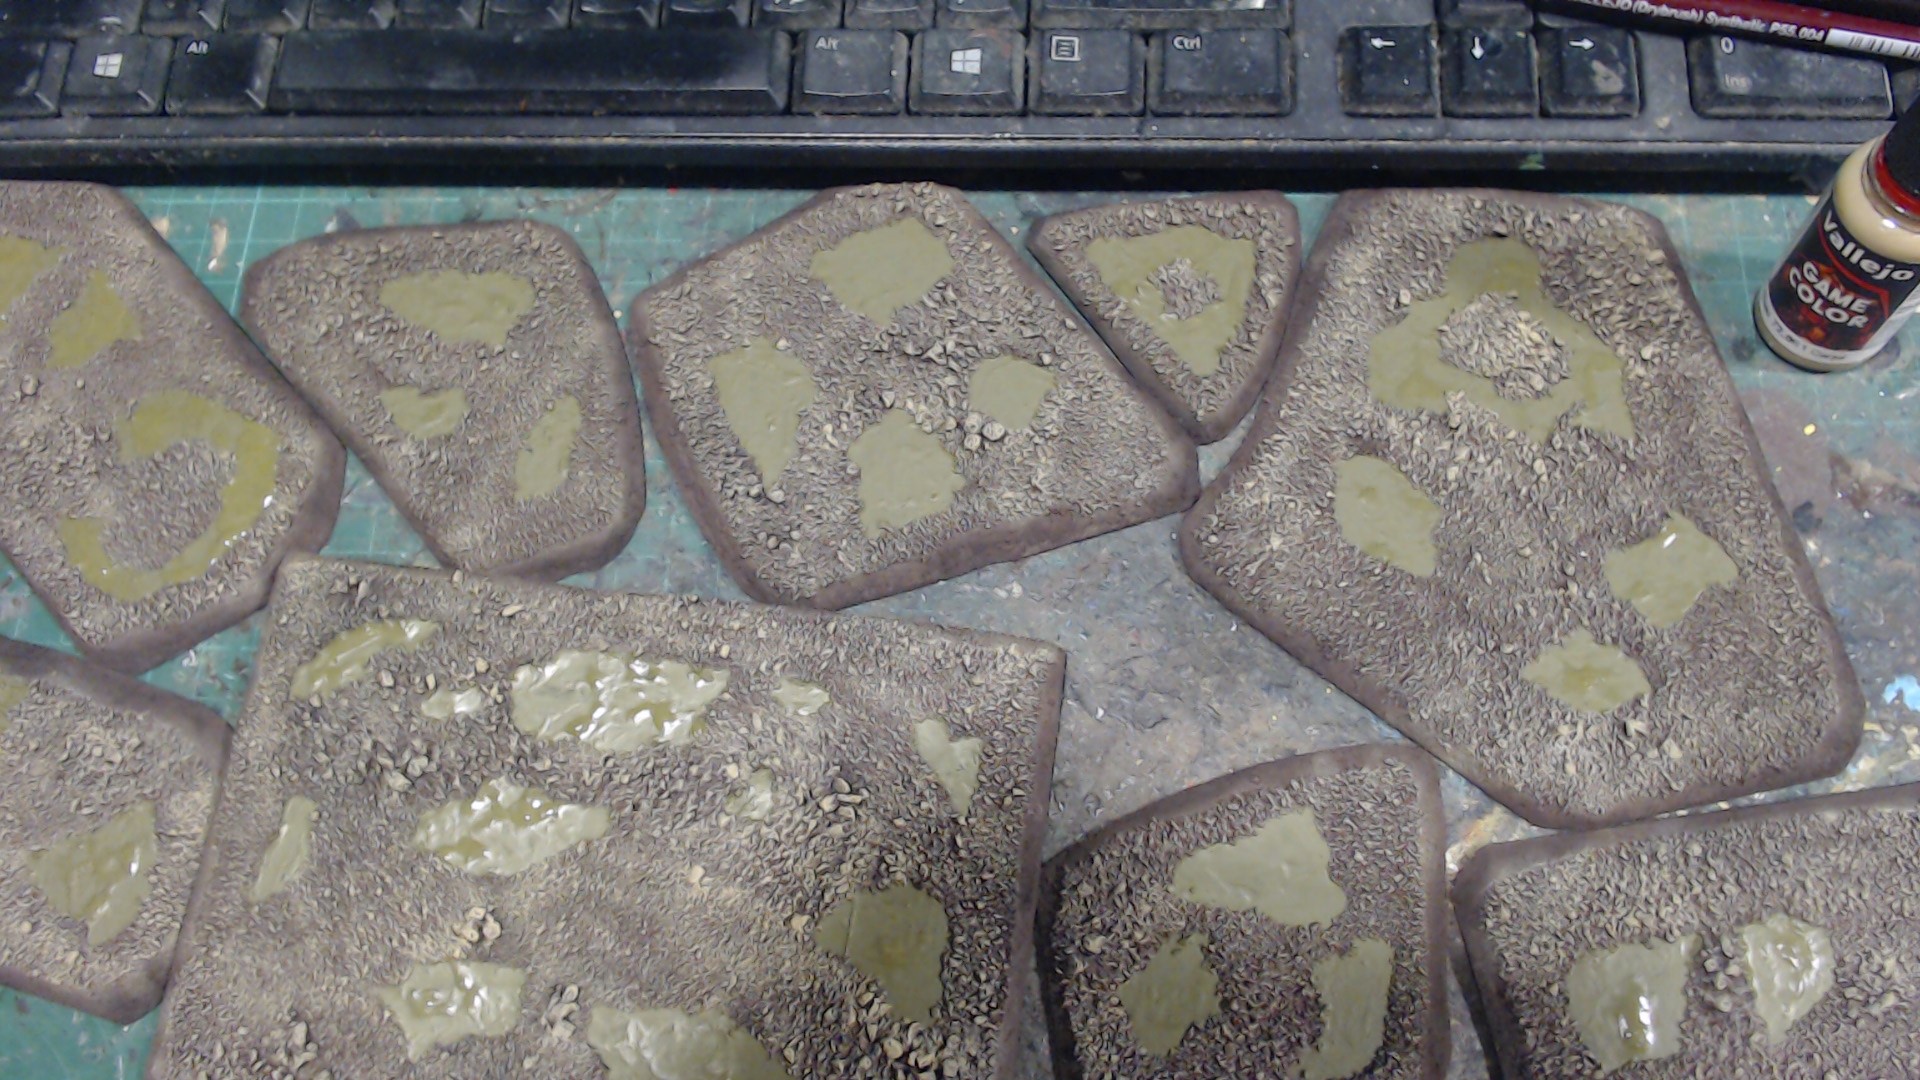 Paint the bog with Death World Forest. You can stop here if you like, it will look good on the tabletop. You can modify this to make a whole bunch of stuff, toxic waste pools, lava pools, alien splooge, be creative.


