
Lay Siege!
Hey everyone, and welcome to the very first issue of Hobby Lab.
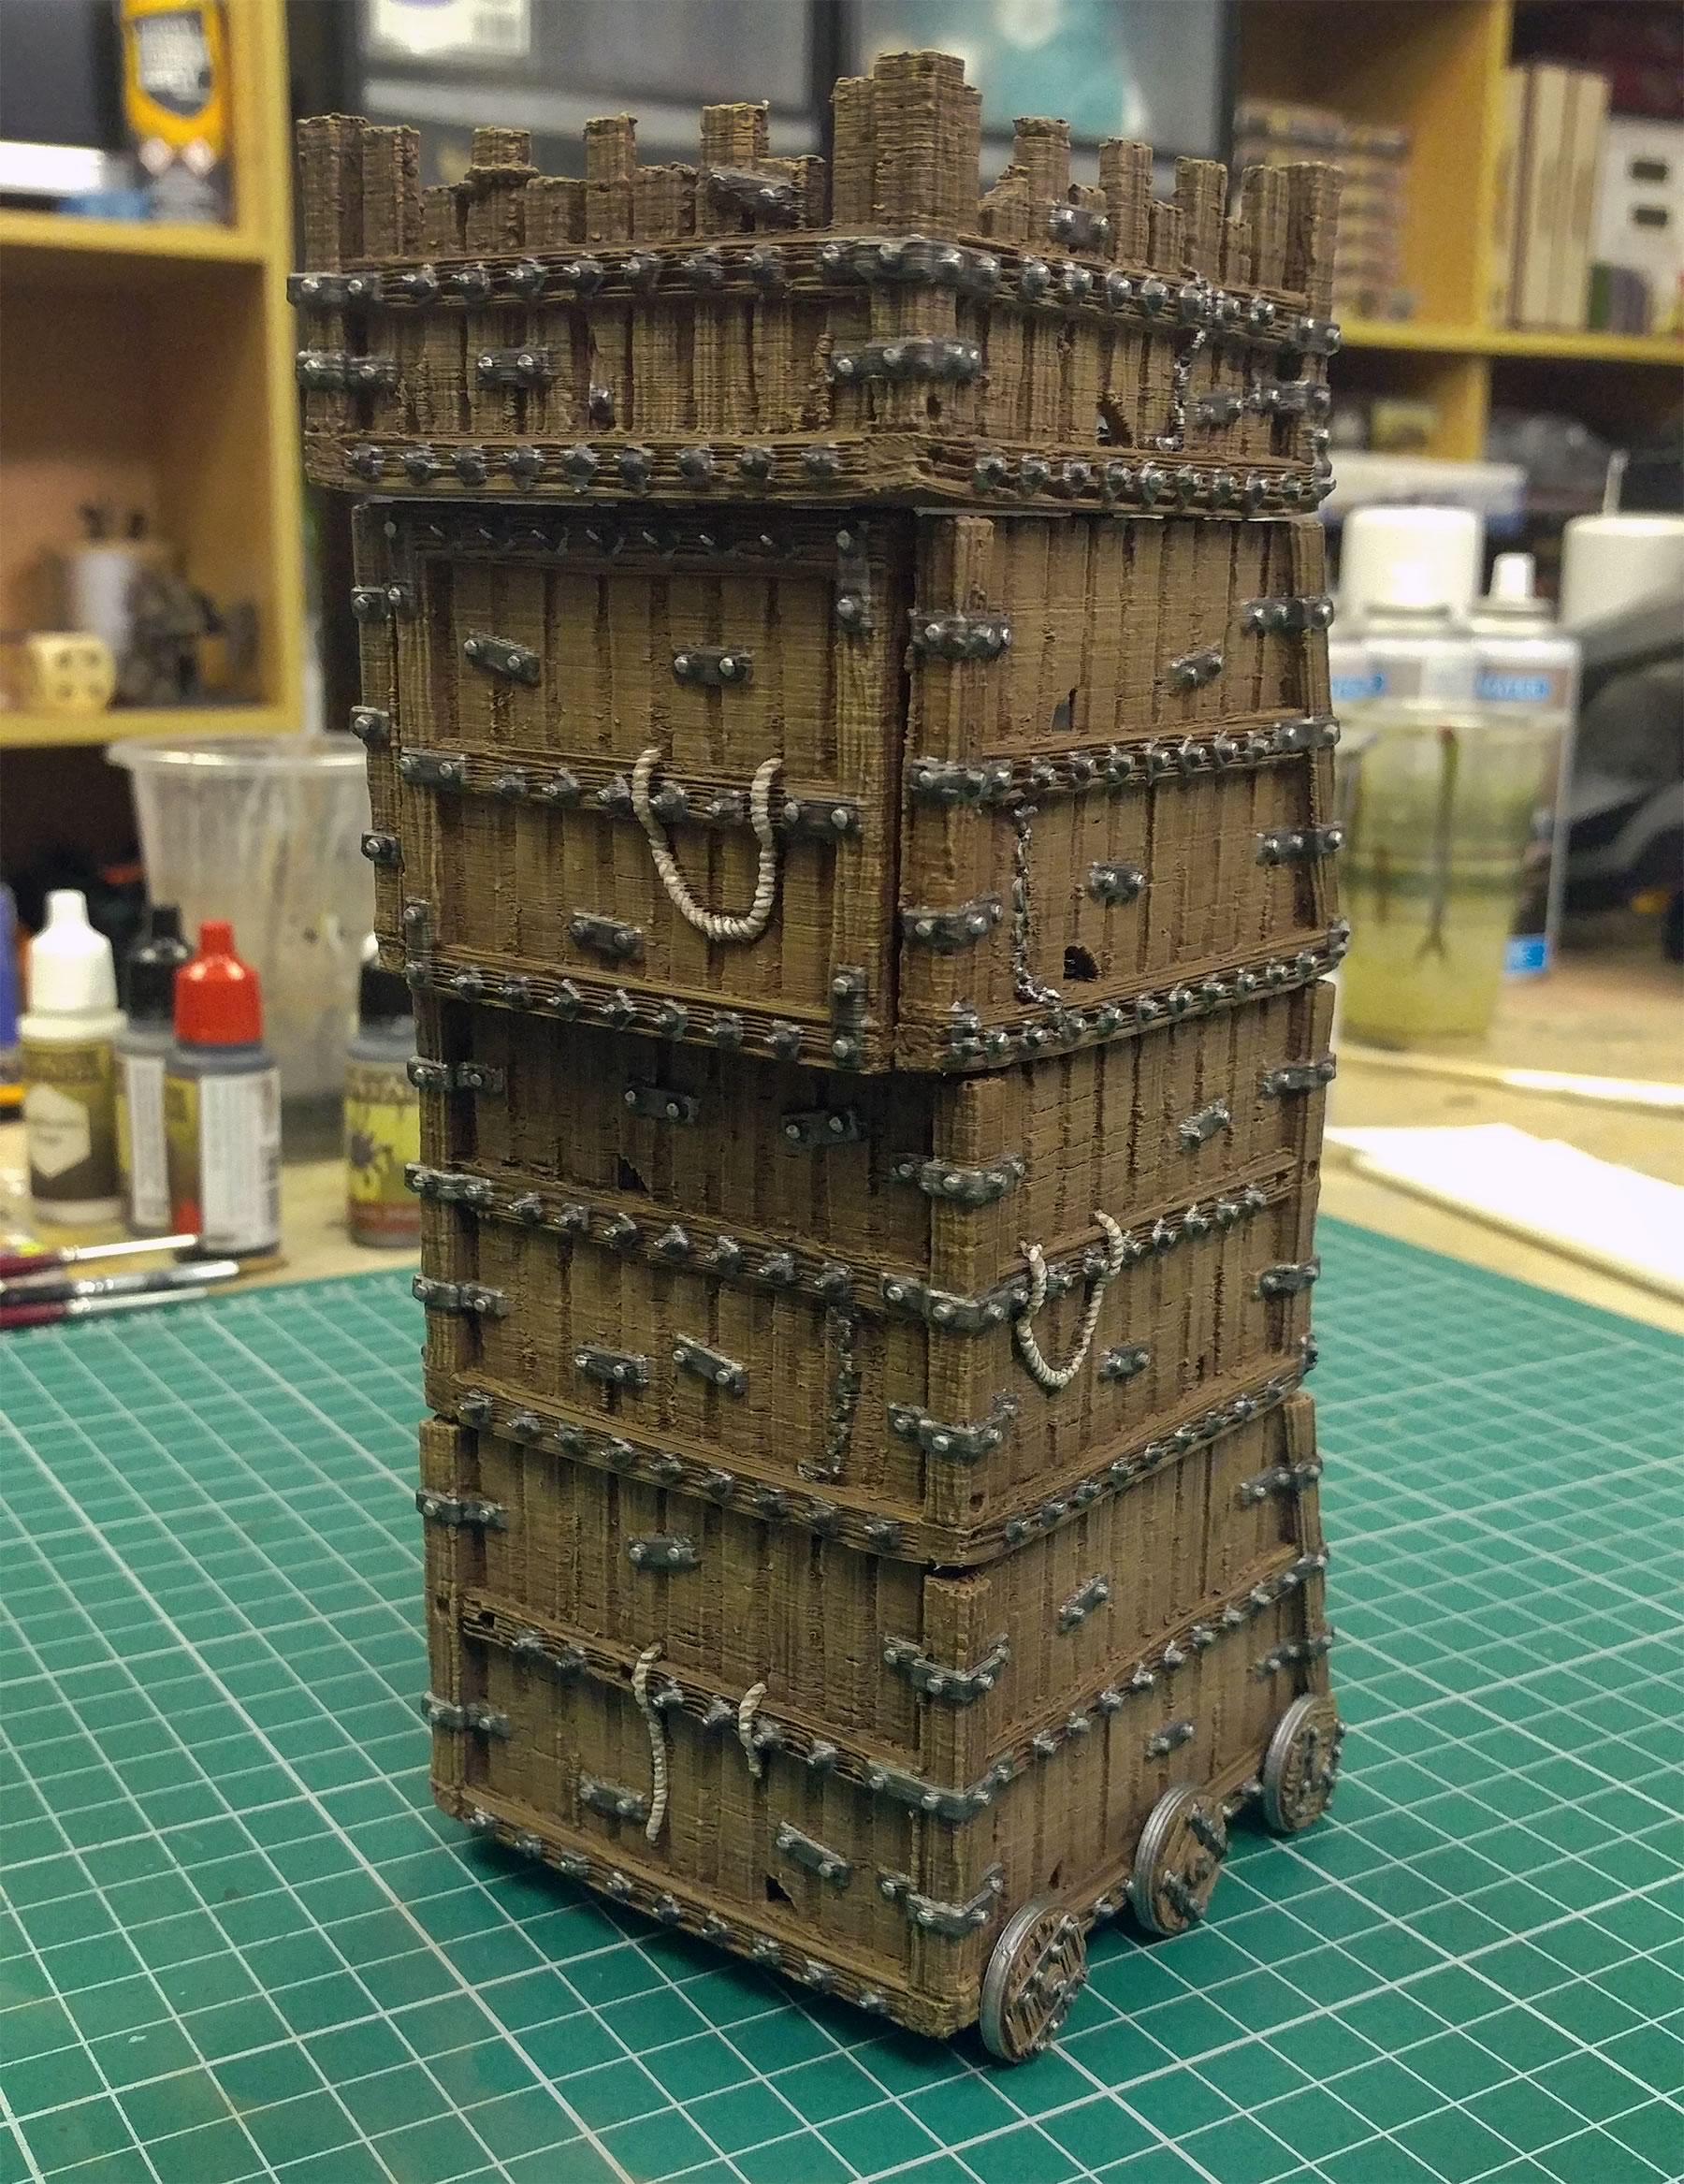
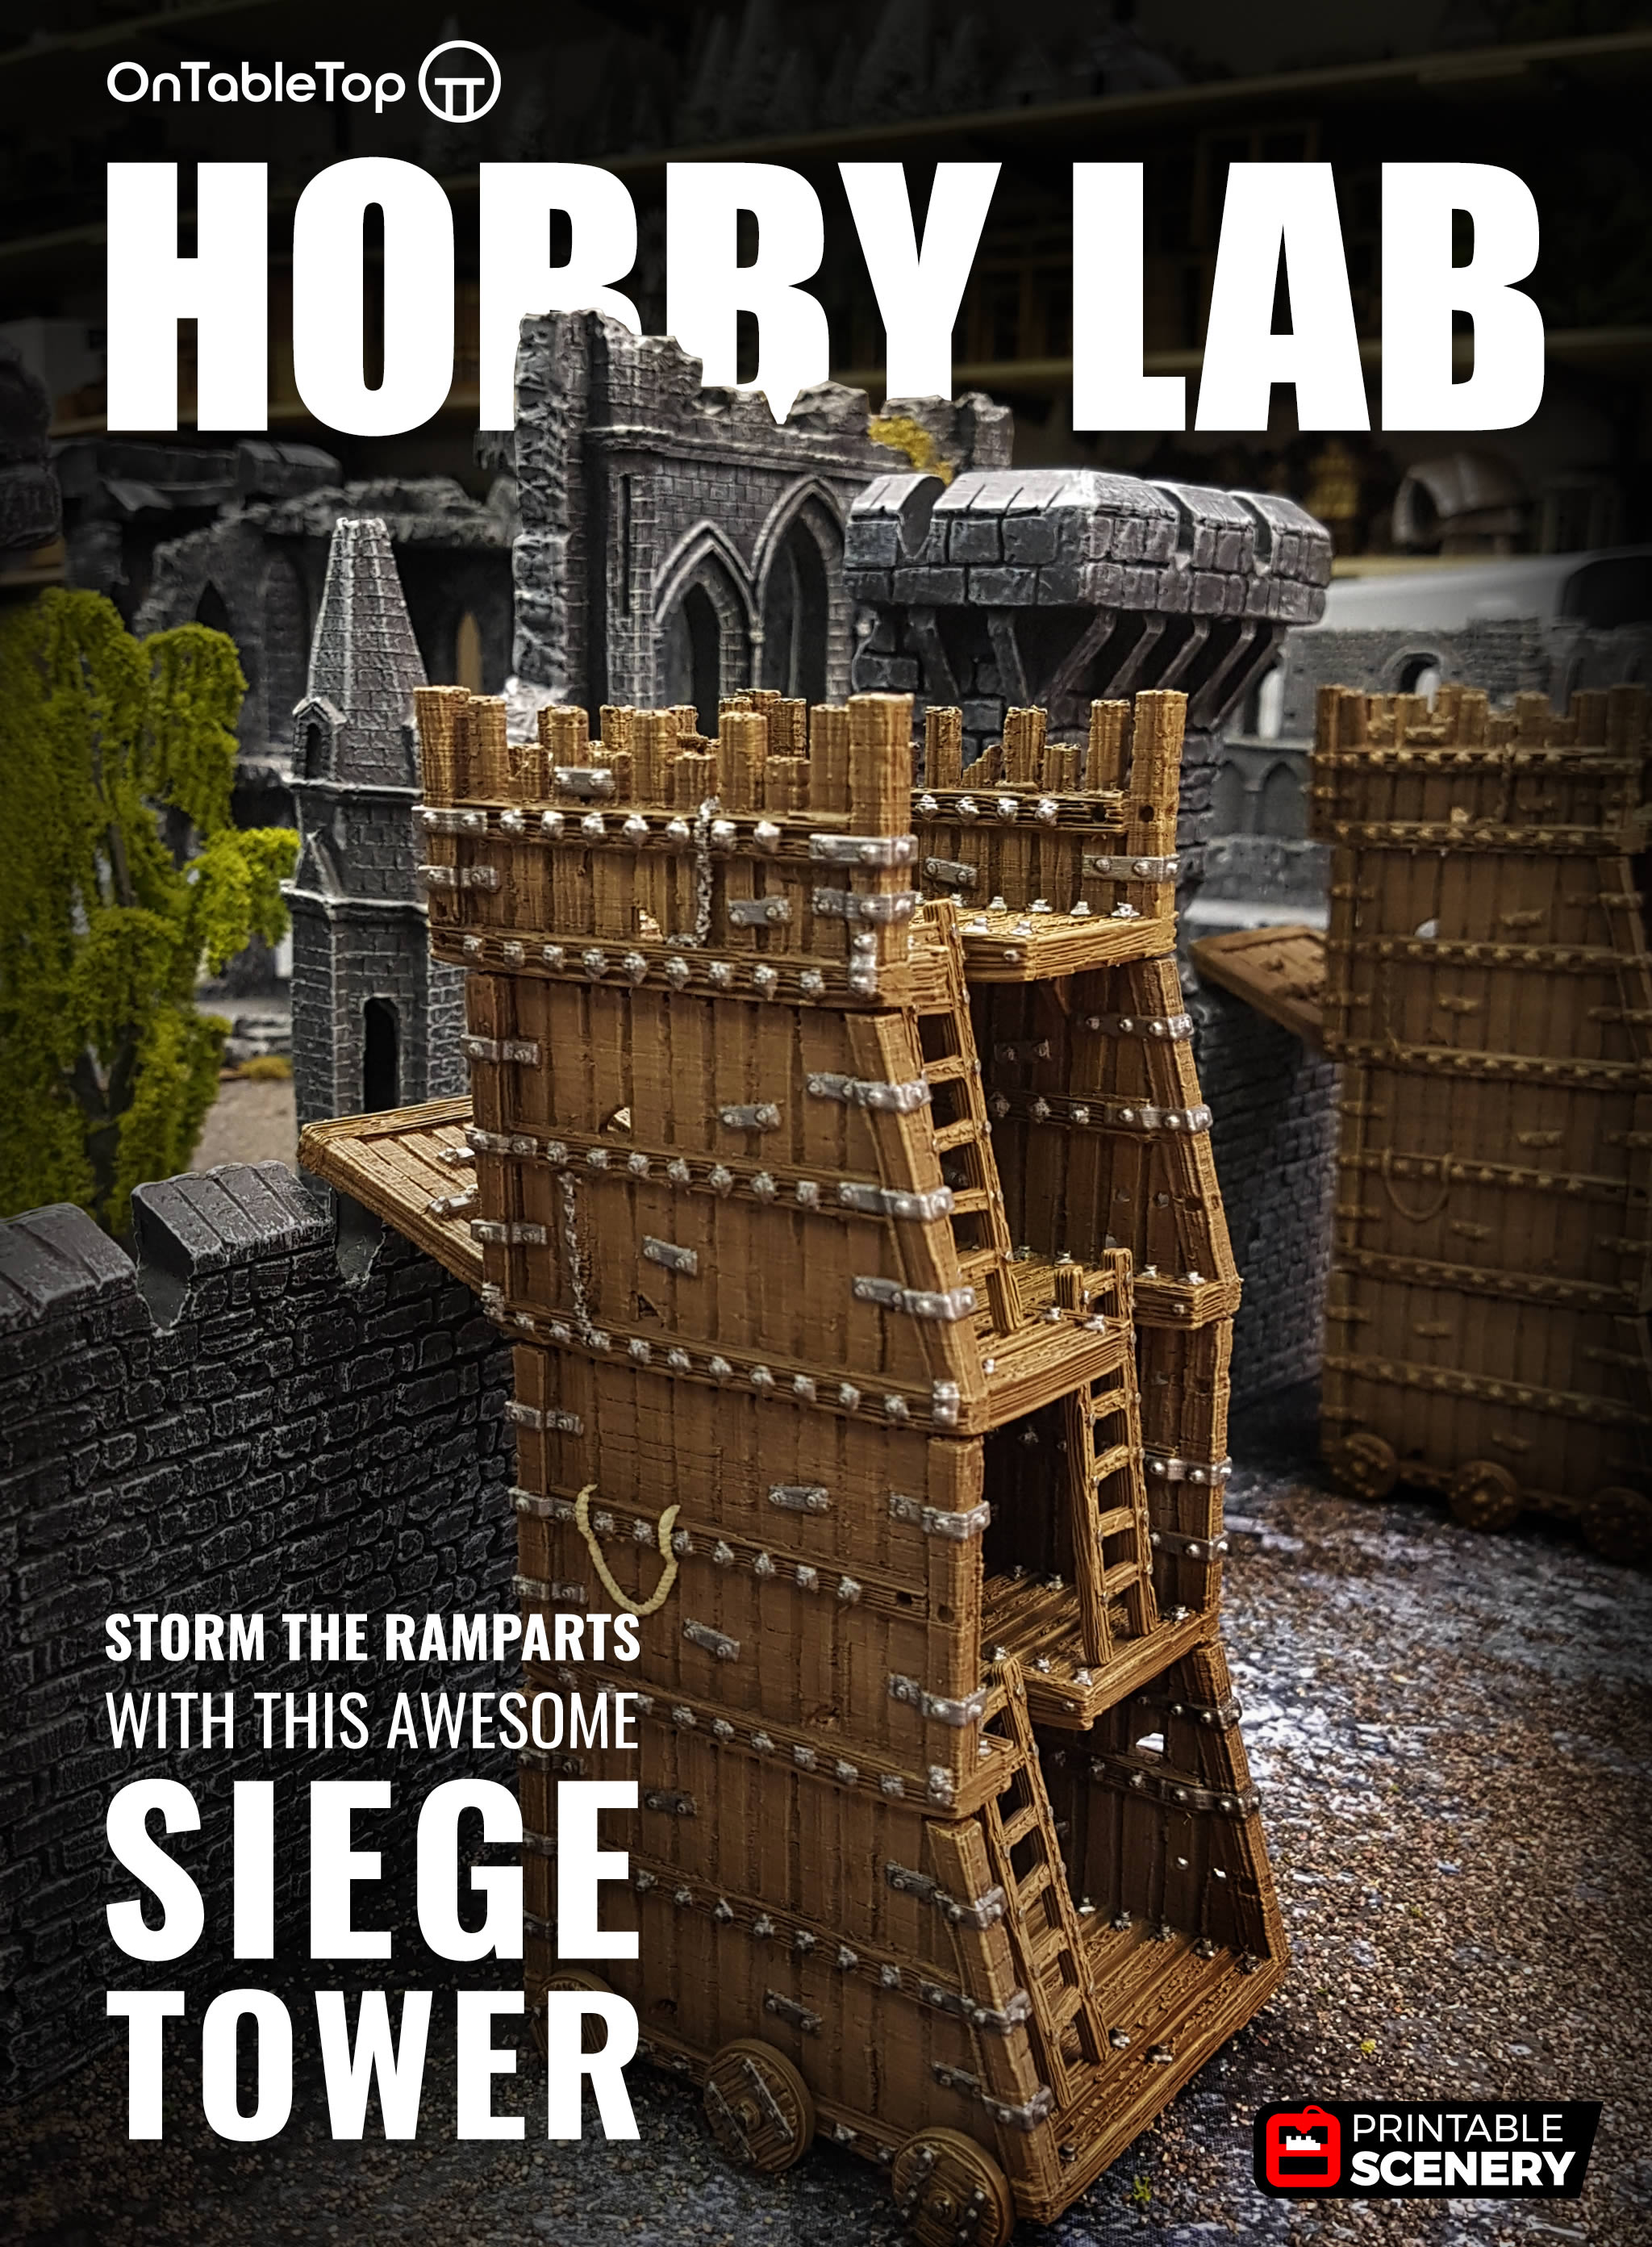
In this issue, we’ve printed our very own siege tower, a brutal looking battle engine of wood and metal. Just what you need when your enemy refuses to stop hiding behind their castle walls.
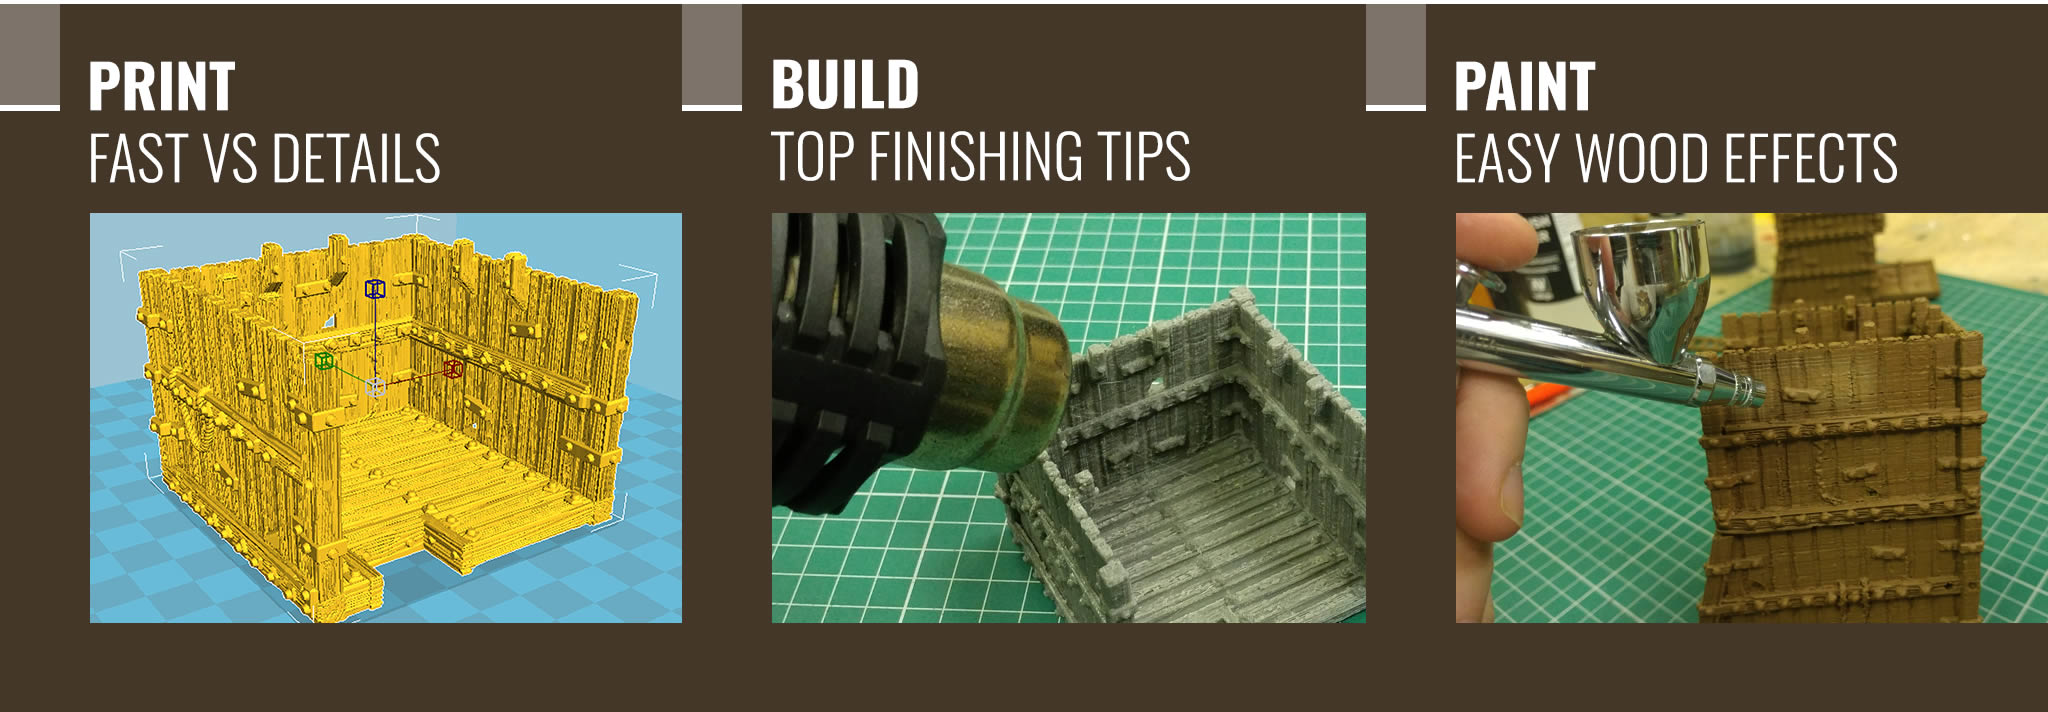
We’ll be going through the different stages needed to take this thing from printer to battlefield, covering tips on cleaning the model, applying some paint, and making it look pretty with shading and details.
Grab your sword and airbrush and let’s get ready to storm the castle walls.
The Finished Print
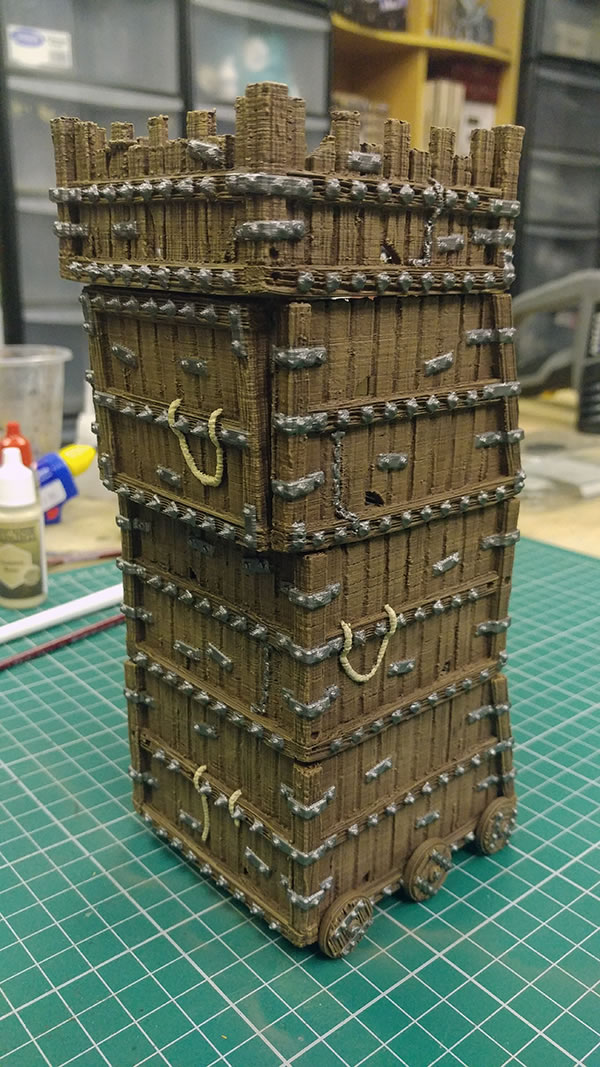
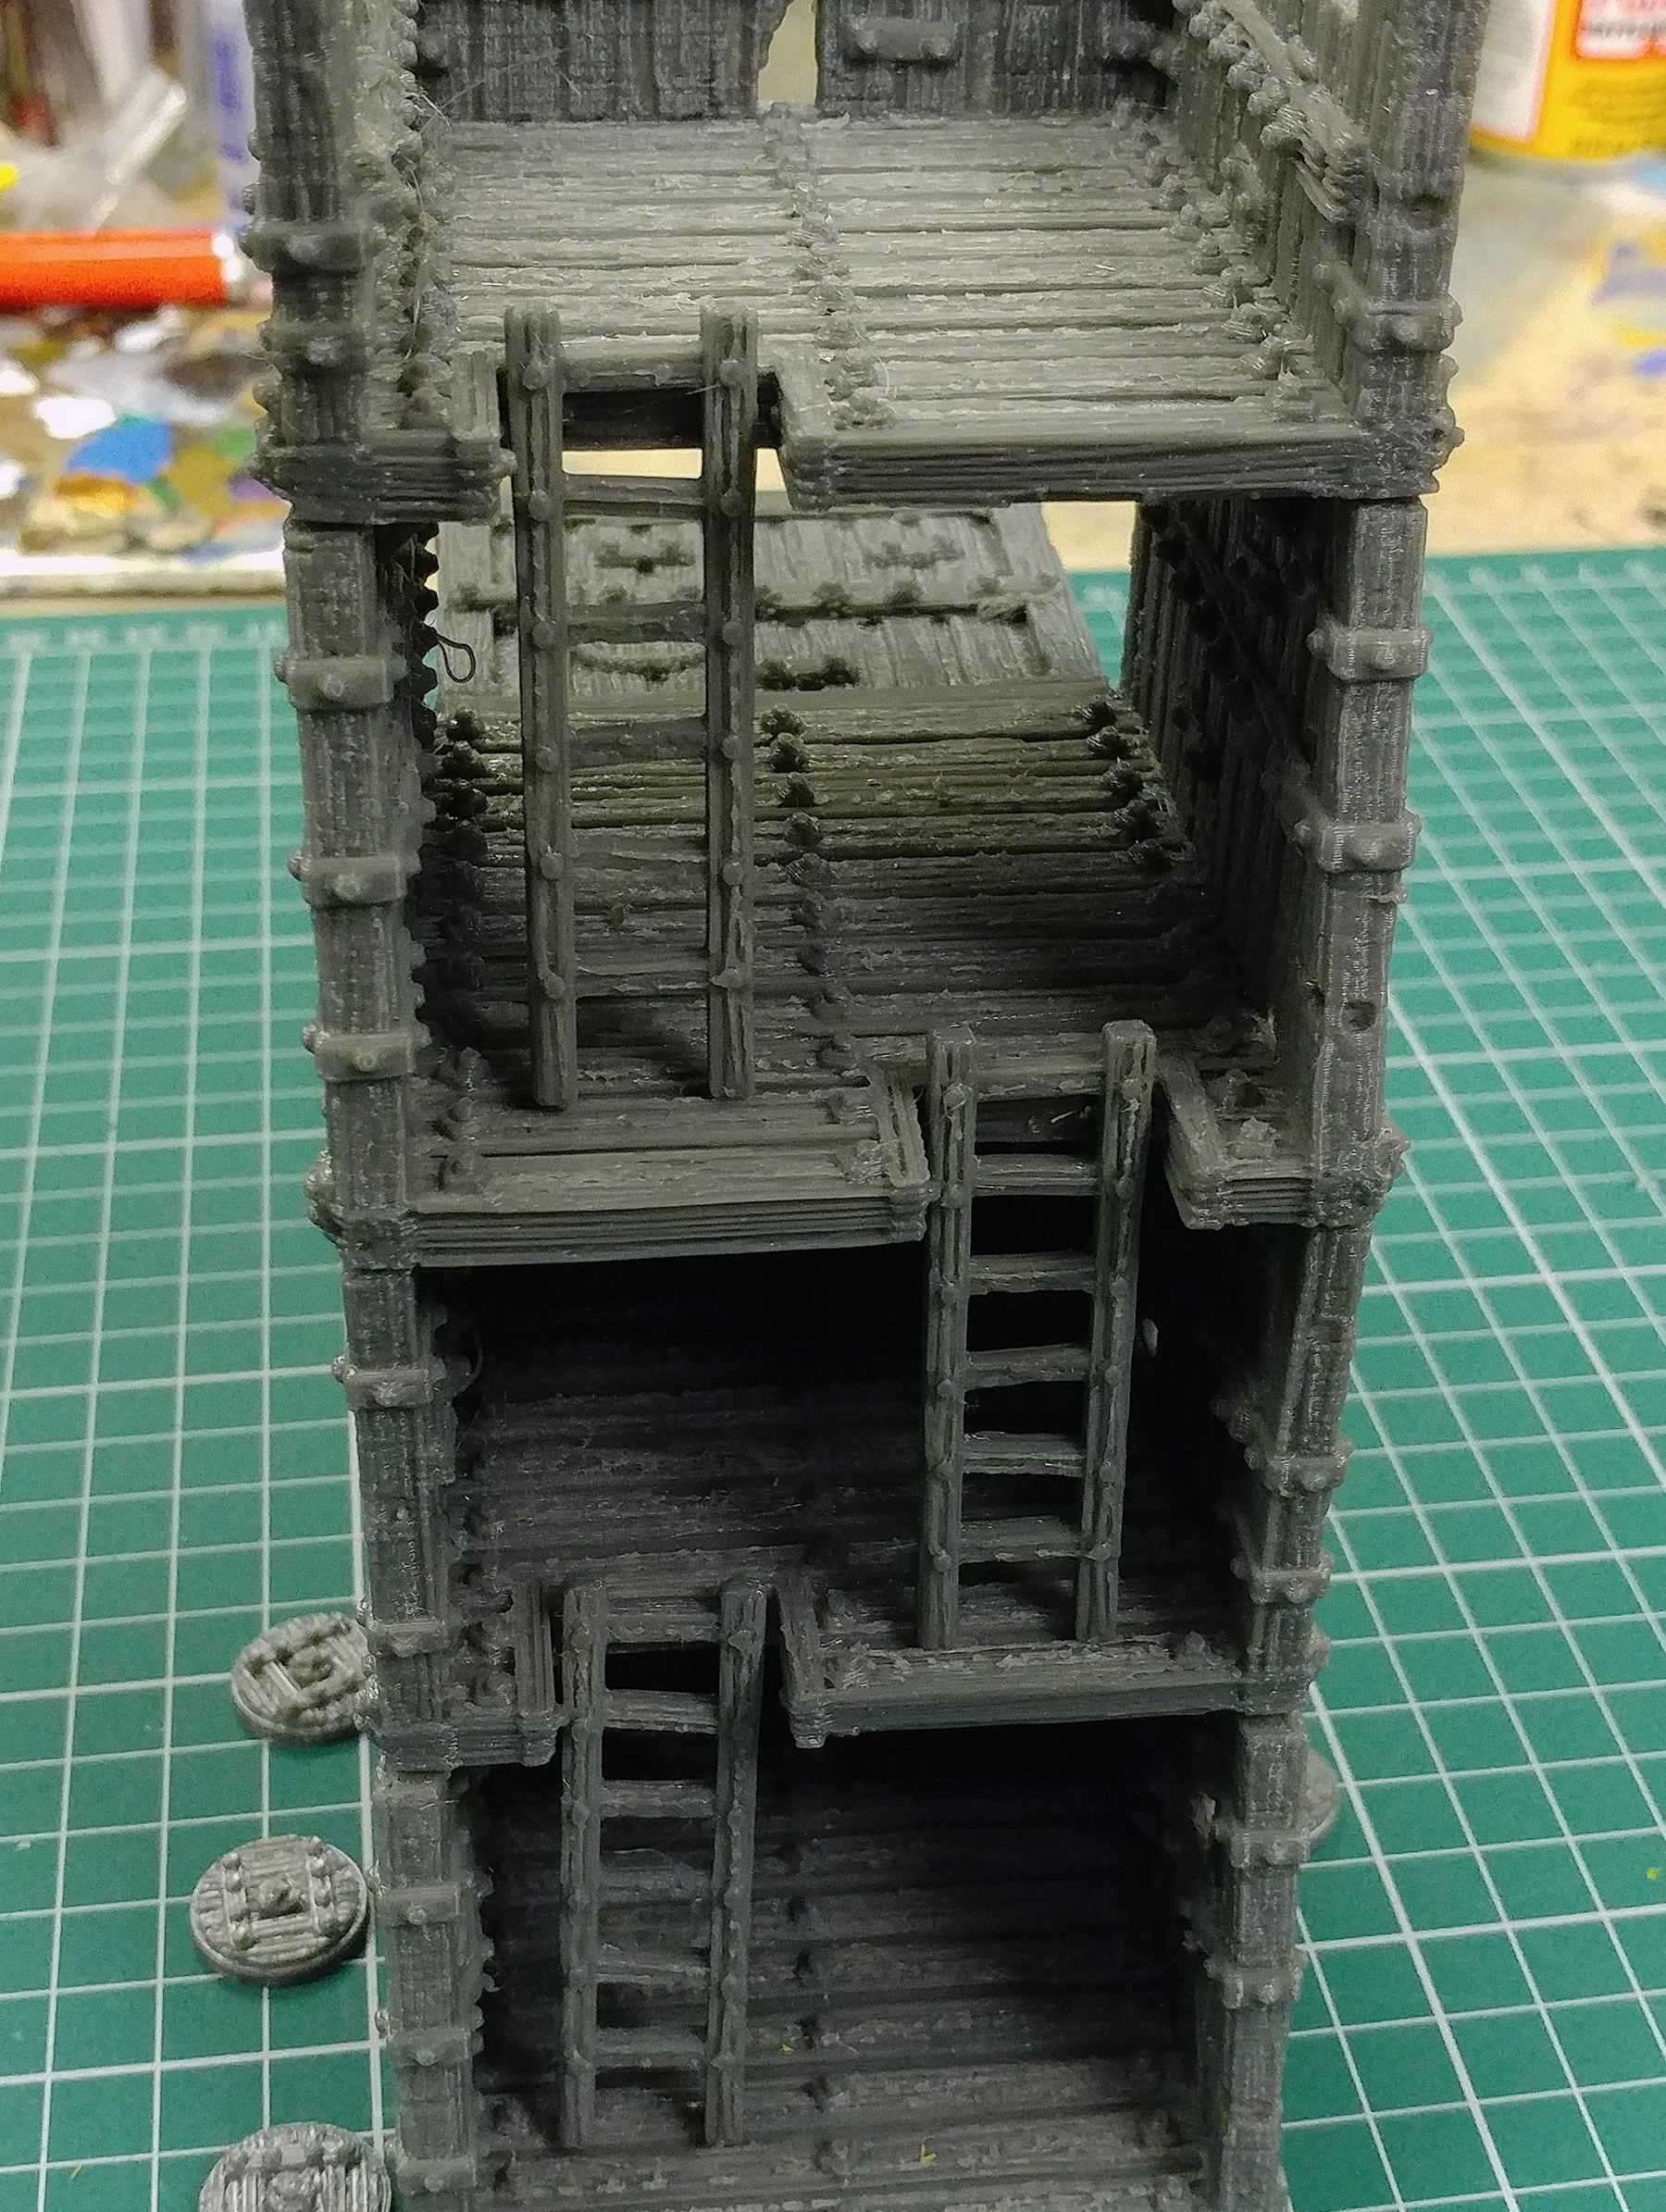
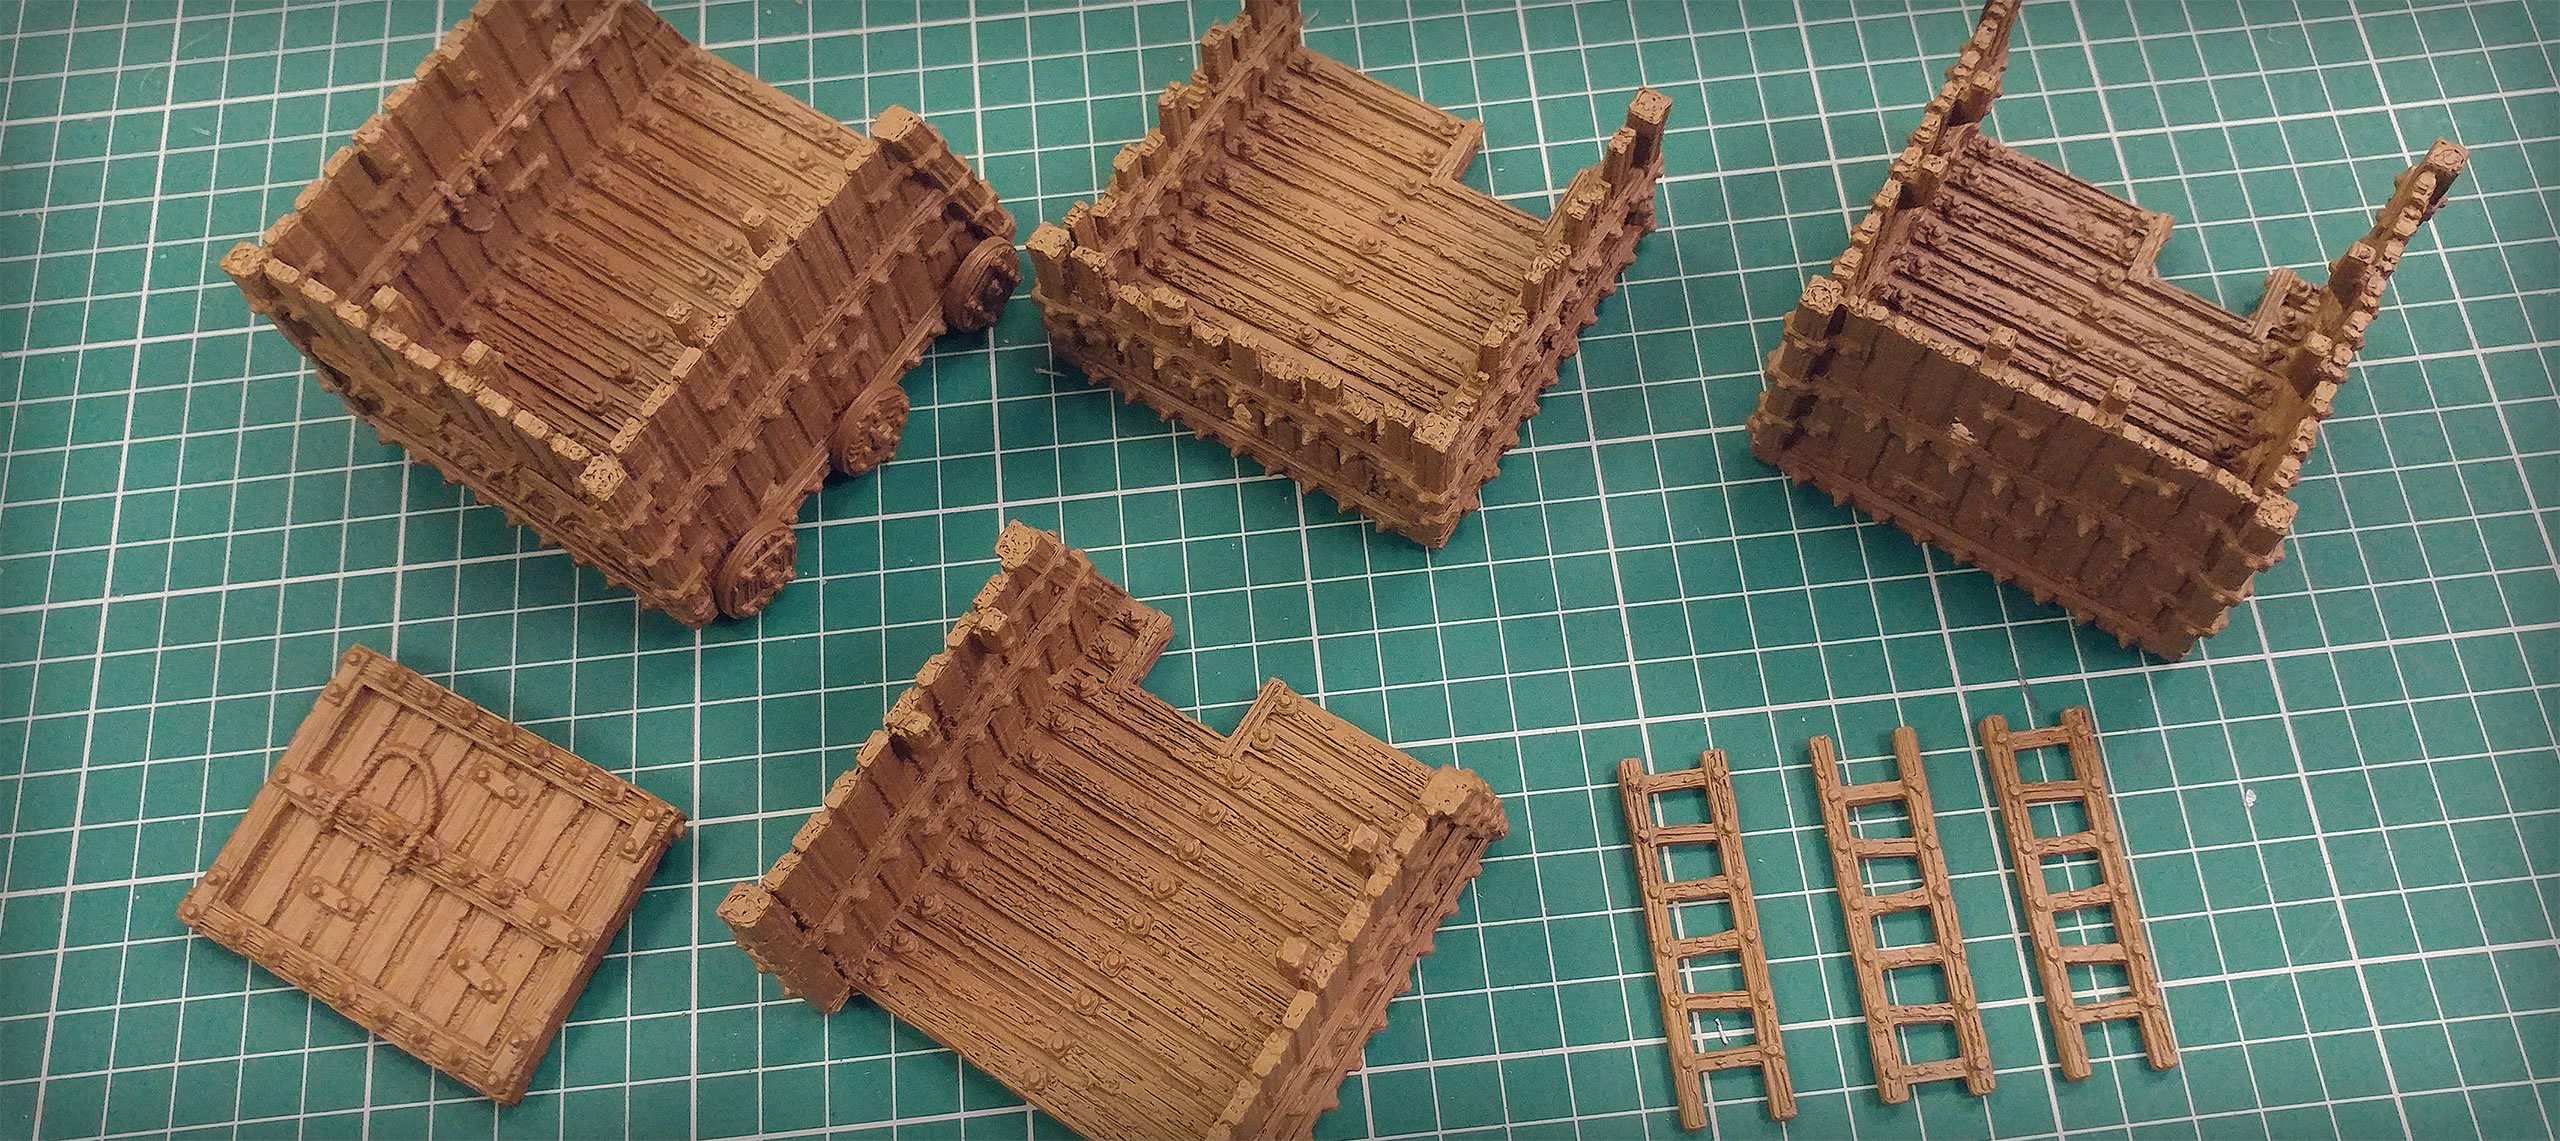
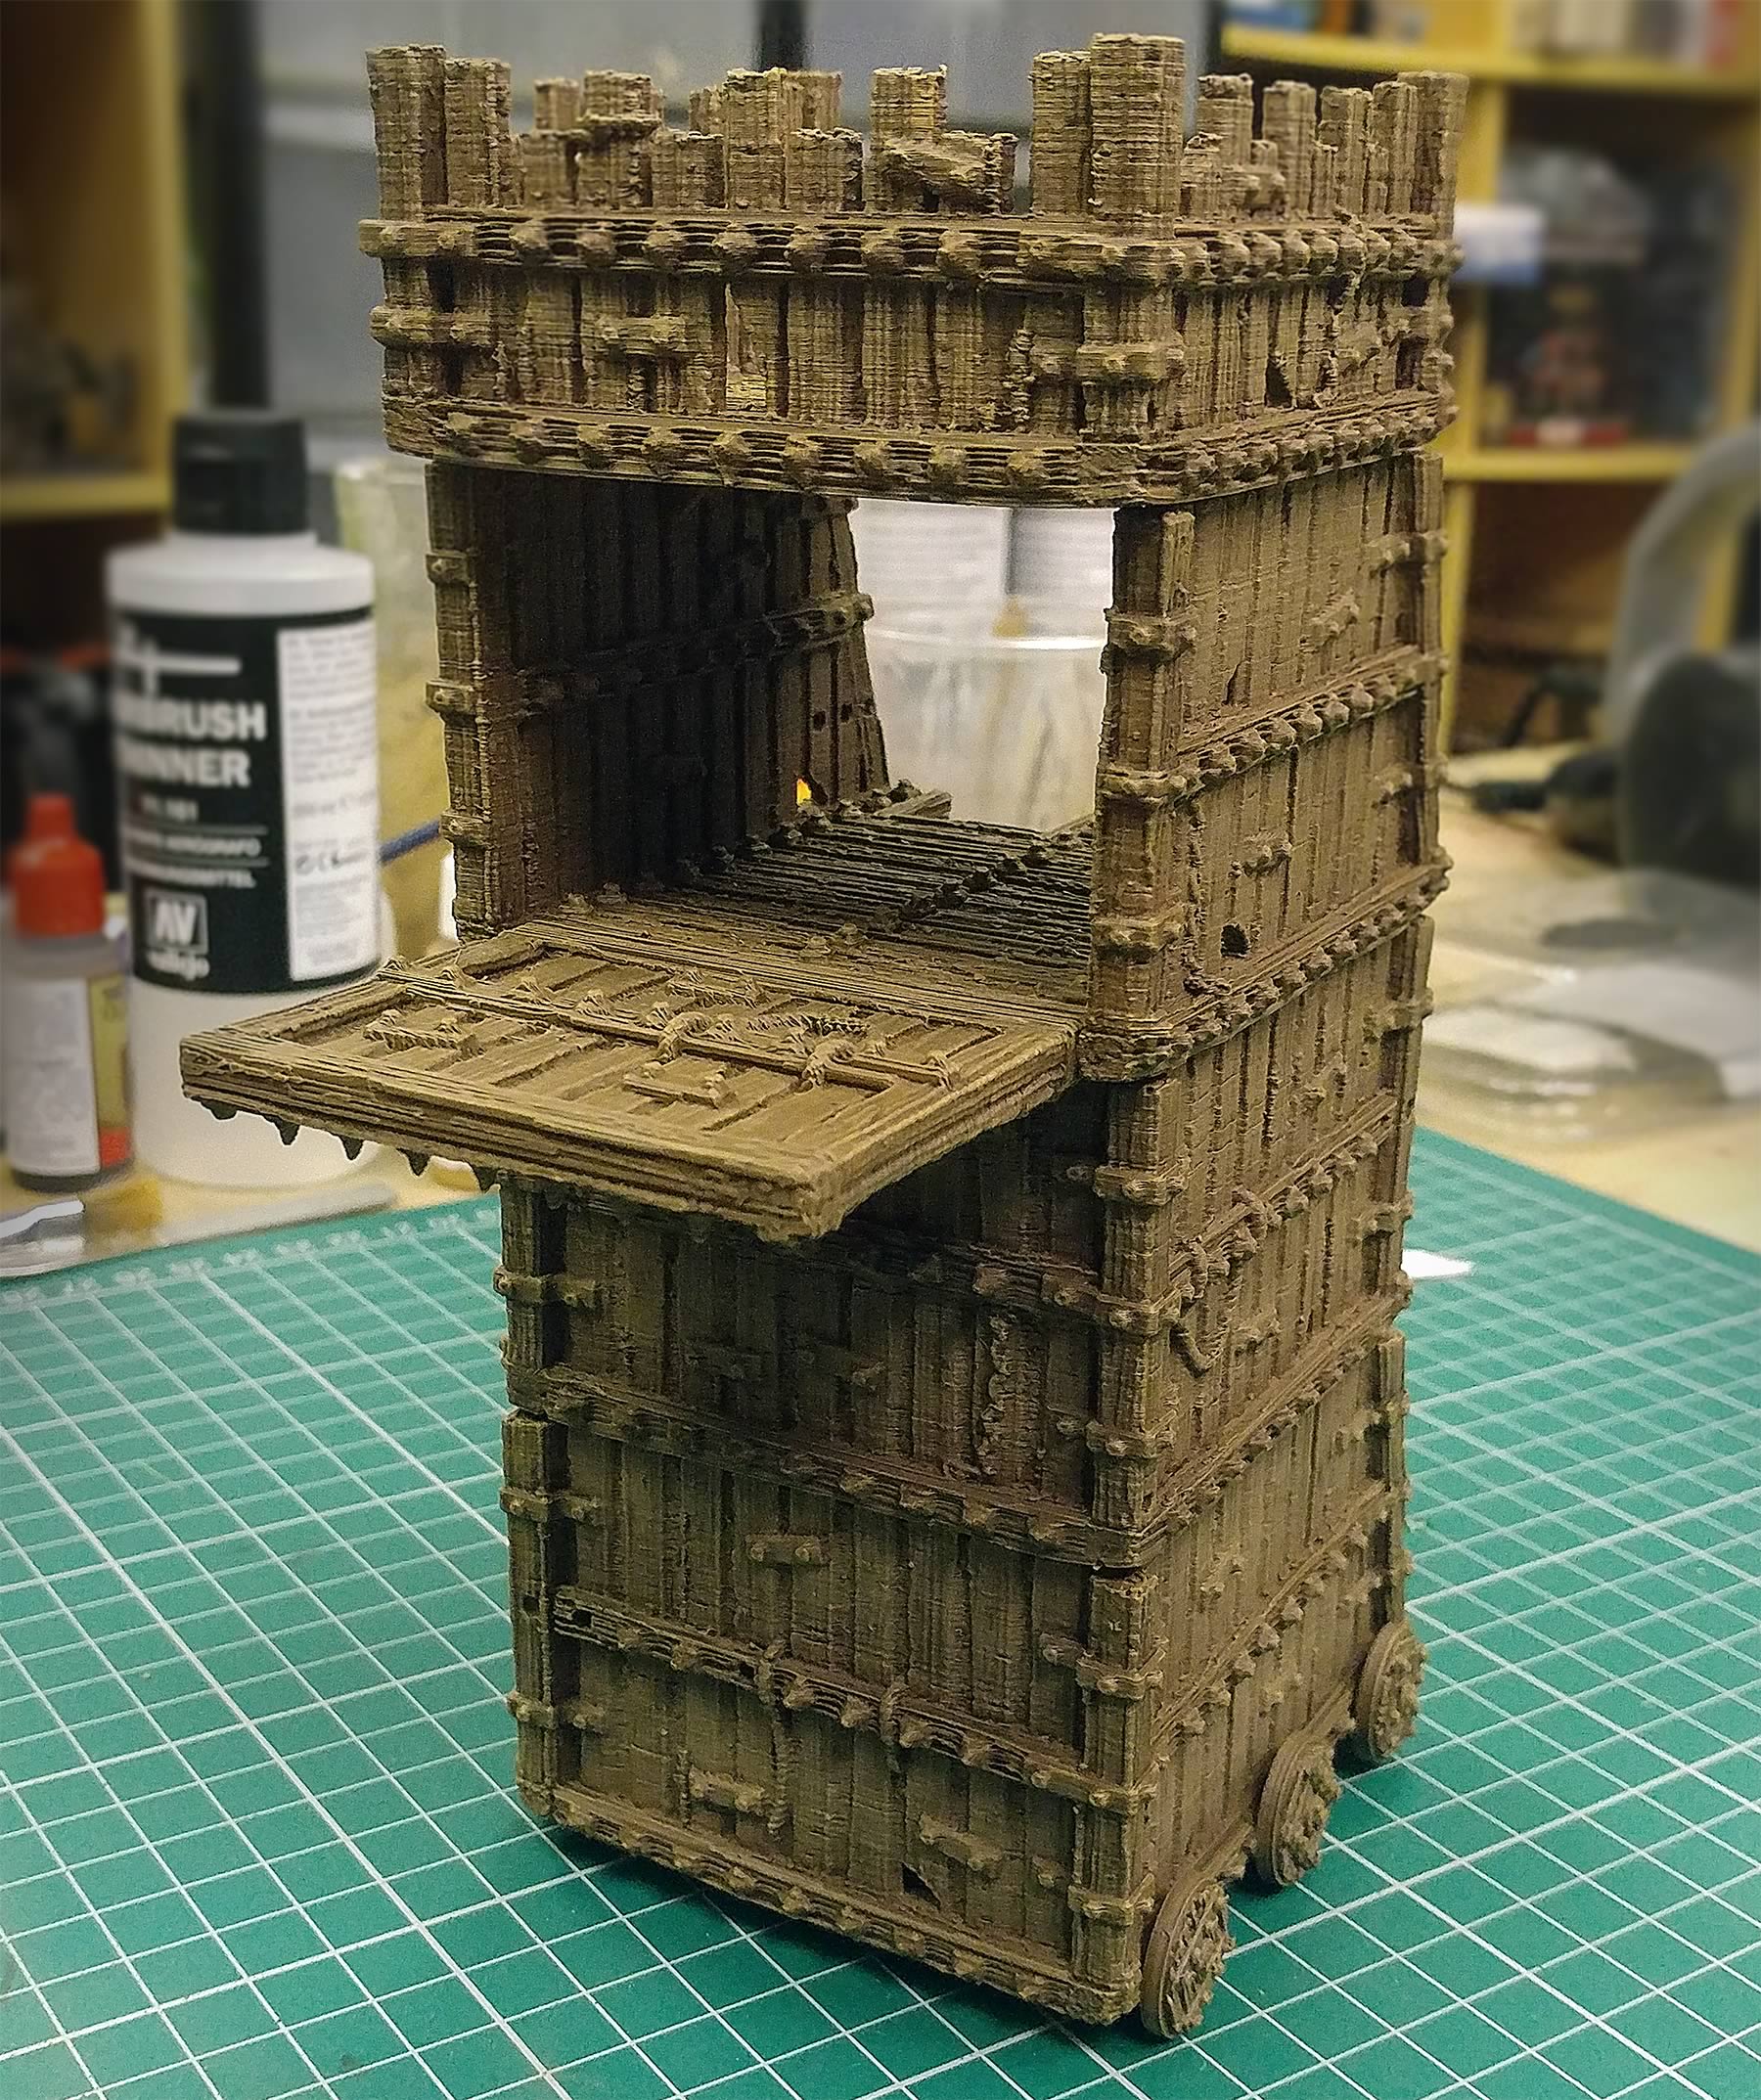
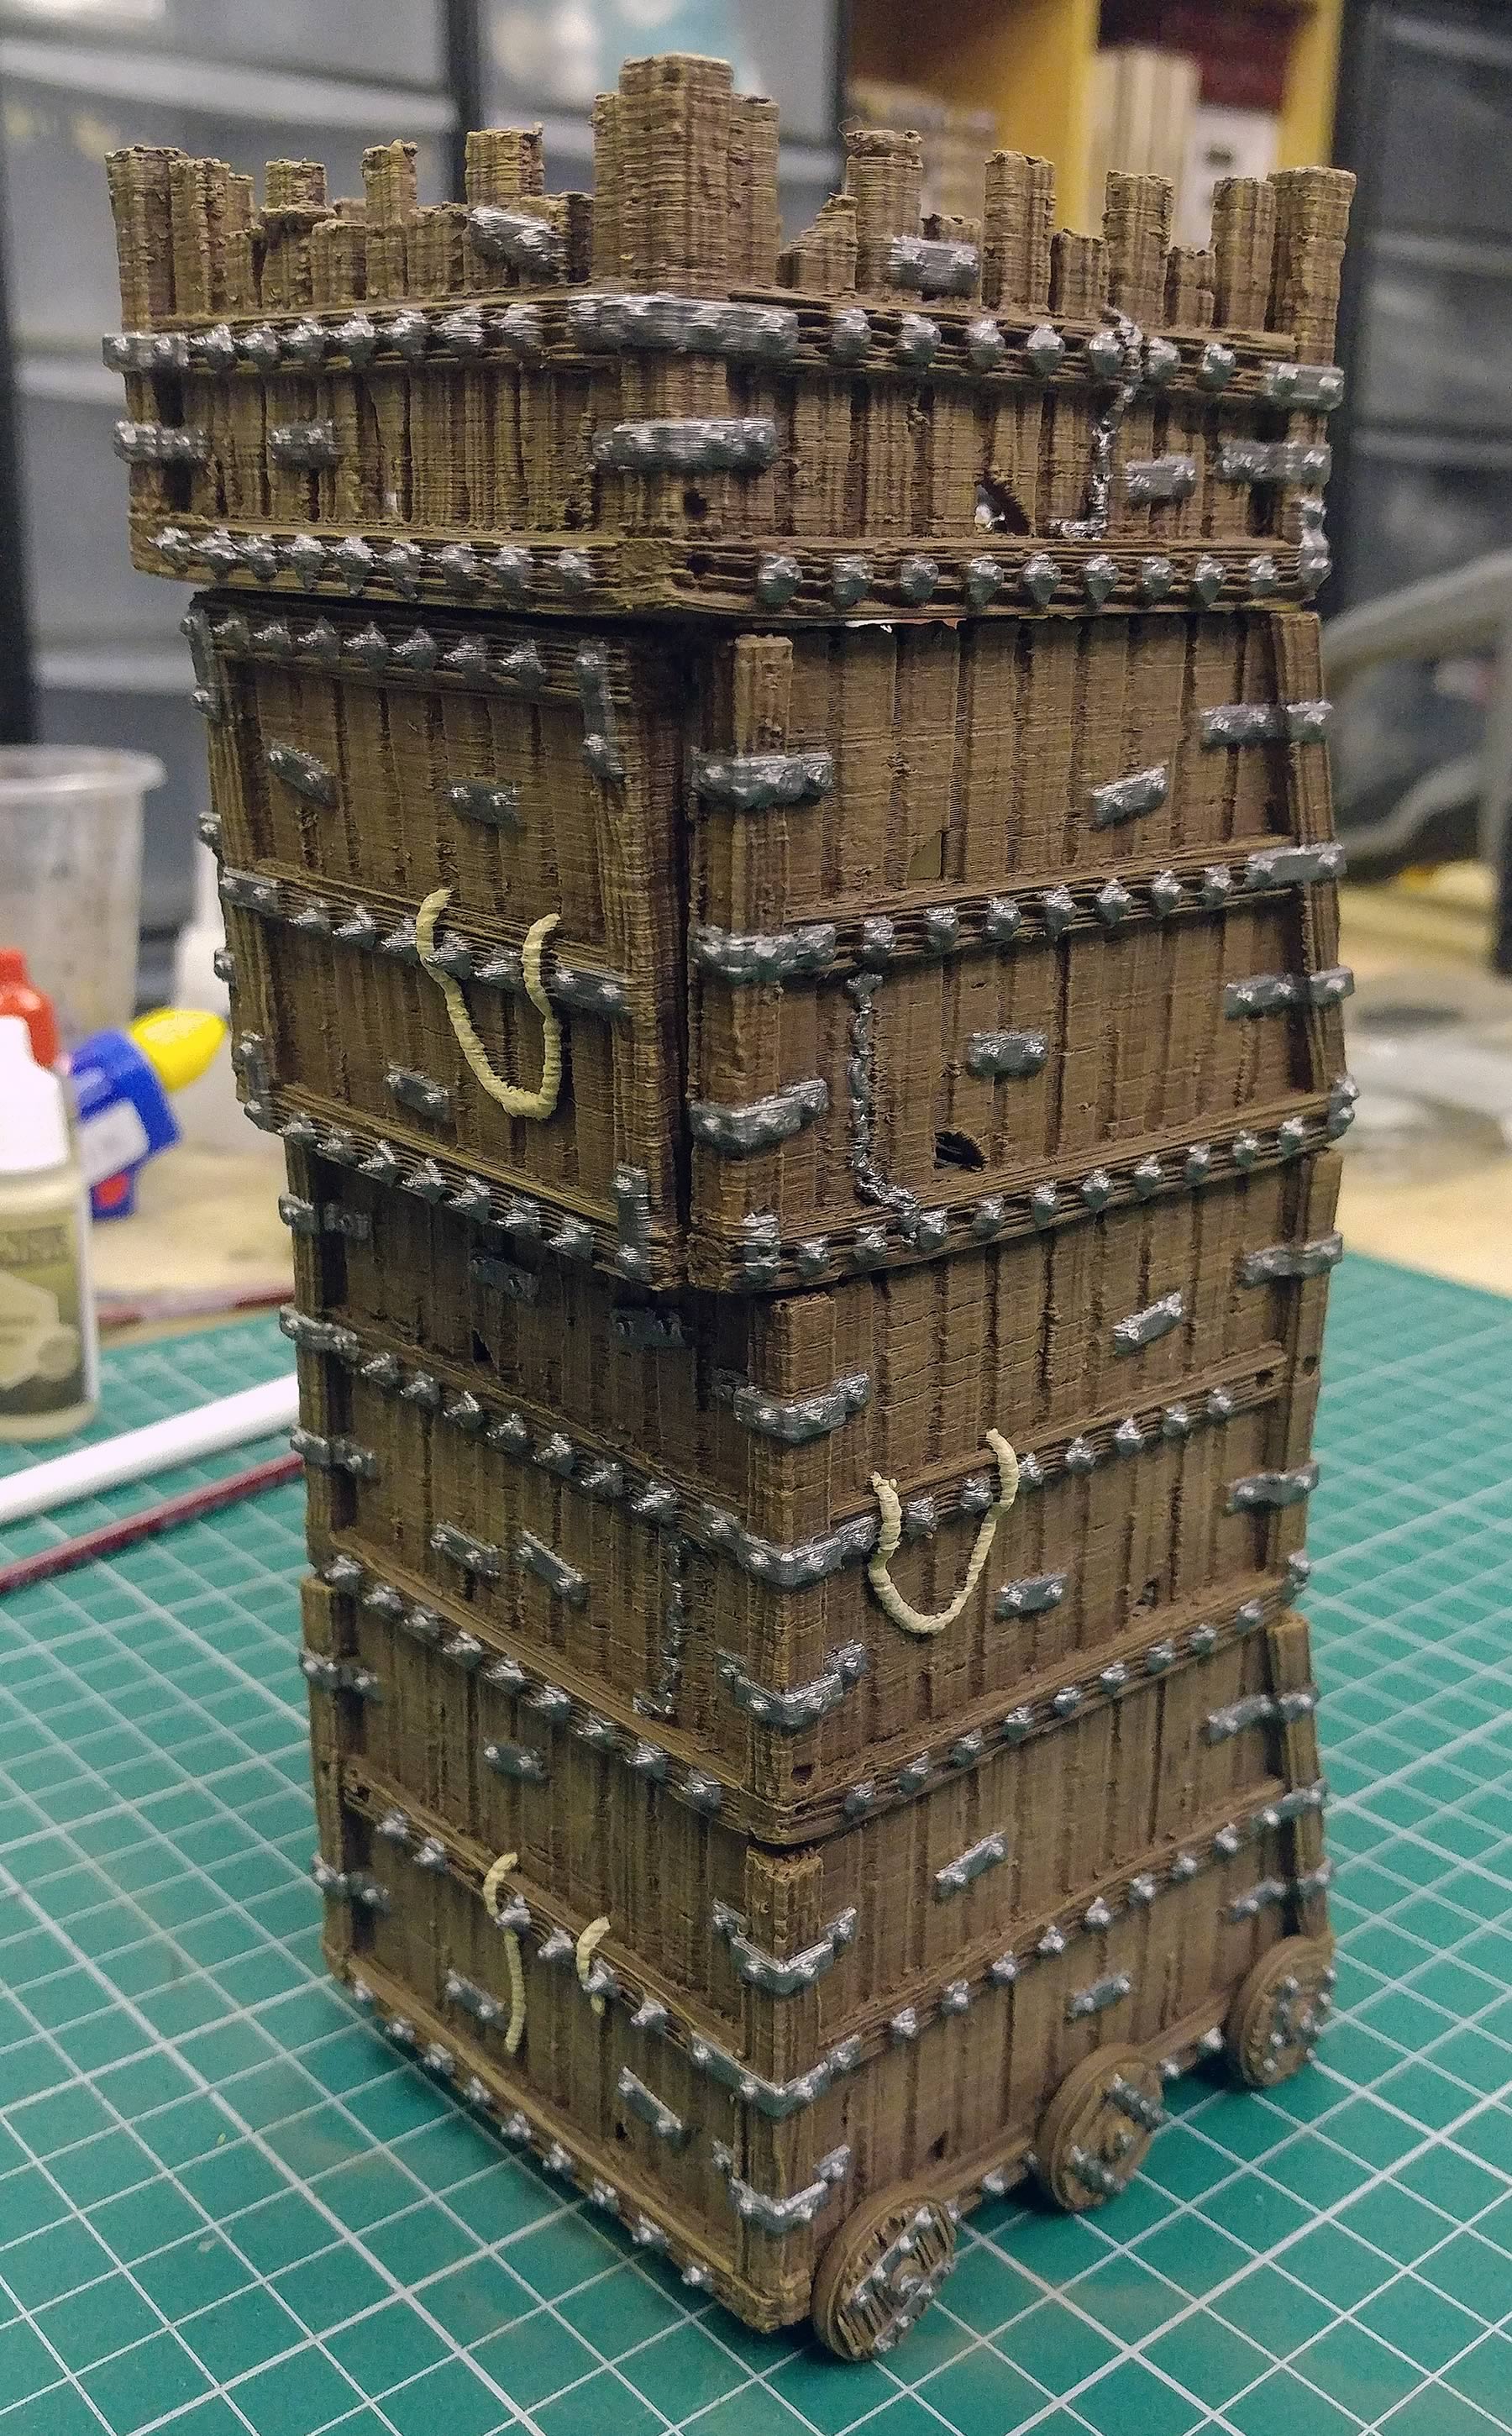
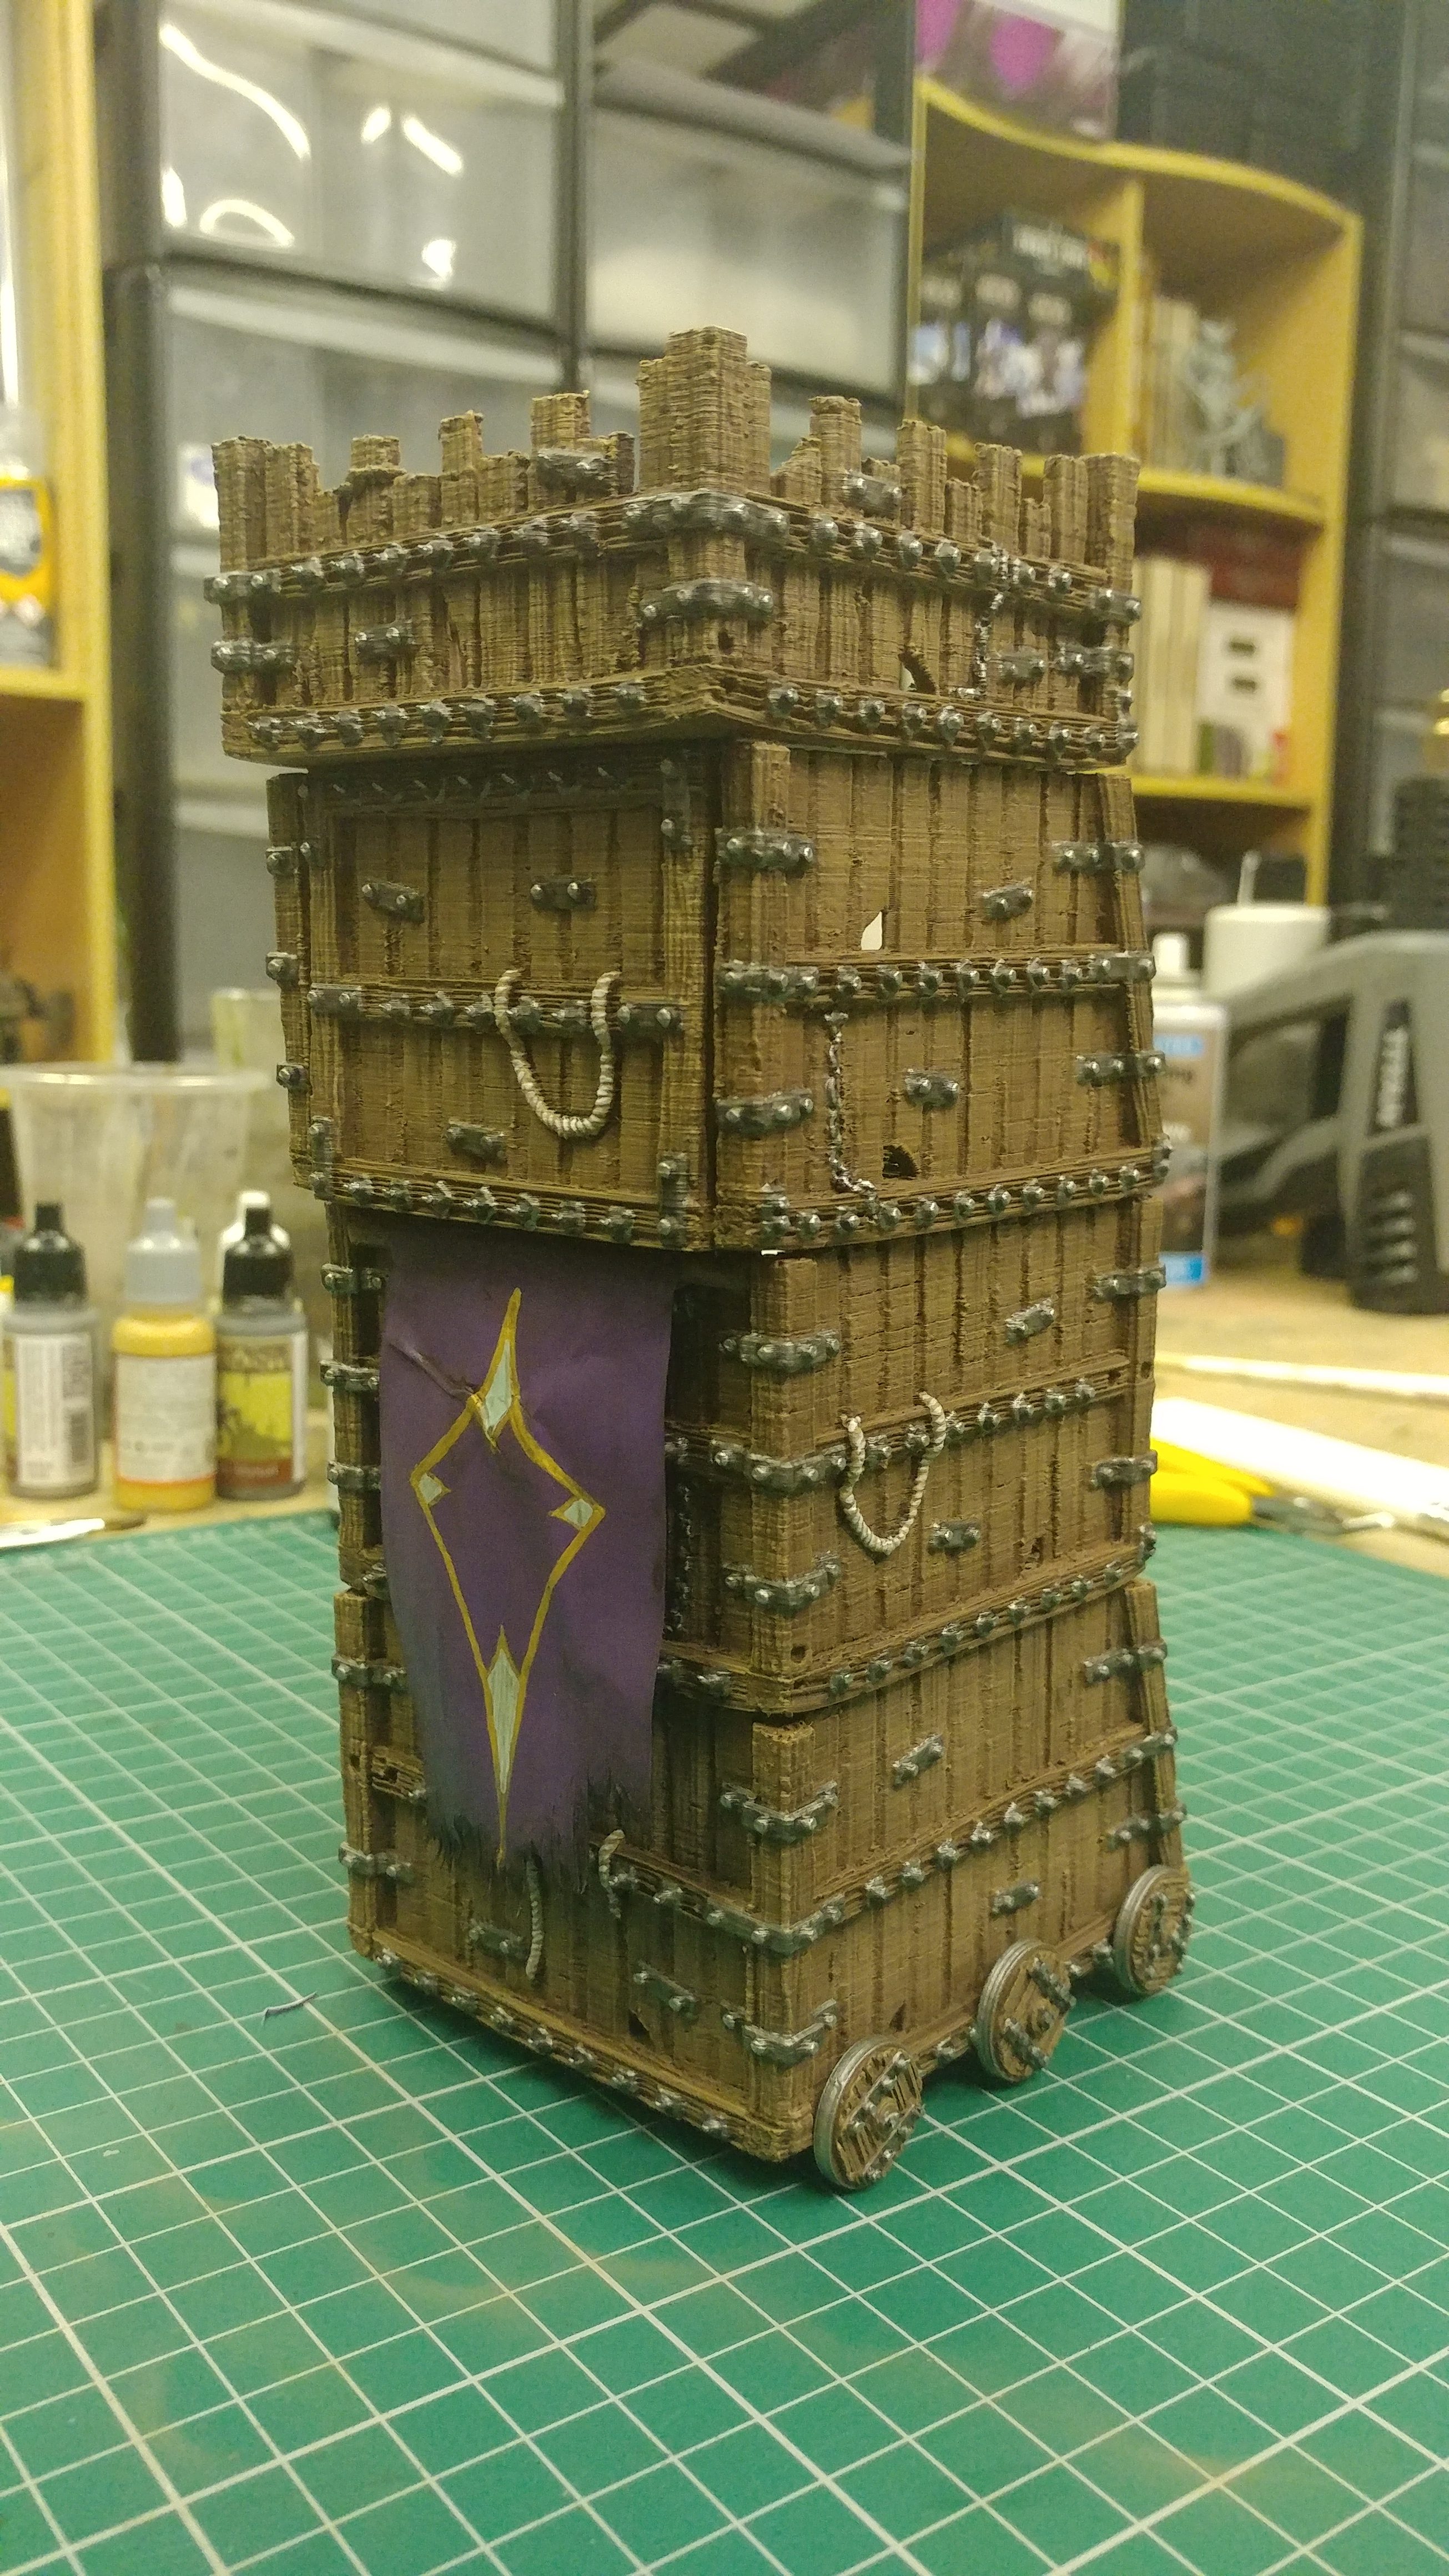
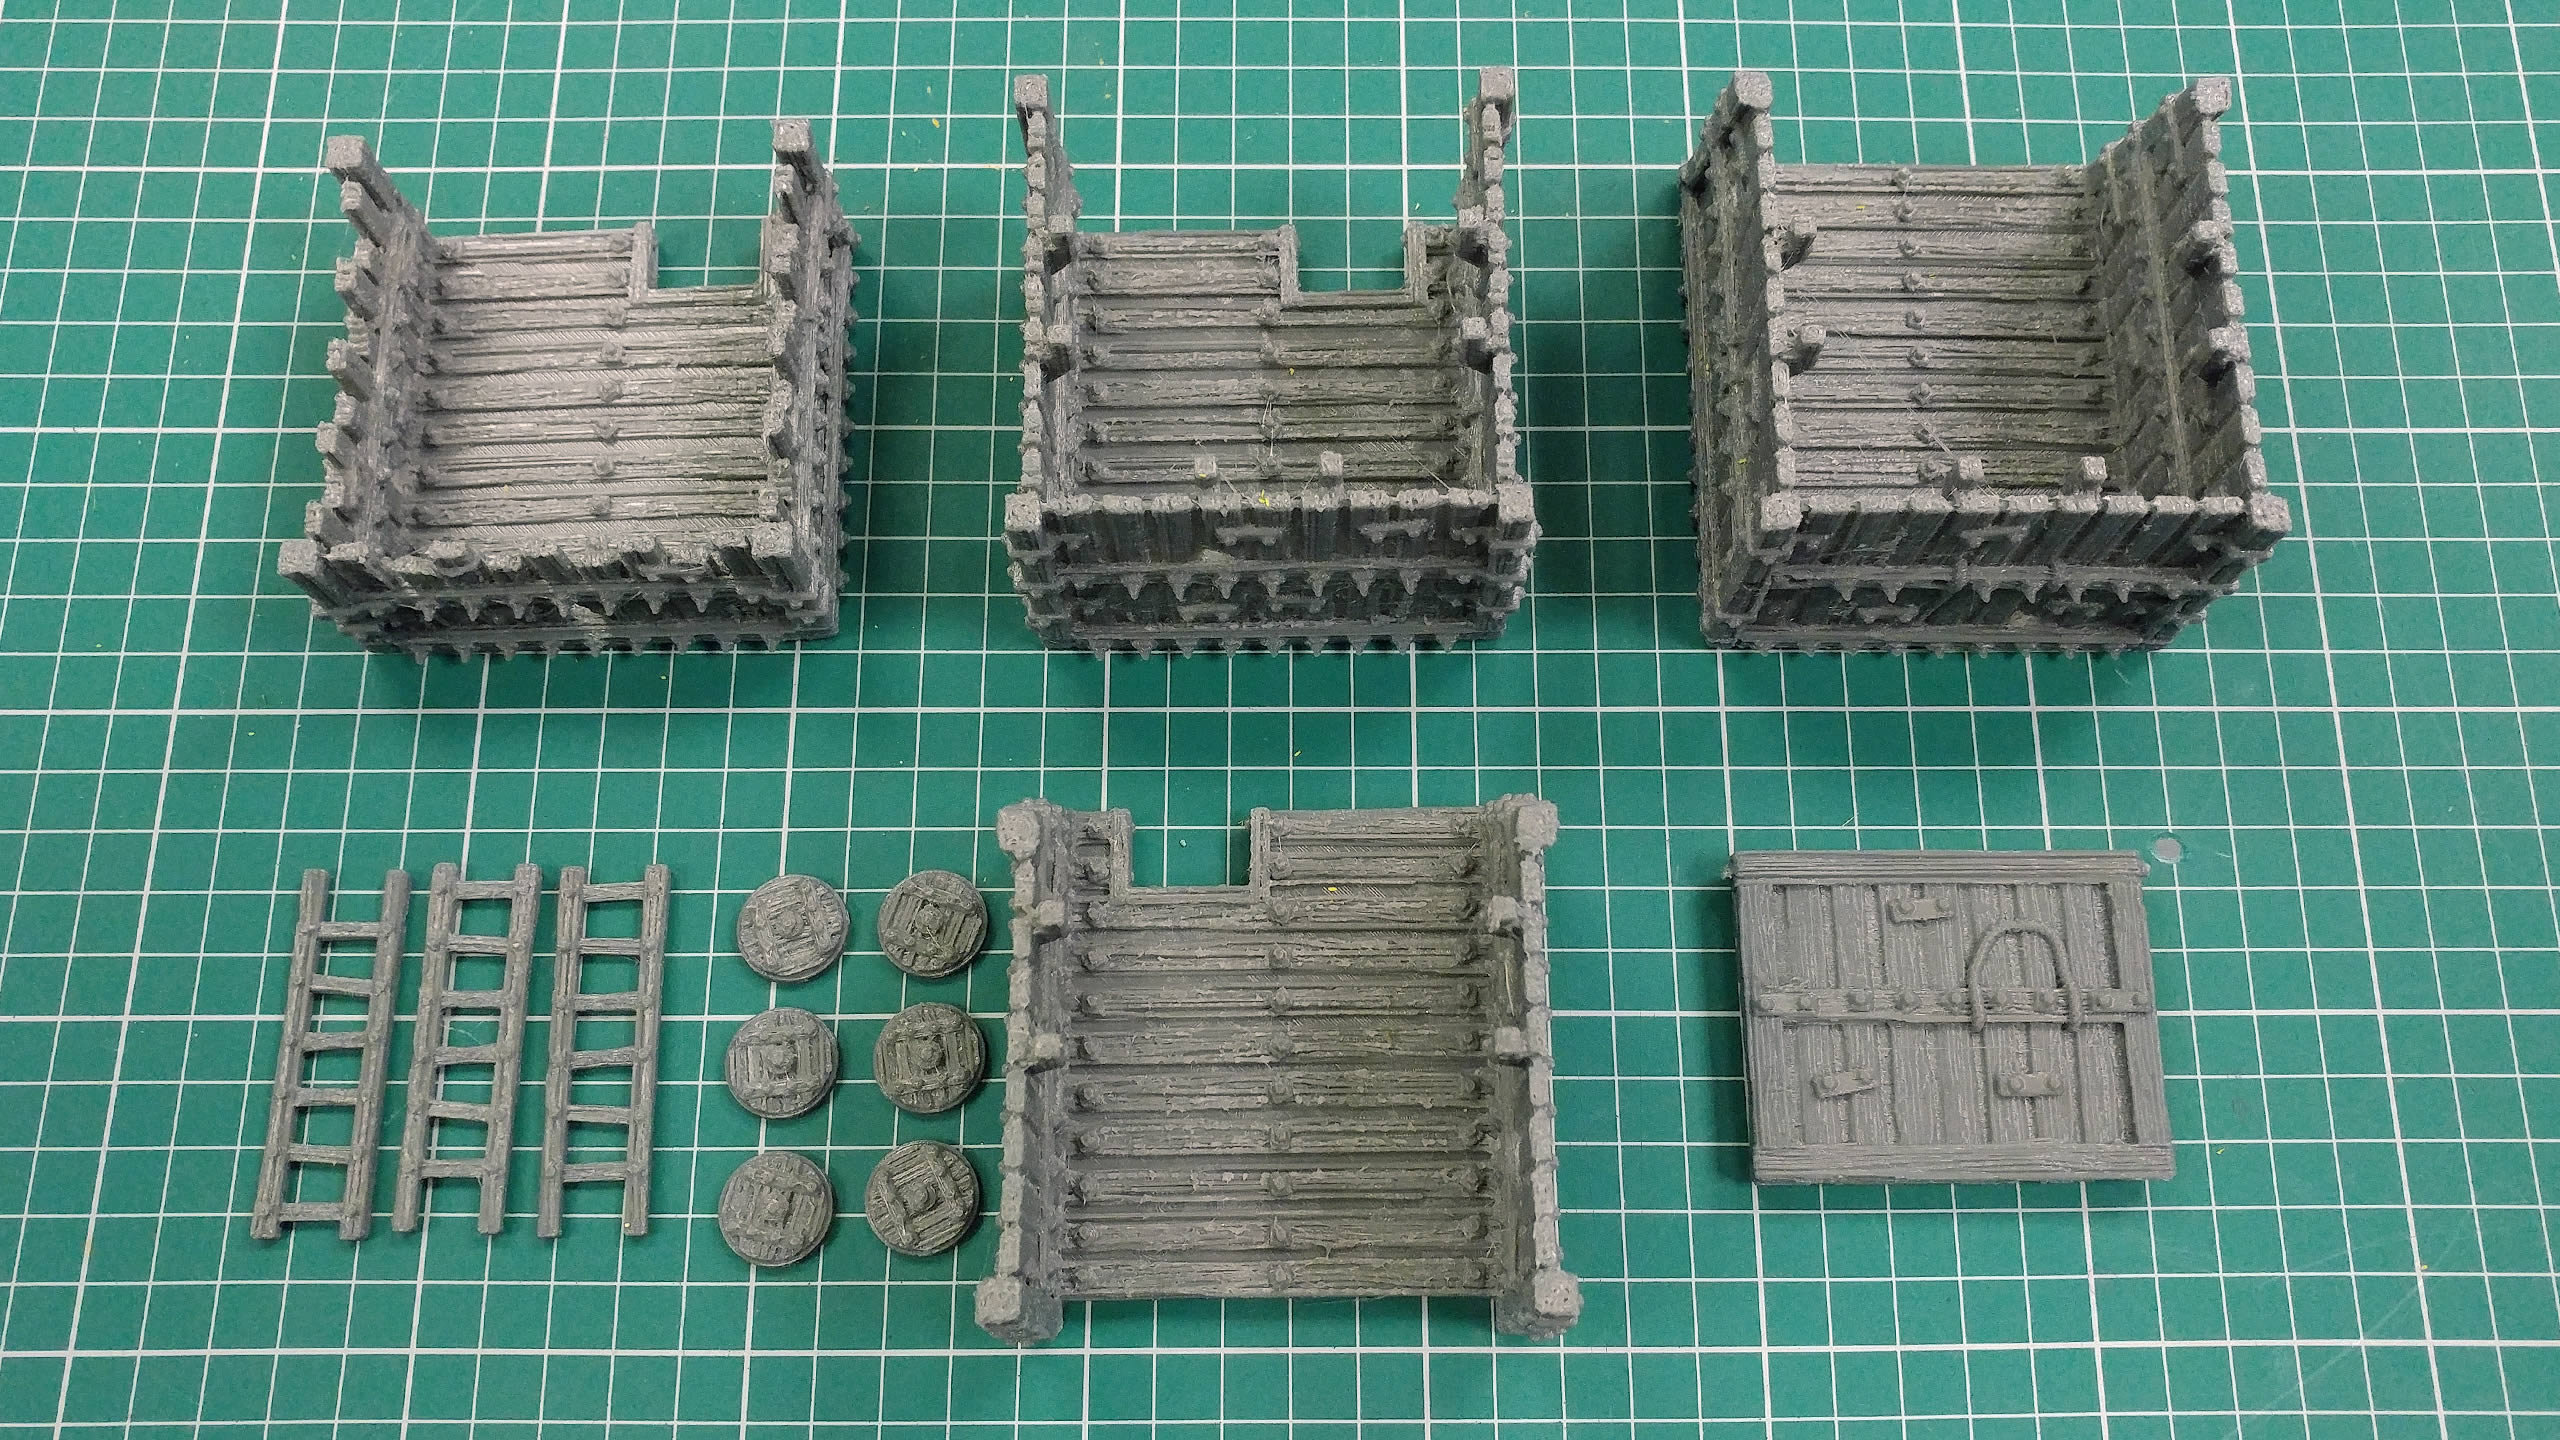
Here we have the completed print, this model is comprised of five main parts, six wheels, and three ladders. Before we get stuck into the paint job, let's take a moment to get up close with the model.
All the Parts
How's The Quality?
Inevitably, most of the parts need some attention during the prep stages before we can move on to priming. In this case, the quality is fine but needs some attention in the following stage to make them ready for paint.
A Little Stringing
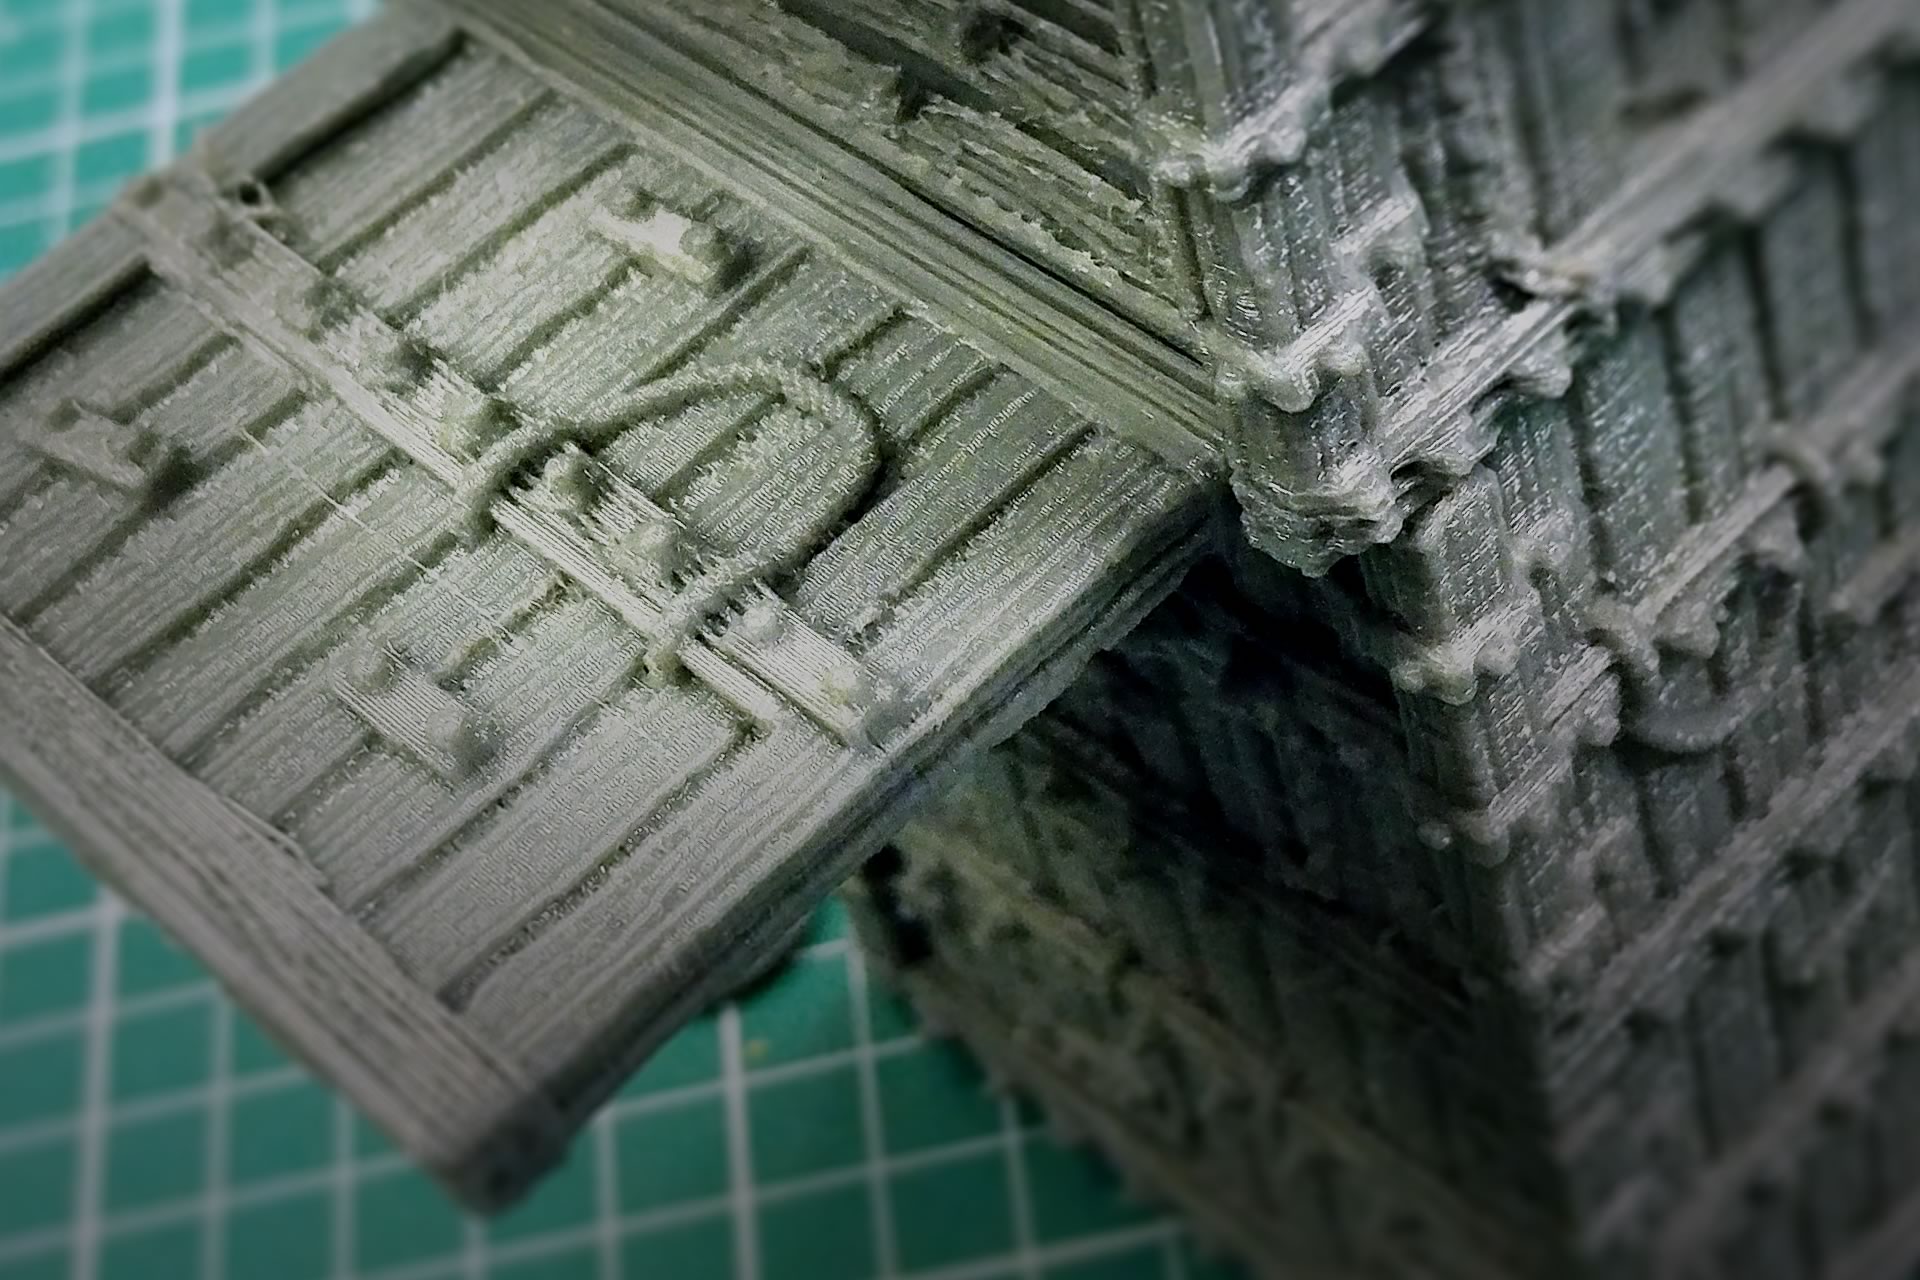
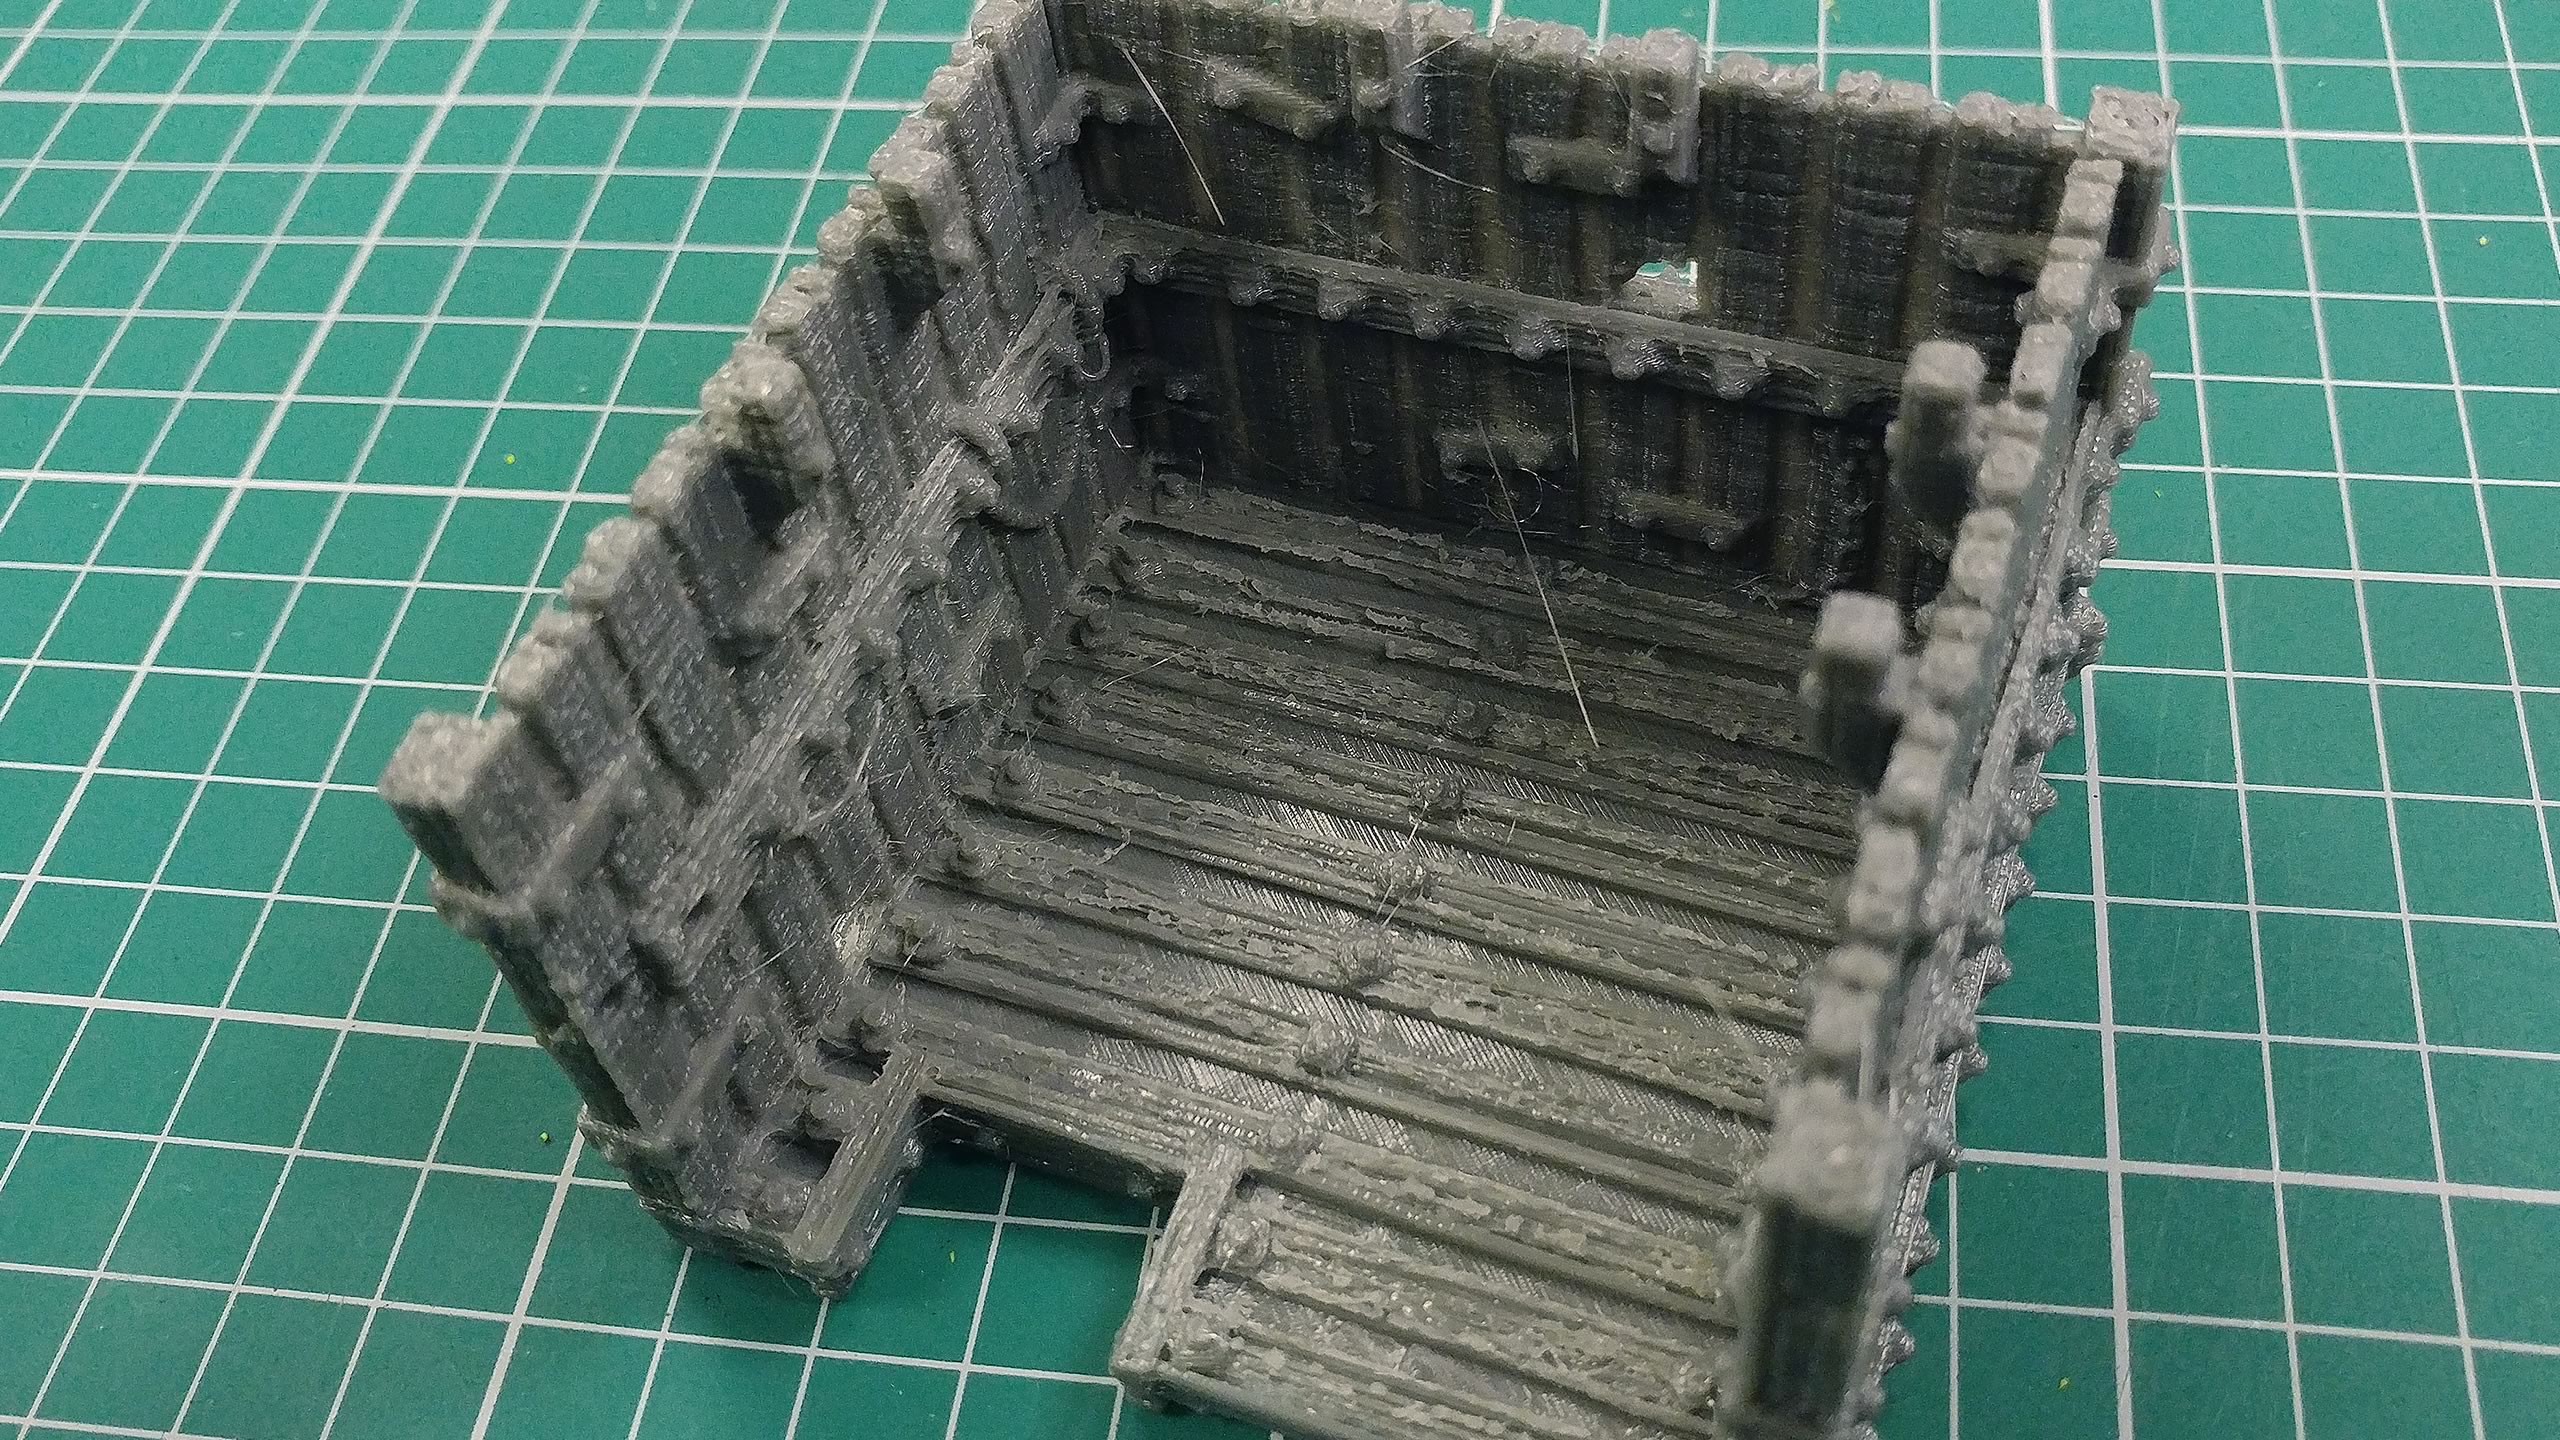
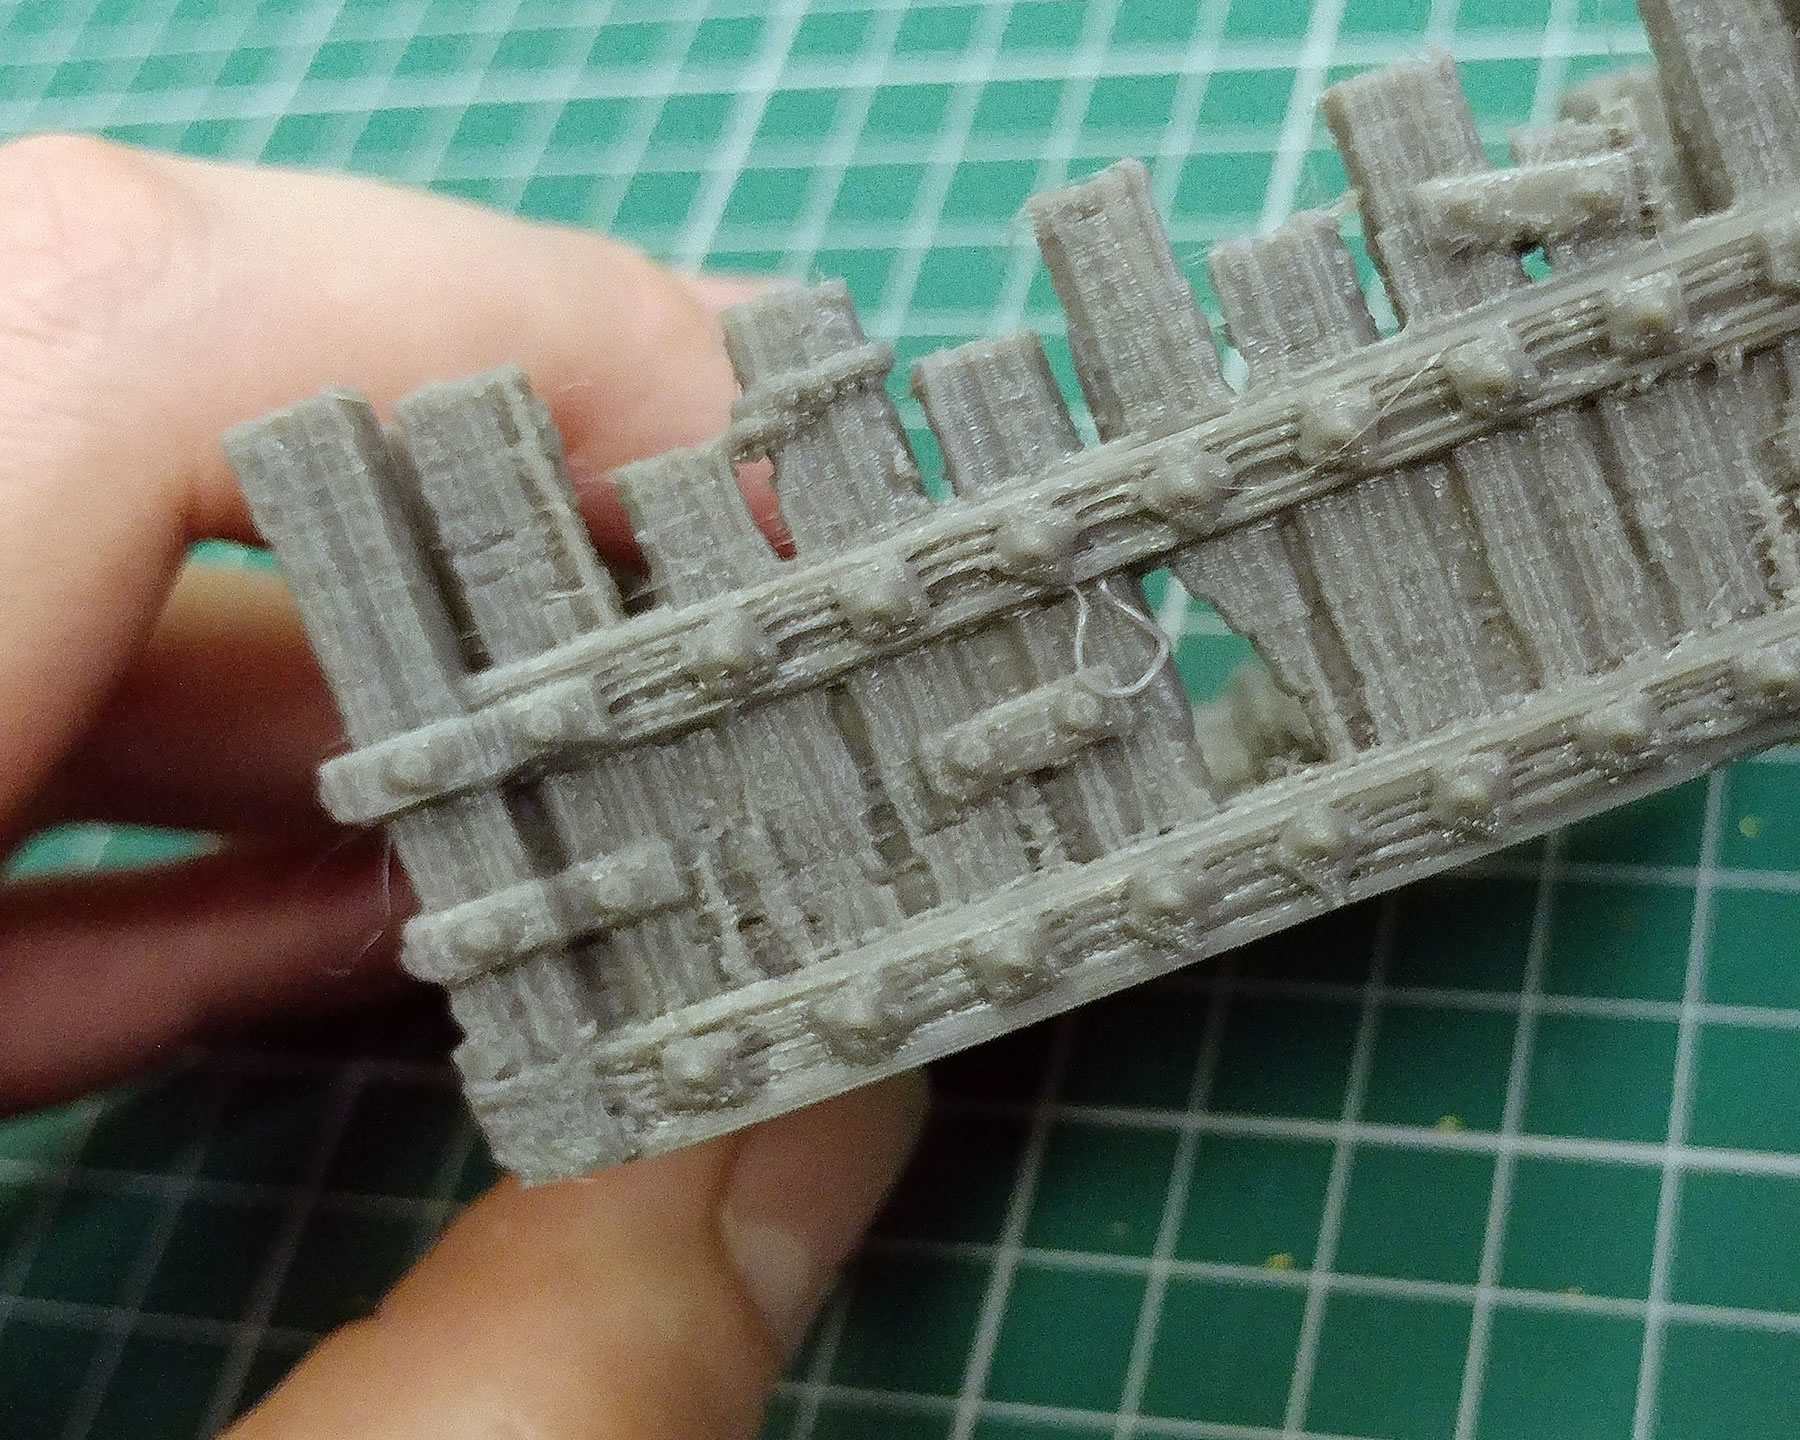
We have some stringing within the walls of the tower segments but, luckily, no print errors.
1
2
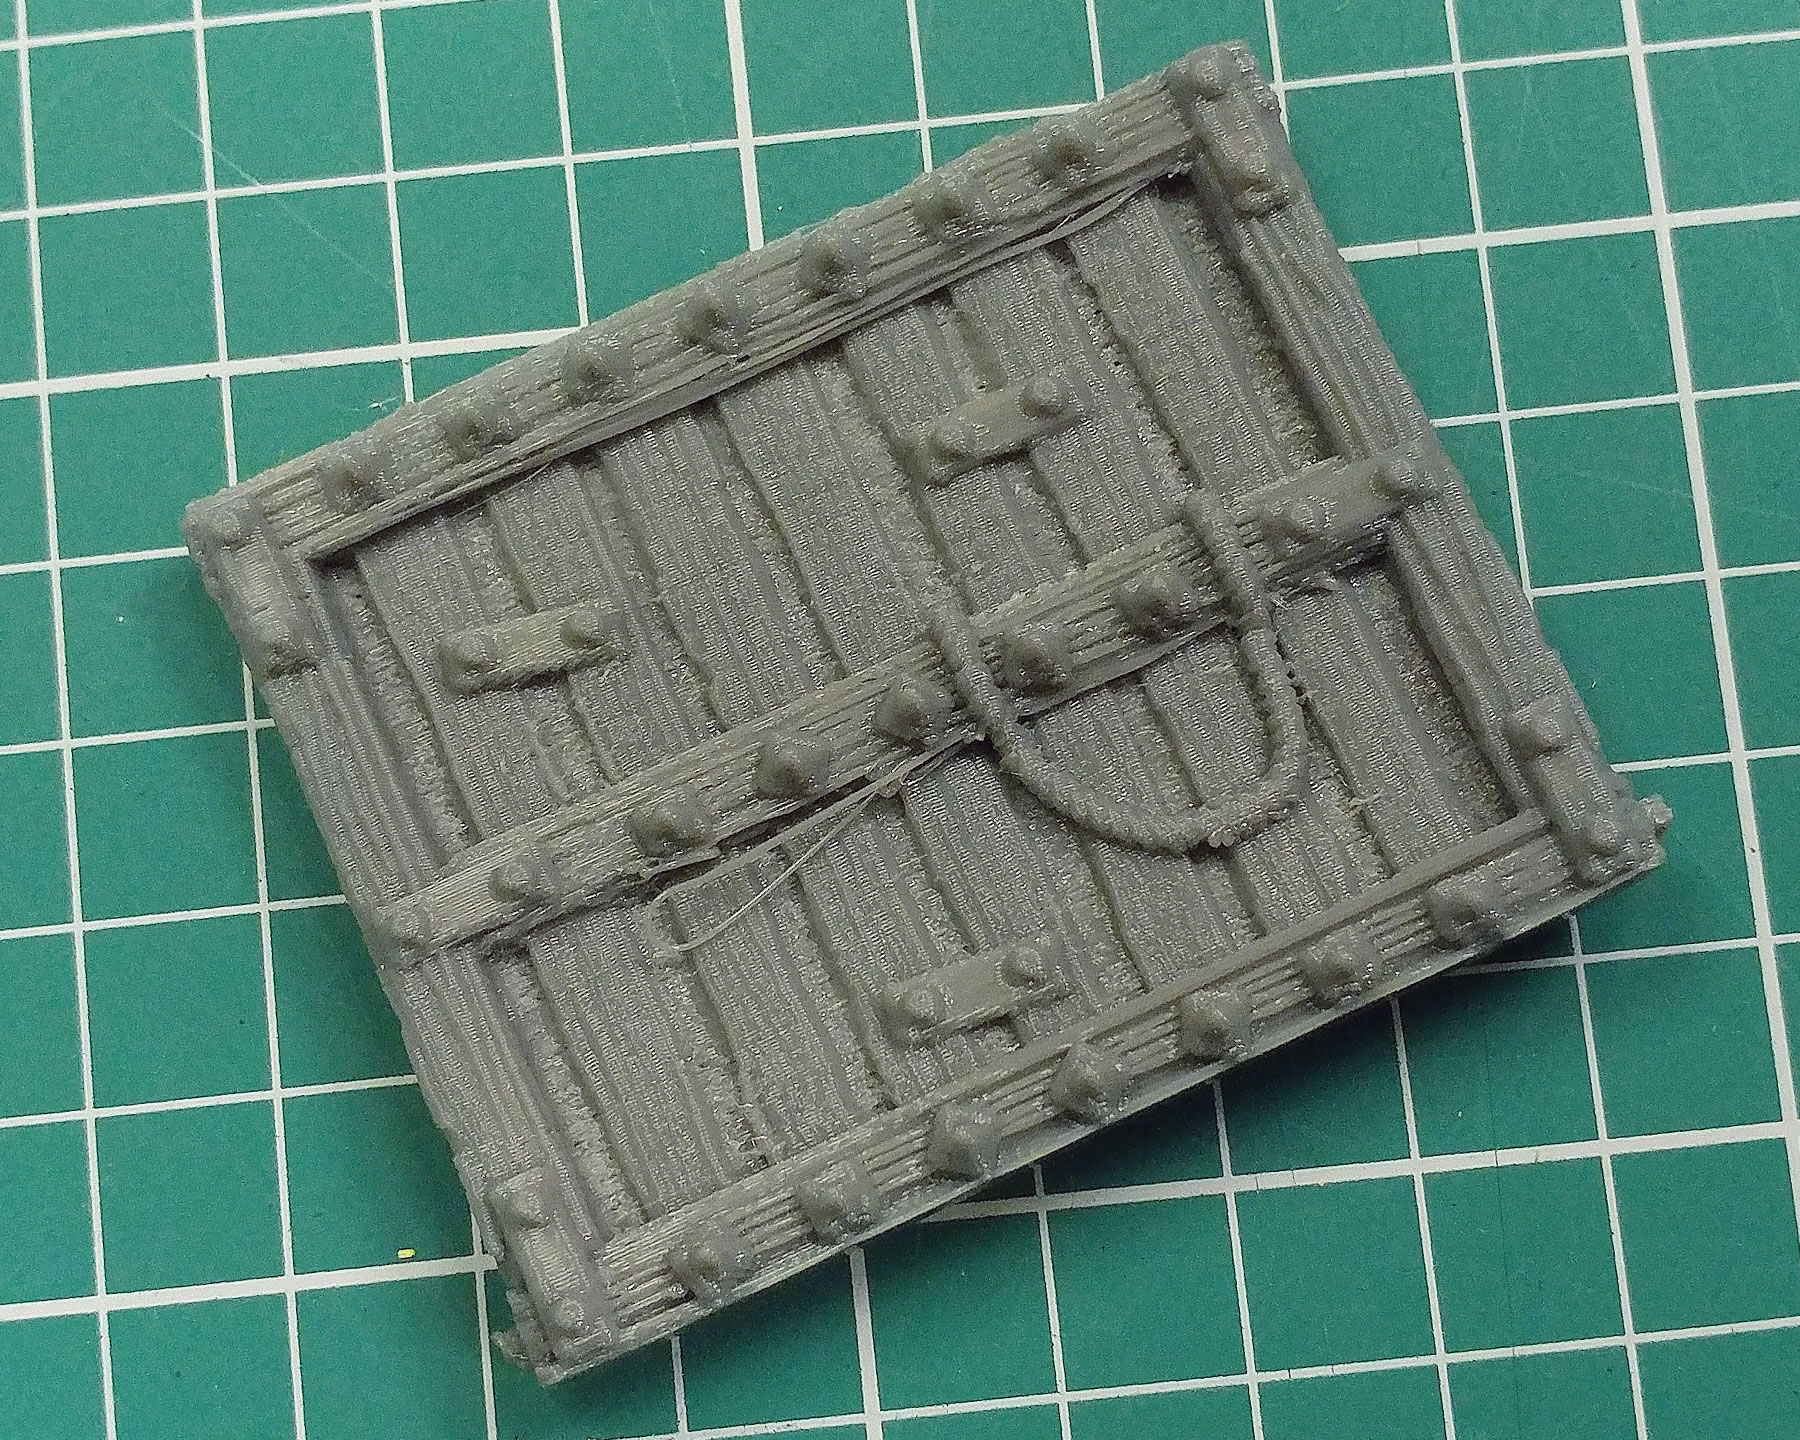
There are a few places where excess material has been formed (1 & 2), but a little work with a craft knife will soon fix this.
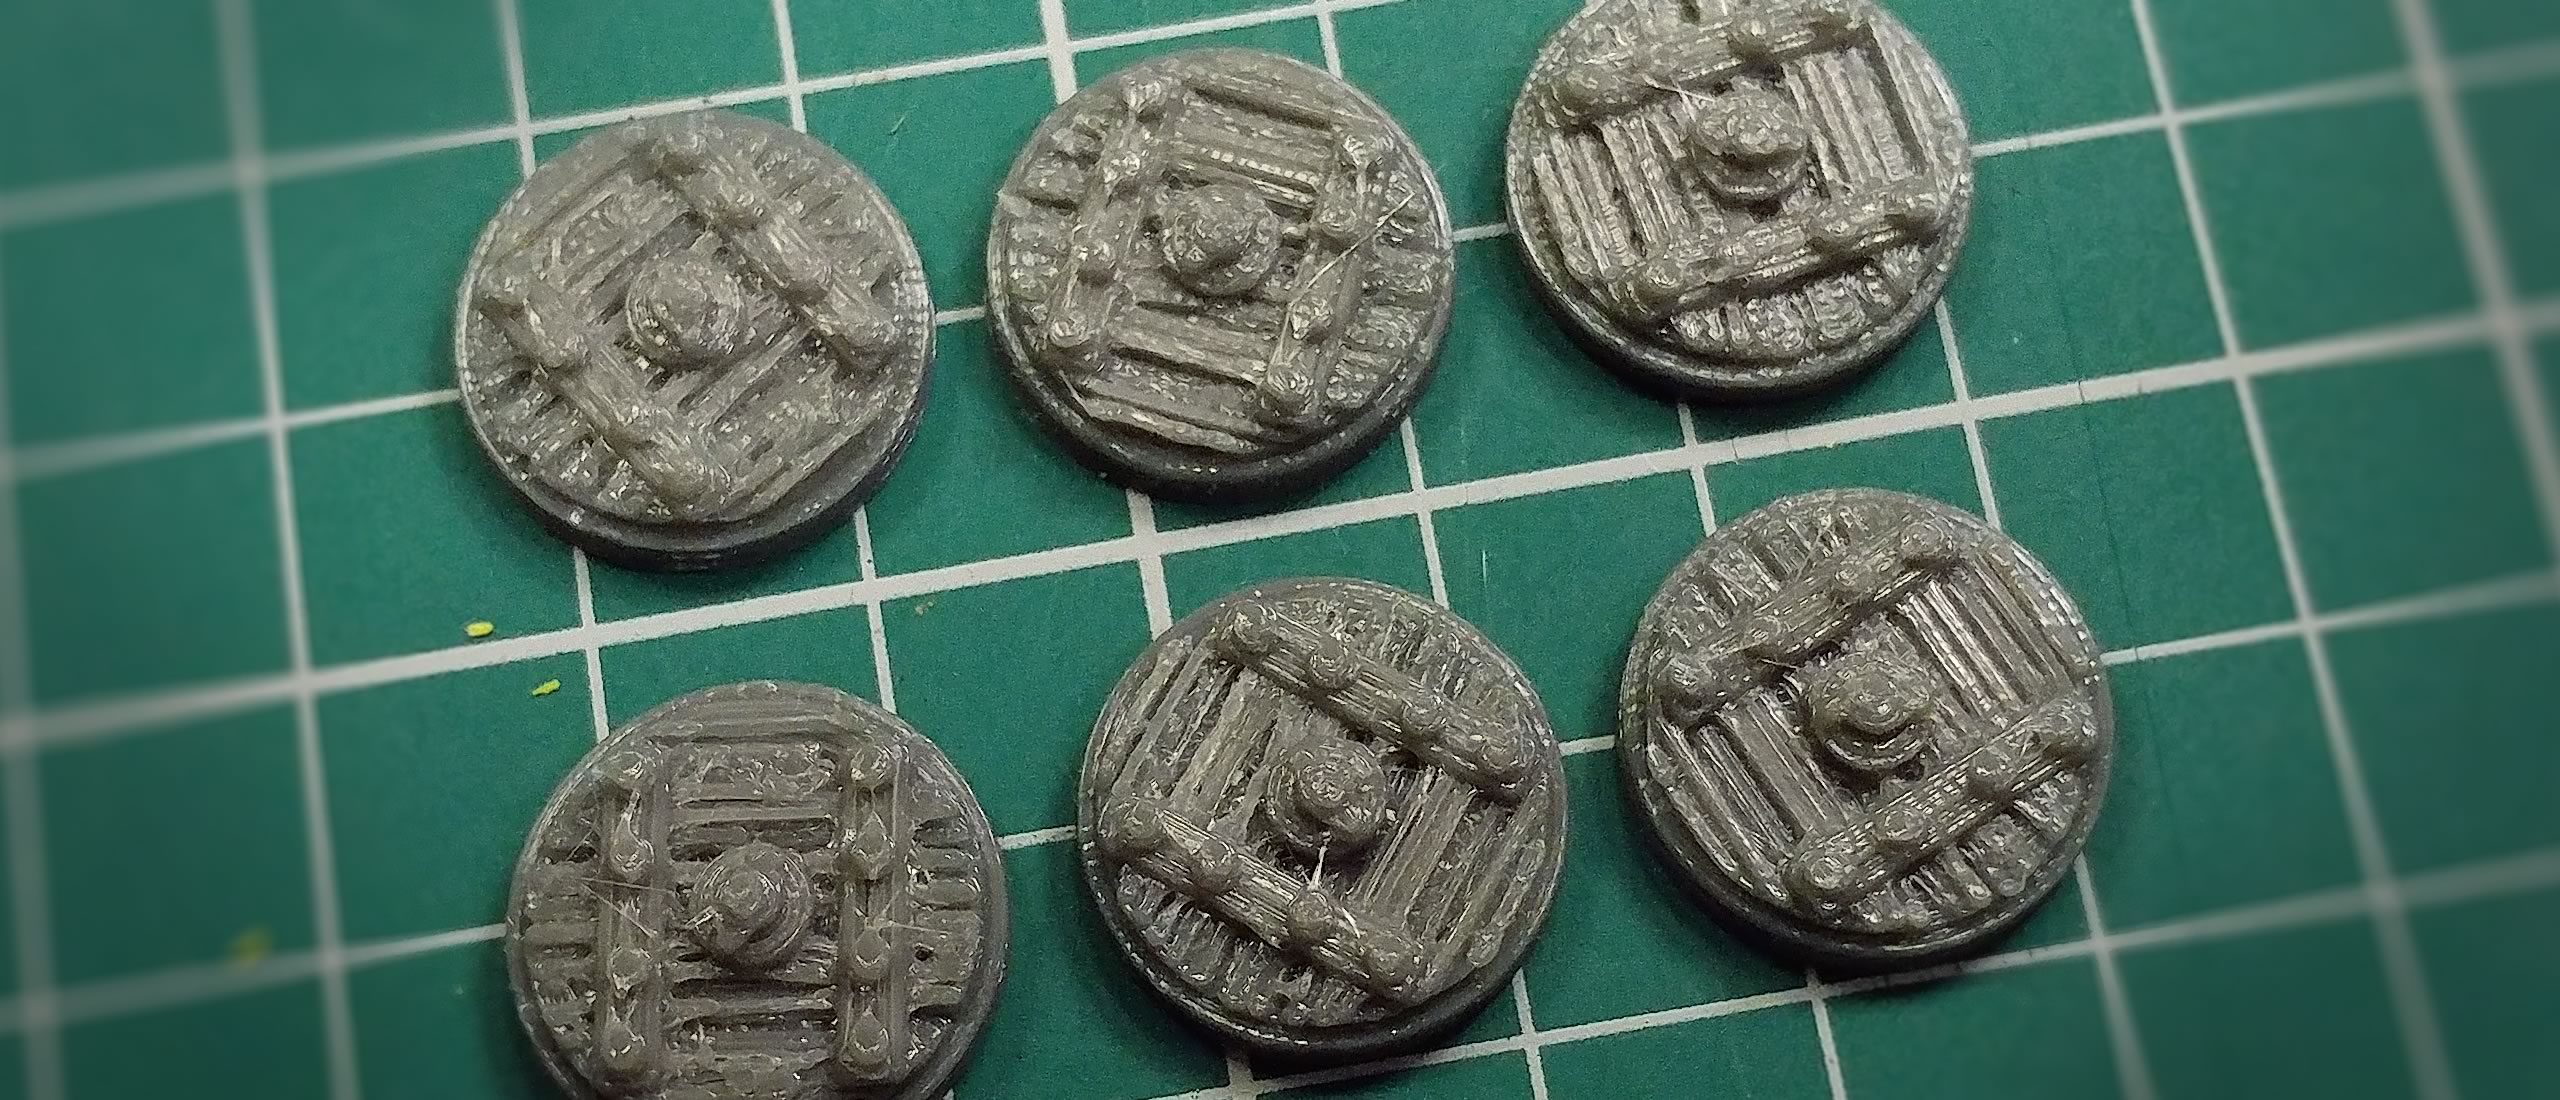
The wheels have turned out great and will need comparatively little attention to make them ready for priming.
Does It All Fit Together?
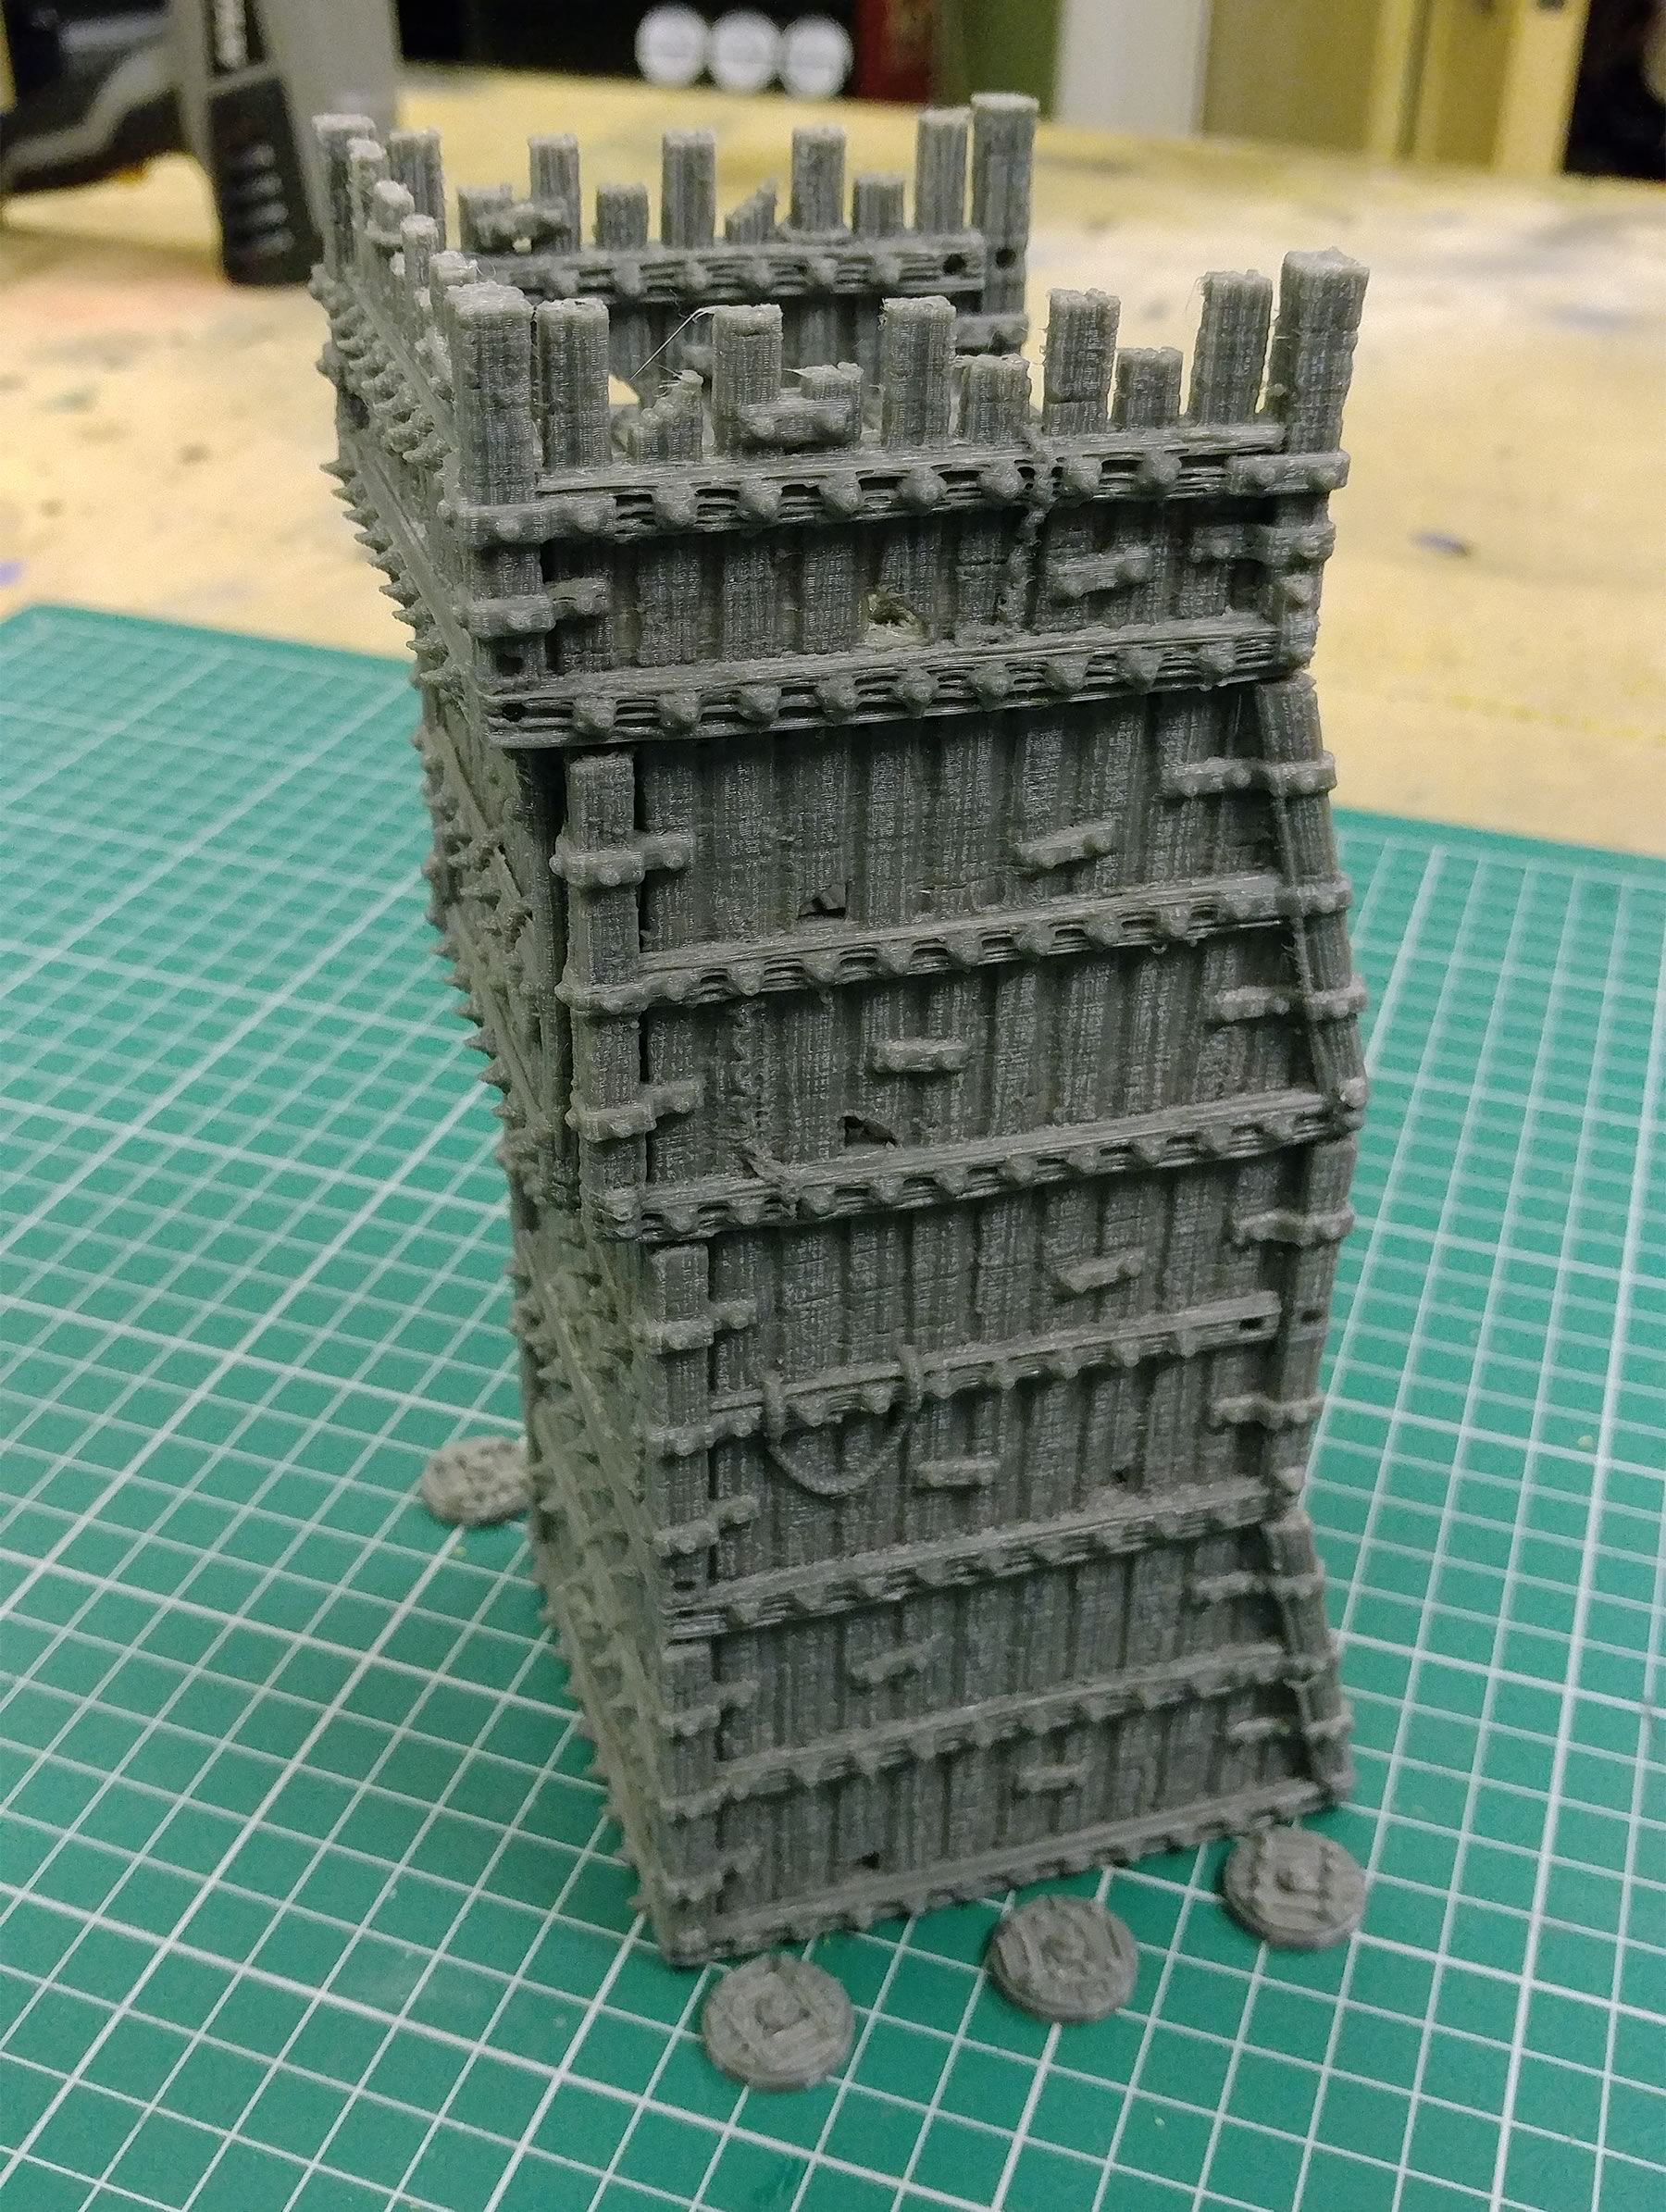
Smashing Fit
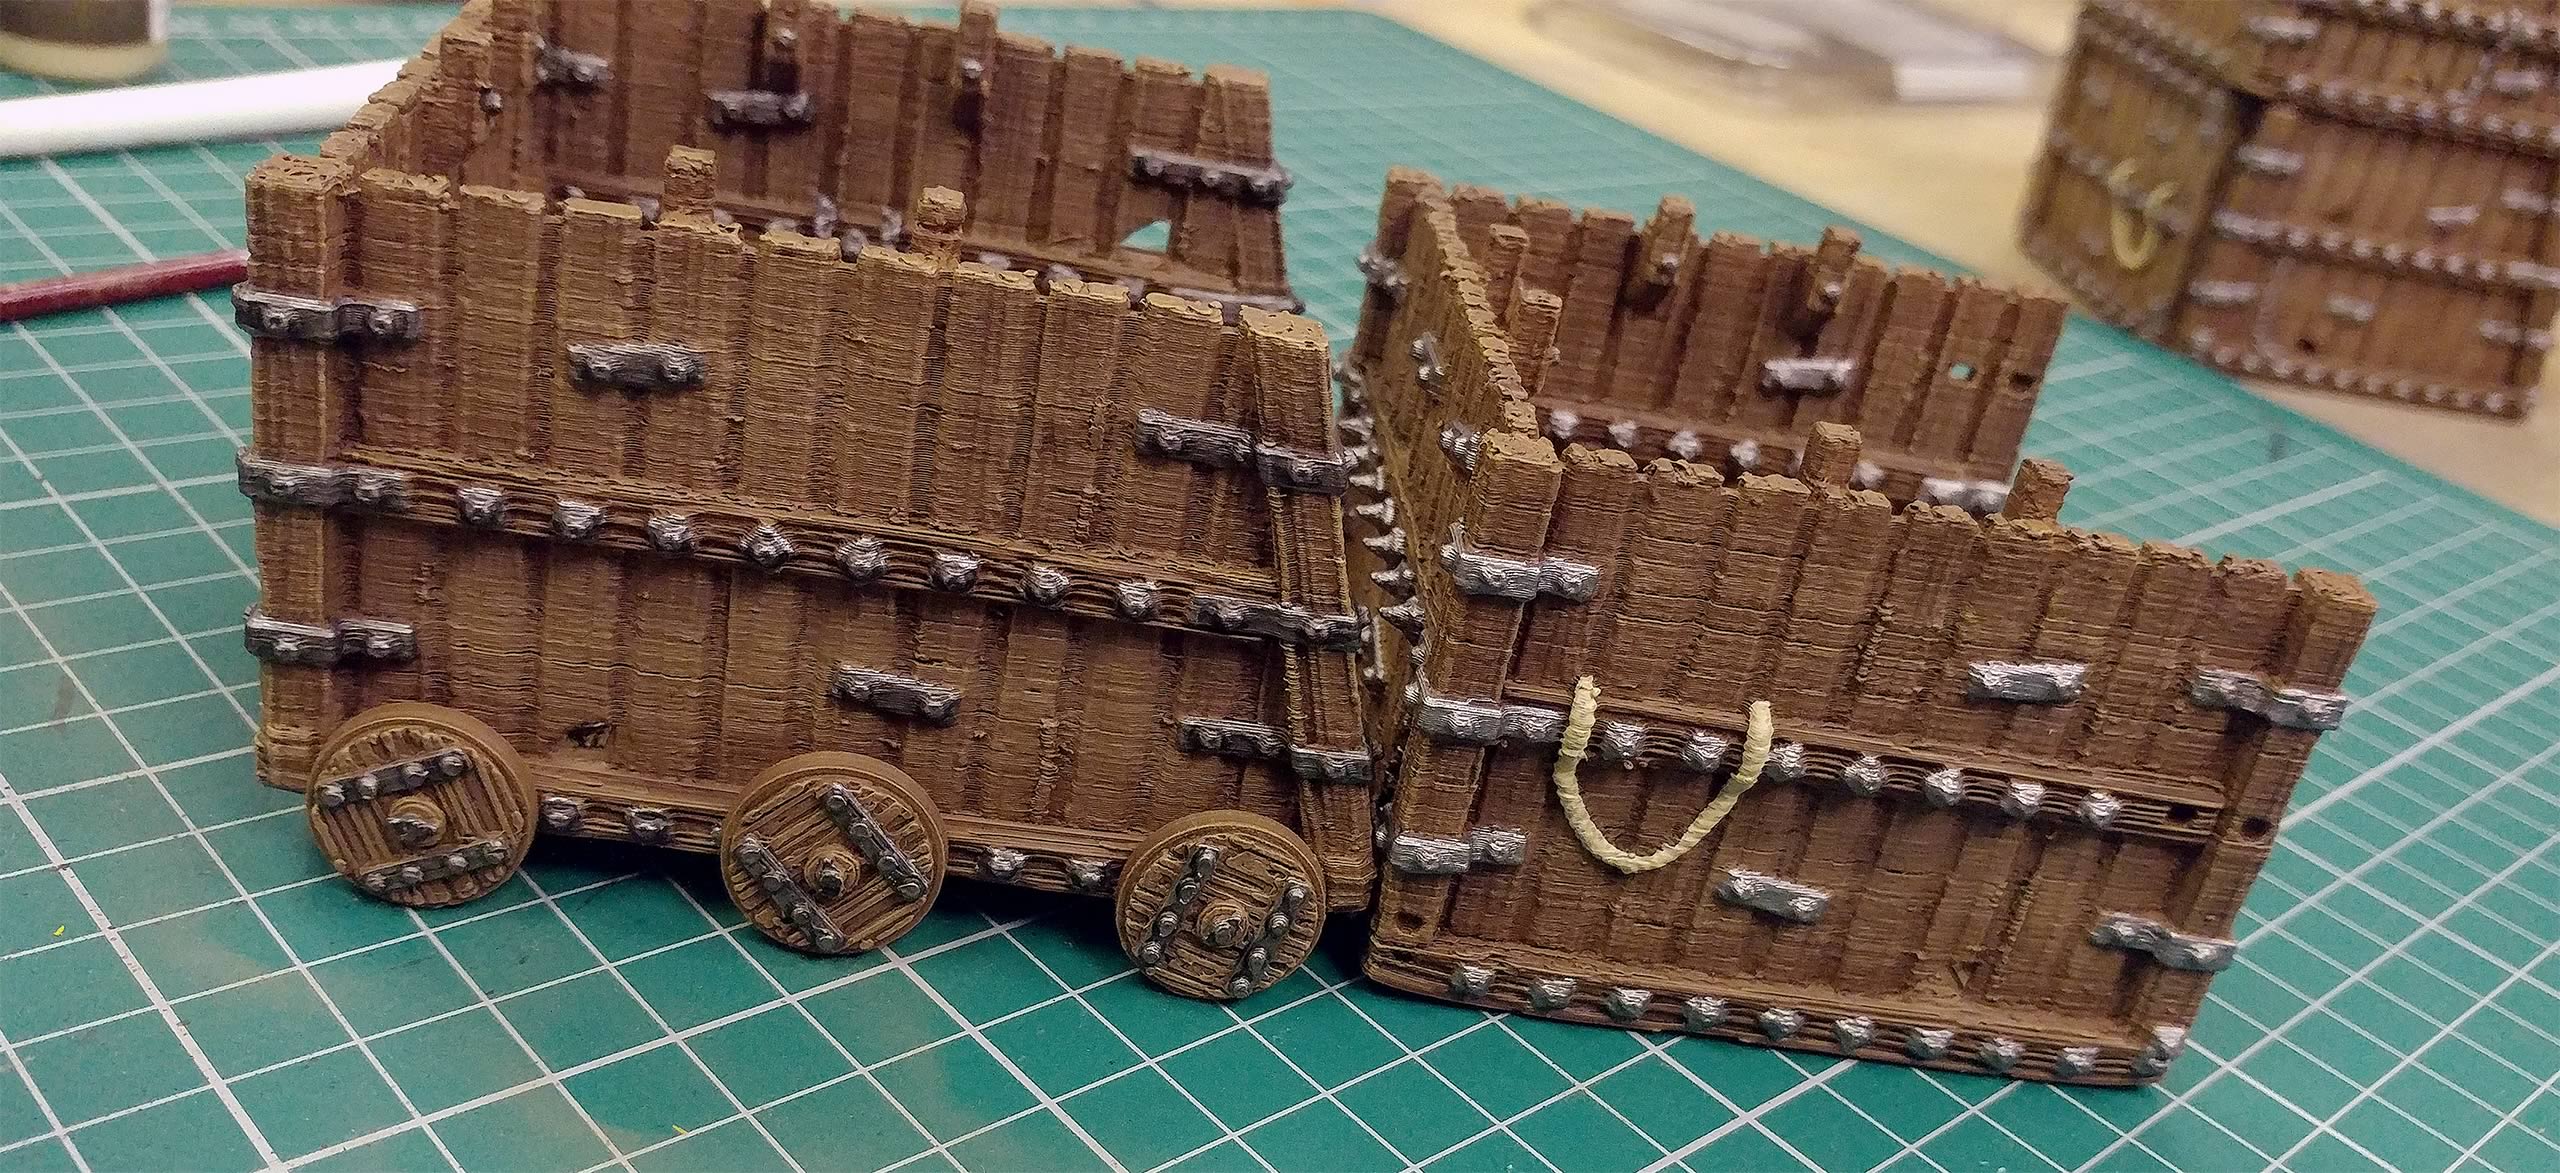
A quick dry fitting of the parts shows us that everything fits very well, straight off the printer bed.
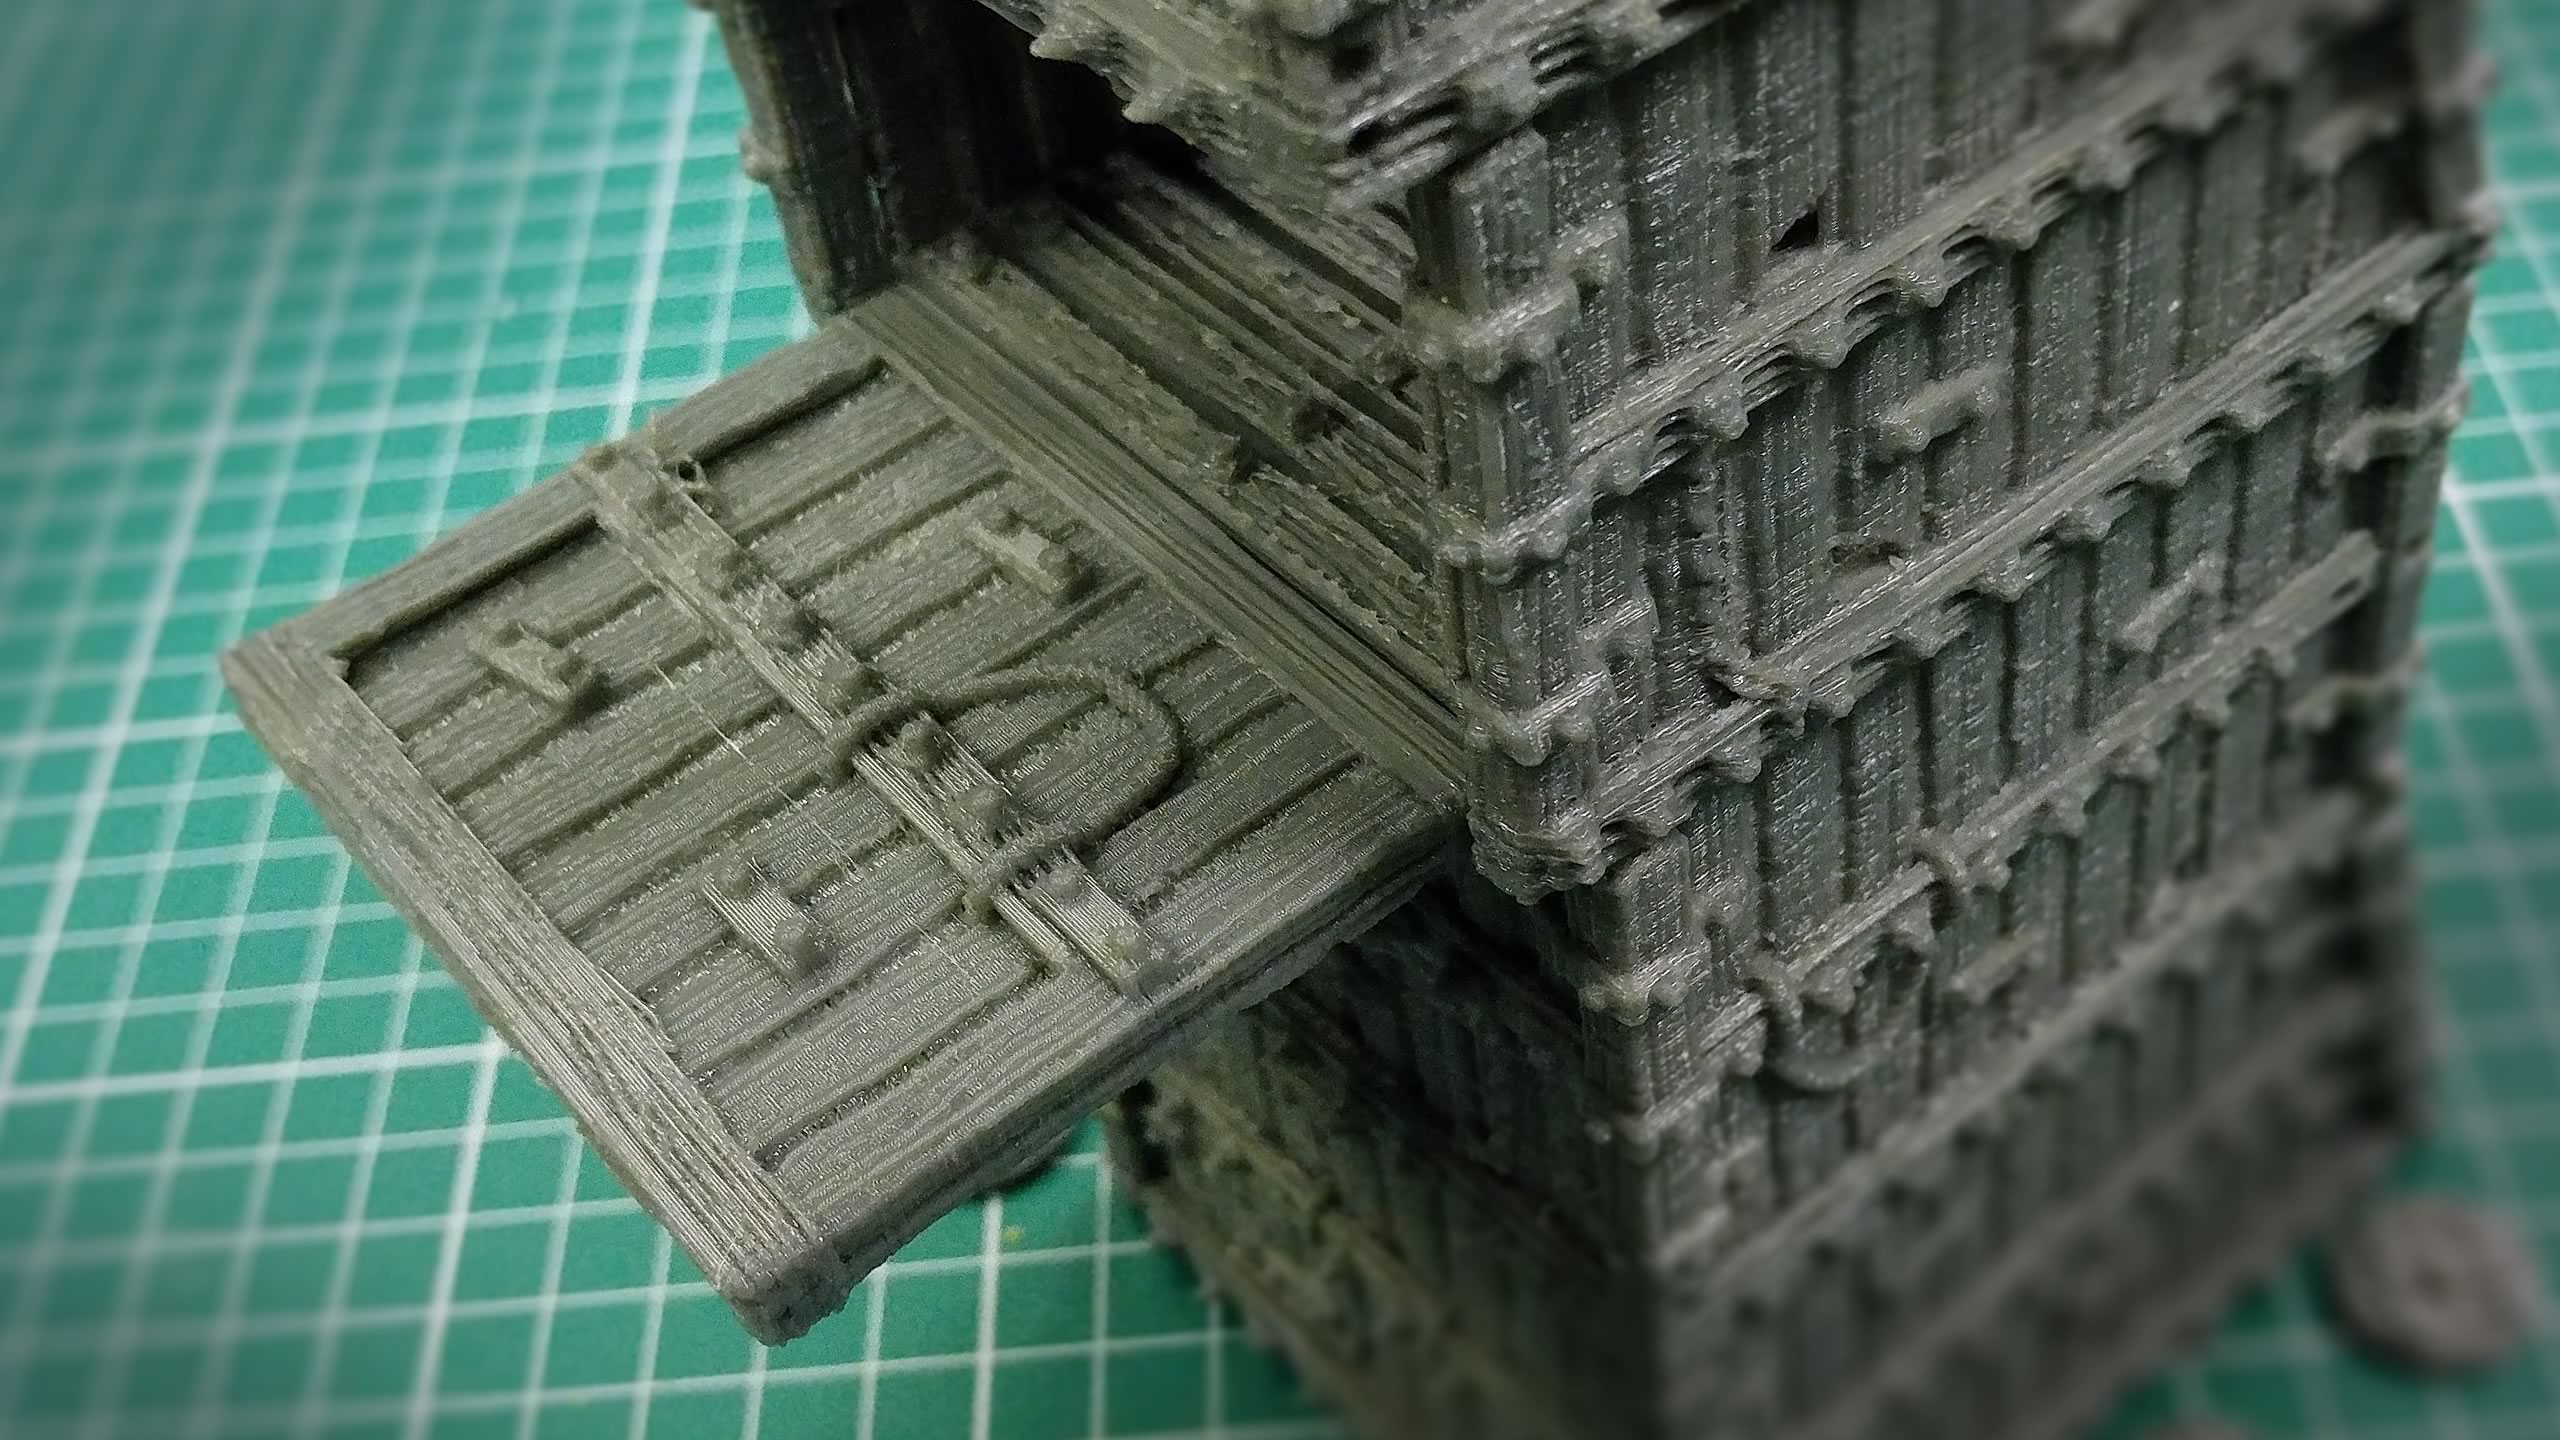
Ramp Hinge Works Beautifully
Even the hinges for the ramp fit and work beautifully. This allows us to see how much cleaning this part may require.
In this case, it needs none as it currently fits snug and is still able to move.
This looks Like Heavy Duty War Machine
The beauty of this kit is apparent in its "robust" look and feel, making it a joy to paint.
Prep Work
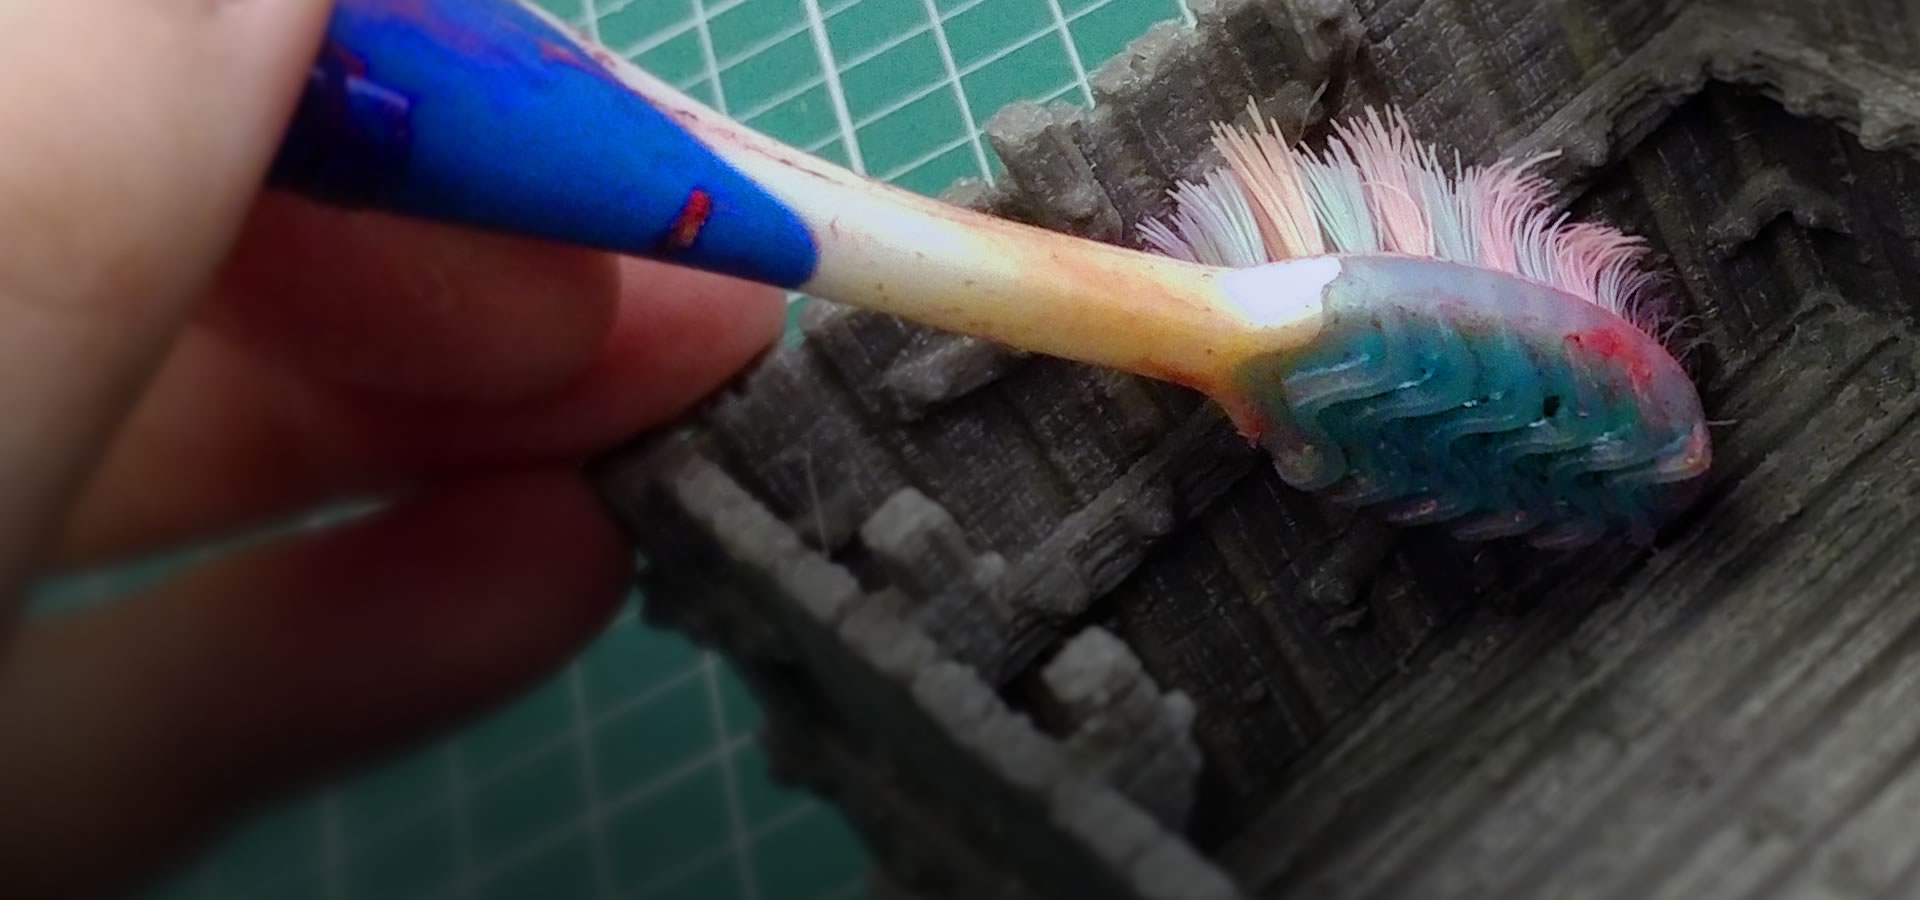
Cleaning Up Excess Material
Before we prime the parts for the Siege Tower, we have to clean up each piece, removing excess material and slight defects that are caused by the printer itself.
We will approach this in three steps to keep it simple and accessible.
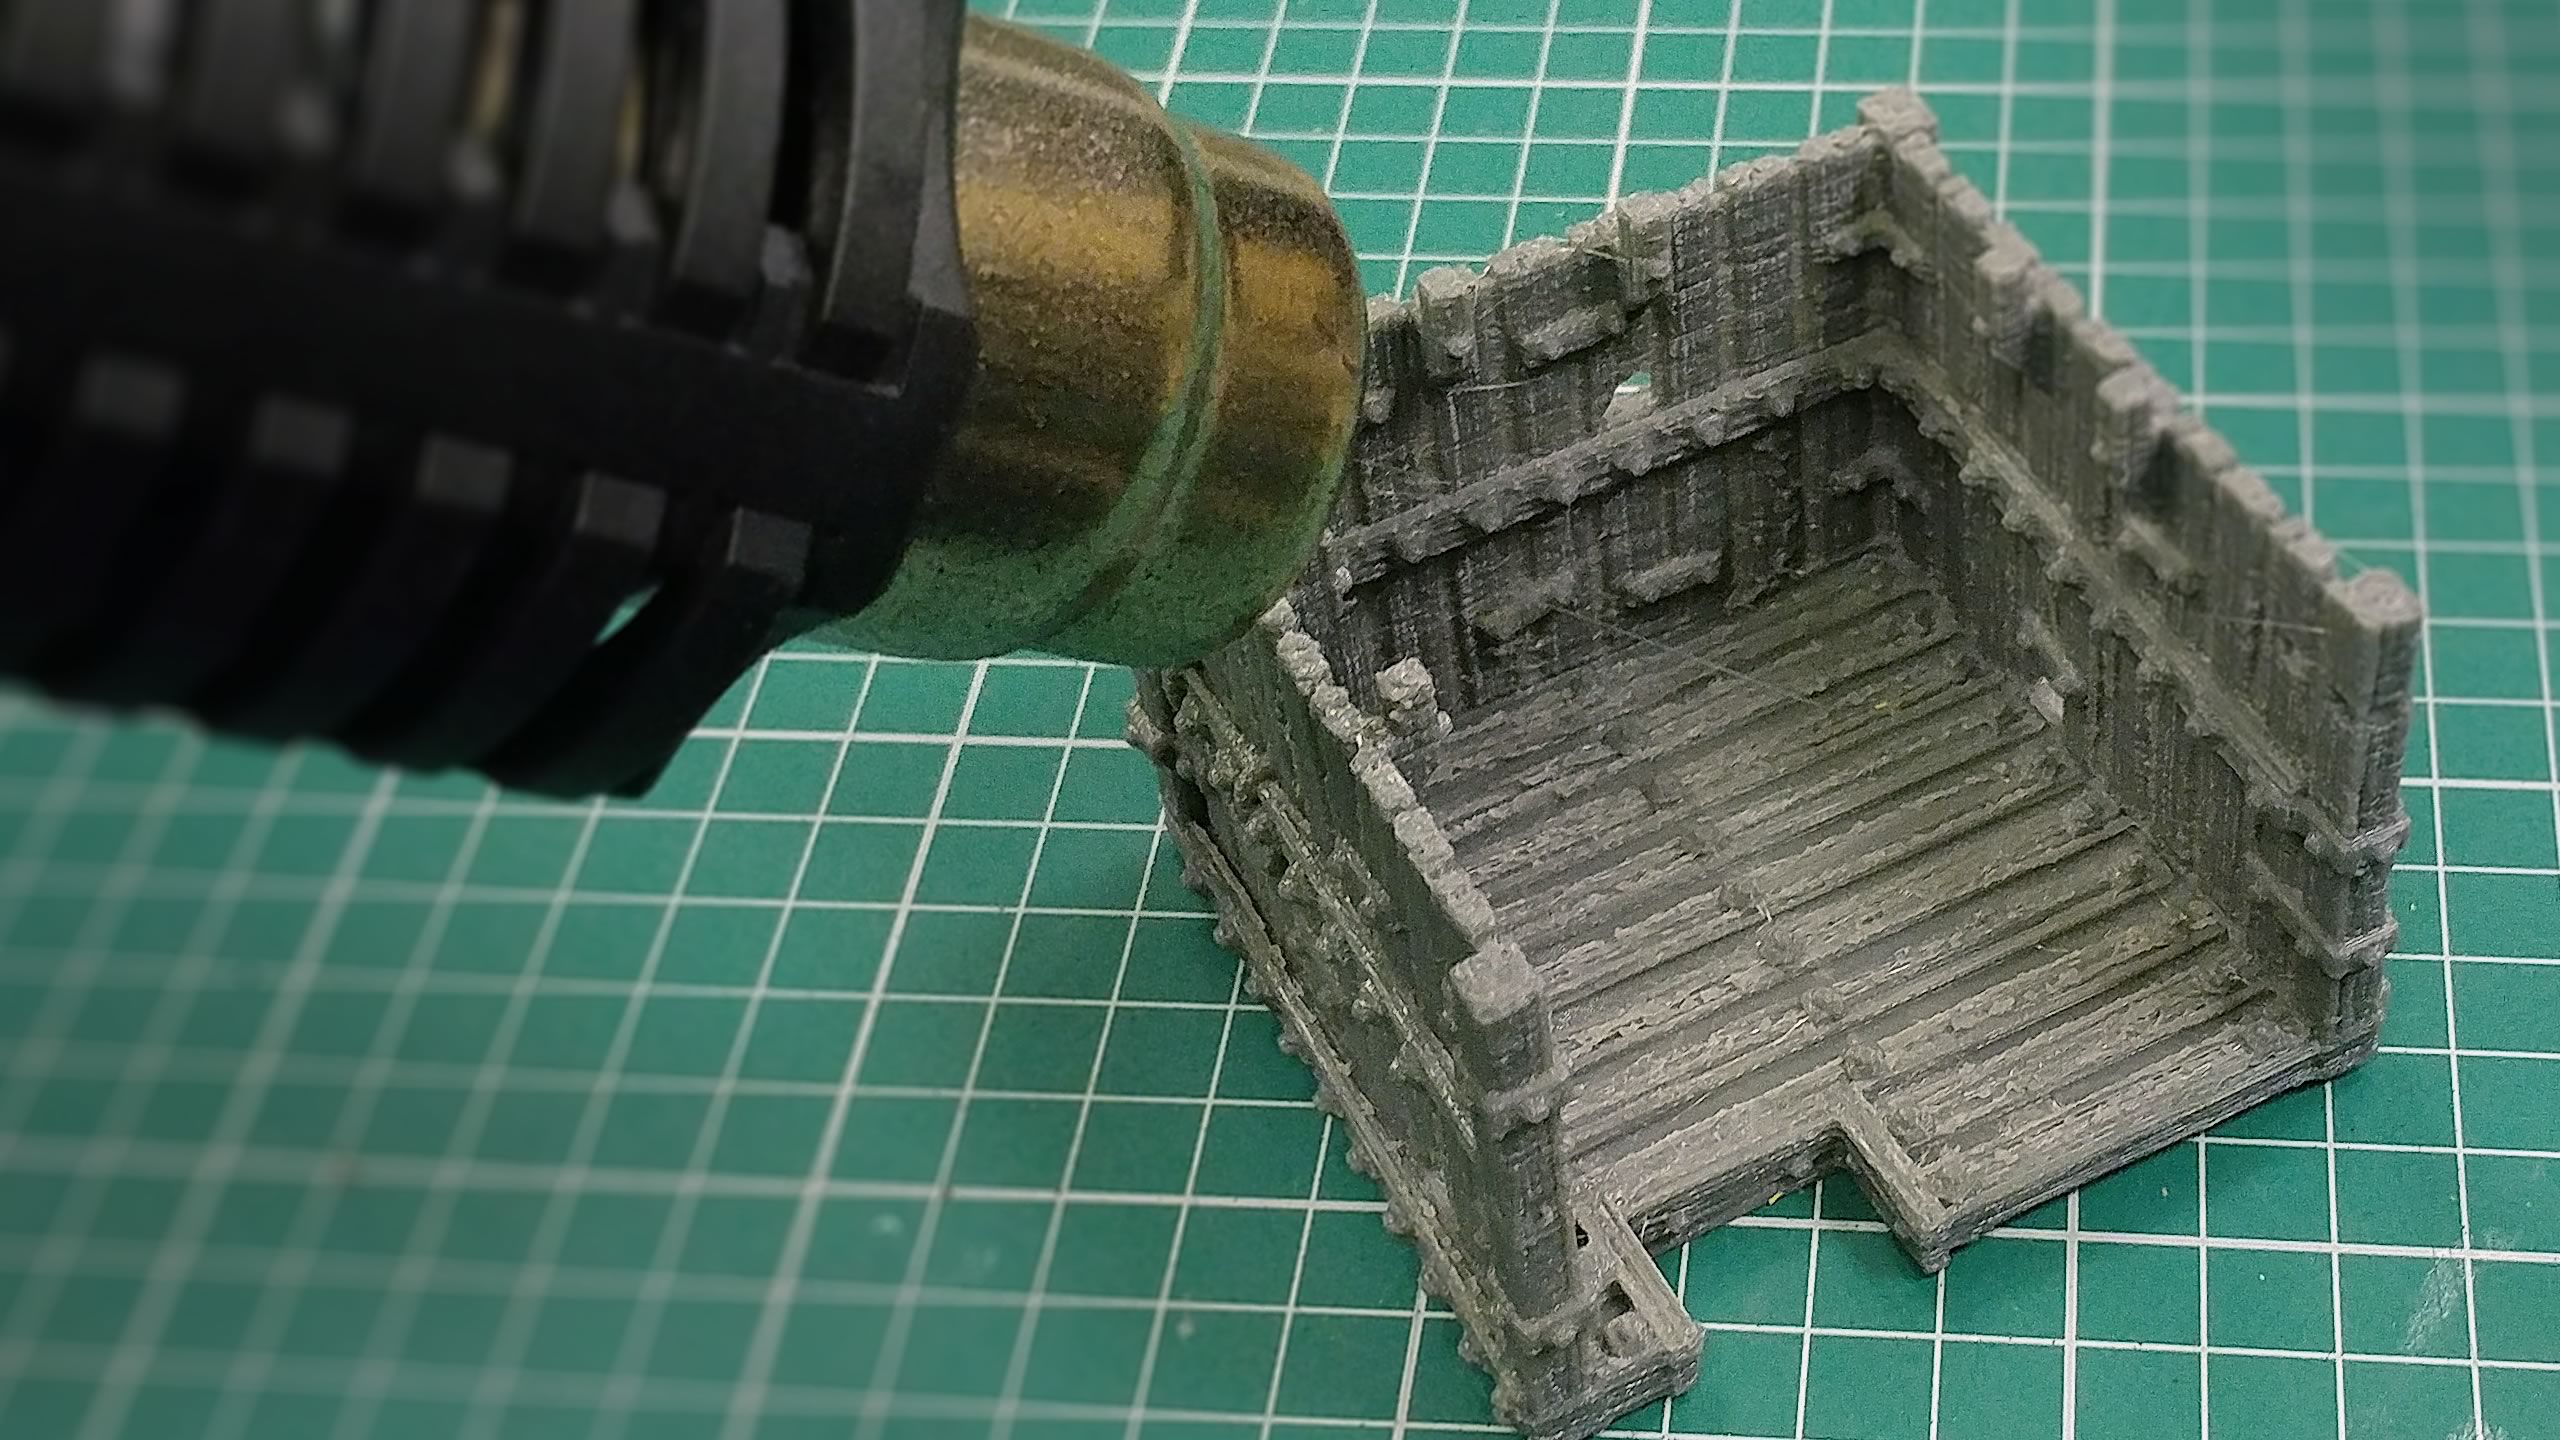
A Heat Gun Is Great To Remove Strings
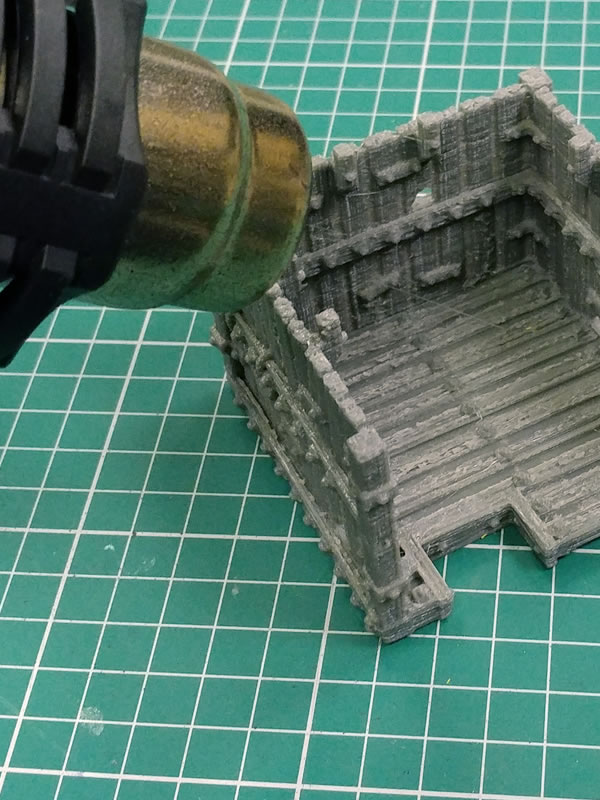
Step 1: Using a heat gun will shrivel up the small, stringy residue in one fell swoop. However, you have to be very careful as the material will become soft if you put too much heat to it and will remain hot to the touch for several minutes afterwards.
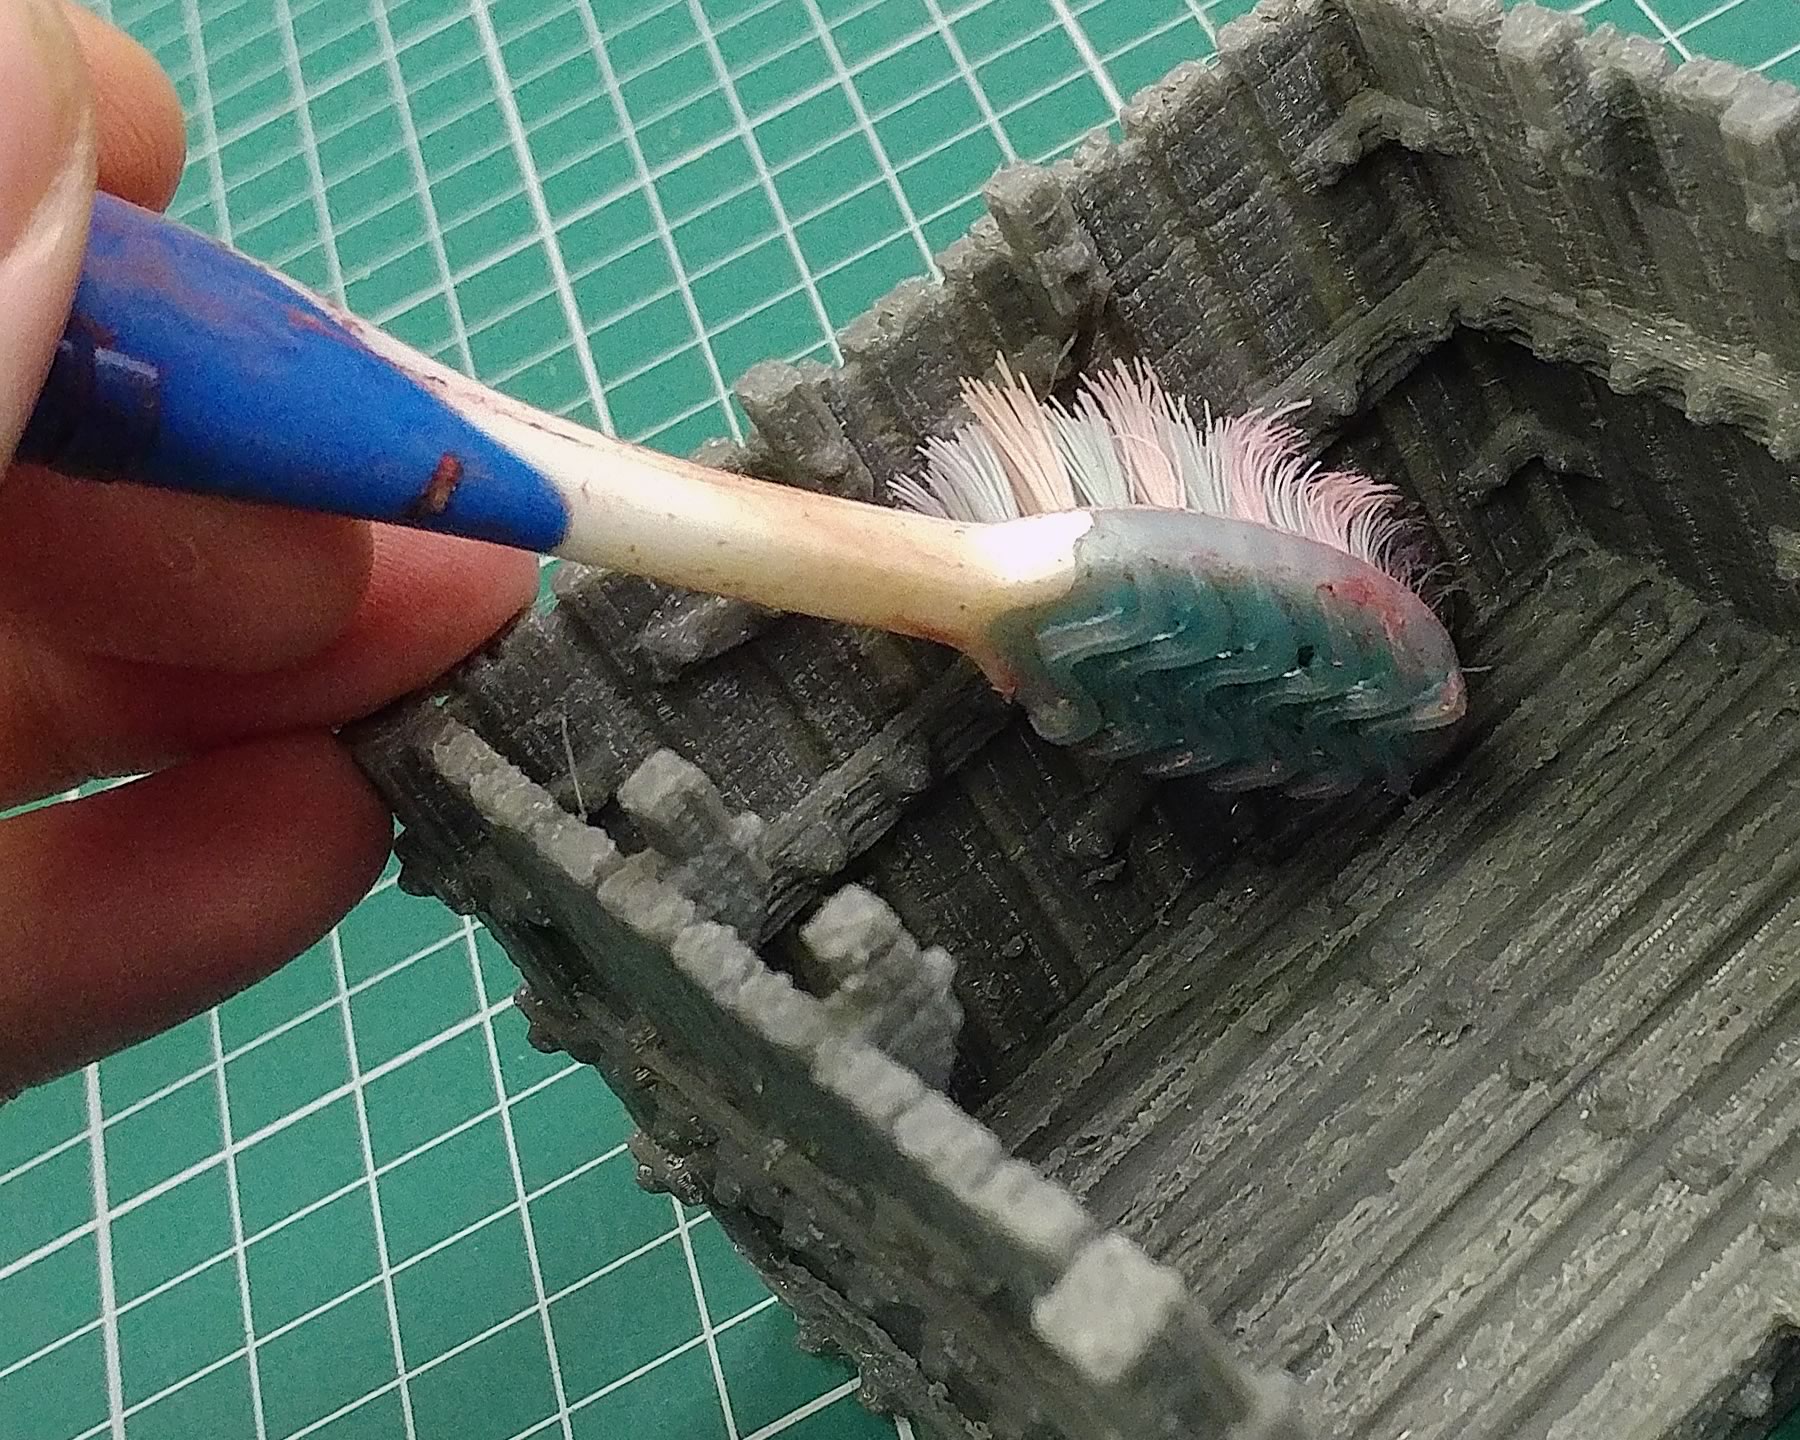
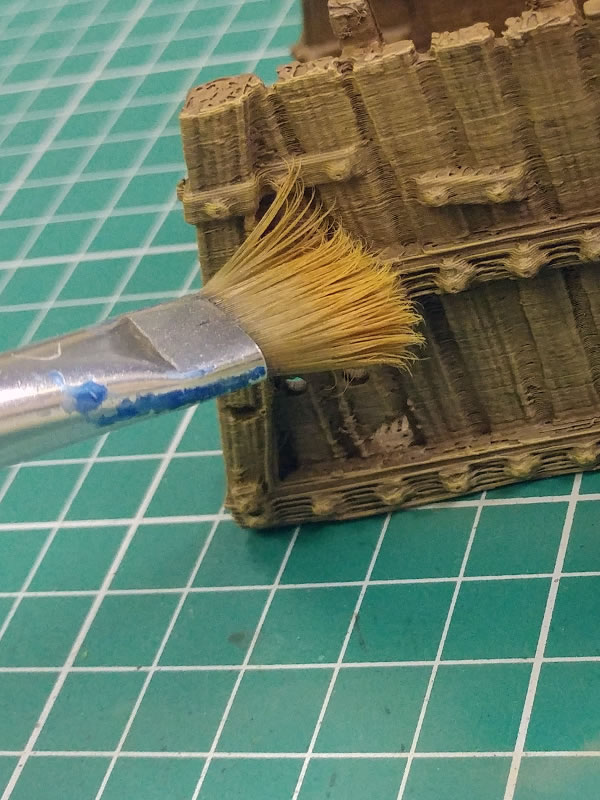
Step 2: We can then use a toothbrush to scrub away the remaining stringy residue and any other loose parts of material that might remain.
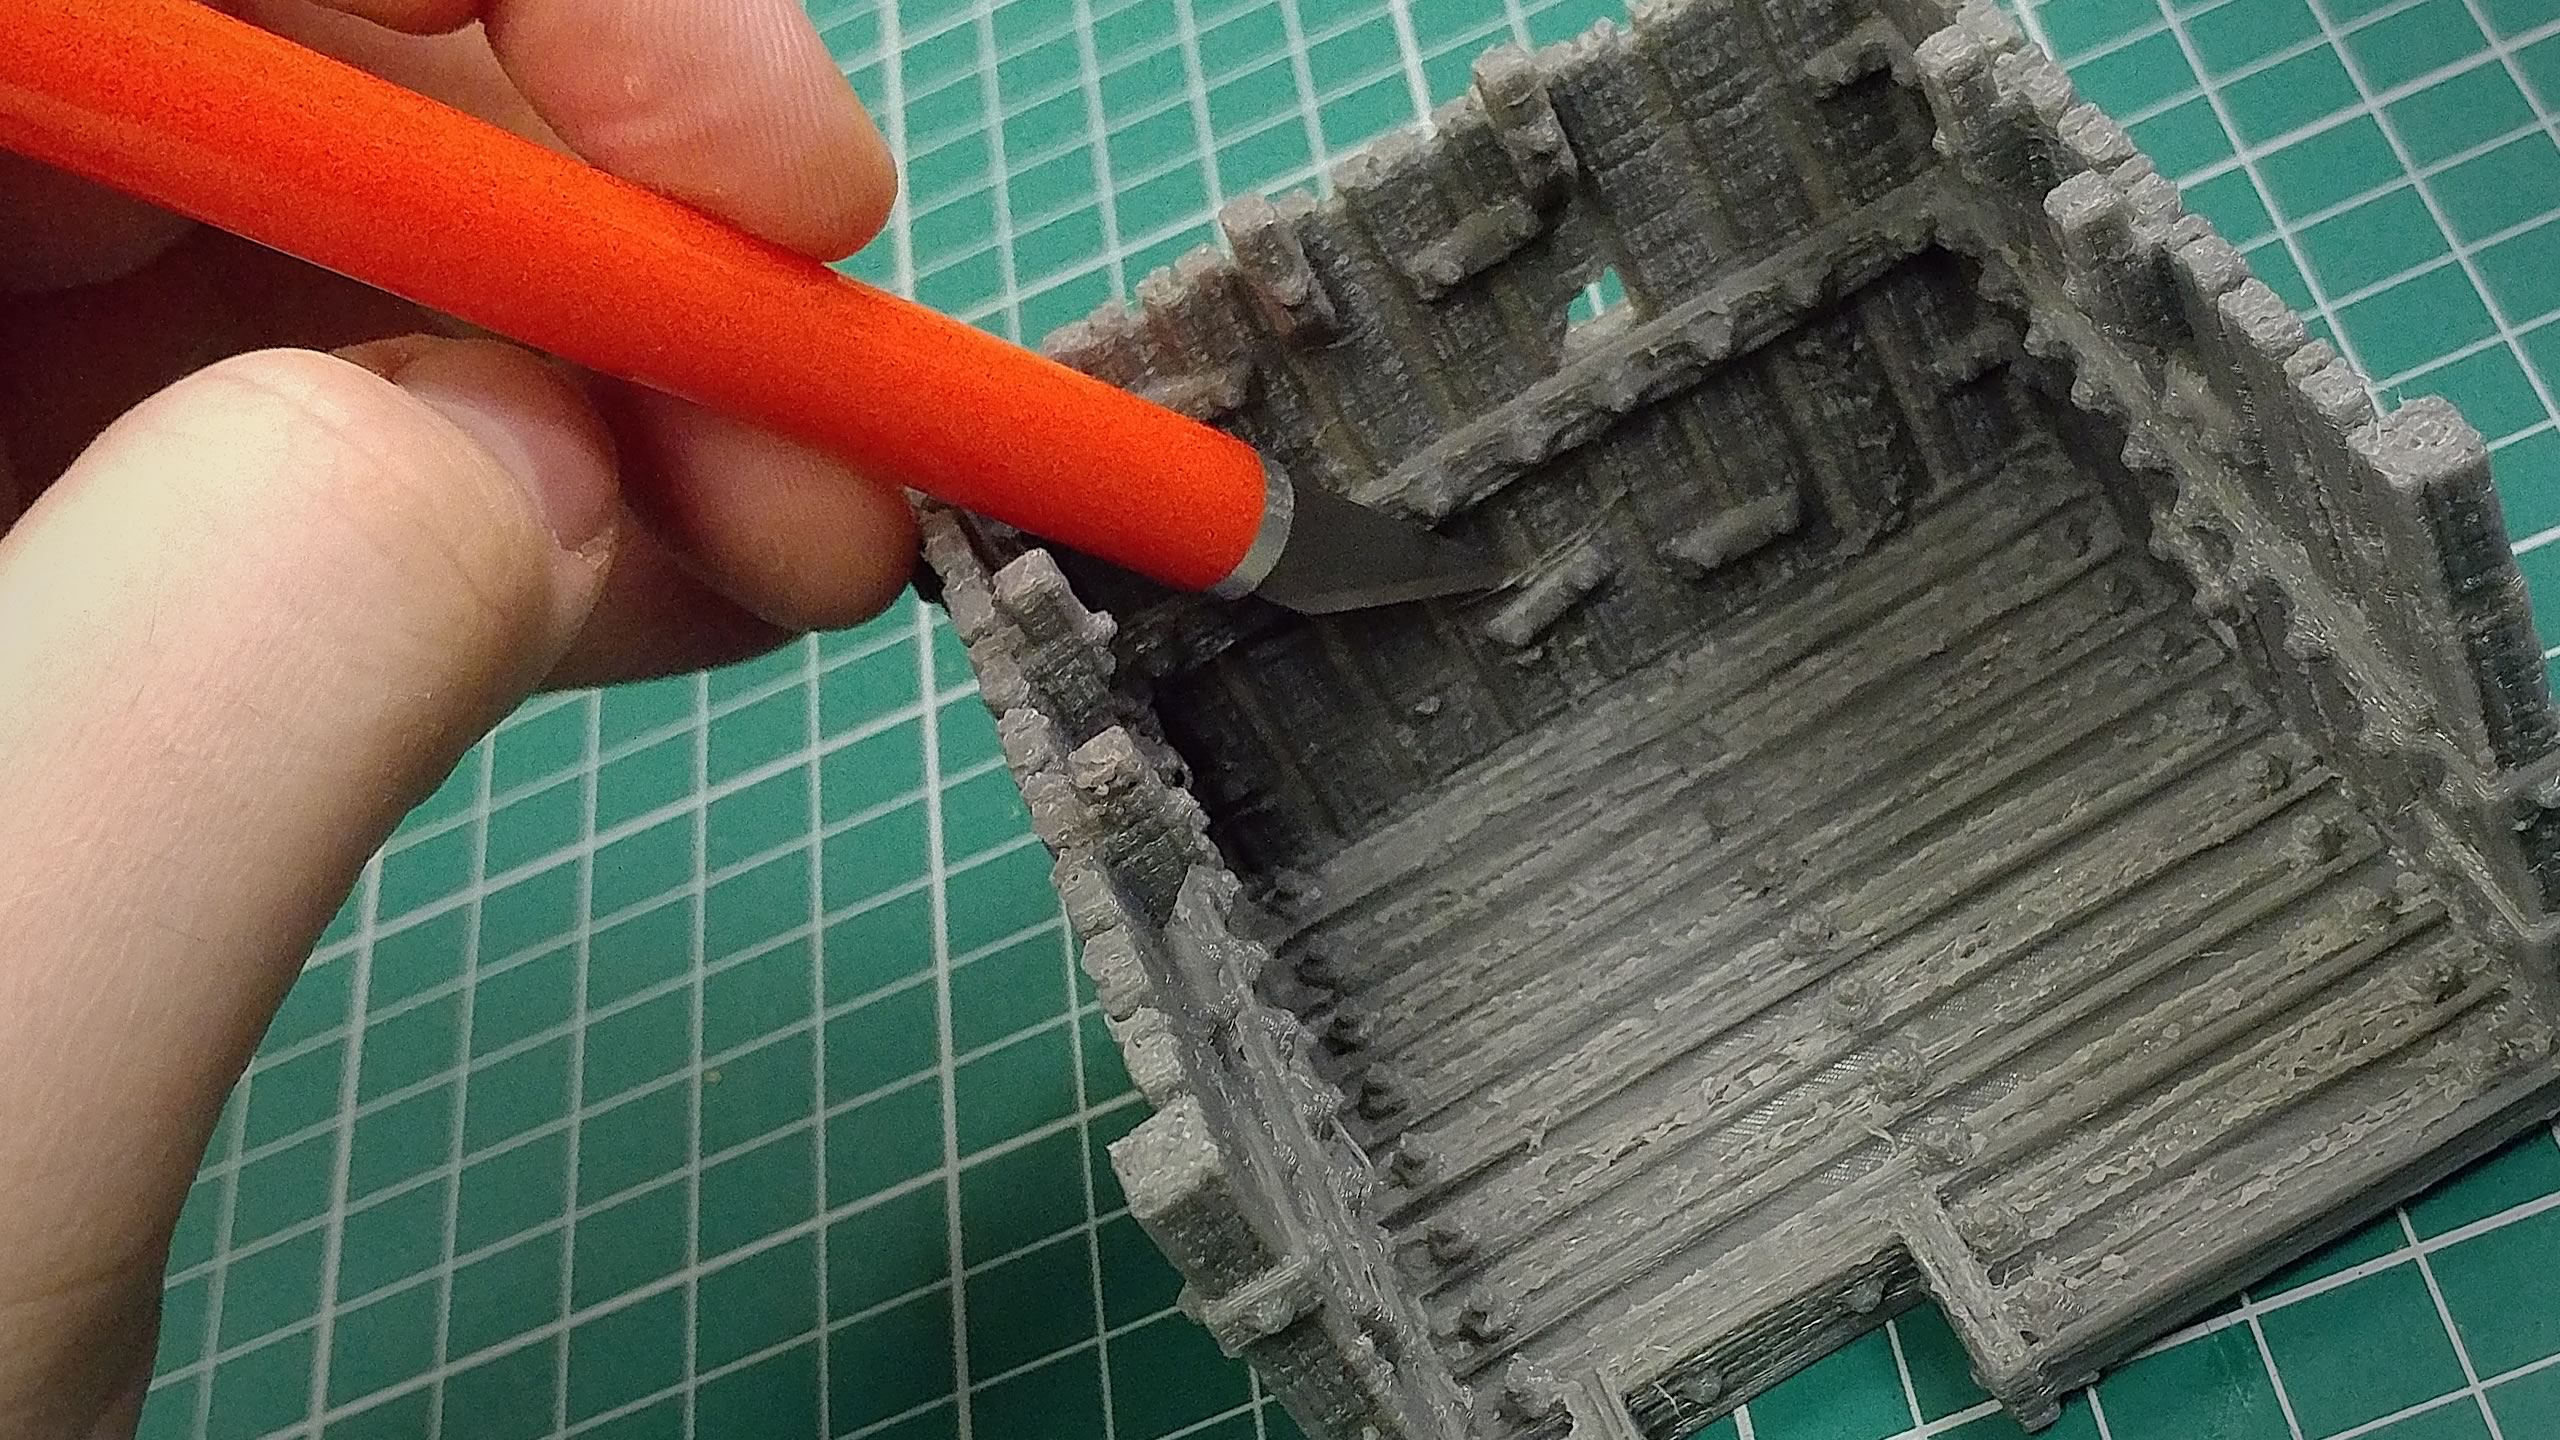
Step 3: Lastly, we use a craft knife to cut away any defects and excess material we do not need. Pay particular attention to the underside of any overhangs on the parts, as that is where you will most likely find excess material.
See Prep in Action
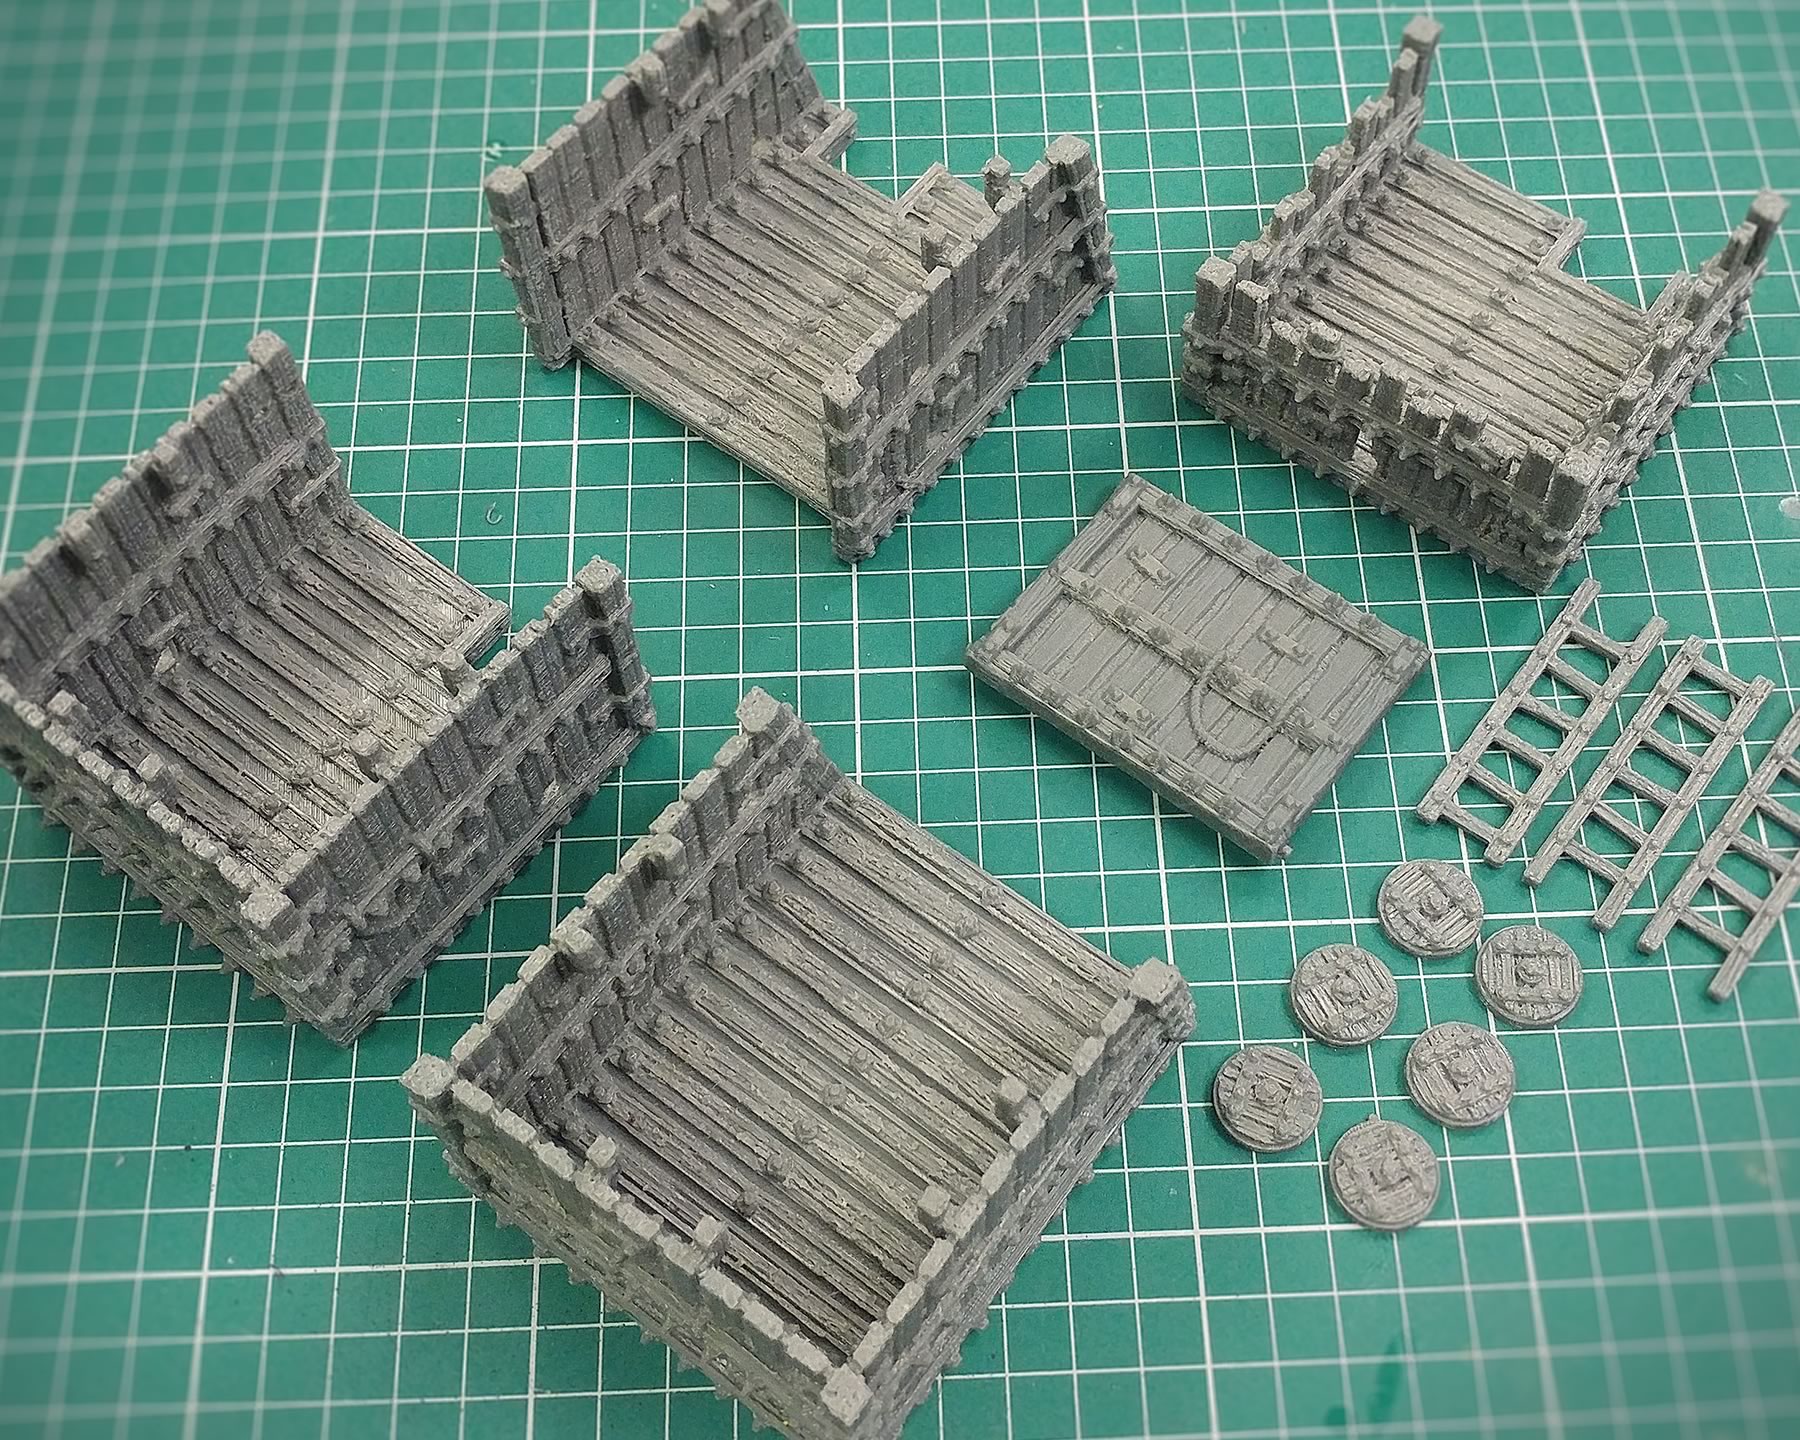
All Parts Cleaned Up
Let's Get The Wheels On
With all the parts prepped, it's time to glue the wheels on. Using a file, we first flatten down the areas designed to take the wheels to allow room for them to be fitted. We also file the back of each of the wheels to help the super glue adhere to the material more easily.
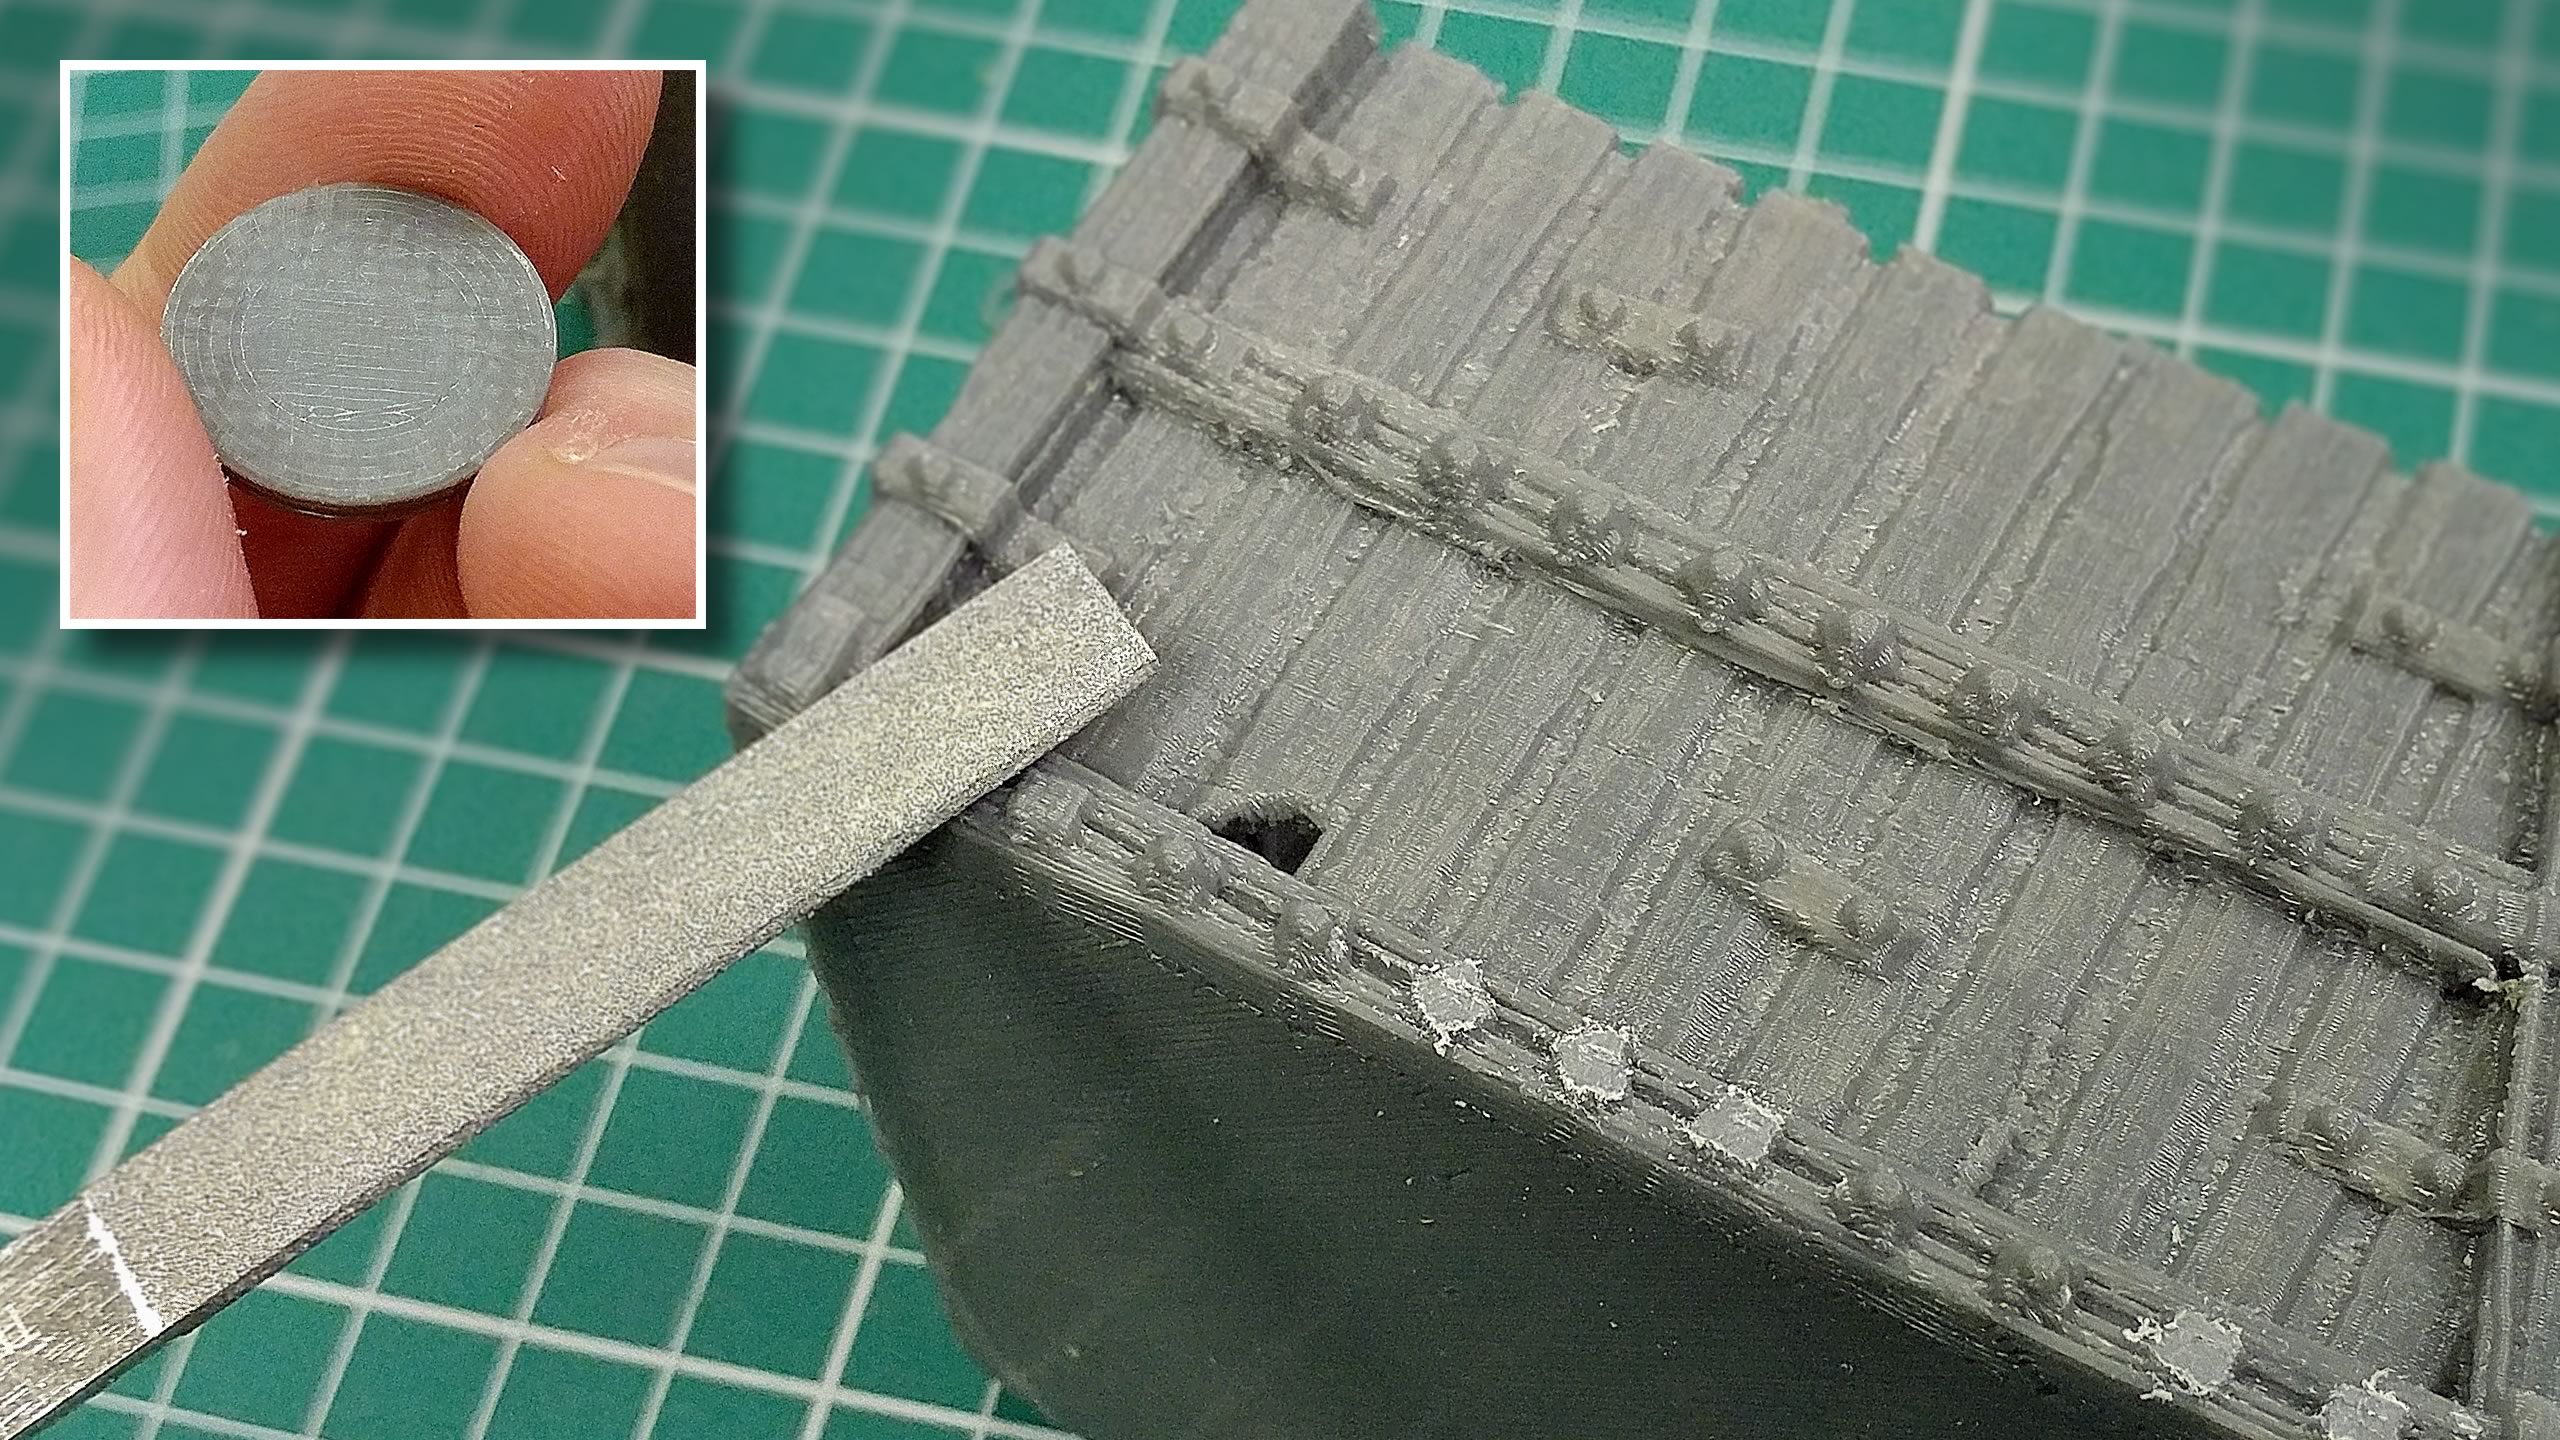
File For A Good Fit
****Then it's just a matter of popping a spot of glue on the back of each wheel and placing them onto the filed parts. THEN???? to DRY FOR HOW LONG JOHN?****
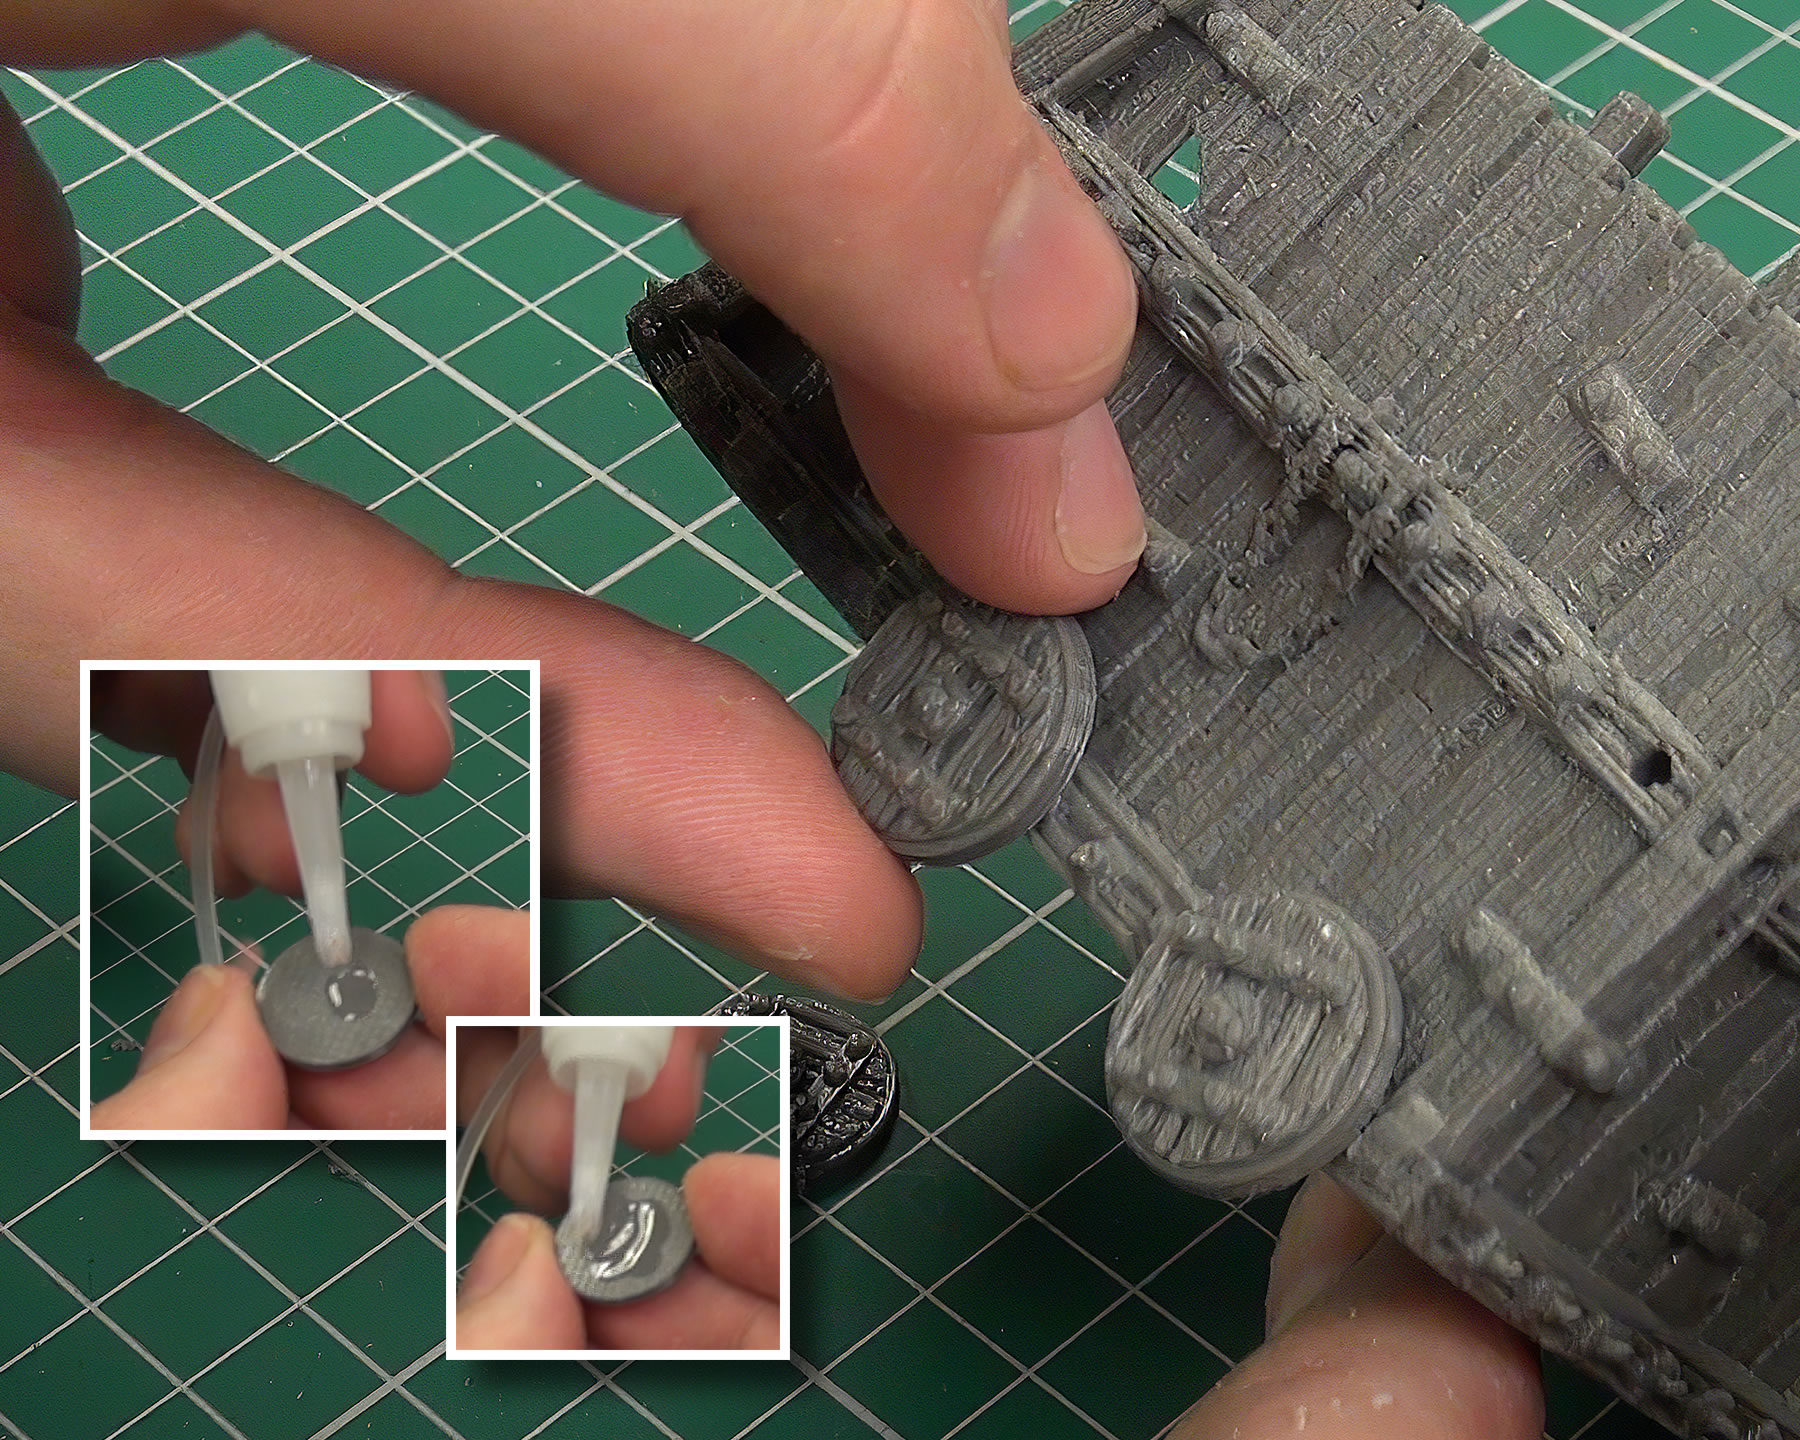
See The Wheels Being Glued On
With the wheels glued on and the tower placed together again, we can see the quality of what we have to work with before we add any paint.
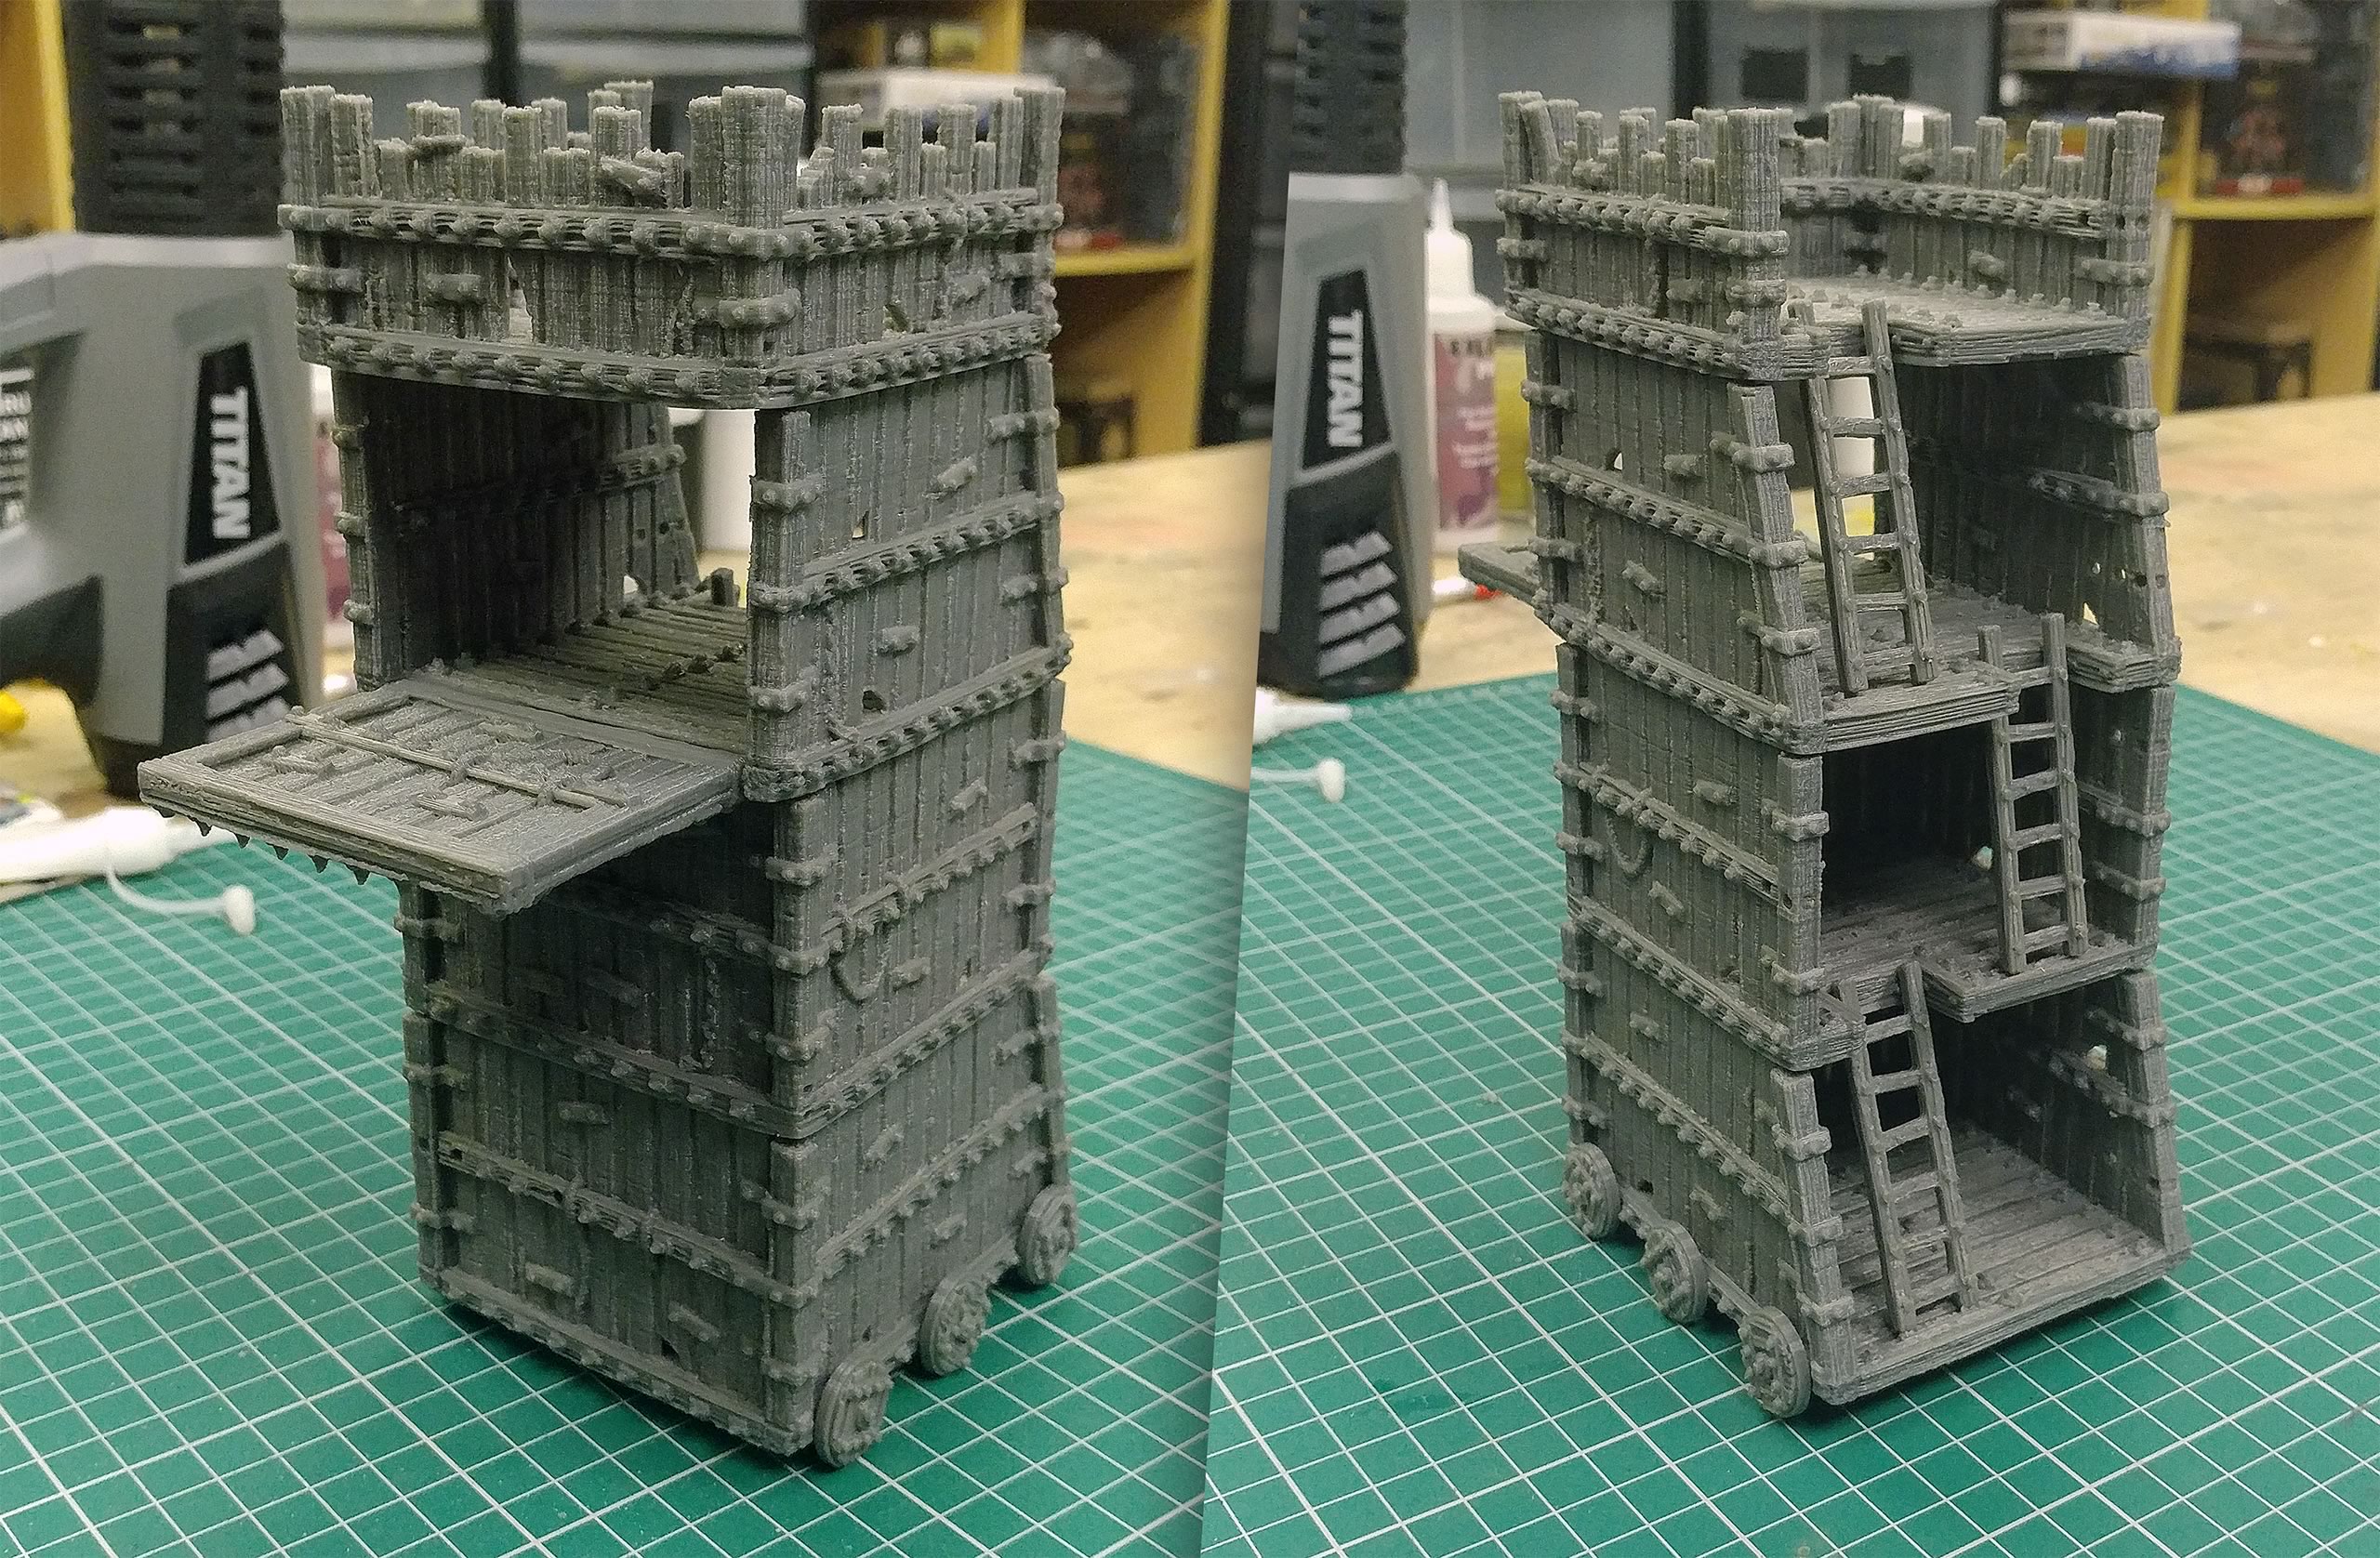
Final Dry Fit Before Paint
Time To Start Painting
Priming The Siege Tower
Using Army Painter Colour Primer "Leather Brown" to prime the whole model, we get a wonderfully smooth and durable finish over the print material.
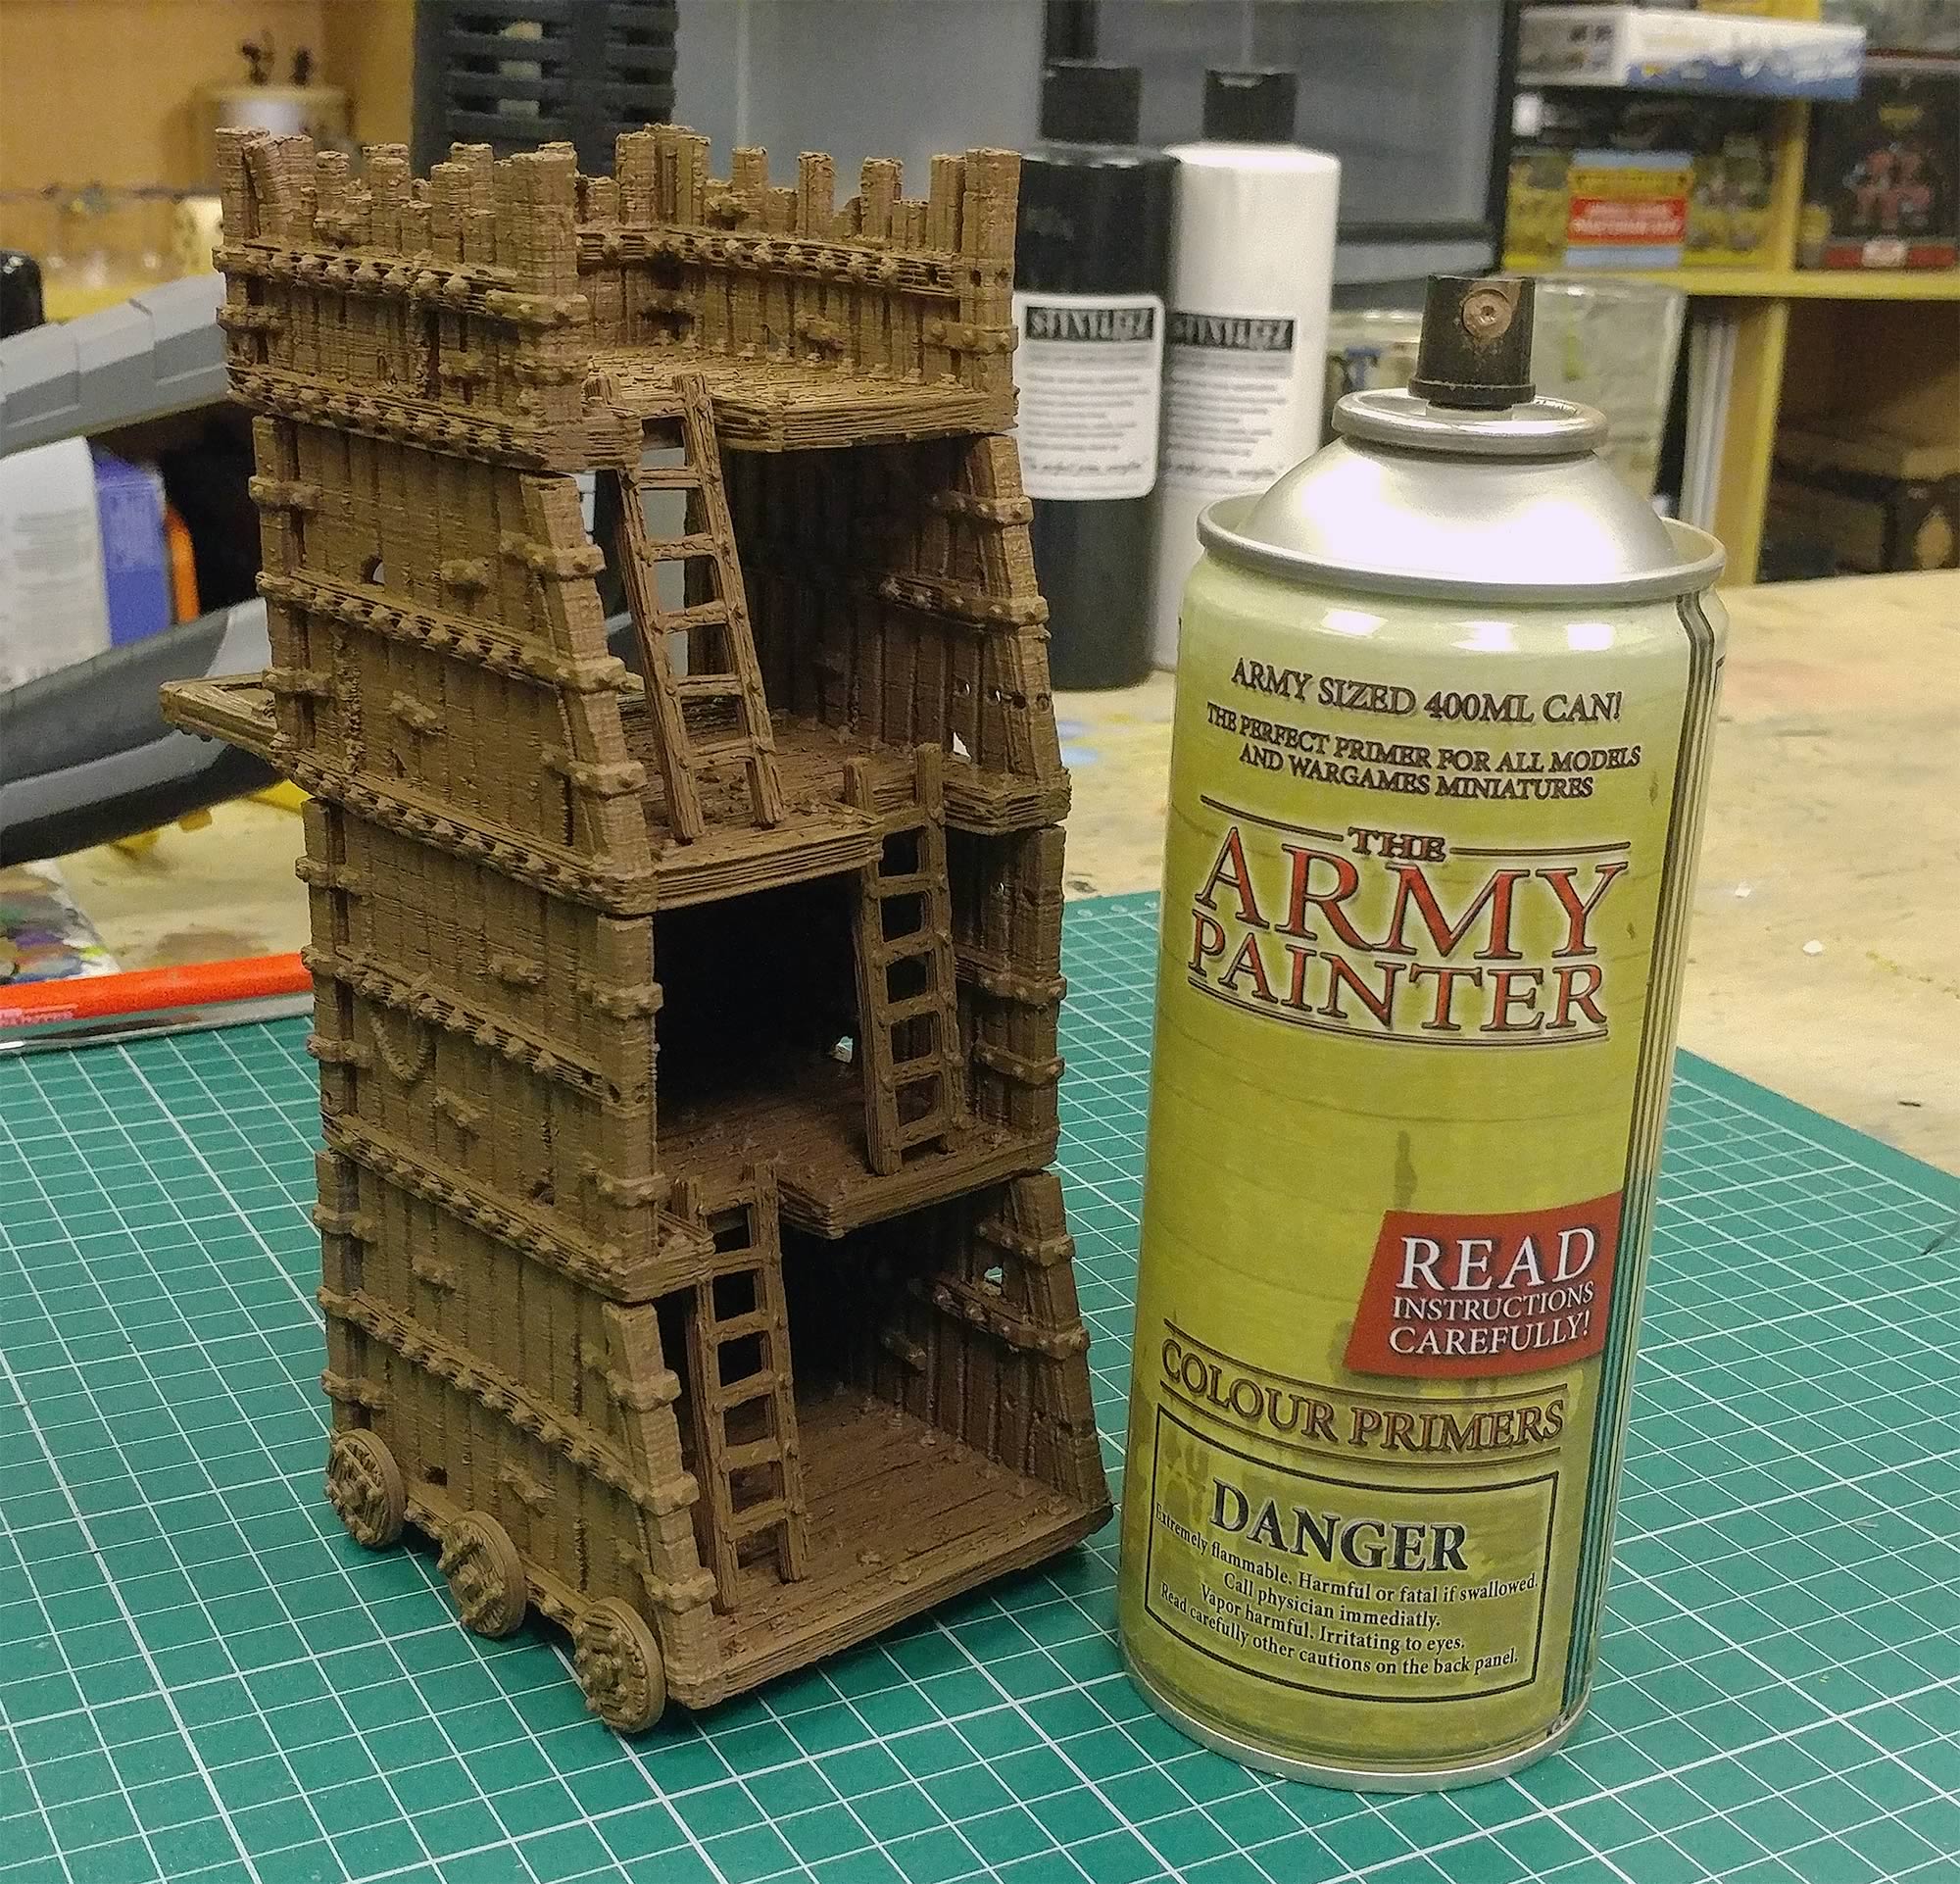
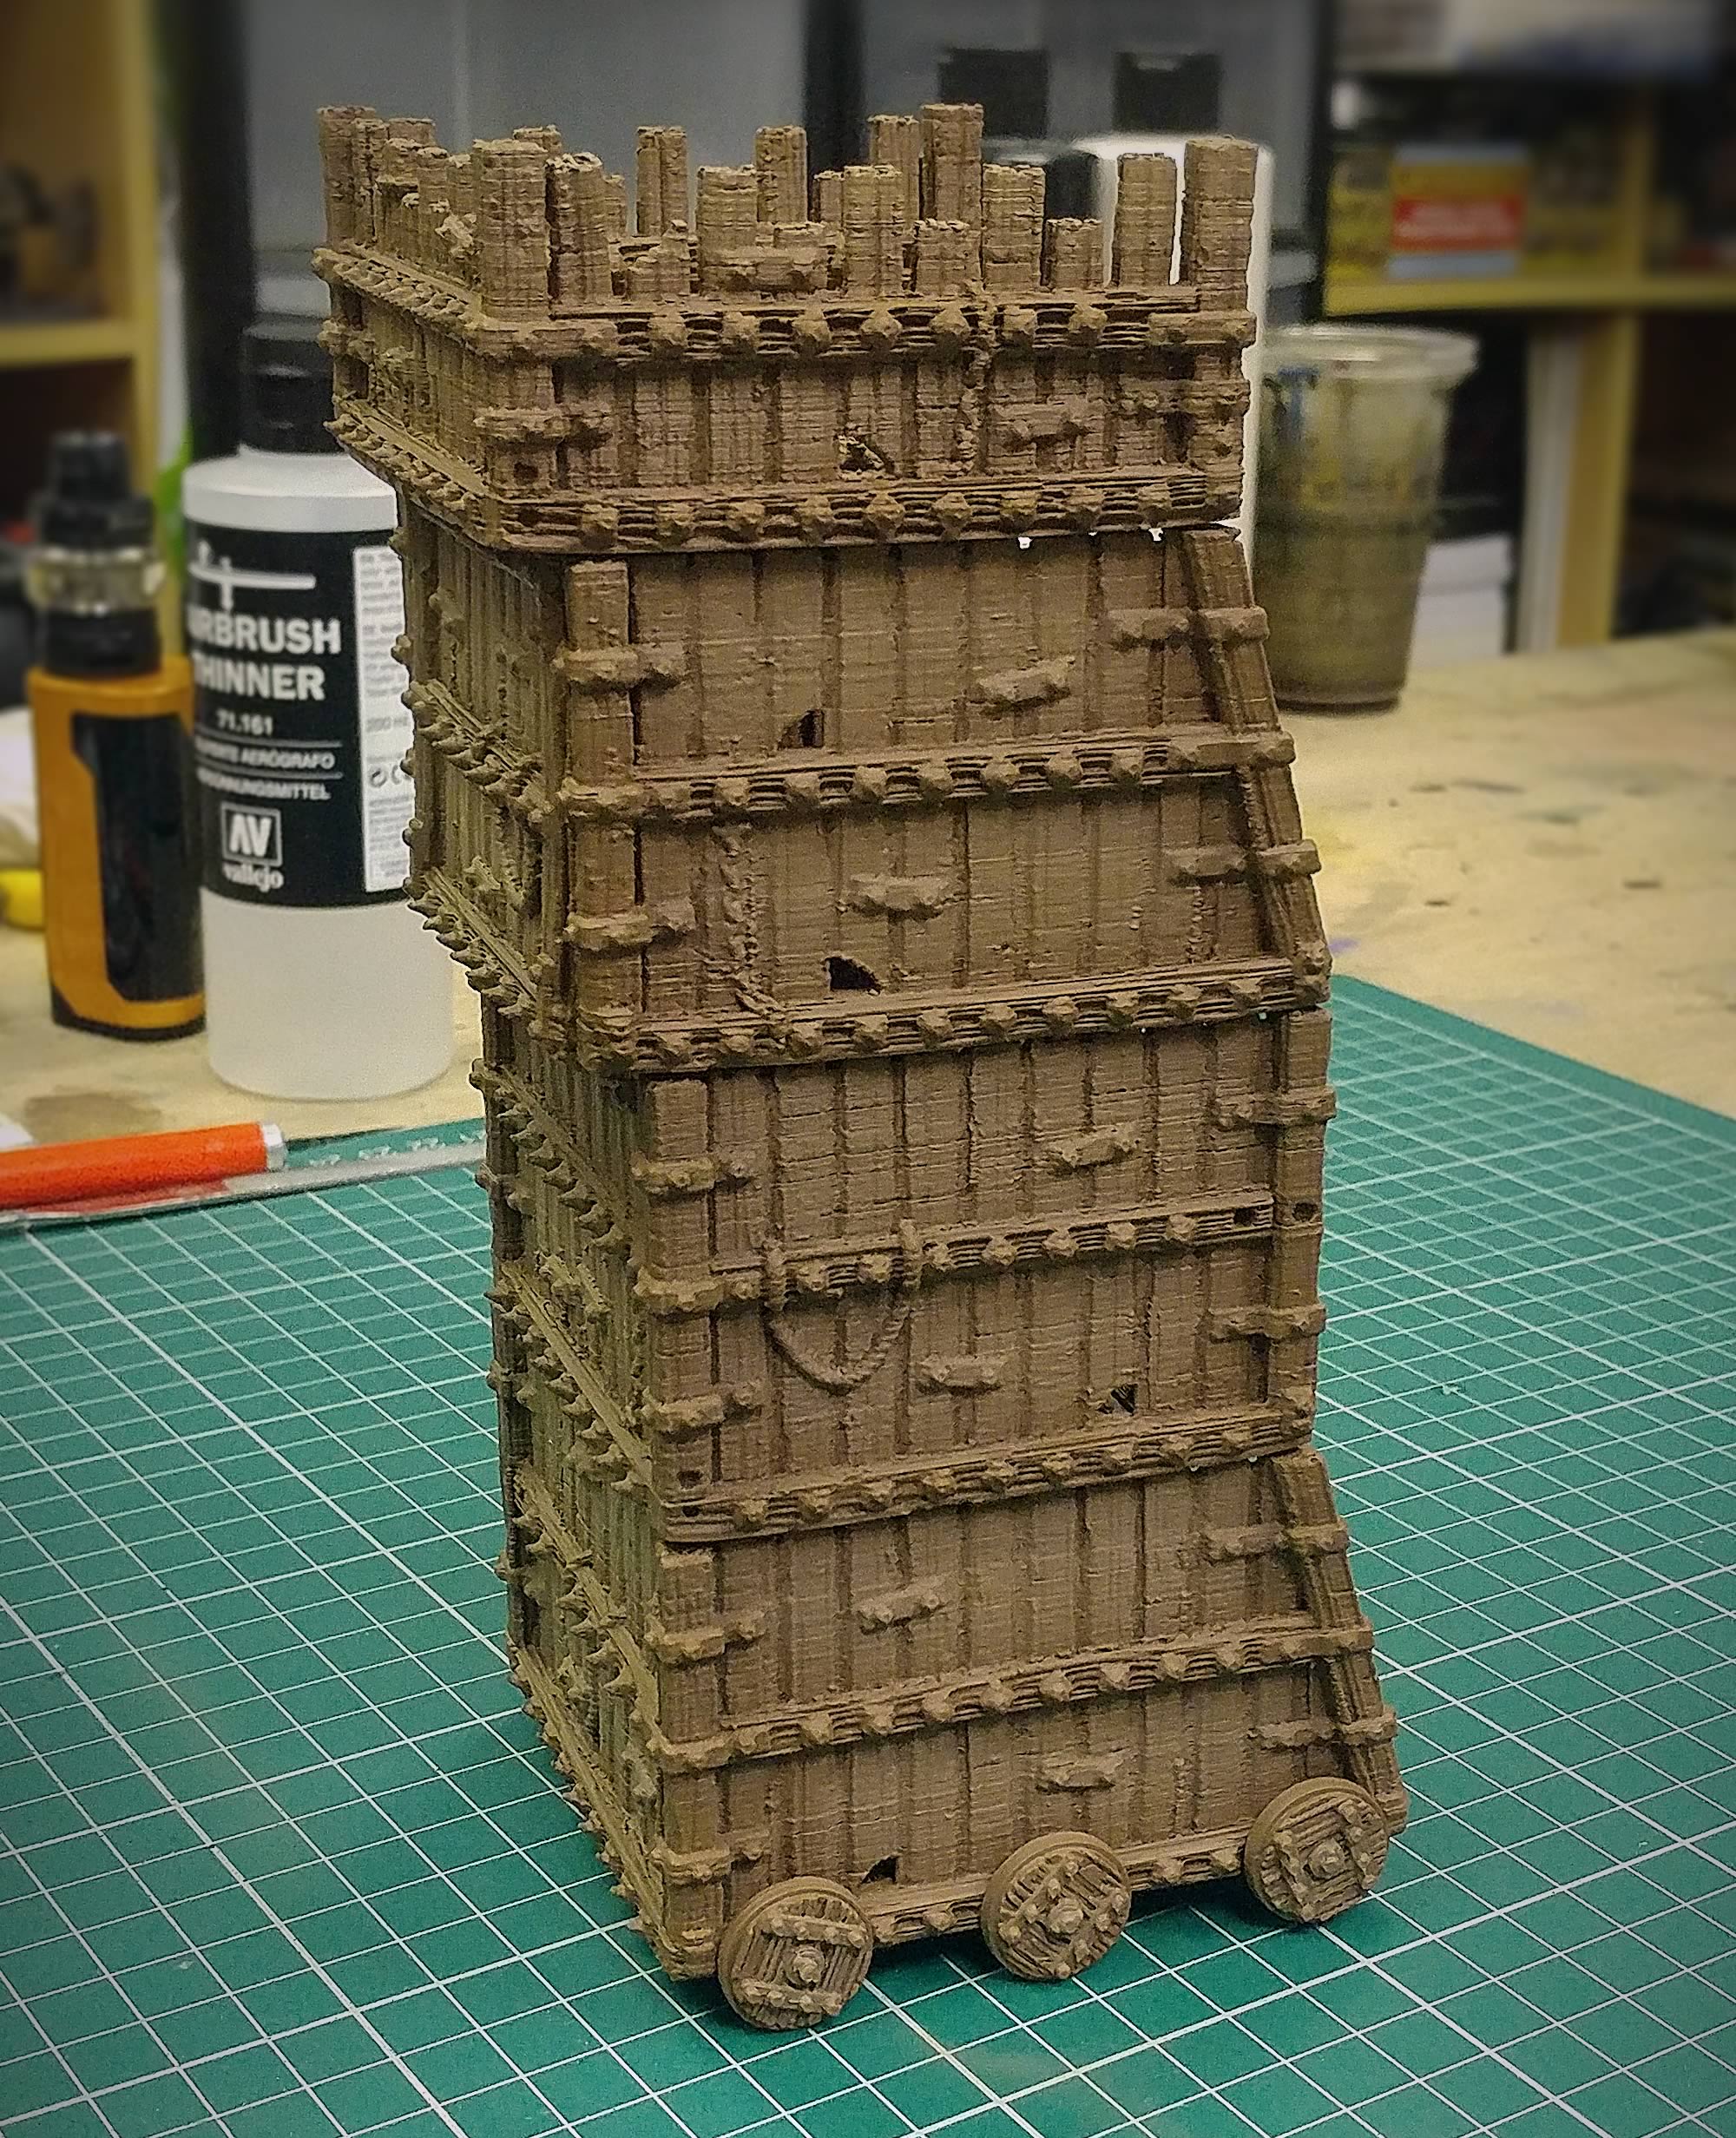
With the coat of primer fully dry and matt, we get a really nice look at all the detail of the Siege Tower.
Let's Get Woodie With Some Basic Airbrush Shading
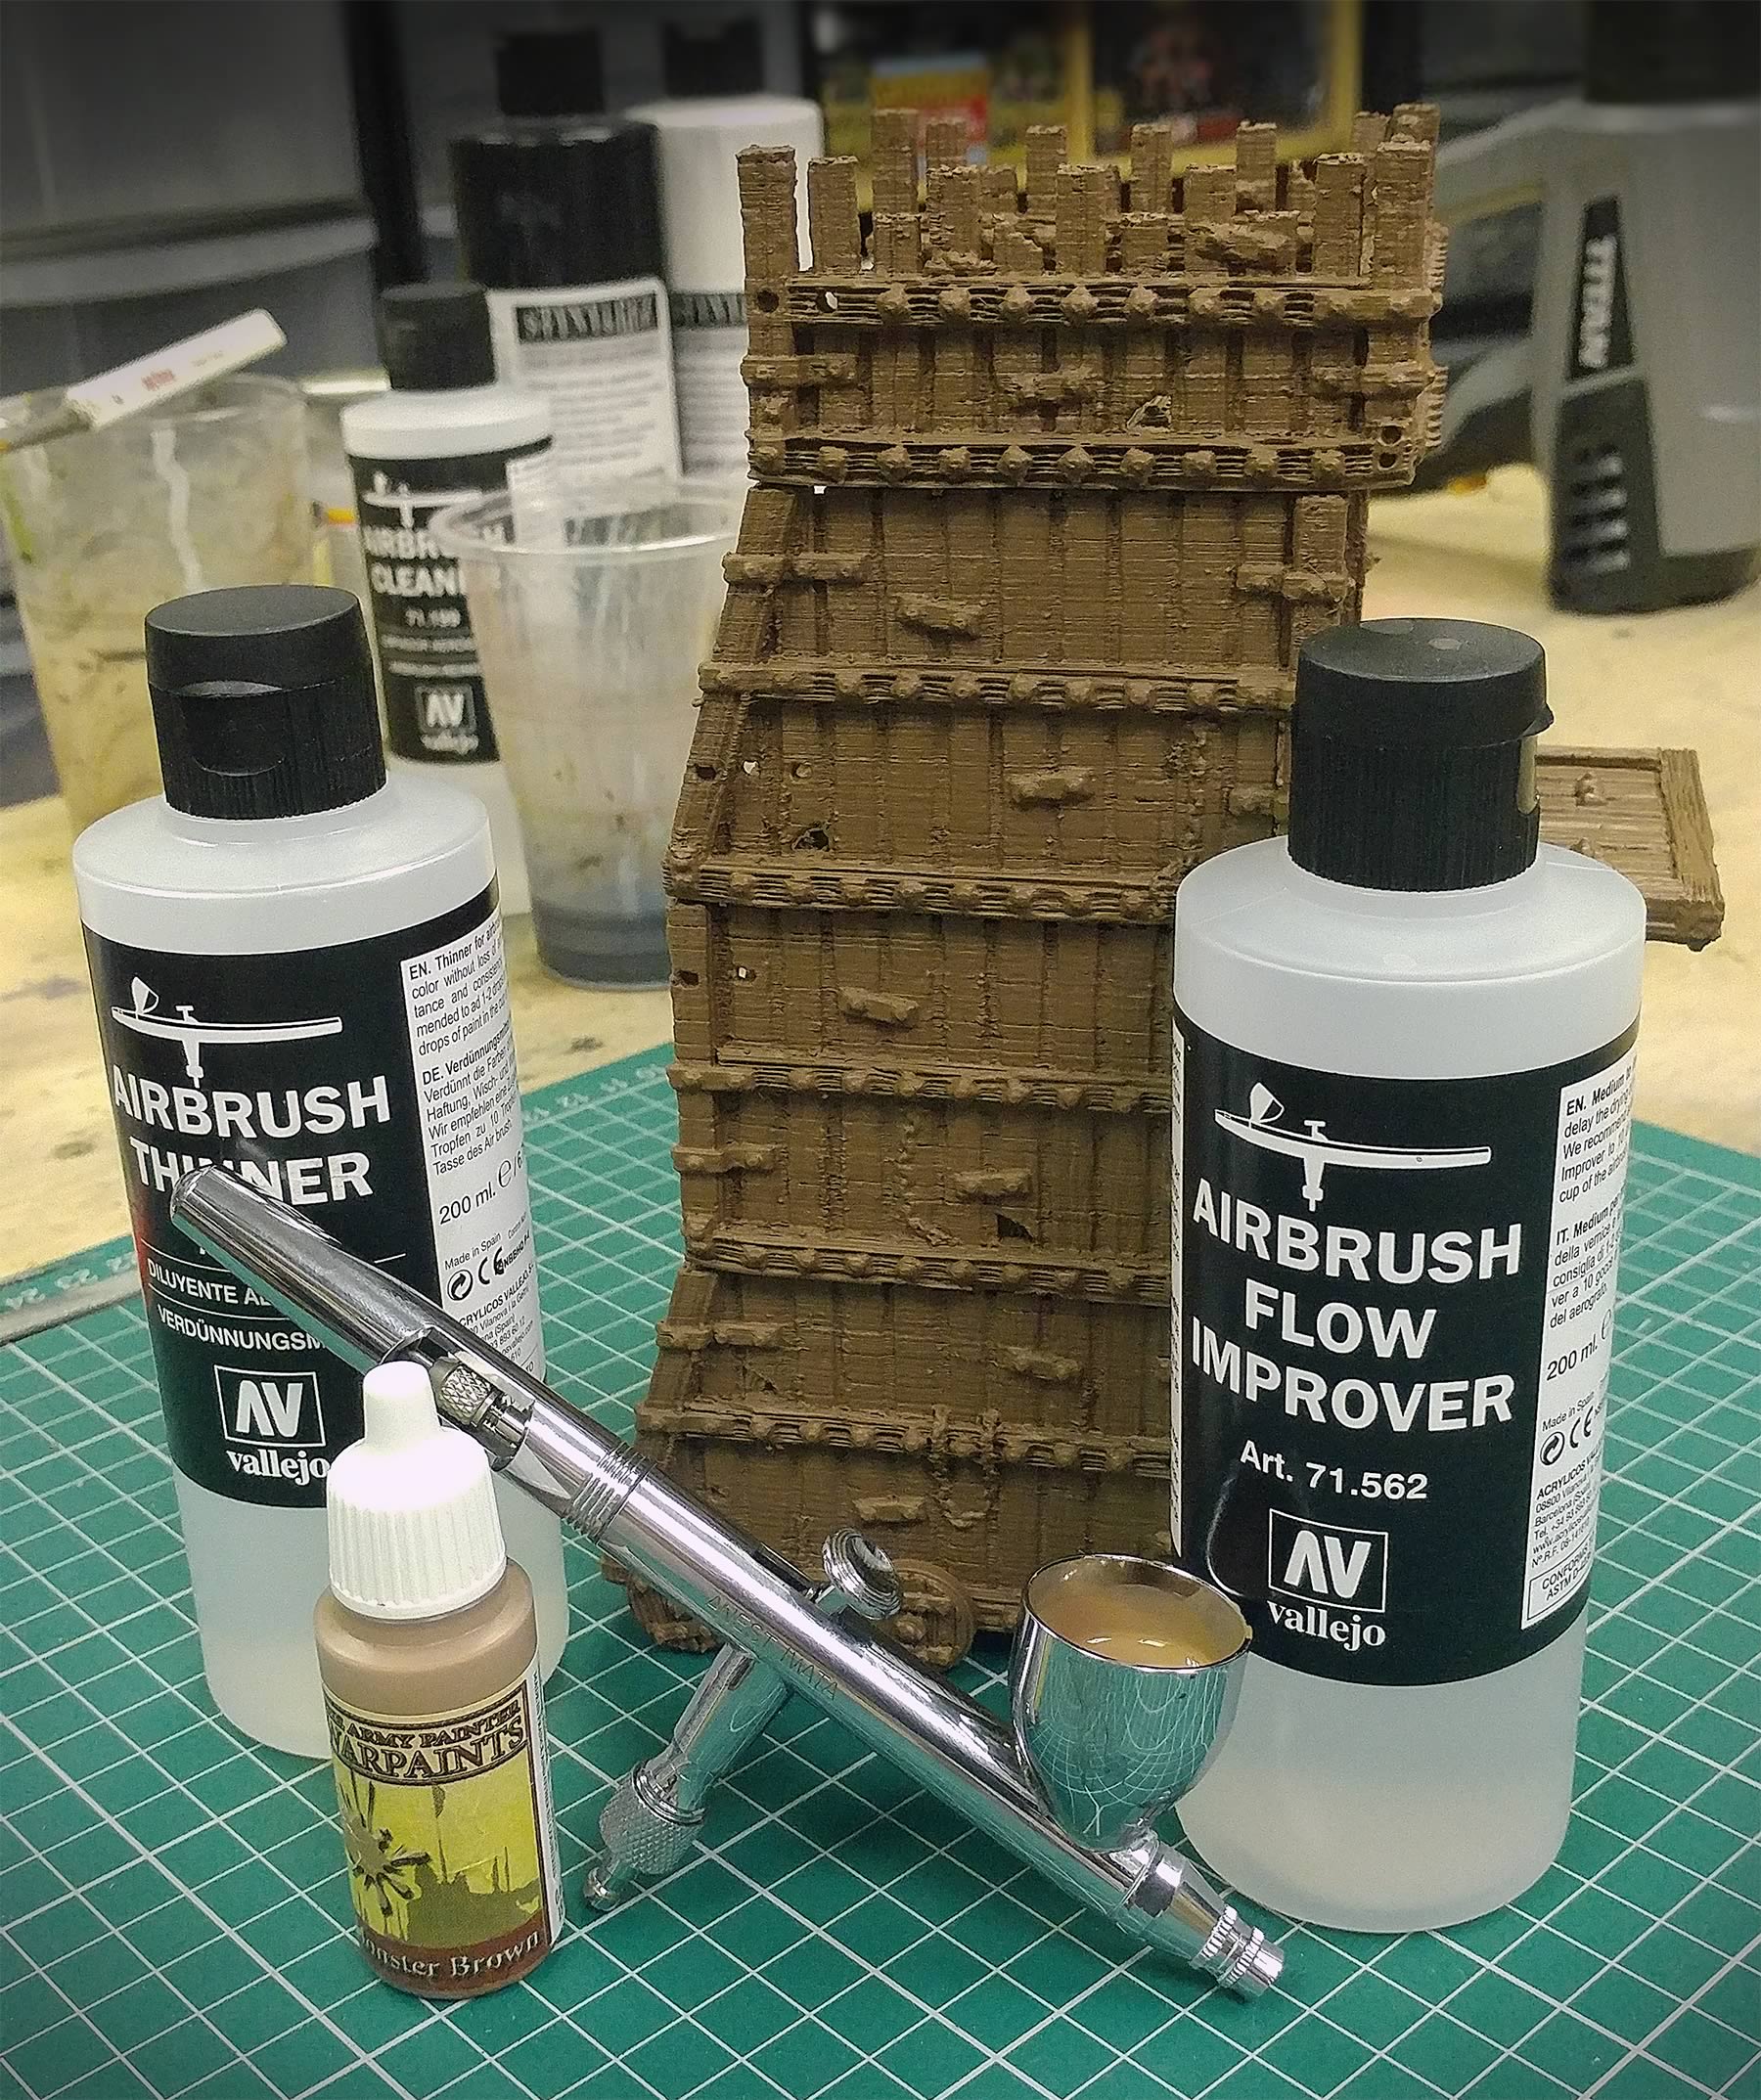
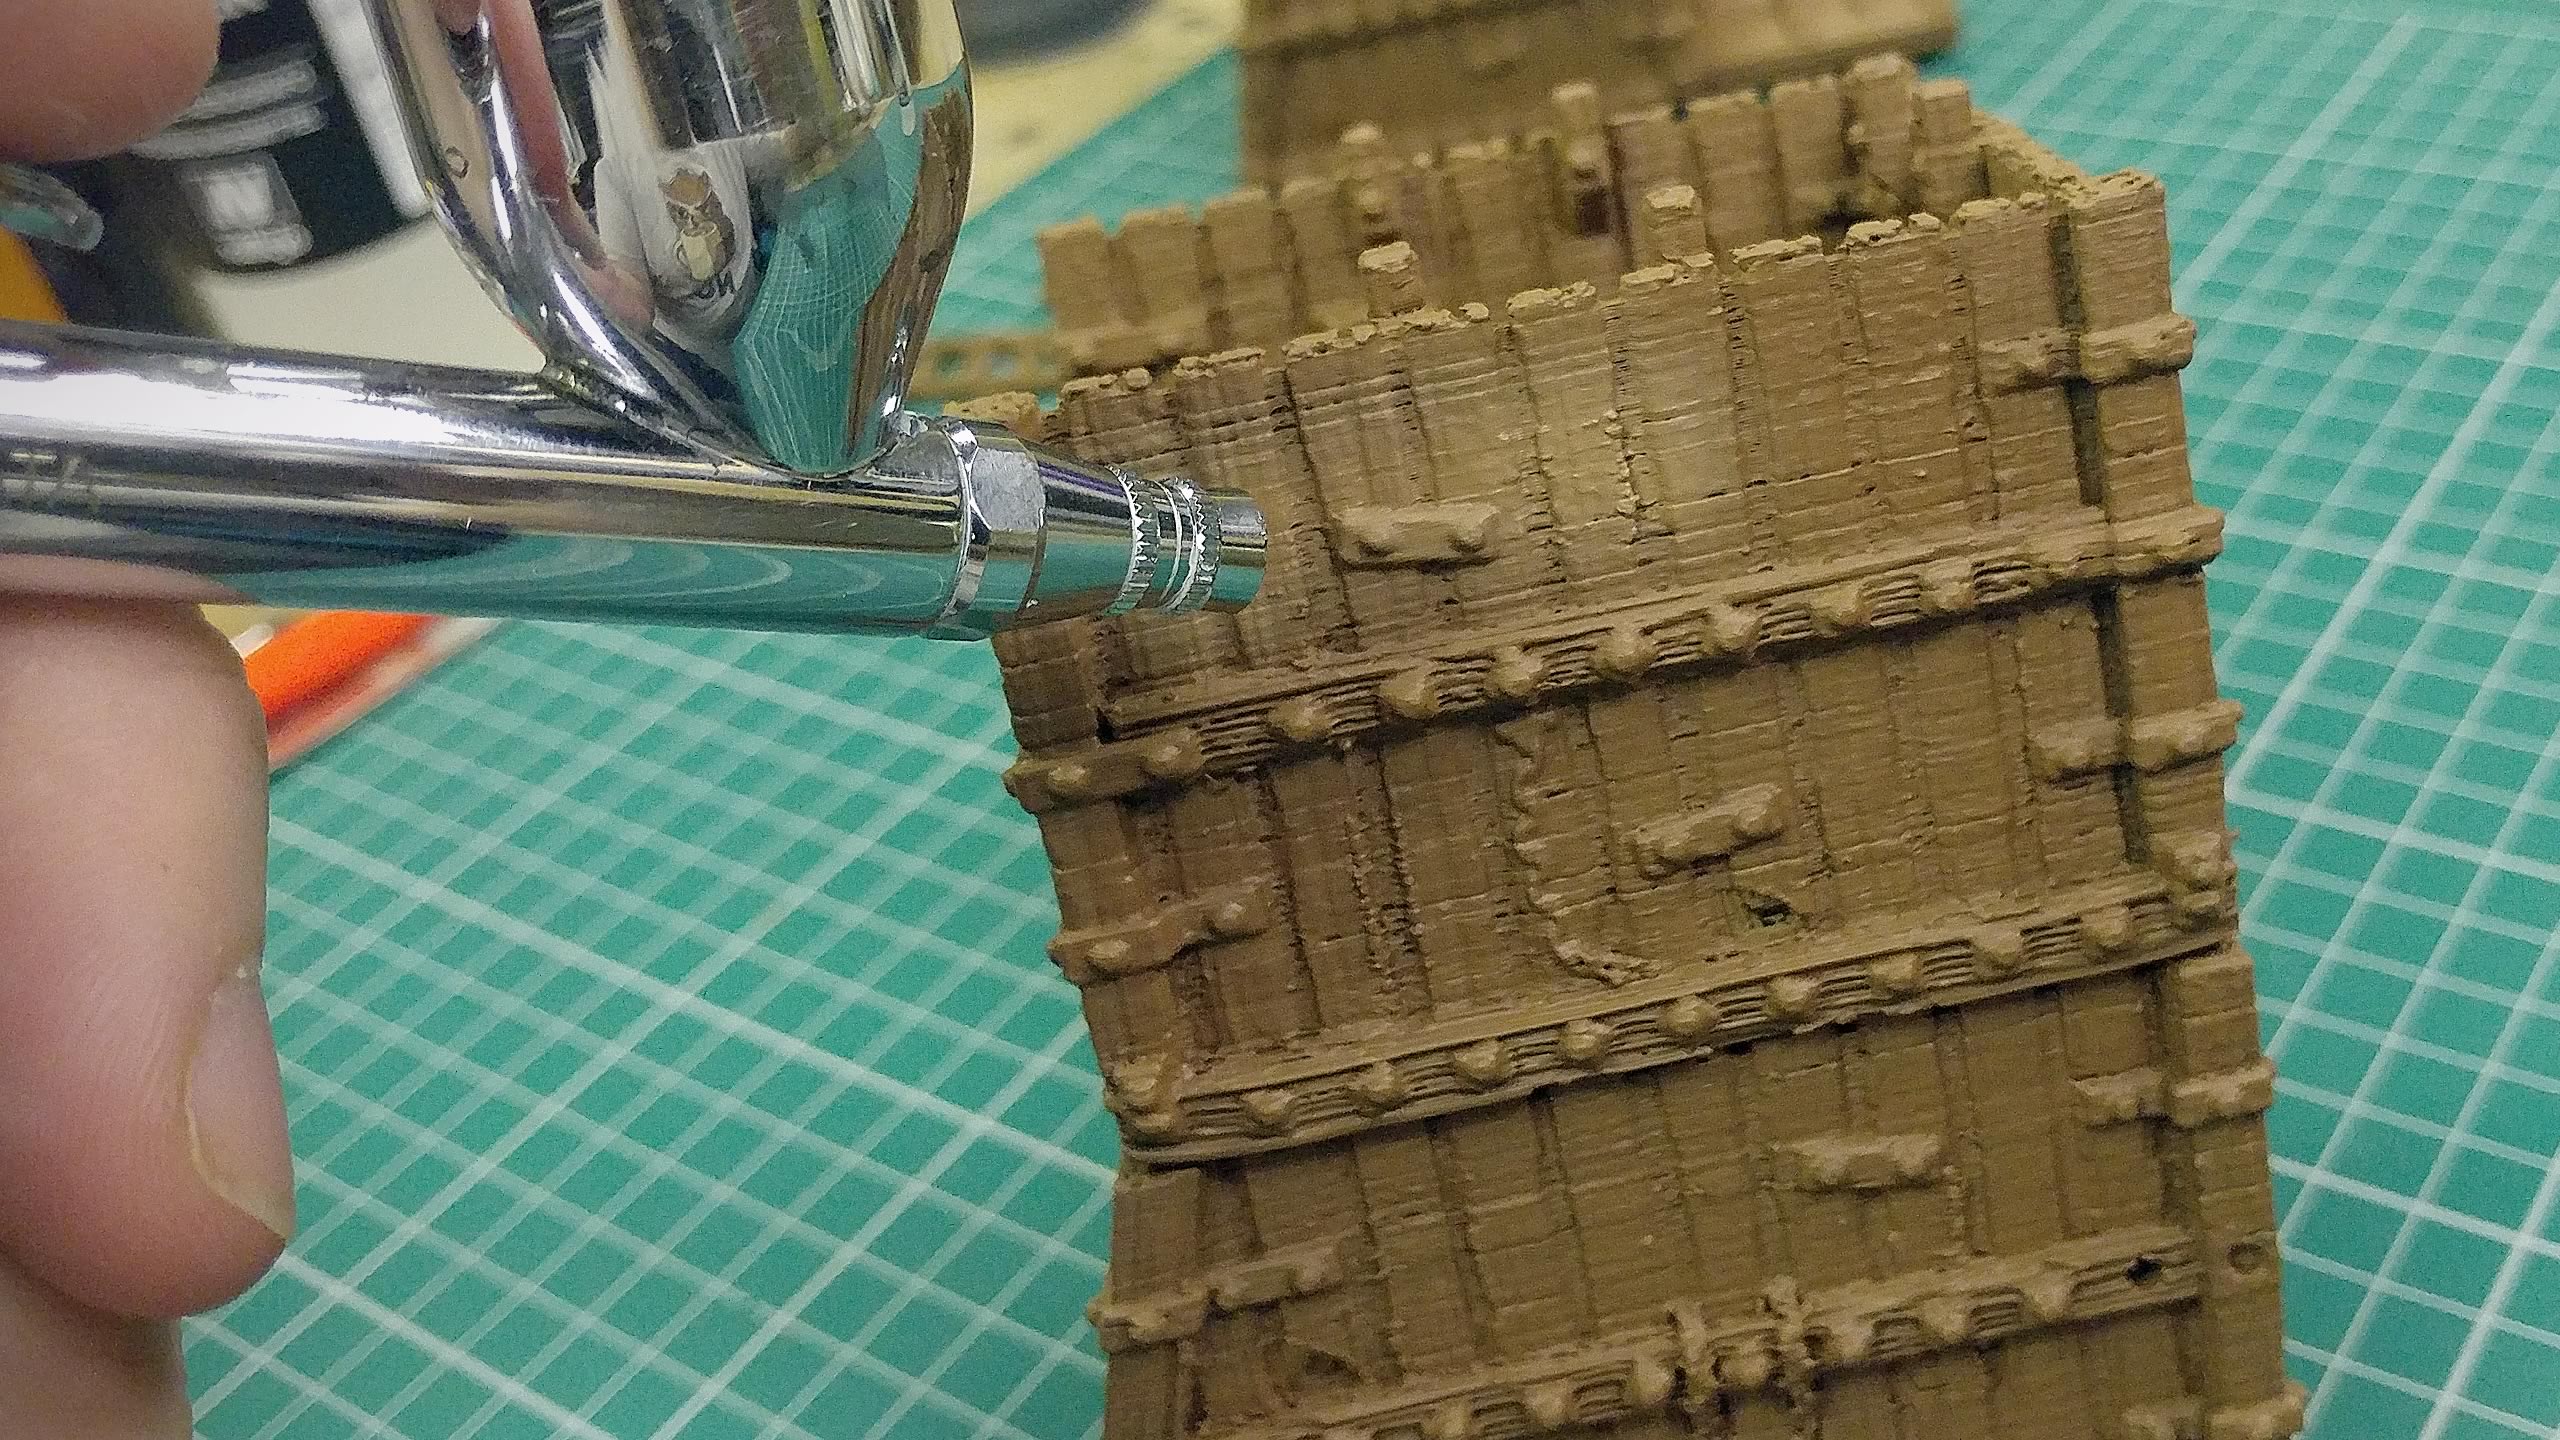
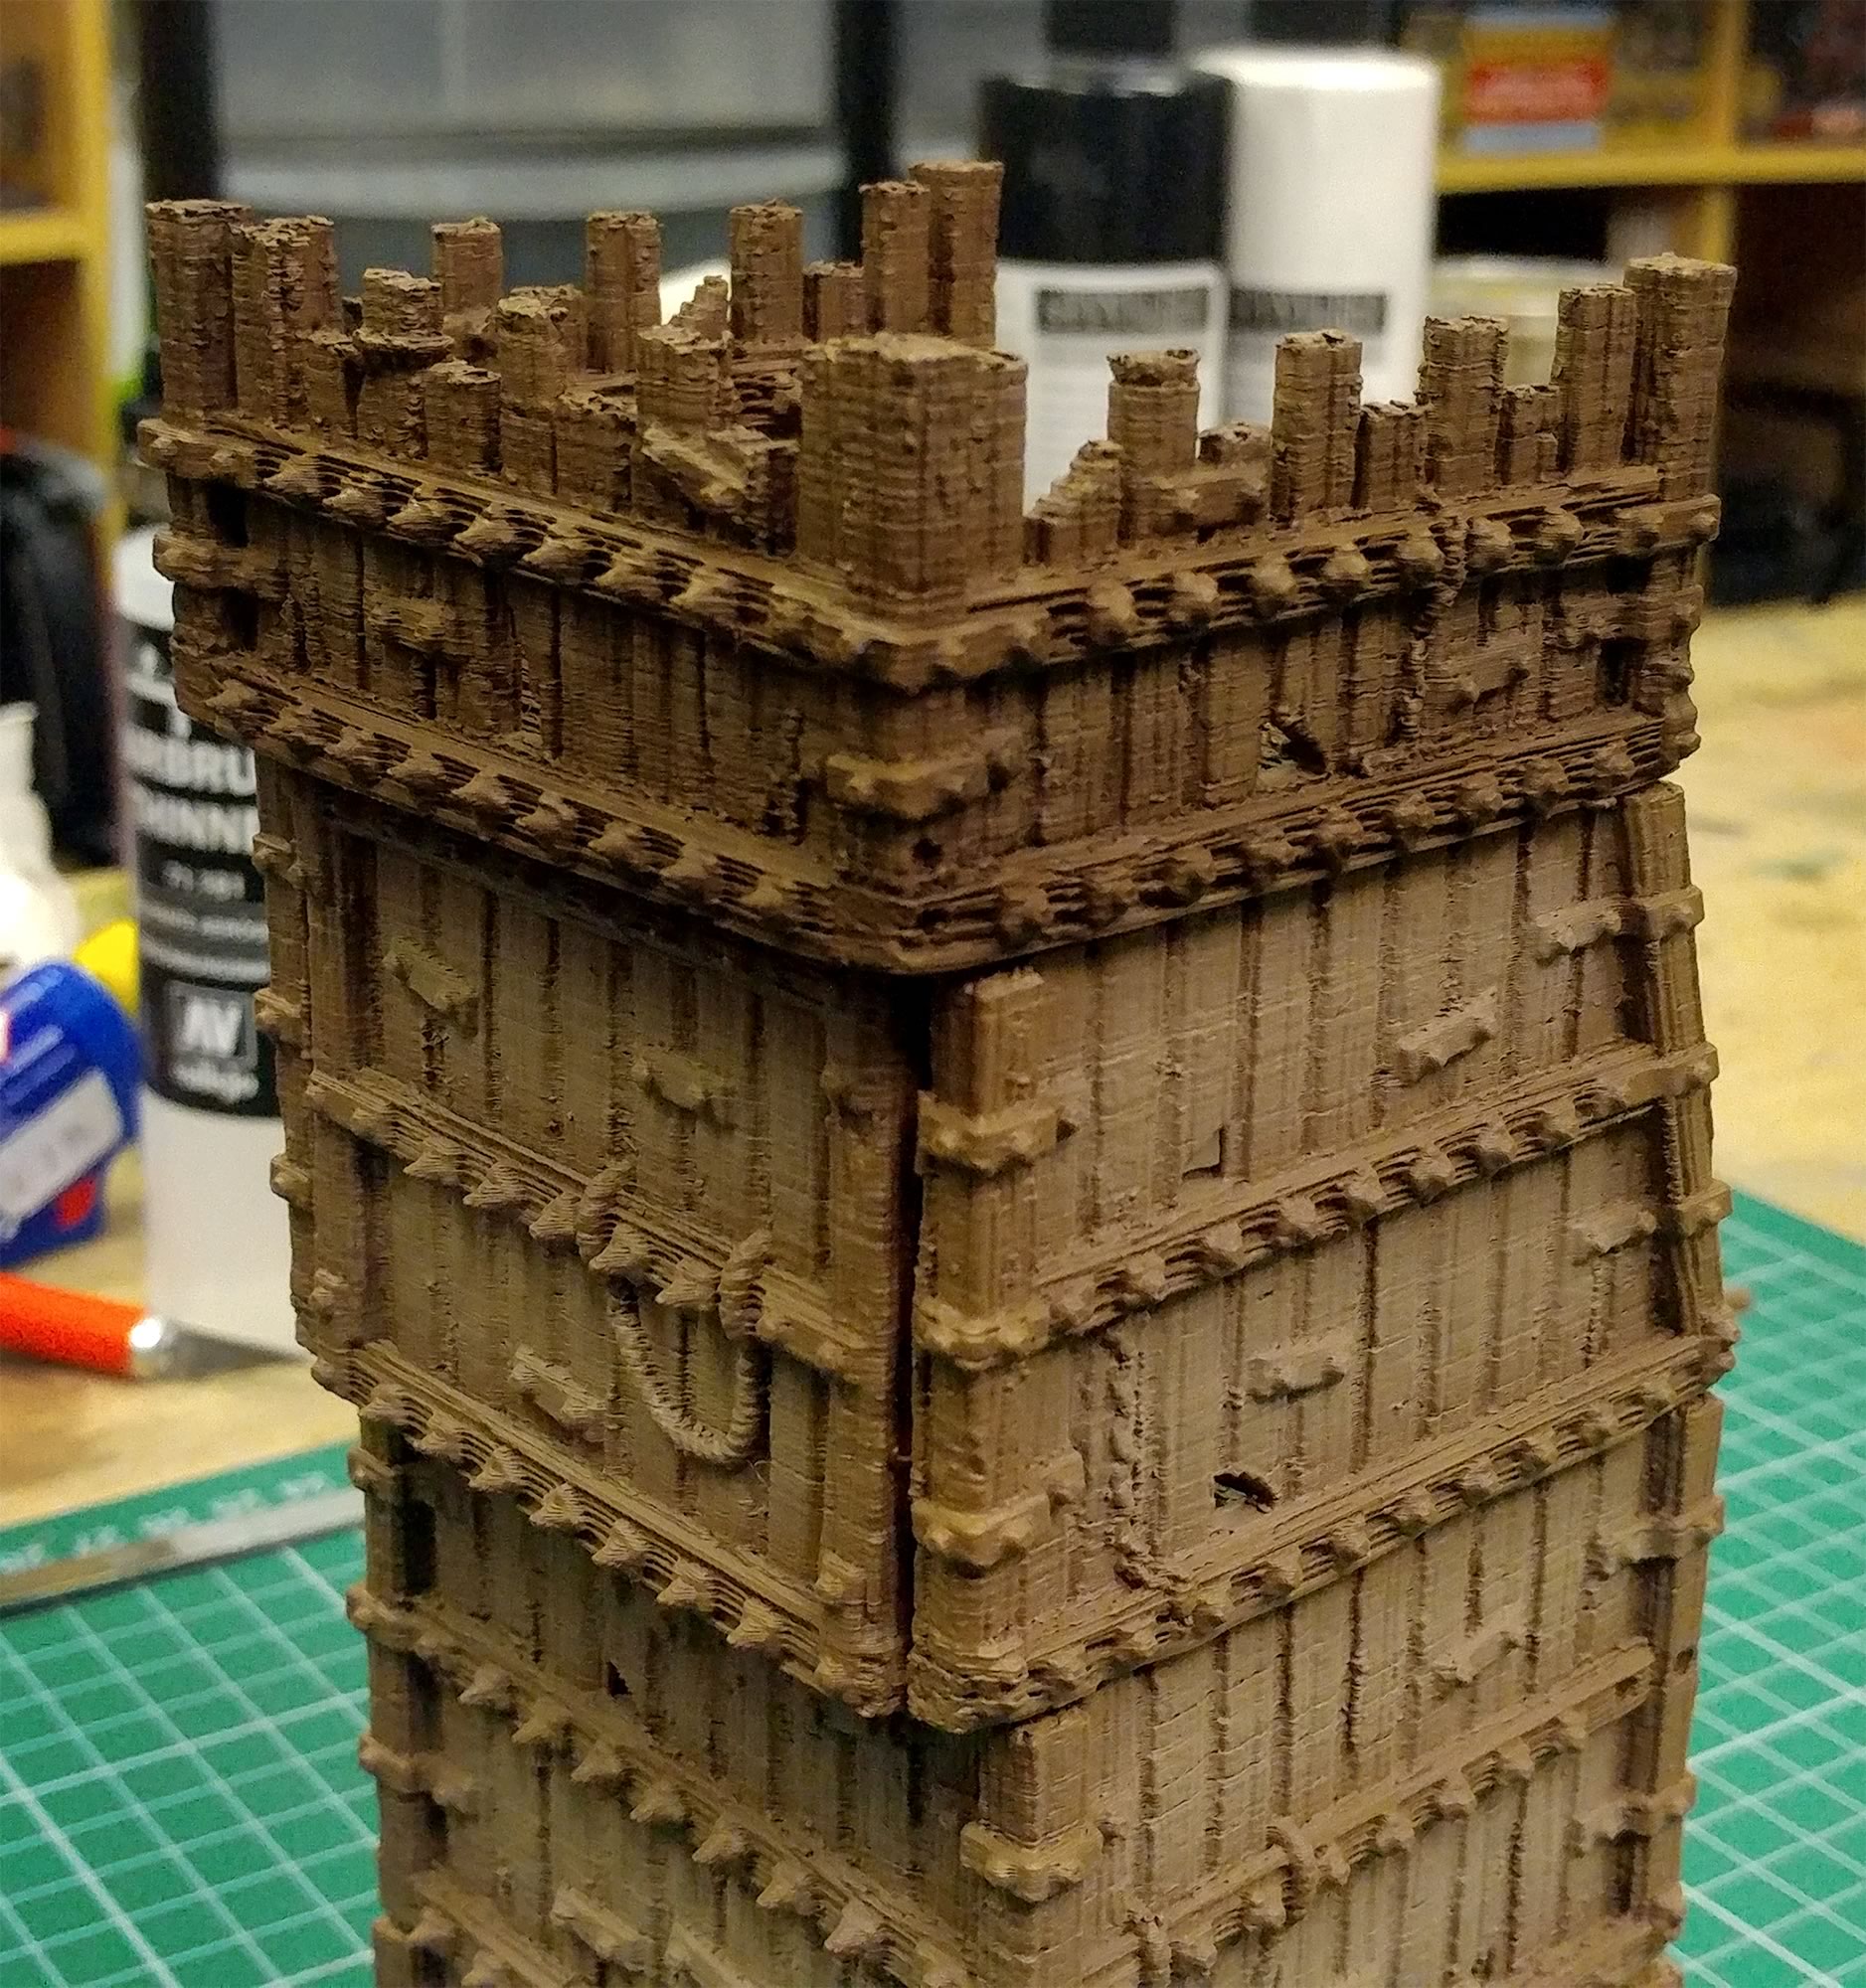
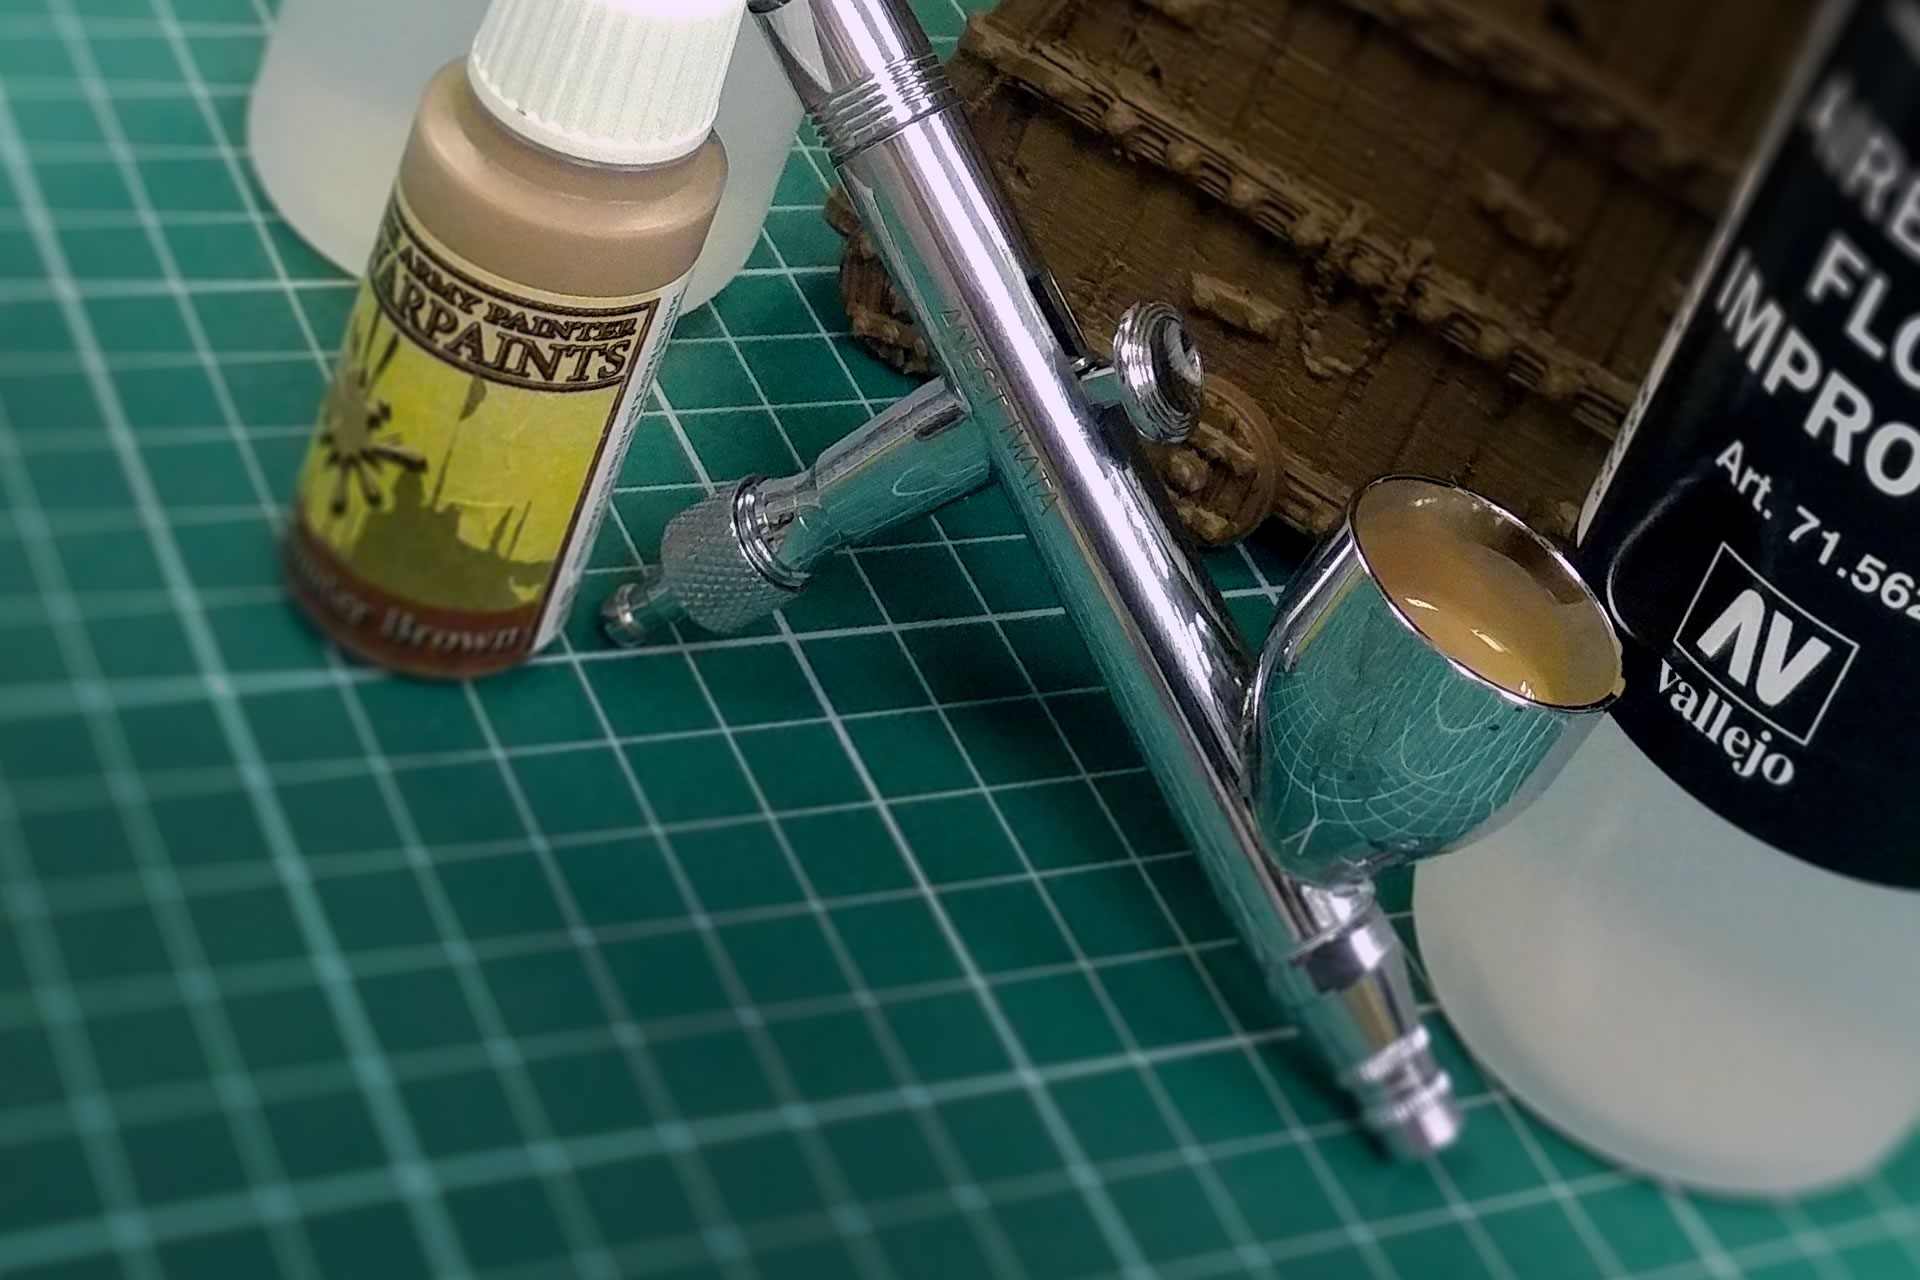
Using an airbrush, we now add shading to the flat areas on the tower. In this way, we add some visual interest and accentuate the model.
The paint is Army Painter "Monster Brown" mixed in a ratio of two parts paint, two parts airbrush thinner, and one part airbrush flow improver.
Simply applying a broad, straight line of the Monster Brown goes a long way to lightening up the overall look of the tower. This method can be easily achieved with a very basic airbrush.
The end result is subtle, but an important step towards making the wood look appealing and a little more realistic.
Shading & Highlighting
Applying A Wash
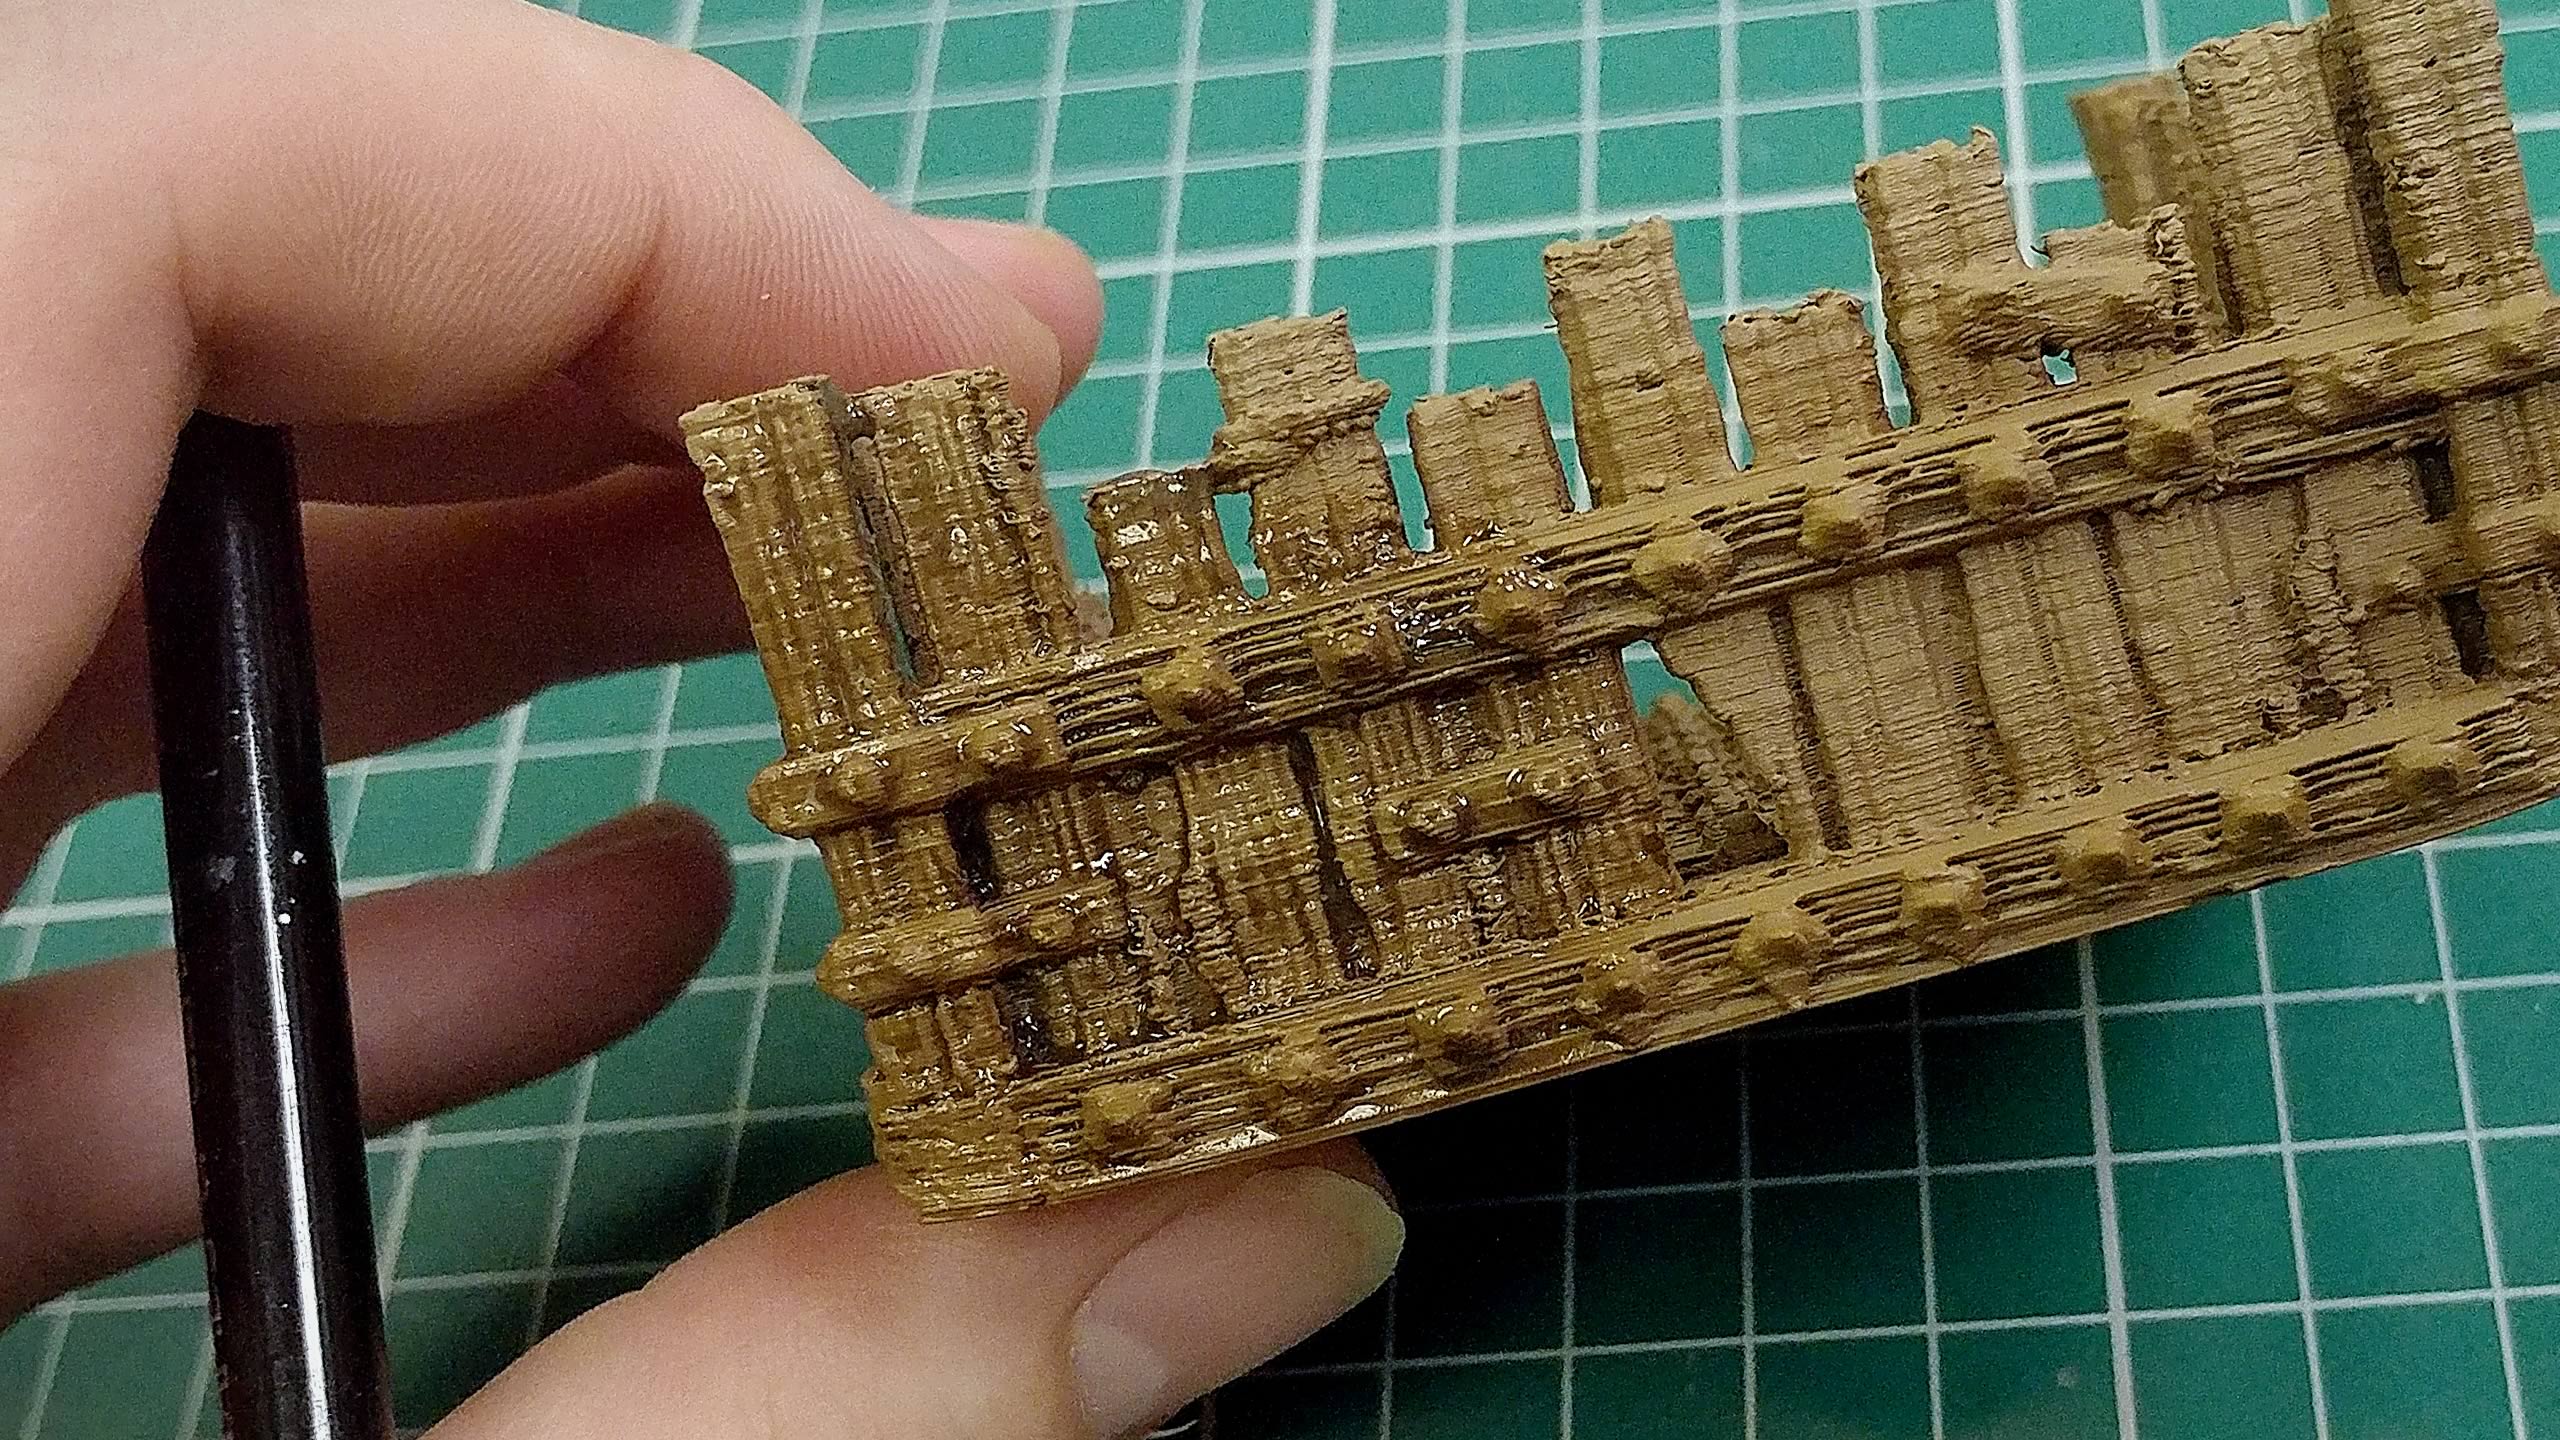
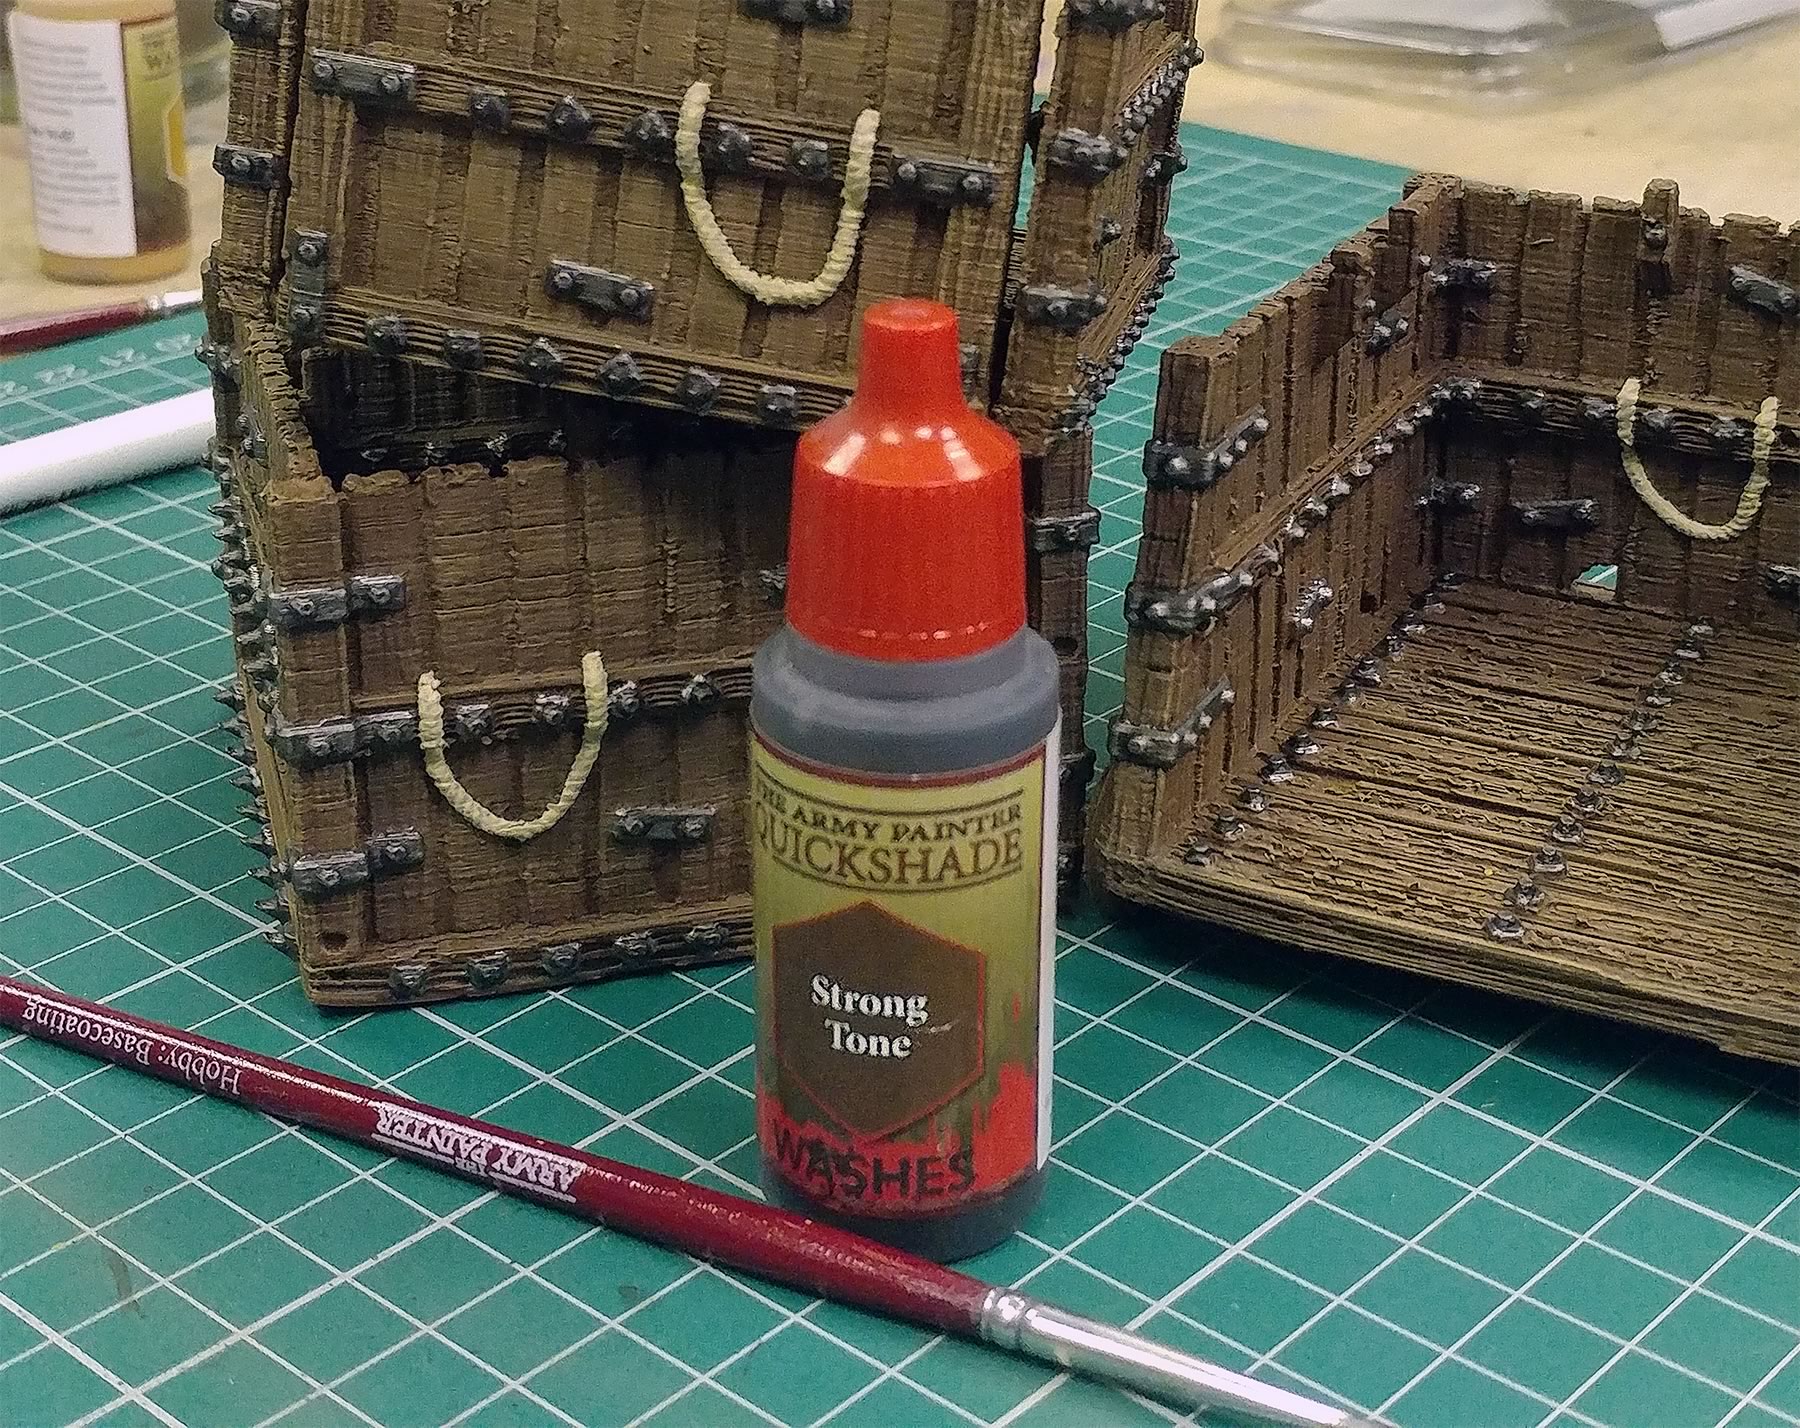
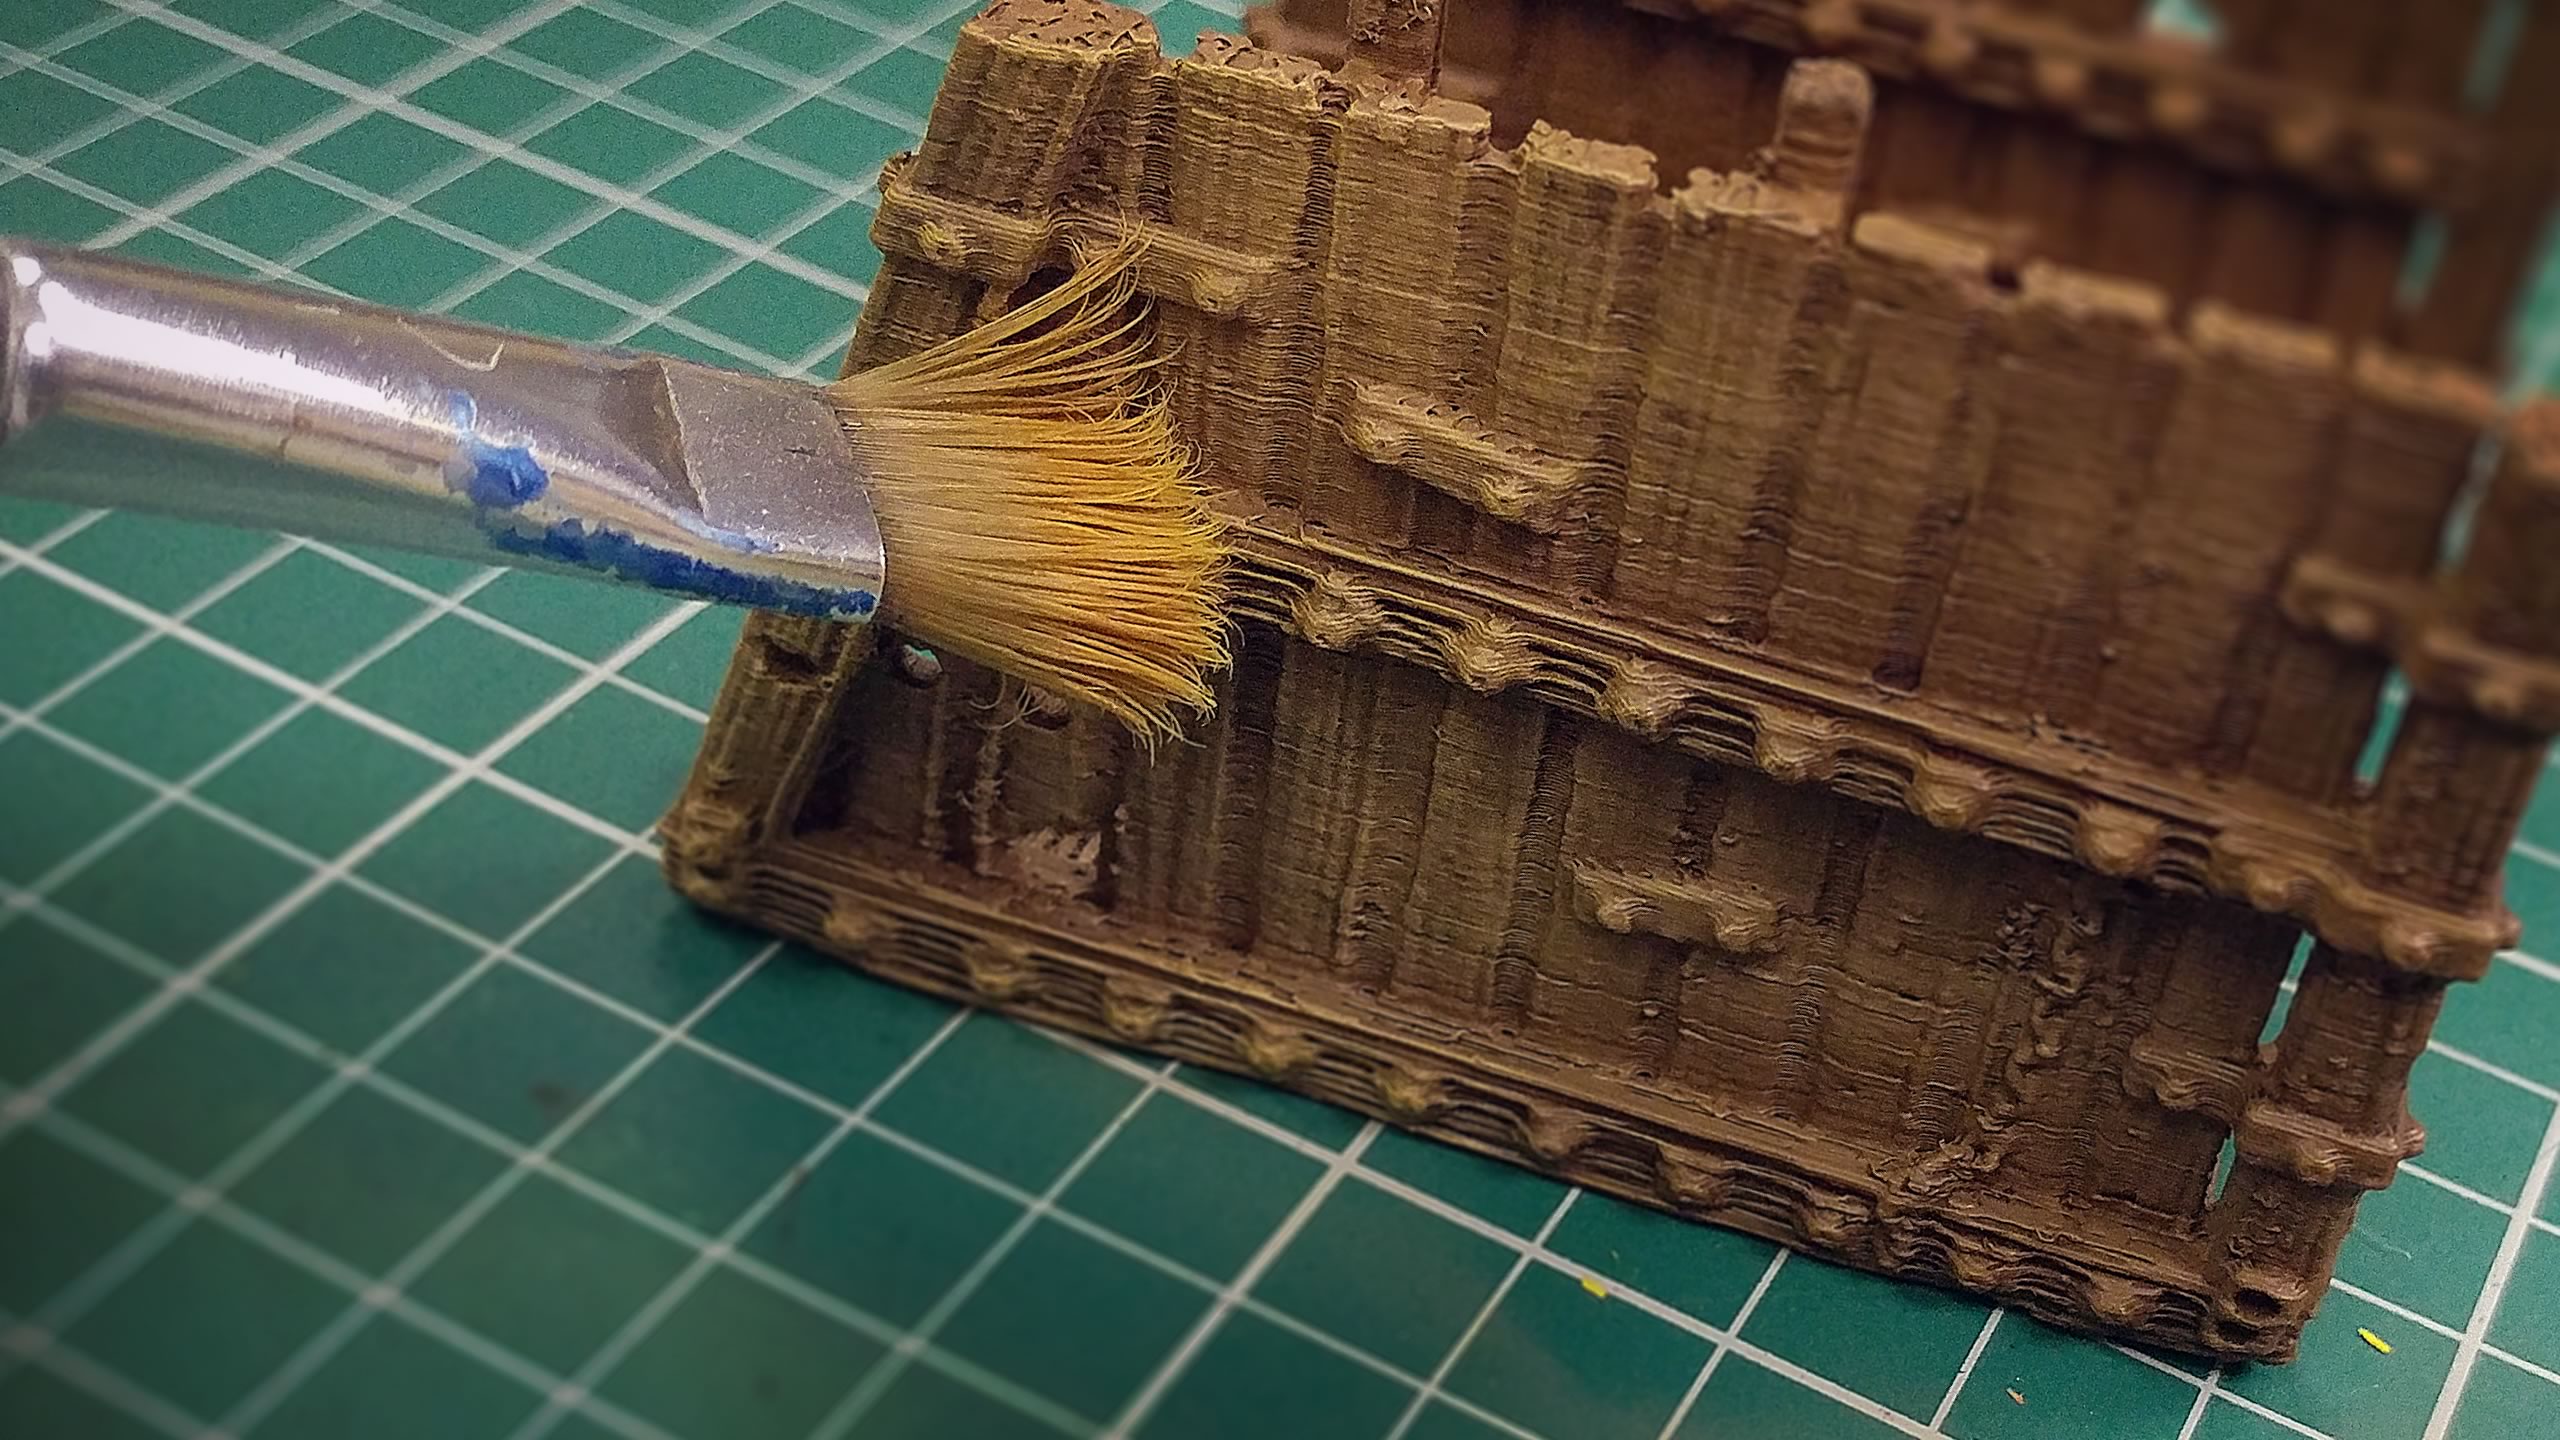
Adding a wash to the model will bring out all the woodgrain texture, as well as add more shading the whole tower.
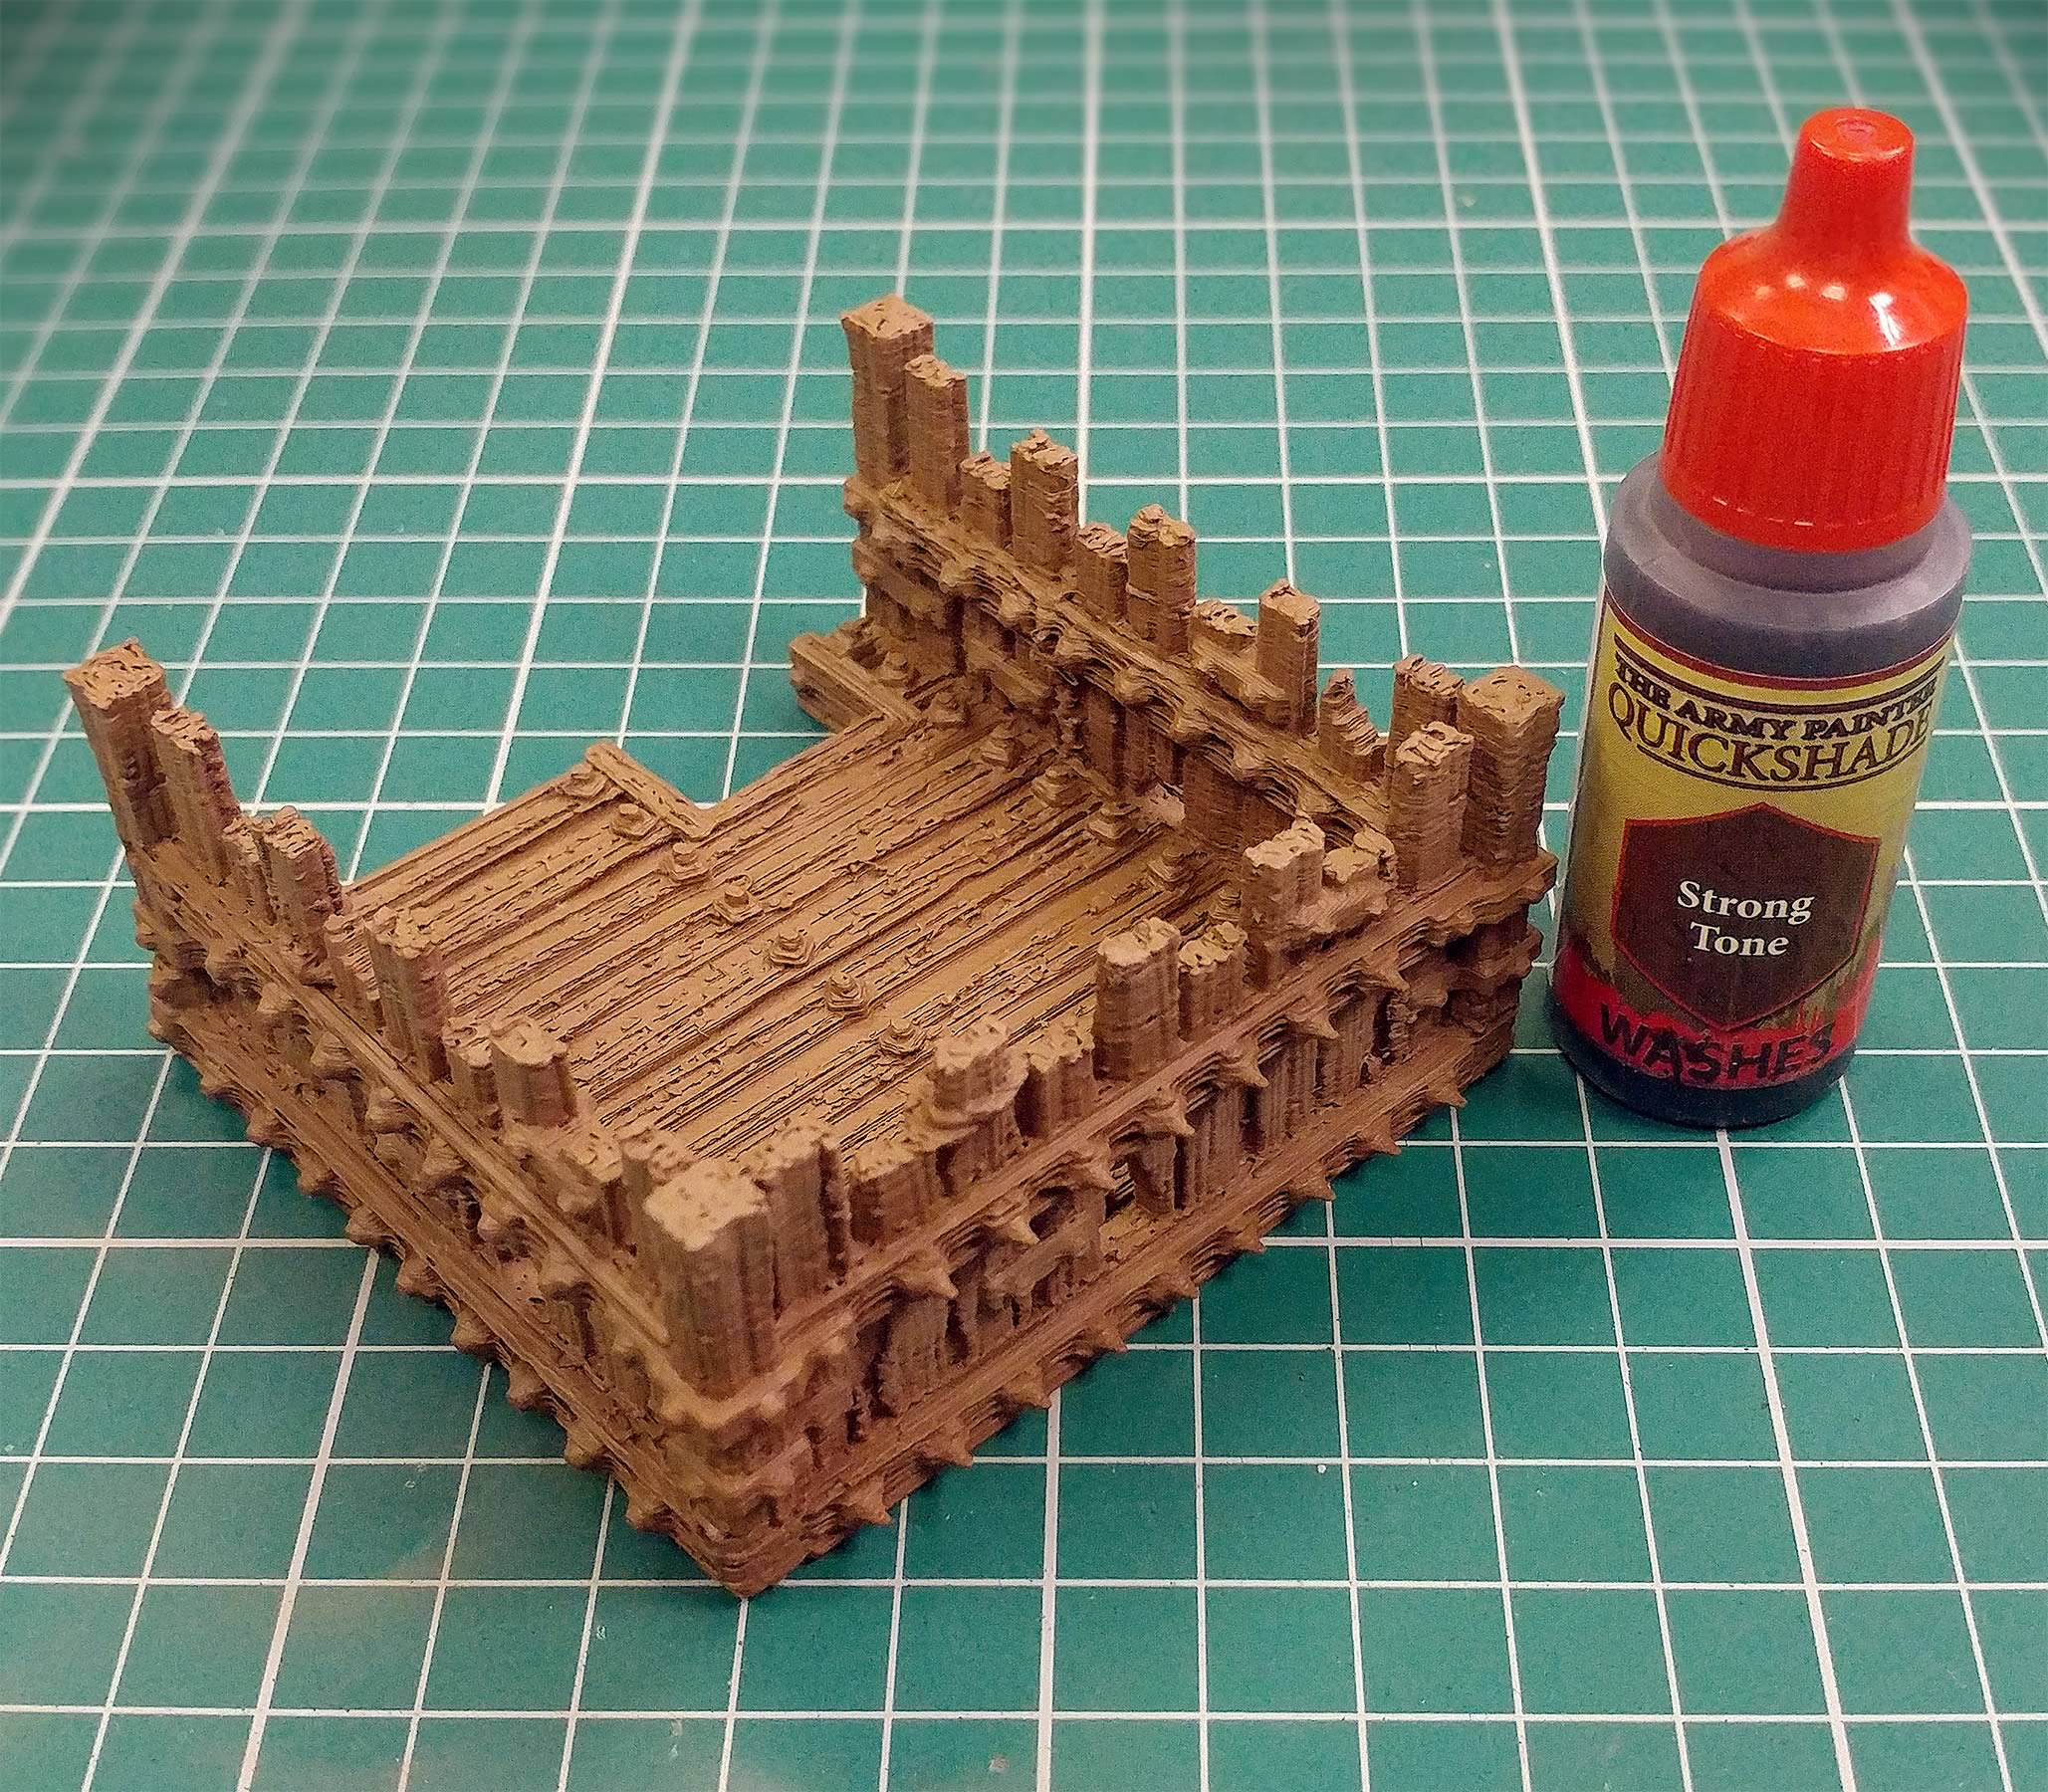
Using Army Painter "Strong Tone" lets us retain a brown tone to the wood detail, as well as apply a layer of shadow to the deeper recesses of the tower
Above we can see the difference in tone between the washed and unwashed parts of the model. The difference is quite stark when looking at them in this way.
The end result of this step gives the Siege Tower a sense of weight and presence, but the next step will add the definition that tends to be blurred out by the wash.
See Wash In Action
Drybrushing
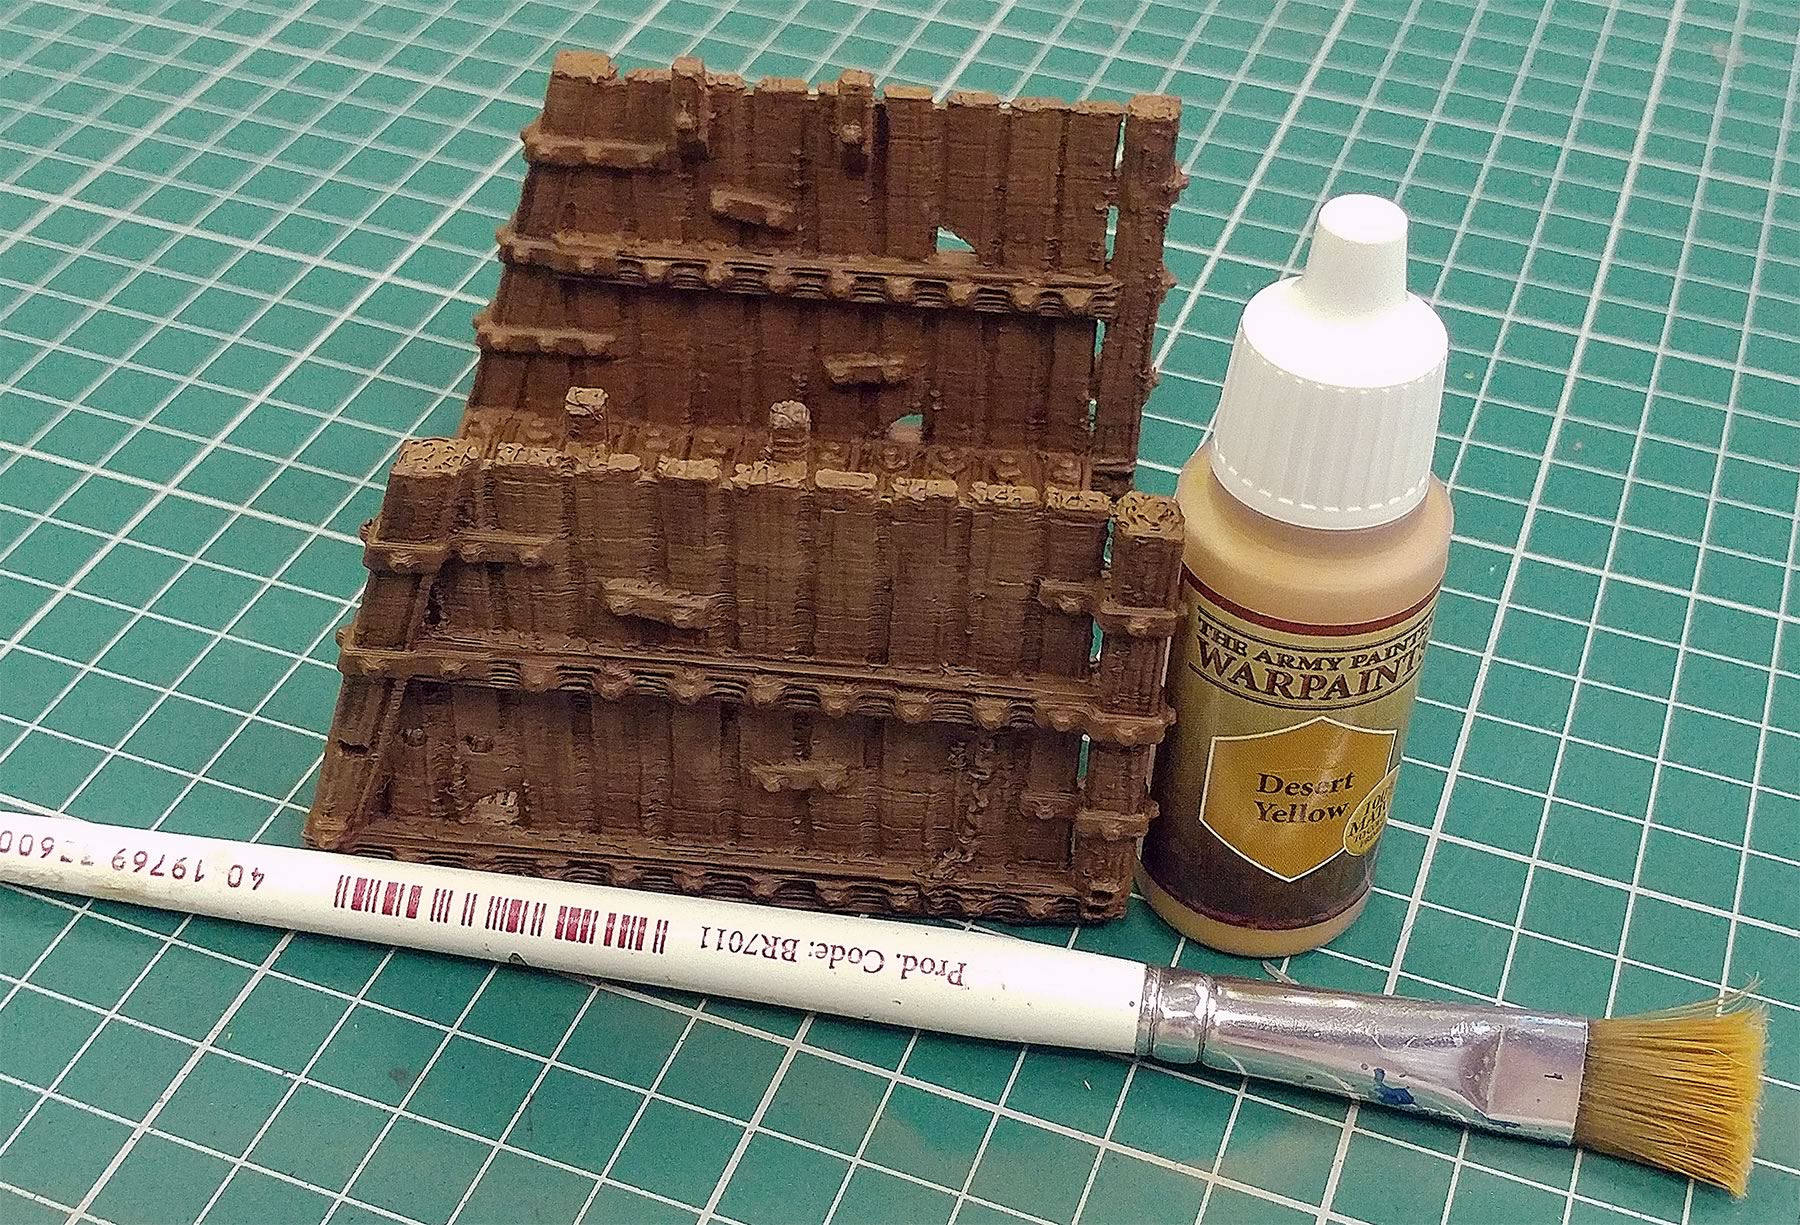
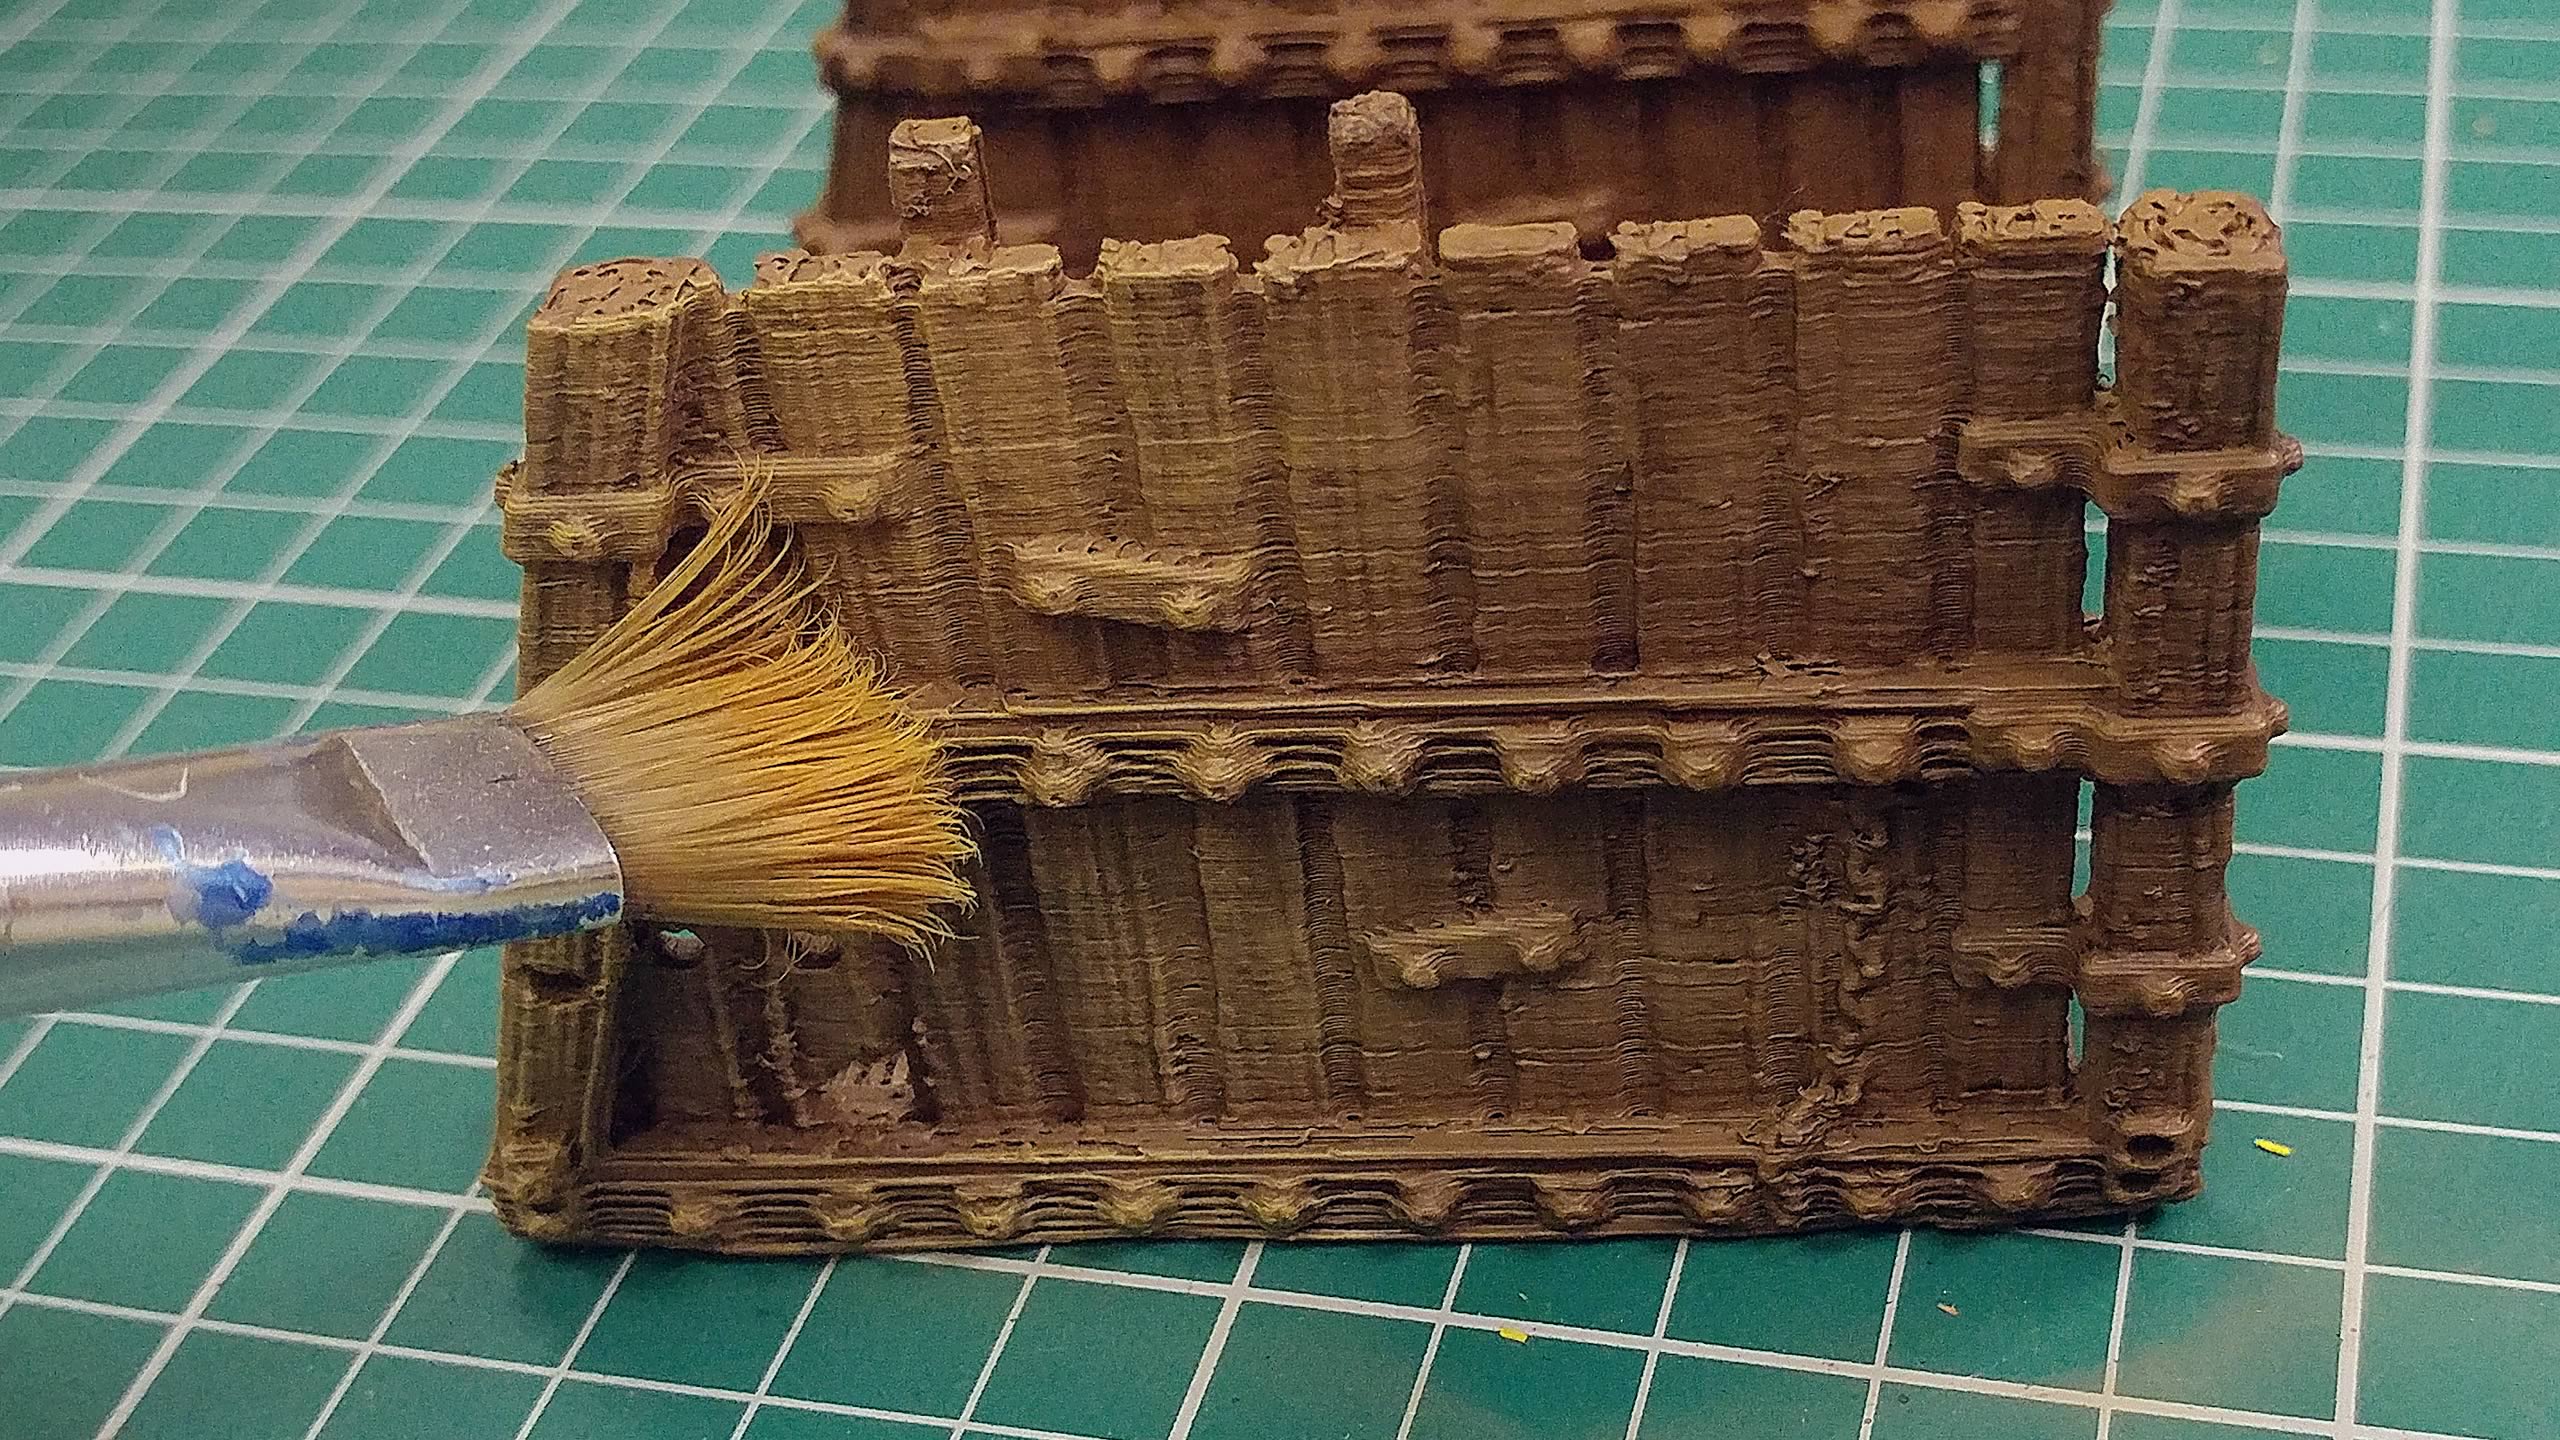
For highlighting the wood effect, we will give the model a drybrush using Army Painter "Desert Yellow".
This colour will lighten the tone of the wood on the tower without making it too stark, as if the wood has been treated with something when the tower was built, perhaps a fire-resistant coating?
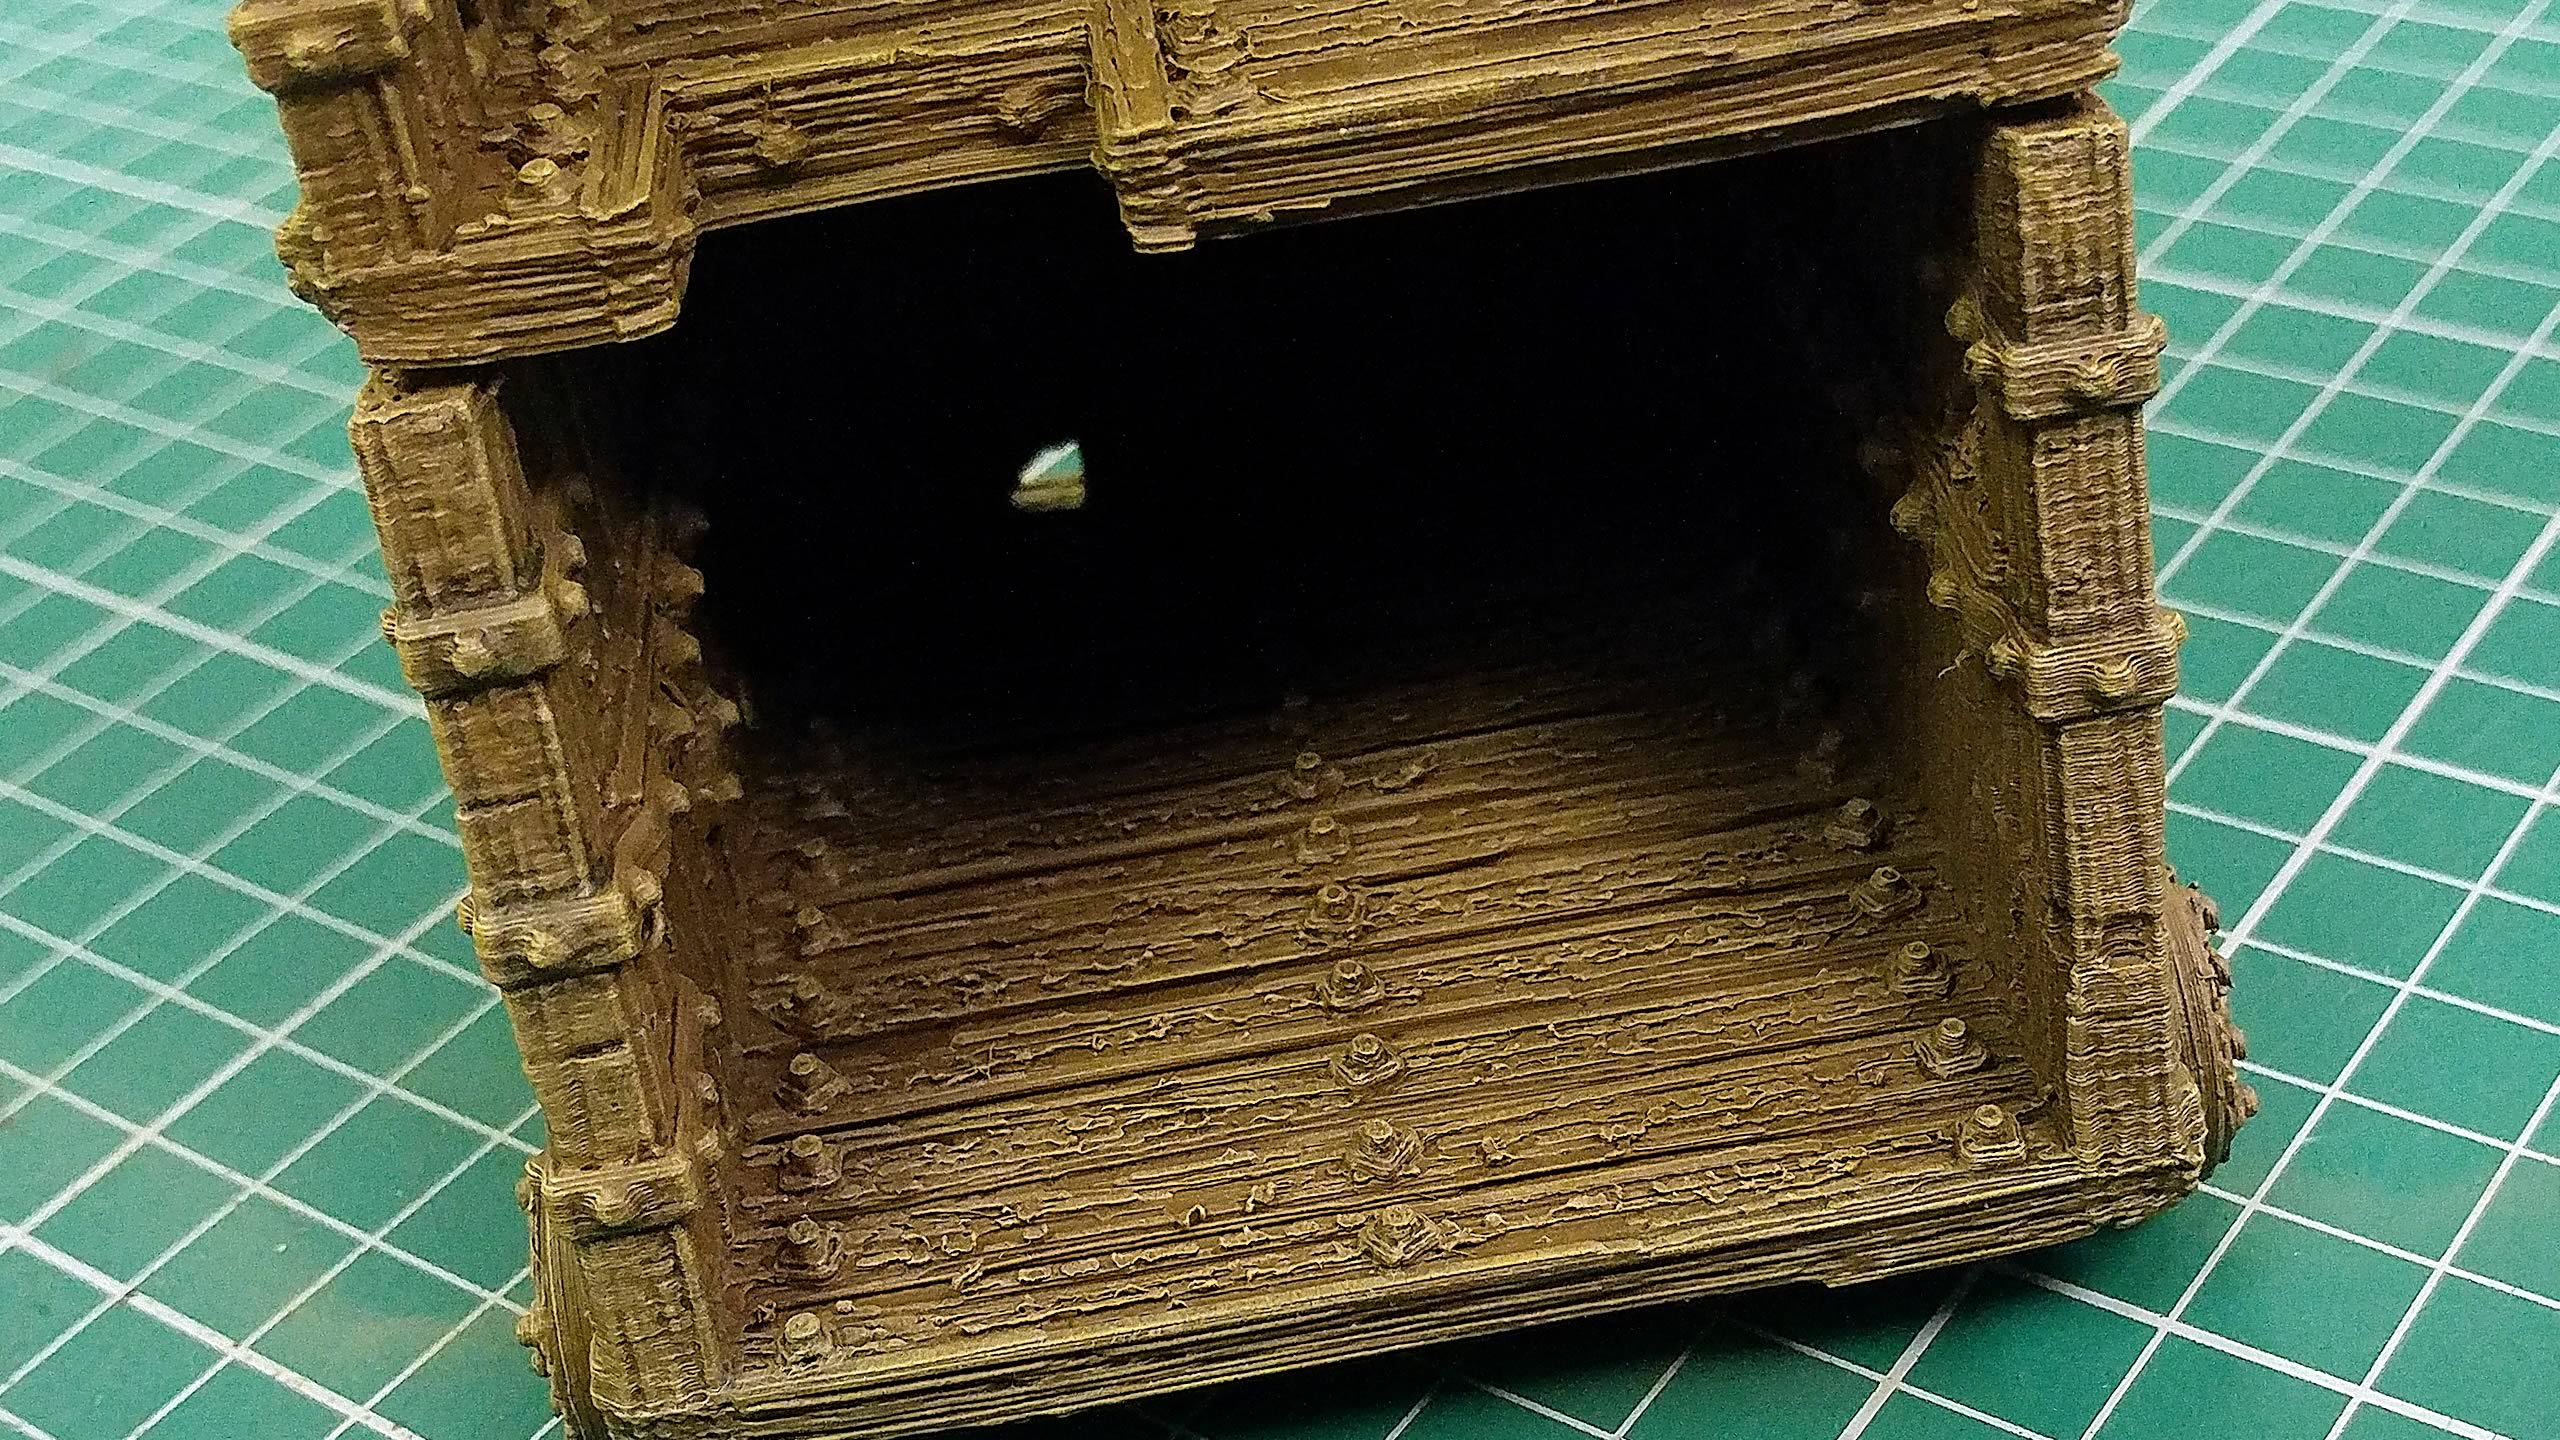
With the whole tower drybrushed, it may be difficult to see the work. However, if we take a look inside, the base primer and wash combination show off the highlight far better due to being more in shadow.
Painting All The Metal & Rope Details
Time For Metal!
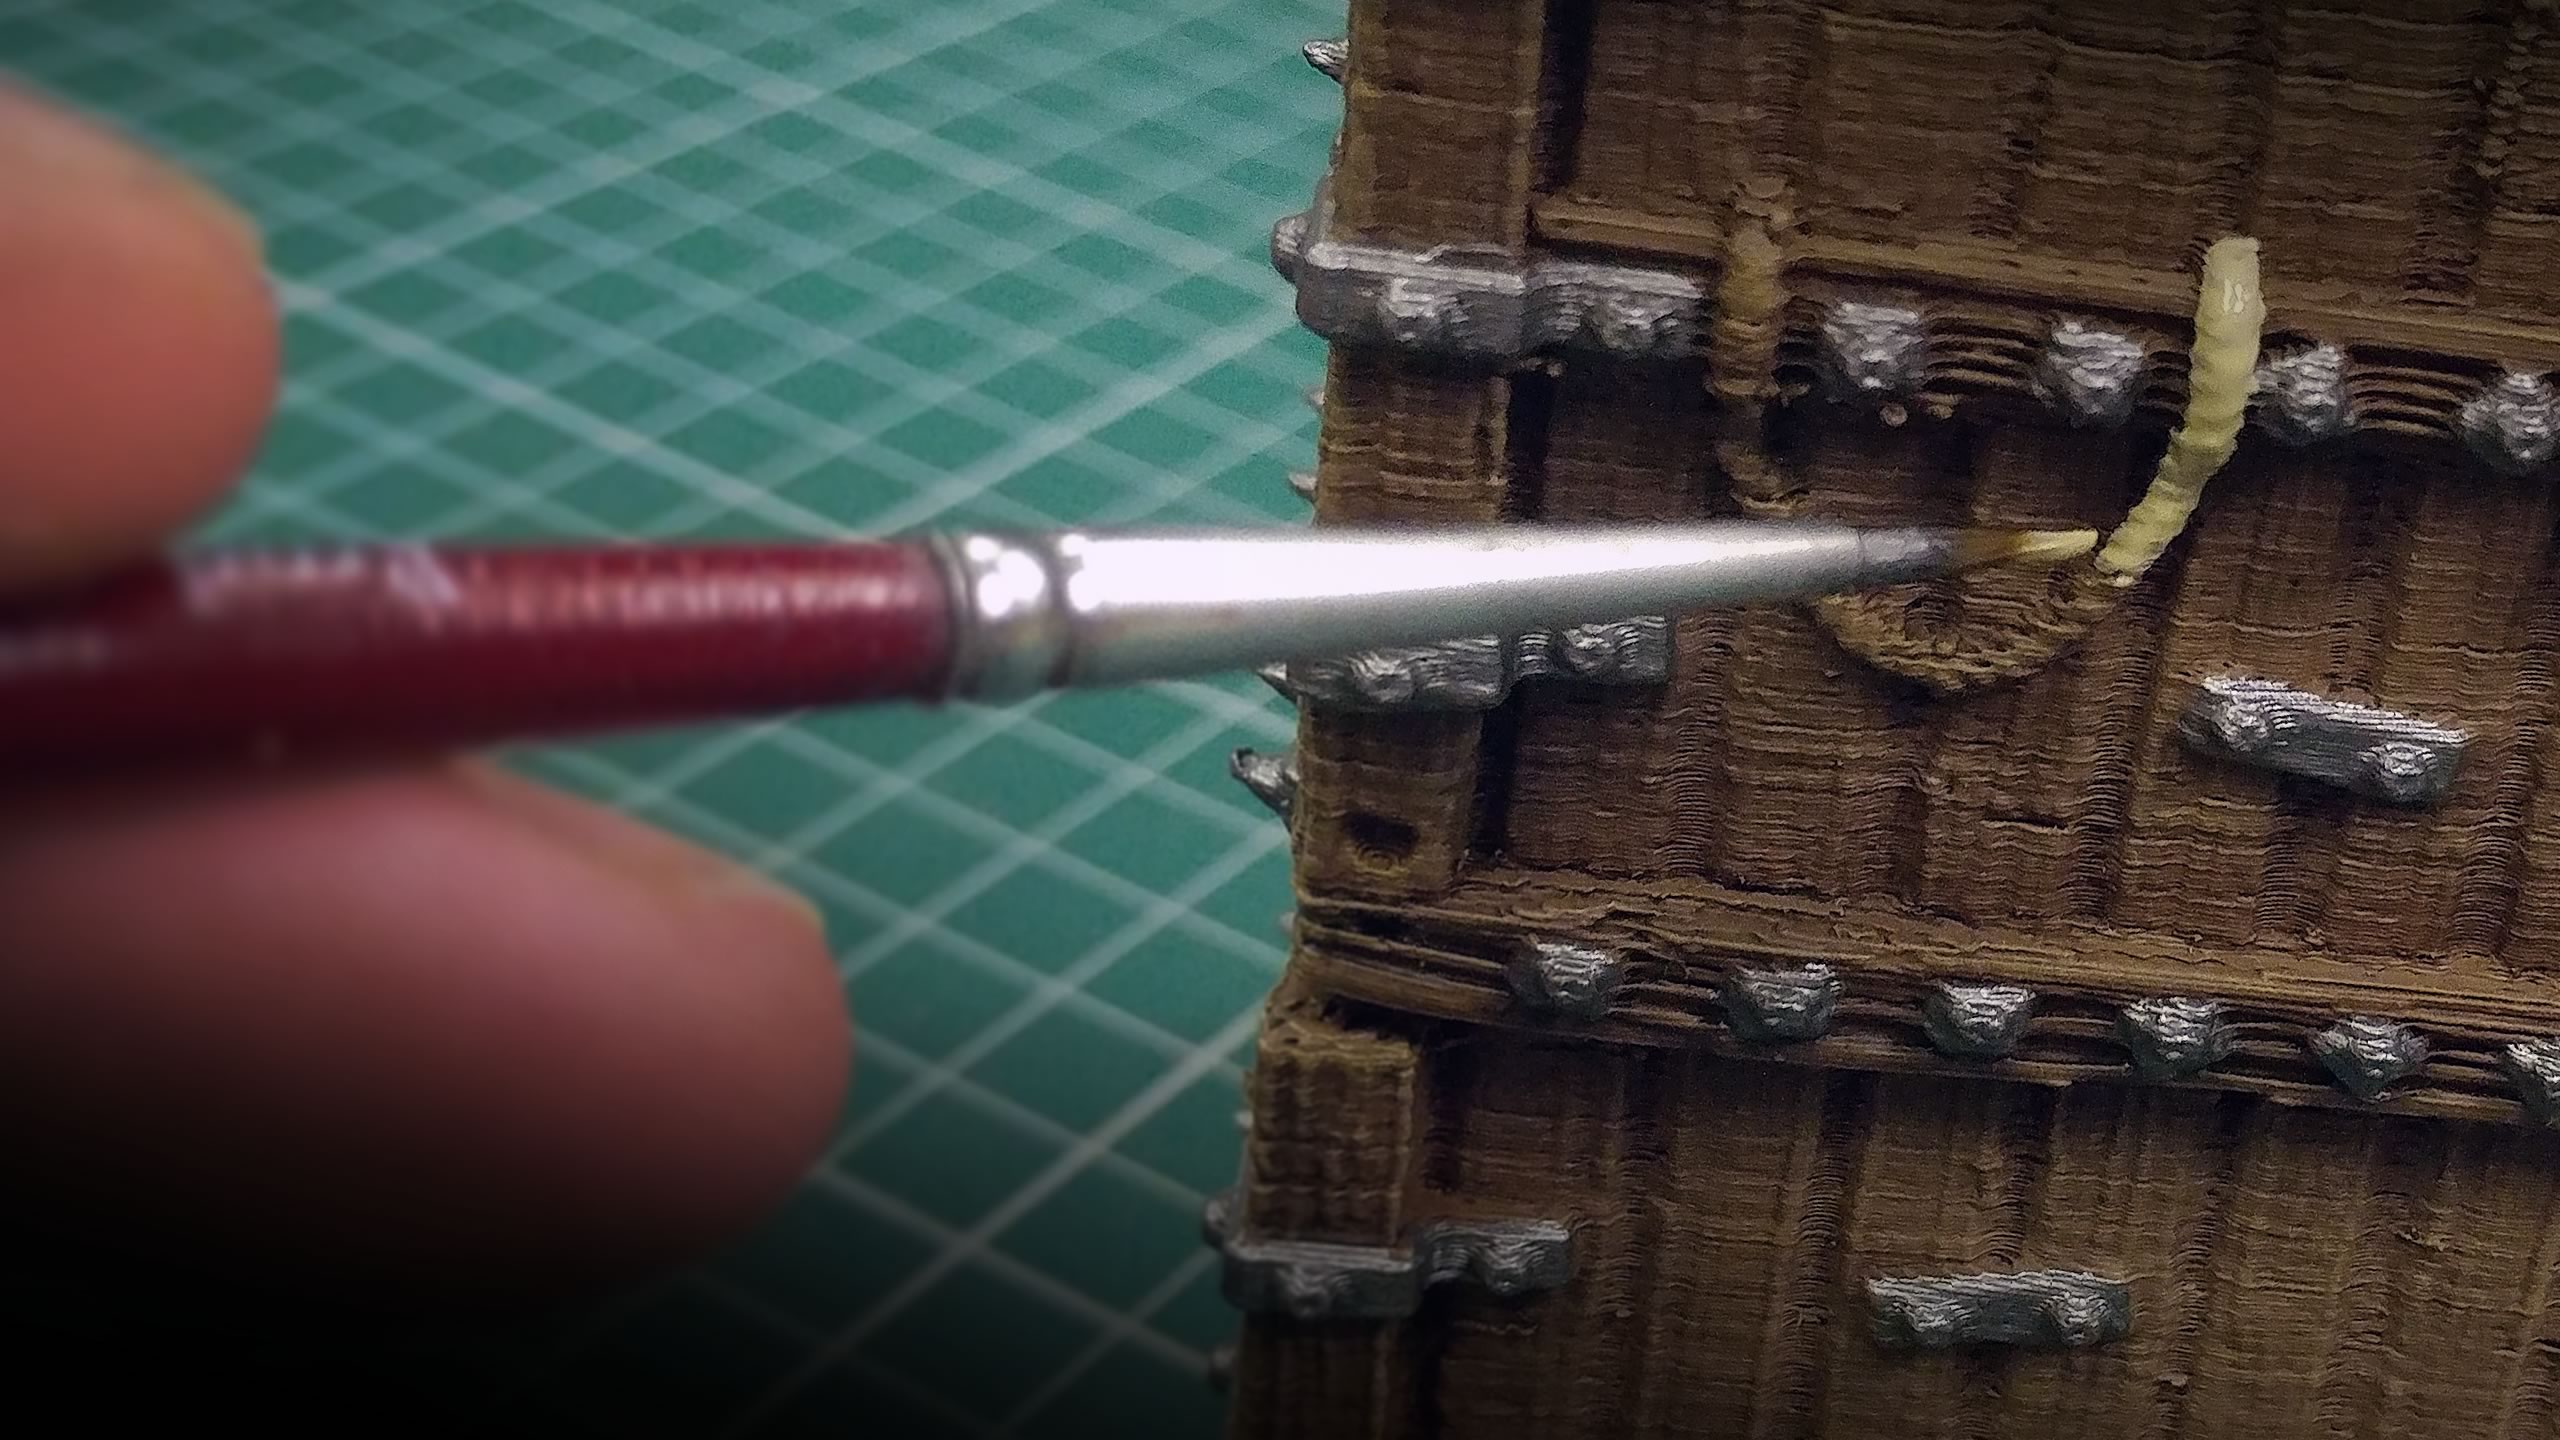
We now move our attention to the siege tower's metal banding and bolts, as well as the rope details.
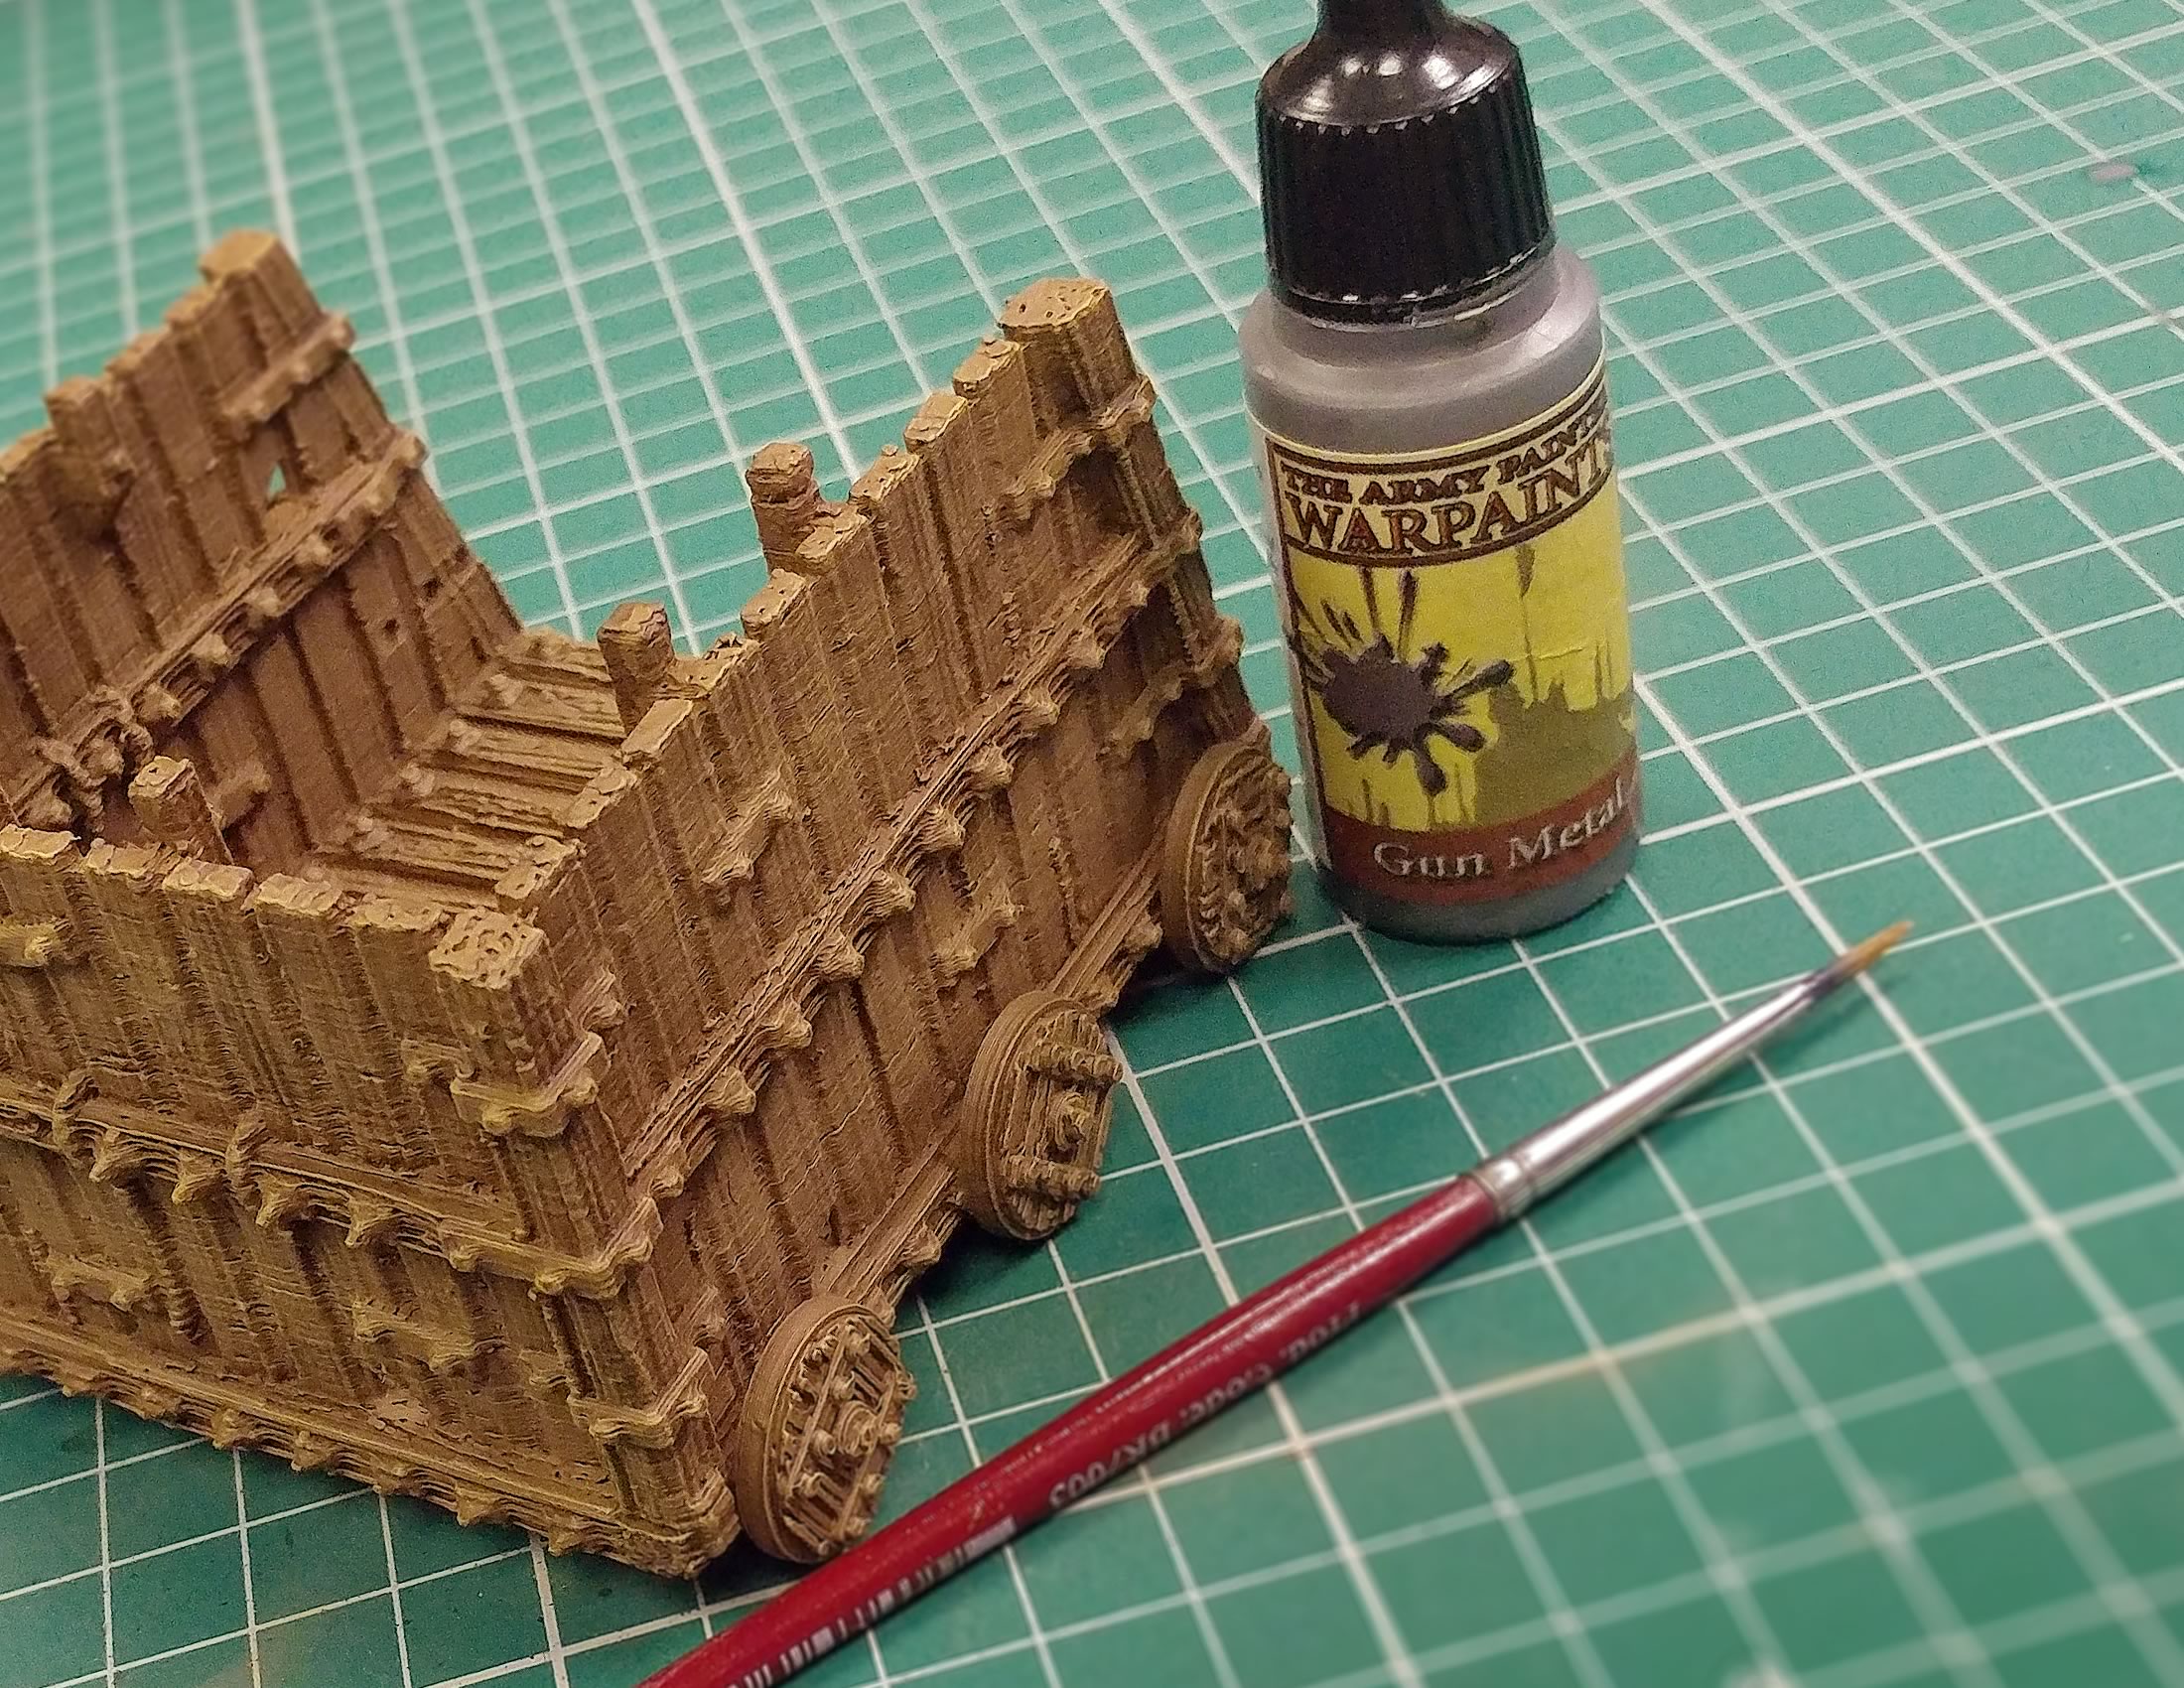
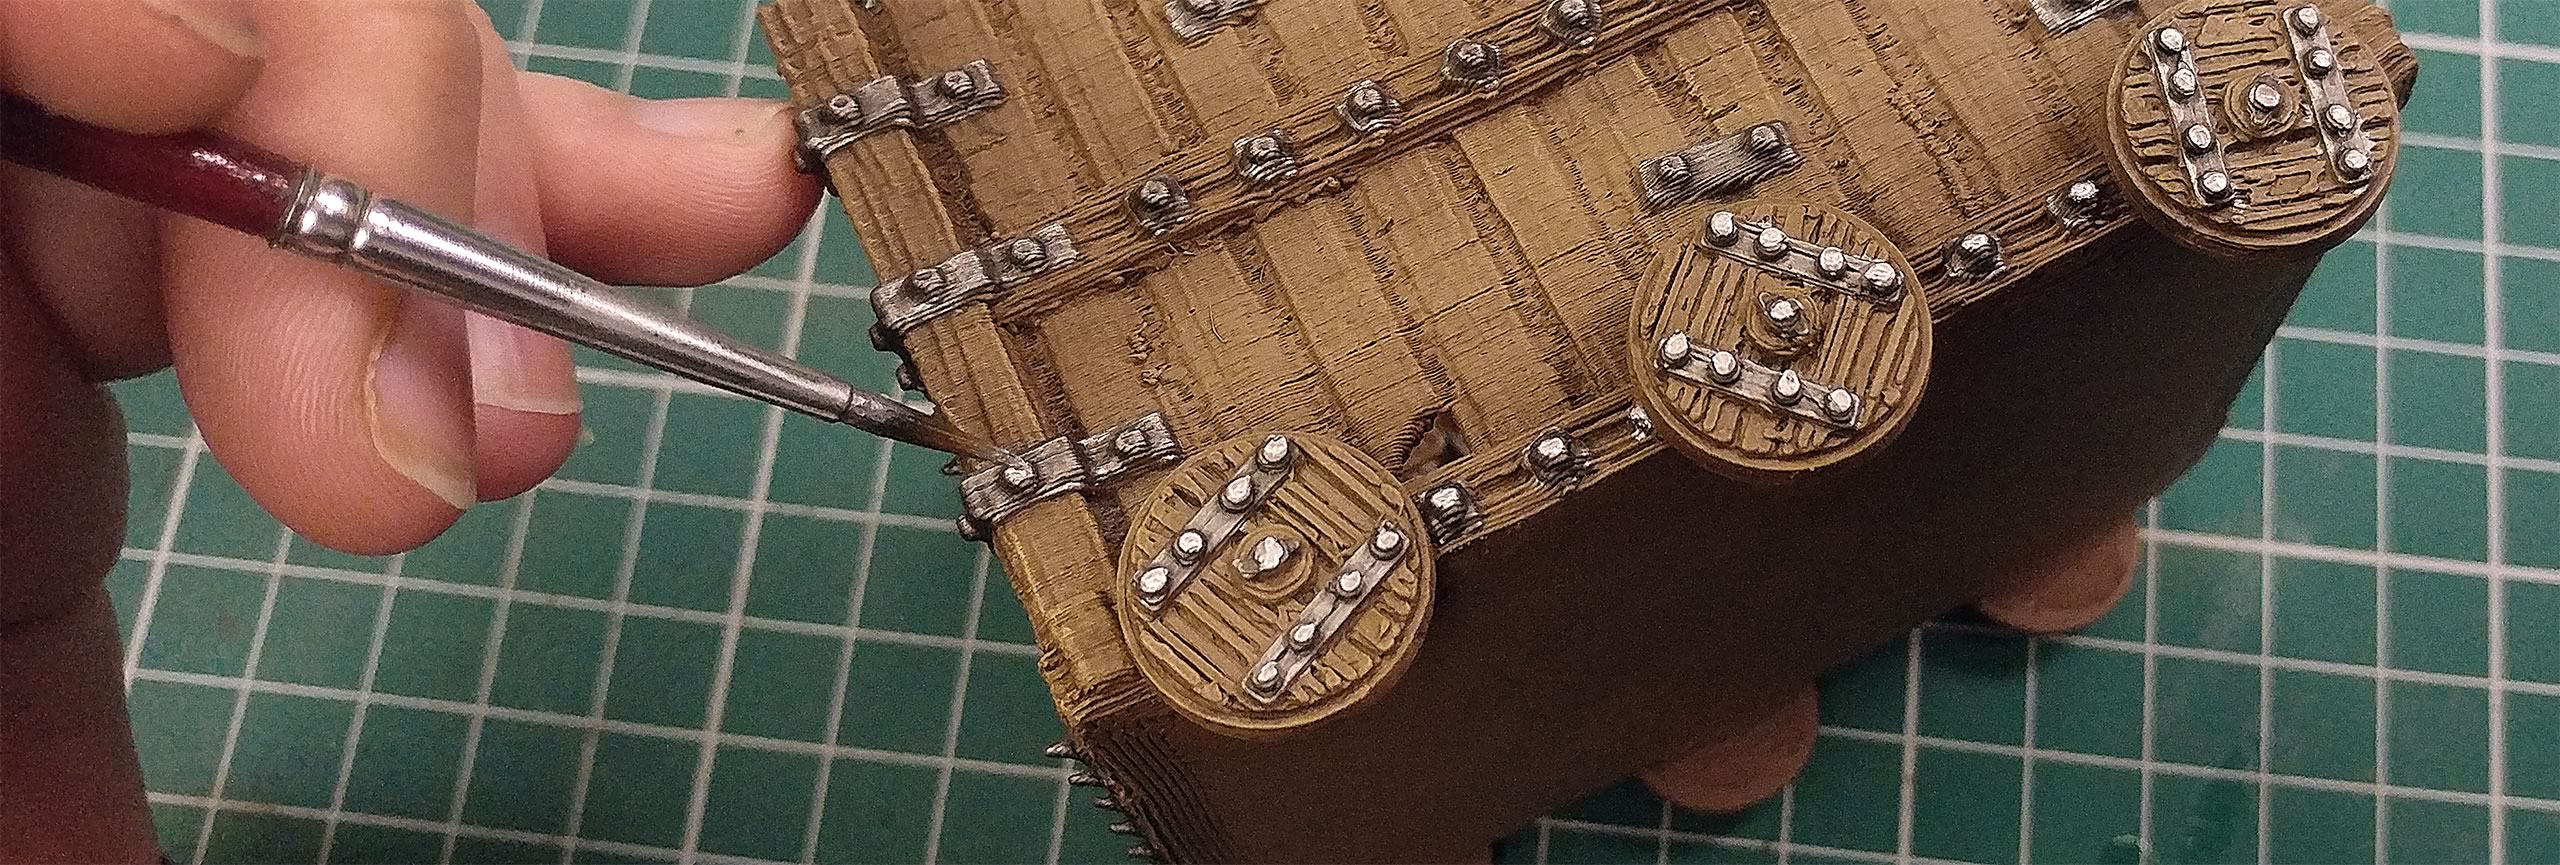
We start with Army Painter "Gun Metal" for the metal banding.
This can be quite time consuming, so be patient; the outcome is worth it.
Already, we can see the effect this adds to the model. The sense of weight and sturdiness really shines through.
Picking out the Ropes
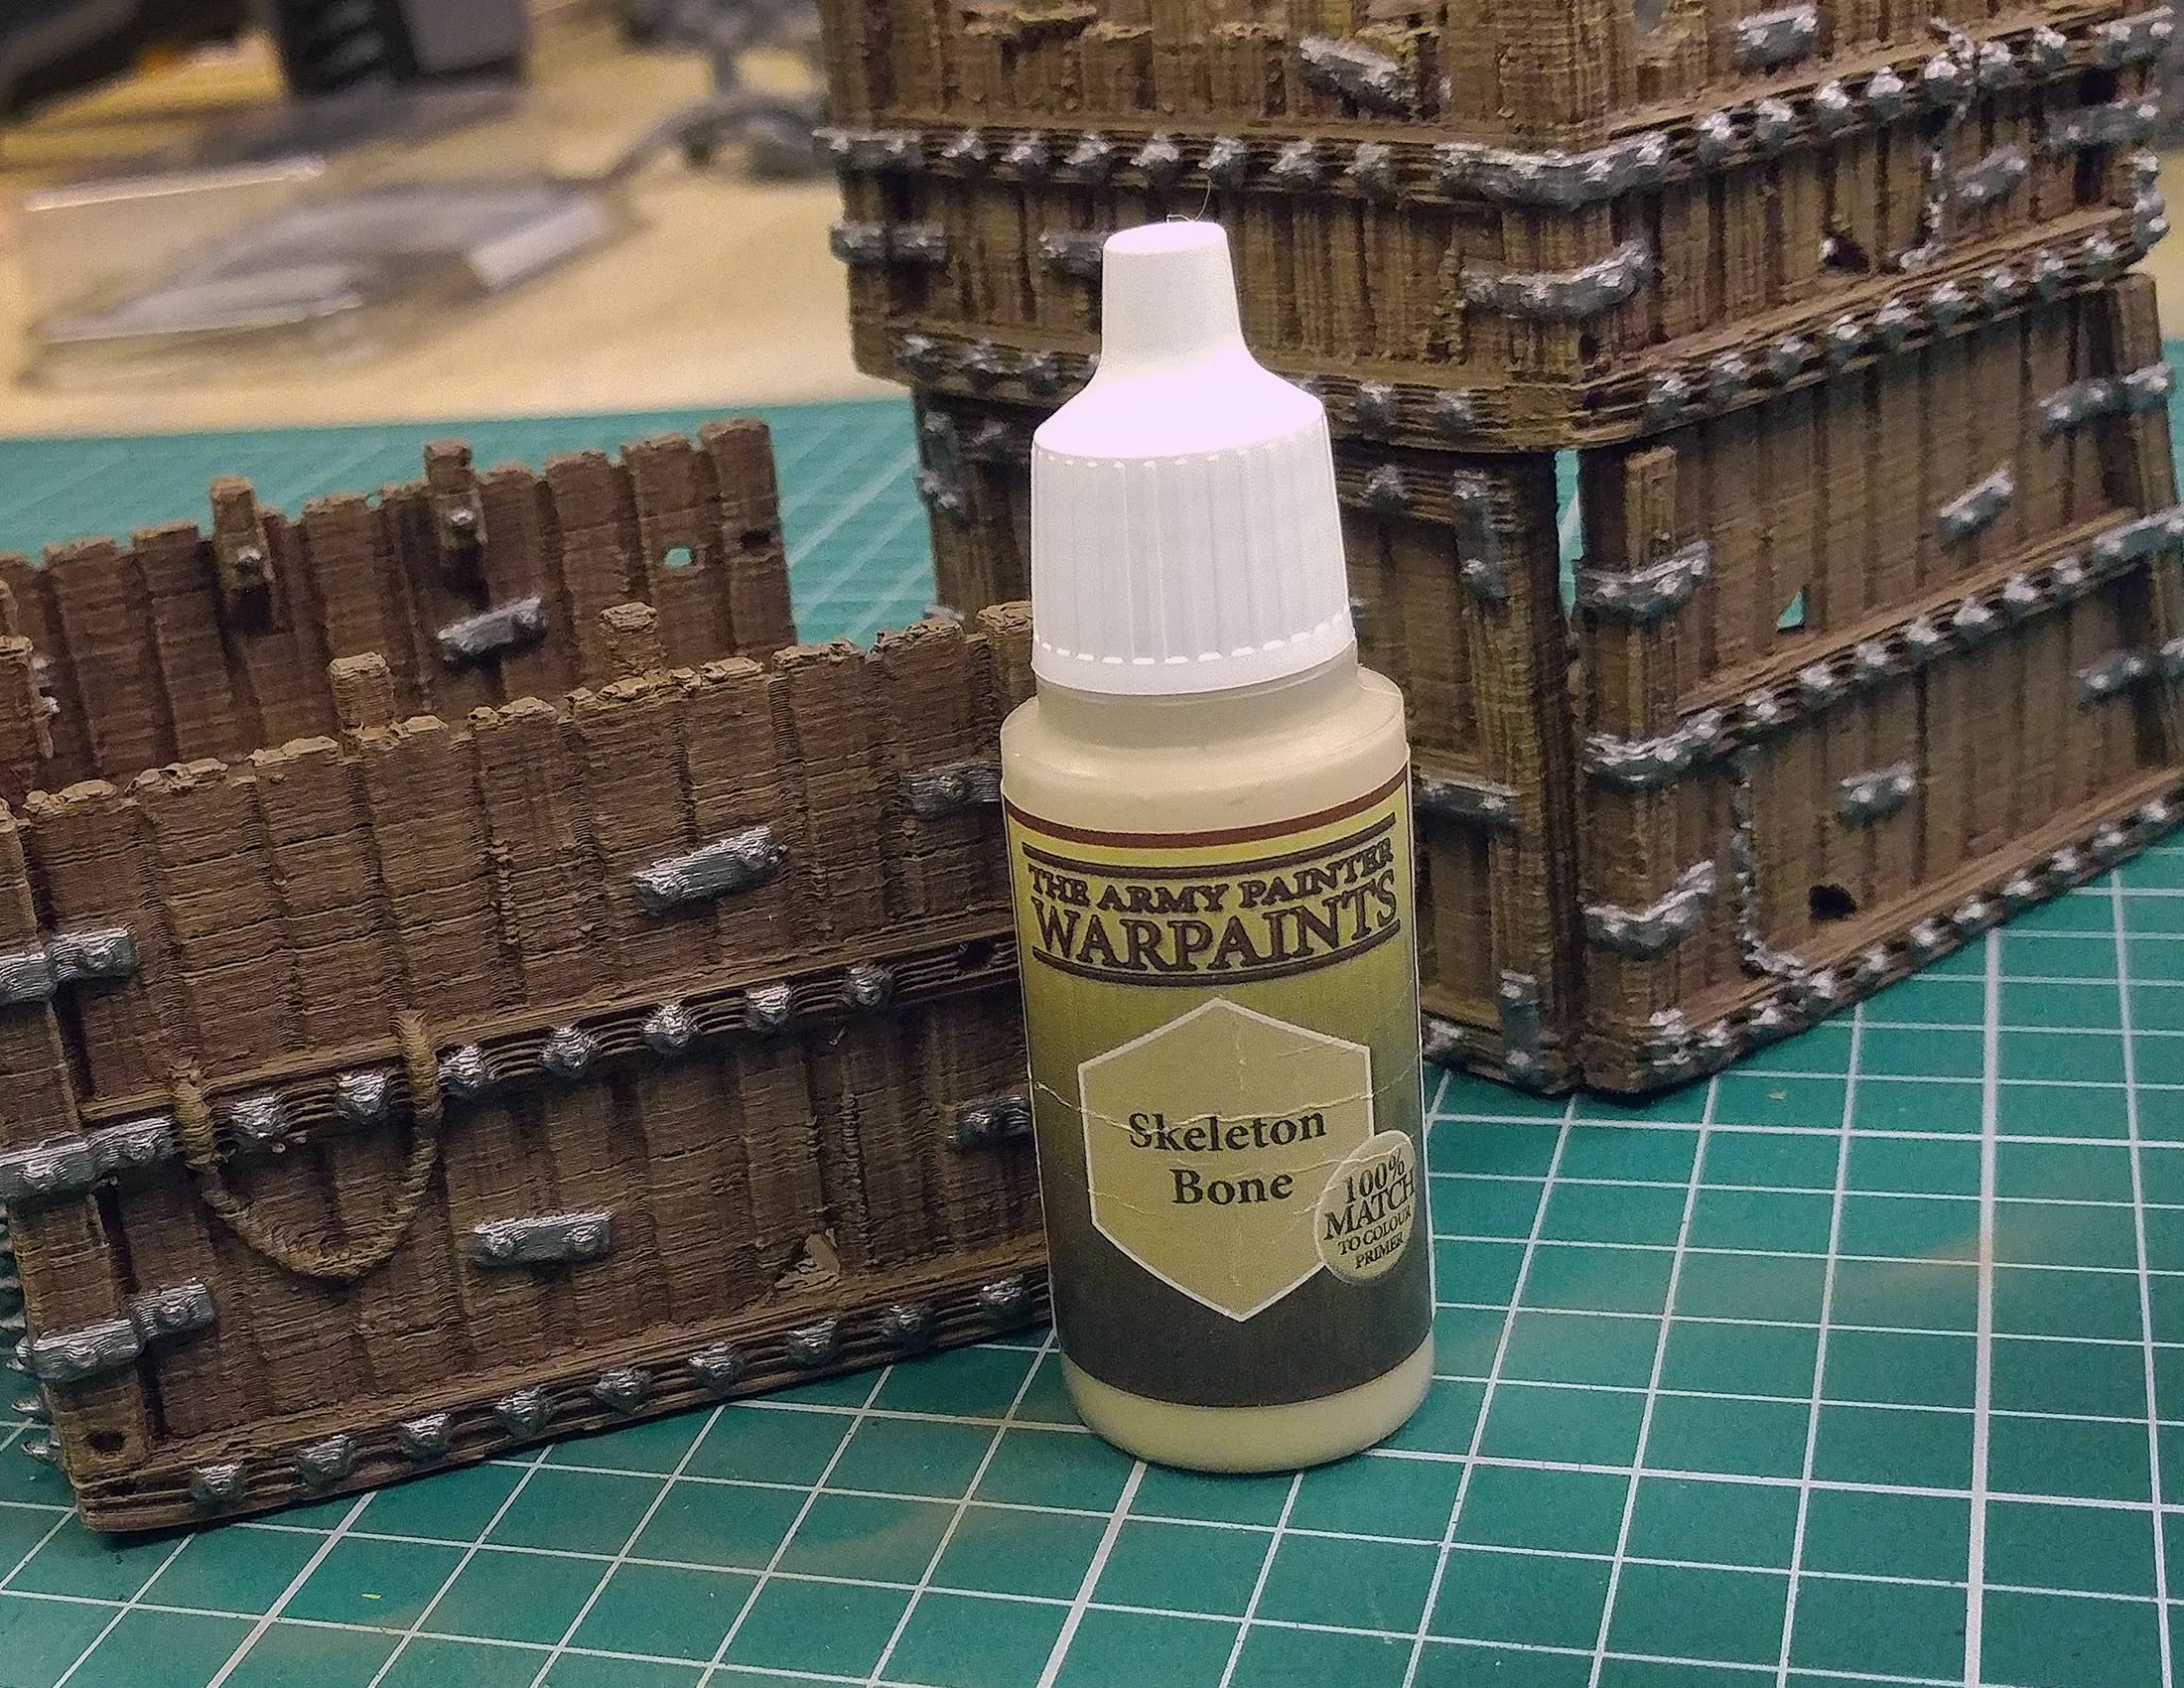
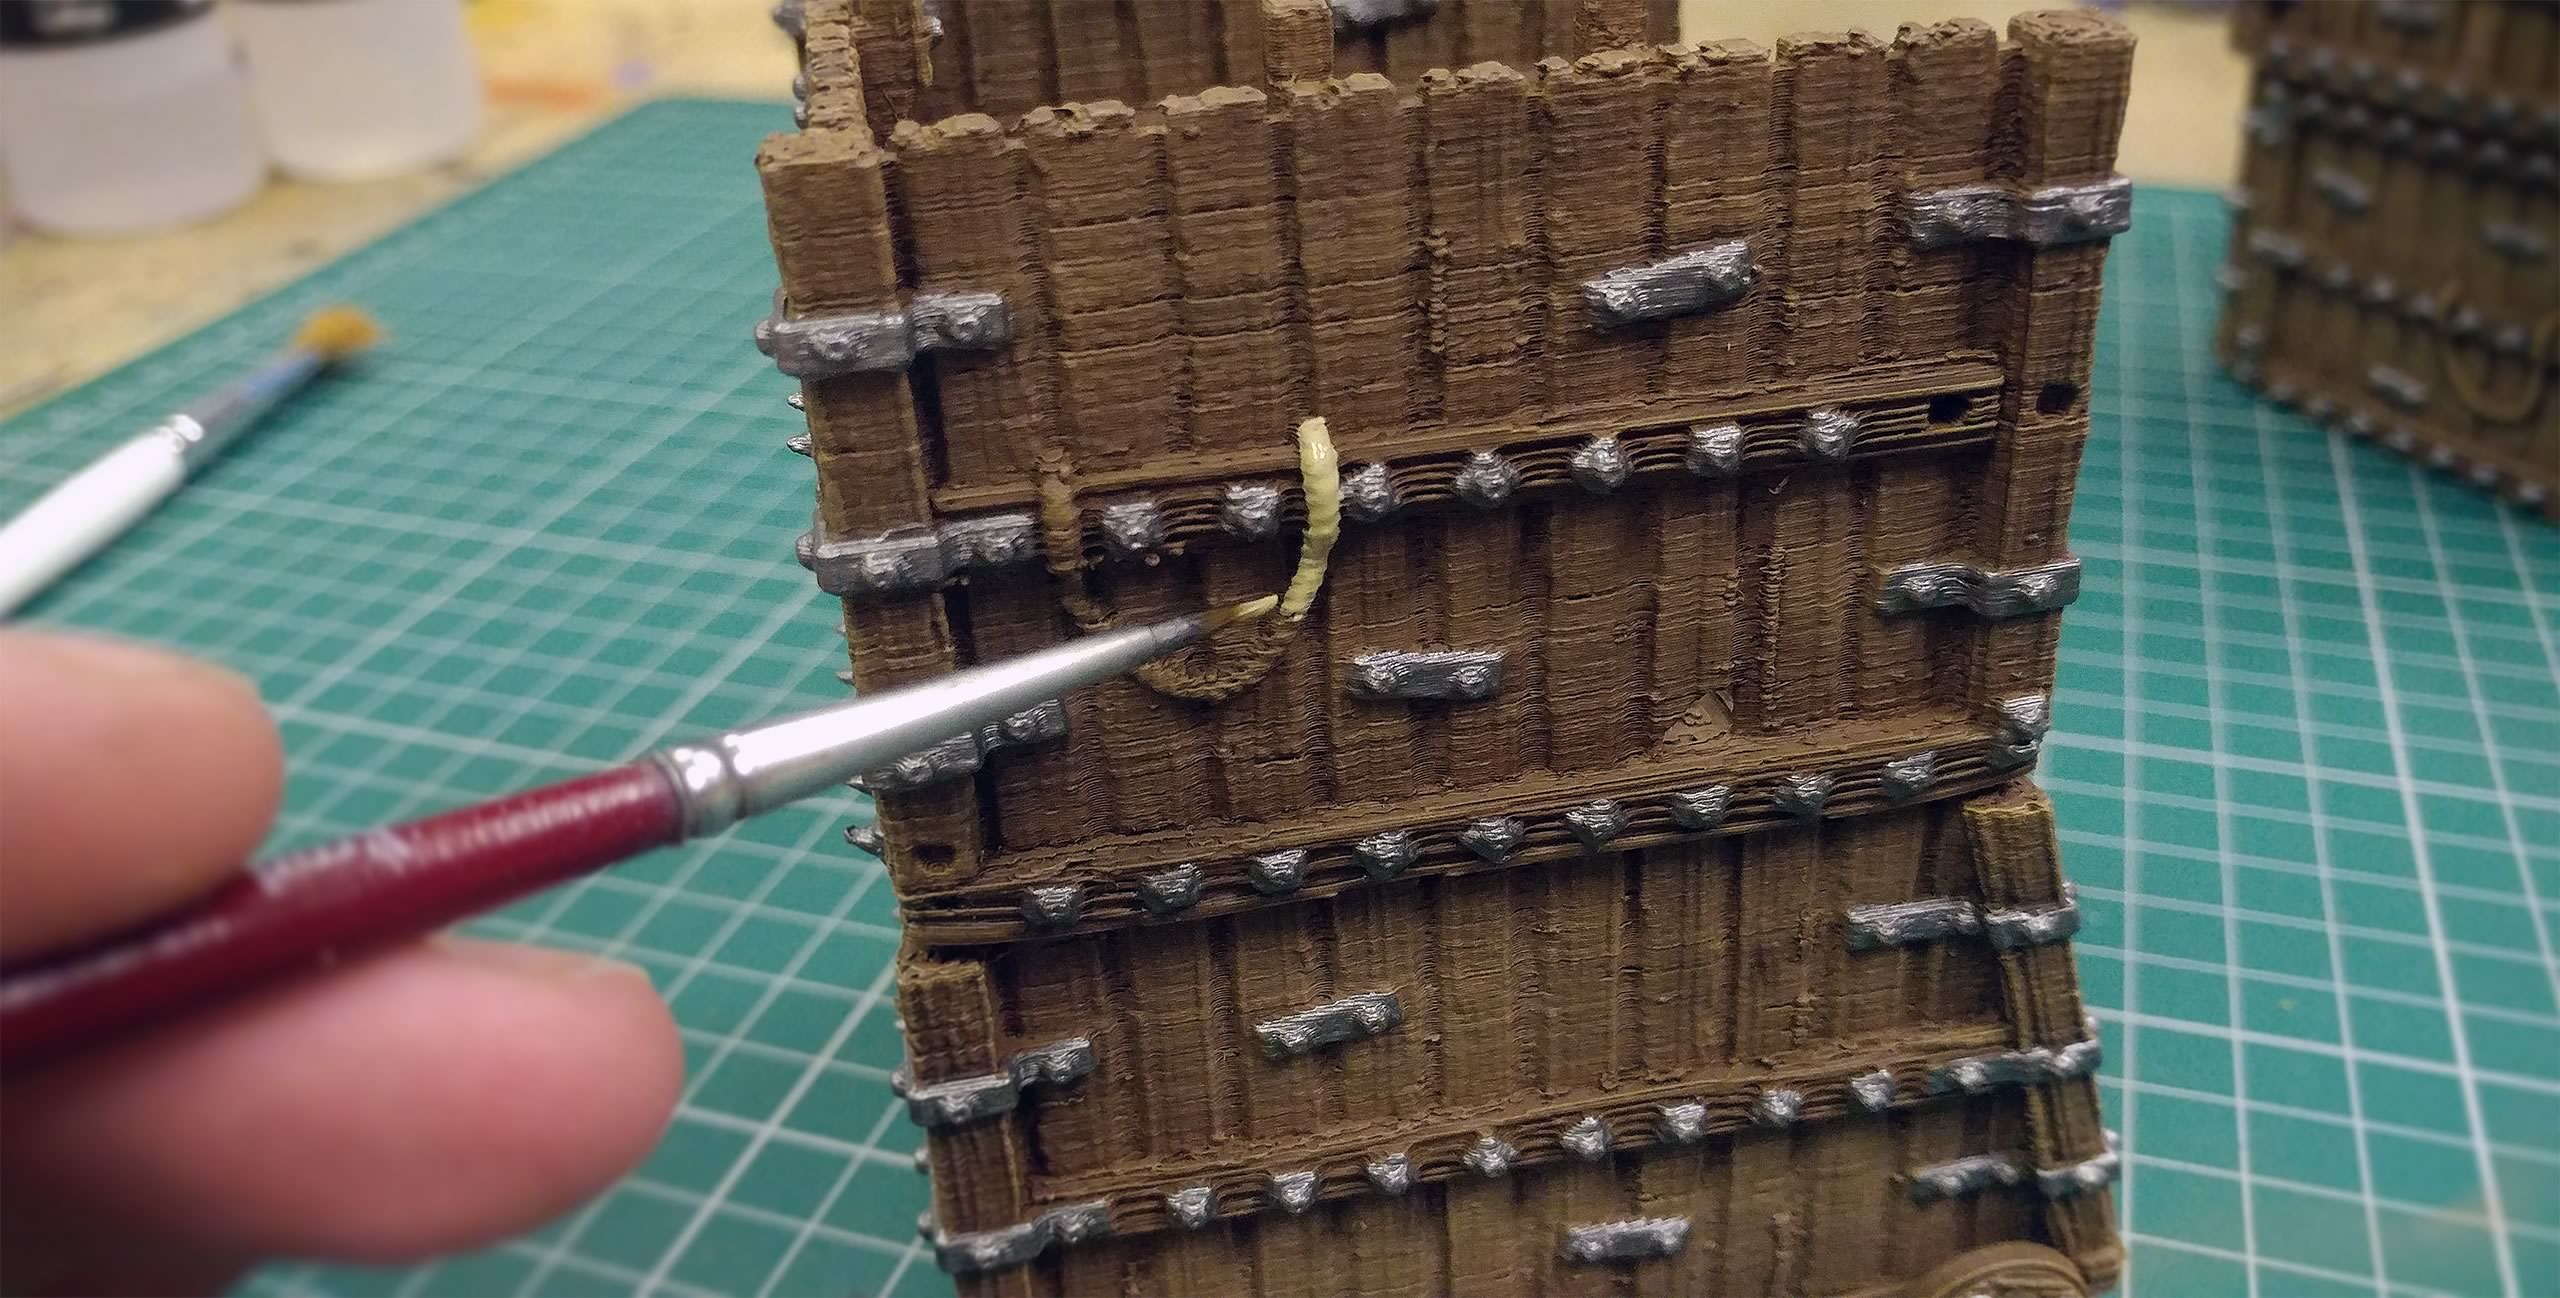
Taking some Army Painter "Skeleton Bone", let's have a look at the little bits of rope around the model.
Skeleton Bone will be a great foundation for a later step with more washing, so don't worry about how it looks during this stage just be tidy.
The idea behind this choice of colour is to add some contrast to the model. The rope, having a bleached appearance, will stand out well against the dull metal and darker wood. Once the rope and metal details are dulled down, we will have a siege tower with a real sense of realism and presence on the tabletop.
Shading The Metal & Rope Details
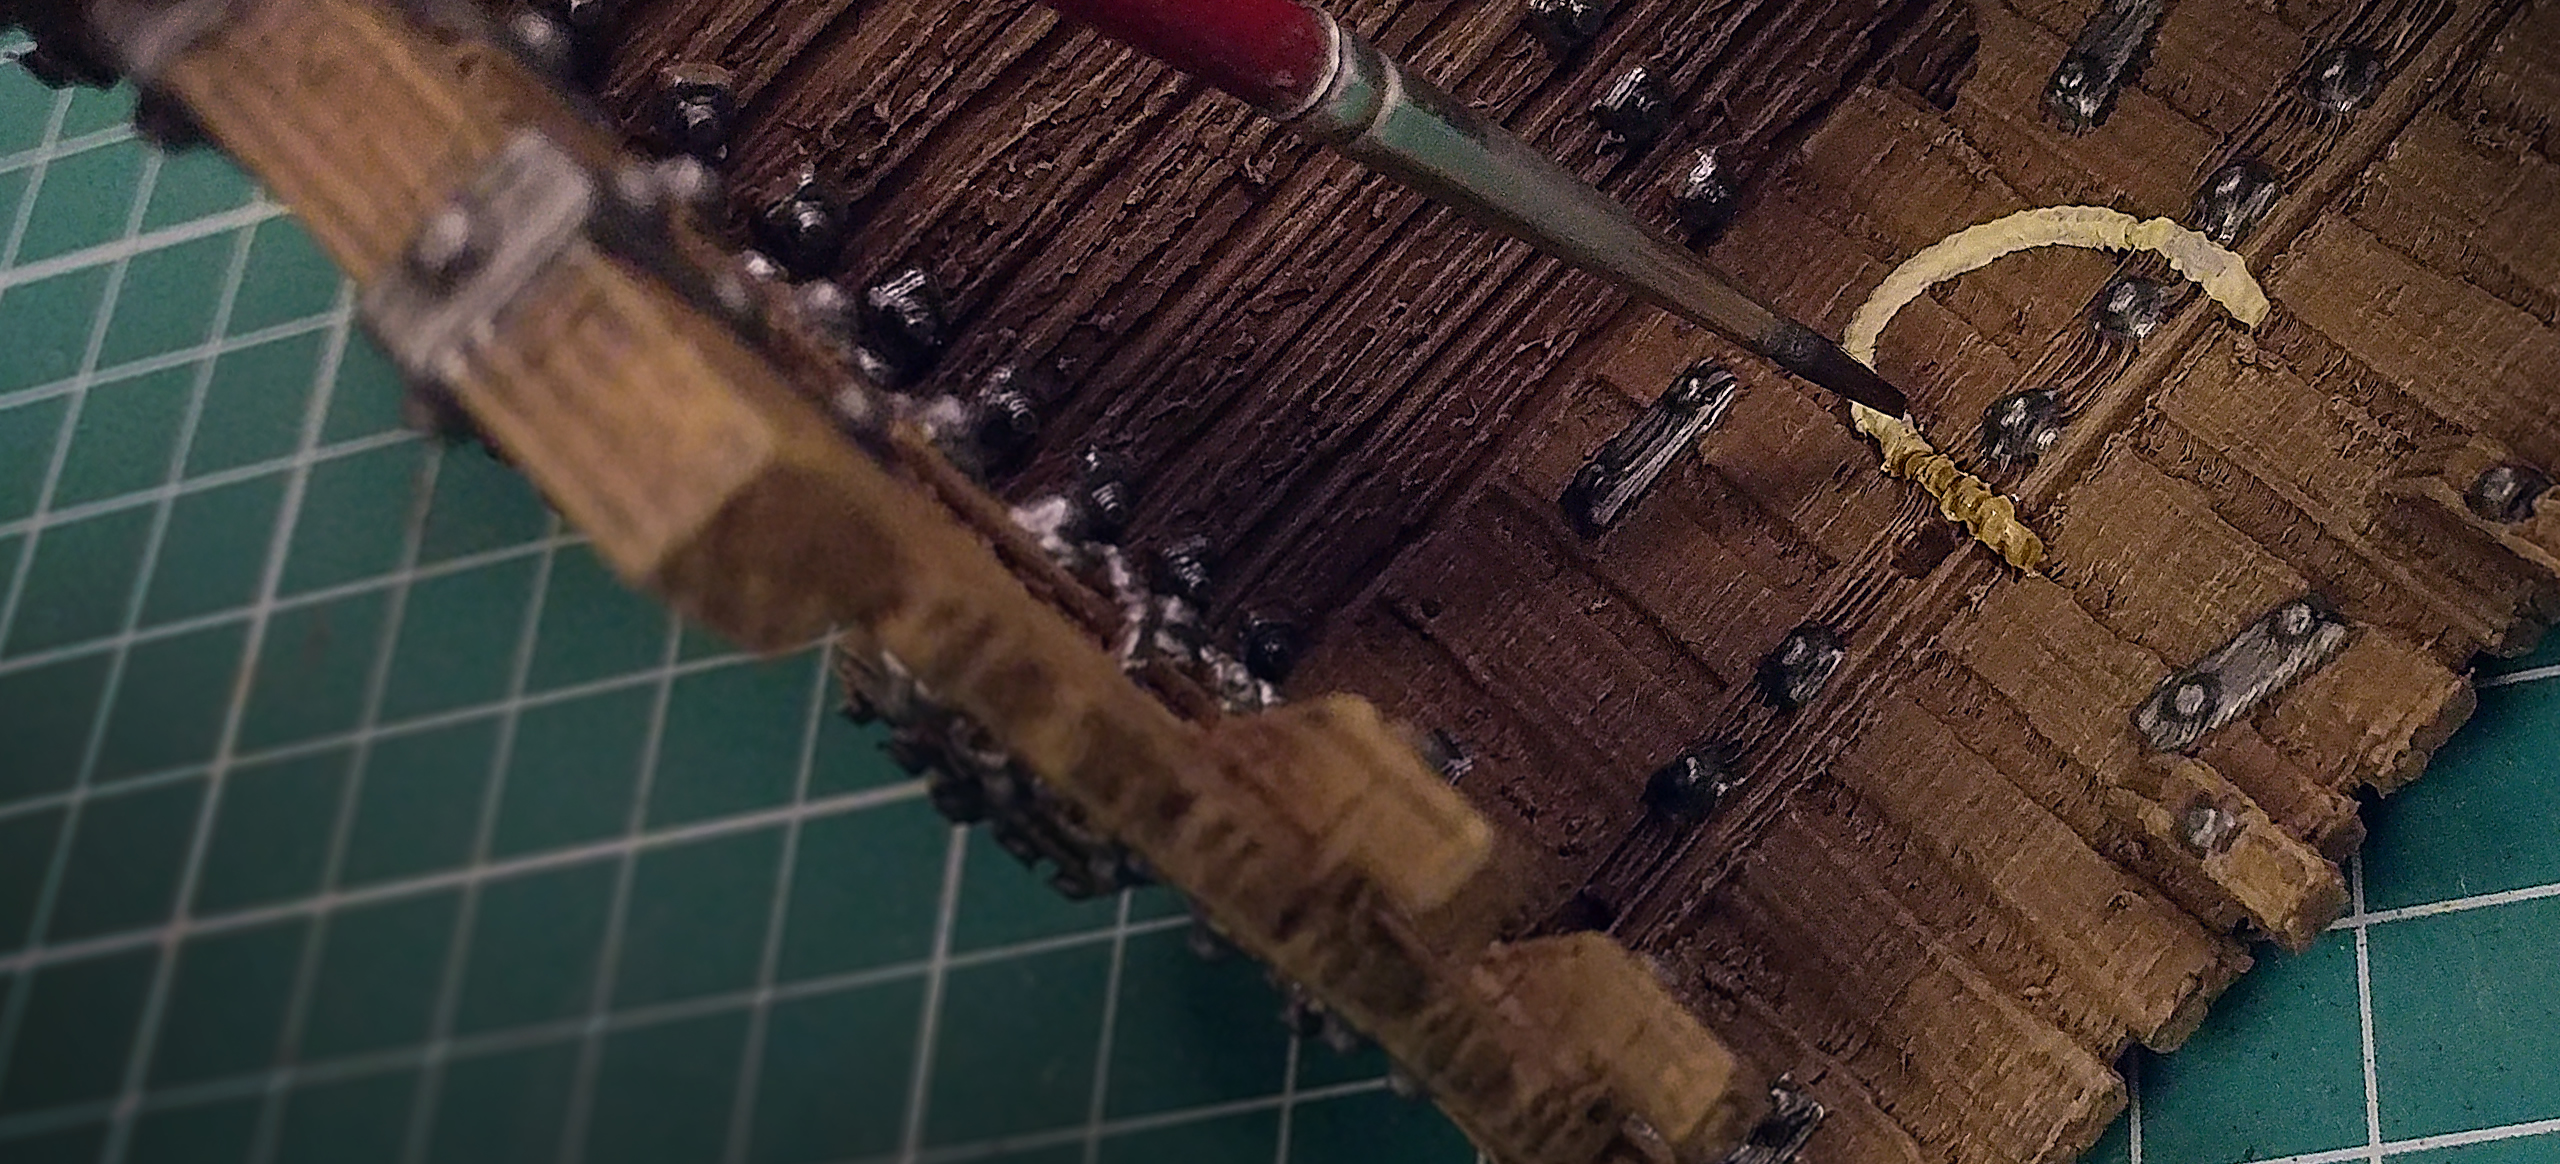
Adding Contrast To The Metal
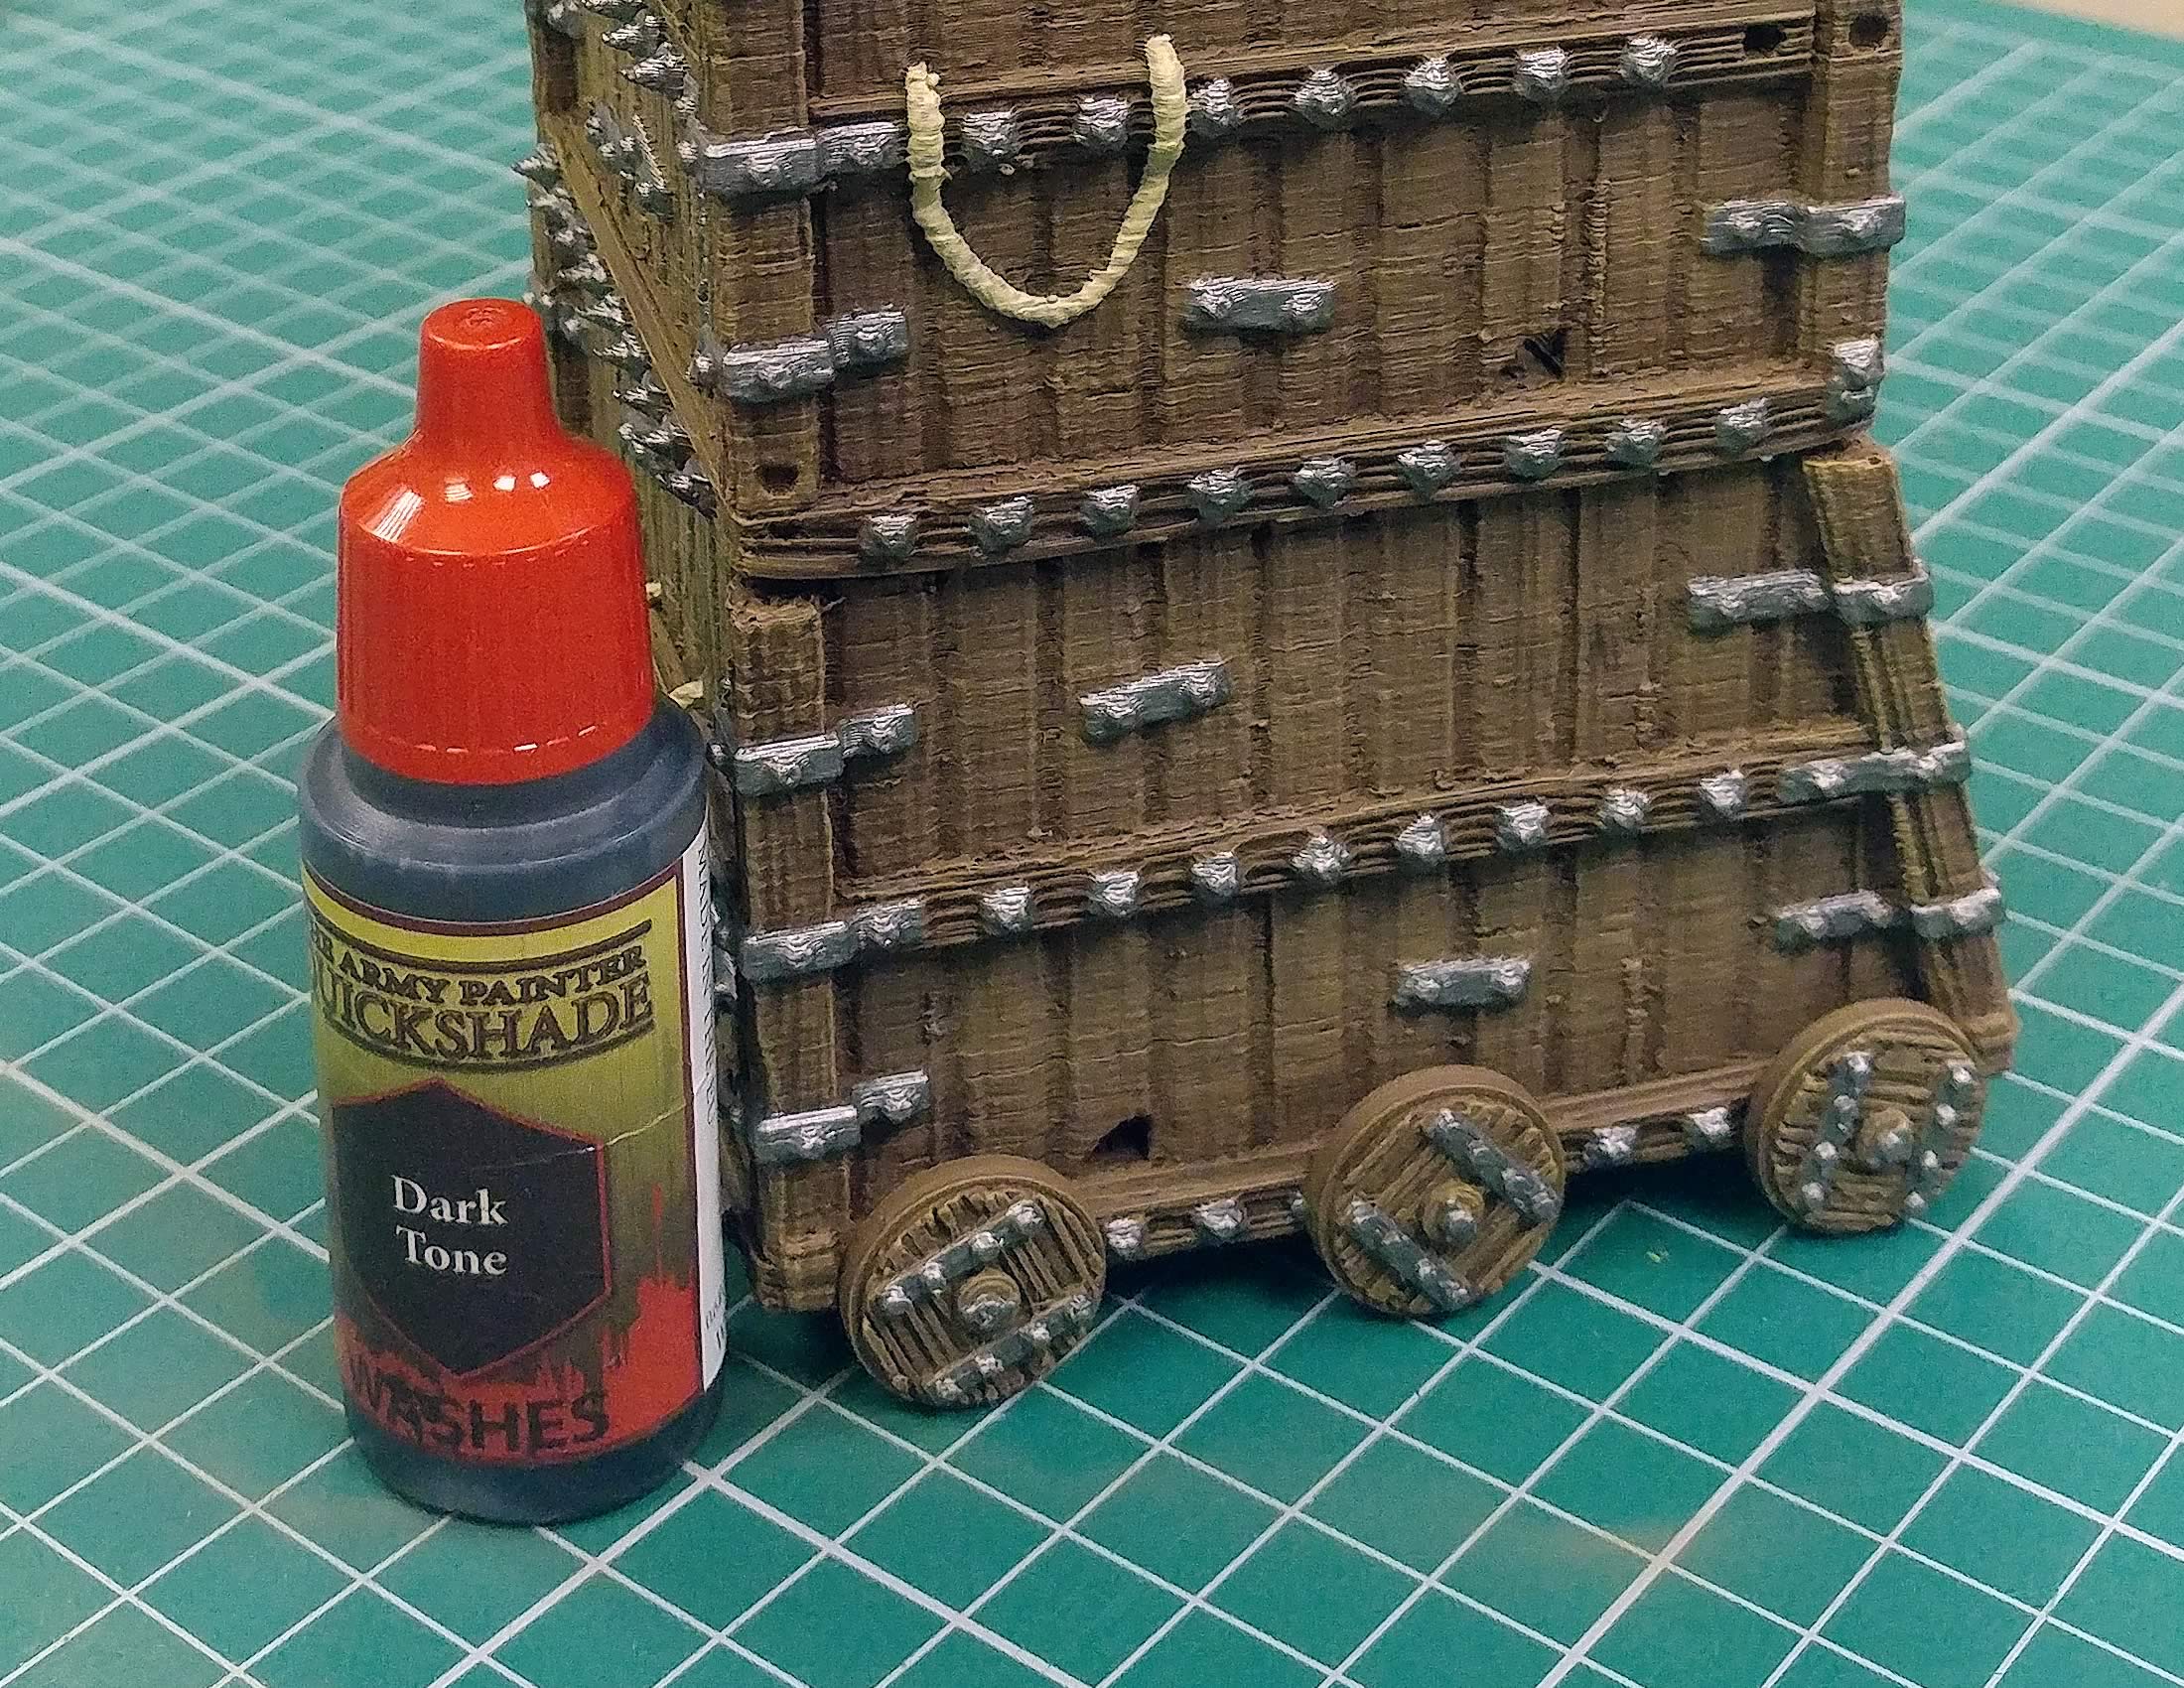
Now we move on to adding some shade to the details that we basecoated in the previous steps. For this, we use Army Painter Dark Tone for the metal details.
Using this darker shade for the metal gives the parts some more contrast and really helps to add a sense of weight and lighting to the model.
It is not as apparent while applying the shade, but once it's dry the difference will become much more noticeable. Remember to take your time and apply the tone with a small brush, circling each bolt or rivet and not to cover the whole part.
If our progress feels a little slow, do a piece and set it beside another, we can now see the difference in tone the metal has gained.
Defining The Shape Of The Ropes
The process for the rope details is the same, except we use a different wash and it takes much less time!
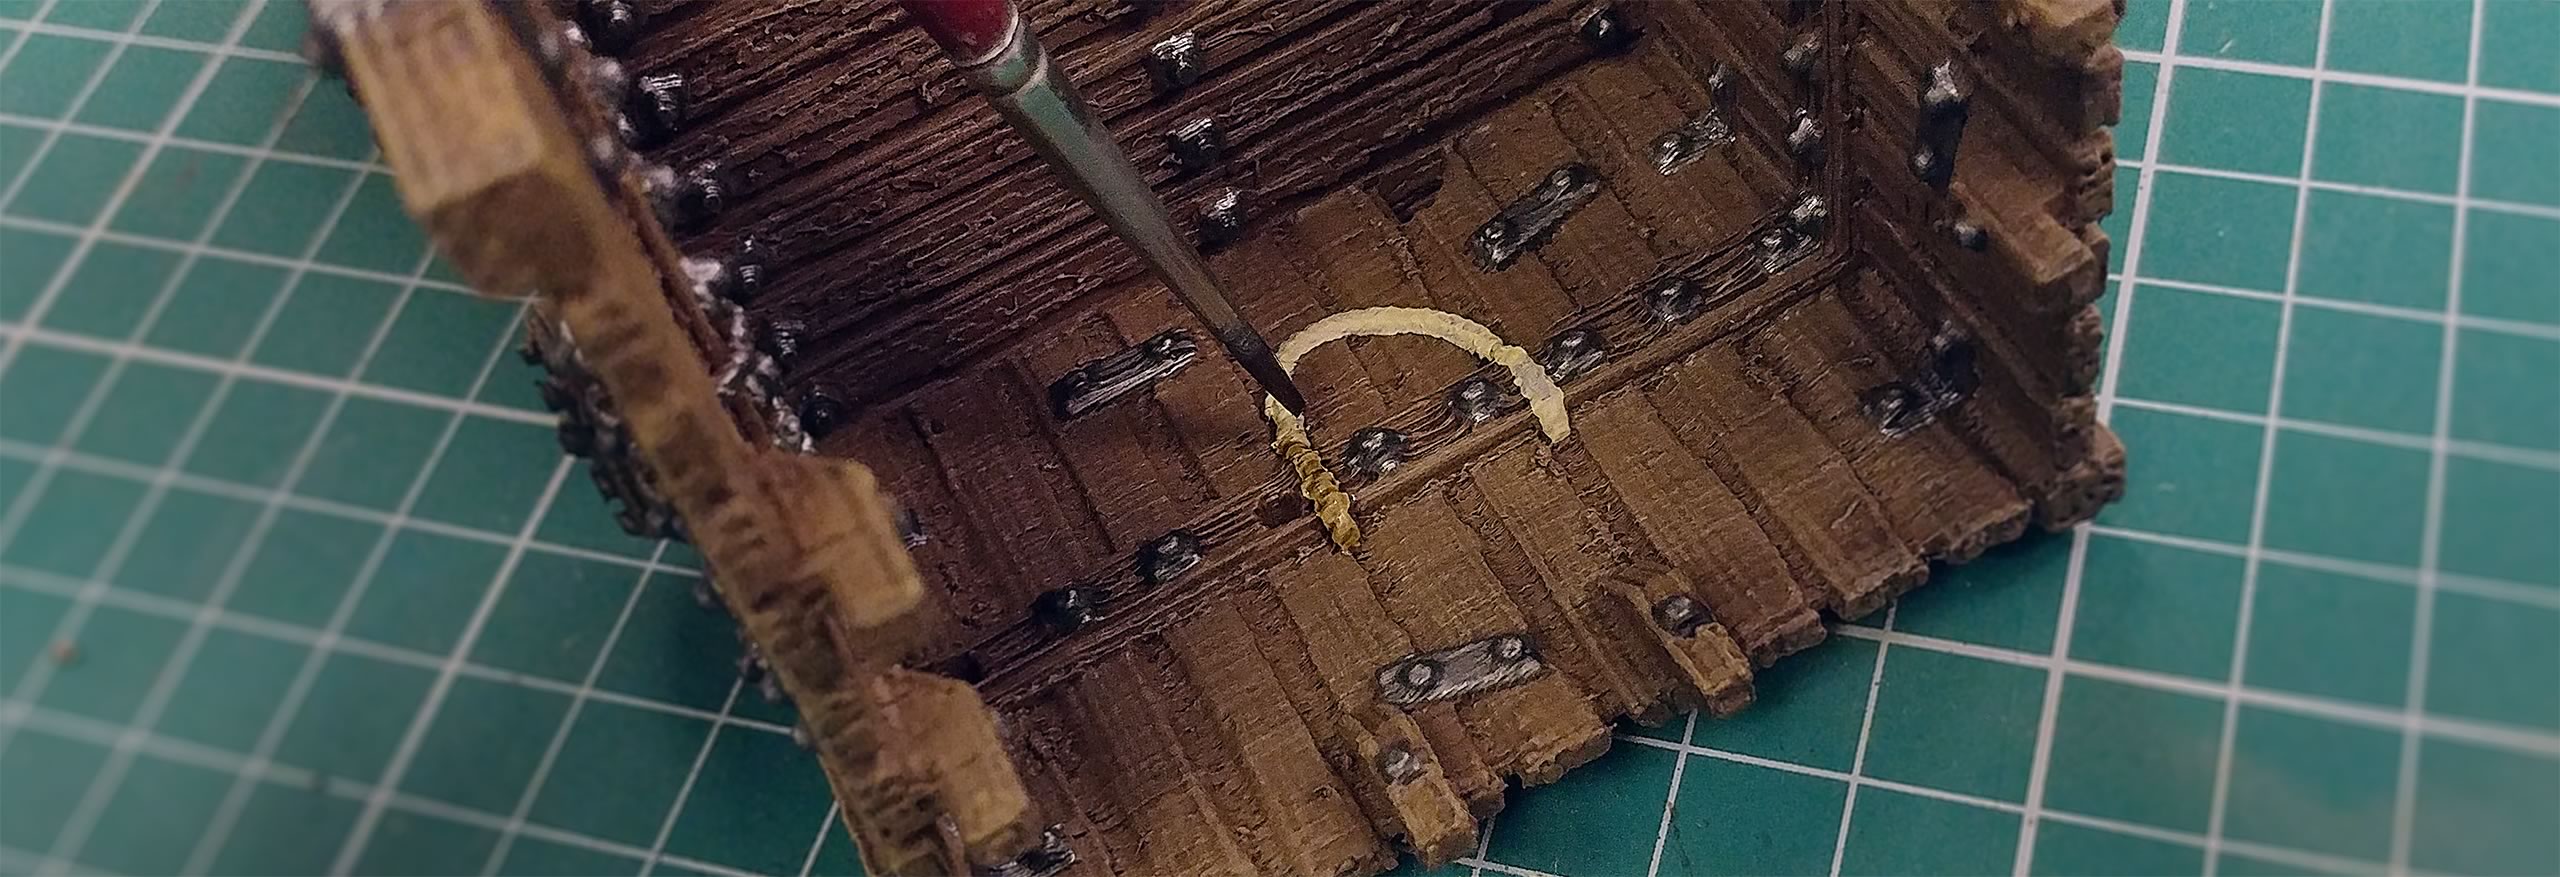
We use Army Painter Strong Tone this time and apply it is a similar way to the metal parts.
Applying a fairly heavy coat will ensure the wash settles into the winds of the rope, don't be scared to apply the wash either side of the rope too, as this can add a little extra definition to the part.
Our Seige Tower is really starting to look "heavy" and have a real presence. It will be exciting to see how the model looks after a little more highlighting!
Highlighting The Metal & Rope
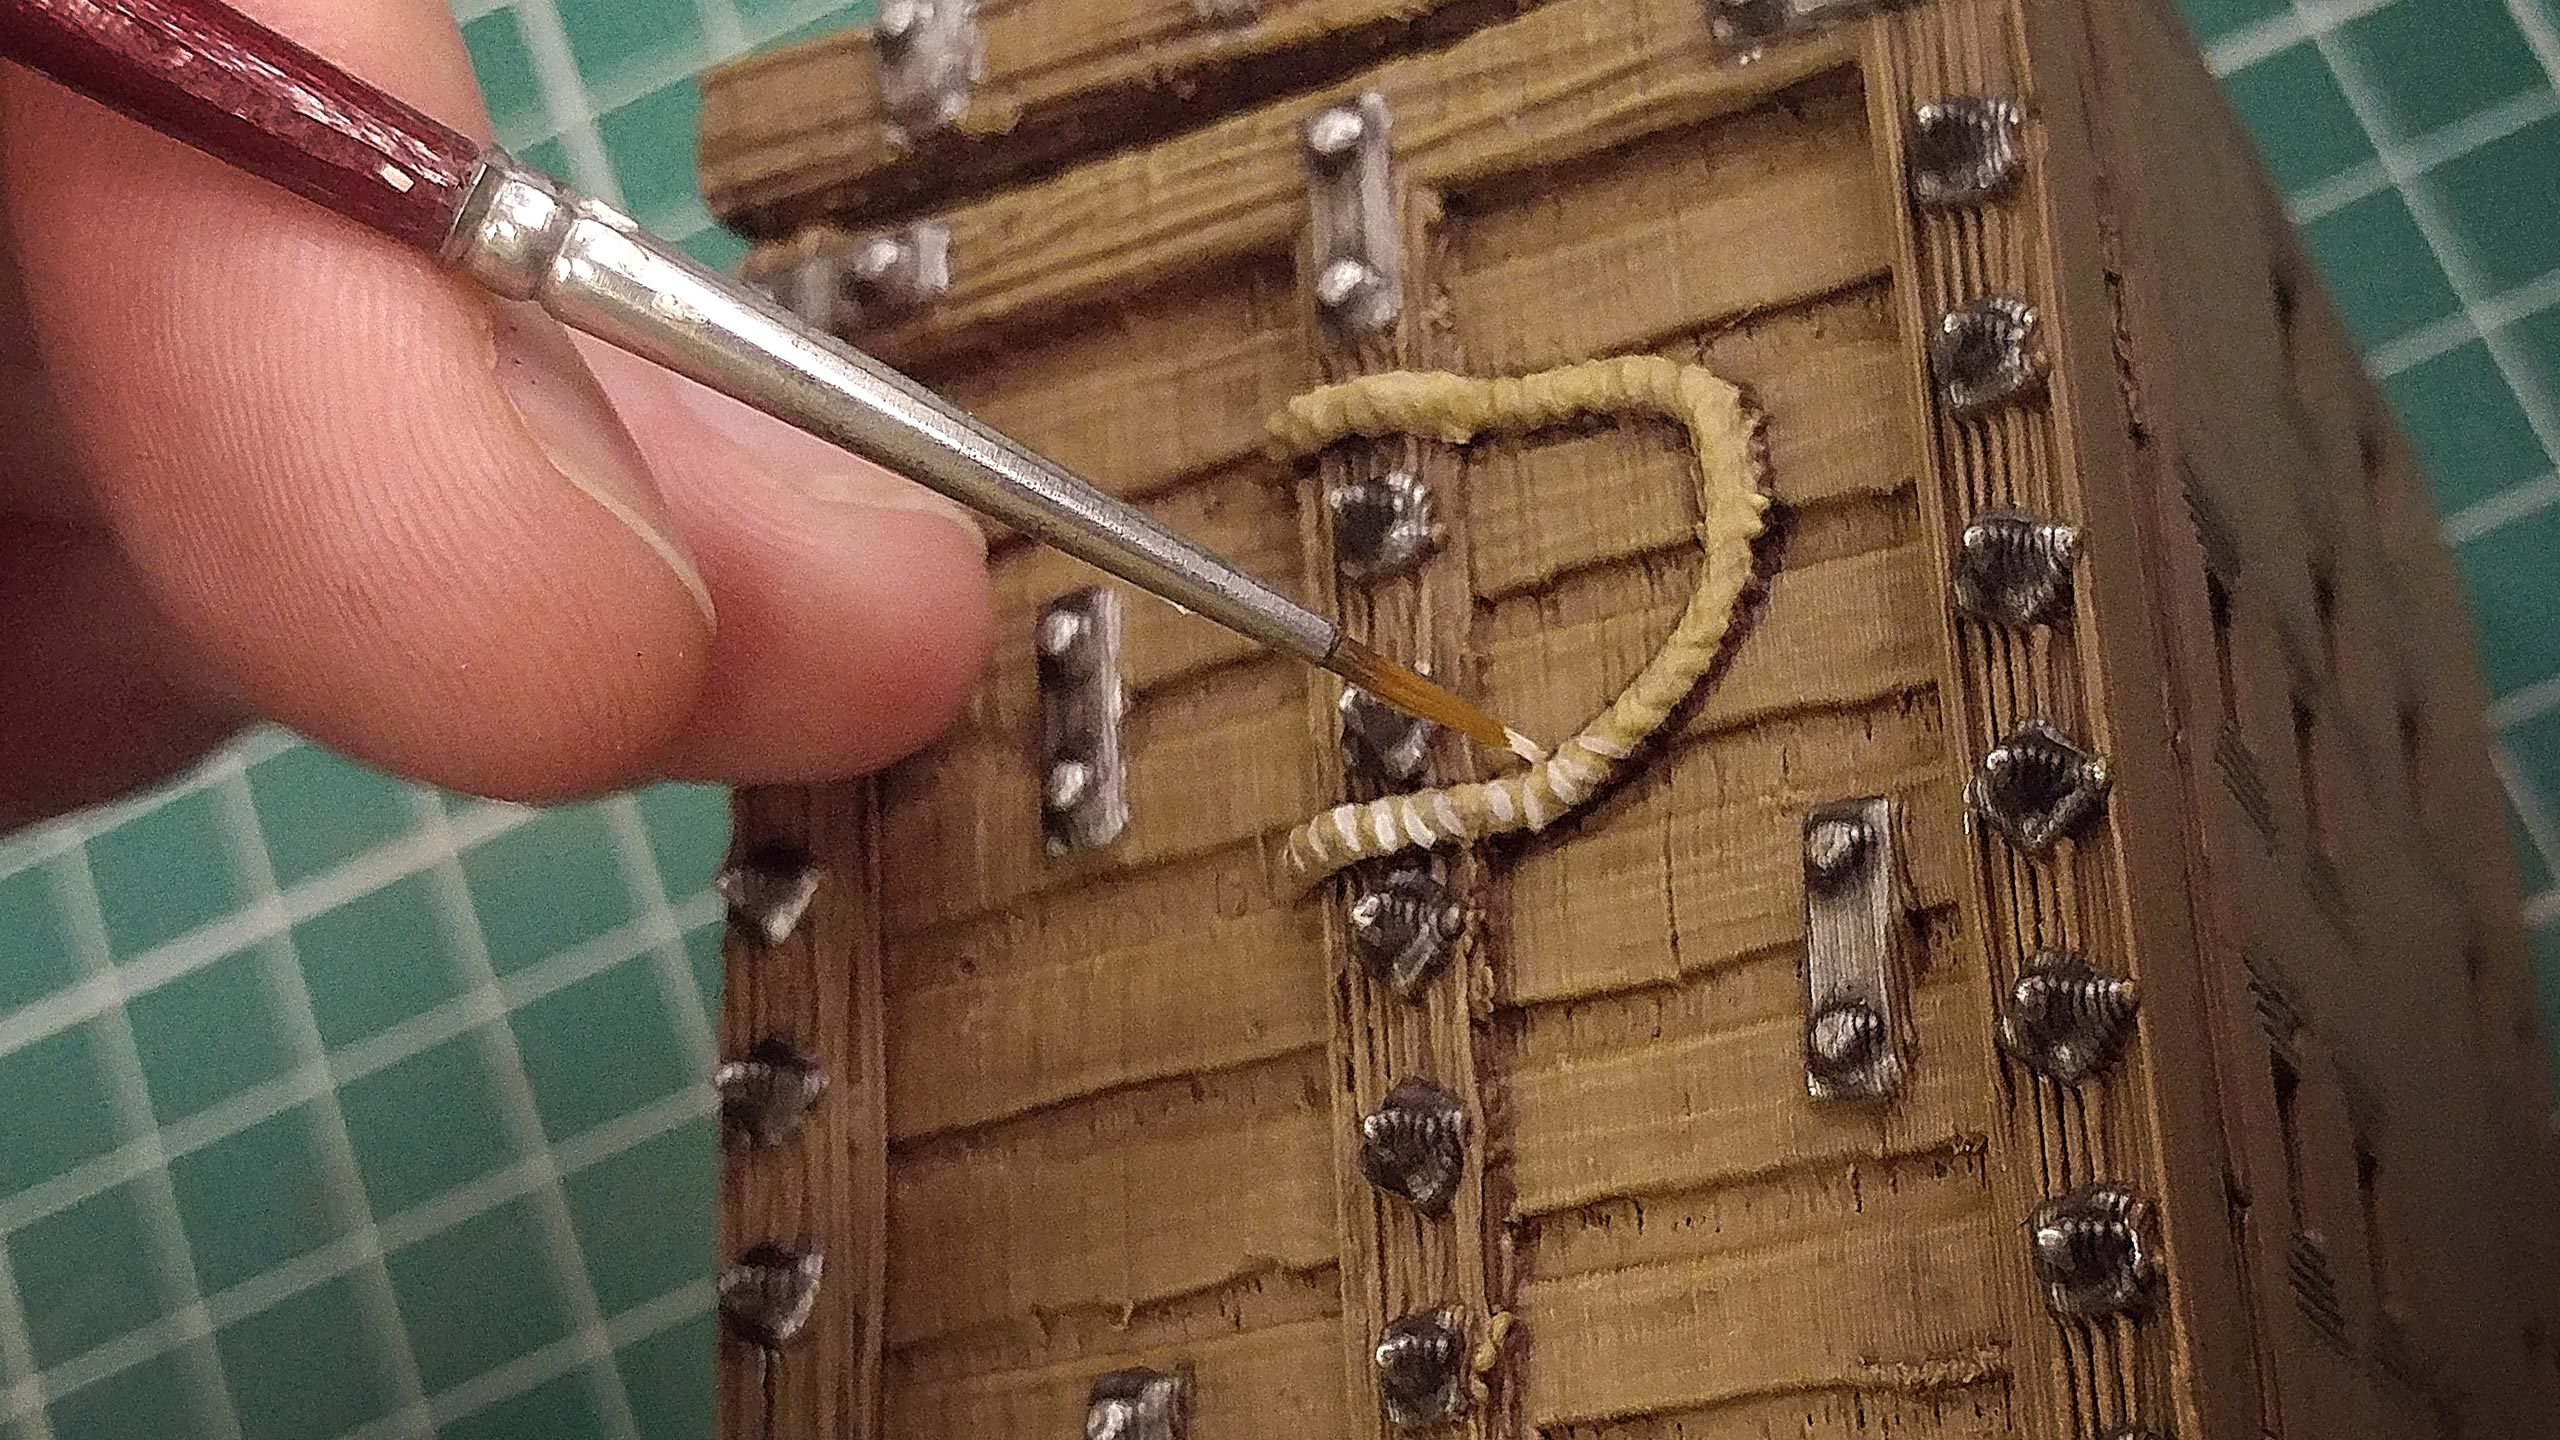
Adding Gleaming highlights To The Metal
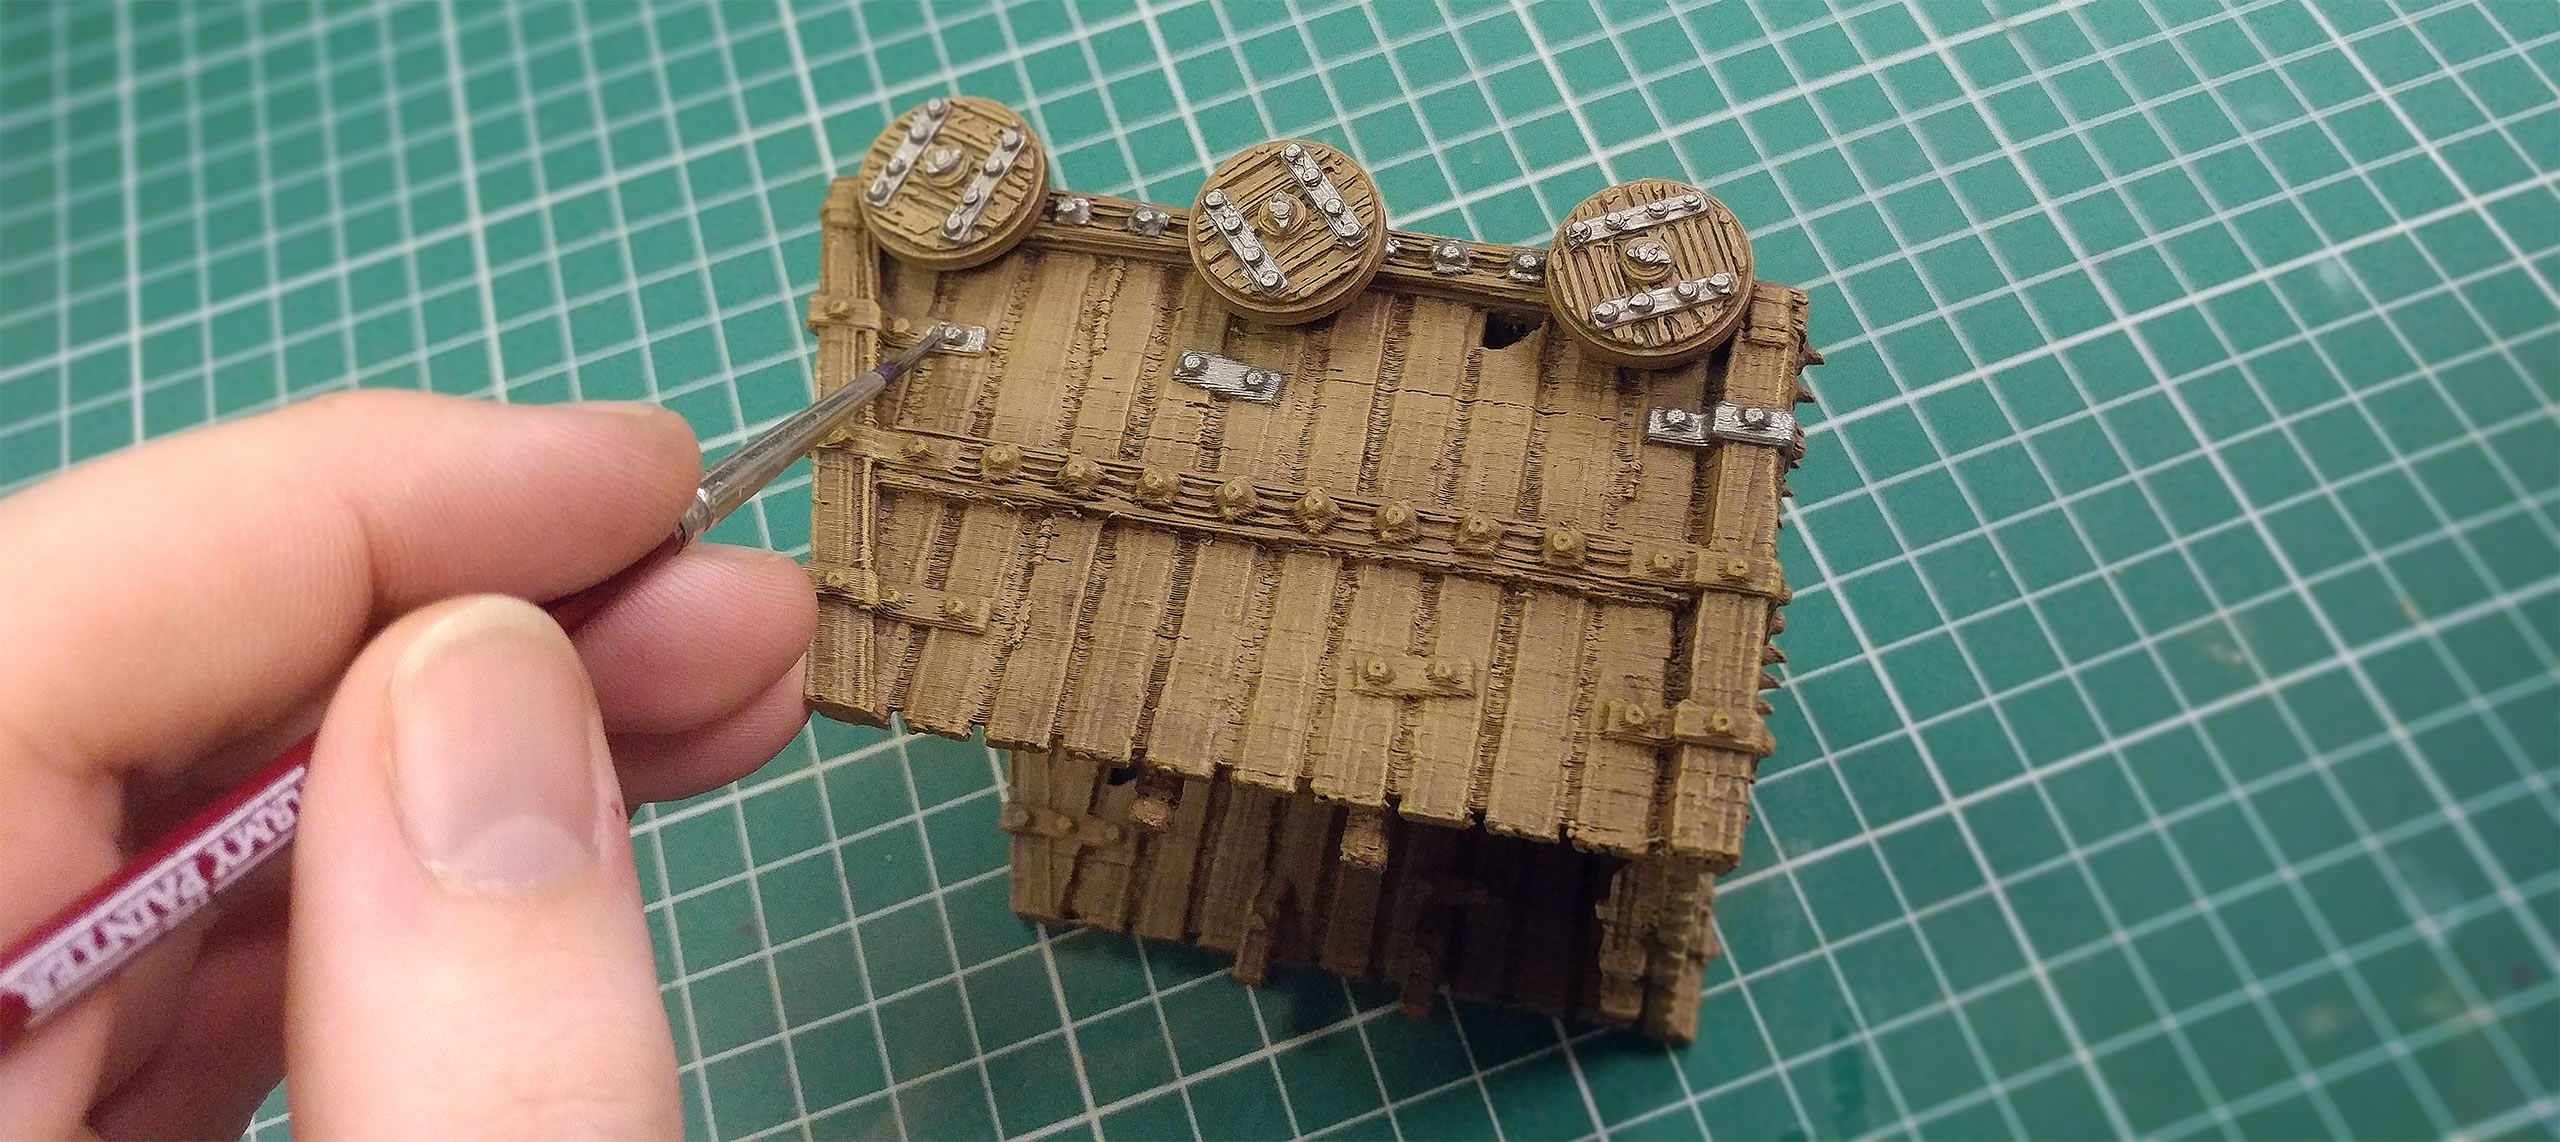
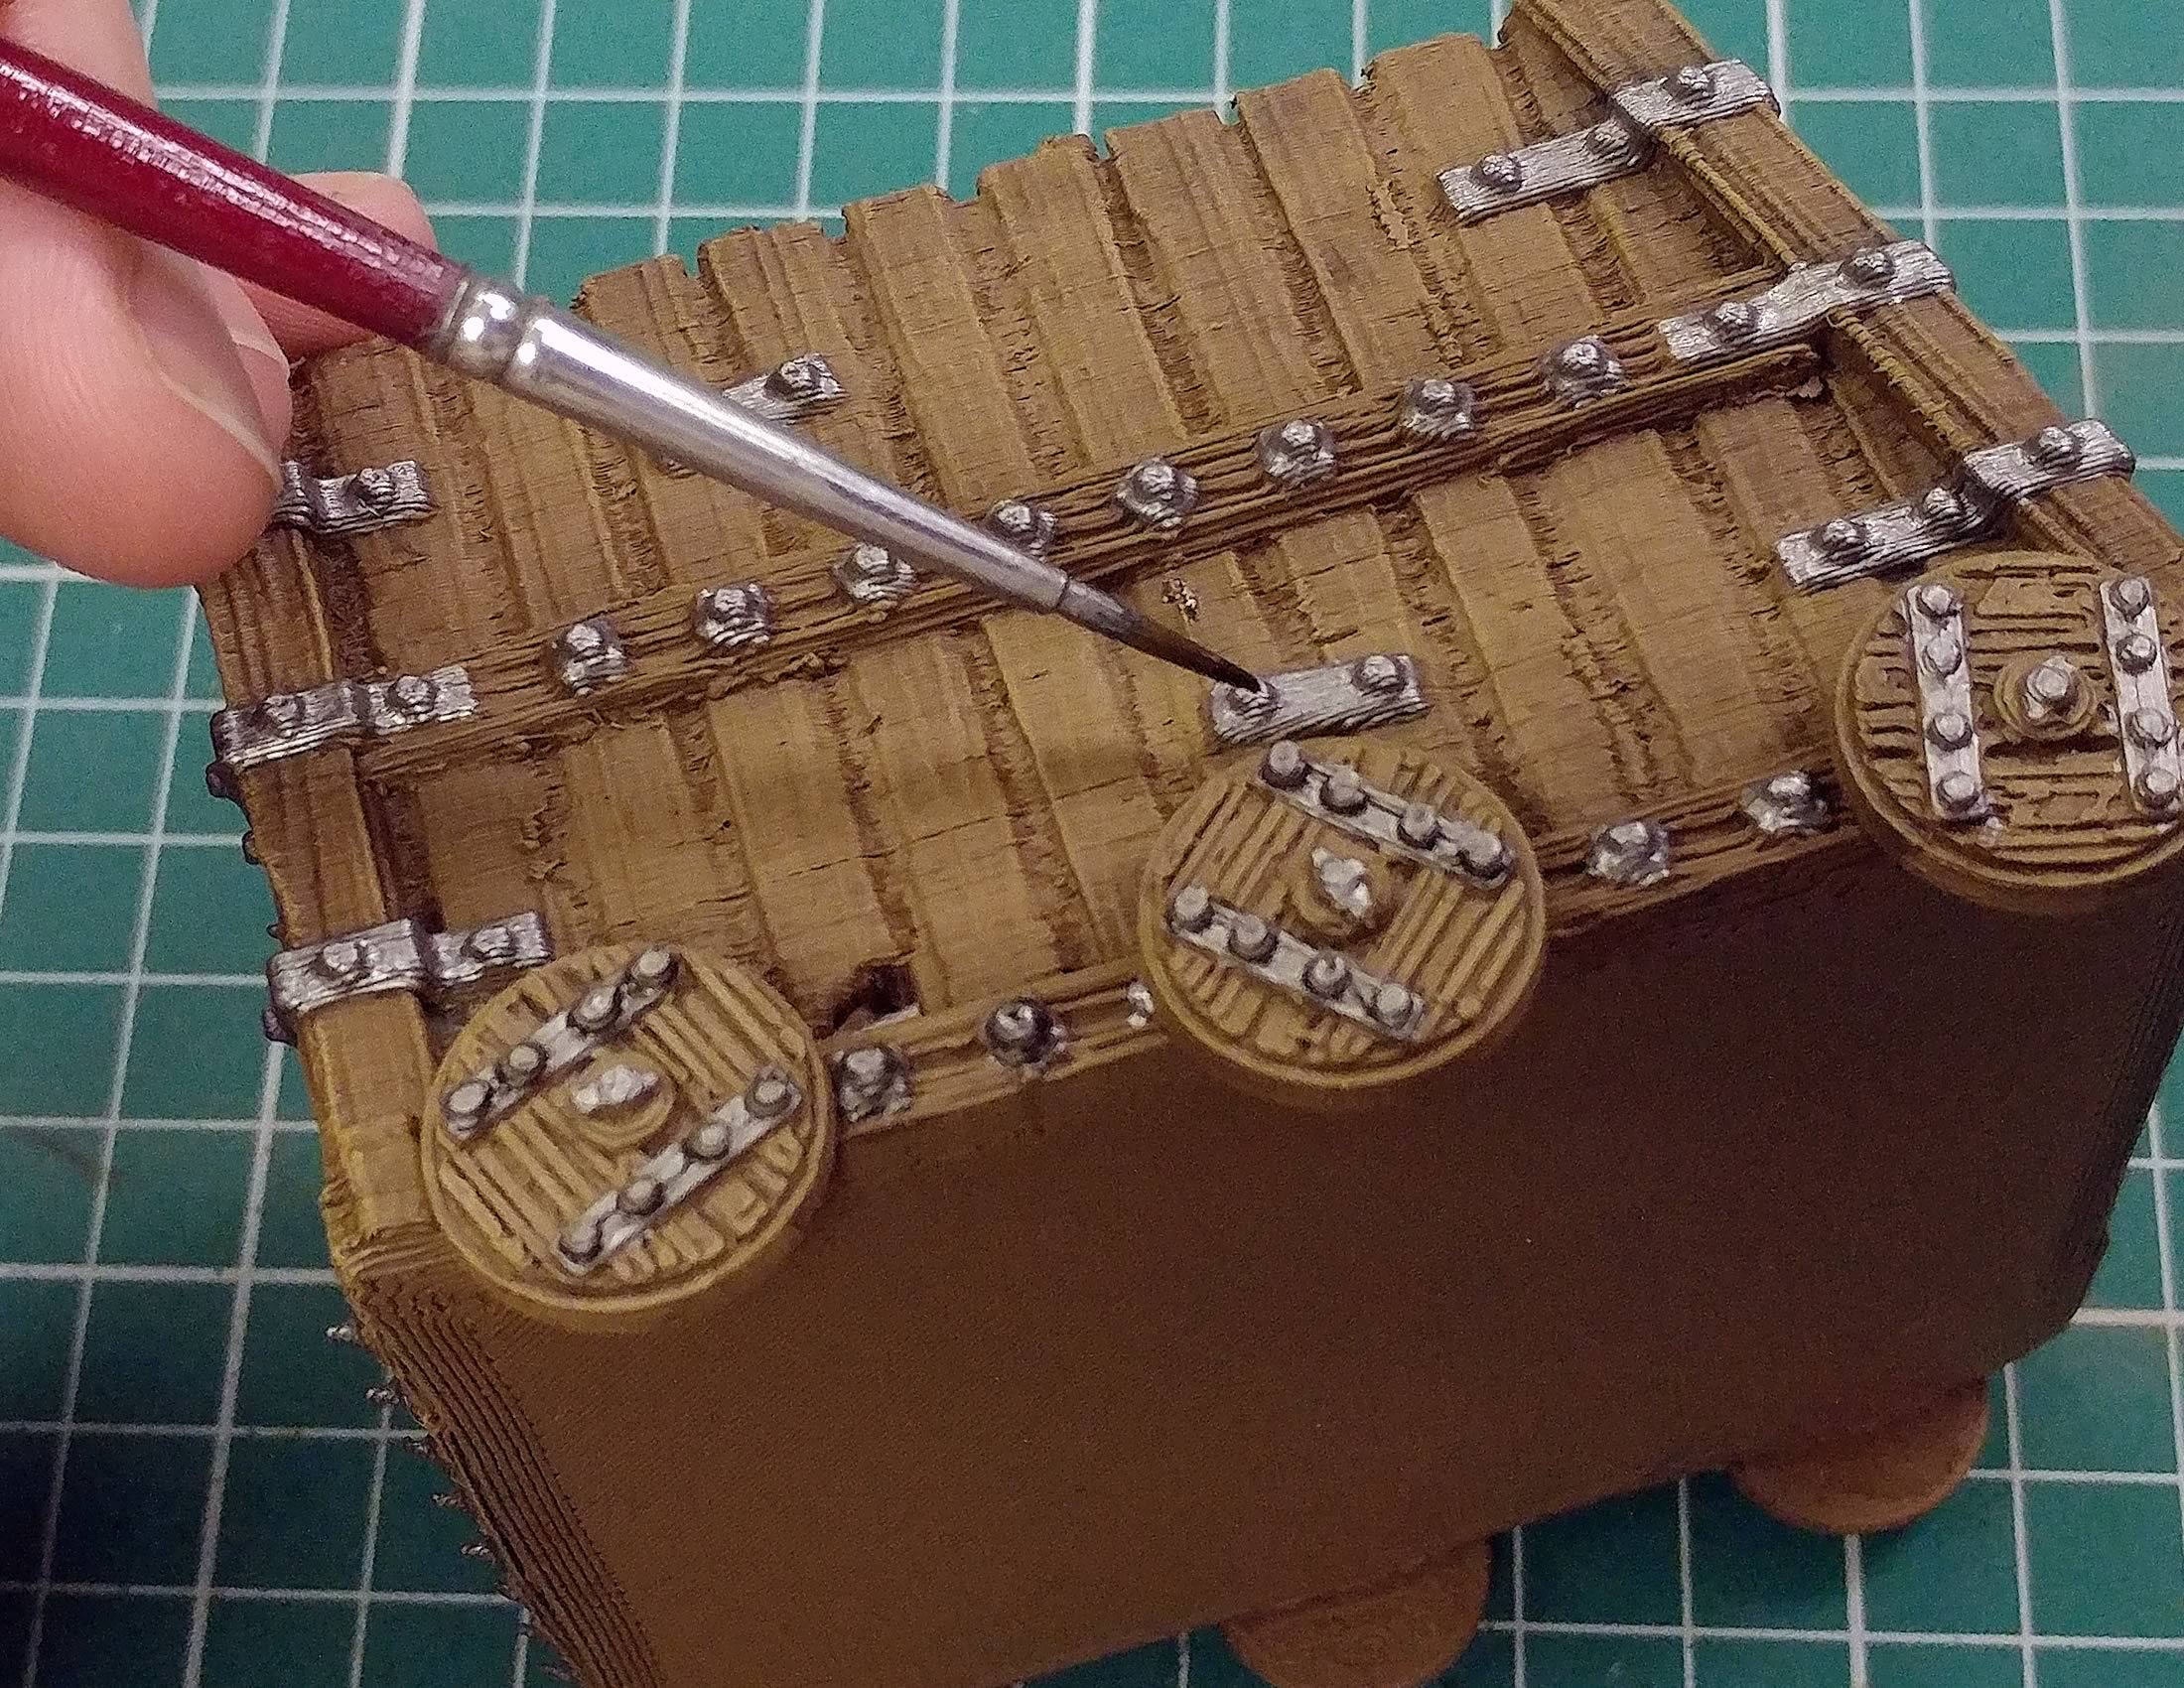
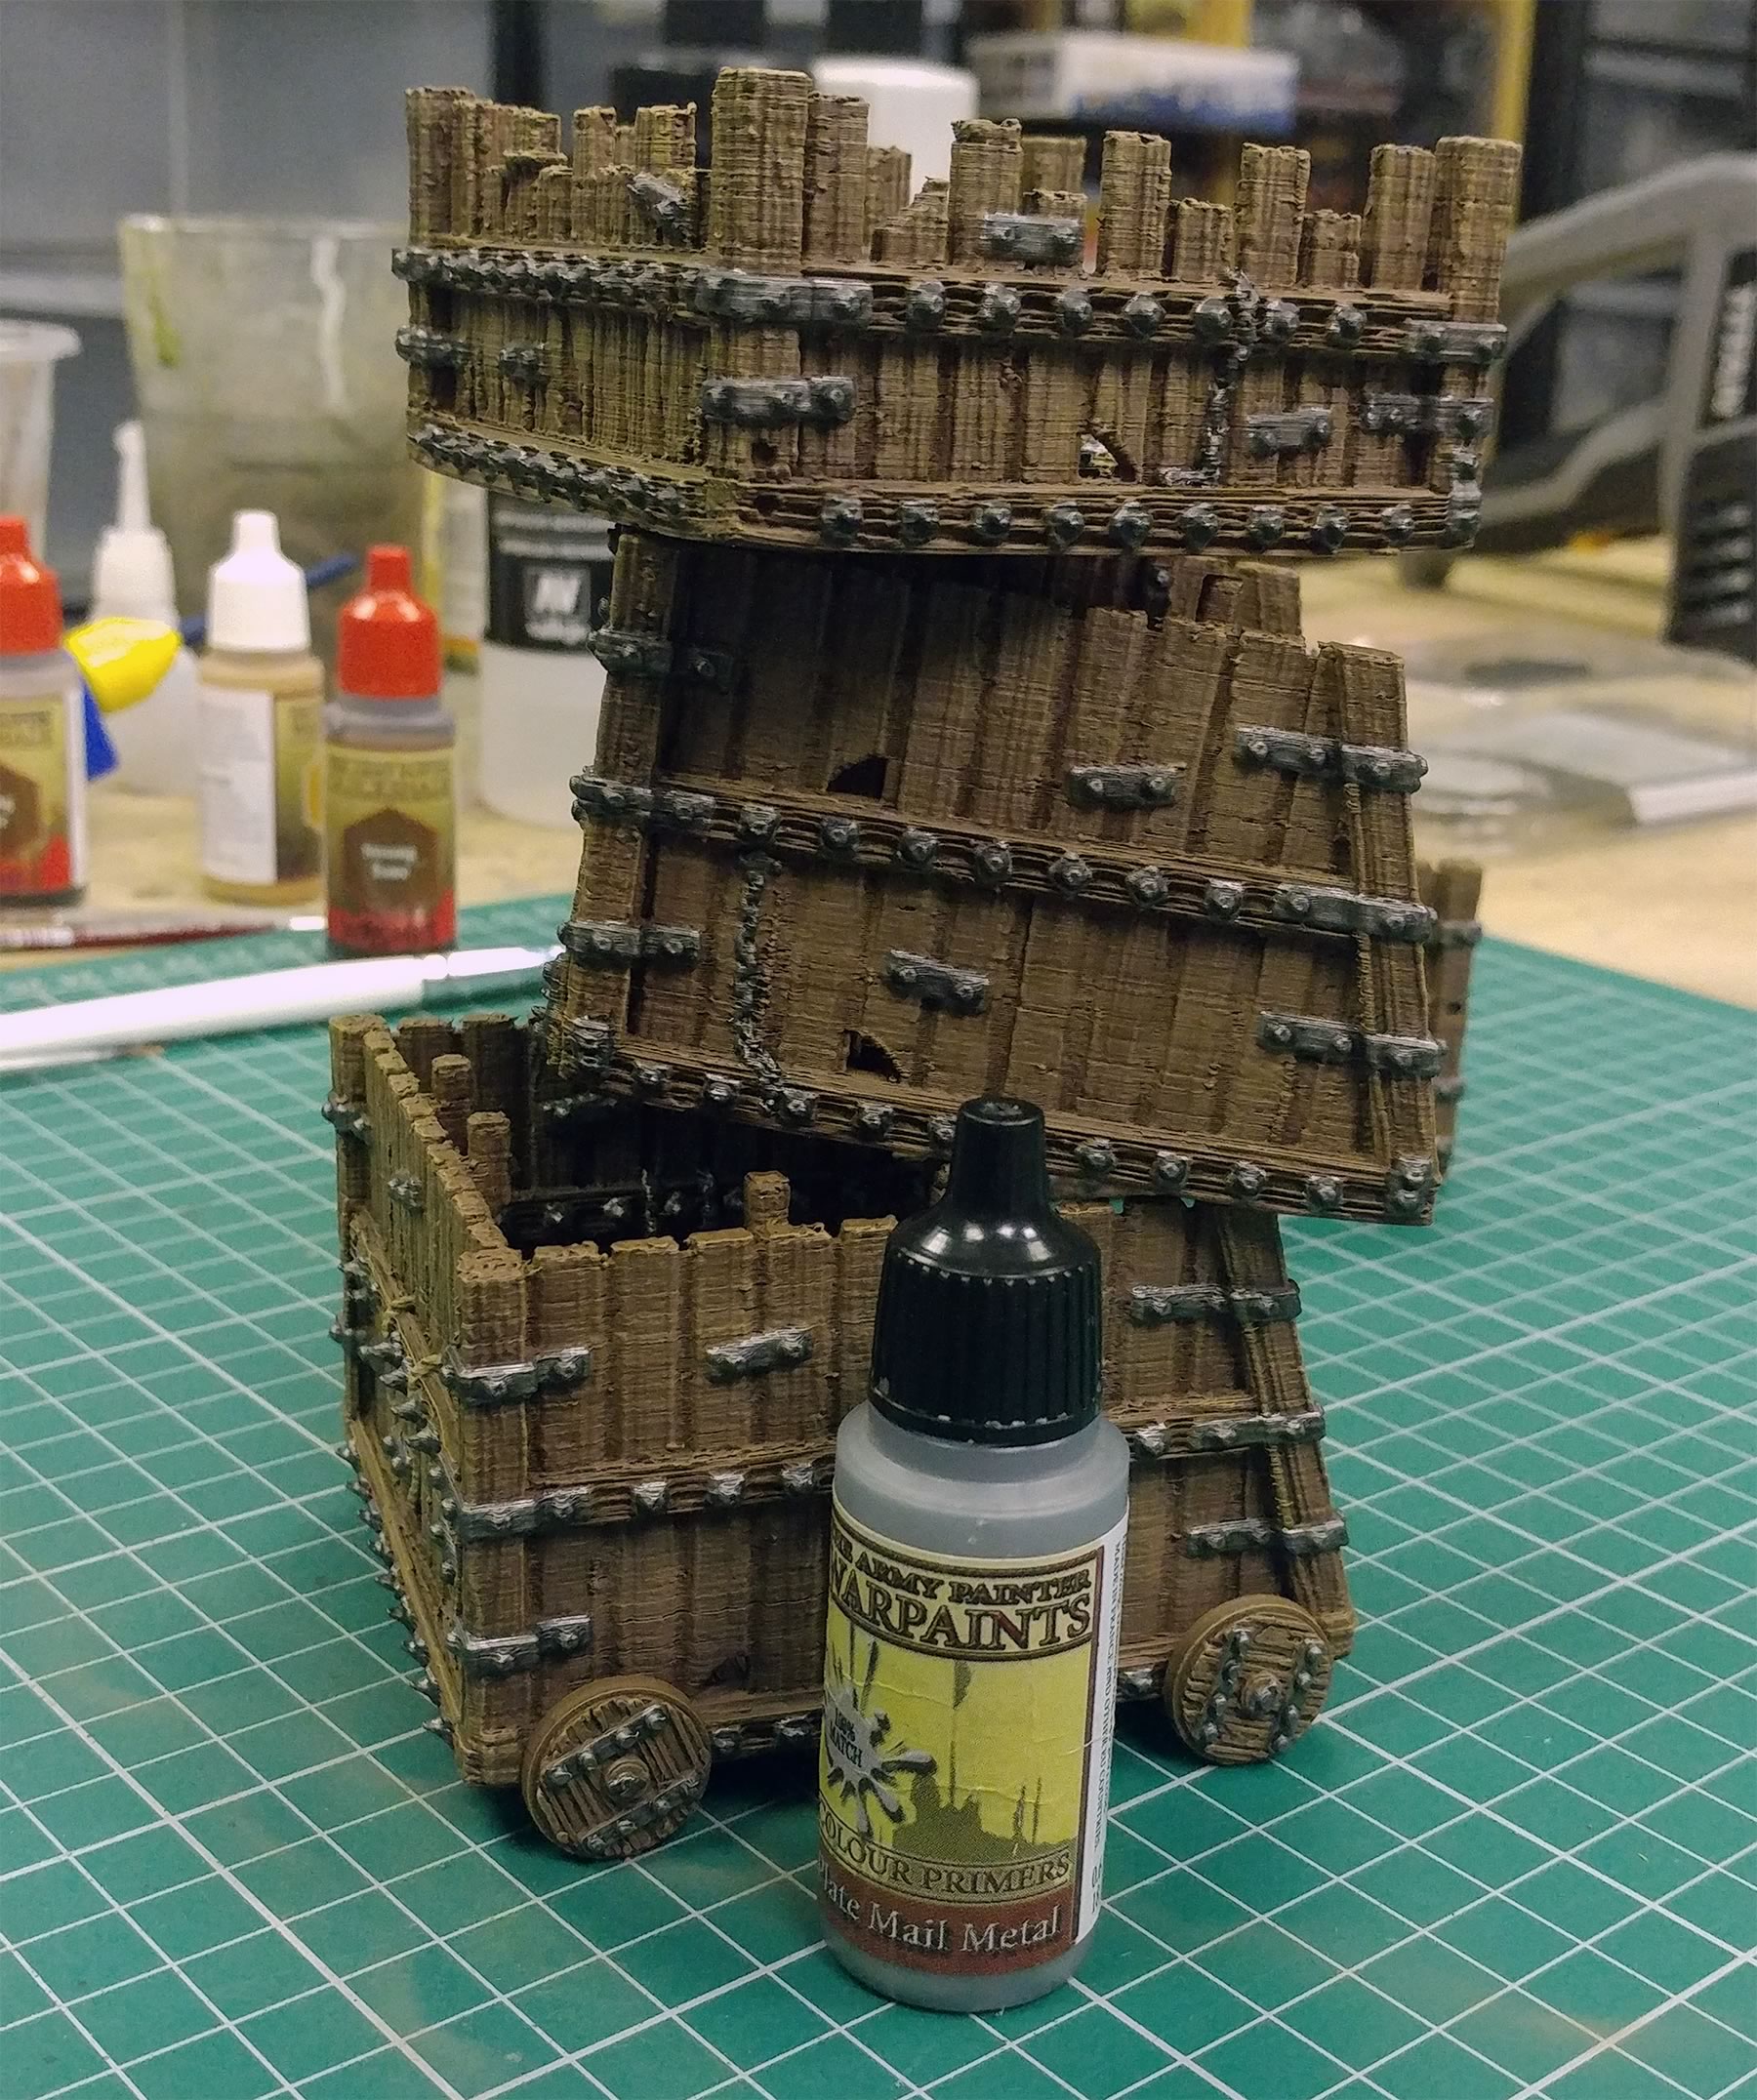
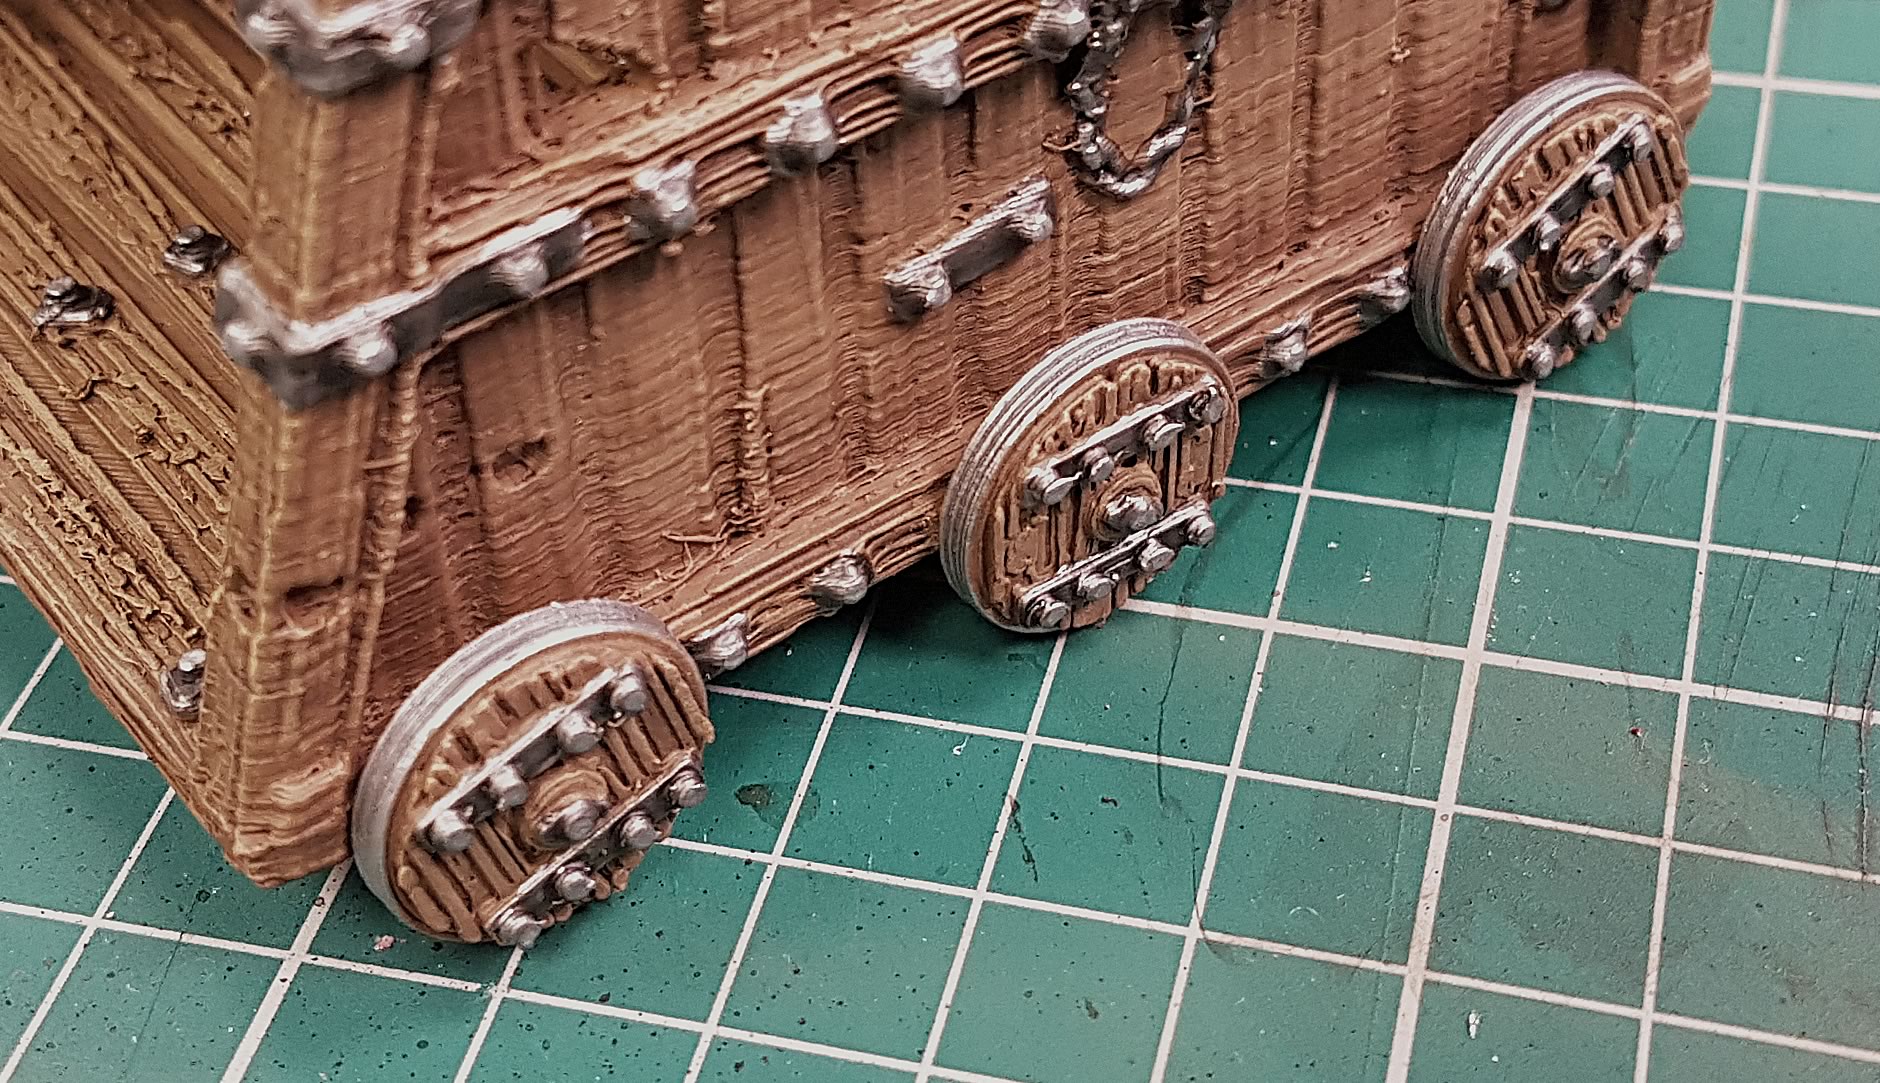
Moving on to highlighting the metal details first, we use Army Painter "Plate Mail Metal" for this step.
All we need to do here is touch the top of each rivet and bolt with the paint. This lets the lower details remain the darker metallic colour with its shading while giving something brighter to draw your eye to, even form a distance.
At this point, we decided to make a small change to my plans. Originally the plan was to leave the wheel edge brown but once all the other metal was done it became apparent that the wheels wound just look cooler painted as if they had metal strapping to help bear the weight of the tower, so they got a coat of the Plate Mail Metal too.
Highlighting the Rope
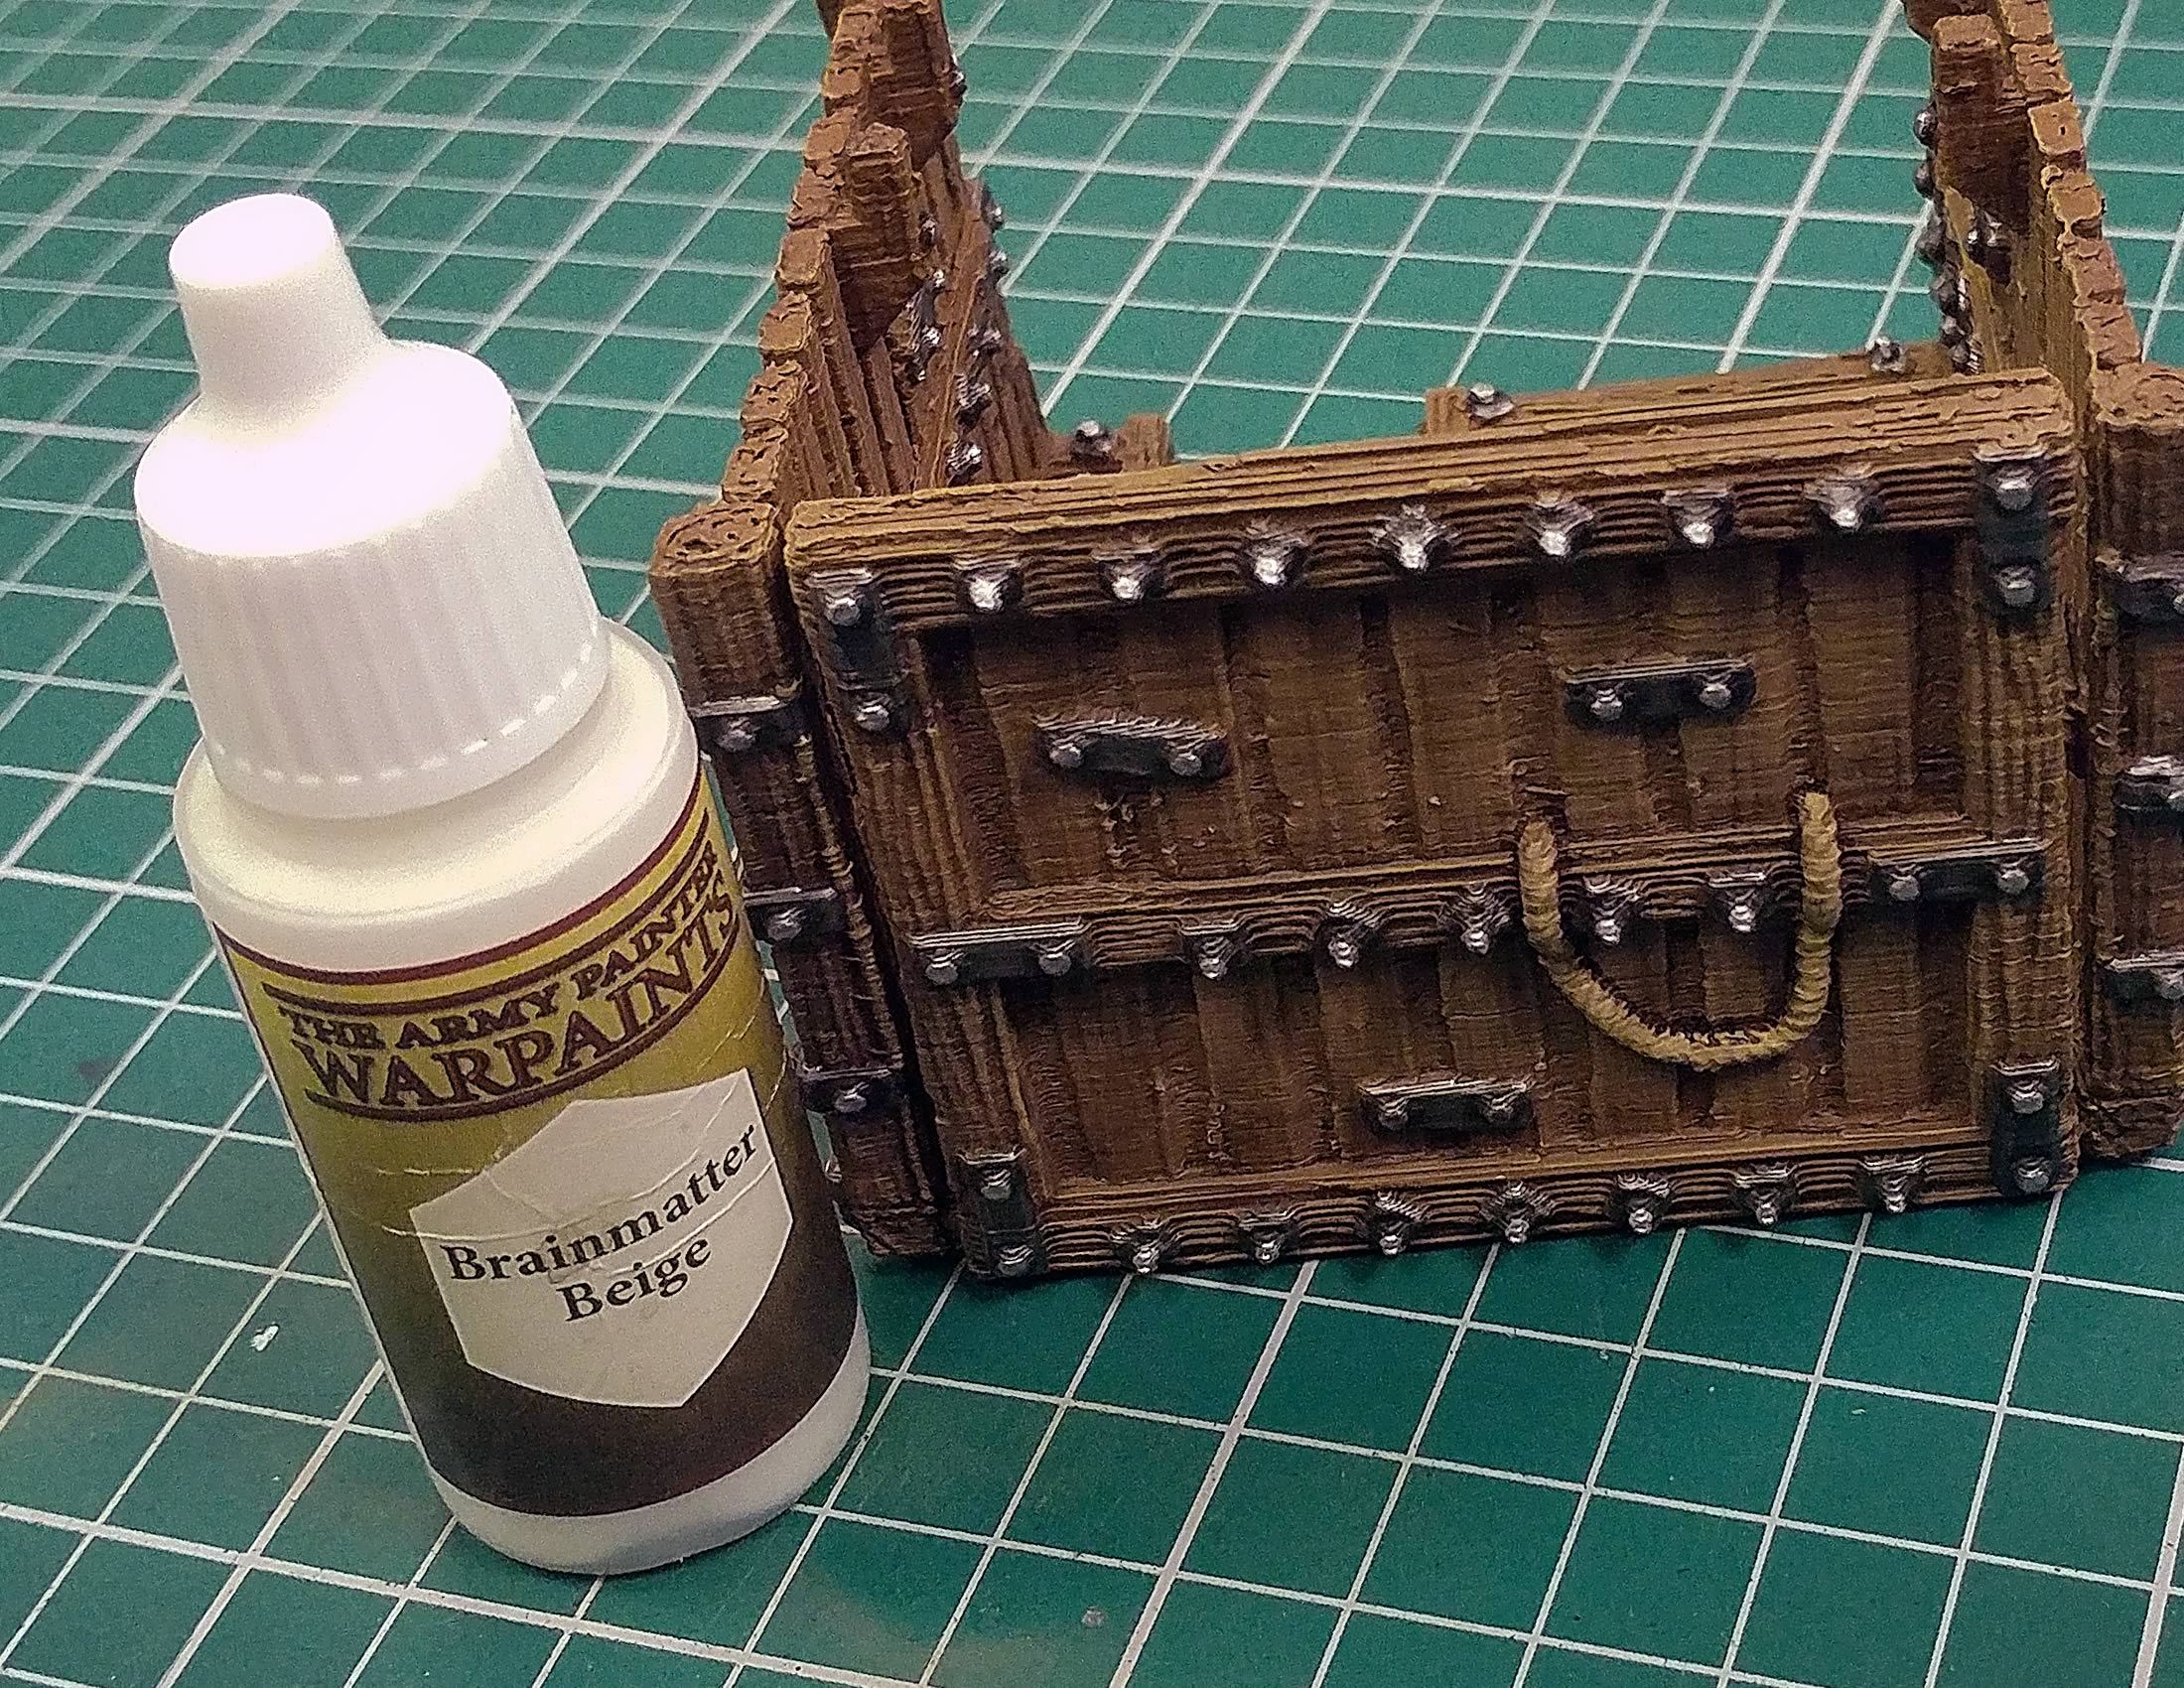
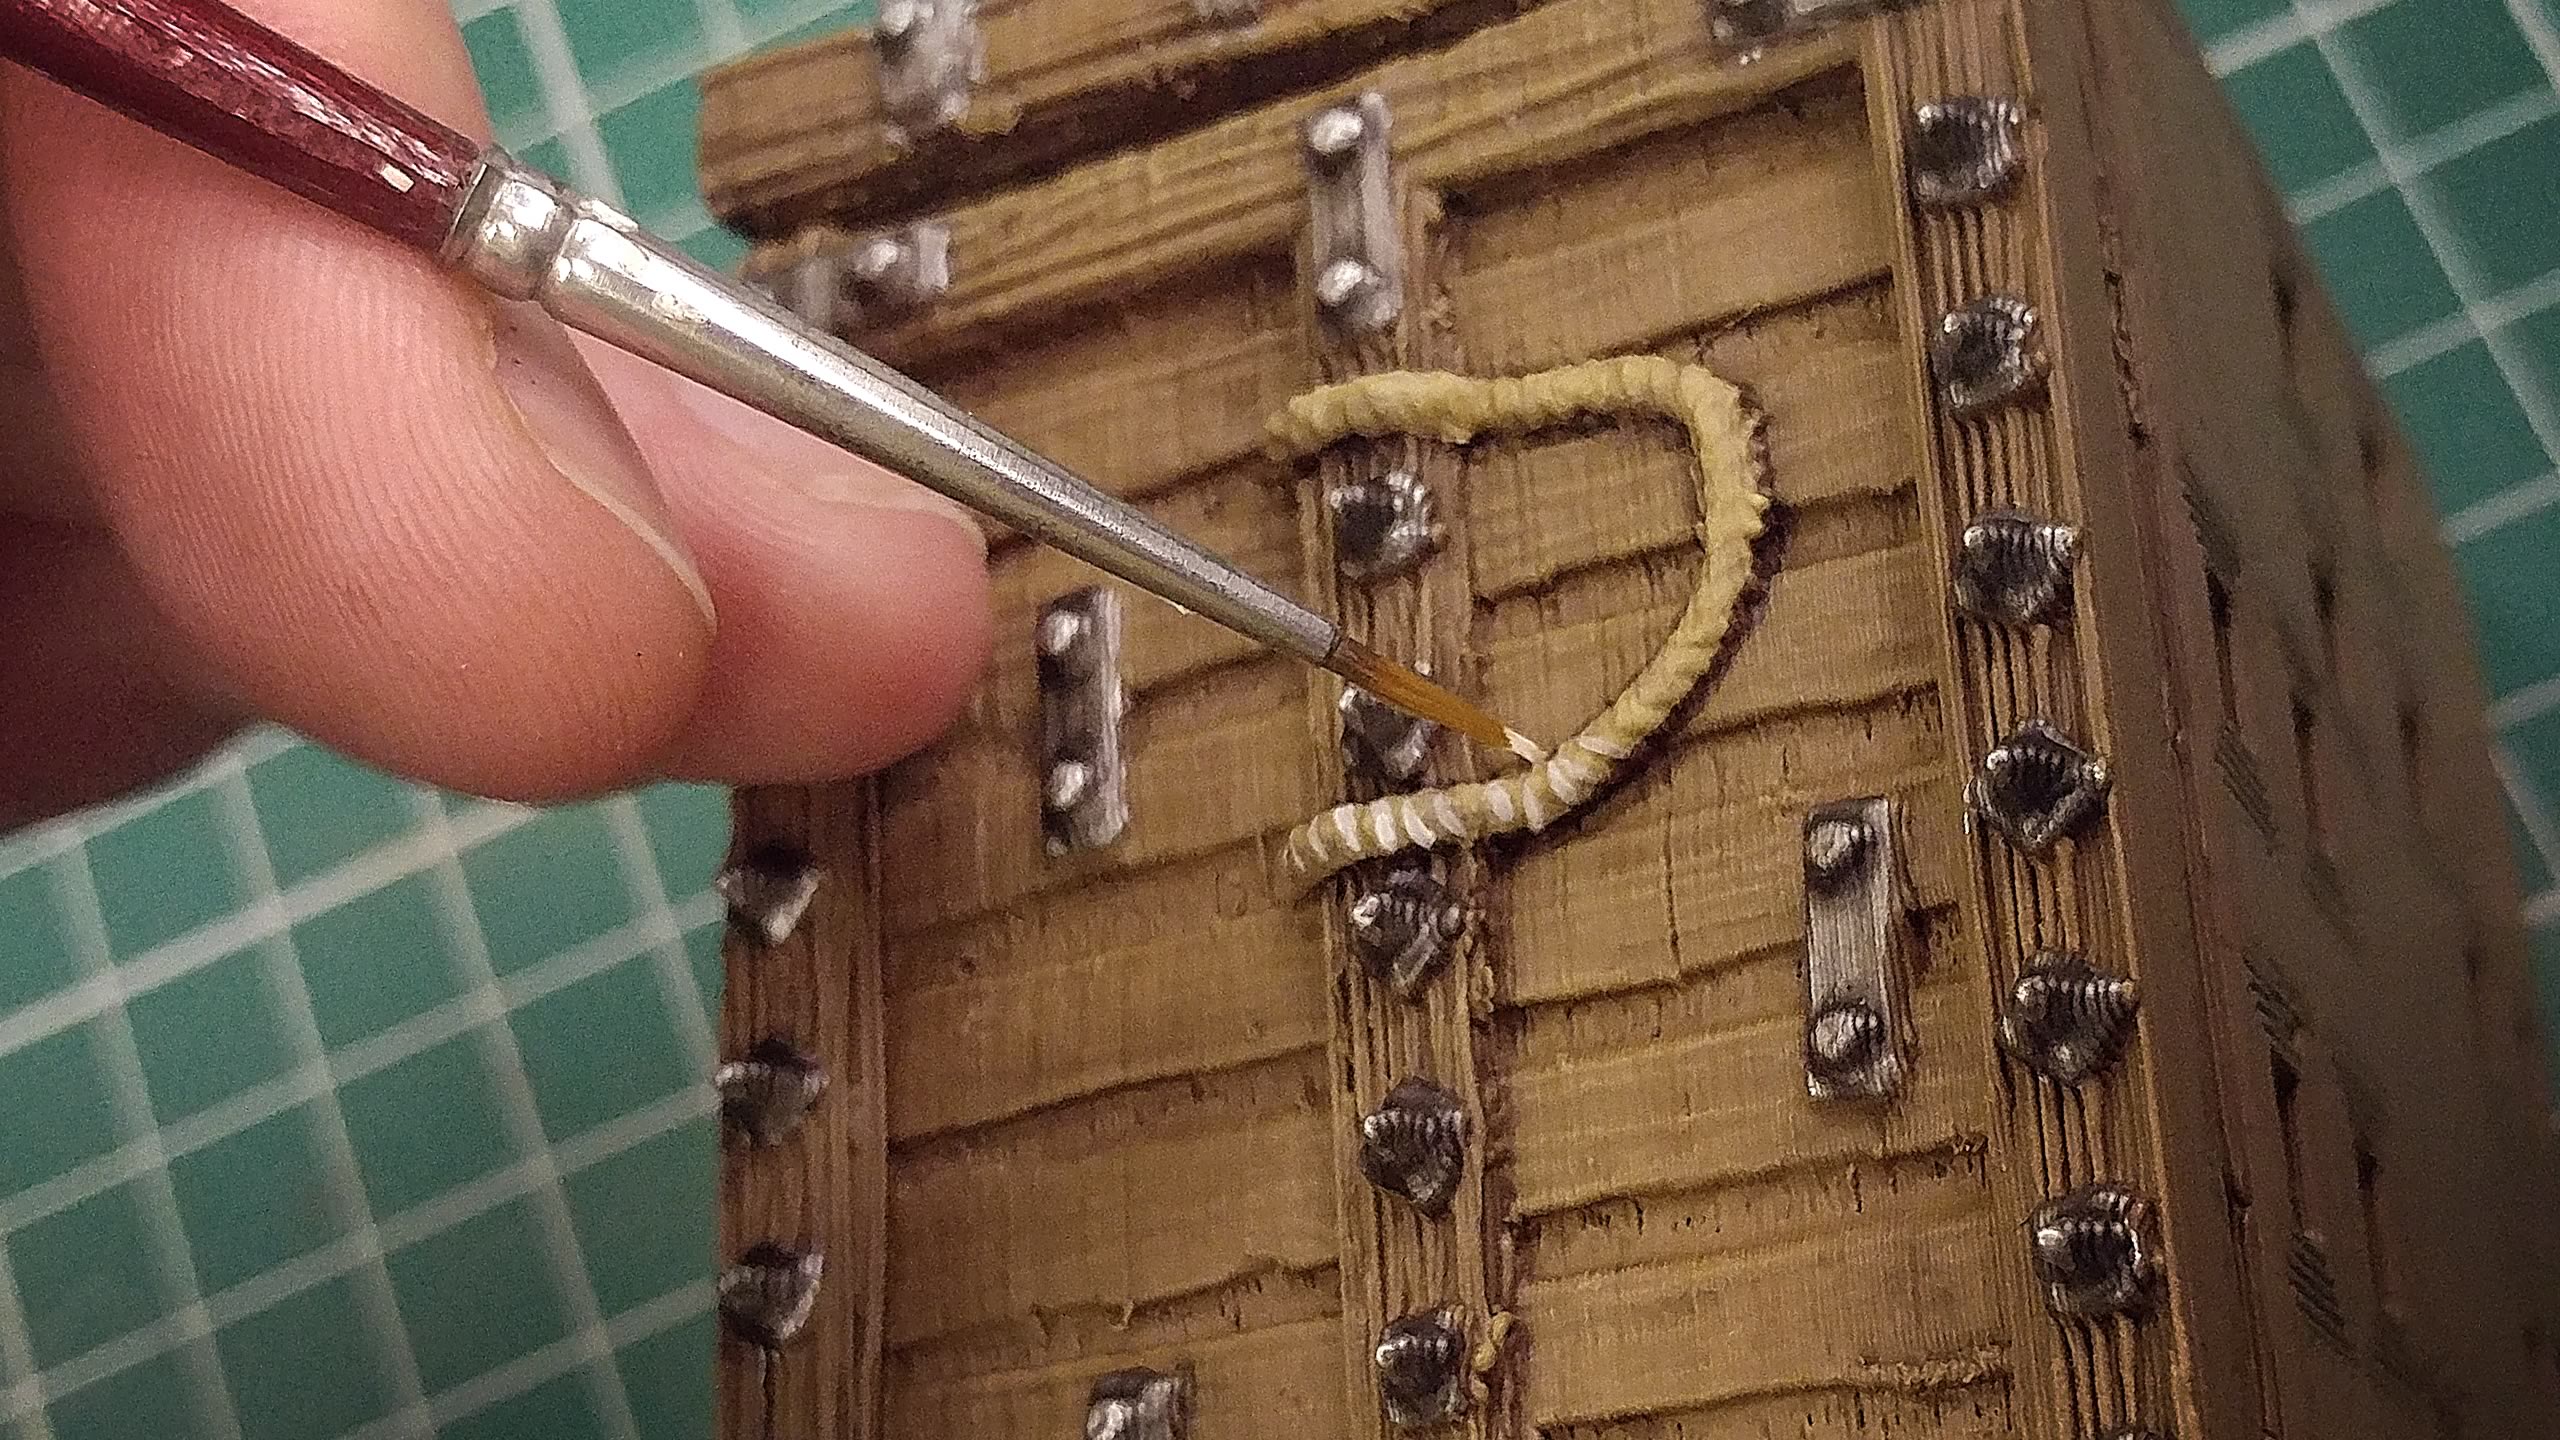
As for the rope, we use Army Painter "Brainmatter Beige"
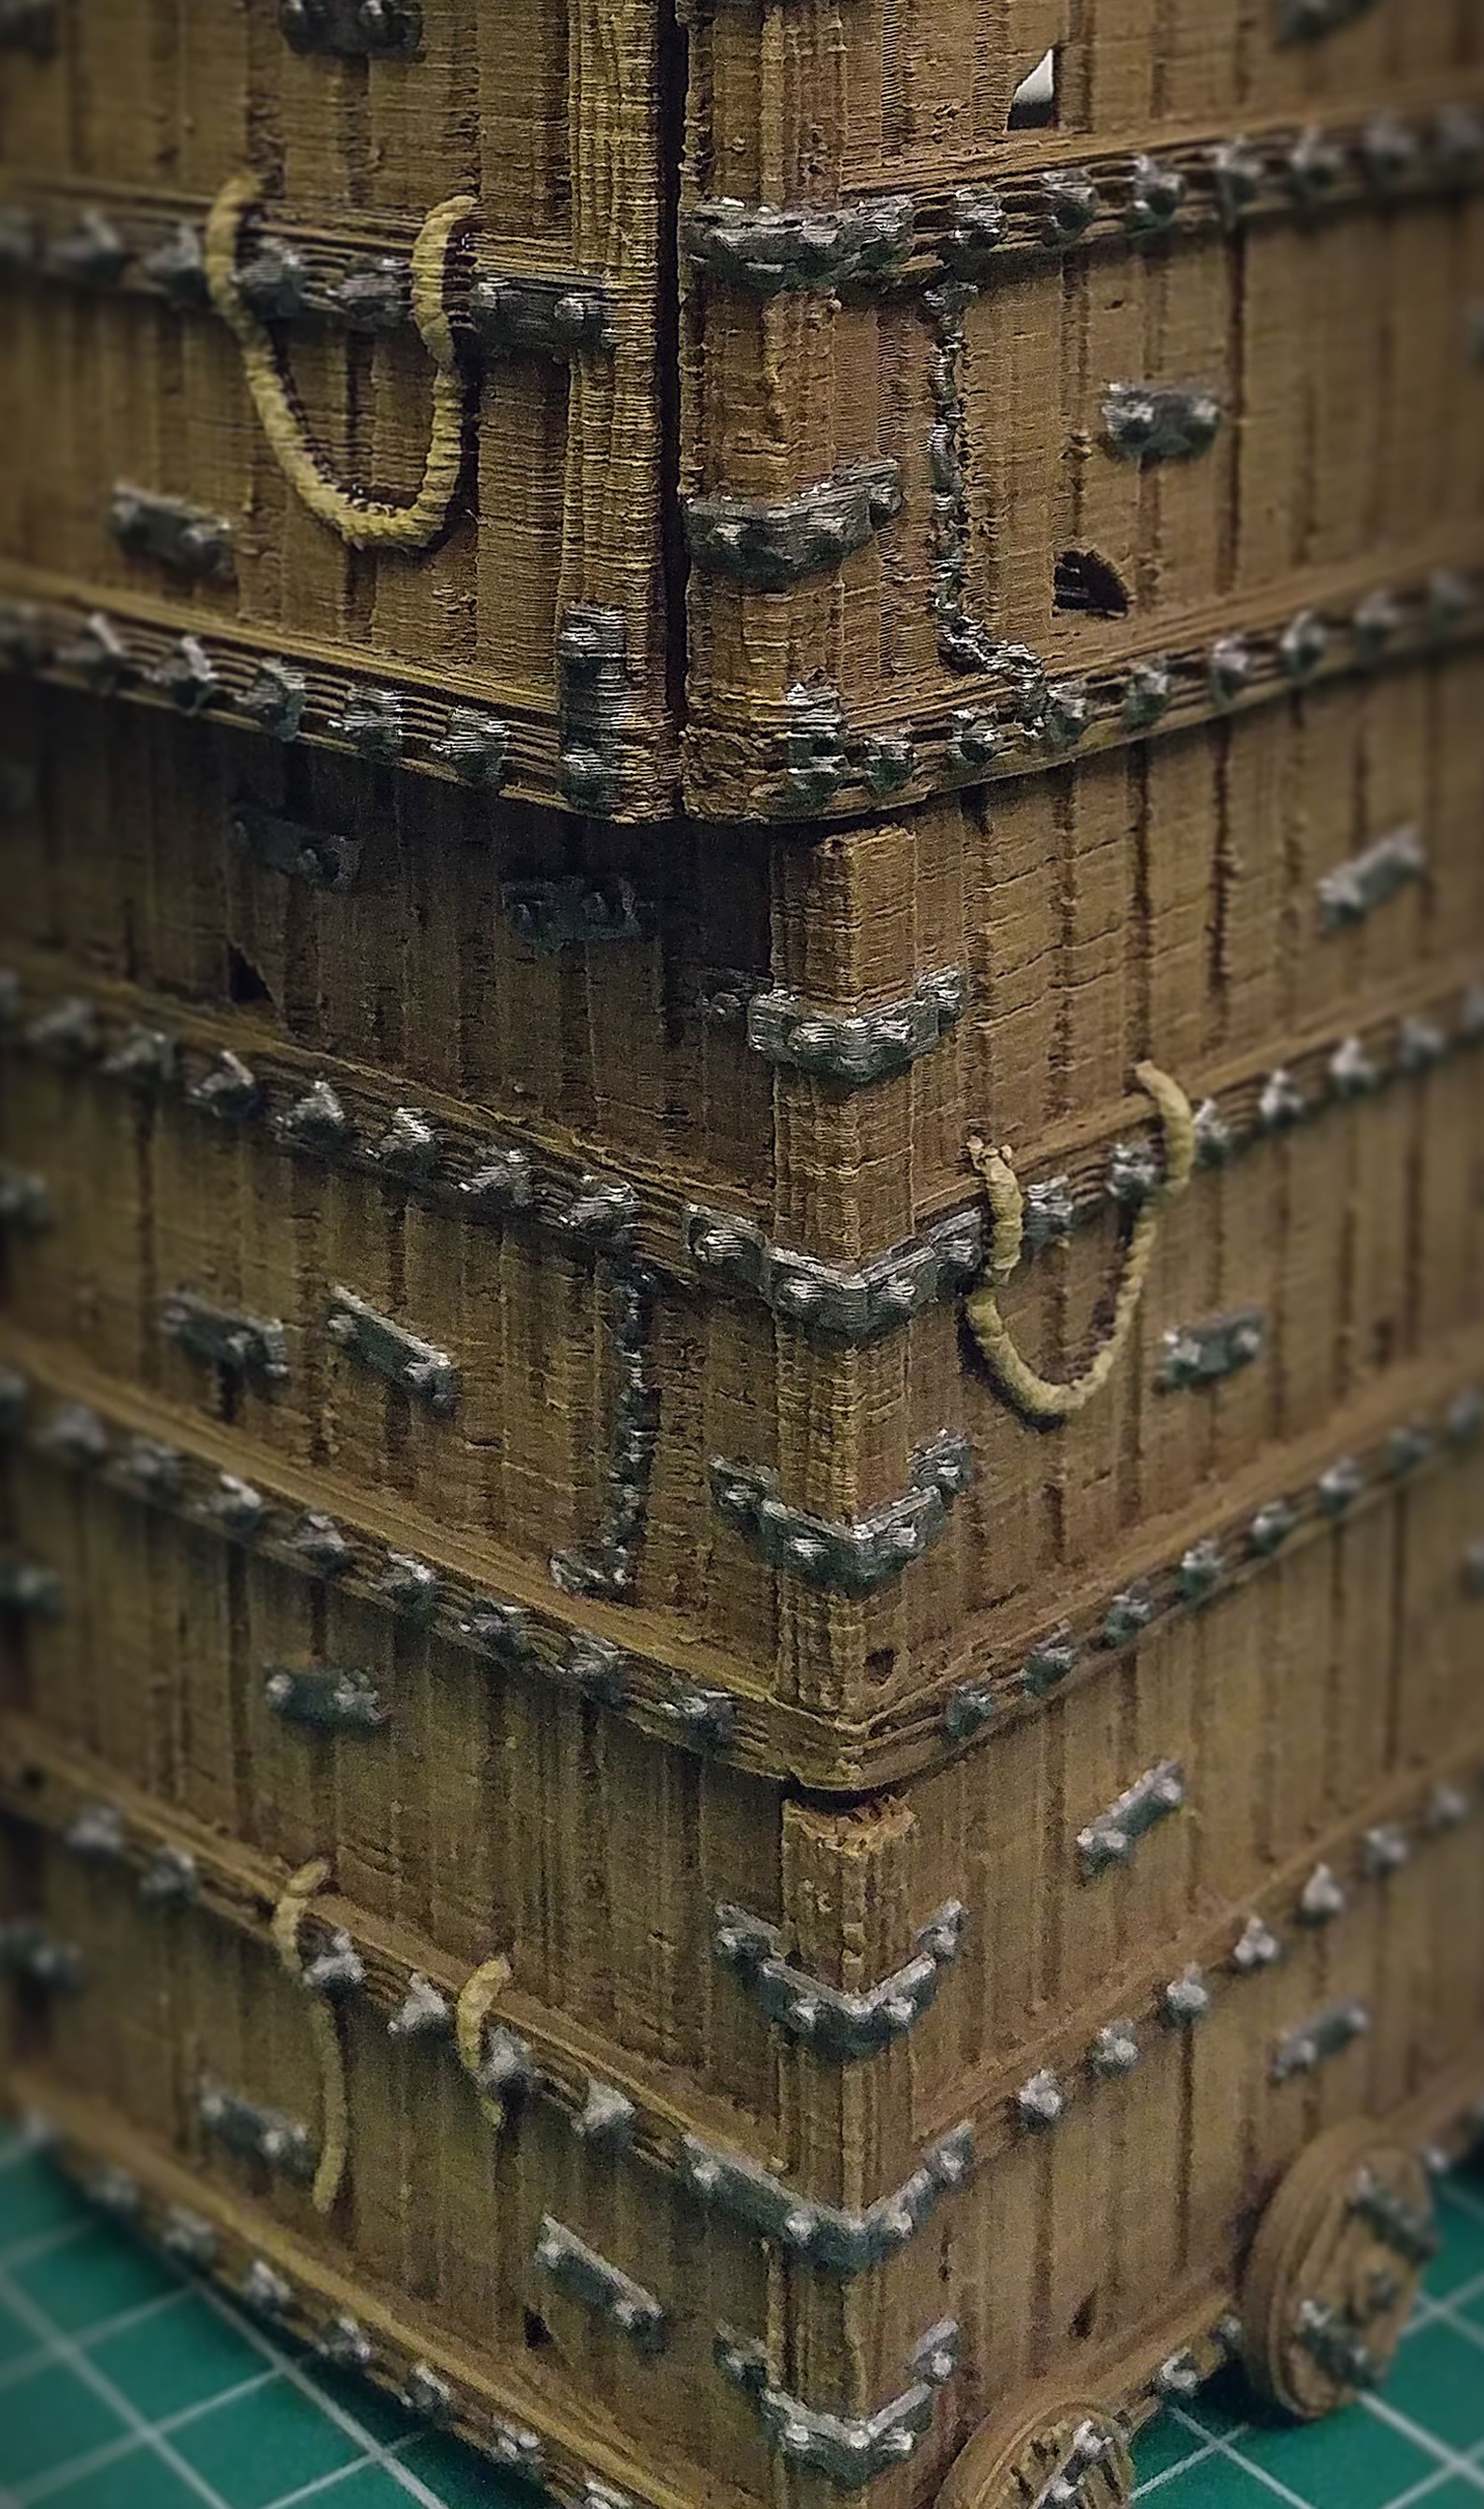
Using the texture of the rope made by the printer, we apply the Brainmatter Beige on the raised details to give us a well-used pale-looking rope.
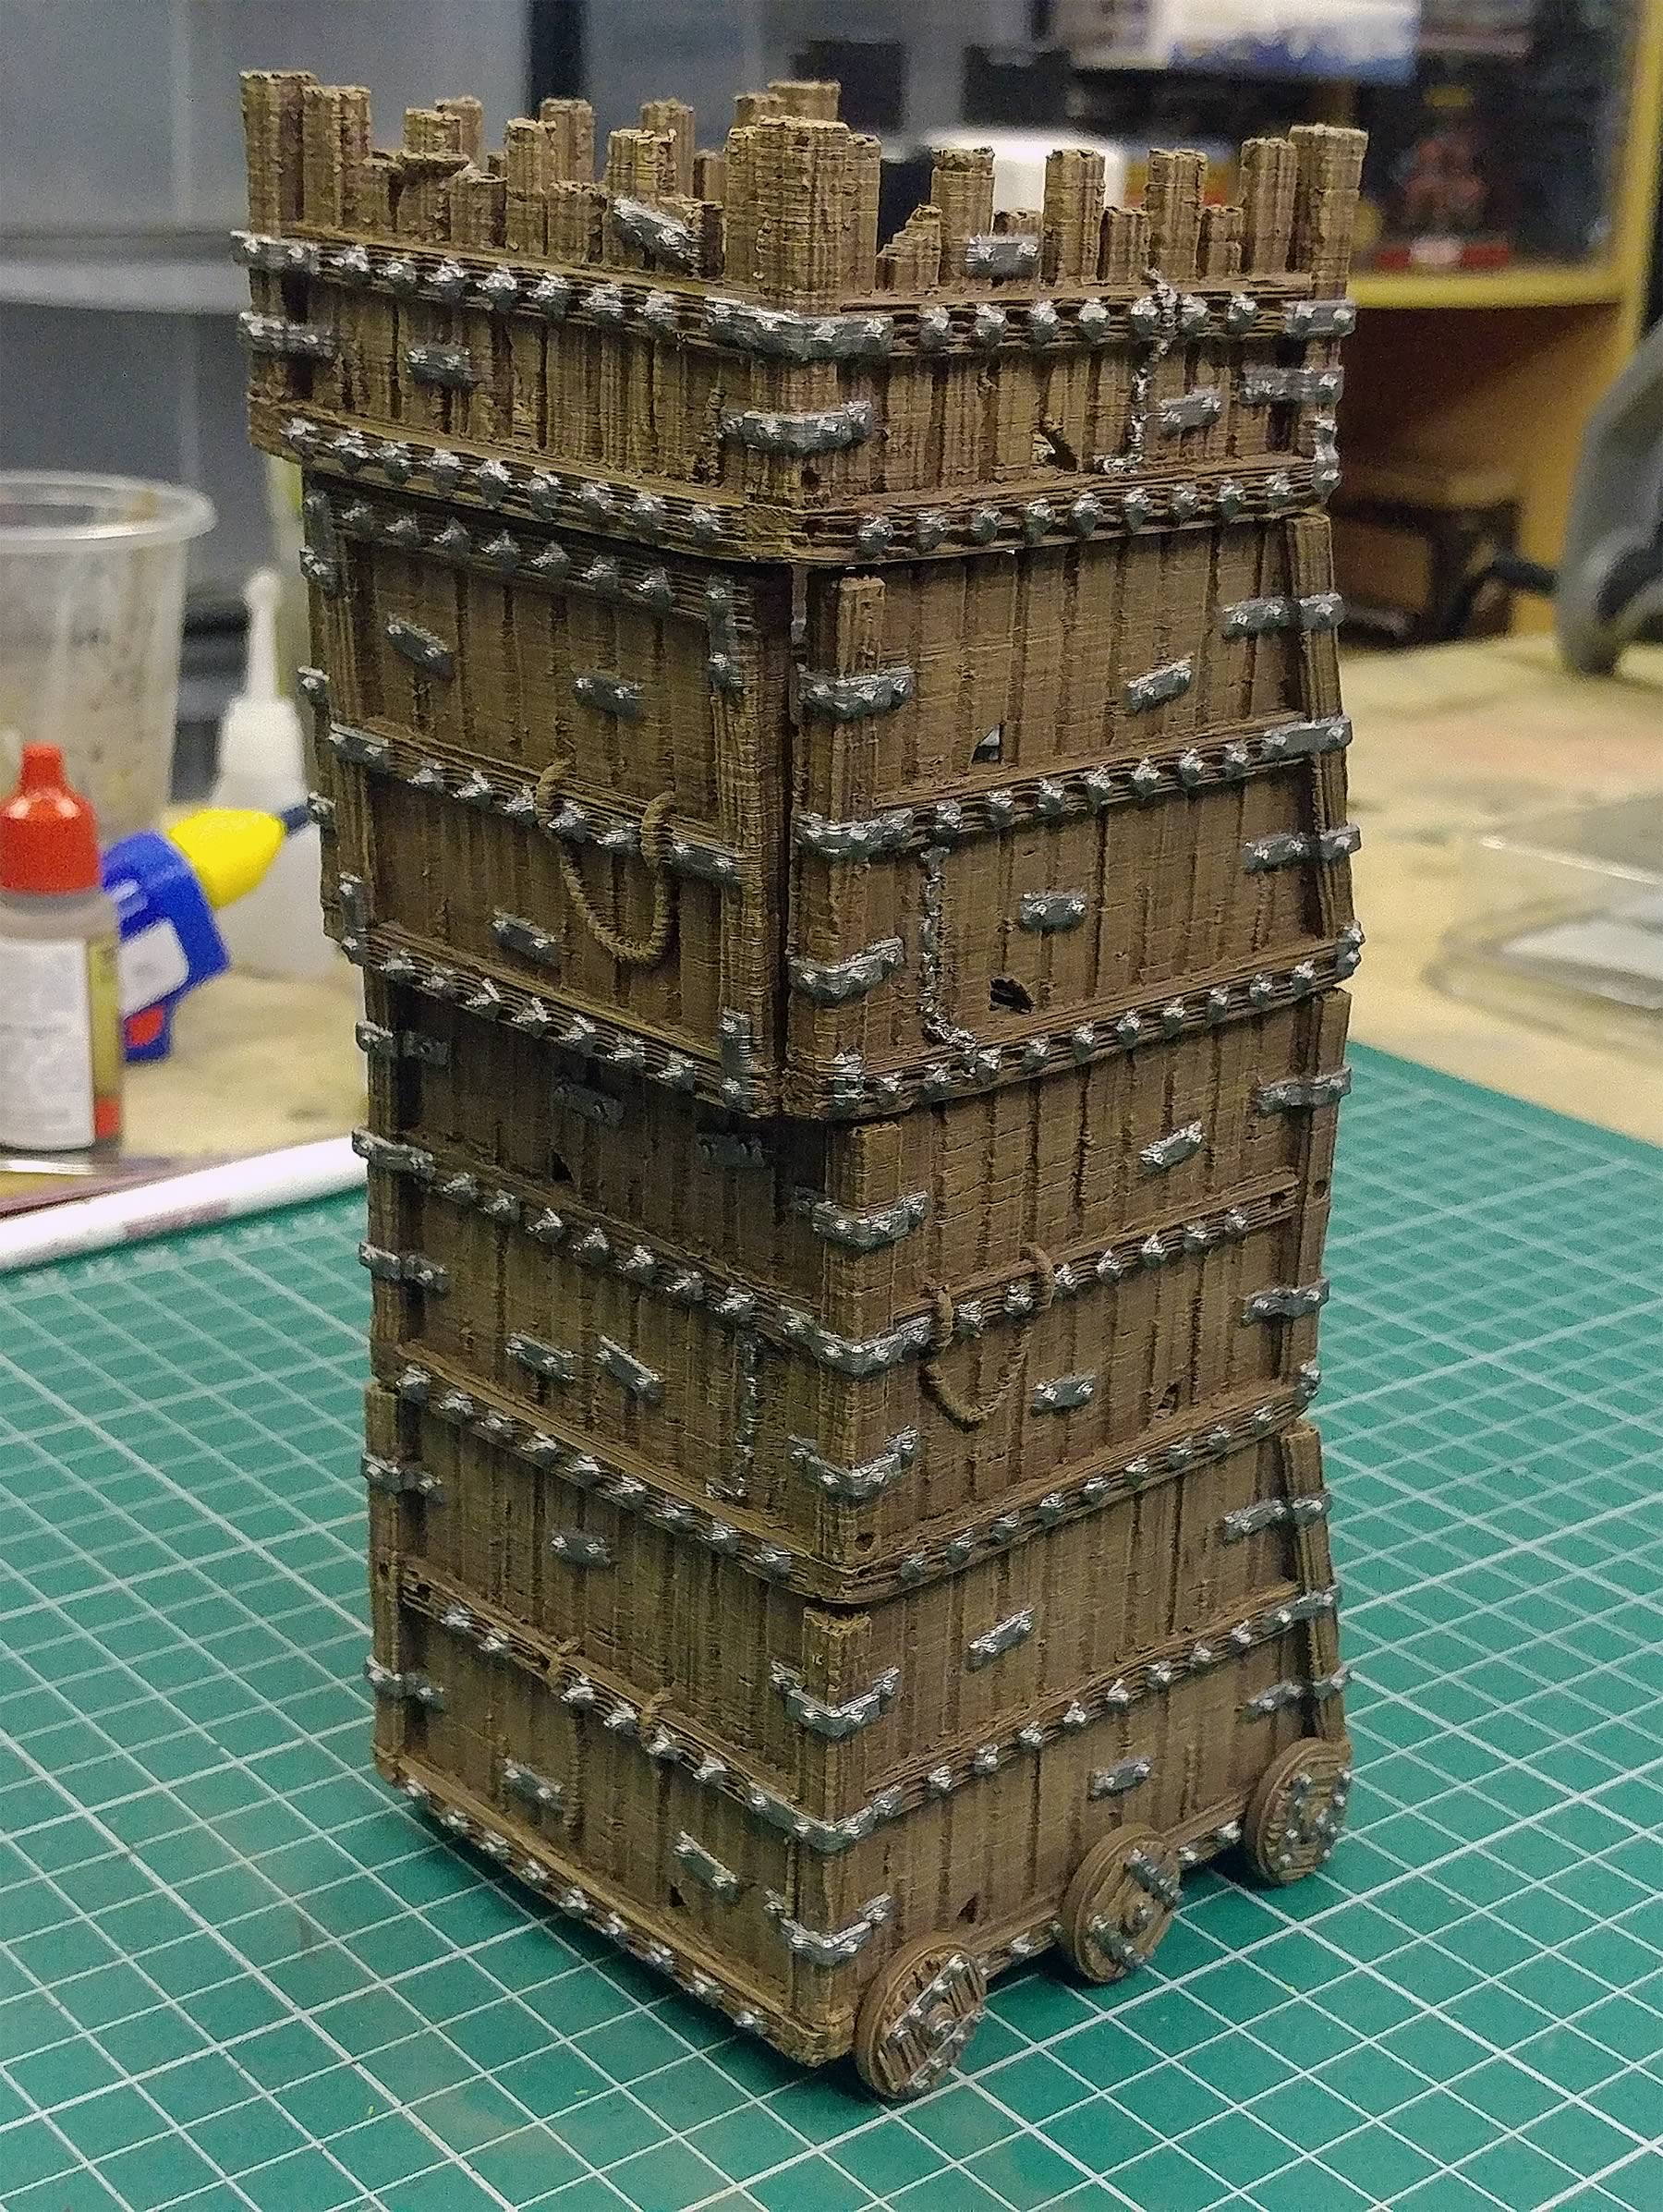
The overall effect is great, it draws the eye to all the detail work we have done while giving the whole model a heavy, used look. At this point, we can happily field the Seige Tower on the Tabletop.
However, next, we will make something to add a big flash of colour to our war-ready tower!
Hobby Lab: Siege Tower - Adding a Banner
Time to Make a Banner
Adding an extra detail such as a hanging banner will give the Seige Tower an eye-catching flash of colour, as well as show off your alliegance!
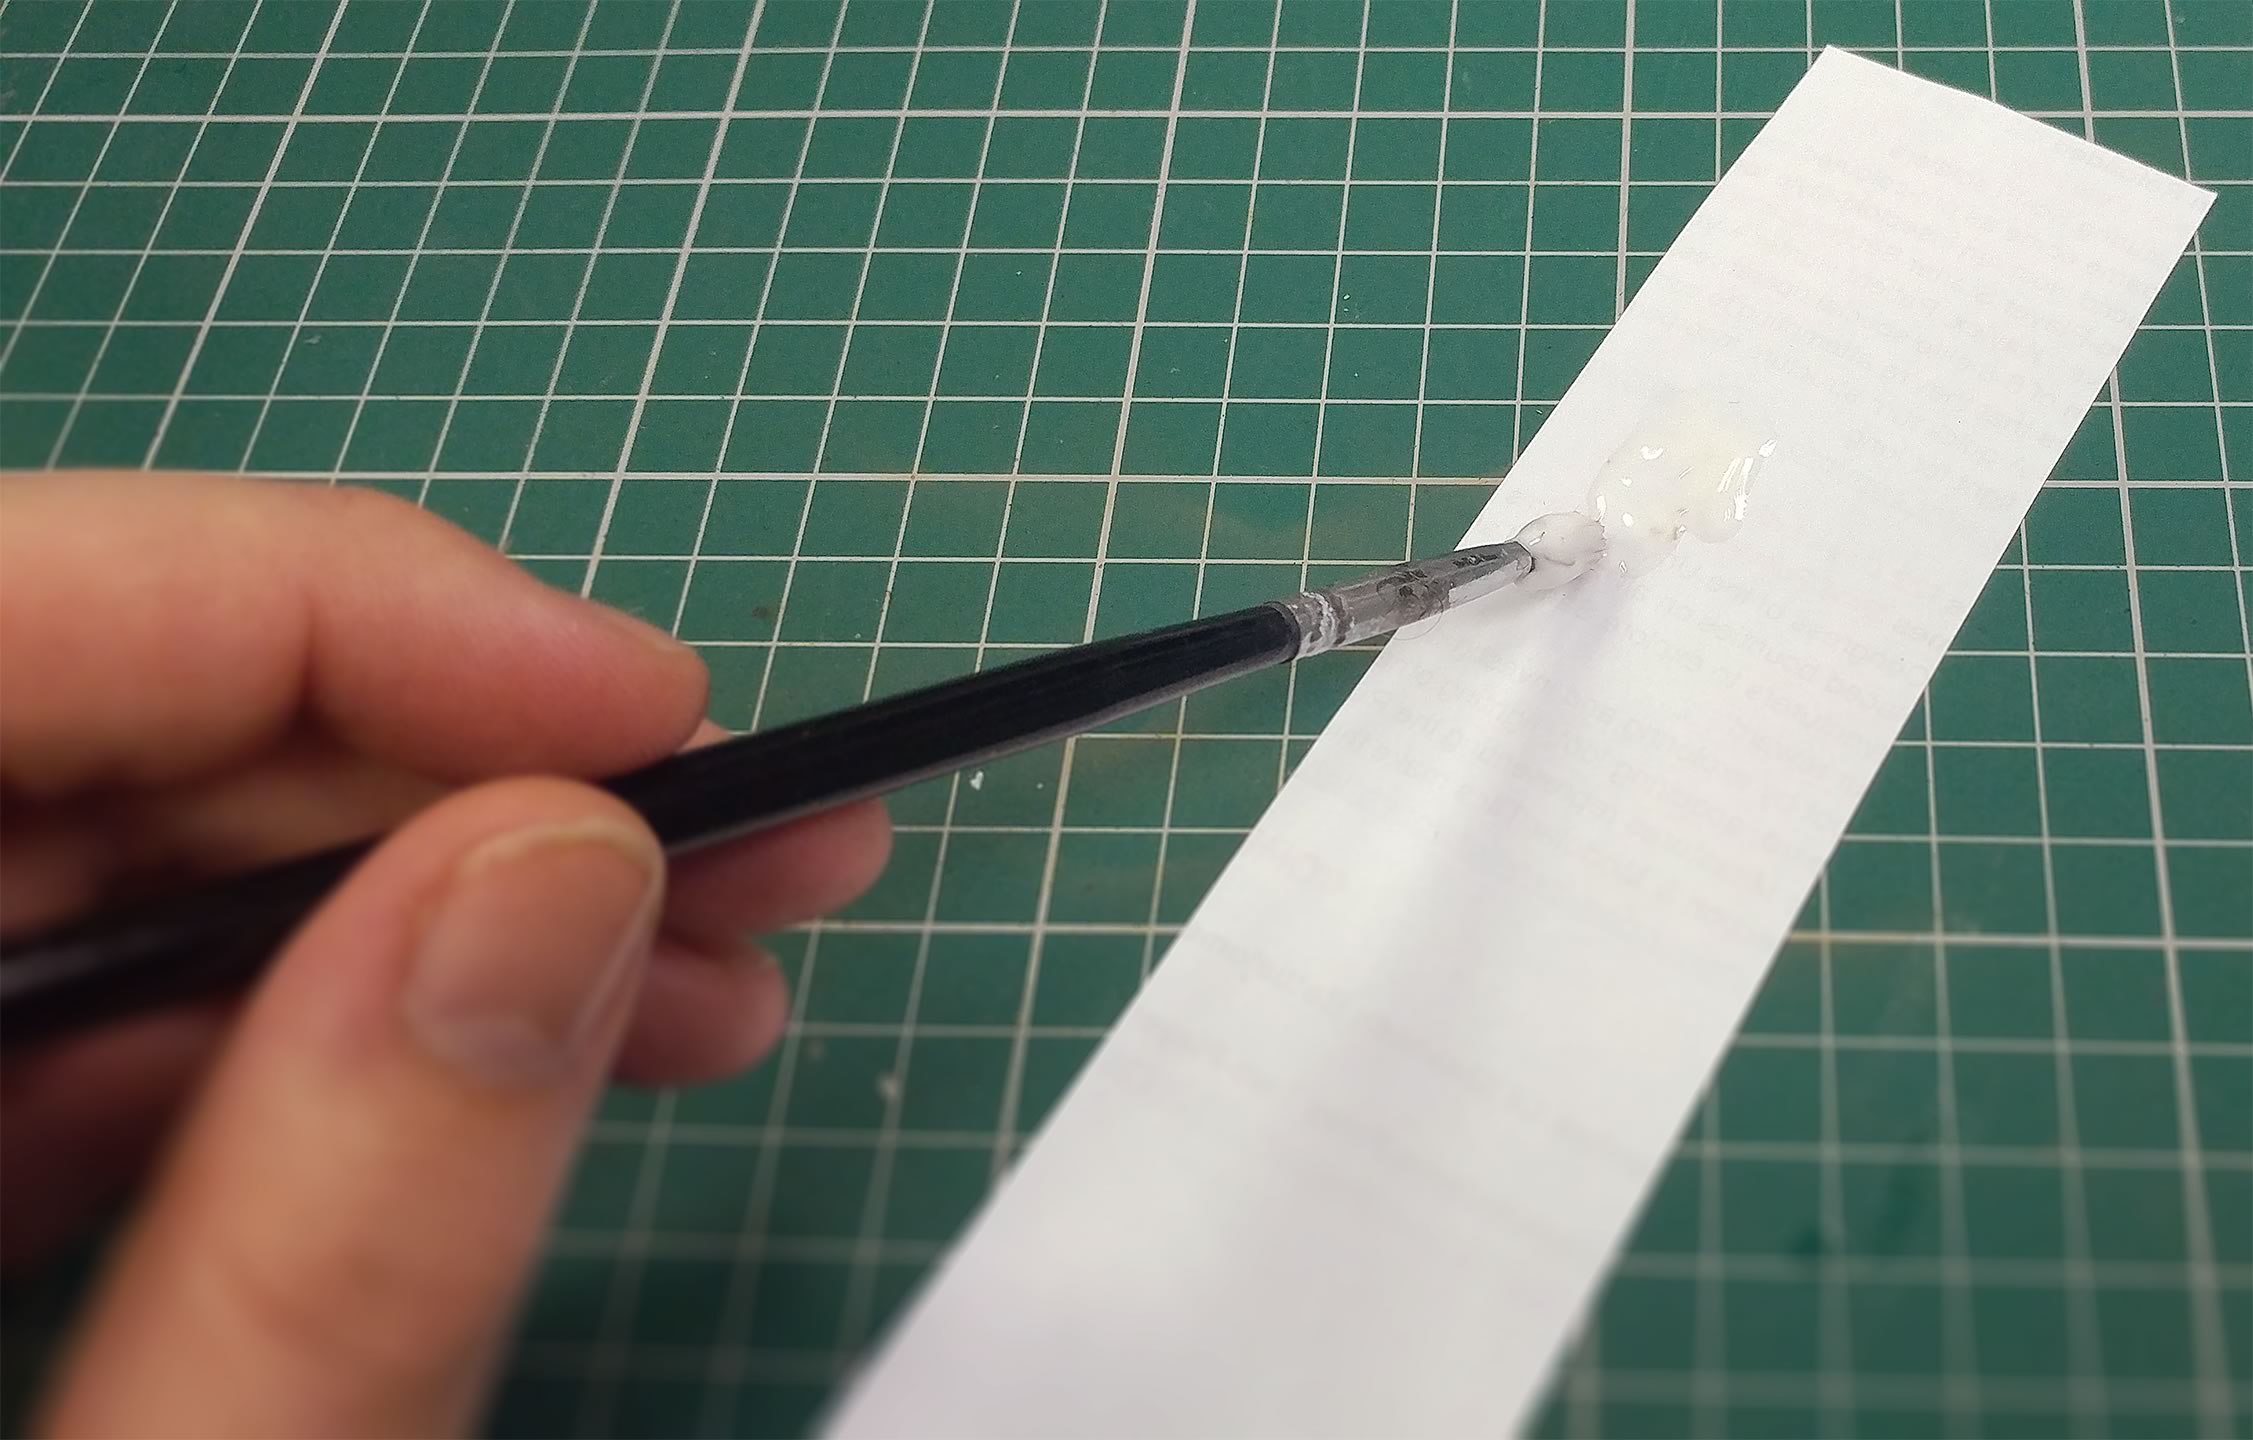
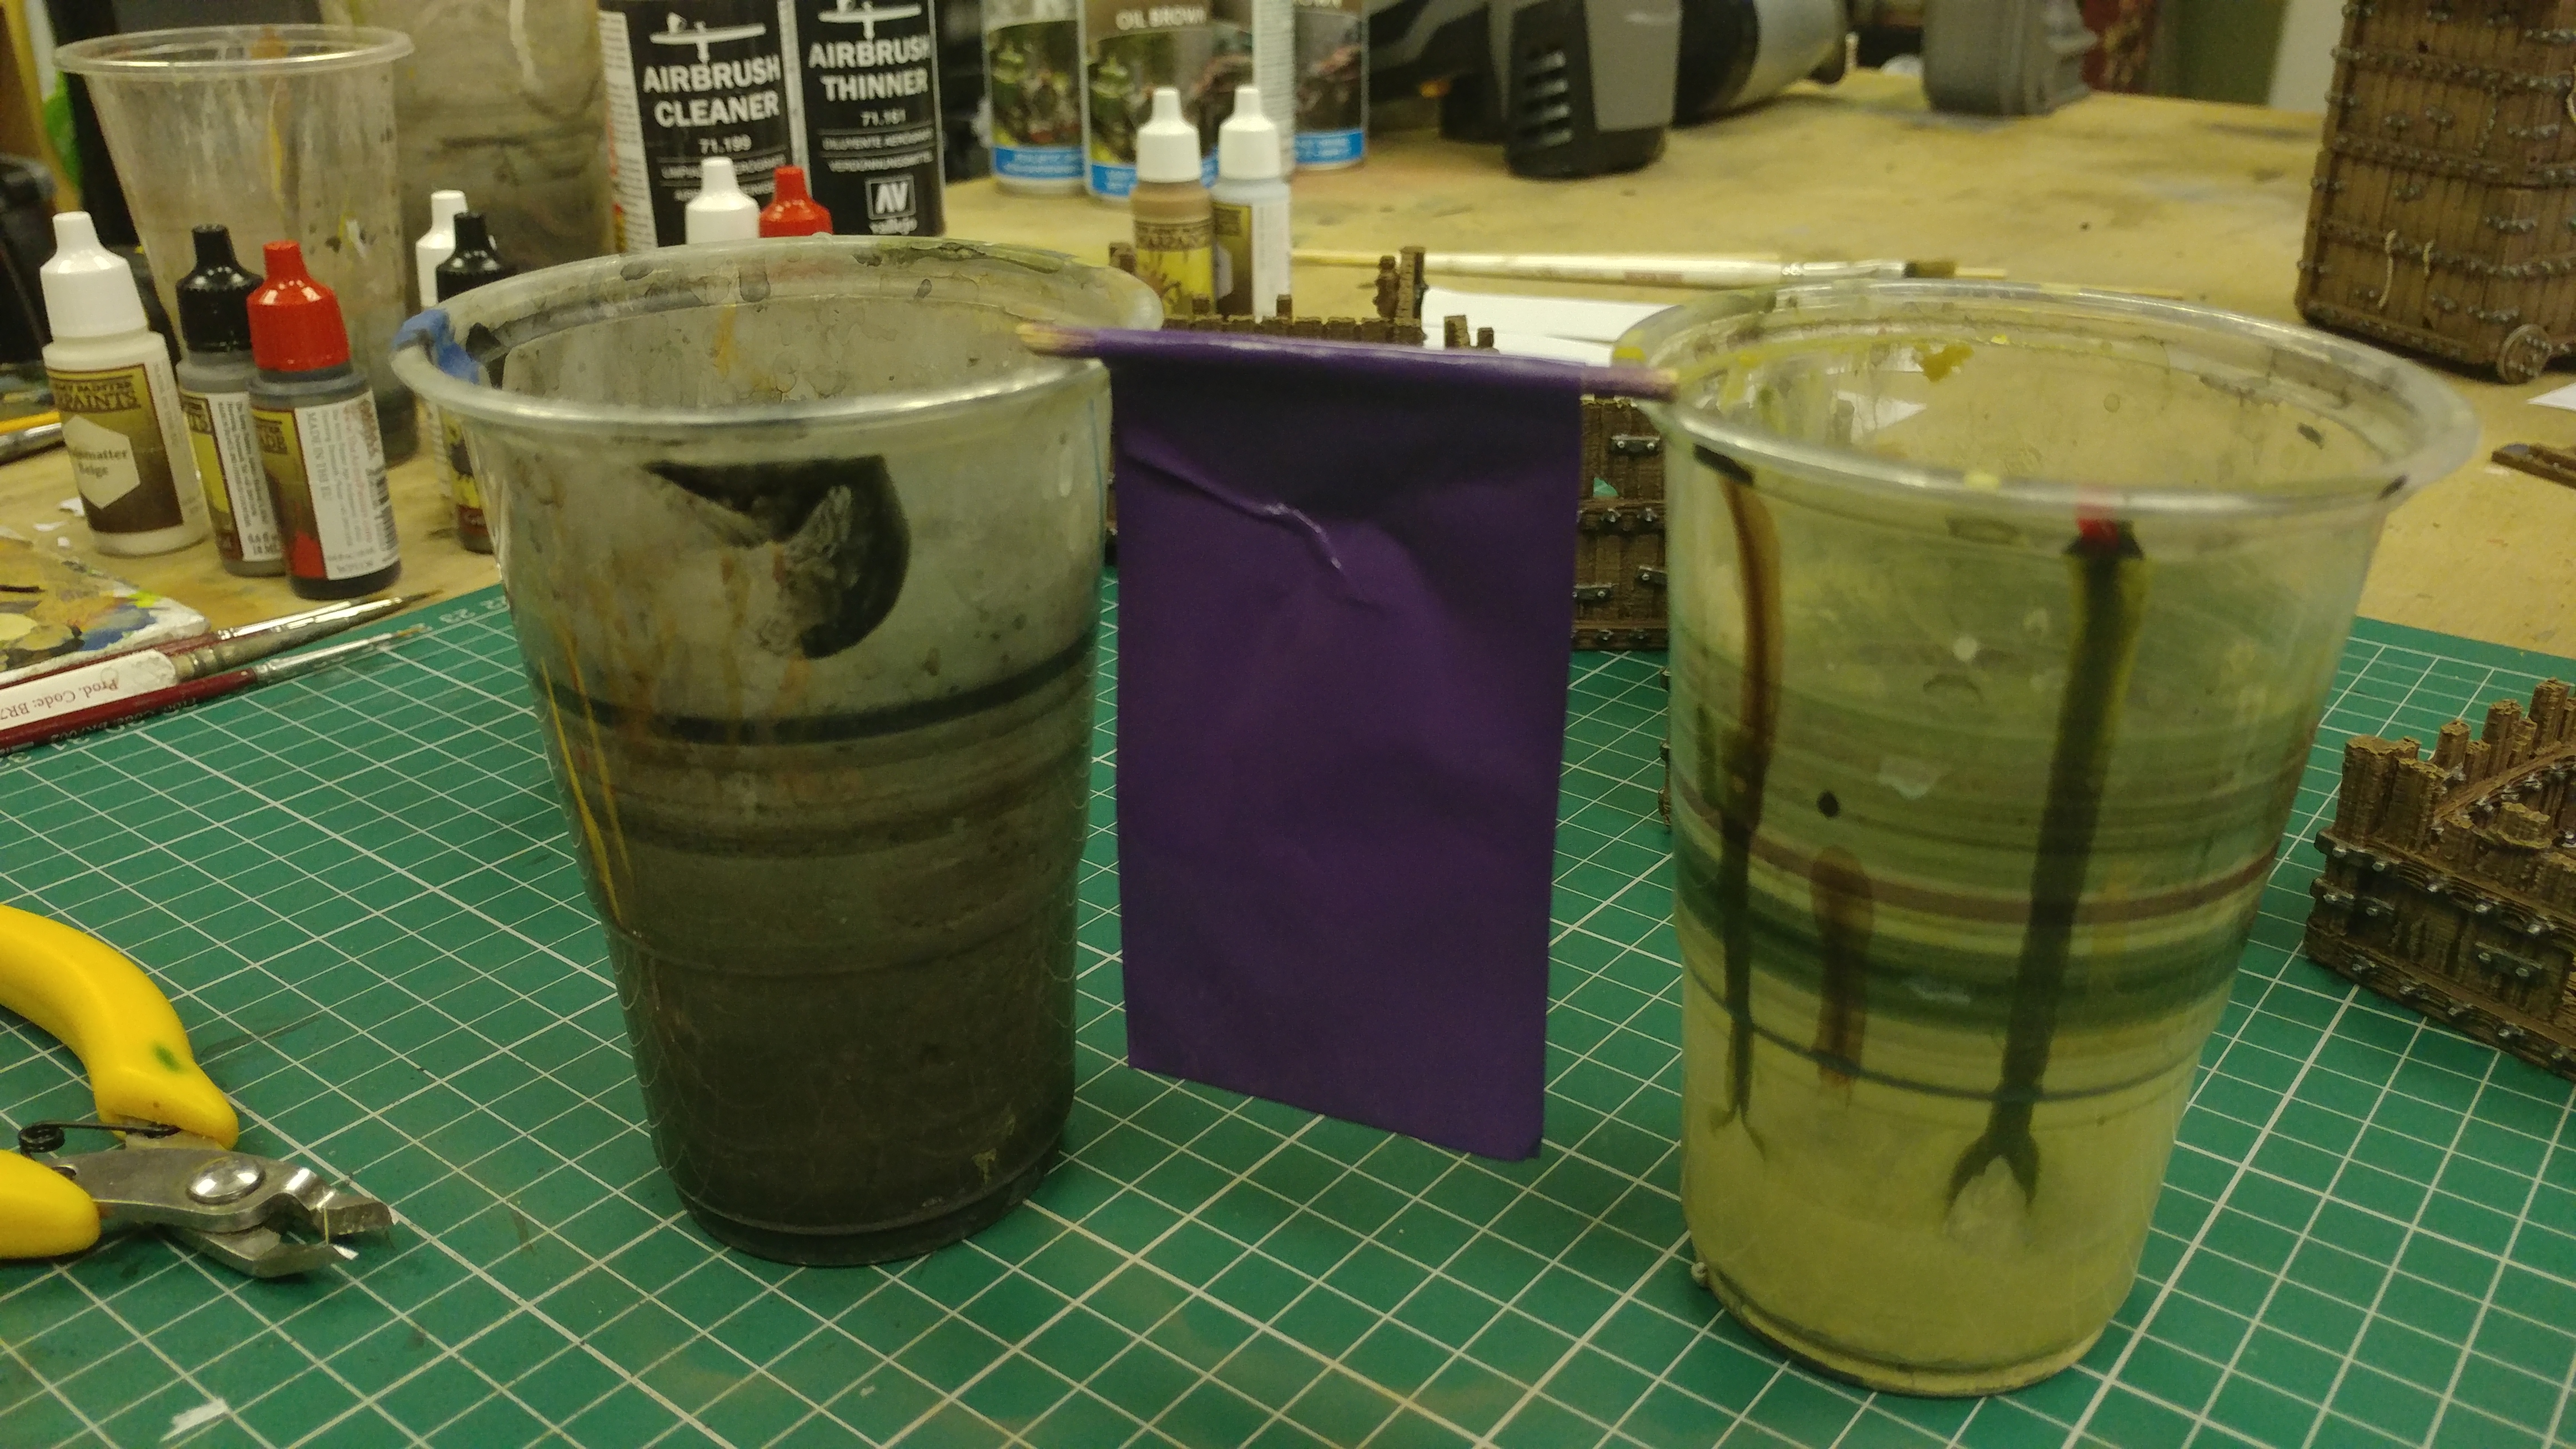
We first start with a strip of paper, we're using scrap paper found around the office in this case, and give it a coat of PVA glue.
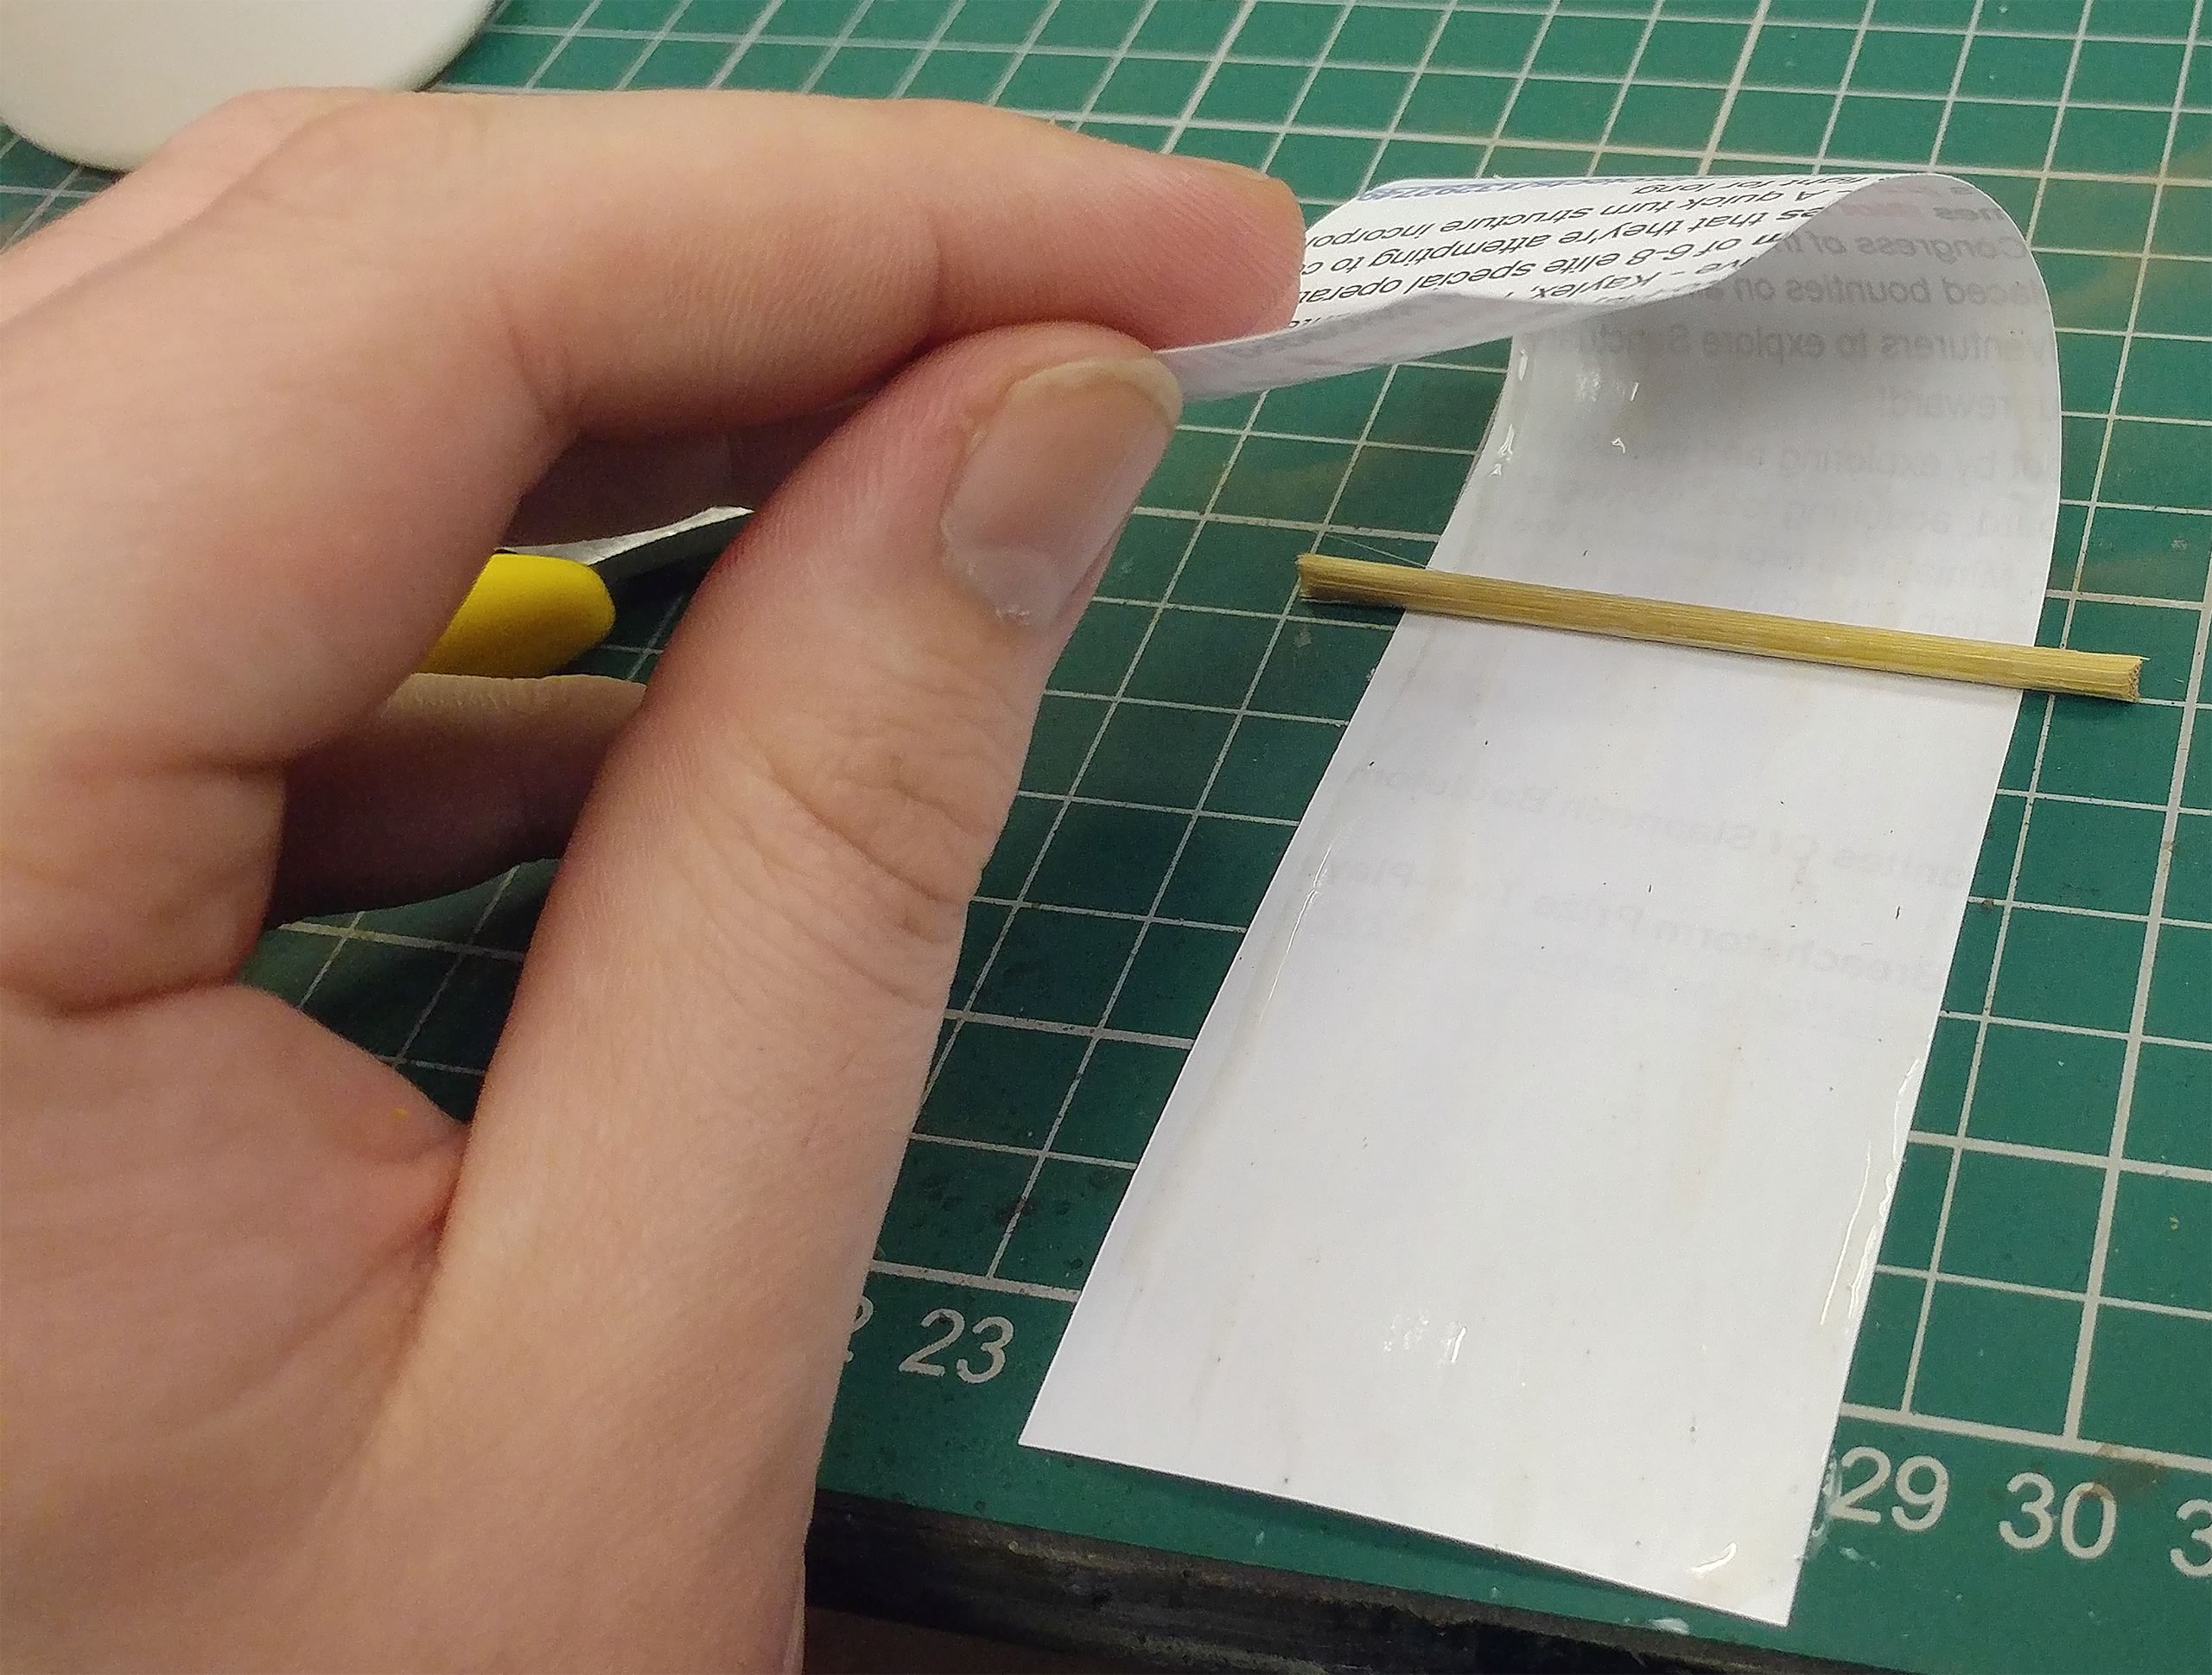
We then place a cut down length of BBQ skewer, which has been pre-measured and cut to fit, and fold over the paper to make the peice of wood our crossbar for the banner.
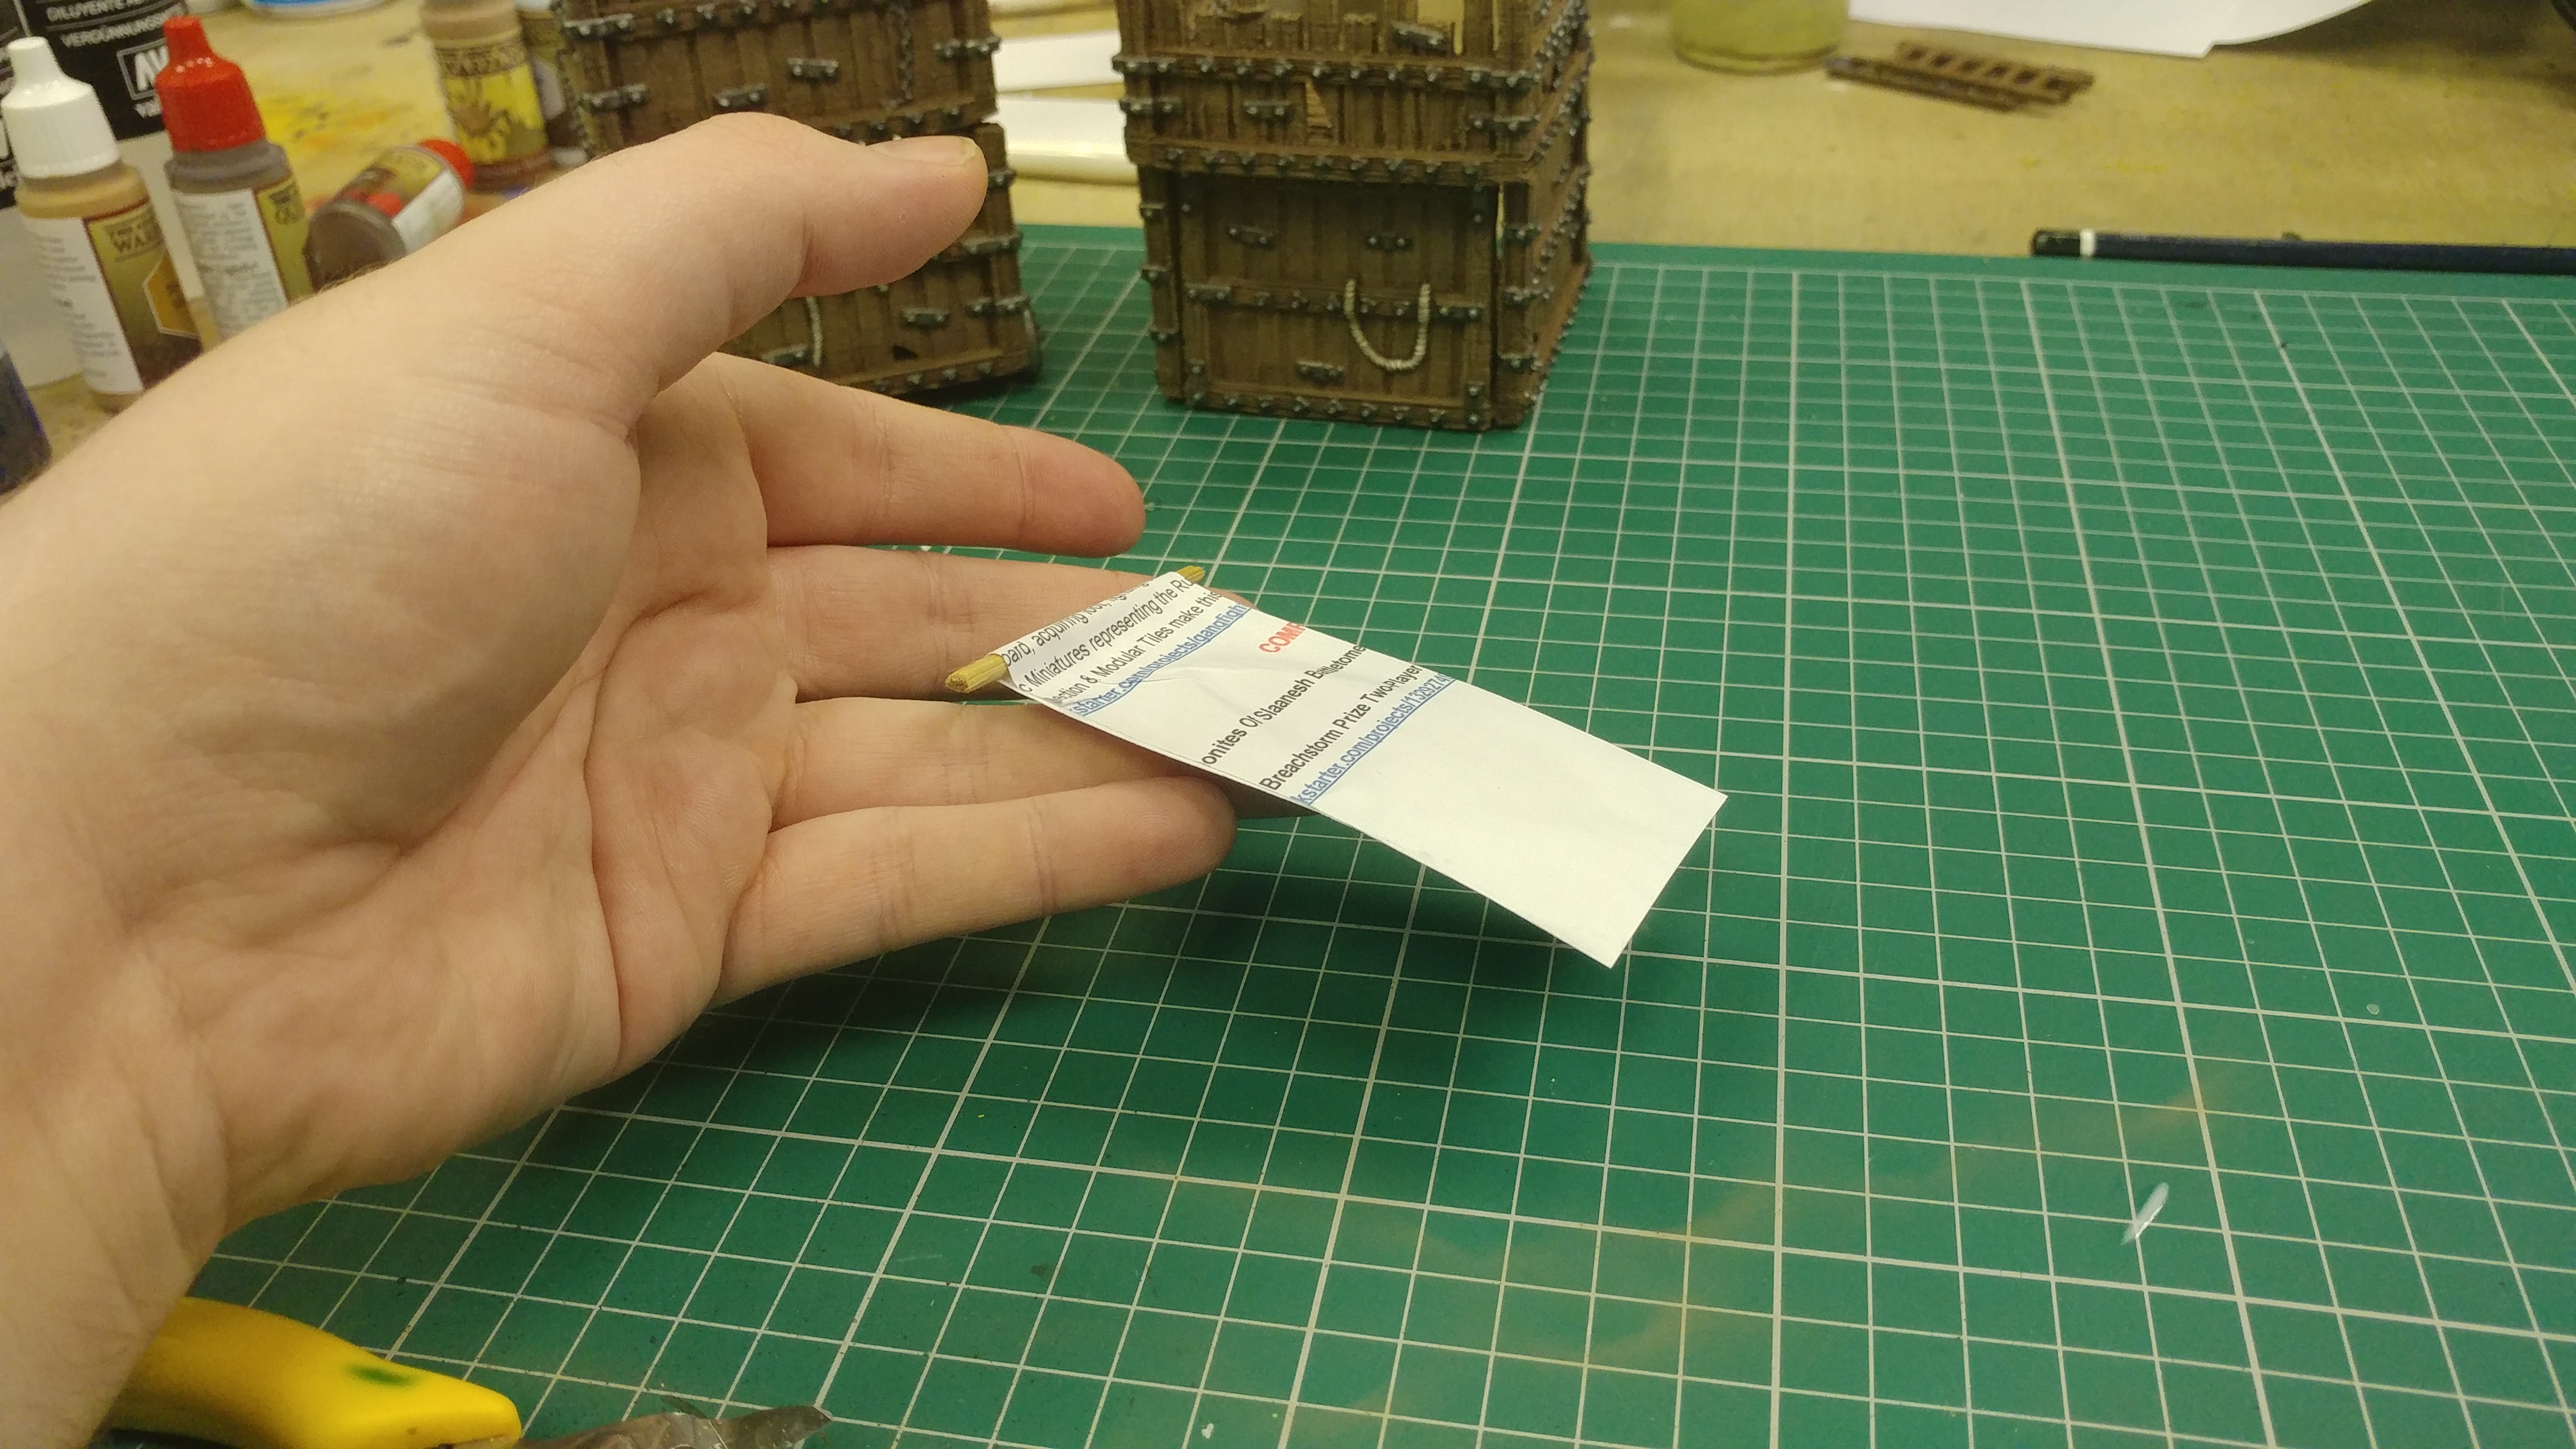
At this point, we can give the whole banner another coat of PVA glue and let it dry, or use a hairdryer to speed up the process. This leaves the banner tough and flexible.
Once dry we can prime the banner in any colour we like, Army Painter "Alien Purple" spray primer was used here.
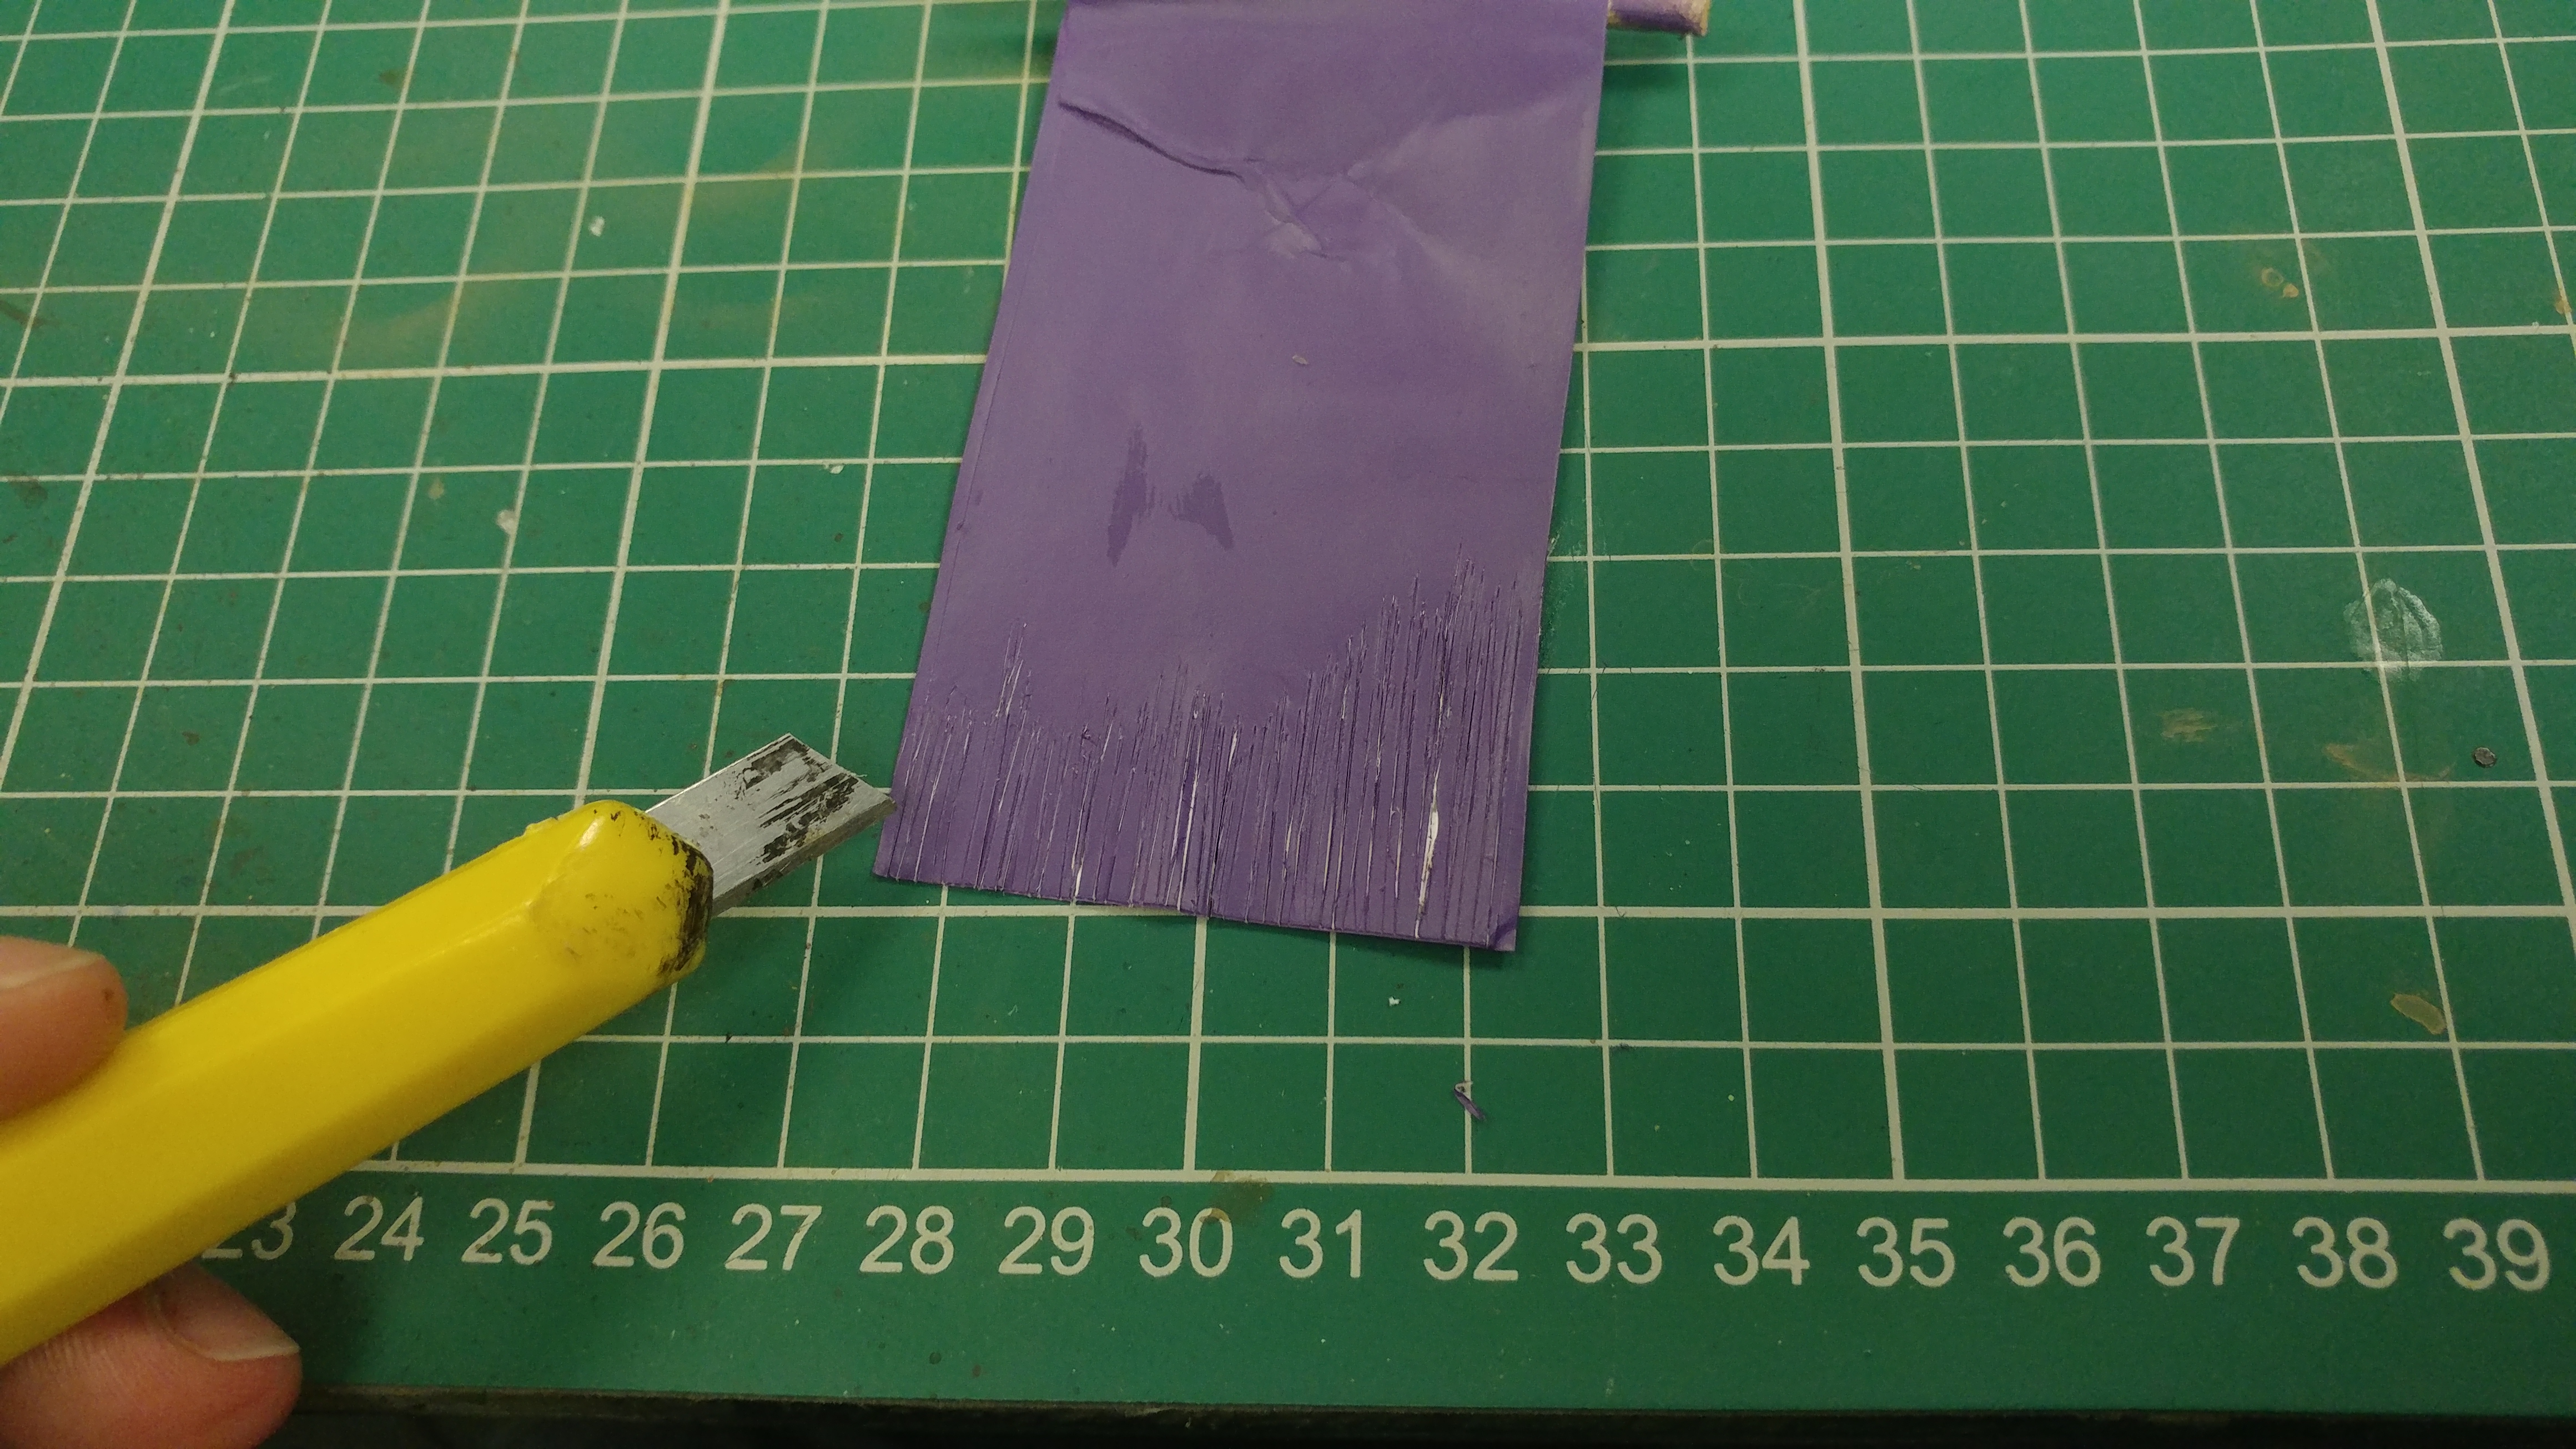
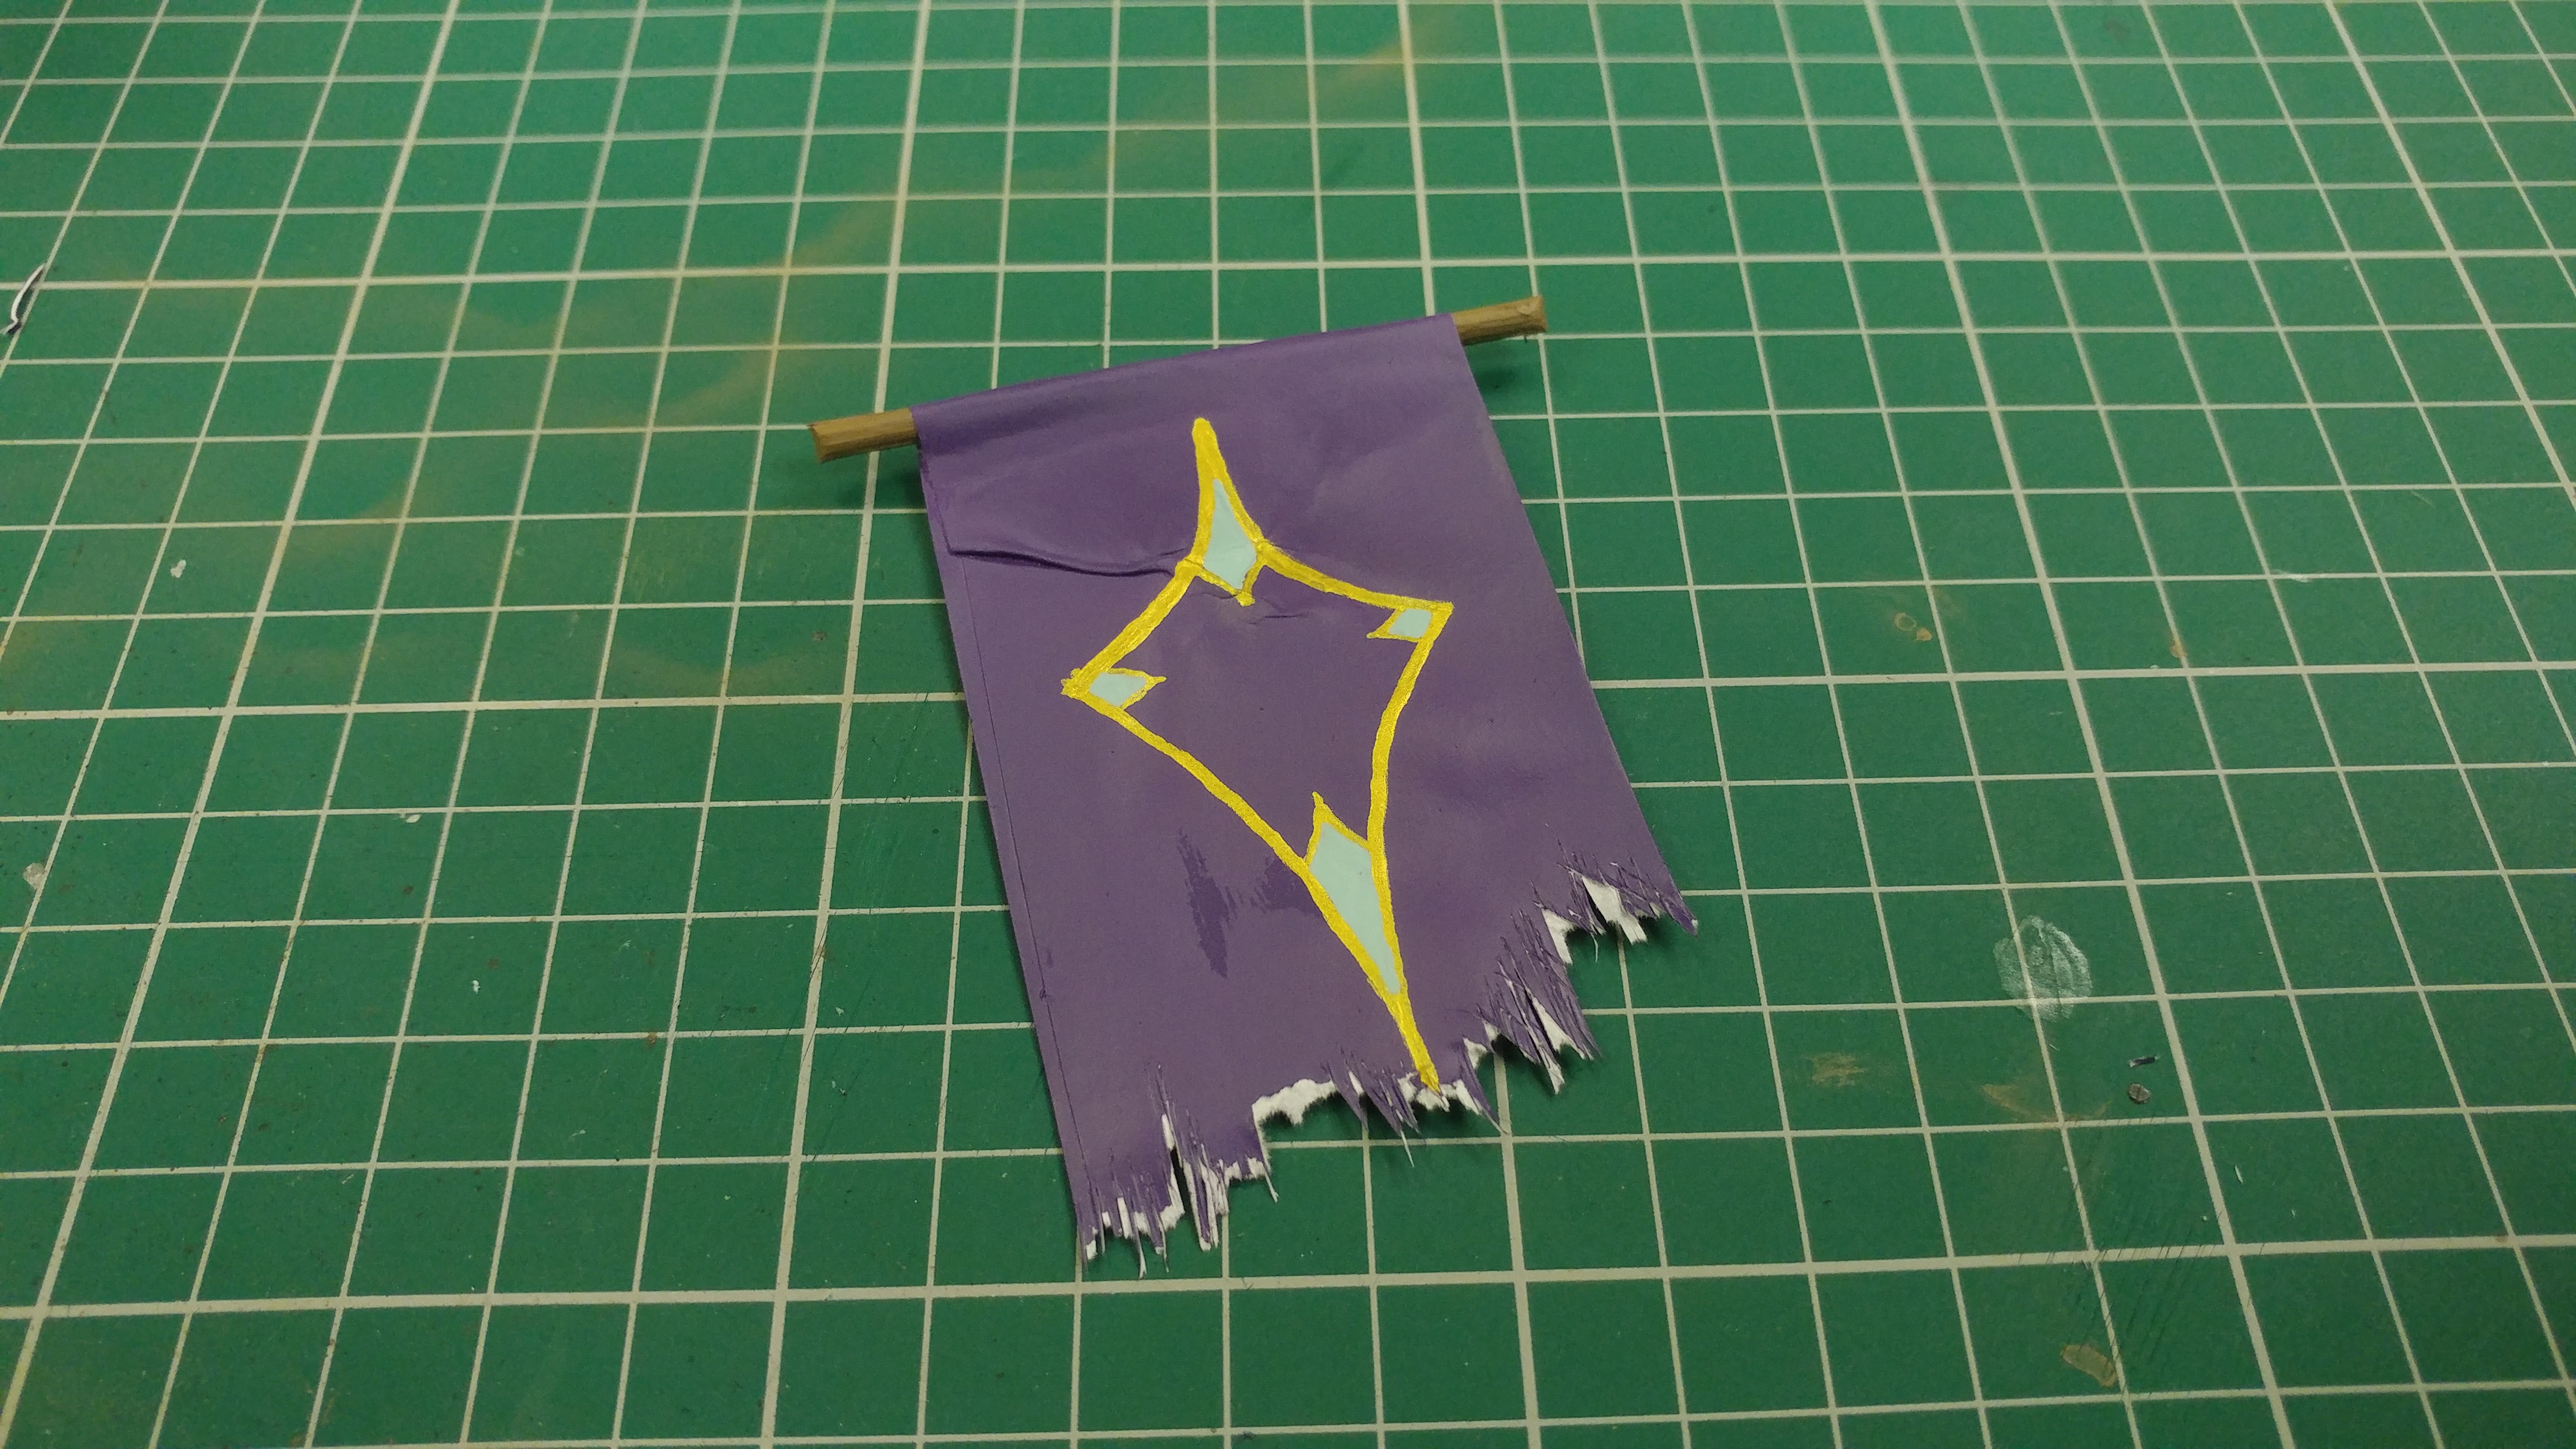
To add some more interest to our banner, cutting many, thin lines in the material will allow us to create a torn cloth effect. Cutting the lines close together and at different lengths gives us a great deal of control of how the torn effect comes out.
After tearing the material away, we can decorate the banner in any way we like, poor example of freehand painting excluded! The visible parts of the crossbar have also been painted and now the banner ius ready for some weathering.
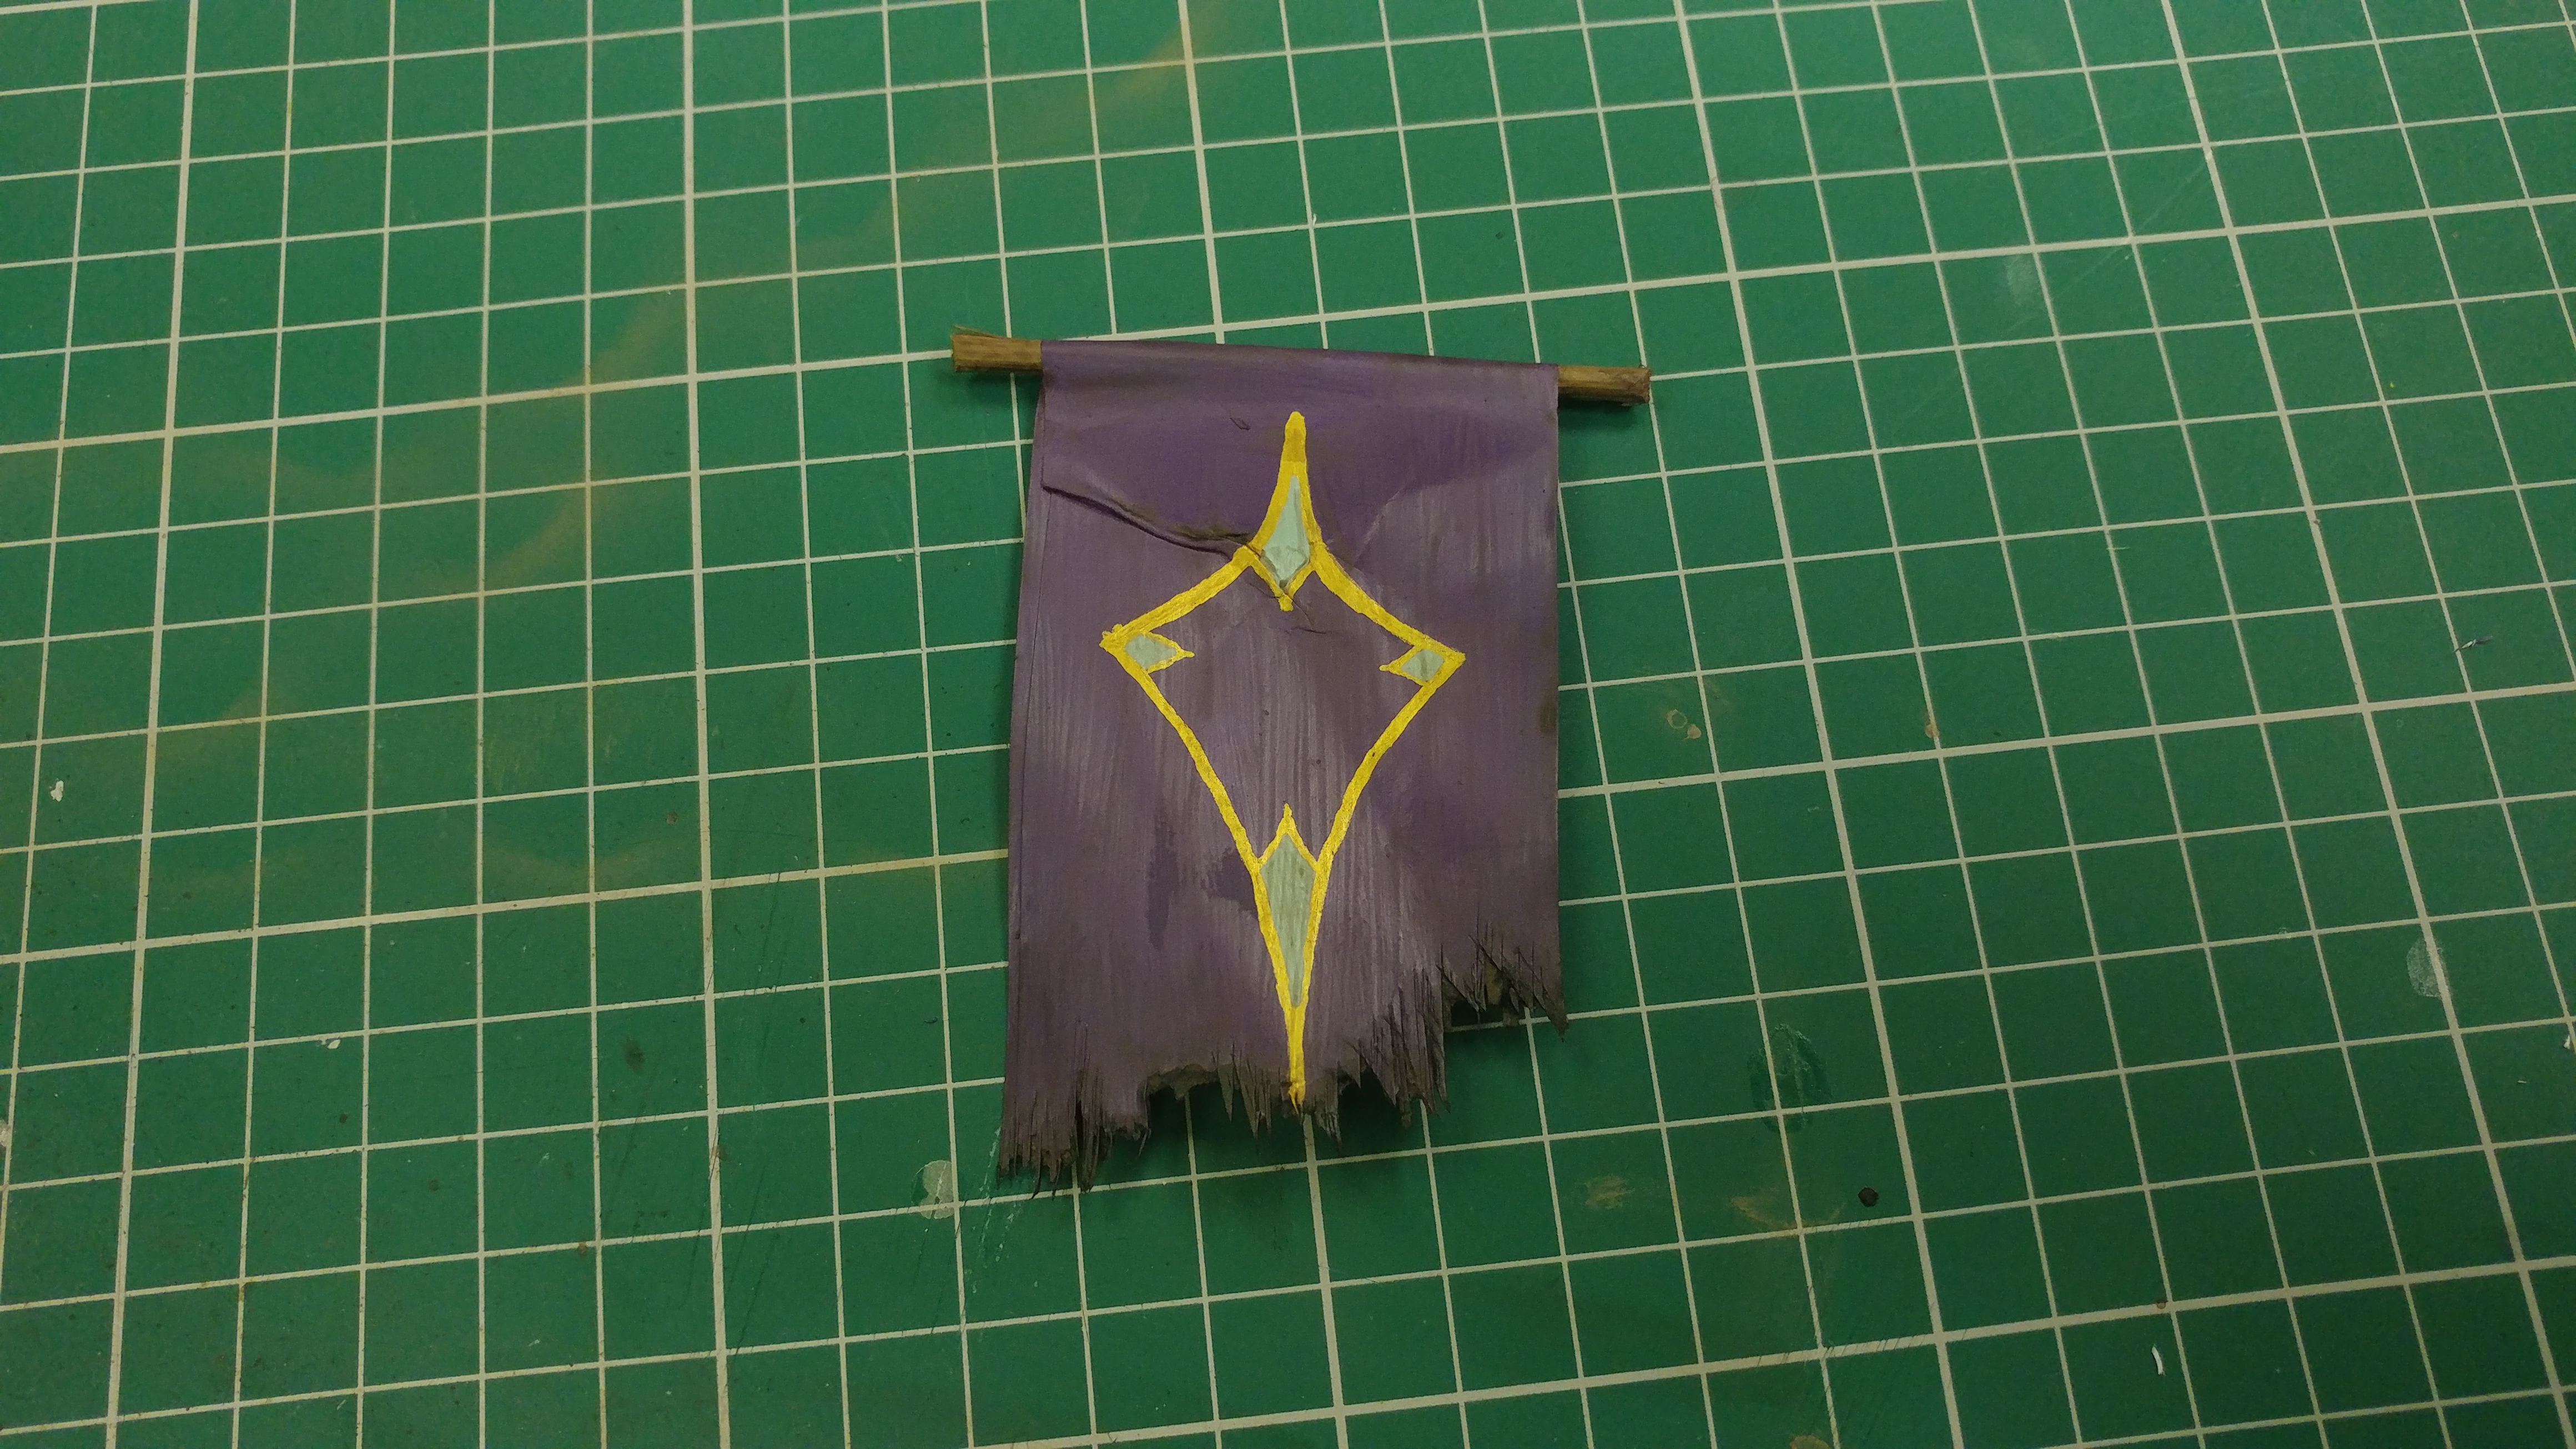
Using Army Painter "Strong Tone" for the cloth and adding some Army Painter "Dark Tone" around the torn area helps to blend the torn area down and give it a more gritty apperance.
With the banner places below to ramp of thew tower, we now have our completed war machine, displaying our alliegance and ready to storm the castles of our enemies!
