Exploring Scenarios In Sharp Practice – Part Four: Napoleonics
December 12, 2017 by crew
Welcome once again to the Sharp Practice article series. Today we're finally going to Spain where we find a Rifle Officer in a very sticky situation as we explore the Napoleonic era using the game system from Too Fat Lardies.
Read Part Three Here
Let's get stuck into it and see what happens when you delve into this time period with the system...
The History
The War in Spain is a complex one. The British landed in Portugal in 1808, along with a Spanish Division that had been hiding in Denmark, and had some initial victories against the French. With the Spanish heavily engaged with the French, Sir John Moore lead the British into Spain and engaged the French.
The Spanish however, were defeated before the British could join them and the British began to retreat back towards Portugal but were brought to battle by the French with mixed results. Some of the British units refused to stand and fight while others fought very well in rearguard actions that allowed the army to fall back to the sea where the British Navy, who by now had absolute supremacy, could exfiltrate them, however, Moore along with one fifth of the British army was killed during the retreat.
Sir Arthur Wellesley arrived back in Portugal after being recalled and attempted another invasion of Spain where he won his Peerage after the Battle of Talavera, which is where Sharpe took his Eagle. The British then retreated back into Portugal where they heavily reinforced the mountainous approach to the Capitol and resisted French invasions before once again invading Spain in 1812. Around this time the famous Guerillas emerged as a real threat, the French were forced to use about 60%of their forces to guard supplies and supply lines rather than fight battle as a result of the Guerilla's actions.
The British took the town of Badajoz, where Sharpe's wife was hiding during the siege, and defeated the French at the battle of Salamanca. The Fort Sharpe Assaults in Sharpe's Siege is at Salamanca. The British then captured Madrid along with a French army and besieged Burgos but was forced to once again retreat to Portugal when a large French army arrived in Spain.
The French defeat in Russia forced them to pull troops out of Spain to deal with the entry of the Prussians and Austrians into the war. The British resumed their siege of Burgos in 1813 and took it. They then defeated the French at the battle of Vitoria, in Sharpe's Honour he managed to arrive just in time to lead the South Essex after their Colonel was killed.
The British then advanced into Southern France while Spain reorganised itself now that the French appointed Spanish king had been deposed, he was Napoleon's brother and so wasn't the most popular man in Spain.
Setting The Scene
Now onto the game. As with all of the other games, this one is pure fantasy. After the battle of Salamanca, a Wounded British Officer managed to escape the field with his Regiments Colours and has taken refuge in a nearby Monastery. The local Priest, sympathetic to the British, left him in the Monk's care and informed the British that he was alive.
The only problem in this particular Monastery is right in the French line of advance. Since the King's Colours are very important the British dispatched a small squadron of Dragoons and Riflemen to rush to the Monastery and guard it against possible French attacks while a British Company is marching towards them.
The French are a detachment lead by Captain Caron and are charged with finding the officer and capturing the Colours.
The British force is made up of...
- Captain Blunt - Level Three Rifle Officer leading twelve Riflemen with a Marksman
- Ensign Miller - Level Two British Cavalry Officer leading eight Dragoons
- Captain Taylor - Level Two Leader leading thirty-two British Regulars in reserve that will arrive when the British Player can roll equal to or under the current turn number
Until the reserves arrive or the French cut them off from their escape the Riflemen may not leave the Monastery, the Officer is too wounded to survive in the countryside and their only hope of survival is in numbers. The French player isn't aware of this.
The French force is made up of...
- Captain Caron - Level Three Leader leading twenty-four French Regulars screened by some skirmishers.
- Lieutenant Bisset - Level Two Leader who is leading sixteen French Regulars
- Lieutenant Chastain - Level Two Leader leading sixteen French Dragoons
- Sapper Legrand - Level One Leader leading six Engineers whos job is to breach the Monastery quickly
...with the forces decided we're now going to get stuck in the battle itself and play out the scenario.
Shuffle The Deck
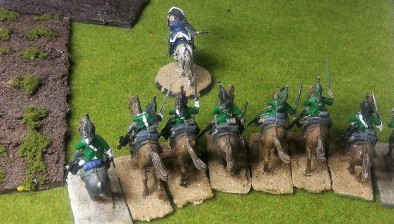
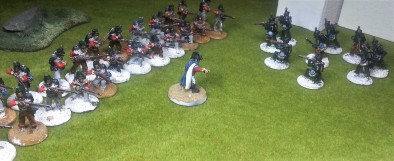
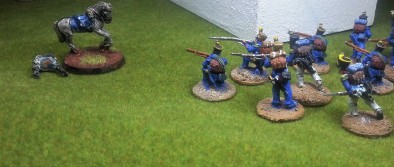
The French created a strong line with Bisset taking his men along the left flank, Caron struggling through a field and Chastain galloping his men towards the British Dragoons in an attempt to catch them before they can get covering fire from the Riflemen in the Monastery. The British Dragoons deploy in the far corner of the board, away from the Monastery in an attempt to lure the French Cavalry away and keep them occupied in a chase.
The British Marksmen fired the first shot of the game, Bisset slumped in his saddle and was killed instantly. His troops faltered but Sapper Legrand took command and ordered them forwards while his own men advanced using the buildings as cover. The British Cavalry, in a dazzling display of horsemanship and a reactivation, rode to the centre of the board and turned to face the Dragoons putting them exactly where the French doesn't want them.
Marksman are available to any force and represent an expert shot who is very good at killing enemy leaders and getting reliable hits but does require an activation to use.
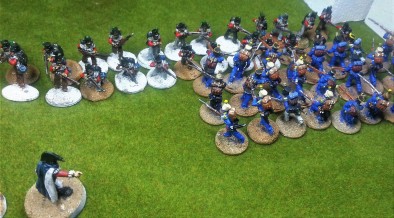
The French centre then advanced but the Rifle Fire had scared a local pen of horses and they stampeded through the French lines, causing shock and disrupting their formation which took a turn to get reorganised.
Who Dares Wins
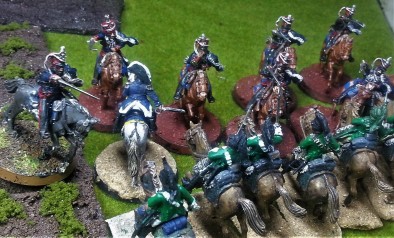
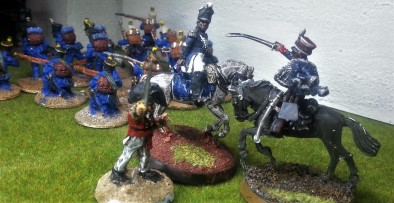
Legrand kept his men moving under Rifle fire as the casualties and shock began to mount. The British Cavalry then interrupted the French Cavalry's charge, taking the initiative and routing their opponents even though outnumbered two to one although they did lose half their number in the process. Miller then leads his men onto the Road behind the French.
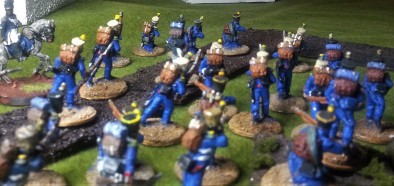
Rifle fire on the French left forced Legrand to abandon the Regulars and instead run, with his Engineers, to the door of the Monastery. The French Regulars fell back and were now on the road directly ahead of the British Cavalry. The French Centre advanced, ready to storm the Monastery.
Turn five finally saw the British reinforcements arrive with thirty men who ran into position. The Engineers came extremely close to breaking down the Monastery doors, rolling an eleven when they needed a twelve, while the British Cavalry rode down the French Left Flank, routing them although losing all their men besides Miller in the process. Left alone Miller raced towards the Monastery.
The British advanced towards the Monastery in line, which the French centre responded to by moving to block the doorway and prevent the Riflemen from making a break for it. The Riflemen then fired on the Engineers, killing all of them and leaving Legrand alone.
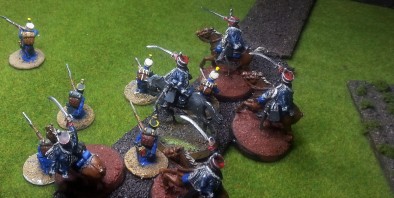
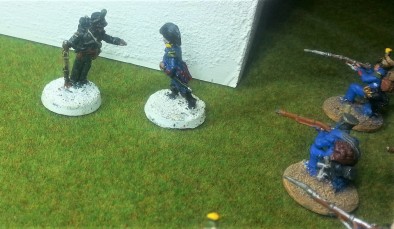
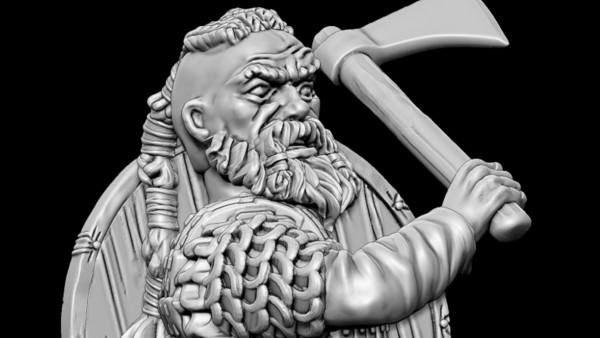
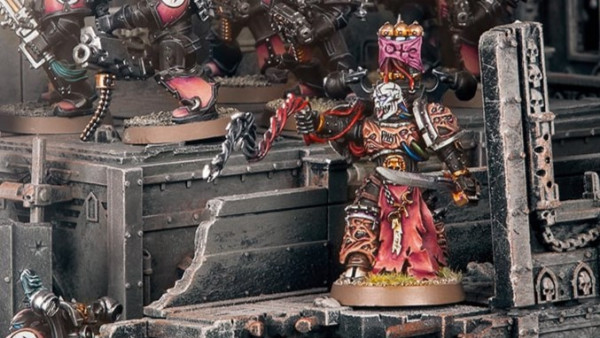
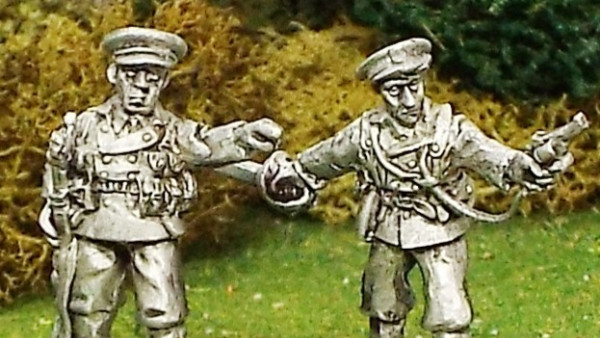
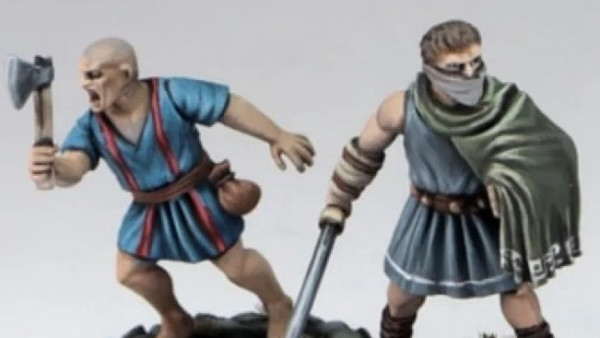
Without fear, Legrand broke down the door and charged into the Monastery where Captain Blunt met him. The two duelled, we gave Legrand an impressive weapon since he had an axe after all, and after a very close duel, Legrand was killed. Captain Blunt then ordered his men to run out of the Monastery just before the French could seal them in.
The Great Escape
The entire French centre opened fire on the Riflemen who lost half their number but didn't break. The British Regulars then took the Colours for safekeeping, we had decided that if a unit fled the table with the colours they counted as lost, and opened fire on the French line.
The French then charged the unloaded British, using the French 'Pas De Charge' ability which allows them to move multiple times, they caught the British unprepared and massively defeated them in the melee. Captain Taylor was badly wounded defending the Colours and his men were thrown back. The Riflemen left the table. Both sides had only a single point of Force Moral left.
Then out of nowhere Ensign Miller rode into the French and demanded Captain Caron duel him. Normally this reckless move would be declined and the silly Miller killed or captured but refusing a challenge means a player must roll on the Force Moral chart with a two in three chance of losing a point of Moral and losing the game.
Captain Caron, seeing his men on the verge of breaking, accepted the challenge and the two duelled. Caron started out strong but an excellent roll by Miller killed him instantly. The game was over. The British Line, inspired by the reckless heroism of Ensign Miller, charged the French who fled in a leaderless panic in which Miller recovered the Ensign and the British return to camp, their objective accomplished but a lot of men are dead and an Officer is seriously wounded but the colours were recovered.
This game was our first look at Cavalry and how they work. Cavalry has four movement rates; walking, trotting, cantering and galloping. Cavalry may increase or decrease their speed once per activation and the faster they move the more powerful their charge is. This comes at a disadvantage however since the faster Cavalry moves the less they can turn, so Galloping Cavalry can't react to enemies to their flanks while Cantering Cavalry can react more easily but hit with less power.
I Say, Sir, That Was A Close Fought Thing
The British cavalry was able to perform their impressive manoeuvre by slowing their speed enough to make the tight turn and then increase it back to a Canter before the French could react to them. This required a lot of thinking ahead and mental planning and if it didn't come off right then the British would have been totally wiped out by a flank charge.
Risk versus Reward is an important part of Sharp Practice, the British Cavalry's risk paid off whereas the French Engineer's risk didn't.
Engineers also made an appearance, they're available as a support option for any list in any period and are better at performing tasks like breaking down doors, dismantling defences, starting fires and repairing things as well as letting you deploy barricades in defensive scenarios.
The Engineers were very useful to the French since the first roll to breach the Monastery doors was a double one, they were able to reroll it and get an eleven instead. If the French hadn't been able to get inside the Monastery in two turns then the British Regulars could have engaged the French while the Colours were safe with the Riflemen who would be firing into the French Flank.
Dash & Daring
Duels were also a prominent part of this battle and this was mainly done for dramatic effect but did end up being the deciding factor in the battle. Duels are fought between officers, and only Gentleman Officers but more of that next instalment, and each player has six dice which they divide into an offensive pool and a defensive pool.
The players then dice off and roll to attack and defend until either four rounds have gone by, one person voluntarily runs in shame or someone is dead. Every time a hit is not blocked one dice is removed and when one pool has no more dice left that Officer is killed. We'll see later how an officers traits, like having an impressive weapon, can factor into duels and how some officers are far better than others.
Leave some comments below and let the Community know if you'll be taking the King's Shilling and heading off to Spain. Stay tuned for the final instalment on Boxing Day where we'll be looking at how you can add more depth to your games by giving your officers personalities and backgrounds. We'll also take a look at the excellent "Dawns and Departures" Campaign expansion and how to run your own campaign in the Black Powder era.
Post some comments below and let @Elessar2590 know what you thought.
If you would like to write an article for Beasts of War then please contact us at [email protected] for more information!
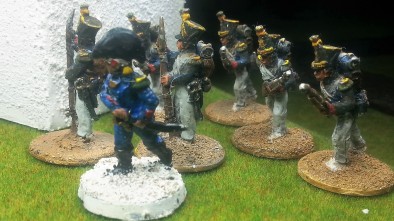
"Without fear, Legrand broke down the door and charged into the Monastery where Captain Blunt met him..."
Supported by (Turn Off)
Supported by (Turn Off)
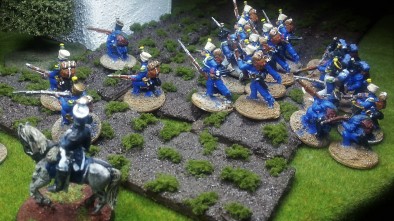
"Risk versus Reward is an important part of Sharp Practice..."
Supported by (Turn Off)

















Another epic installment in this great continuing. I’m curious about the cards. Are these for special or random events that can take place in the heat of combat? If so, I’m assuming they don’t “over-randomize” the game, so are their effects just limited in scope to not throw the game out of whack … or does the other side have some recourse to mitigate the effects of card that is played? Some kind of random element like this (judiciously tempered, of course) is very interesting, some of the AWI games I’ve been running in Battlesystem 2nd Ed almost seemed a… Read more »
There are random event cards but they said the deliberately want to avoid having any overtly battle result changing events in there. The cards dictate which unit leader activates next (leader 1 red, leader 2 red, leader 1 blue). The red or blue flags are used to activate interrupts in play, do special abilities (like a crushing volley). There is also a tiffin card which basically ends that cycle through the pack. So if you were waiting for your leader 3 to deliver that volley you are desperate to get off but the tiffin card comes up, the pack is… Read more »
Events are very easy. There are 8 Command Cards on a deck (4 Blue 4 Red) and if three are drawn in a row then the unit that just activated has to roll on either the movement or shooting table Results range from stepping in dog feces (which reduces your Leaders Level and makes him terrible with the ladies) to getting another round of shooting. For example men moving in a column down a road might start singing and increase their speed or they might be slowed to a crawl as the officer tries to figure out why that lake… Read more »
Long suffering color sergeant, trying to lead his men in a column:
“Oh, hold up, everyone. Left-tenant-Silver-Spoon-up-his-Bum’ is lost again.”
😐 😐 😐
Buy yourself a promotion. It’s the only way to serve in style. 🙂 The commission system seems ludicrous when compared to promotion on merit, but it was interesting to find out that officers promoted from the ranks were actually not always trusted by their men initially. They lived in an era where you “knew your place” and the elite were elite because they were educated and in that respect better than you when making decisions. If you were a toff you made decisions for people beneath you all the time, so in a mind of some soldiers of the time… Read more »
@oriskany Nothing much really changed just the Commissions became a little cheaper and Brevet Promotions far more common. If you received a brevet promotion from say Captain to Major then you’d be treated as a Major in every single respect but if you wanted to sell your commission it would only be worth a Captains rate and you’d be last in line for any advances. Men promoted from the ranks were also looked down on because they didn’t always have to buy their commission. The main point of making Officers buy Commissions (which were incredibly expensive a Lieutenant would have… Read more »
Oh actually, thinking again, there aren’t actual event cards, but if 3 of your leaders cards are dealt in sequence (Leader 2 red, Leader 3 red, Leader 4 red) an event is rolled off for in the book.
The narrative of your writing is so great @elessar2590 , very enjoyable. I think it would be amazing to see you and Richard filming a game together as he’s incredibly animated and weaves a wonderful narrative into his play just like your good self 🙂 Az
Thanks Az.
I loved the videos you guys did with Richard. It’s clear he doesn’t just write the rules for the sake of it but he truly does love the games.
@oriskany The book Redcoats from Richard Holmes is well worth read if you want to learn about how the British Army worked
https://www.amazon.co.uk/Redcoat-British-Soldier-Horse-Musket-ebook/dp/B005PROO8W/ref=sr_1_8?s=books&ie=UTF8&qid=1513183874&sr=1-8&keywords=richard+holmes
An excellent book, good recommendation.
Another fantastic book is Napoleon’s Campaigns in miniature. If you’re like me and want to know how many spare pots a British Regiment carried or exactly how much it cost to outfit a Prussian Hussar there’s no better book.
a good battle report I see Sharpe has some competition for more promotions.
Thanks.
He certainly does Captain Blunt is defiantly going to be a pain in his side.
Great stuff – Sharp practice is really on my radar now
Awesome glad to hear it @rasmus