


![1918 Spring Offensive Wargame | Full Rules Overview with John & Gerry (WW1 Tabletop Game) [7 Days Early Access]](https://images.beastsofwar.com/2026/03/unboxing-warfulcrum-games-1918-spring-offensive-review-coverimage1-225-127.jpeg)


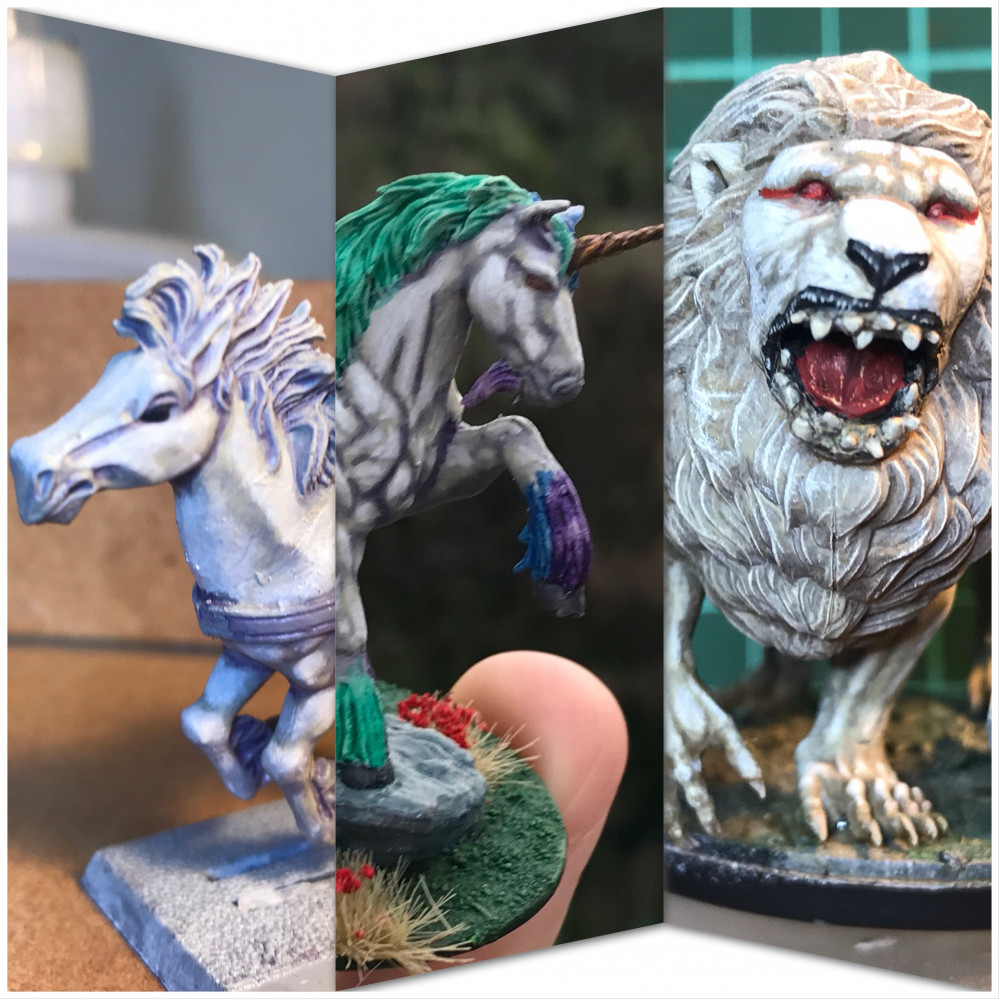
Horses first… then beasts


Recommendations: 73
About the Project
The second half of a build up to a “special project”. I’m working on 3 horse miniatures that will become part of my fantasy collection. This will be followed later by some other animals.
Related Game: Kingdom Death: Monster
Related Company: Kingdom Death
Related Genre: Fantasy
This Project is Completed
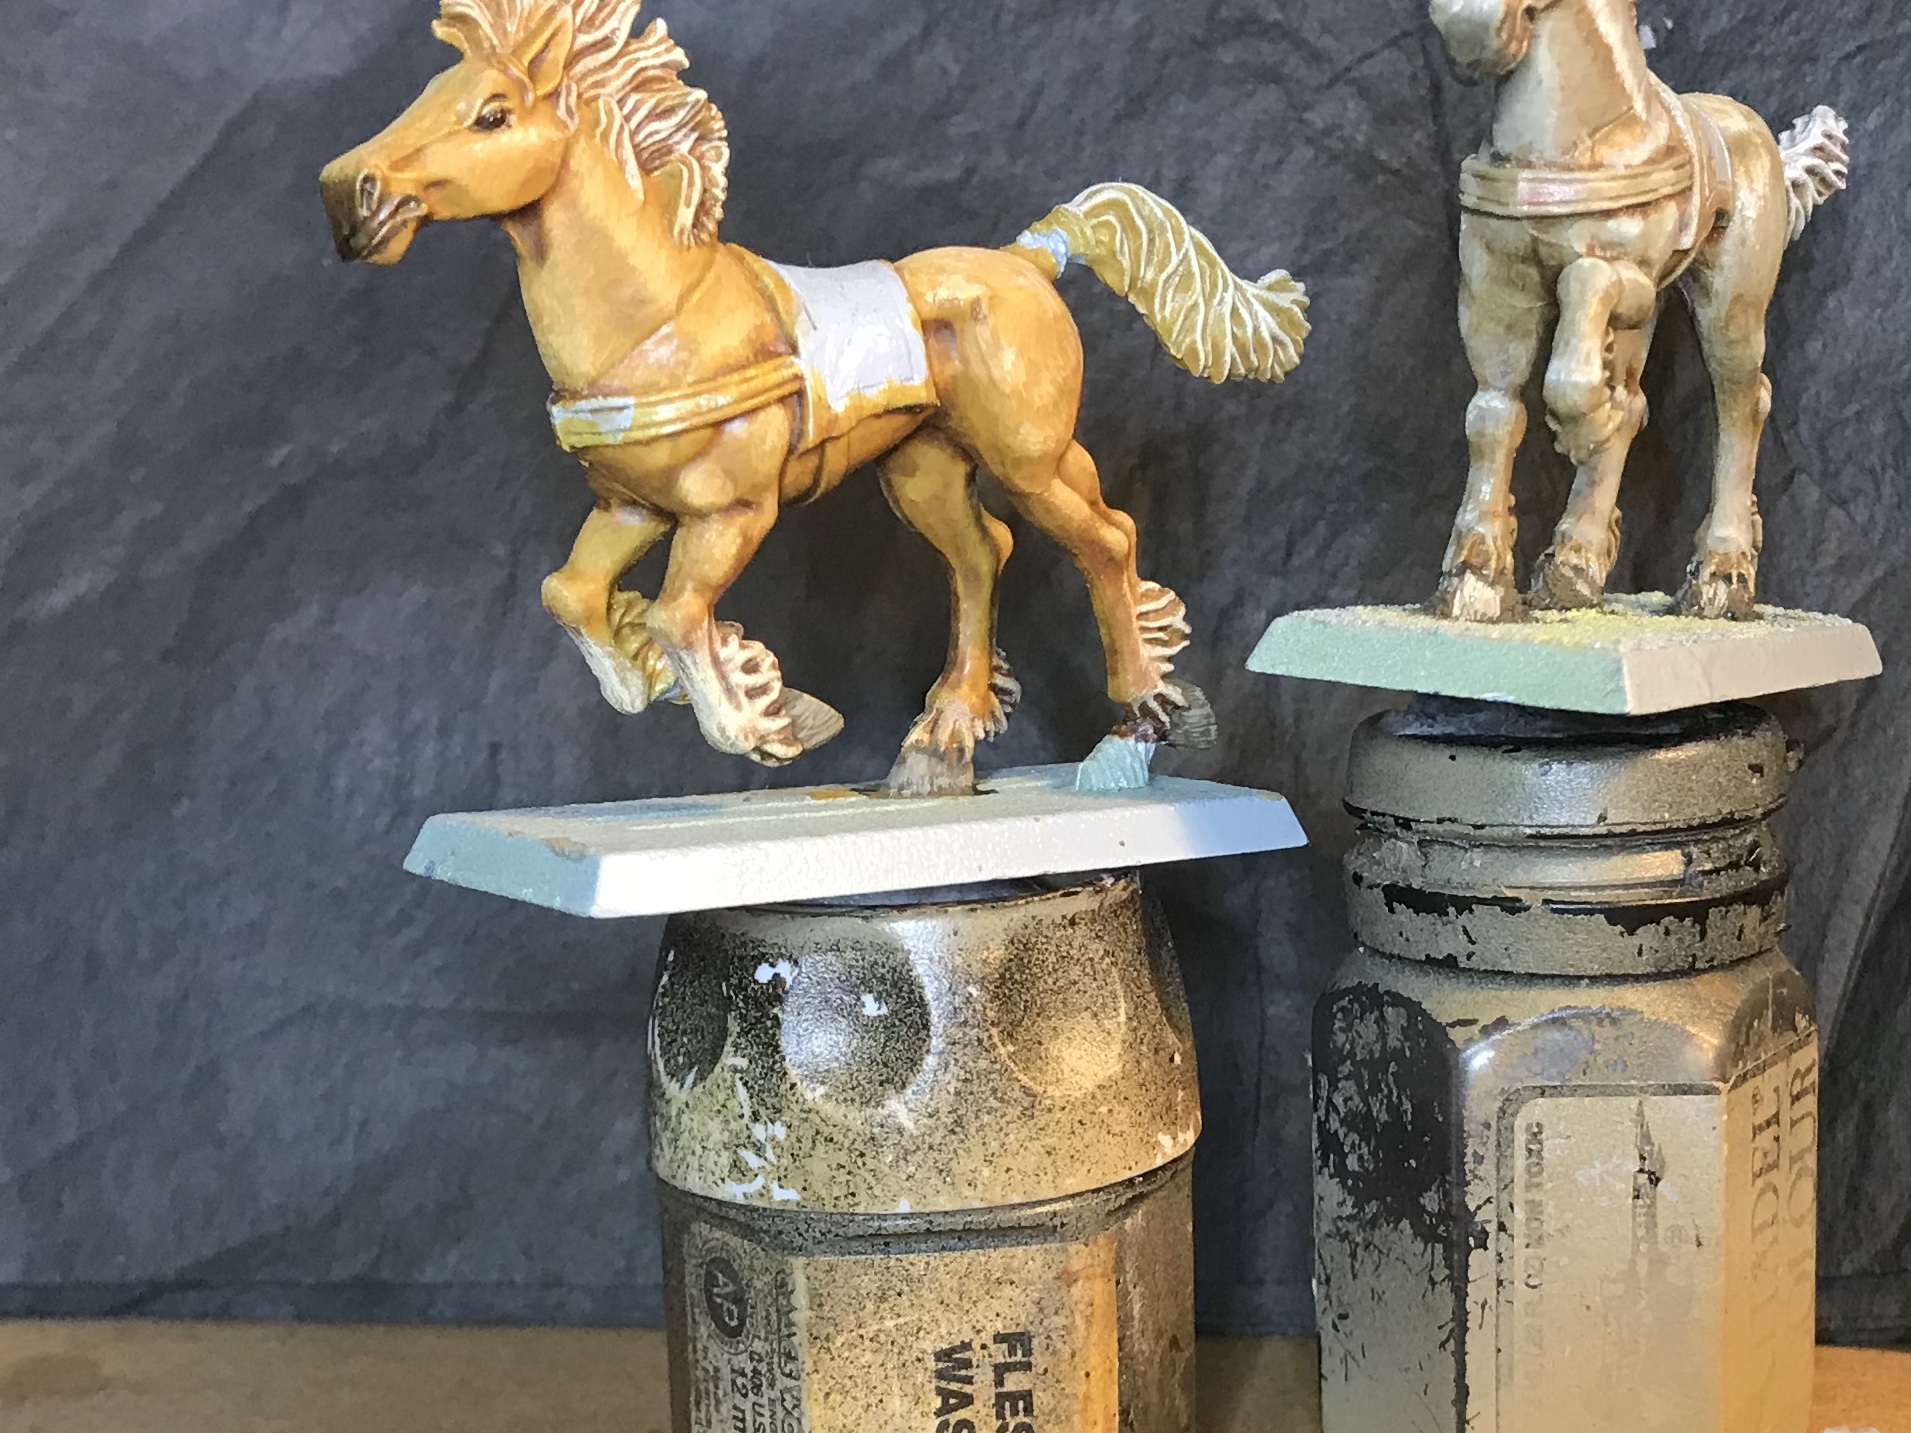
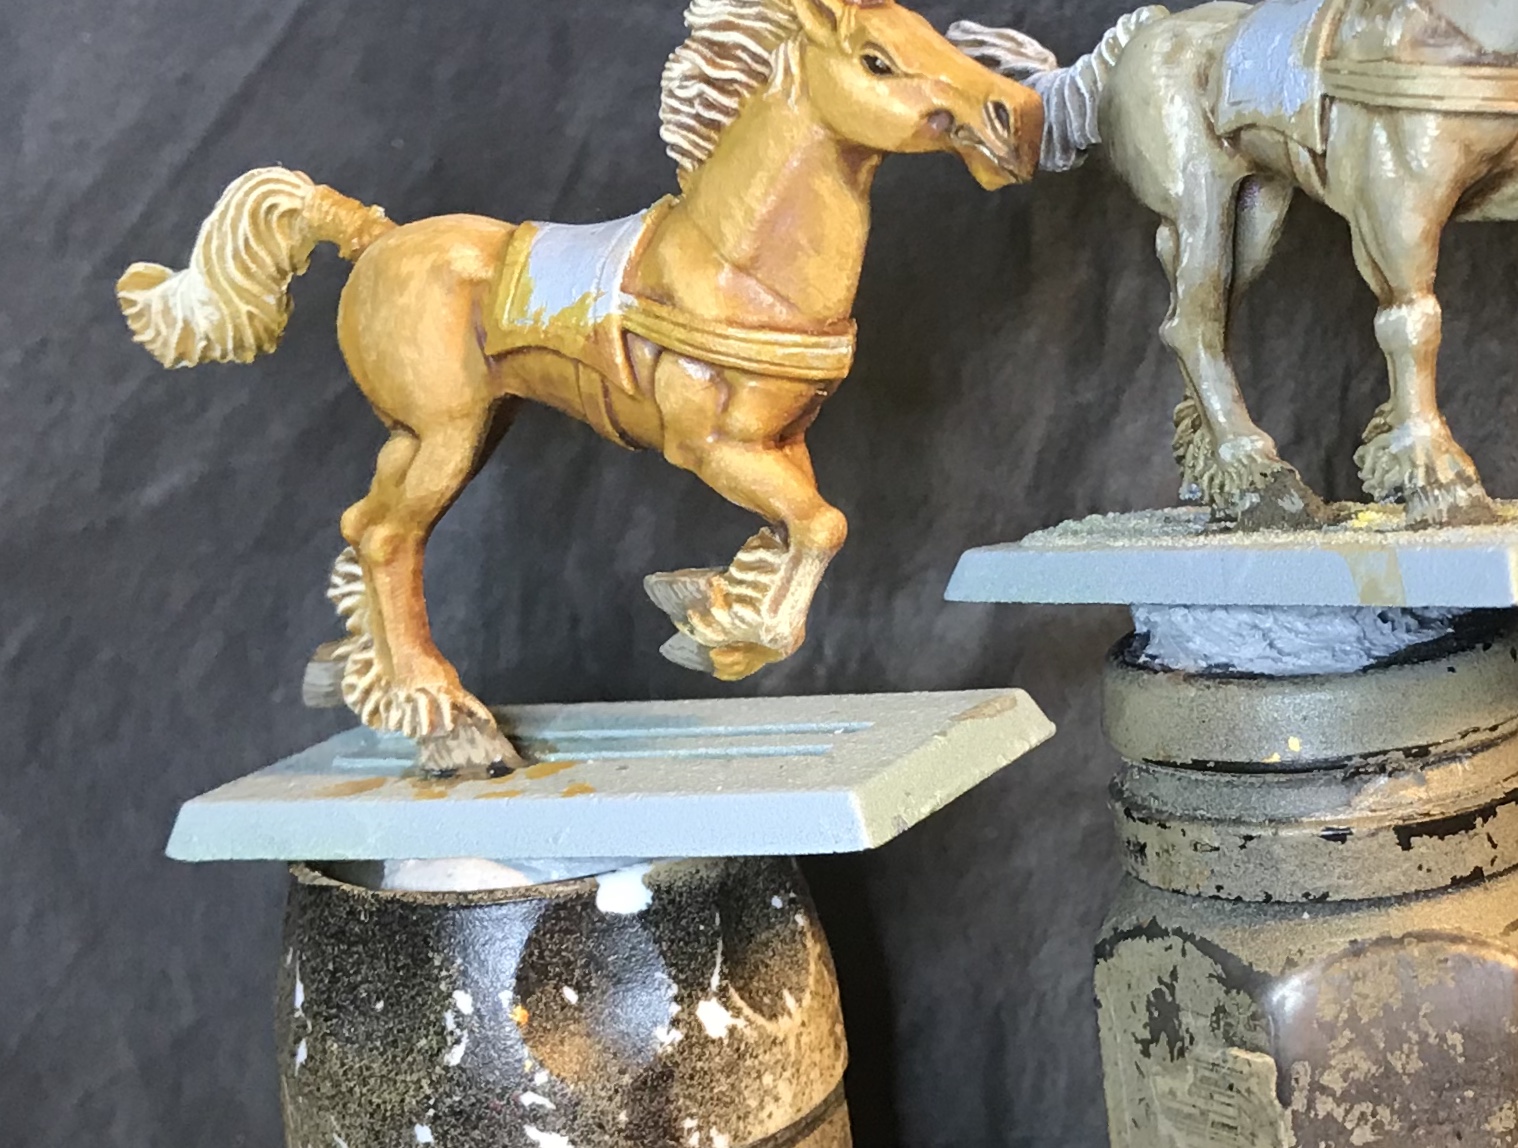
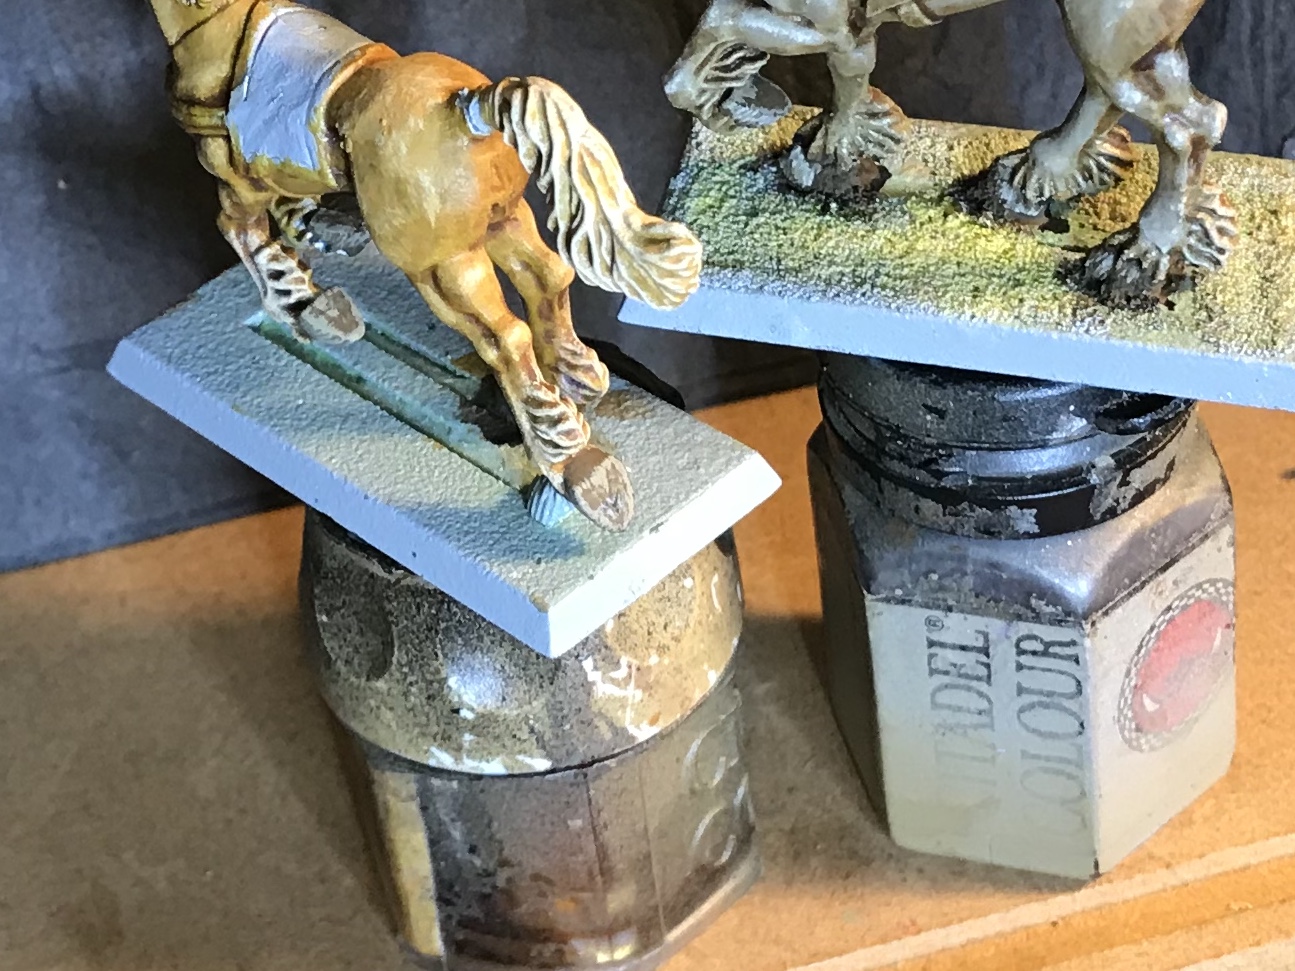
The next Horse
The next Horse on the paint line. Vallejo Khaki base, Gryphonne Sepia wash. Highlighted with a blend of the khaki and GW Bleached bone. The tail and mane also had a light dry brush of GW SKull White.
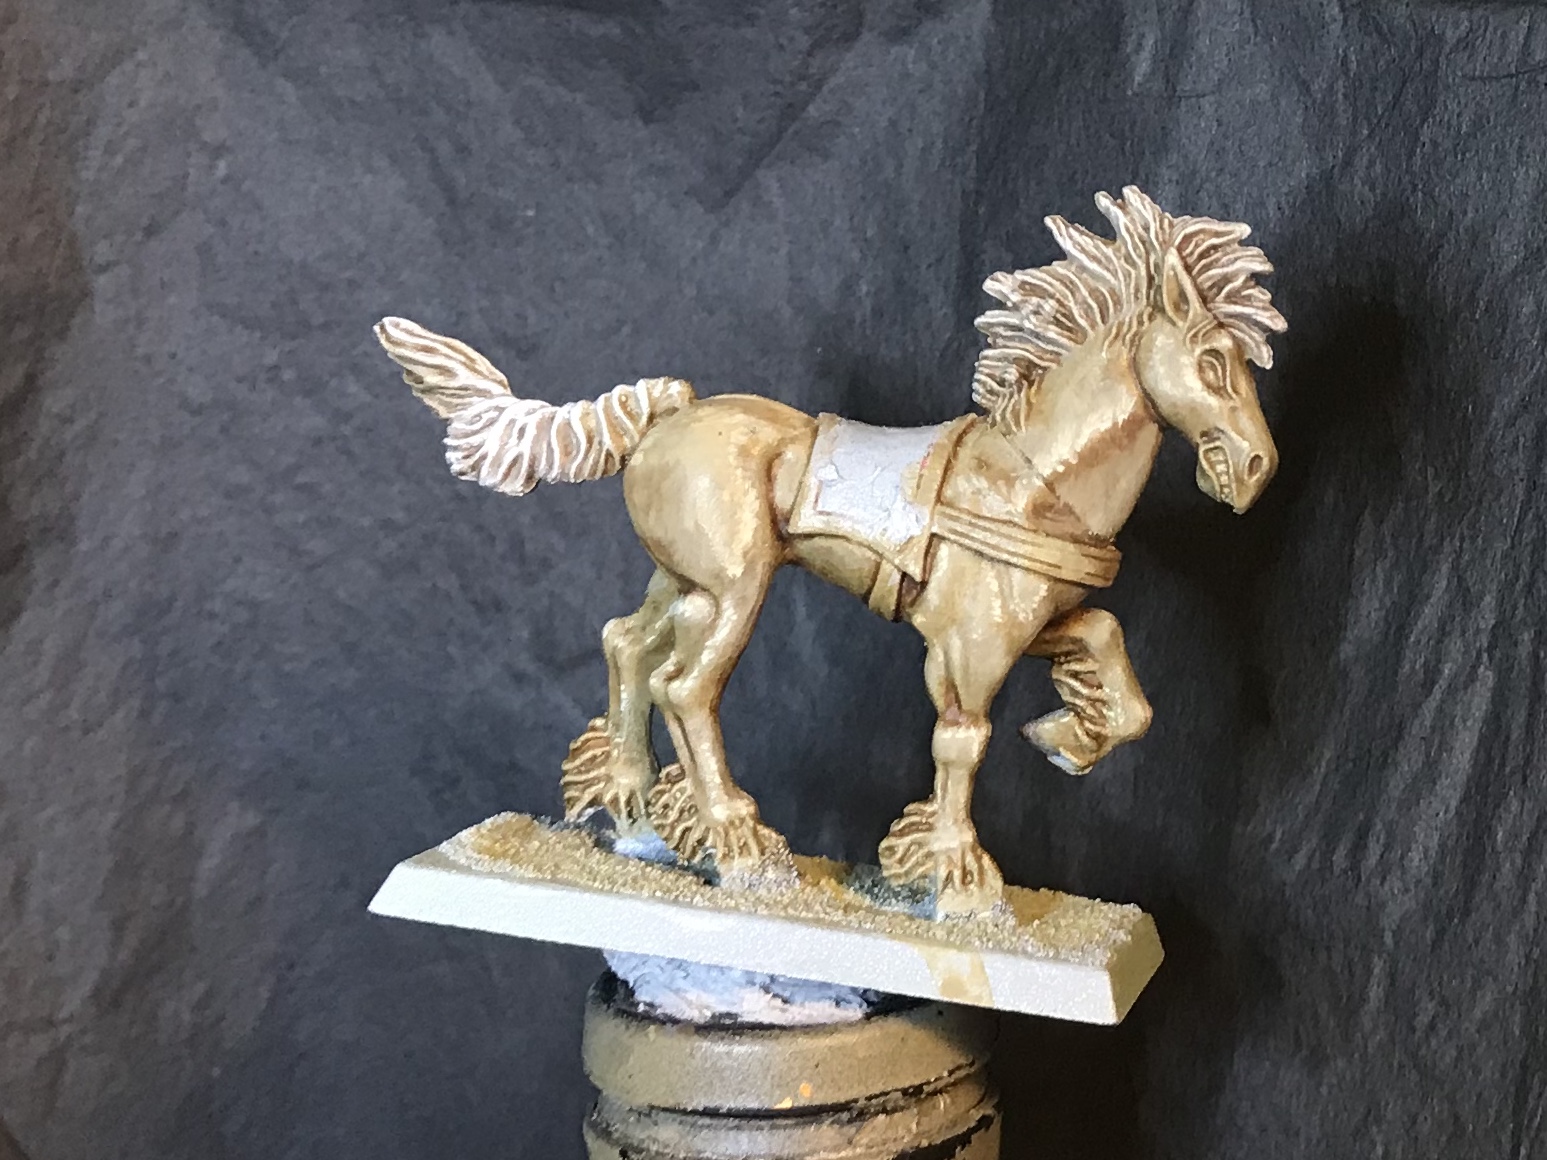
Probably the Horse I am least happy with so far. I feel that the technique I am trying hasn’t worked as this time, but to be honest I felt as though I rushed this one.
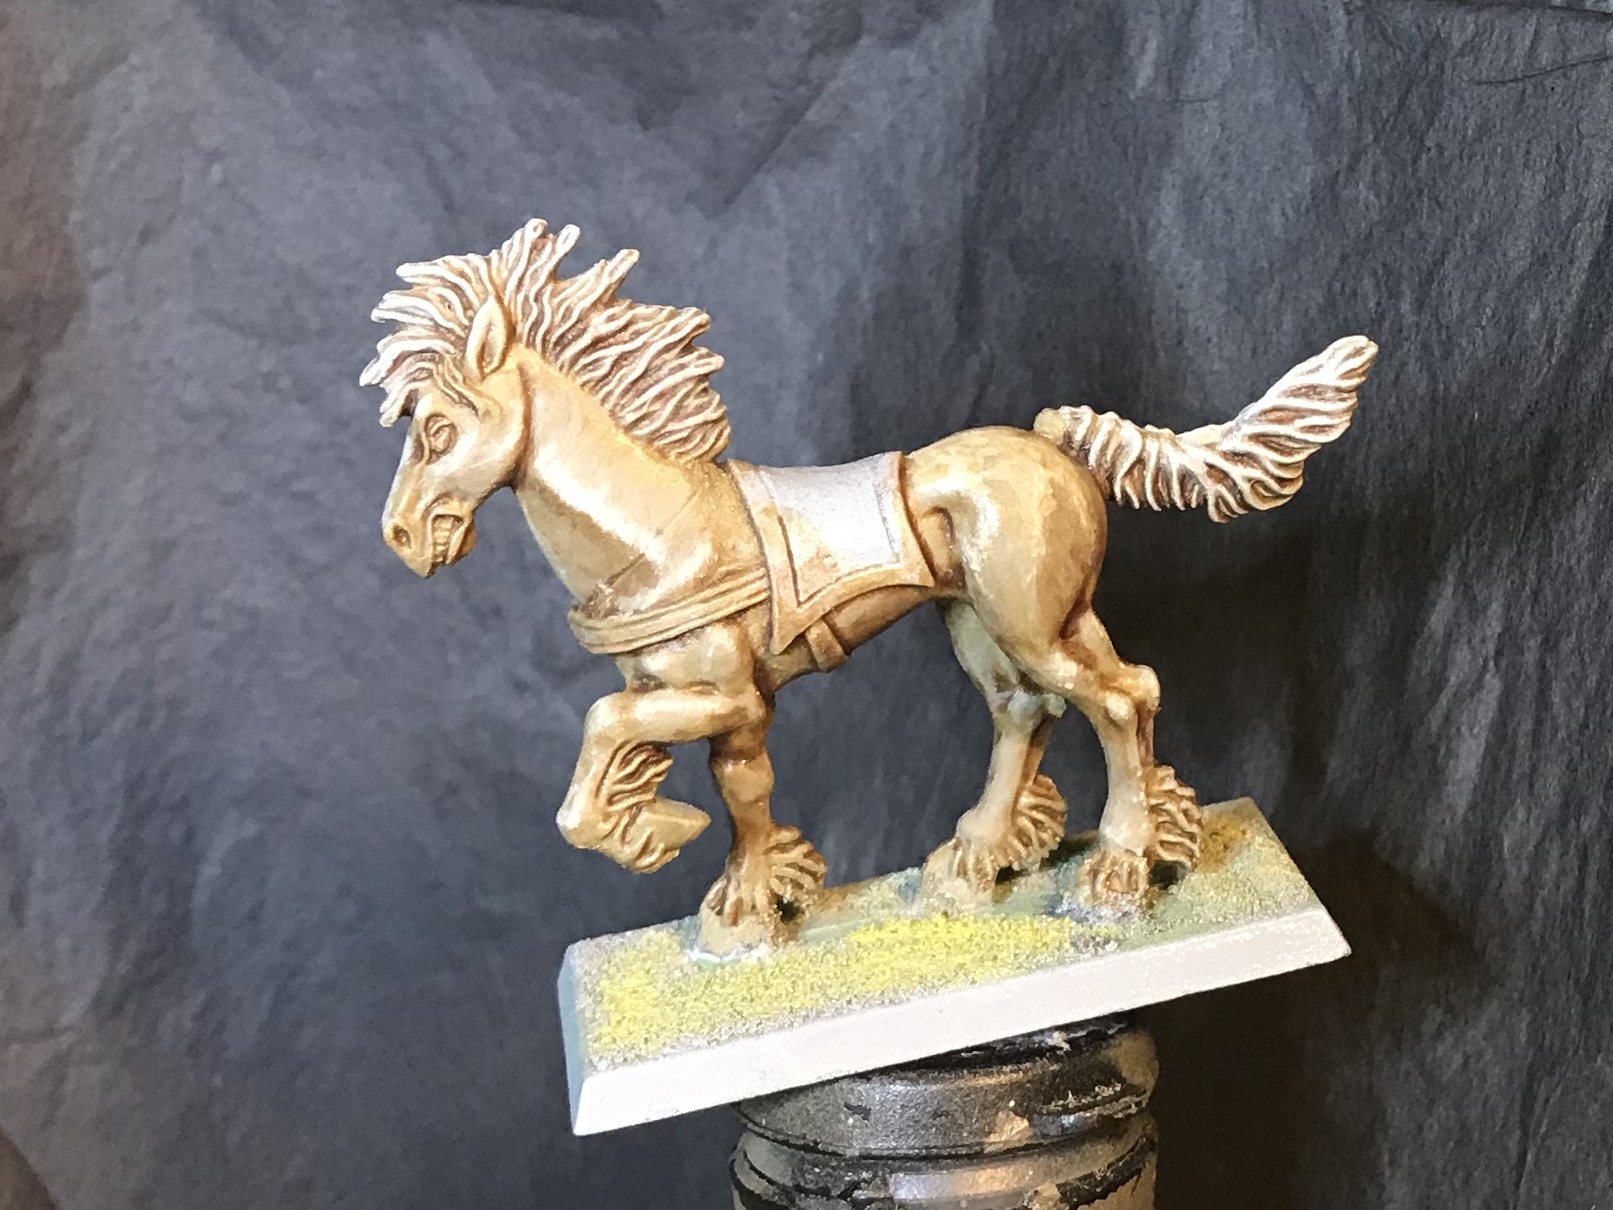
Eyes, muzzle and hooves
With some extra time tonight, I’ve pushed on to the finer details of the two previous horses. The eyes are simply Vallejo German Camo Brown, with a GW Brown Ink wash.
The muzzle was black ink, thinned well. I applied it very lightly just allowing it to build up colour and tint the nose and lips.
The hooves were somewhat of an experiment. The started as black, then received GW Fortress Grey in very thin vertical stripes. Not happy with that, I went over with thinned German Camo Brown. Then thin stripes in Vallejo Khaki. The lighter of the two horses also got some stripes of GW Bleached Bone
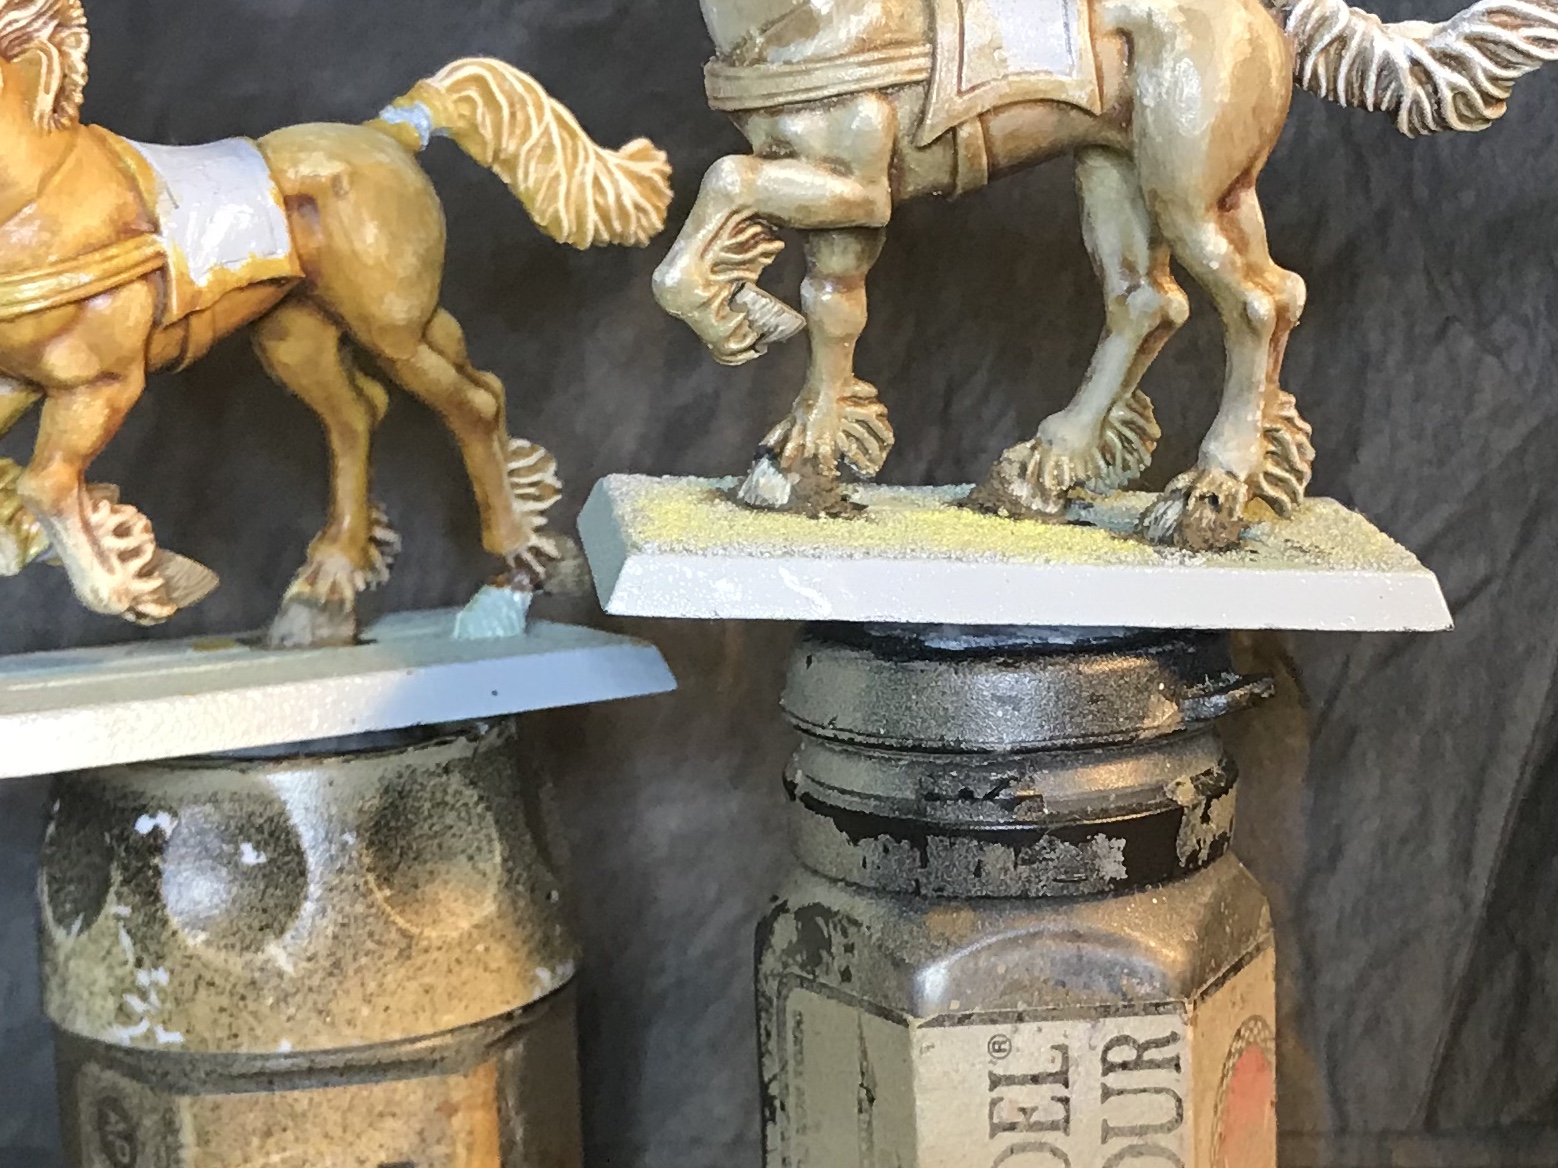
Please note: Hooves are a pain to paint...
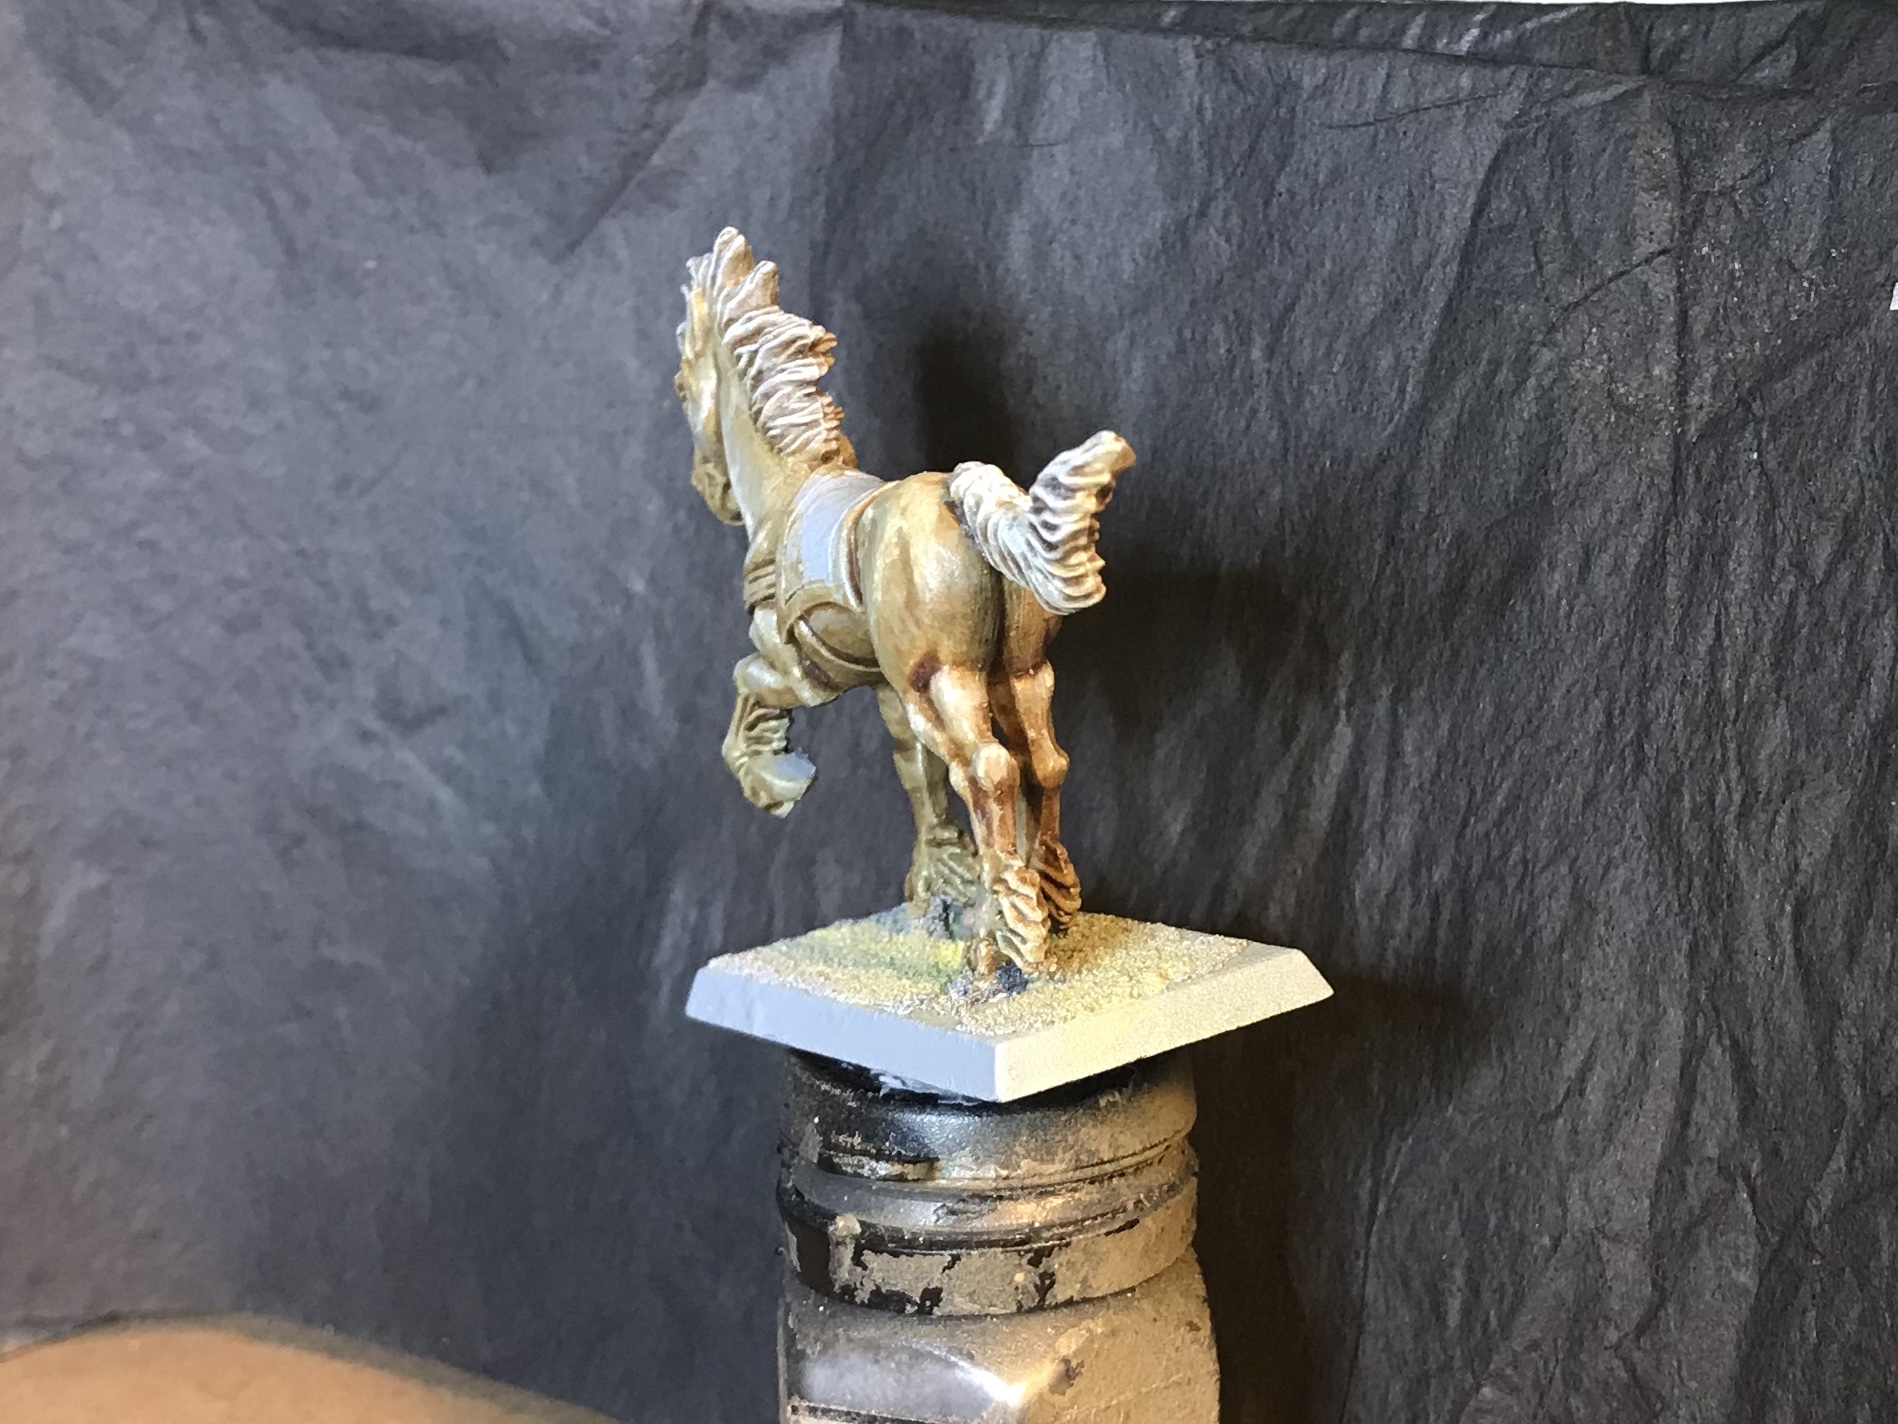
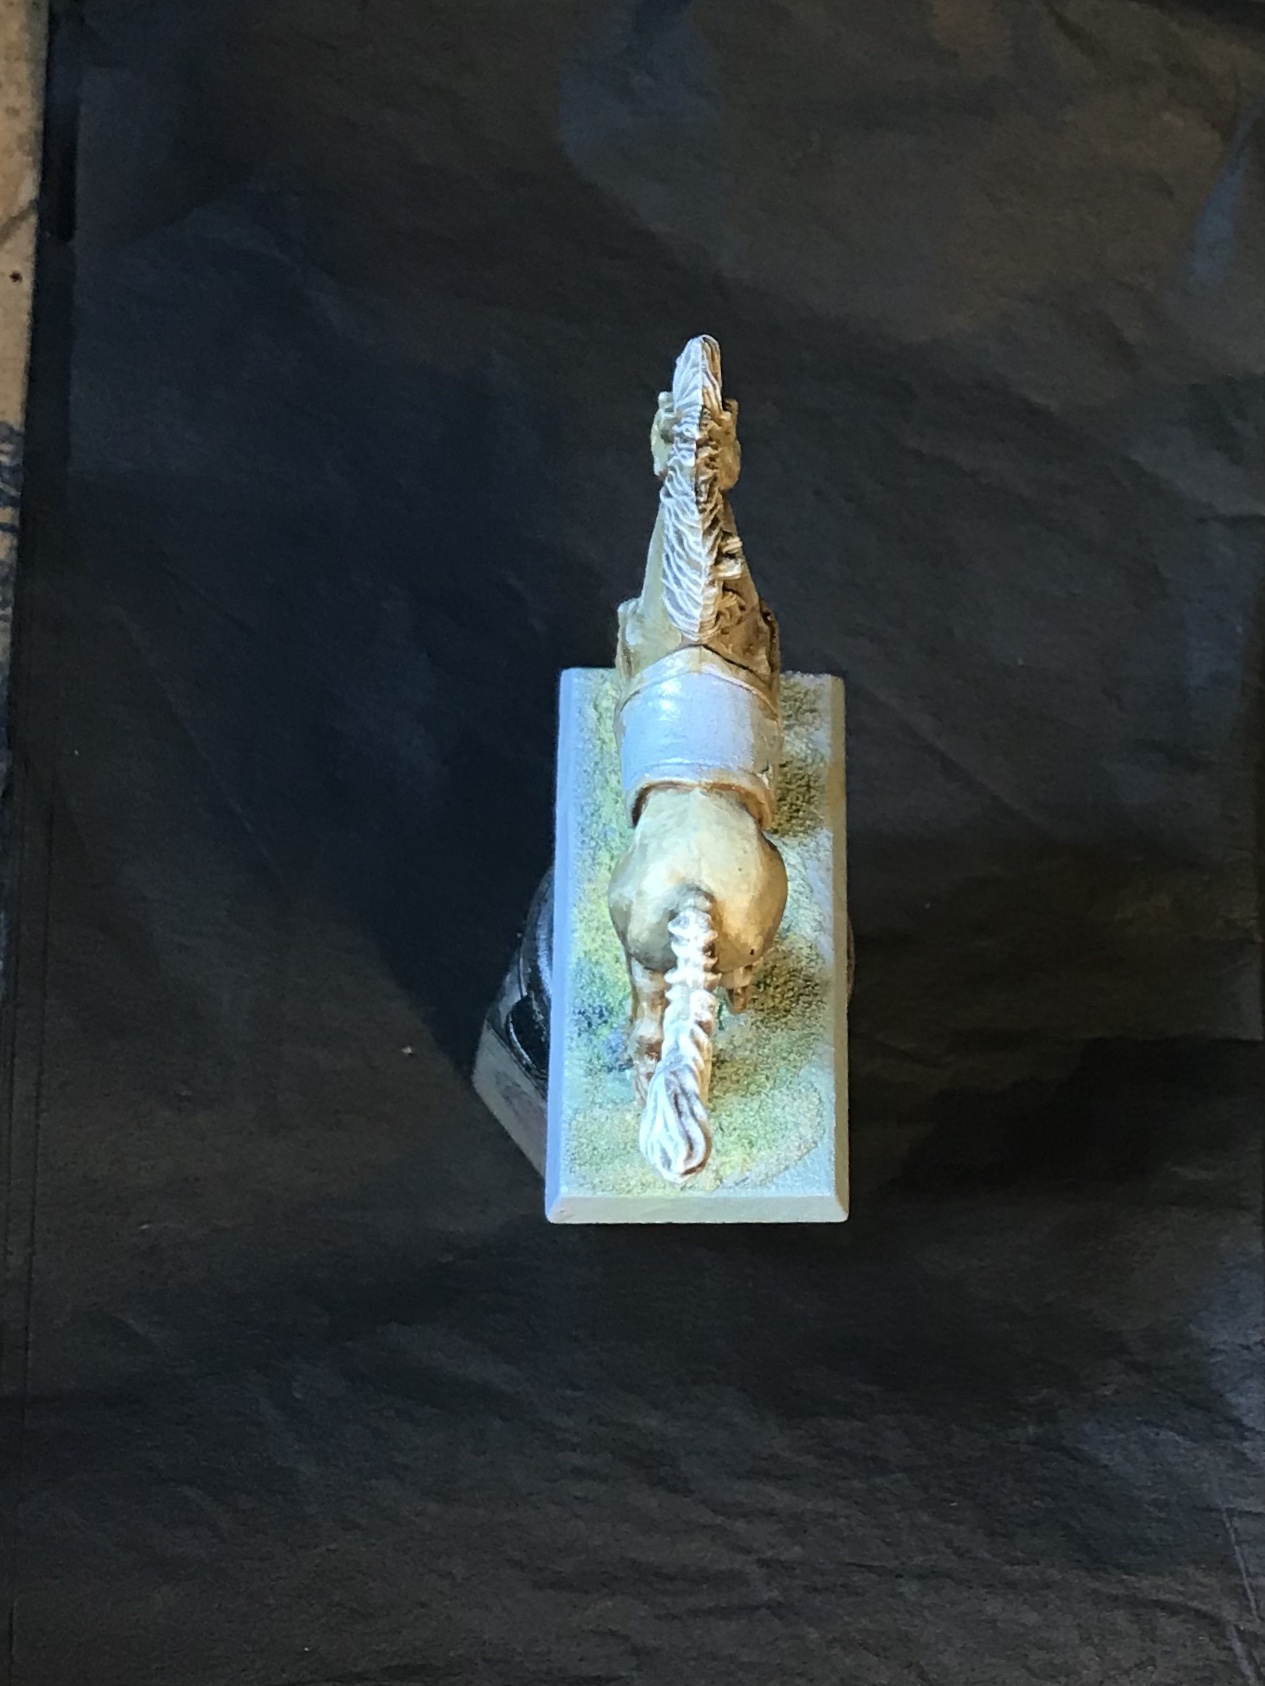
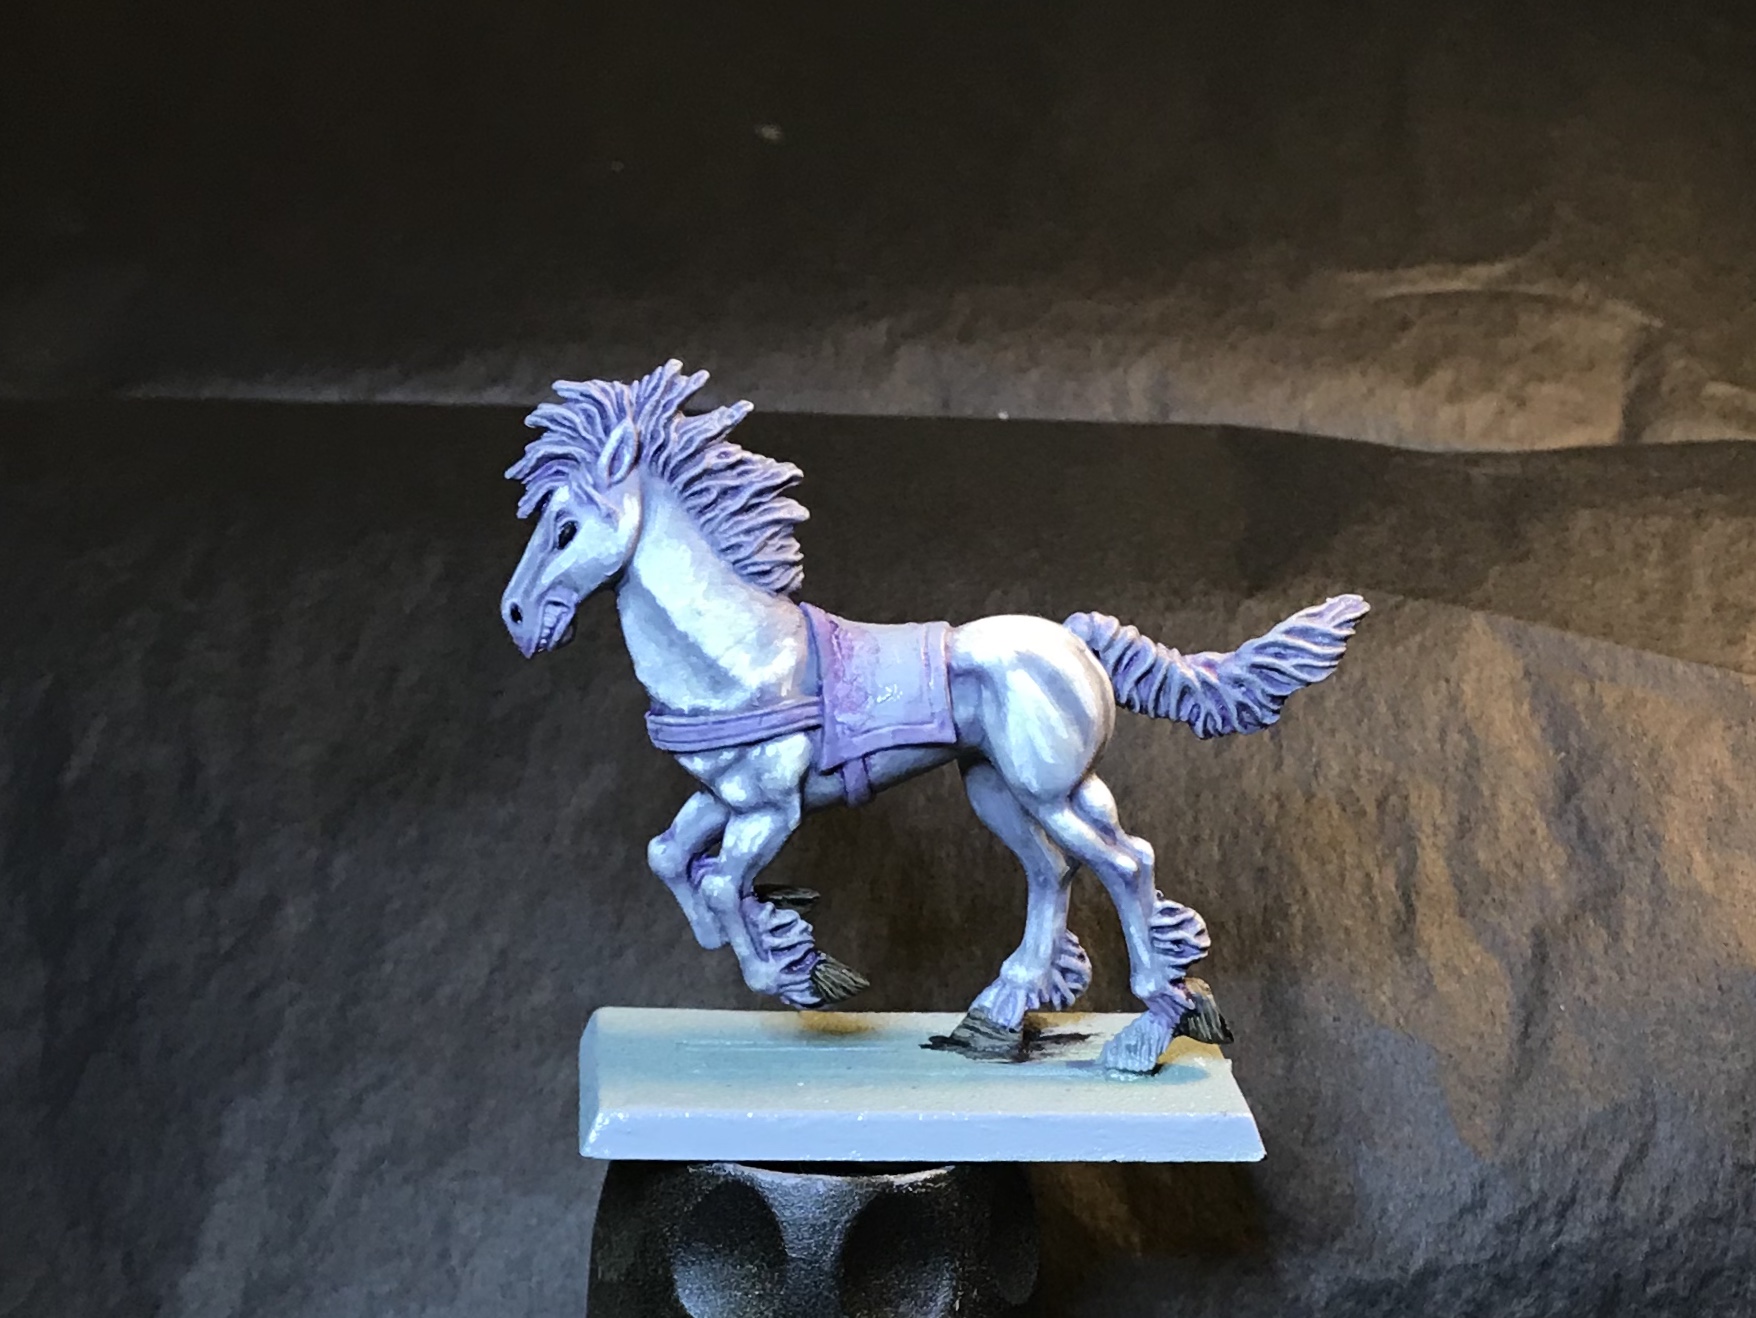
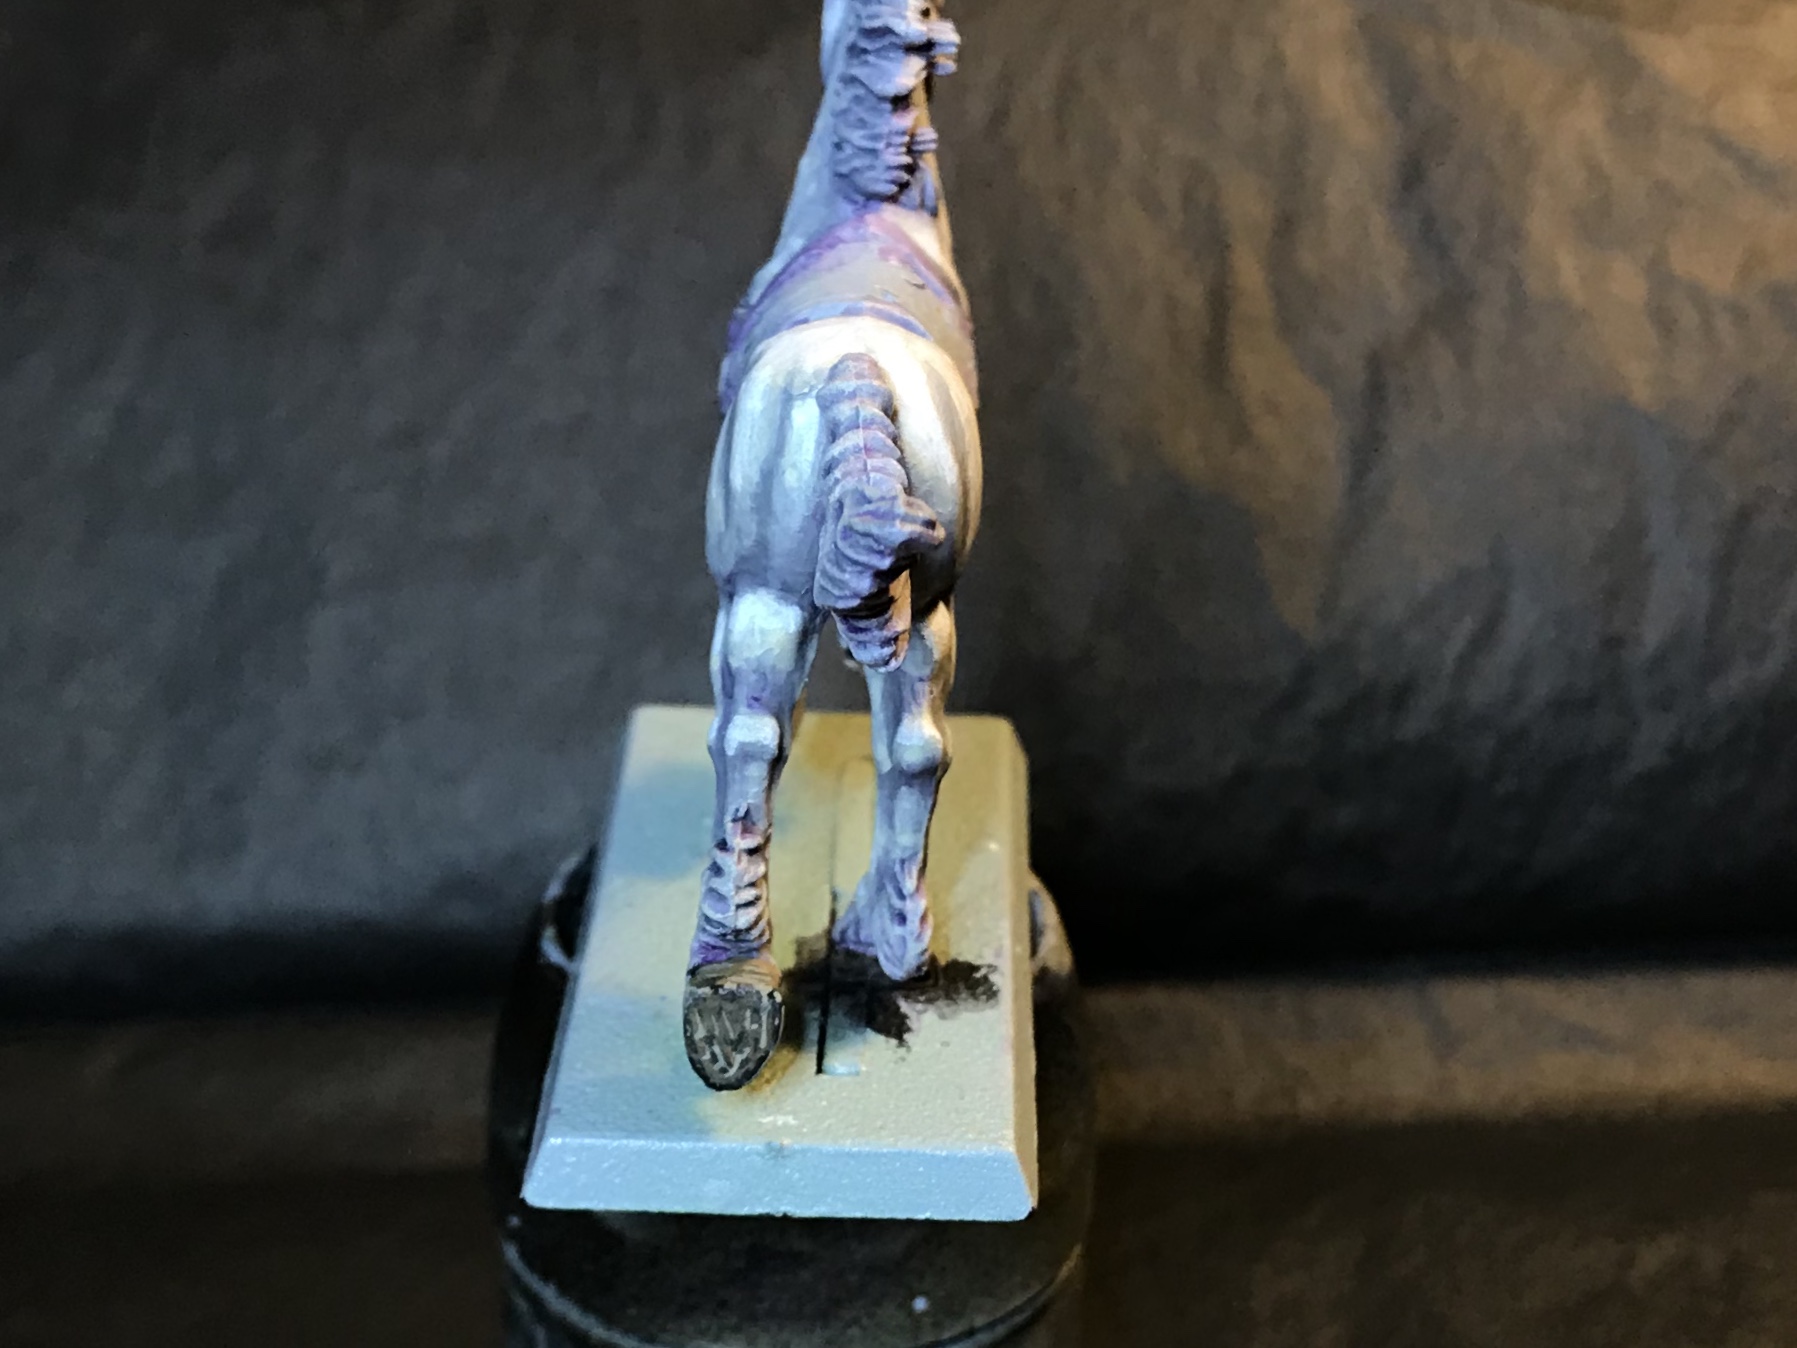
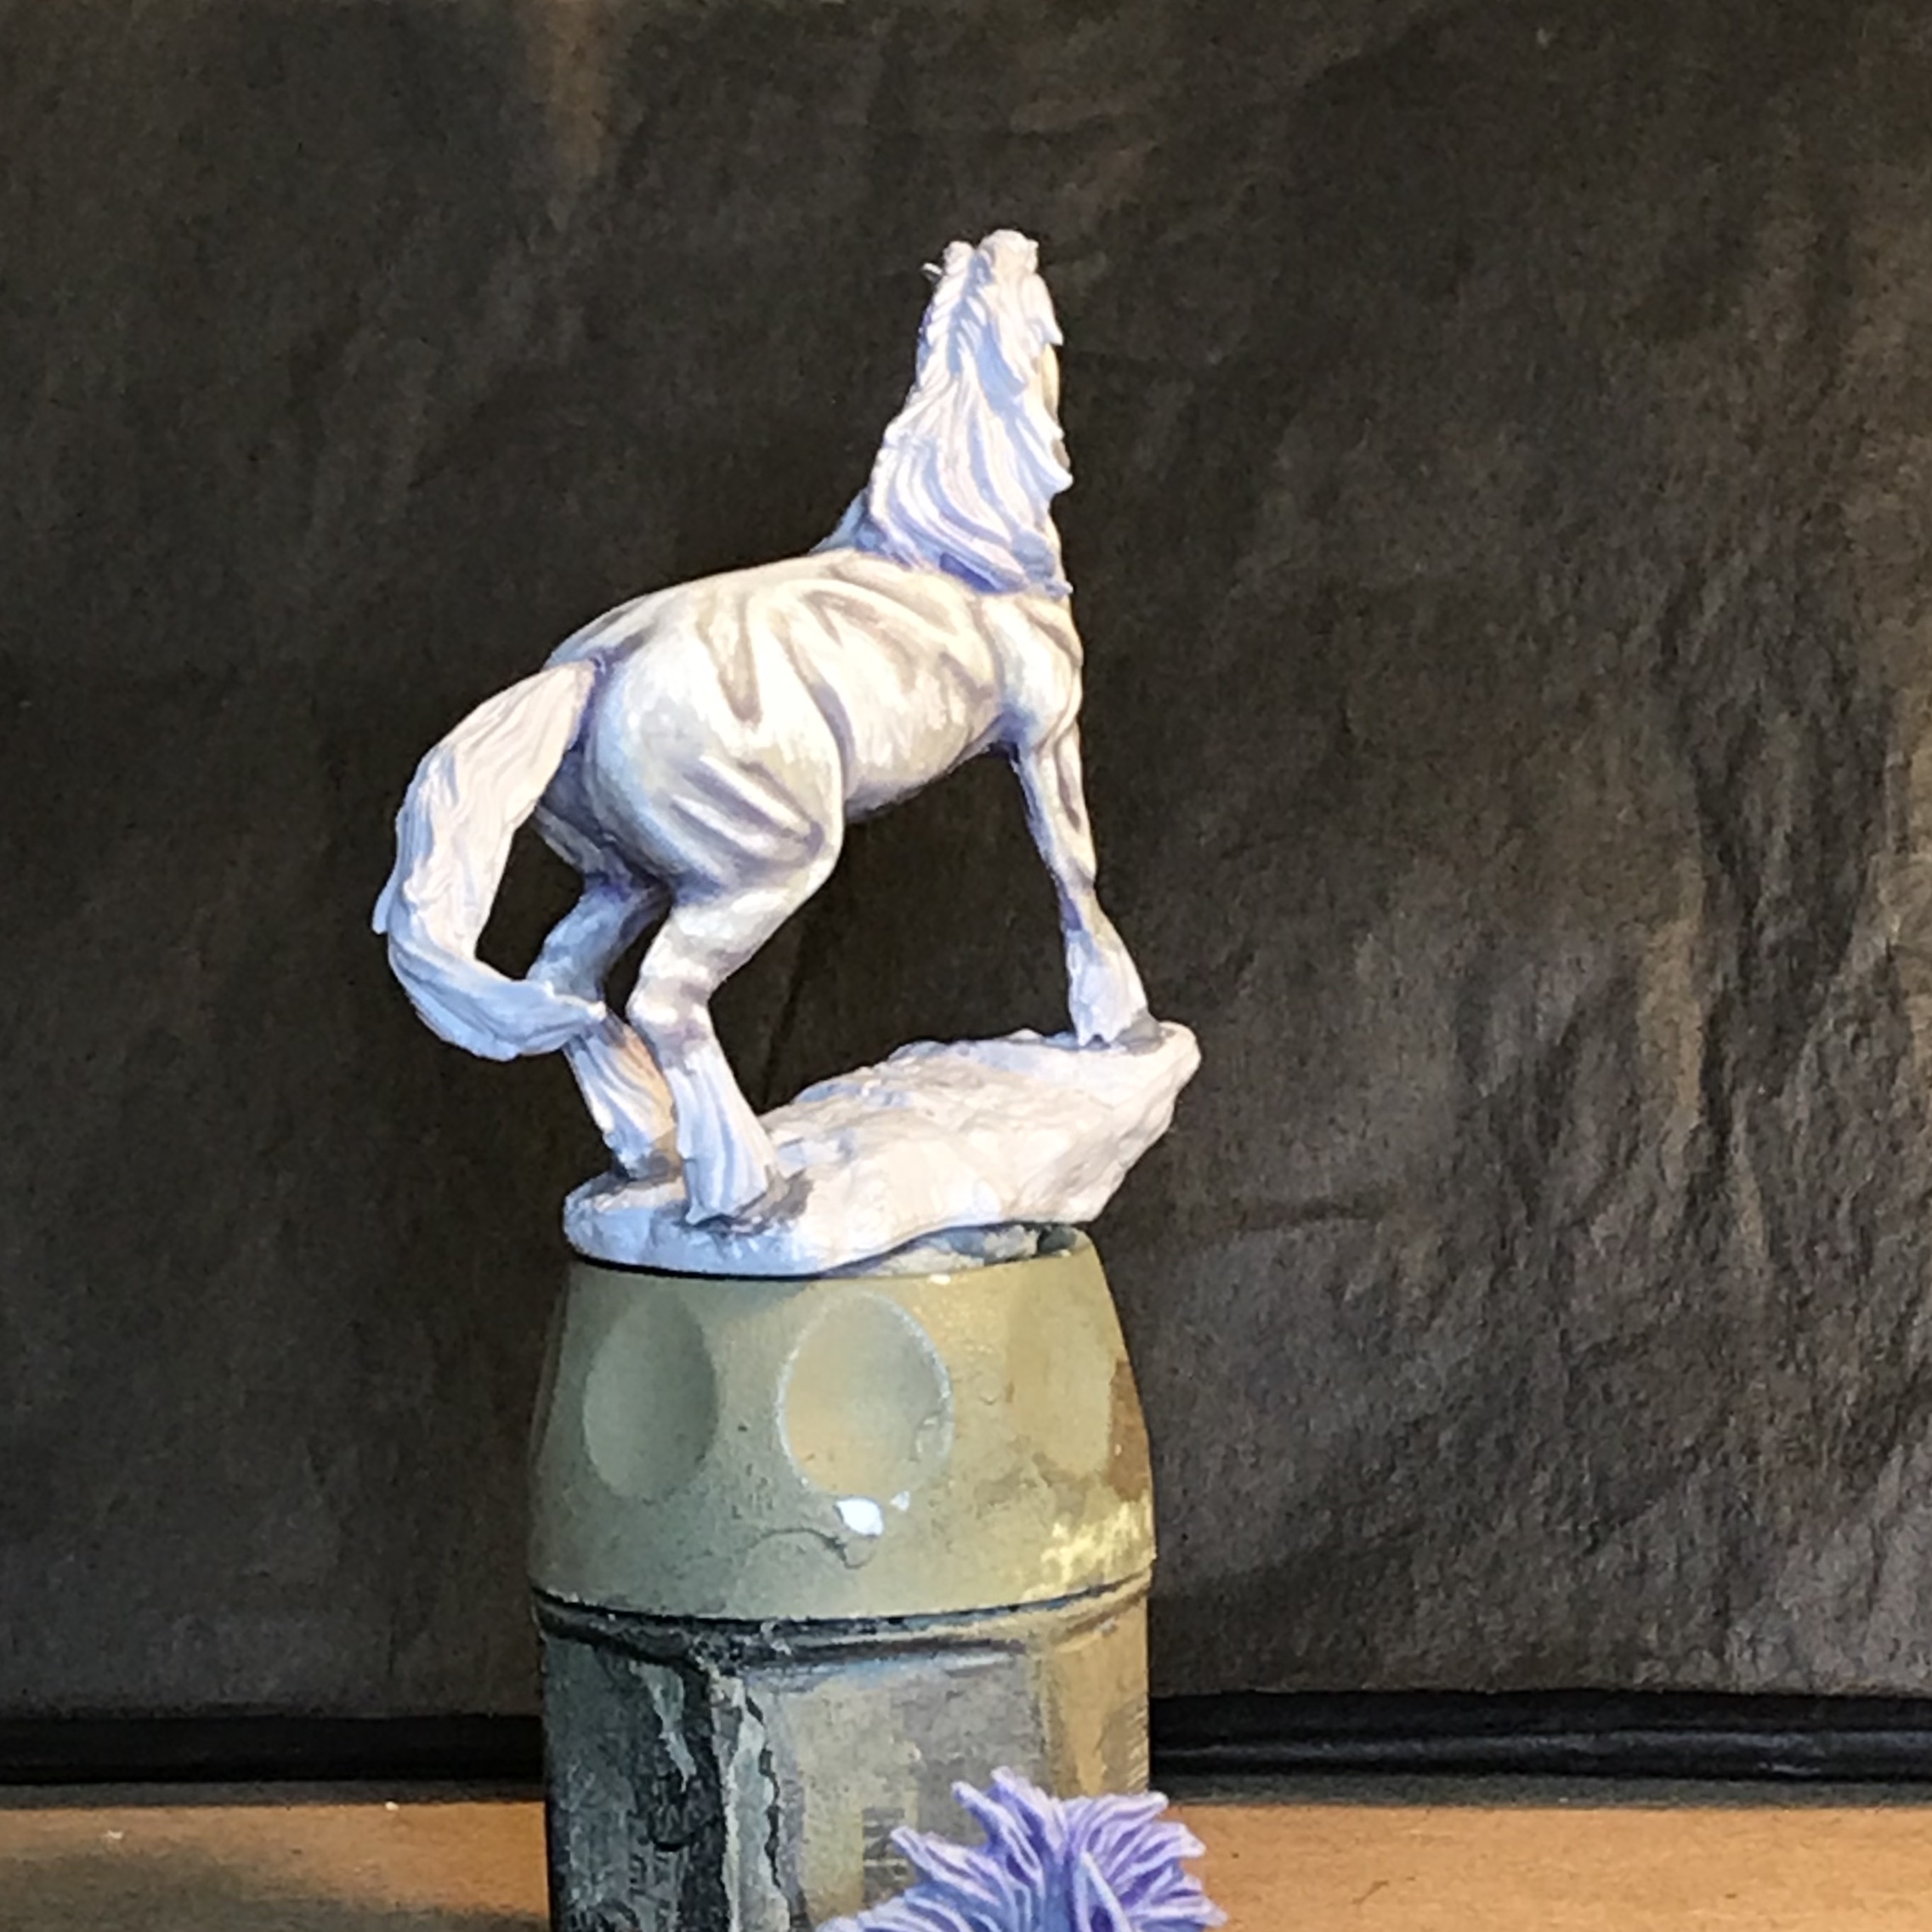
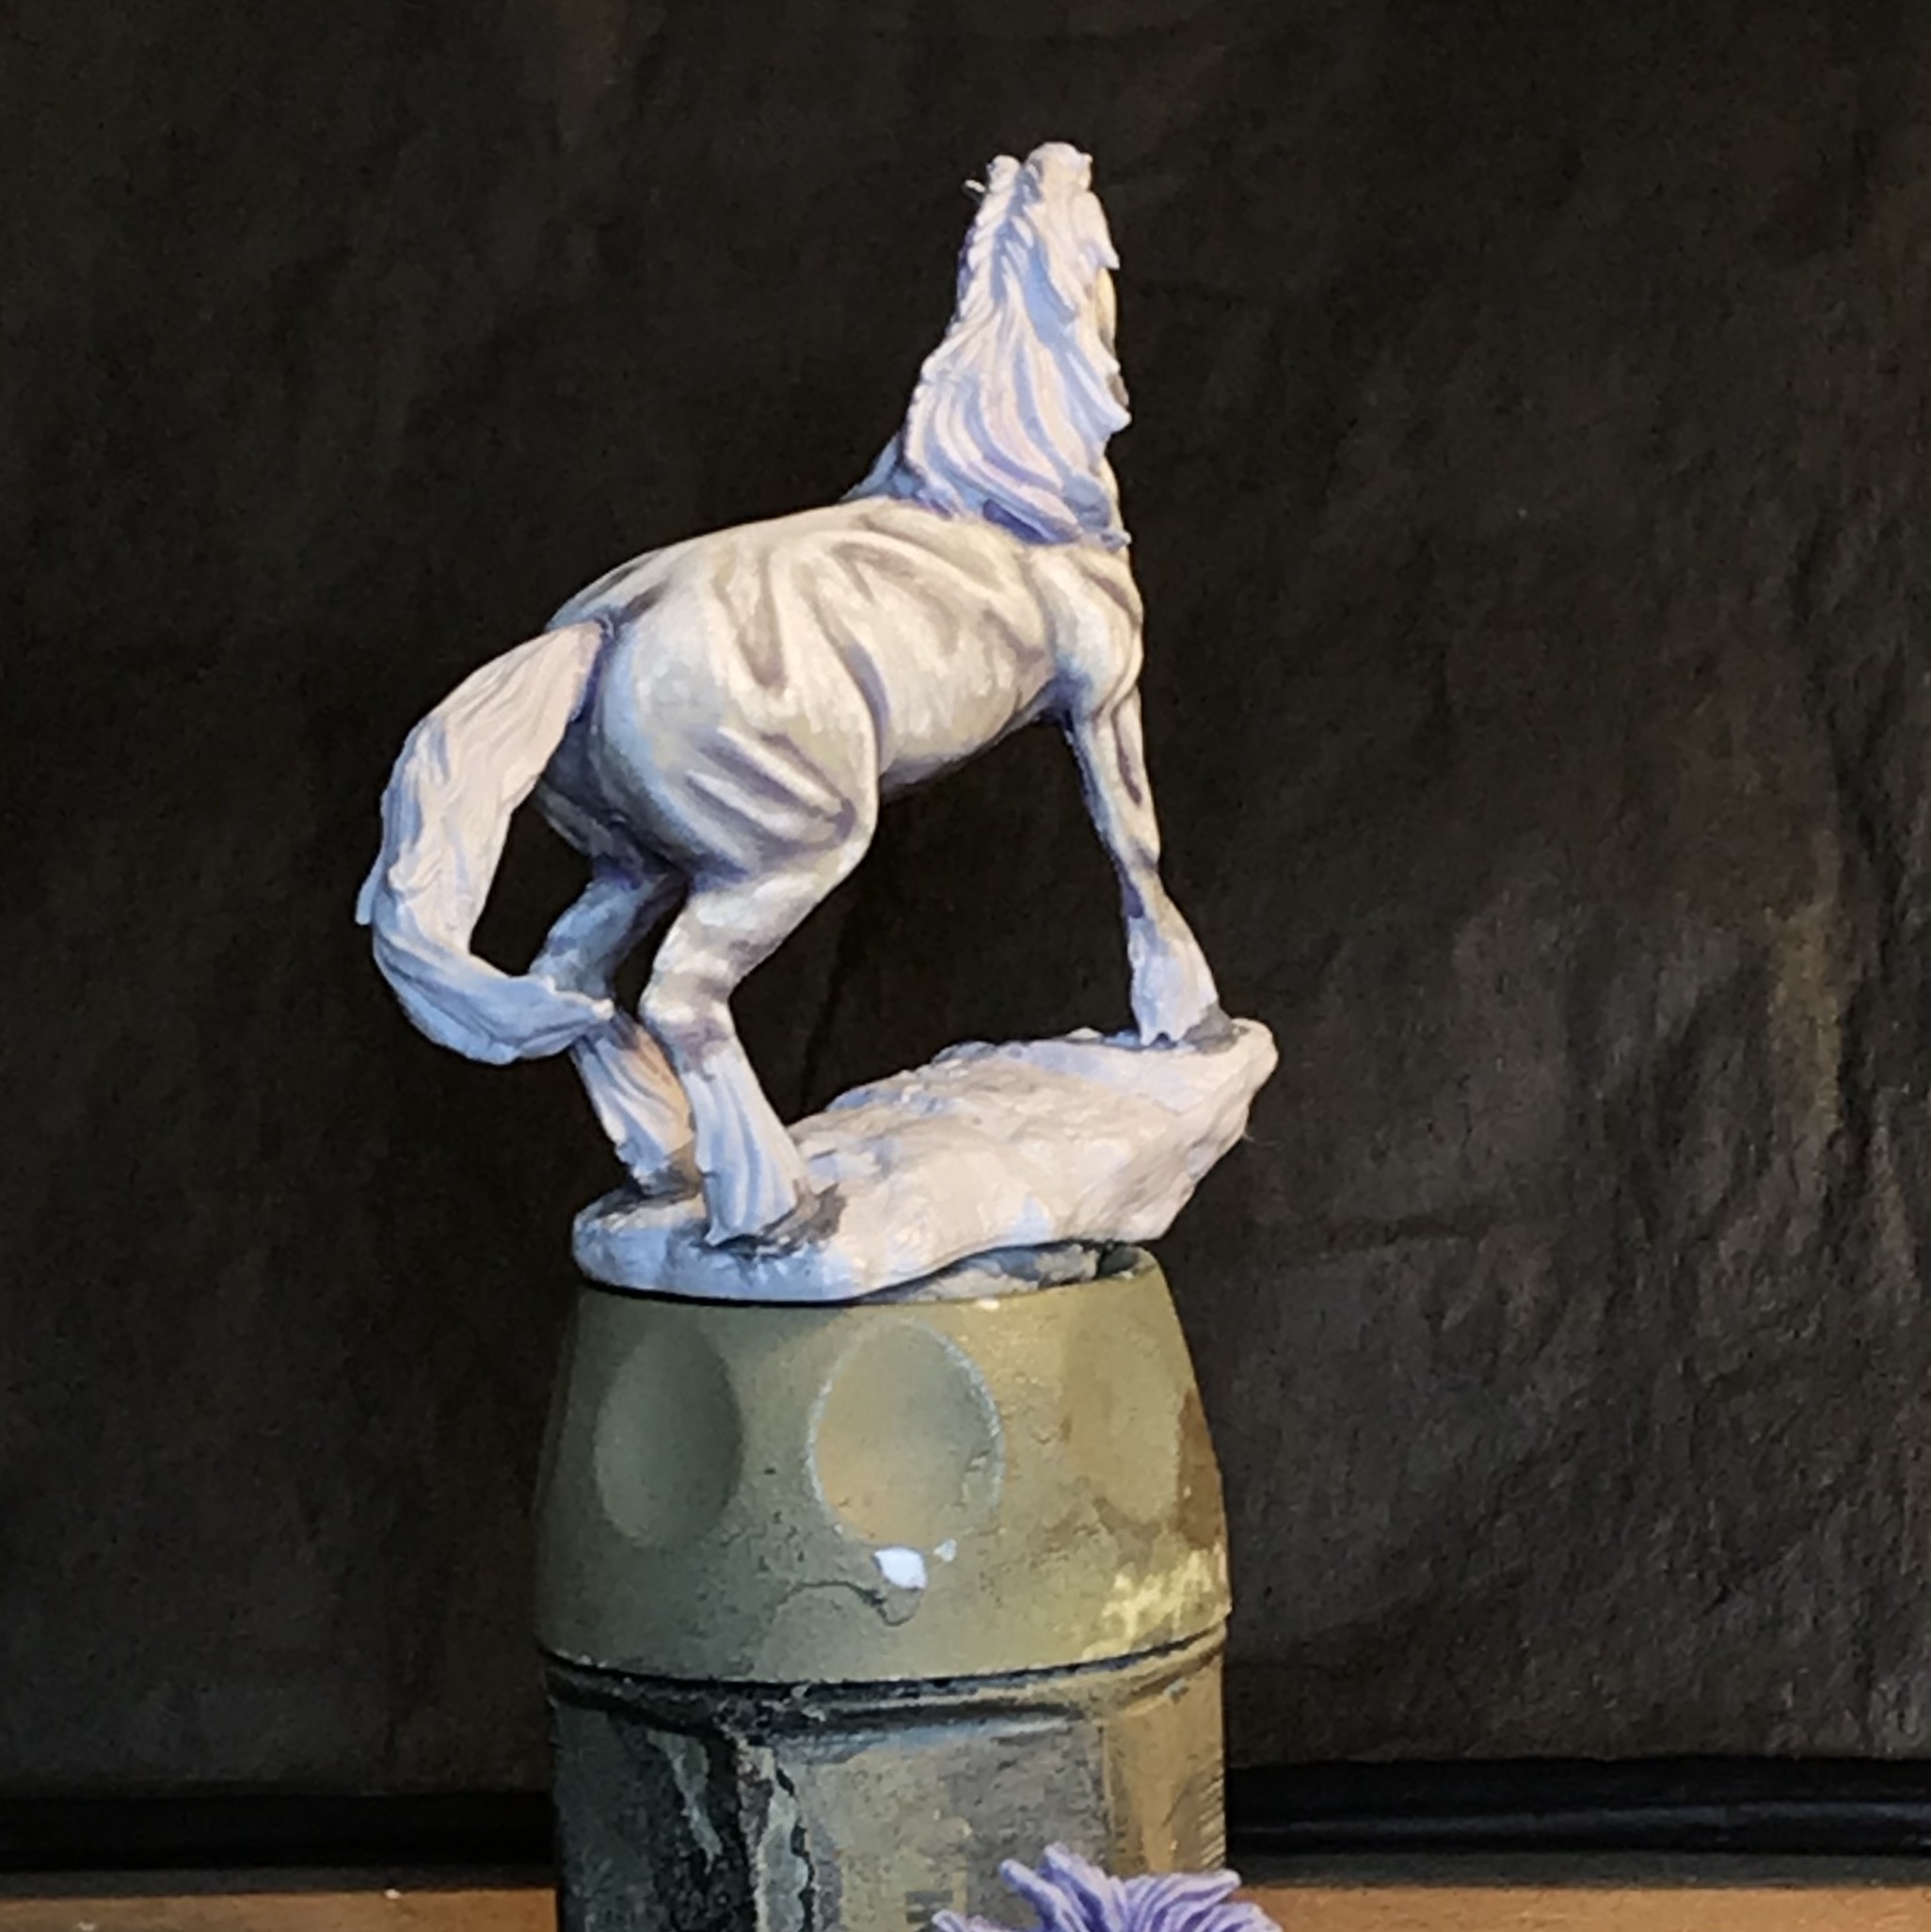
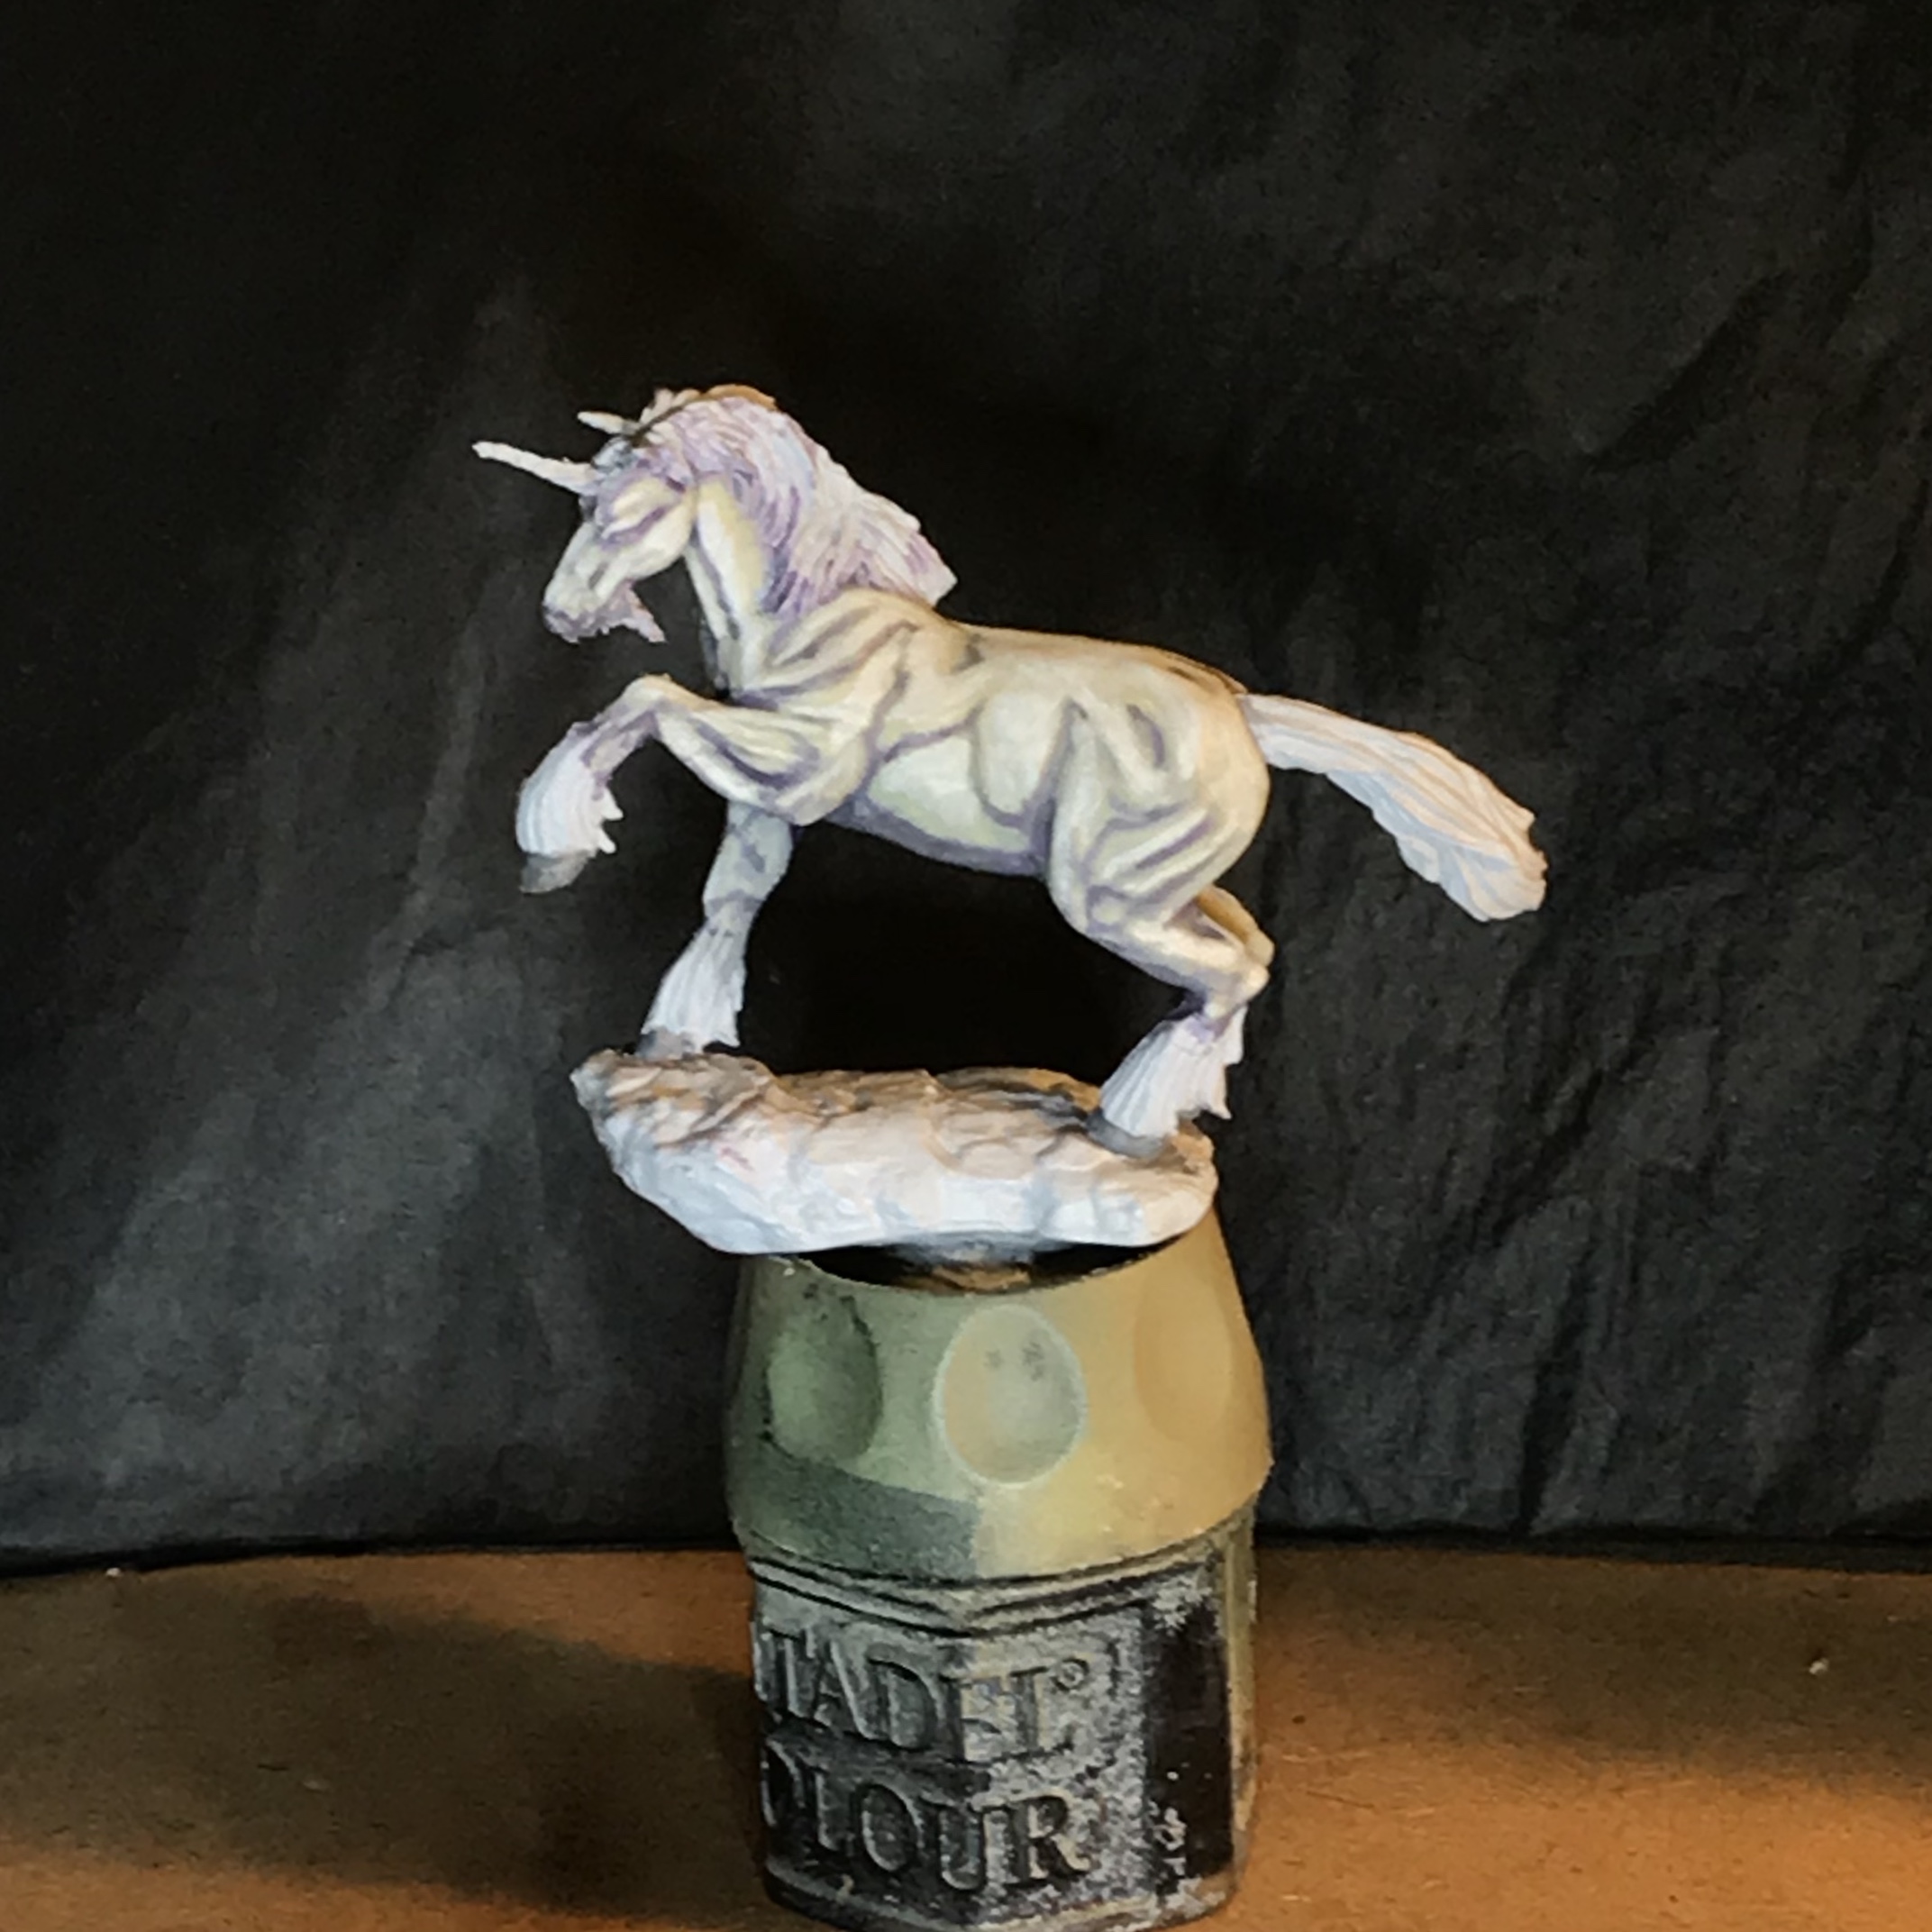
1 June 18: Not the usual colour.
The third horse of this batch. As previously noted, it has had a GW Fortress Grey base followed by a very thin wash of GW Leviathan Purple.
The mid tone then is several thin coats of GW Bleached Bone.
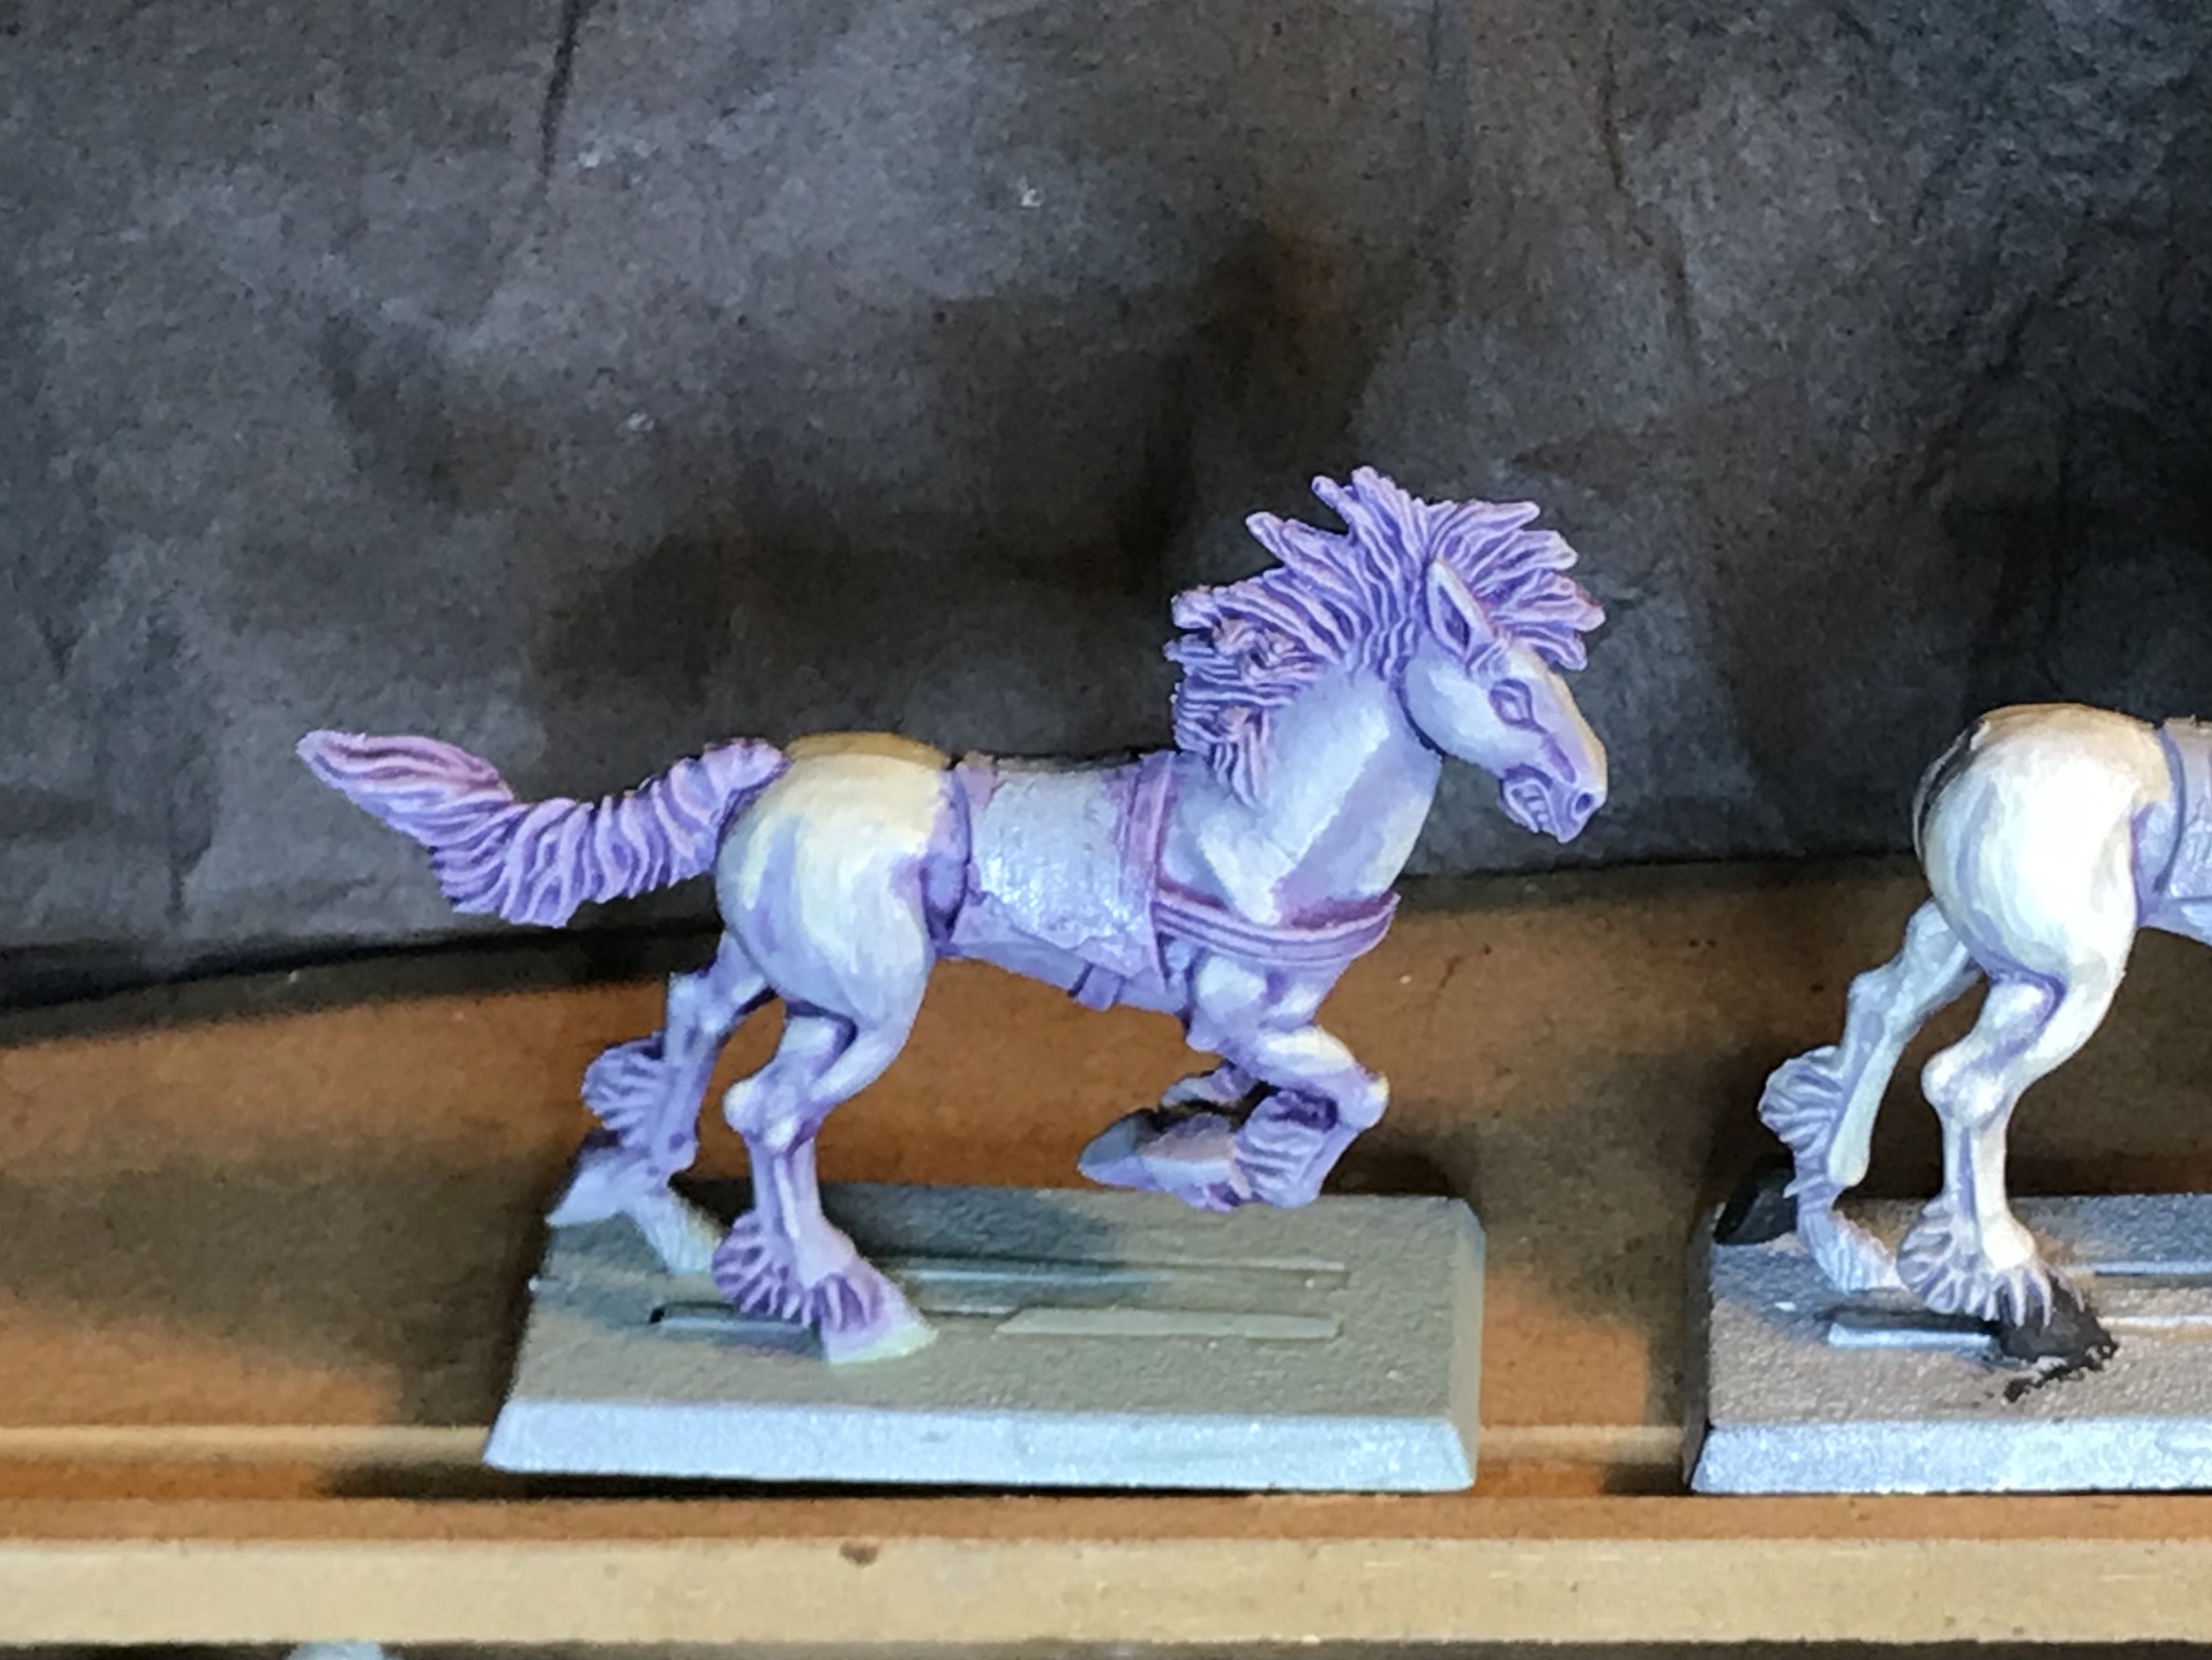
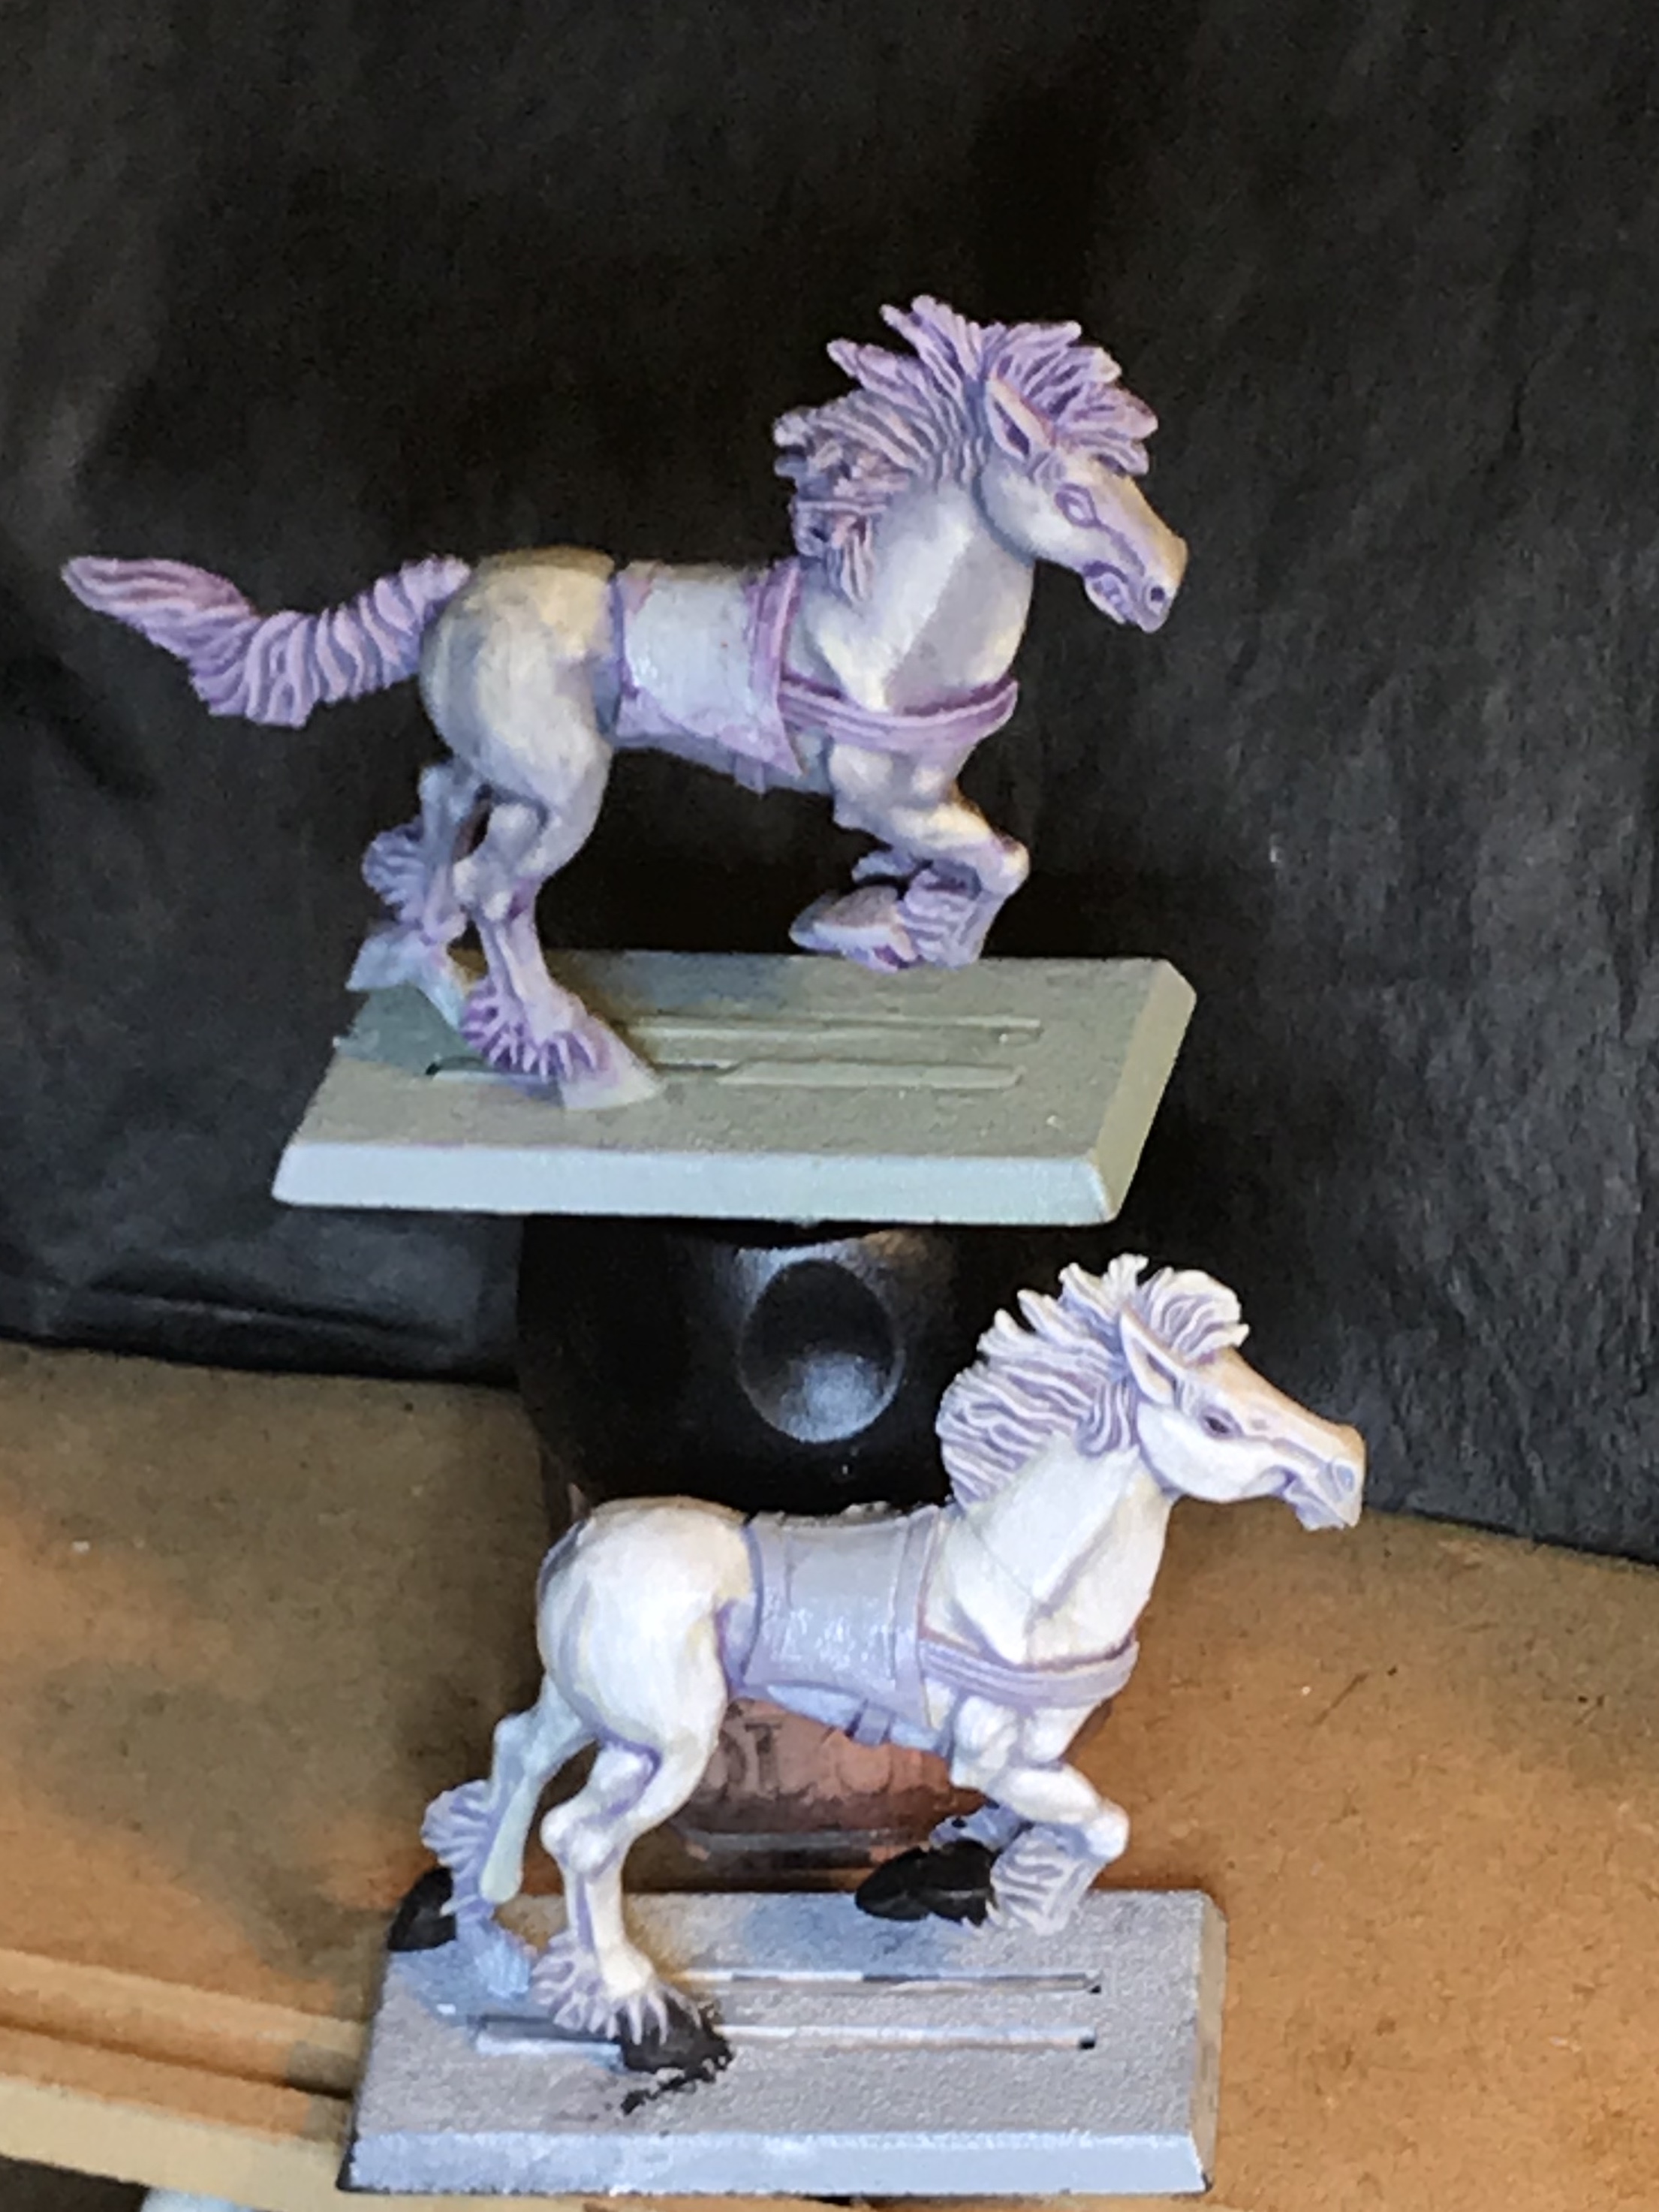
The next steps were to highlight this horse.
Final highlighting was done with several thin coats of GW Skull White.
After this I painted in the eyes with AP Matt Black. The hooves were based in this cooour too. The hooves were then painted in Vallejo German Camo Brown as the kid colour. Vallejo Khaki was used as the highlight. These colours were applied down in thin lines, and a couple of times I went back and applied lines in the previous colour.


This is far as these guys are going for now. They will make an appearance in a future project though.
The next stage of this project is the “special project”. These guys are just the warm-up.
If you’ve read this far, thanks! I hope you can gain some use of this, feel free to drop in questions, comments and criticism below.
cheers!
8 June 18: A Special Project
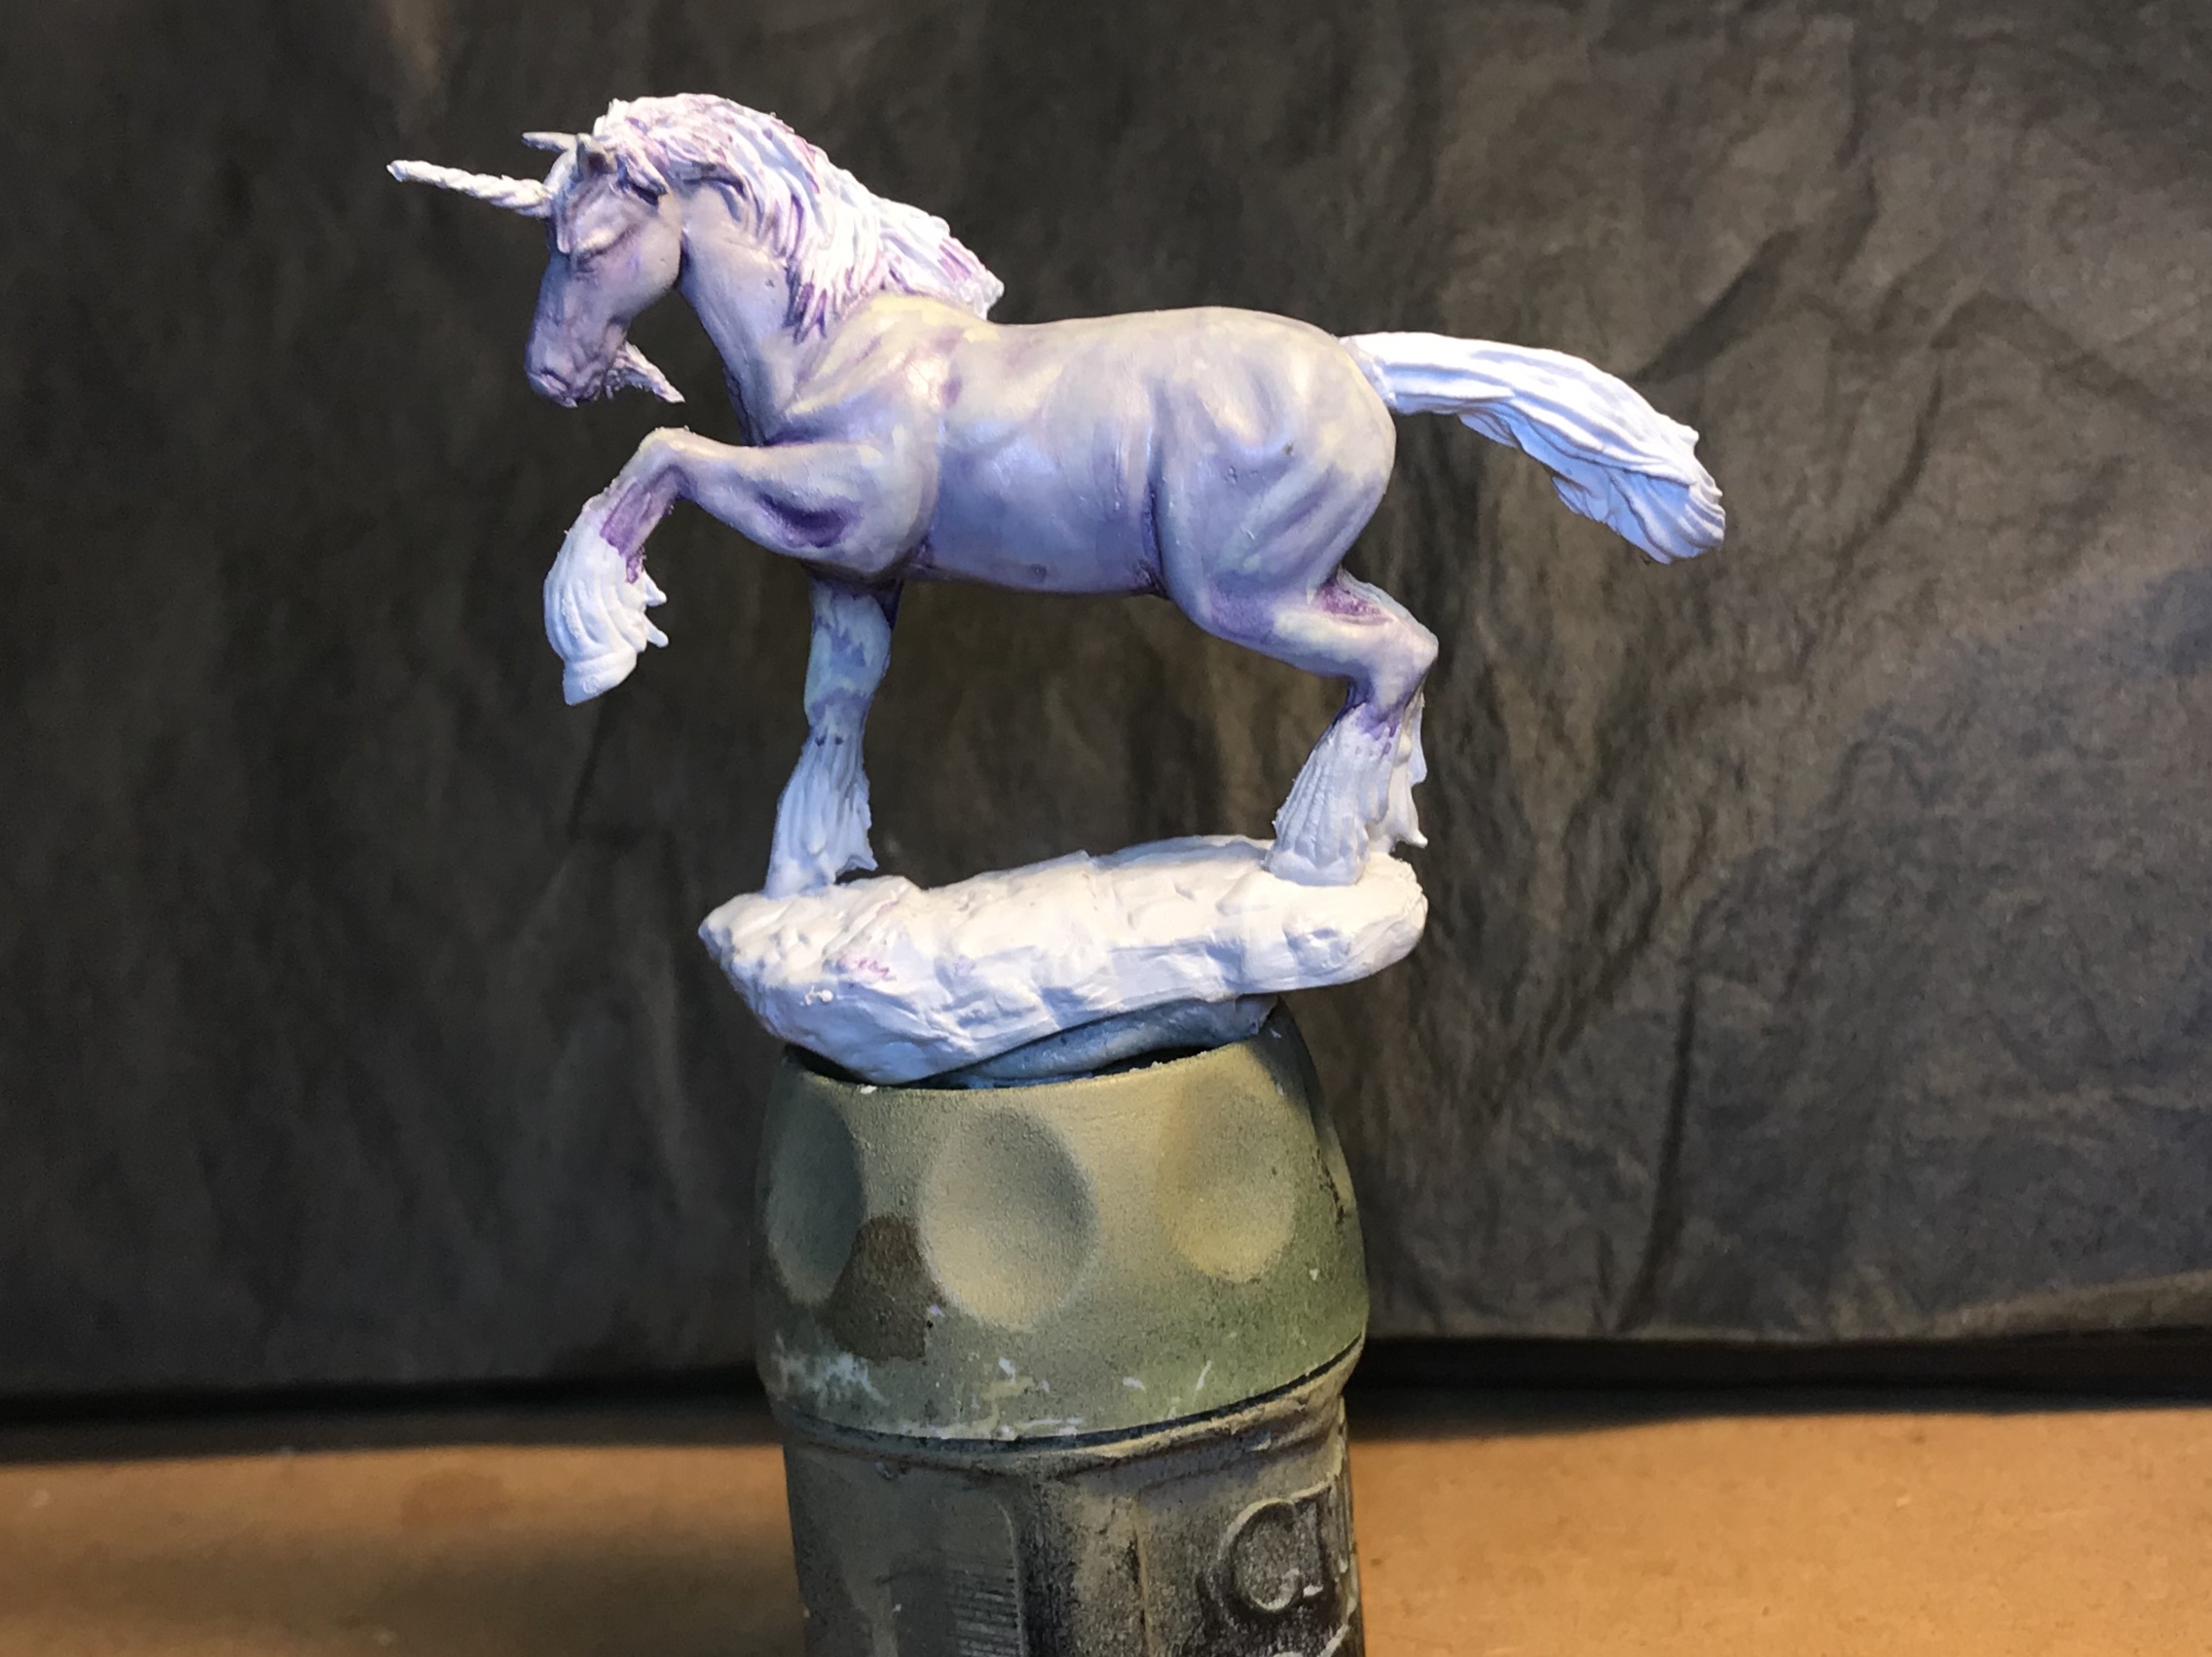
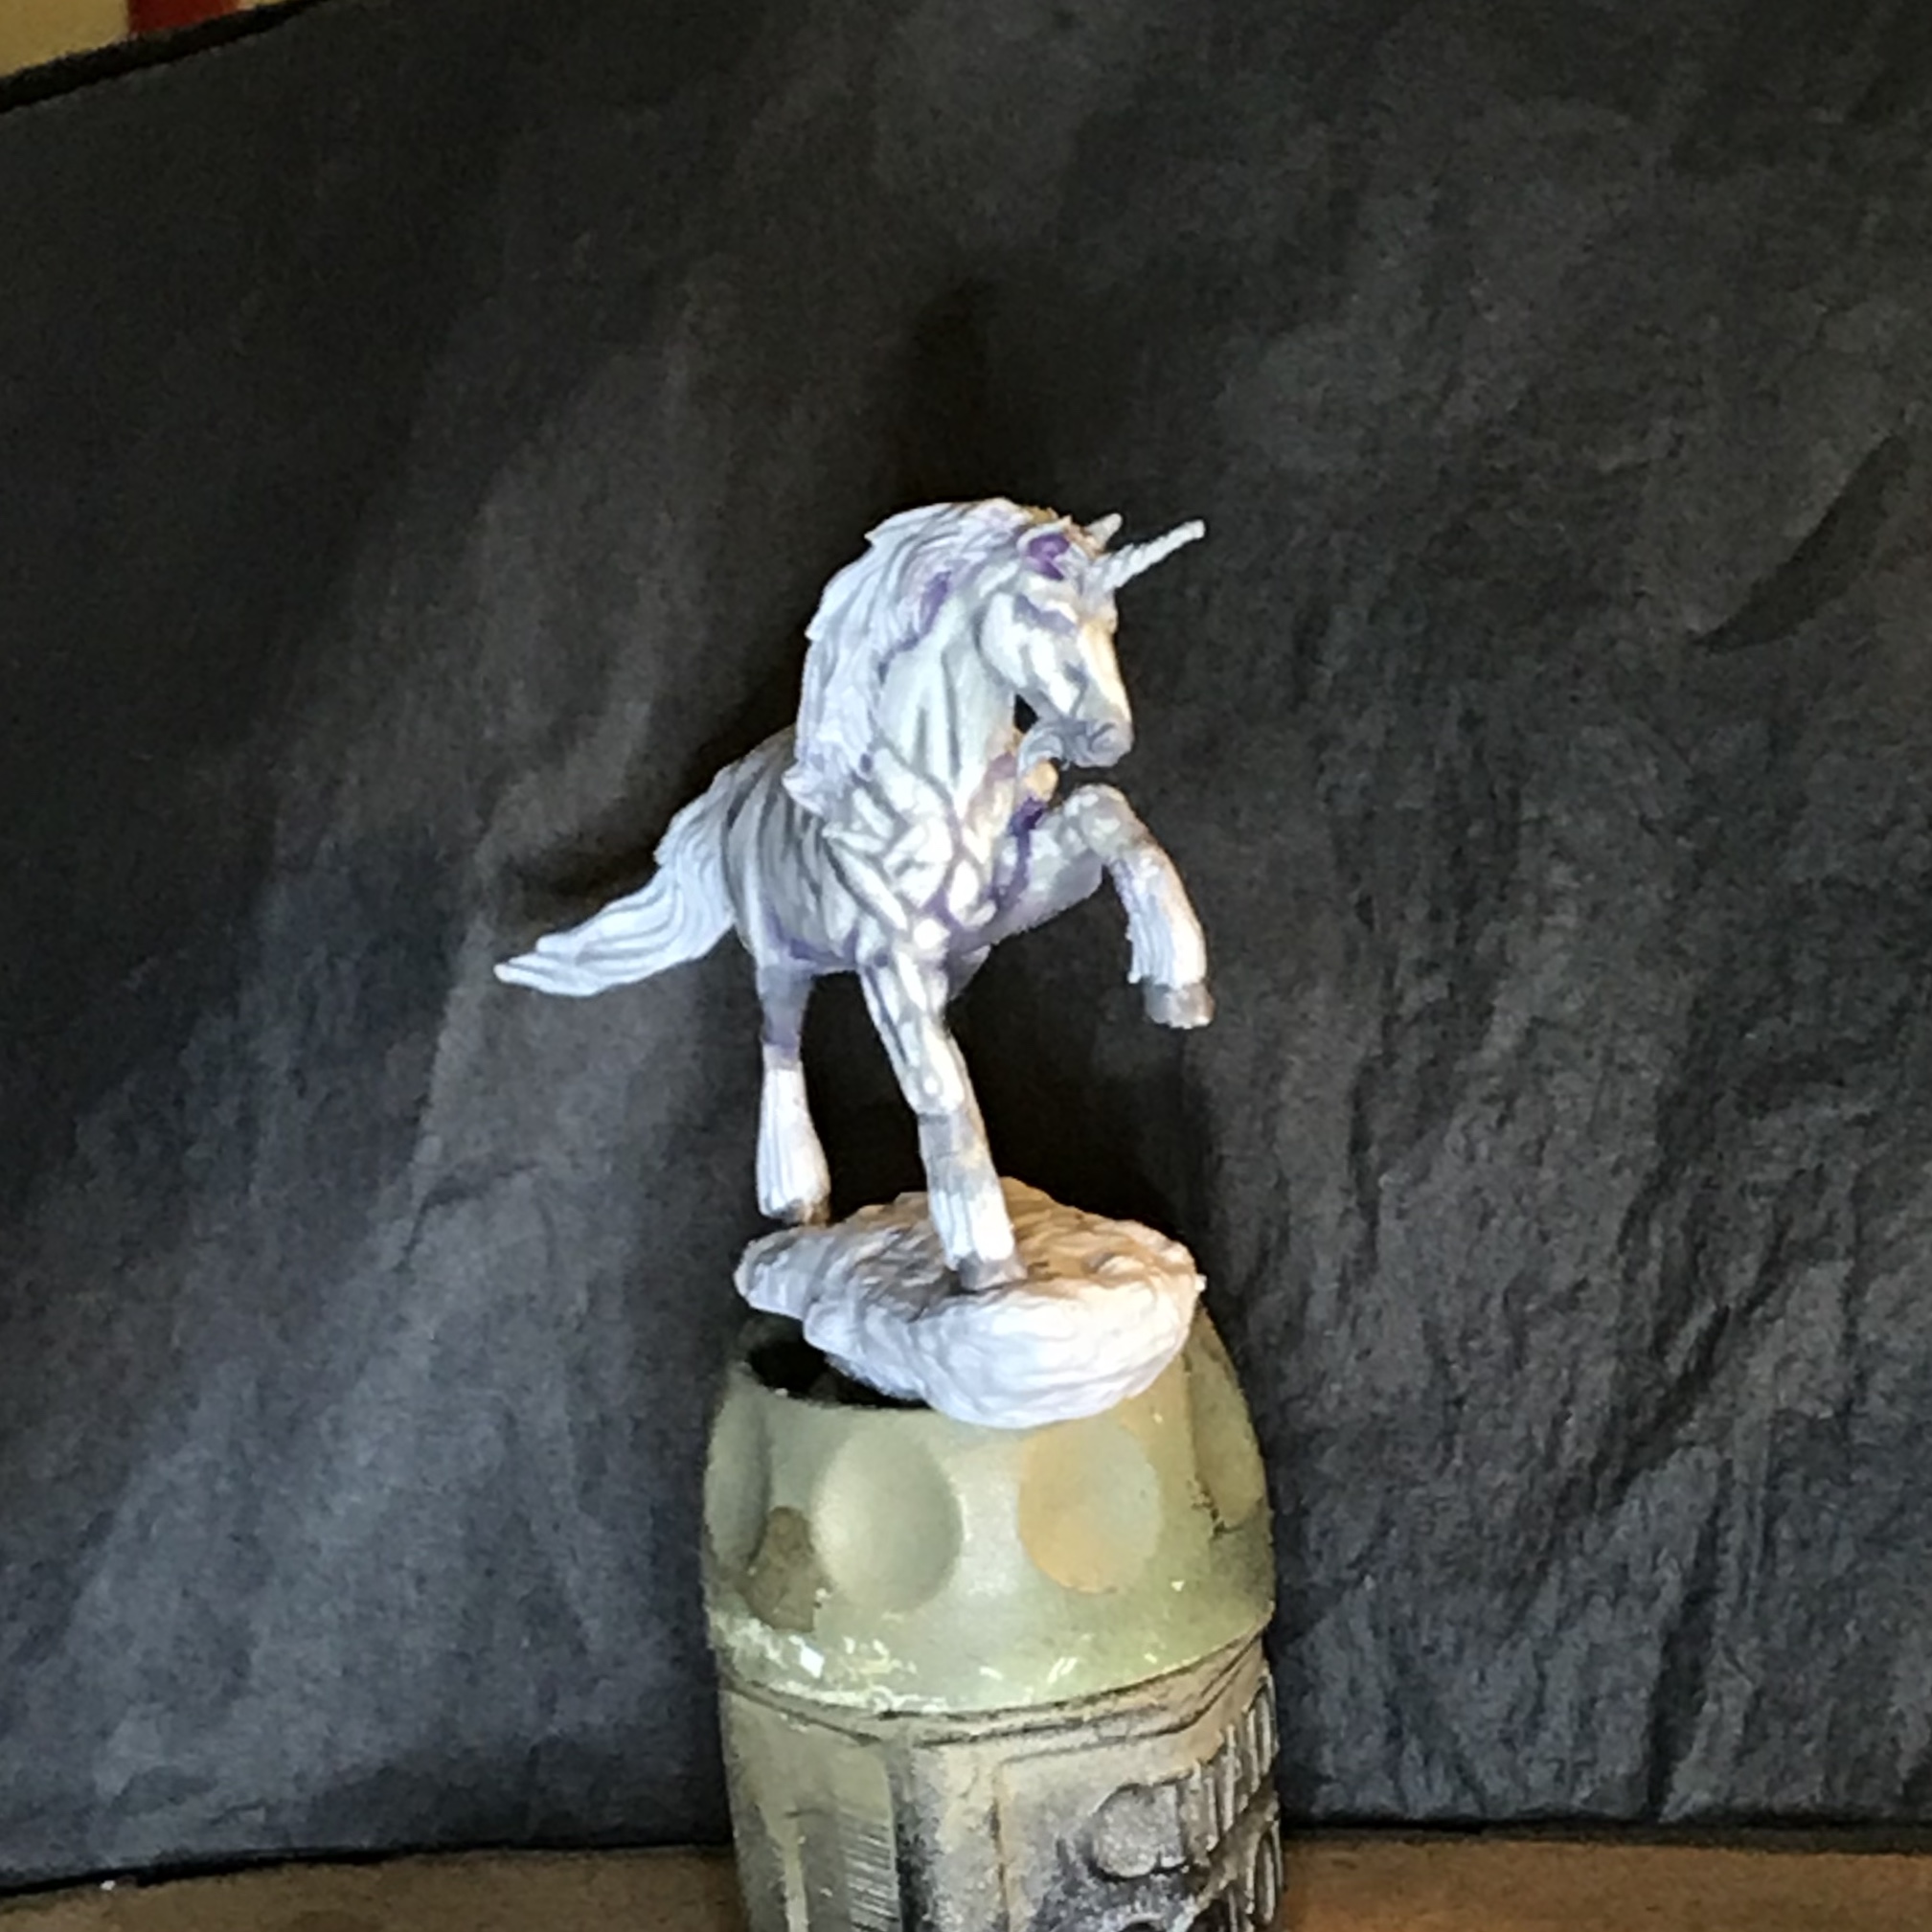
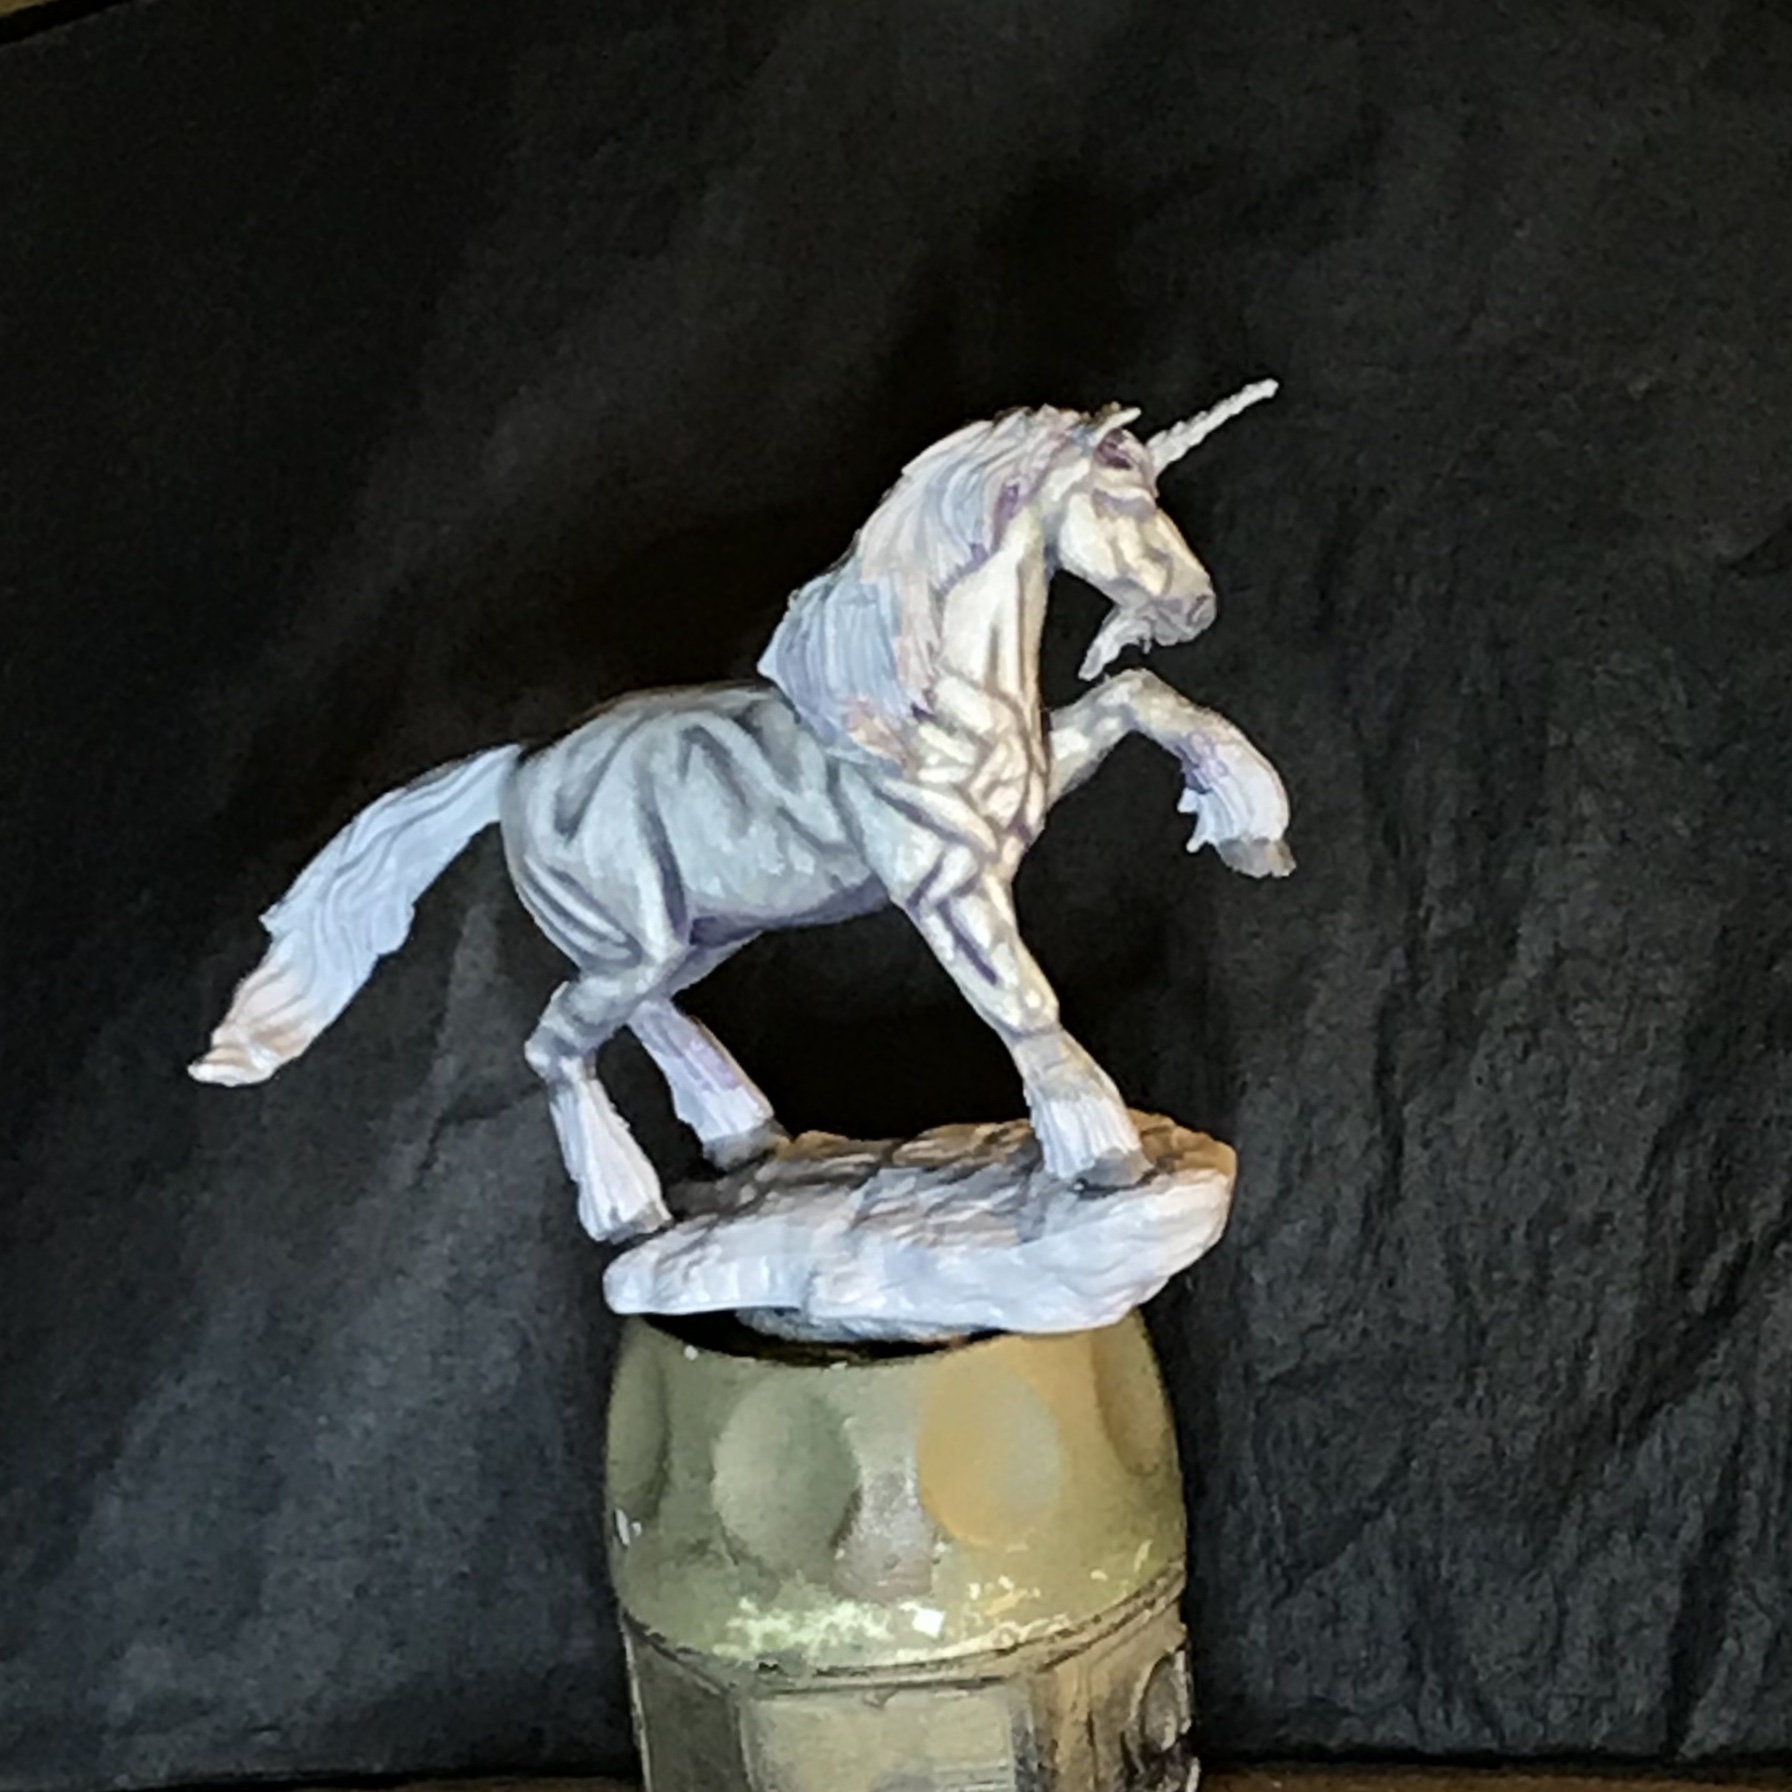
The previous work was a practice run, building up to this: the painting of a Unicorn as a gift for my daughter.
The mini is from the WizKids Pathfinder unpainted range.
I was quite impressed with the quality of the detail on this mini, especially for only AU$7. There are some definite mold lines that need cleaning (I really dislike mold lines…) but it was to be expected.
The fur recipe on this was the same as the previous, purple horse.
 Base coated, wash for shade, beginning Mid colour
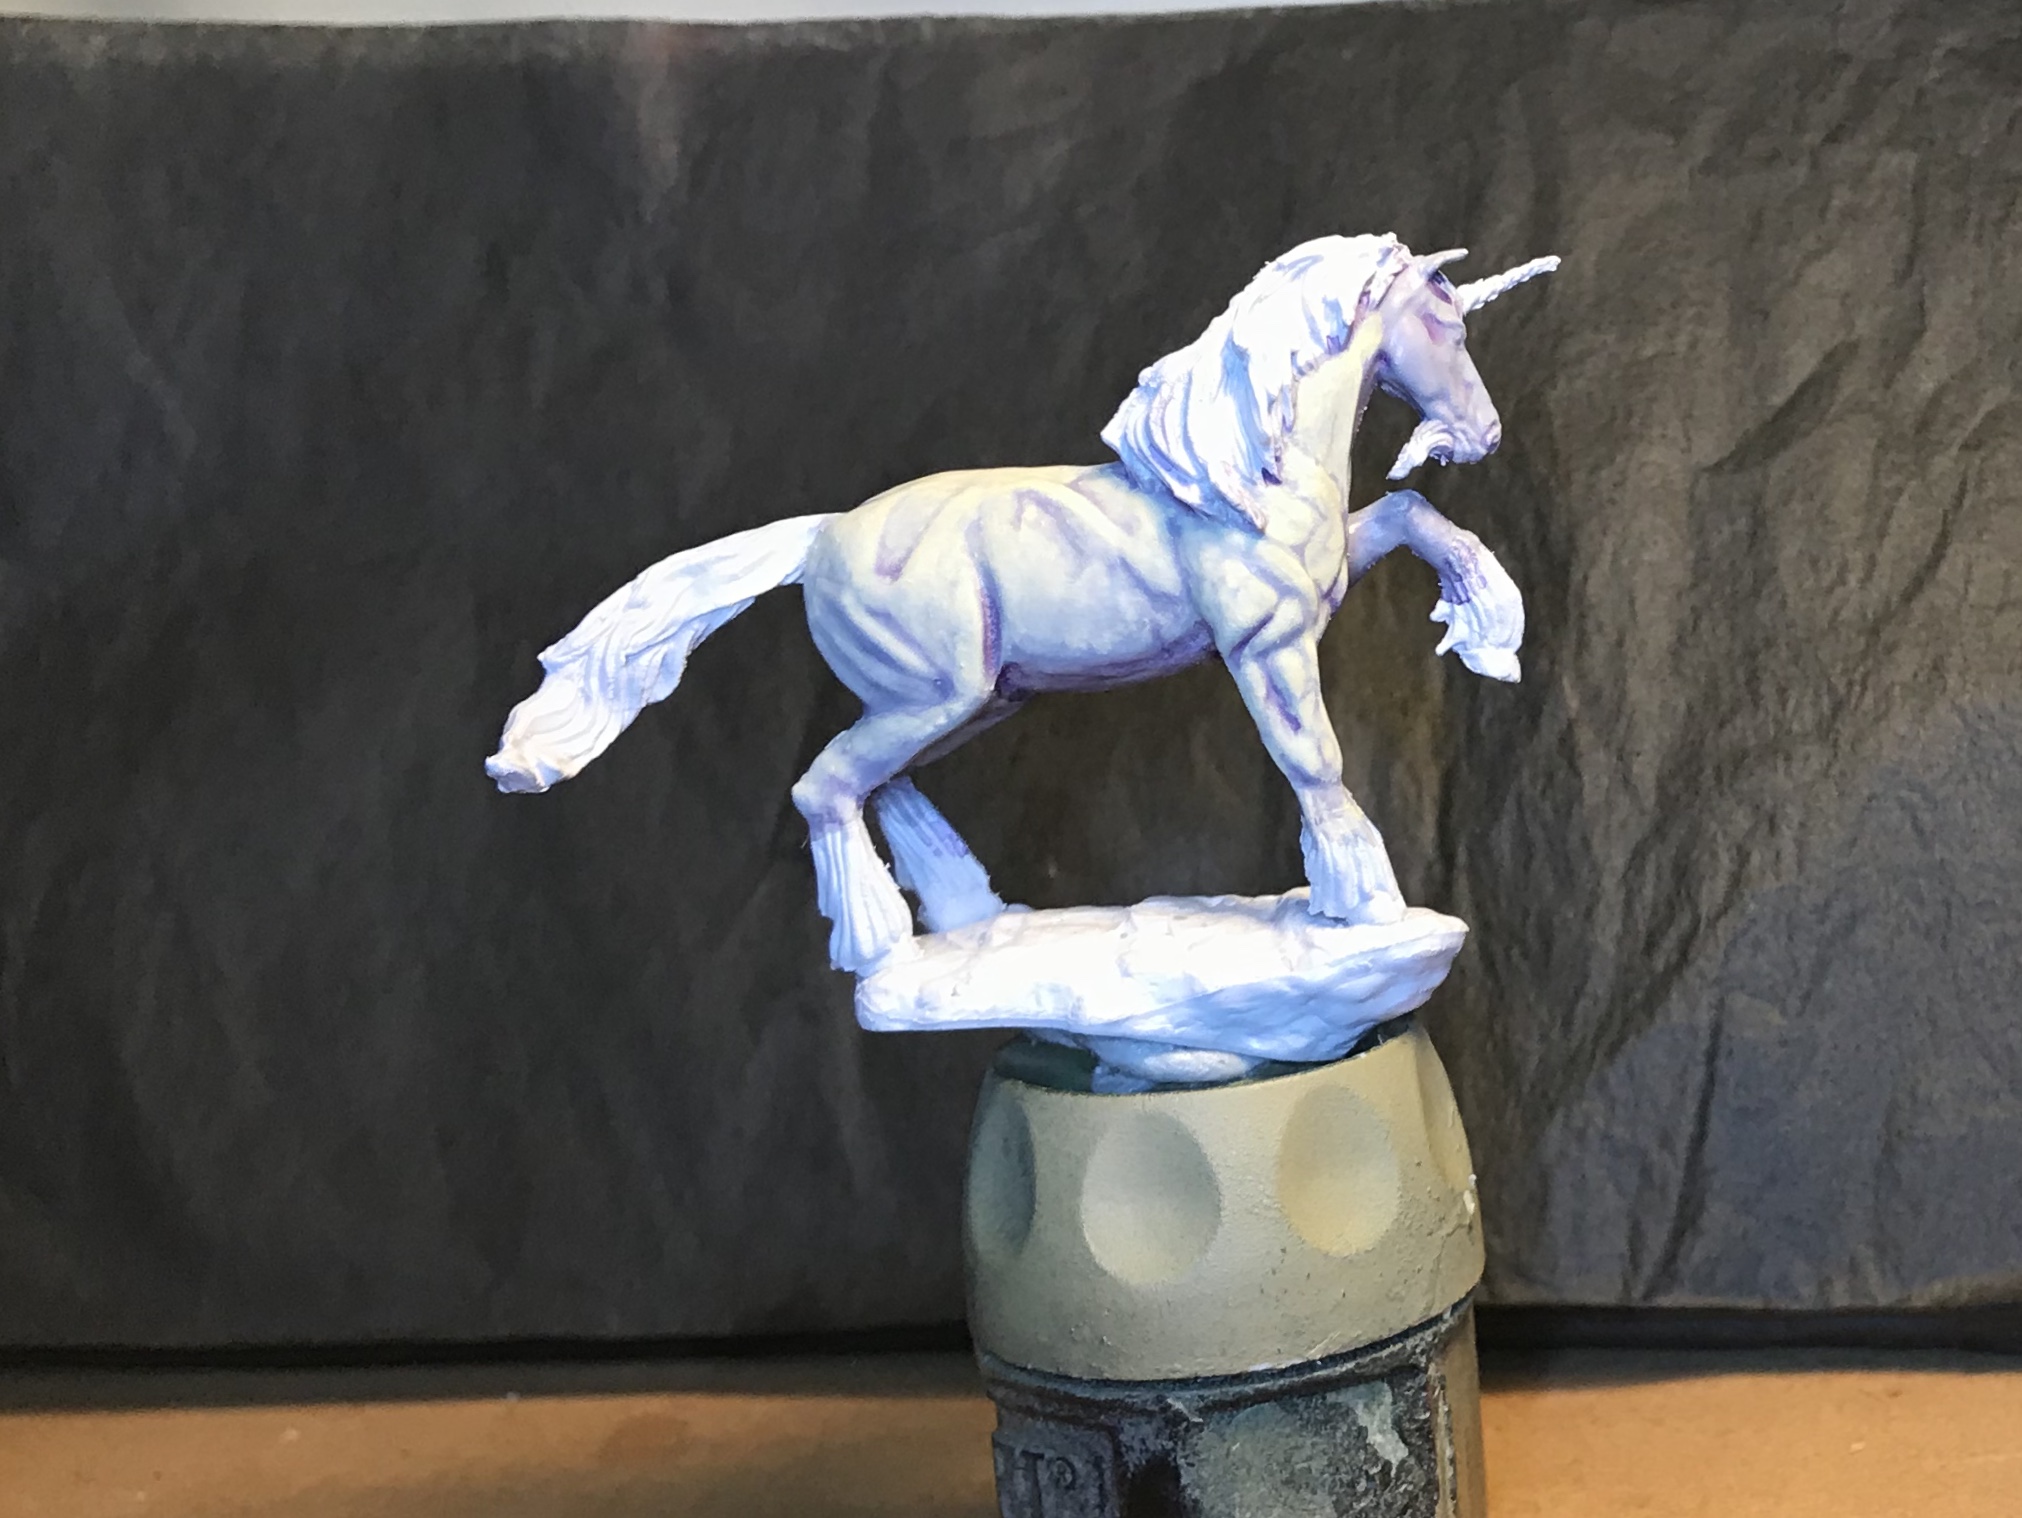 Building up mid colour
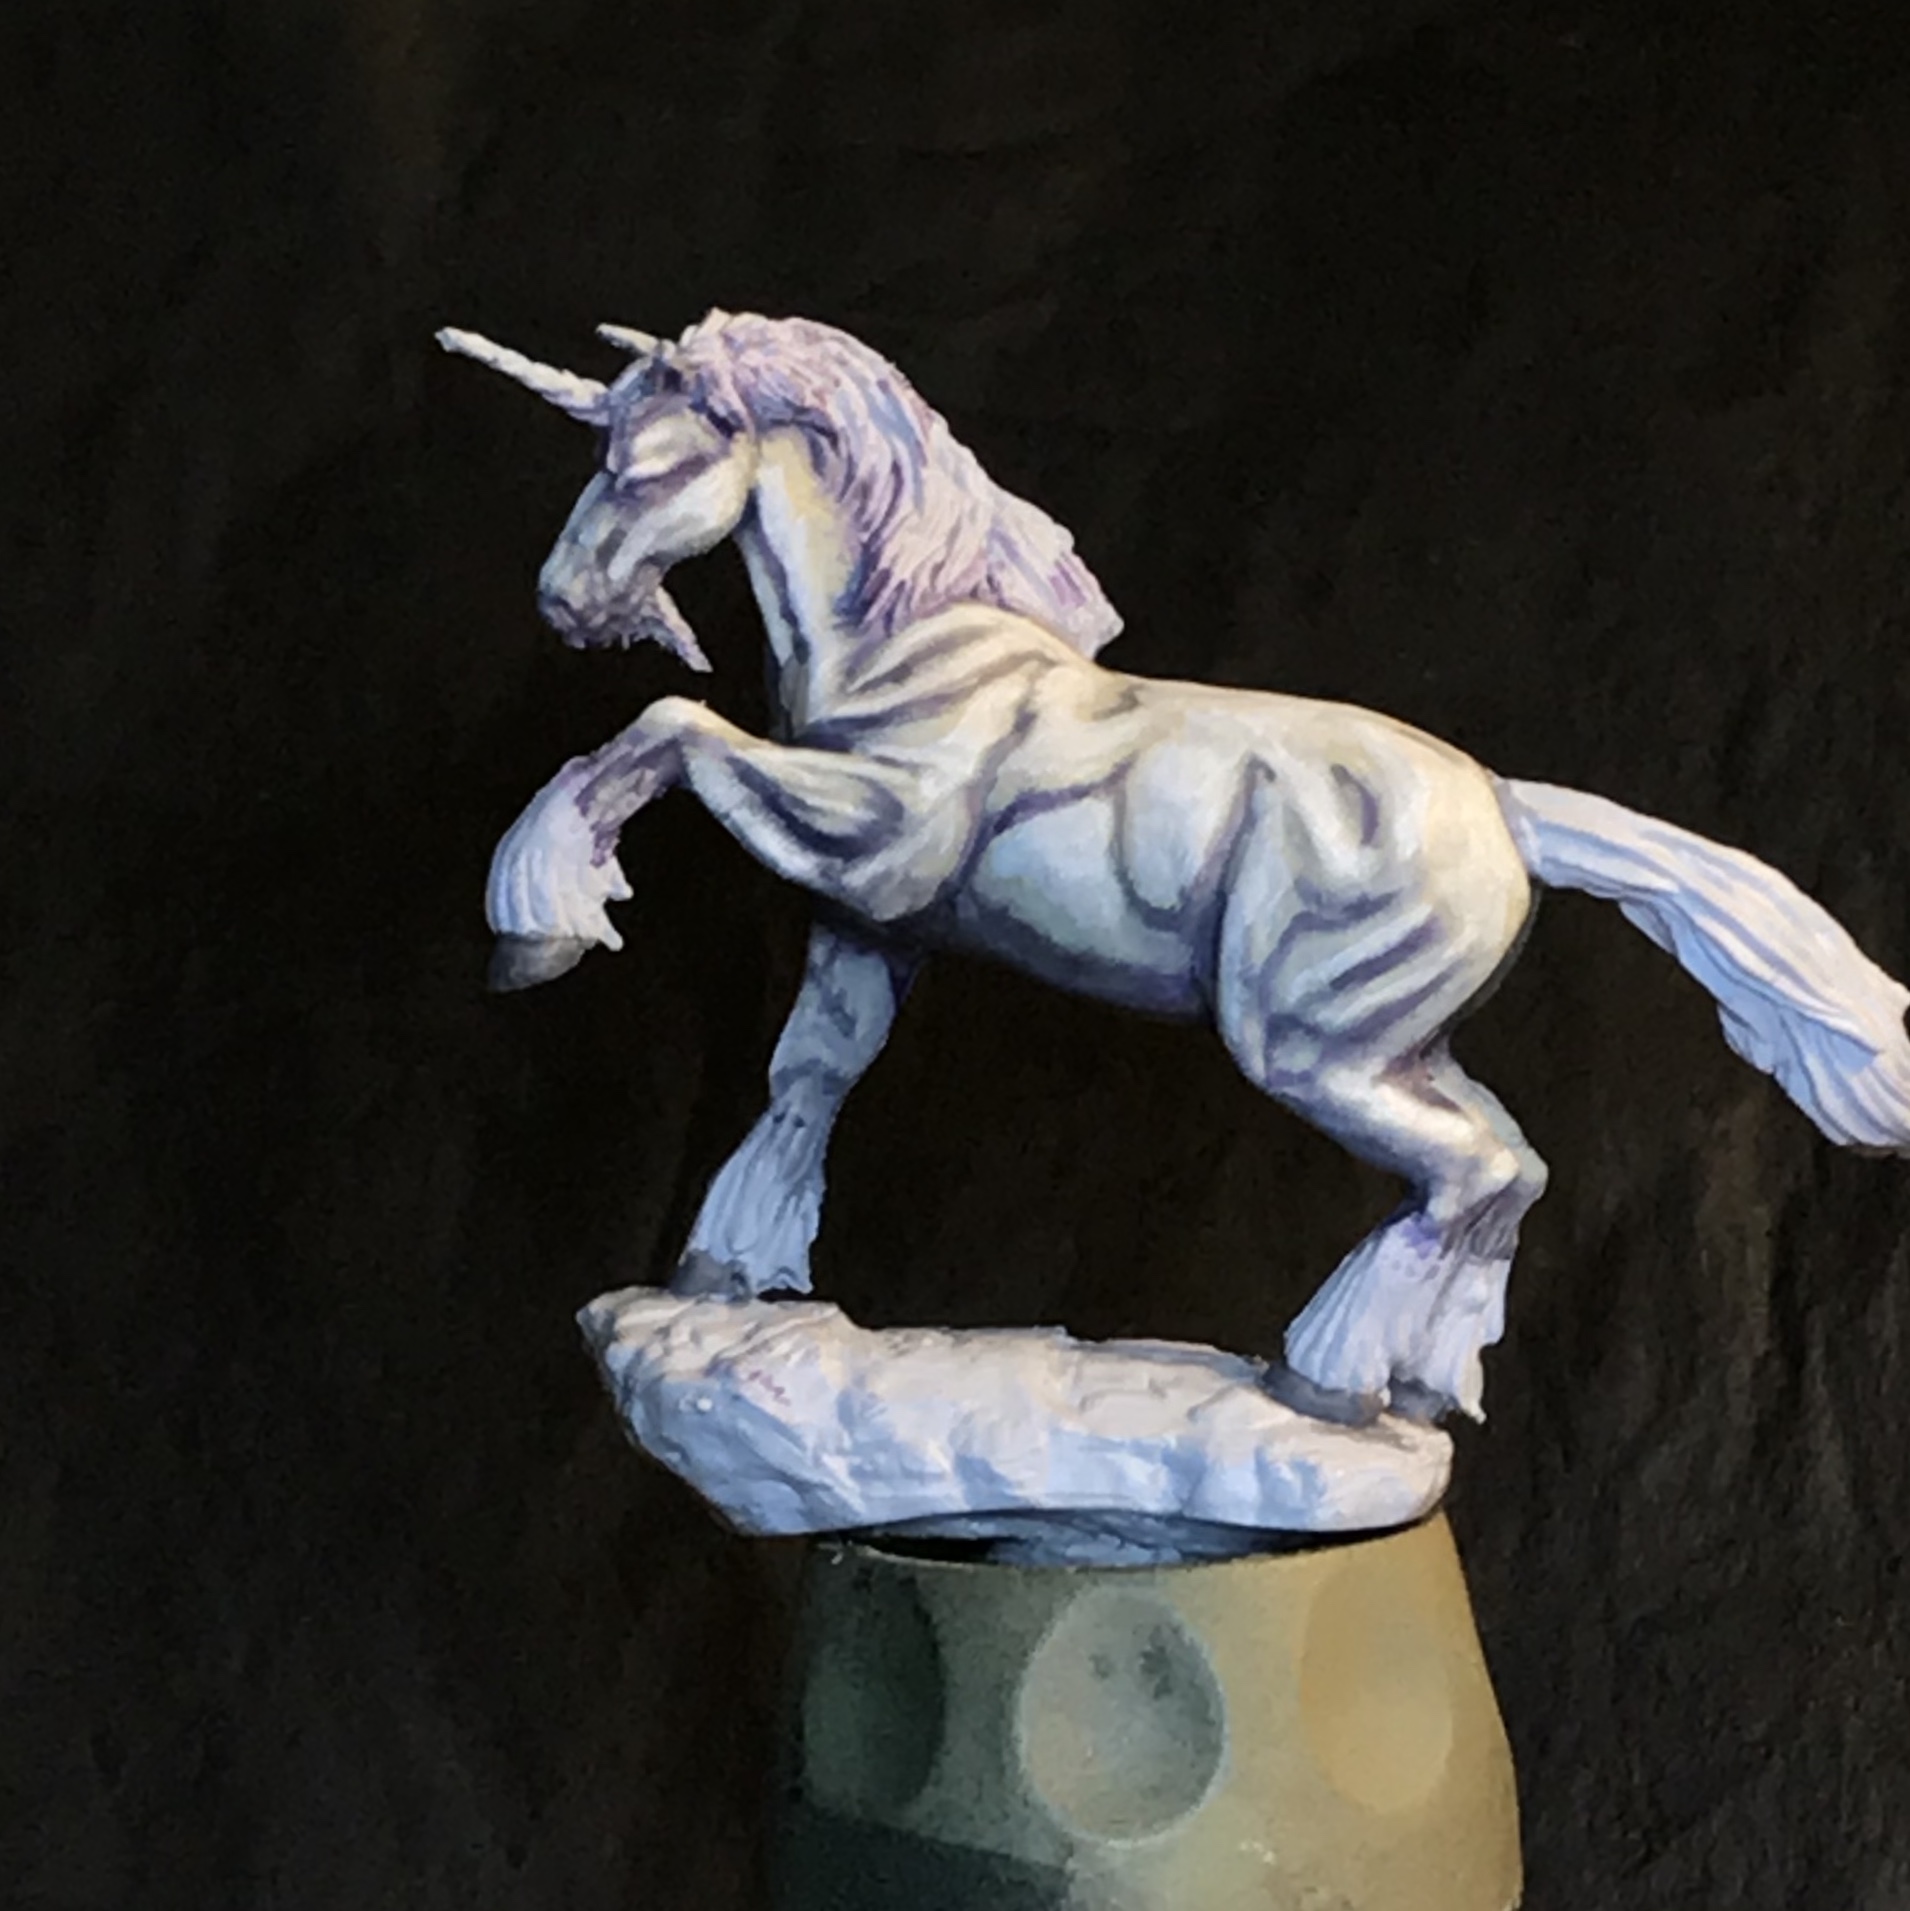
9 June 18: Add a Magical Hairstyle!
Time to add colour to the mane and tail. Magical, Unicorn colour ?
 Green, Purple, Blue.
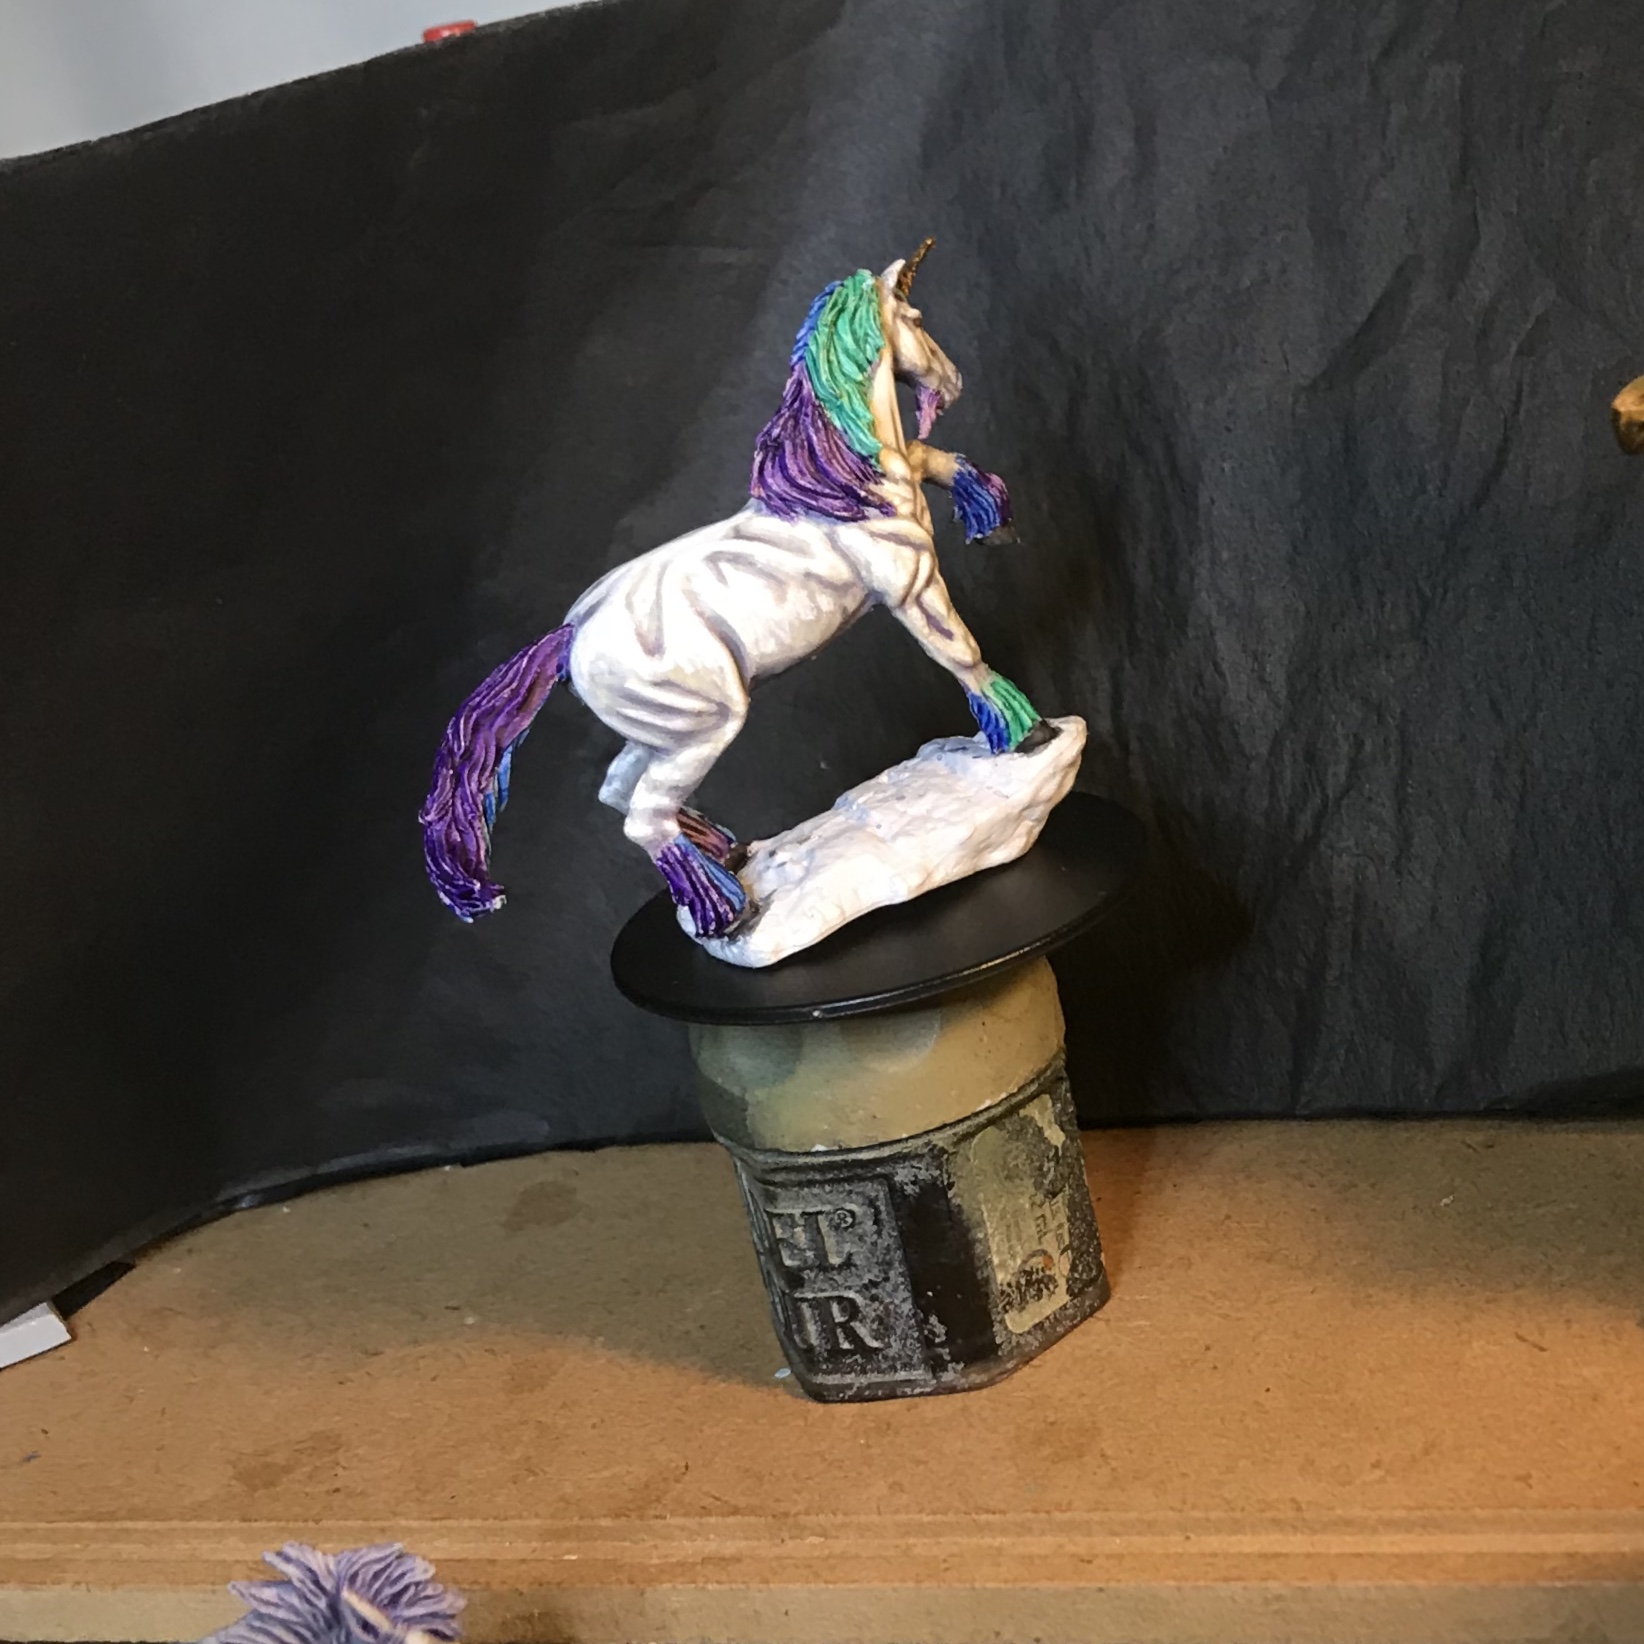

Green, Blue and Purple GW inks used to colour the hair. Using this method gives quick coverage, the recess gather more of the colour while the raised areas appear lighter. I used this method all the time back in the 90’s painting Escher ganger hairstyles ???
The horn is given a coat of German Camo Brown. It is then highlighted with a very careful dry brush of GW Burnished Gold. A wash of GW Skaven Brown is applied to finish it.
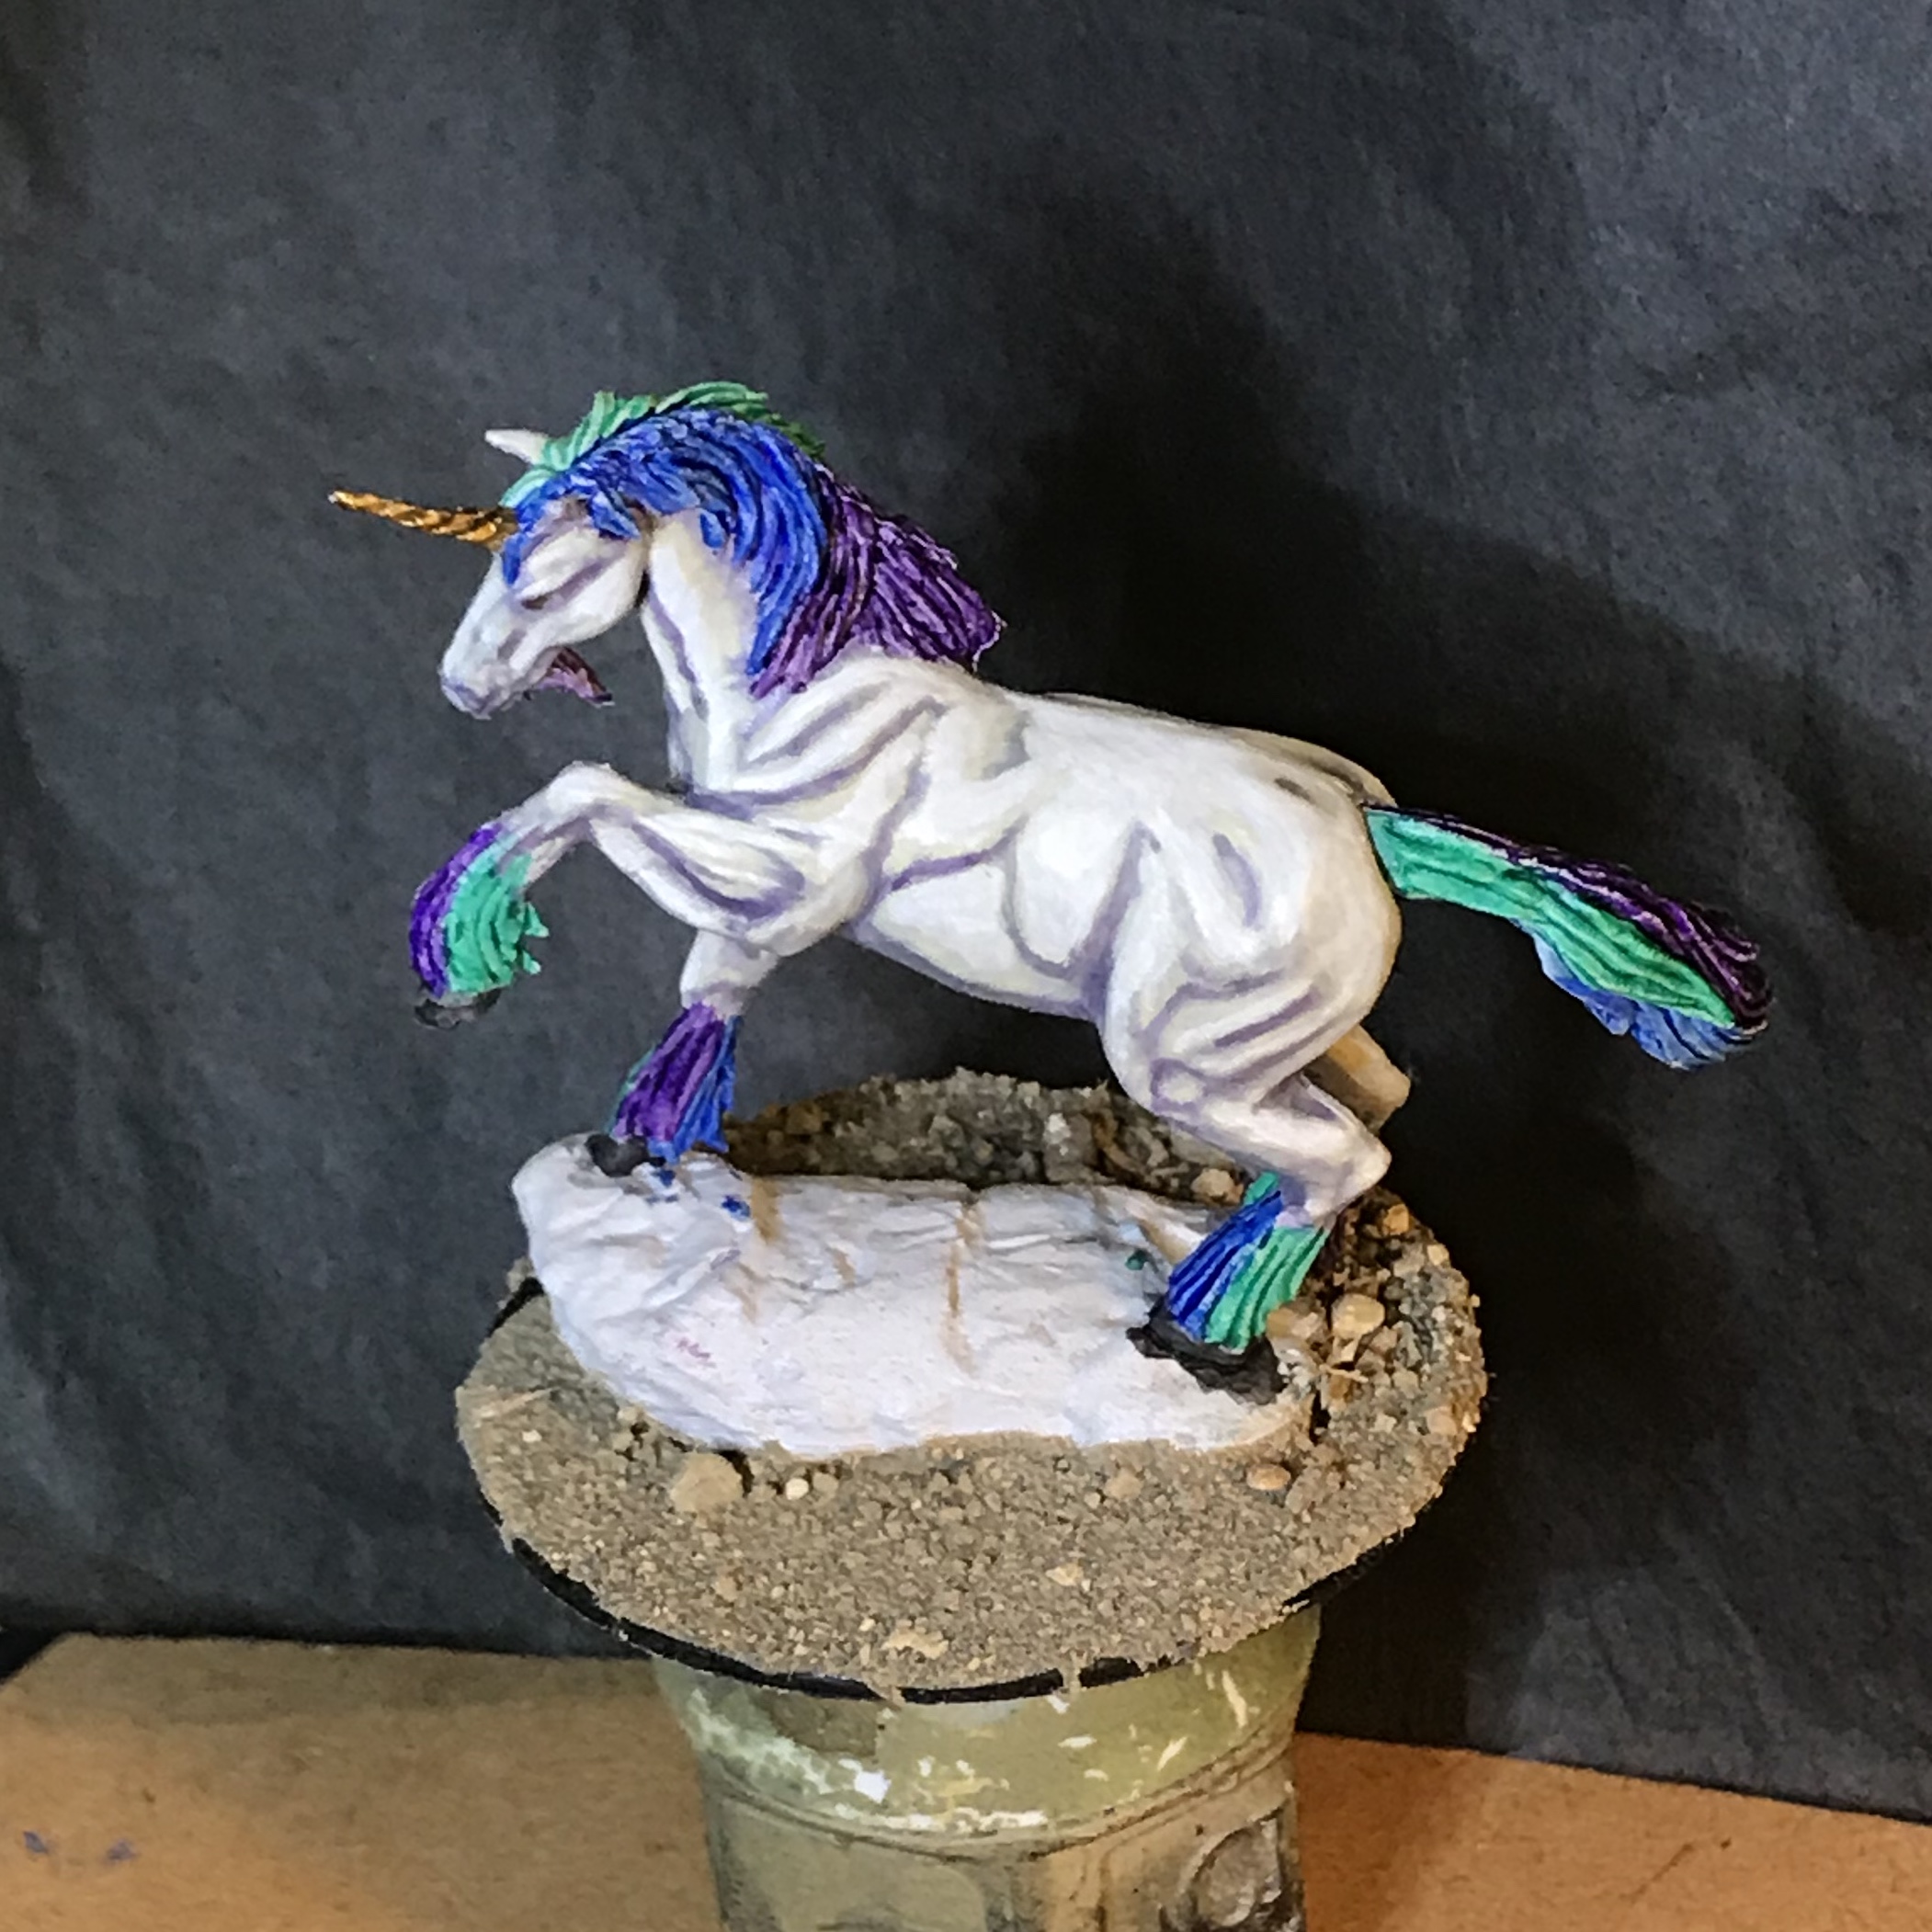
29 June 18: Every Unicorn needs a Field
Now the base. Simple start: super glue and sand. Paint with with various green and highlight. Add some nice tufts… needs more… turn the tufts into flowers!


1 July 18: A Magical Gift
It is done! I thought about putting the piece on a plinth style base, but I’ve never used one before (a challenge for the future perhaps) and time was up! A gift is for giving.

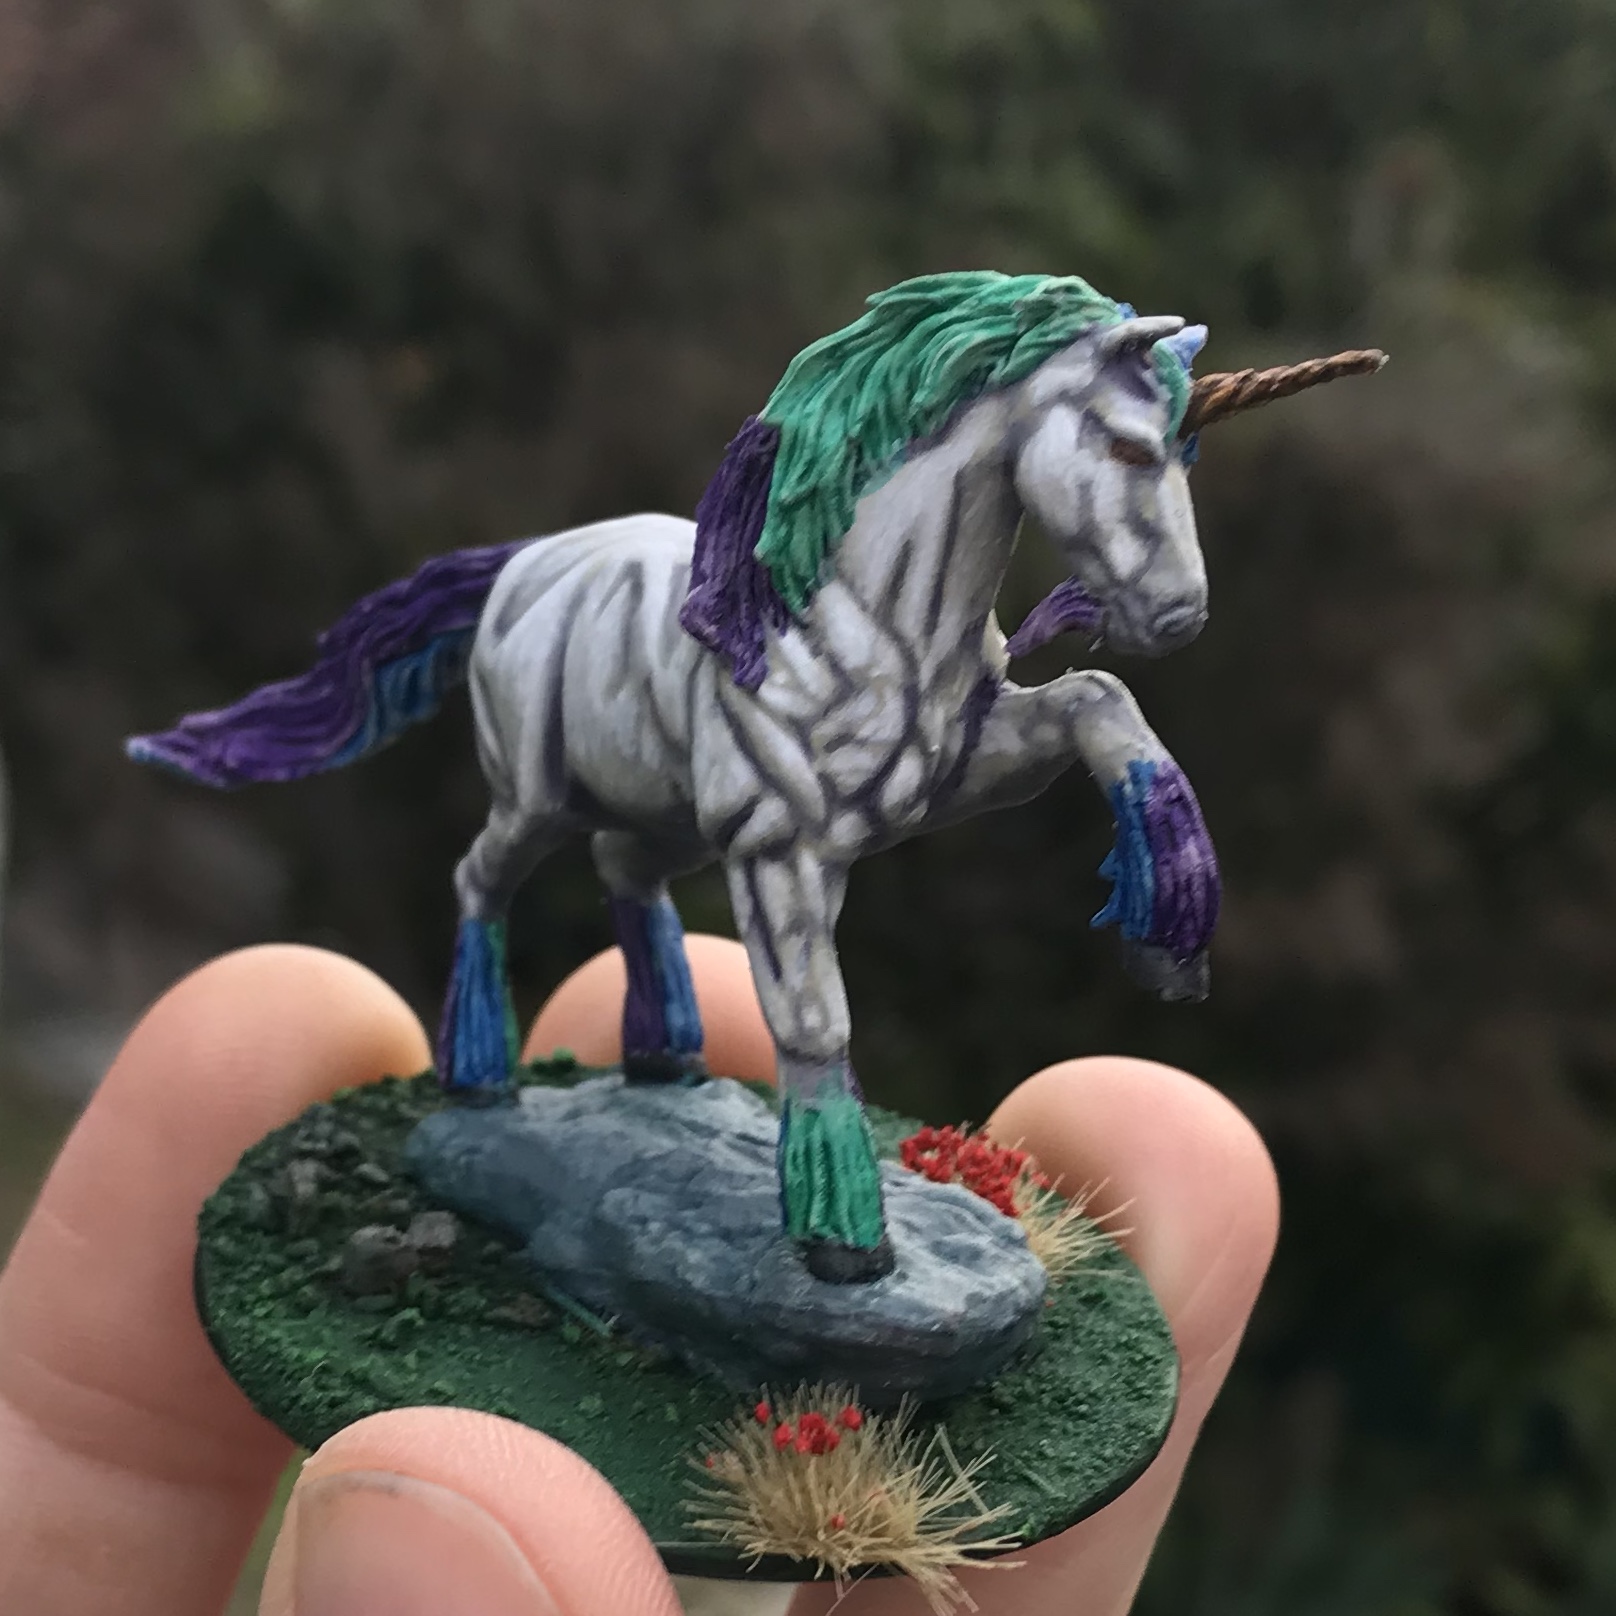

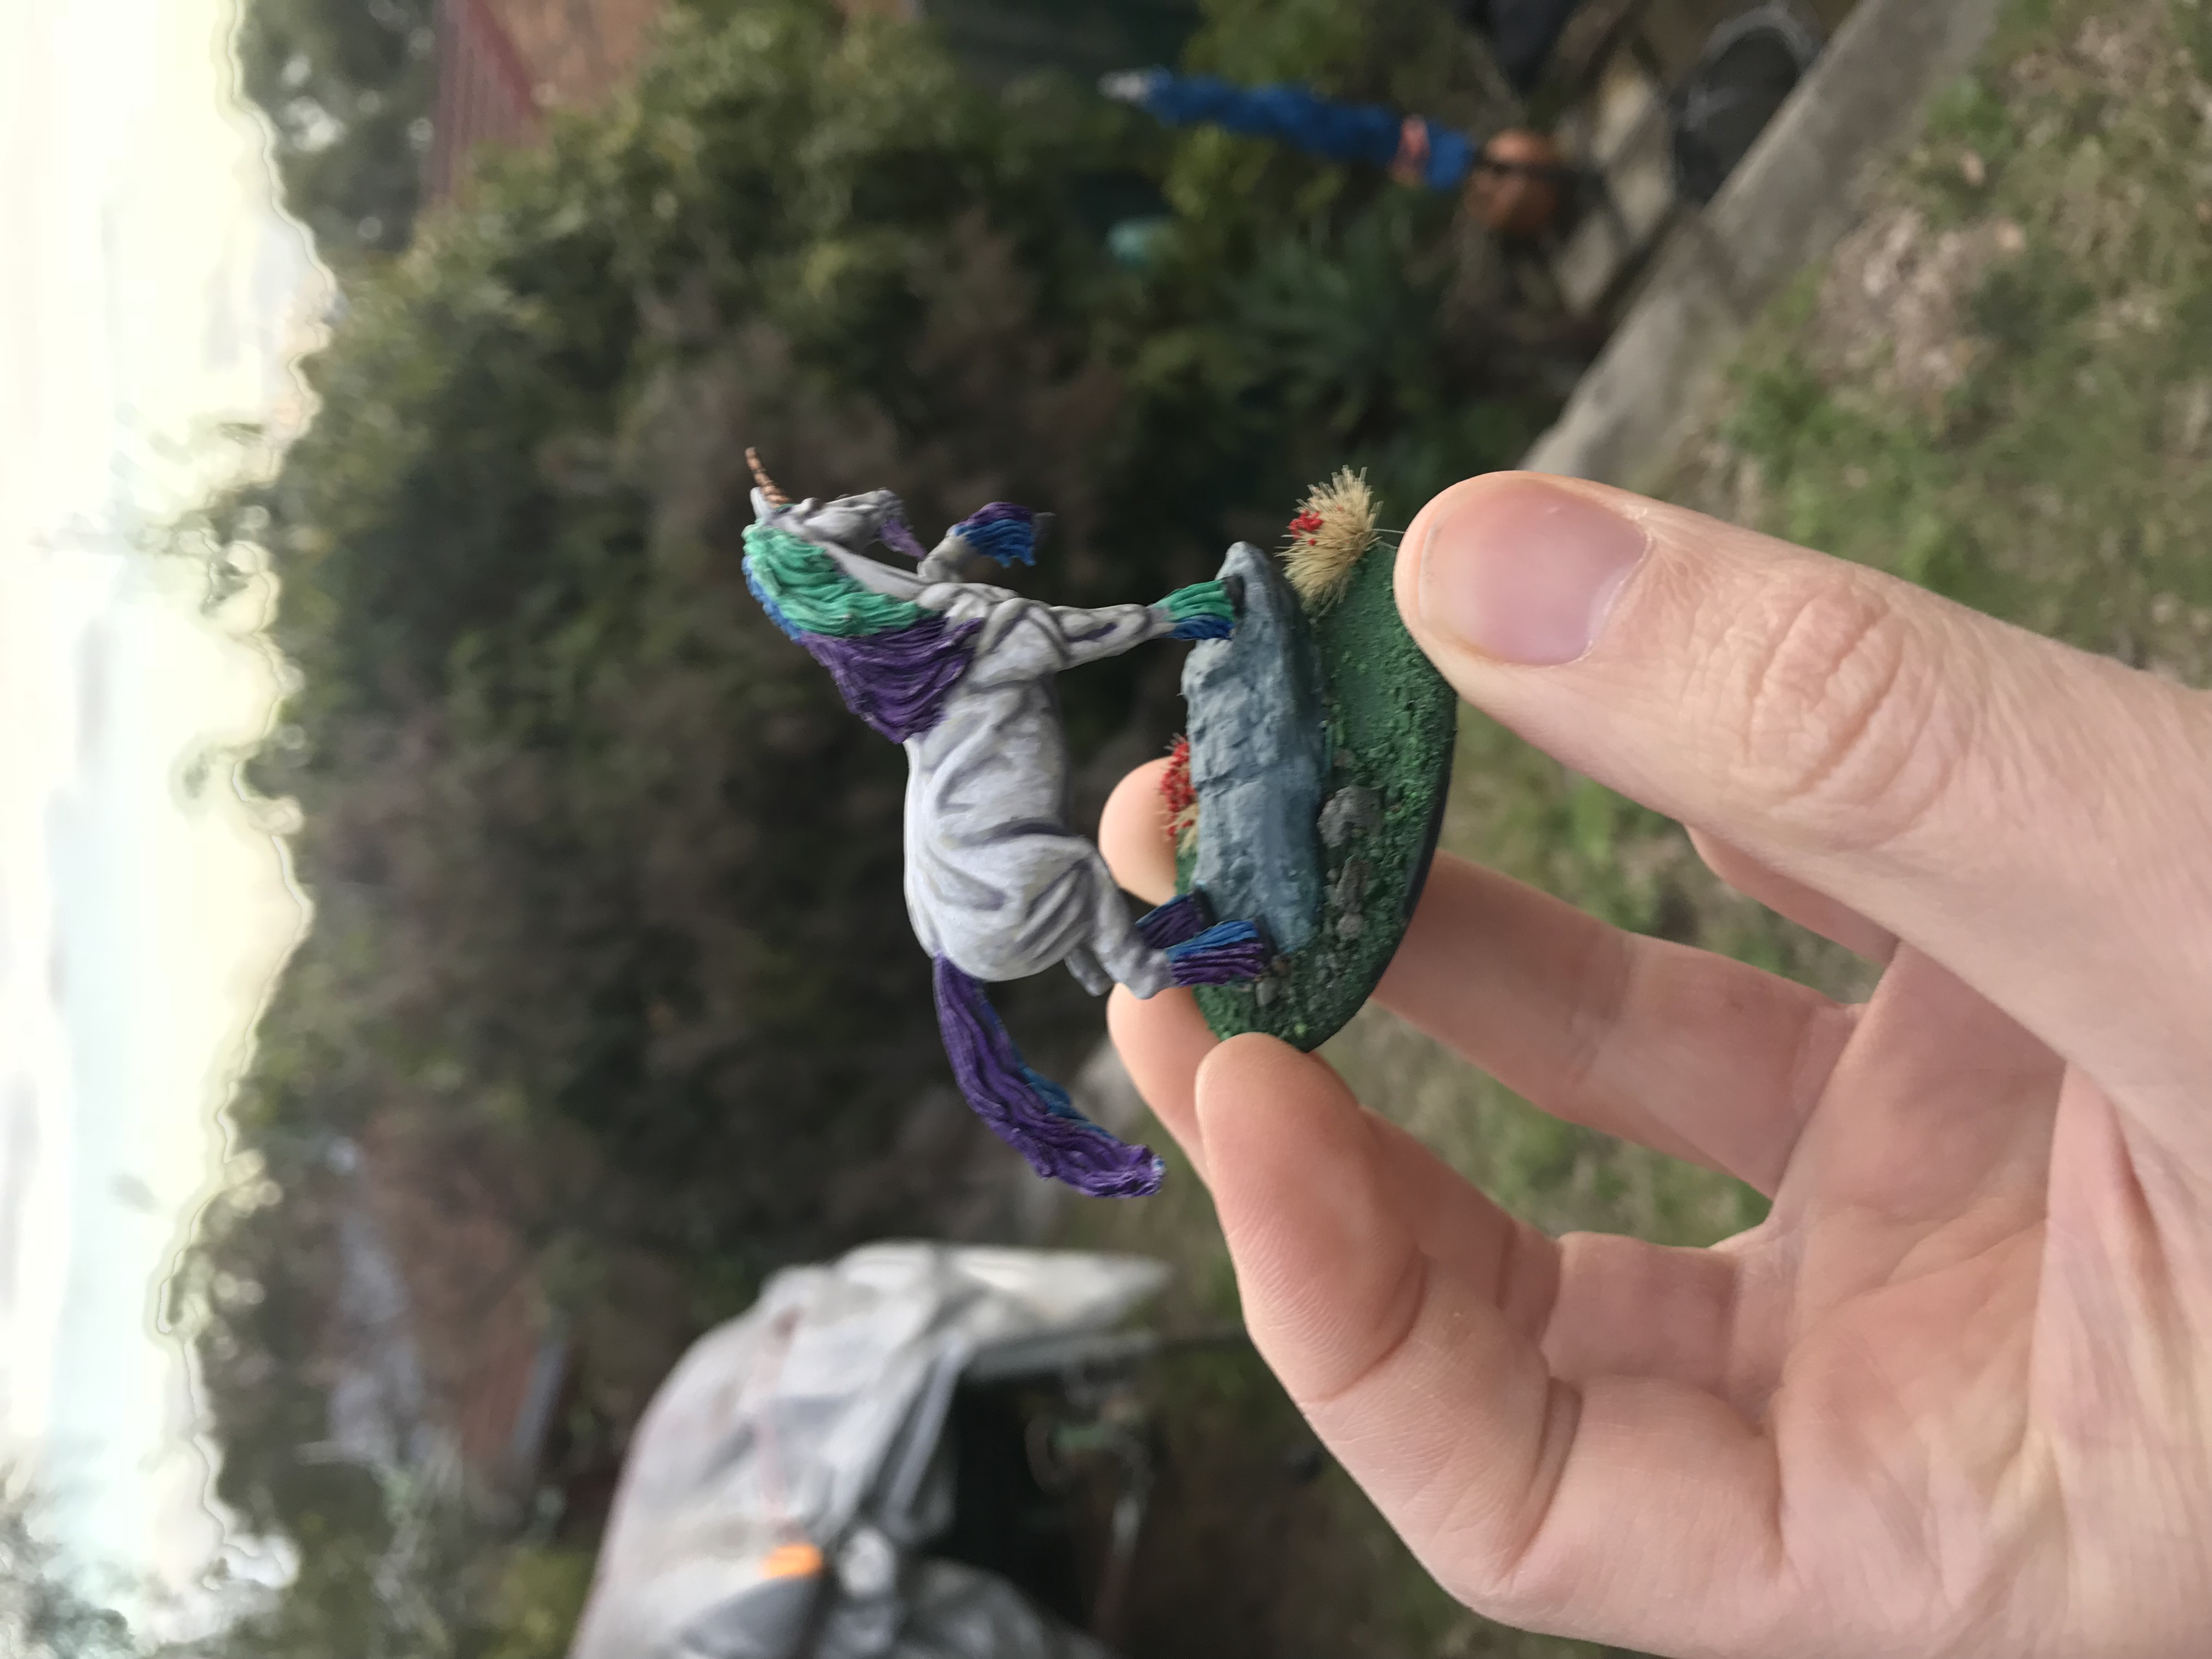
Happy Birthday my little girl!
14 July 18: The Lion
After such practice with painting the forms of wild animals, it was with somewhat more confidence that I move to the next phase of this project: beginning to tackle the Monsters of Kingdom Death.
Begin at the beginning, the White Lion.
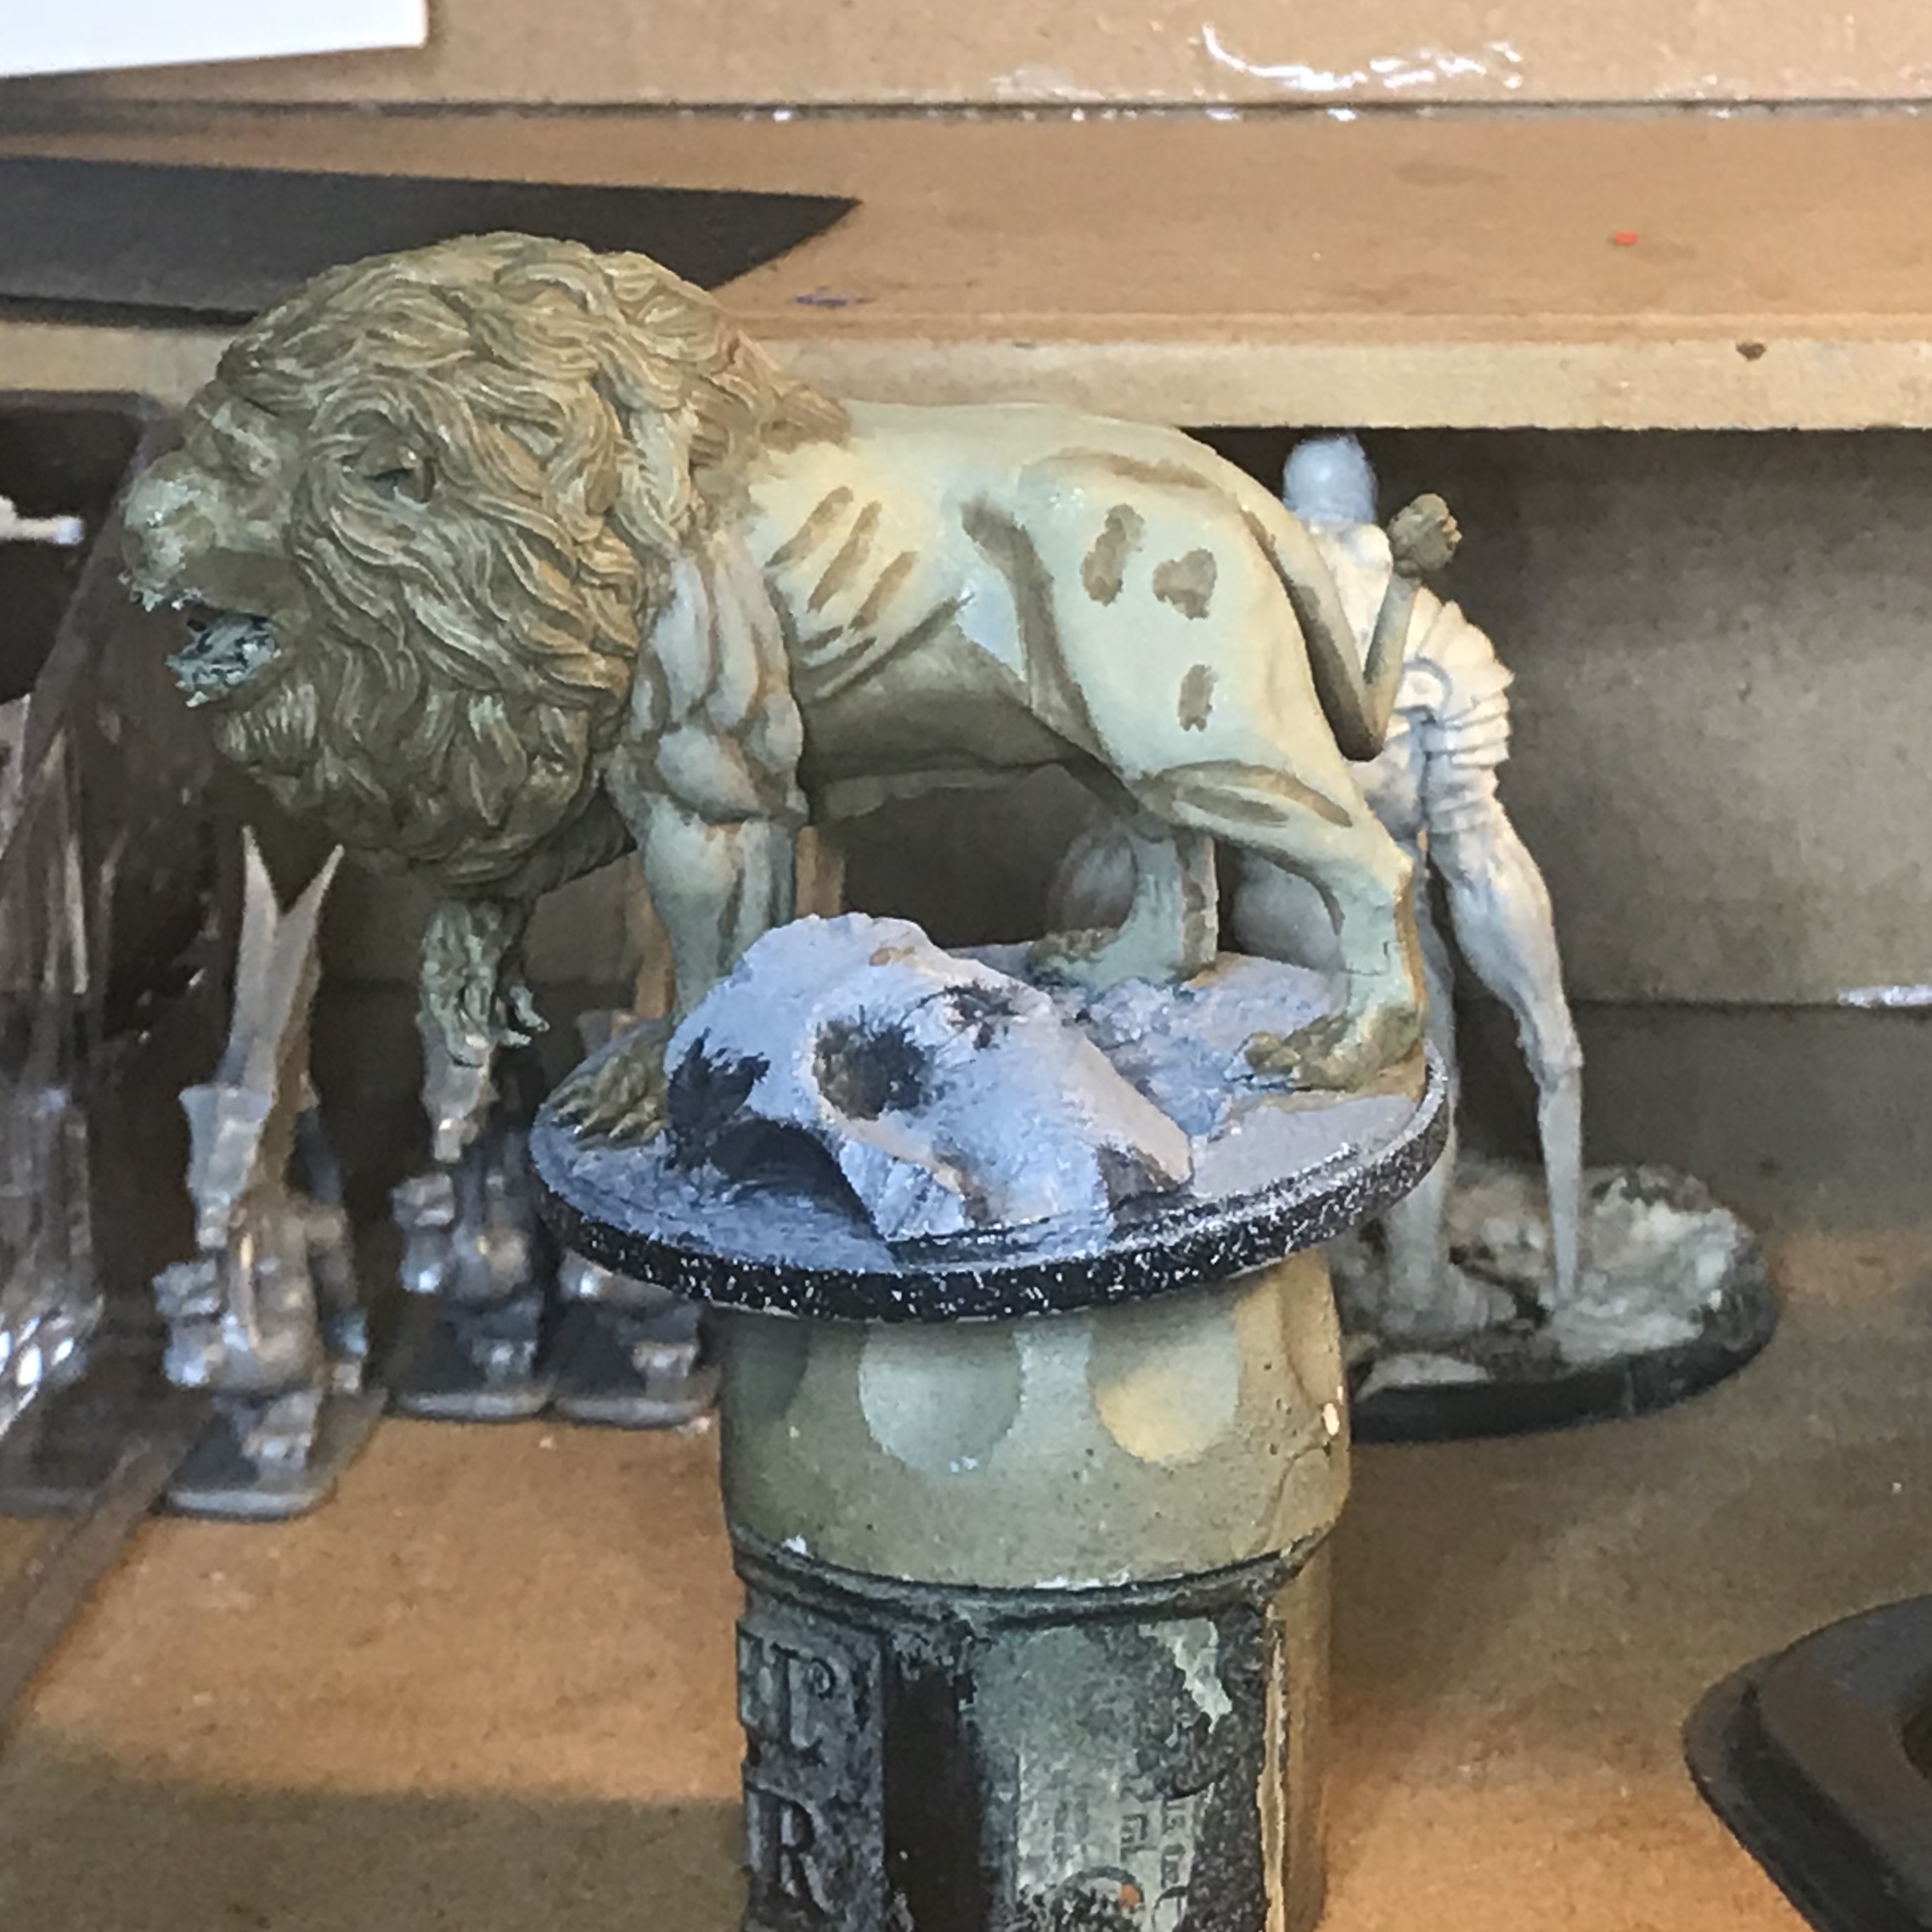
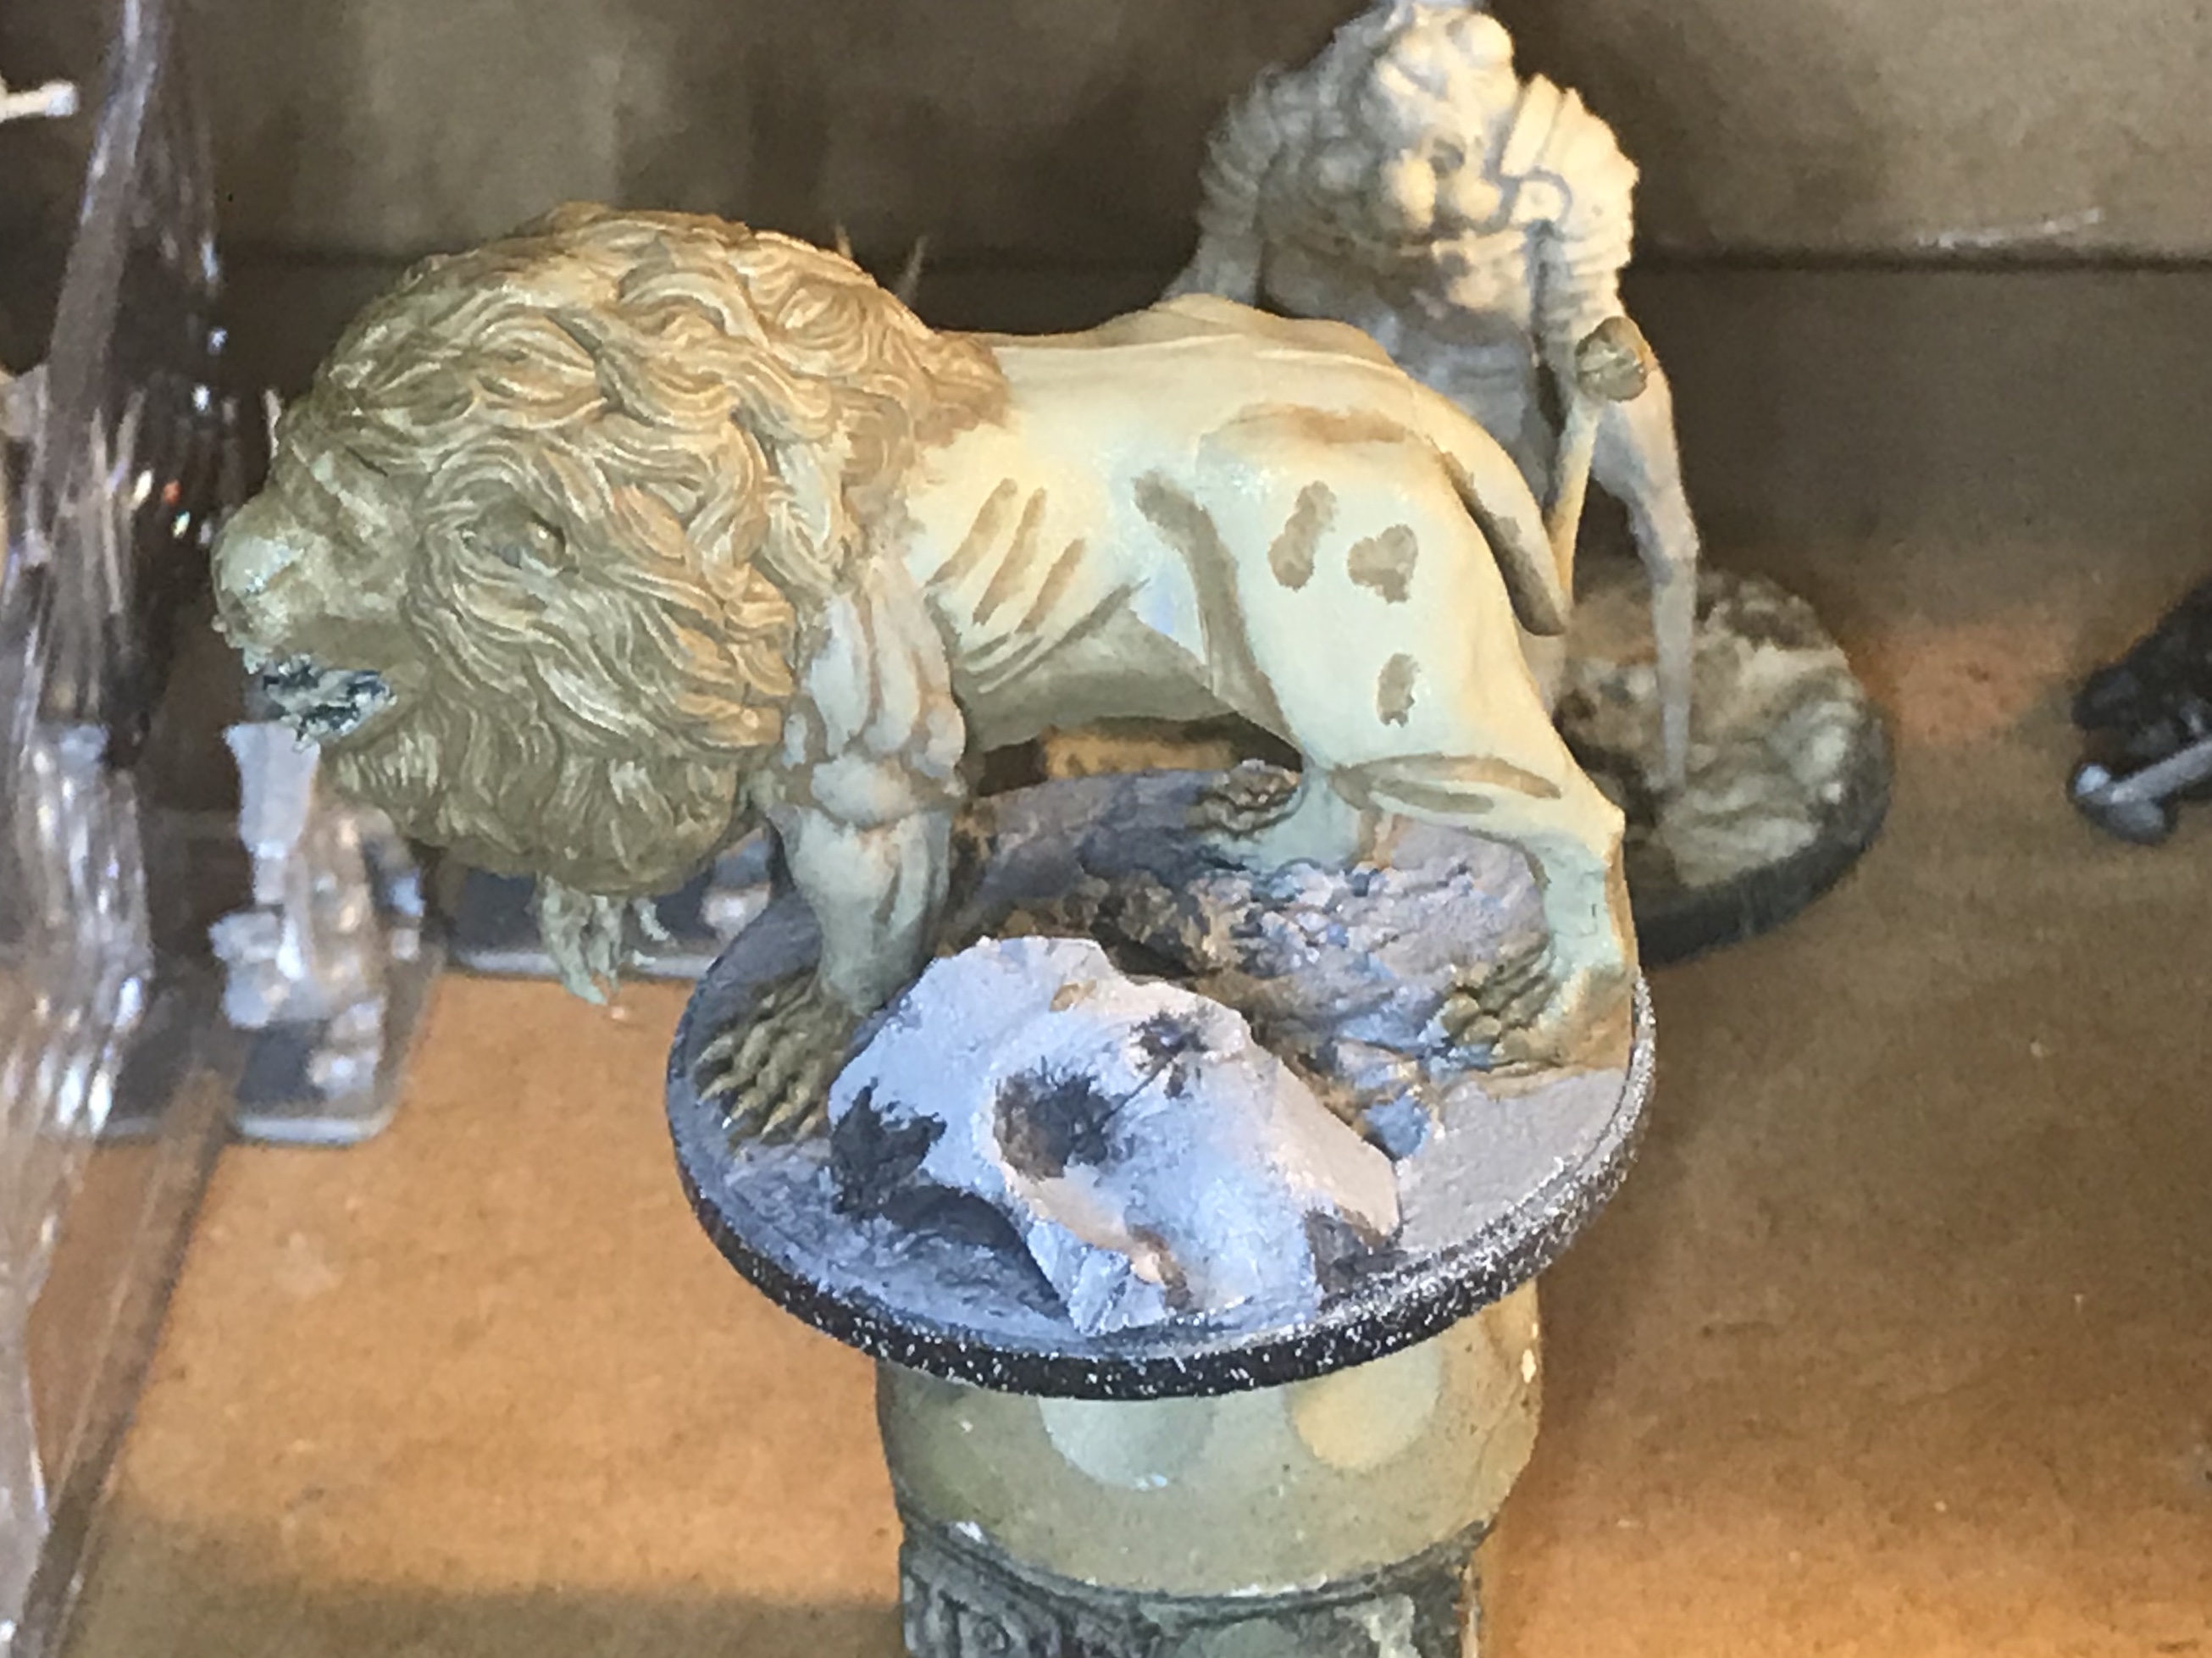

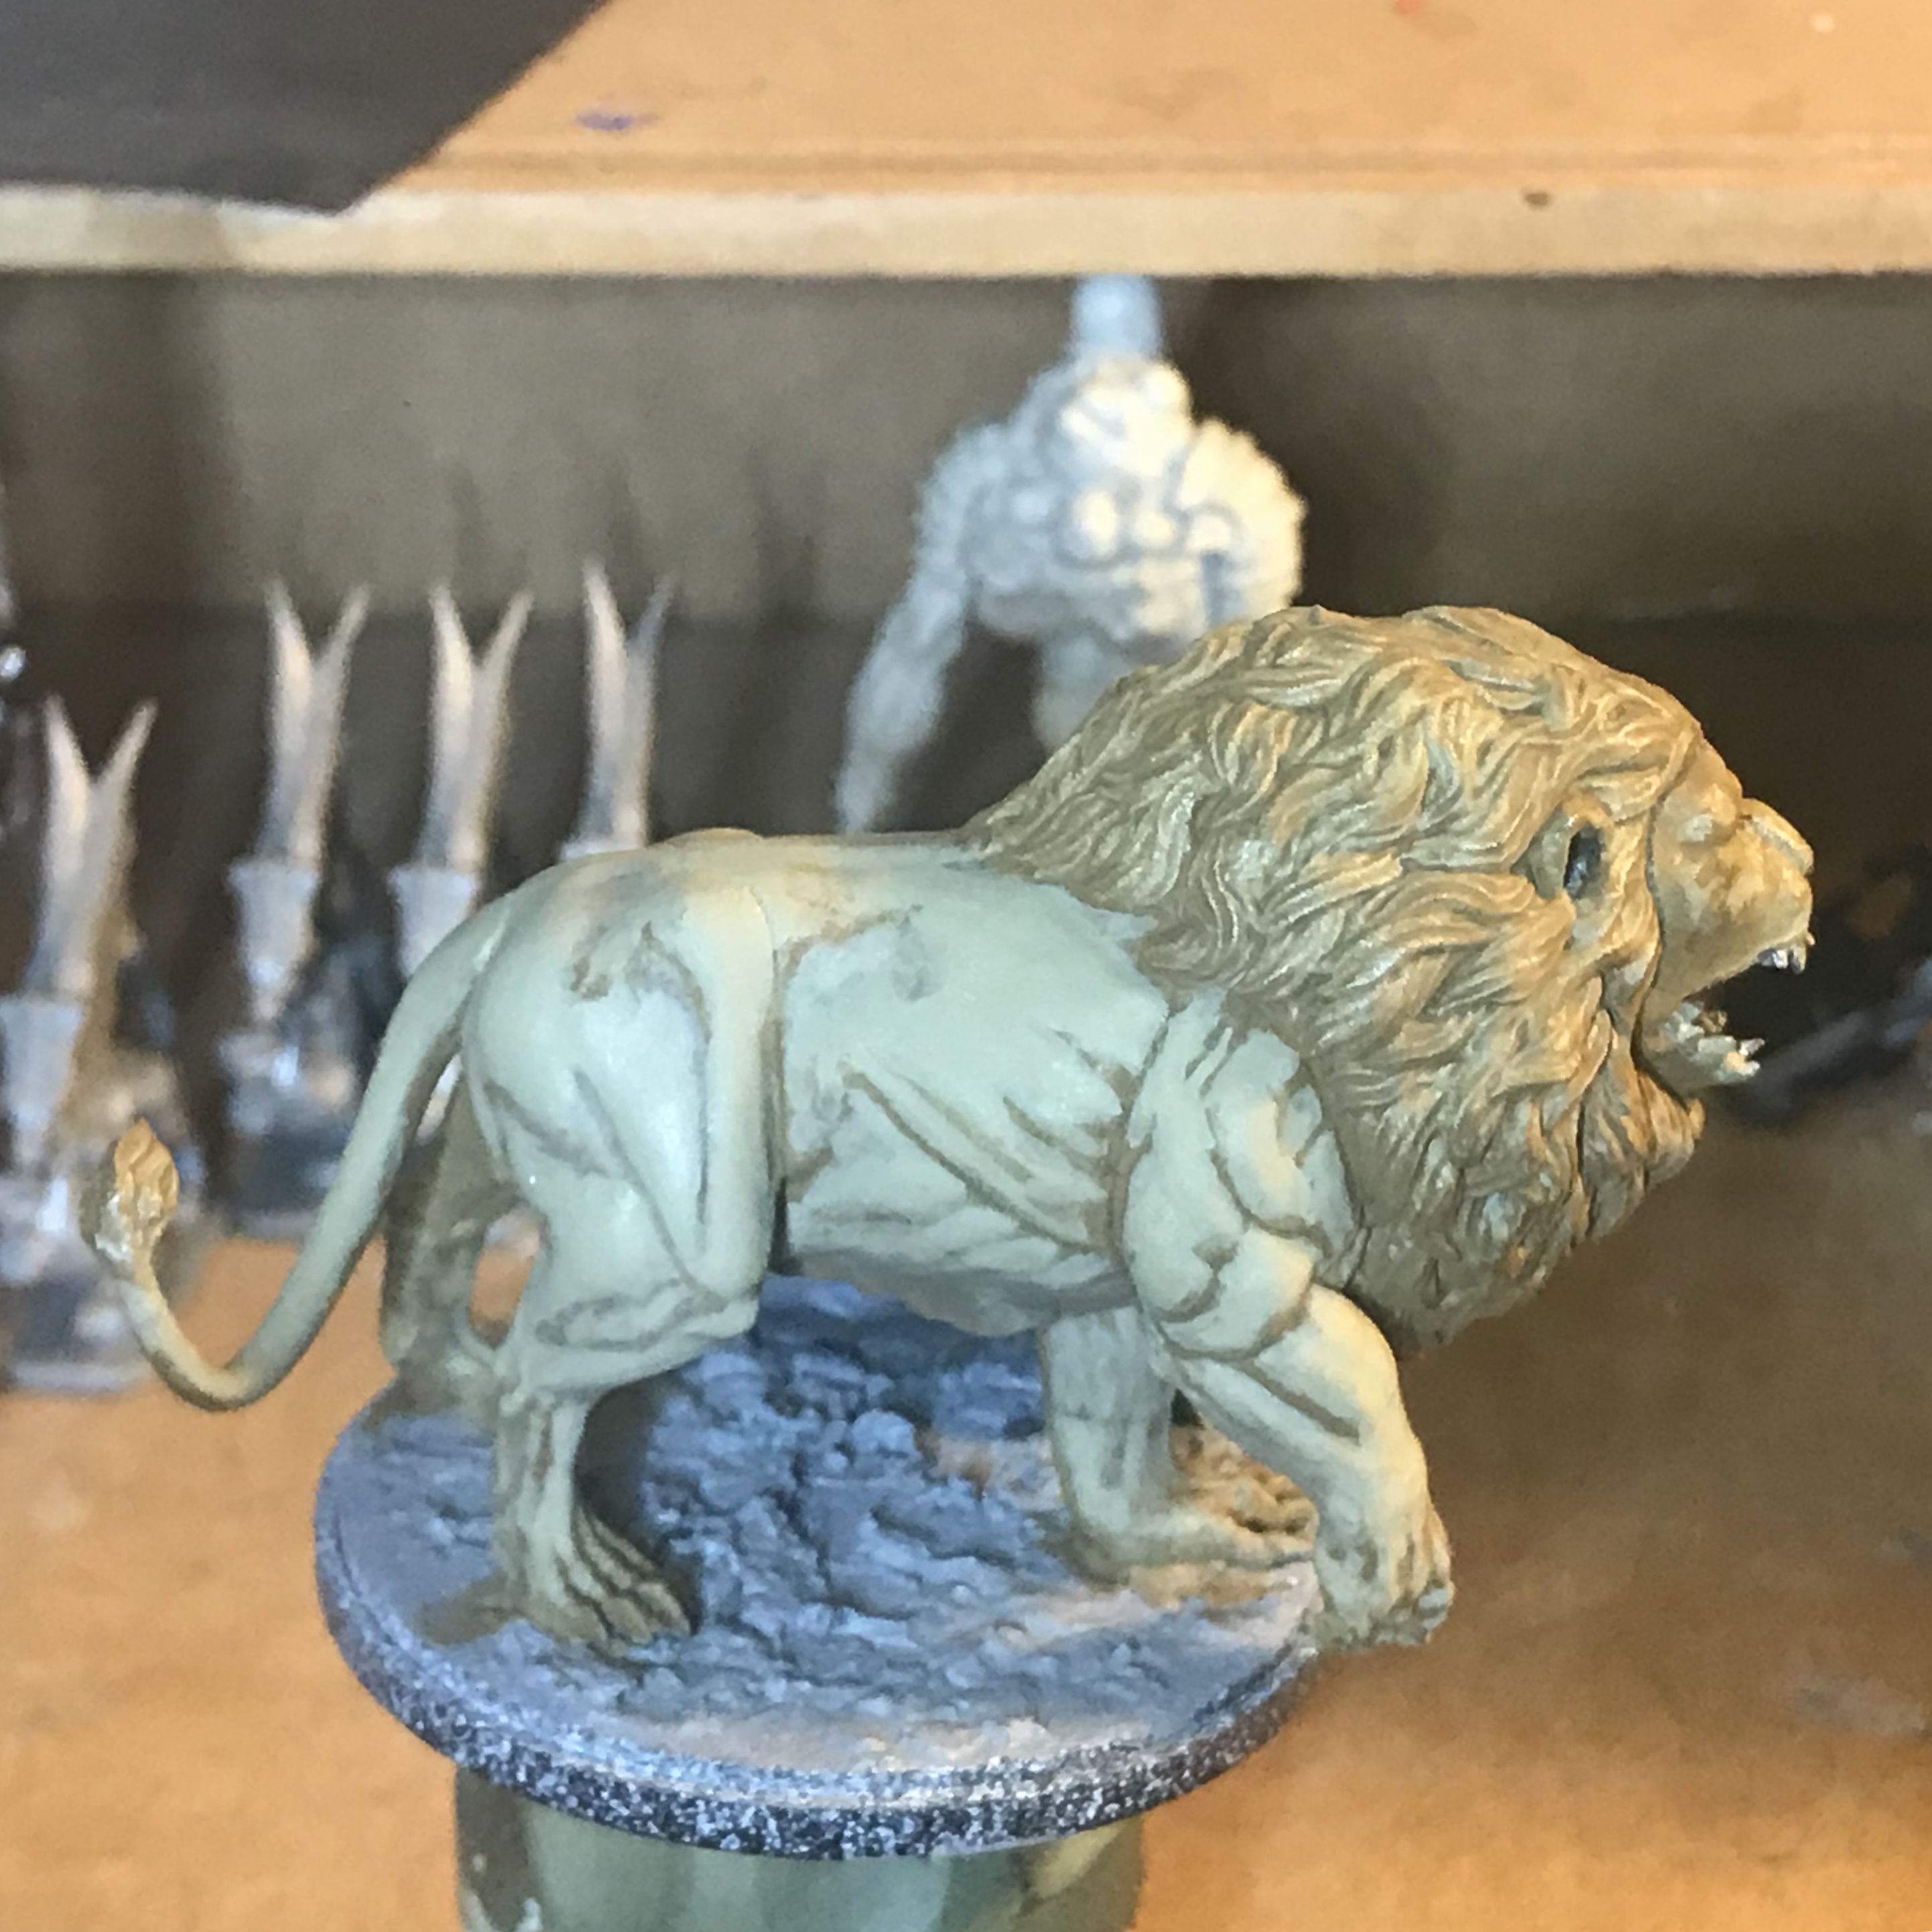
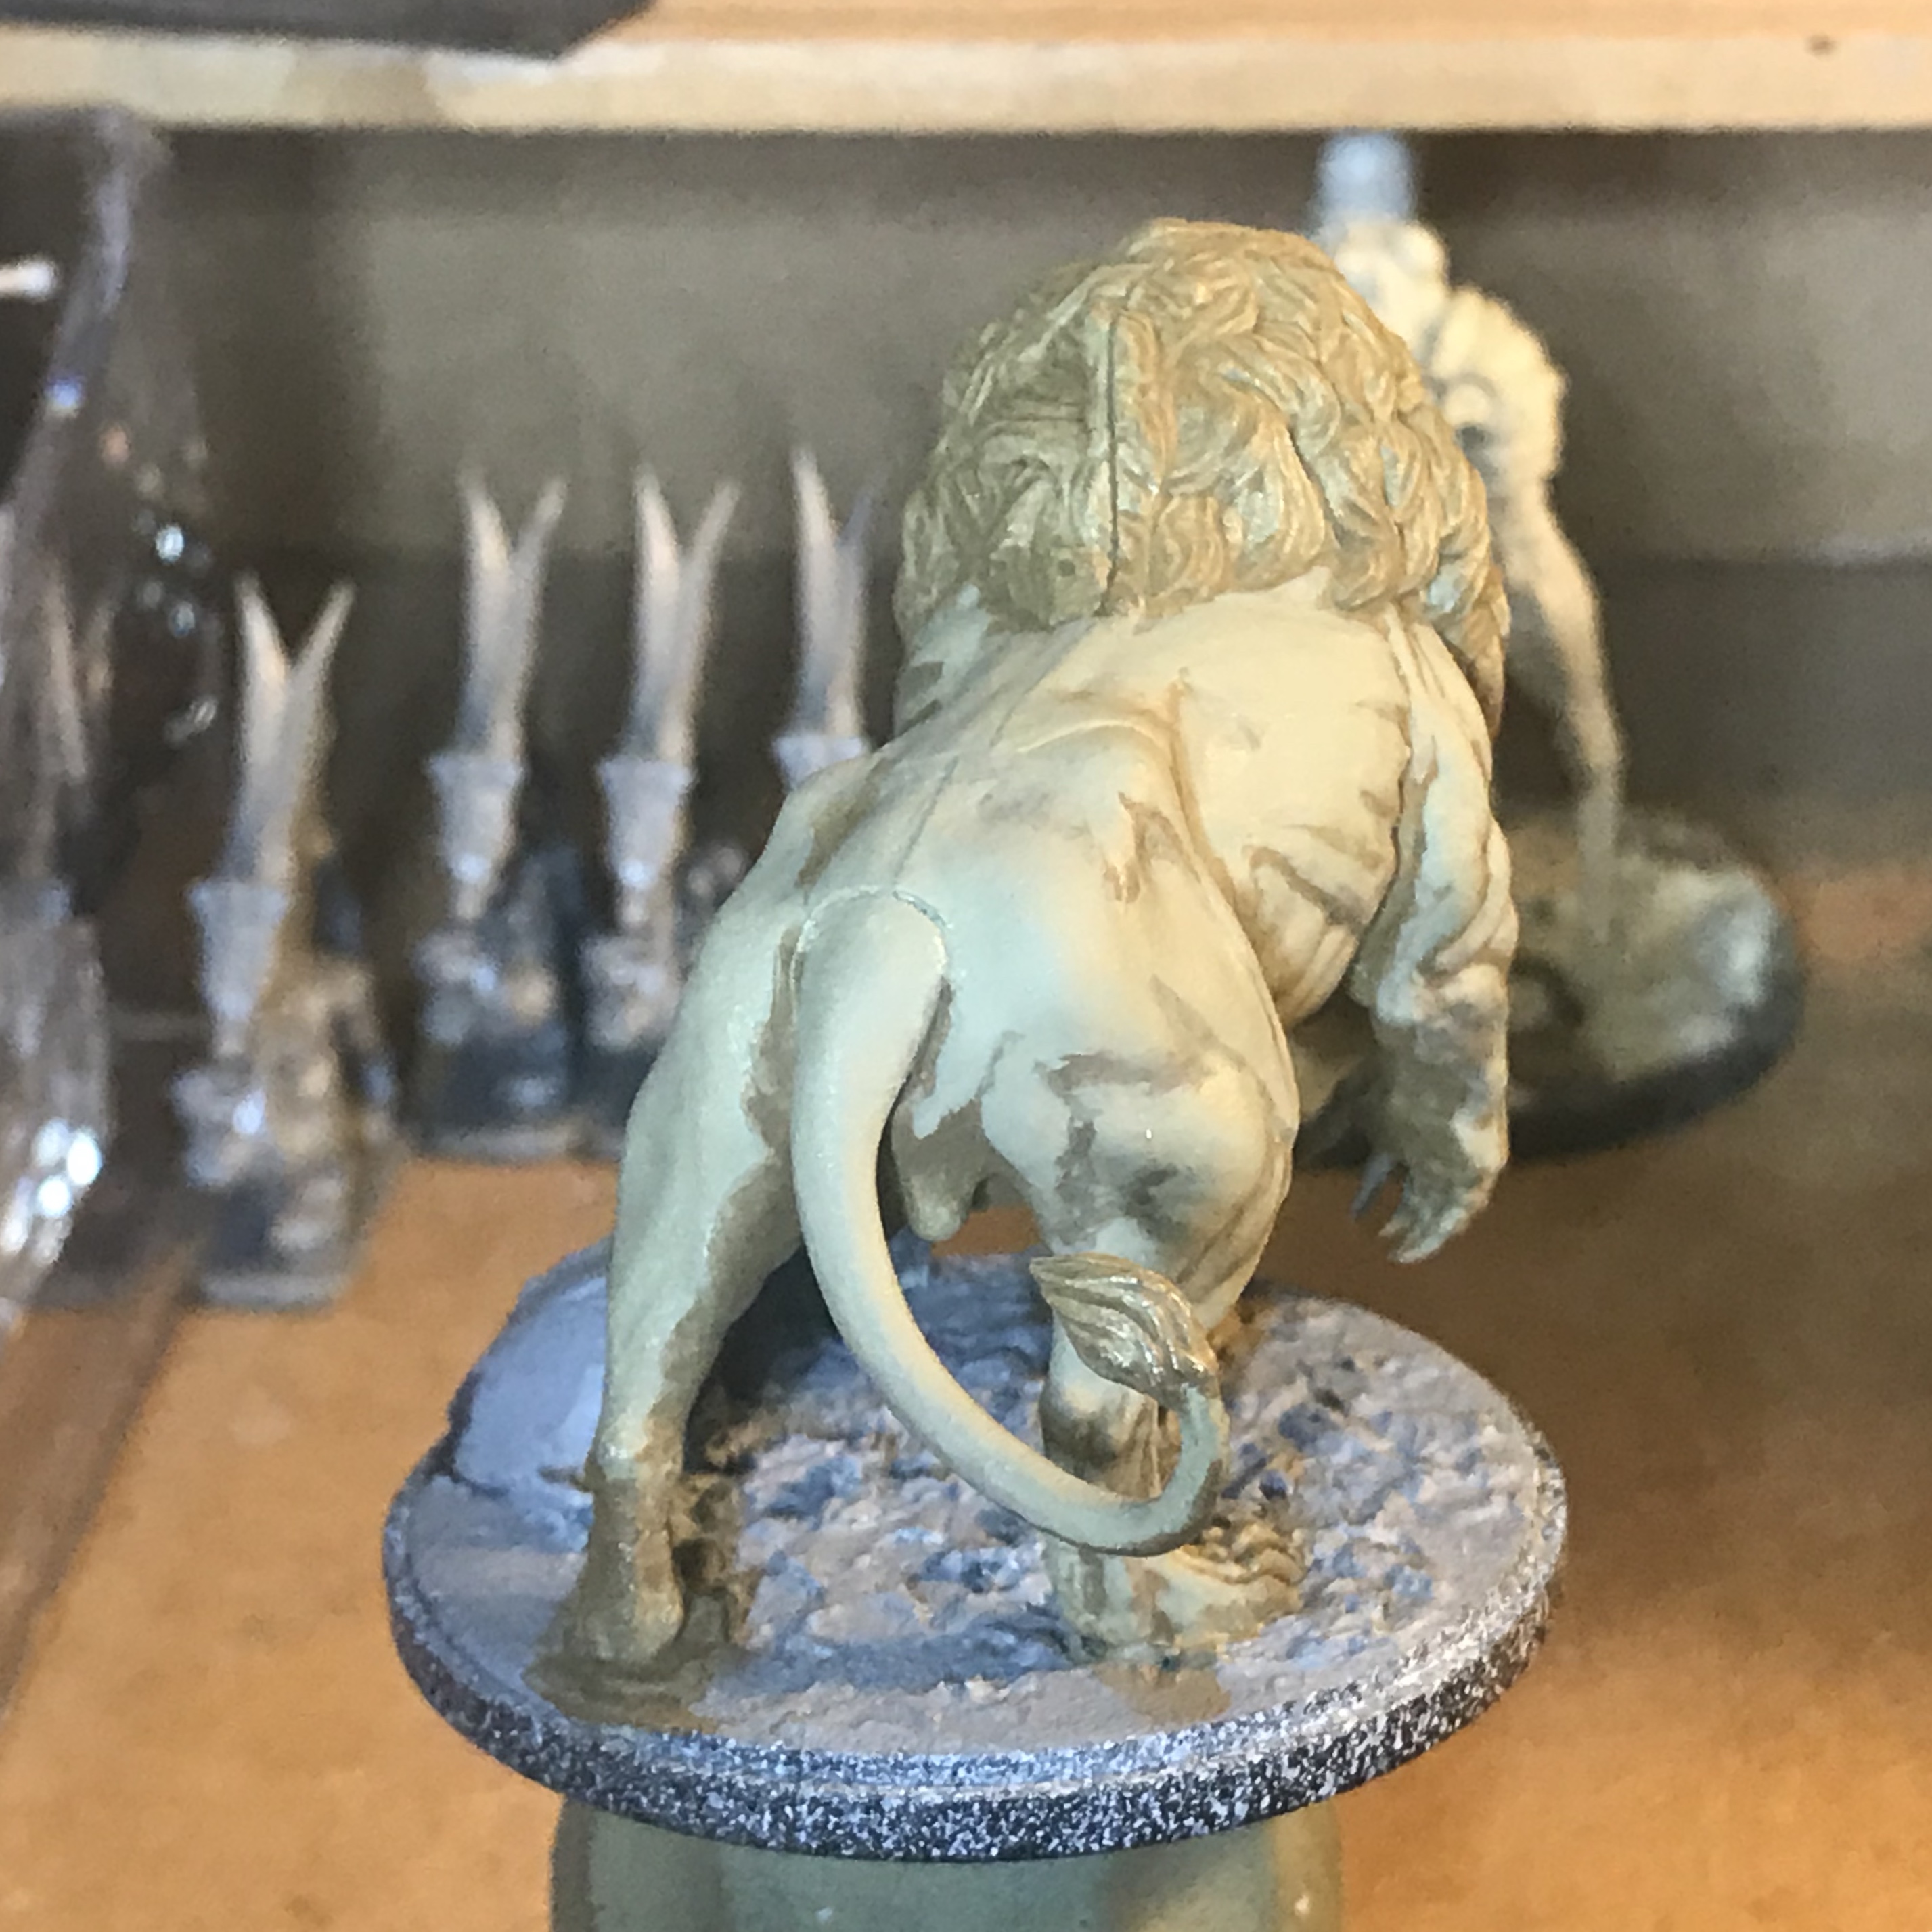
To get to this point I have:
- cleaned and assembled the mini.
- Decorated the base with putty and a Scibor stone face before attaching the Lion.
- Primed with black spray primer and a zenithal white from approx 45 degrees
- base colour and shadows applied to the lion
- base colour applied… to the base.
Base colour is Vallejo Khaki.
Shade colour is Vallejo German Camo Brown.


![StarCraft Tabletop Miniatures Game Pre-Orders Live Now [Updated]](https://images.beastsofwar.com/2026/03/starcraft-tmg-news-cover-600-338.jpg)


