Foehammer’s Konflikted Painting Table


Recommendations: 293
About the Project
Documenting my Konflikt 47 projects, as well as my numerous other distractions and tangents.
Related Game: Bolt Action
Related Company: Warlord Games
Related Genre: Pulp
Related Contest: Bolt Action: Western Desert Boot Camp
This Project is Active
Faux Bricks for Fuel Tanks
Also making some advances on the 3 fuel tanks. While the tanks are going to appear to be made of metal, the square bases are to be made ofconcrete blocks. To get this effects I used strips of plasticard. Right angle pieces cut from a square plasticard tube were used to create brick effects at the corners, alternating having the longer bits on one side then the other.
I also used a few rectangular pieces on each face to look like protruding bricks. Typically 2-5 per side.
Once painted grey and drybrushed, this will make the bases look like concrete bricks, without necessitating a brick texture on the entire surface. While this more detailed approach could look impressive, it would be much more time consuming to paint, and could distract from the gaming miniatures. I believe while terrain for games should be impressive, it should be a backdrop for the game, not the centerpiece.
 fuel tanks showing the faux brick/block effect.
Bunkers!
the images below show where I’ve gotten to with my Japanese airfield terrain. The jungle scatter terrain bases have been flocked, and the bunkers completed.
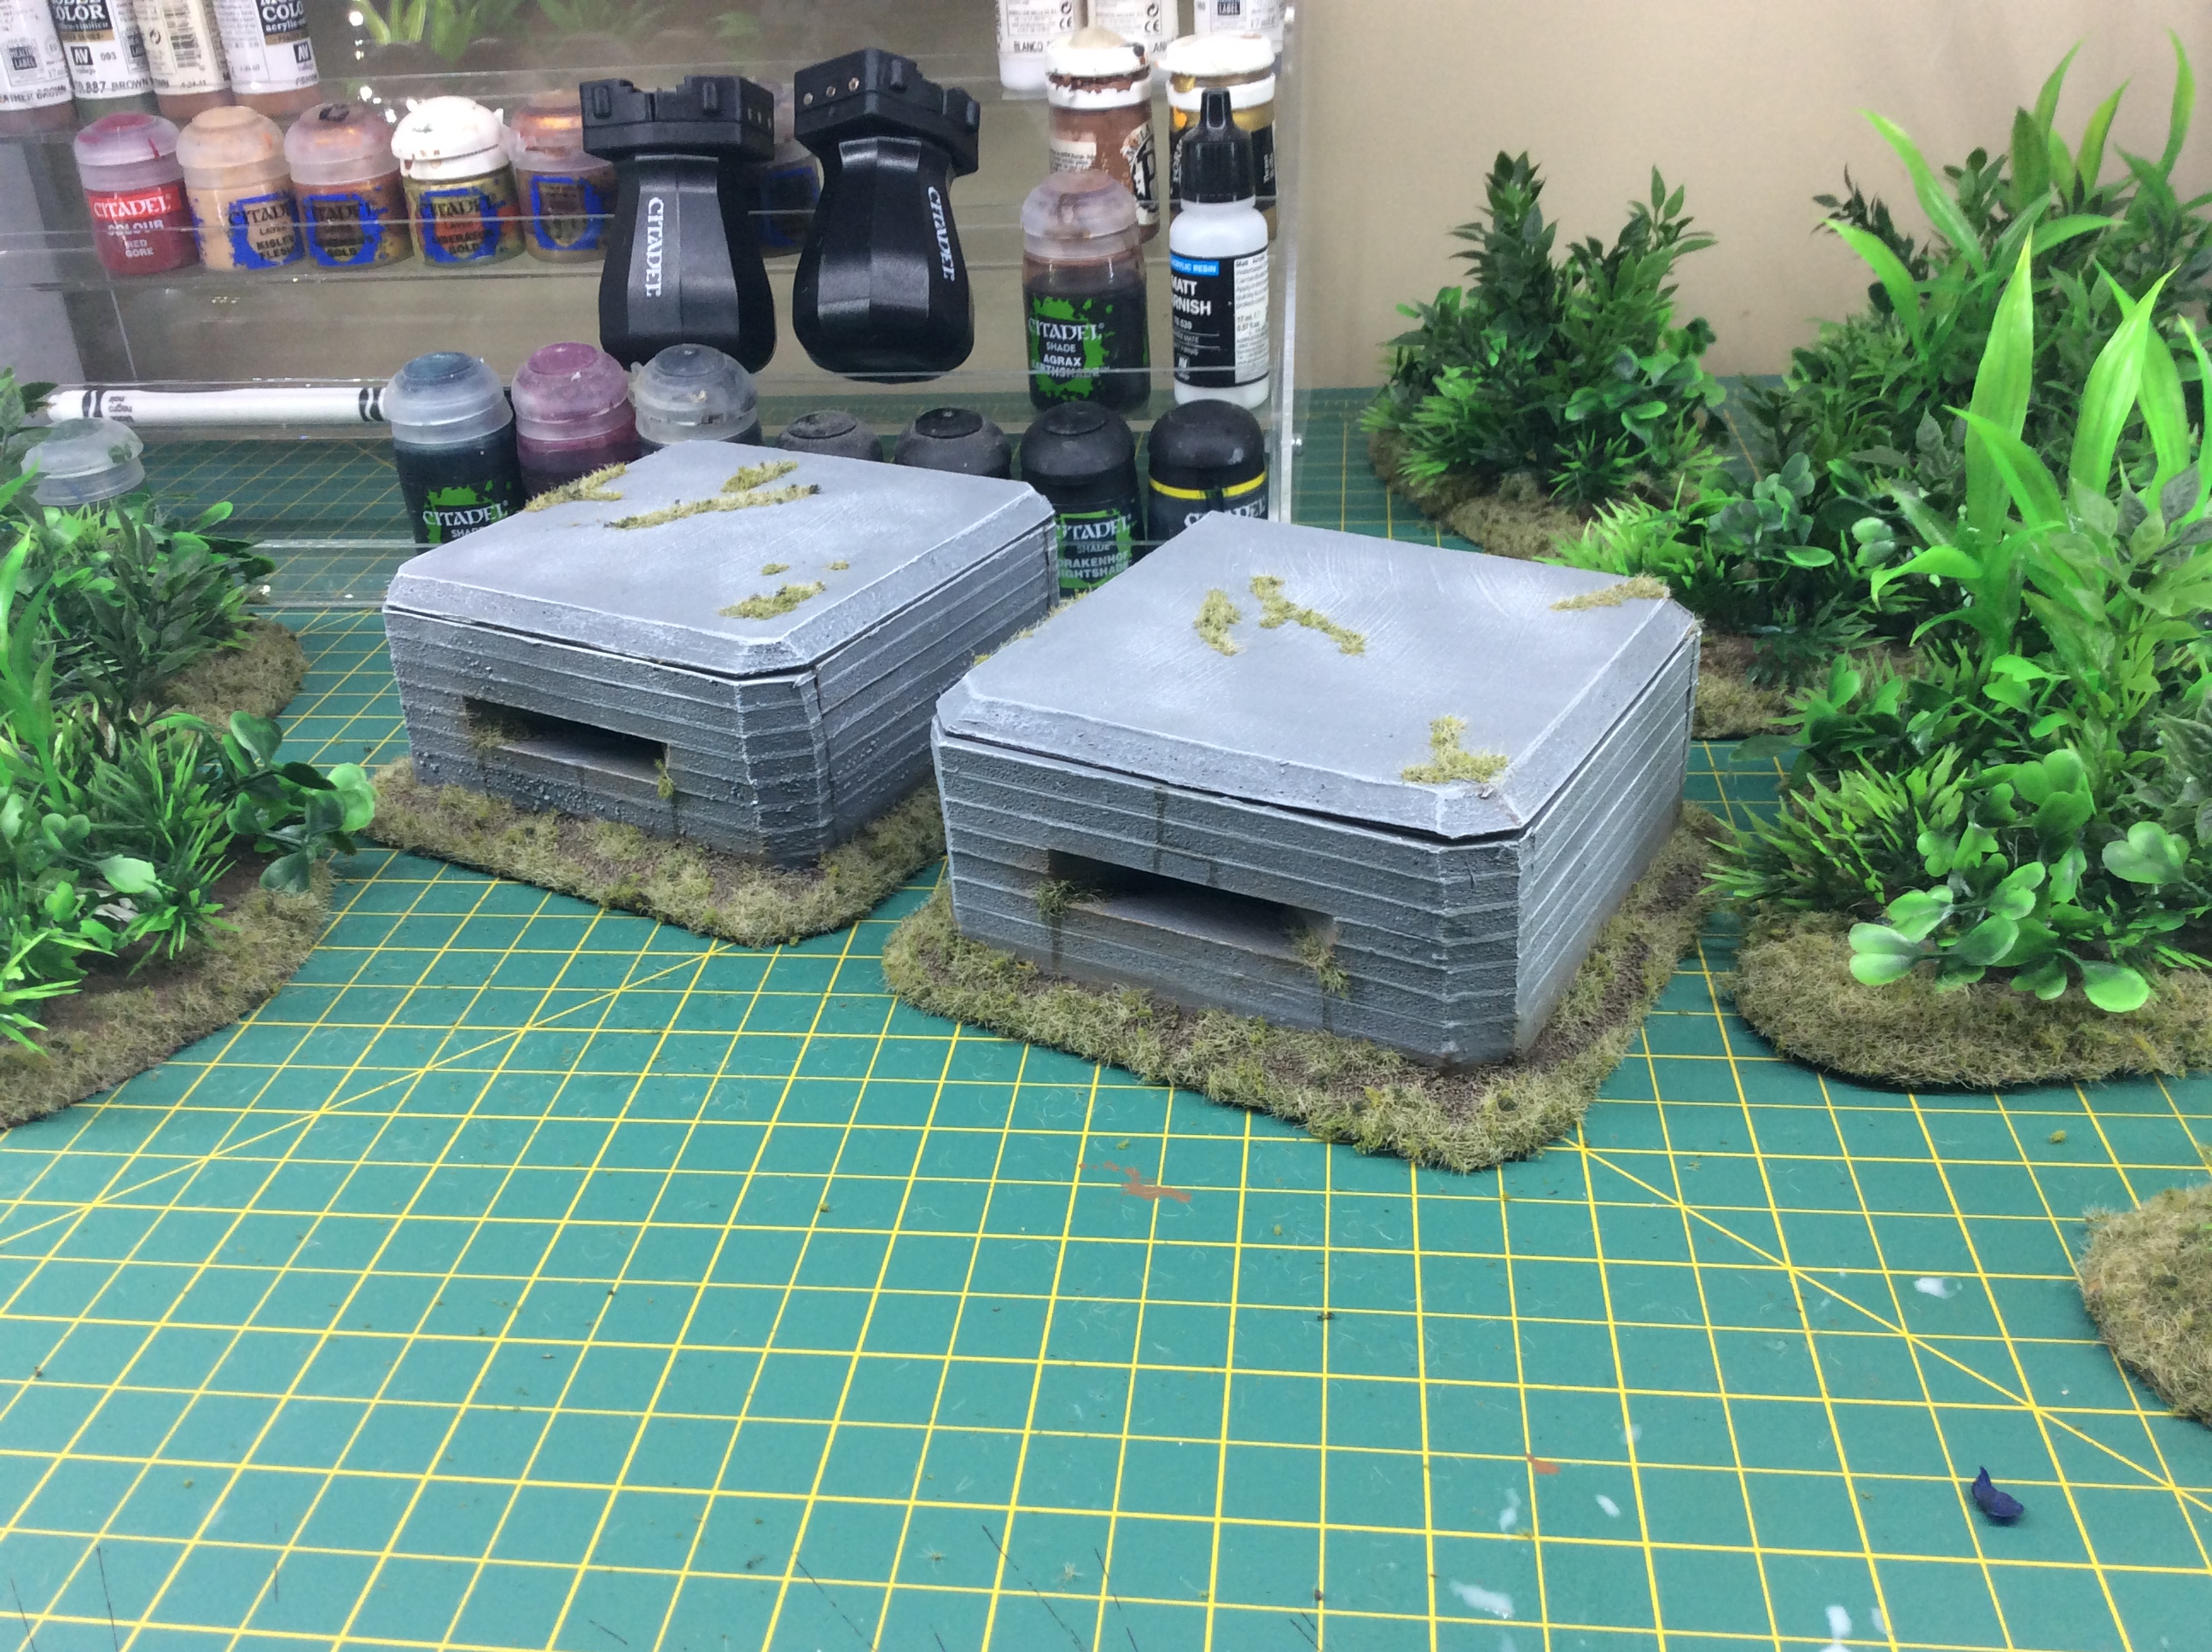
 completed jungle terrain
The bunkers were fairly quick to complete. I first drybrushed in graduallylighter greys, ending with white. The next step was weathering. I used Agrax Earthshade wash to paint muddy areas, like cracks, as well as show areas where dirty water would run down the bunker, like corners of the gun slits.
In retrospect, I should have done this before drybrushing, to make the transitions seem more natural.
I also drybrushed Browns into areas where dirt would collect, like the joins between walls and floors. Made them see dirtier and more lived in.
Lastly I flocked the bunkers. Not only did I flock the bases, but also added some grass to the roofs, and other Crevaces where grass might grow, like the corners of the gun ports.
 Bunkers, roofs on
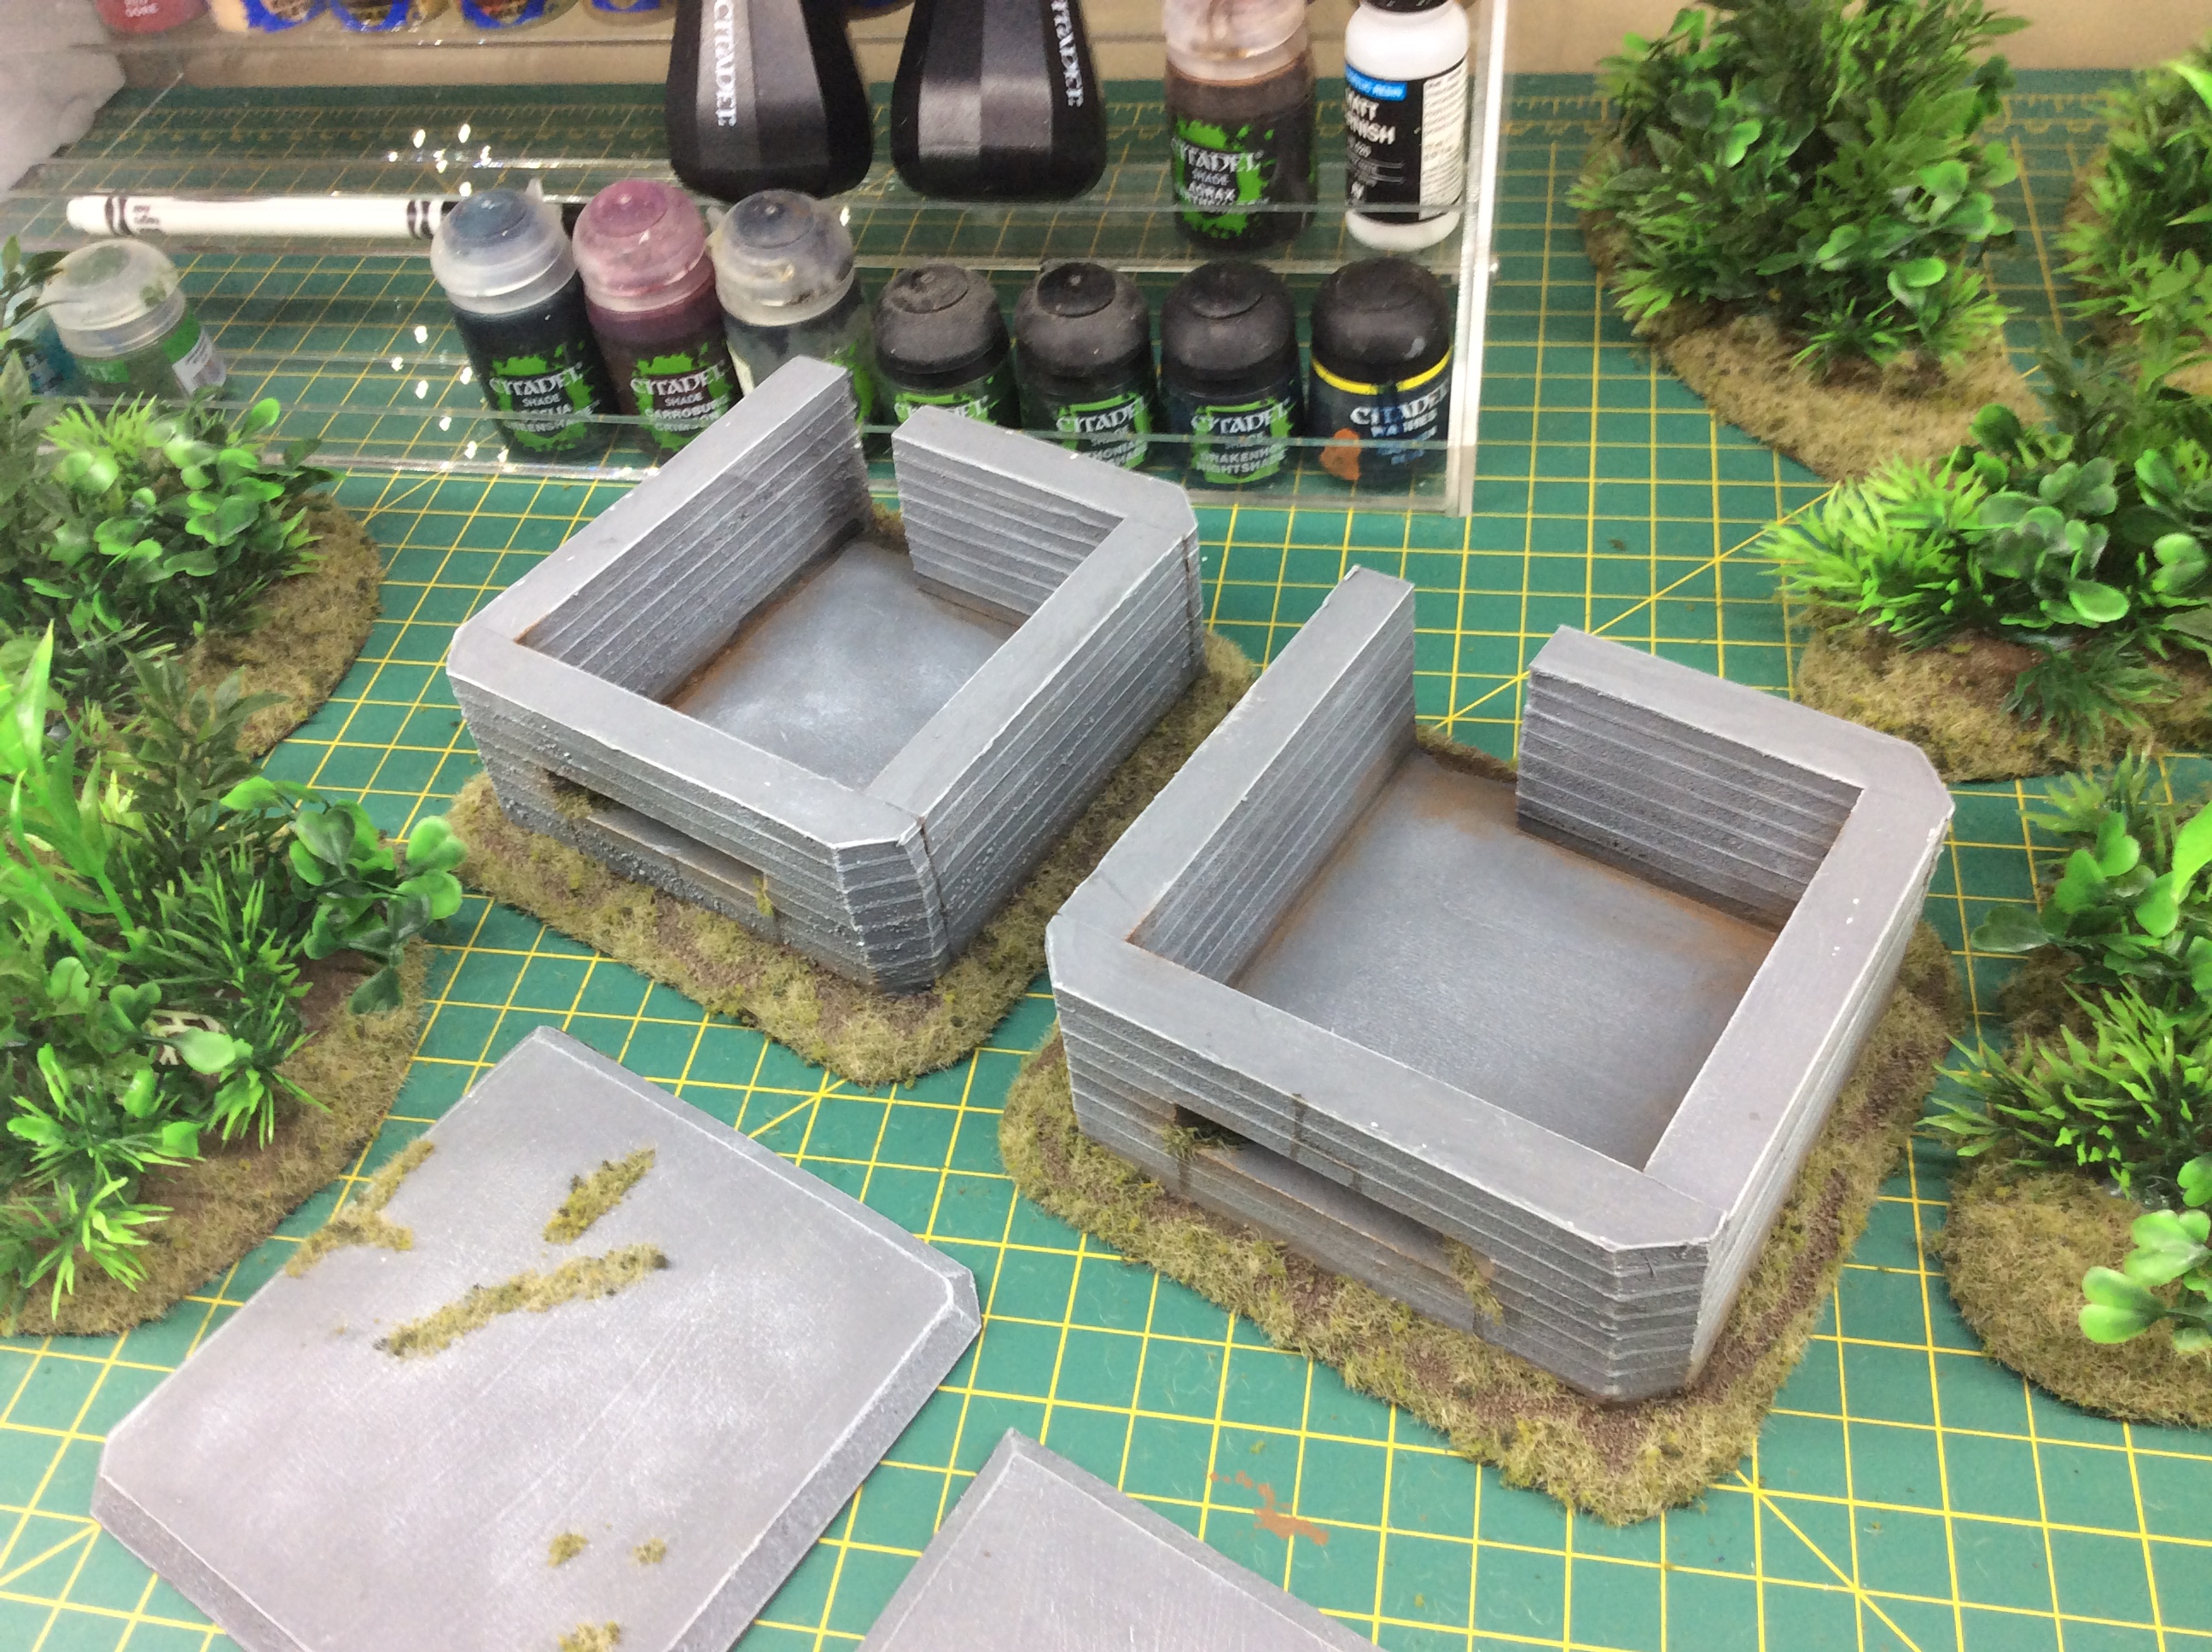 Bunkers, roofs off
The only thing I might do in the future is build some steel doors for the bunkers.
Questions and comments welcome!
The Kill Dozer
So I ran out of terrain supplies while on vacation, so decided to transition back to painting some of my Konflikt USMC models. In honor of the new defiance release, here is my WIP Flamethrower Sherman with Dozer blade. It’s a part of my USMC Pioneer detachment, which also includes an engineer unit and my previously shown MARV Recovery walker.
The dozer blade has no effect in game, but overall just looks cool and fits the theme.
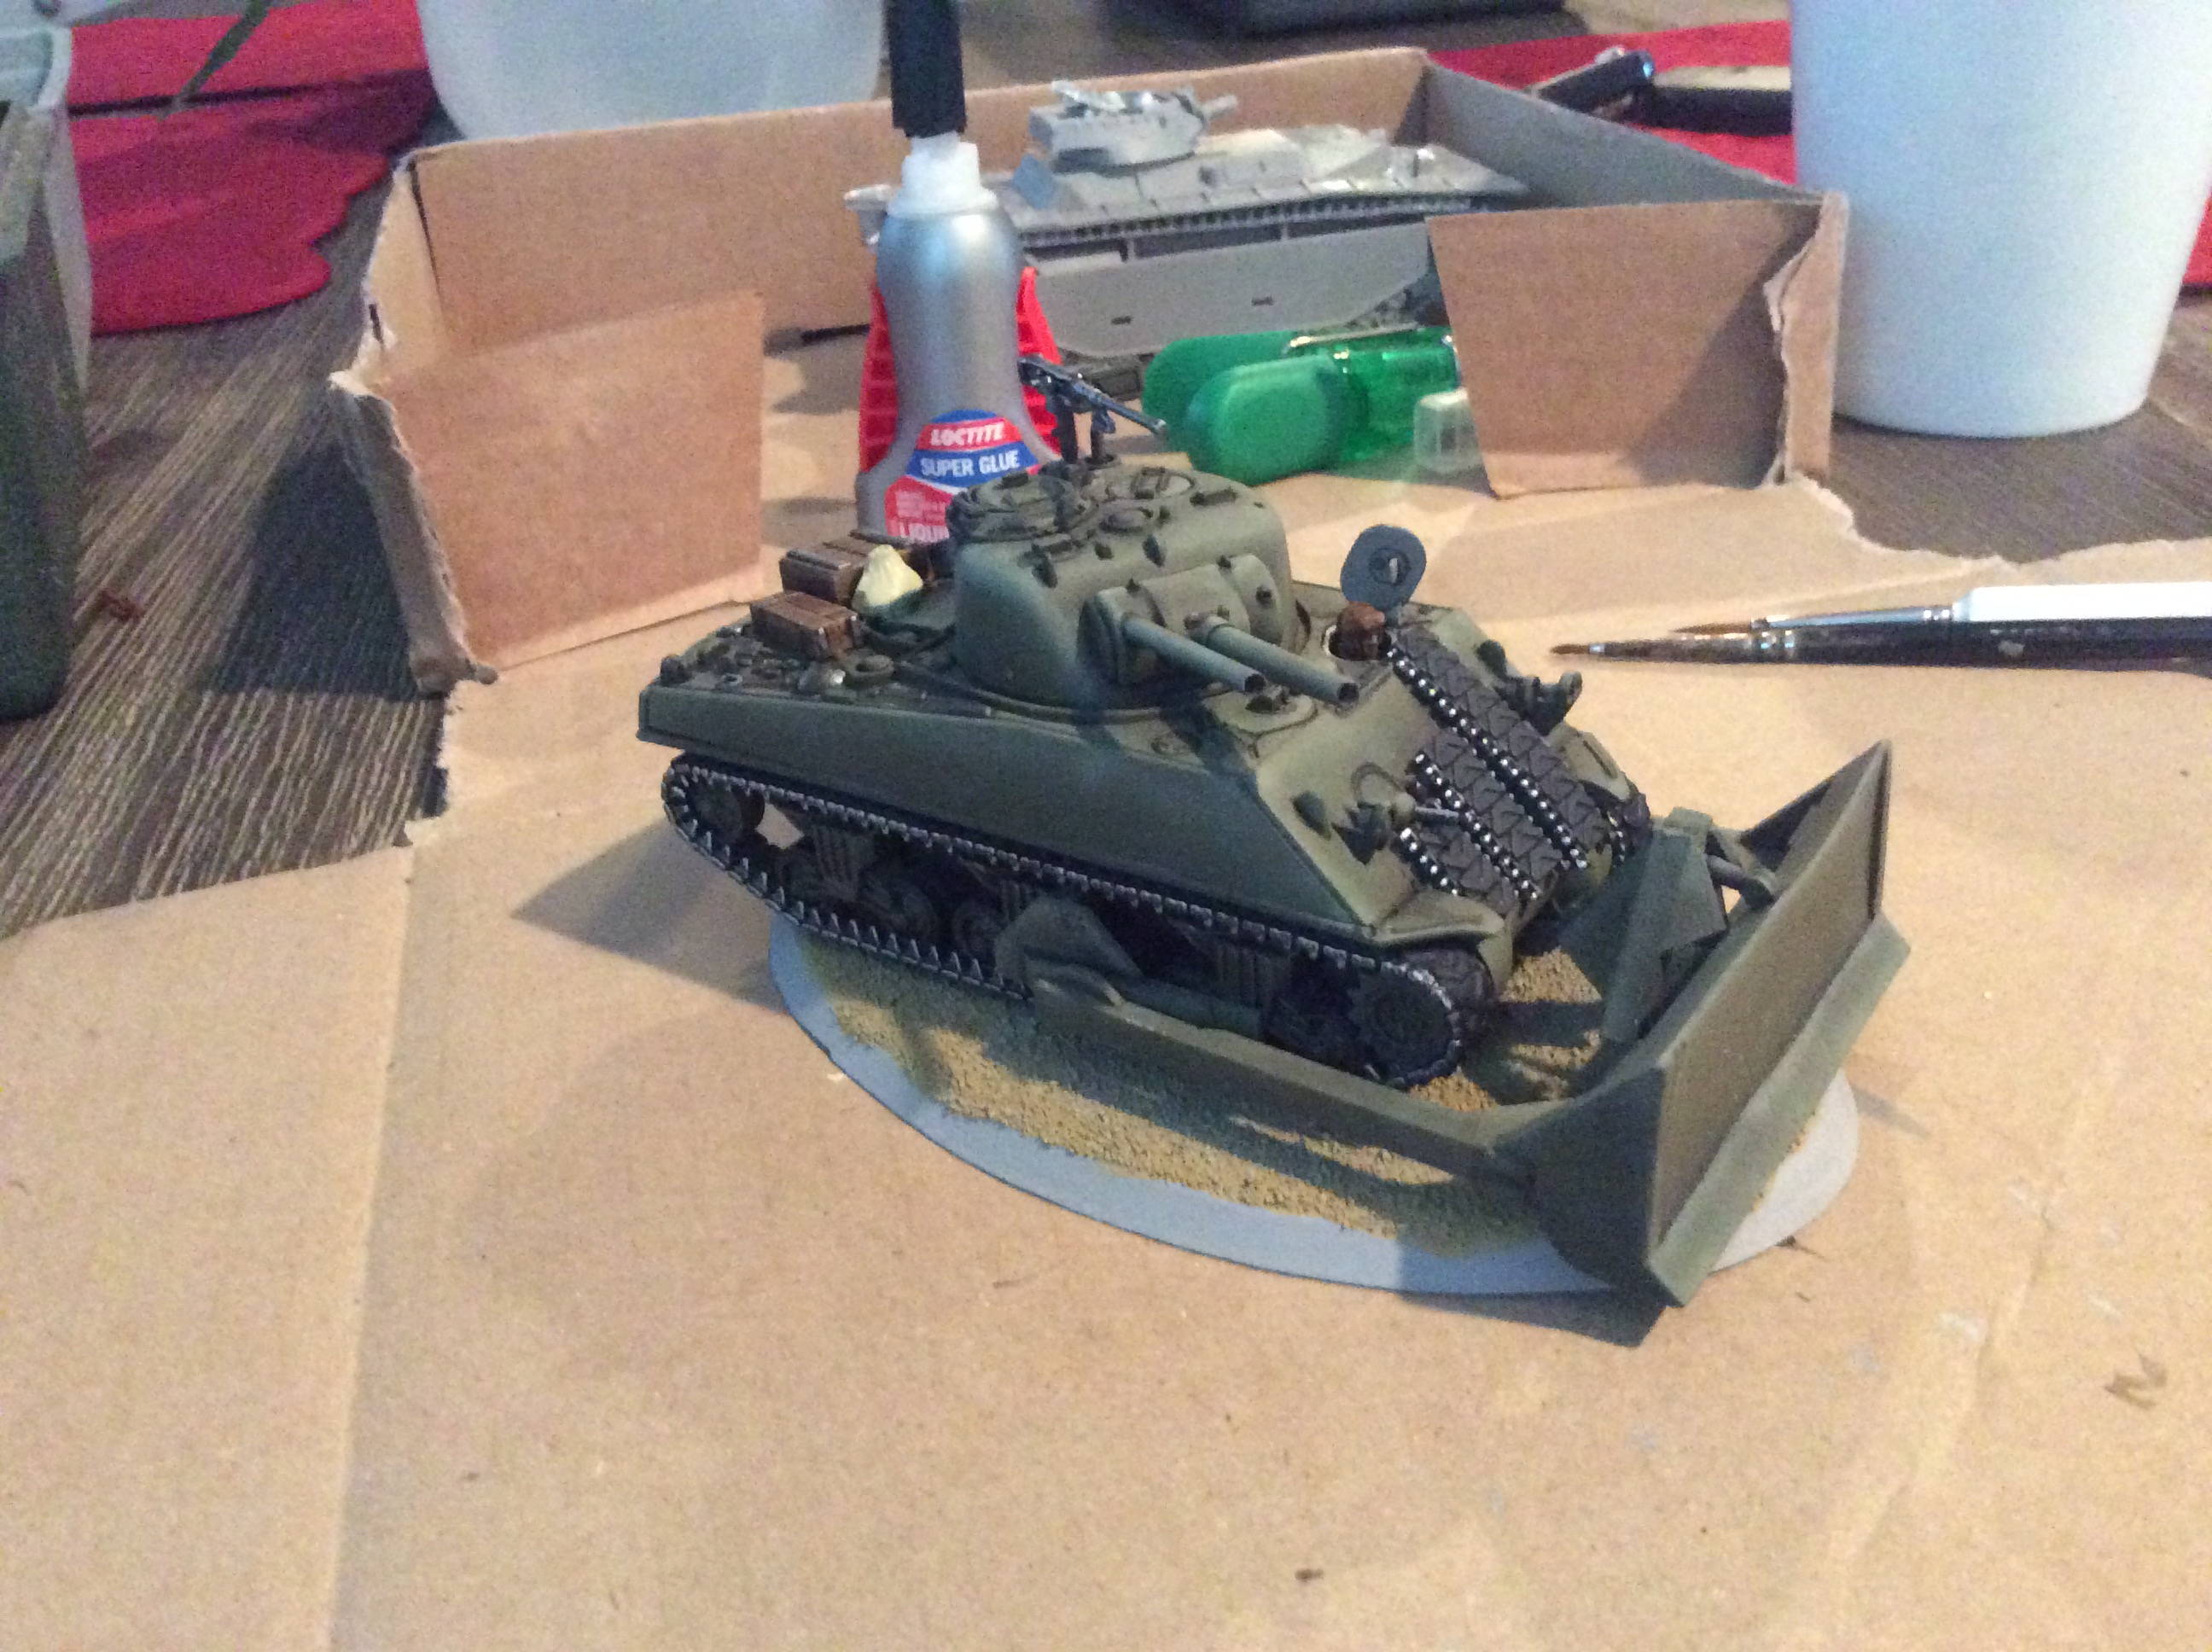 Front View of Sherman Zippo
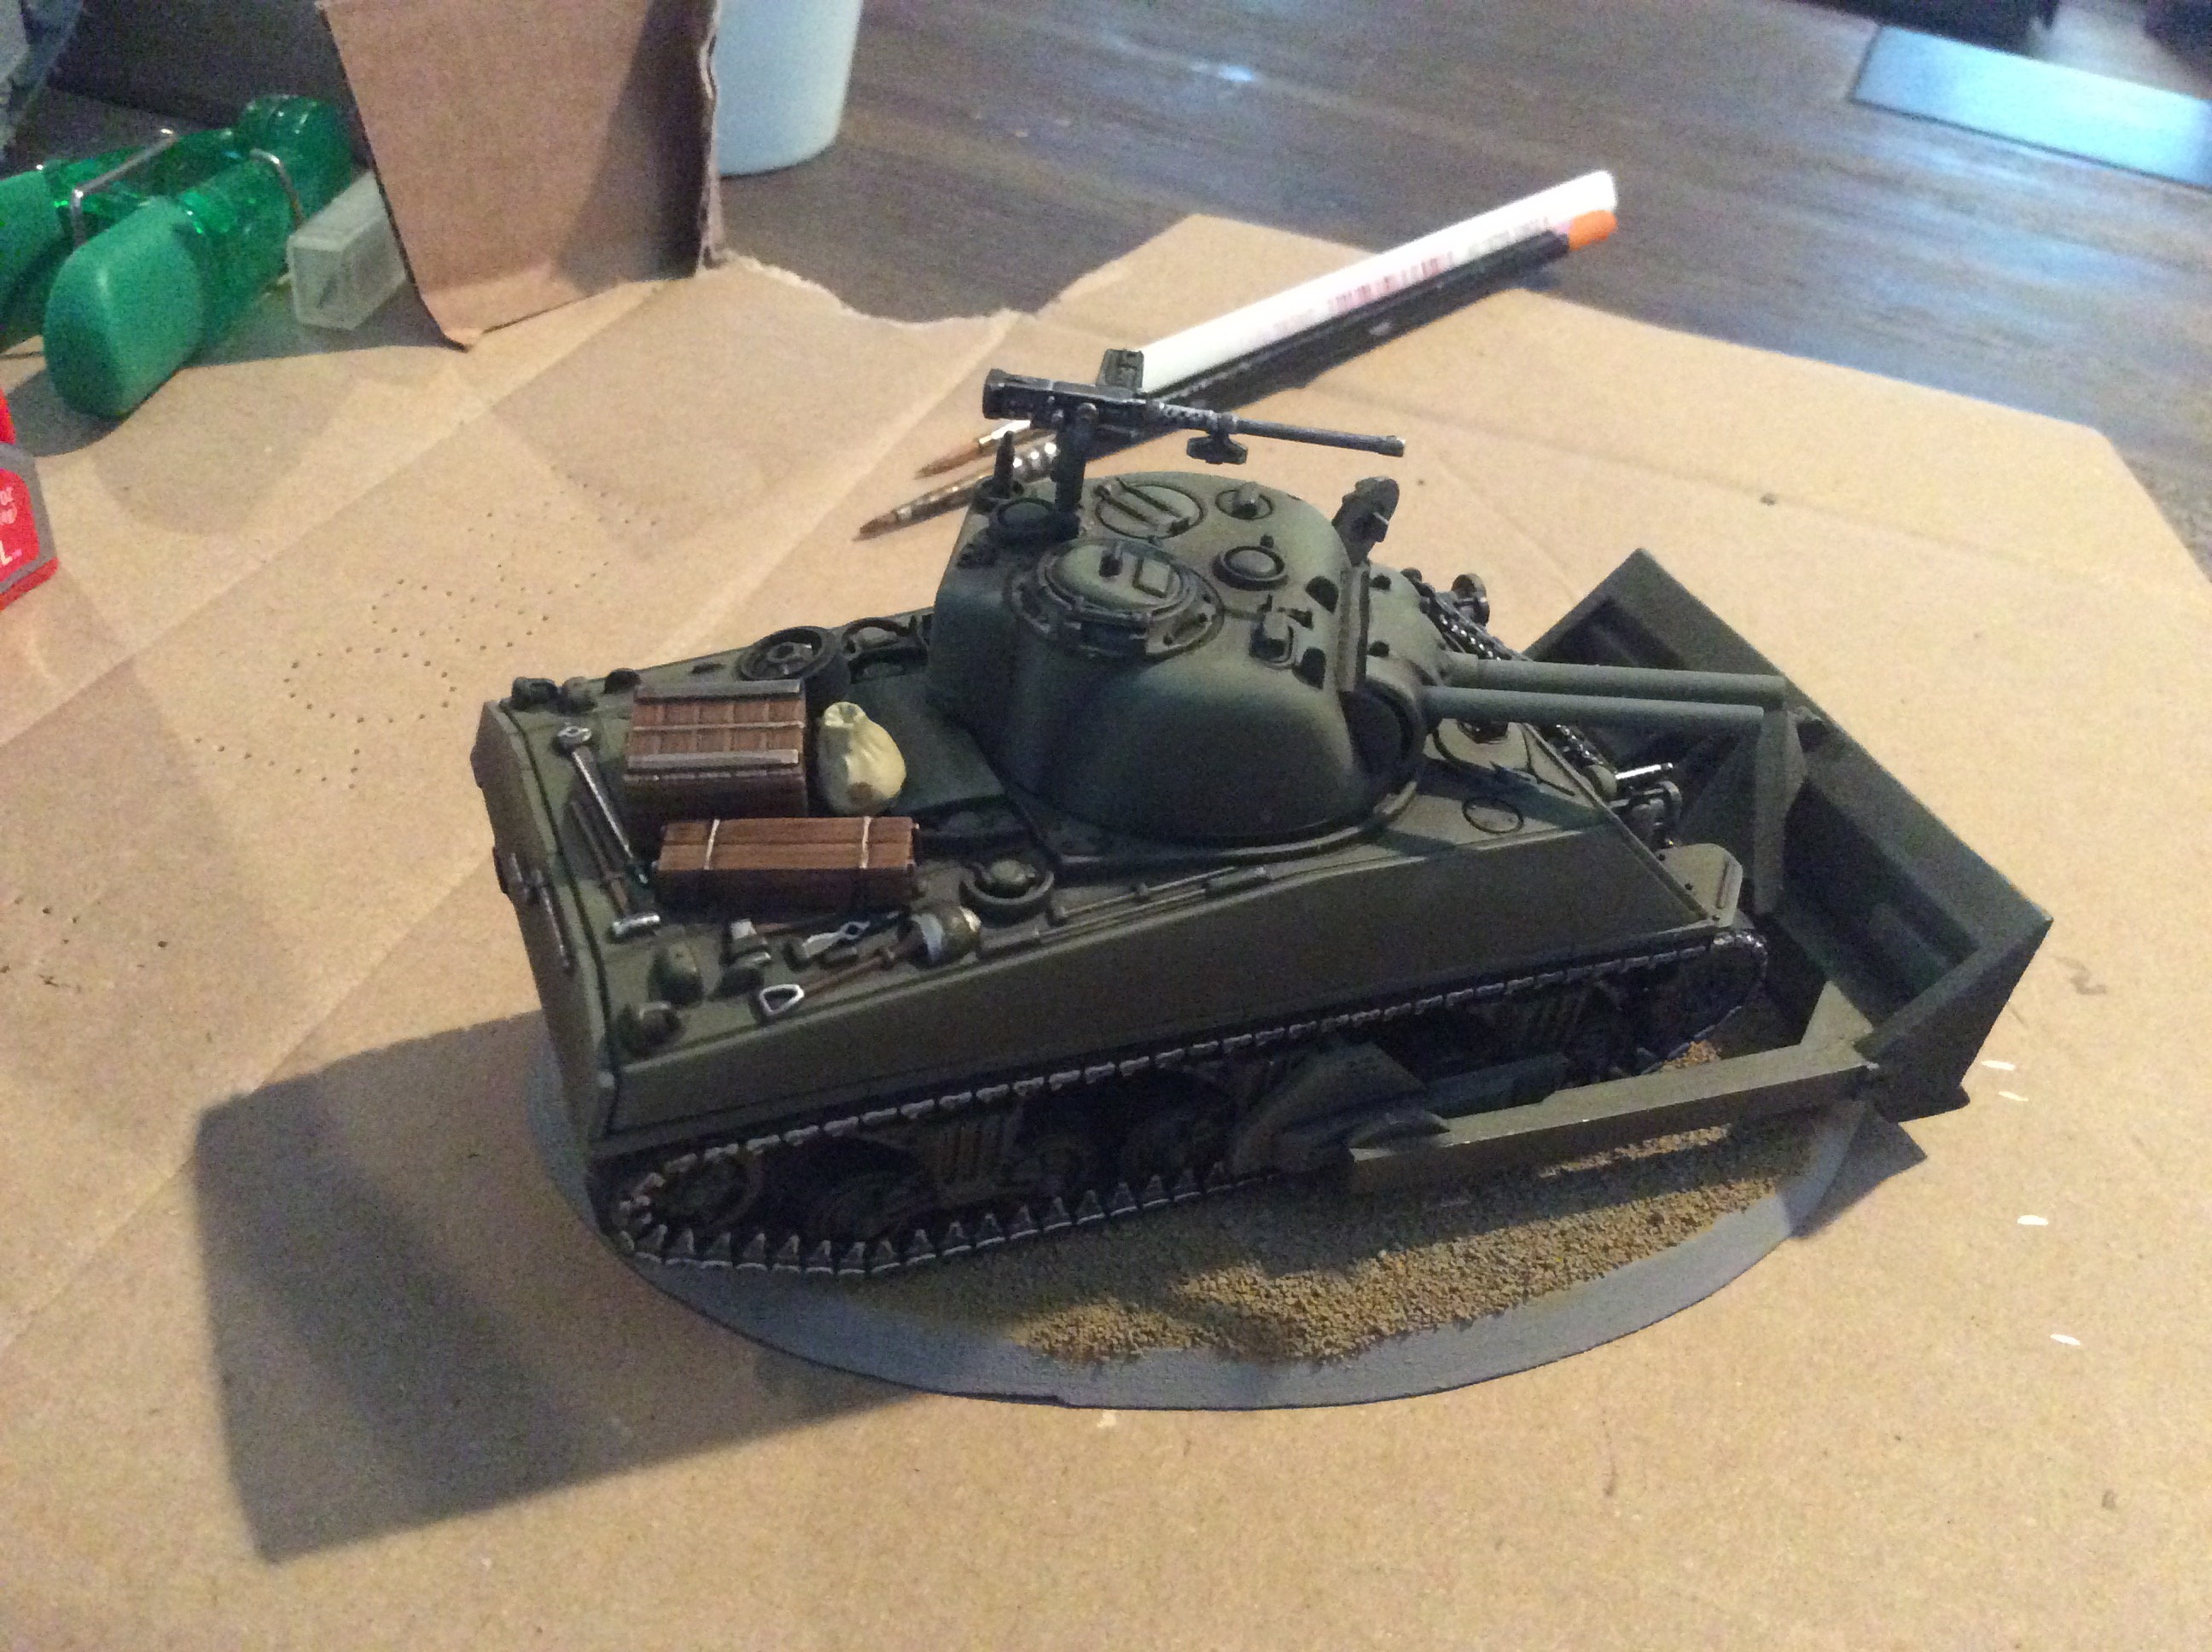 Rear View of Sherman Zippo
Building a better board
Quick update for today. I’m at a standstill on the jungle bases until I can get home and flock and varnish them. As a result, I spent some time assembling the balance of my sarissa precision buildings. The hangar and one tower were already built, so I built the second guard tower and the airfield control tower.
I also want to make the buildings look a little more slapped-together, so ordered some corrugated paper sheets to apply to the roofs. That should arrive this week.
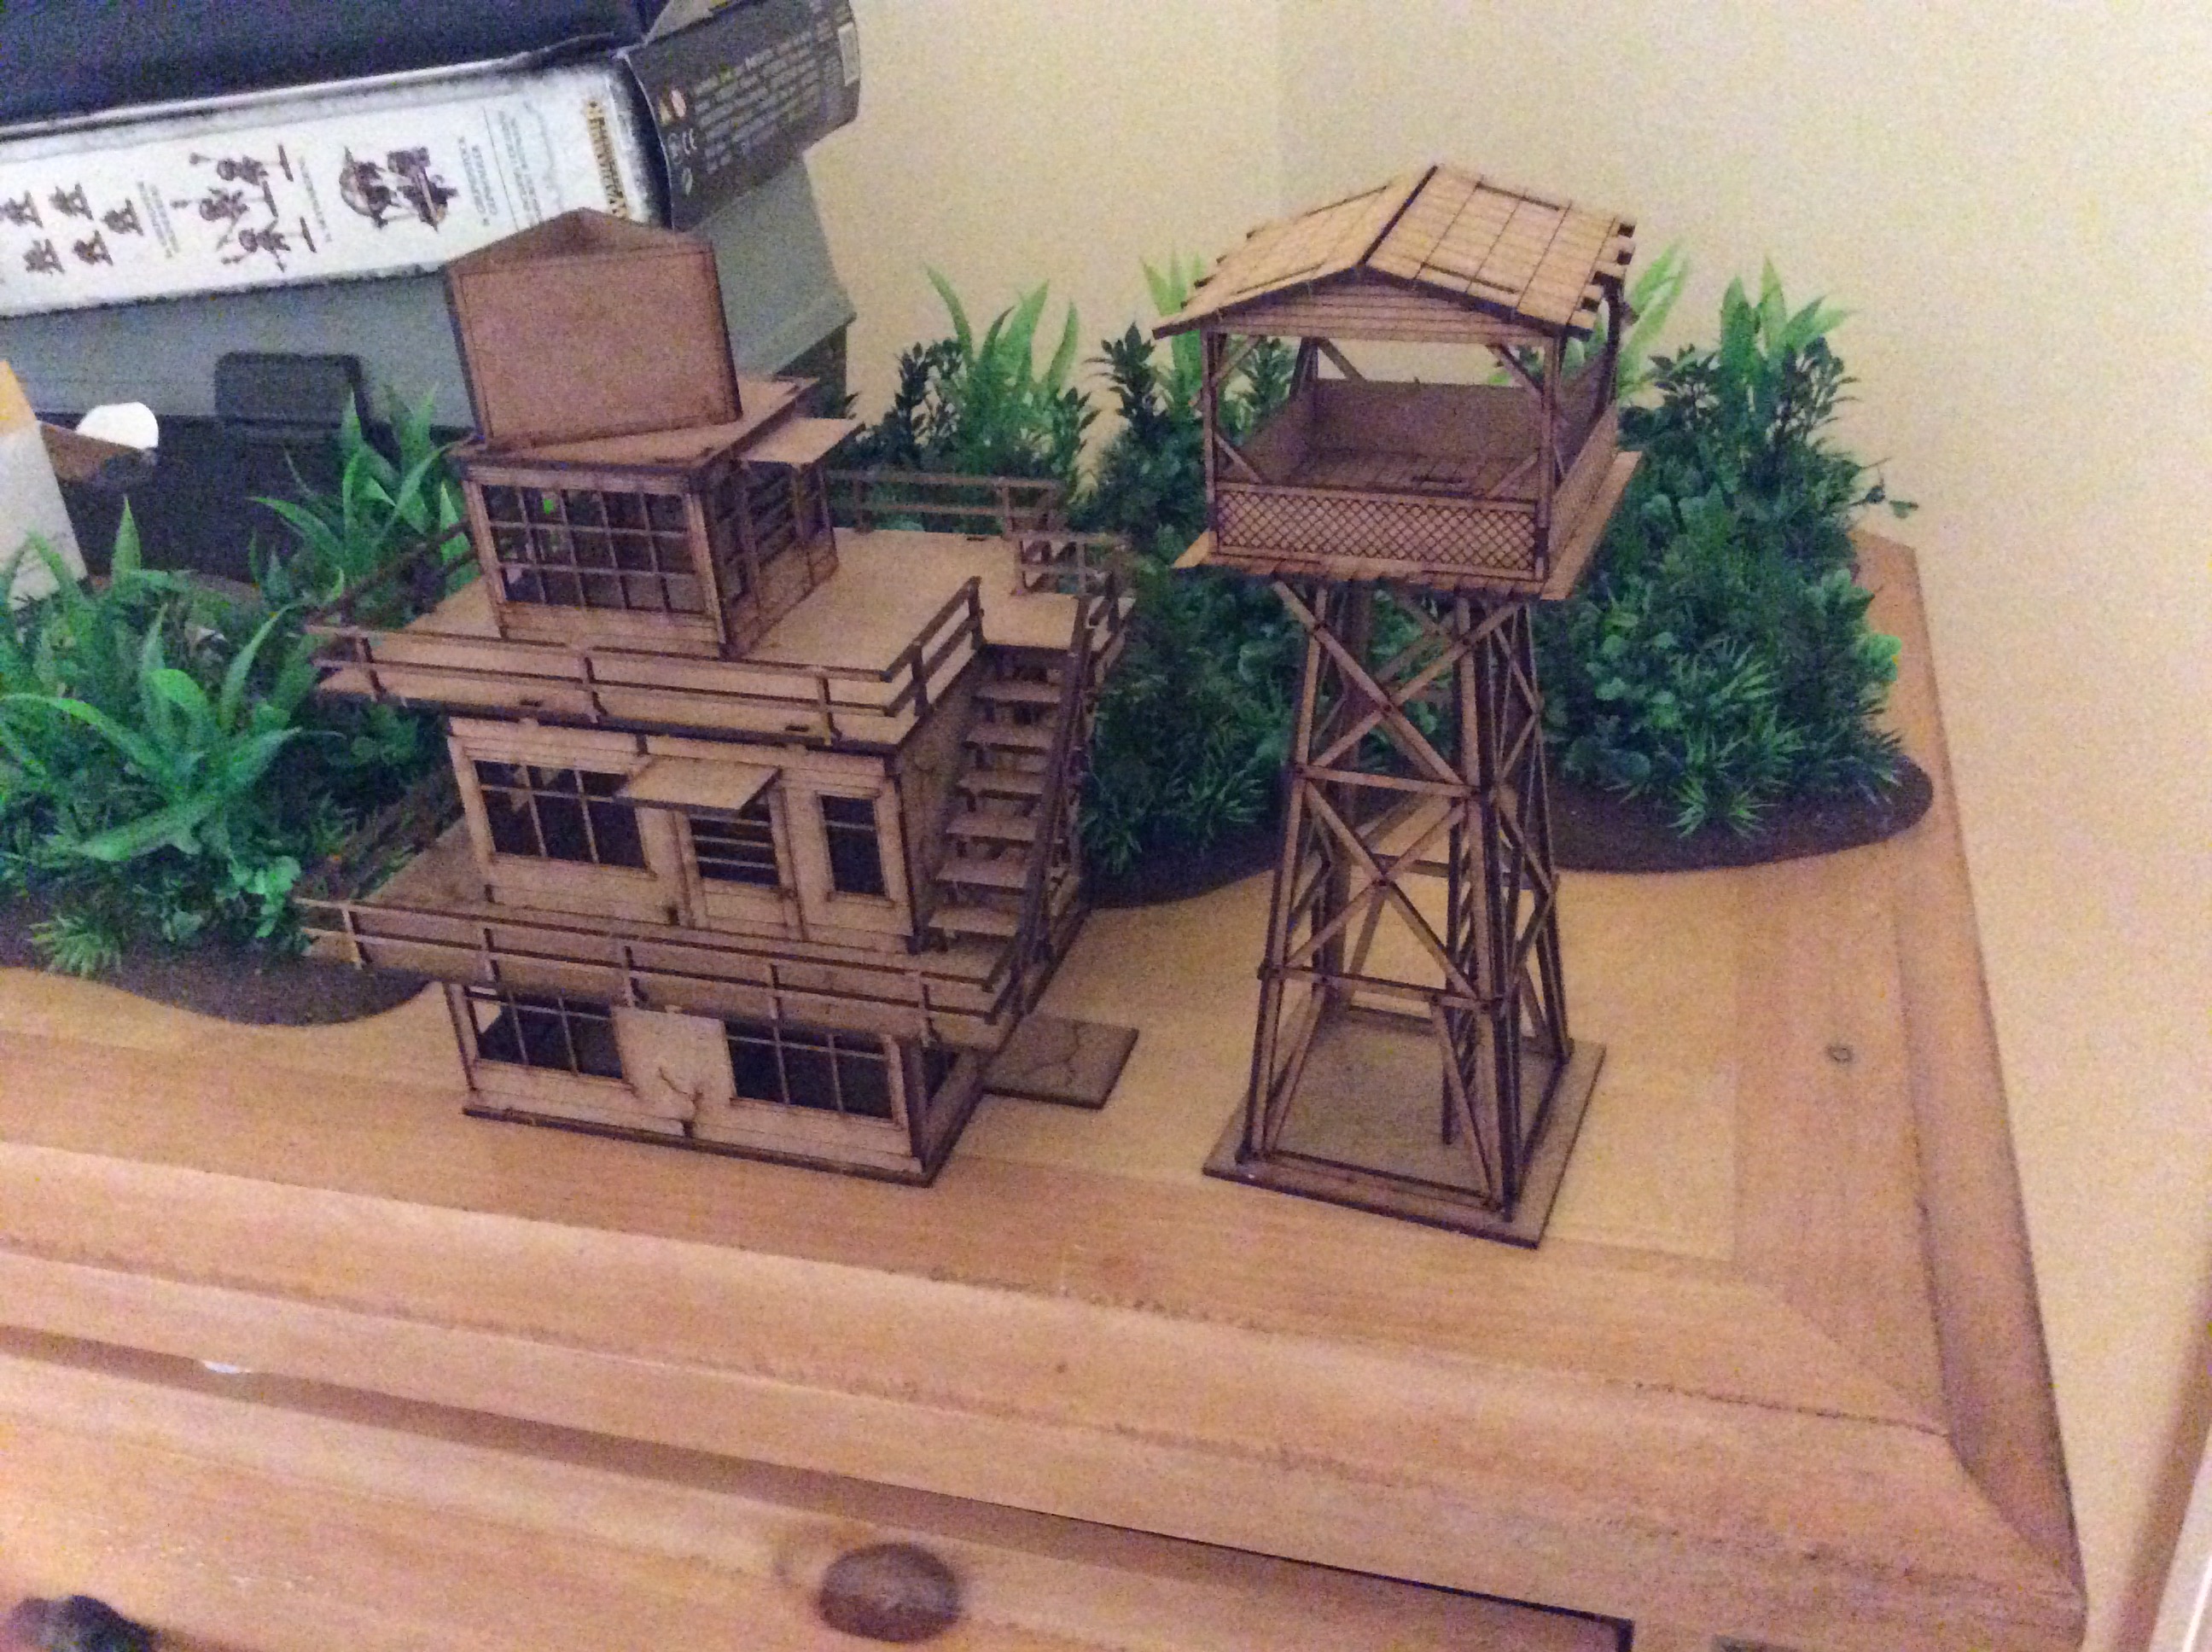 Sarissa Pecision Guard Tower and Air Control Tower
Clever Girl...
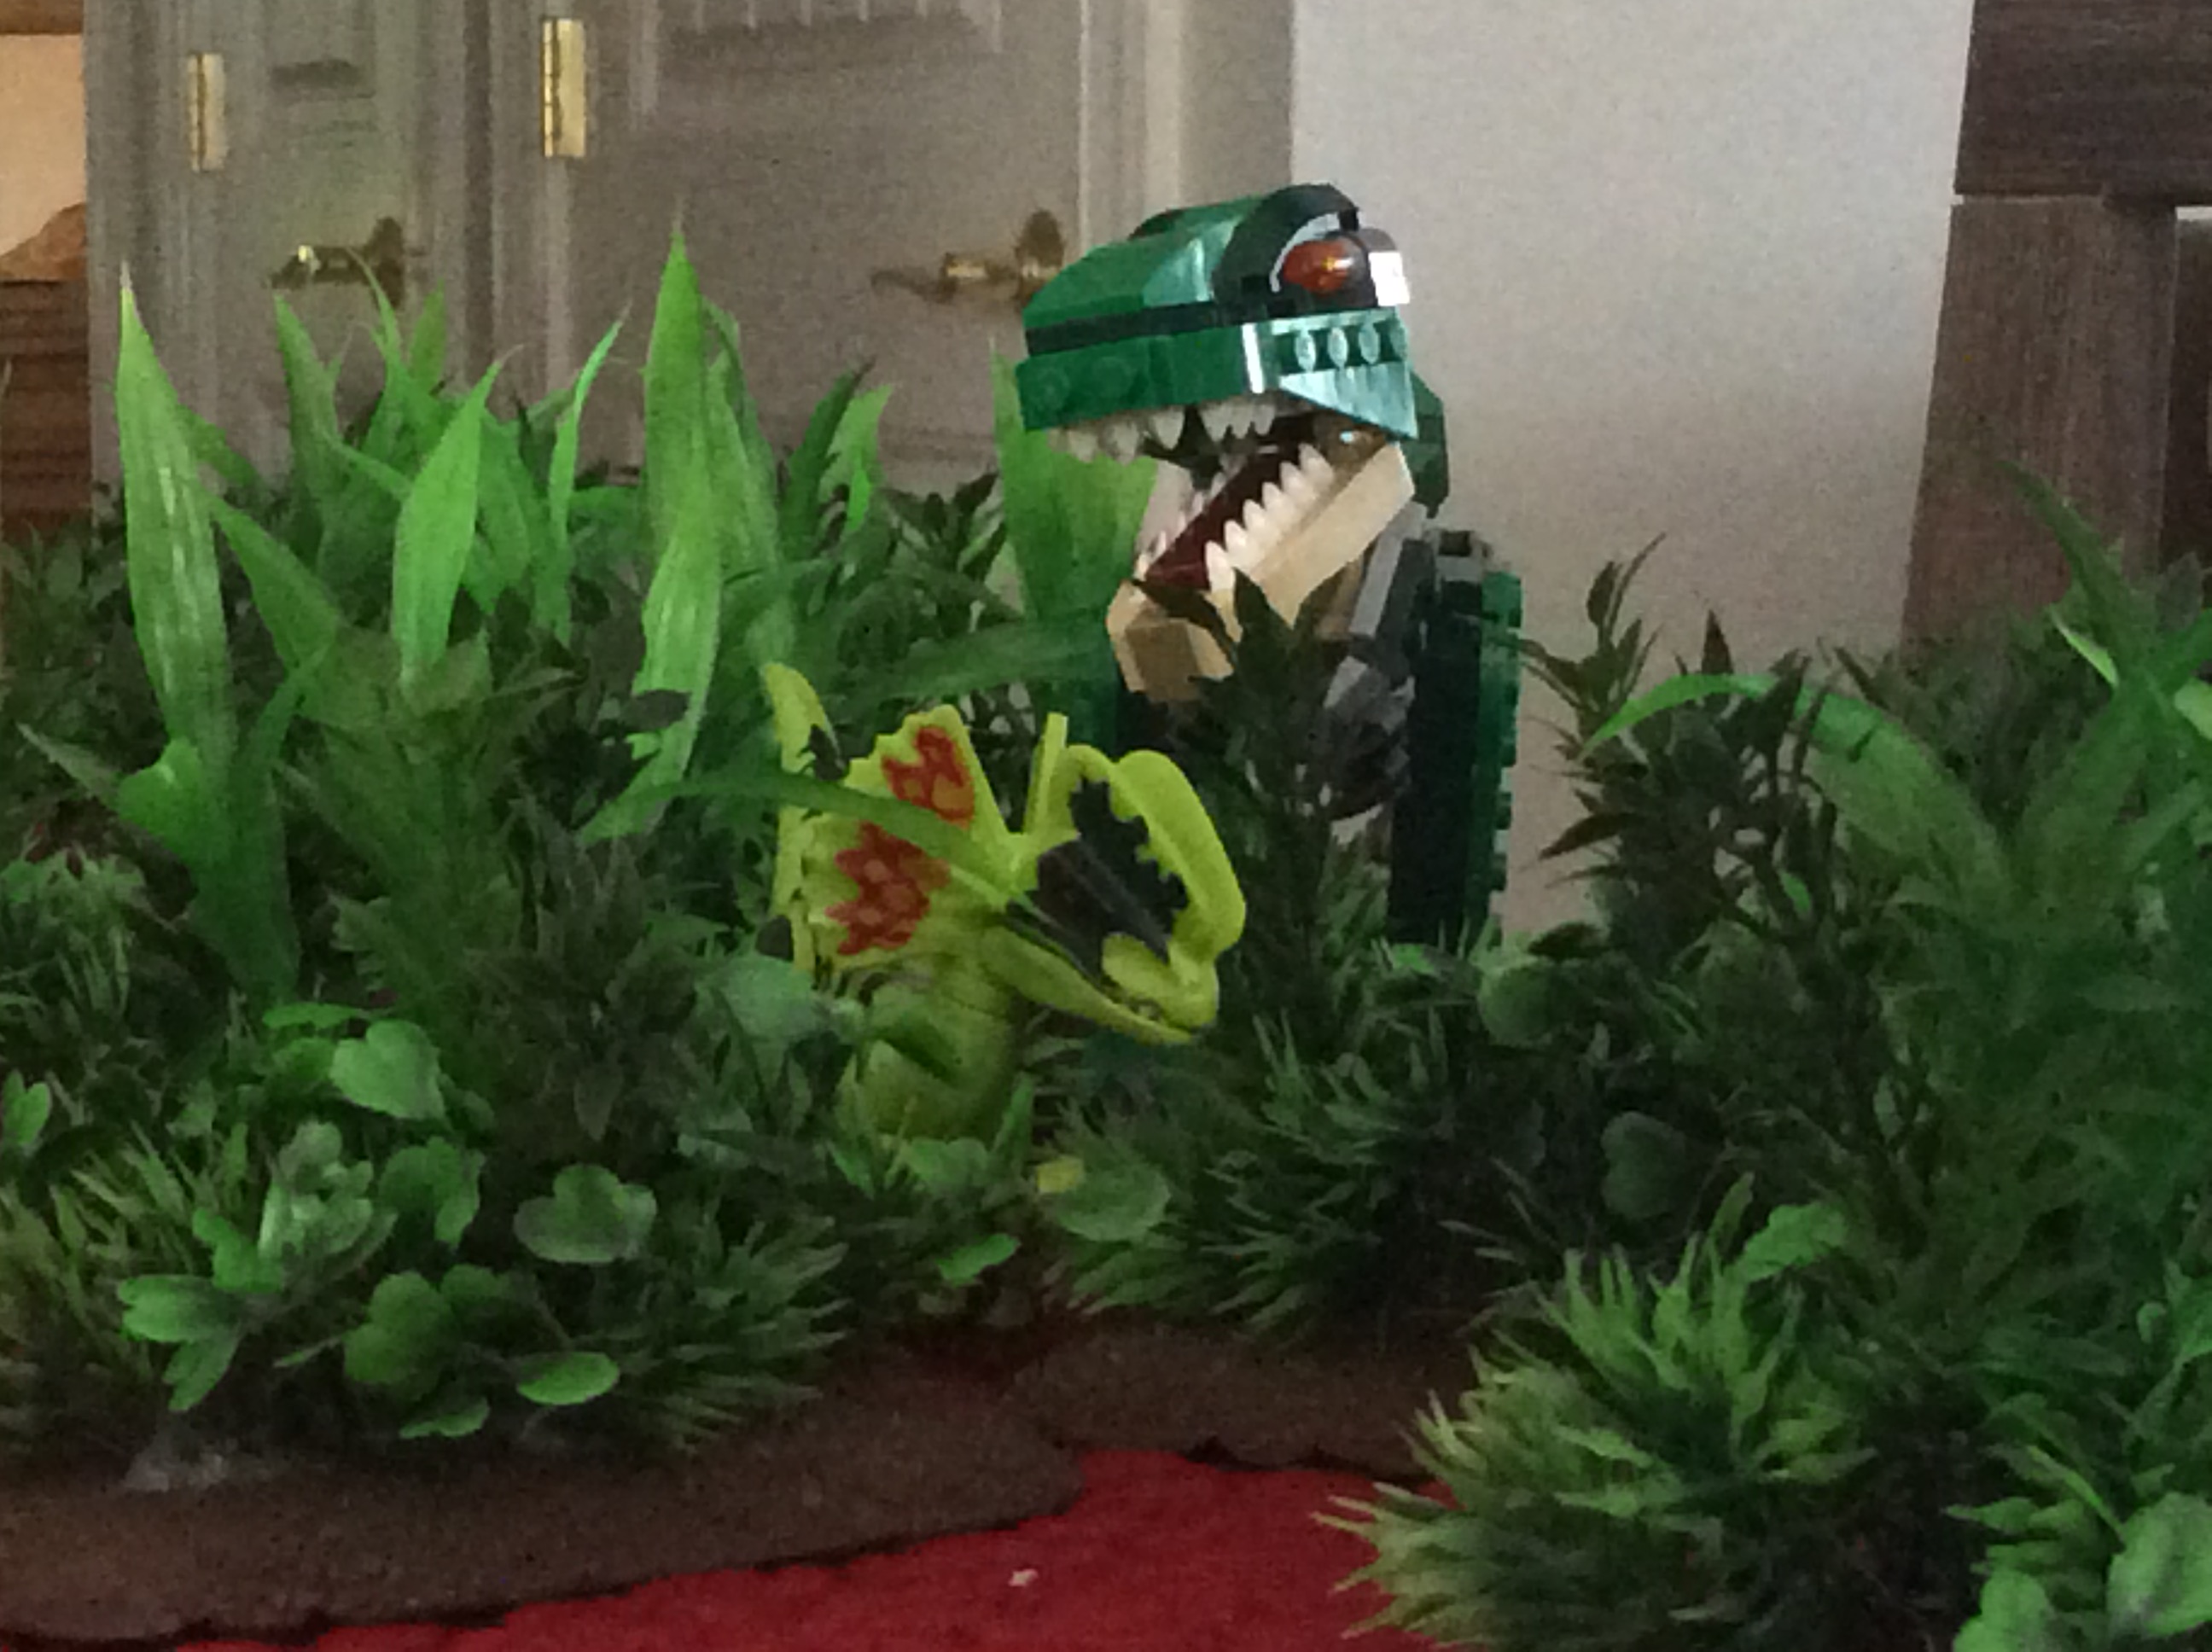
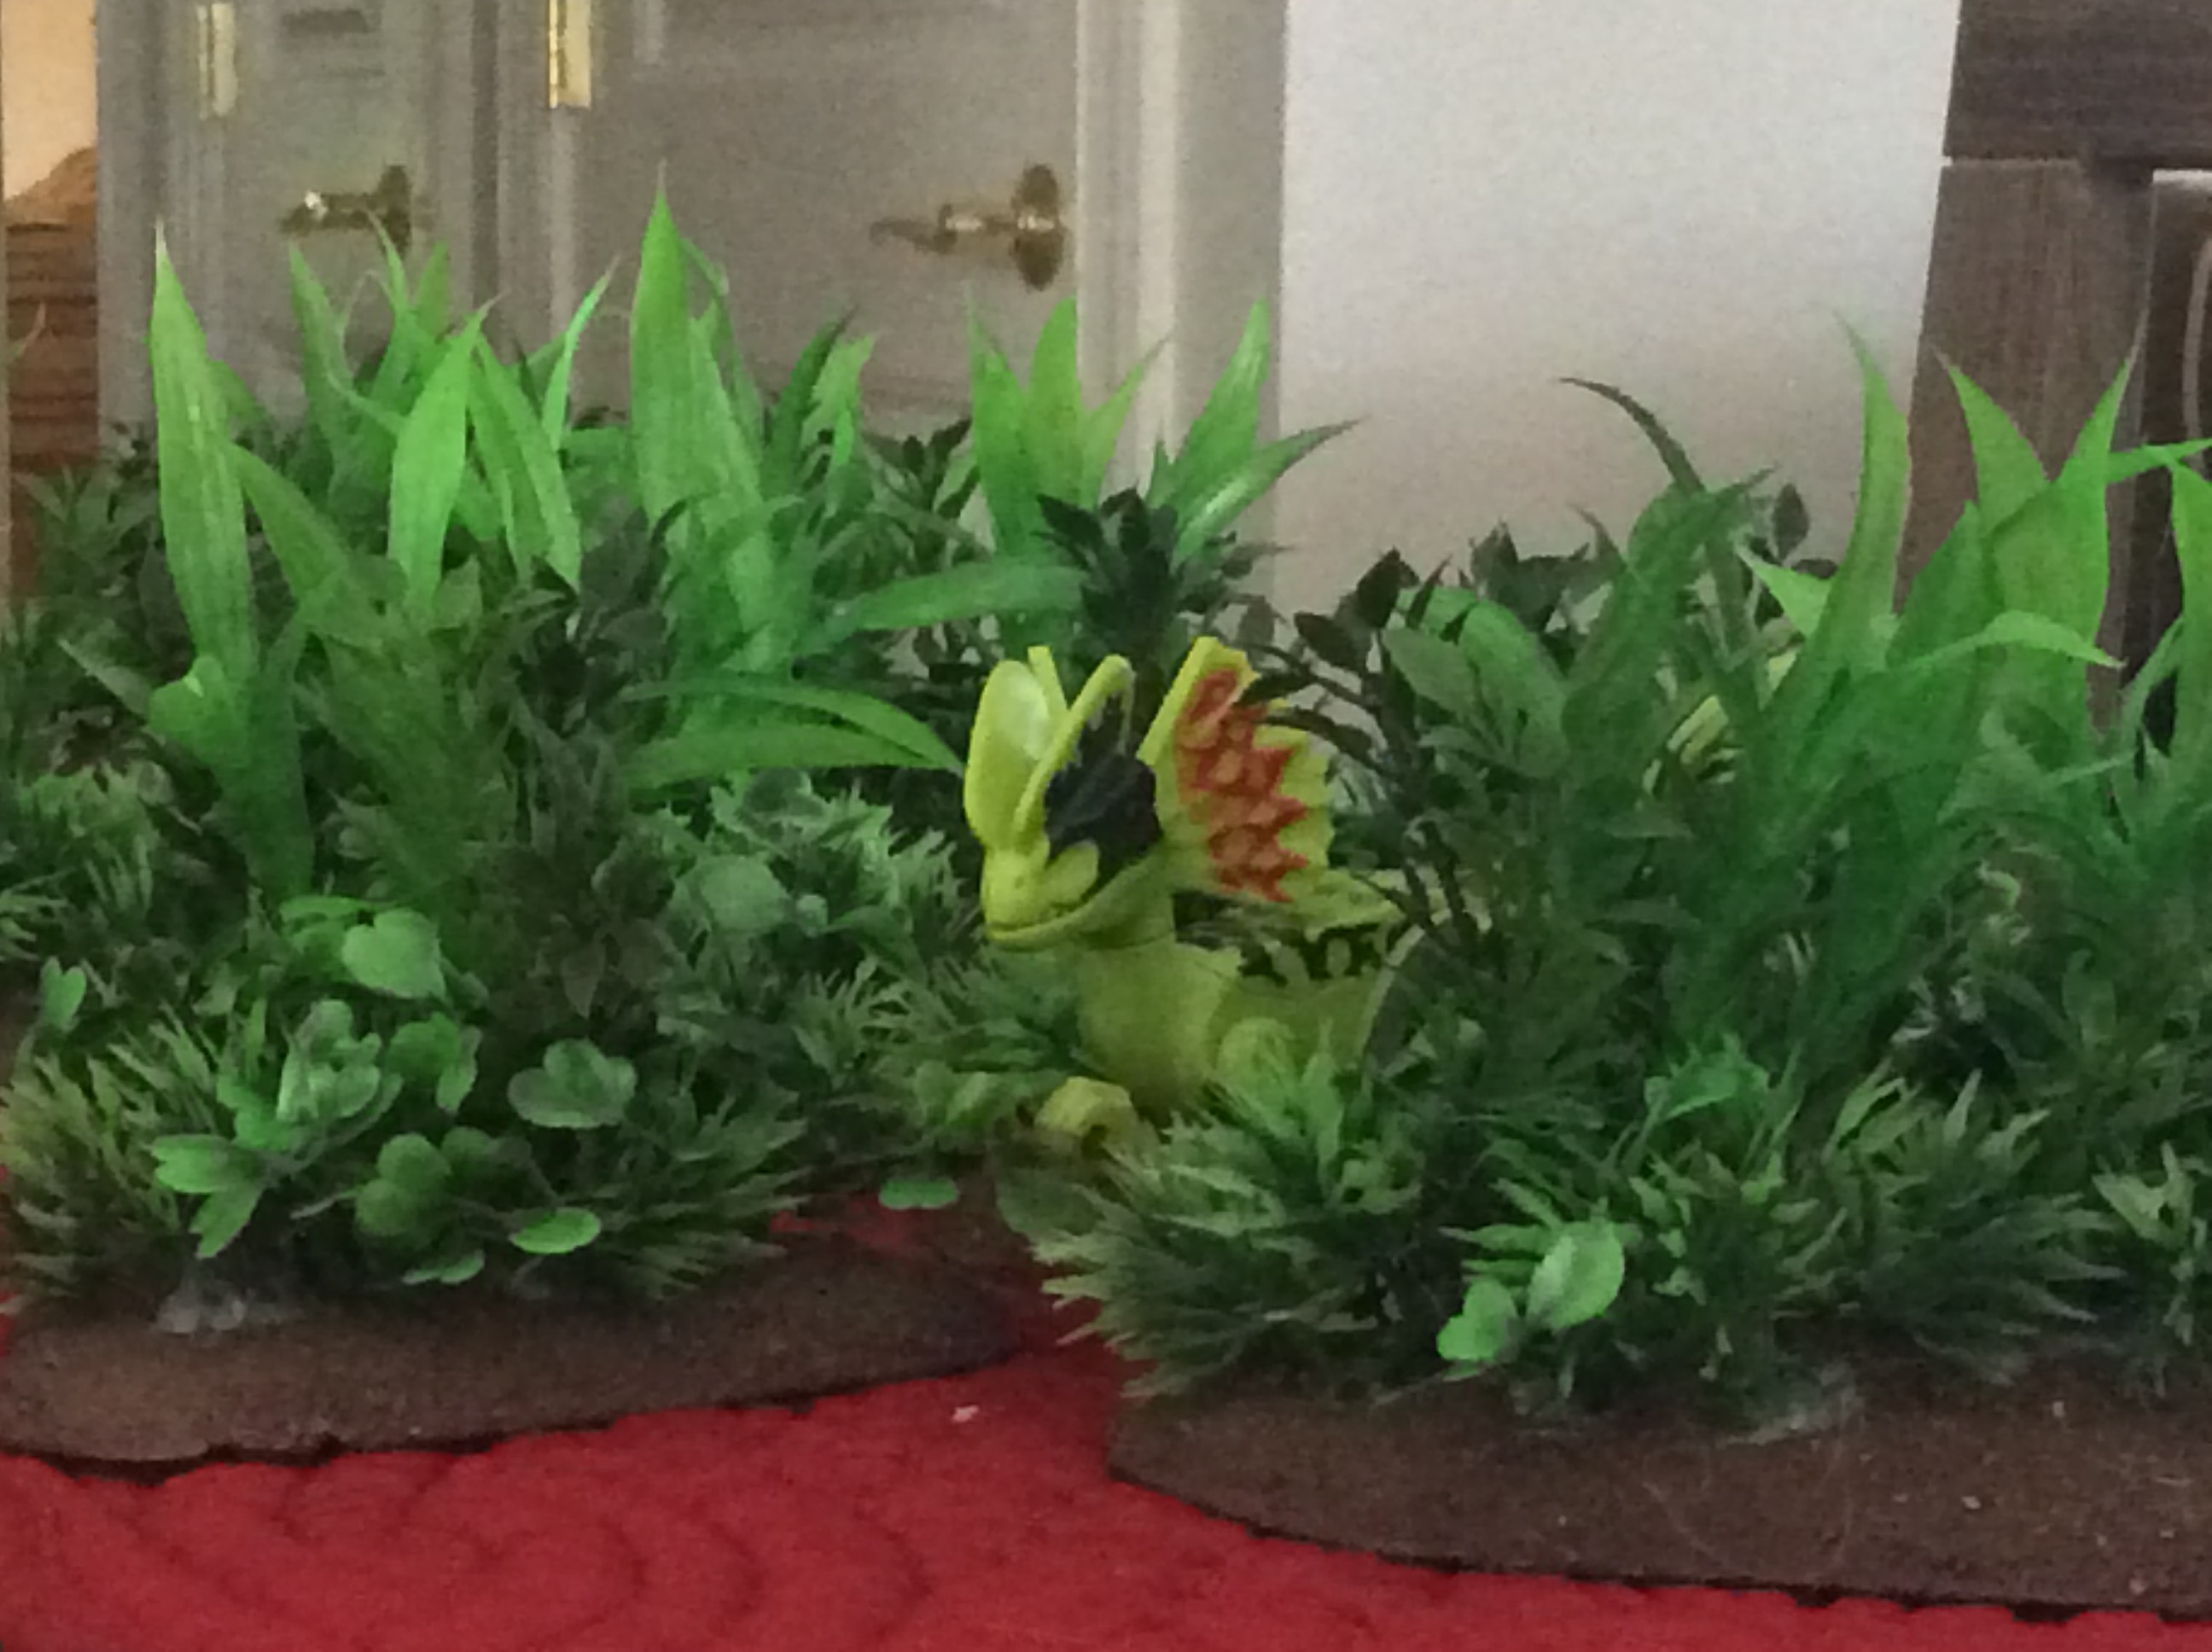
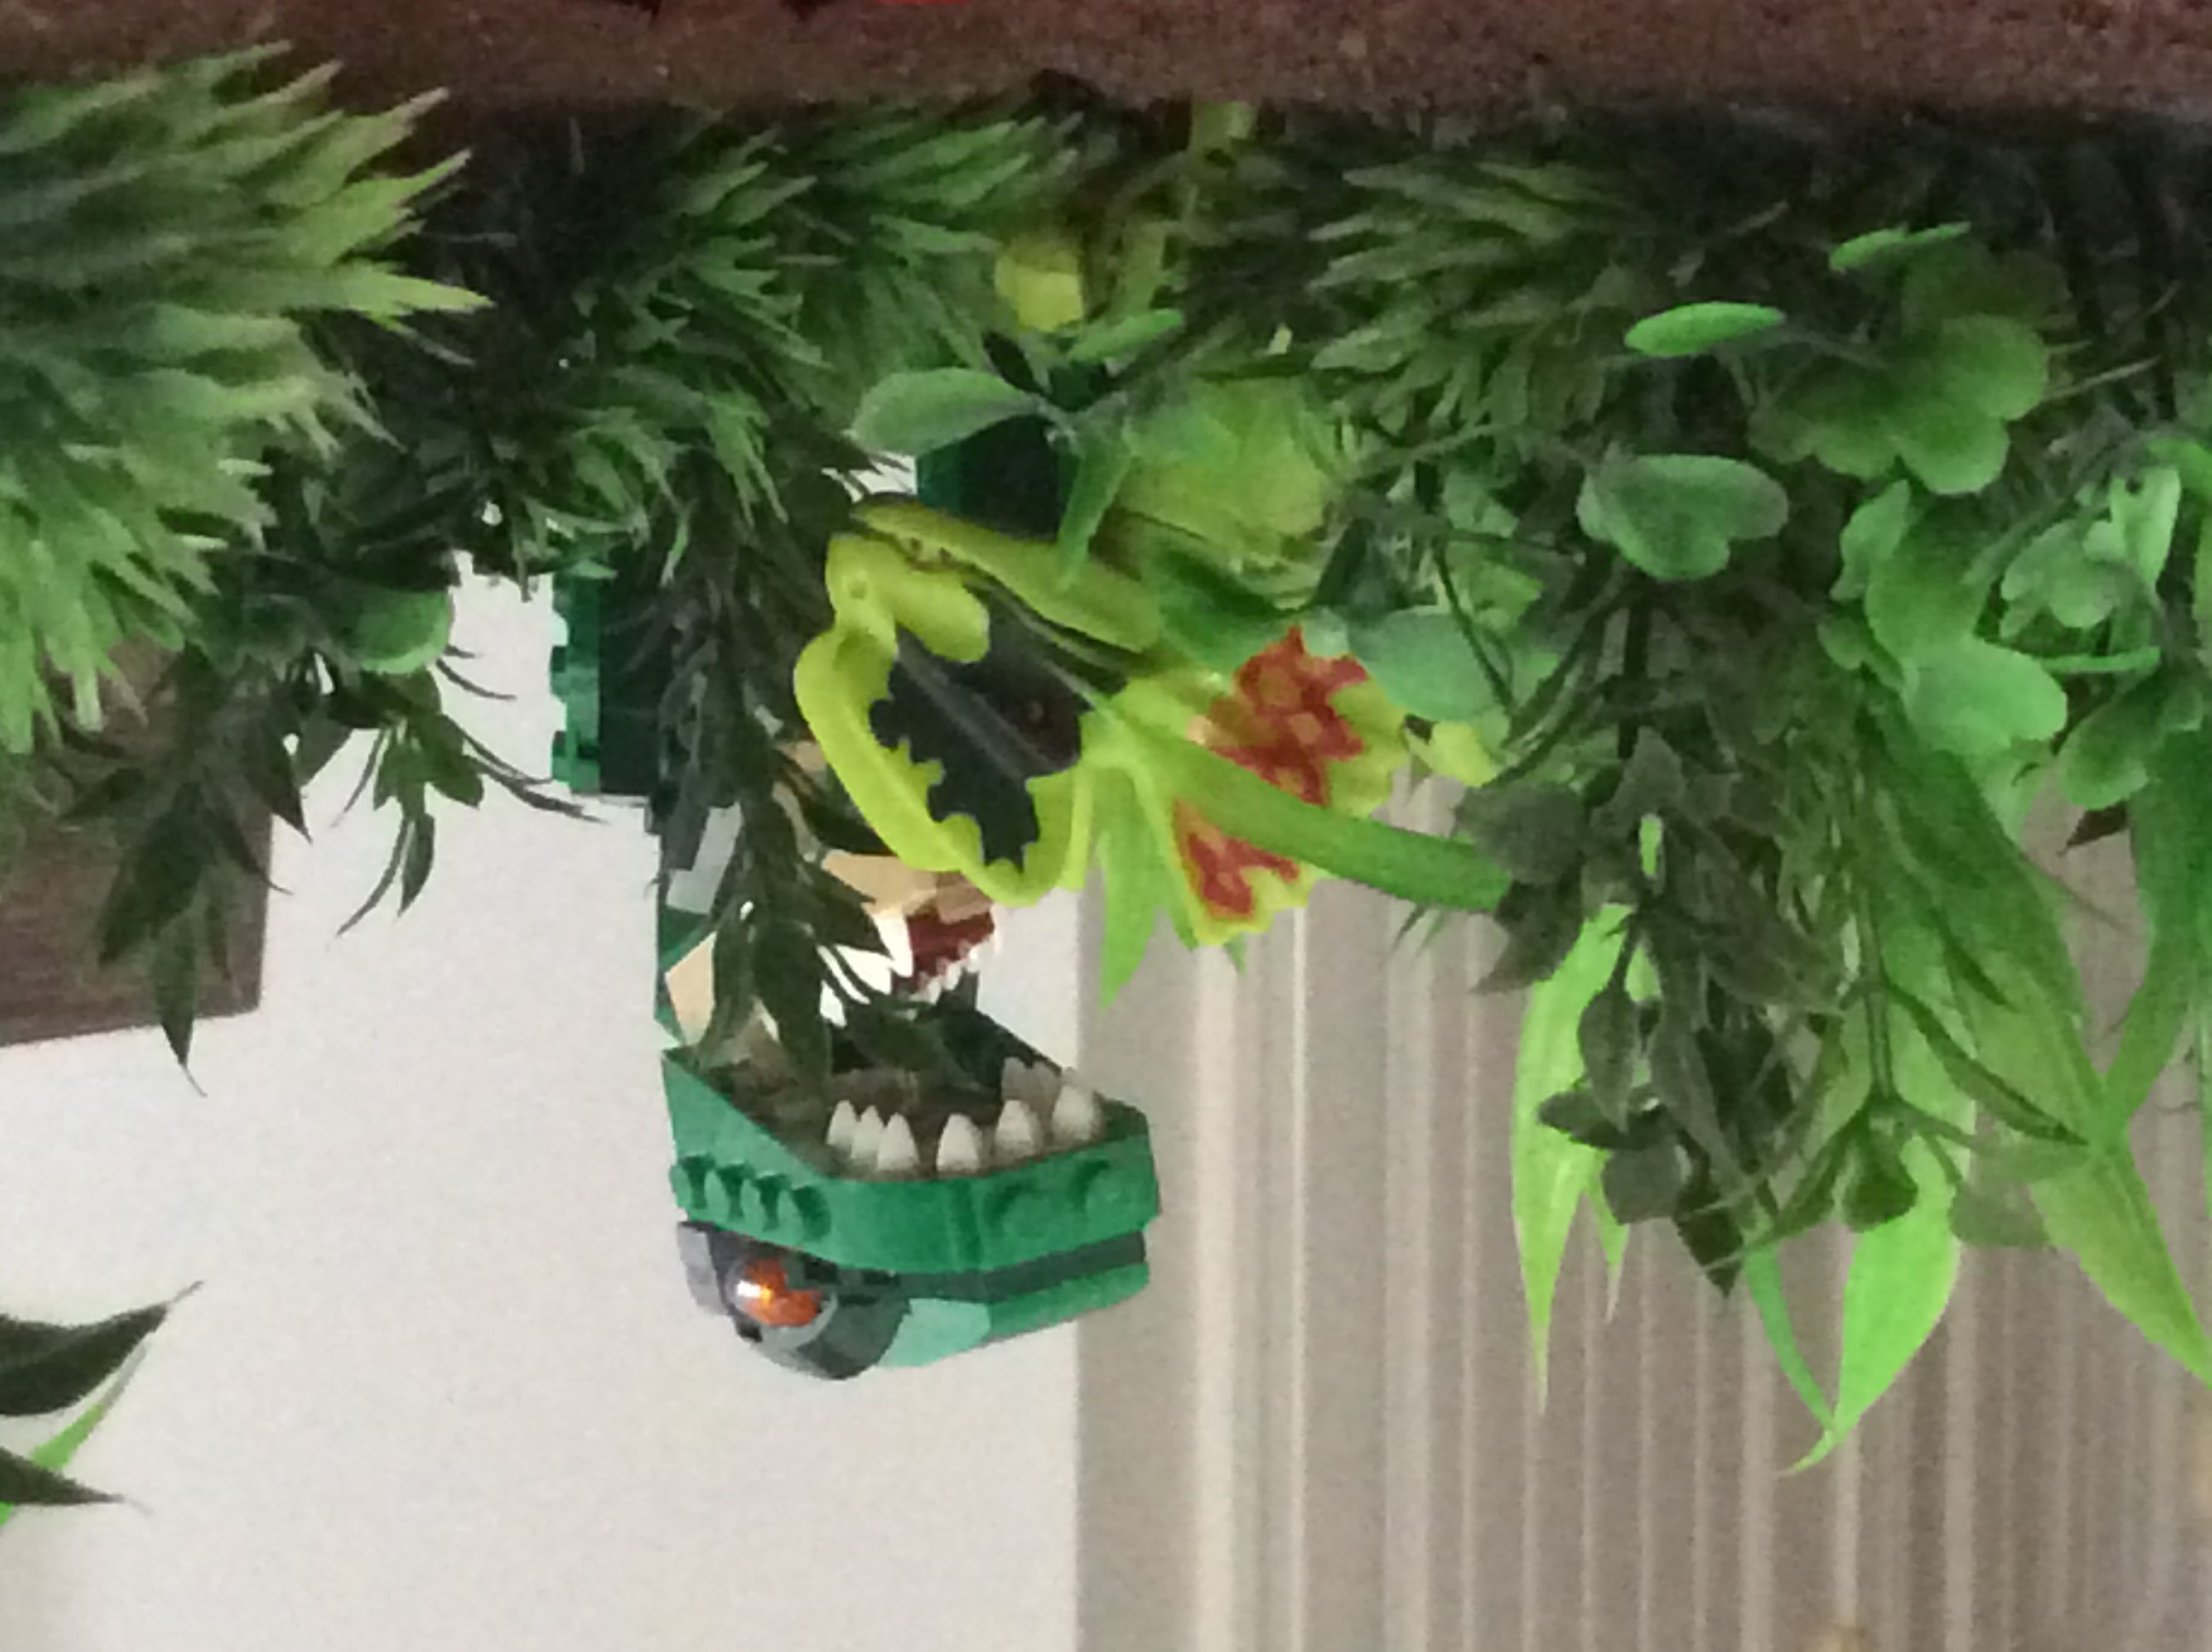
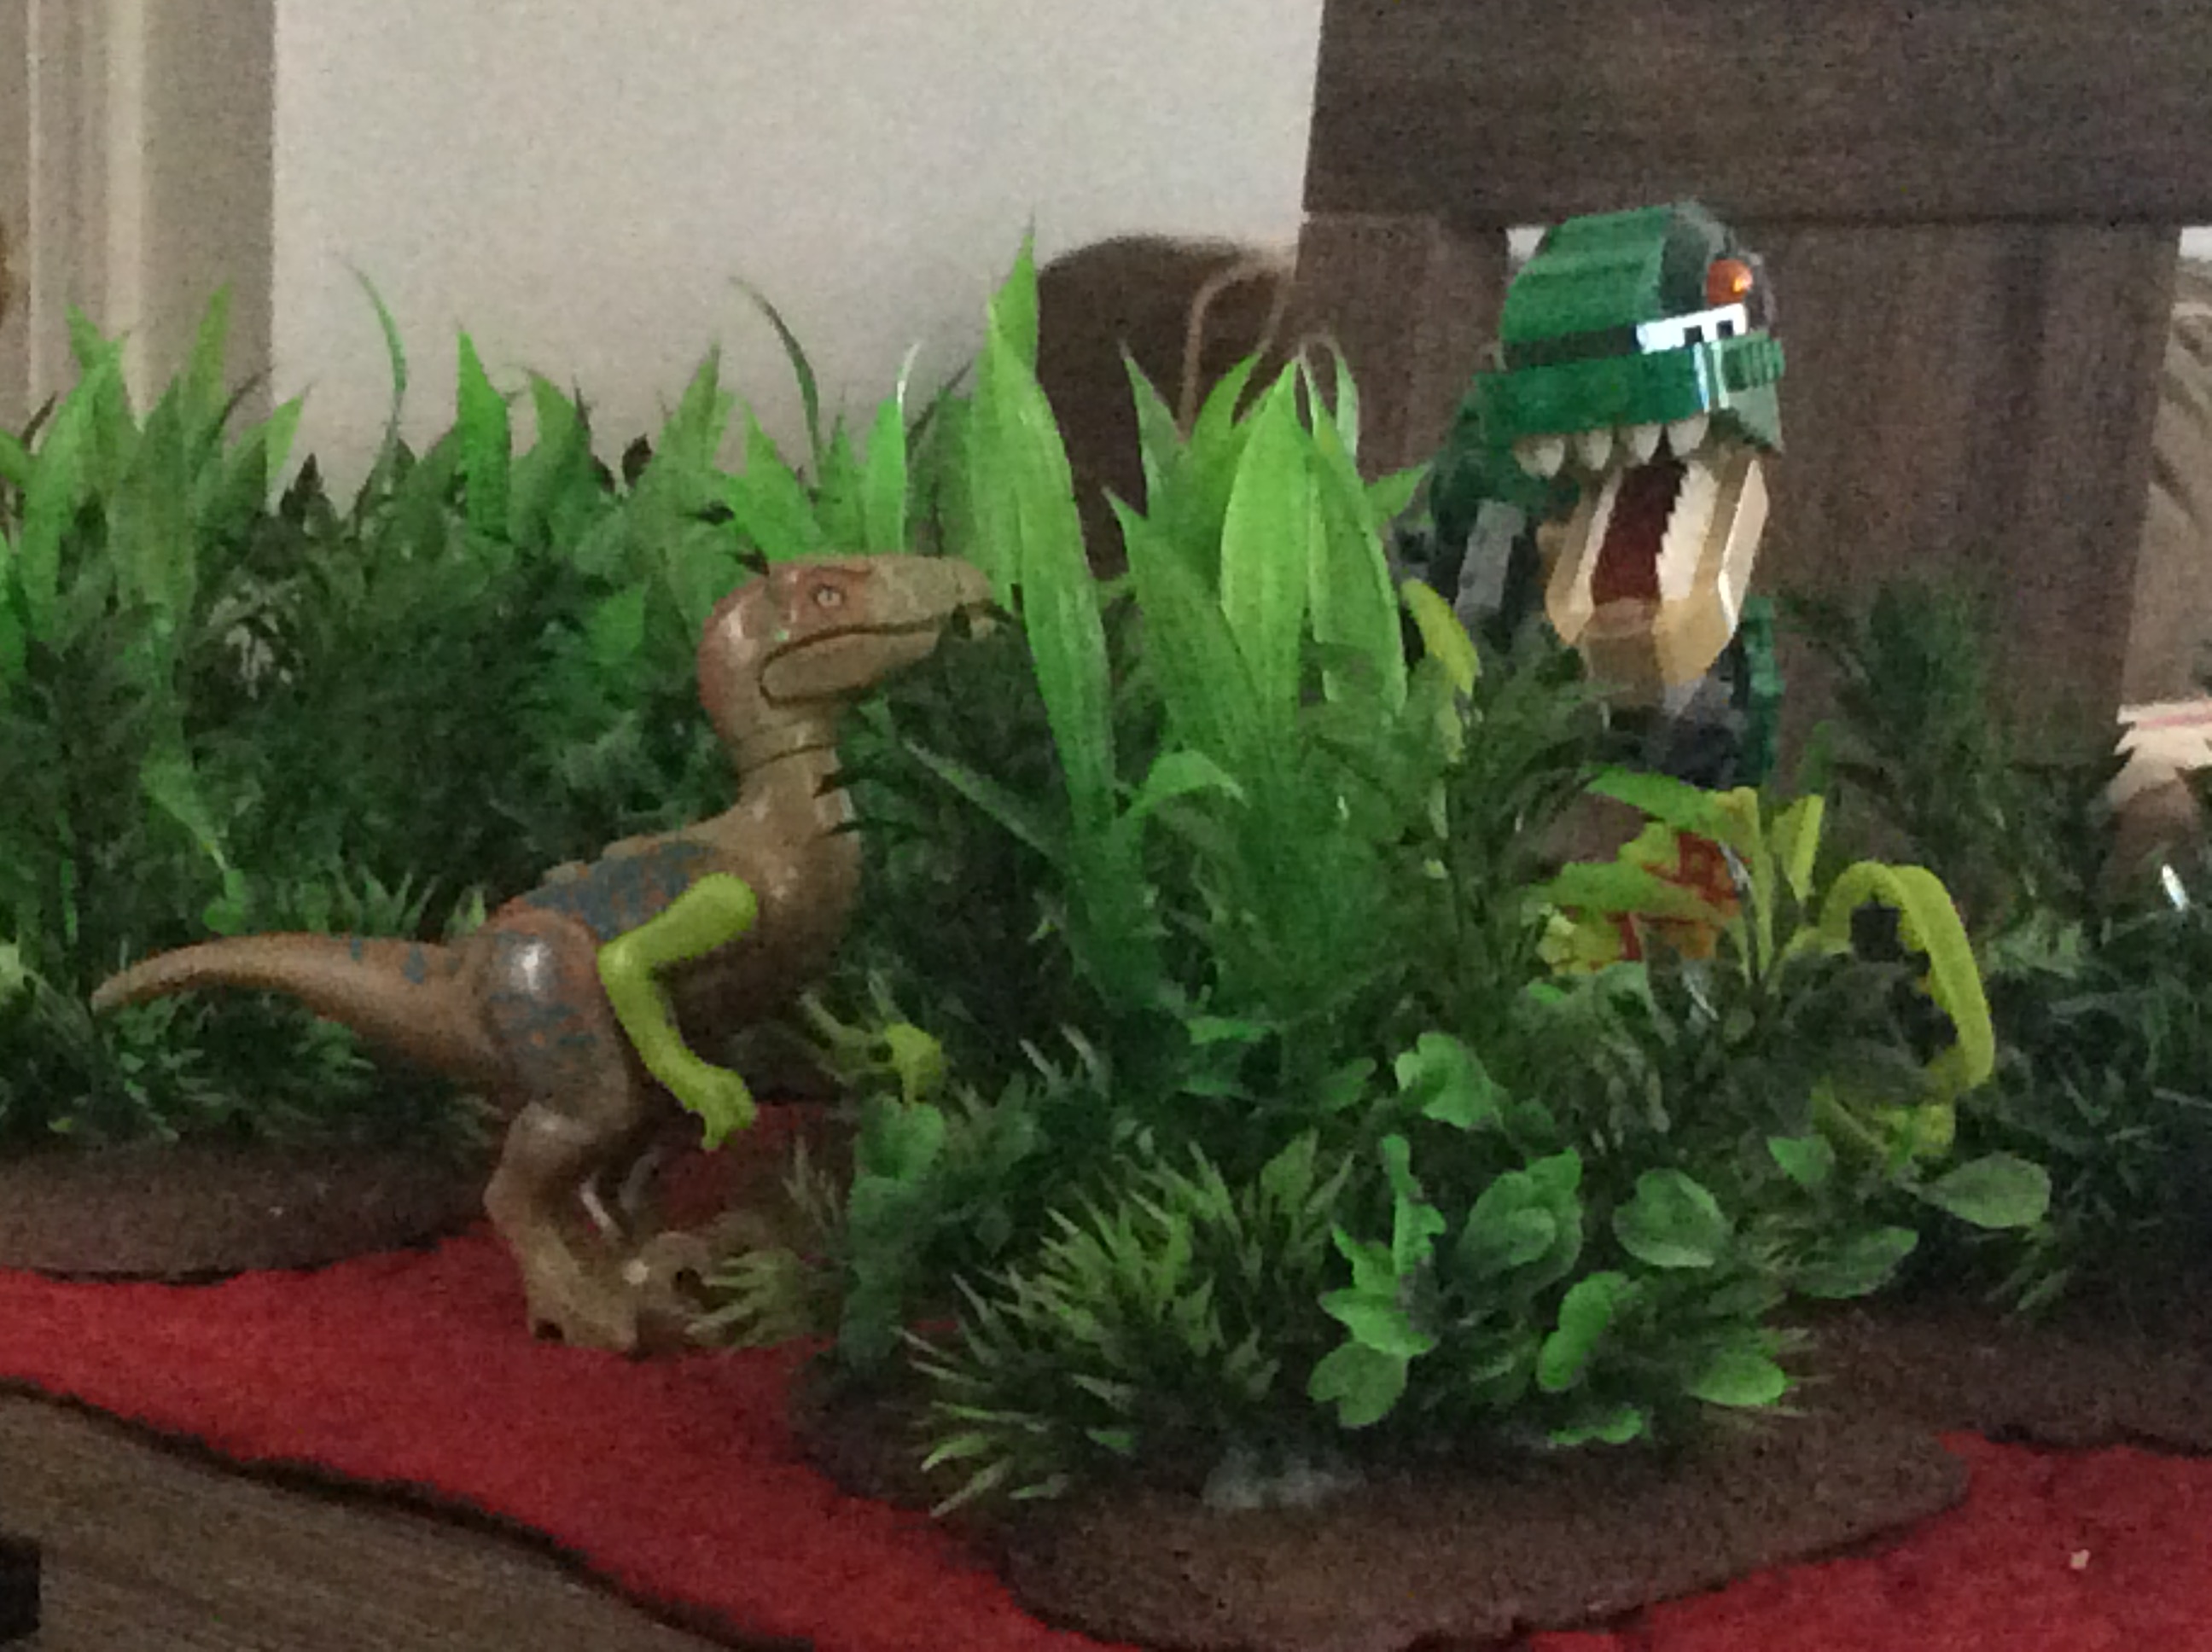
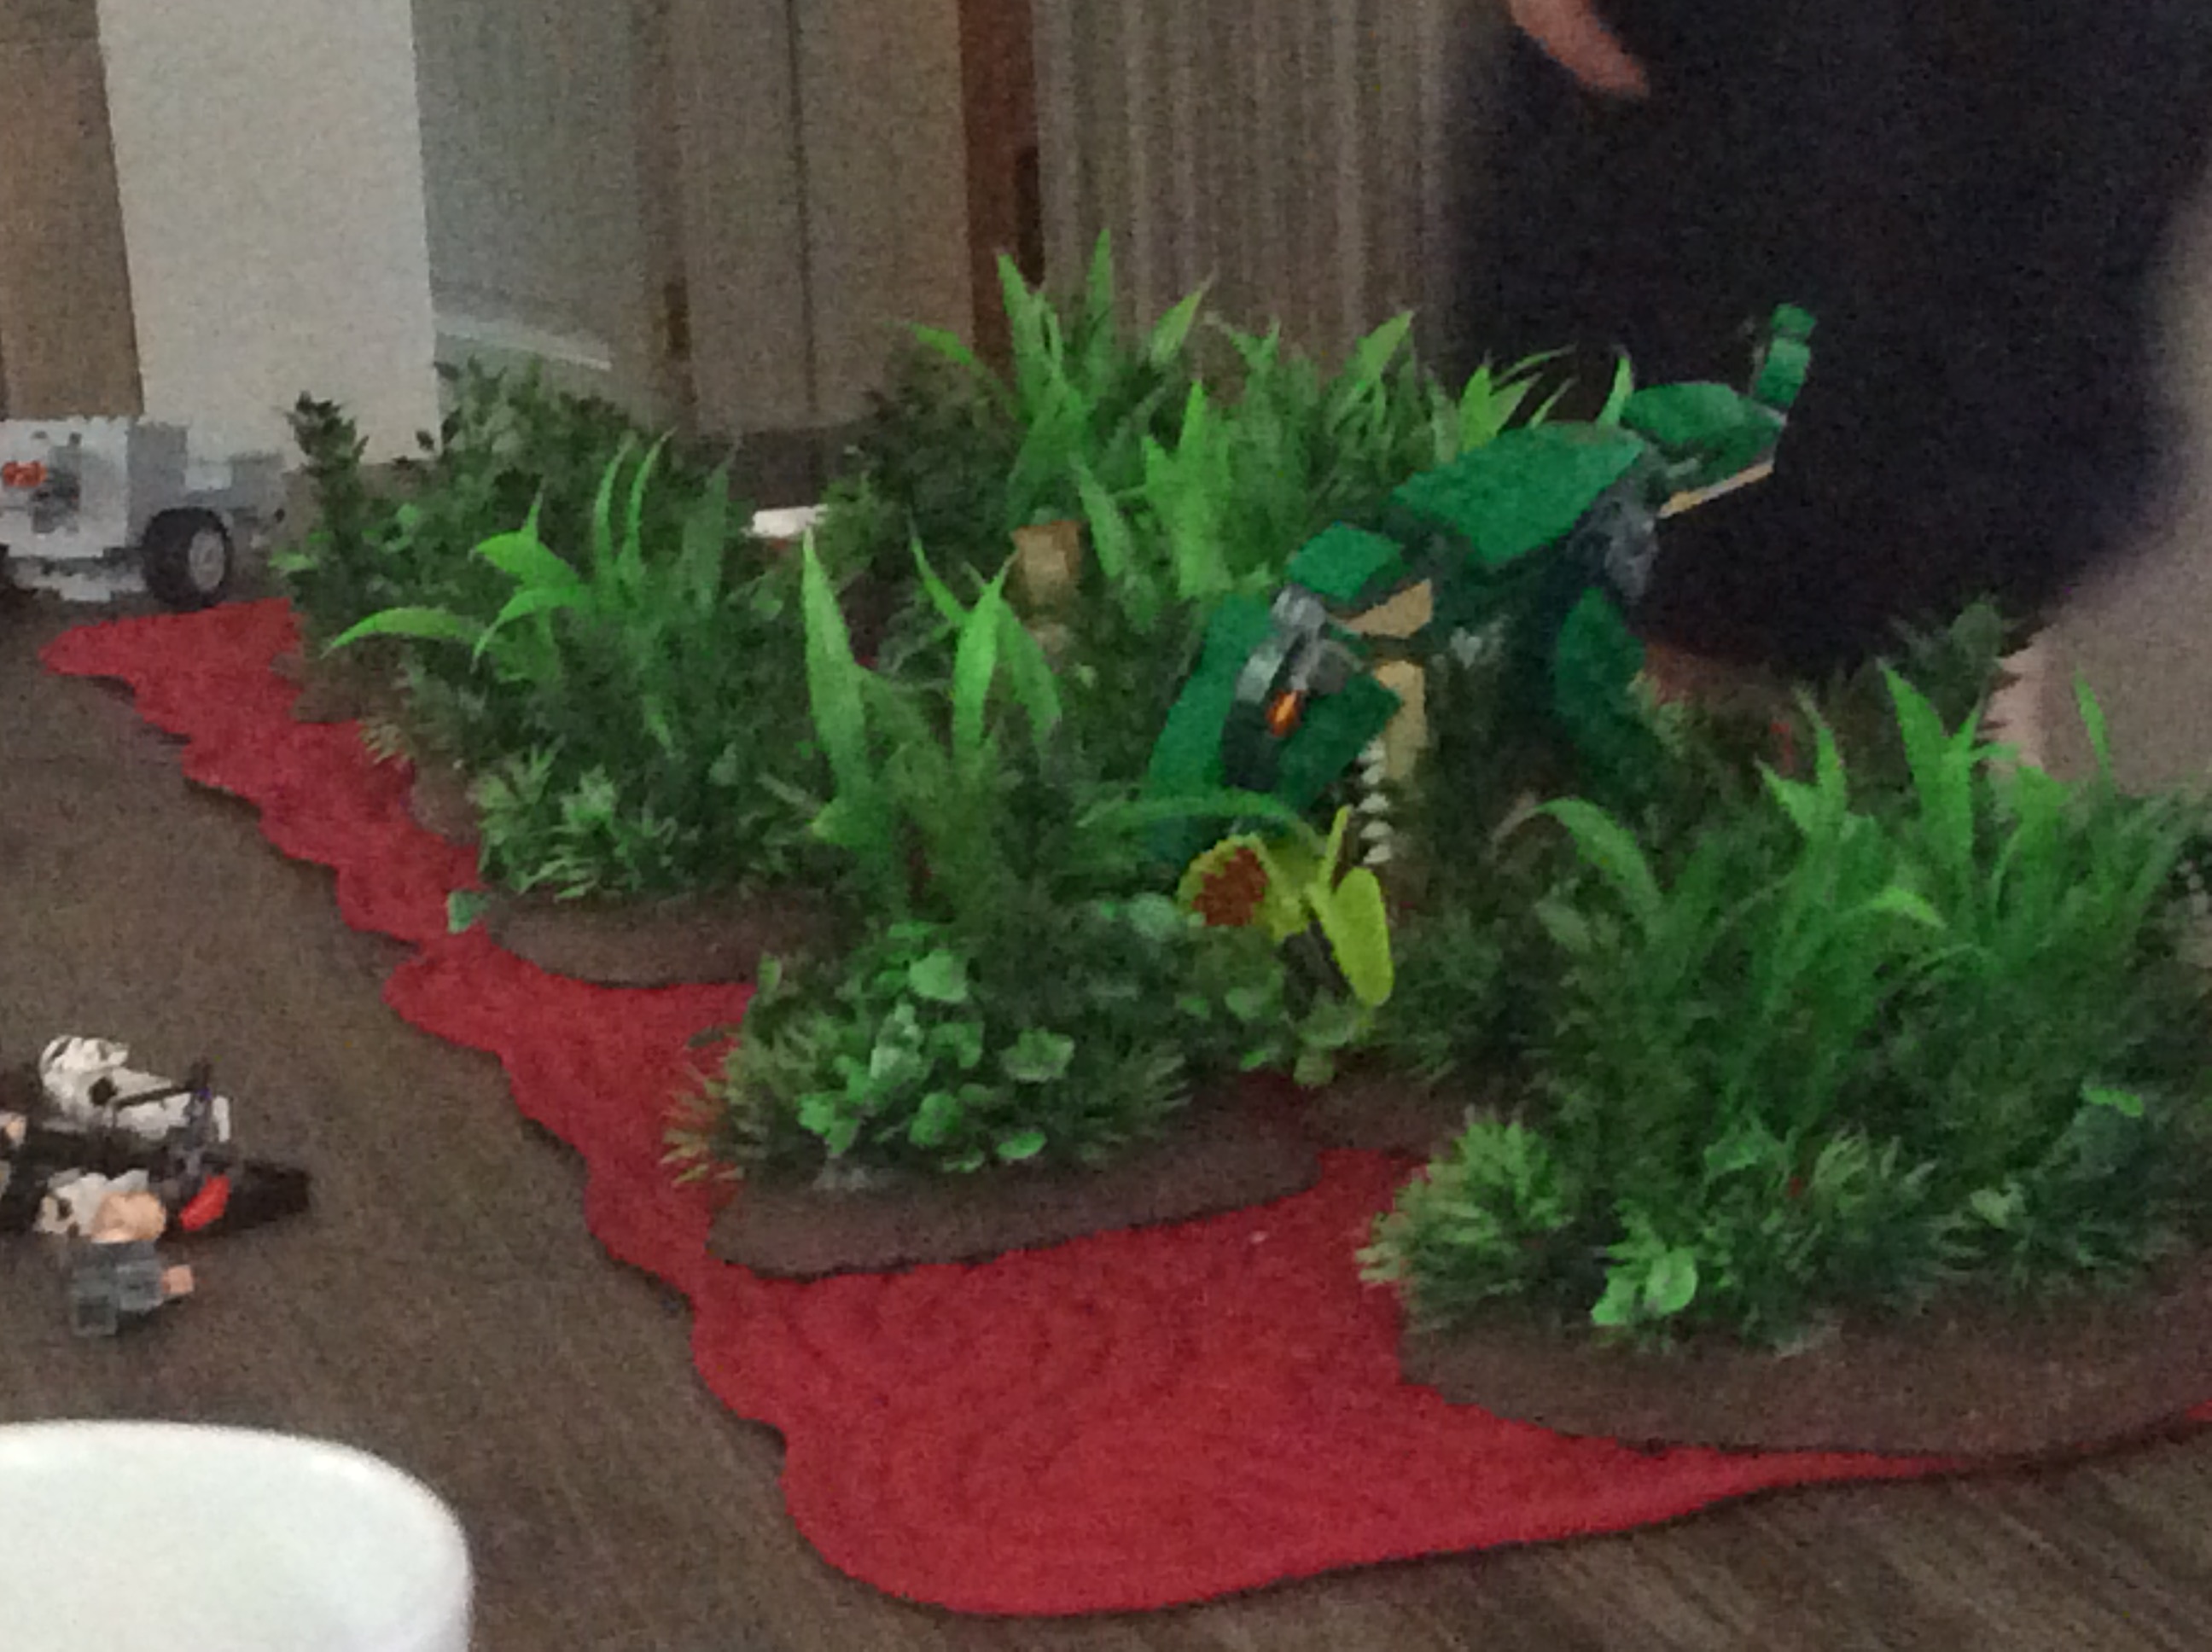
When your Jurassic Park obsessed kids get a hold of your new BA/Konflikt Jungle Terrain.


Move completed!
Ok. With my house move completed, and the unpacking nearly complete, I once again have some time to do some hobby work. Some will remember that starting a few weeks ago, I was putting together a pacific themed demo table, with he idea of an attack/raid on a top secret airfield the Japanese are using to work on new jet fighters jointly with the Germans. Give my USMC something thematic to fight over.
Latest progress was on the jungle scatter terrain to surround the airfield. These were pieces of MDF, with some beveled foam board and sackle added to add some elevation. I then glued down some sand and painted them brown. One thing I tried this time which worked well was gluing down the sand with a 1/1/1 part mixture brown paint/water/PVA glue. It adhered well, and allowed me to get away with just one paint coat afterwards. The paint also kept the PVA from loosening when the top paint coat was applied.
 Top and bottom of painted scatter terrain
To cover these bases, I used a combination of various aquarium plants I bought off amazon. Most were fairly cheap, with may $20-$25 spent on the lot.
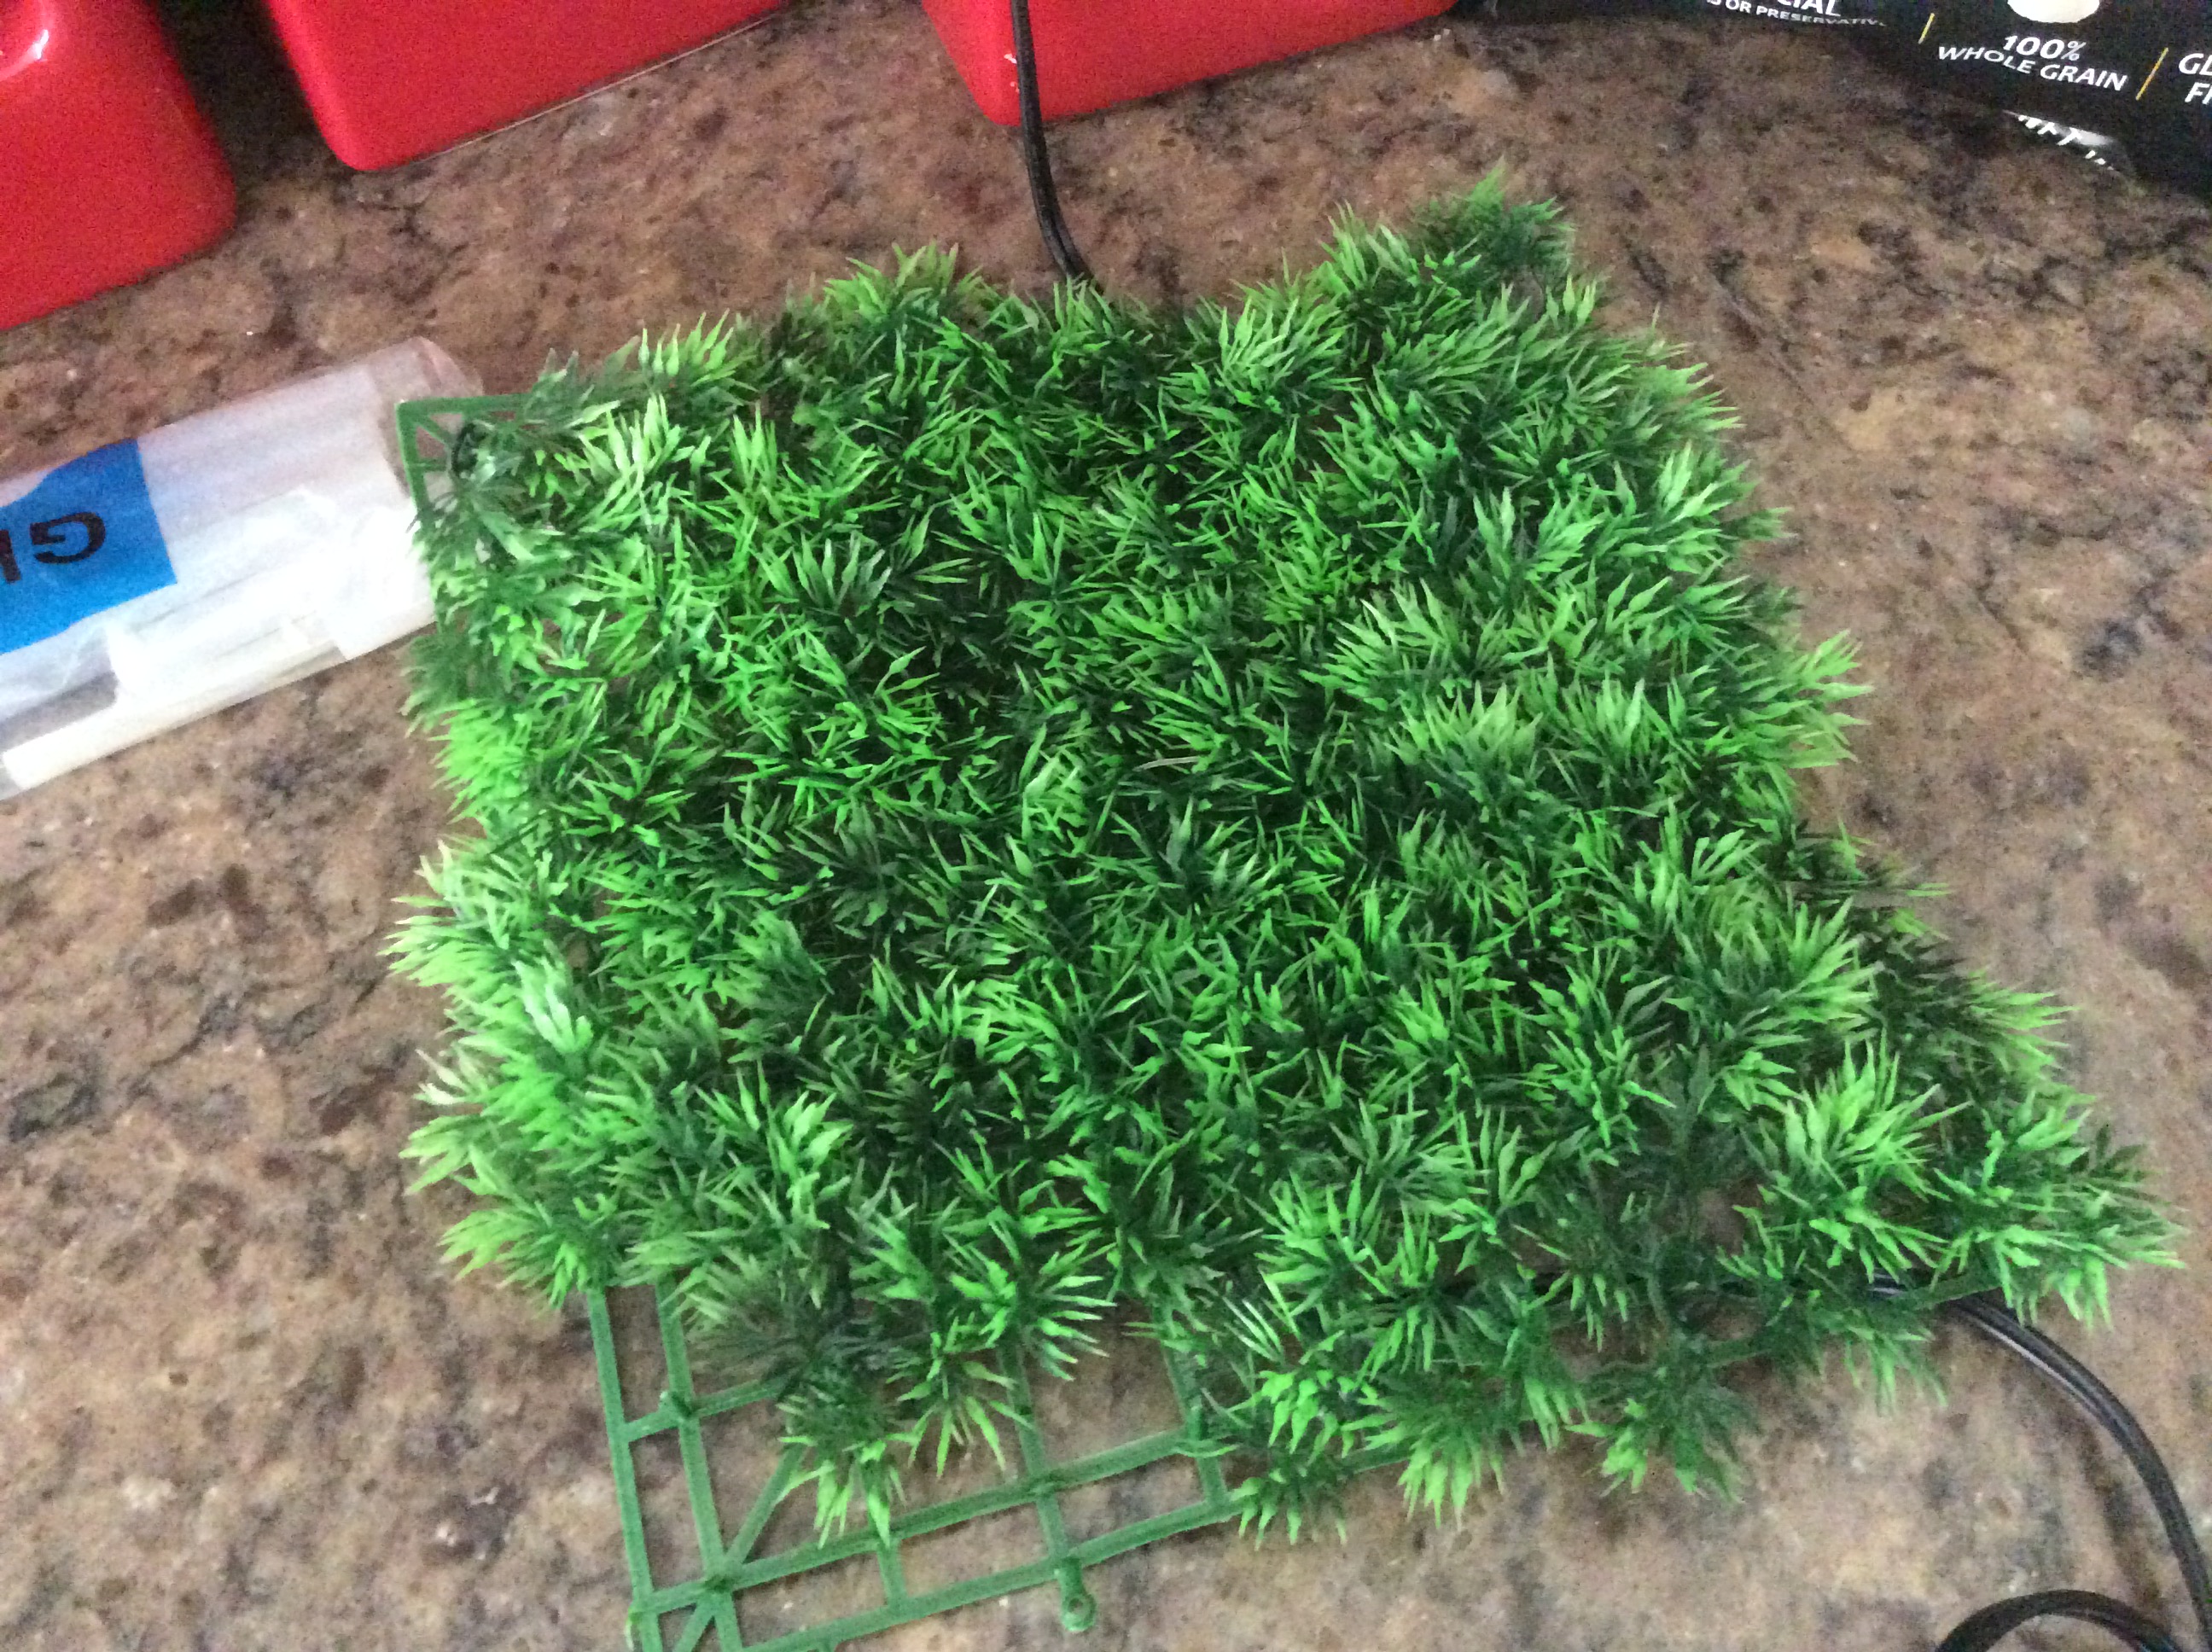
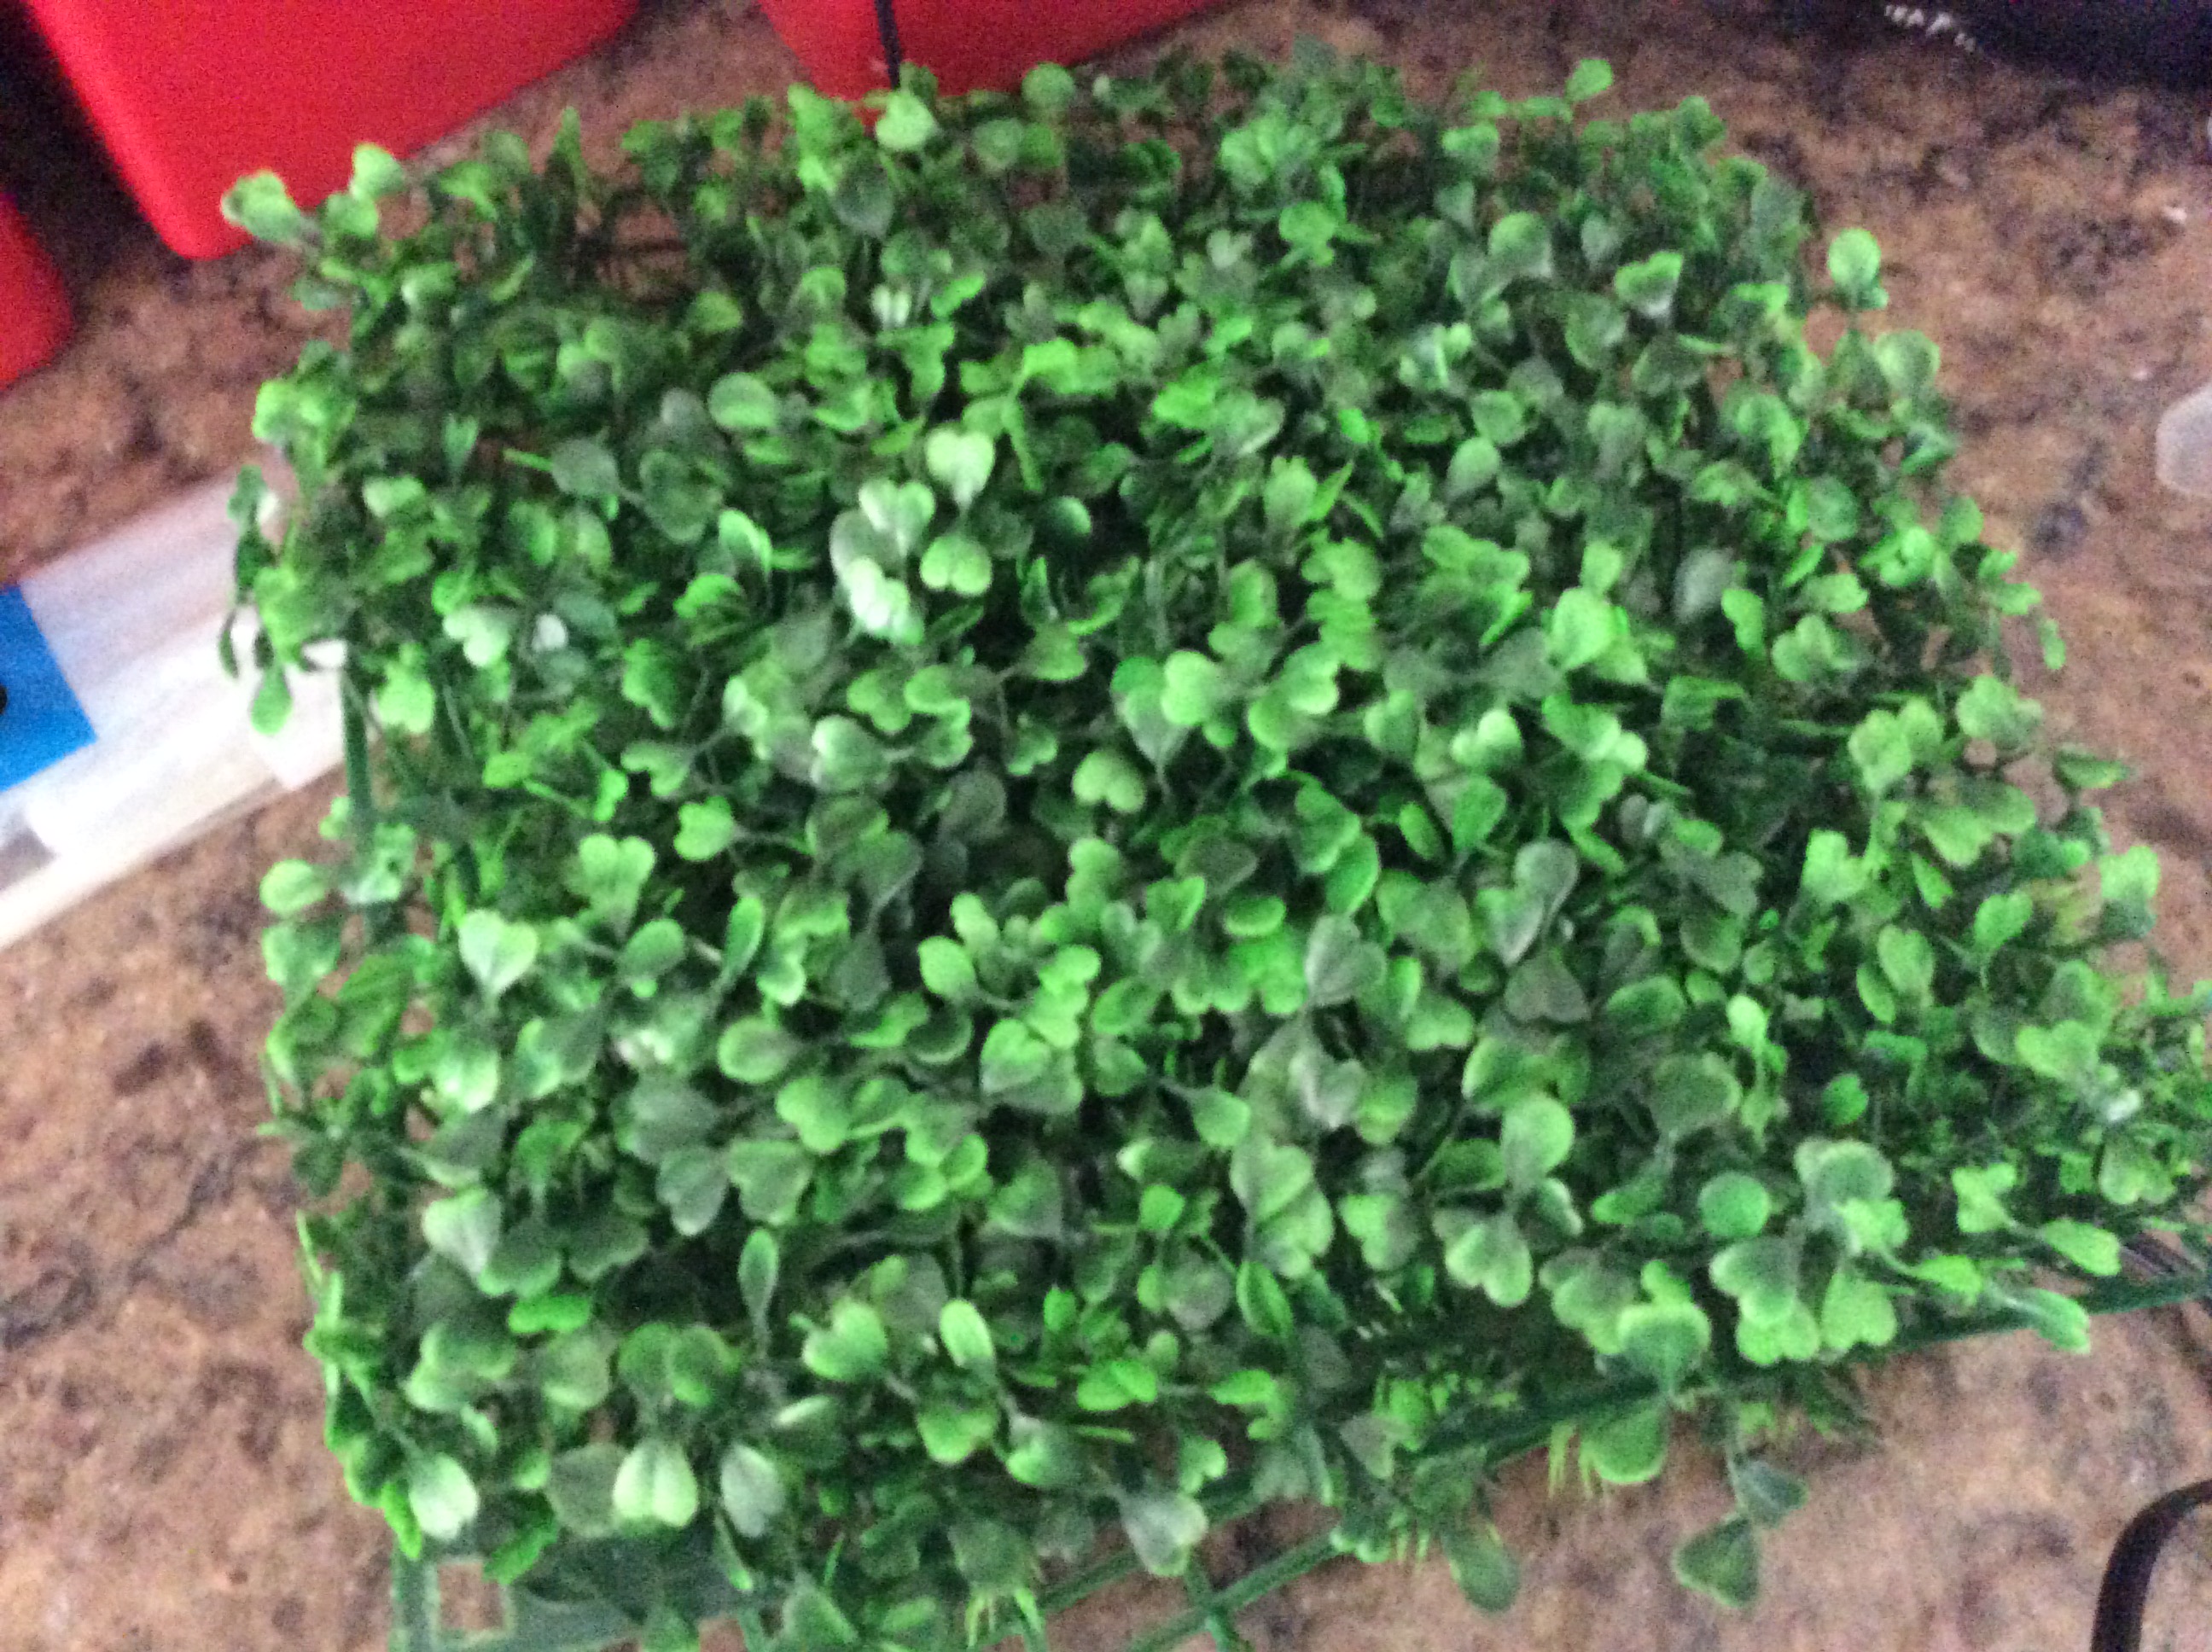
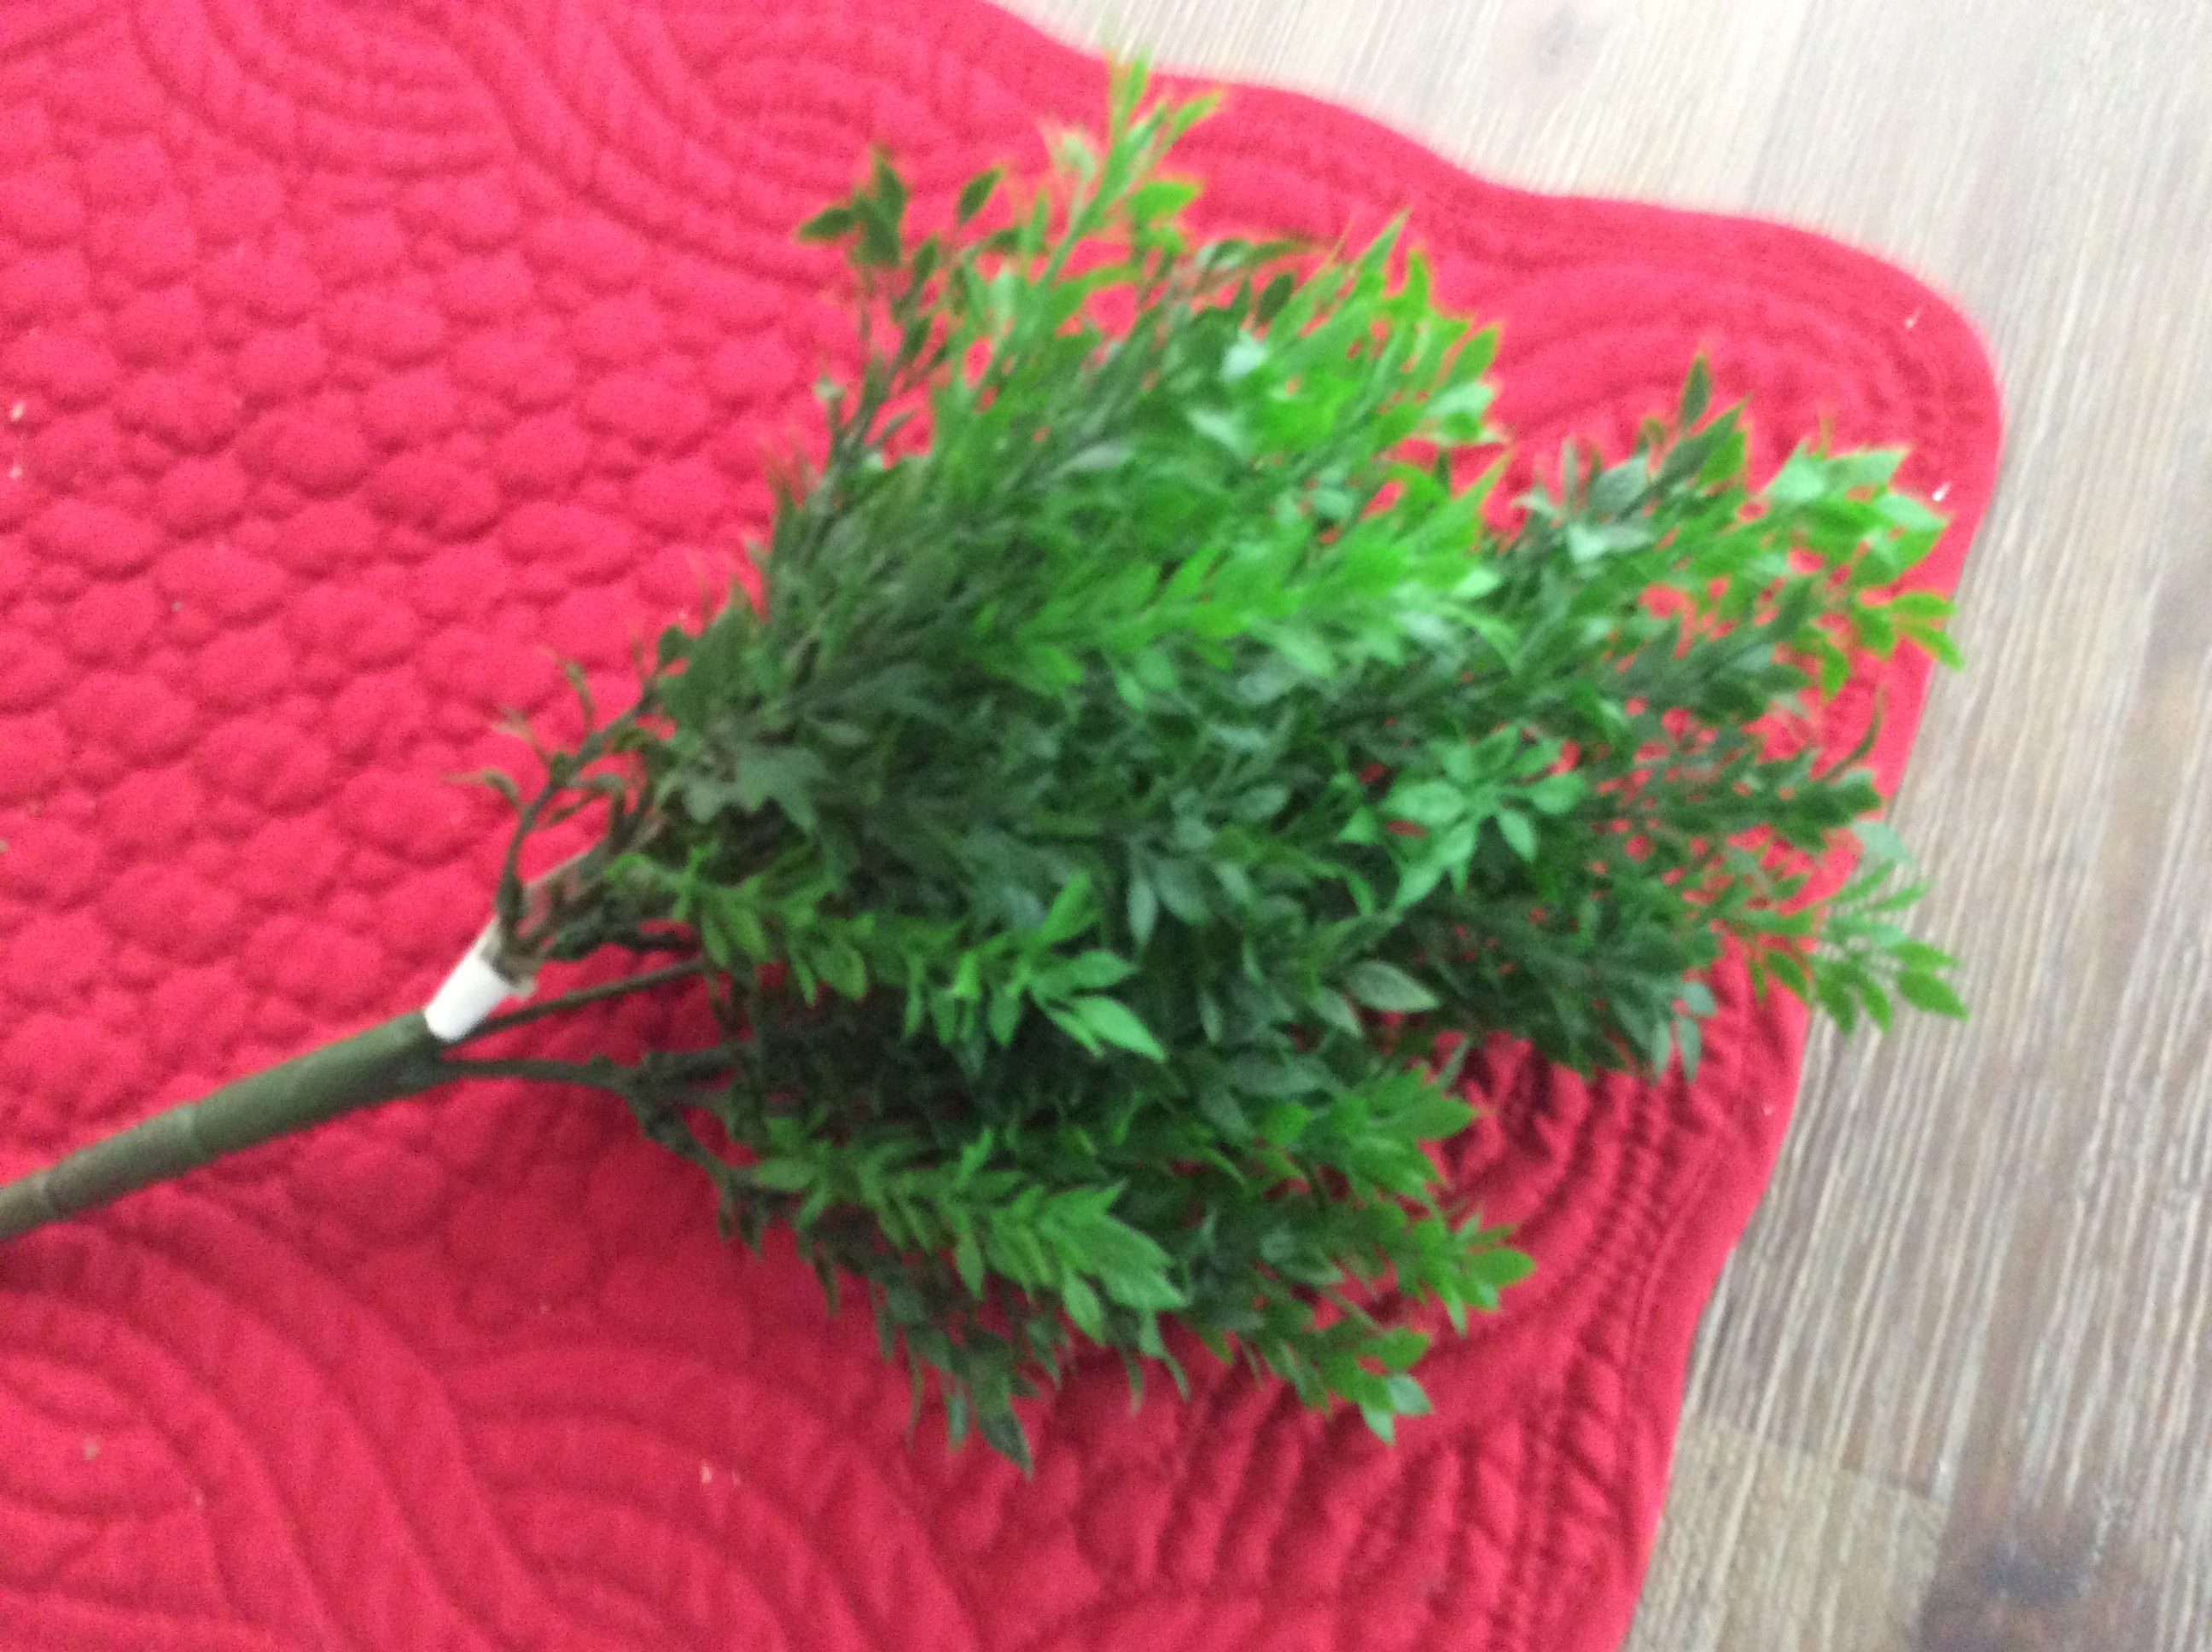
I then just glued down the varied, cheap, aquarium plants with a hot glue gun. See images below. Started with the tall plants, and worked towards smaller. Also tried to glue the bases of the plants very close together, so the leaves would hide the plastic fames/bases they were attached to.
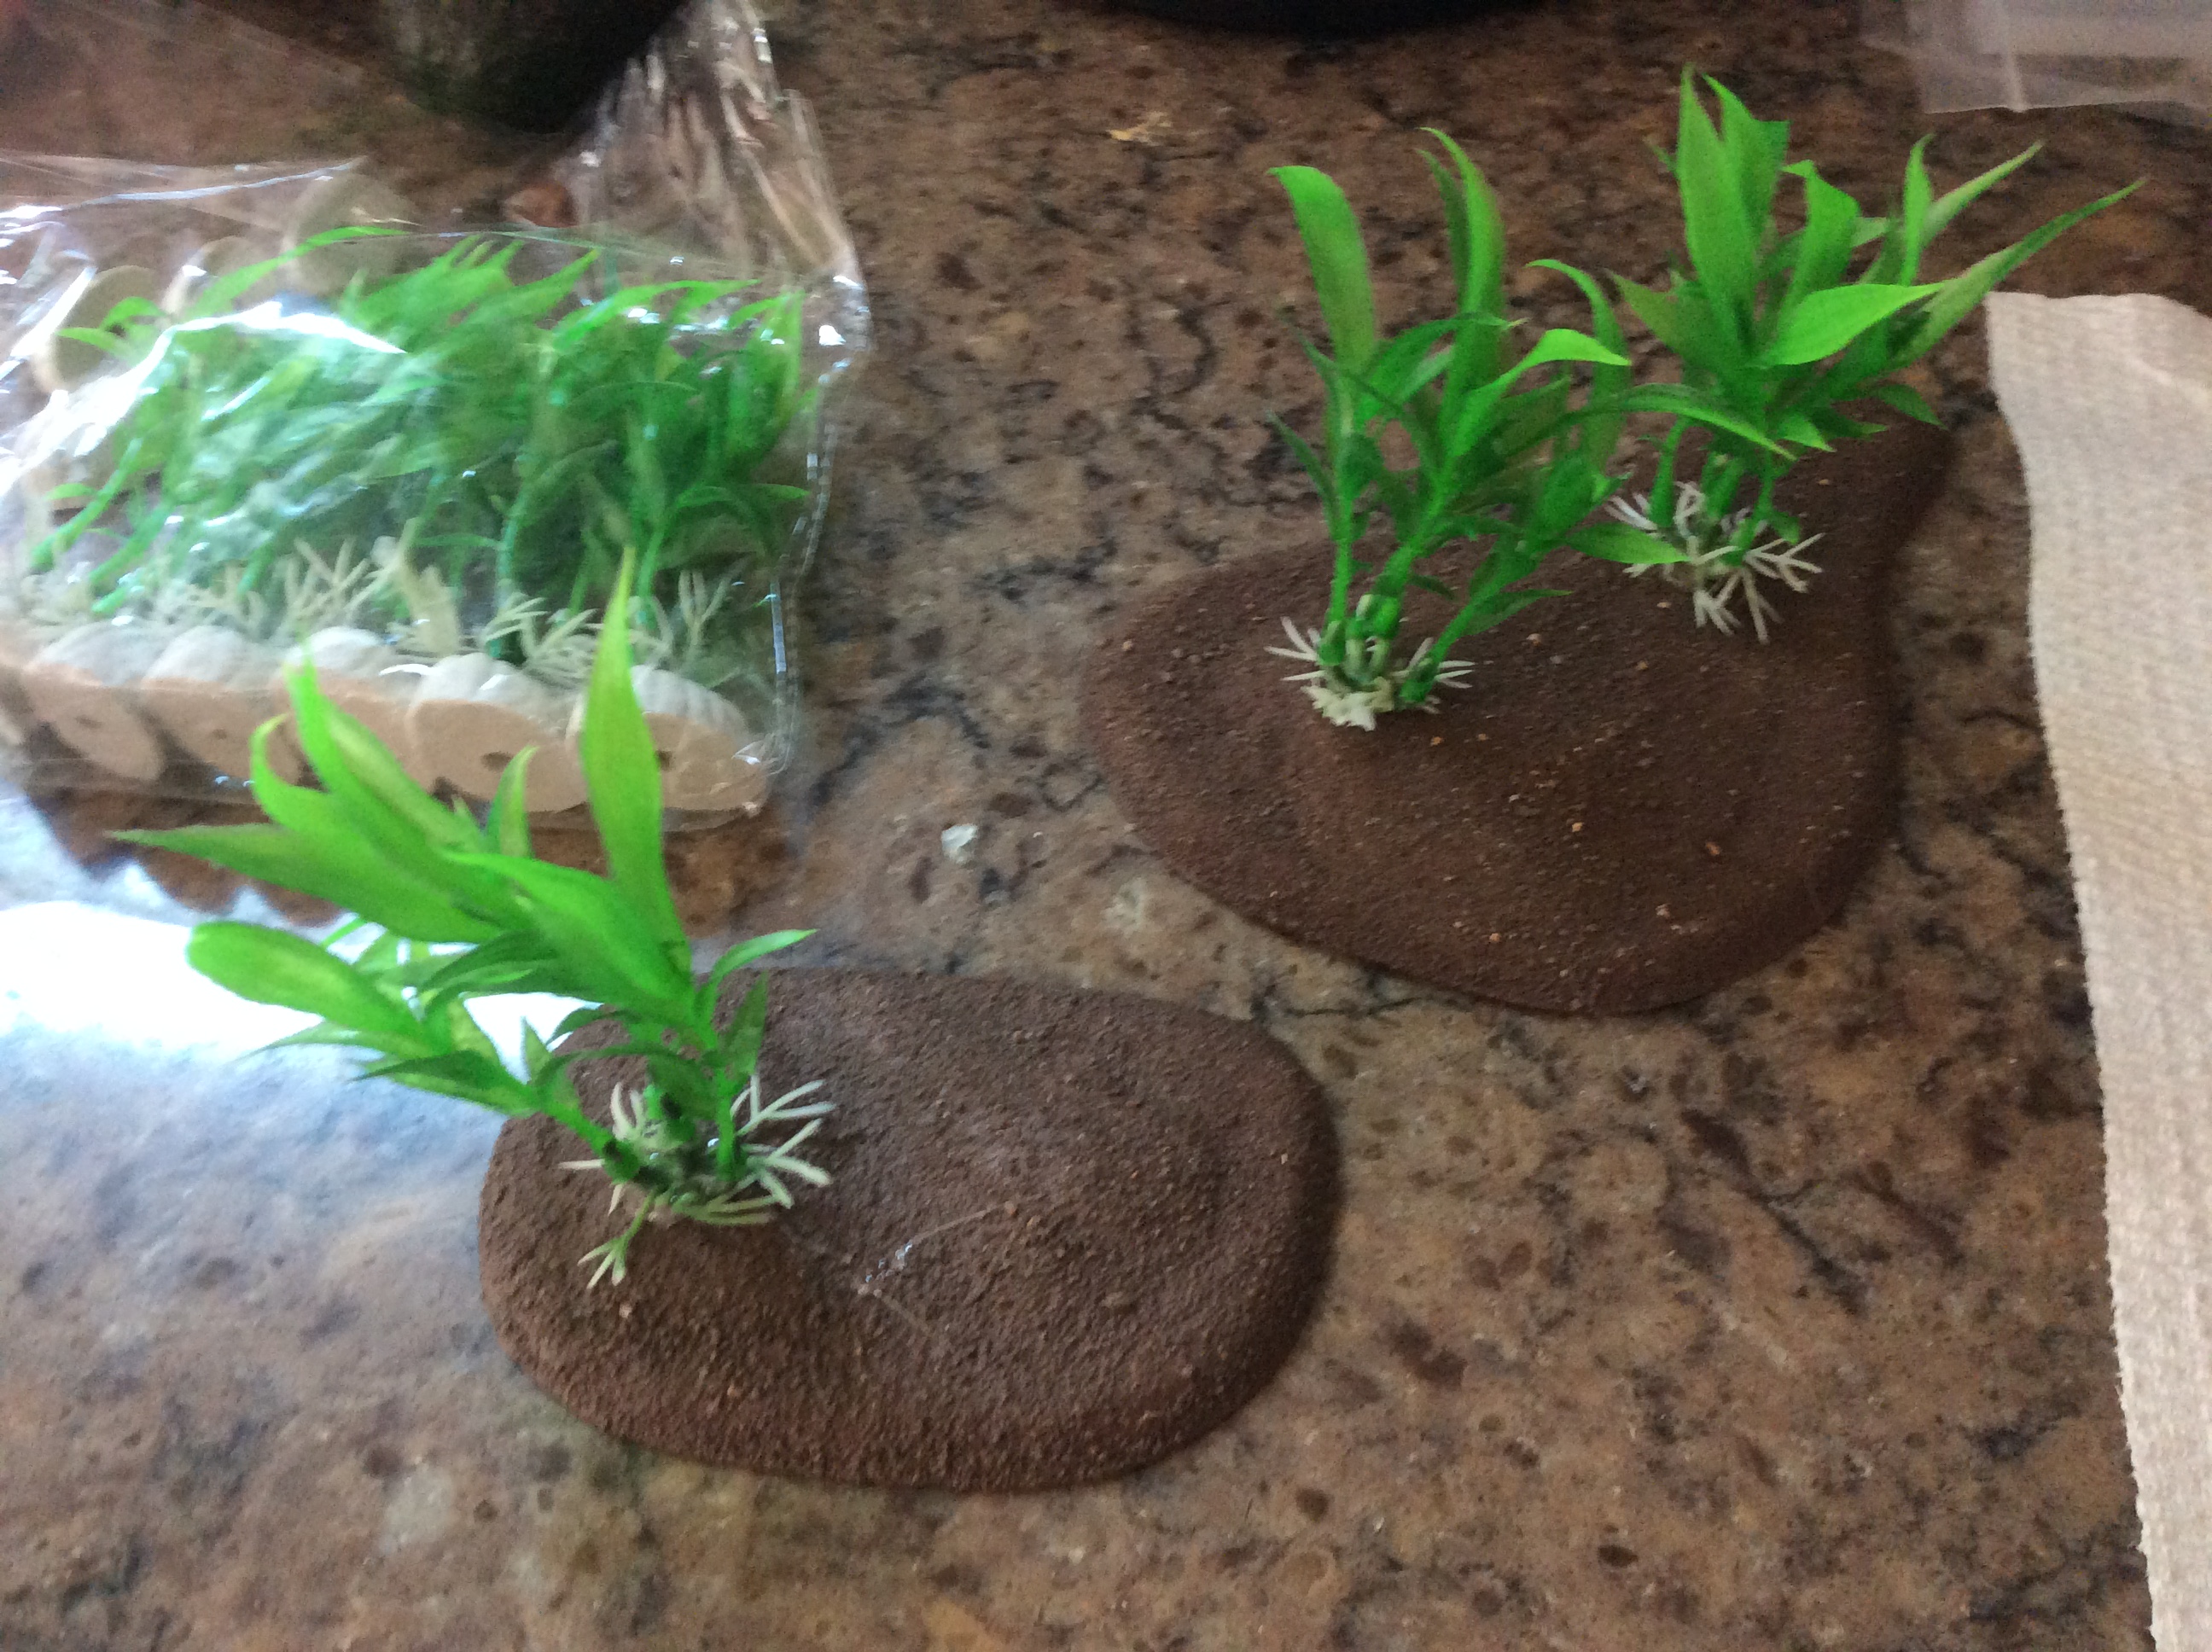
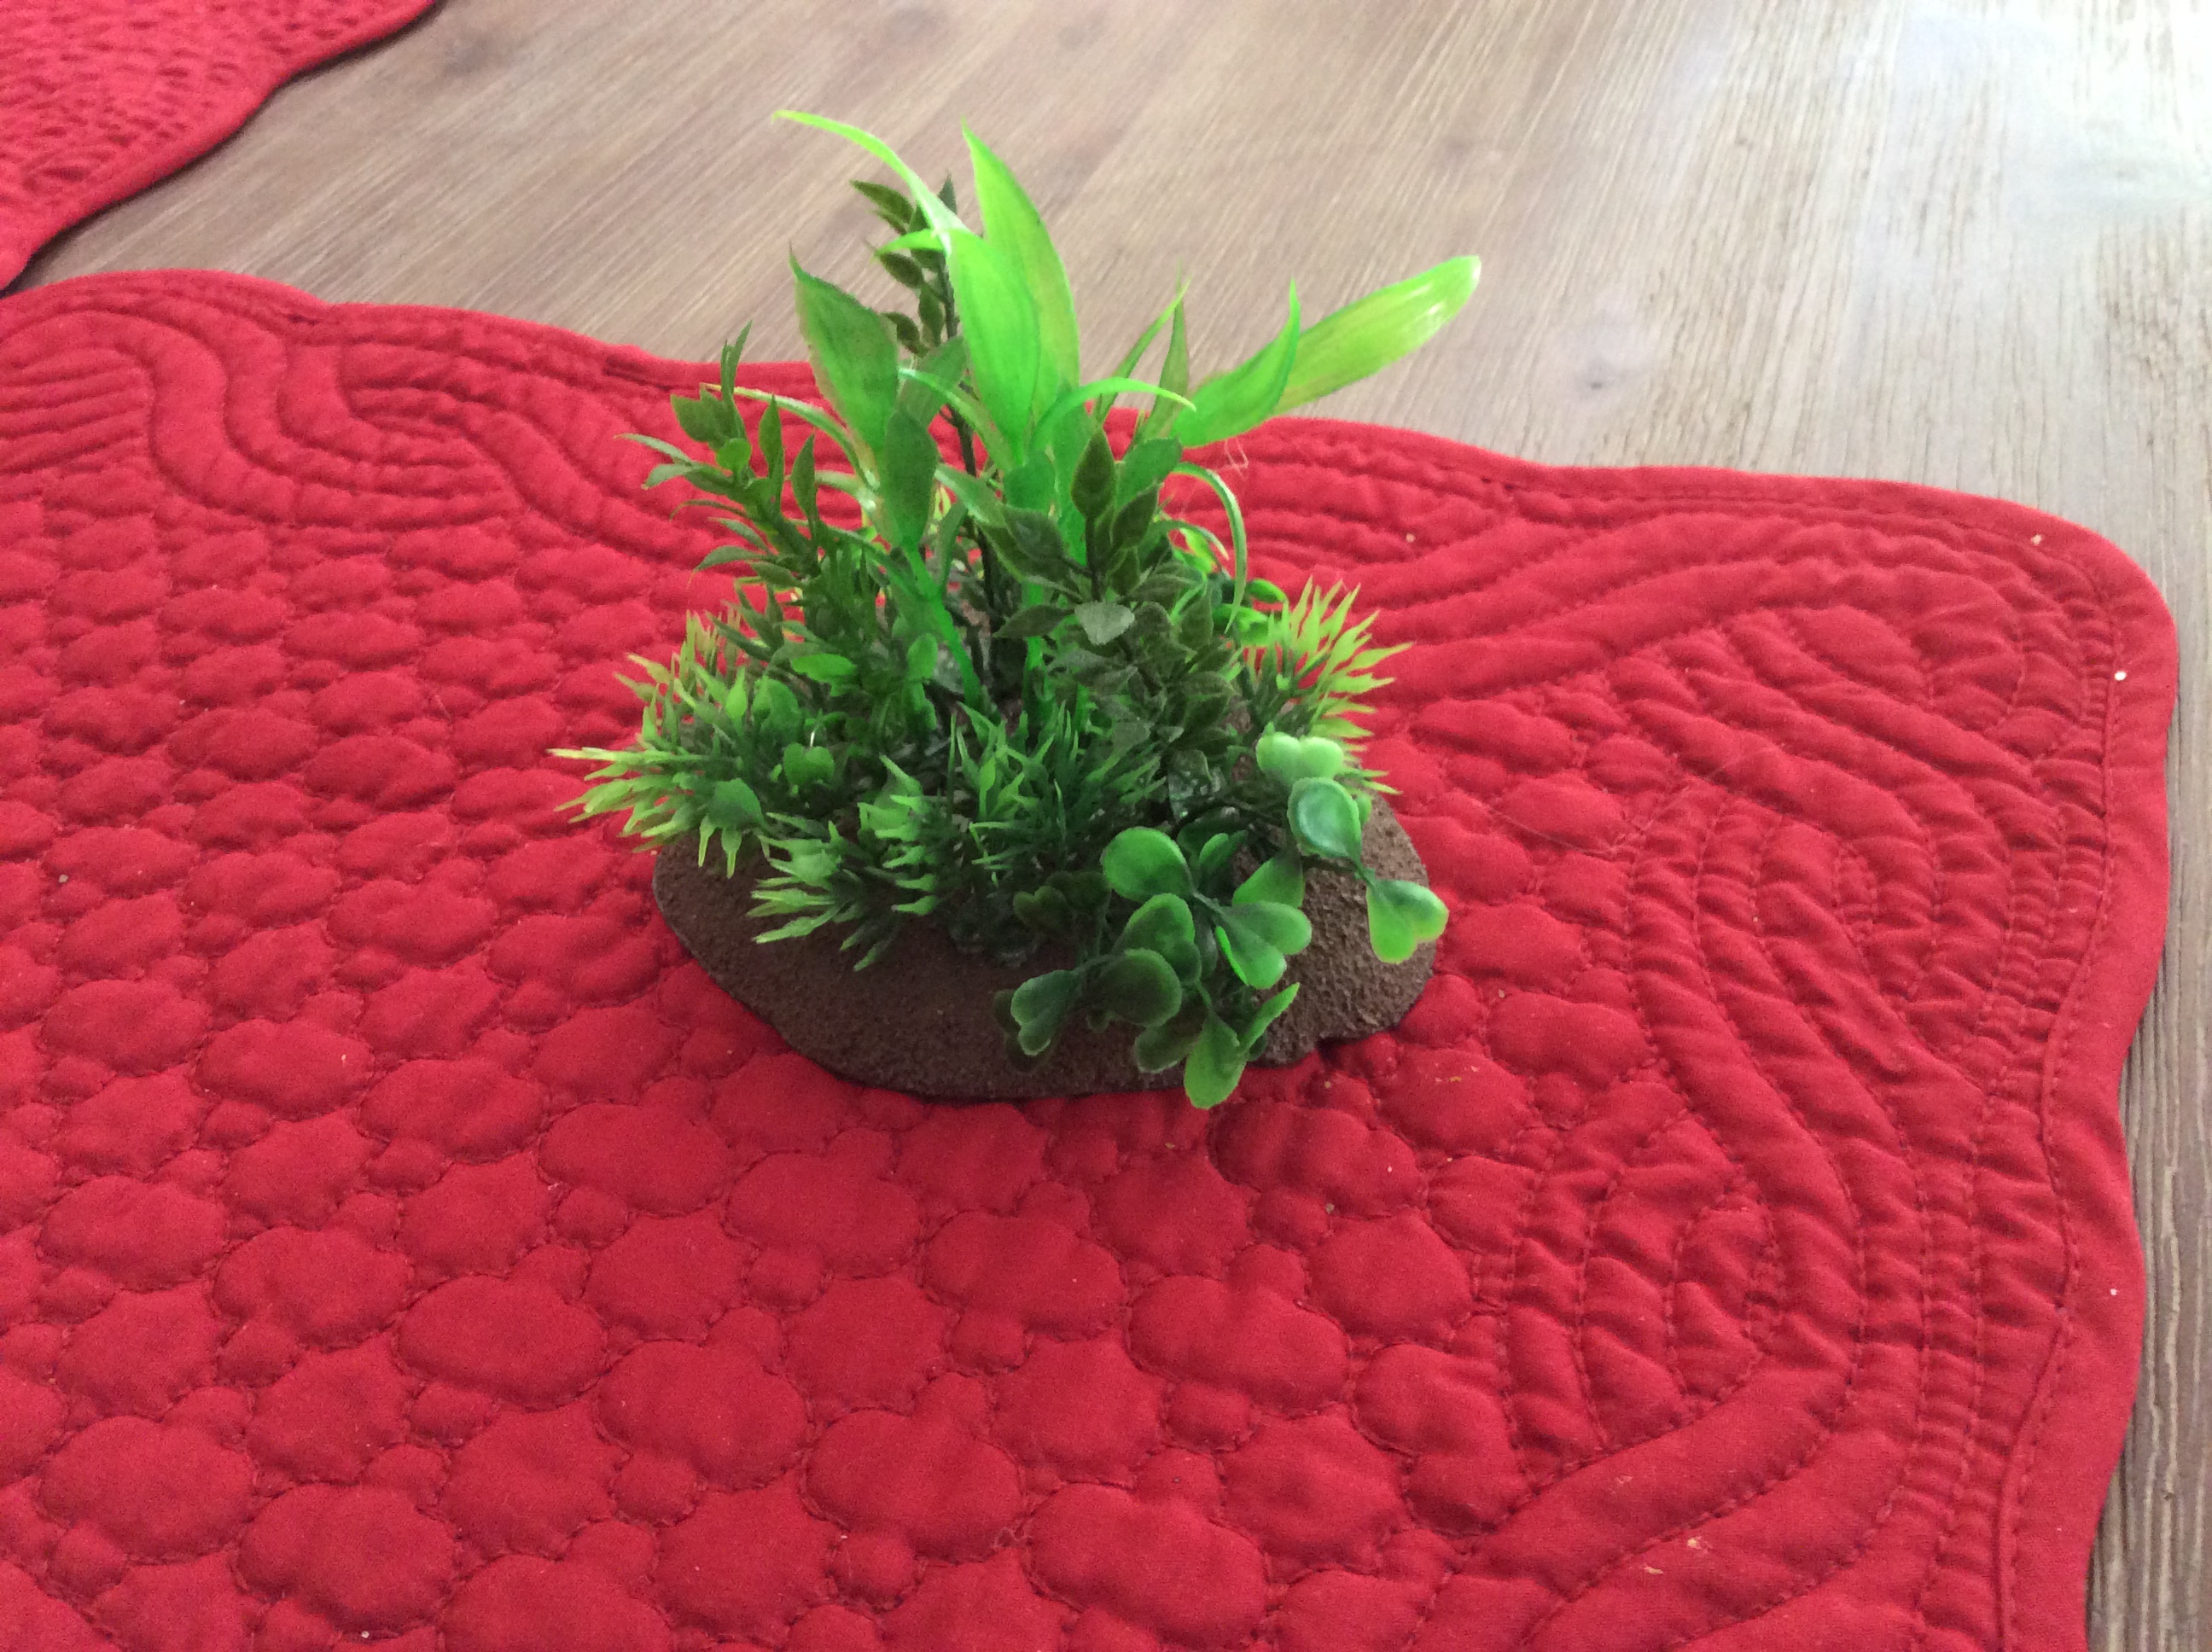
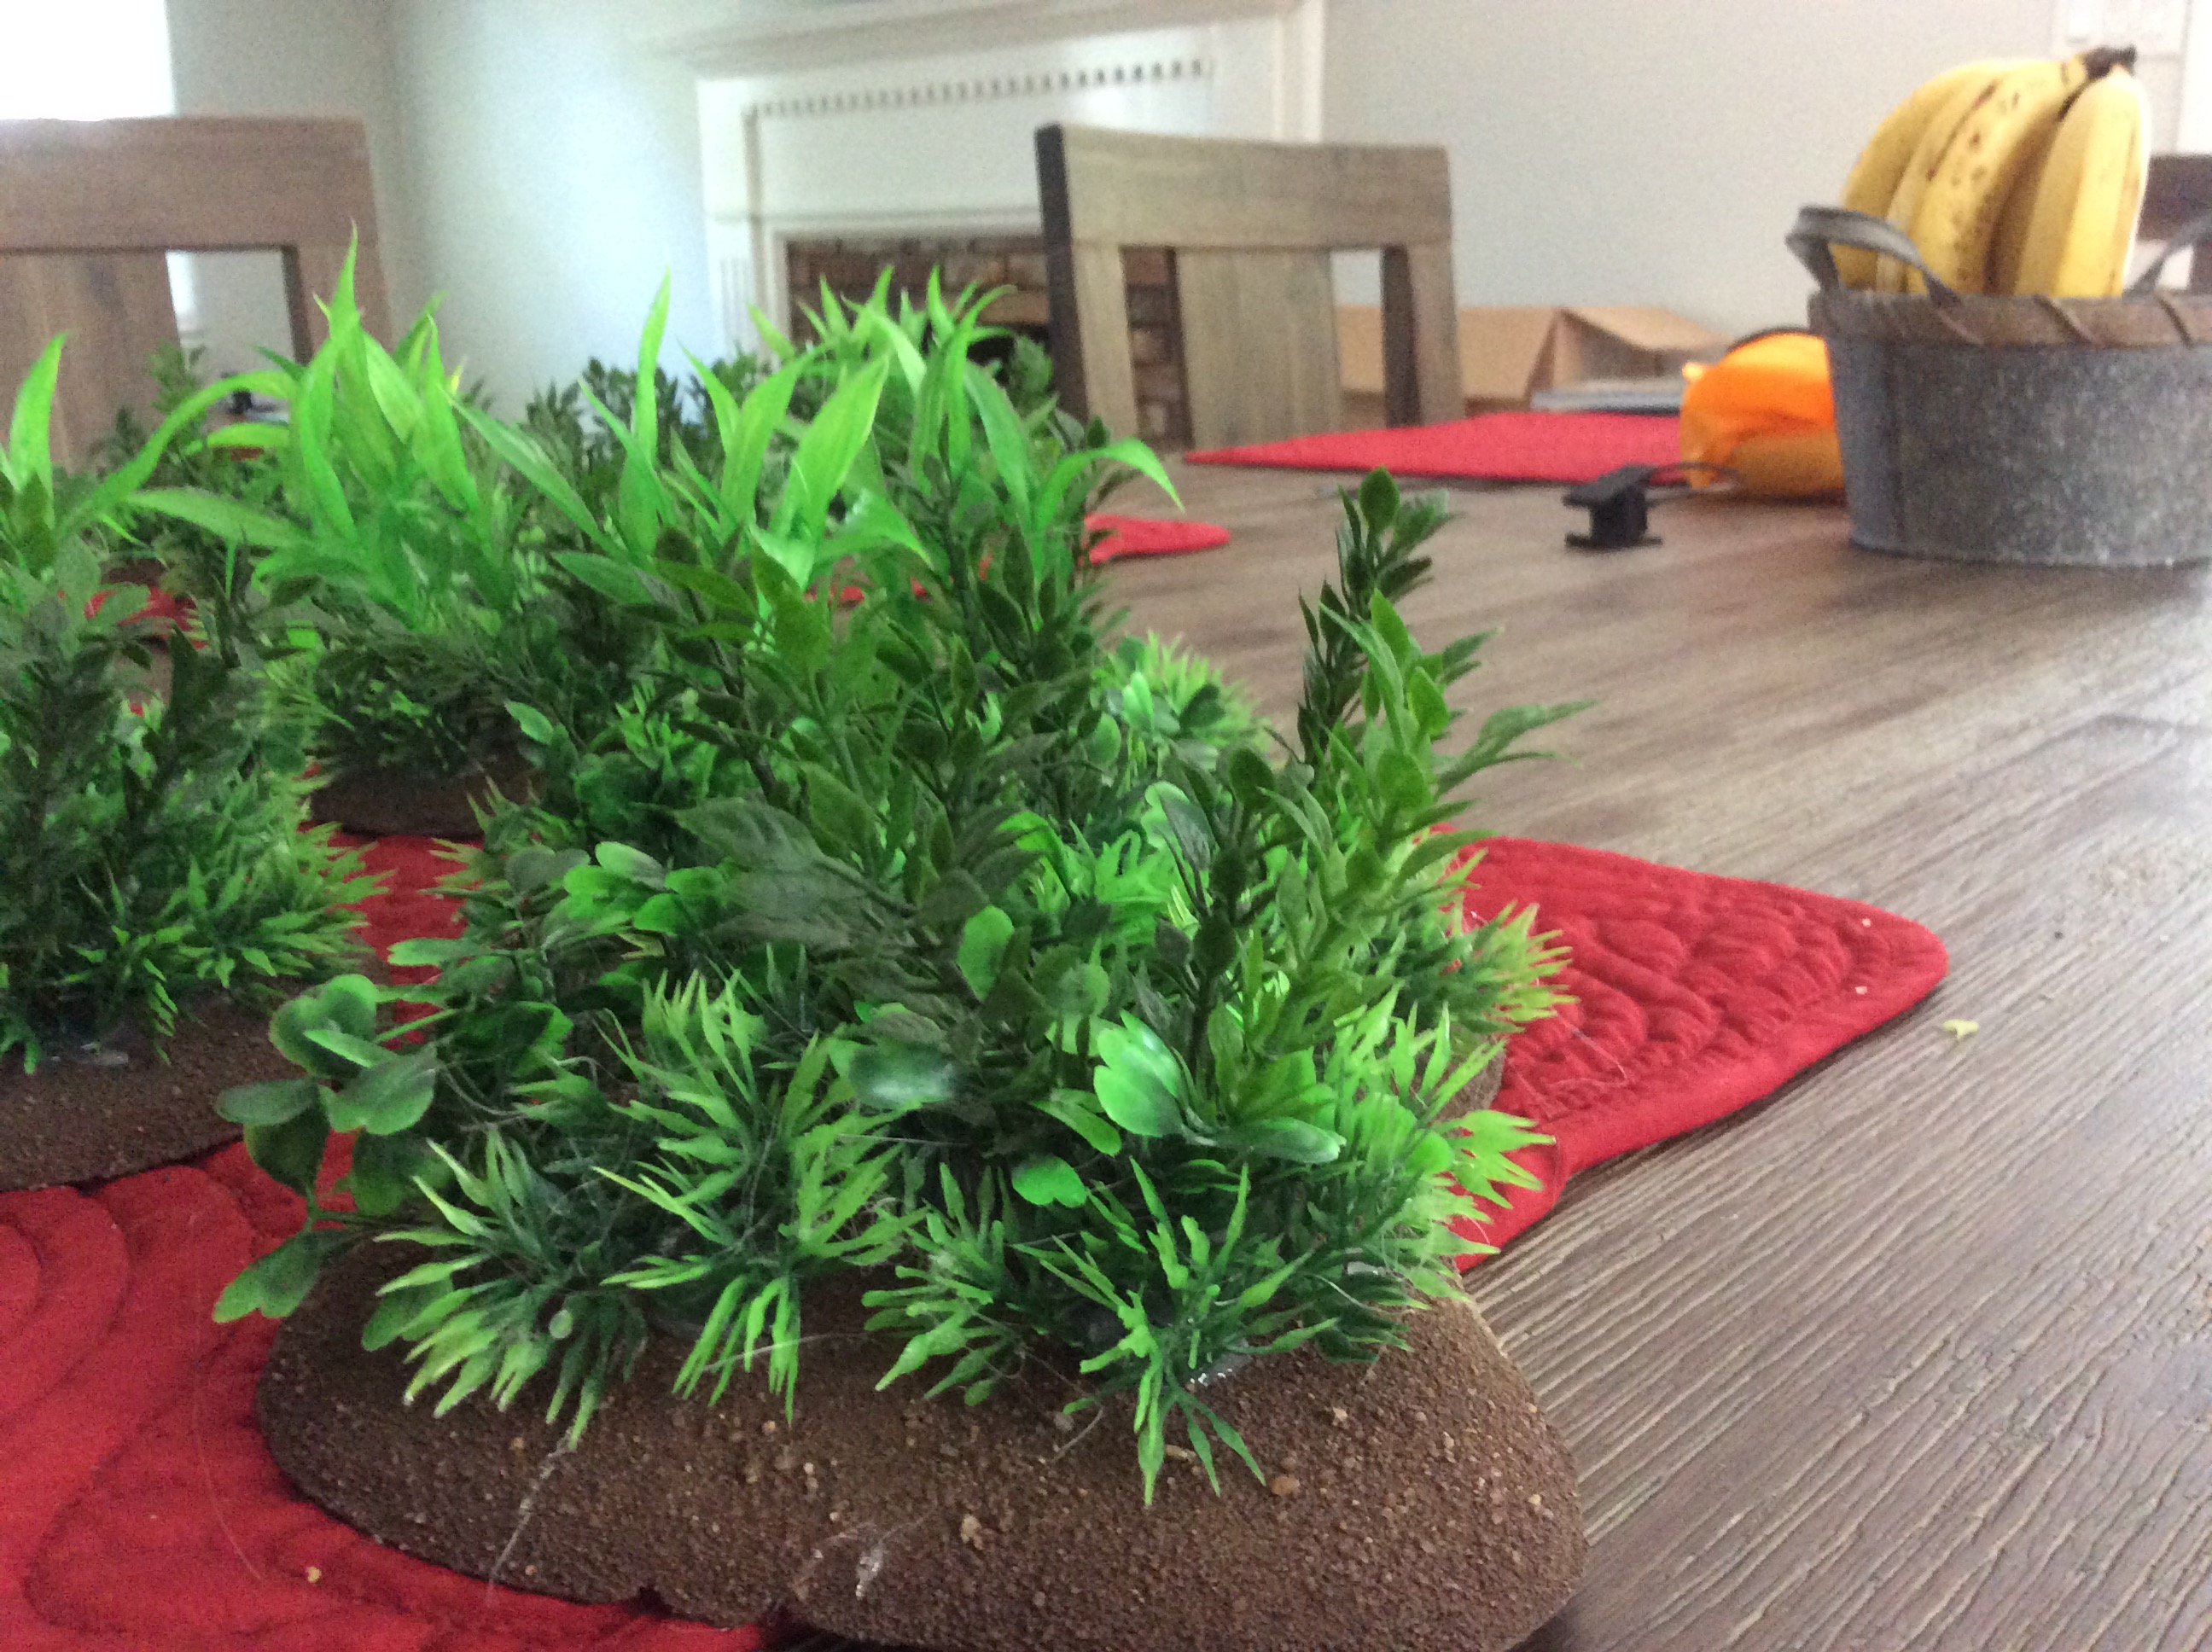
I still need to address gaps with smaller lichen, and to flock the edges, but I unfortunately forgot my flock at home when I went on vacation this week. I also plan to make some specific bases to palm trees and bamboo growths.
Questions and comments welcome.
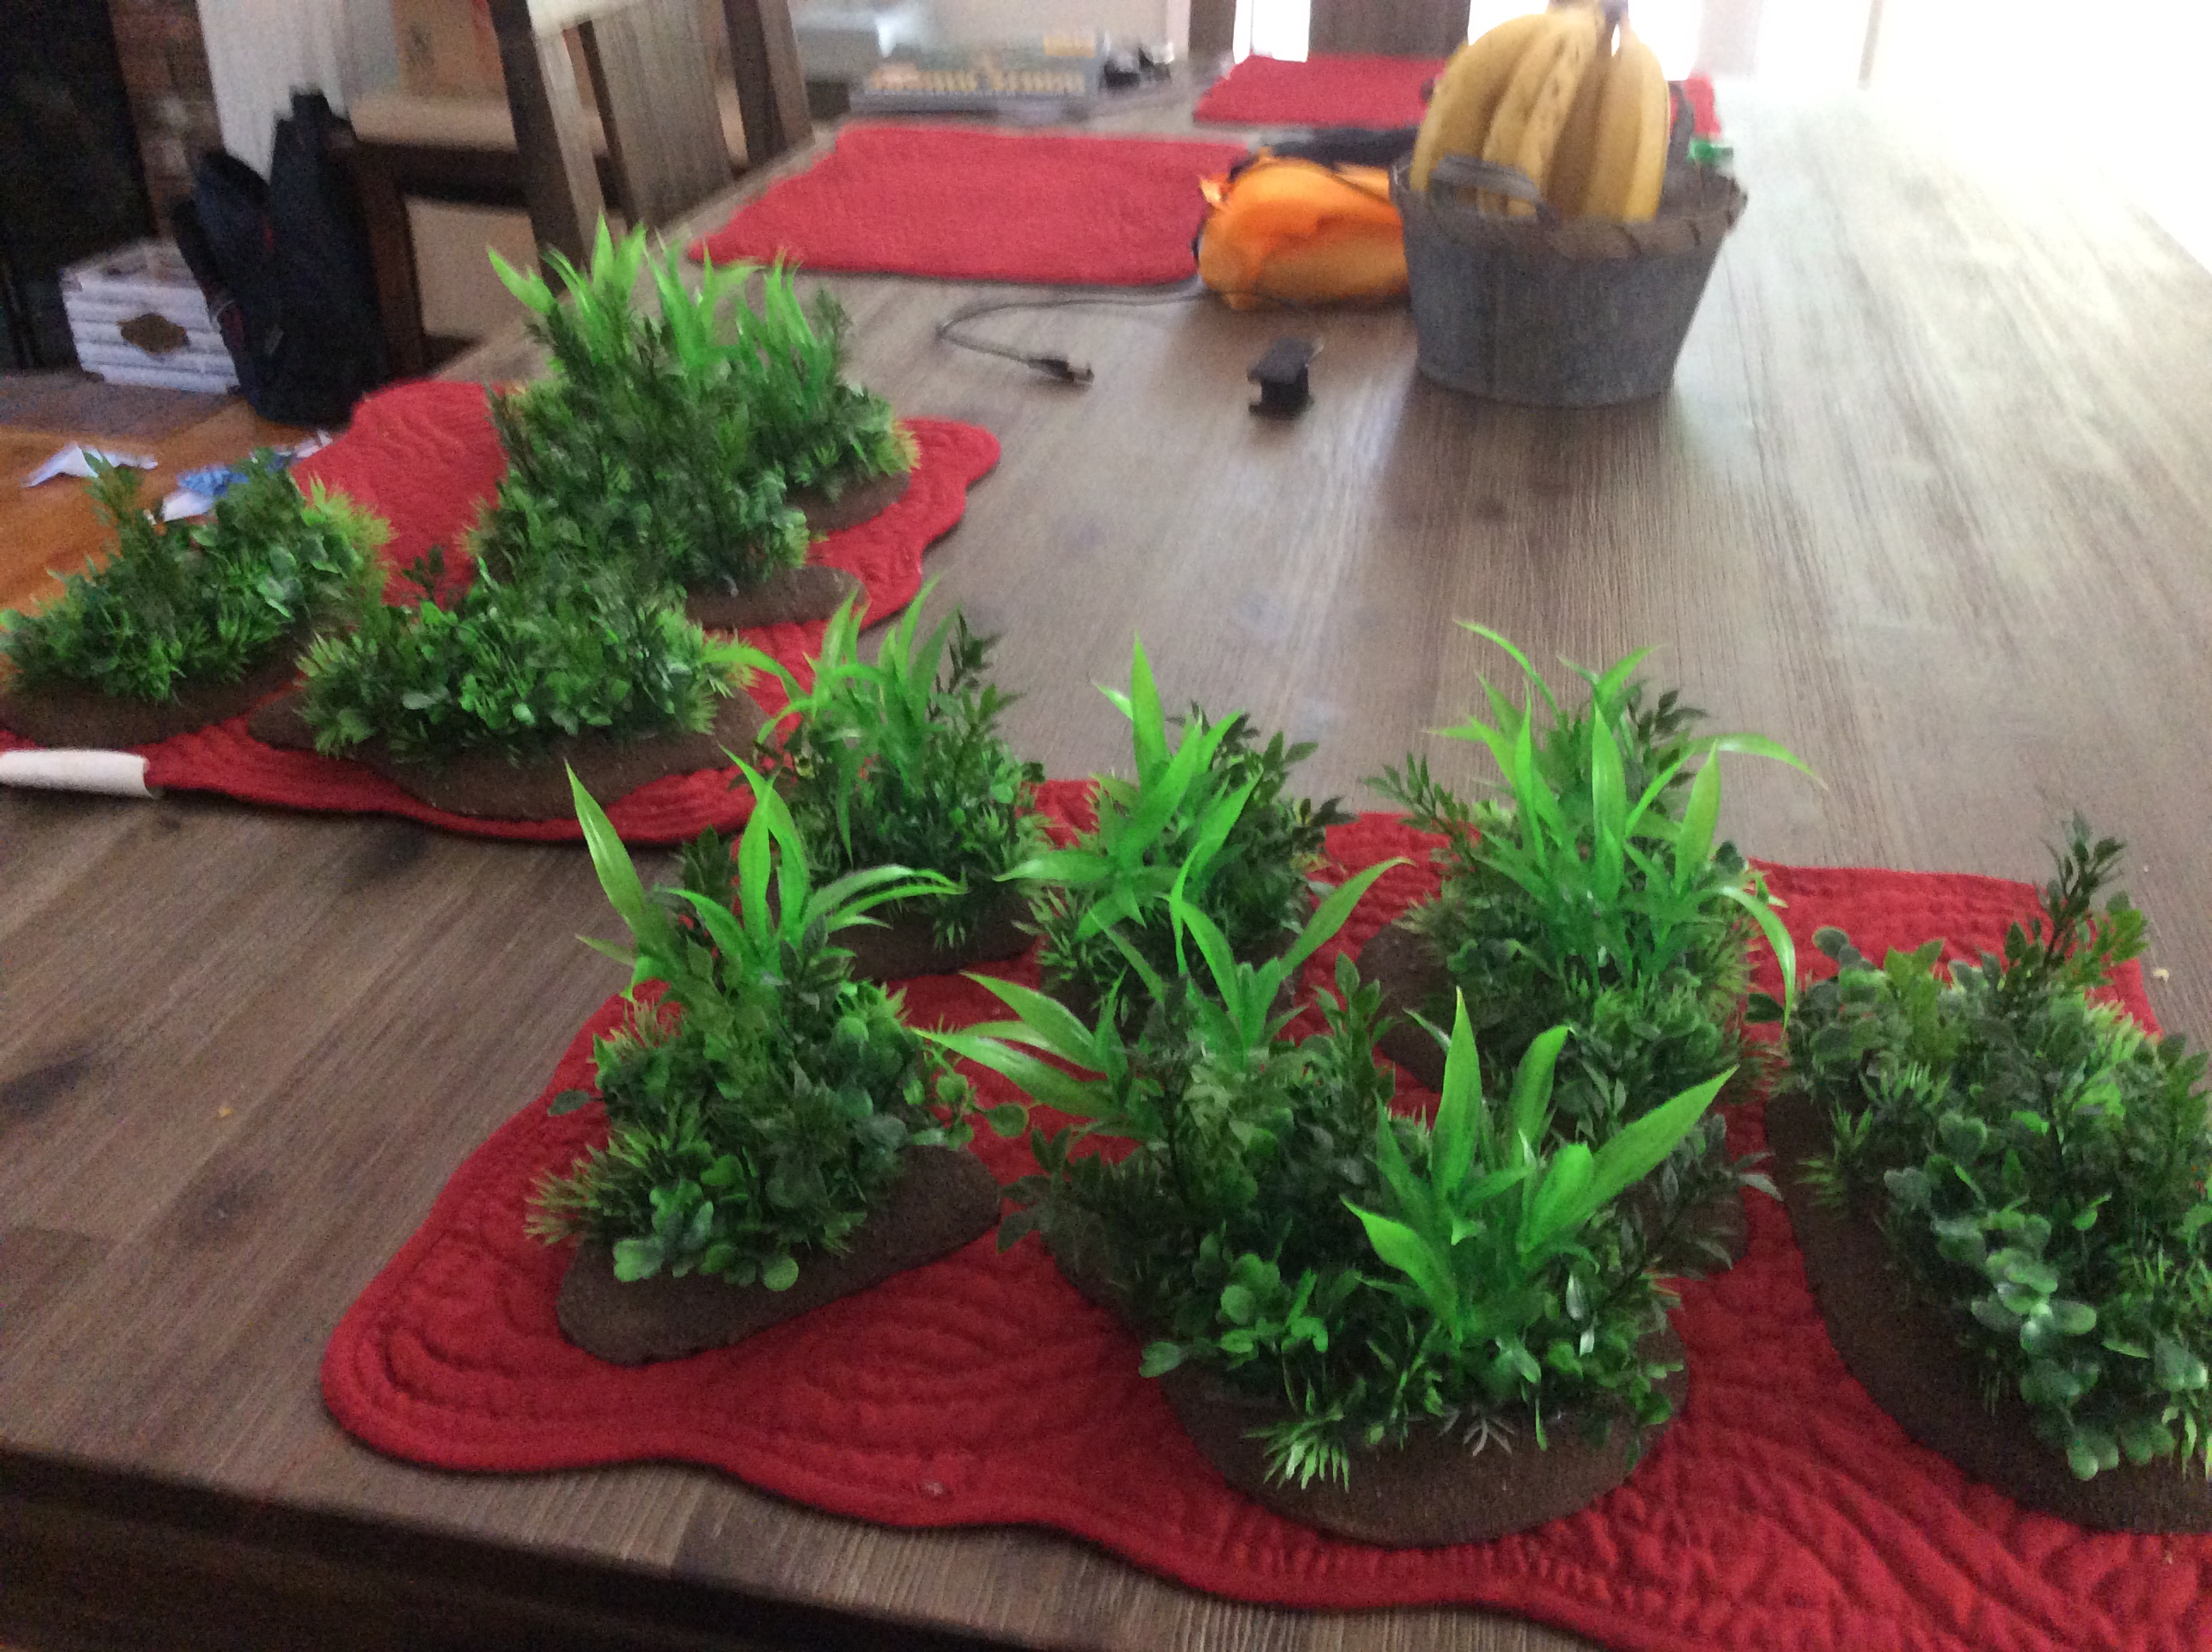 Full set of jungle scatter terrain bases partially complete
Flashback Tuesday
I don’t have any new status pictures of the terrain table for today, so I figured I’d show some status on other small items I’ve been working on over the last few weeks.
The first, which were shown a little while ago on the WAYPN forum thread, are some customer tokens I made for my K47 force. These basically were the result of my basing approach for my K47 miniatures.
- I use Privateer Press lipped bases to base my K47 miniatures. I like the look of them better than the Warlord thin bases. However, this means I have LOTS of Warlord thin bases lying around from all my miniatures.
- I tend to base weapon teams on larger bases, and I don’t model the crew to be removable. I like how the weapon teams make small diaramas, and I also hate taking the time during game setup/deployment to locate the various crew for each weapon. Far easier to just plunk a large based weapon on the table and be done with it. The problem then becomes, tracking when wounds are done to that model, as I can’t remove individual crew members.
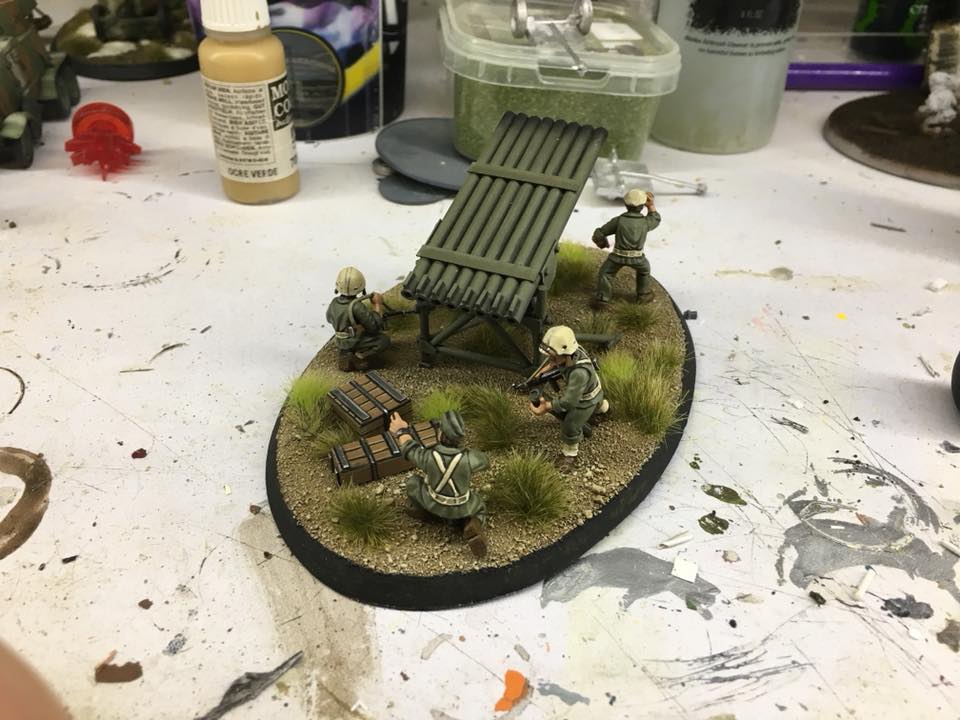 Image of my USMC T27 Rocket launcher, showing all the crew modeled on one base.
So, I need to track wounds on models, and I have lots of small 25mm plastic disks lying around. My solution was to turn these bases into small gaming tokens. Picture below shows my first round of tokens. Most are wound tokens for weapon teams, while 1 is a larger token for marking air strike targets. Overall I like how they came out. They are great because:
- They use up scrap material I already have
- I paint them in my army olive drab base color, so they are a great way to use up excess paint on a pallet or in an airbrush. If painting a tank, and there’s paint left over in the airbrush, grab a bunch of bases and basecoat them for new tokens.
The one downside of painting them in Camo-colors was that they can sometimes blend into a tabletop. That’s why I painted the edges in such bright colors, to ensure they stand out when viewed from 3-5 feet away on a gaming table.
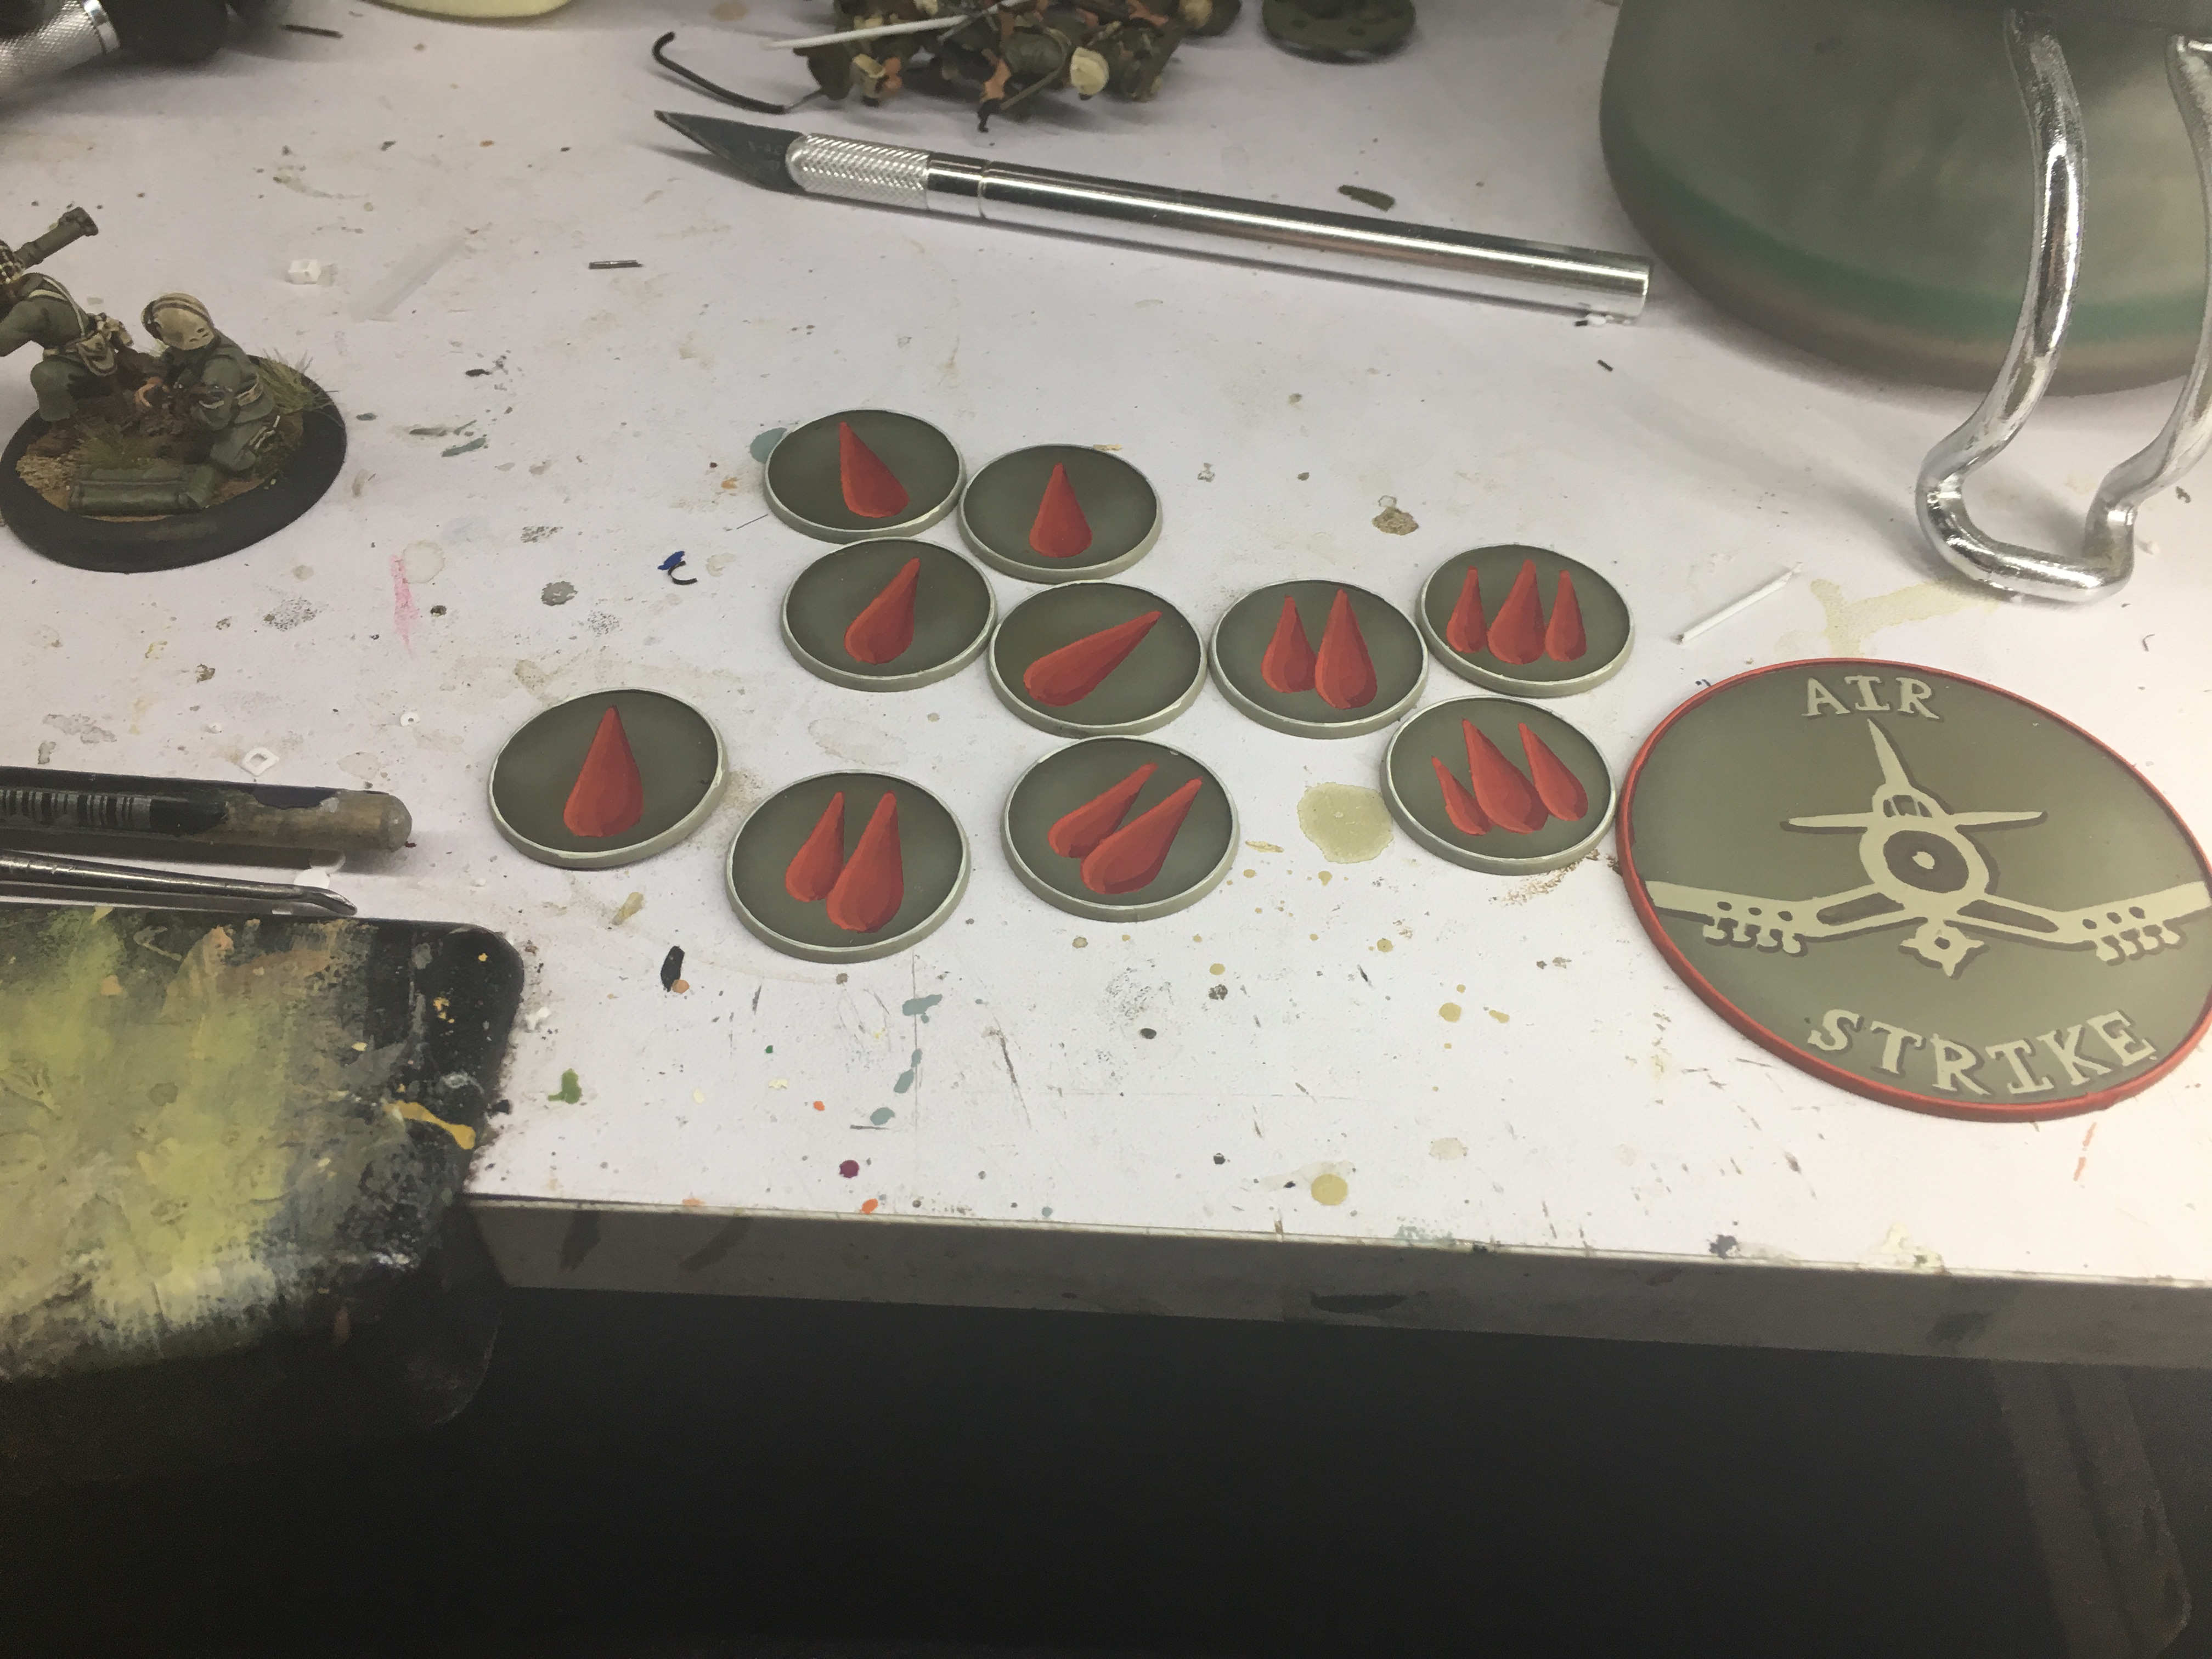 Image of my first round of gaming tokens.
 The rest are just a few images of a recently completed USMC bazooka team for my Pioneer/Engineering expansion for my force. Again, he’s one of those single-base weapon teams which will require use of the tokens I created above.
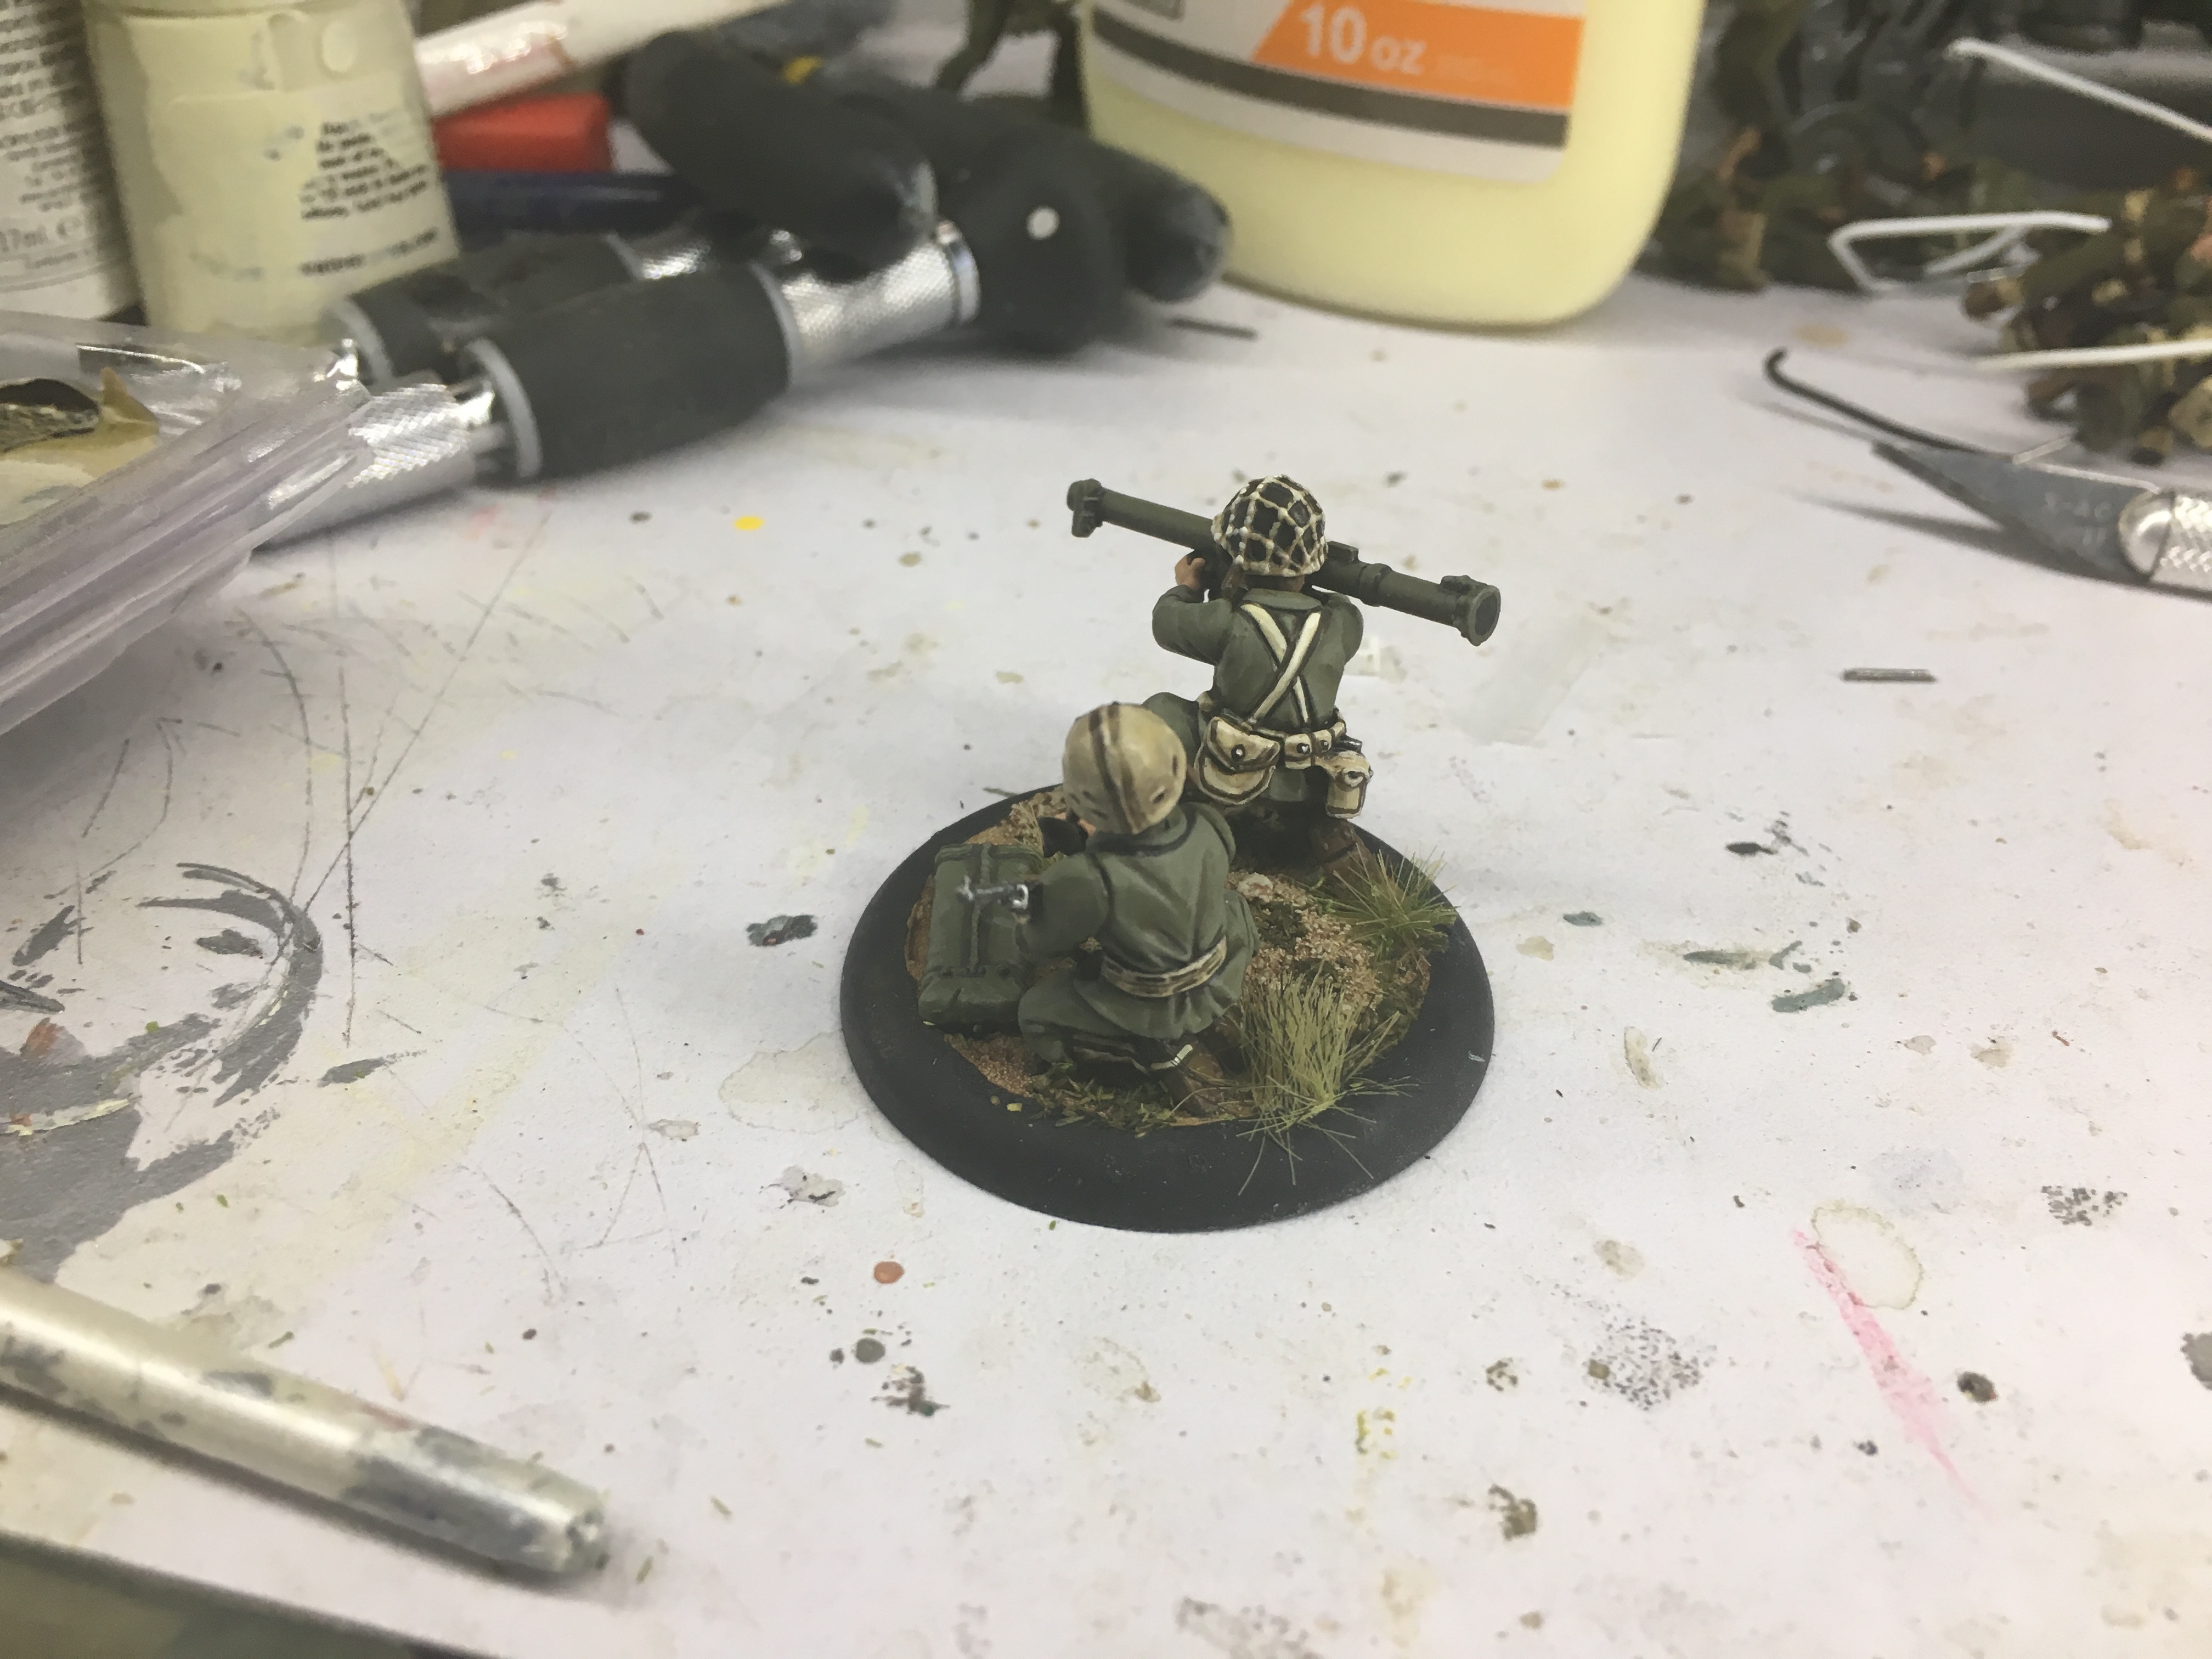 USMC Bazooka Team
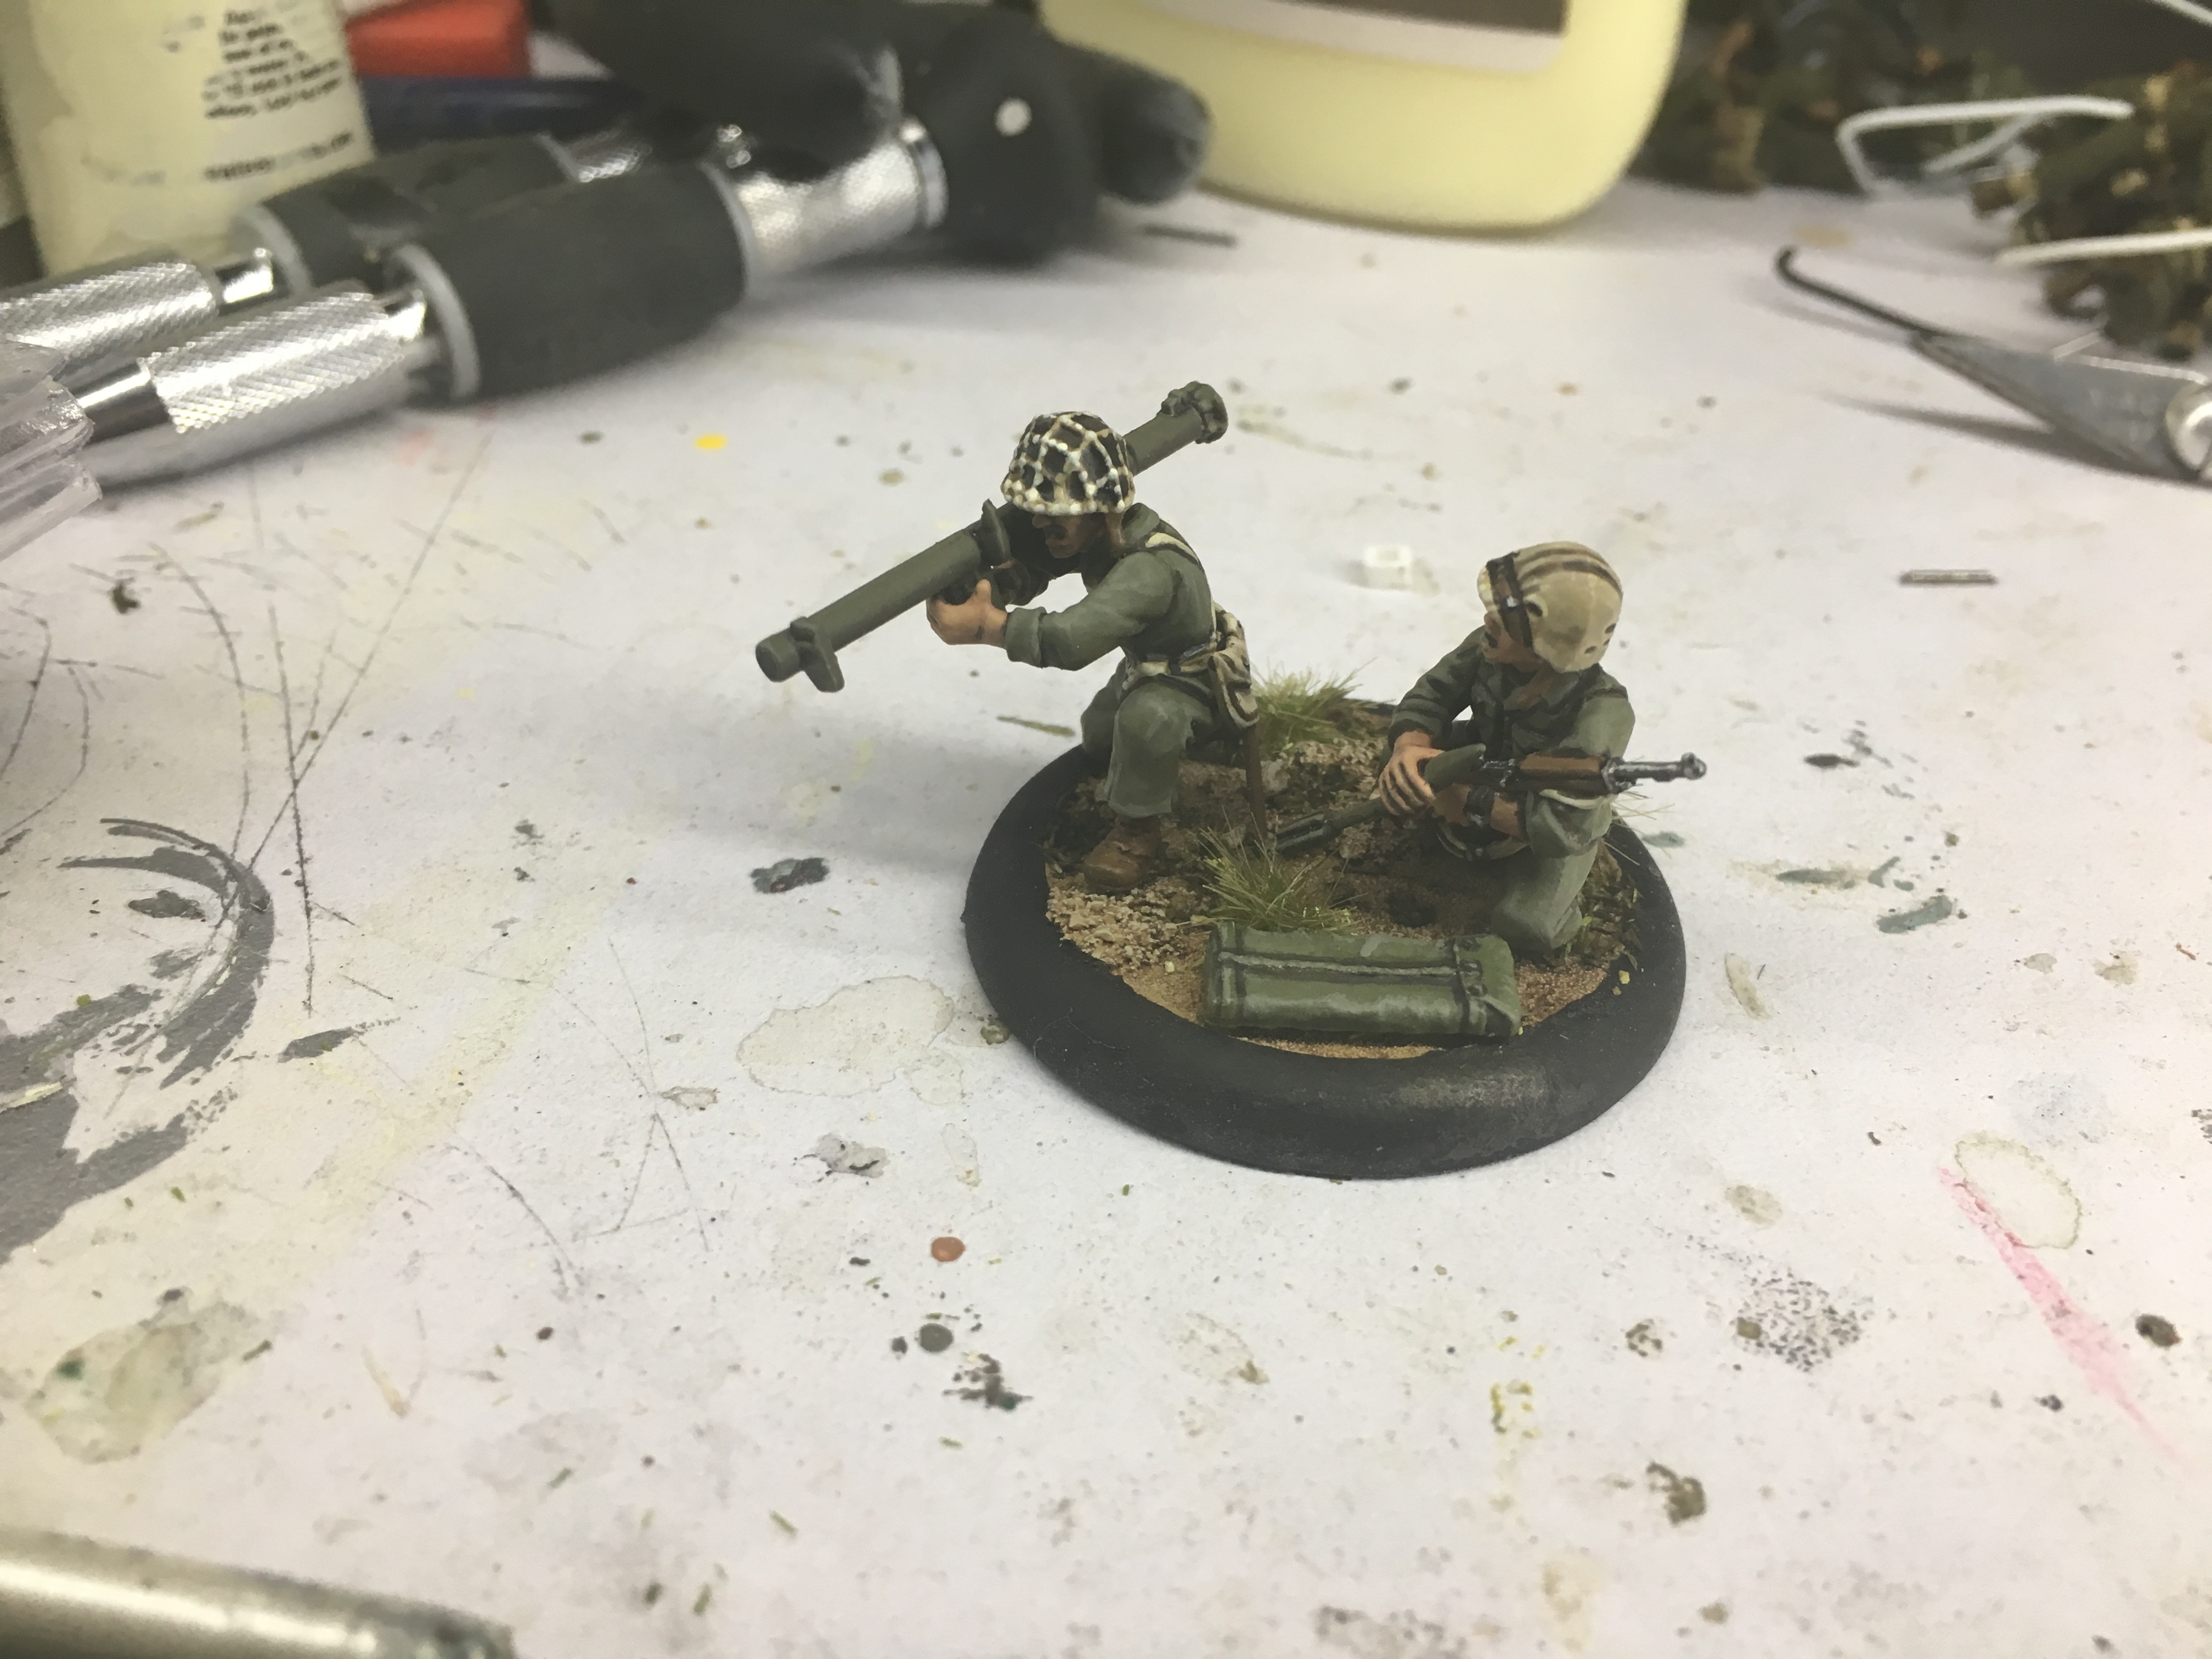 USMC Bazooka Team
Busy Weekend, Big Monday Update
Ok, days until house move…9 and counting. This is both good and bad for my hobby progress. The bad…I’m spending large amounts of my weekend packing. The good… we no longer have a couch (old one got sold) so there is no place for me to just lounge and be lazy. As a result, more progress gets made on my hobby projects.
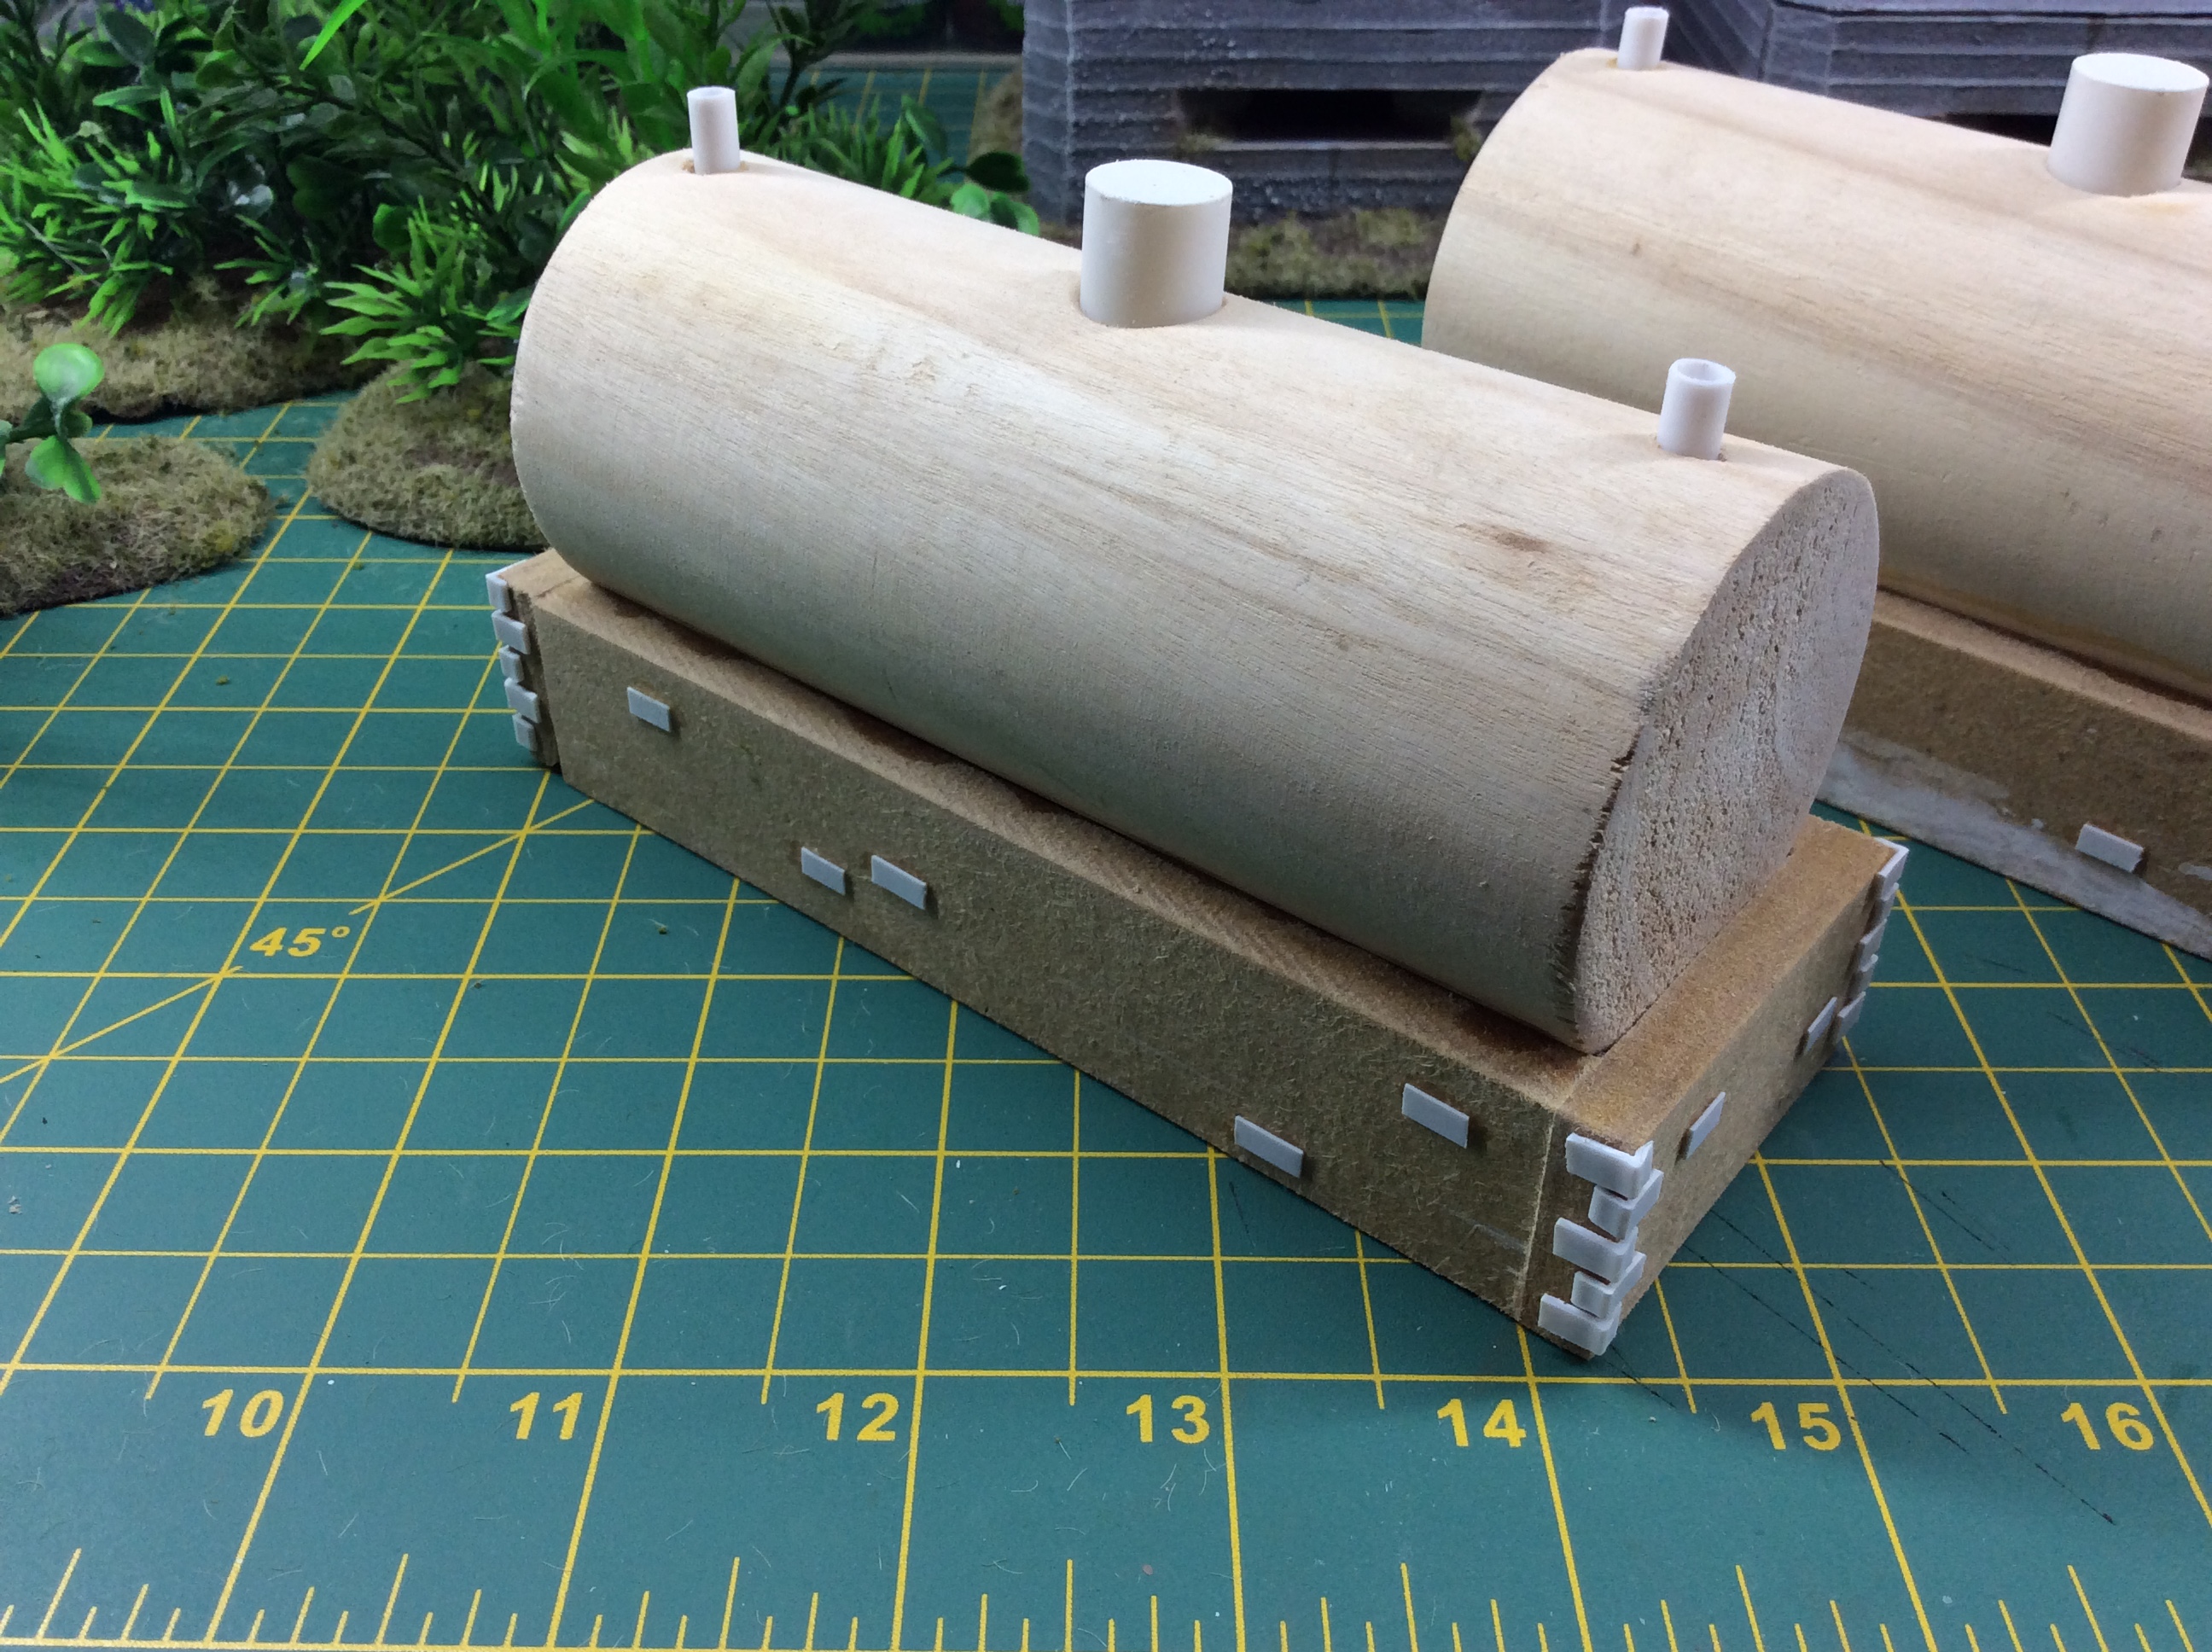
First up, the Base Quonset Huts are mostly painted. Just need to hit them with some matt varnish to kill the shine from the Army Painter Strongtone dip I painted on to them to shade and add contrast. I will say, I am really liking that product for terrain projects. It shades like a wash, but also acts as a fairly strong sealer and binder to hold stuff together.
Overall I am happy with how they came out with the Japanese tank-camo color scheme, even if the use of Quonset Huts by the Japanese isn’t 100% historical. As it says on the tin, I play primarily Konflikt, so the historical part isn’t as critical.
I am really interested in finding a place to put a Japanese flag, as I think the white and red iconography be a great contrast for this hut coloration.
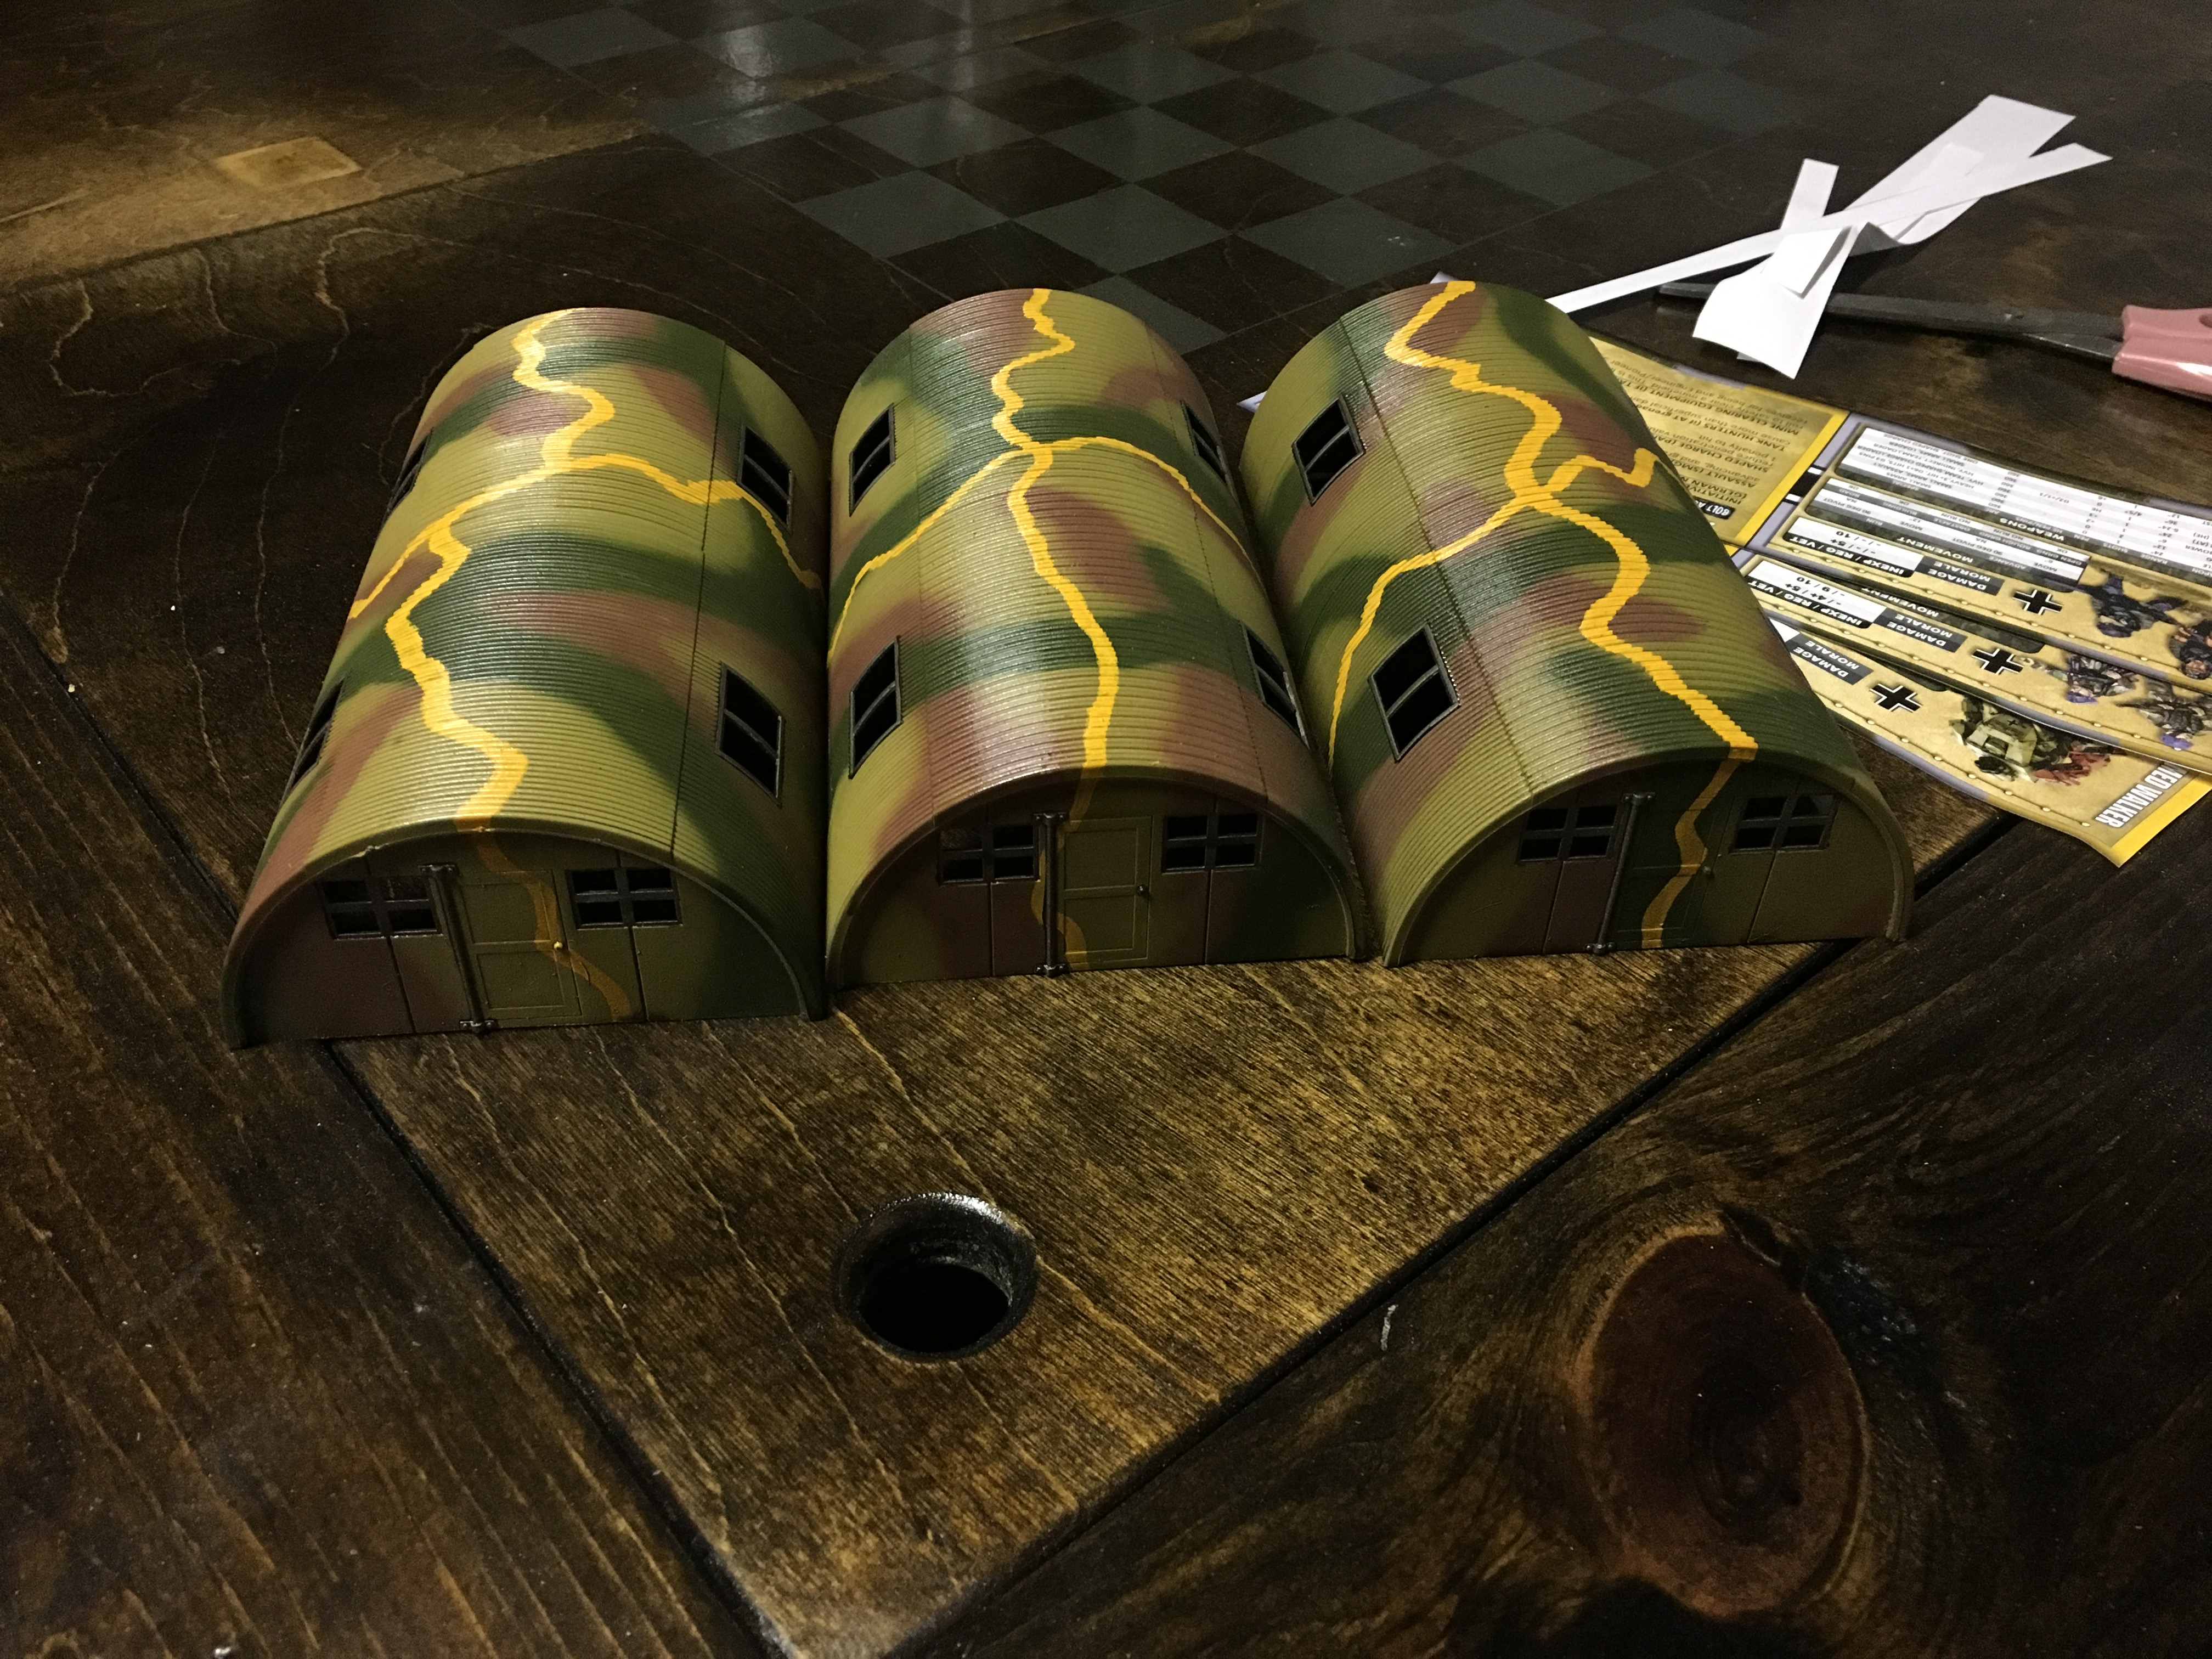 Mostly Painted Japanese Quonset Huts.
 Next piece of this themed table project is the runway/airstrip. While many WW2 airstrips, particularly in the pacific, were just leveled dirt or plowed fields, for my table this is supposed to be a secret weapons facility for new jet-aircraft development. As a result, it deserves a little more TLC.
To make the airstrip surface I used adhesive-backed grip tape, sold online and in most home-improvement stores. Its typically used on the surfaces of exterior ramps and stairwells to allow them to be high-friction even in wet conditions. I’ve used it in the past for making roads or similar surfaces, as, with appropriate painting, it can look a lot like concrete or asphault.
See strip in image below. I cut the strips to go across the airstrip, rather than lengthwise. When painted/drybrushed seams will show, and I figure the seams will look more realistic going across the runway, making it look like the runway concrete was poured in 20ft sections.
One tip I’ll share. I wanted the strips to be 9in long (width of the airfield). As I was cutting 2-dozen of them, rather than spend the time measuring each section, I made a wood template. I cut a piece of wood 9in long. I then just laid the wood on top of the roll of material, and used it as a knife guide to cut. That way, I was able to cut 2-dozen uniform, 9in-strips very quickly.
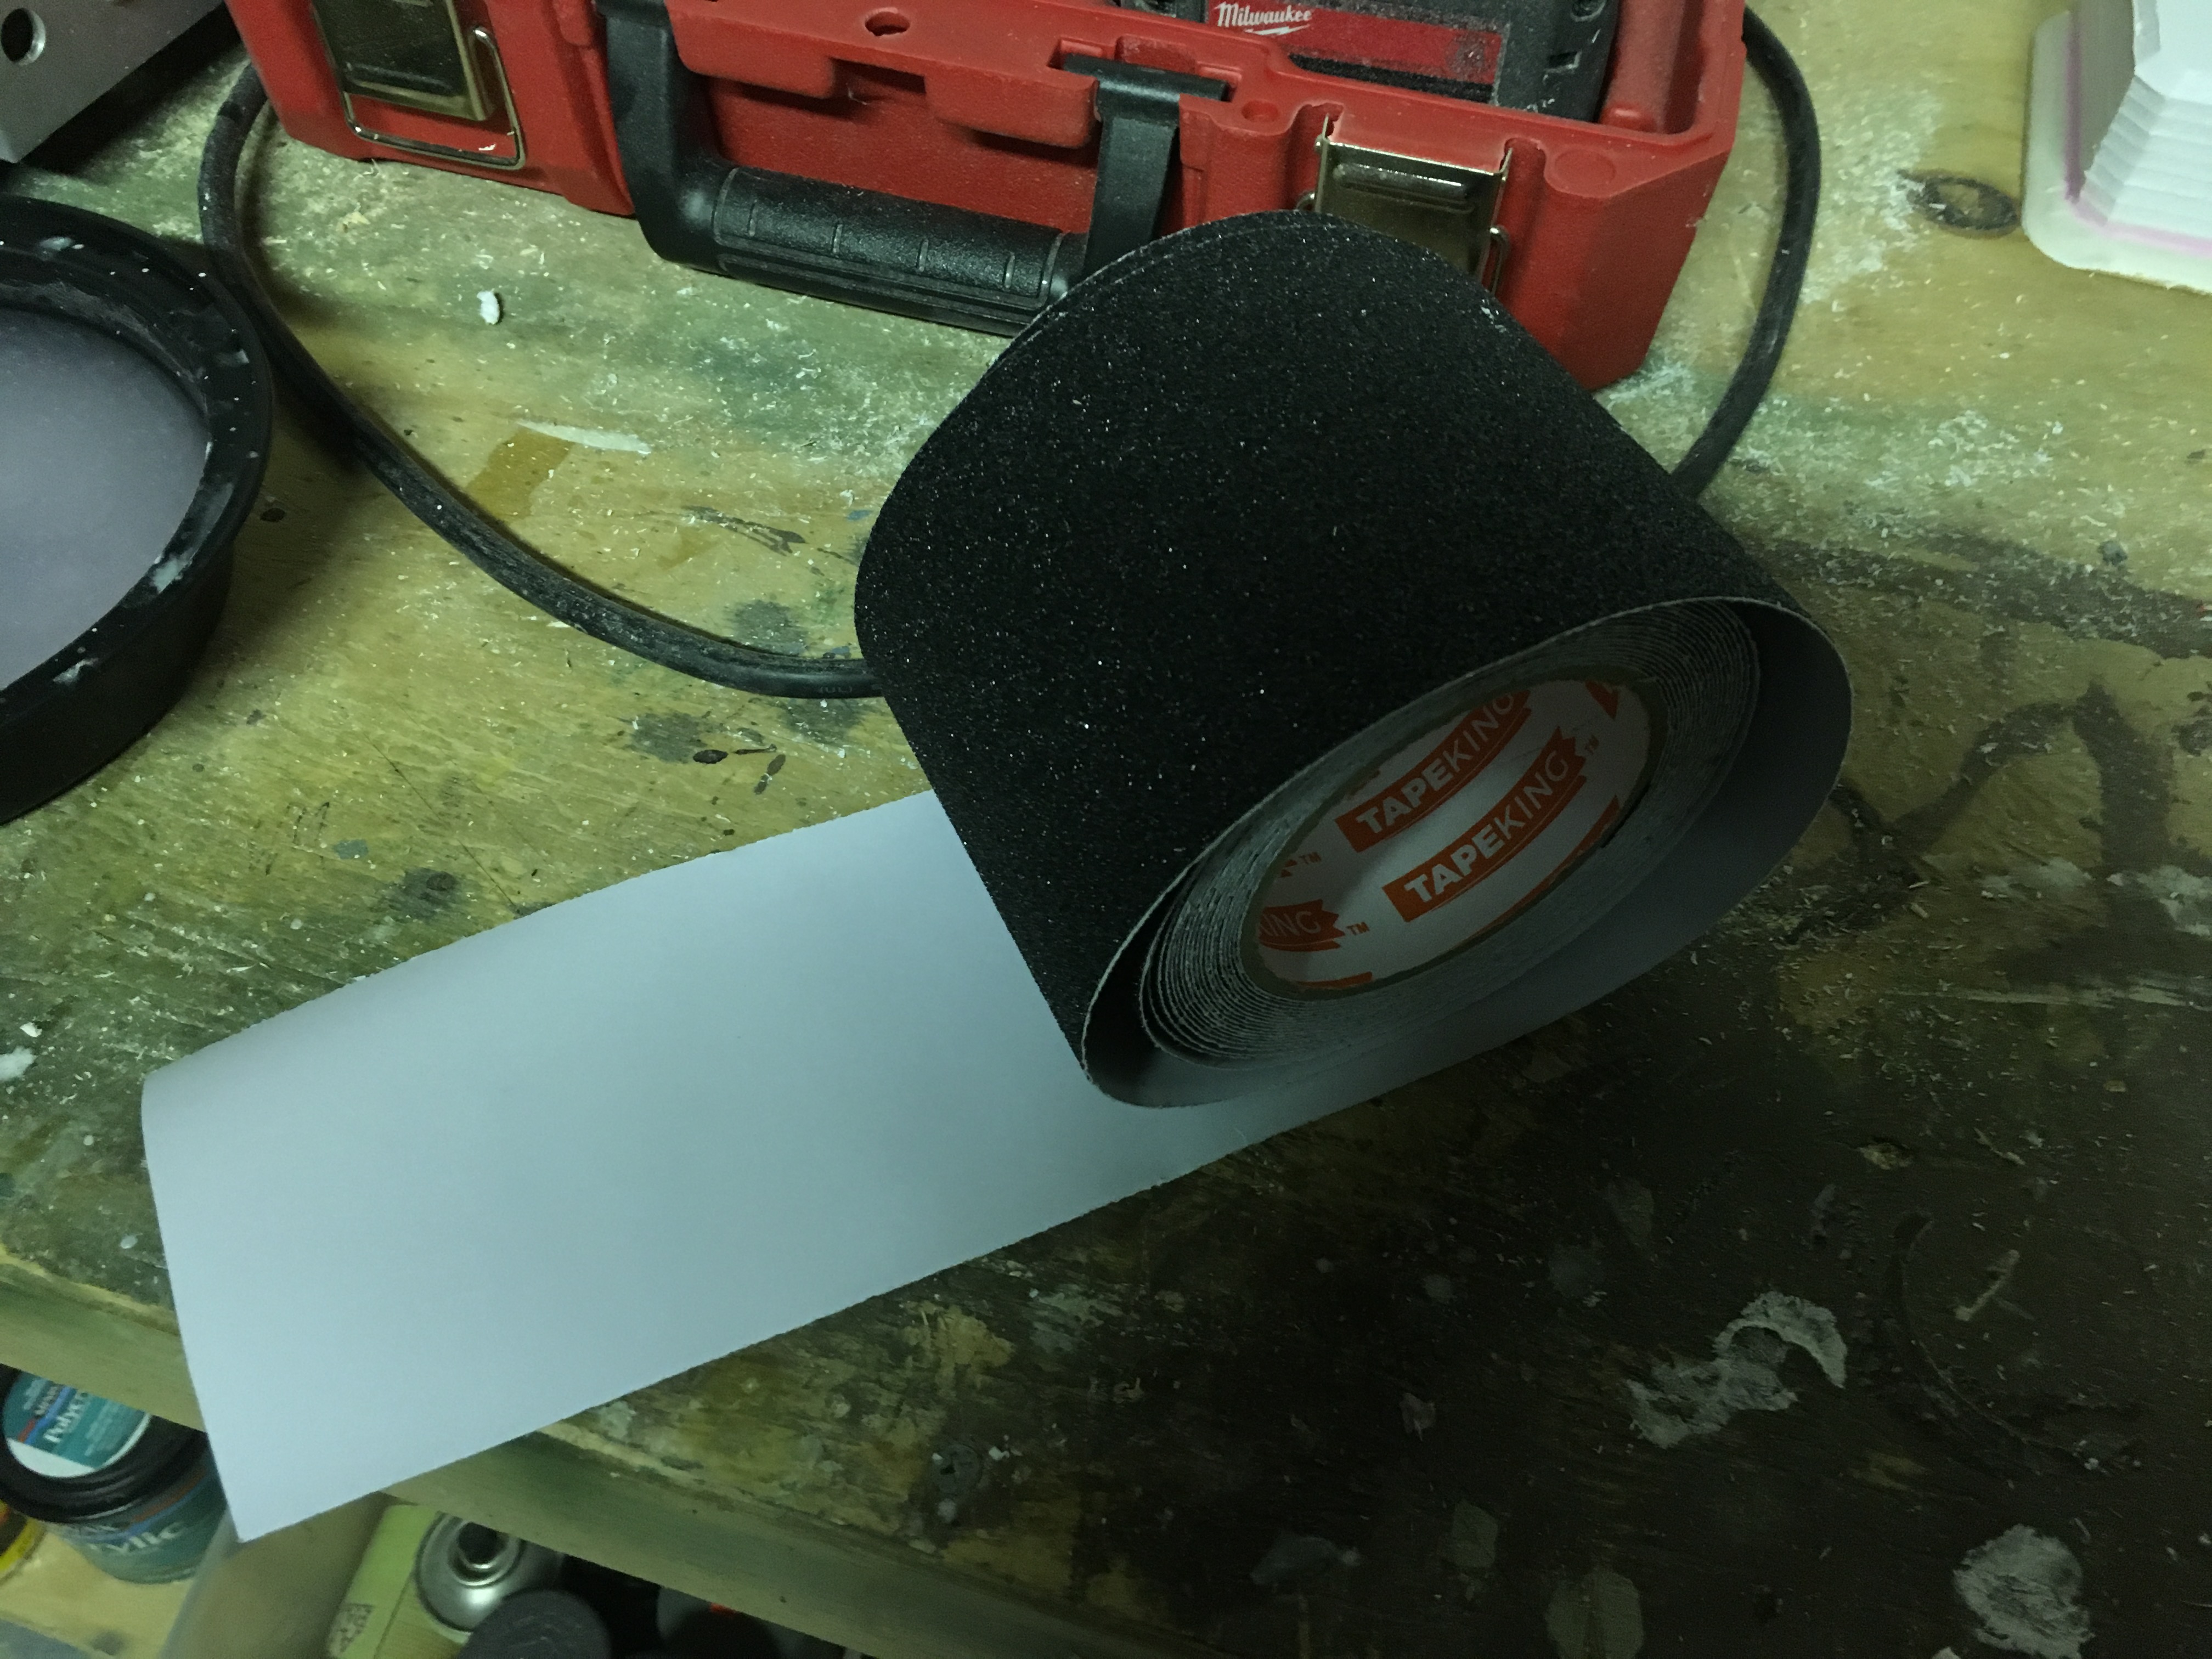 4in Grip tape. About $15 from Amazon. Used less than half the roll. Also great for thins like roads or parking lots in games like Team Yankee.
 Three airstrip pieces are below with grip-tape attached. I also applied wall spackle to the tiered edges of foam board and MDF. That’s the pink you see in the pictures, as I always buy the stuff that is pink wet, but dries white. Helps me know when projects are ready for the next step.
The spackle gives smoother edge transitions that look more natural, and also seals the foam board, allowing me to paint later steps with spray paint without worrying about the spray paint melting the foam.
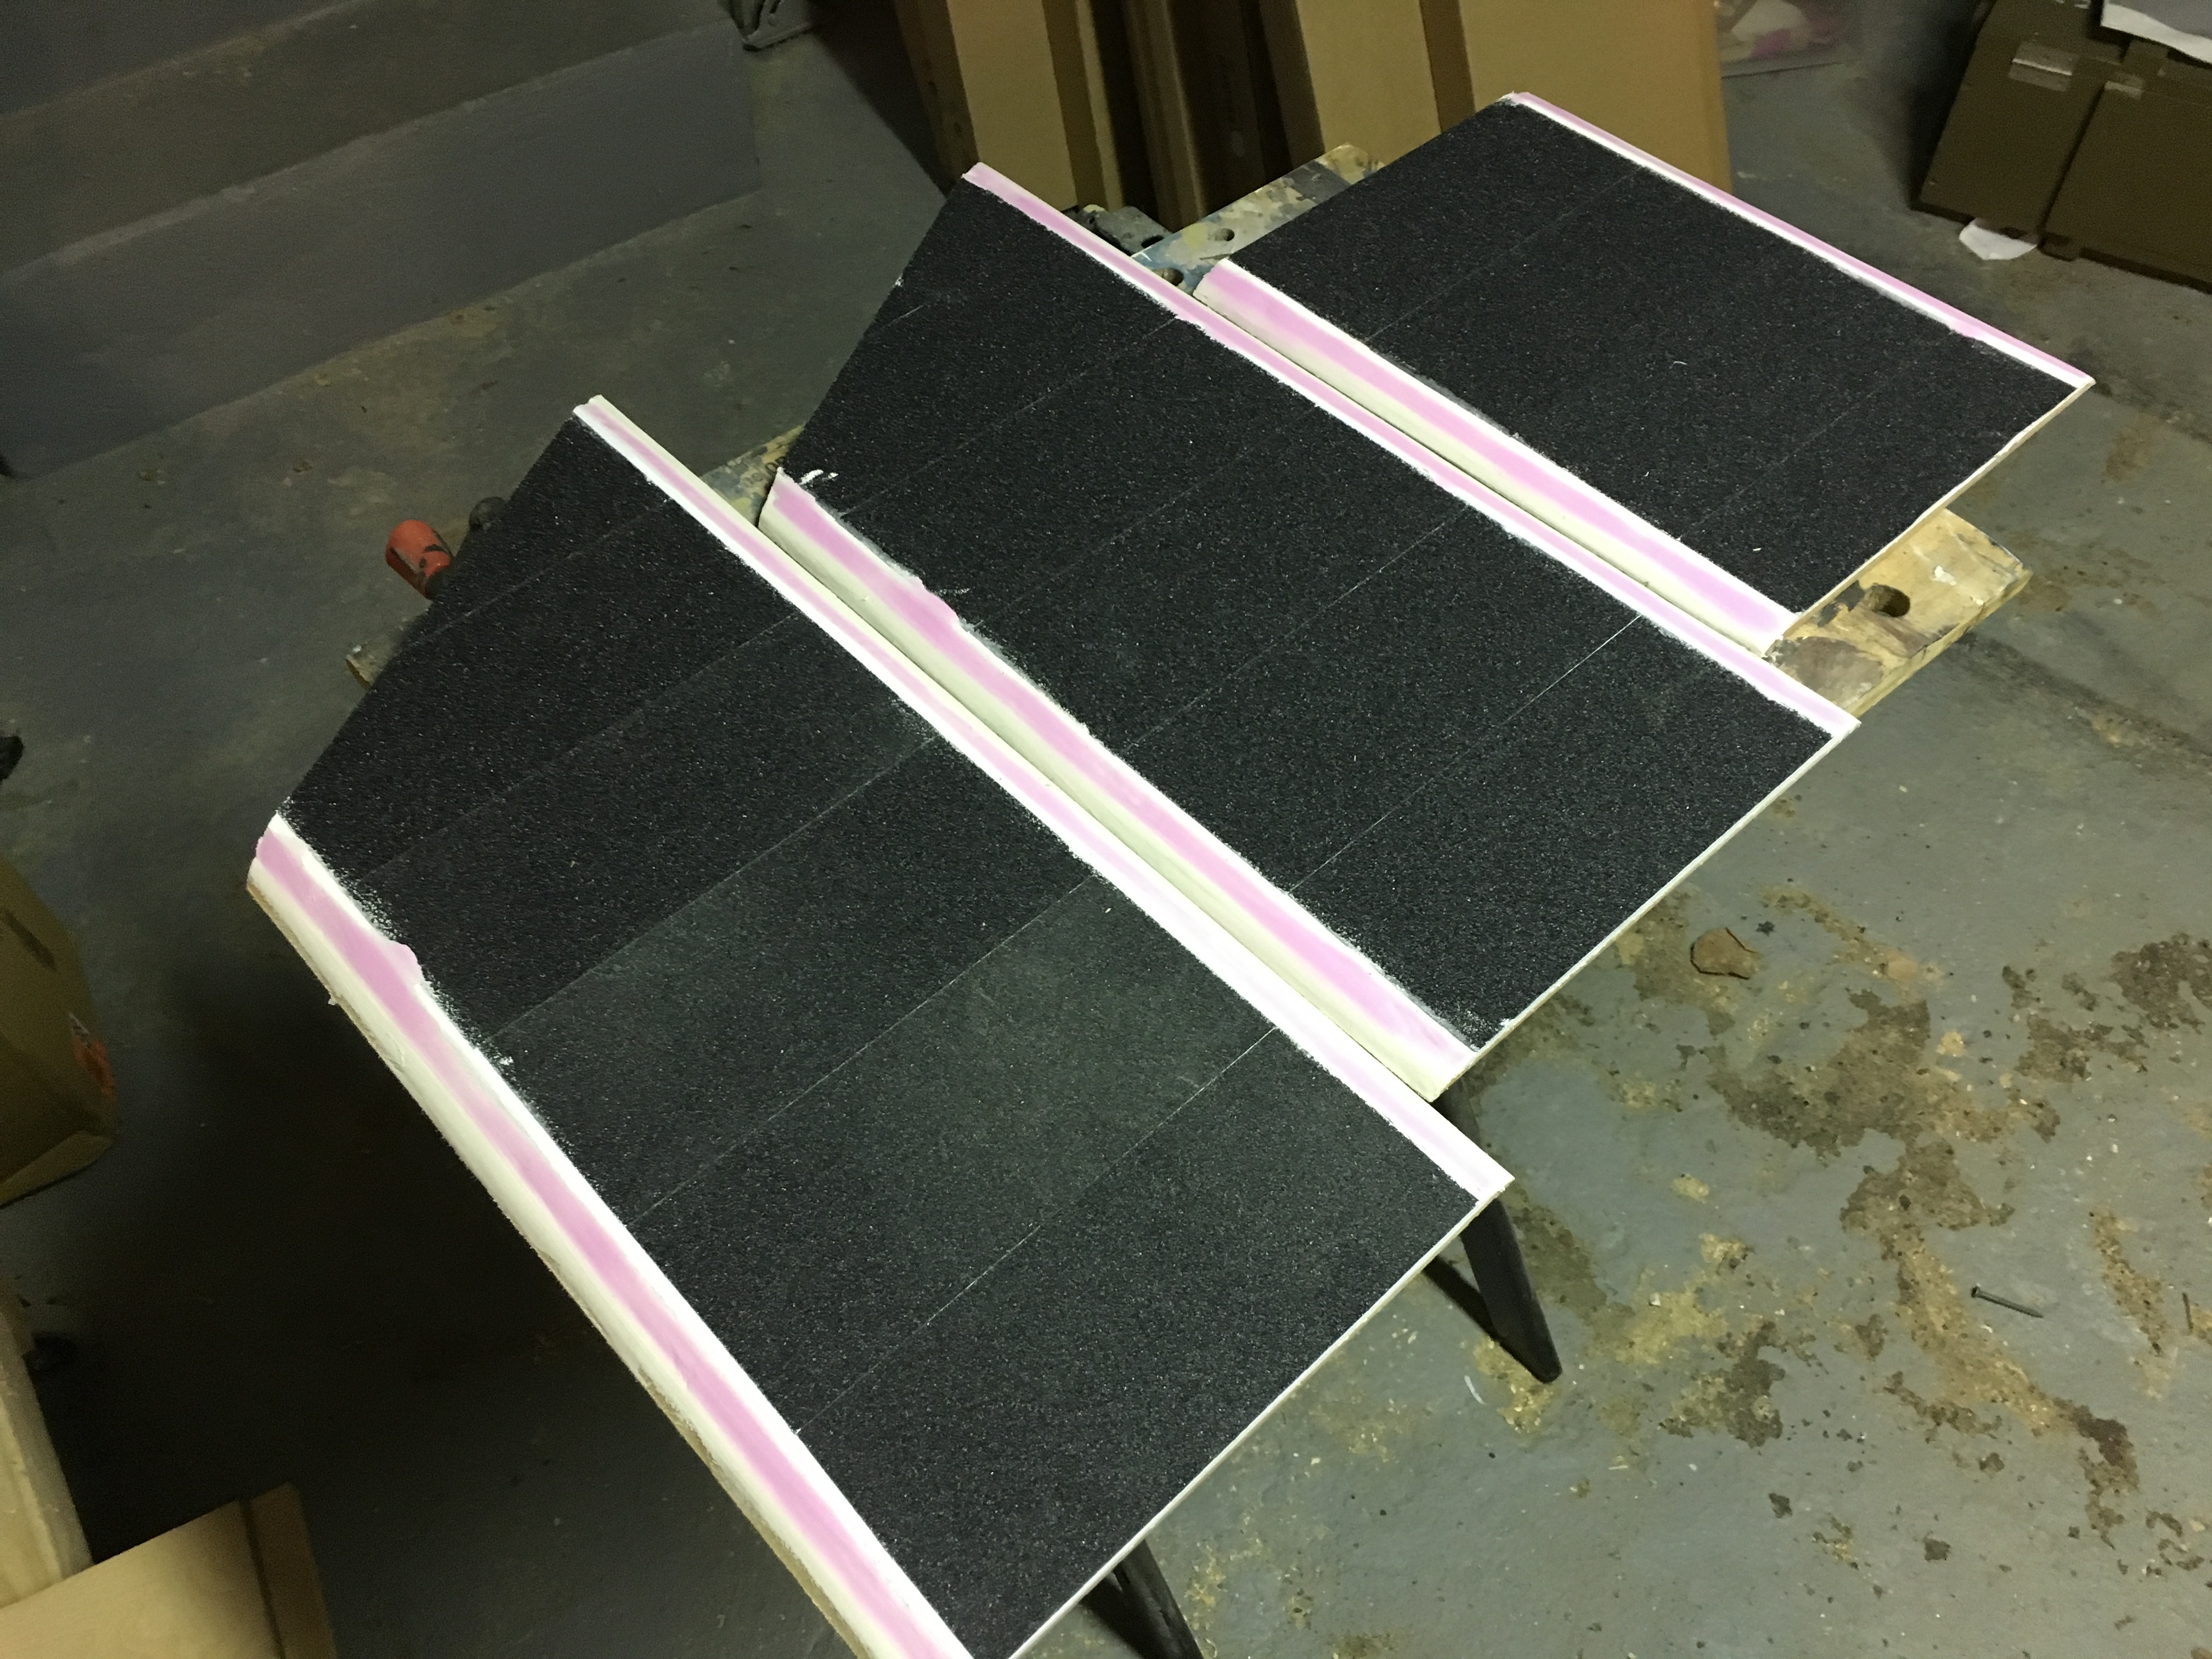 Airstrip pieces with grip-tape attached. The ends of the runway are cut at an angle because I didn't want the airstrip to go horizontally straight across the table. That would negatively affect gameplay. Instead it is made to cross the board at ~30 degree angle.
Next piece are the jungle scatter terrain pieces. I’m advancing these slowly as I don’t plan to buy the jungle plants until after my house move. Think my wife would flip if a box full of aquarium plants showed up at the house while we are trying to get things ready to leave.
Most of the progress here was just beveling the edges of the MDF with my orbit sander (could also use a dremel, but it takes longer). Always be sure to wear a mask when sanding MDF, as the dust is very fine, and is not good to breath.
I plan to add some elevation to these with scrap pieces of foam board. However a few of the smaller ones, which aren’t big enough for that, had some elevation added just with some smoothed wall spackle.
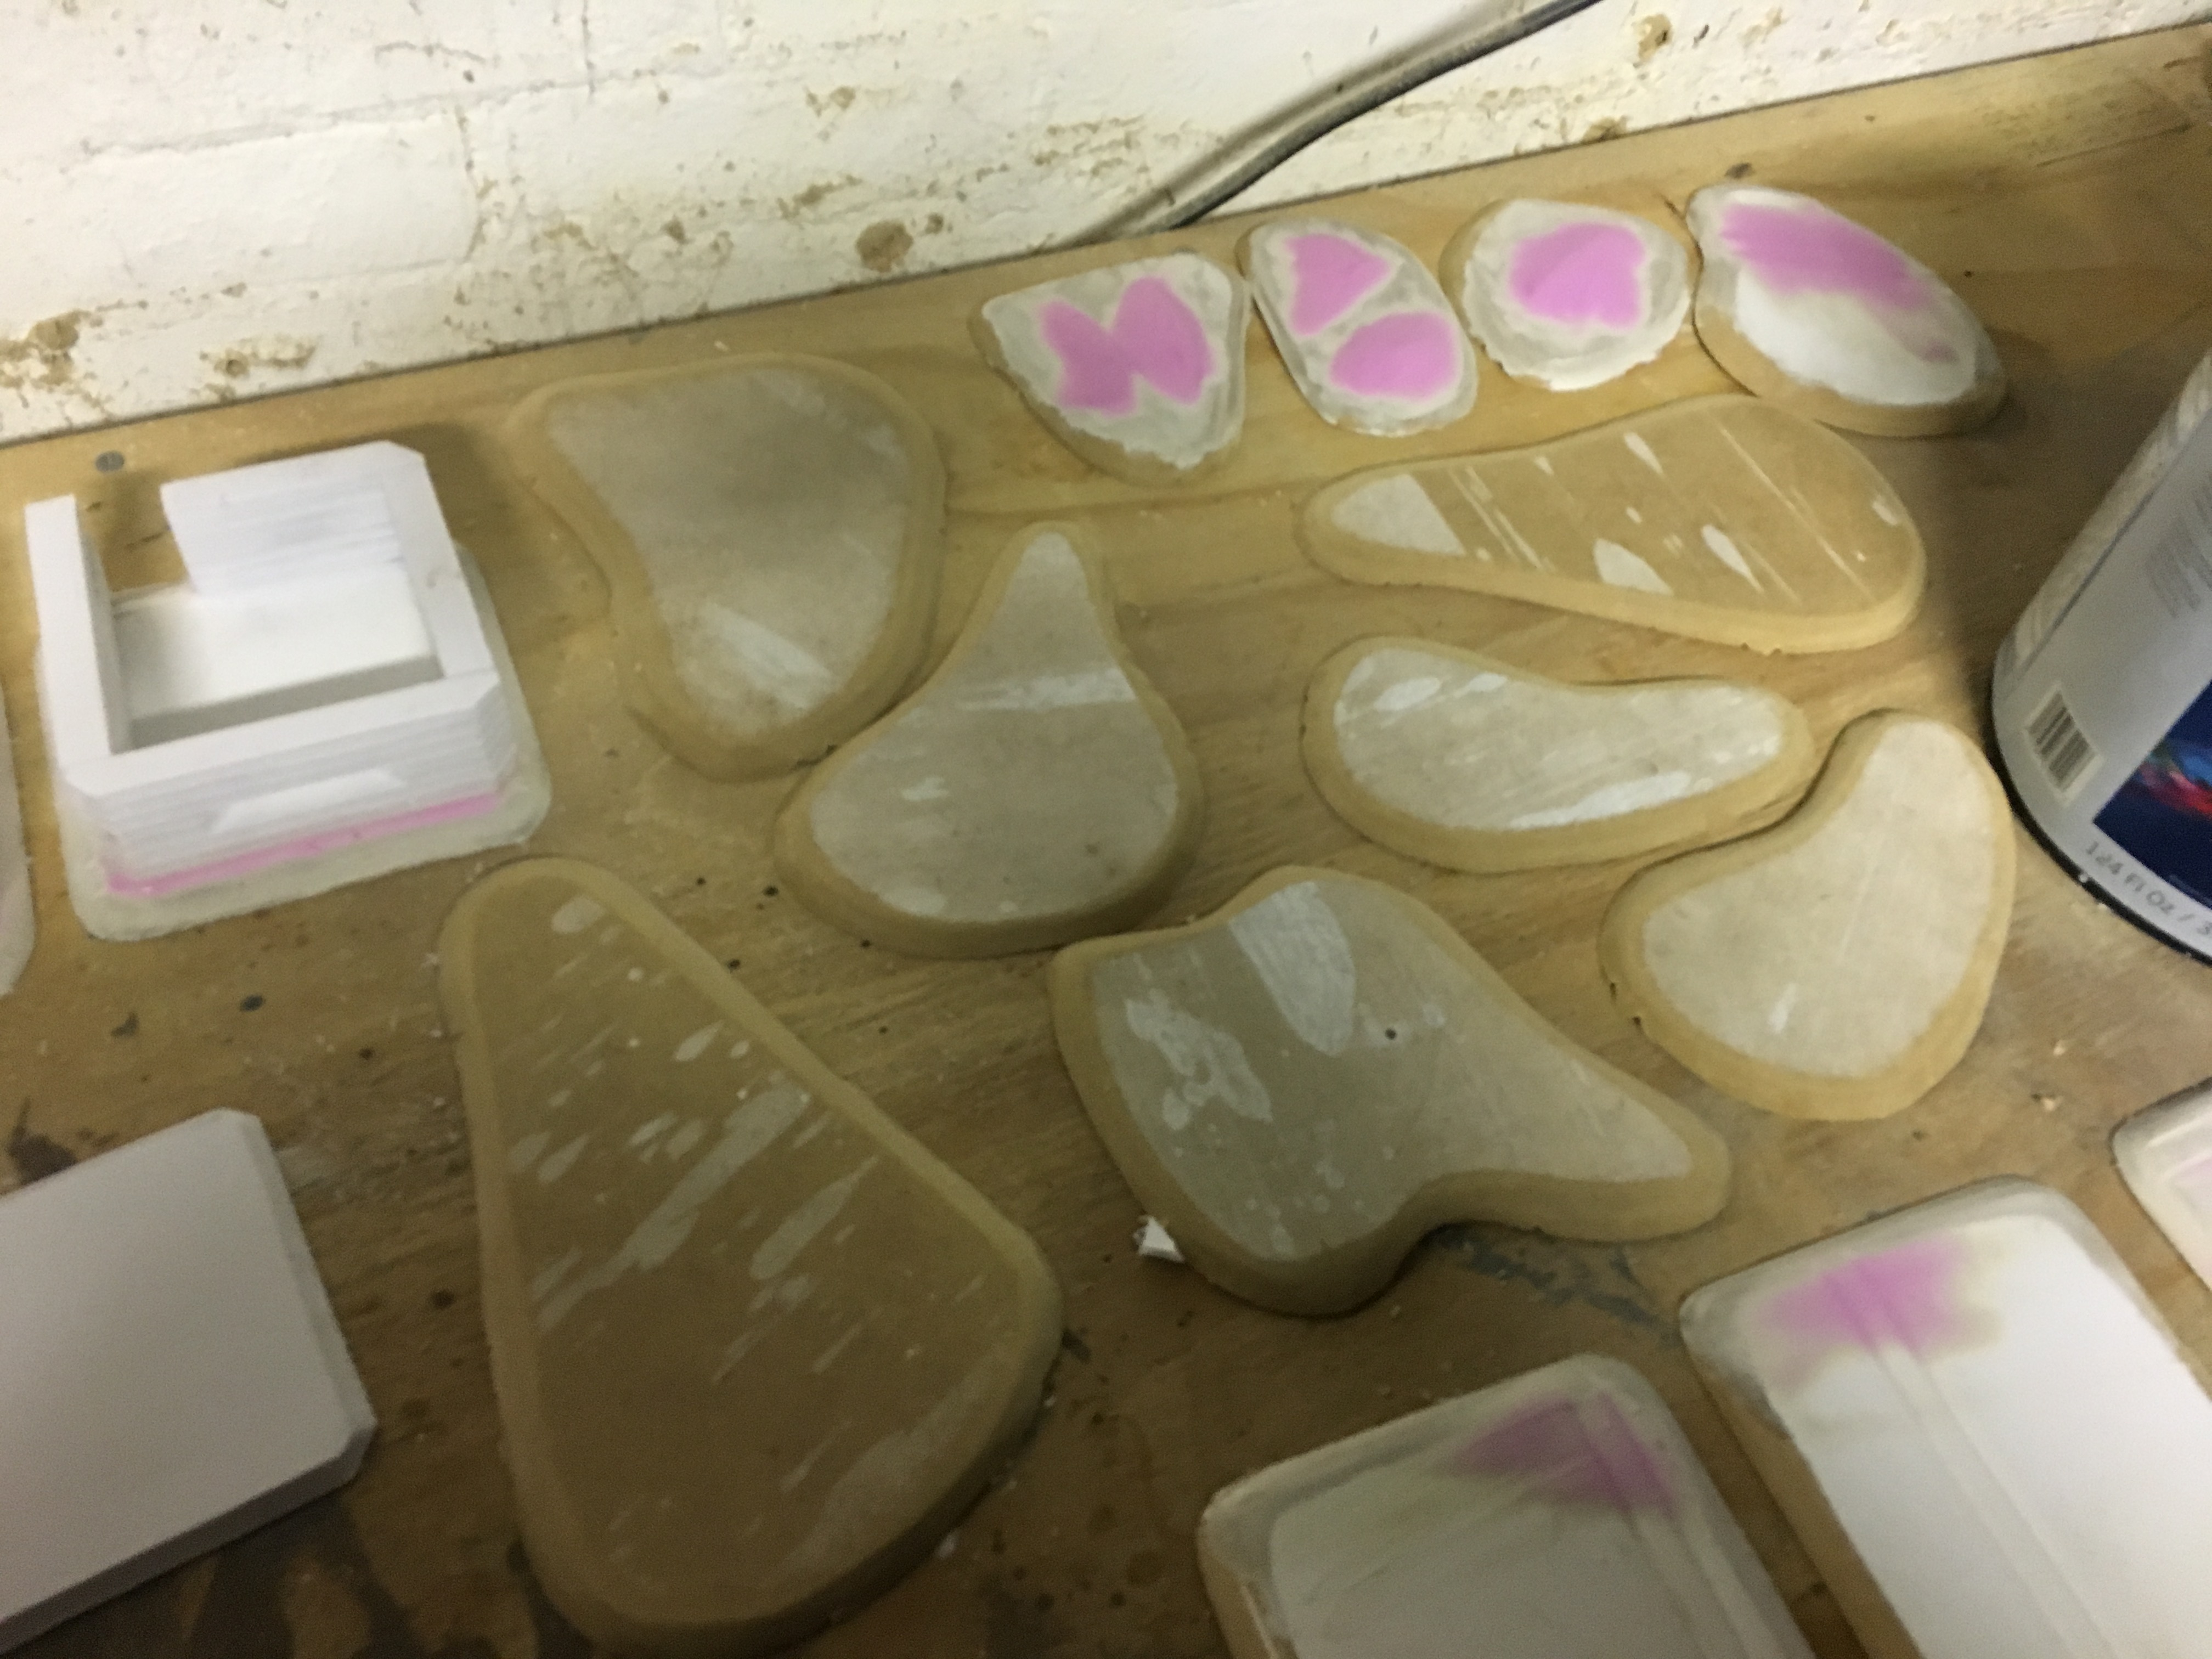 Beveled MDF bases for jungle scatter terrain.
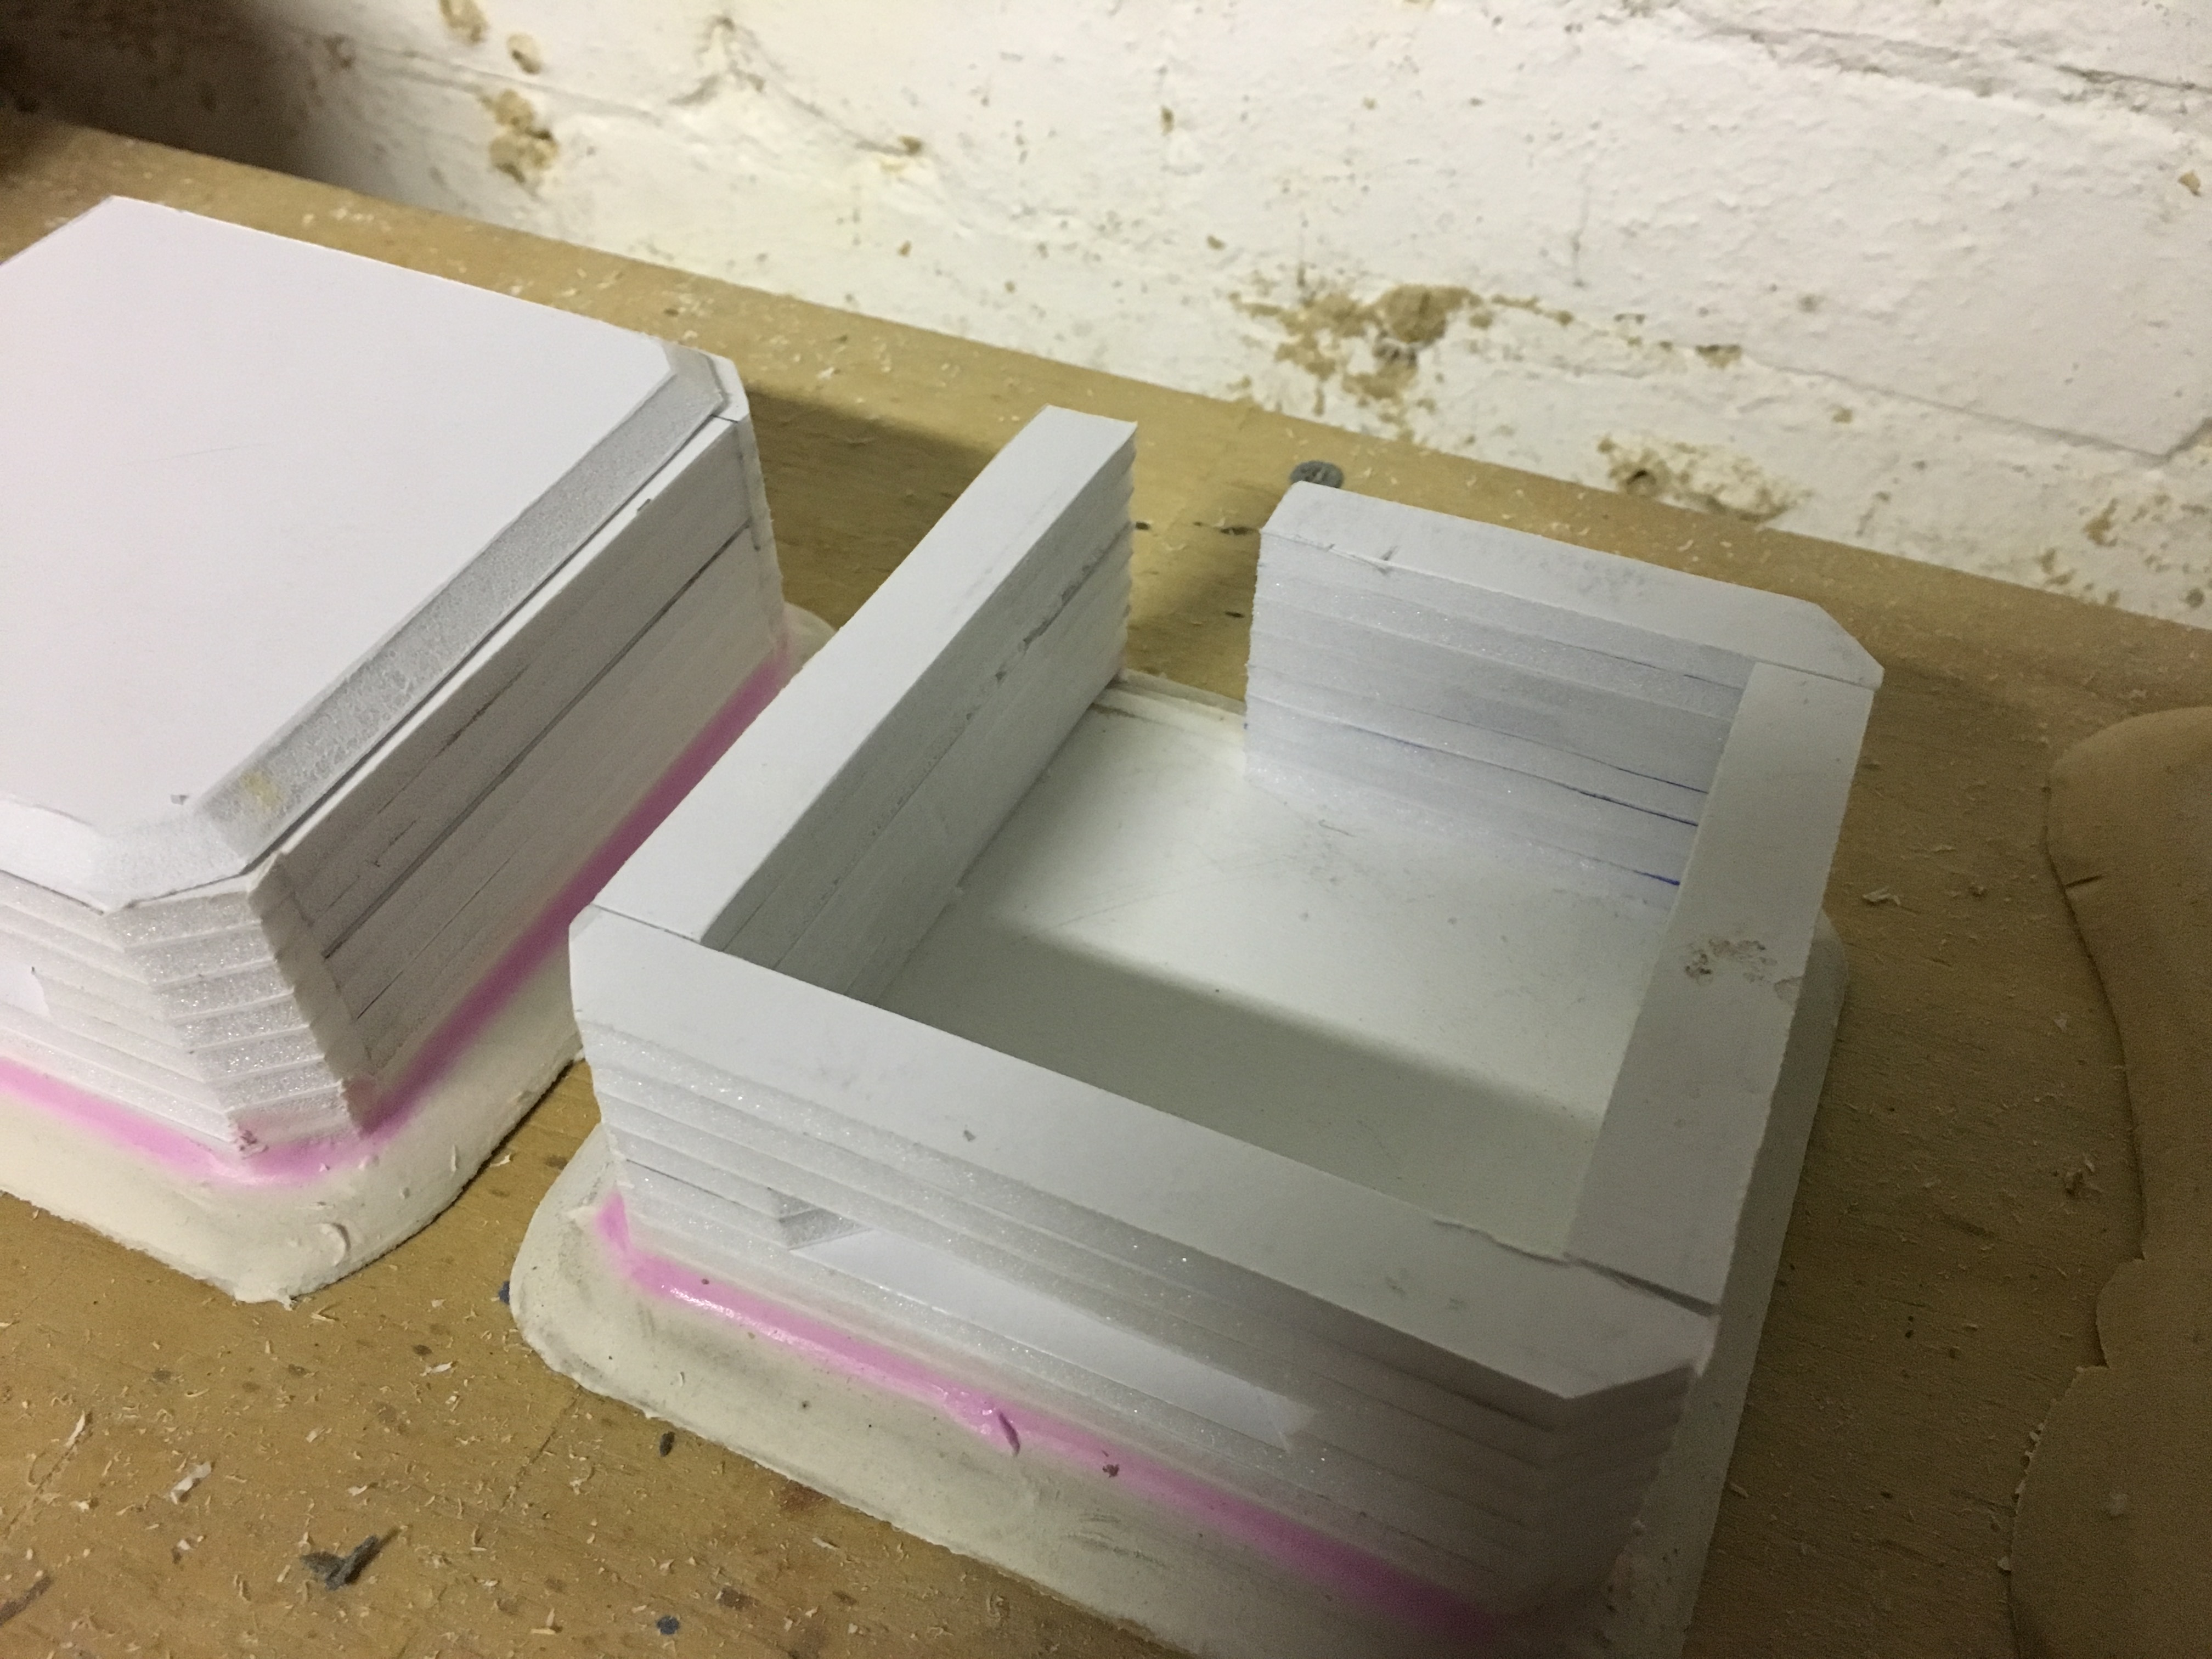
Lastly, I wanted to have a few fortification positions to defend this secret weapons-development airfield. Again, as I wanted this to be a more-permanent and well-funded facility, I went with concrete fortifications rather than the more wood-and-dirt bunkers that are more common in Japanese field fortifications.
For these, I used stacks of scrap foam board left over from the airstrip construction. This is a cool technique, as it used up scrap material, and the layers are visible when painted. In WW2 concrete bunkers were poured into wooden moulds, and the concrete would often seep out through the gaps in teh boards, giving this layered appearance.
Its very difficult to cut all these walls to be exactly flat, so I cut the strips and glued them together, then sanded the walls flat with my orbit sander.
Going to give a shout-out to the Terrain Tutor Youtube channel, as it was his video that showed me this technique. Link below.
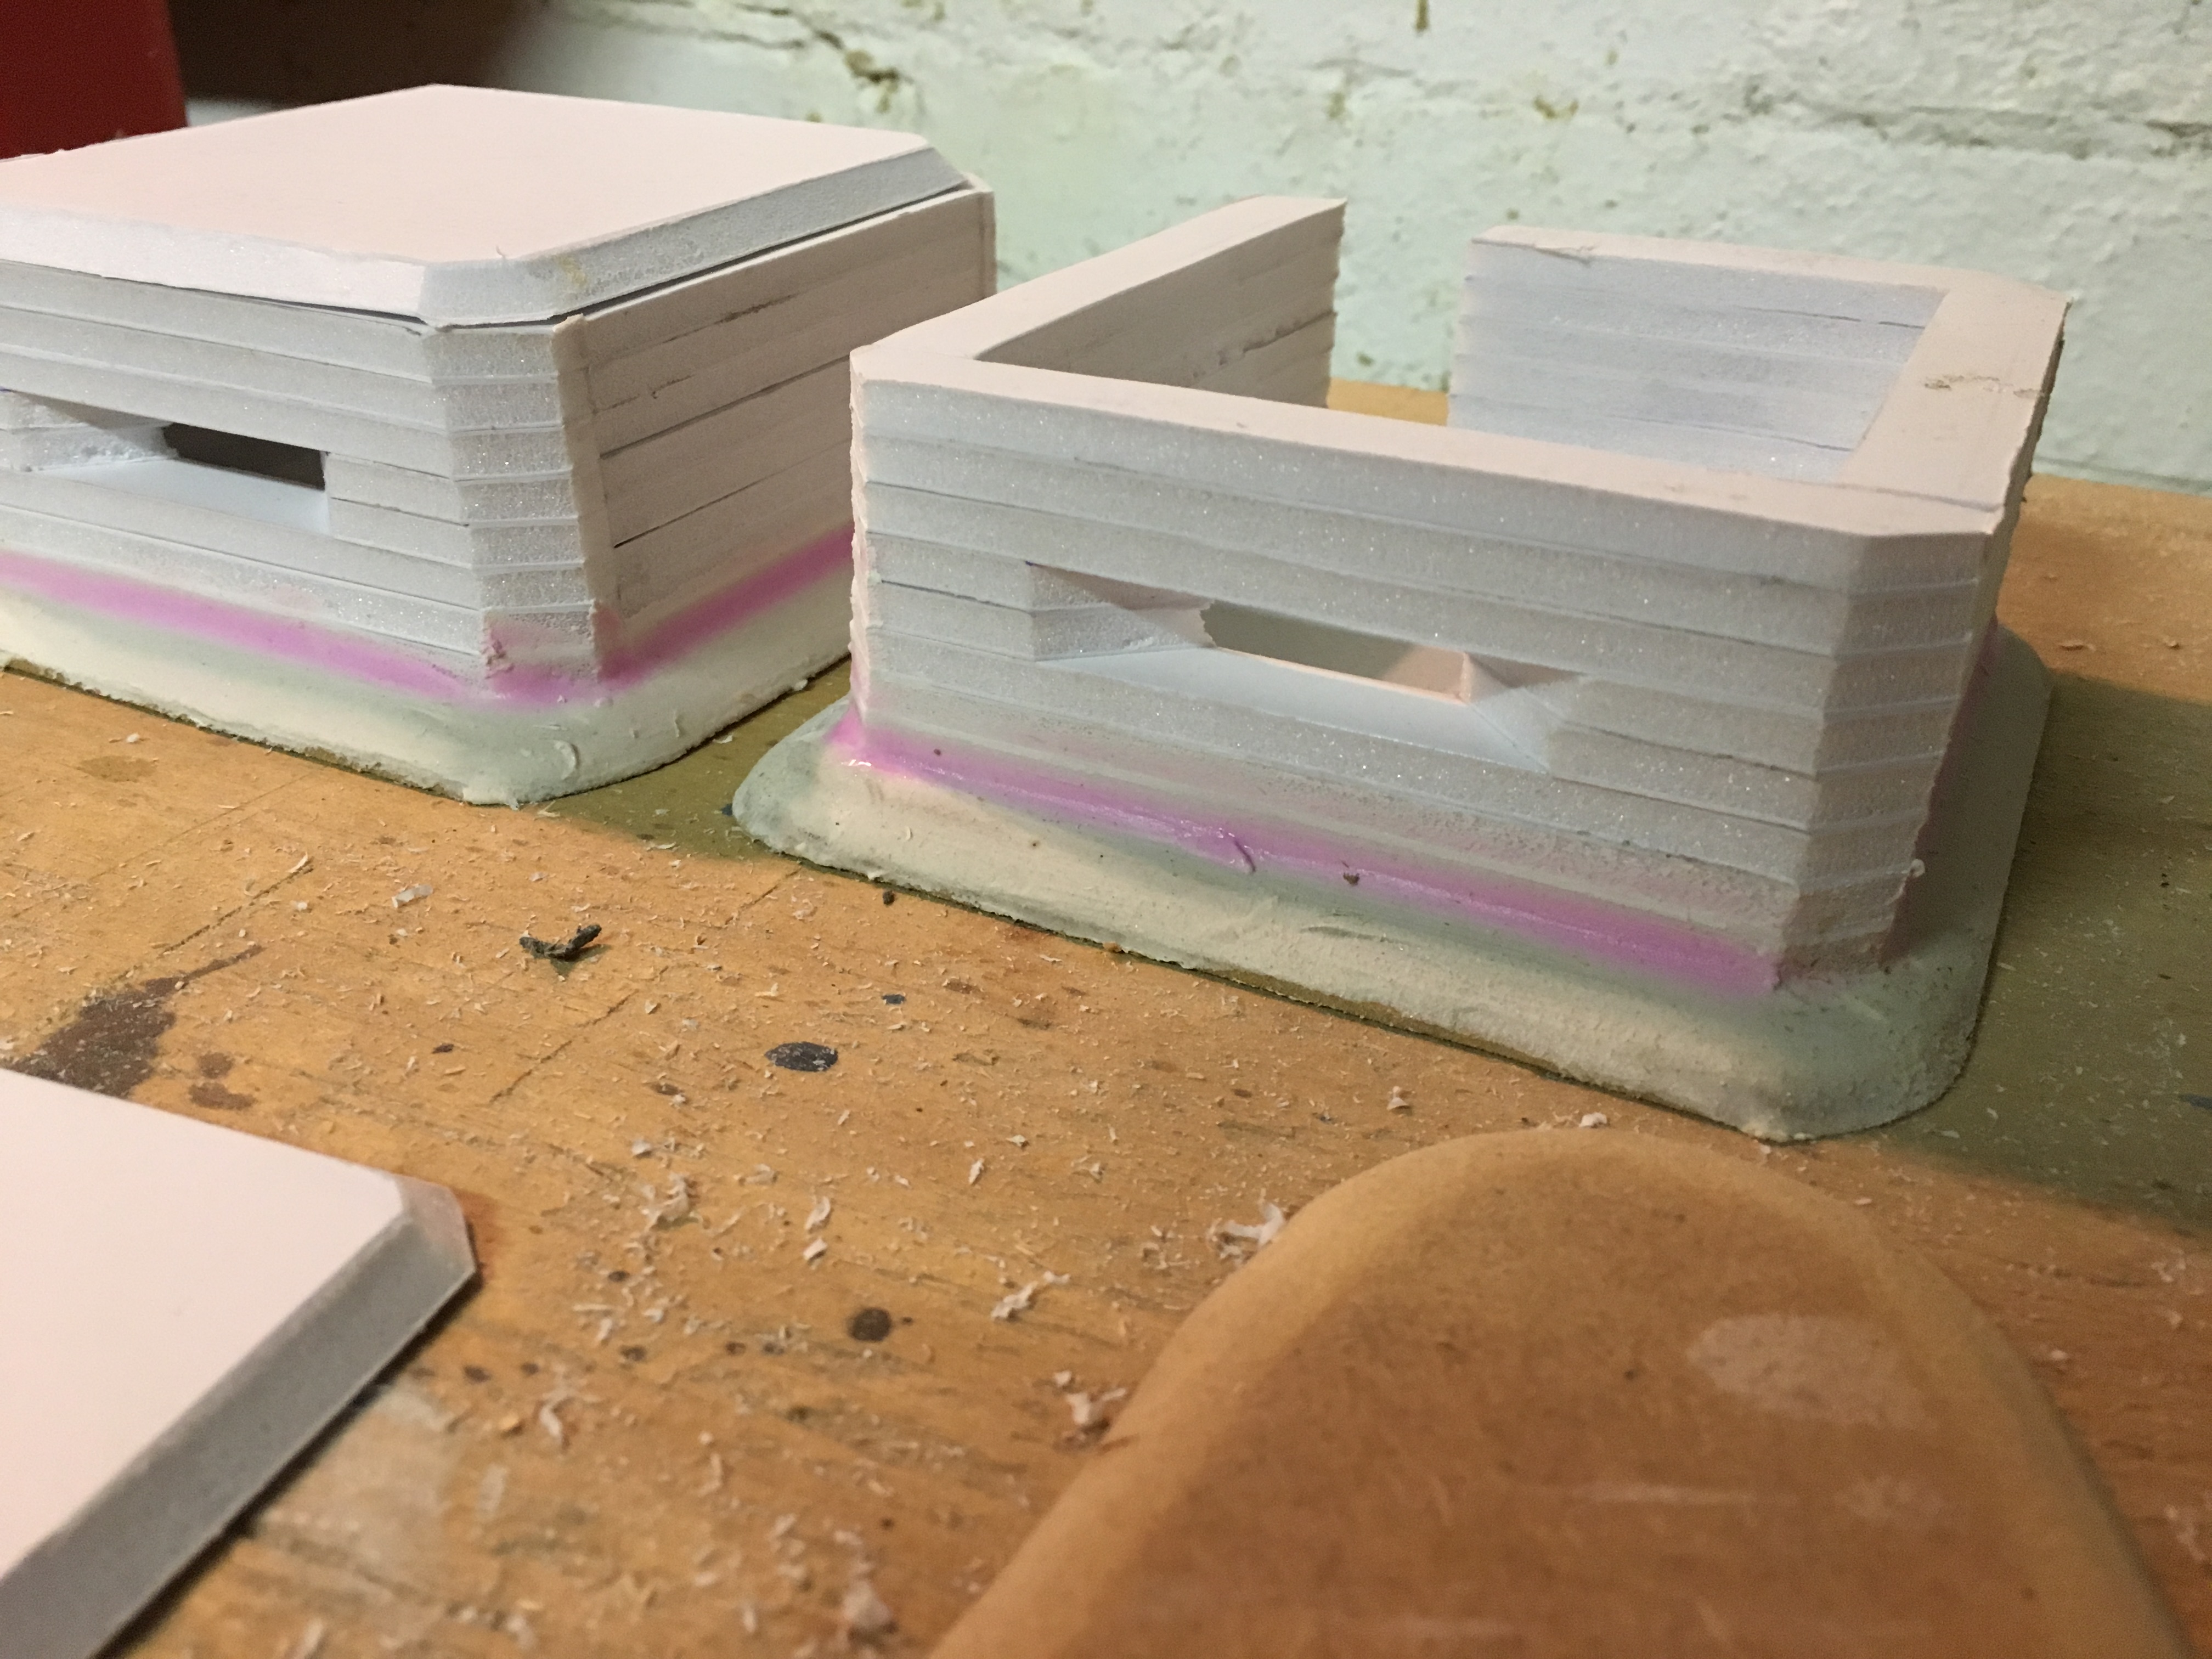
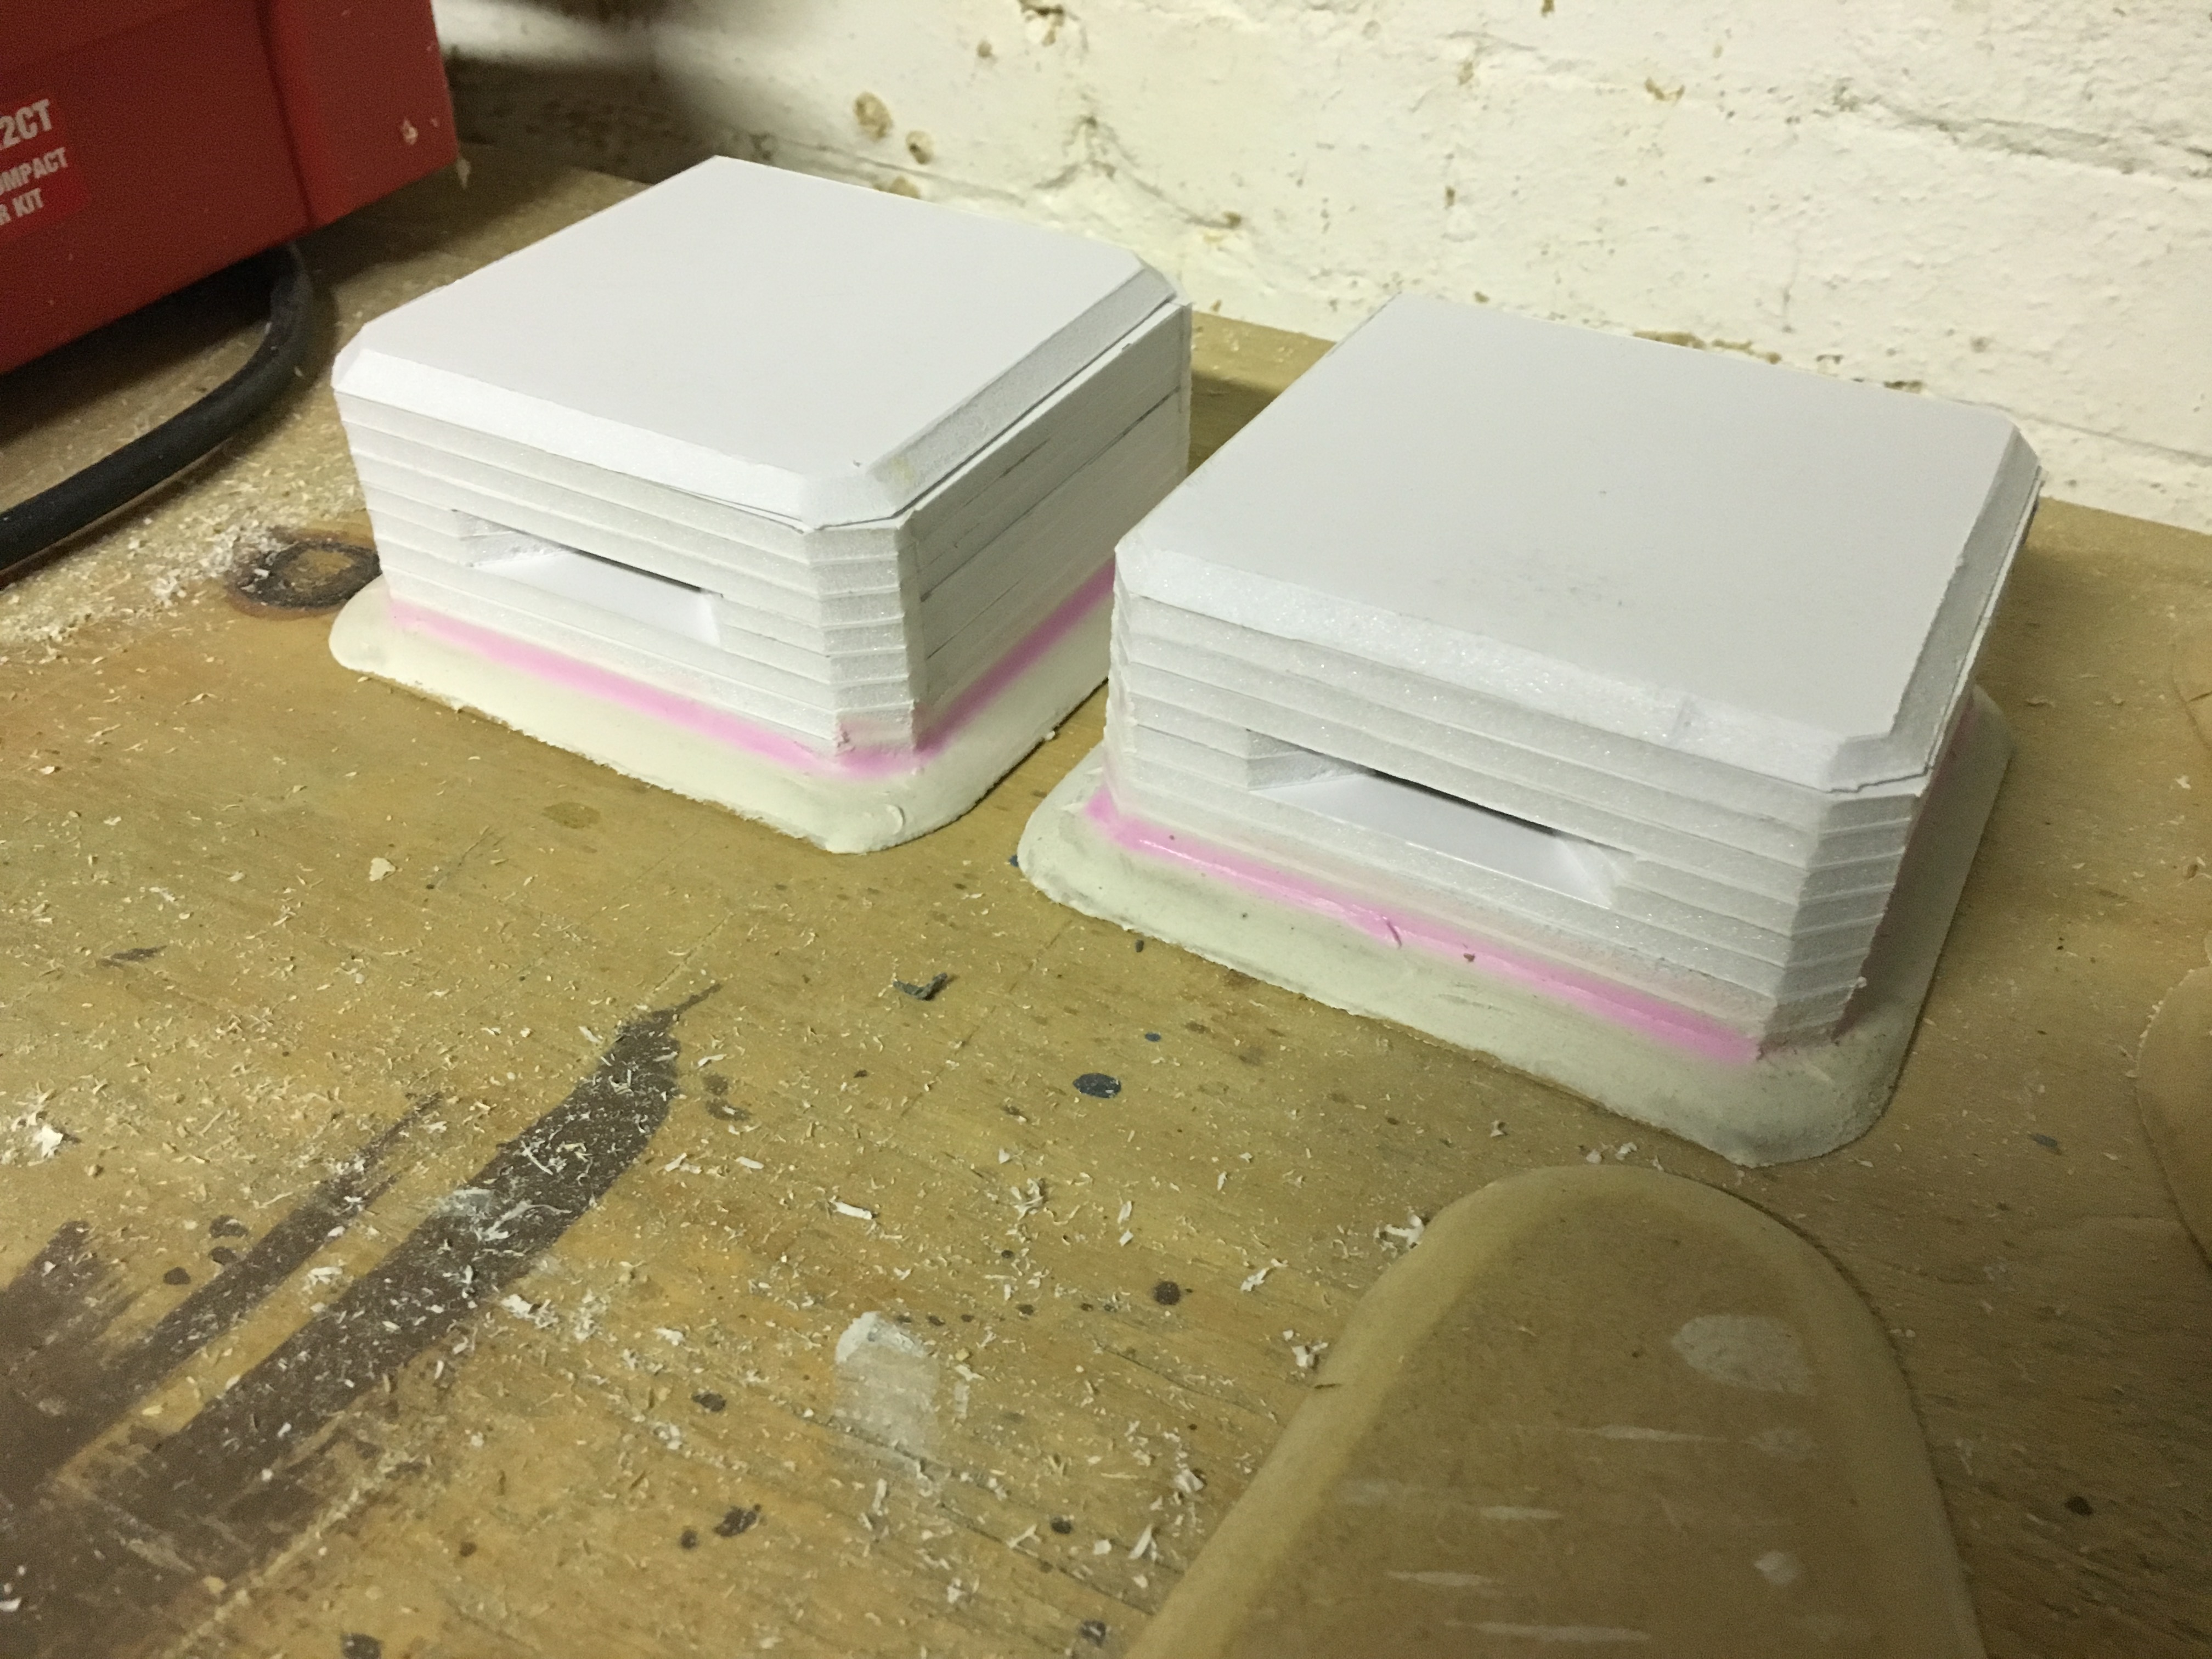 Two concrete MG pillboxes to defend the airfield