


Aces High A Blood Red Skies Plog by CommodoreRob


Recommendations: 118
About the Project
"I mean, I had fast motor cars and fast motor bikes, and when I wasn't crashing airplanes, I was crashing motor bikes. It's all part of the game." - Sir Harry Broadhurst, RAF, 12 victories WWII This plog is to follow my journey into the world of Blood Red Skies from Warlord Games.
Related Game: Blood Red Skies
Related Company: Warlord Games
Related Genre: Historical
This Project is Active
Ramble Ramble Ramble...
Overview of BRS
I have been working on my BRS stuff for a couple of months now. It is a fun manageable project. Squadrons are either 6 fighters or 3 Bombers (although the Bombers are essentially just objectives ATM)
Anyway what drew me in was it appealed to my younger inner airfix building self… The days before I discovered gaming.
So here I am going to wax lyrical about the game and what makes it for me.
Rules
So first up I wowi admit that I have only had a few basic games, so I am no expert yet.
However the rules are clean, they are fun and they capture my view of the feel of the period really well.
This is only the second Andy Chambers rule set I am aware of playing, the other being Dropfleet Commander… honestly BRS is far superior in design and enjoyment.
If you have an interest in WW2 air combat then you really should try and get a game of BRS in.
The Warlord Models
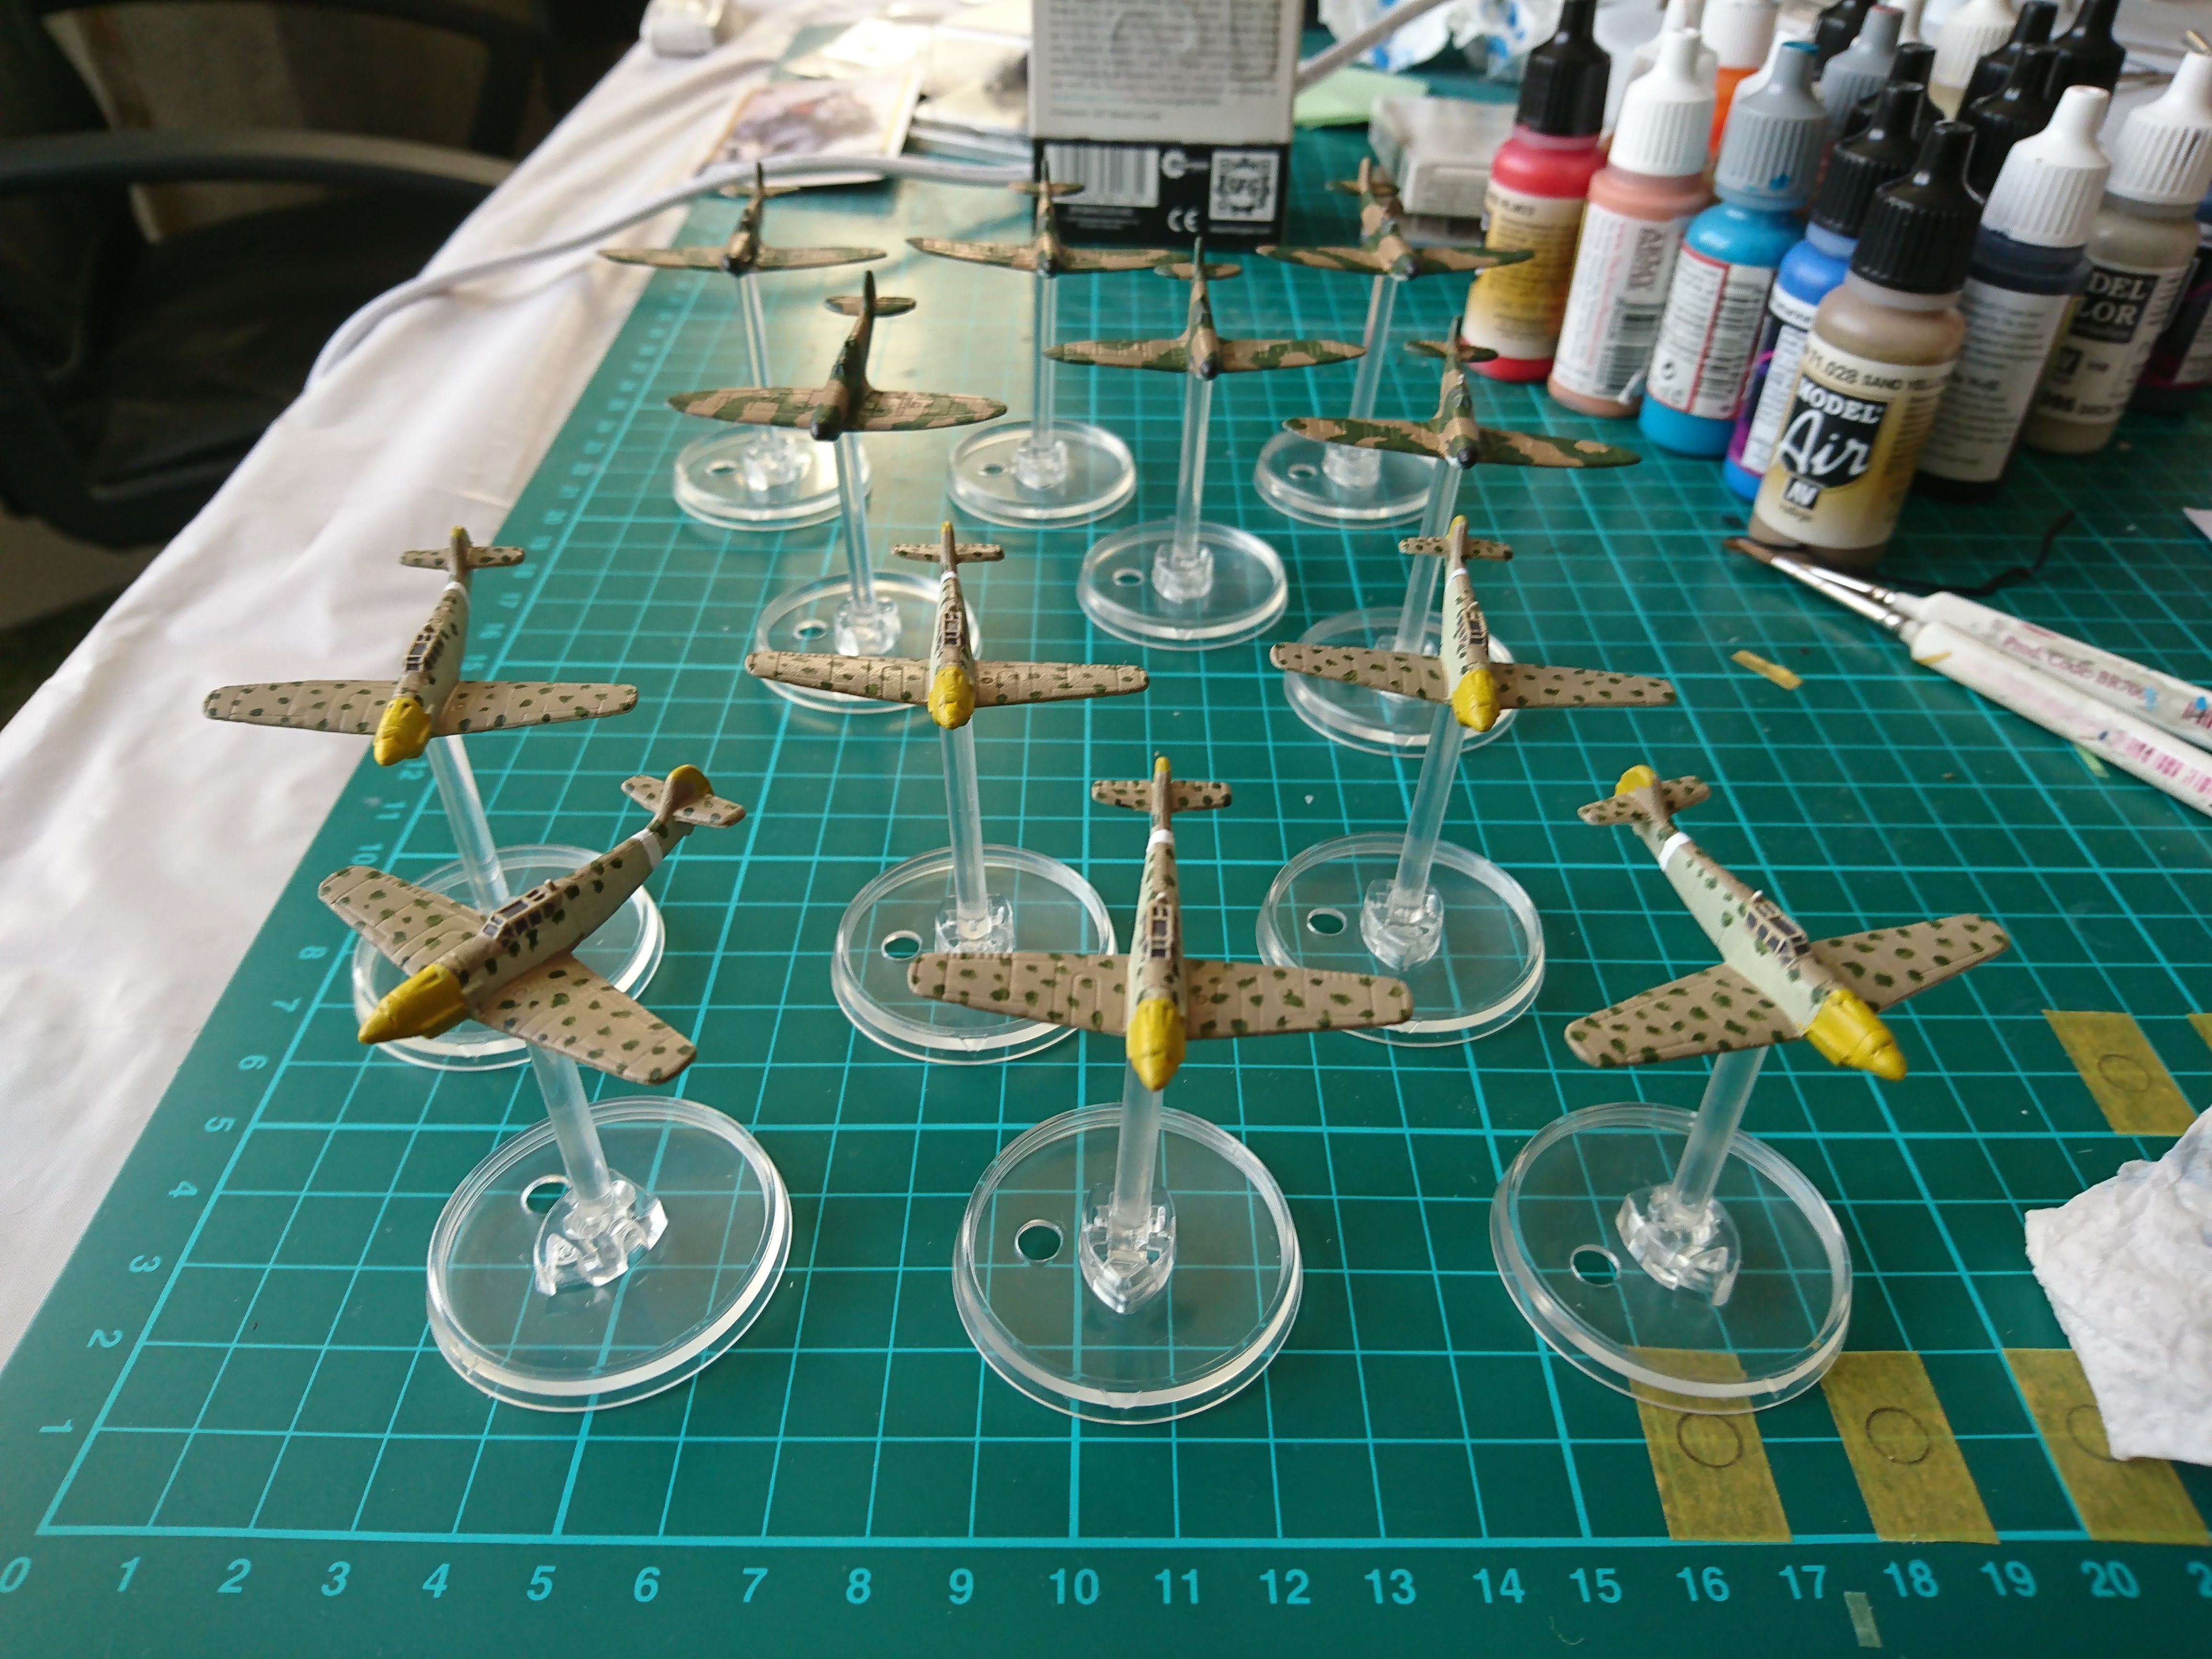
So you have seen these already, but I thought I would add a few words about these. In my opinion the models for this game hit the right spot, the only minor issue is a bit of warping, but that is easily fixed with some hot water.
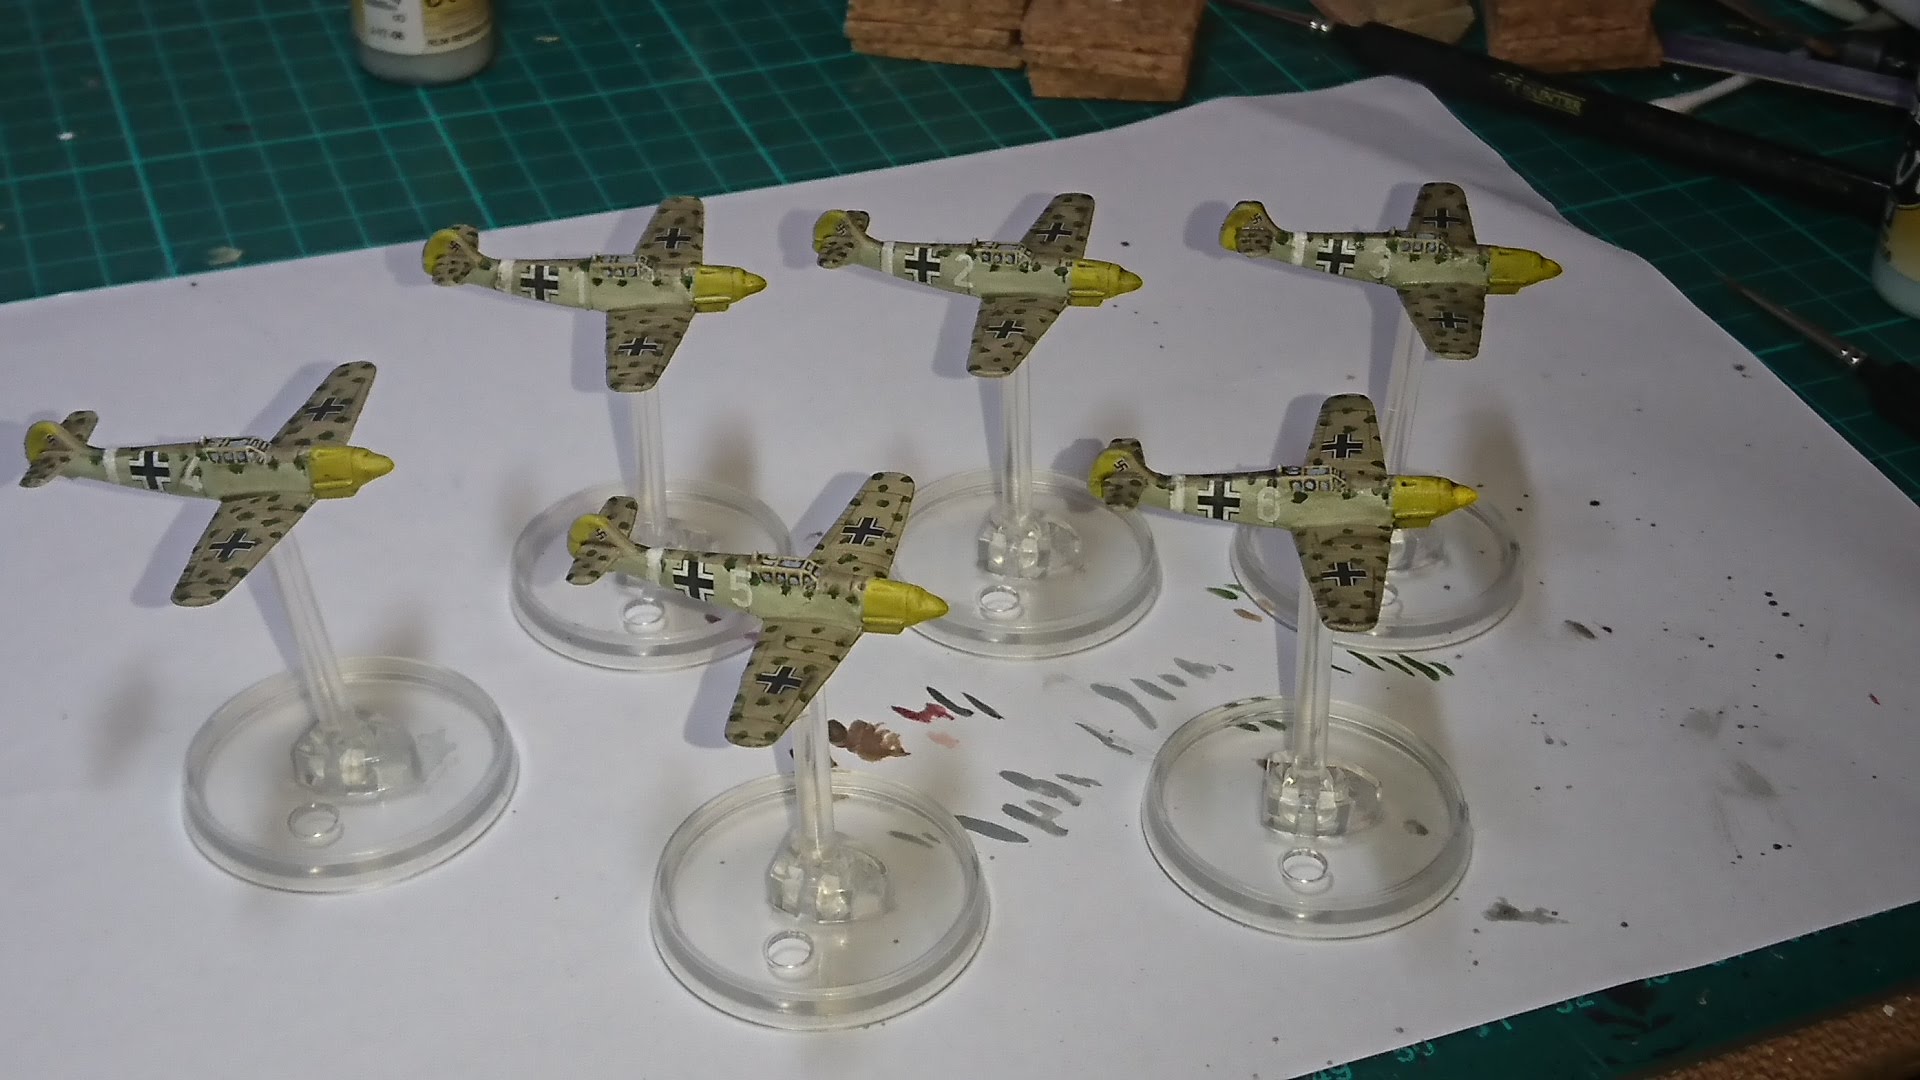
Warlord have so far released two batches of models, the first batch Spitfires, Me 109s, P51’S, Zero’s and the Yaks. These are soft plastic and made by Warlord, they are very well detailed for the scale, they are not all 100% accurate, and the less said about the stickers the better.
The second batch are the reboxing of the Zvezda 1/200 bombers and transports these are near little snap together kits, with real decals, but do not have a great deal of detail. But at 1/200 scale it’s not too much of an issue.
They are due to release a next wave of planes soon. Which will hopefully include Hurricanes.
Decals
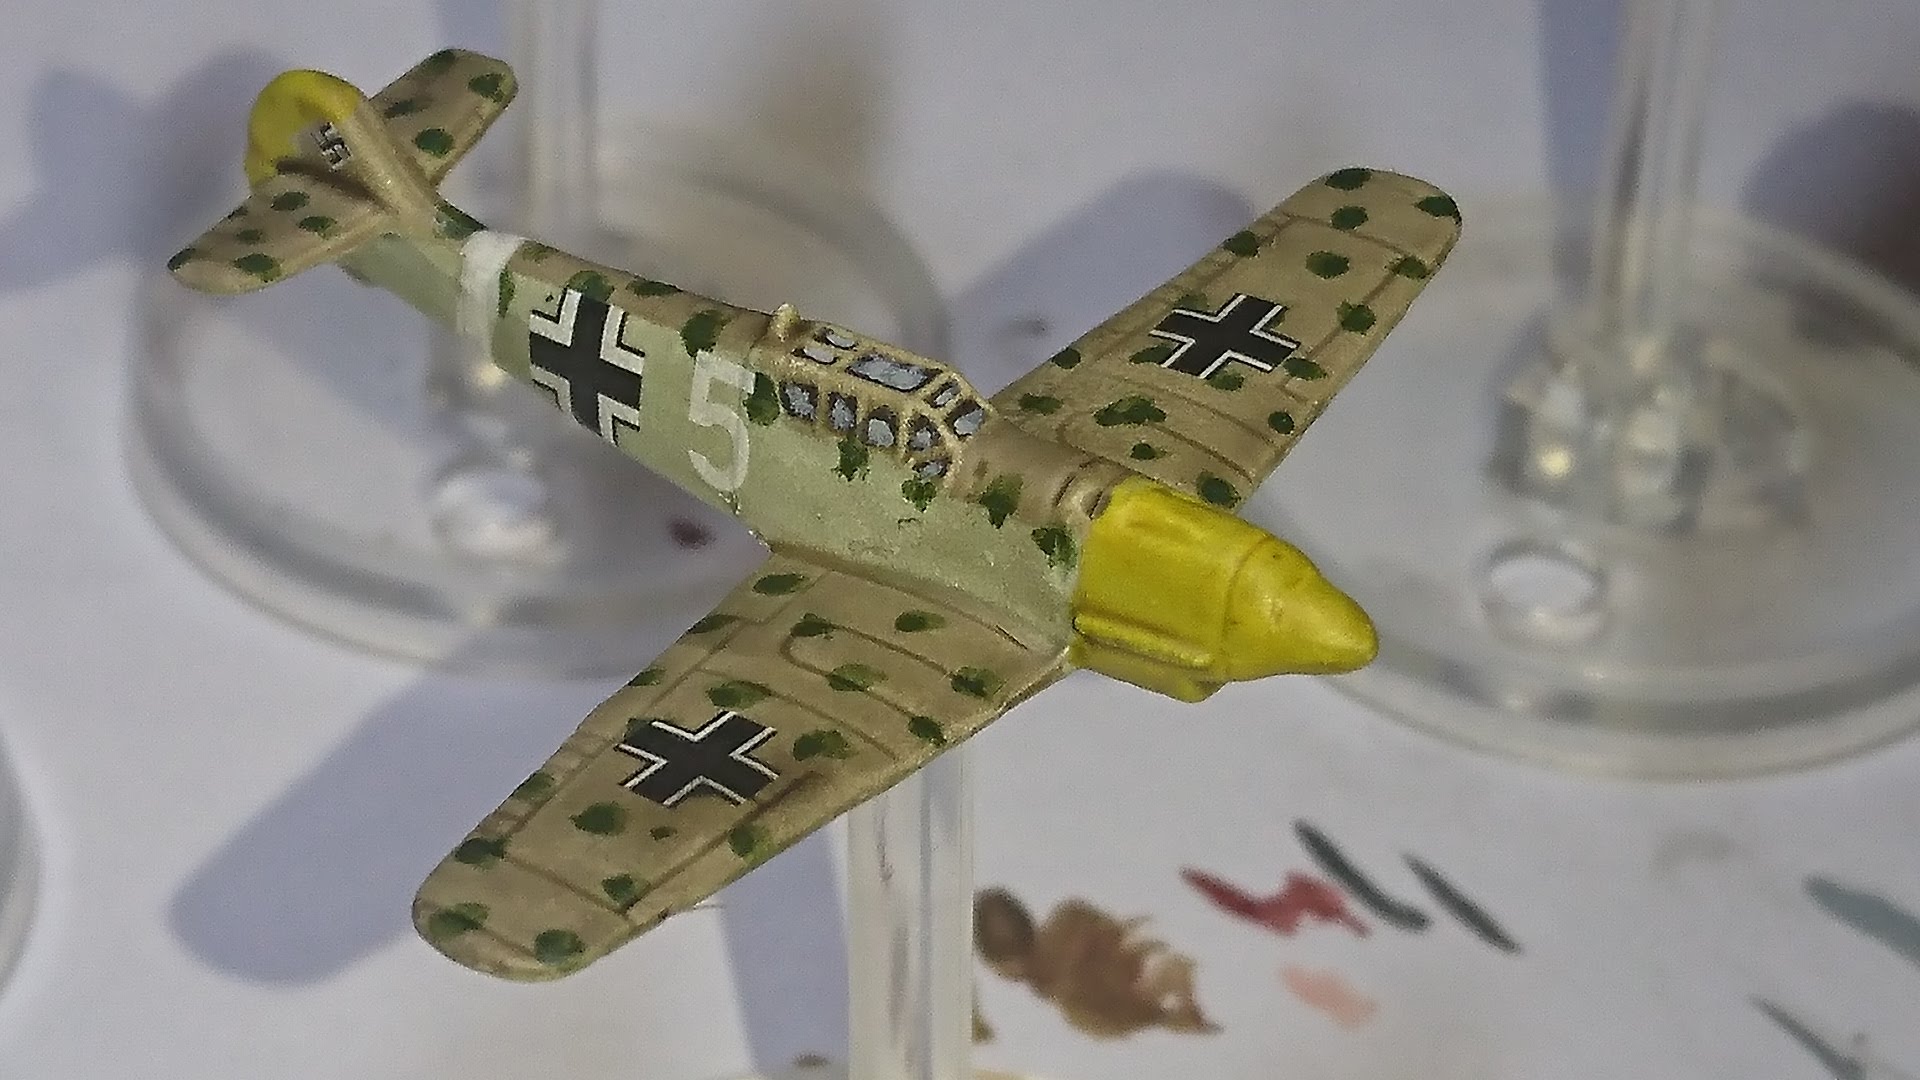
Ok so the thing any scale modeller will know about is decals. When it comes to historical gaming I have messed around with some decals from time to time, but nothing like I did in my days of building model planes. This BRS project has resurrected that part of the hobby. Why? Well when I first opened the BRS planes I found that they came with stickers, now I totally understand why Warlord chose to add stickers these are game pieces and not models, it’s quick to get them on the table with stickers. But the modeller in me was … Nope not having these. So for all my aircraft I have sourced appropriate decals.
So to attch decals you can dodit in a number of ways. Add to water and slide off the paper stick on aircraft and leave to dry. This has a couple of issues: they do not always stick very well, they look like they are transfers and they have a ridge around them.
The next way is to use a two part solution like microsol and microset. Microsol helps to remove the decal from the paper and place it on the model. After which you add the Microset onto the model and this dissolves the tranftra onto the model catching the ridges etc so it looks like it is painted on.
Similar to this I use Humbrols Decalfix which is a one solution product. That both removes the transfer from the paper and then helps fix it to the model and dissolves it like the aforementioned Microset. I would always use this over the other products out there it’s so much less hassle and gives fantastic results.
Ramble Ramble Ramble...
Overview of BRS
I have been working on my BRS stuff for a couple of months now. It is a fun manageable project. Squadrons are either 6 fighters or 3 Bombers (although the Bombers are essentially just objectives ATM)
Anyway what drew me in was it appealed to my younger inner airfix building self… The days before I discovered gaming.
So here I am going to wax lyrical about the game and what makes it for me.
Rules
So first up I wowi admit that I have only had a few basic games, so I am no expert yet.
However the rules are clean, they are fun and they capture my view of the feel of the period really well.
This is only the second Andy Chambers rule set I am aware of playing, the other being Dropfleet Commander… honestly BRS is far superior in design and enjoyment.
If you have an interest in WW2 air combat then you really should try and get a game of BRS in.
The Warlord Models
So you have seen these already, but I thought I would add a few words about these. In my opinion the models for this game hit the right spot, the only minor issue is a bit of warping, but that is easily fixed with some hot water.
Warlord have so far released two batches of models, the first batch Spitfires, Me 109s, P51’S, Zero’s and the Yaks. These are soft plastic and made by Warlord, they are very well detailed for the scale, they are not all 100% accurate, and the less said about the stickers the better.
The second batch are the reboxing of the Zvezda 1/200 bombers and transports these are near little snap together kits, with real decals, but do not have a great deal of detail. But at 1/200 scale it’s not too much of an issue.
They are due to release a next wave of planes soon. Which will hopefully include Hurricanes.
Junker JU-88s
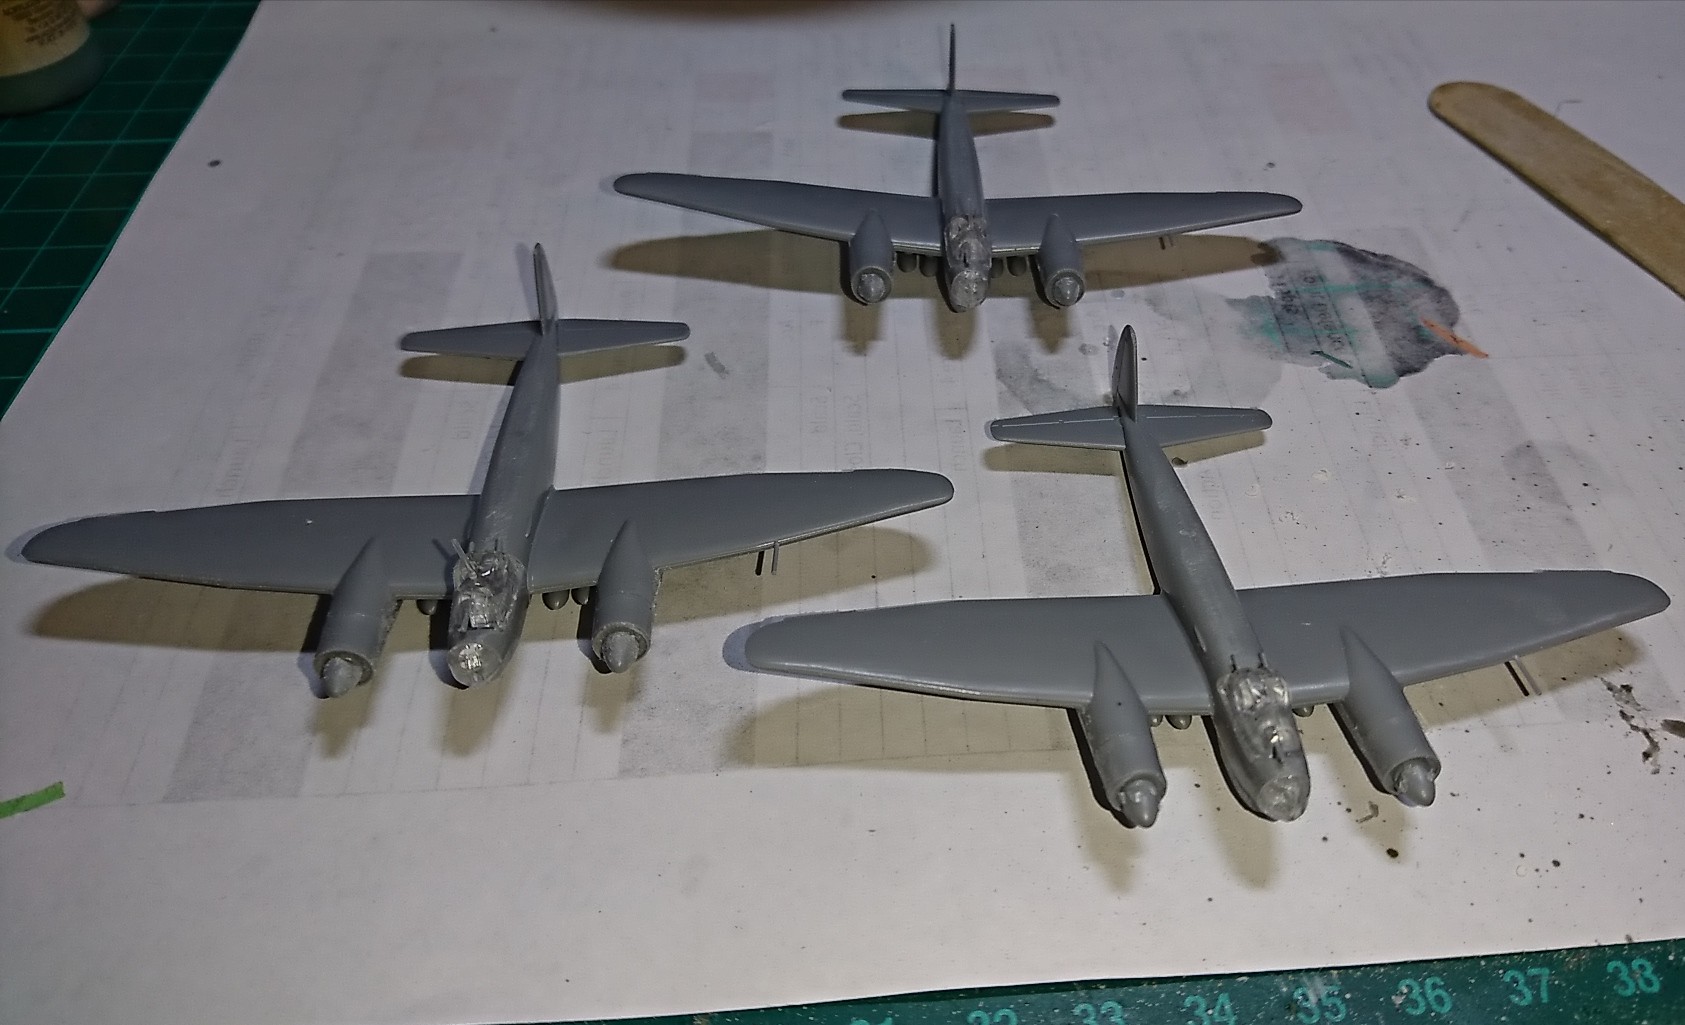
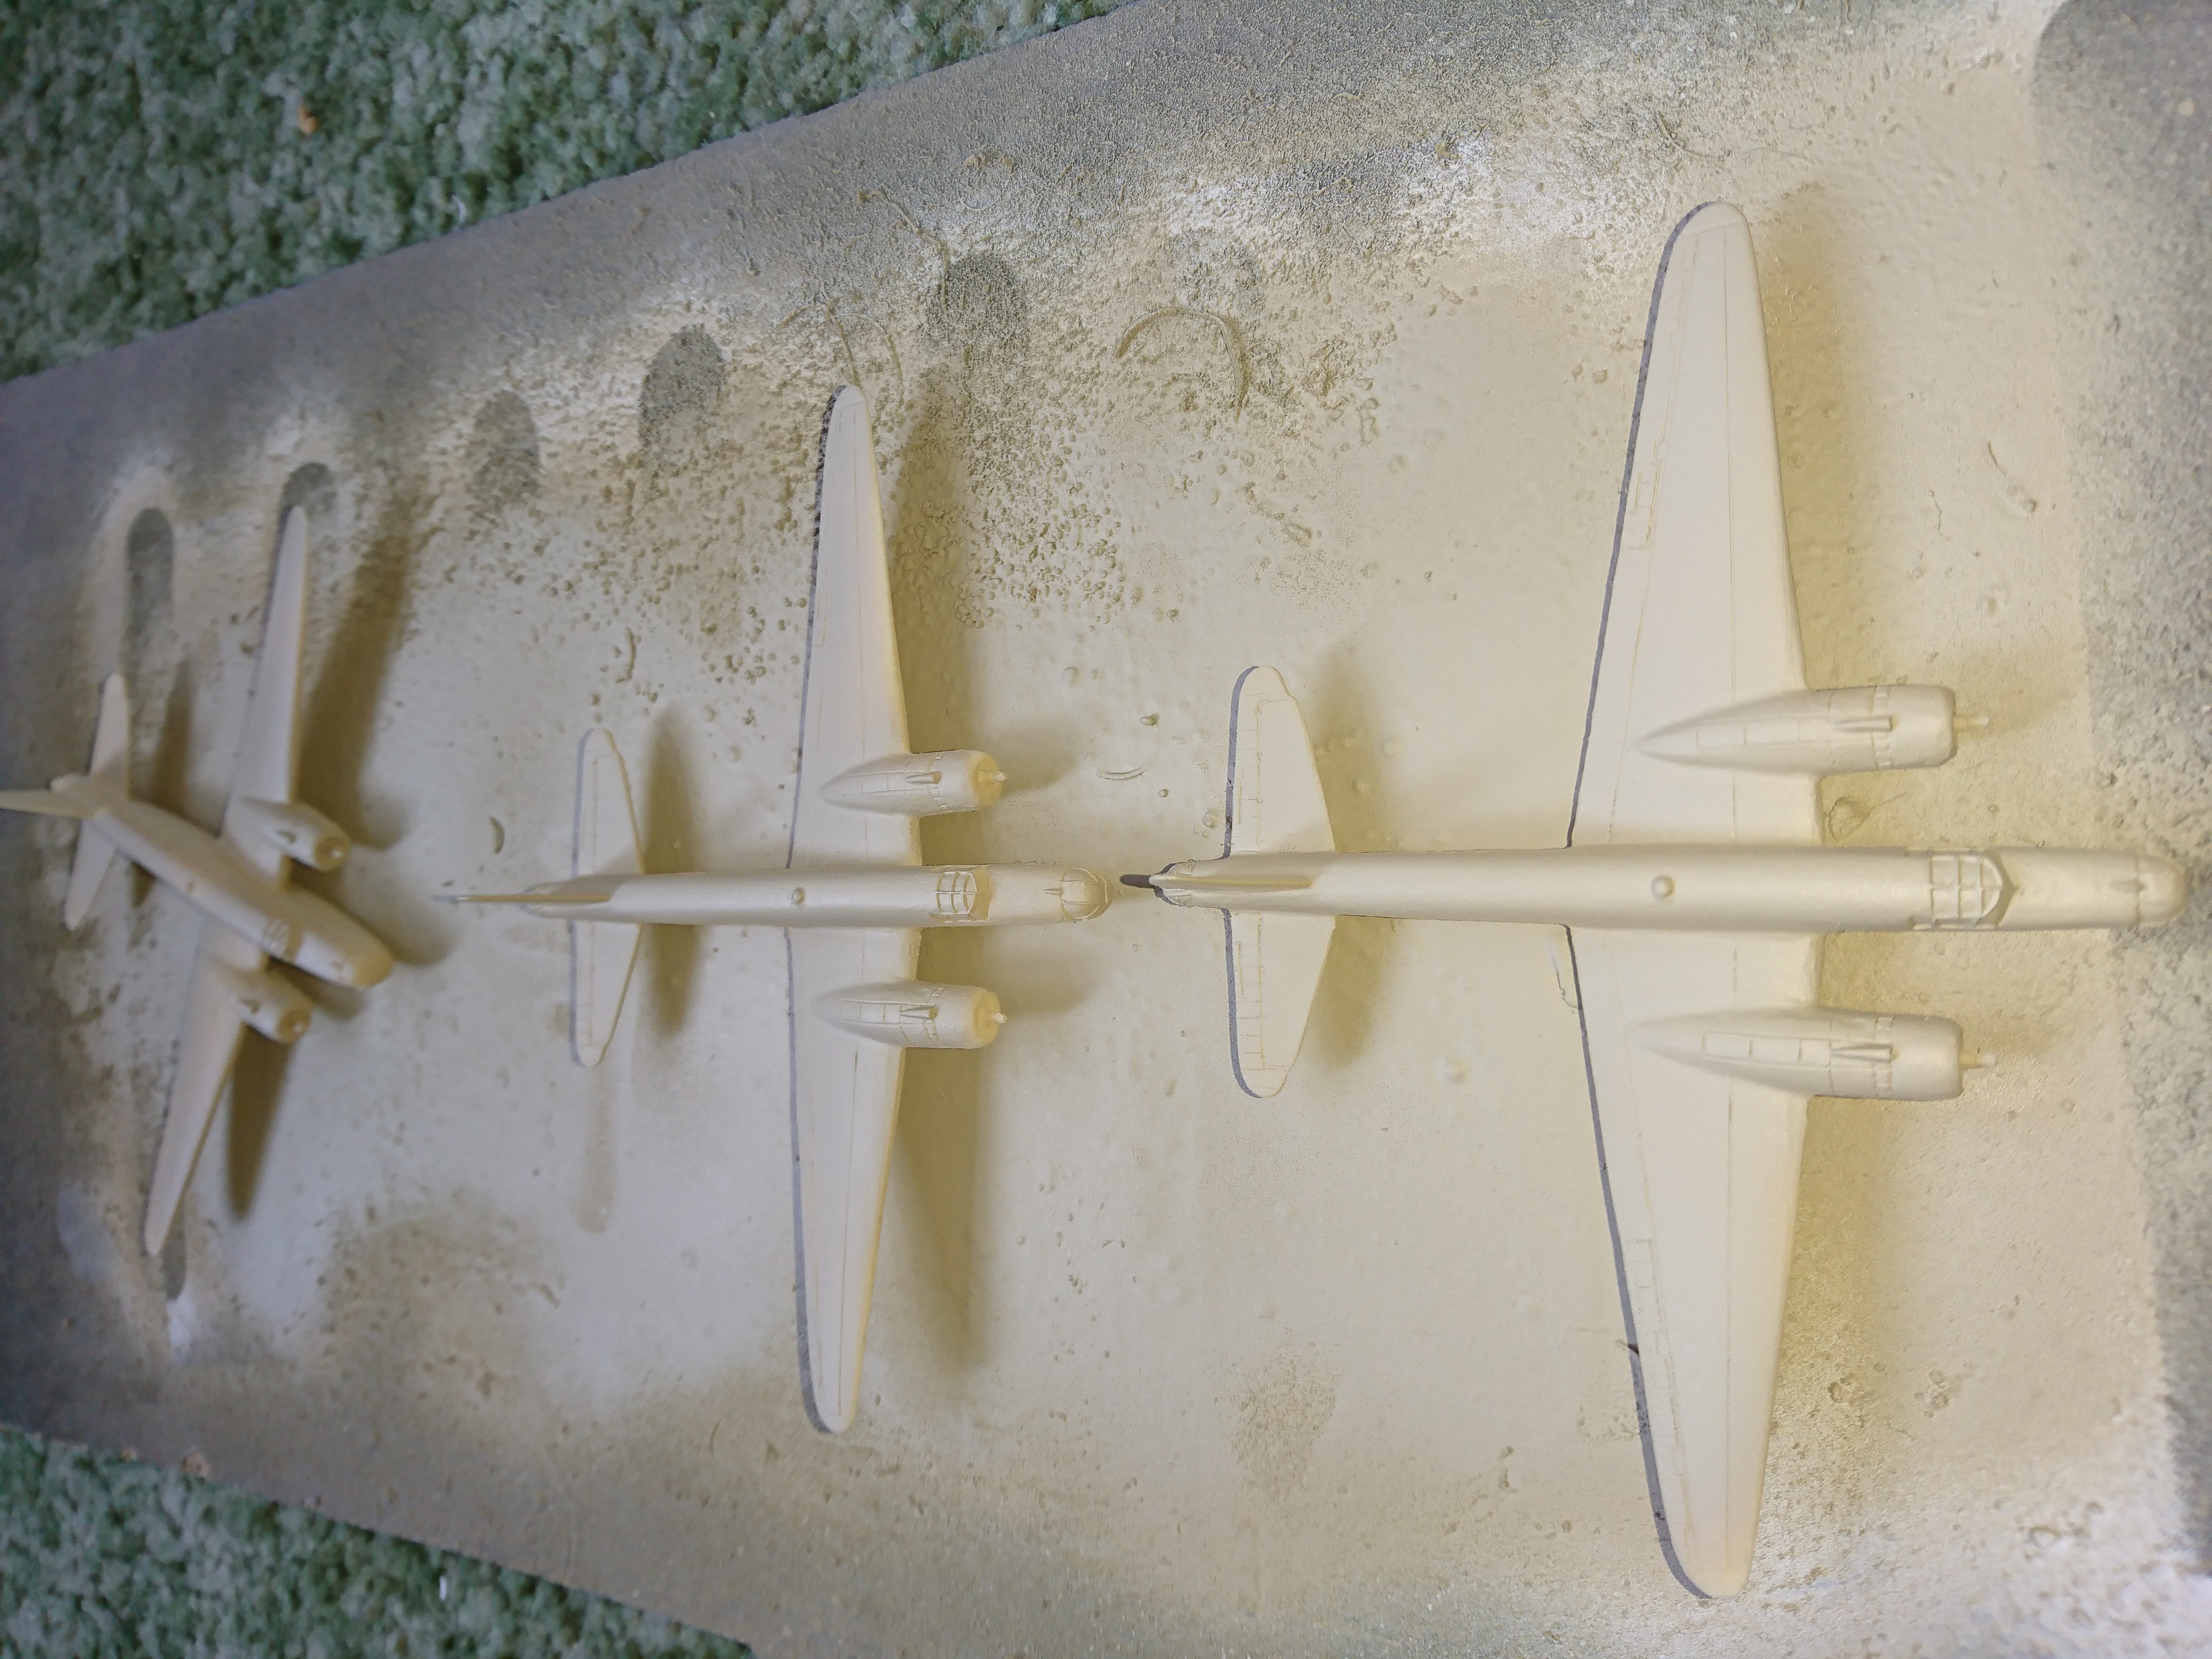
Well I ordered some of the new JU-88S from Warlord. These are reboxing of the Zvezda models.
The models are multi part snap together kits which are quick and easy to assemble. I have taken the liberty to remove the prop blades and because the tail wheels are pretty flimsy I took these off. I have not atteched the landing gears either.
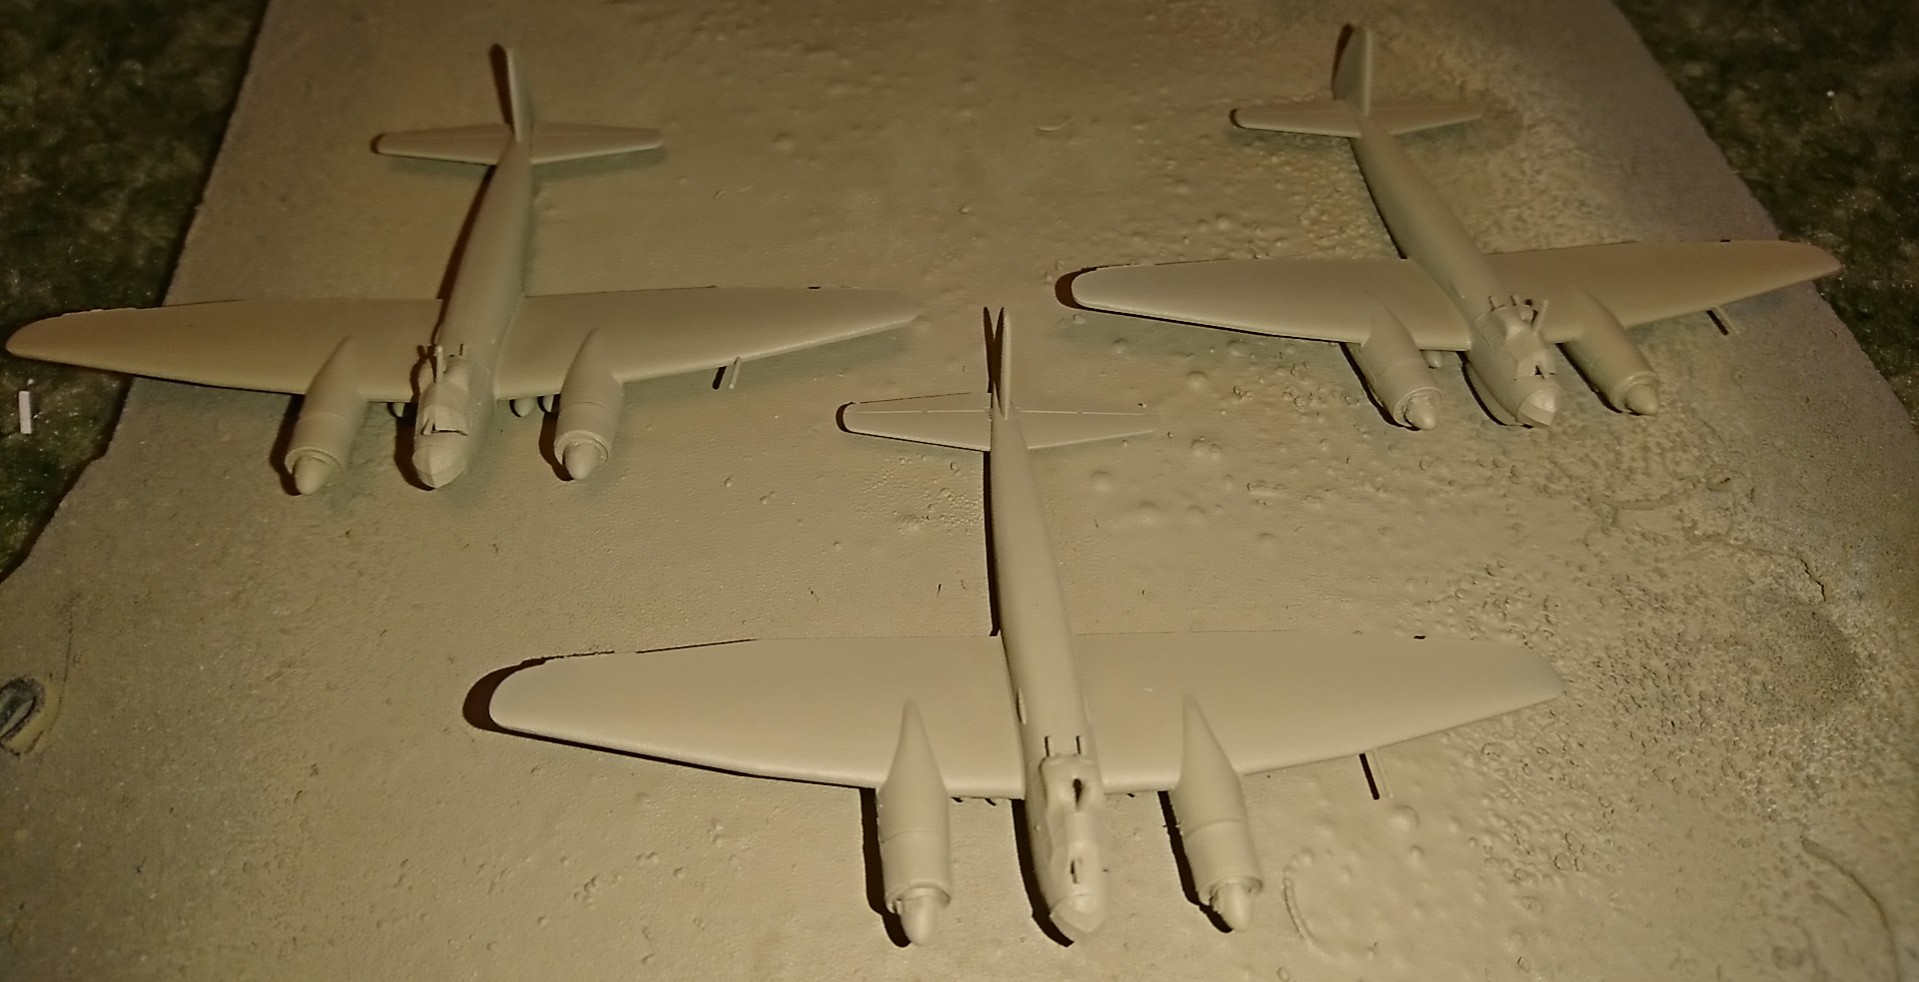 Army Painter Skeleton Bone Primer on.
 Next step I have chosen an interesting colour scheme for these models. First up I have used Vallejo Air Dark Yellow. On the upper side of the planes.
 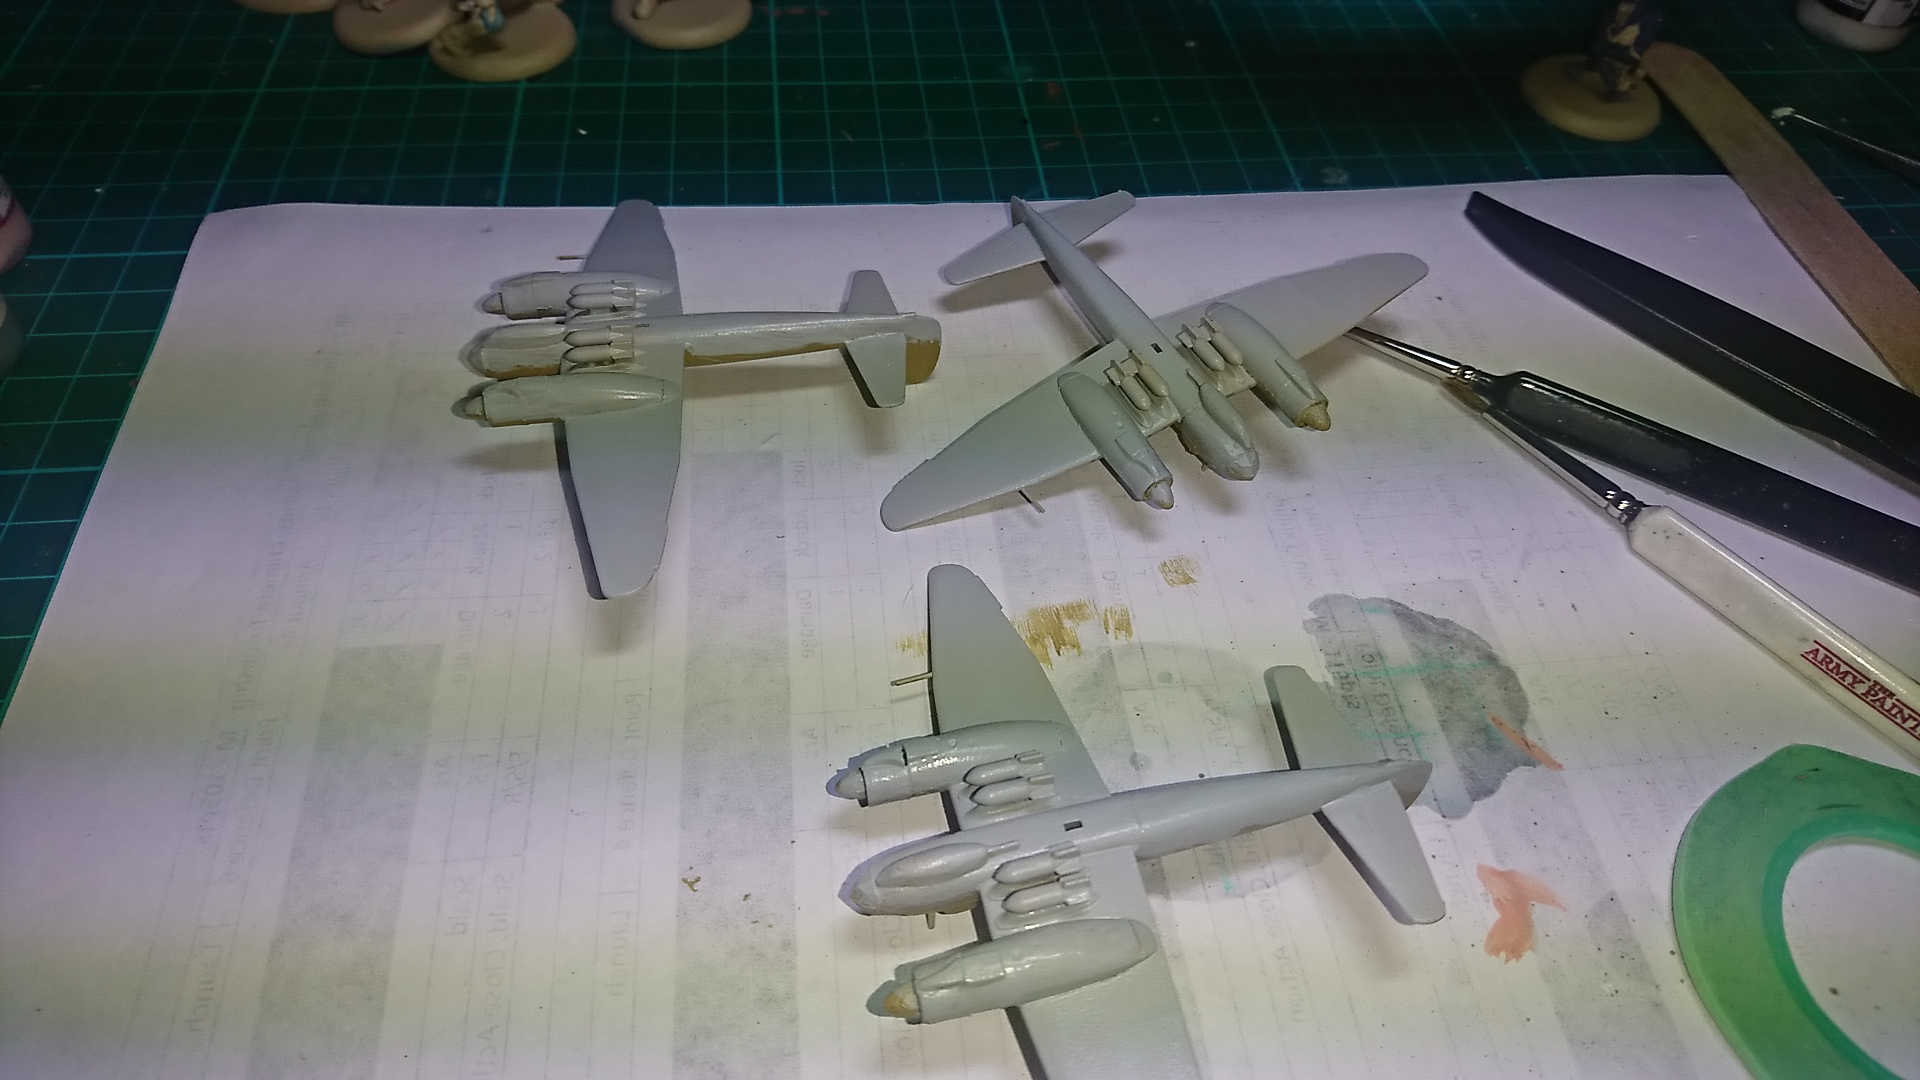 Ok so a change of plan, I realised the order I was painting the colours on was in the wrong order. So back to the drawing board. So the next stage is to paint the underside in Vallejo Air Pale Grey Blue.
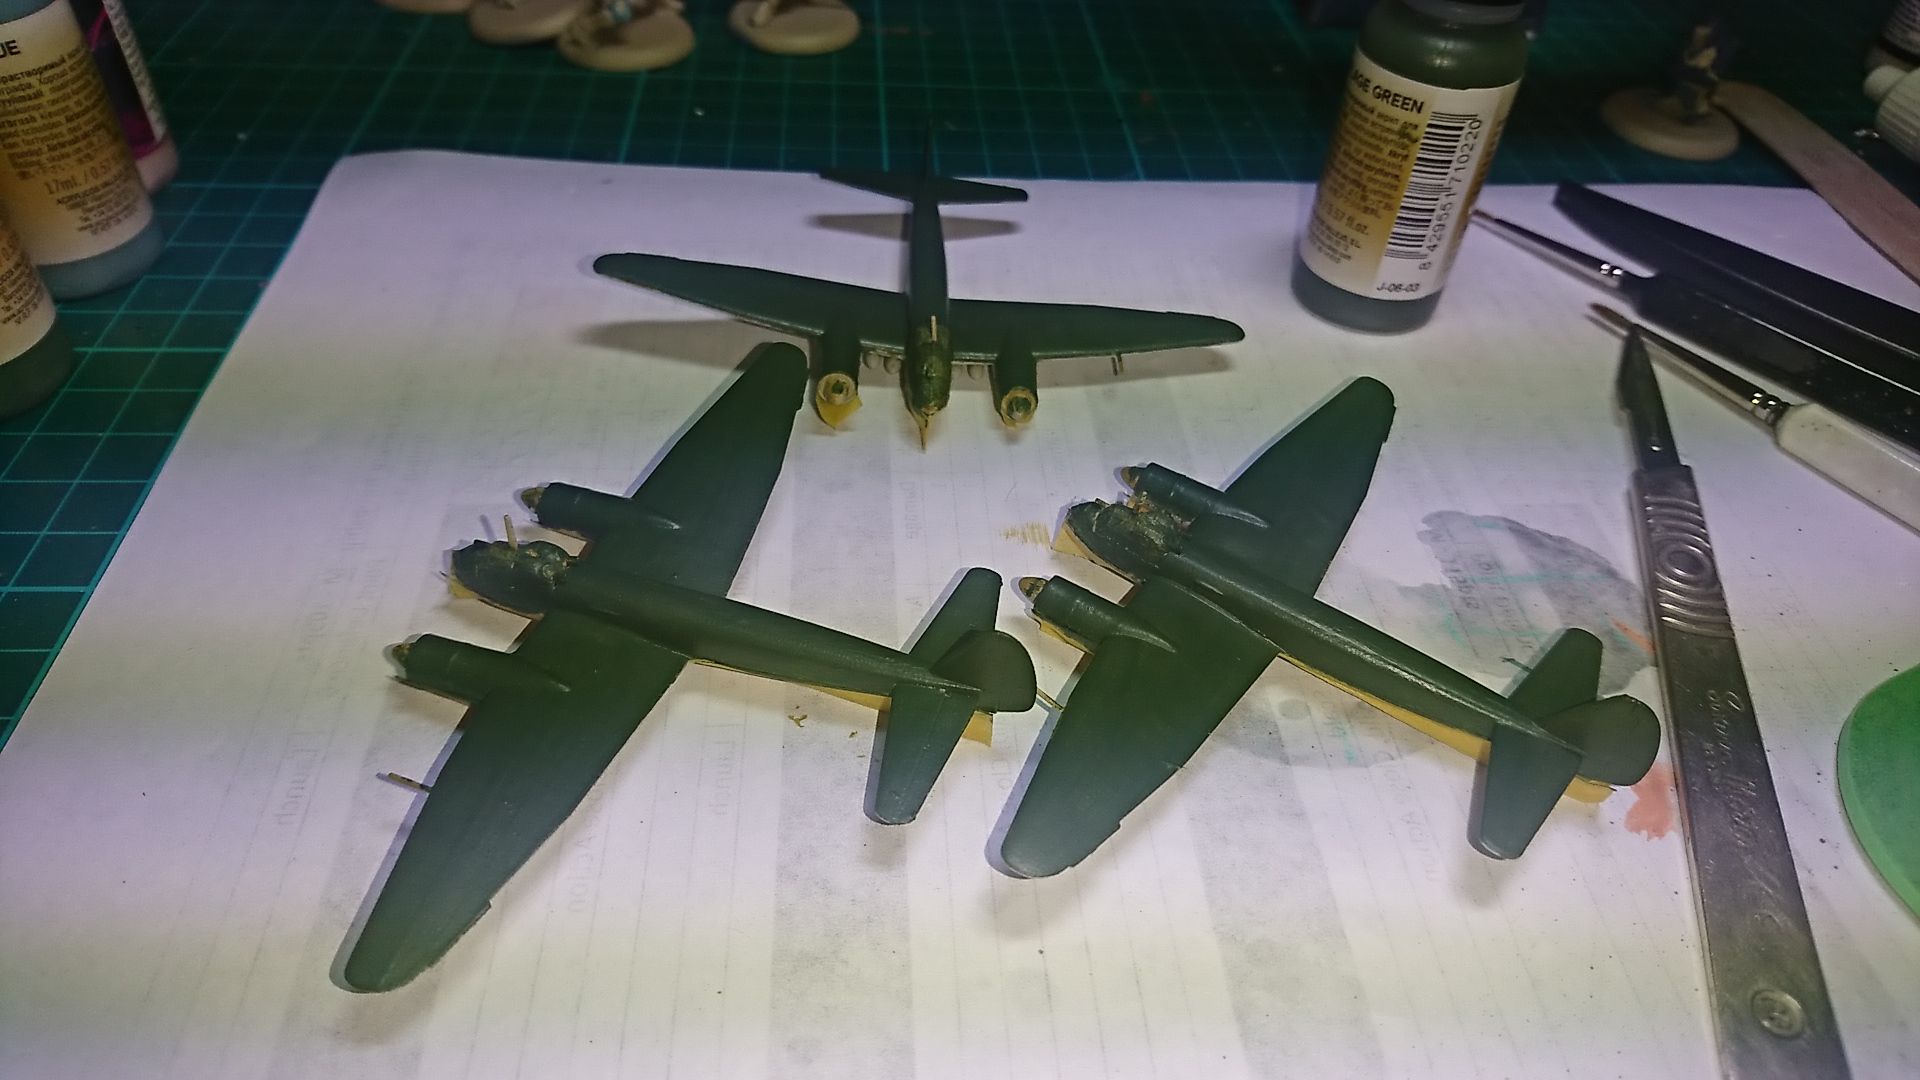 After masking a repaint of the upper side using Vallejo Model Air Camouflage Green,
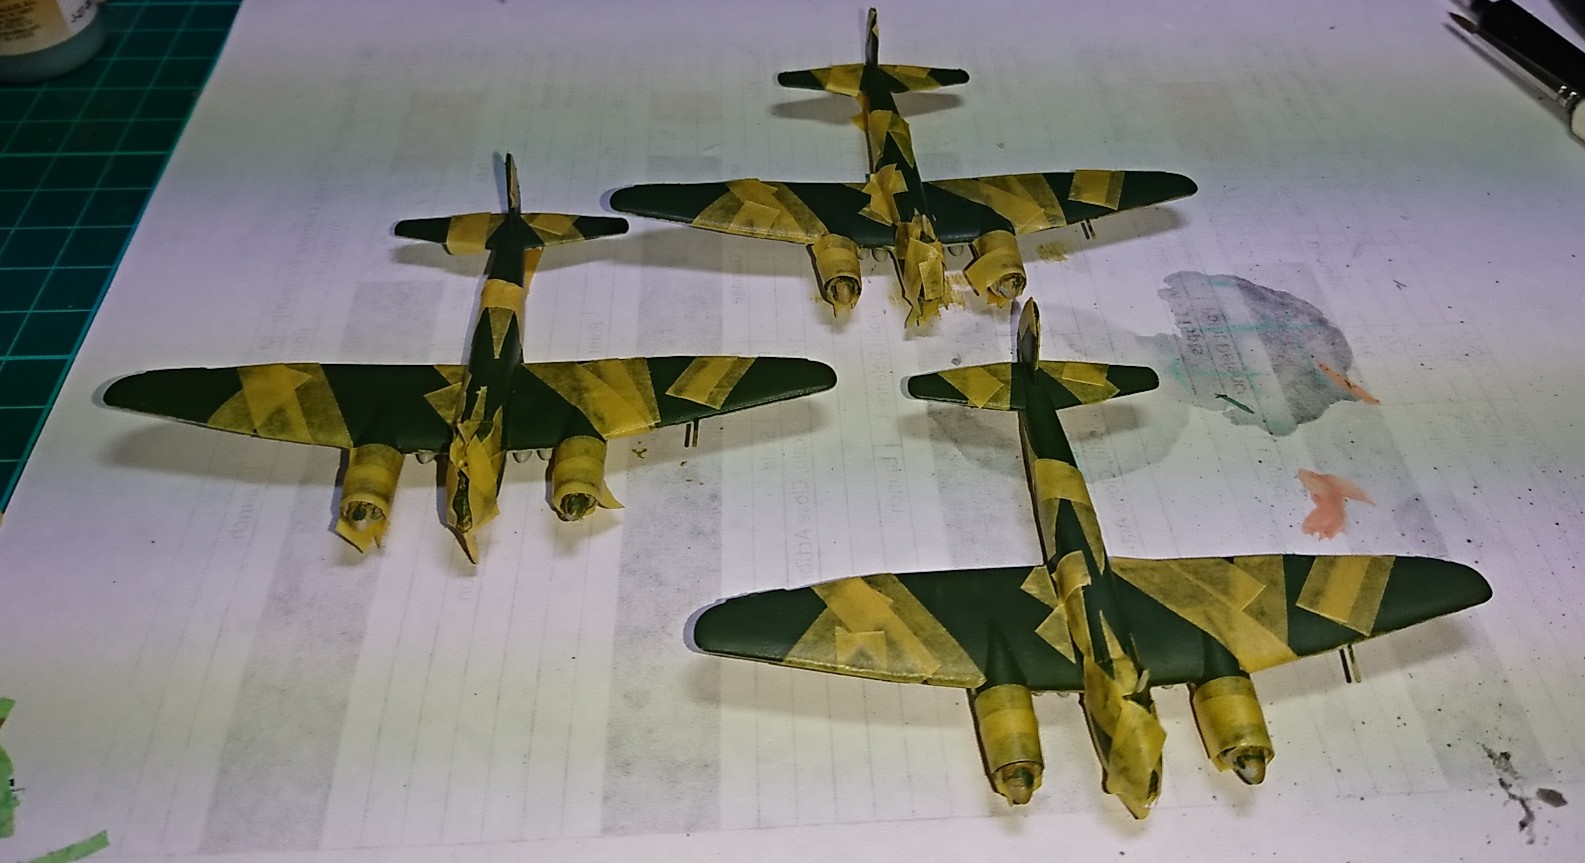 Next stage is the tedious masking. I will now be moving on to use a black green colour as the next colour.
 After adding military green and removing the masking tape :-) now to masknit up before applying the third colour.
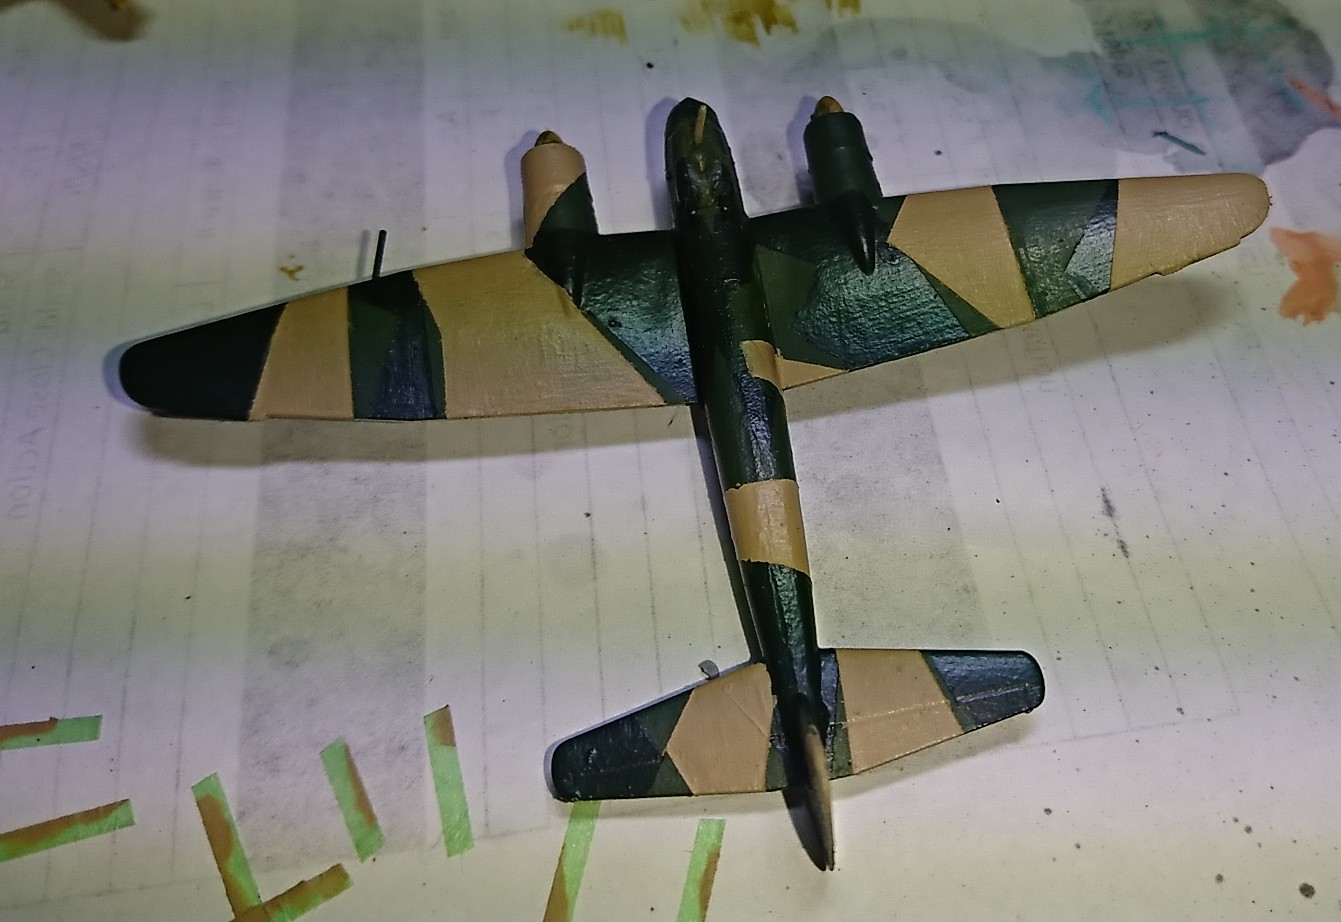 A few steps beyond... The third layer of the camo pattern is added. I am really enjoying this build.
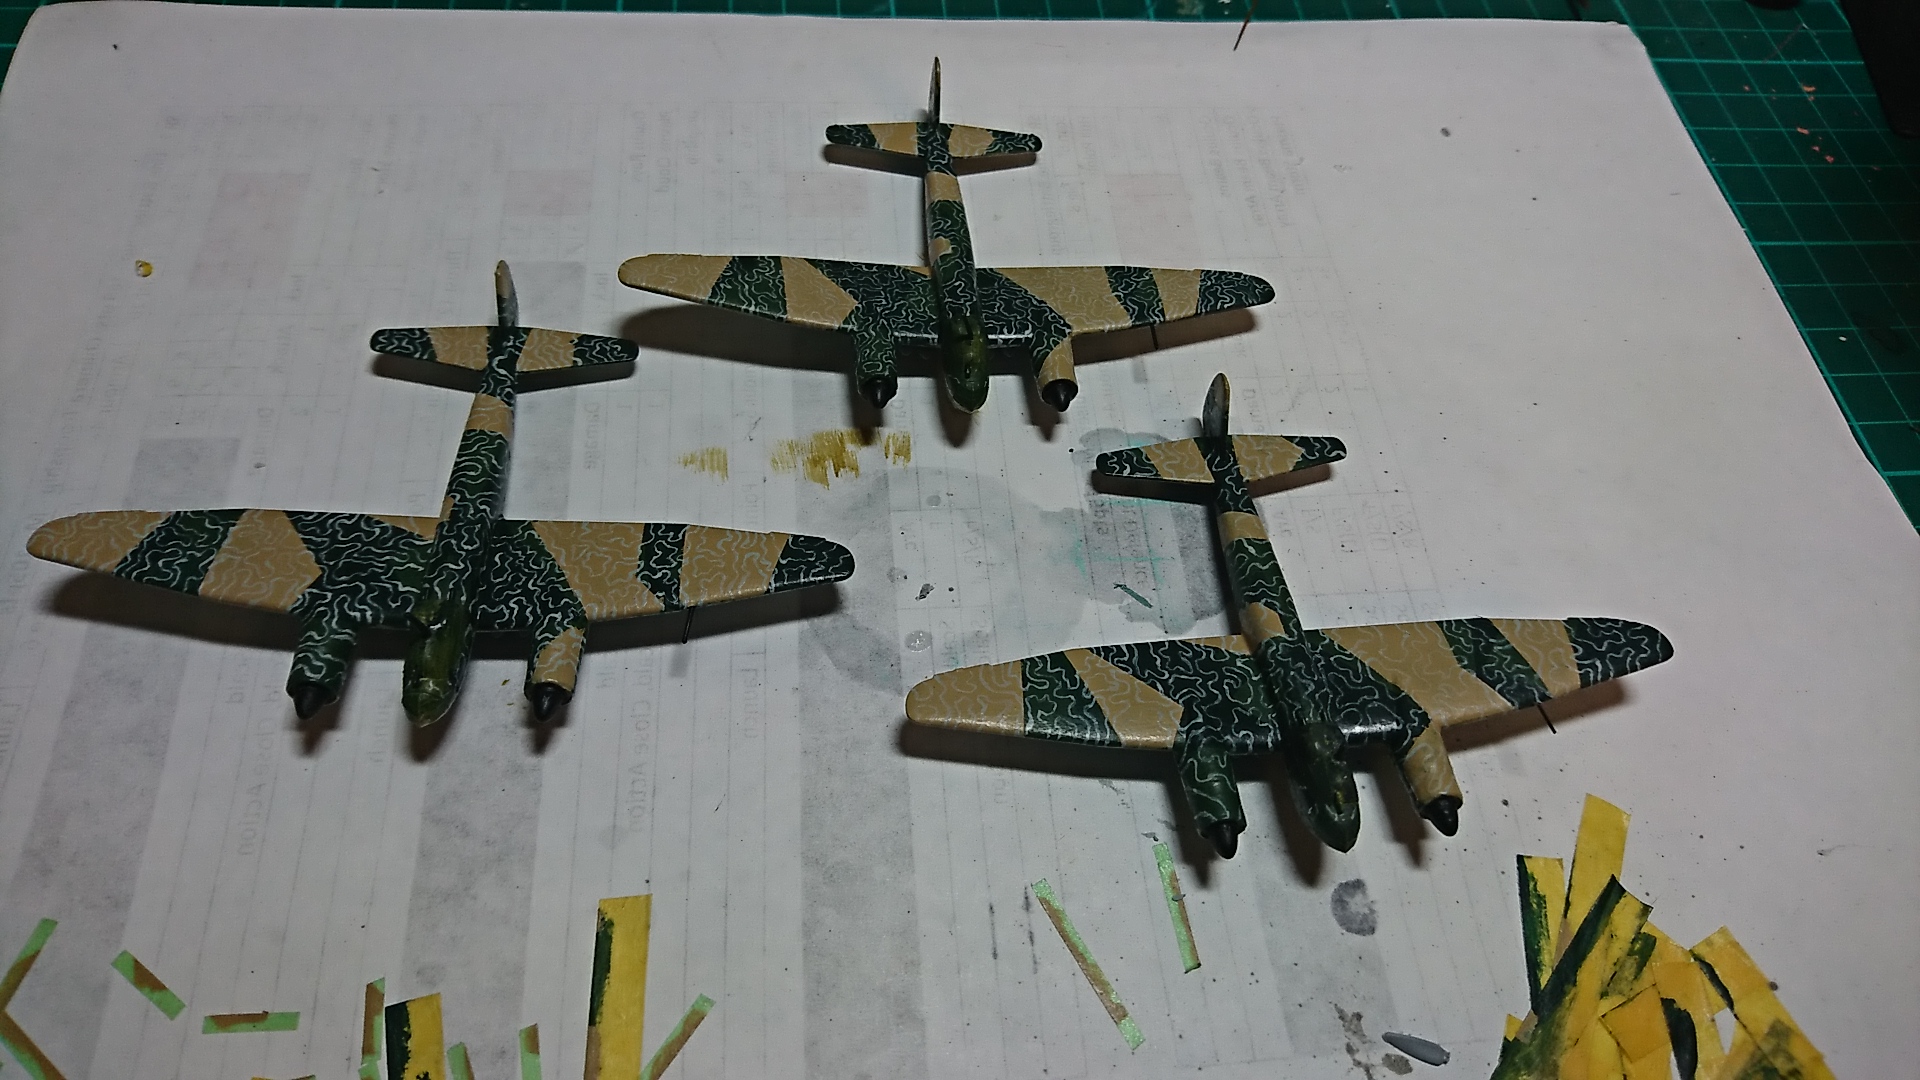
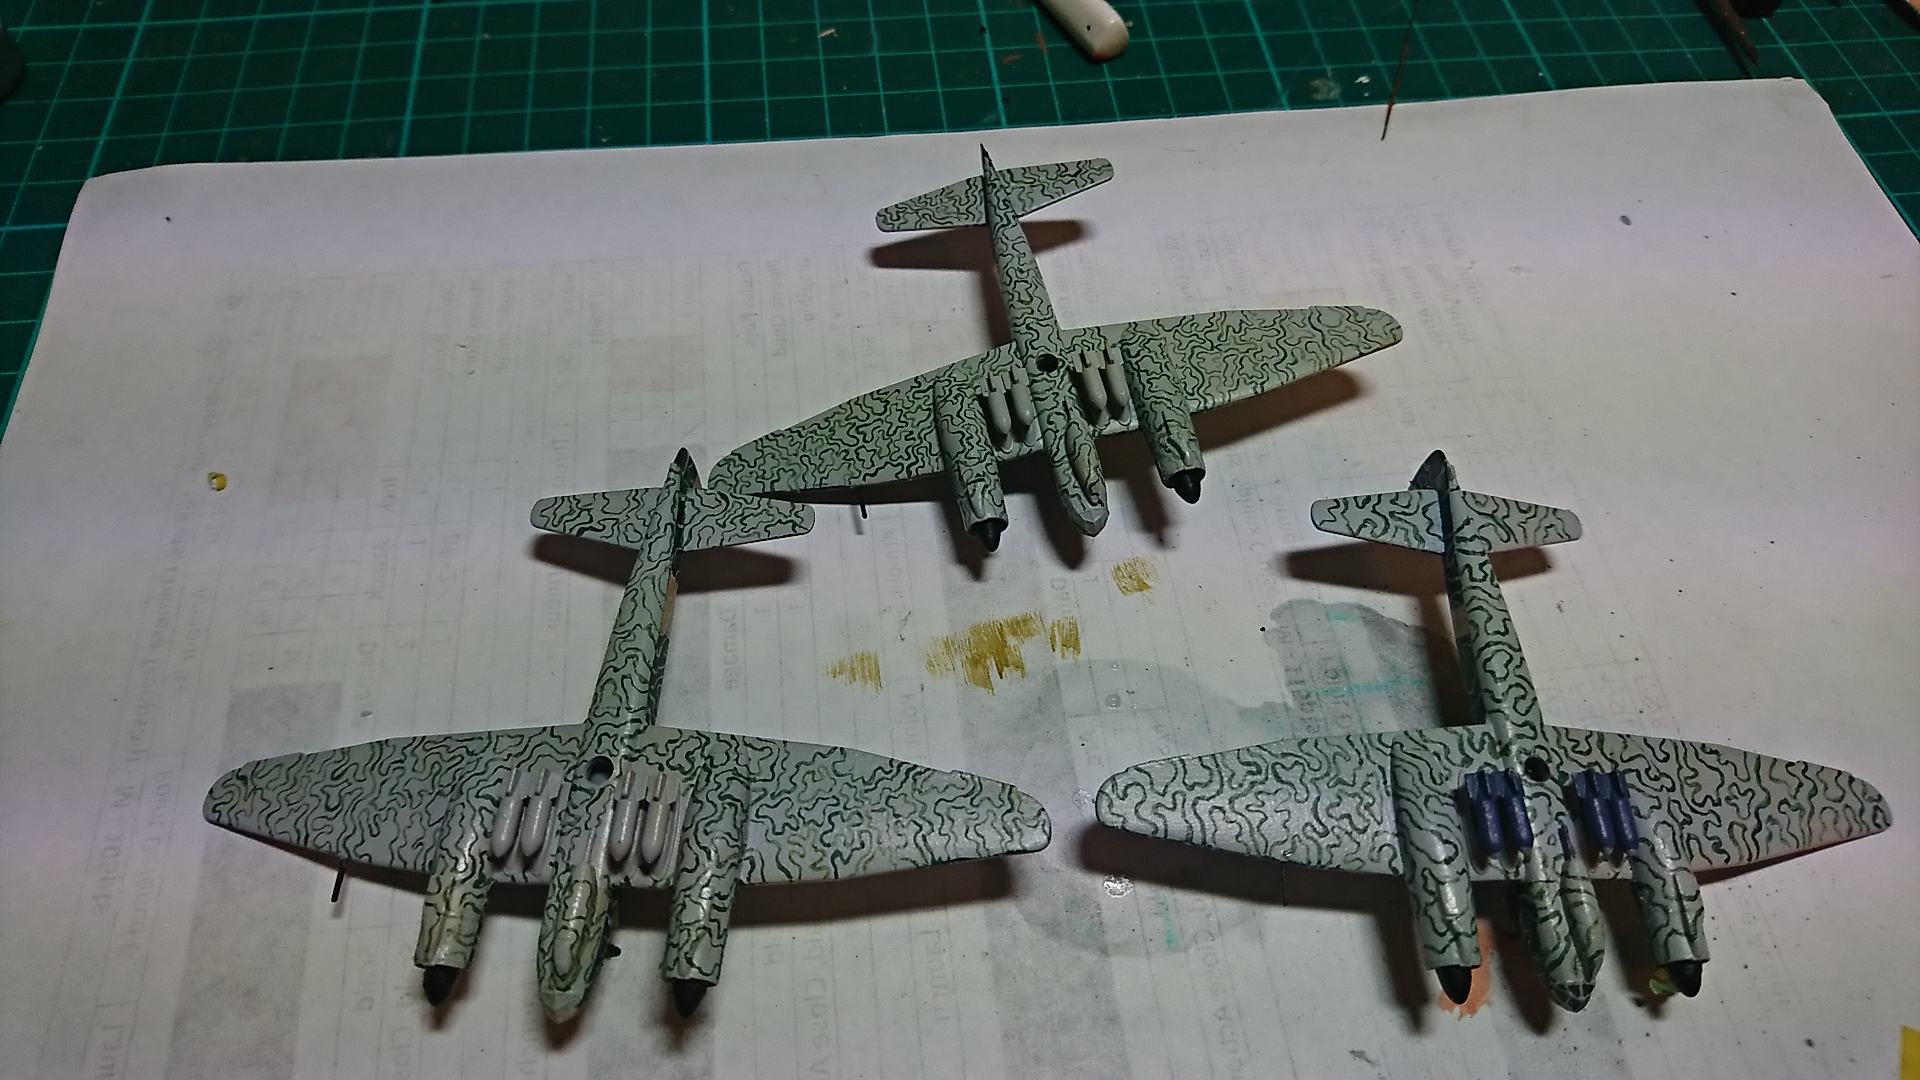
Next phase was the last stage of the camo. Lots of wiggle lines that took forever to do… nothing like going for a crazy scheme to while away the hours.
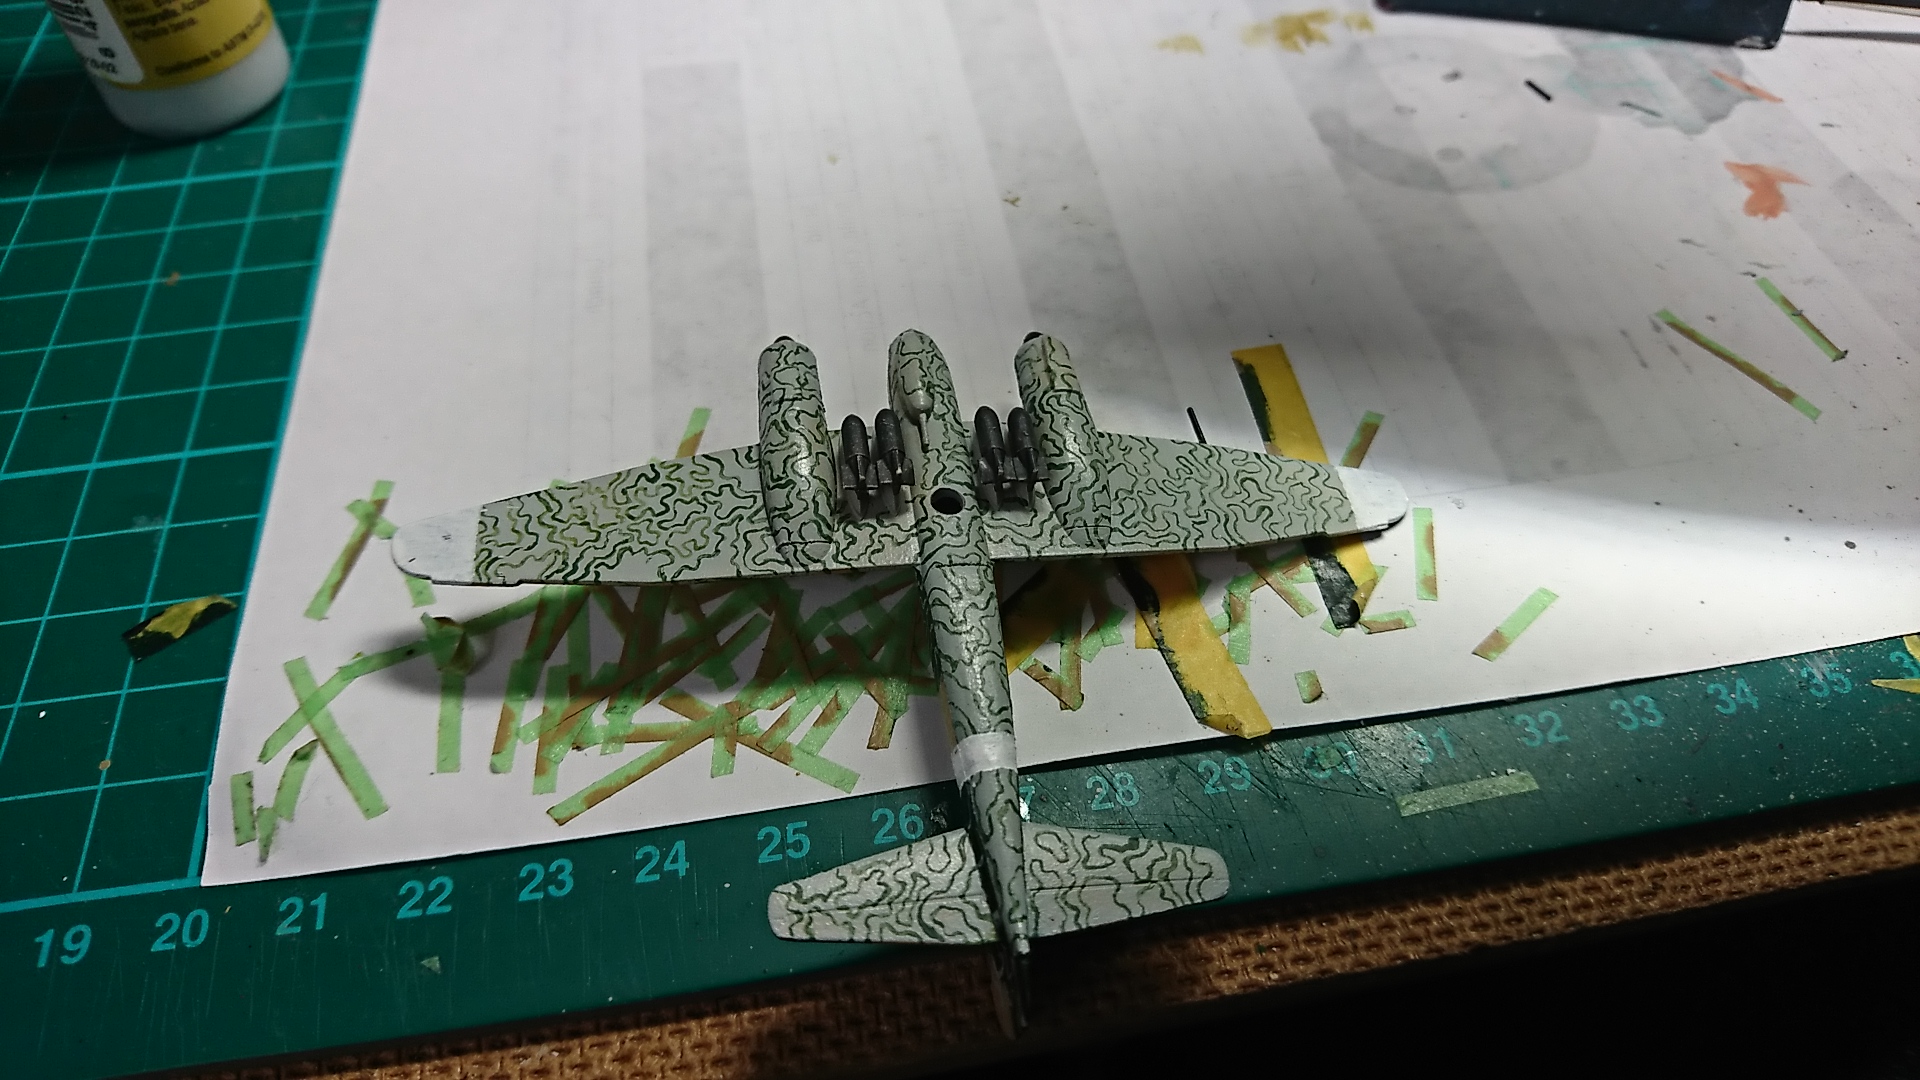 Next step is the white markings, on the underside of the wings and the fuselage. After this will be the addition of Decals however I have had to order some new ones as the ones that come with the kit are neither complete in that there are no swastikas for the tails, understand that this is because sometimes manufacturers leave these out so they can be sold. However the biggest thing is that the JU88s had letters under the wings and there is not enough to do all the planes. Anyway a quick order to miscellaneous miniatures in the US will have them here soon a very fast service.
Wellingtons

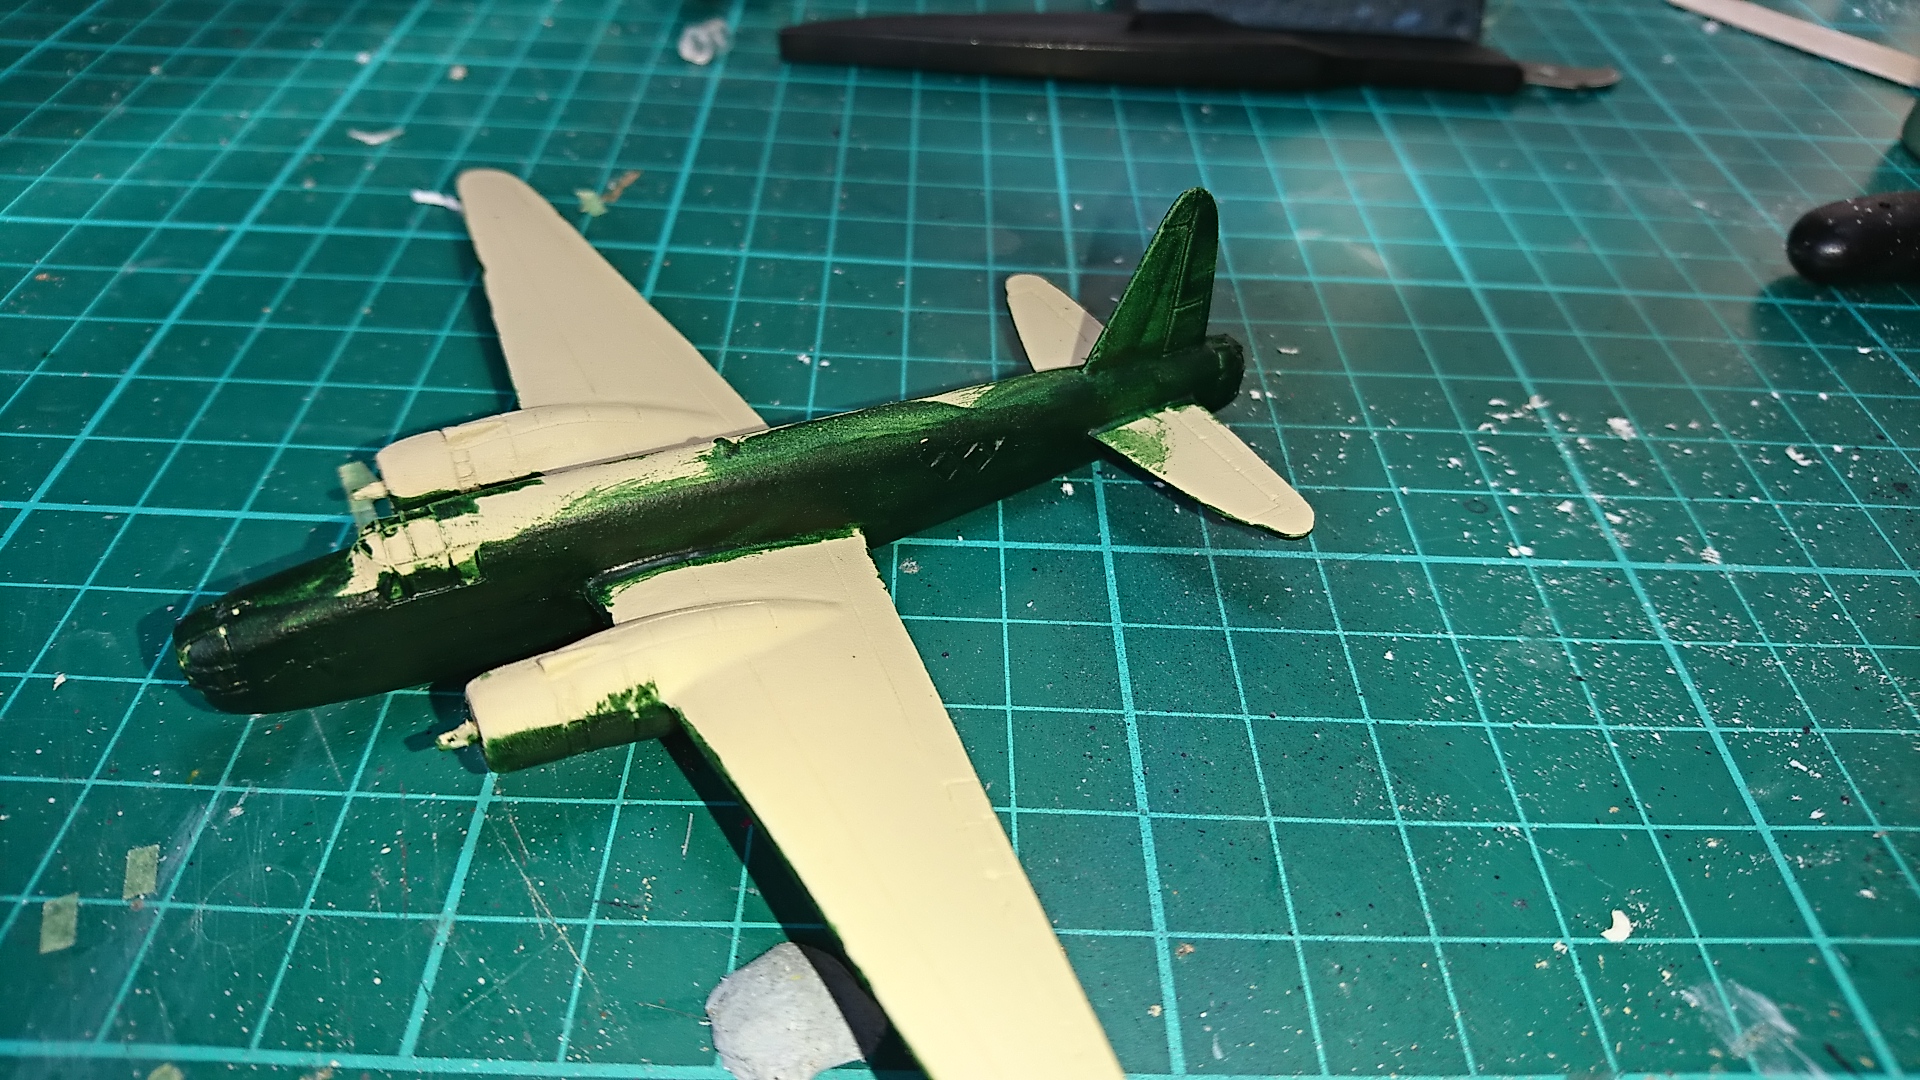
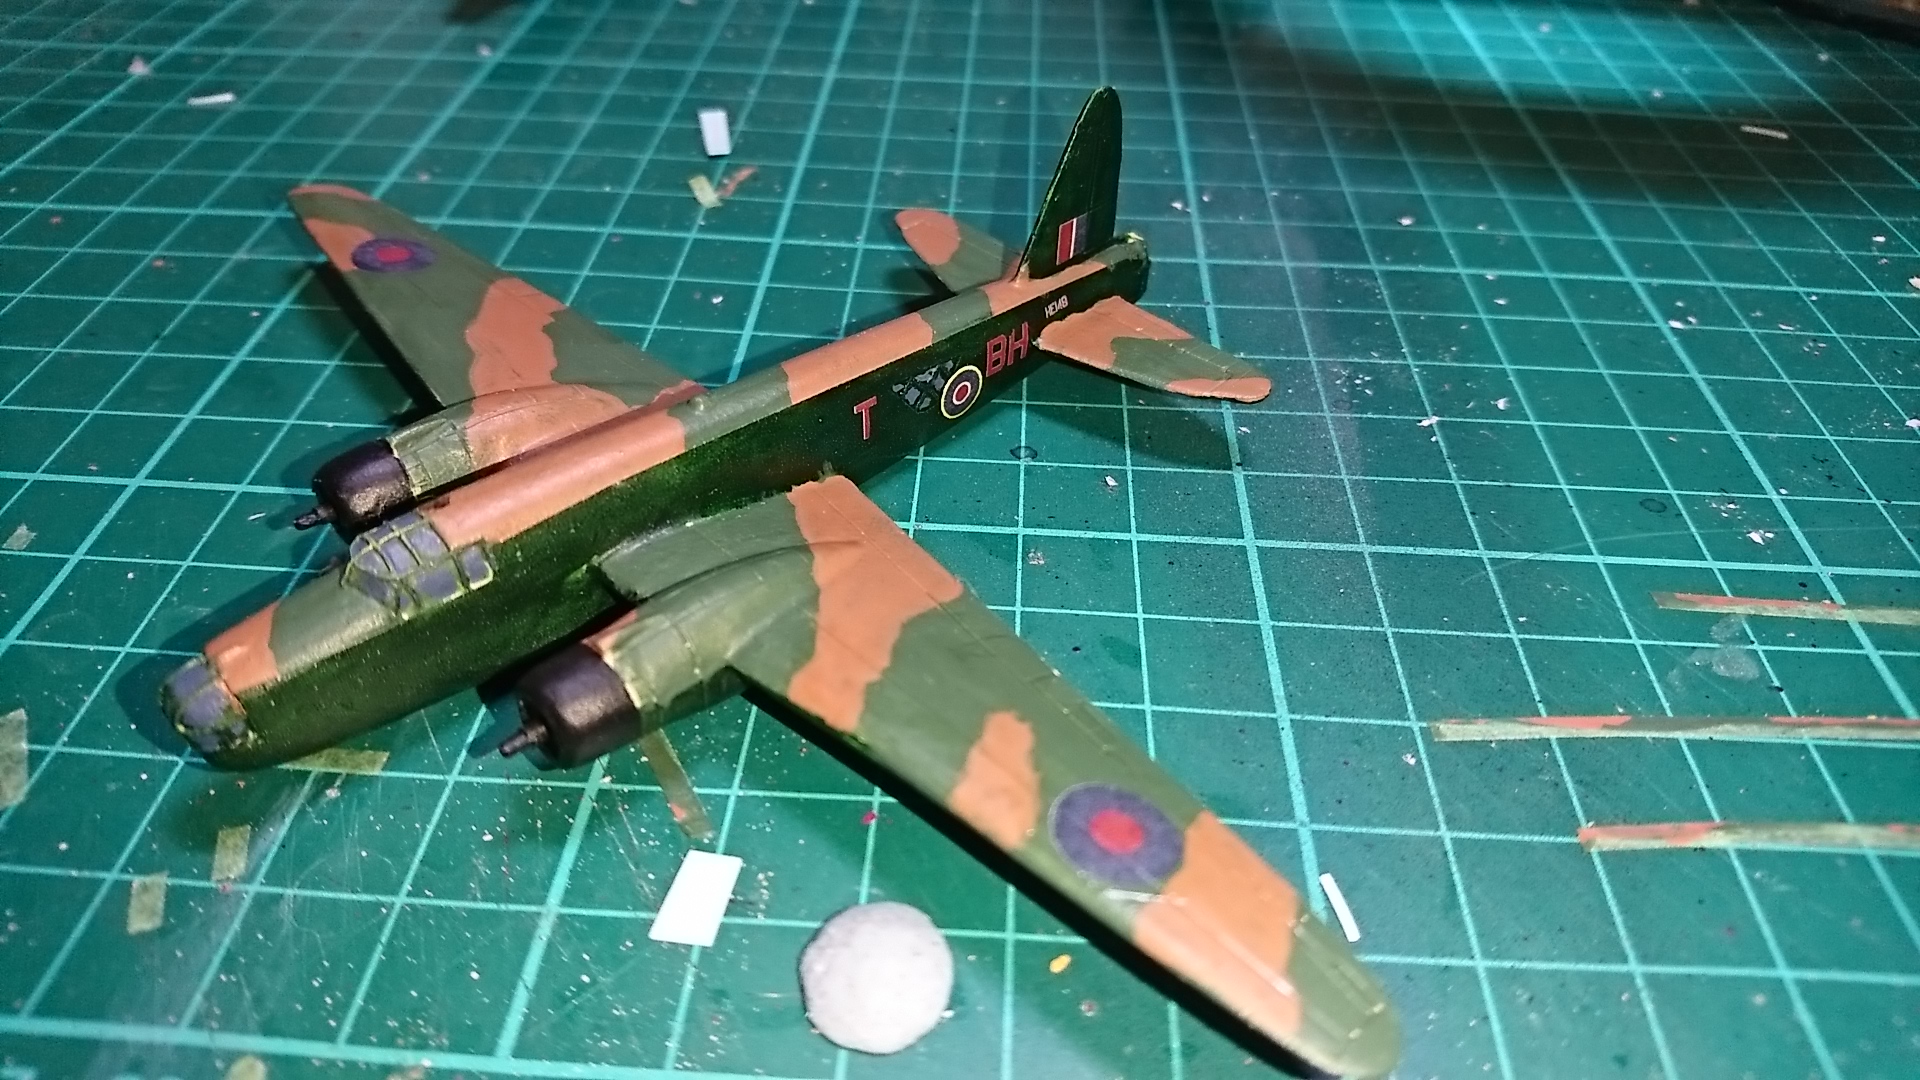
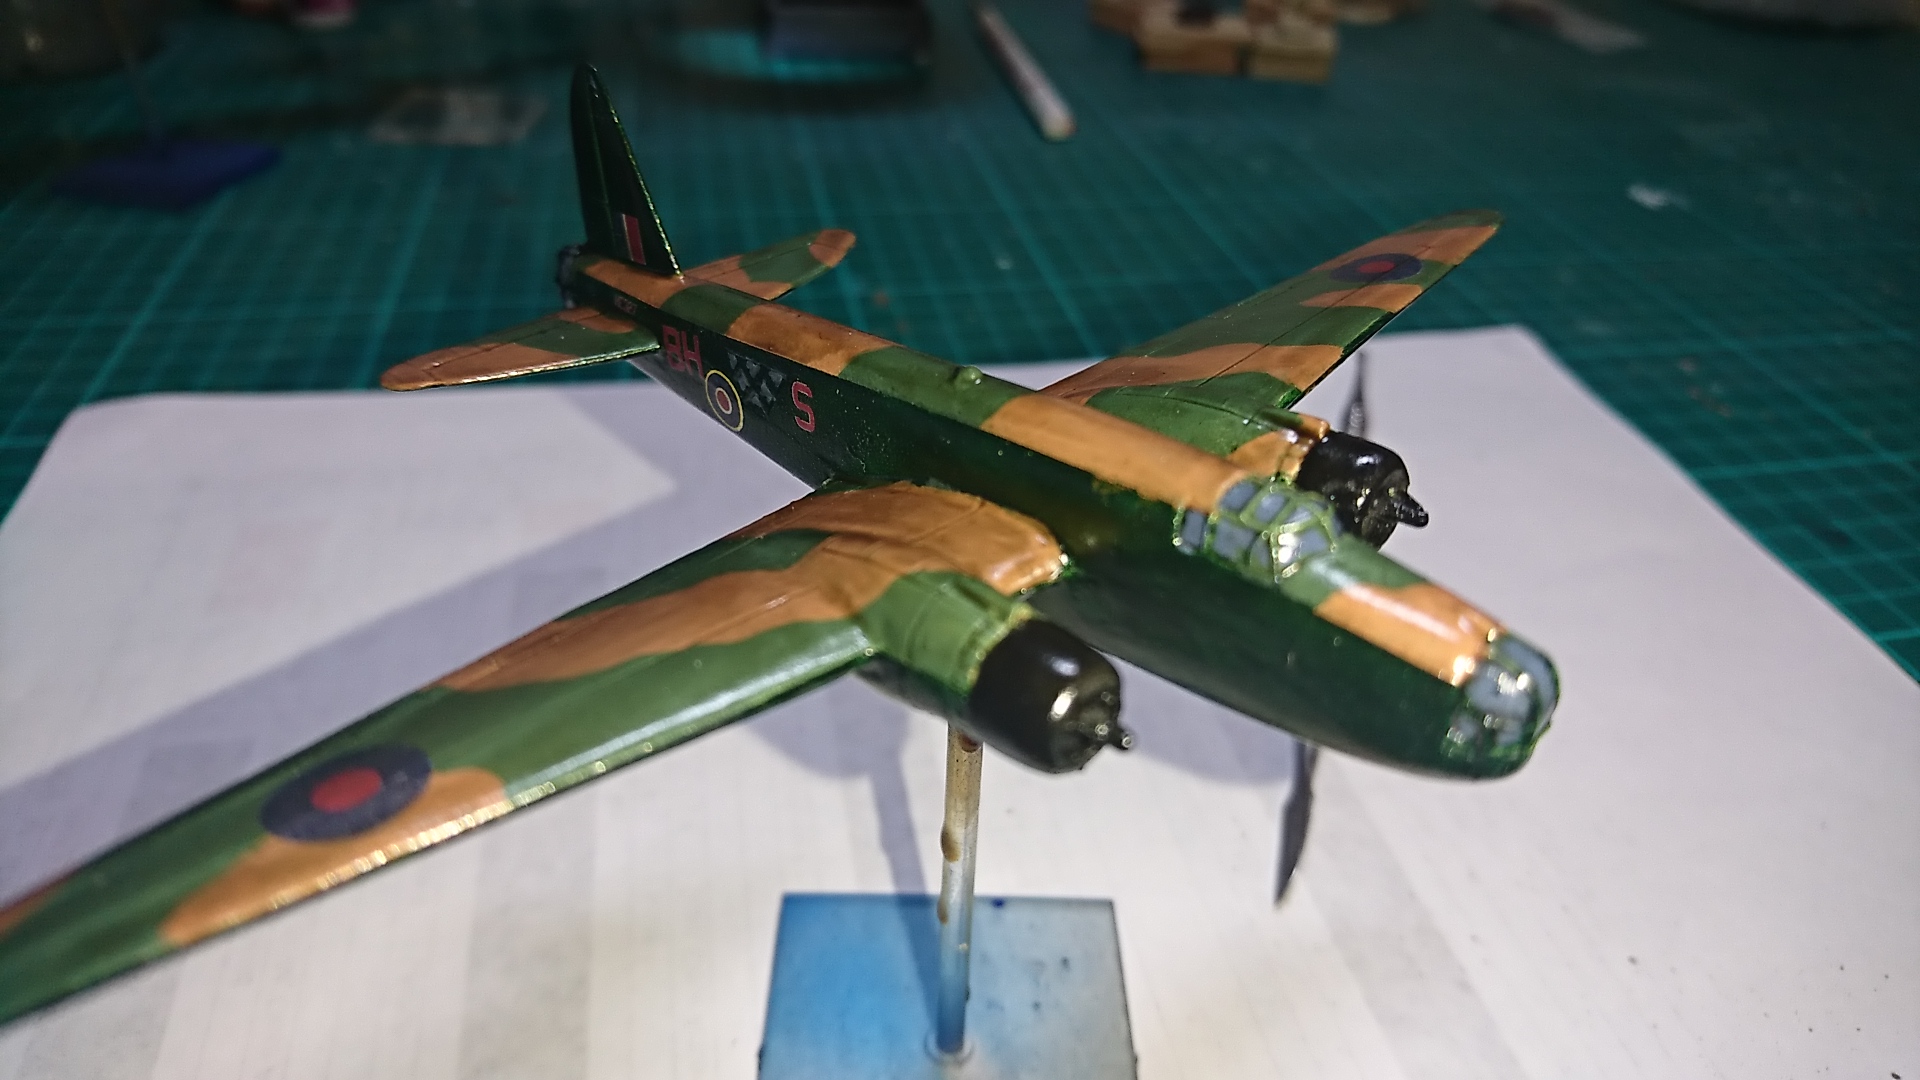
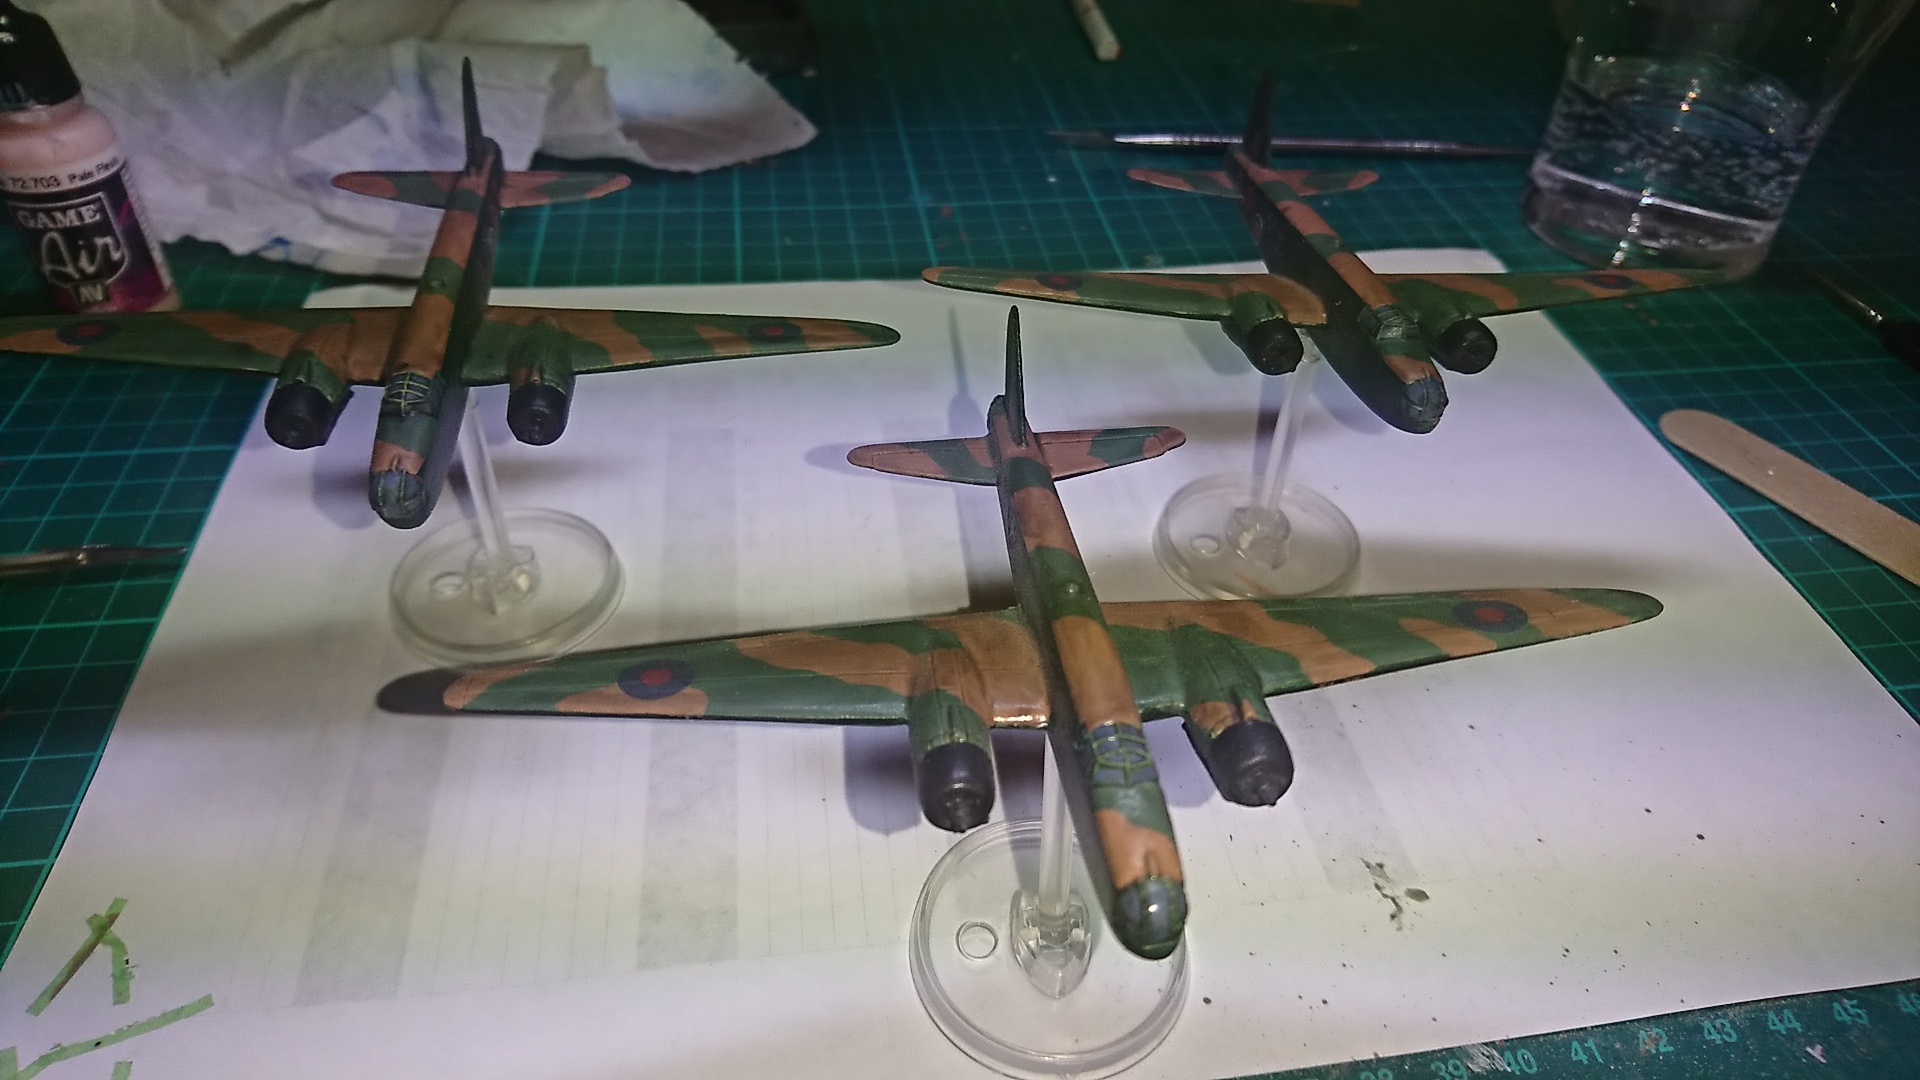
I ordered a few Wellington’s from Armaments in Miniature, which arrived today. So I thought I would get them started. These are really lovely resin casts. There was very little clean up to do.
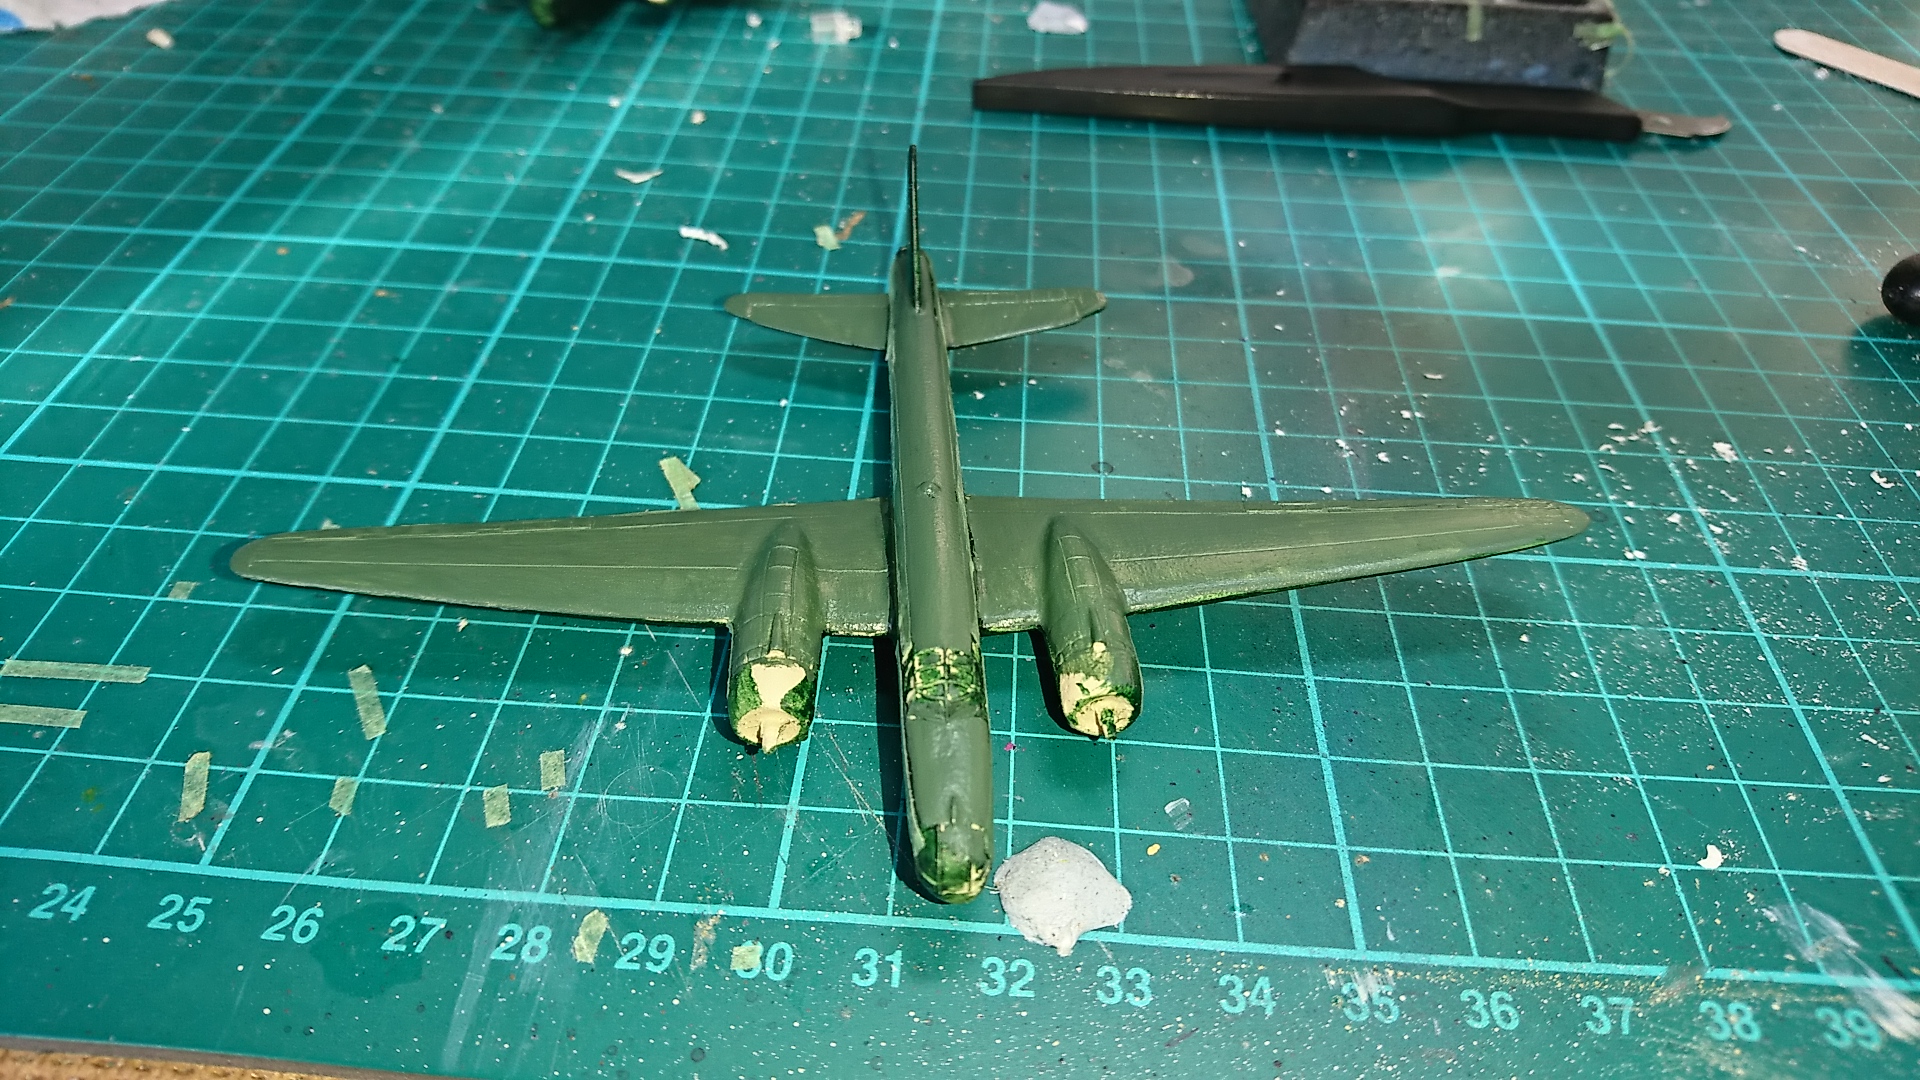
I primed in my usual AP skeleton Bone. Then the underside and fuselage were done in a dark olive green from Vallejo.
I then masked off the top of the fuselage and engine cowlings and applied Gunship green again Vallejo.
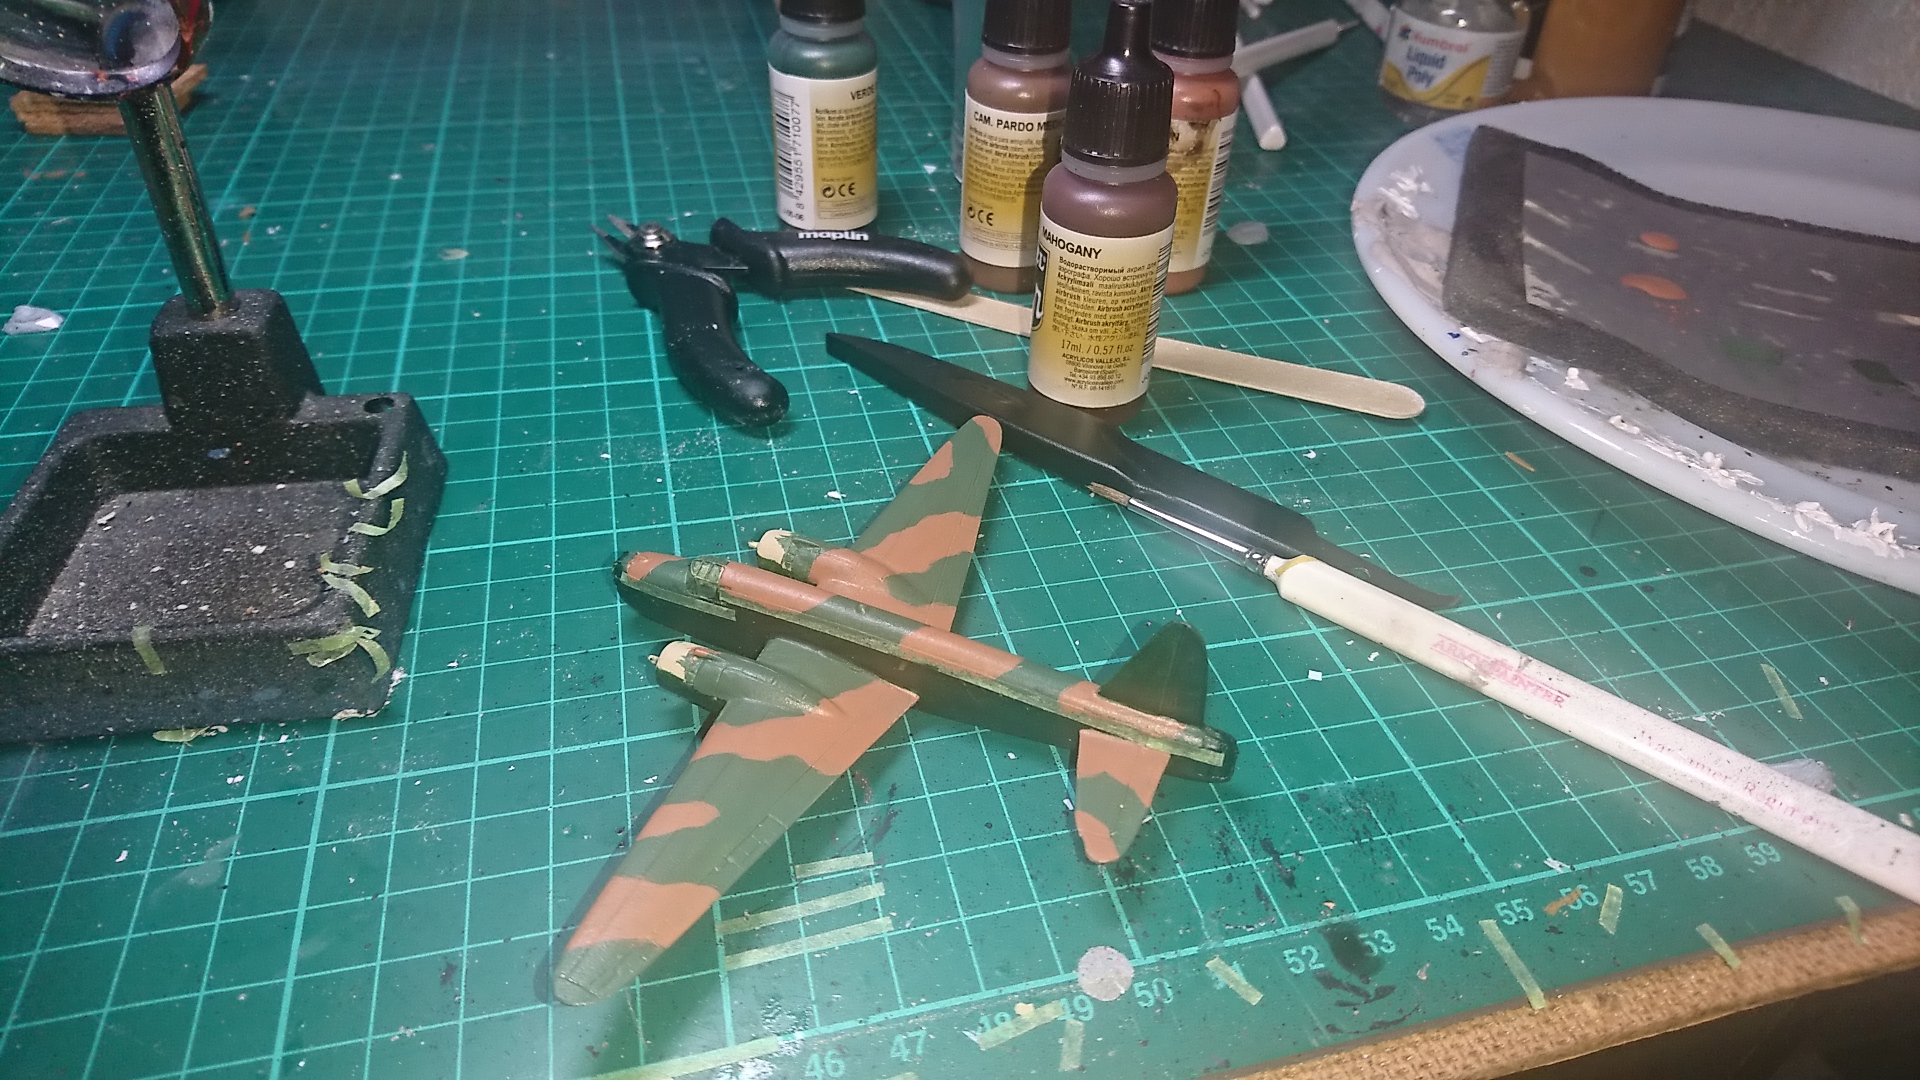
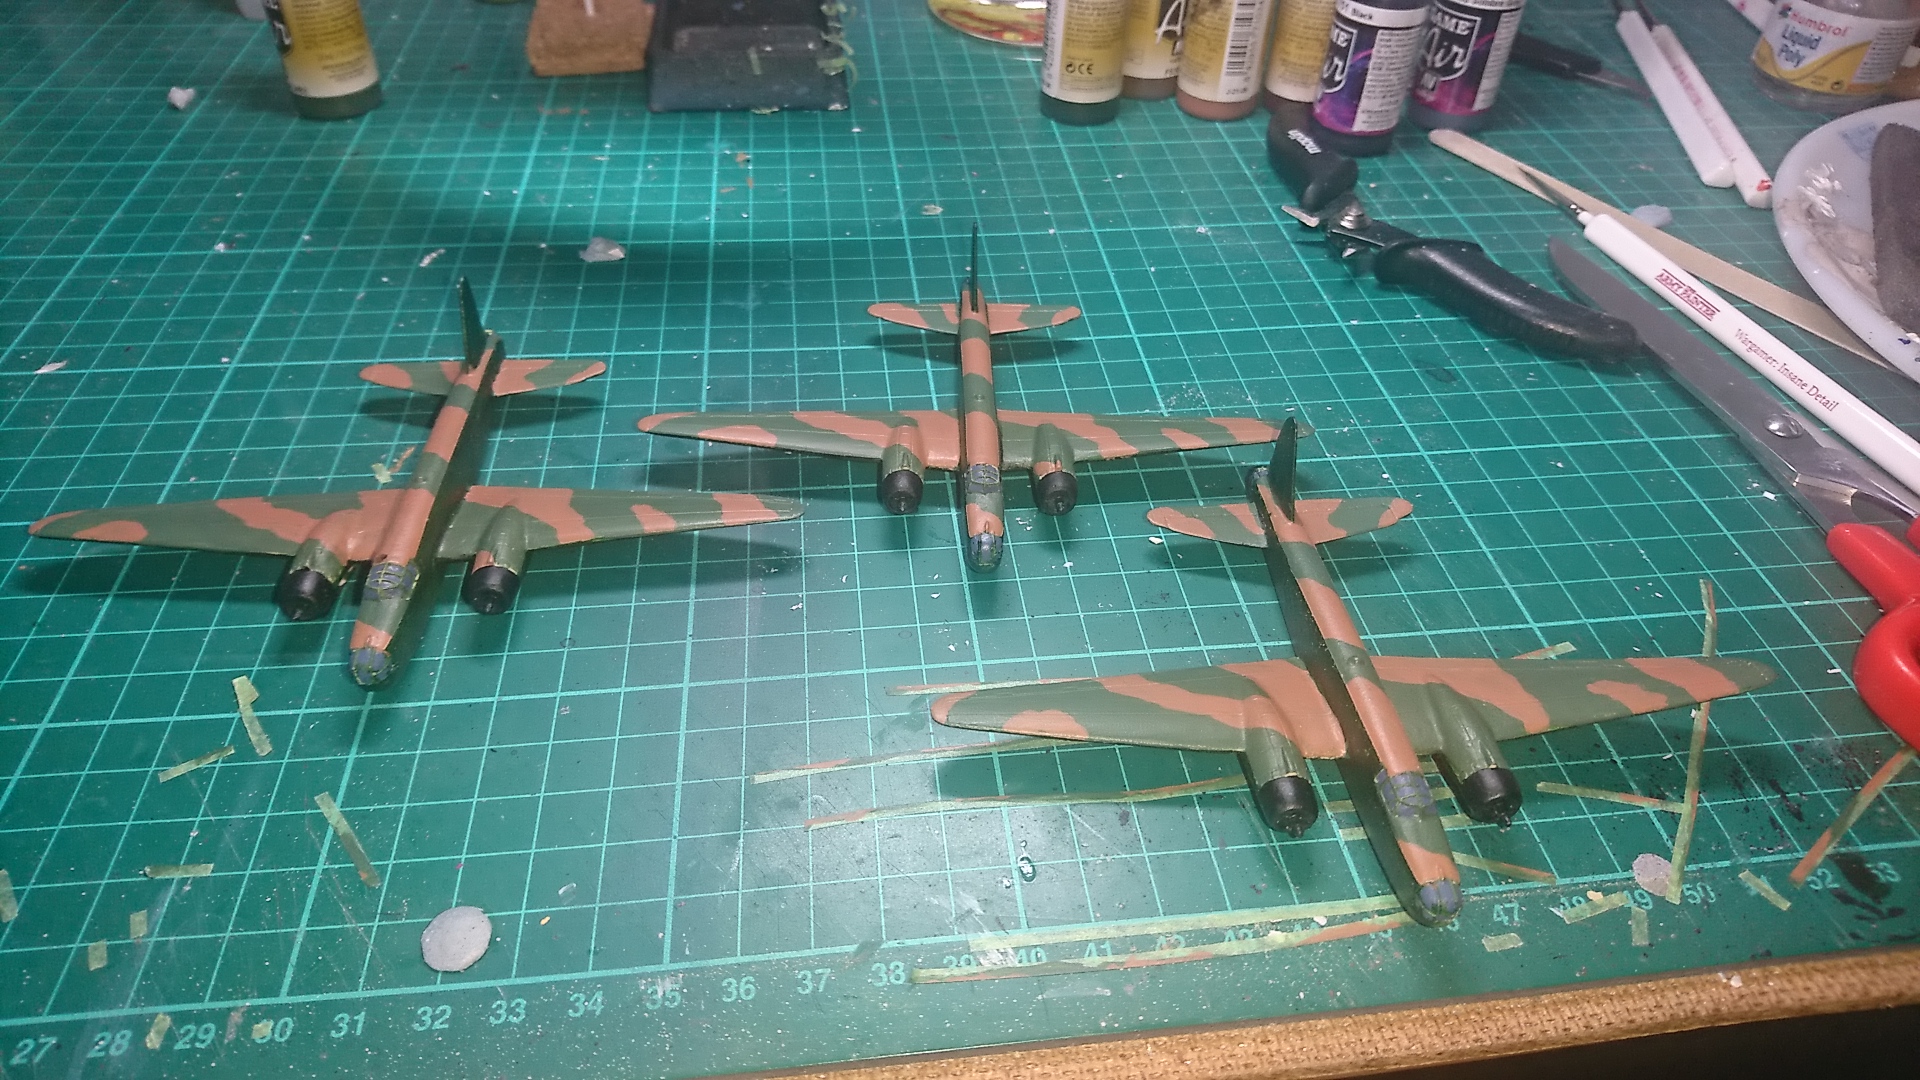
Then I created the camo pattern using Vallejo dark sand
I then removed the masking and painted the engine cowlings and the wheels using Vallejo black.
I then used Vallejo engine grey to block out the canopy panels.
Next up is the addition of the Decals. In this case I used Humbrol Decalfix to apply the decals. It is a one stop medium. You pour a bit into a container, preferably one that will not react with the liquid. Decals are then soaked in the liquid for a few mins as you would traditionally do with water. The beauty of Decalfix is a Matt surface can be used. So when ready a thin coat of Decalfix is applied to the surface where you wish to locate the Decal. You apply the Decal and leave for a while I leave mine for 24 hours. In this time the decals are dissolved into the model and fit any contours in the model. They look as though they were painted on.
Next step is to add the Army Painter Dark Tone Dip using a brush and leave for 24 hours to dry.
And after a few light coats of AP anti-shine they are ready to play with 🙂
Spitfires
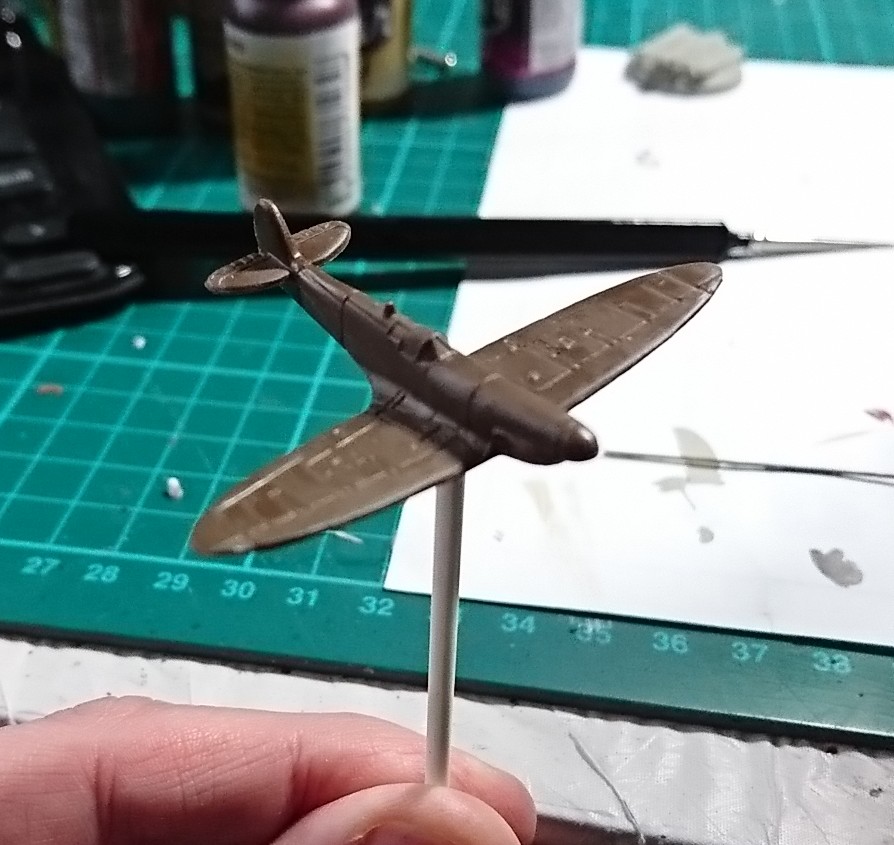
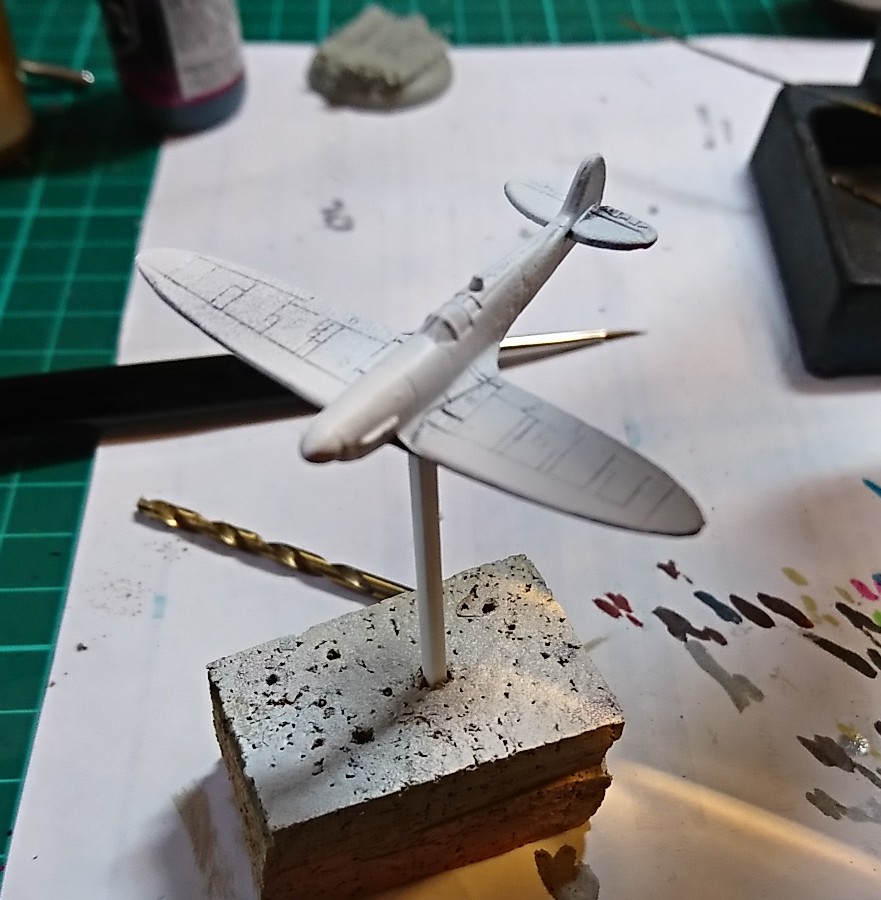


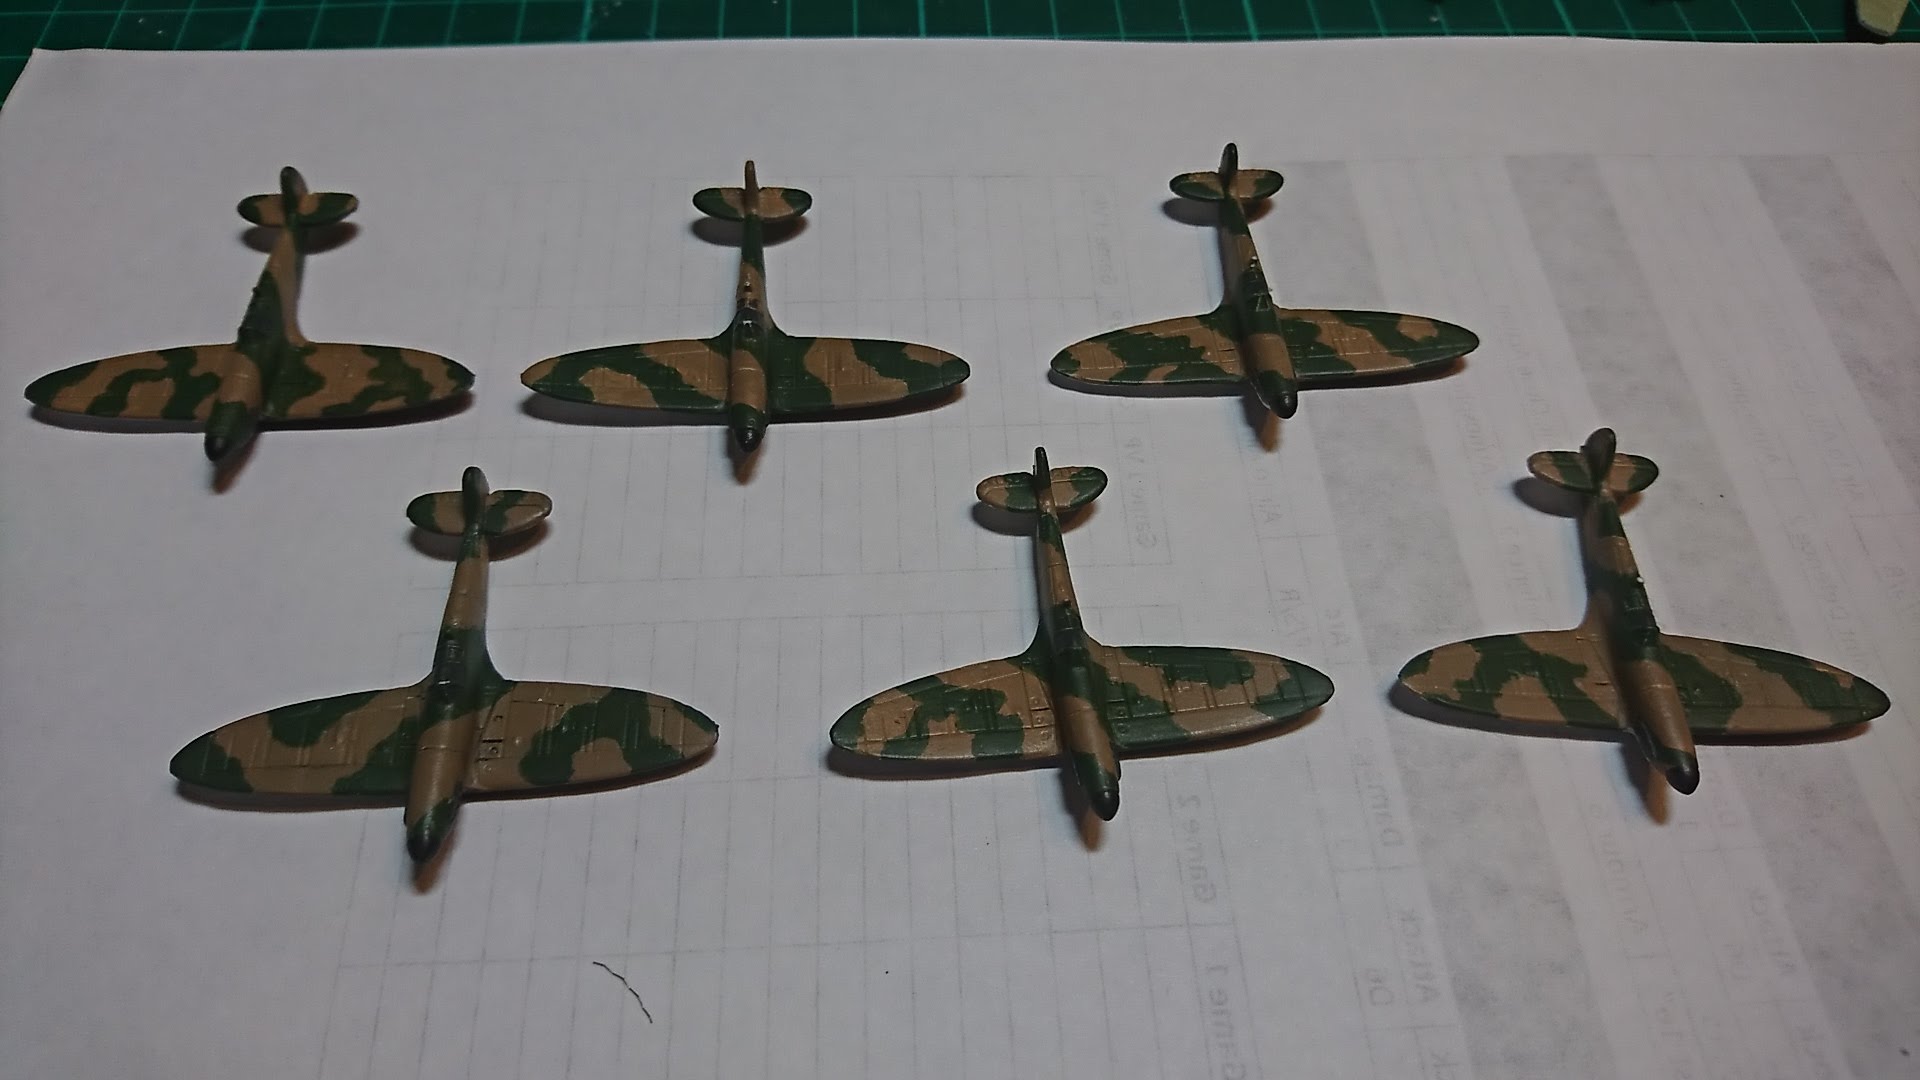
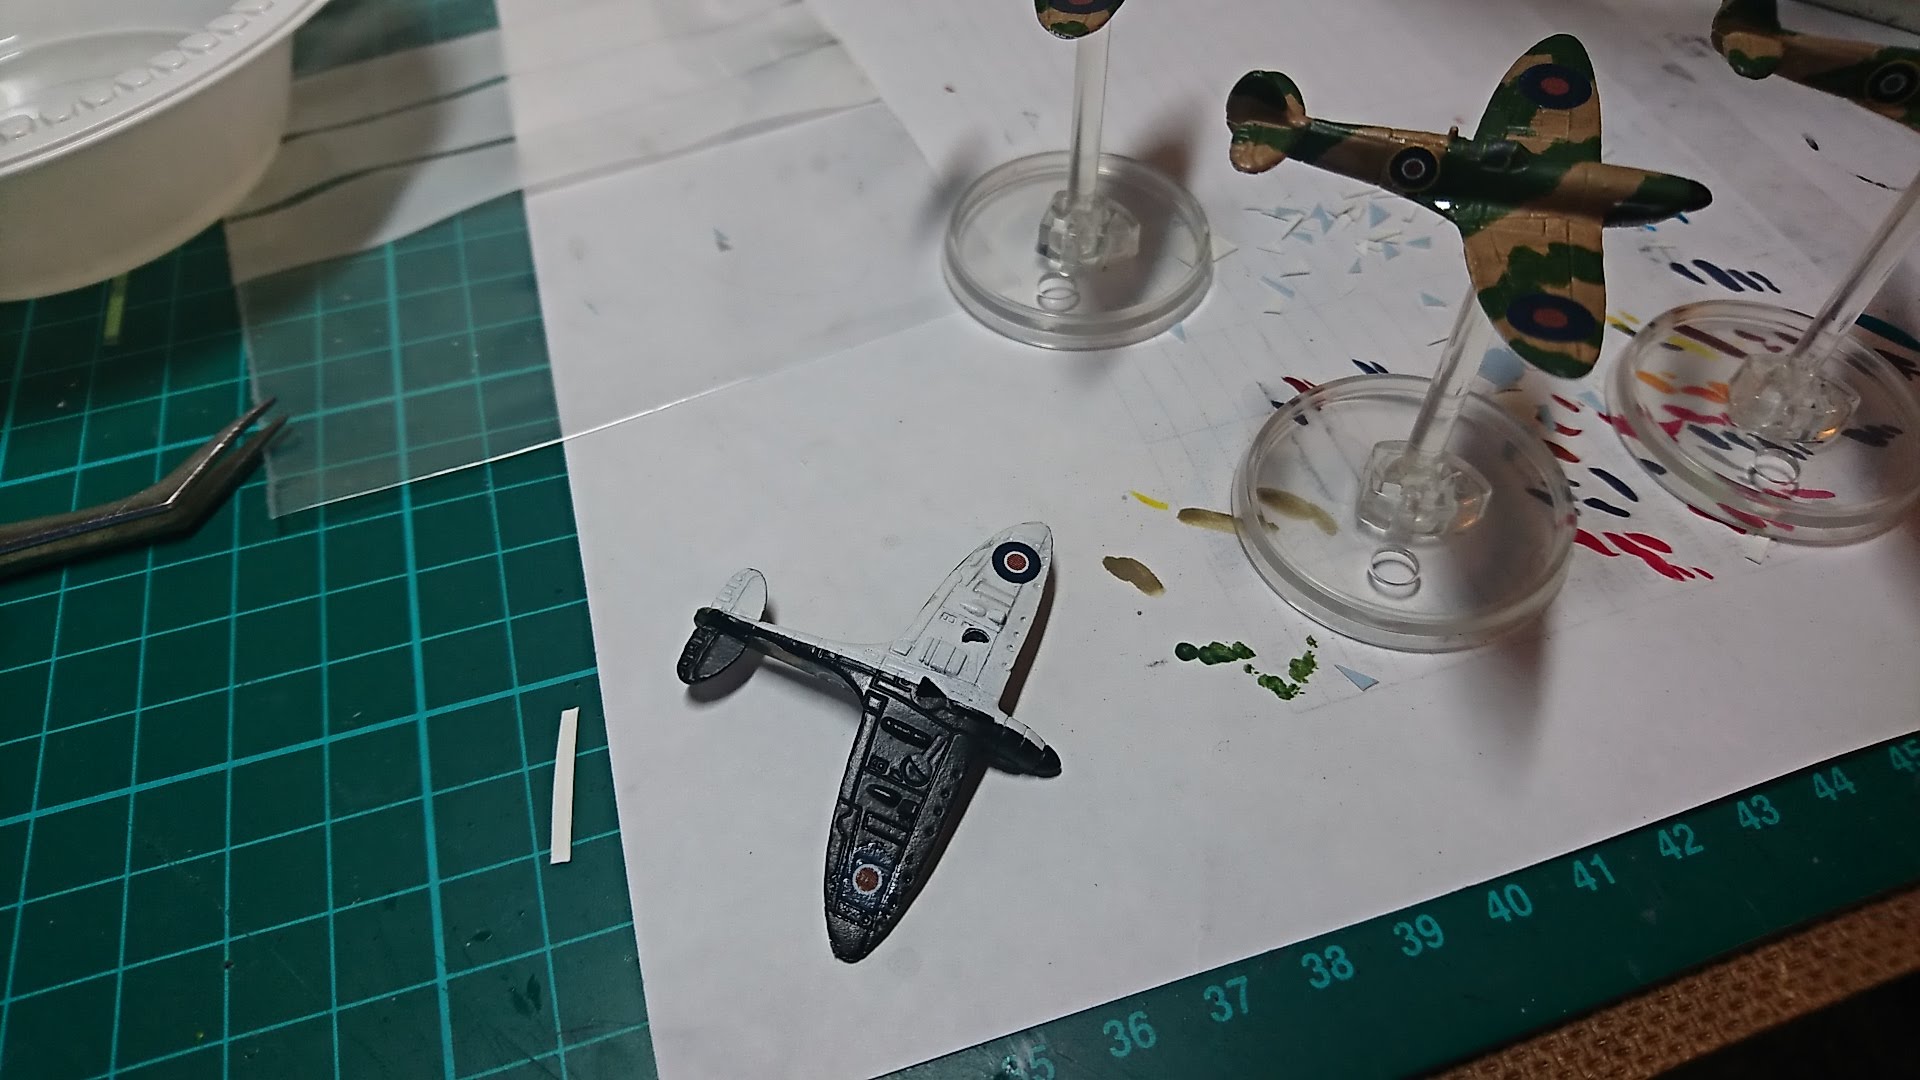
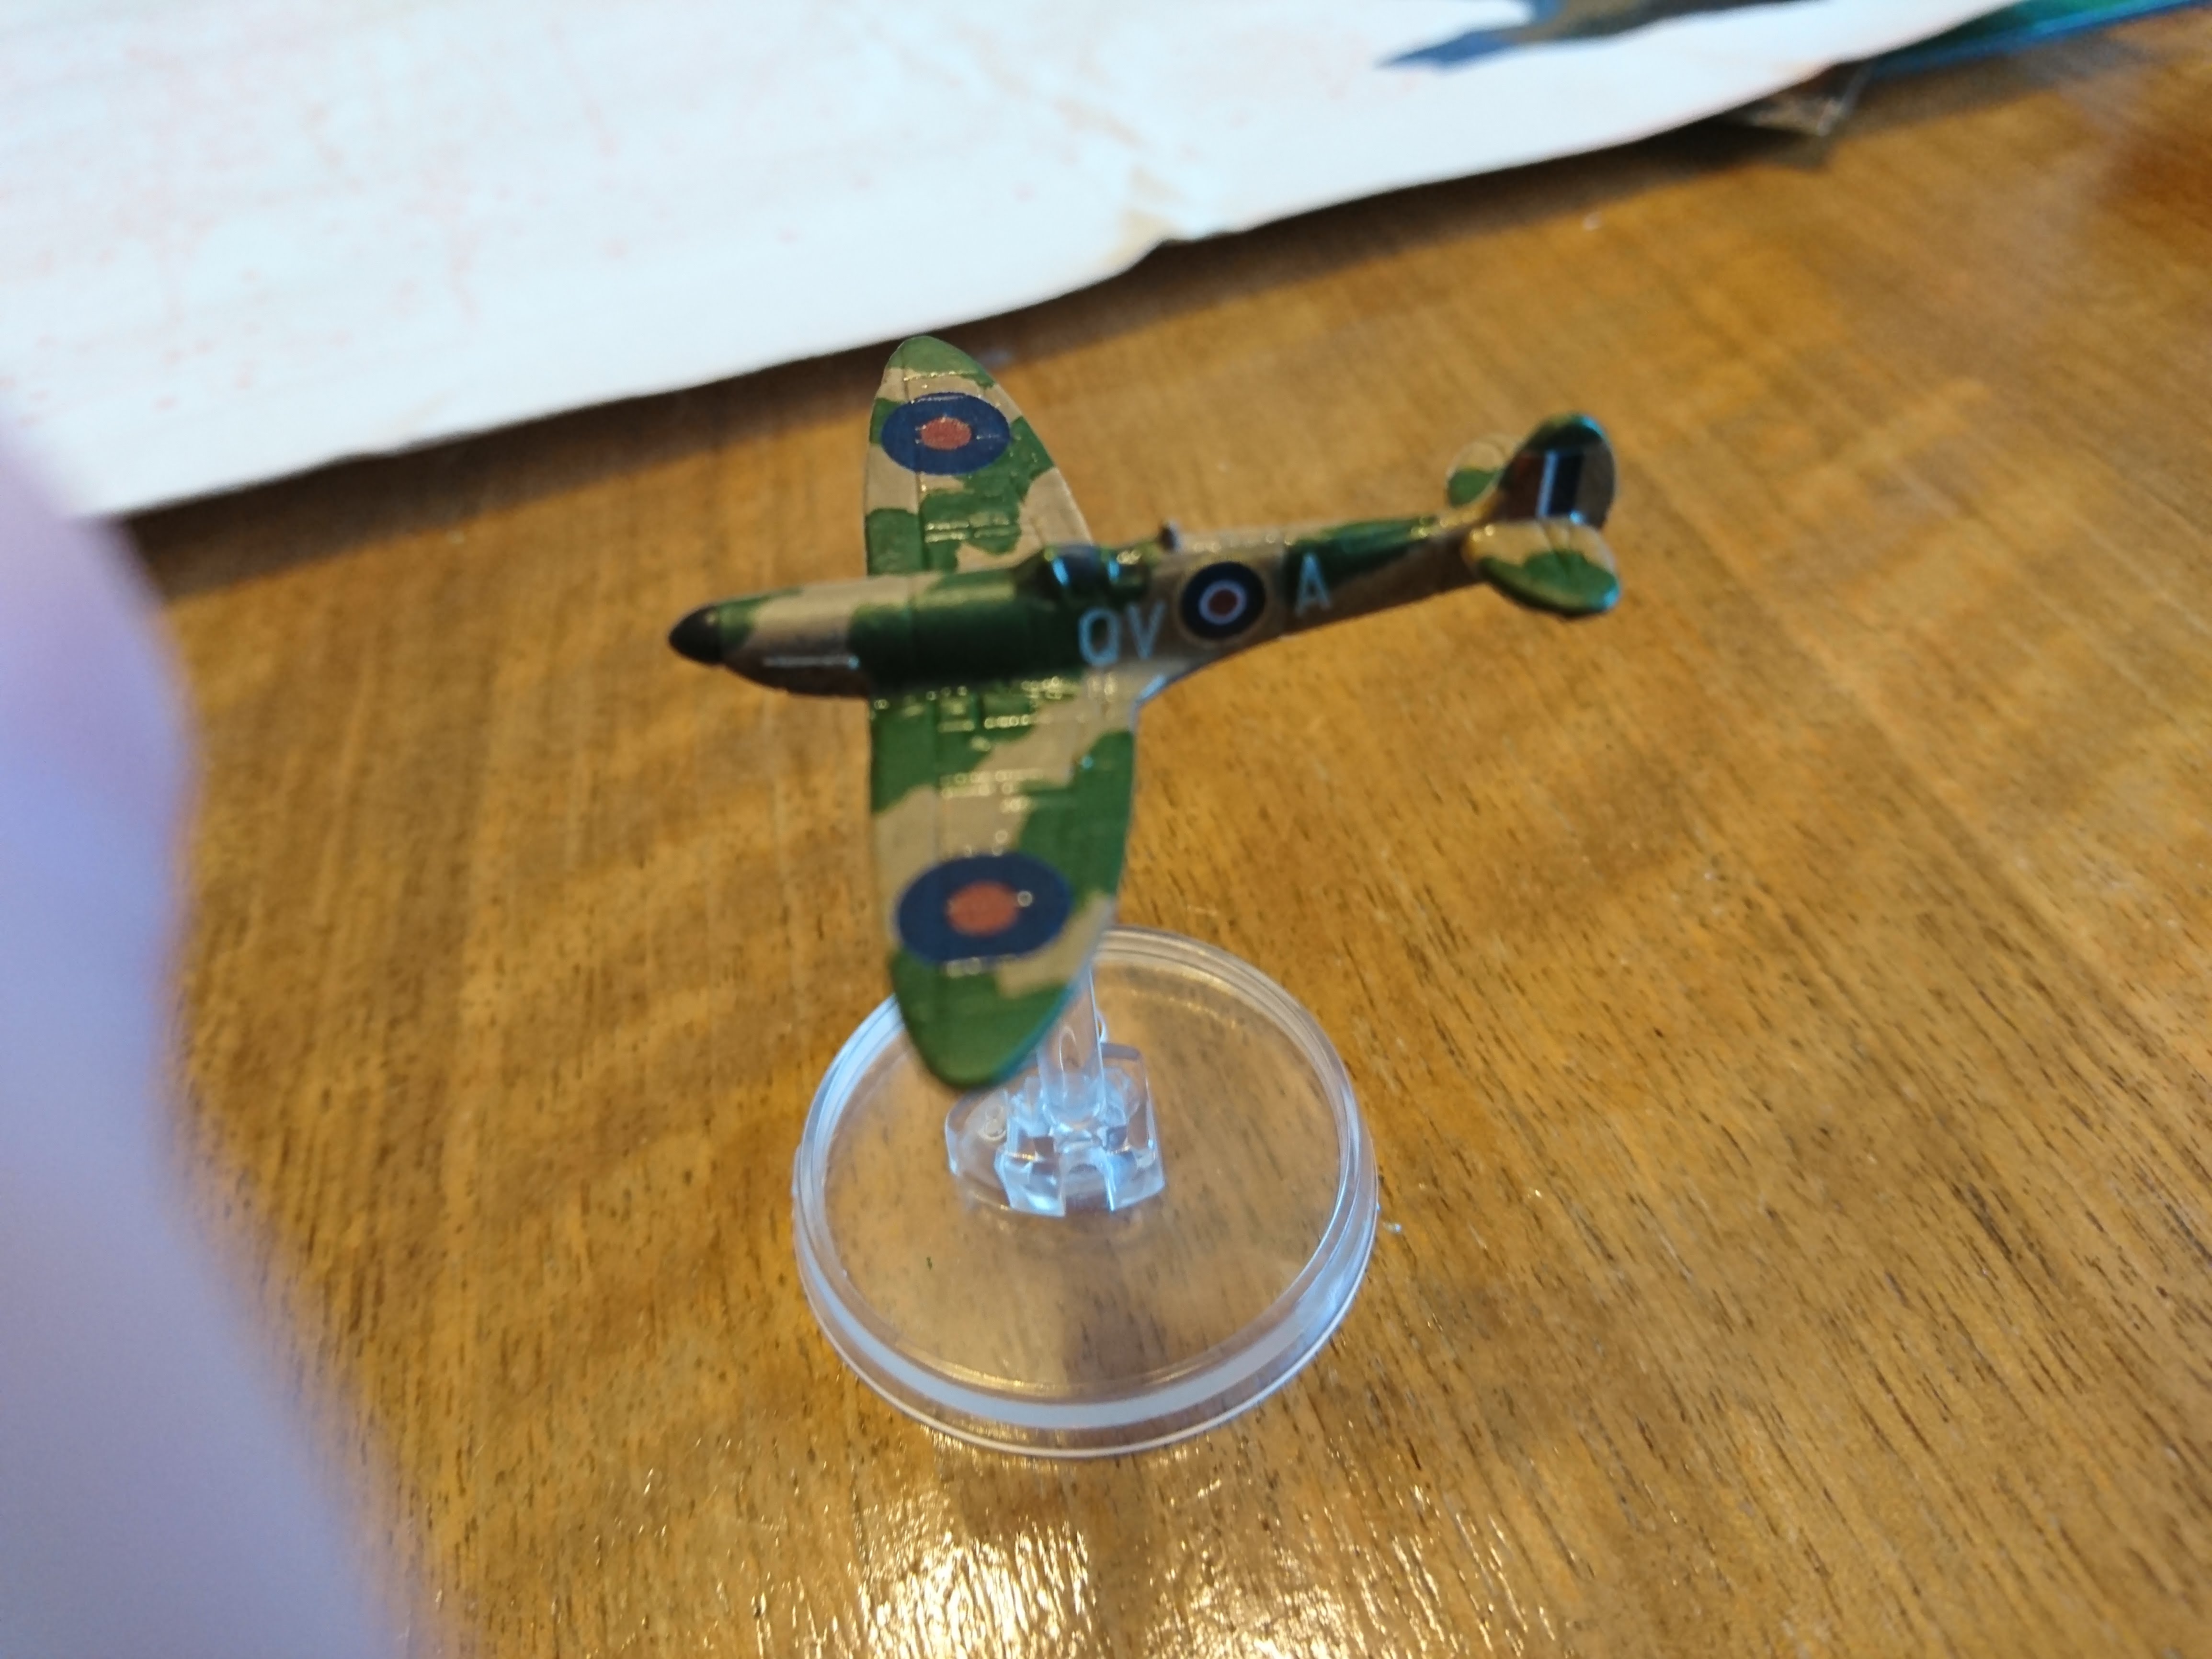
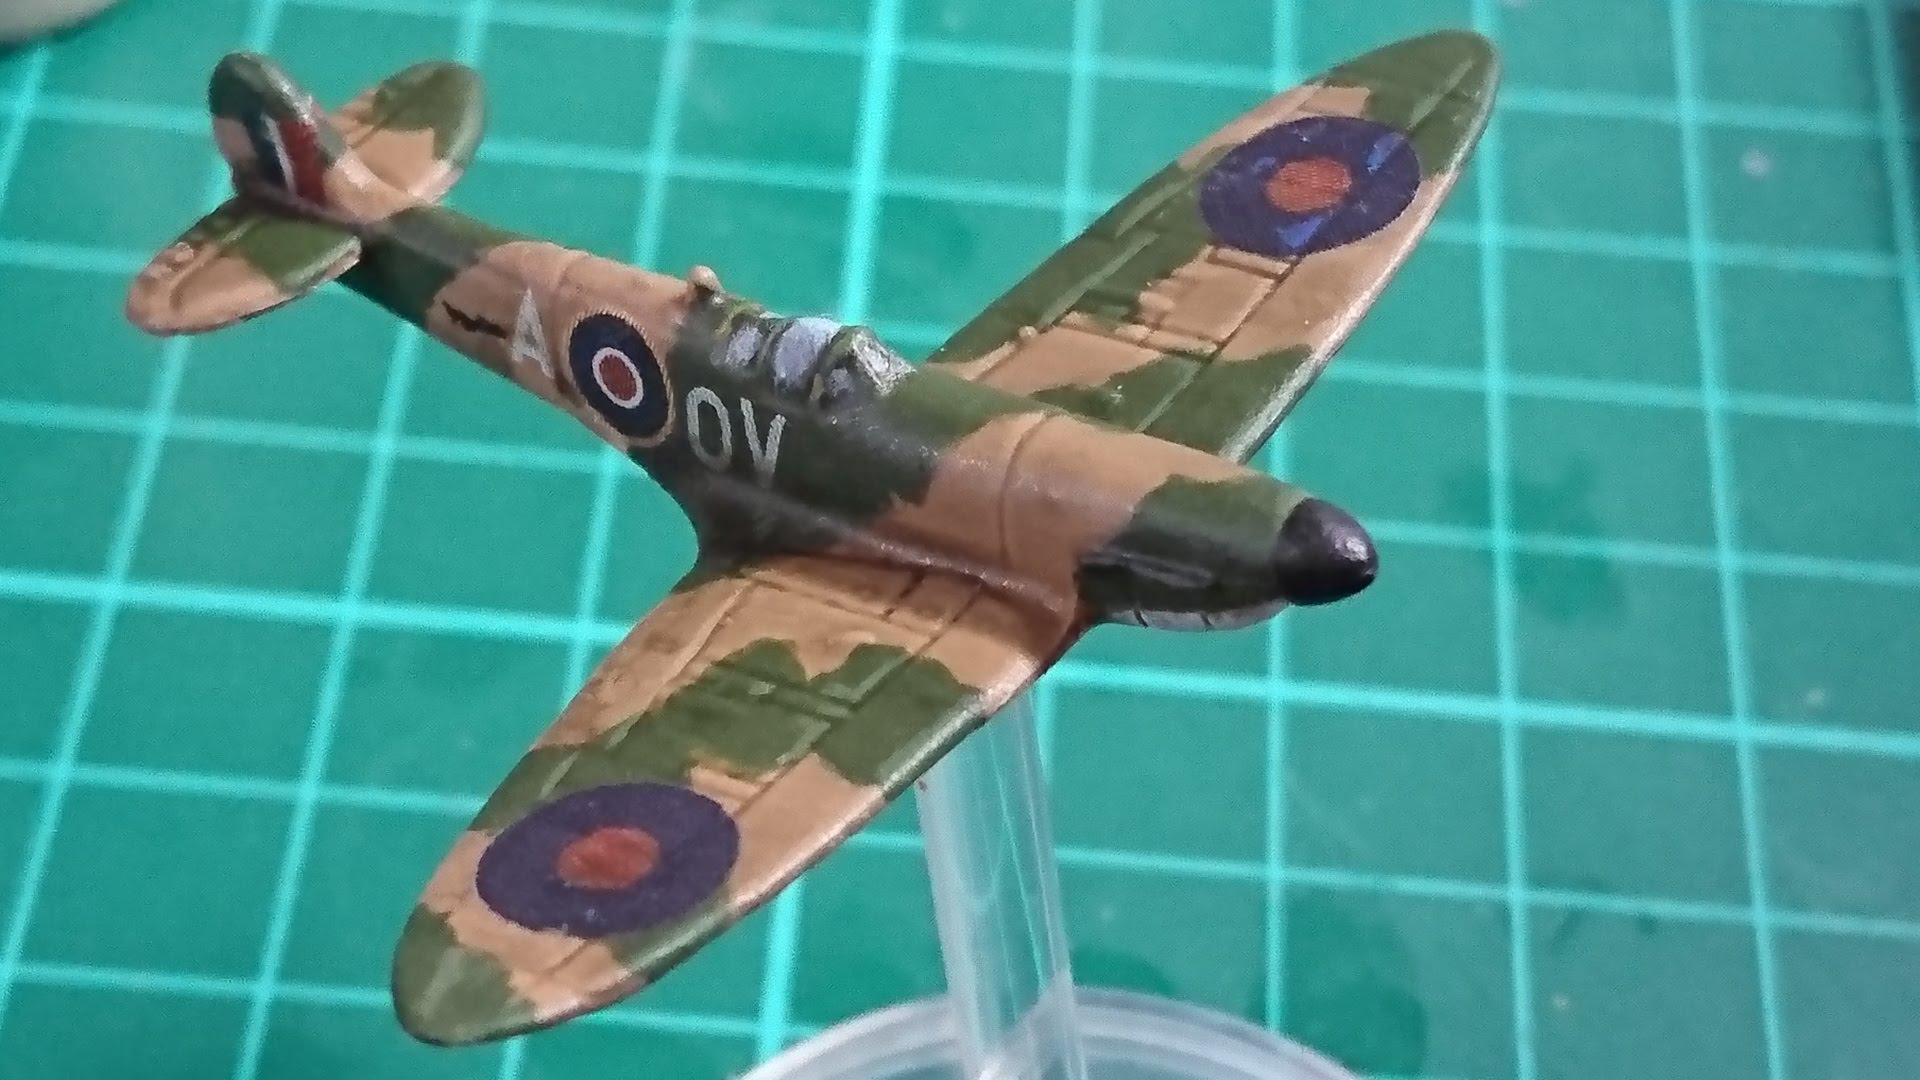
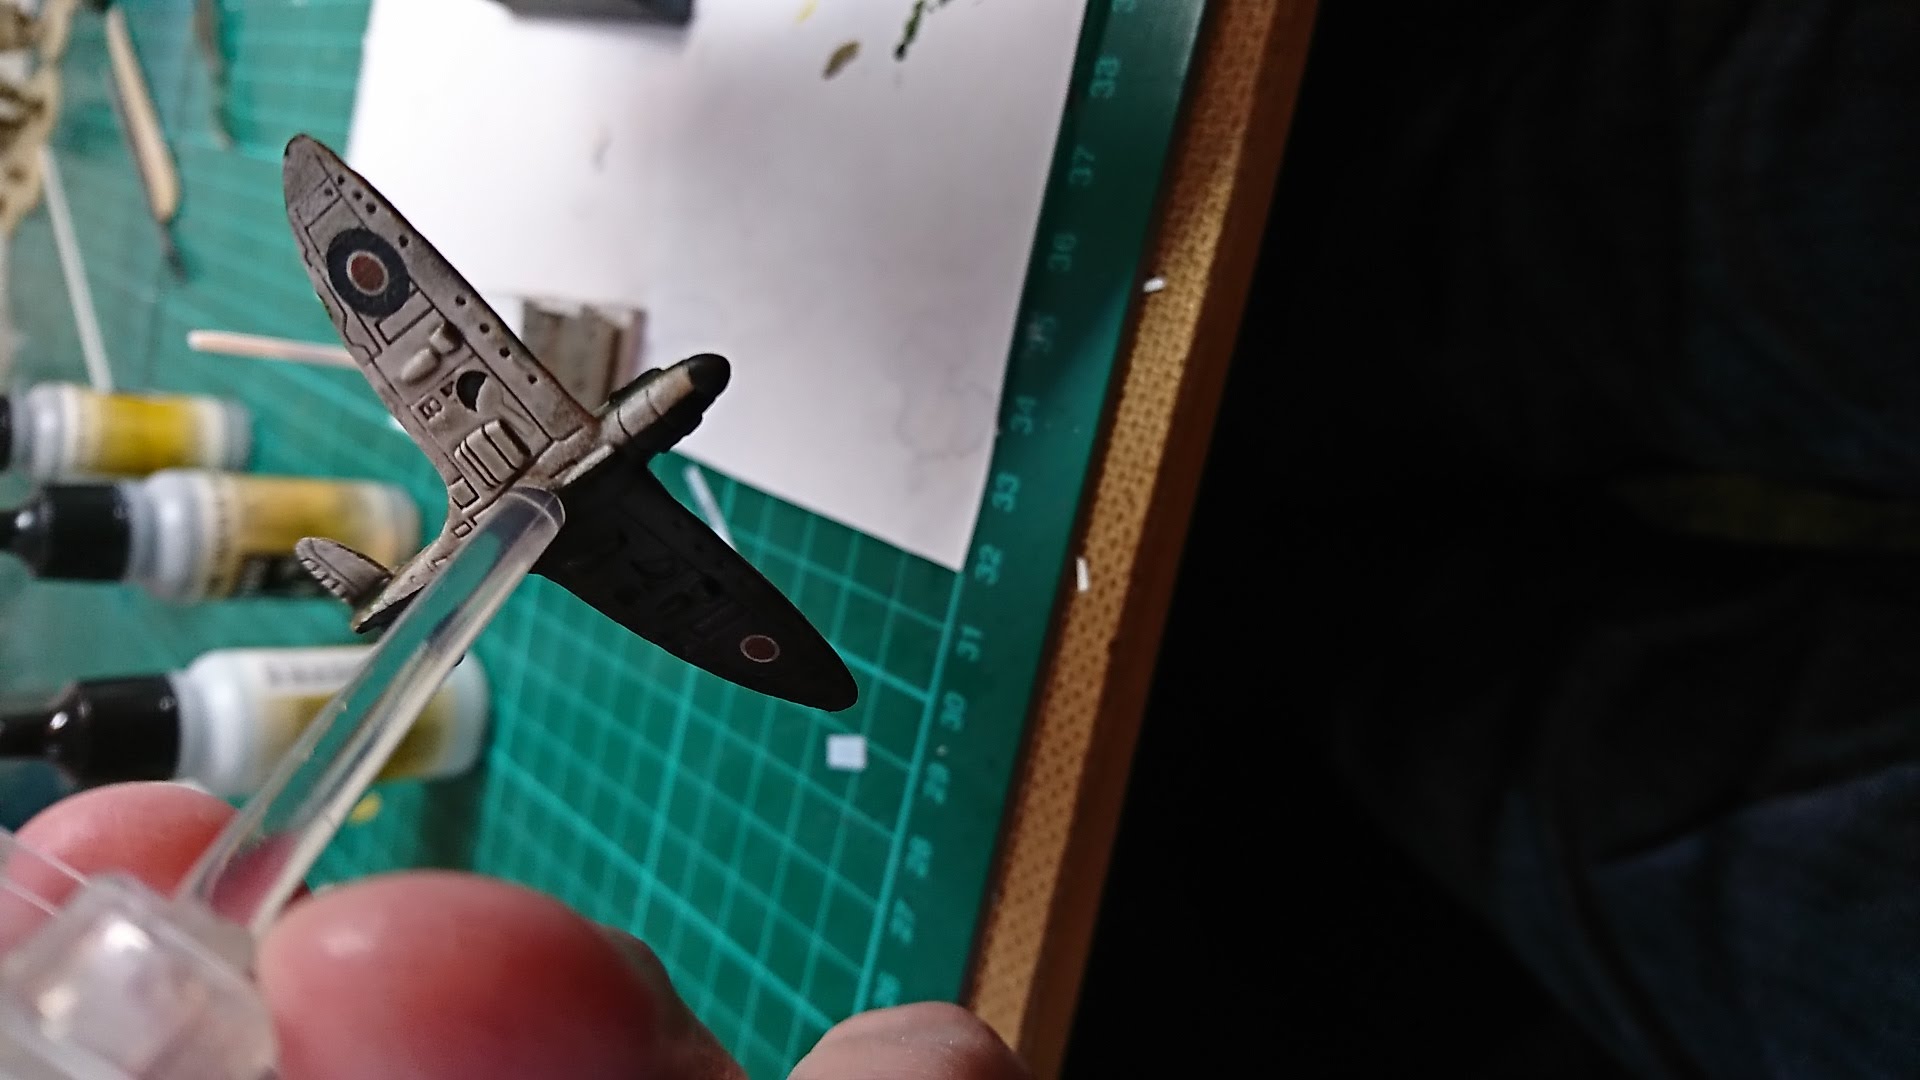
This is the series of pics I took for the Plog I did on the previous version of BoW. It shows the stages of painting my Spitfires.
Zeros
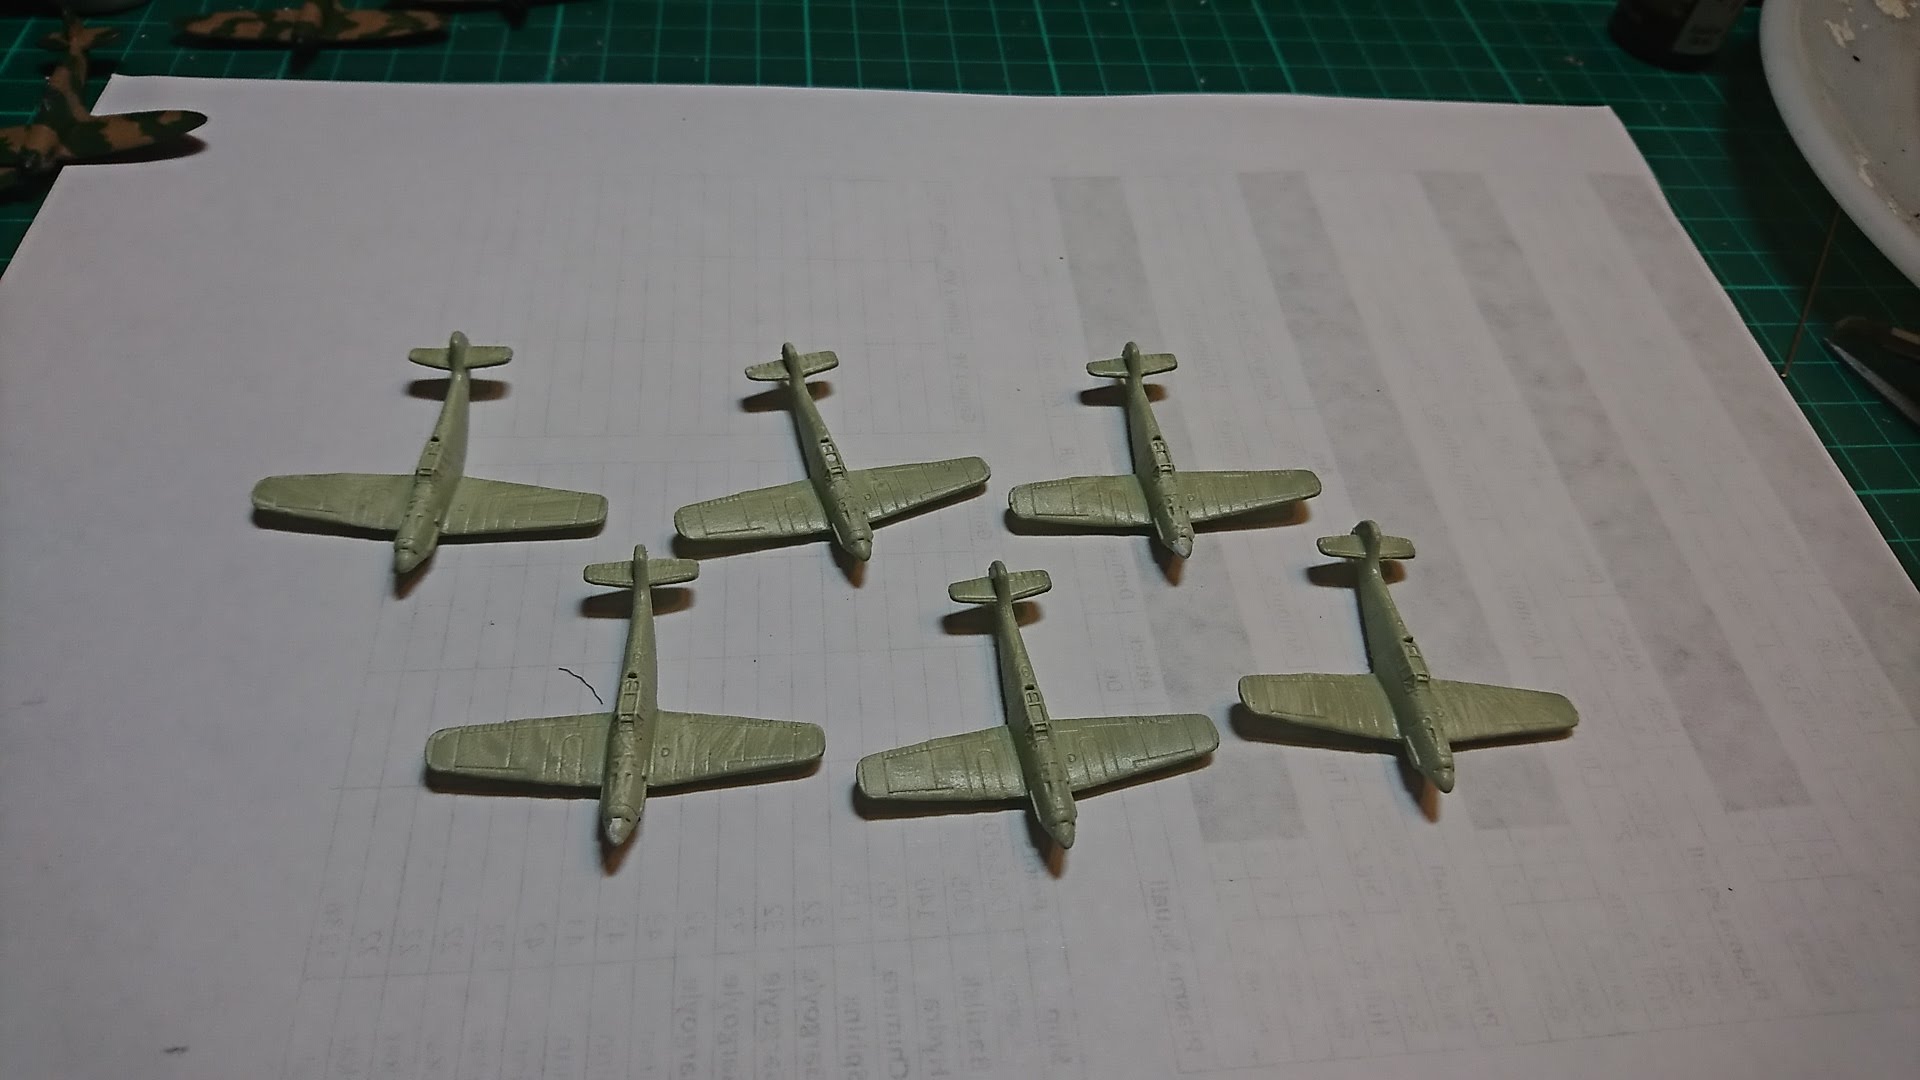
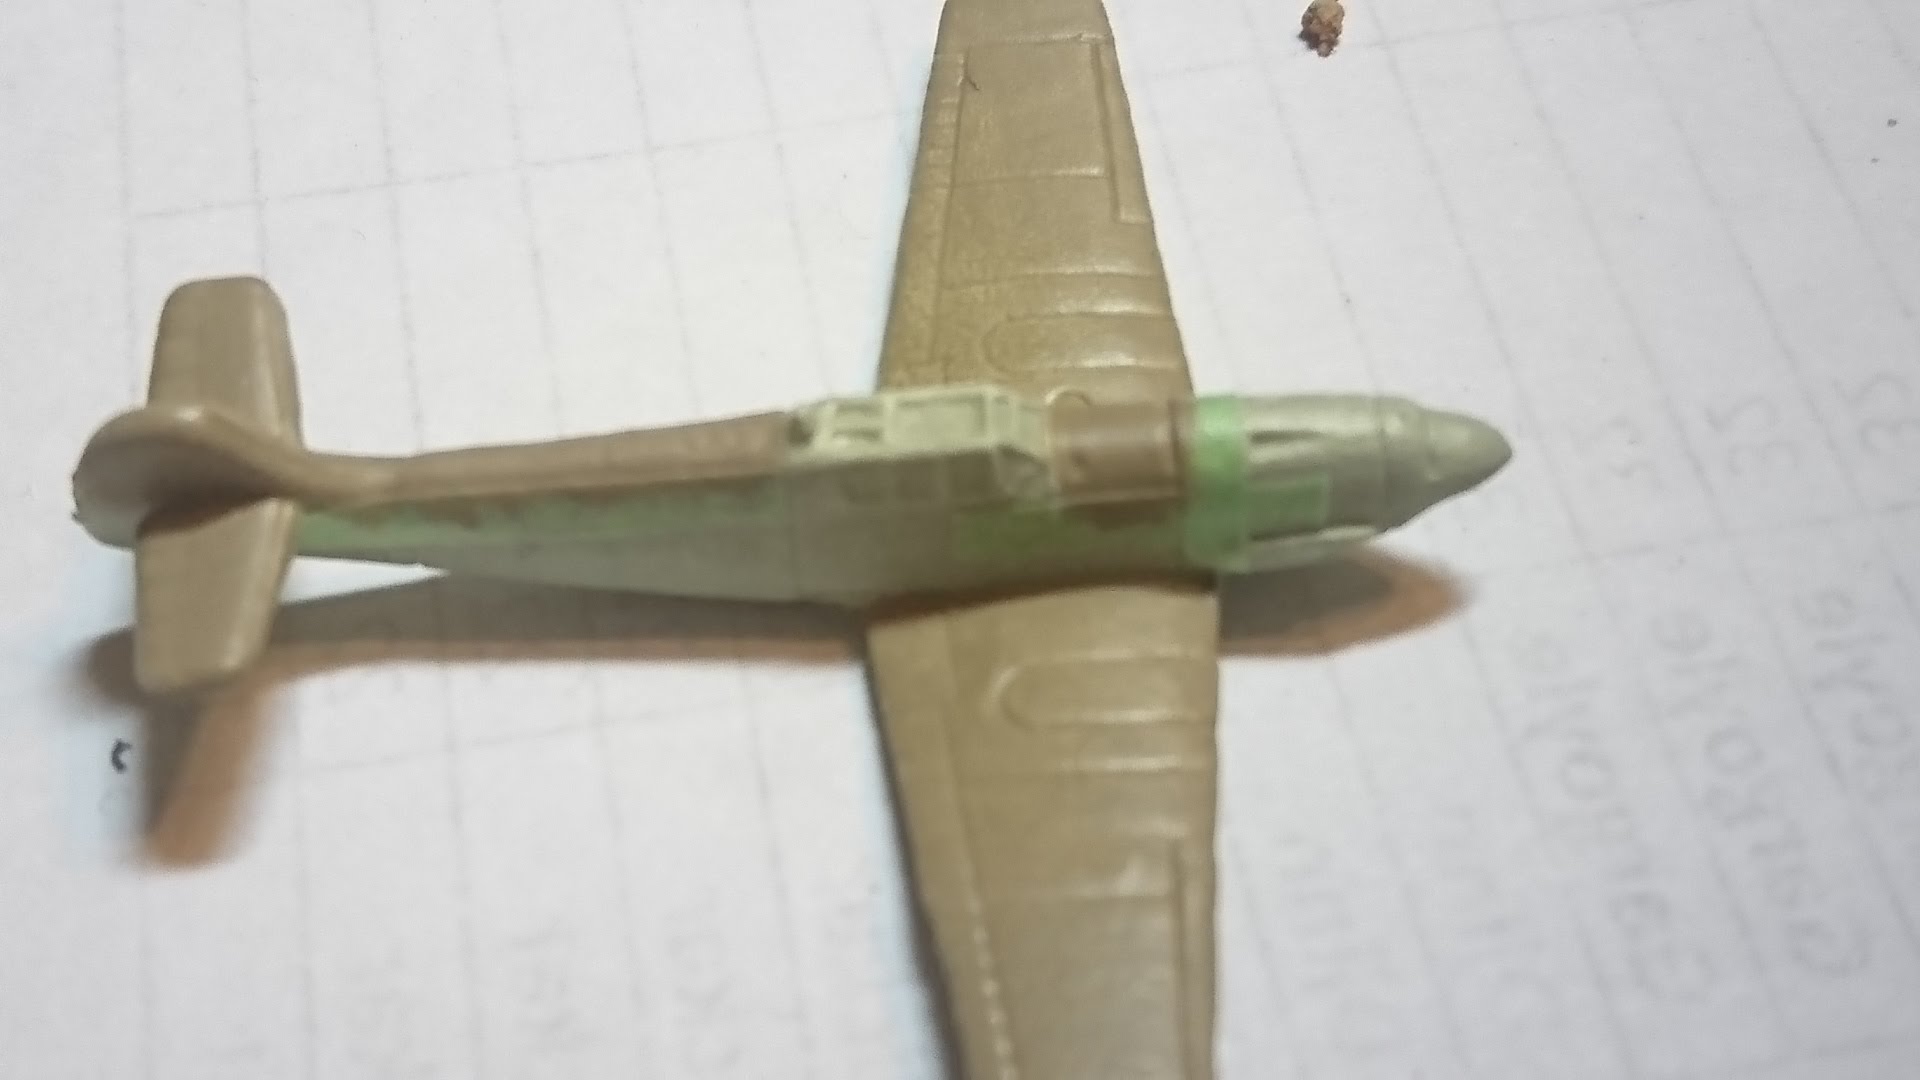
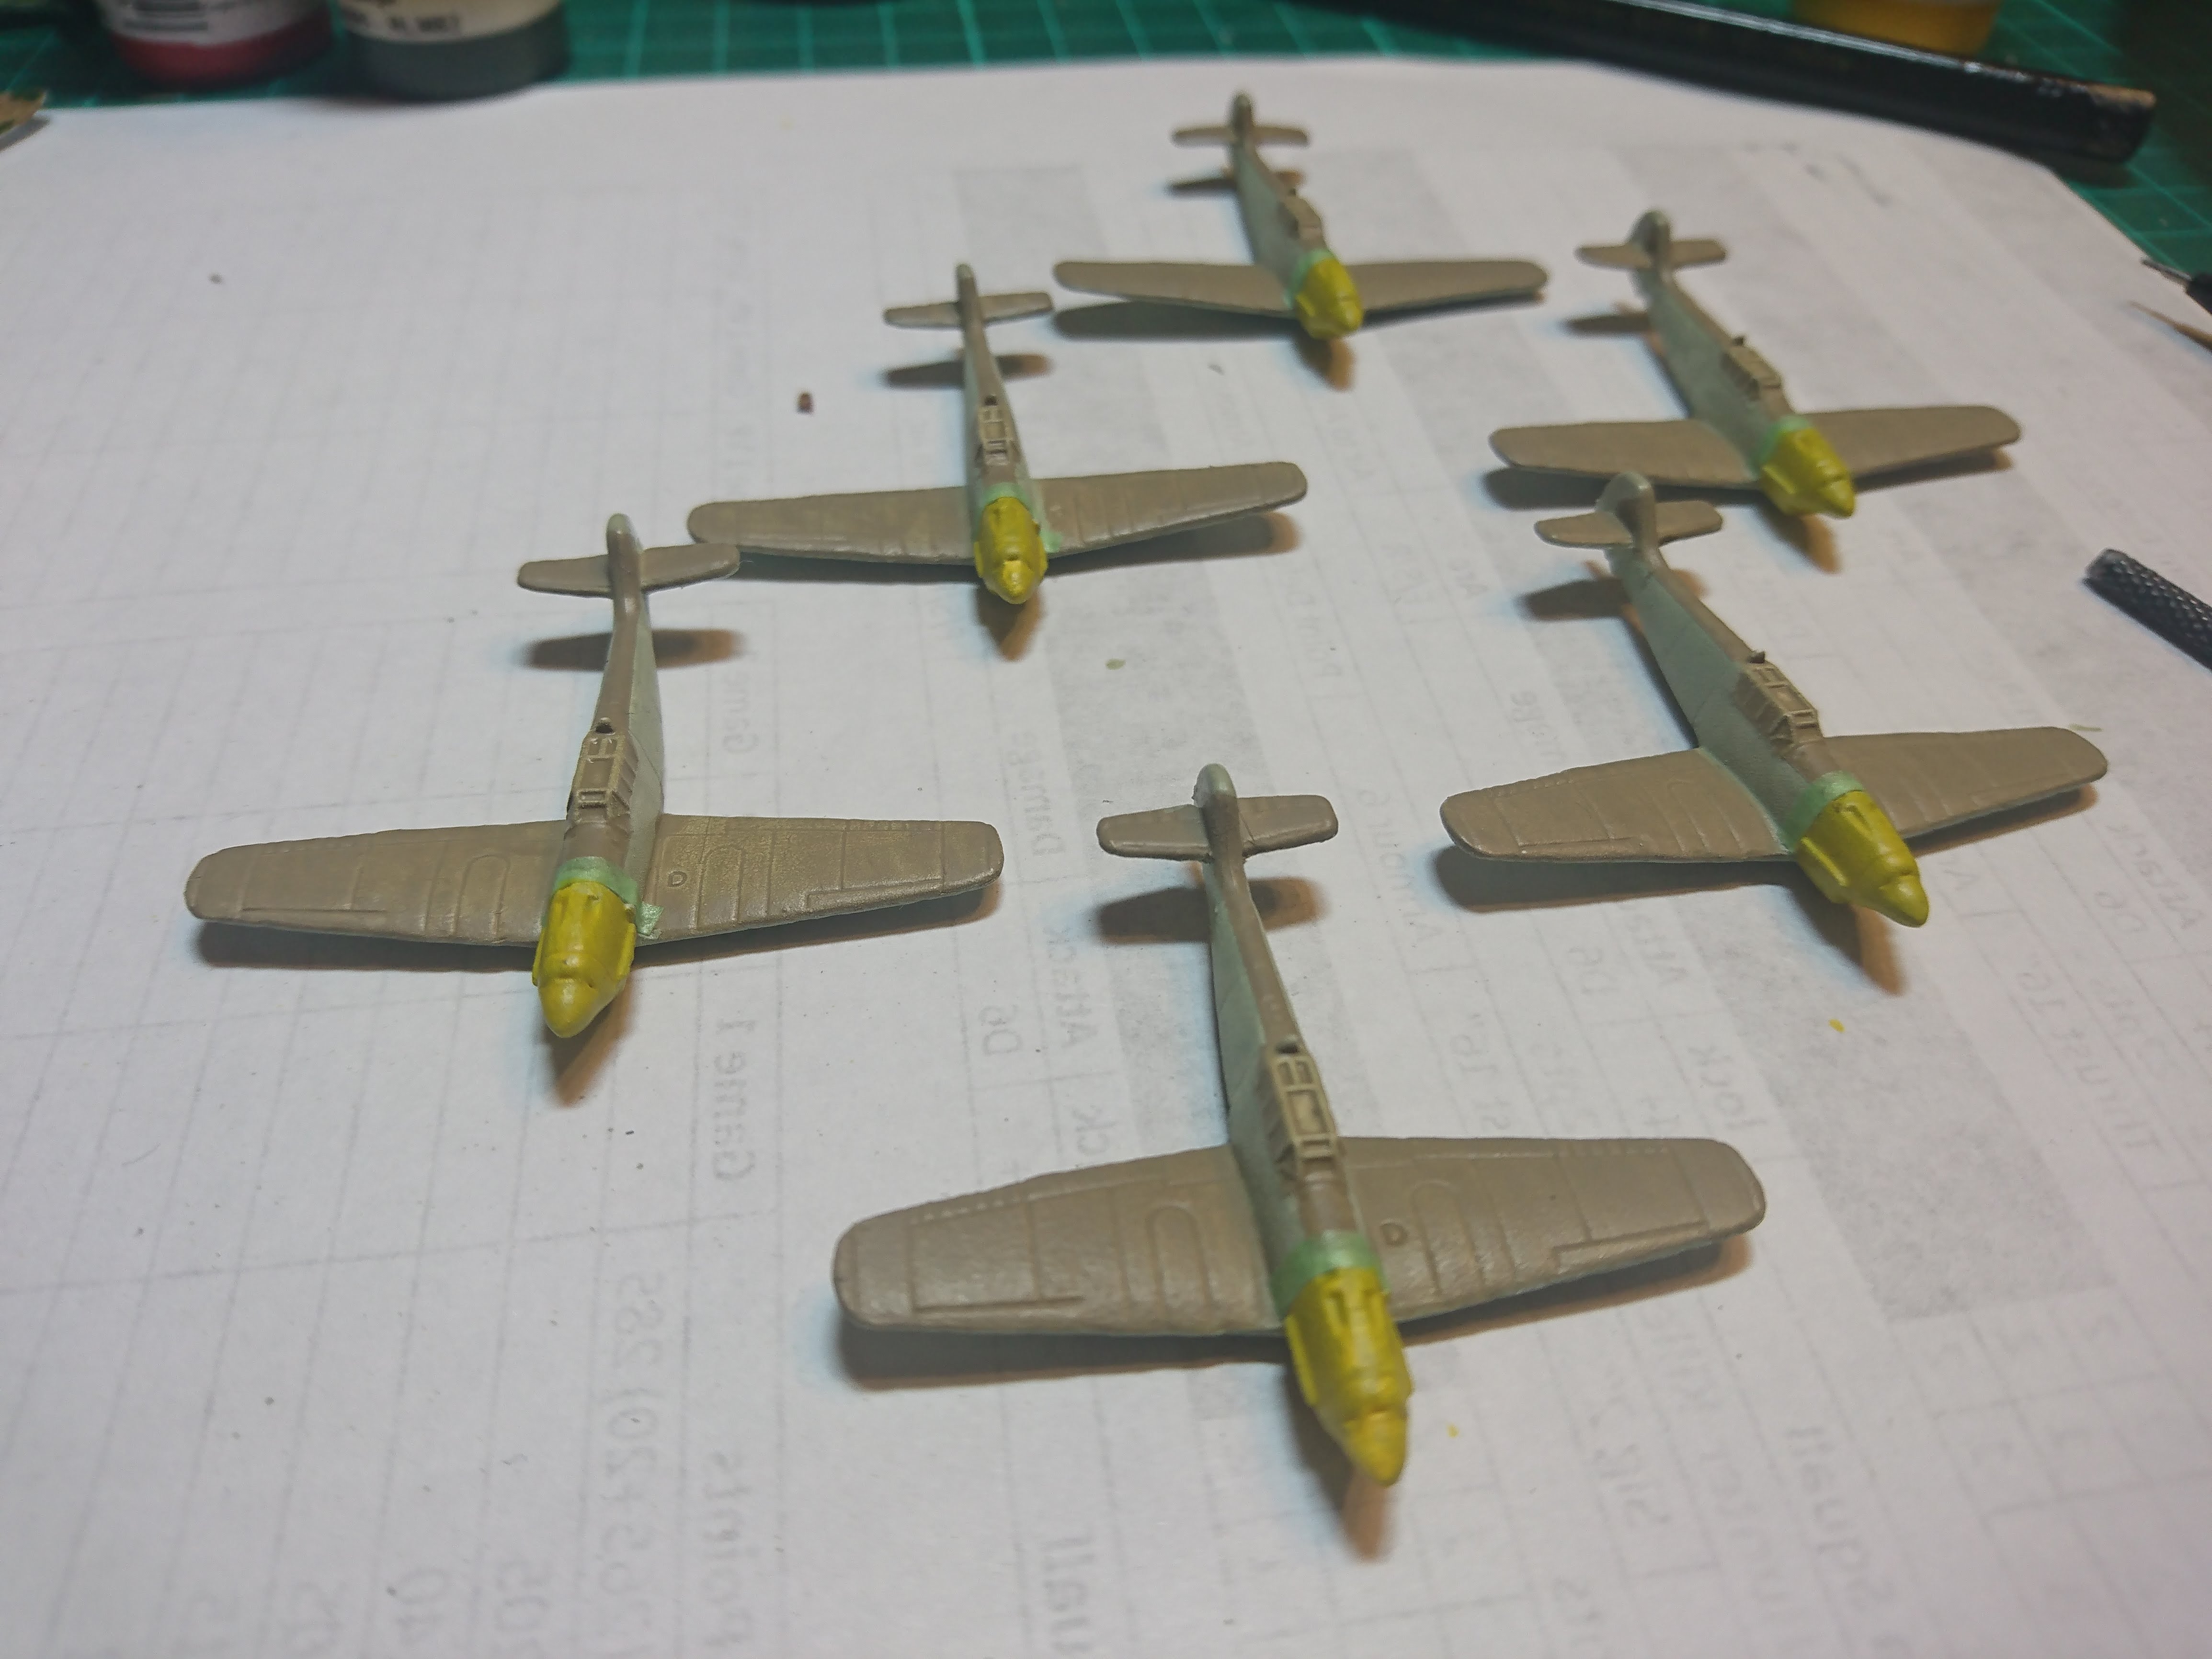
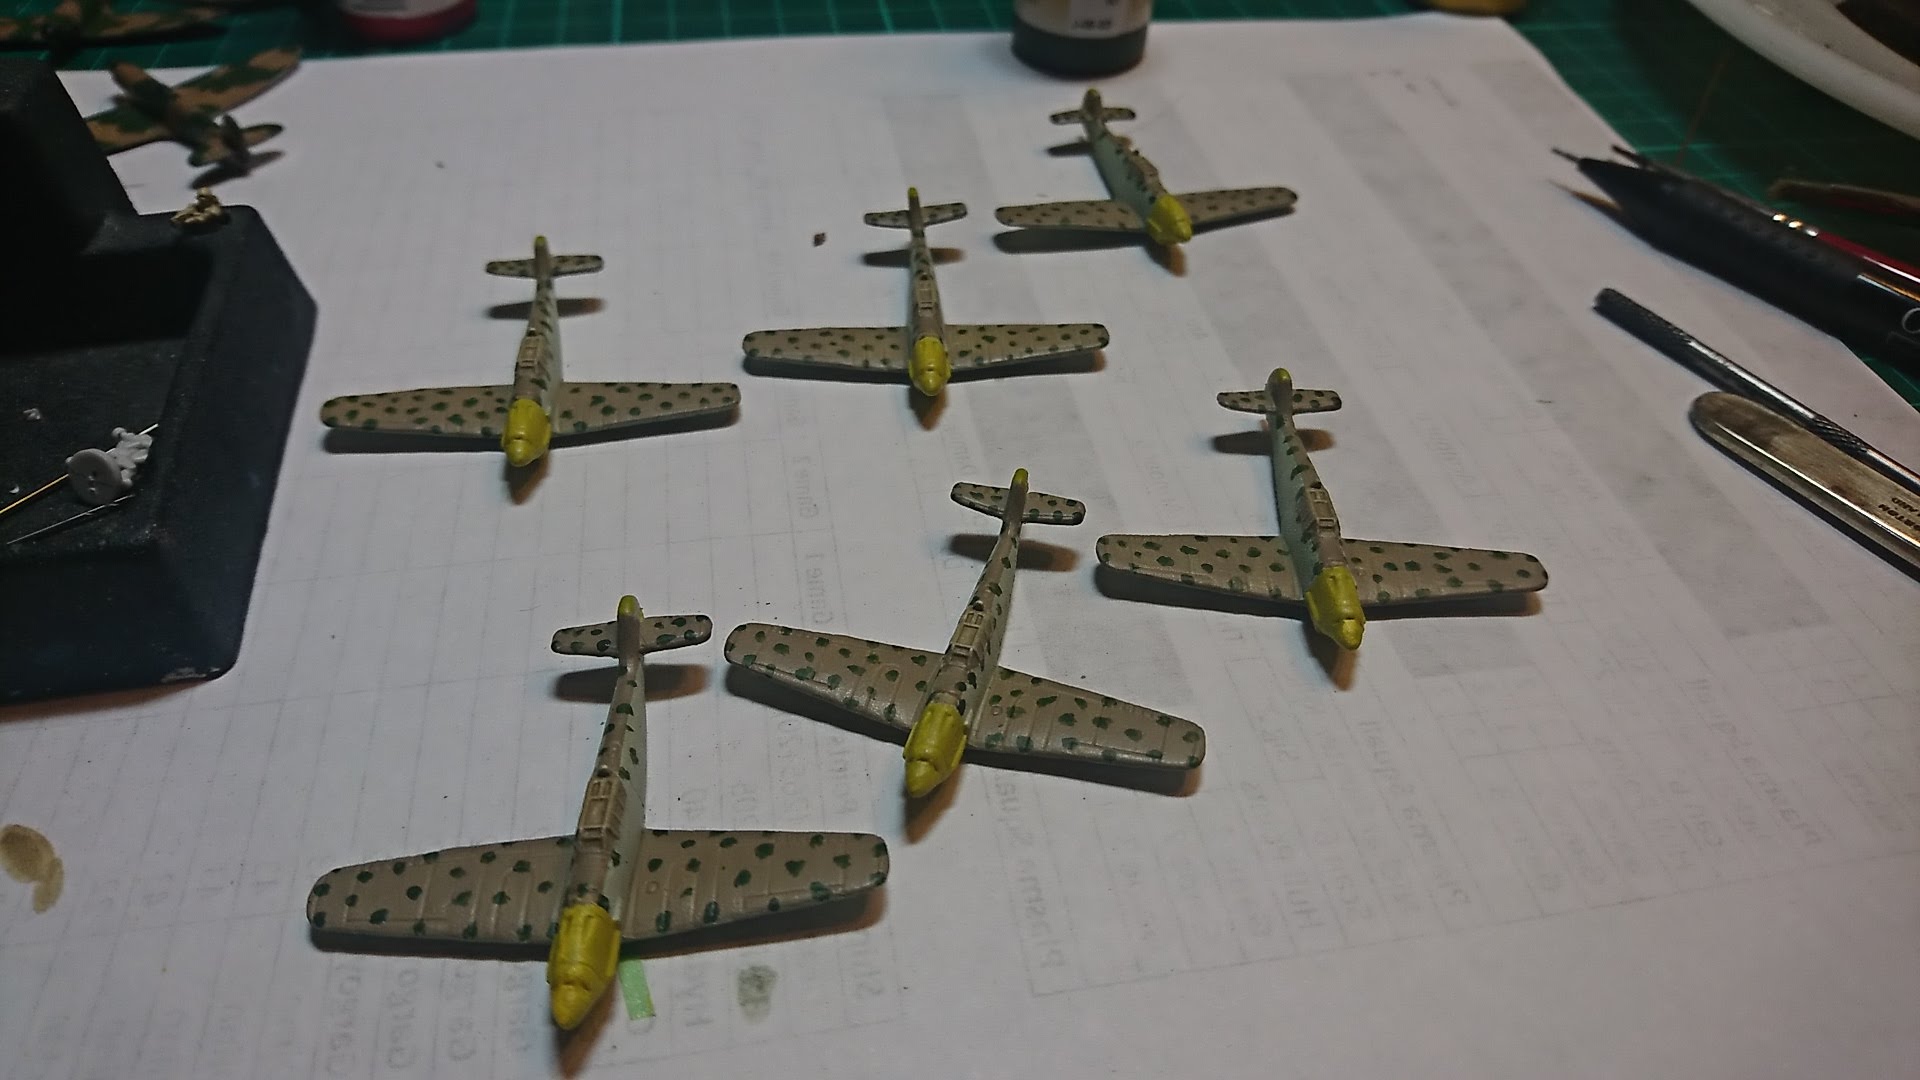
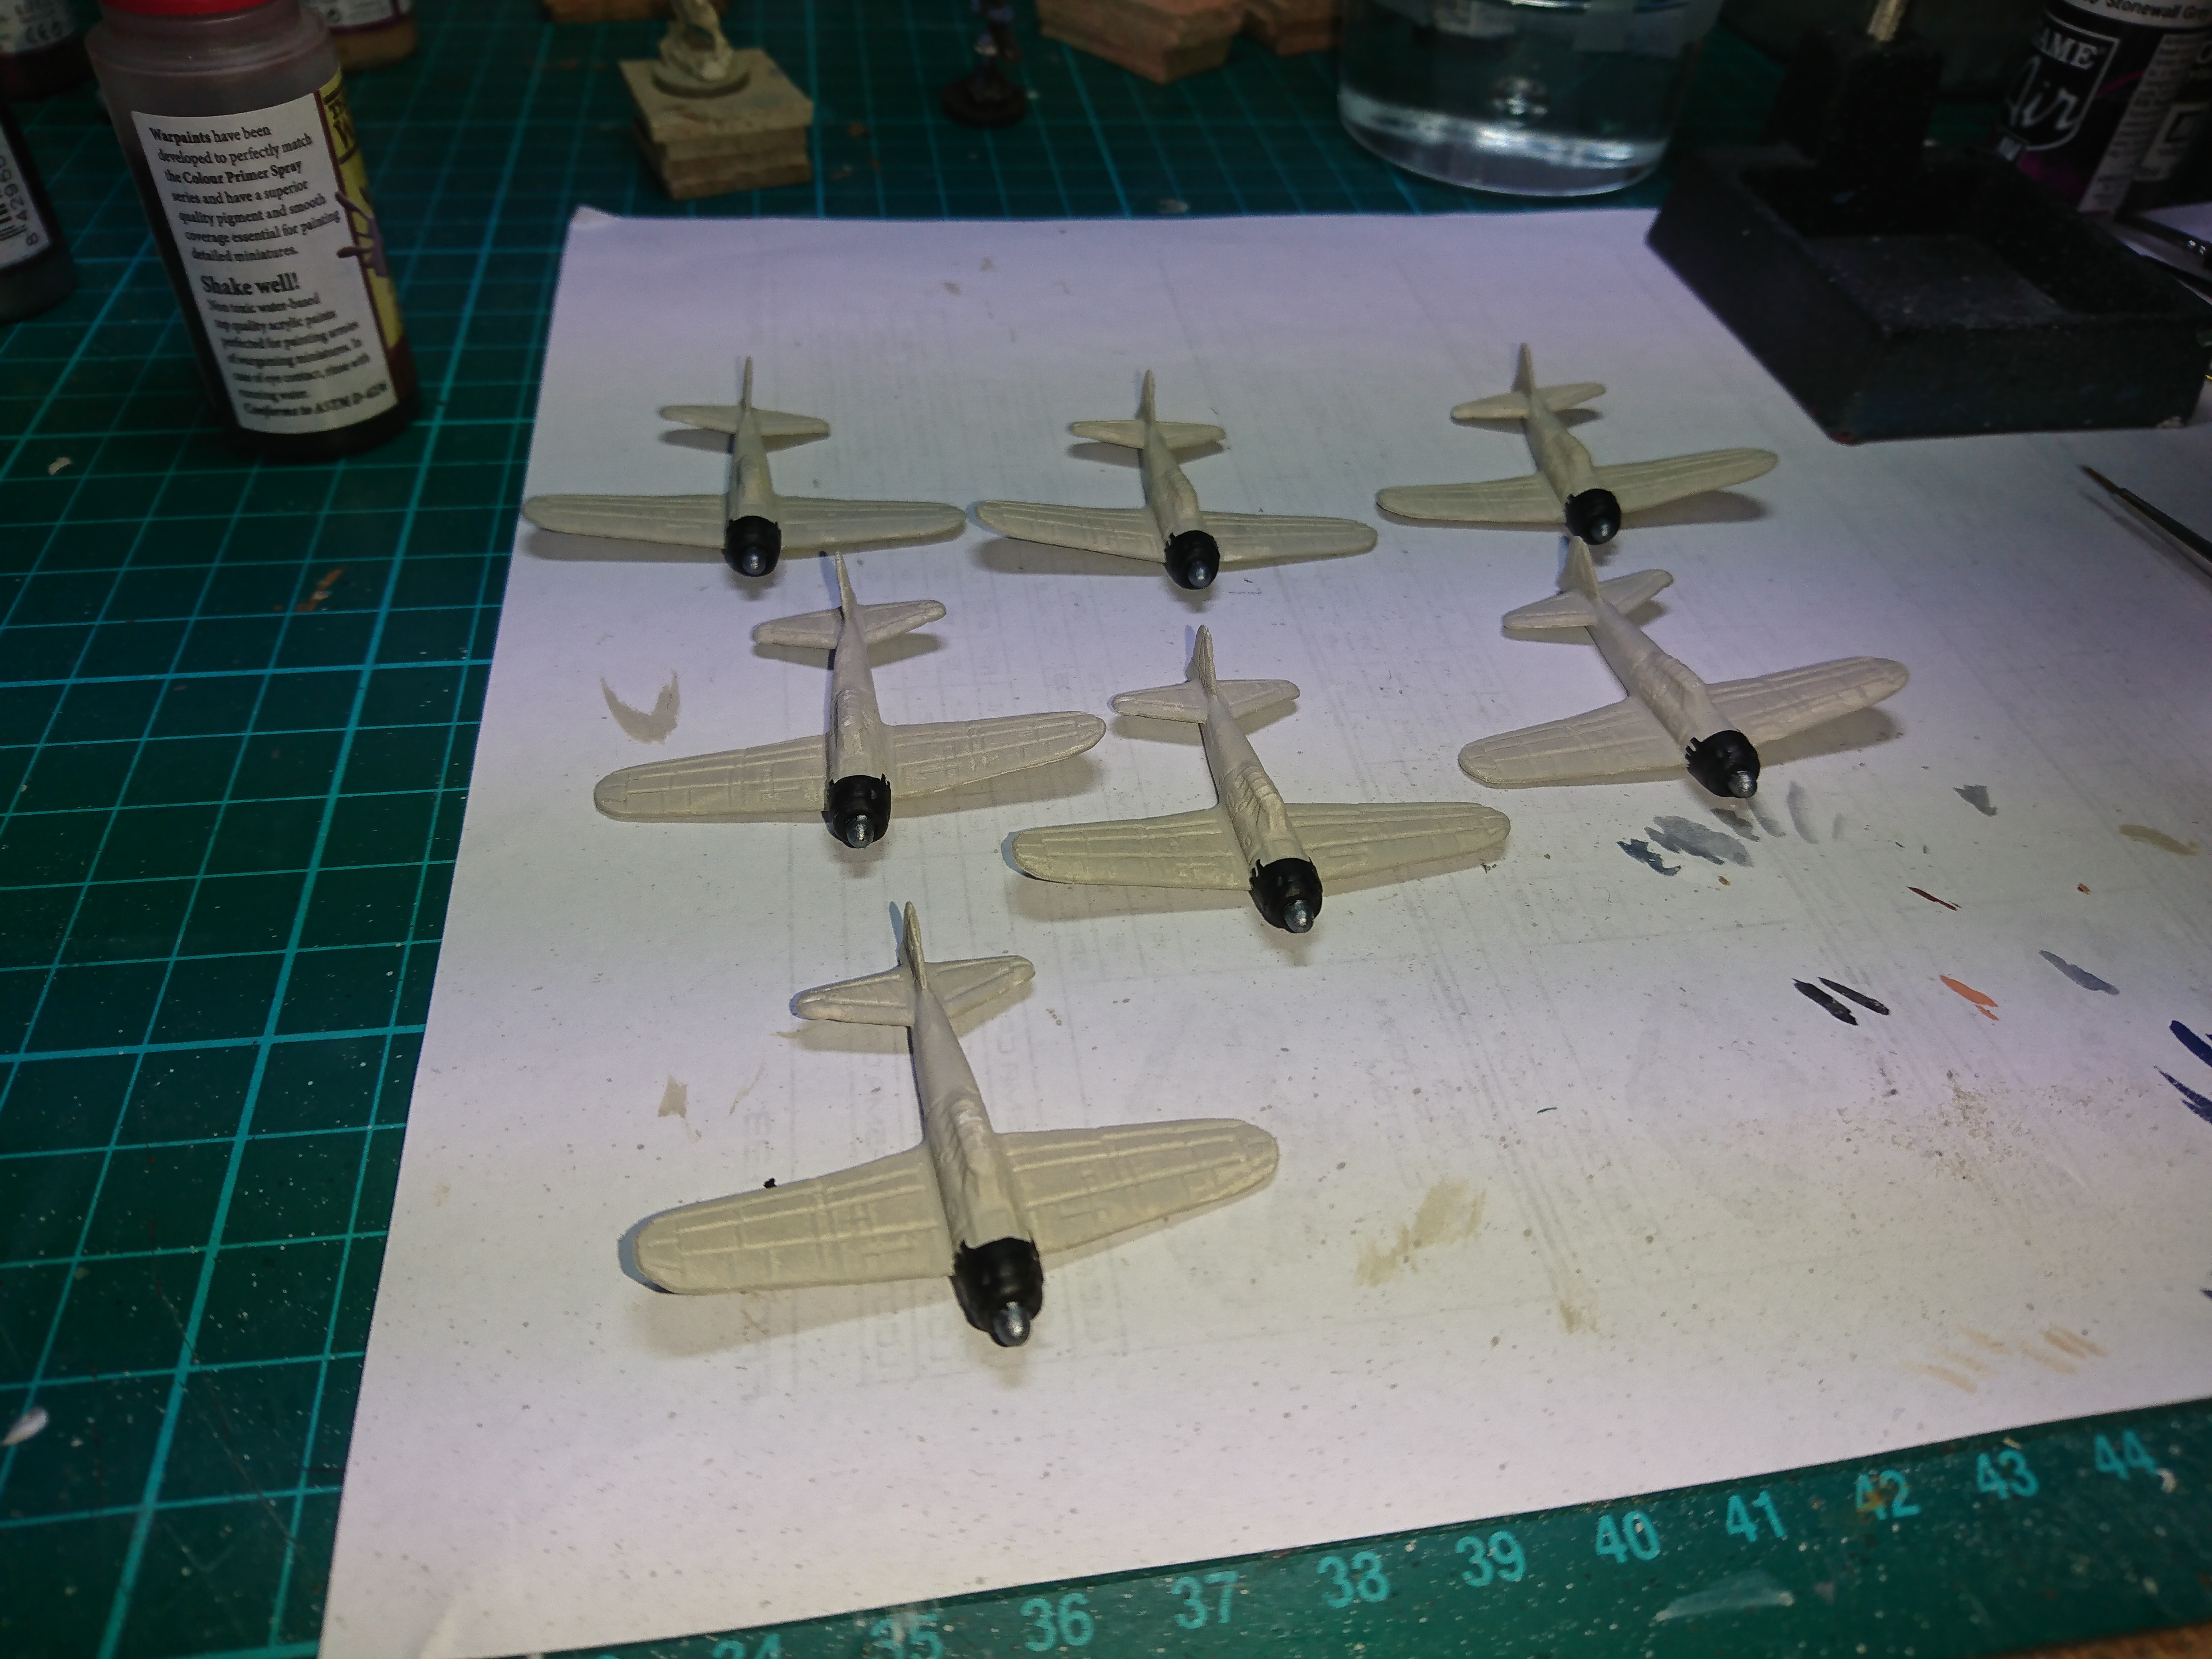 The prep and base coat of the zeros is done using Vallejo Deck Tan
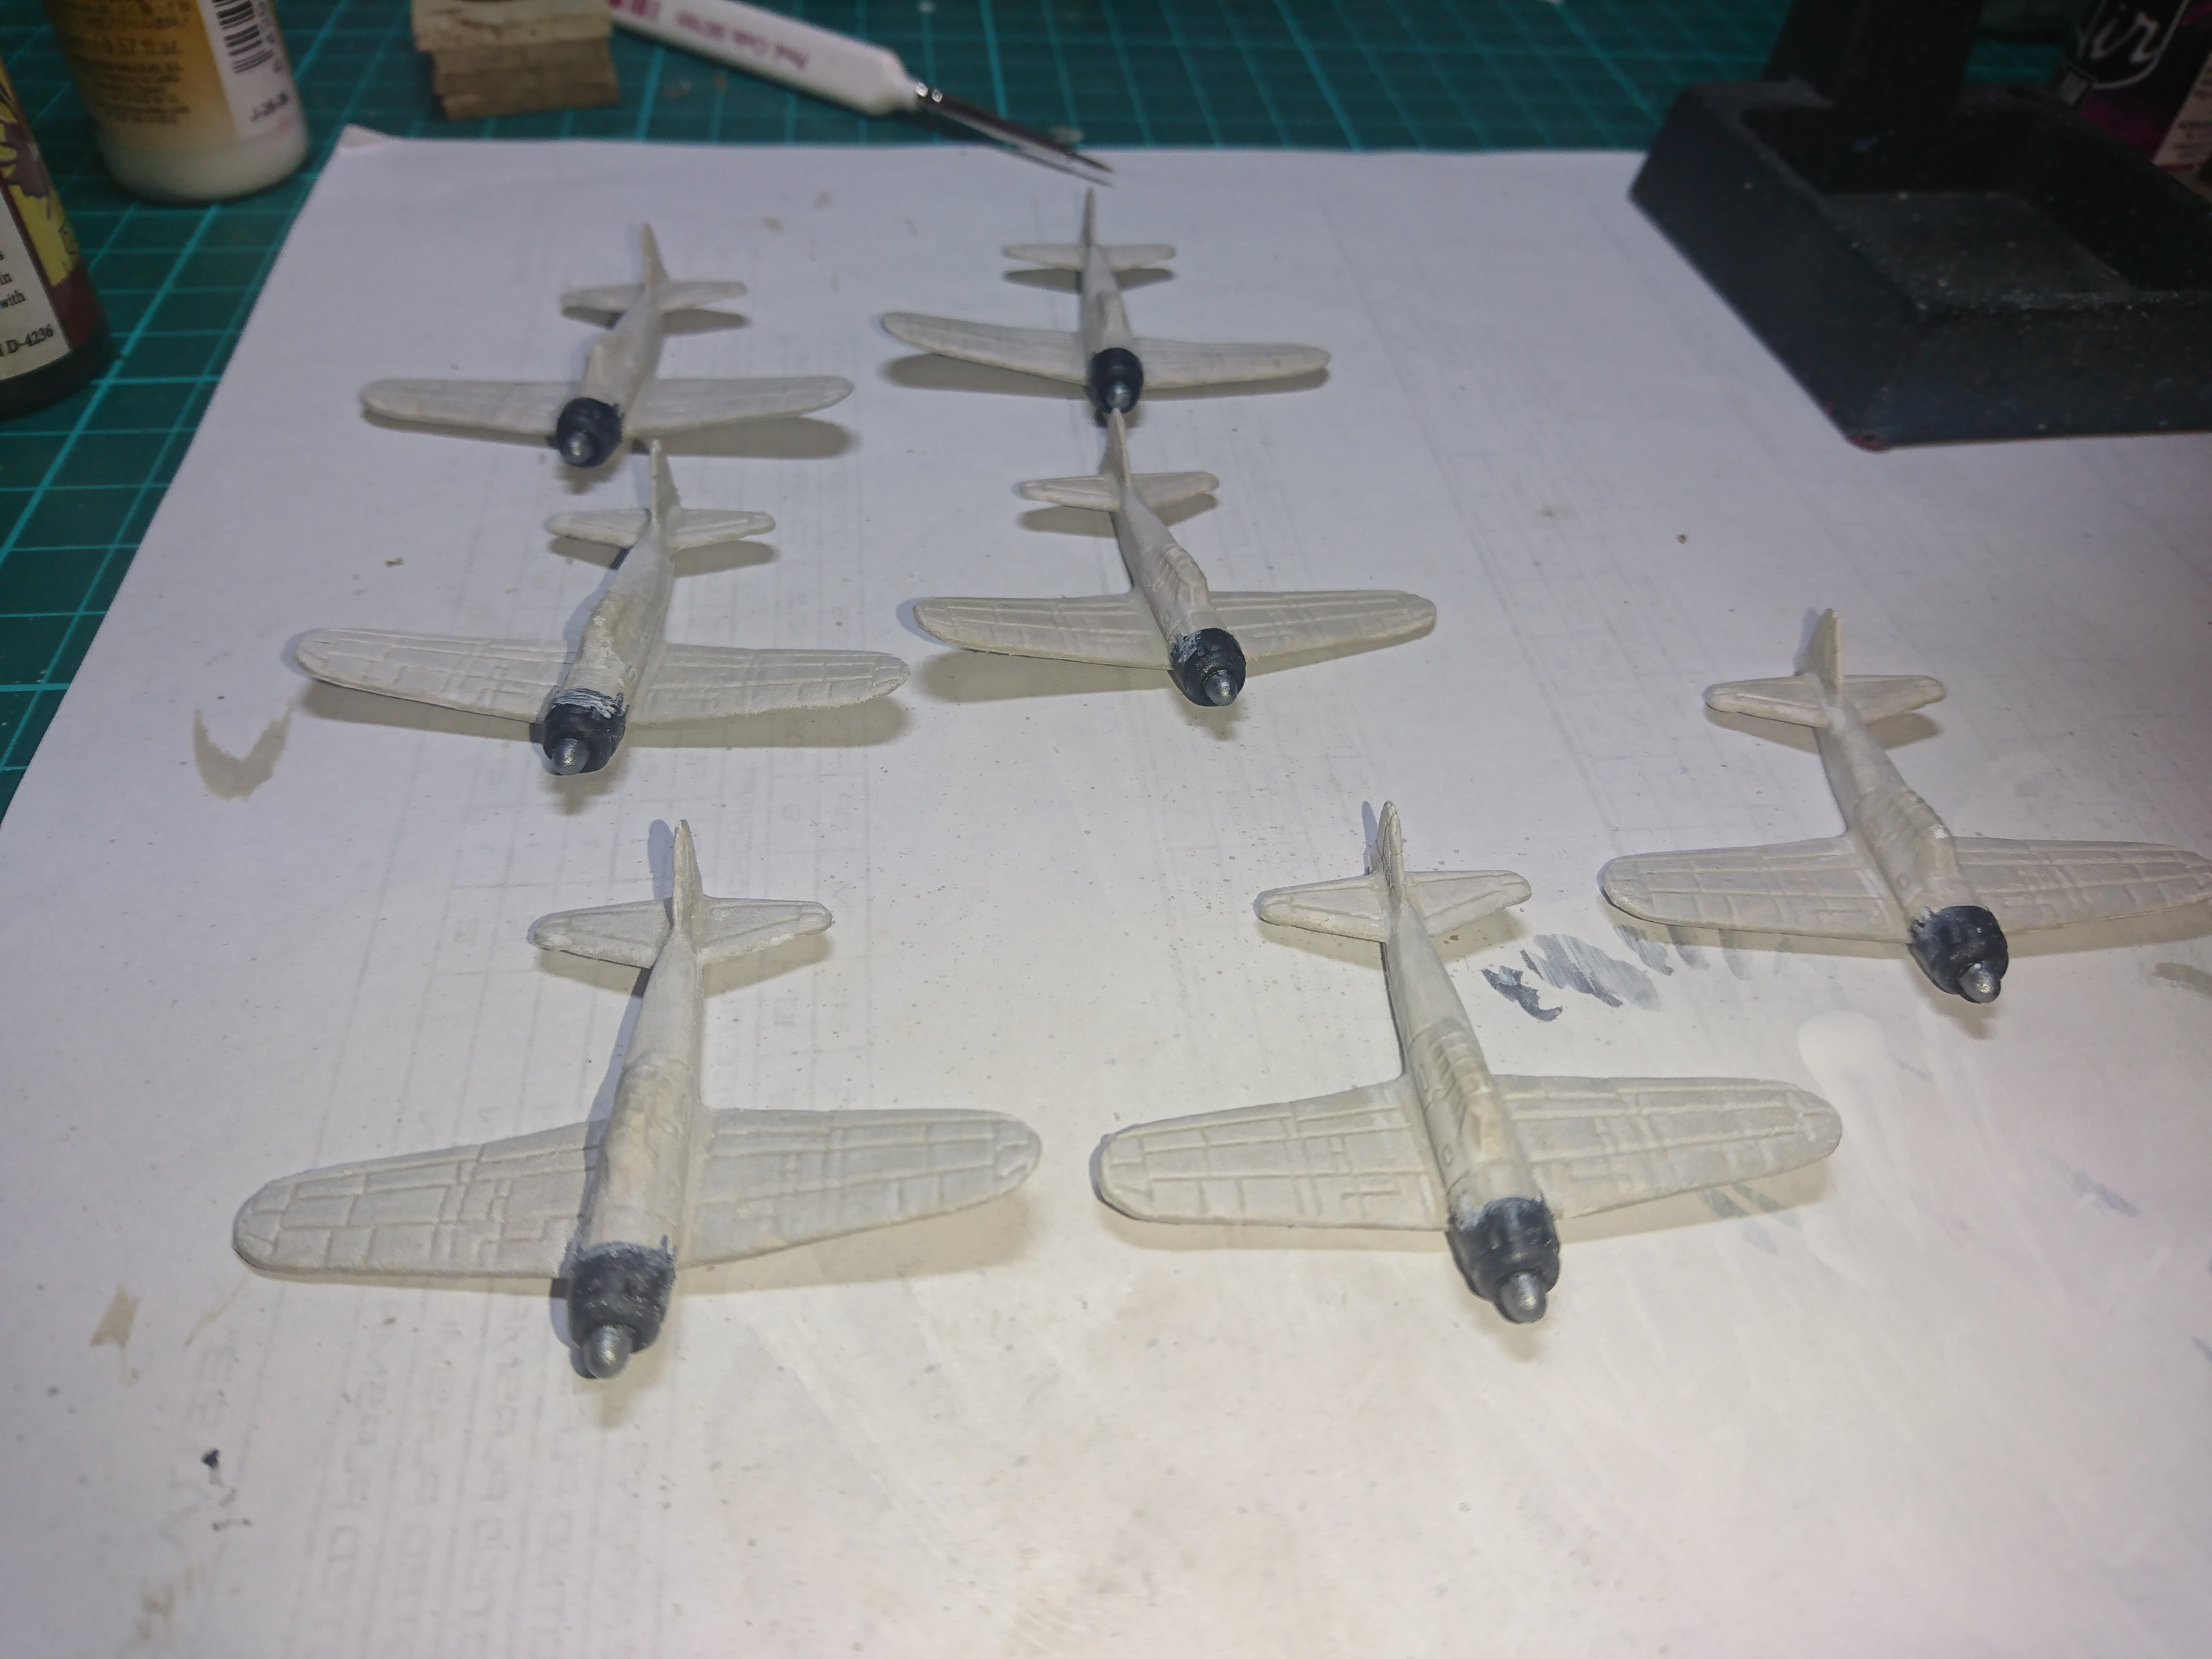 After the base coat I used a dry brush of Vallejo white to add a bit of depth.
Bombs Away folks
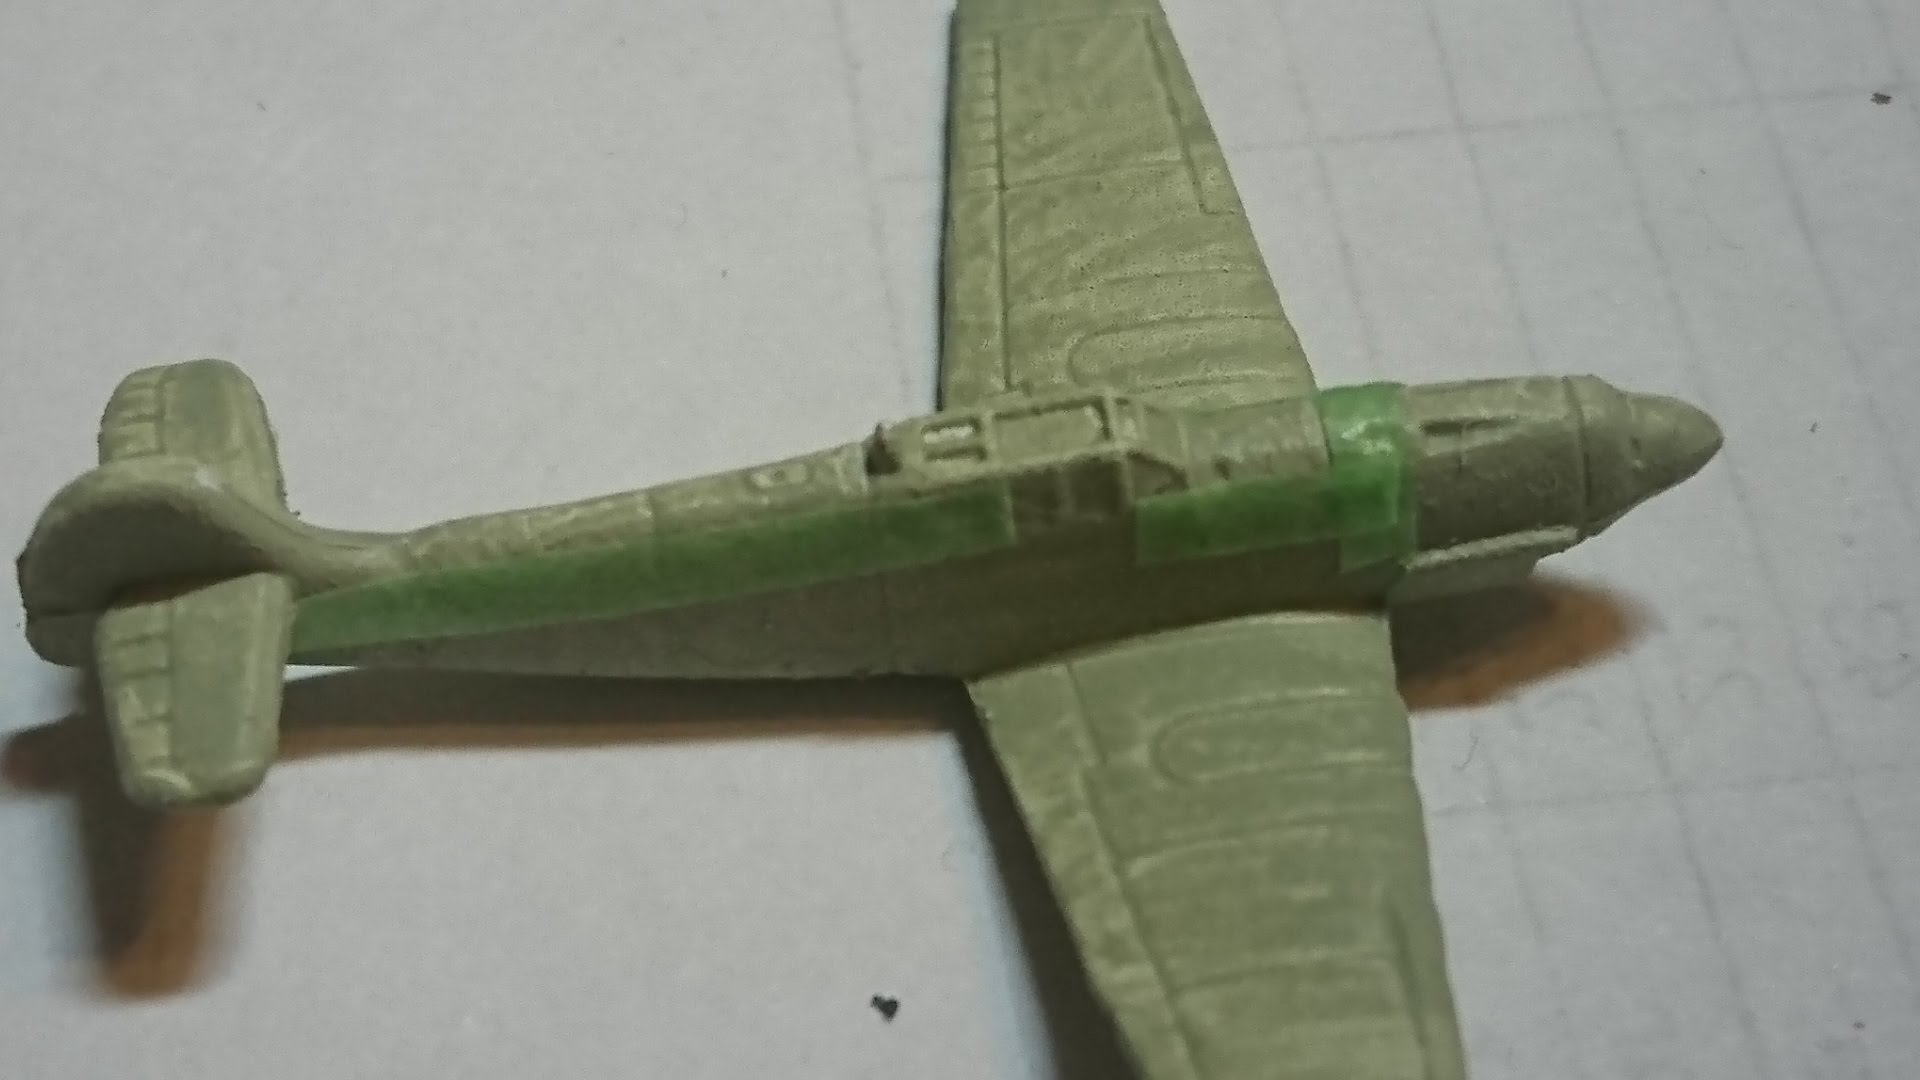
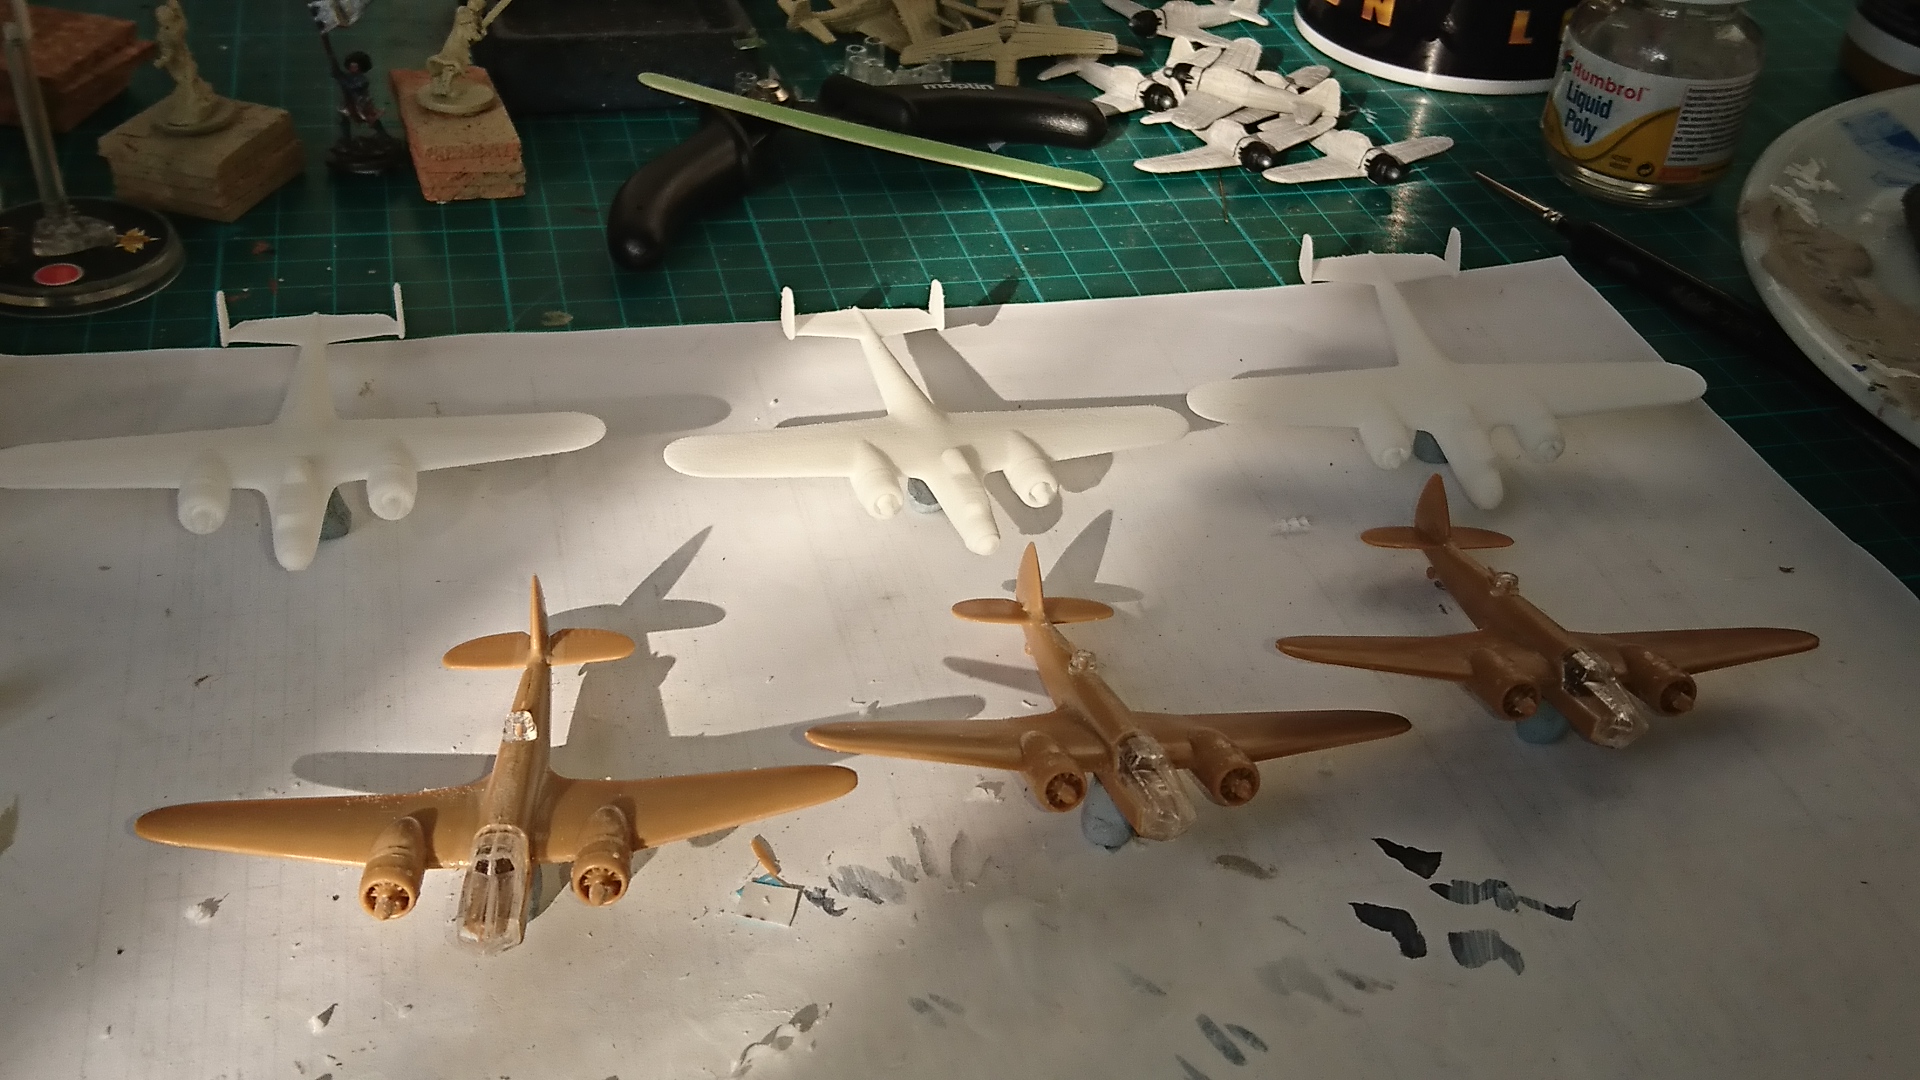 Six Bombers prepared these are 3x Bristol Blenheims and 3x Dorniers Do17P nicknamed the flying Pencil.
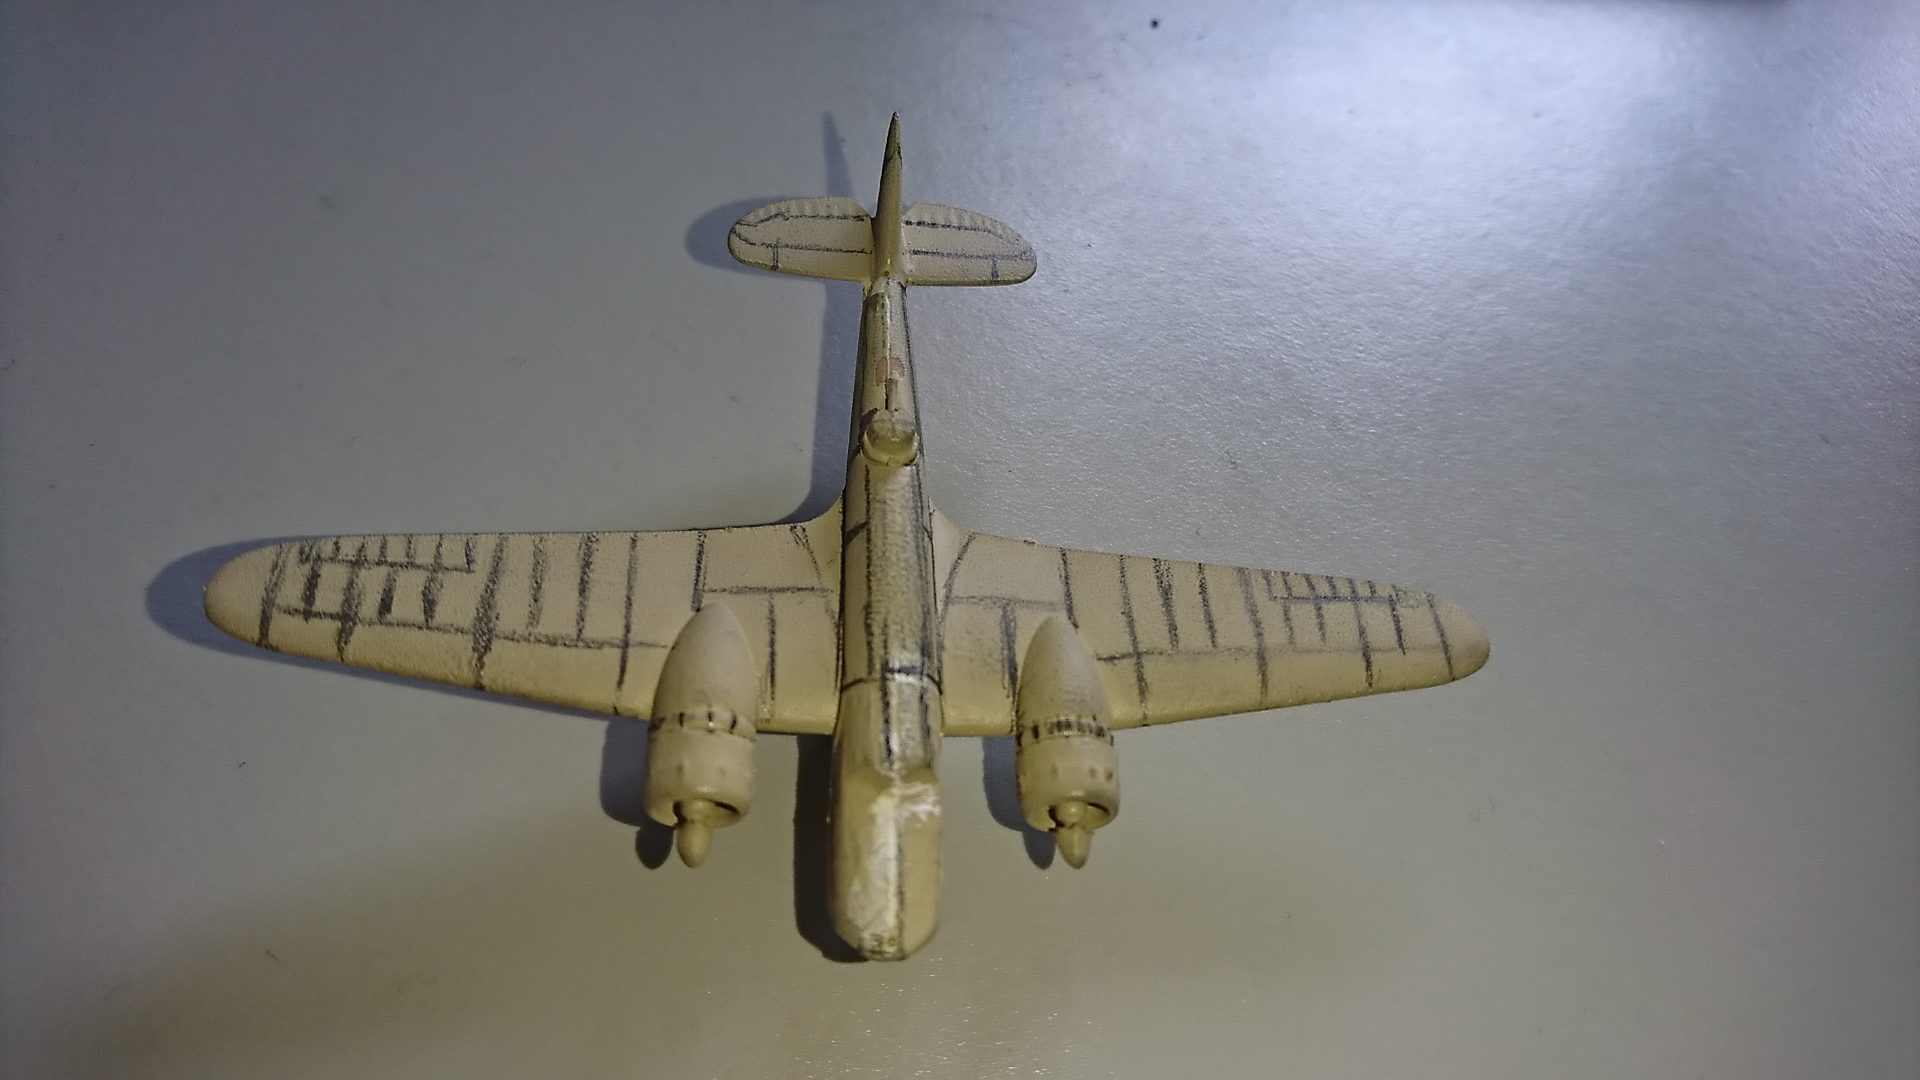 After giving the models a coat of Skeleton Bone Colour Primer from AP my go to primer, I have filled in the Gaps on the Blenheims the next stage is to figure out the panel lines. Neither the Blenheims from Zvezda or the Do17P's from shapeways have much in the way of details. So basing this on a technical drawing I have sketched out where the lines should be, note this is only an approximate idea. Not 100% accurate. The reason I did the primer before doing the panel lines is that it gives a better surface for marking them out in pencil.
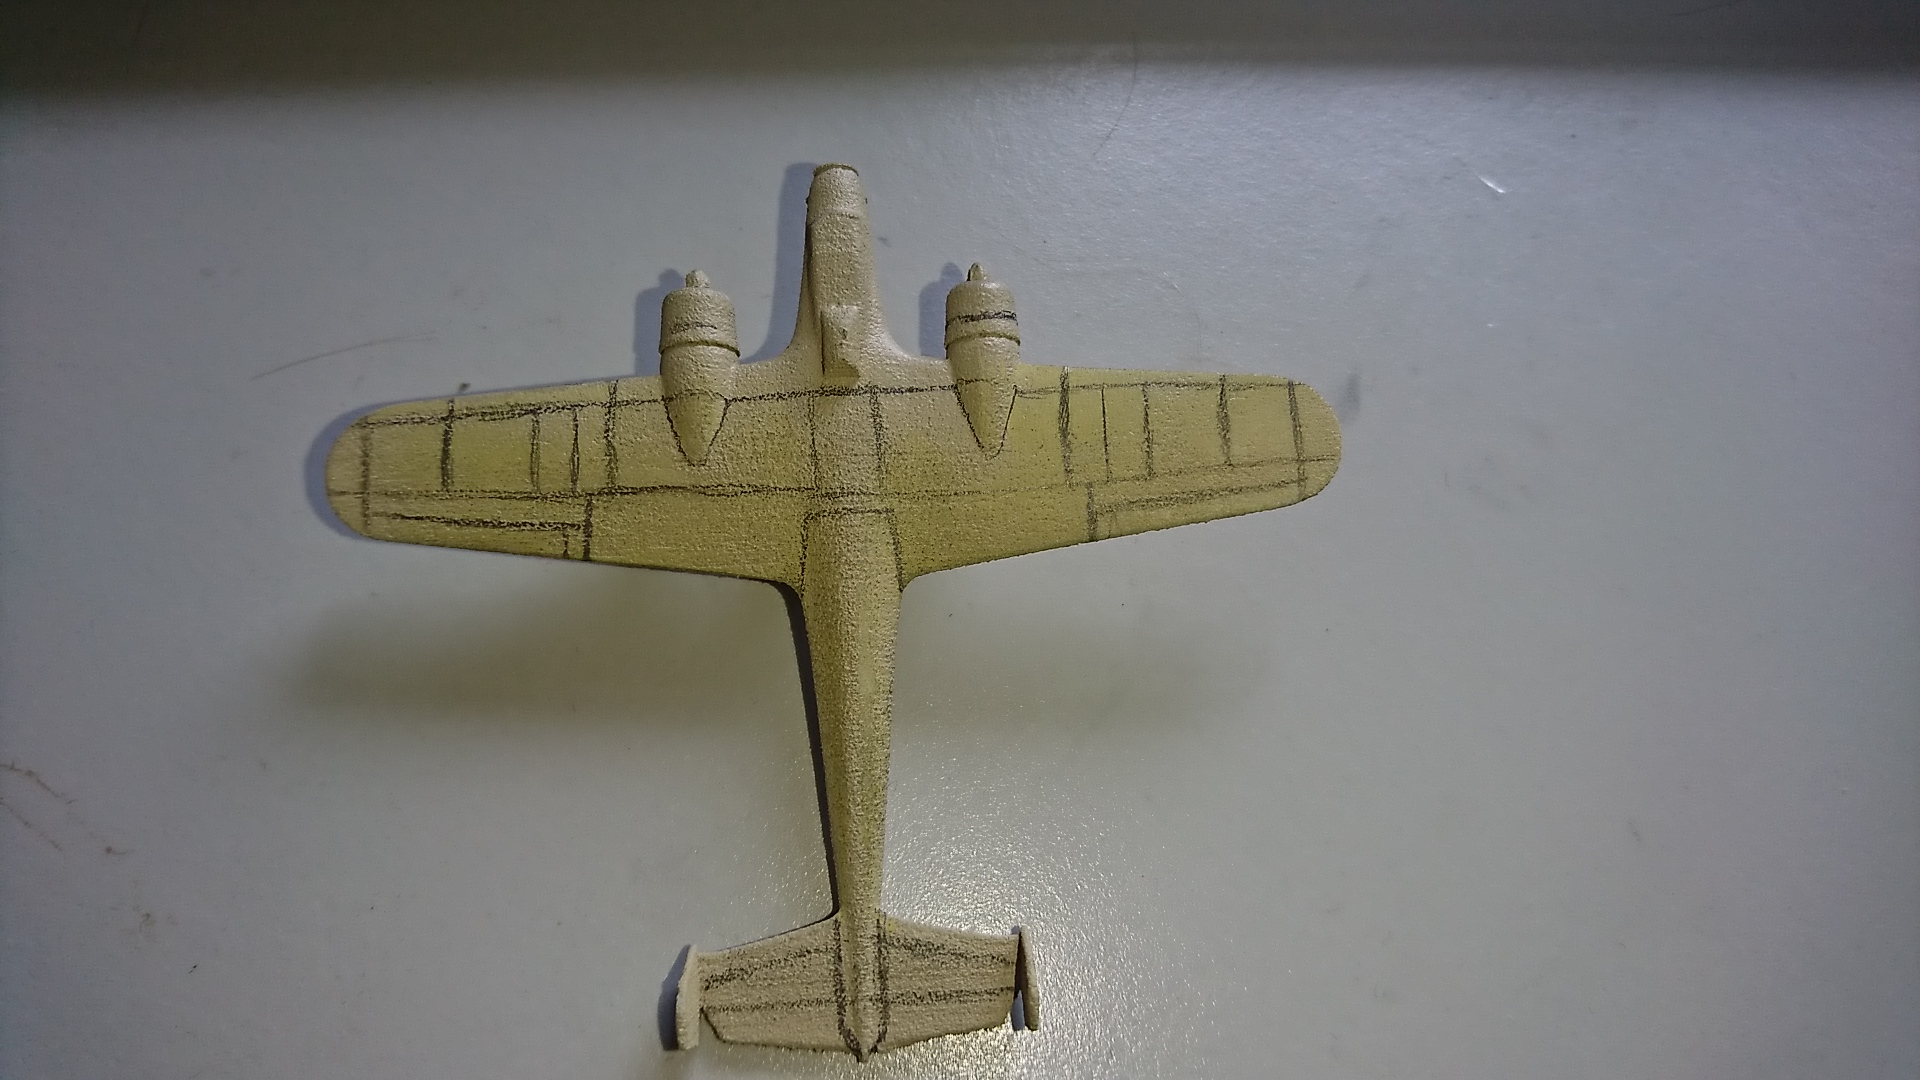 The panel lines on the Dorniers
![StarCraft Tabletop Miniatures Game Pre-Orders Live Now [Updated]](https://images.beastsofwar.com/2026/03/starcraft-tmg-news-cover-600-338.jpg)


![Mounted US Cavalry On Kickstarter For Dead Man’s Hand! [Updated]](https://images.beastsofwar.com/2026/03/us-cavalry-main-600-338.jpg)


![Play WW2 Commando Operations With Butcher & Bolt [Updated]](https://images.beastsofwar.com/2026/03/relaunch-600-338.jpg)


