


75th Anniversary of Battle of Monte Cassino and Northern Italy (Terrain Build)


Recommendations: 440
About the Project
Firstly, I’m aware that the 75th Anniversary for the first Battle of Monte Cassino is 12th January 2019 however, this project is about preparing for some of the games that I’m thinking about running. I’m a slow painter, so I need plenty of time to prepare! In this project, I will look at building the terrain that I will need for the battles. I have another project looking at the forces that I need to build and paint to better re-create those involved.
Related Game: Flames of War: The World War II Miniatures Game
Related Genre: Historical
This Project is Active
Defensive Obstacles - Applying the basing material
I like using filler (spakling paste) for my basing. It’s creates a decent texture and can hold things down if attached while wet which effectively places those items ‘in to the terrain’ rather than ‘on top of the terrain’.
I start by scoring the MDF base with a knife to help create a rough surface area for the filler to adhere to. It’s then a simple case of applying the filler. I use my finger and some water to smooth it out and create undulations so it looks more natural.
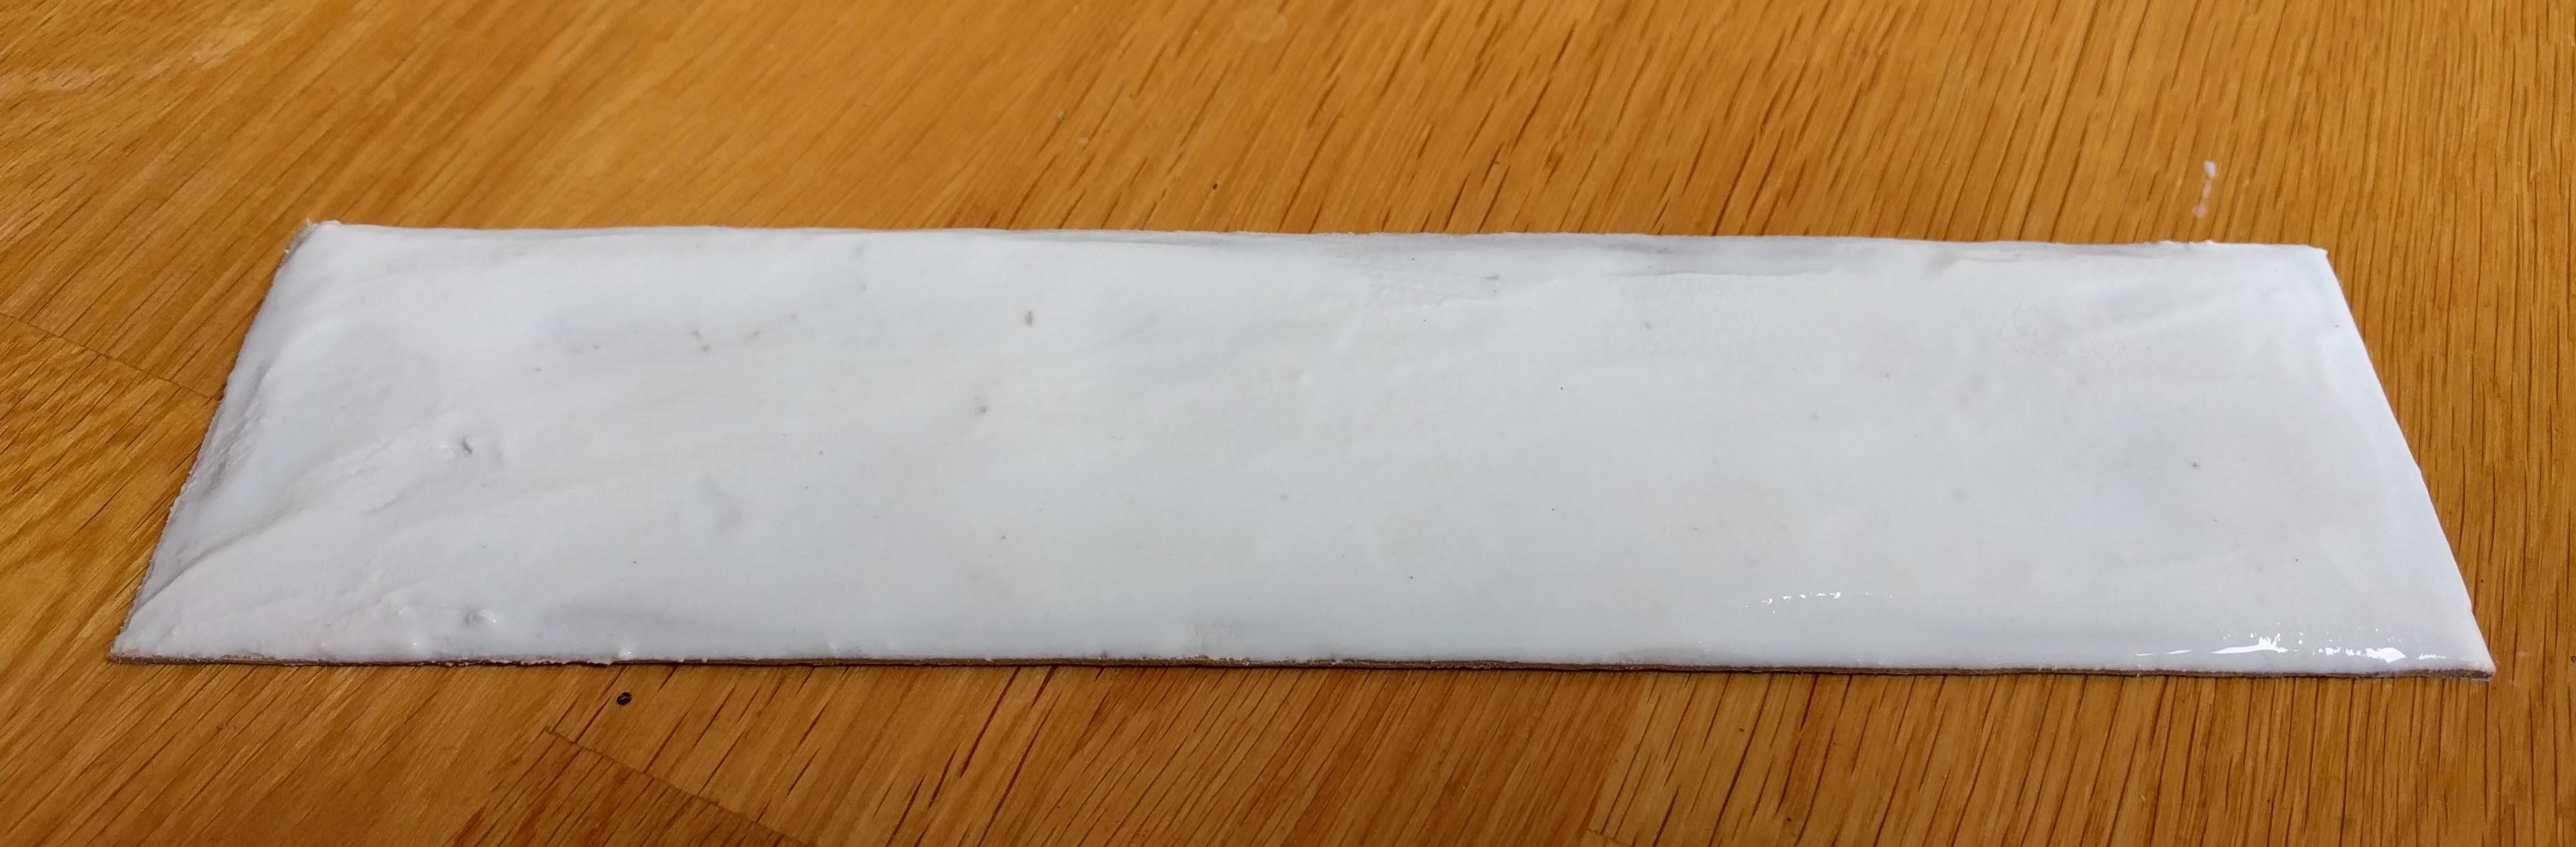 An MDF base covered with filler that has been smoothed with some water
For the mine fields, I will simply sprinkle over some sand and small stones/cork chippings to create some texture and leave to dry.
For the tank traps and barbed wire, I pushed the primed tile spacers into the filler and applied a small blob of filler around the base of each ‘post’ to create the impression of these posts being fixed into the ground. Again, some water and my finger smoothed these blobs out to make them look more ‘natural’.
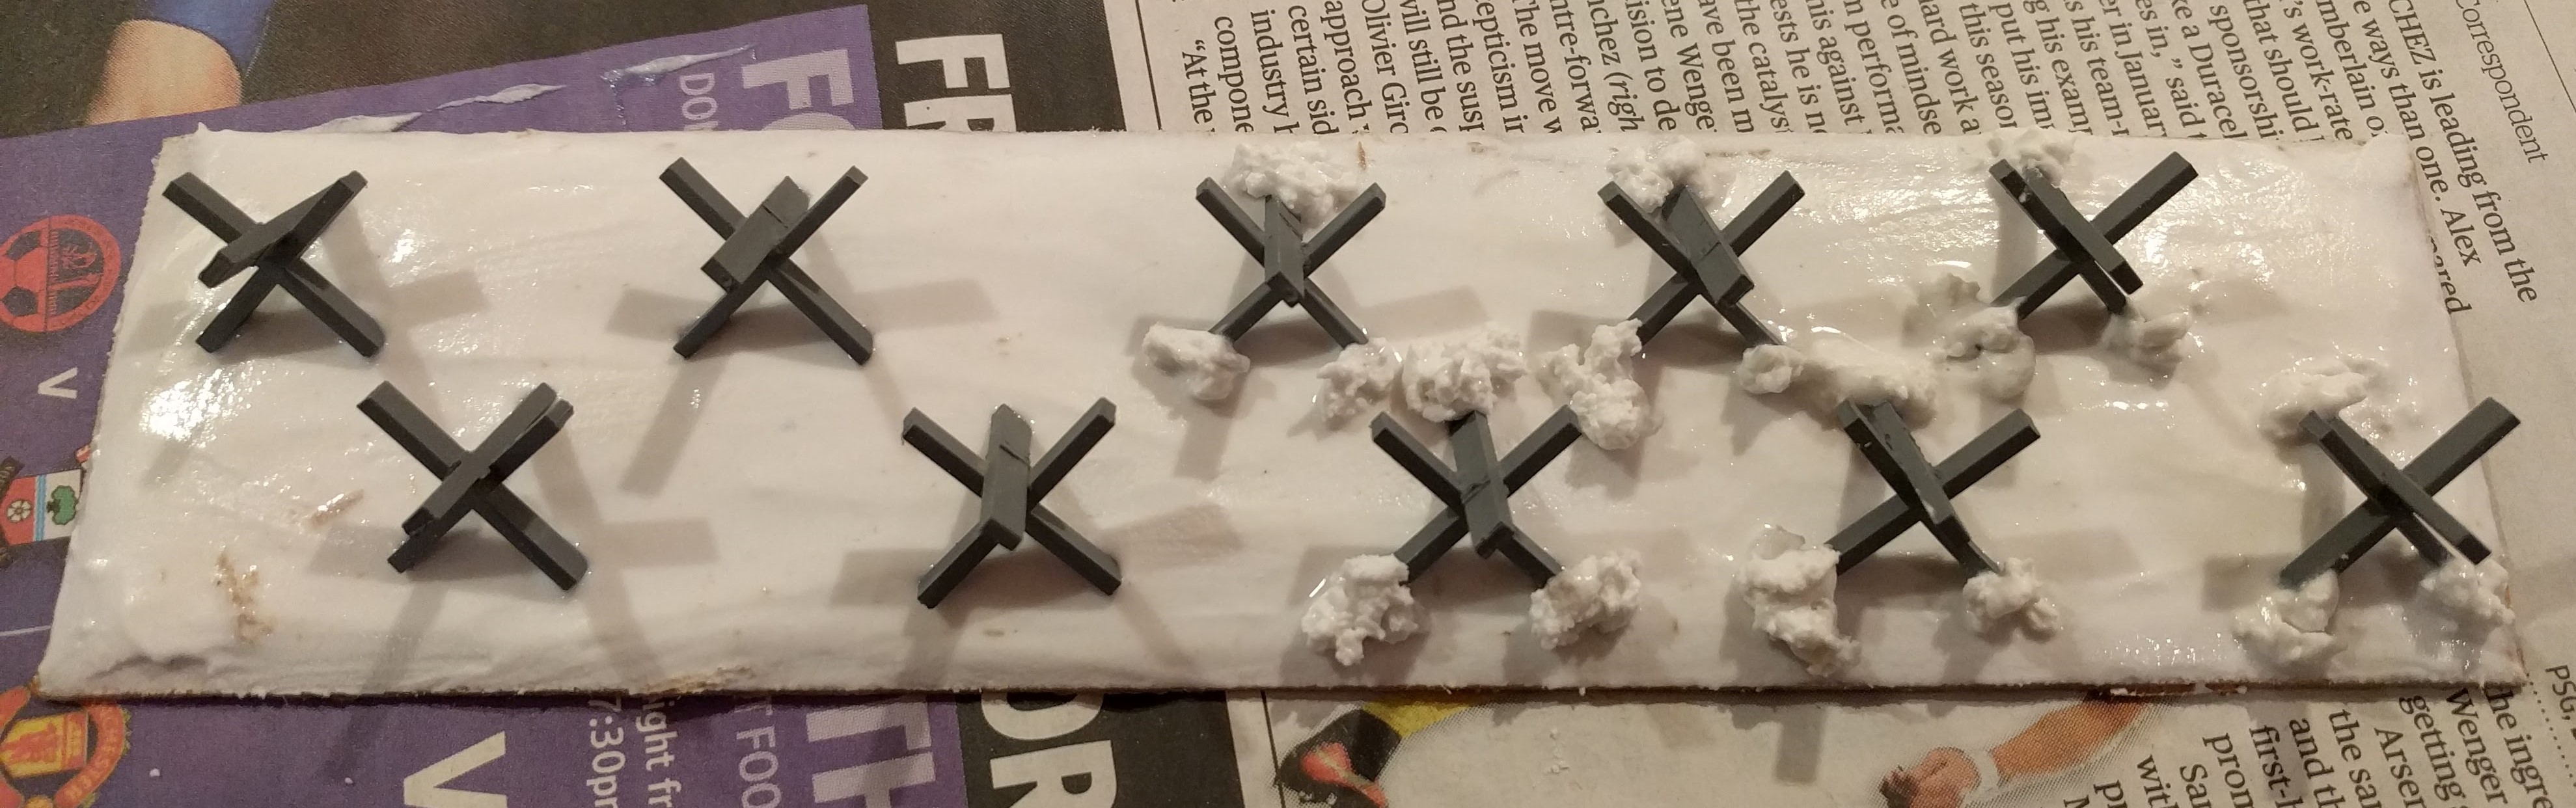 The tank traps with the pre-smoothed blobs of filler around each post
Same approach for the barbed wire posts. Once the posts were attached, I gently pushed the coils of barbed wire into the filler along the line of the posts. Not to far, just enough to hold them in place.
 Attaching the barbed wire
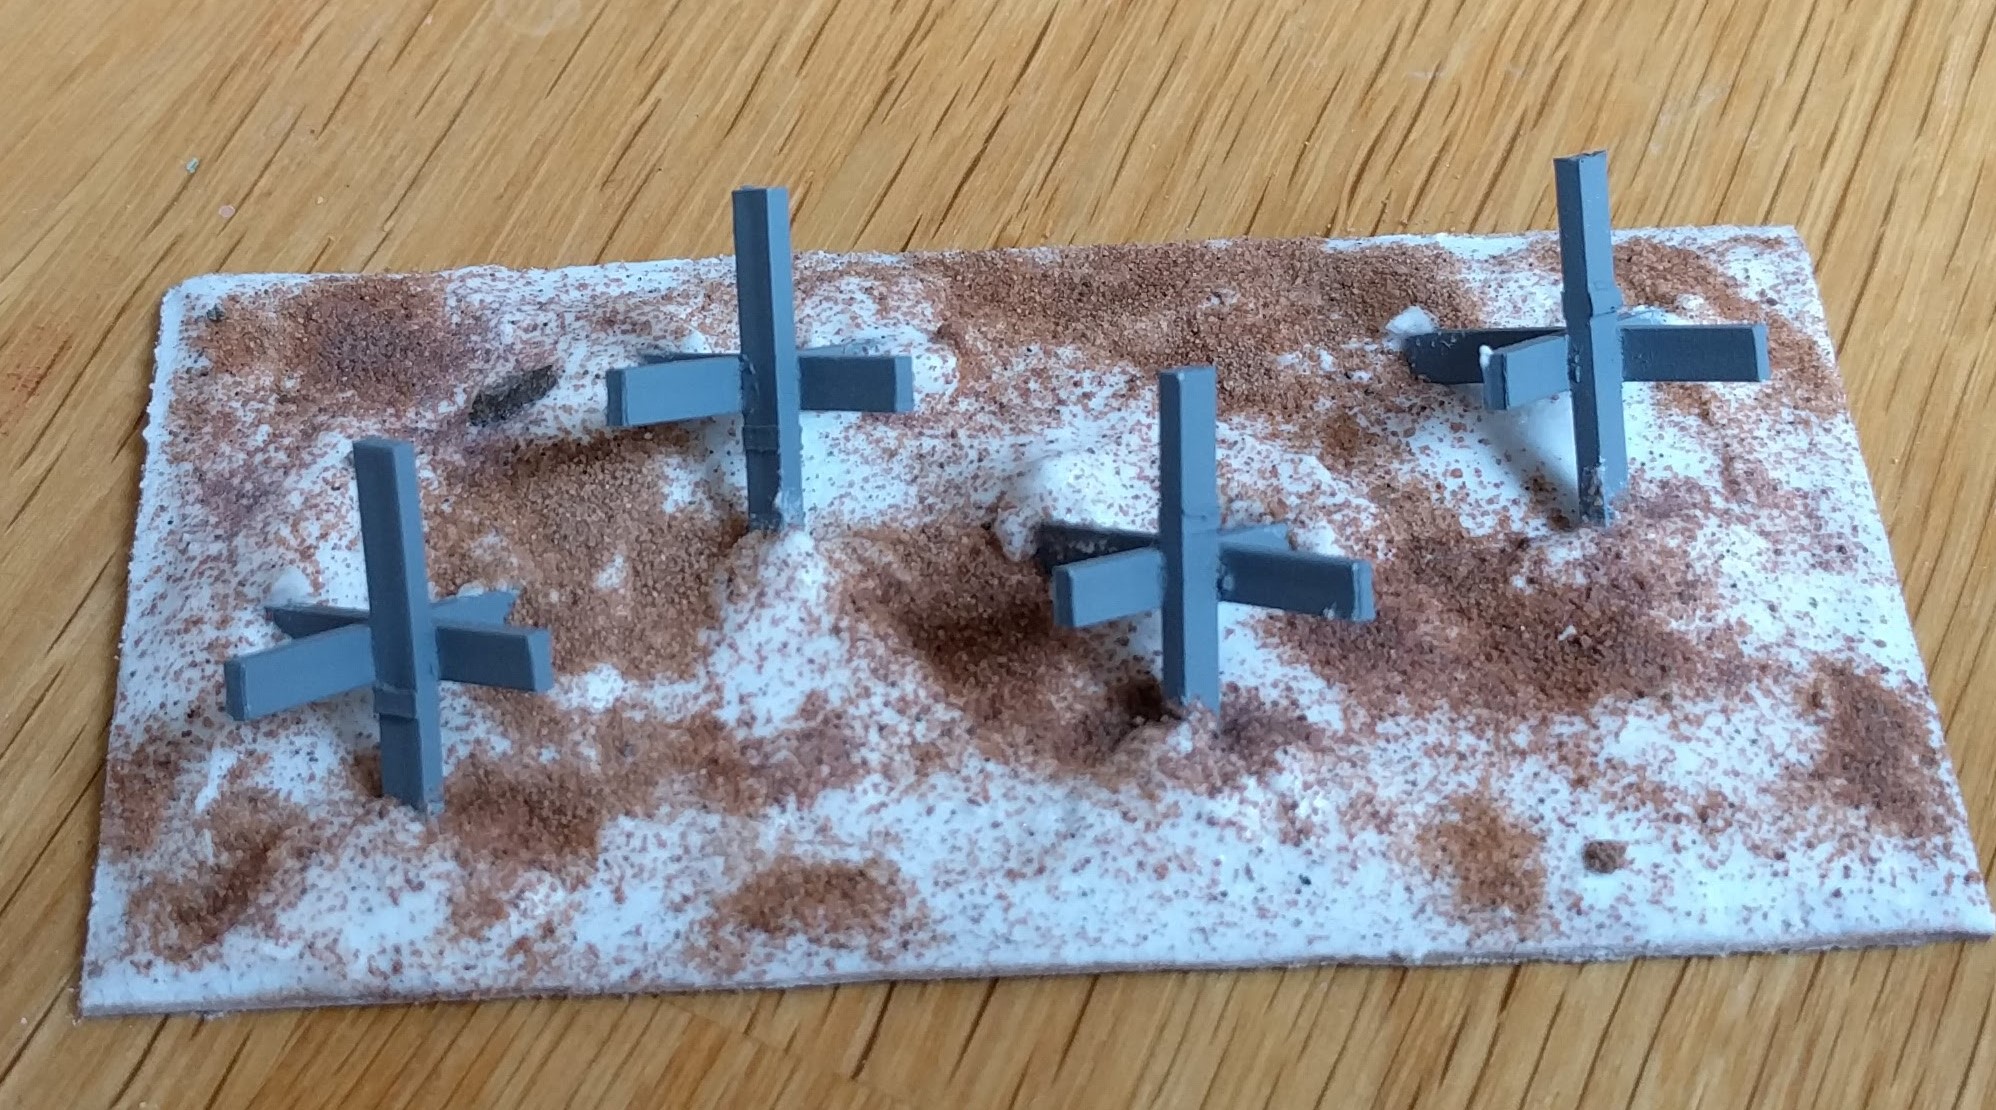
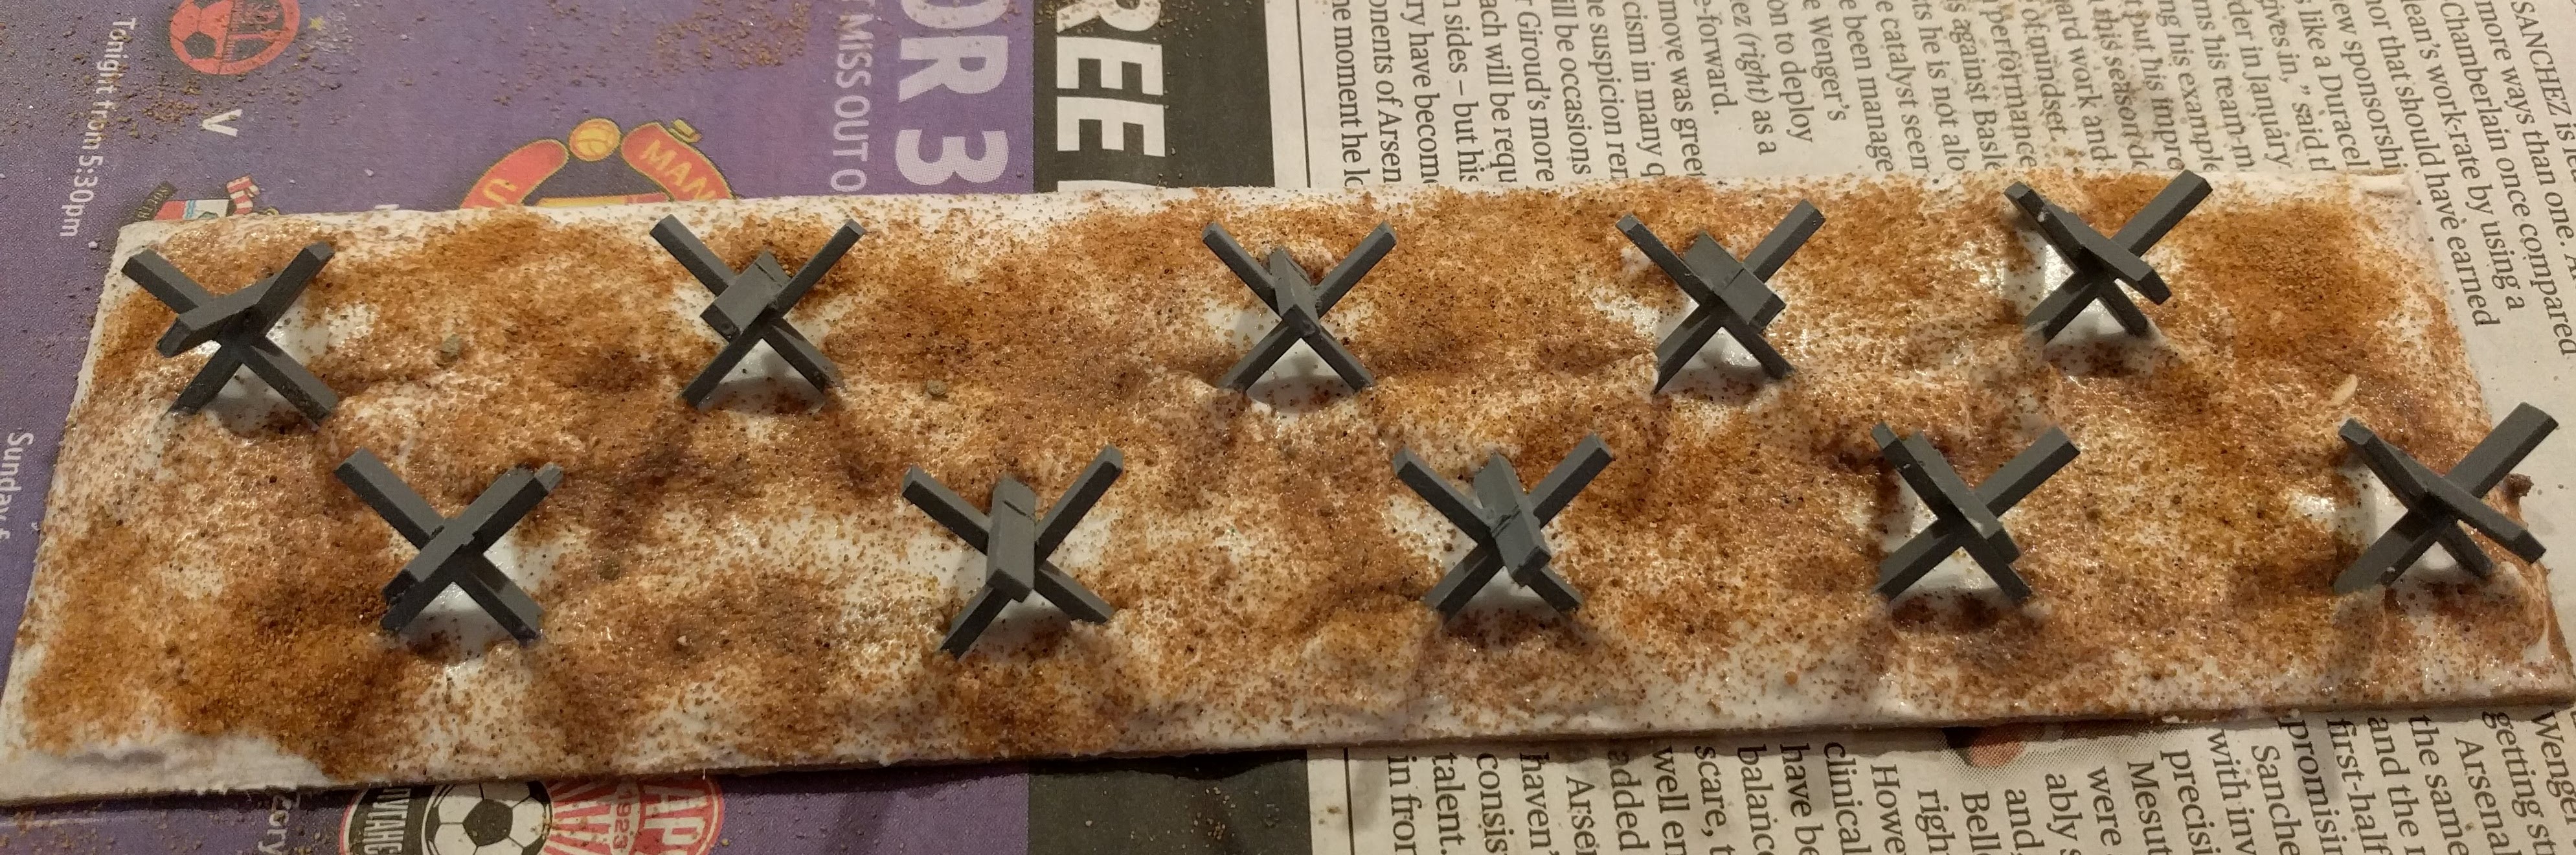
Finally, I applied sand over the base to create texture and left it all to dry. I generally leave this 24 hours to make sure it has fully dried. You also need to be careful of warping, particularly with the longer stretches (which is why a 4″ length of base is better than the 8″ base). I’ve noticed a few of mine warping so carefully hold the ends down with some weights to avoid this.

Defensive Obstacles - Barbed Wire
I thought about making my own barbed wire but then found that it’s very cheap from a number of sources, so that seemed the easiest option.
The width of a standard pencil seems close enough for the diameter of a coil of barbed wire, so I’ve wrapped the wire around this to shape it. I’ve created 4″ lengths which I will fix to the bases when I apply the basing material.
Having done this for all of the bases going to take the barbed wire, I had a nice blister developing on the end of my index finger. Does this count as a hobby related injury?
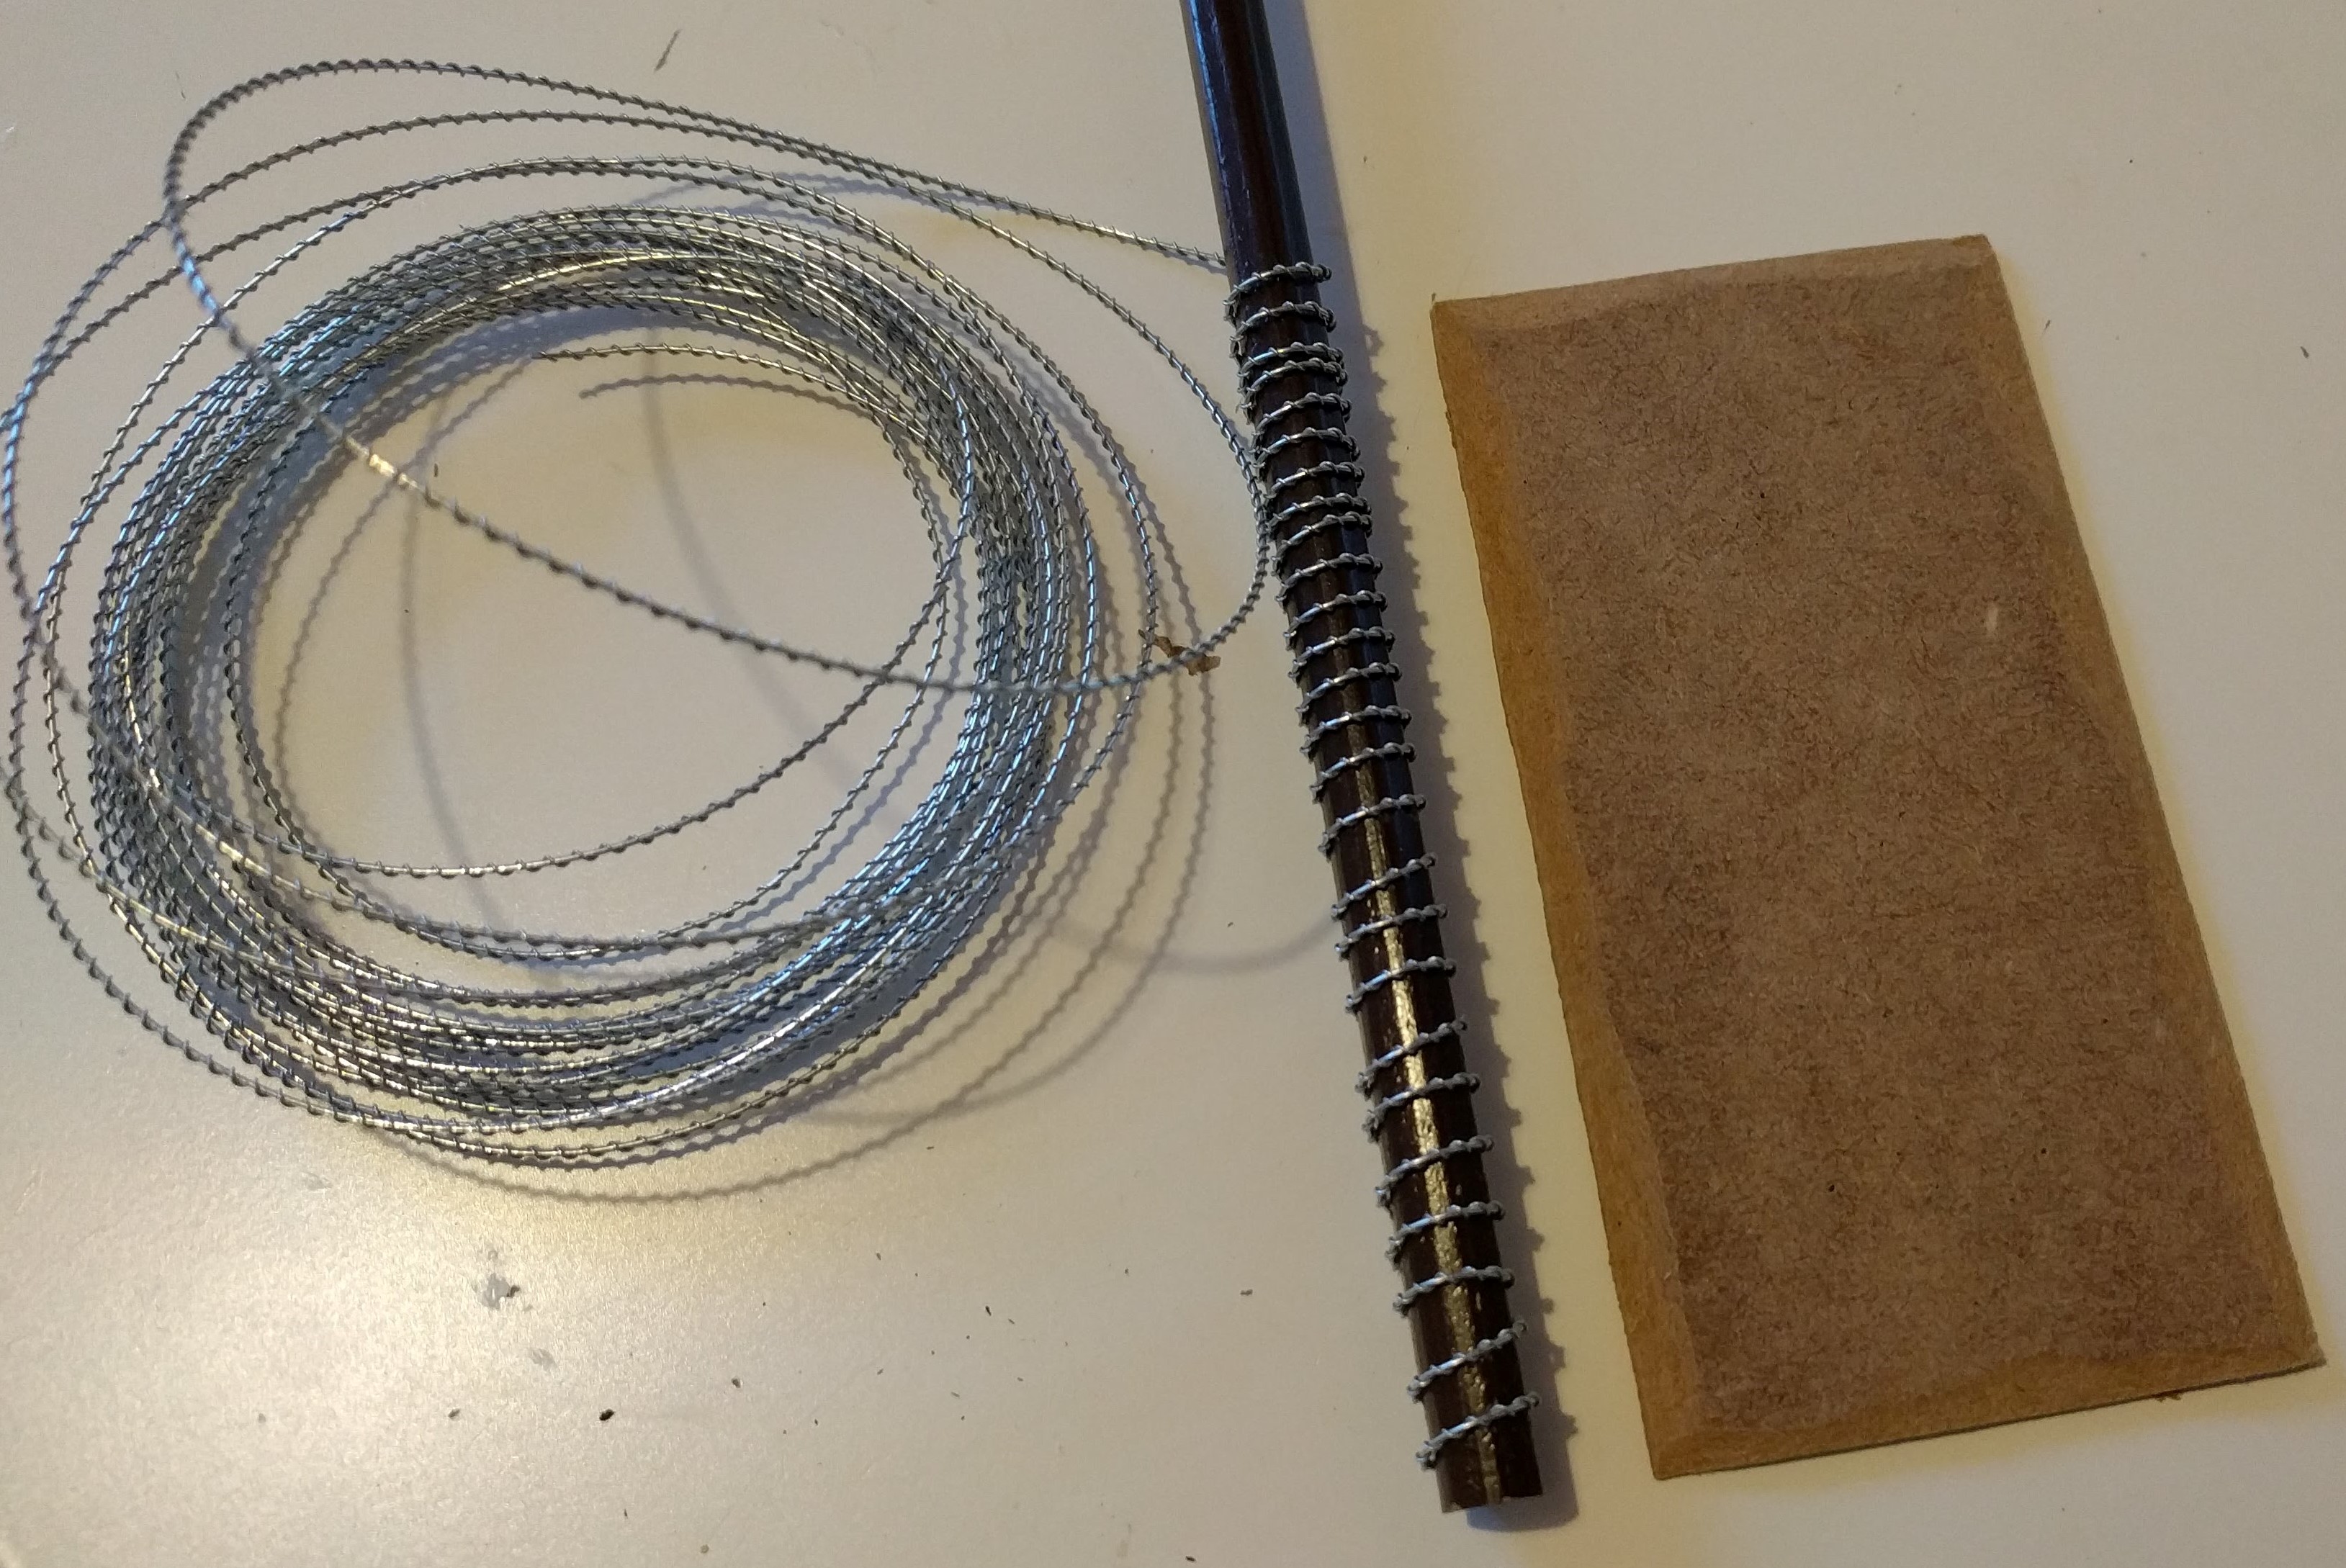 One of the lengths of coiled barbed wire
Defensive Obstacles
The battle for Italy was a series of assaults on heavily defended positions. With the bunkers and machine gun nests complete, I’m going to need plenty of obstacles to slow the attackers down. So I need to make minefields, tank traps and barbed wire entanglements.
I’m going to use the same approach for all of these to keep things simple. And for the minefield, I’m just going to create an area terrain, no signs with skulls on or ‘obvious’ mines buried in the ground.
In Flames of War, these area obstacles are usually 2″ by 8″. I will start with some 3mm MDF and cut some bases to the above dimensions. I will also cut a few to 2″ by 4″ so that they can fit around other terrain. I’ve chamfered the edges so that it will eventually blend in with the table.

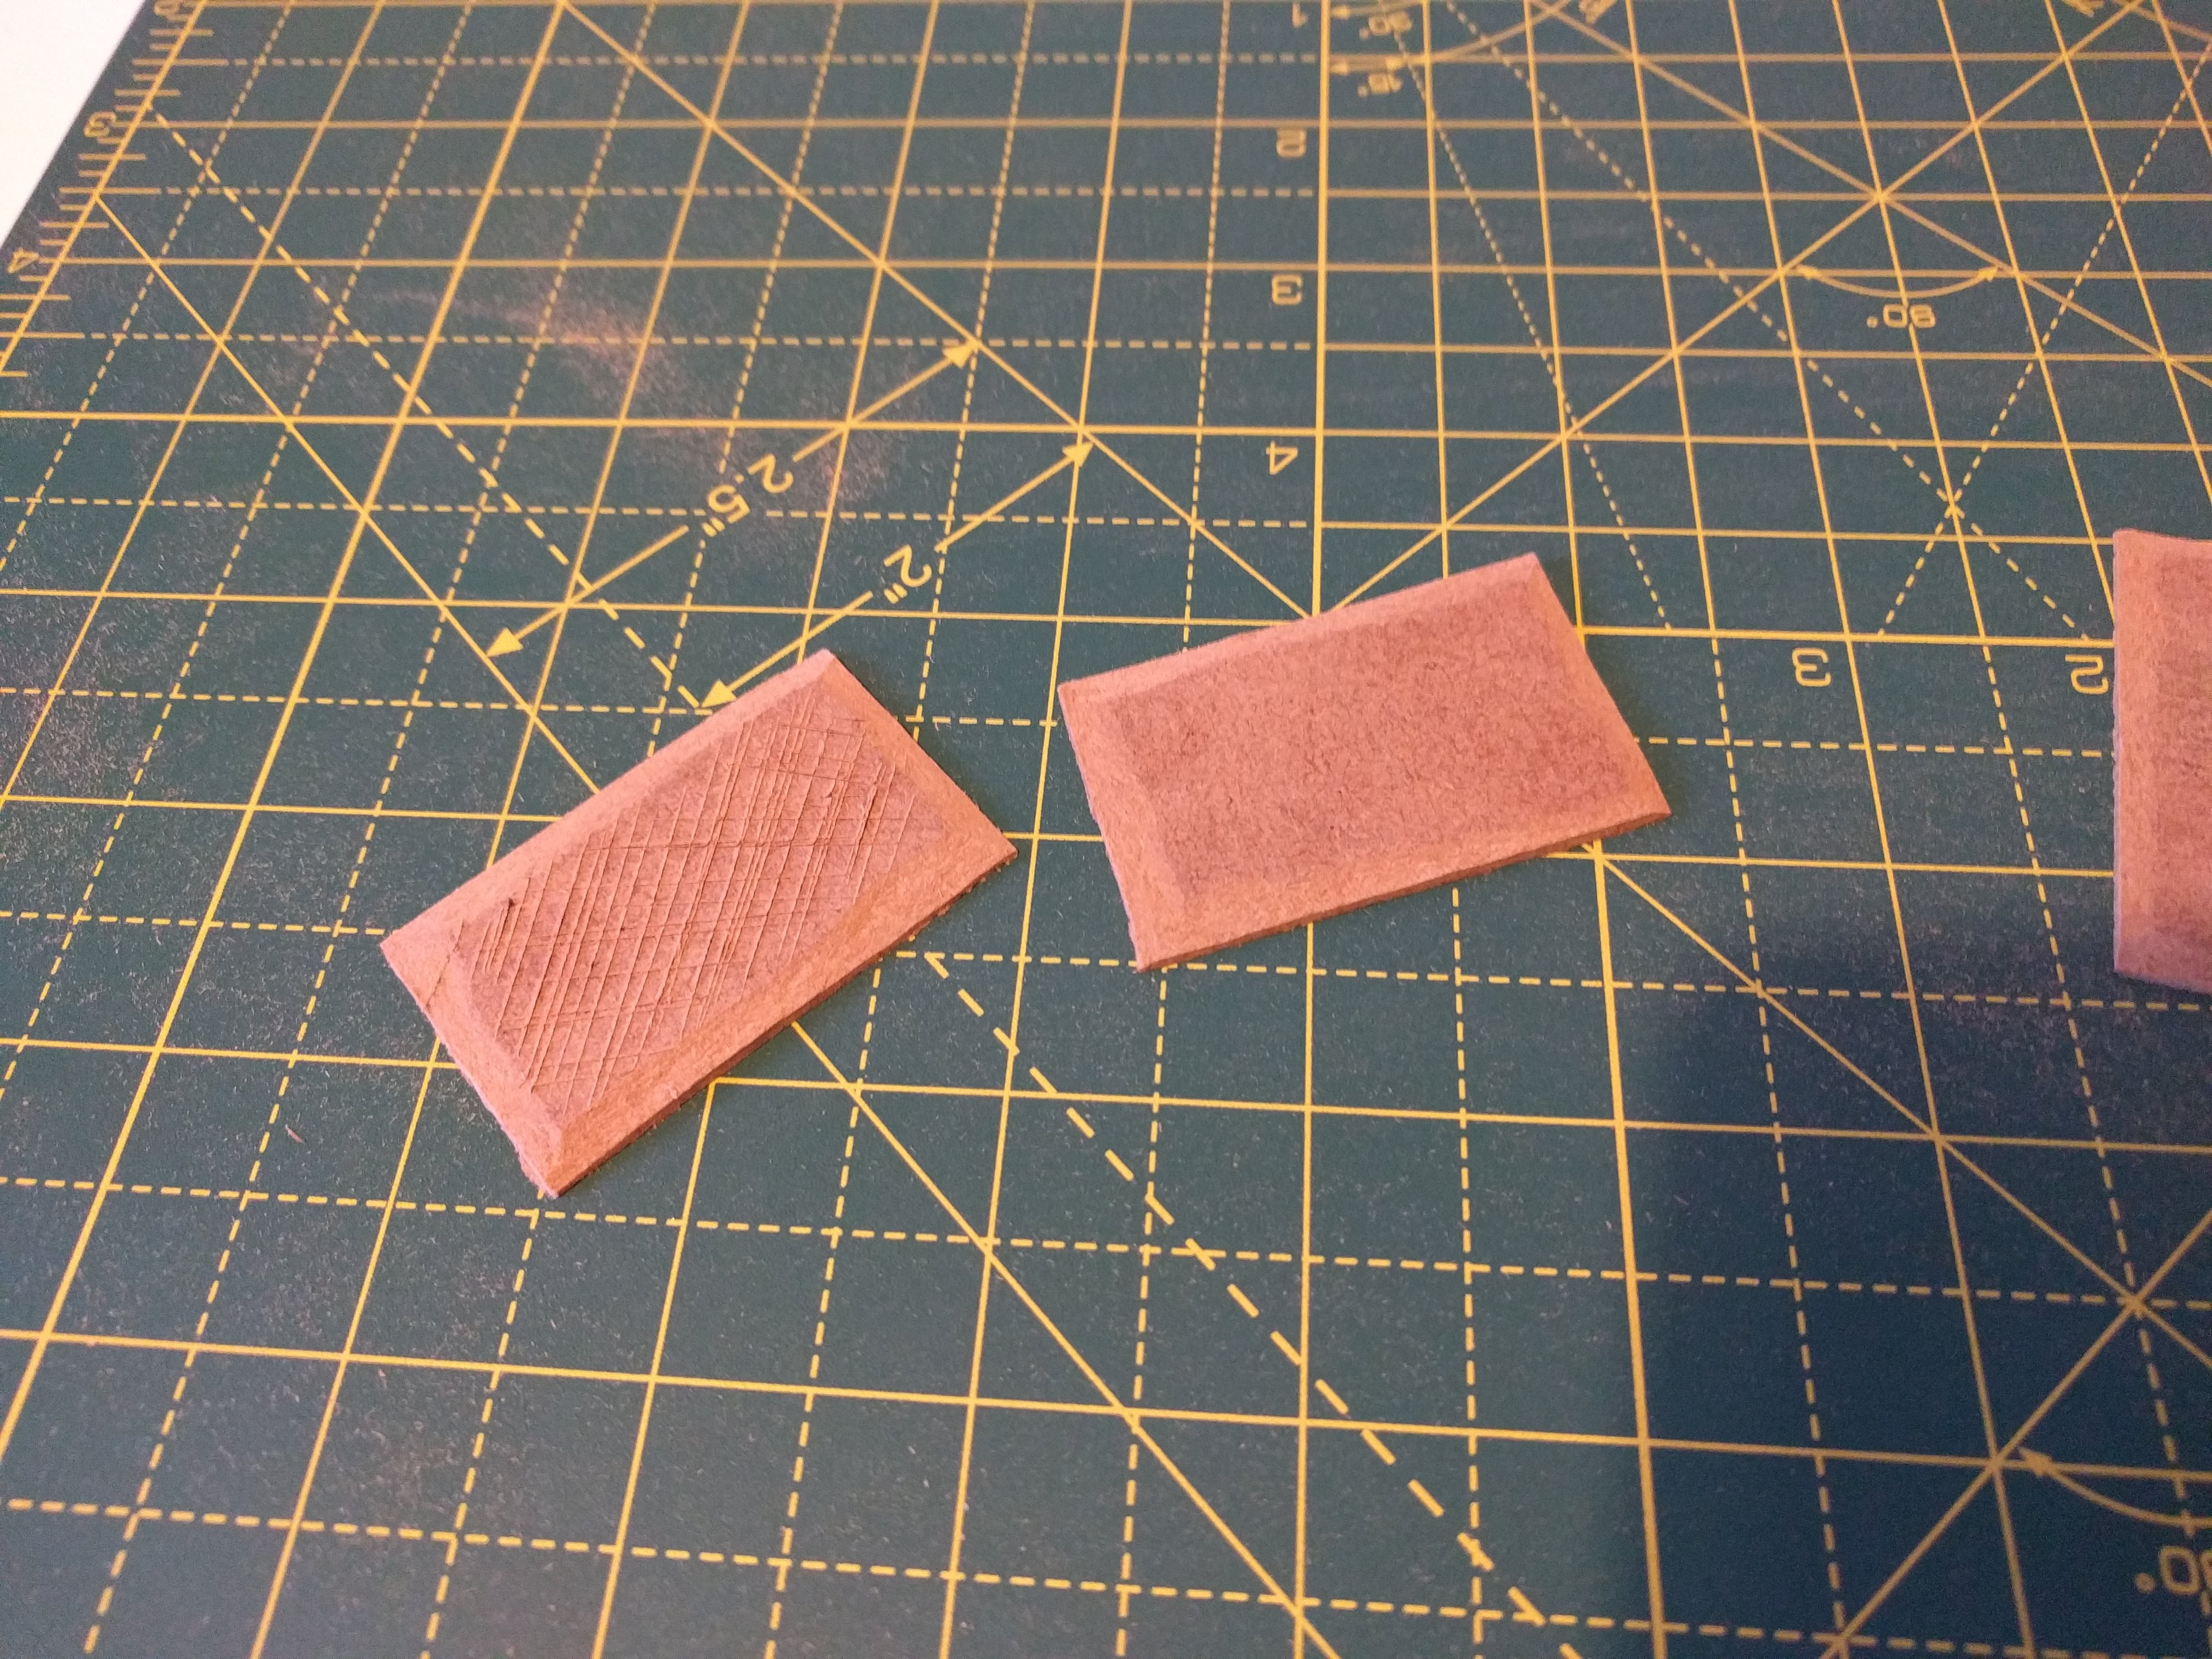
The tank traps and the supports for the barbed wire will be made out of tile spacers. I bought a bag of 200 of the smallest spacers I could find from my local tiling shop for a couple of quid. These are 2mm in width (ideal) but have a bit more depth to them than I would like.
In the picture below, you can see on the left an original spacer. I’ve then trimmed the ends off so that they are about 6mm in length. The one in the middle will be used for the tank trap and the one on the right will be used for the barbed wire.
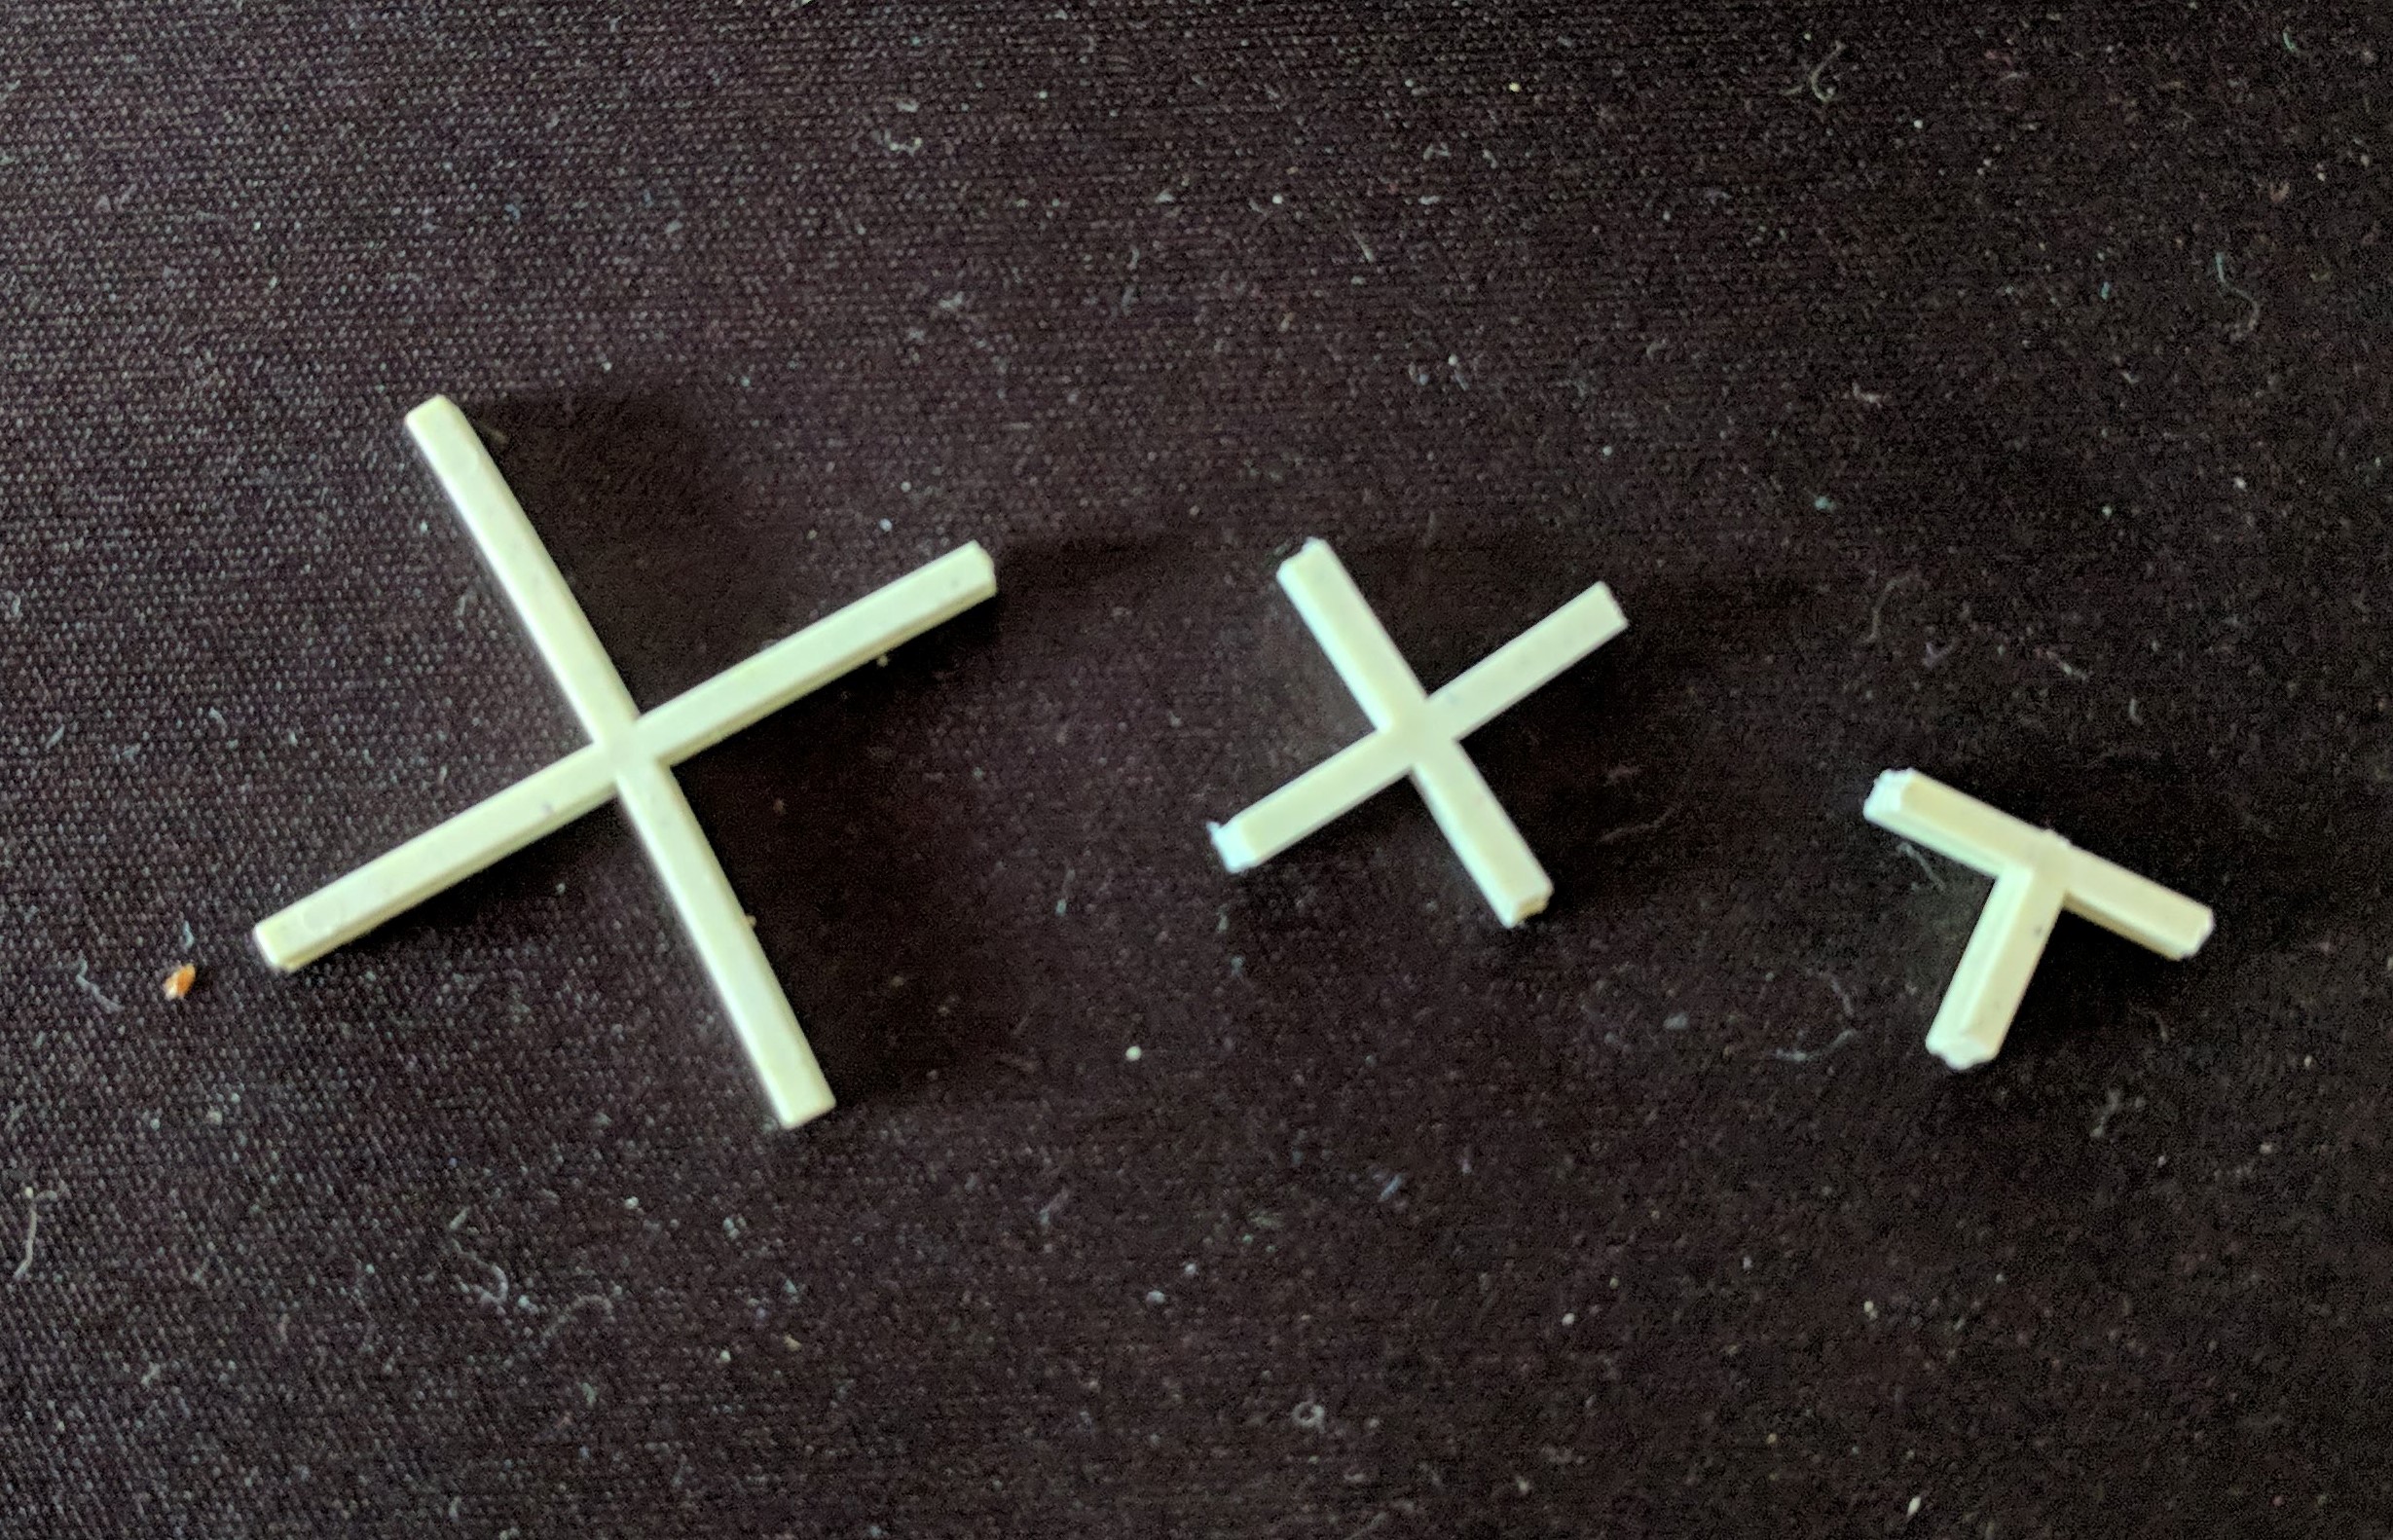 The tile spacers. In the middle and right, cut to the correct size.
The tank traps need two spacers glued together to create a cross shape. Everything was then primed with my cheap, trusty Halfords grey primer.
These are now ready to be added to the base.
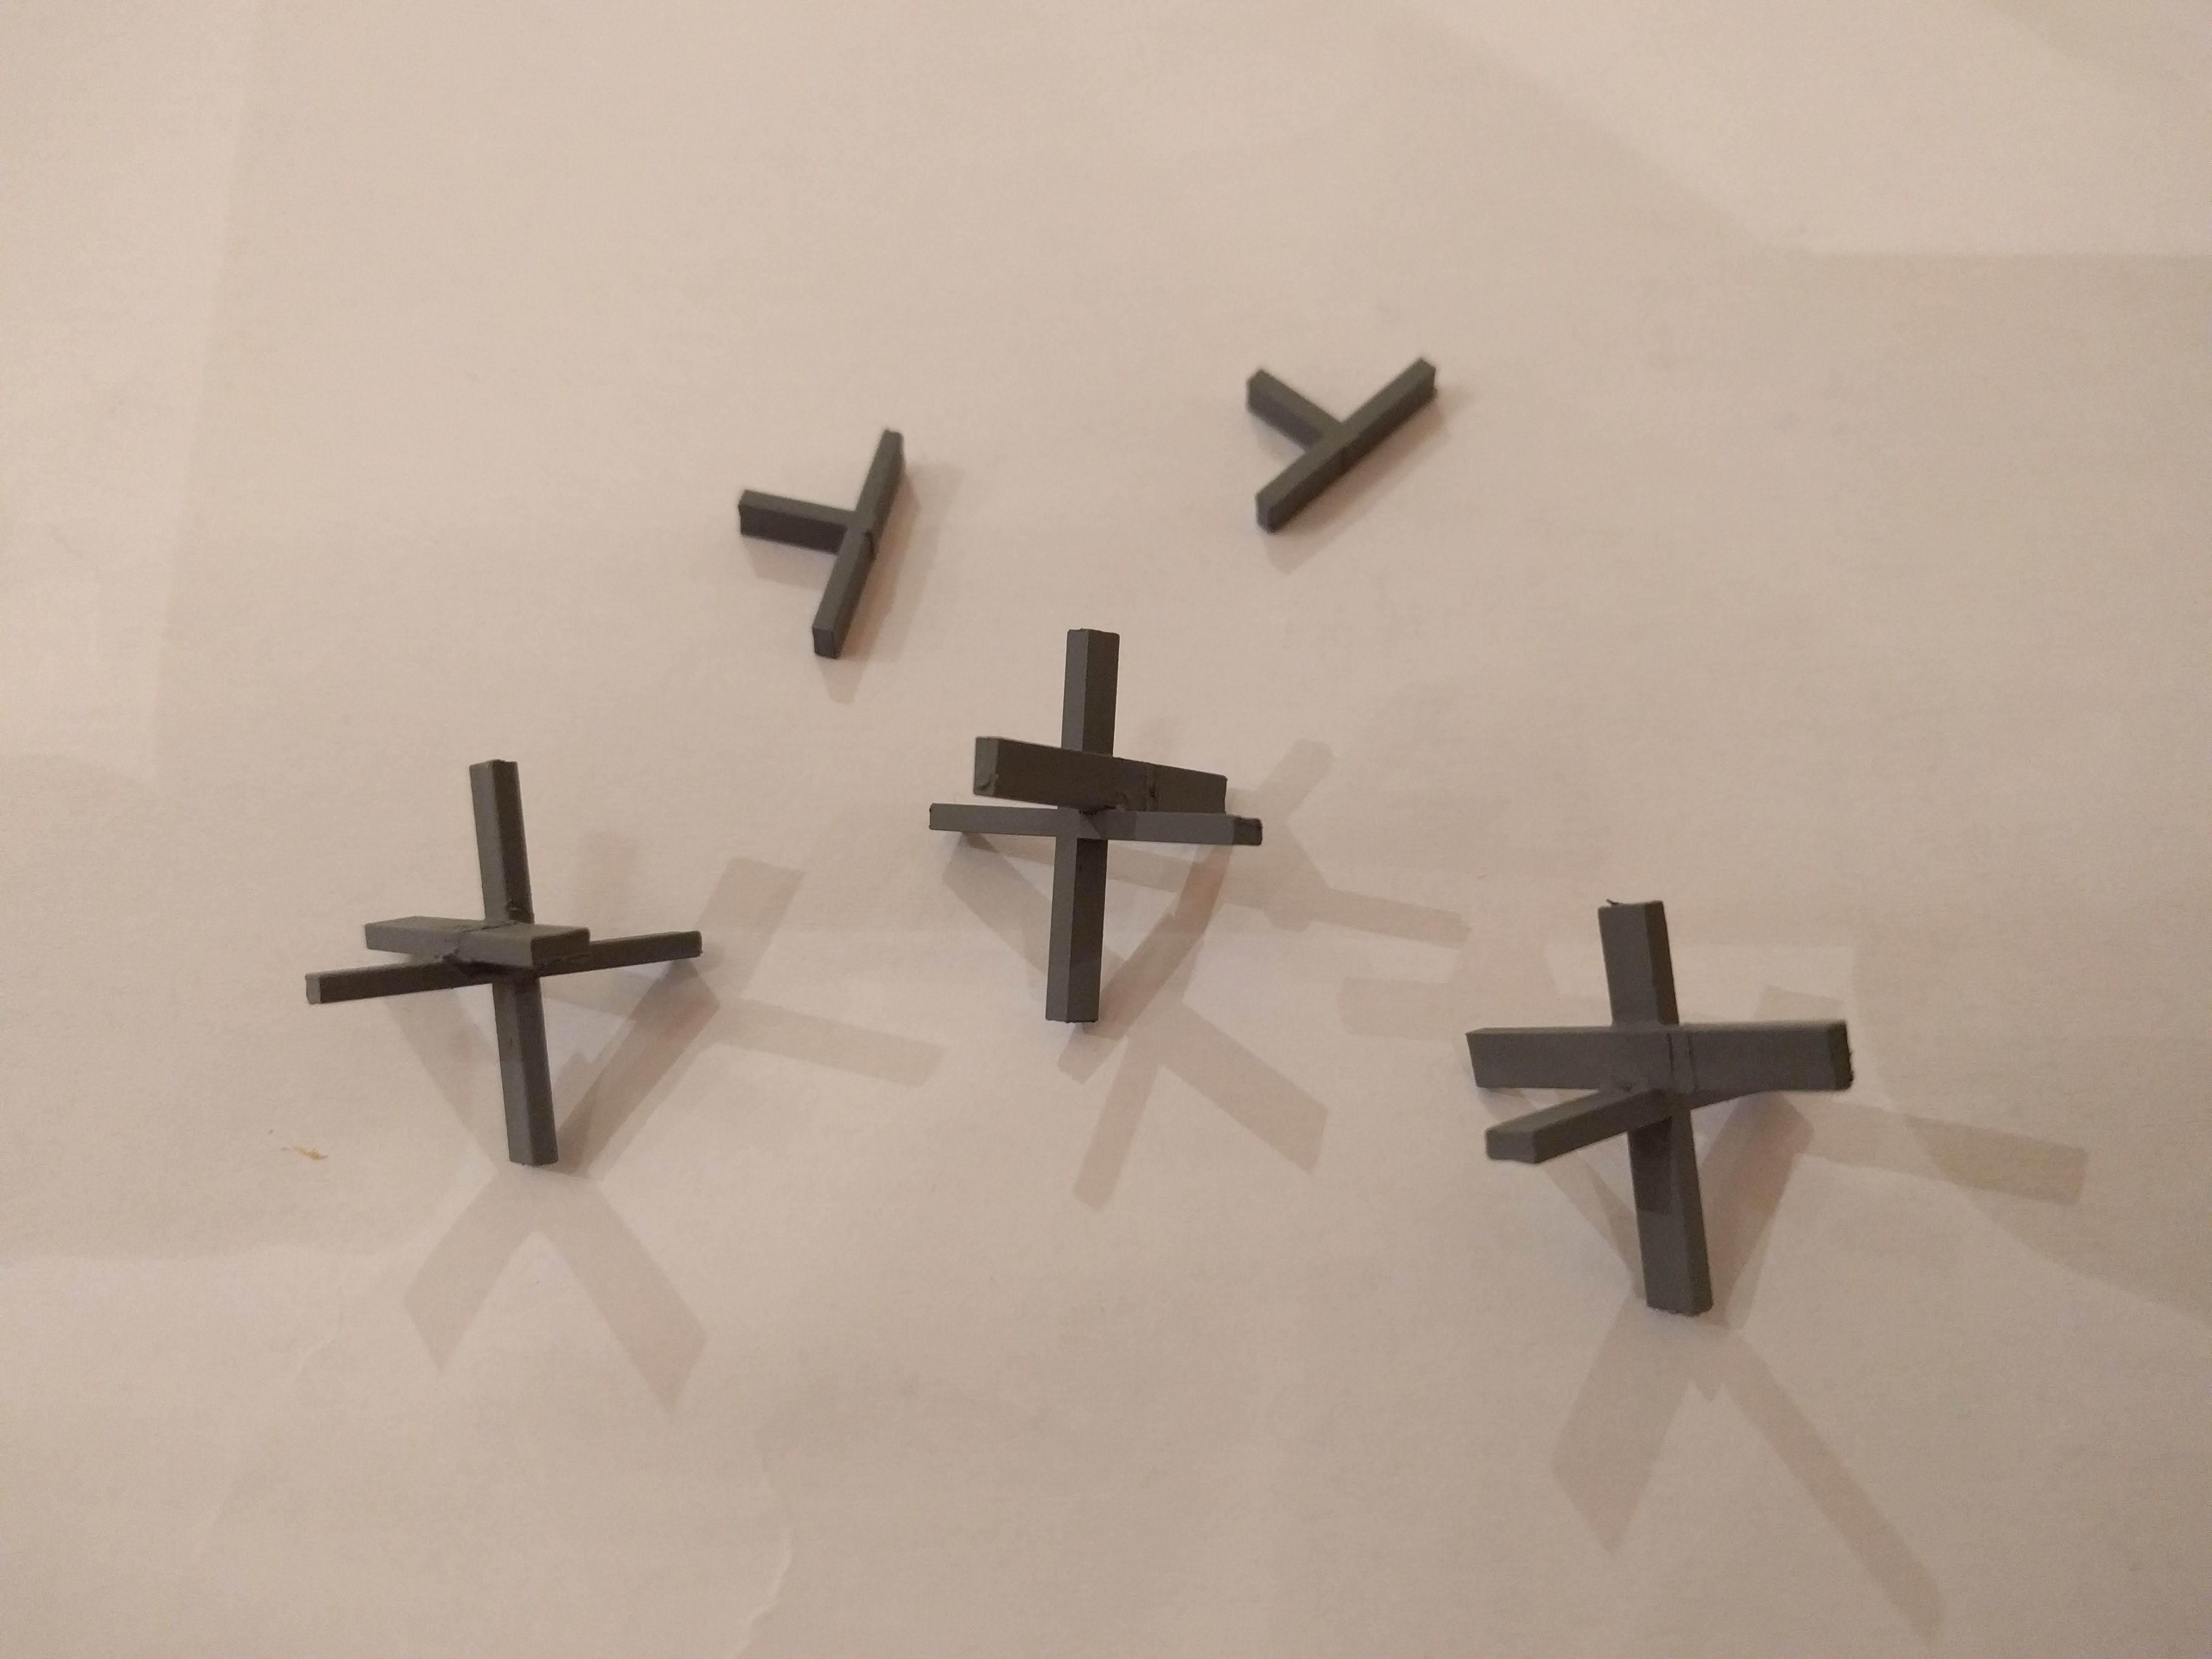 Primed and ready to go.
Bunker and Nest update
I sealed the flock of the bunkers and the nests with watered down PVA. Once dry, this left a slight sheen over some of the model that I didn’t like so I have decided to give both the bunkers and the nests a matt varnish.


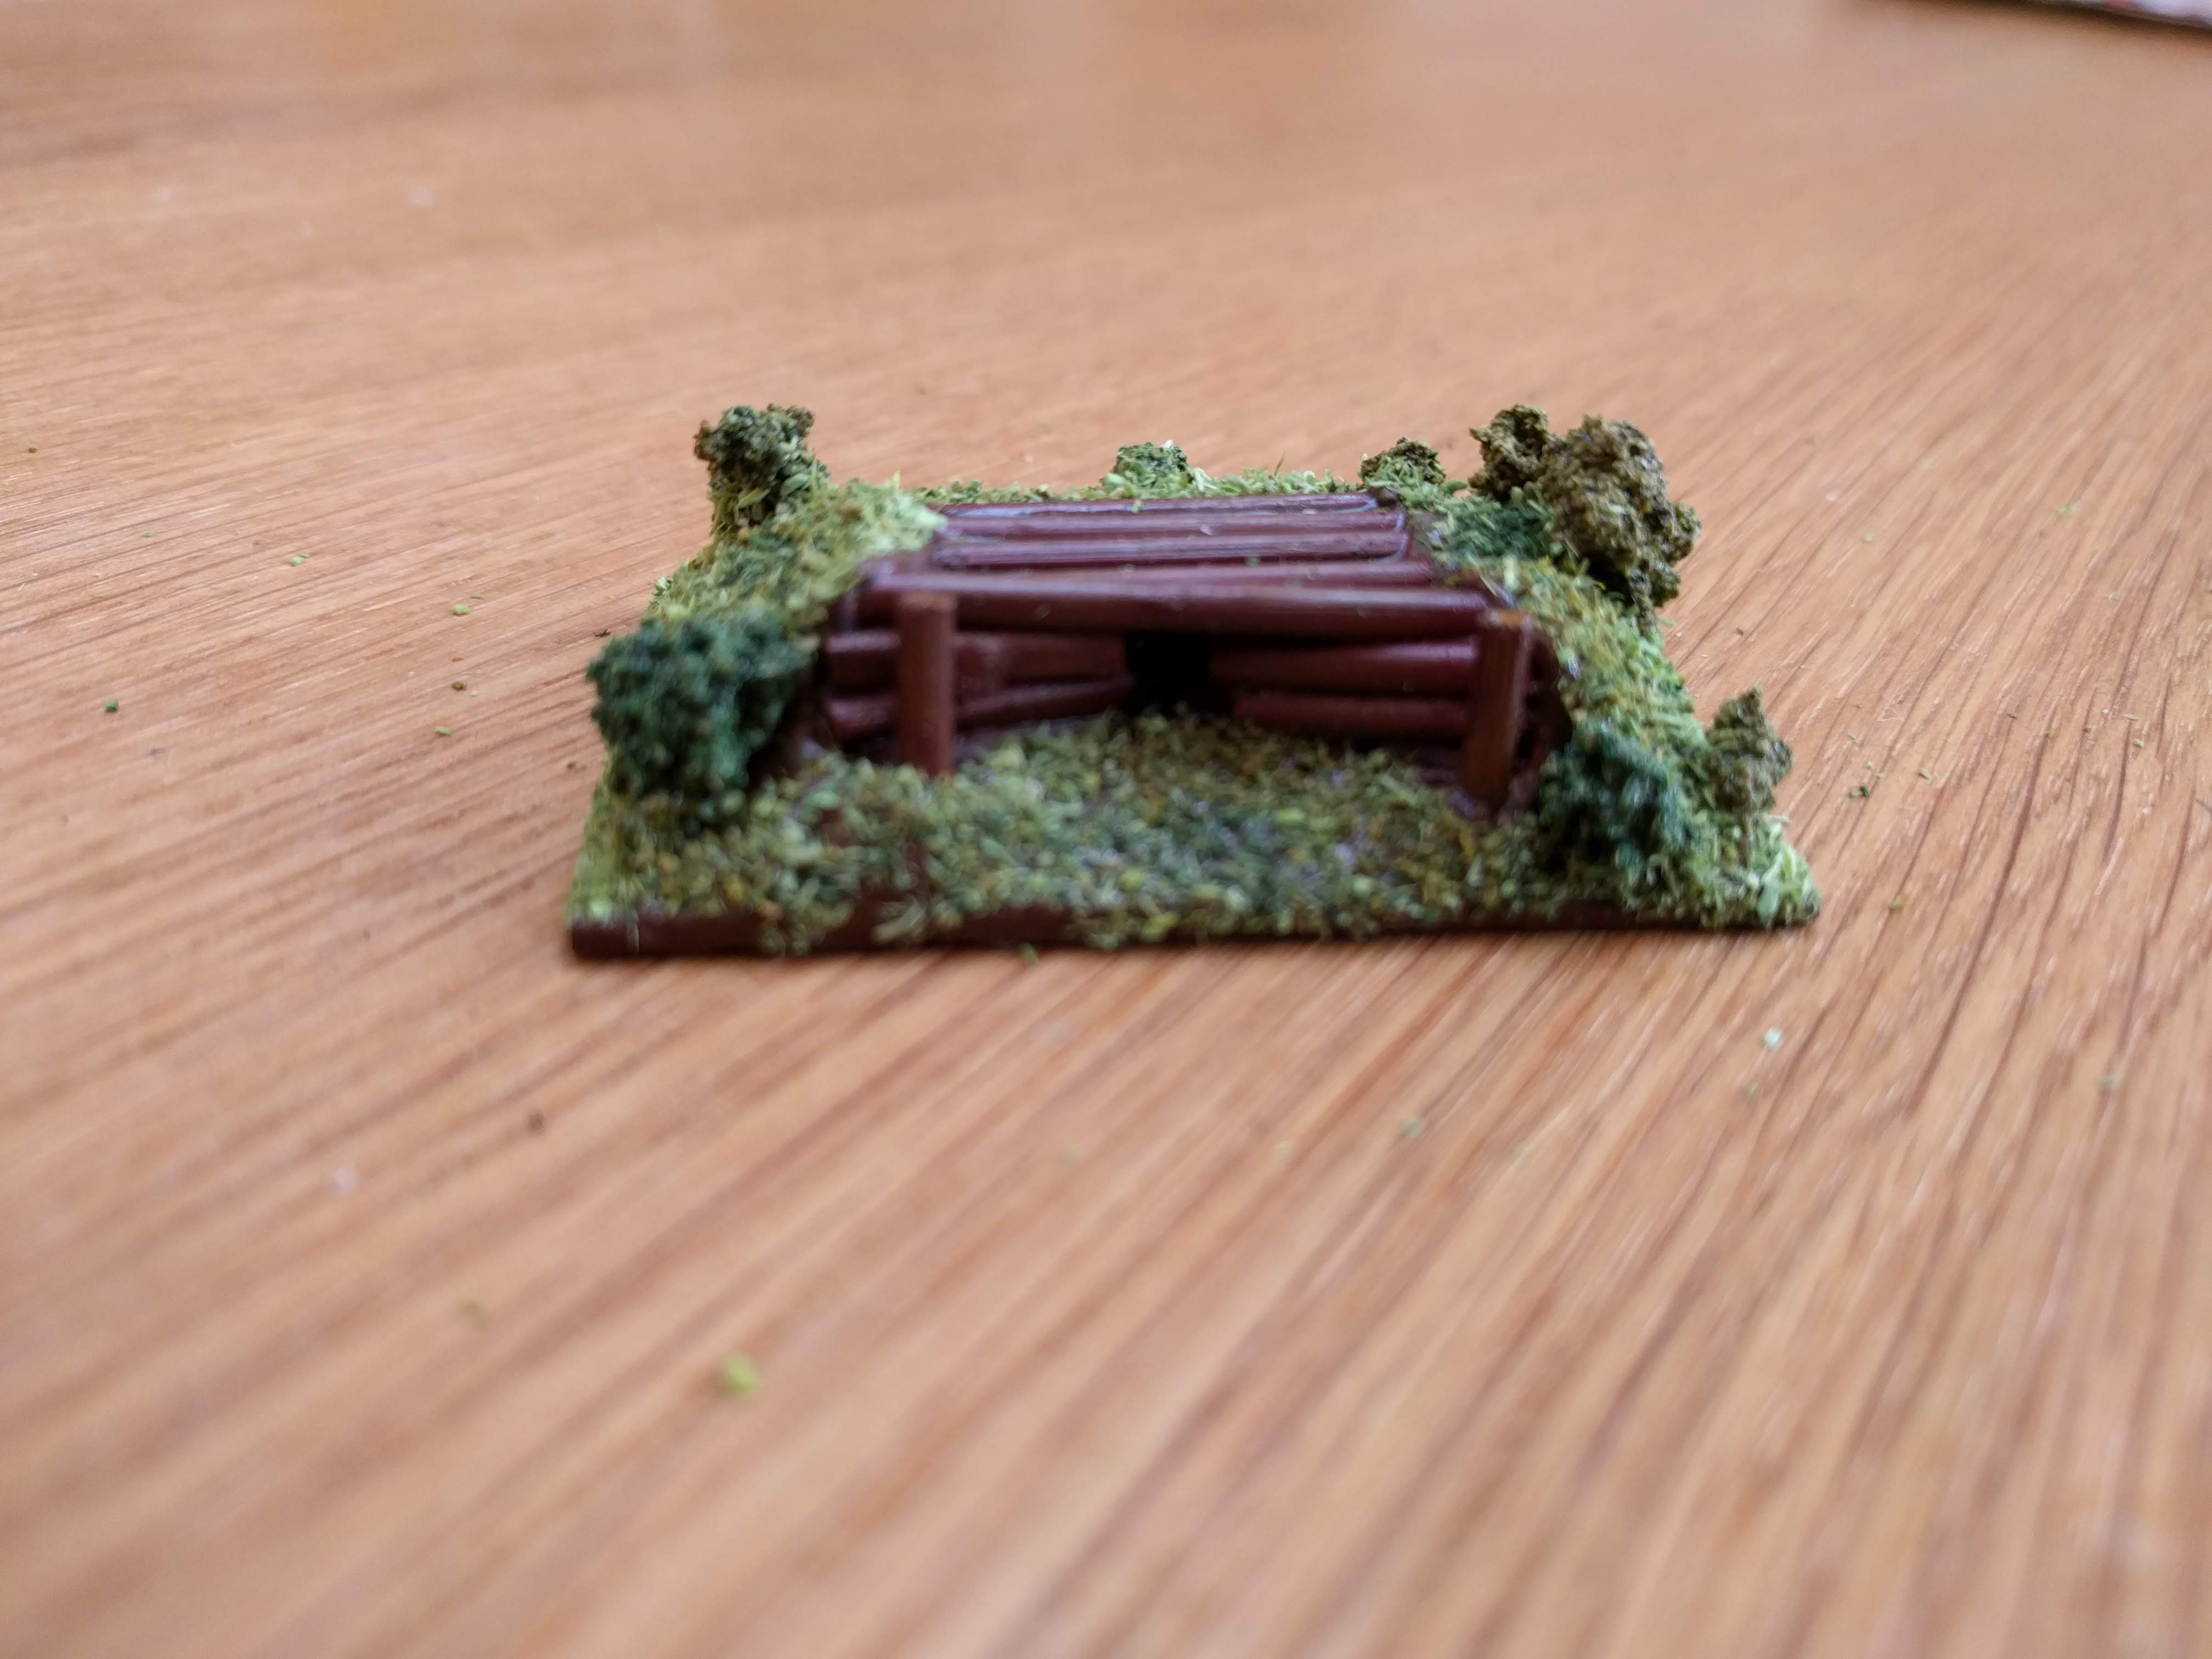
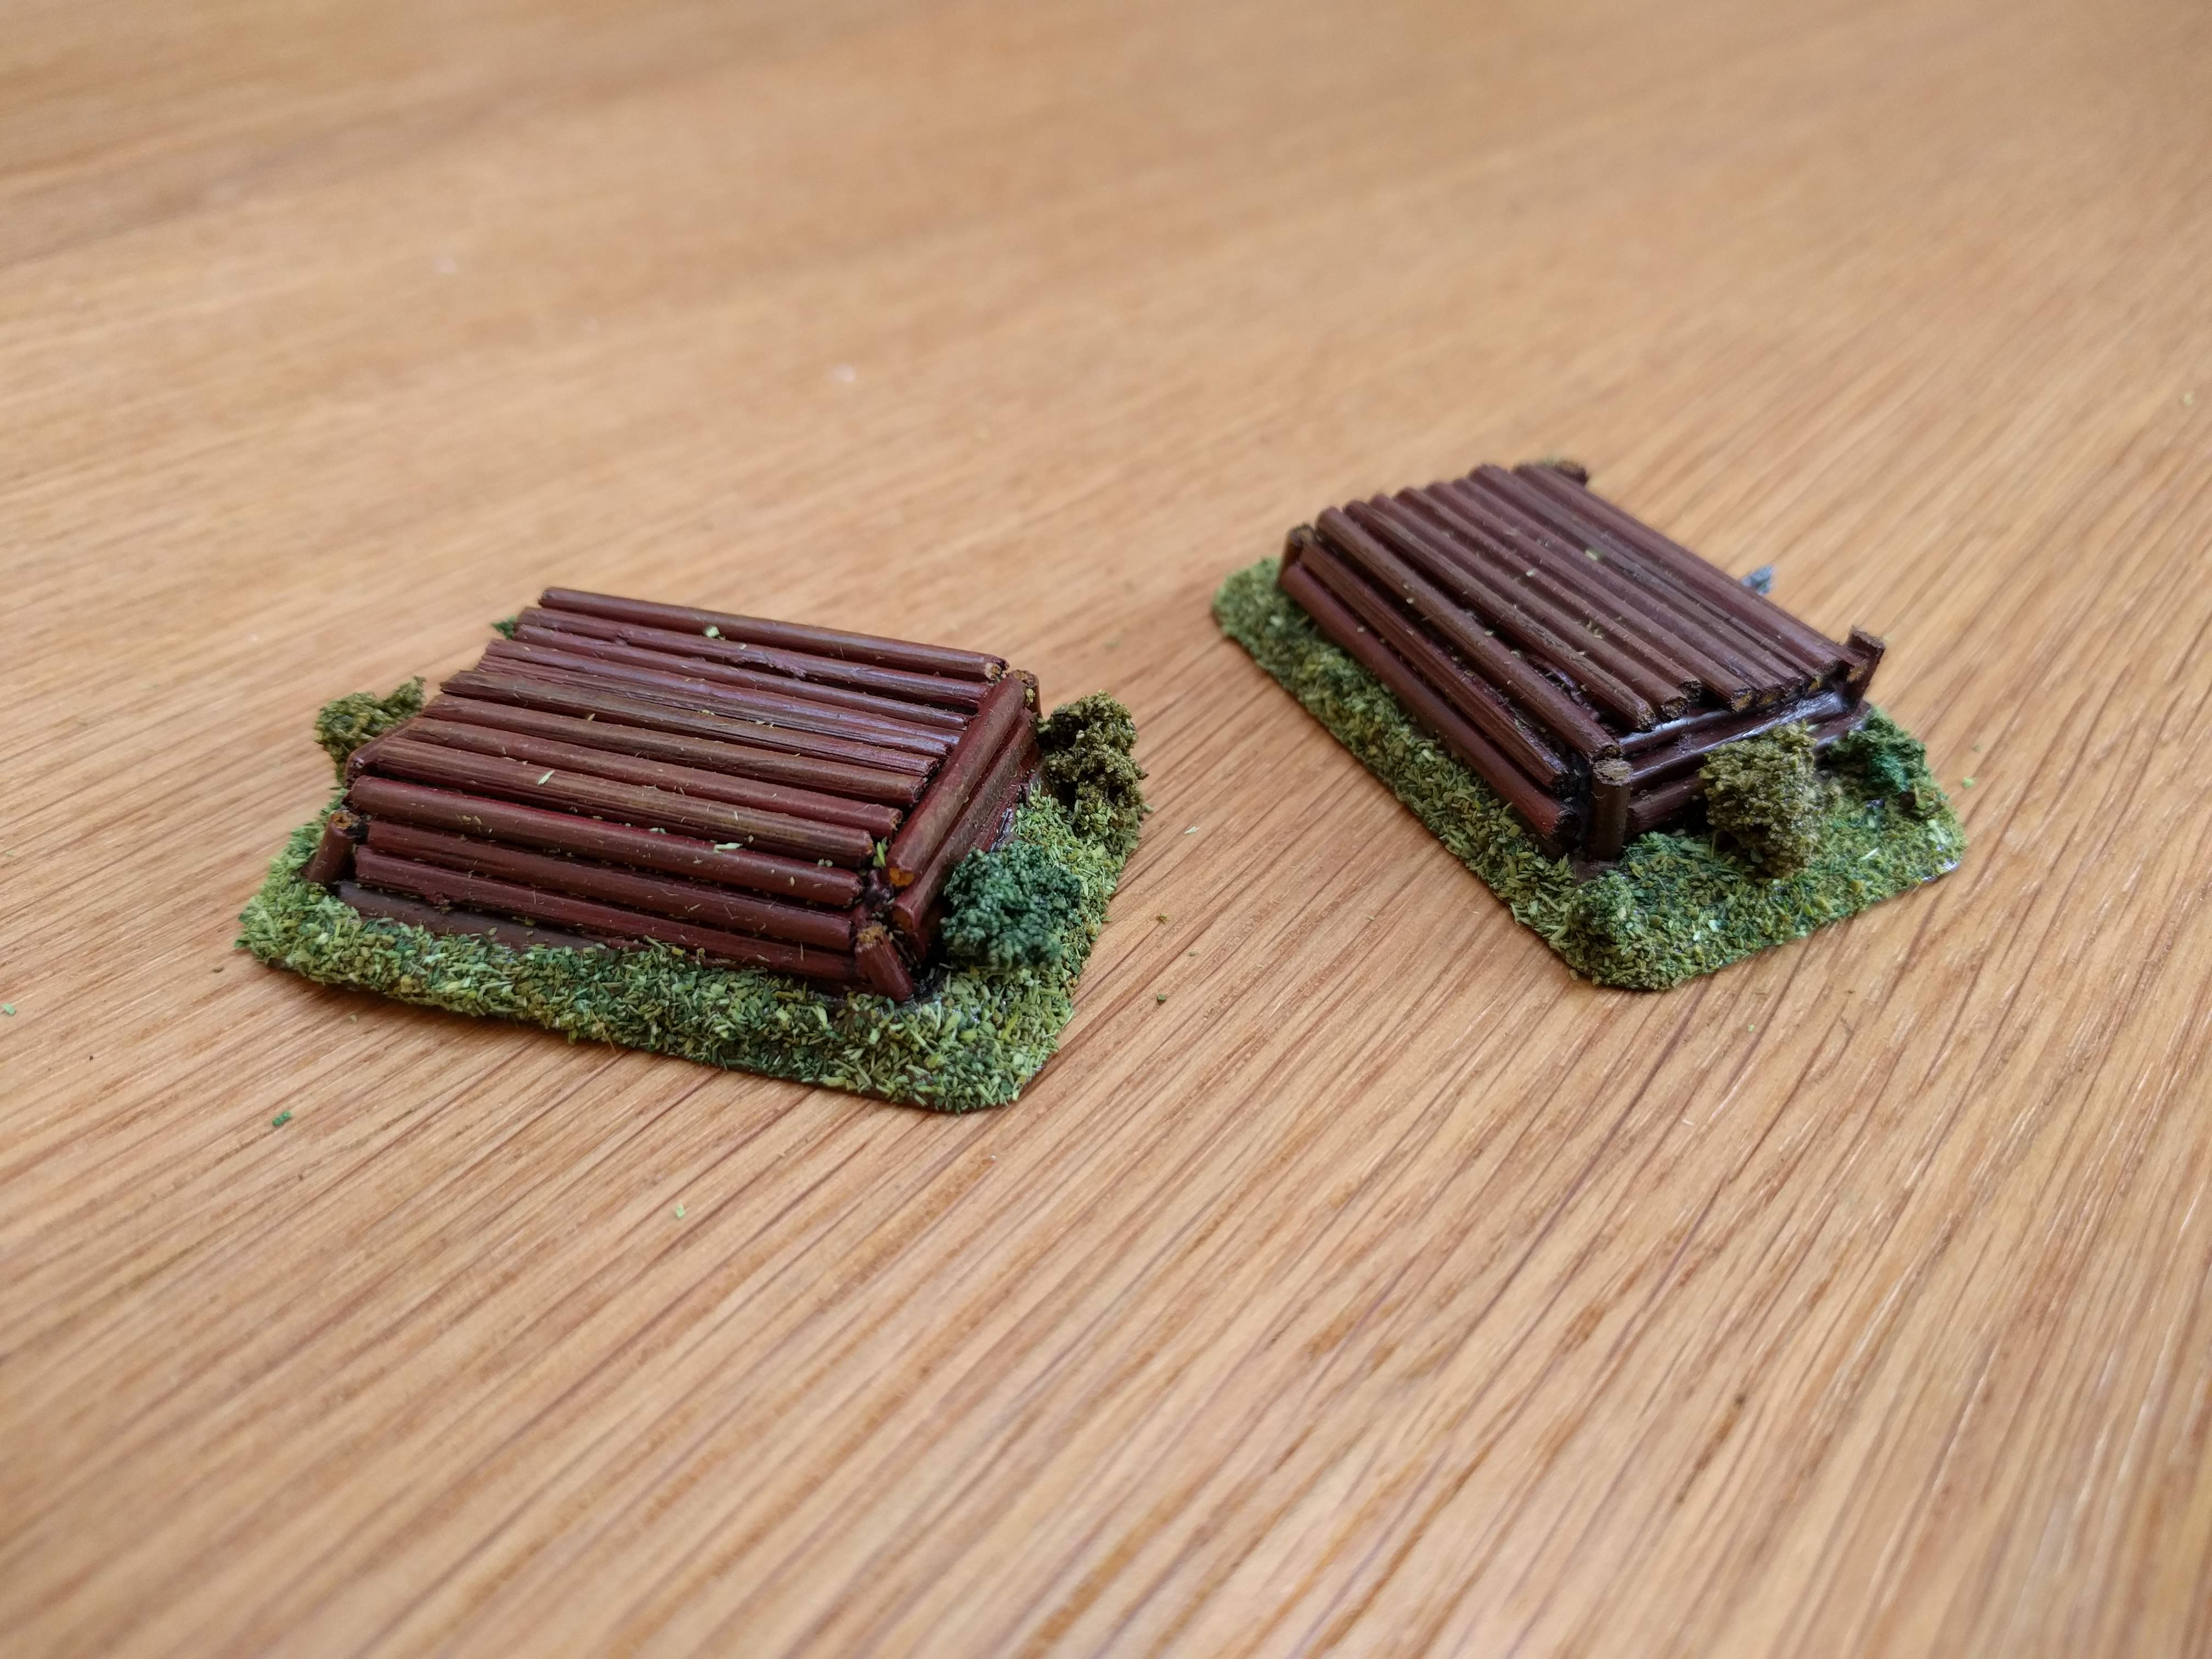
Machine Gun Nests - Finished
Annoyingly, I had taken some more photos of the next steps in painting the machine gun nests but deleted them. Grrrr.
So to a brief text narrative of the steps. I primed the model as I wanted the paint to adhere correctly to the cocktail sticks. This was a simple grey primer from Halfords. I then painted the filler in the same was as the concrete bunkers, with the cheap brown paint.
The cocktail sticks got a Camo Medium Brown base which I then applied a wash to. I think two washes to try and get some depth. To finish, I lightly dry brushed some middlestone over the sticks and applied a thin coat of middlestone to the ends of the cocktail sticks with the intention of making these look like the sawn wood rather than the rough bark.
The flocking and hedges was exactly the same as the concrete bunker.
These just need to be sealed now with some watered down PVA and perhaps an matt varnish applied to the logs to complete.
I also attempted to build a nest out of just cocktail sticks applied to the filler. This was an attempt to create a non ‘dug in’ nest. Frankly it was very fiddly and just doesn’t look as good but they might still get used so I painted them up anyway. I’ve included them below as how not to do it!

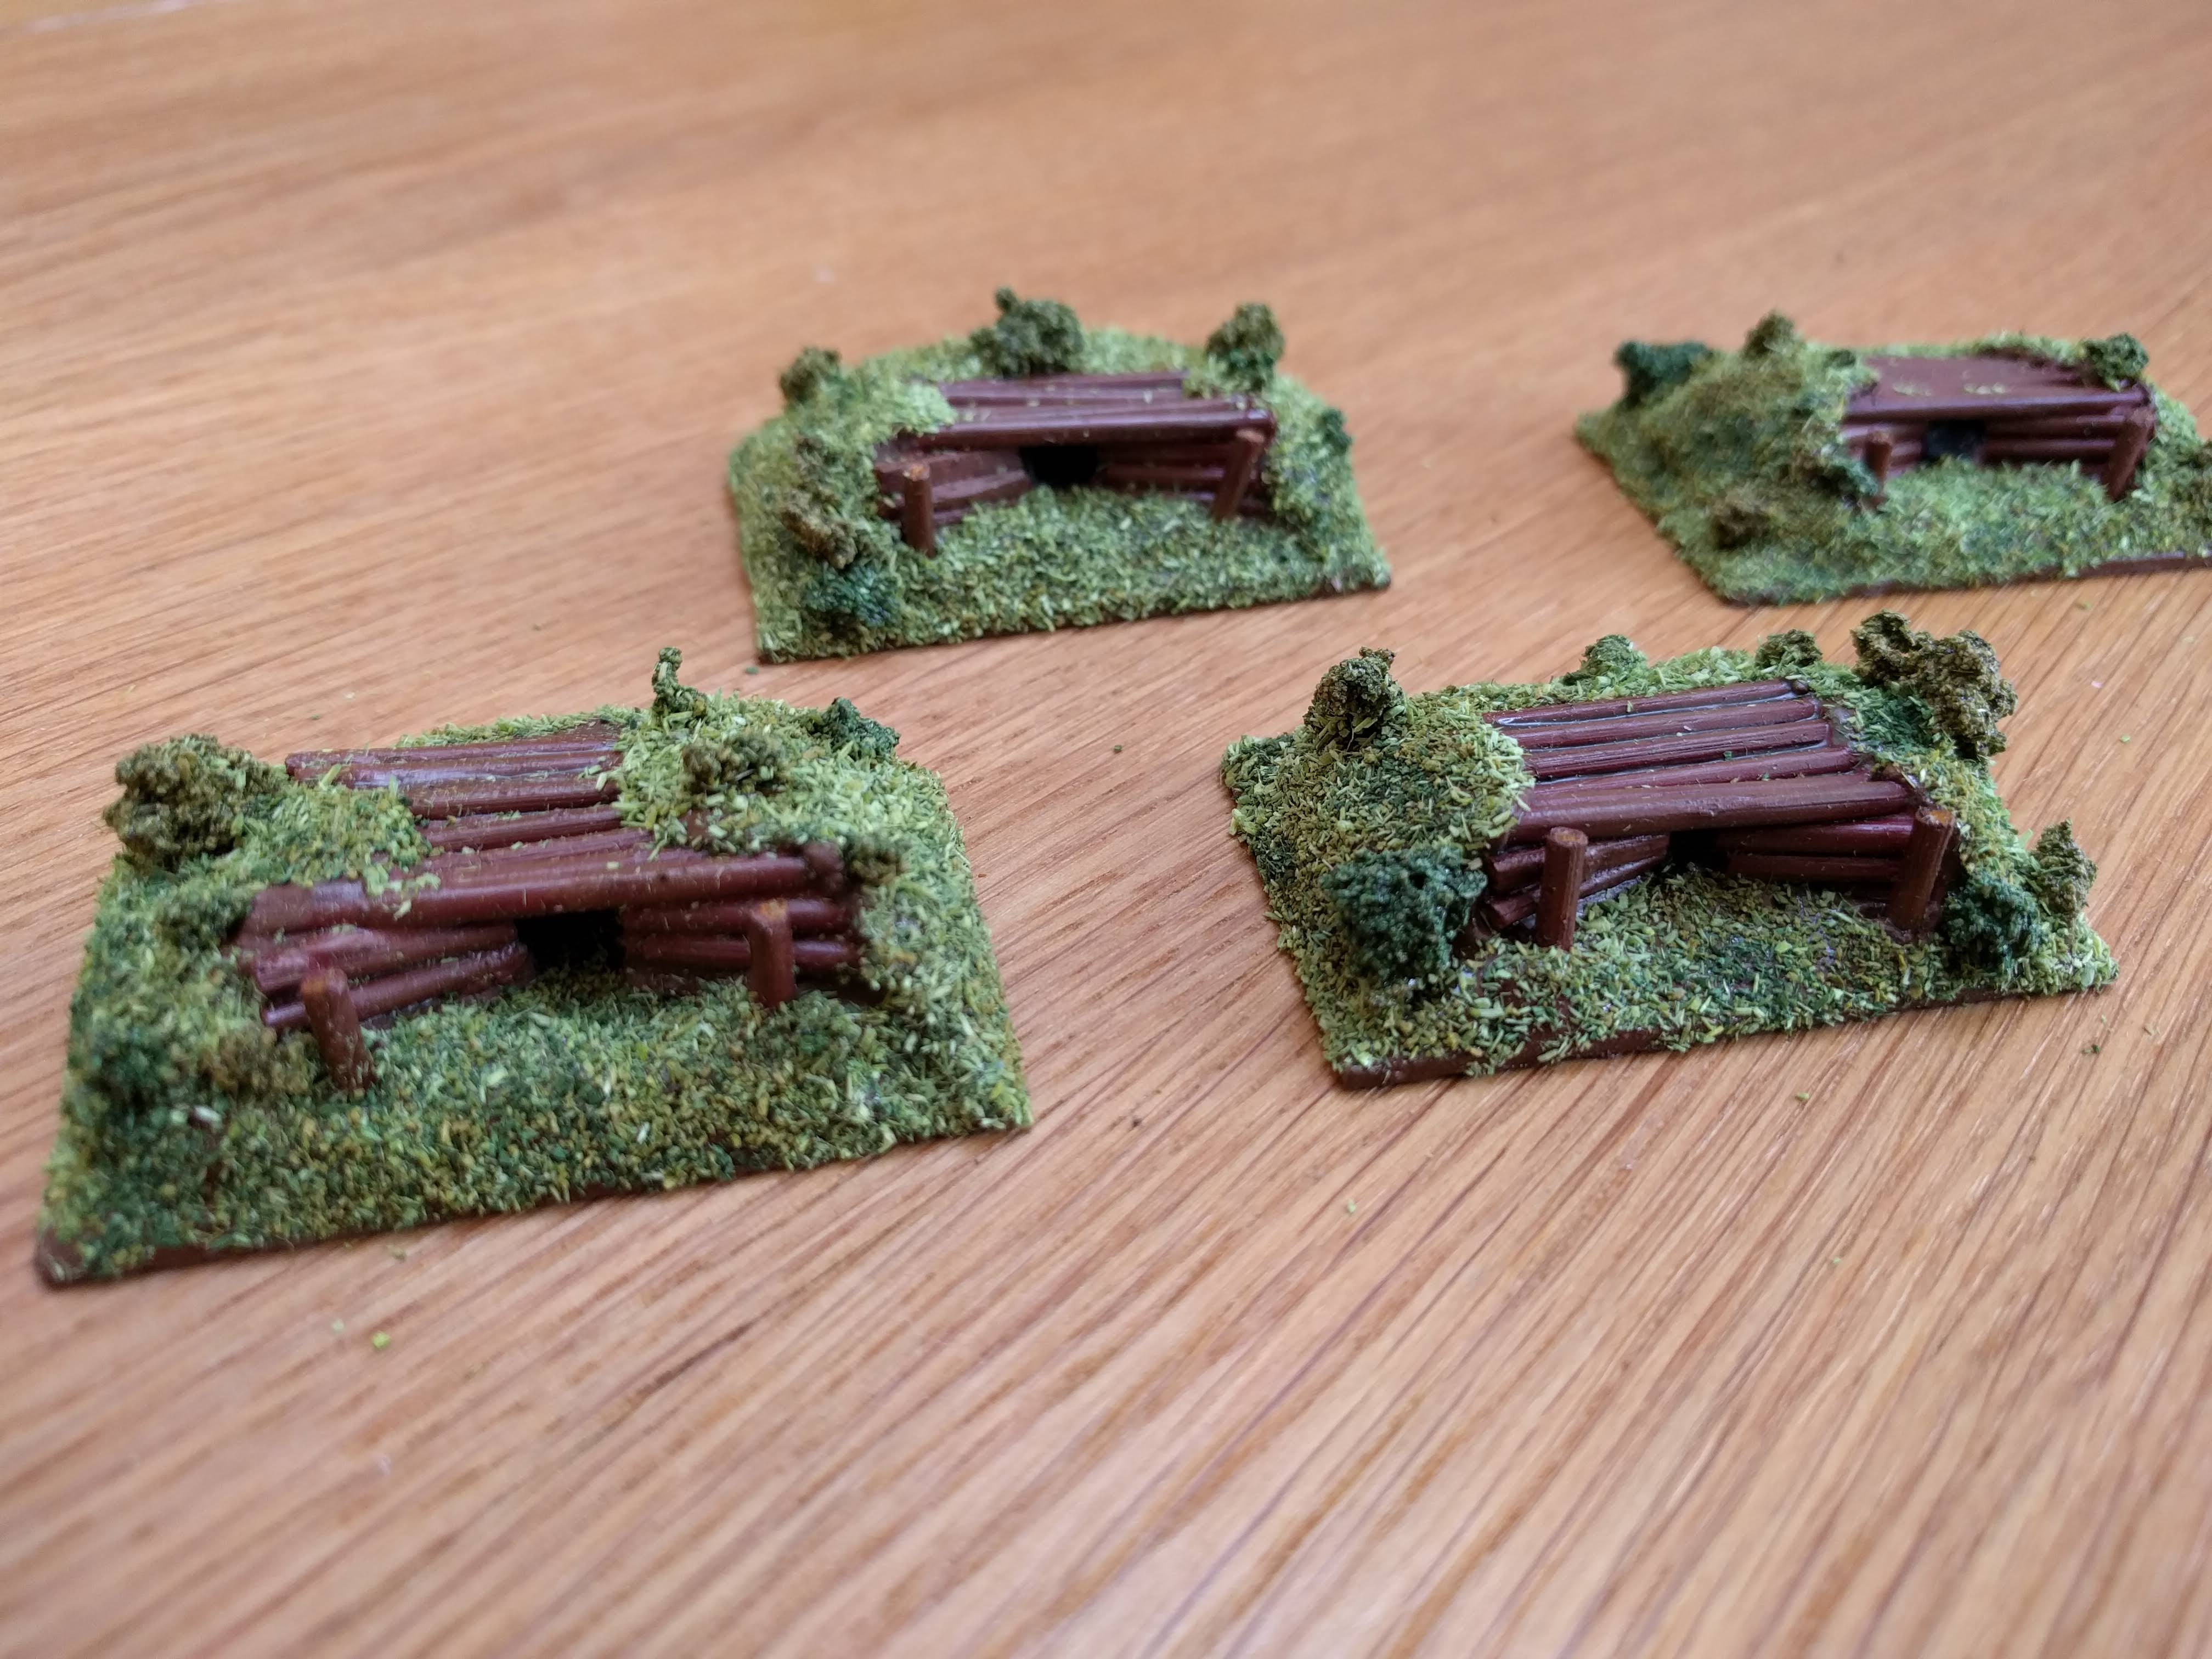
Machine Gun Nests
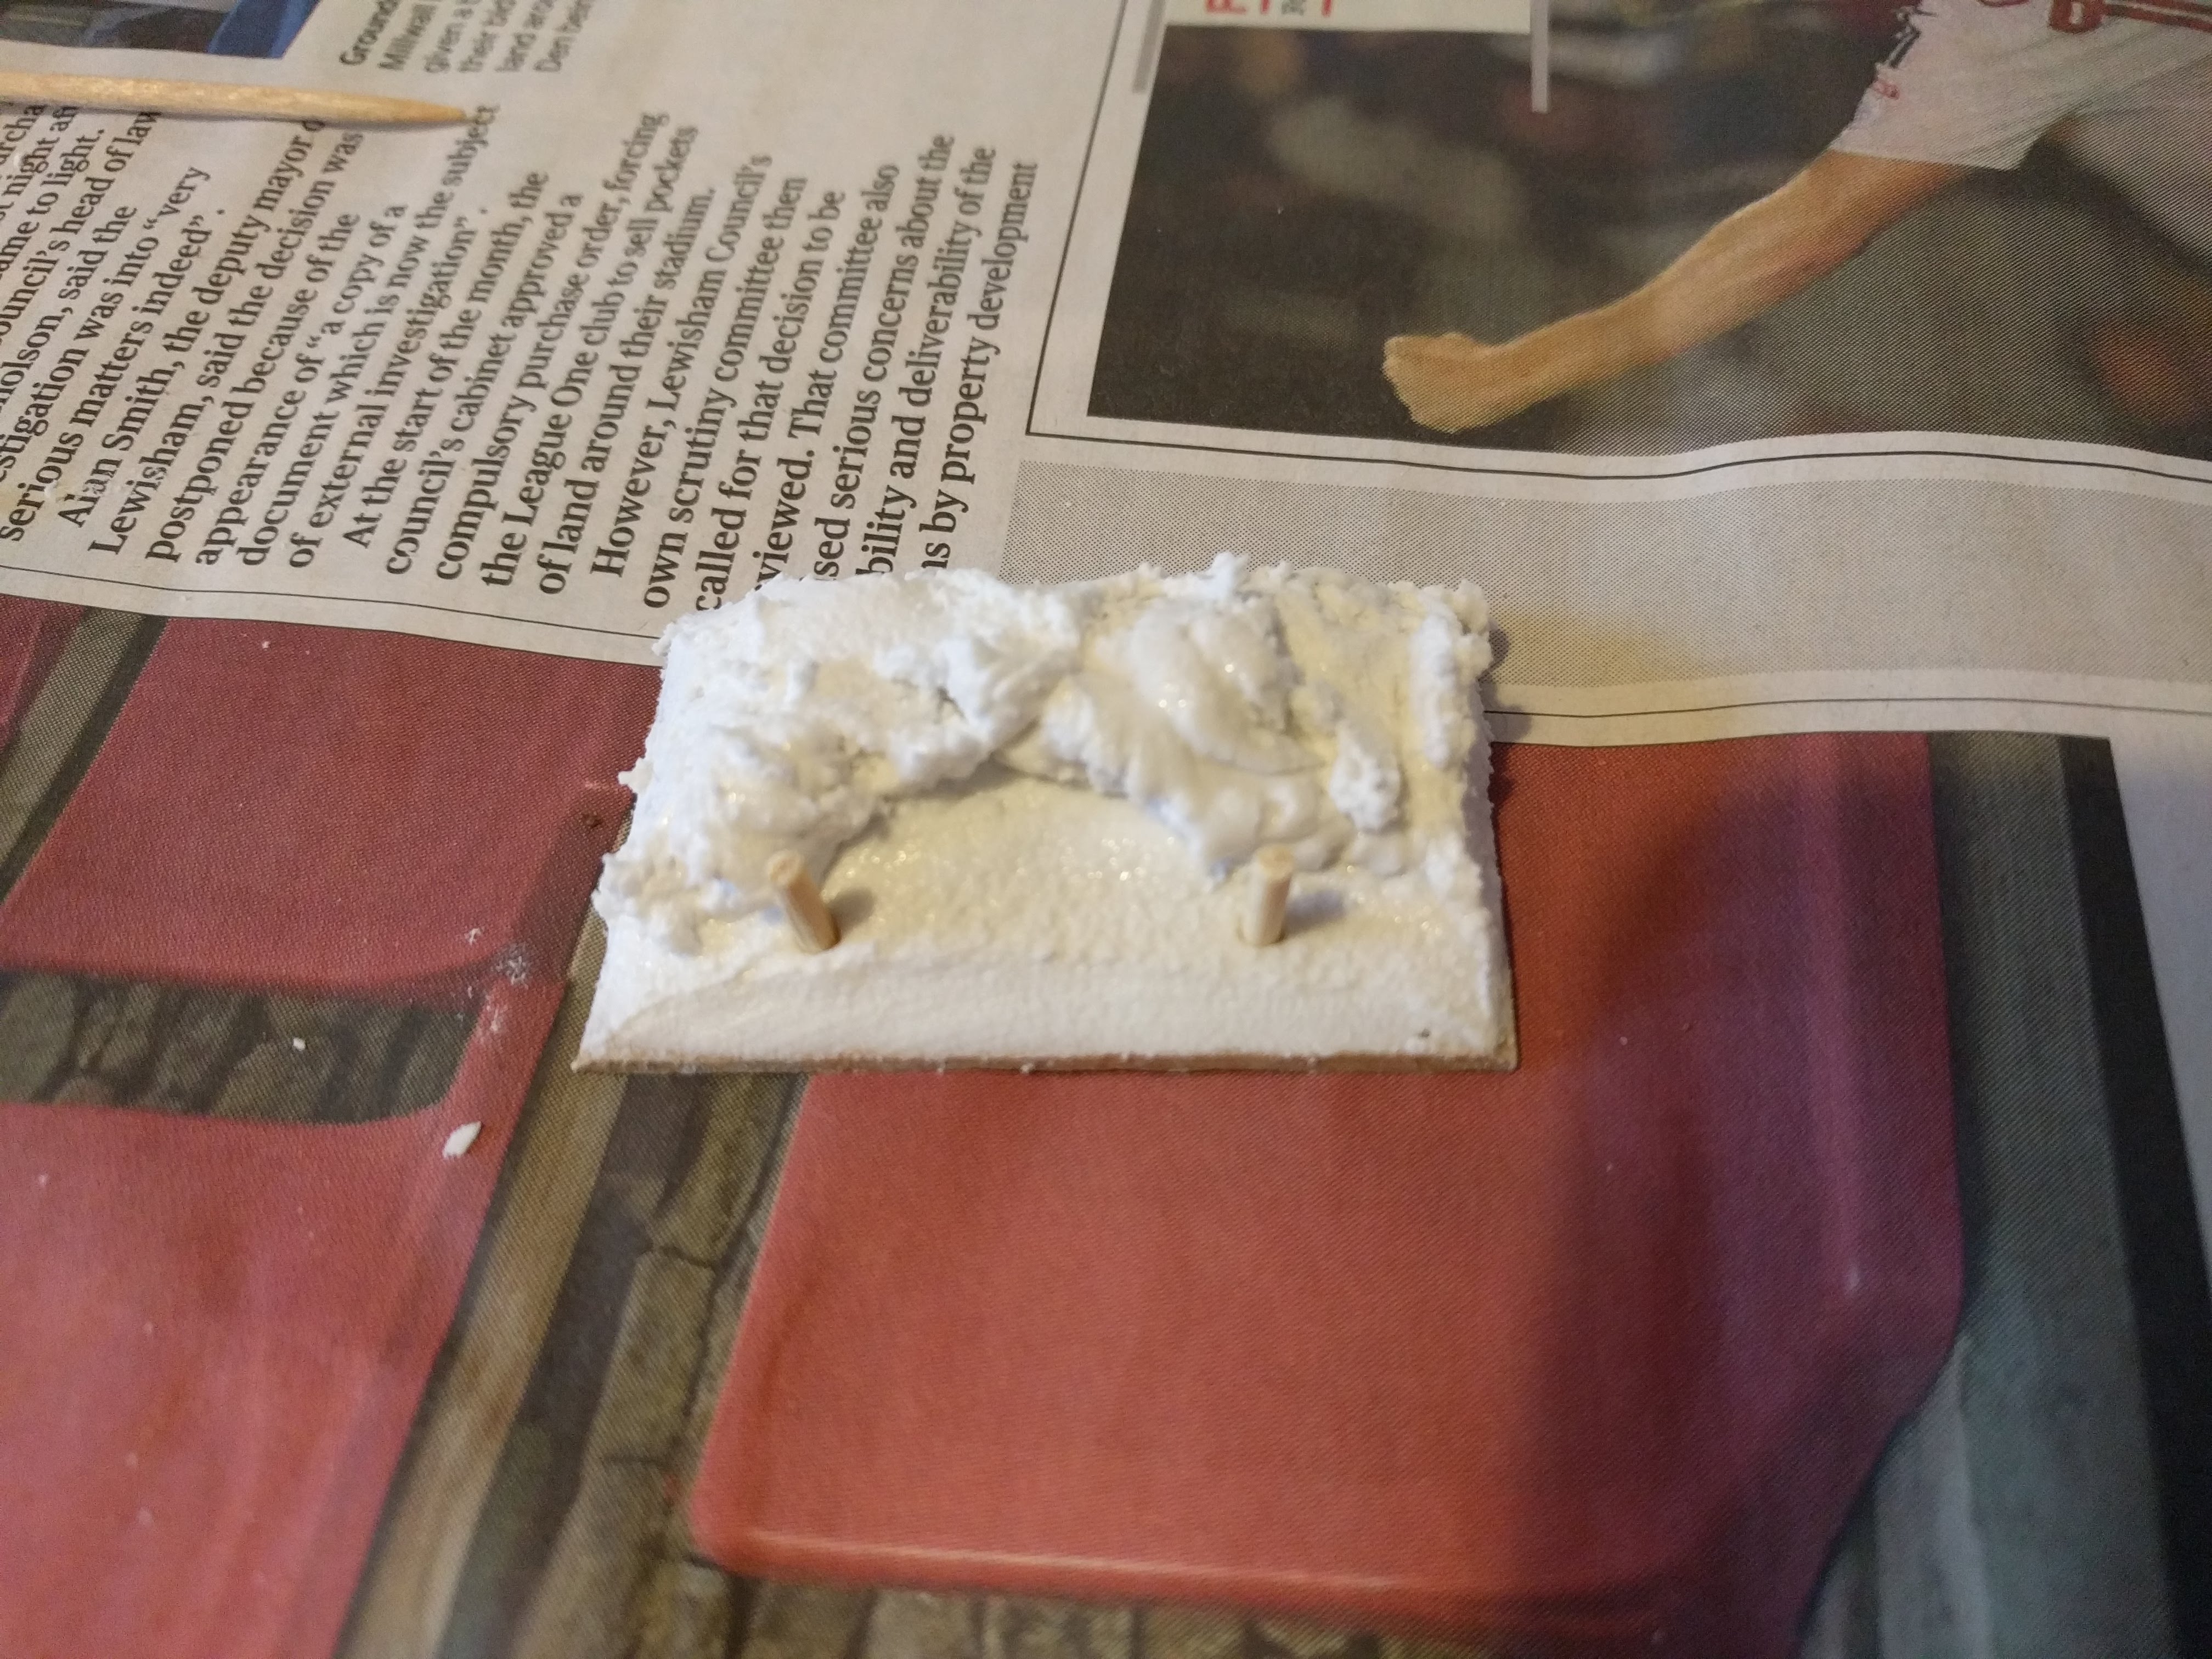
I’m going to try and make a machine gun nest that is made of logs and dug in to the surrounding ground. I’ll start with a base made of 3mm MDF cut into the approximate size of a medium FoW base. I’ve chamfered the edges and scored the top.
I’m going to build the earth out of filler so the scoring will help with the adhesion. I’ve place a decent amount on to the base and then an extra dollop in the middle.
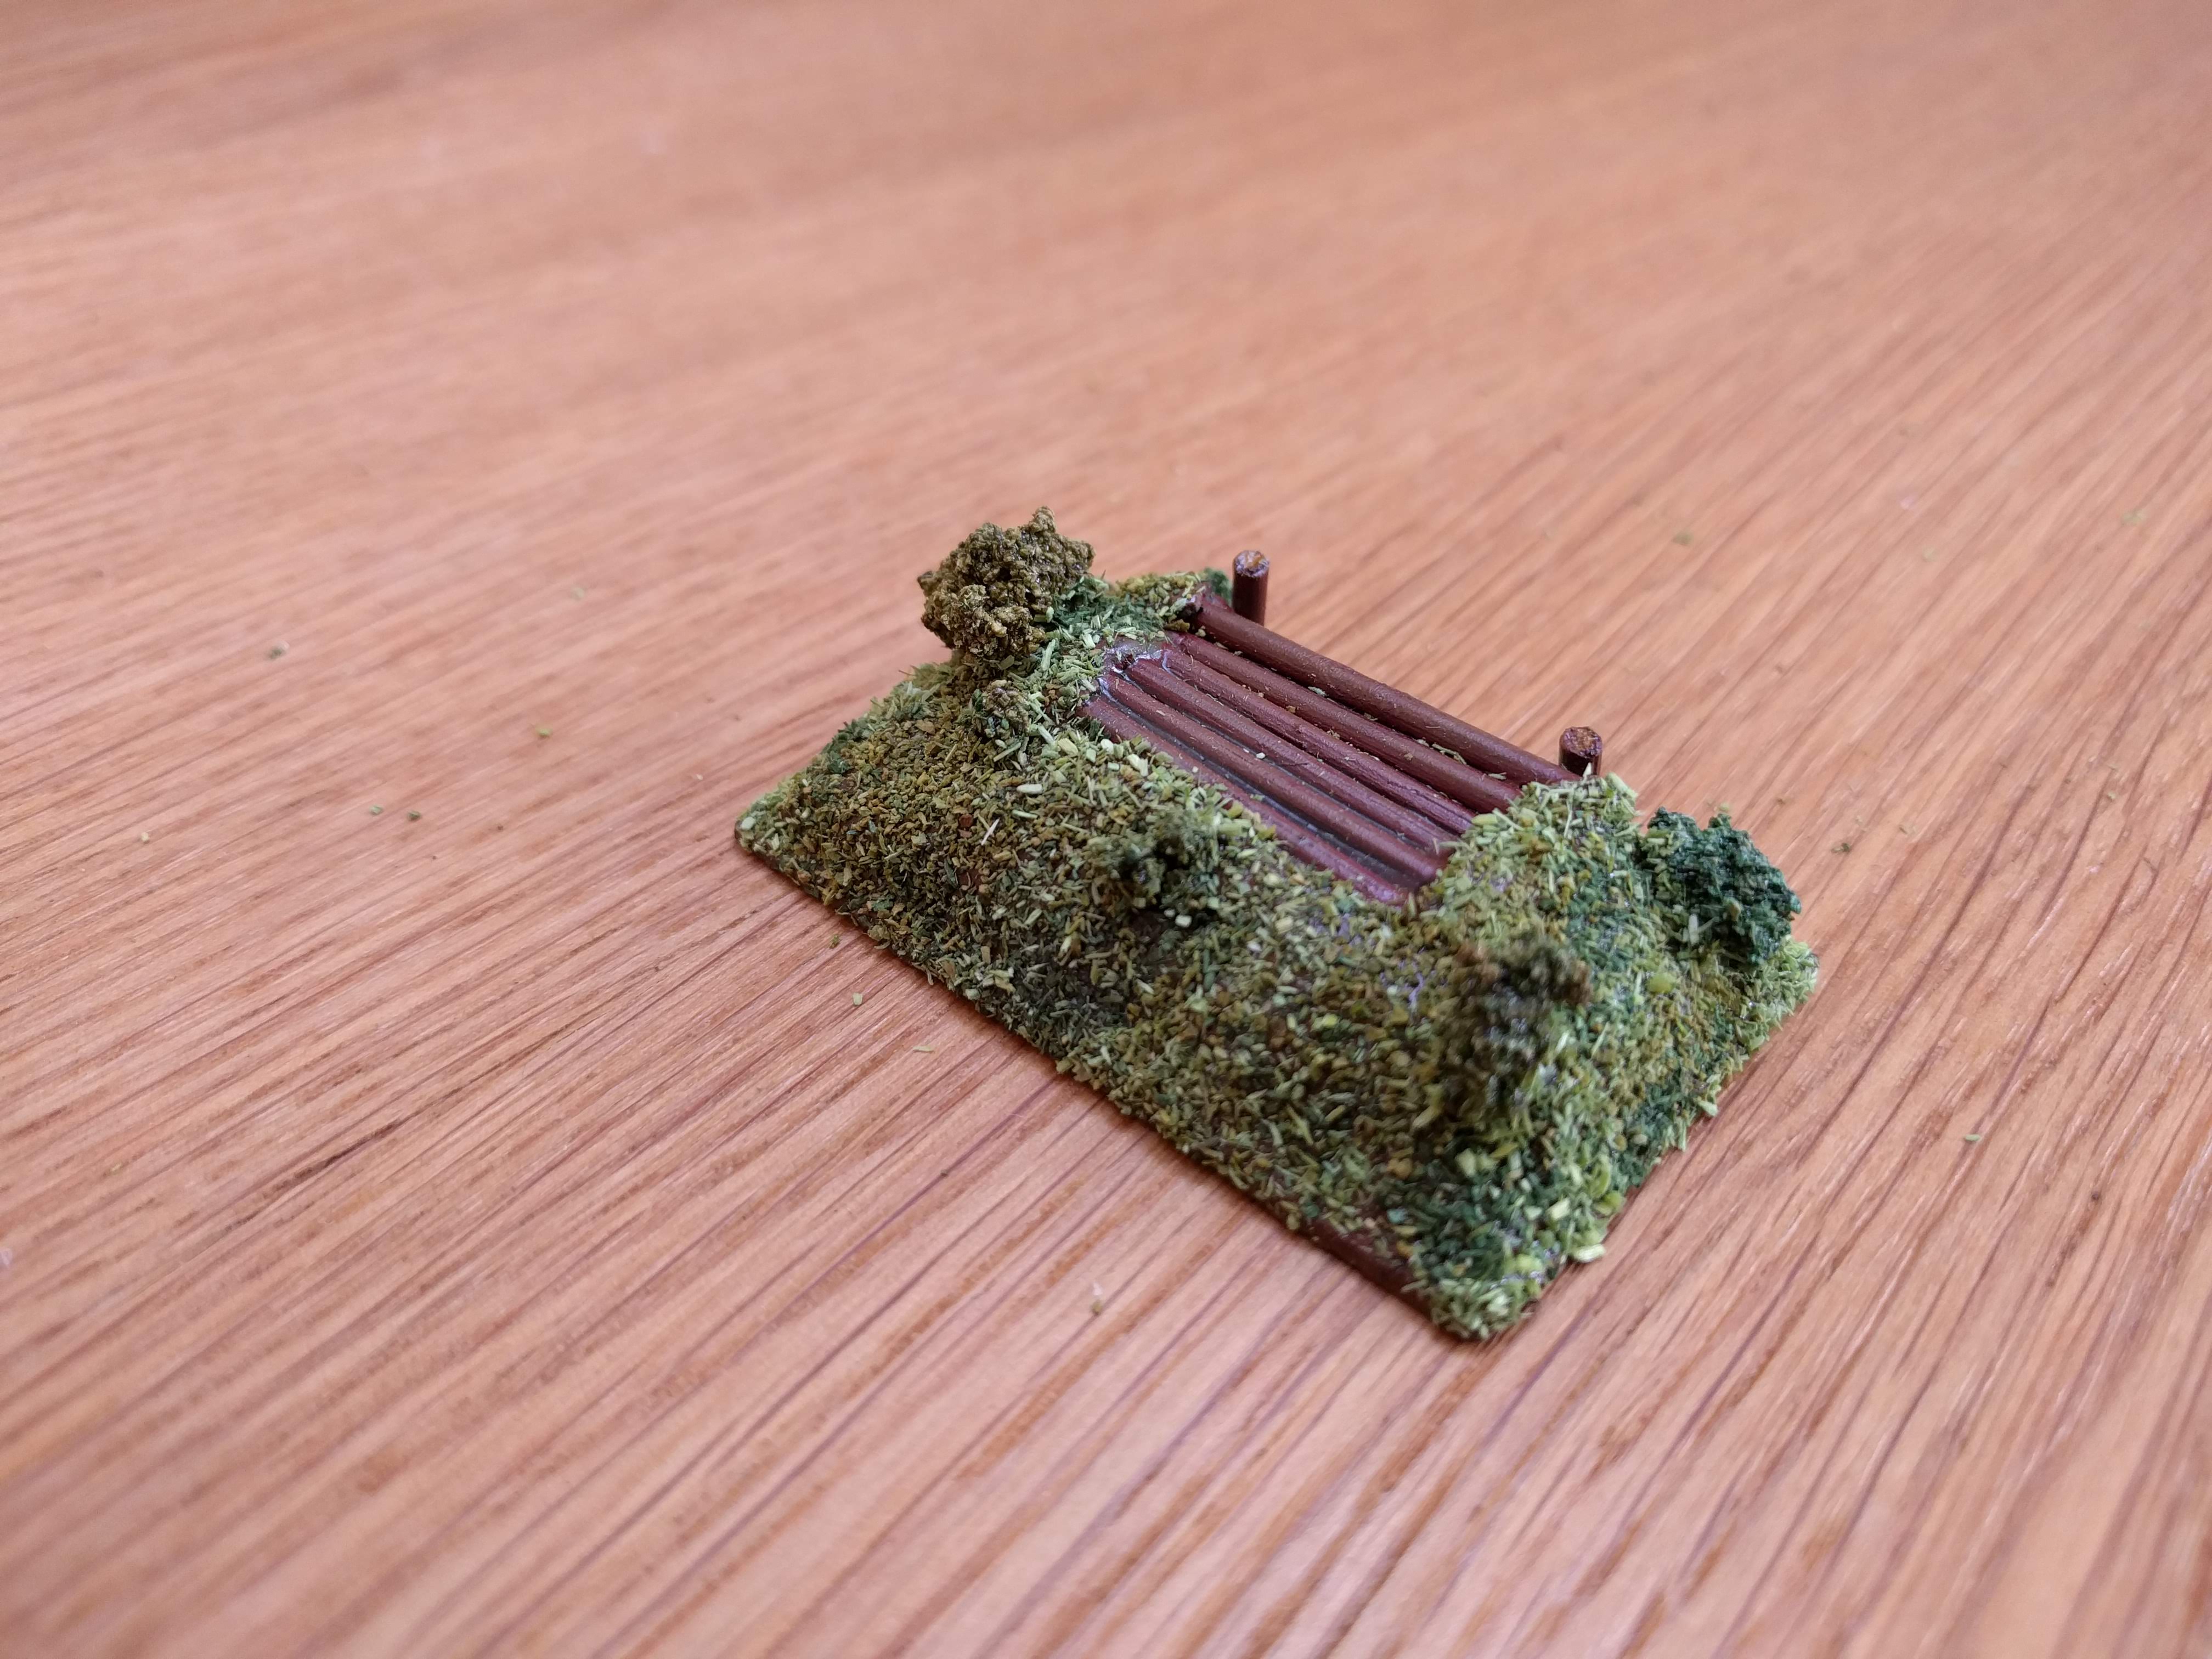
The logs will be made out of cocktail sticks (tooth picks) which are a decent scale for 15mm. I’ve started by sticking two uprights at the front of the base.
Behind the uprights, I want some short logs sloping backward to create a V shape. The idea being that the machine gun would be positioned at the apex of the V. To do this, I’ve gently pushed the dollop of filler forward toward the uprights while pushing the short cocktail sticks in to the filler.
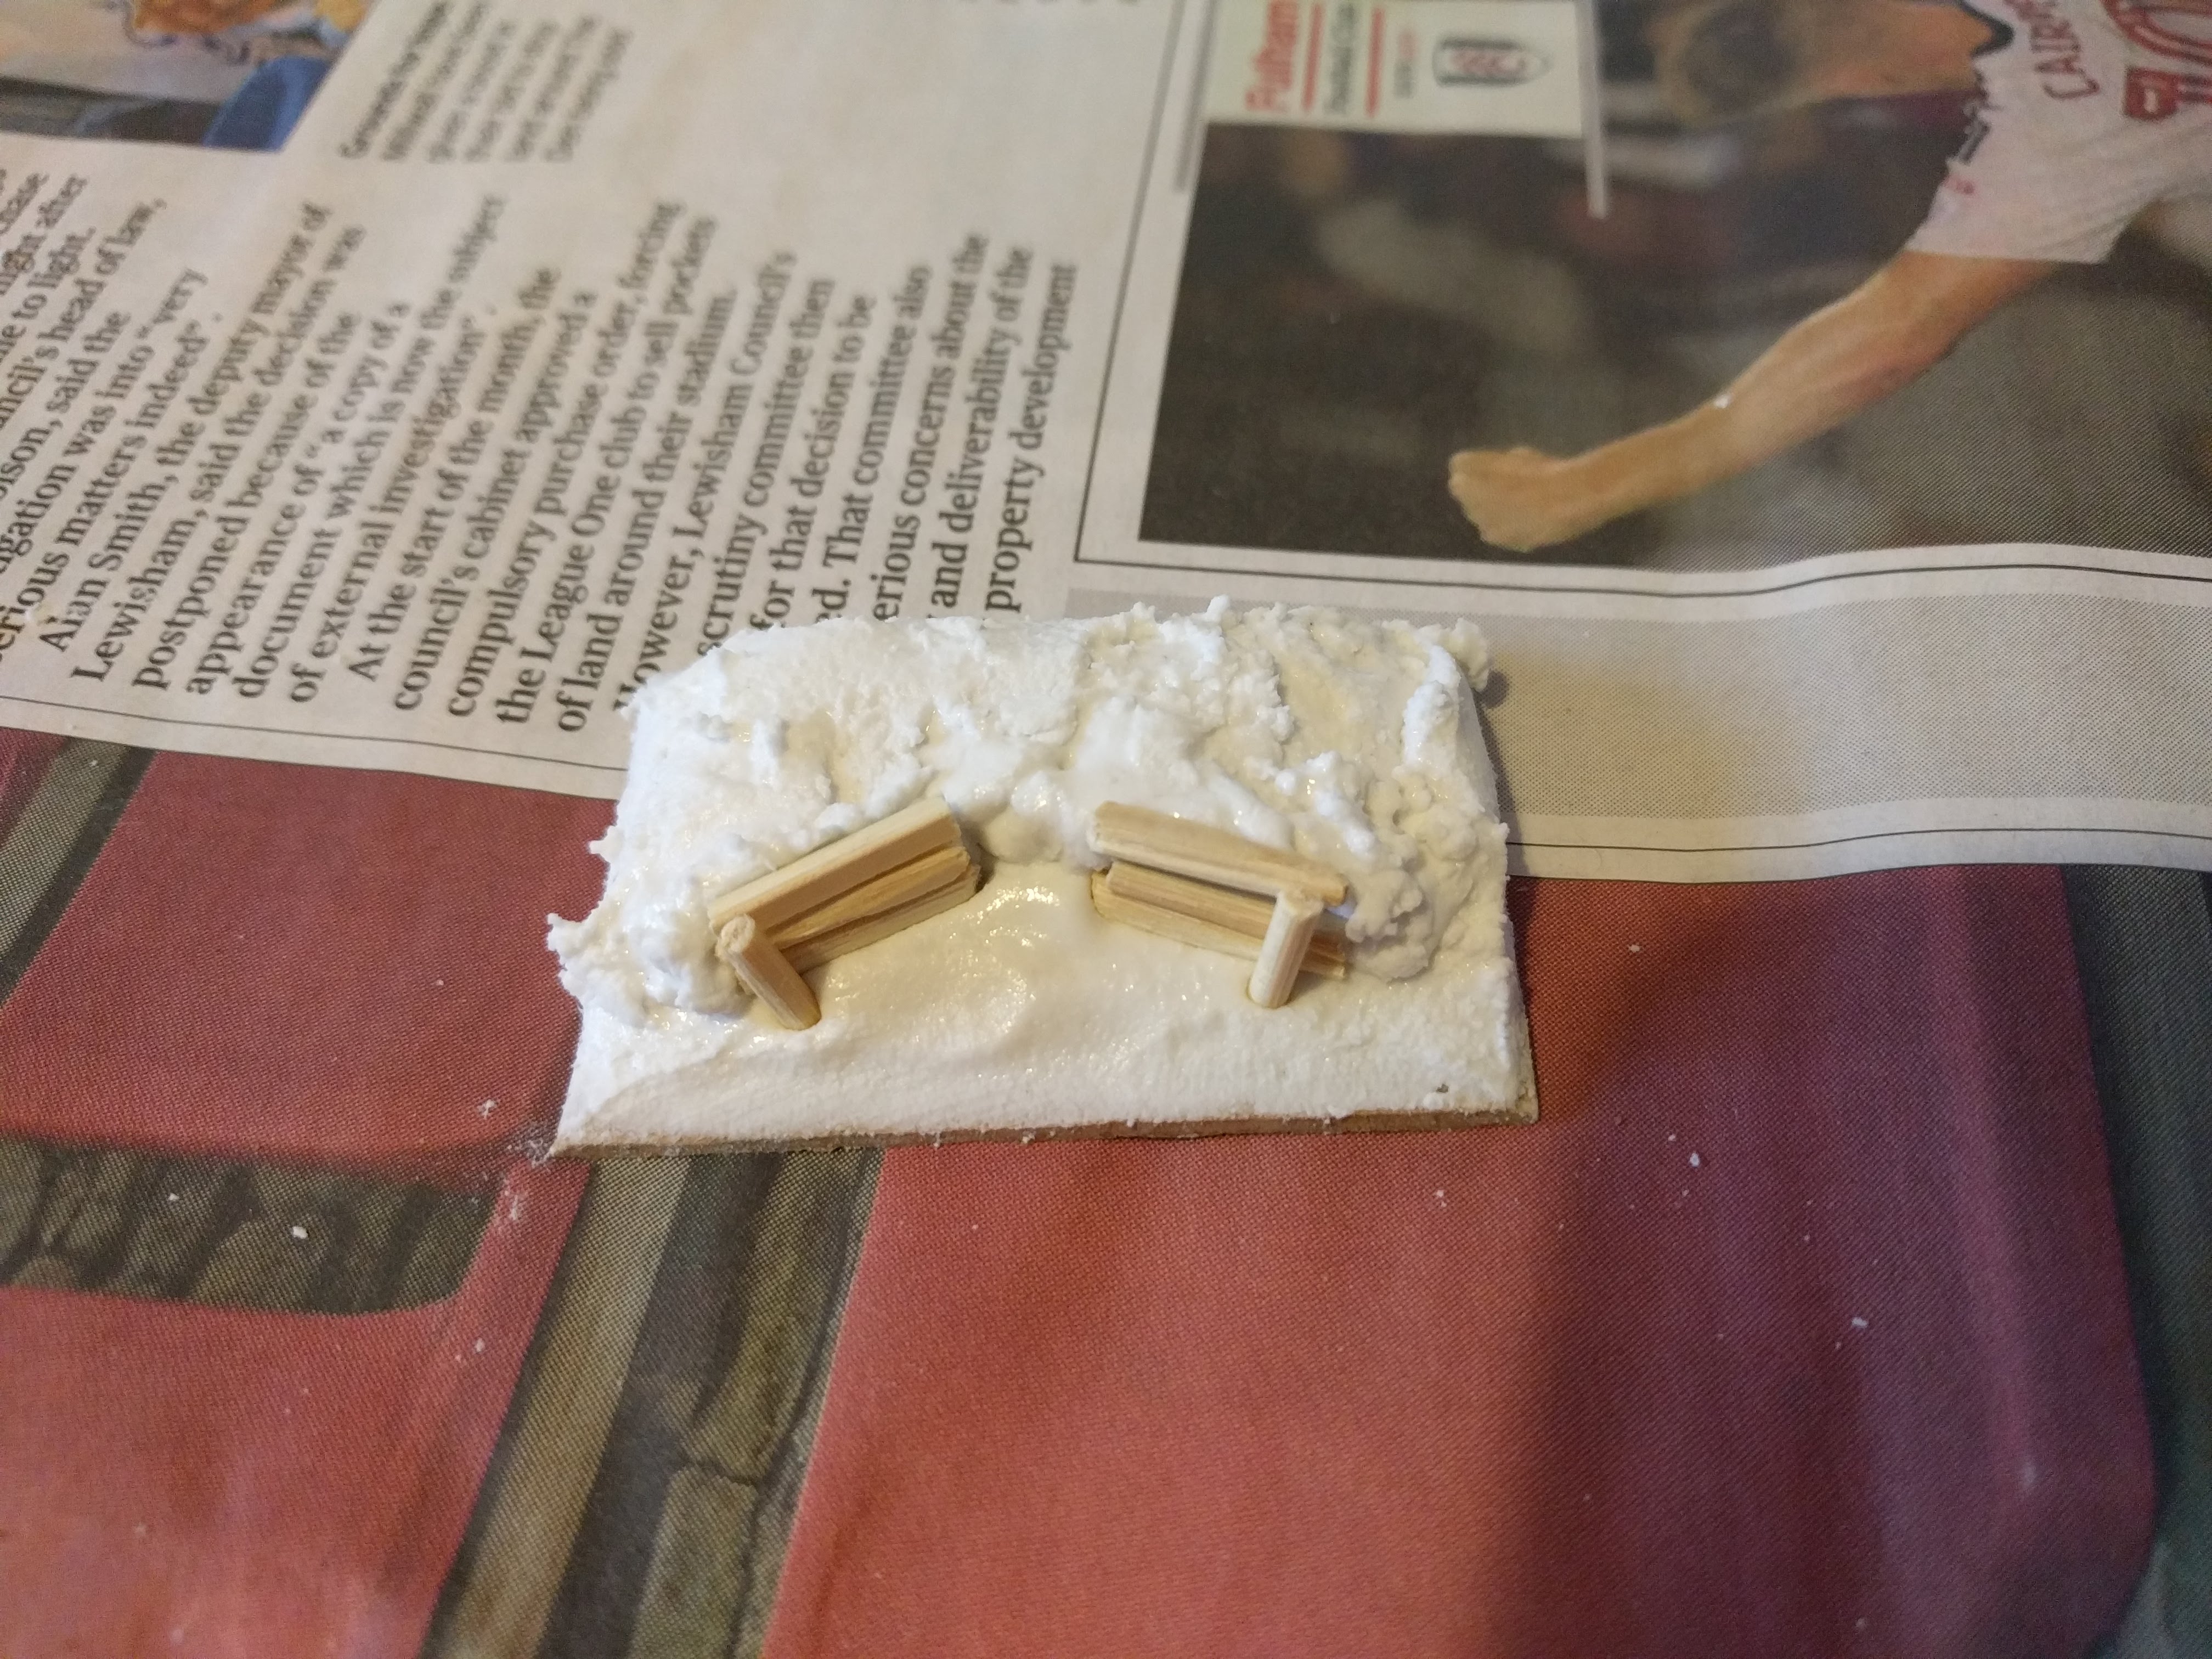
I now need to create the roof. I’ve cut some longer cocktail sticks and have gently pushed these into the dollop of filler and across the V of the short sticks.
I then put a little more filler over the ends of the newly laid ‘roof’ to hold these in place and to make it look like the nest is dug in.
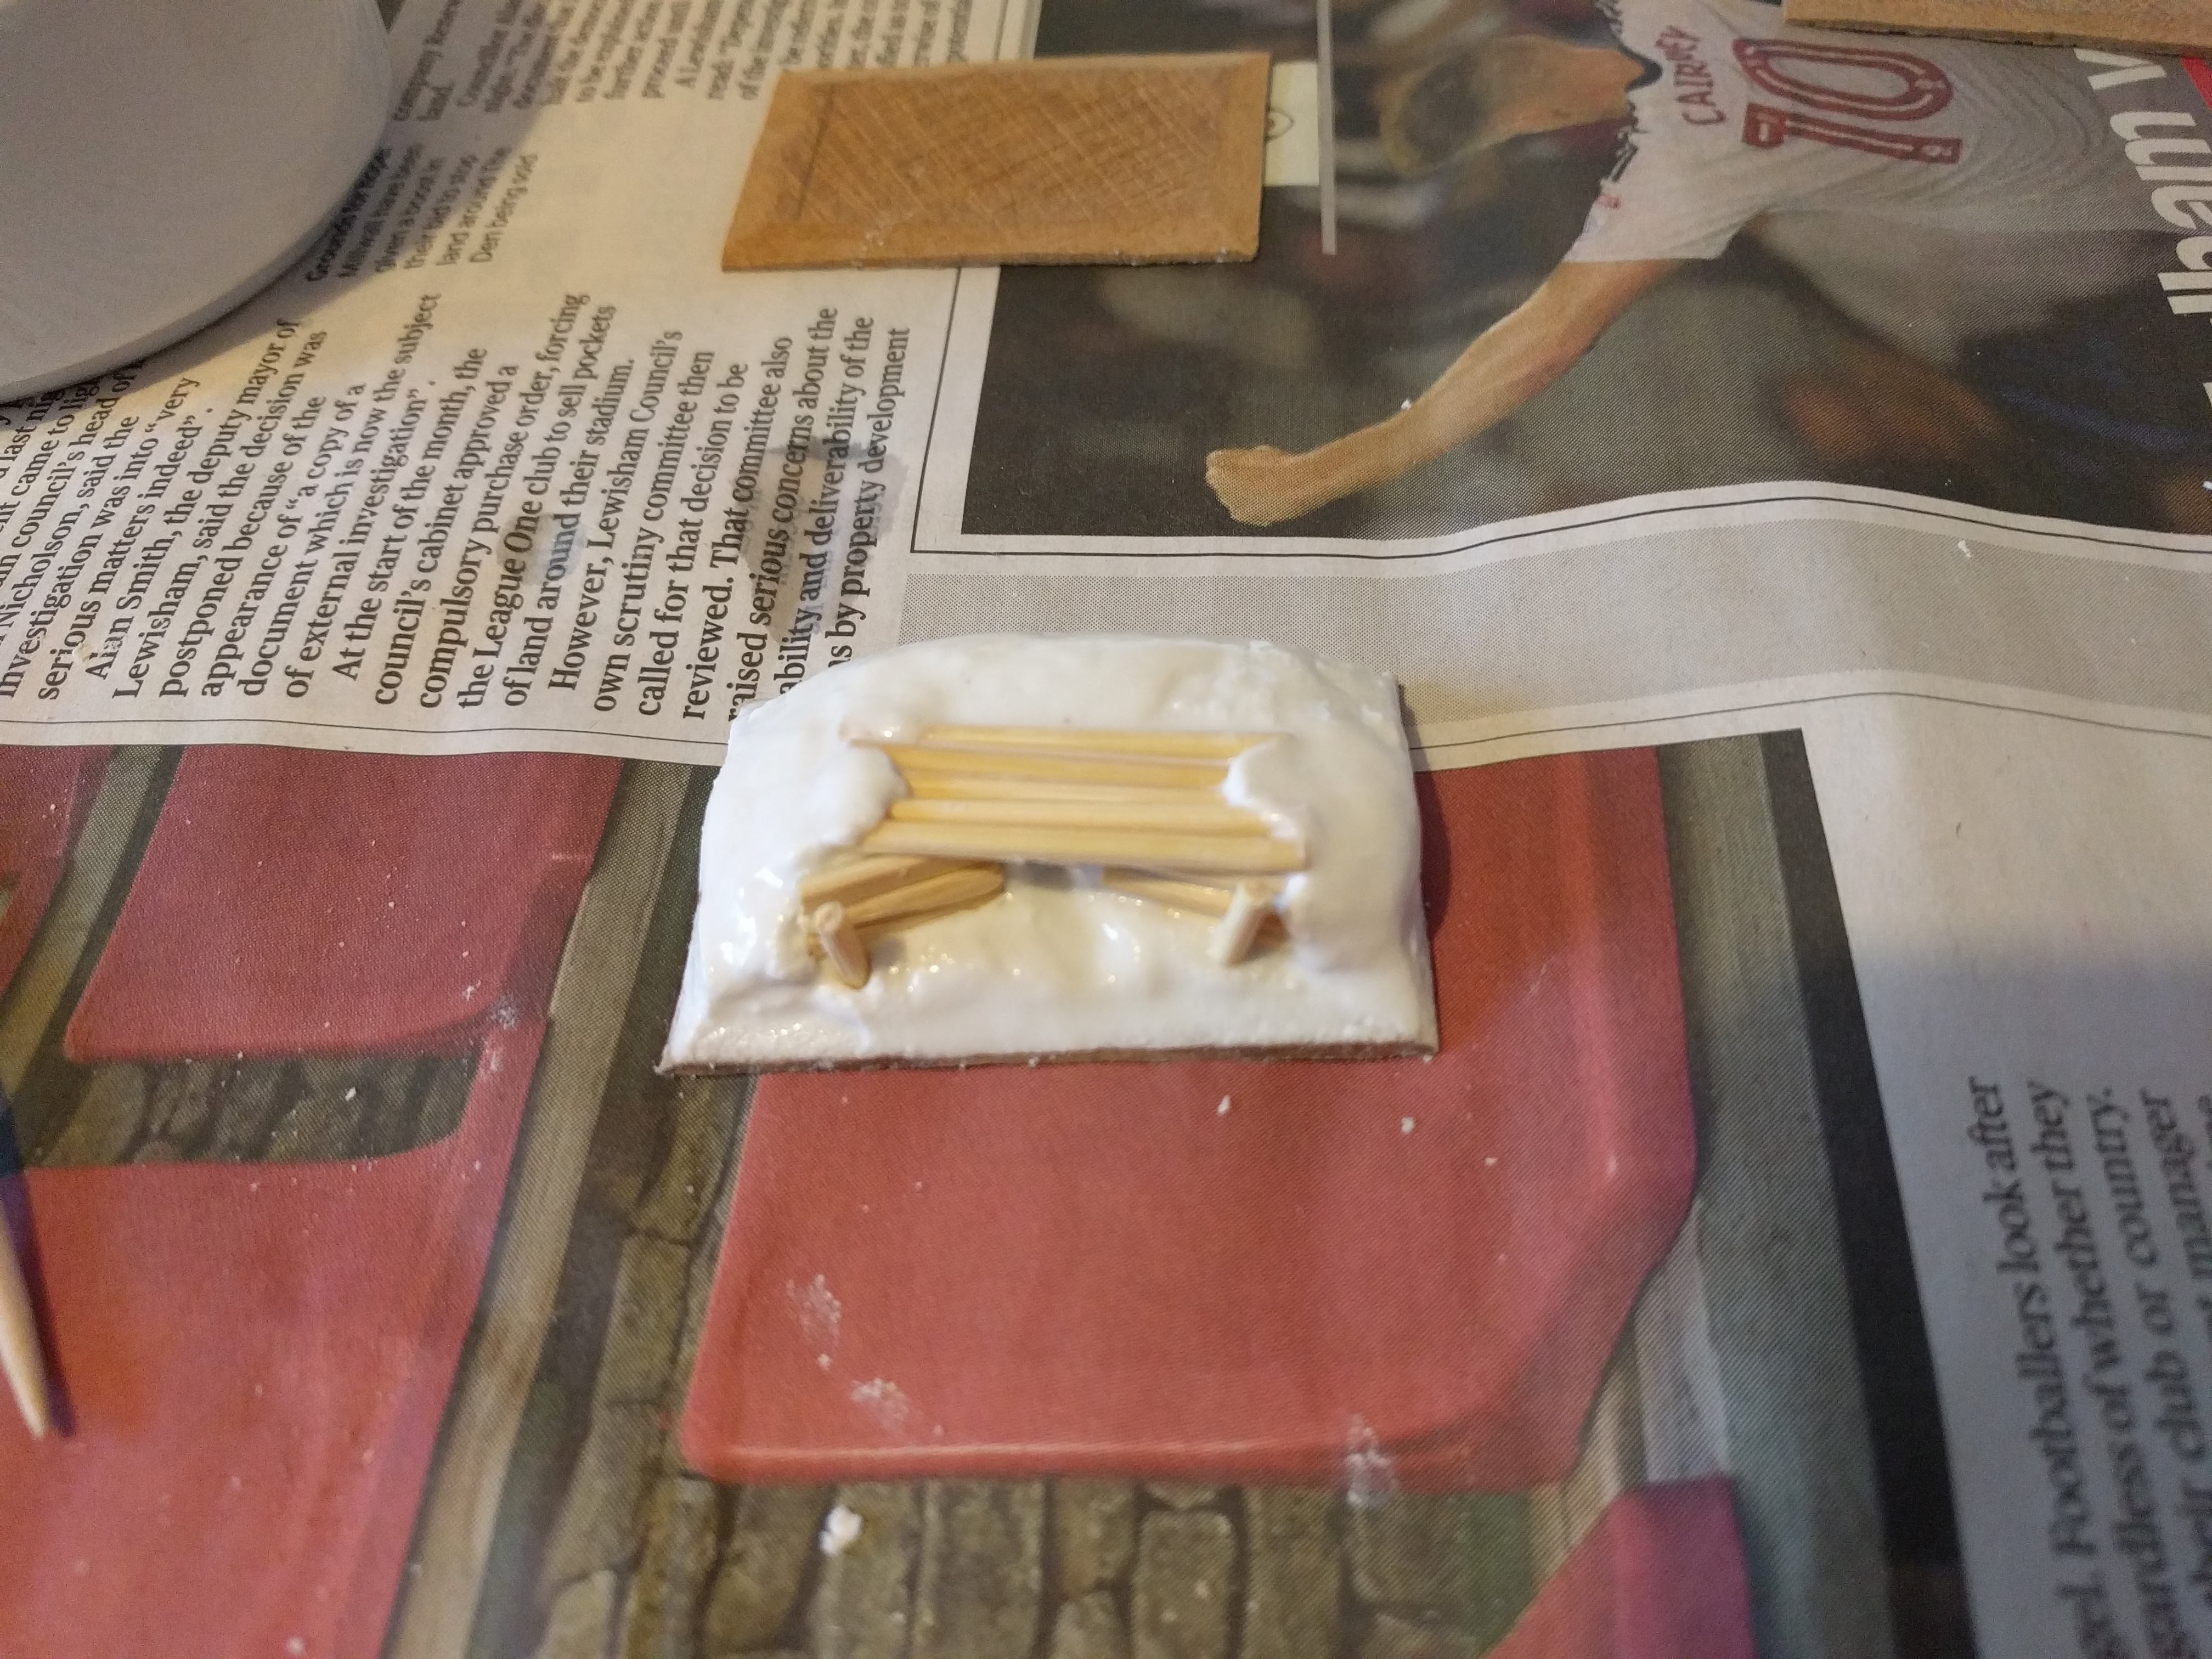
Final step was to push the filler at the apex of the V out of the way to create the impression of an opening (like drilling out the gun barrel!). I’ve also put some water on my finger and smoothed out the filler.
I just need to leave these to dry now – I’ll give it 24 hours just to be sure as the filler is quite thick in the middle and will take a bit longer to harden.
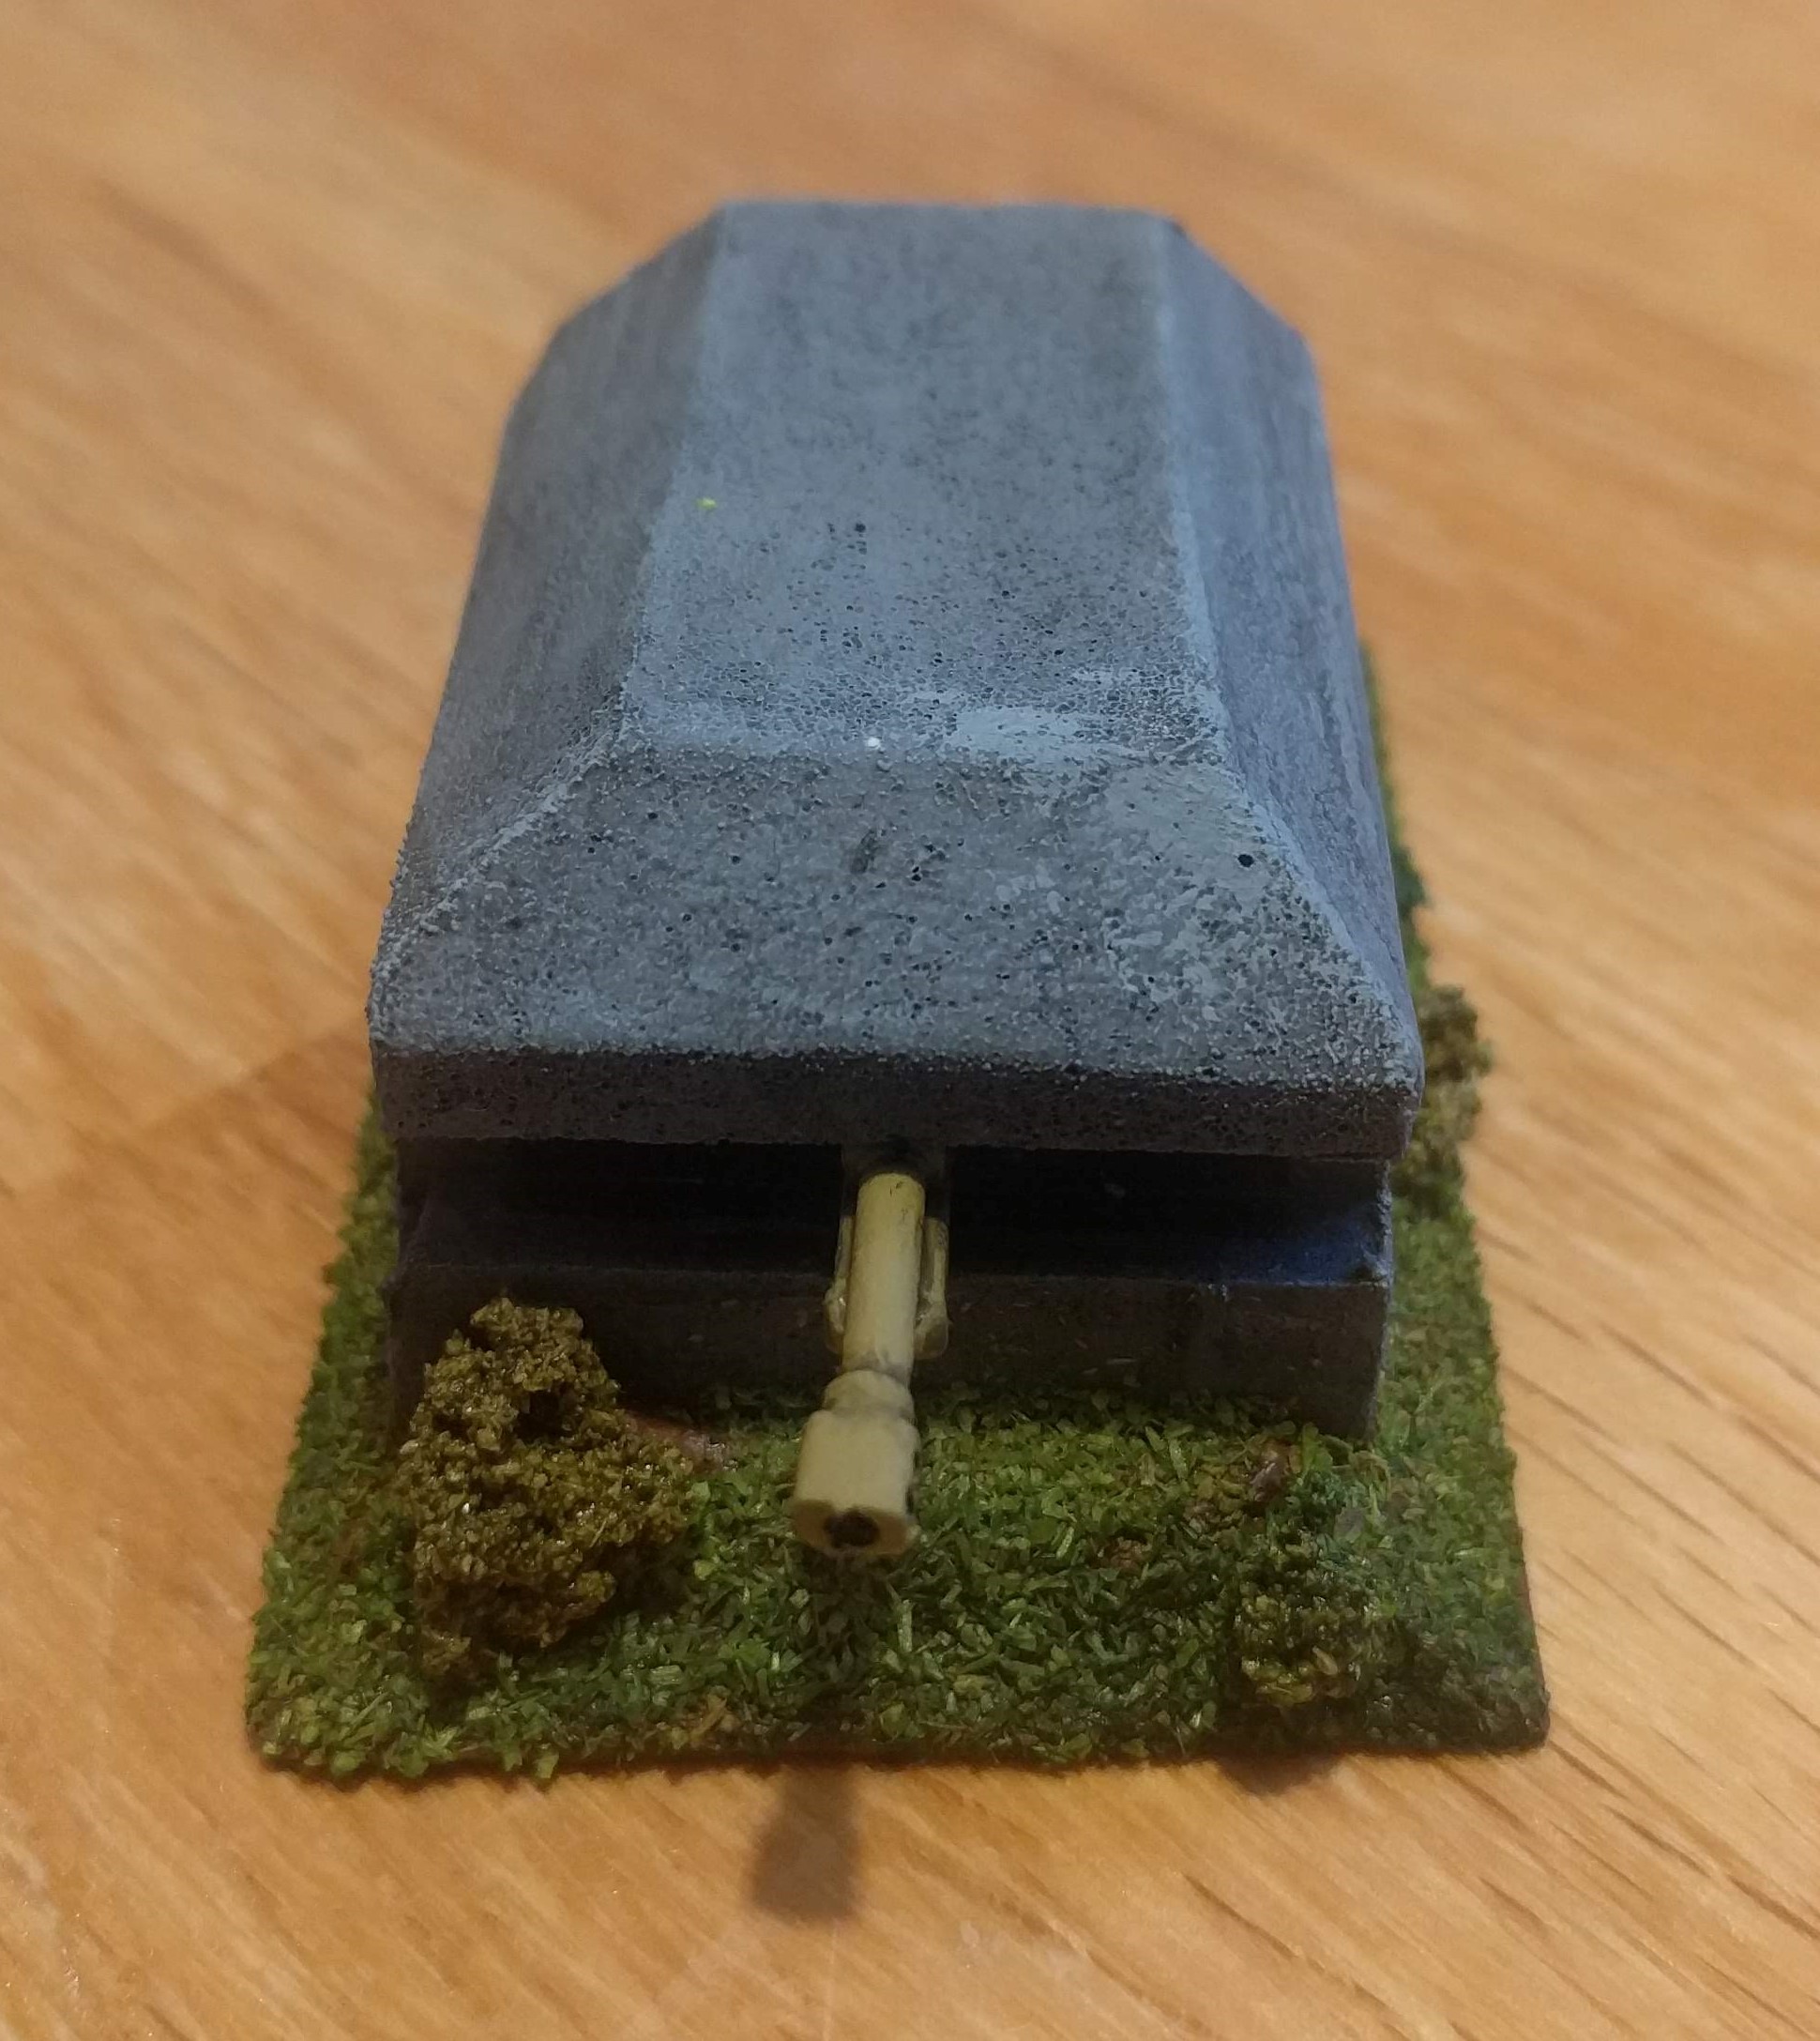
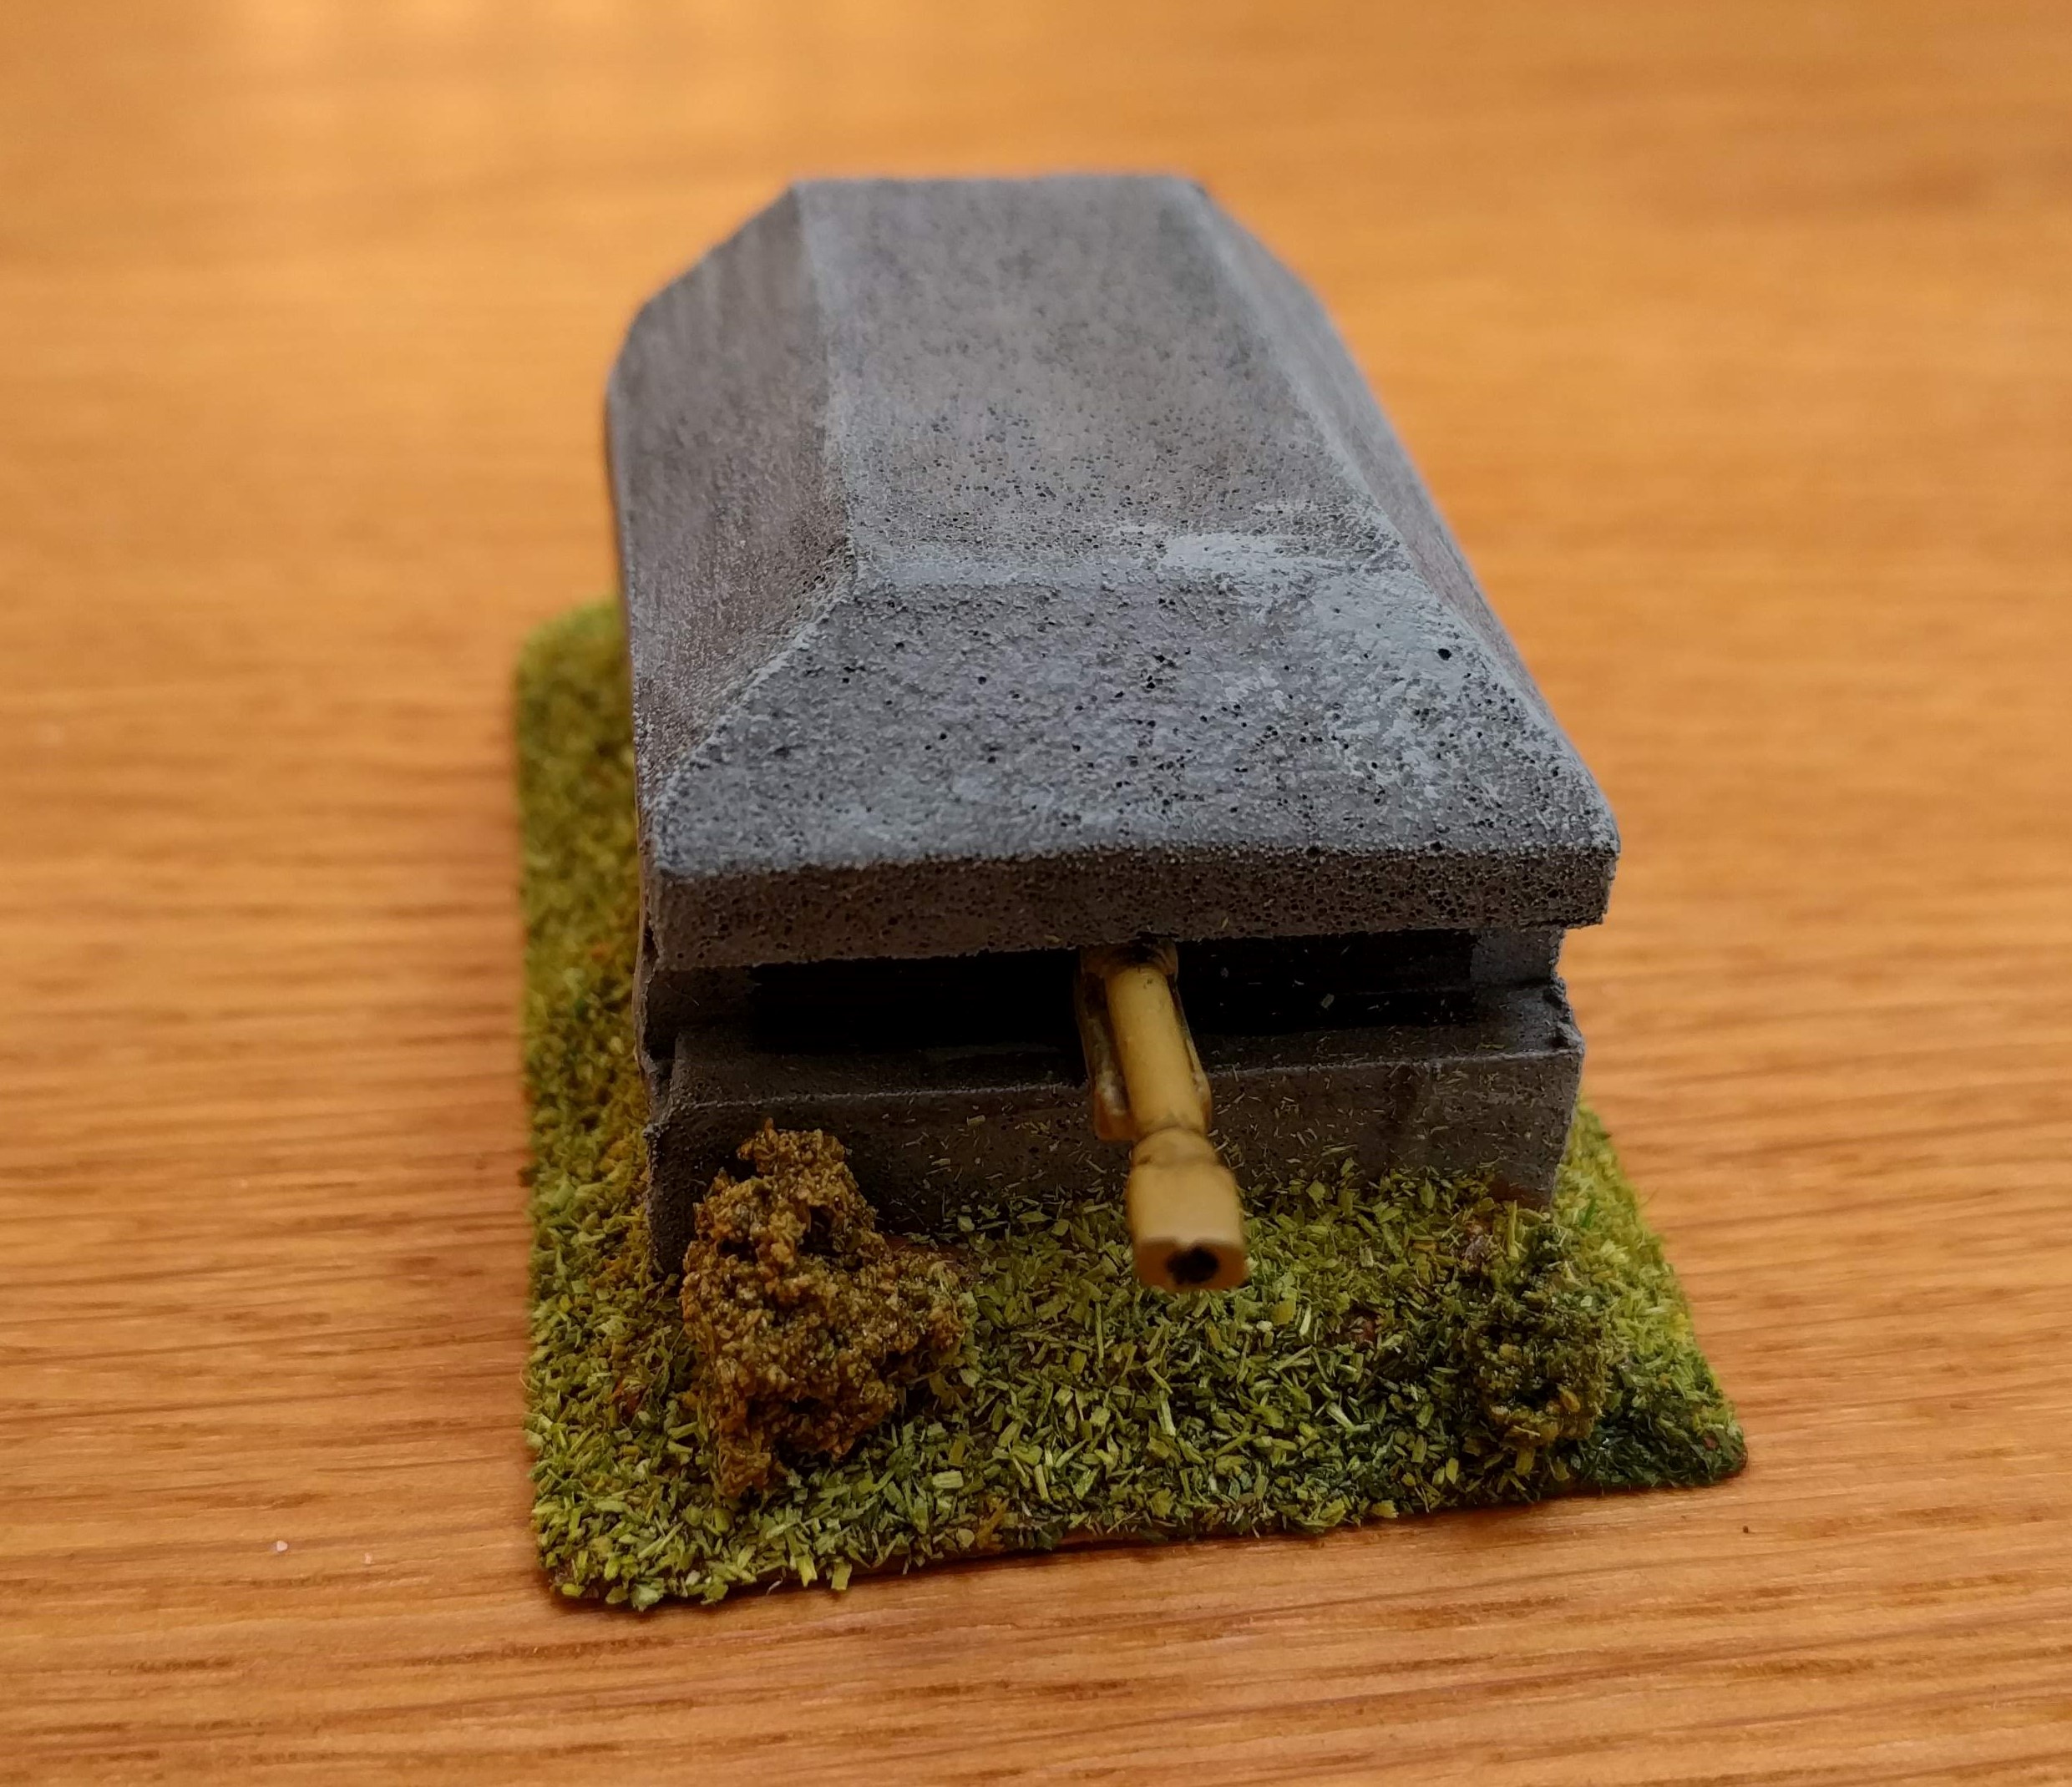
Finished Bunker
I’ve now given the bunker a light dry brush of mid grey.
I lightly drilled out the gun barrel – not all the way as it was quite fiddly but enough to create the imitation. I painted the gun barrel middlestone and then applied a wash.
With the basing, I started with the clump foliage. I soaked this in a 50:50 mix of water and PVA until it was sodden. I then applied it straight to the base and left it to dry. This was, I avoided any of the scatter getting stuck the ‘bushes’.
Applying the scatter was just a case of painted the PVA on to the base and sprinkling. I went for a mix of a dark and mid tone scatter to build in some variation. Once dry, I sealed this all down with a water/PVA spray – about 5 to 1 ratio.
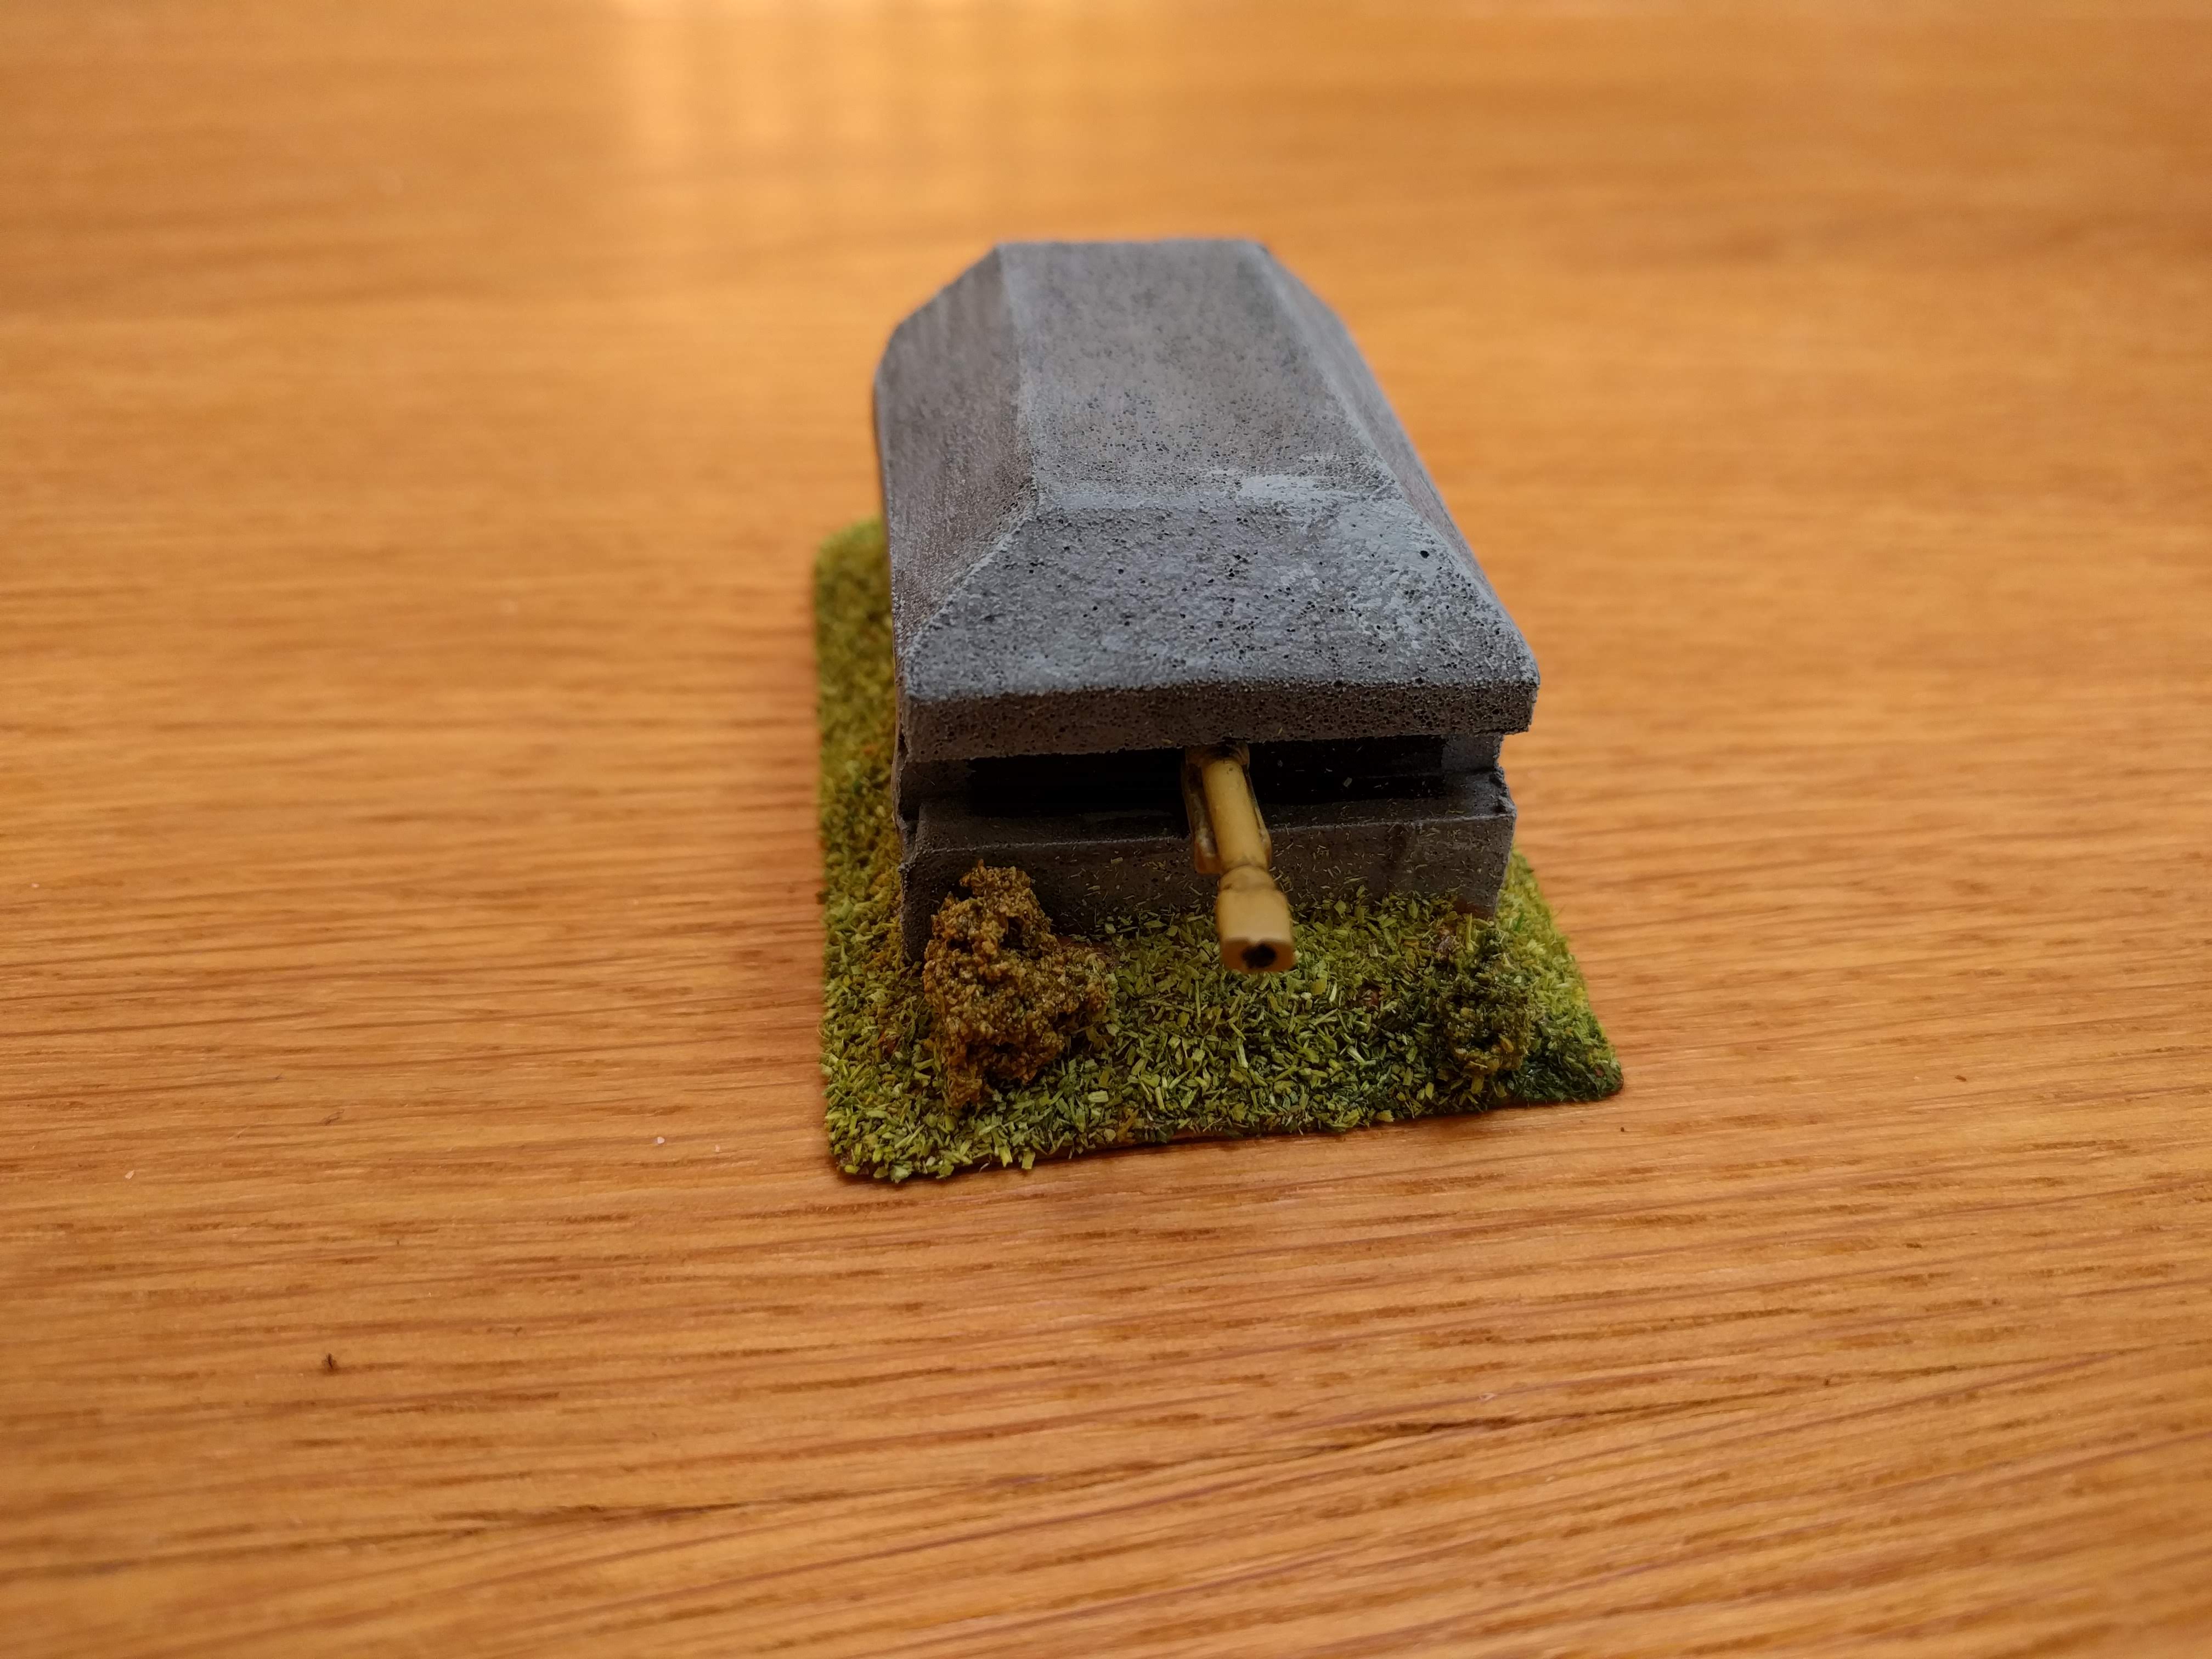


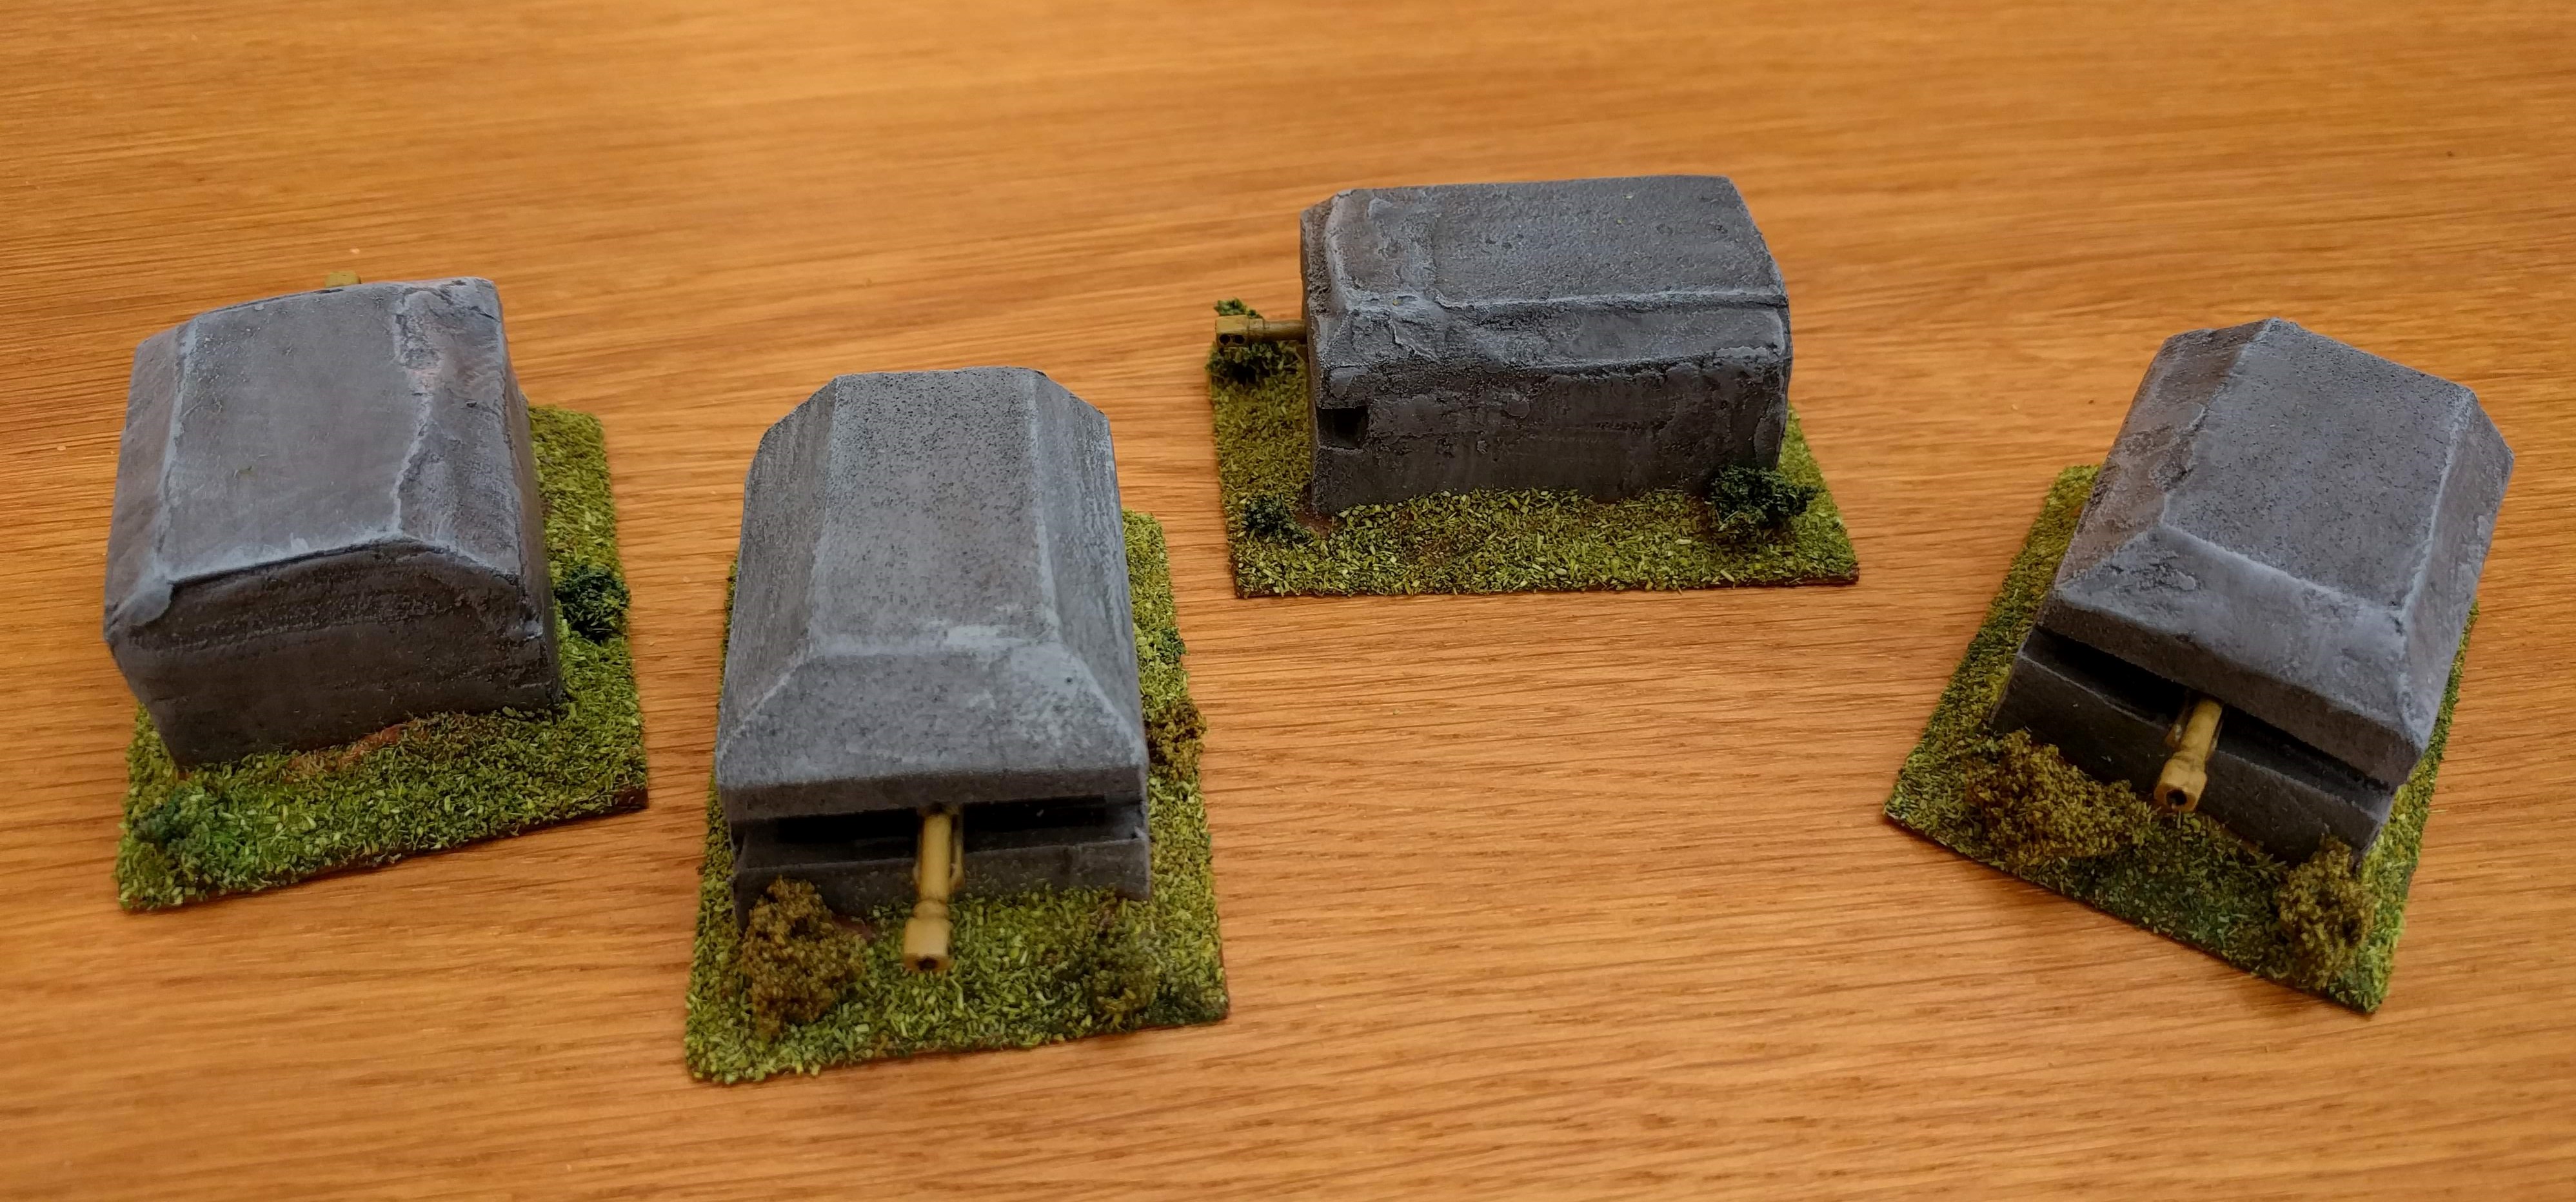
I think these bunkers are now finished. A couple are a little rough and ready> i probably should have spent more time on the cutting of the foam to get a better angle and end result but otherwise, I’m quite pleased with the result.
Next up, I will look to build some machine gun nests.
The Based Bunker
Once the filler was dry, I’ve given it a couple of coats of thin, brown acrylic paint. I’ve got some cheap acrylic for this which cost about £4 for 500ml on Amazon. I only use it for terrain. I’ve also used a cheap brush as filler is quite rough and ruins the bristles.
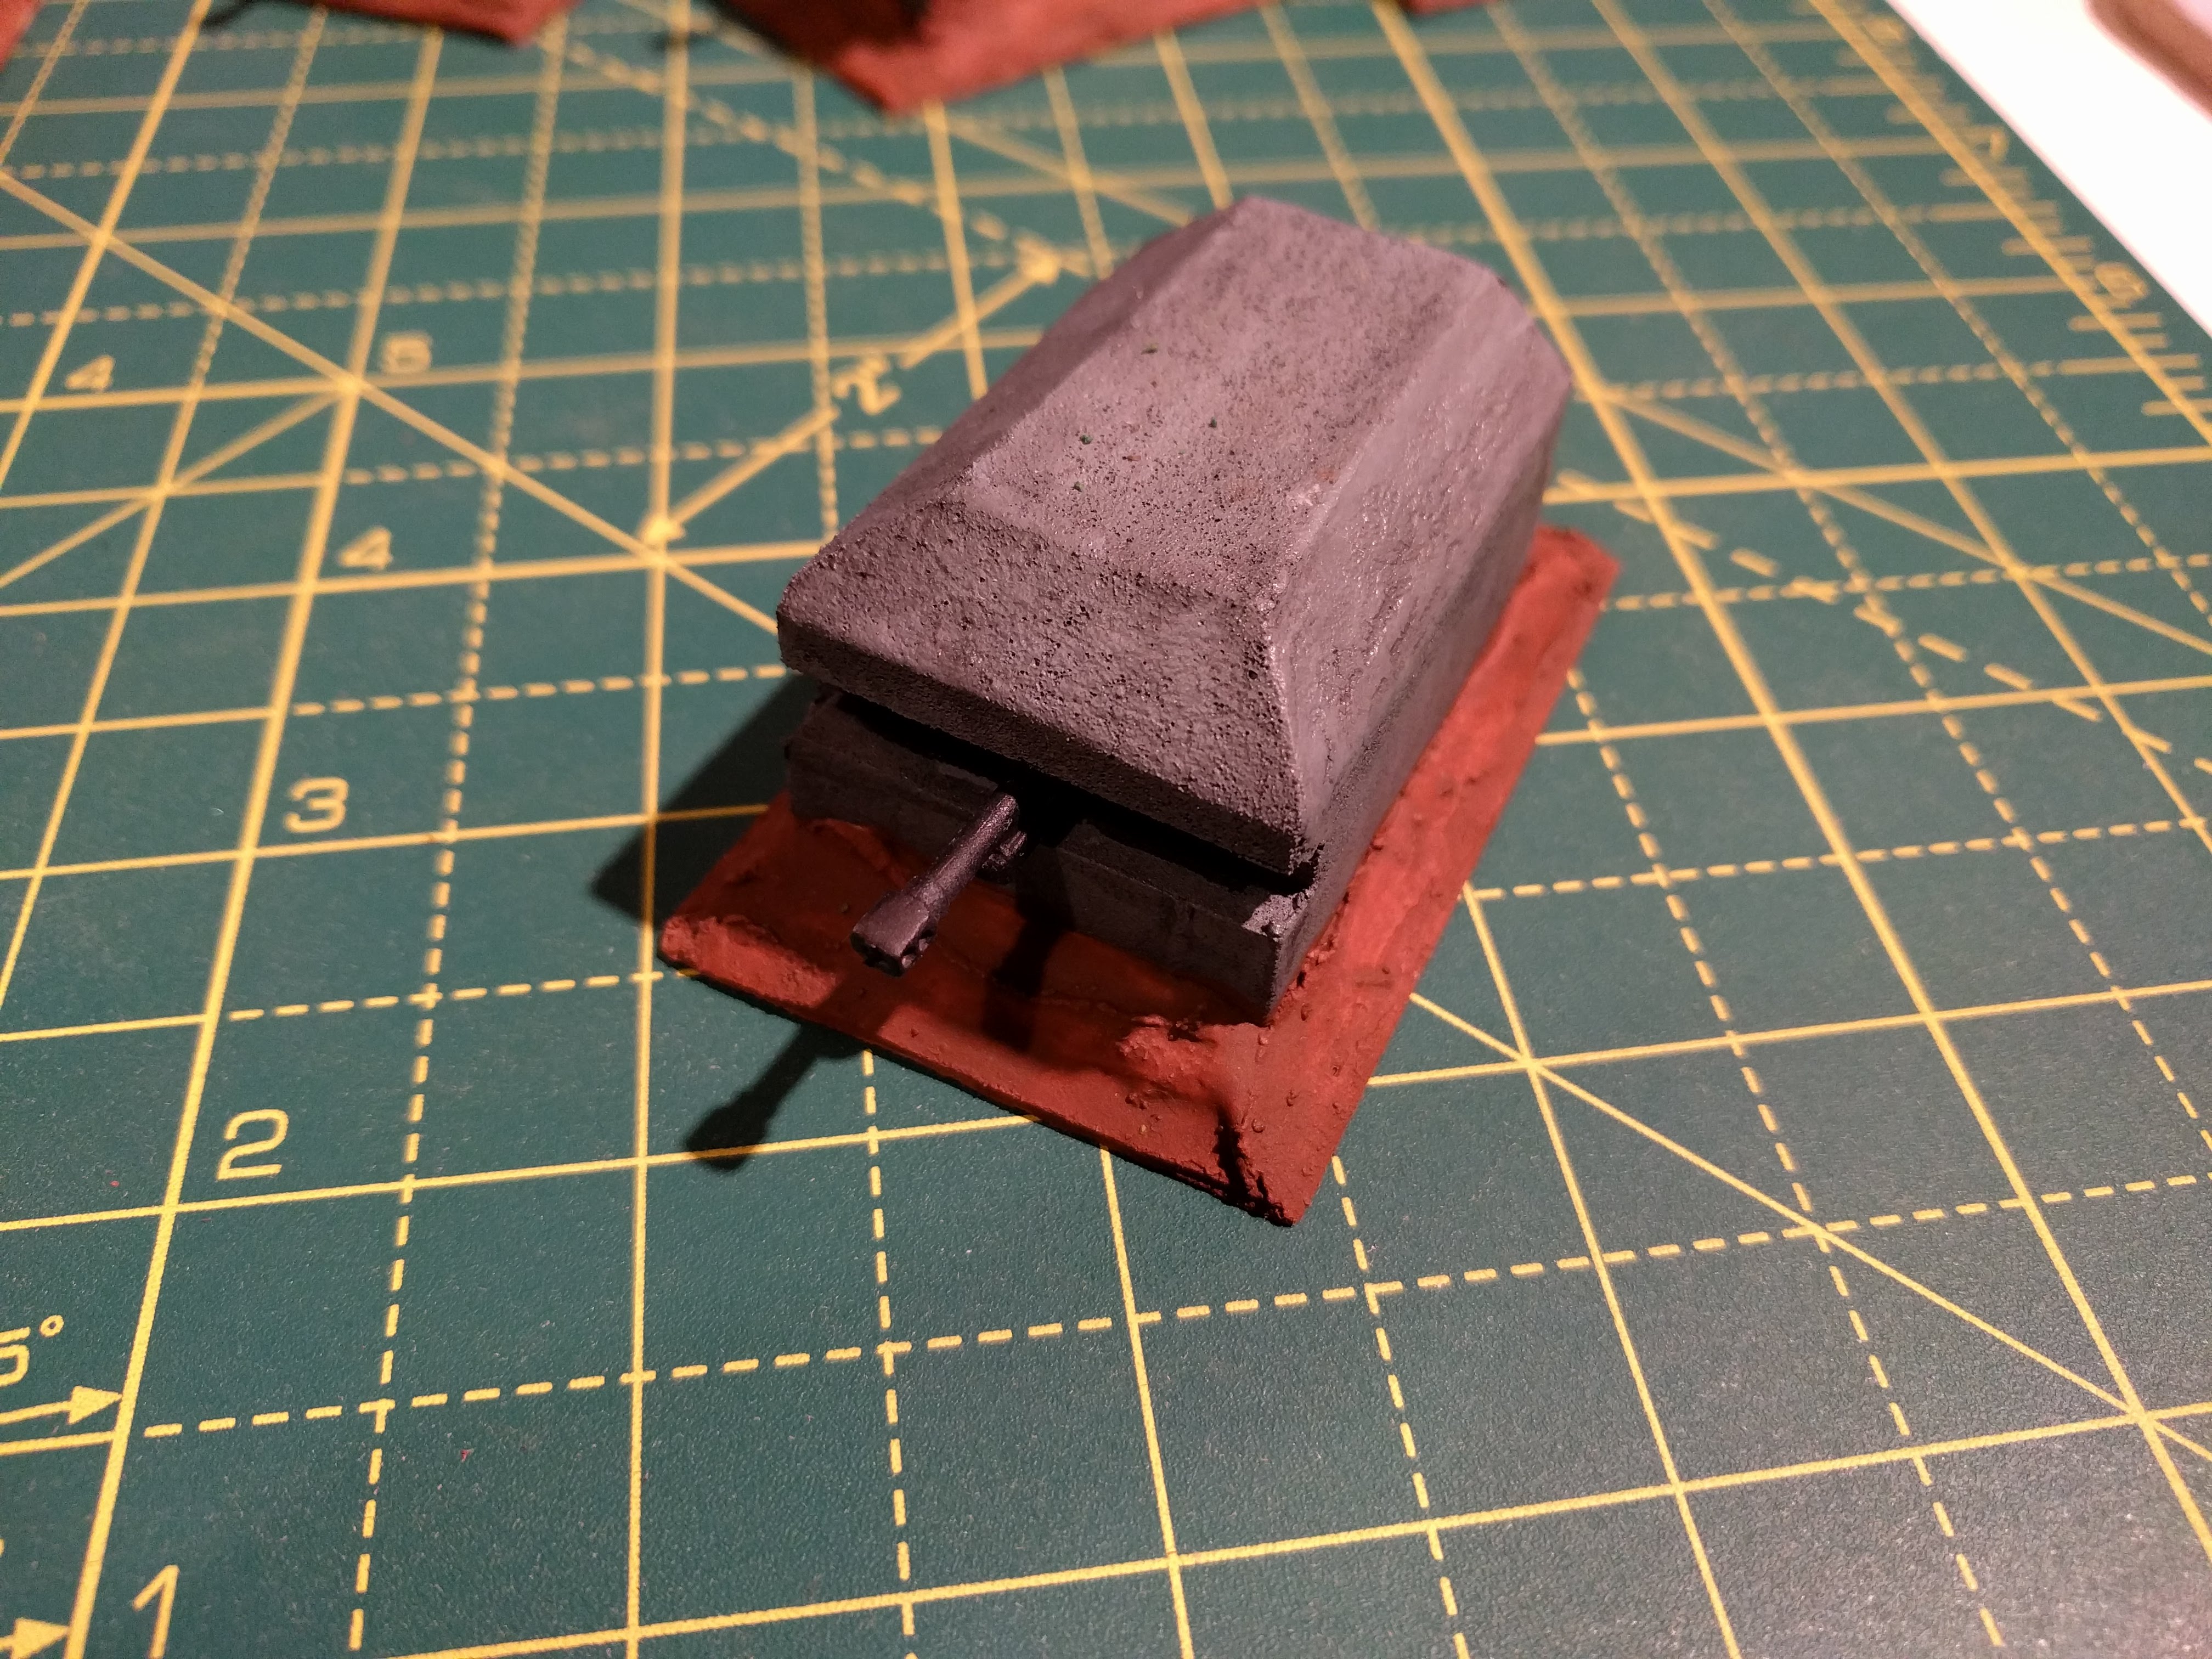
Next up, I will need to paint the gun barrel and give the bunker a light dry brush. I can then flock the base and it will be finished.


