


![NO Weekender Or Cult Of Games XLBS This Weekend [Updated]](https://images.beastsofwar.com/2026/03/No_Weekender_and_XLBS_this_Weekend-225-127.jpg)


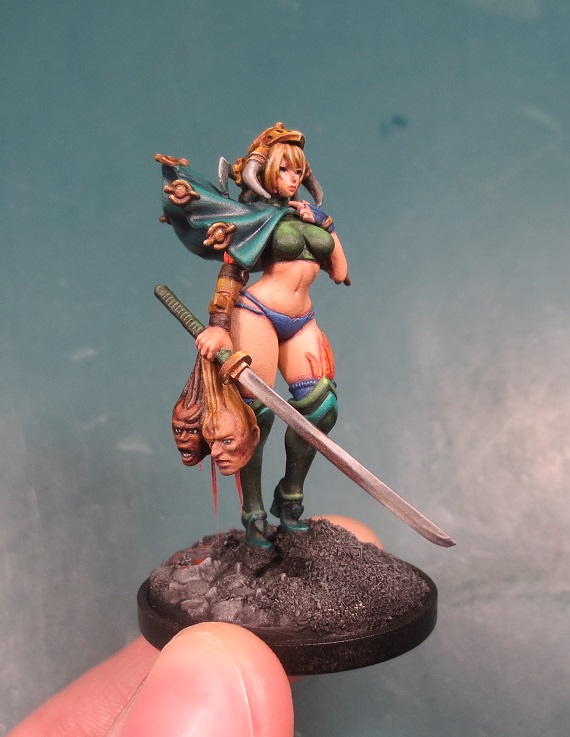
Painting the KD:M Pinup Architect


Recommendations: 279
About the Project
A group of friends and I decided to paint the same KD:M Pinup together and I'm collecting all my WIP photos in the same place. Hope you enjoy!
Related Game: Kingdom Death: Monster
Related Company: Kingdom Death
Related Genre: Horror
This Project is Completed
Final Detail Decision - Adding Severed Heads
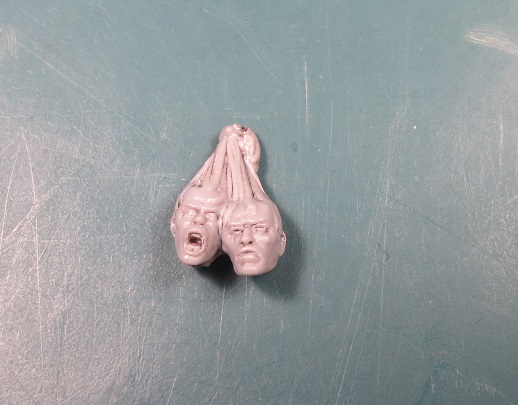
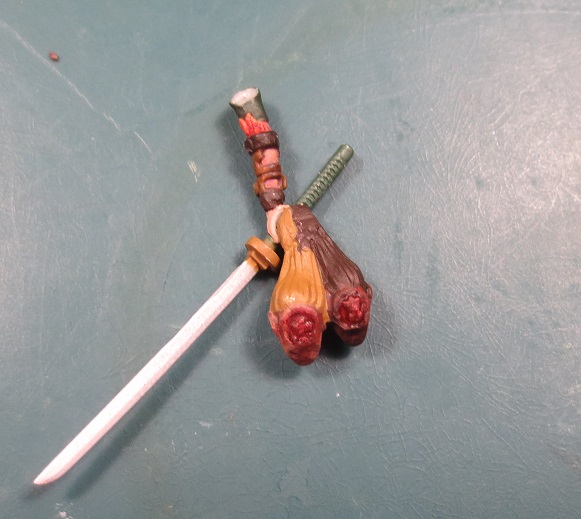
I found this piece in my kitbashing box and decided it would look great dangling from her sword hand. I soaked it in Dettol for two days, scrubbed it, then re-primed it.
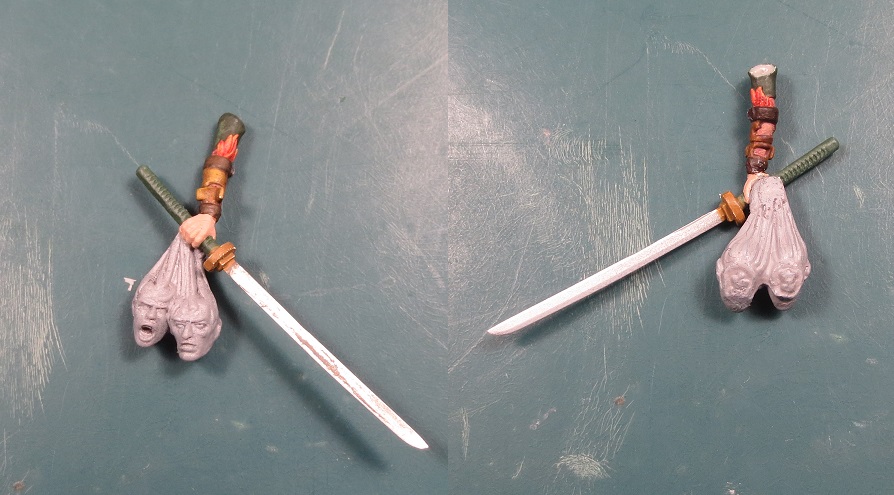
I’d previously basecoated the hand and katana but really wanted to plastic cement the two pieces together so as to get a solid join. After scraping off small portions of paint, I cut a hand-shaped wedge out of the hair and glued the two together.
This process took several dry-fits to ensure the severed heads aren’t sitting at an unrealistic angle when the arm is finally attached.
Detailing the Severed Heads
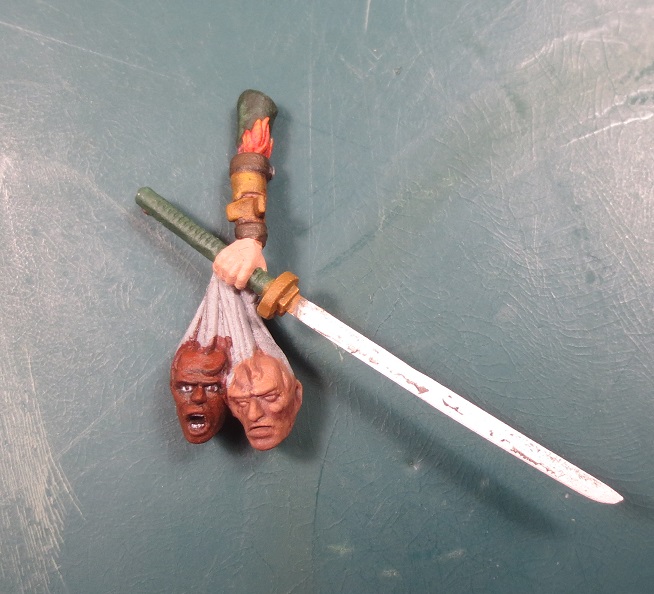
I started by basecoating the heads. I’ve been trying to add more skin tone variation in my Kingdom Death: Monster survivors, so I decided to carry that over into the poor souls who ran into the Architect.
Head One:
Basecoat: Citadel’s Rhinox Hide mixed with a little of Reaper’s Mahogany Brown
Highlight One: Reaper’s Chestnut Brown
Head Two:
Basecoat: Reaper’s Tanned Shadow
Highlight One: Reaper’s Tanned Skin
I went back over the basecoat and added the slightest bit of Citadel’s Rhinox Hide to deepen them.
If I could do one thing in this project differently, I would have sculpted additional strands of hair from the heads to in between the Architect’s fingers. However, momentum carried me forward too quickly and this thought only occurred after everything had been basecoated and partially highlighted.
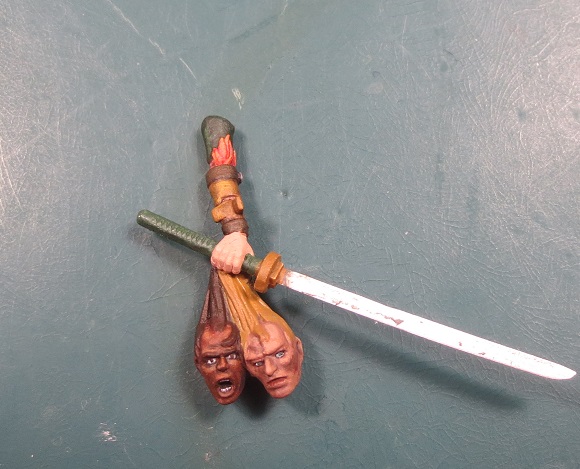
Head One:
Highlight Two: Reaper’s Chestnut Brown mixed with Citadel’s Jokaero Orange. Very small touches of a mix of Jokaero Orange and Citadel’s Averland Sunset to the highest portions.
I went back over the shadow areas and added small glazes of Reaper’s Monarch Purple and Citadel’s Kantor Blue.
Head Two:
Highlight Two: Reaper’s Tanned Highlight
At this stage, I basecoated the hair, Head One using Rhinox Hide and Head Two using XV-88.
Grisly stumps. I basecoated the stumps and spine stubs with Windsor & Newton’s Titanium White, then painted over using Reaper’s Carnage Red. At one point it received a wash of Citadel’s Carroburg Crimson, also splashed onto their chins. Later, I applied more Titanium White onto the spine stubs and Carnage Red onto the lips and cheek of one of the heads.
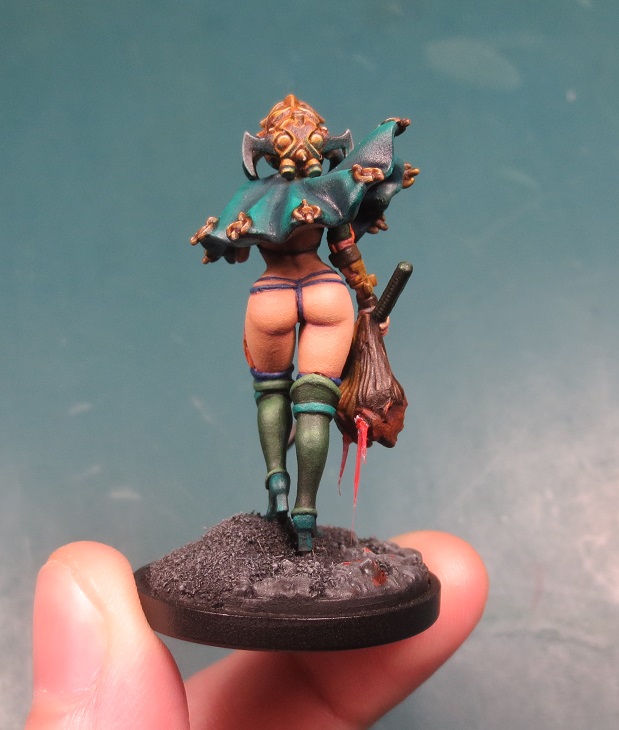
Re-attaching the Arm and Adding Blood
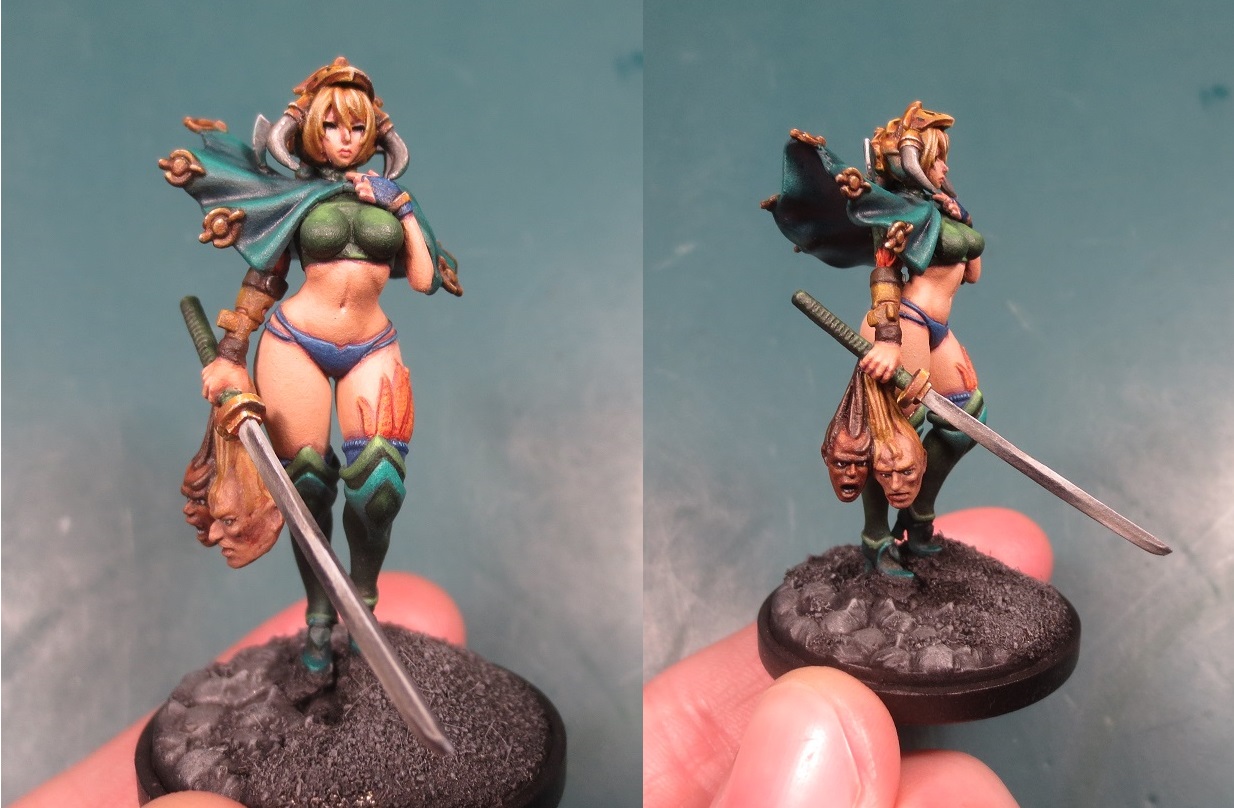
I don’t have many photos of the re-attaching process, but it was probably the most arduous portion. I made the mistake of pushing the arm before the plastic cement had fully cured, which led to the arm falling off. In turn, I then needed to scrape off the old cement and try again… during which time the wrist came detached.
After 3 separate attempts re-attaching the arm, 2 attempts re-attaching the wrist, I got it to stick (it also needed a somewhat liberal coat of super glue over the joins). I haven’t done much sub-assembly before, but it seems to require more forward planning than with a fully assembled miniature. Woe to those who want to add extras mid-project.
Speaking of which…

It looked too clean!
I’d seen someone add saliva to their Screaming Antelope using pieces of melted, clear plastic sprue (I can’t for the life of me find the source – I’m sorry!) so I decided to give it a go.
I lit a small tealight then, using two pairs of pliers, stretched bits of clear plastic sprue over it, until small strands formed and the sprue split.
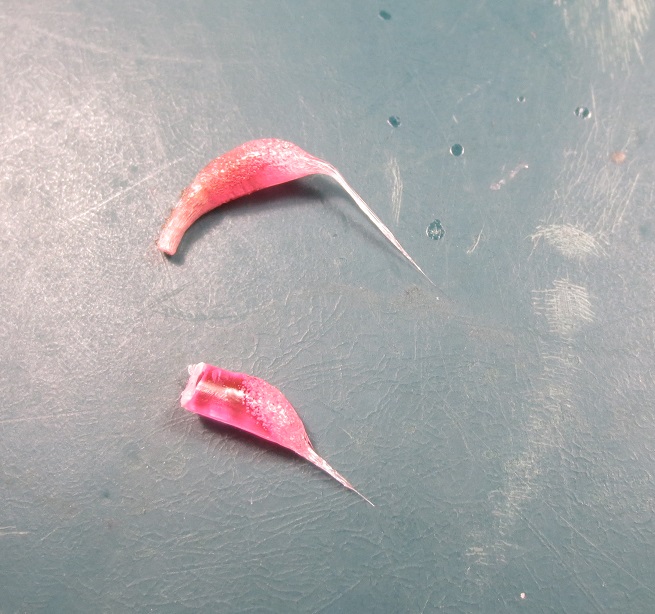
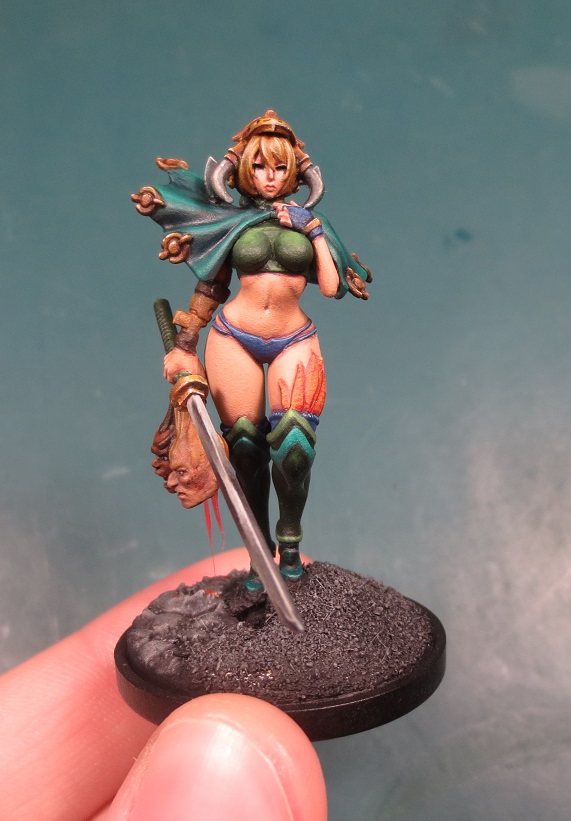
I then clipped the strands and used super glue to attach them to the neck stumps. A little of Scalecolour’s red ink from the Inktensity line was used to tint the plastic red, as well as form pools on the base. It’s not the most realistic-looking blood, but it spices up the base a little.


![StarCraft Tabletop Miniatures Game Pre-Orders Live Now [Updated]](https://images.beastsofwar.com/2026/03/starcraft-tmg-news-cover-600-338.jpg)


