


![10mm Medieval Miniatures! Azincourt English Army Review | Wargames Atlantic [7 Days Early Access]](https://images.beastsofwar.com/2026/03/unboxing-wargames-atlantic-azincourt-english-army-coverimage-225-127.jpg)


Manda’s (Amachan) Gaming Table


Recommendations: 819
About the Project
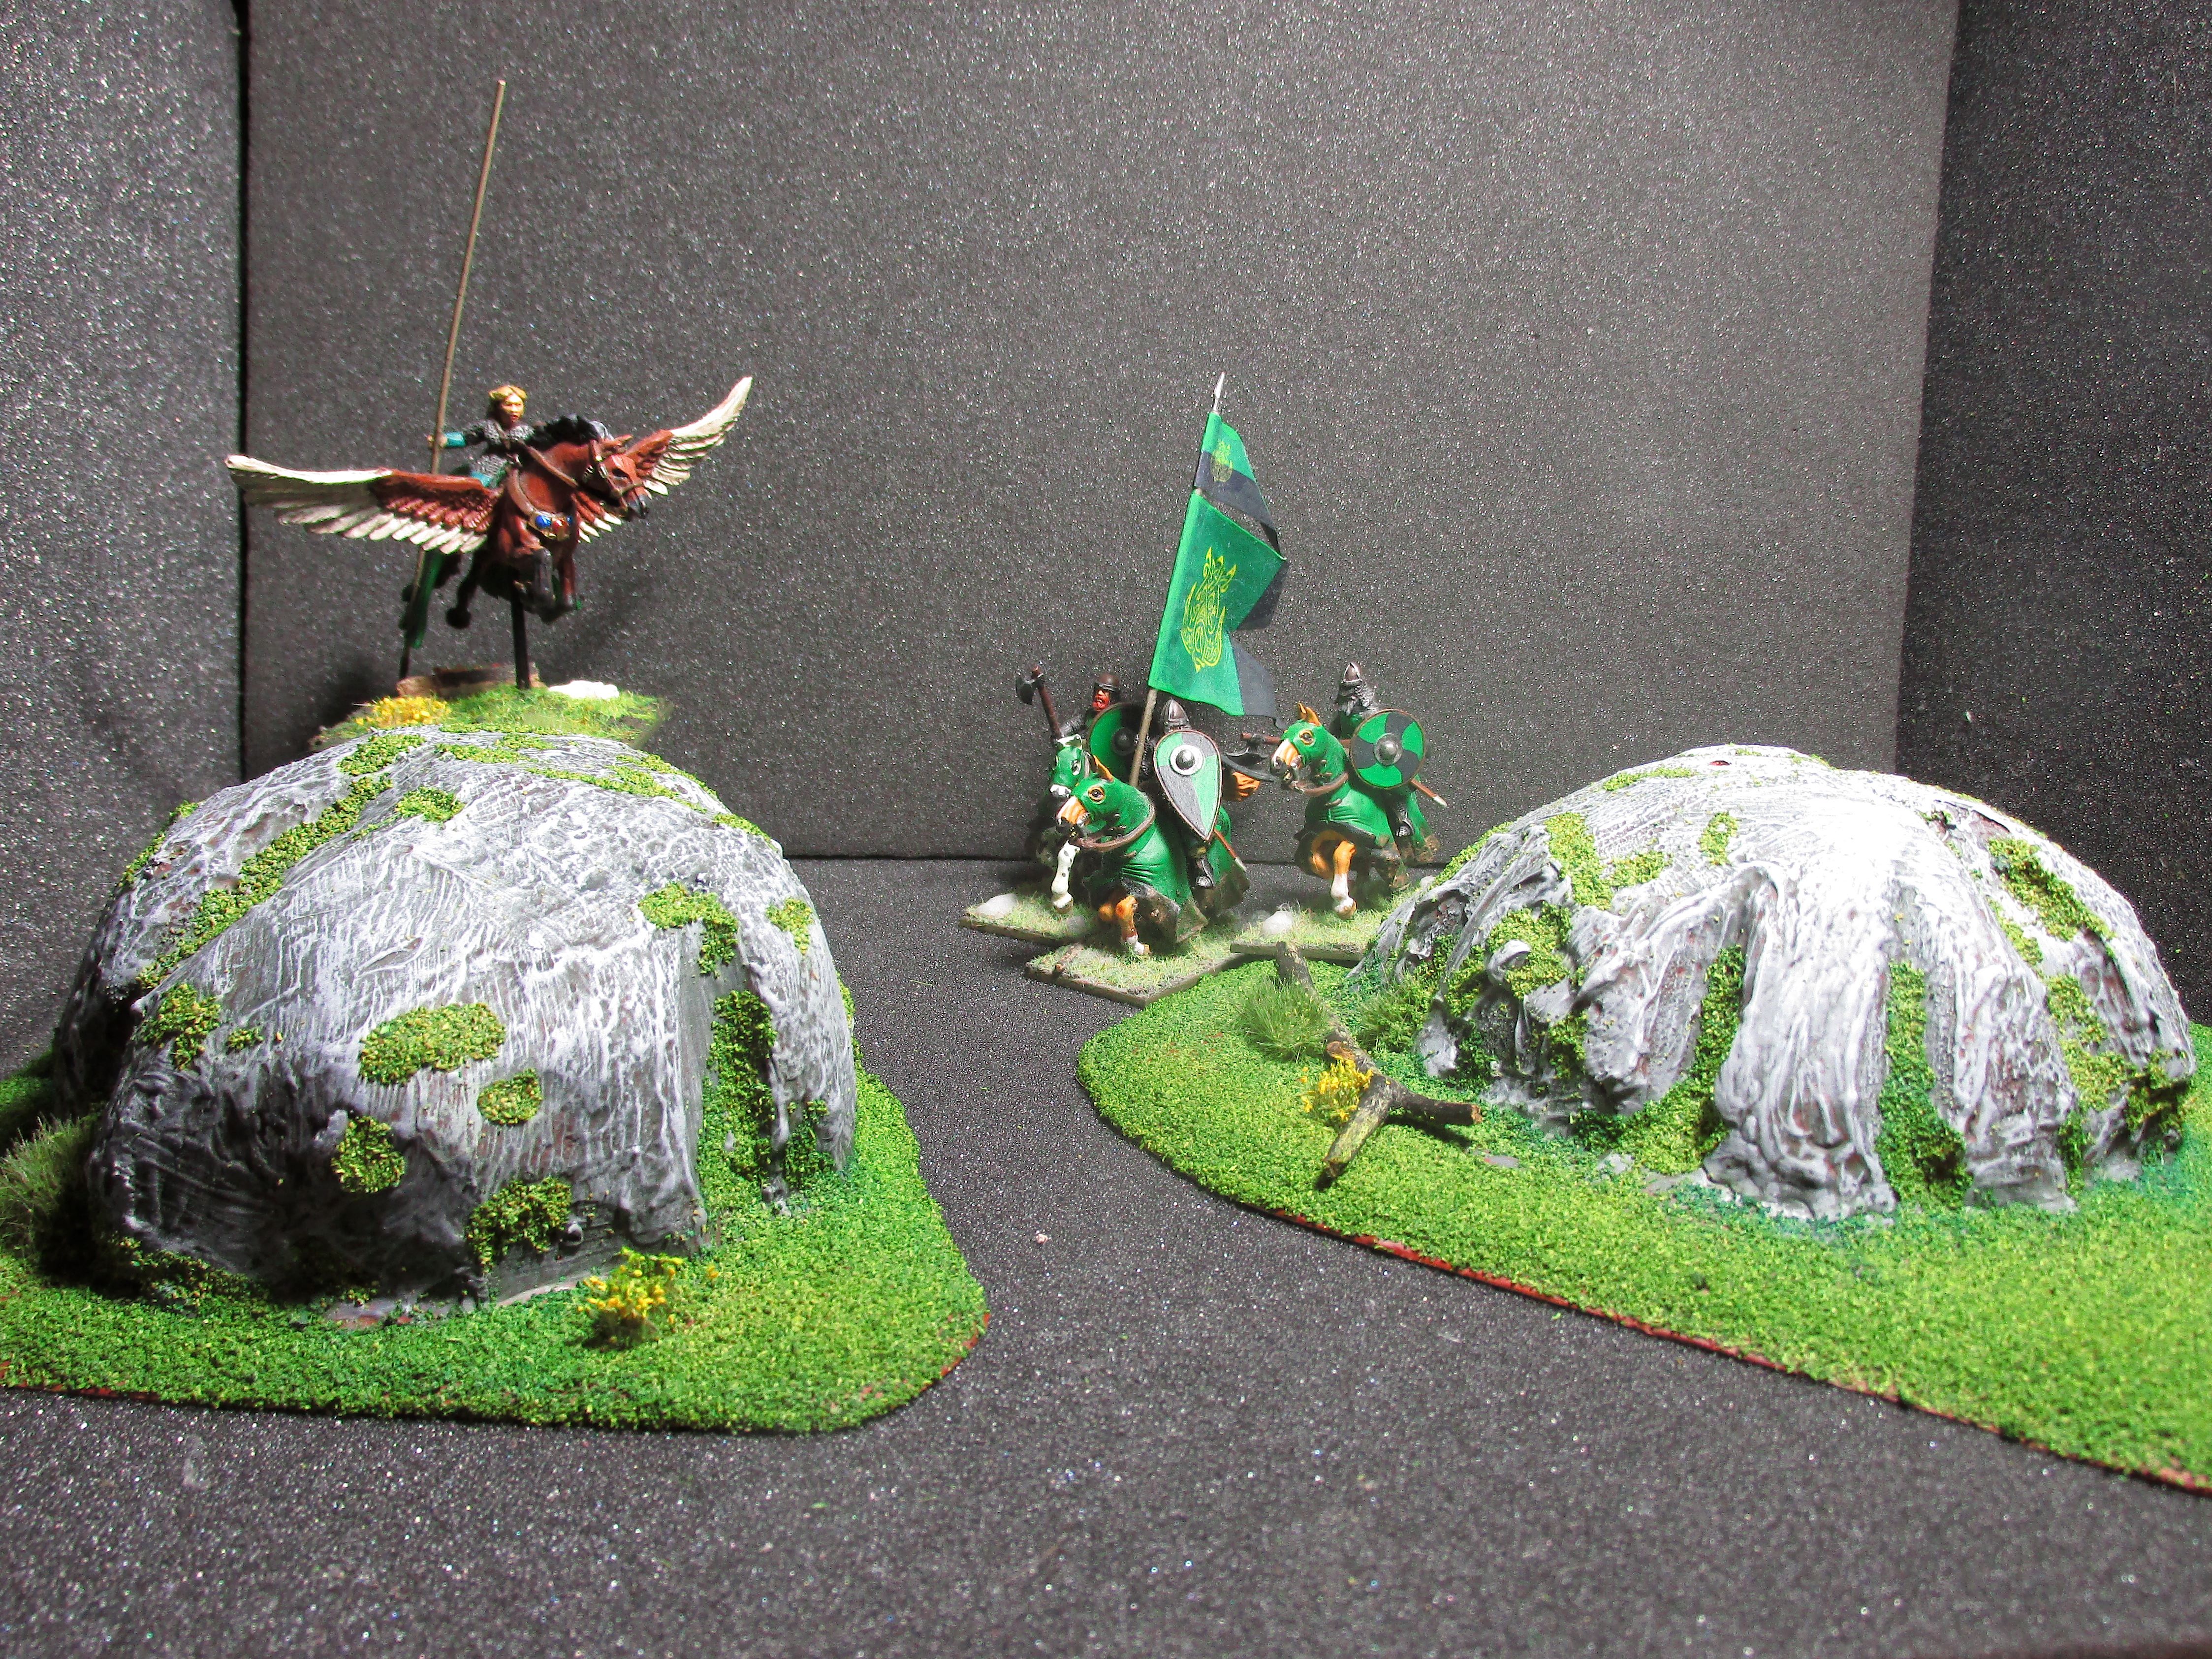
This project is about my gaming table that I want to be able to set-up quickly for different types of games from different genres. This part will just cover the main table and the generic scenery pieces that will fit in most genres.
Related Genre: General
This Project is On Hold
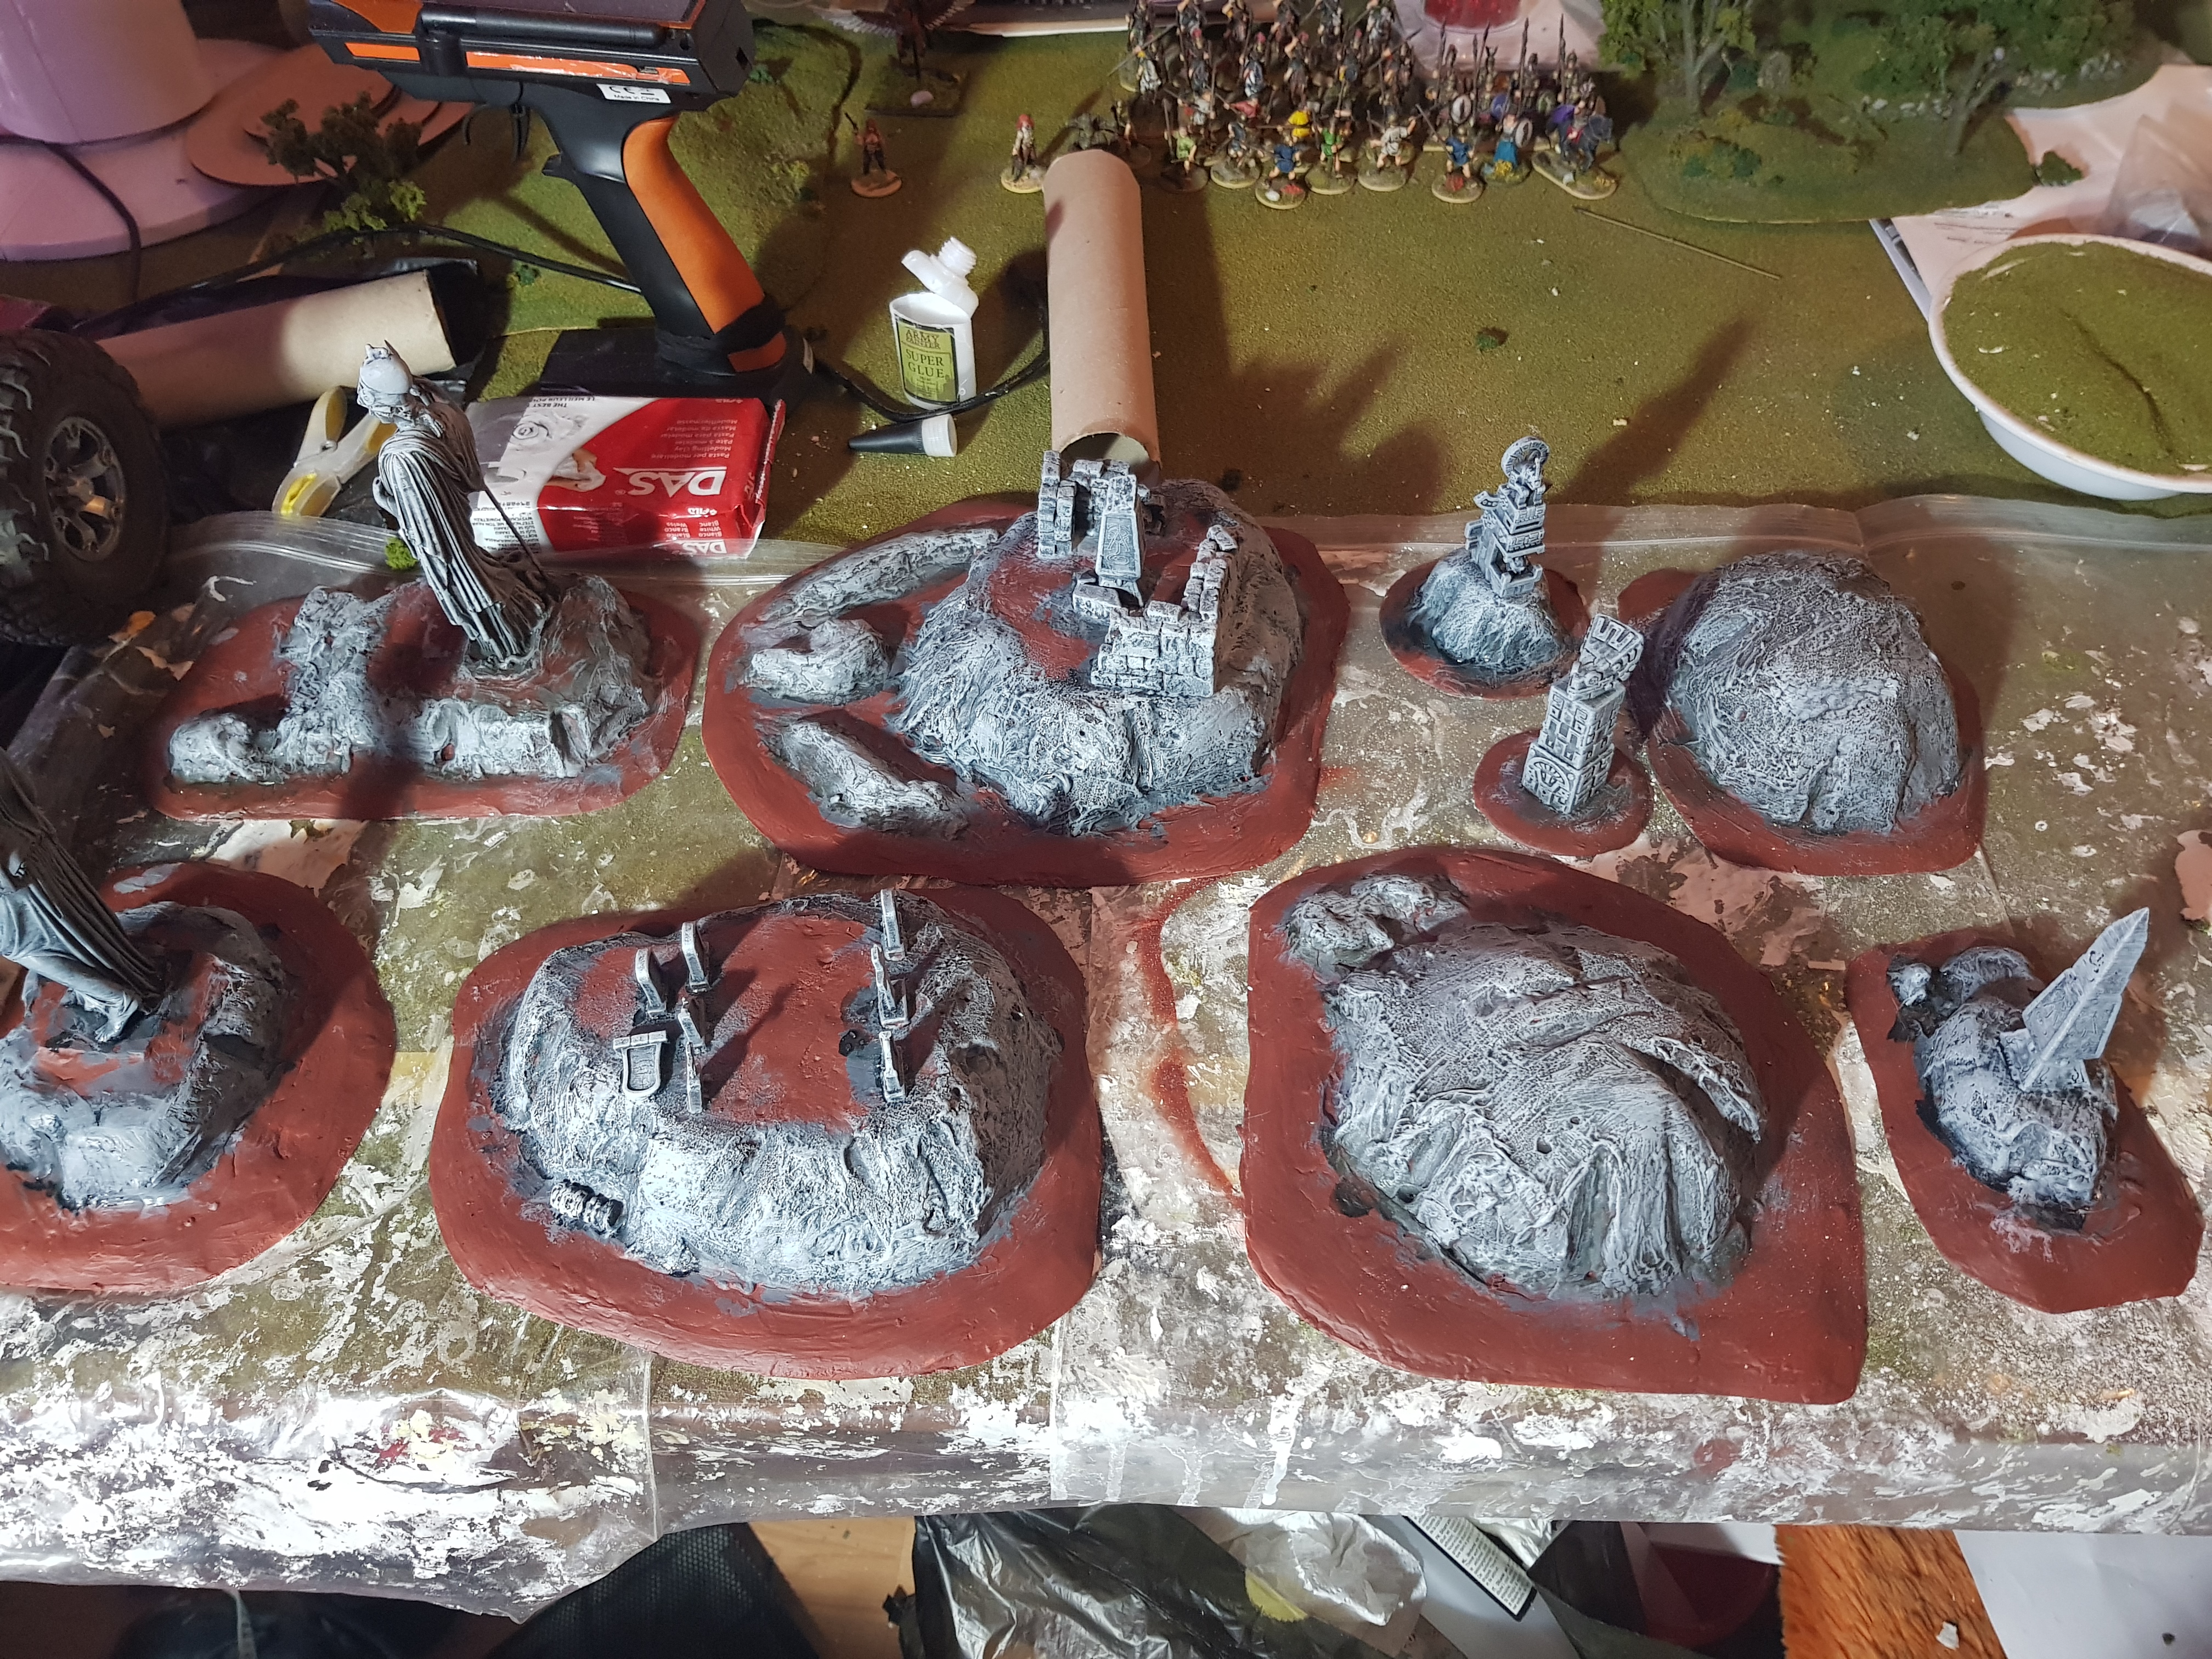
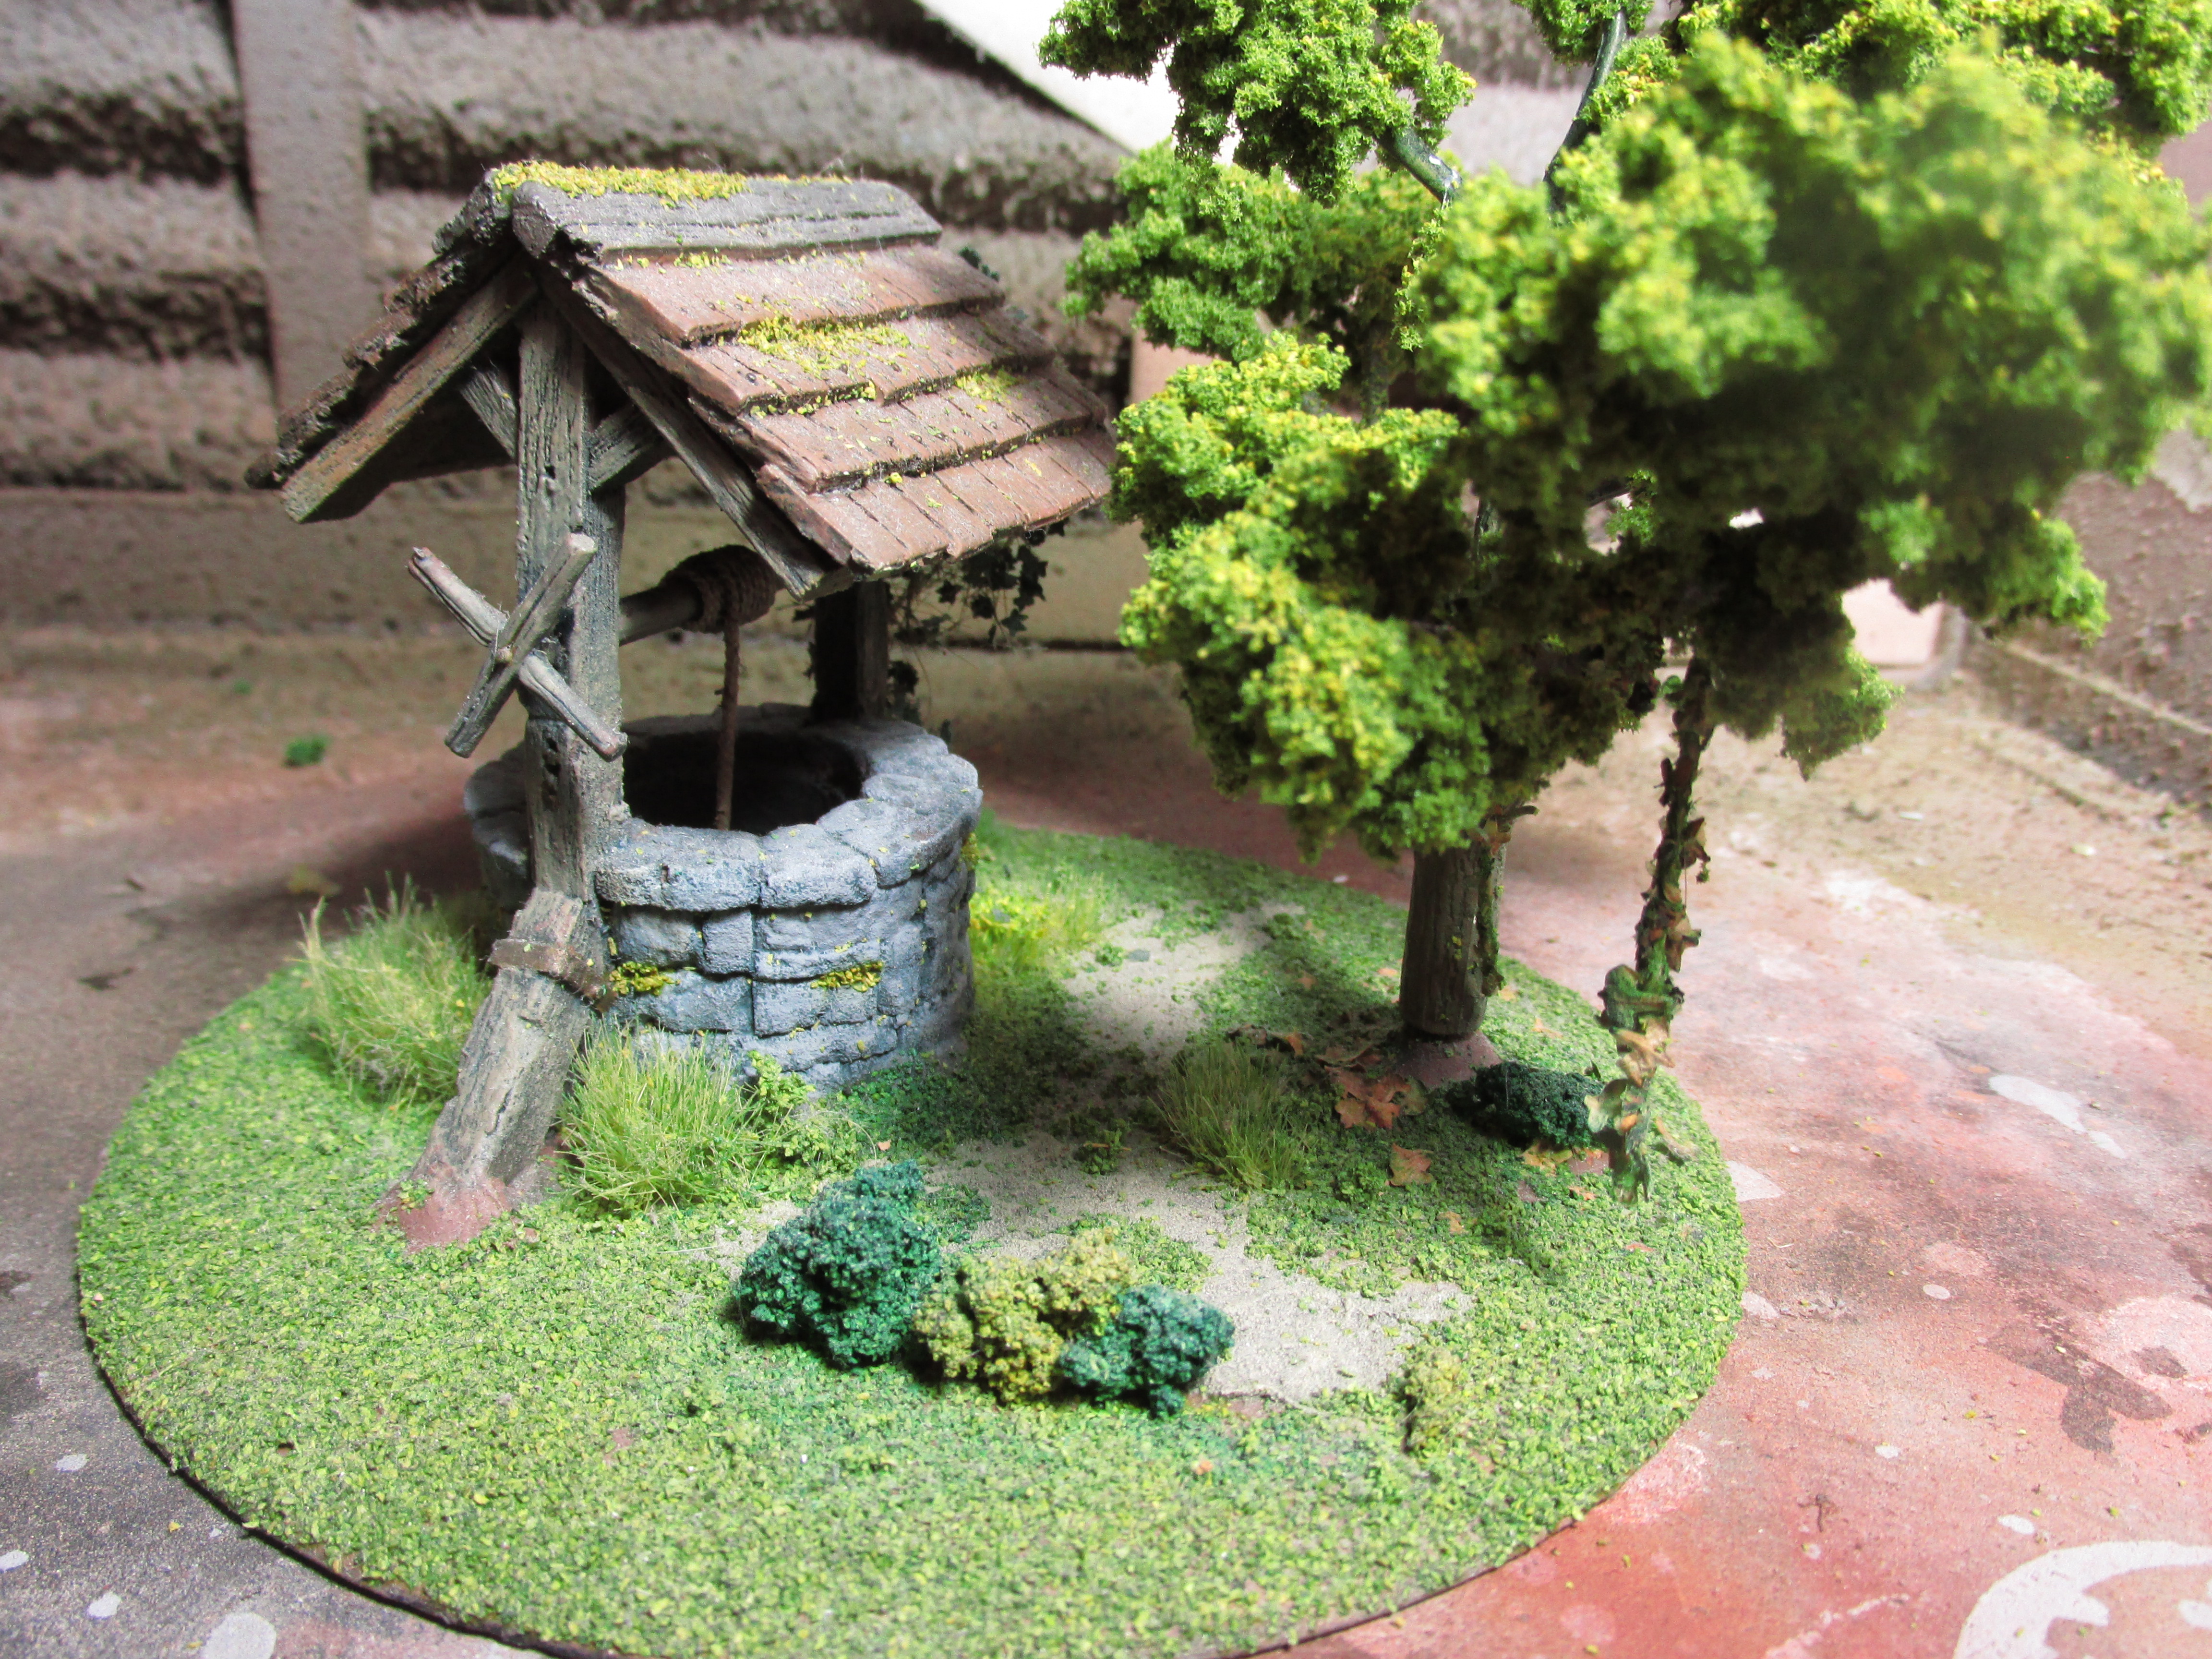
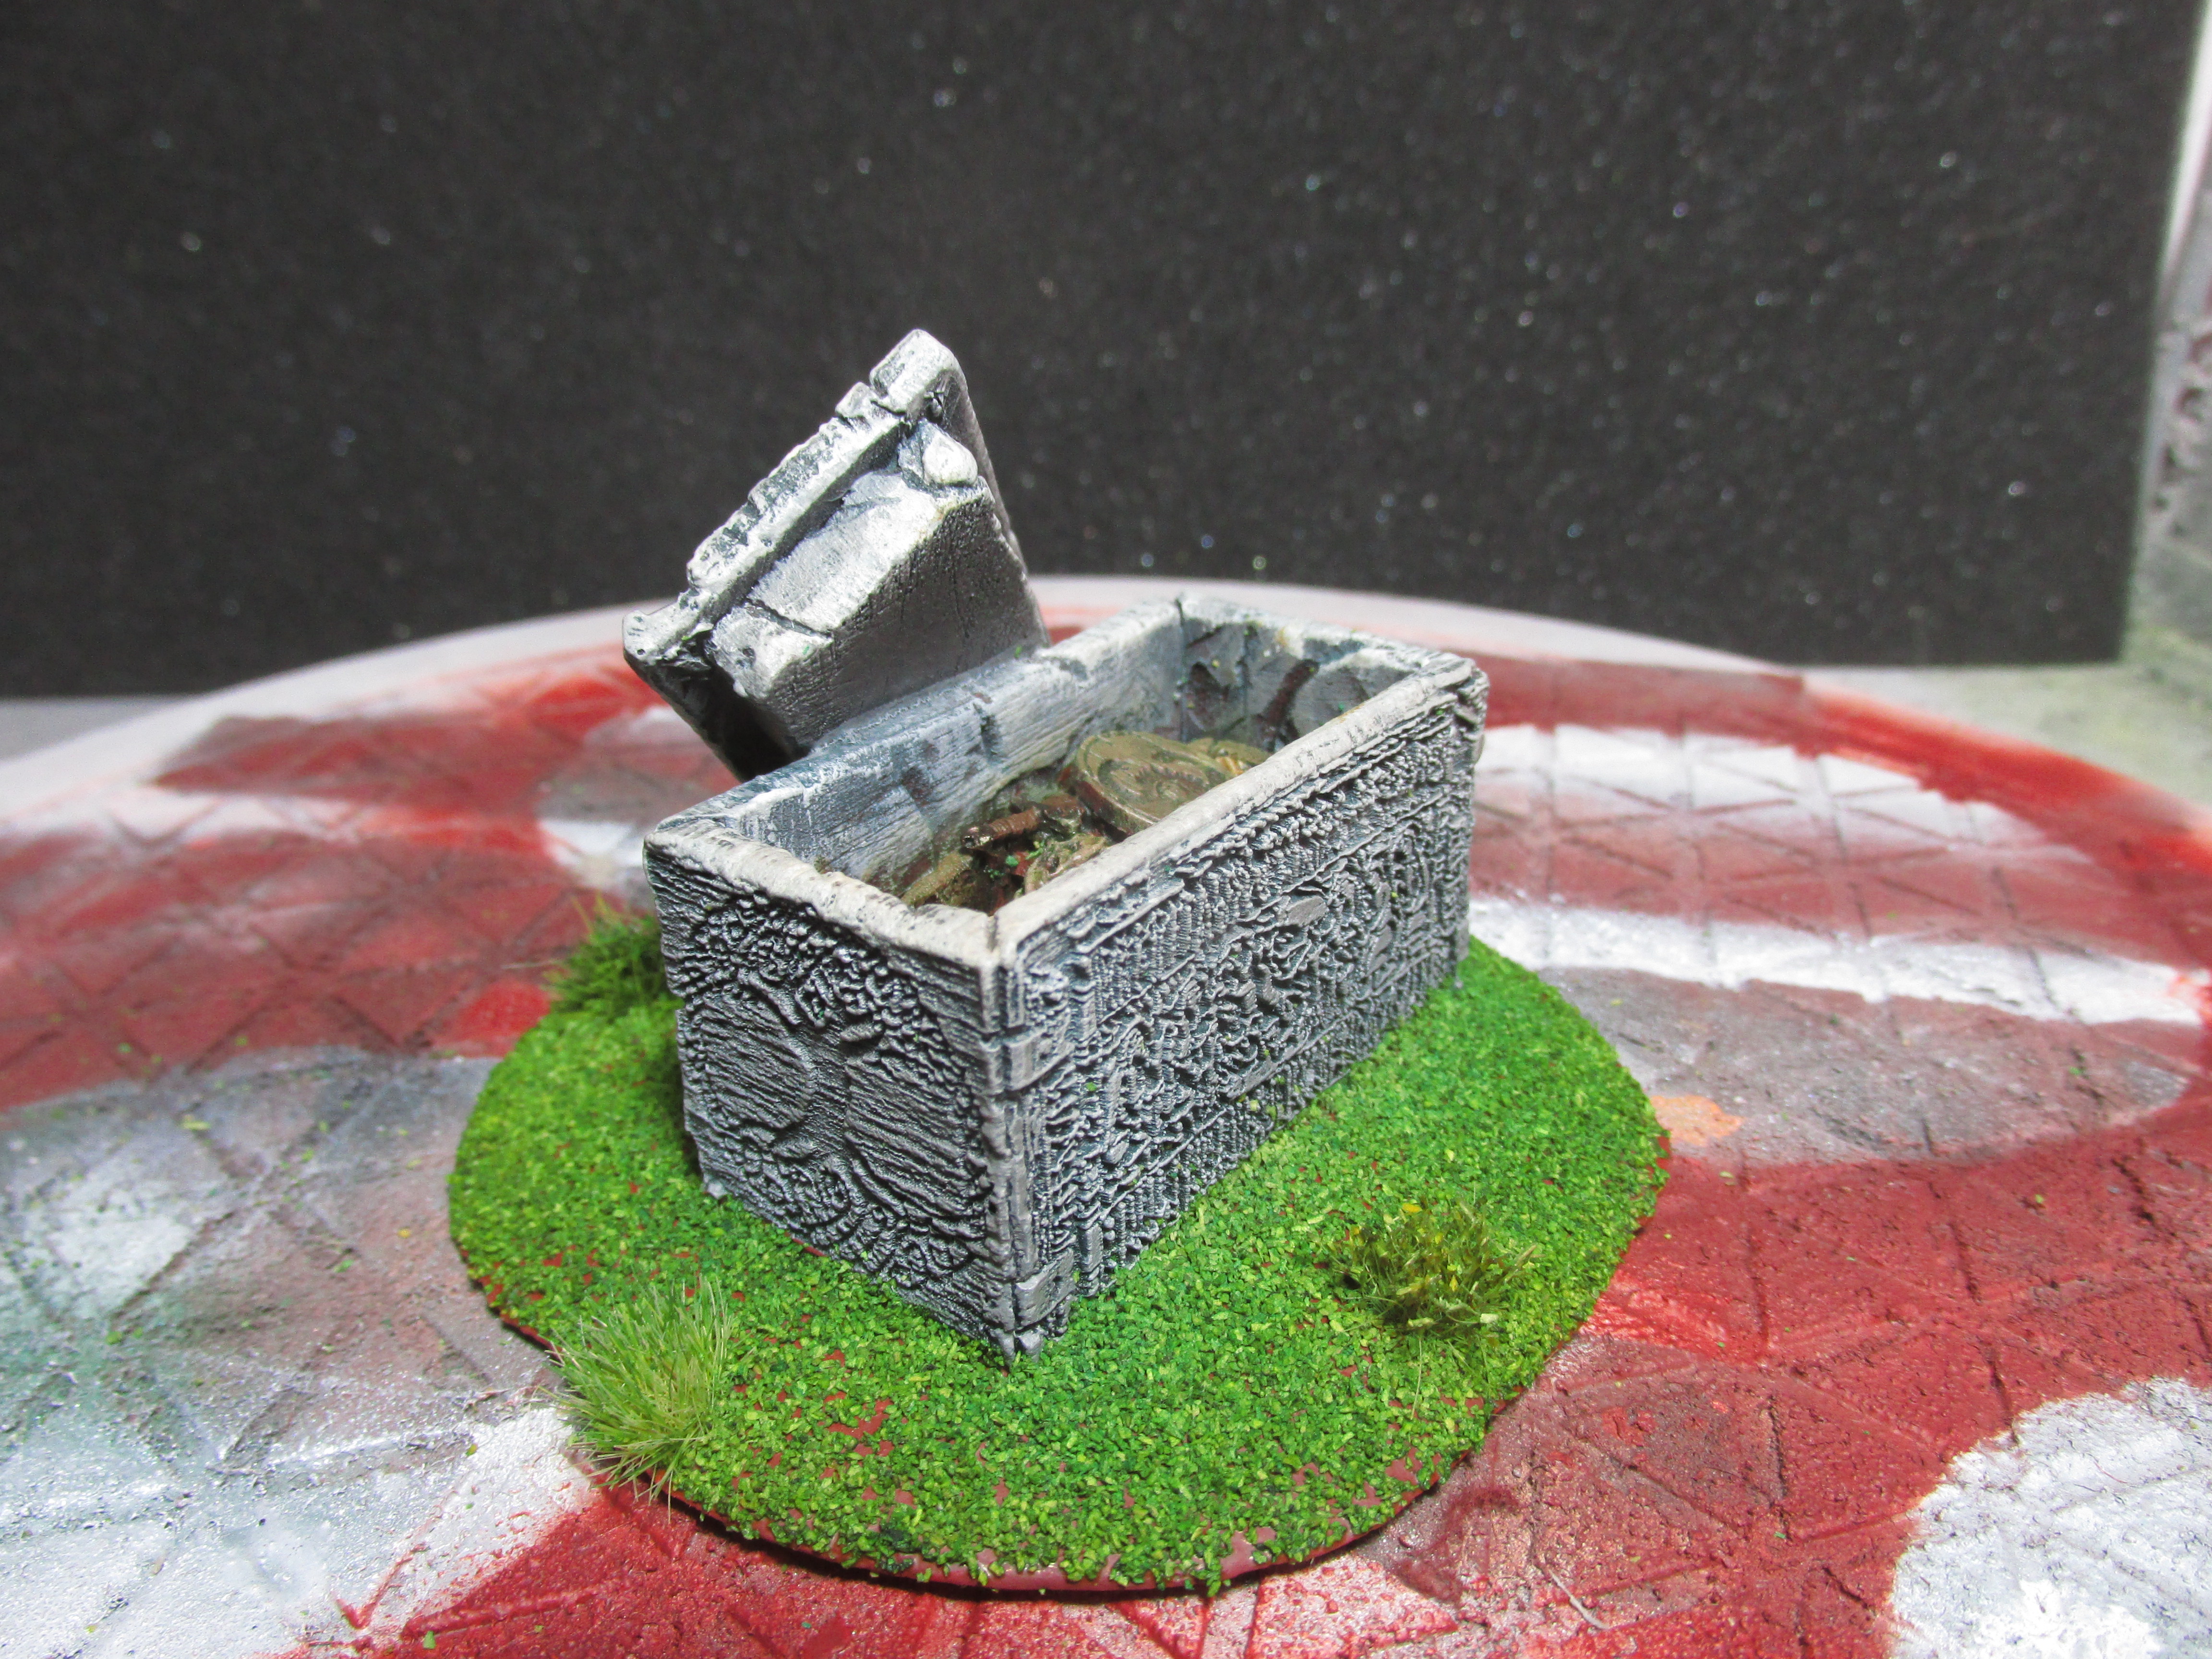
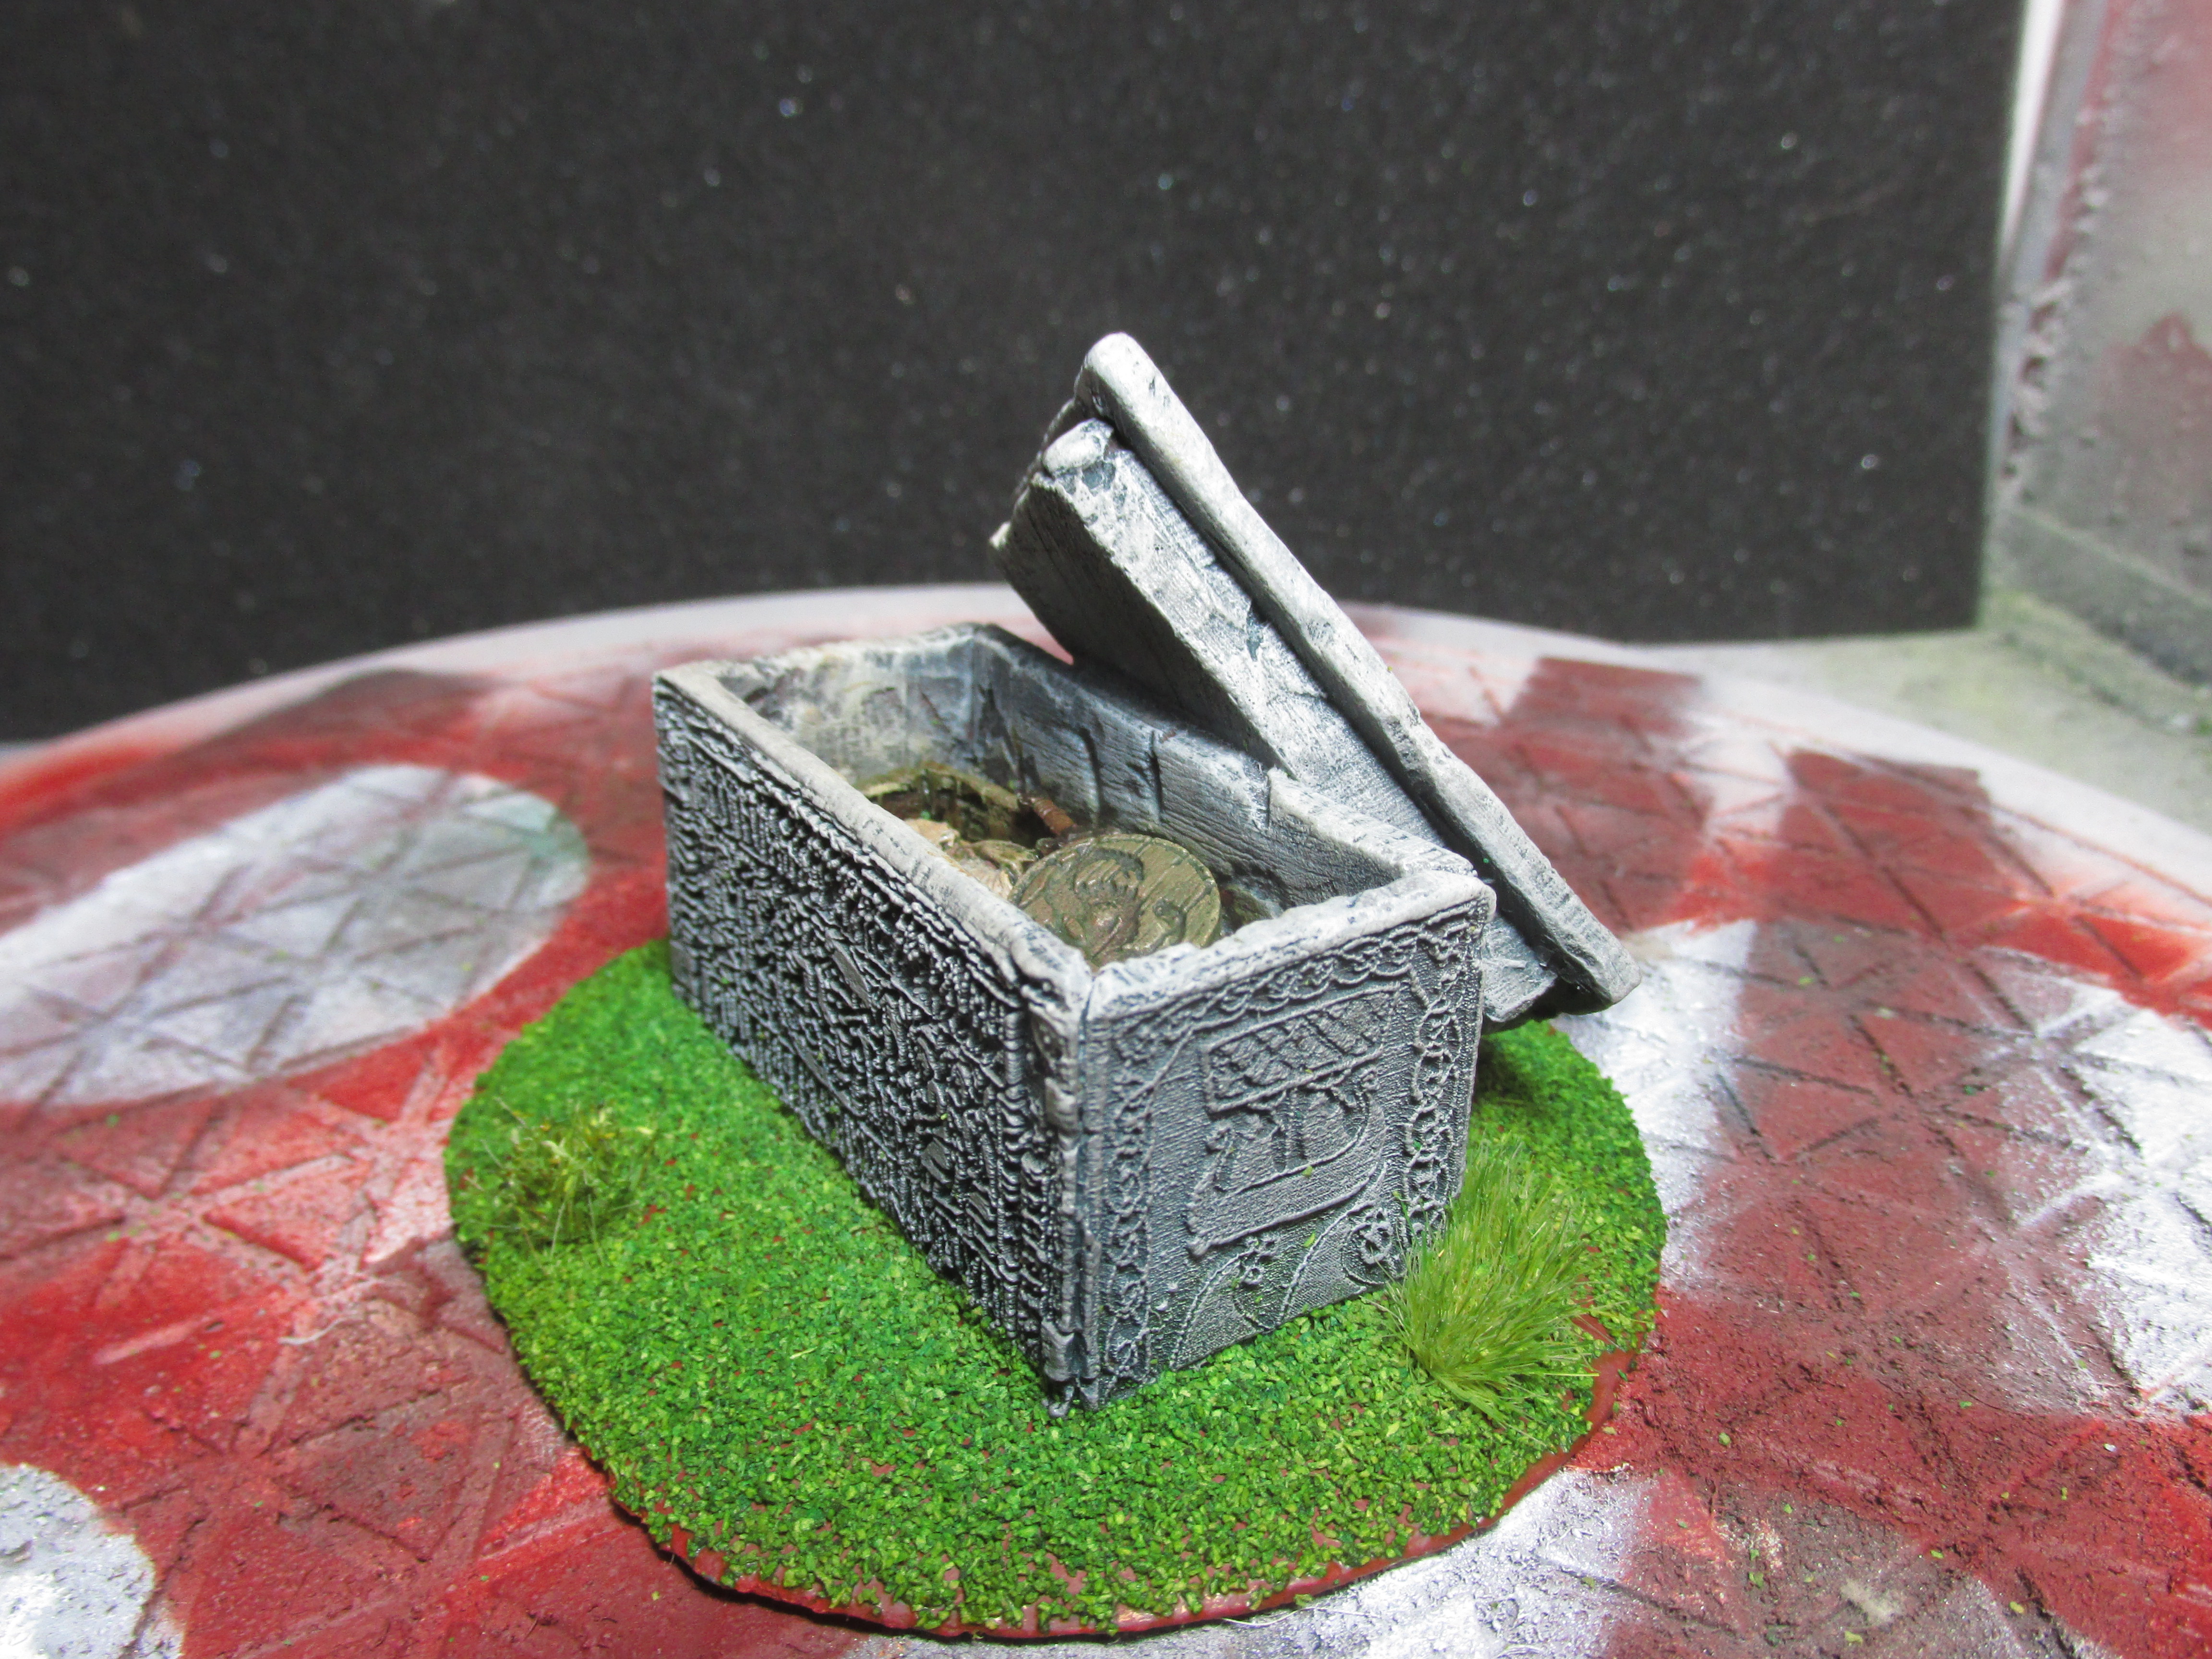
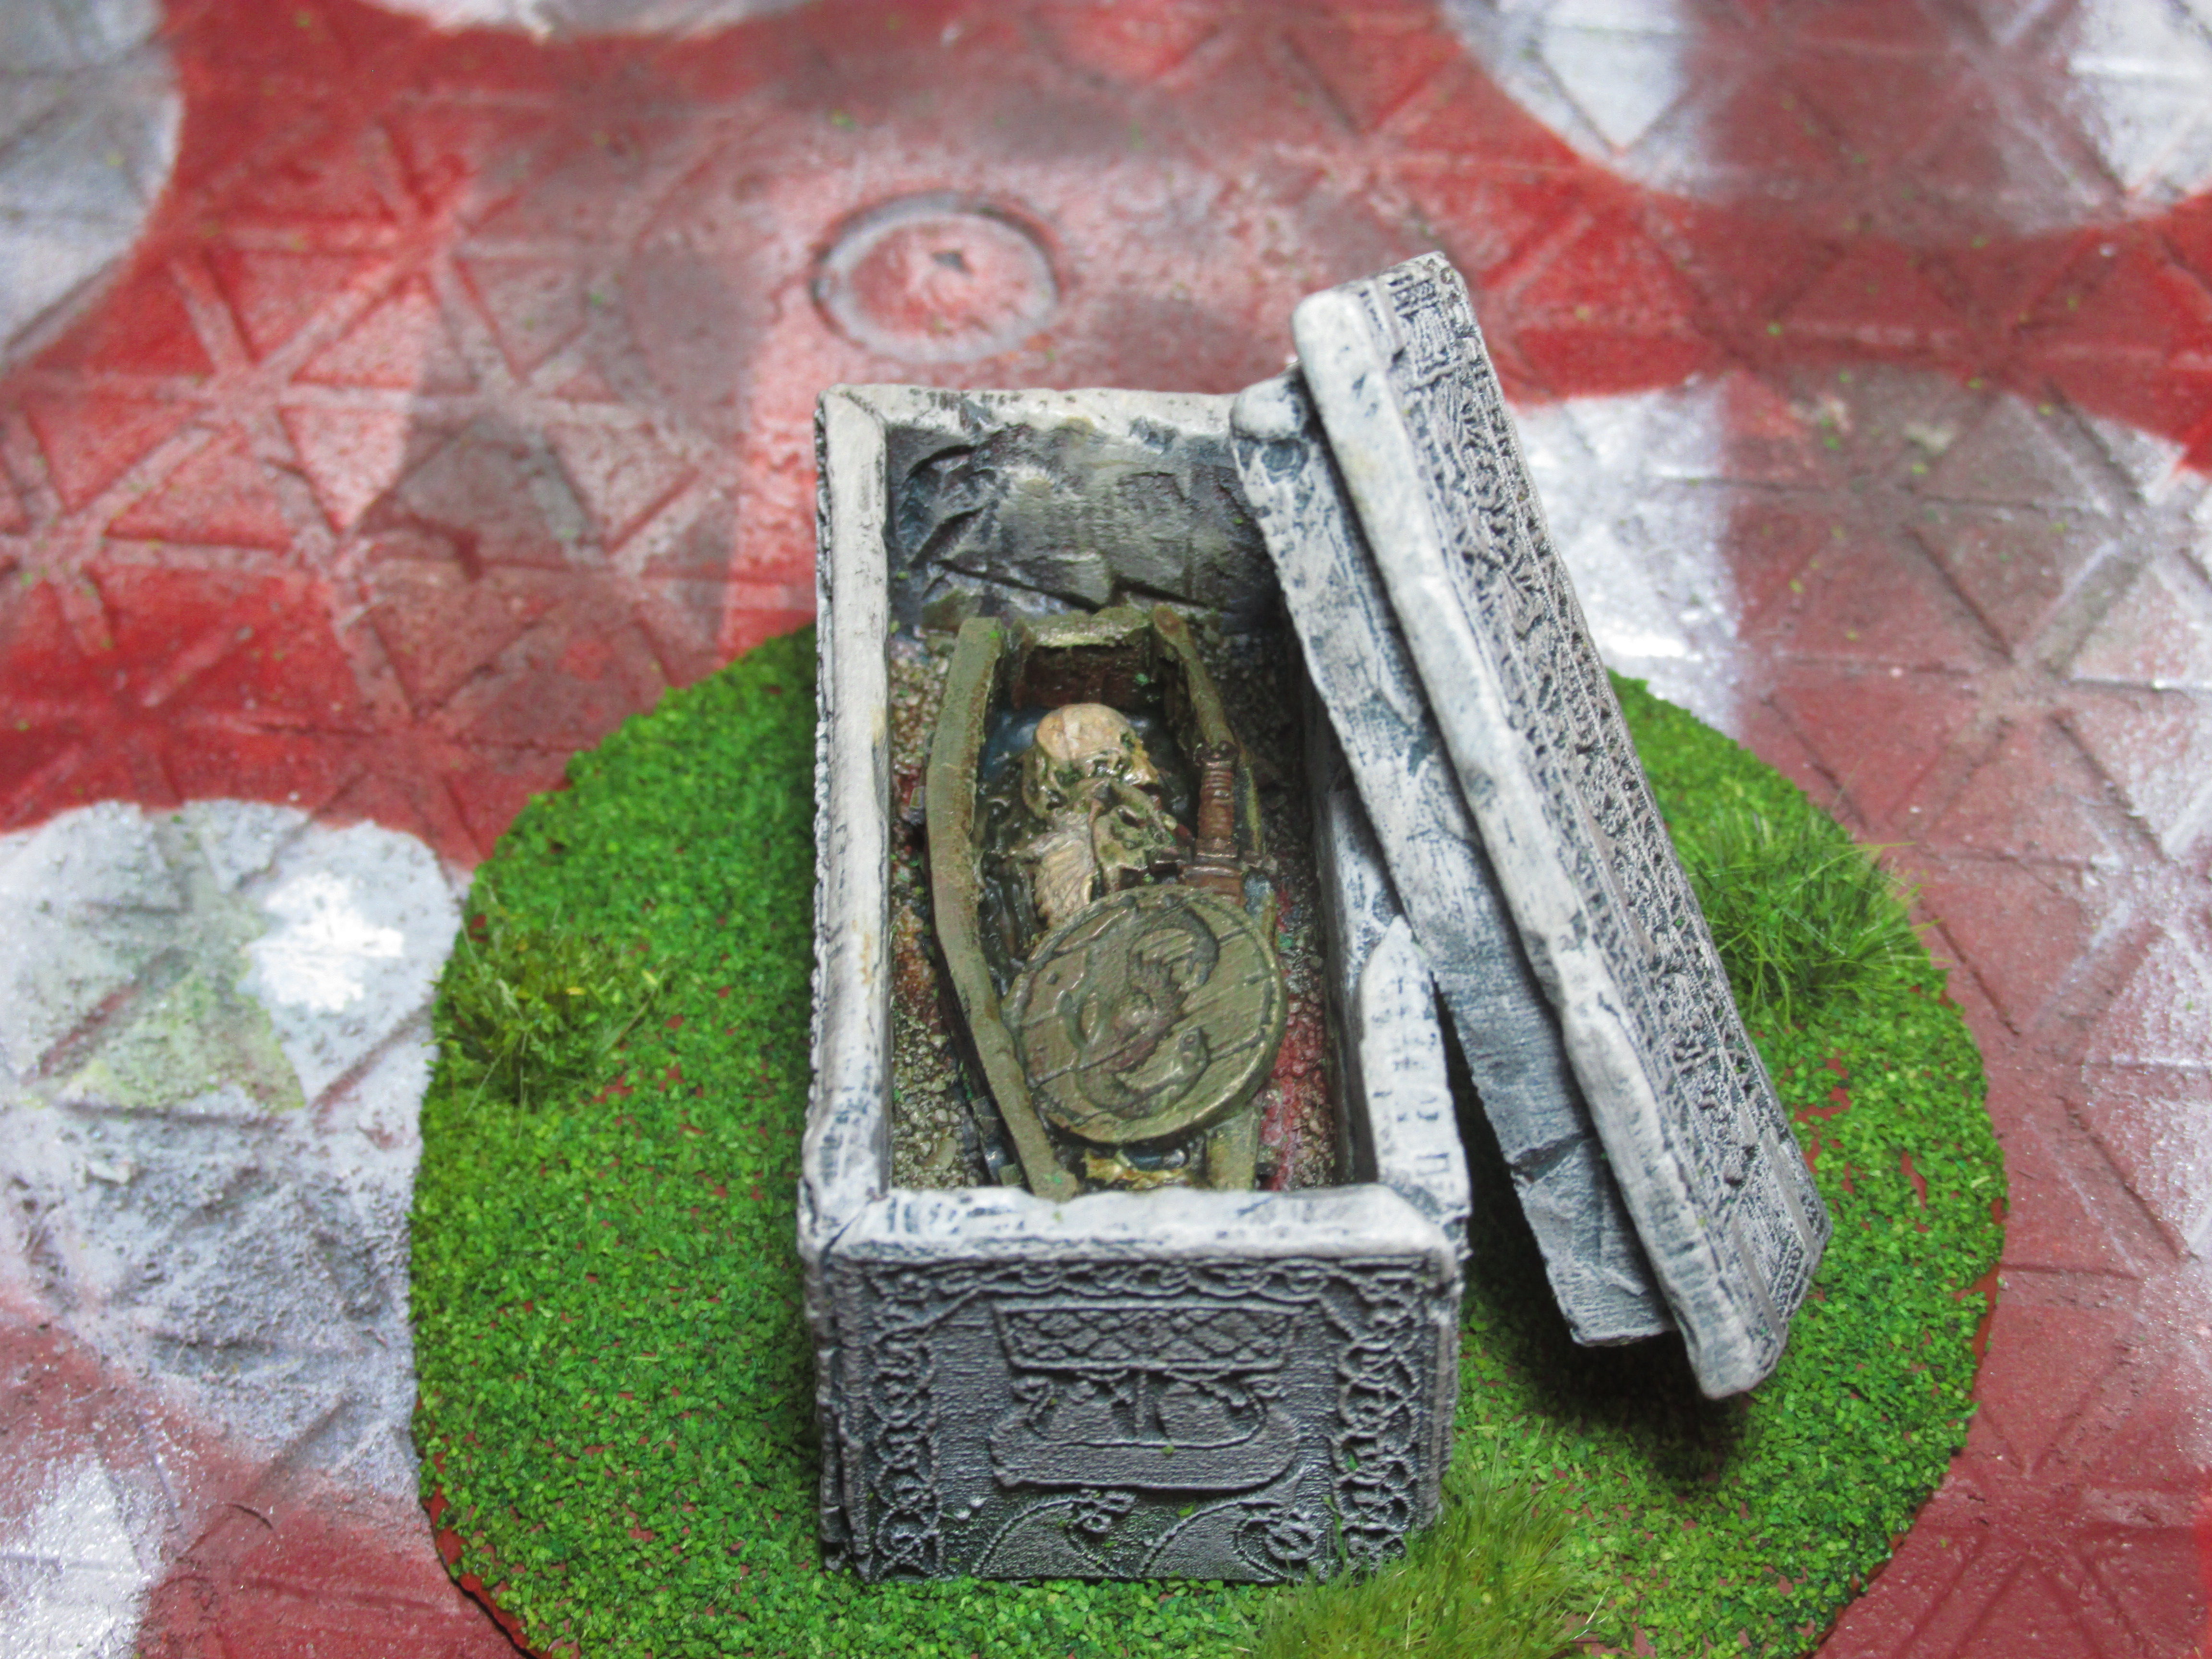
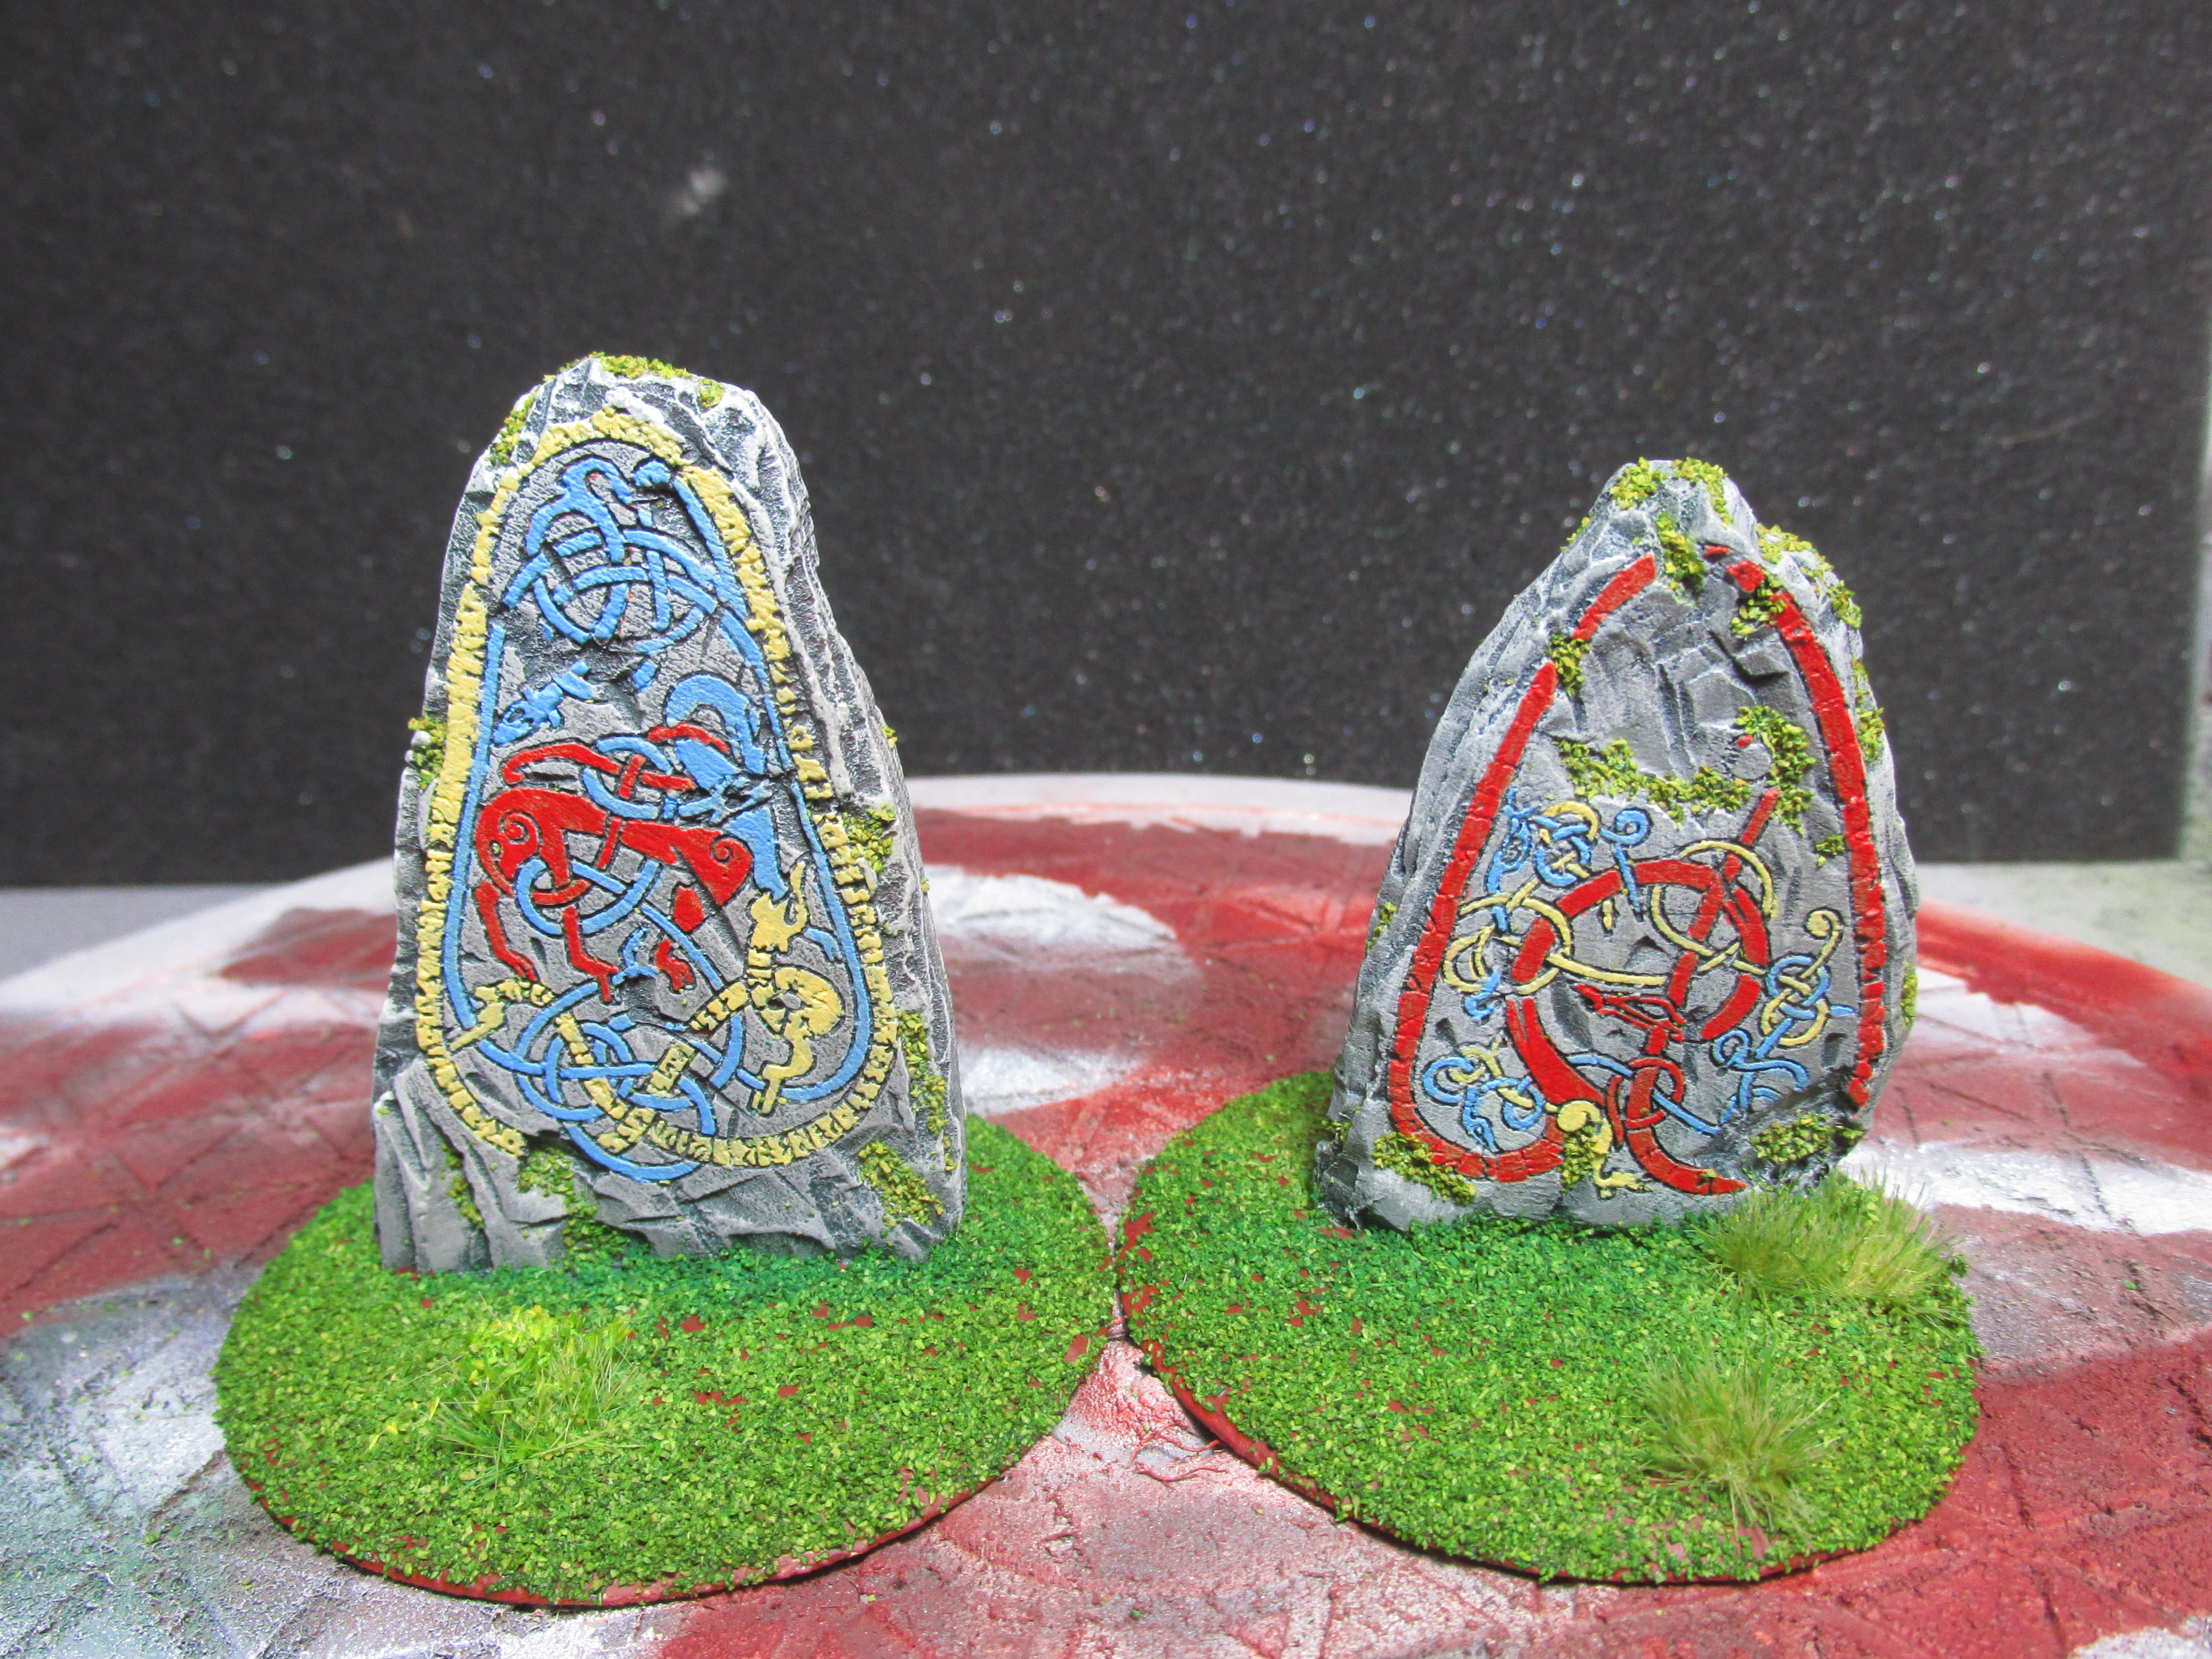
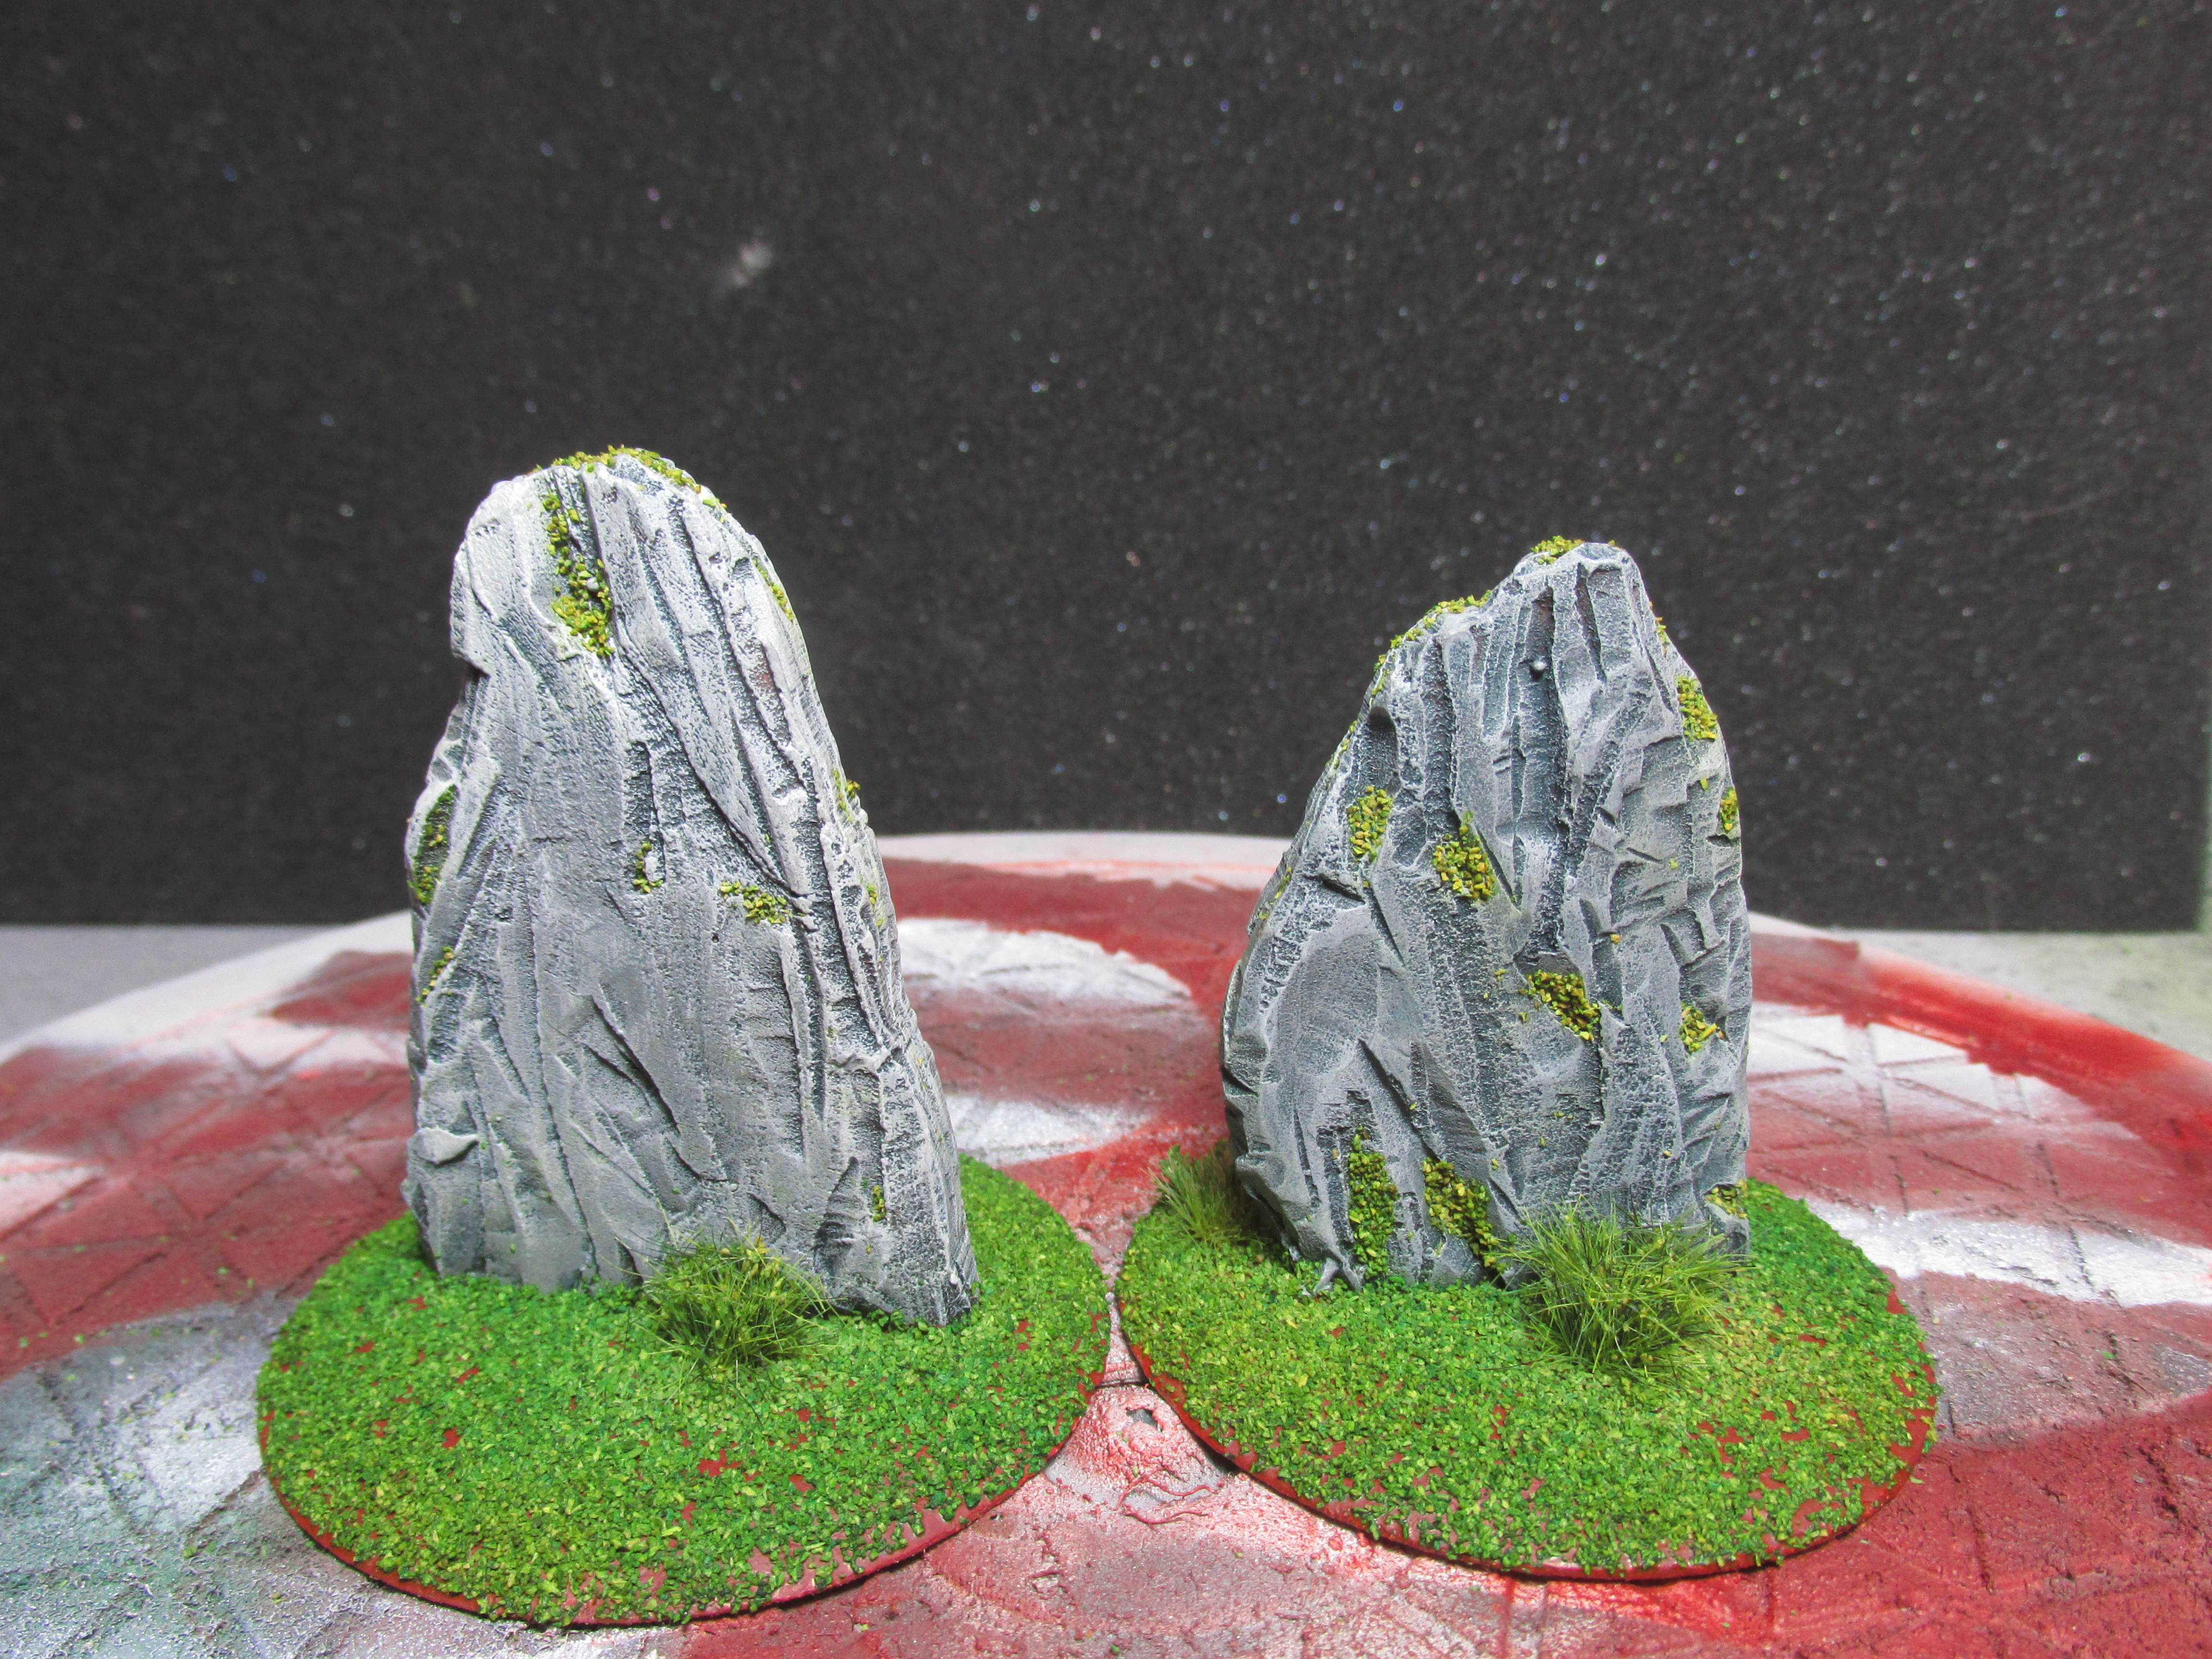
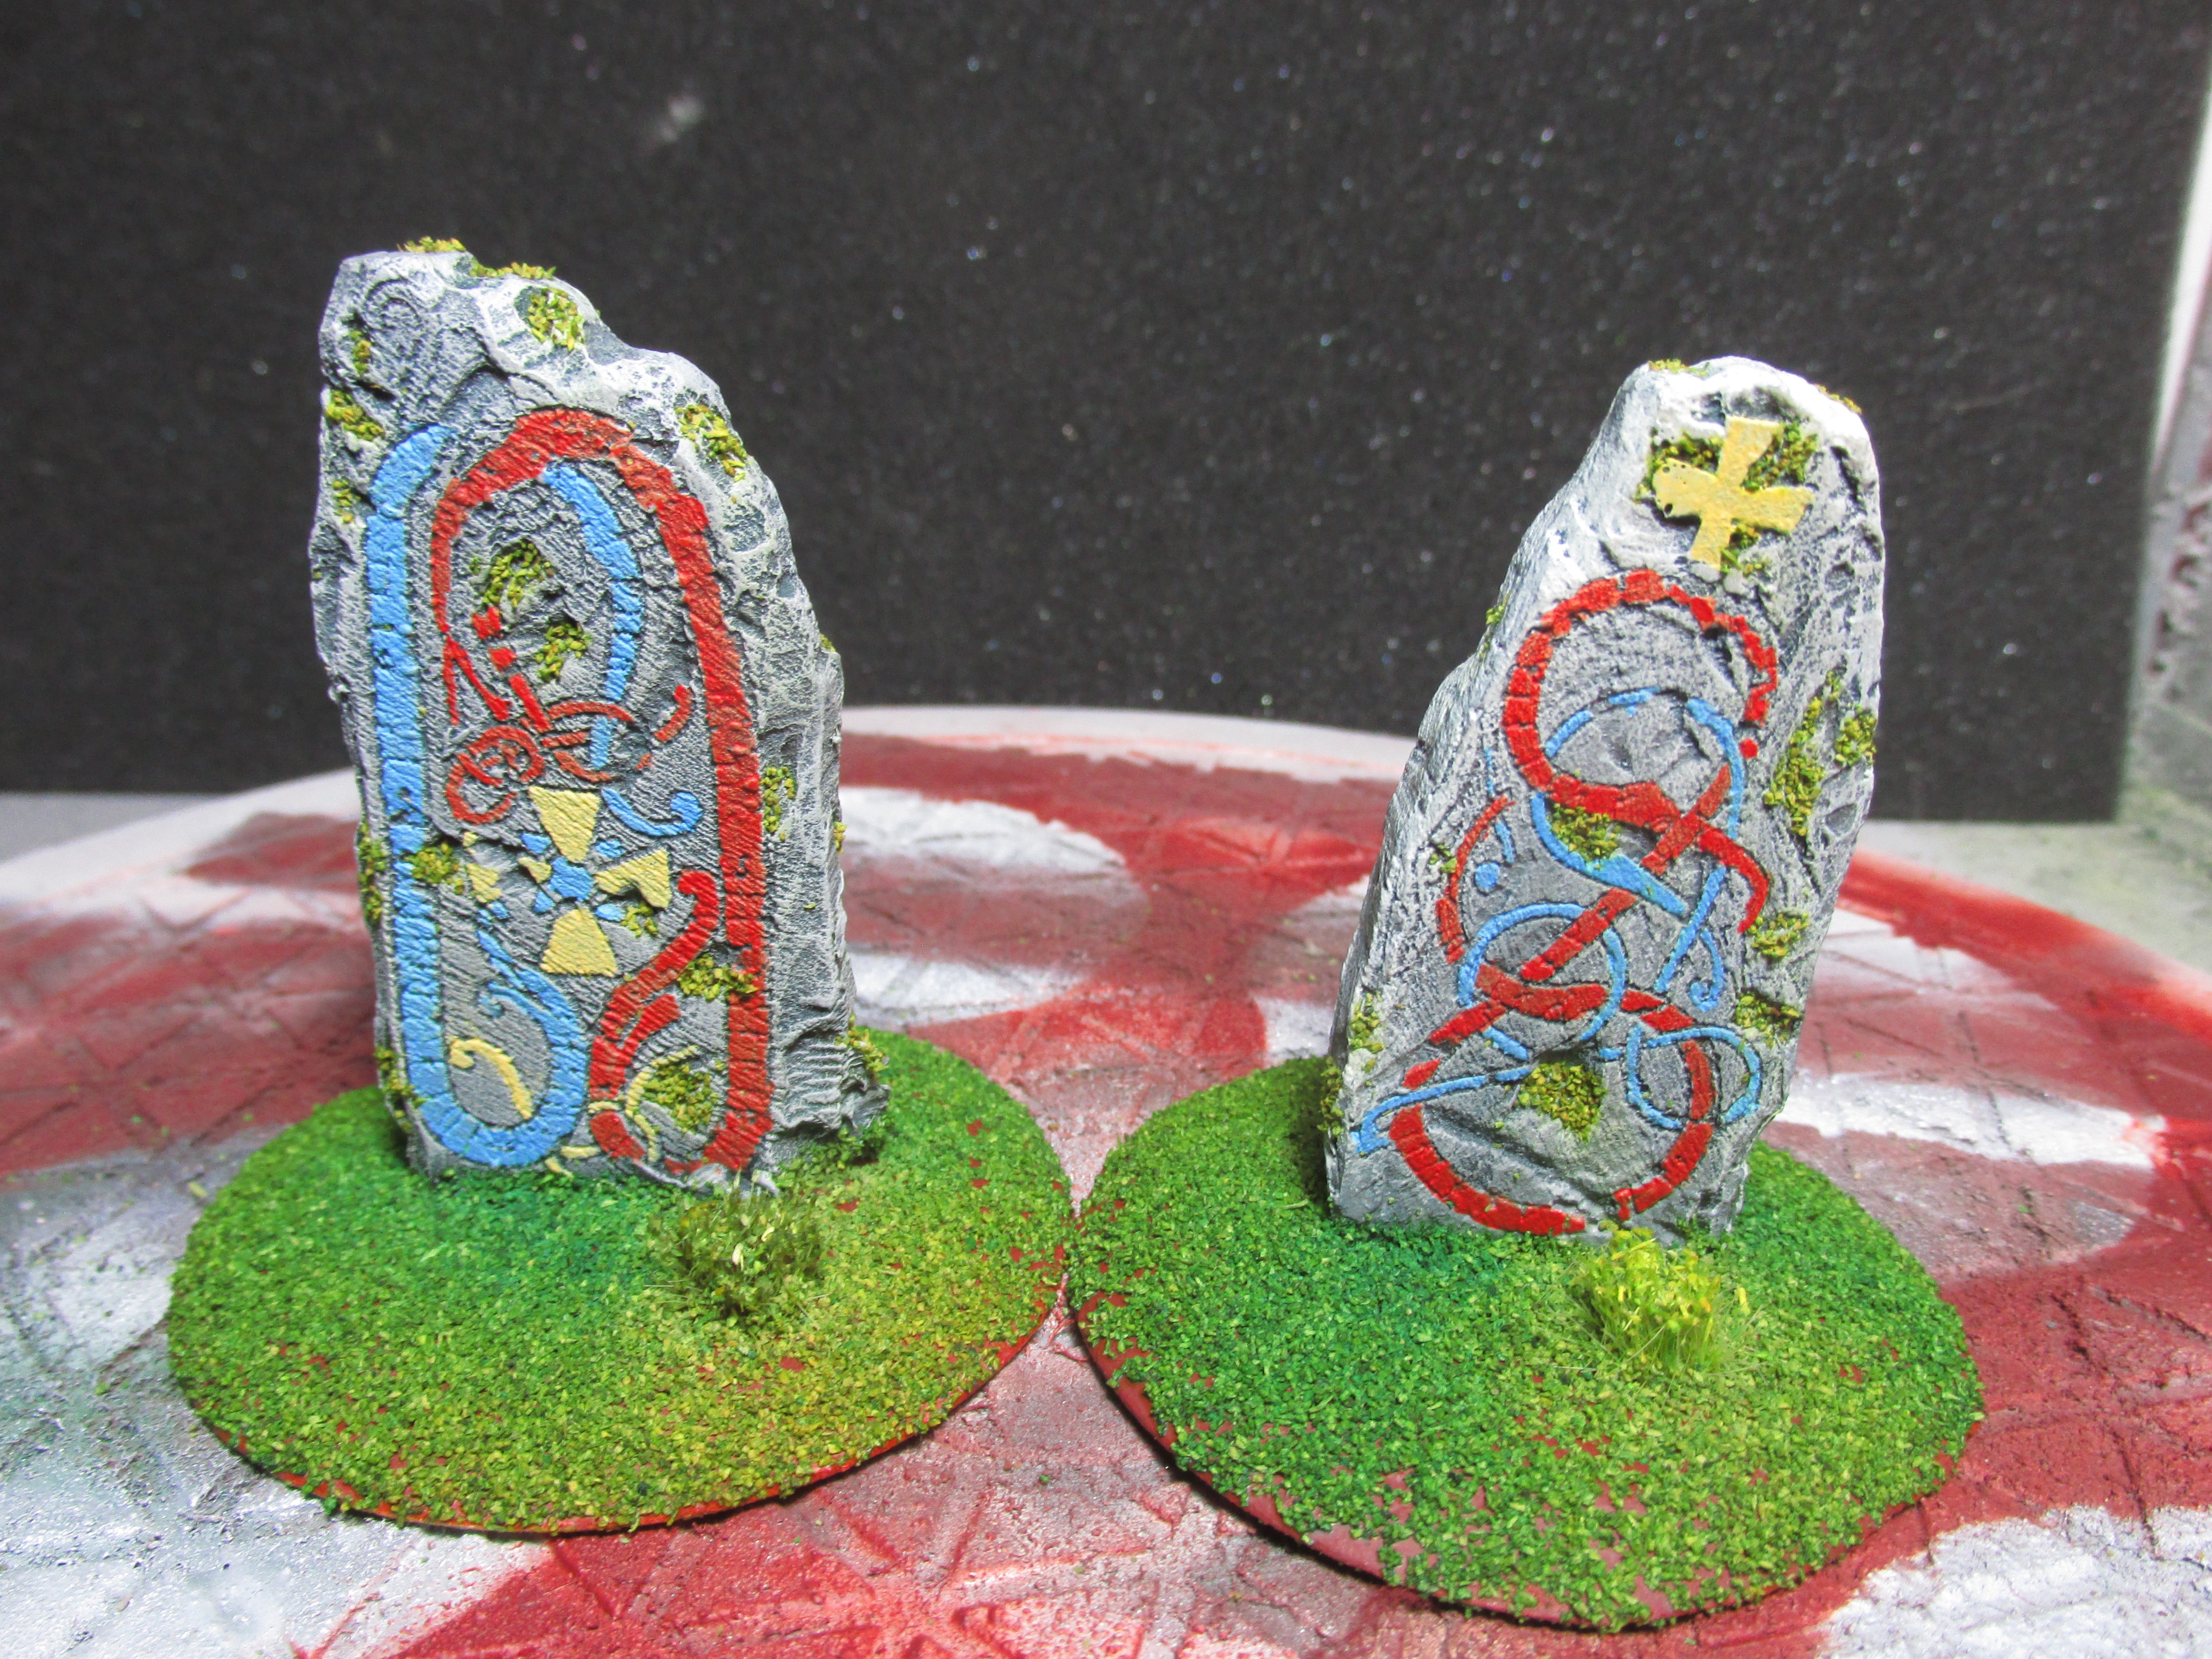
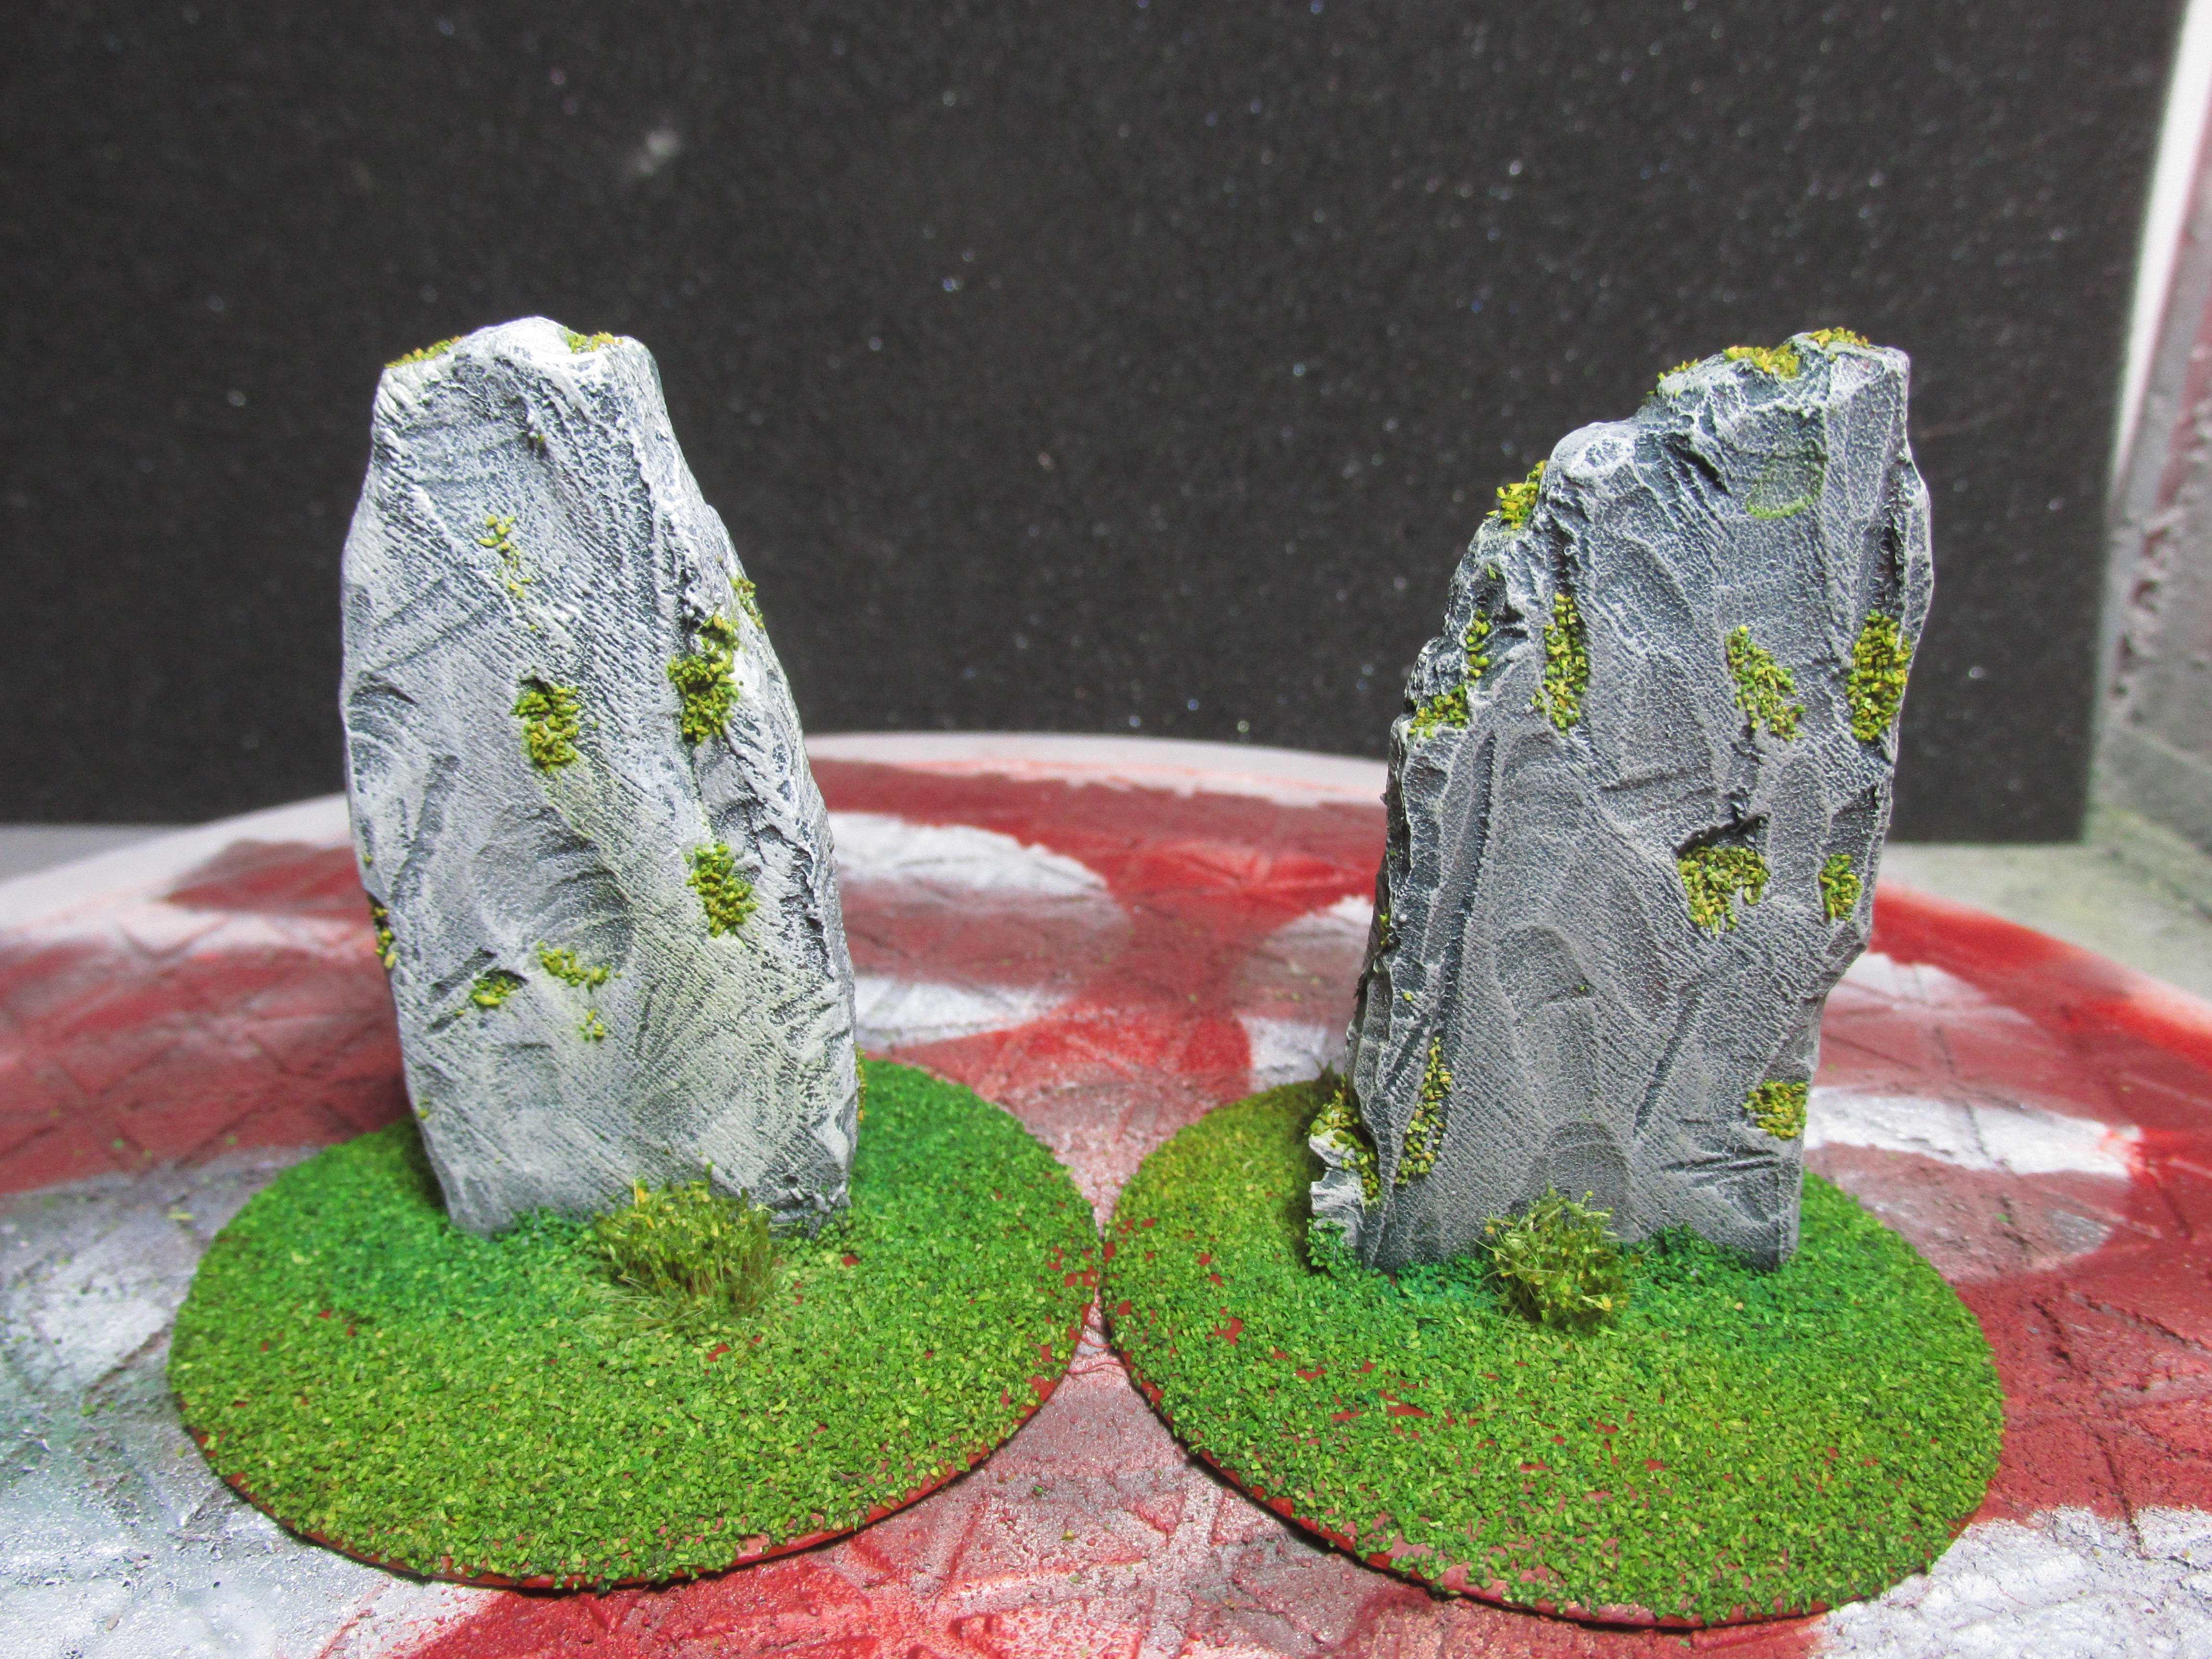
Some New Scenery Pieces.
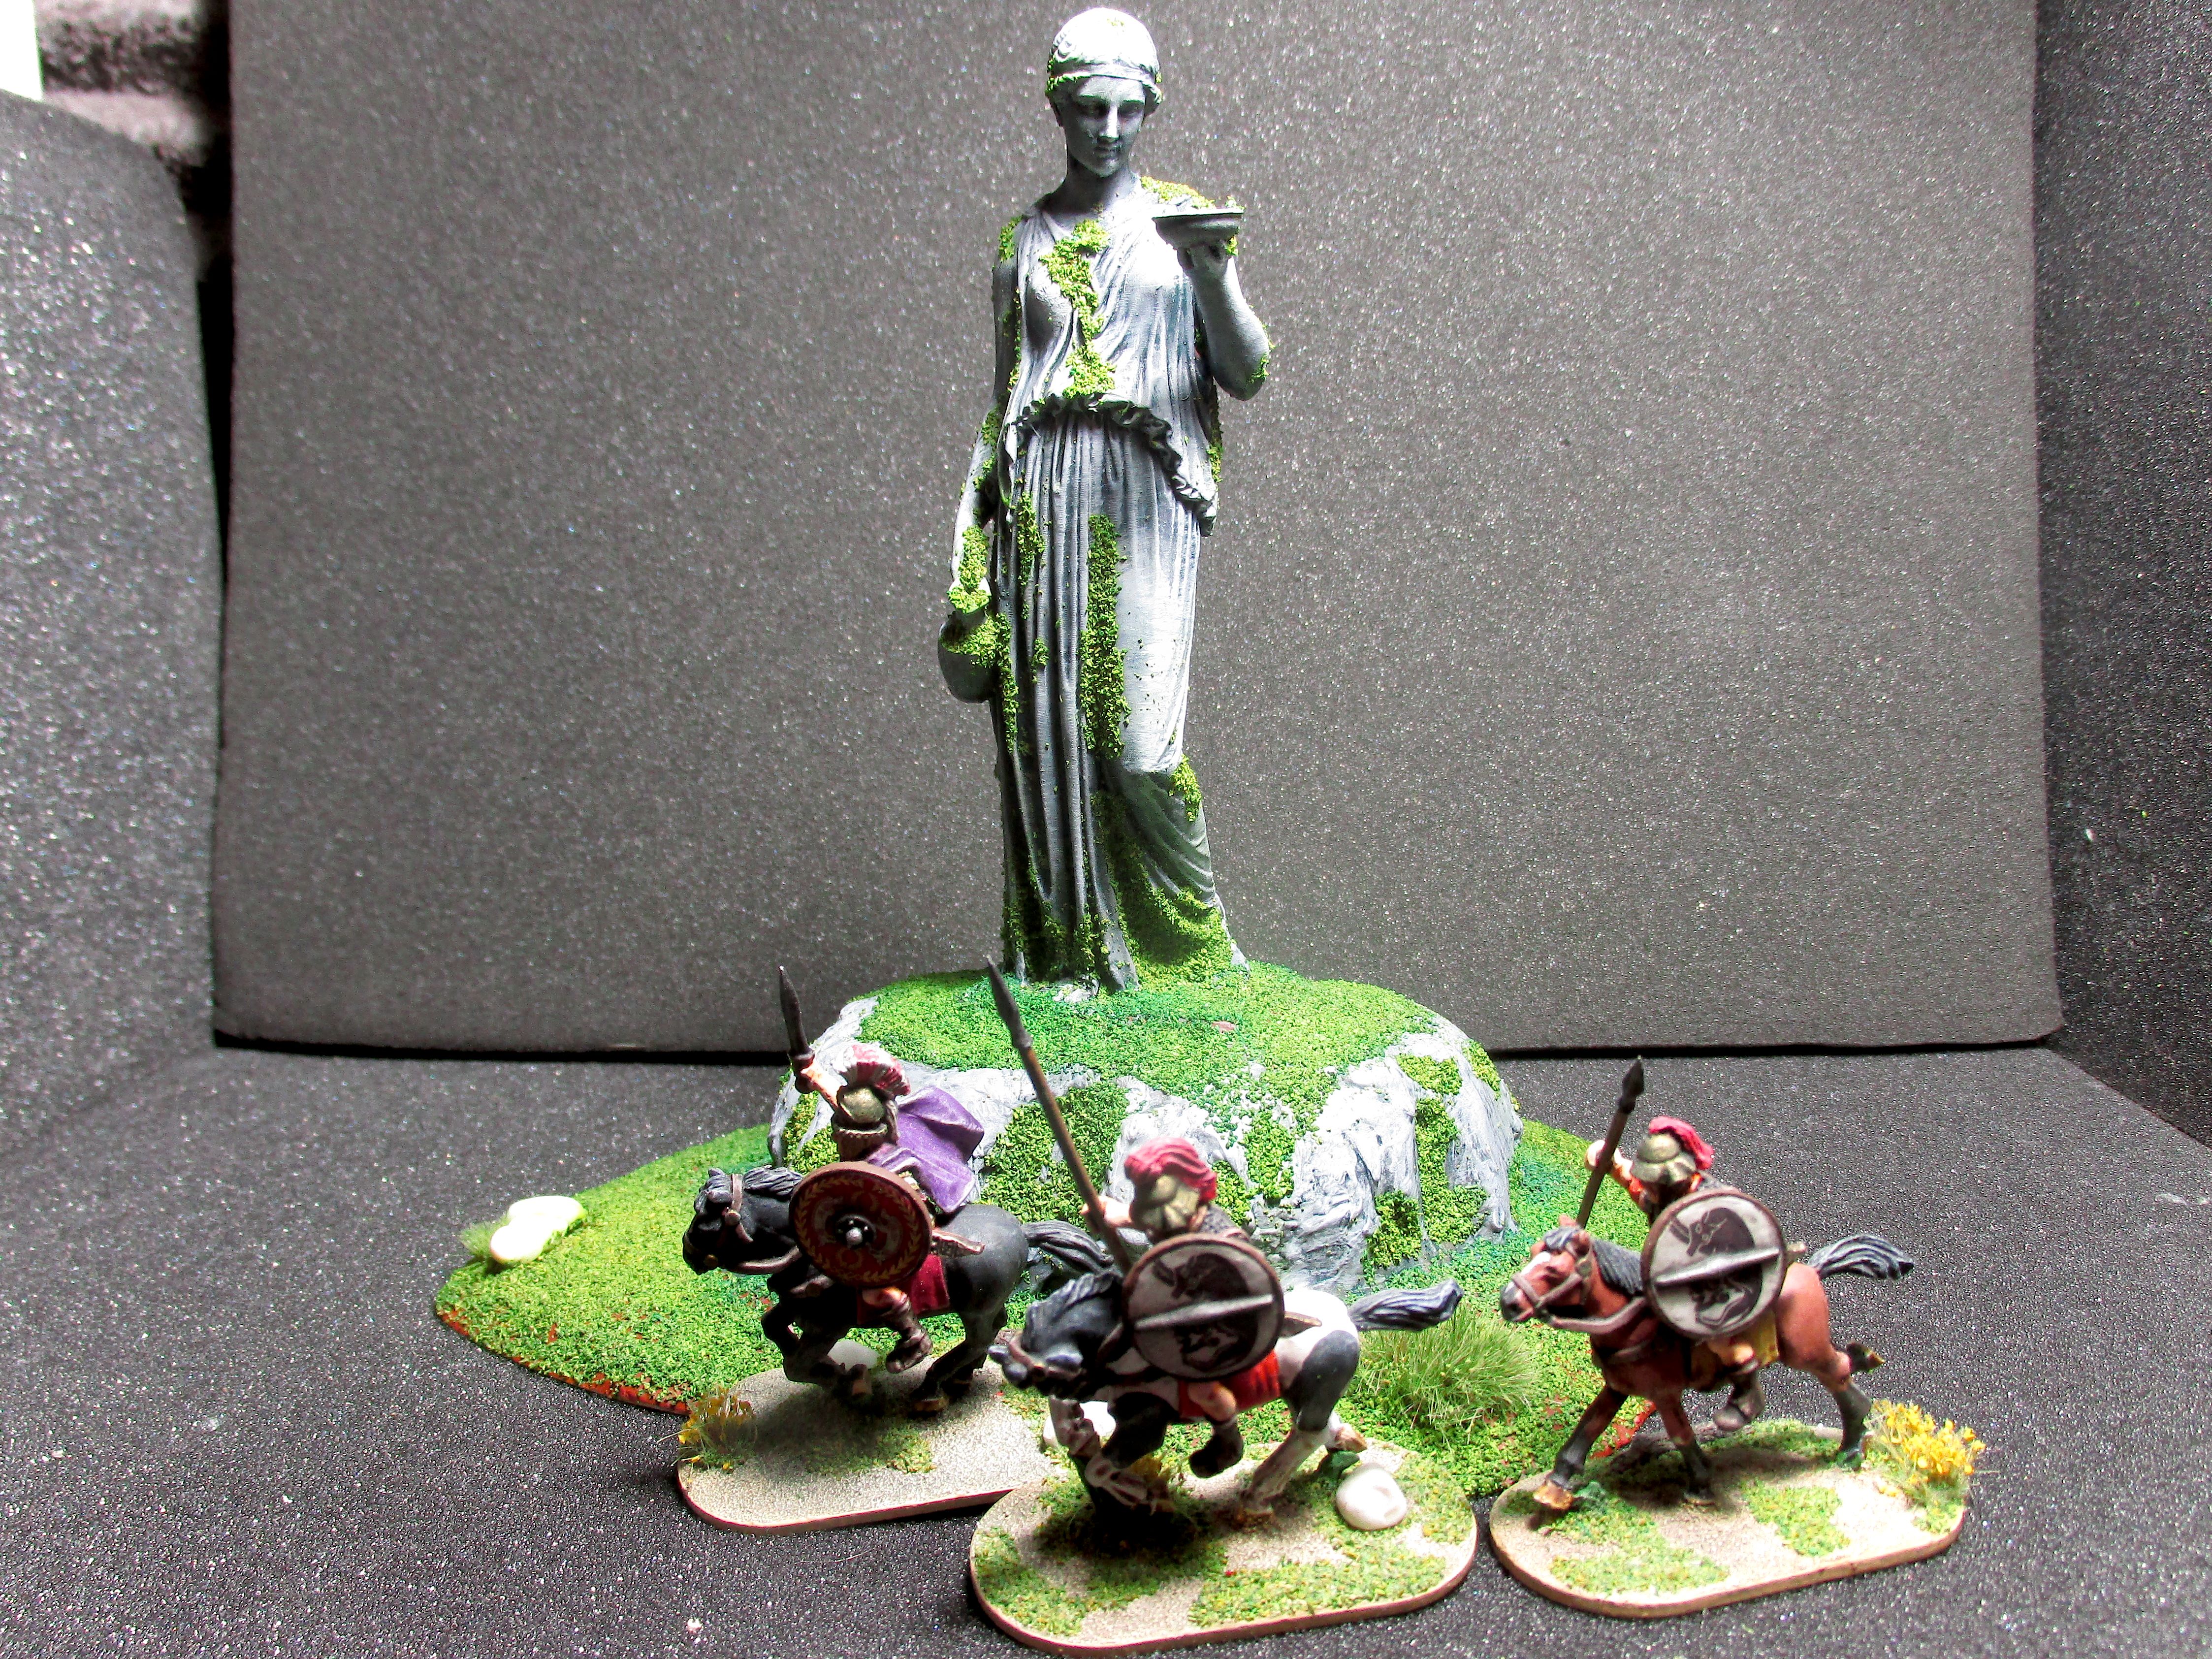
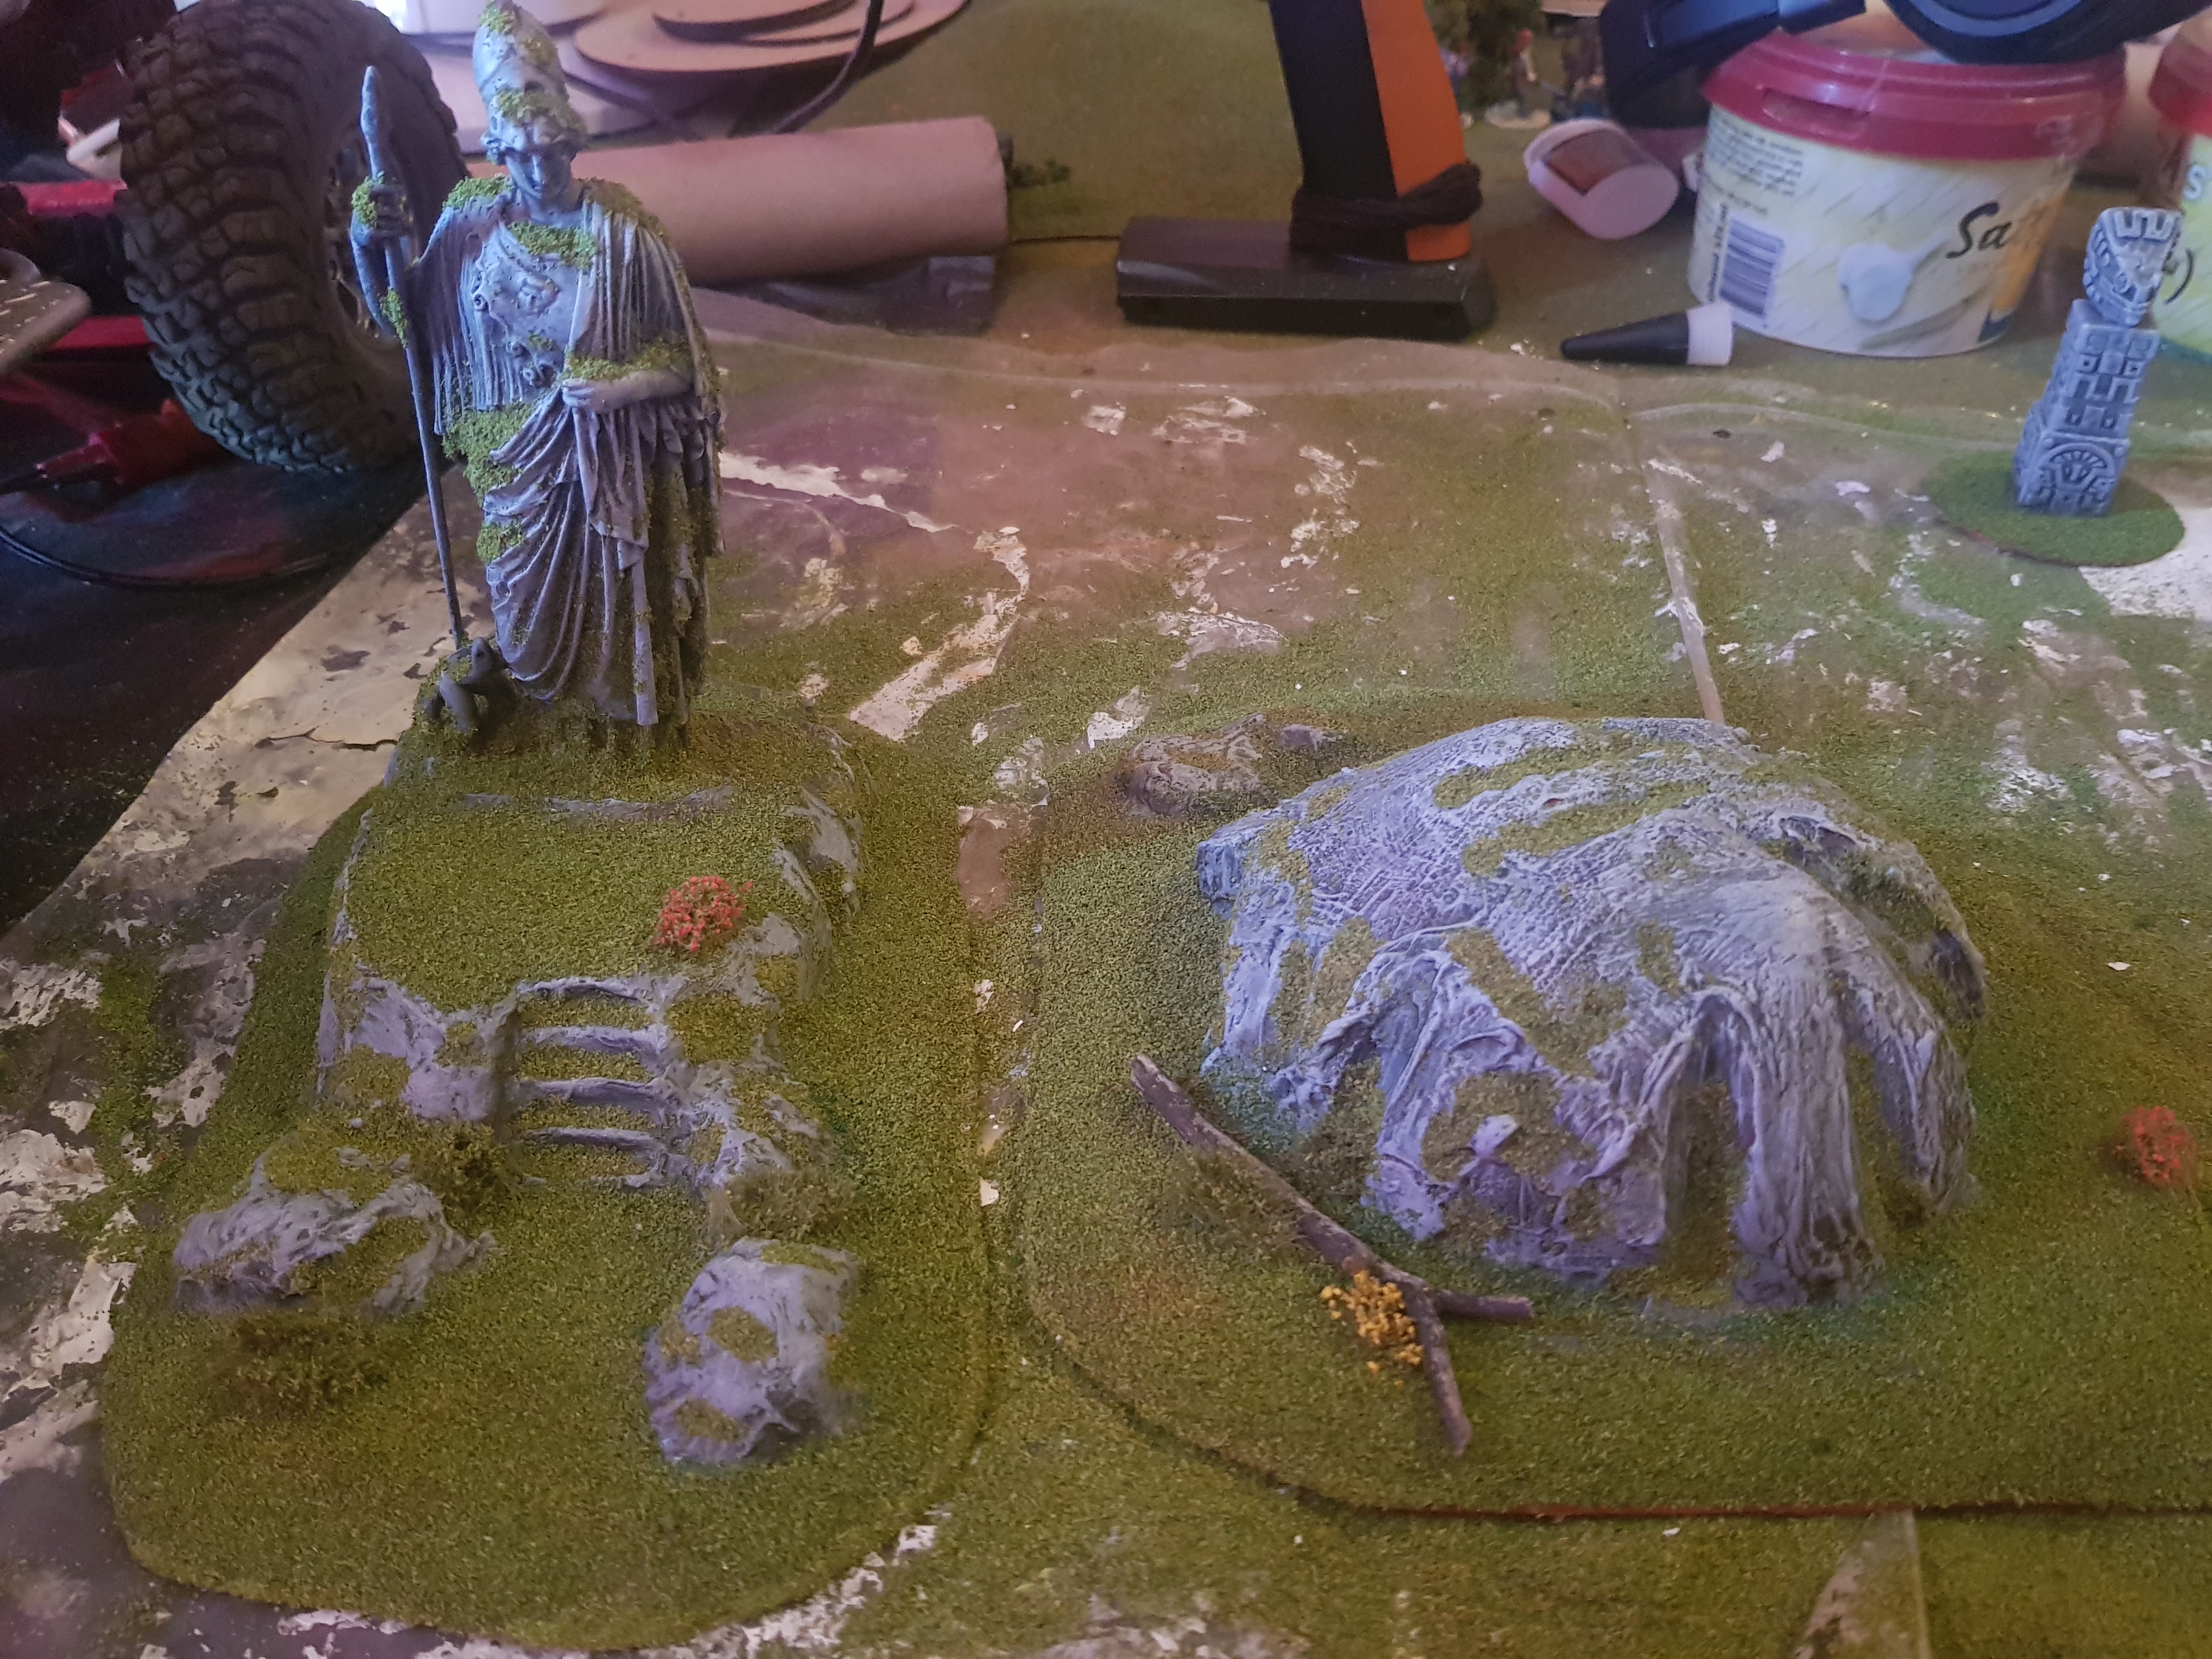
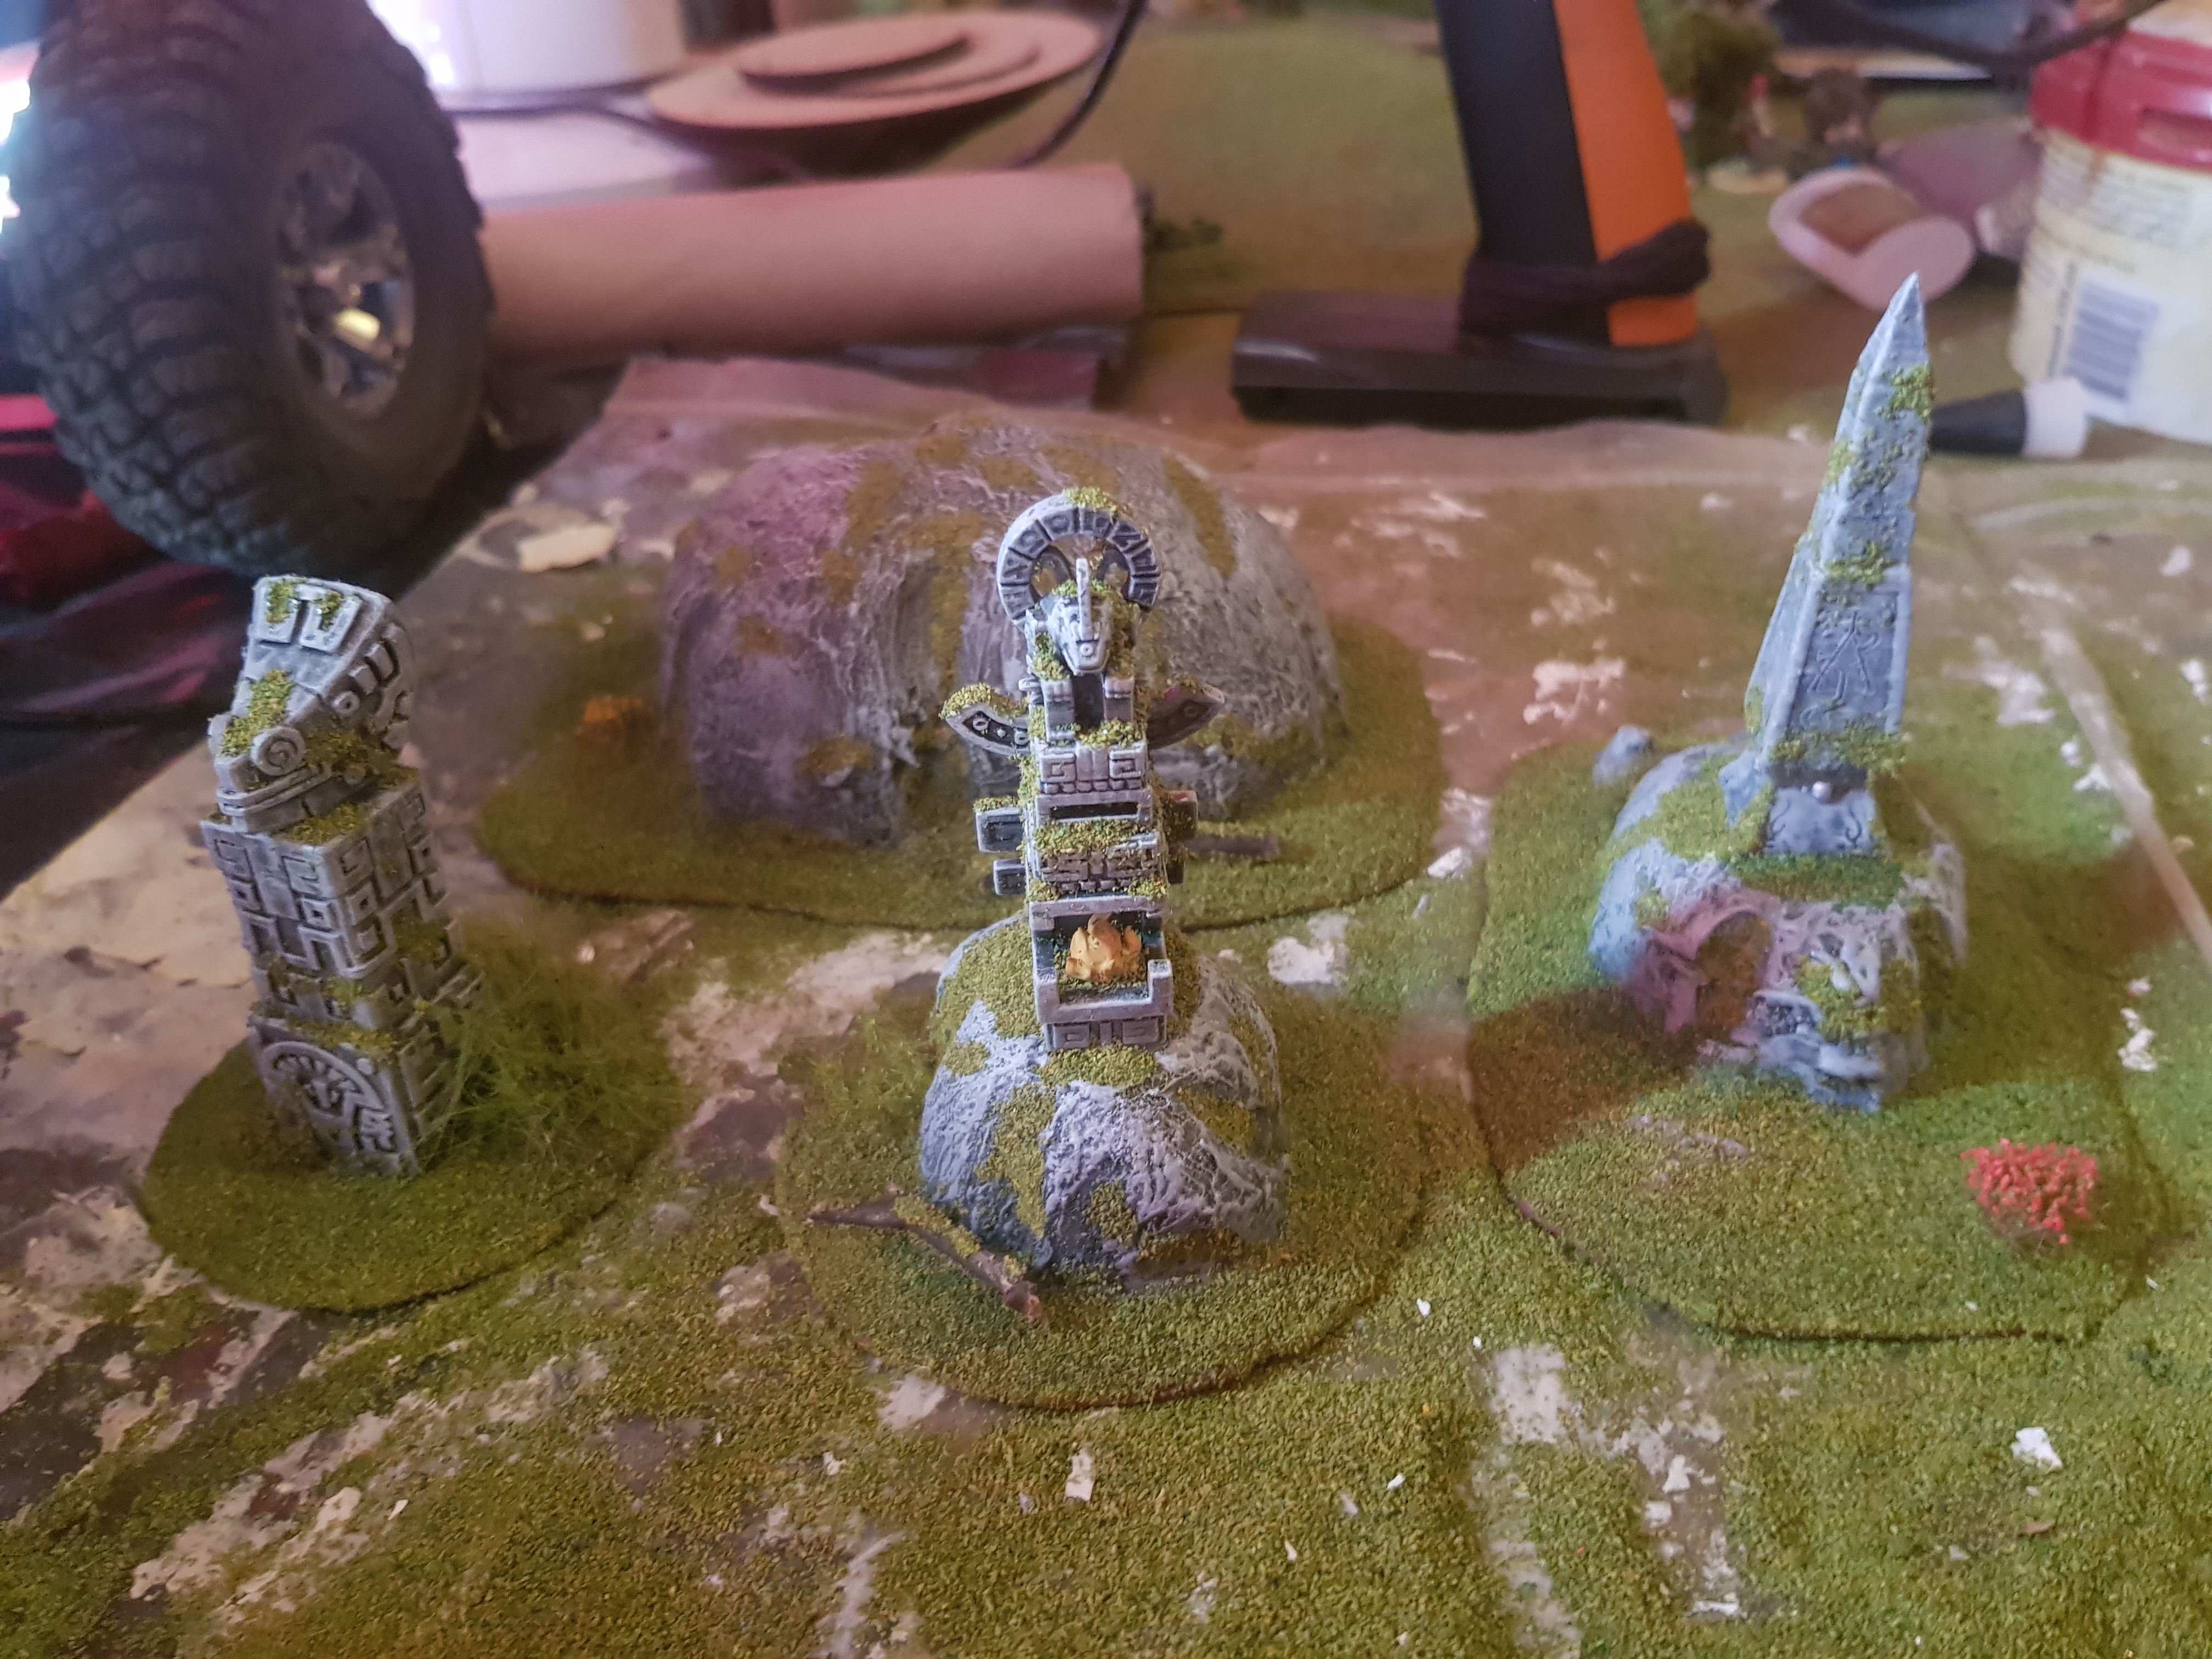
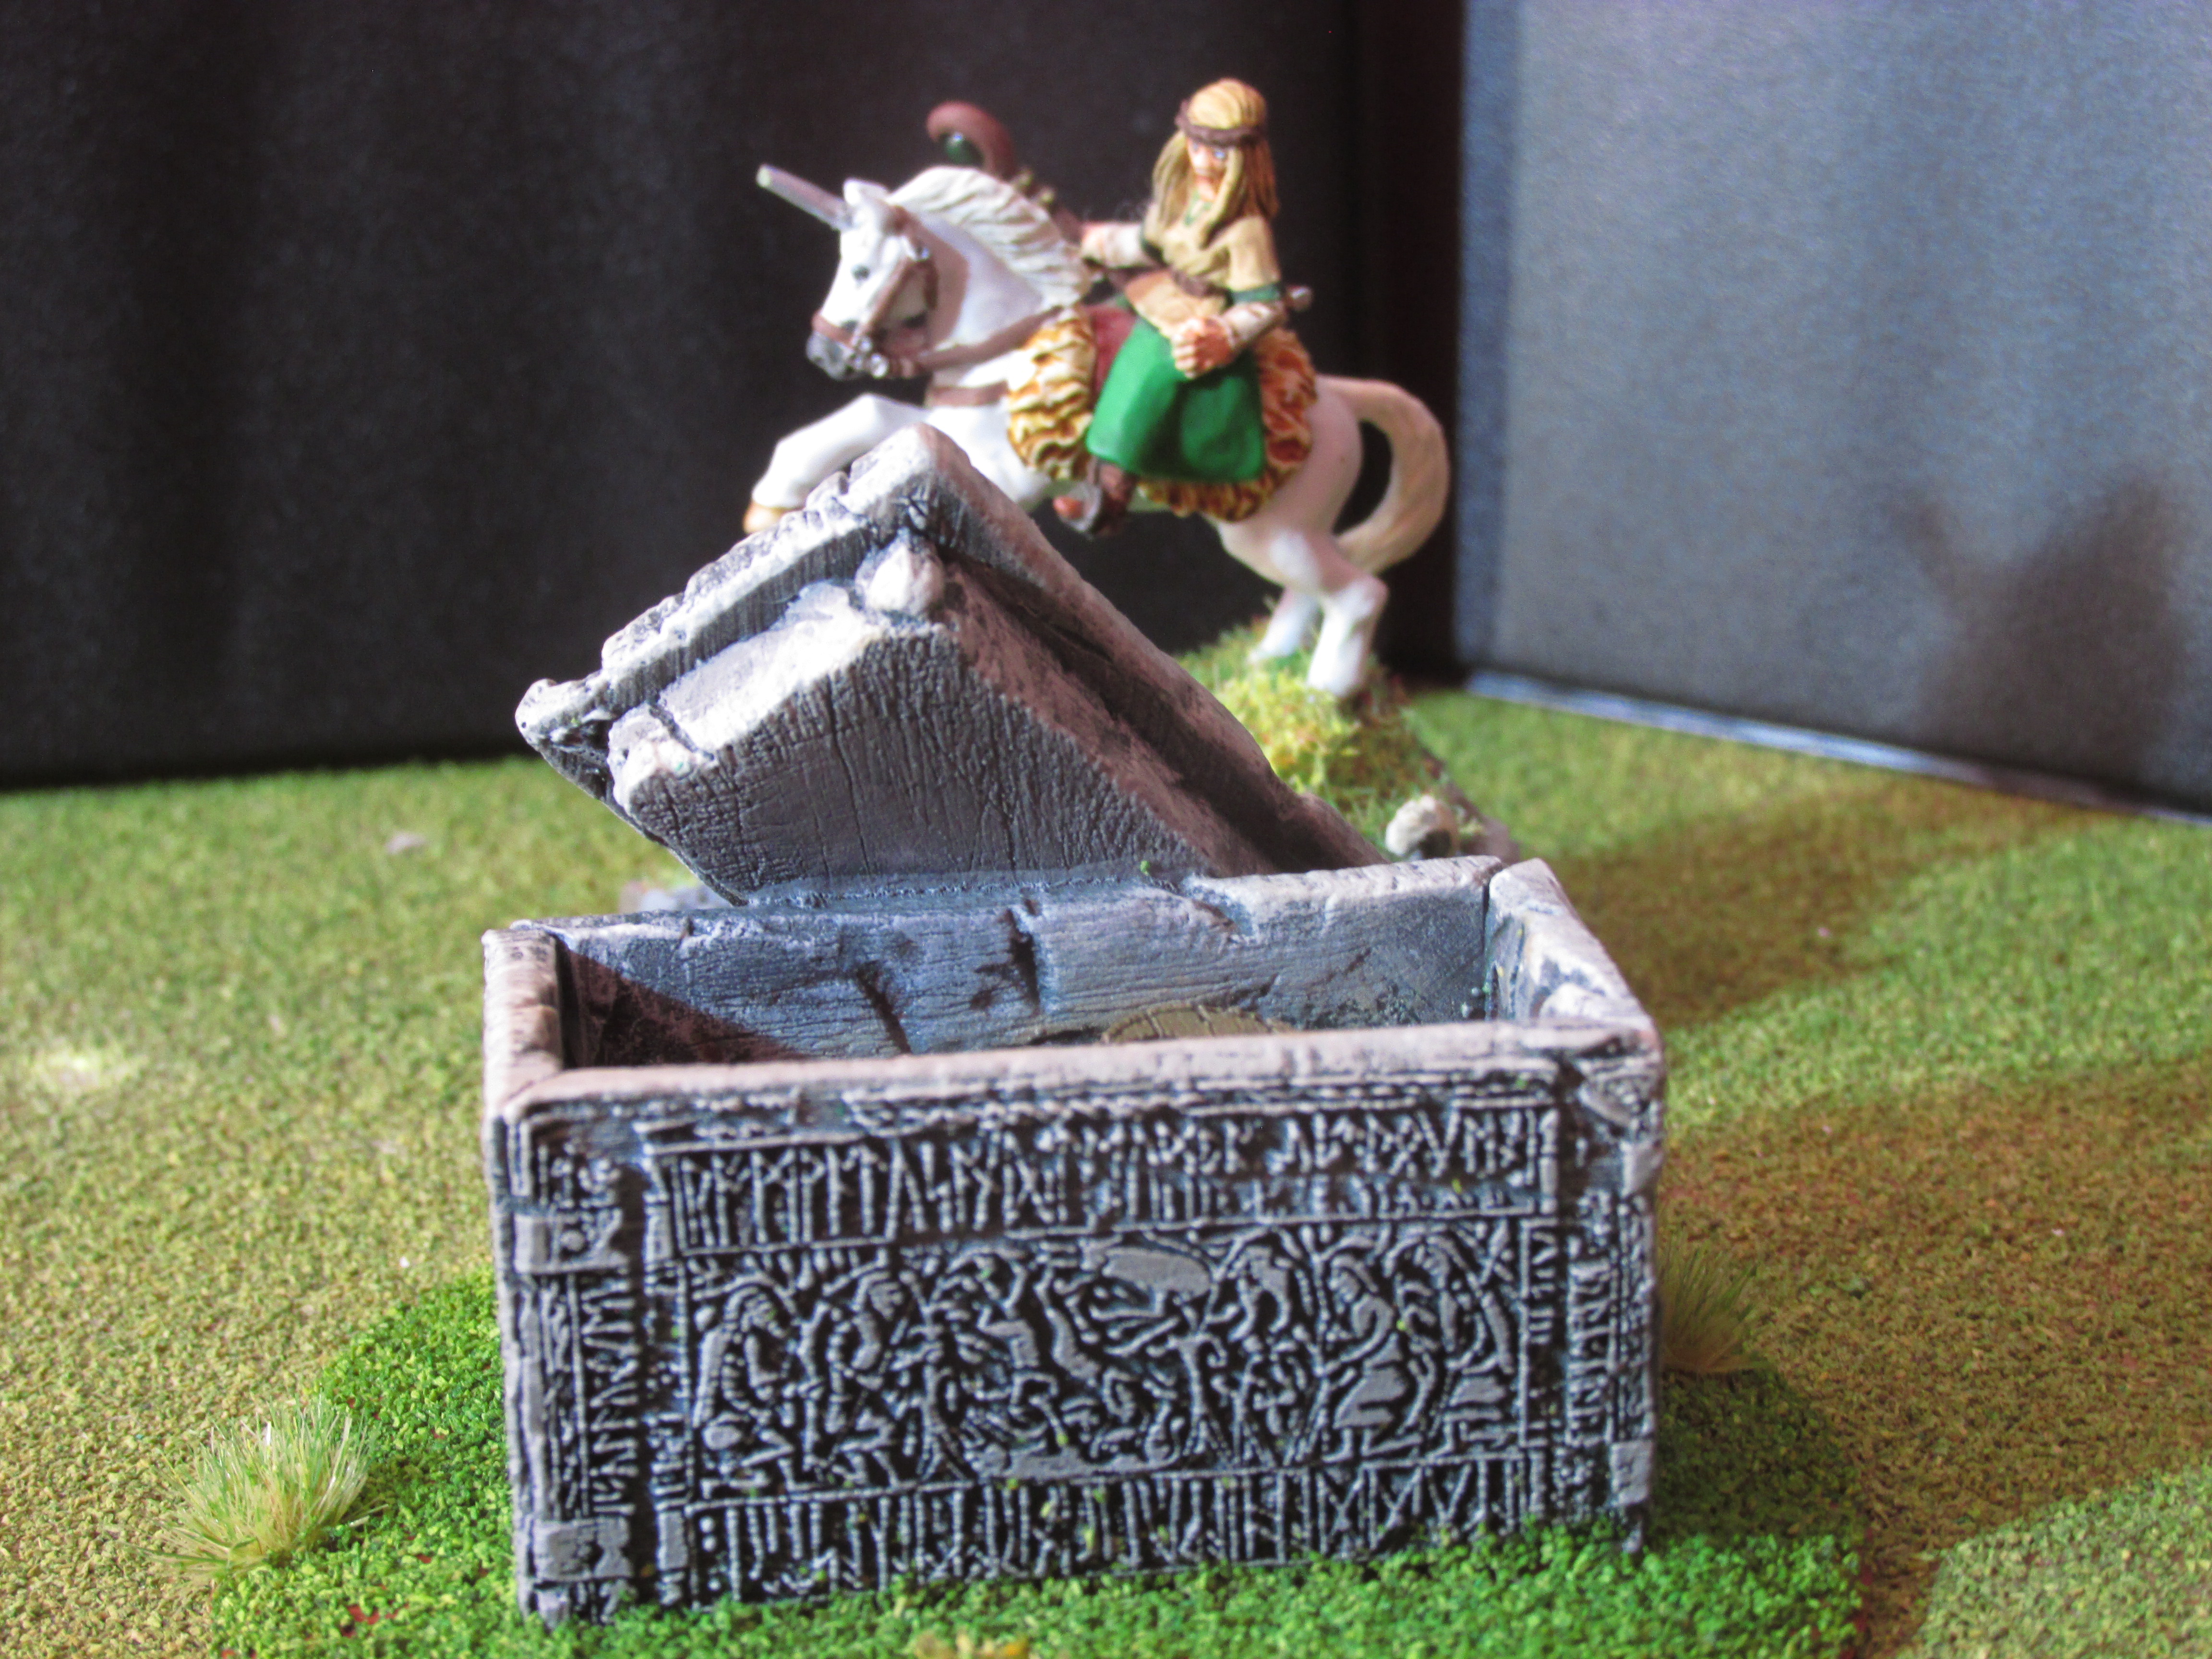
These are the finished scenery pieces that I have been working on for the last month or 2. Most of it is scratch build with a couple of 3d printed and resin cast pieces.
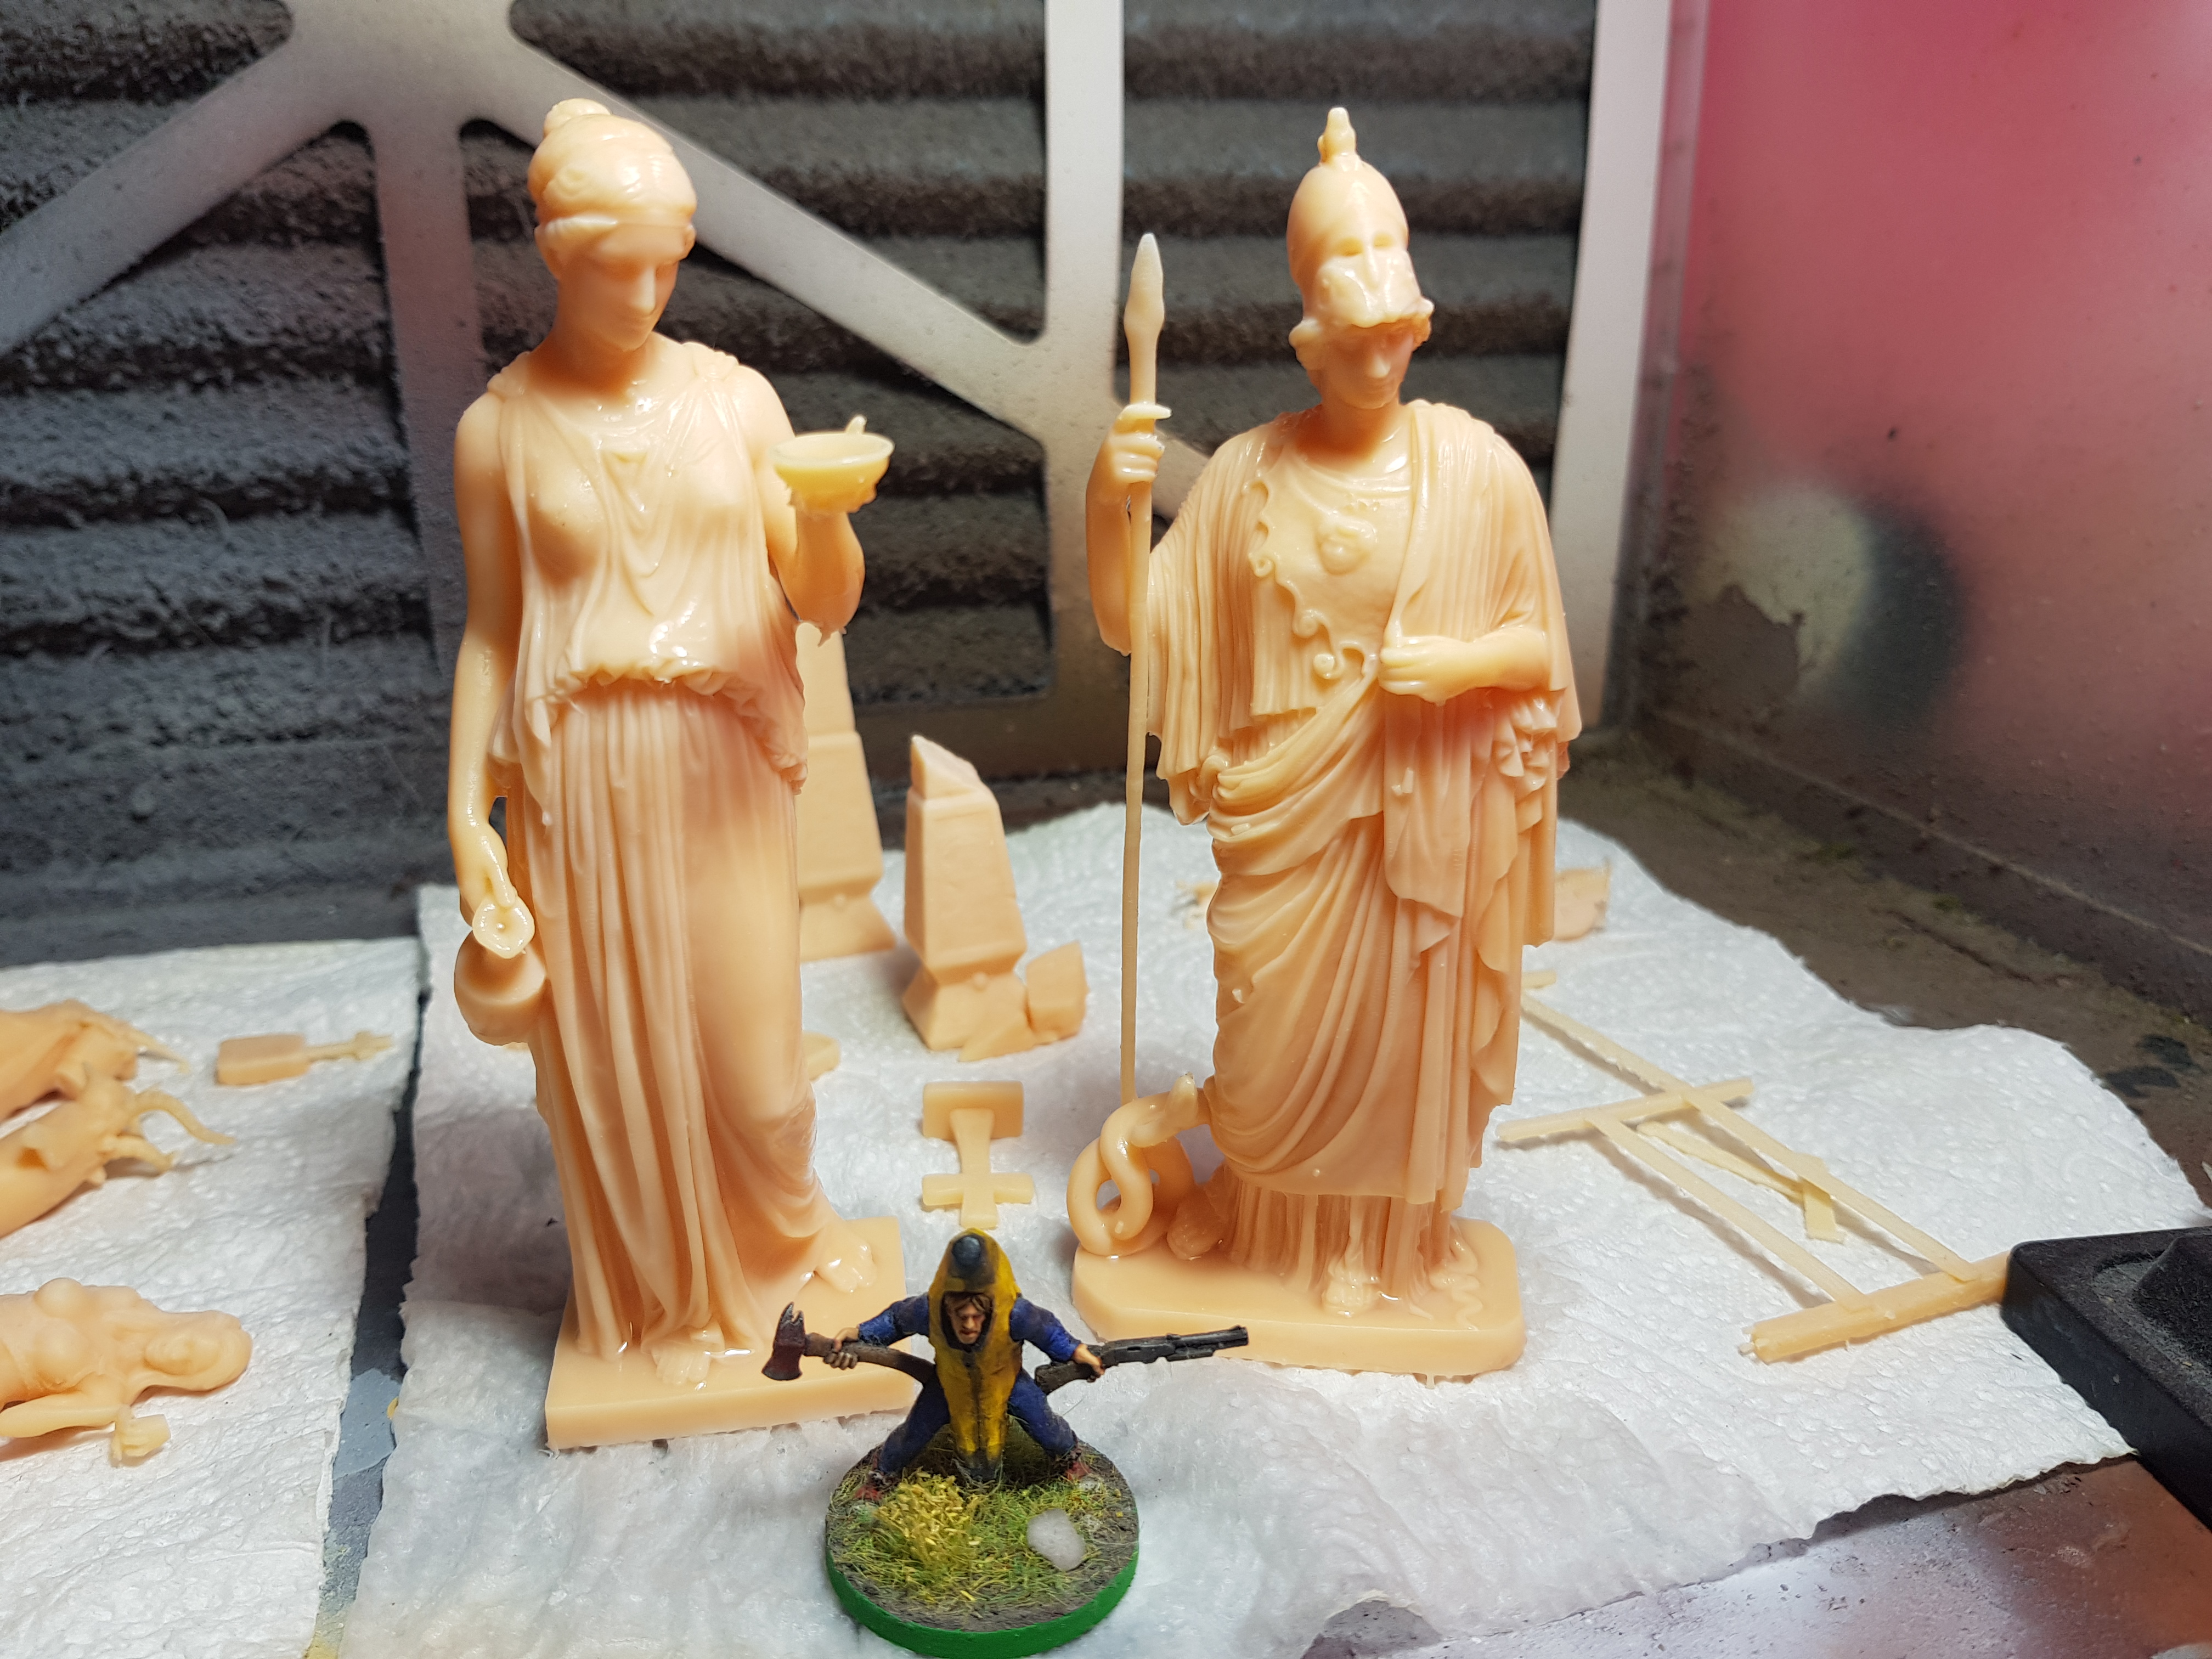
The Greek statues are 3D printed from 3D scans from the originals done by the Statens Museum for Kunst in Copenhagen, Denmark.

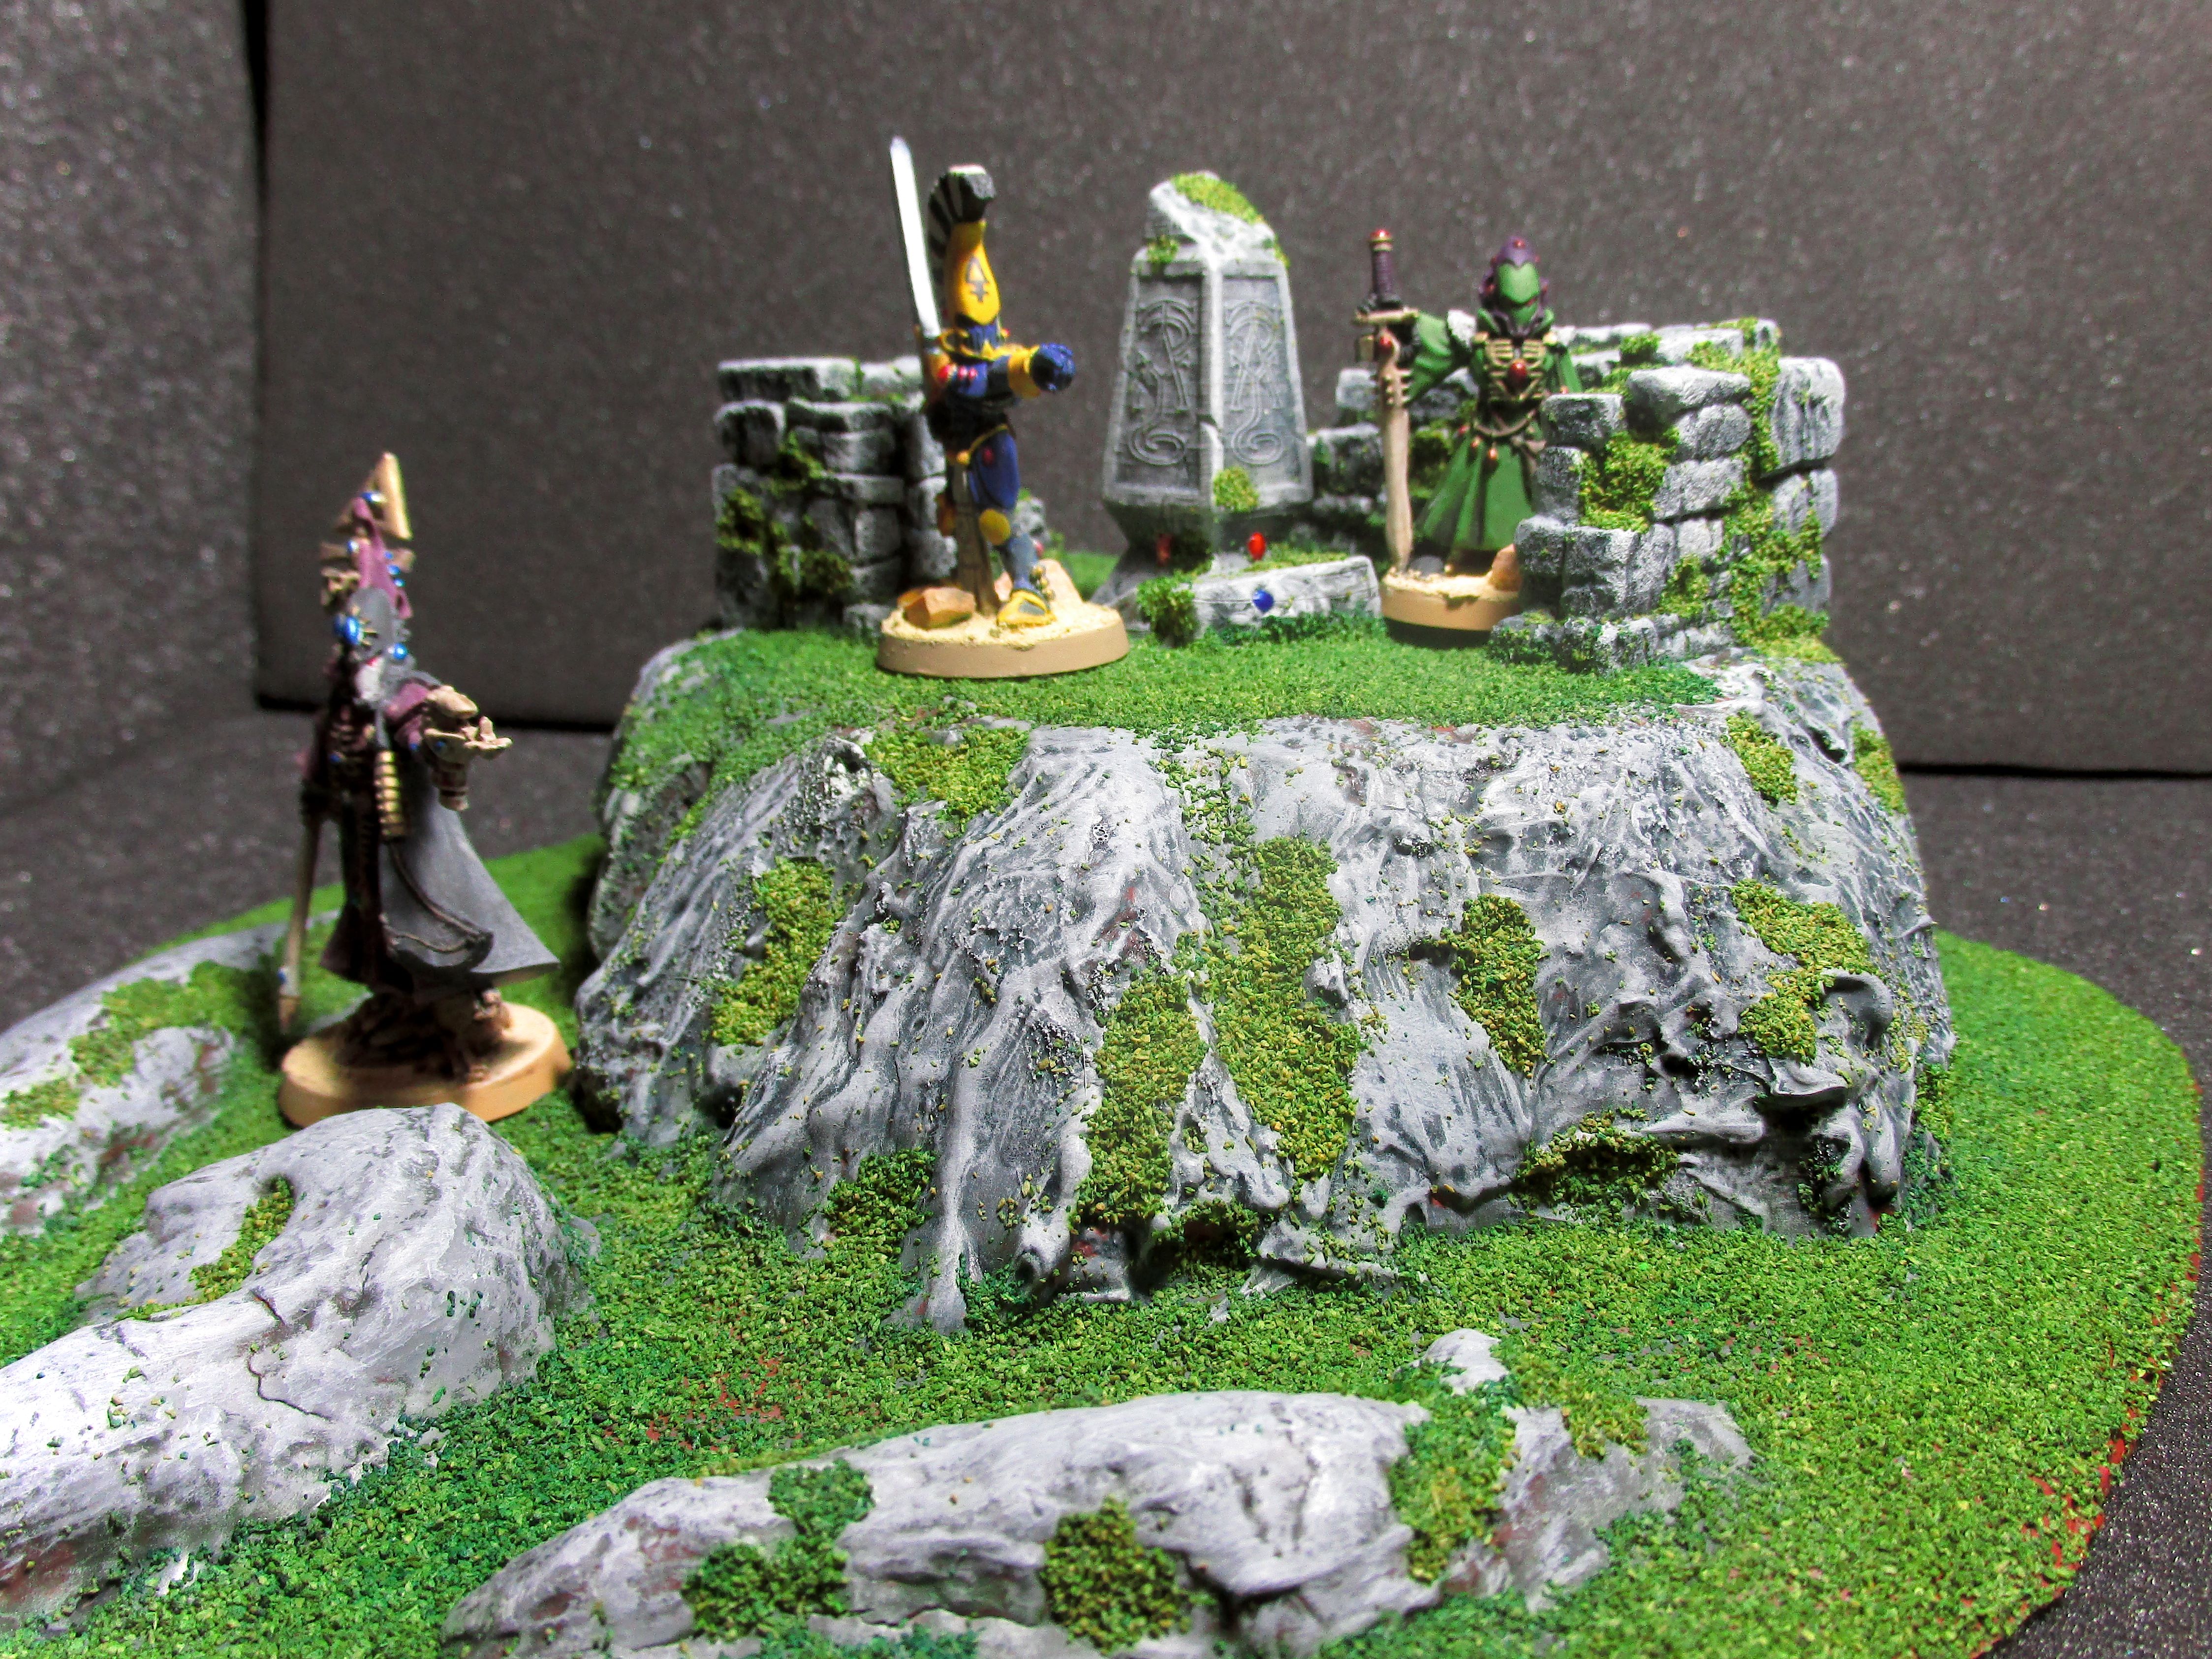
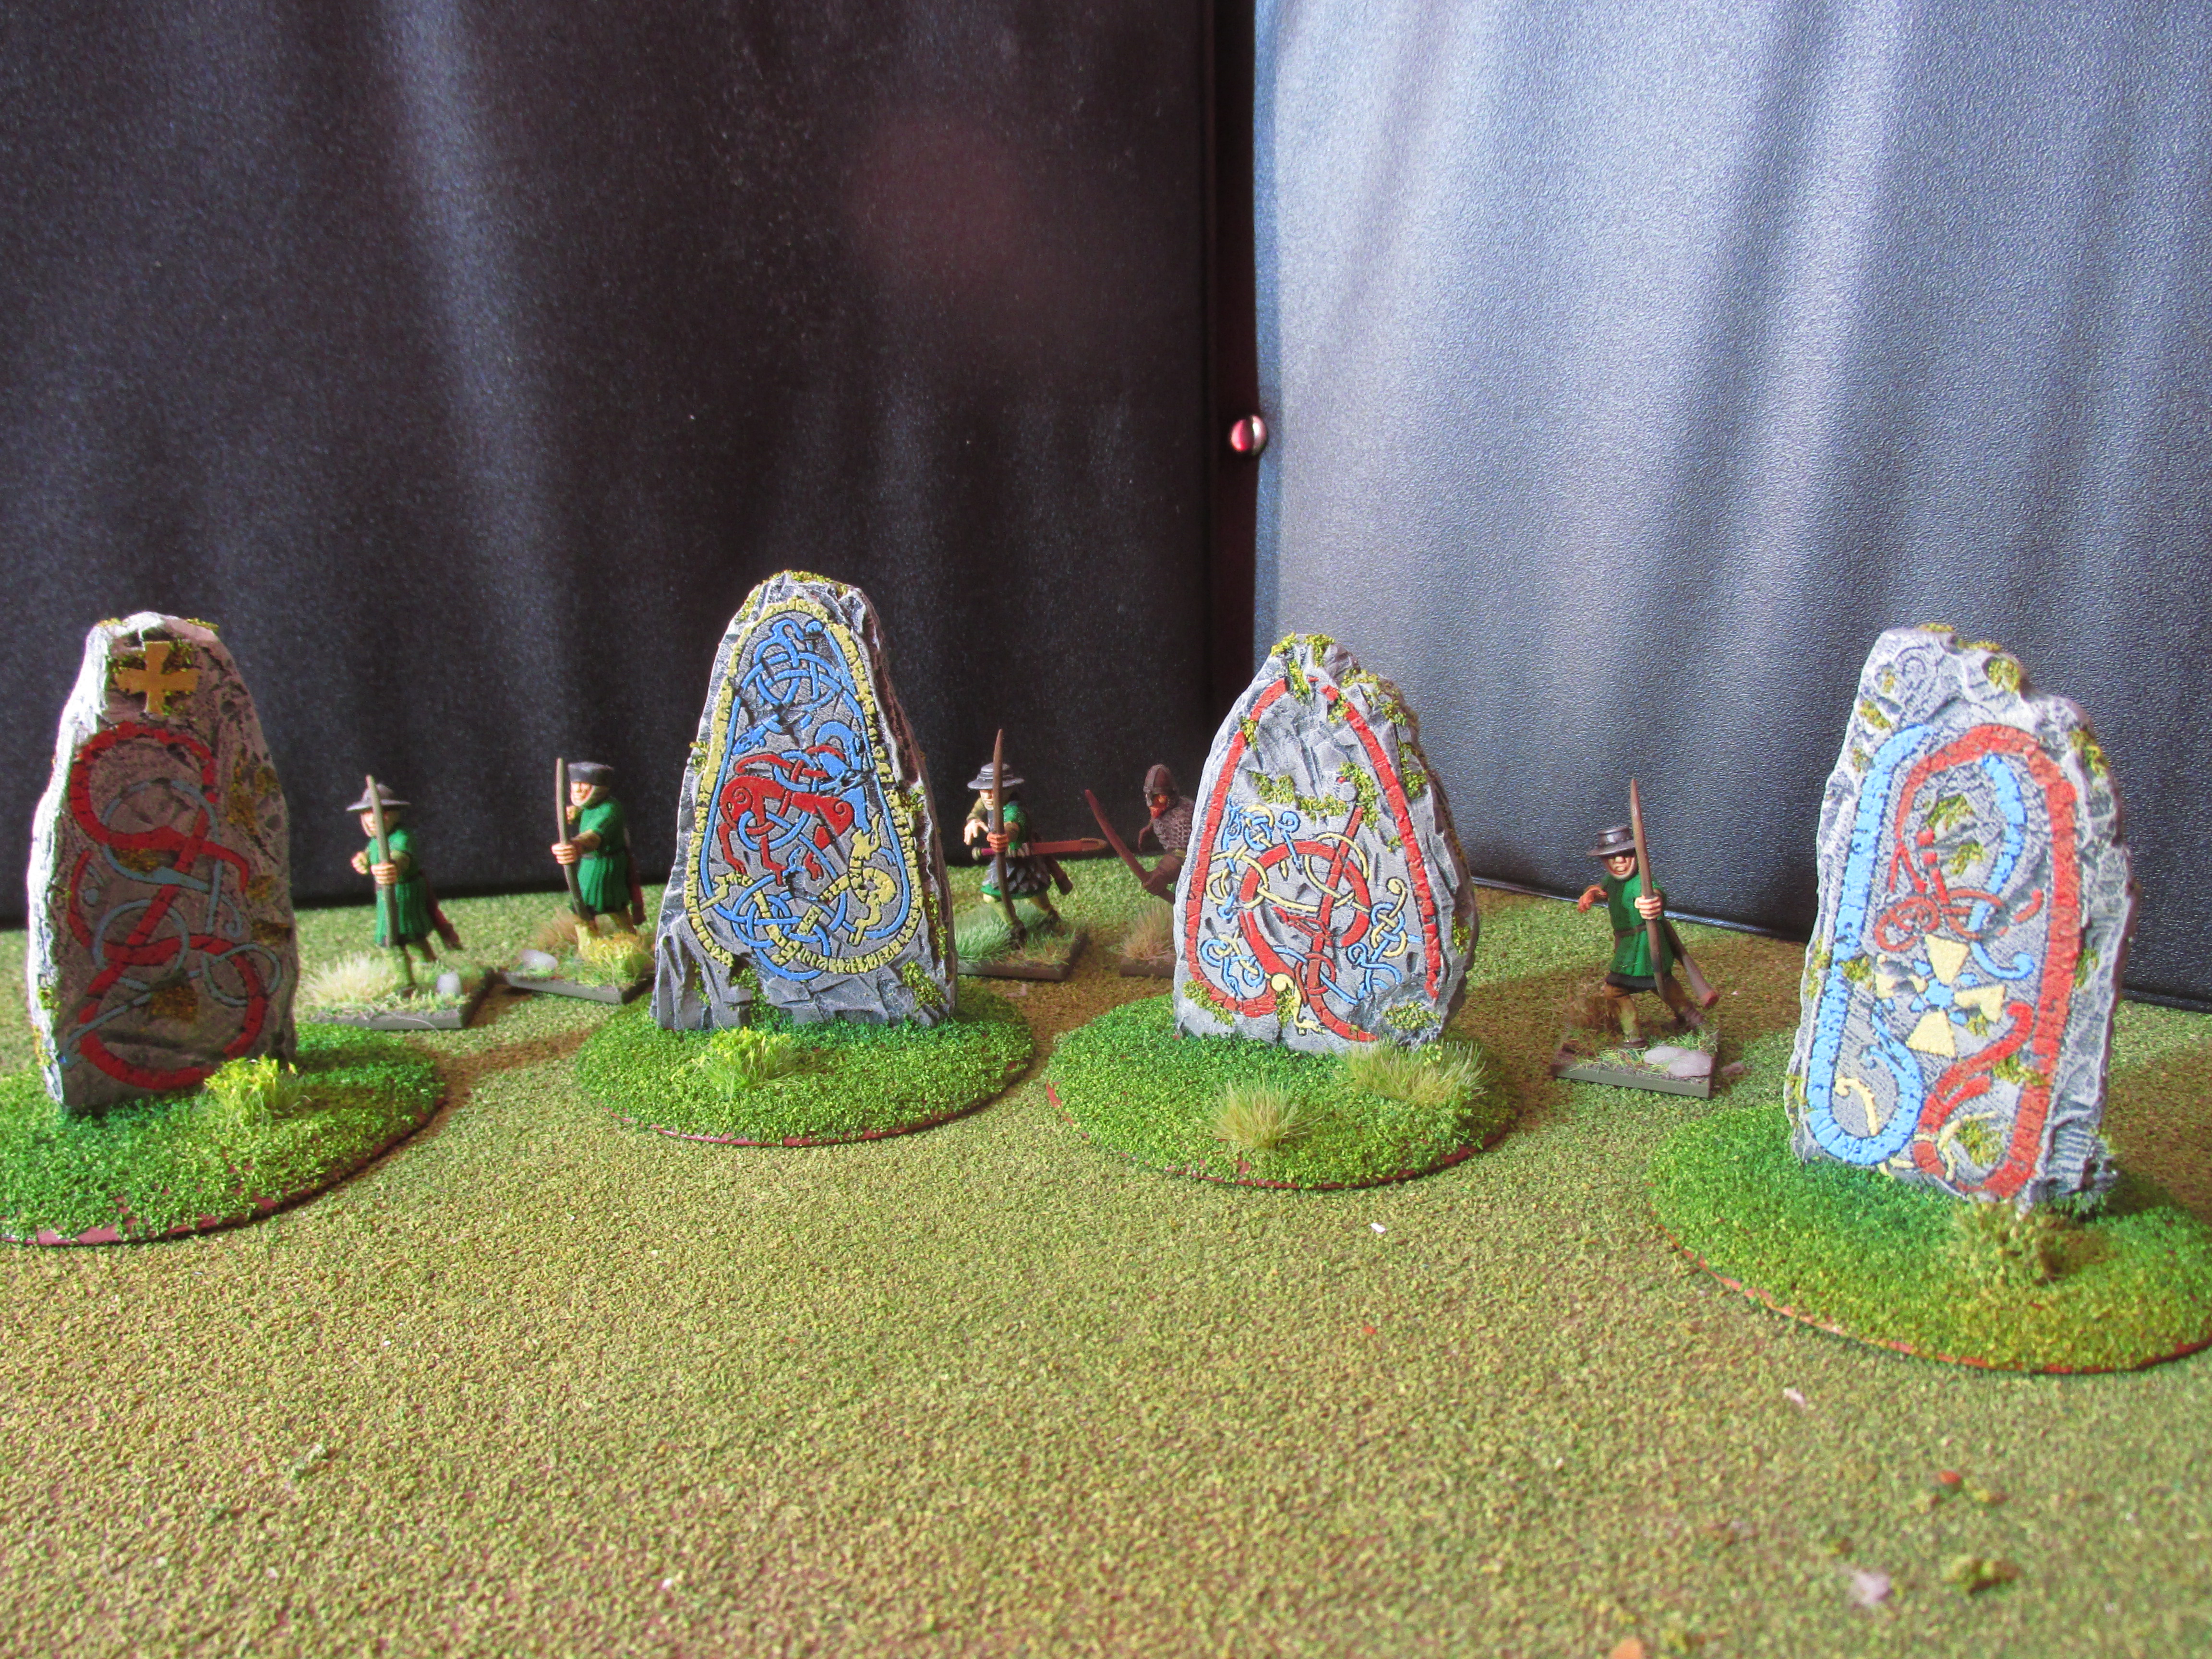
The wall pieces are resin cast pieces from Fenris Games and the High Elven waystones, both broken and intact were 3D printed and sculpted by Makers Anvil.
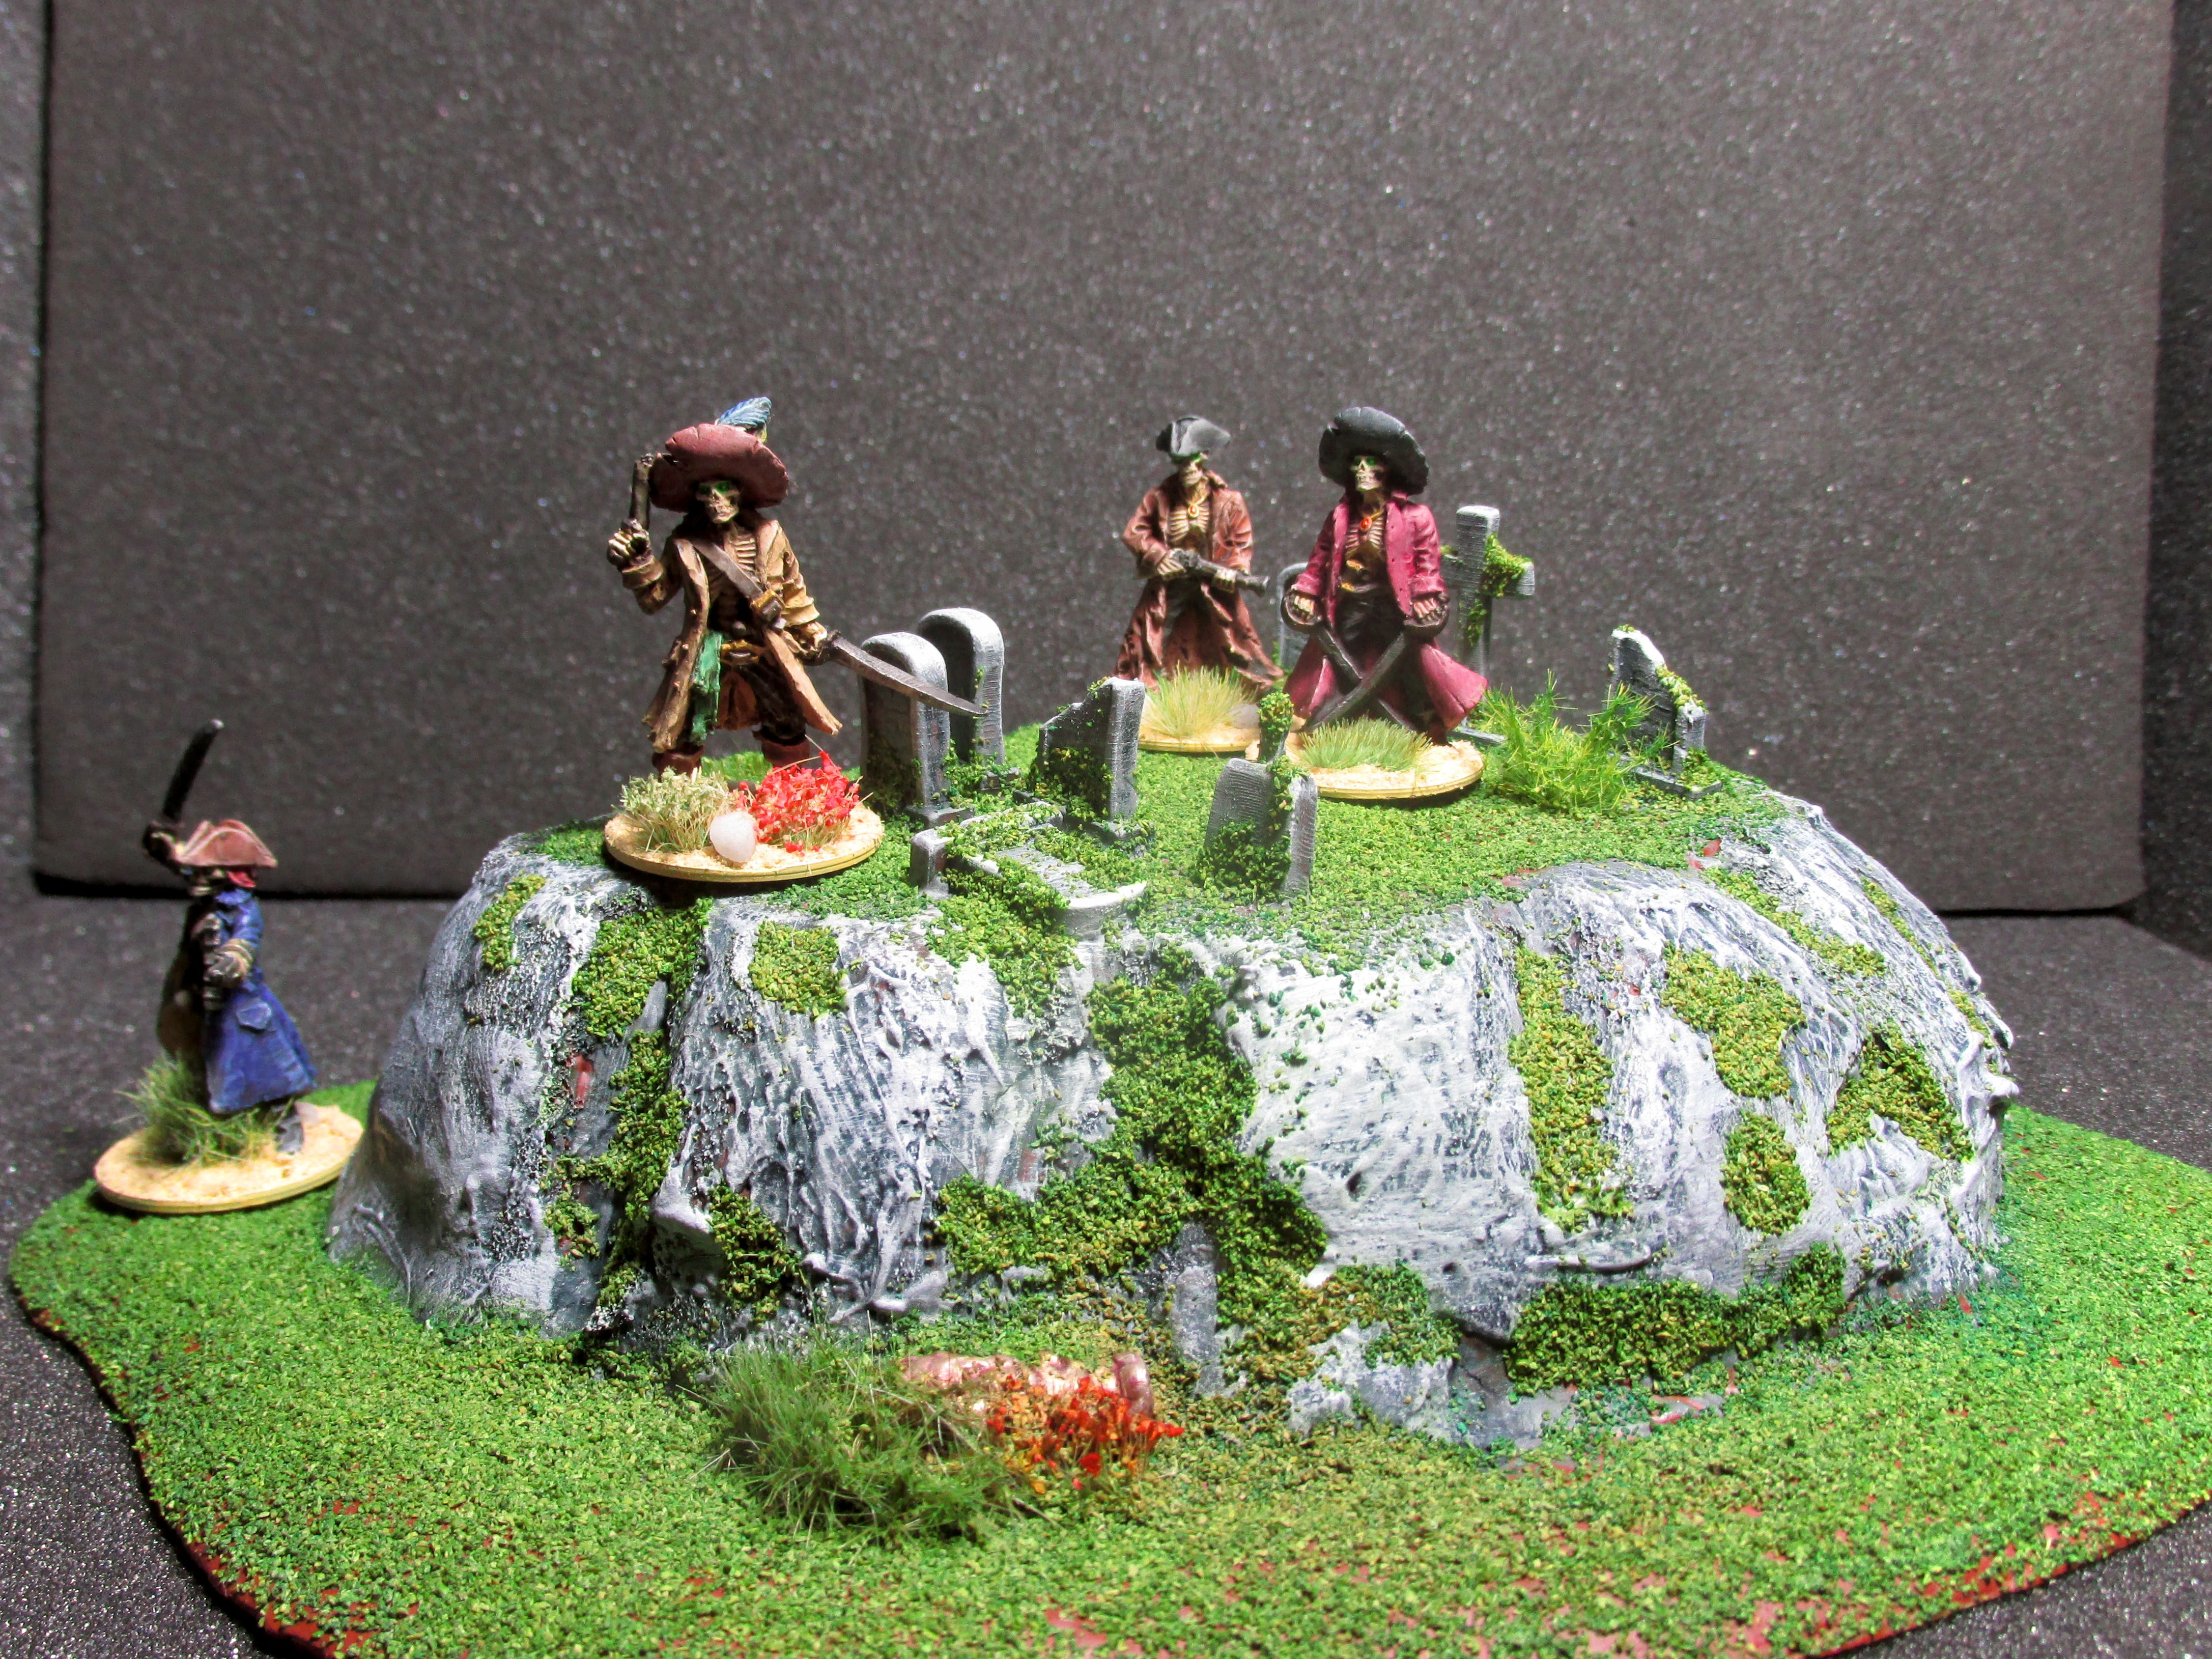
The gravestones are 3D printed and are from Great Grimoire.
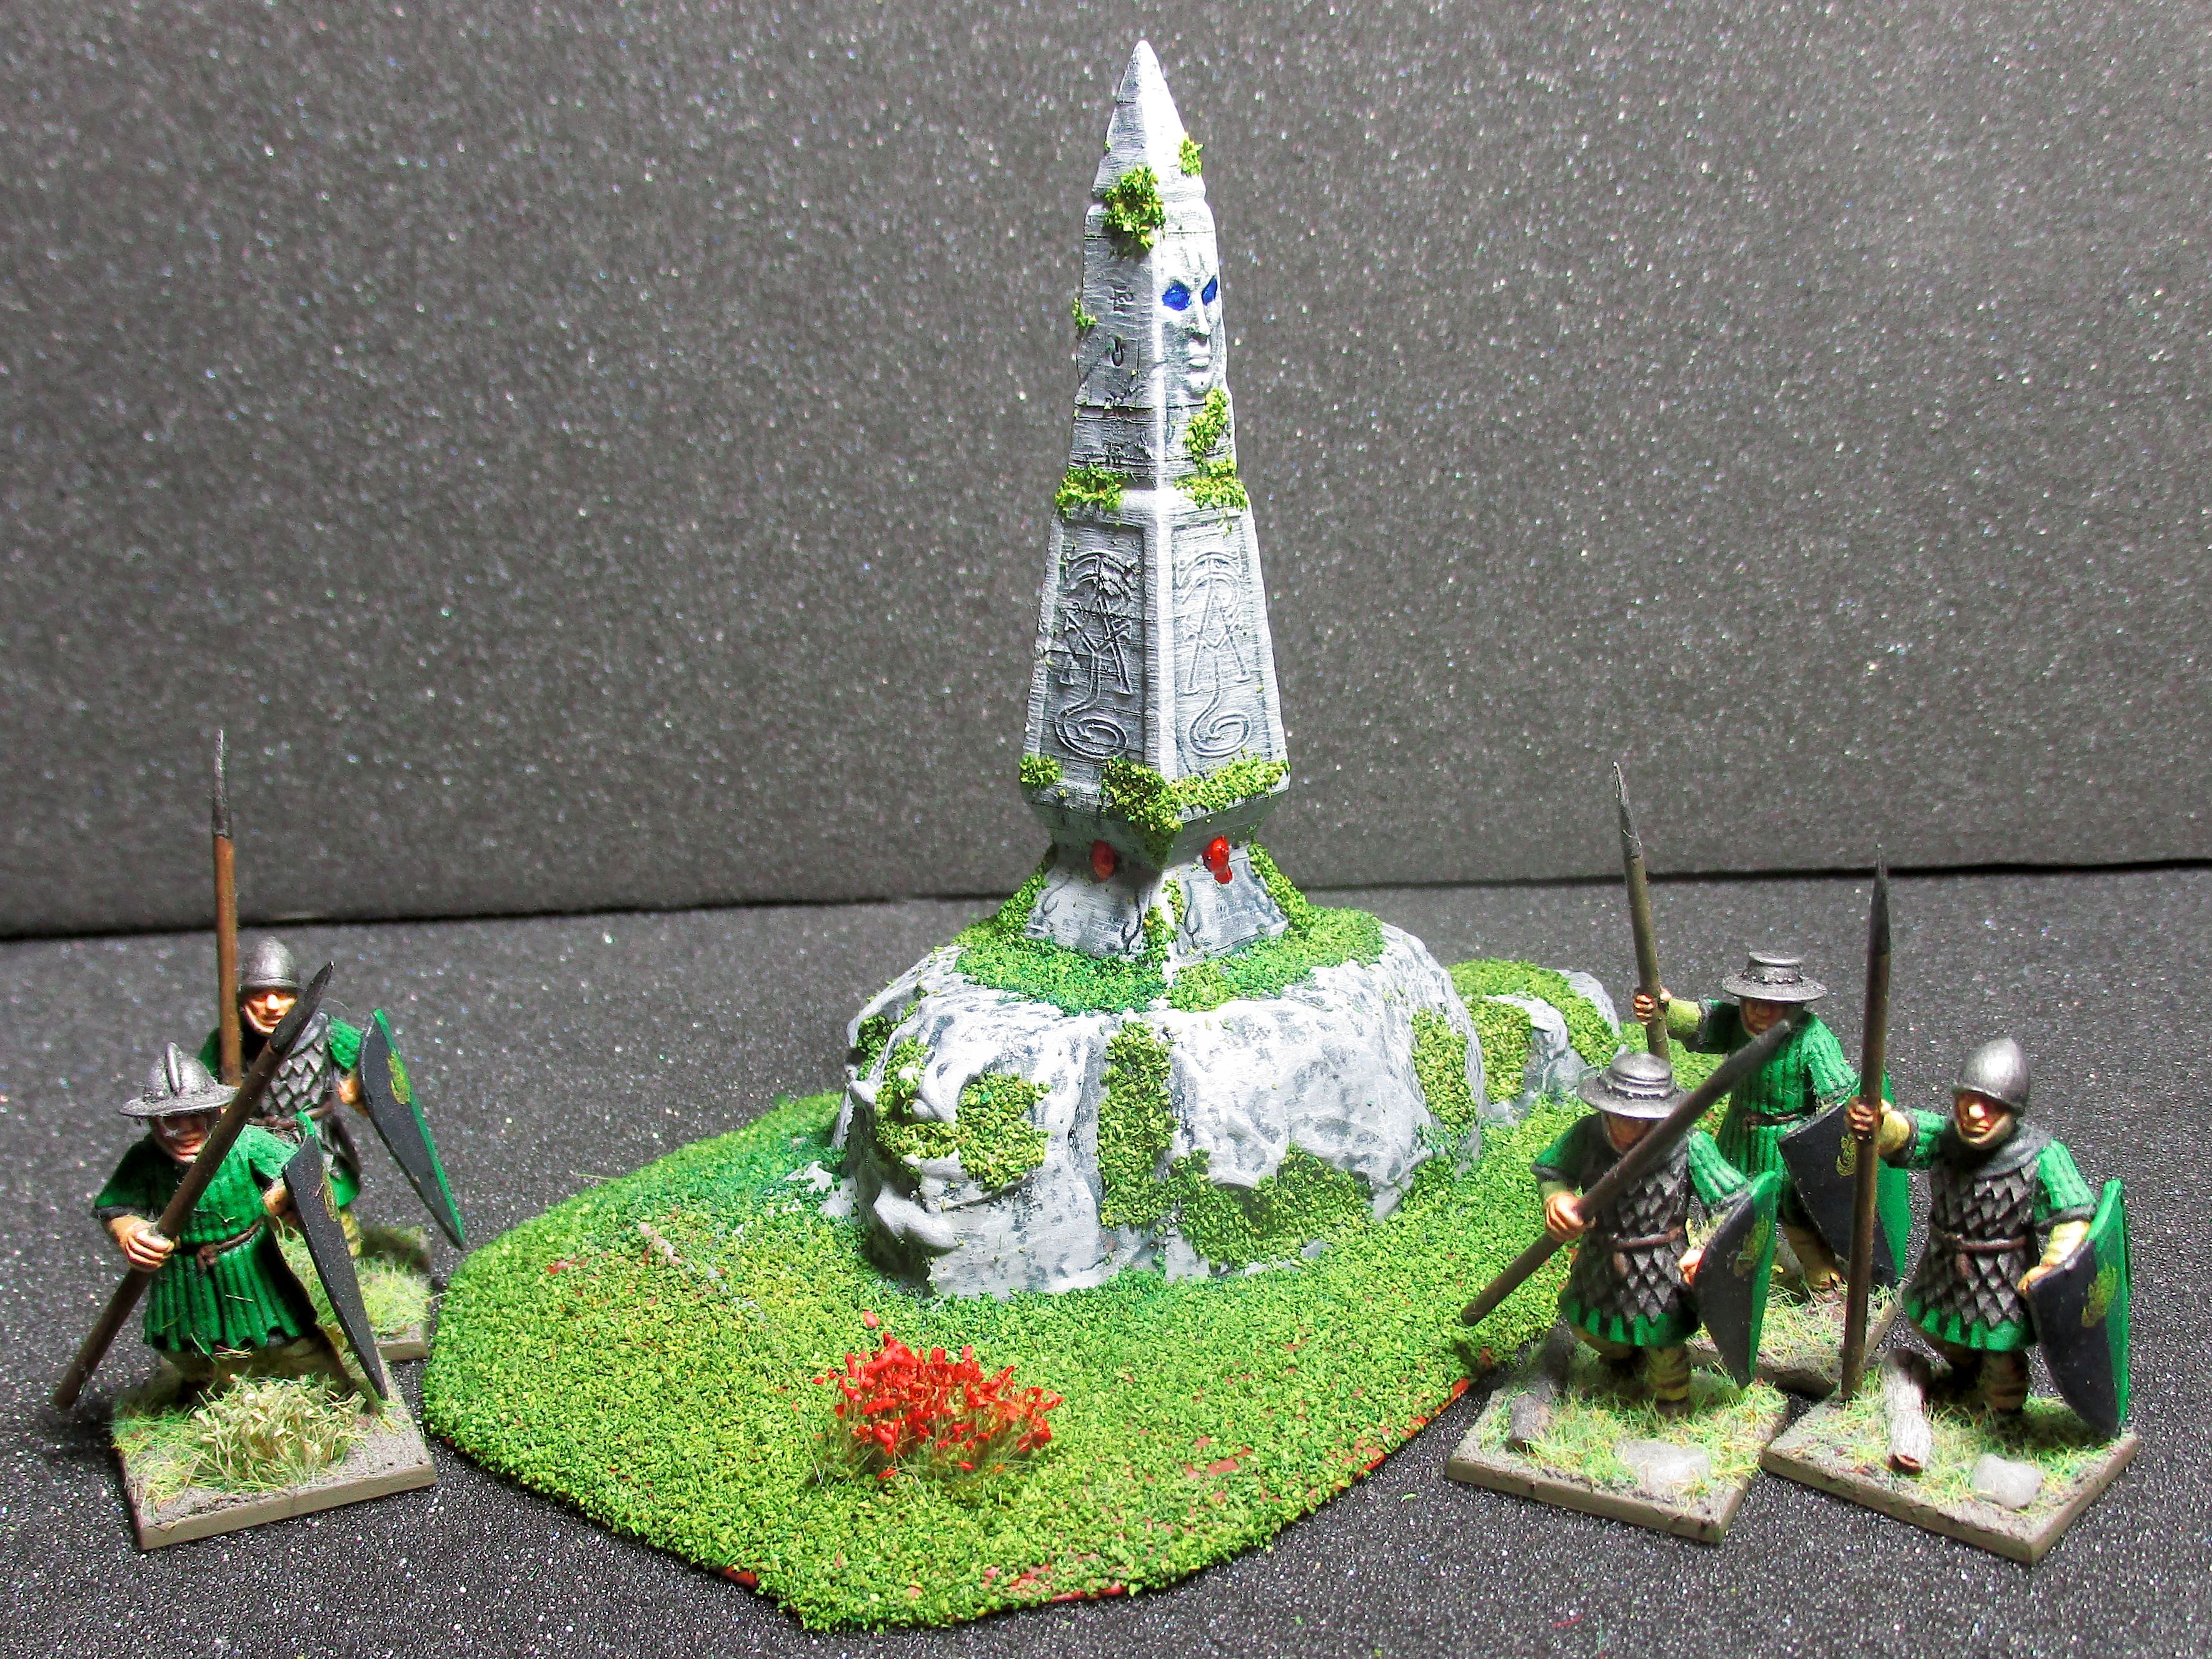
And finally the lizardmen statues are 3D printed and come from OnePageRules. And the rest is all scratch build by me.

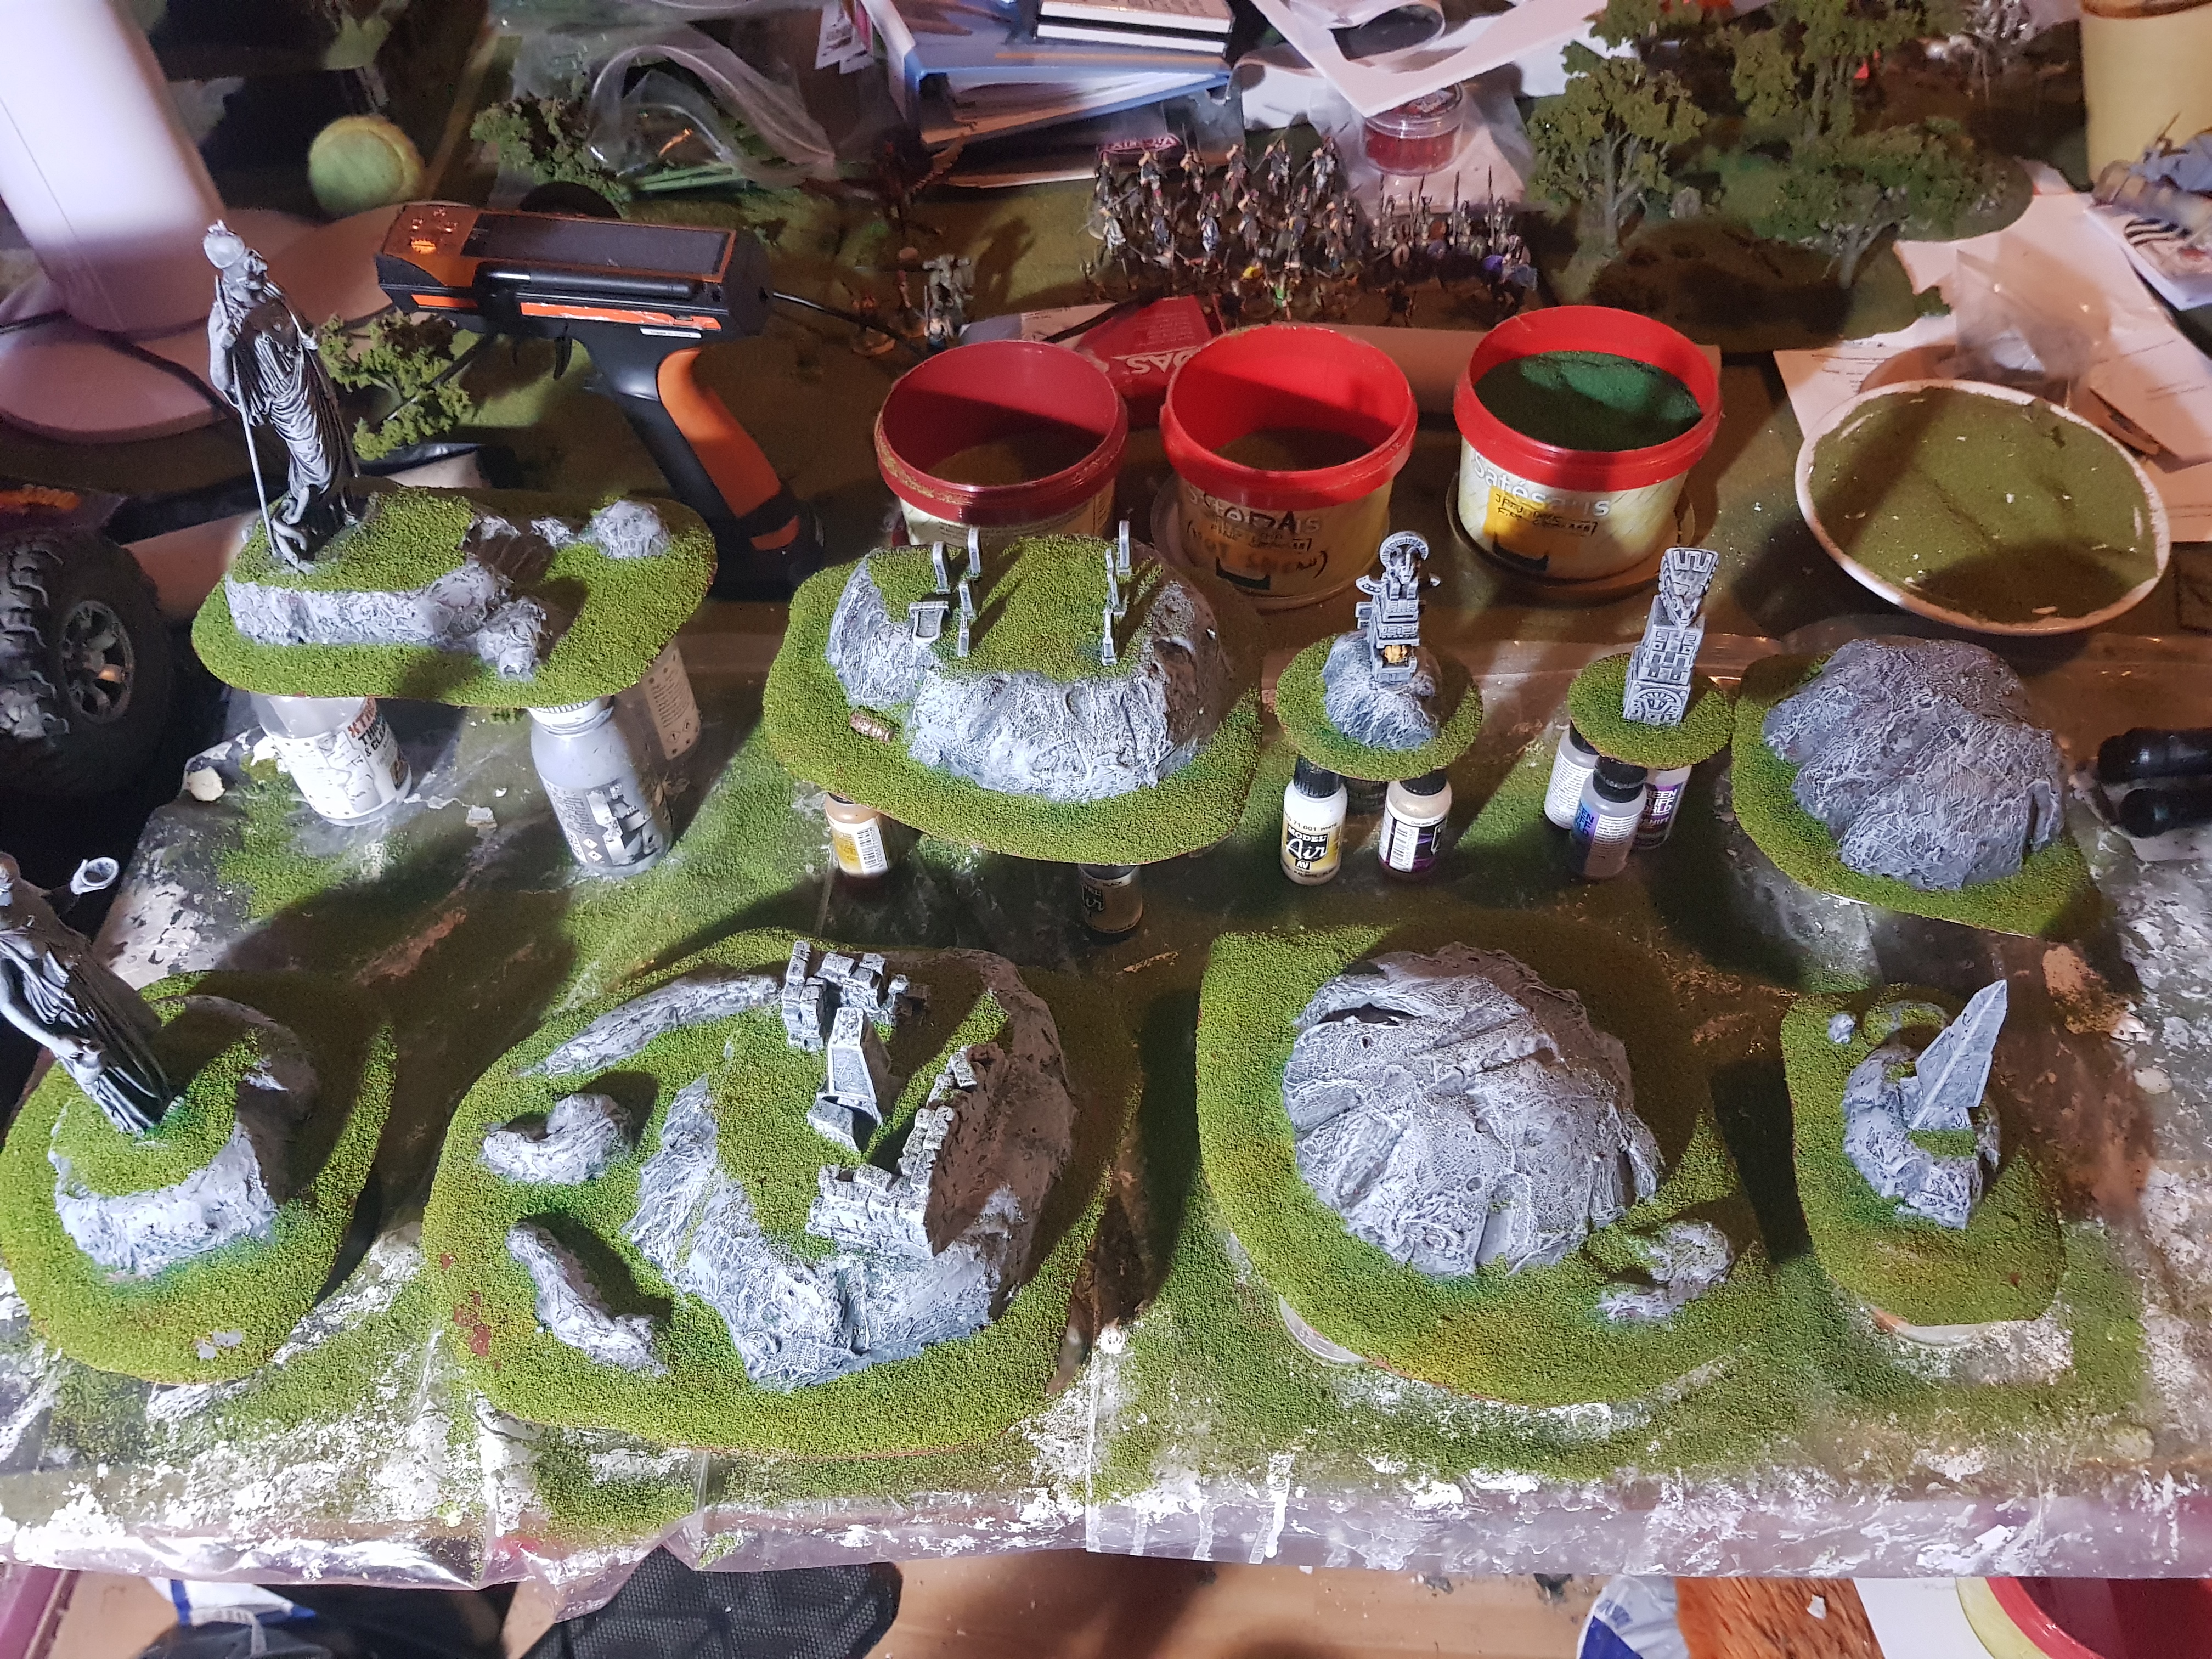
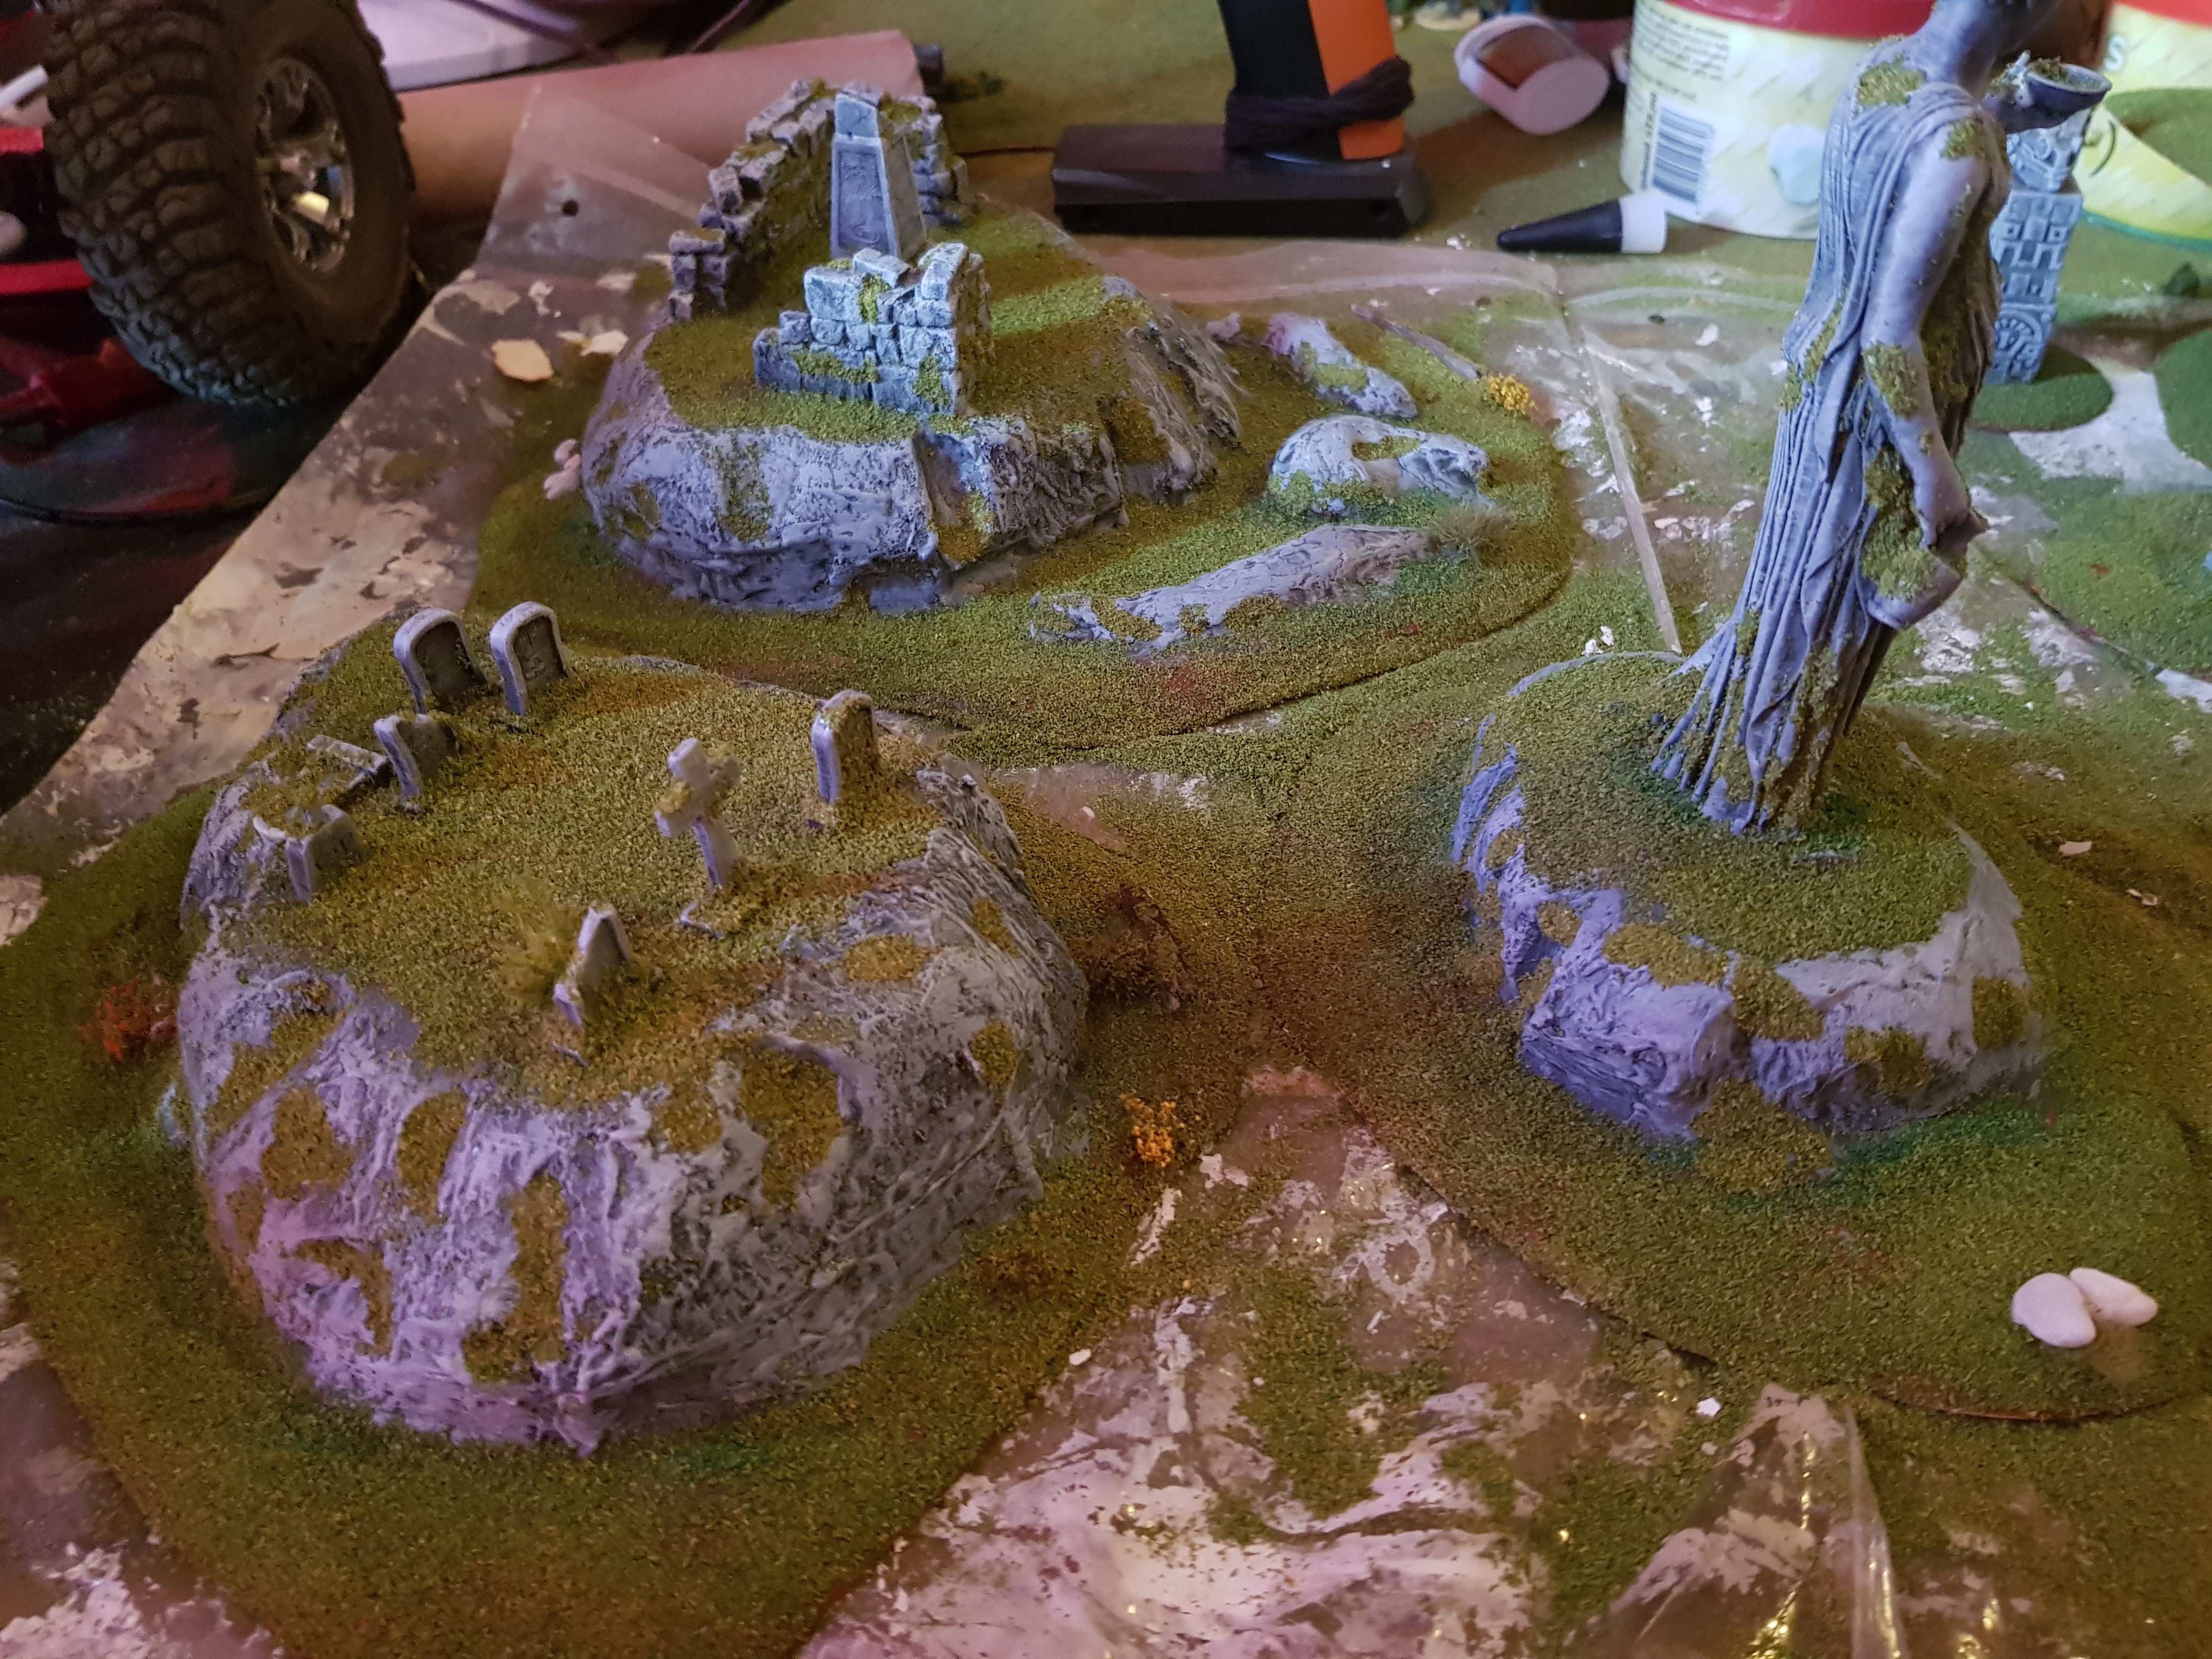
Work in Progress Pictures.

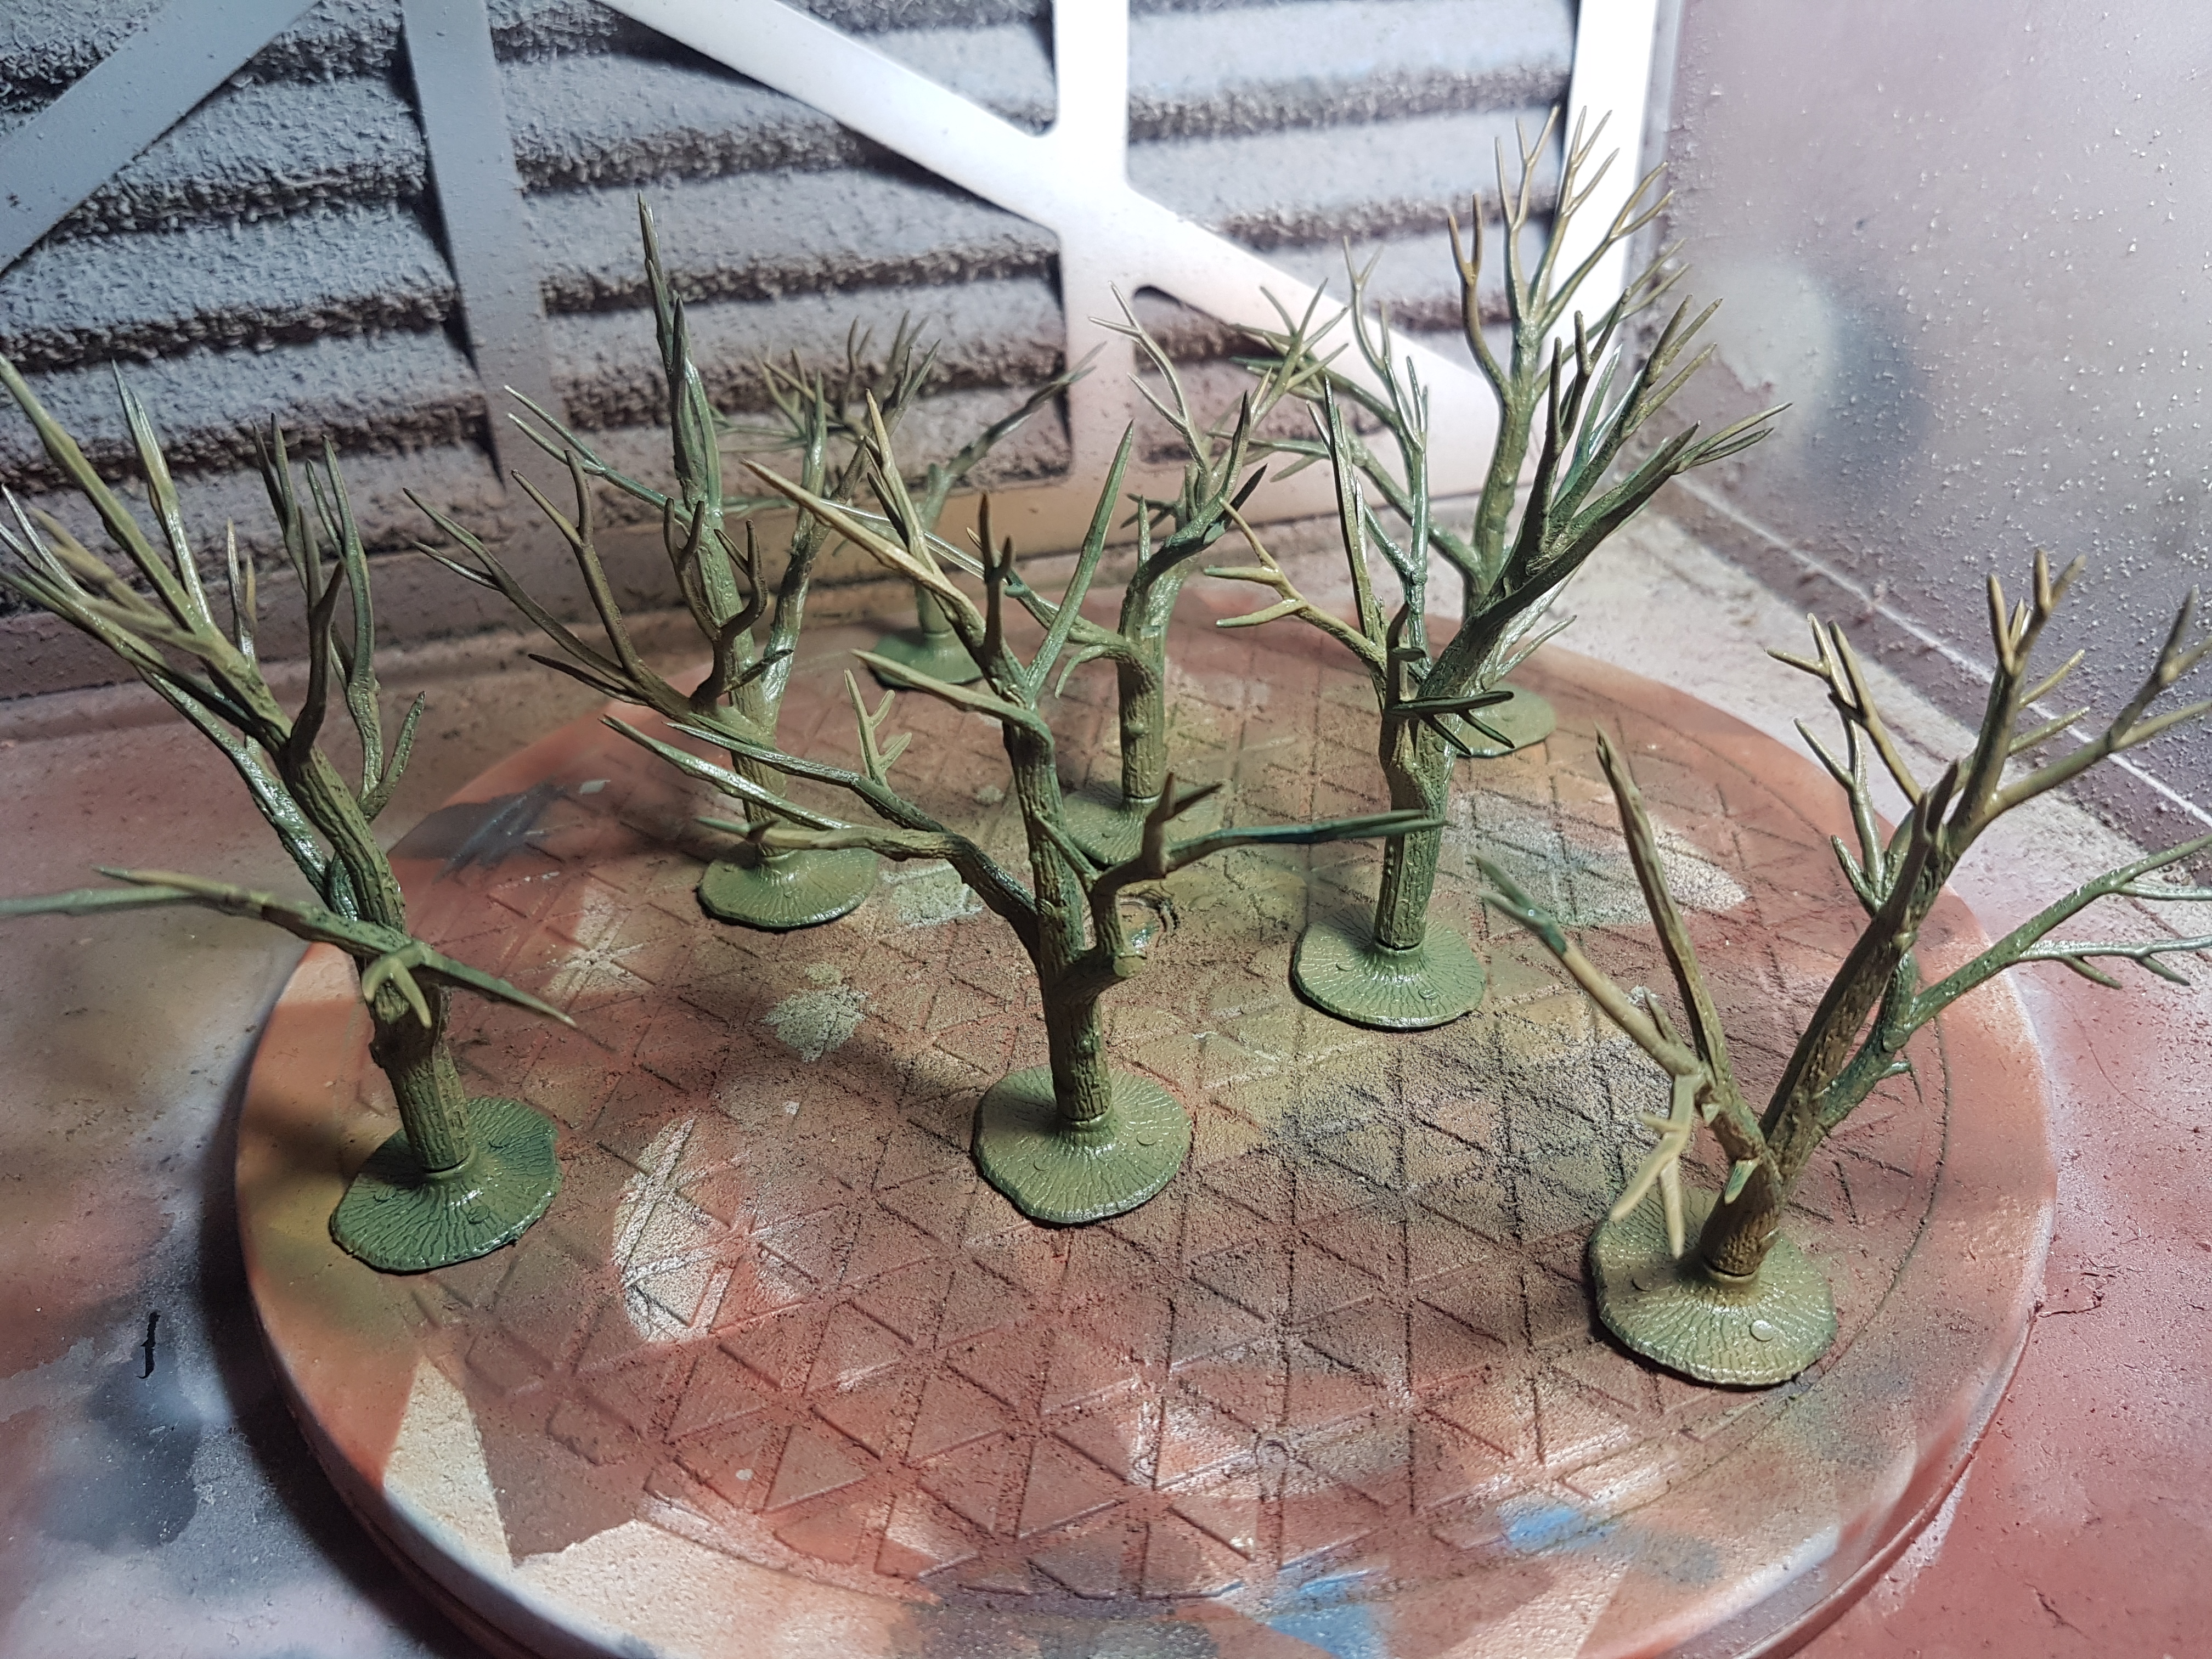
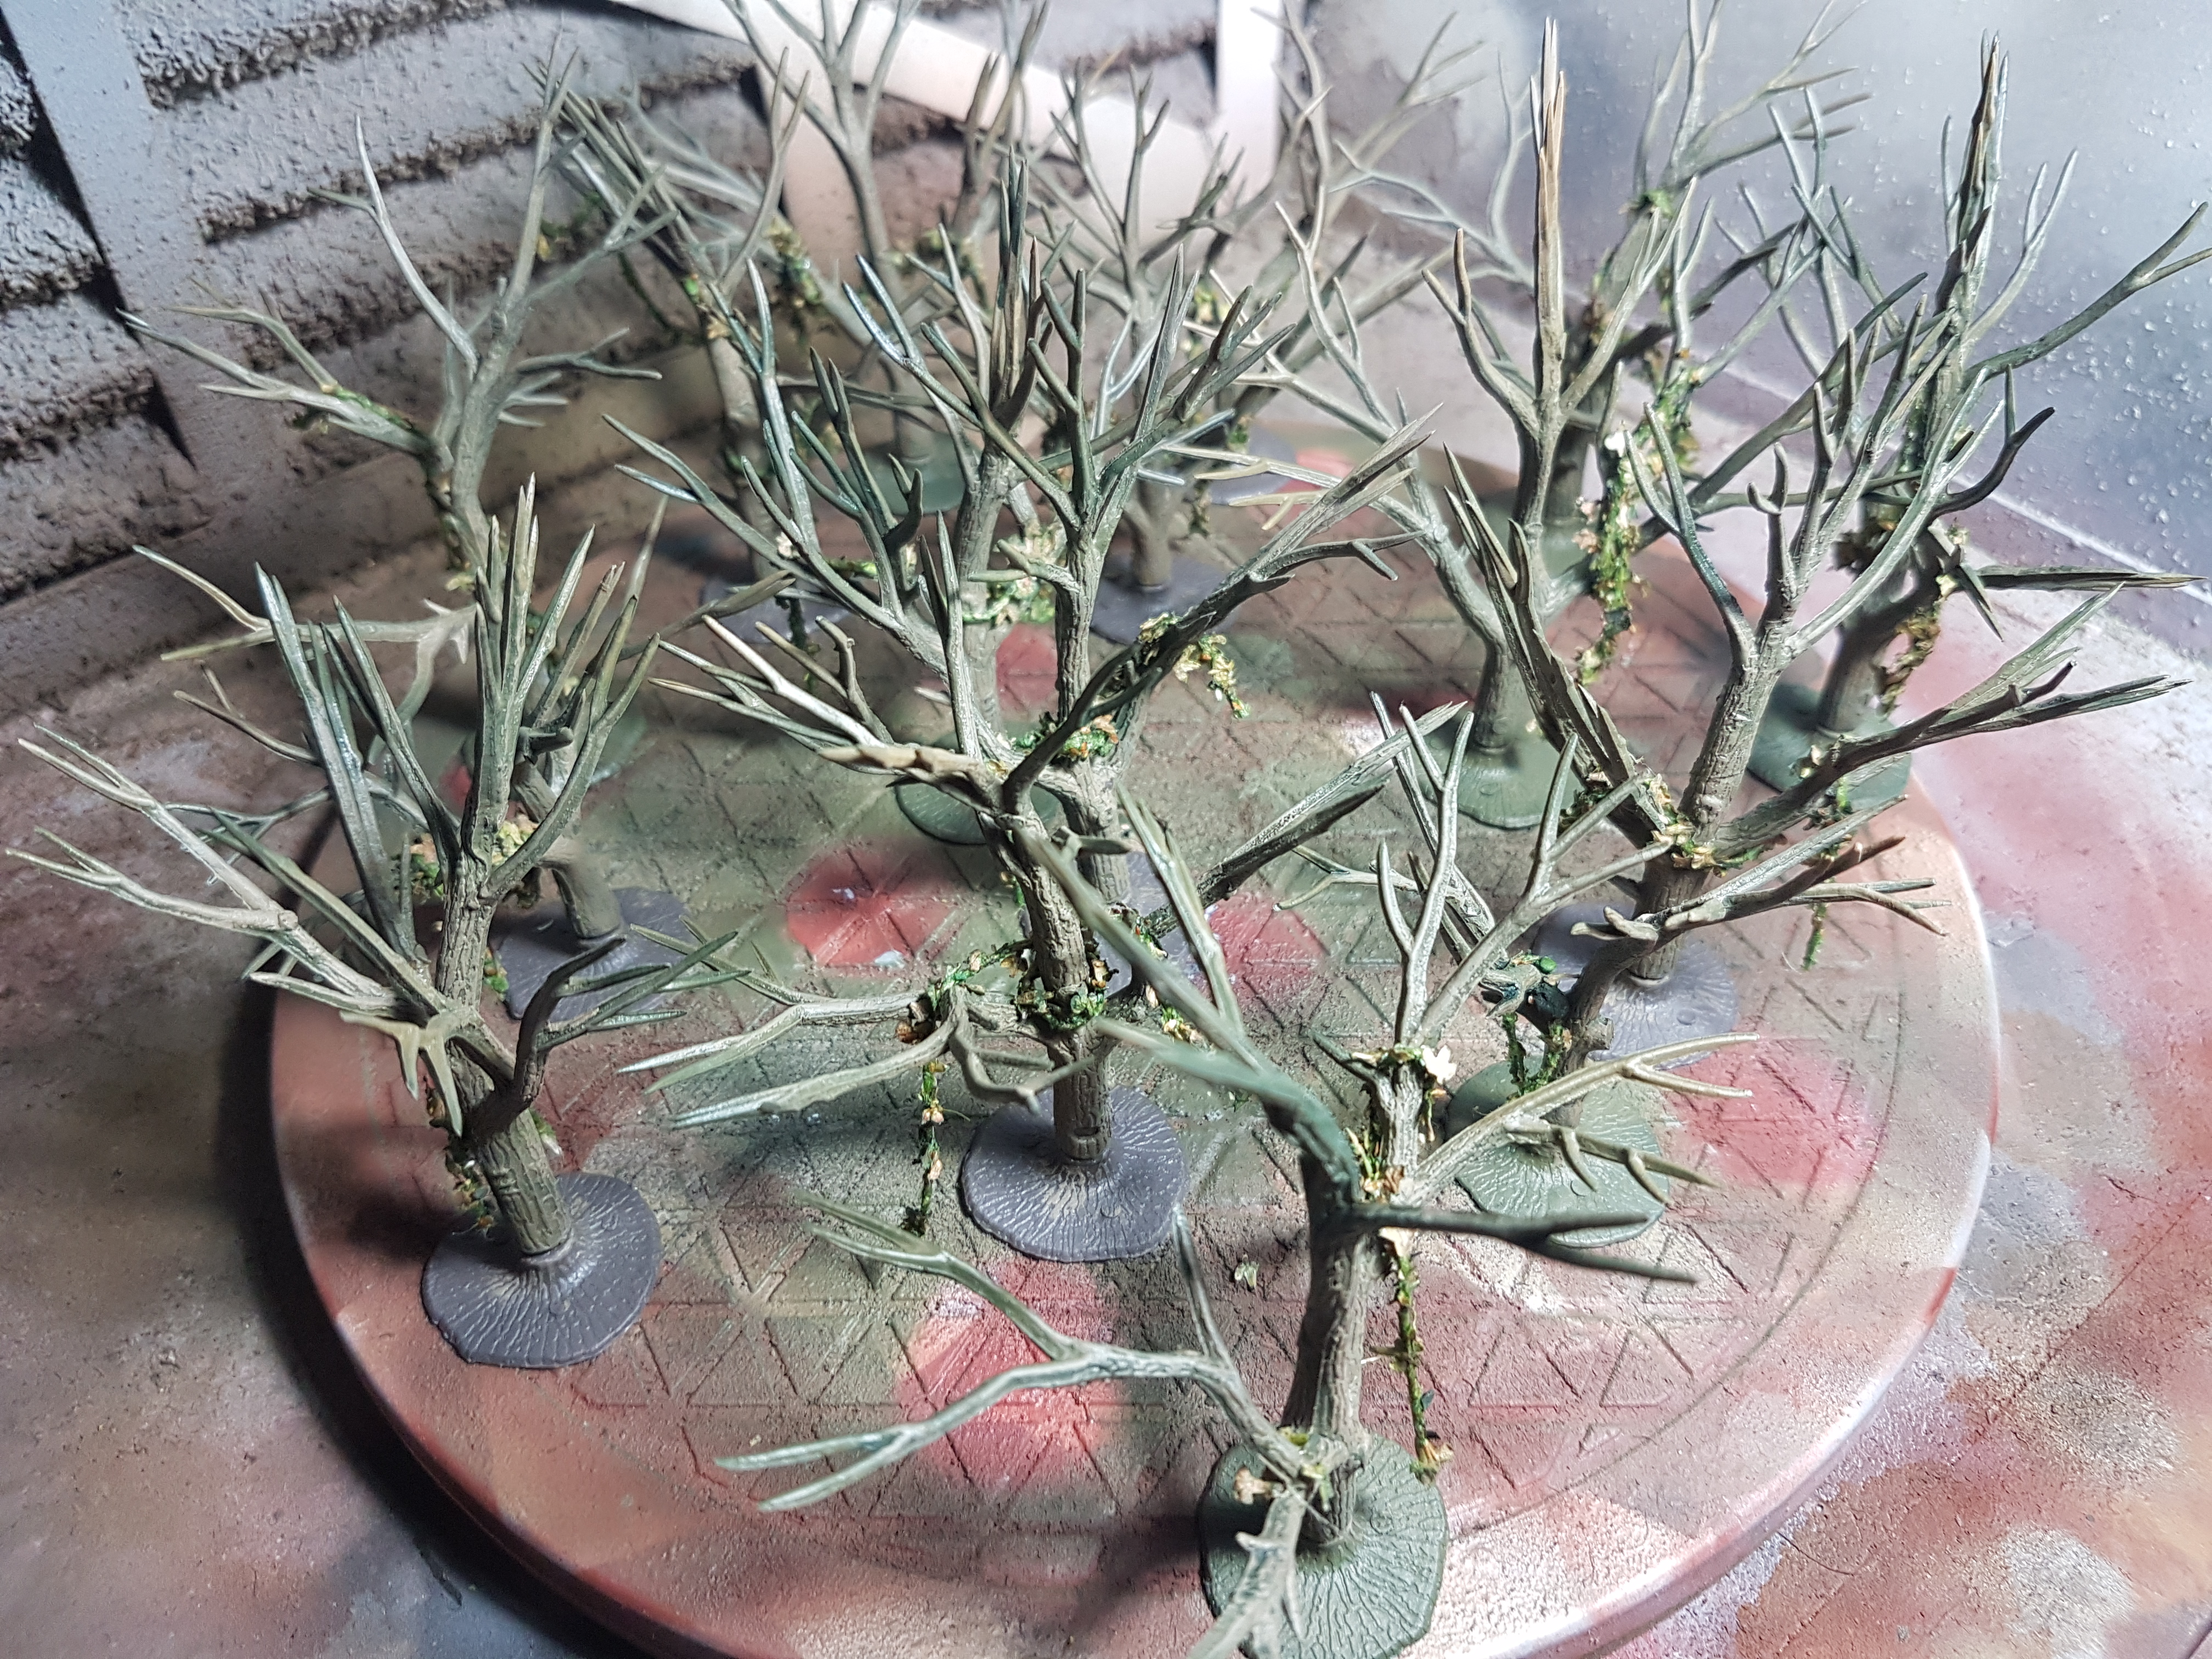
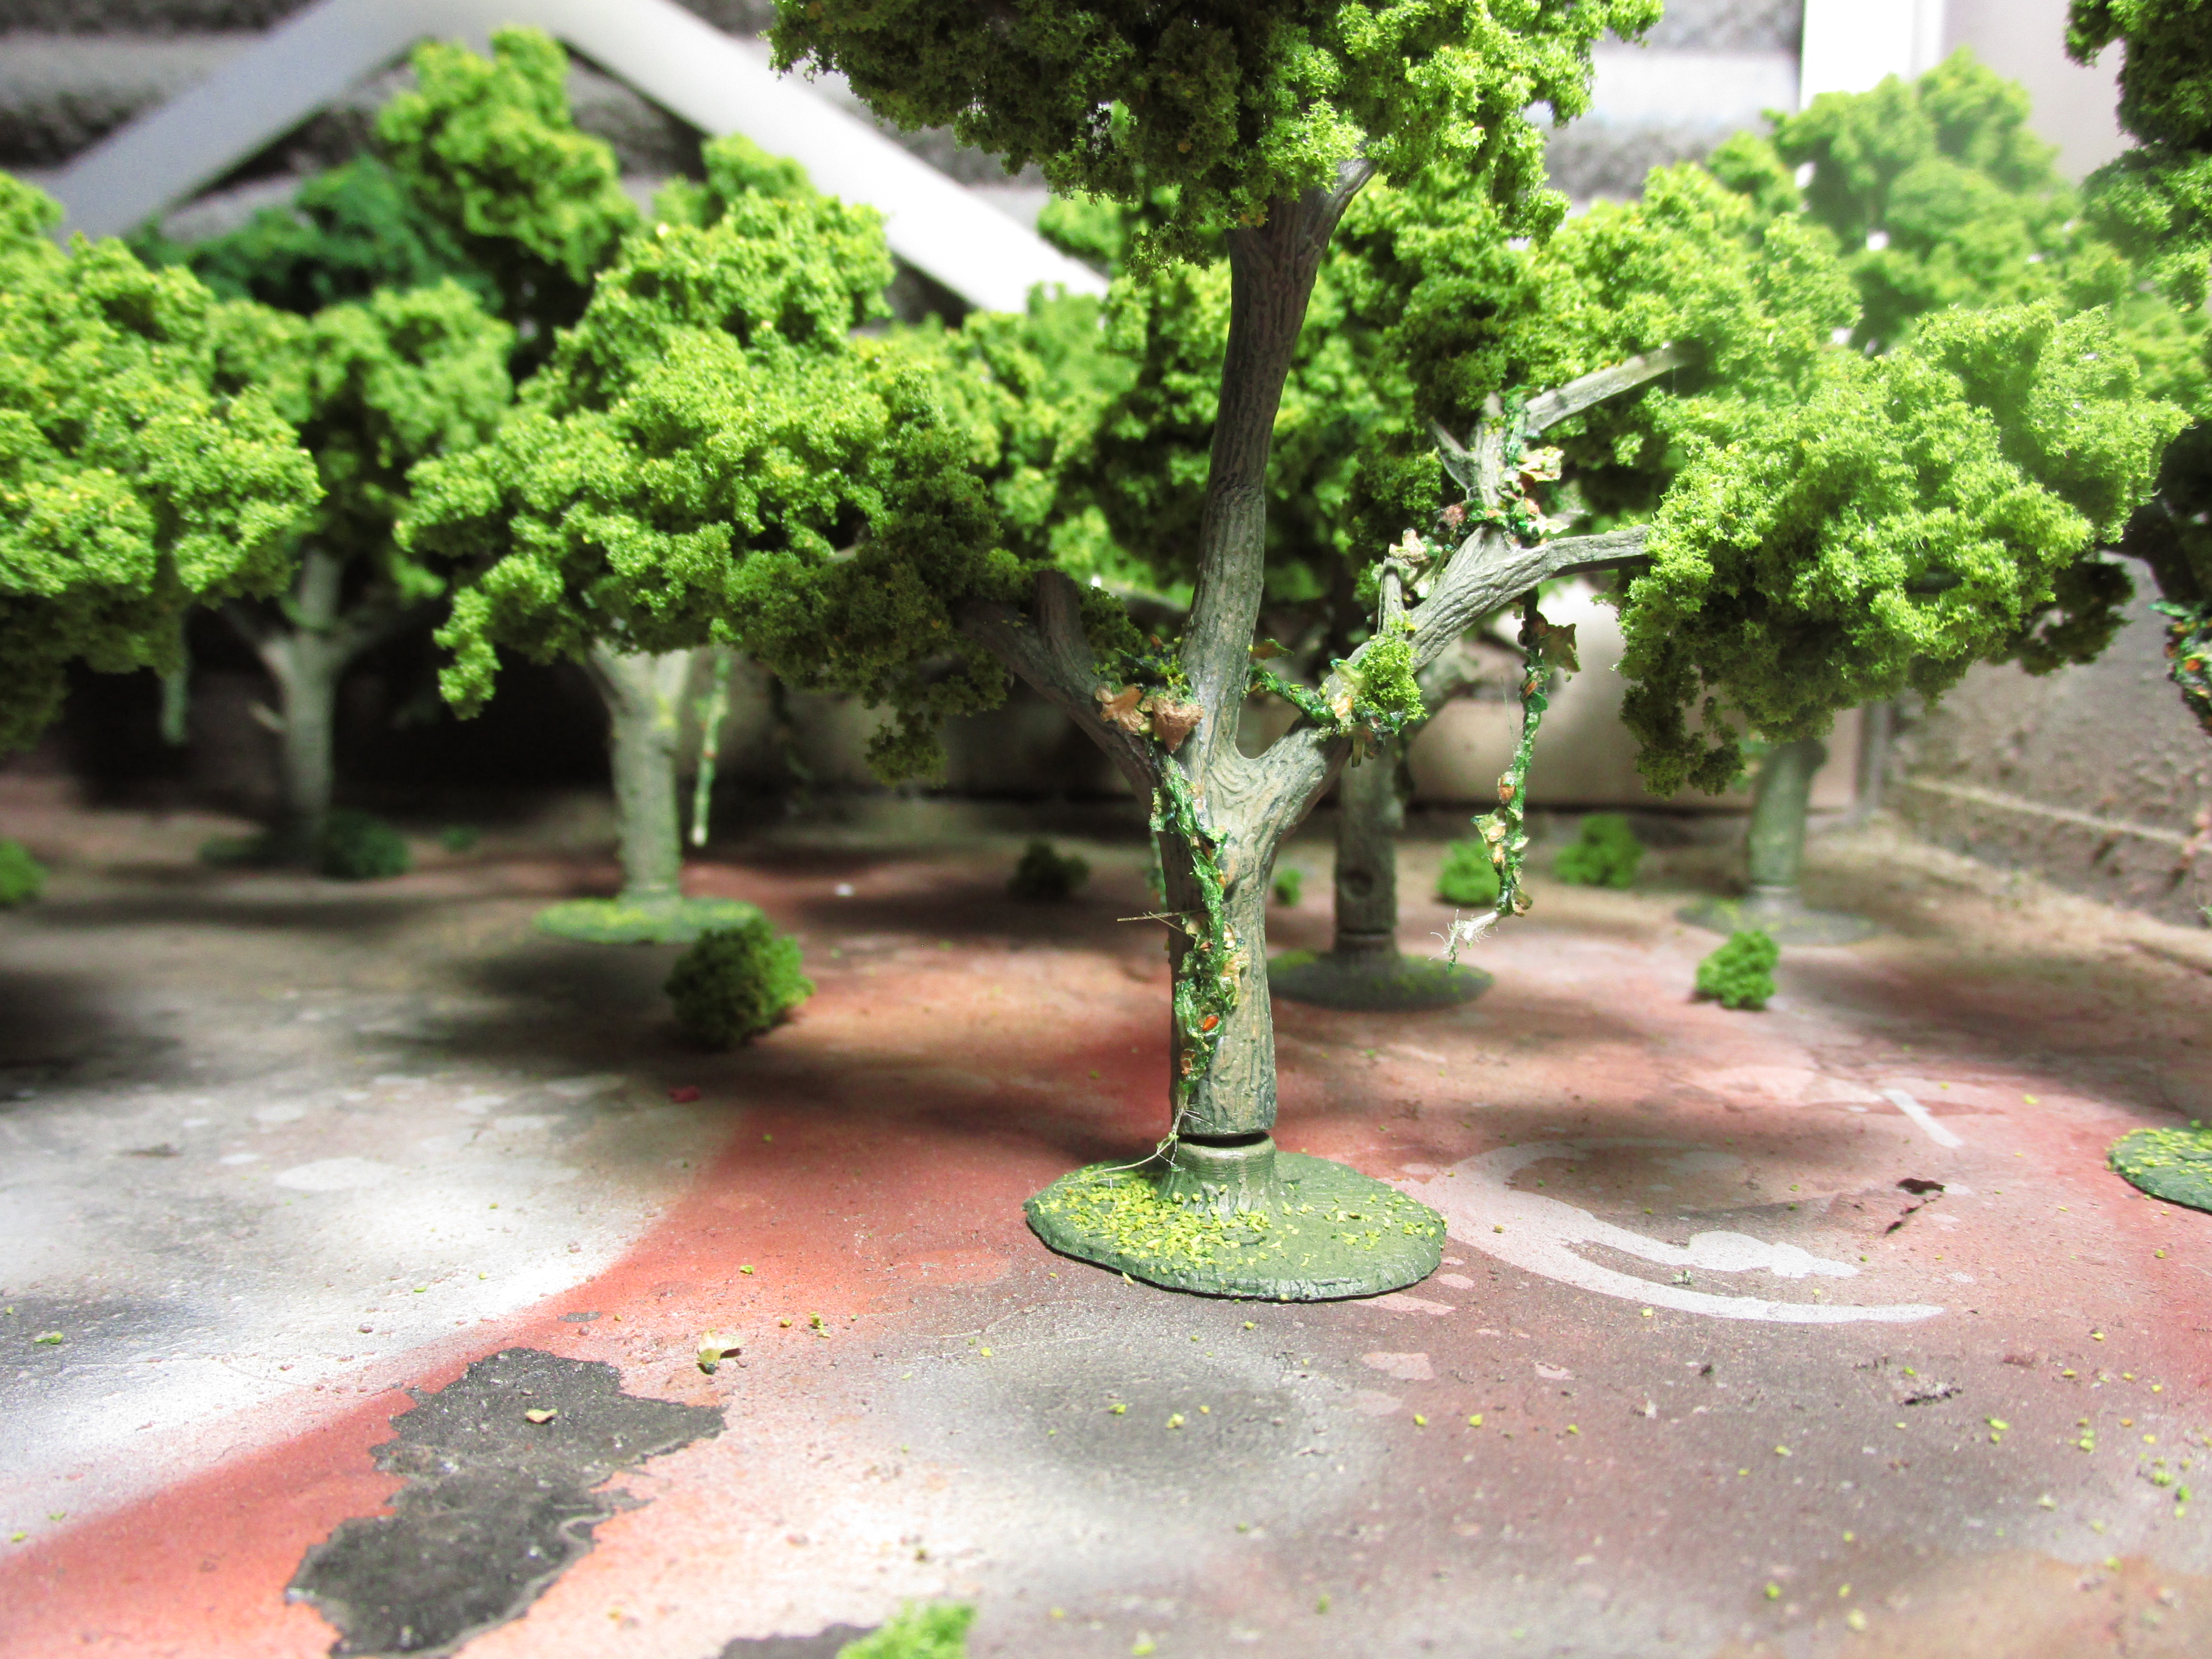
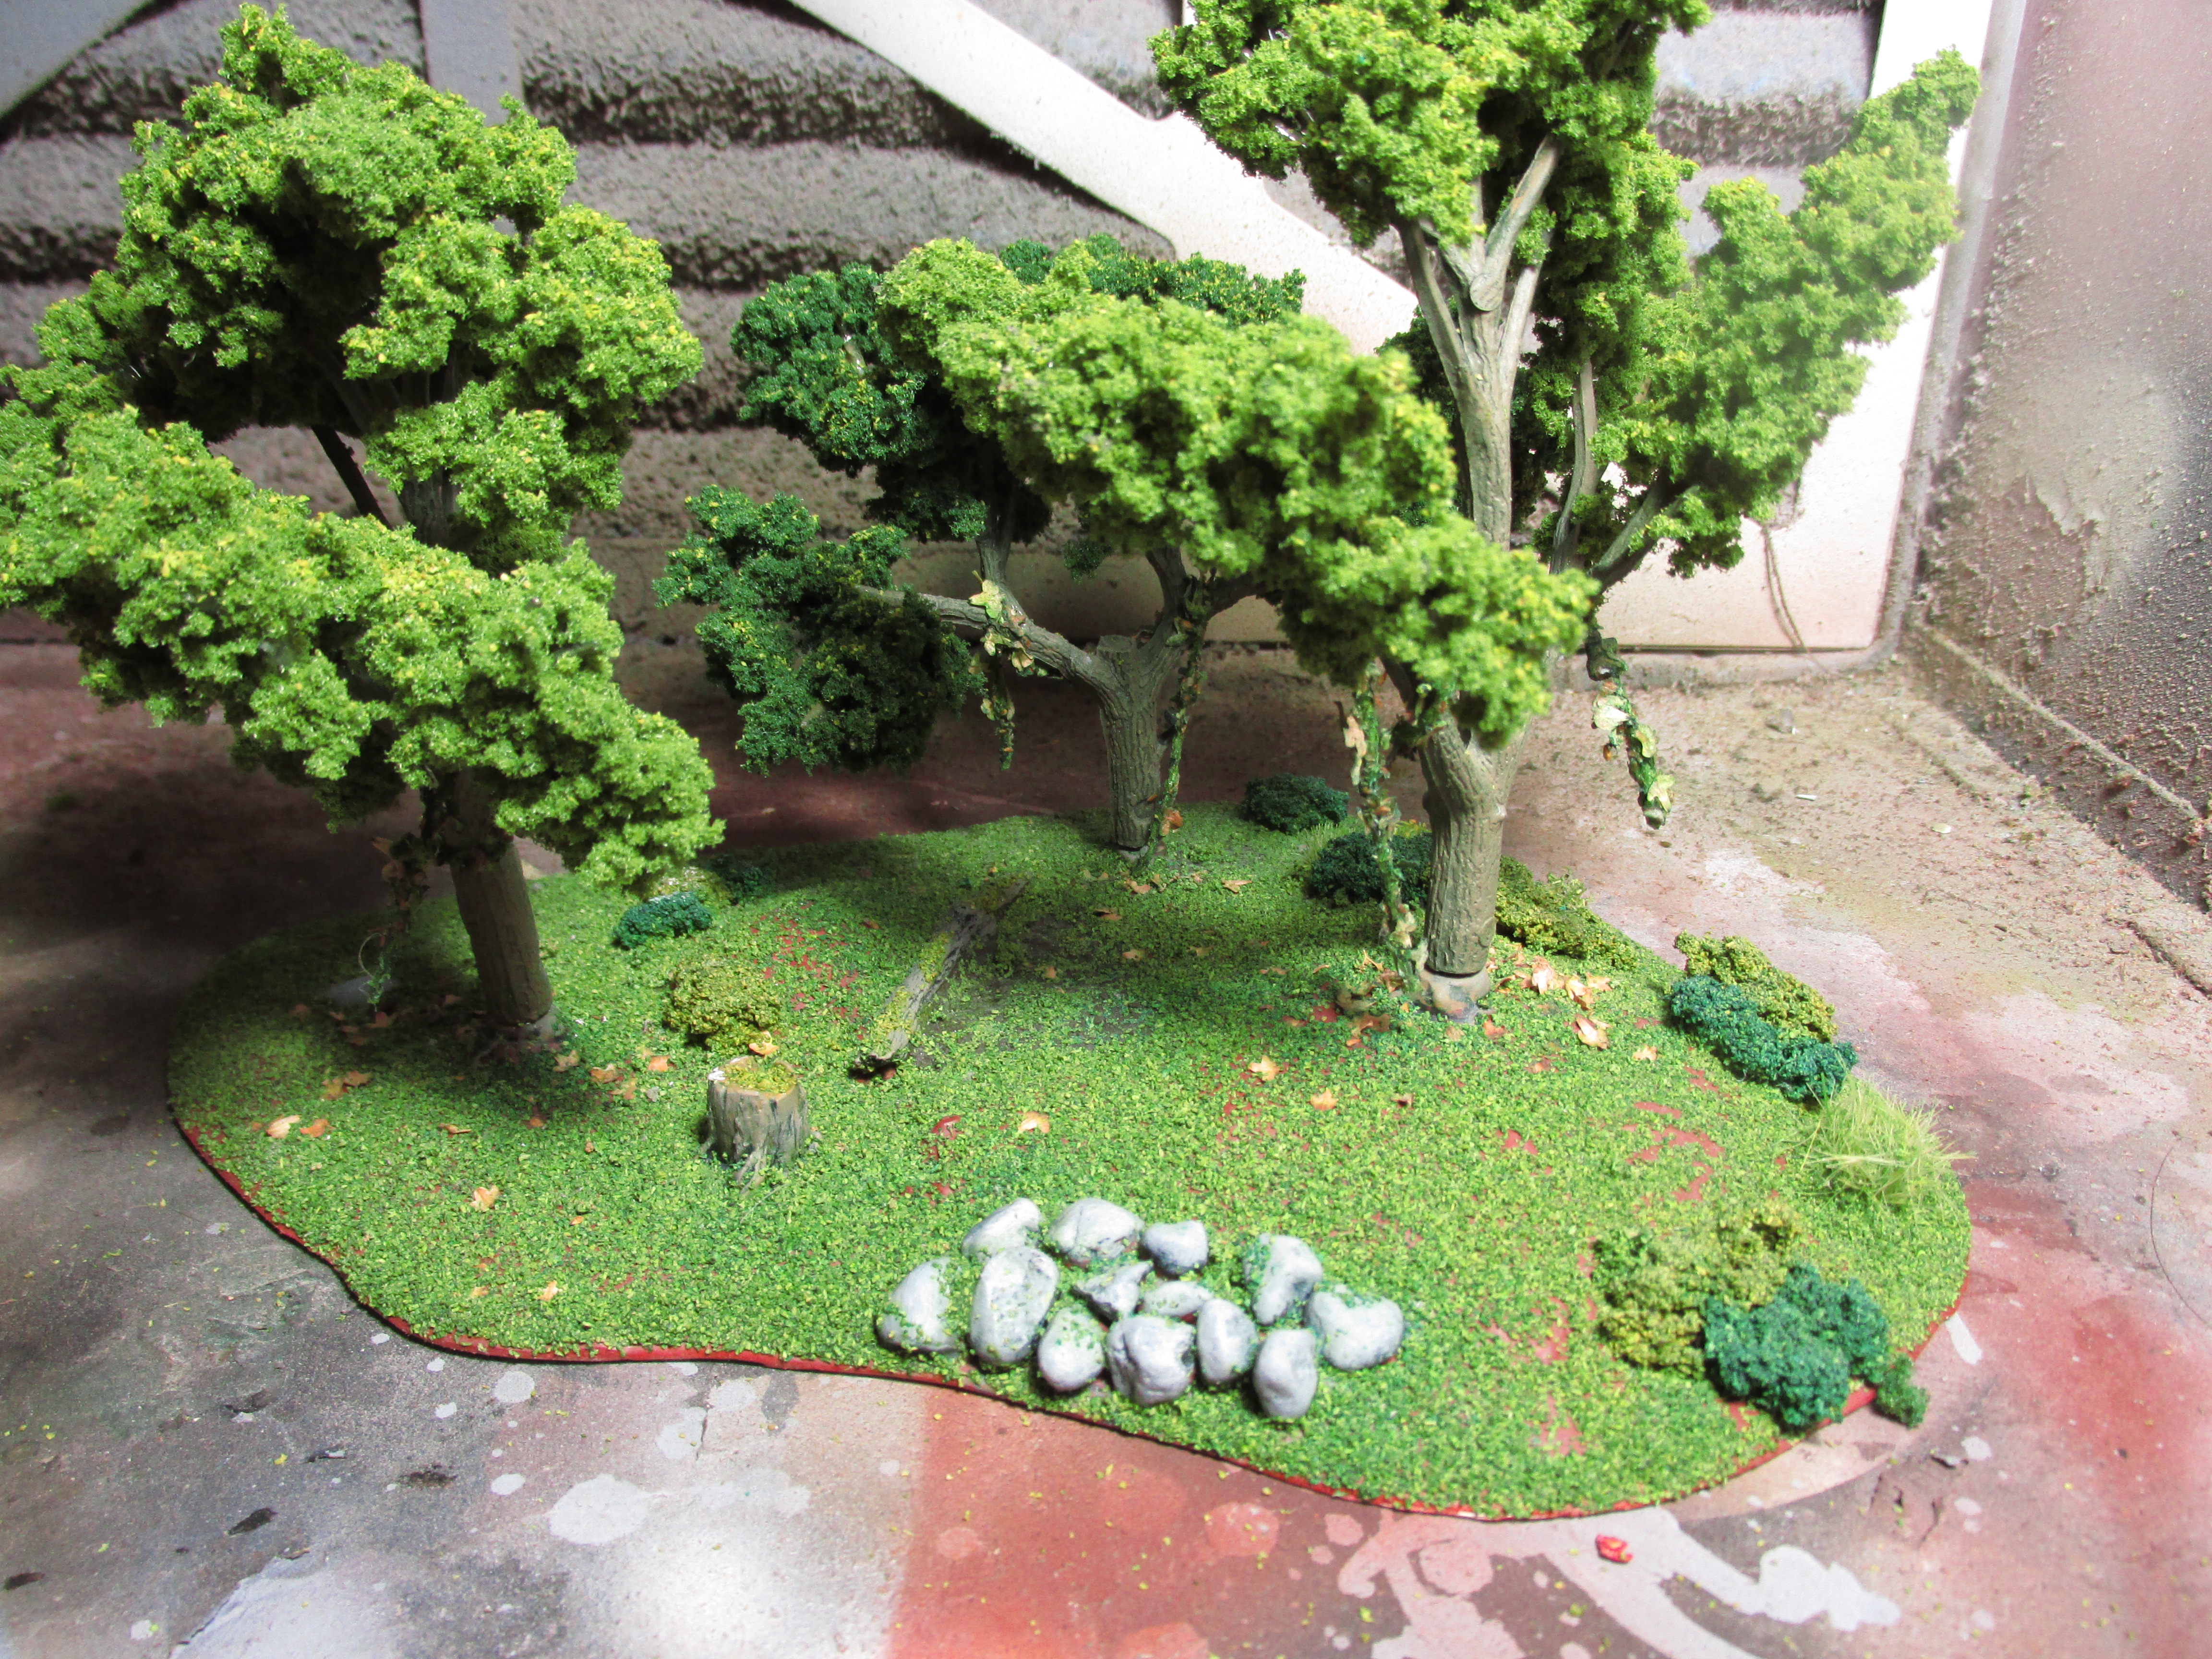
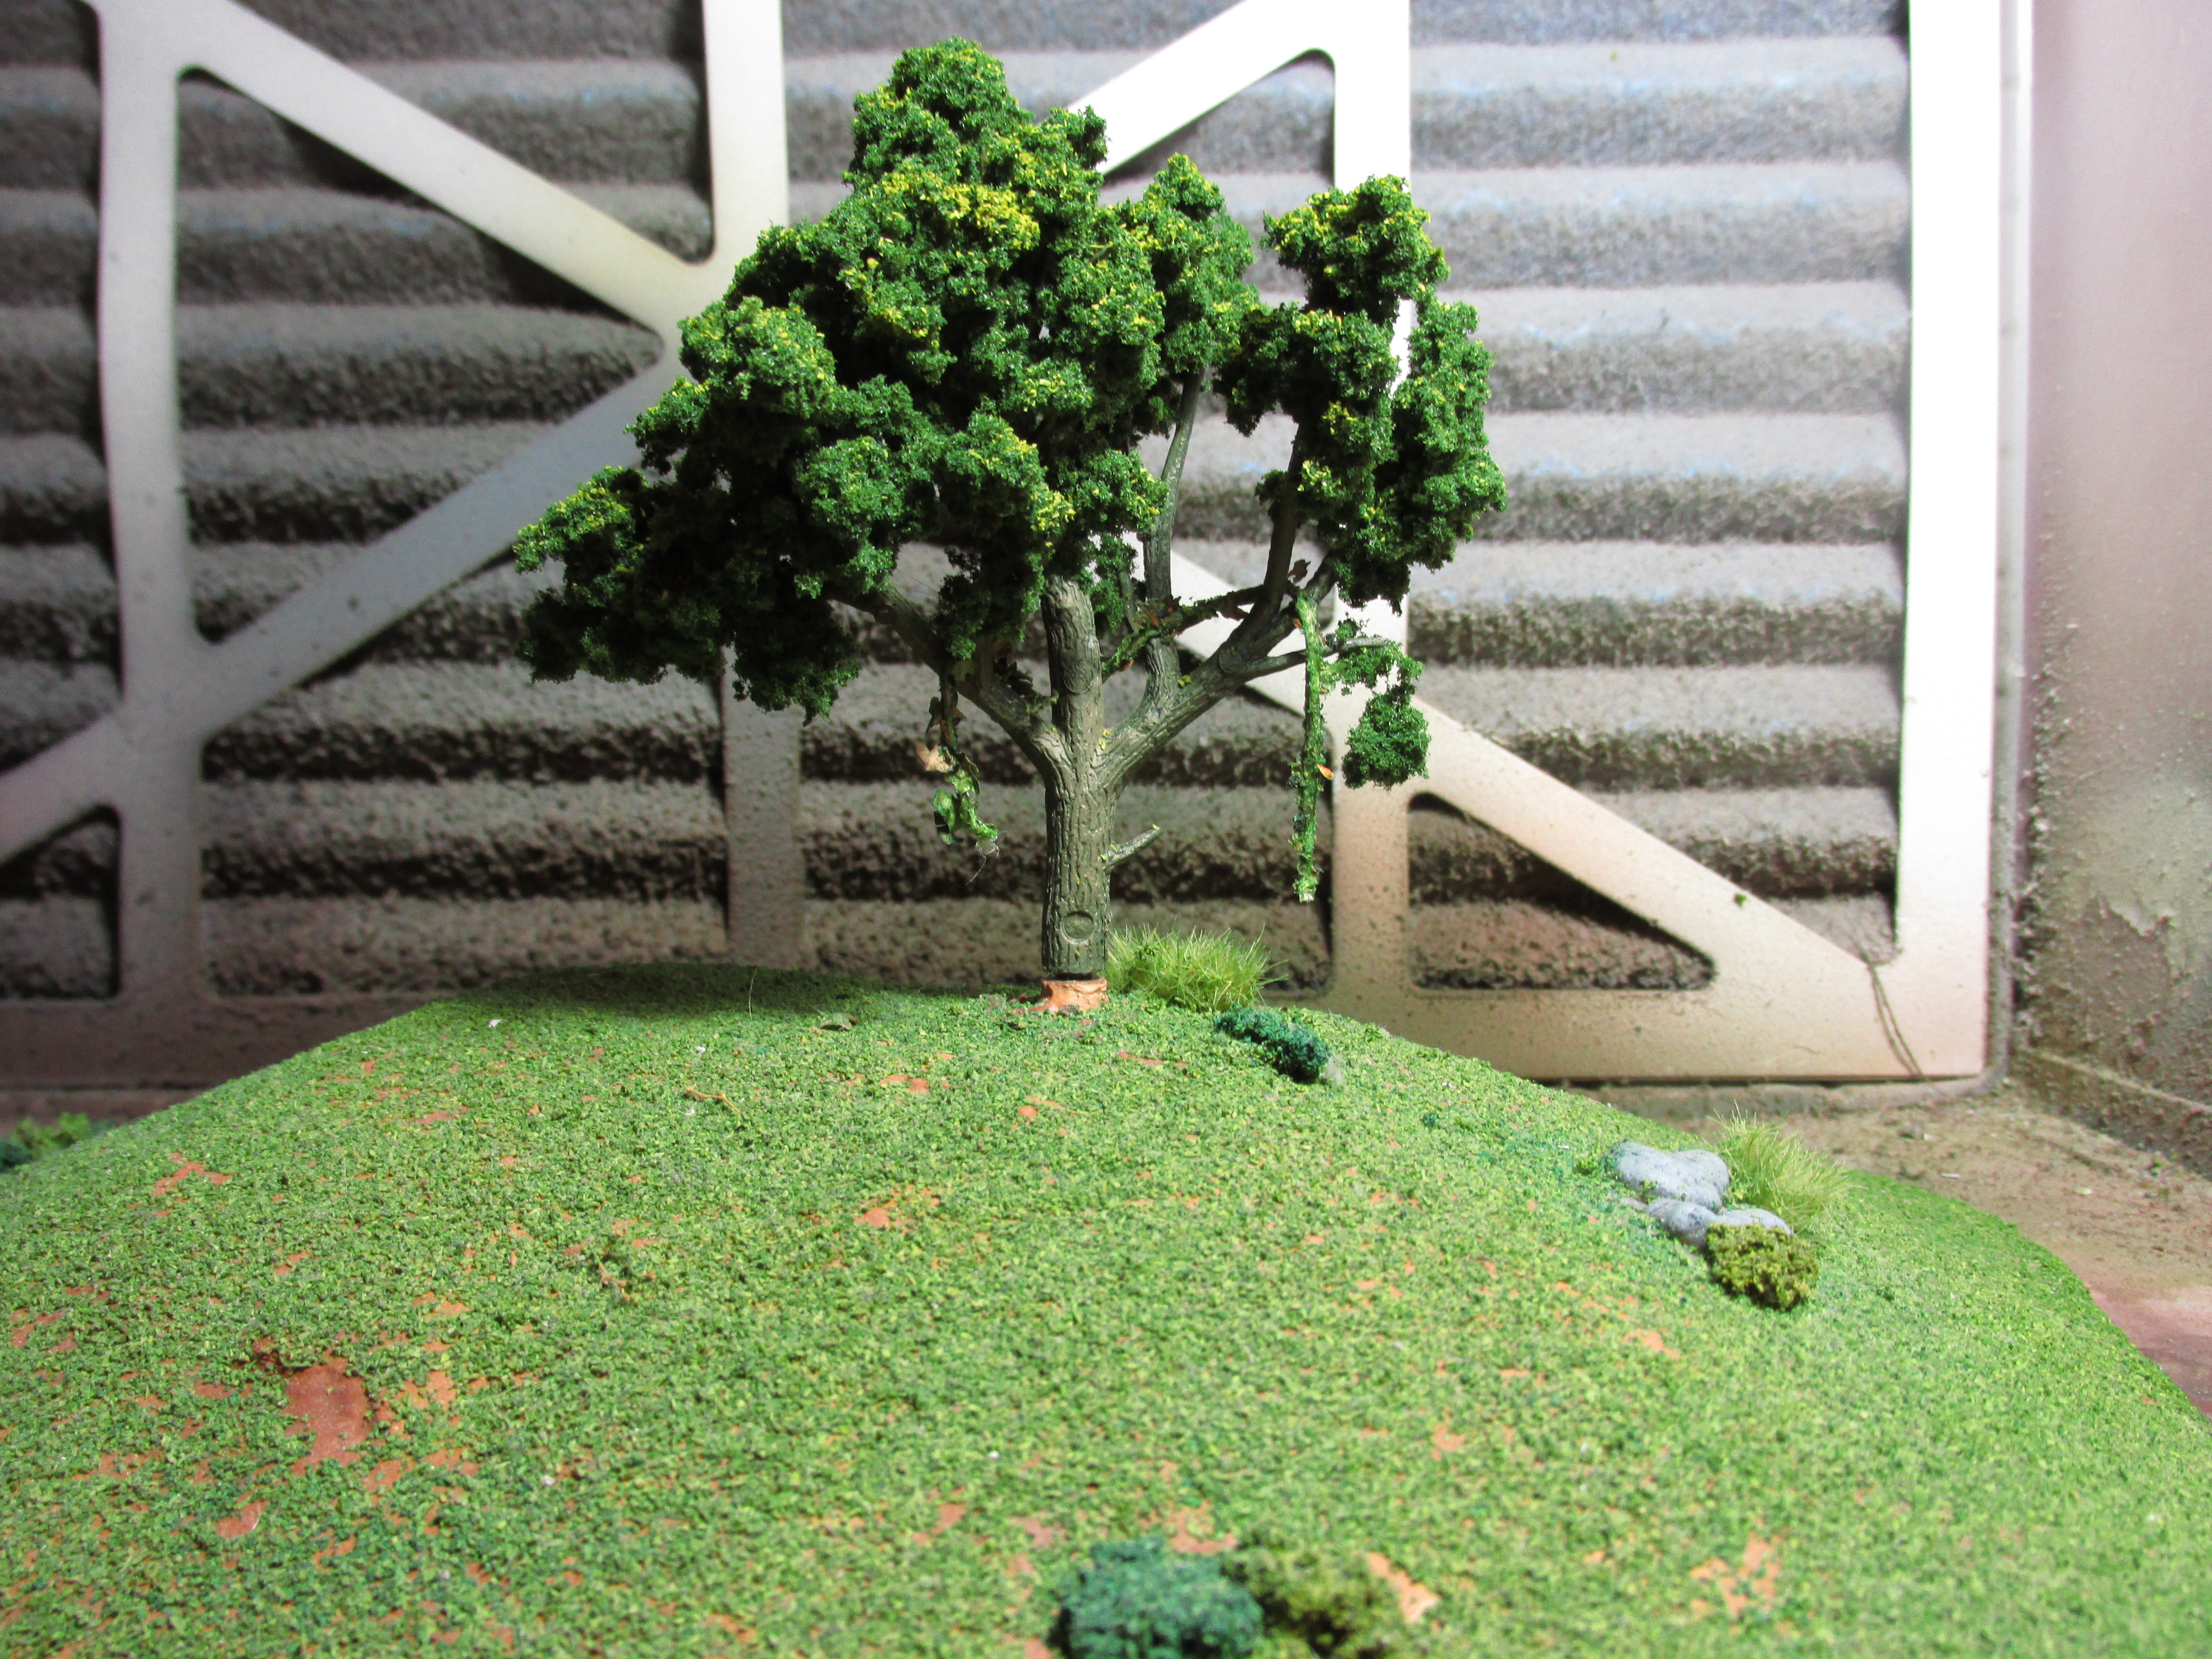
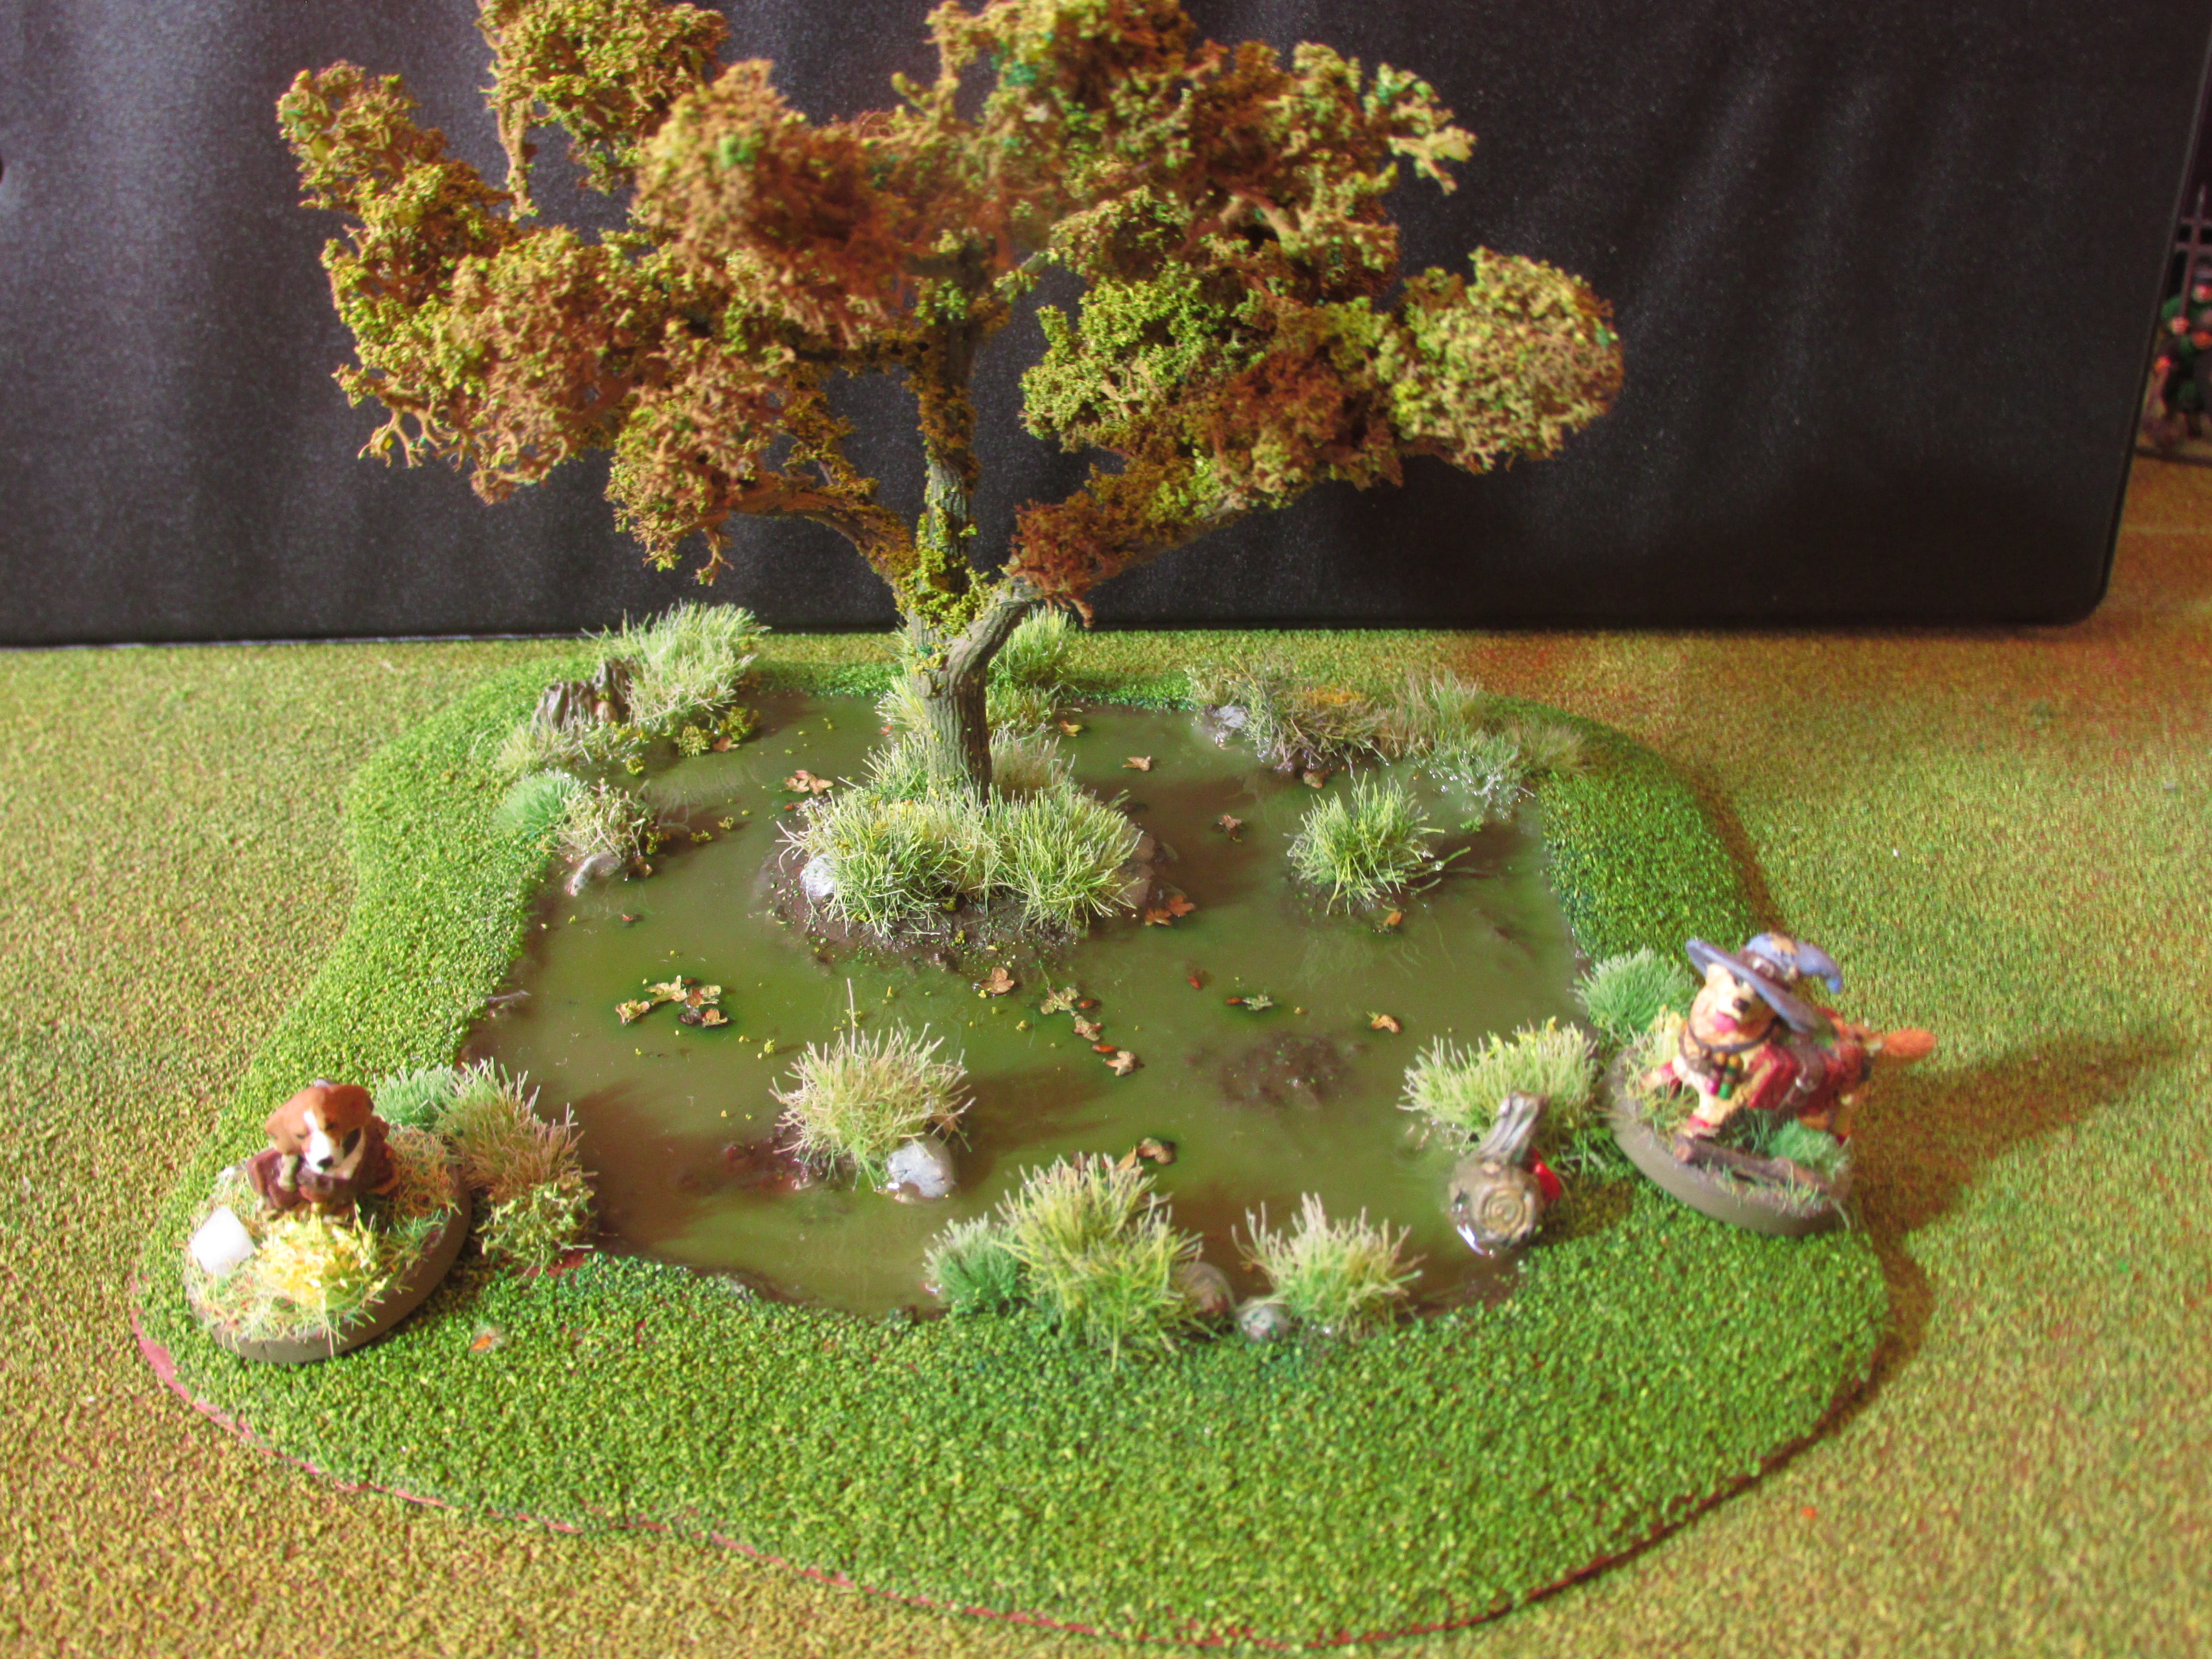
Trees v2
I started with the same armatures as before because they will easily fit into my existing scenery pieces. I twist up the armatures, cut some bits off for variety and then went on to painting them.
I didn’t prime them and started to apply a basecoat of Vallejo Model Air Brown Green (71.030) with my airbrush followed by a coat of Secret Weapon Wash Algea (W013). By the gods do Secret Weapon washes smell badly through the airbrush. I then followed this up by a drybrush coat of Vallejo Panzer Aces Old Wood (70.310) when the trees were dry.

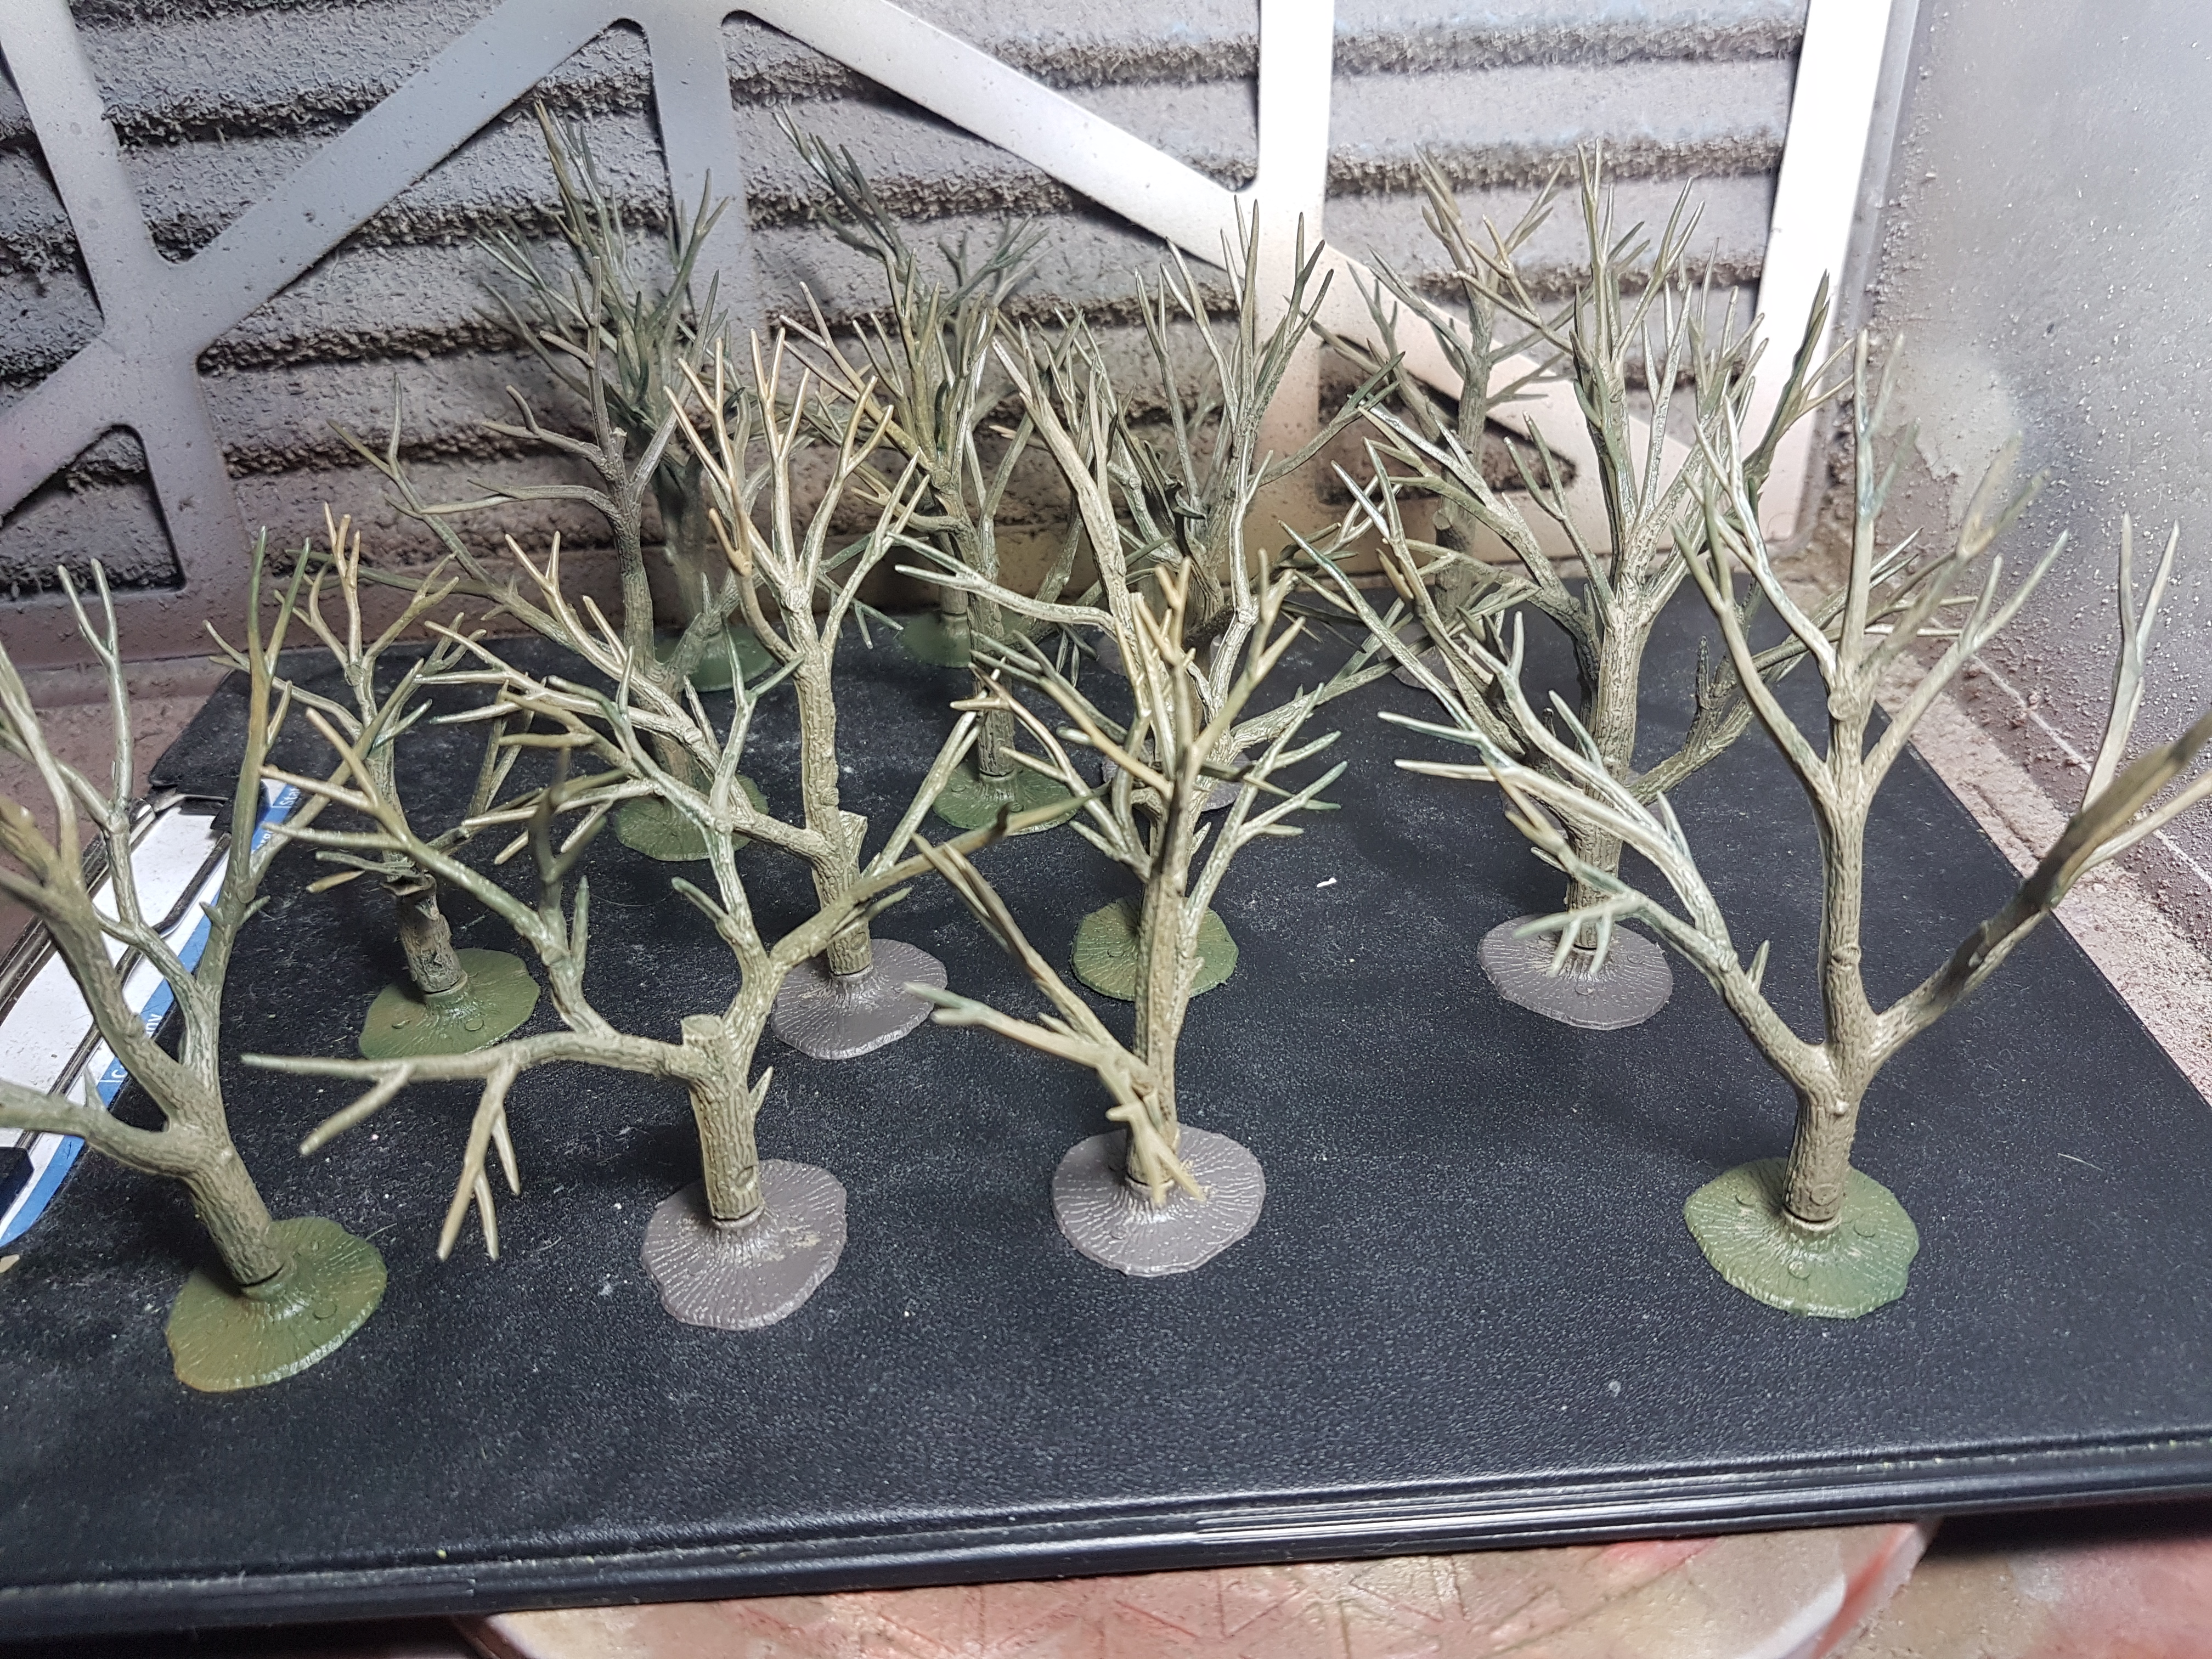
I added a couple of vines to the trees as additional detail and I sprayed a Army Painter Anti-Shine aerosol varnish over them when done.
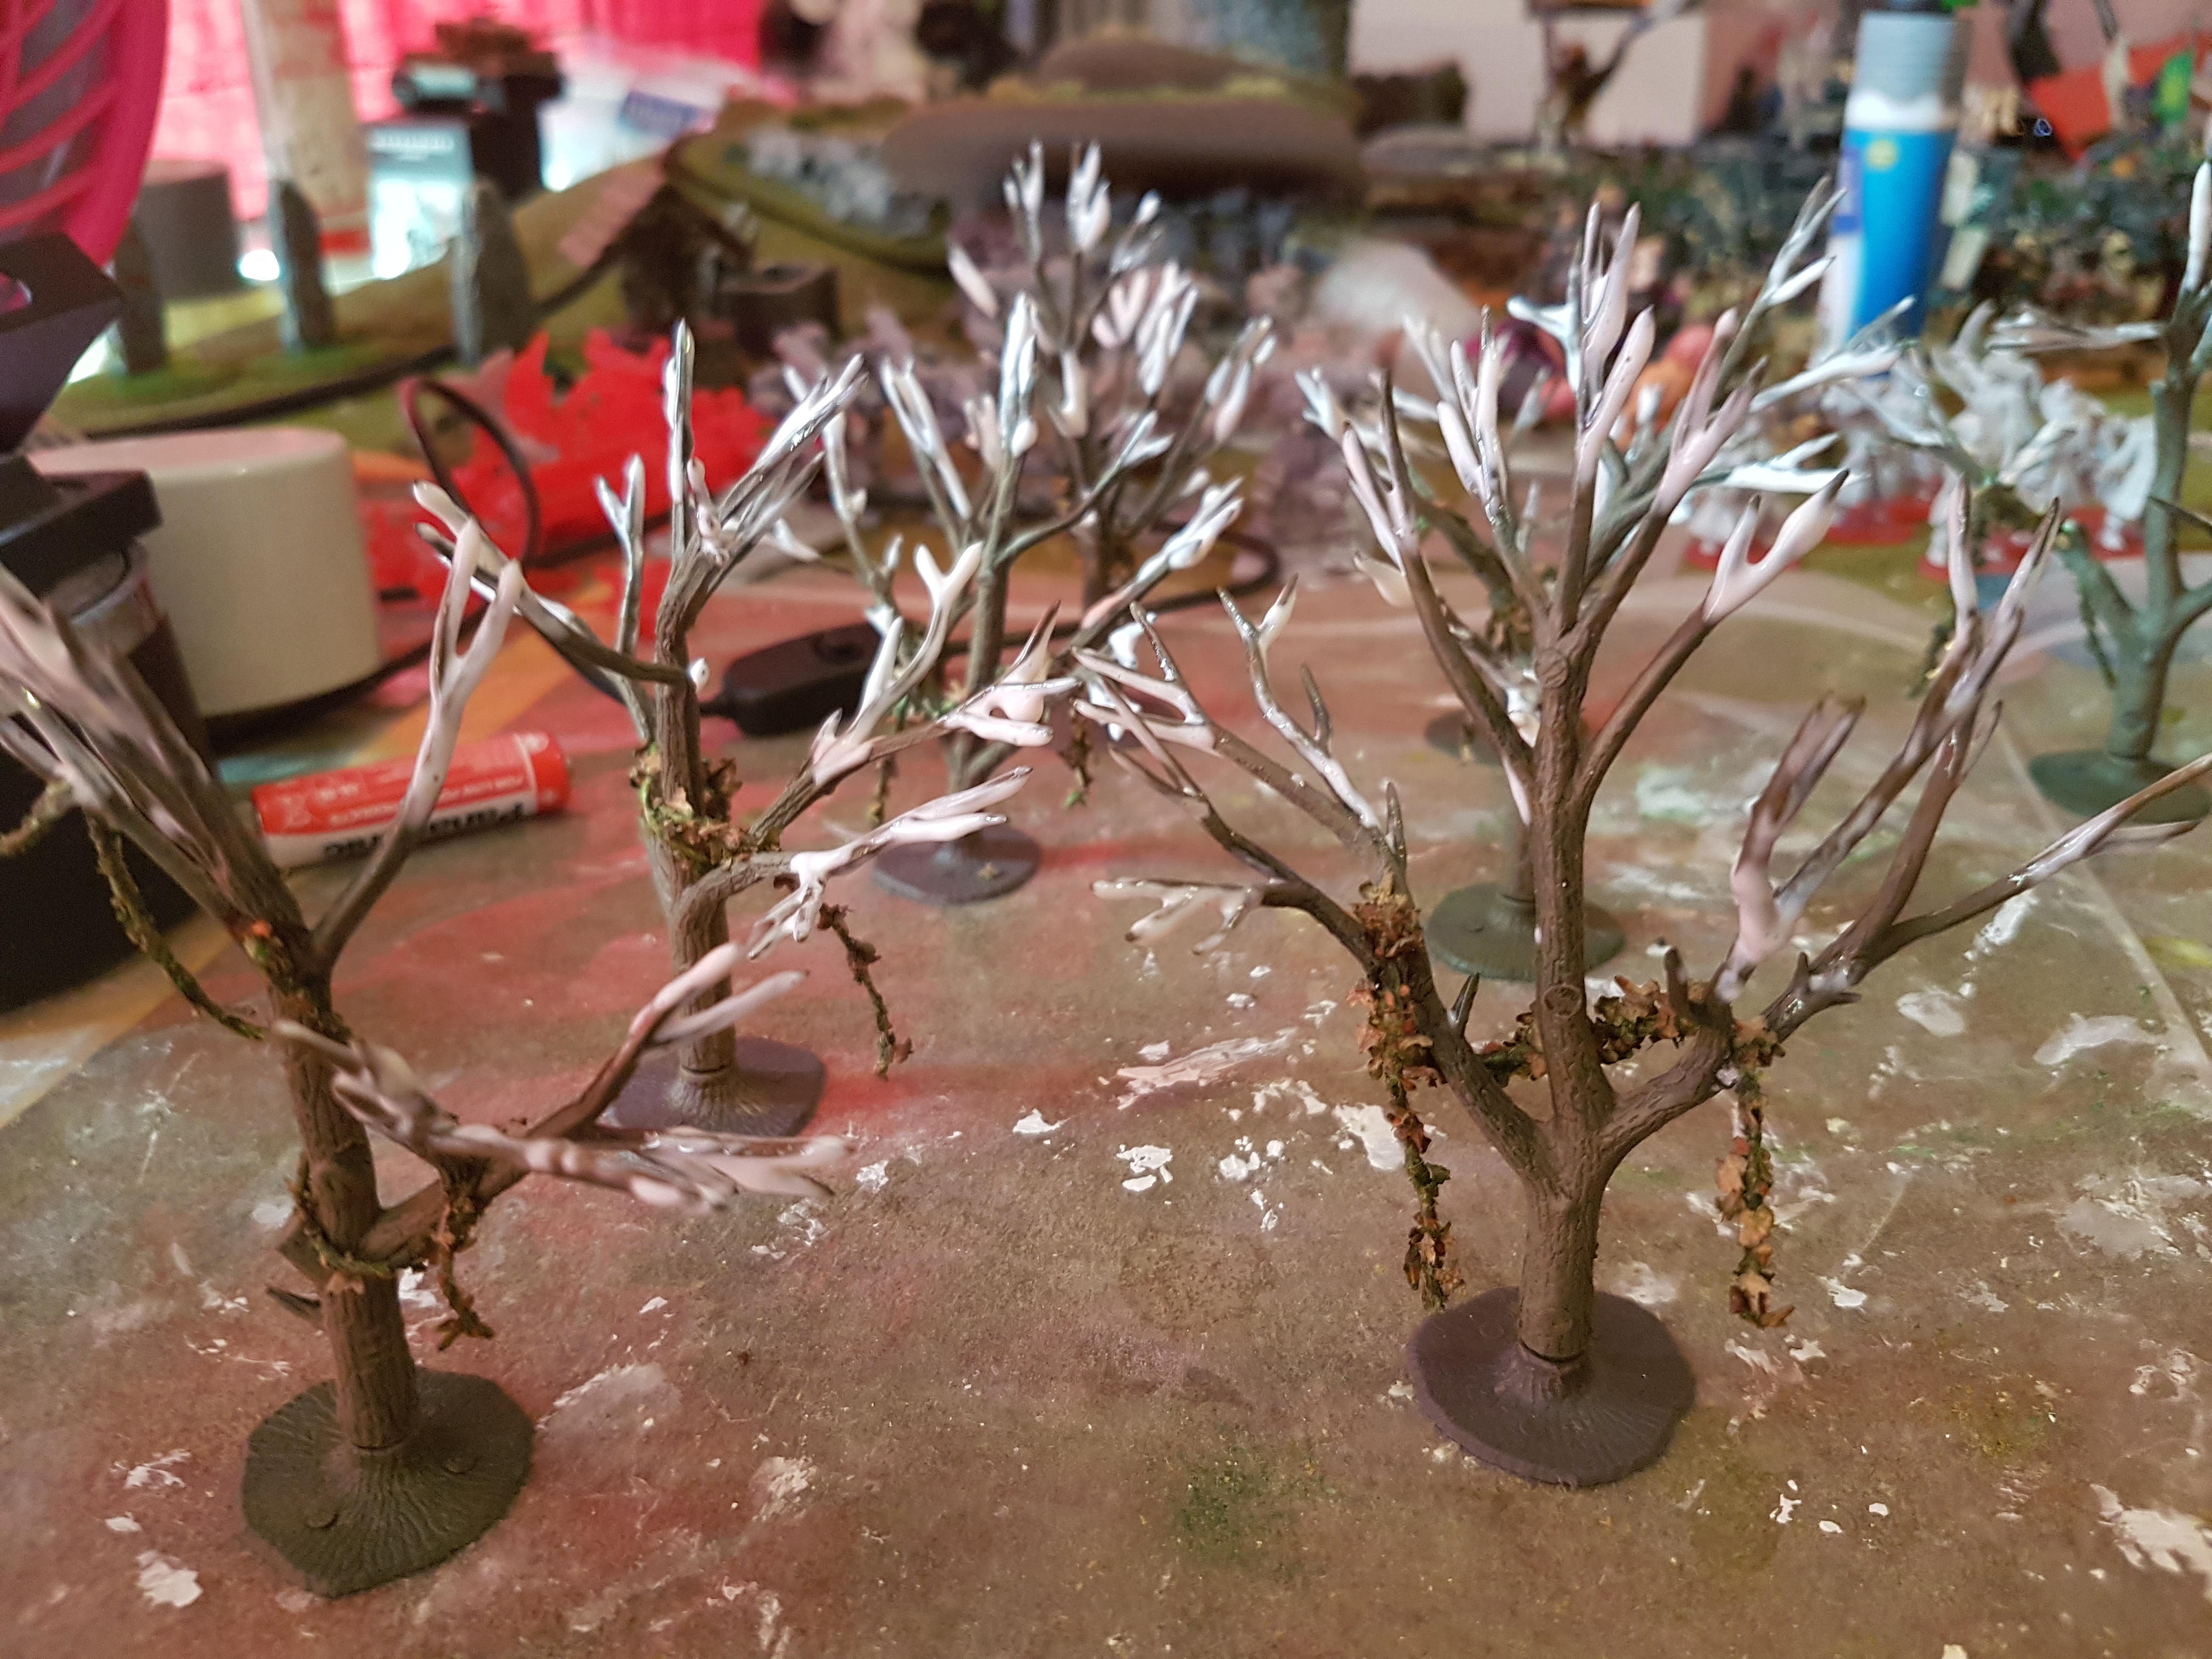
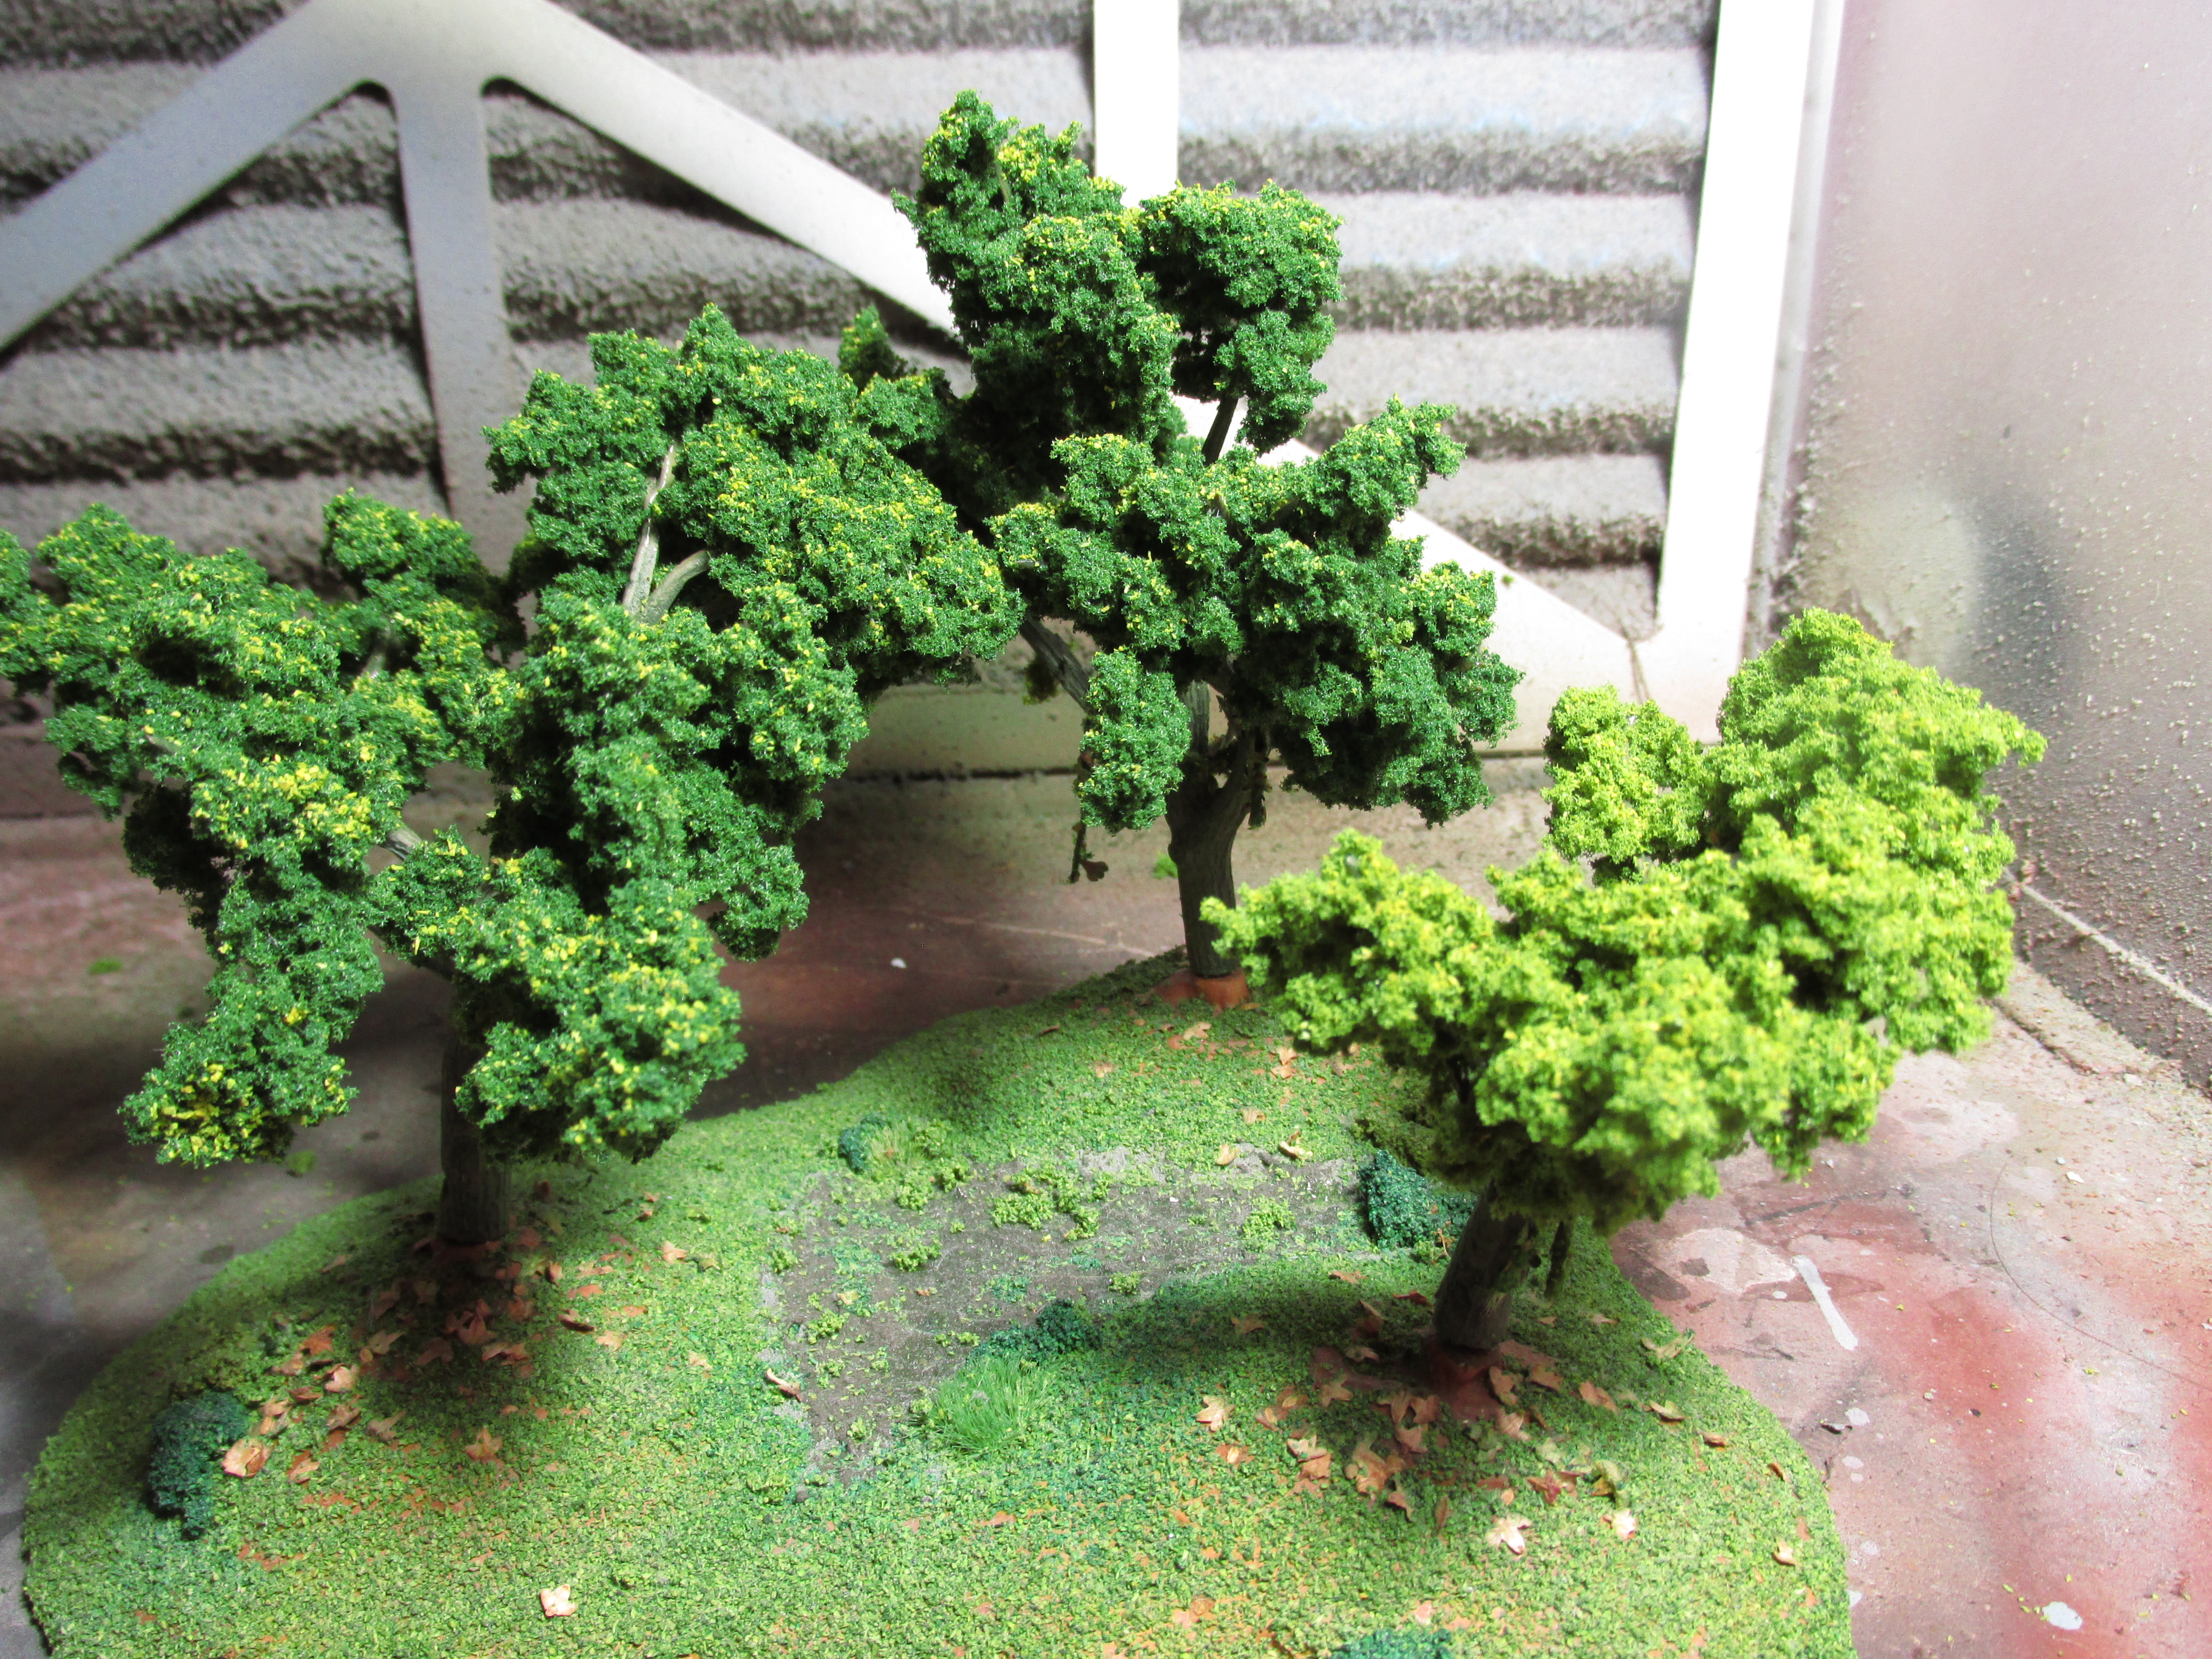
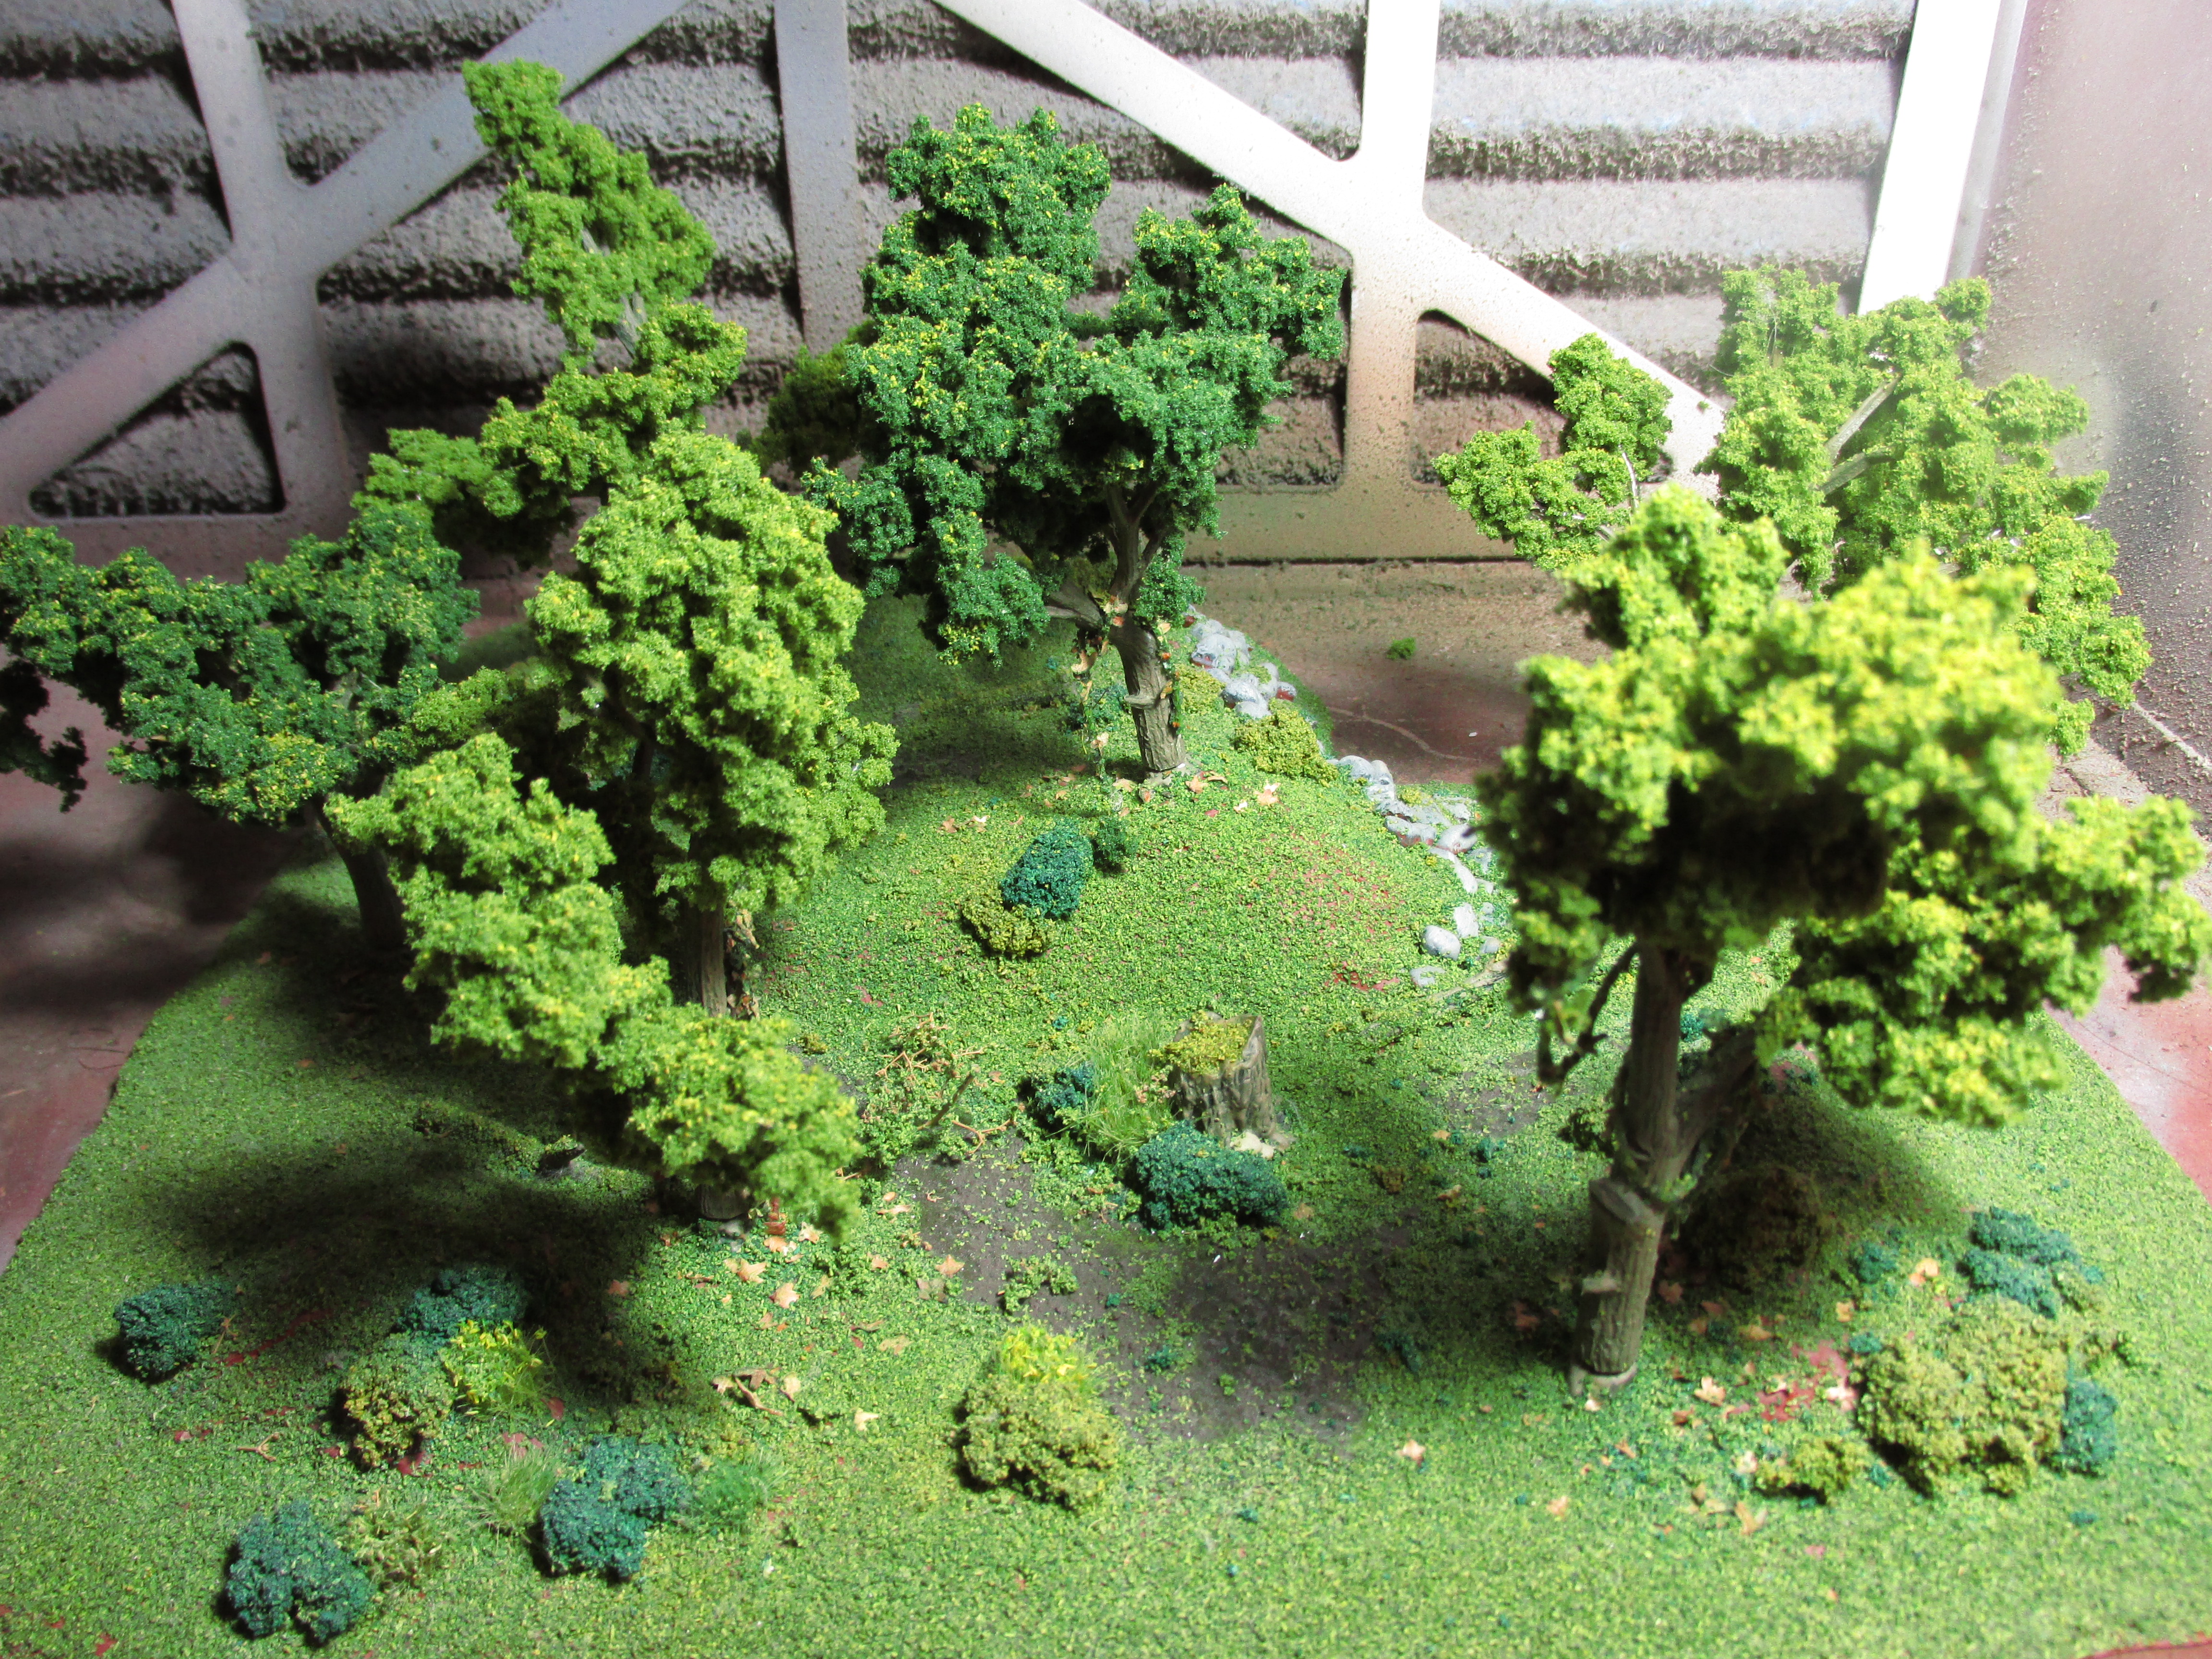
I didn’t want to go super cheap with these trees like the previous set, hint: they’re falling apart. I used Woodland Scenics Hob-e-Tac Adhesive on the branches and let that sit for a bit until it goes mostly transparent.
I got 2 bags of Woodland Scenics Bushes in different colours and I then liberally started sticking them to the branches. Be aware though, that glue is tacky, like really tacky, but when you pull on something stuck to it it will stretch until it comes loose. The Woodland Scenics Bushes are not normal clump foliage or something like that, they are more spongy and thus light-weight and look great in my opinion.
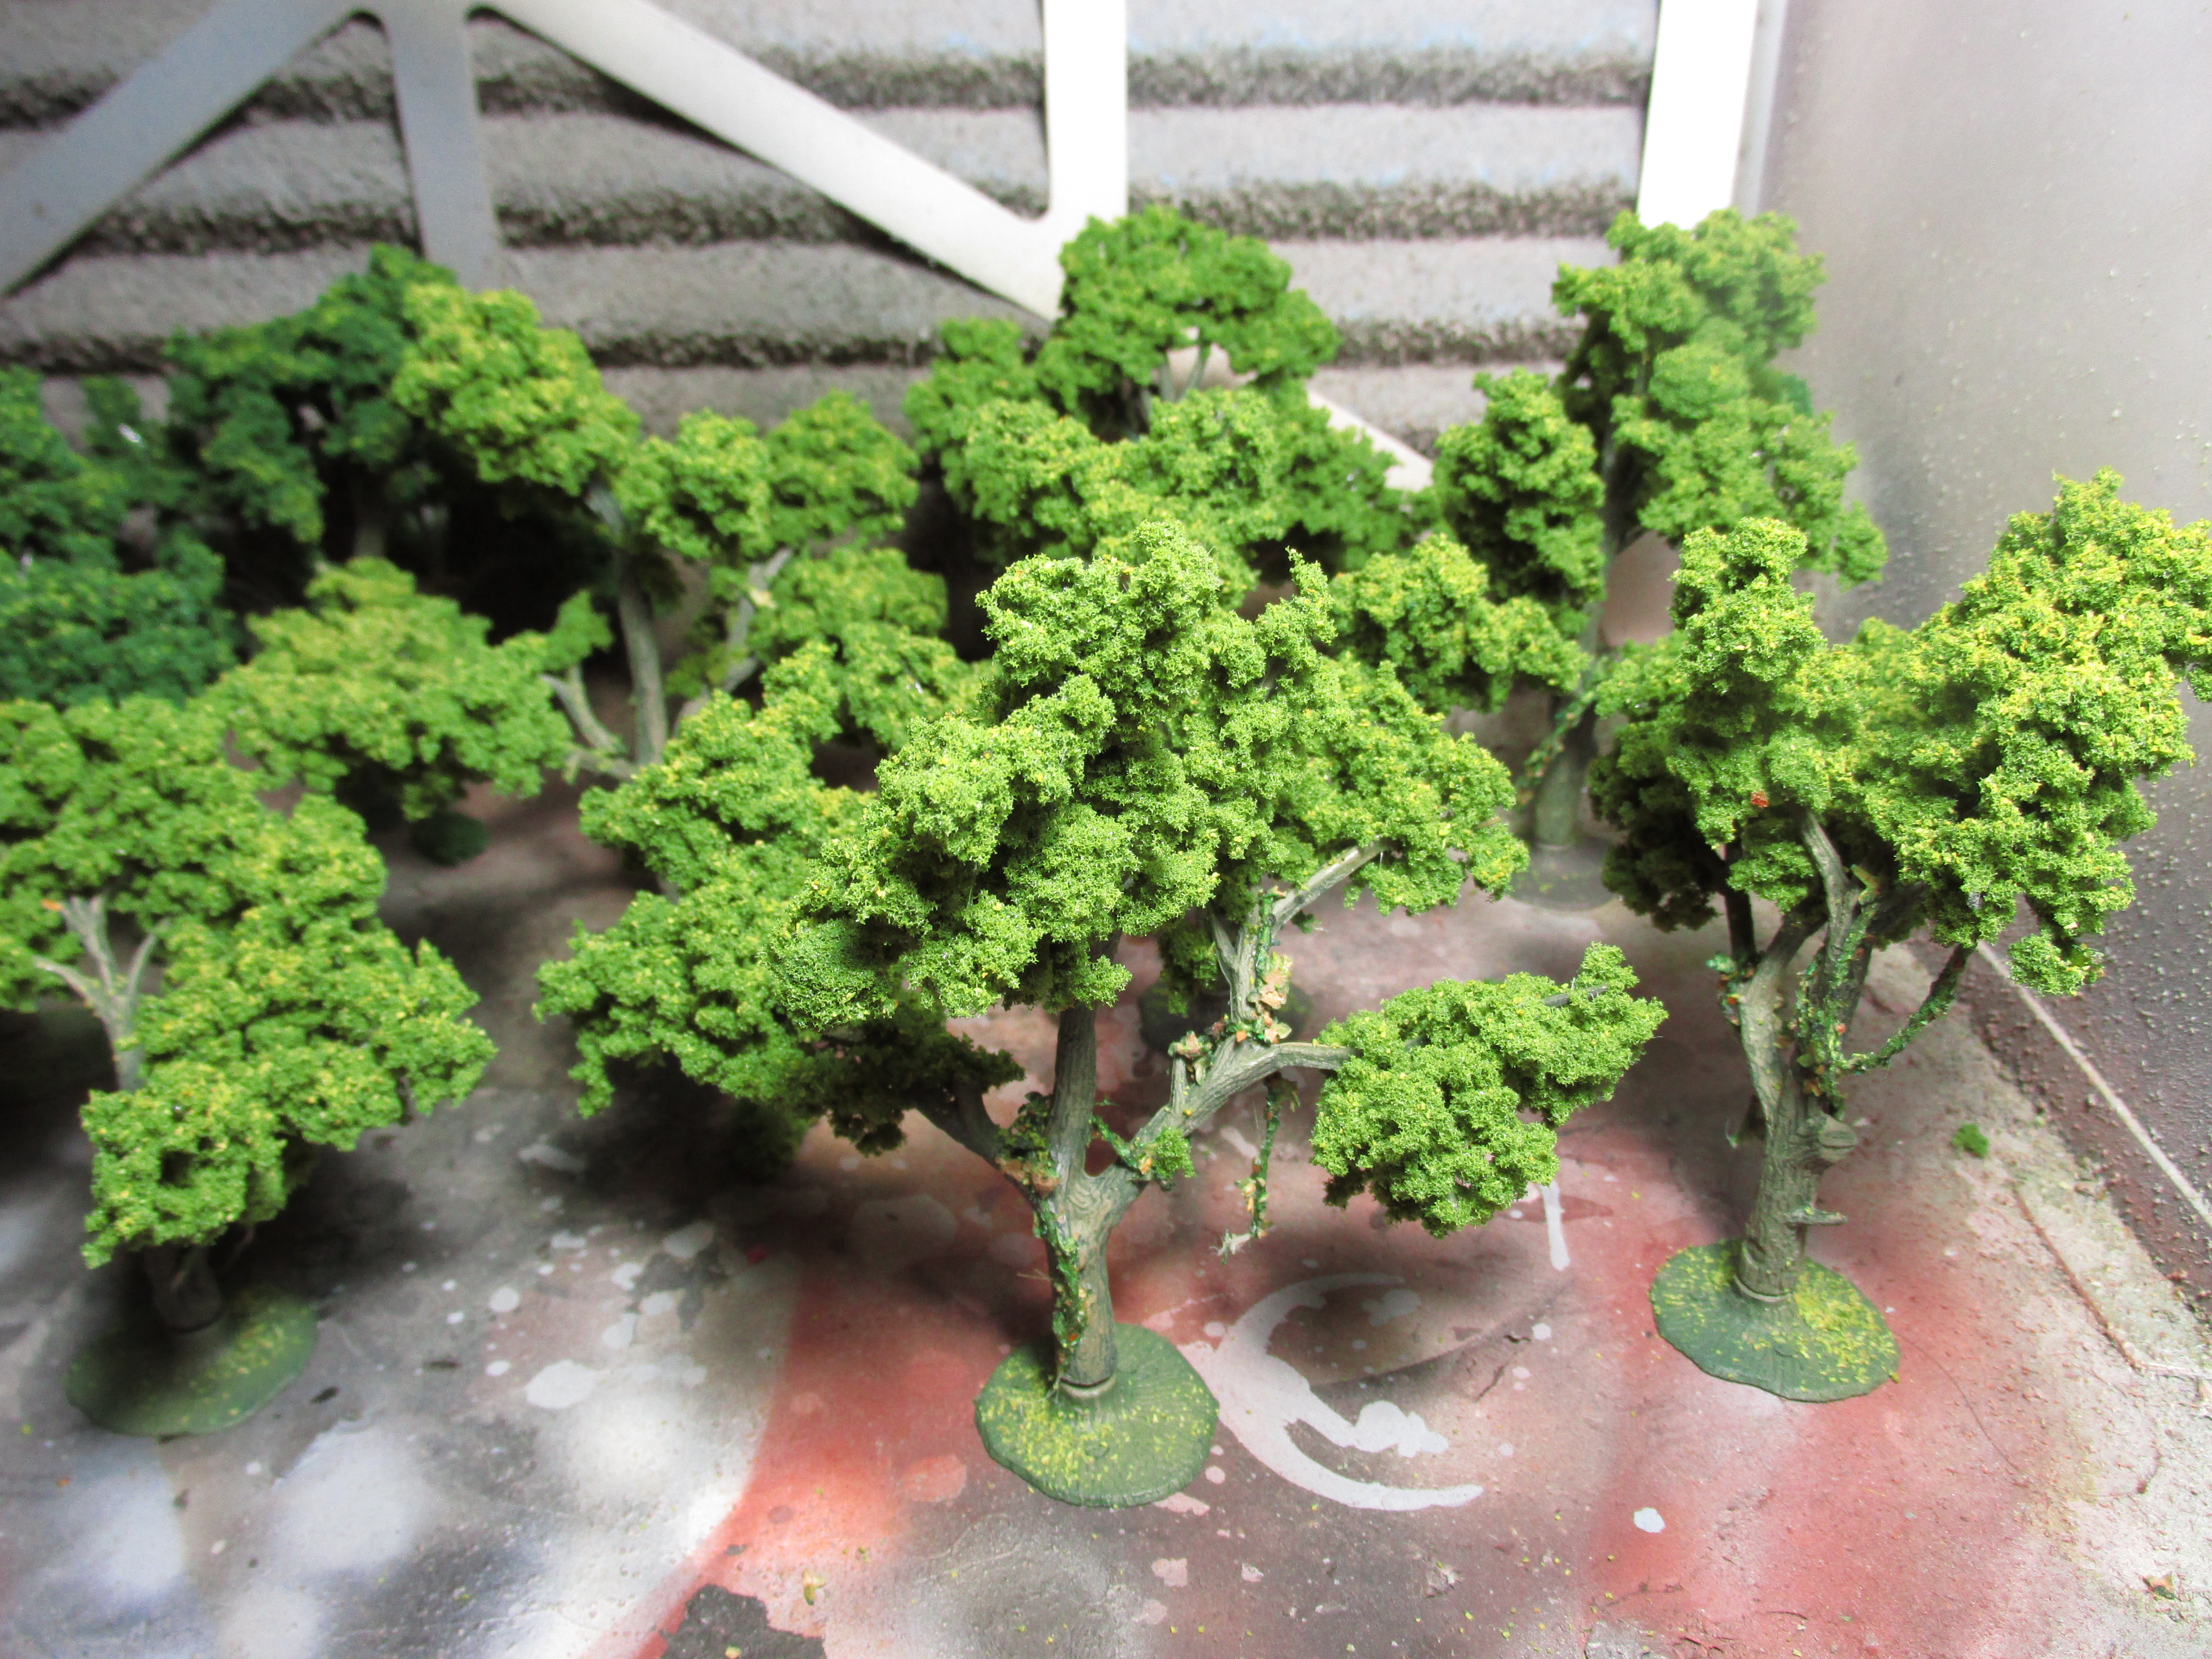
After I stuck on the bushes I sprayed some simple spray adhesive over the top and sprinkled a little bit of light flock of the trees for a bit texture. I let that sit for a while and then sprayed a heavily watered-down PVA over the trees to seal them in. Not sure that was entirely necessary though as some of the bushes did fall off, but the glue I used is still so tacky I just stick them back in.

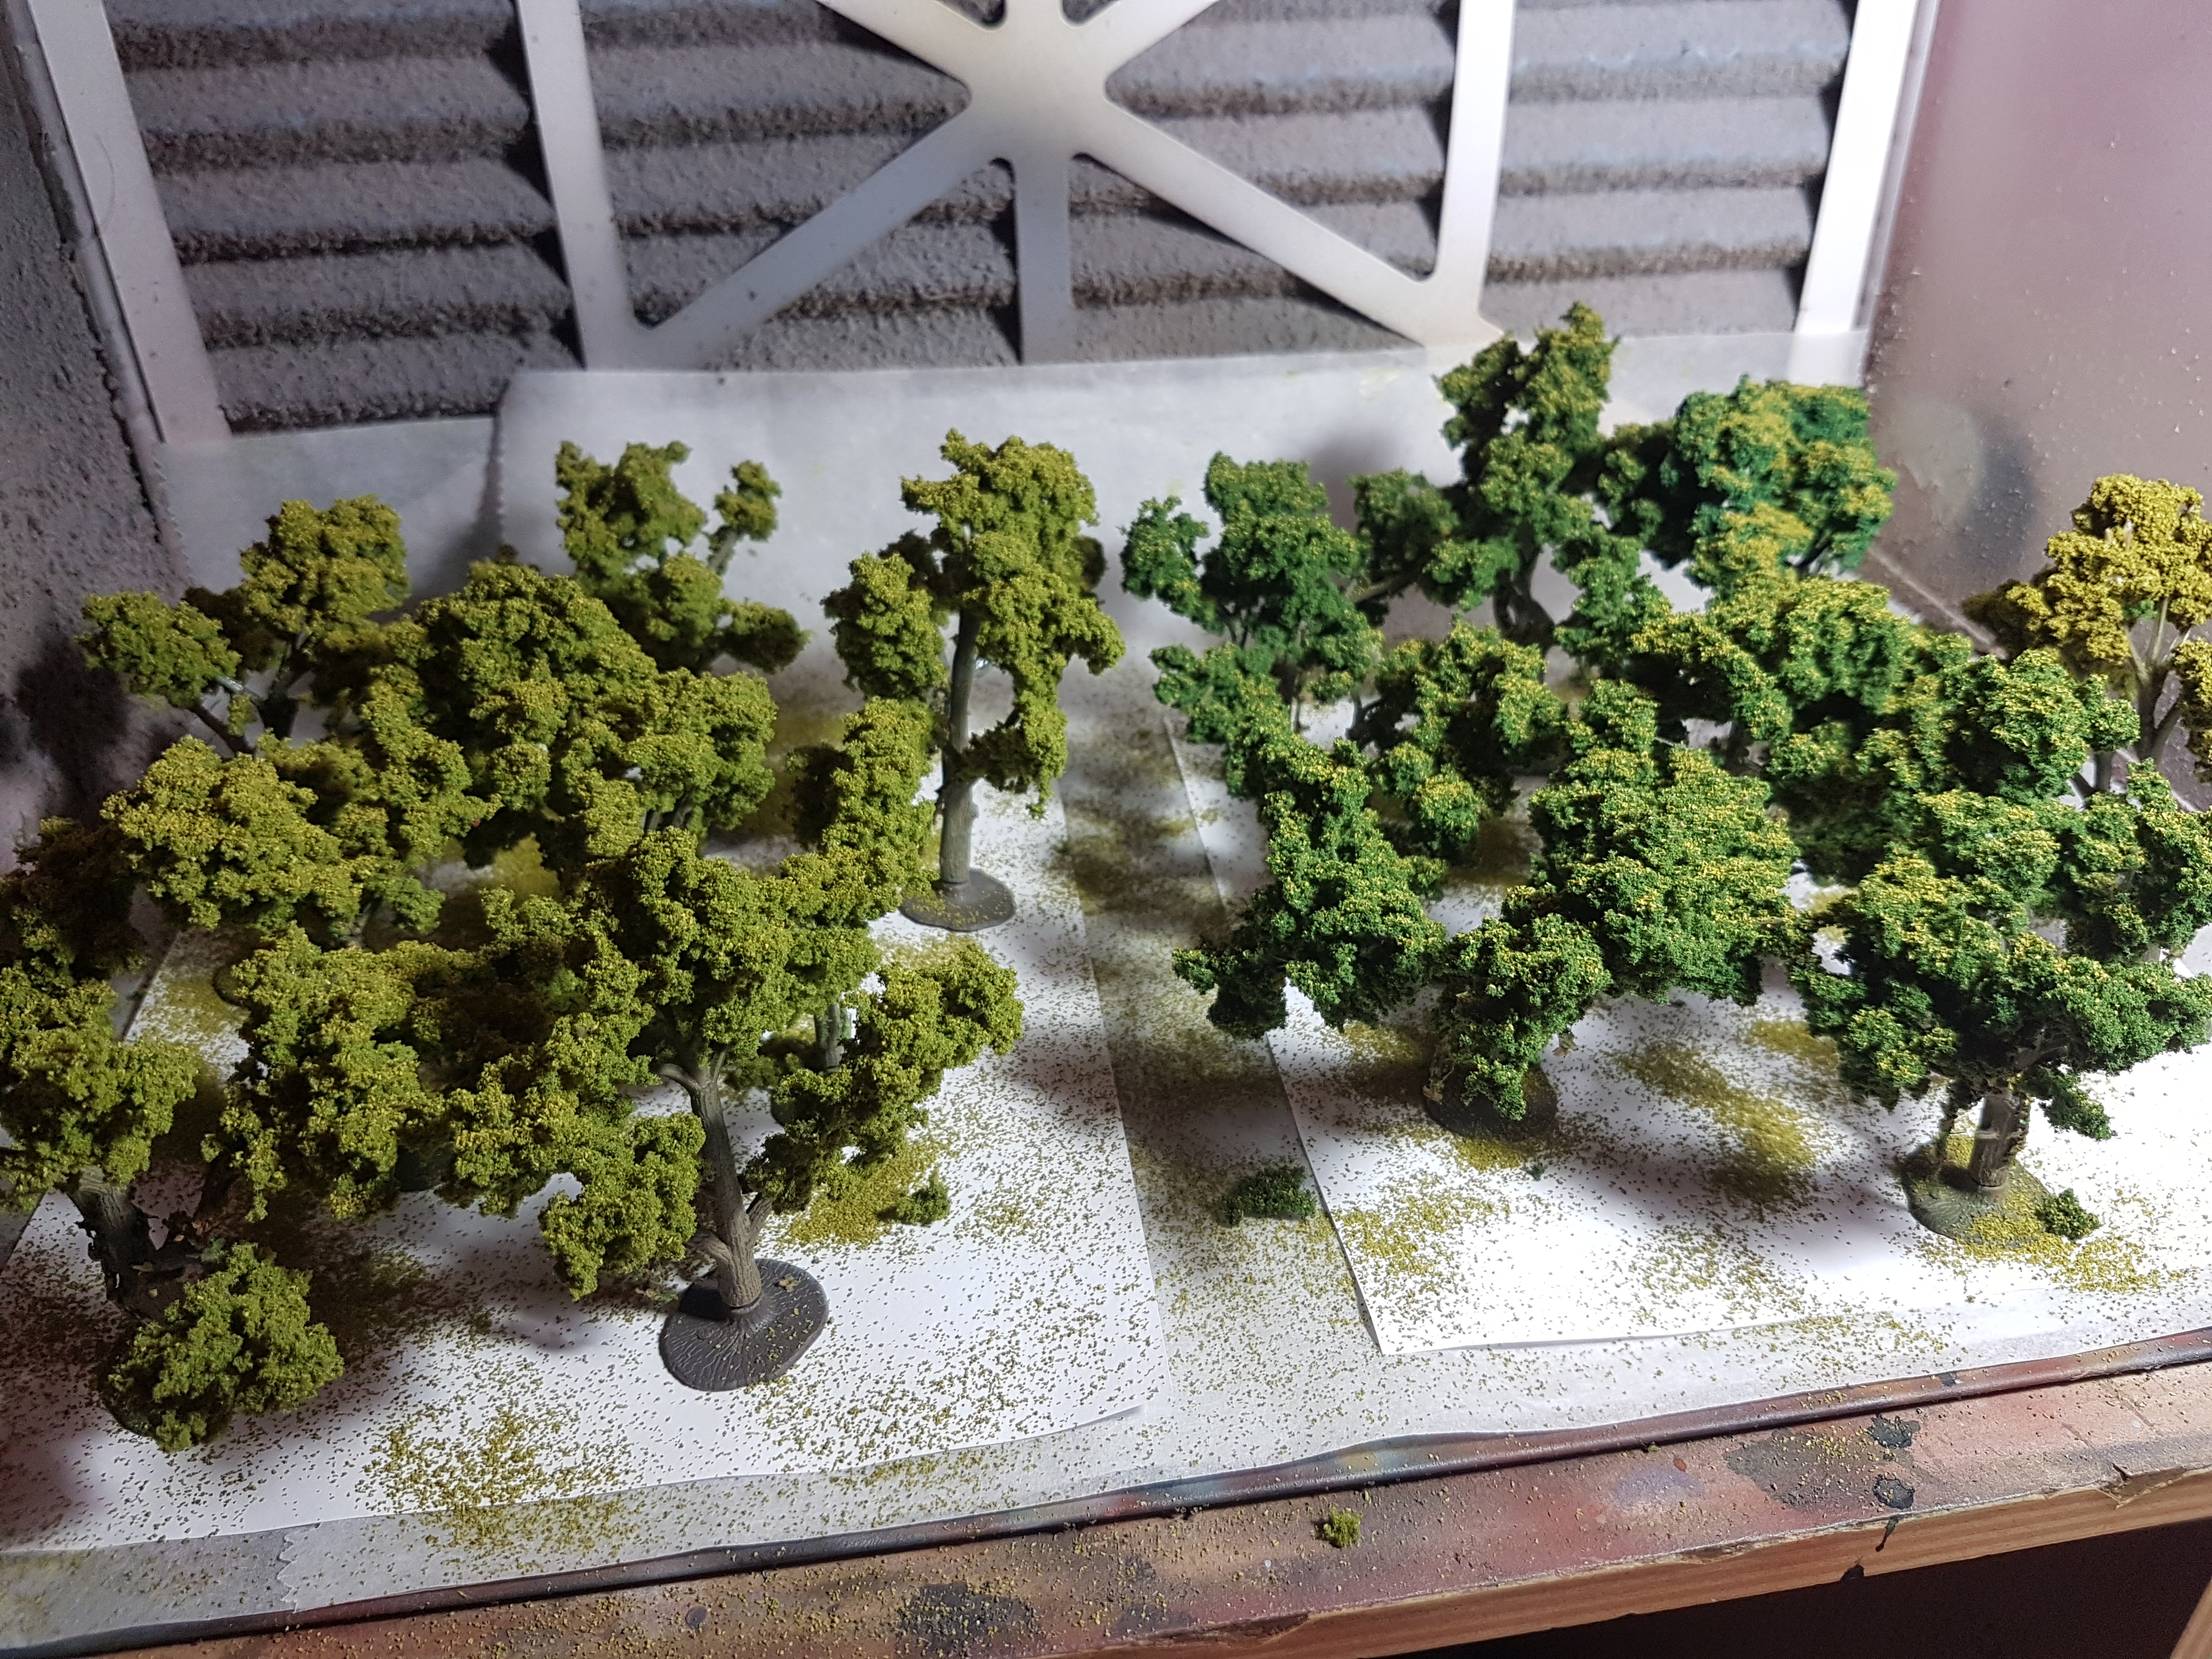
And that is my new version 2 of my trees done.
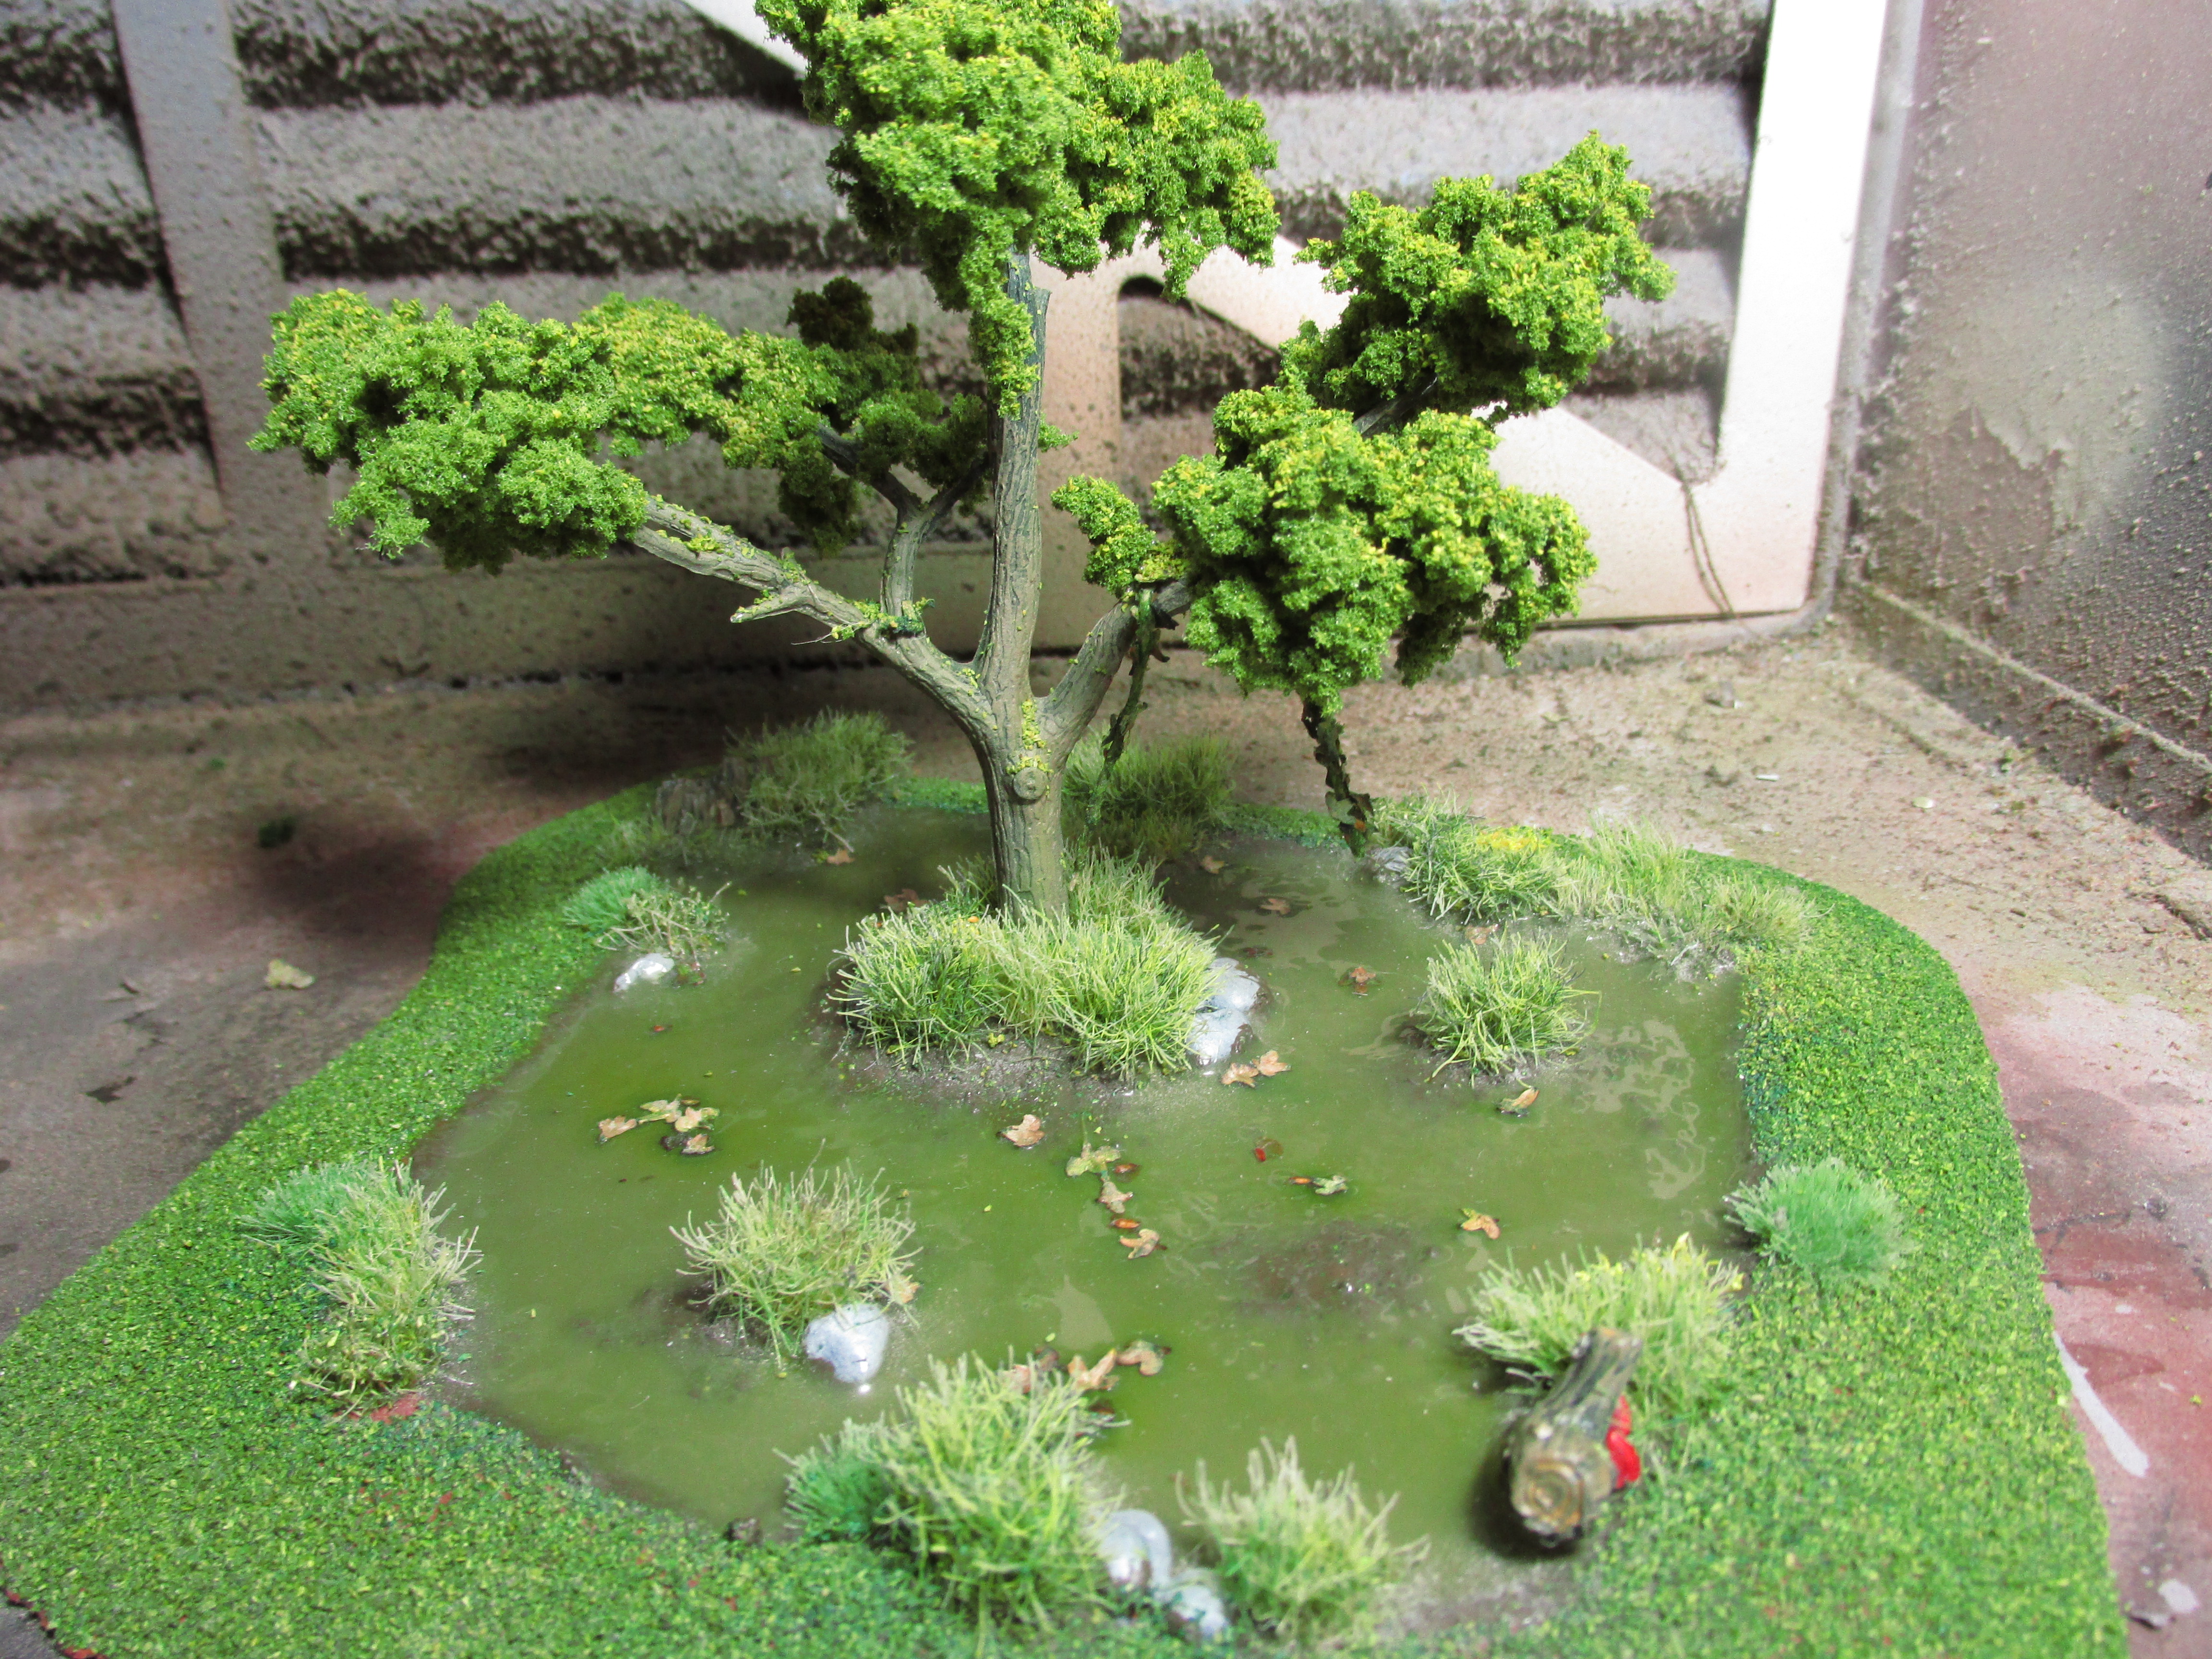

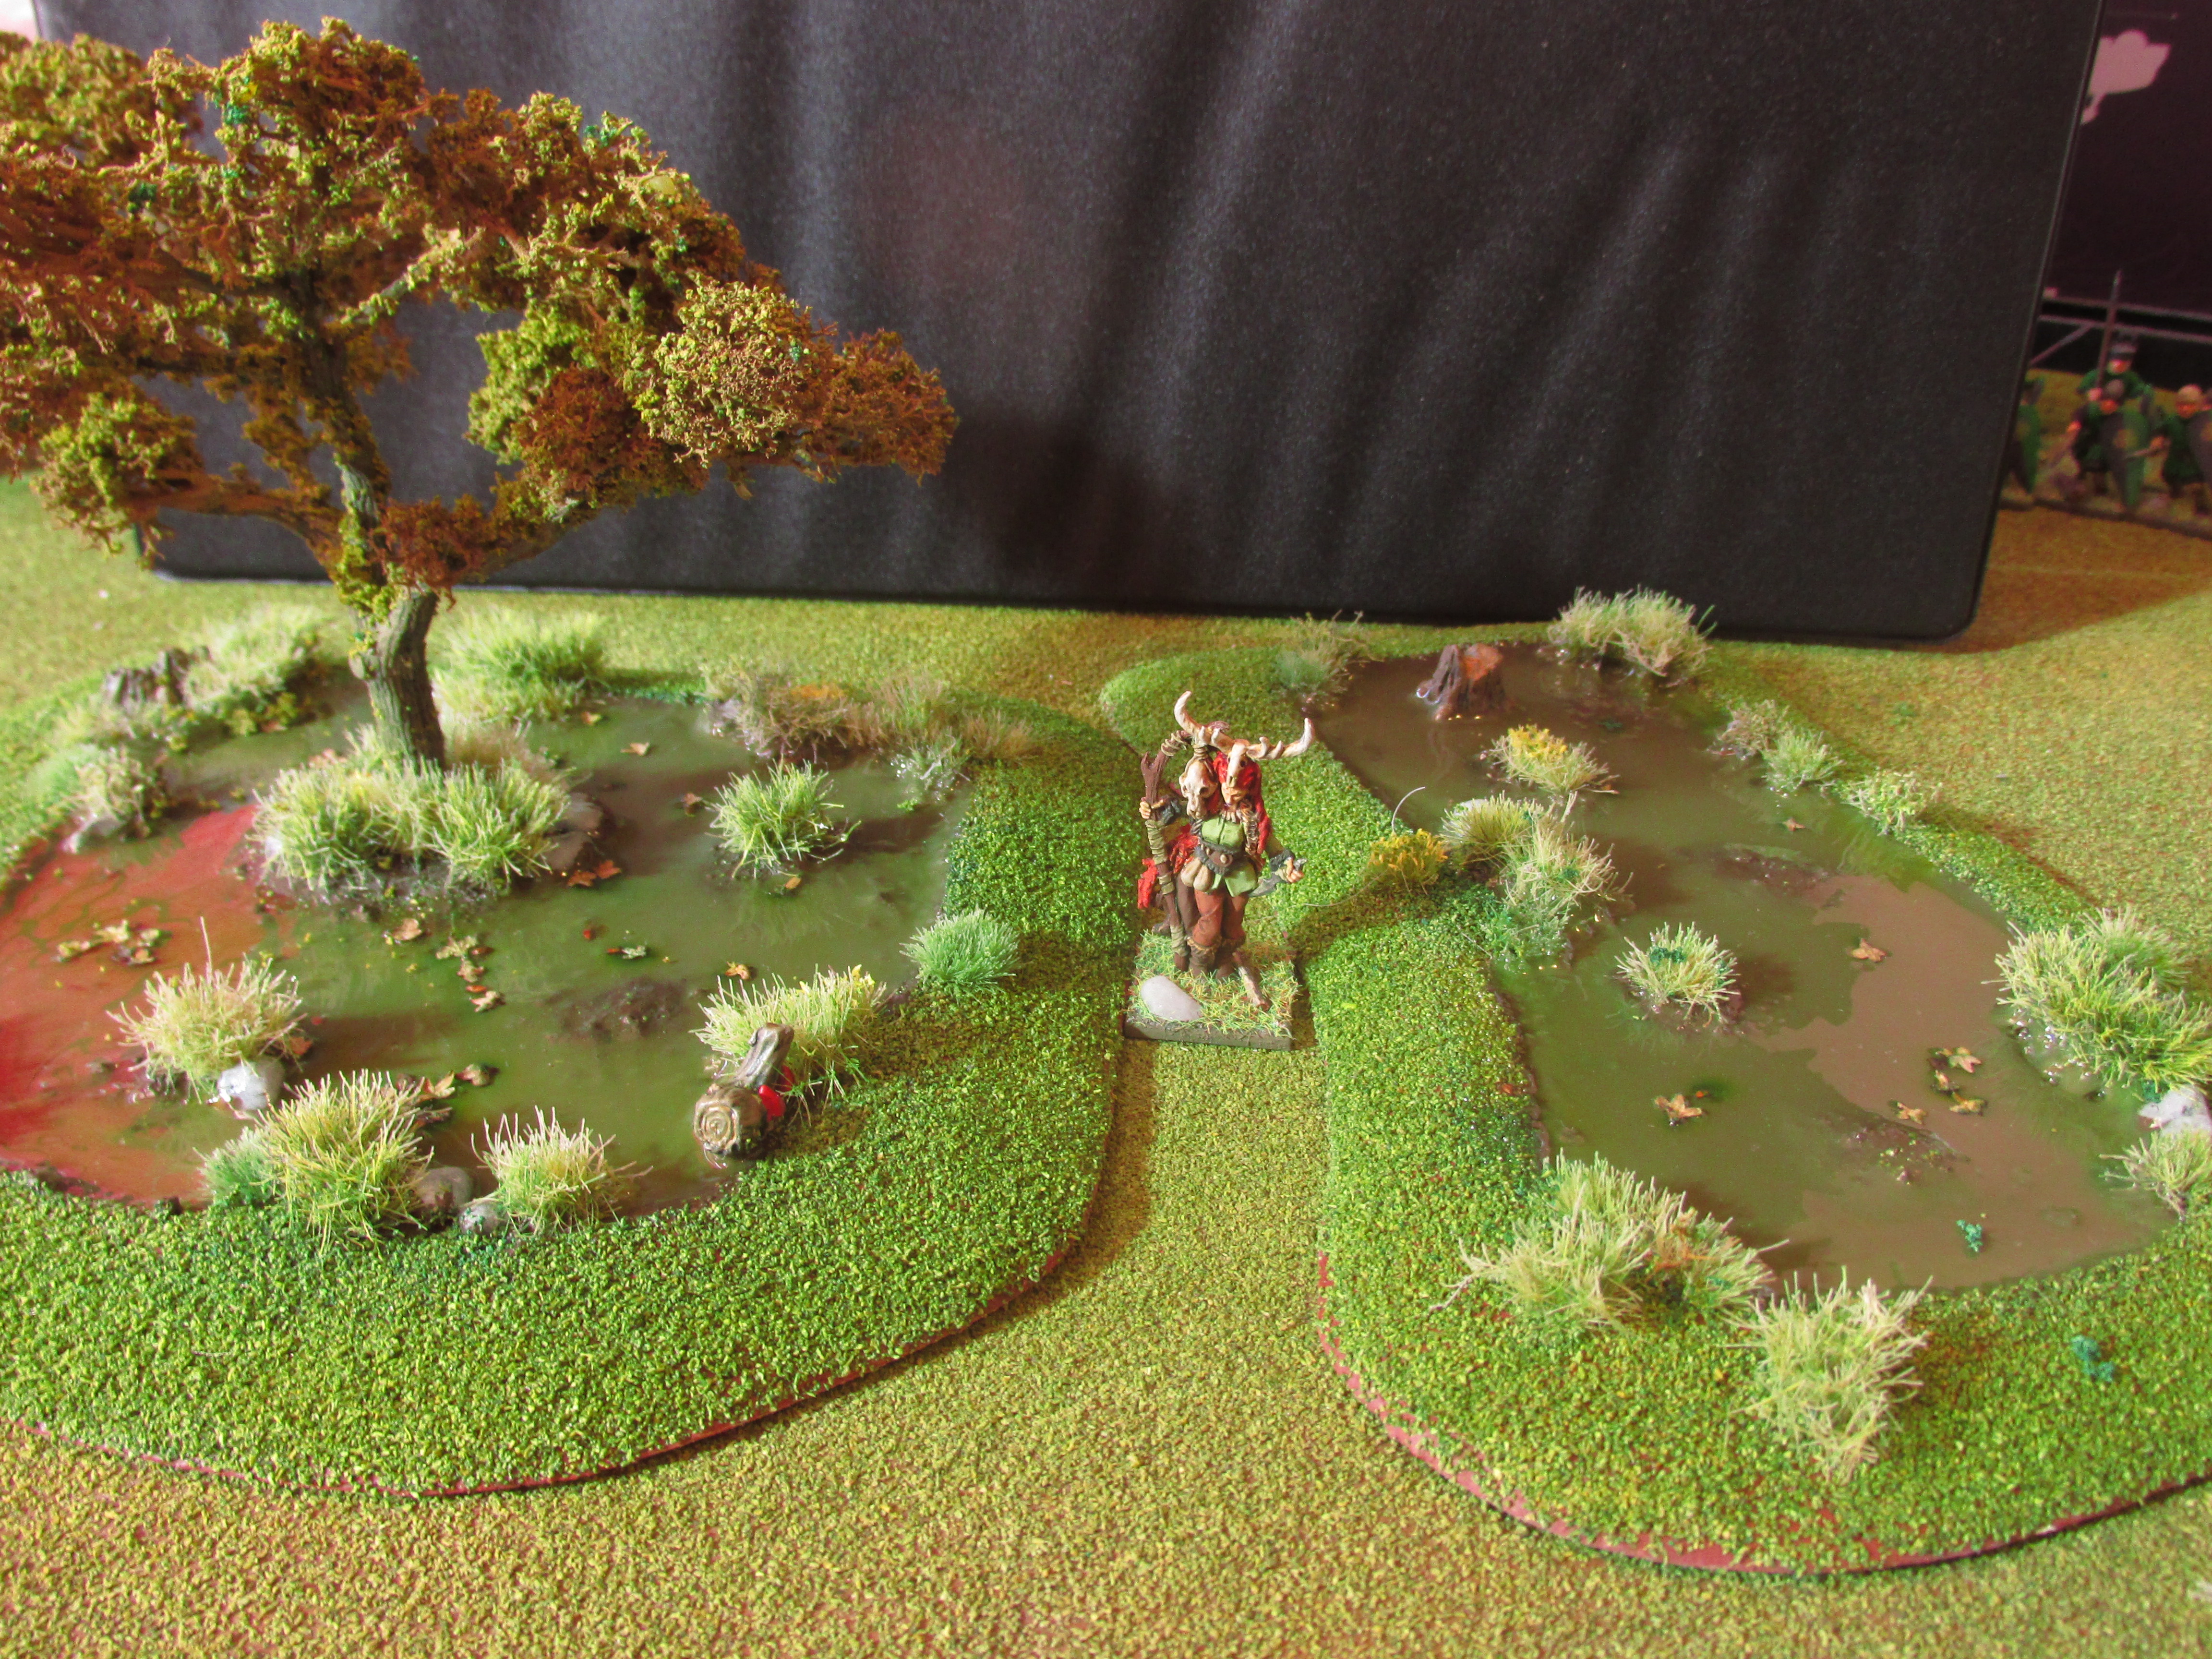

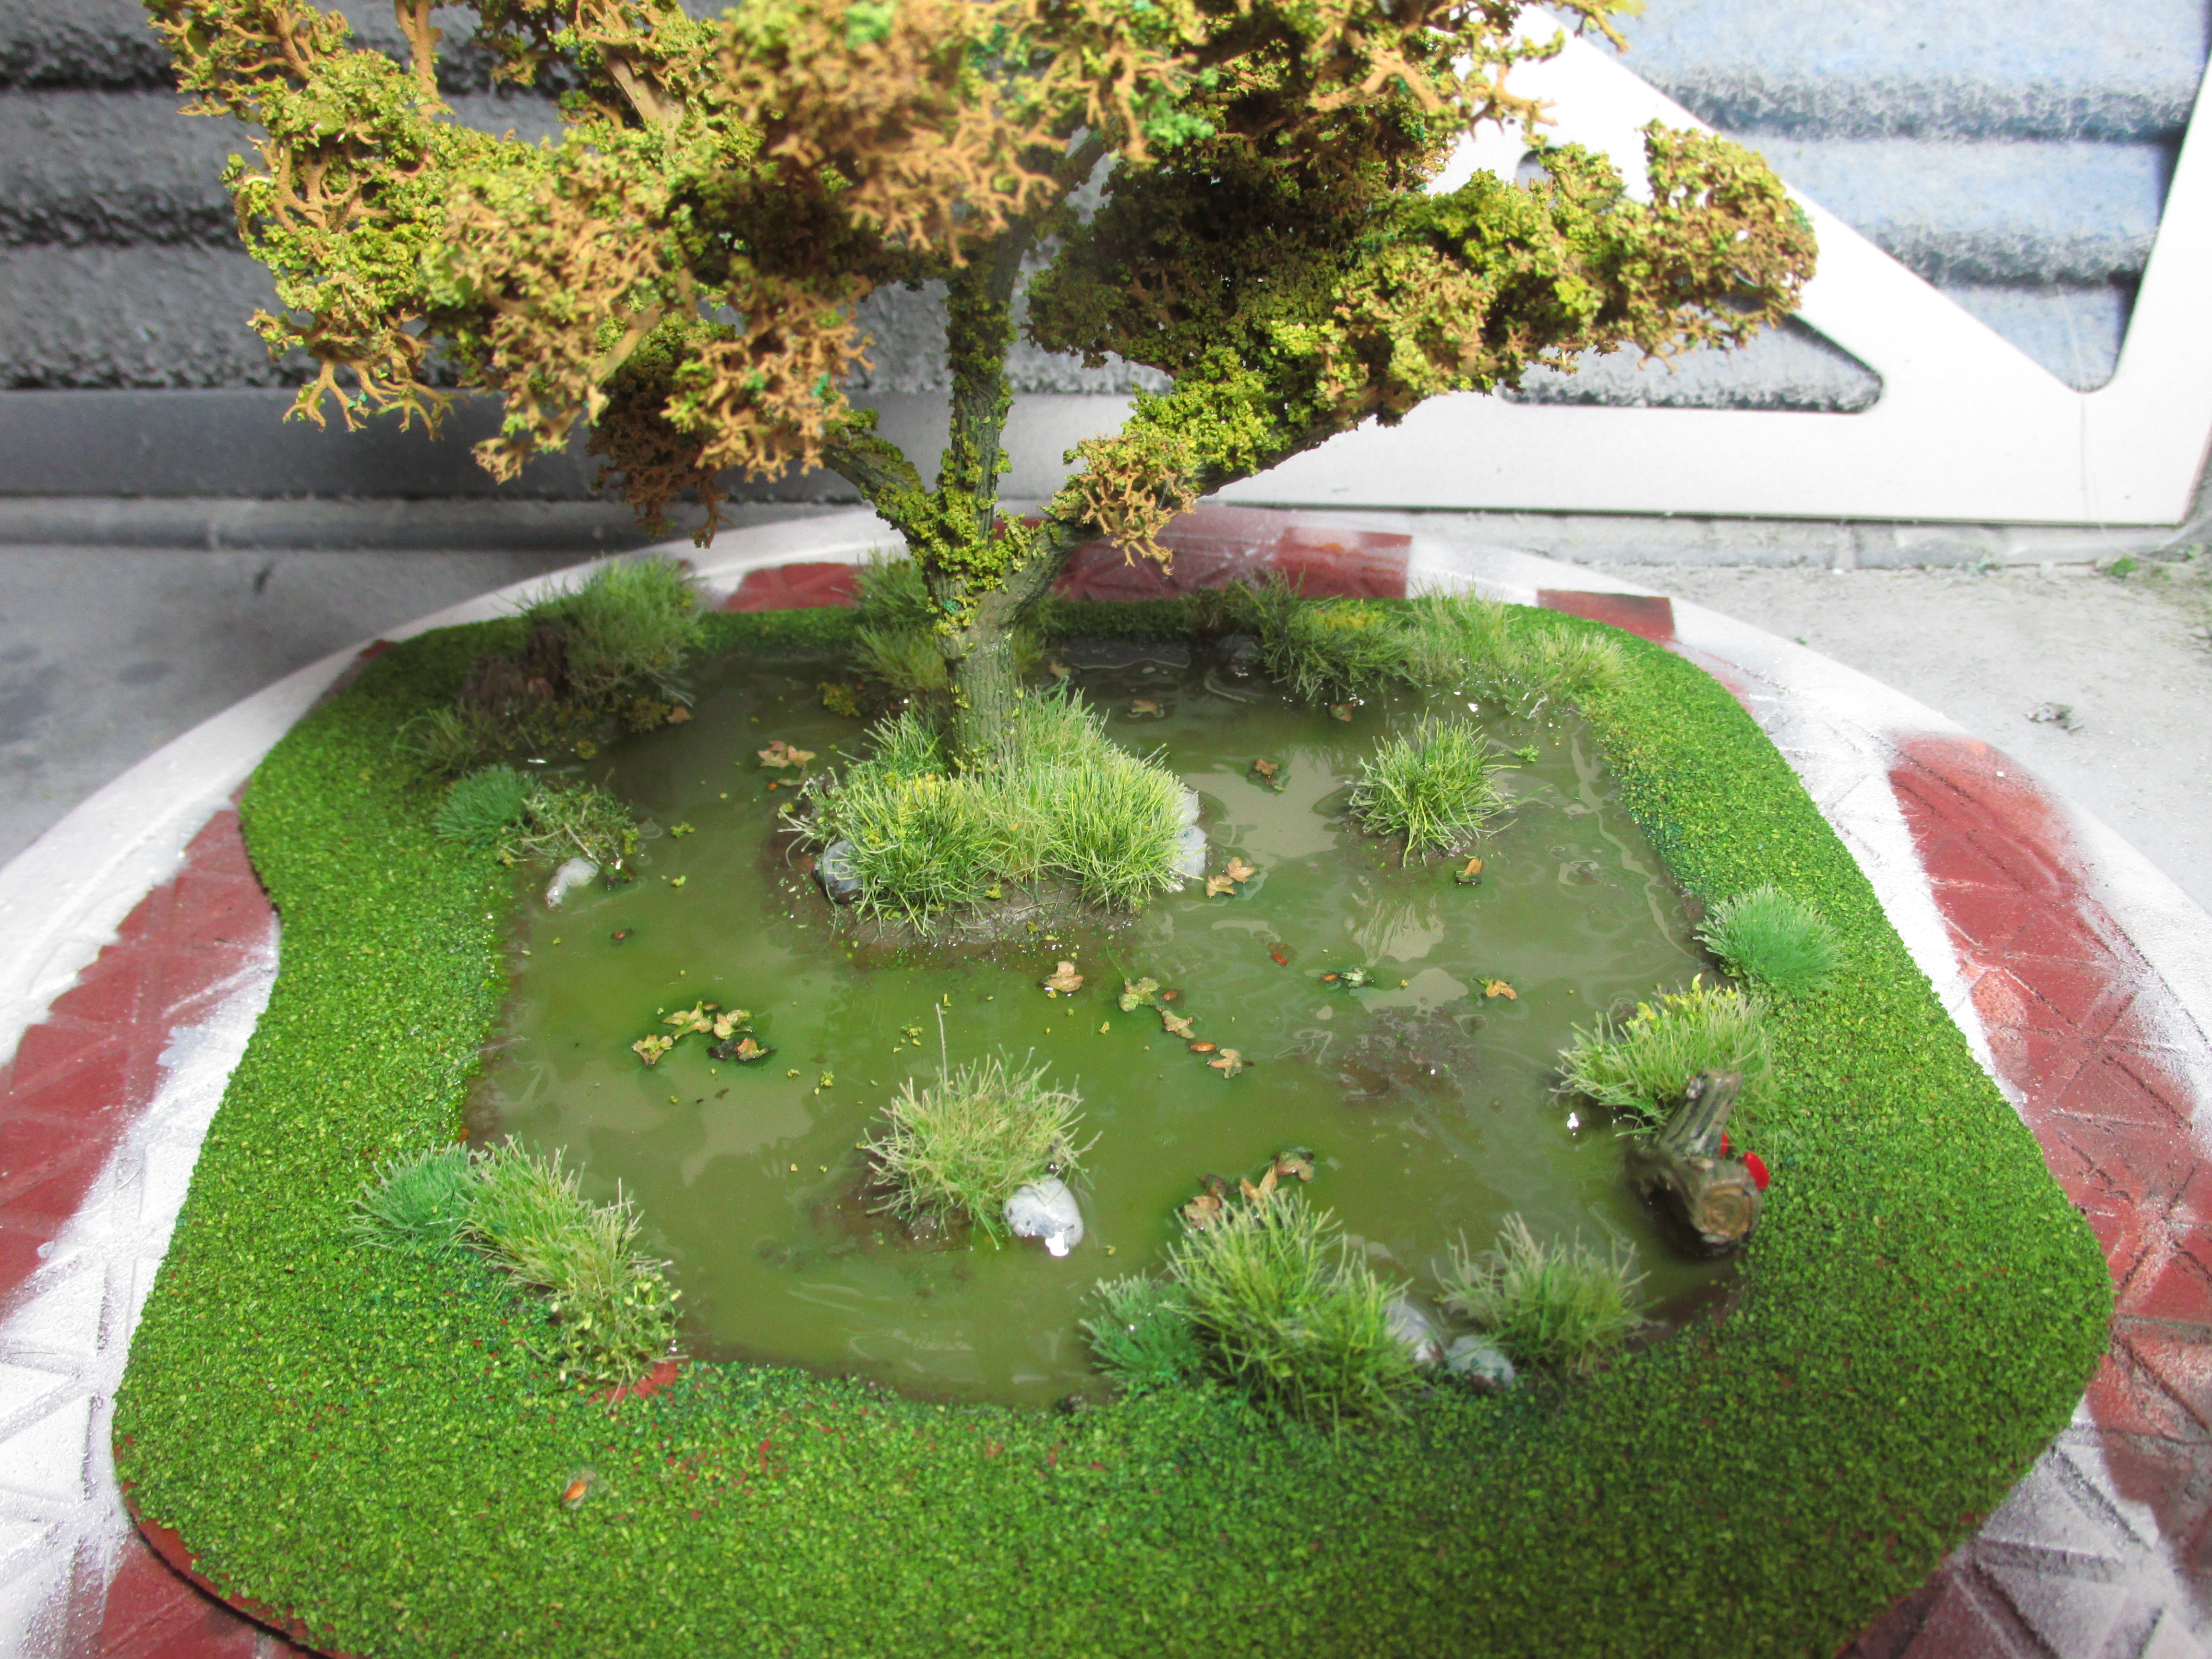
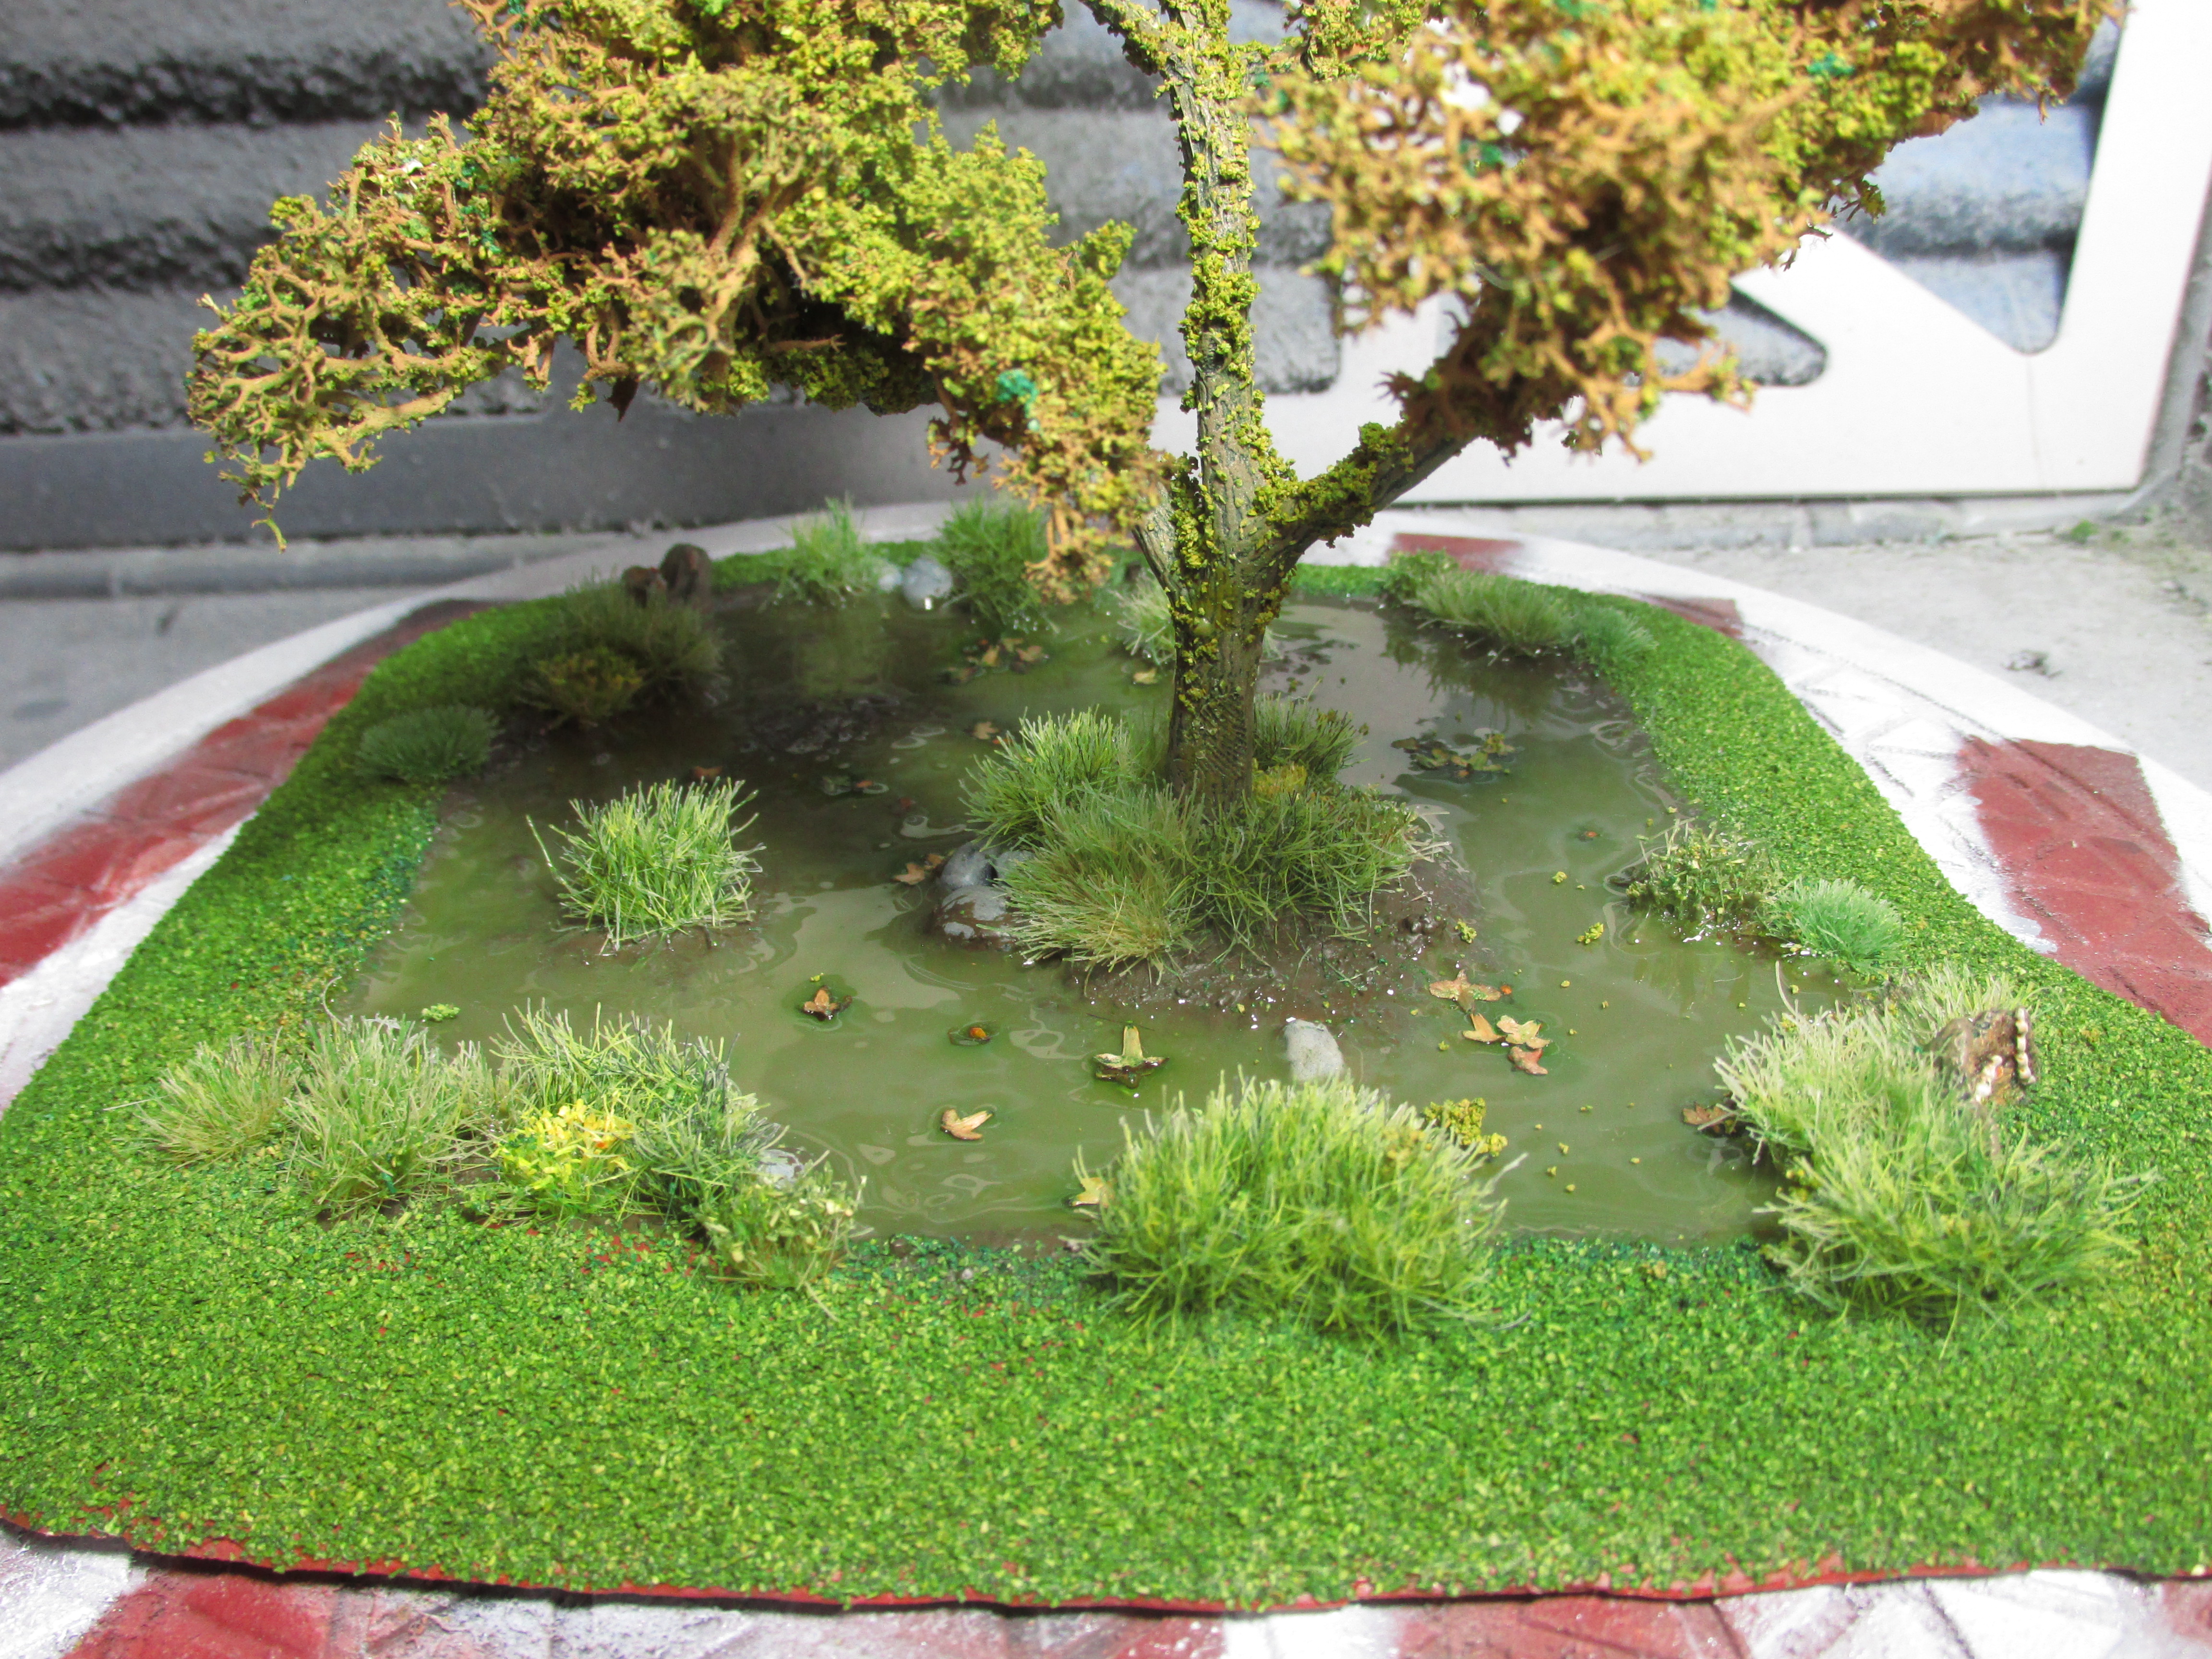
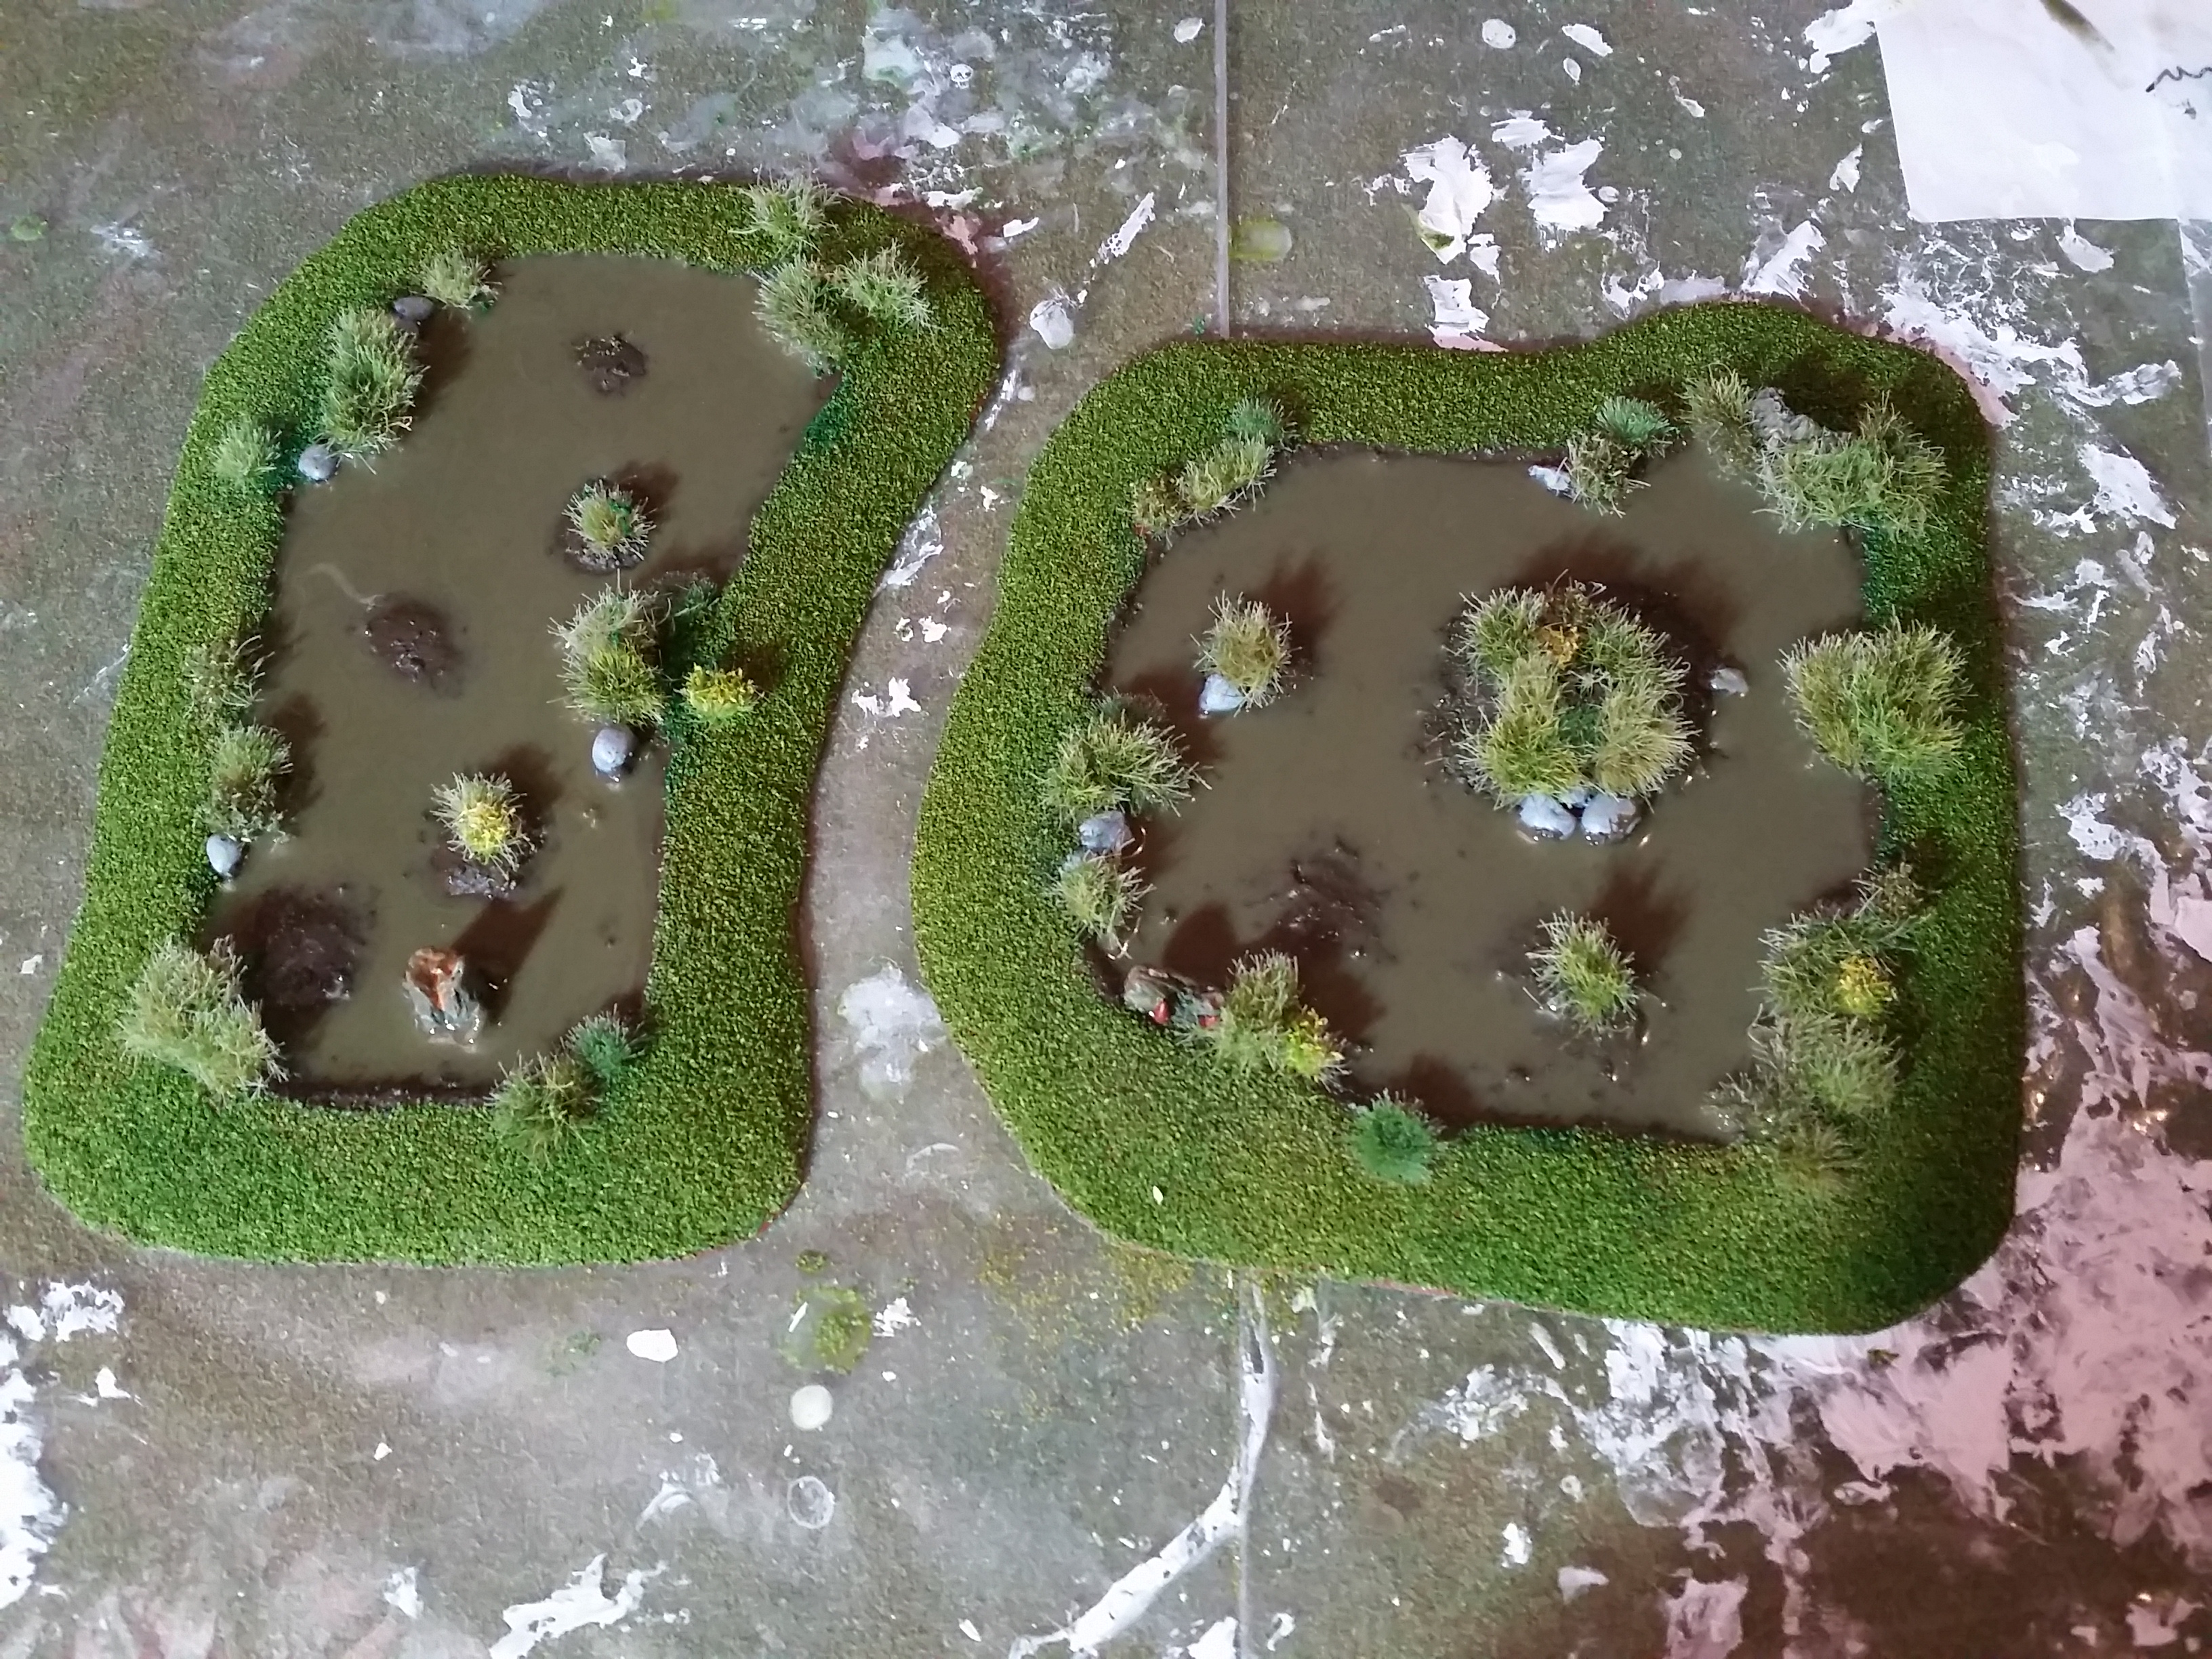
Marshlands Progress
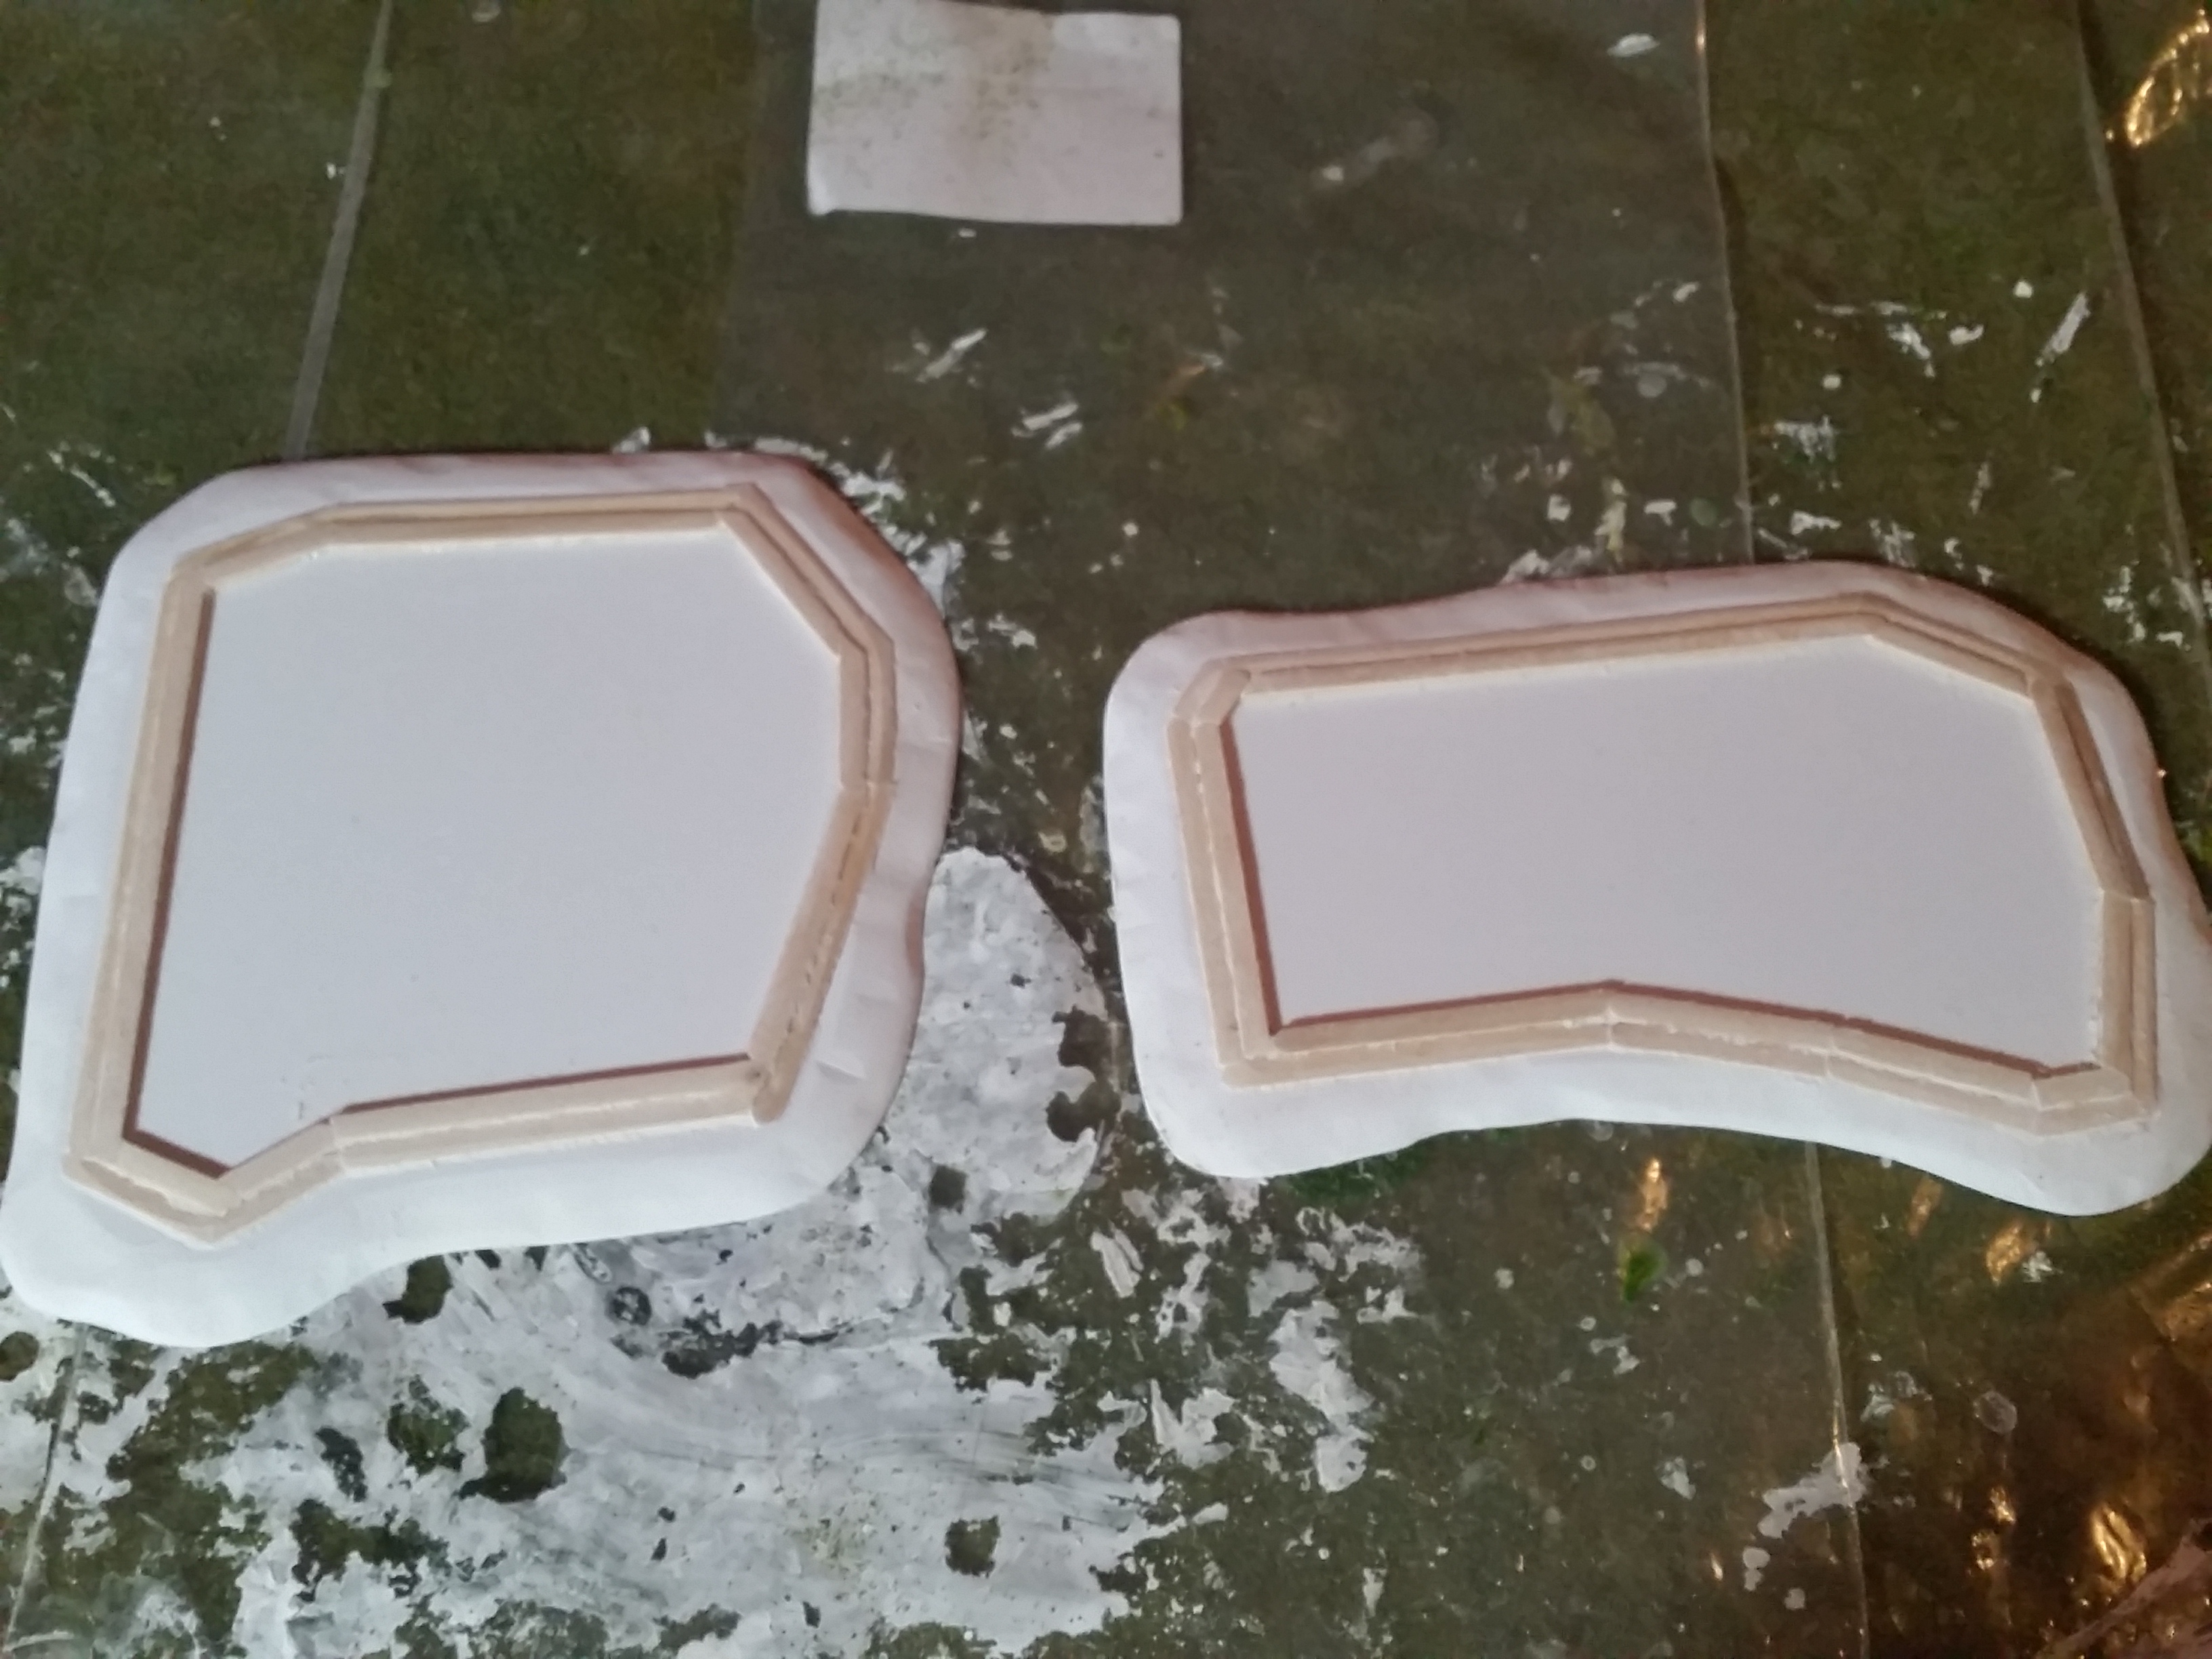
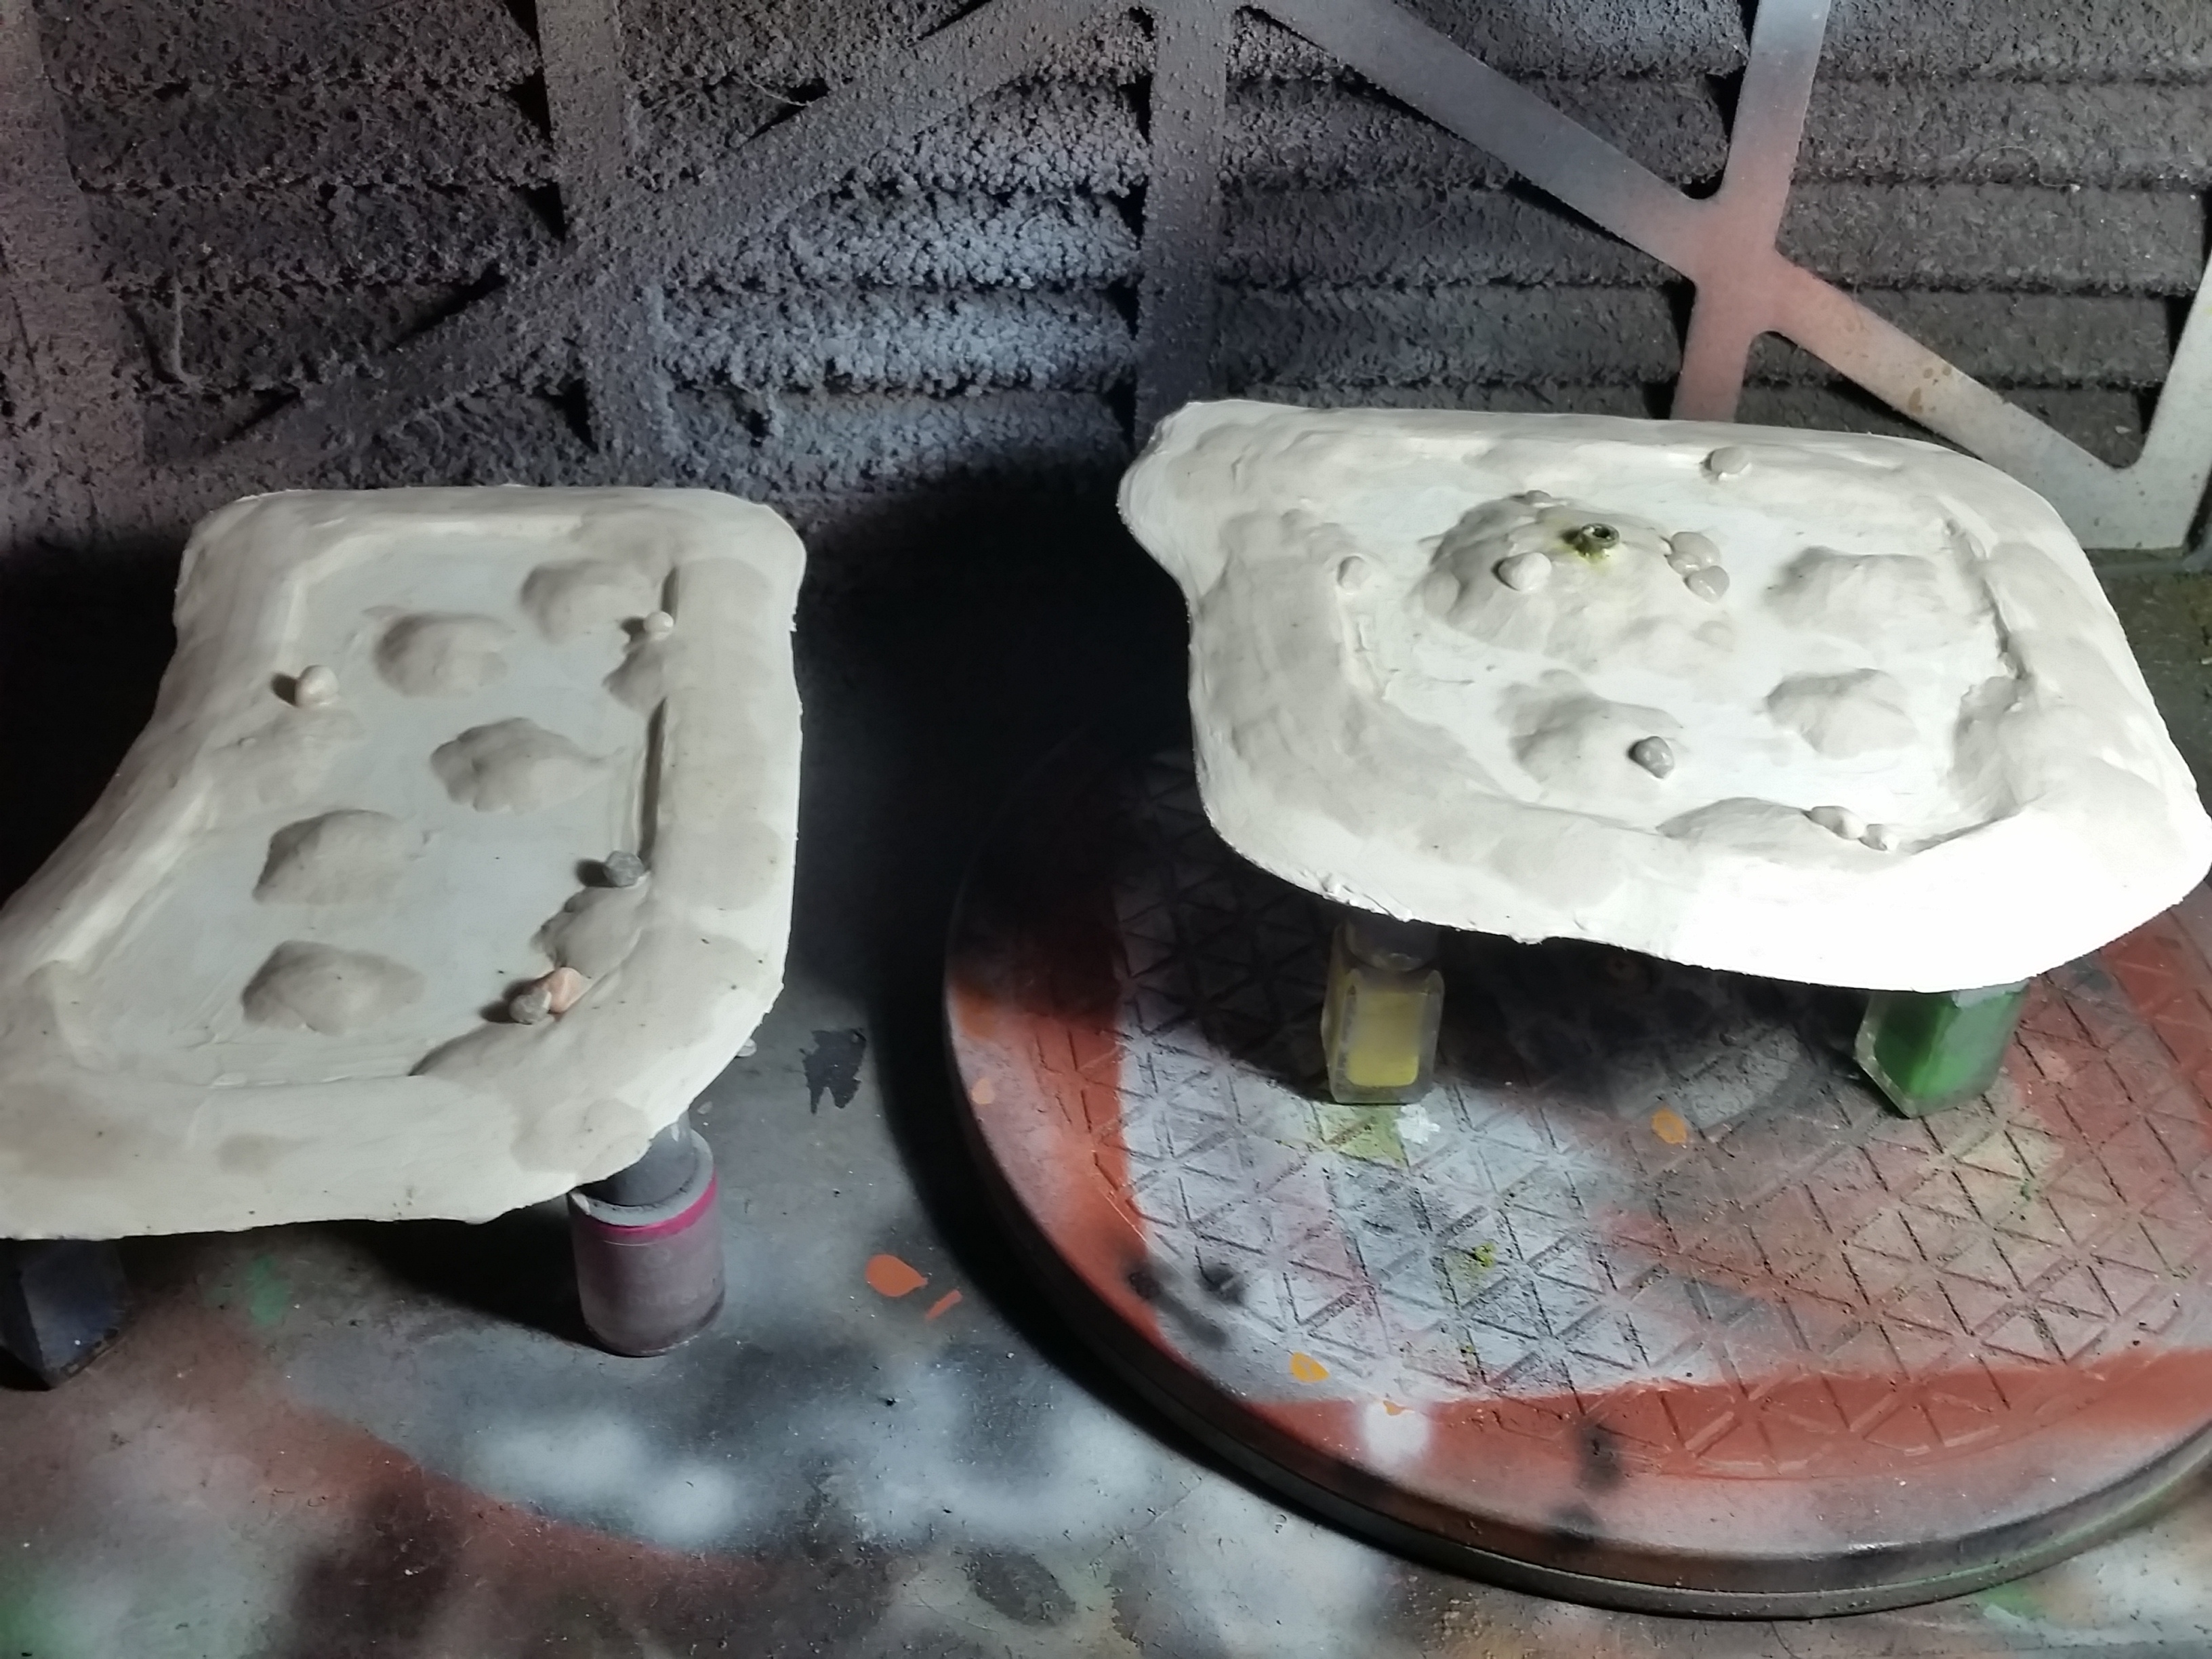
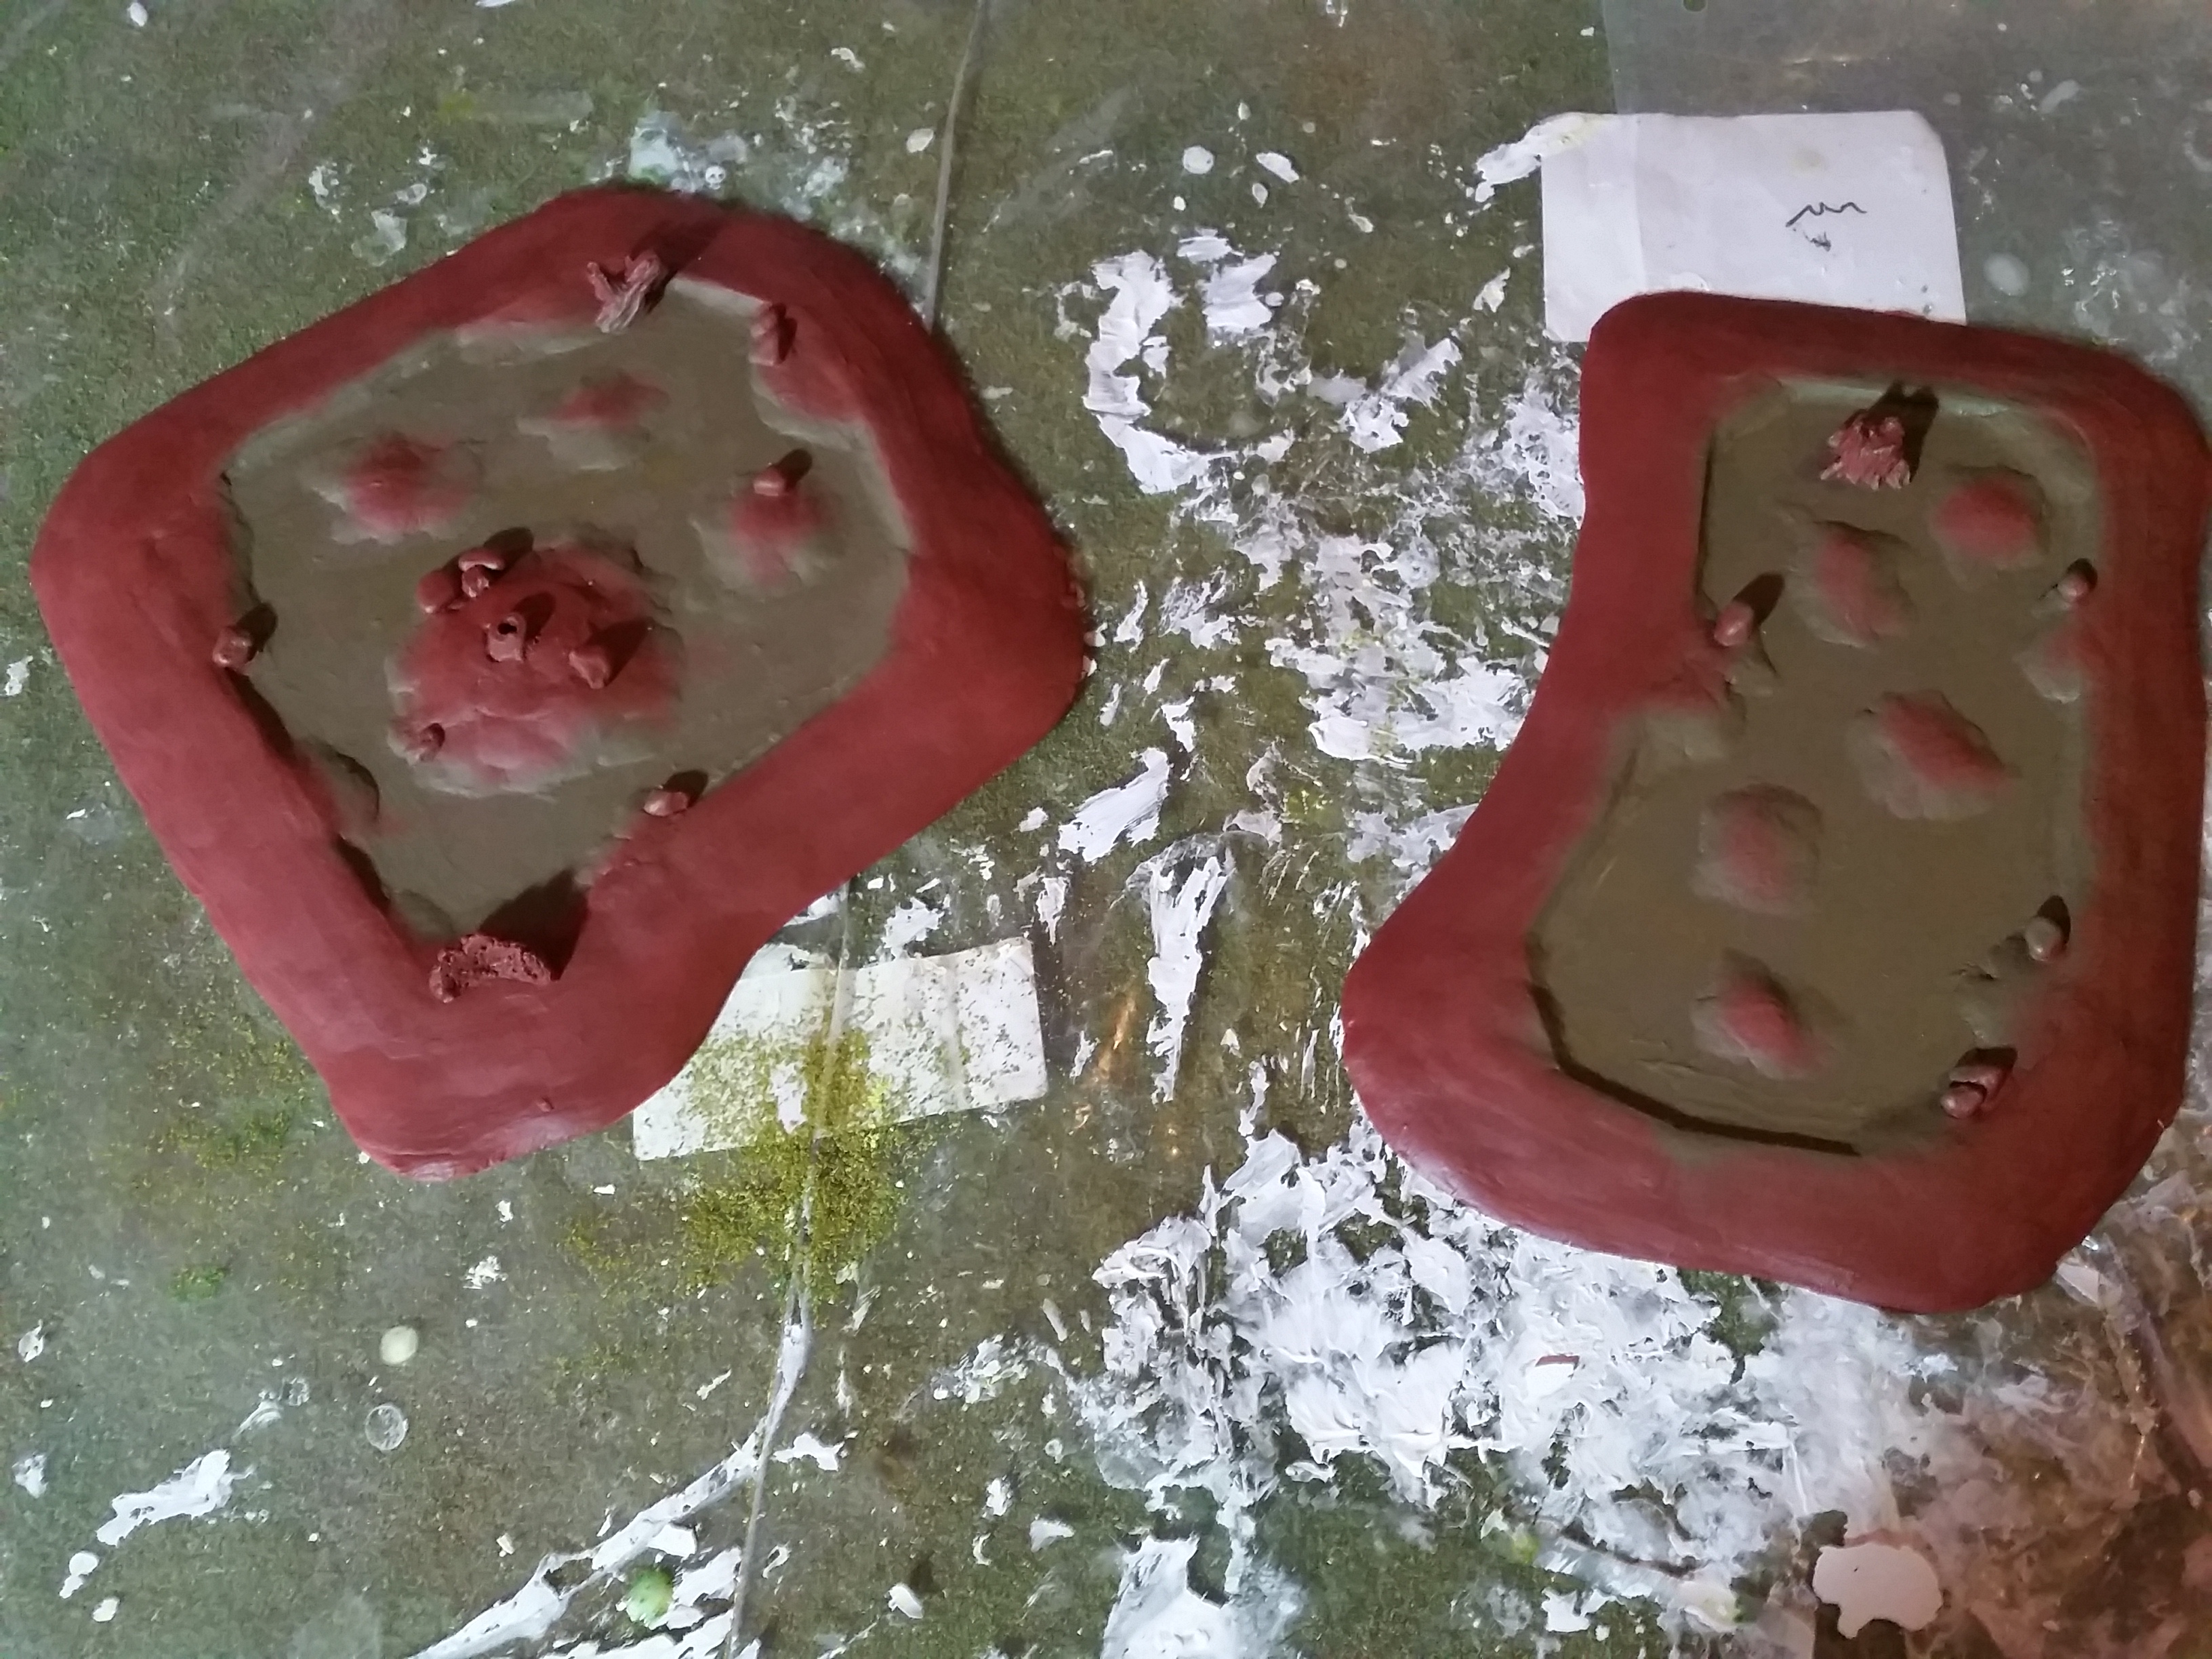
I started by making a base as usual from ePVC foamboard and then I added a little rim to the base made of coffee stirrers. The outer rim is 1 stirrer high and the inner 2. I then sanded them semi-smooth in preparation for some filler. This rim will be the barrier between where I want my water effects to go in. I then smoothed the edges with filler. Unfortunately, not everything turned out fully smooth. And thus I smoothed those bits out with a bit of clay. I then followed up adding a couple of small islands made out of clay in the basin to turn it into marshlands.
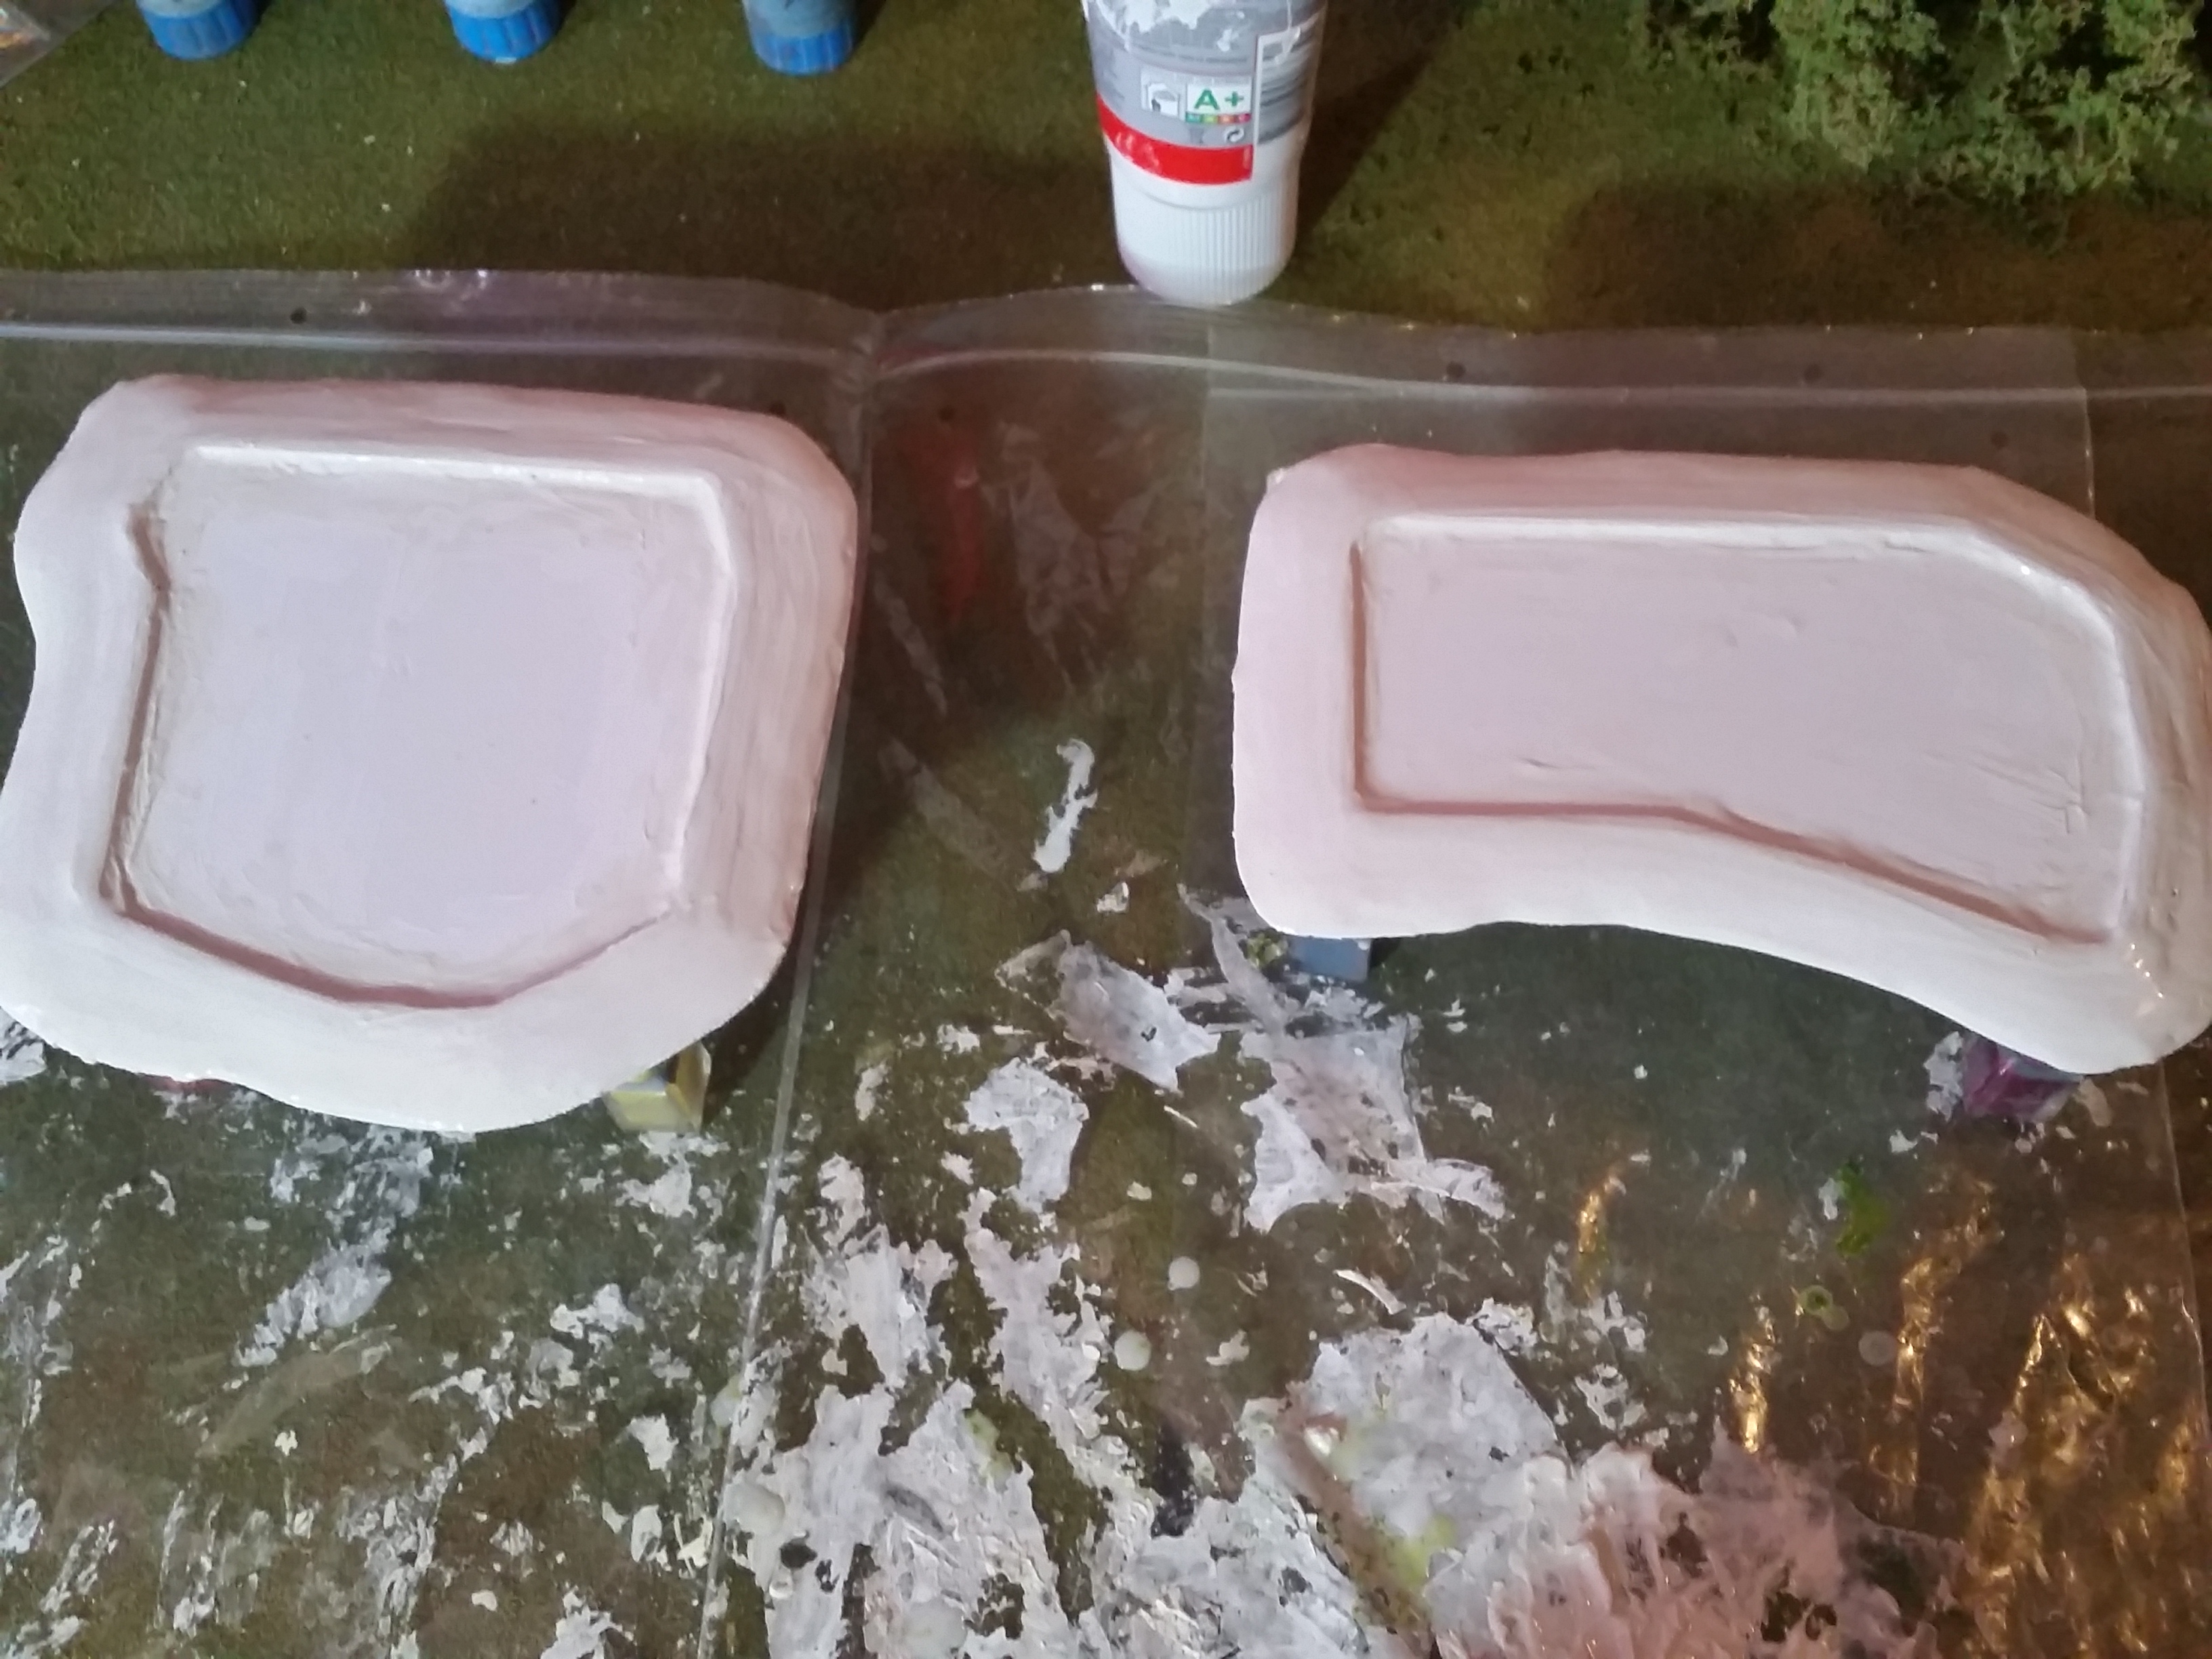
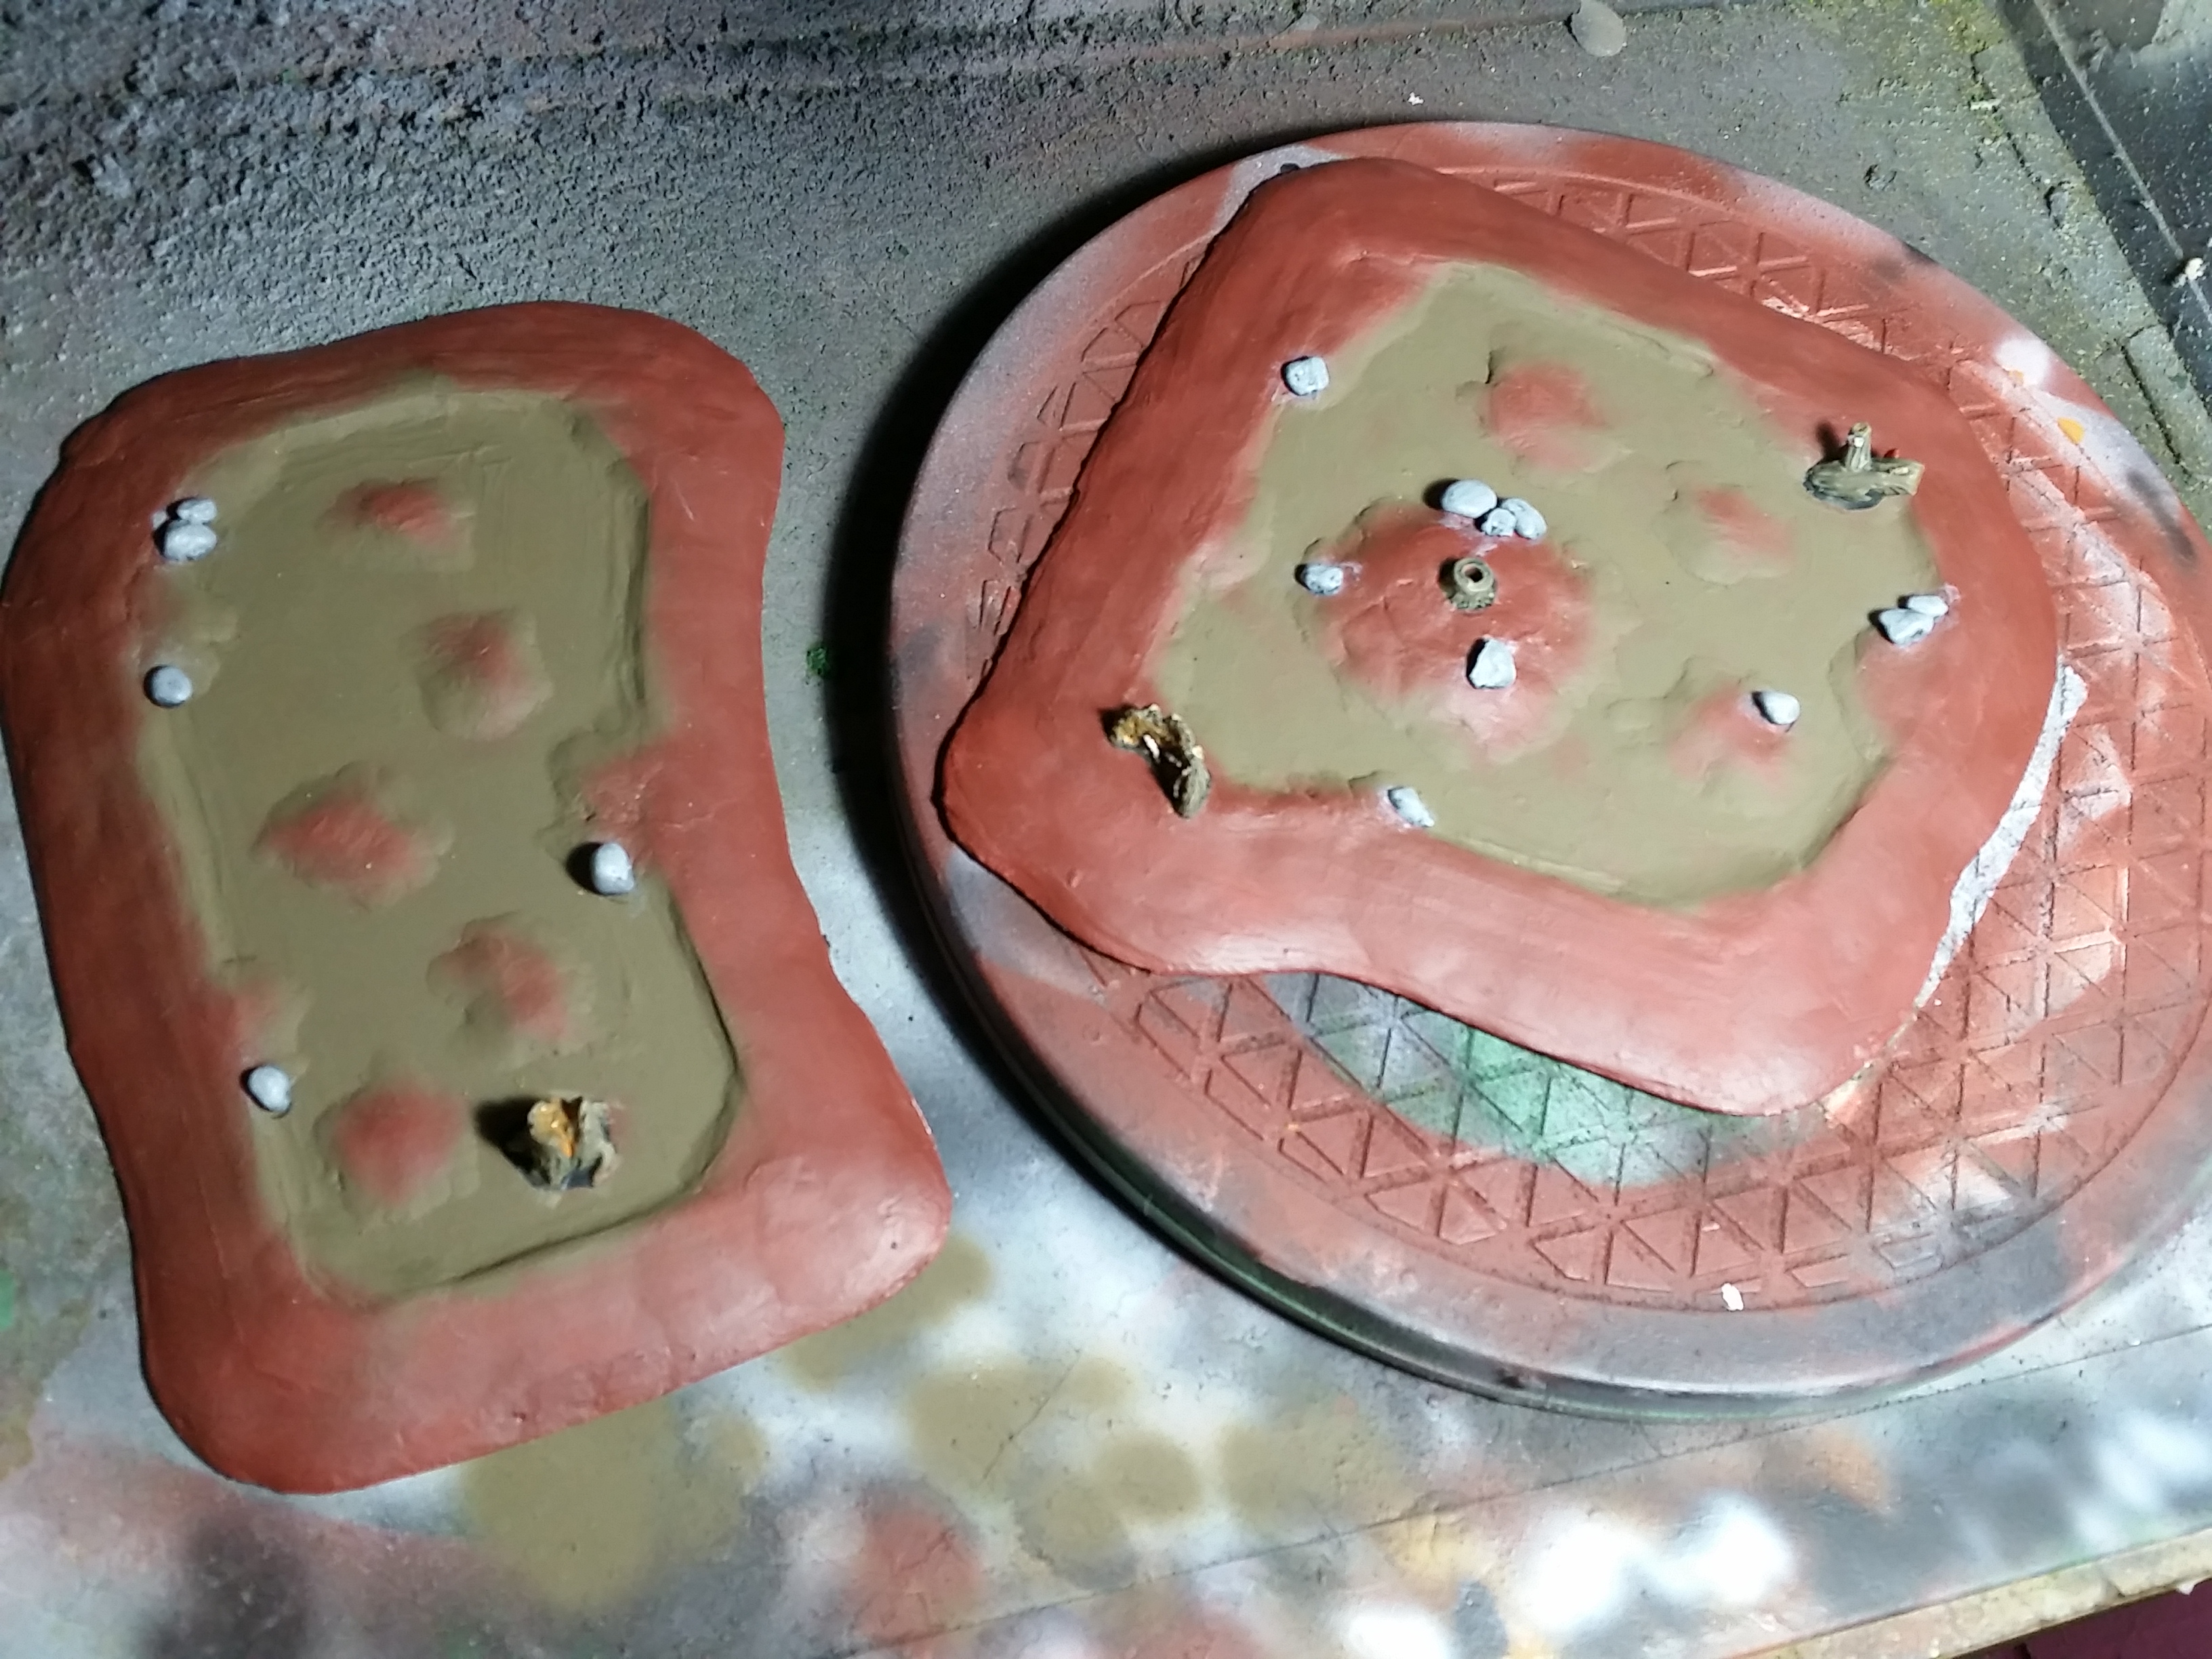
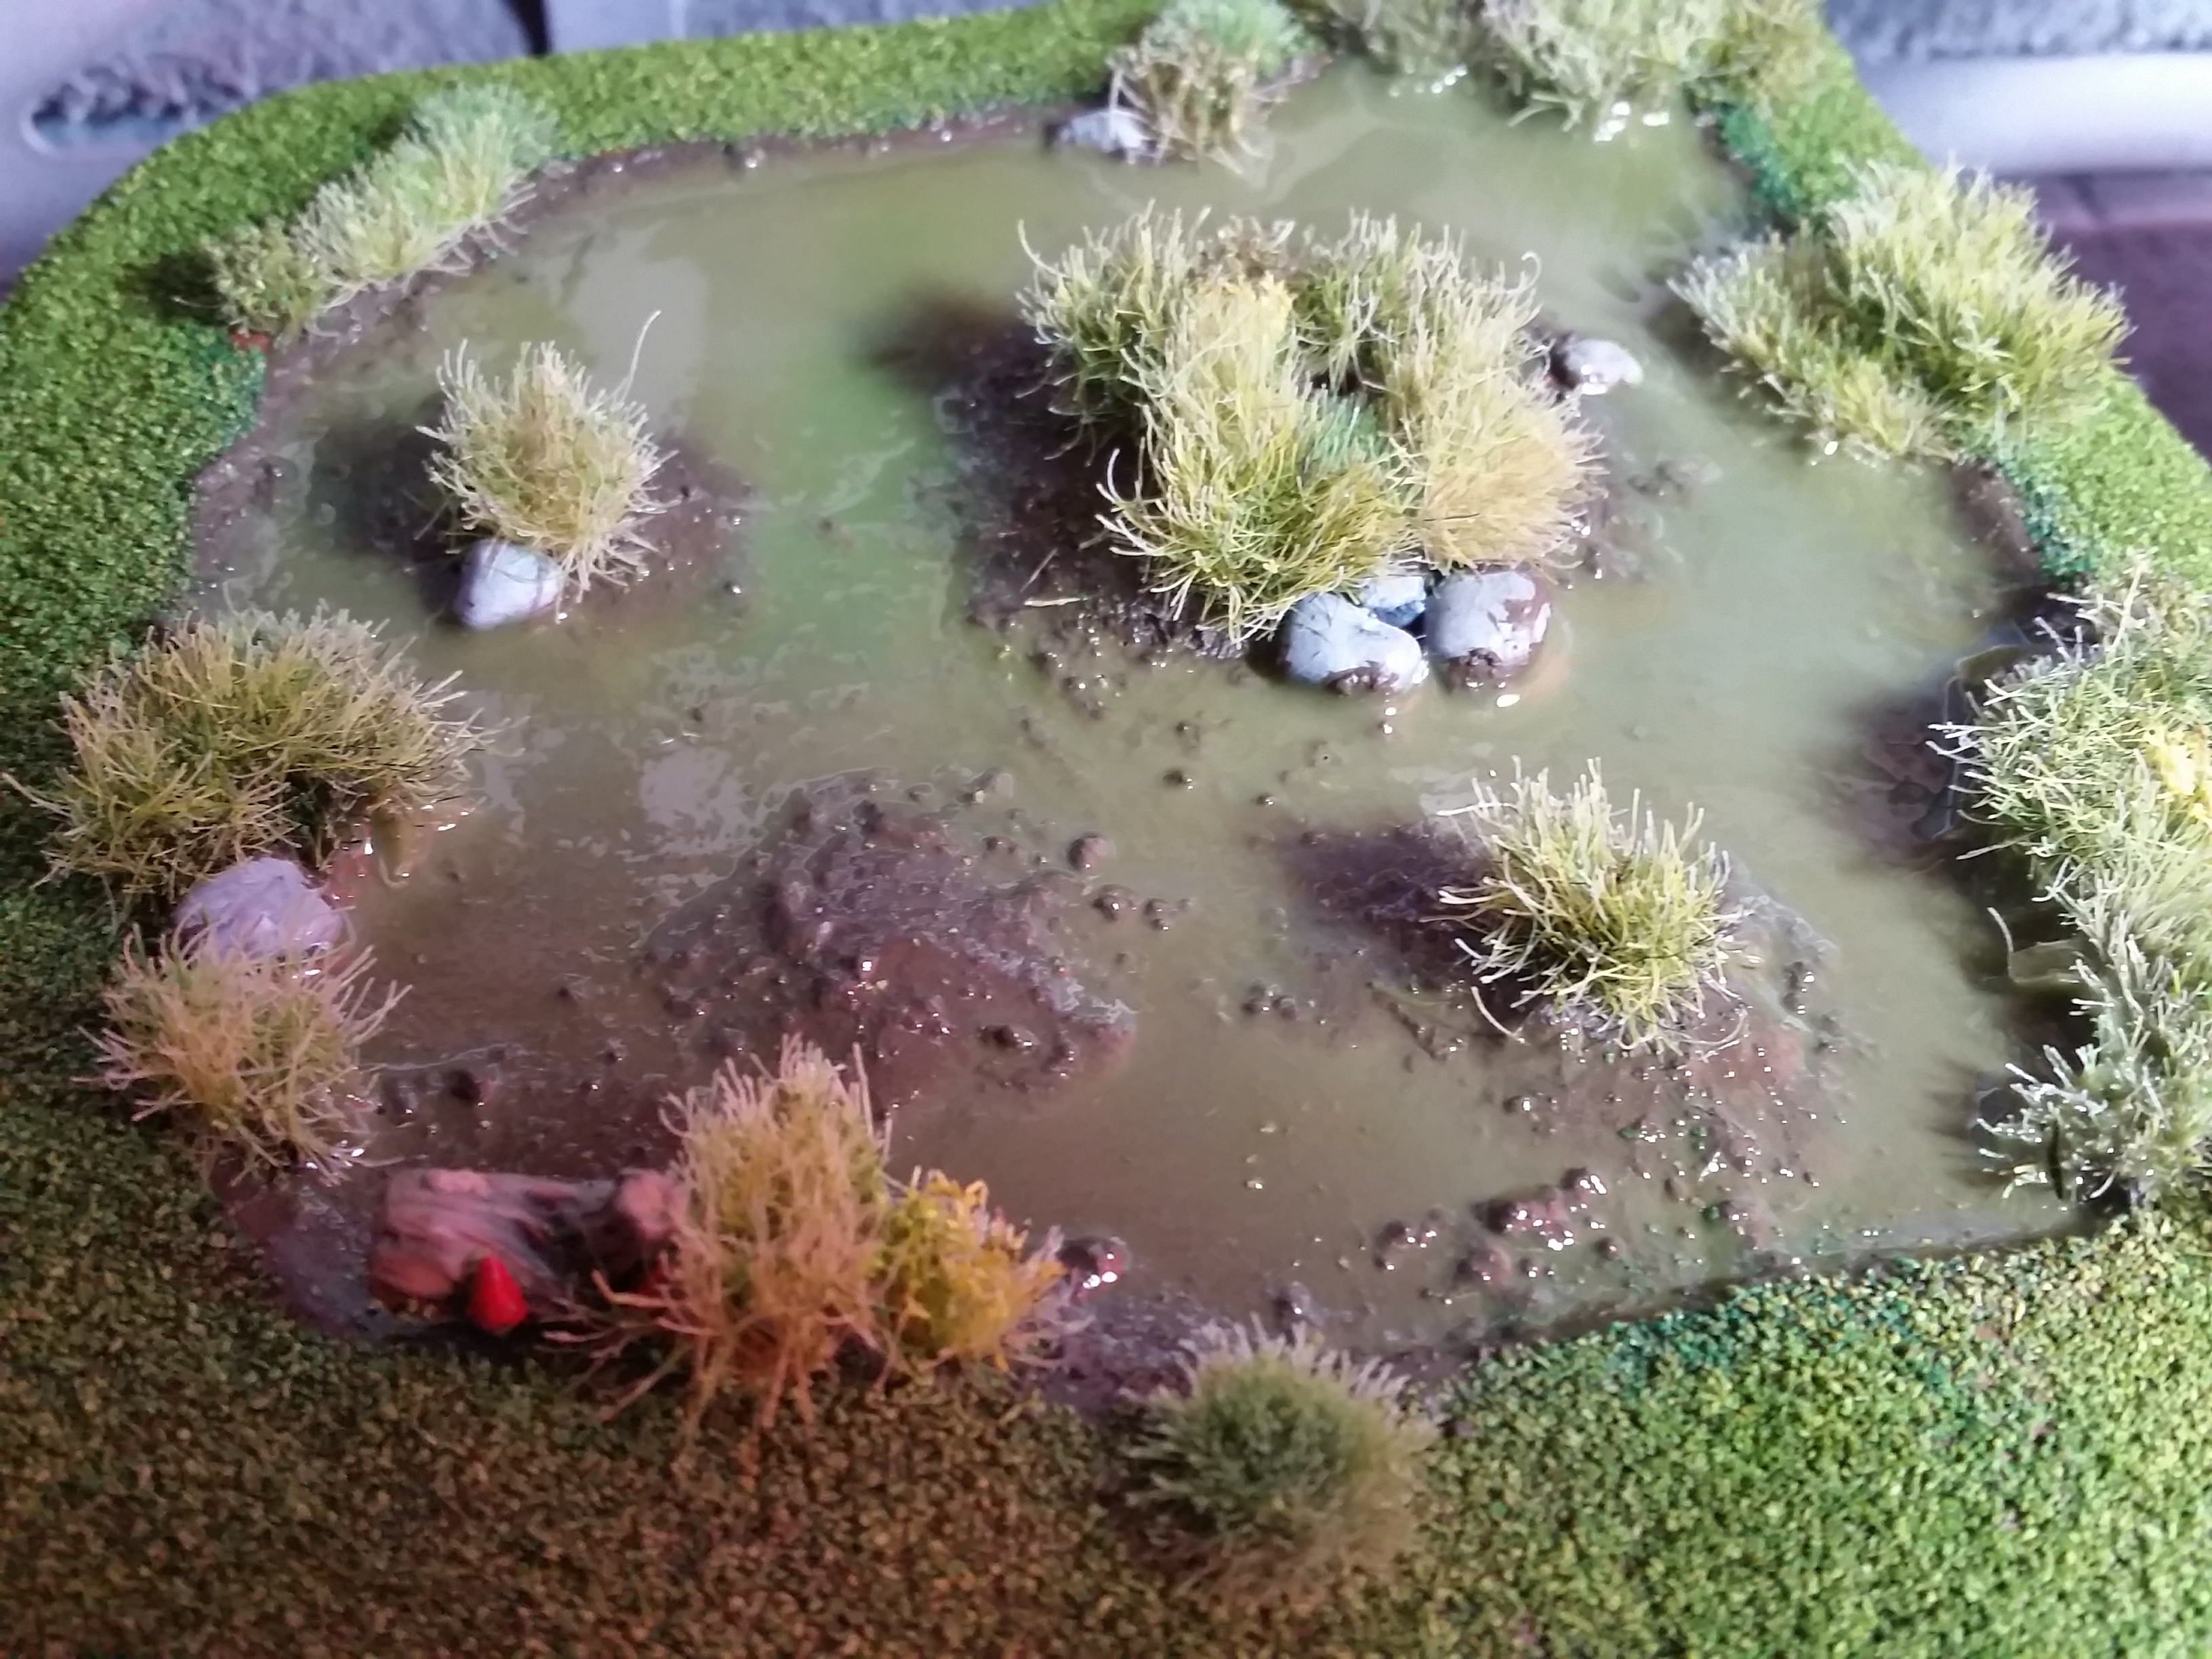
I primed the pieces as normal and I put down a rough coat of Vallejo Panzer Aces Dark Mud (70.316) in the basin. I then painted the rest in the same way as I did before. I applied a coat of AK Interactive Diorama Terrains Muddy Ground (AK8017) around the edges and on the islands. I then glued in an array of tufts in the terrain paste. After this was dry I applied flock in the method before around the edges.
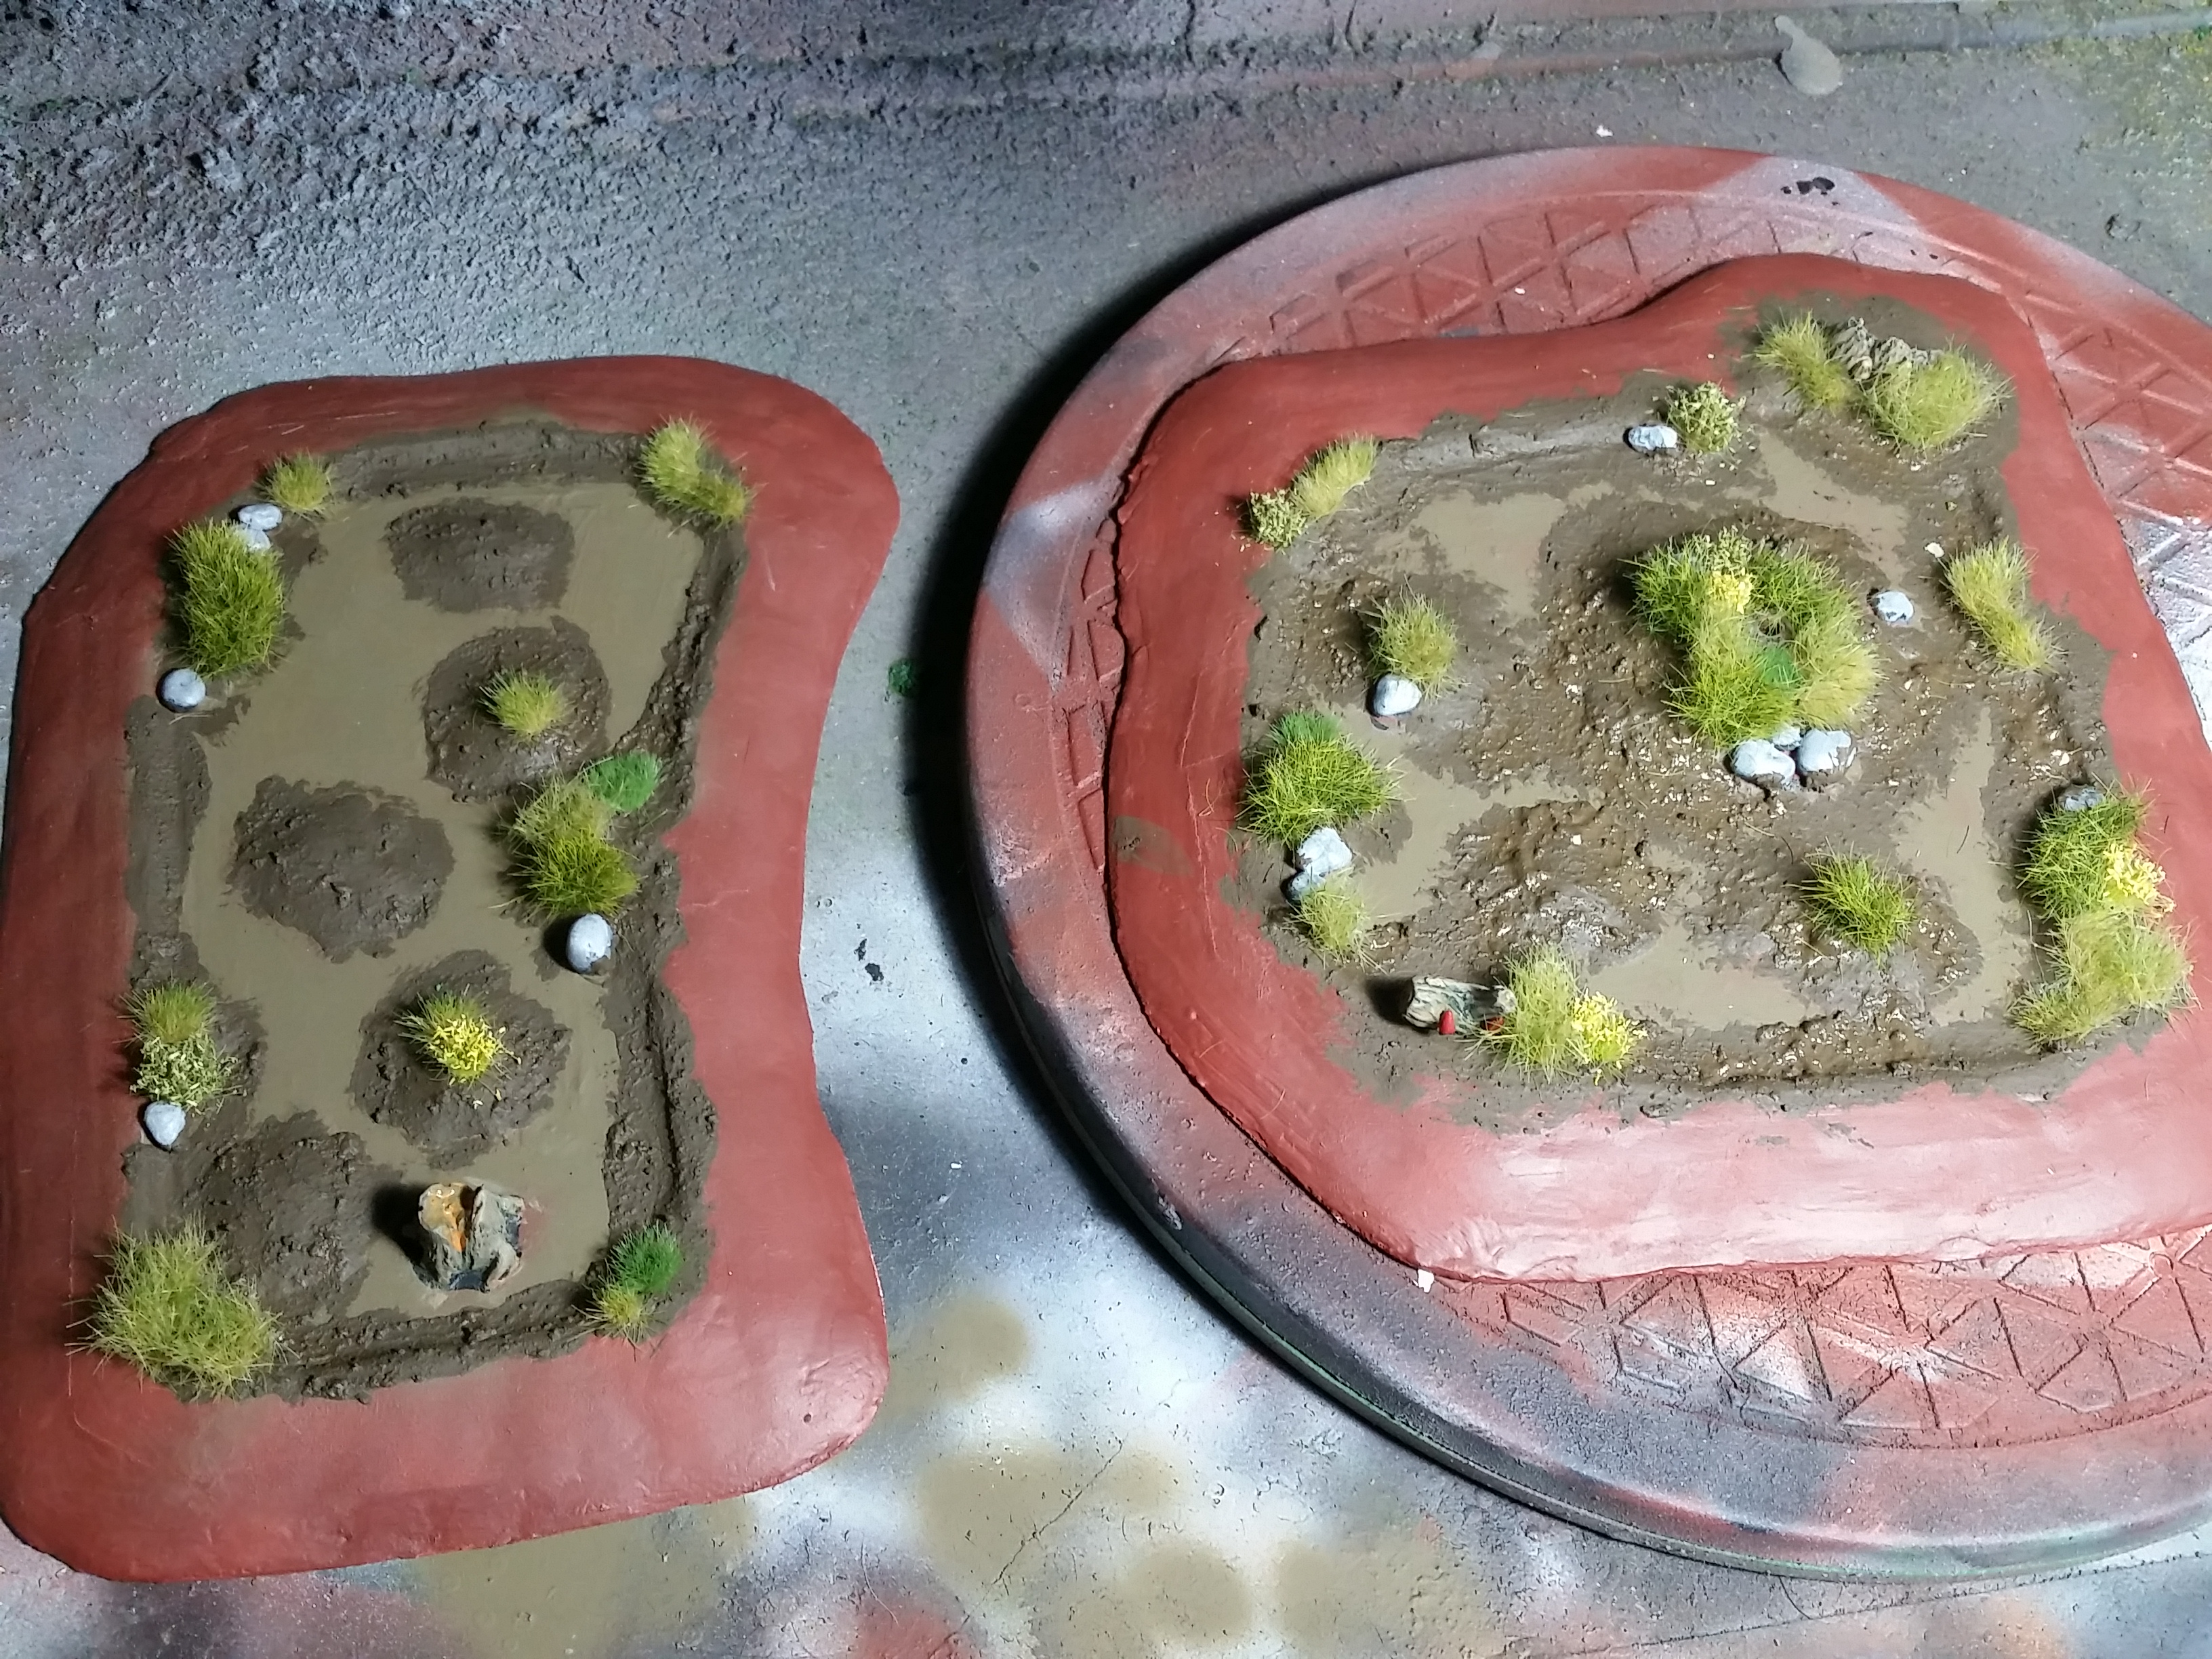

I added a couple more tufts and then sealed it all in with water down PVA. When that was dry I applied a heavy coat of The Army Painter Anti Shine Matt Varnish (Aerosol Can) over the basin and the edges. This will seal it all in and make sure that any pigments can’t leak into the water effects. When this was dry I mixed up a batch Vallejo Water Texture Still Water (26.230) & Vallejo Panzer Aces Dark Mud (70.316) for the first layer of water.
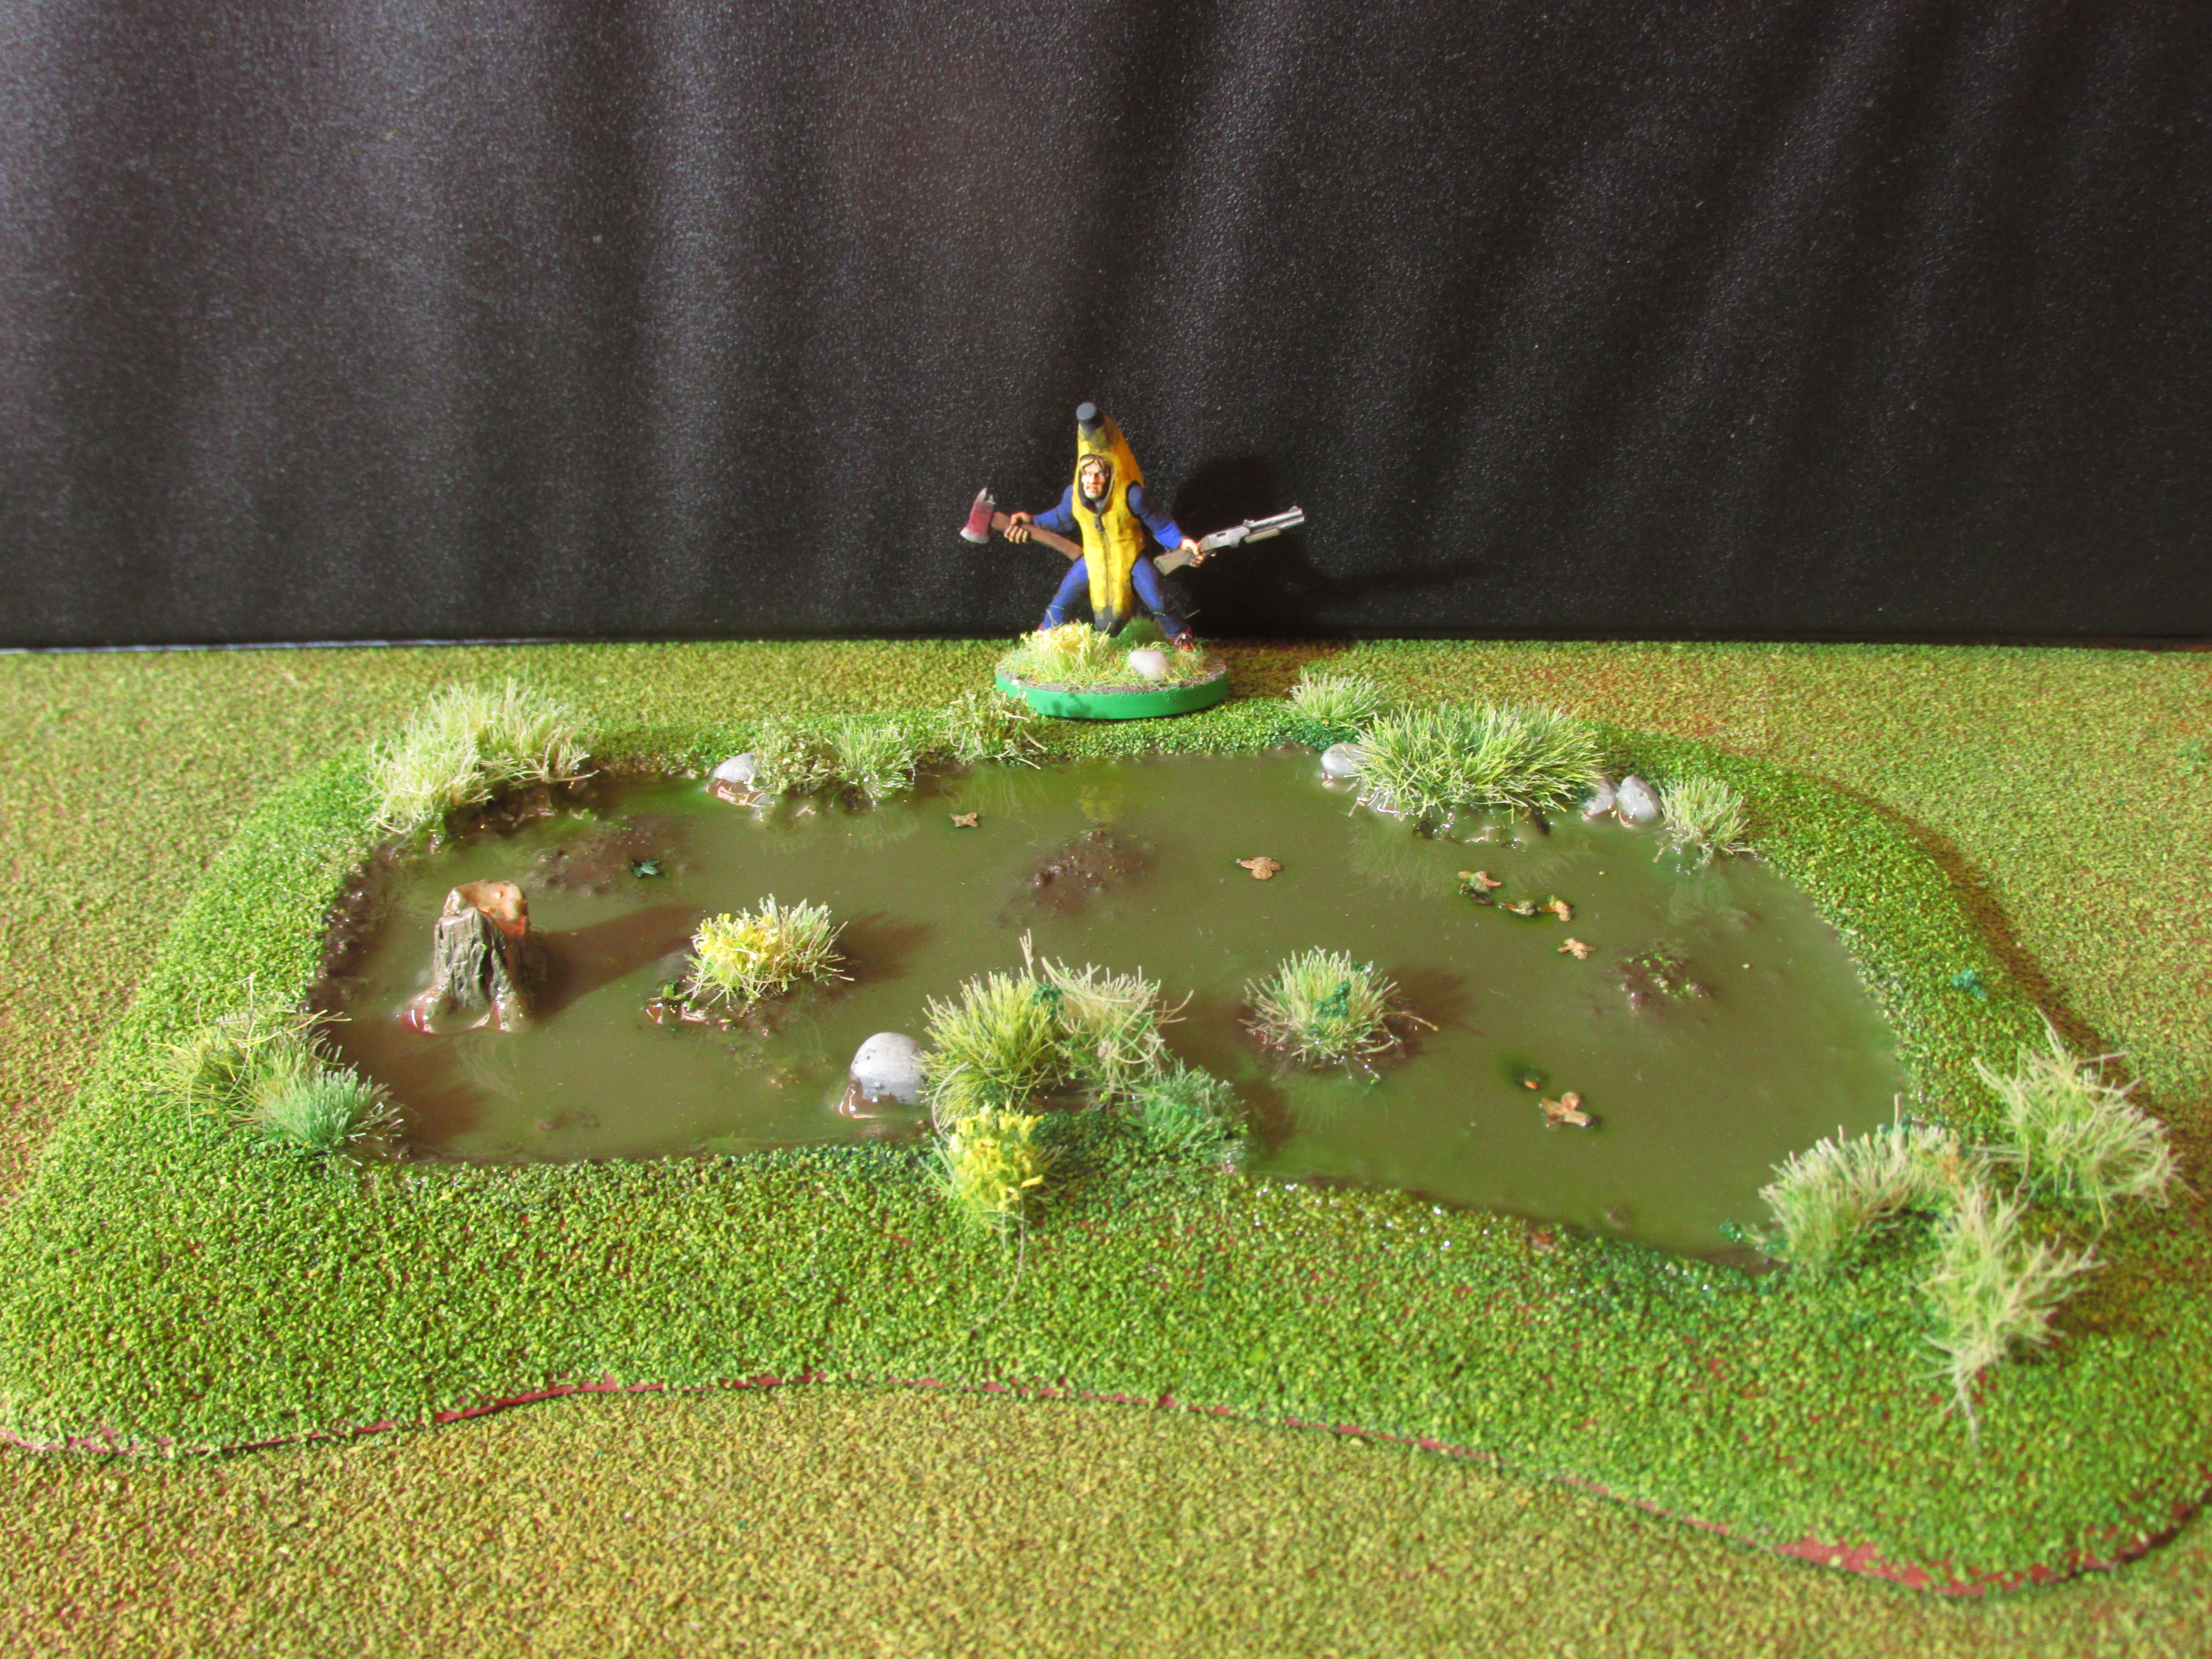
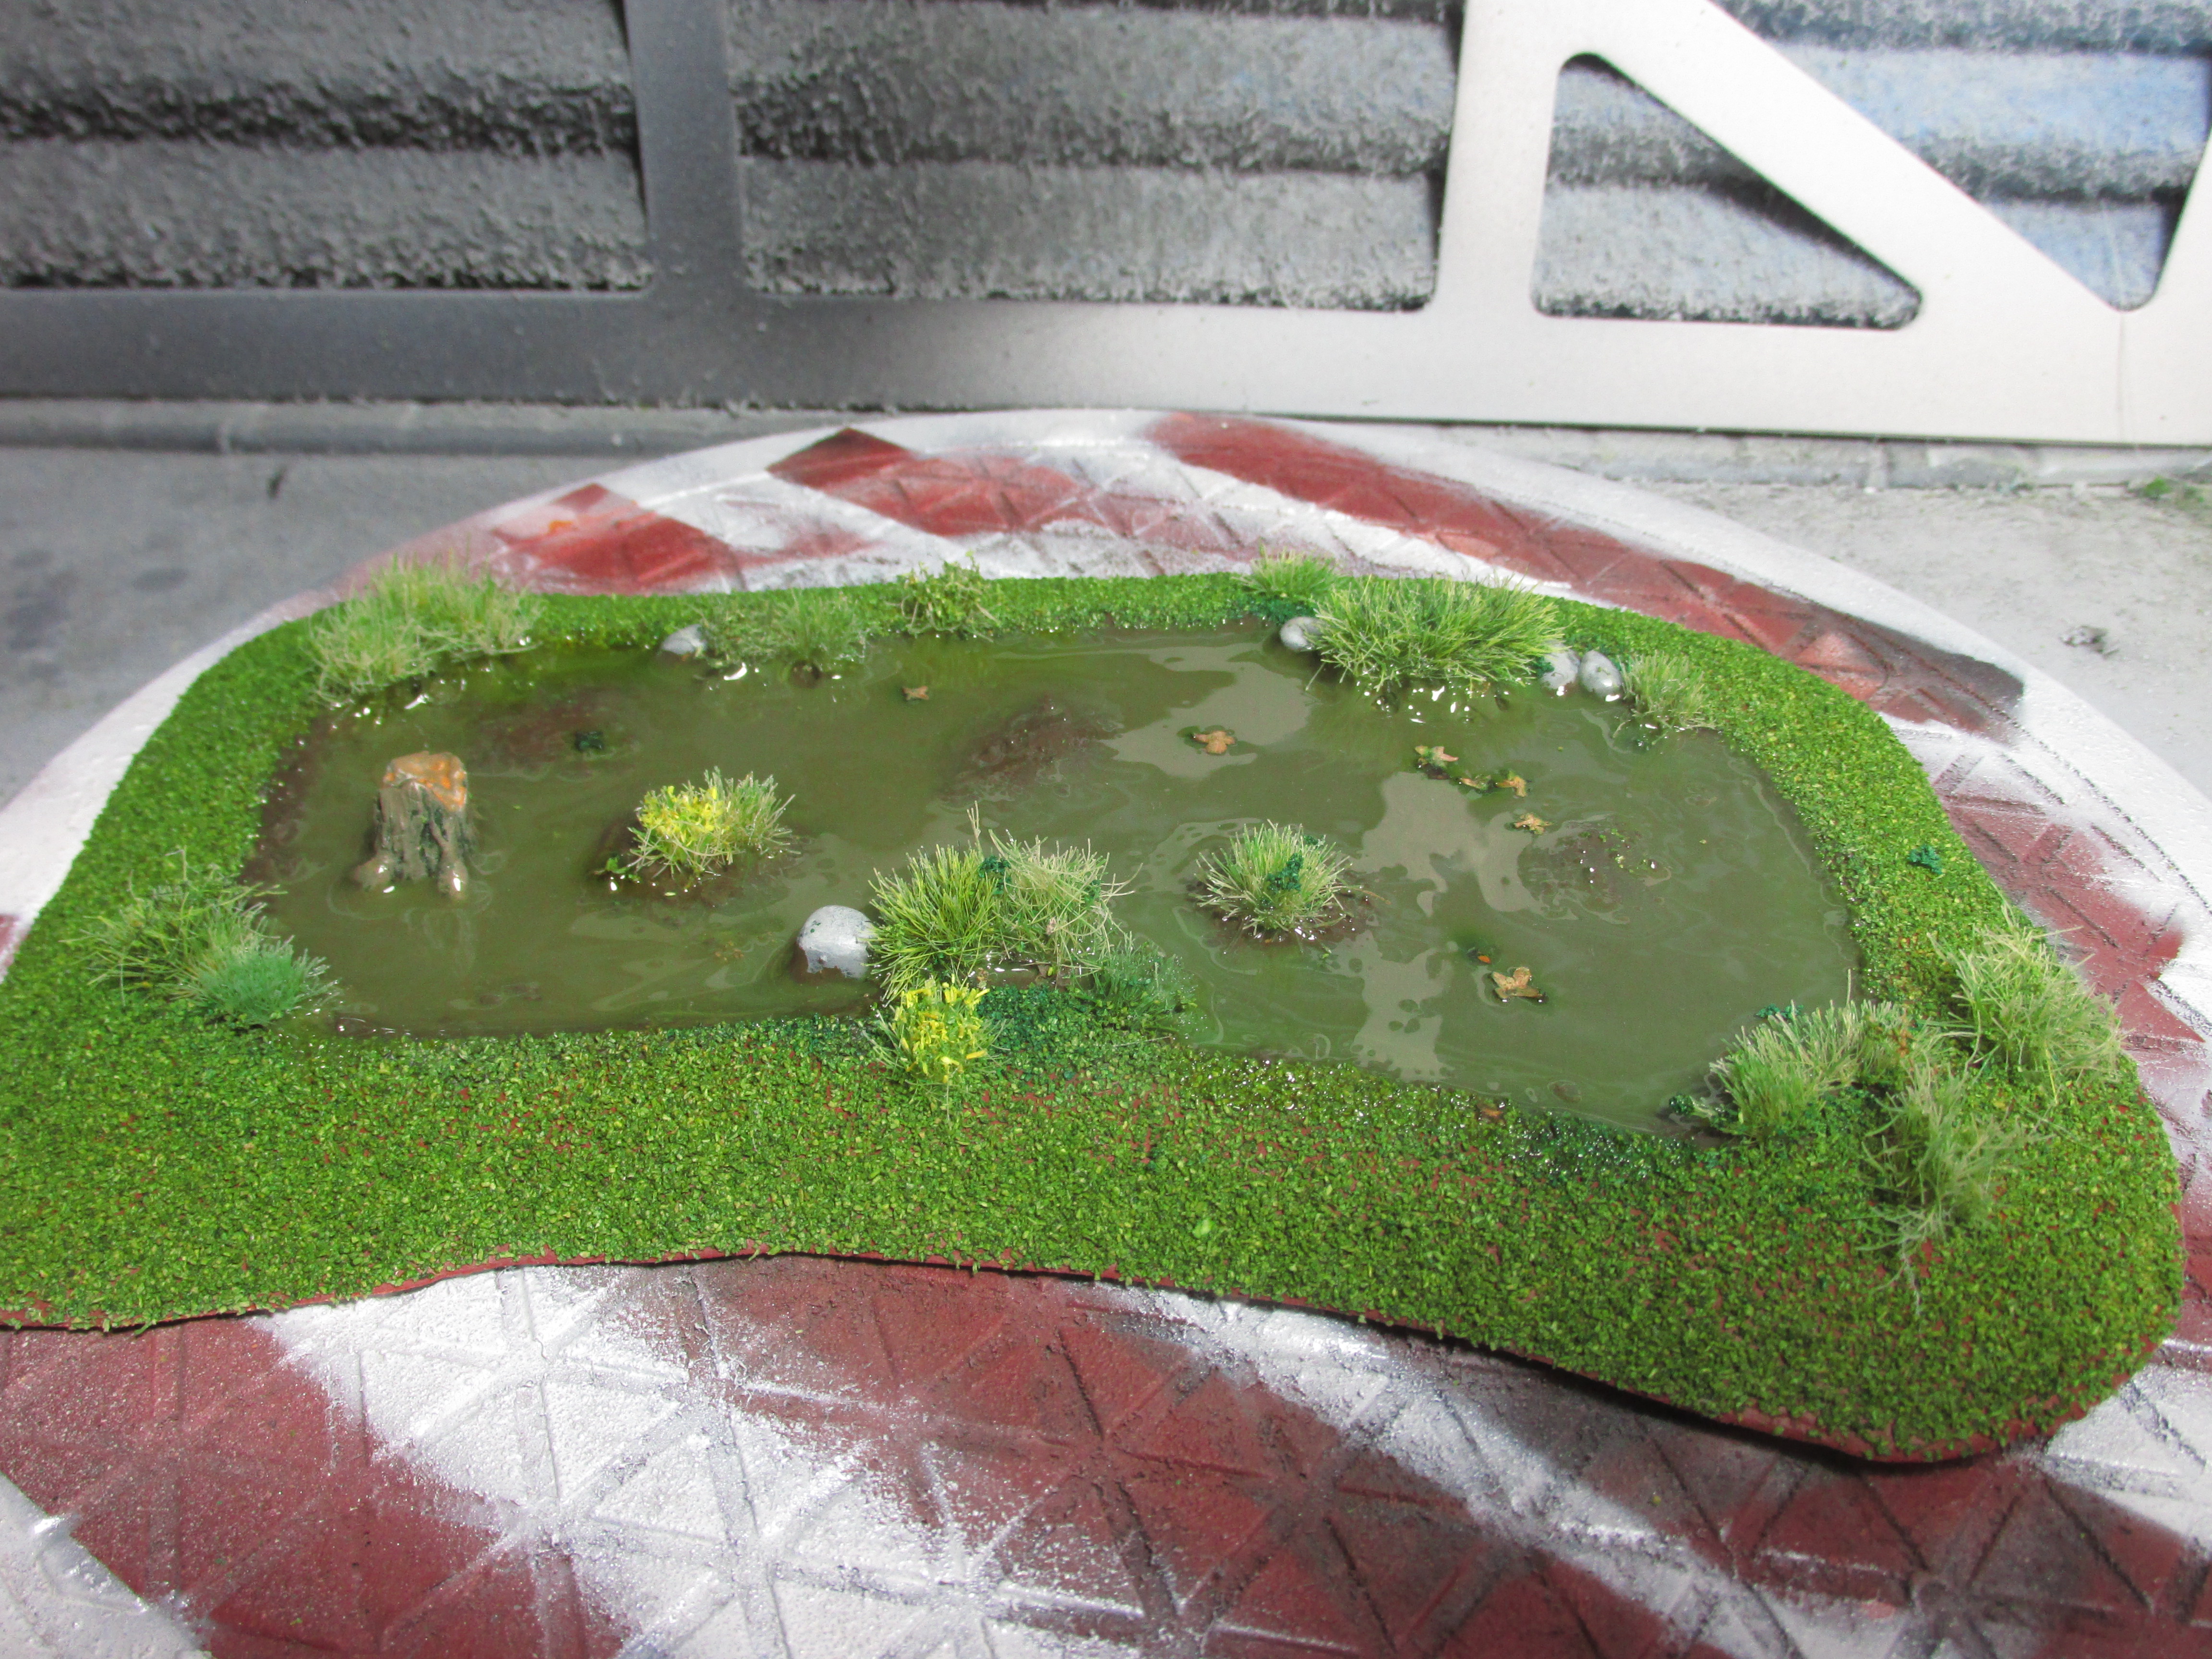
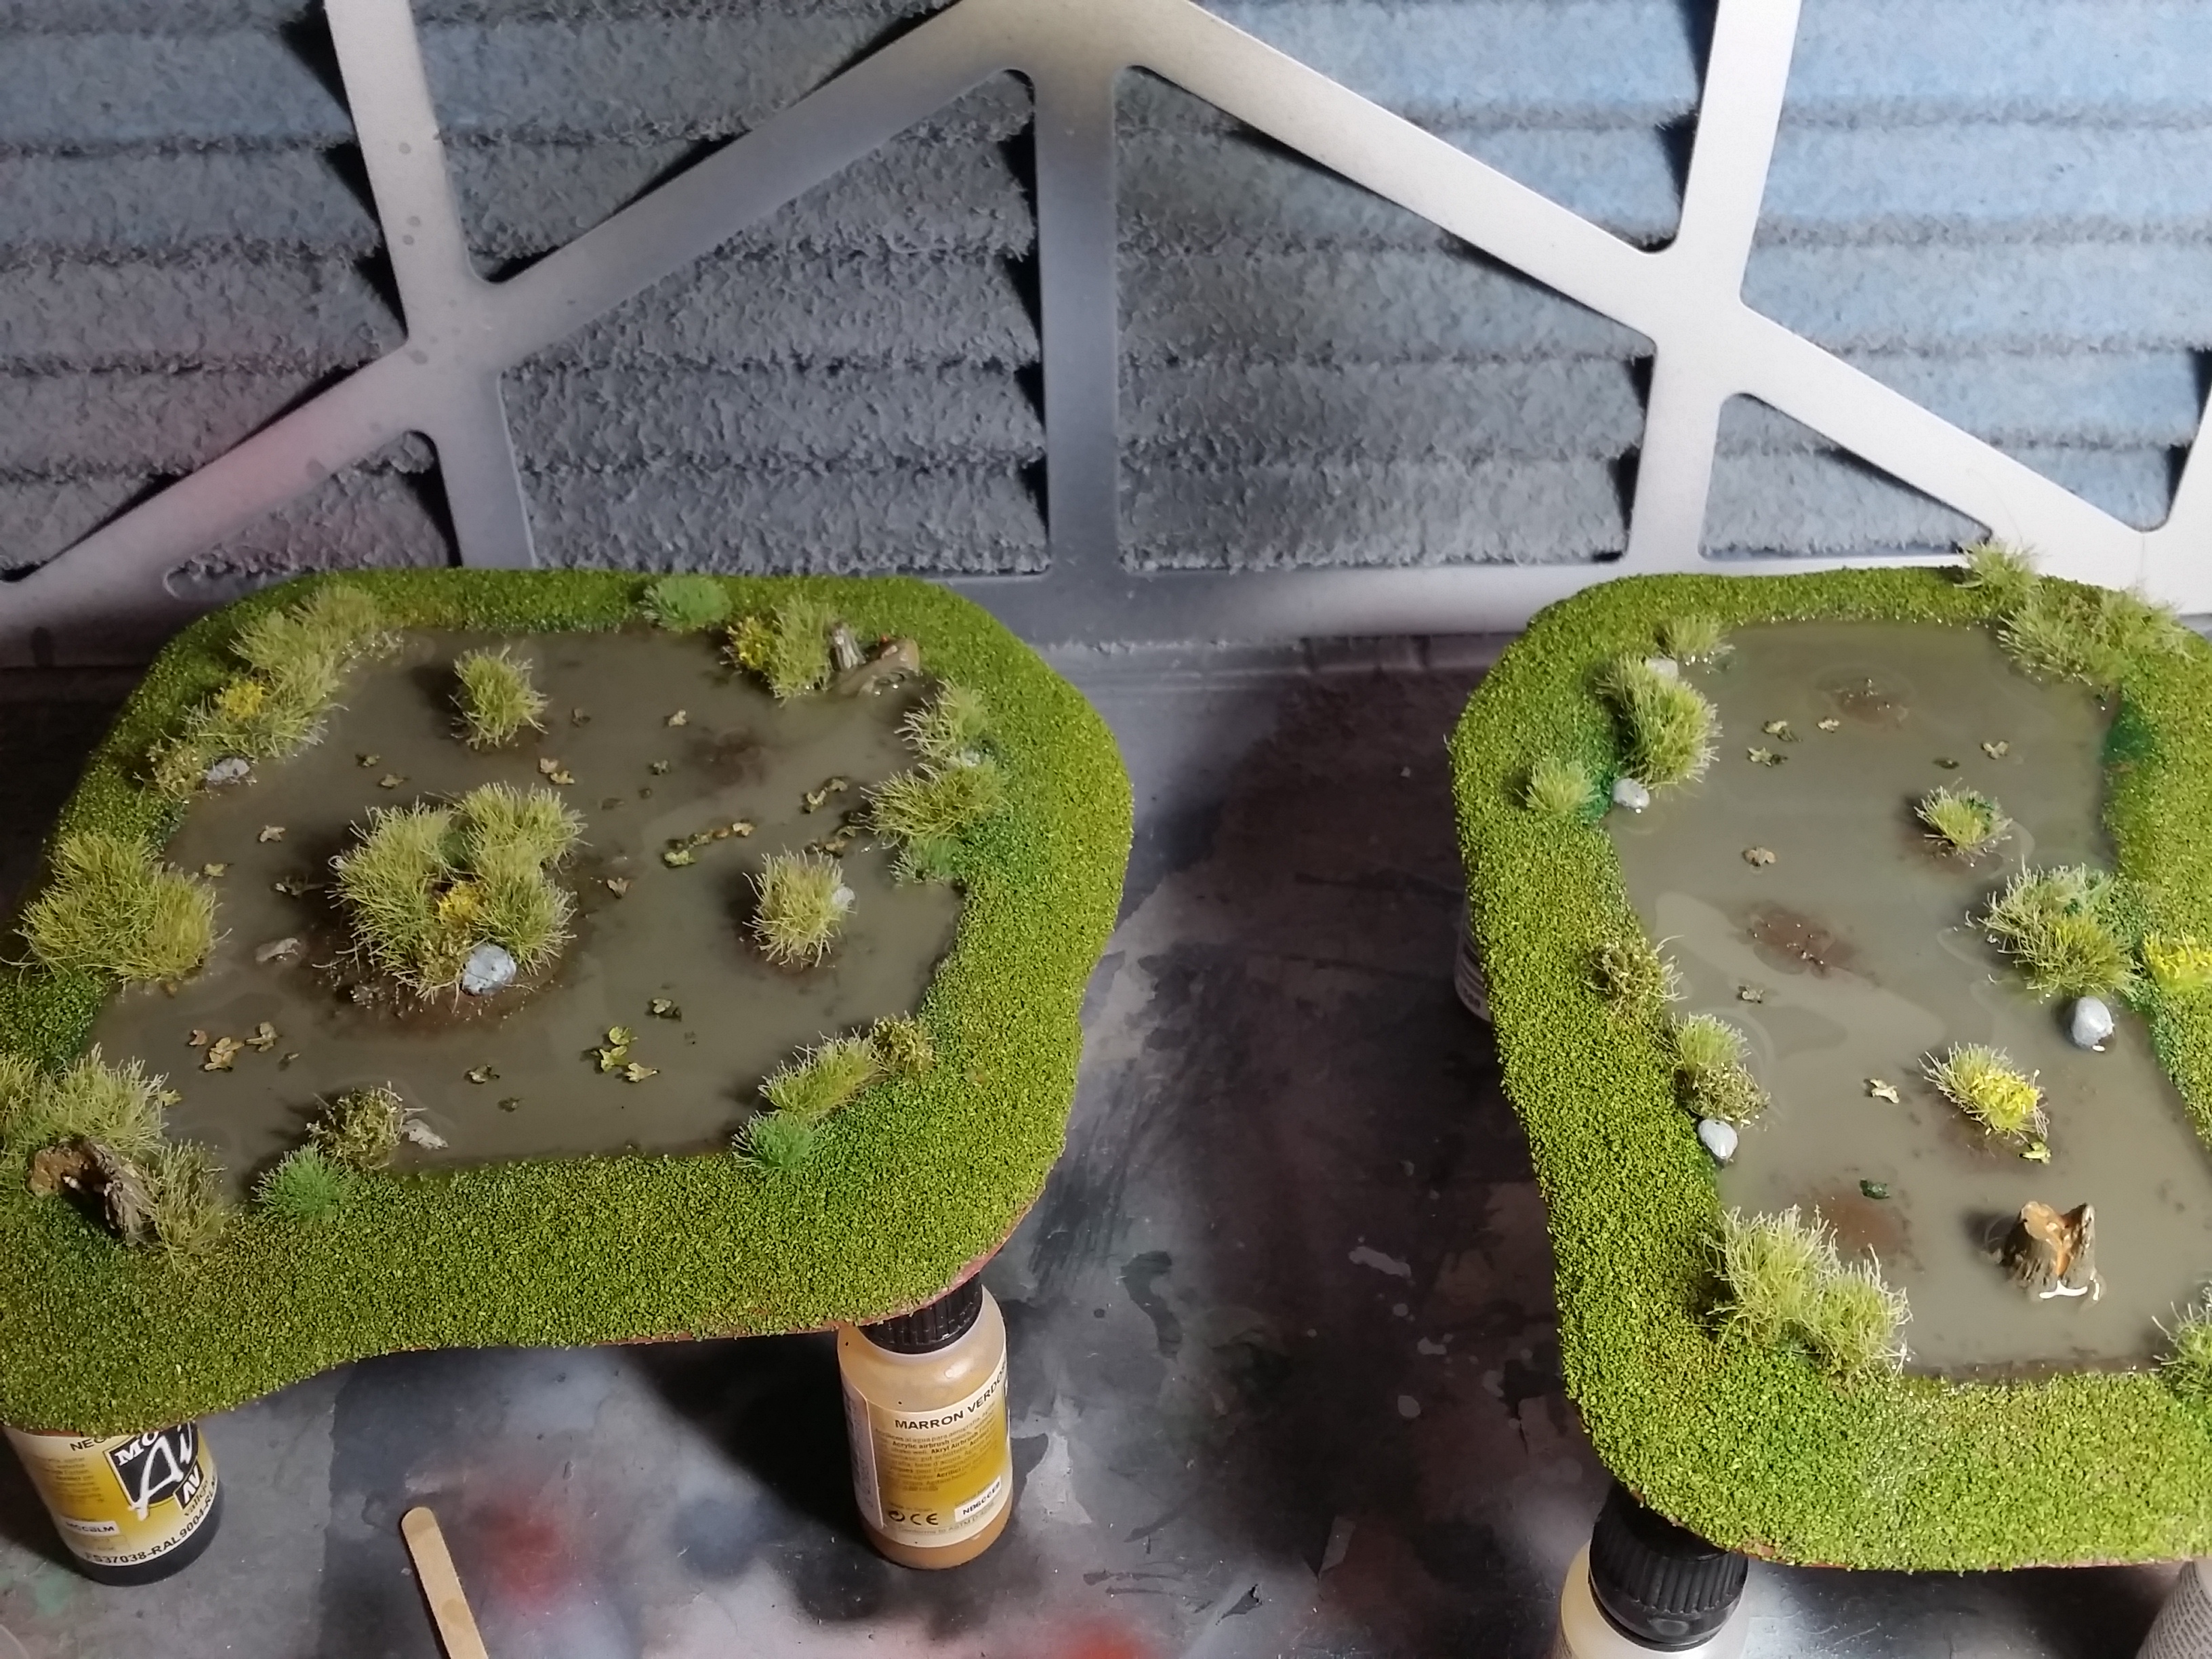
The water effects settled to one side when it was dry. I checked if the table was flat and it was, I checked it because they both pooled to the same side. There is a little bit of warp in the pieces and the weight may have shifted to one side and they have pooled there. I put them on equal sized stands so if there is a warp it will pool in the centre where it will be less noticeable.
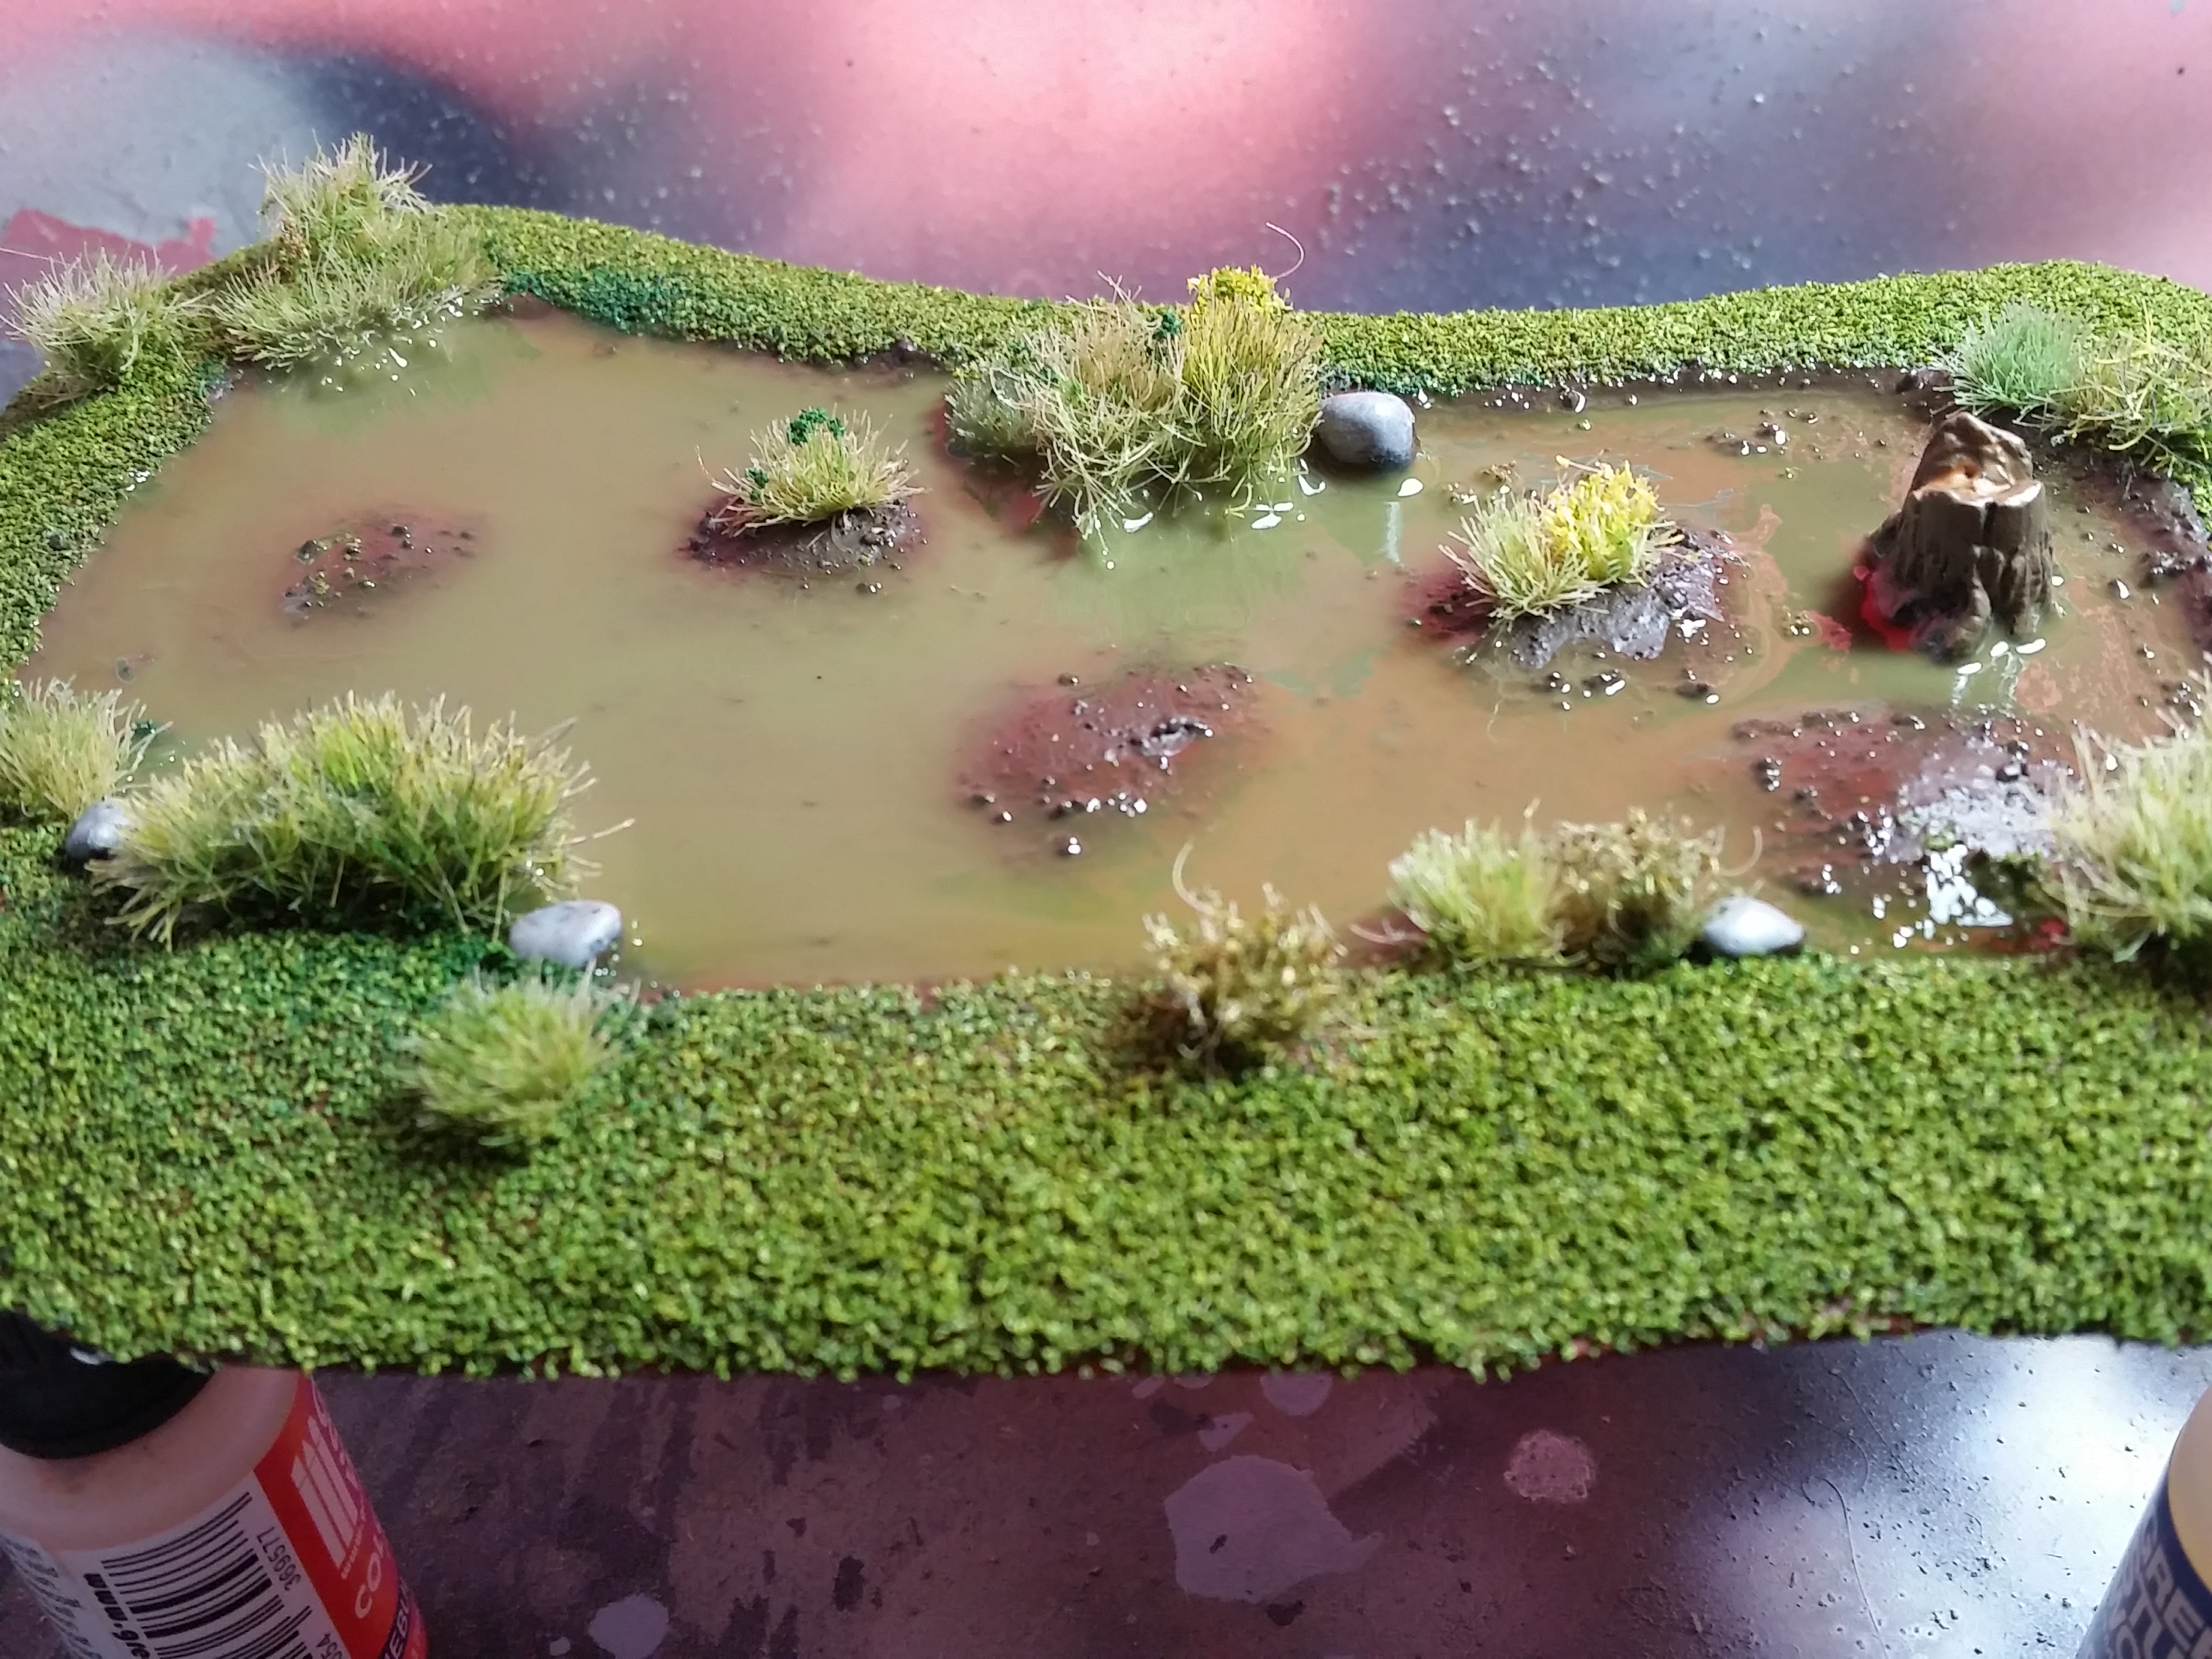
I poured in a second coat of still water and paint as before to equal things out a bit and I think it worked well. I then added a final coat of only still water and sprinkled a couple of leaves on there for detail. Yes there is a lot of shrinkage with this and I’m not sure if I want to use it again in the future for pieces like this.


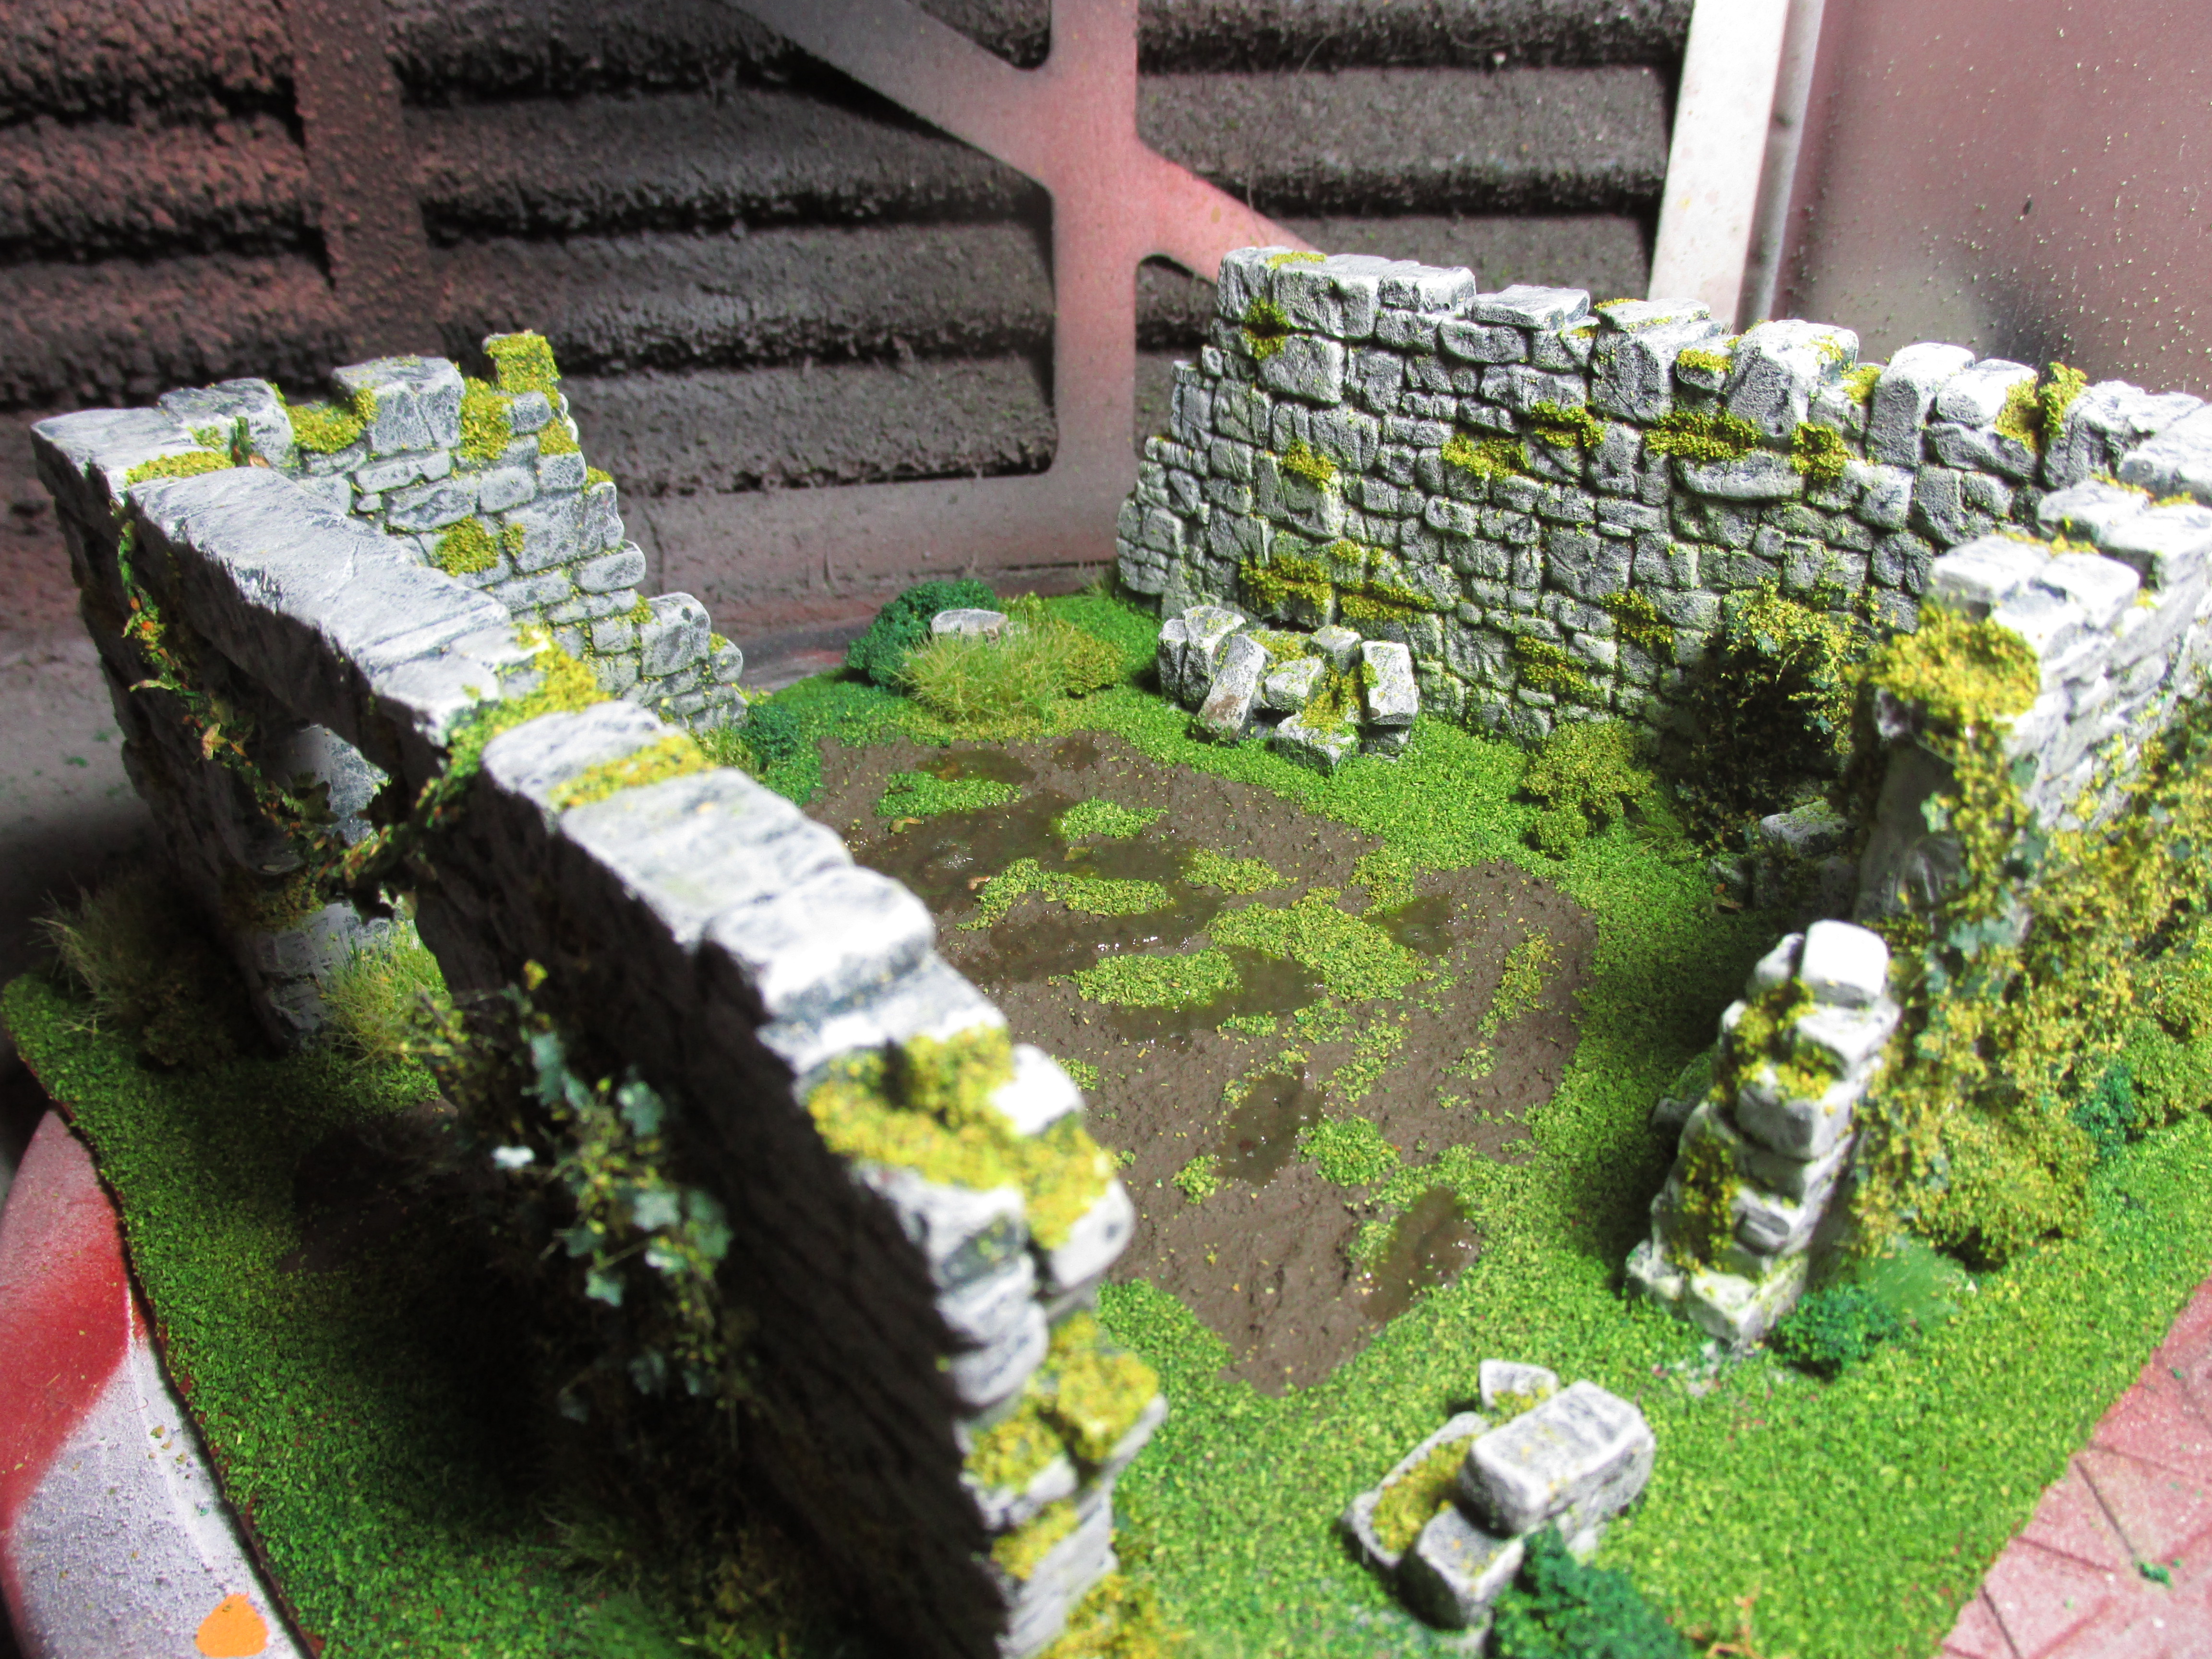


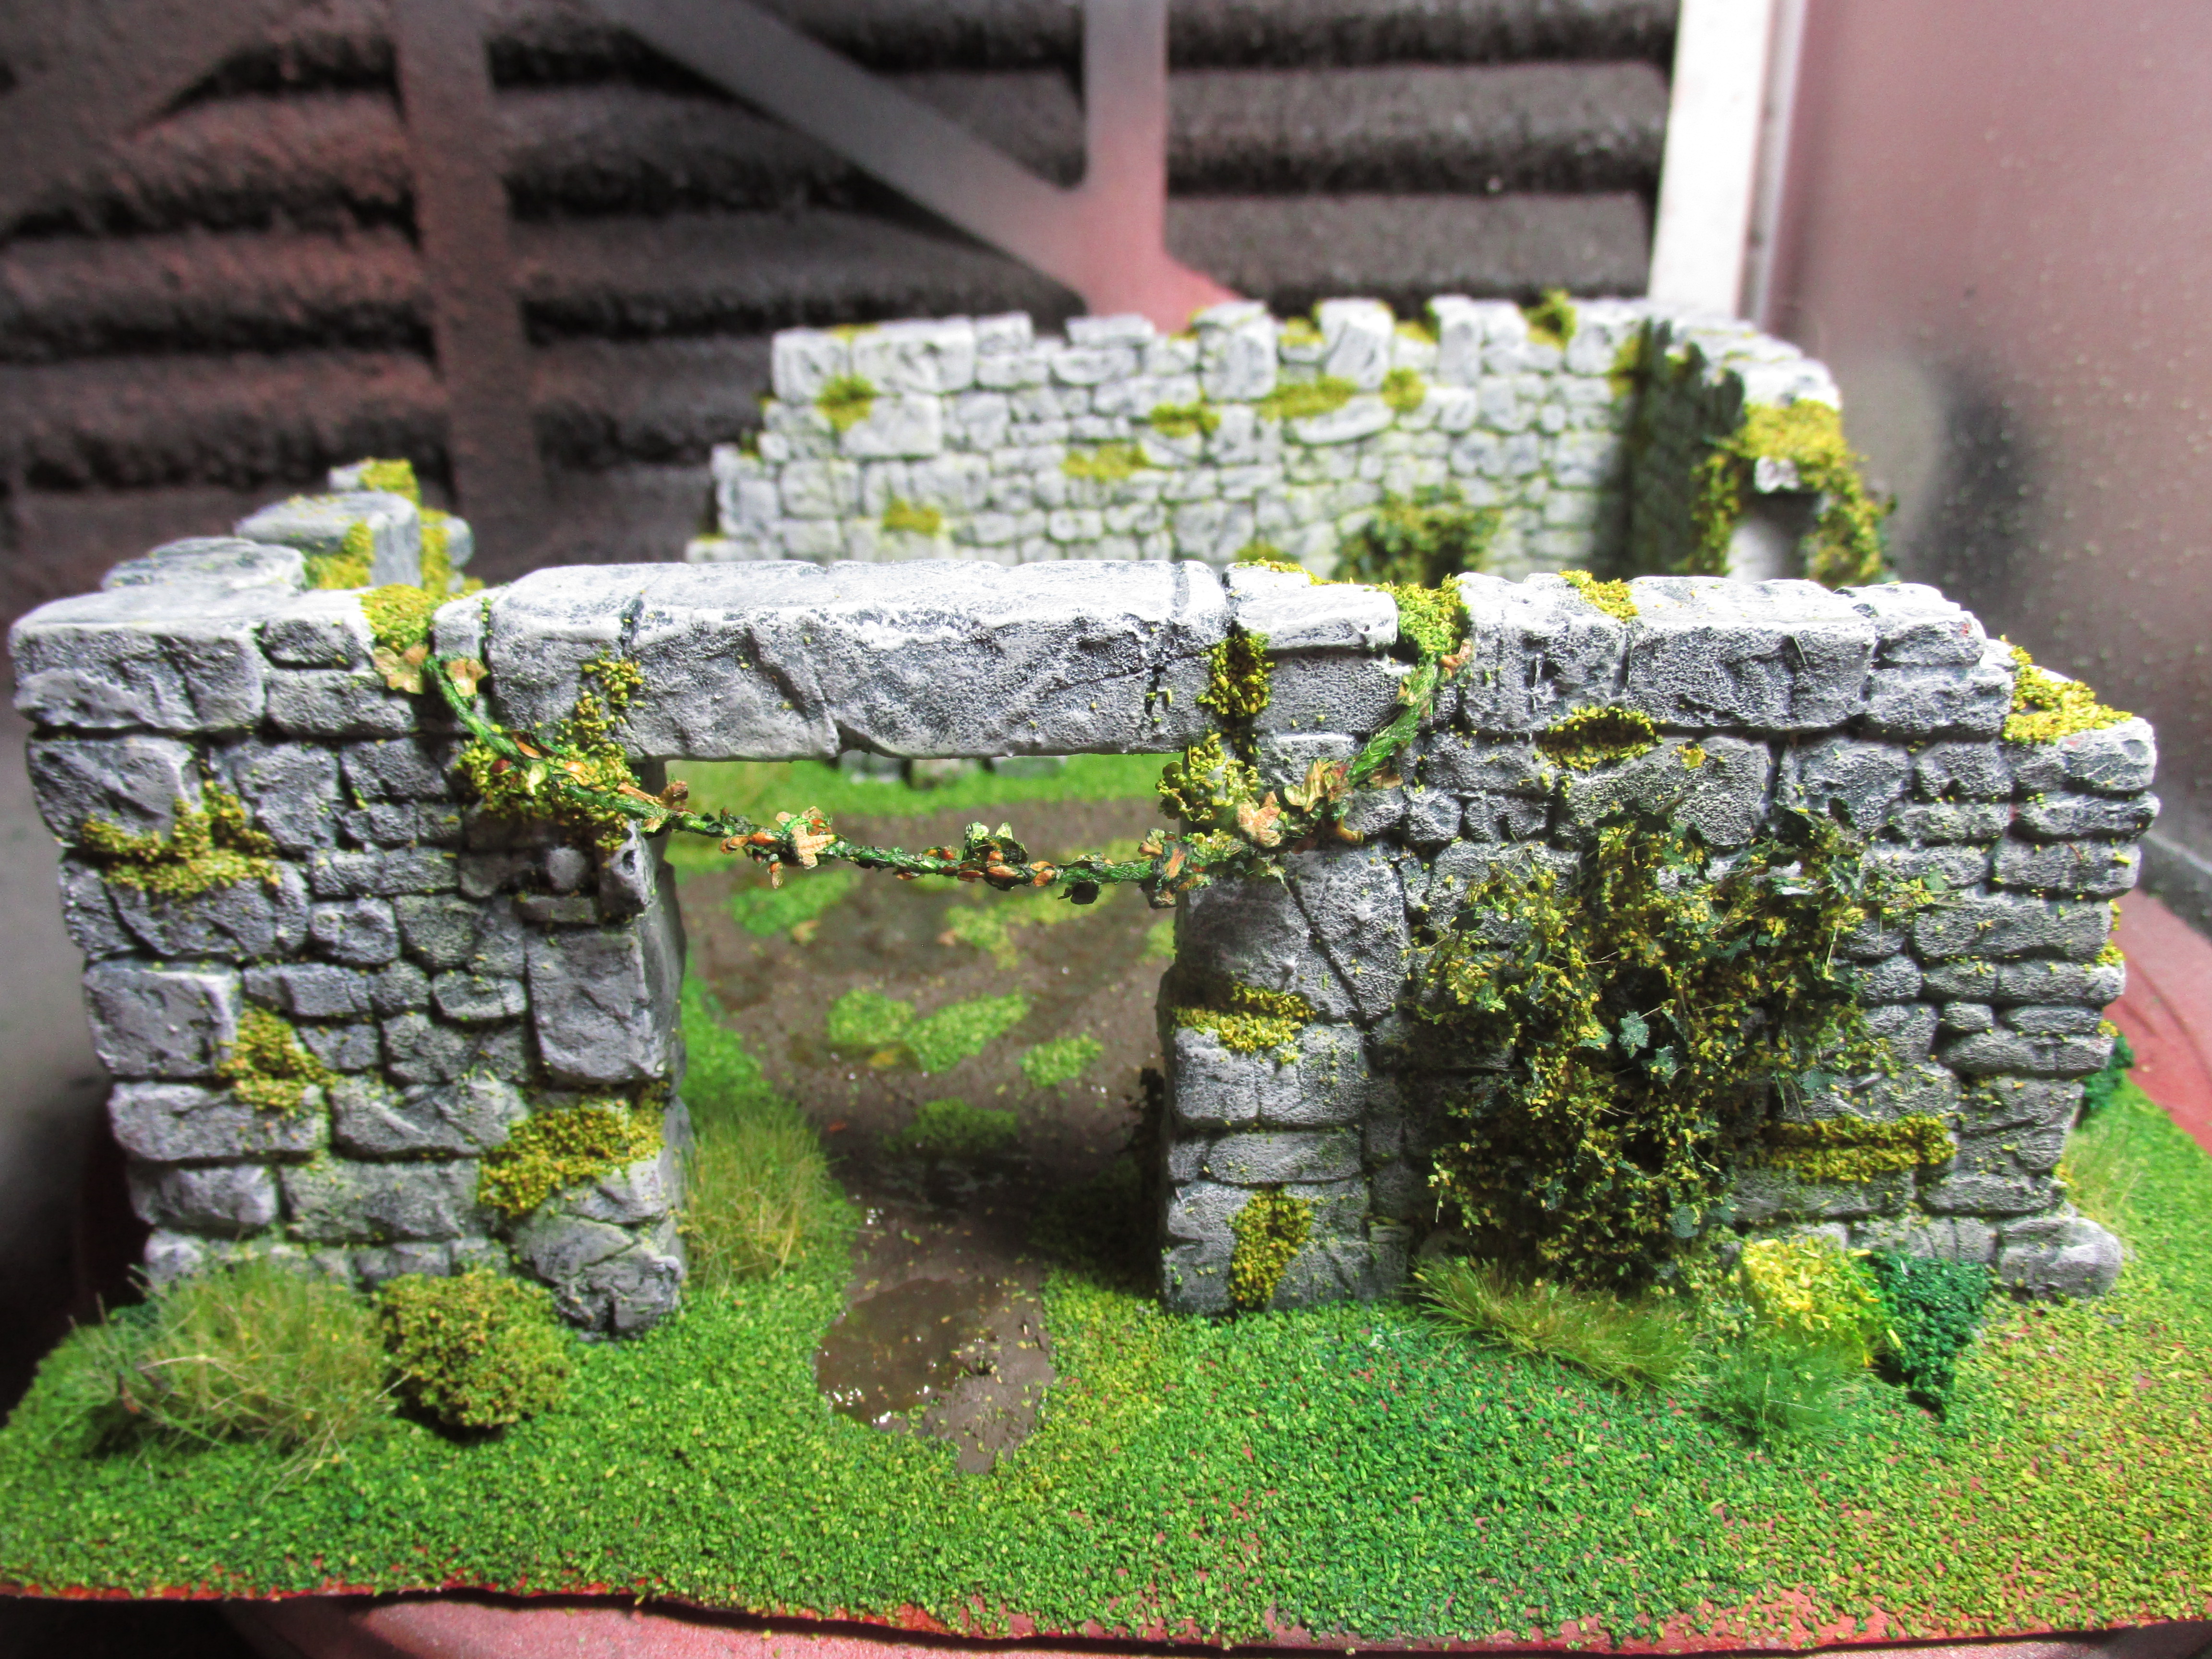
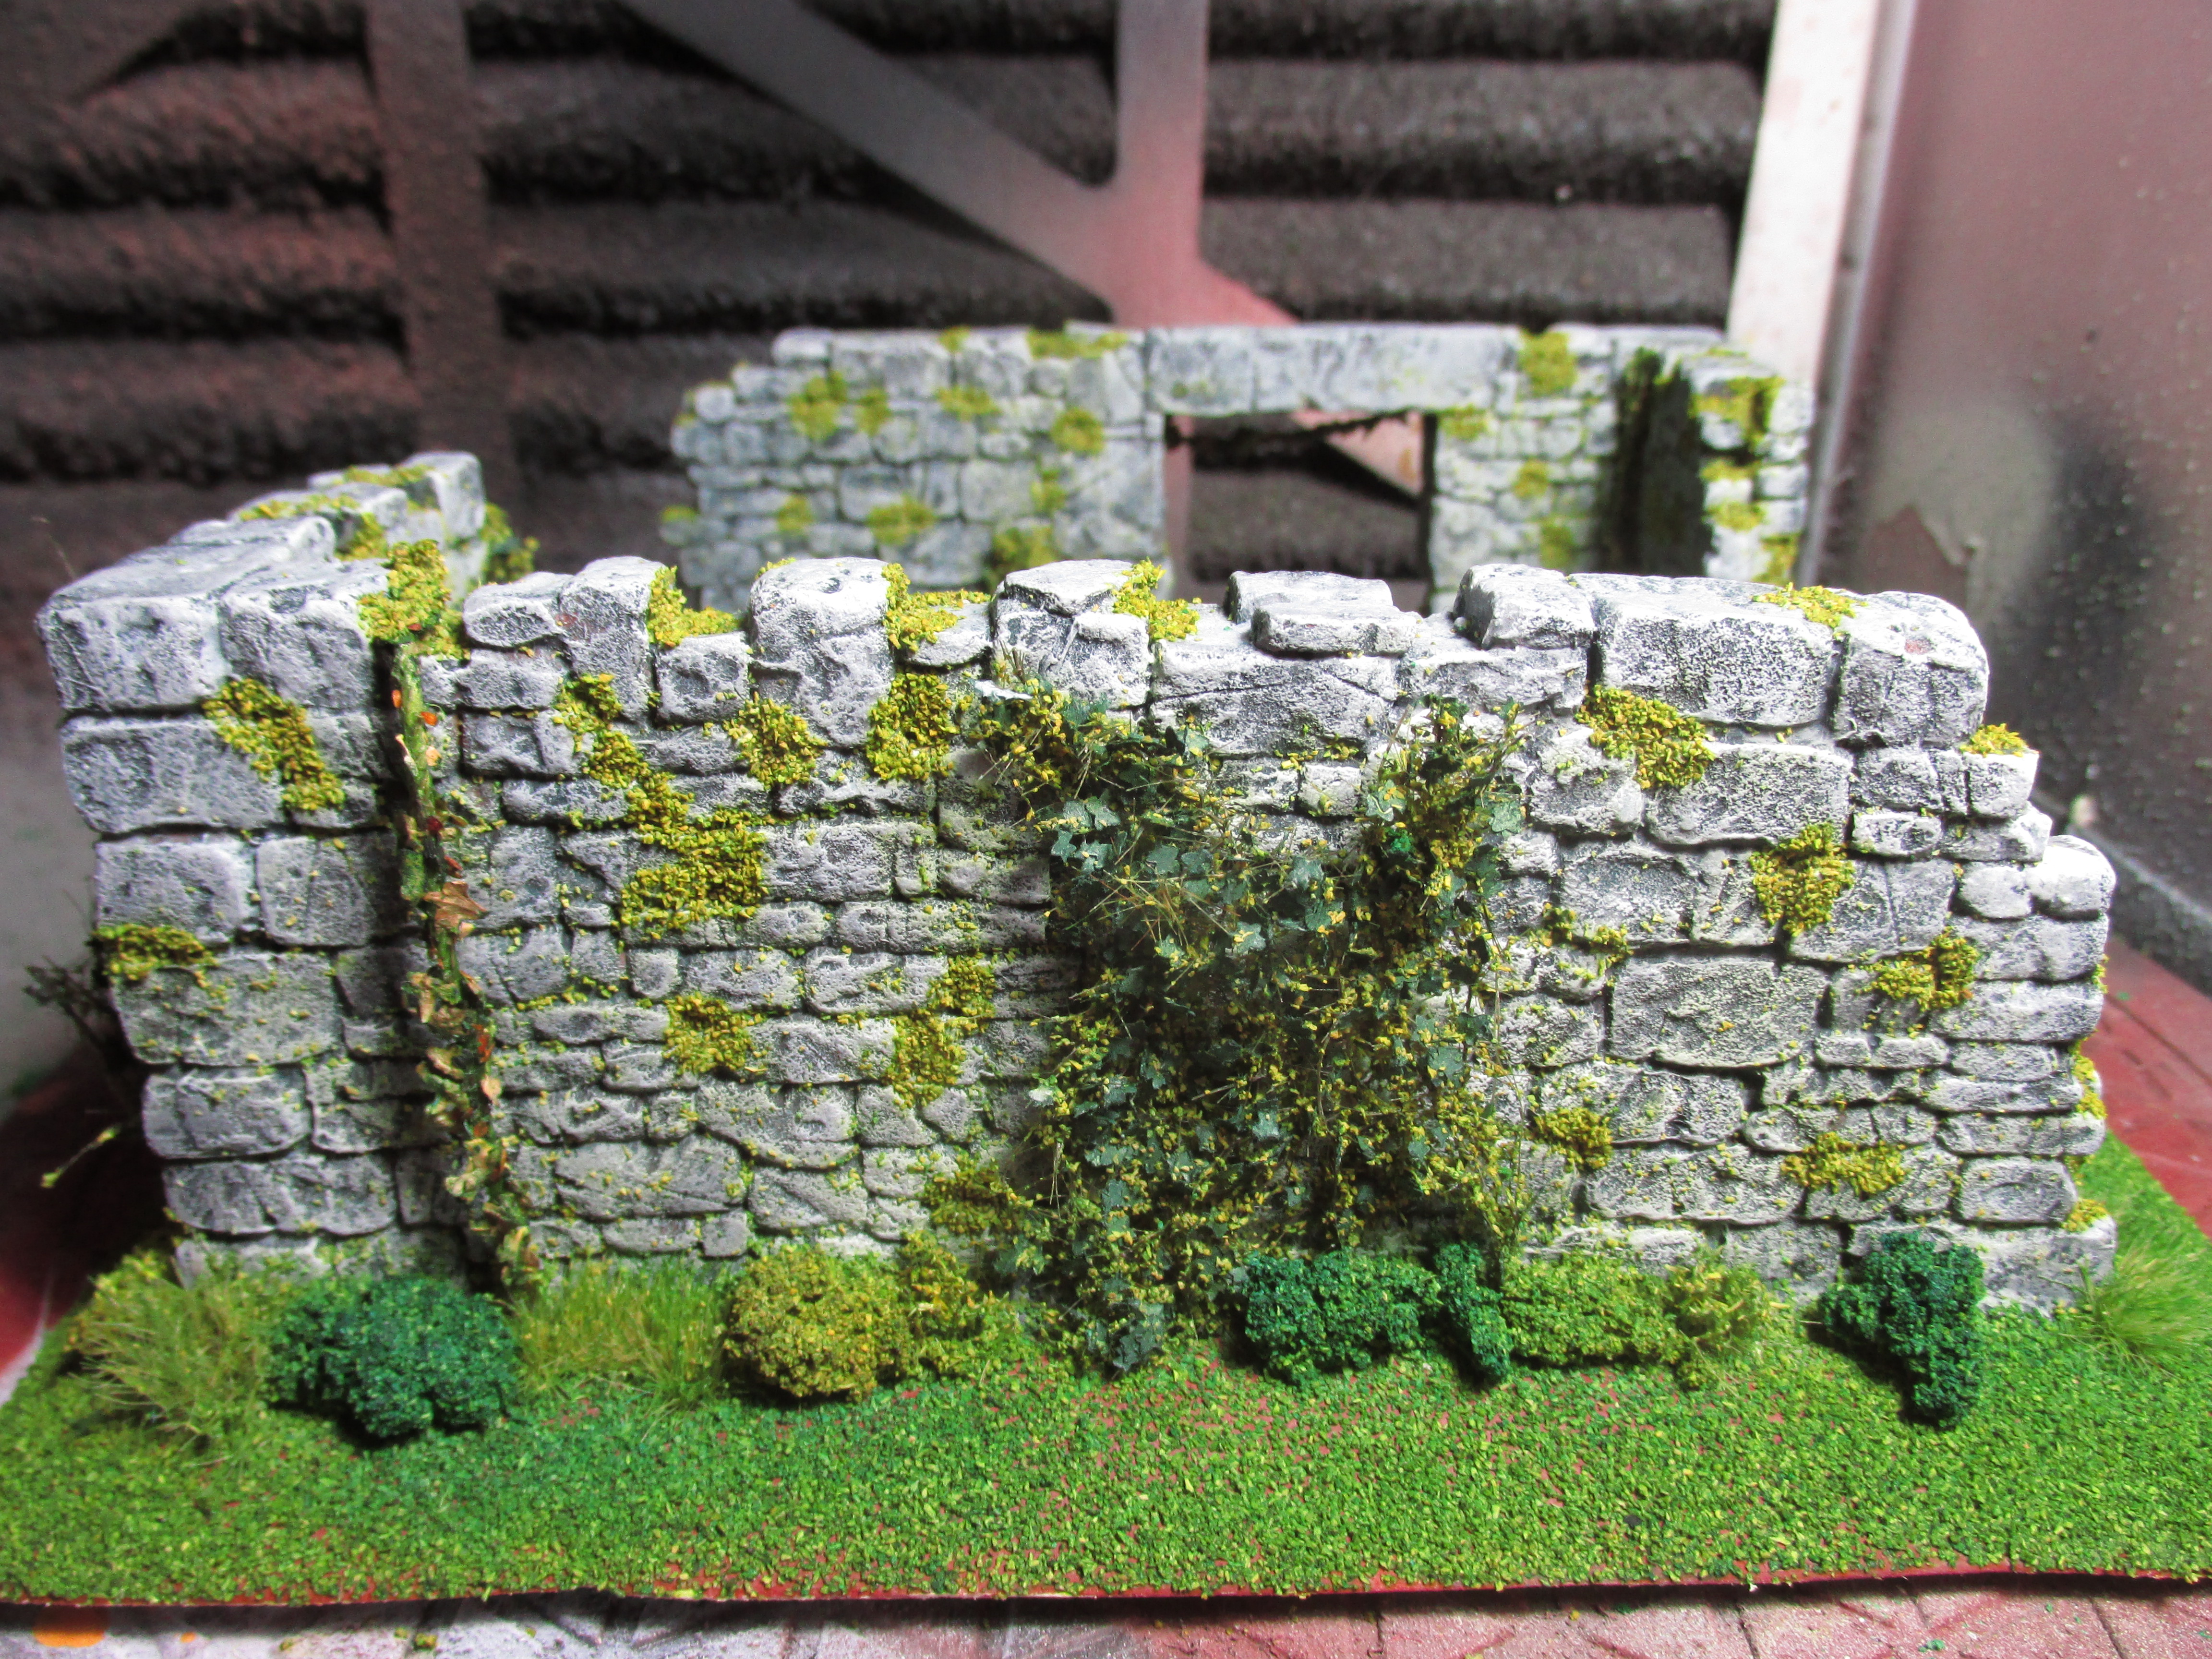
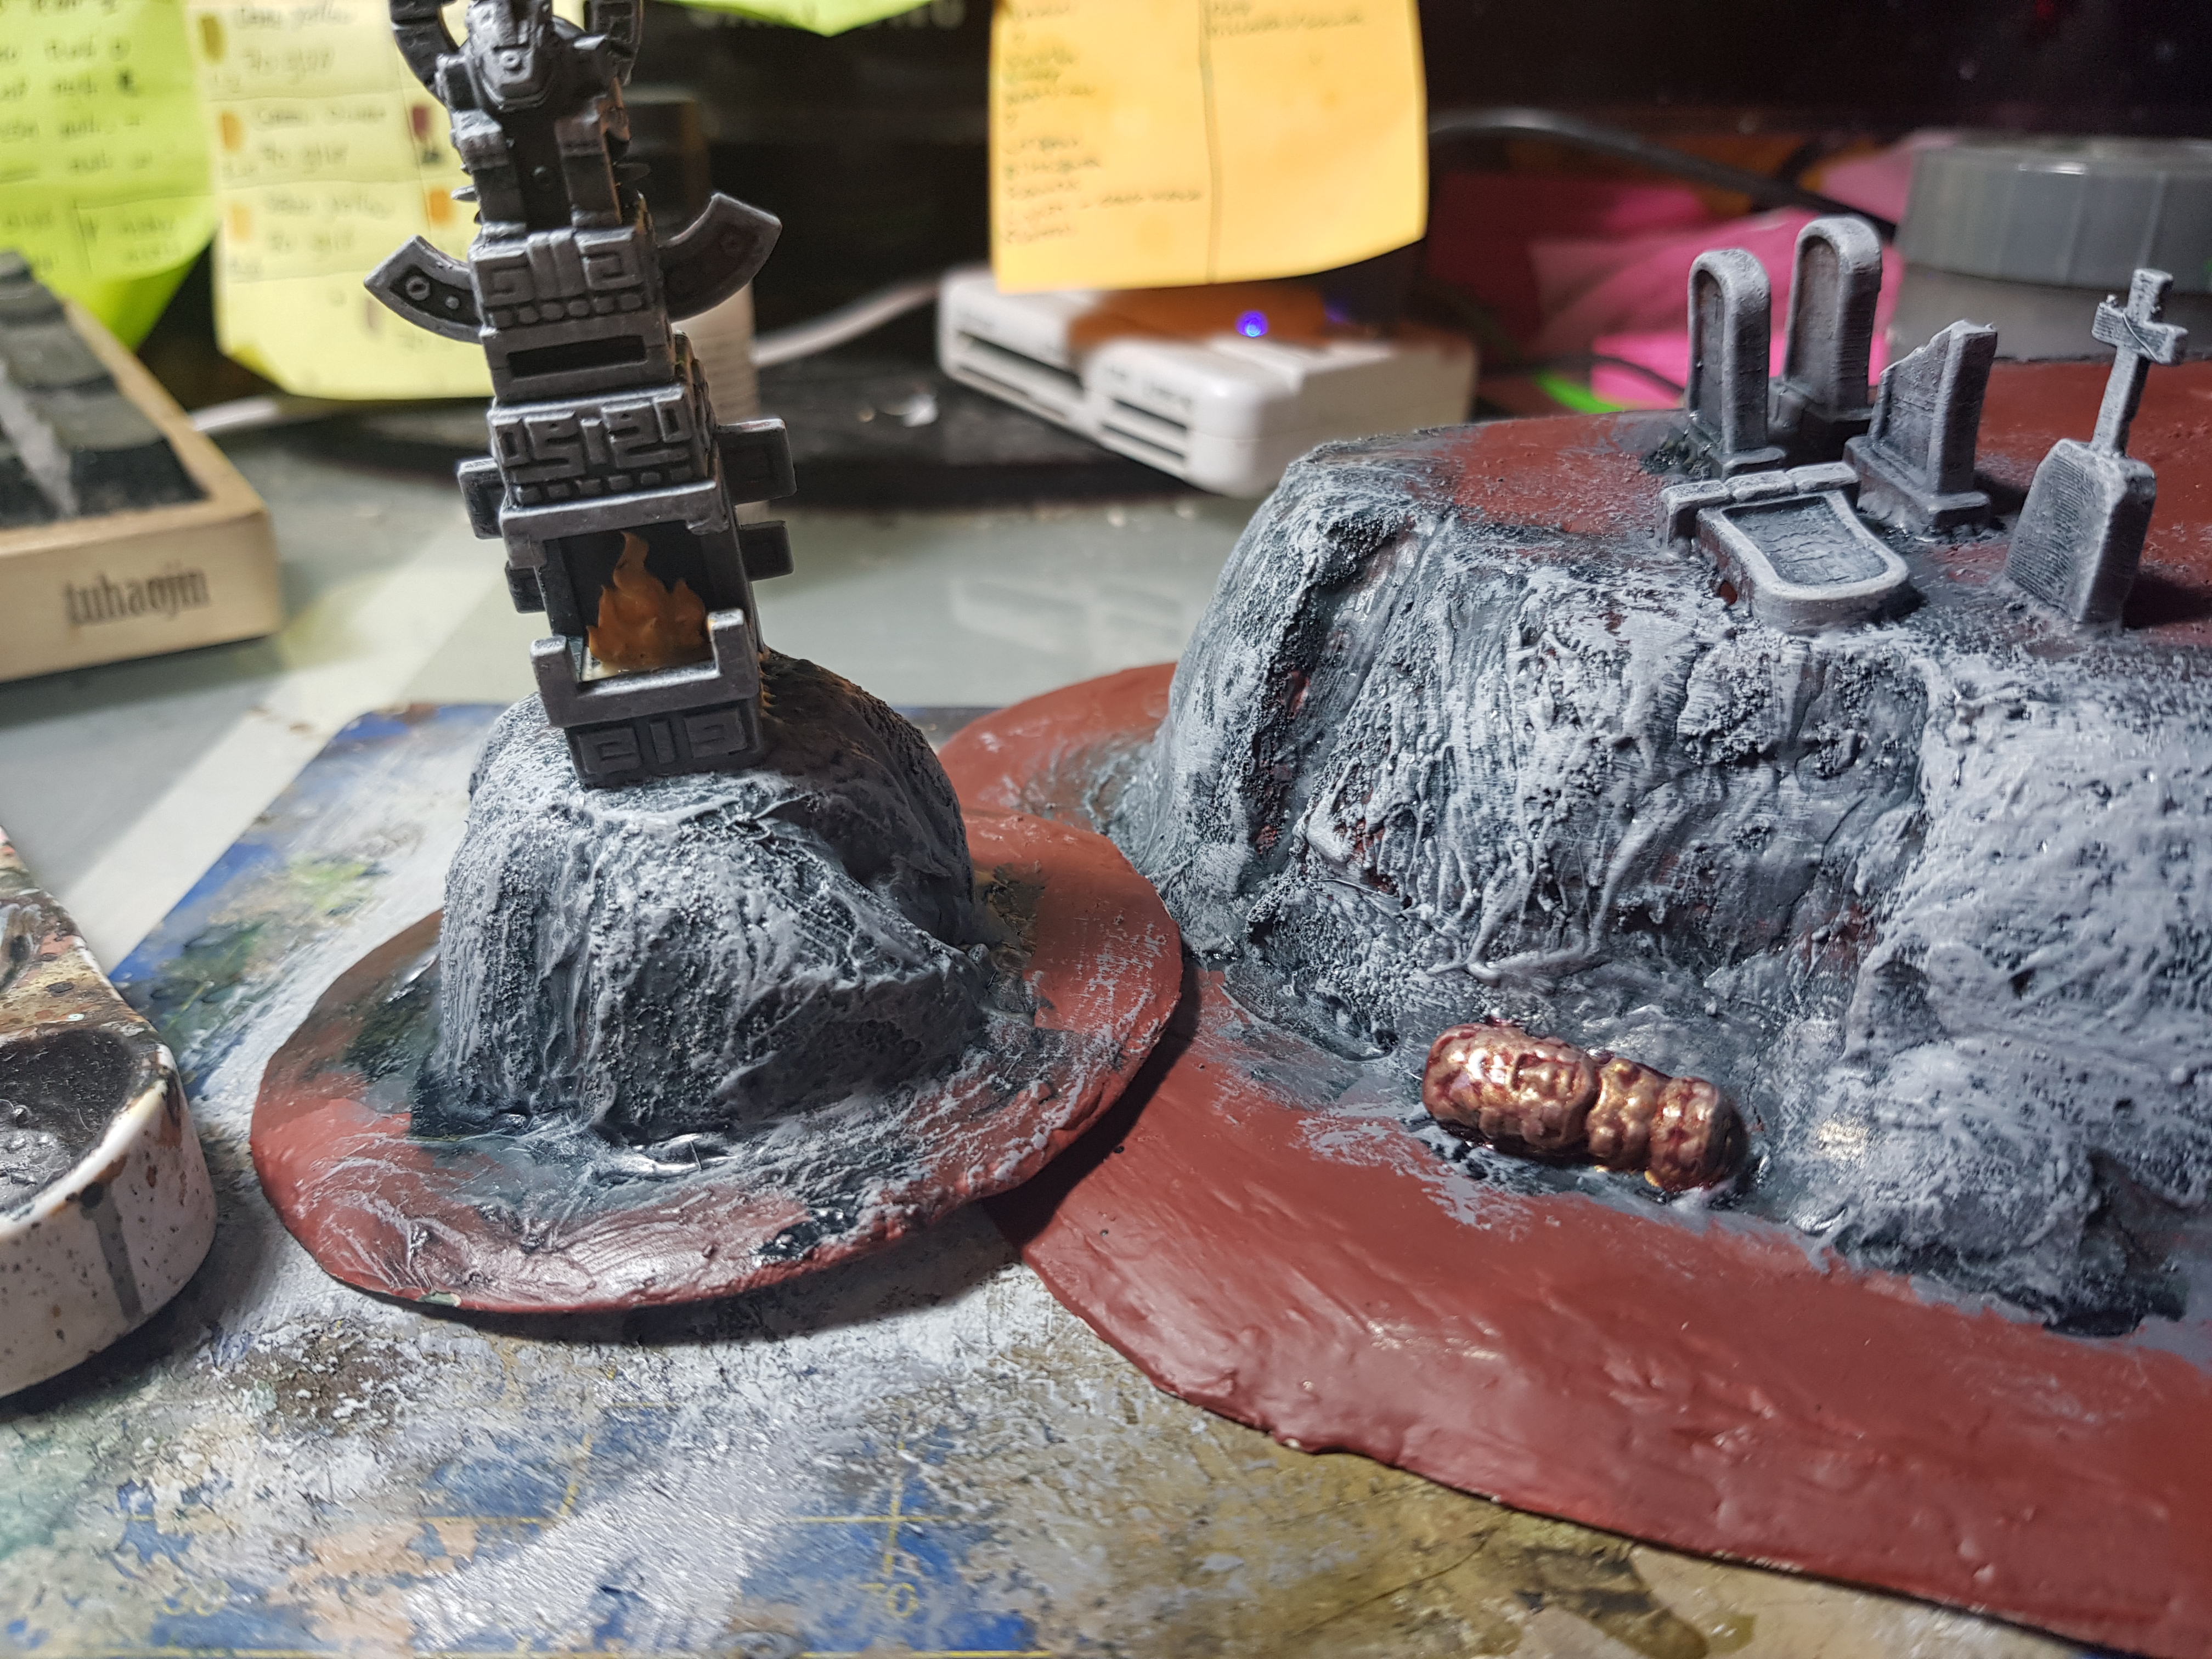
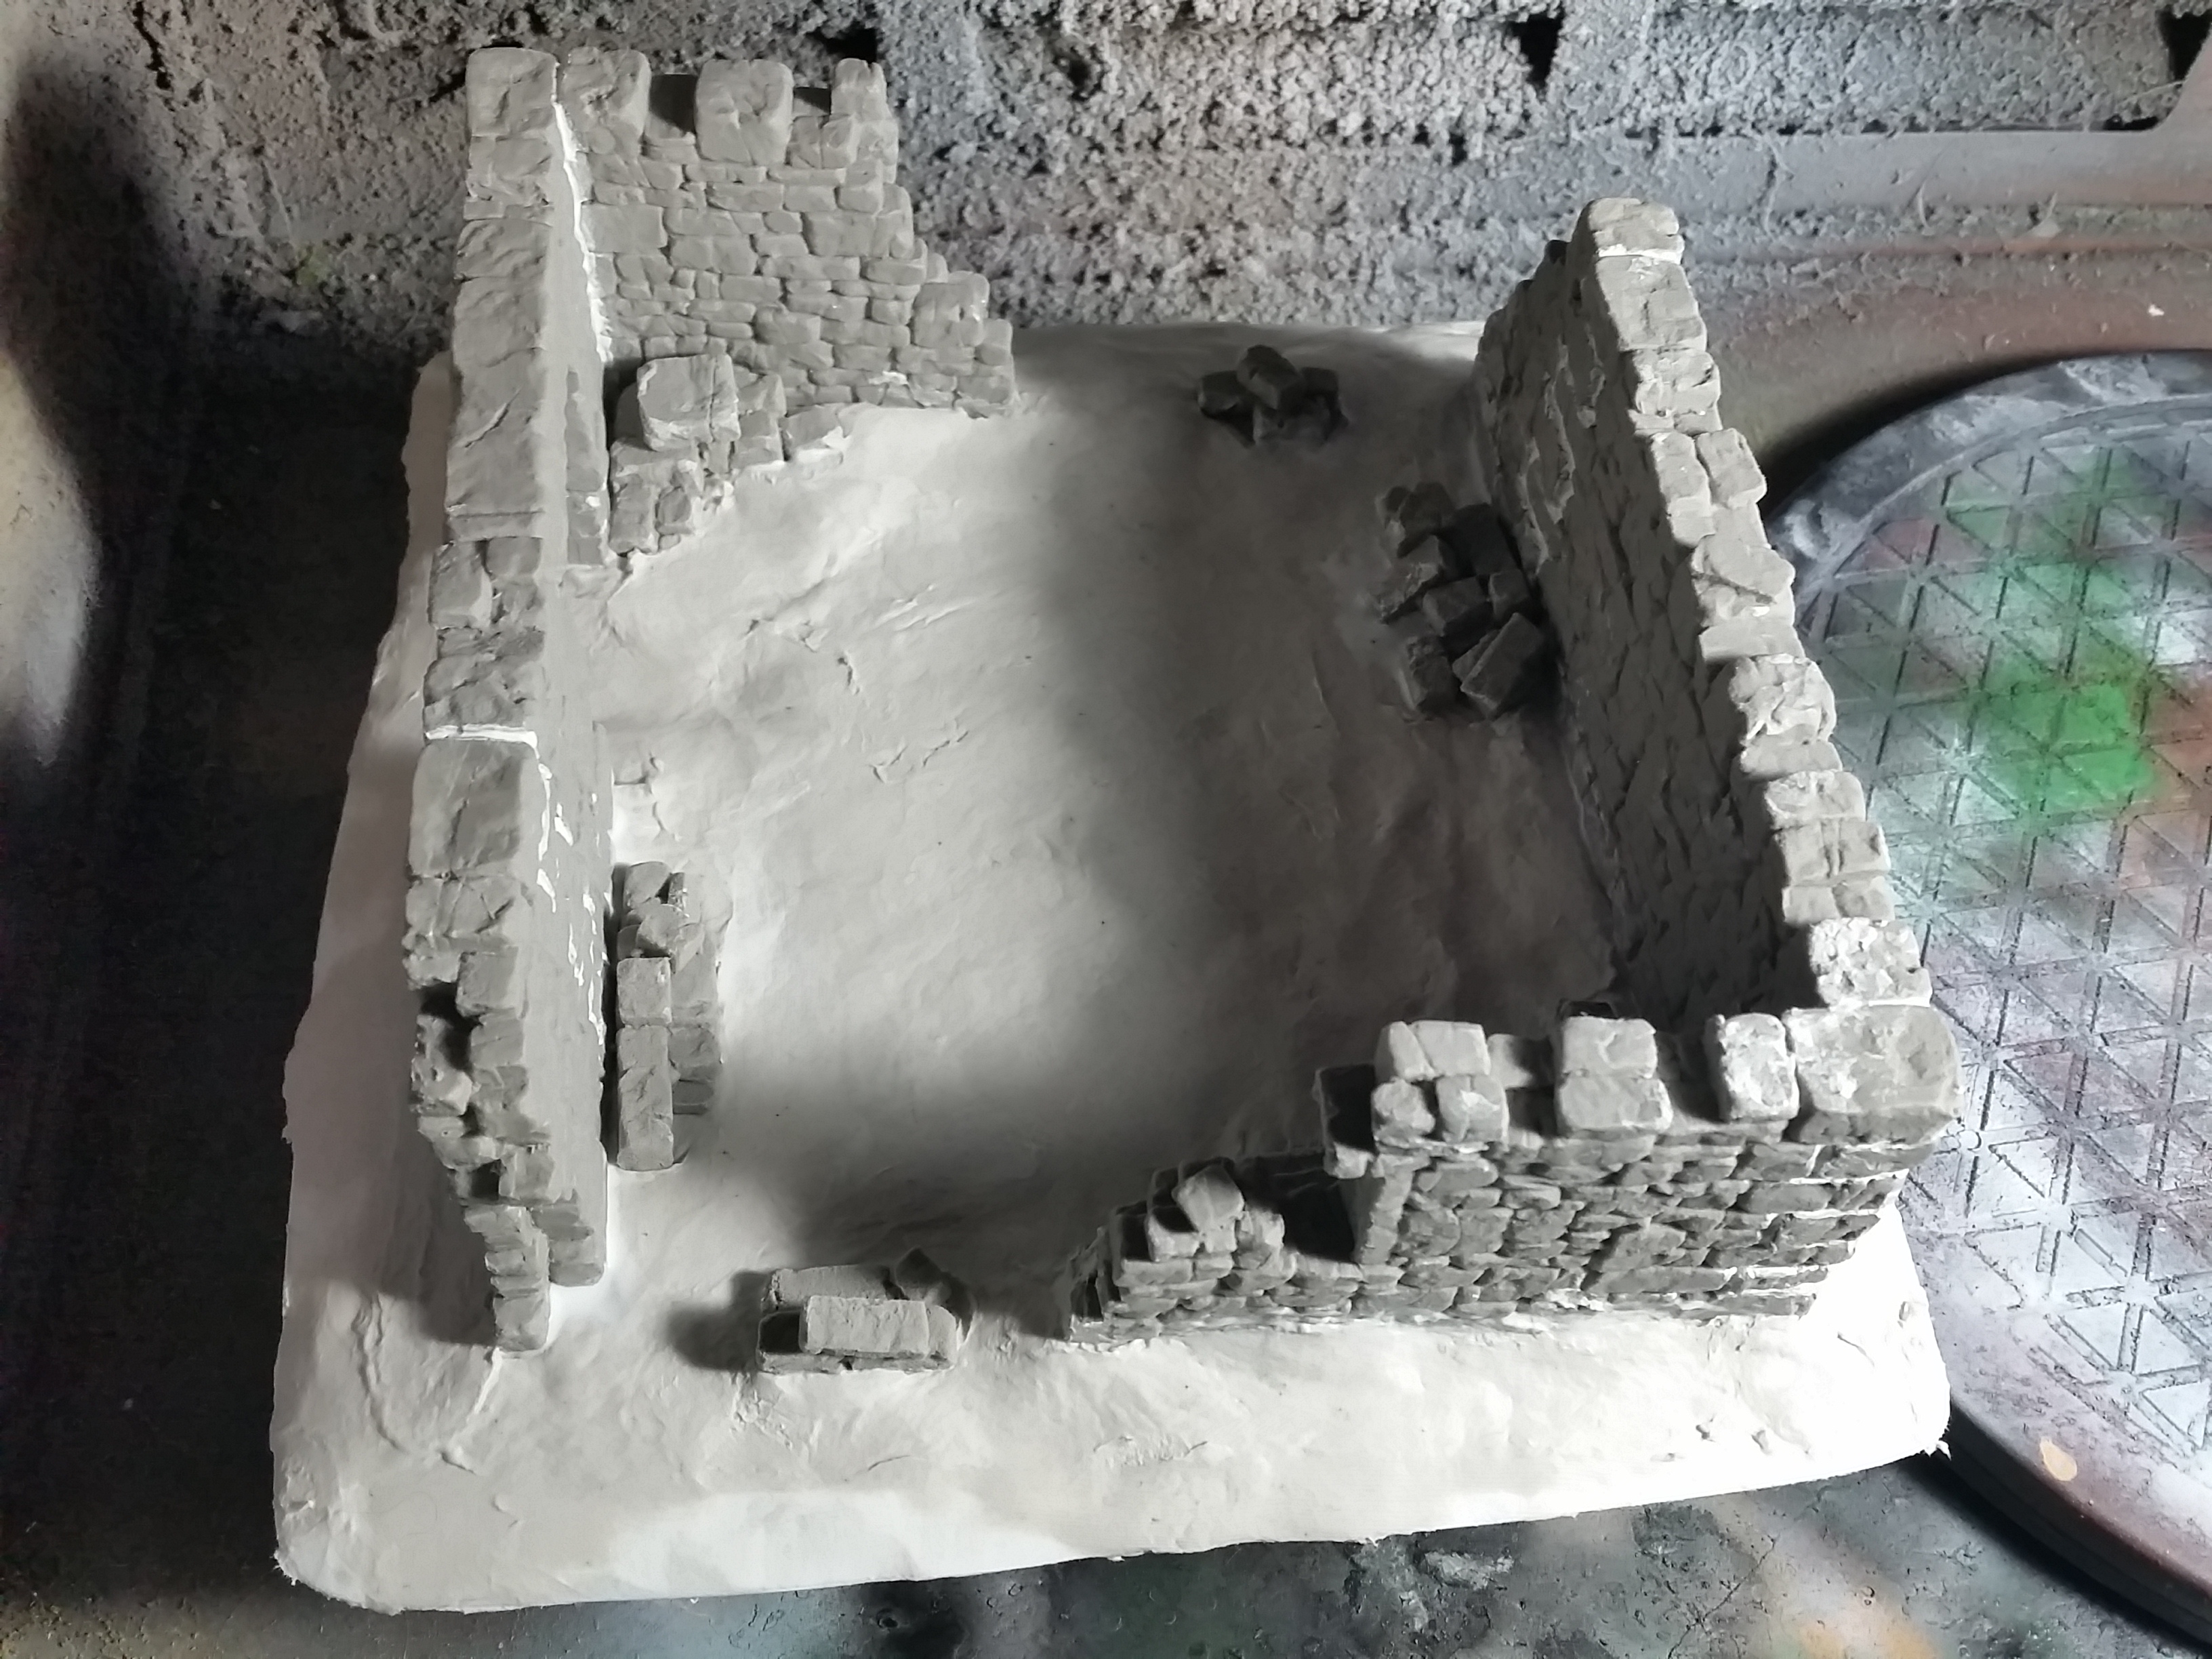
Rubble City Ruins Progress
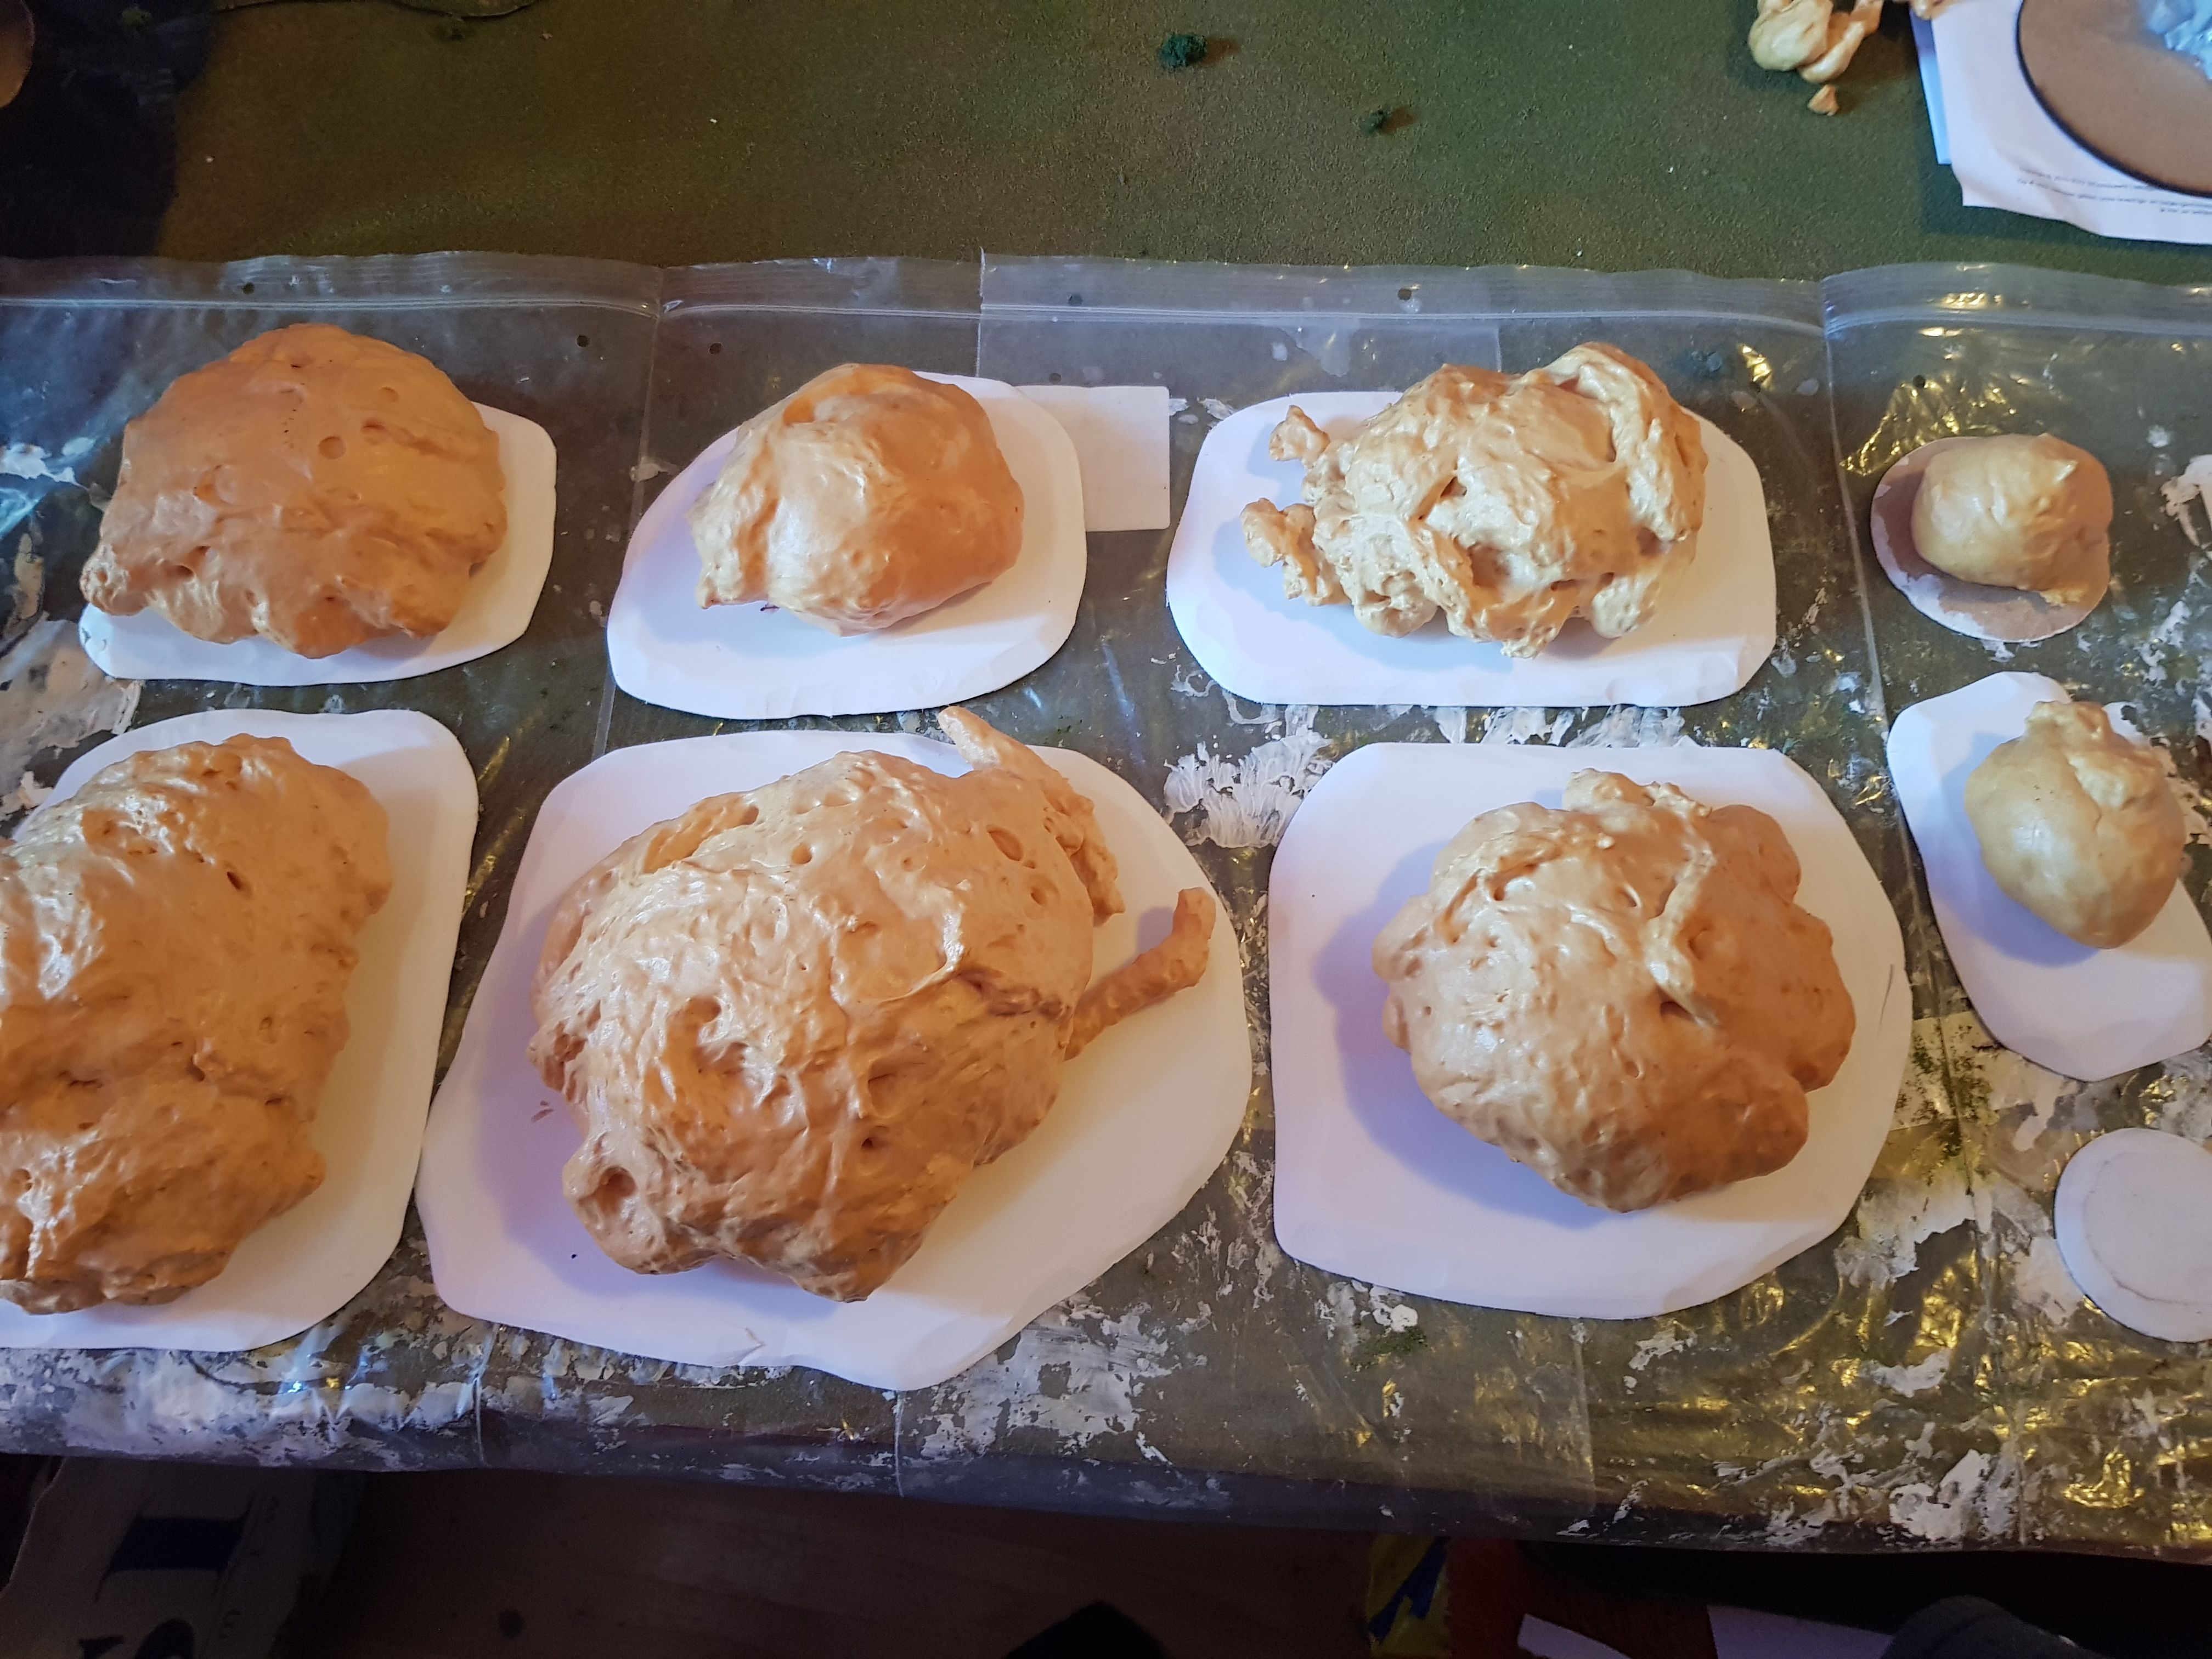
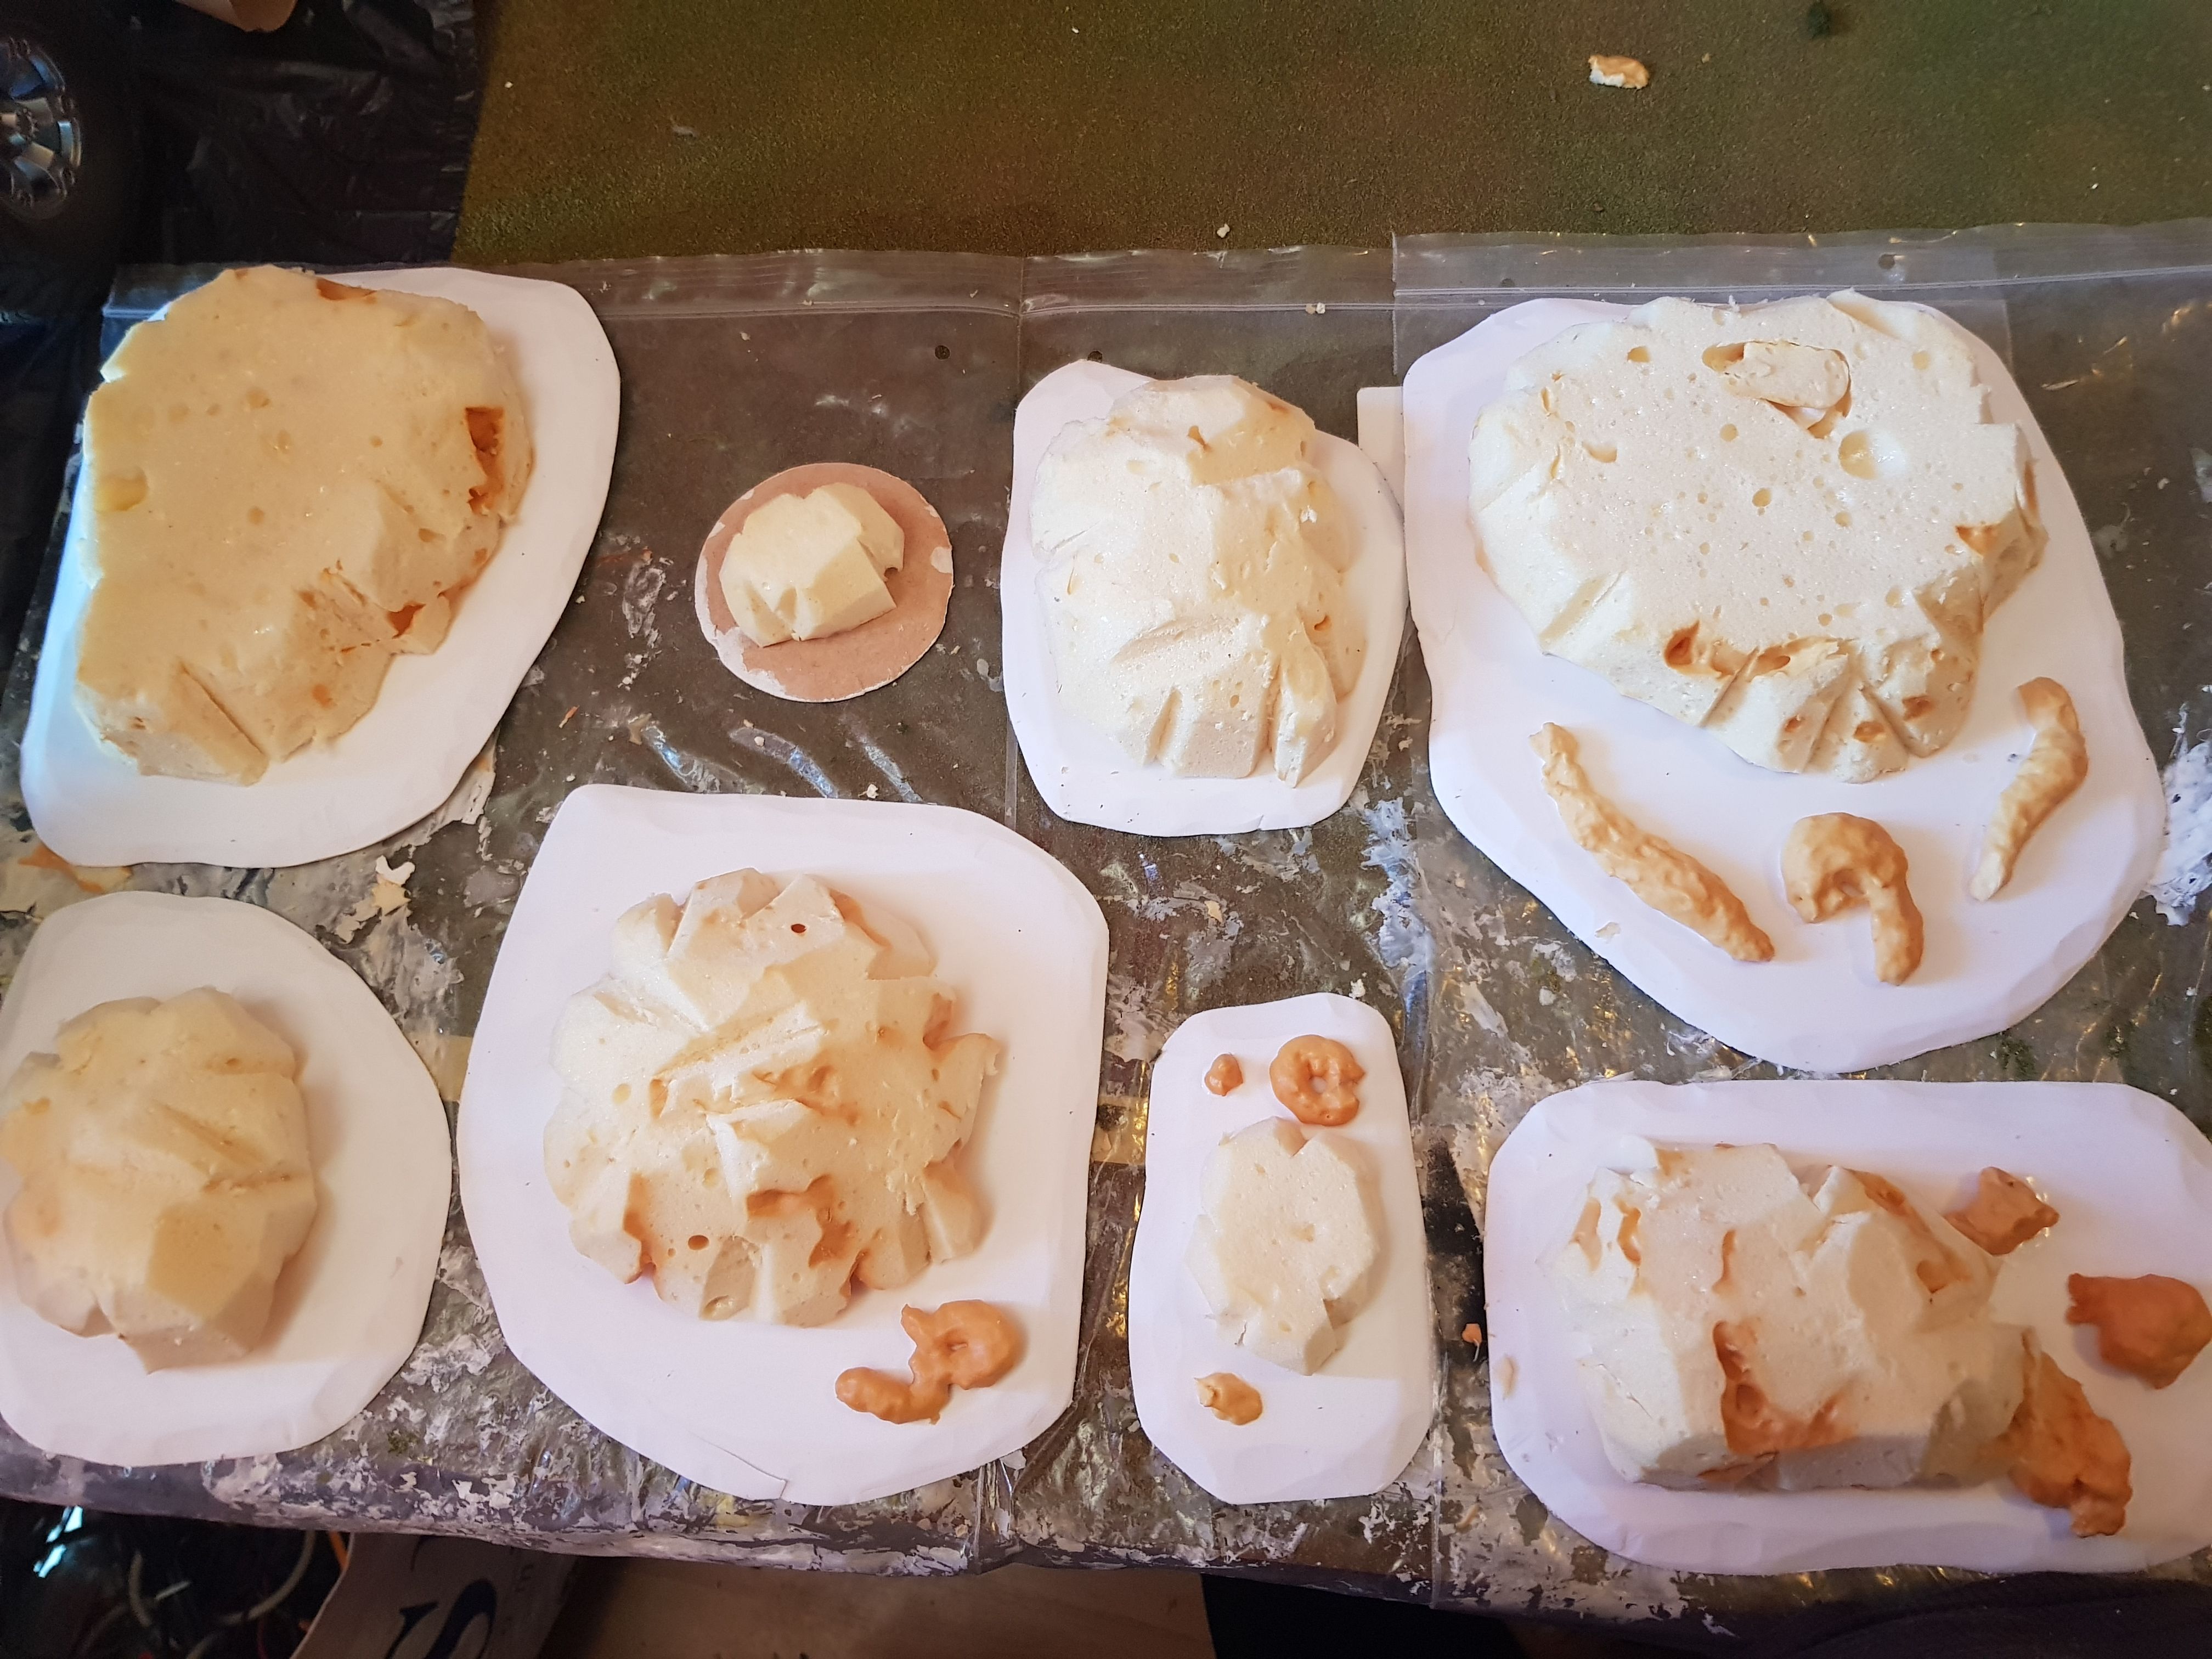
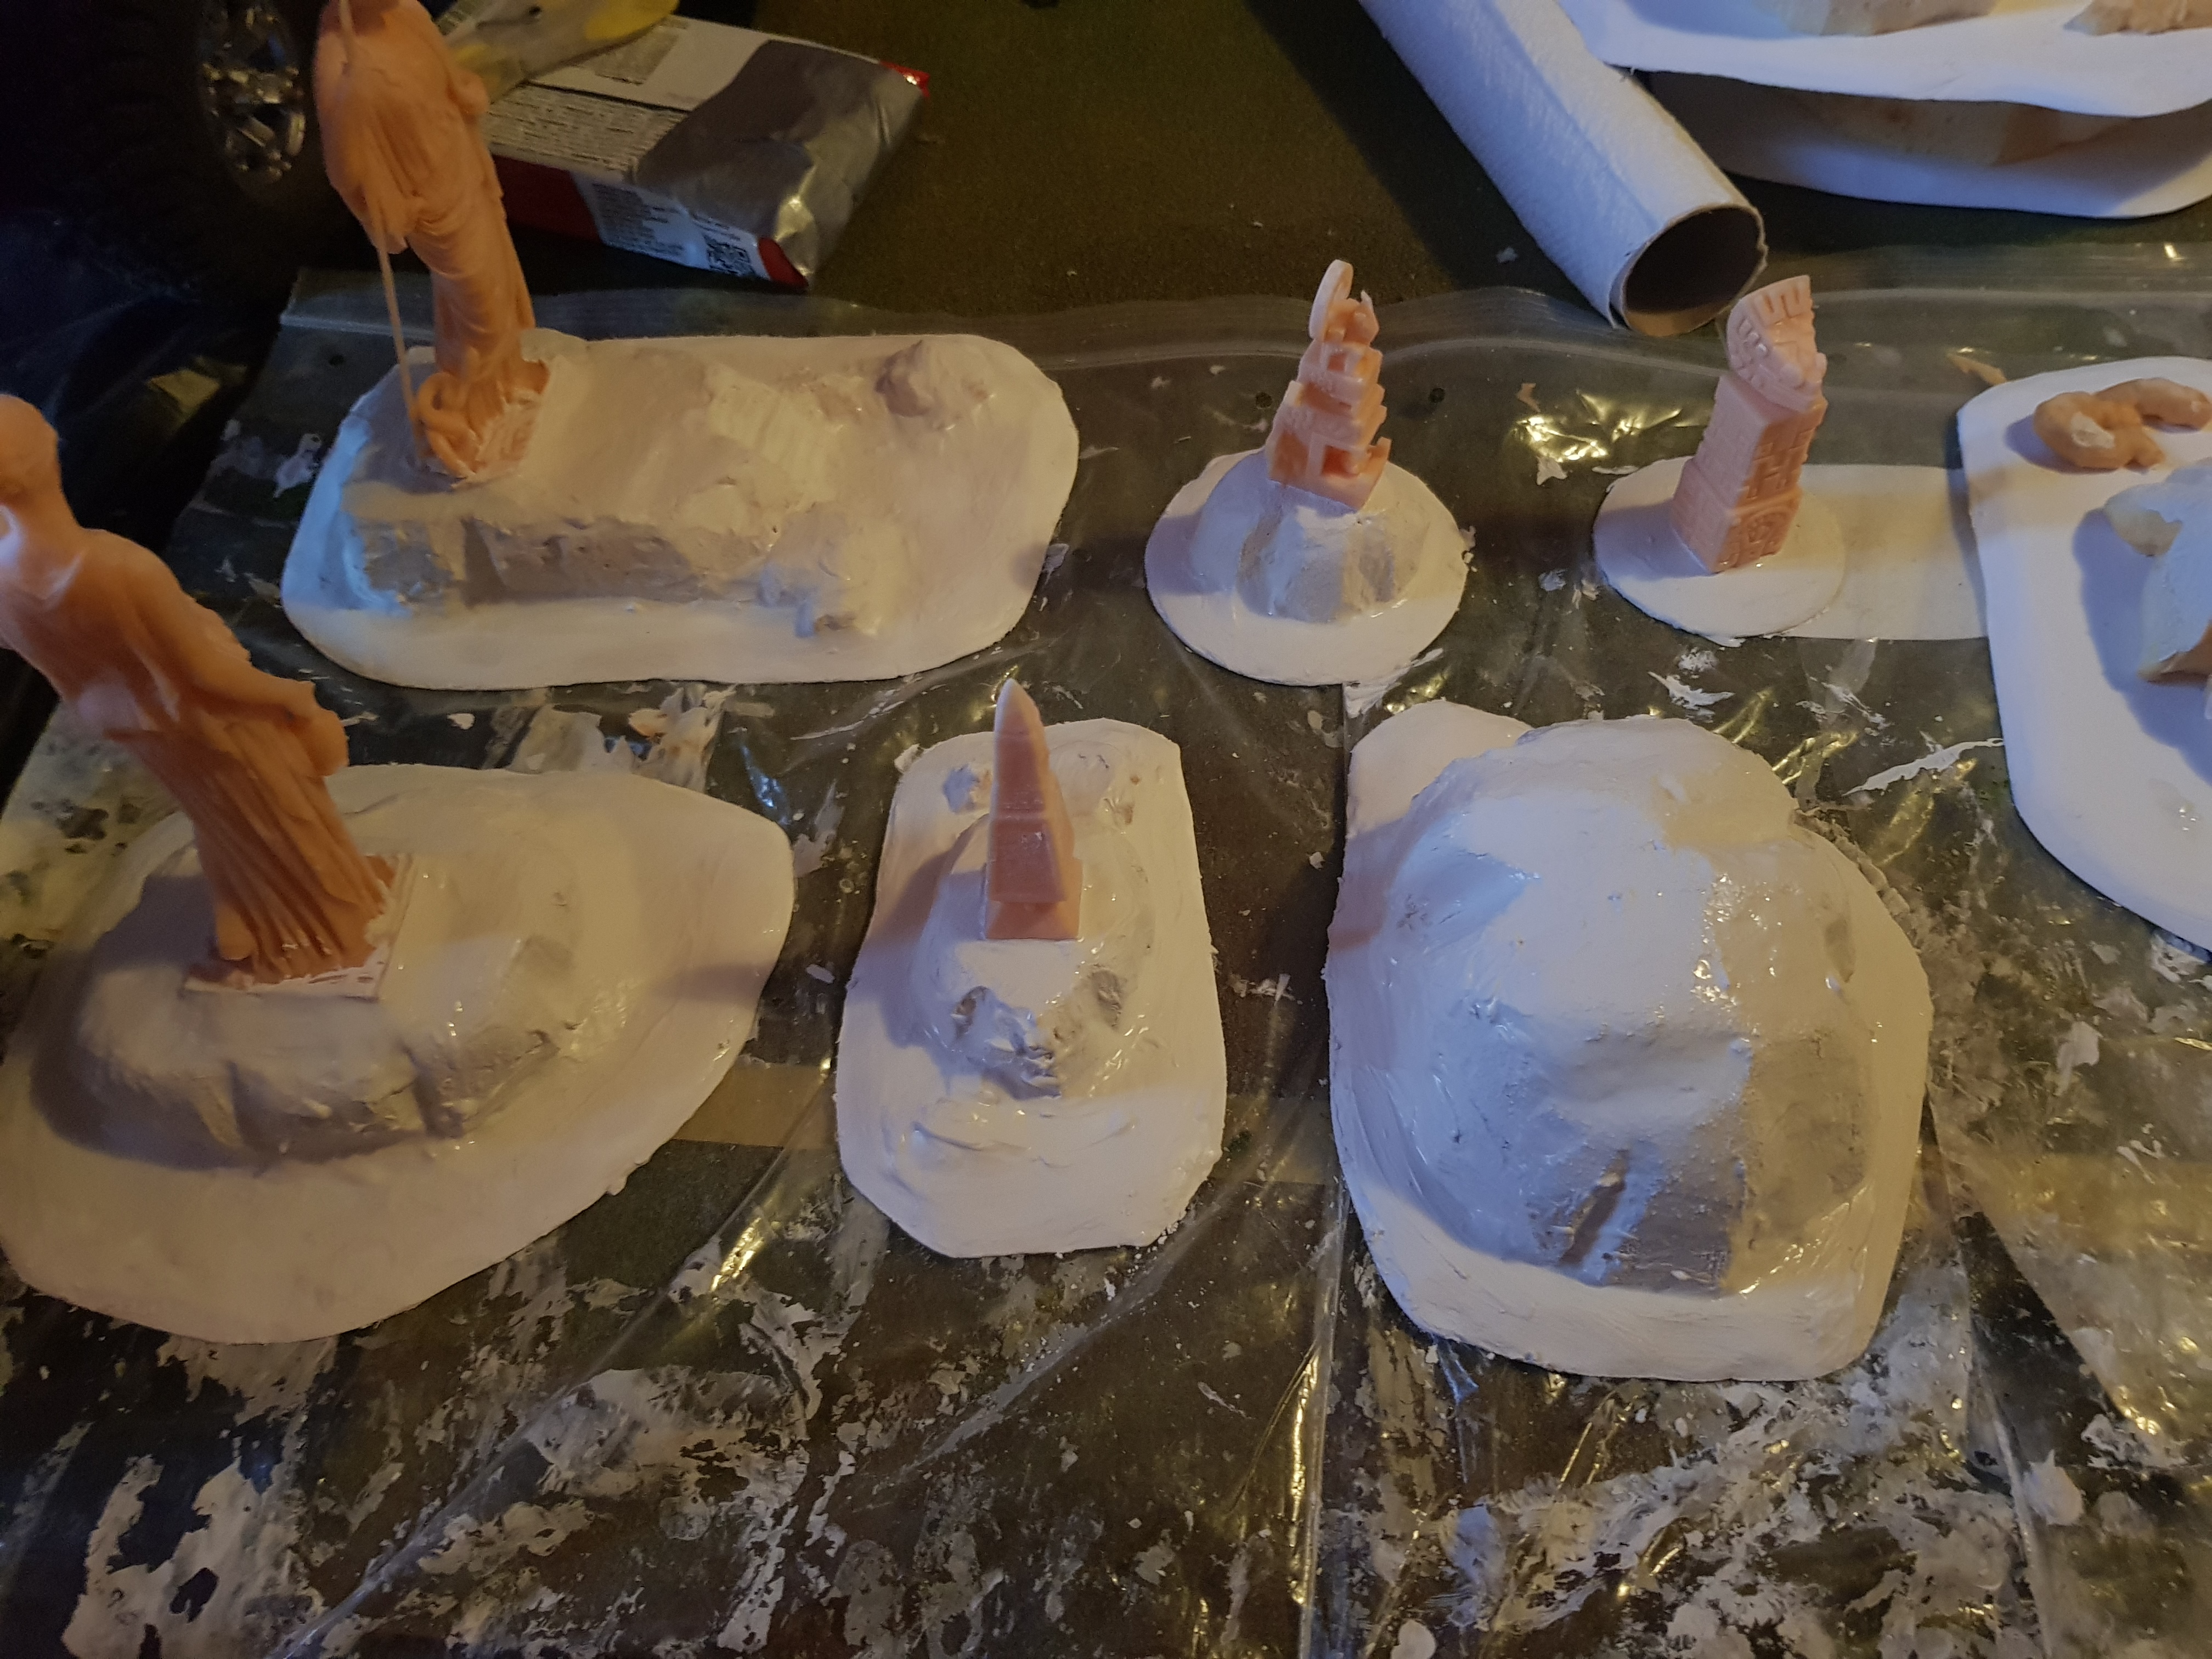
To make my piece of ruins I used some pieces from the Rubble City Ruins set from Fenris Games. First I needed to get the pieces together in the shapes that I wanted. I glued them together with super glue and filled in the gaps with Vallejo Plastic Putty (70.401) making it kind of look like mortar.
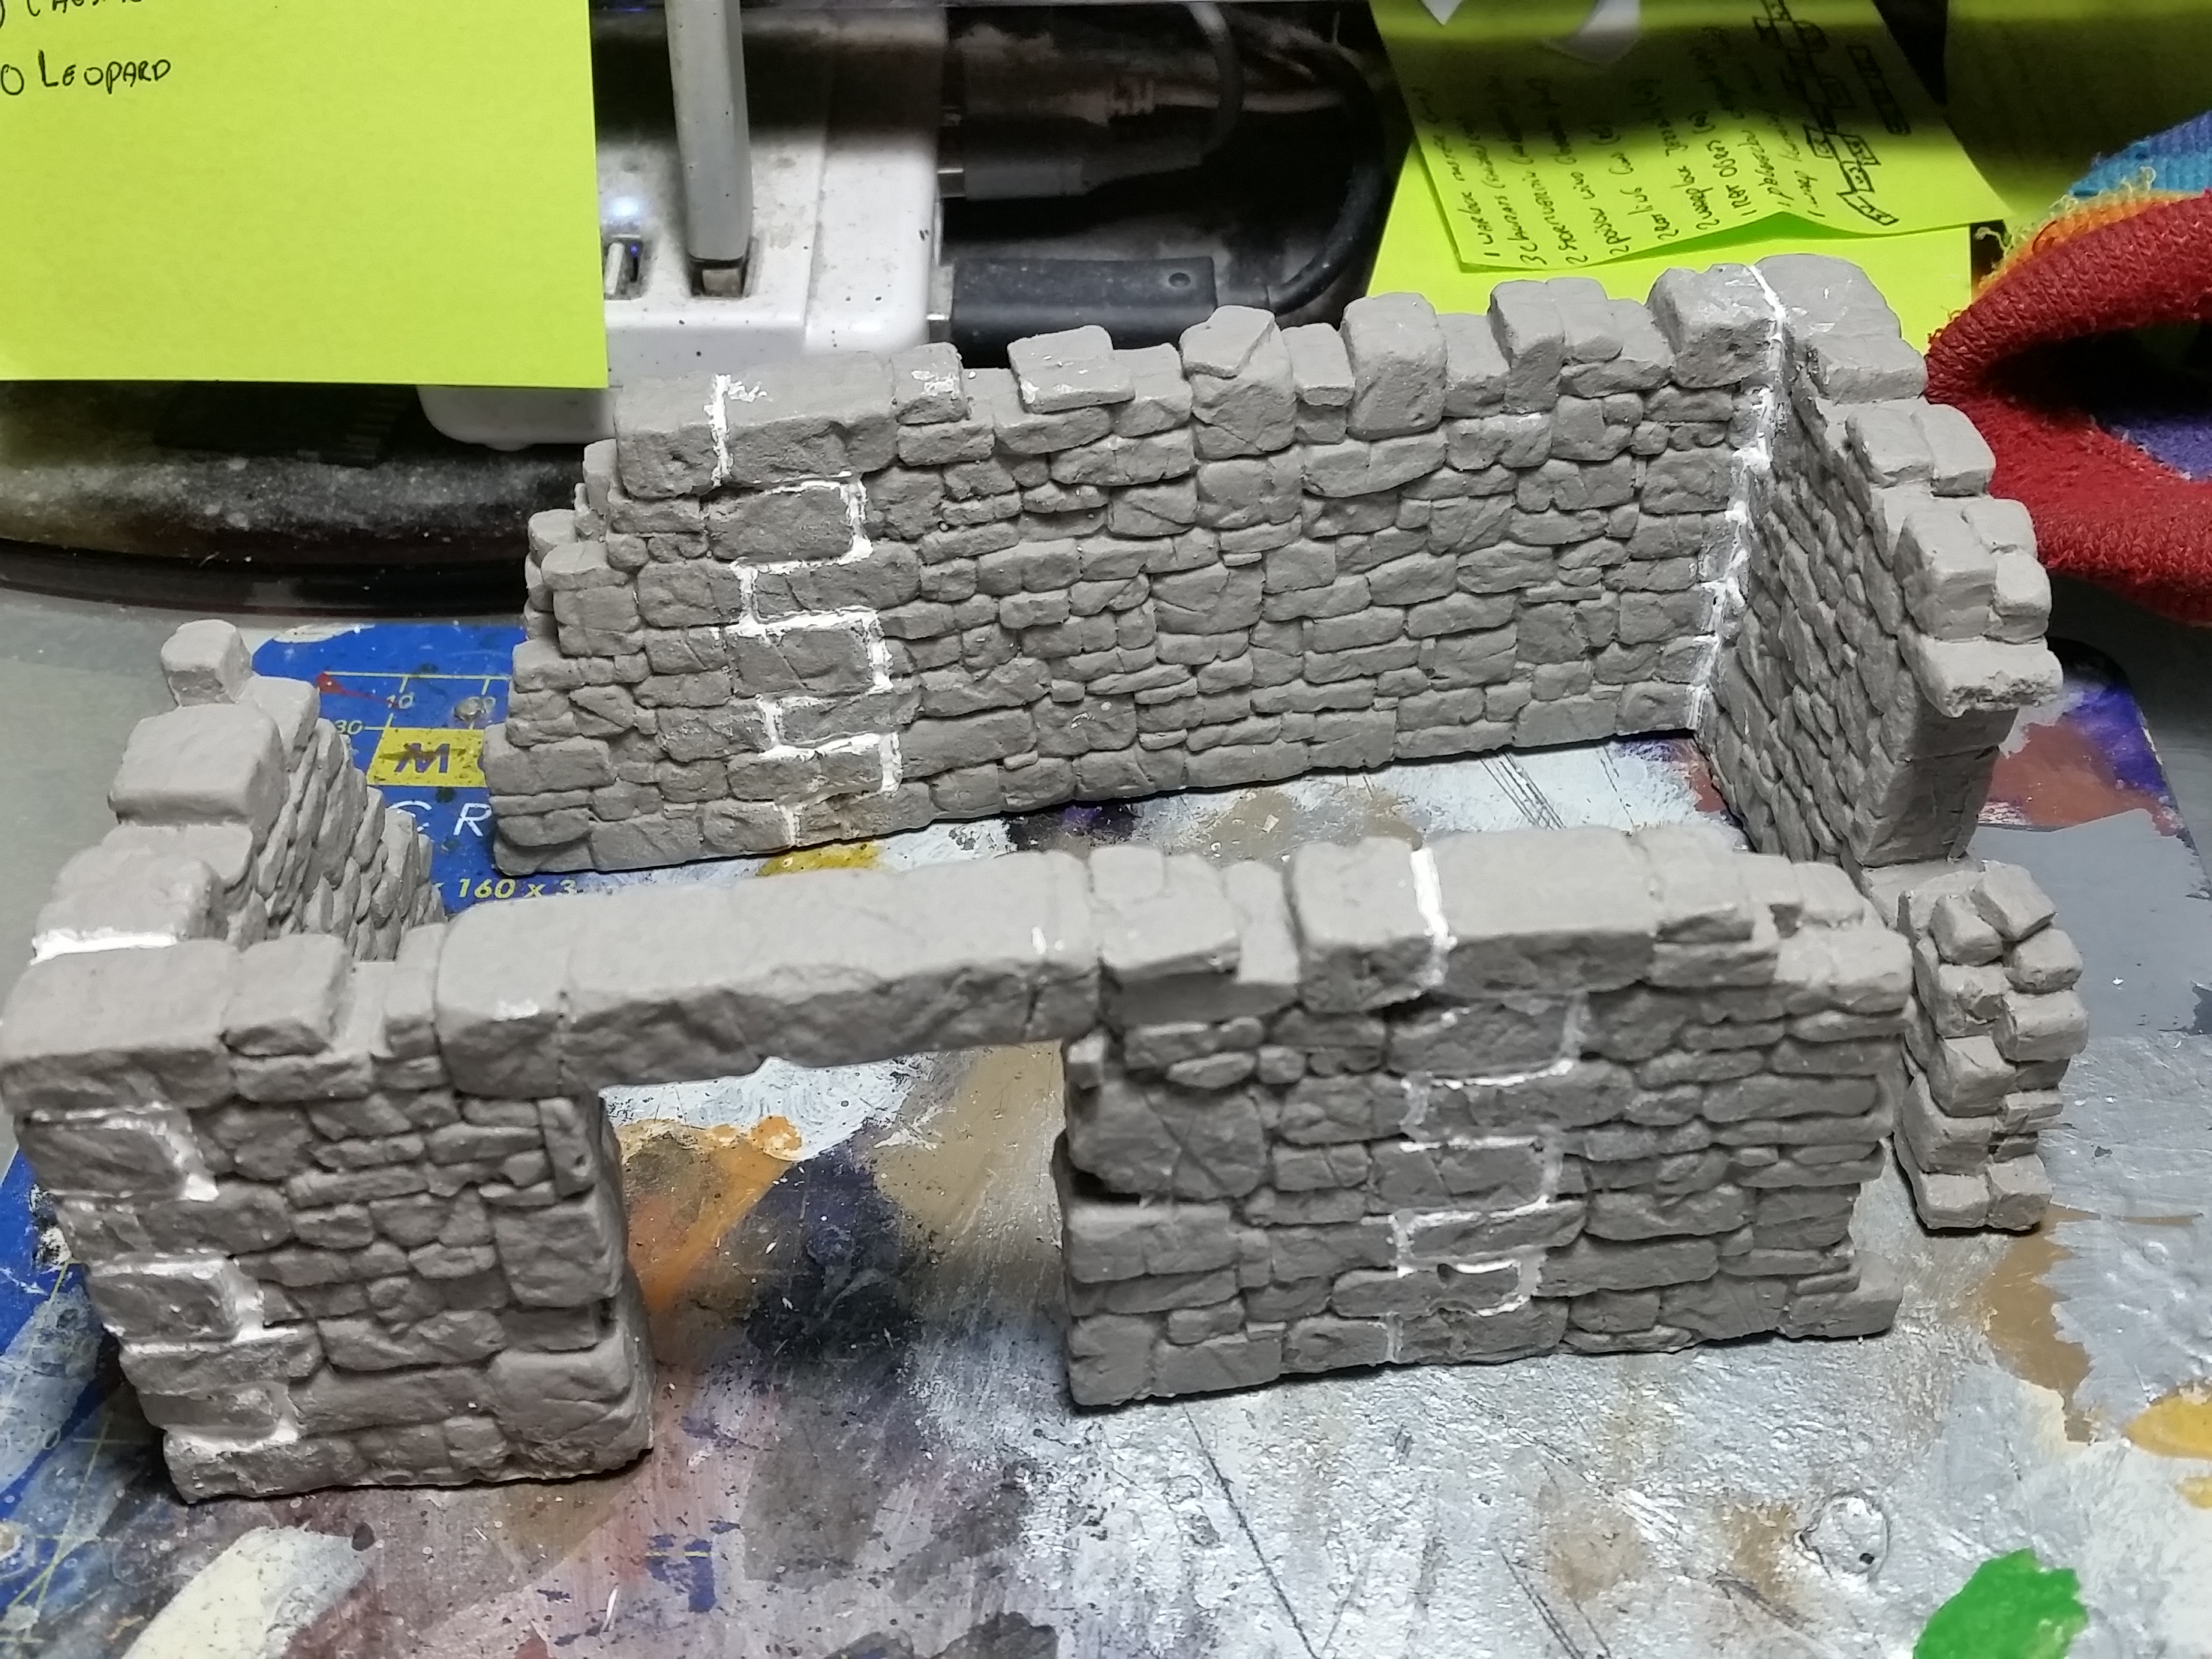
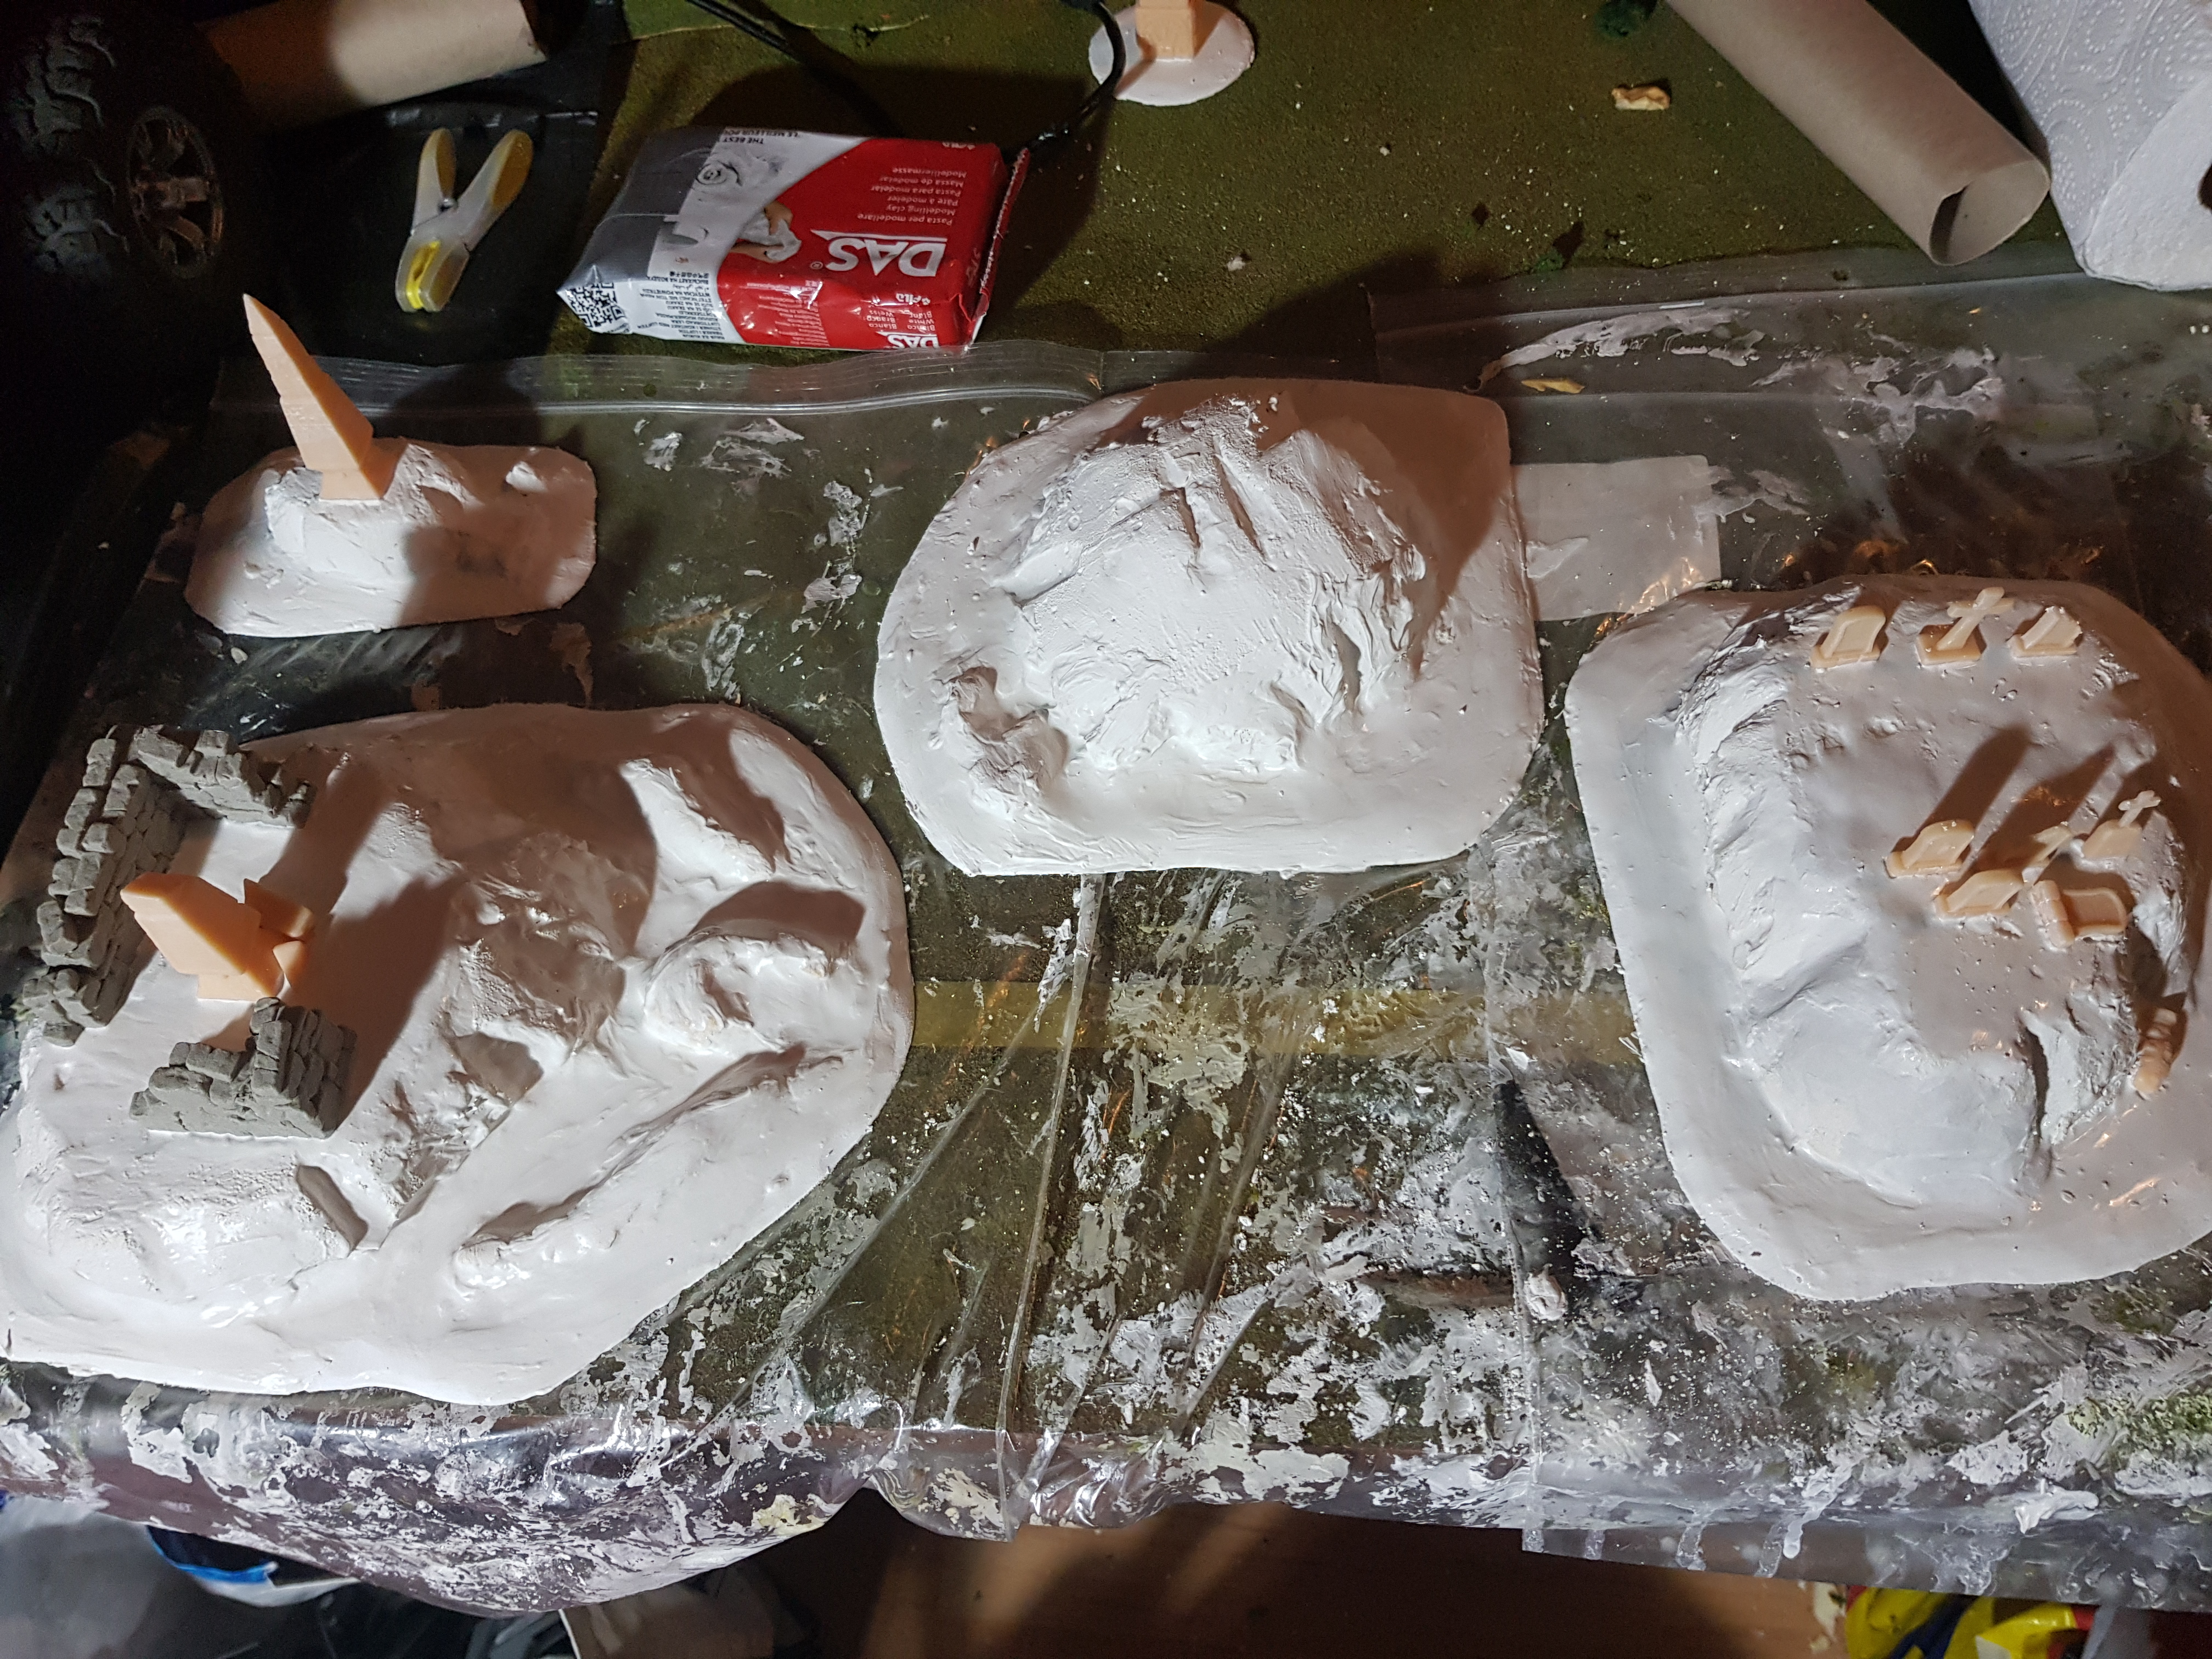
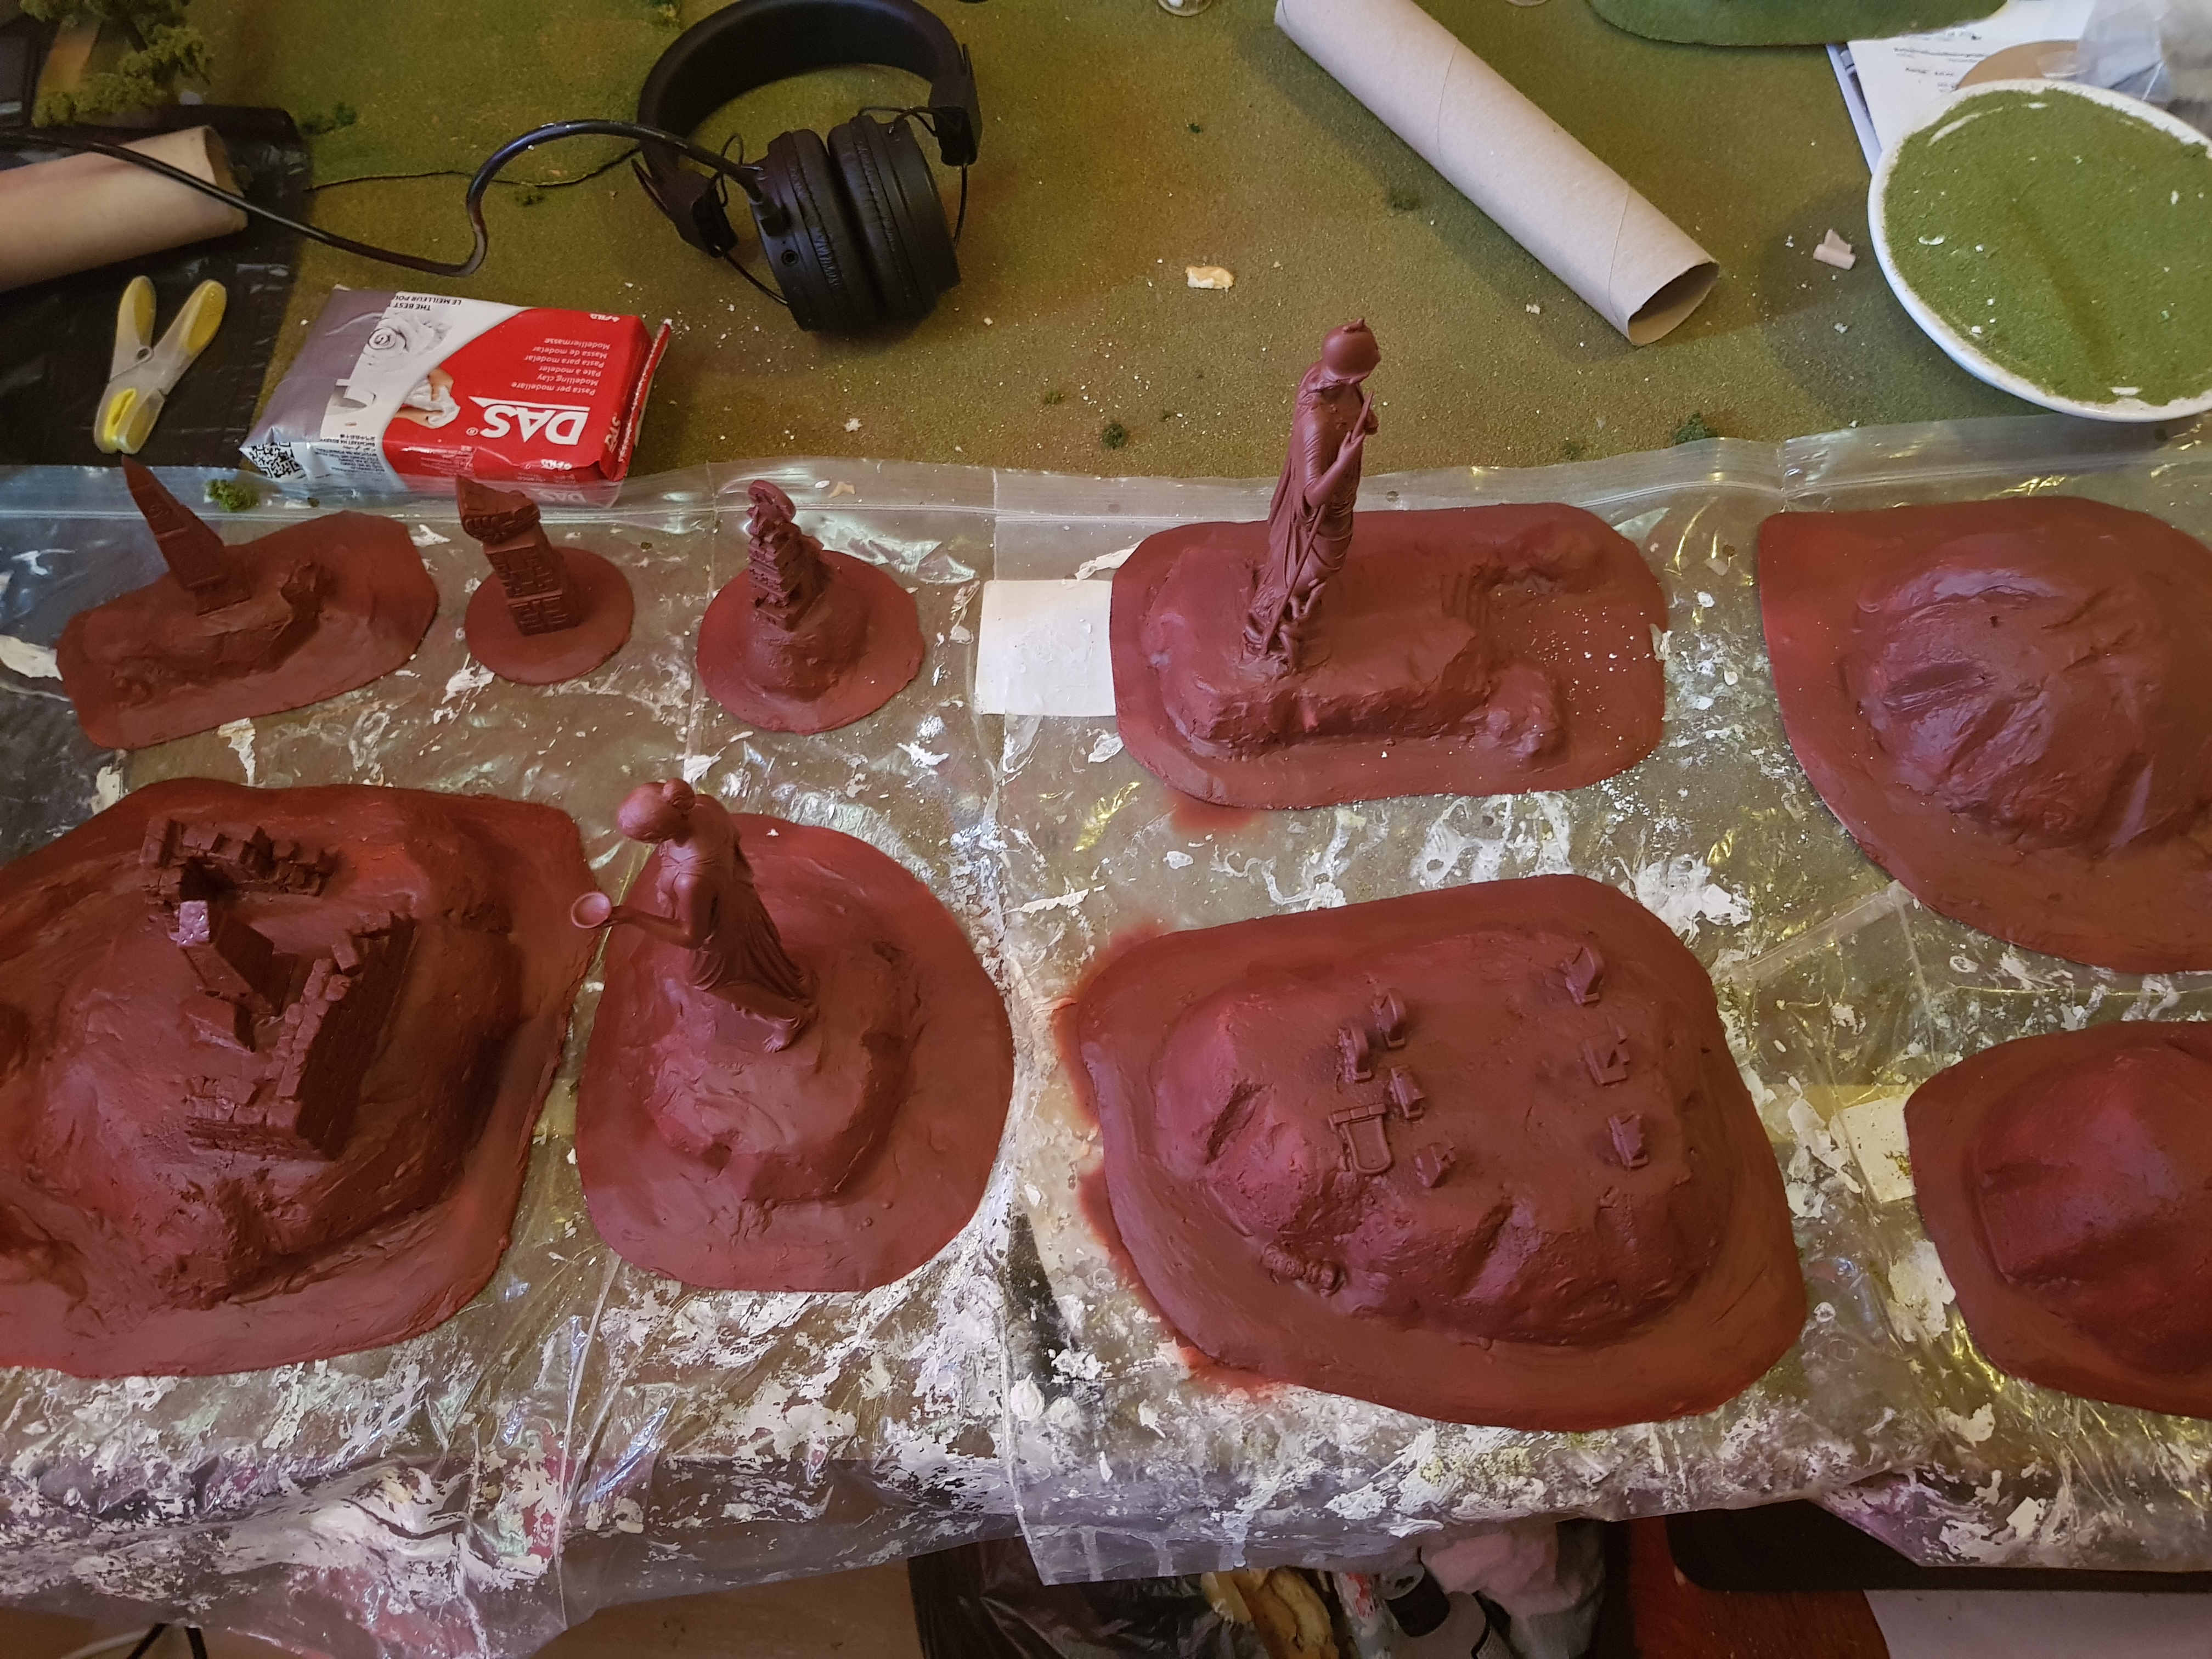
I made a base for the ruins in the same way as I did for my previous terrain pieces using ePVC foamboard. I wanted the ruins to have a bit of strength underneath them when I attached them to the base. The bottoms of the ruins were not perfectly flat when multiple pieces were stuck together. So I added a layer of clay underneath as support. I then proceeded to cover and smooth out the rest of the base with clay which was a bad mistake. Due to this the piece has slightly warped and I should have just used filler to do the majority of the base.
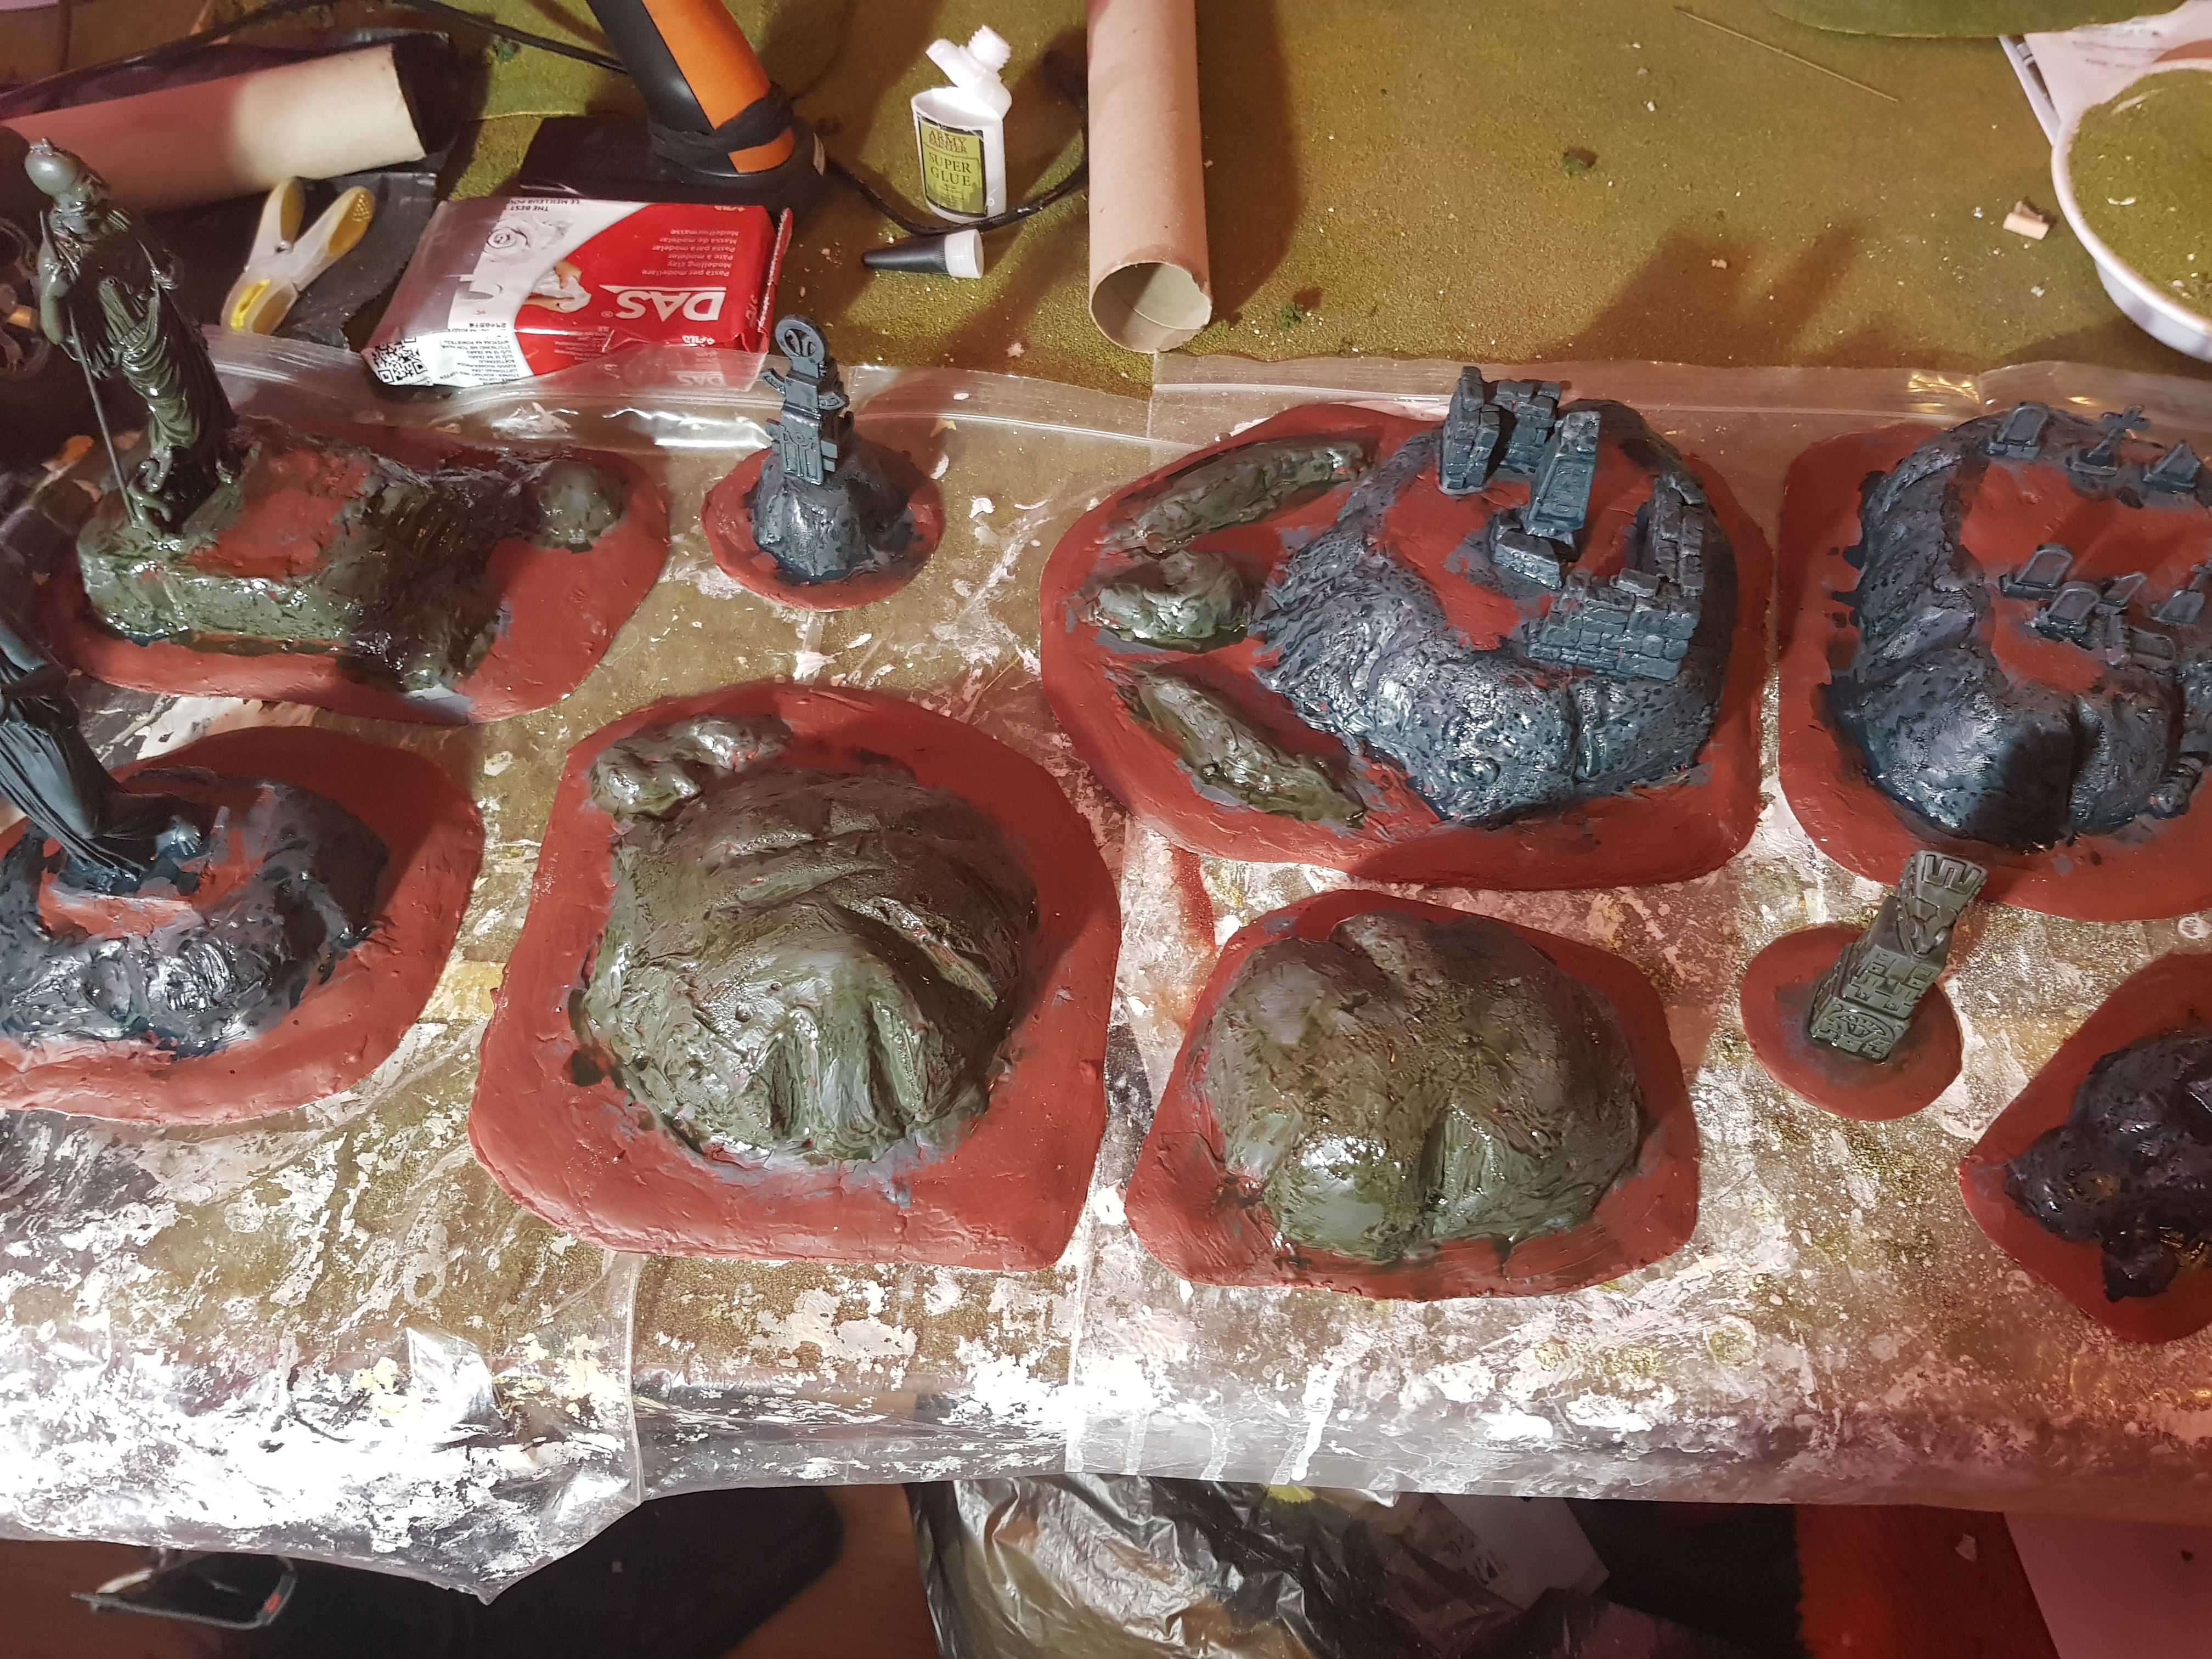
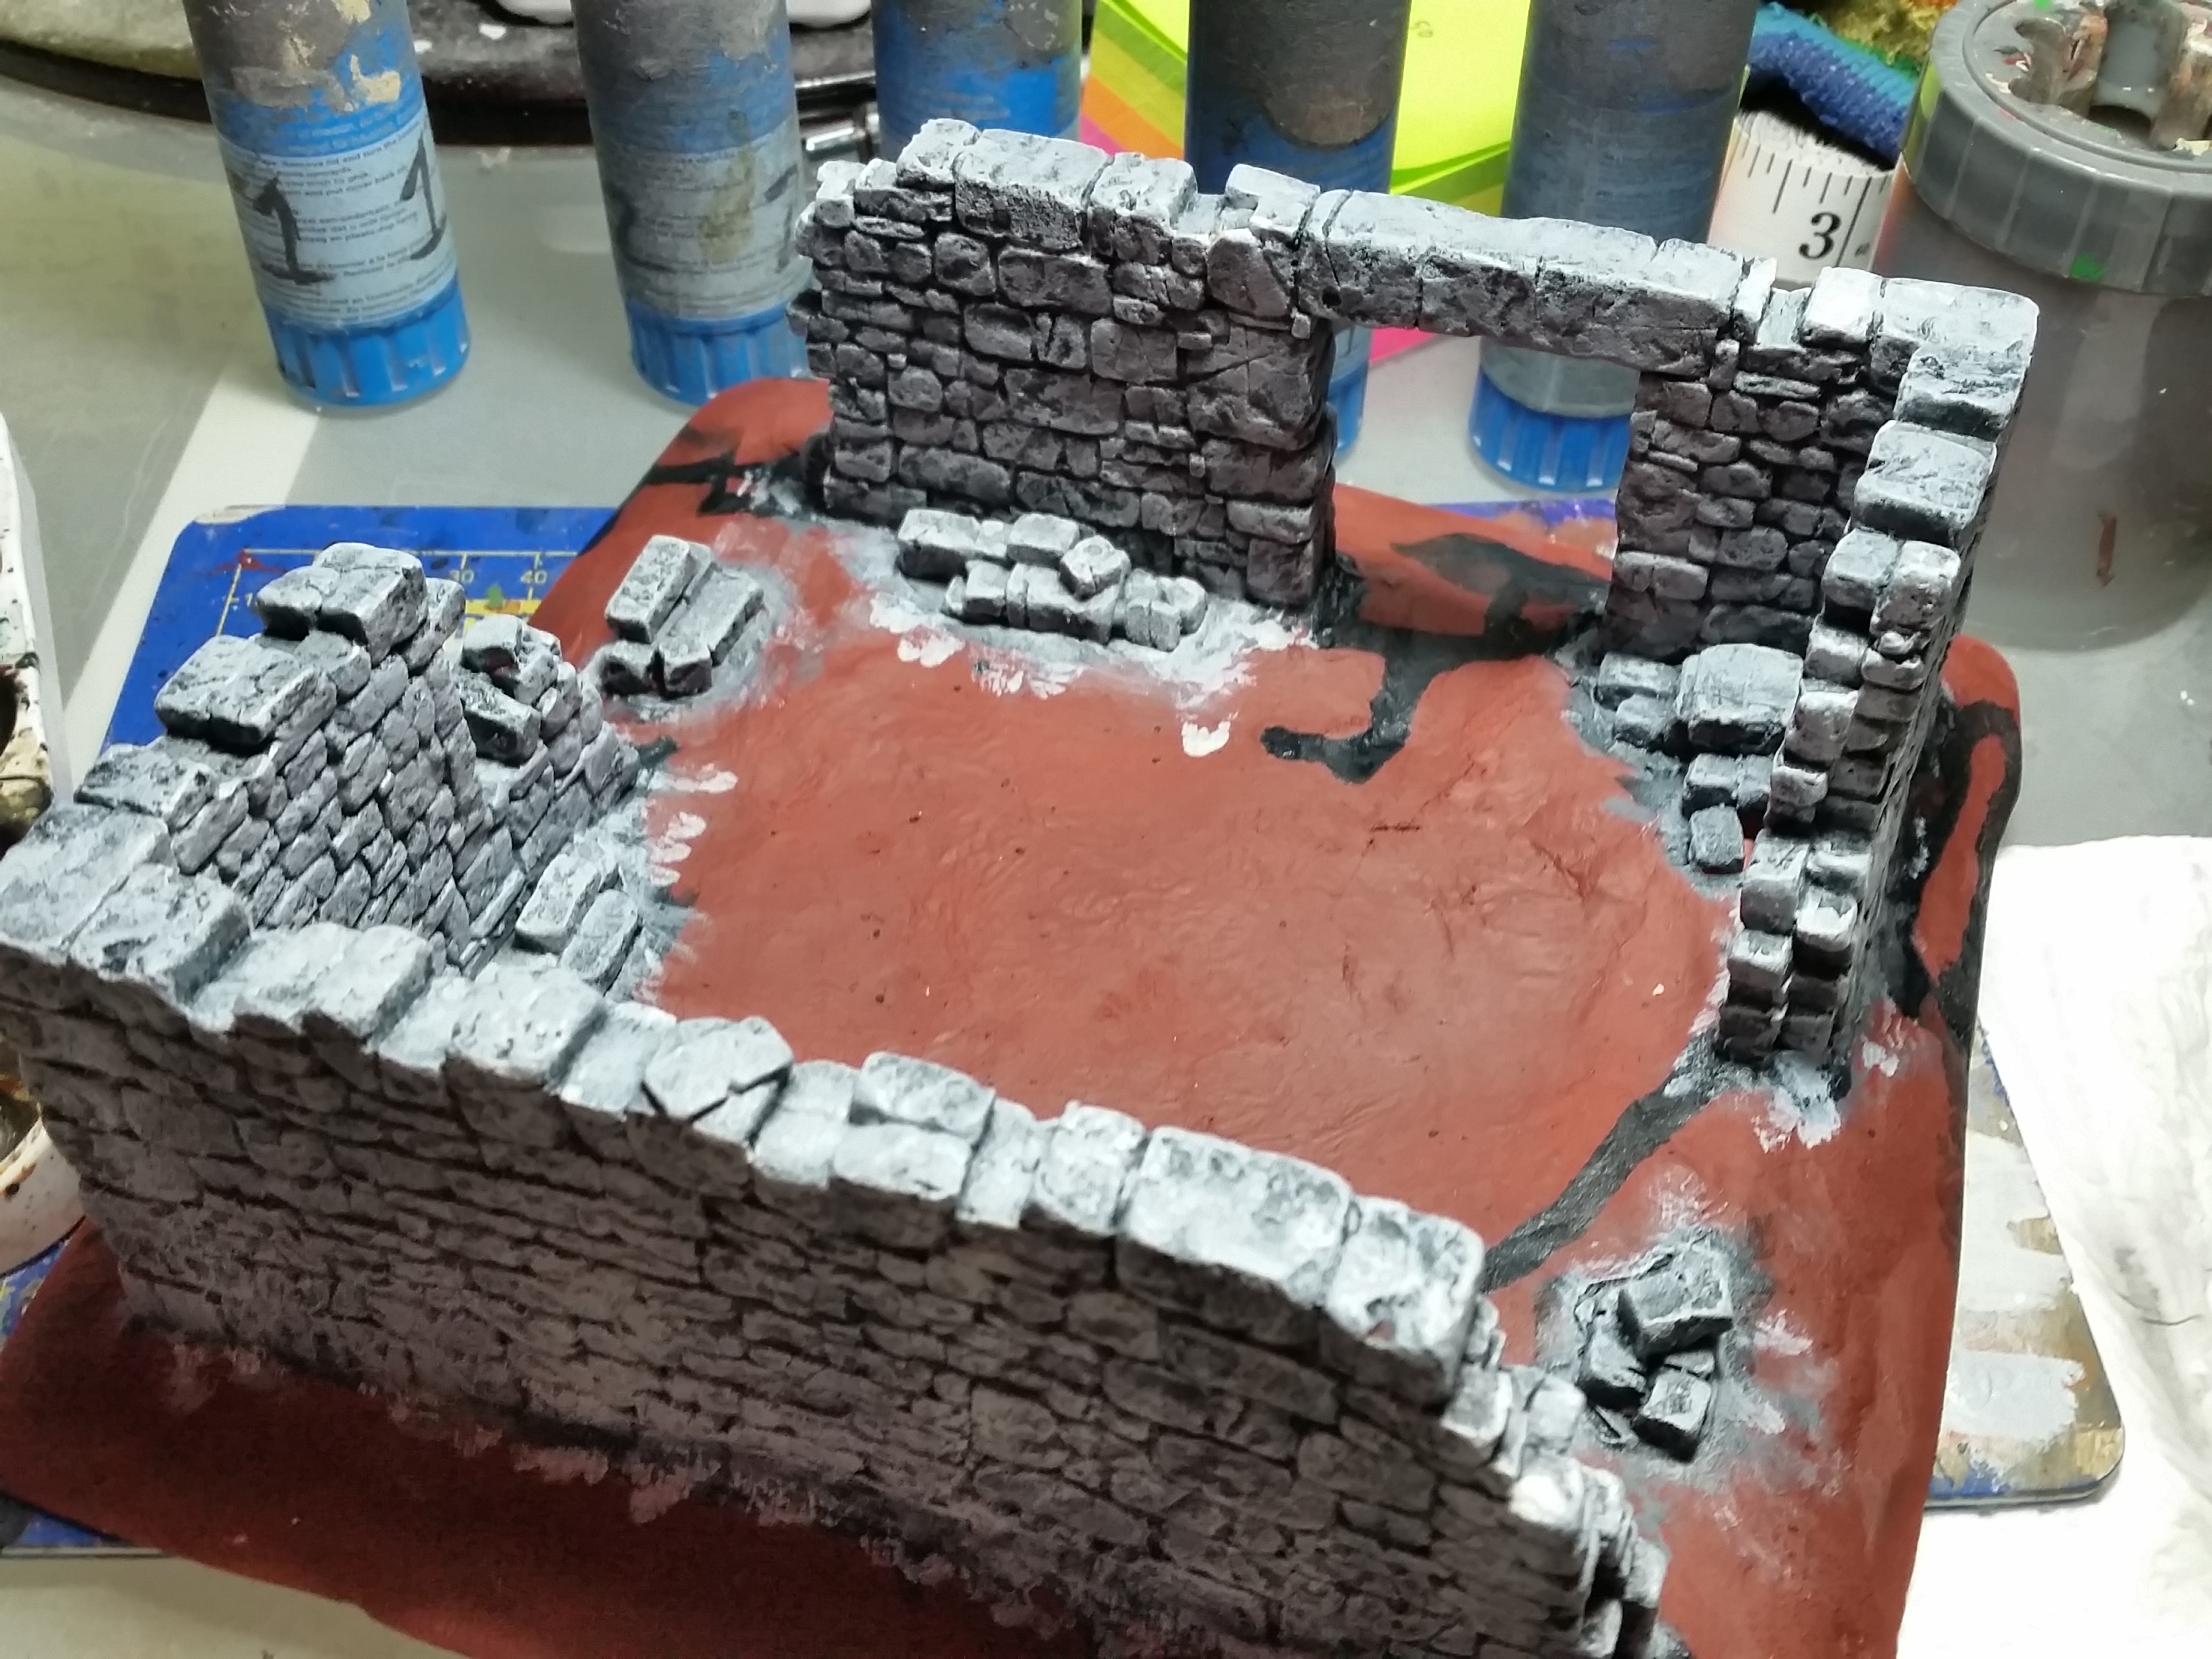
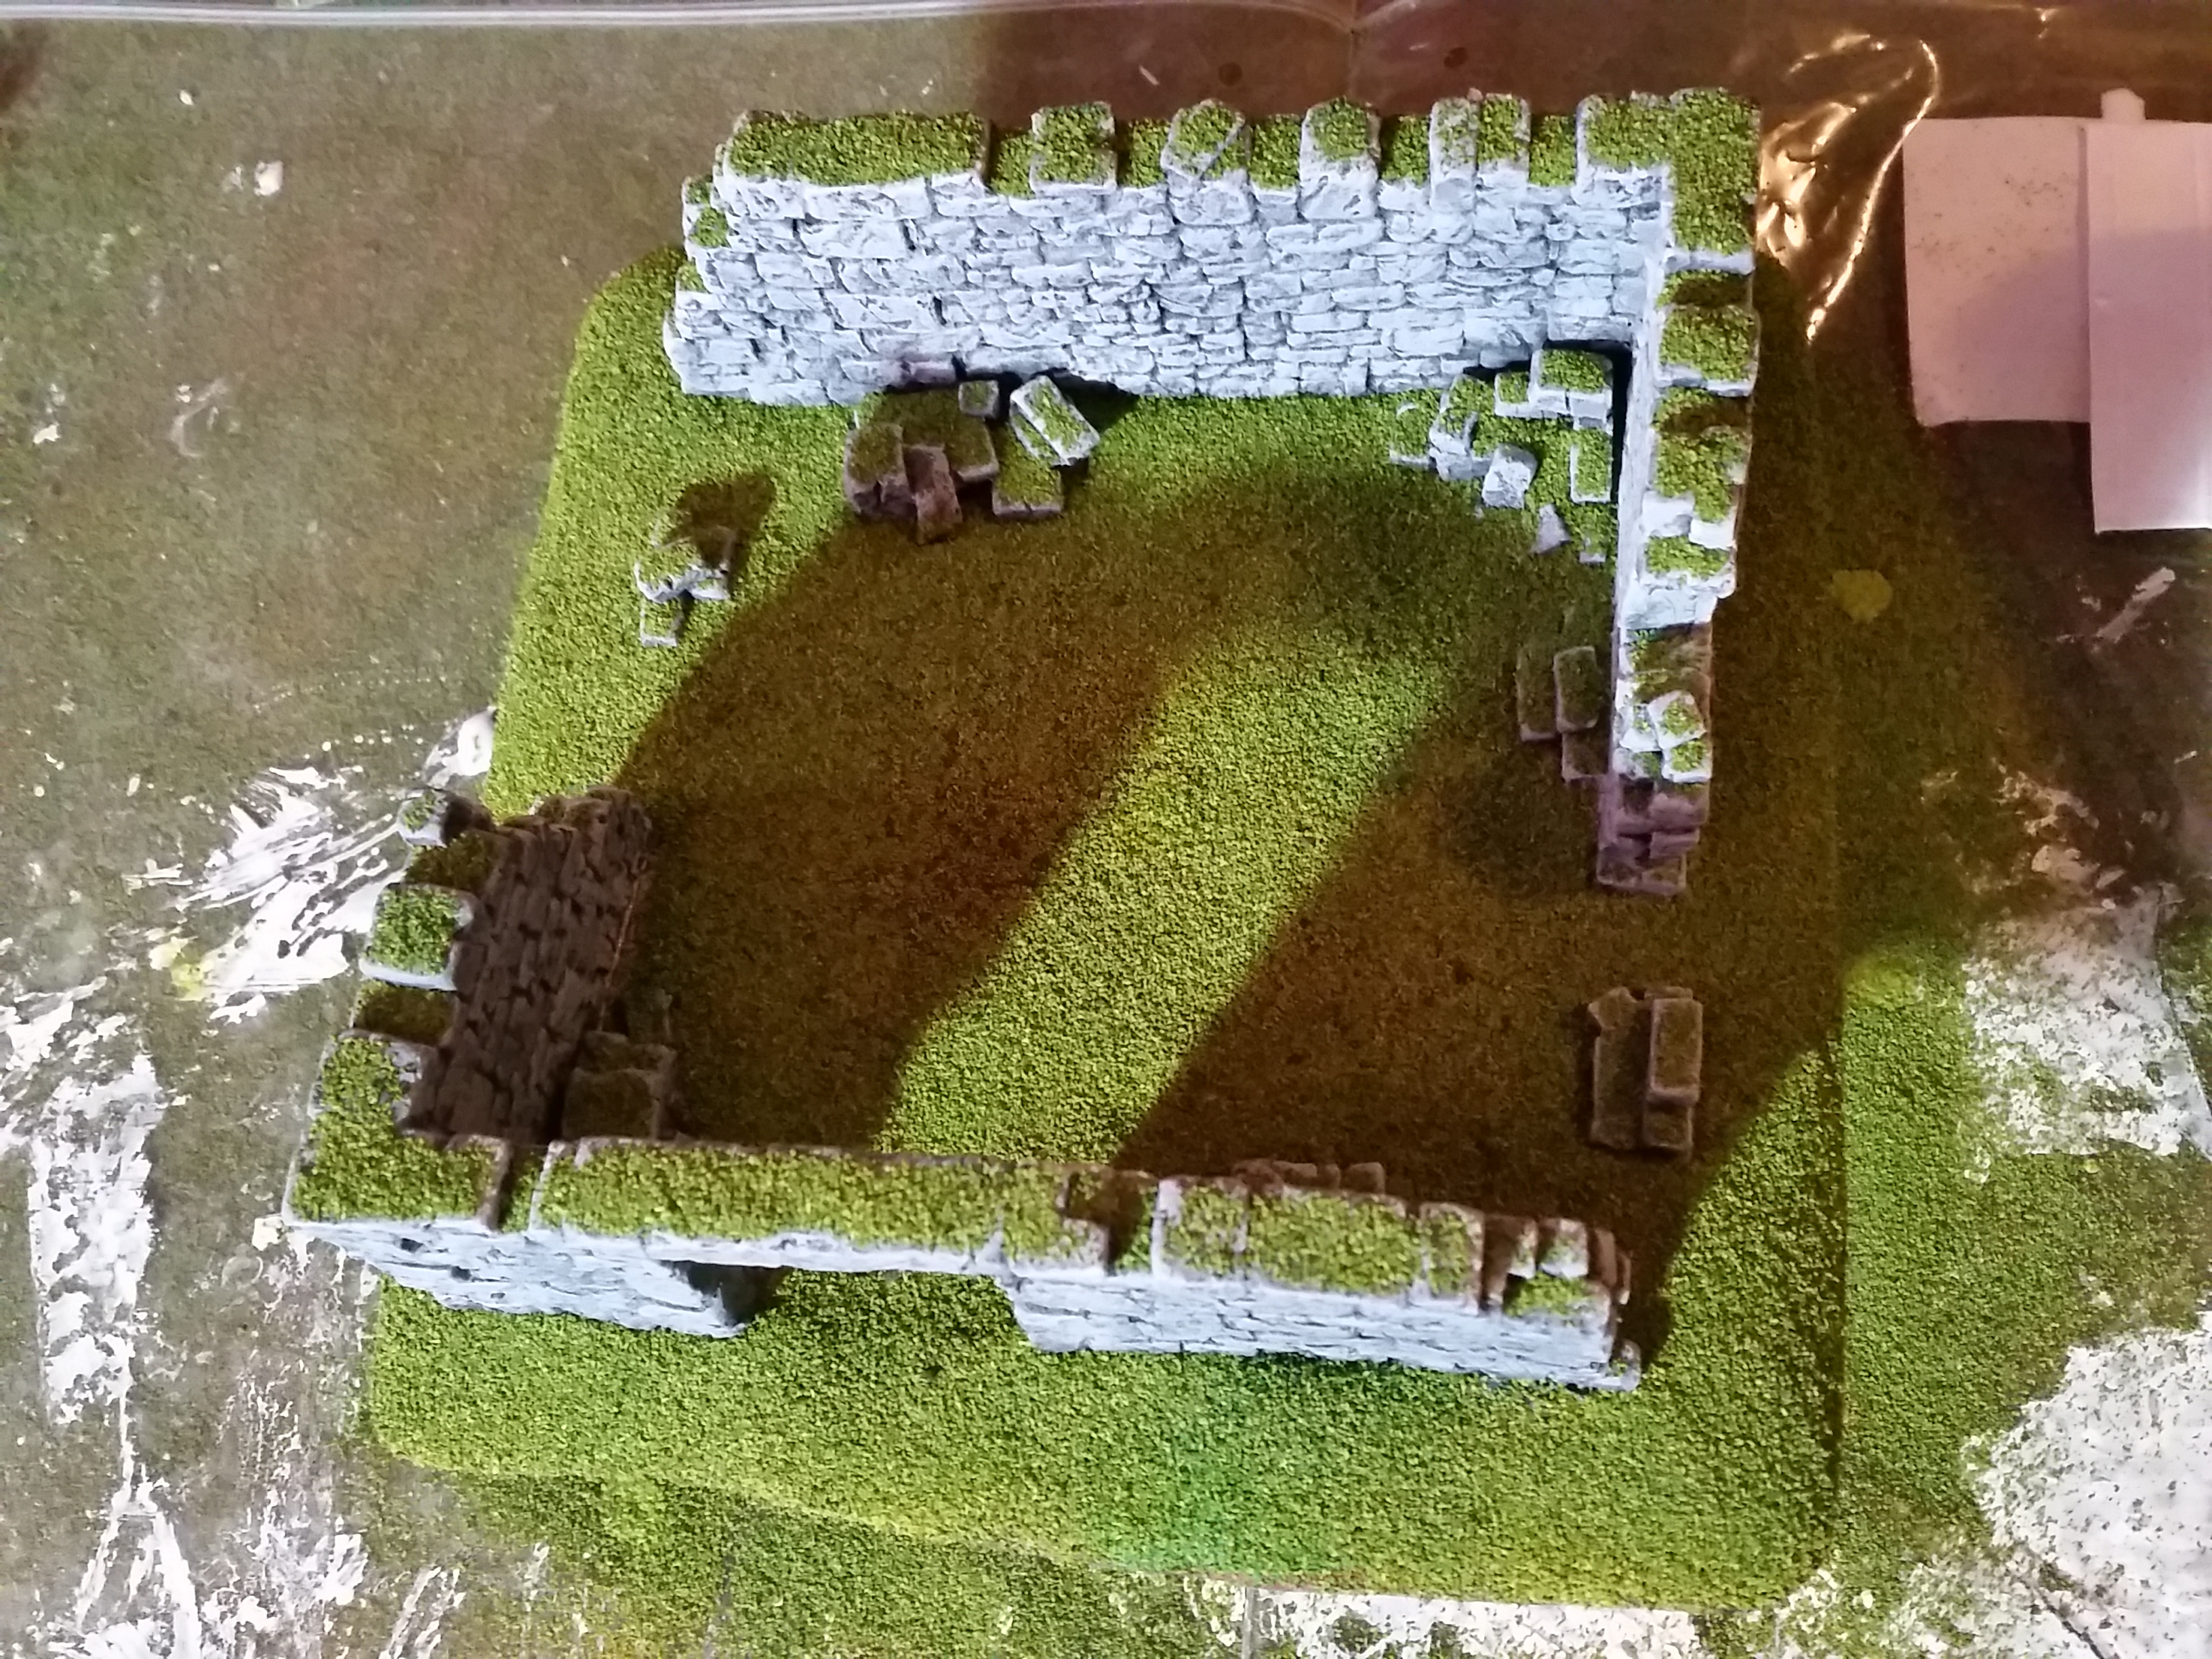
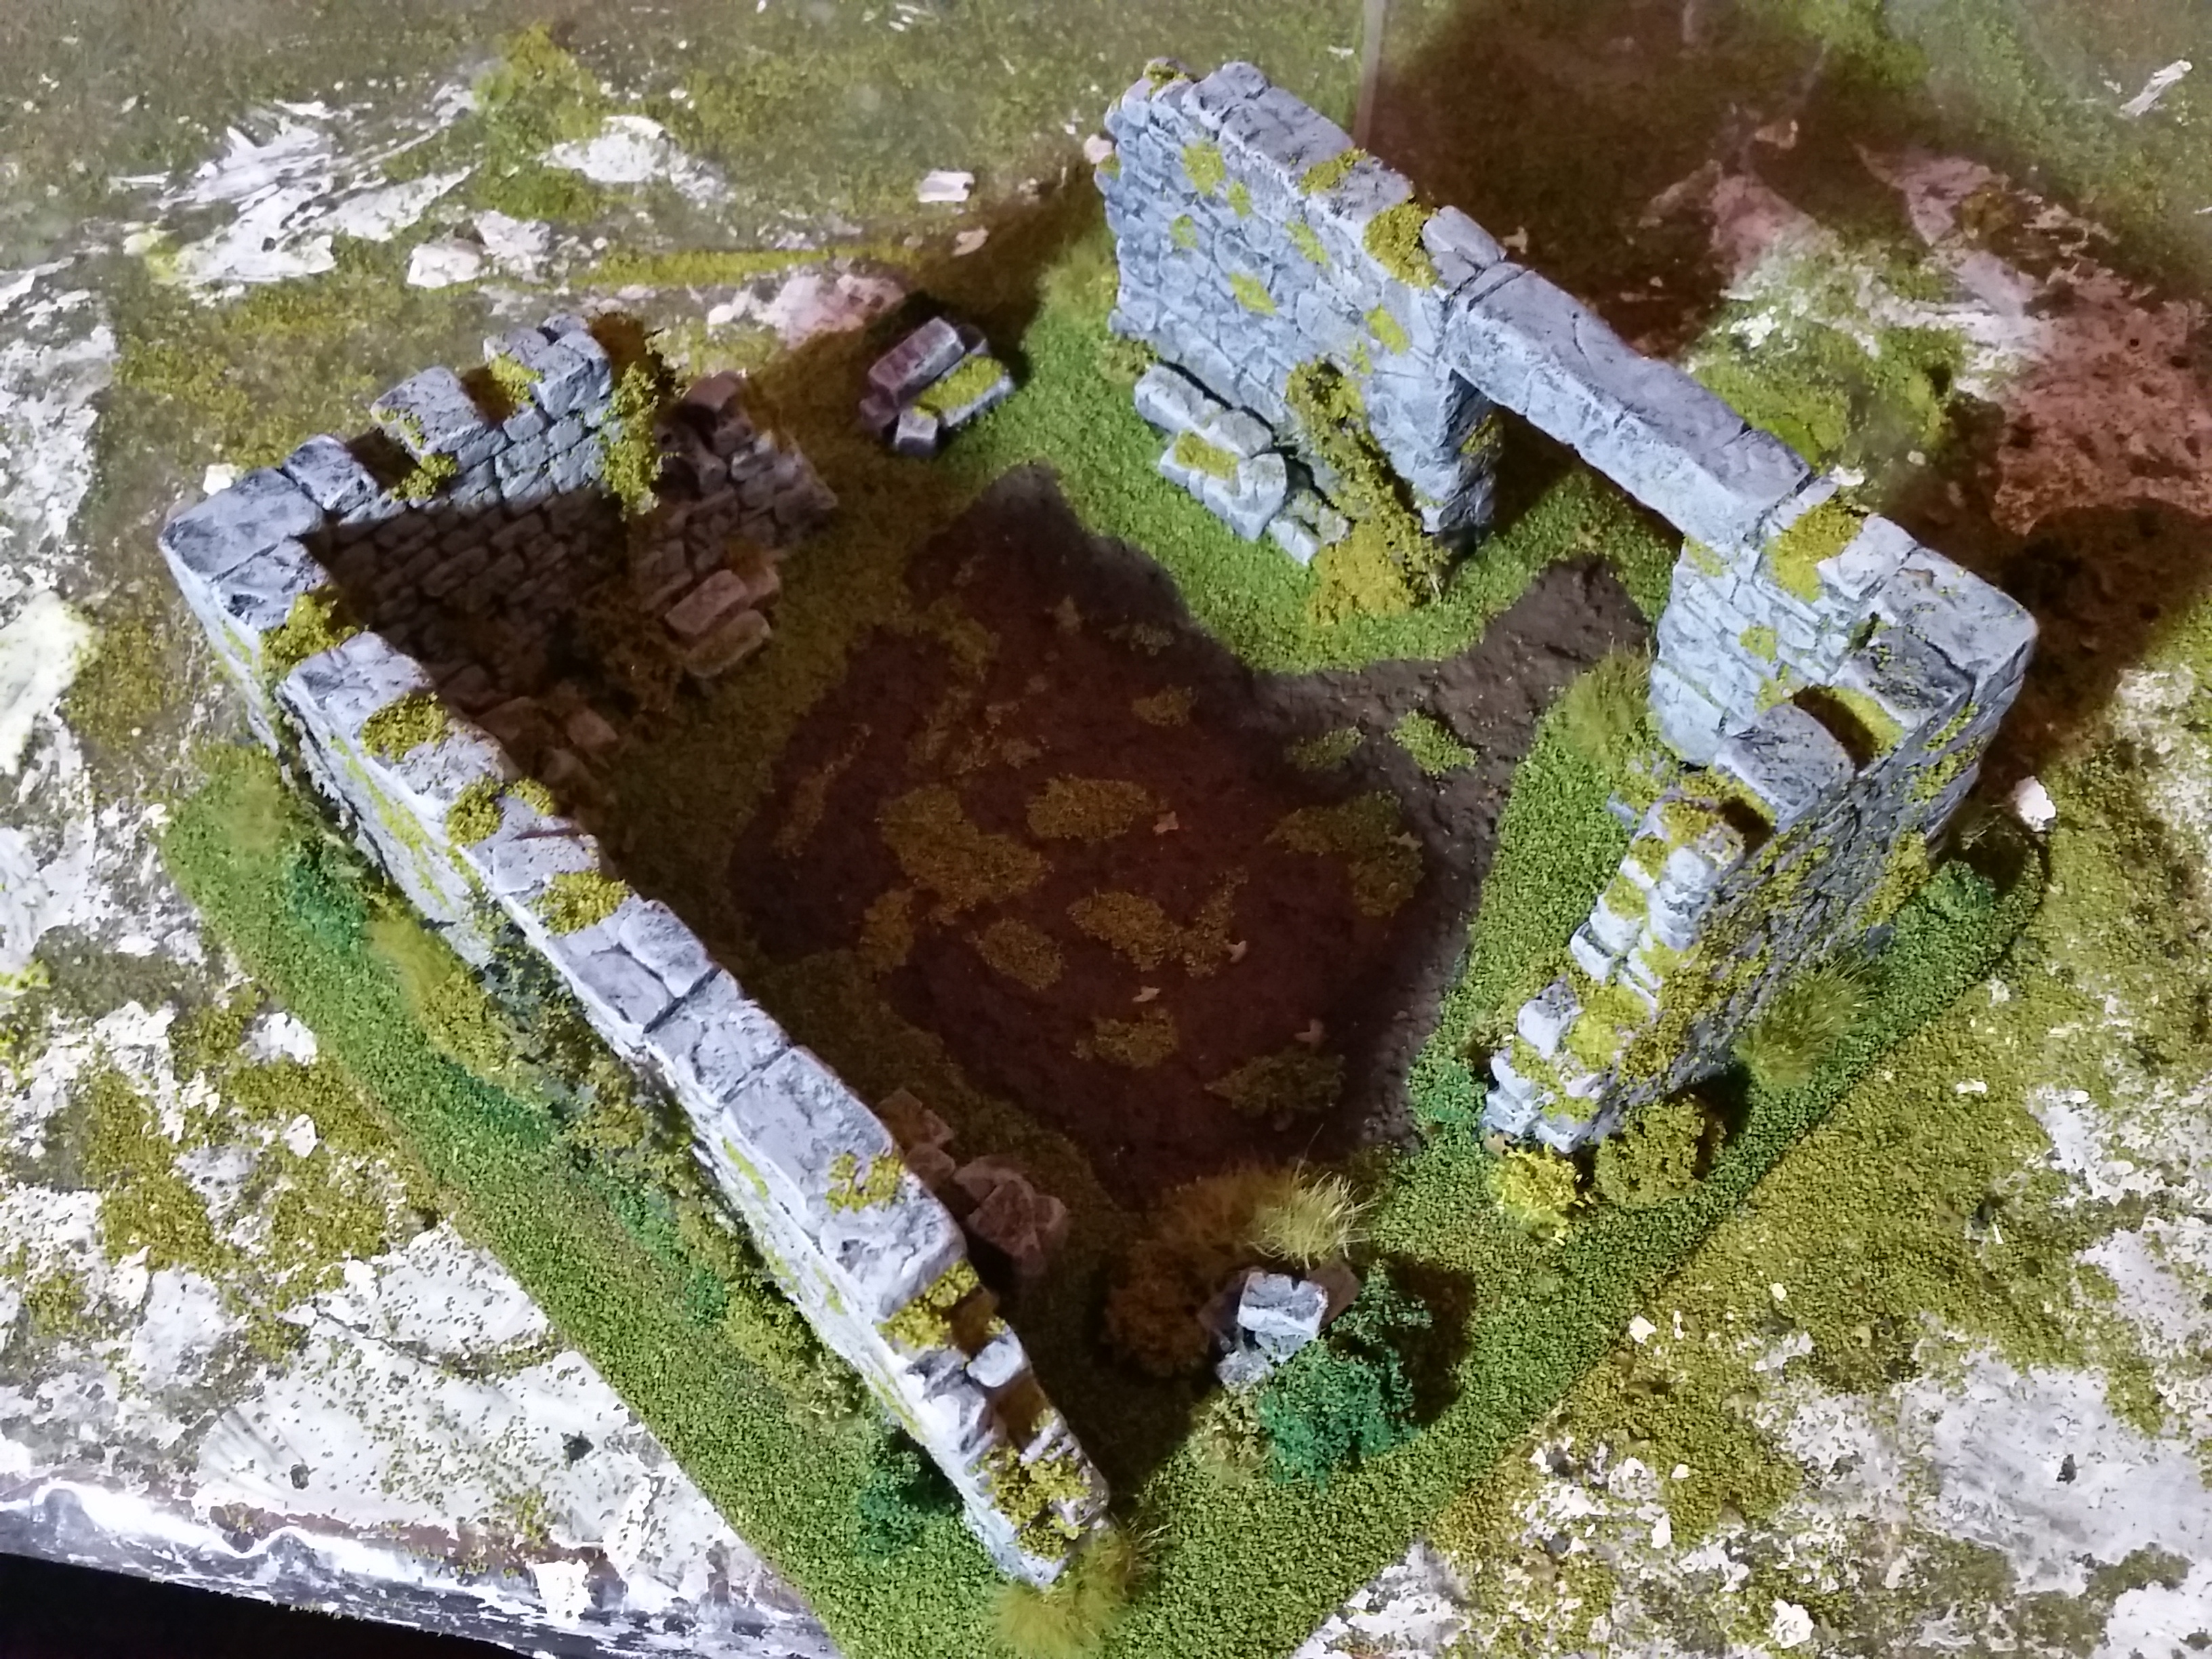
For the painting of the stone I used the same method as before and for flocking I did as well, so I’m not going into detail how I did that again as you can read it down in the project. Here are some progress pictures to show the final stages.


![Mounted US Cavalry On Kickstarter For Dead Man’s Hand! [Updated]](https://images.beastsofwar.com/2026/03/us-cavalry-main-600-338.jpg)


![Play WW2 Commando Operations With Butcher & Bolt [Updated]](https://images.beastsofwar.com/2026/03/relaunch-600-338.jpg)


