


Civs 6mm Adventures – Ancient Germans


Recommendations: 174
About the Project
We saw some 6mm DBMM gaming and it looked so epic my gaming group are giving it a go. This project will follow my attempts at a whole new scale.
Related Genre: Historical
This Project is Completed
Baccus order arrived
 It took a while but my gaming groups order came in!
The painting begins and its great fun!
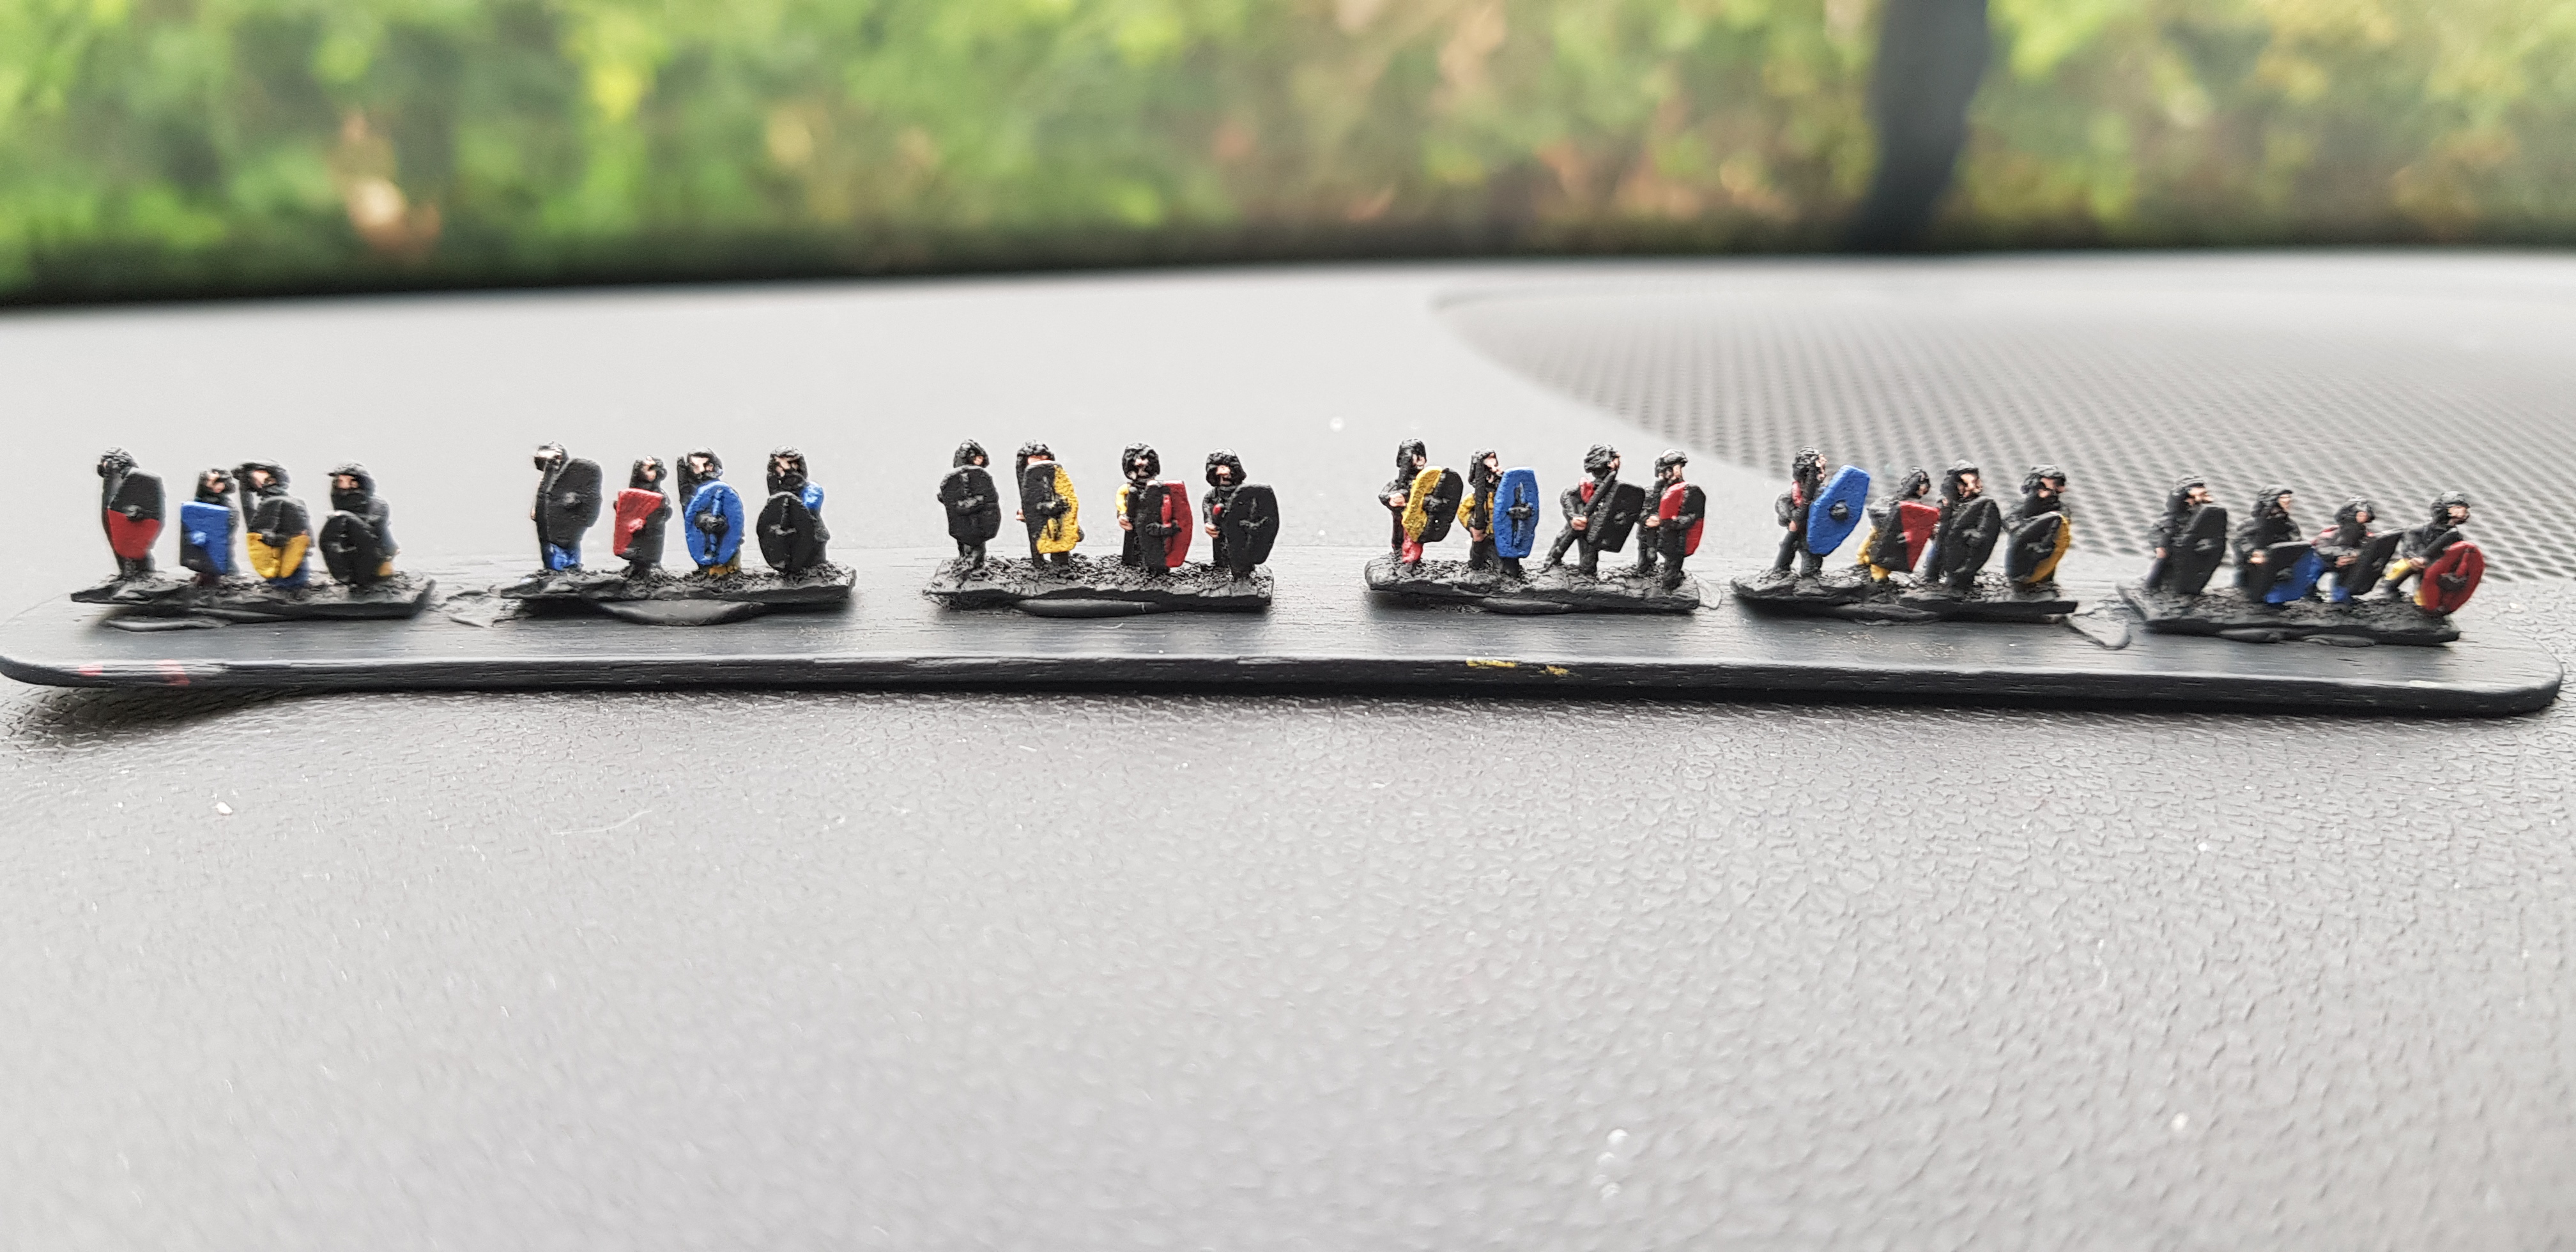

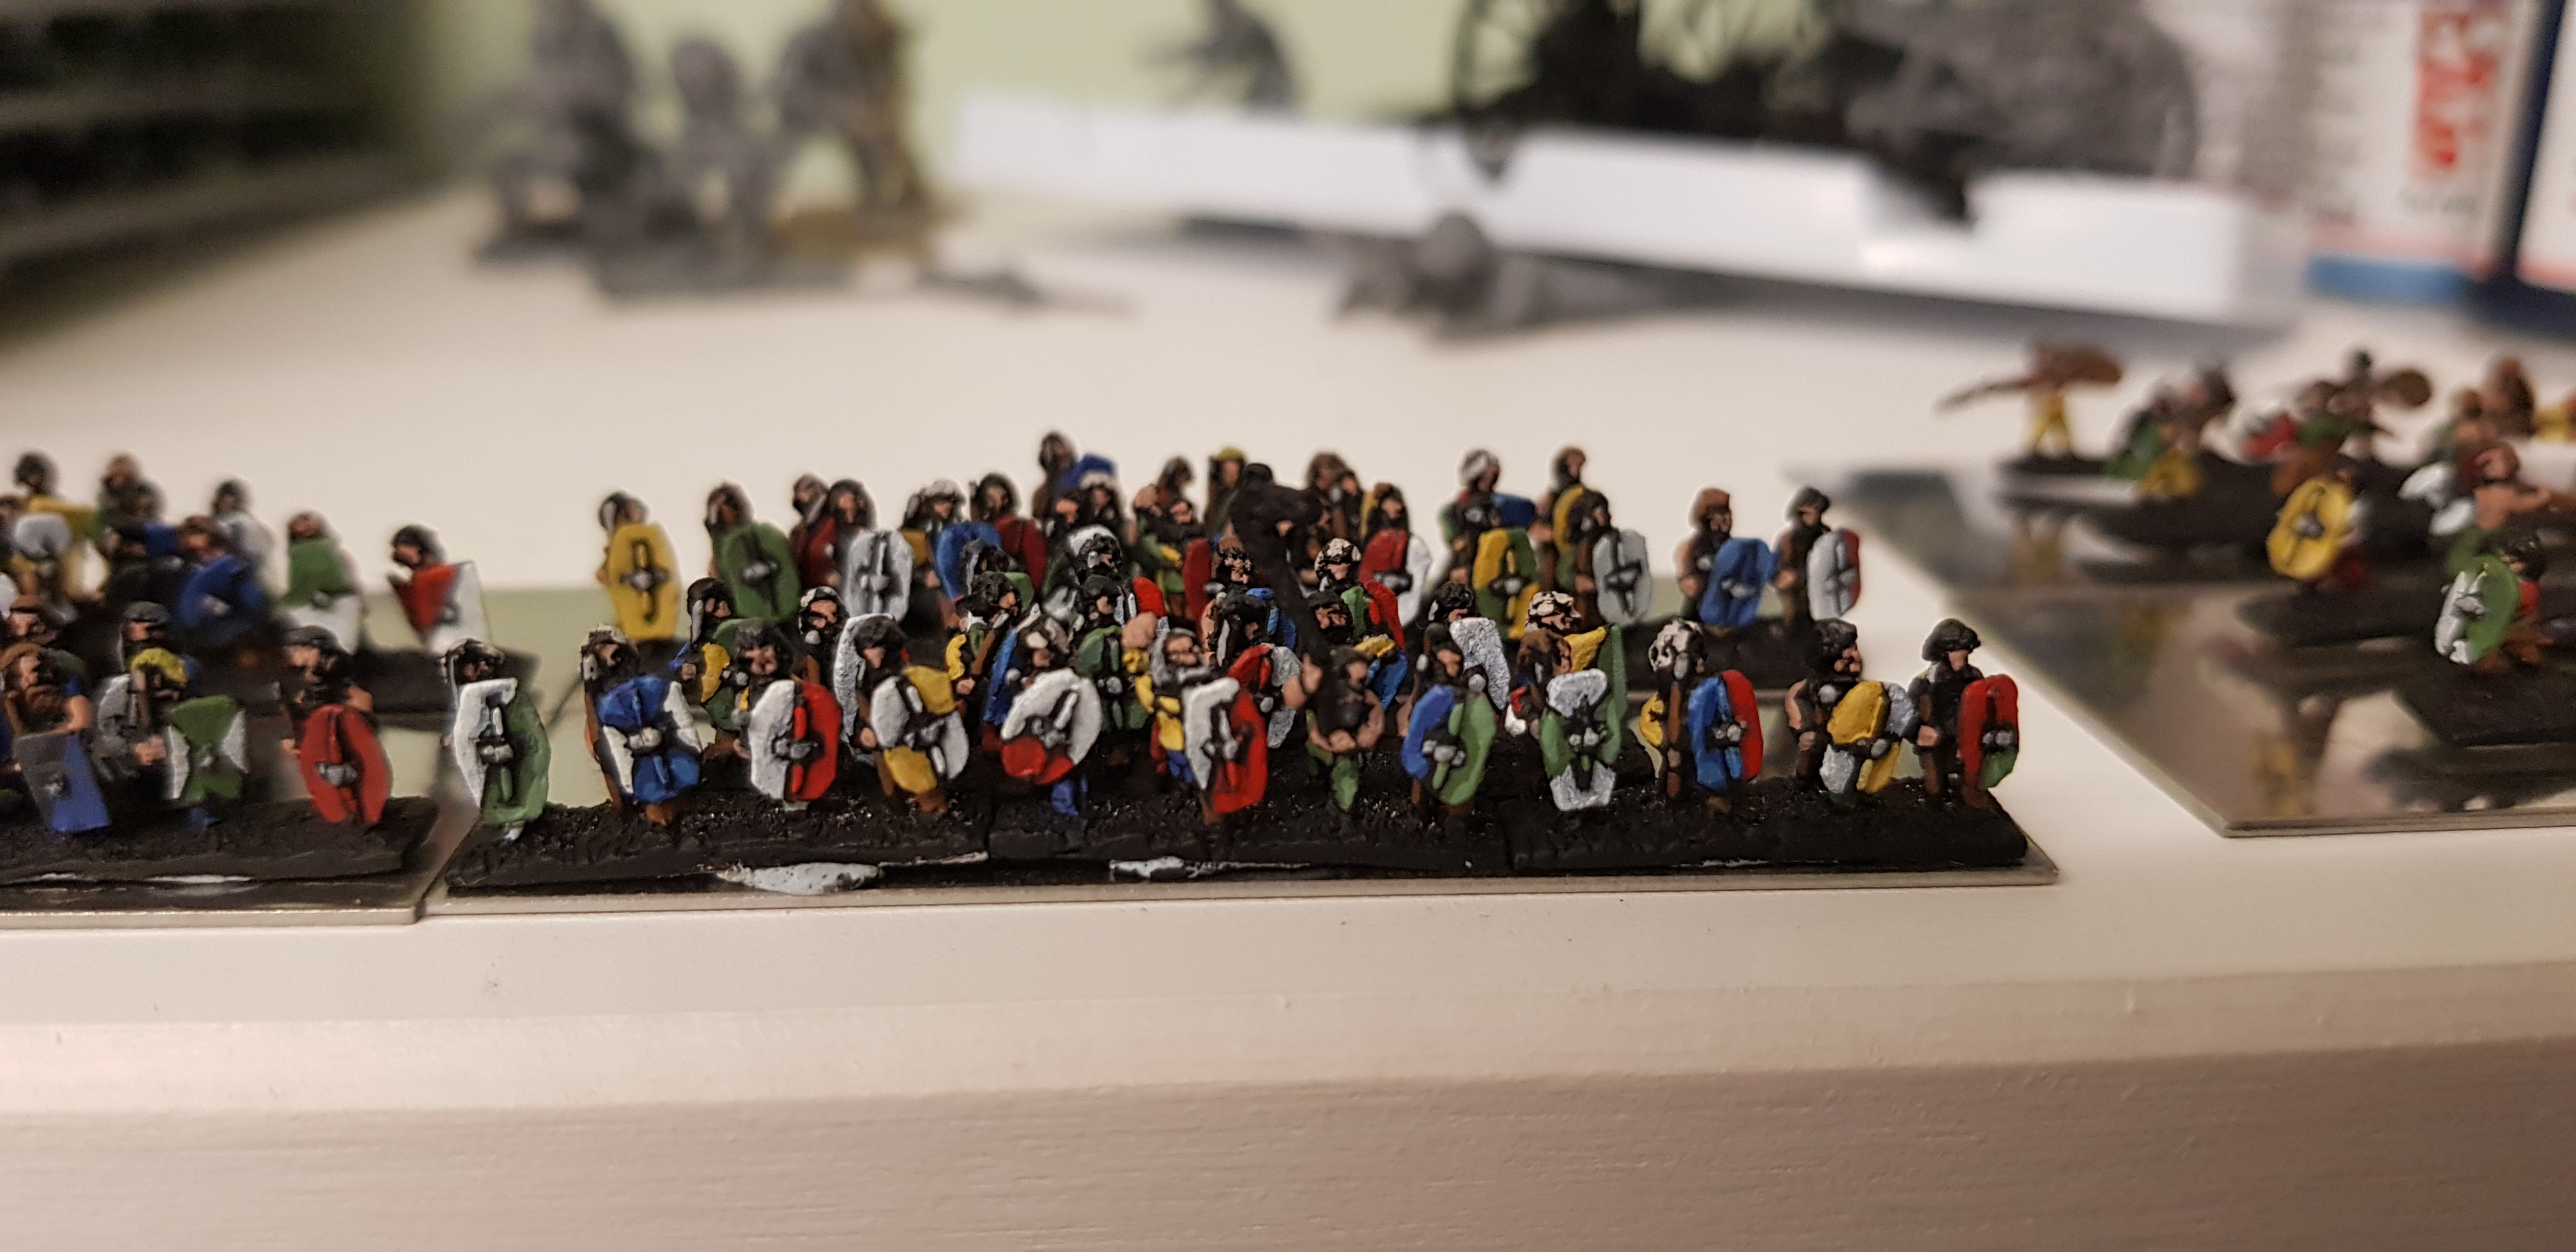
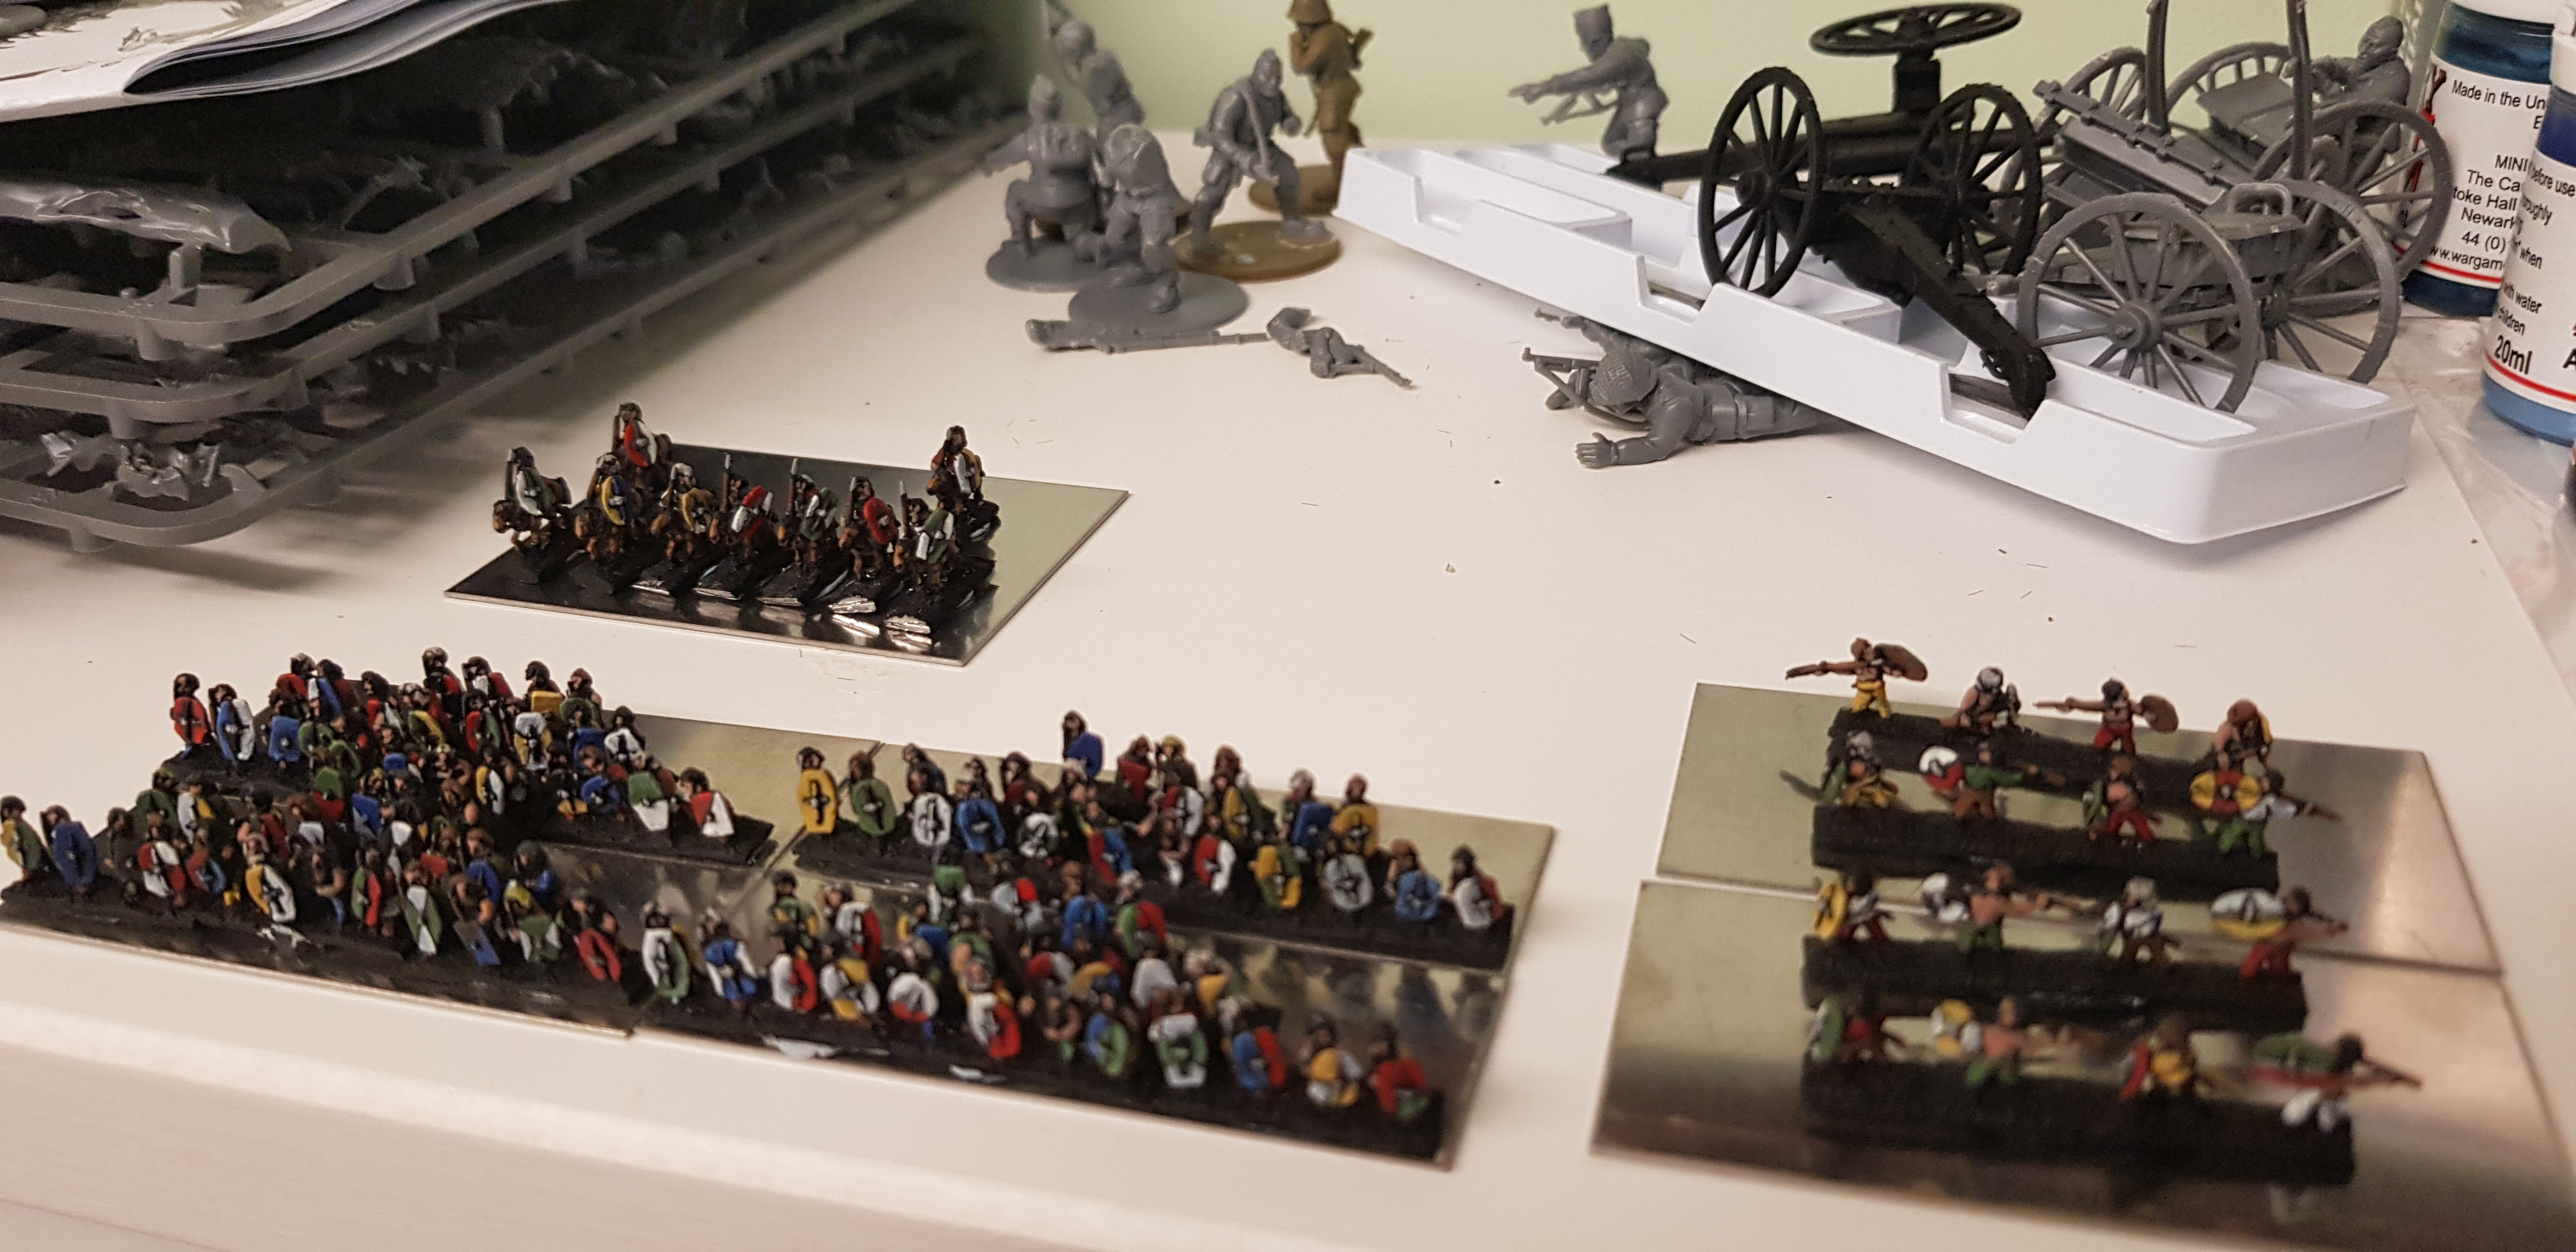
So here’s the first ‘batch’ of my barbarian horde. I thought i would struggle with this scale as there is not much in the way of detail (you simply couldnt see it at this scale!).
However a lack of detail is proving to be very refreshing, painting what you expect to see rather than what is actually there is so different from the usual 28mm painting approach i often take. For example no hand is sculpted on this model but i would expect one to be on the spear shaft so lets paint that bit a flesh colour, step back a pace, i can now see a hand on the spear.
Im also enjoying the vibrant colours, at 6mm i feel you have to go bright and blackline things to really make the detail stick out. Originally i only gave the shields one layer of paint but on my last few strips i highlighted the shields up and added some more extremem highlights on the trousers, hair etc and it makes such a difference.
The only downside is i have to paint up about 10 bases worth (so around 36 models per base) which is a lot of little men!
I have at this point run out of infantry to paint so im ont the skirmishers and cavalry but fear not, i have put in an order for another two packs of infantry so another 192 troops to swell the horde (luckily it doesnt take long to paint these guys!)
Some living research
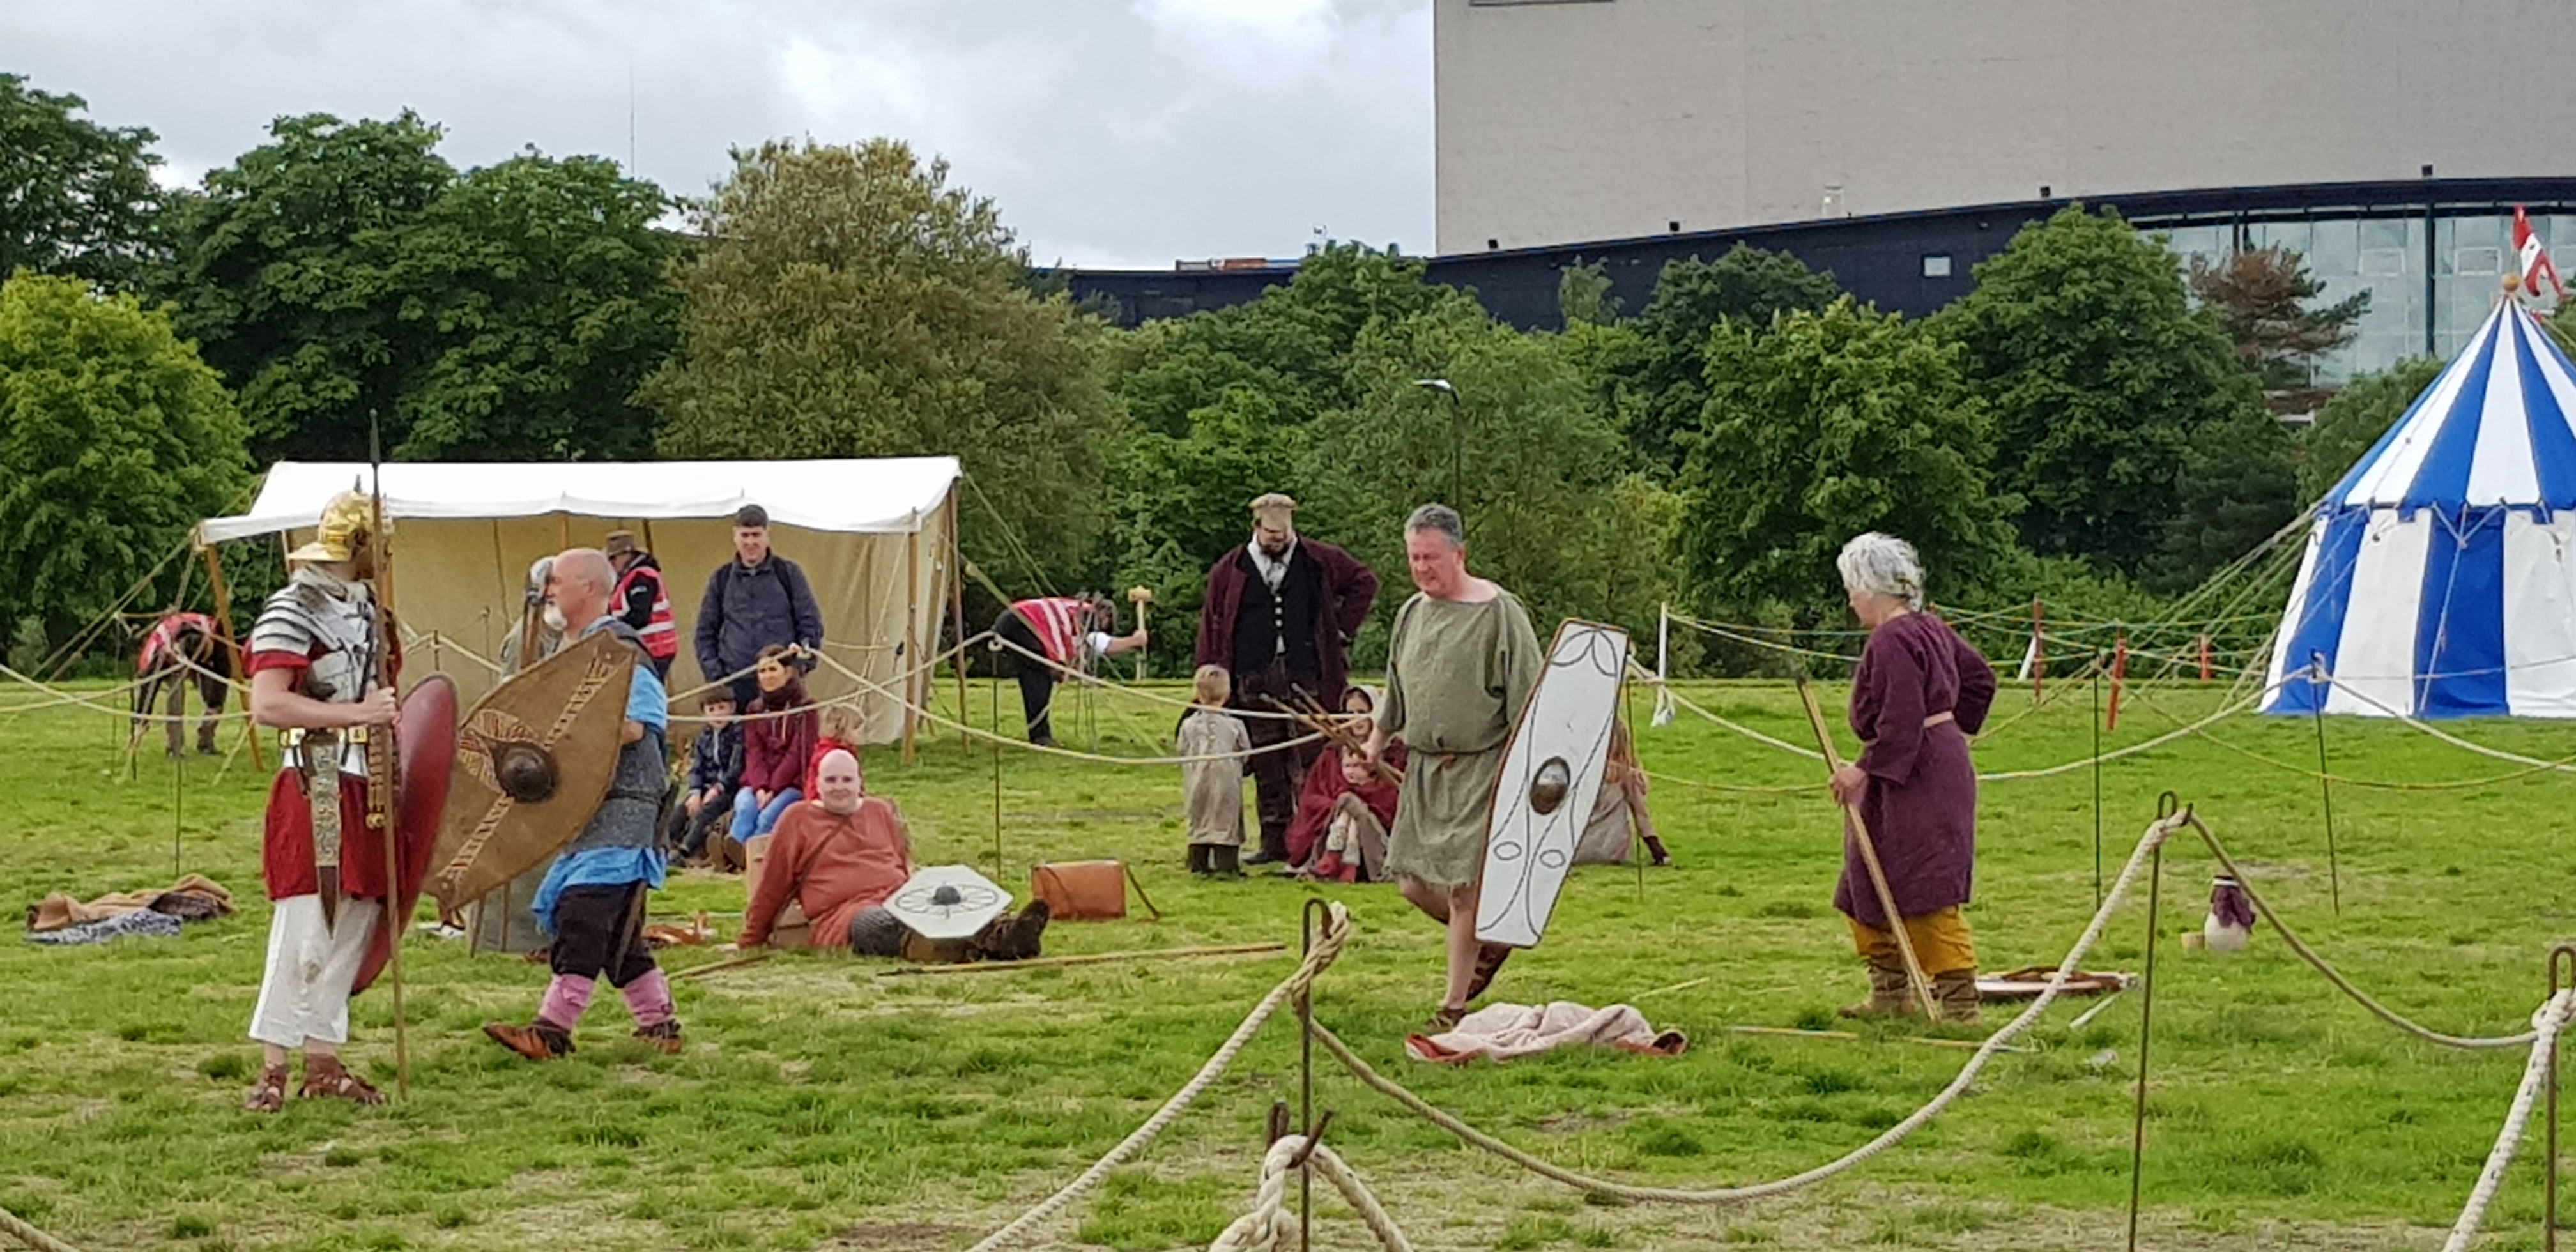
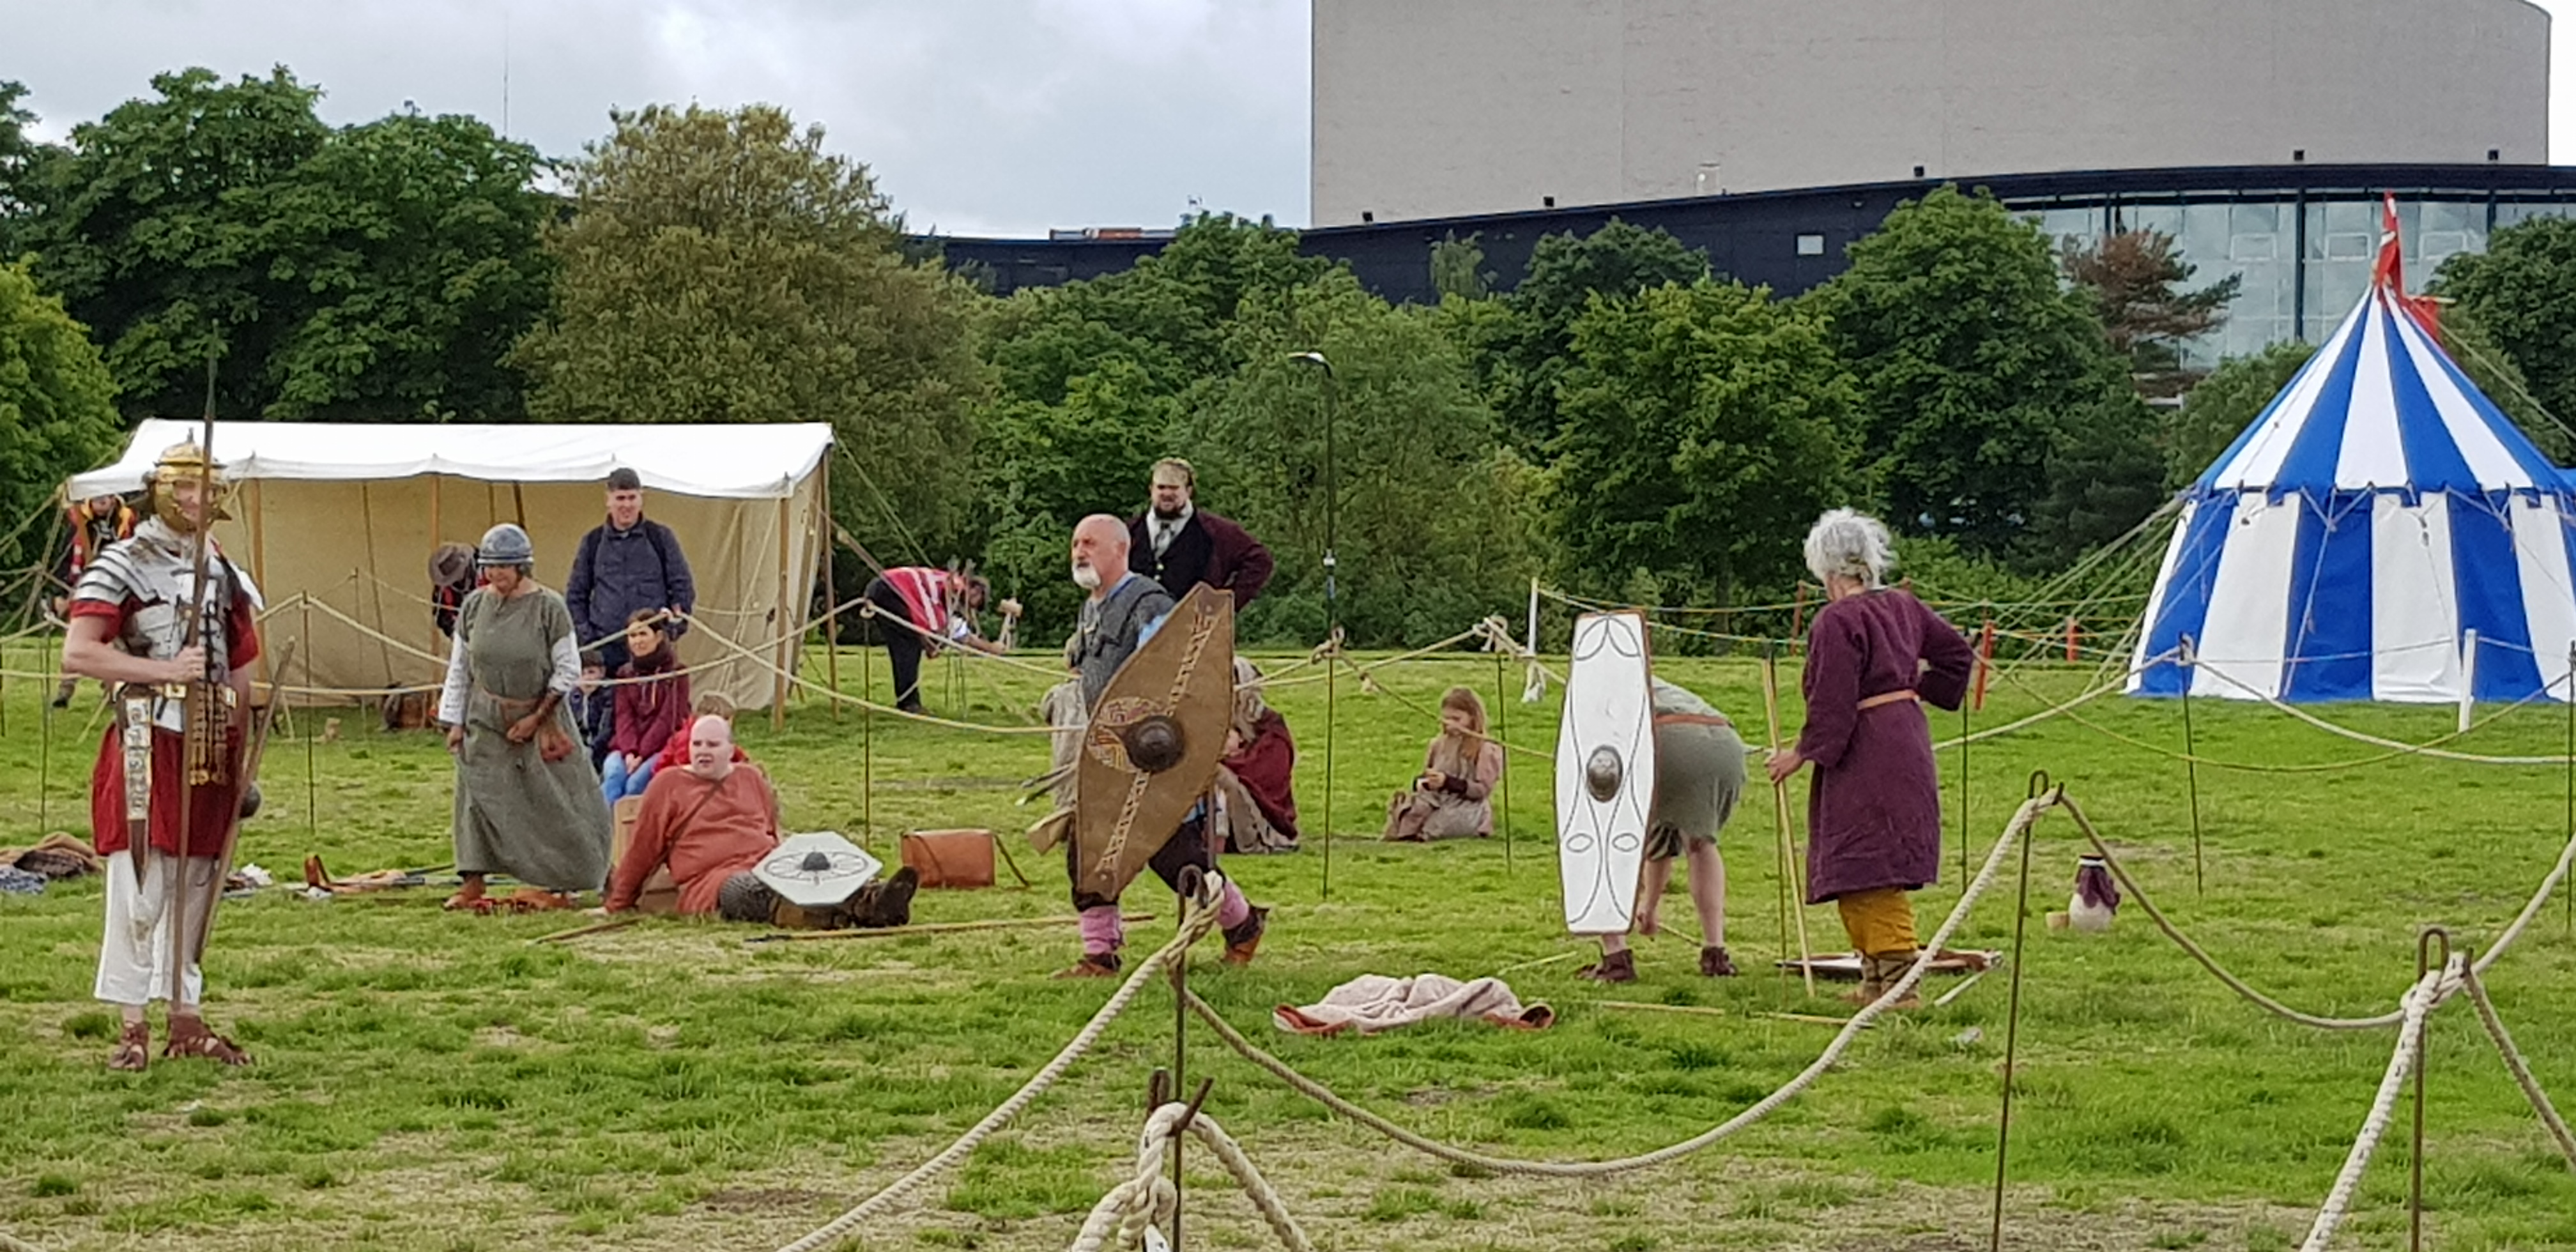
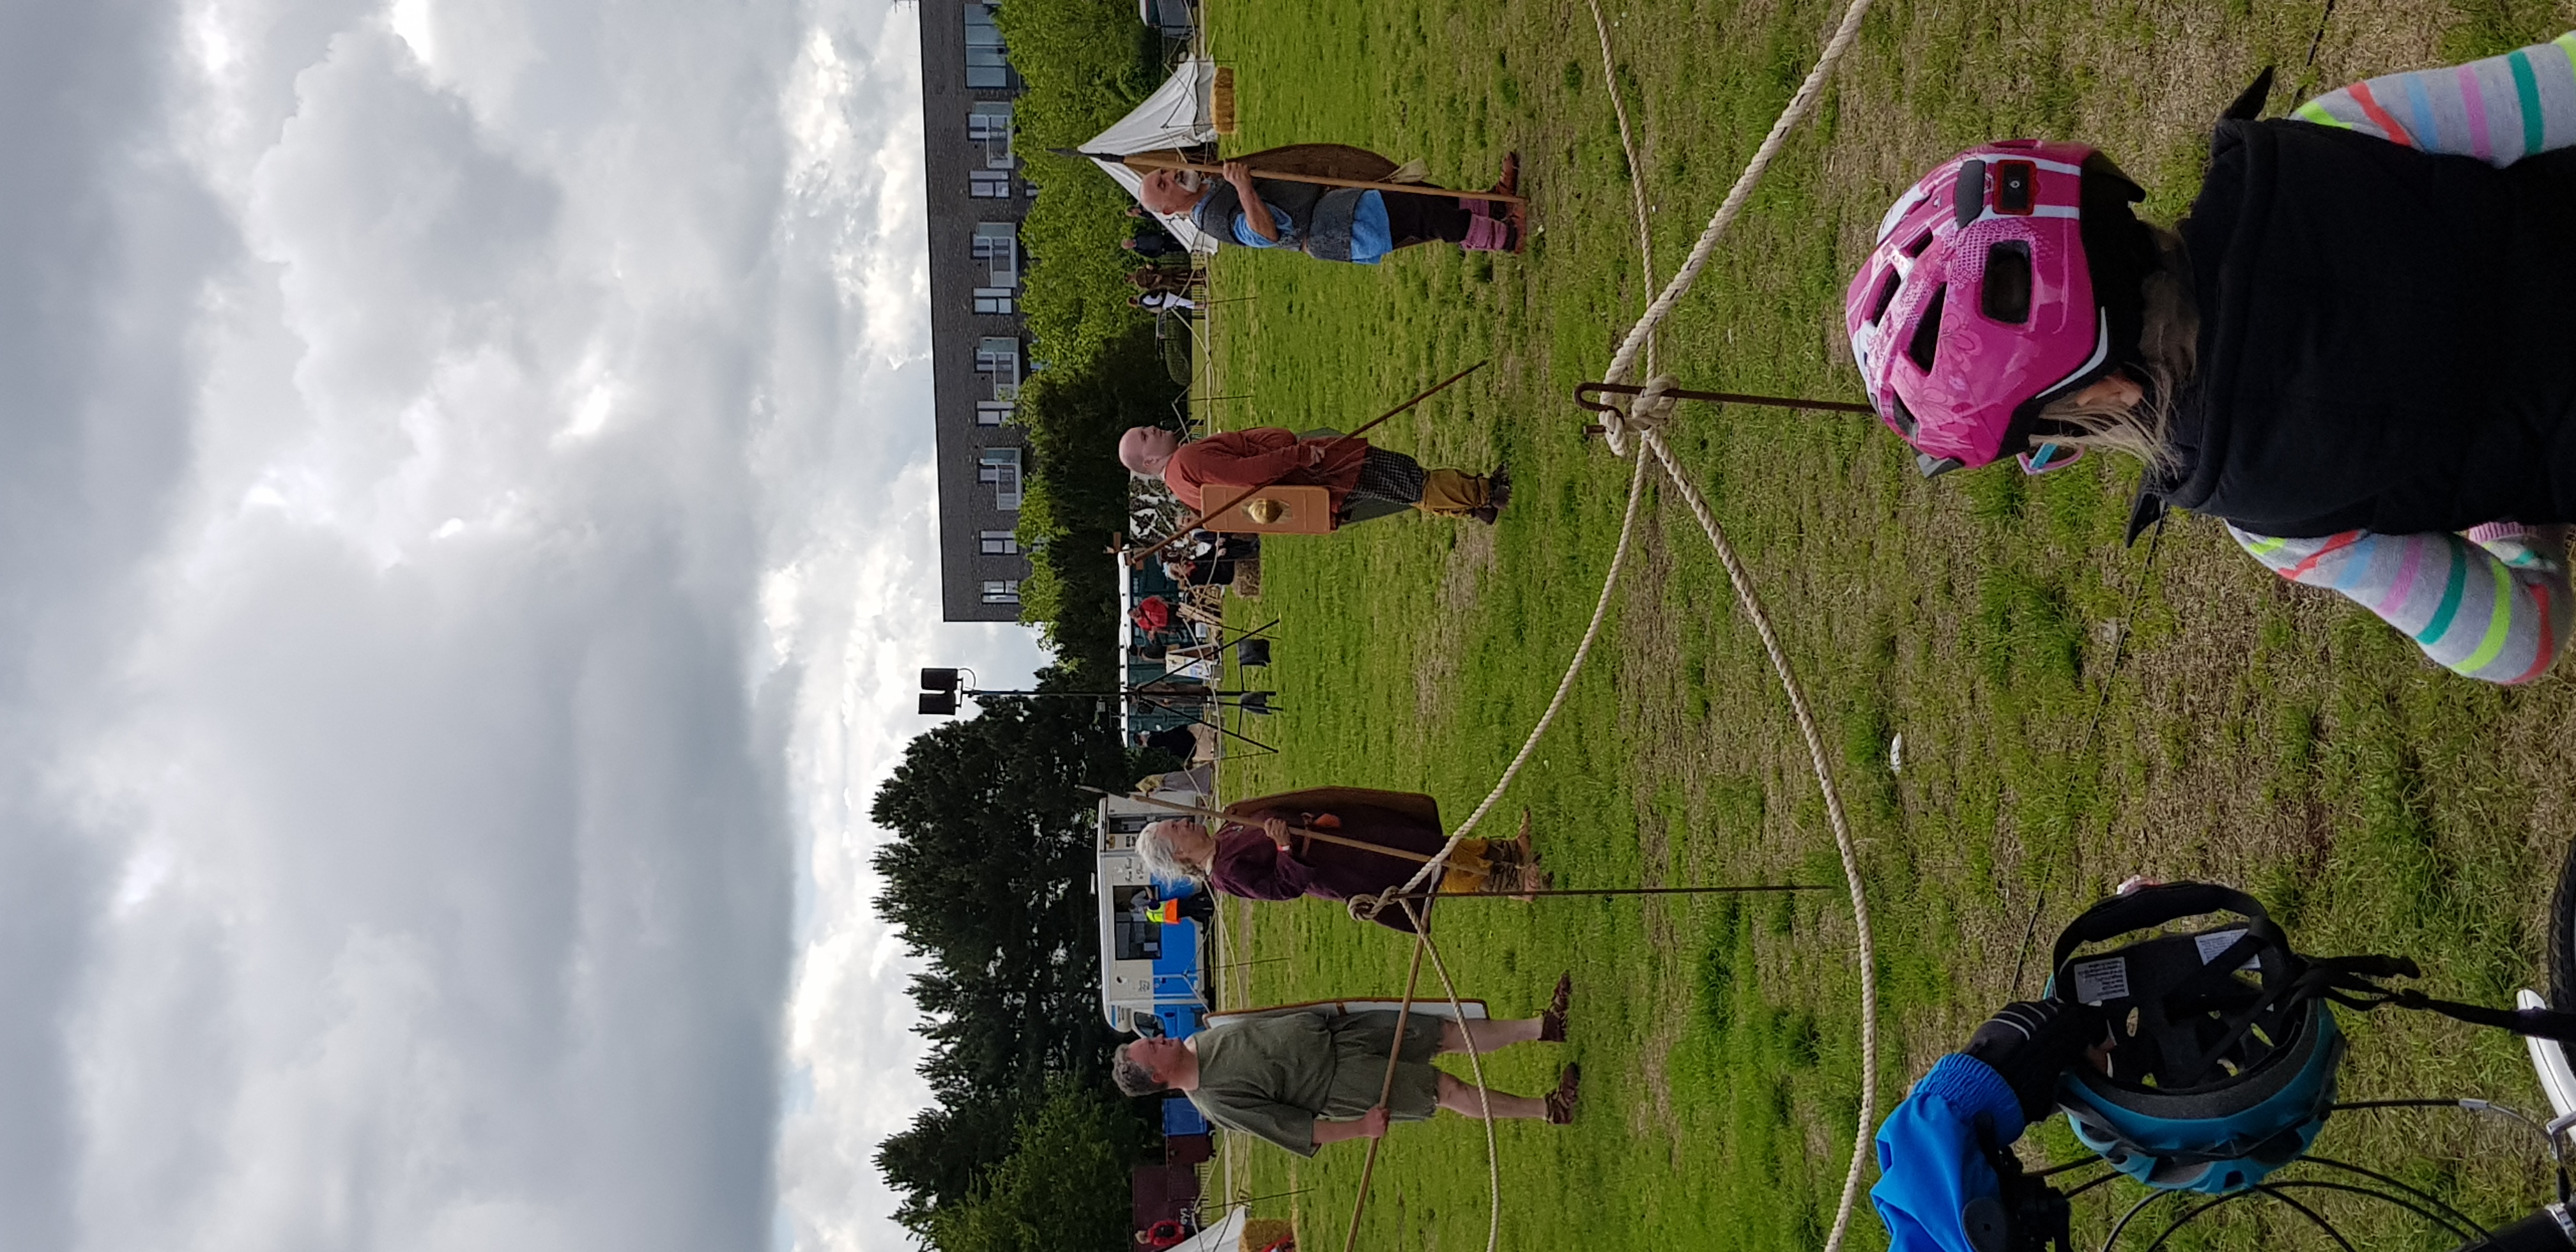

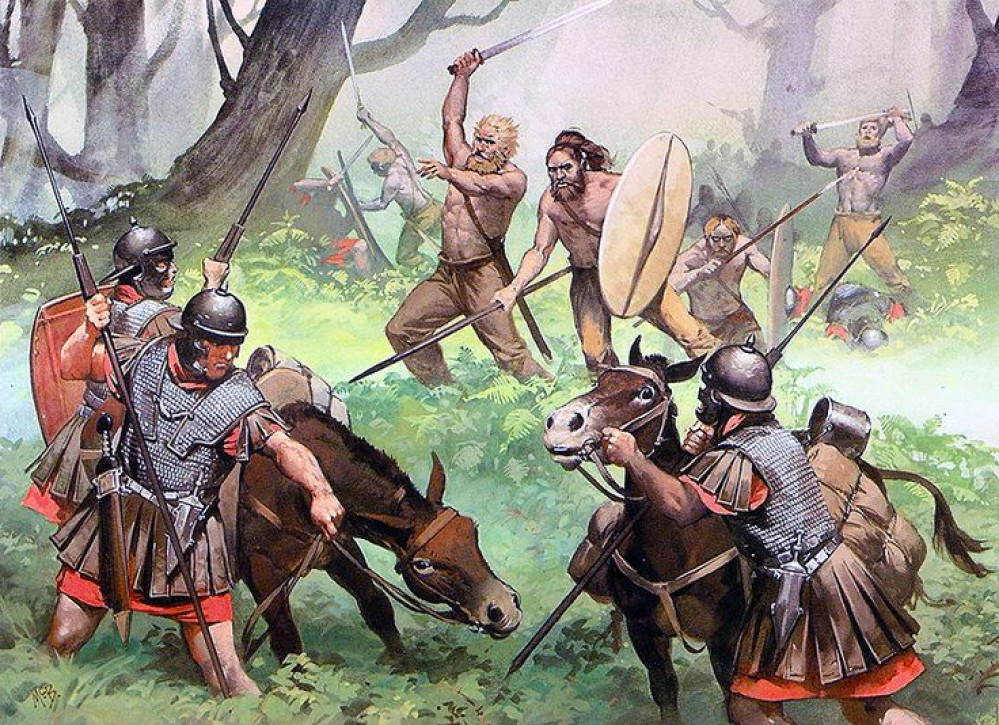
So i happen to be at a history festival over the weekend and apart from the sunburn came away with some pictures of Celts vs Romans. Now whilst they are not quite the Germanic warriors im trying to represent on the table top it gave me a good idea of the types of weapons and clothing the people of the time wore and some of the colours i could use.
I felt at one point i may have taken too much artistic license to the models and made them waaay more colourful than they should realistically be (this wouldnt have stopped me but its nice to know). Luckily after speaking to some of the reinactors they produced a basket of various bits of wool dyed in the colours available at the time and my god was there a lot of bright colours in there. Feeling satisfied i could carry on with my colour mad Germanic warband i went home to paint up some more.
A few bases finished
 A few bases down
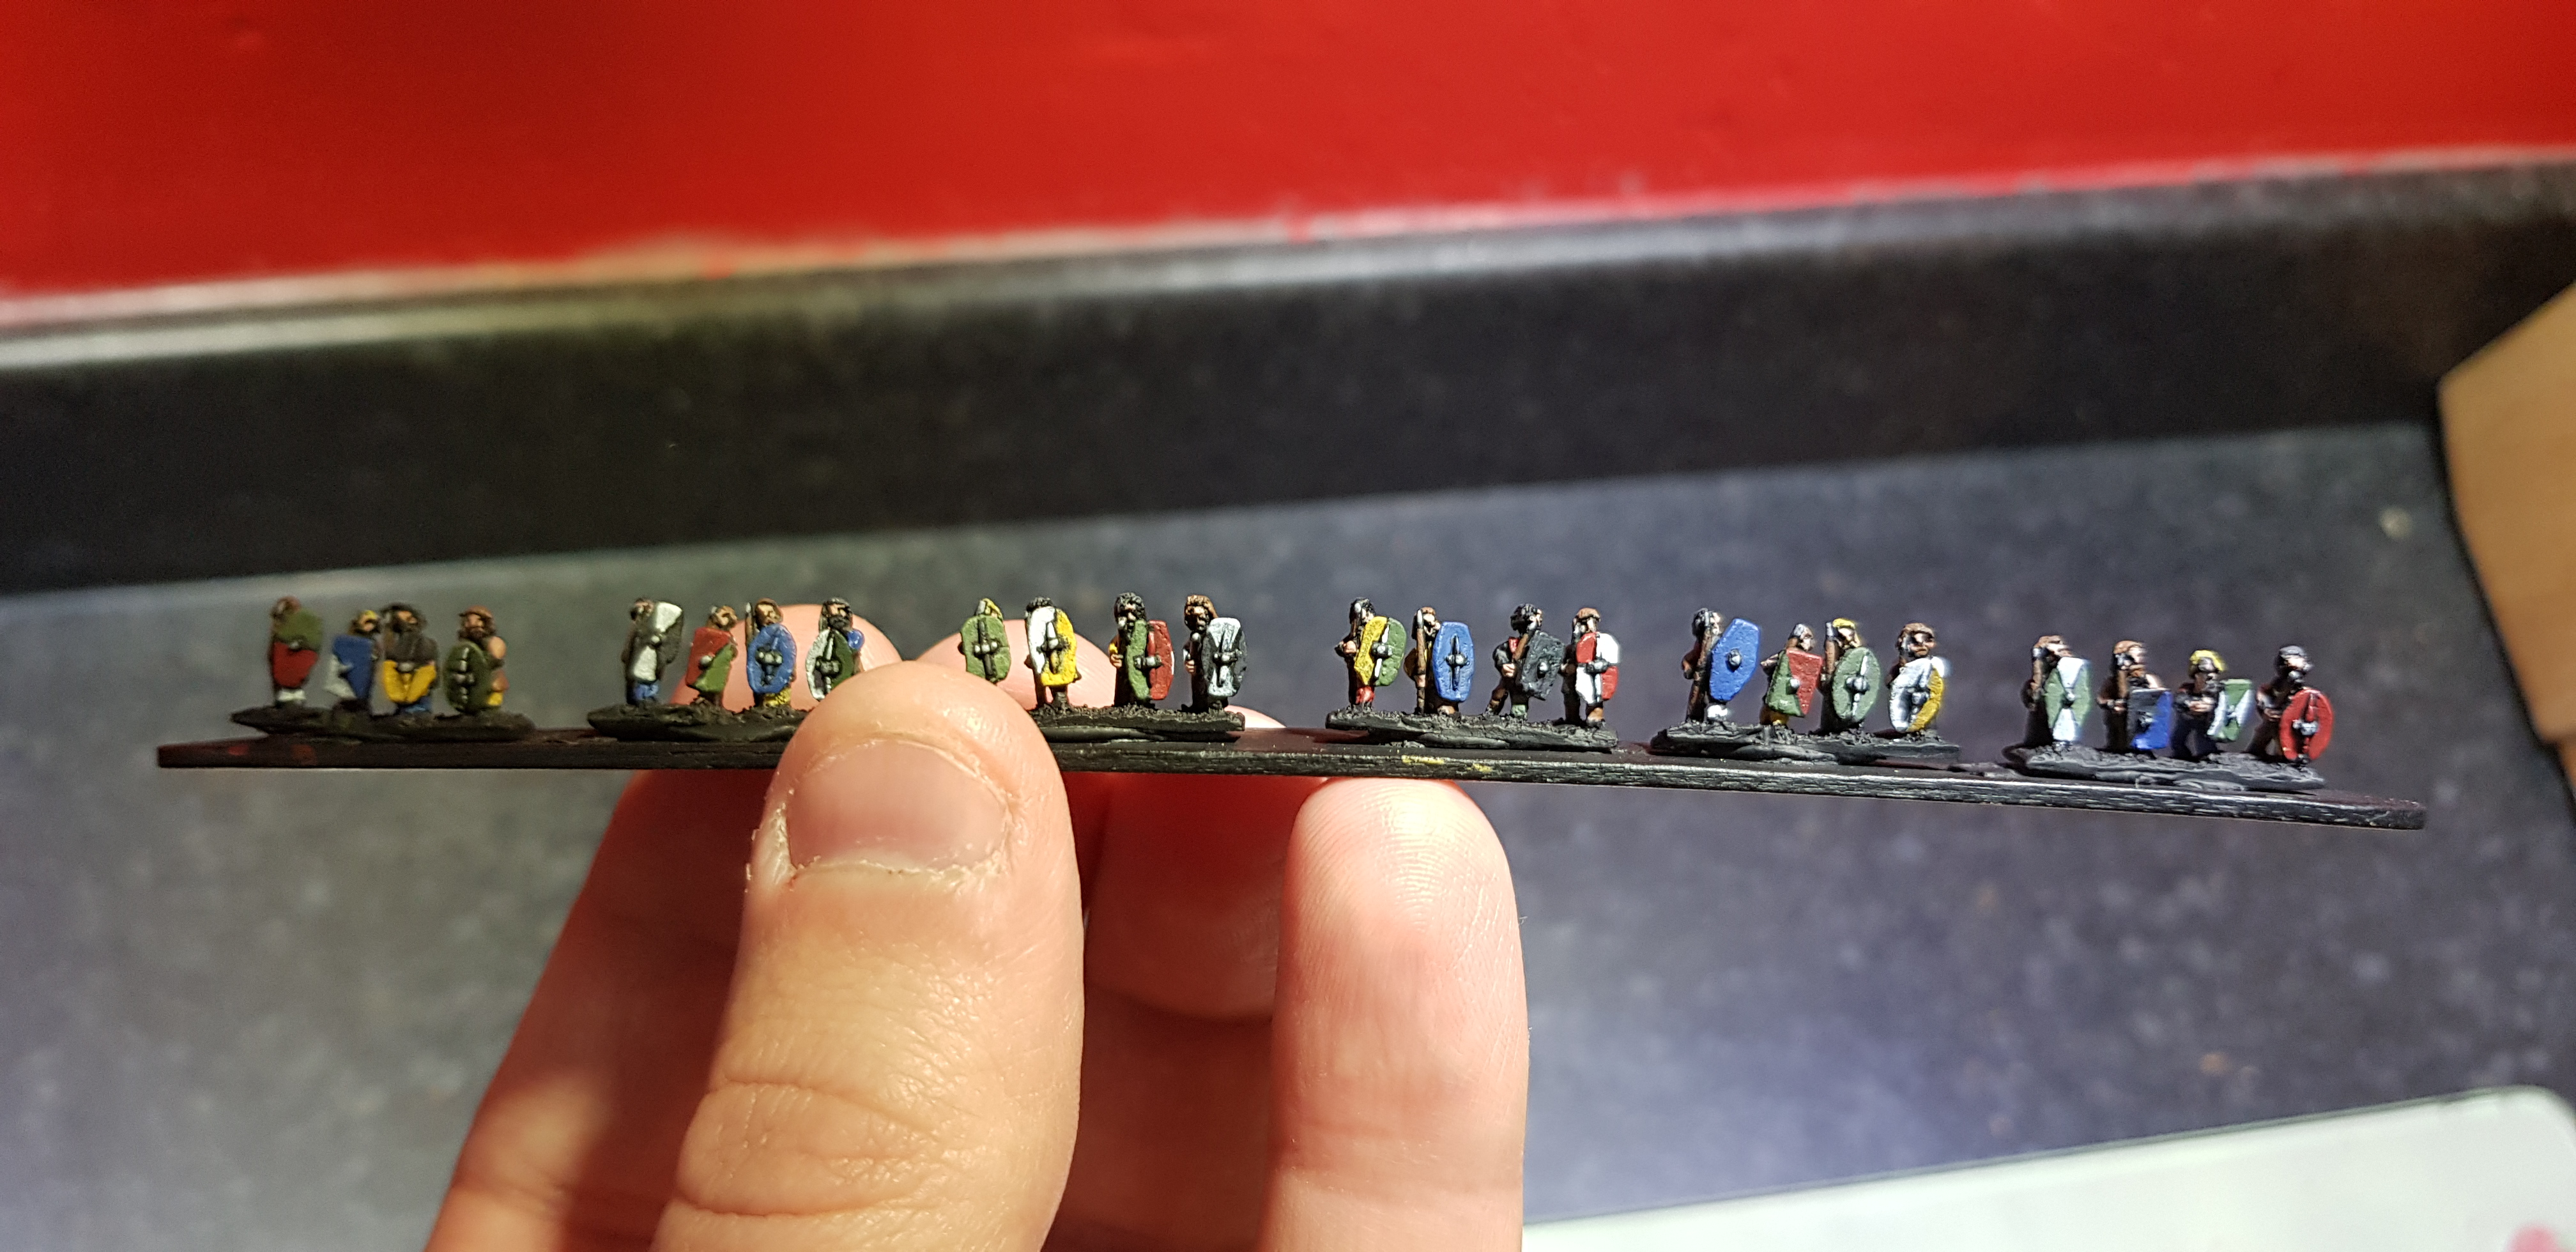
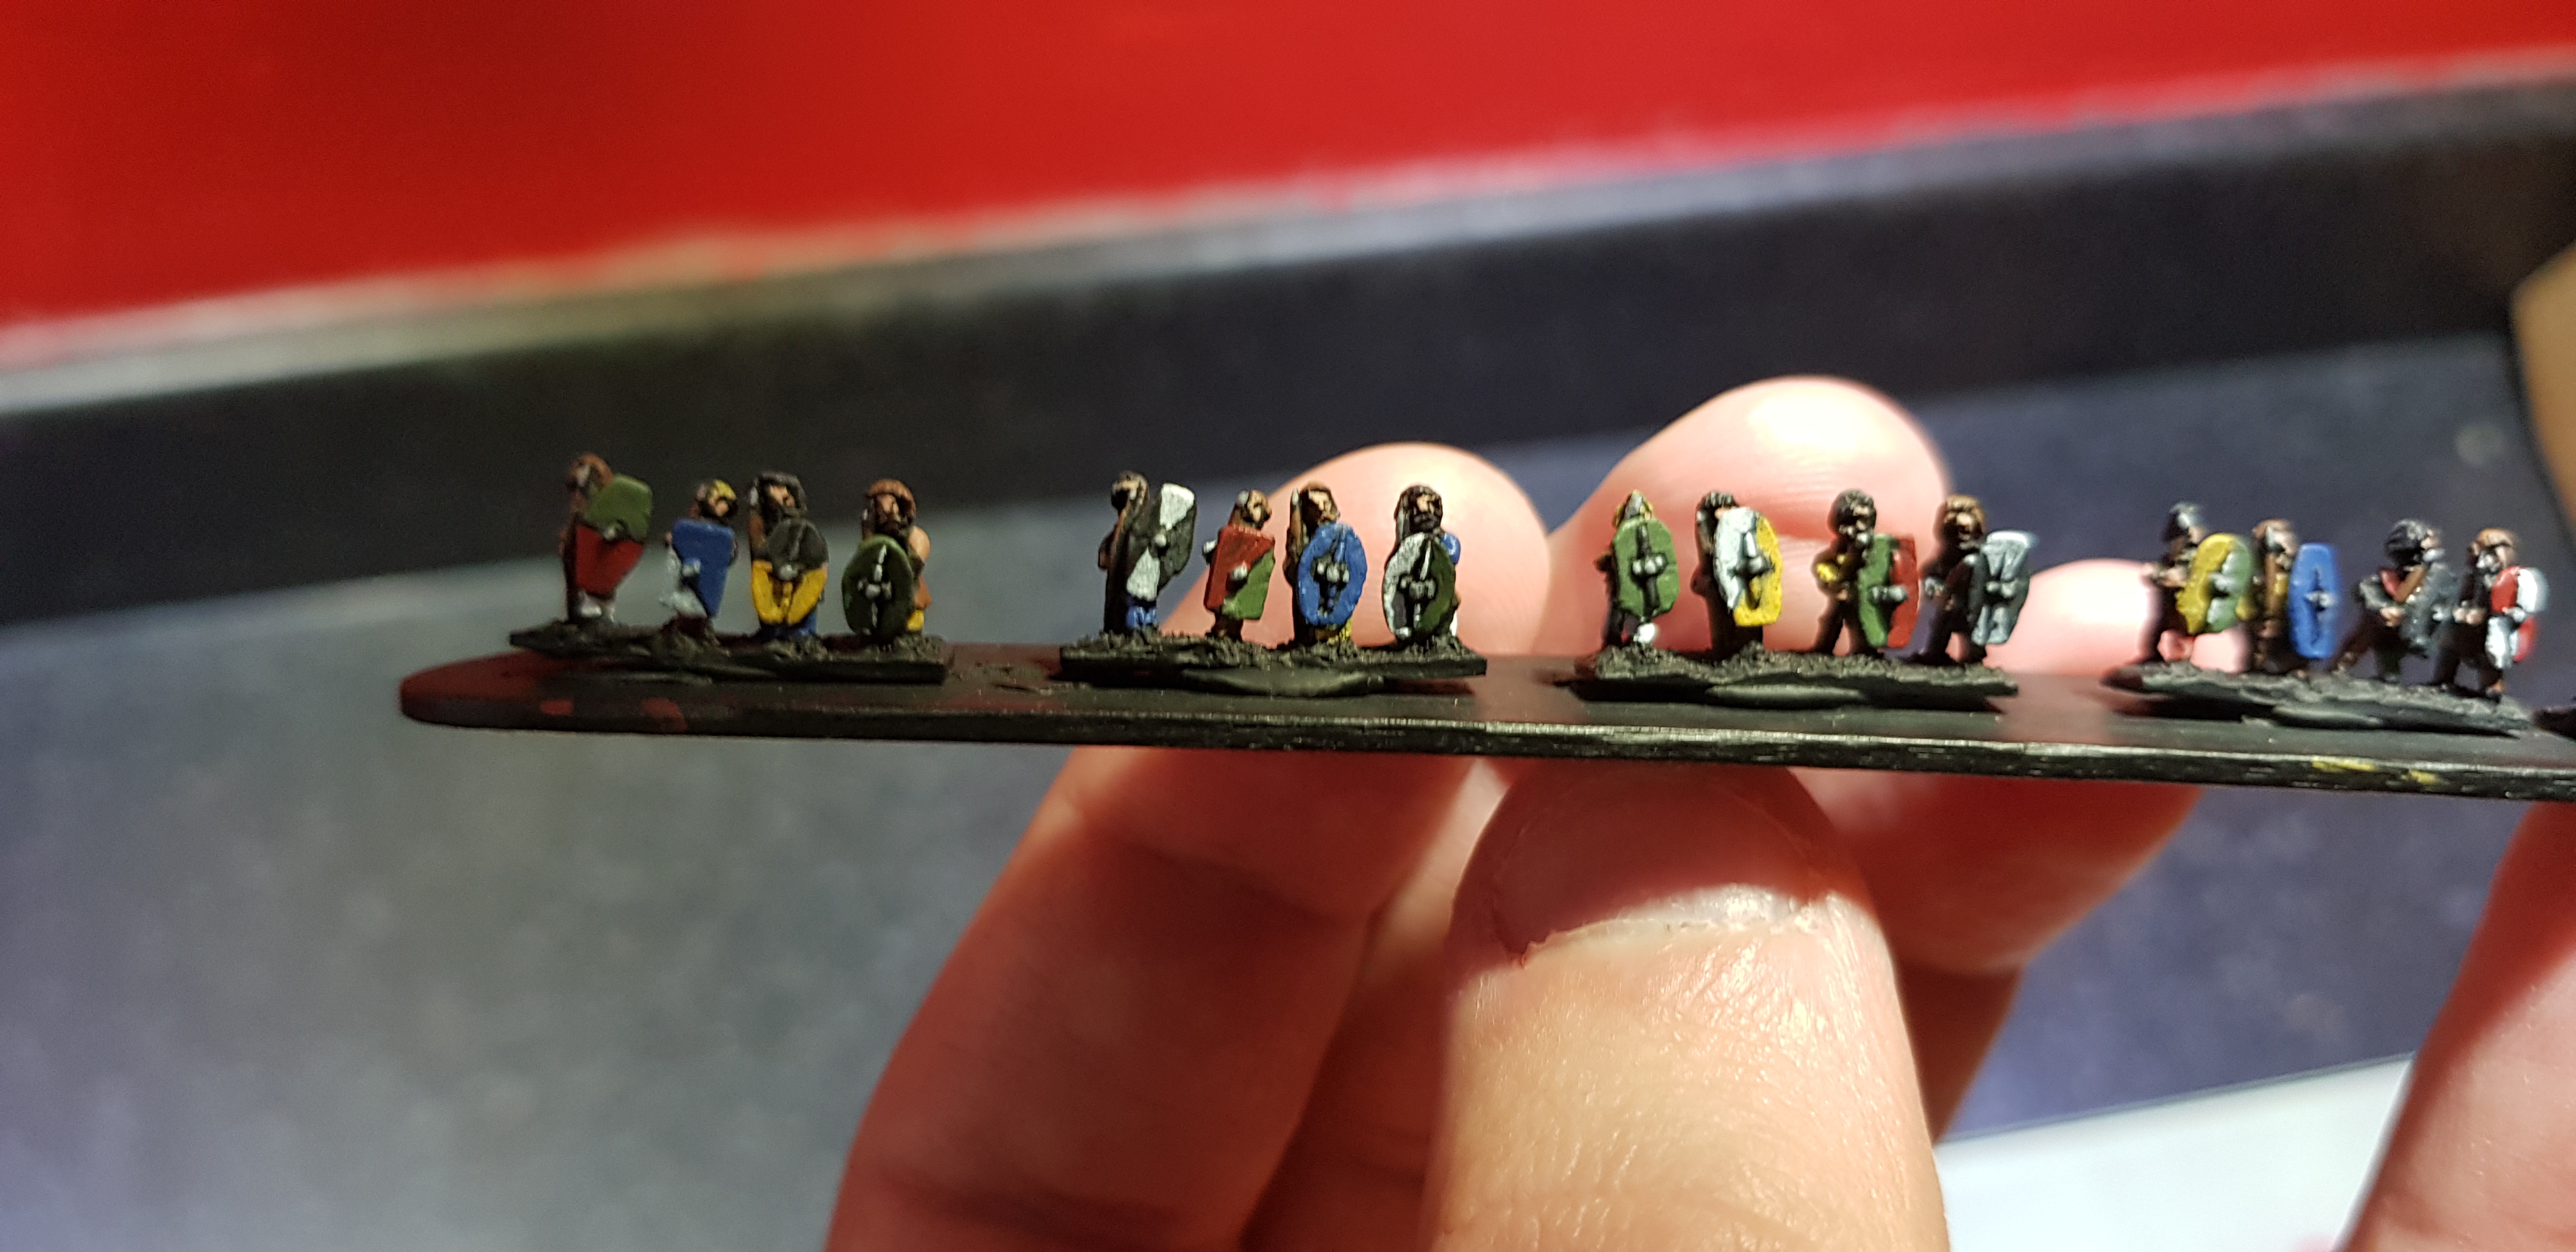
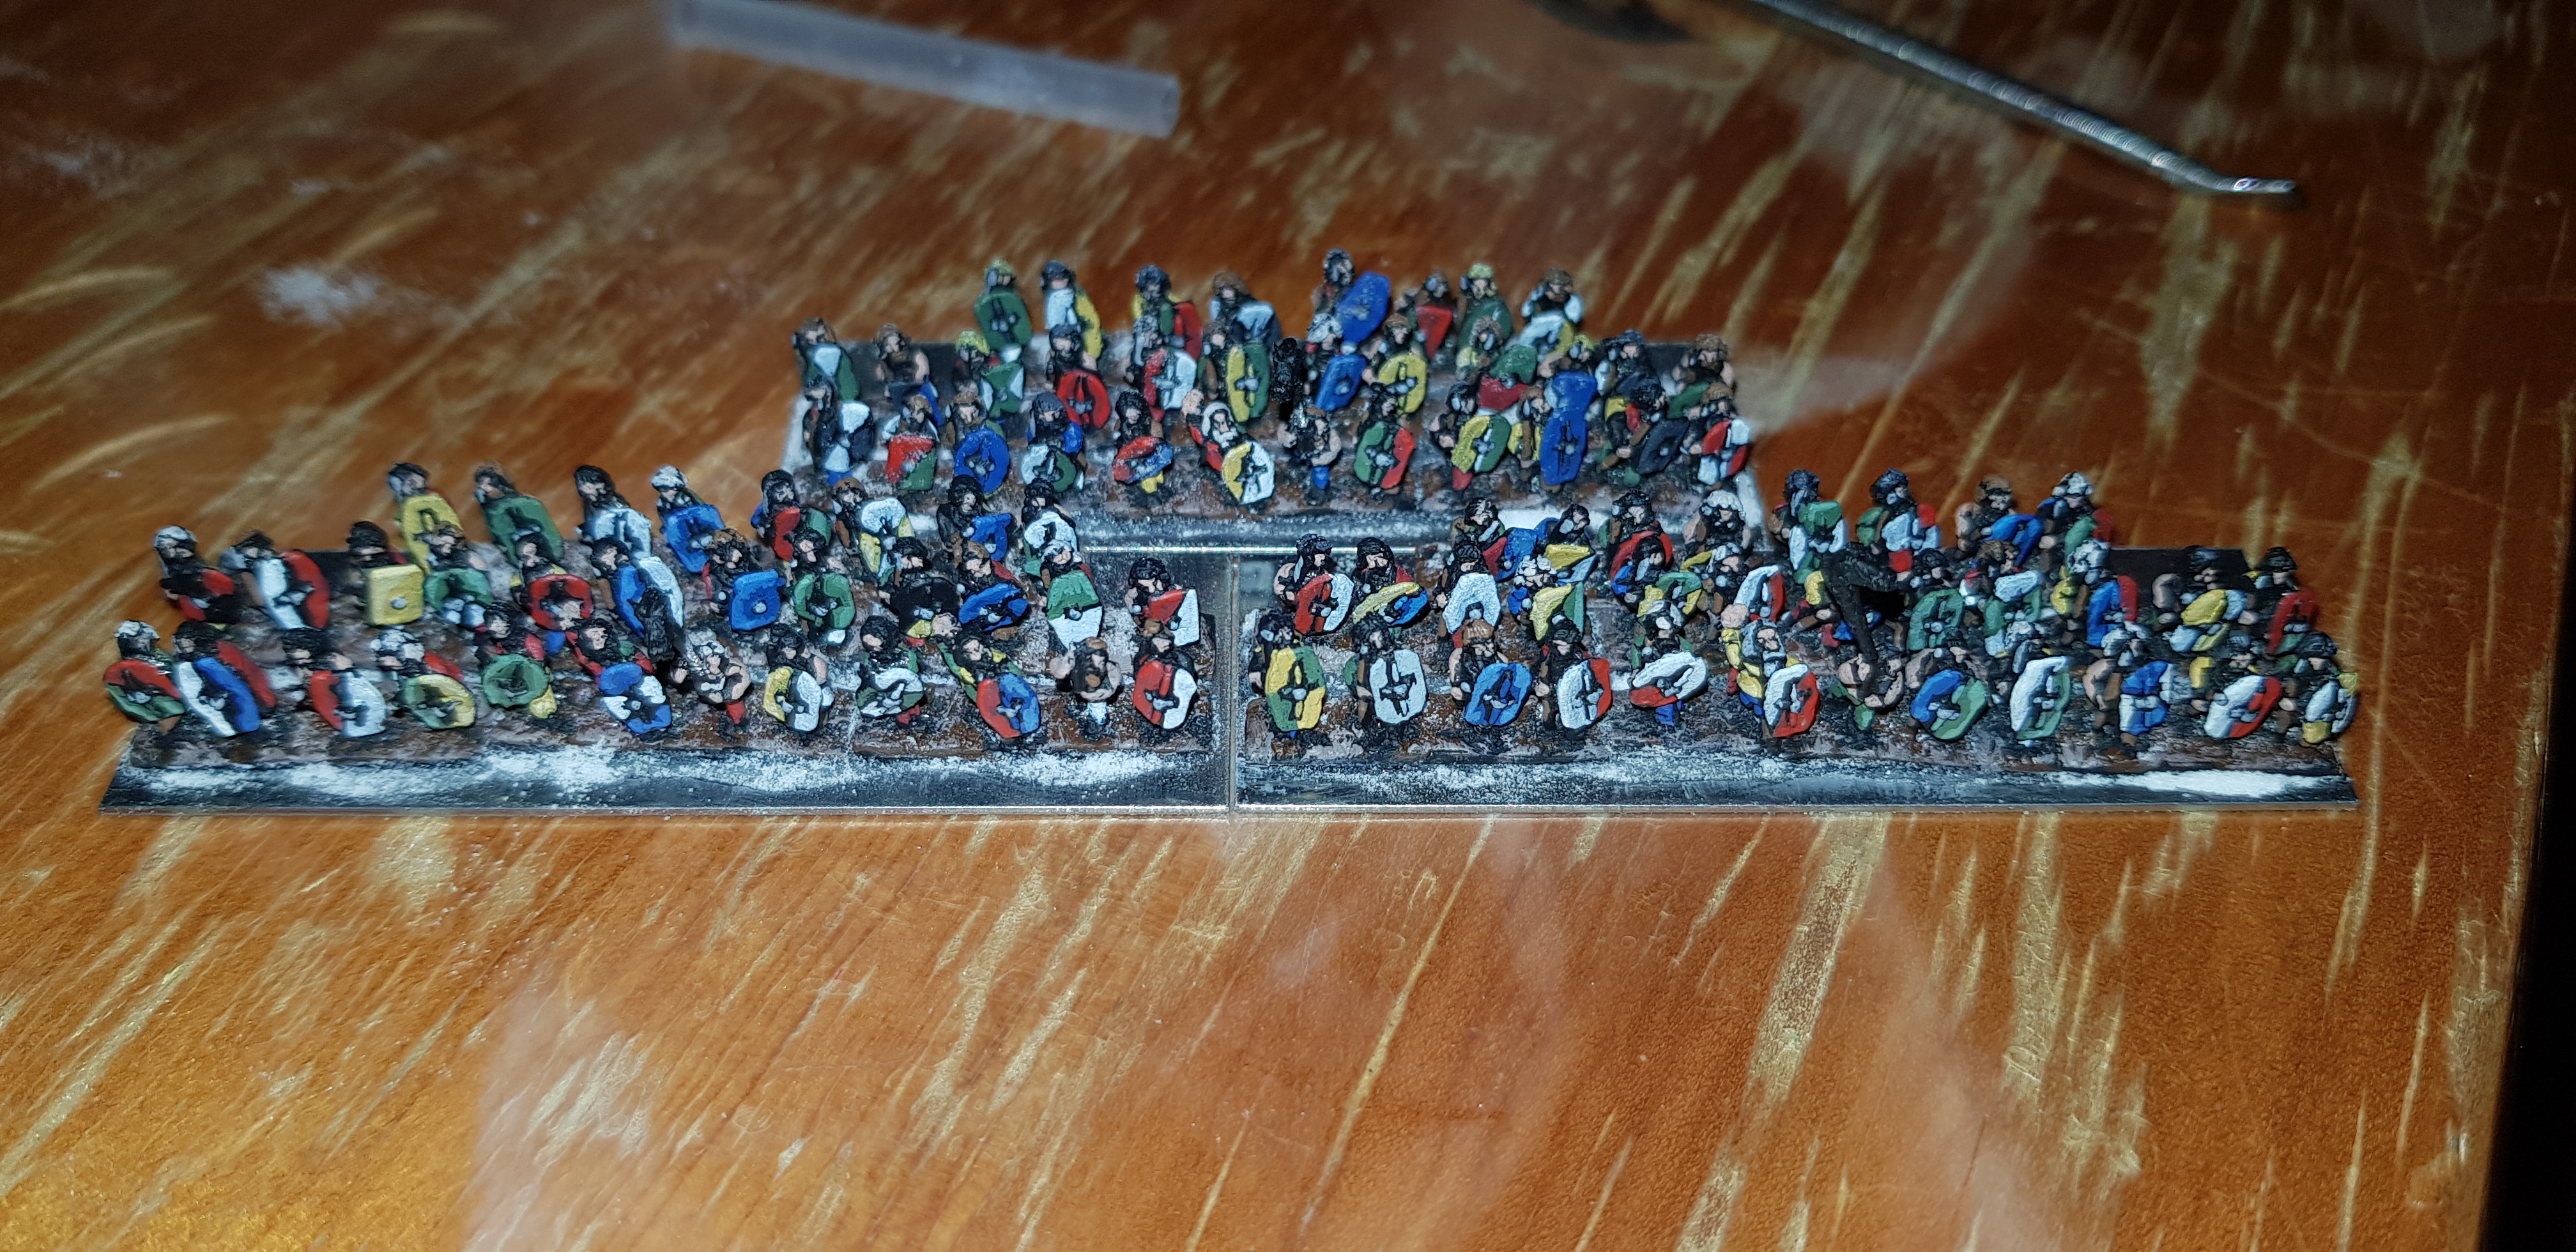
These are the latest batch to get finished, you’ll see ive added some highlights on these guys compared to the ones just off to the left, i think it really makes them pop on the table so i’m going to be doing tat to all my troops now. Fortunately the ancient world was a colourful age so i can get very creative with bright vibrant colours to make the little guys stand out on the table top.
Once i have painted them all i need to get onto the basing, ive still not decided how many men to put on each base, i want to make the bases look busy but not as regimented as any Romans regiment would be. Some testing will be required.
Once ive made my mind up i’ll be using the superglue and bicarb approach to texture the bases and get them painted. Im using metal bases to give the figures weight so i think PVA and sand is out on these guys.
The army so far
 Some skirmishers and cavalry added
 Basing experiments
 Superglue and bicarb
So i attempted using the bicarb and superglue method to base my first warriors but the effect was too shallow for the strips the models are on.
It certainly stuck the models down quickly though.
Ive decided to go for 8 strips per base to make them look busy but not strictly ranked.
 Based with sand
So for my second basing attempt i used watered down PVA and a pippet to get in between the ranks. I then dropped some fine sand on.
Things ive learnt:
- Dont water the PVA down too much its counter productive.
- Dont use slightly damp sand
- Base one rank at a time so you can get inbetween them
- Paint the bases before sticking them down (Thanks to Torros for this one)
Ill have to tidy the basing up a bit more and then figure out how to paint the sand.
Luckily i have three more sets of warriors on order so i can refine the process as i go.
Basing the horde
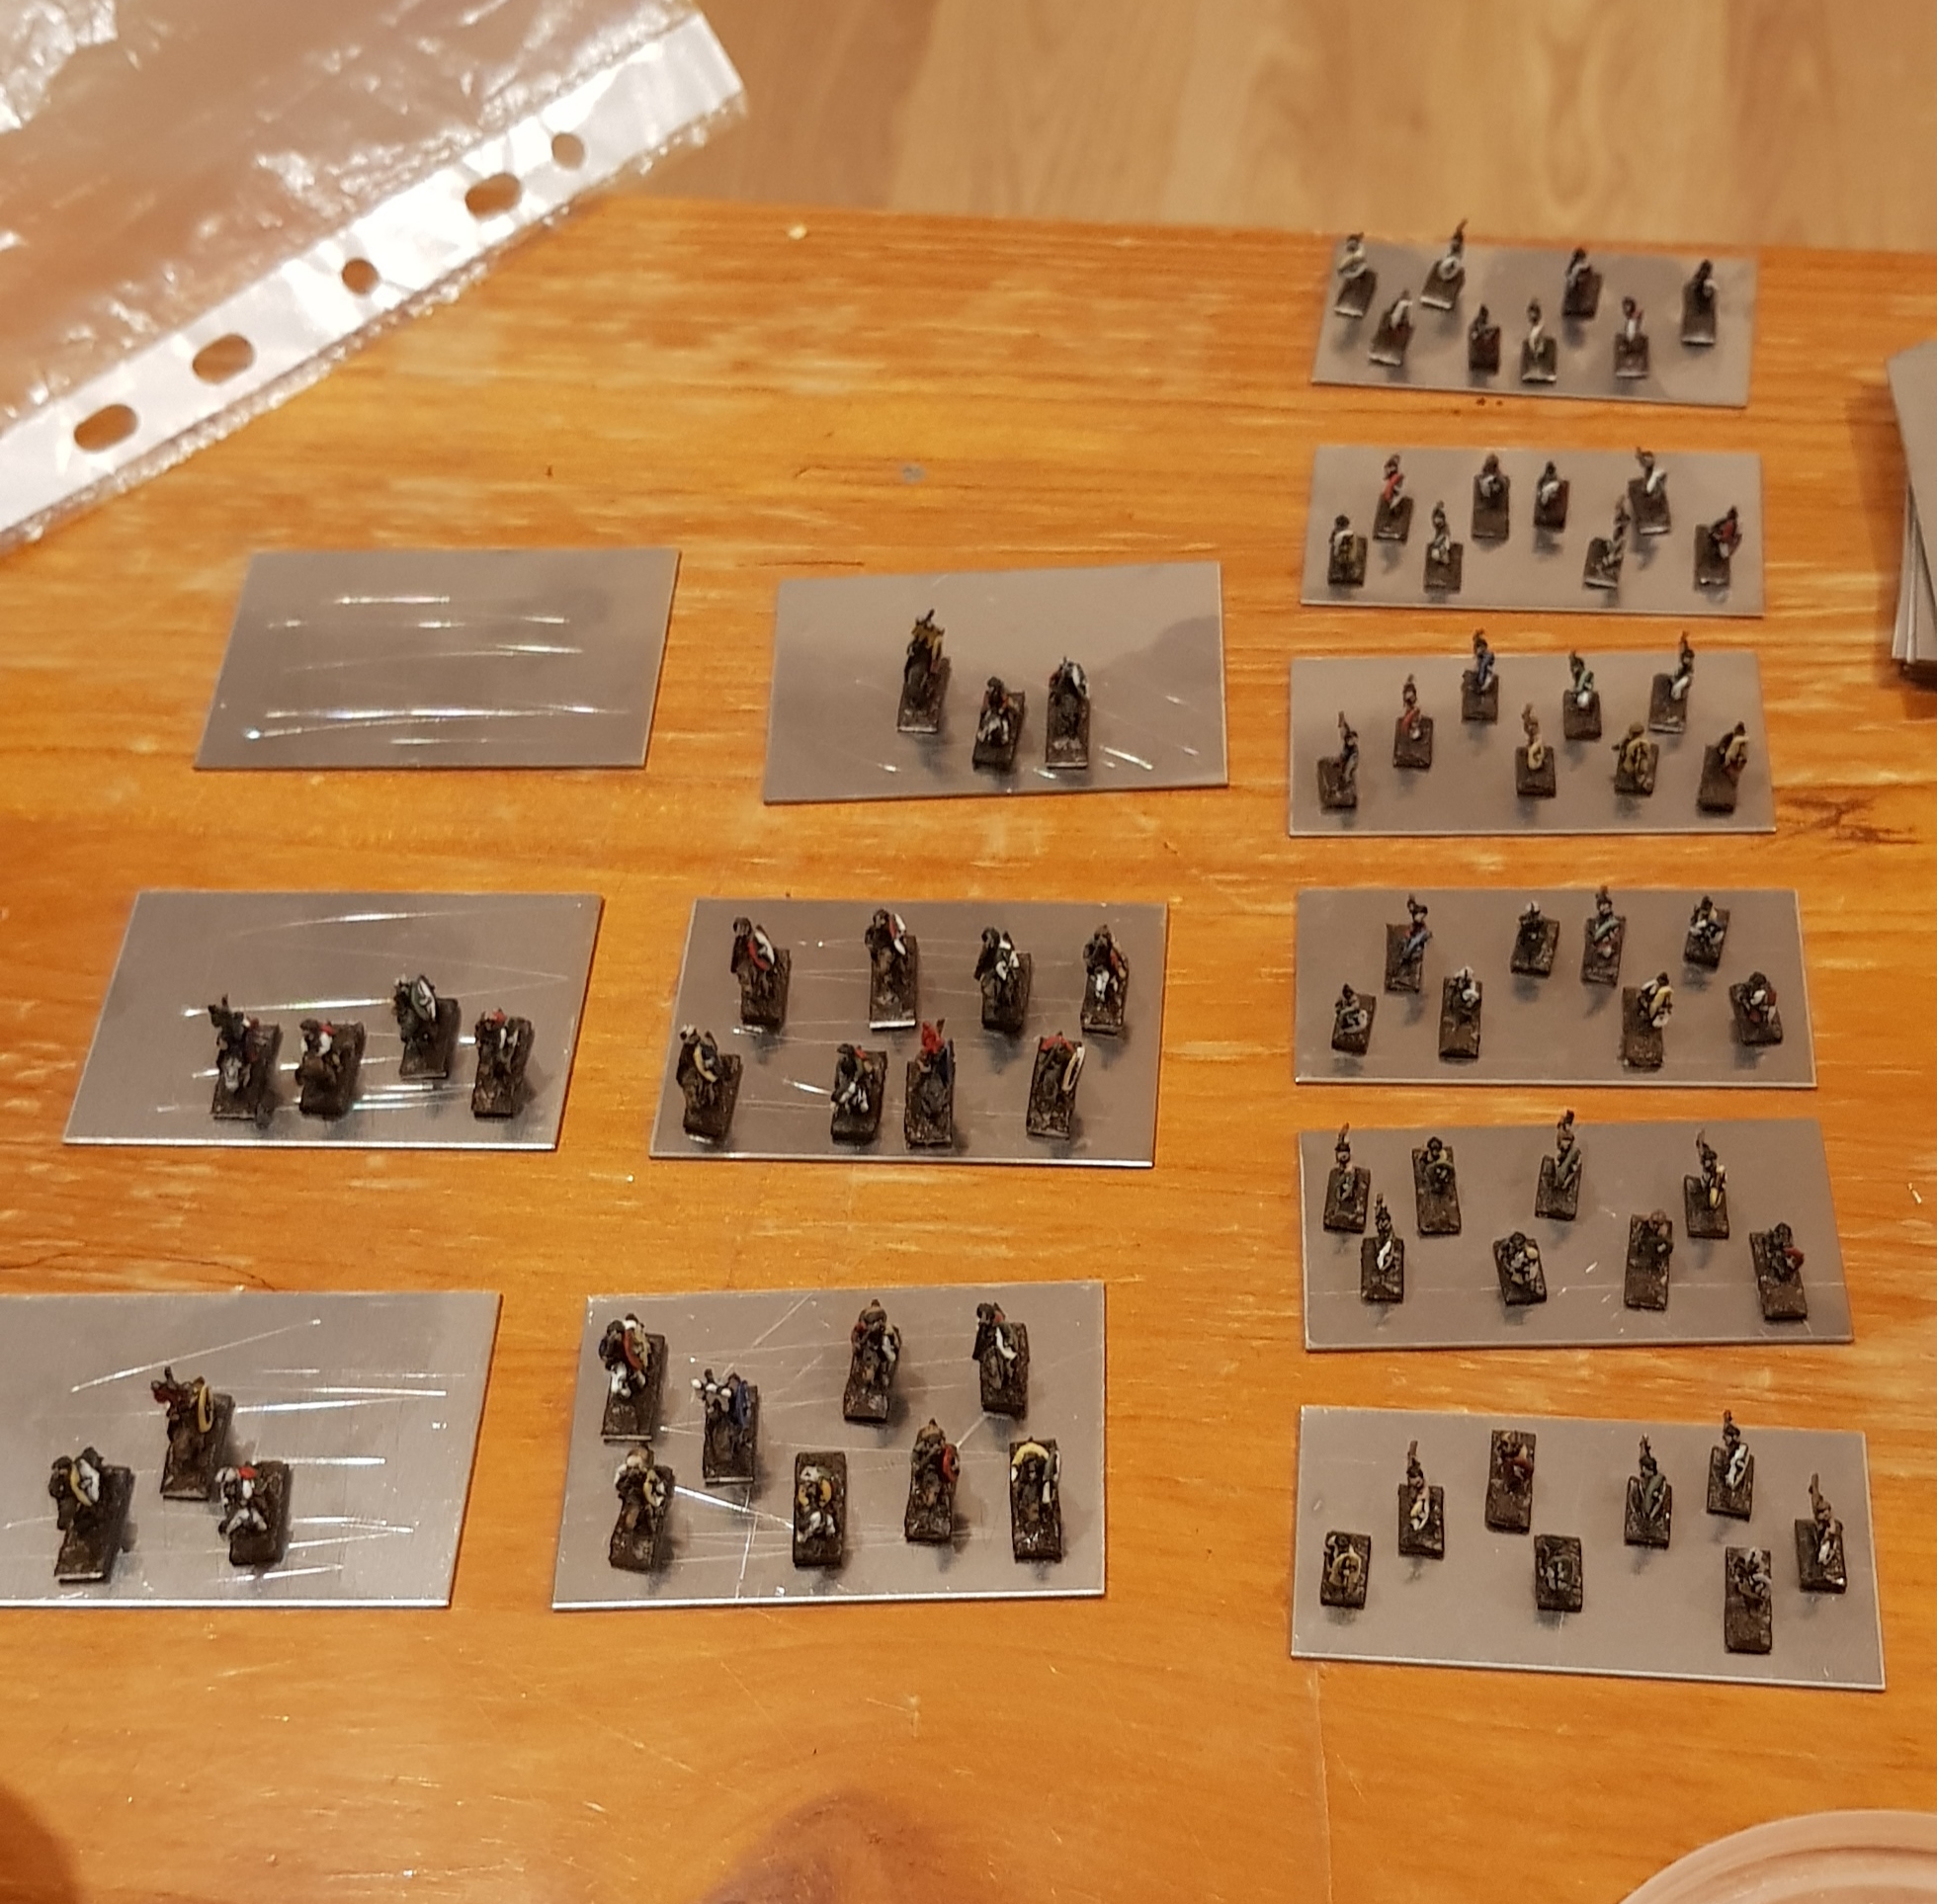
Whilst deciding on how to base these guys i’ve carried on painting the rest of my Baccus order which included a cavalry pack and a pack of skirmishers.
I’ve pretty much finished the painting barring a few finishing touches on the cavalry so thought it about time i got them based.
A friend managed to procure some metal bases (dont ask me how!). So the only thing left to do is get these guys based up.
I’ll use superglue to stick the models down then try the mikey mud to get the textured base done. I’ll mix that up tomorrow and if succesful put the link up.
I already have some more troops on order so hopefully these will be finished by the time the next batch arrives!
 Basing
Mikey Mud Basing
 Basing try one
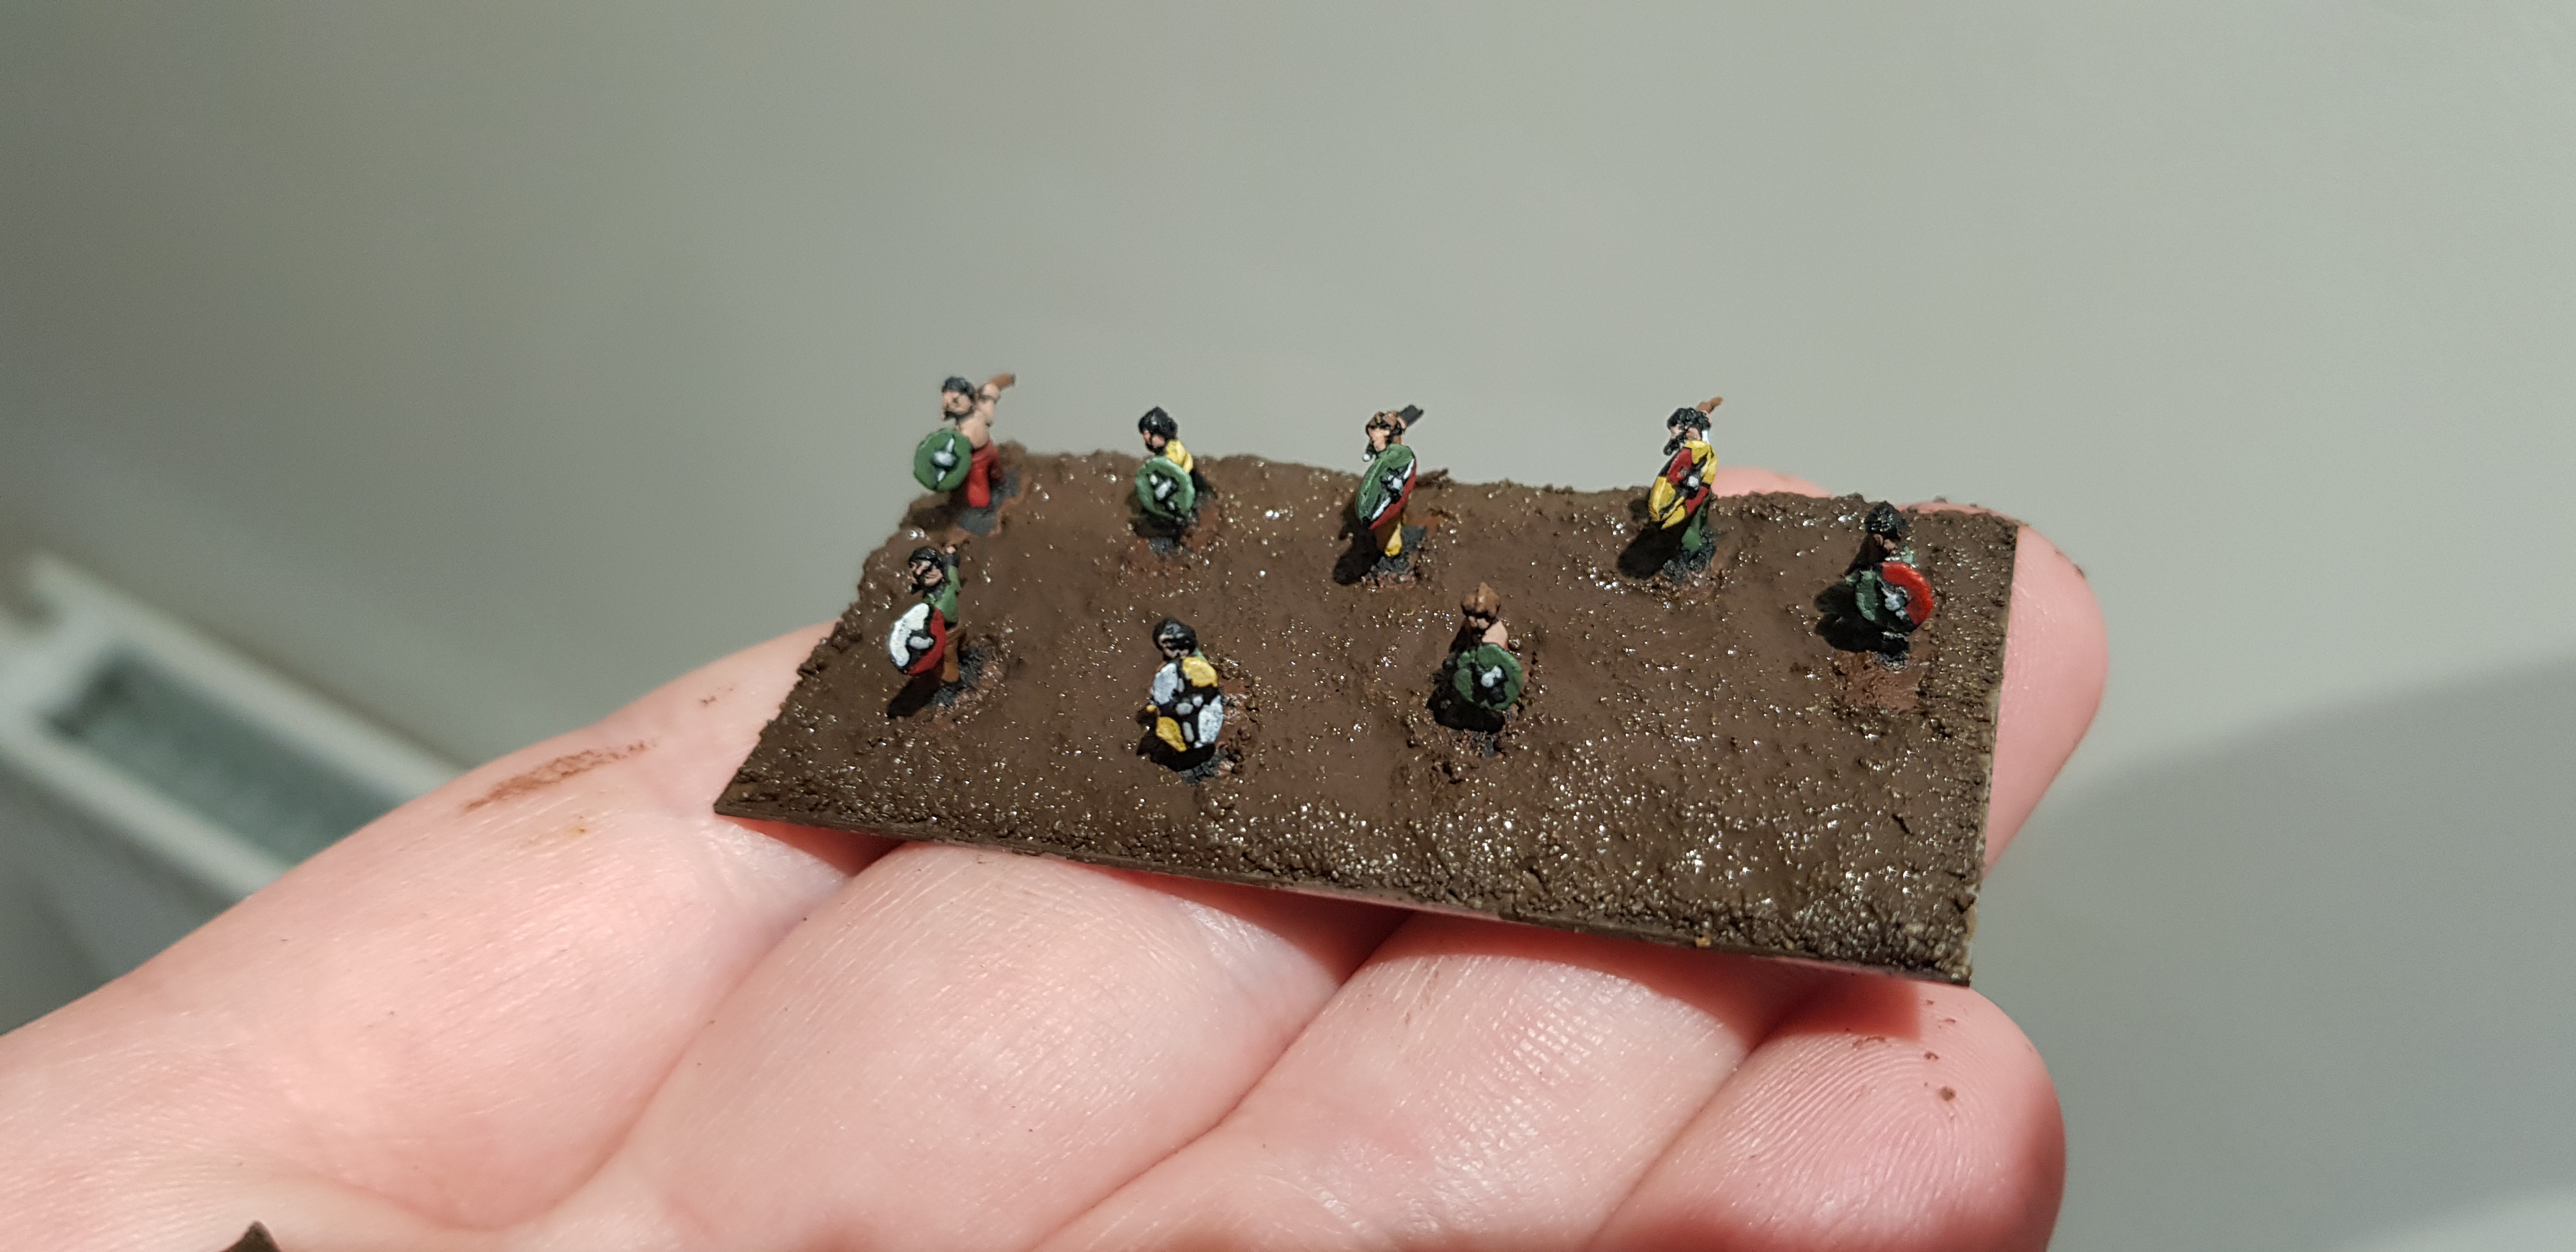 Basing 2
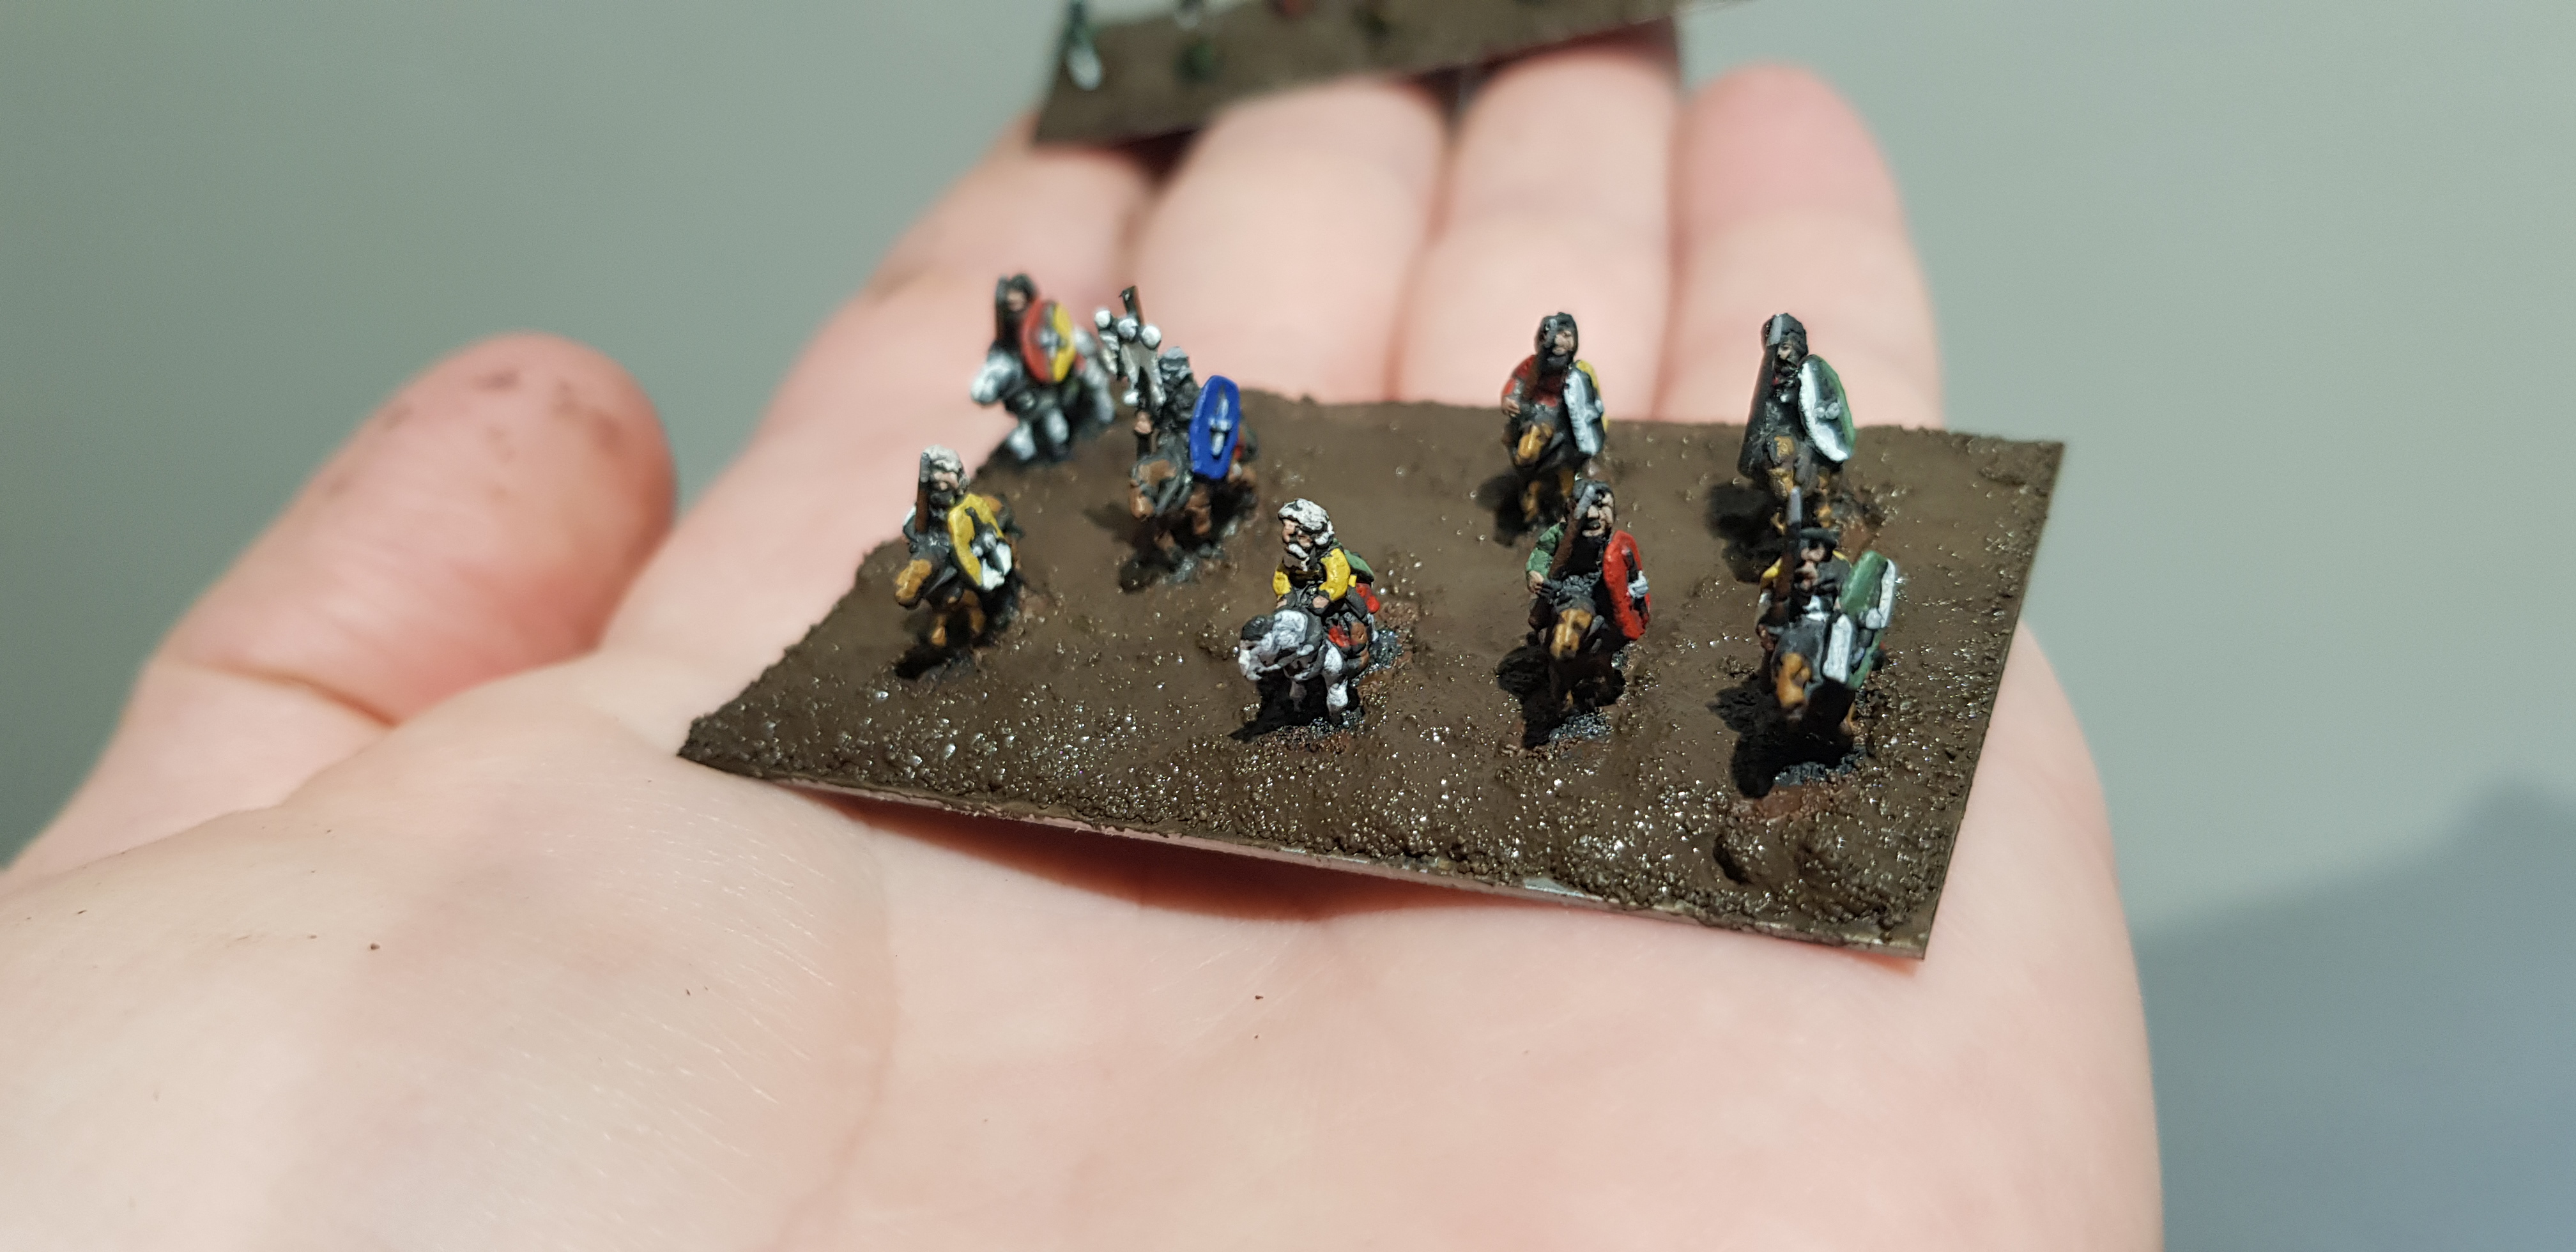
So going with the Mikey mud technique ive added it to a few bases. Ive forgotten to add some stones of different sizes to mix it up but ill have to do that next time.
It goes on pretty well its just difficult getting it to stick initially to the metal. Once its dry ill give it a drybrush and add some static grass.
Im excited to be nearing the end on these guys.
For 6mm i never realised how much effort is involved and the numbers i need to get done. Well ive started now so no return.
Here is a link showing how to make and use the Mikey Mud from the man himself:


