


![1918 Spring Offensive Wargame | Full Rules Overview with John & Gerry (WW1 Tabletop Game) [7 Days Early Access]](https://images.beastsofwar.com/2026/03/unboxing-warfulcrum-games-1918-spring-offensive-review-coverimage1-225-127.jpeg)


ECW – resurrection after 40 years


Recommendations: 640
About the Project
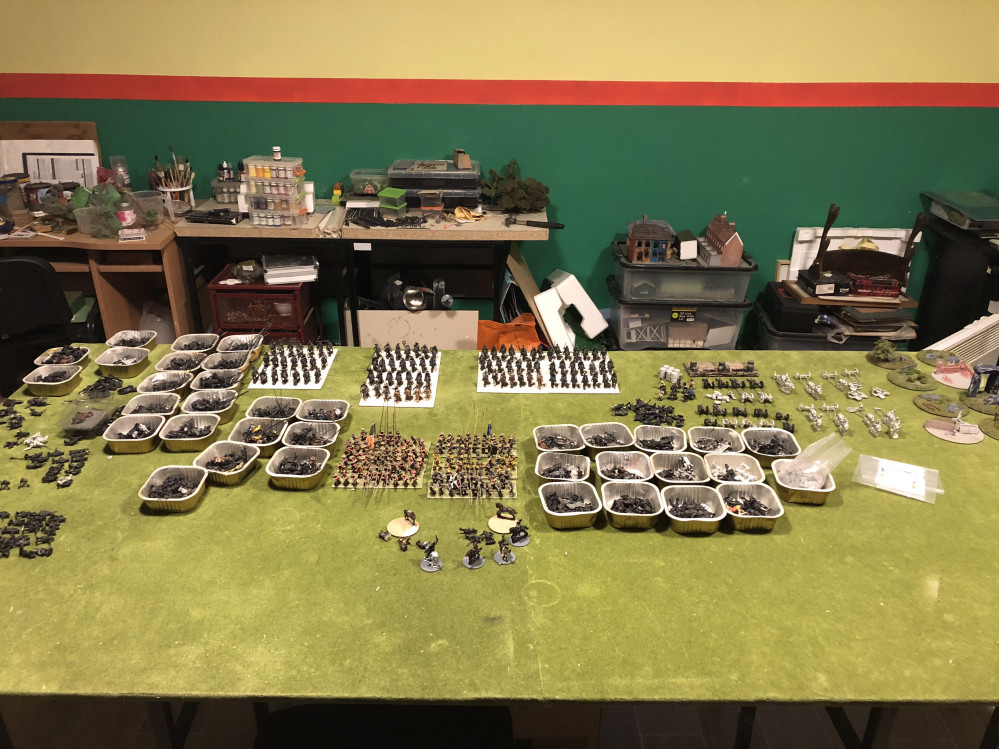
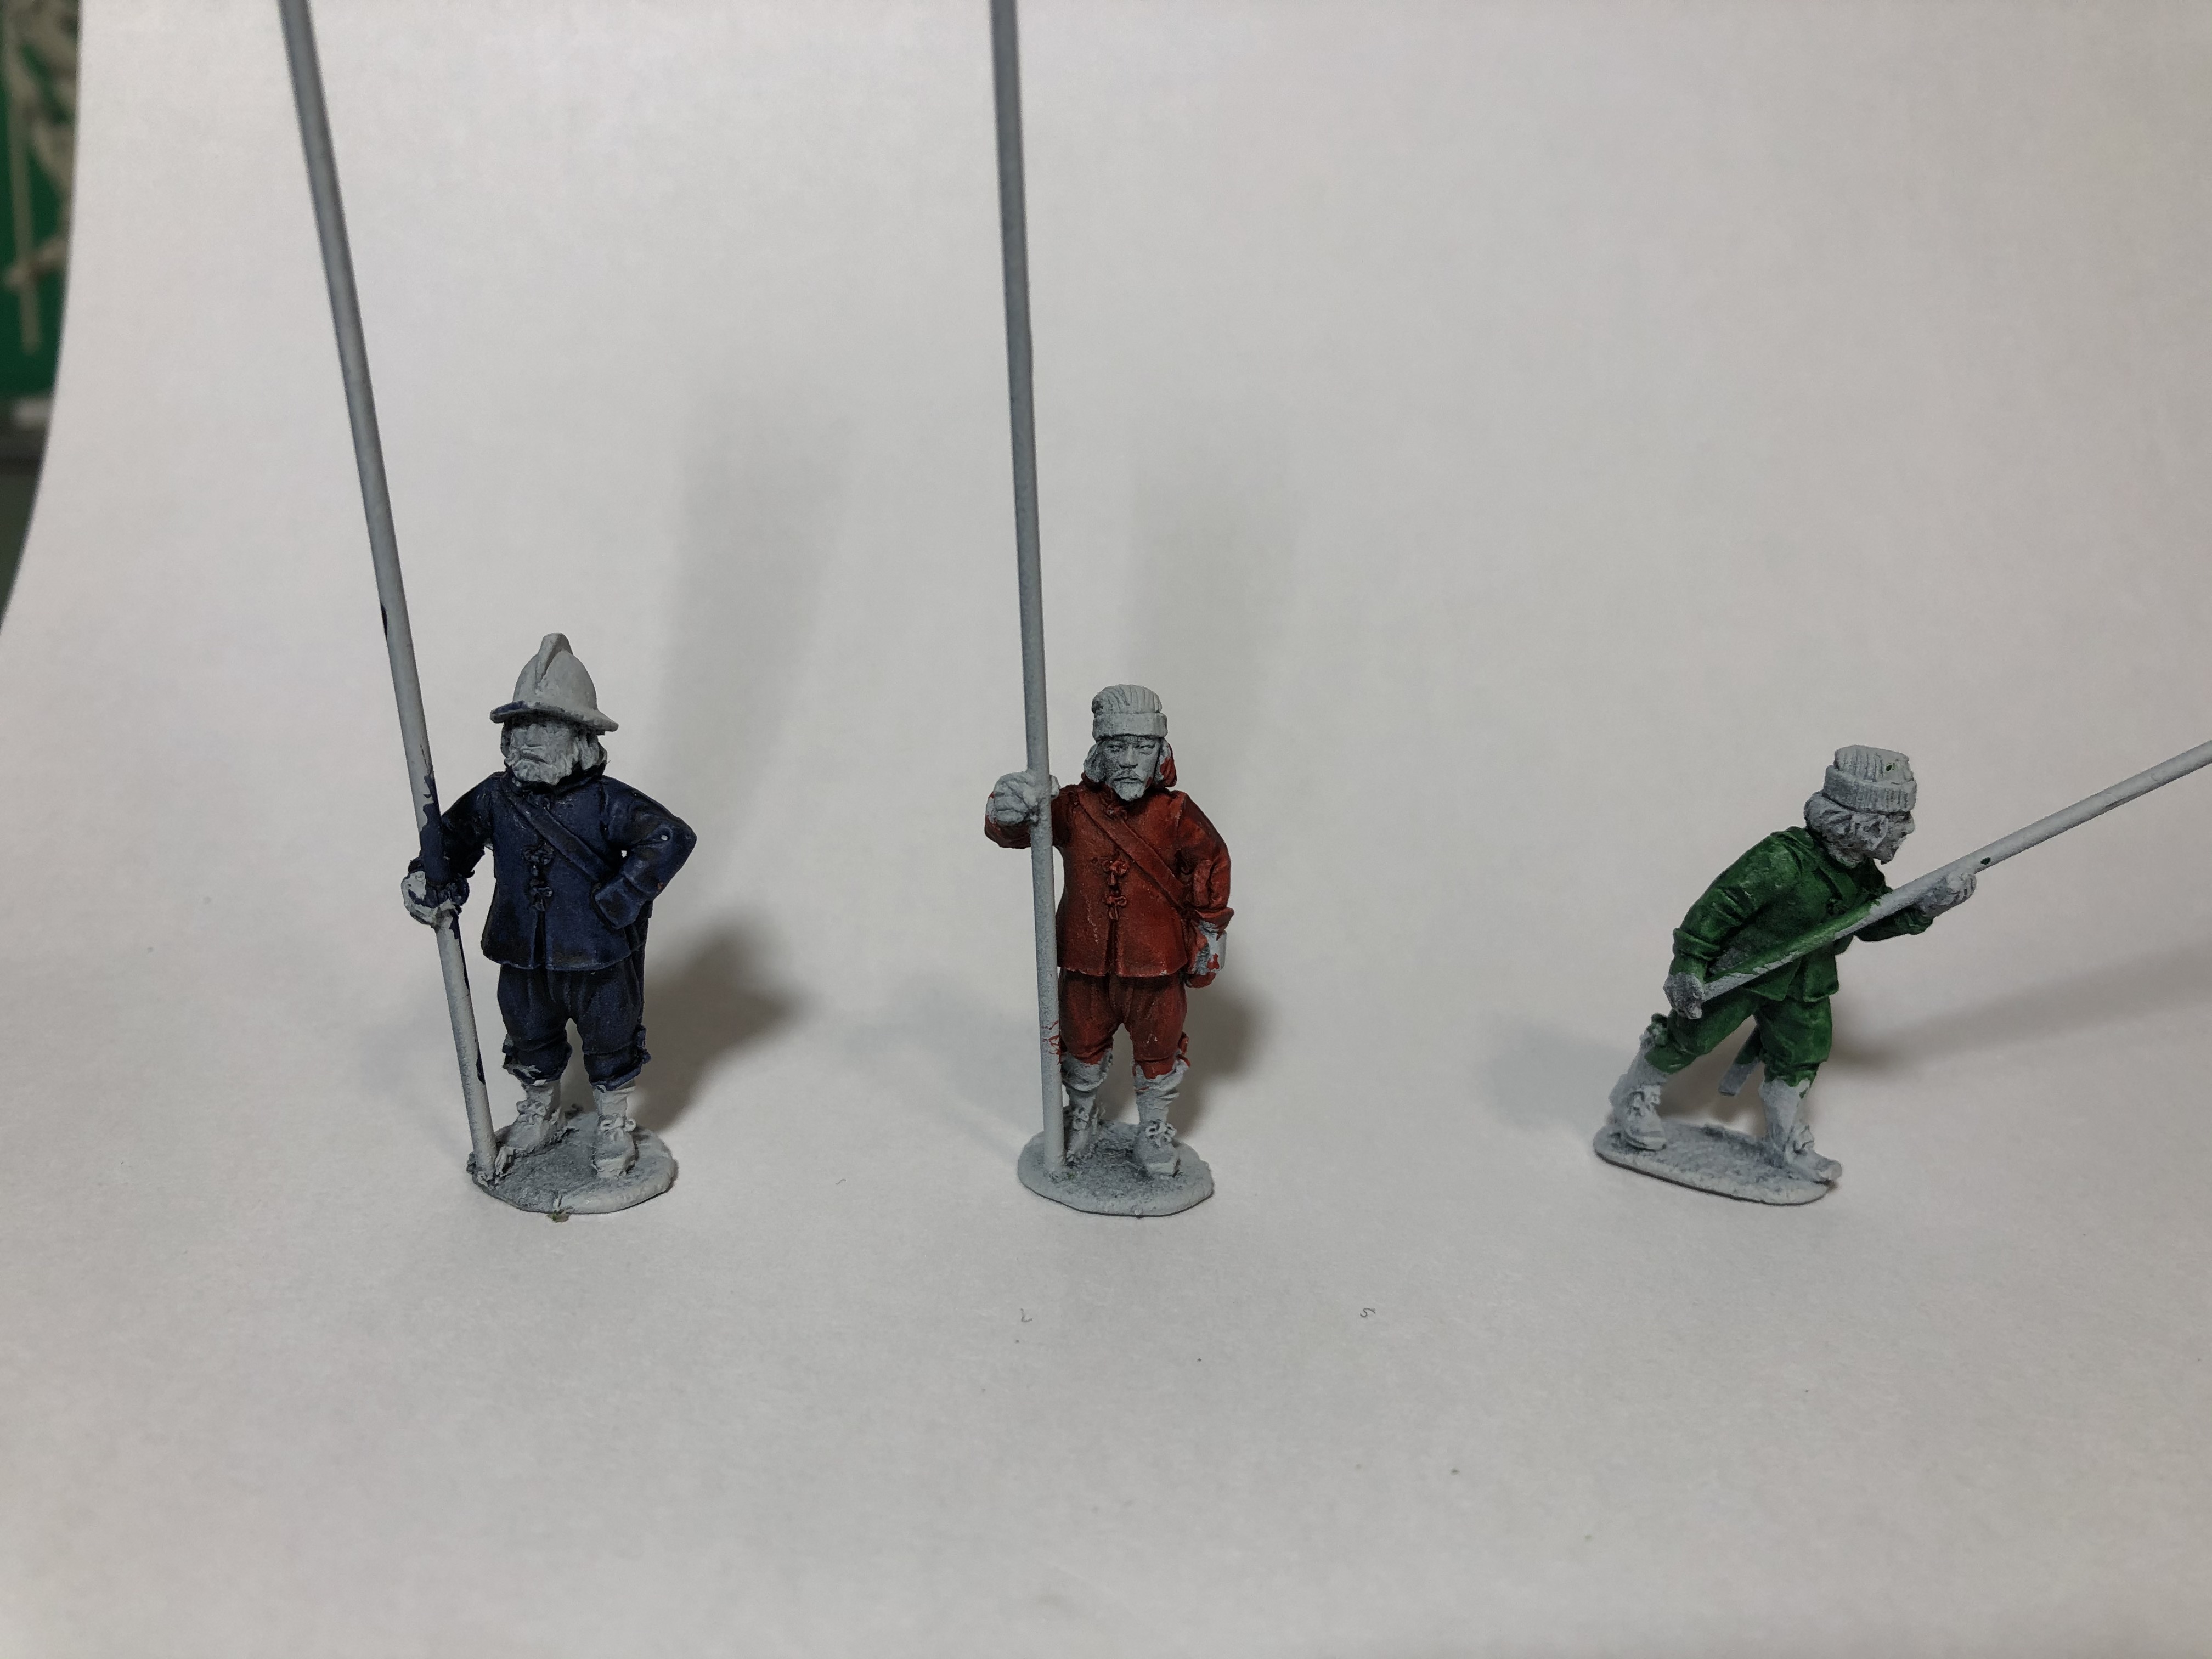
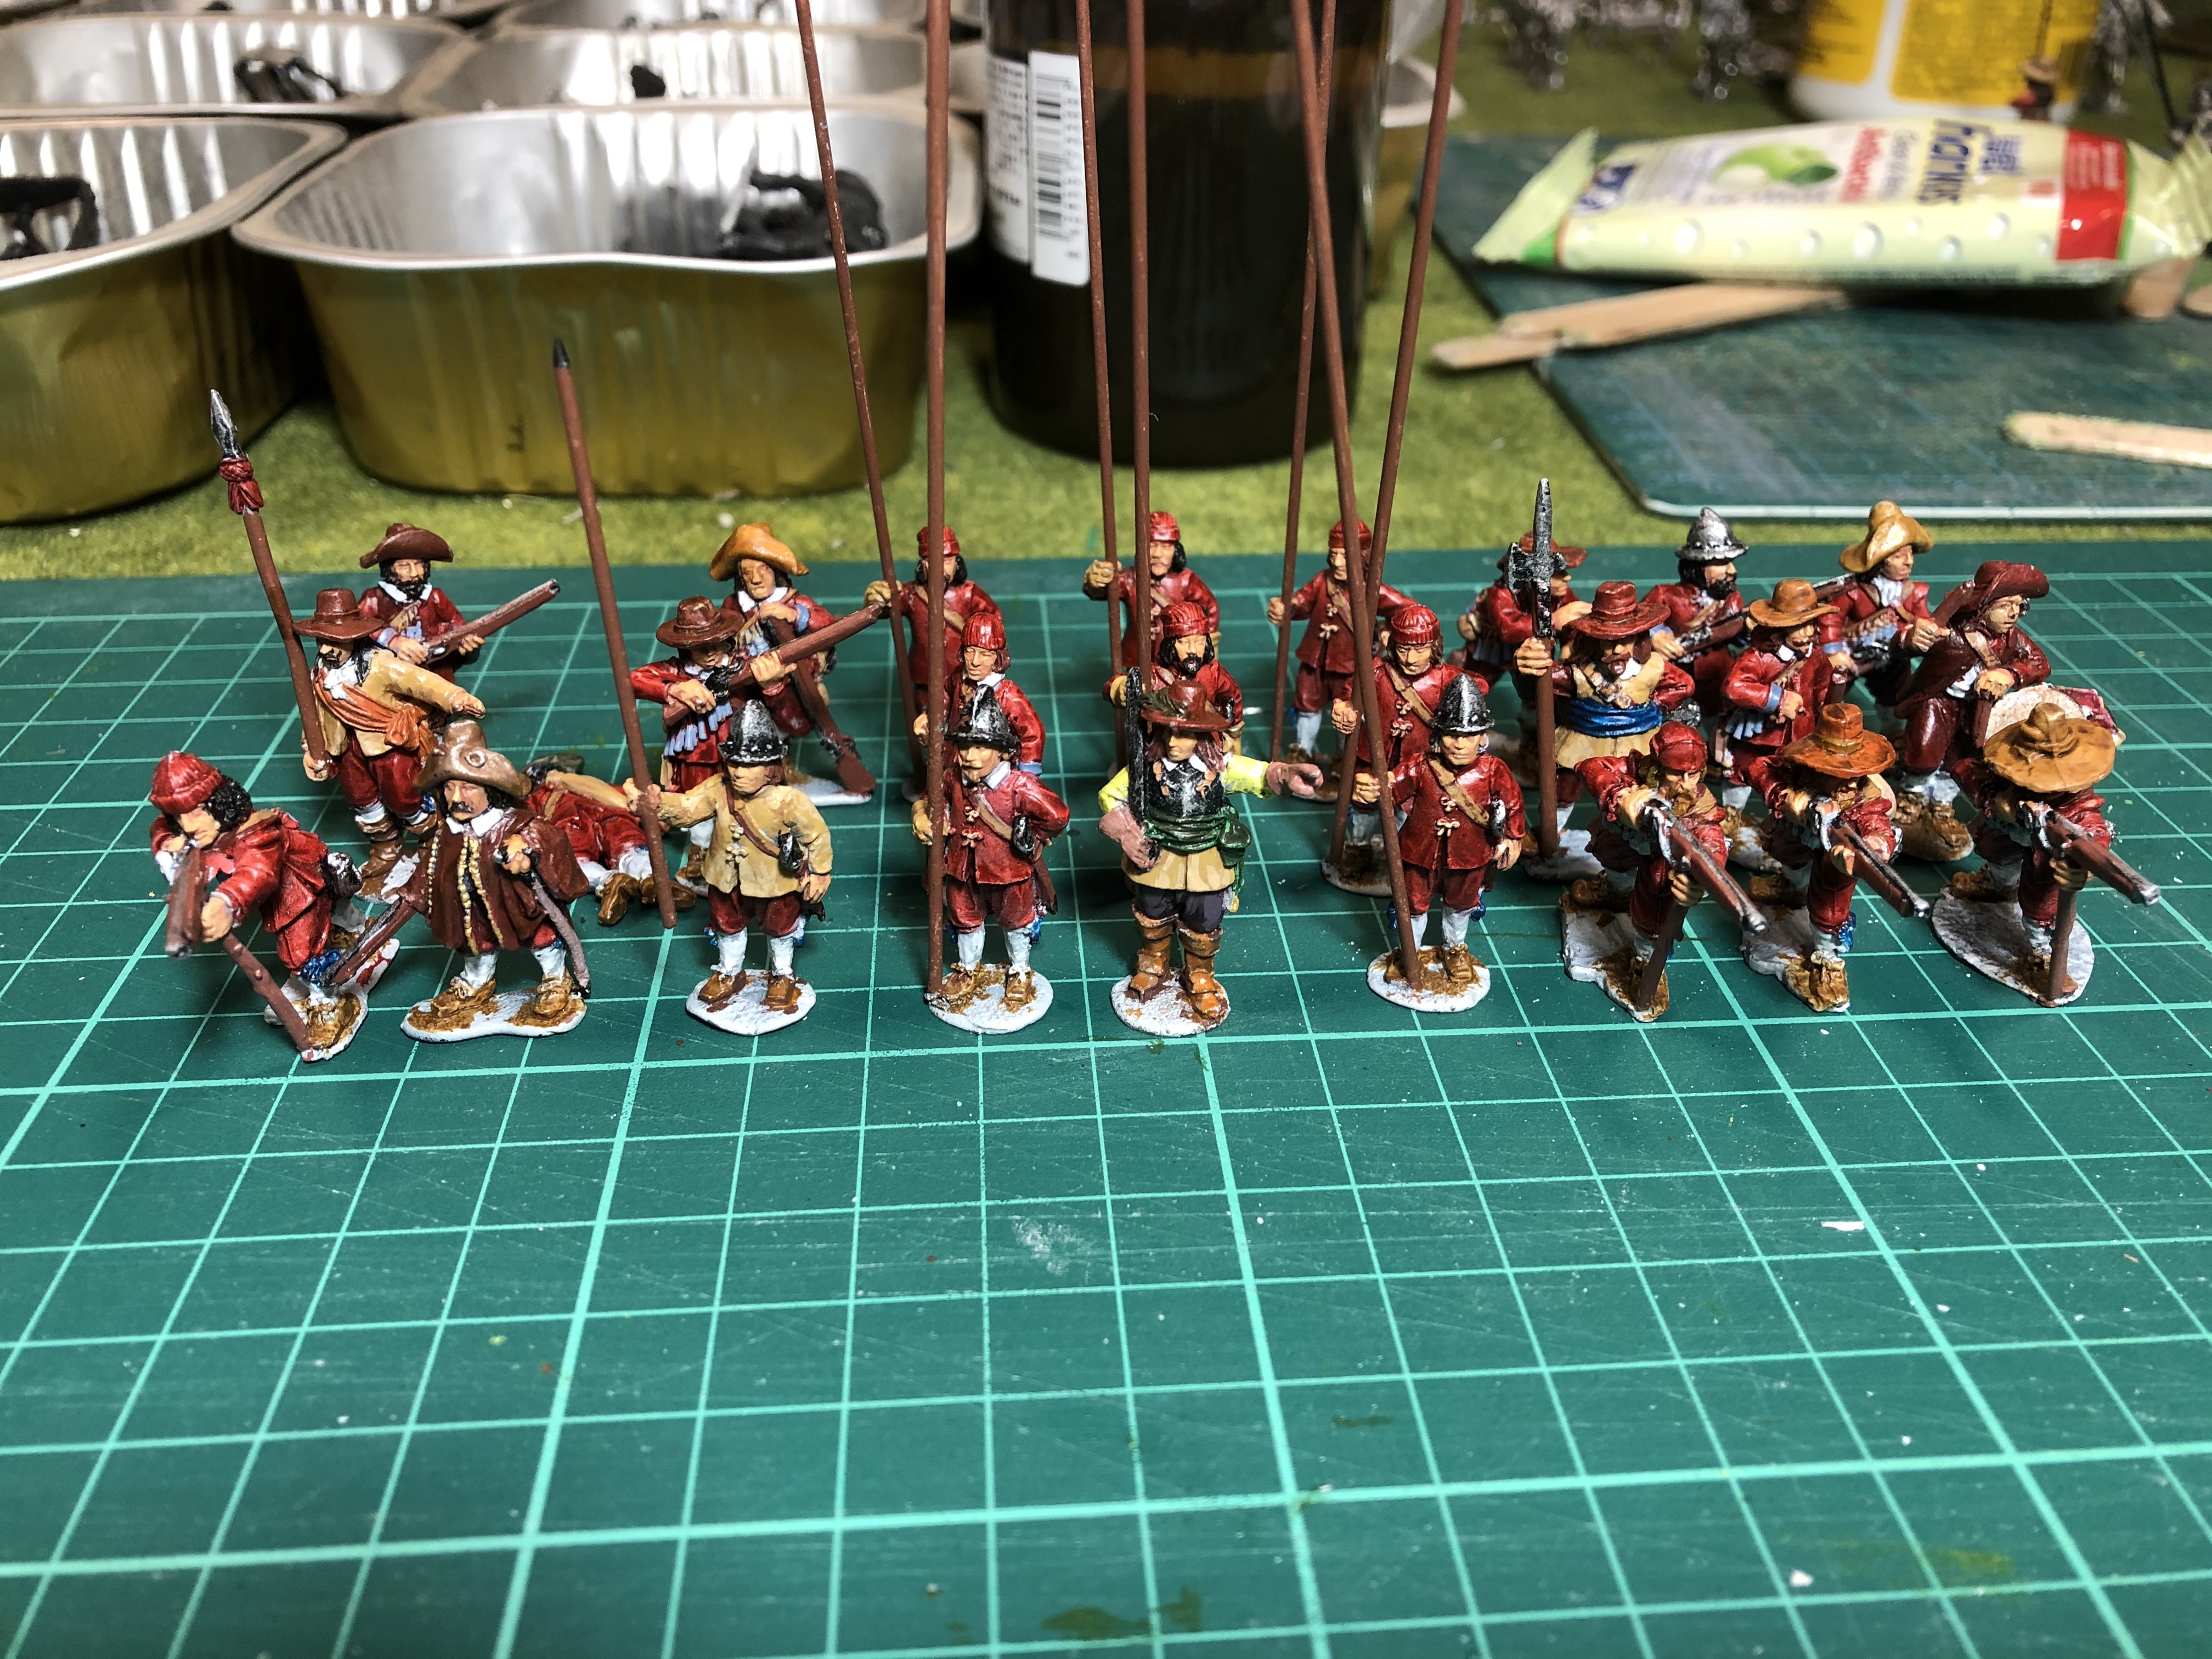
Shortly after Wargames Foundry established itself back in the 1980s, I purchased a sample pack of their ECW figures and I loved them. So, I thought, why not build two armies (I'm a solo player) and set about looking at rules etc. 40 years later in the basement of our newly built home (outwith the UK) my 10 year old says, "Dad can we play with these", pointing to the shelves of partially painted, and based minies, with the remainder still in packs. So I thought, with the OTT Spring clean challenge, maybe I'll get closer to finishing (actually, it's more like starting properly) my ECW project! This is the task: to turn the mountain of lead into something playable. What you can see in the header picture are the six paint/based foot regiments, and the variously based cavalry (for play testing) and the little tin boxes of all the other minis! Our new home has a basement, part of which will be my War-game room. Still need shelving and other assorted finalizing, but it will be where I hope I will spend a lot of time with my boy as he also develops an interest in the hobby. So, the next step is to determine my plan of campaign and what to do first!
Related Genre: Historical
Related Contest: Spring Clean Hobby Challenge (Old)
This Project is Completed
ECW - Resurrection after 40 years
So, although they say the best battle plans are redundant after the first shot is fired, at least some kind of plan would be a good thing. So here goes:
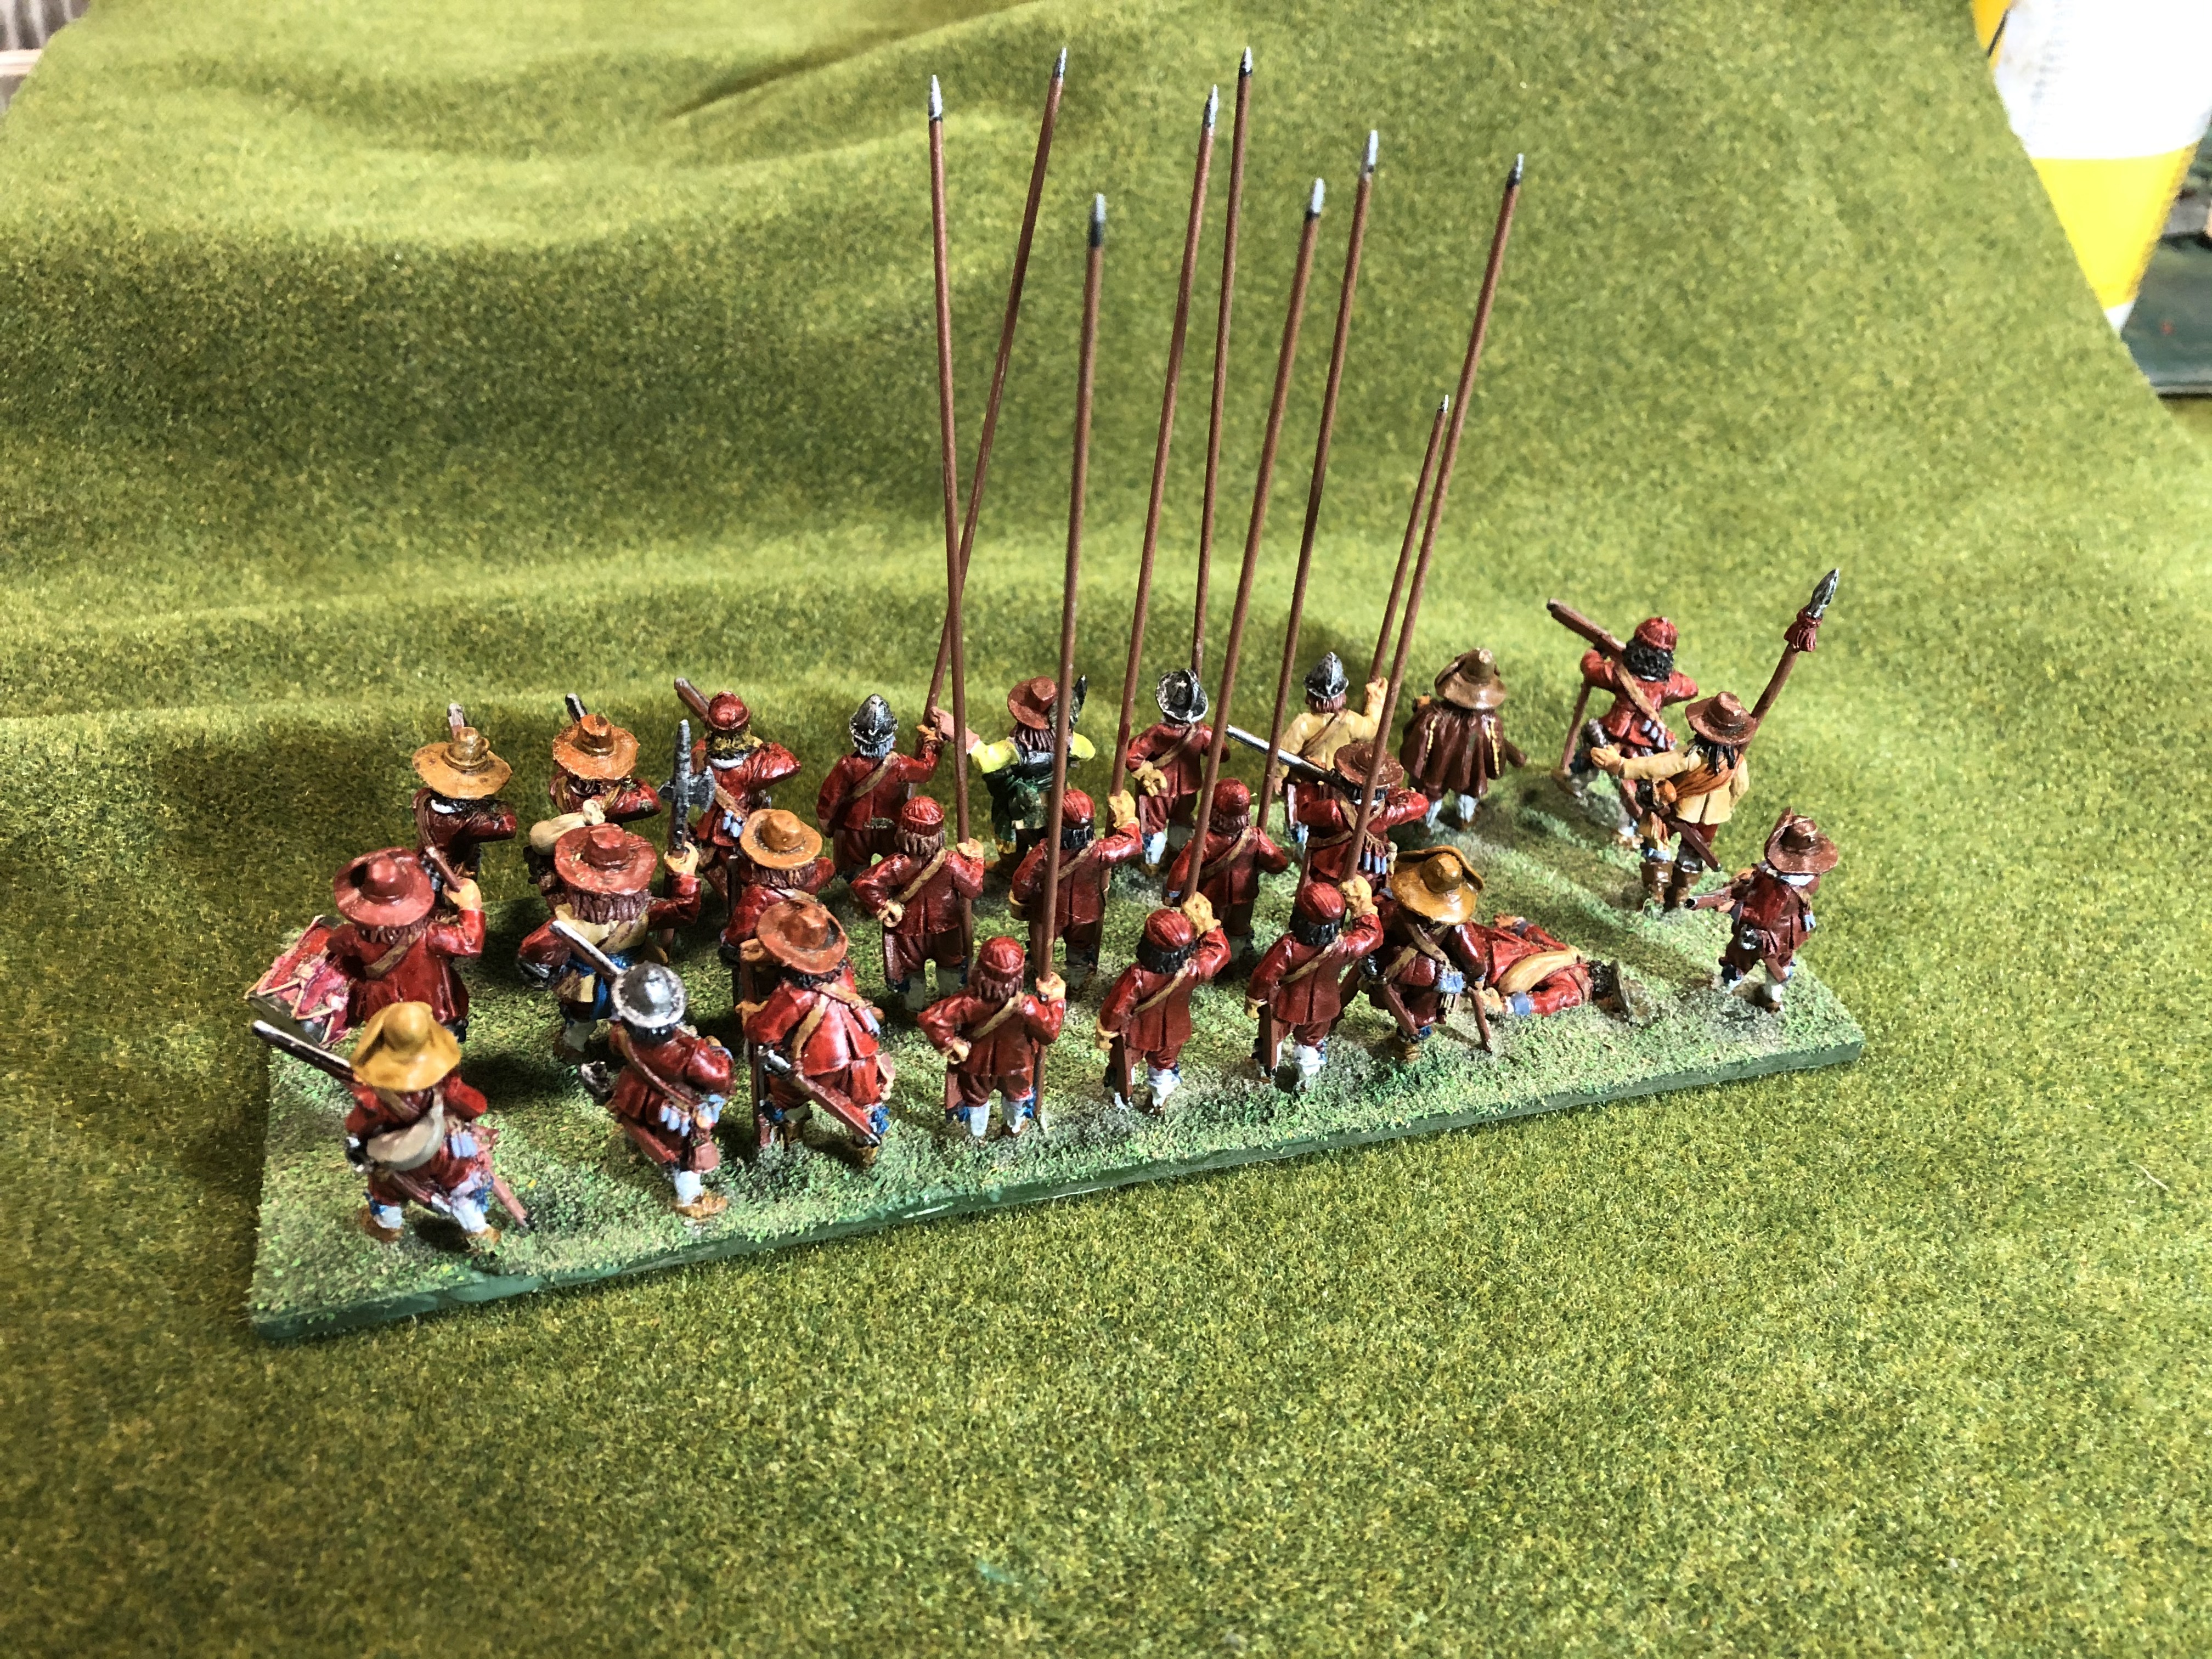
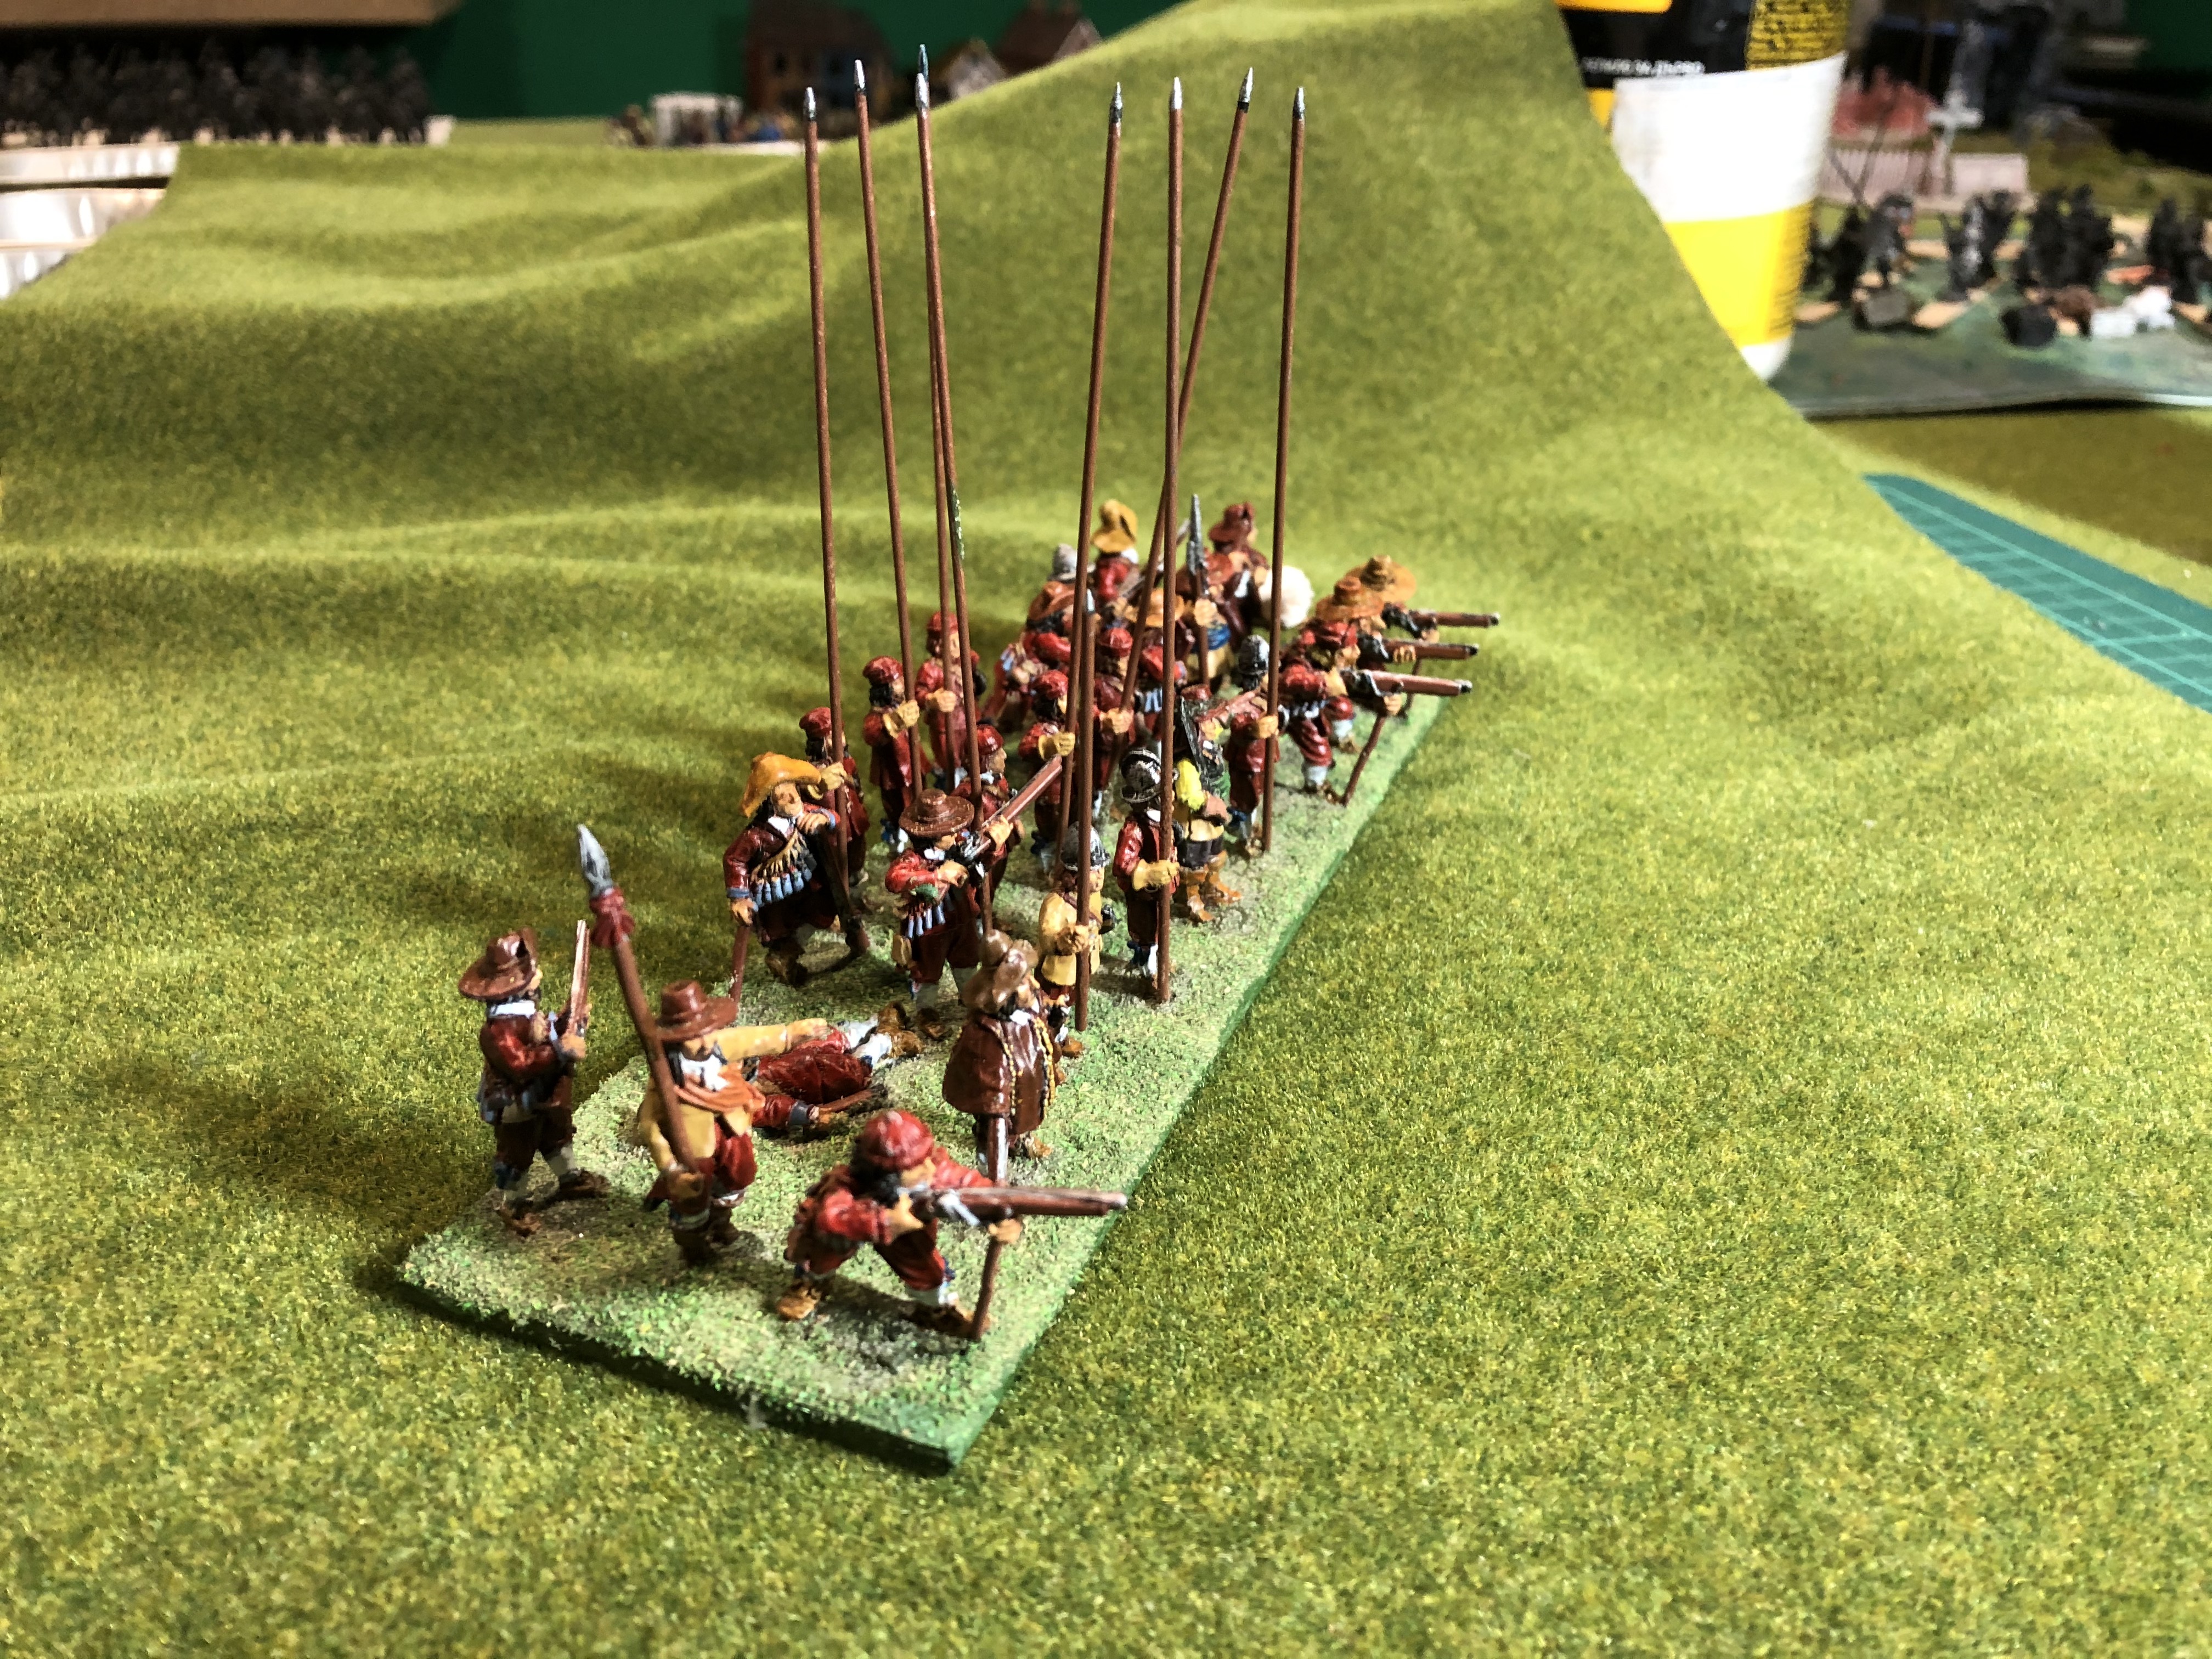
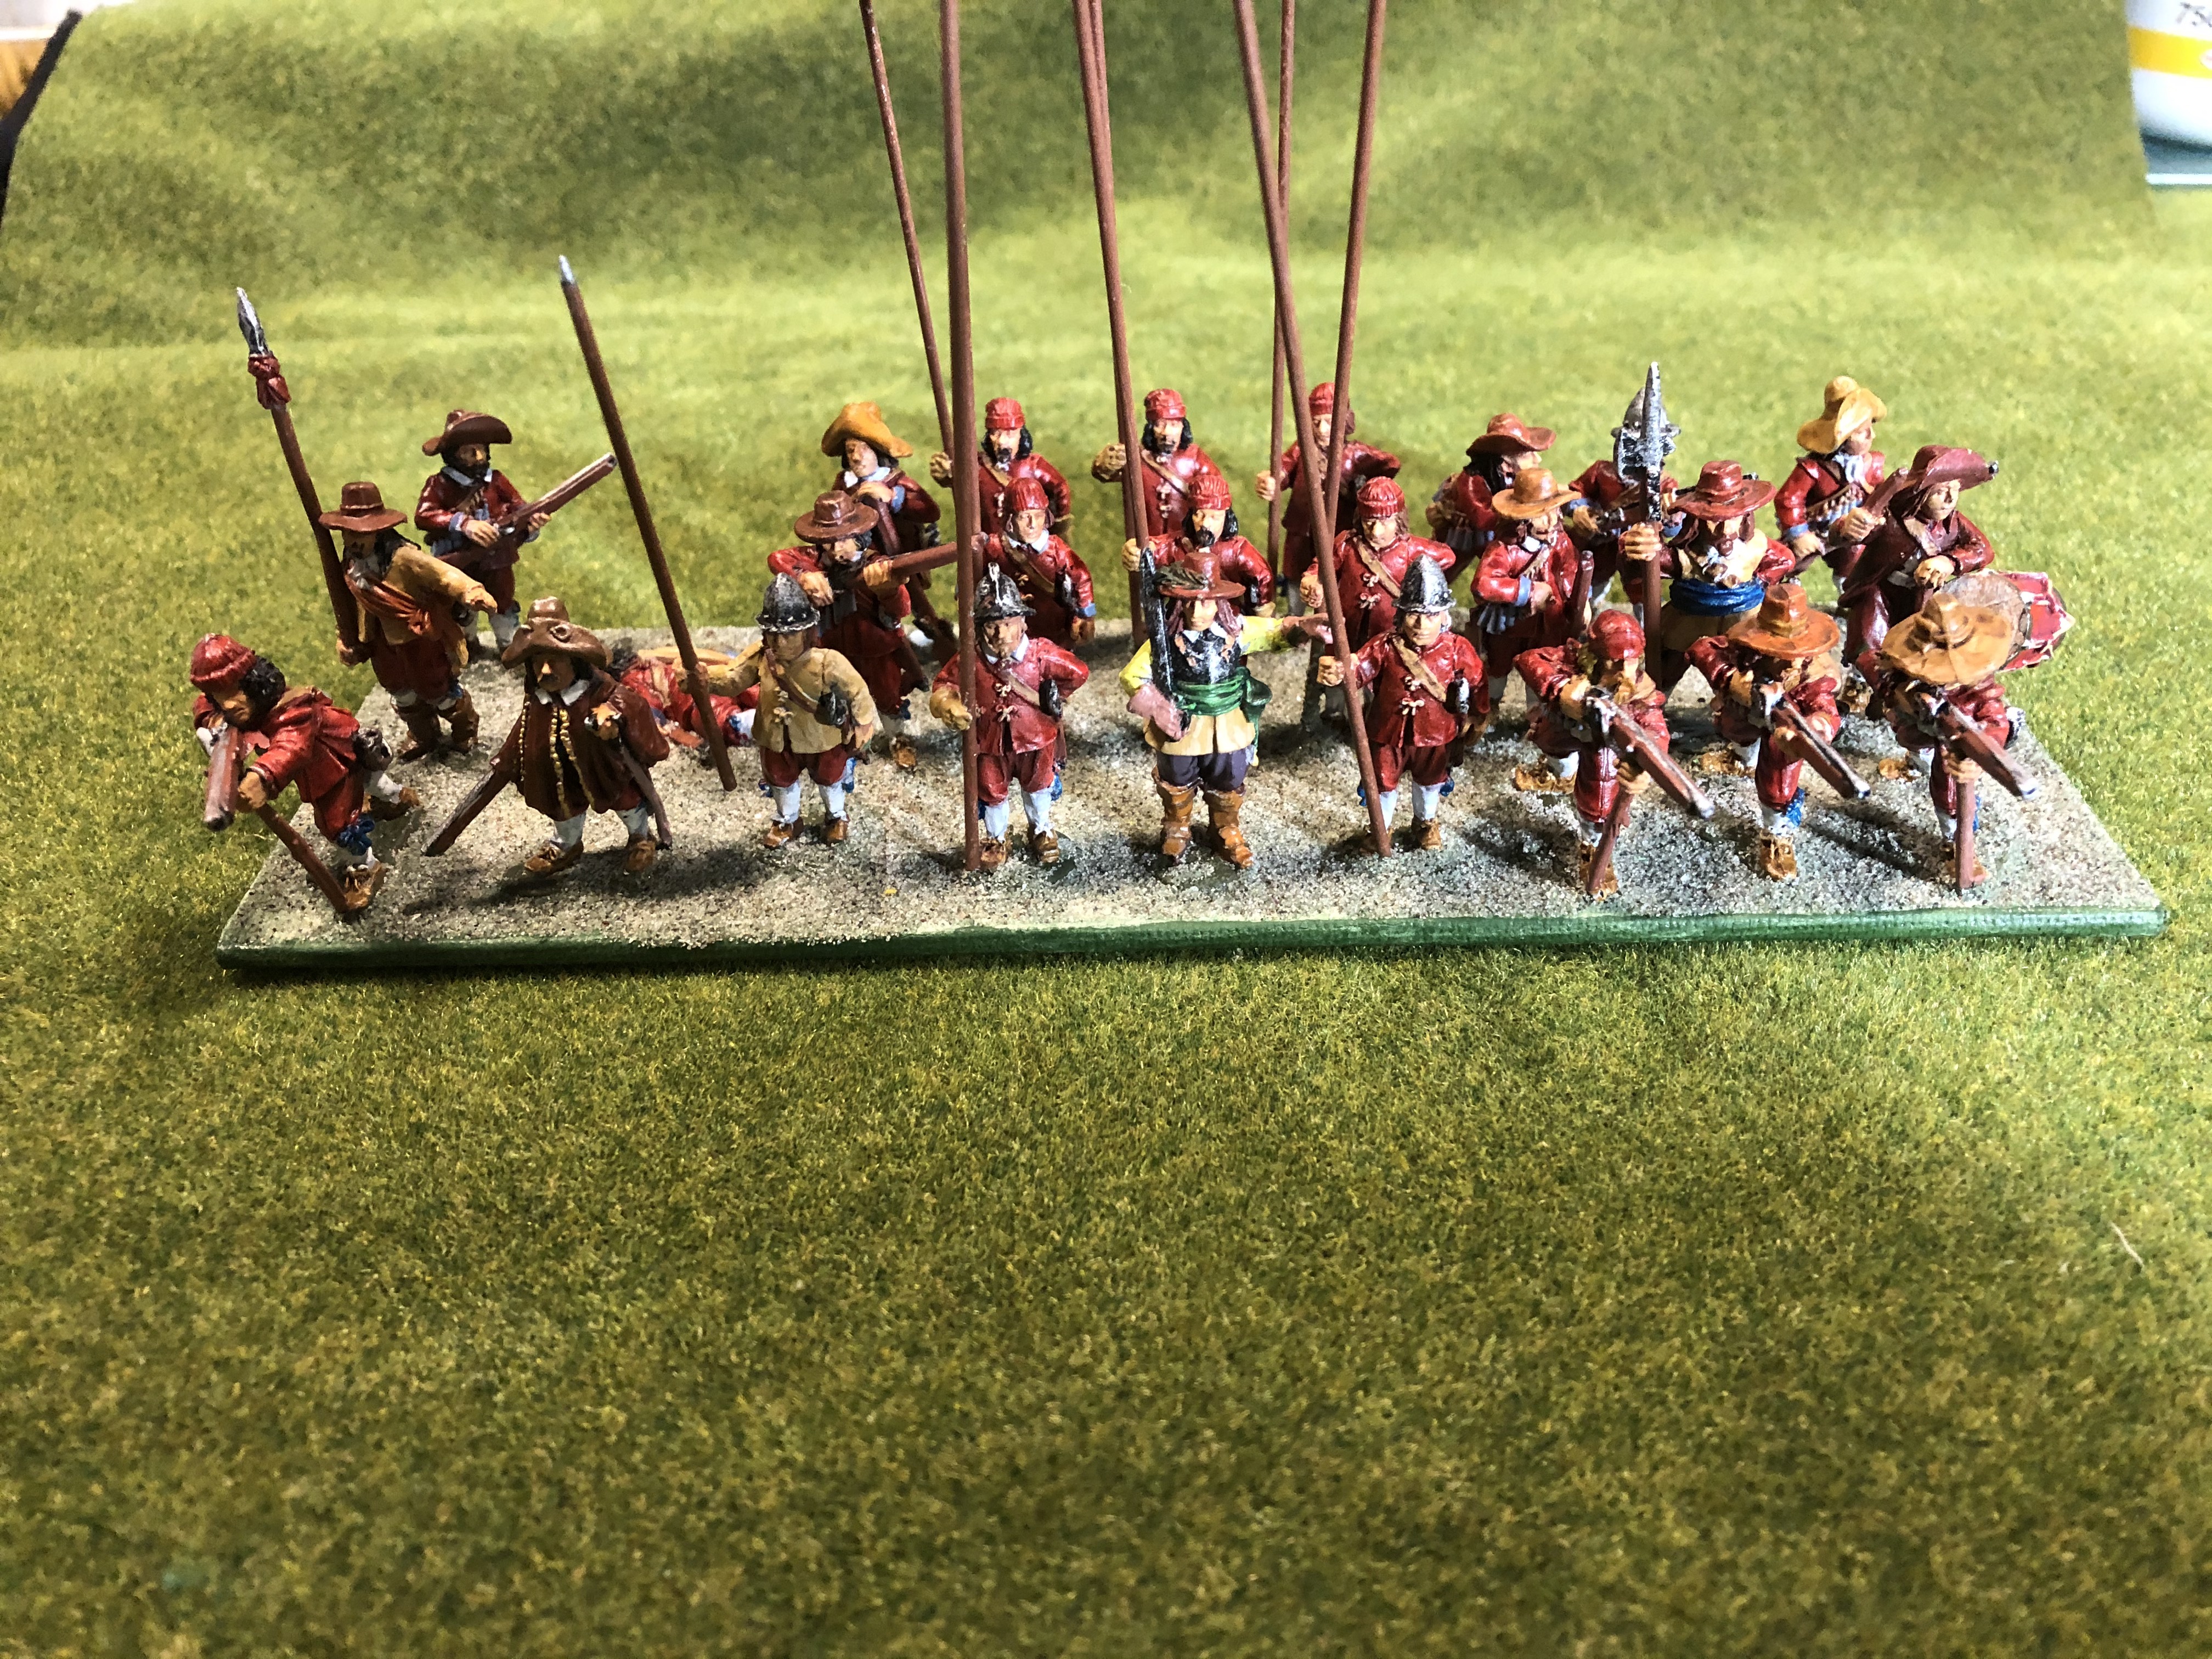
The rules I play are based around Principles of War, which are a base movement game, without individual figure removal. The base is 18cm wide, which is 3 x the oft used 6 cm square bases seen in many games. I will not change this during this re-boot. Also it is flexible enough for me as a solo player, and also simple enough for my son. (No lengthy figure movement phase – he wants to get into the action immediately!) Also, it means I can adapt the excellent “Victory without Quarter” rules to make a simplified version for our games.
Both options require some form of markers – Casualties, Brigade commanders, and re-load – so I’ll work on these first. Then I’ll look to paint and base up 3/4 more Foot regiments, before tackling the numerous cavalry bases and the artillery.
So, in the next few days I hope to have something to show you. In passing, I picked up some Contrast paints when I was in France recently (for a different project) and will try these out for the first time on the Foot regiments first. I’ll stick to my simple 3-step paint job for the markers for now. Wish me luck
ECW - Resurrection after 40 years
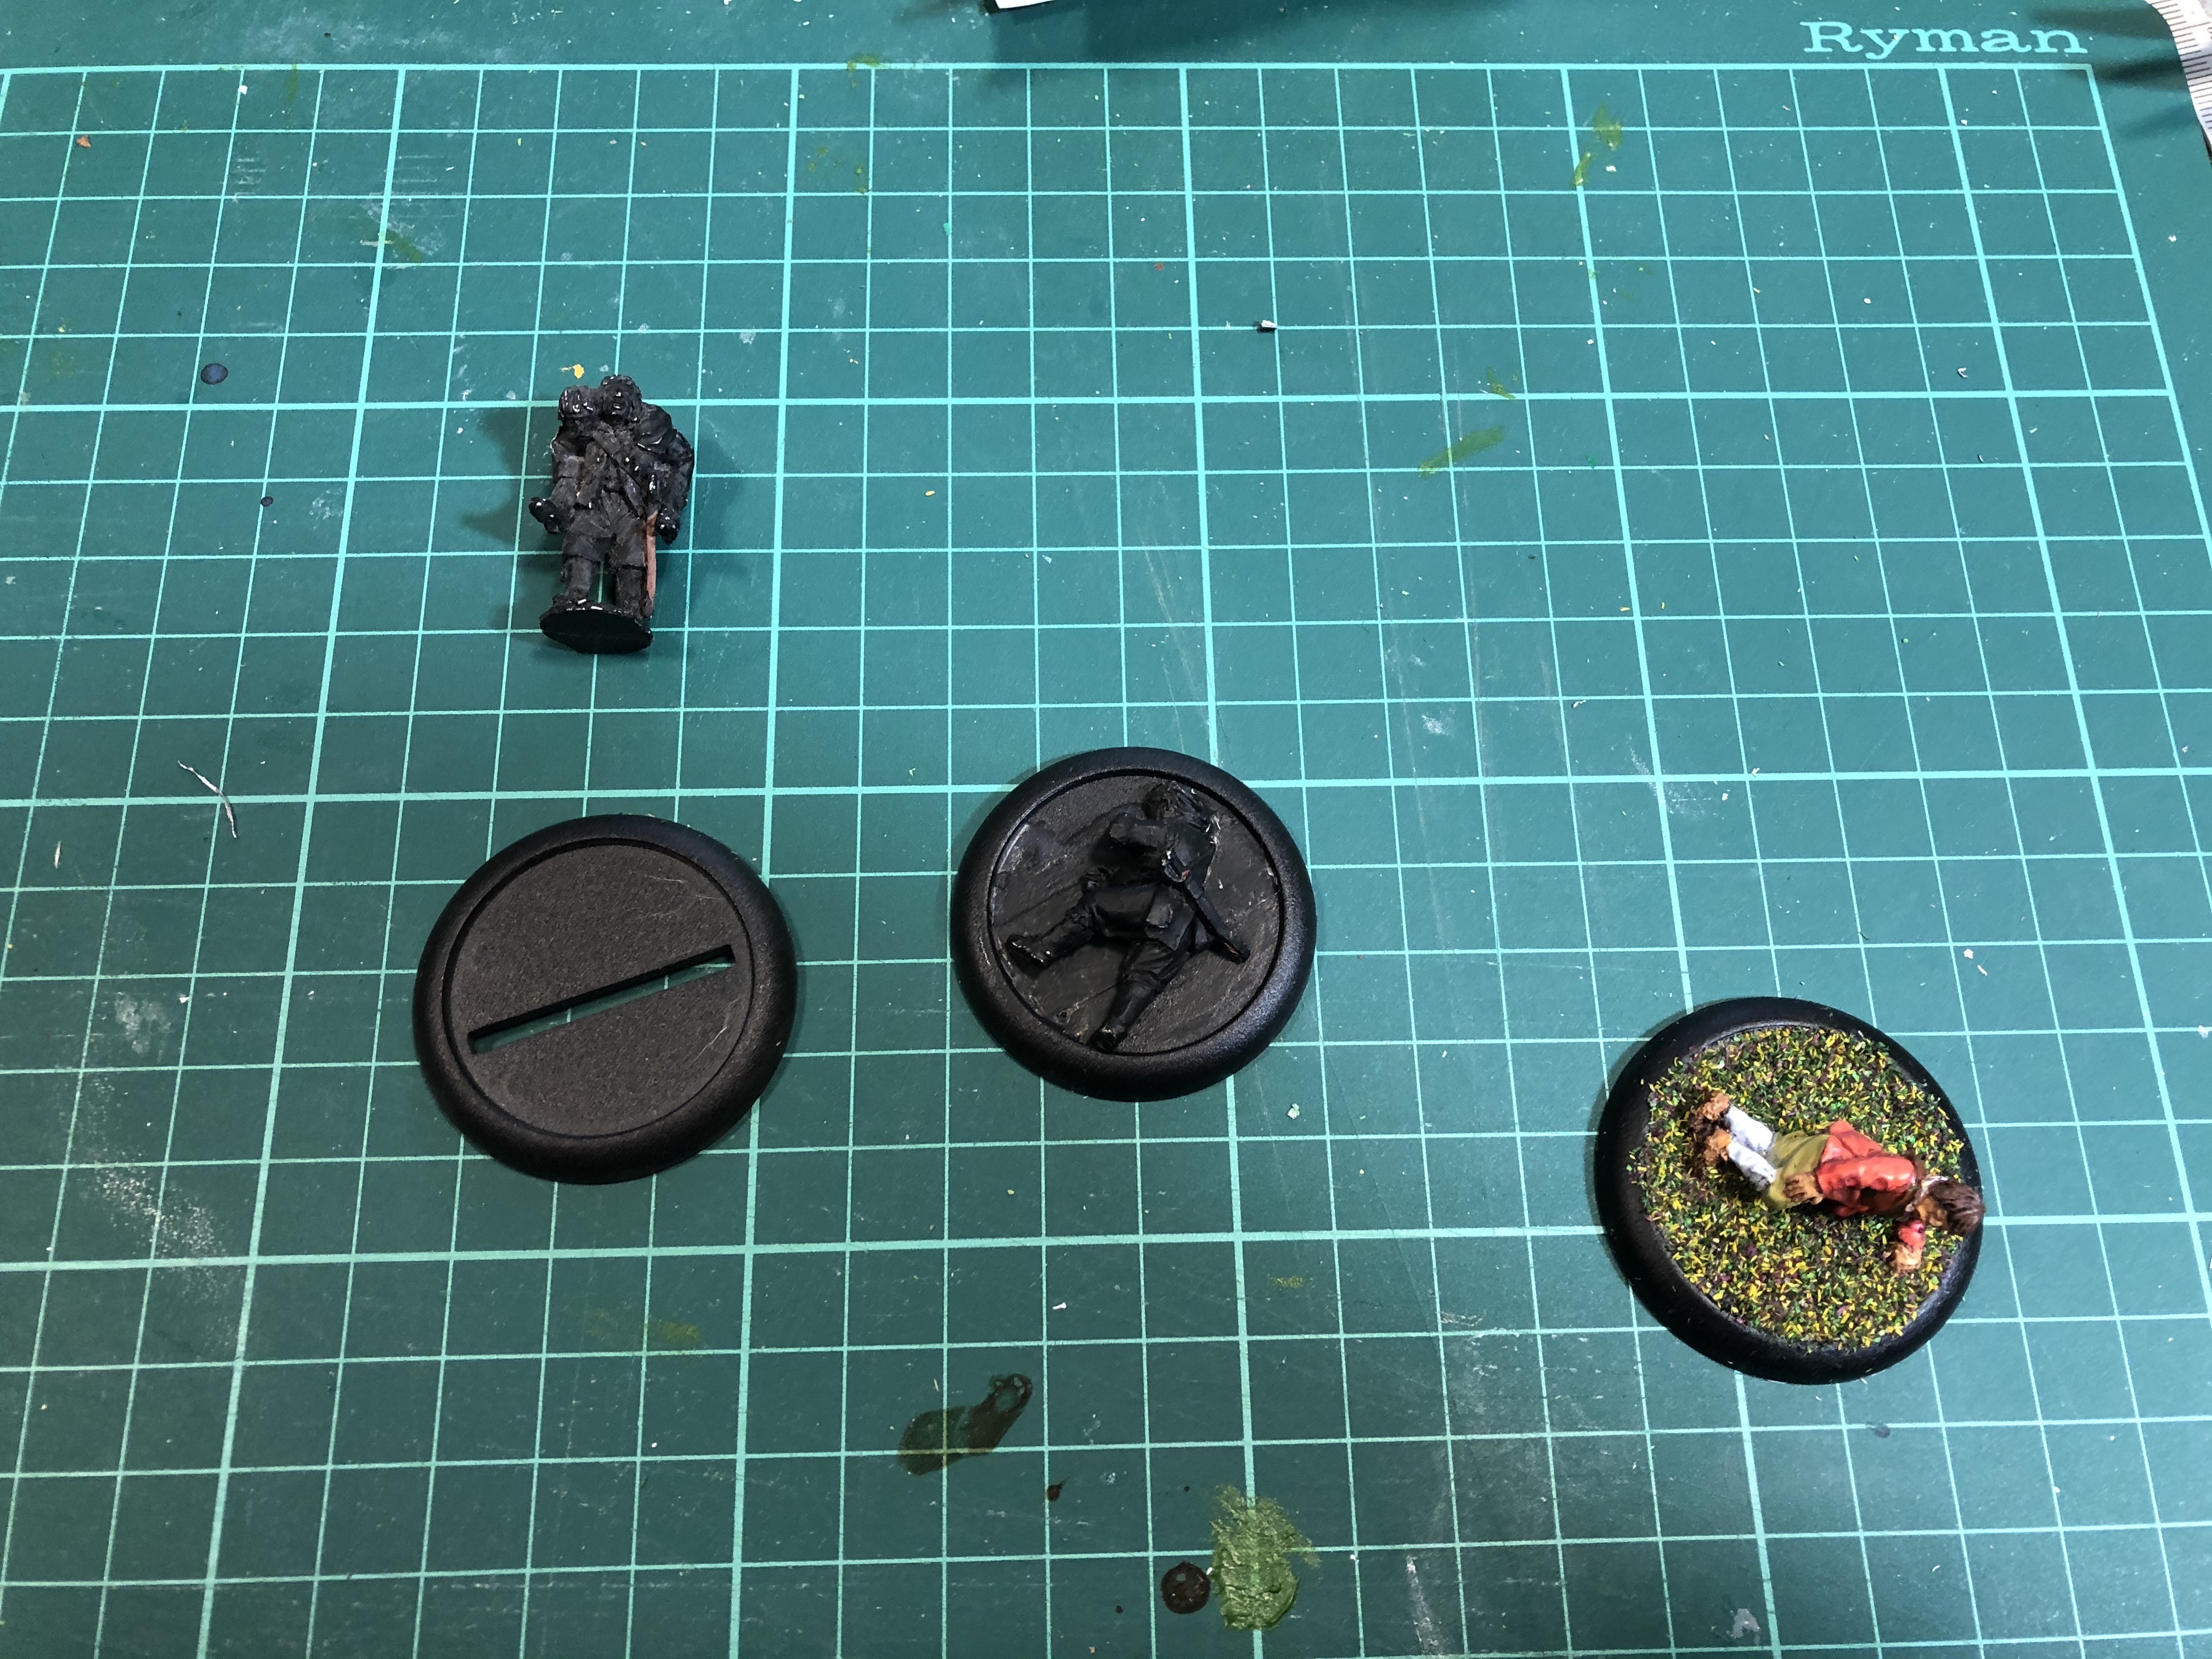 Markers: These will follow a simple process of fixing the individual figure to a base, painting it, and adding flock or similar as in the picture.
I am living in the Balkans right now and there are no “proper” gaming shops here. So, I’ll have to make do with what I have collected during visits to the UK or Europe in the last few years. The bases I am using for the casualty markers were purchased some time ago for what, I have no idea anymore! But they’ll come in useful now.
Once the figure is painted, I make the base with diluted pva and water – about 50/50, and add very fine sand. Once dry I then add the flock, which is a Woodland Scenics pack – I think Summer Meadow, or similar title. I am now looking at making my own flock using fine sawdust and acrylic paints.
A question I have yet to answer is whether to leave the bases black, or to colour them in some way. I am considering either green to match the war-game board (covered with the old Citadel mats), or to go Red as a completely obvious marker. I’ll try some colors and post them. Comments welcome.
Casualty Markers
 Which colour for the base?
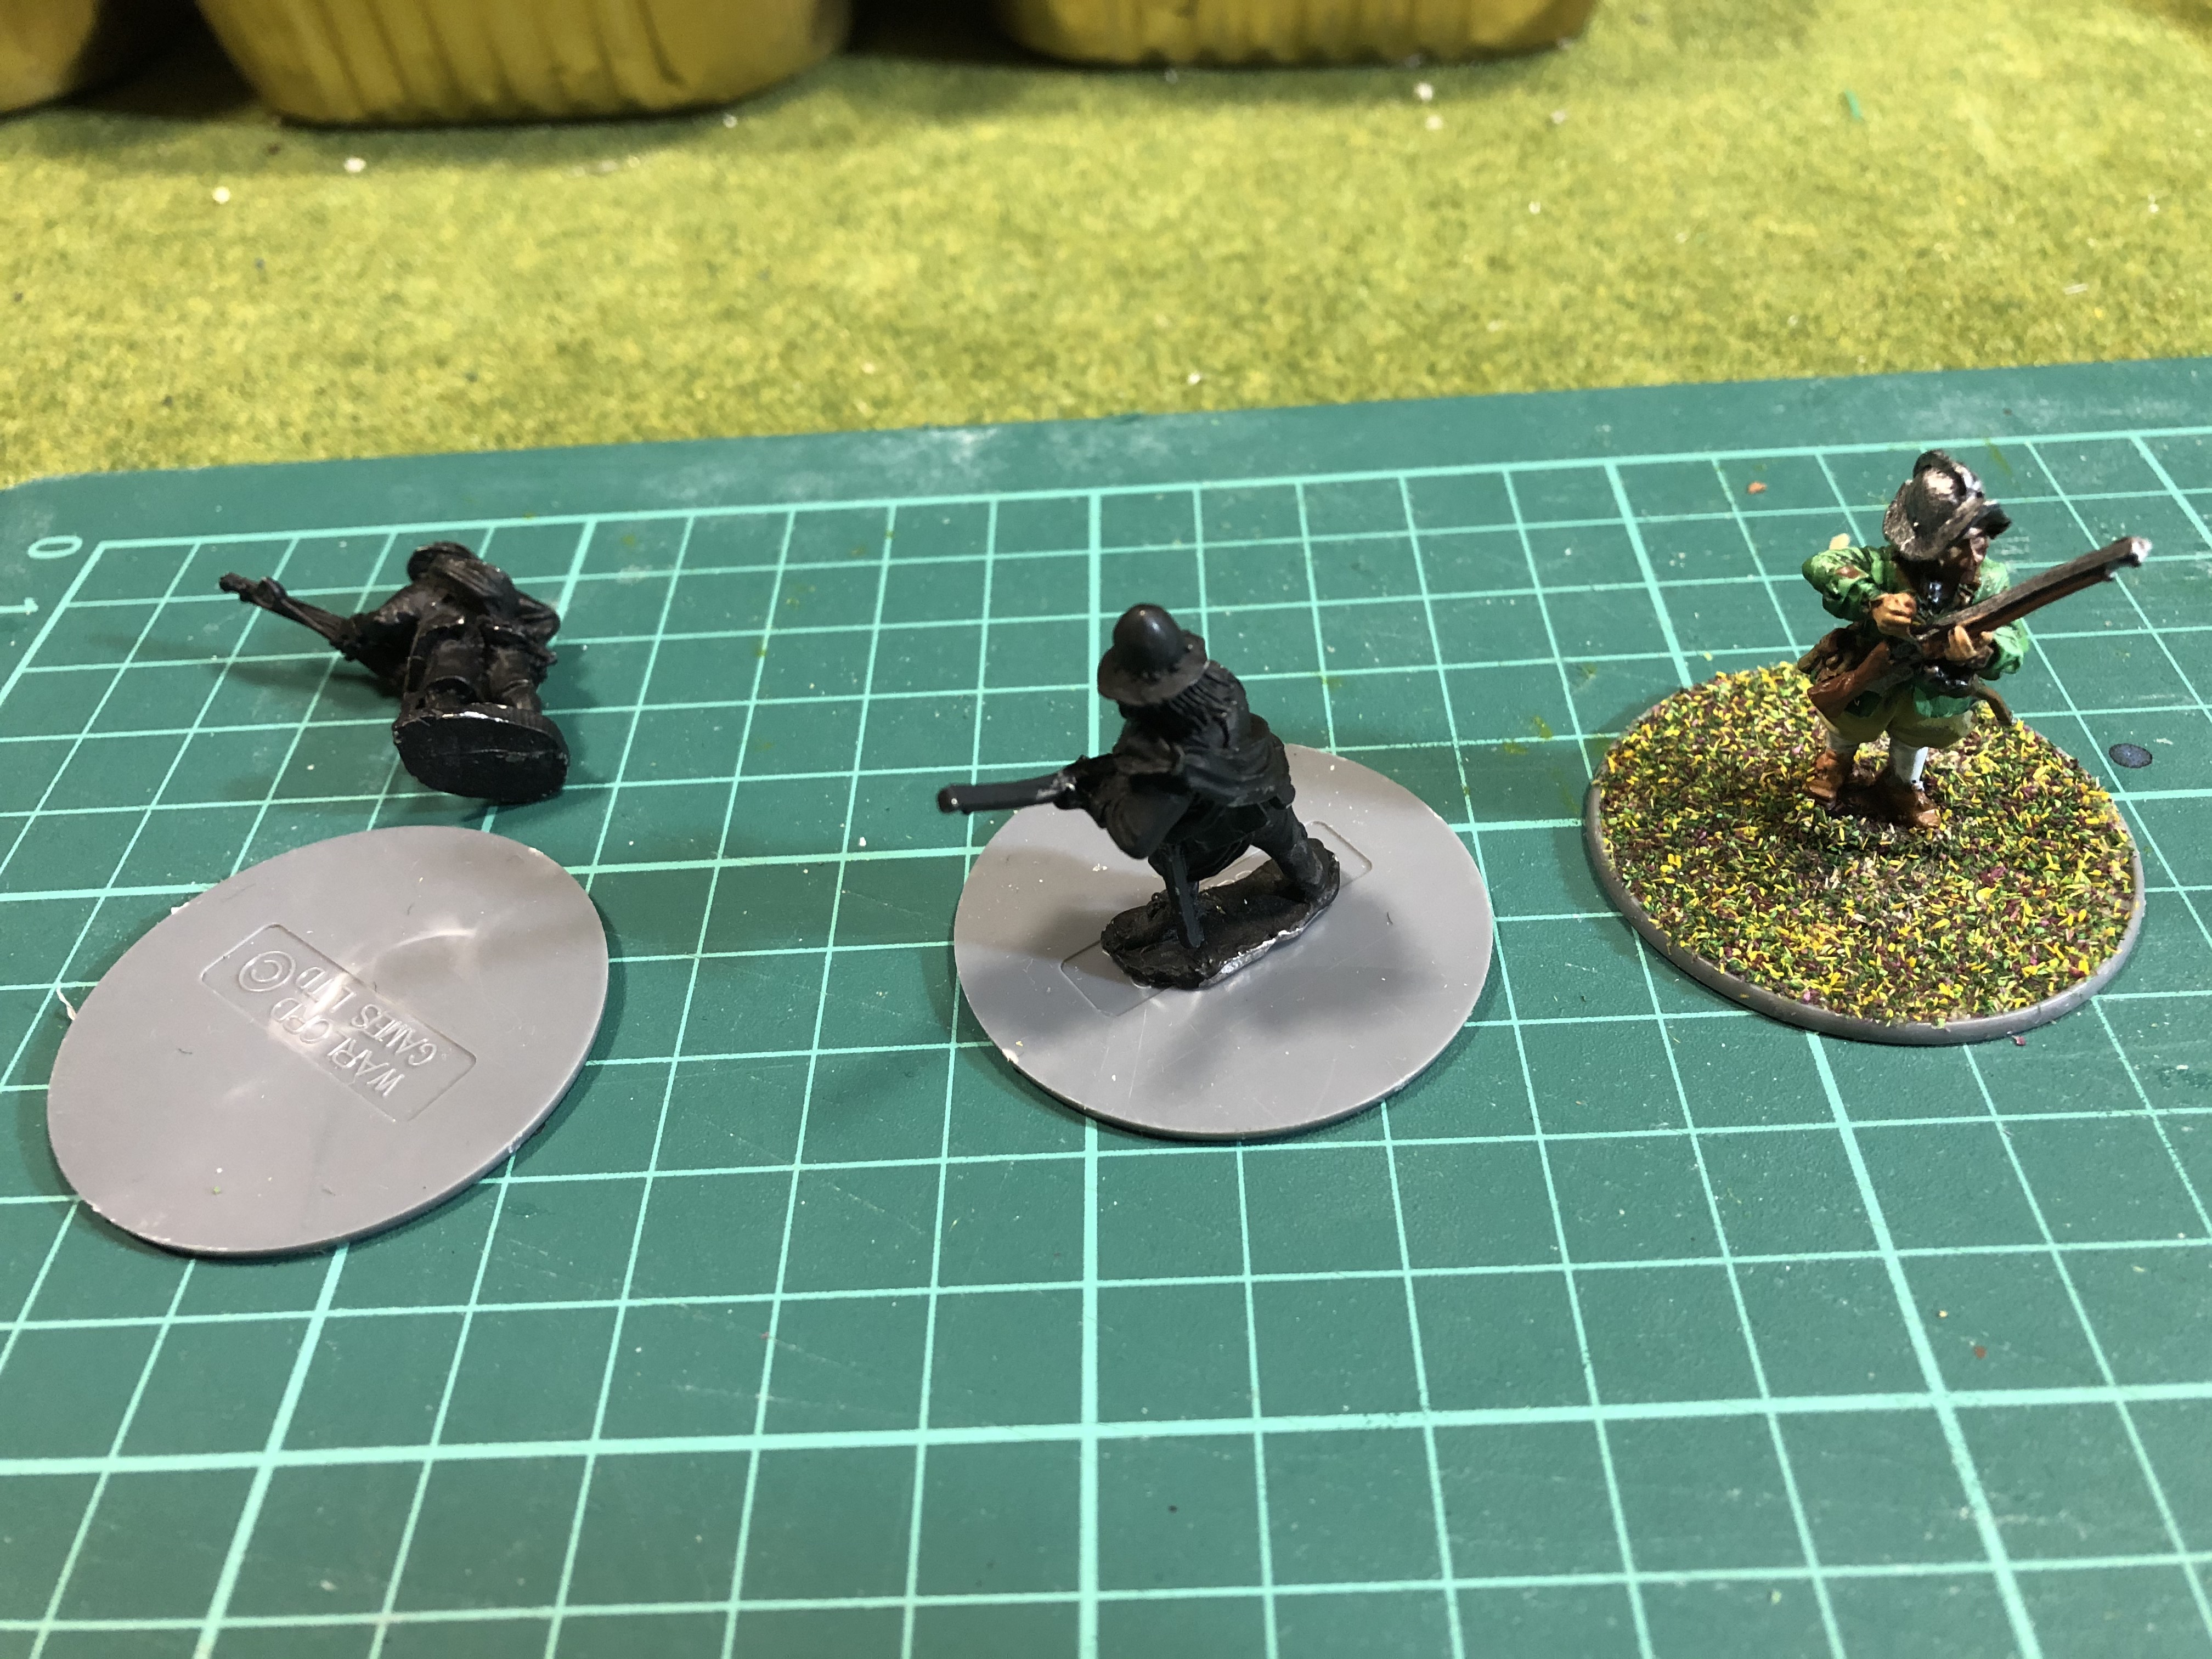
Here are a few of the casualty markers with the bases painted. They are on a piece of the matting that the war-game table is covered with so you get the proper idea. As these are supposed to be obvious markers, I am leaning towards the RED base. But they will need a couple more coats of paint for them to really stand out. I like the Green as well as it’s more subtle but still makes it clear there is a marker in play. The plain Black base, I don’t like. So, some thinking in order as I complete the 12 bases I want for the game.
Casualty Markers finished
 Red for death!
So, in the end I want for the red base. Here are the twelve markers (hope that’s enough for now) on a sample of the Citadel mat. I think they stand out well.
Next up will be the re-load markers which will follow a similar process. More later
On to the Reload markers
 Same approach, fix to base and flocking
With the casualty markers done, I’ve moved on to the Reload markers. I’ll adopt the same approach, although I have no more of the bigger bases, so am using some Warlord bases which I got for a reason I can’t recall now! (This seems to be a recurring issue. “Short-term memory loss!).
The bases have a very small “lip” on them, which is not clear in the picture, but basically, the reloading figure is simply glues to the base with super glue gel, and after its cured, I add the ground cover of 50/50 pva/water and fine sand. Once this is dry (I have left this one overnight), I add the flock. And that’s it!
So, I’m looking at making 10-12, which should be enough. The rule set I’m adapting gives a +1 volley effect if the Regiment has not fired, it then gets a “reload” marker and loses this bonus until it Halts for a turn, or a “reload” card is turned up. The rules are card based – as is now obvious! Pictures will be posted once the rest of the markers are done. If anyone is interested I’ll post my adapted rules.
A short digression - Contrast Paints
I picked up some Contrast paints for another project when I was in France last year, but have not used them up till now. I tried the Red, Blue, and Green as a “Tester”, and maybe I need more practice. the Blue didn’t seem to “contrast” very much. Perhaps I used too little, or too much? If anyone has some experience with using them, I’d be pleased to hear from you.
Some basing information
I tried to post a larger update, but it seems my internet access is not strong enough for the upload, so I’ll split this into a couple of posts.
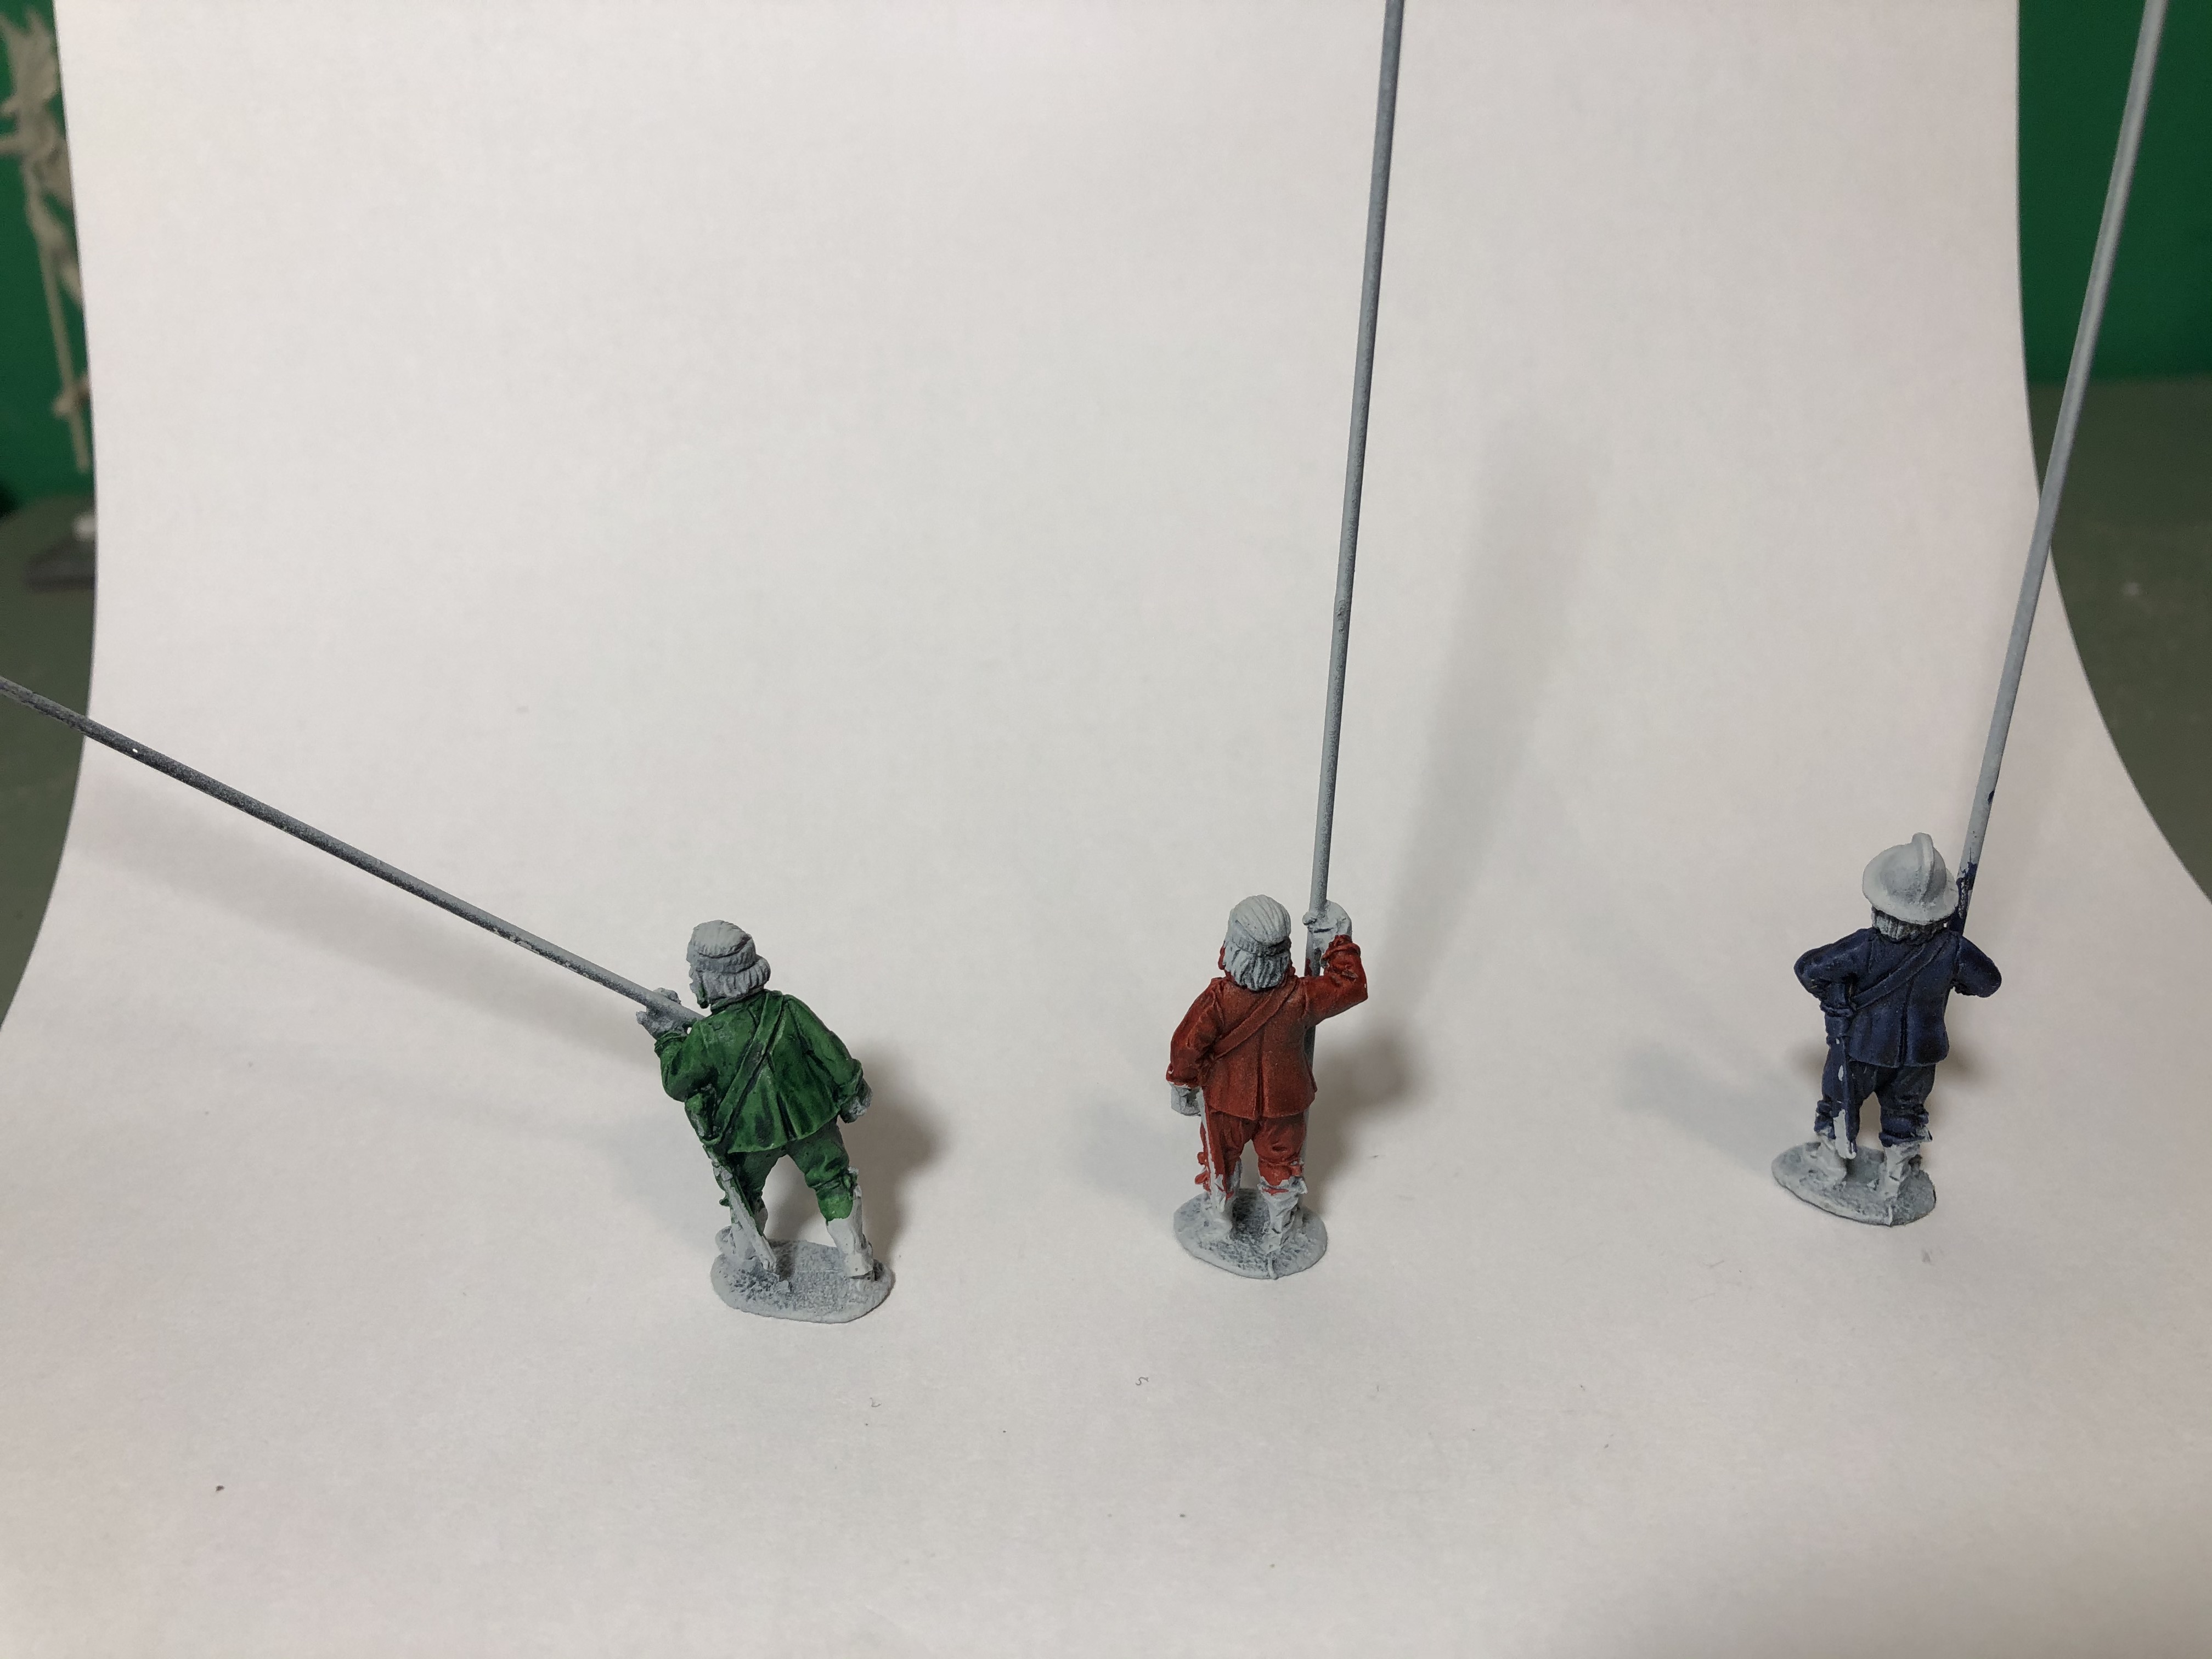
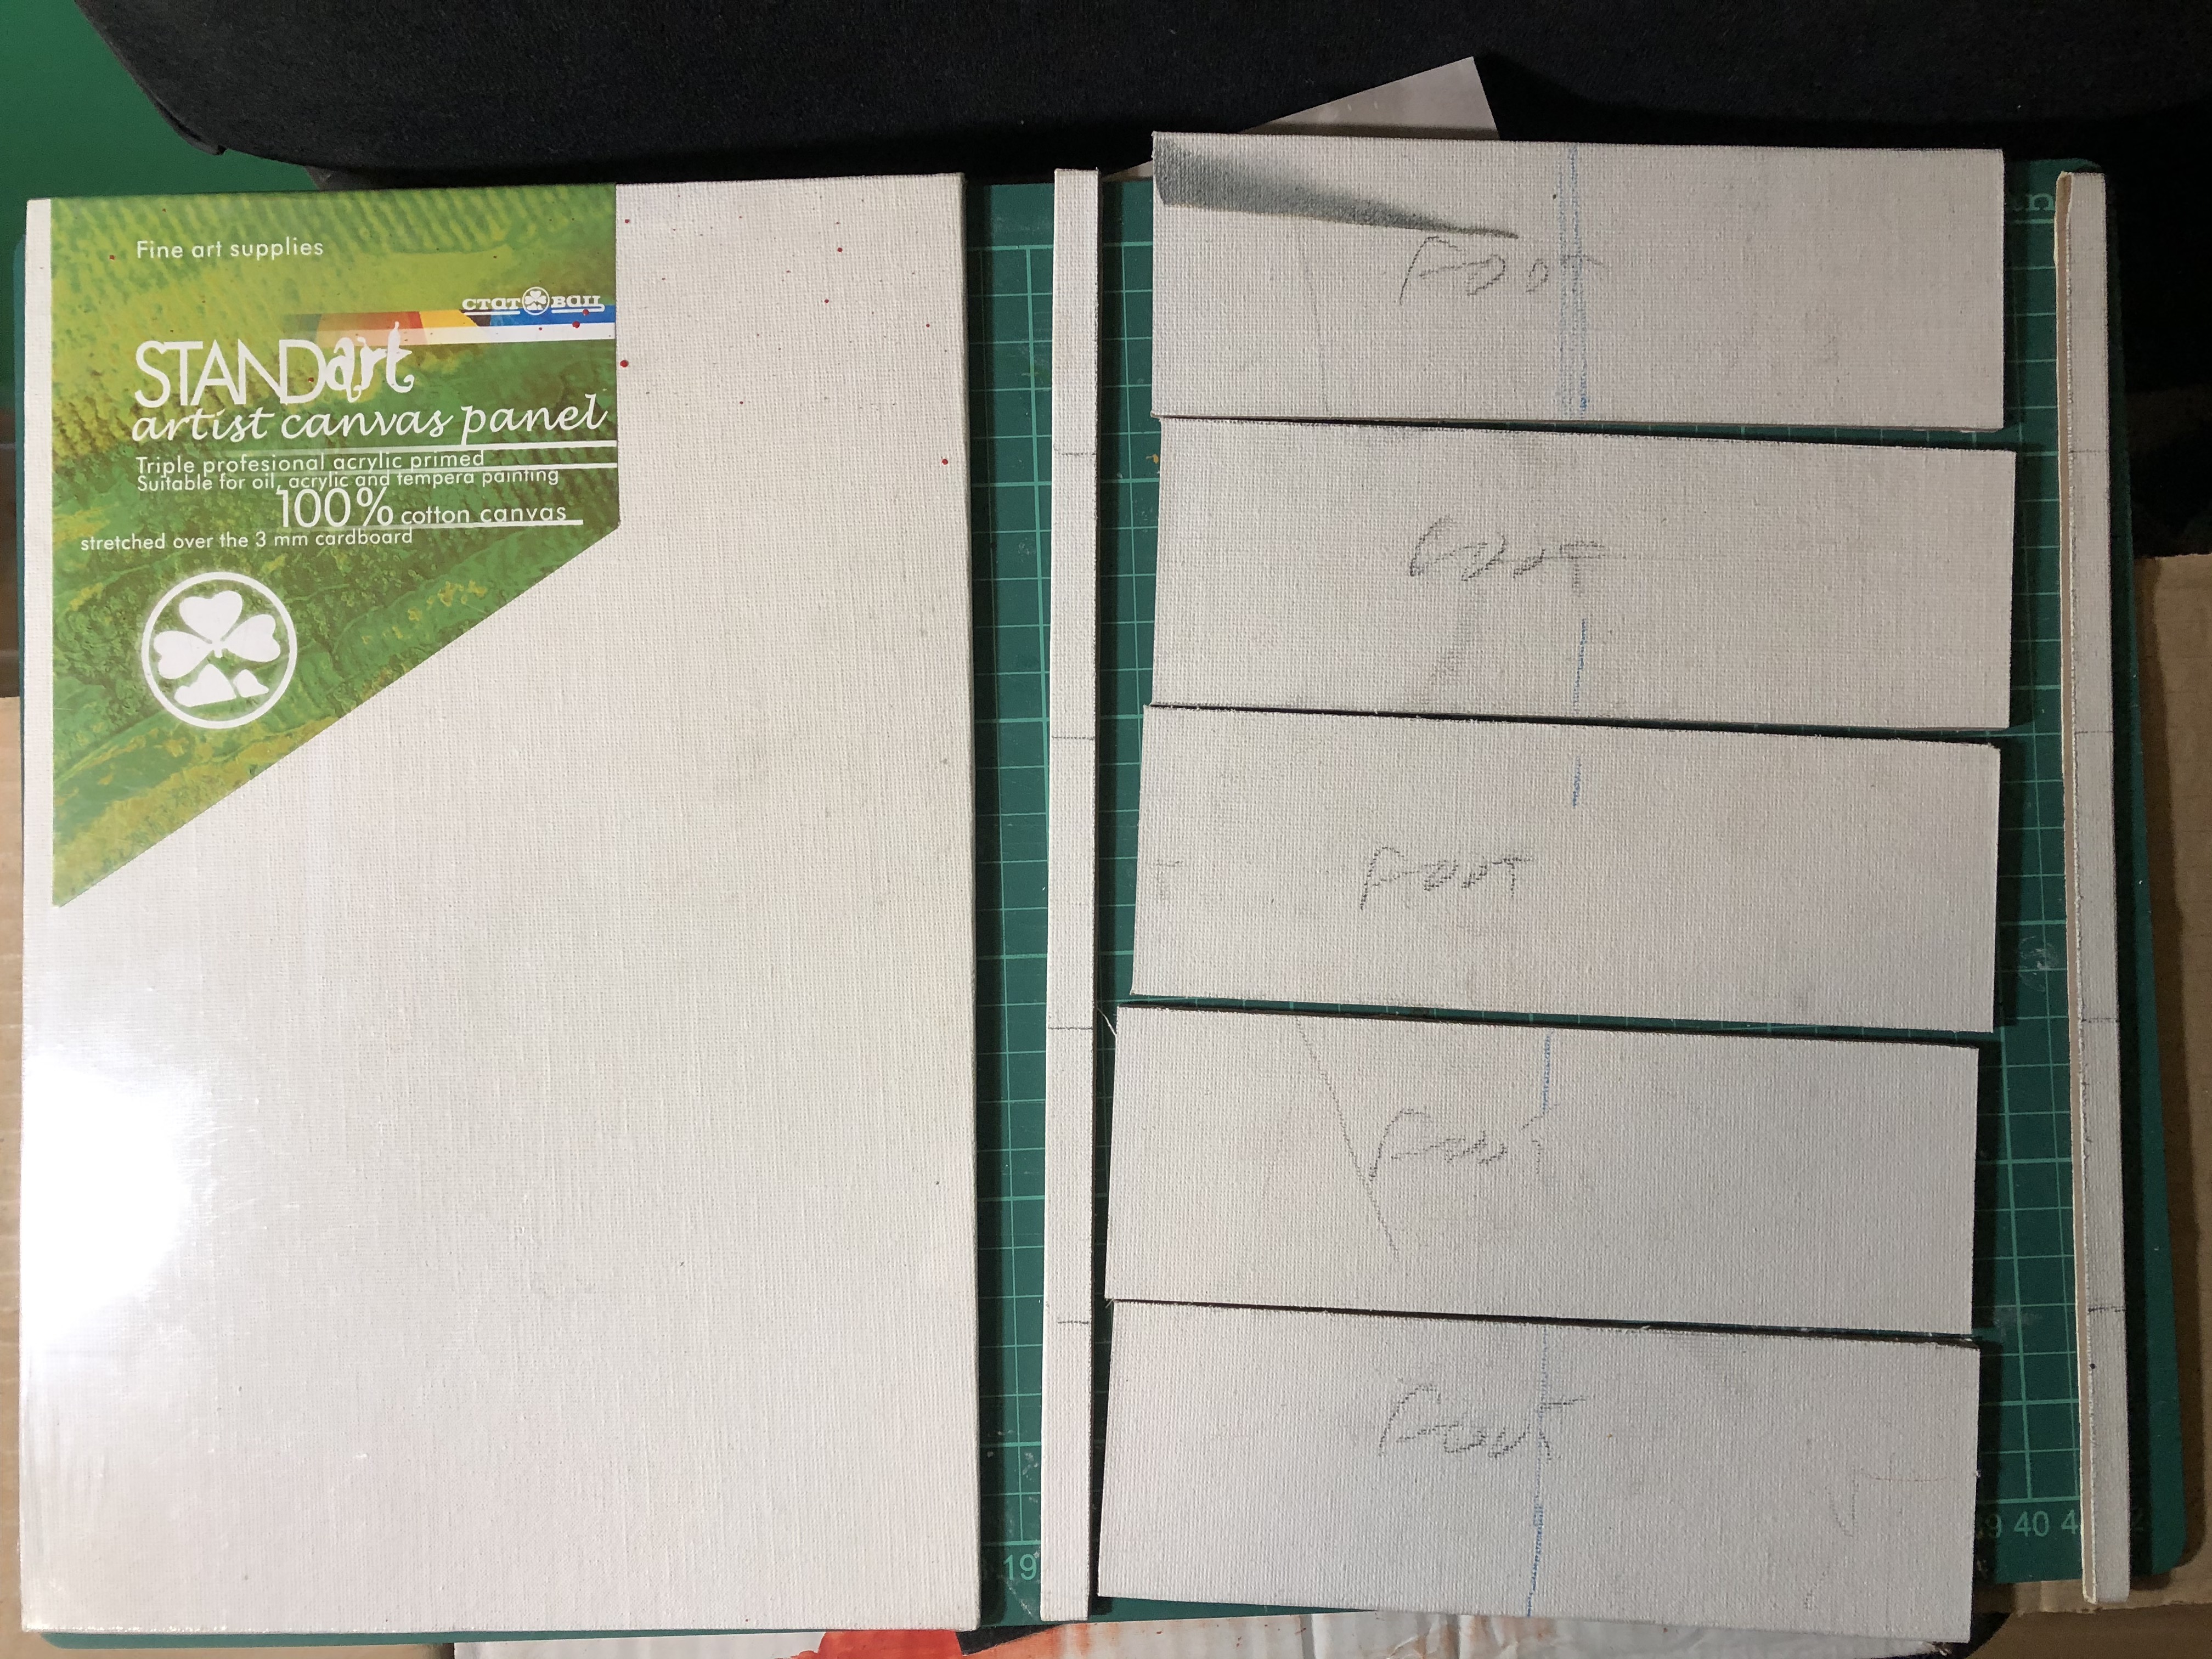
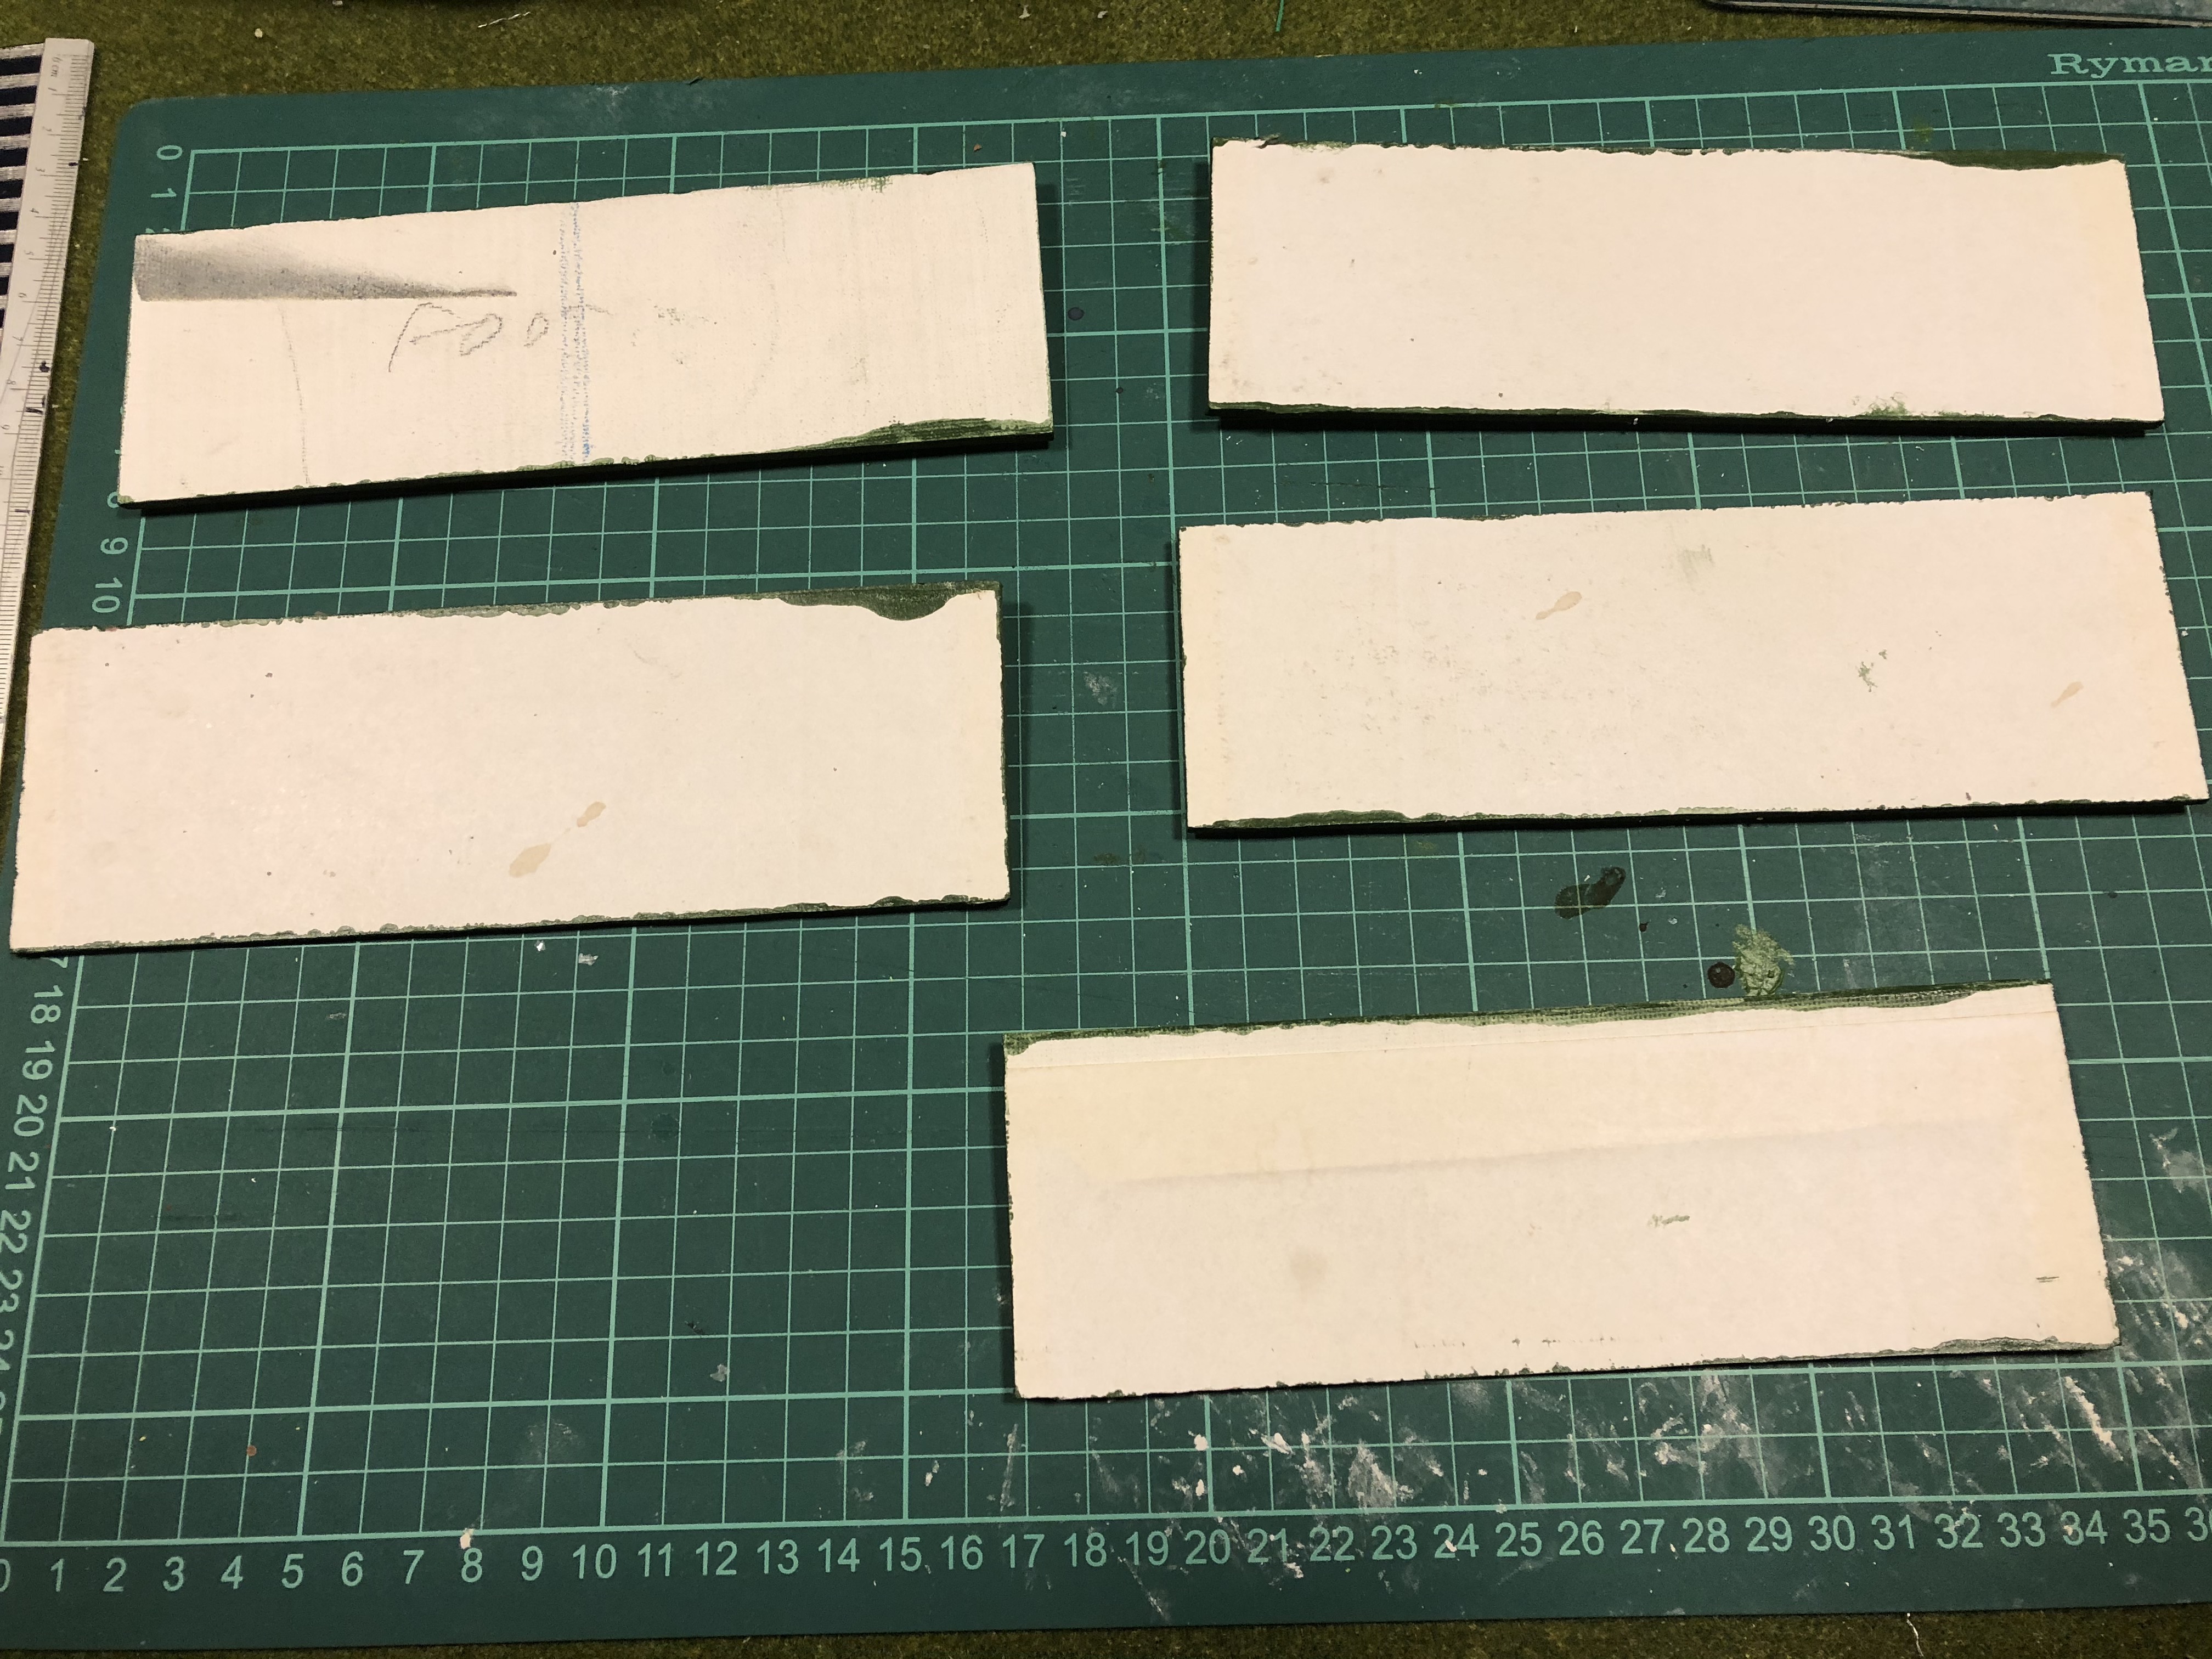
For basing the figures I use Art materials as in the picture. The example here is 20x30cm. The rules have a 18cm frontage for most units, and in this case I take 1cm from each side rather than just 2 cm from one side as I will use the two cut-offs for either my 6mm Napoleonic, or the 10mm SYW. Depends what it looks like.
The Bases are then painted with acrylics on the cut edges. Any green will do really, but a reasonable bright one seems to work.
The third picture is the newly varnished figures. (I’ll not try to post a painting tutorial as I’m only average at best, and there are many better things you could be watching!).
The actual basing approach itself will follow shortly.
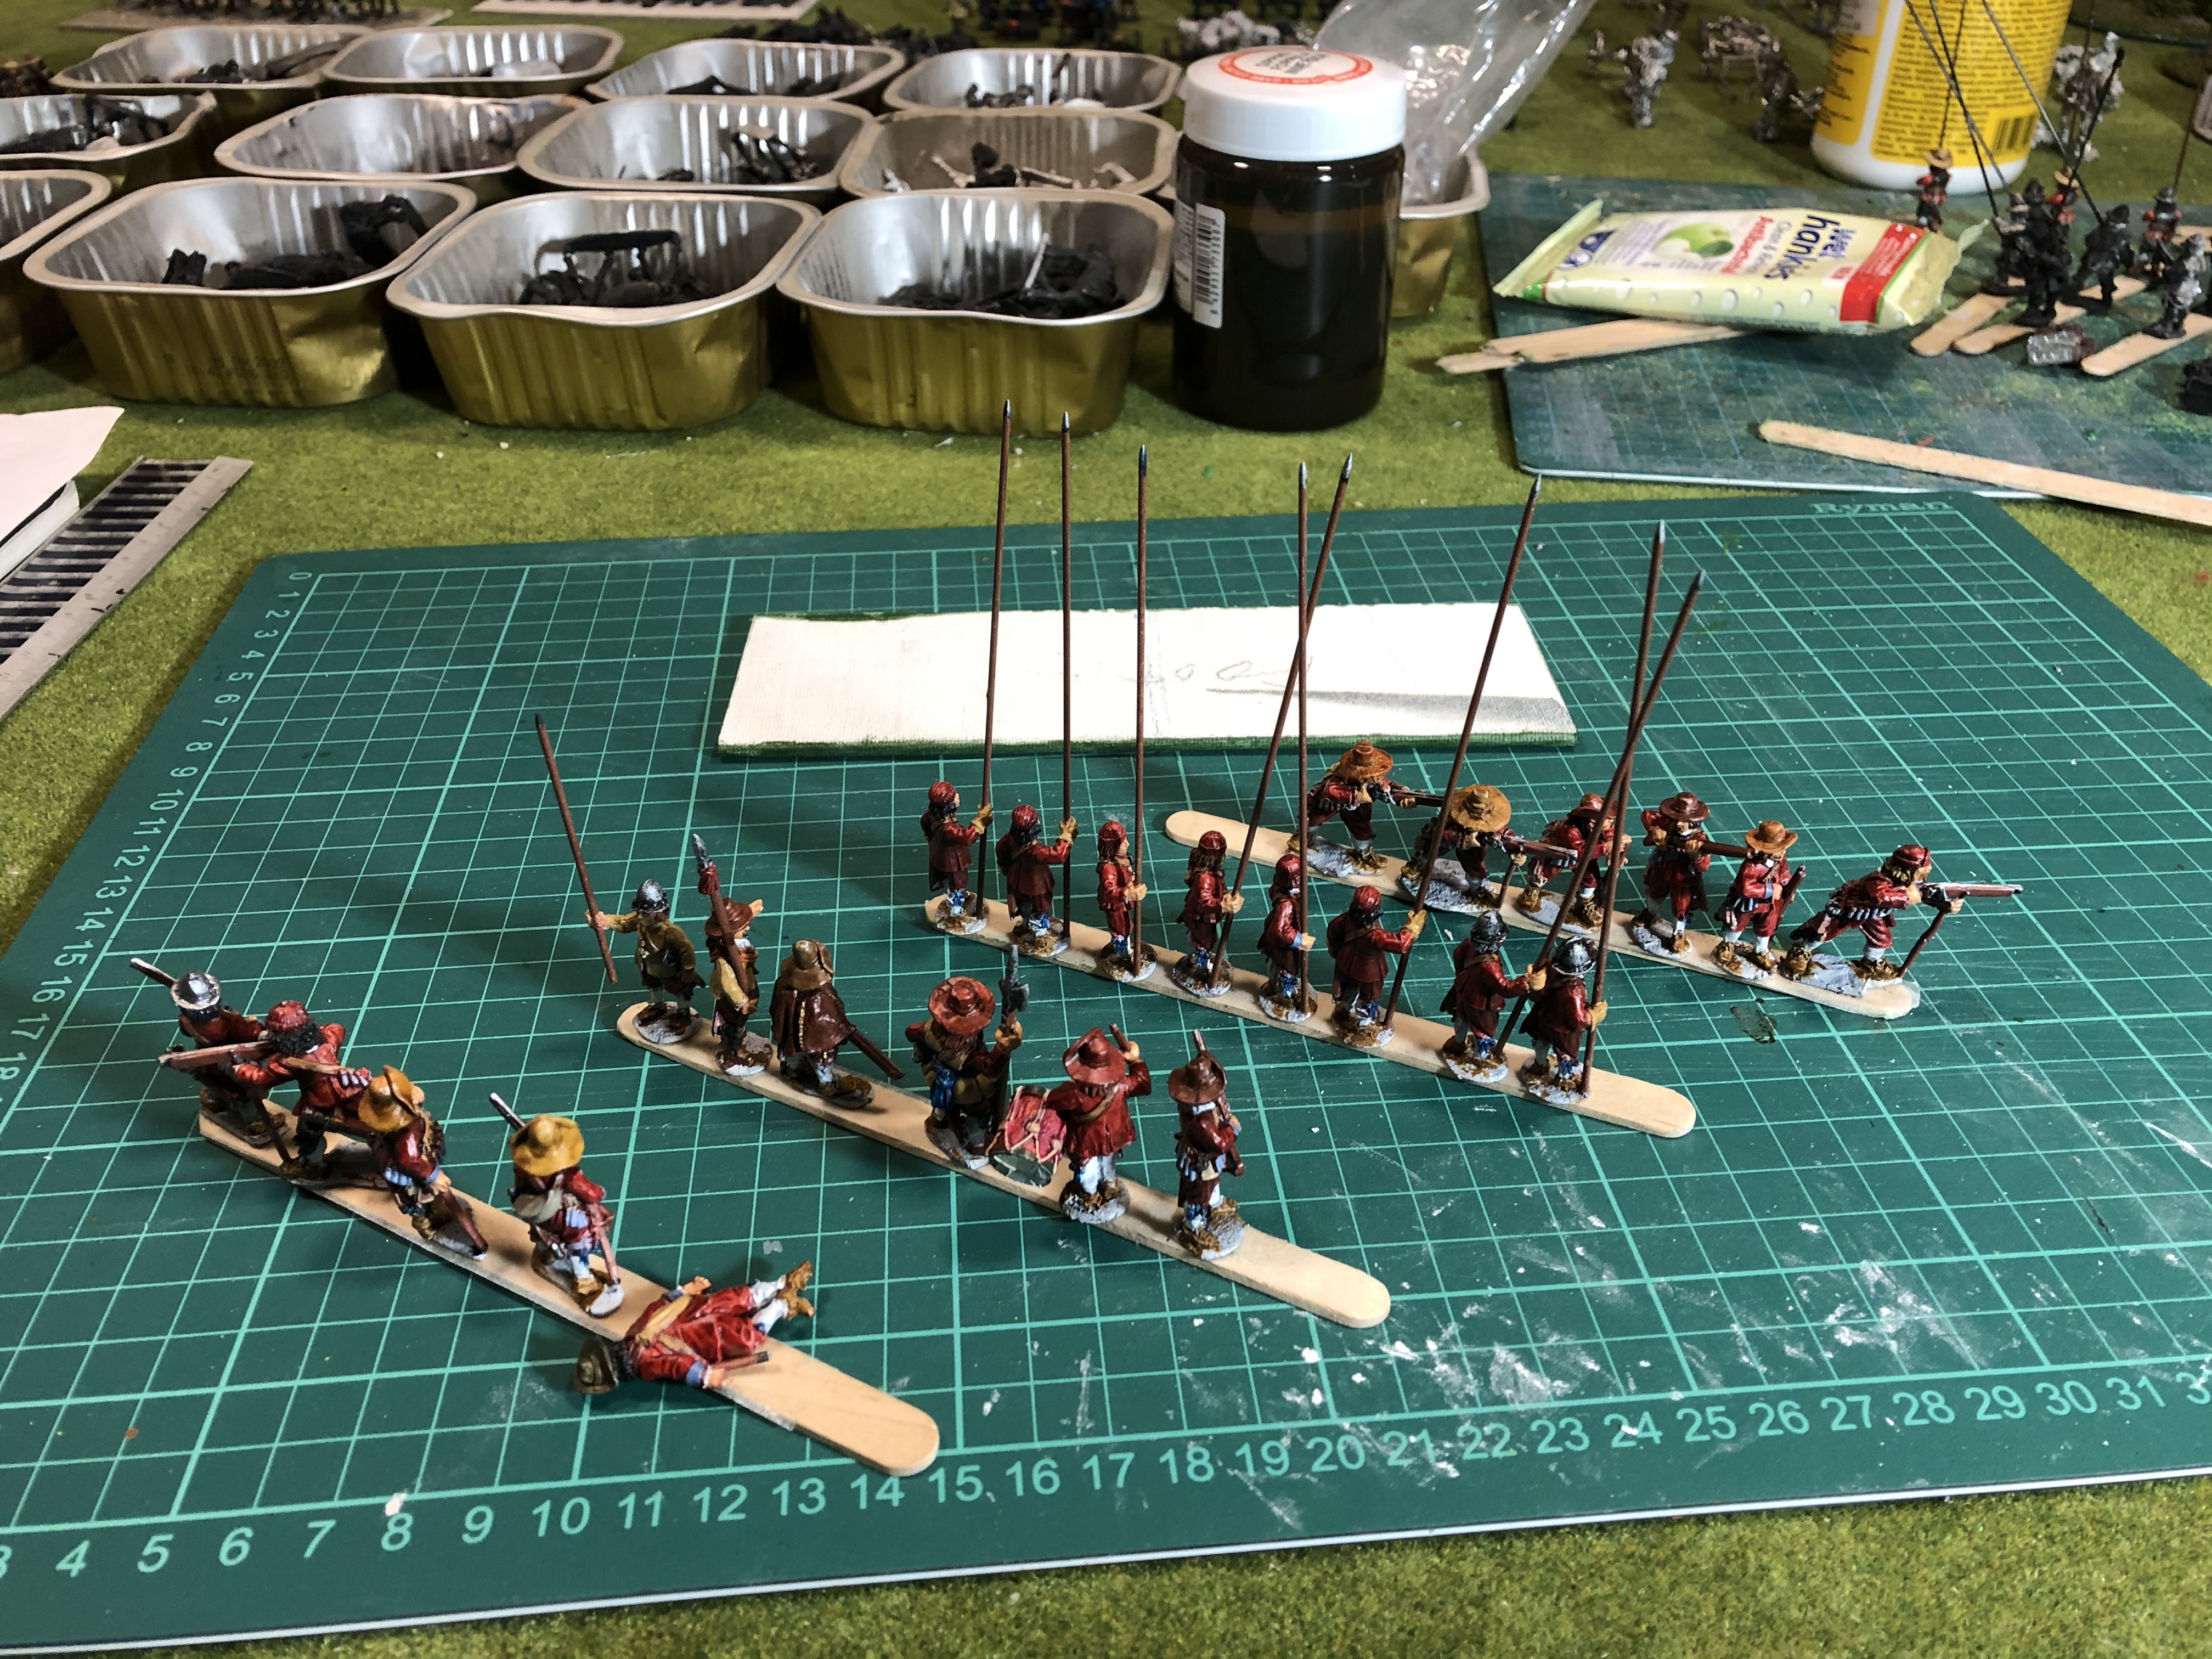
Basing the figures

Before basing the figures I play around with different formations, placing key figures in alternative places to see what the overall look is. Better to spend some time now rather than realize there wasn’t enough room for the Officer afterwards!
Once the “look” is OK, I use UHU glue to fix the miniatures to the Art base, and once cured, the first coat if watered pva (50/50) goes down followed by fine sand. I picked up the sand I use years ago from an old builders merchant, and it has lasted years and still has years to go. Other fine sand will also do.
The pva/sand mix does two things. It creates a reasonable texture for the ground, and it helps to fix the minis in place.
After it has dried a second pva mix is applied wherever I want some “grass” and this is flocked. I tend to flock almost all the base as I just don’t like to look of the patchwork approach of grass and mud. But I’m sure there are many occasions when this look is ideal.
Then it’s just a case of letting everything dry and apply a final well watered pva wash to seal the flock. I use a 10% pva wash. And that’s it.


![StarCraft Tabletop Miniatures Game Pre-Orders Live Now [Updated]](https://images.beastsofwar.com/2026/03/starcraft-tmg-news-cover-600-338.jpg)


