![NO Weekender Or Cult Of Games XLBS This Weekend [Updated]](https://images.beastsofwar.com/2026/03/No_Weekender_and_XLBS_this_Weekend-225-127.jpg)


15mm Italian Chapel – Spring Clean Challenge


Recommendations: 118
About the Project
Tarting up some 15mm MDF Terrain
Related Game: Flames of War: The World War II Miniatures Game
Related Genre: Historical
Related Contest: Spring Clean Hobby Challenge (Old)
This Project is Active
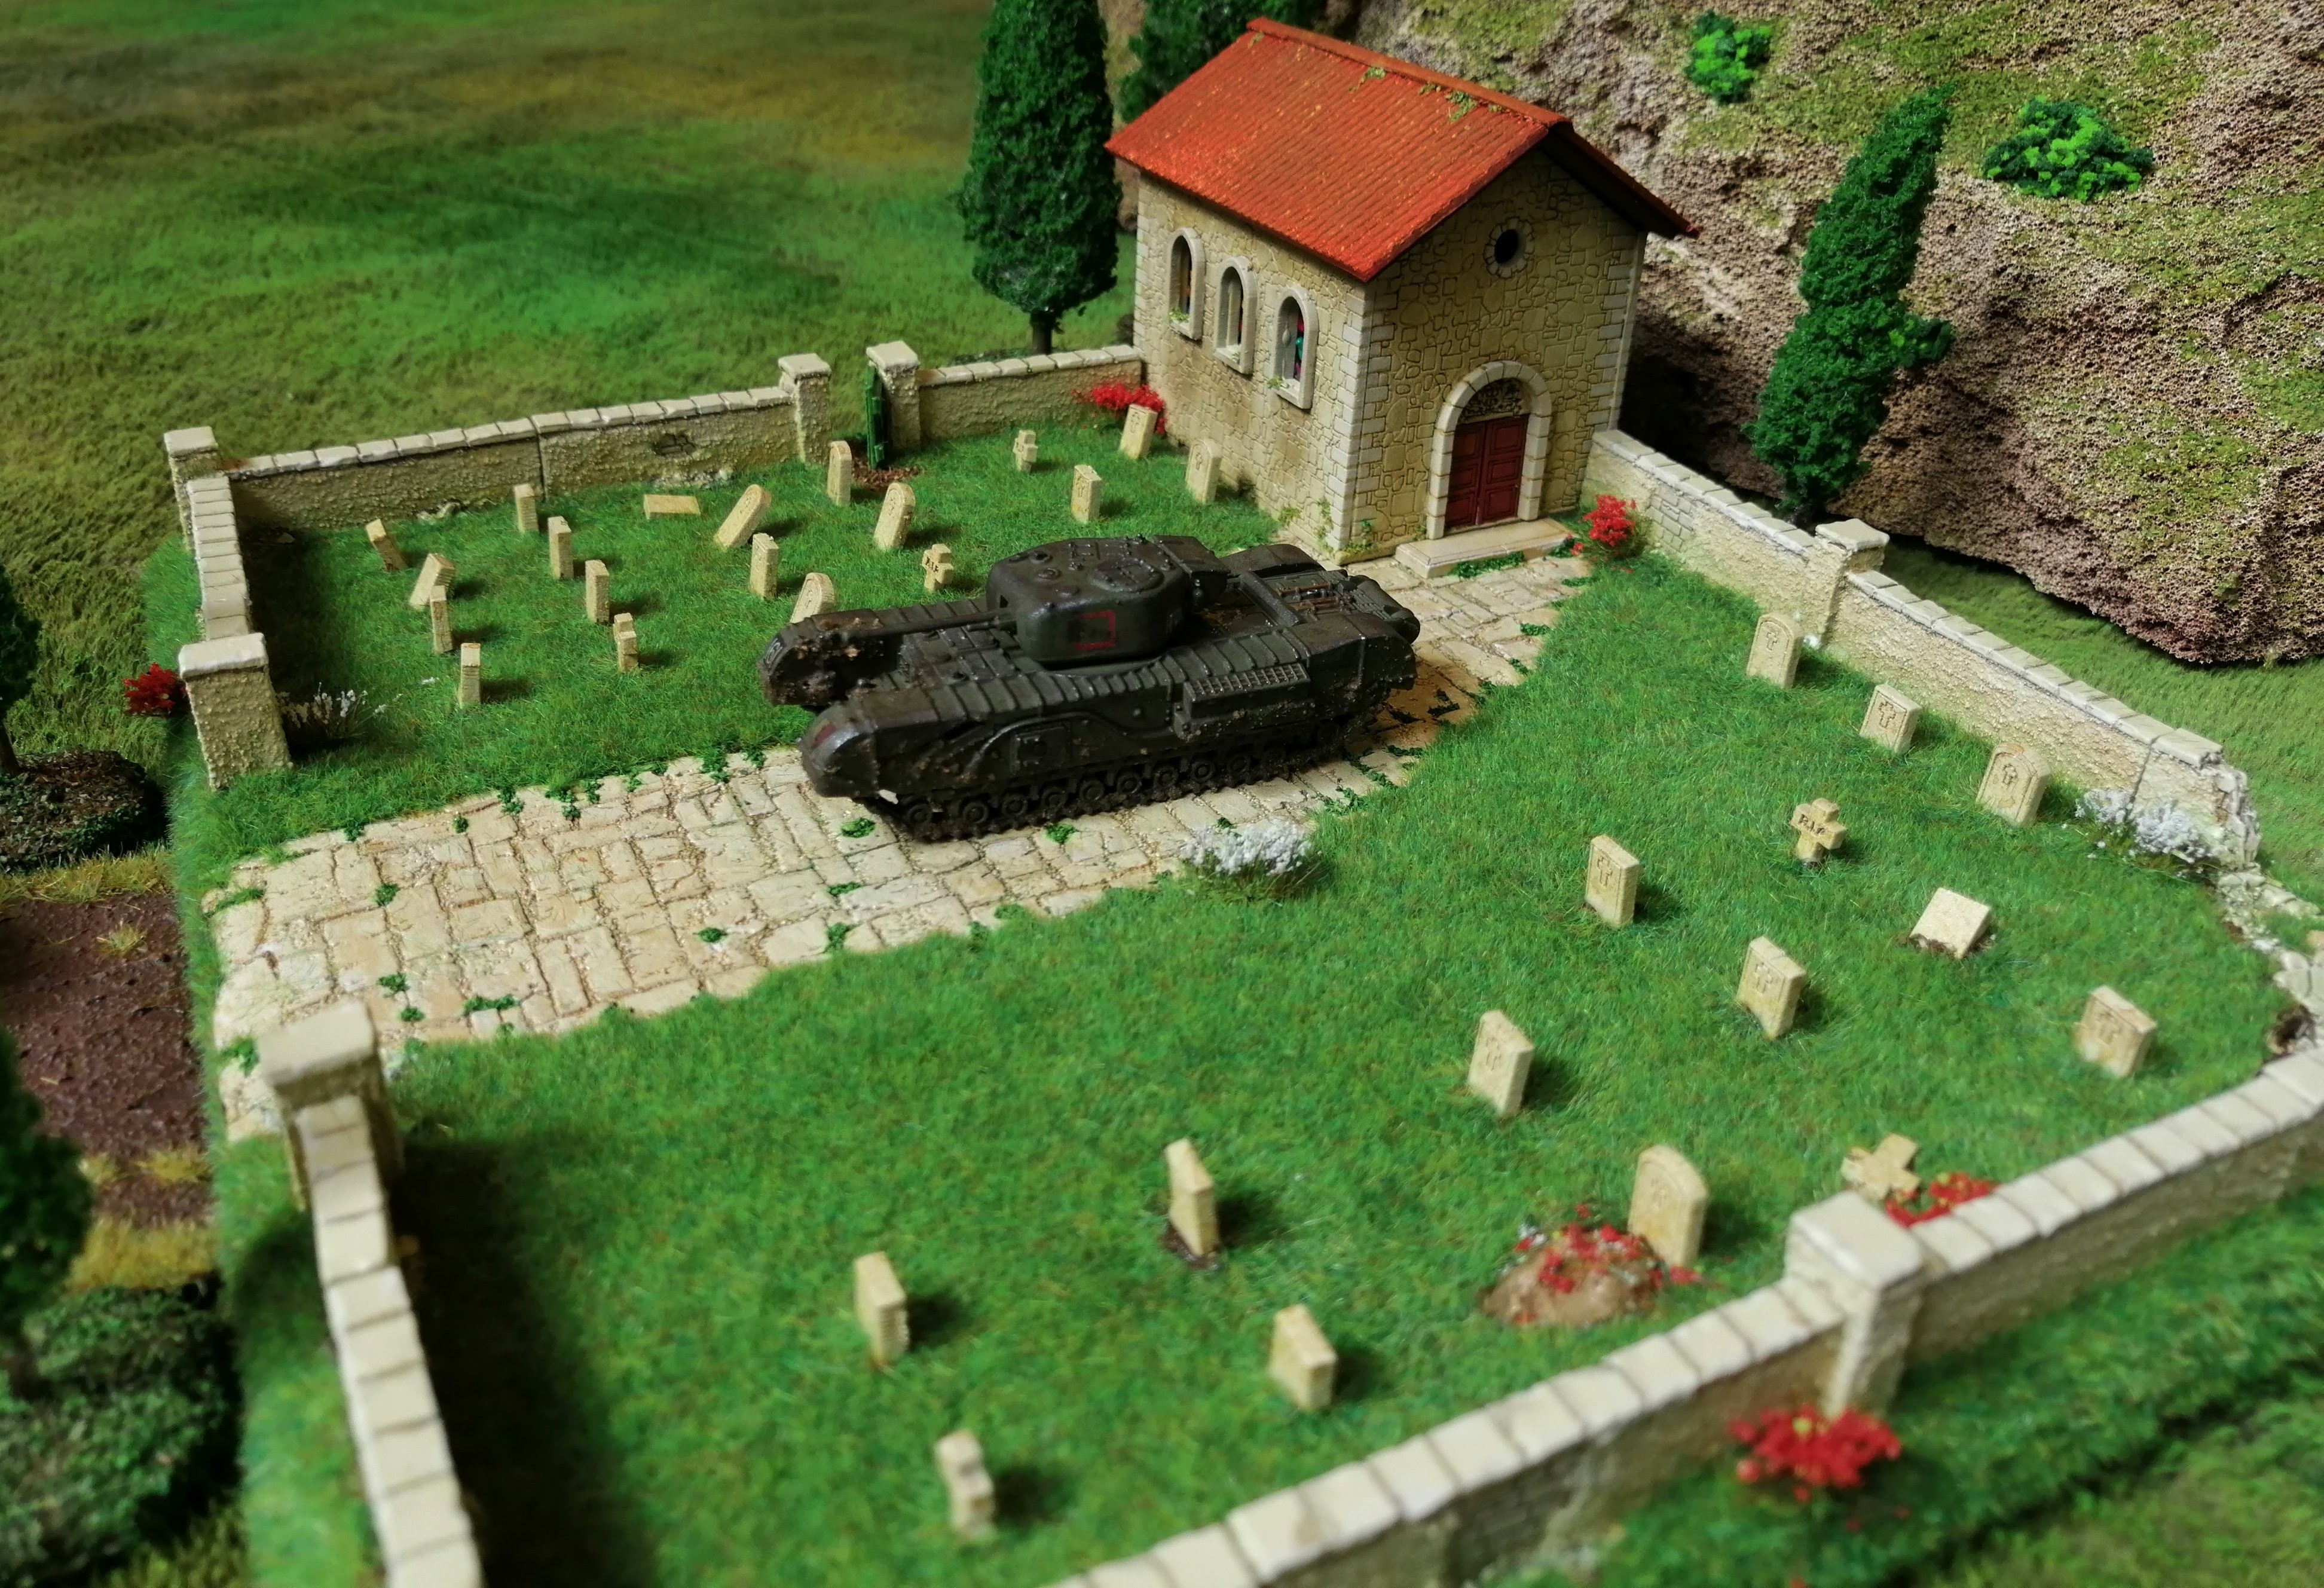
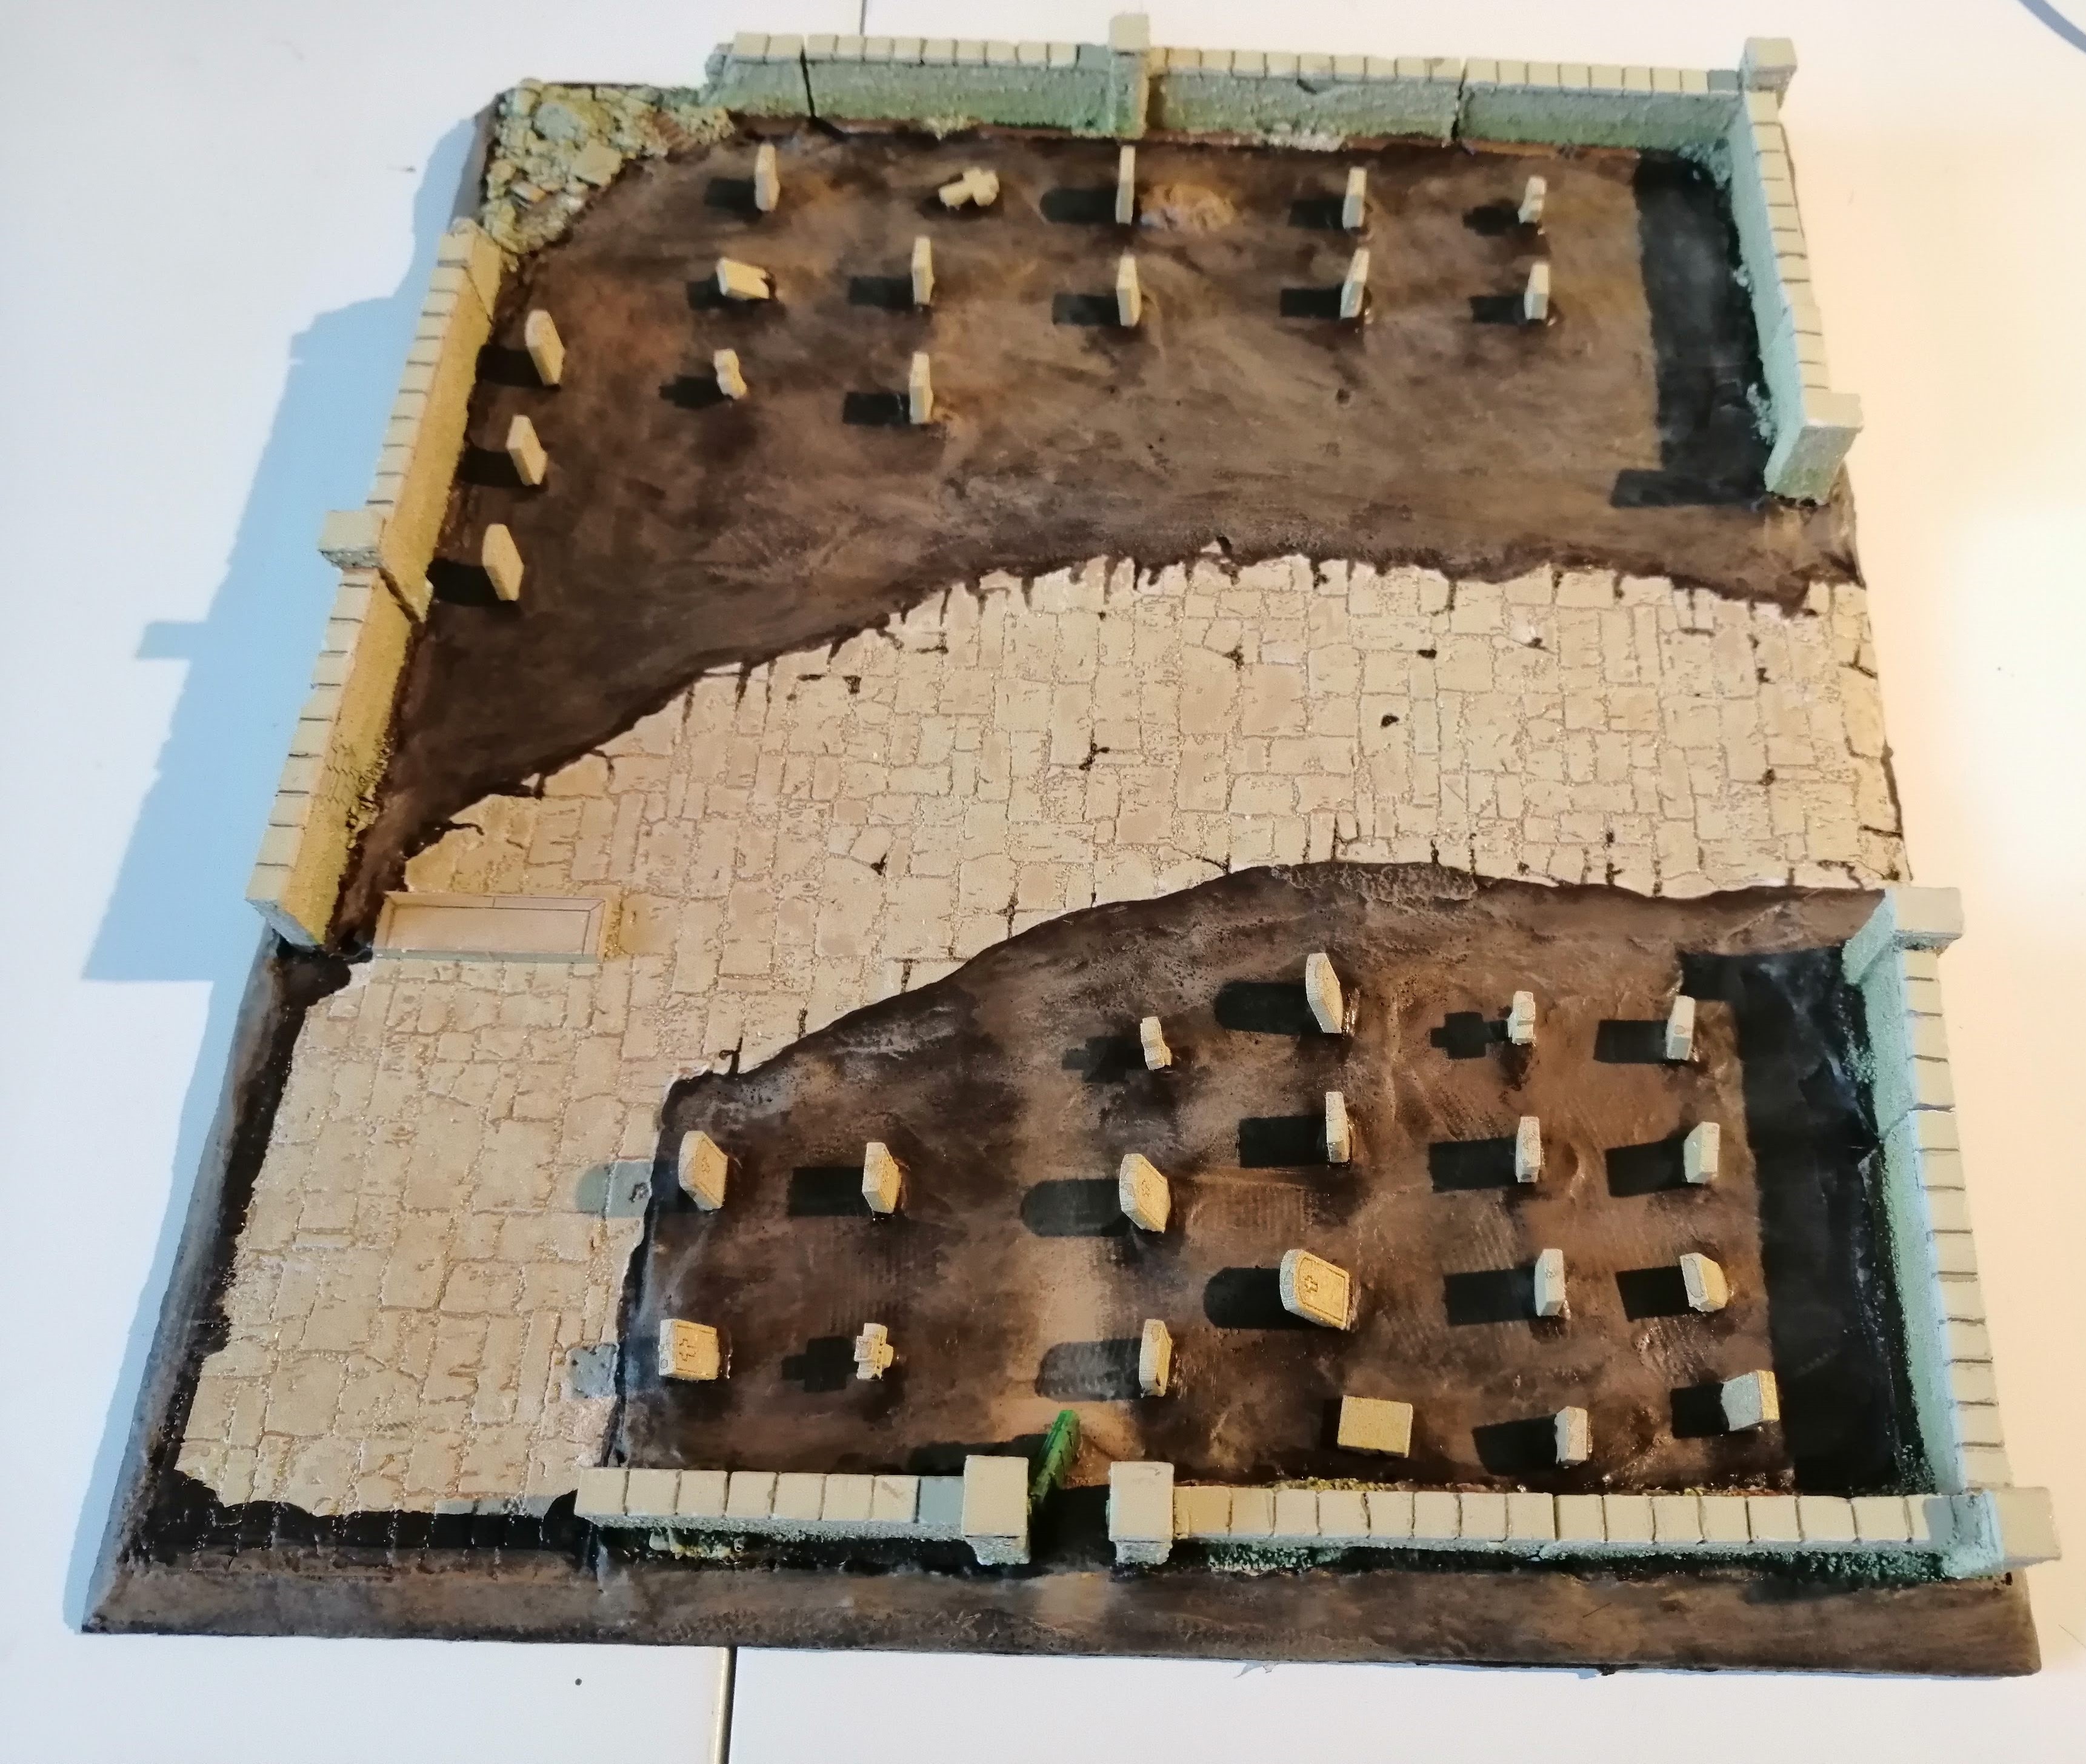
The Money Shot
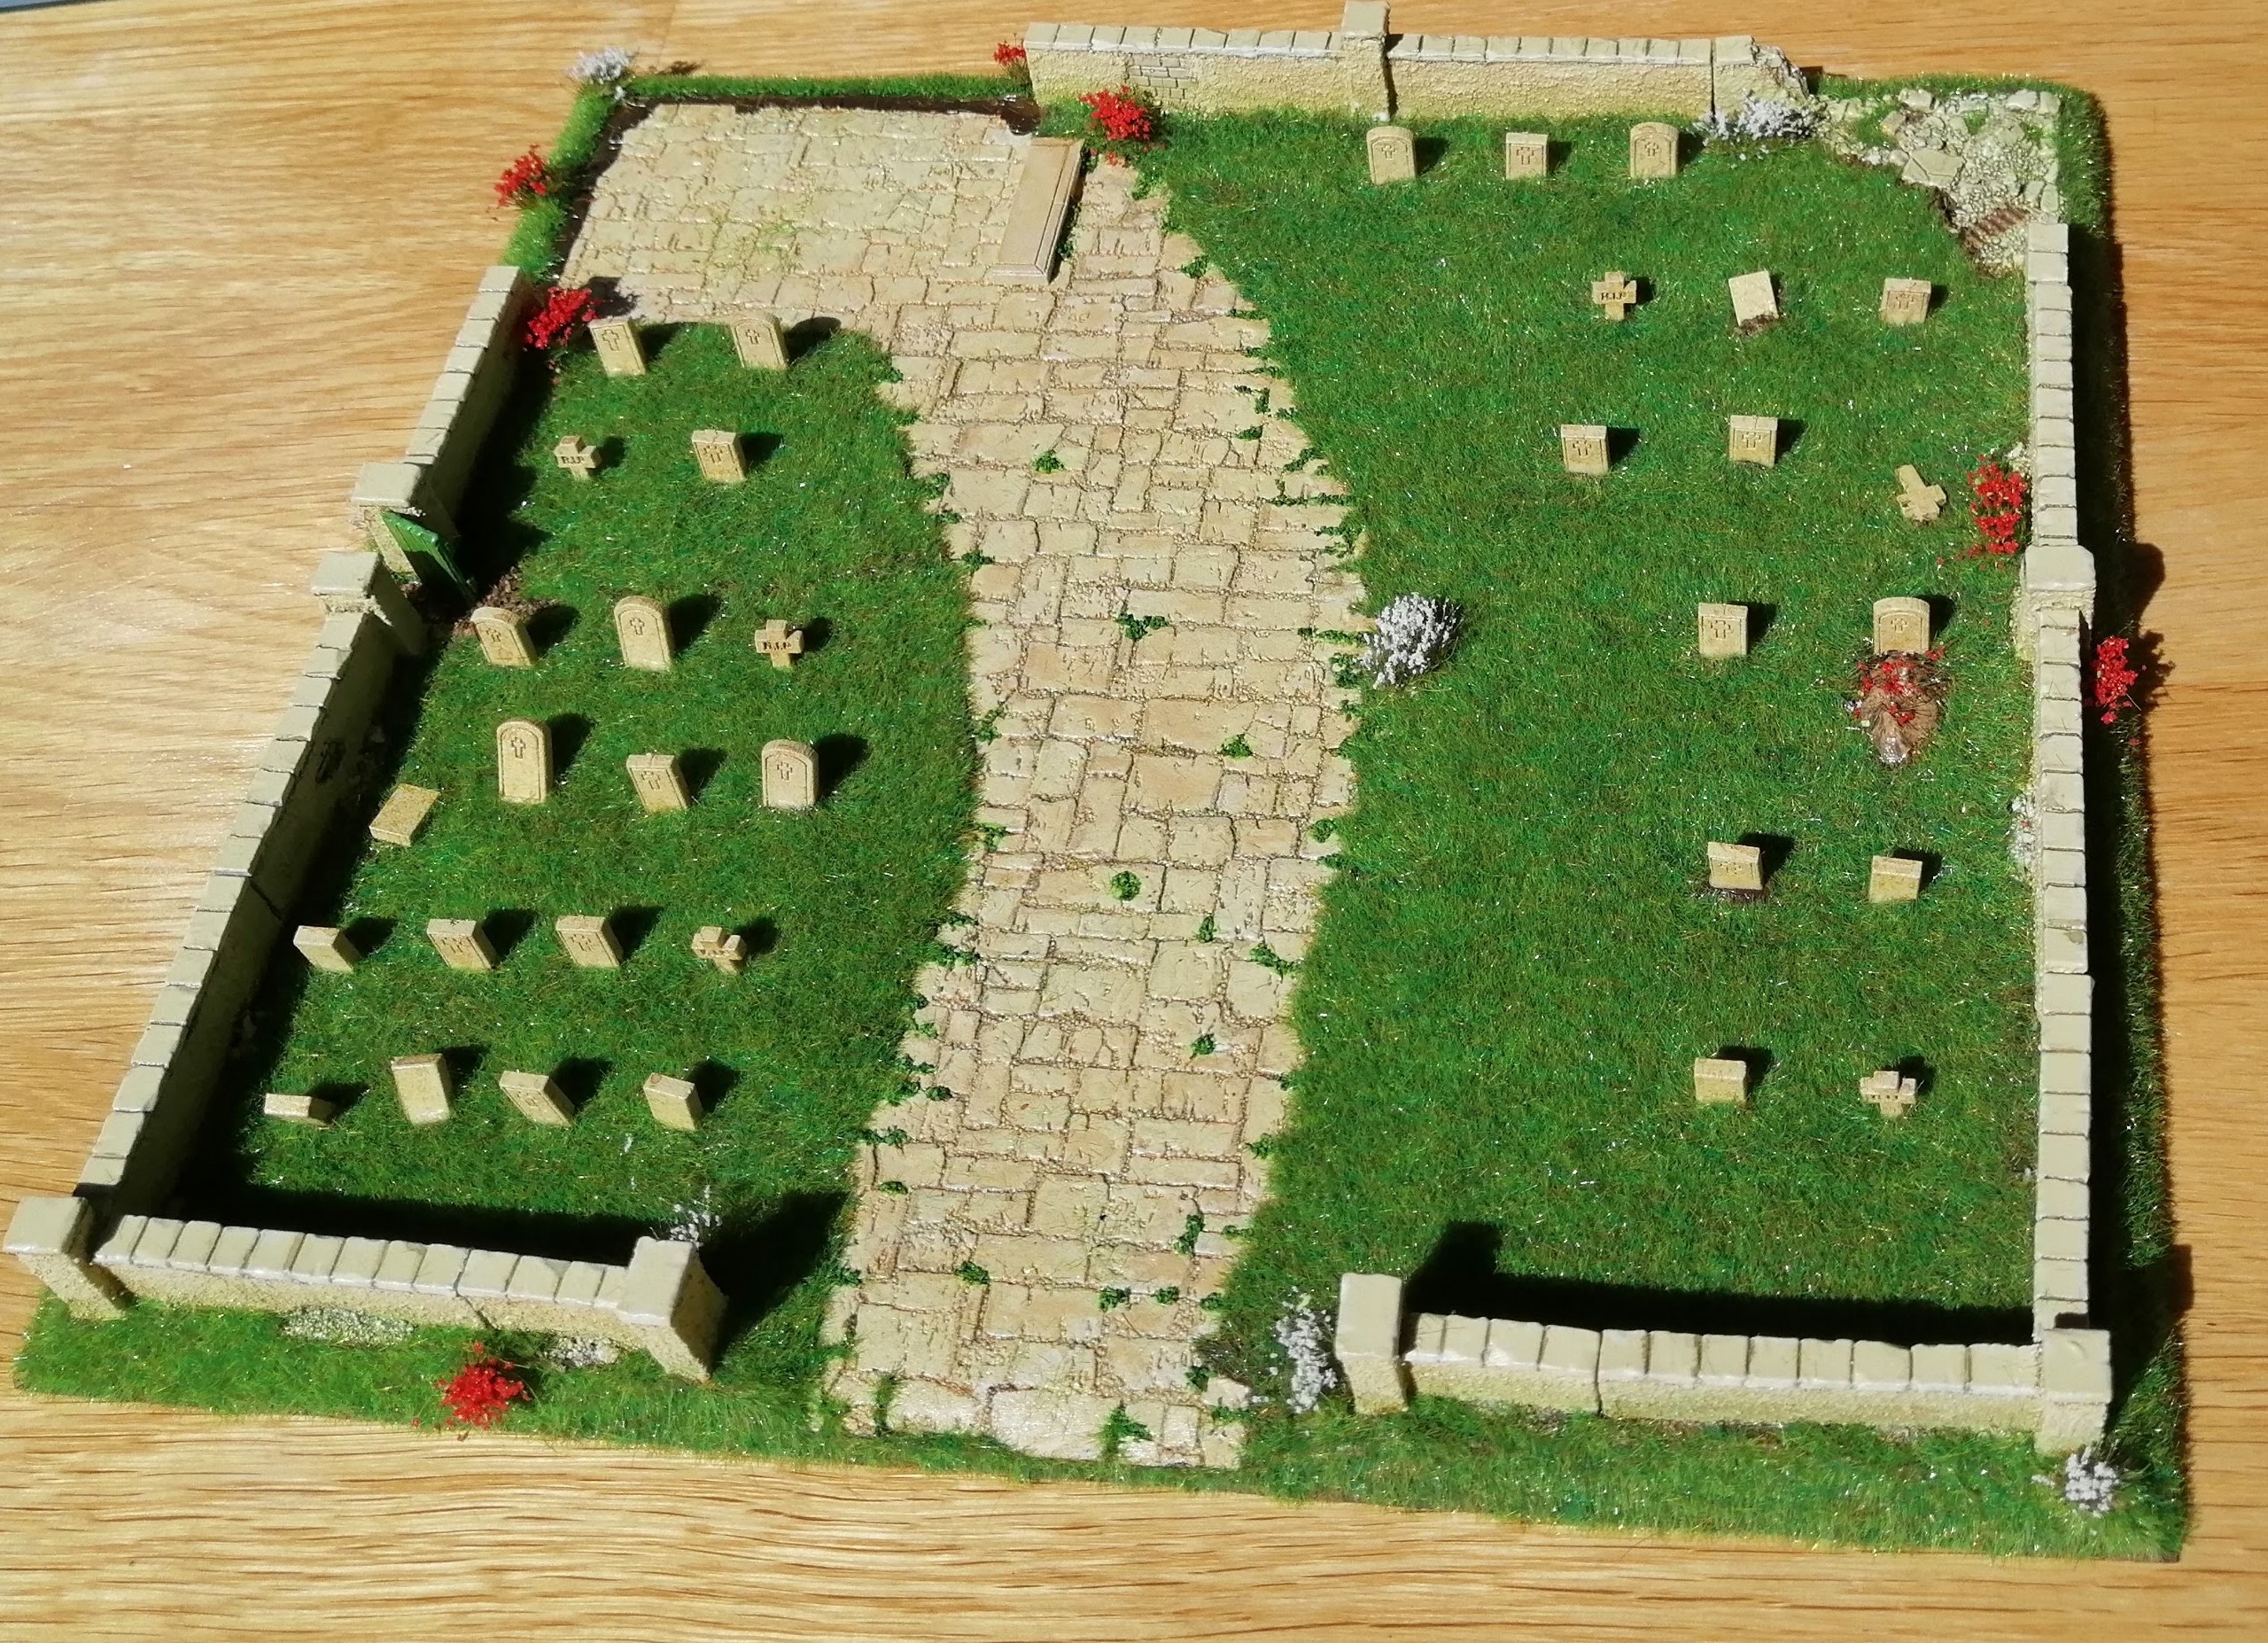
All done and everything dry, ready for its first game.
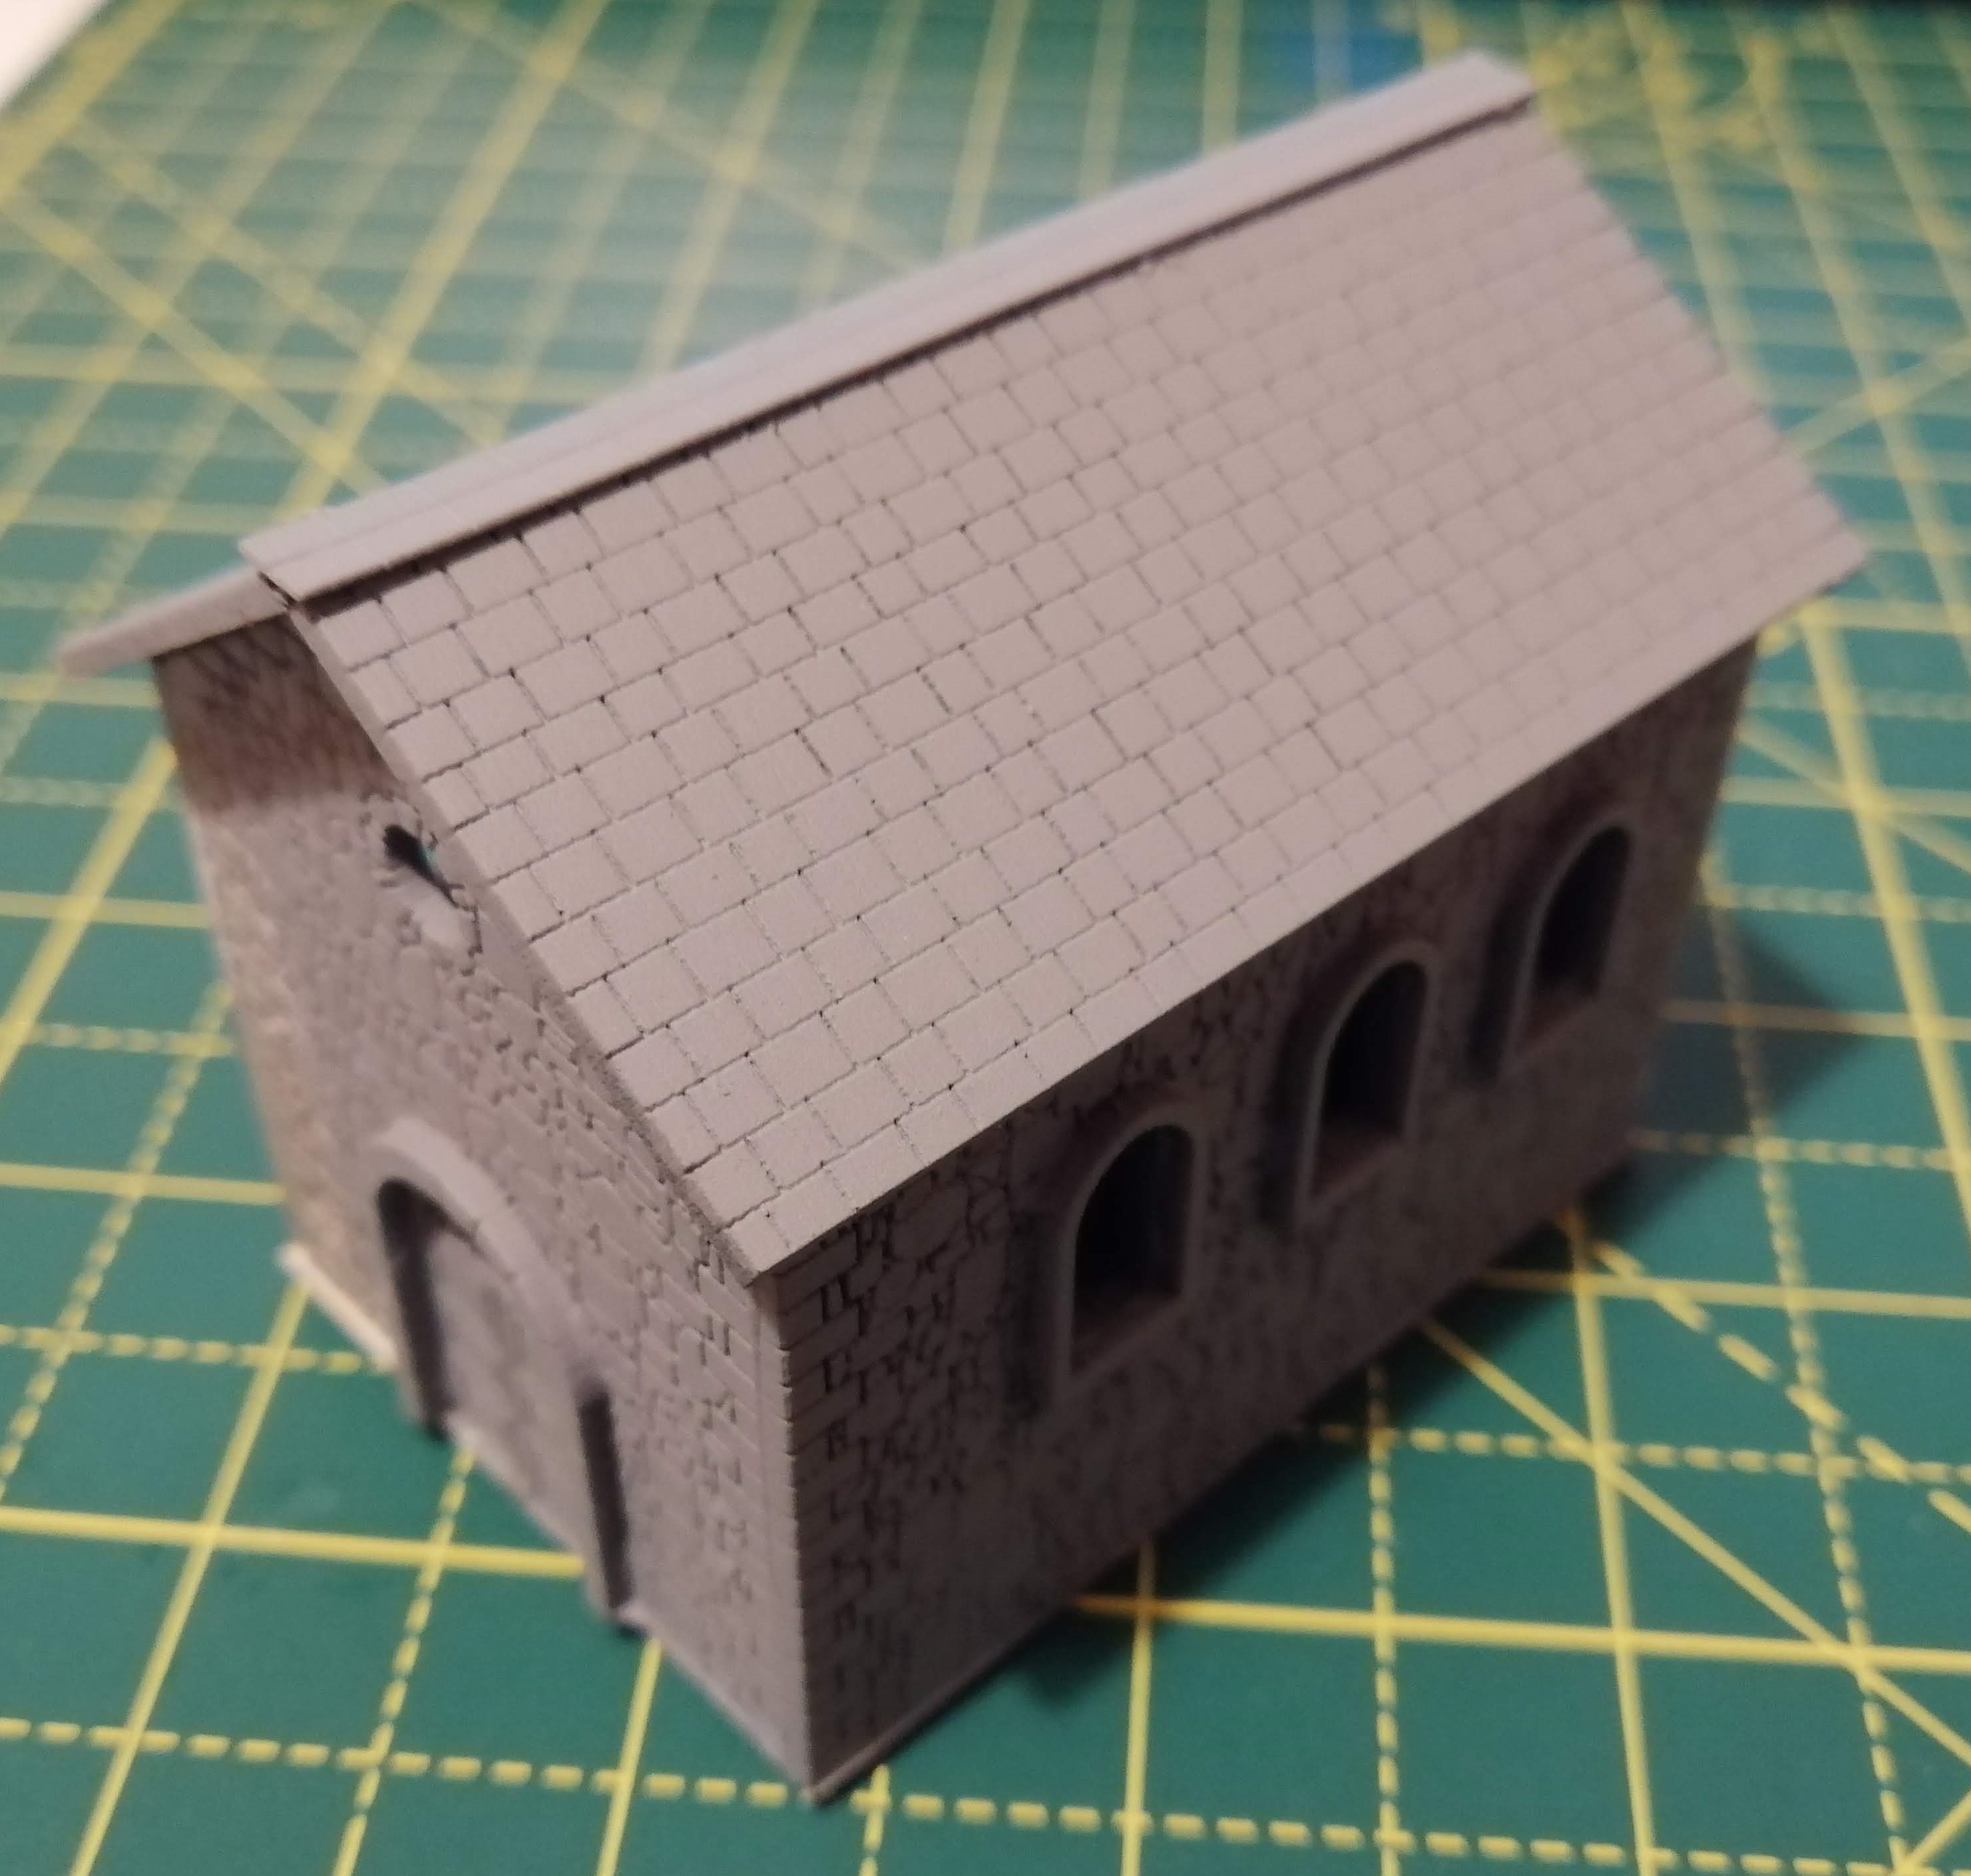
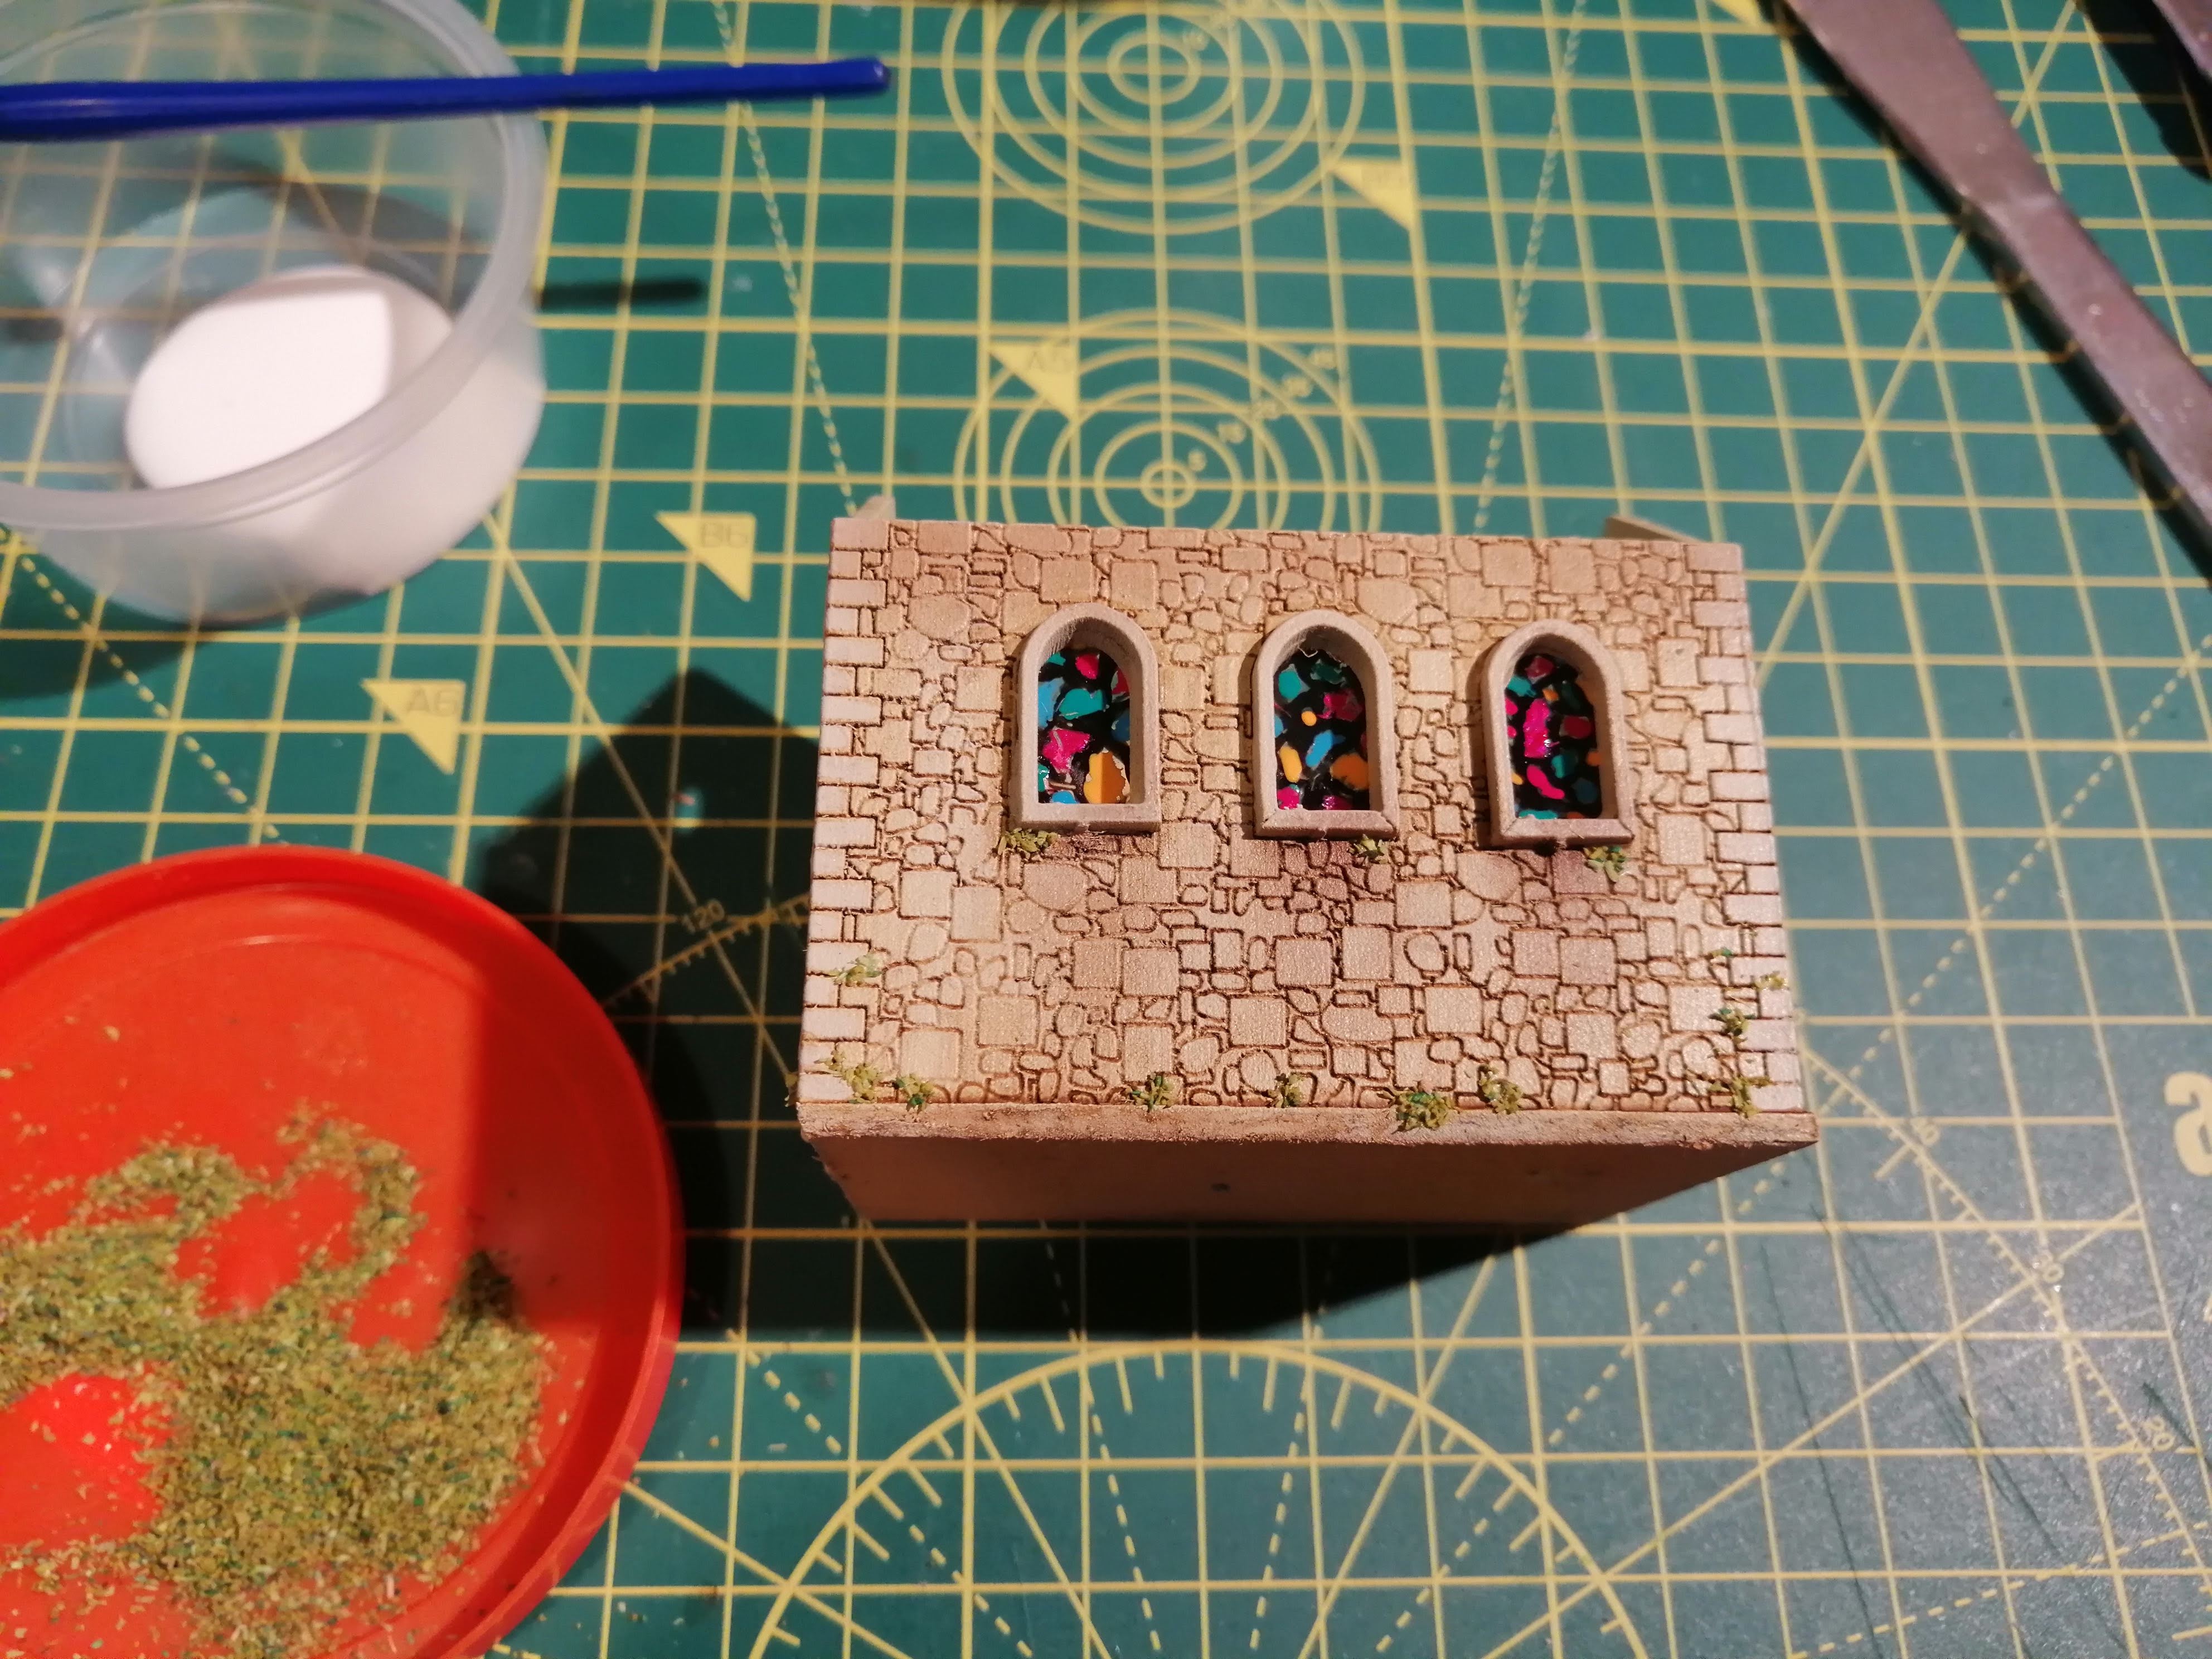
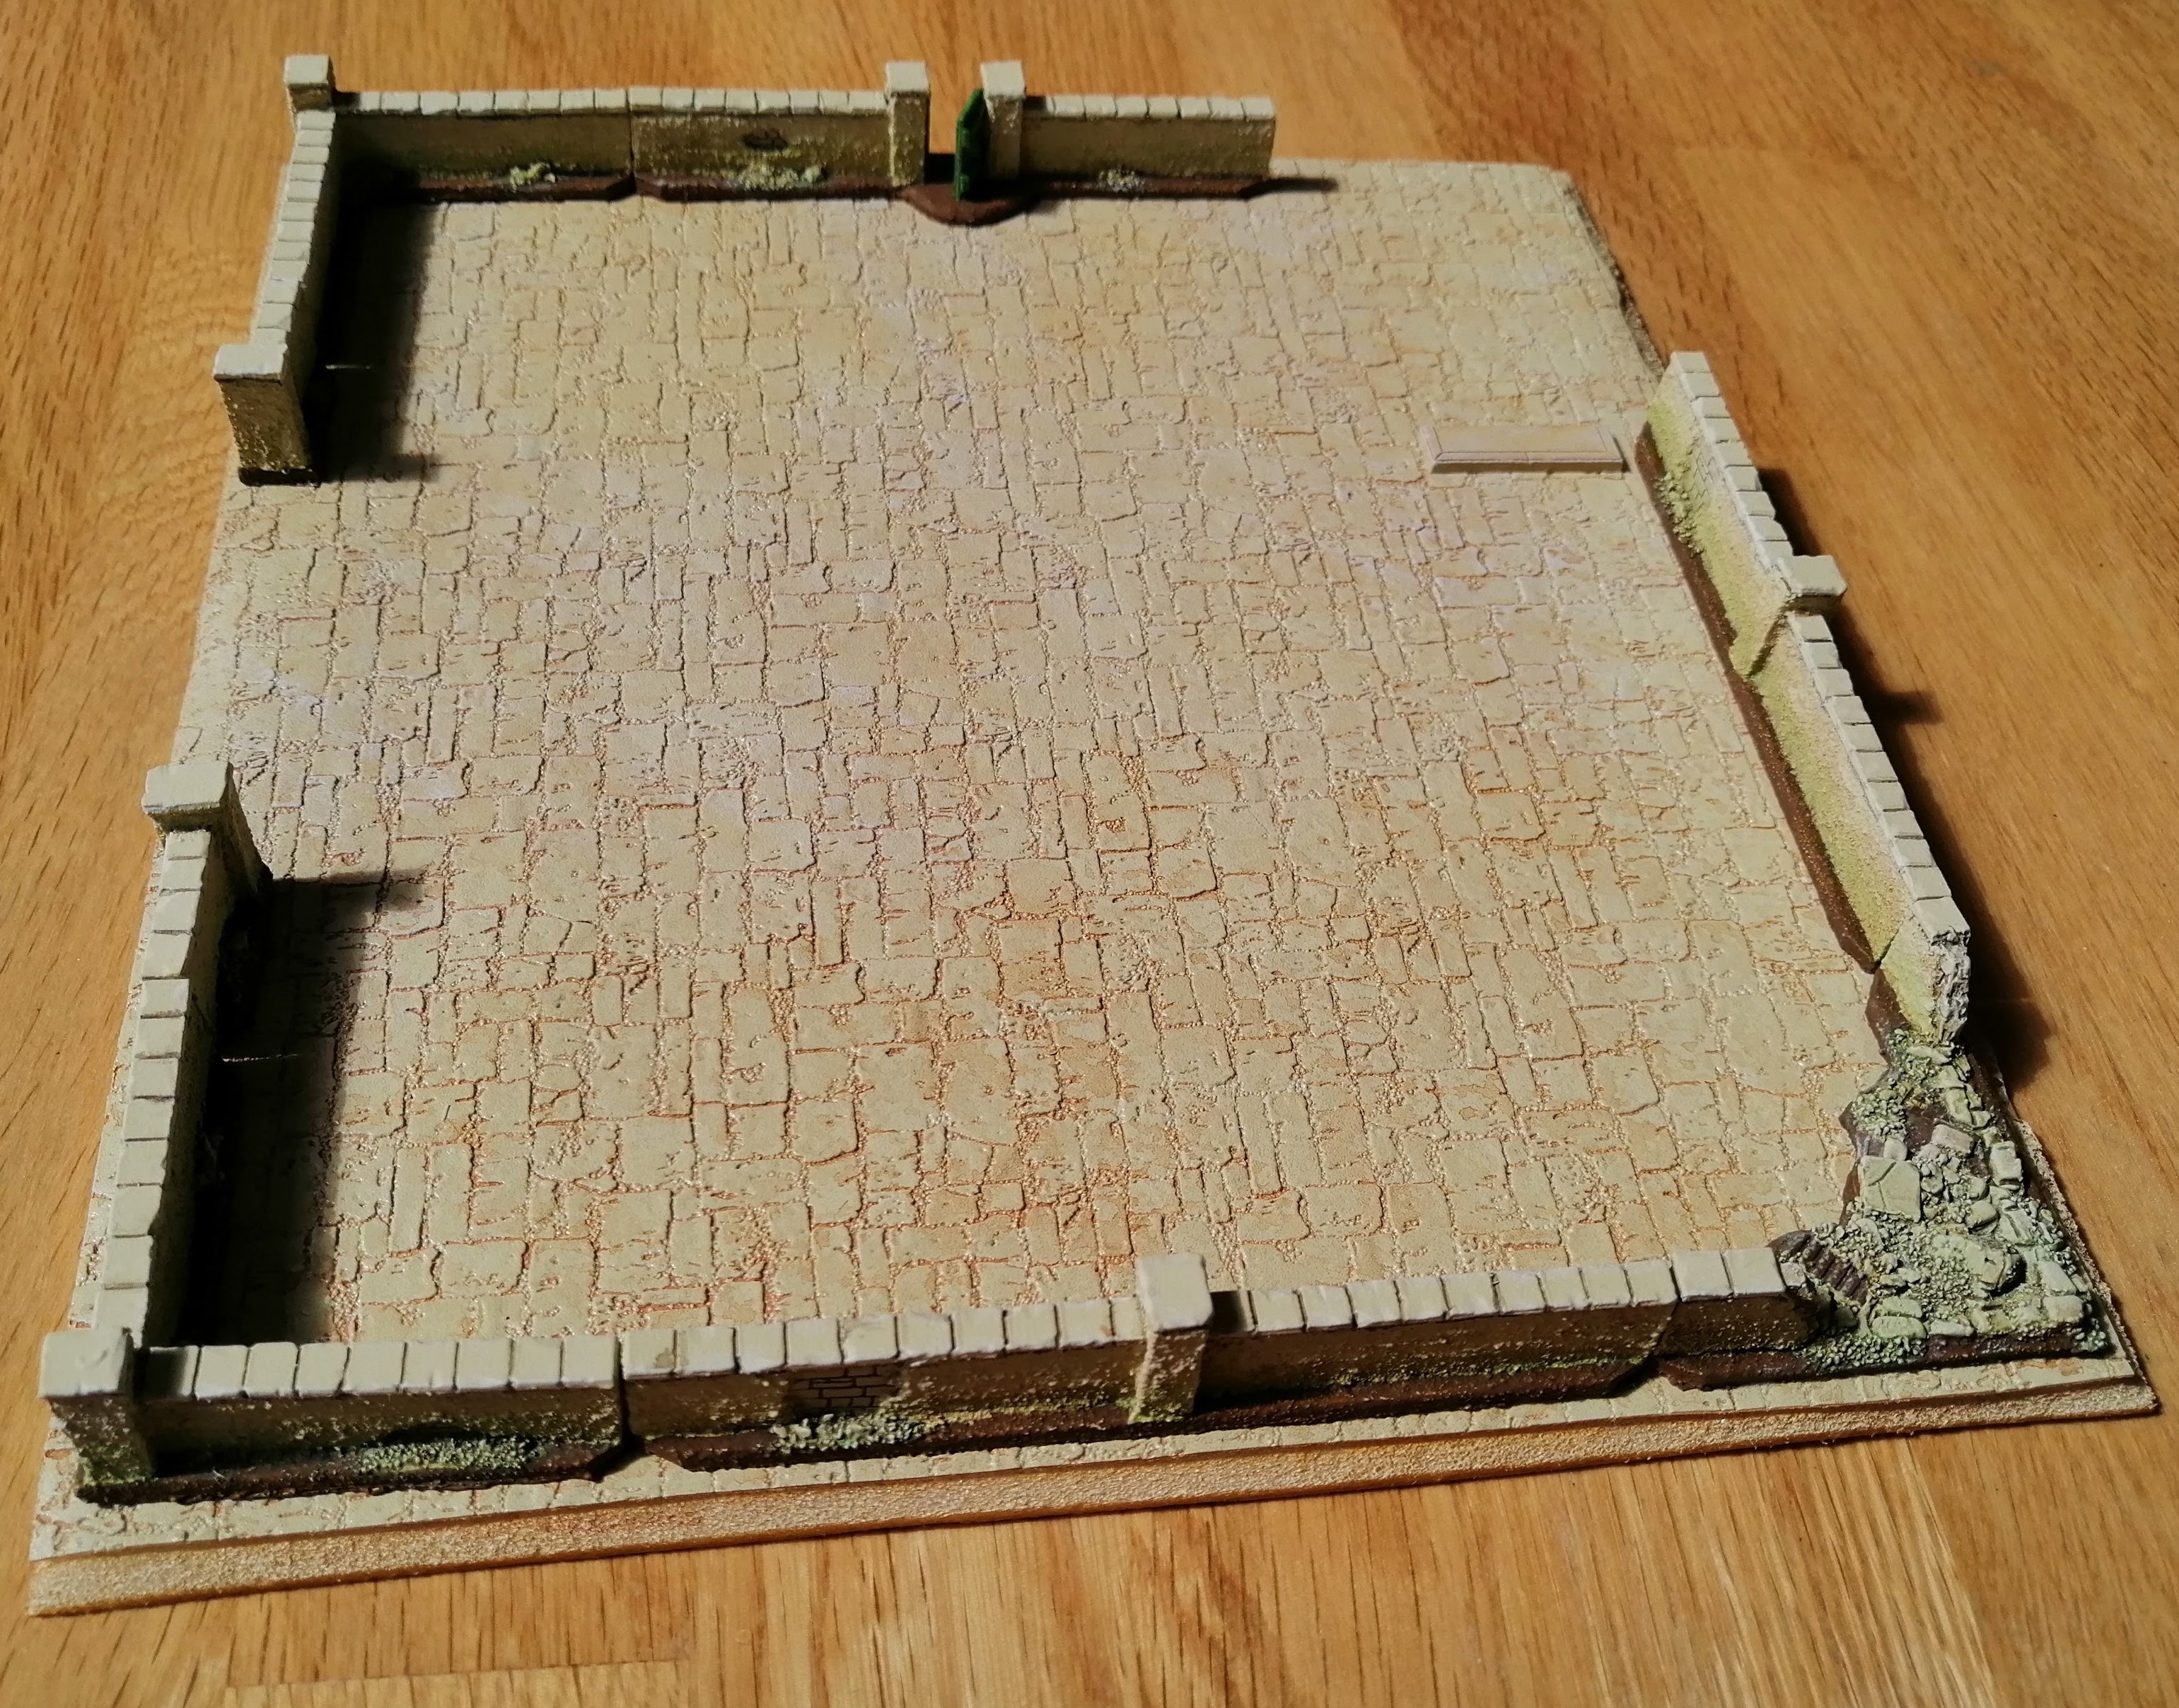
As a reminder, here’s what I started with, an unpainted mdf chapel:
And here’s the completed Italian chapel, recently captured by a Churchill Tank from B squadron, North Irish Horse.
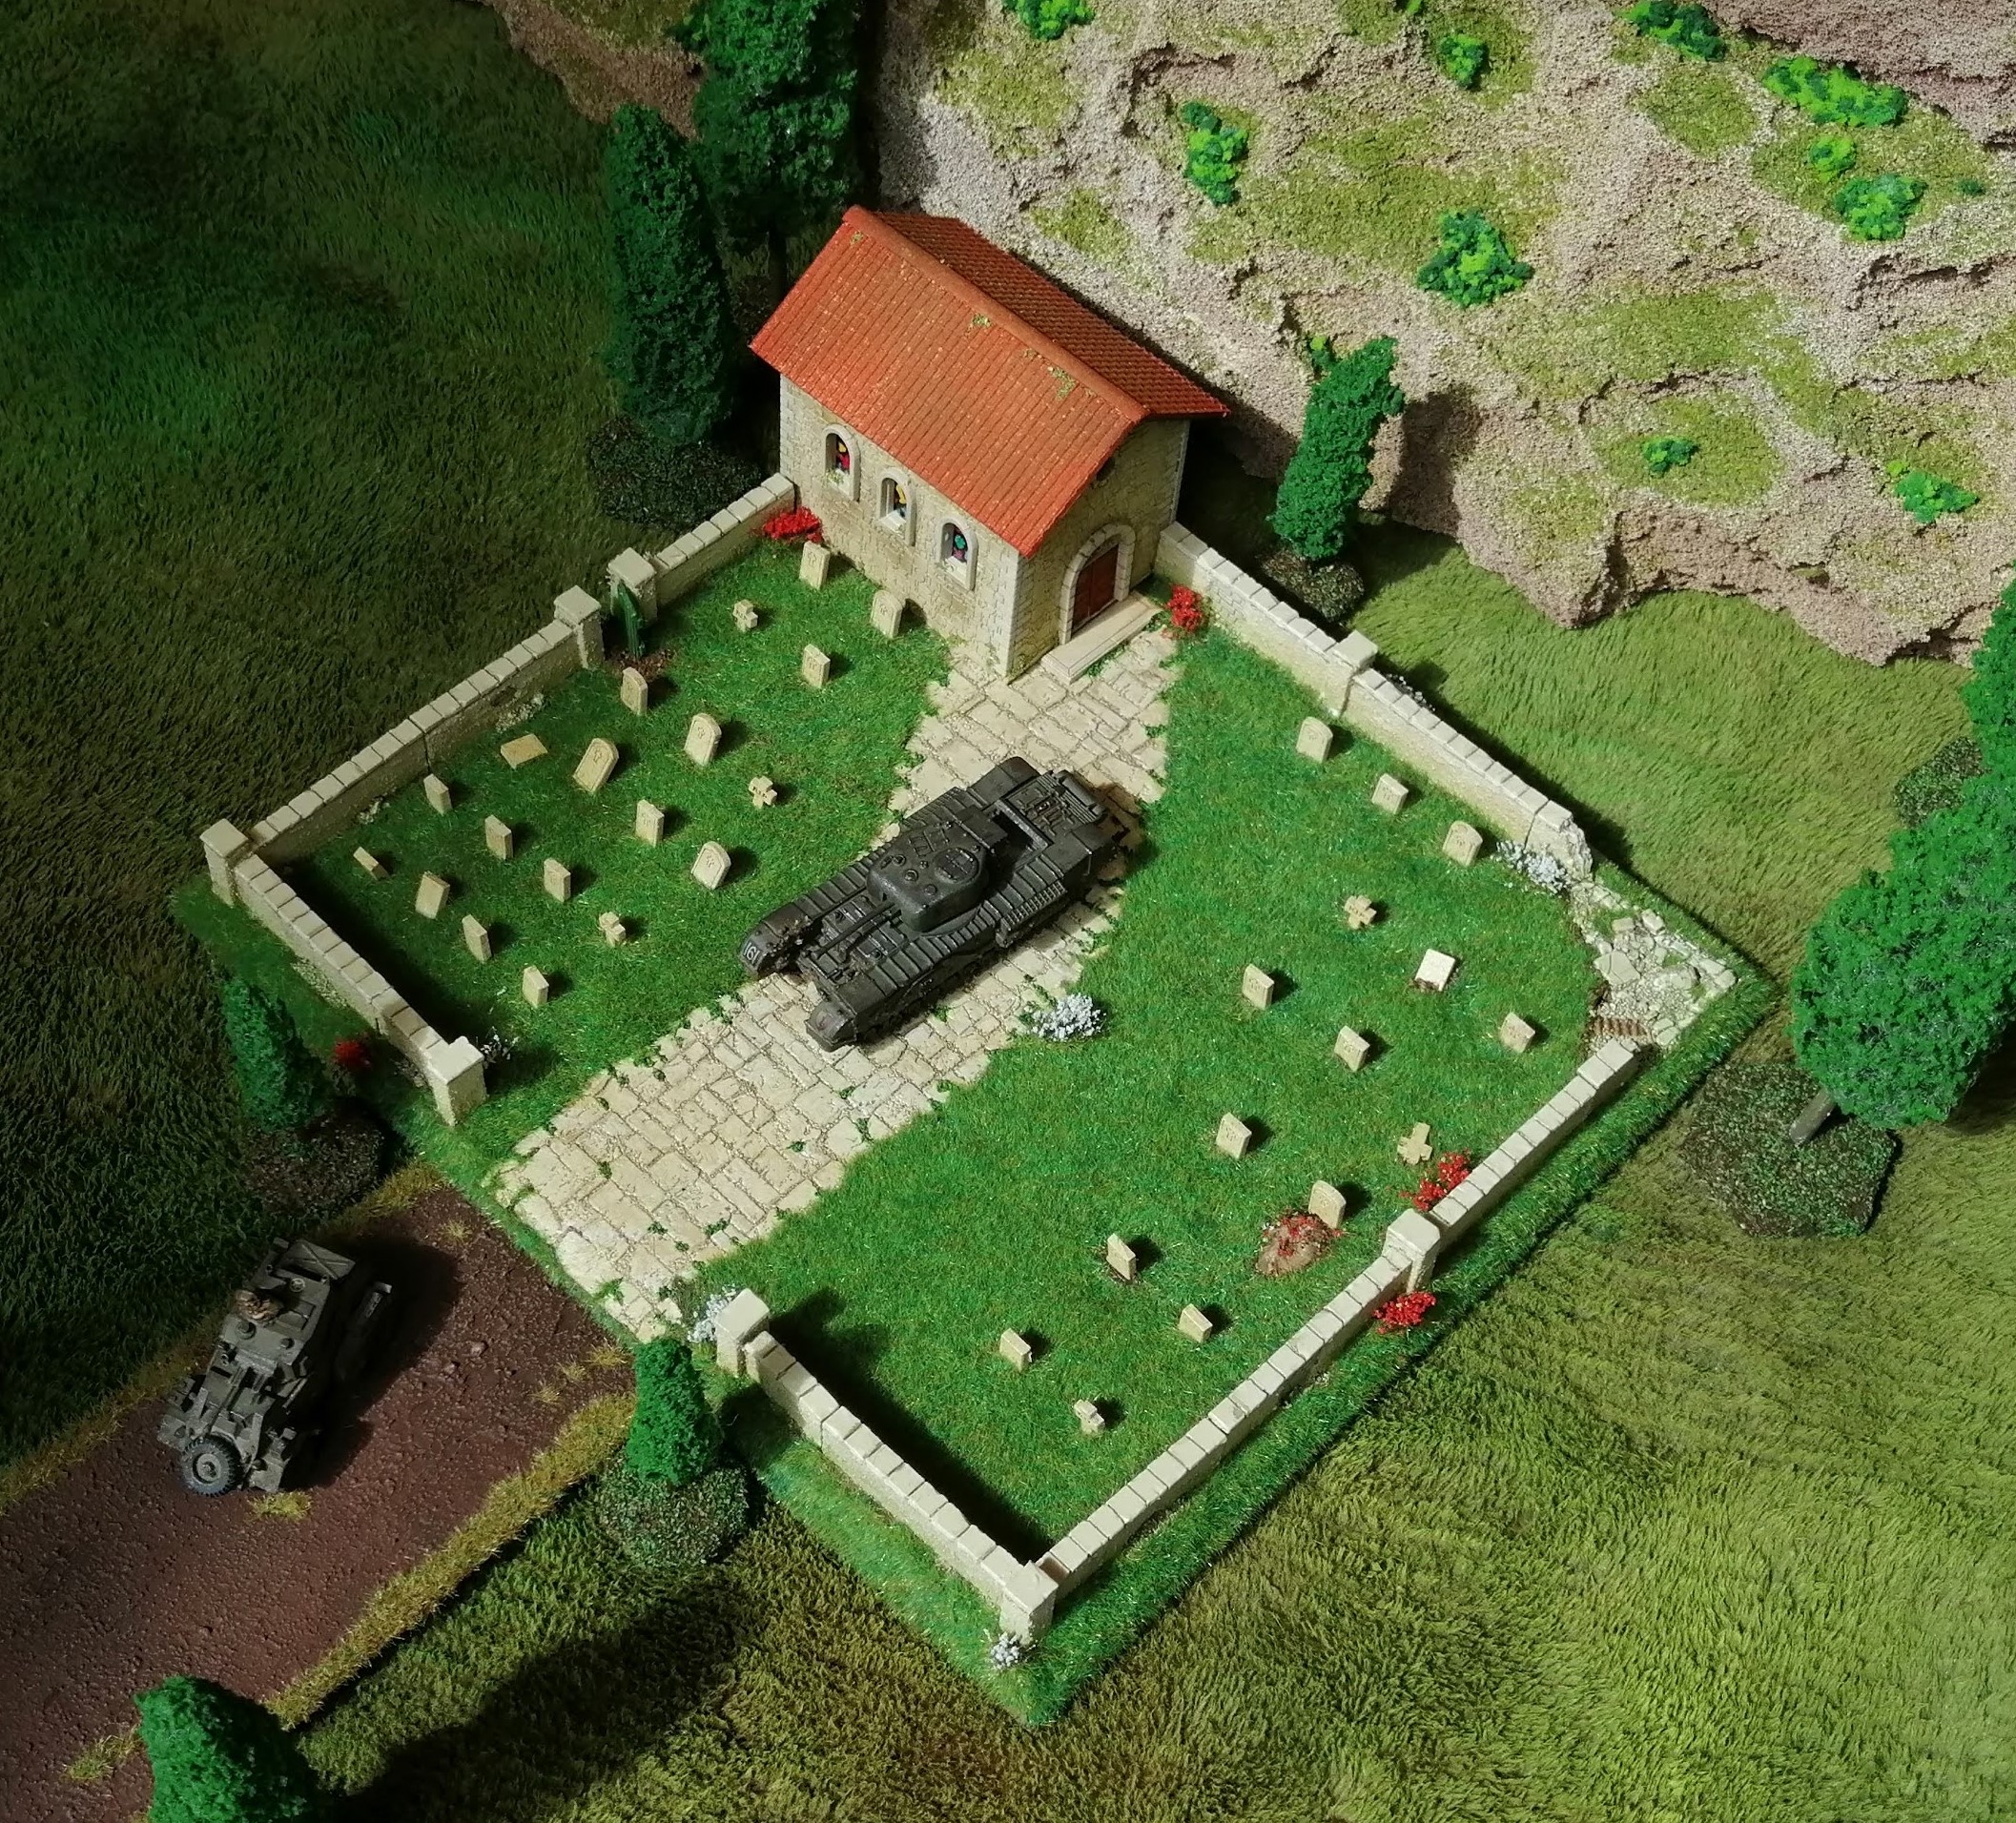
It's a bit green....
Now that the static grass has dried, it looks good but it’s a bit green. It needs something to break it up and add some more colour. Rummaging around in my box of stuff, I found the following
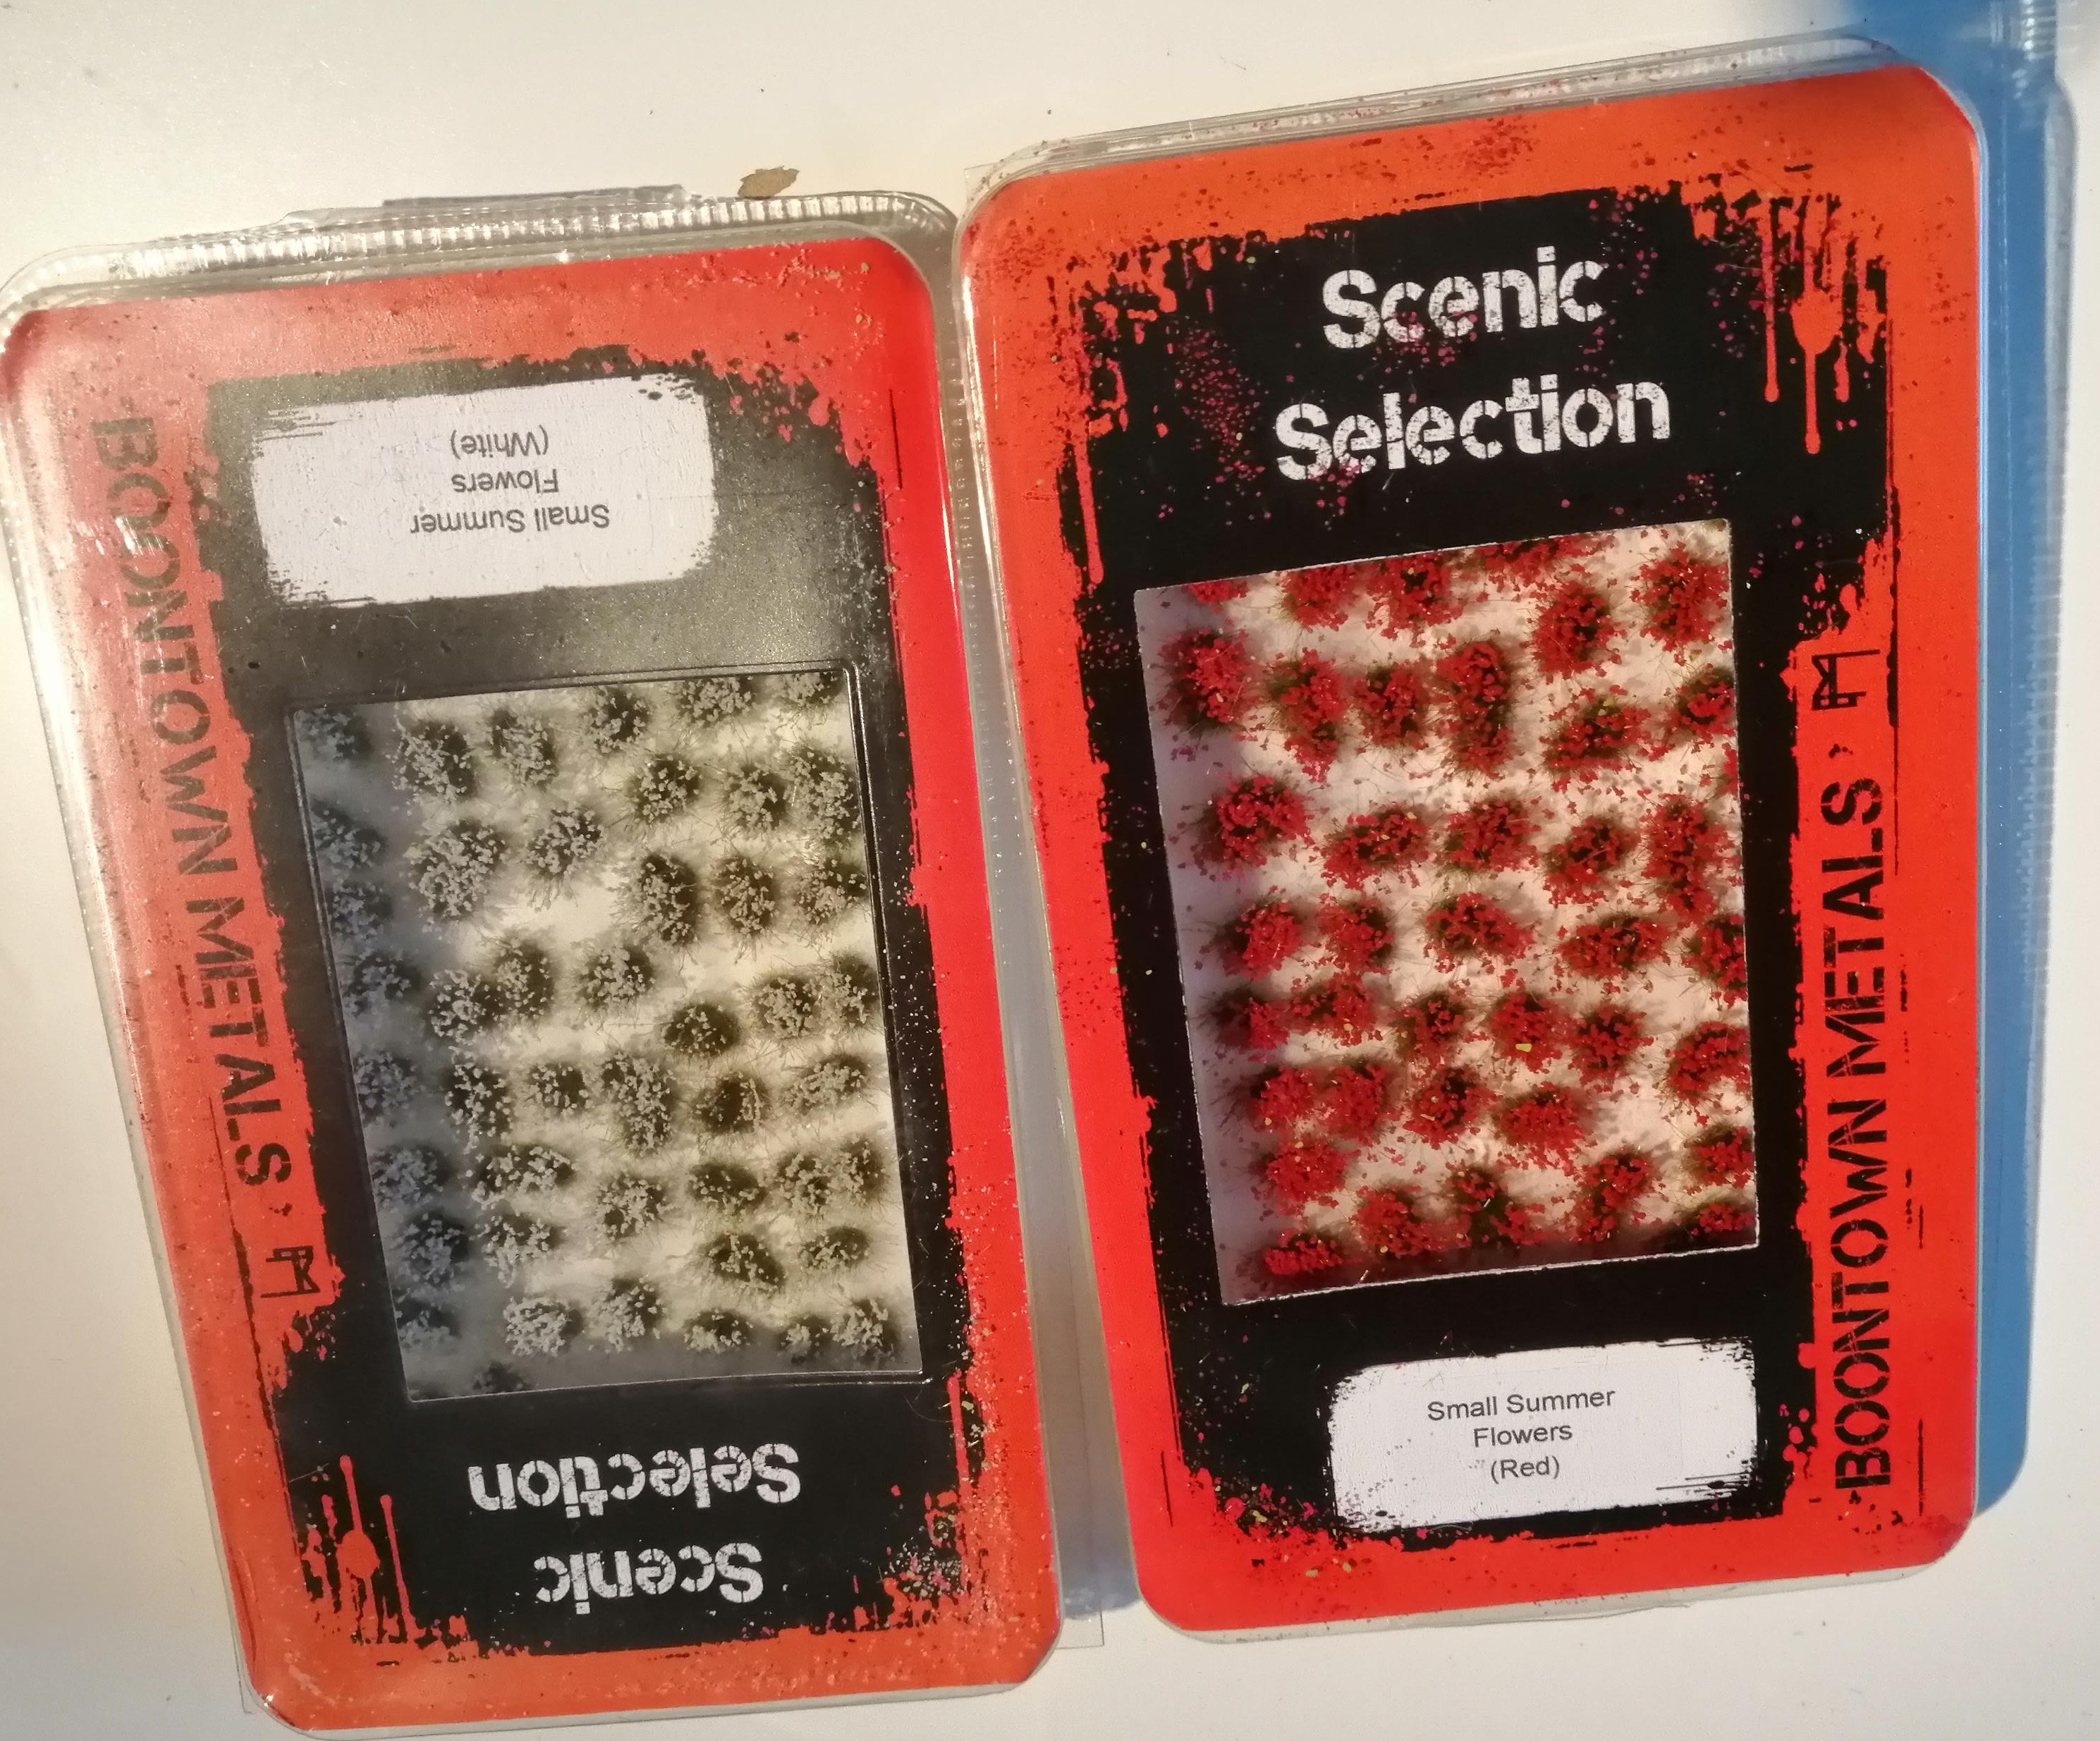
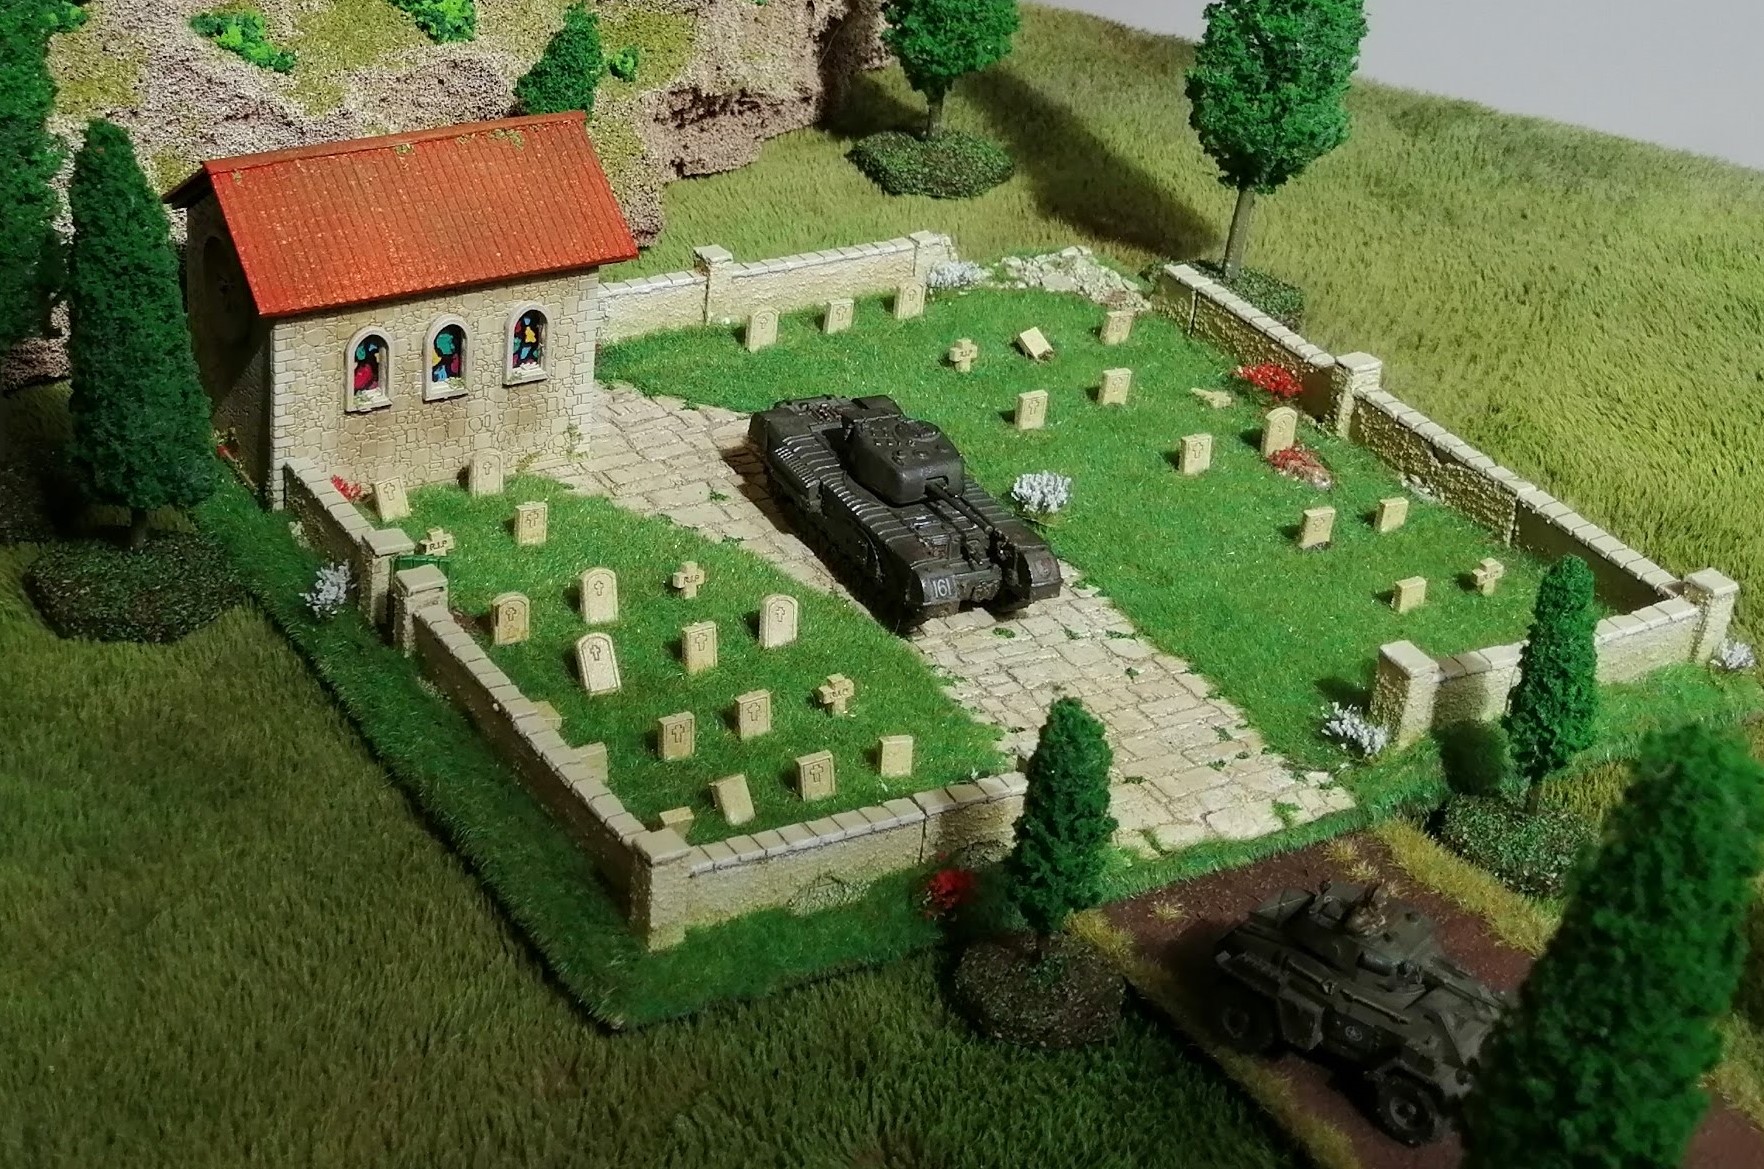
So we’ll add some of these to provide a little more visual interest.
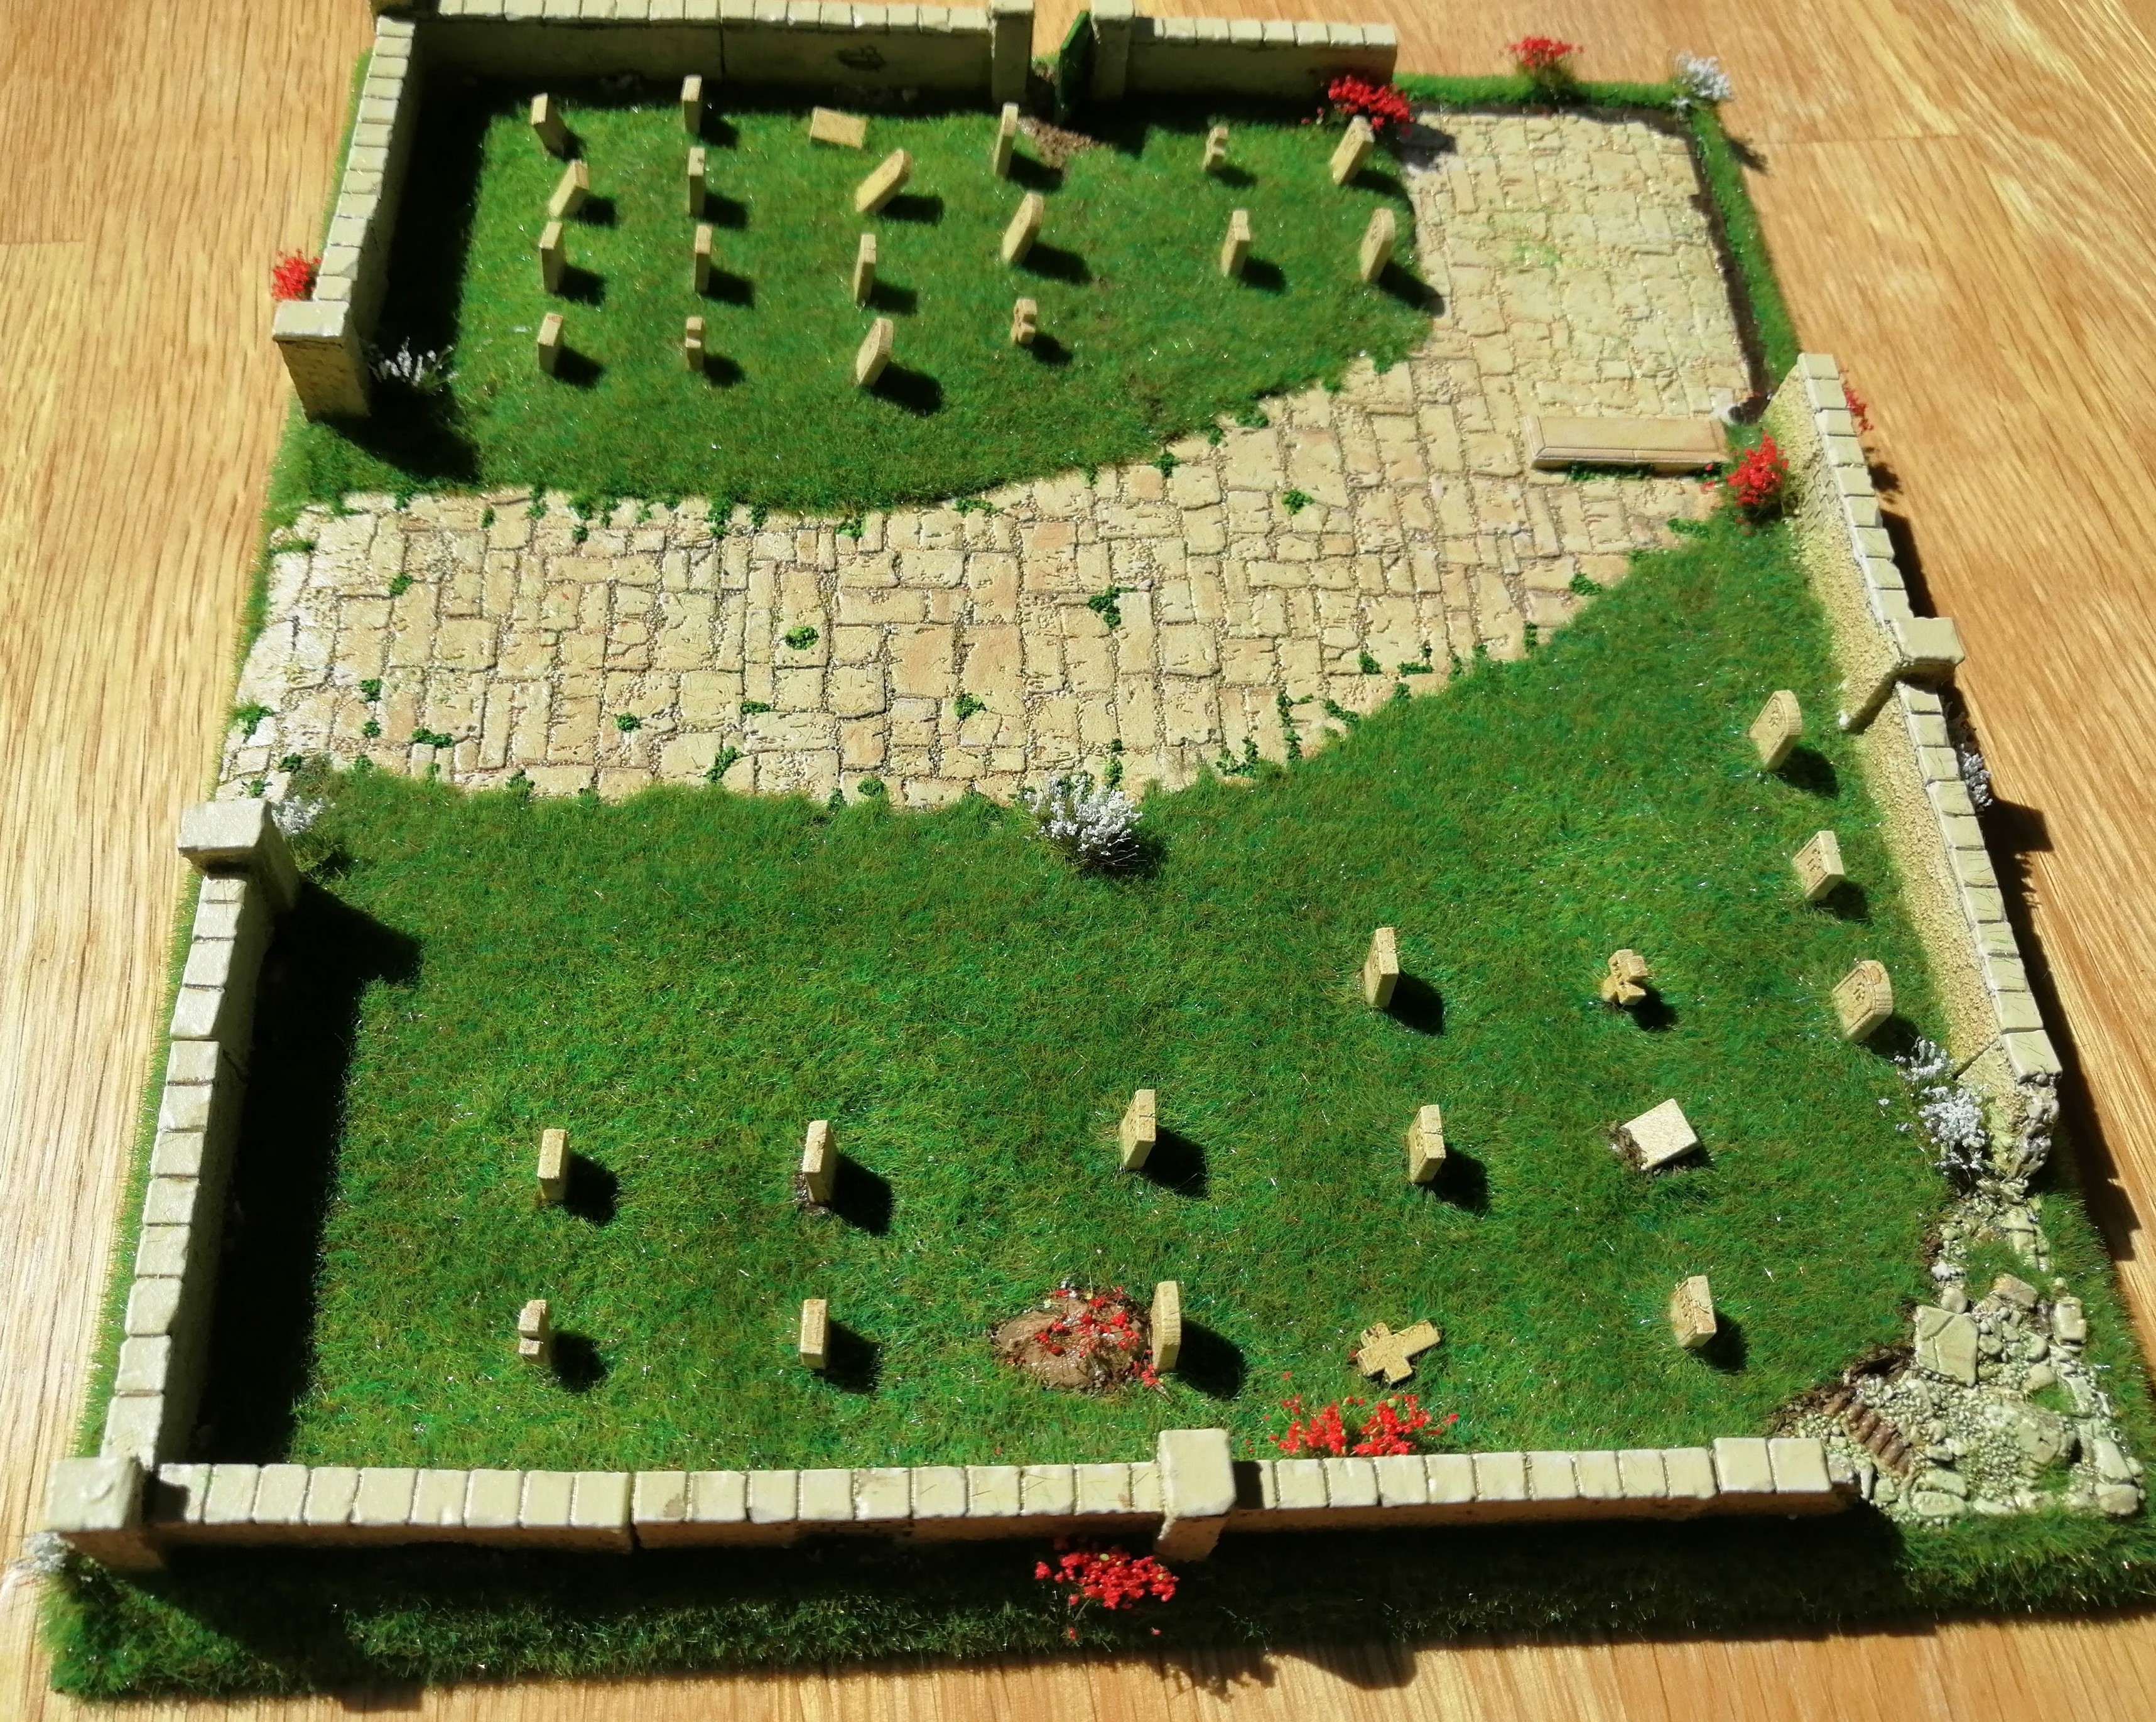
So I think I’m there. All that’s required is for the flowers to dry and I’ll set the piece up for the money shot 🙂
Last step
Time to apply some grass. Looking at some sample pictures, during the summer, the grass in Tuscany is green and lush. So I feel comfortable going with a summer static grass.
Given the size of the base I need to ‘grass up’, I’m going to break this down into three separate sections. This way, the glue won’t dry out before I start adding the grass, I won’t get grass stuck in places I don’t want it. Most importantly, I’ll start with the edges and if it doesn’t work or look right, it will be easier to correct.
To get the grass applied, I’ll be using pva glue (not watered down this time) and my flock box.
I went round the edge first and left this to dry. I was happy with the end result so then went ahead with the section to the left of the path, left this to dry and then the larger section to the right.
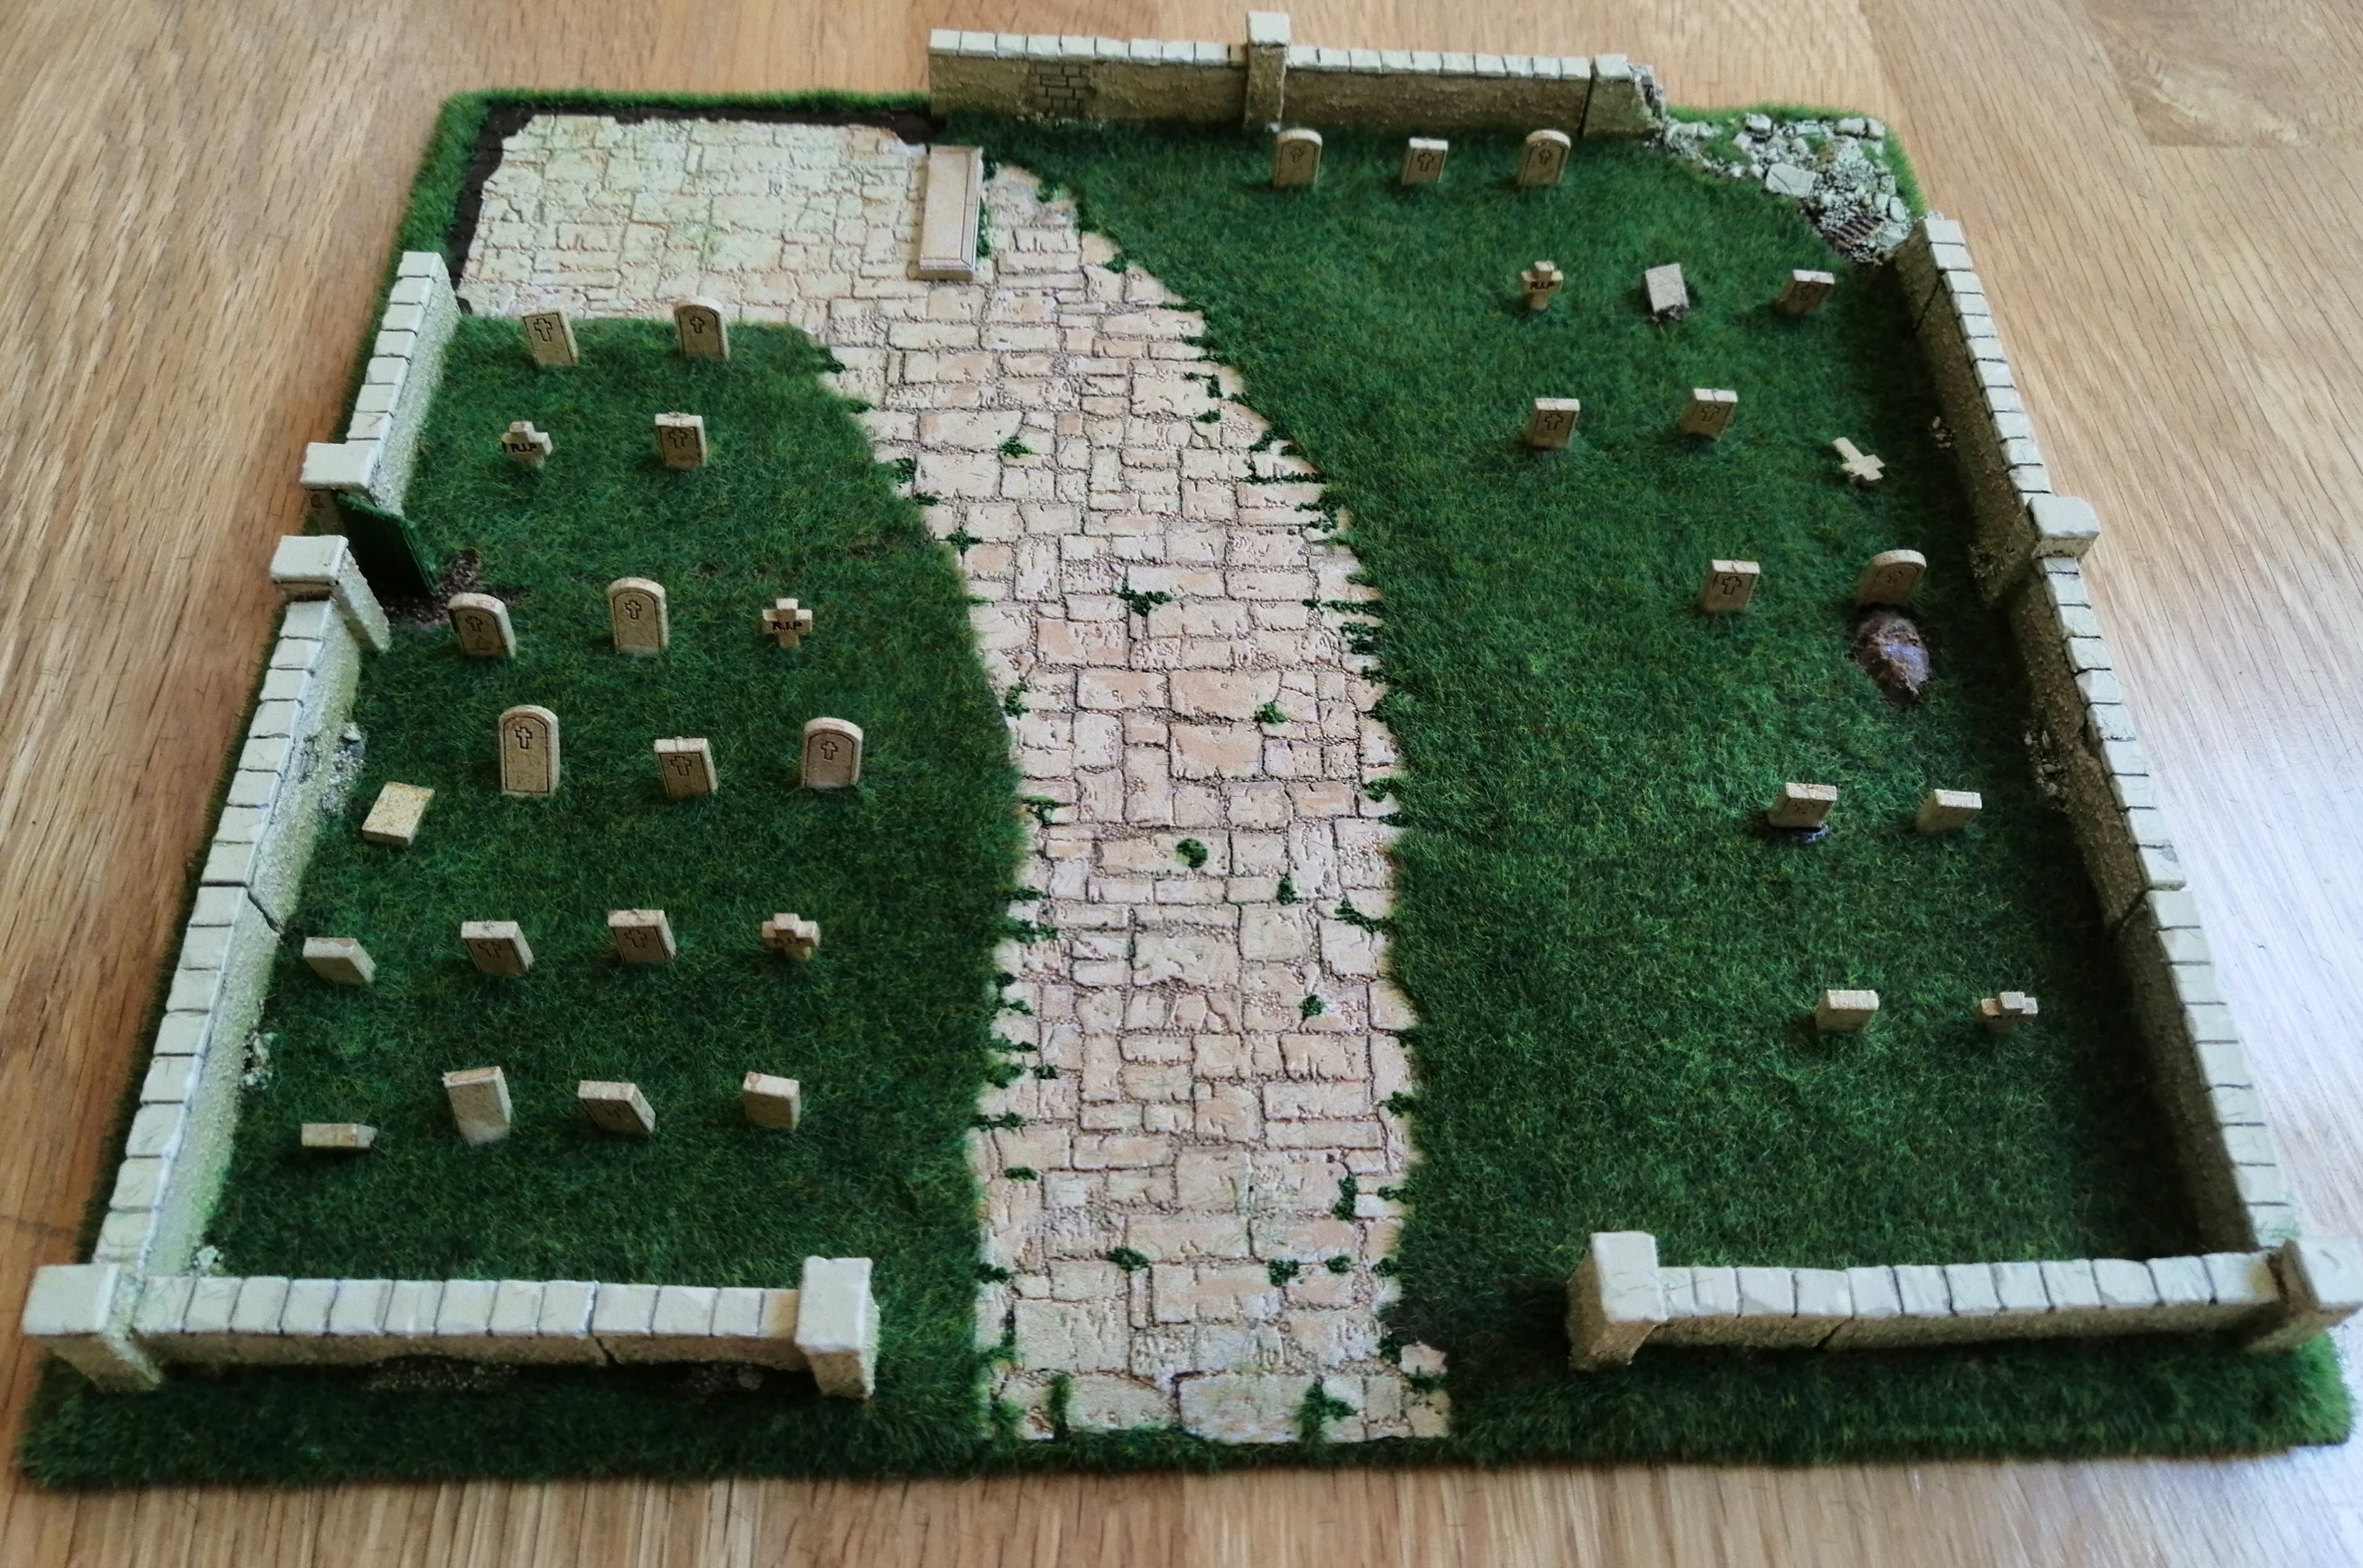
I left the whole thing to dry and will give it at least 24 hours just to make sure.
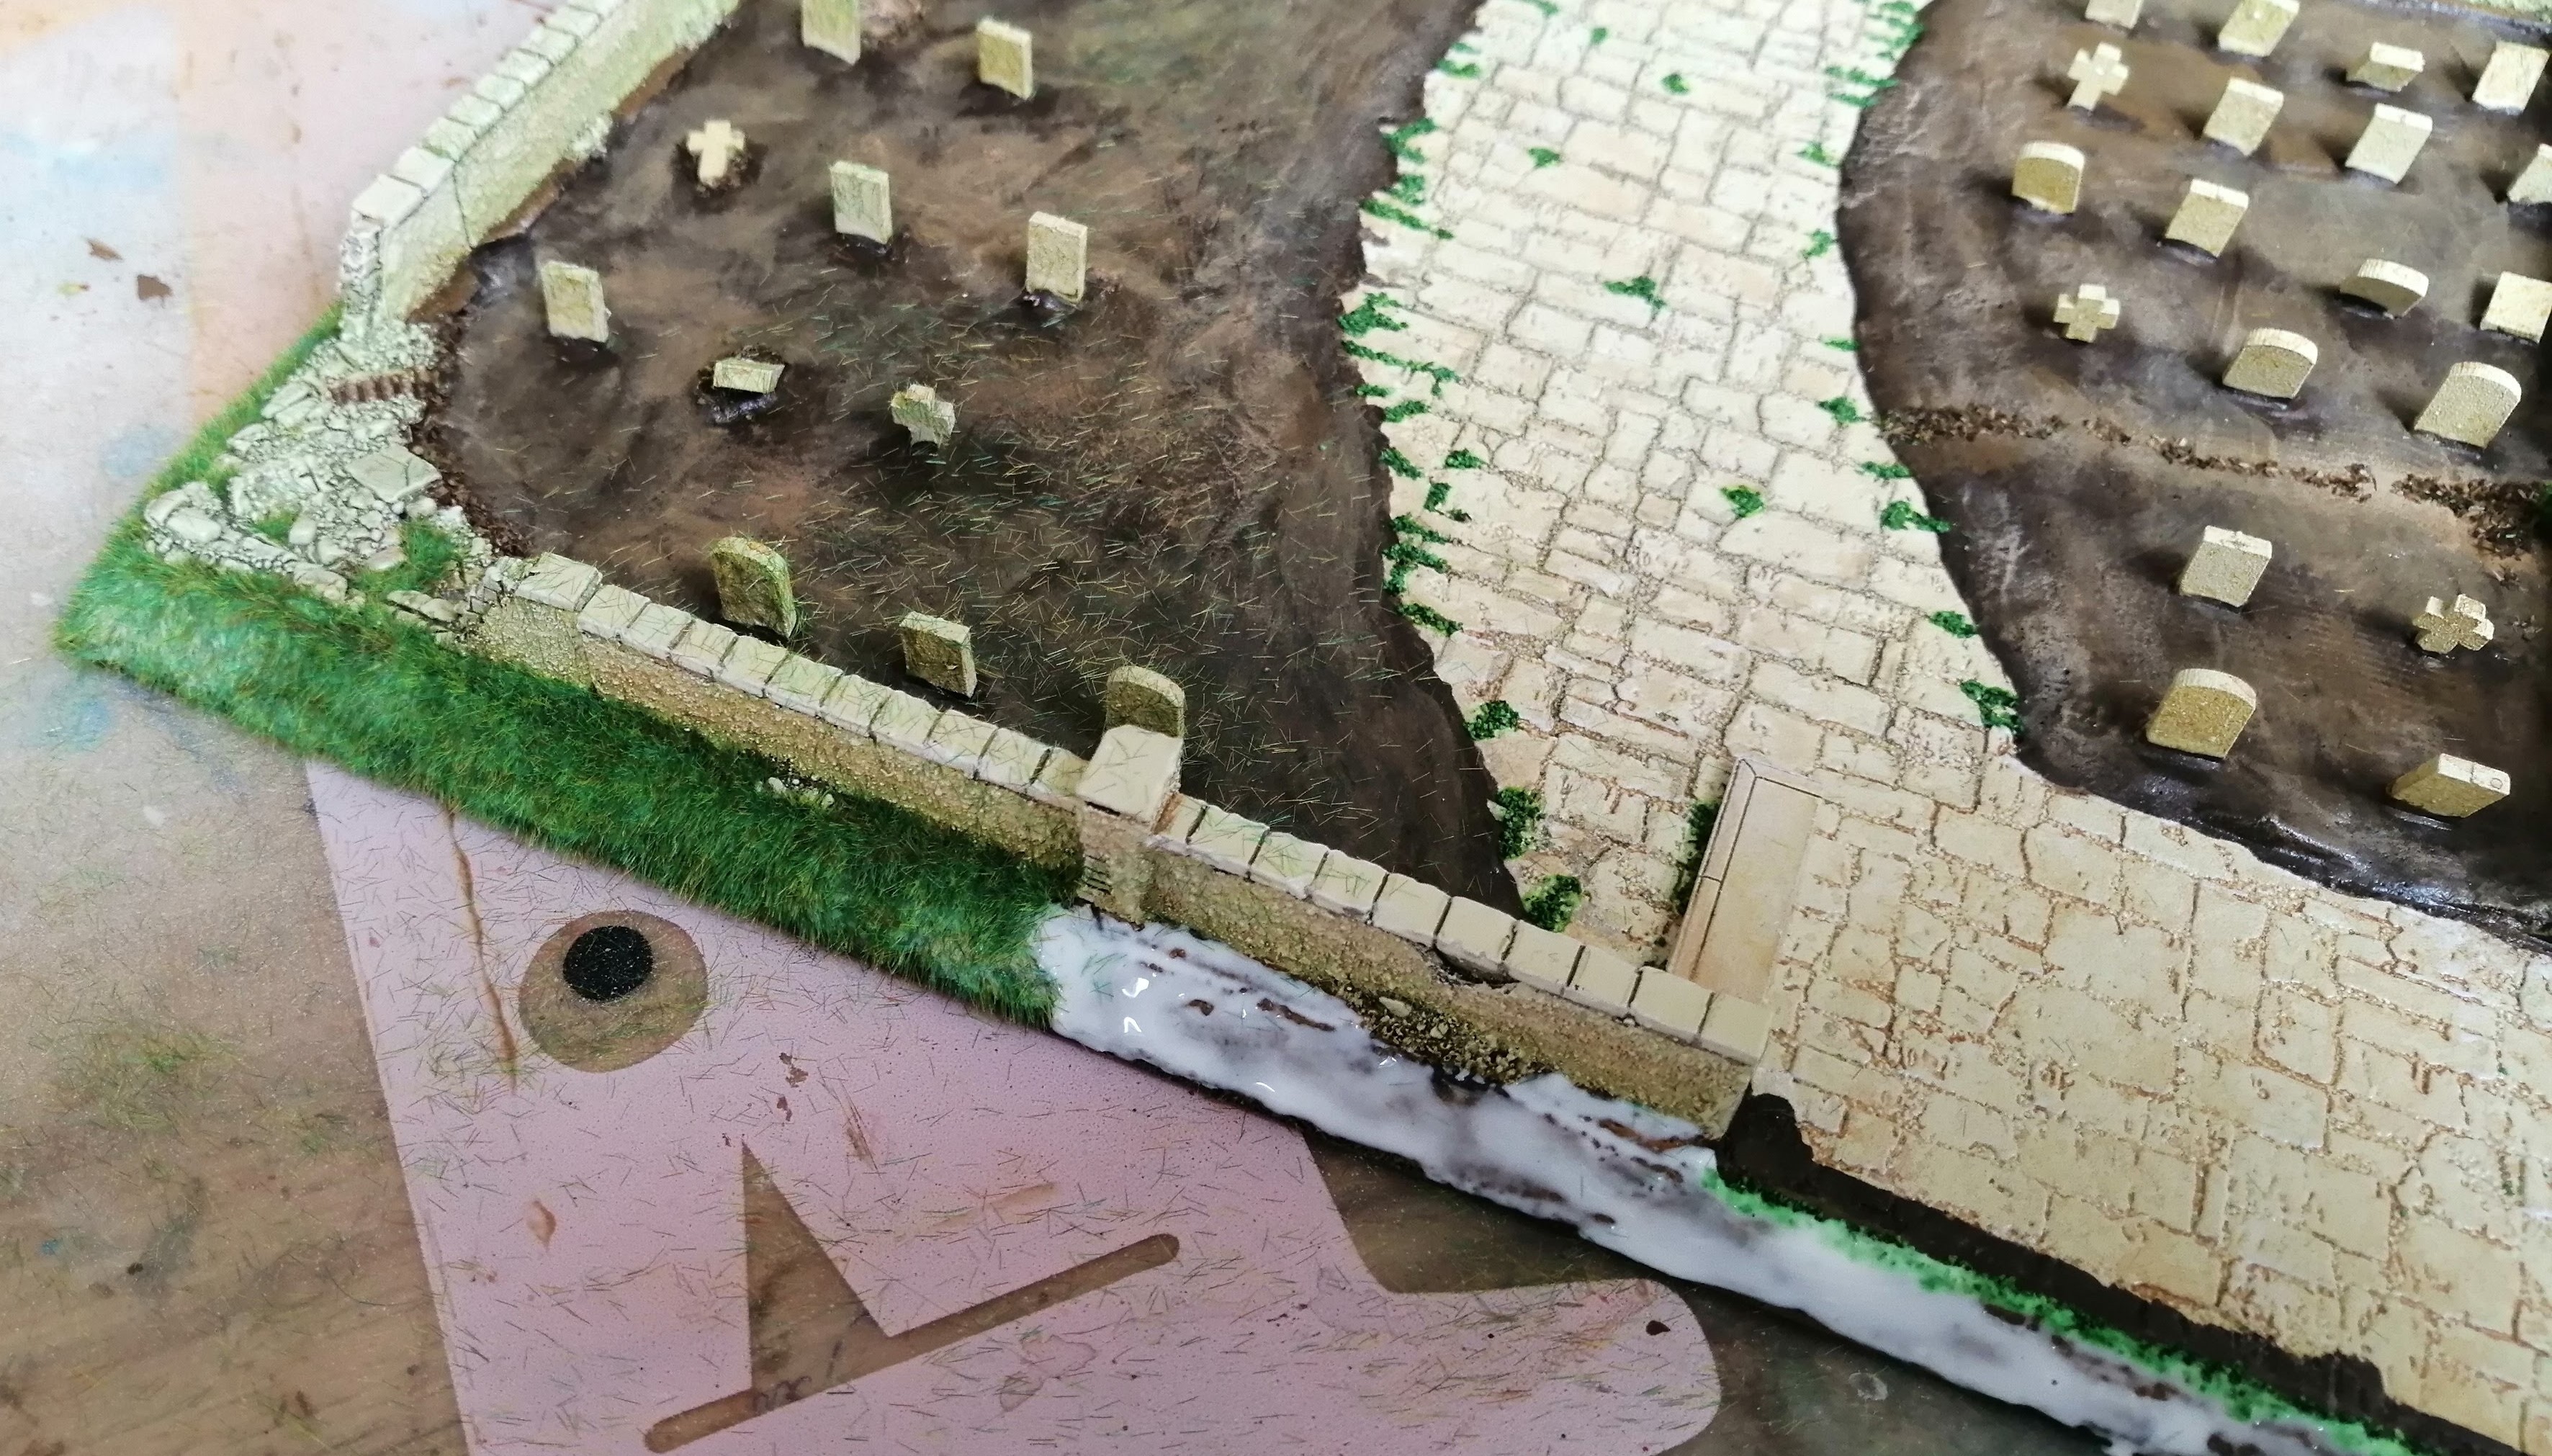
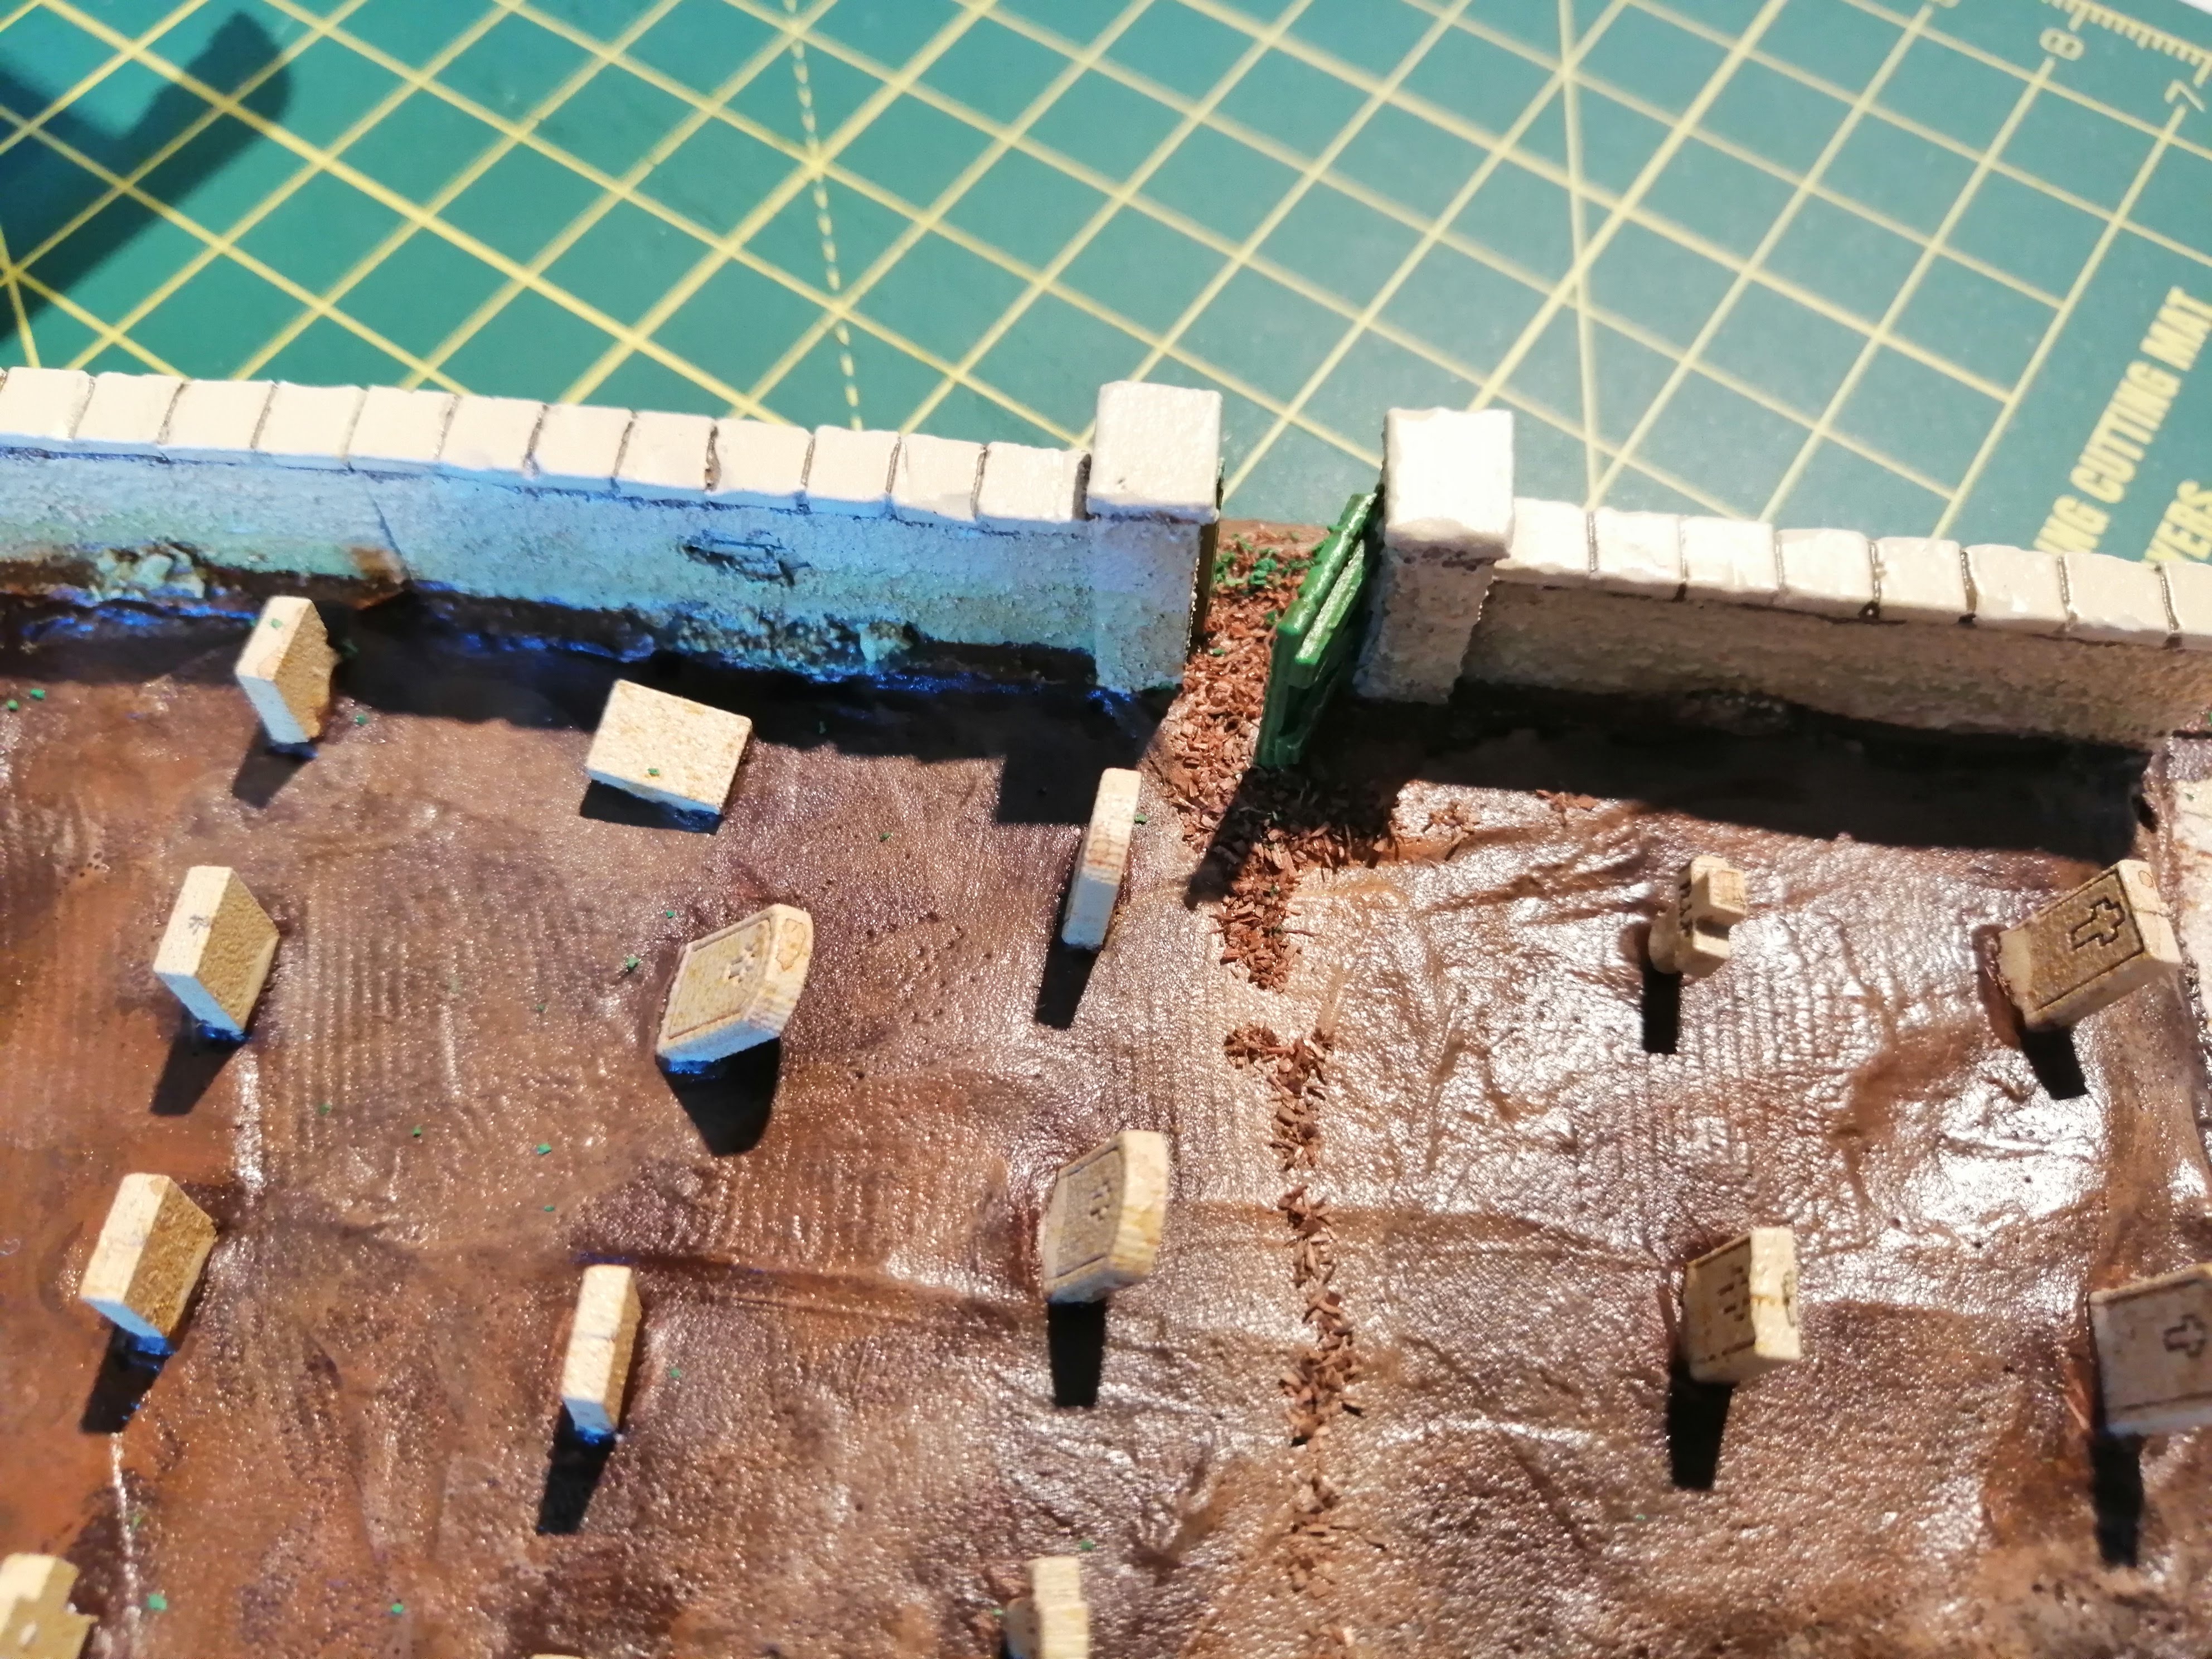
A bit if flocking
Before I started this step, I gave the whole base a spray varnish to protect everything, hence why it looks a bit shiny. It won’t be seen once everything is all finished.
For the chapel, I want to make it look like its been in situ for some time and to tie it into the base. So I’m going to add a little bit of mixed green flock into the cracks in the brick and along the roof line. Not too much, but enough to be noticeable.
For the base, I’m using the same mixed green flock and putting it into the cracks in the paving where you would likely see grass and moss.
And for the parts of the cemetery where there will be more foot traffic, there will likely be bare patches. So I’ll put some brown flock around the gate and between the tomb stones to the main paving
Painting the base
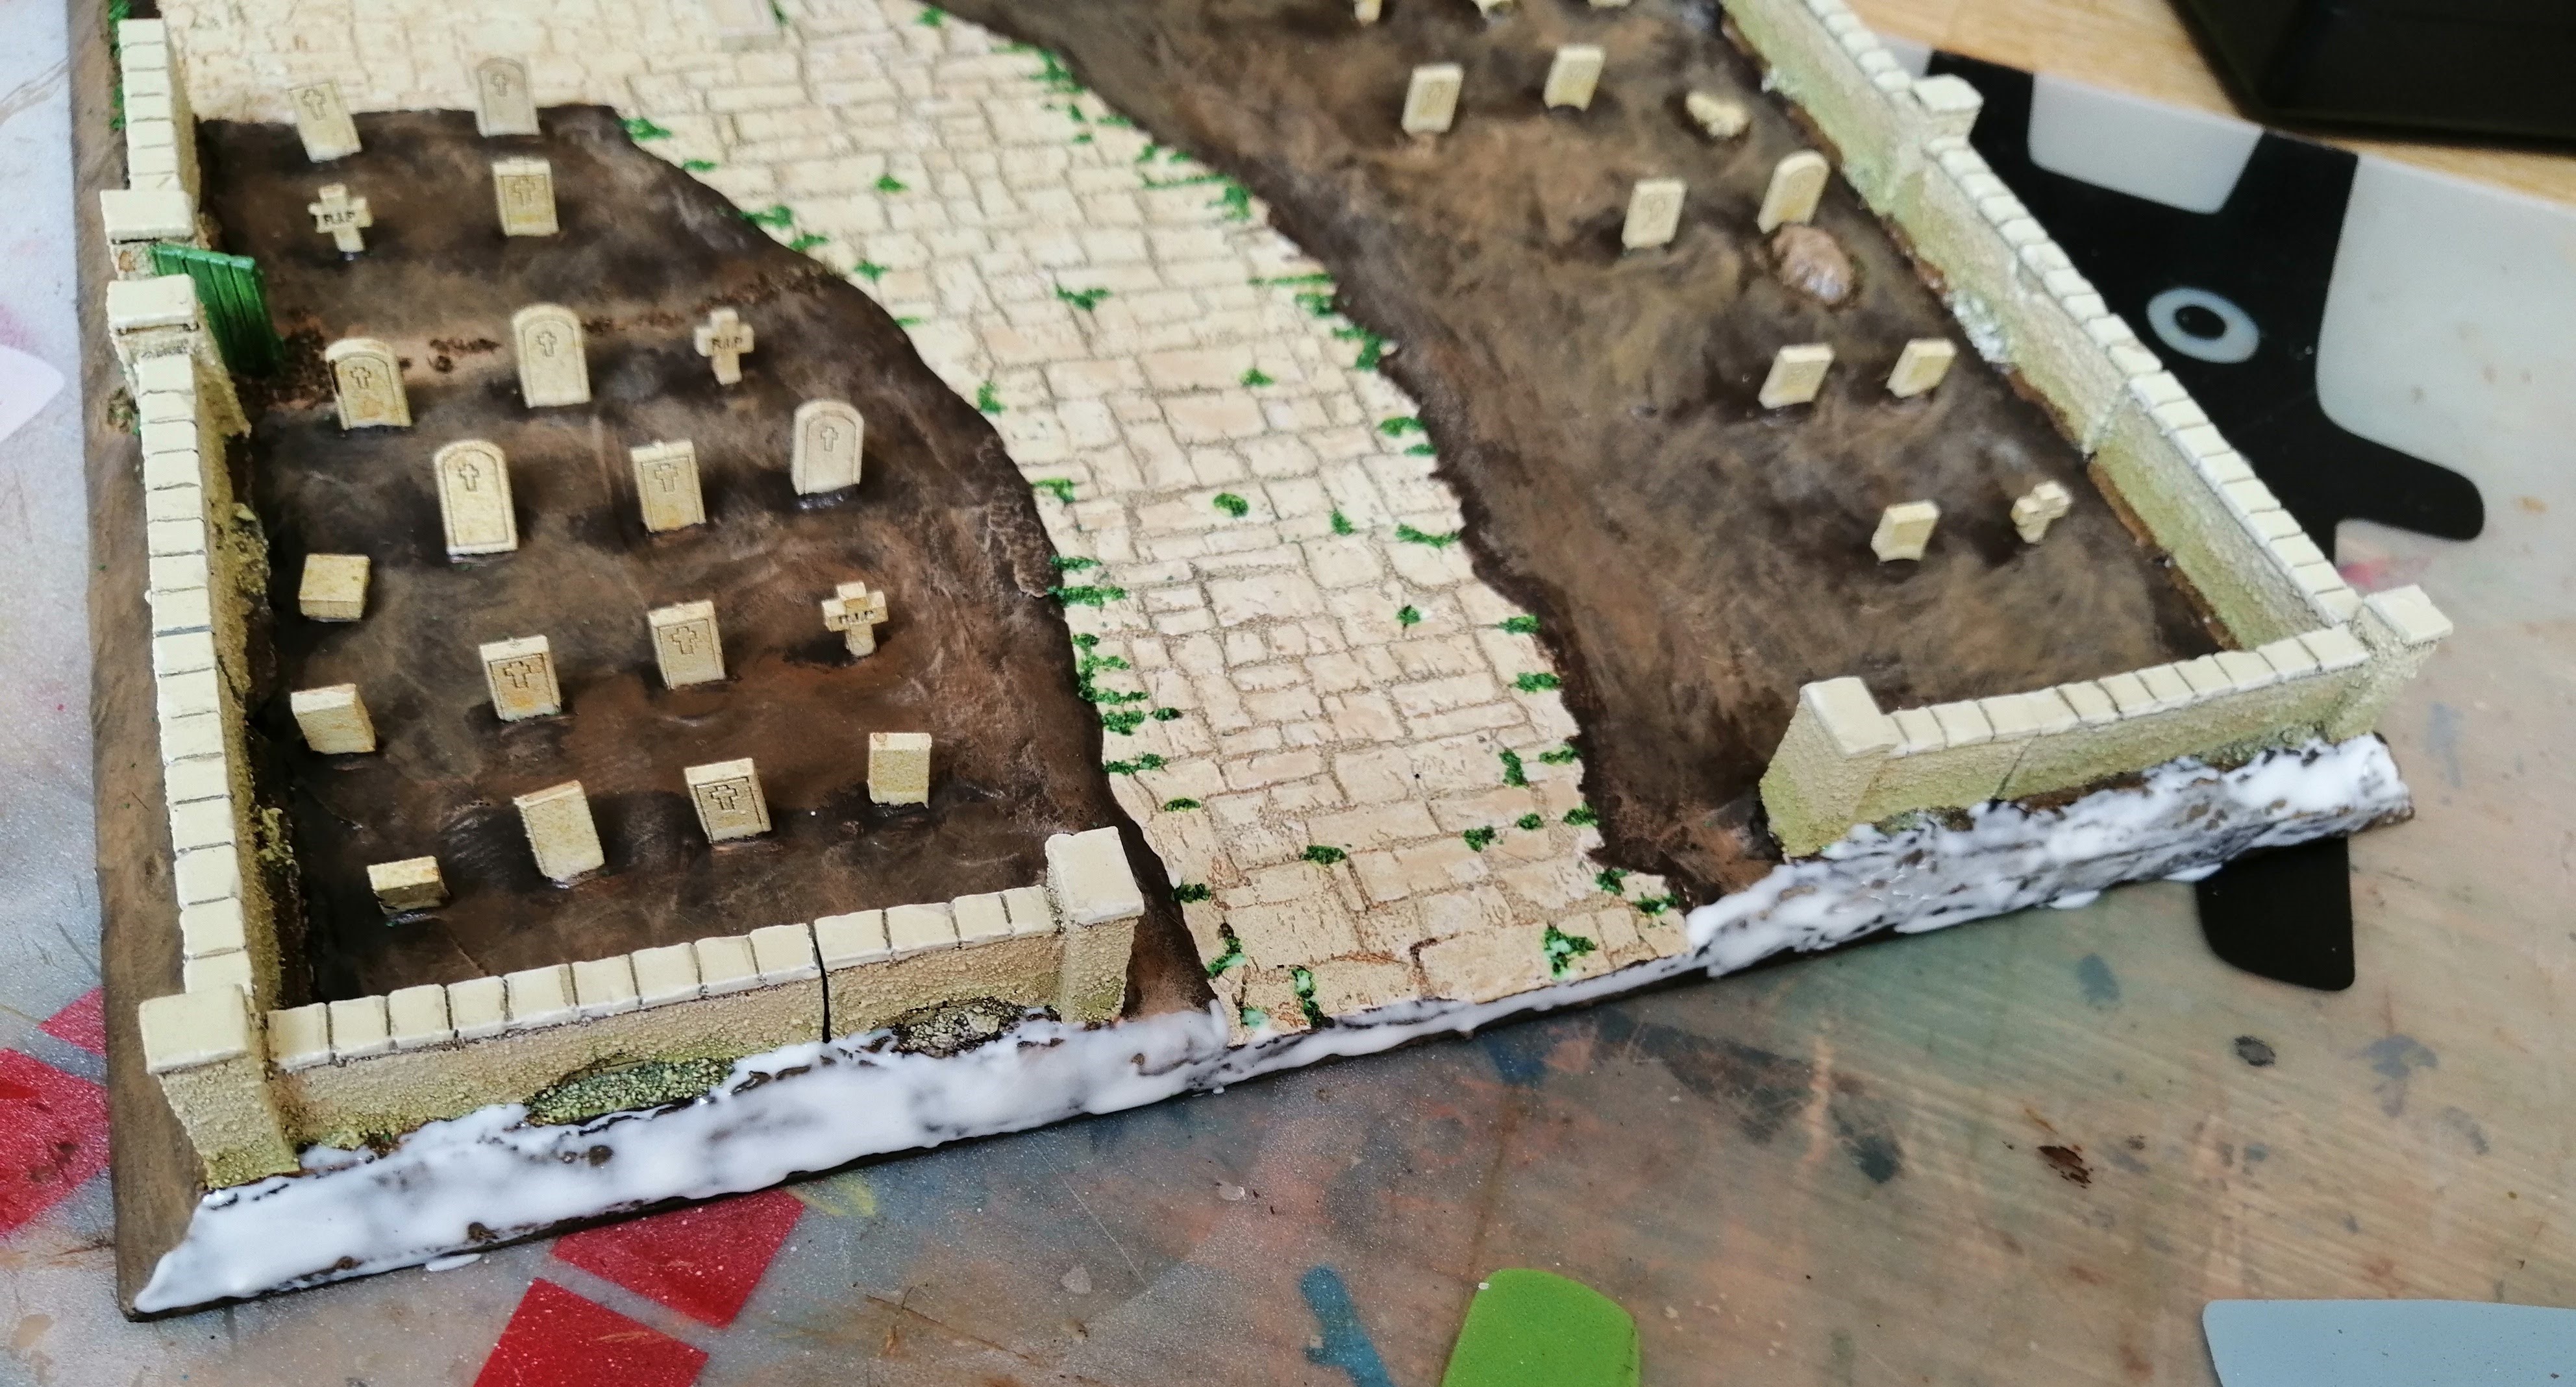
With the Polyfilla all dry and the tomb stones super glued in place, it’s time to start painting the base. I will flock everything but this is just in case the flock is patchy or the base is visible in any areas.
Given the size of the base, I’ll use my cheap brown paint as the base coat and the dry brush up from there.
So, in order of paint applied,
Cheap dark brown base coat as below:
 It looks a lot darker than it really is....
Then followed by
Flat earth heavy dry brush
Beige brown dry brush
Light brown dry brush
and then a very, very light dry brush of Iraqi Sand.
Once dry, this got a spray varnish to protect it all.
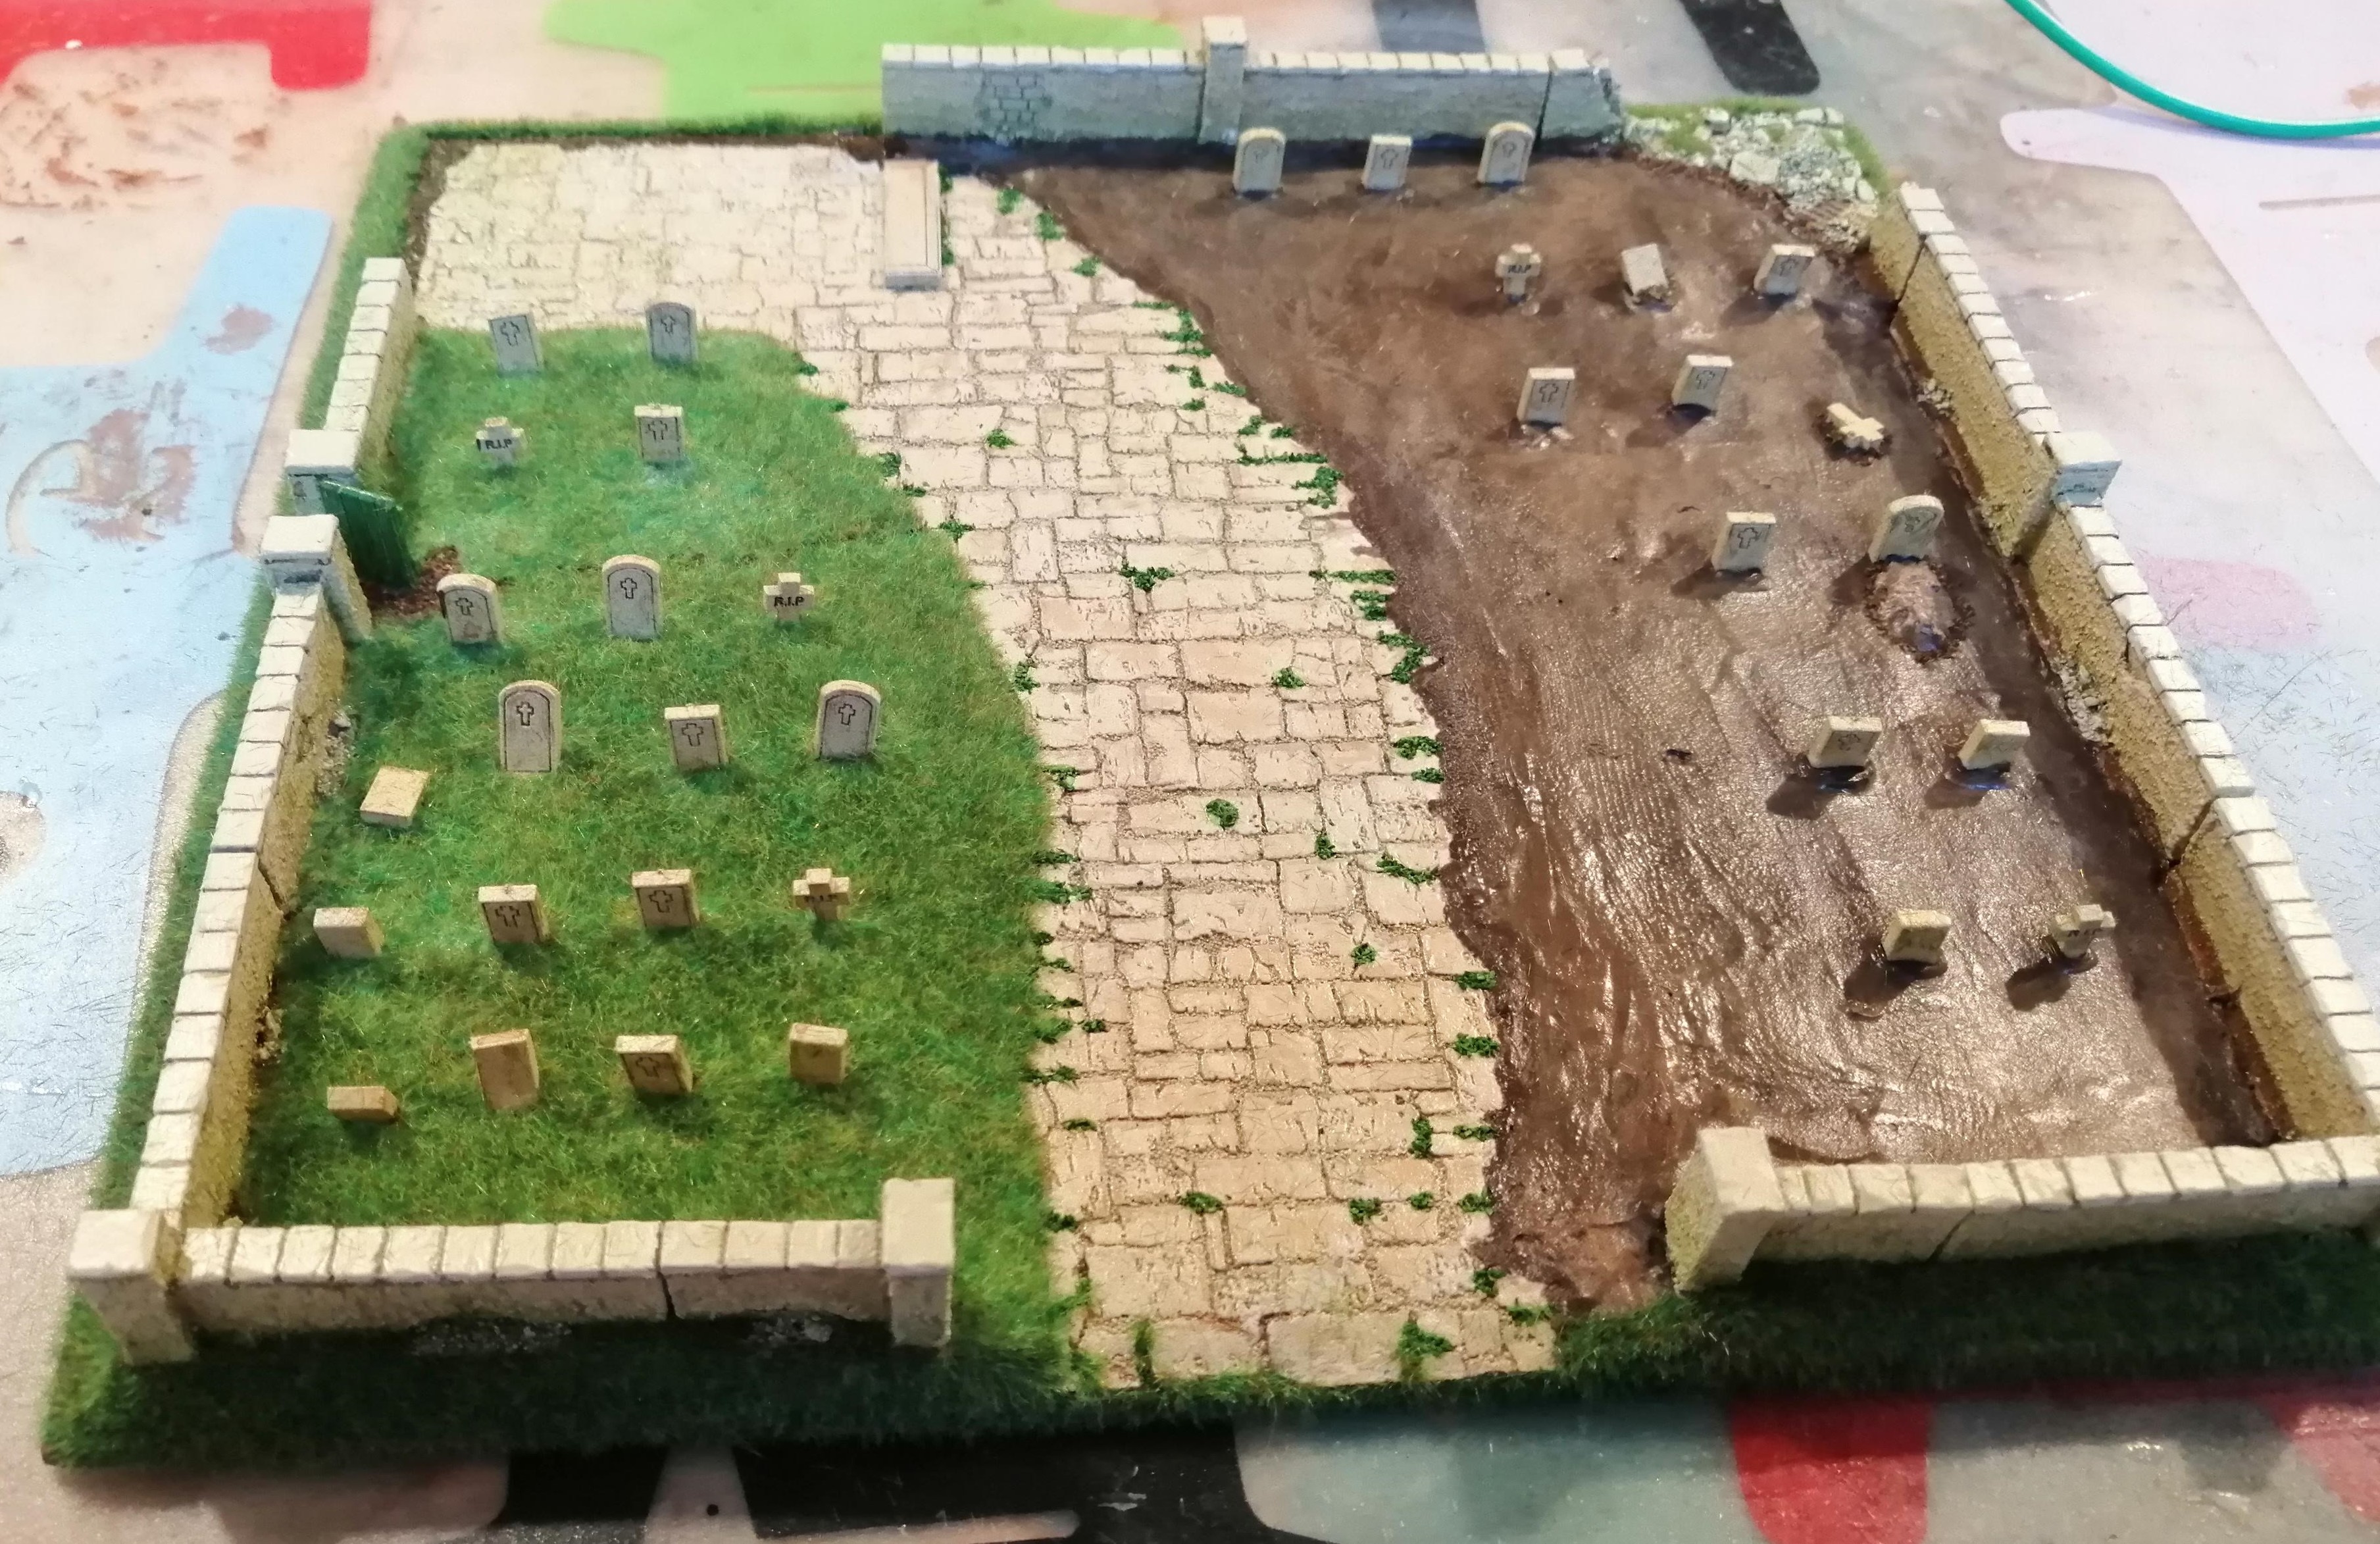
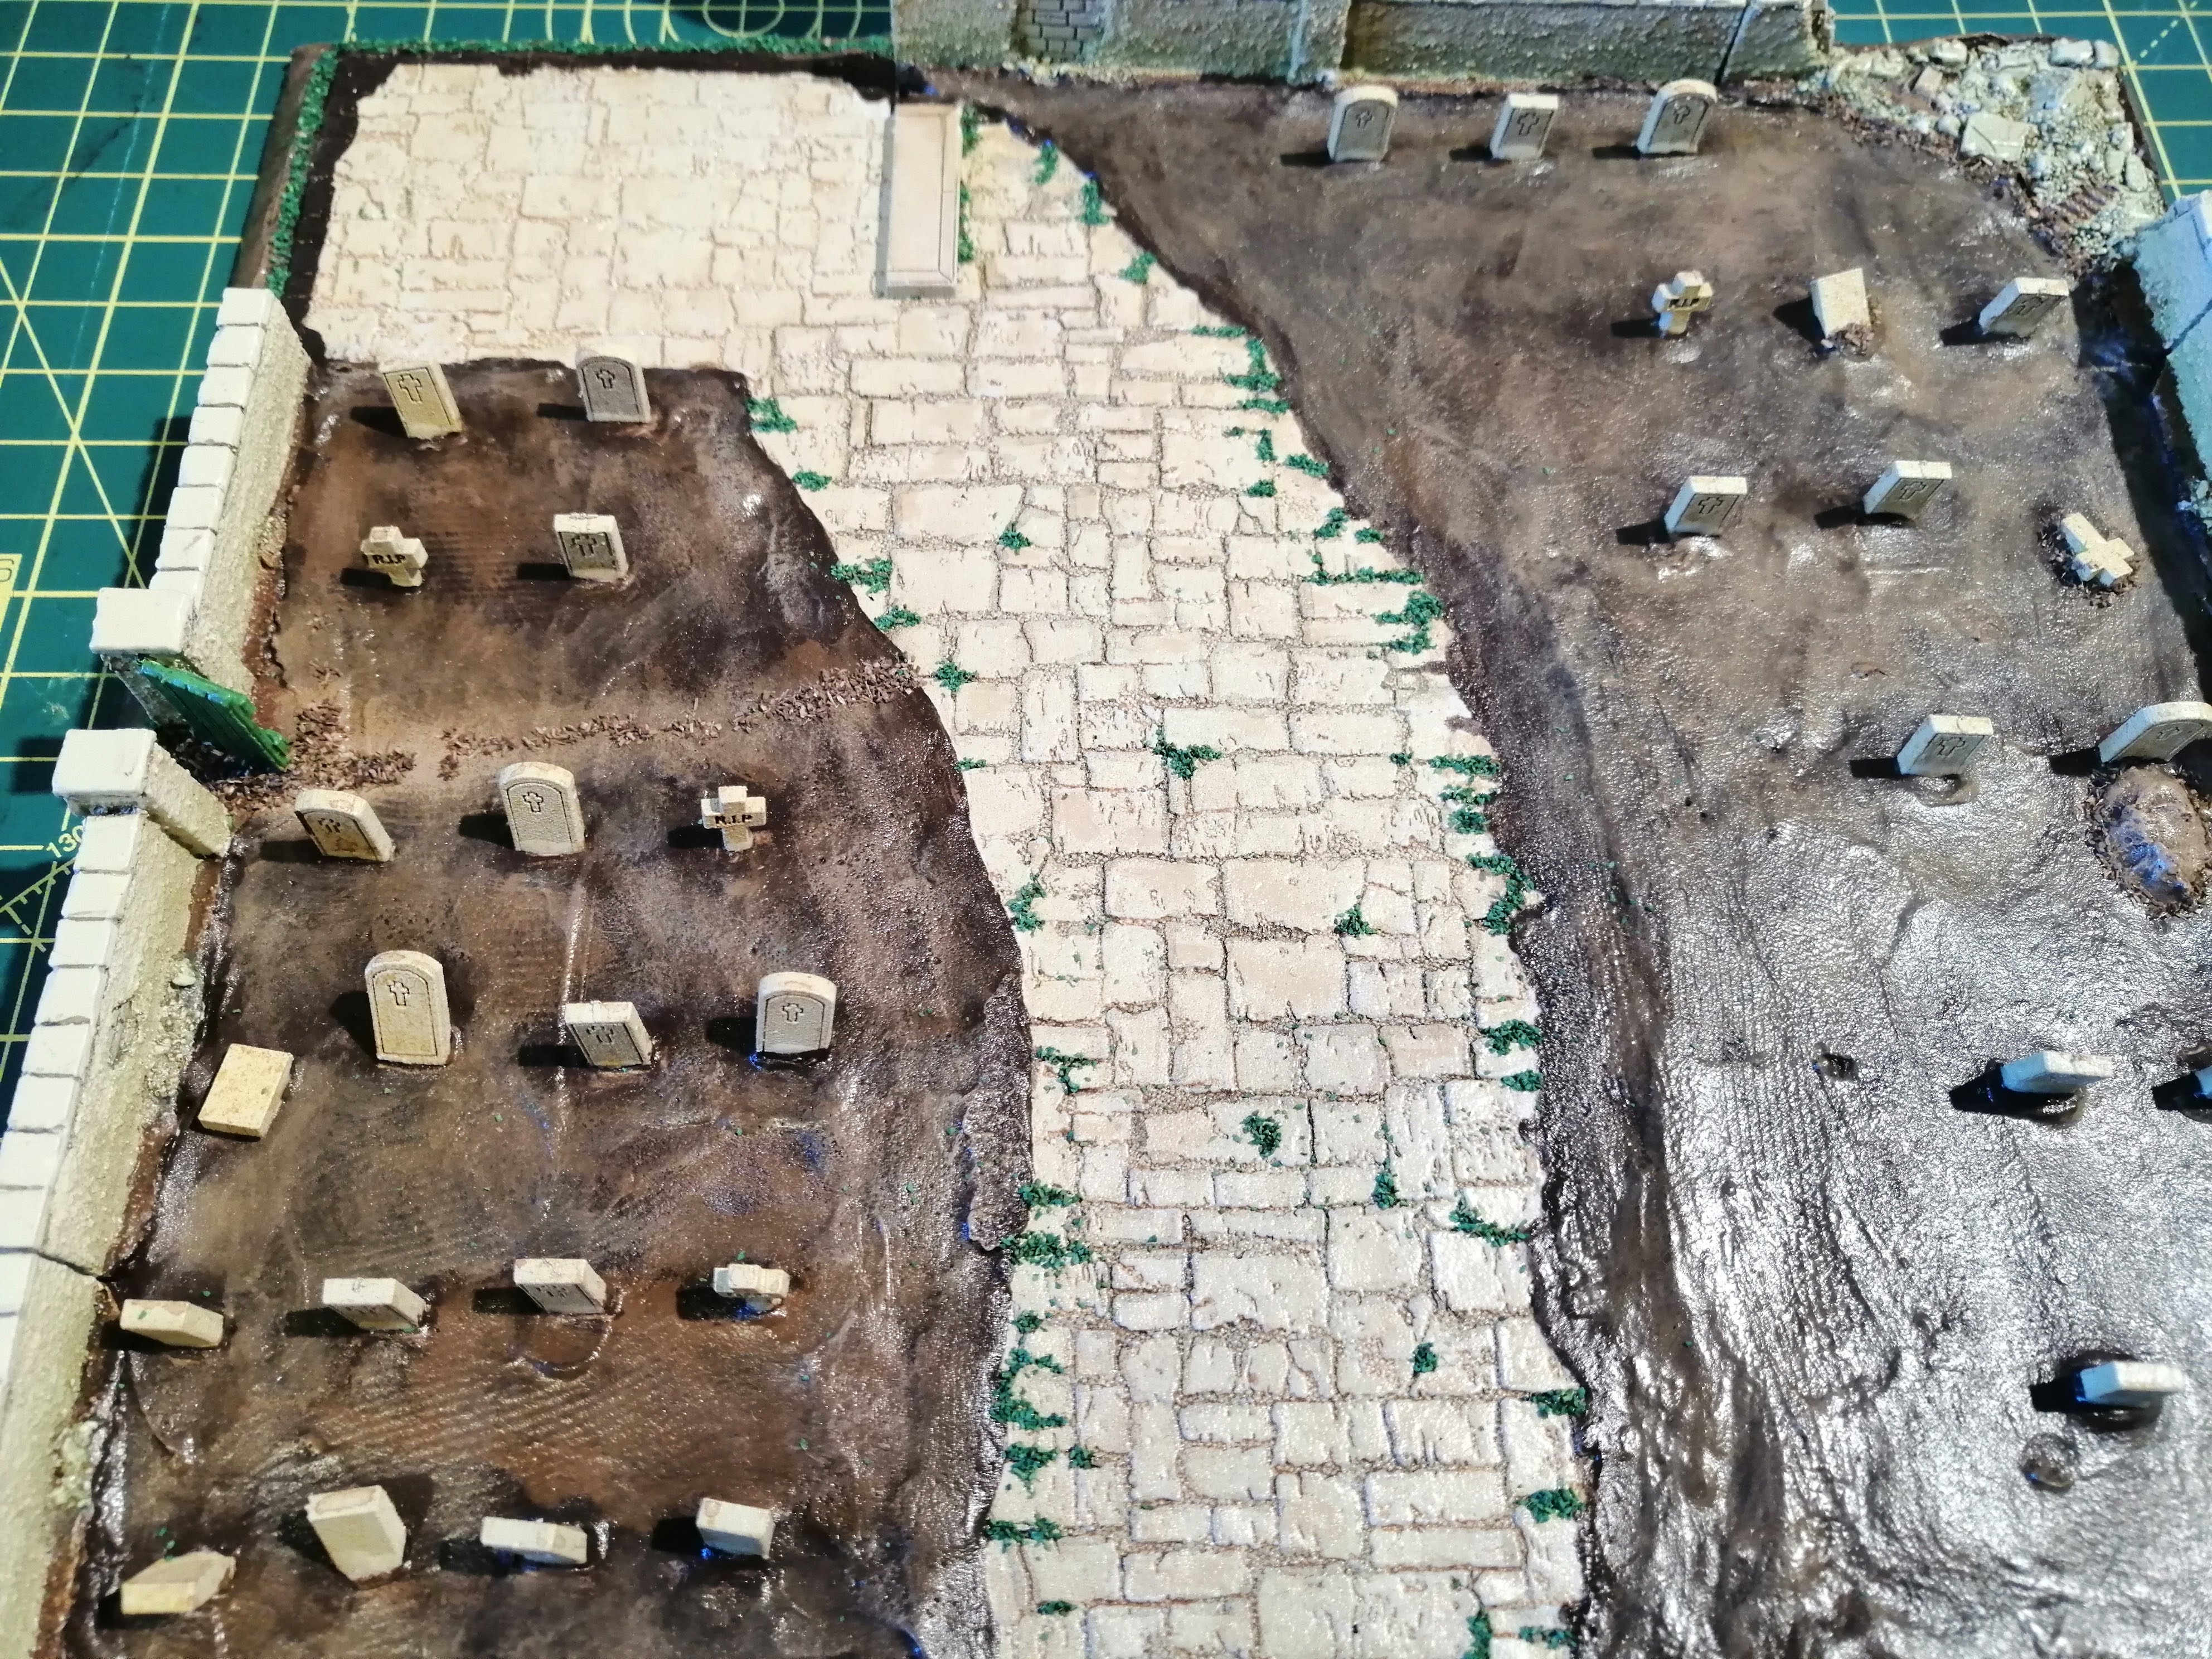
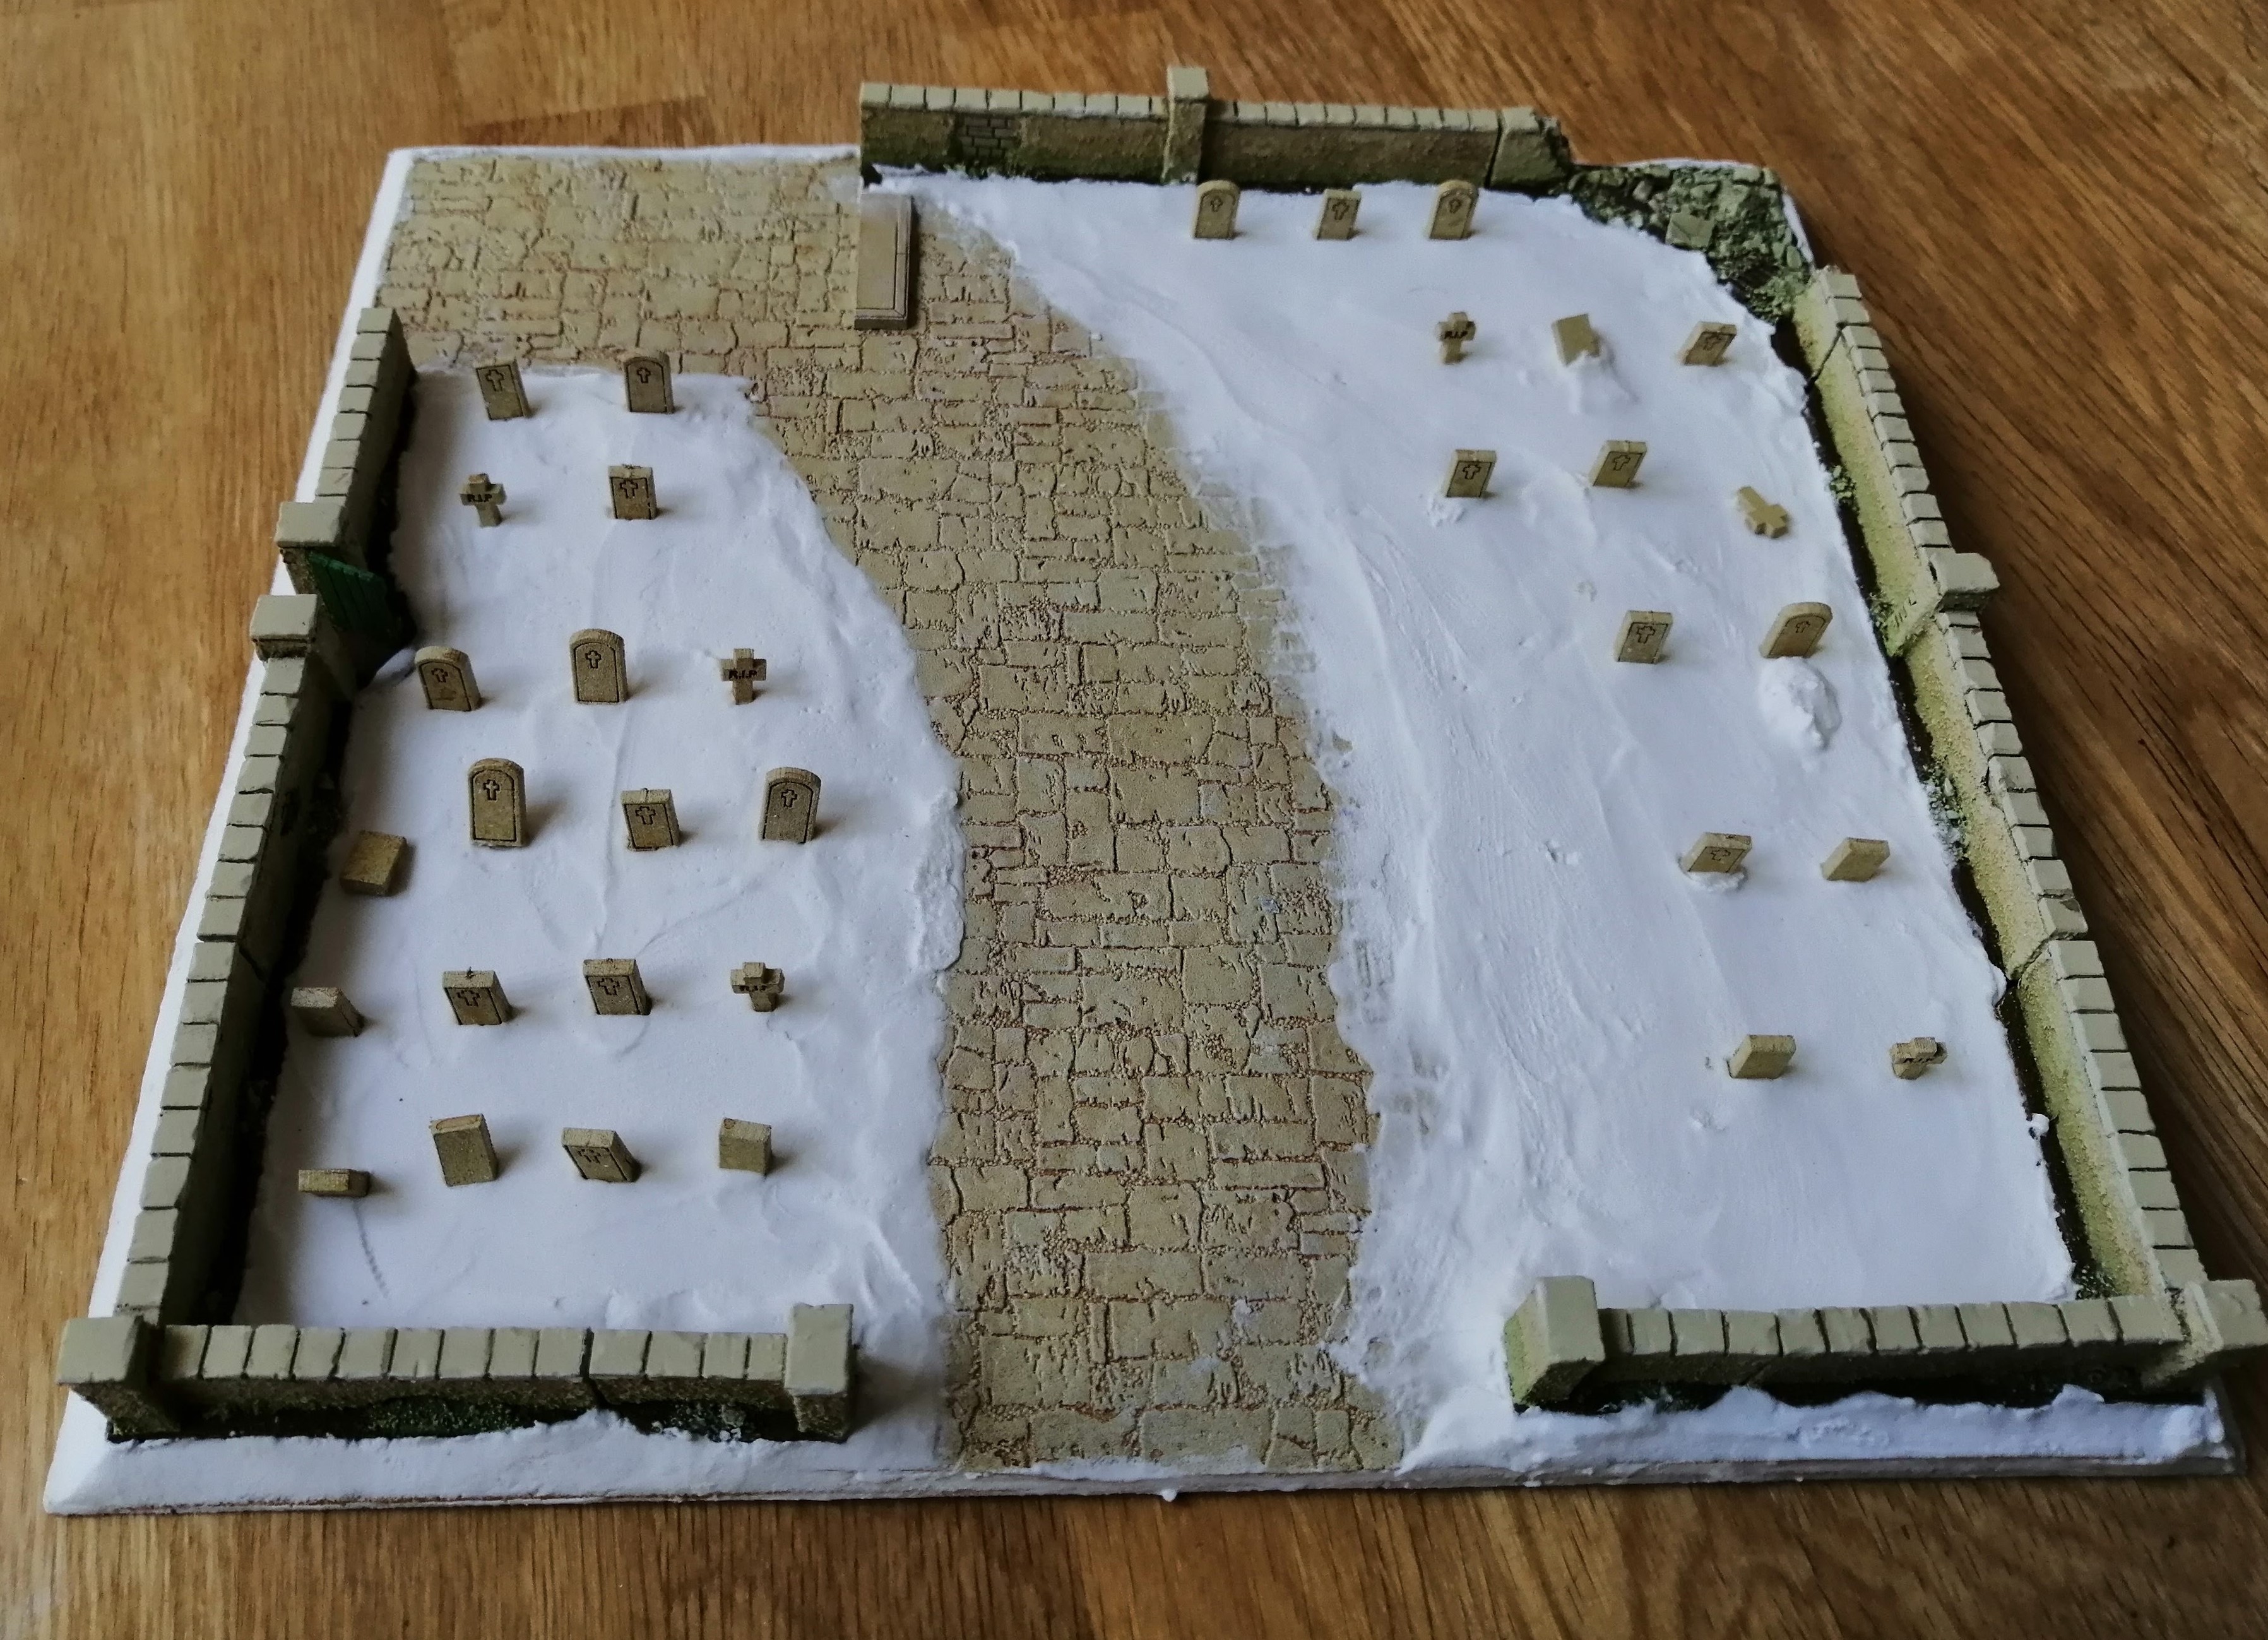
Building the base
I’d left the base as in the picture below, with the walls glued down and the stones painted and washed.
I need to start building out the grassy area and attaching the tomb stones. For this, I will be using Polyfilla. I’m also hoping that the resin walls will stop the base from warping as the Polyfilla dries….
I’ve marked out where the chapel will sit so that I don’t put Polyfilla over this area. I’ve decided to not glue the chapel down so that it can be used independently but want to make it look as if it is part of the terrain piece once it is in place. So having the Polyfilla up to the chapel, but not under it, should create that effect.
I’m applying the Polyfilla with a trusty blunt knife and then smoothing it out with a wet finger, taking care to remove the excess water with a paper towel.
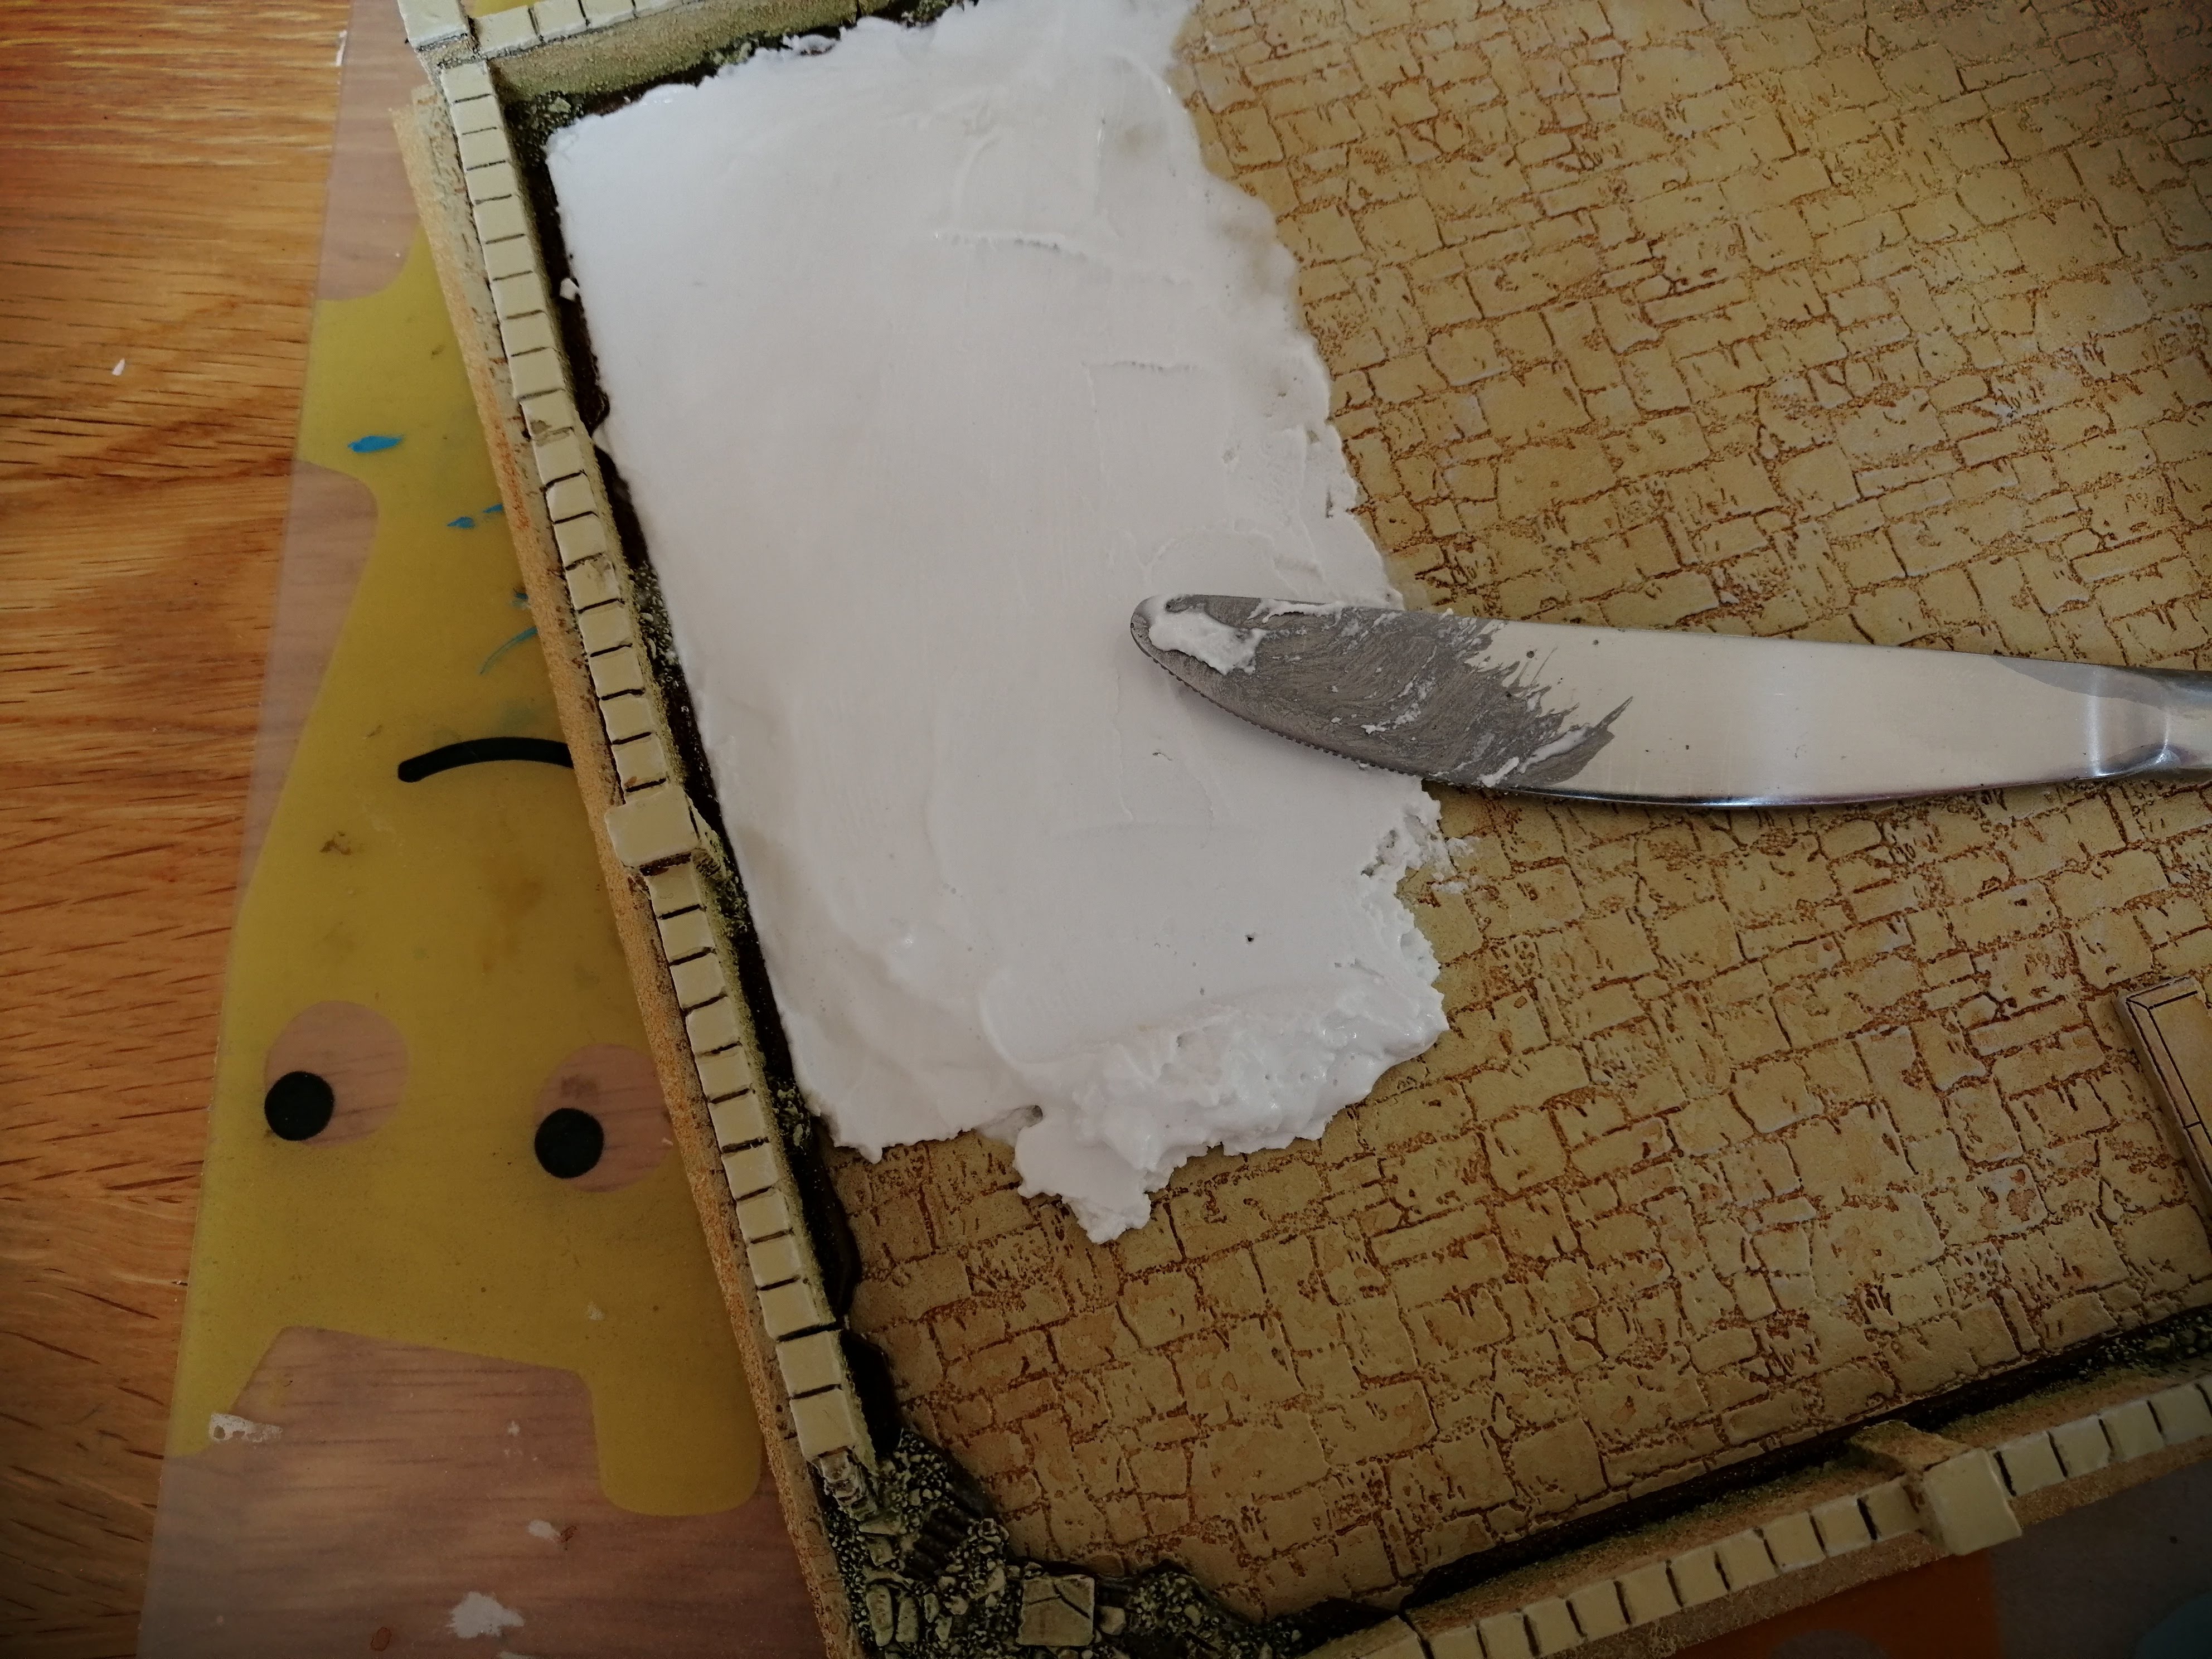
The central part of the terrain will leave the ‘stones’ exposed to create a path. I’ll complete each side separately and let it dry to avoid warping problems.
I’ve pushed the tomb stones into the Polyfilla and once it is dry, I’ll add some superglue to give them more strength.
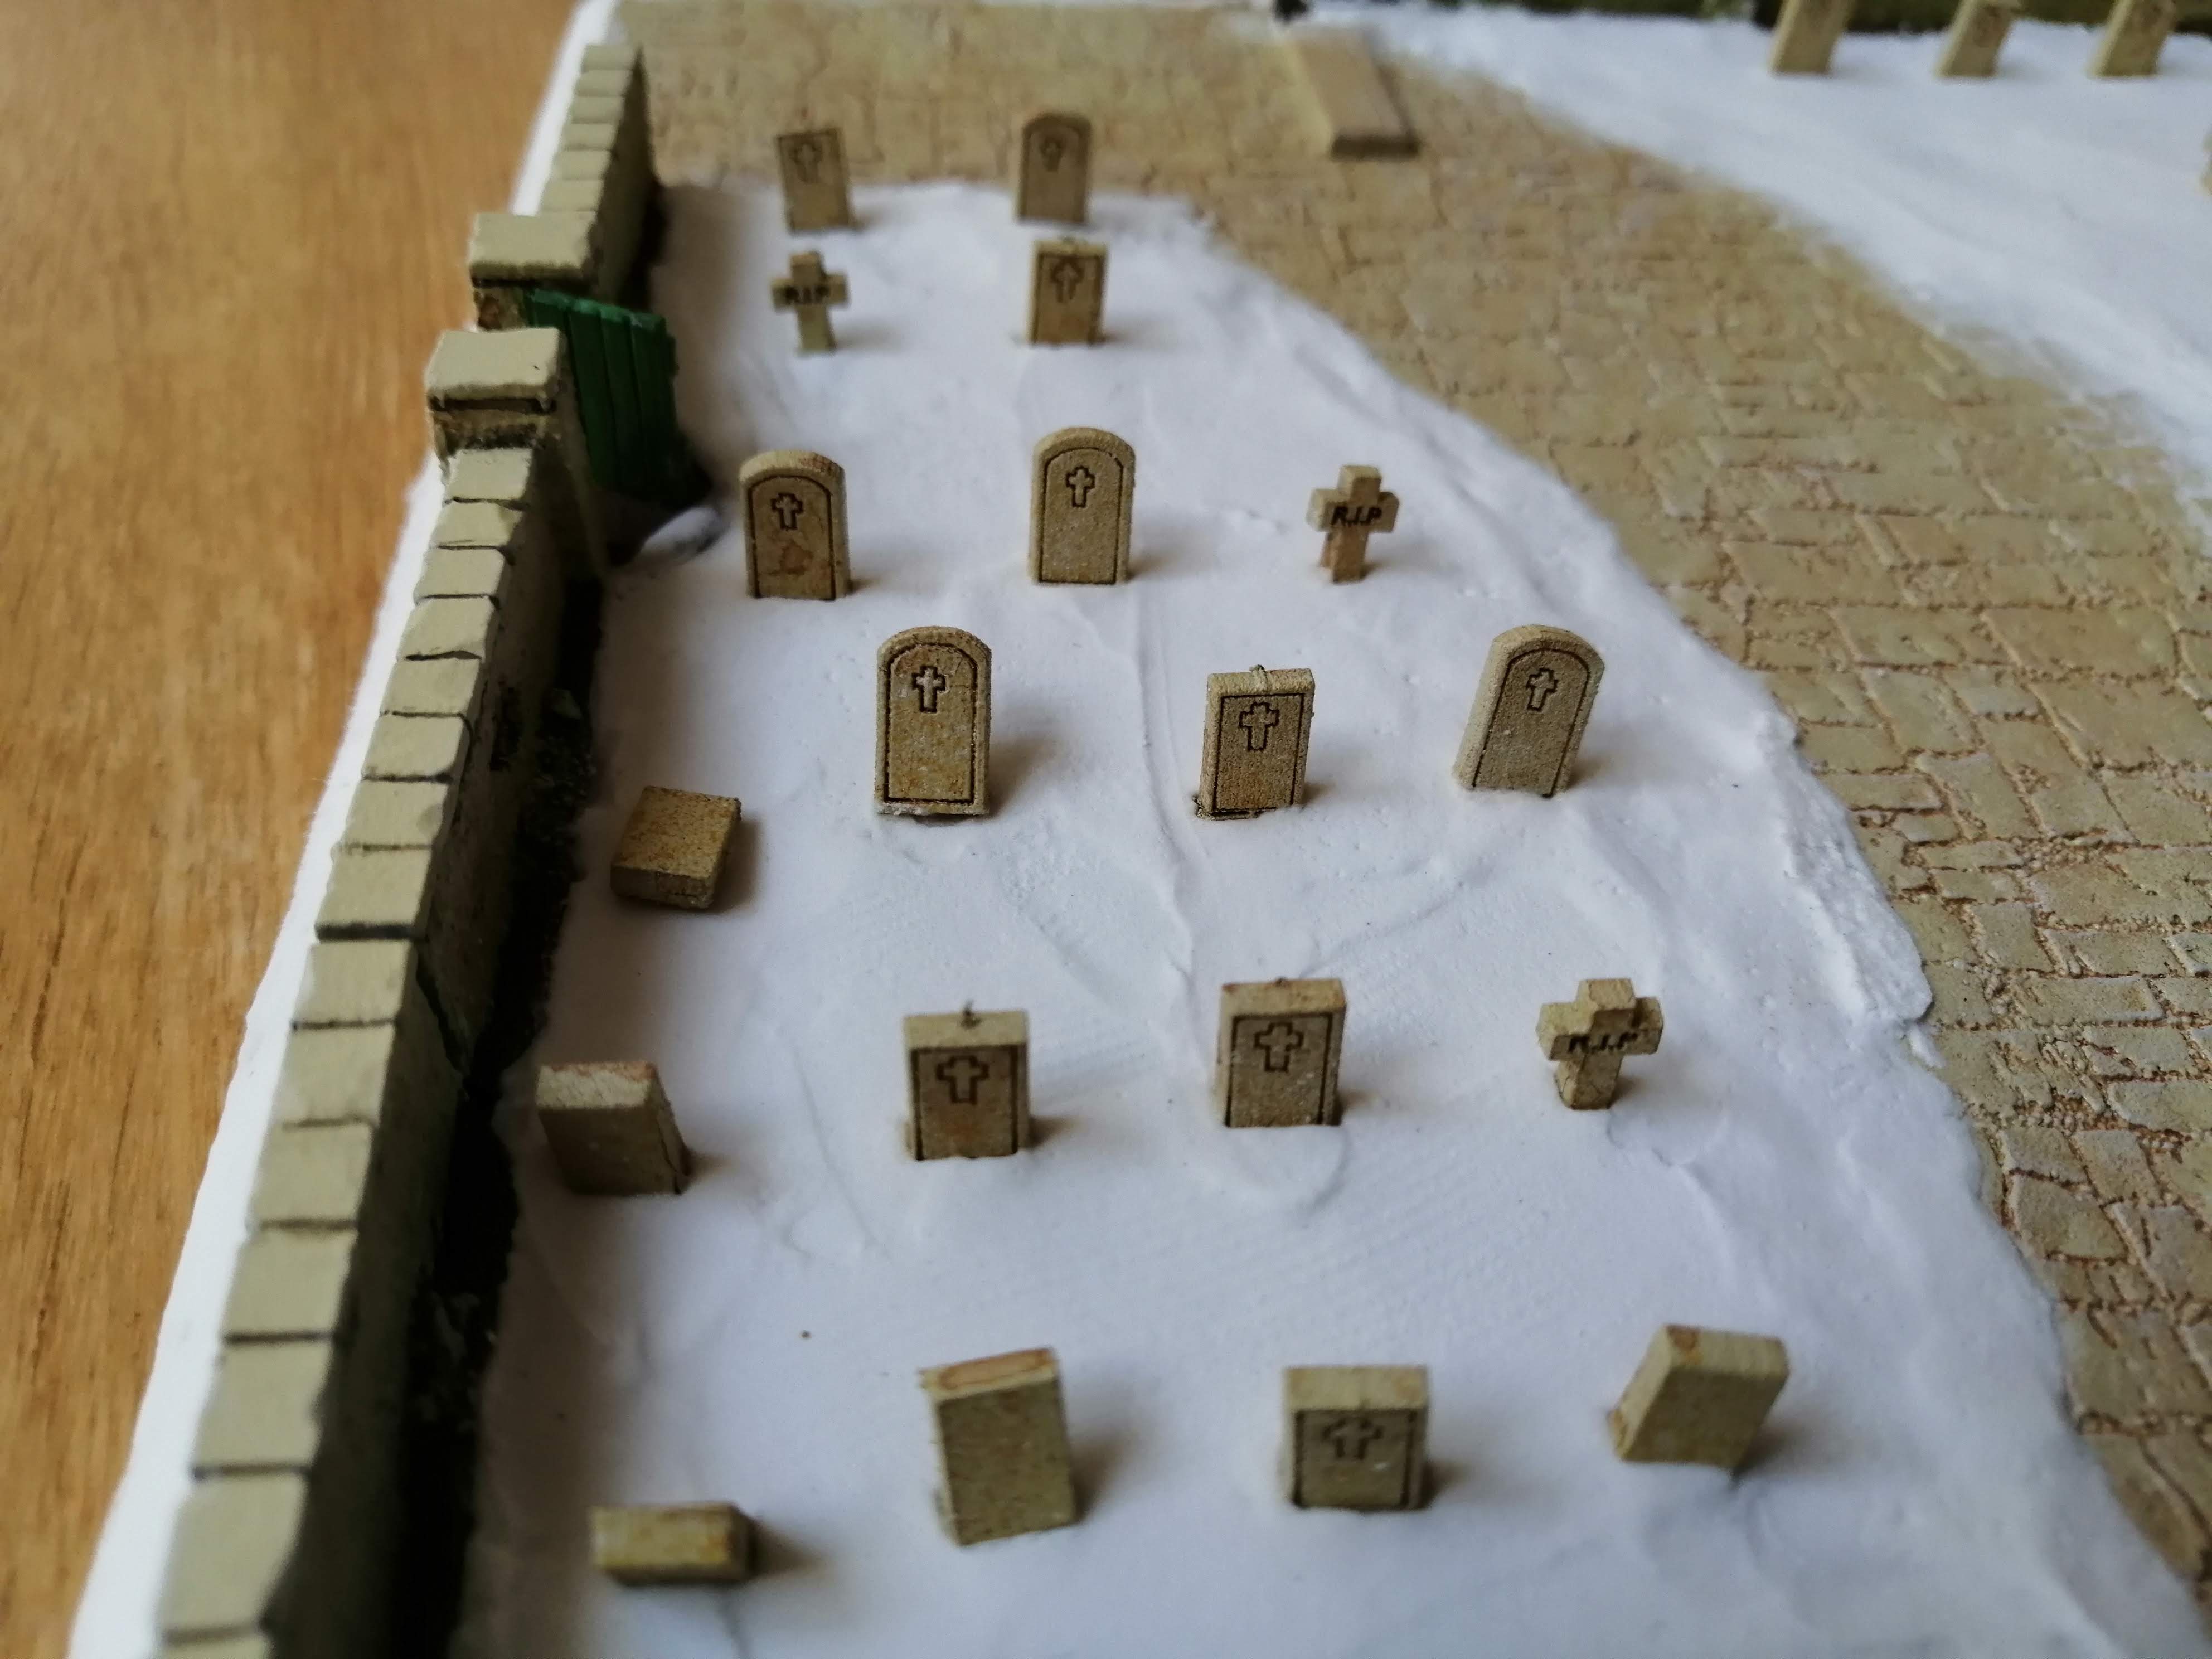
To further try to avoid warping, I’ve put some damp kitchen paper over the top

It took about 24 hours for each area to dry fully. Here’s the completed base all ready for a base coat.
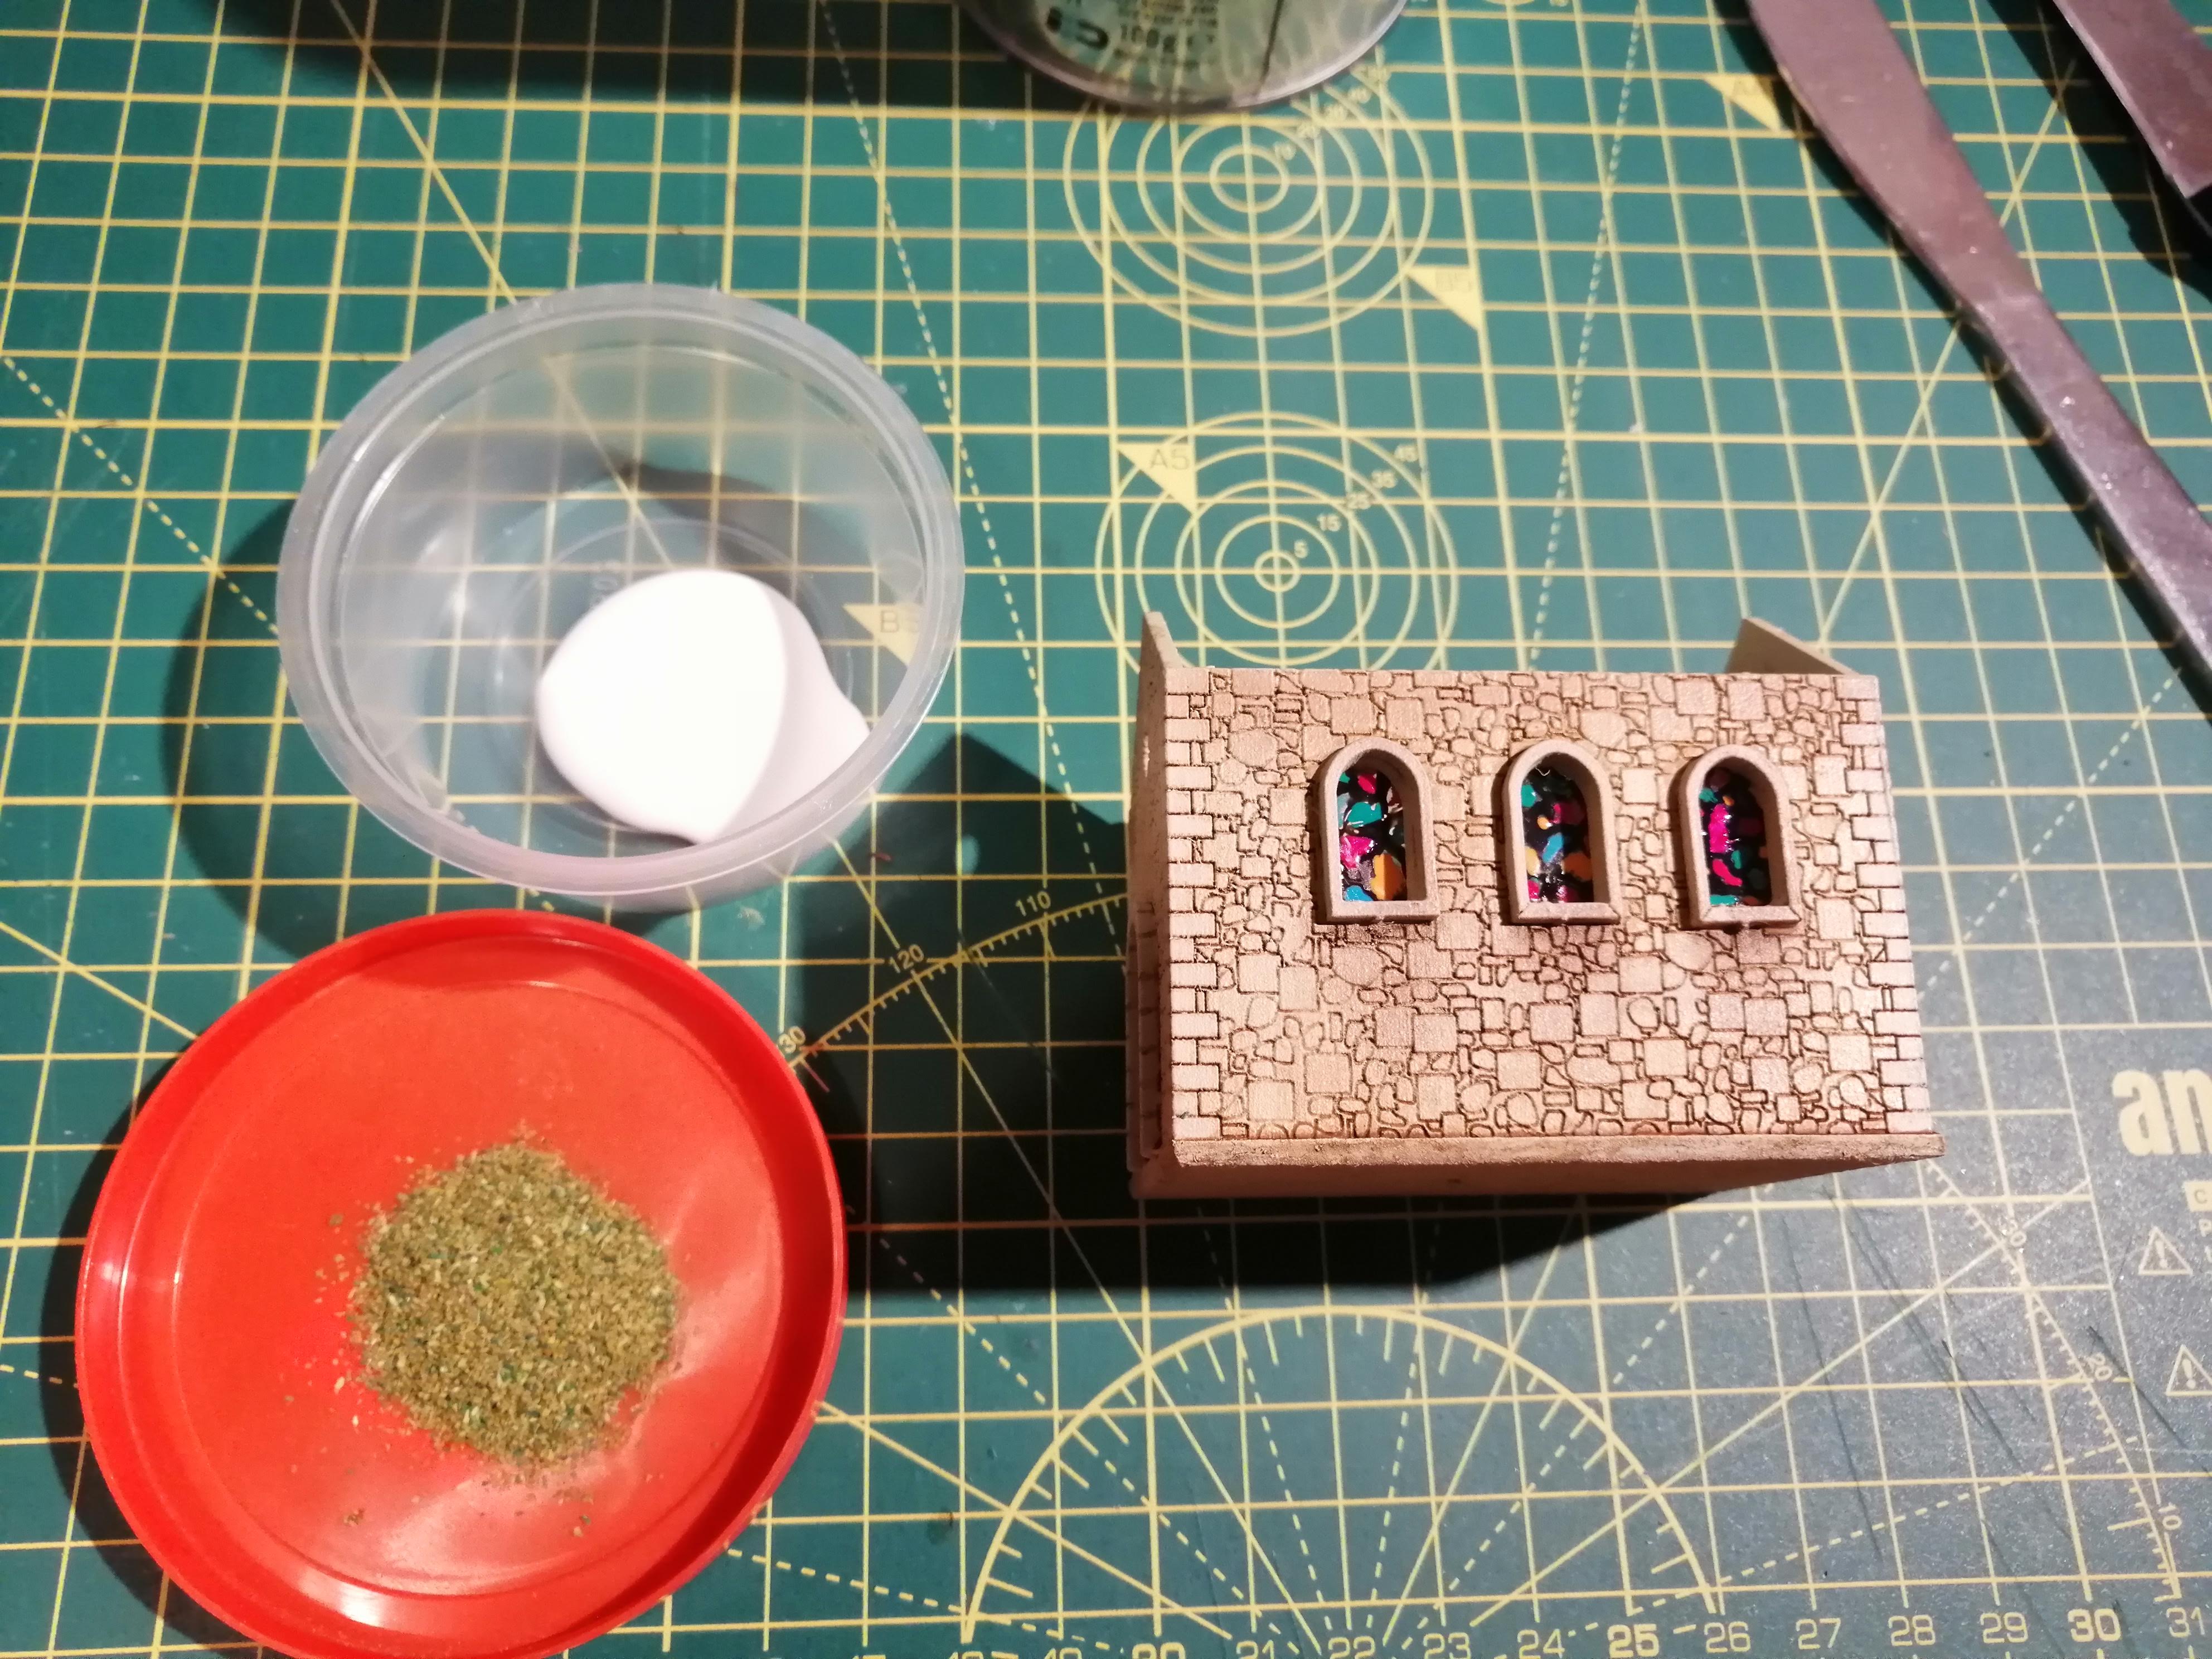
Stained glass windows
Rather than have gaping holes where the windows should be, I’d like to put something in there. To this end, I’m going to try to make some stained glass windows.
At this scale, trying anything too detailed isn’t going to be possible for the simple reason that my artistic skills just won’t cut it. So I’m going to aim for an approximation of stained glass windows.
I’m going to try to use nail varnish on plastic to recreate the look. I raided my daughter’s bedroom and came up with the following
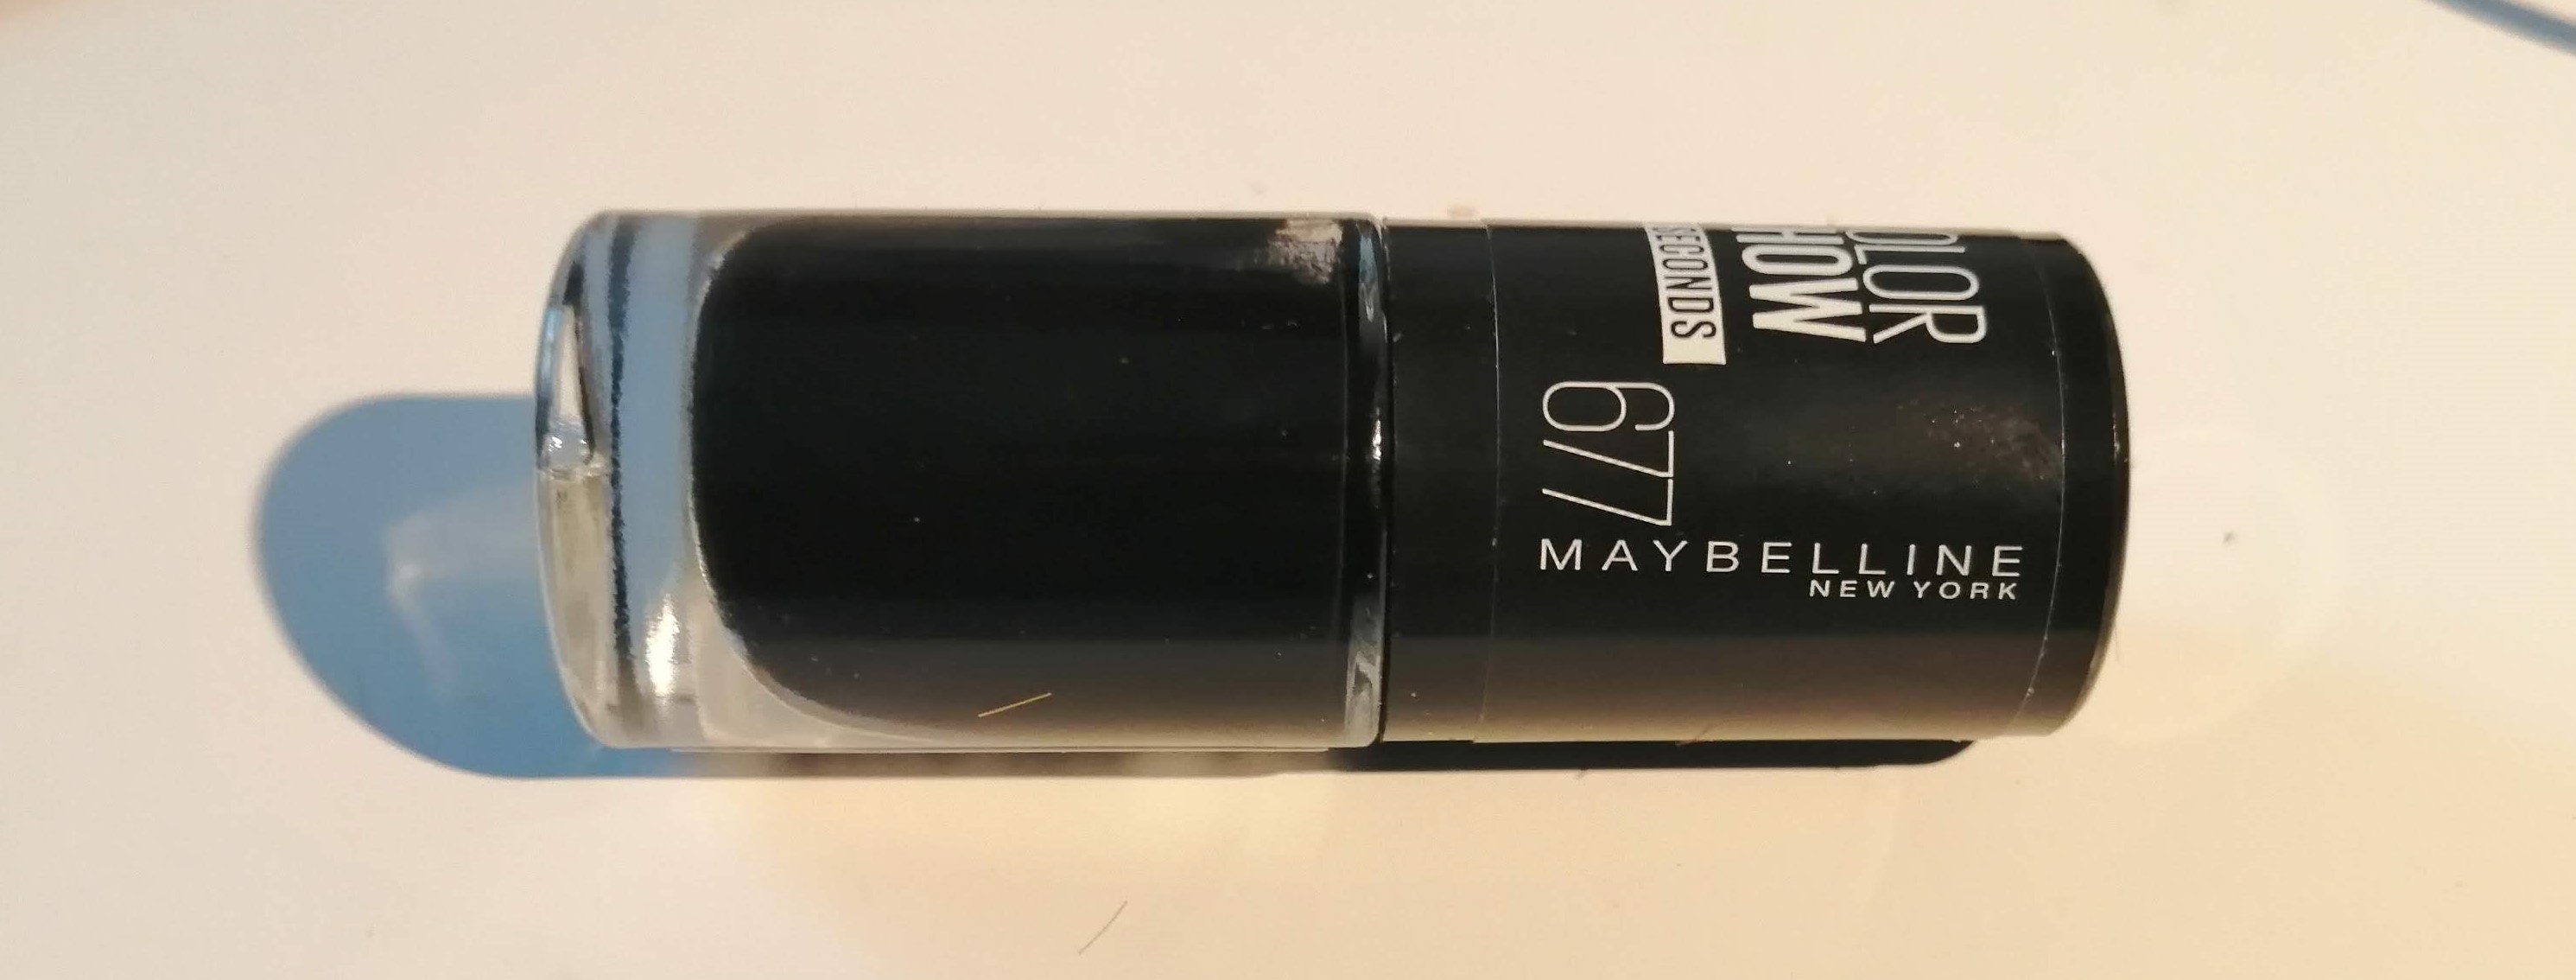 Maybe she's born with it, maybe it's.....
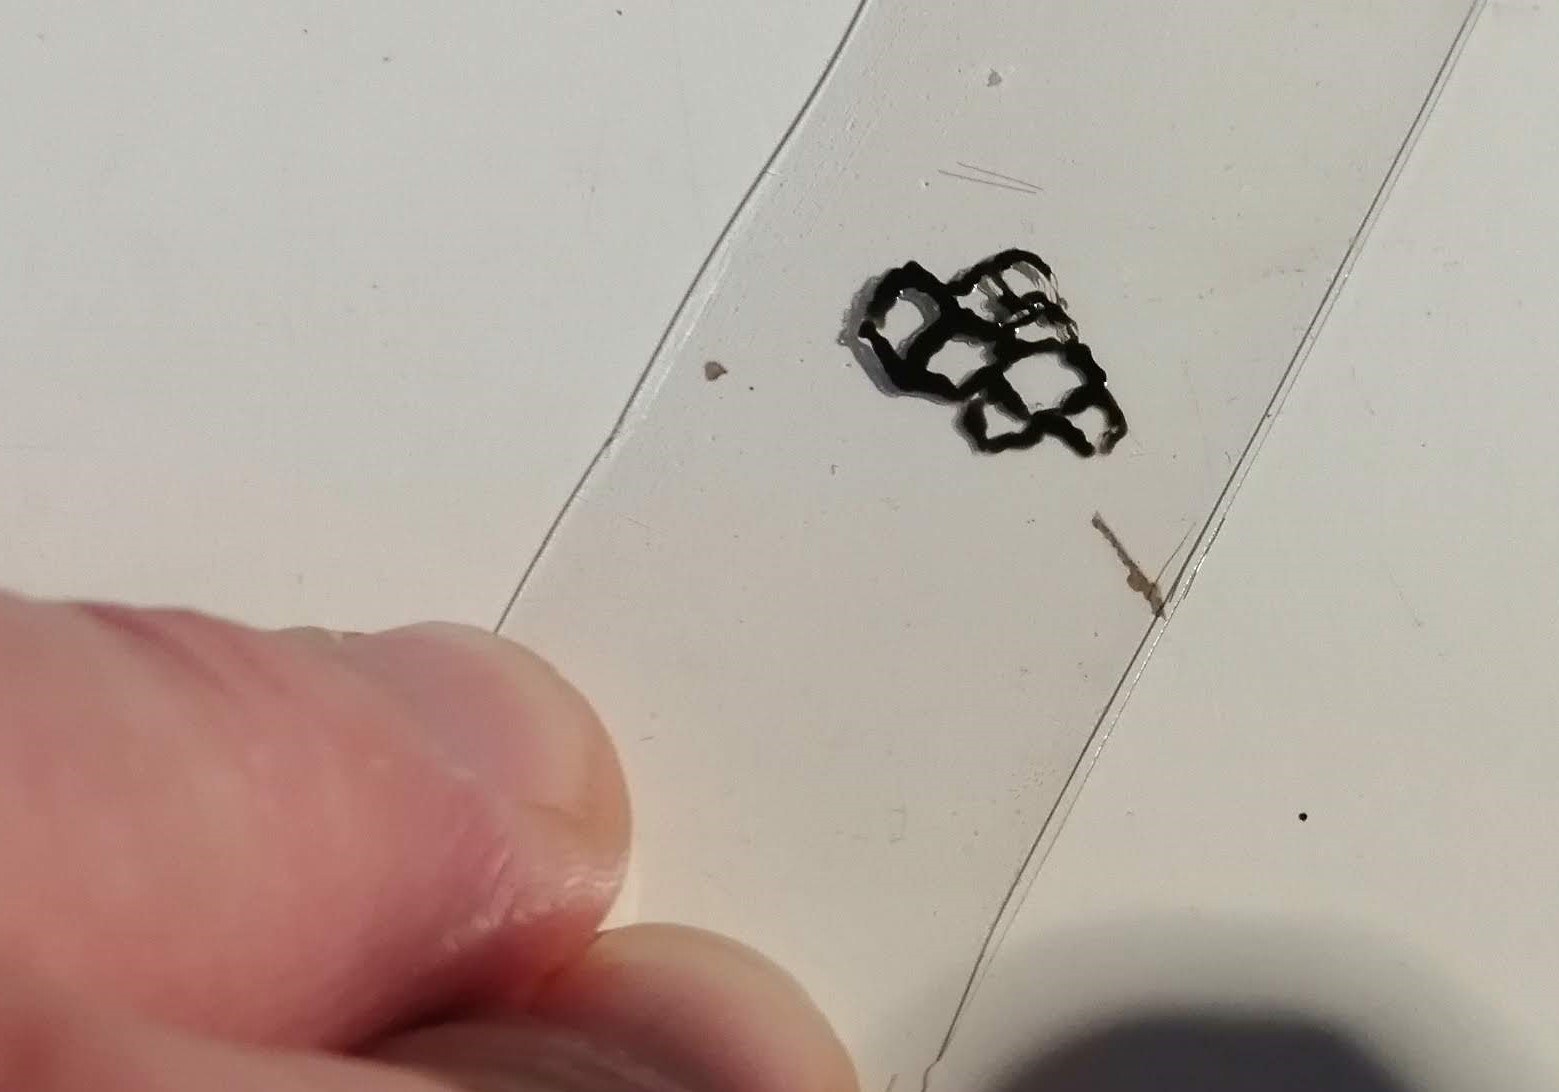
The plastic I’m using is just cut up plastic packaging that supermarkets seem to love putting things in.
Starting with the black, I’ve painted lead frames. Once this dried, I went in with the colours and blobbed these in between. Once dry, it creates a translucent look.
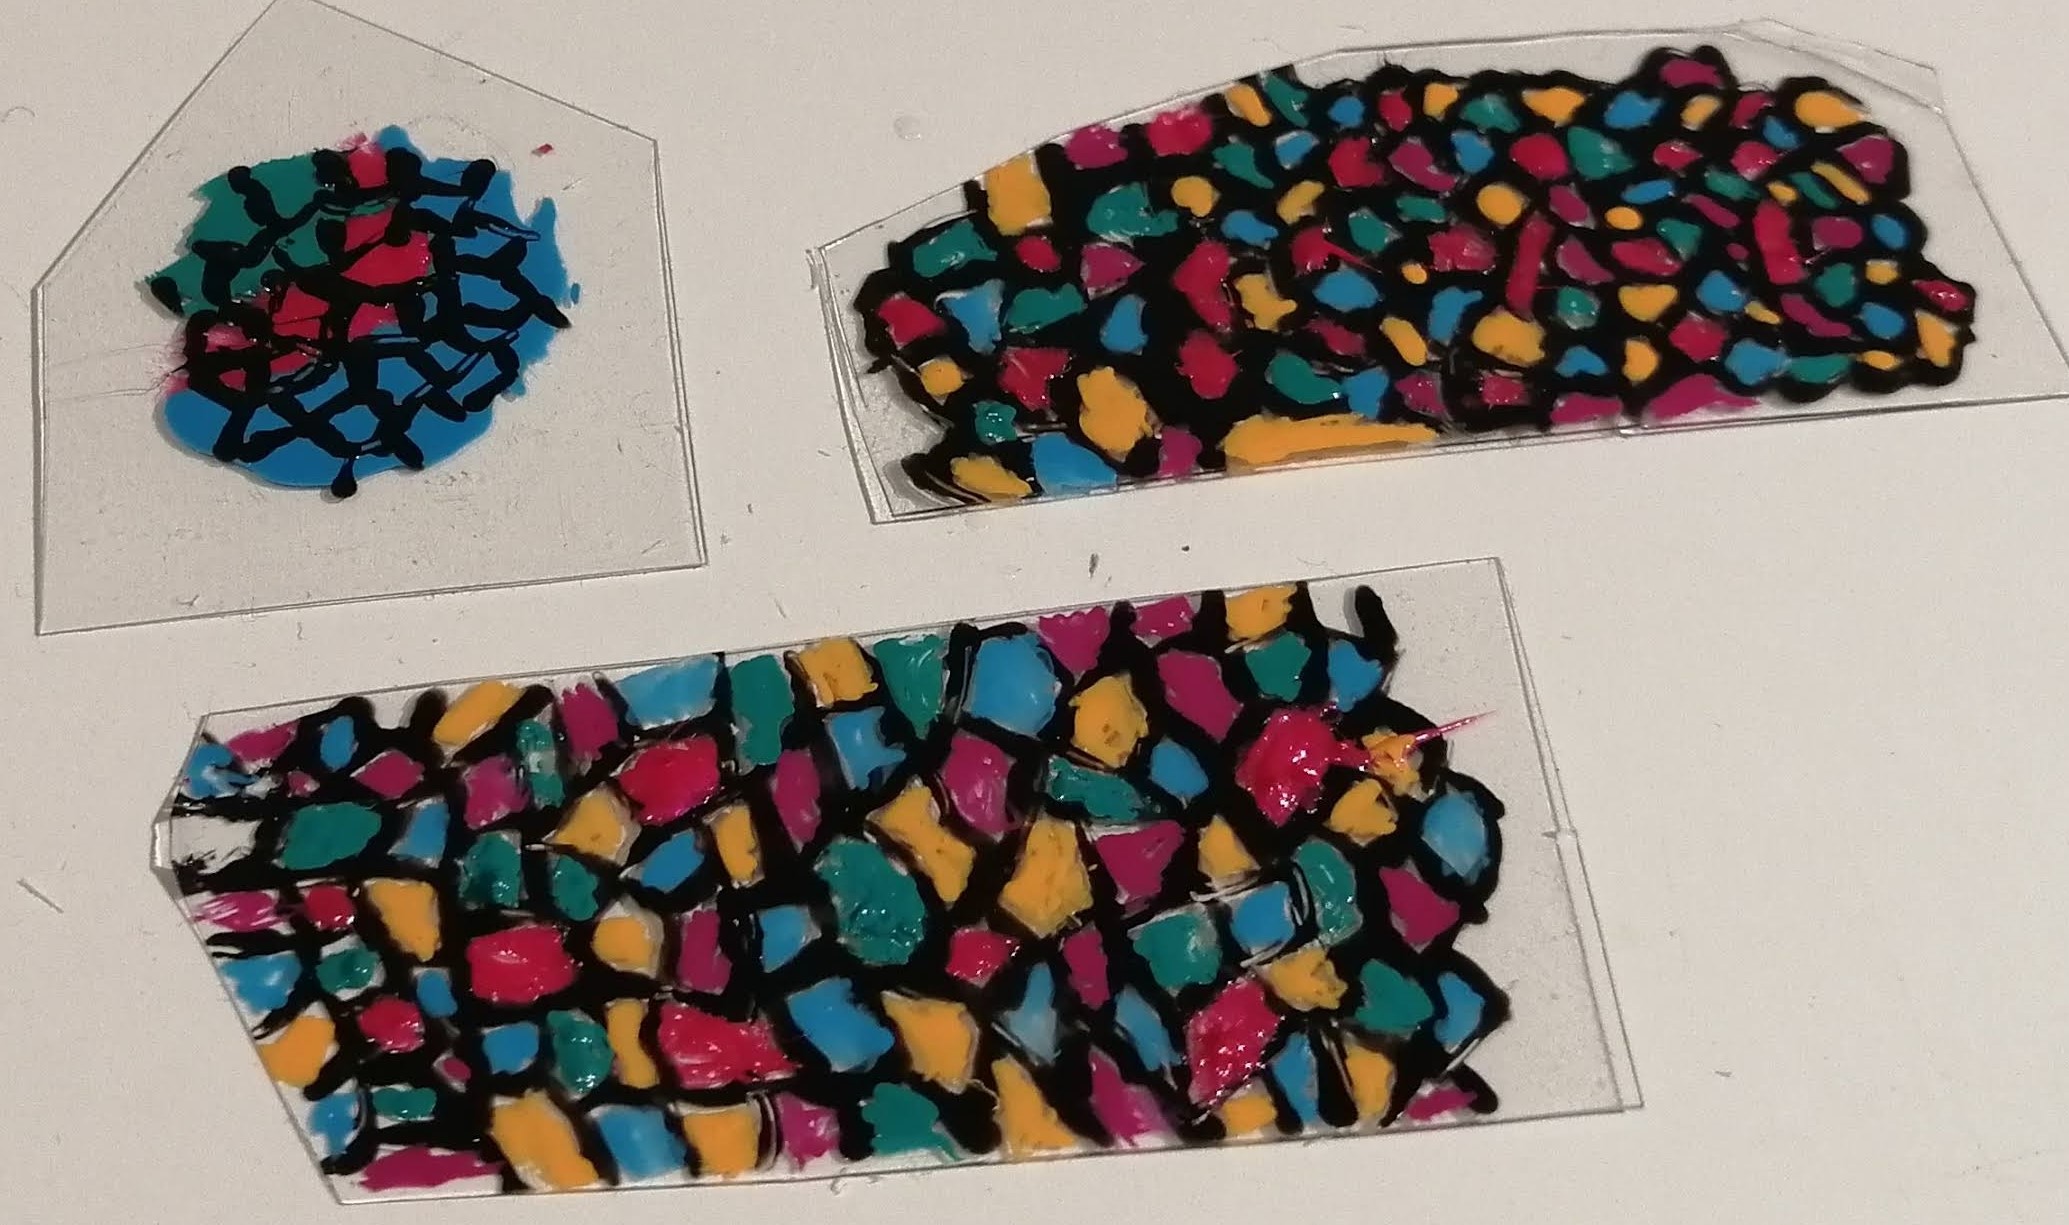
All I can say, is that nail varnish is the worst ‘paint’ that I have ever worked with. I swore a lot. I really wouldn’t recommend it and if I need to do this again in the future, I think it would be easier to print out a real stain glass window at the right scale and use that.
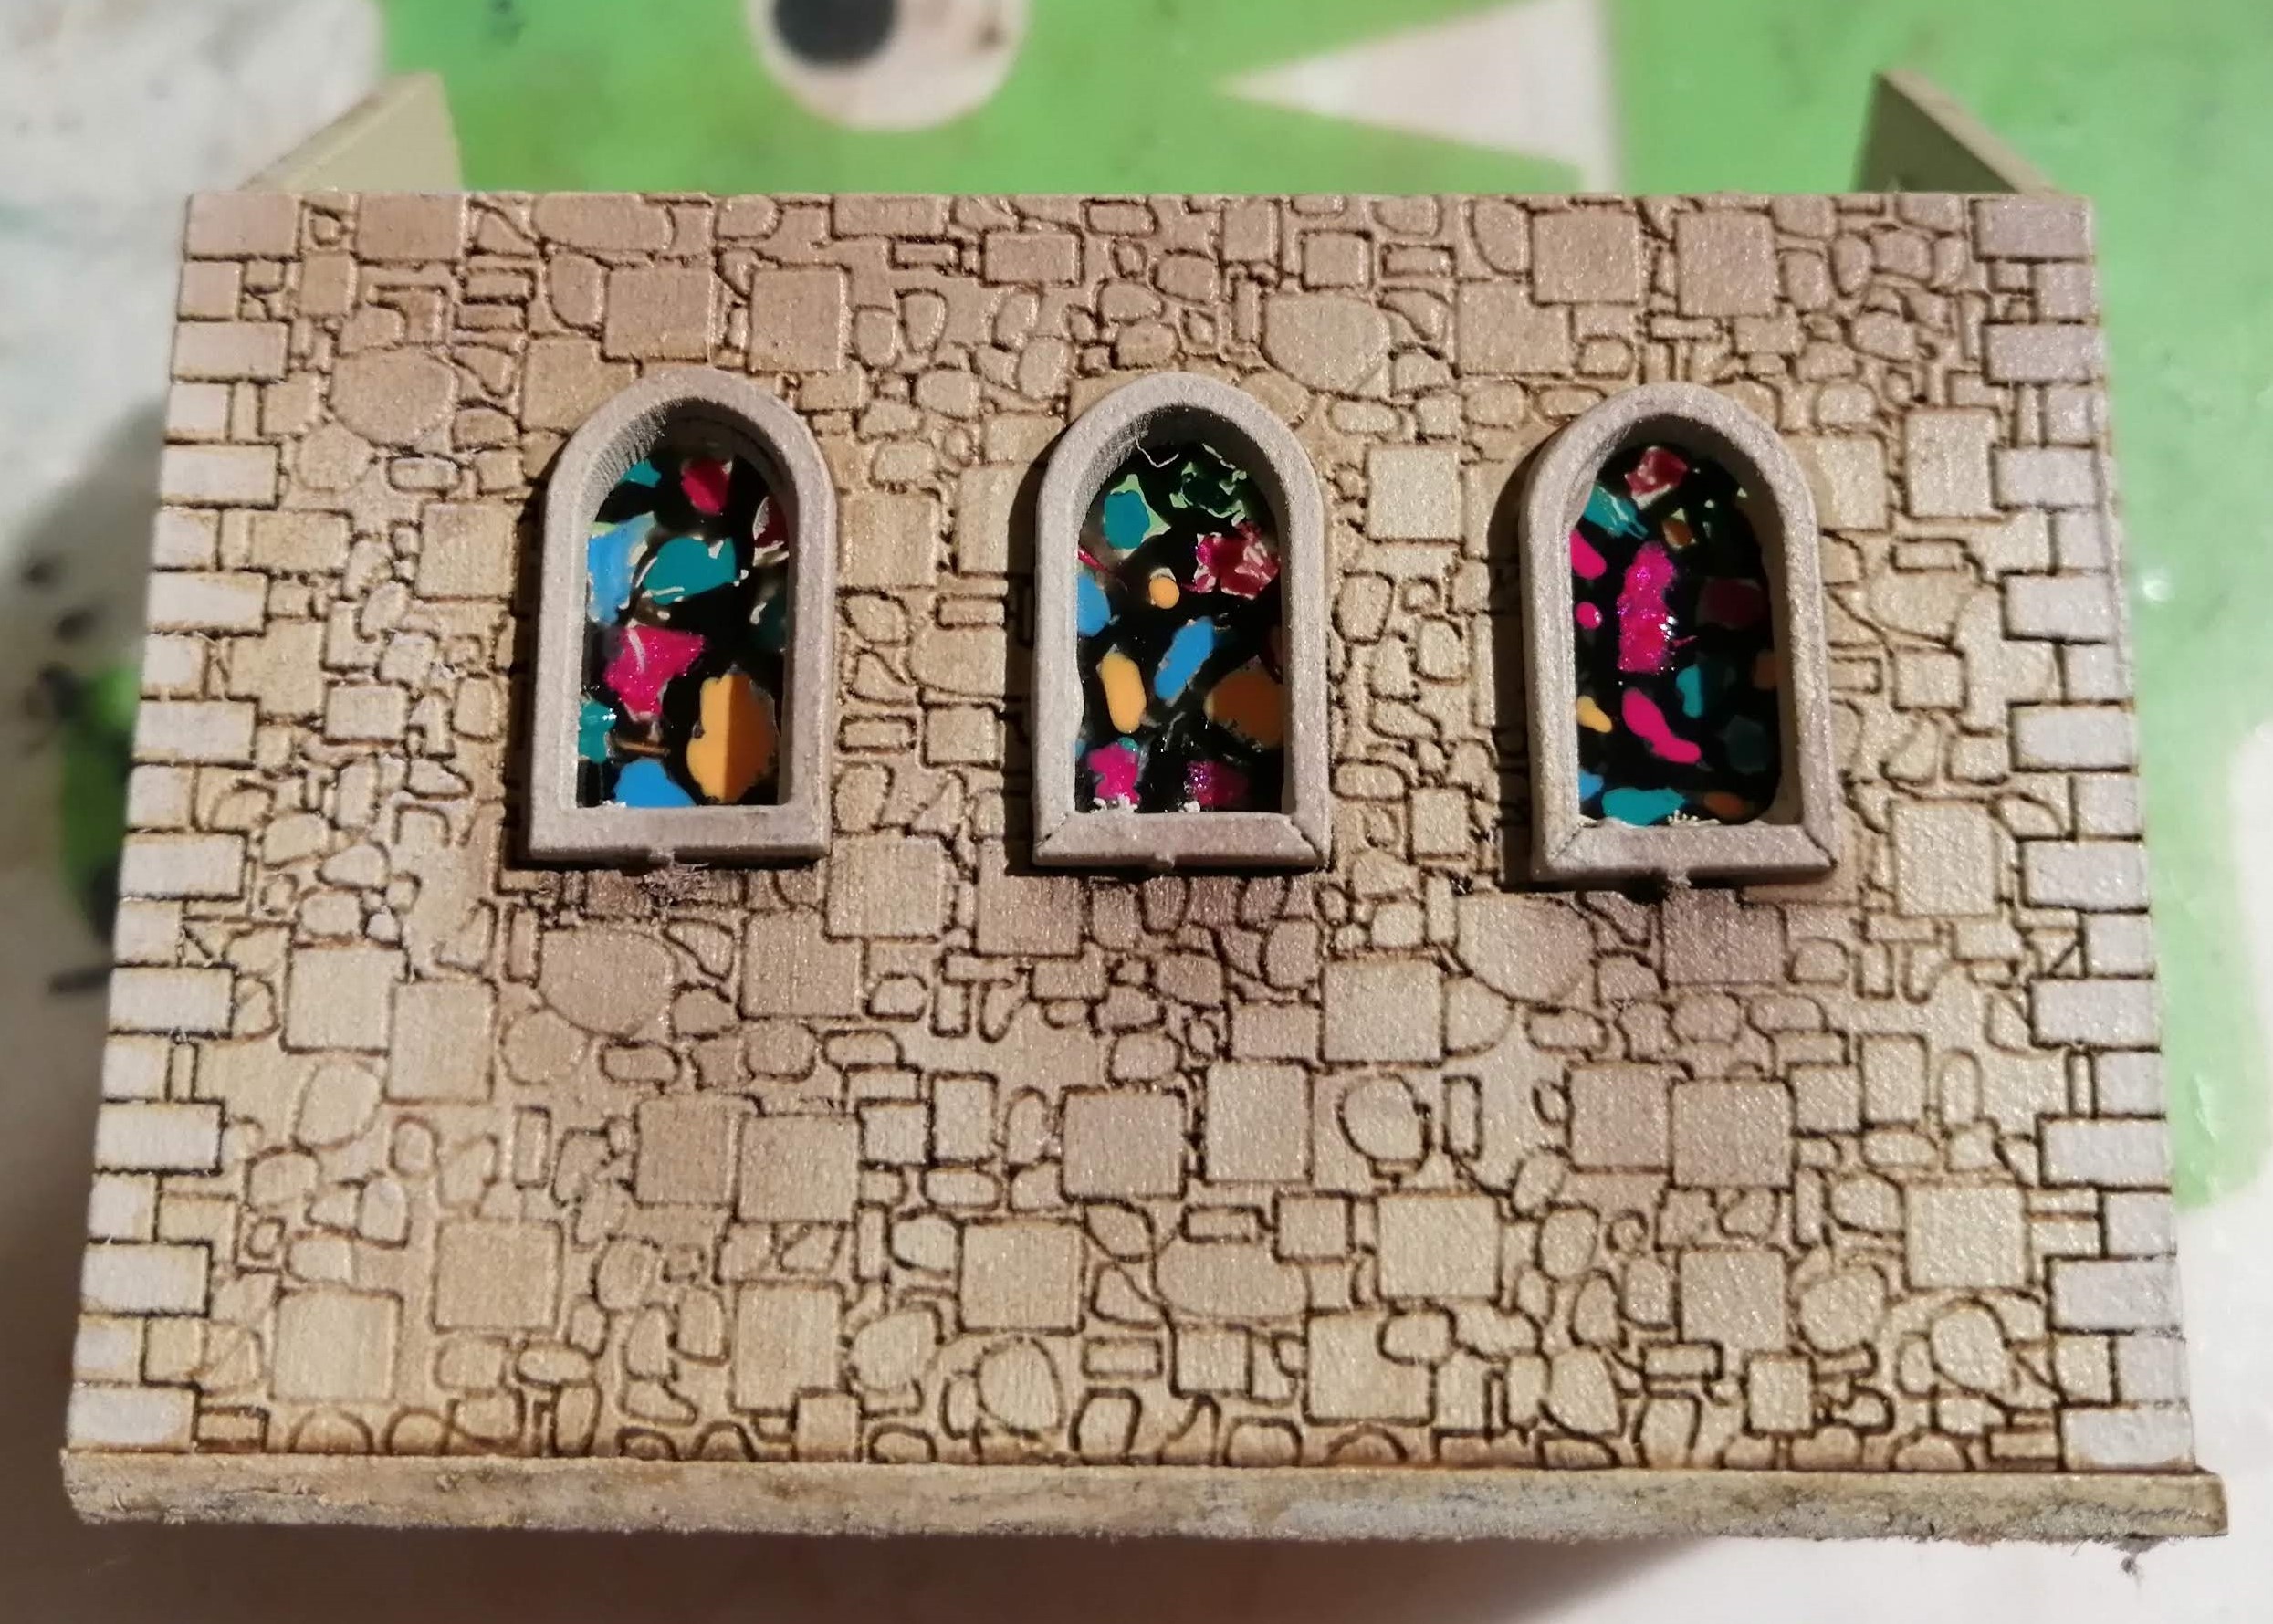
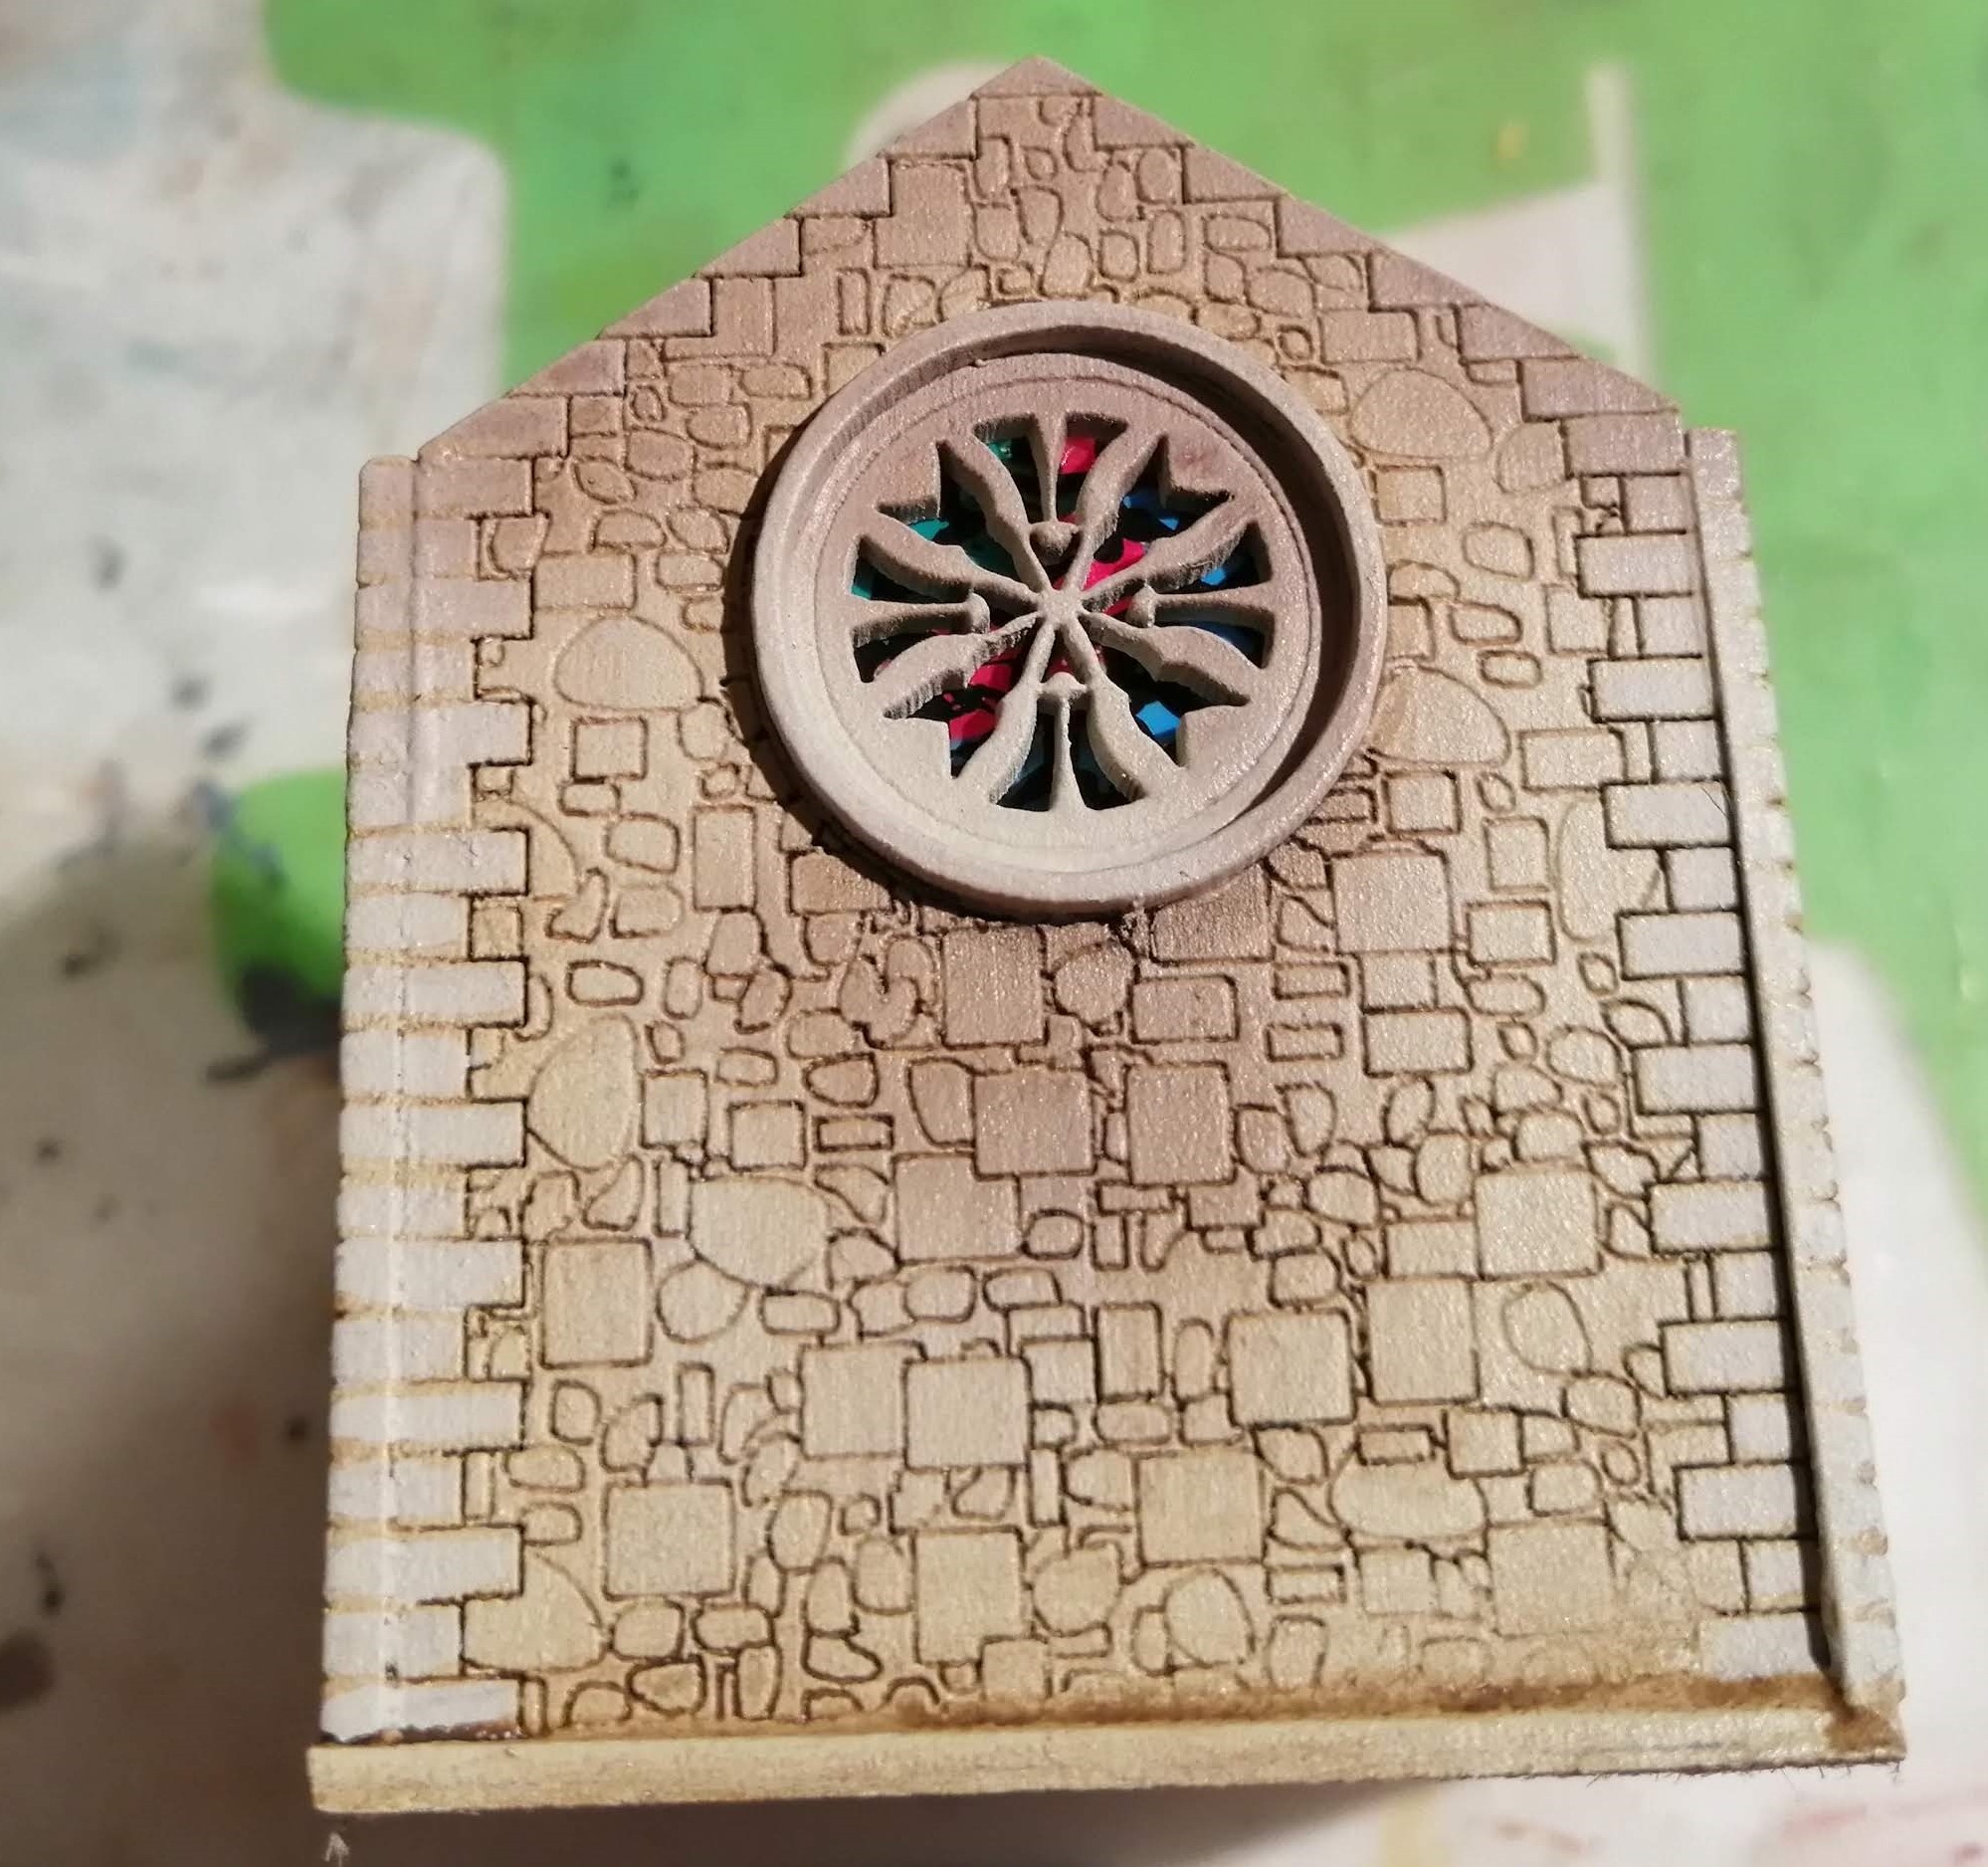
Once all the nail varnish was dry, I applied a gloss varnish over the top and then stuck this to the inside of the chapel
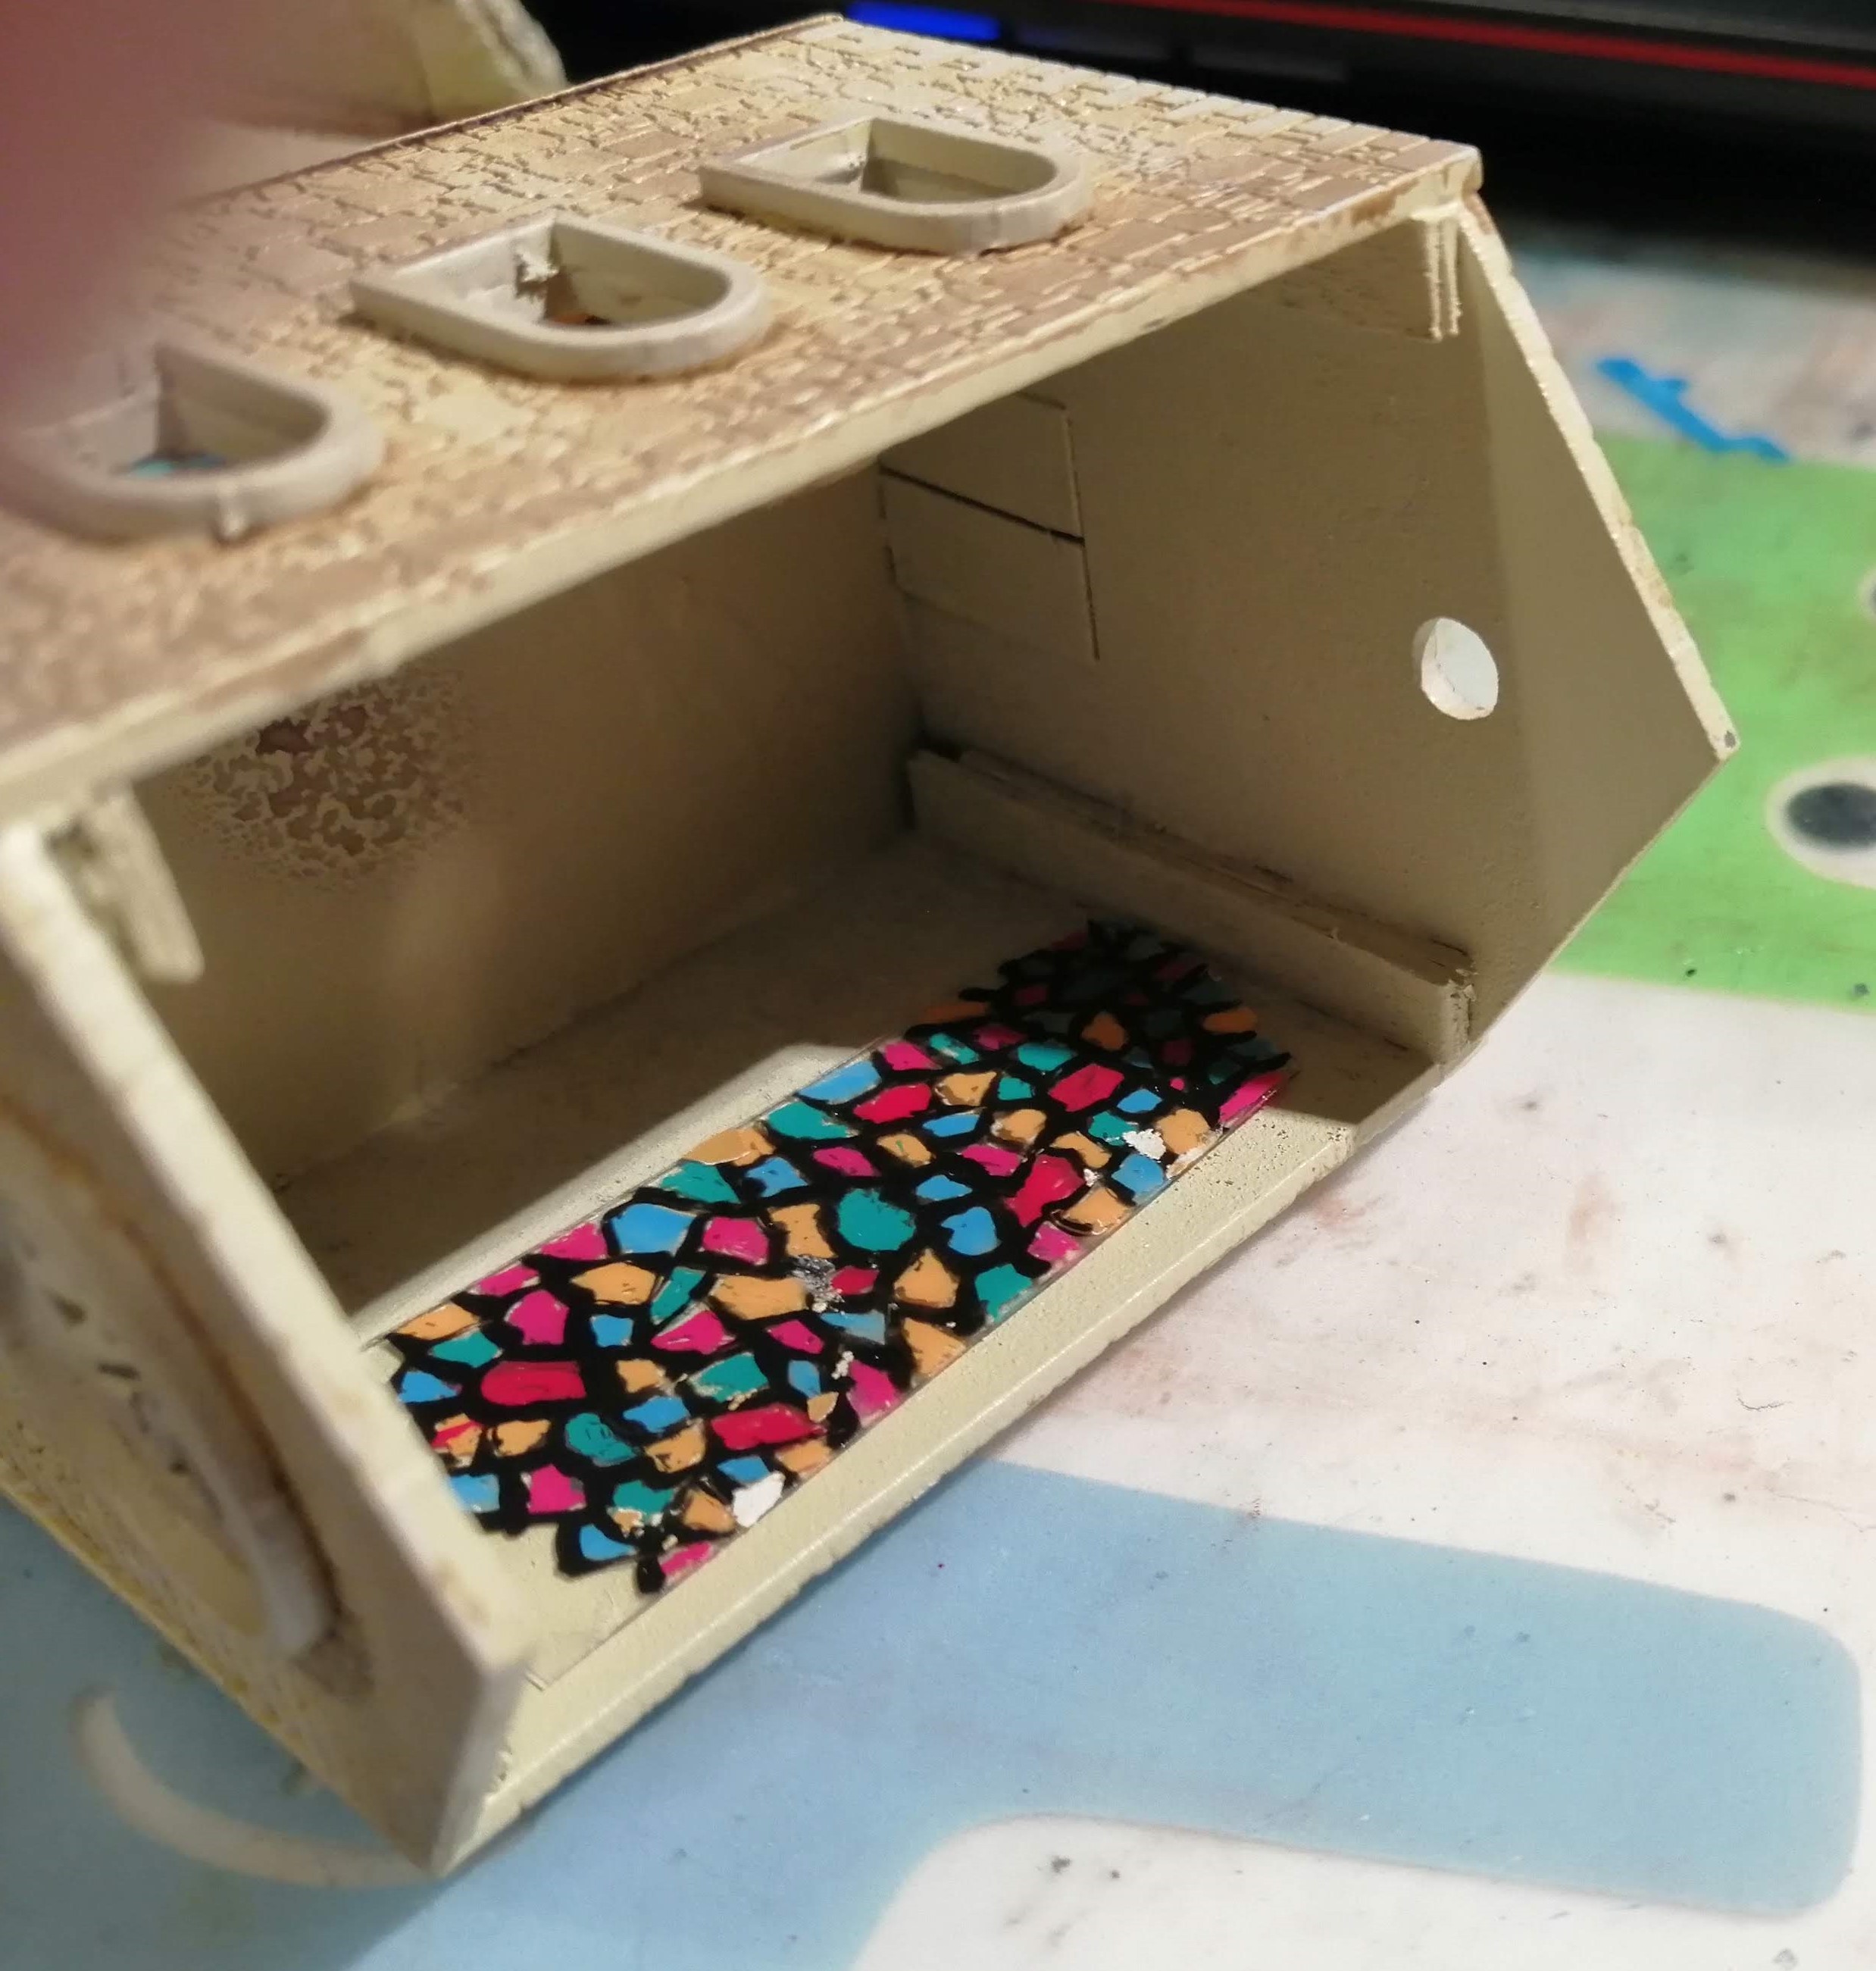
The size of the glass is too big for the scale of the chapel but I quite like the look and it’s definitely better than the gaping holes that were there before
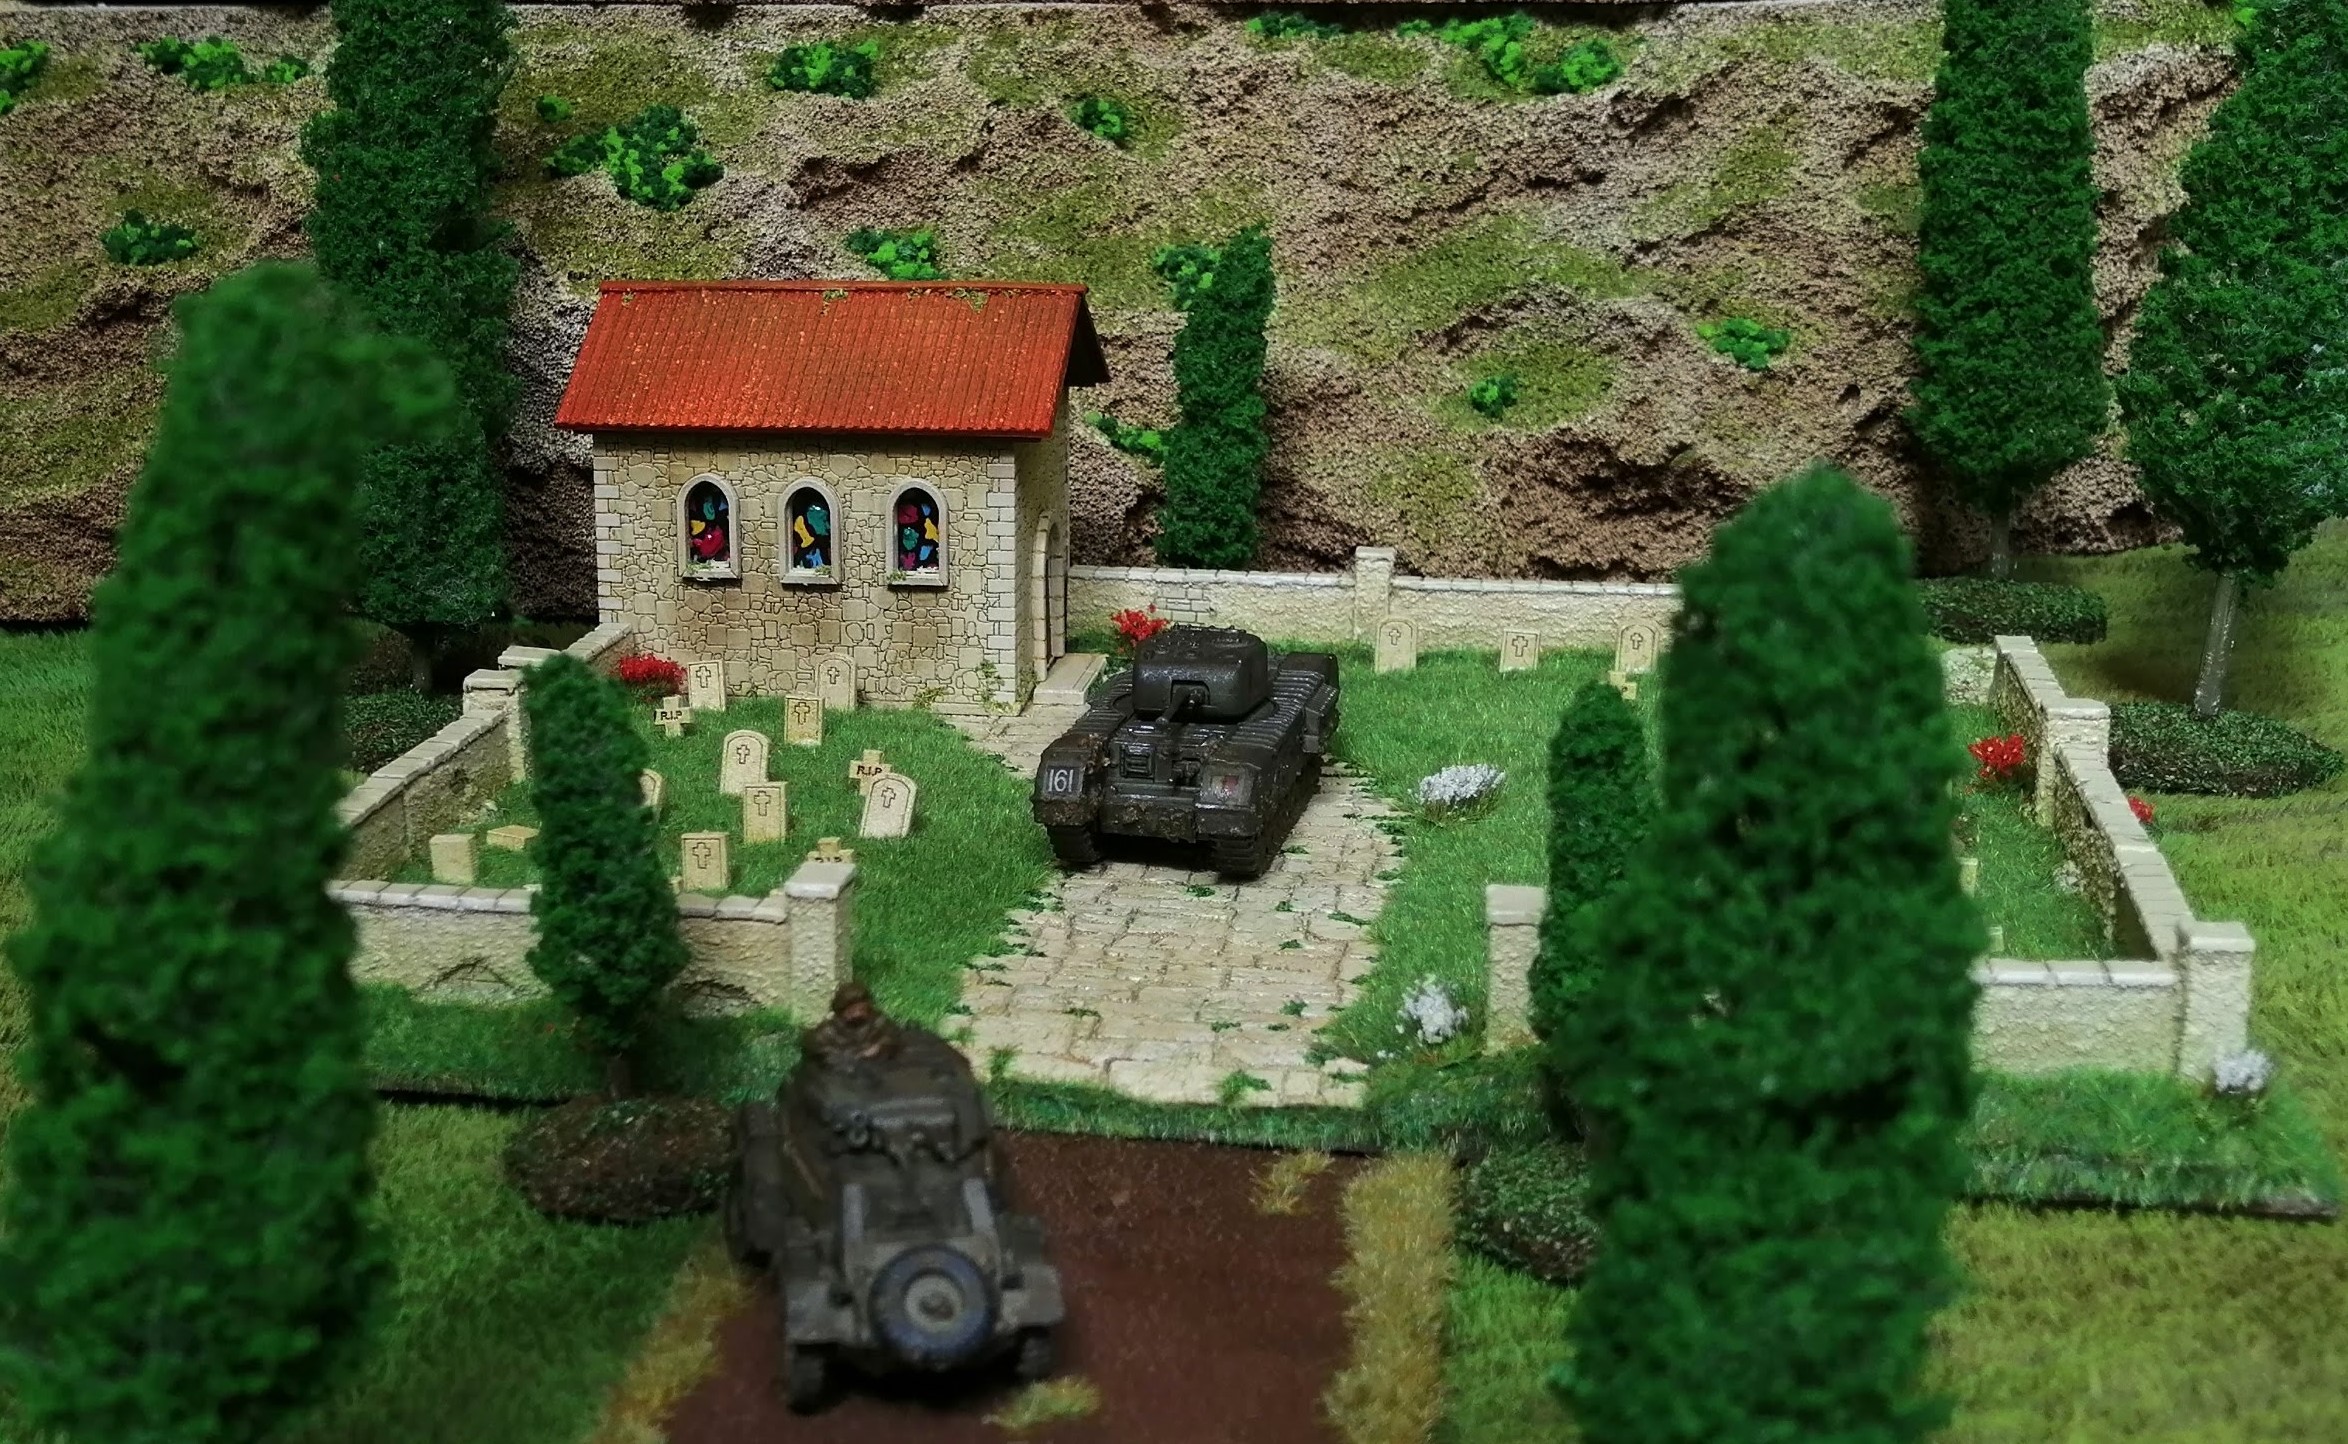
Trees!
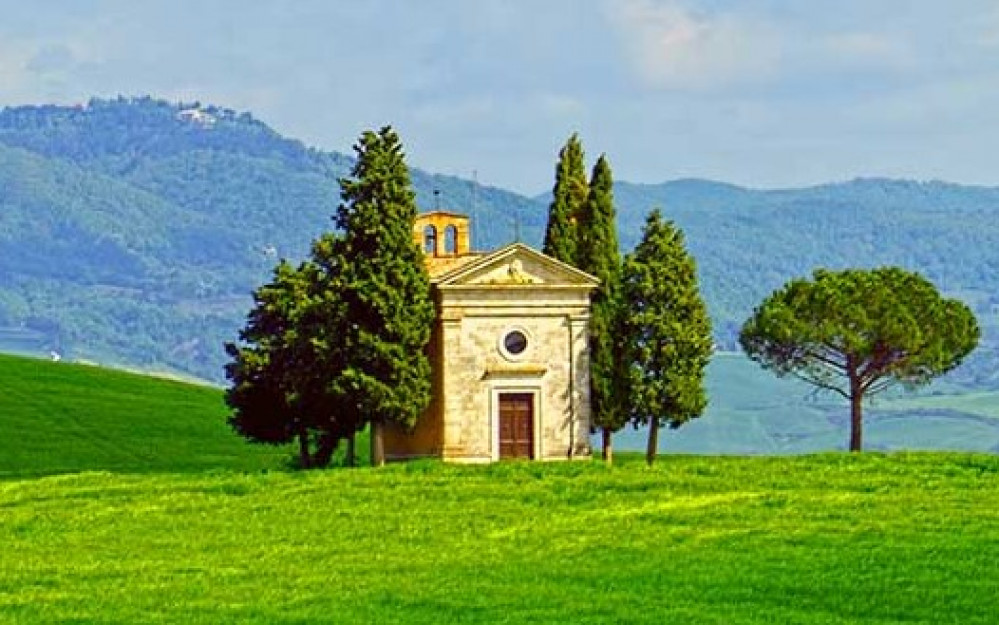
Looking at some sample photos of Tuscany and the Italian countryside, the cypress tree is very common, lining many roads and dotted around the terrain. As an example, here’s a lovely photo of Tuscany.

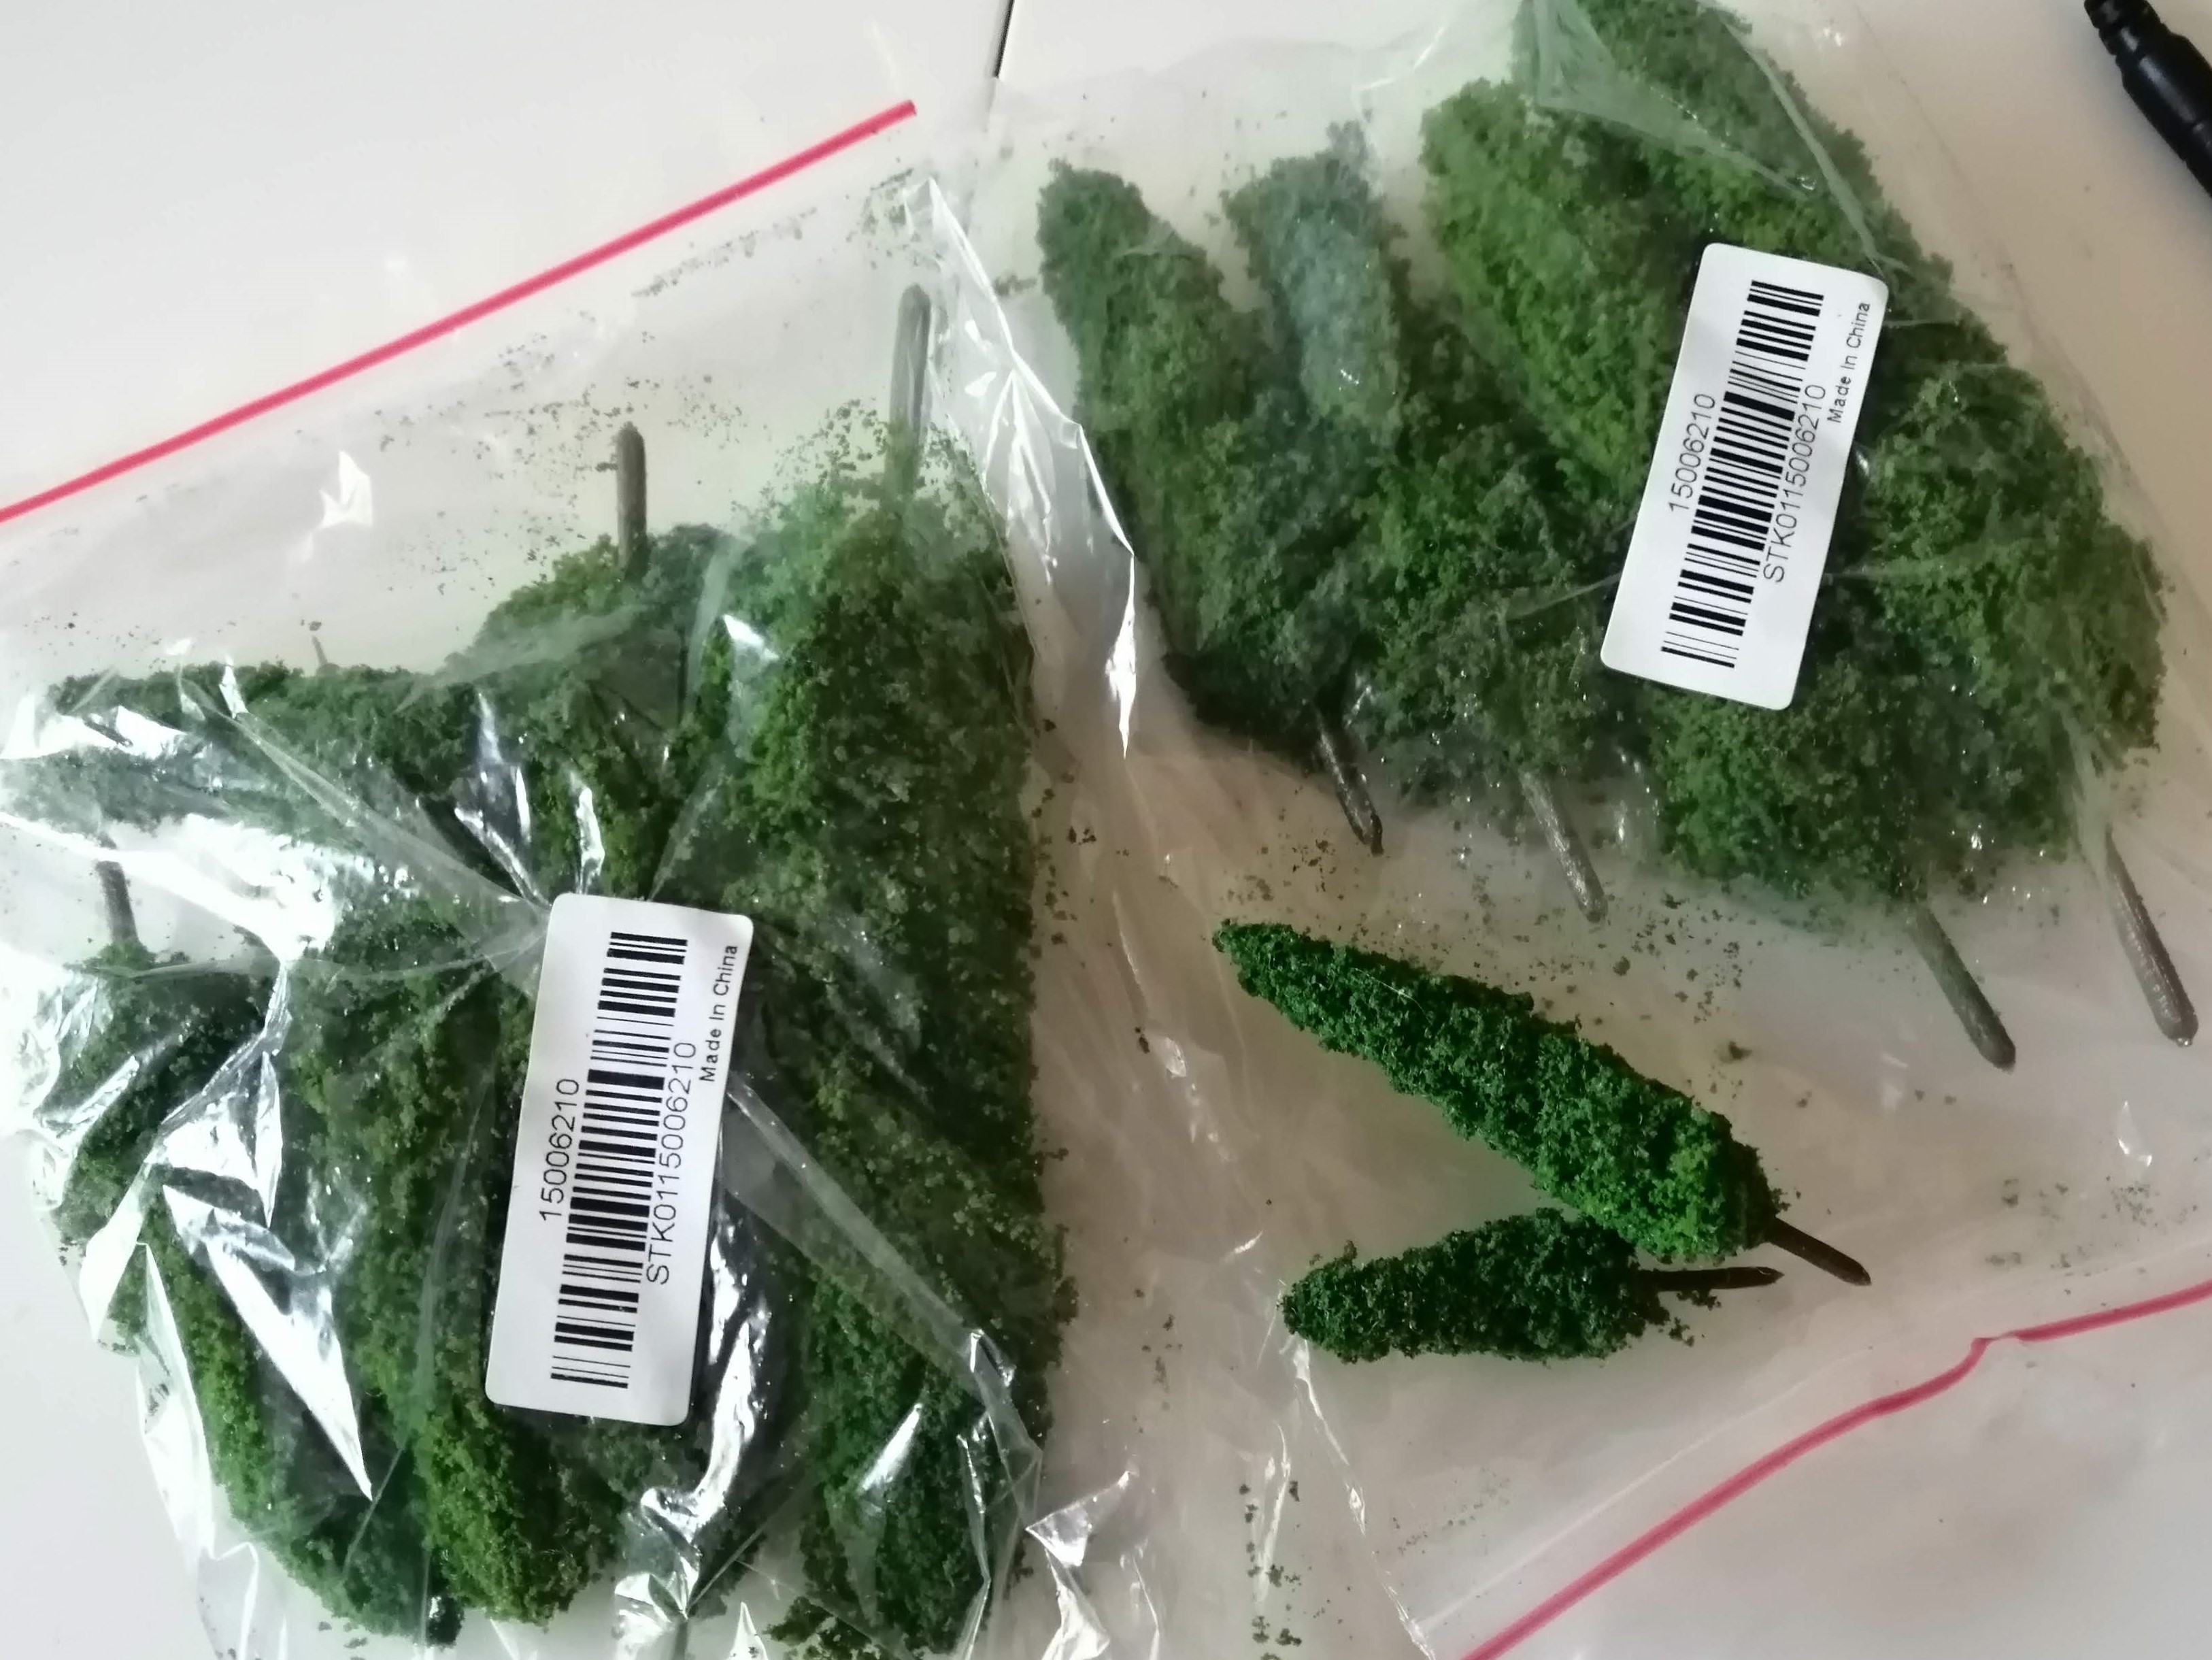
To really put the chapel and the cemetery into ‘context’, I’m going to need to add some of these to the terrain build. I don’t want to fix the trees into the terrain but rather make them ‘modular’ so that I can set them up separately if needed. To do this, I need to base each tree.
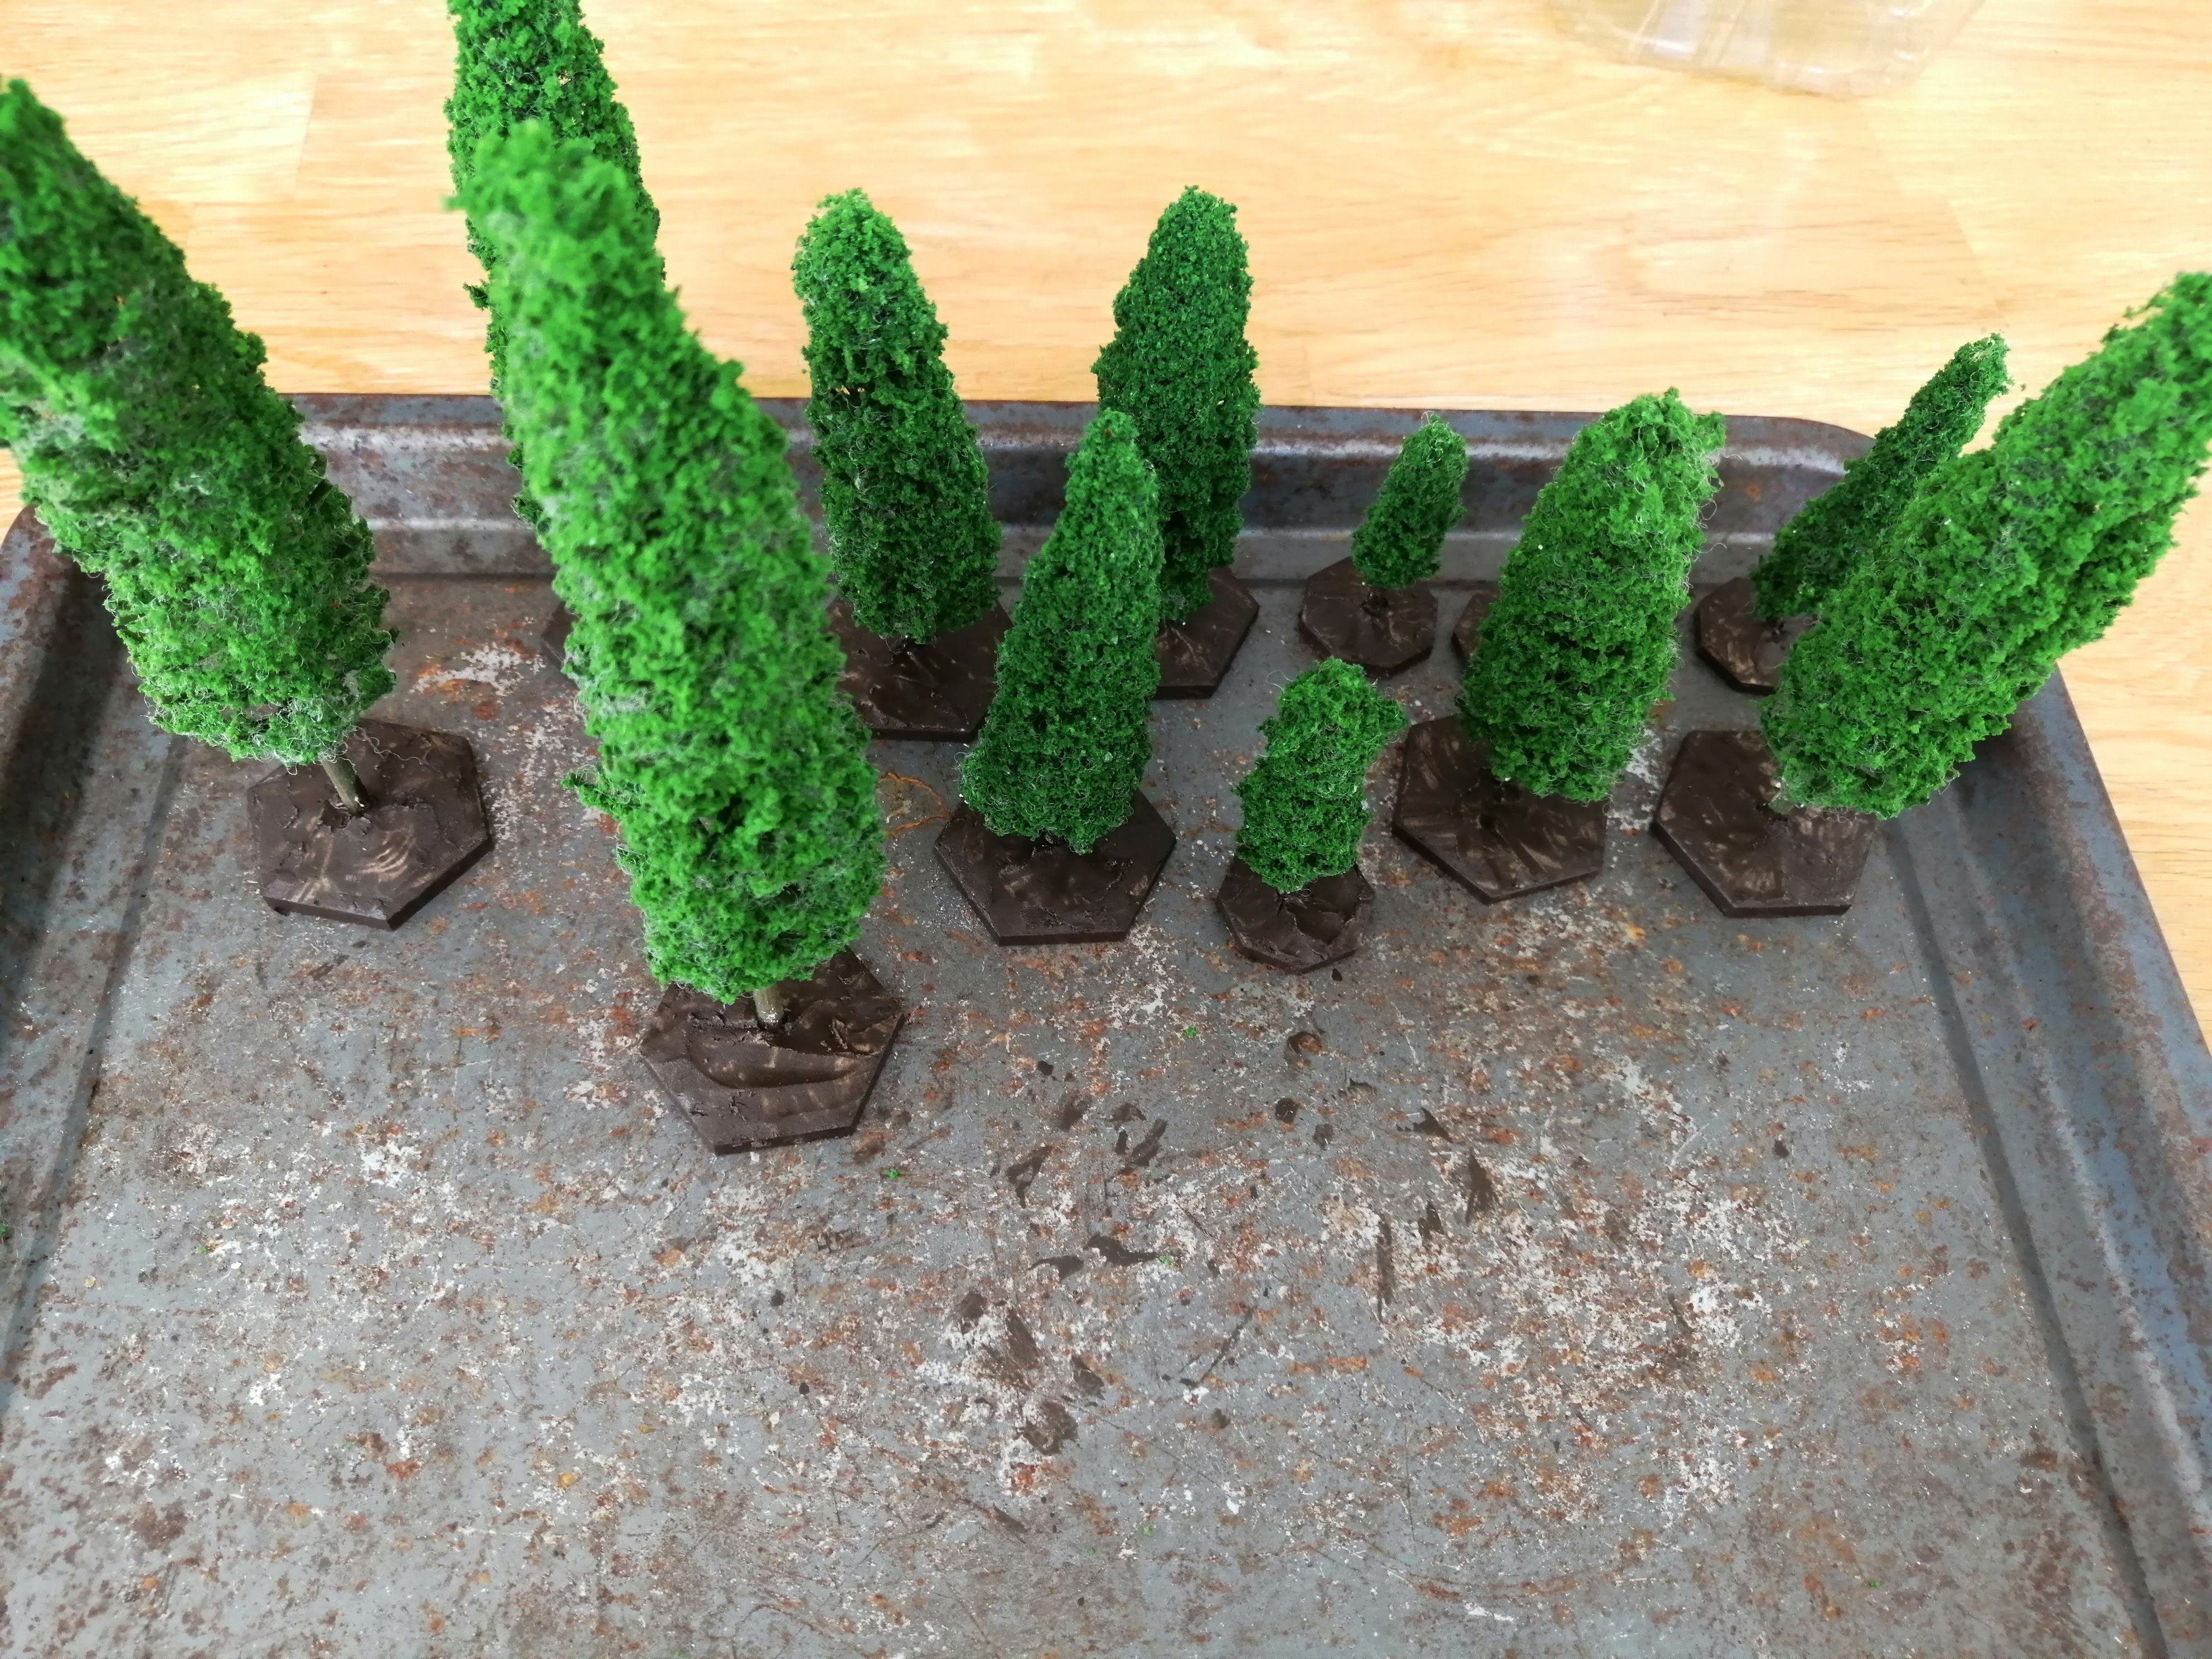
I’ve been planning on working on some Italian terrain and had a couple of bags of cheap cypress trees sat on the shelf. Digging these out along I’ve mounted these on some mdf bases (had to drill a hole through the base first).

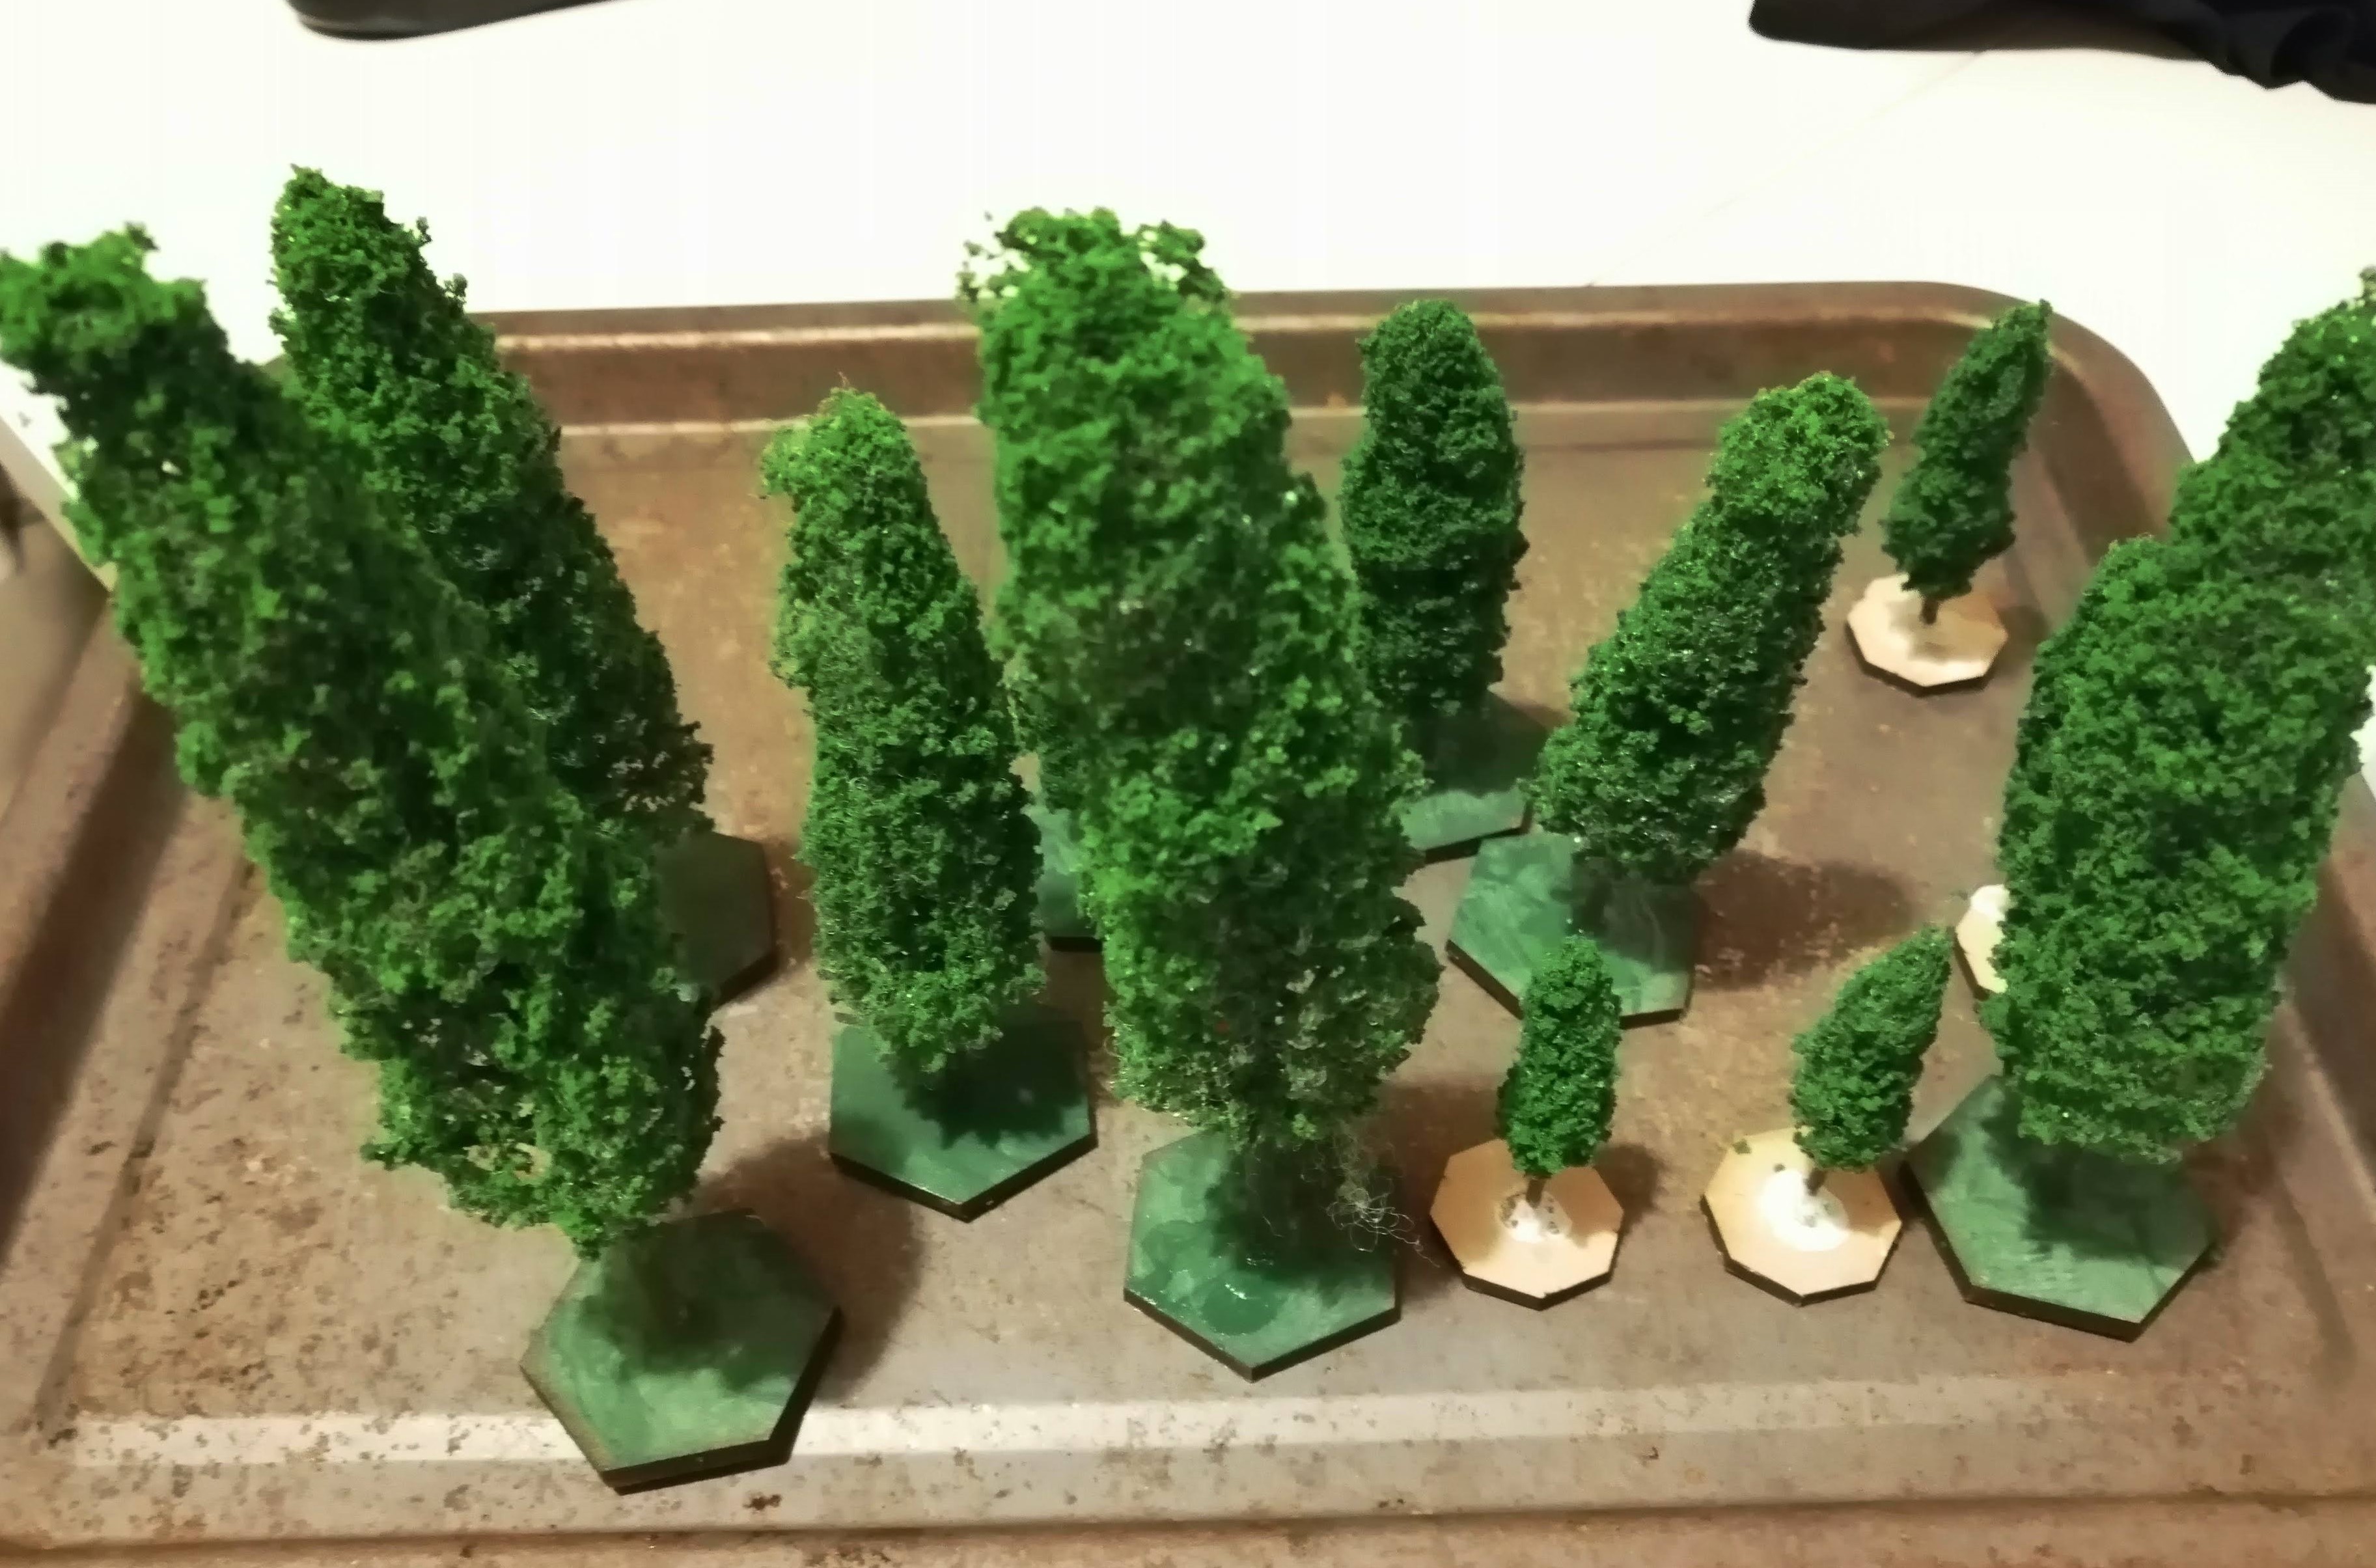
With the trees attached to the bases, I’ve applied some polyfilla to provide some weight to the base, hold the tree in place and provide some ‘shape’ to the base.
Once the polyfilla was dry, I’ve gone over with a brown so that the white doesn’t show through.
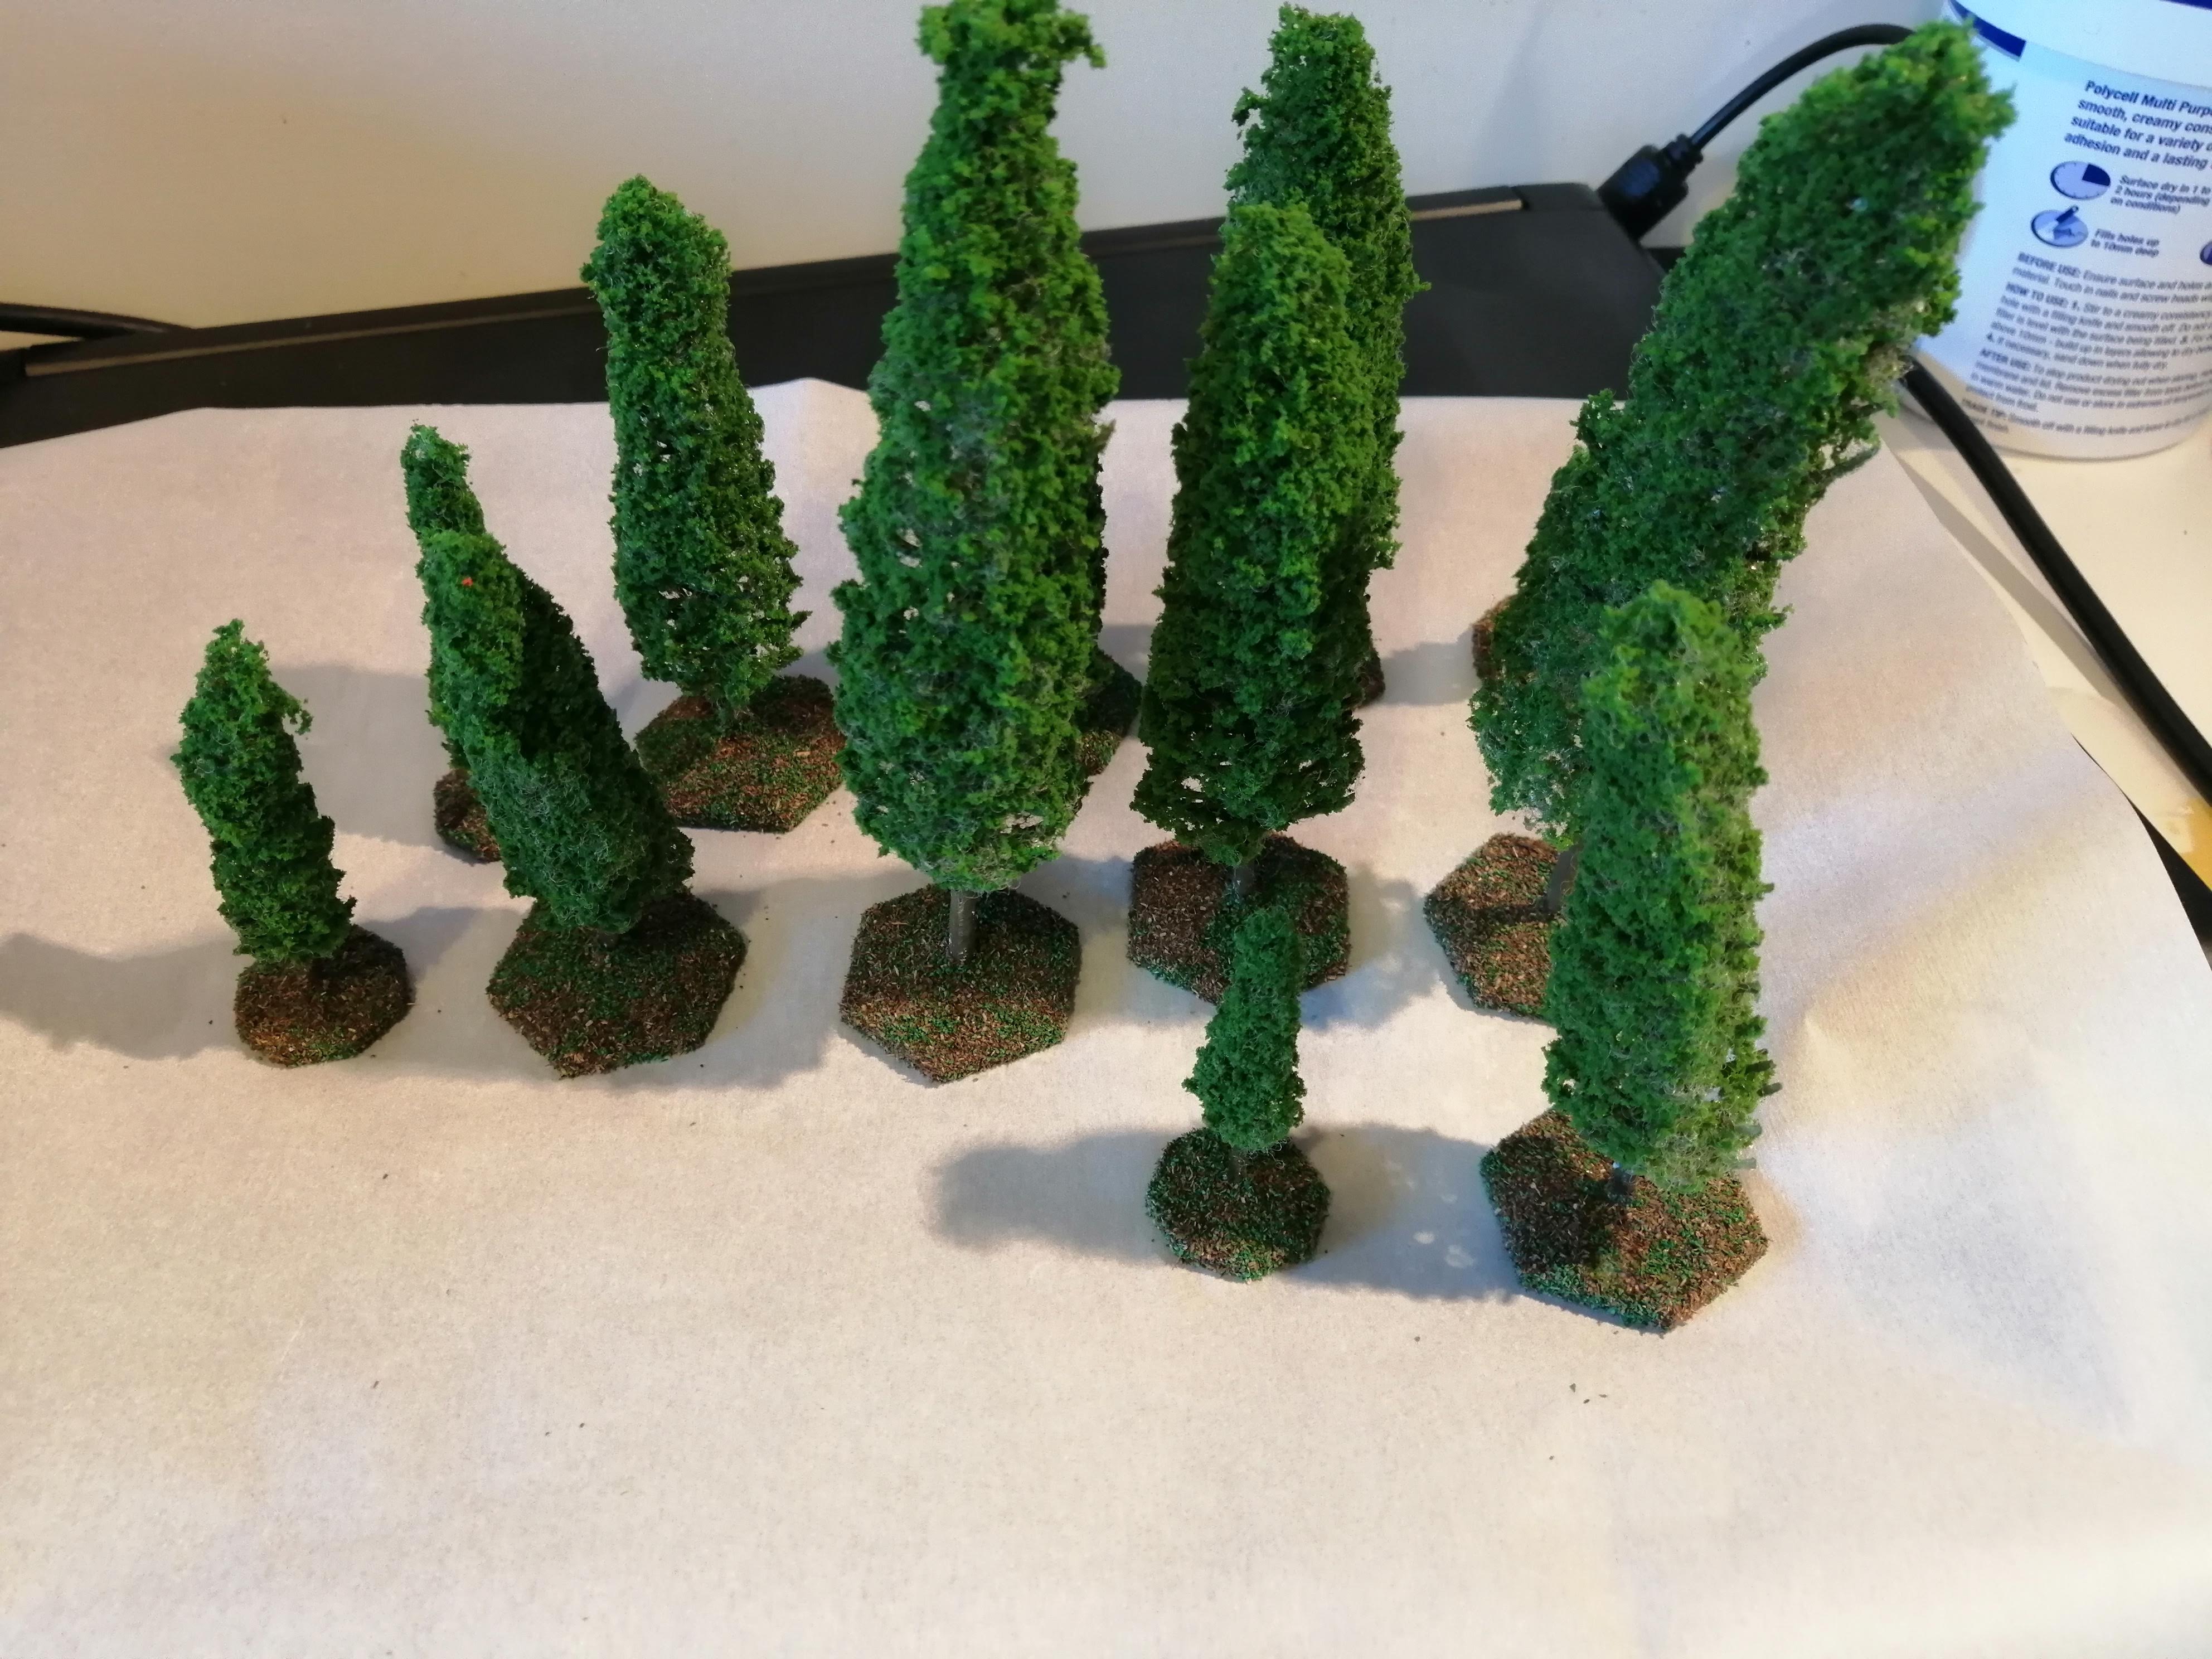
The final step is to flock the base with a mix of brown and green.
It’s quick, easy and looks OK.