

![10mm Medieval Miniatures! Azincourt English Army Review | Wargames Atlantic [7 Days Early Access]](https://images.beastsofwar.com/2026/03/unboxing-wargames-atlantic-azincourt-english-army-coverimage-225-127.jpg)


Cohors Cthulhu


Recommendations: 235
About the Project
This used to be my Dark Age/Fantasy Building post, but having recently been inspired by Modiphius's Cohors Cthulhu rpg Kickstarter, I dug out my unnfinished Sarissa Precision Roman Villa inn, originally bought for Runequest, for which it will still be used) and have finished it recording most of the steps so I can give a bit of a tutorial. I also bought some Roman and Germanic Warriors by Mark Copplestone ( my favourite sculptor) from Wargames Foundry. I have more figures to get, and have plans to adapt some other rules to use for small skirmishes and to playtest the Modiphius minature rules, this will also be added to this project.
Related Game: SAGA
Related Company: Sarissa Precision
Related Genre: Historical
This Project is Active
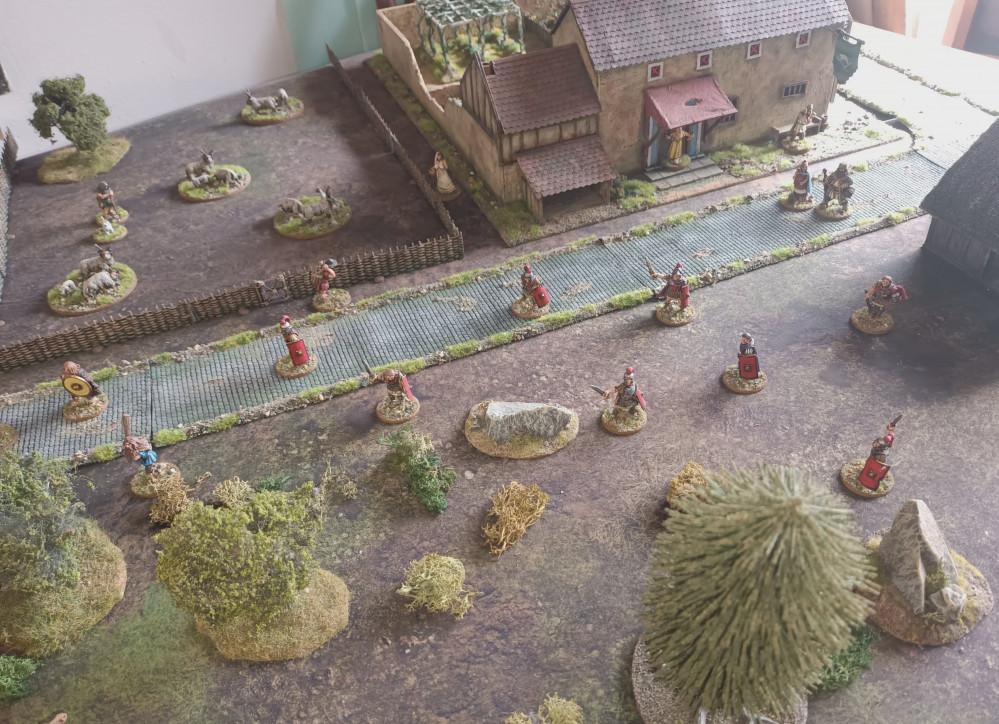
Farmhouse/Inn
 My favourite building, designed as a manor house but I am doing up the interior as a tavern. When the building is all closed up it will work for any of my settings, with Inn will work for Runequest and for Hollywood Dark Ages/Medieval
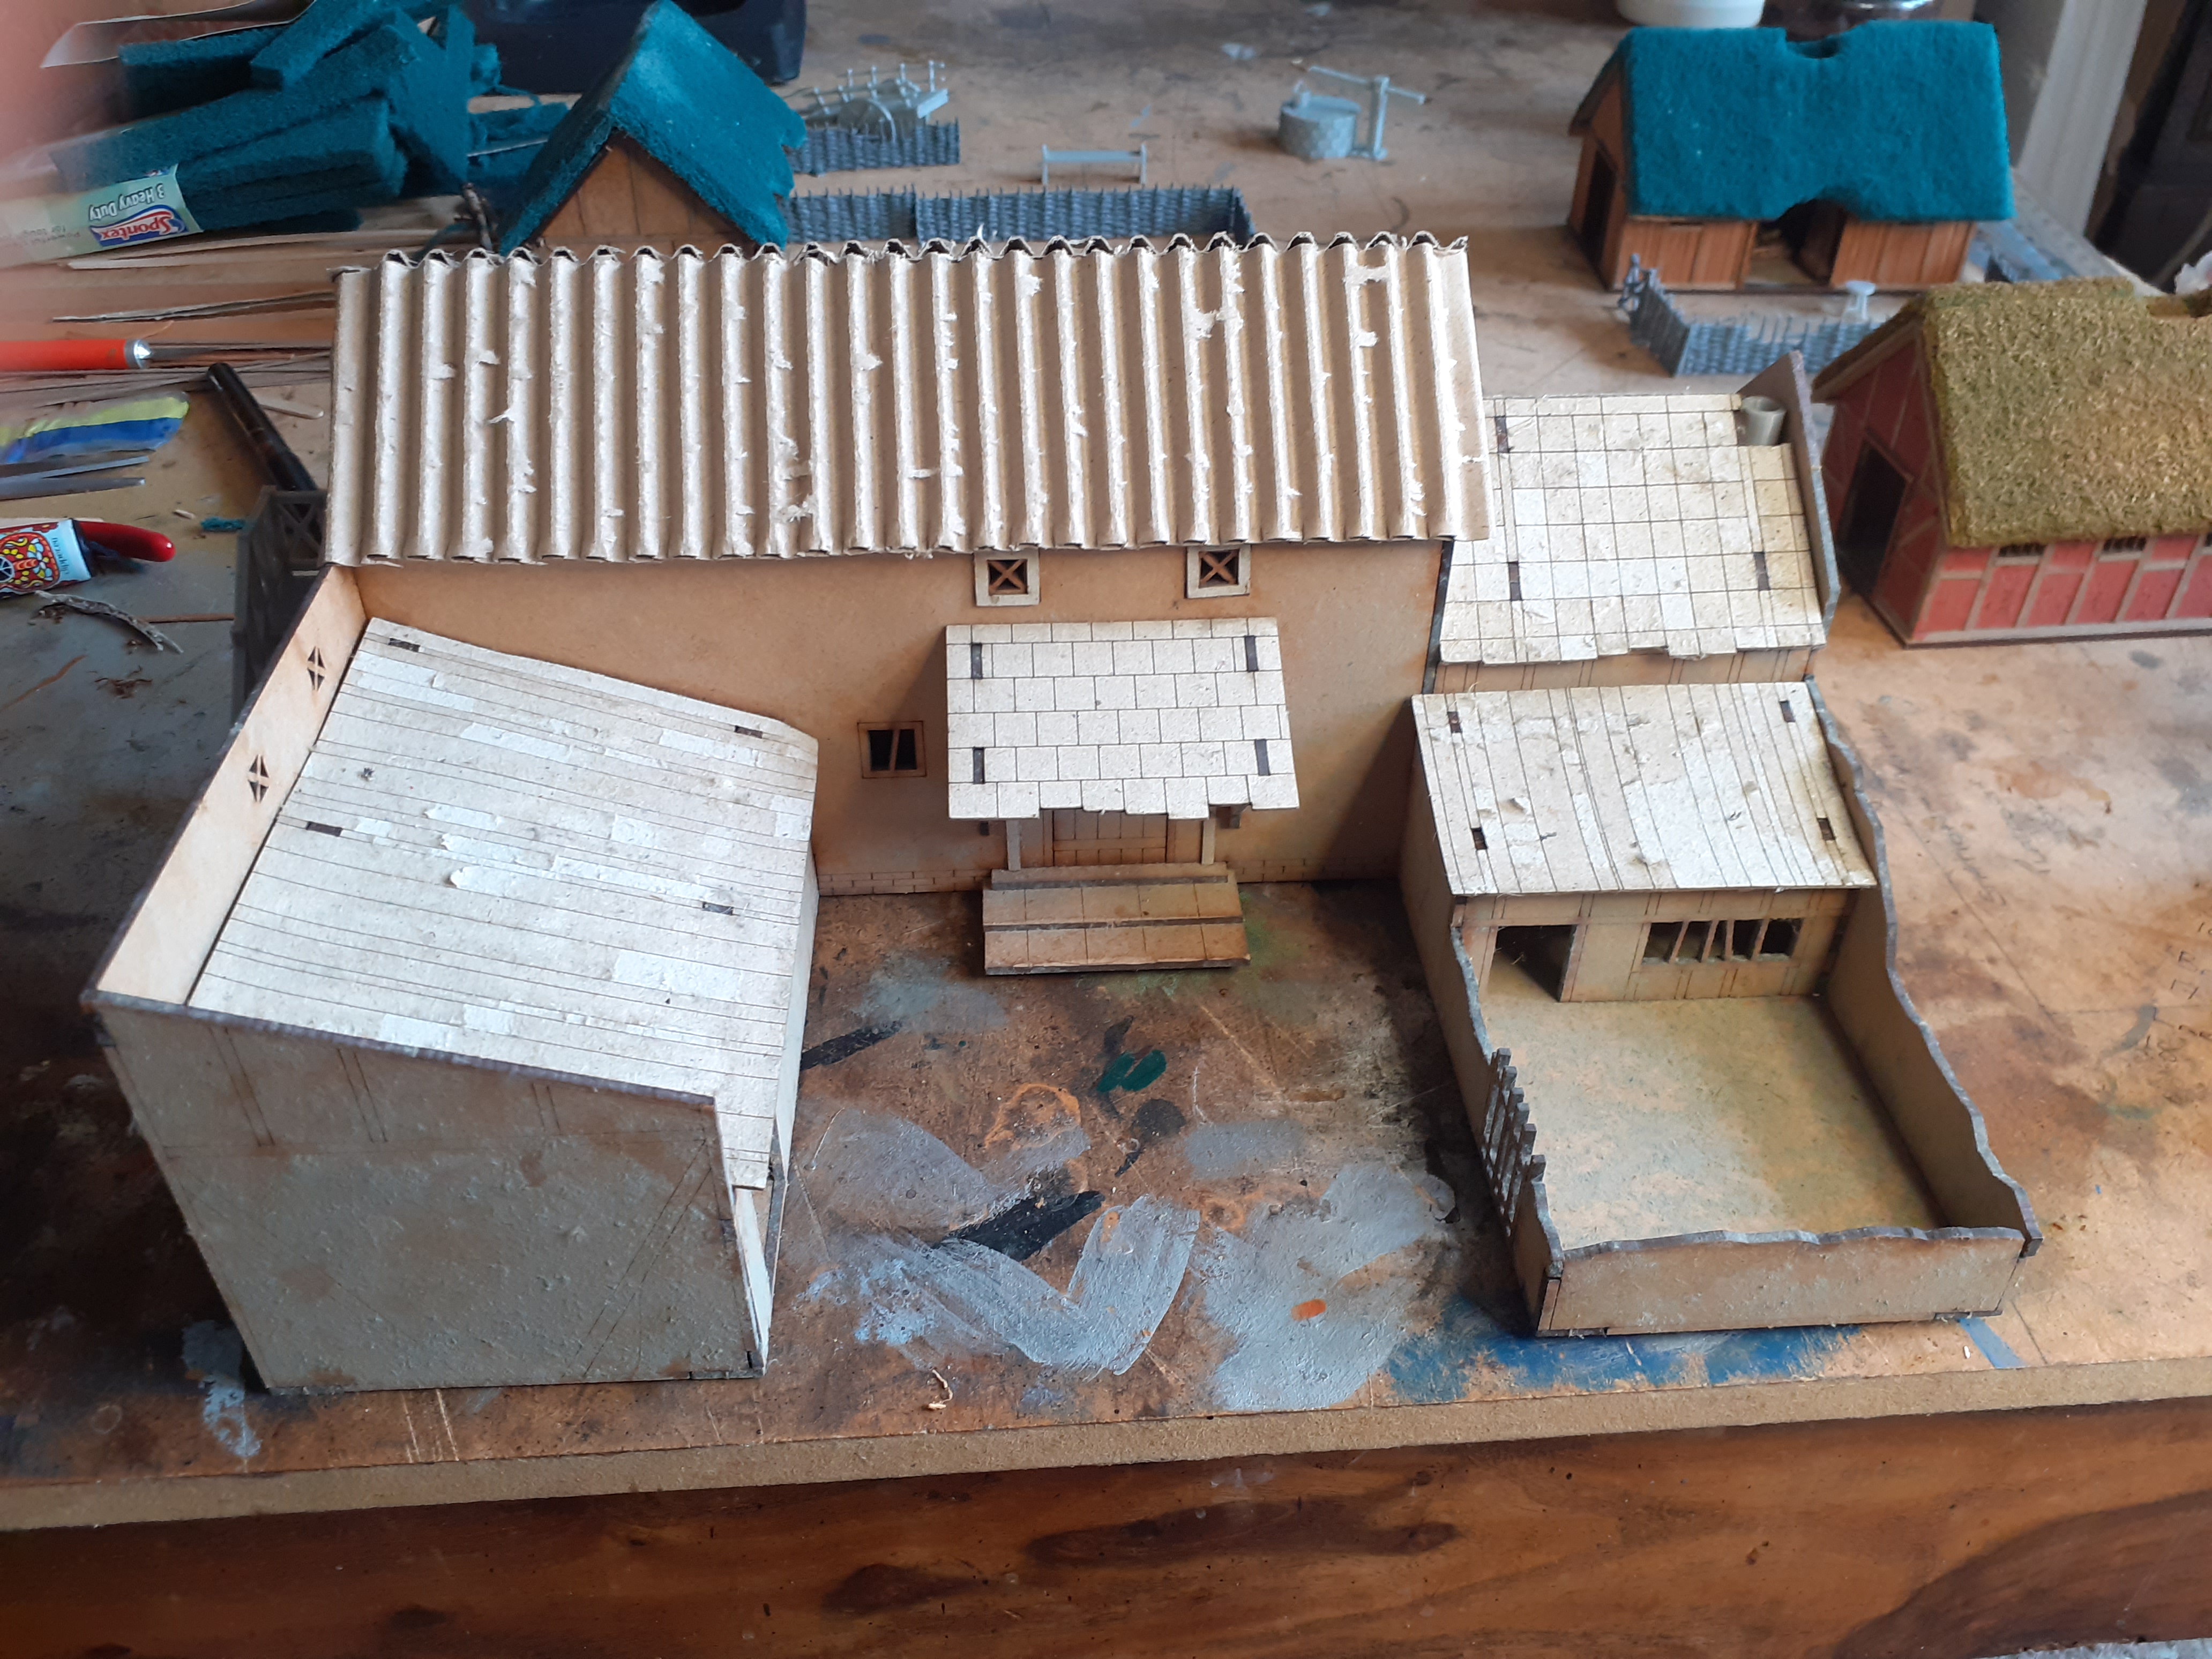
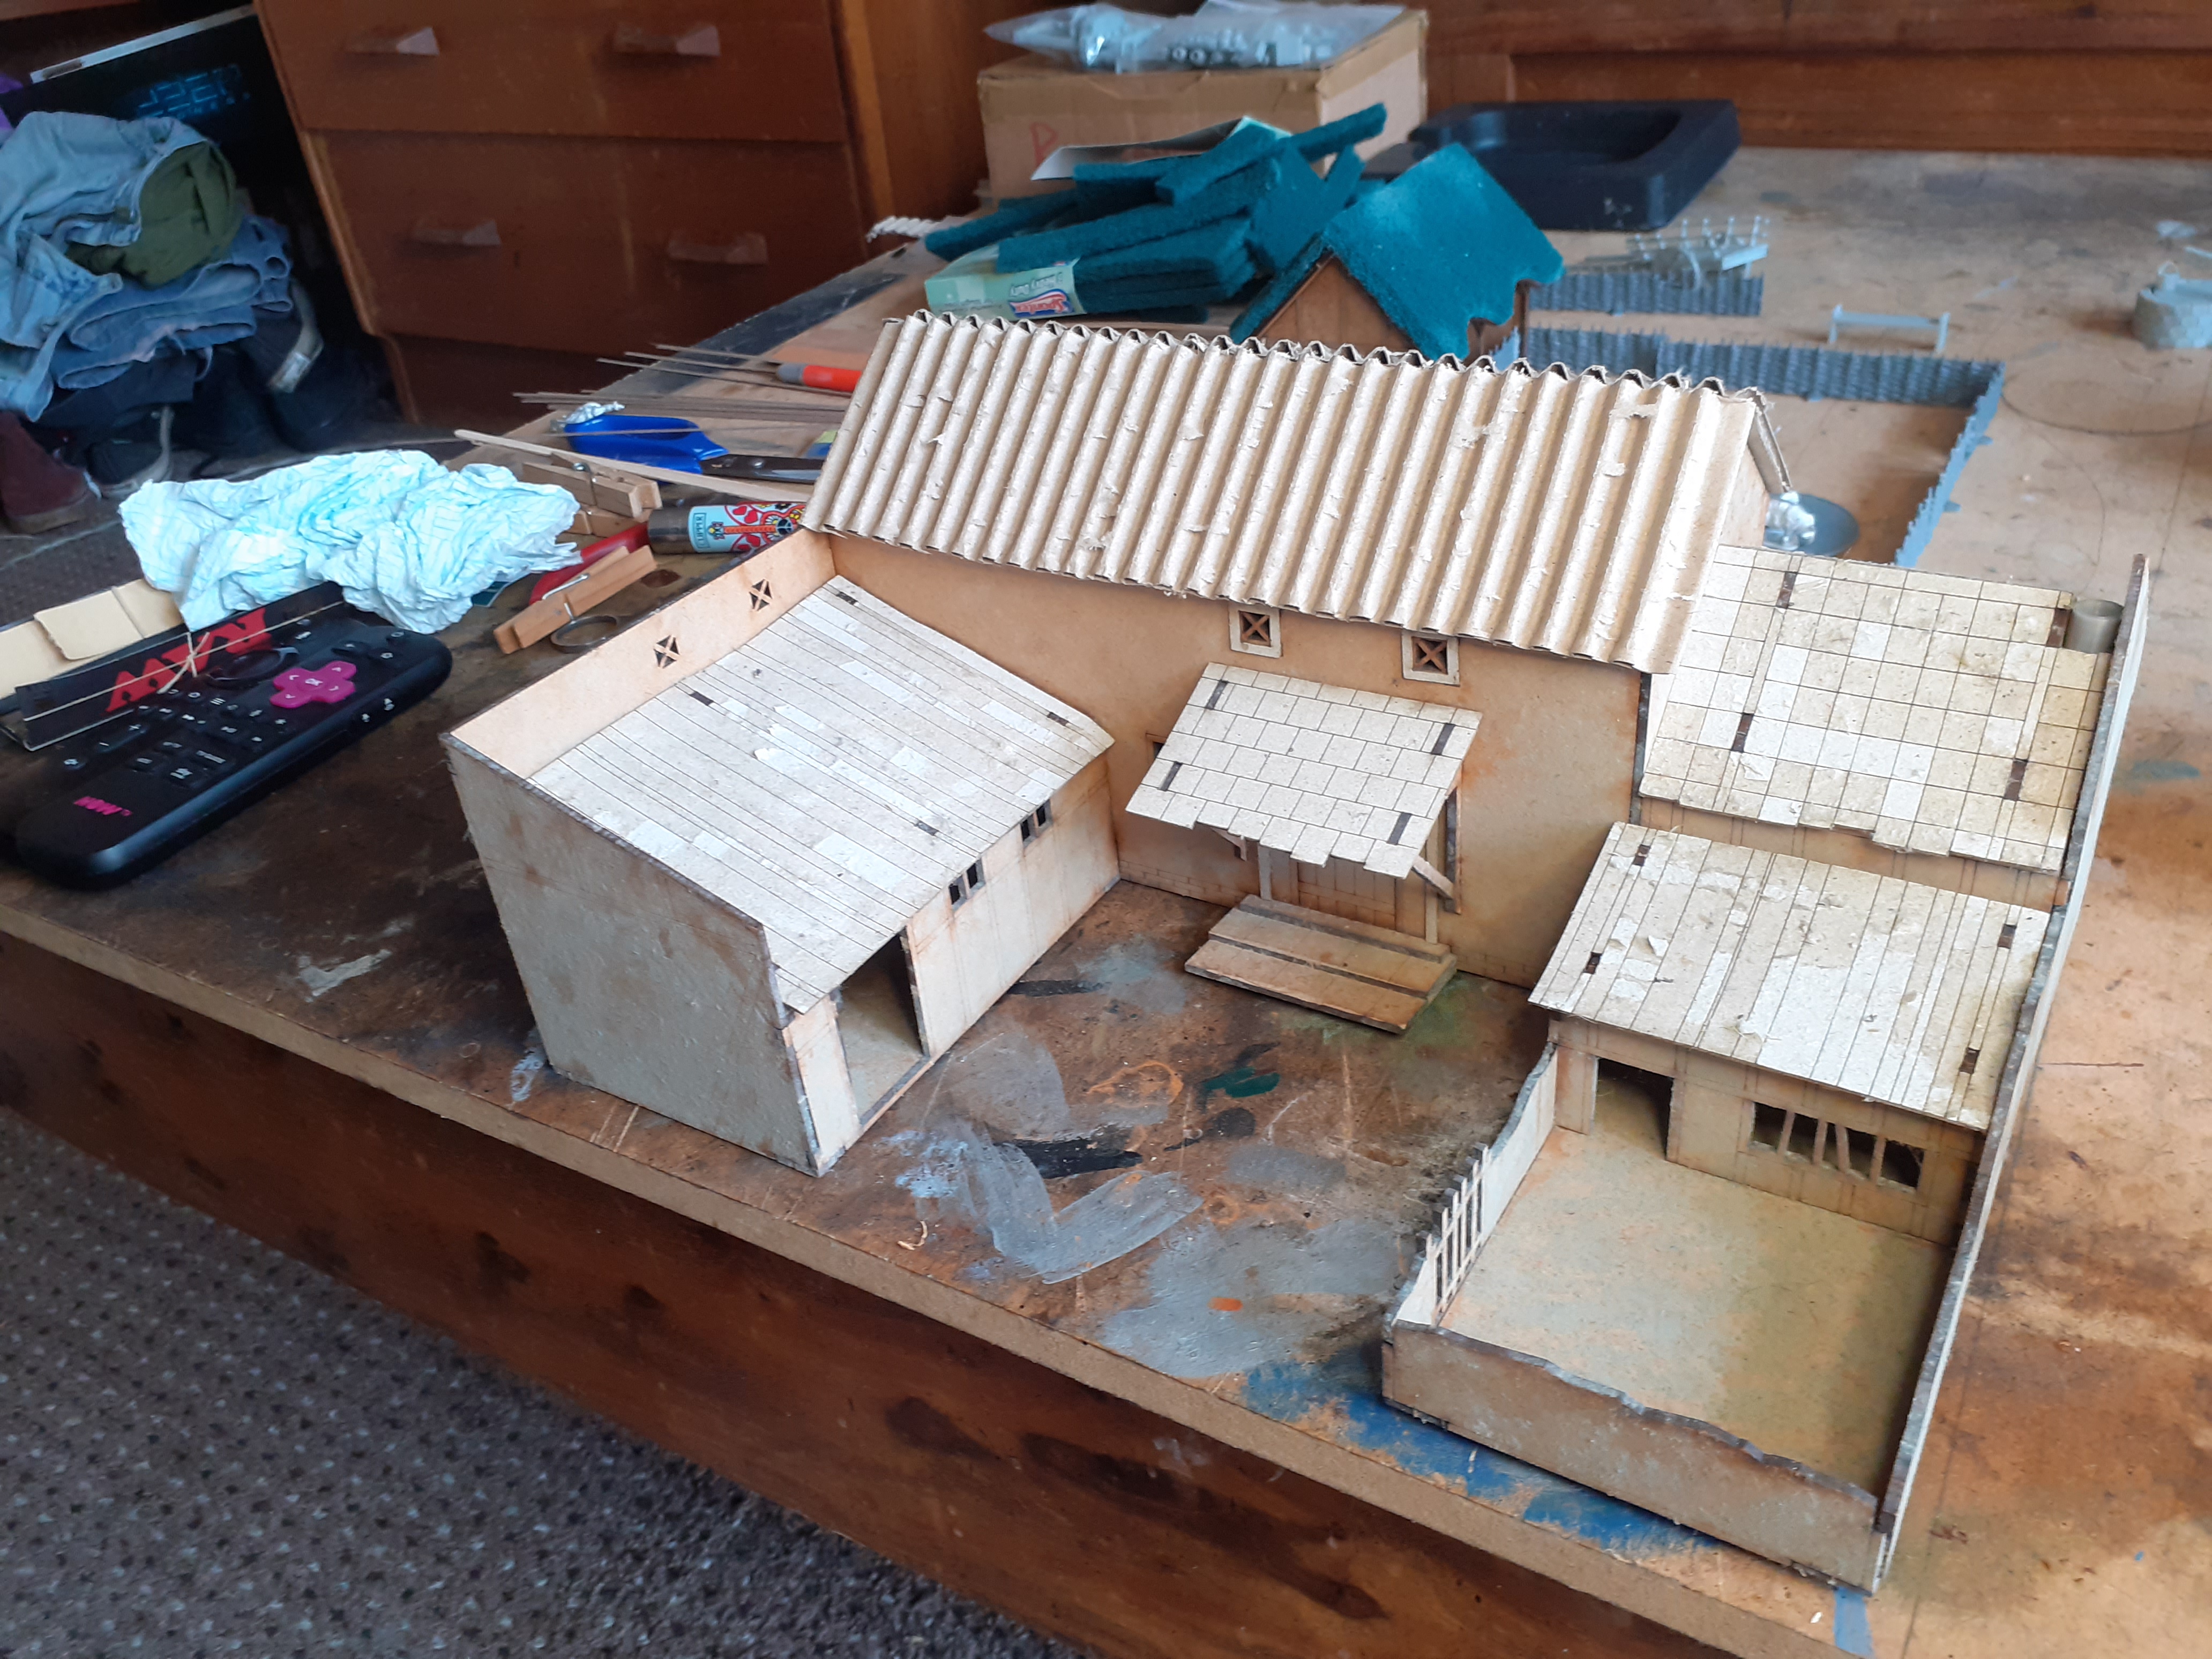 The roof is from a piece of corrugated cardboard with one smooth side removed, I am not fussed about the card chaff still on the roof as I am going to be coating roof in a pva/water mix and this will then just add interesting texture to the roof. I am next going to add barge boards to ends of roof, this will hide a new sins as well as strengthening edges
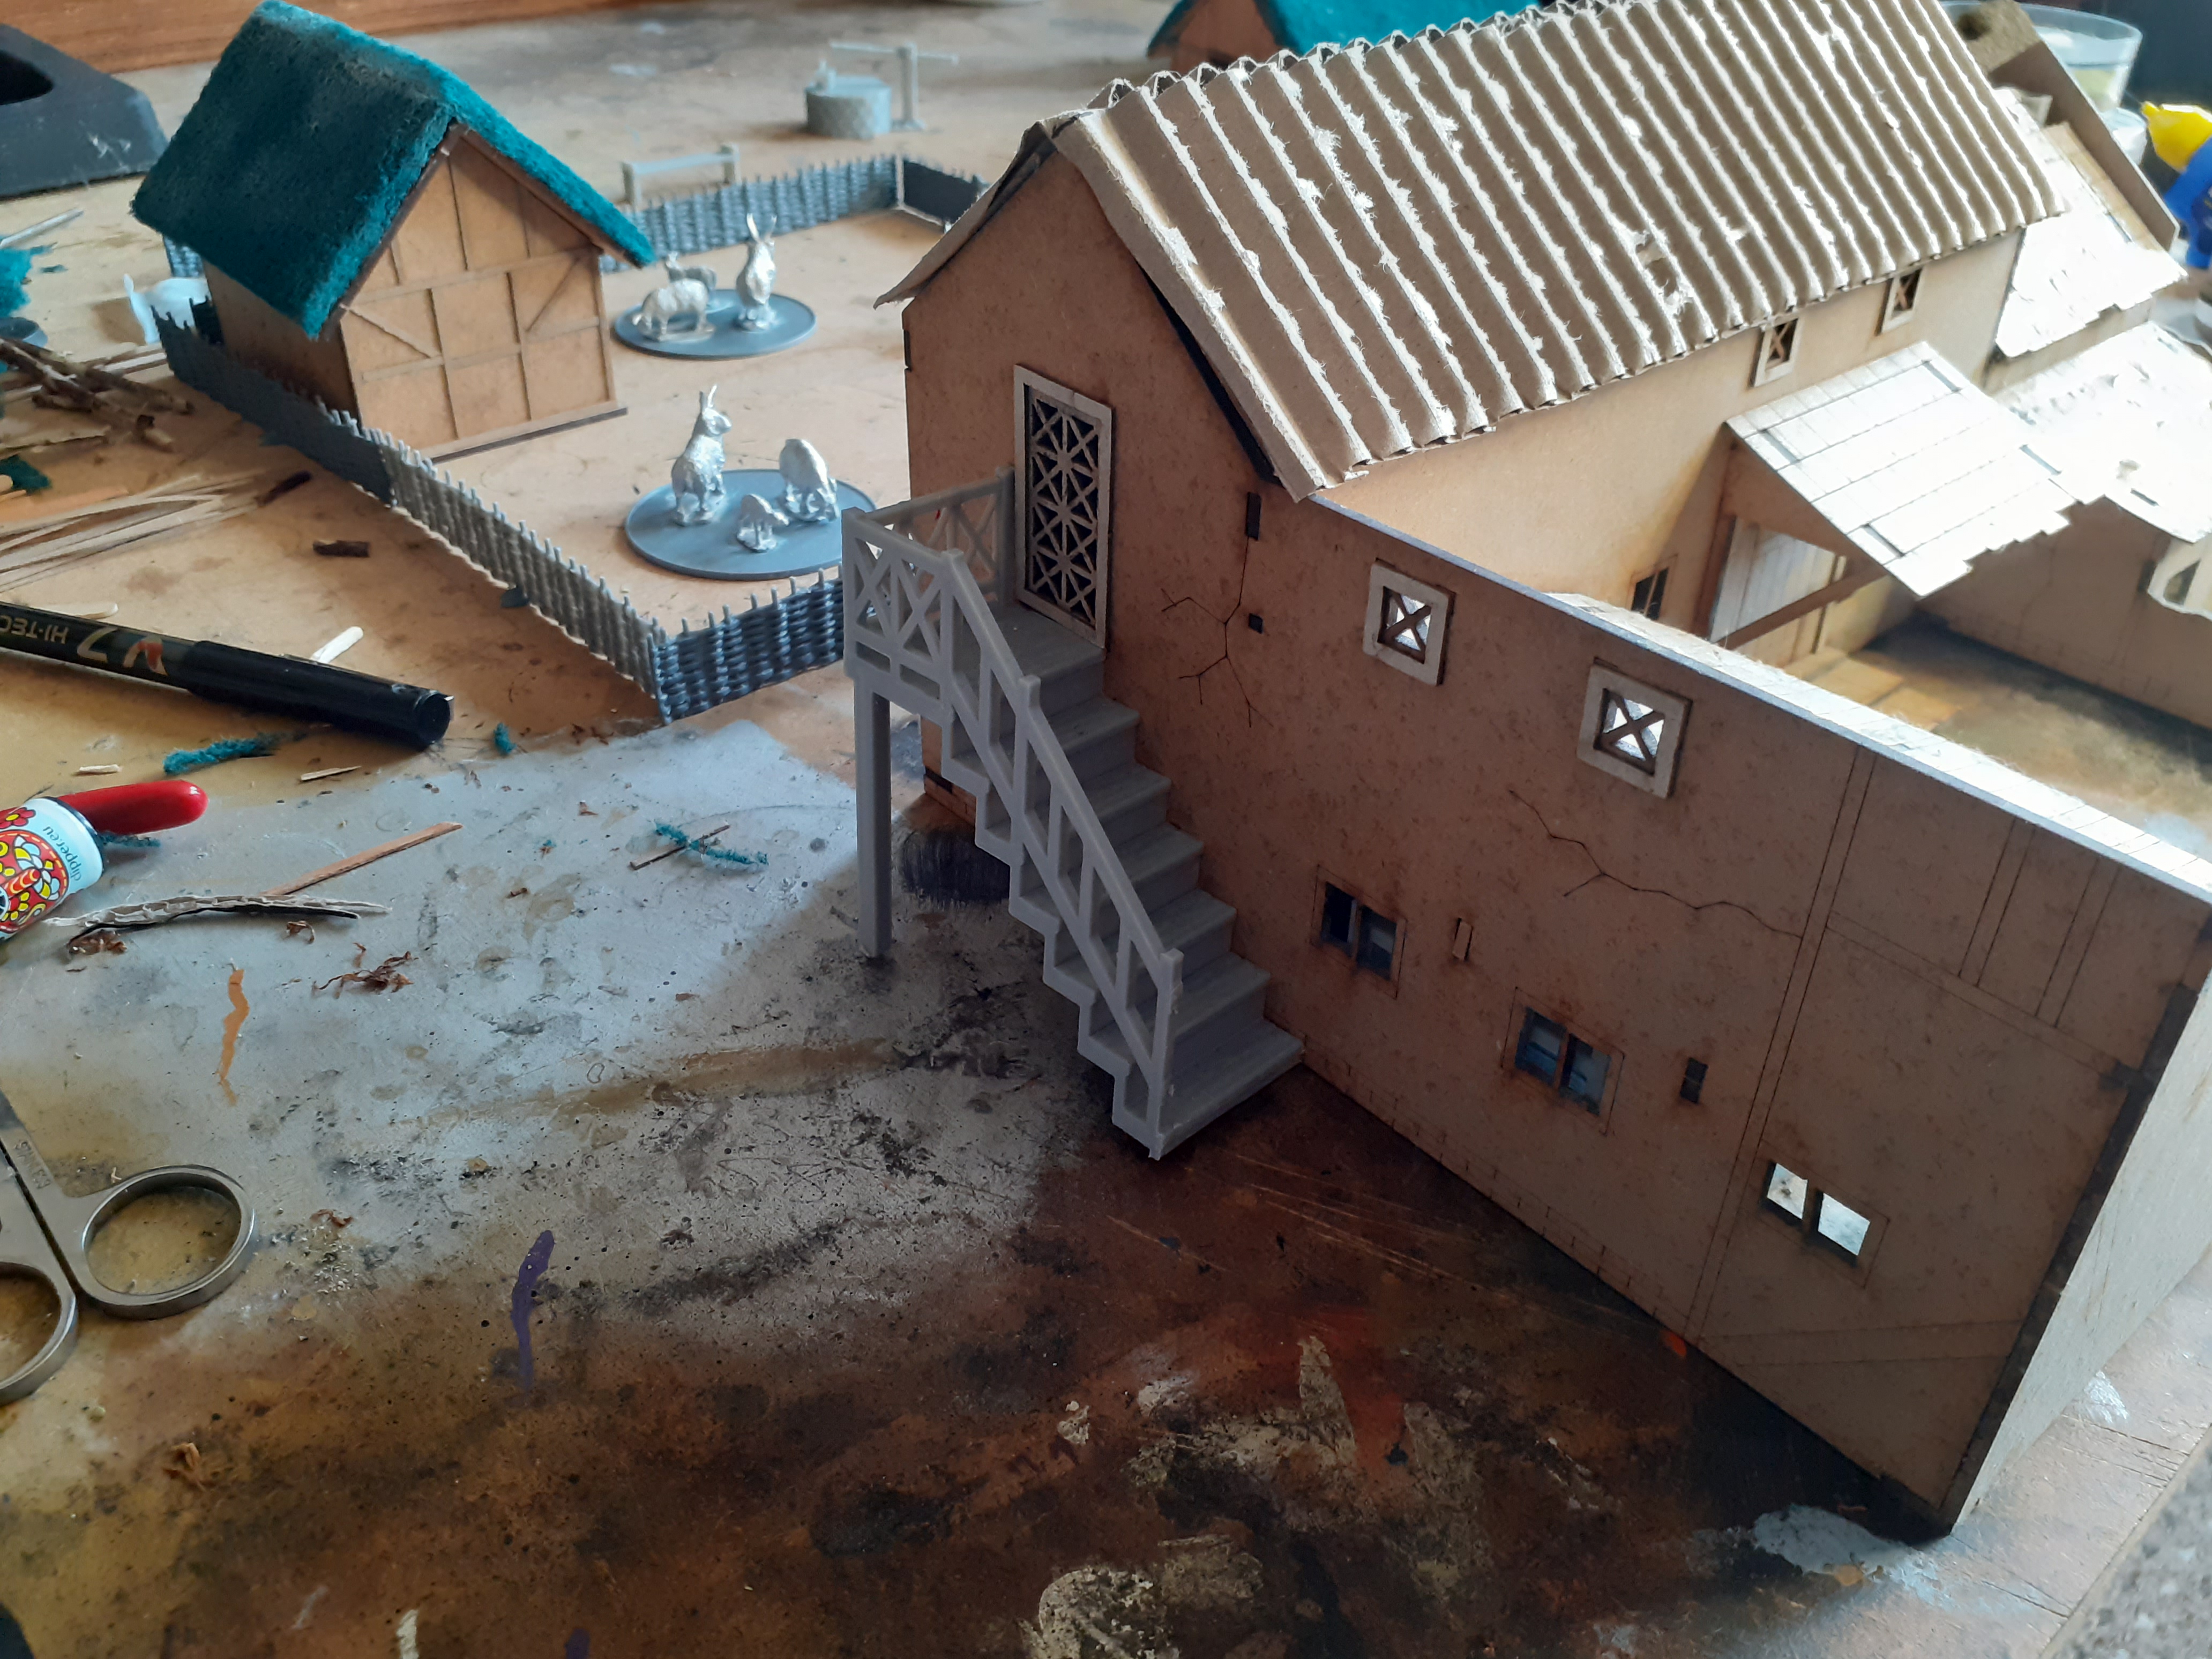 I added a stairway to the side as we had a door size aperture available and I had plans. The model is from Irongate Scenery
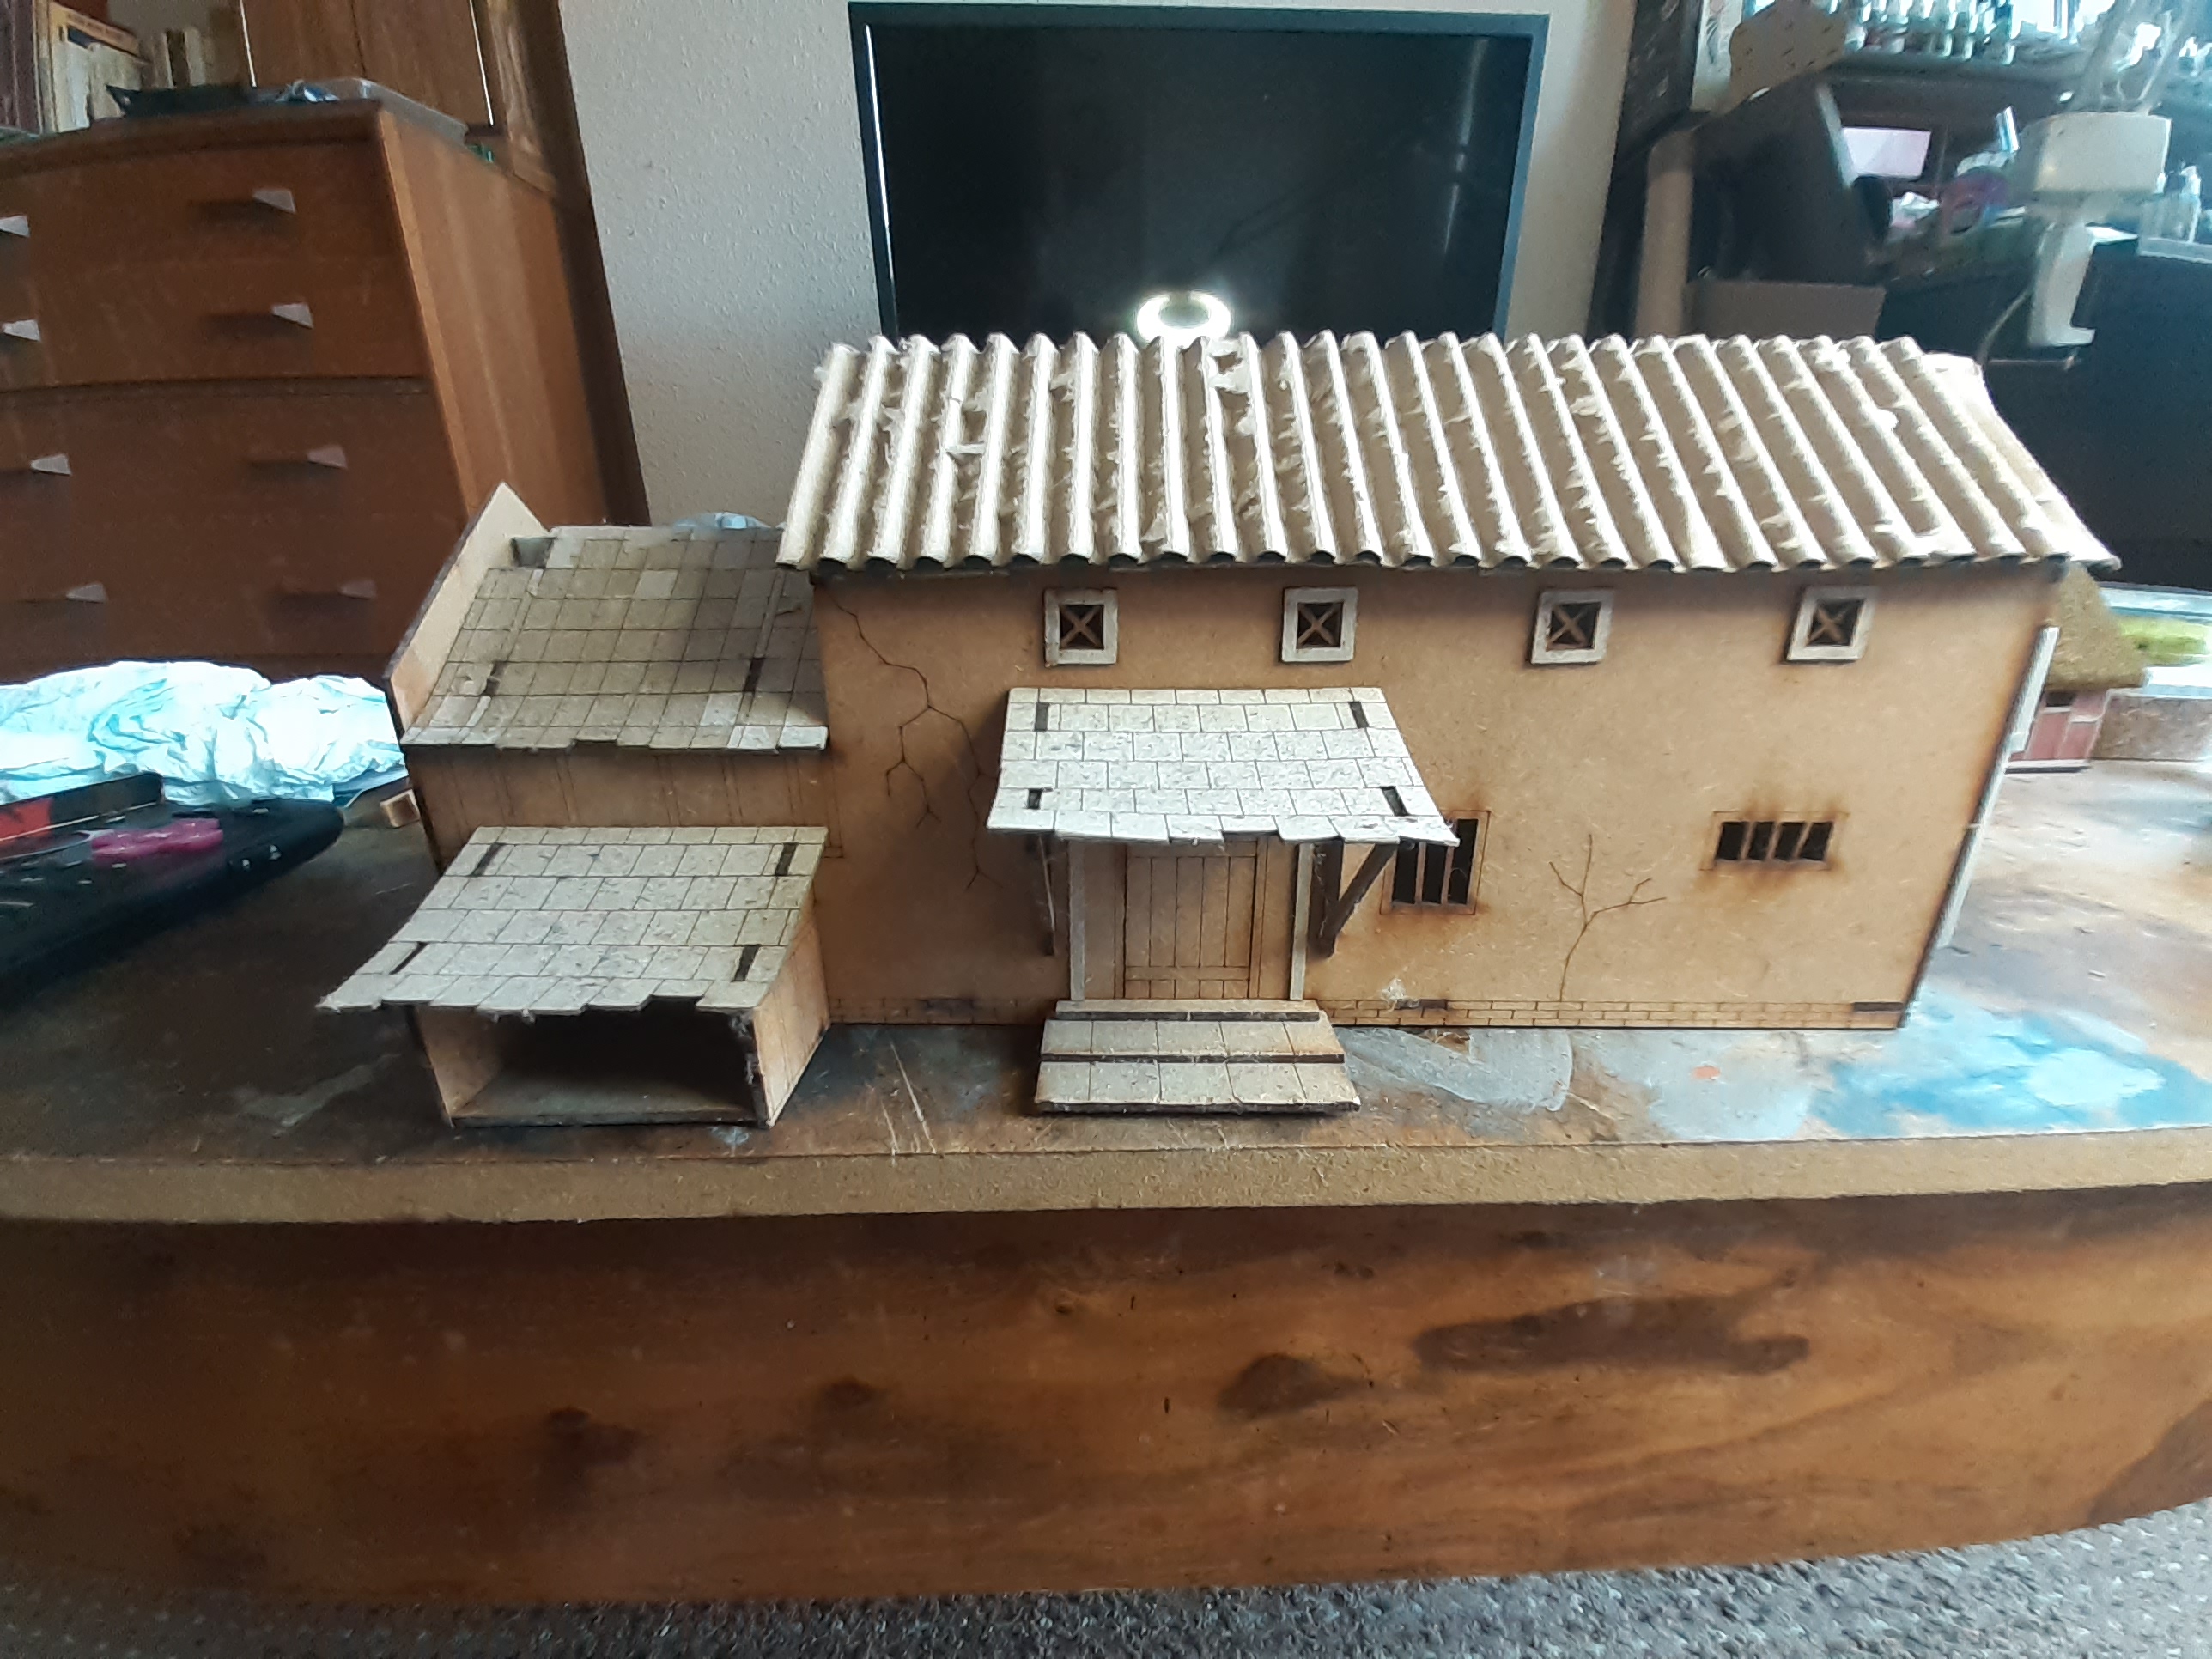 This is the only building I have not started doing the exterior off. I will produce a step by step guide when I do this building.
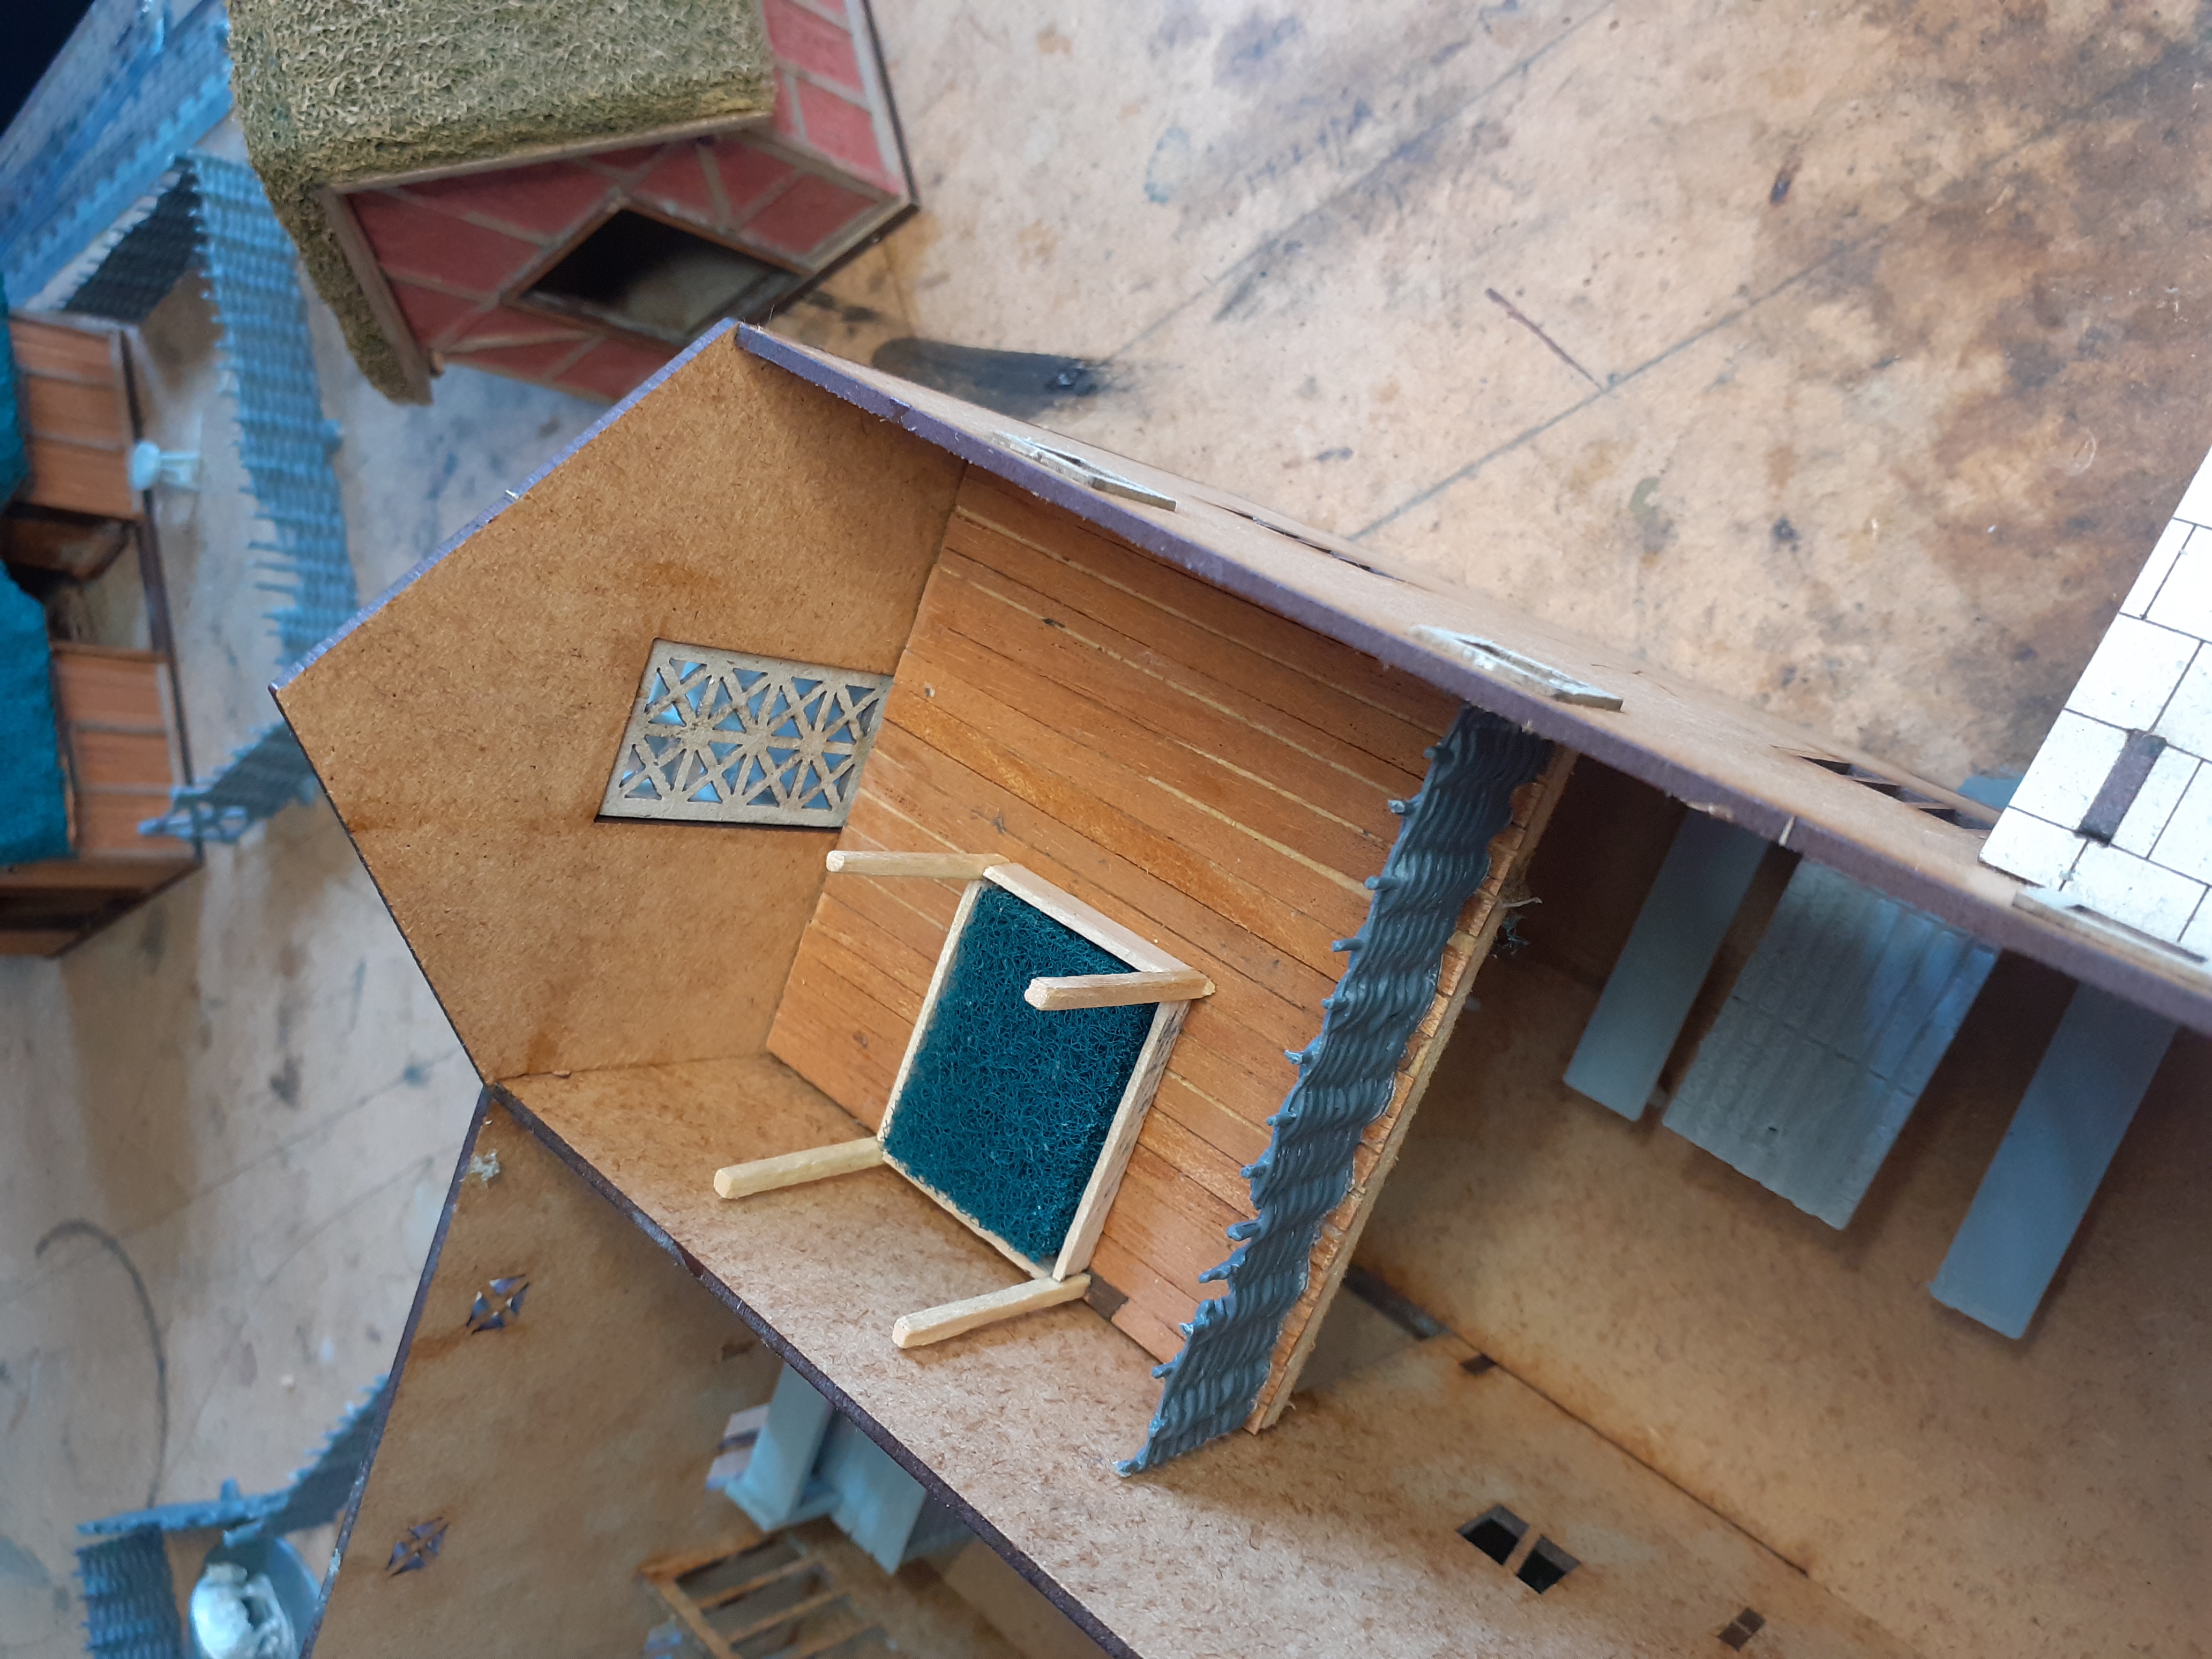 The reason for those stairs, I created a mezzanine floor for a bedroom. The bed is made from coffee stirred, match sticks with an off cut of brillo page for the mattress, once mostly covered in blankets and furs should be a good representation of the straw they used.
The MDF is starting to look better
 Having published the last entry I realise there was not a clear picture of the plaster effect.
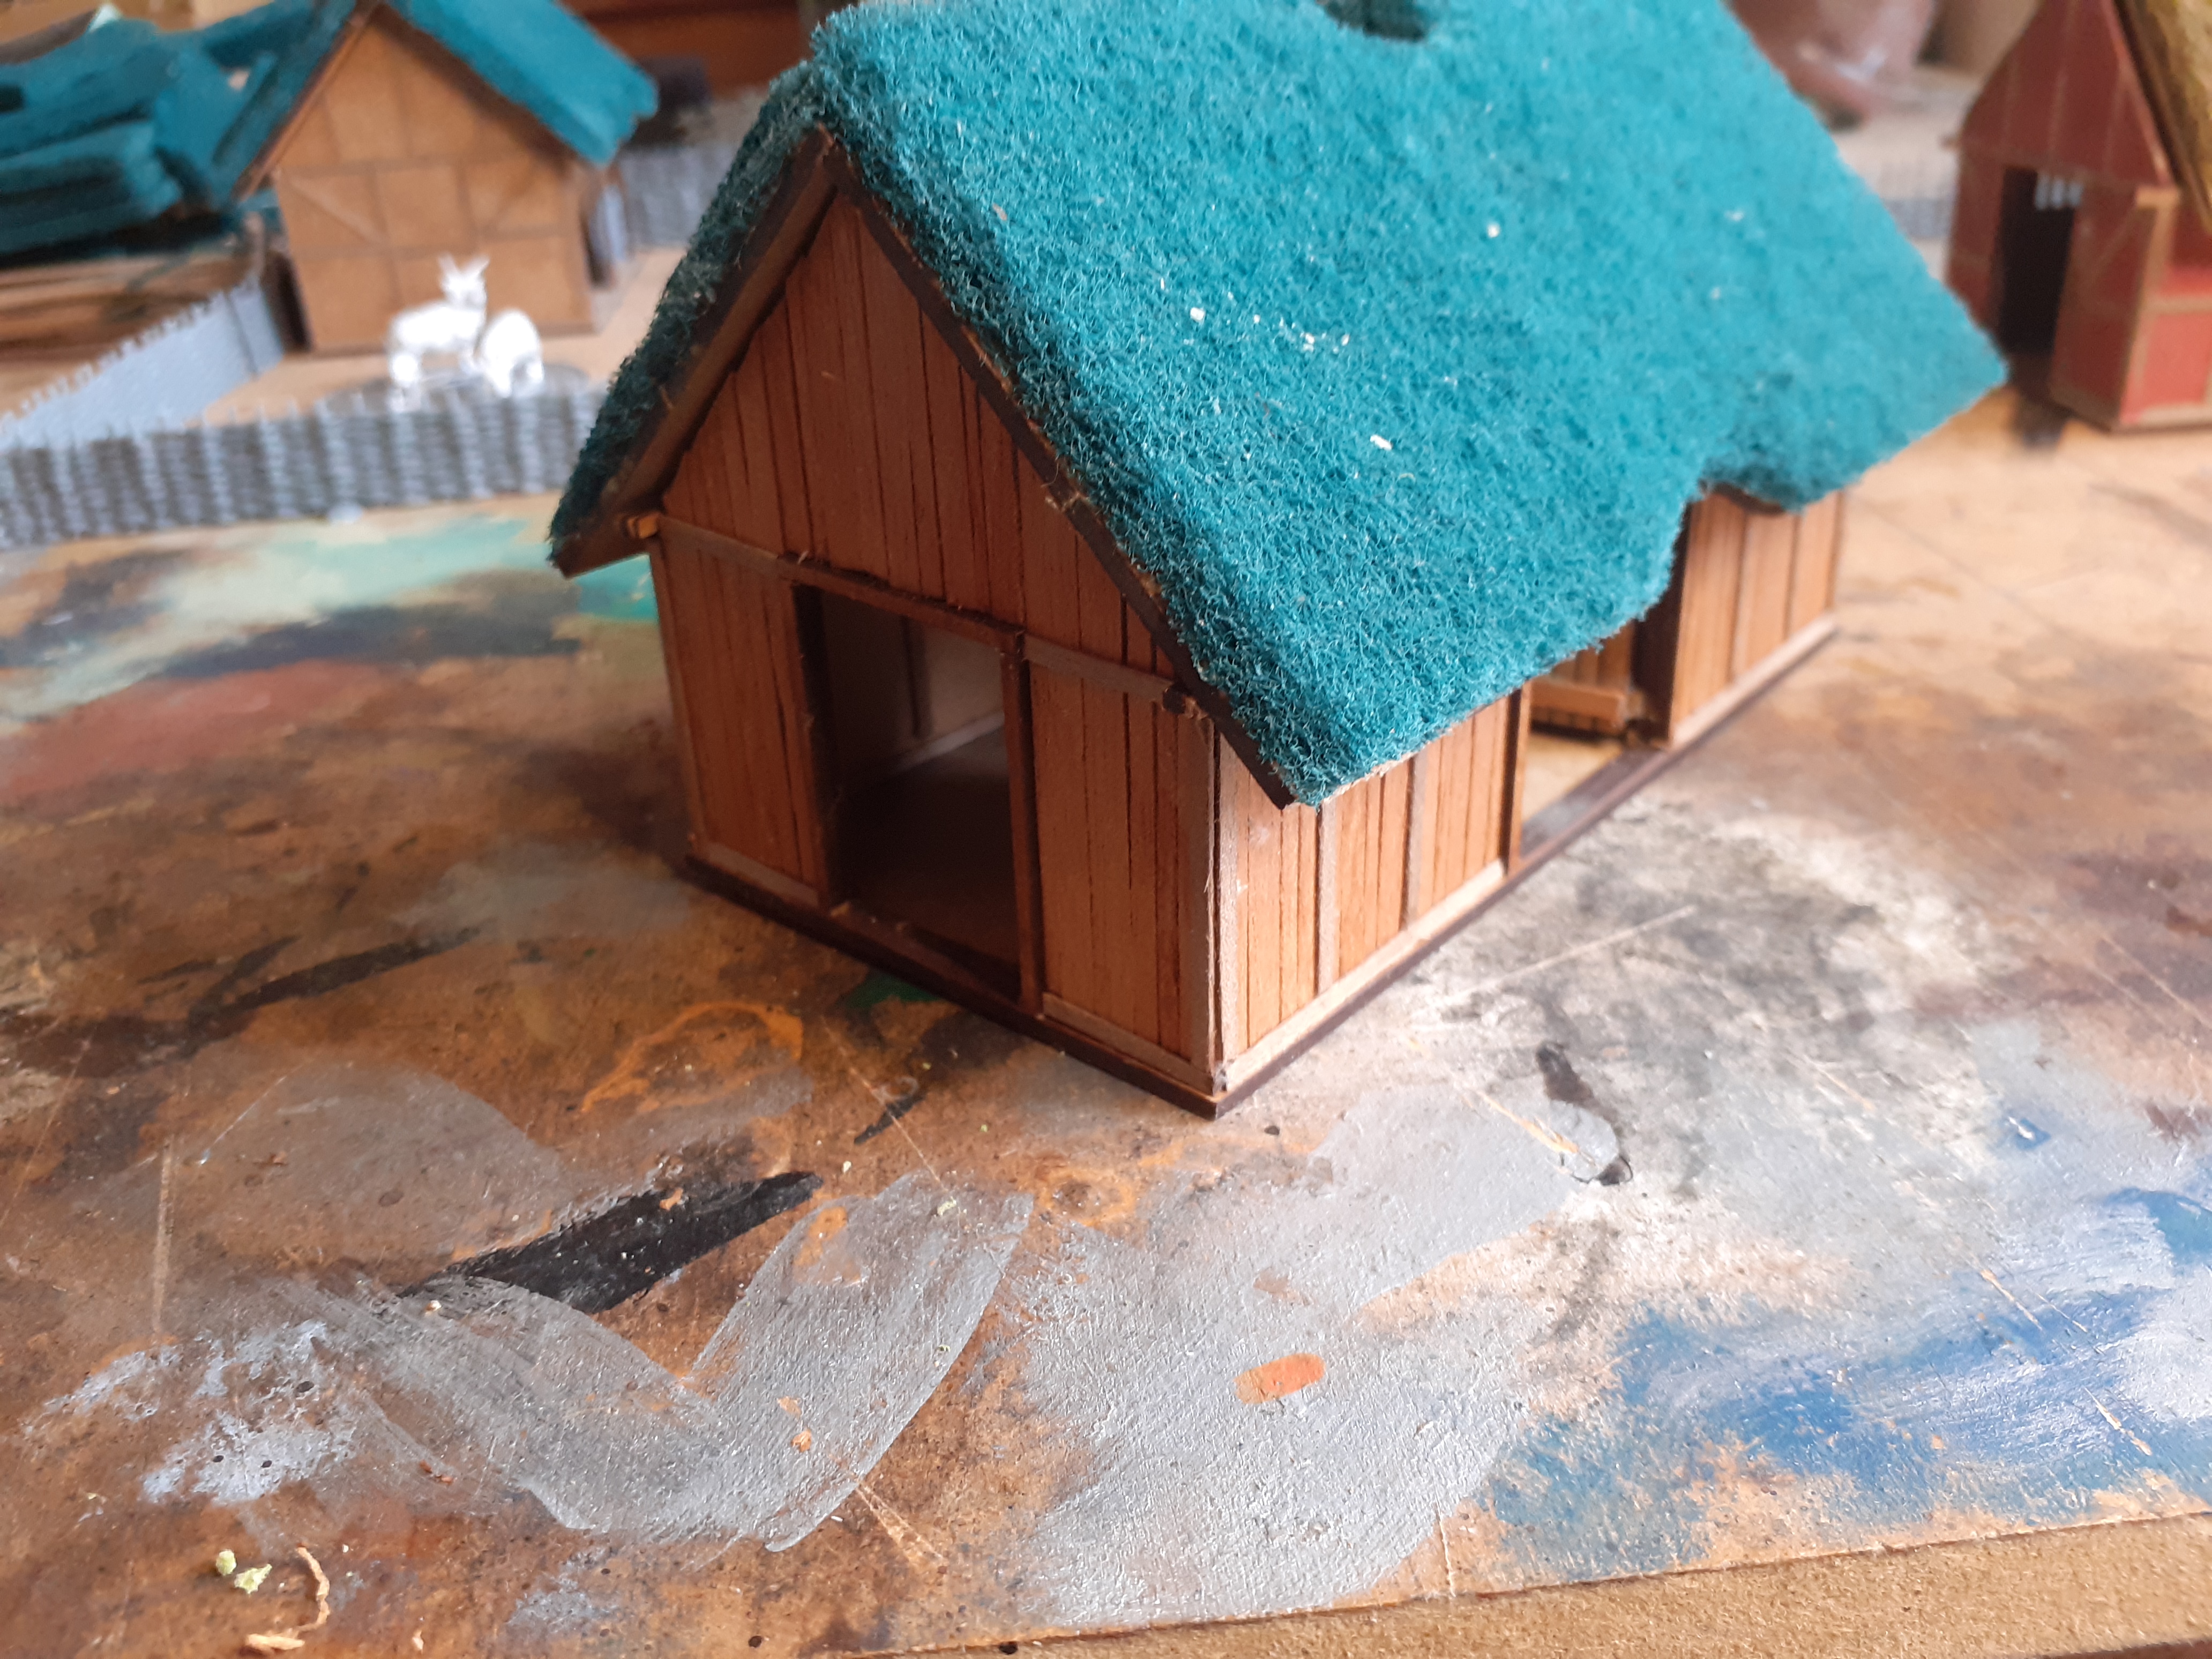 This is the large house, this was laser cut to represent wooden boards so I decided to replicate these using the thin wooden sheets you get in cigar boxes, Planking the walls first and then adding the beams.
 The wooden planking I use. The thin strips I purchase from Cornwall Model Boats, these are the teak planks 2mm wide, they are not expensive and can save alot of time. The other planks I used this thin wooden sheets from a cigar box, this I cut in various widths to provide interest to the planned areas.
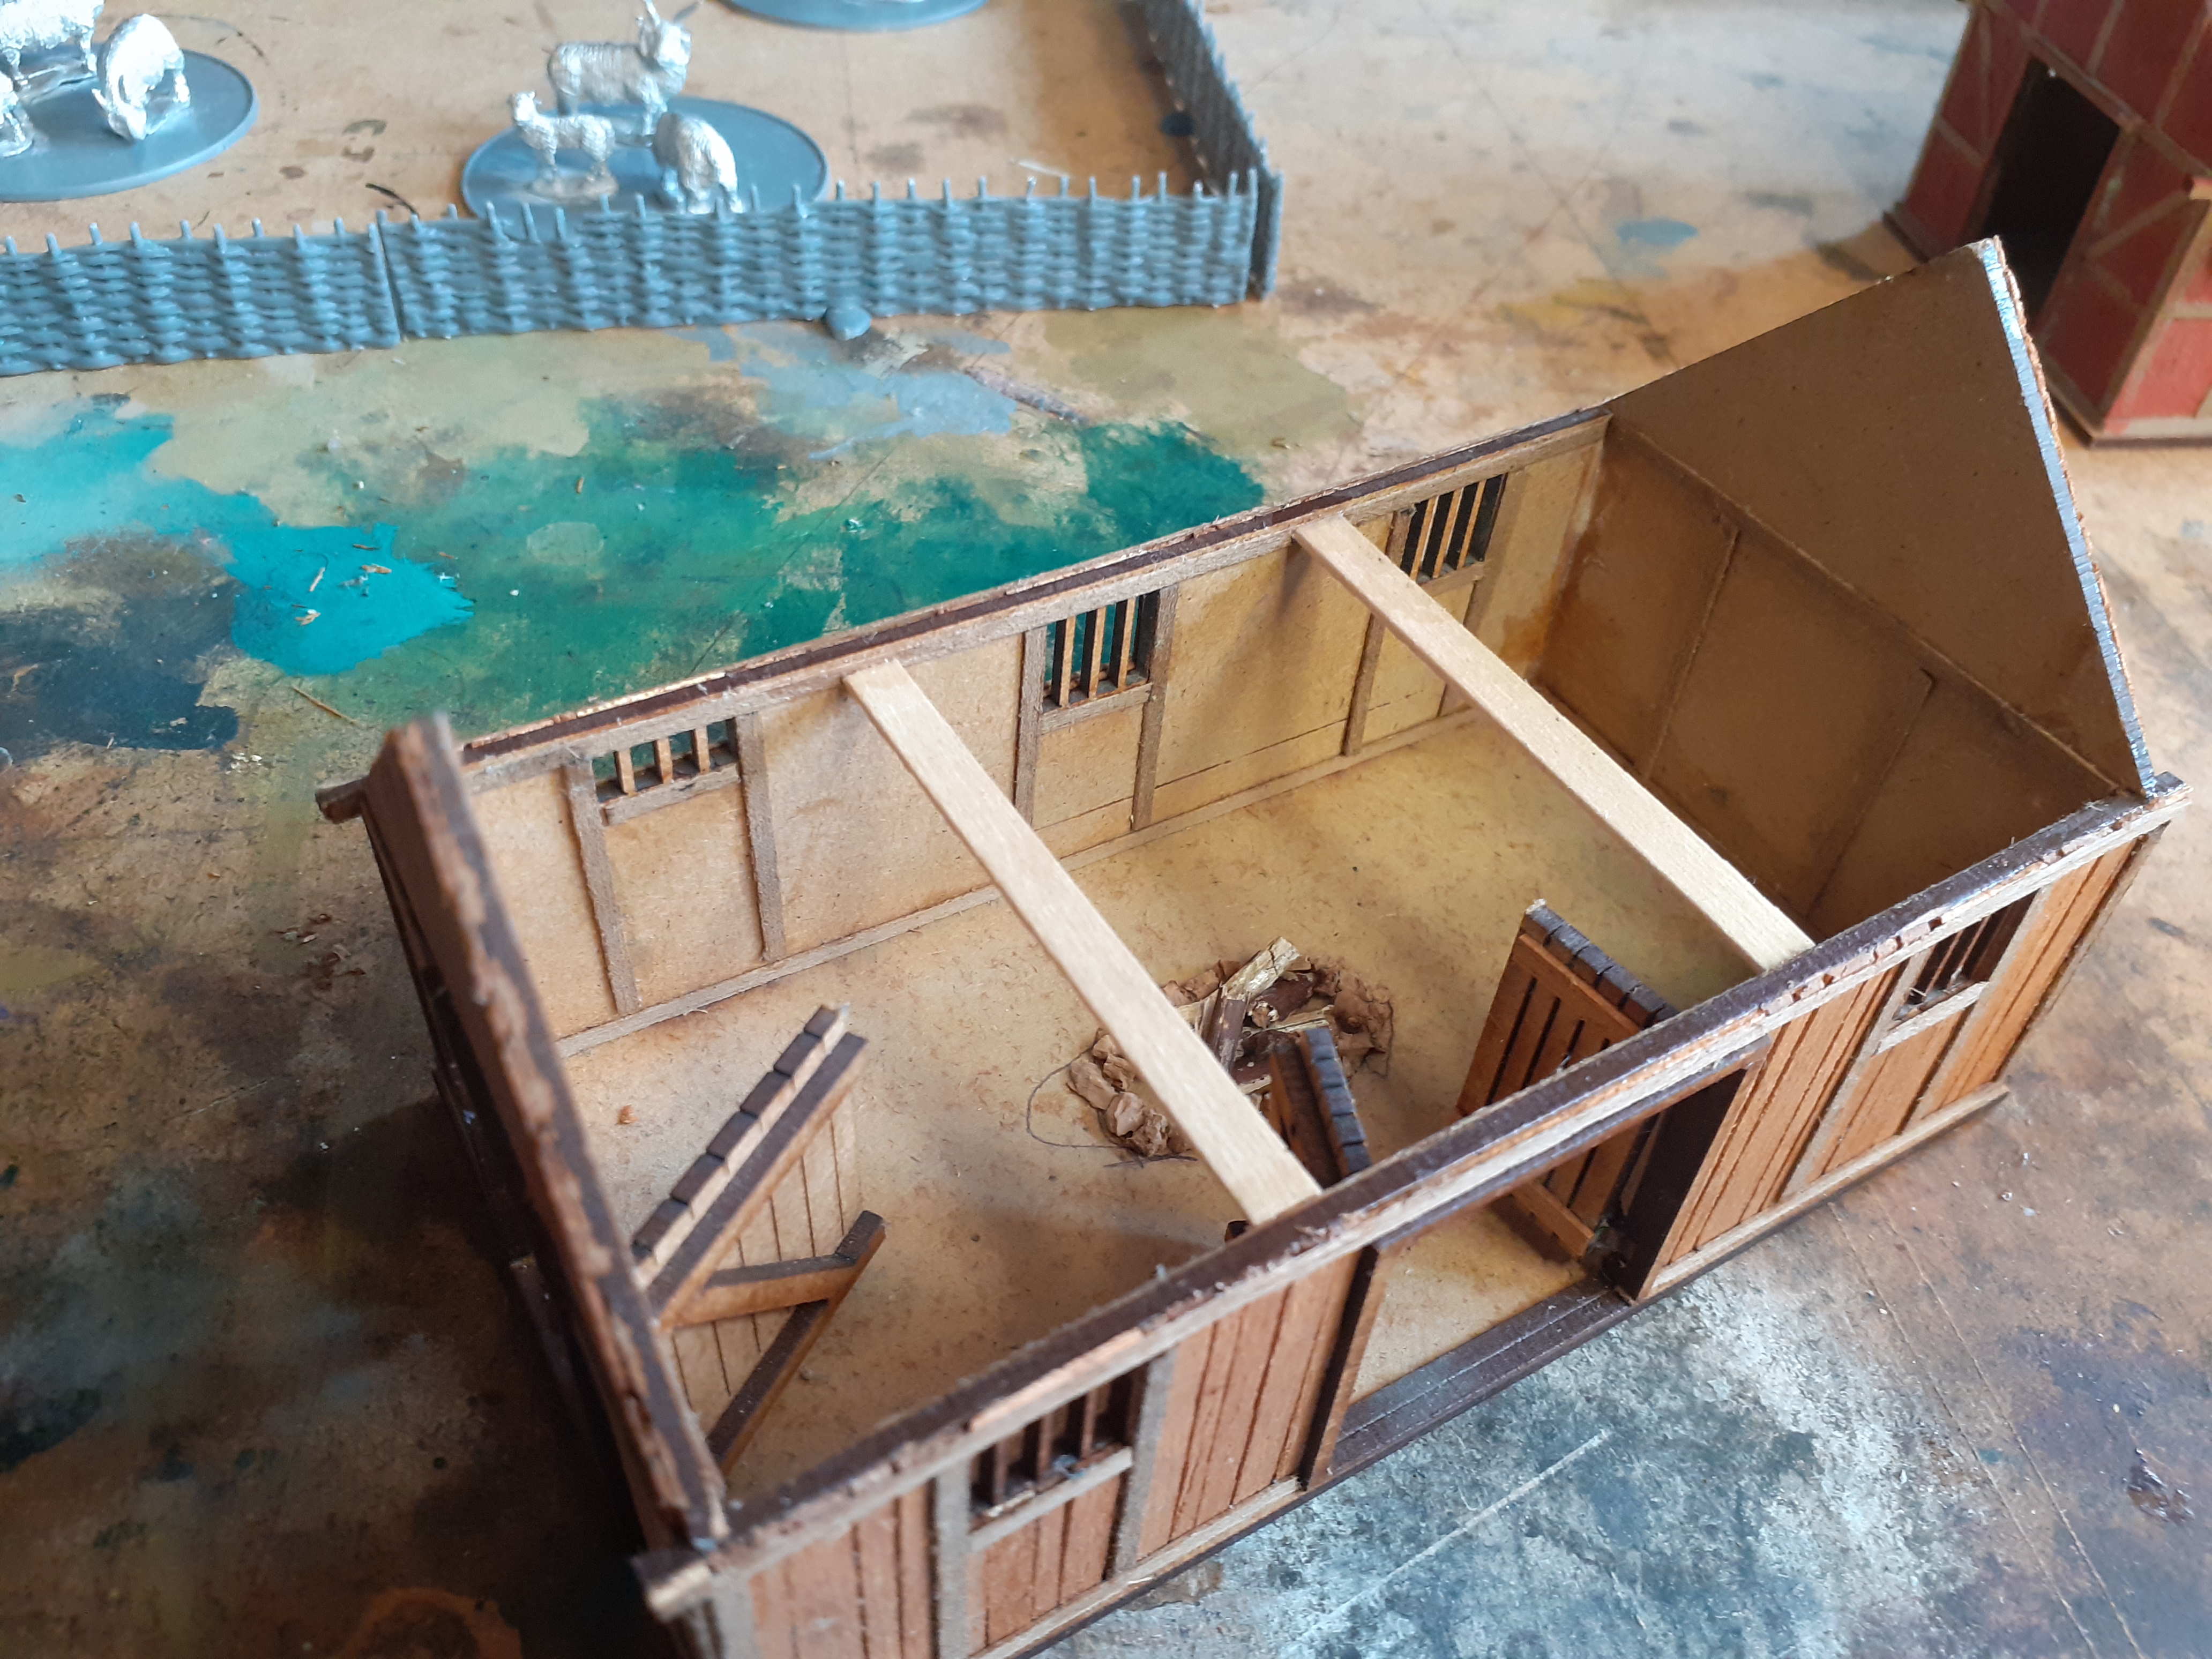 I have detailed the interior as previously. The two coffee stirred beams are there initially because I had to straighten out the warped walls, now they are there I am going to make the most of them adding either cat,chicken or rat perched on one of the beams. All of my buildings will be receiving interesting details such as hanging herbs,pots and containers etc. I plan to base these on MDF boards and have gardens with veg etc growing.
 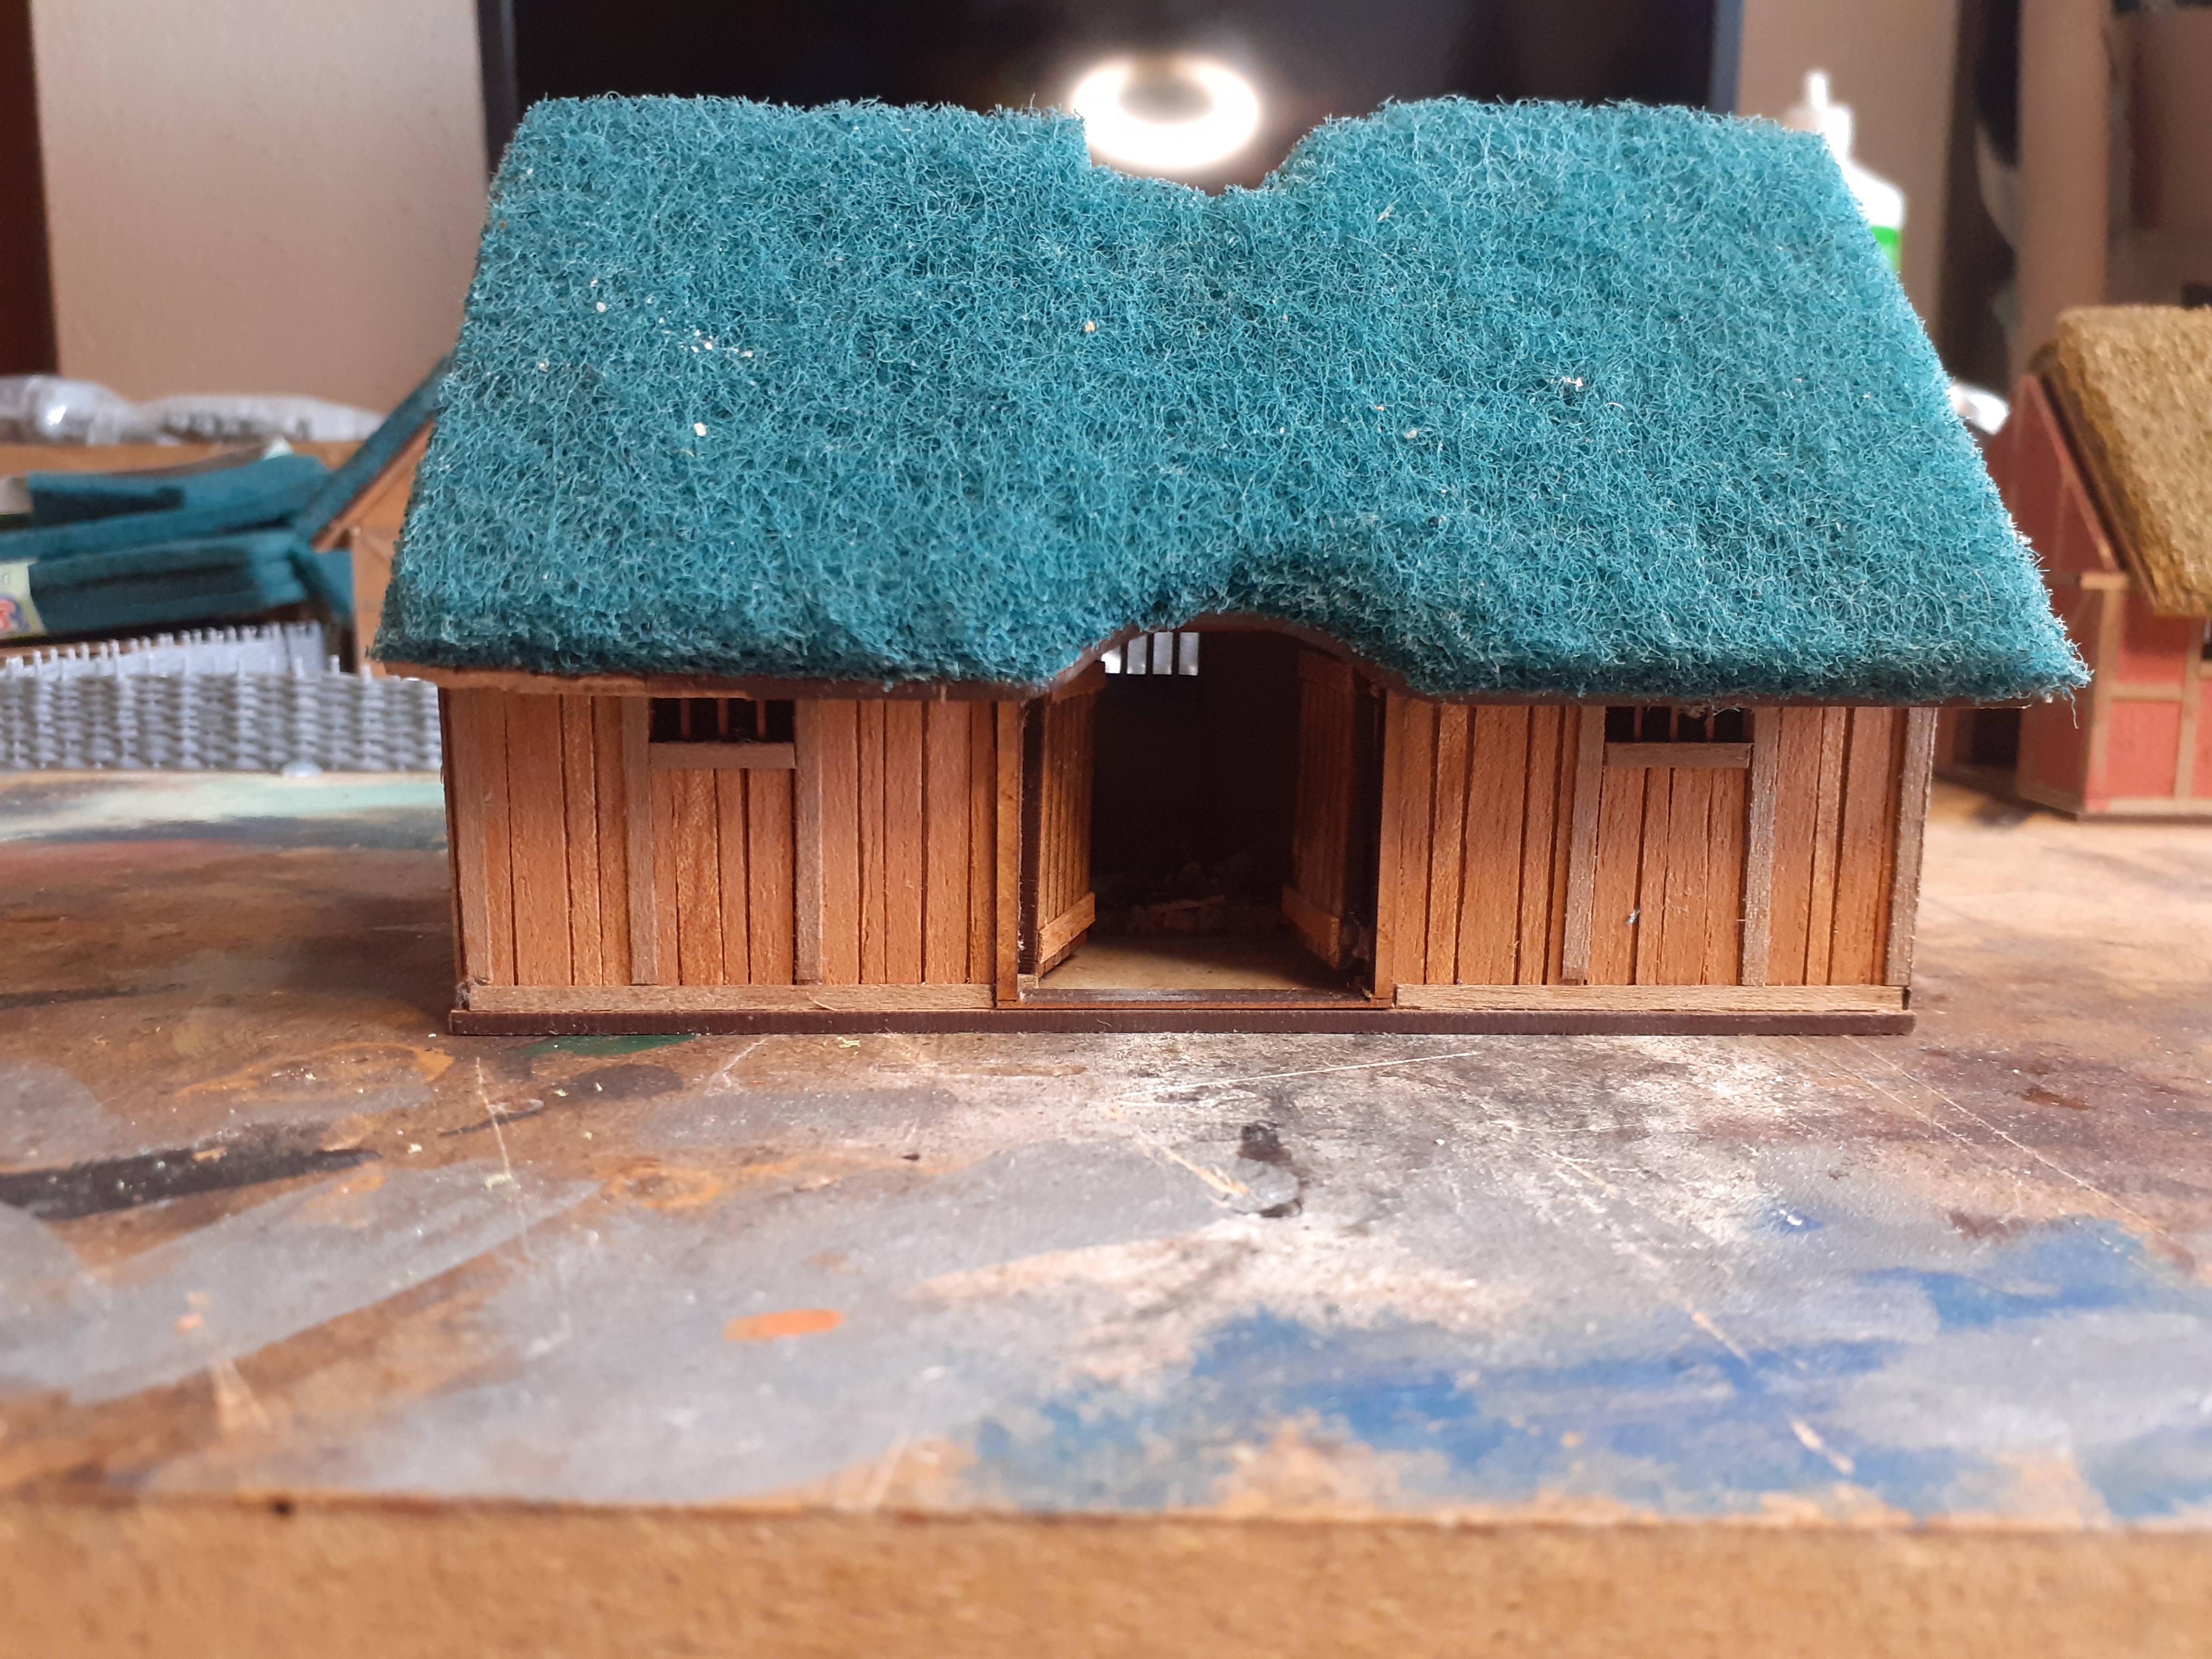 A clear view of the planking.
I don't like MDF kits
I am not usually a fan off MDF kits as even with a great paint job they still look like MDF kits.
Seeing these ut UKGE just one year ago I thought these would look great for my Runequest/historical saga games as well as RQ roleplaying.
I built all the buildings, initially covered roofs with teddy fur but have since changed my mind on this.
 This is the barn, here you can see I have started to add the wooden beams. The new roof coverings are brillo pads, as seen at the Sarissa stand, easy to attach (super glue) and then trim down sharp corners and edges with nail scissors.
 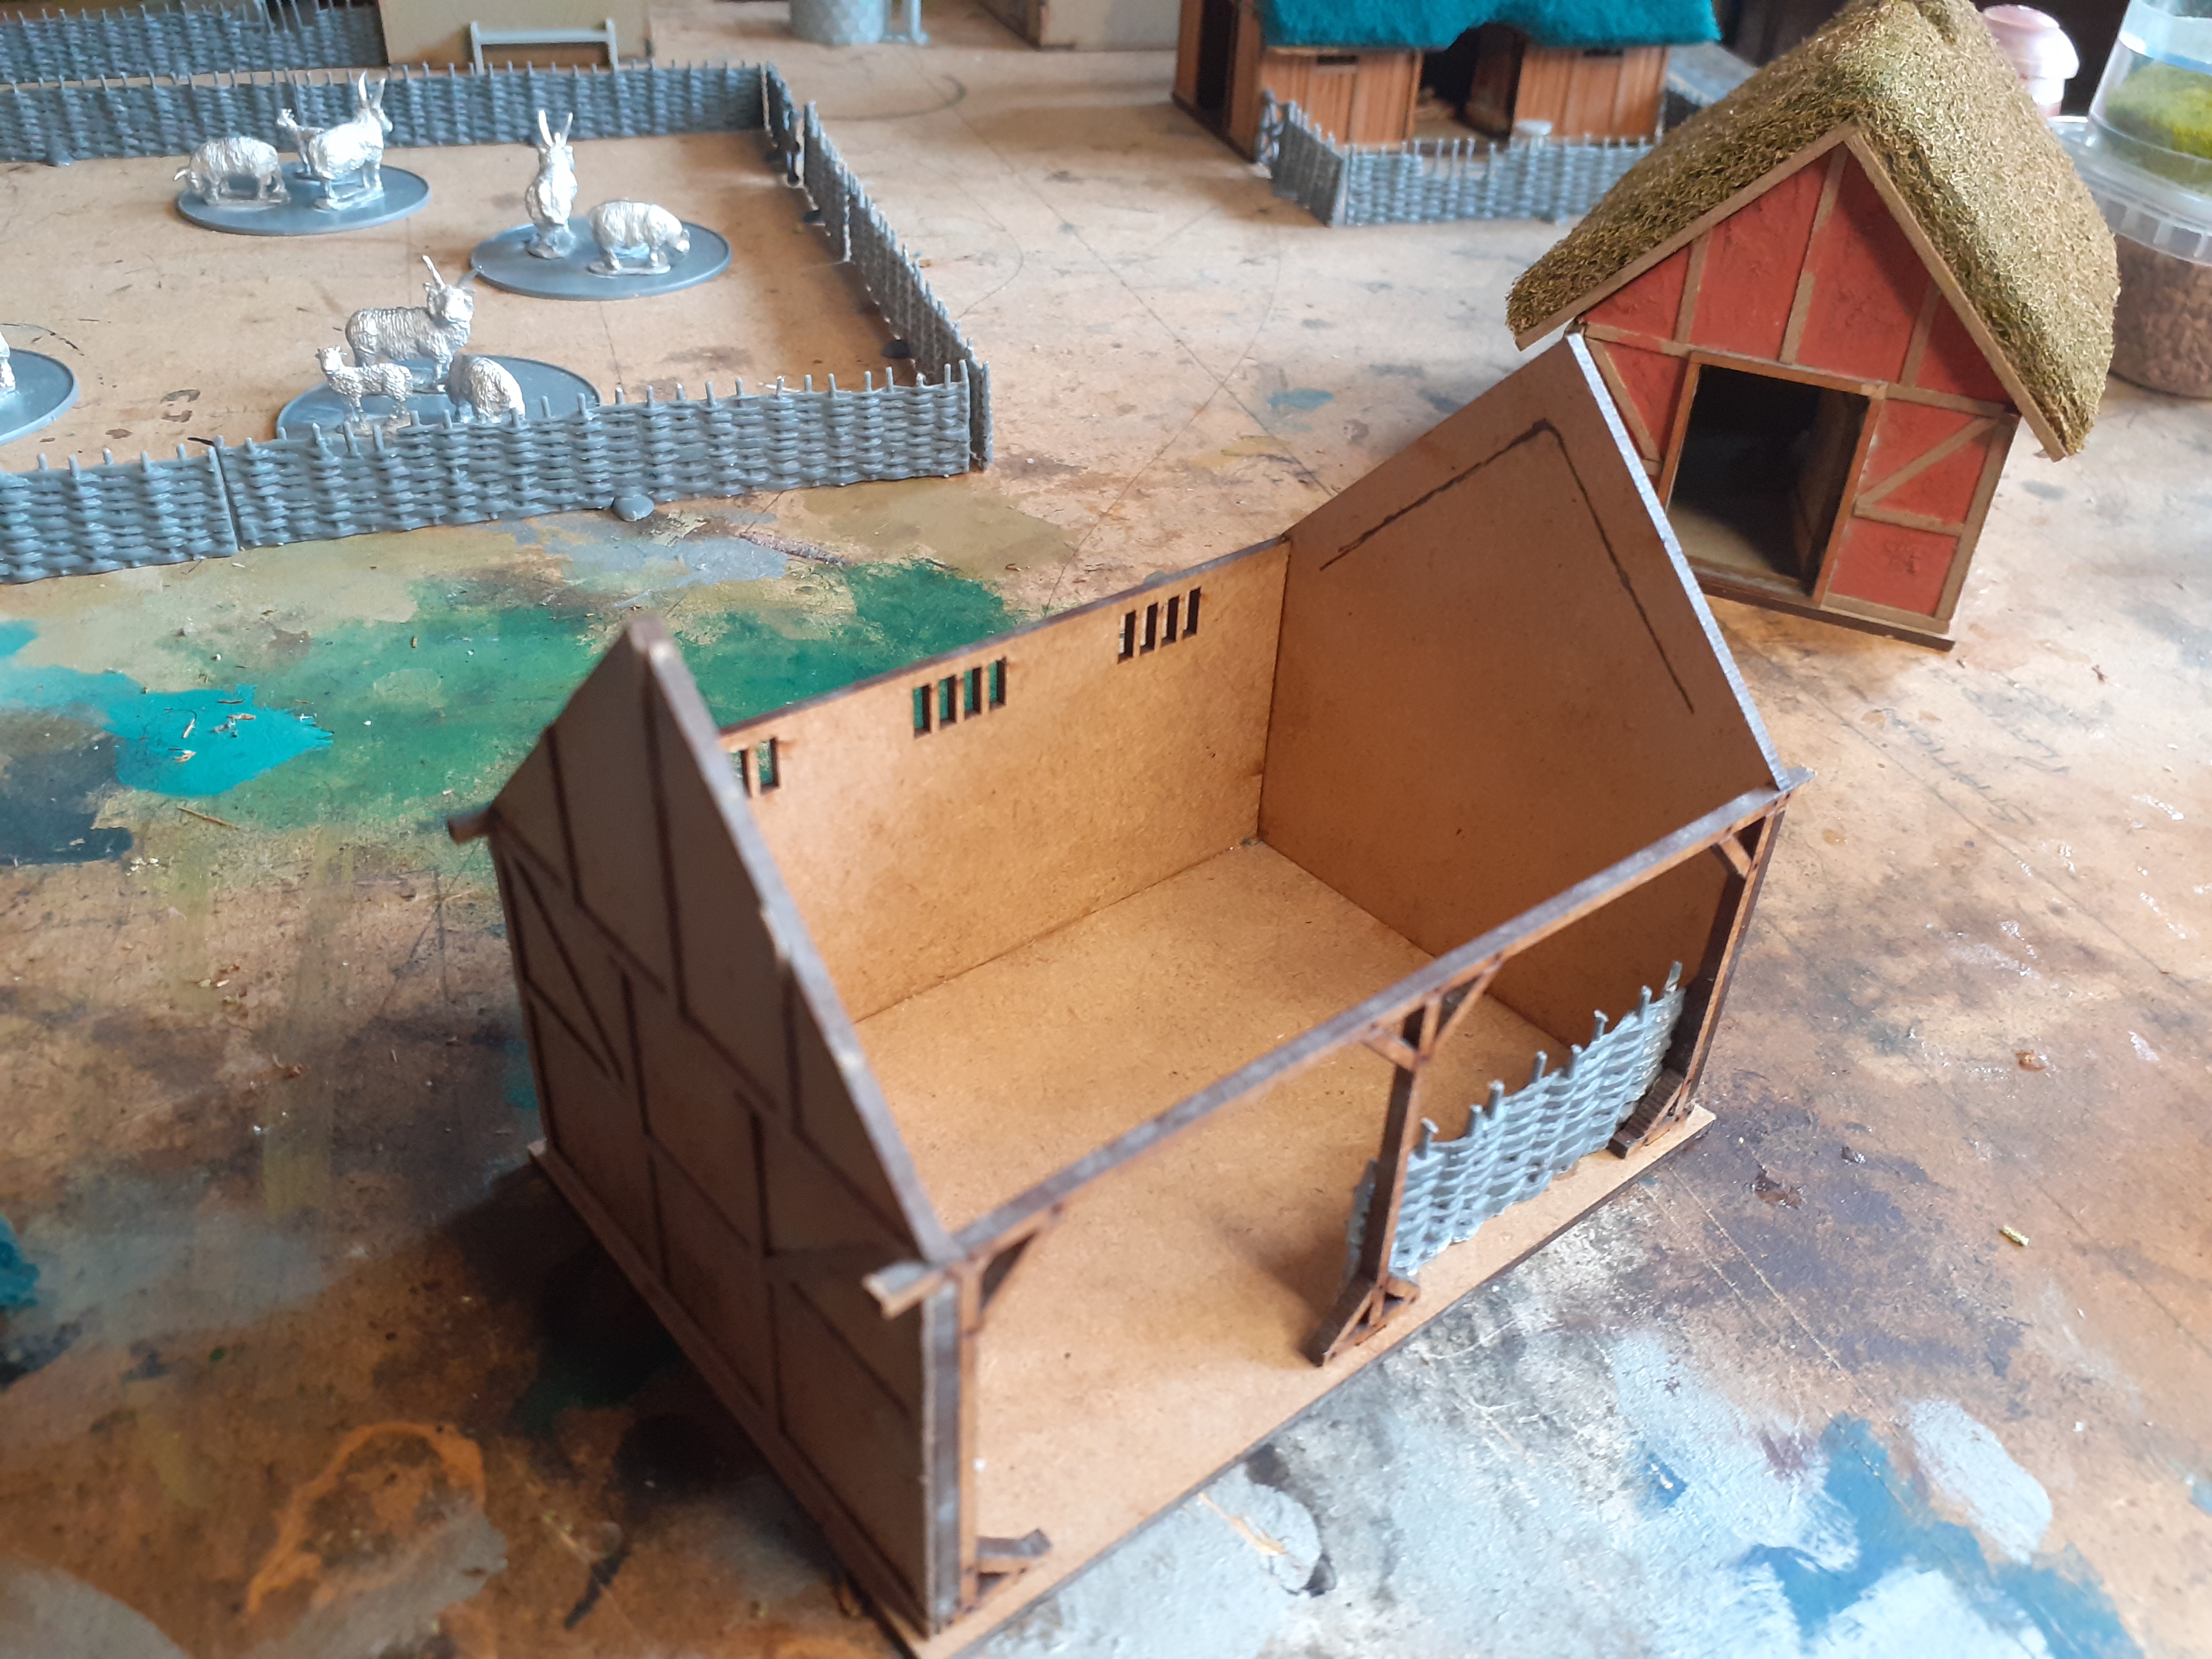 I will also be adding the wooden beams on the the interior walls
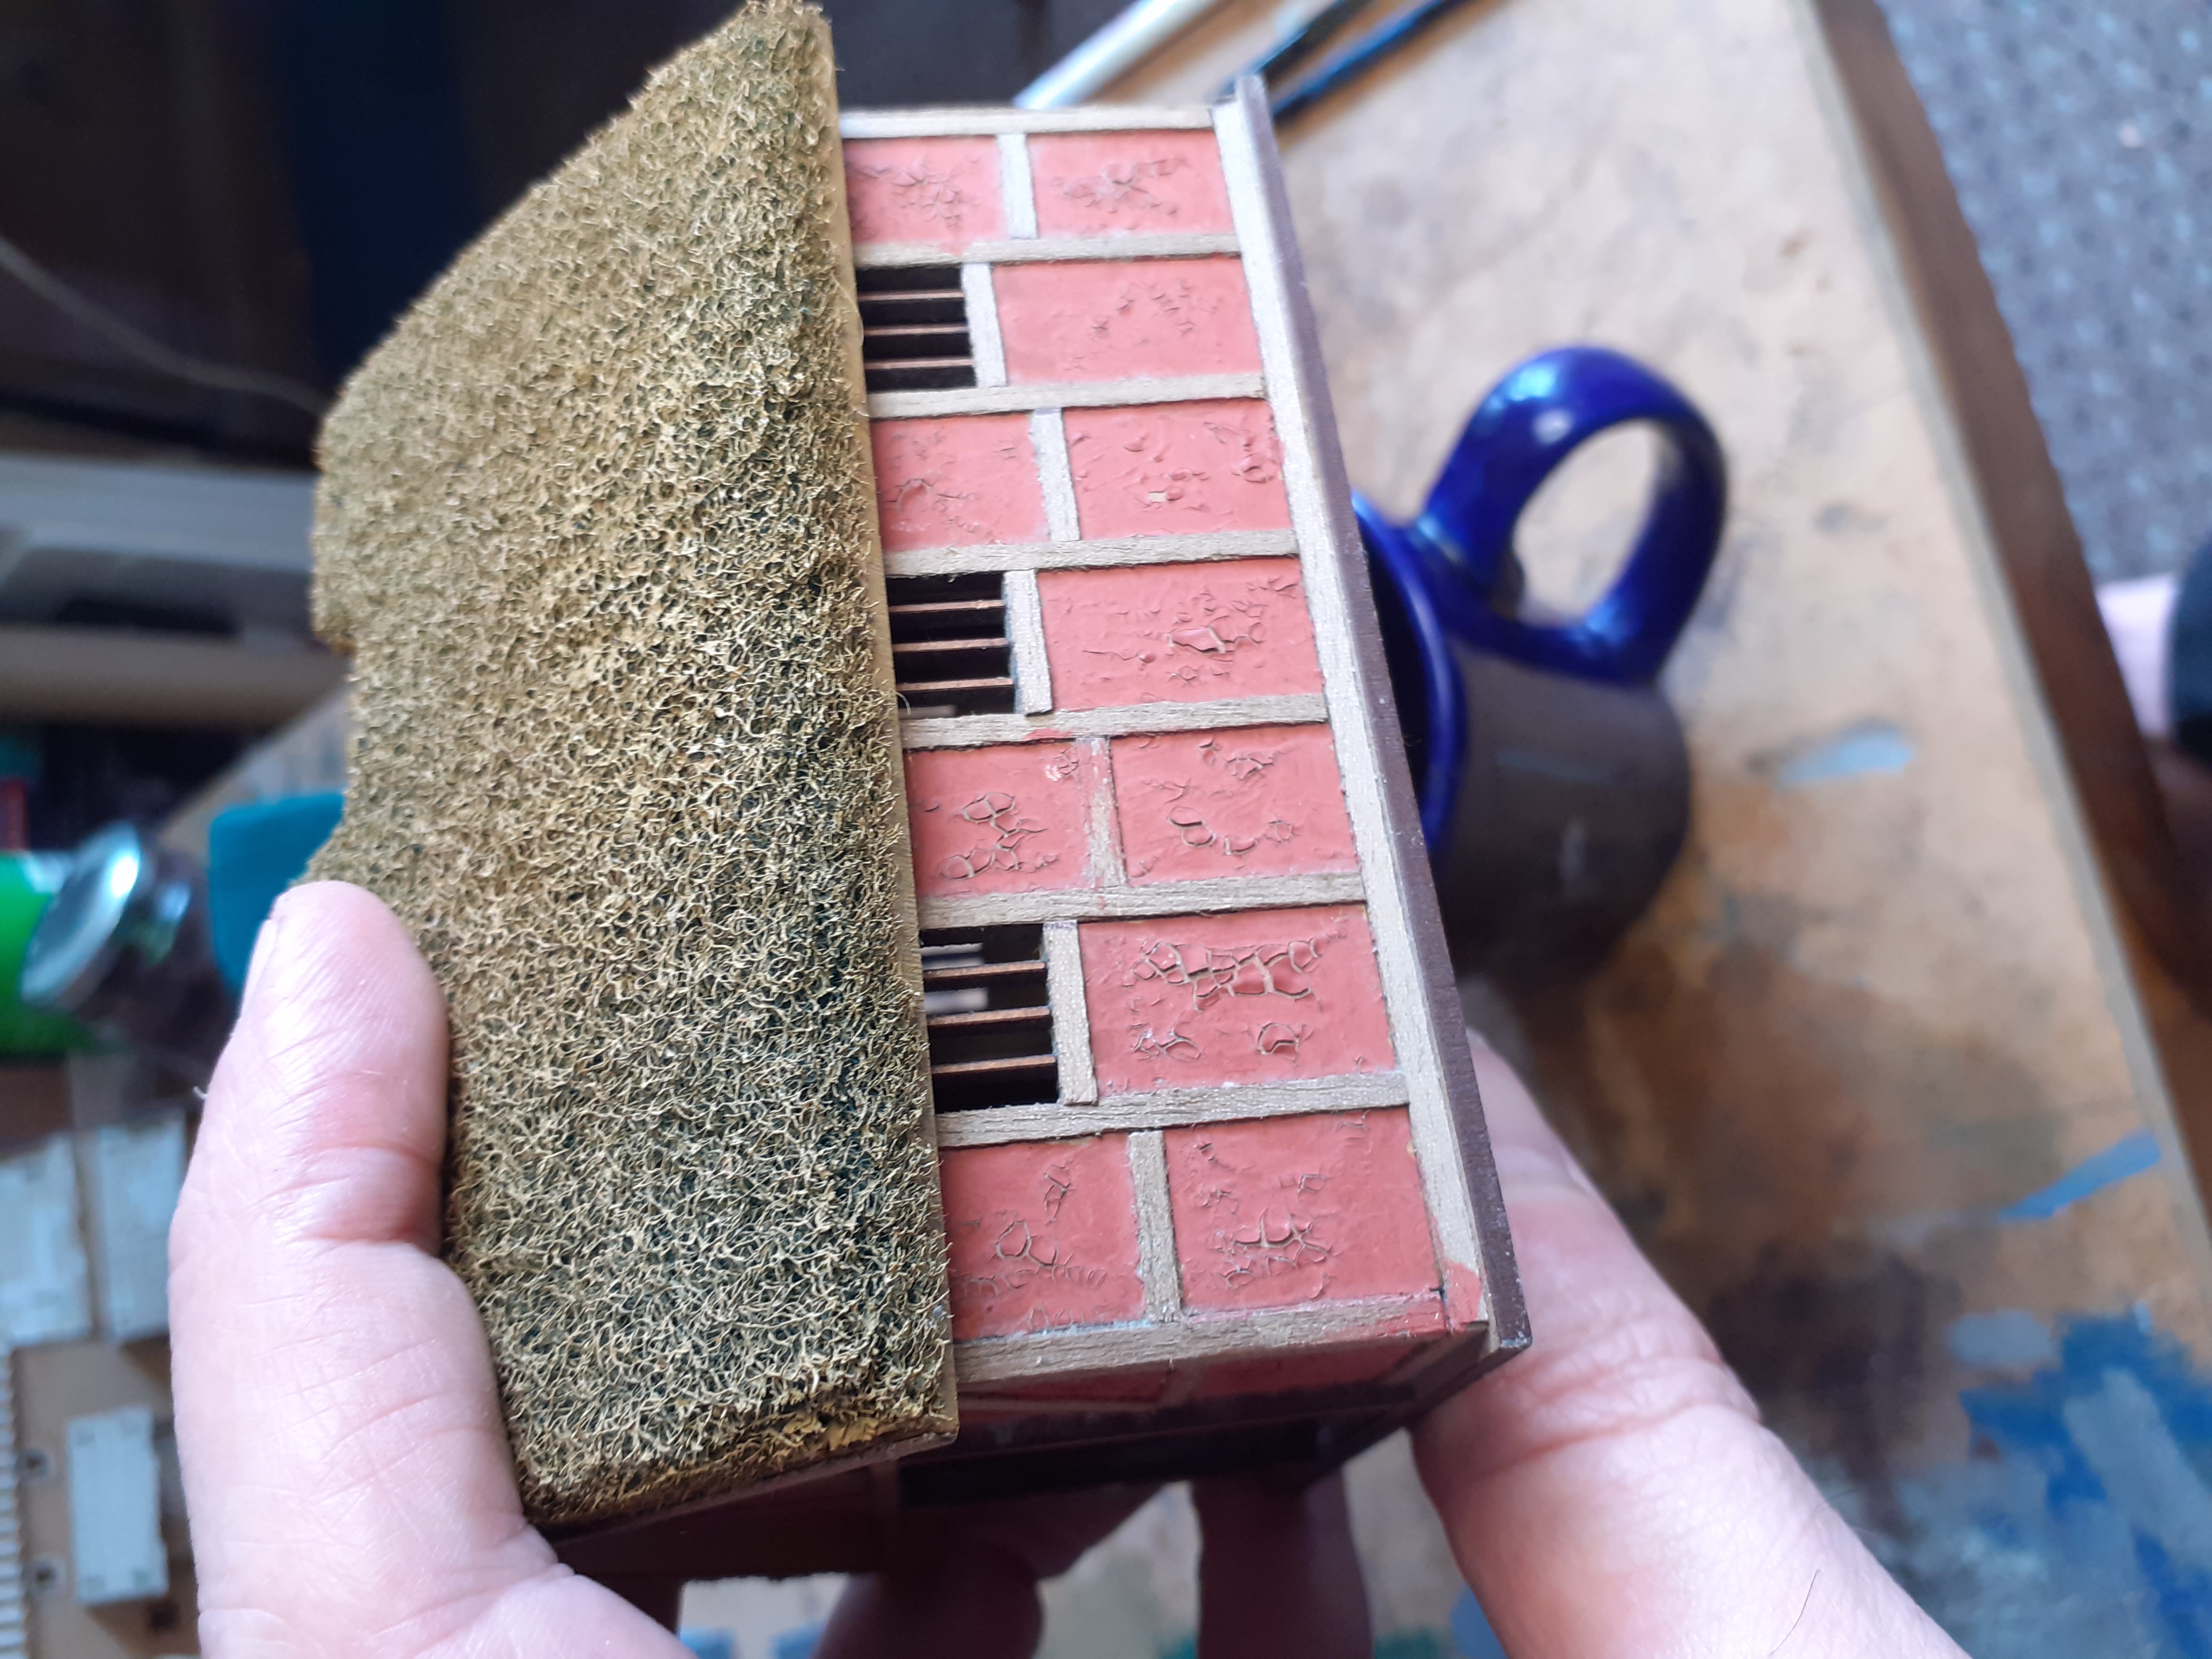
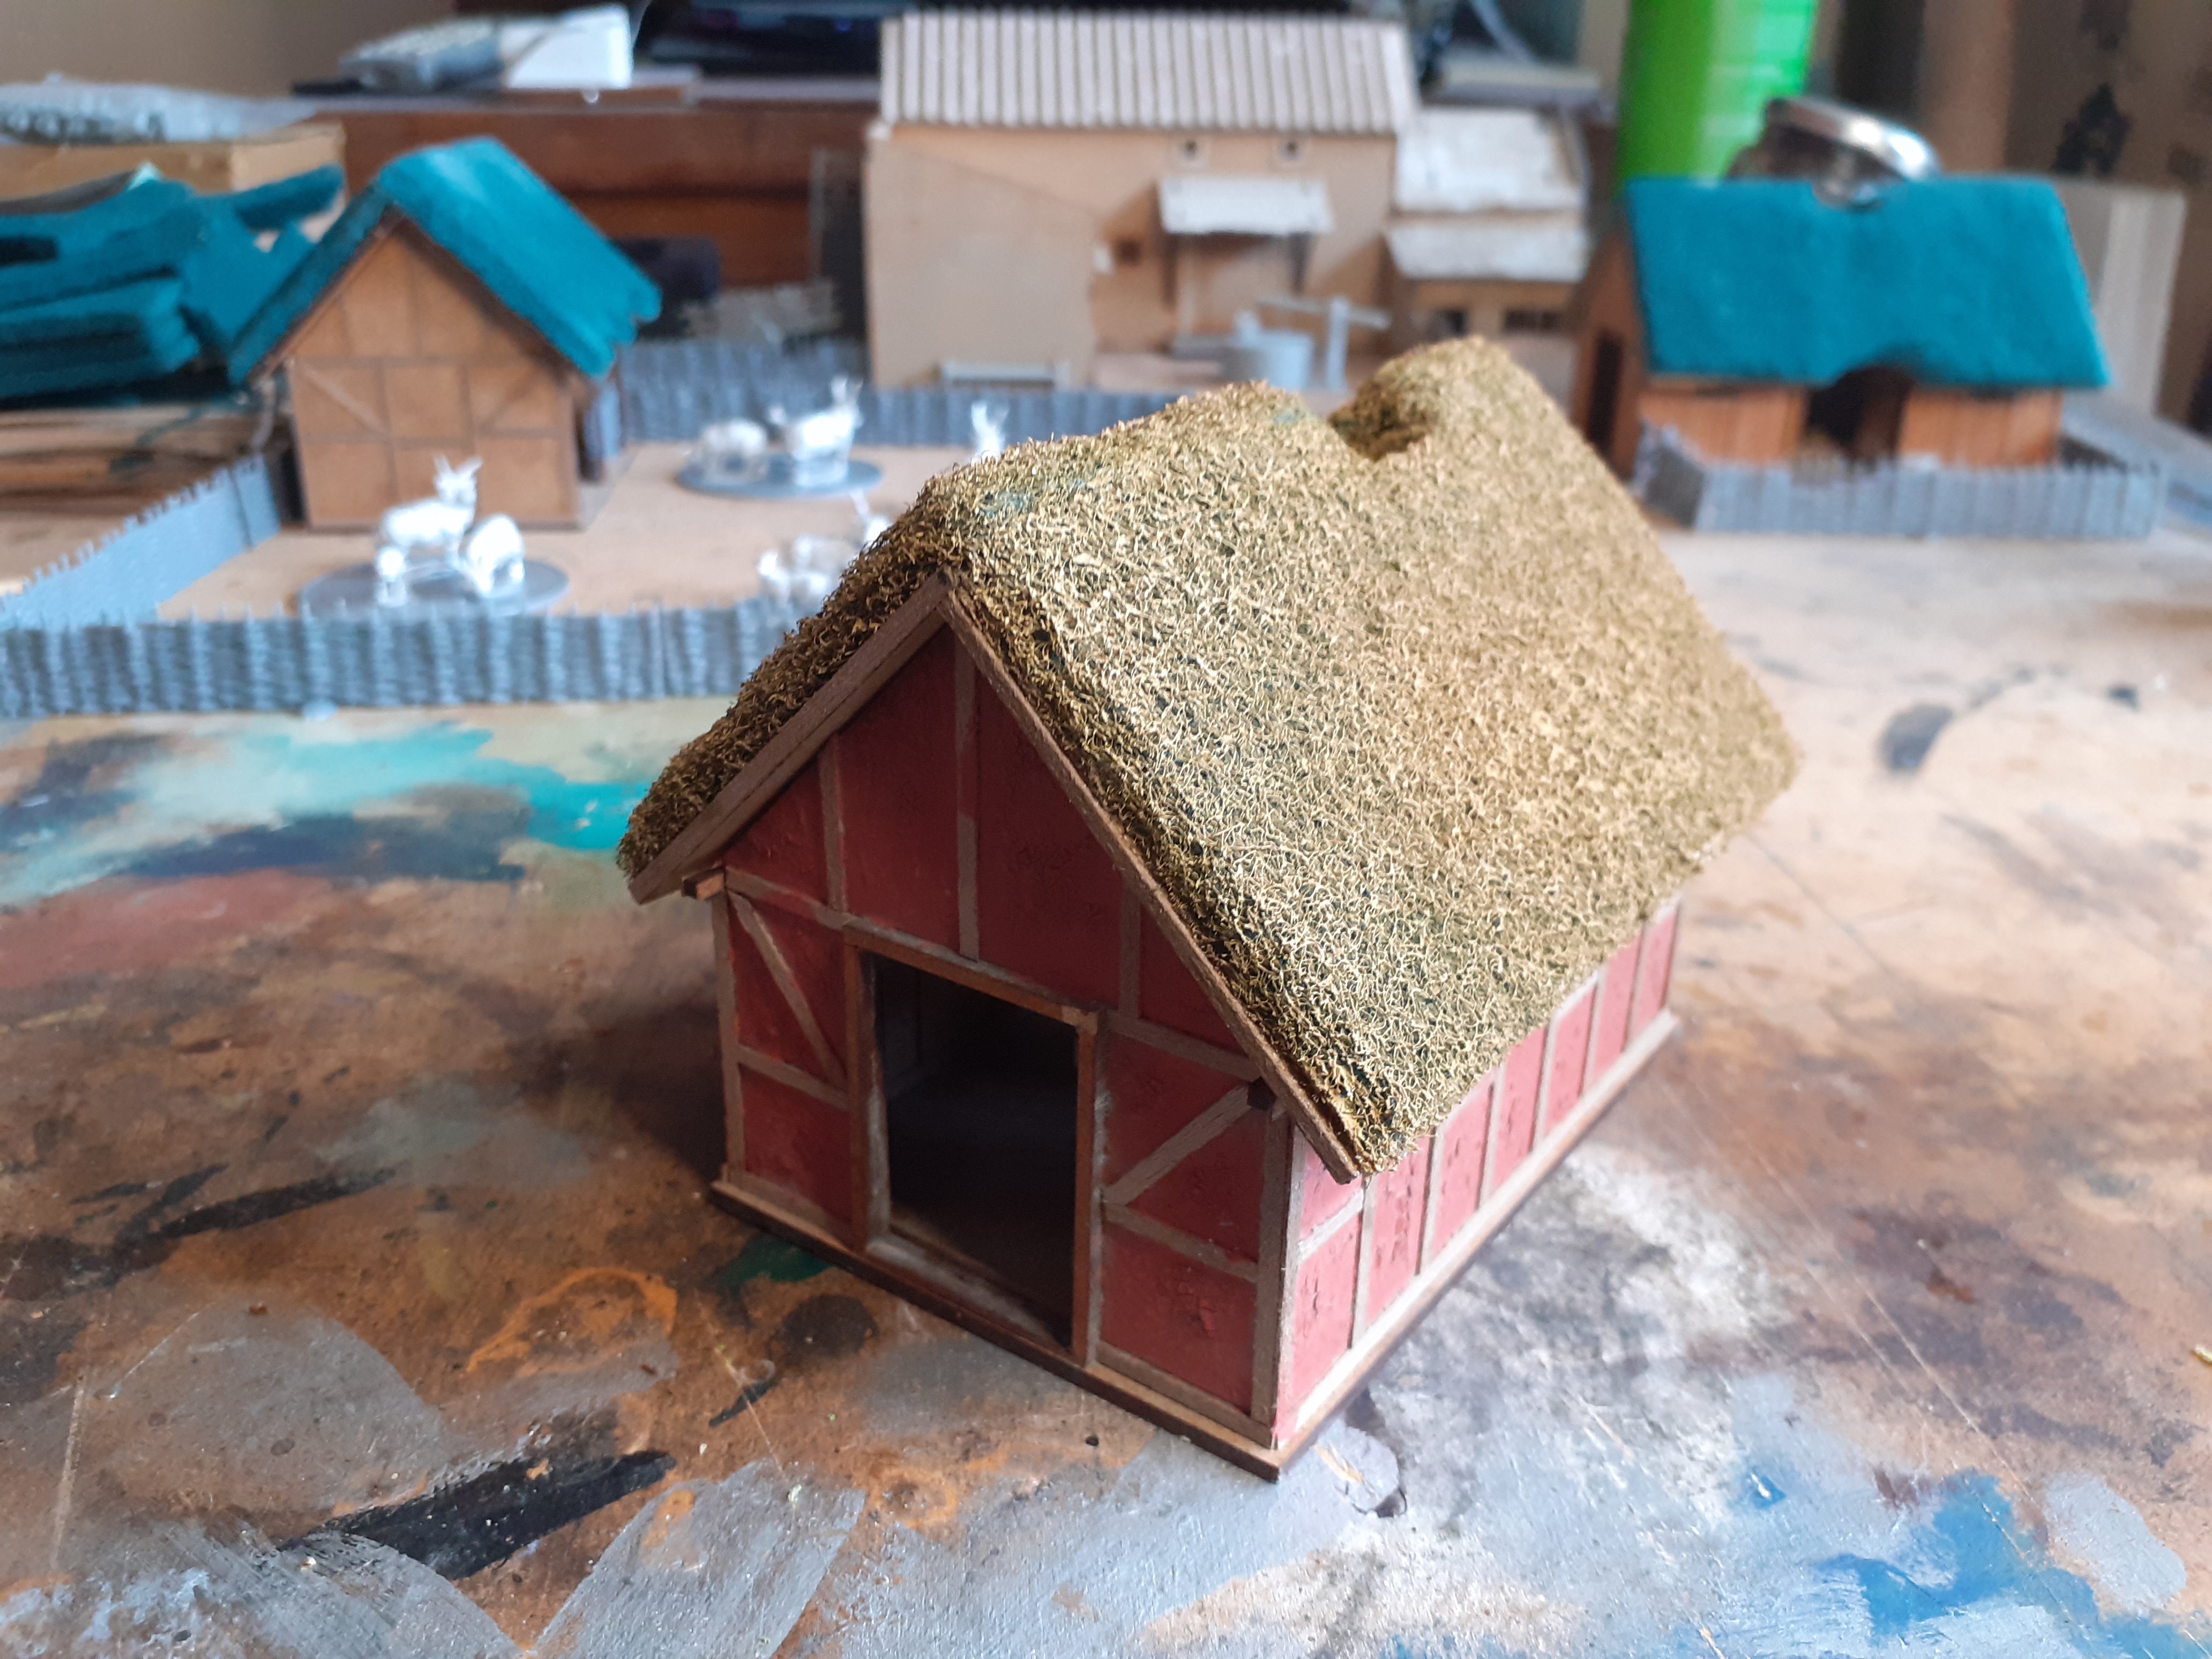 This is the Cottage. Here I have completed all the beams and then to naturalise the look of the plaster areas I have carefully applied Games Workshop Martian Earth which provides a nice texture which will hopefully take dry brushing really well. You can also see that I have capped the edges of the roof beneath the thatch with my wooden beam material.
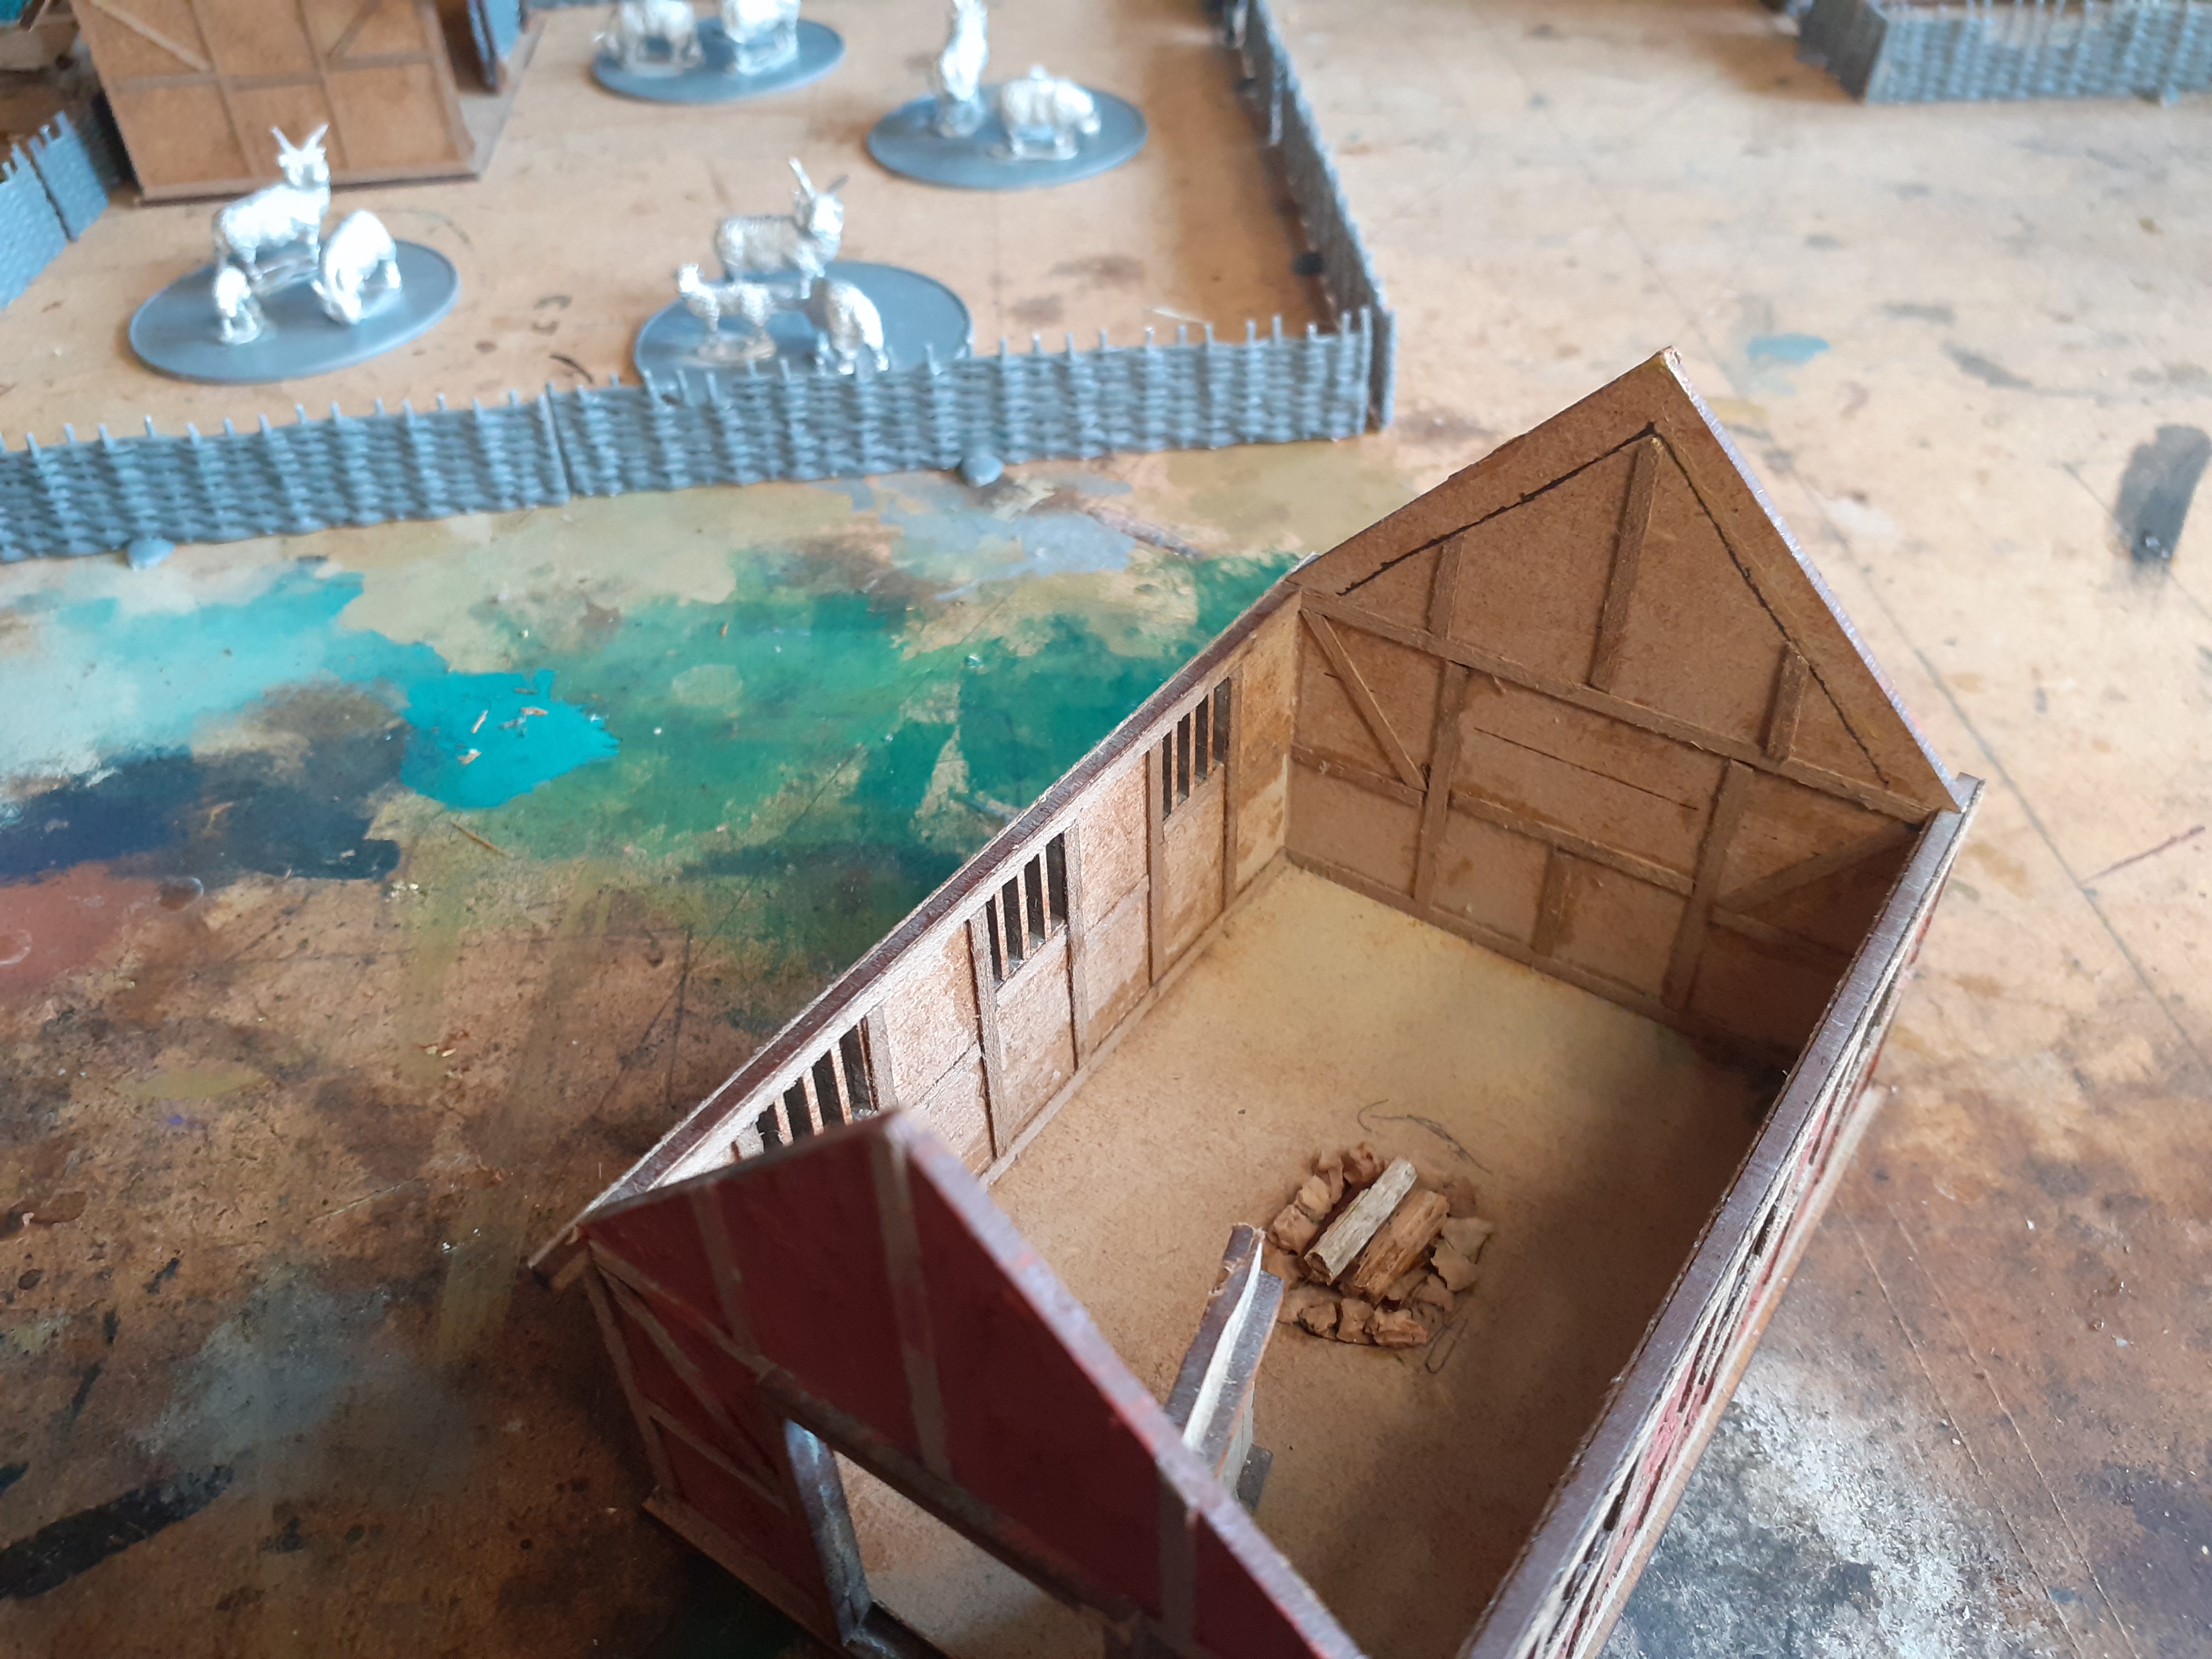 I have beamed all the interior walls and added a fire pit. I still need to texture walls and sprinkle fine sand on PVA for the groundwork.
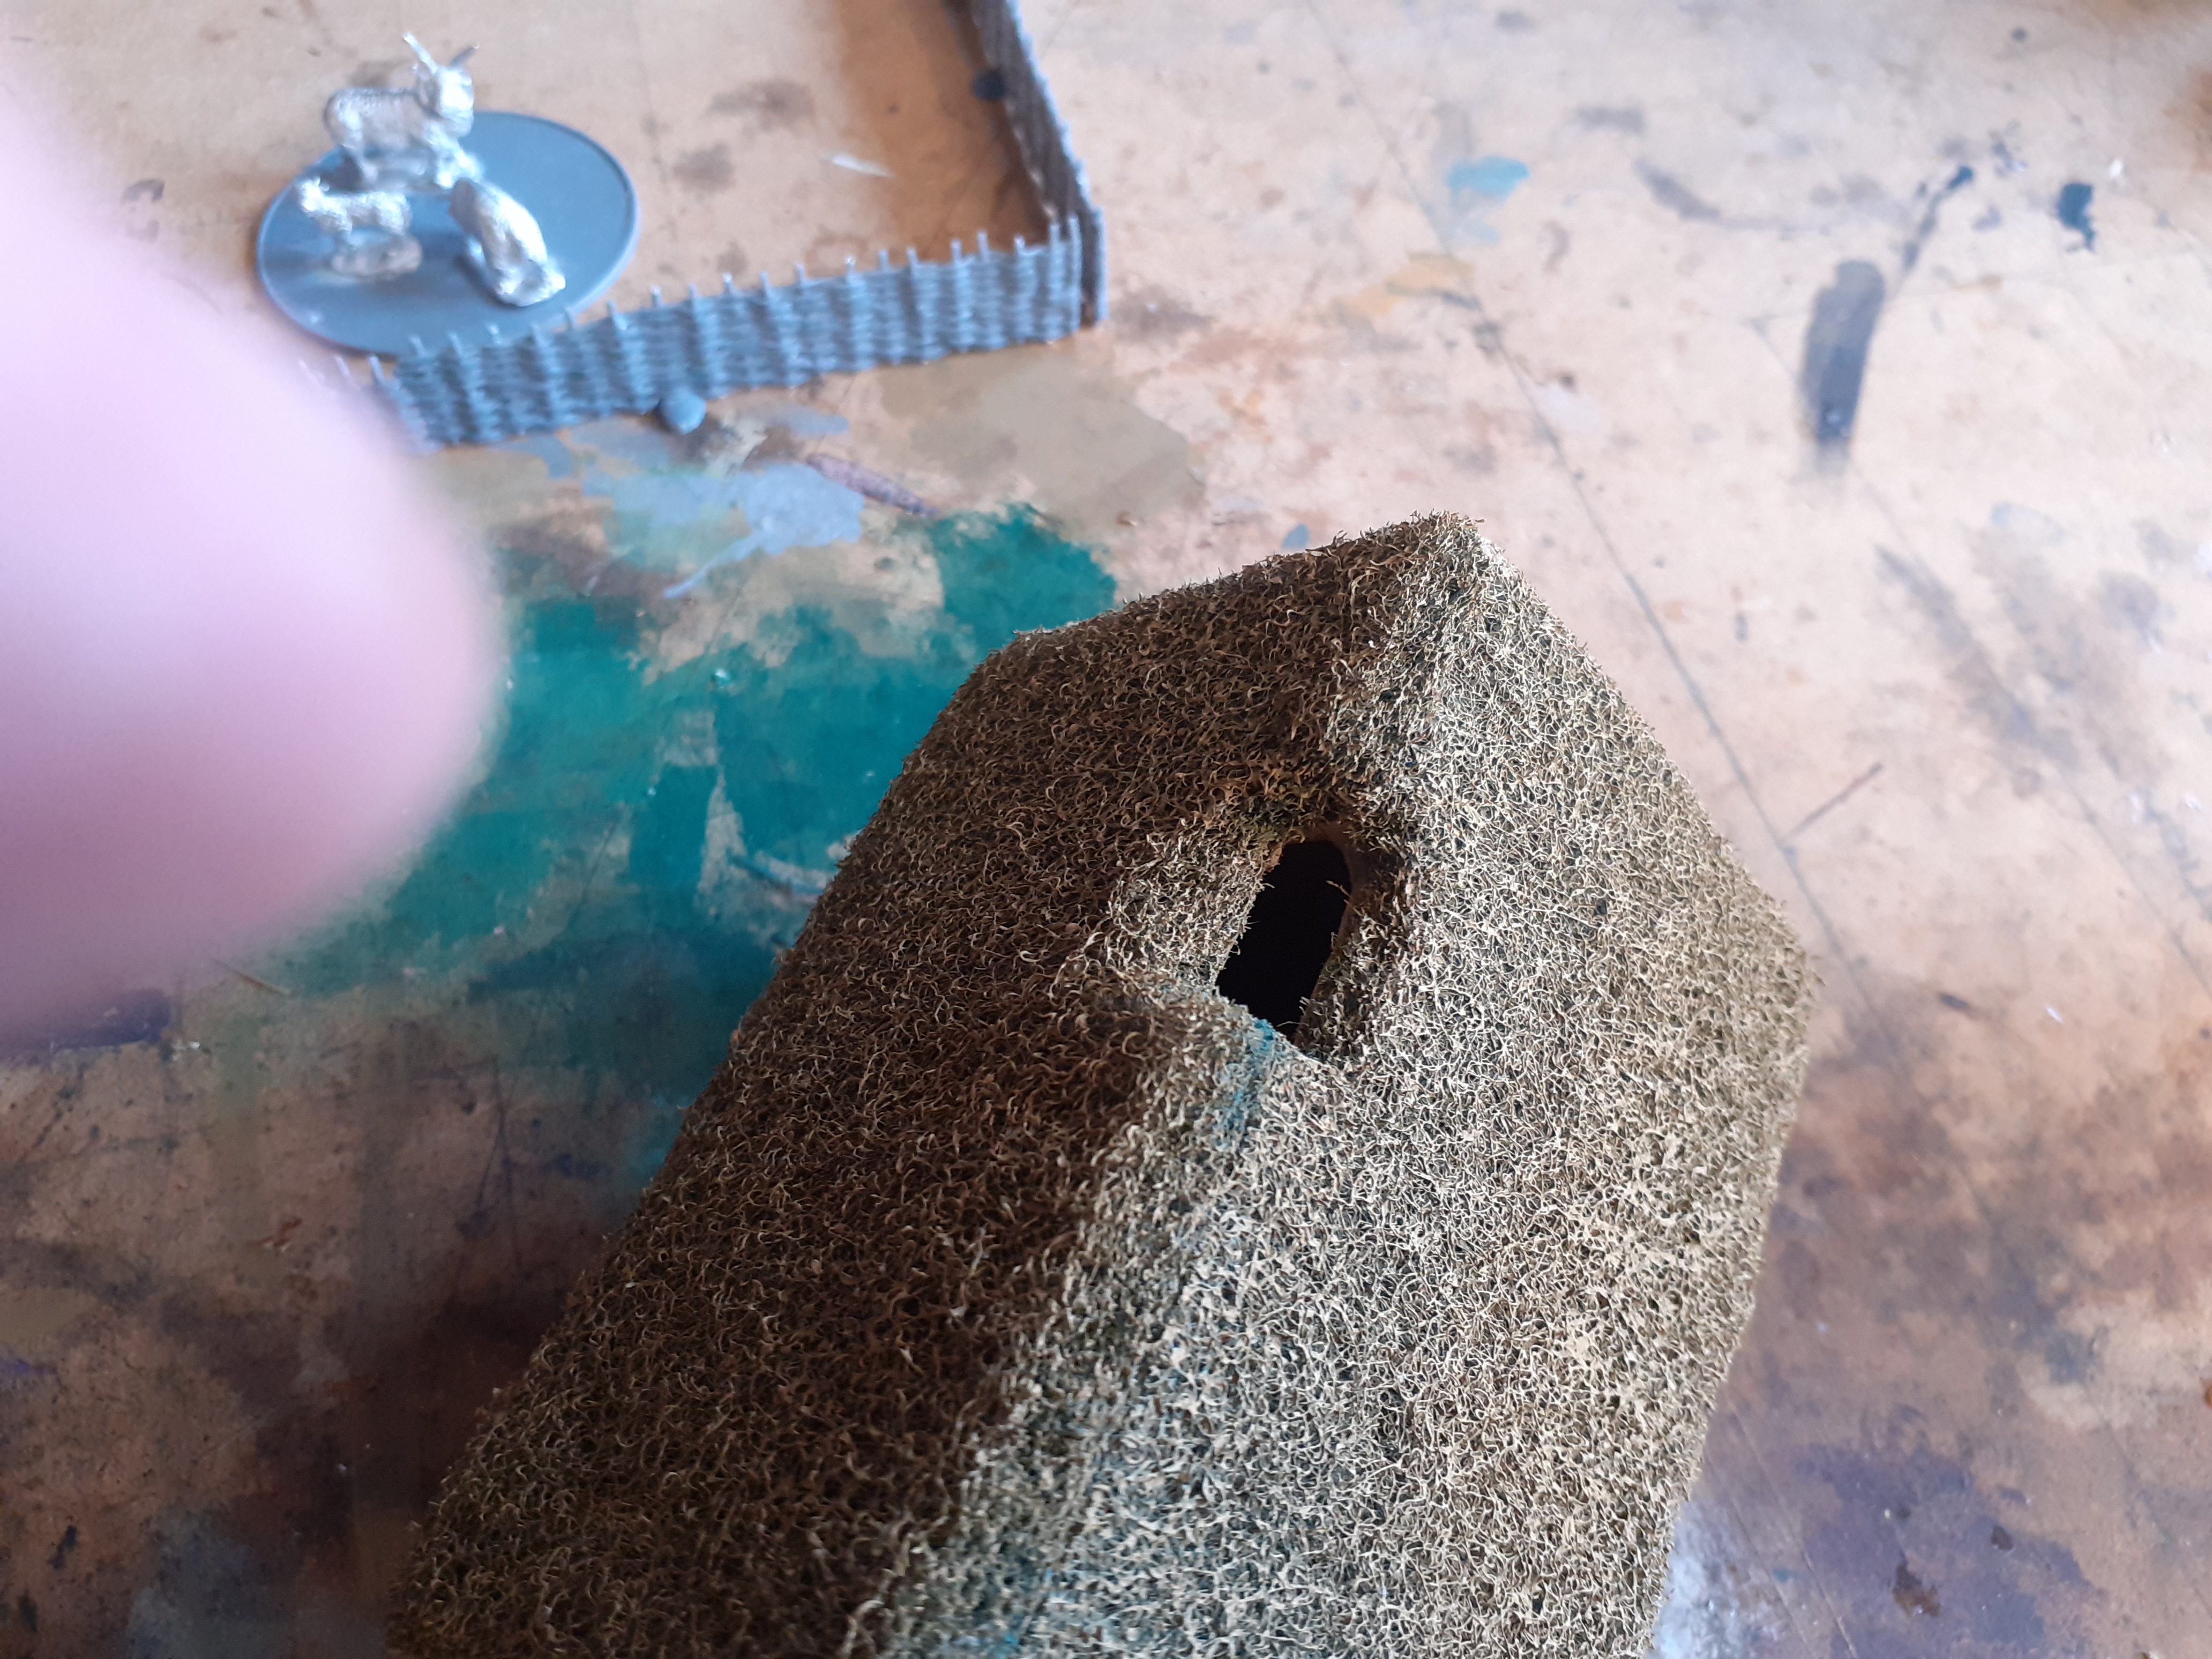 Once I had attached the brillo pads, carved out some of the excess wood on the chimney hole to improve the look.


![Play WW2 Commando Operations With Butcher & Bolt [Updated]](https://images.beastsofwar.com/2026/03/relaunch-600-338.jpg)


