


![1918 Spring Offensive Wargame | Full Rules Overview with John & Gerry (WW1 Tabletop Game) [7 Days Early Access]](https://images.beastsofwar.com/2026/03/unboxing-warfulcrum-games-1918-spring-offensive-review-coverimage1-225-127.jpeg)


Making a fist of Indomitus


Recommendations: 660
About the Project
This is my journey through painting the Indomitus box
Related Game: Warhammer 40,000
Related Company: Games Workshop
Related Genre: Science Fiction
This Project is Active
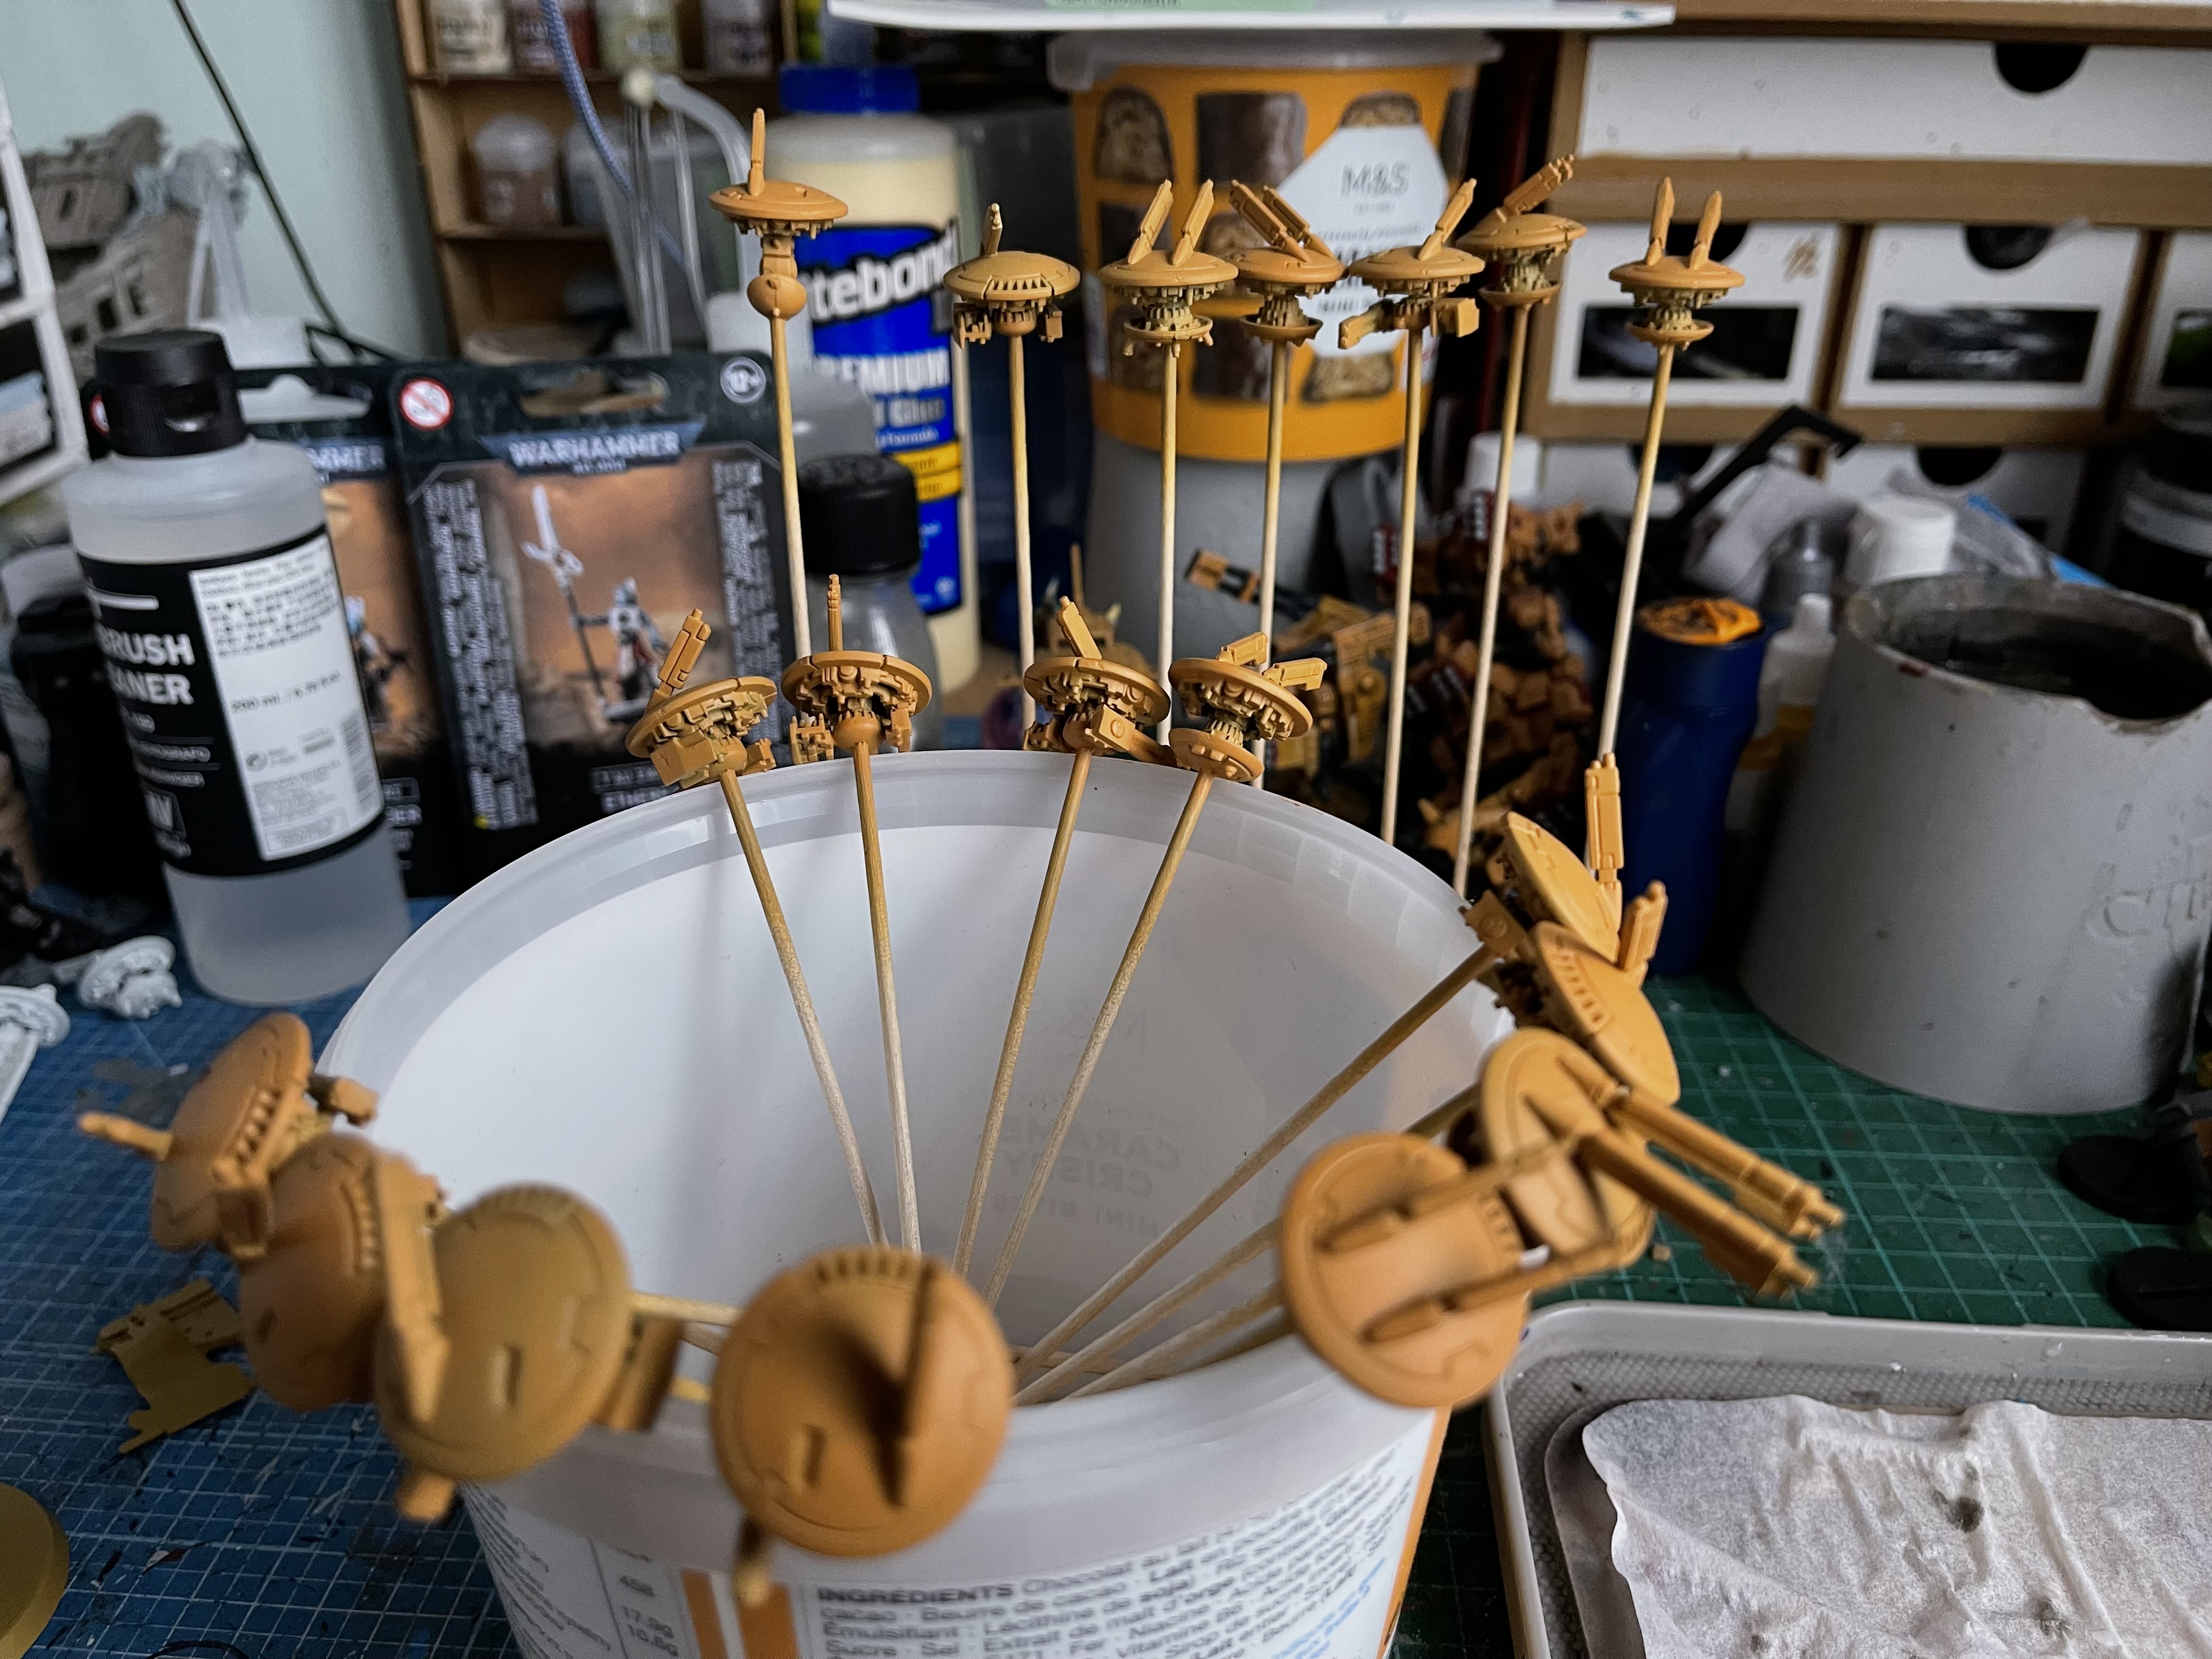
Vehicles assemble
 before some TLC
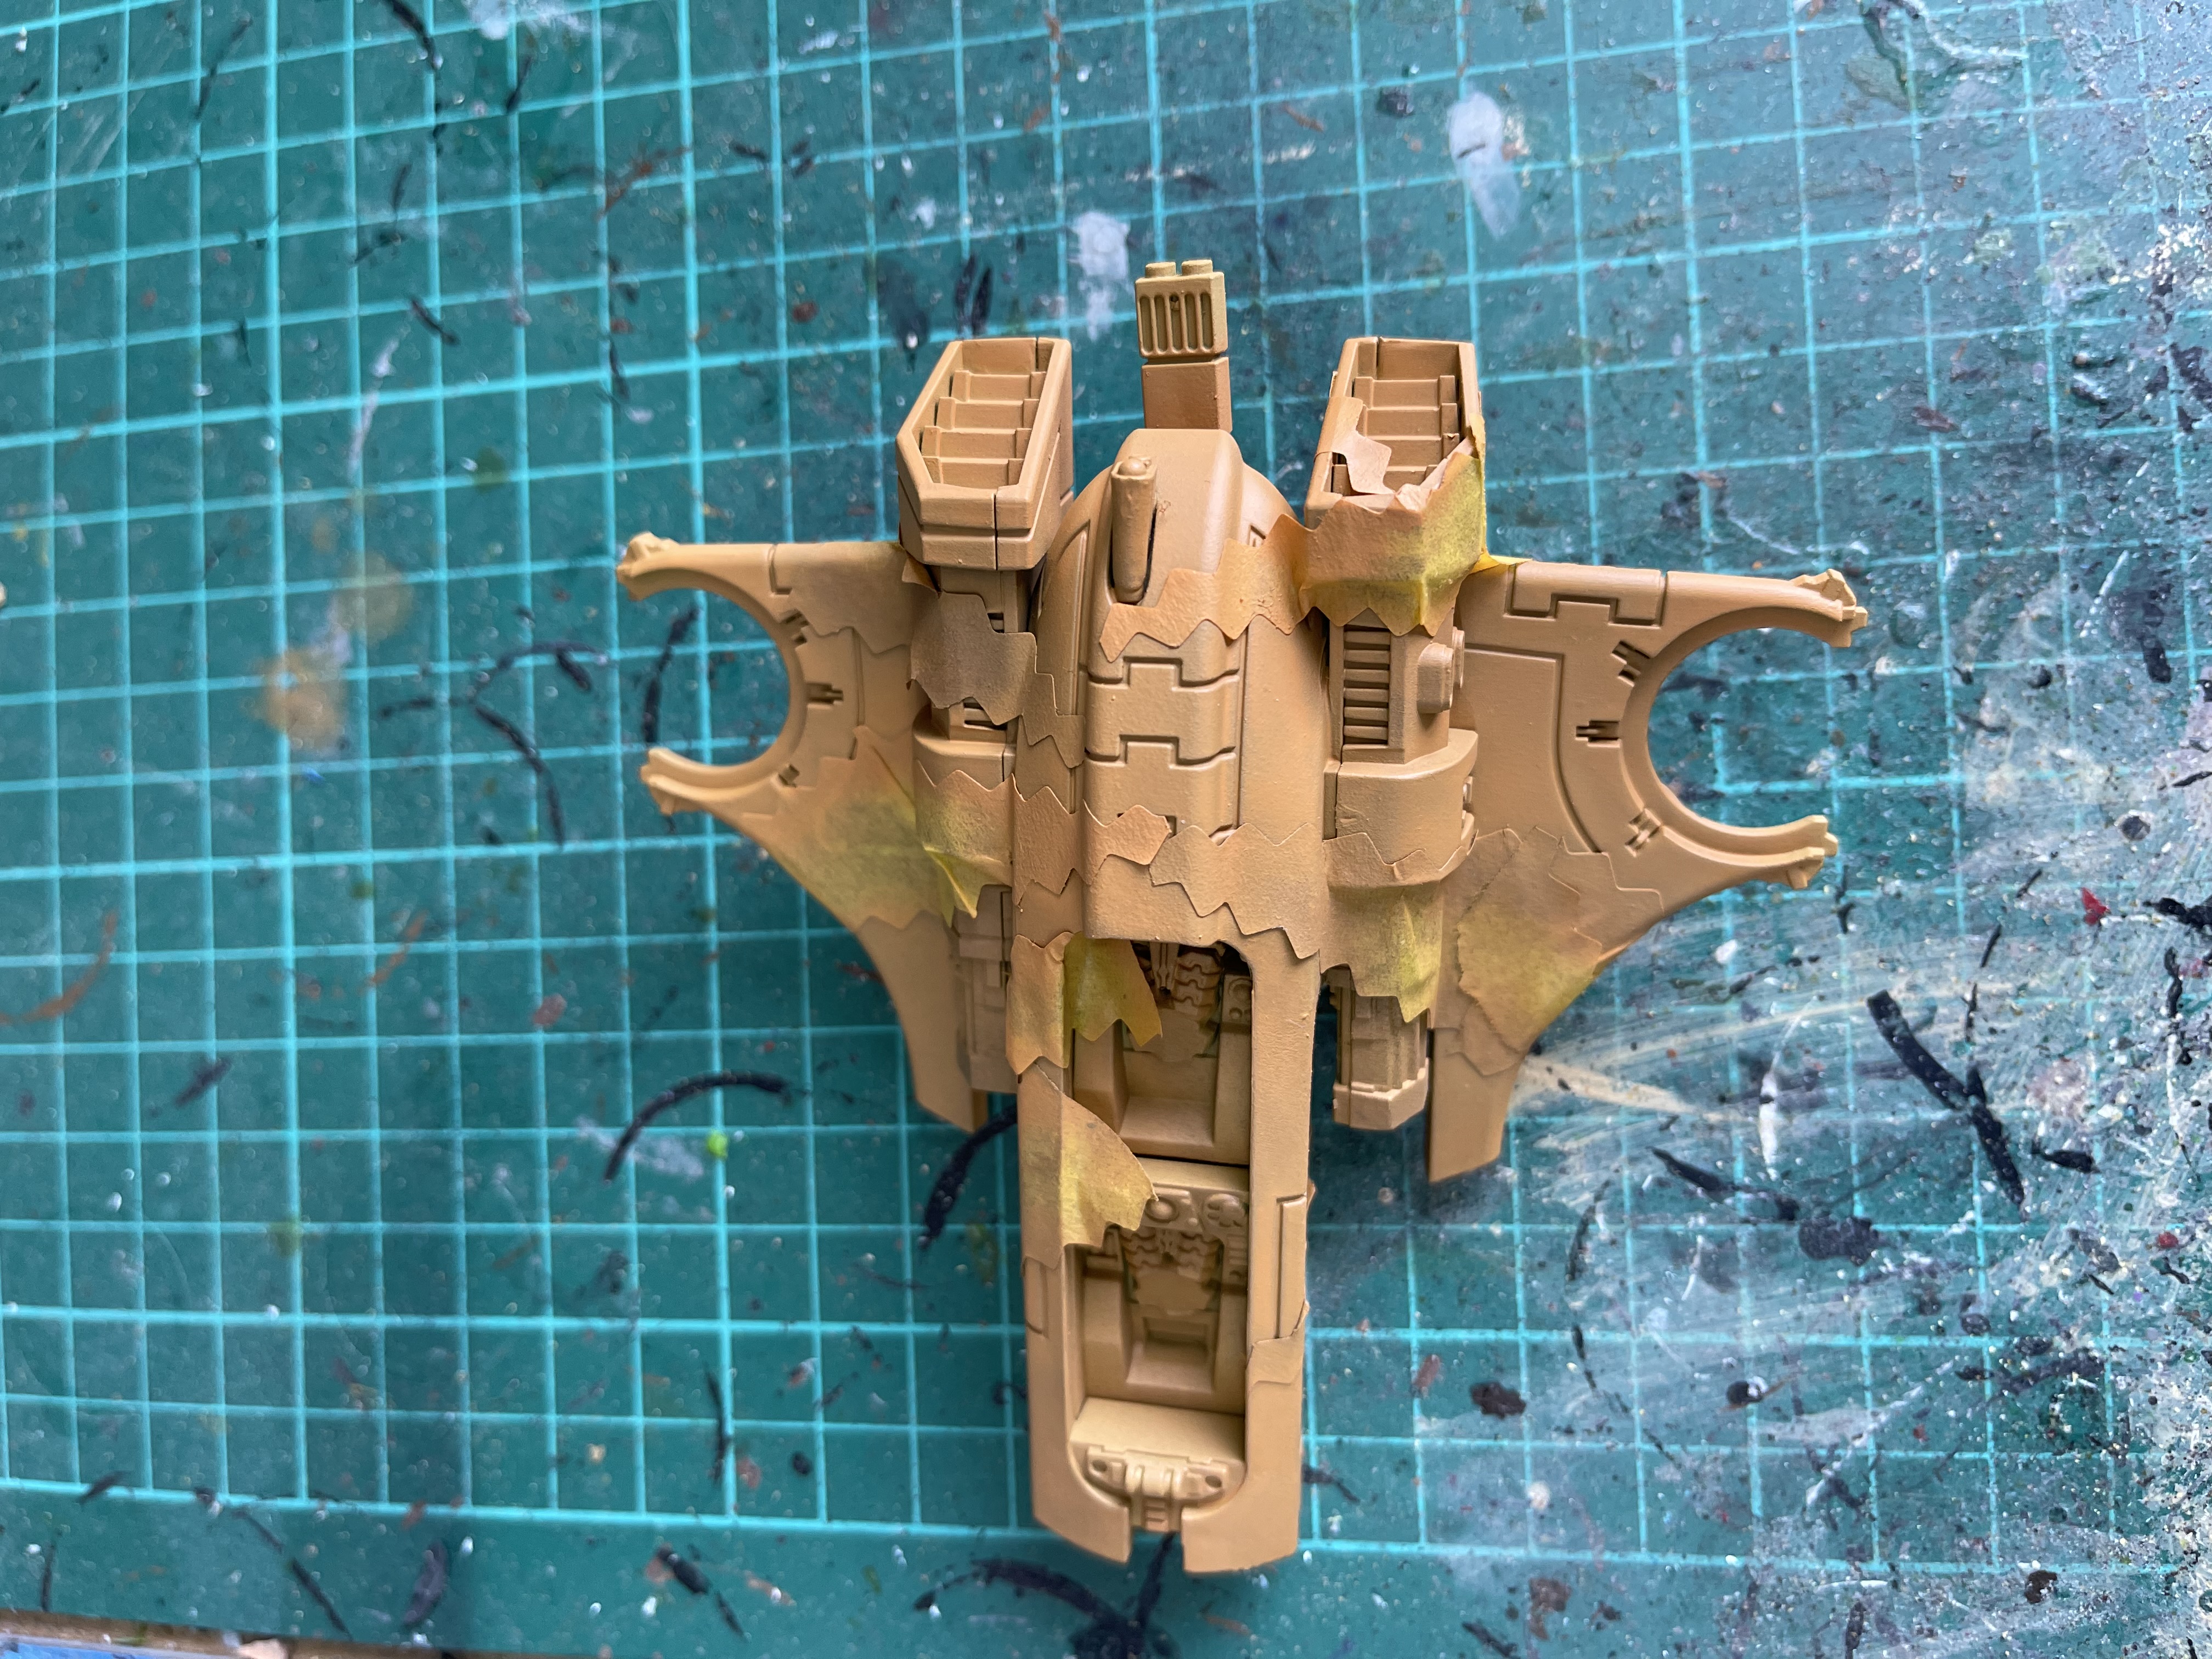 with masking
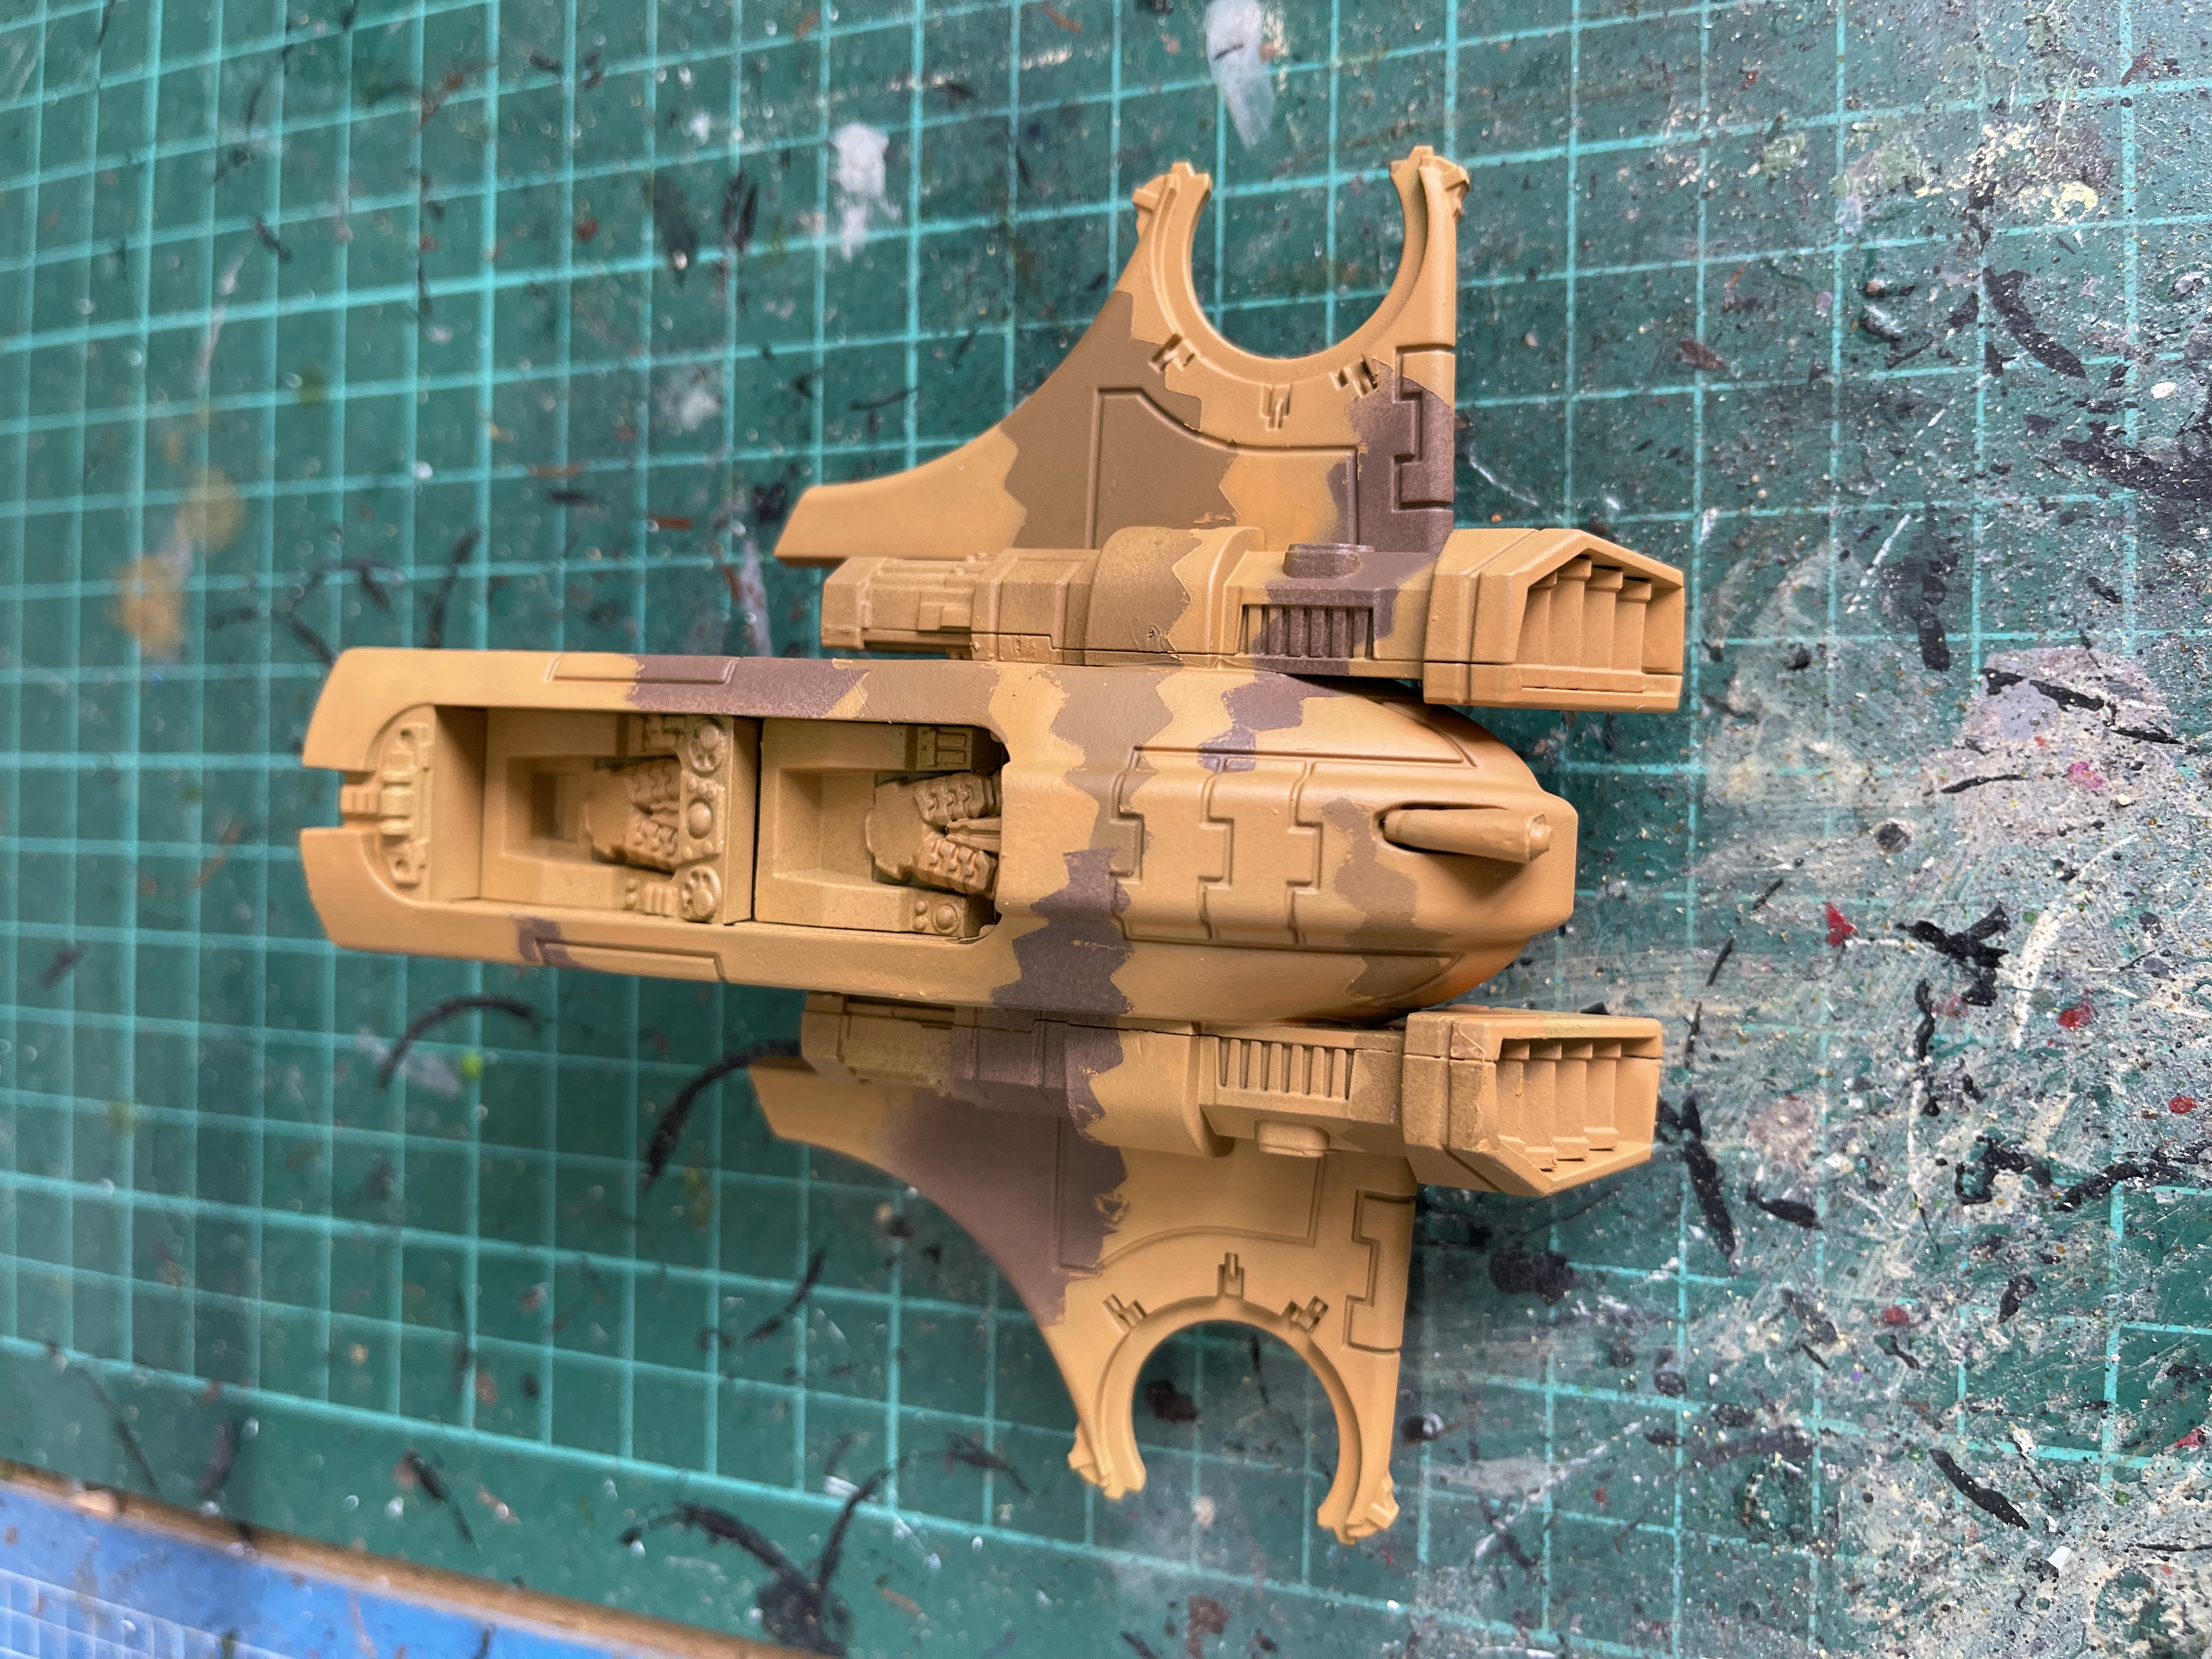 masking removed
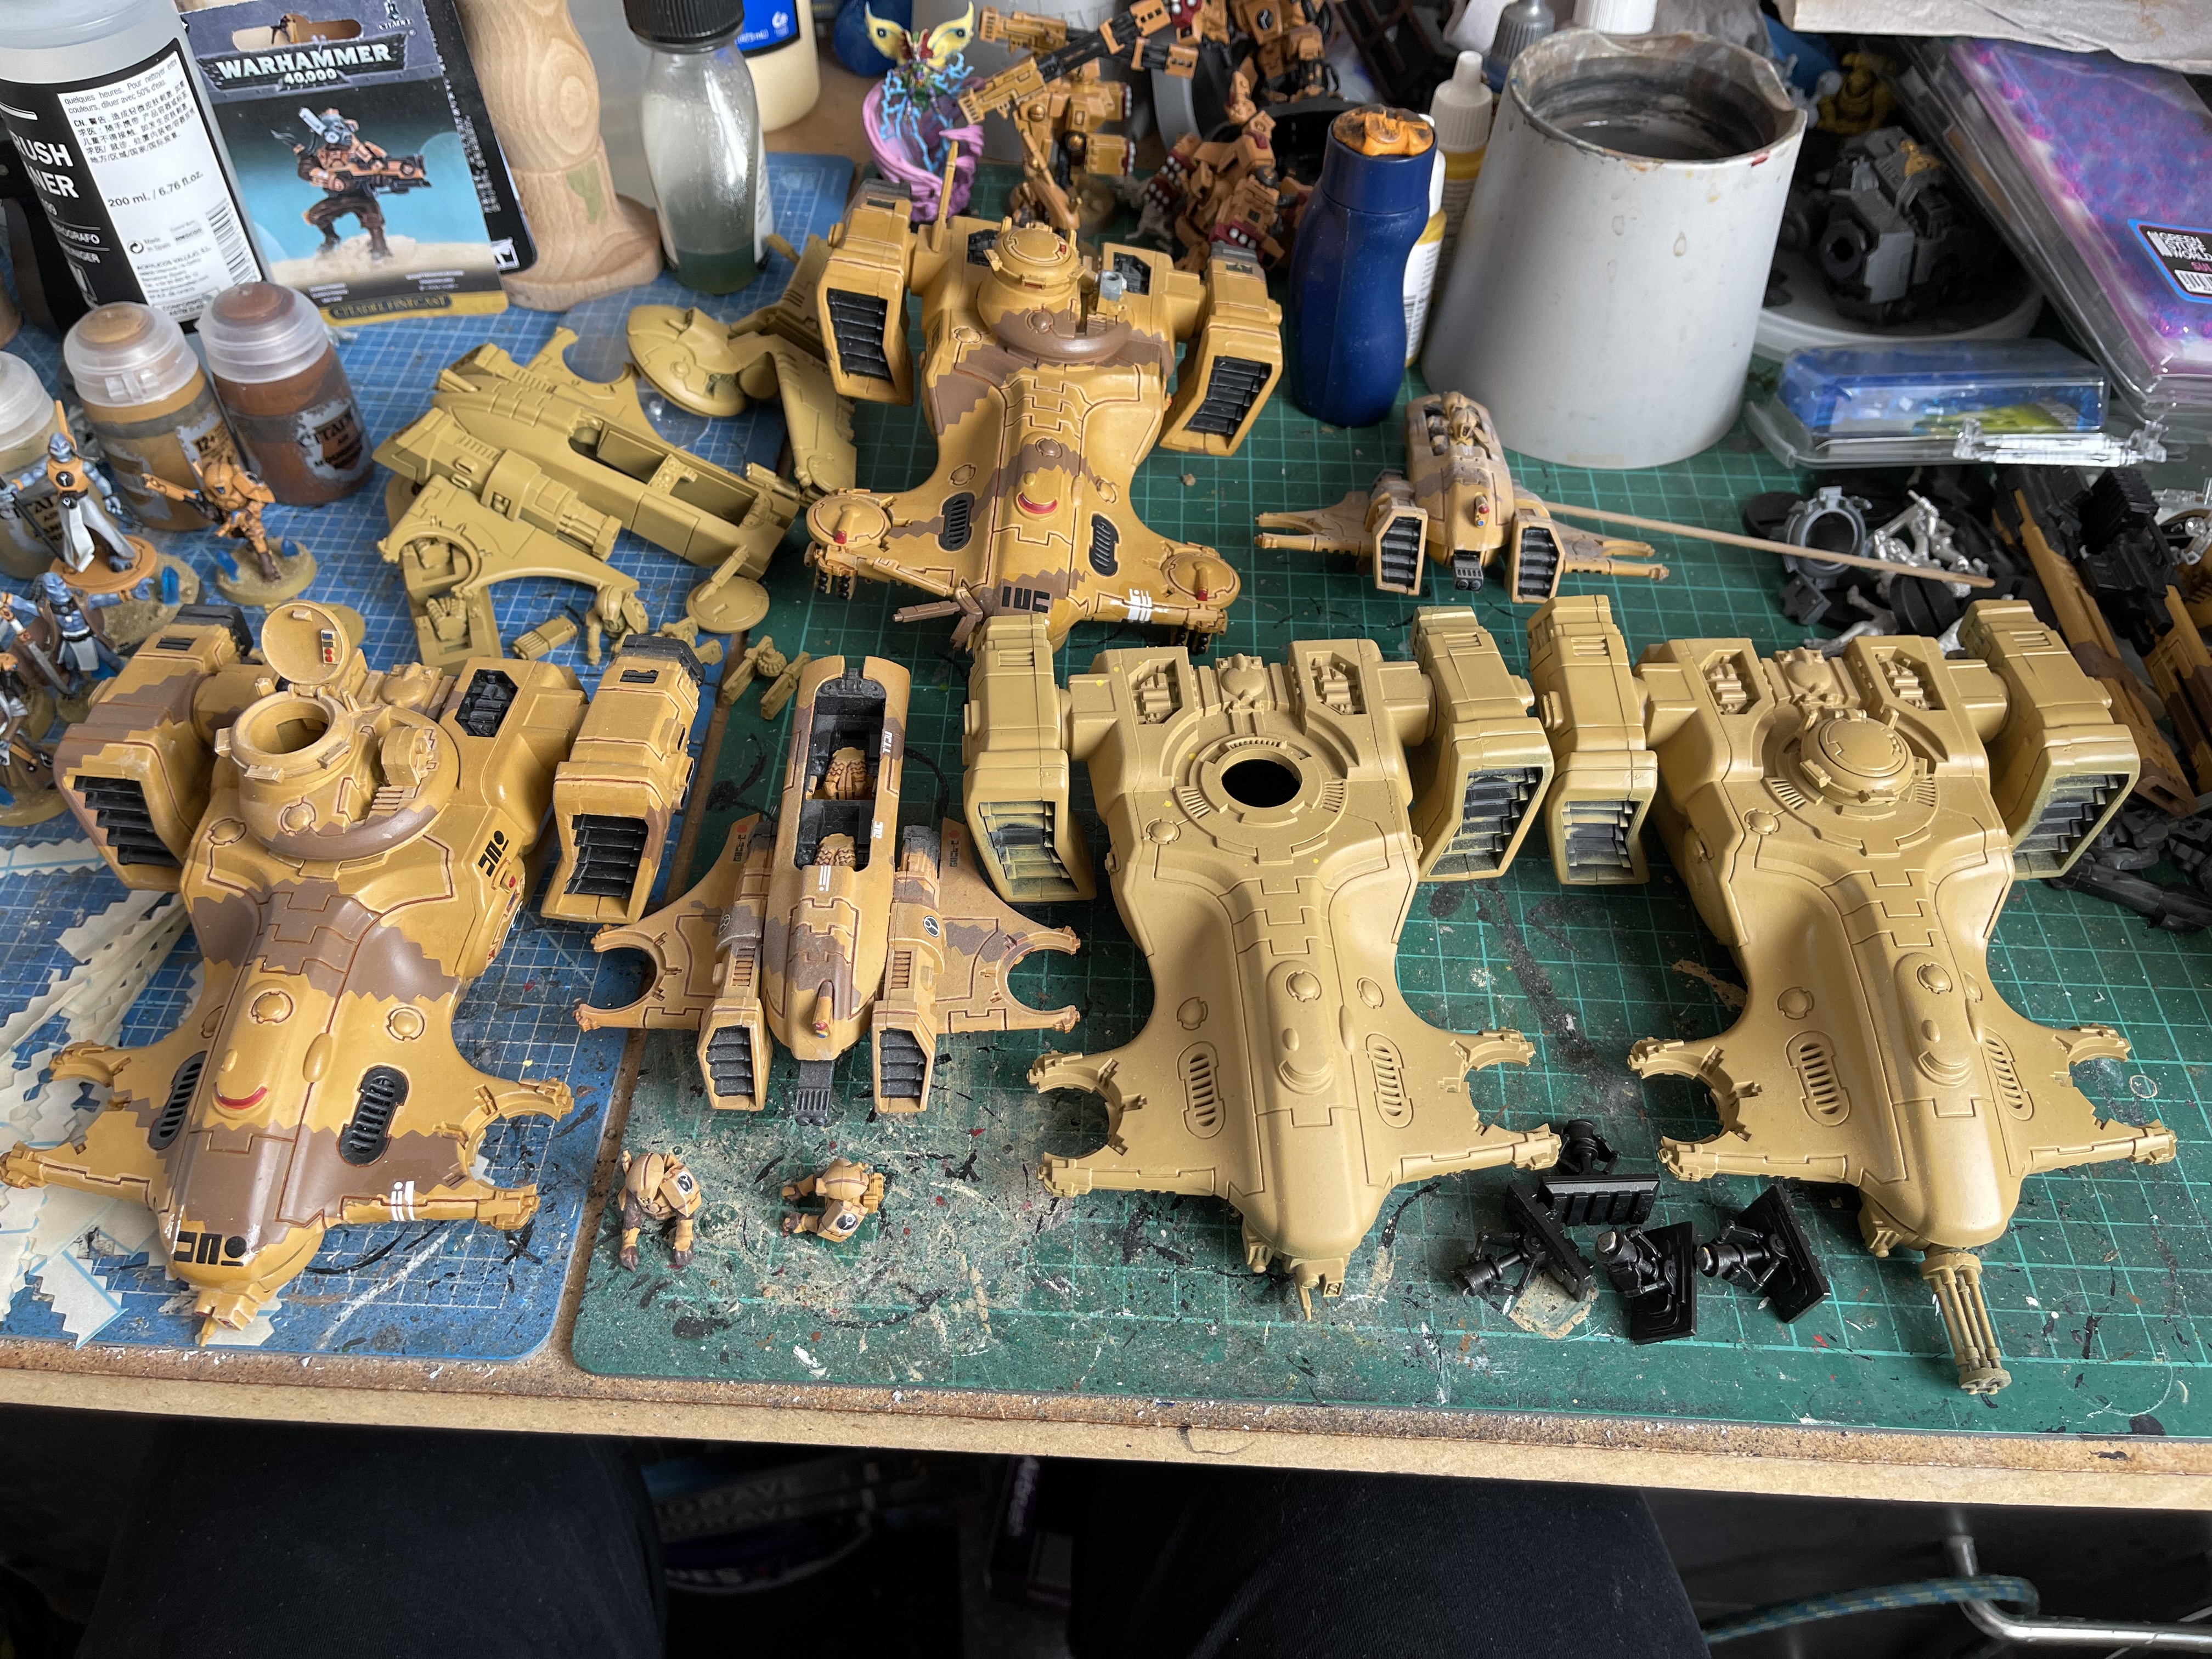
I started on the vehicles and I had 2 hammerheads and 2 piranhas that were painted and finished (mostly) and a devilfish and a hammerhead/sky ray that were primed and another piranha which was still in its box.
The existing stipes were Gorthor Brown (I think) over a base of tau light ochre and made using zigzag scissors on masking film and they might have been brushed on, its been a long time since I did these. I’ve added extra stripes in using XV-88 using the same method but with an air brush and added stripes to the newer models using Cypress brown (army painter air) instead of Gorthor Brown as they are pretty similar.
When I put the tau light ochre down on the primed minis I did two coats through the air brush which seems to have made them more orange than the others but I am not going to repaint them now.
I’ve also magnetised the rail guns, ion cannons and seeker missiles and gun on the new piranha.
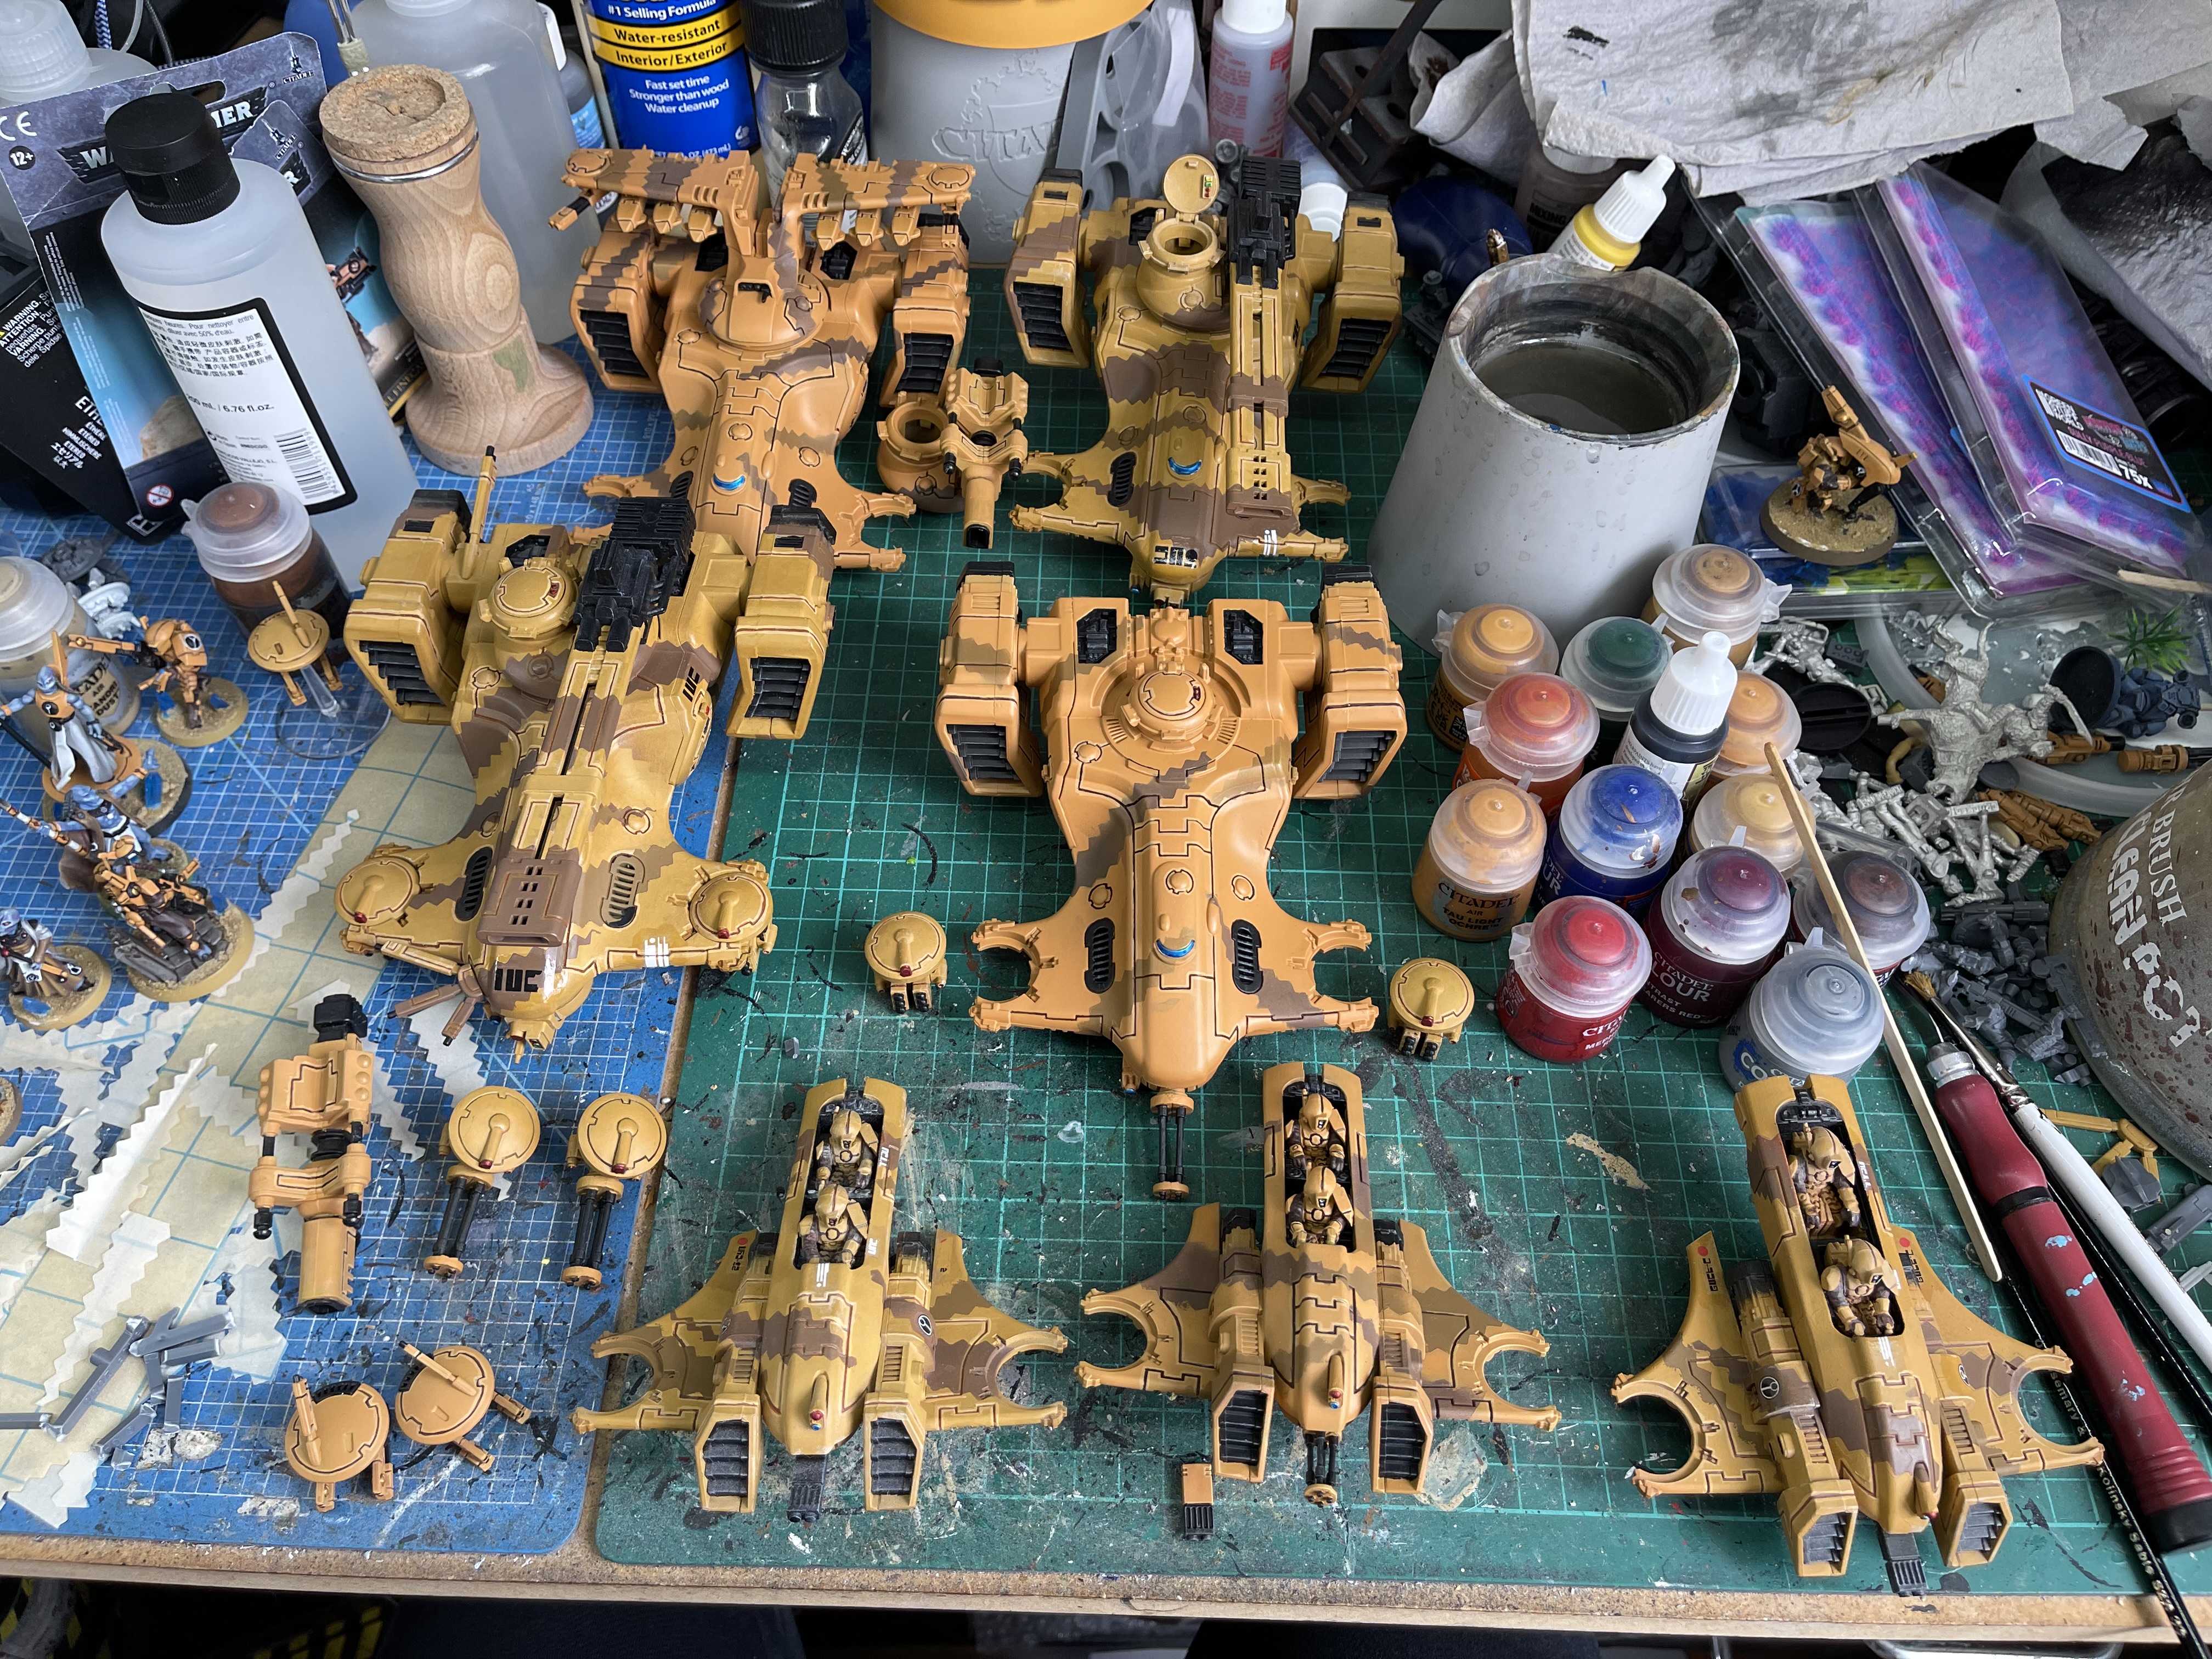 Finished (bar transfers and varnish)
Shields Up
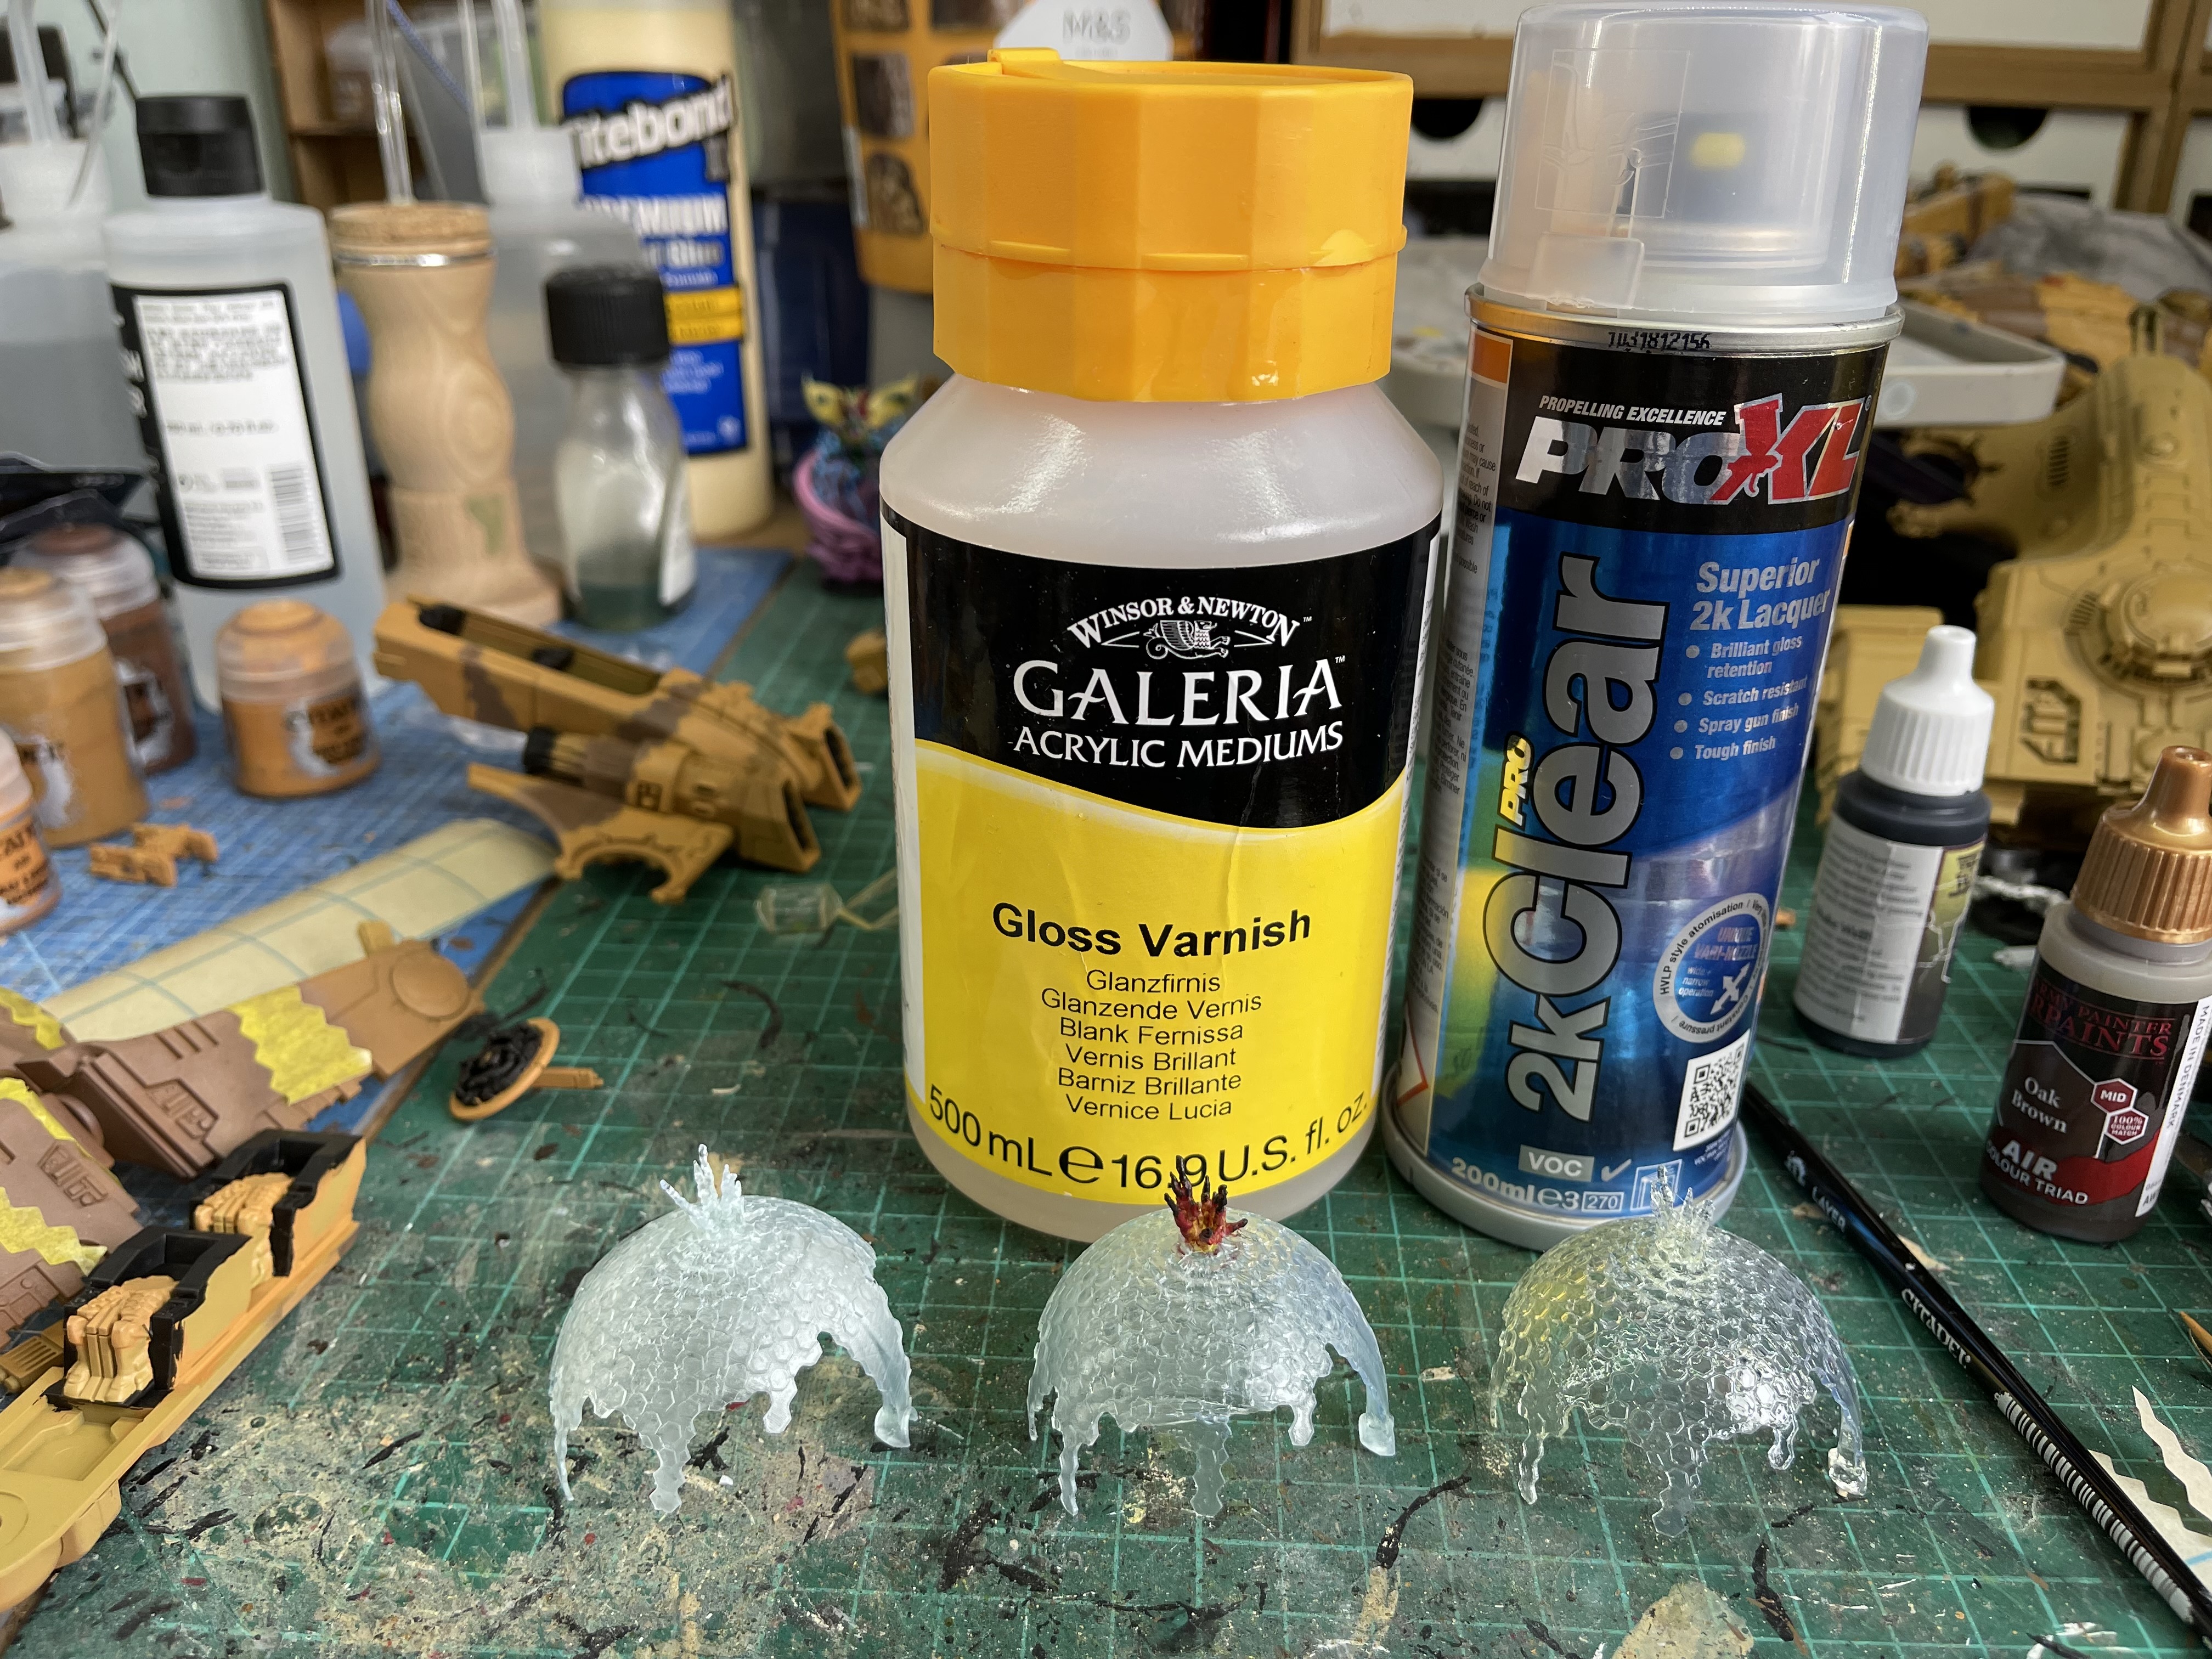
So I did some research on making the resin more transparent, the main thing recommended by blokes on youtube was to sand it with very fine grit sandpaper. This is not really an option here so I went the second recommendation which was to use a gloss varnish.
The picture above shows the result, the one on the left is as it came off the printer once cleaned and cured, the middle one has a coat of galeria gloss varnish and the one on the right has a coat of 2k lacquer.
I was very pleased with the 2k lacquer but the disadvantage is you need to mix the can before use and once mixed you only have a couple of days to use it (I could find out how long it lasts but internet seemed to range between 24 hours and few days).
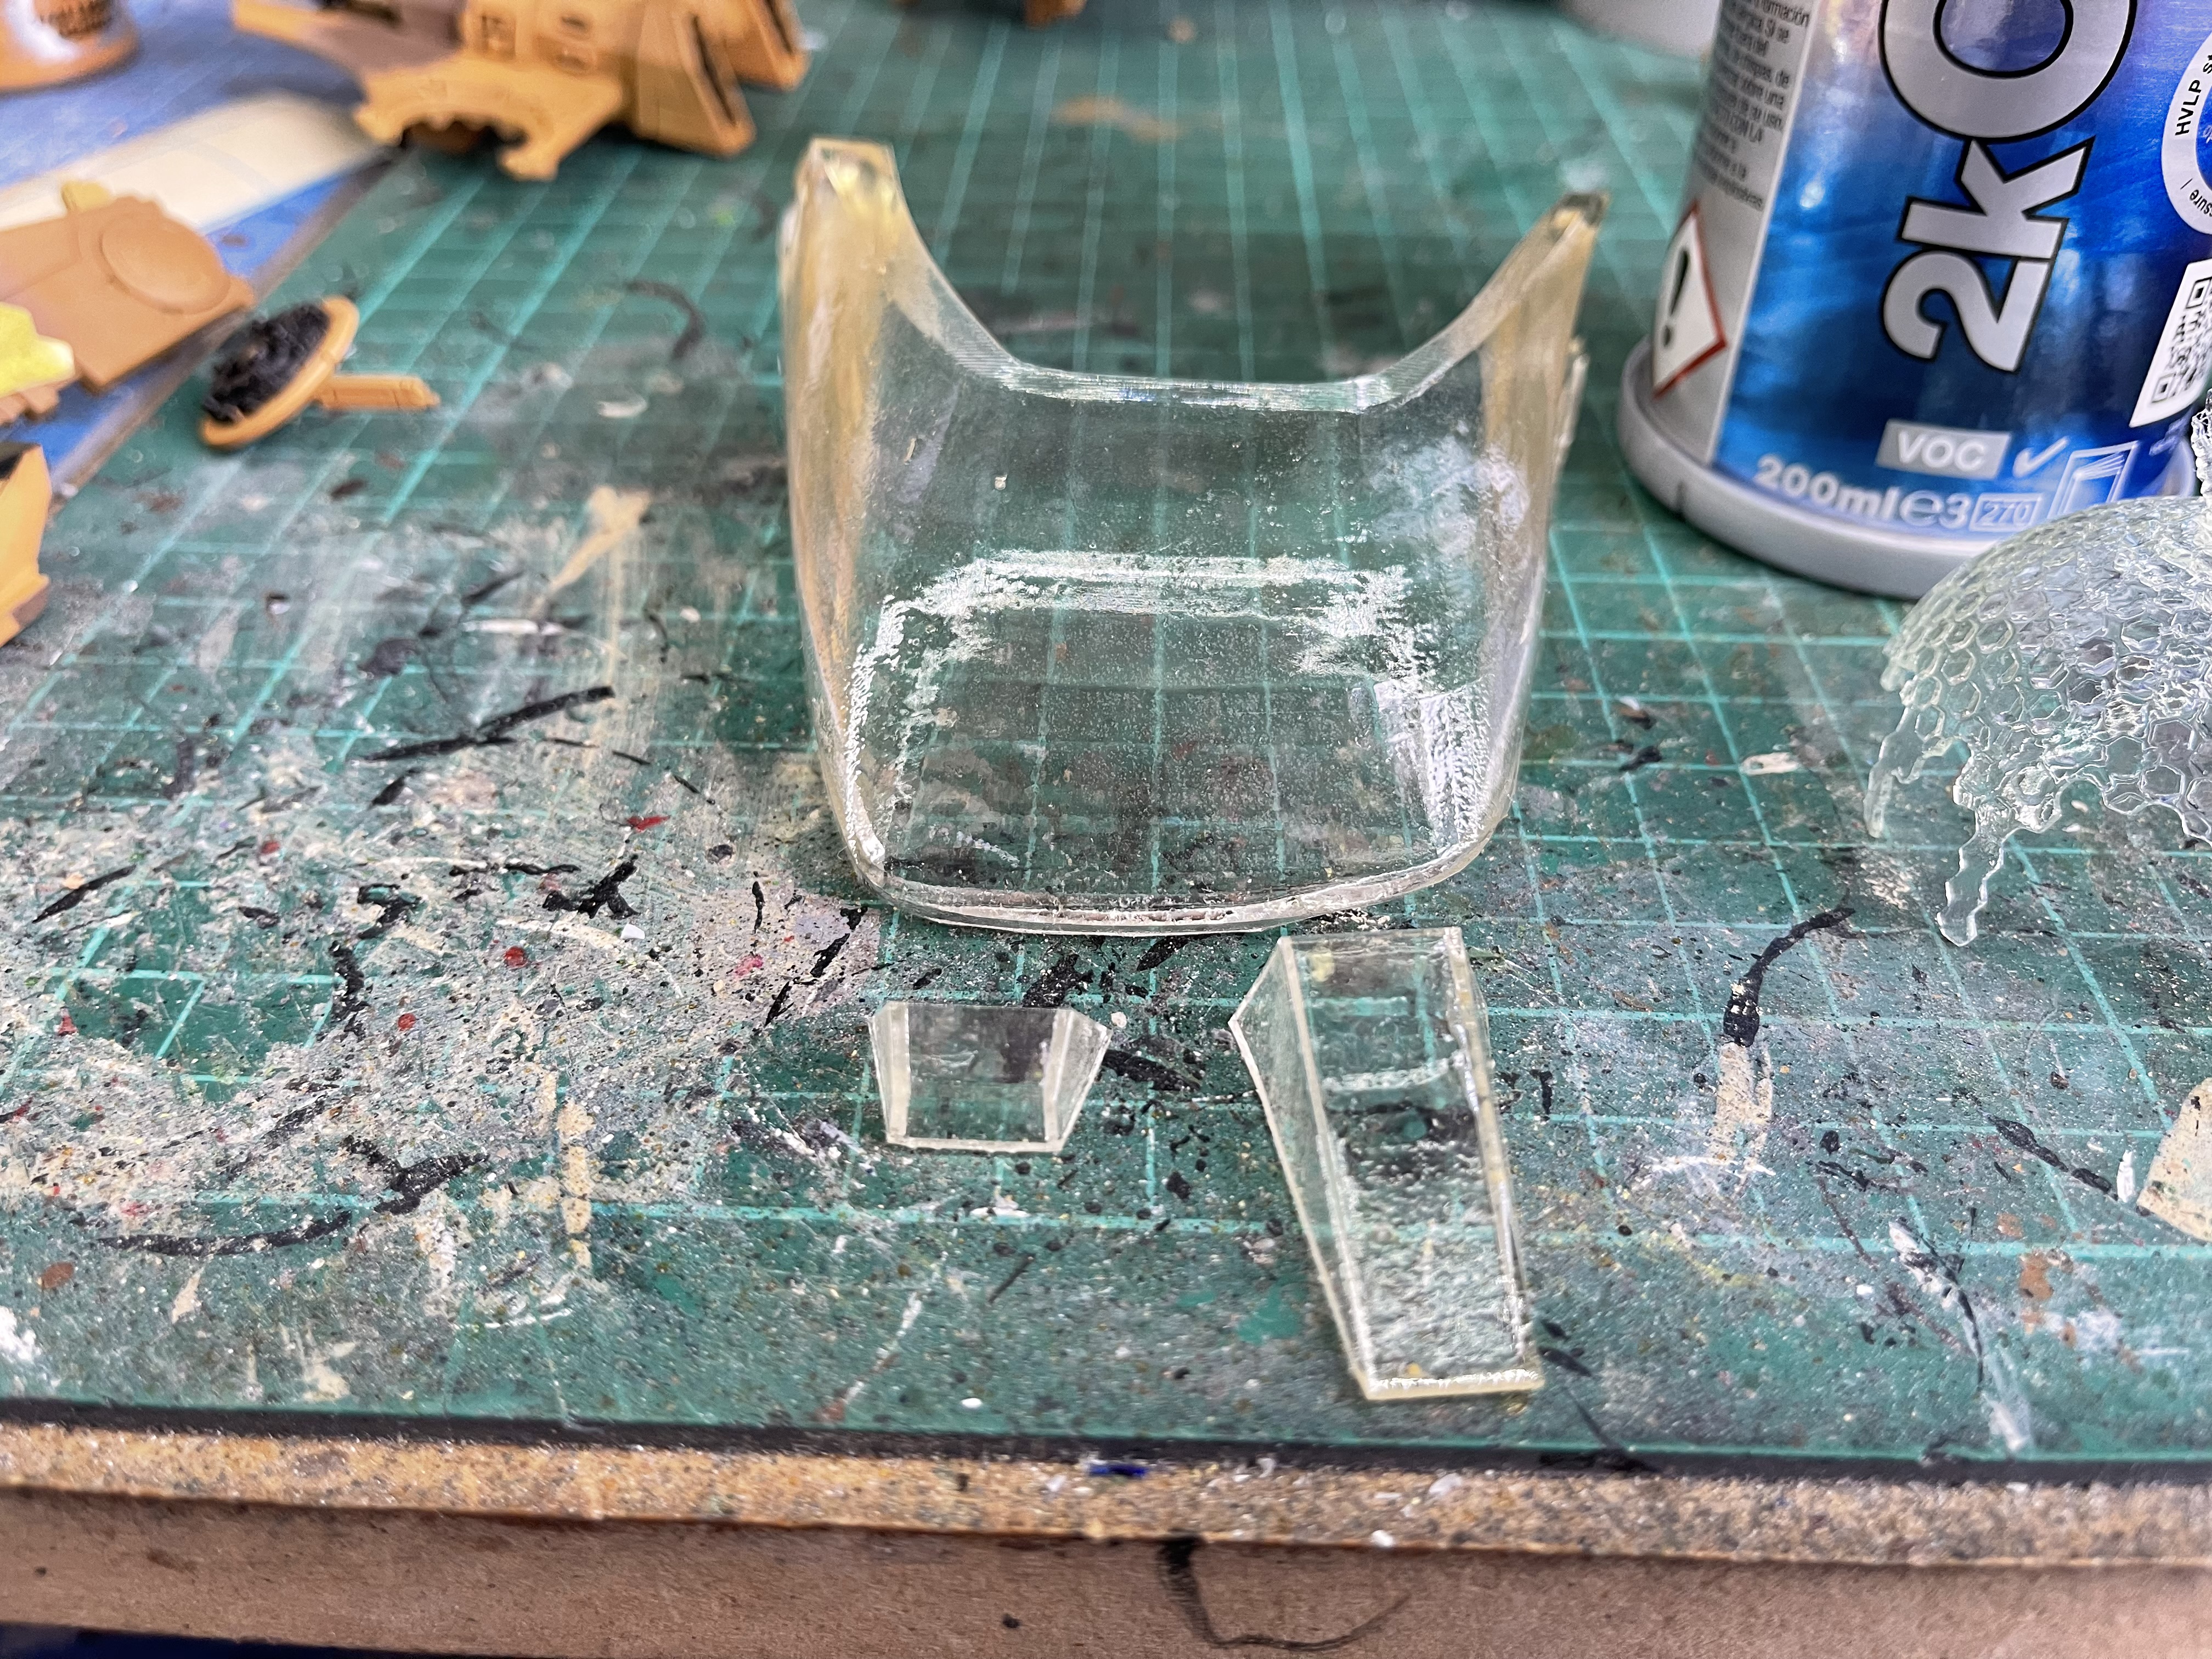
Below as couple of other pieces I had lying around and they are much clearer after a coat of the lacquer.
The bottom image is of the finished result with a bit of paint on the hit.
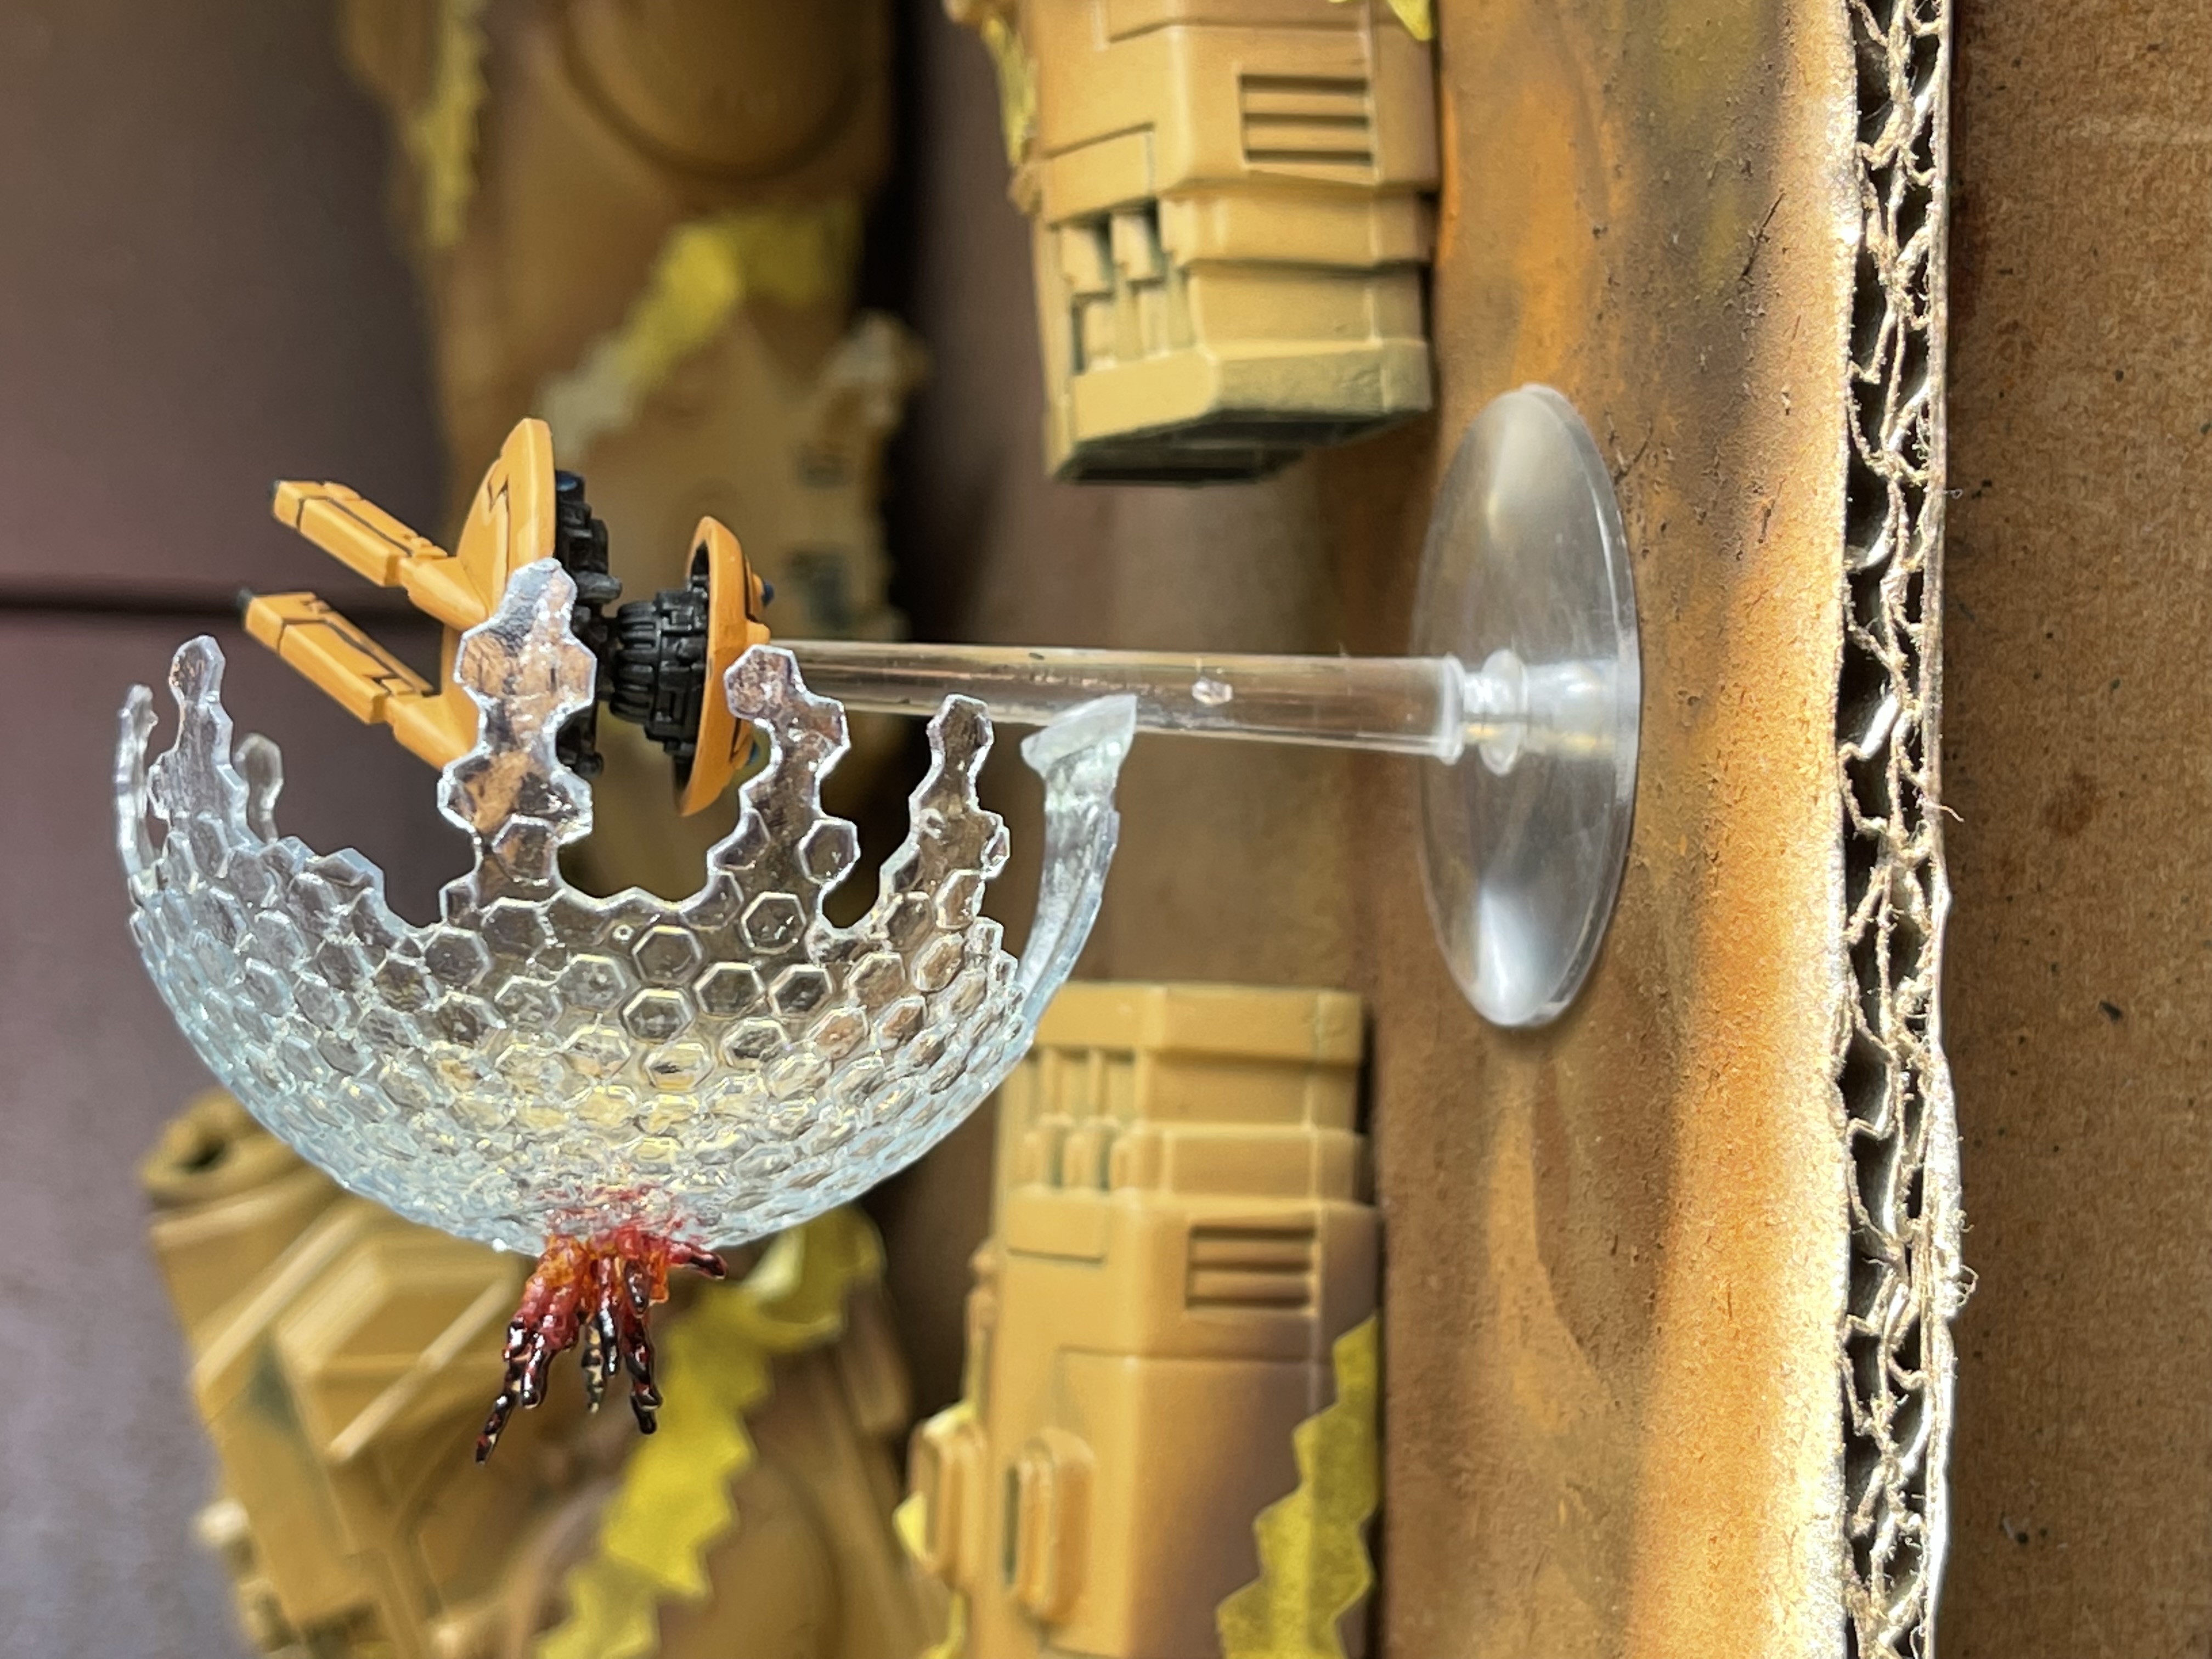
 Better image of the drones
And now for some drones


 original state
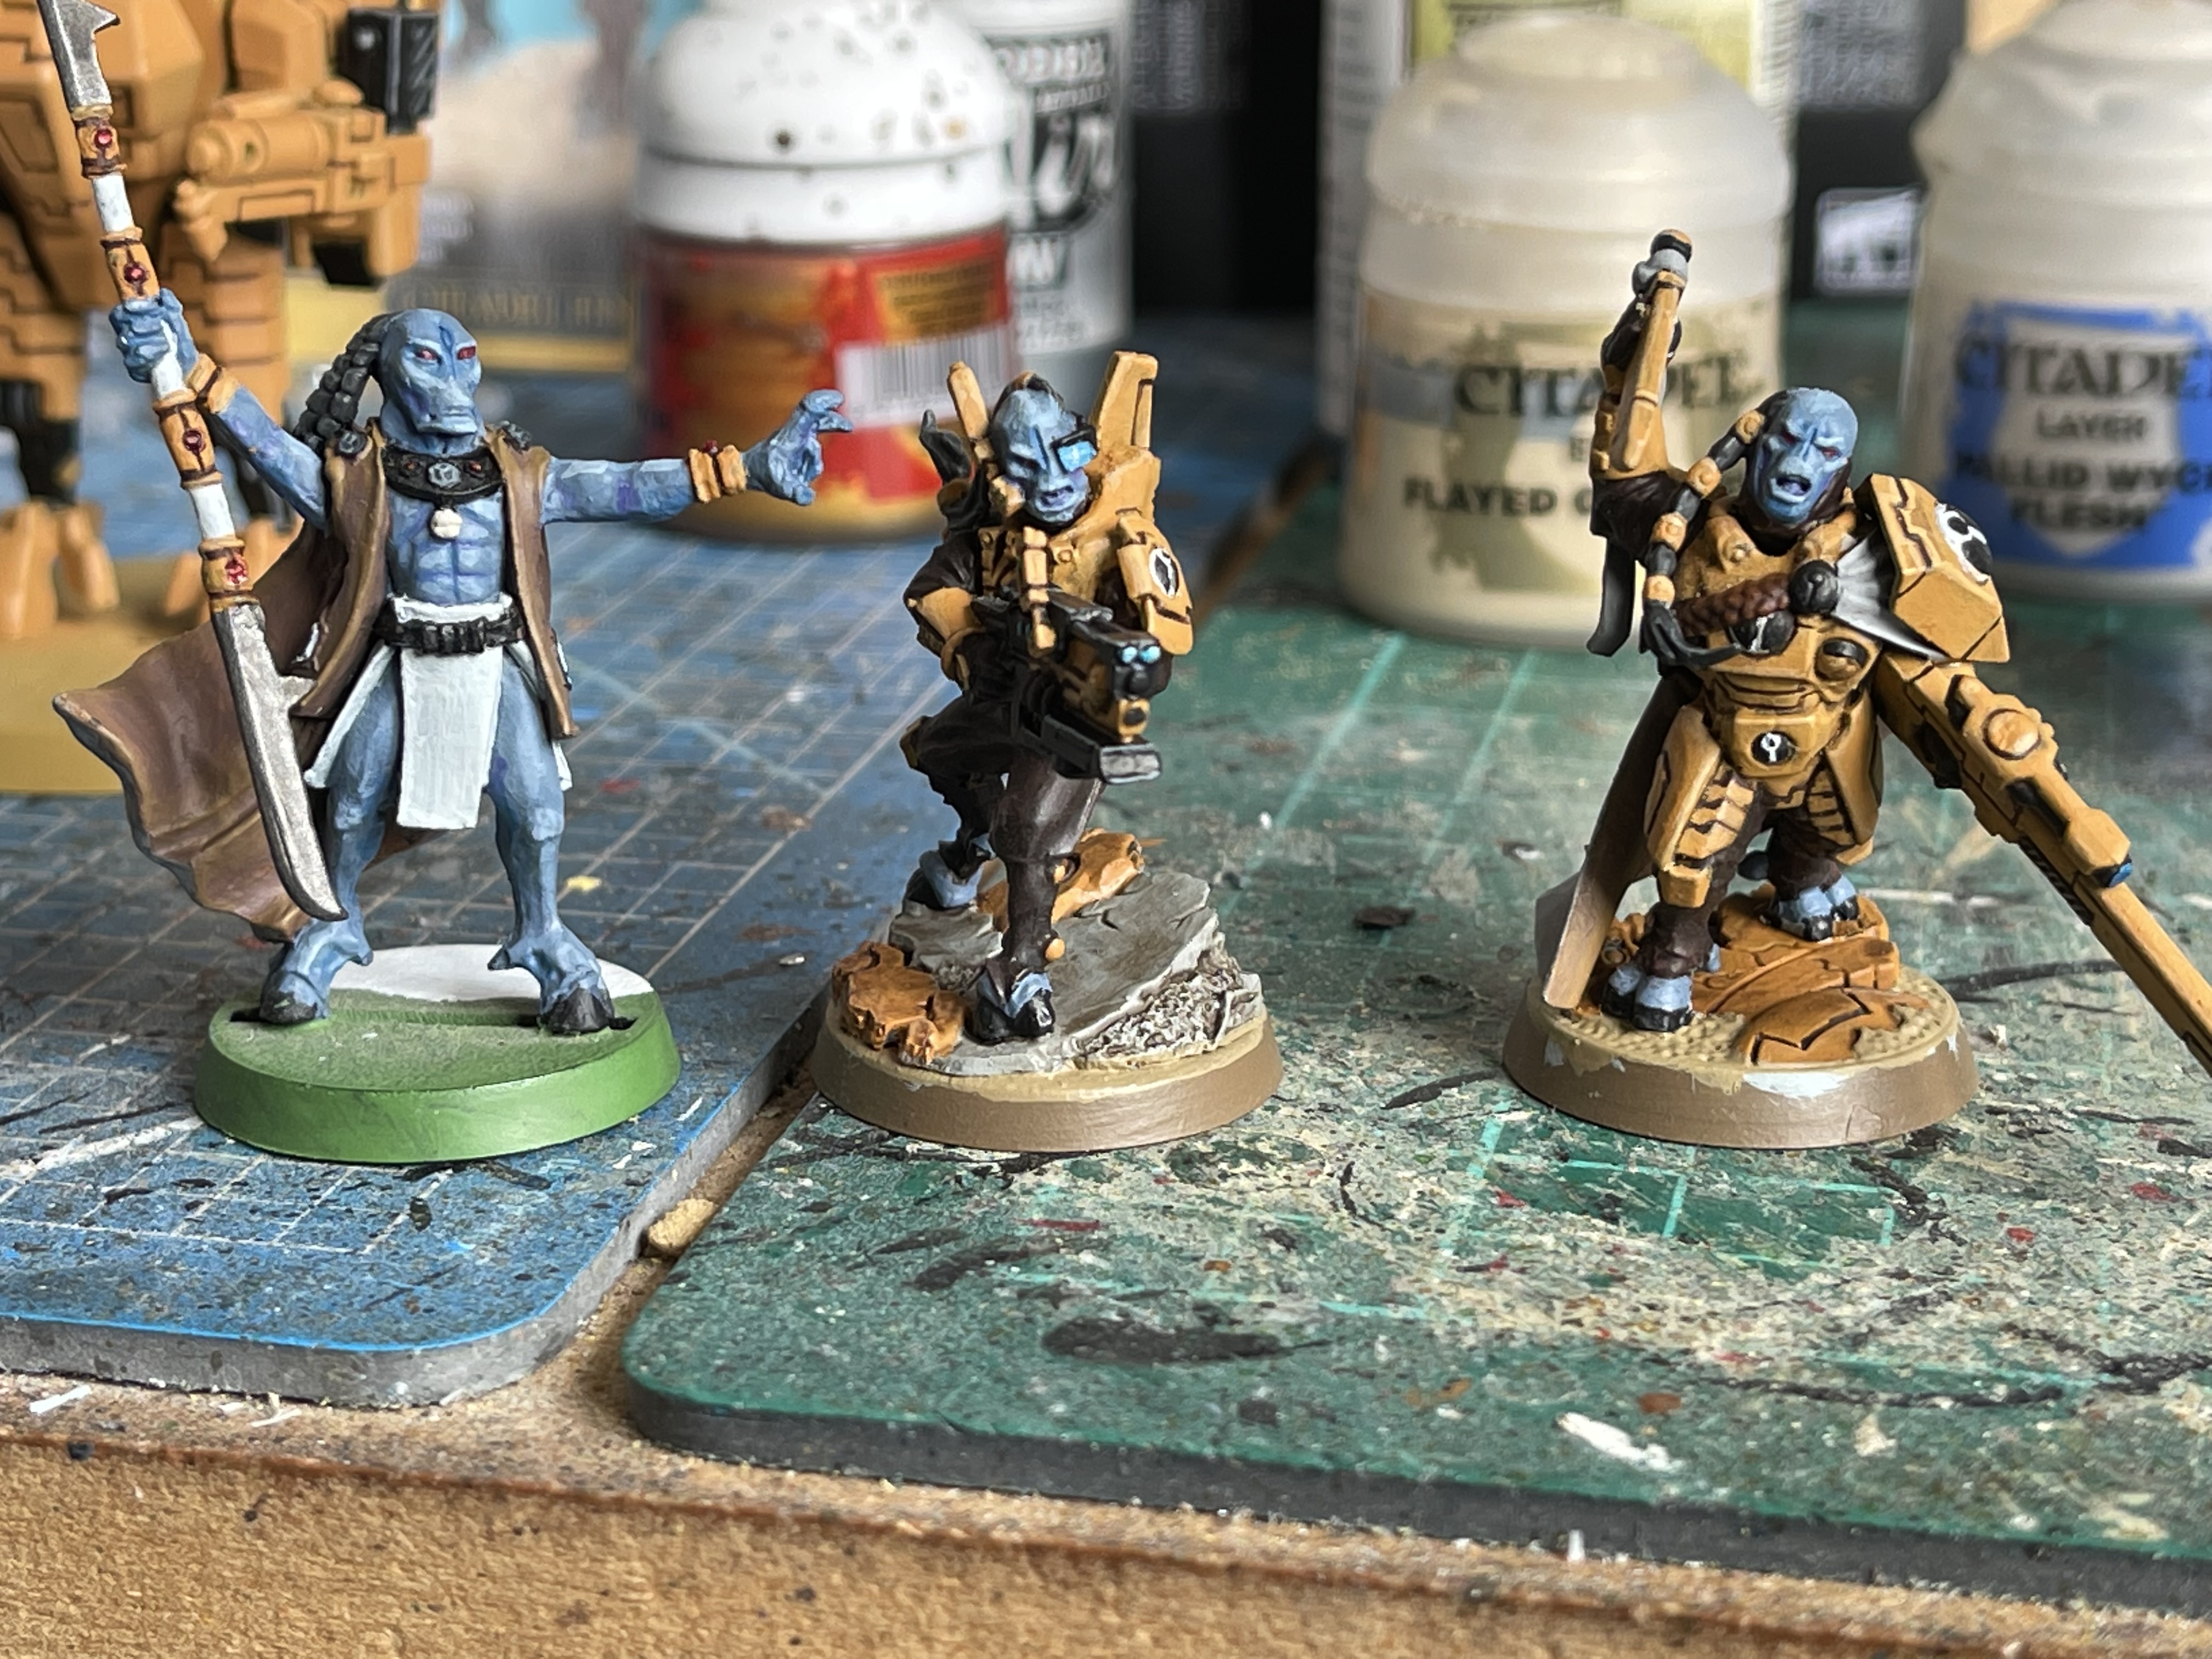 new finished models
I’ve been working on some drones that I had the parts for, mostly markerlight and shield drones but there were a few others in there. Also I’ve added a shield to one of them from deadly print studio, not as clear as I would like but I’m going to try some gloss varnish on it to see if that makes a difference.
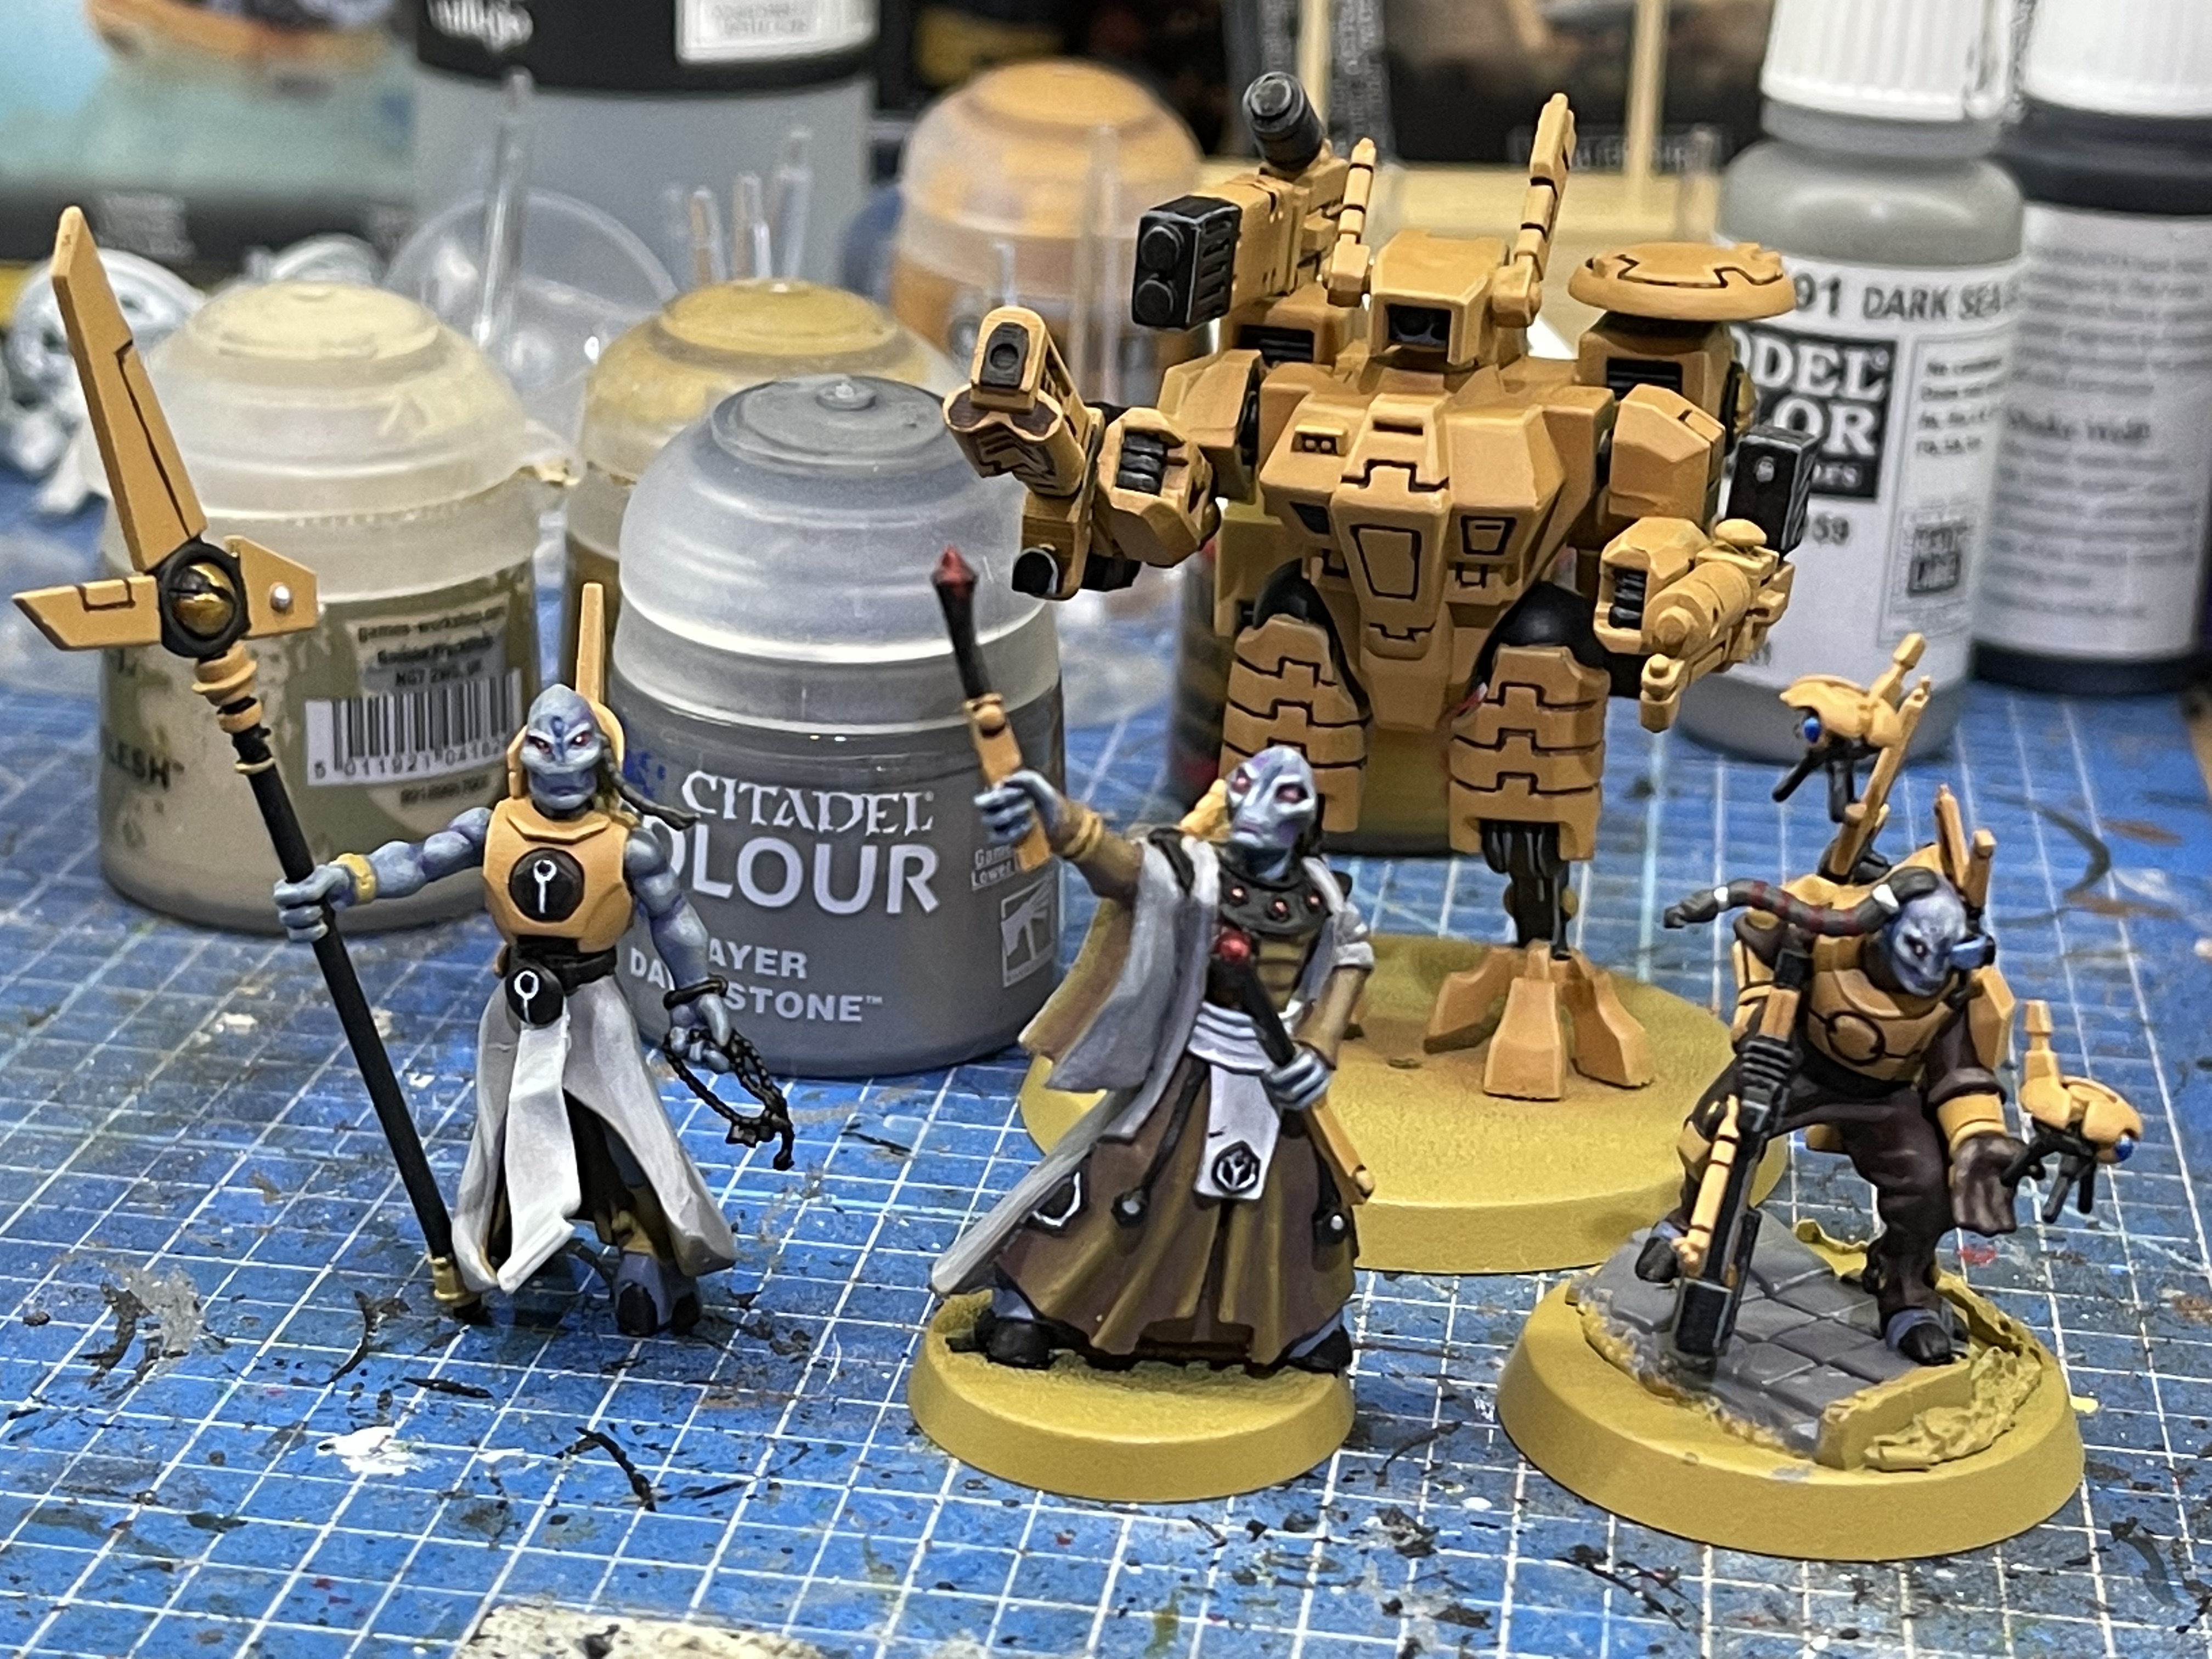
I also had a battlesuit left over and the new darkstrider and ethereal on a frisbee and couple of older ethereals, a fireblade and an old model for darkstrider. I repainted the skin following the masterclass on warhammer+ and tided up the armour etc. on those. I also had to move the head of darkstrider round as I had glued it looking the wrong way and his hair didnt line up.
Lloyd this one is for you
 Old Paint scheme
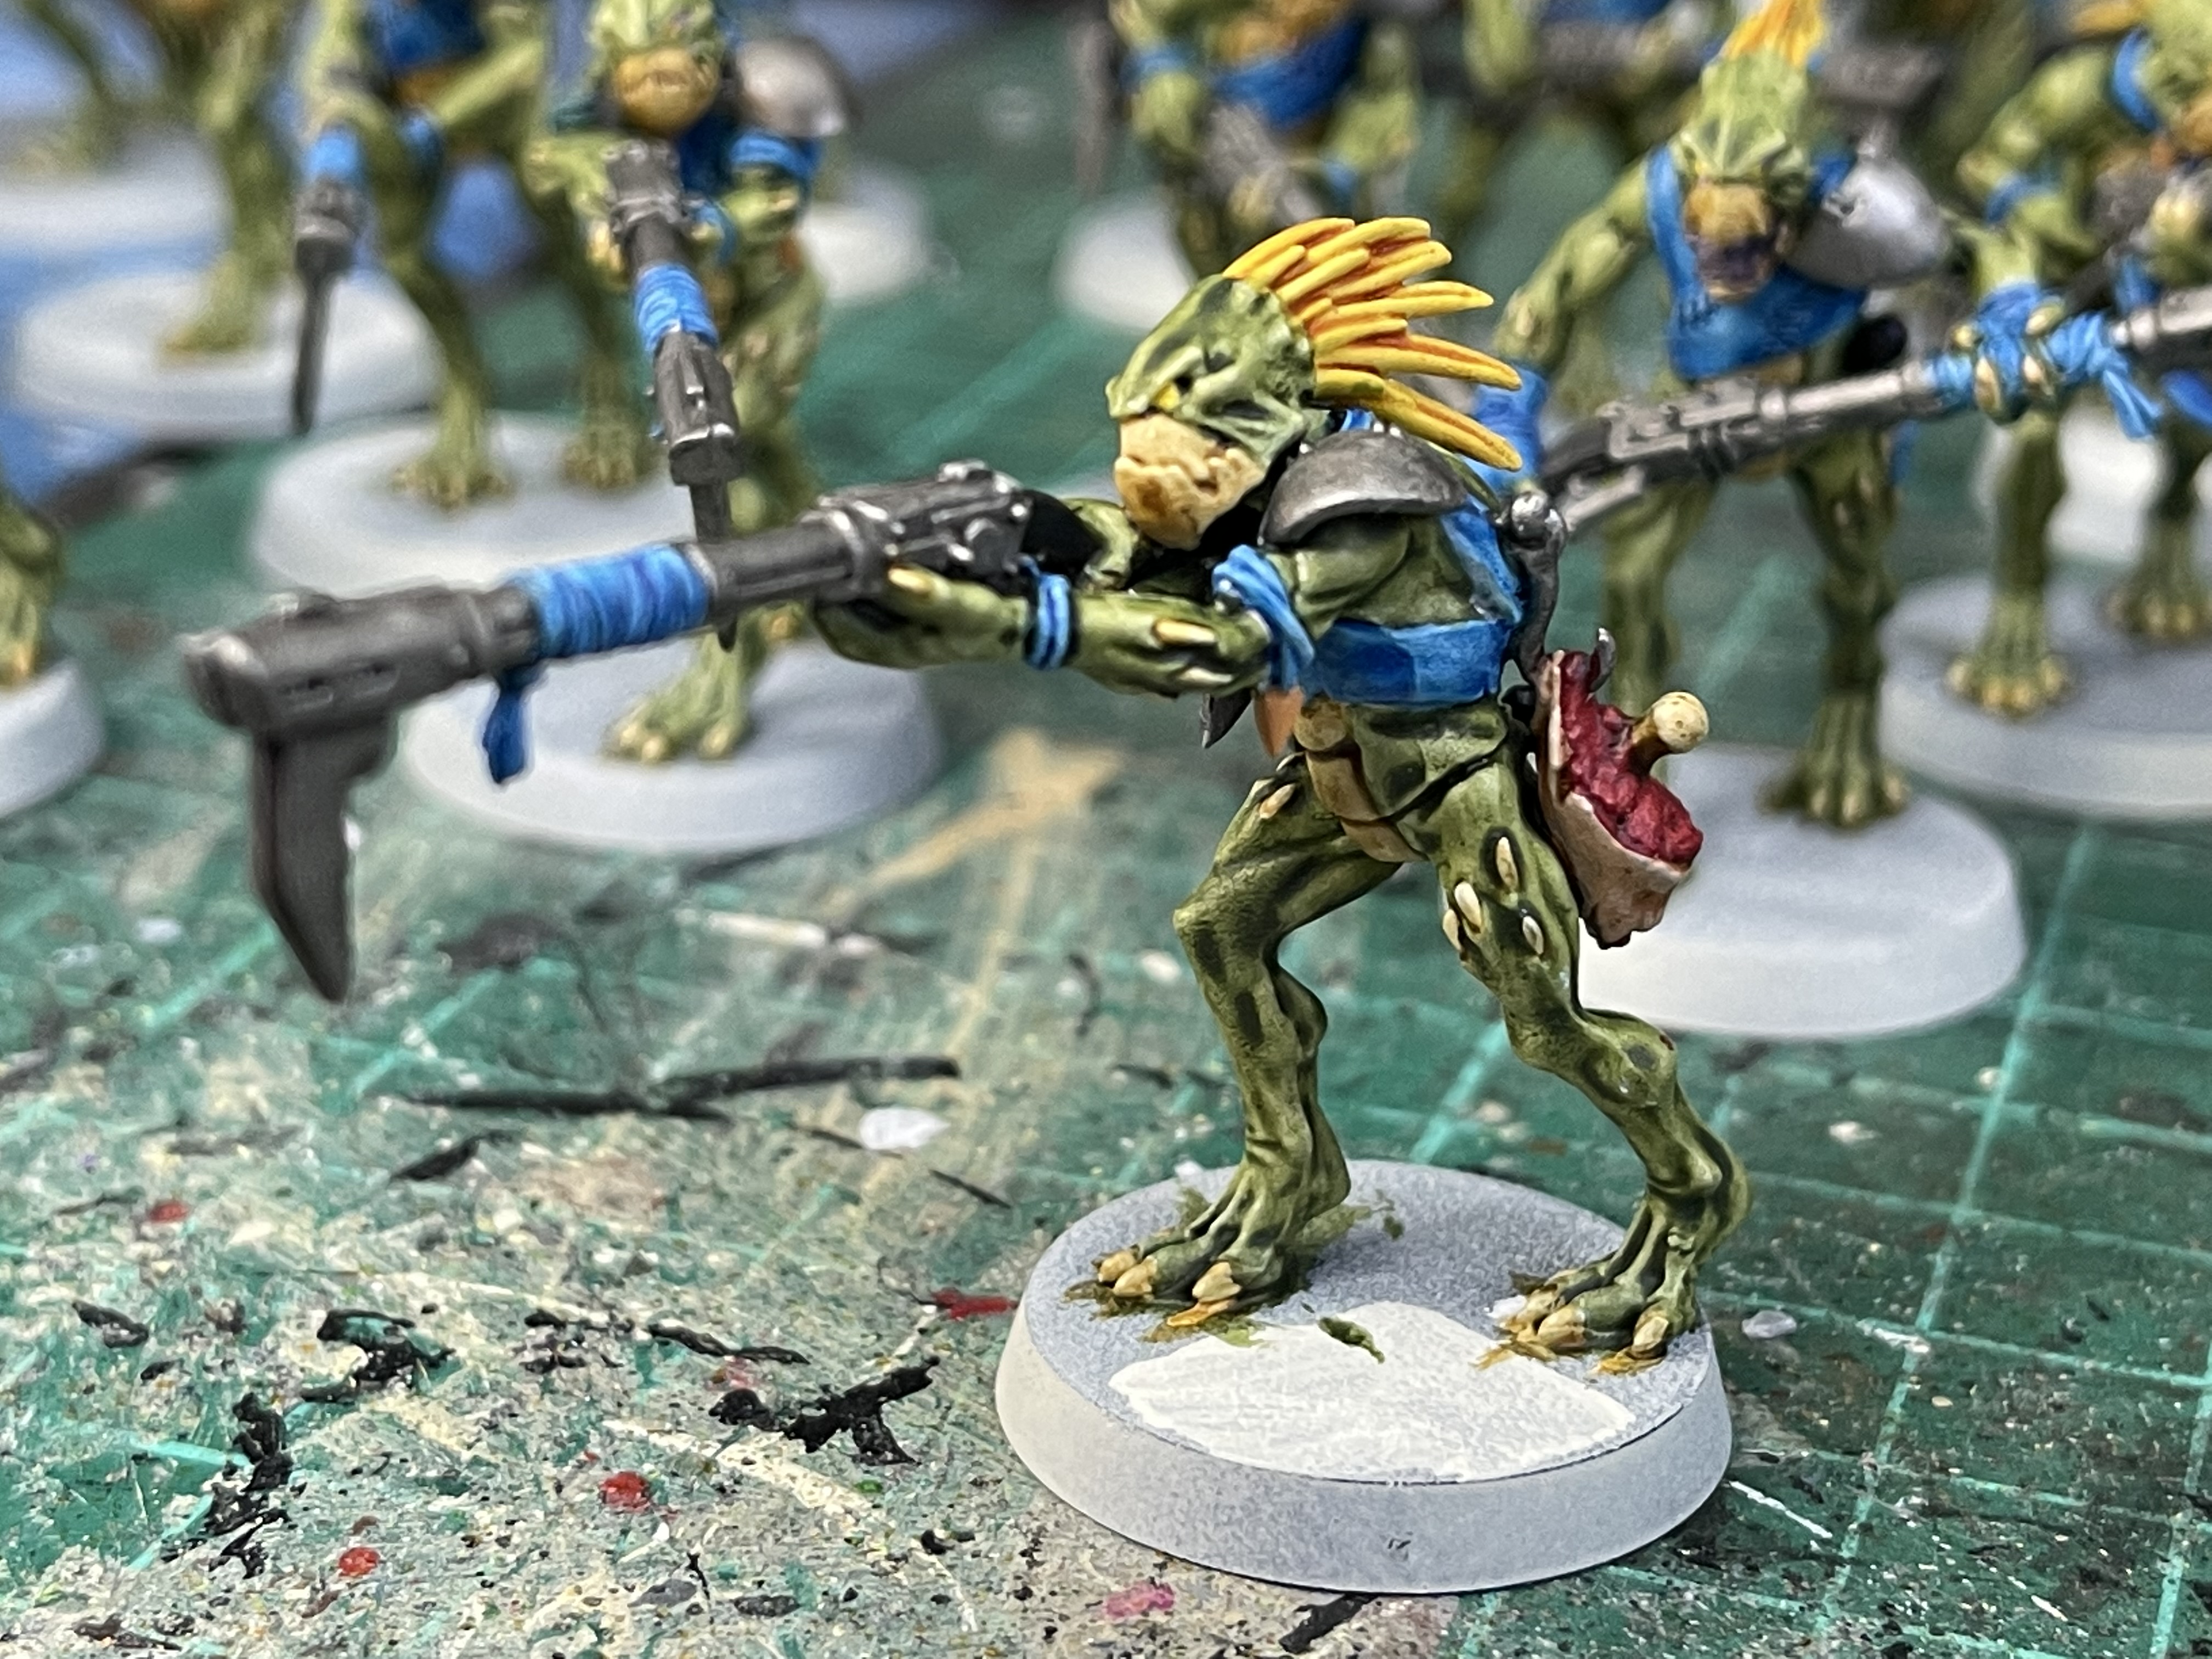 New Paint scheme
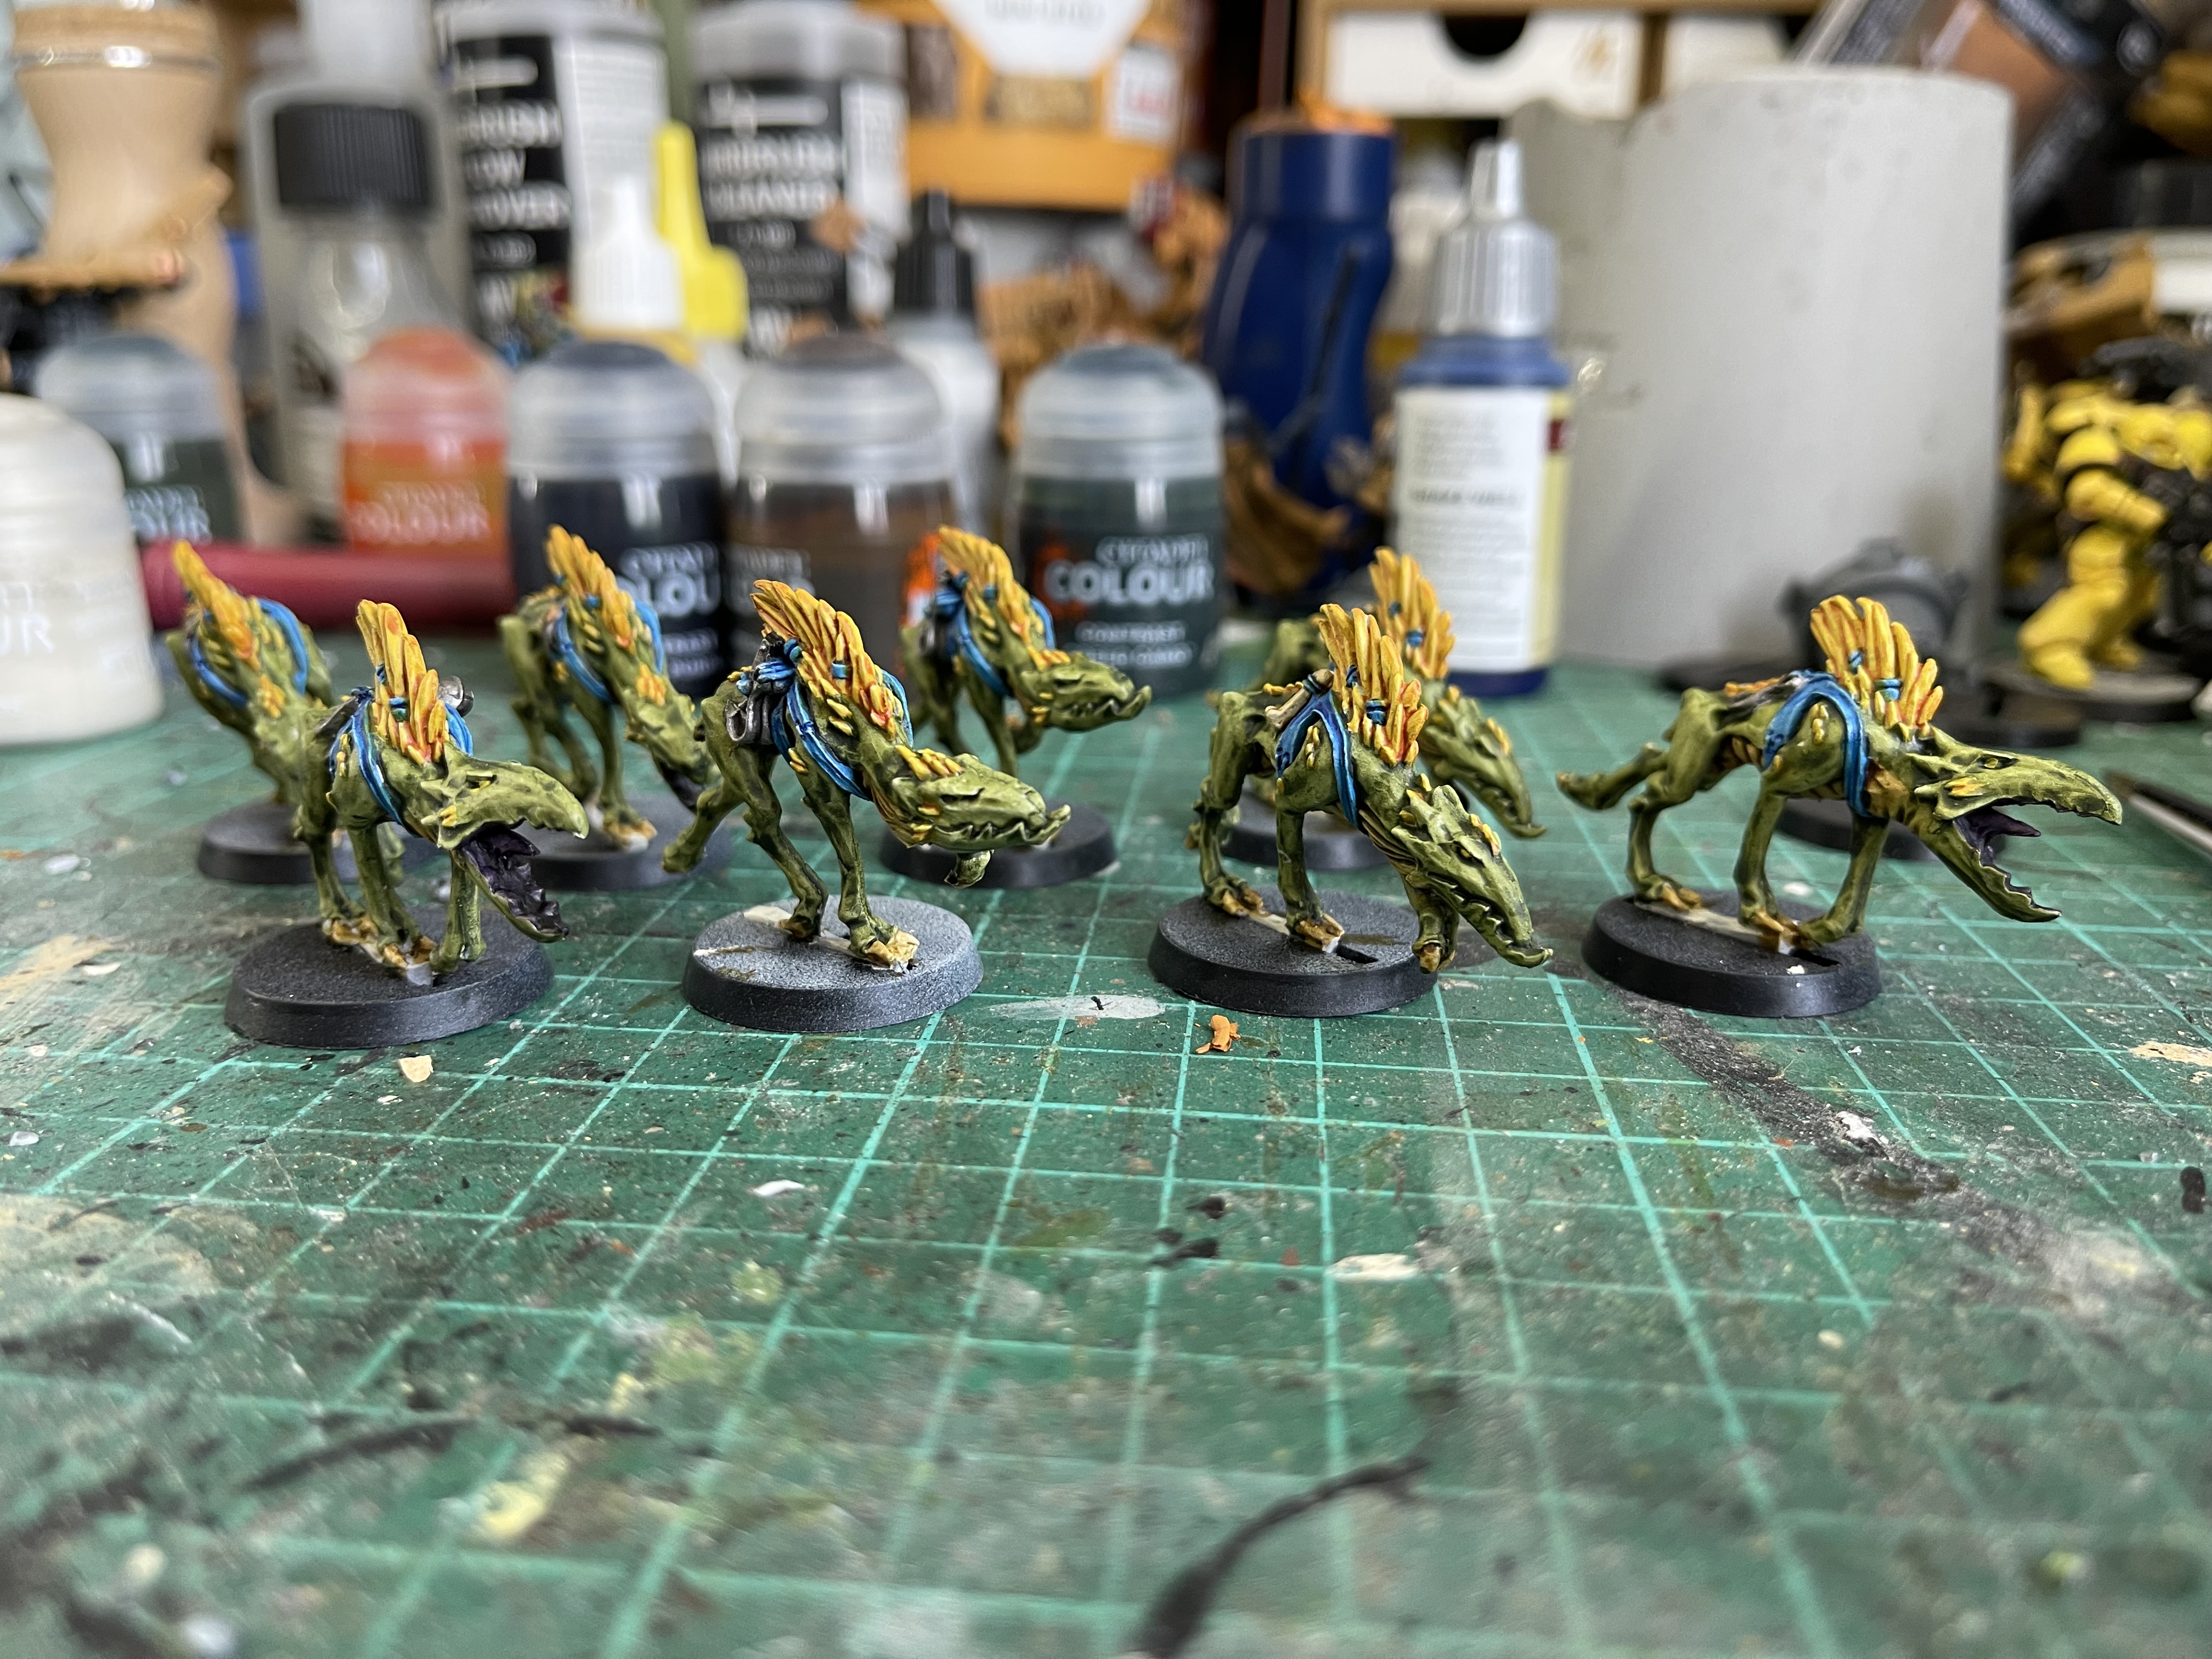
I seem to have have ended up with quite a few kroot, a few with a very old paint scheme which I didnt really like so I decided to repaint the lot.
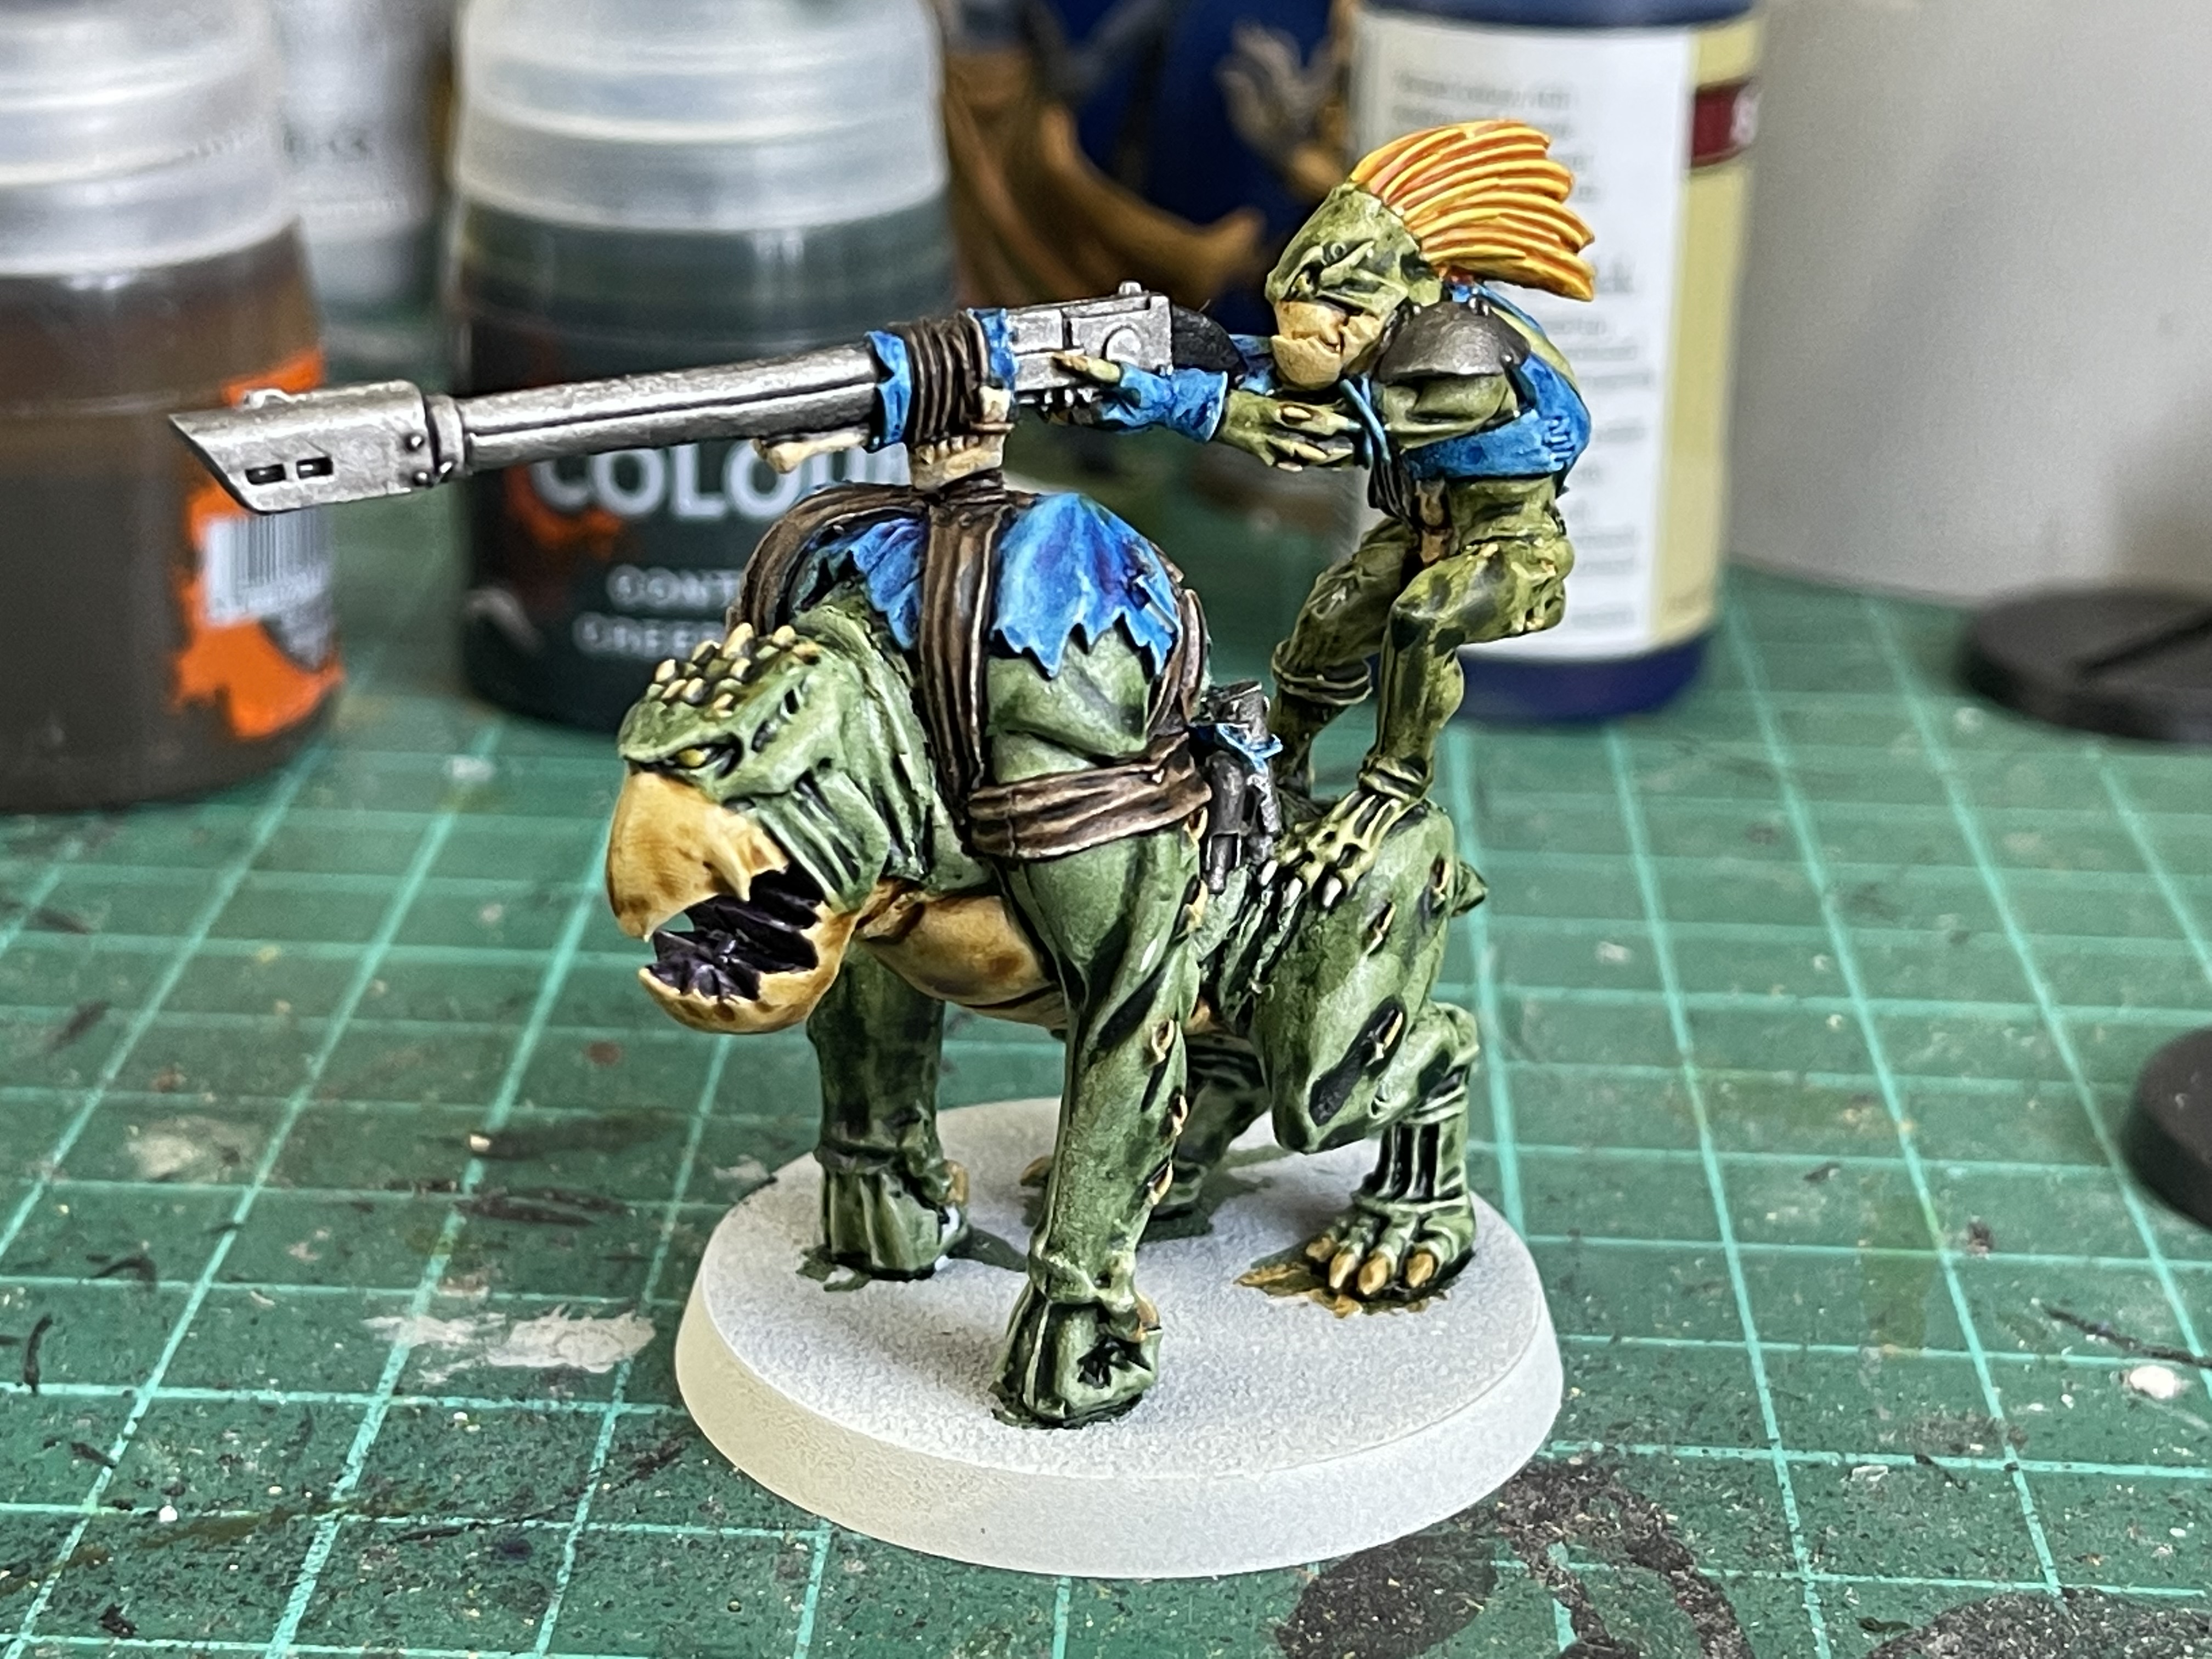
They are primed with Wraithbone and the skin is Militarum green, the cloth in highlord blue (speedpaint). The spikes are Iyanden Yellow and the claw and beak are aggaros dunes. The metal is Leadbelcher with nuln oil over the top with the tags Tau Light Ochre to match the tau.
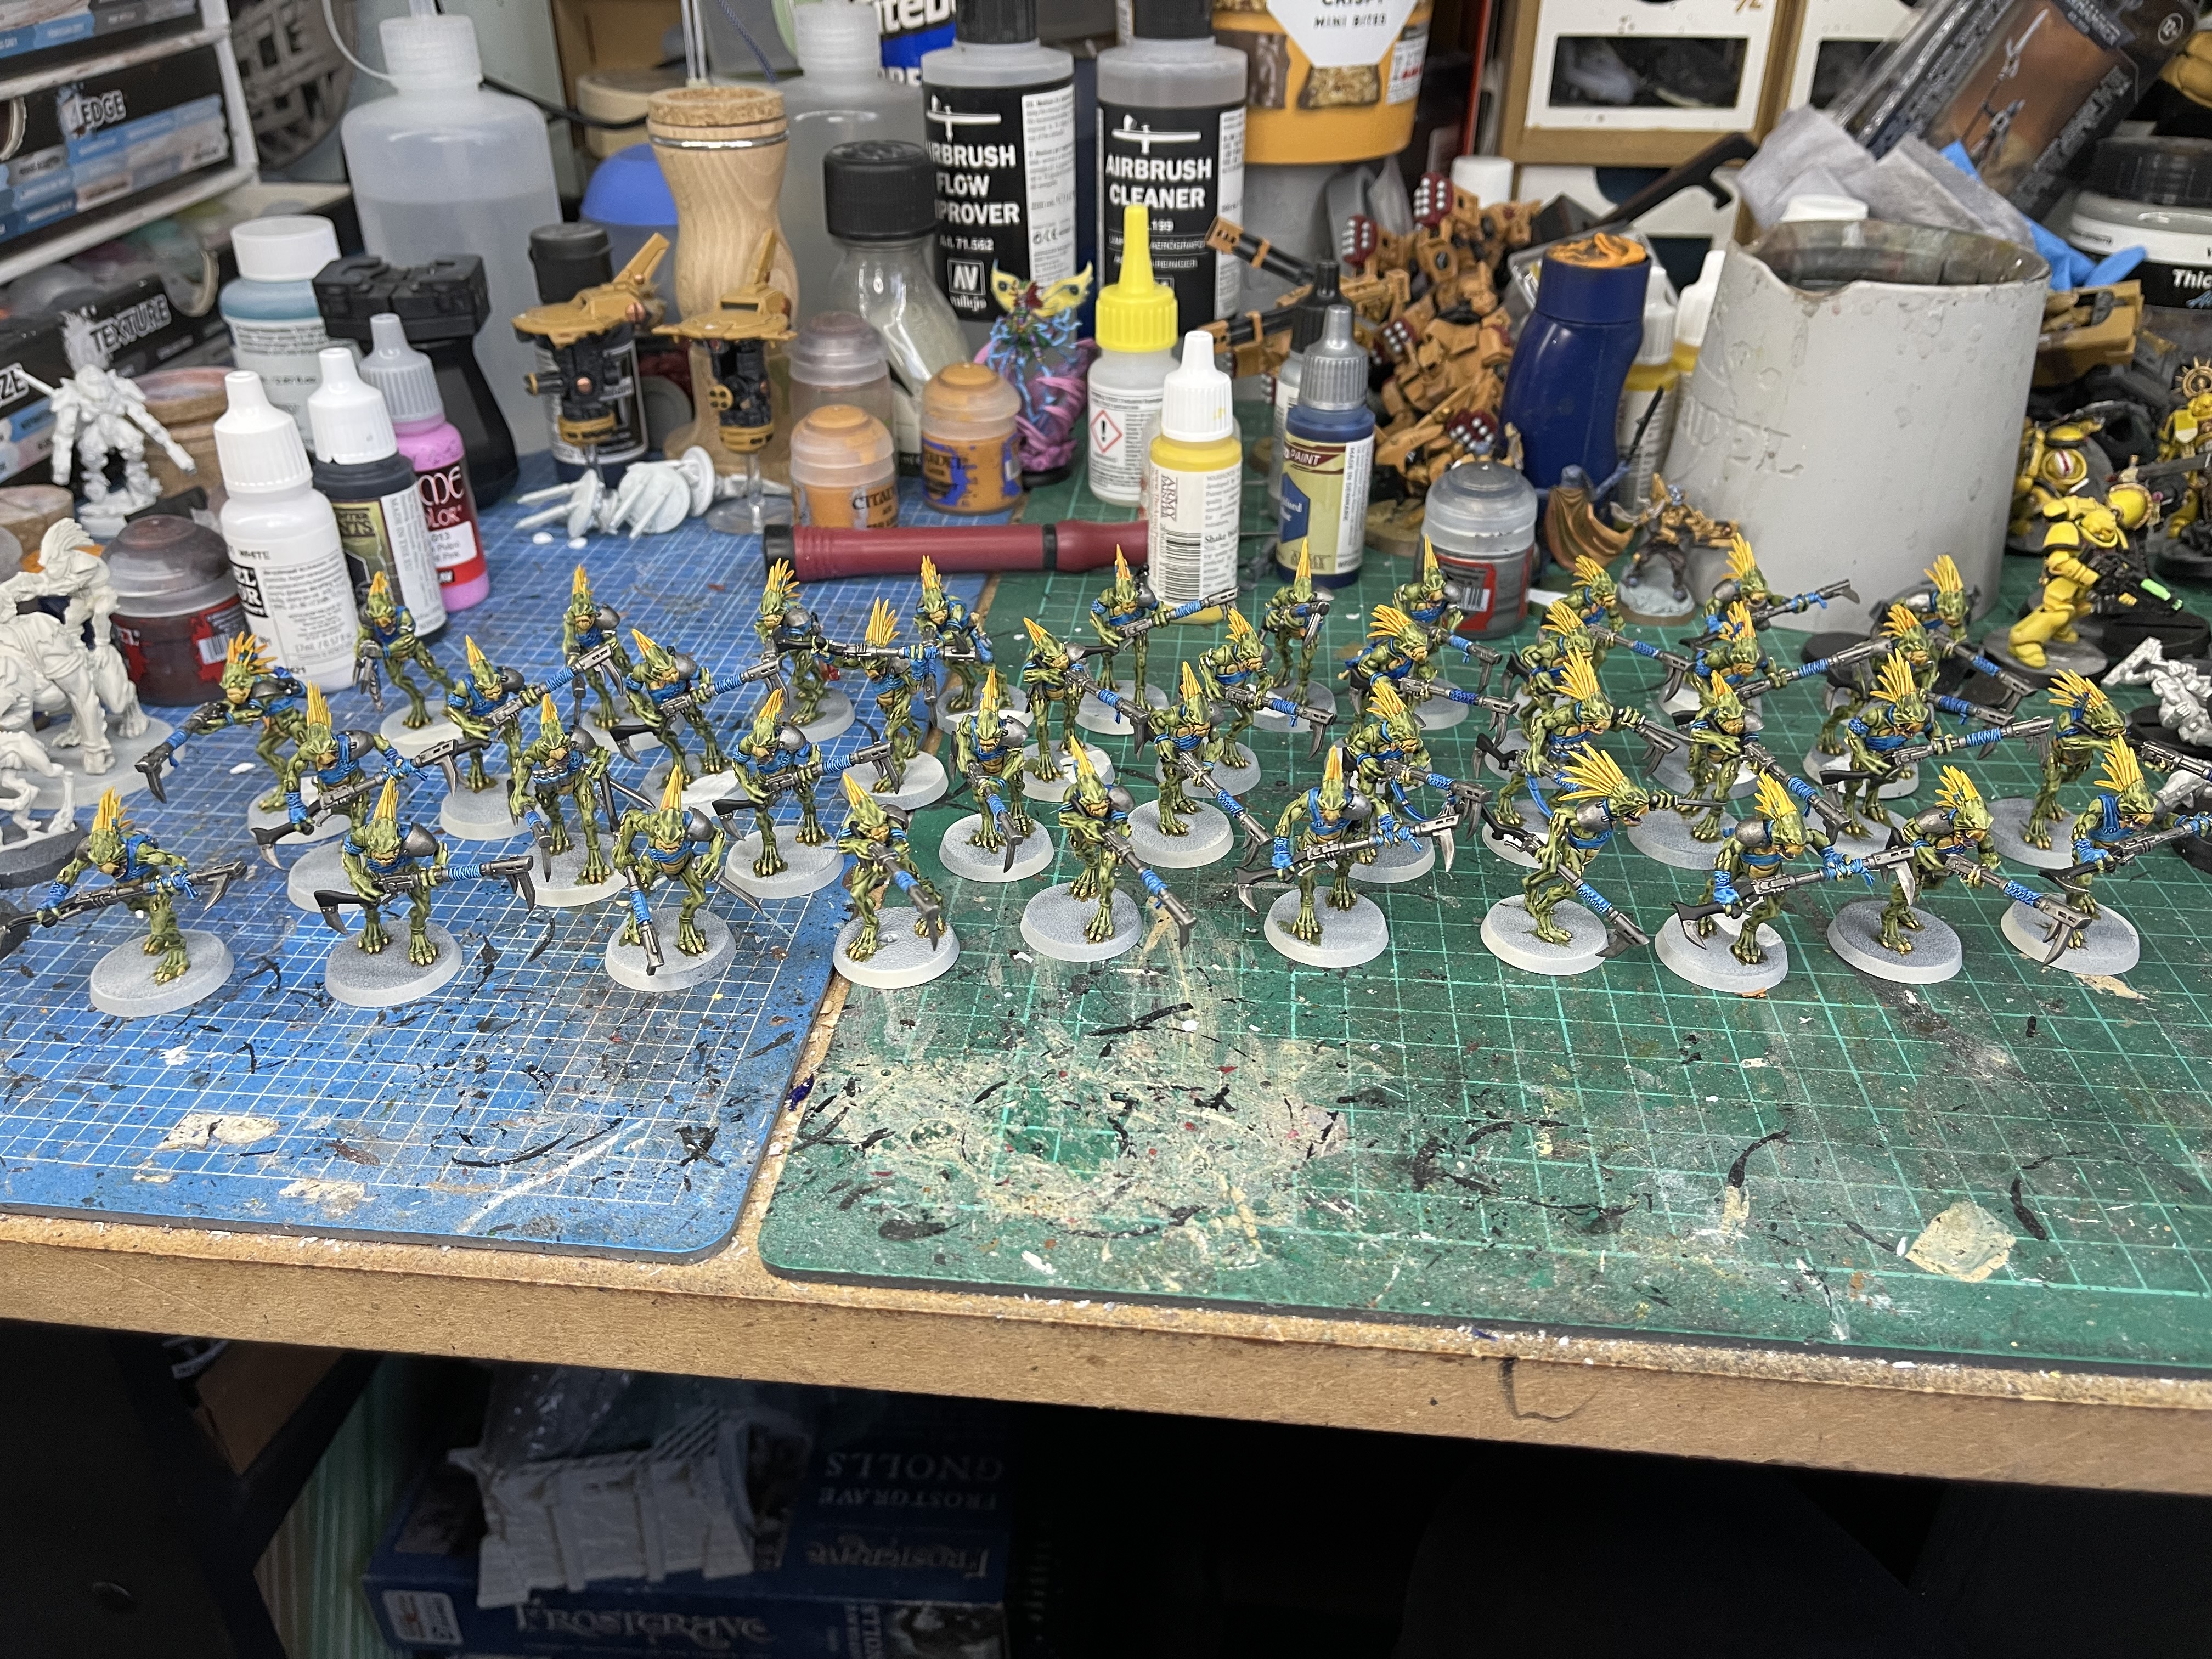 The horde
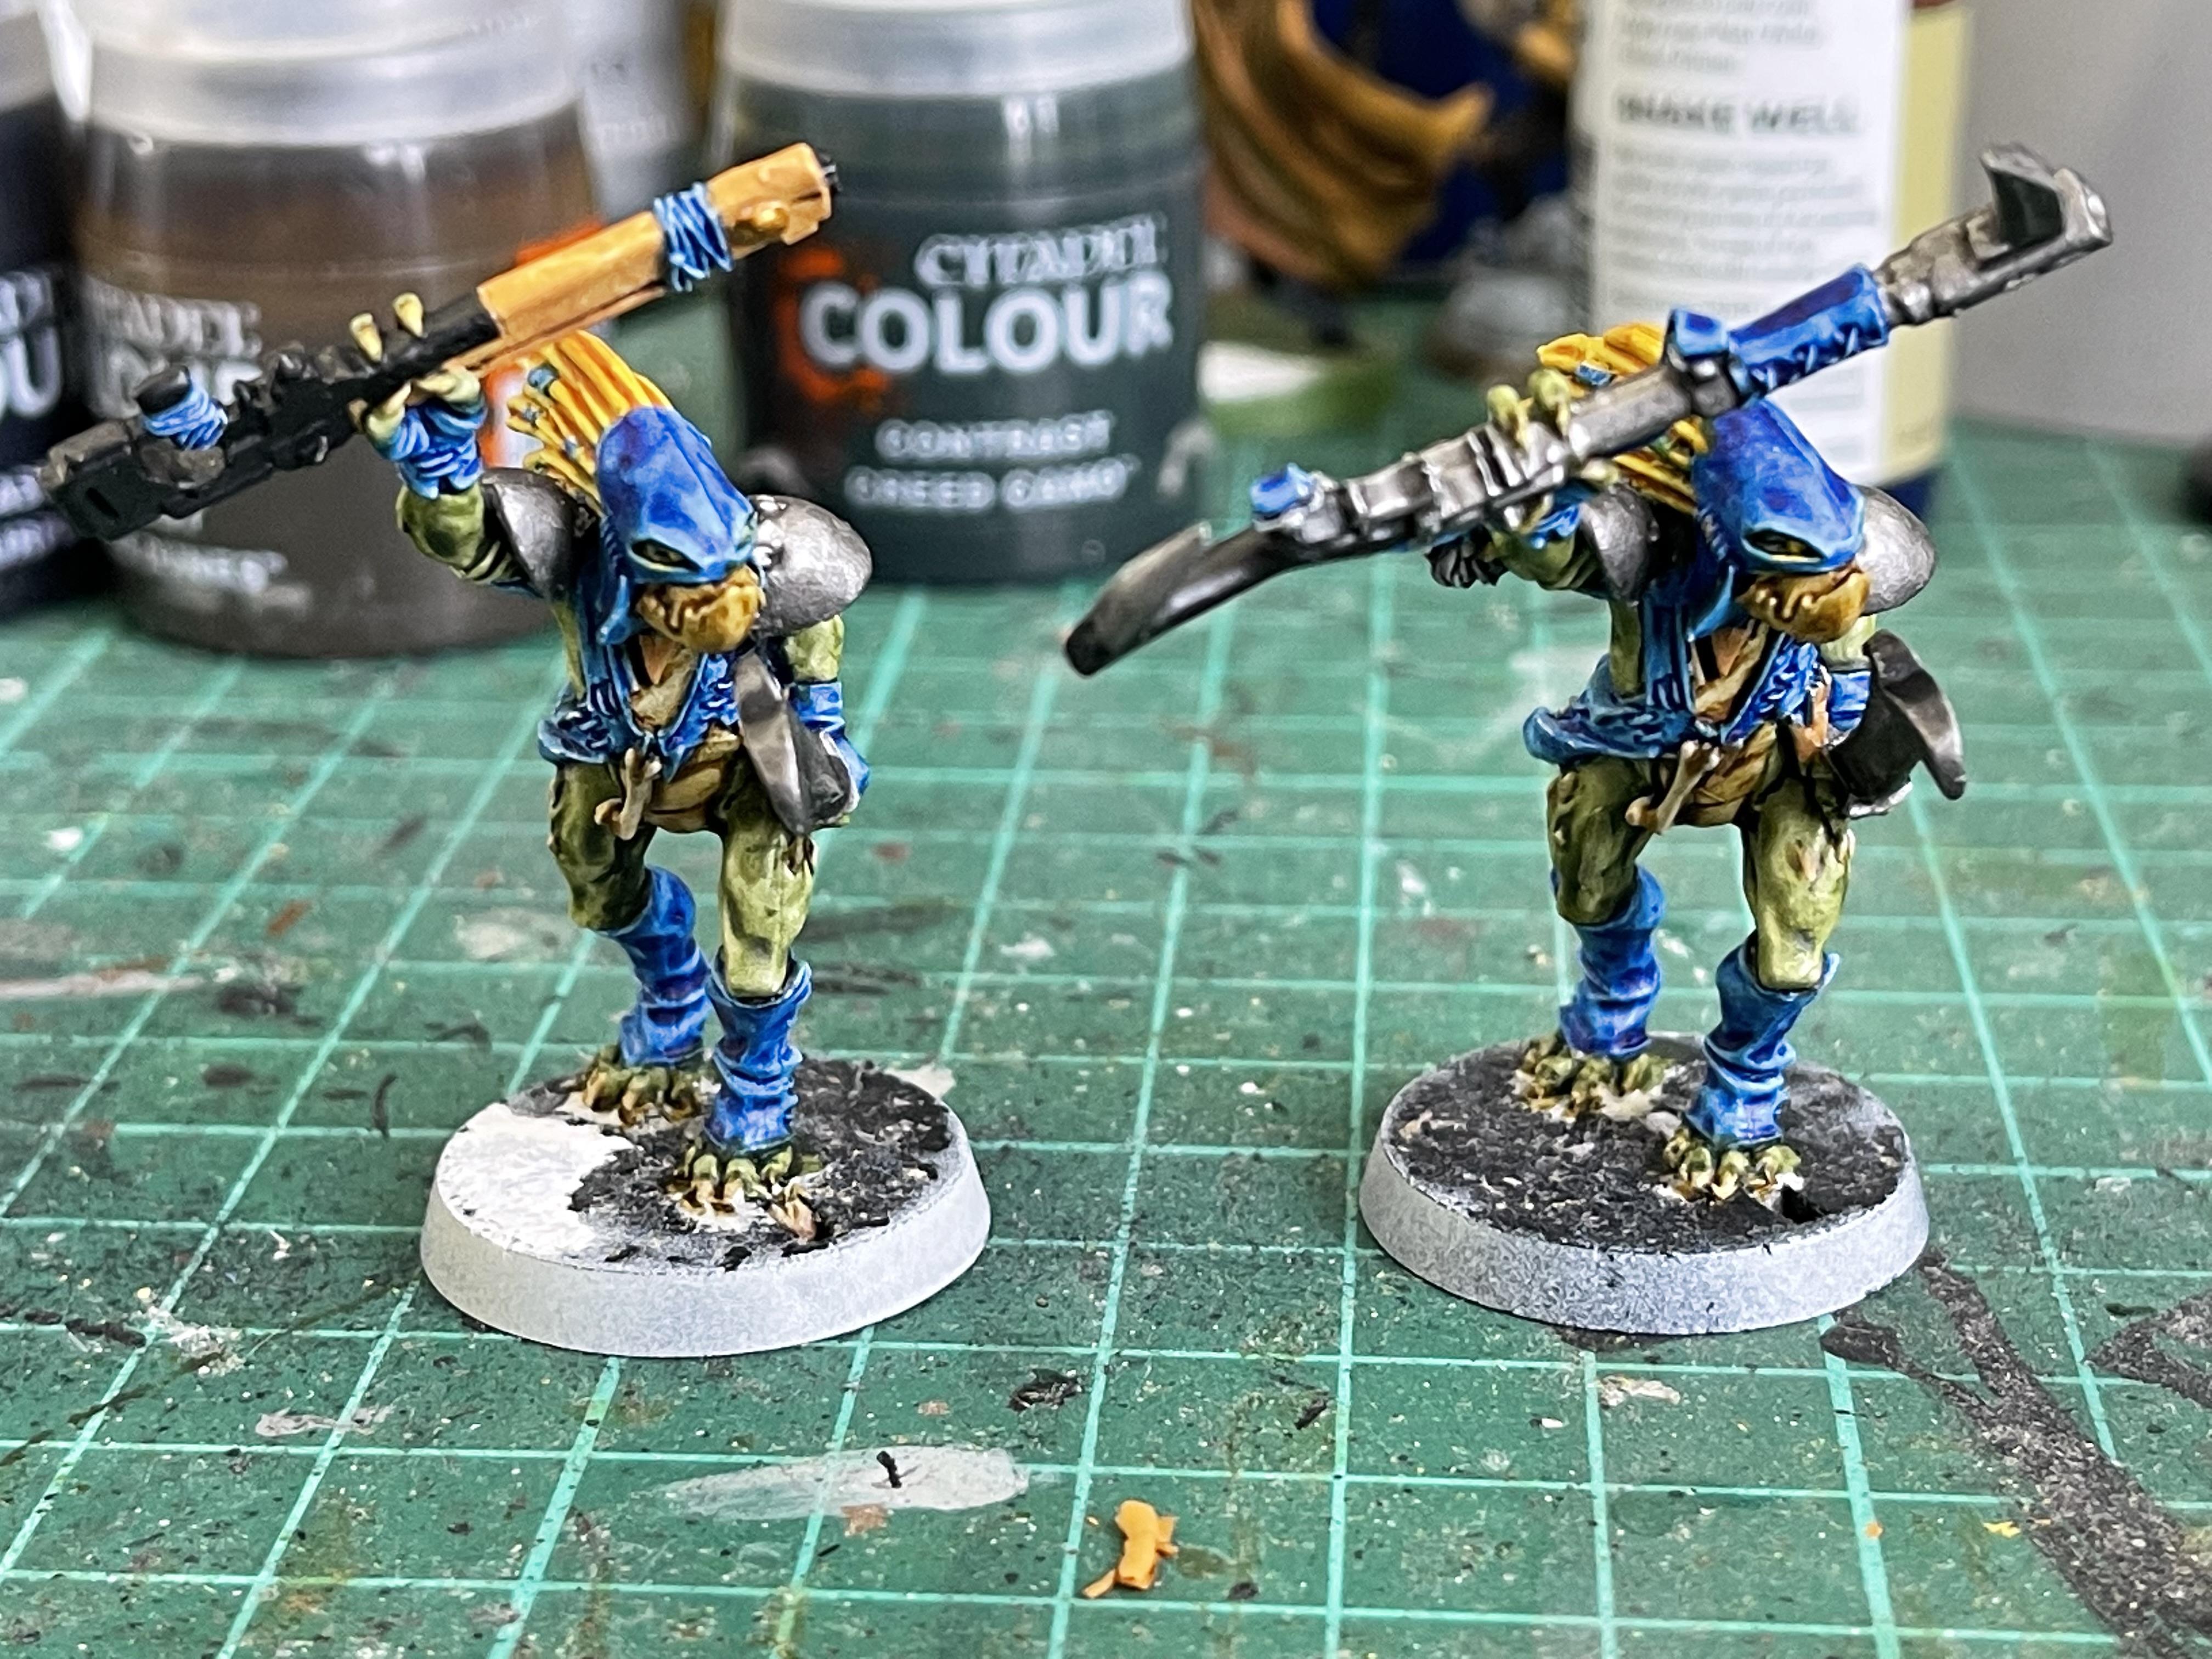
Return of the Tau
With the release of the new Tau codex I though it would be time to blow the dust off my Tau army and see what I had. While I had quite a few battlesuits, fire warriors, riptide & storm surge most needed some fixing/basing.
While diving through the pile of shame I found:
- Most of Tau battleforce
- A box of fire warriors
- Command Farsight
- Command Shadowsun x2 (metal and plastic ones)
- Box of metal Vespids
- A Ghost Keel
- Riptide
- 2 devil fish/hammerheads (primed)
- A shieldwall (primed)
I had also ordered:
- box of kroot
- box of Kroot hounds x2
- Krootox
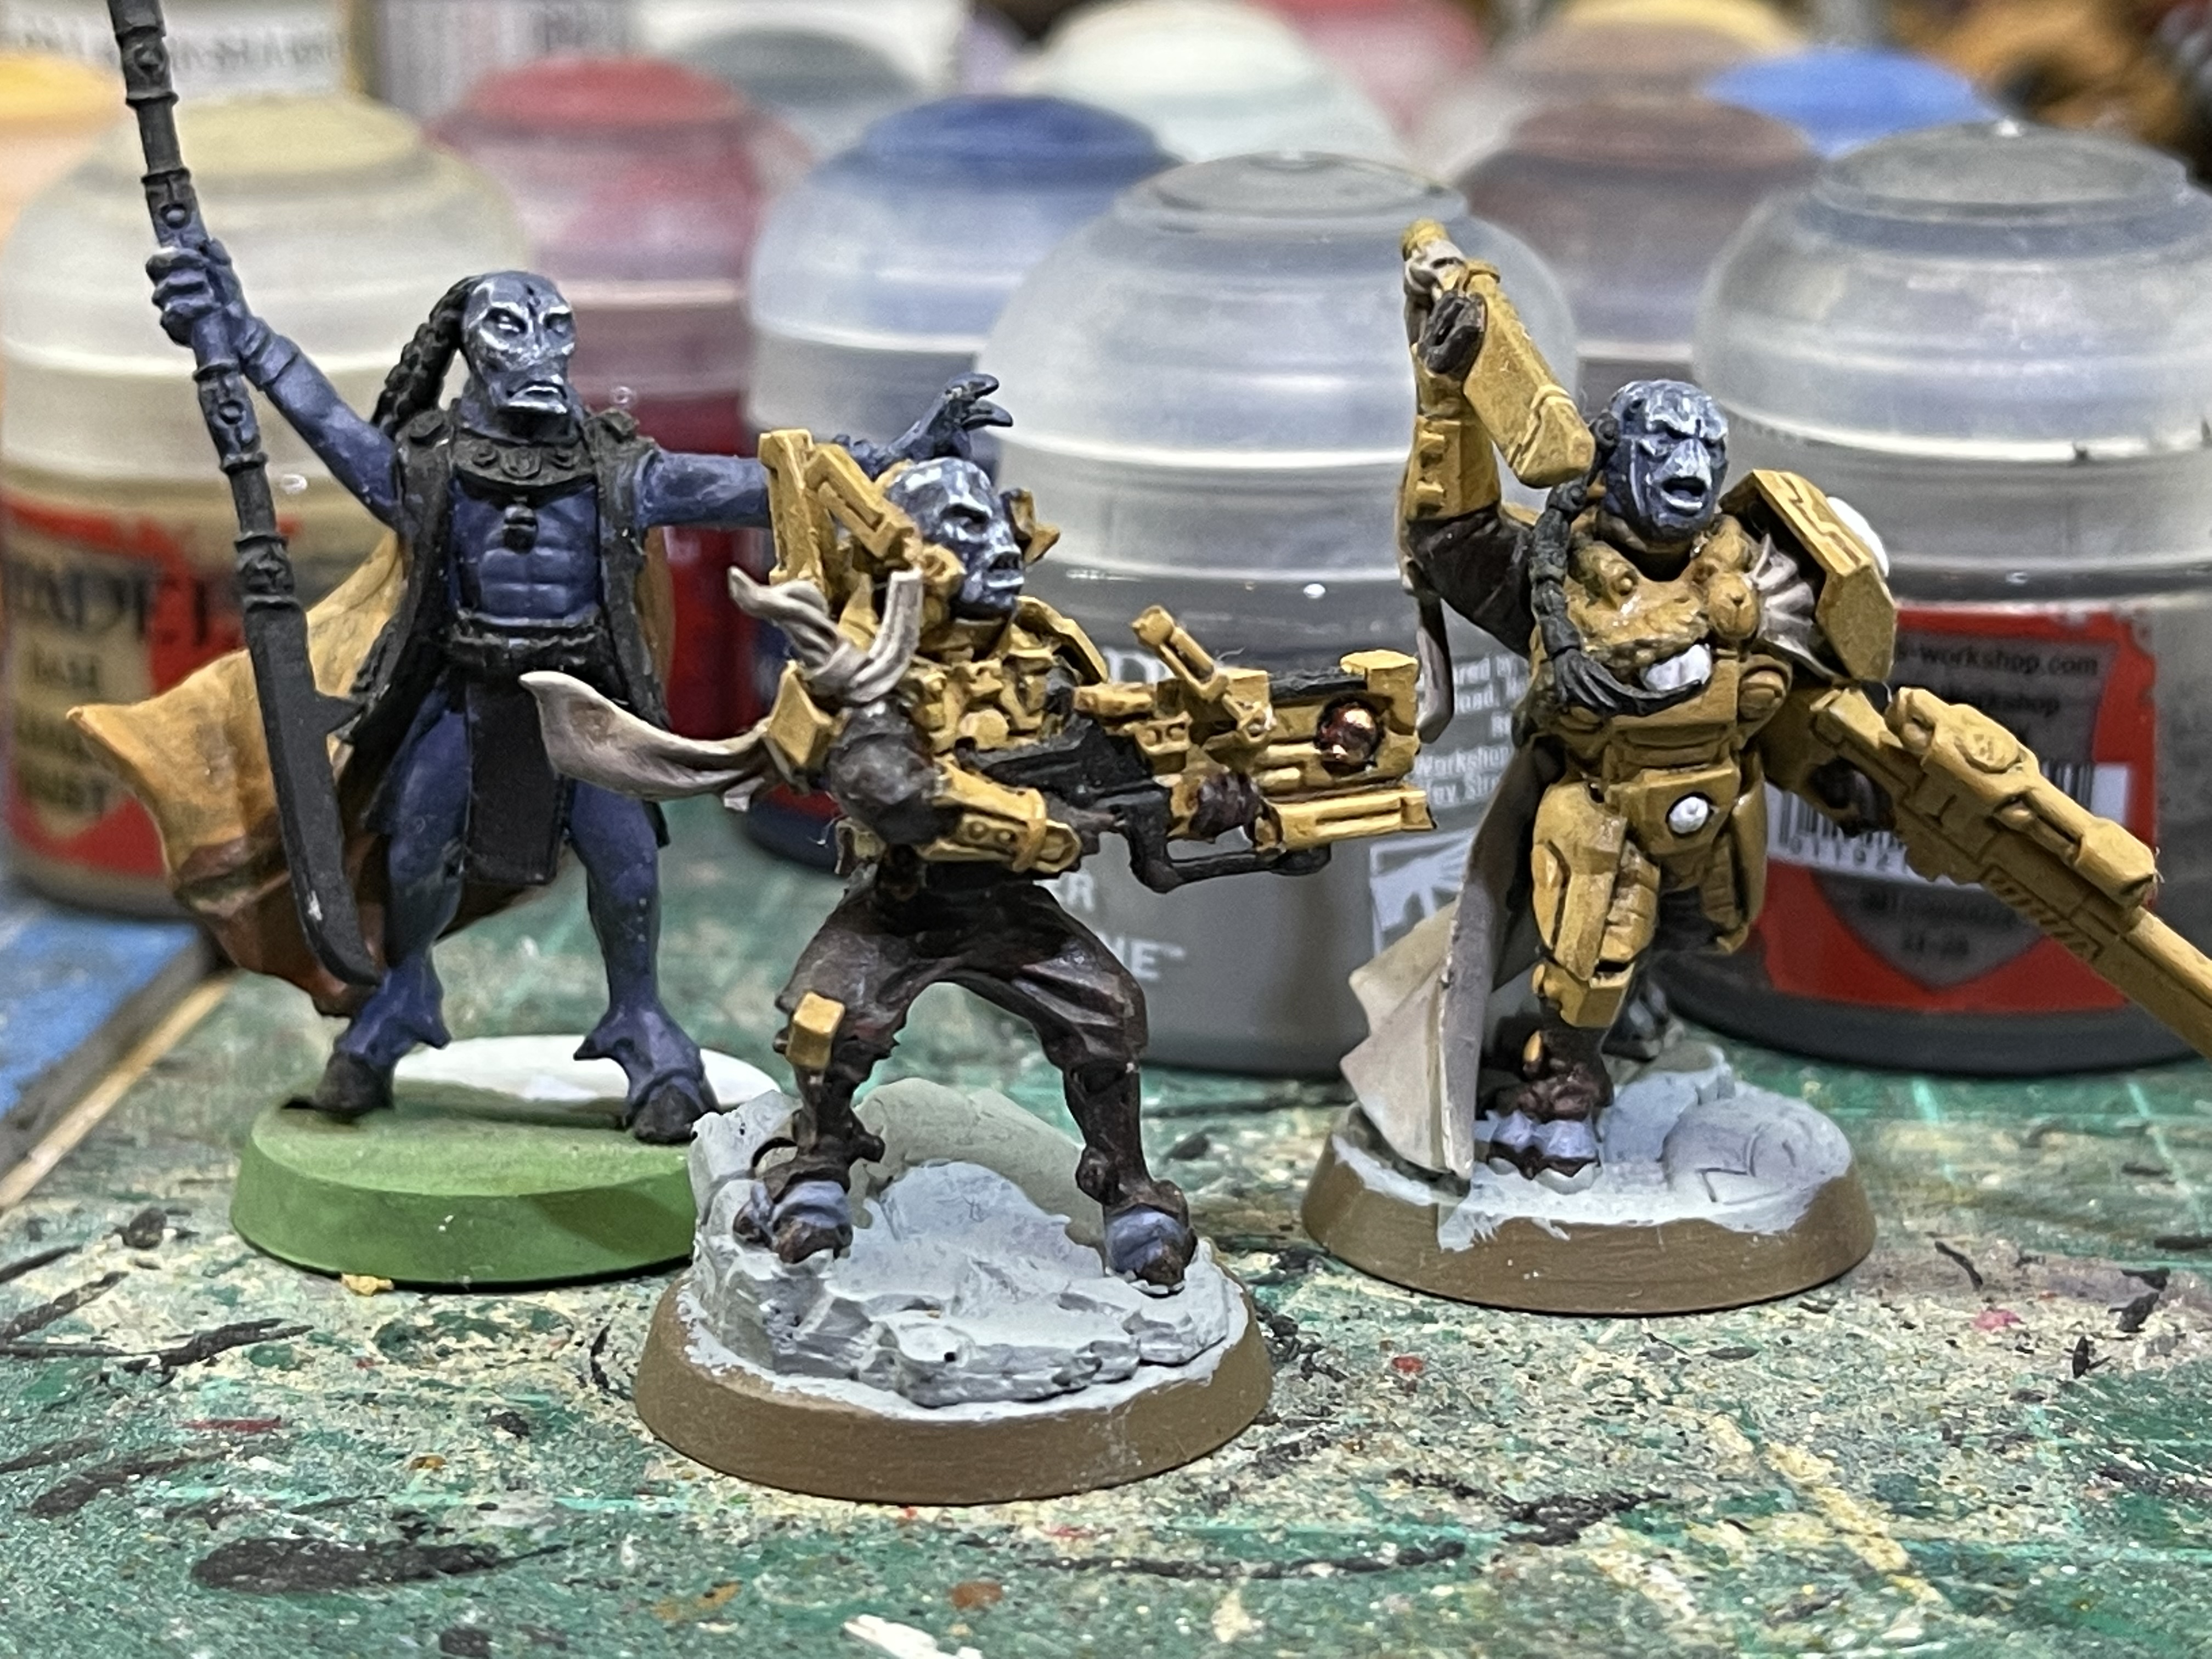
 Existing paint scheme on the left, new one on the right
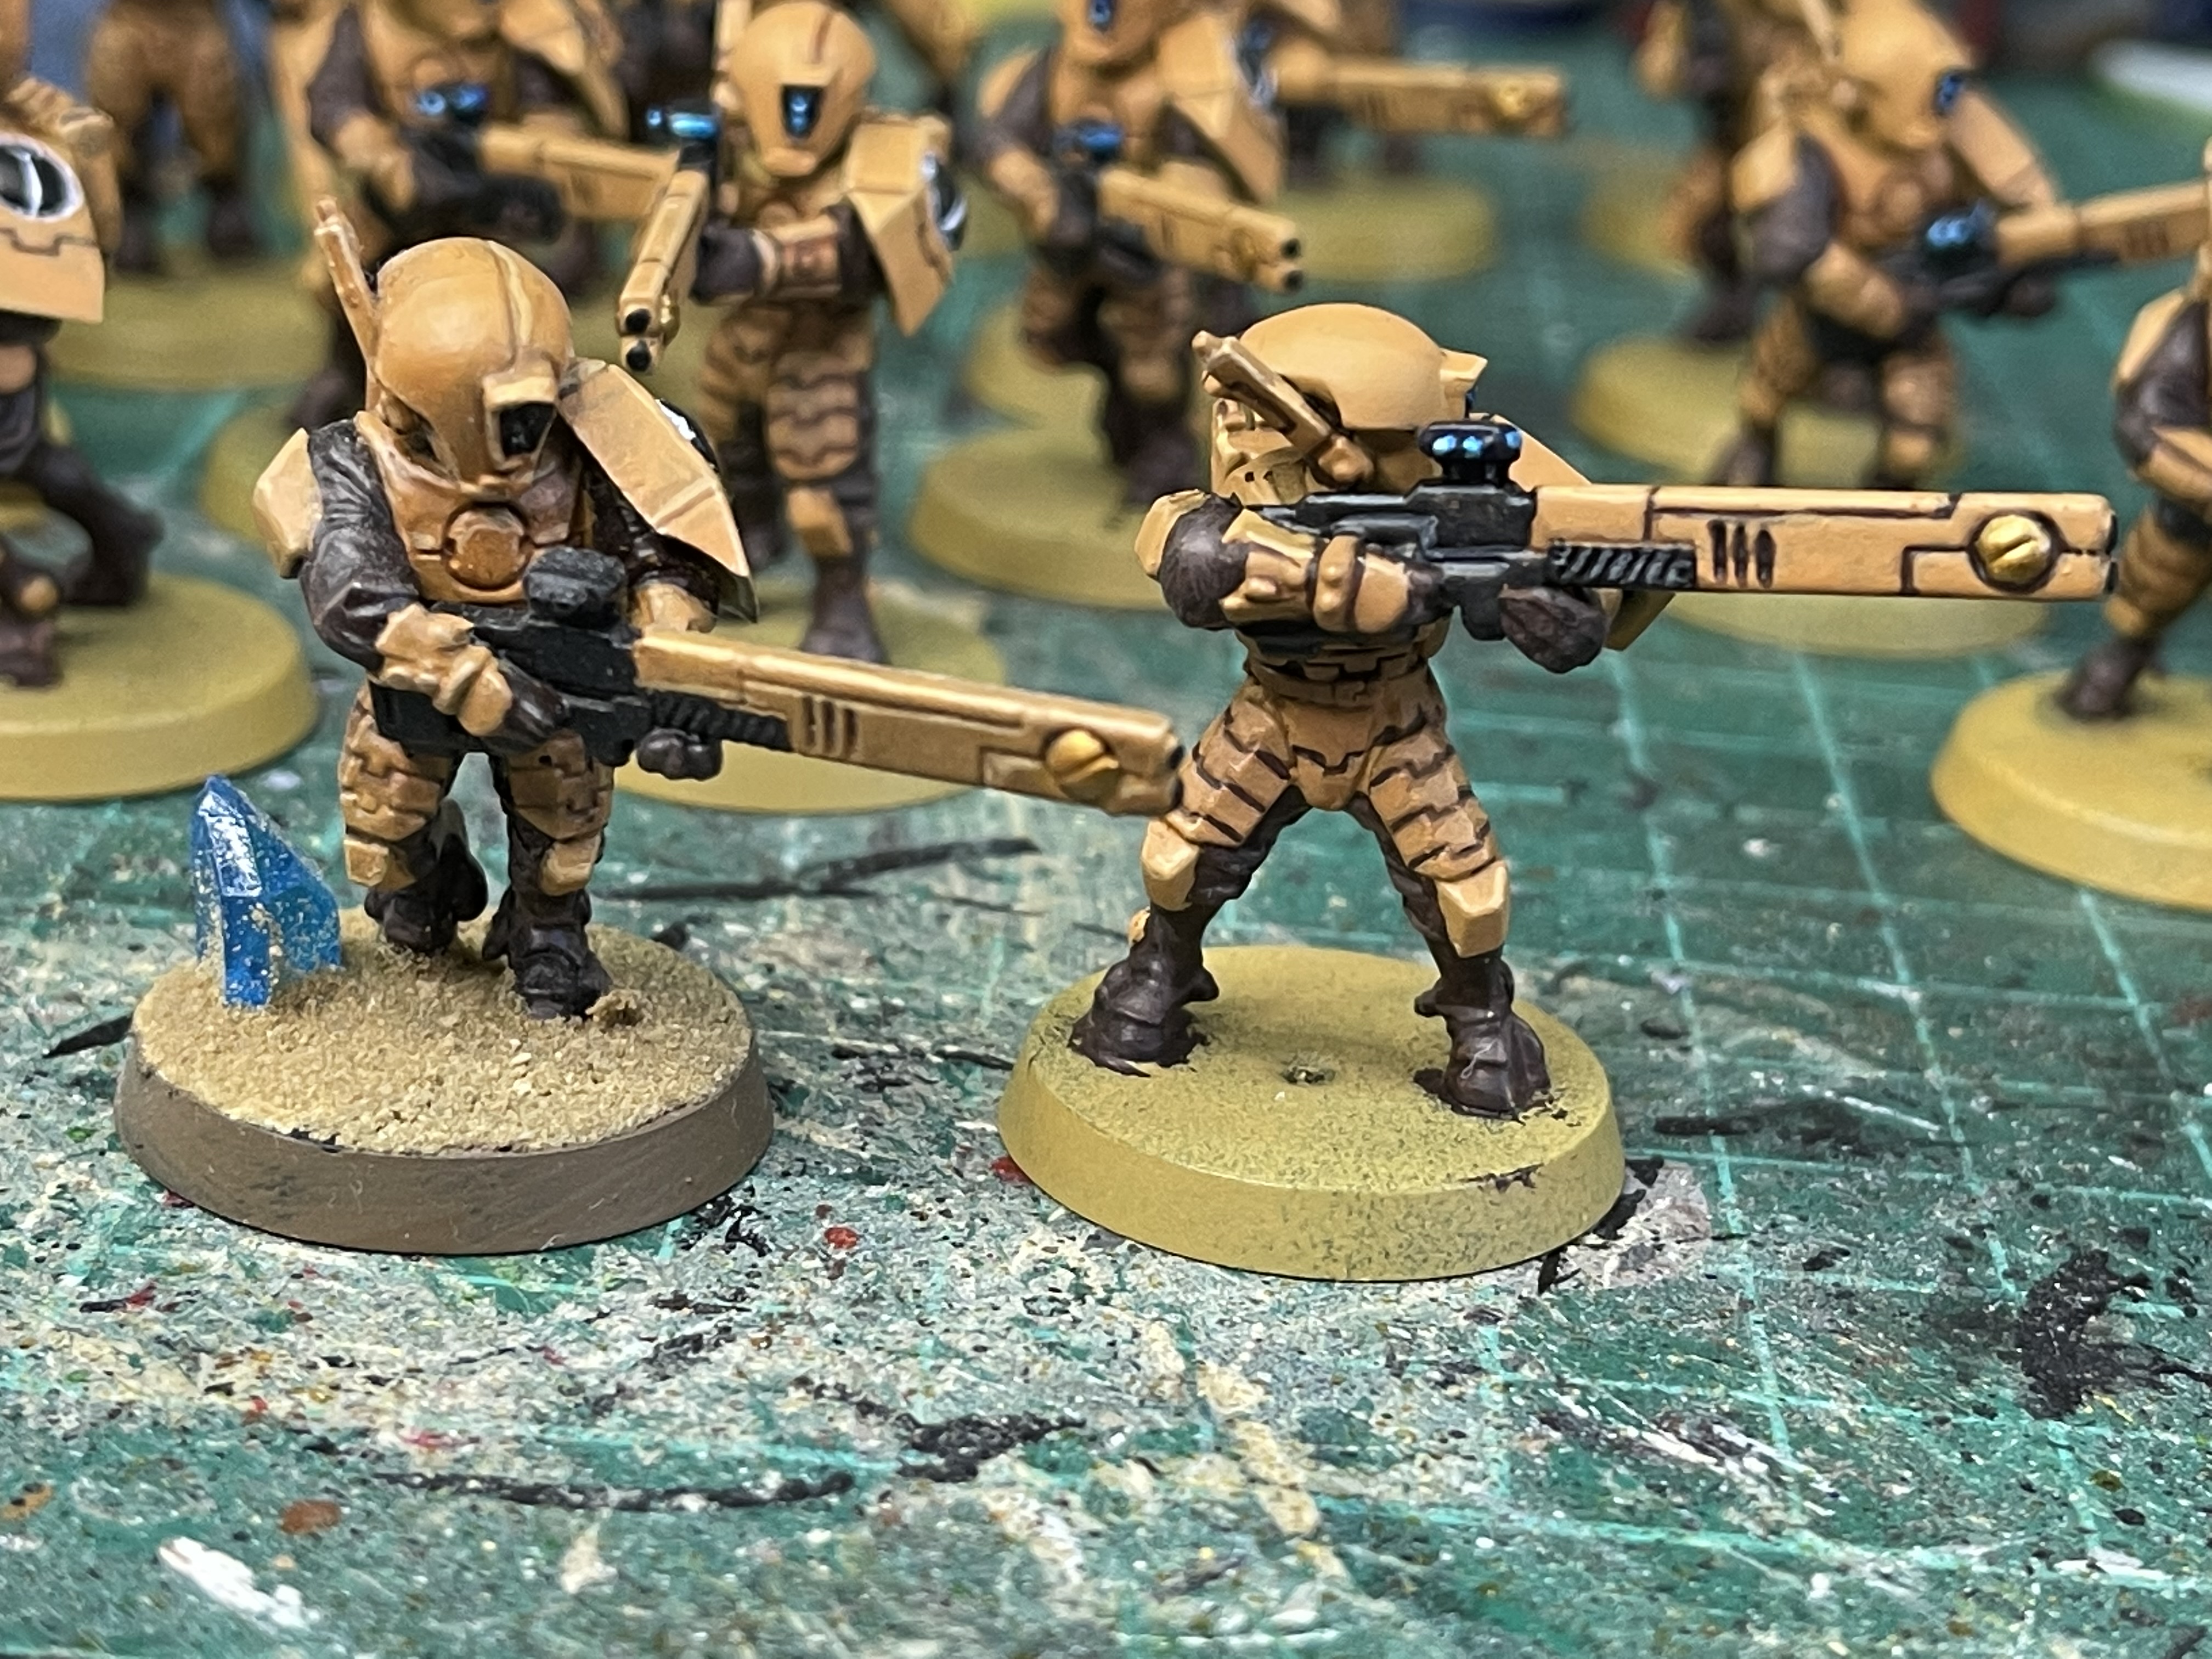
So I thought I would start with the fire warriors, always had a soft spot for them since the fire warrior PC game from back in the day.
First challenge was I didnt write down the paint scheme for these so first I had recreate it, armour is primed desert yellow from an army painter rattle can and then Tau Light Ochre is airbrushed over that with an Ungor flesh highlight and the panel lines are Rhinox hide thinned down and a steady hand. The under suit is Rhinox hide with a gorthor brown highlight. Parts of the rifle are black with a dawnstone highlight.
The last part is the lenses which are vallejo chrome with talassar blue over the top.
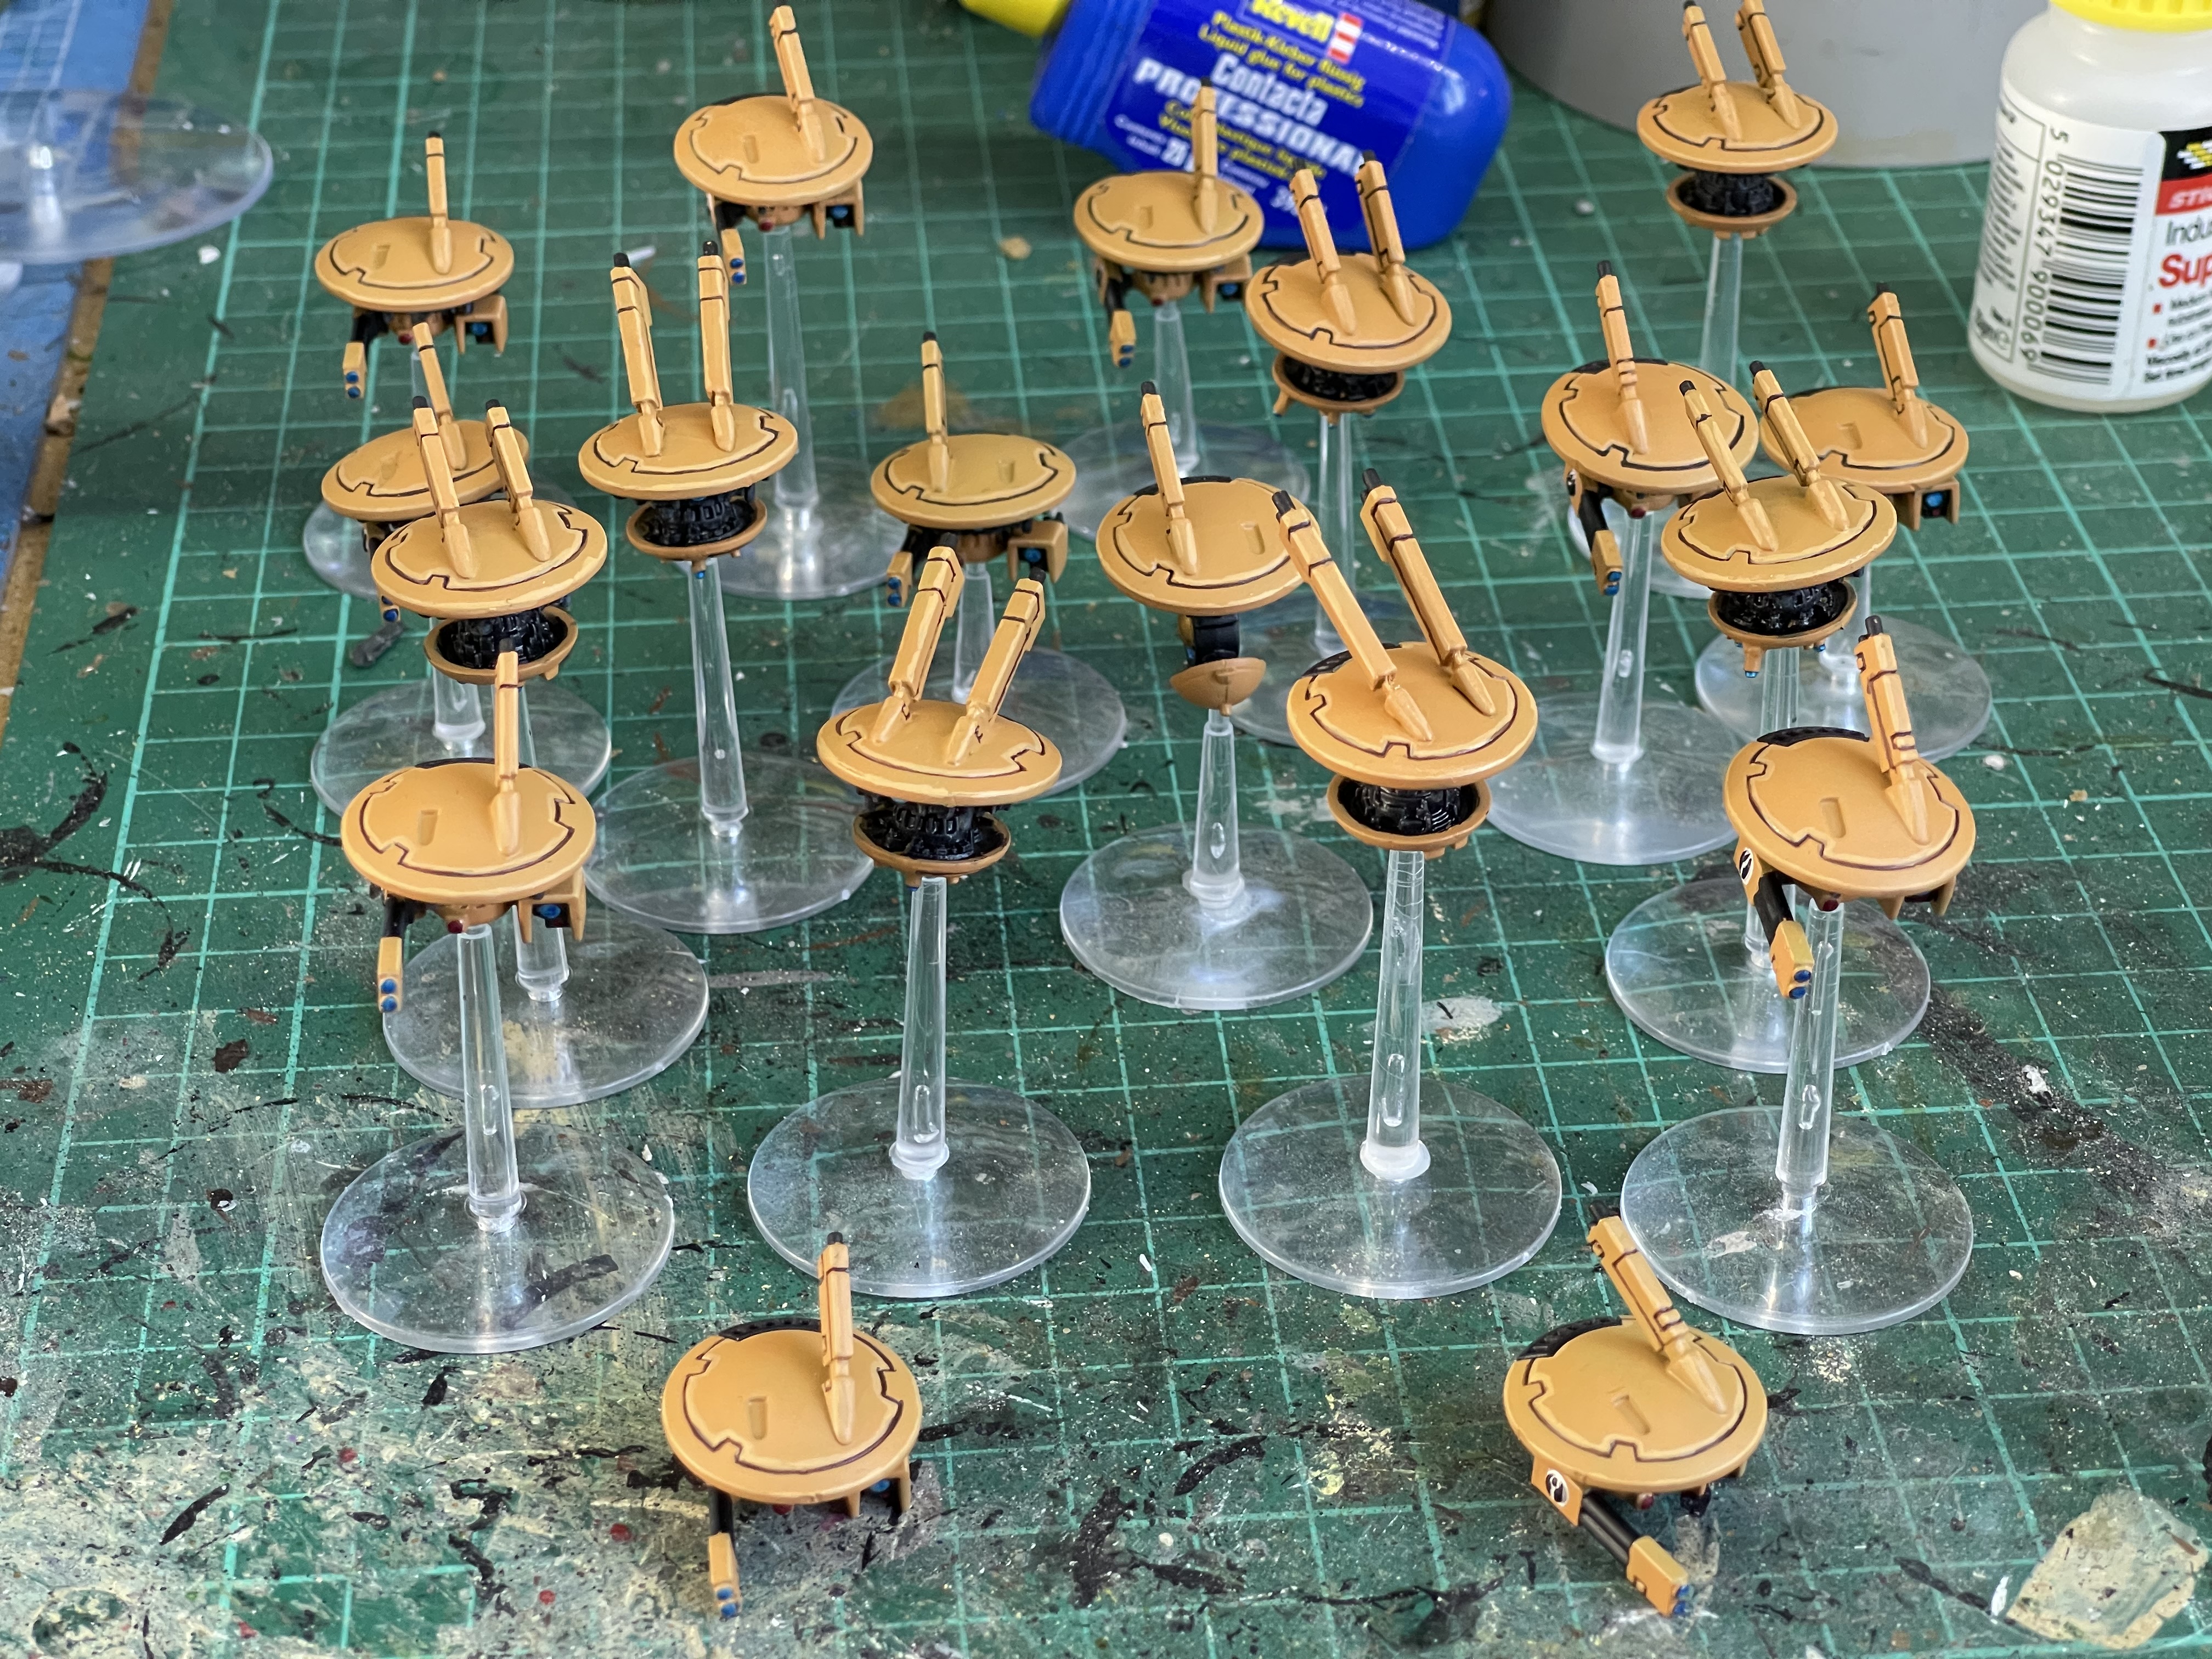
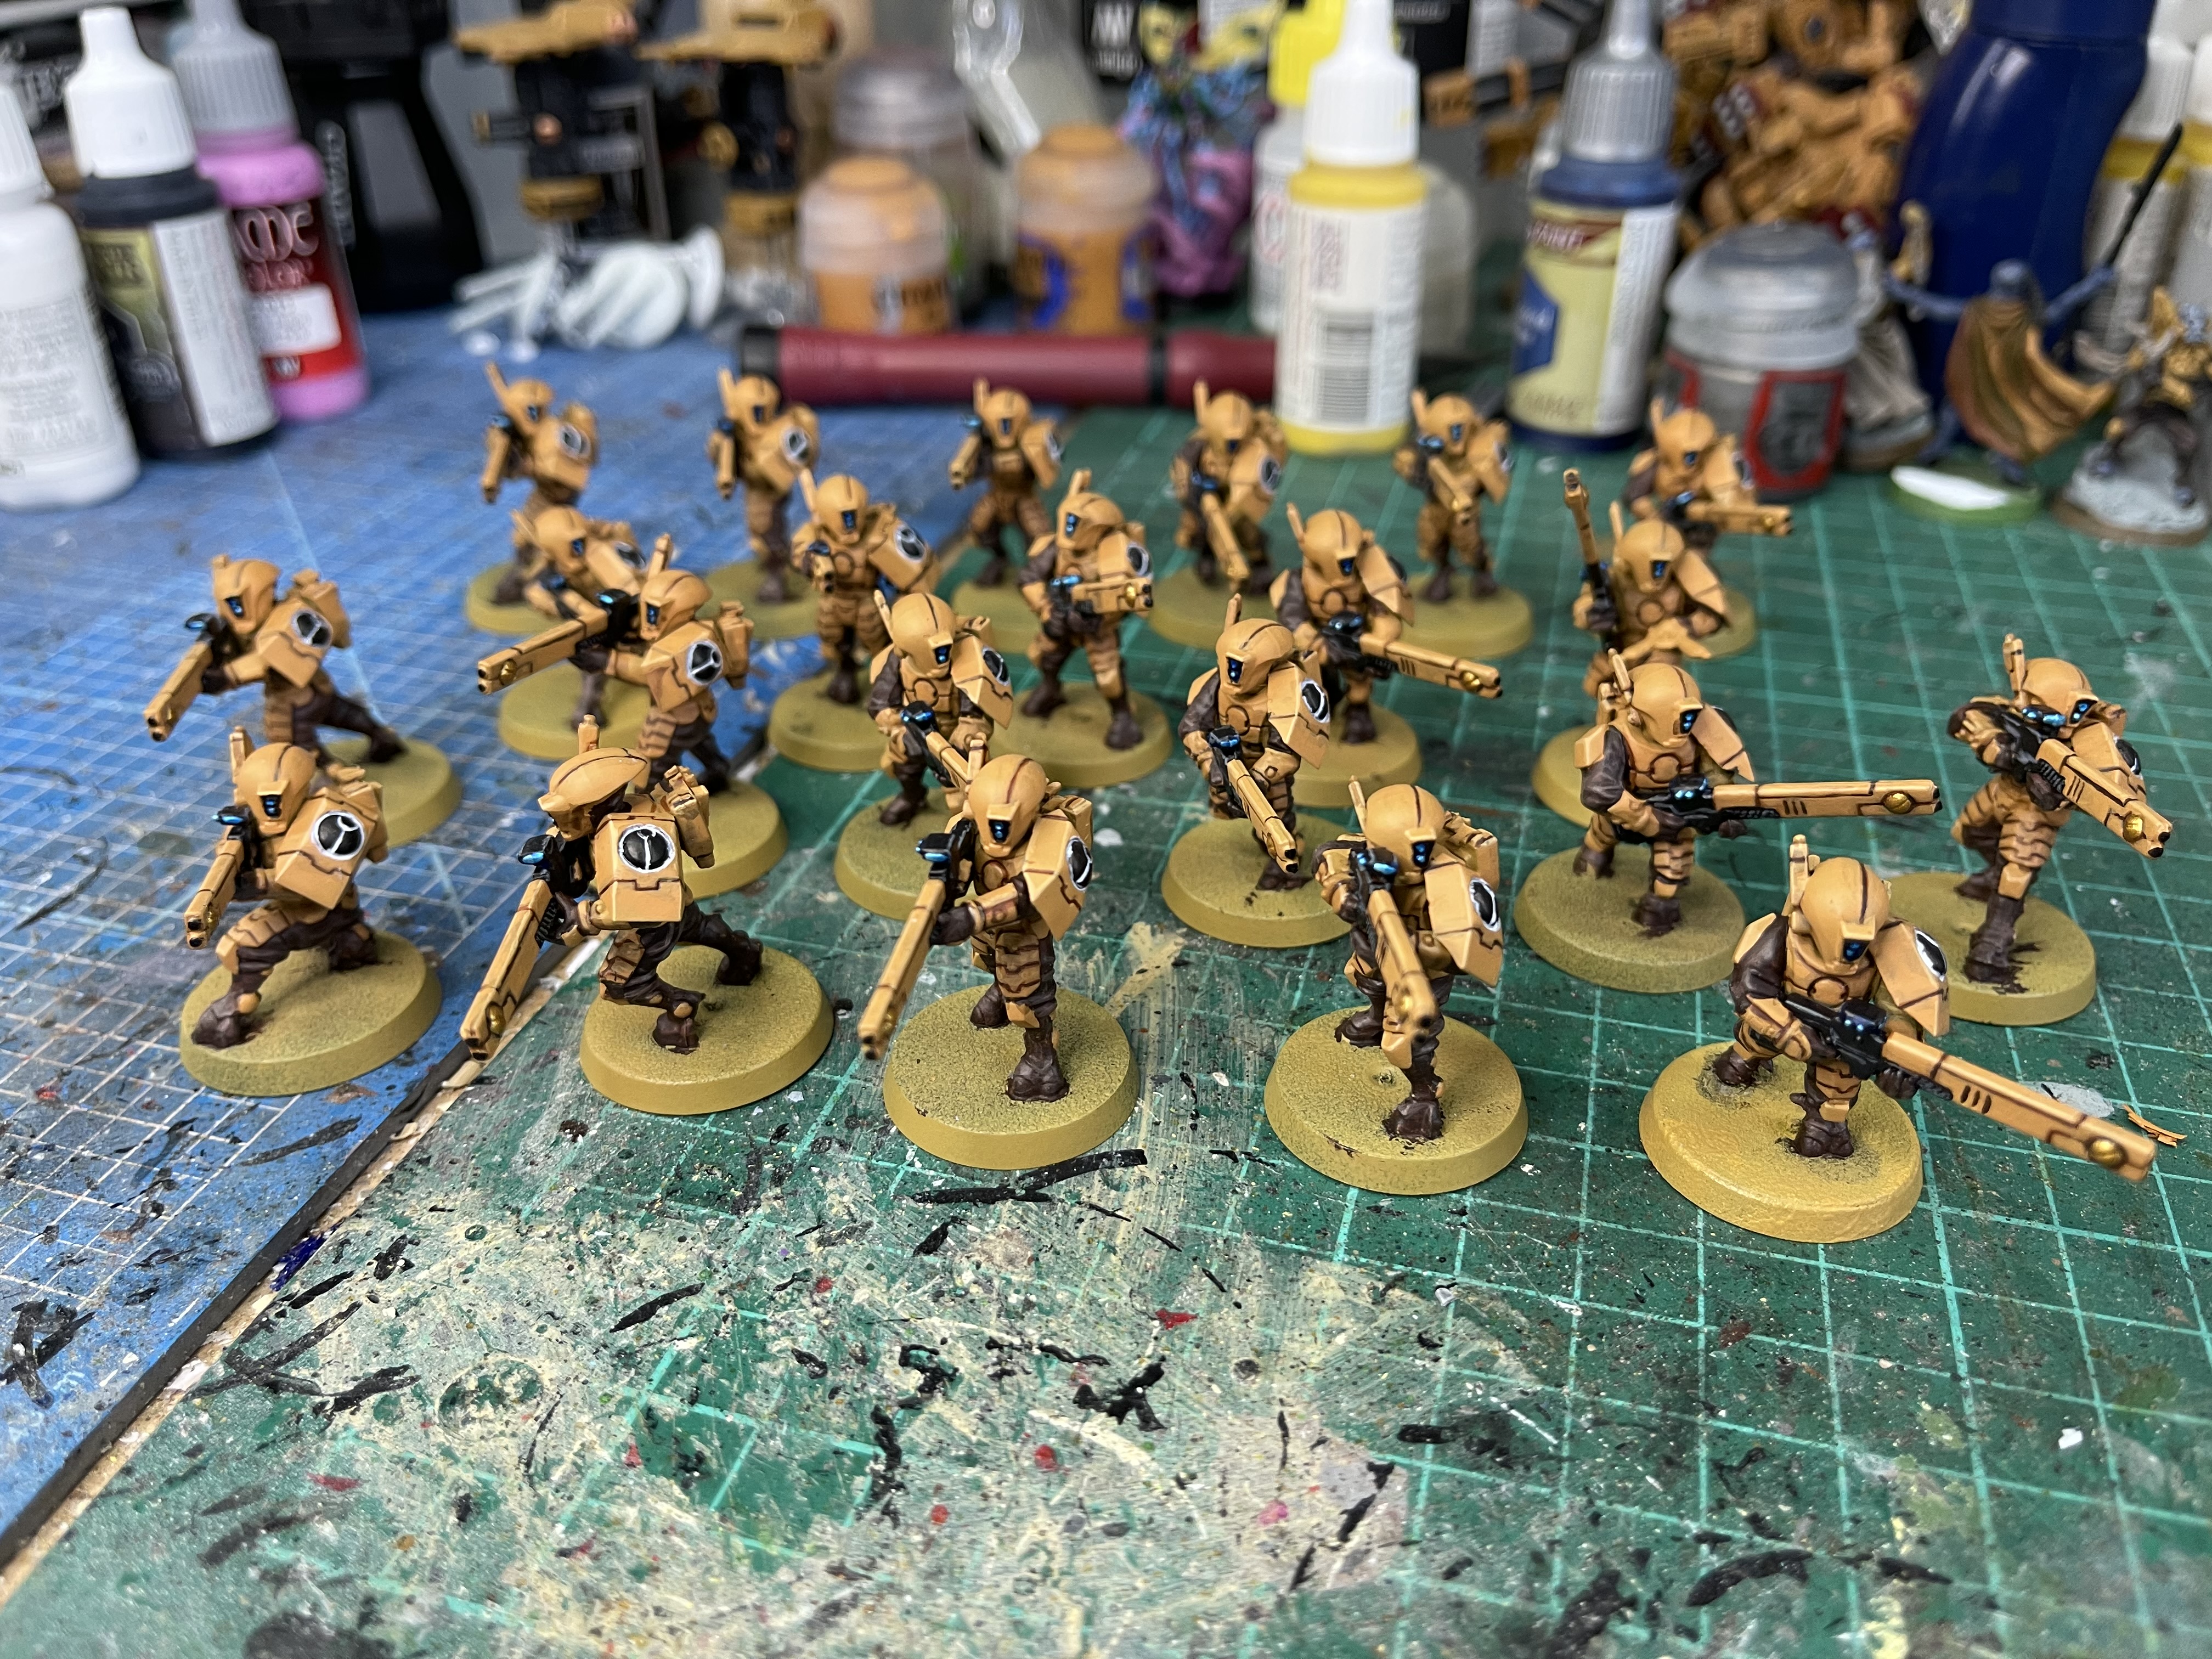
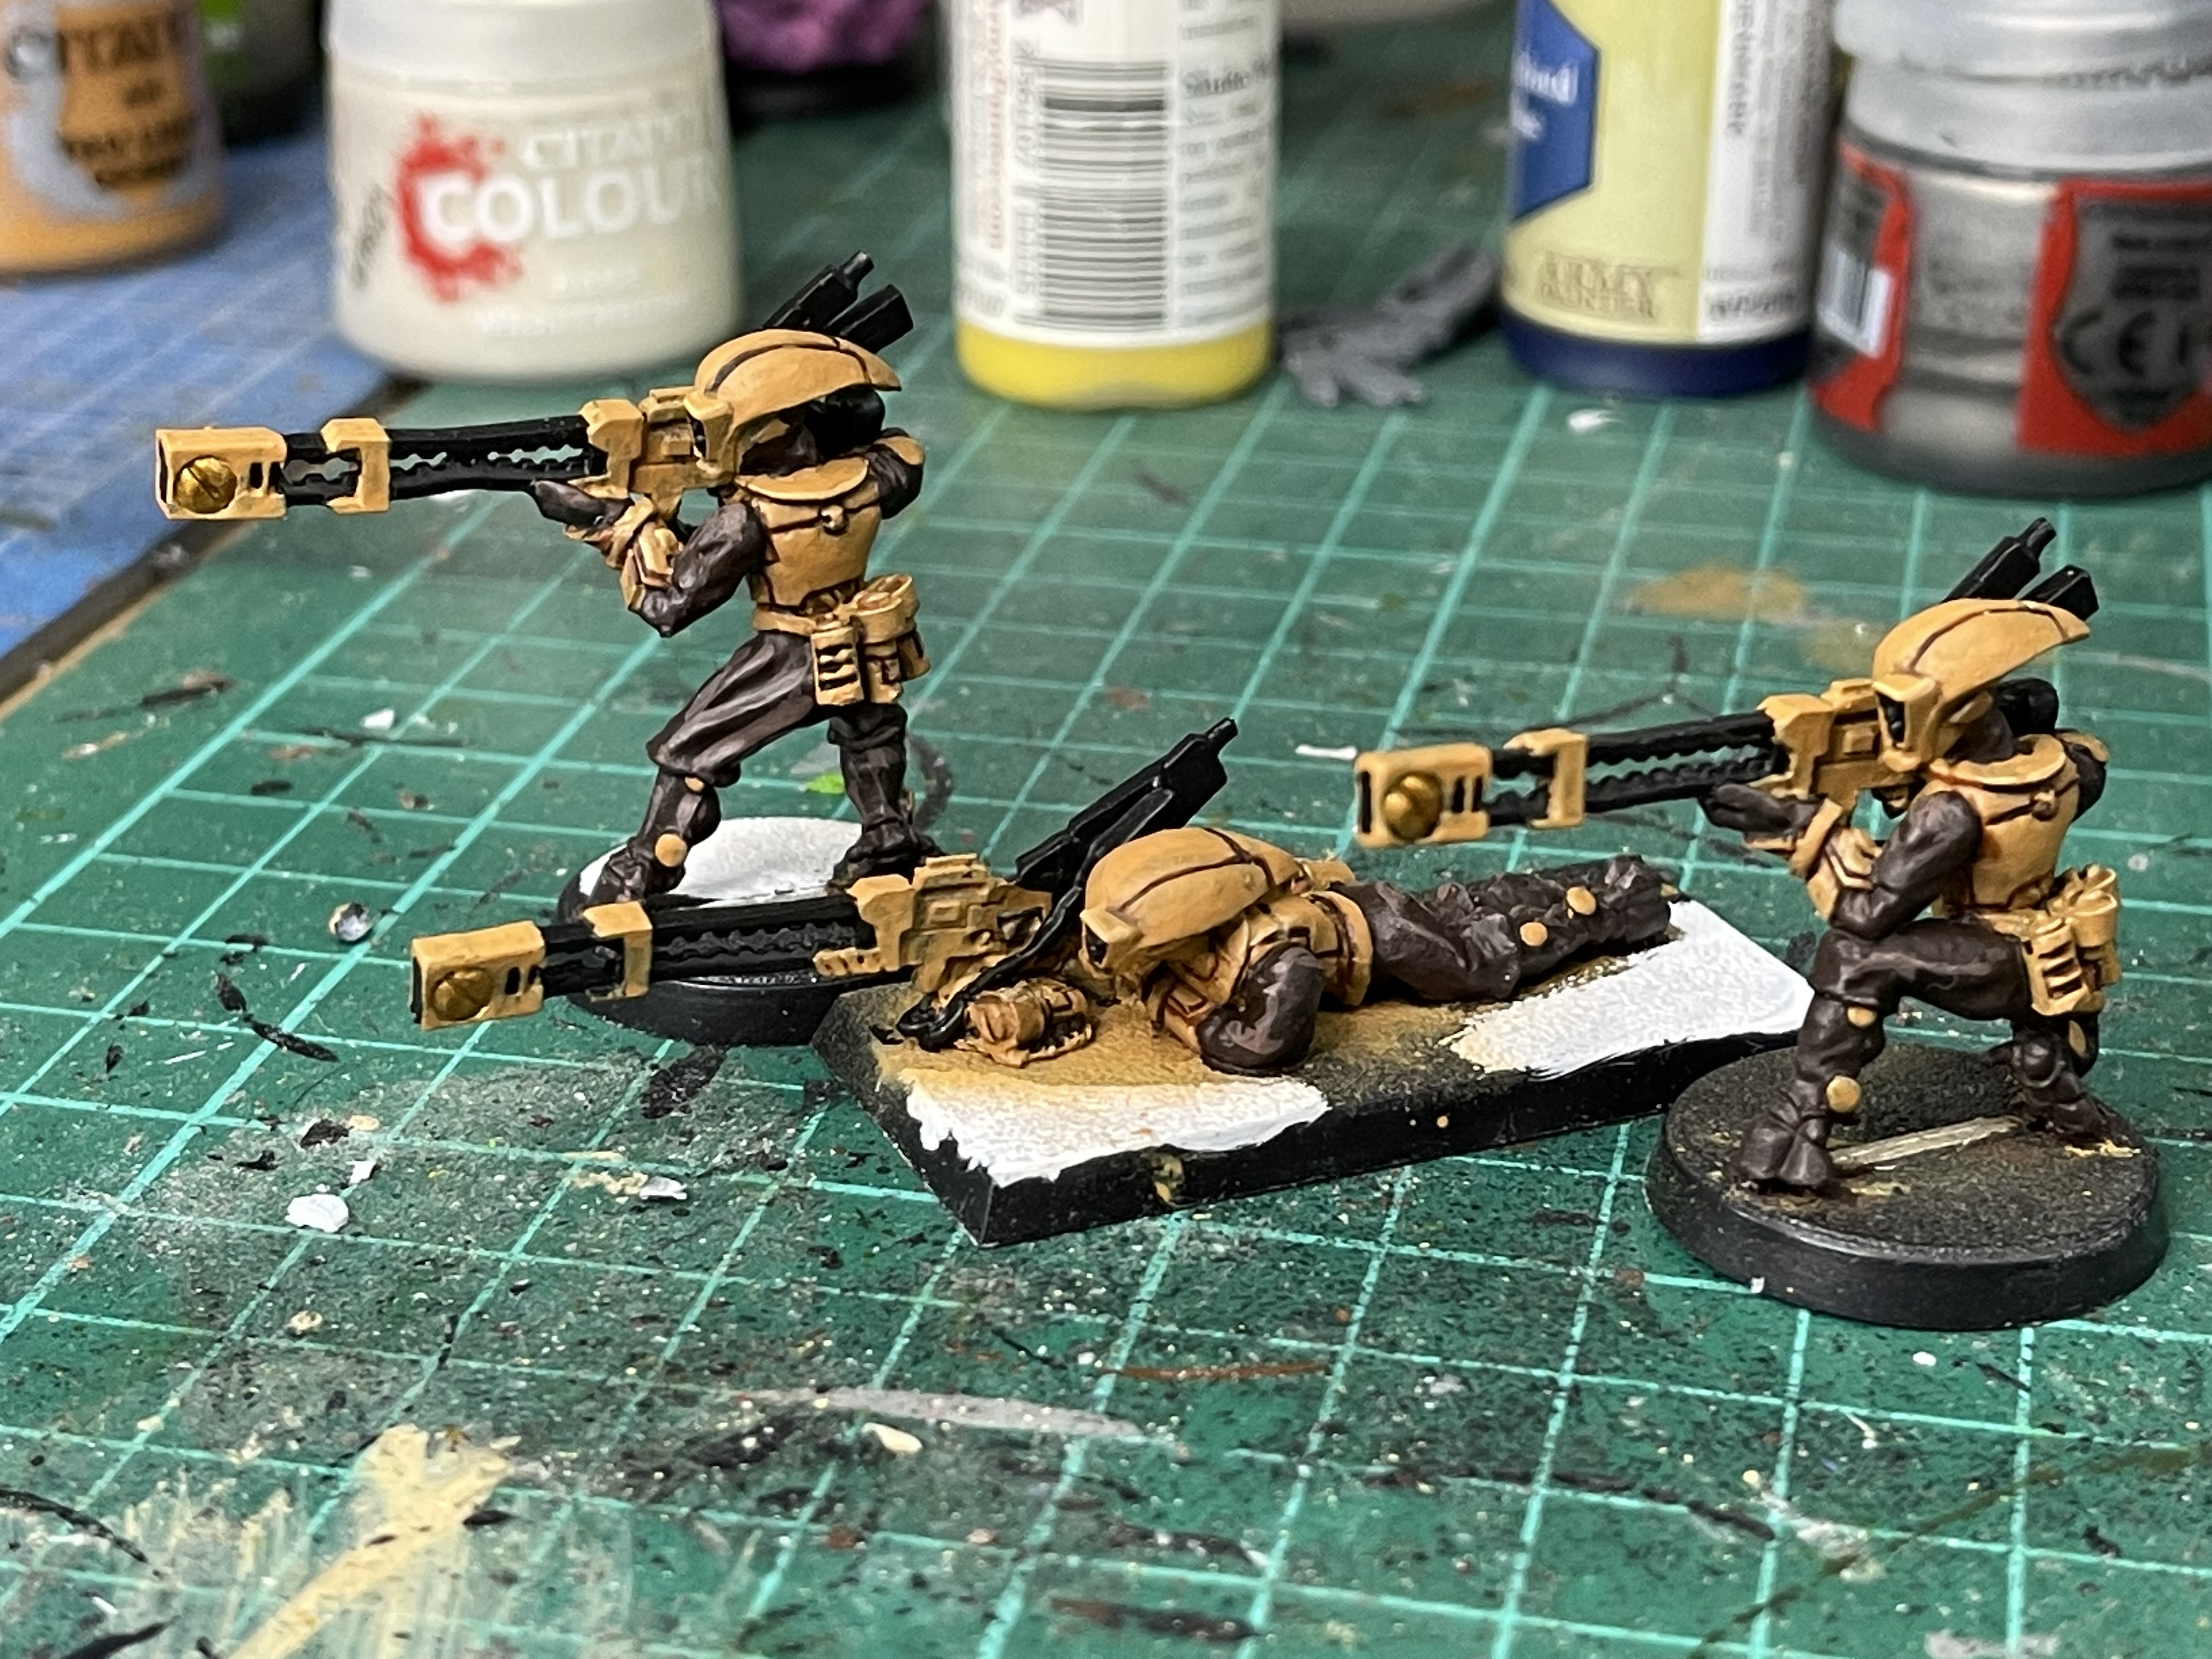
Once I worked out the colour scheme I assembled and painted the 22 fire warriors I had and 3 metal pathfinders with rail guns (my favourite 40k weapon).
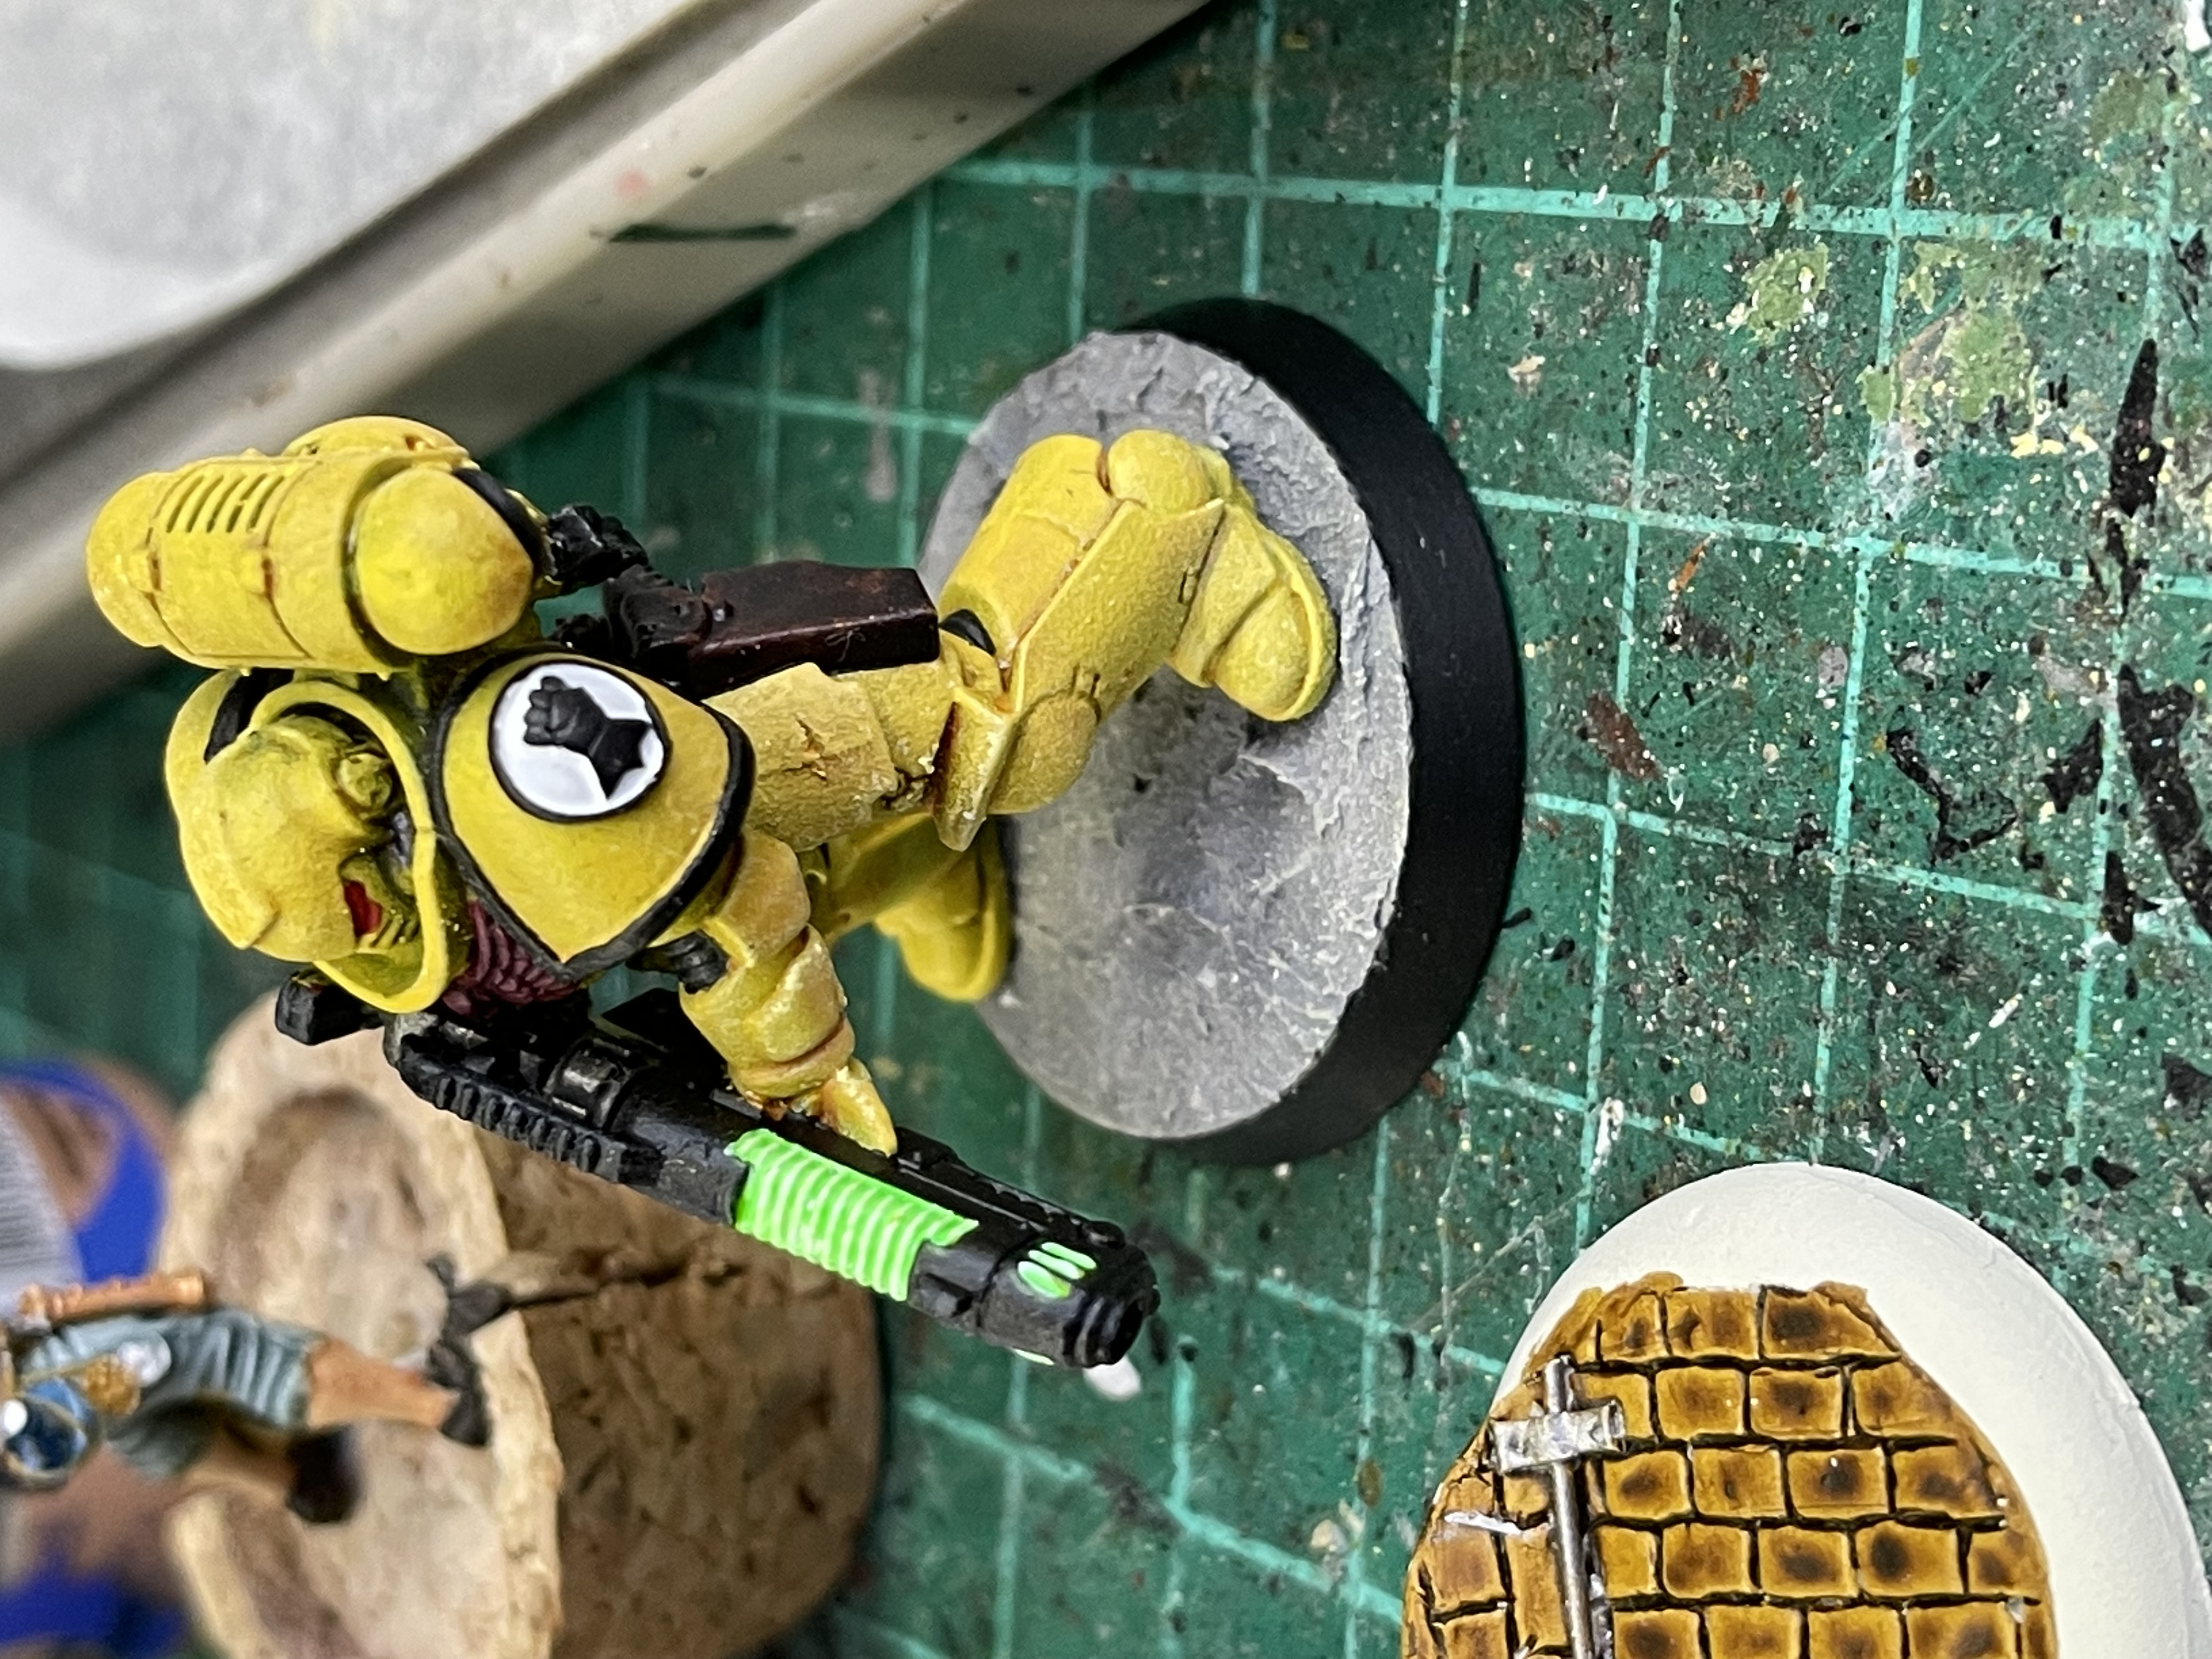
Back to Fists again
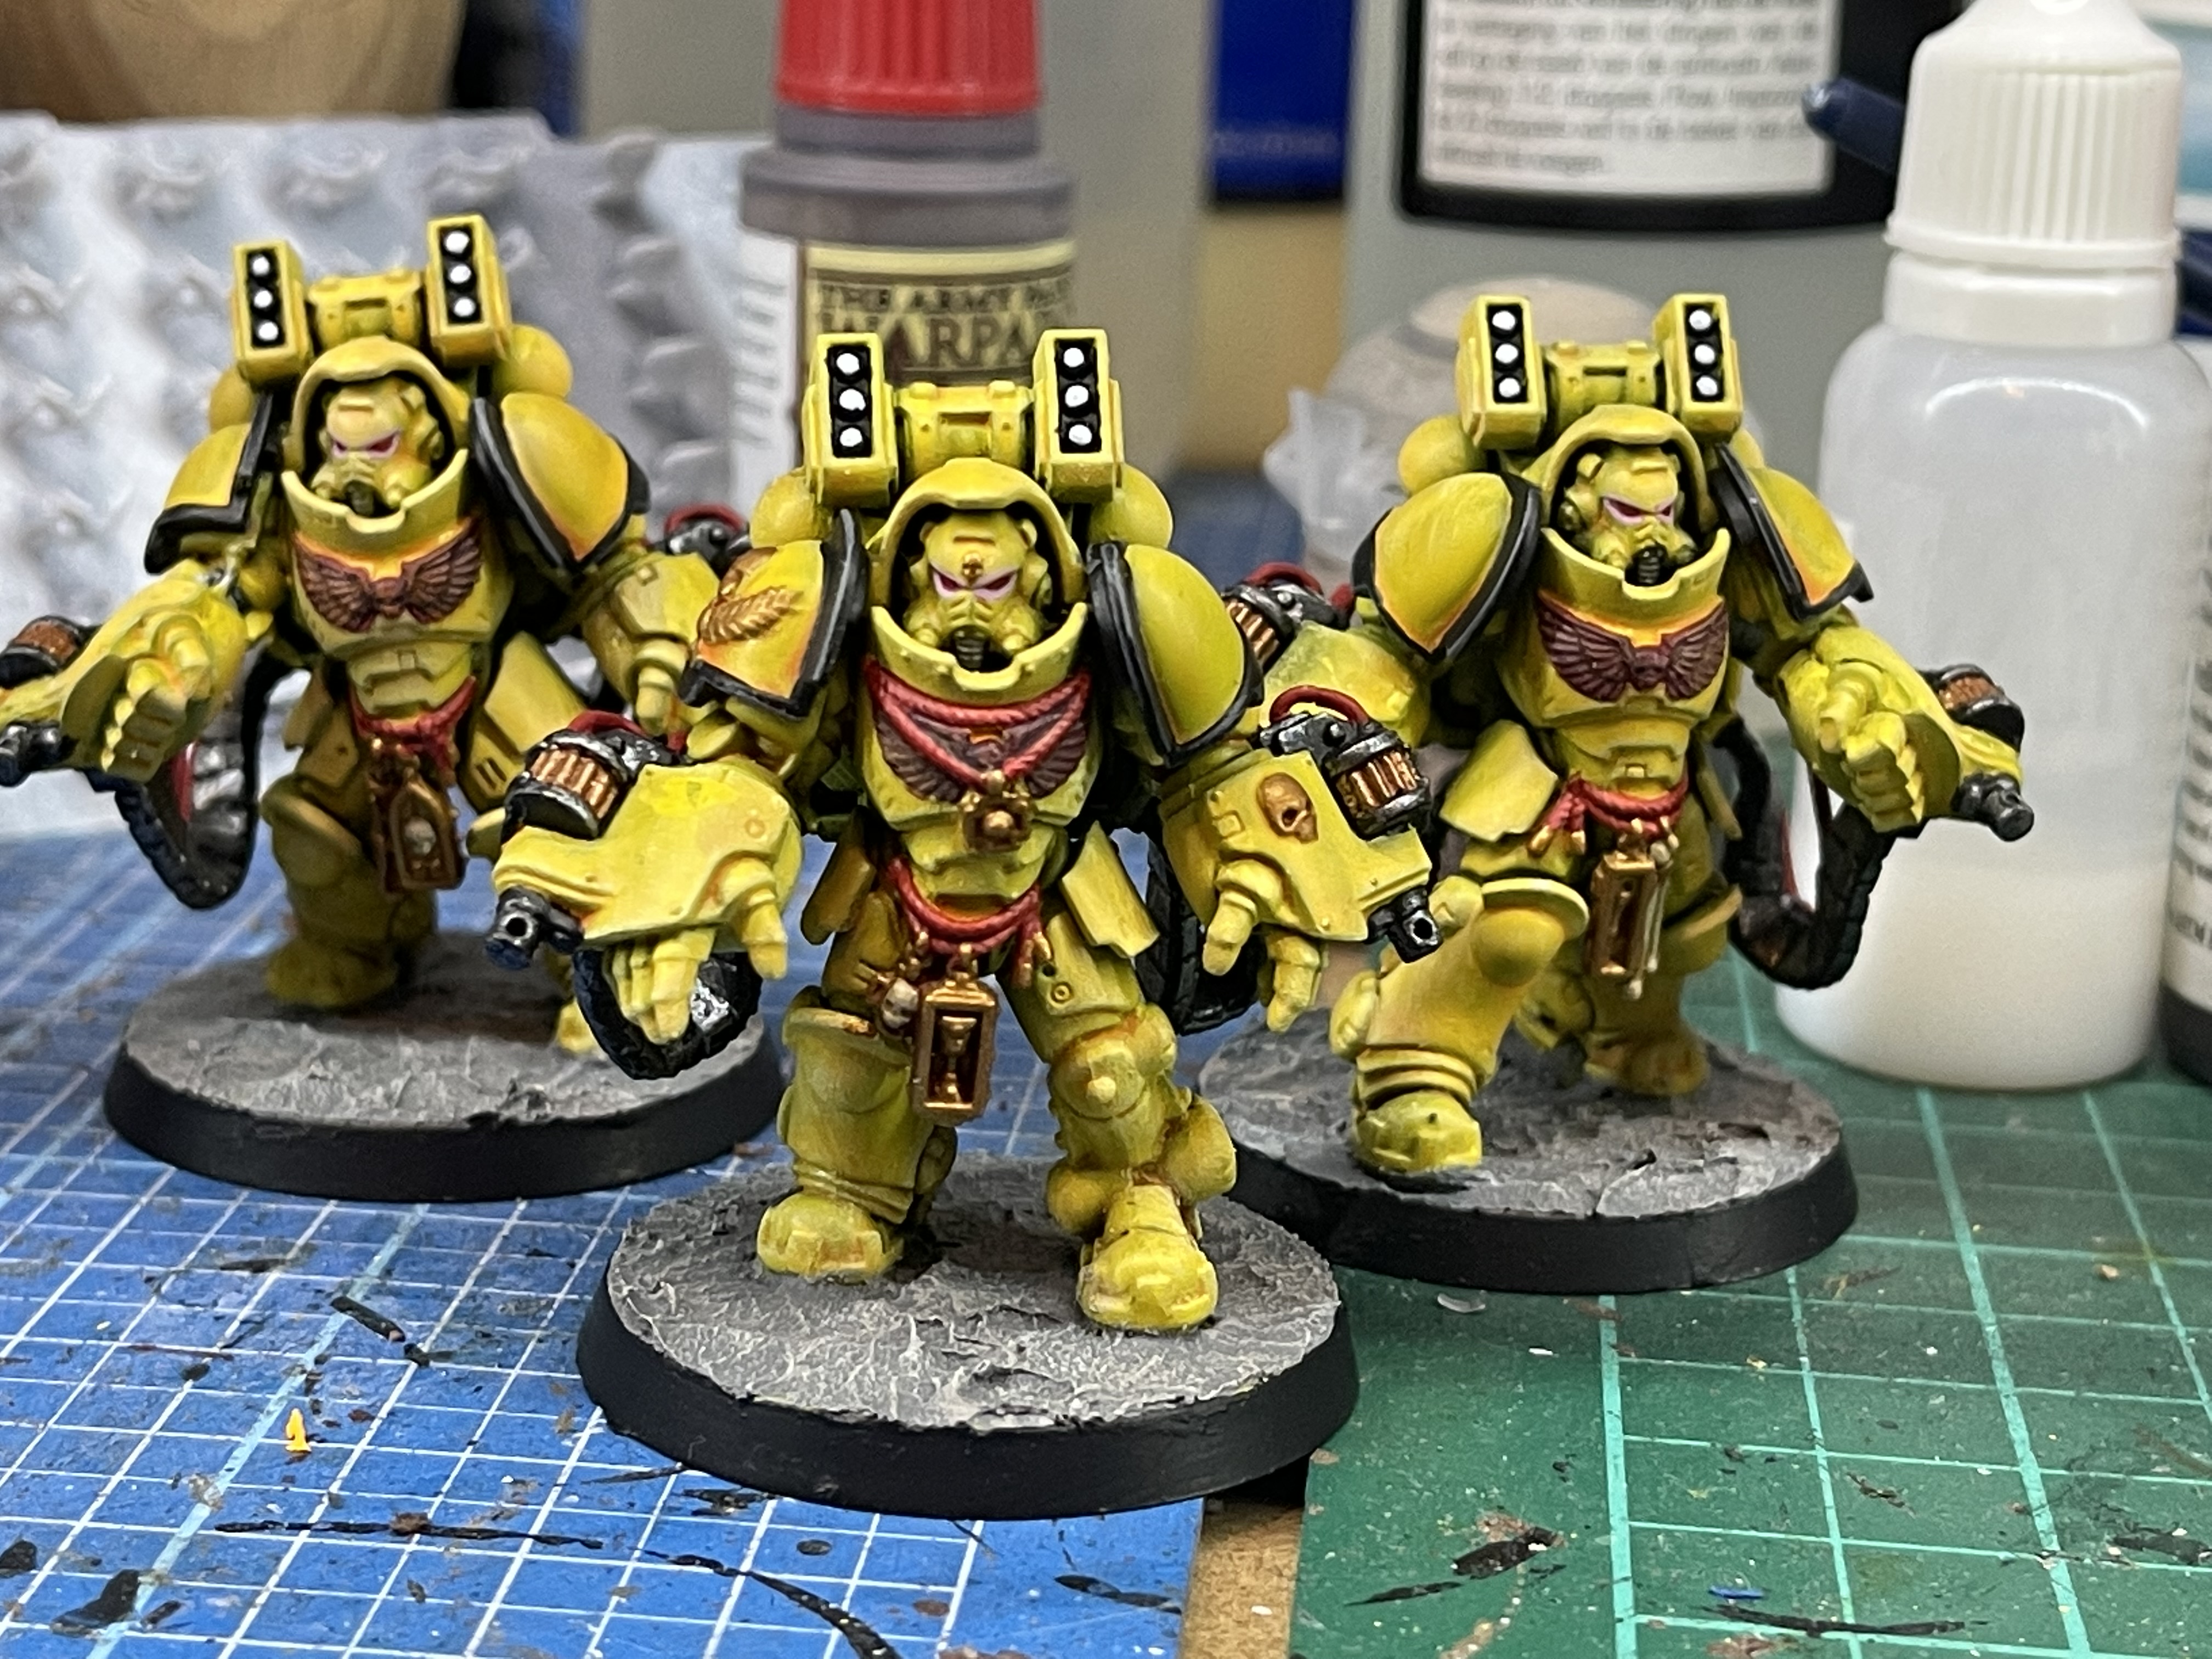
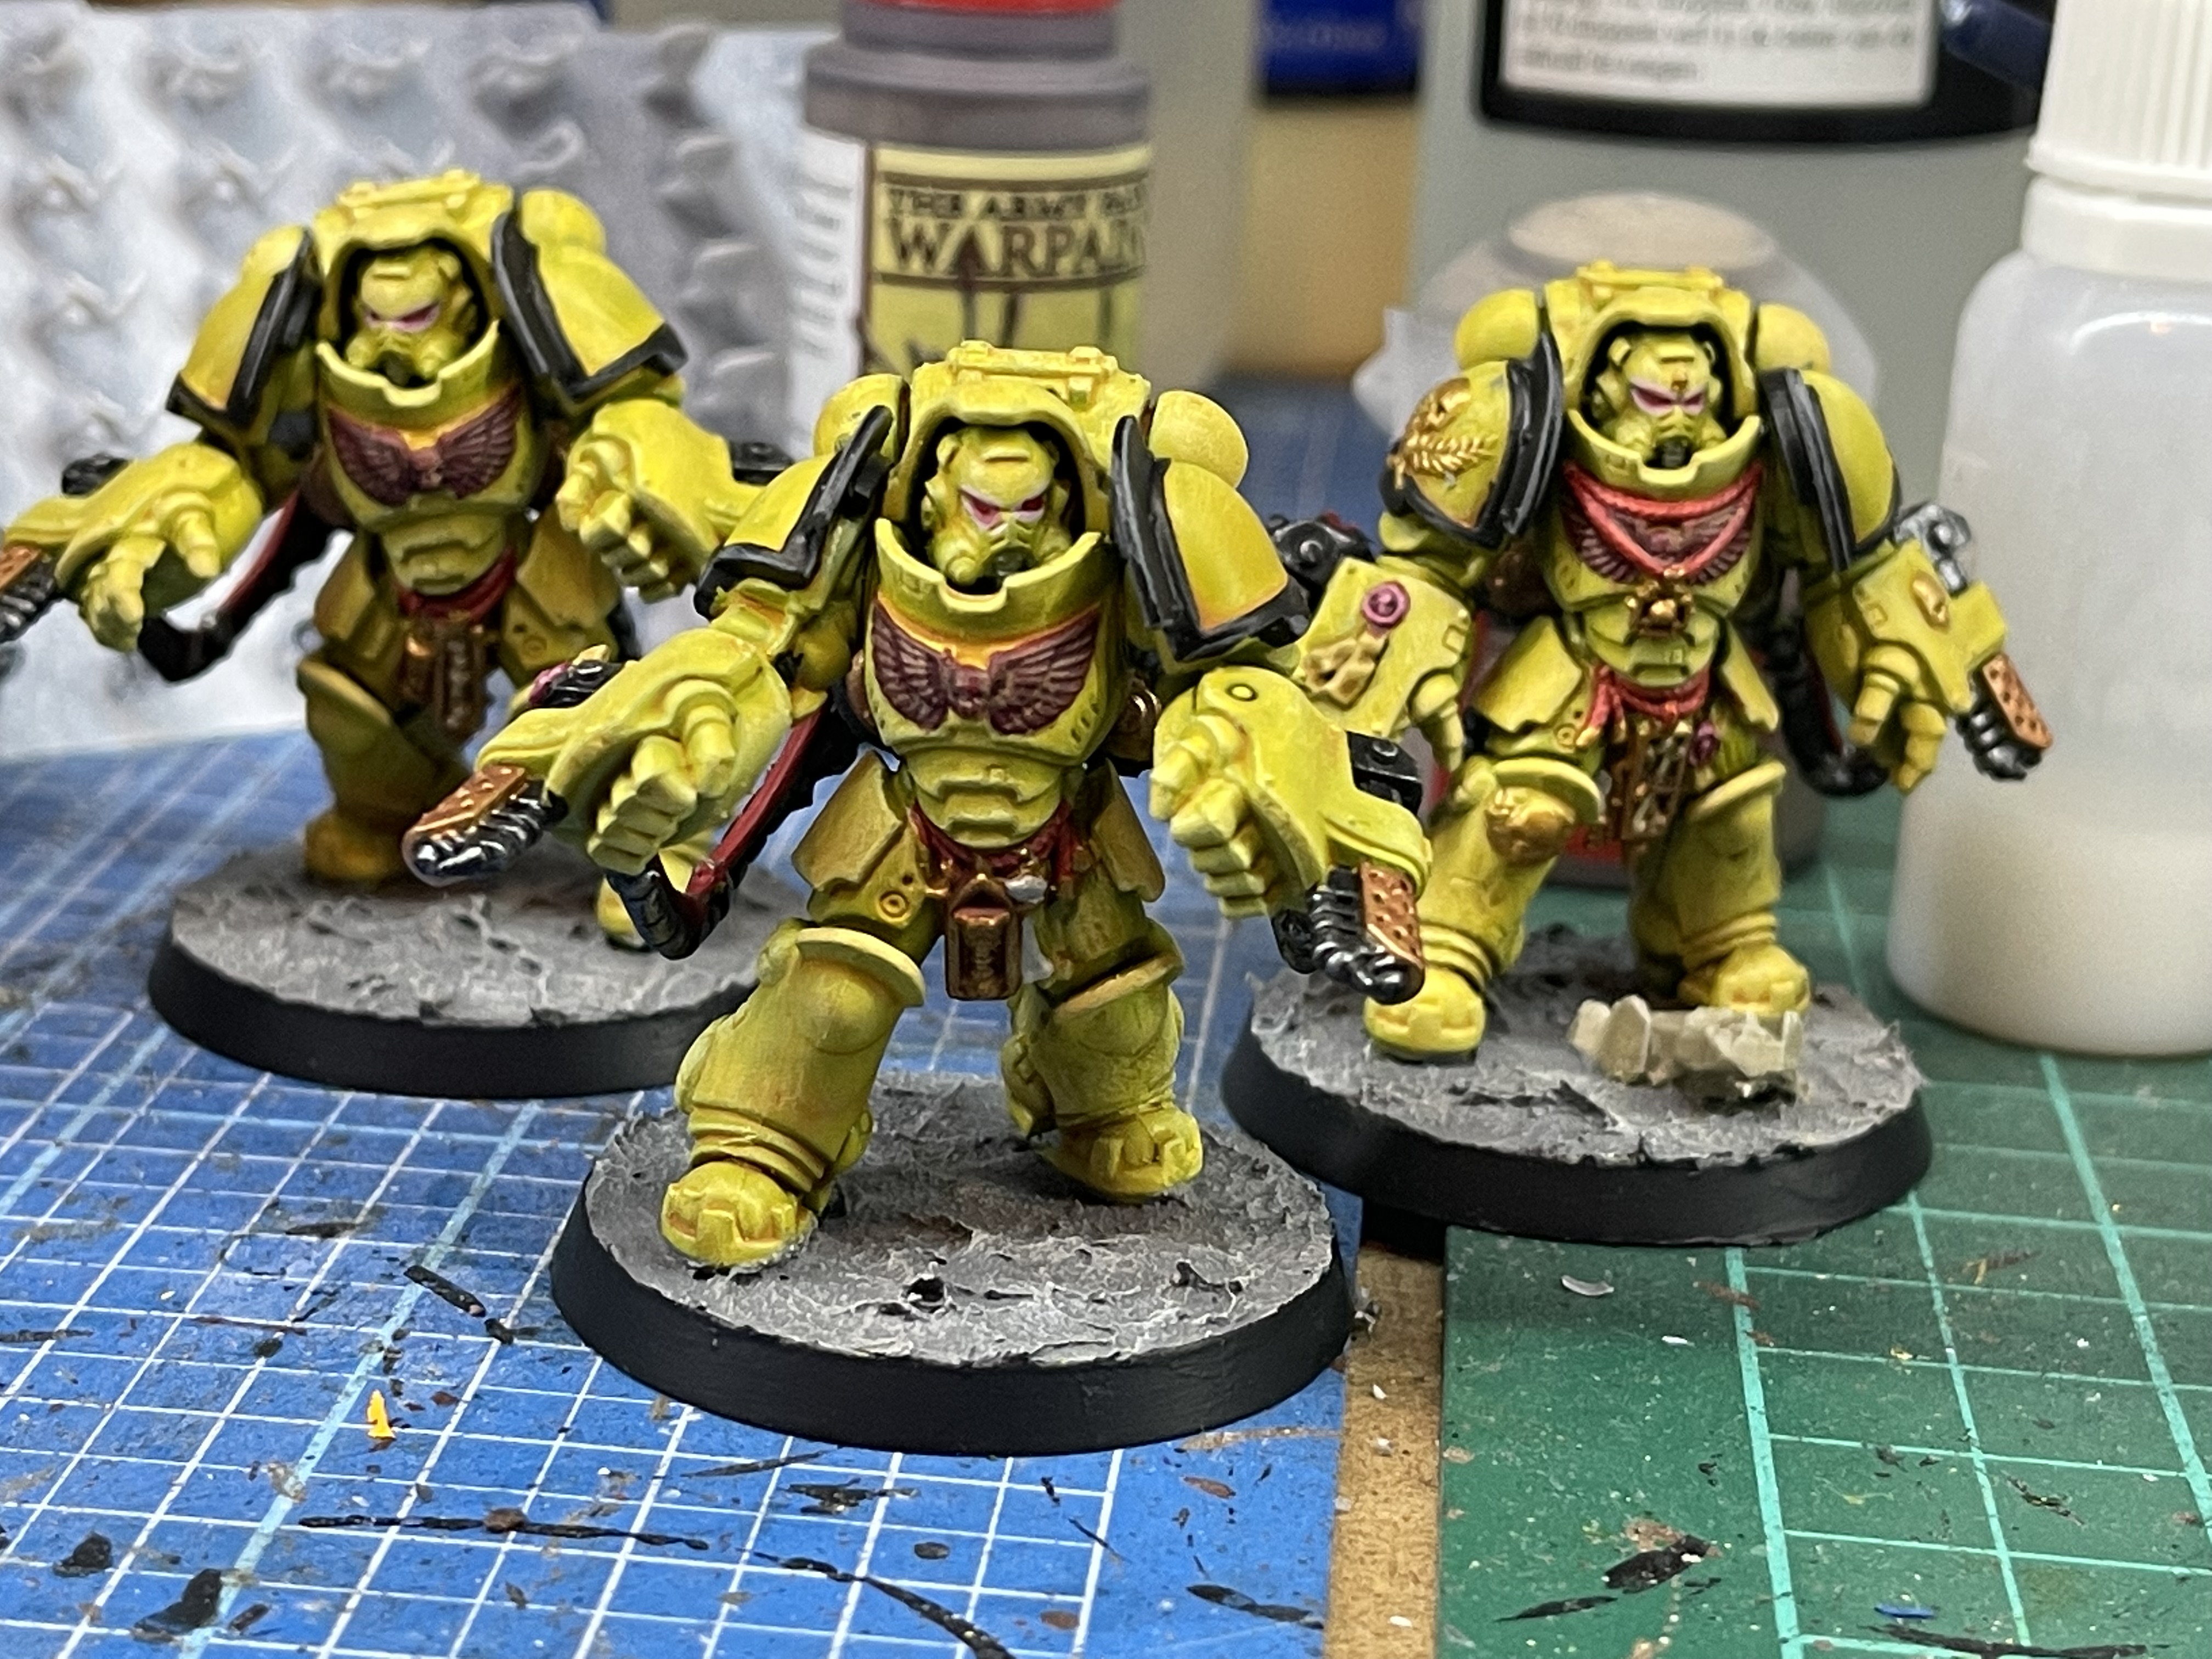
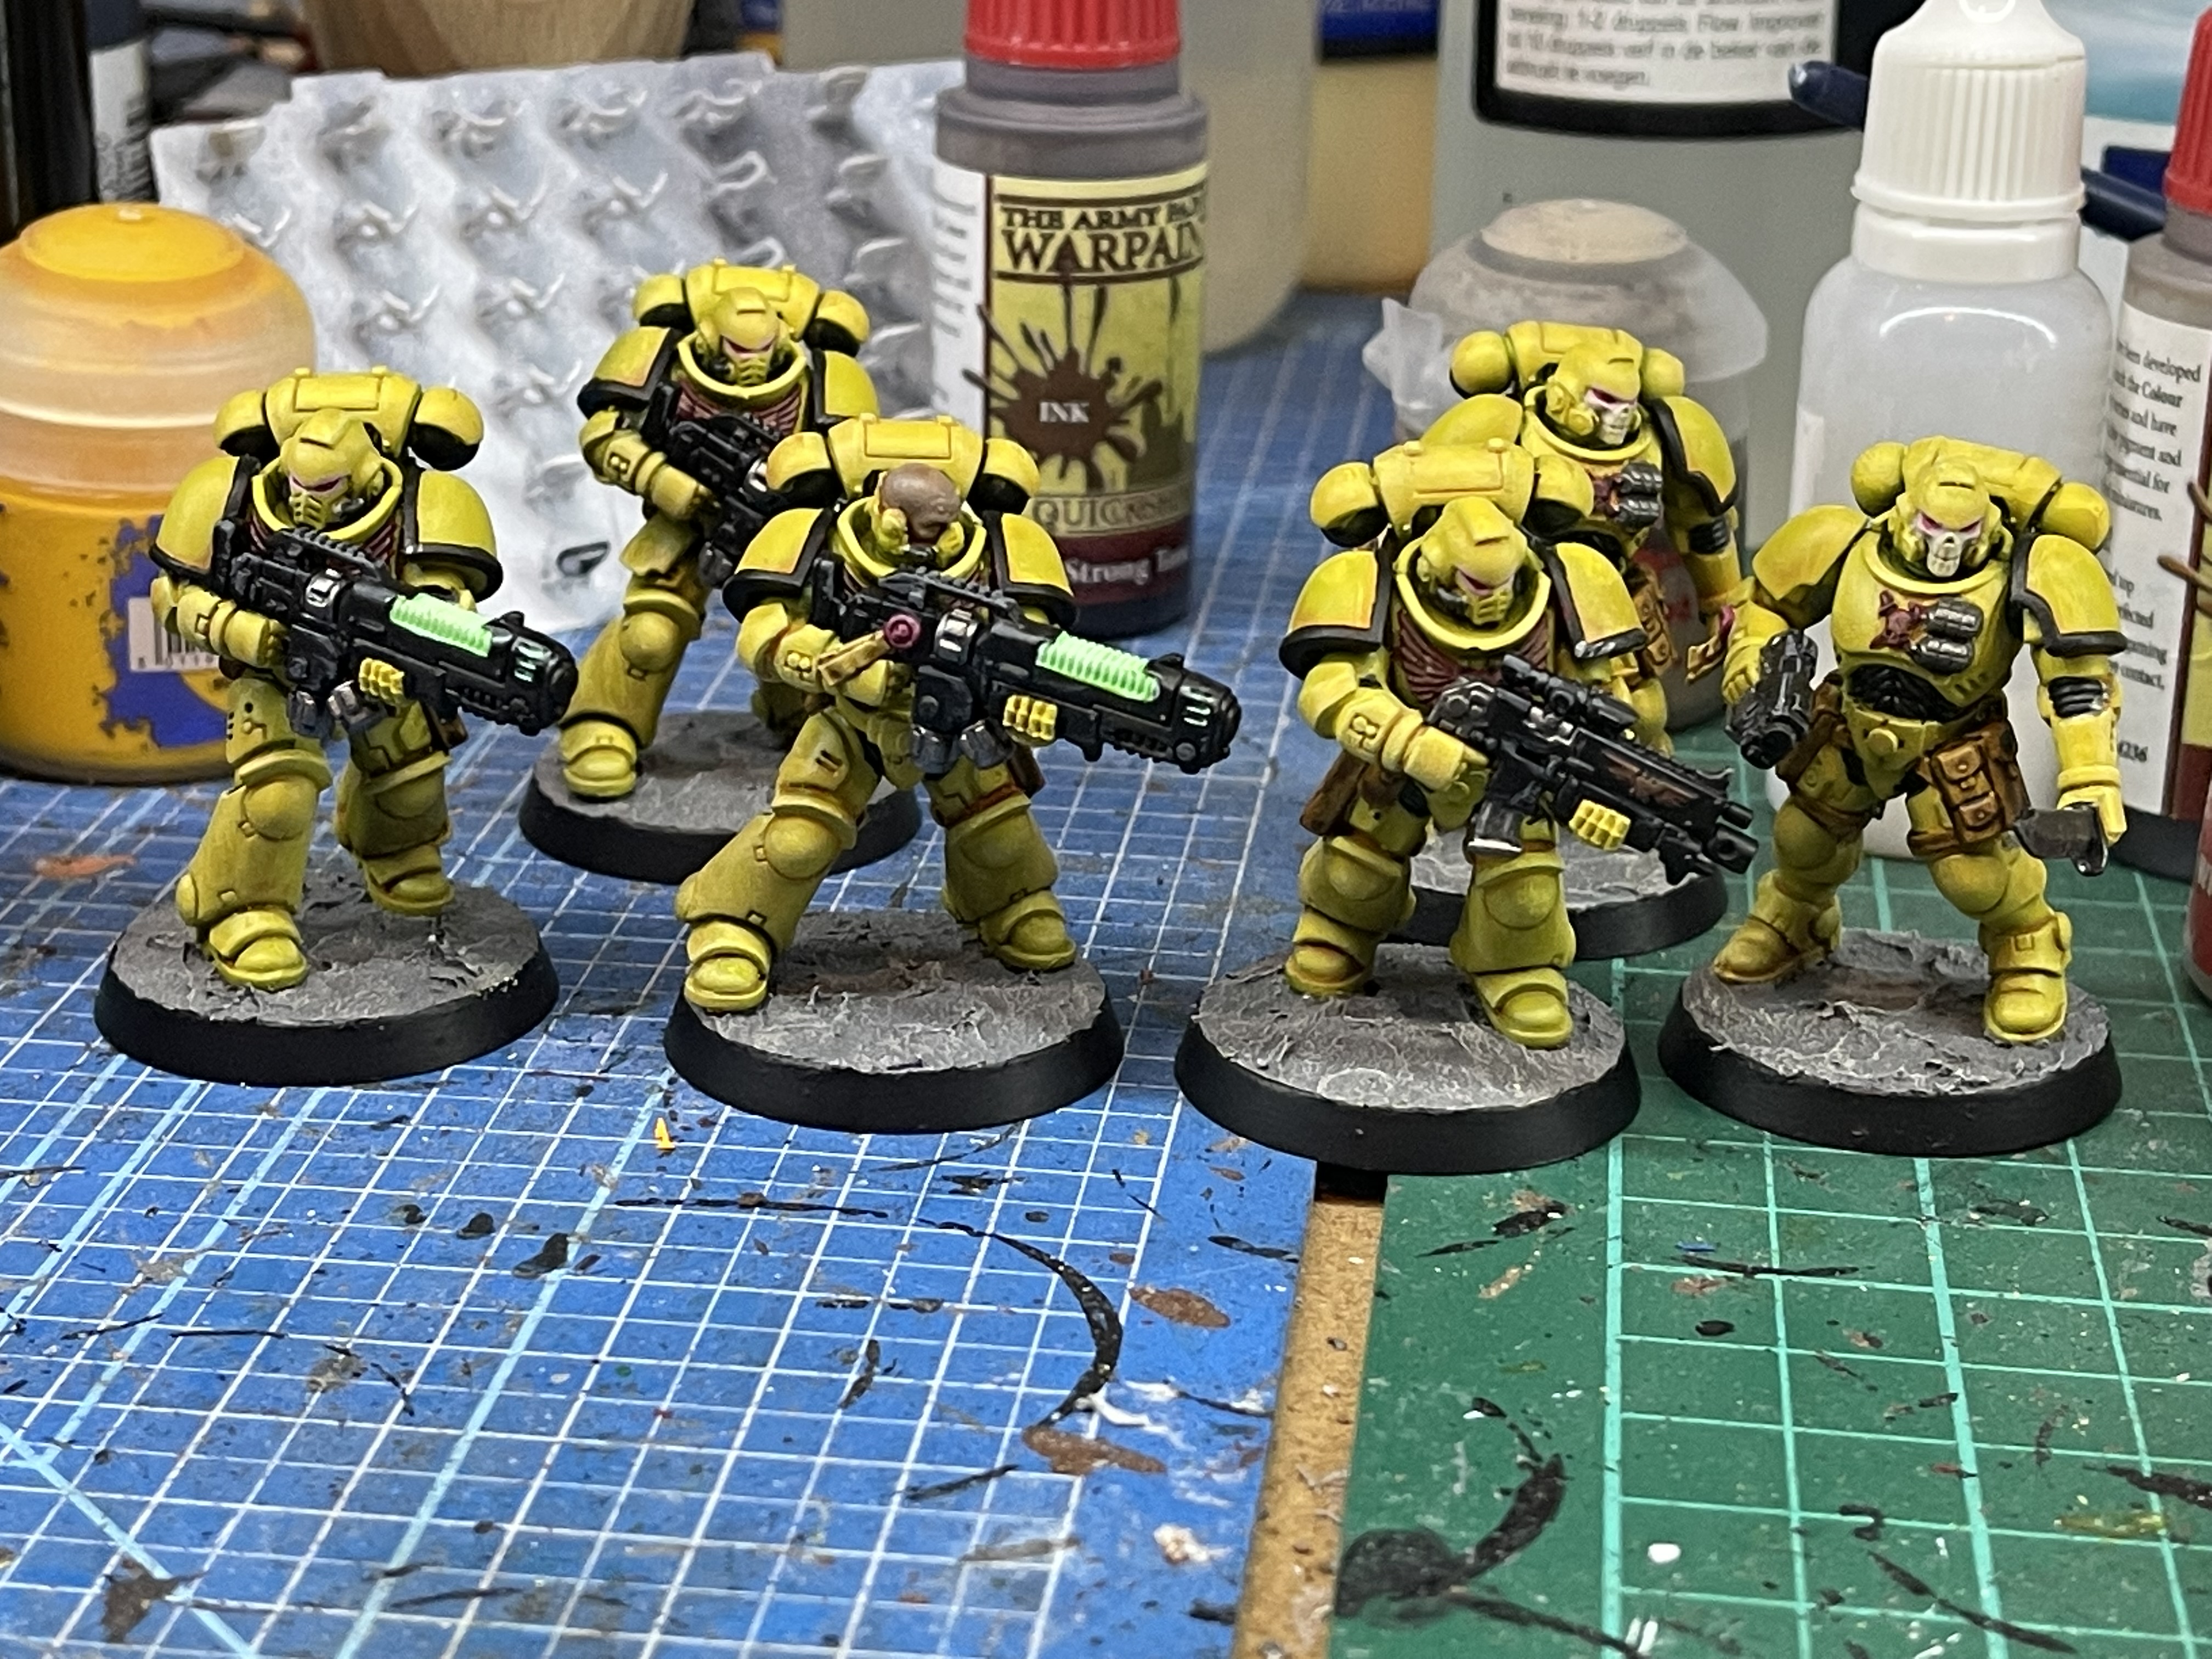
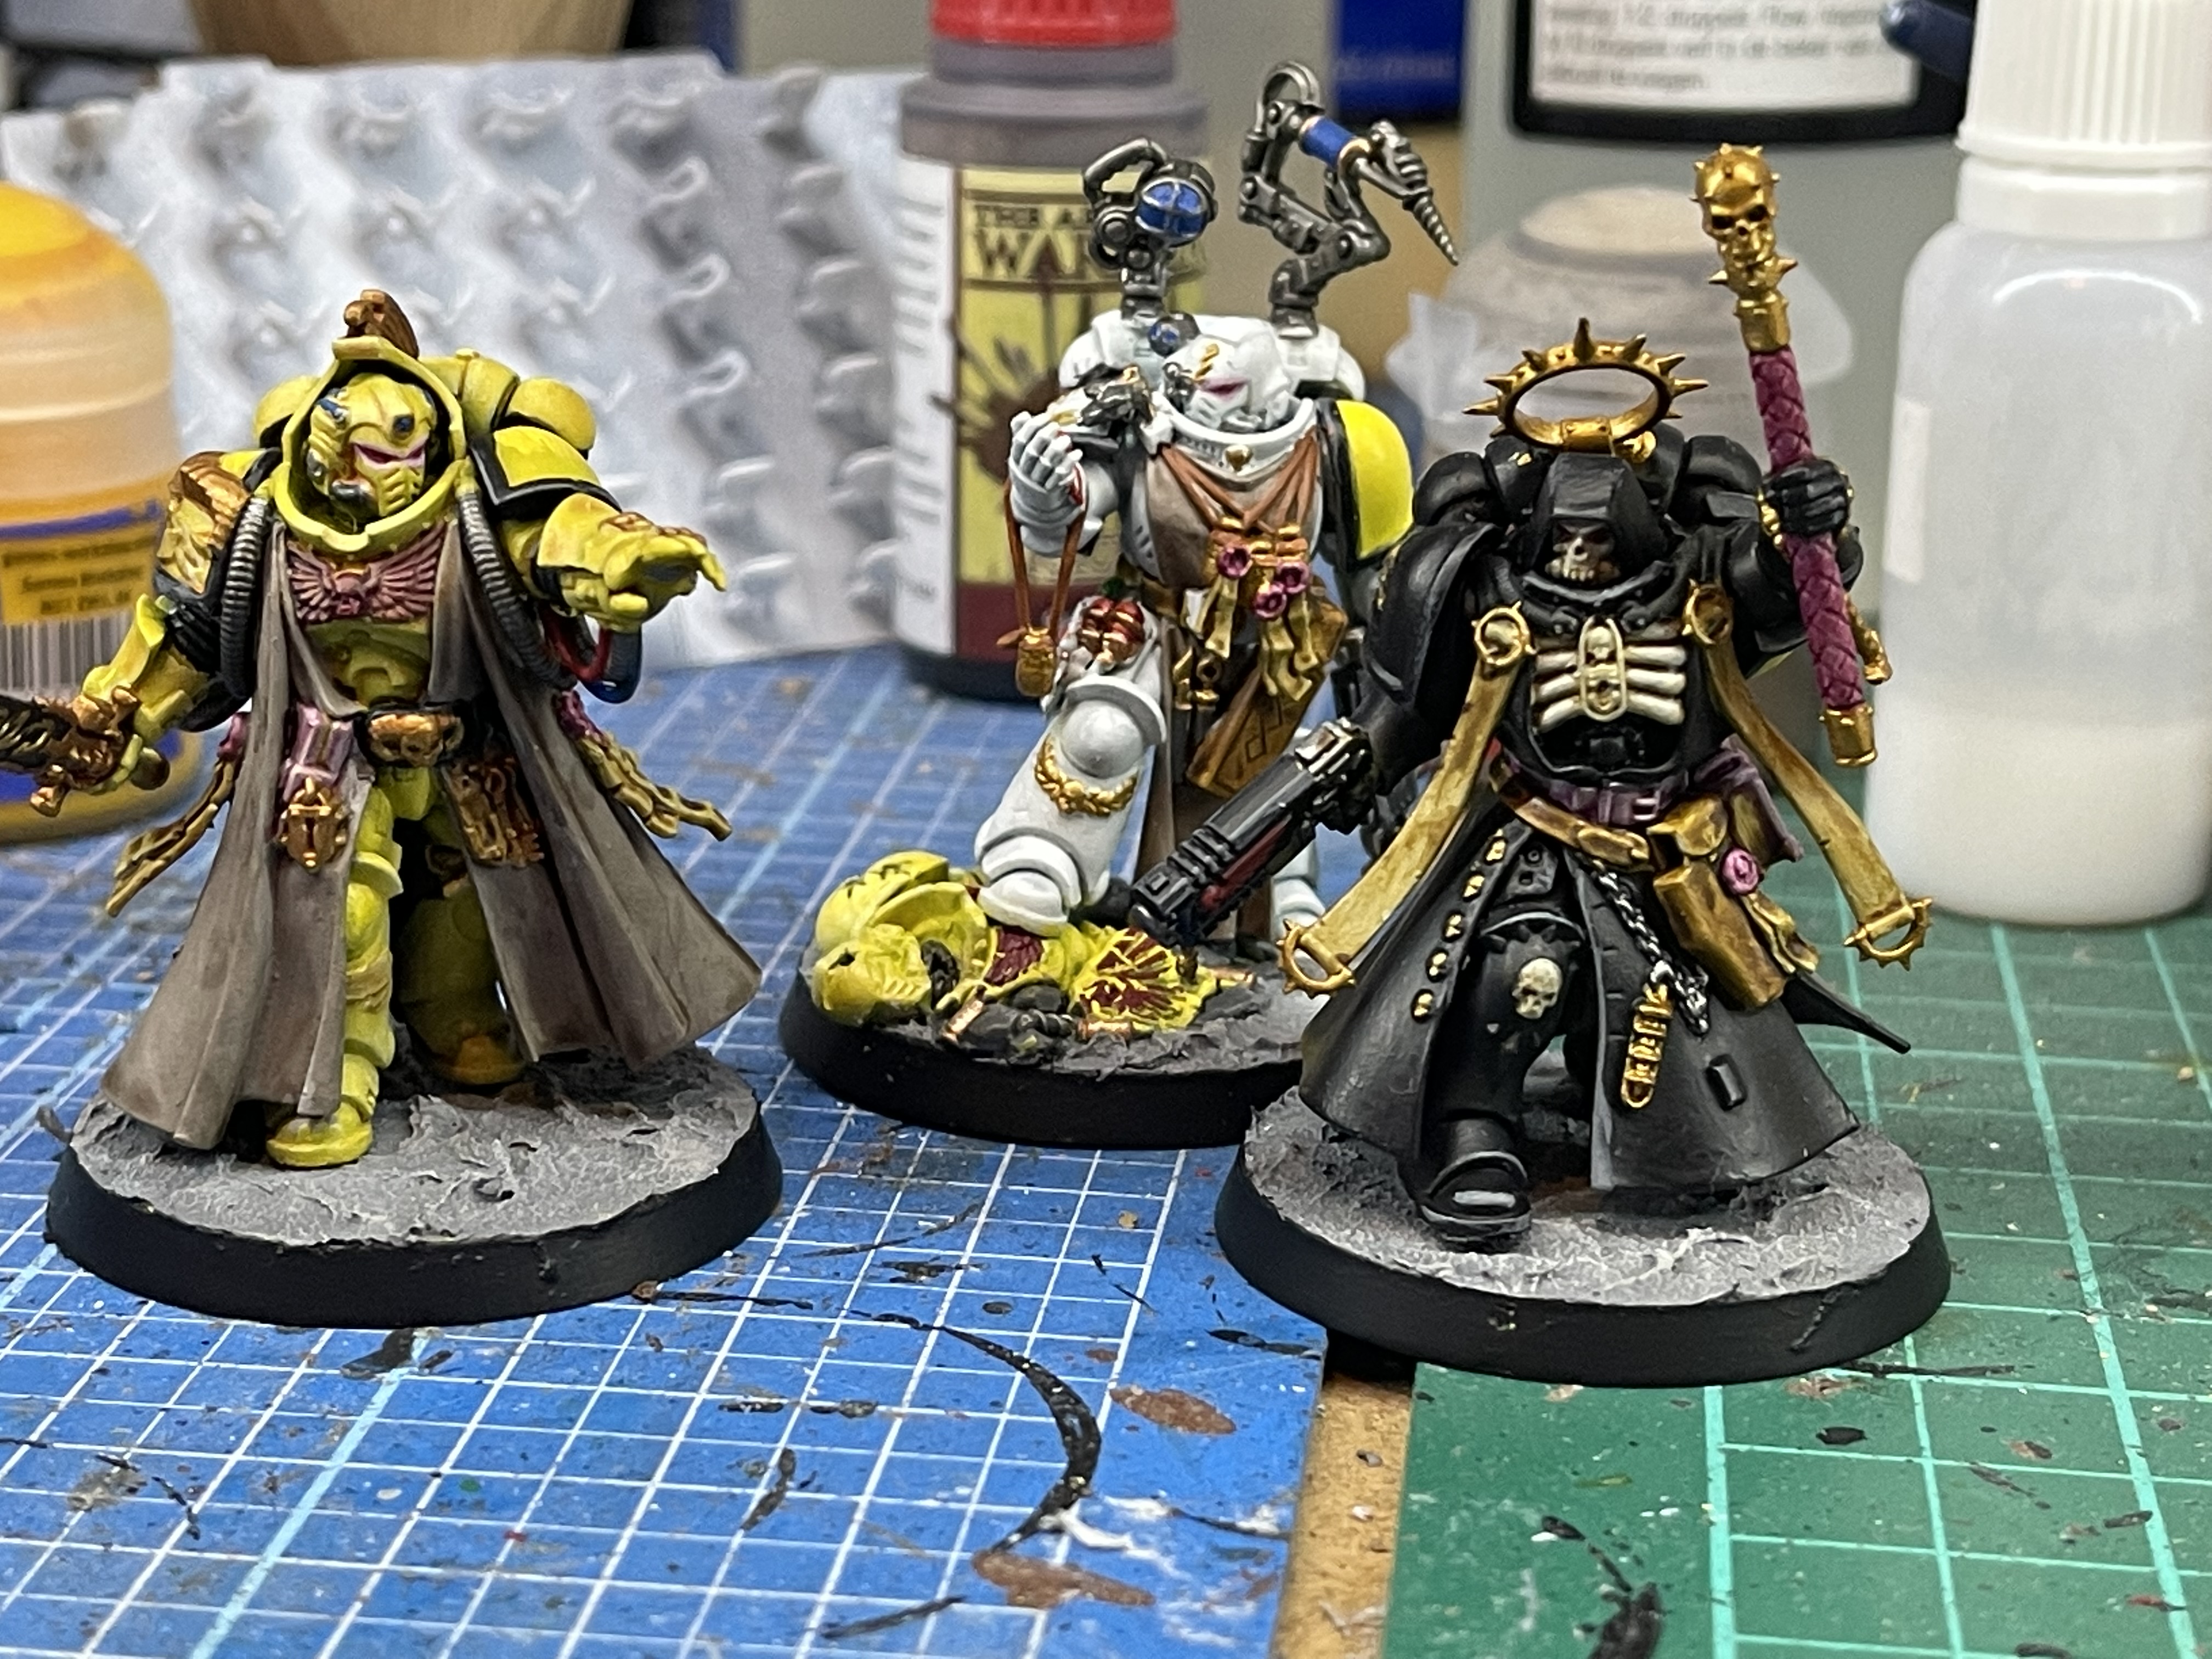
So I had some random models in a box that were from the front of the imperium magazine or had been stripped from their previous colours, so I thought I would get them painted while I was waiting for the Moonstone kickstarter to turn up.
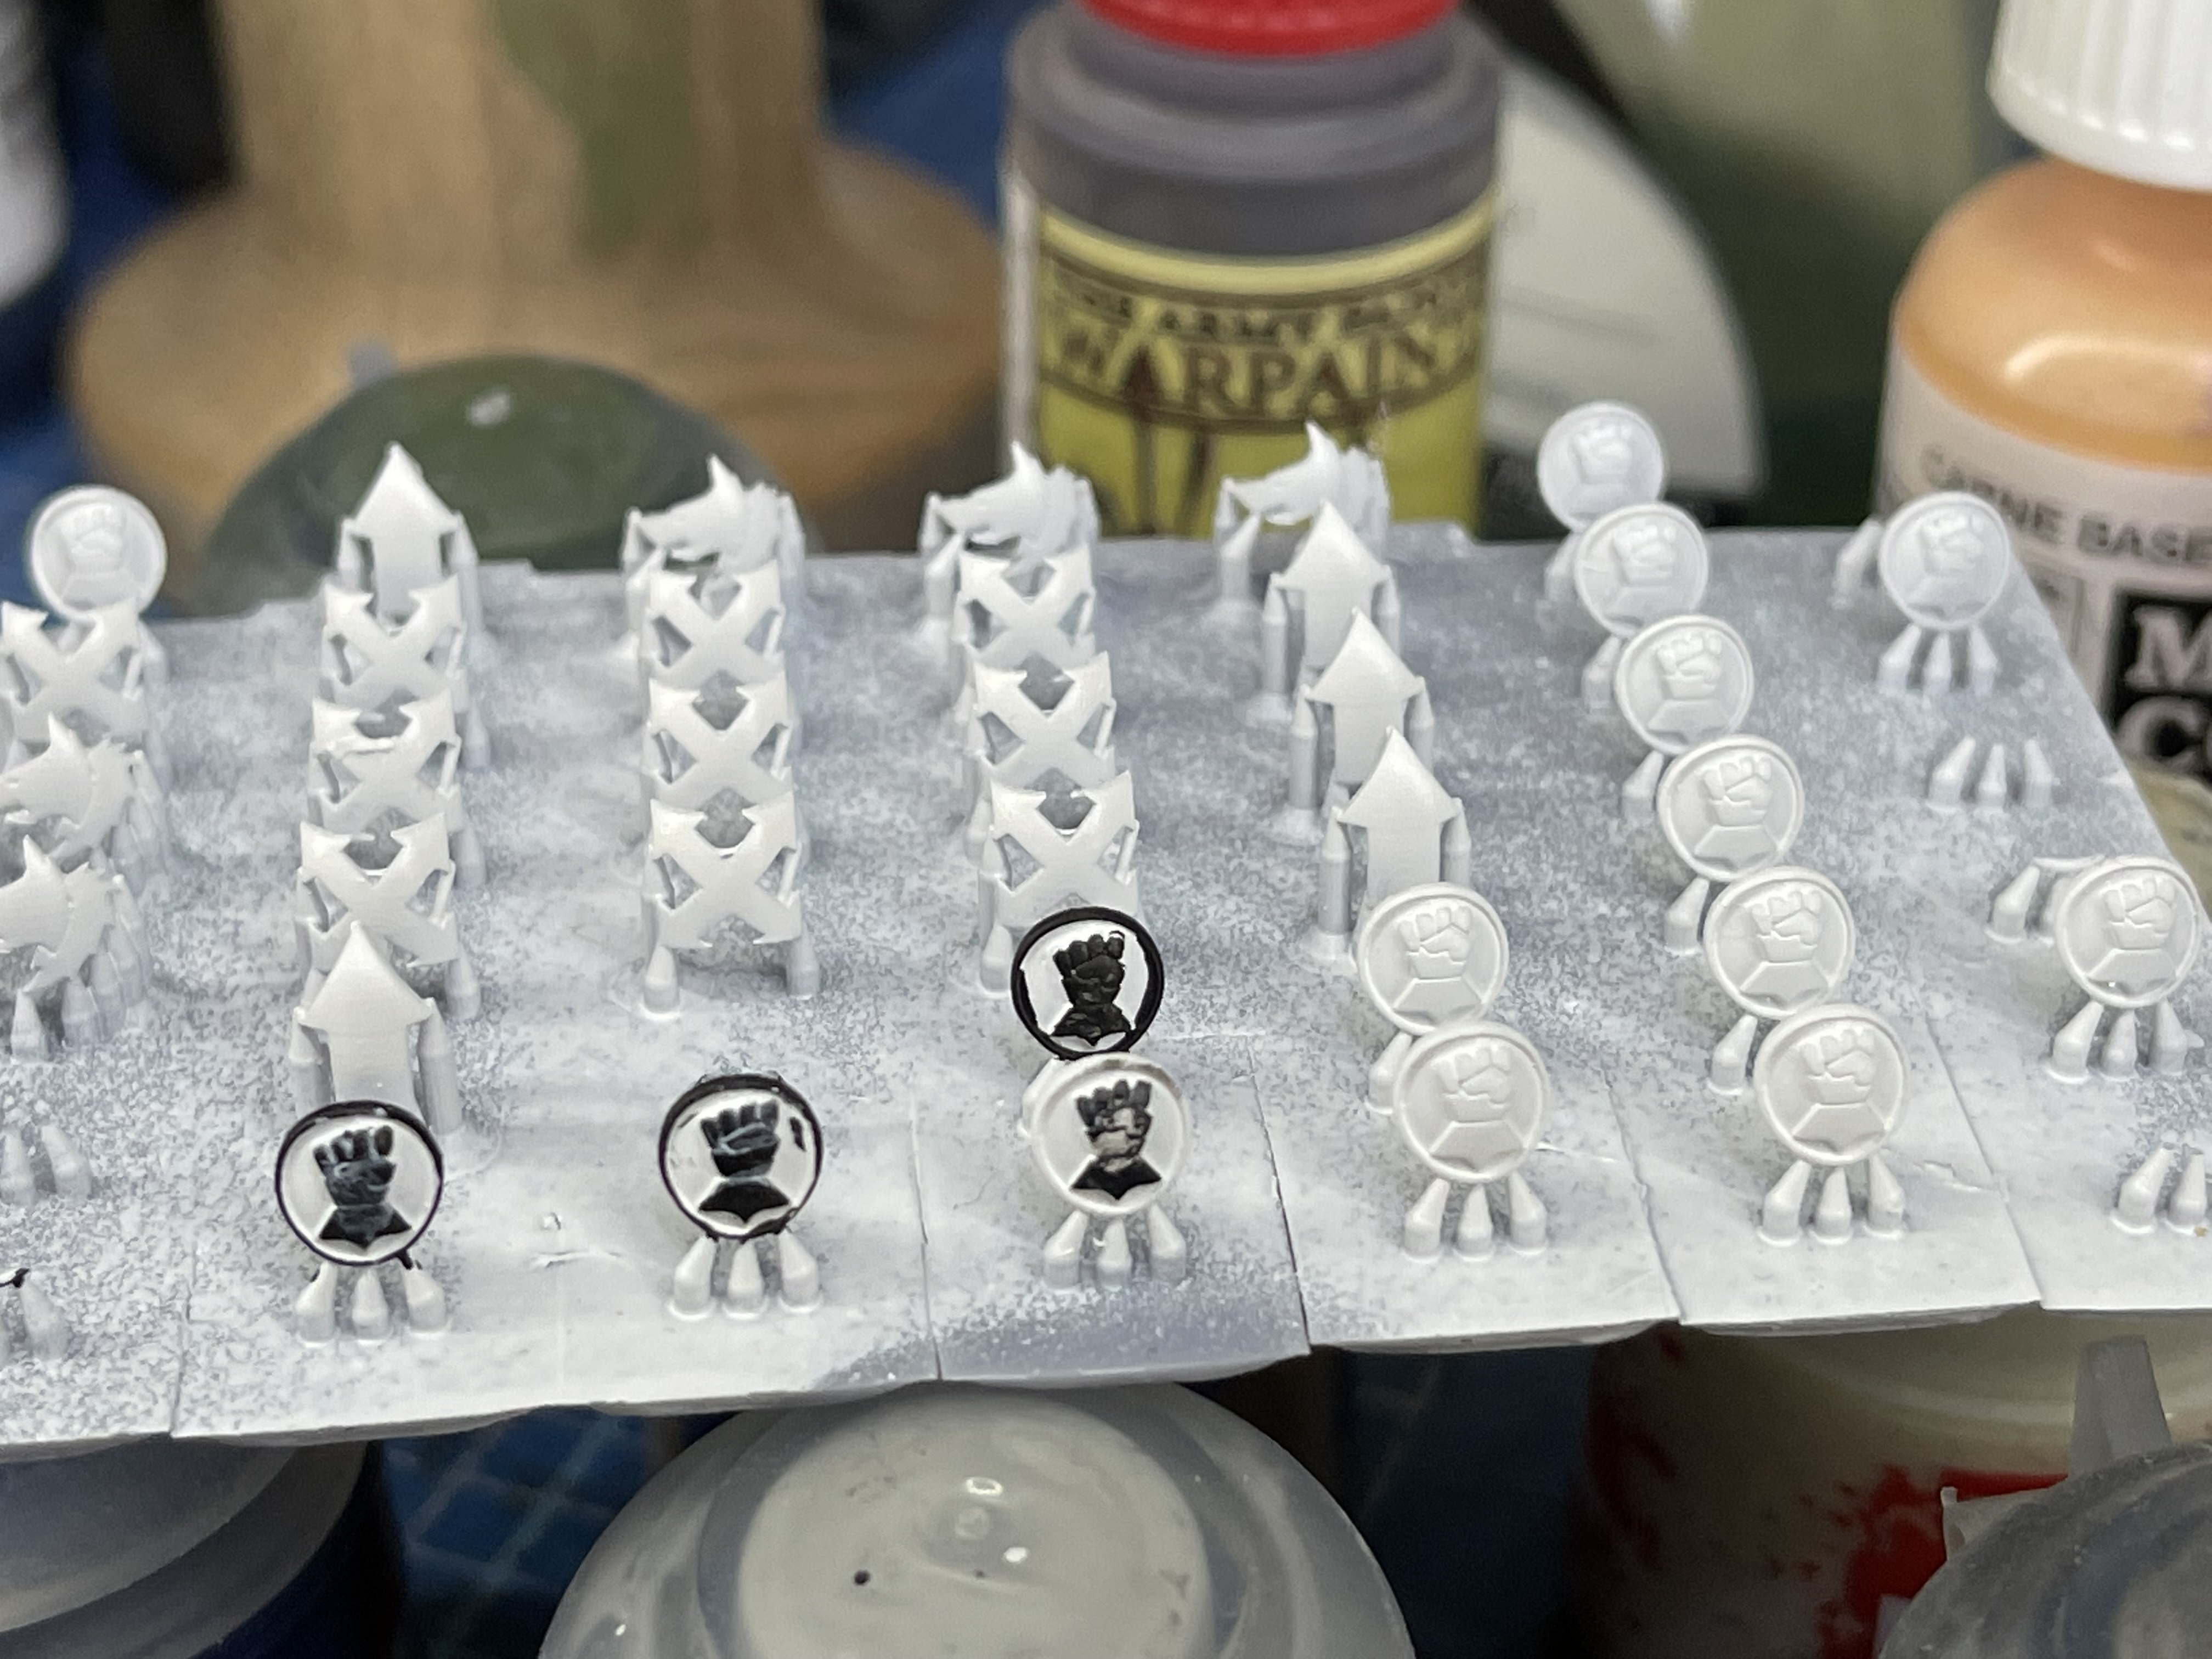
While I was painting these I was looking into getting the shoulder icons done, I got a couple of Imperial fist upgrade packs from GW but they only have 10 should icons on the transfers and there doesn’t seem to large sheet of IF transfers (apart from HH ones on forge world where the icon is slightly different).
I didn’t really want to cut off the shoulder pads of the existing models to put the sculpted ones in their place and using the transfers from the upgrade packs was going to make very expensive. I toyed with printing my own transfers but because they have white in there a normal ink jet isn’t going to be able to do it.
In the end I found someone on cults3d who had made the shoulder icons for the main chapters. So I printed a some and this is the result.
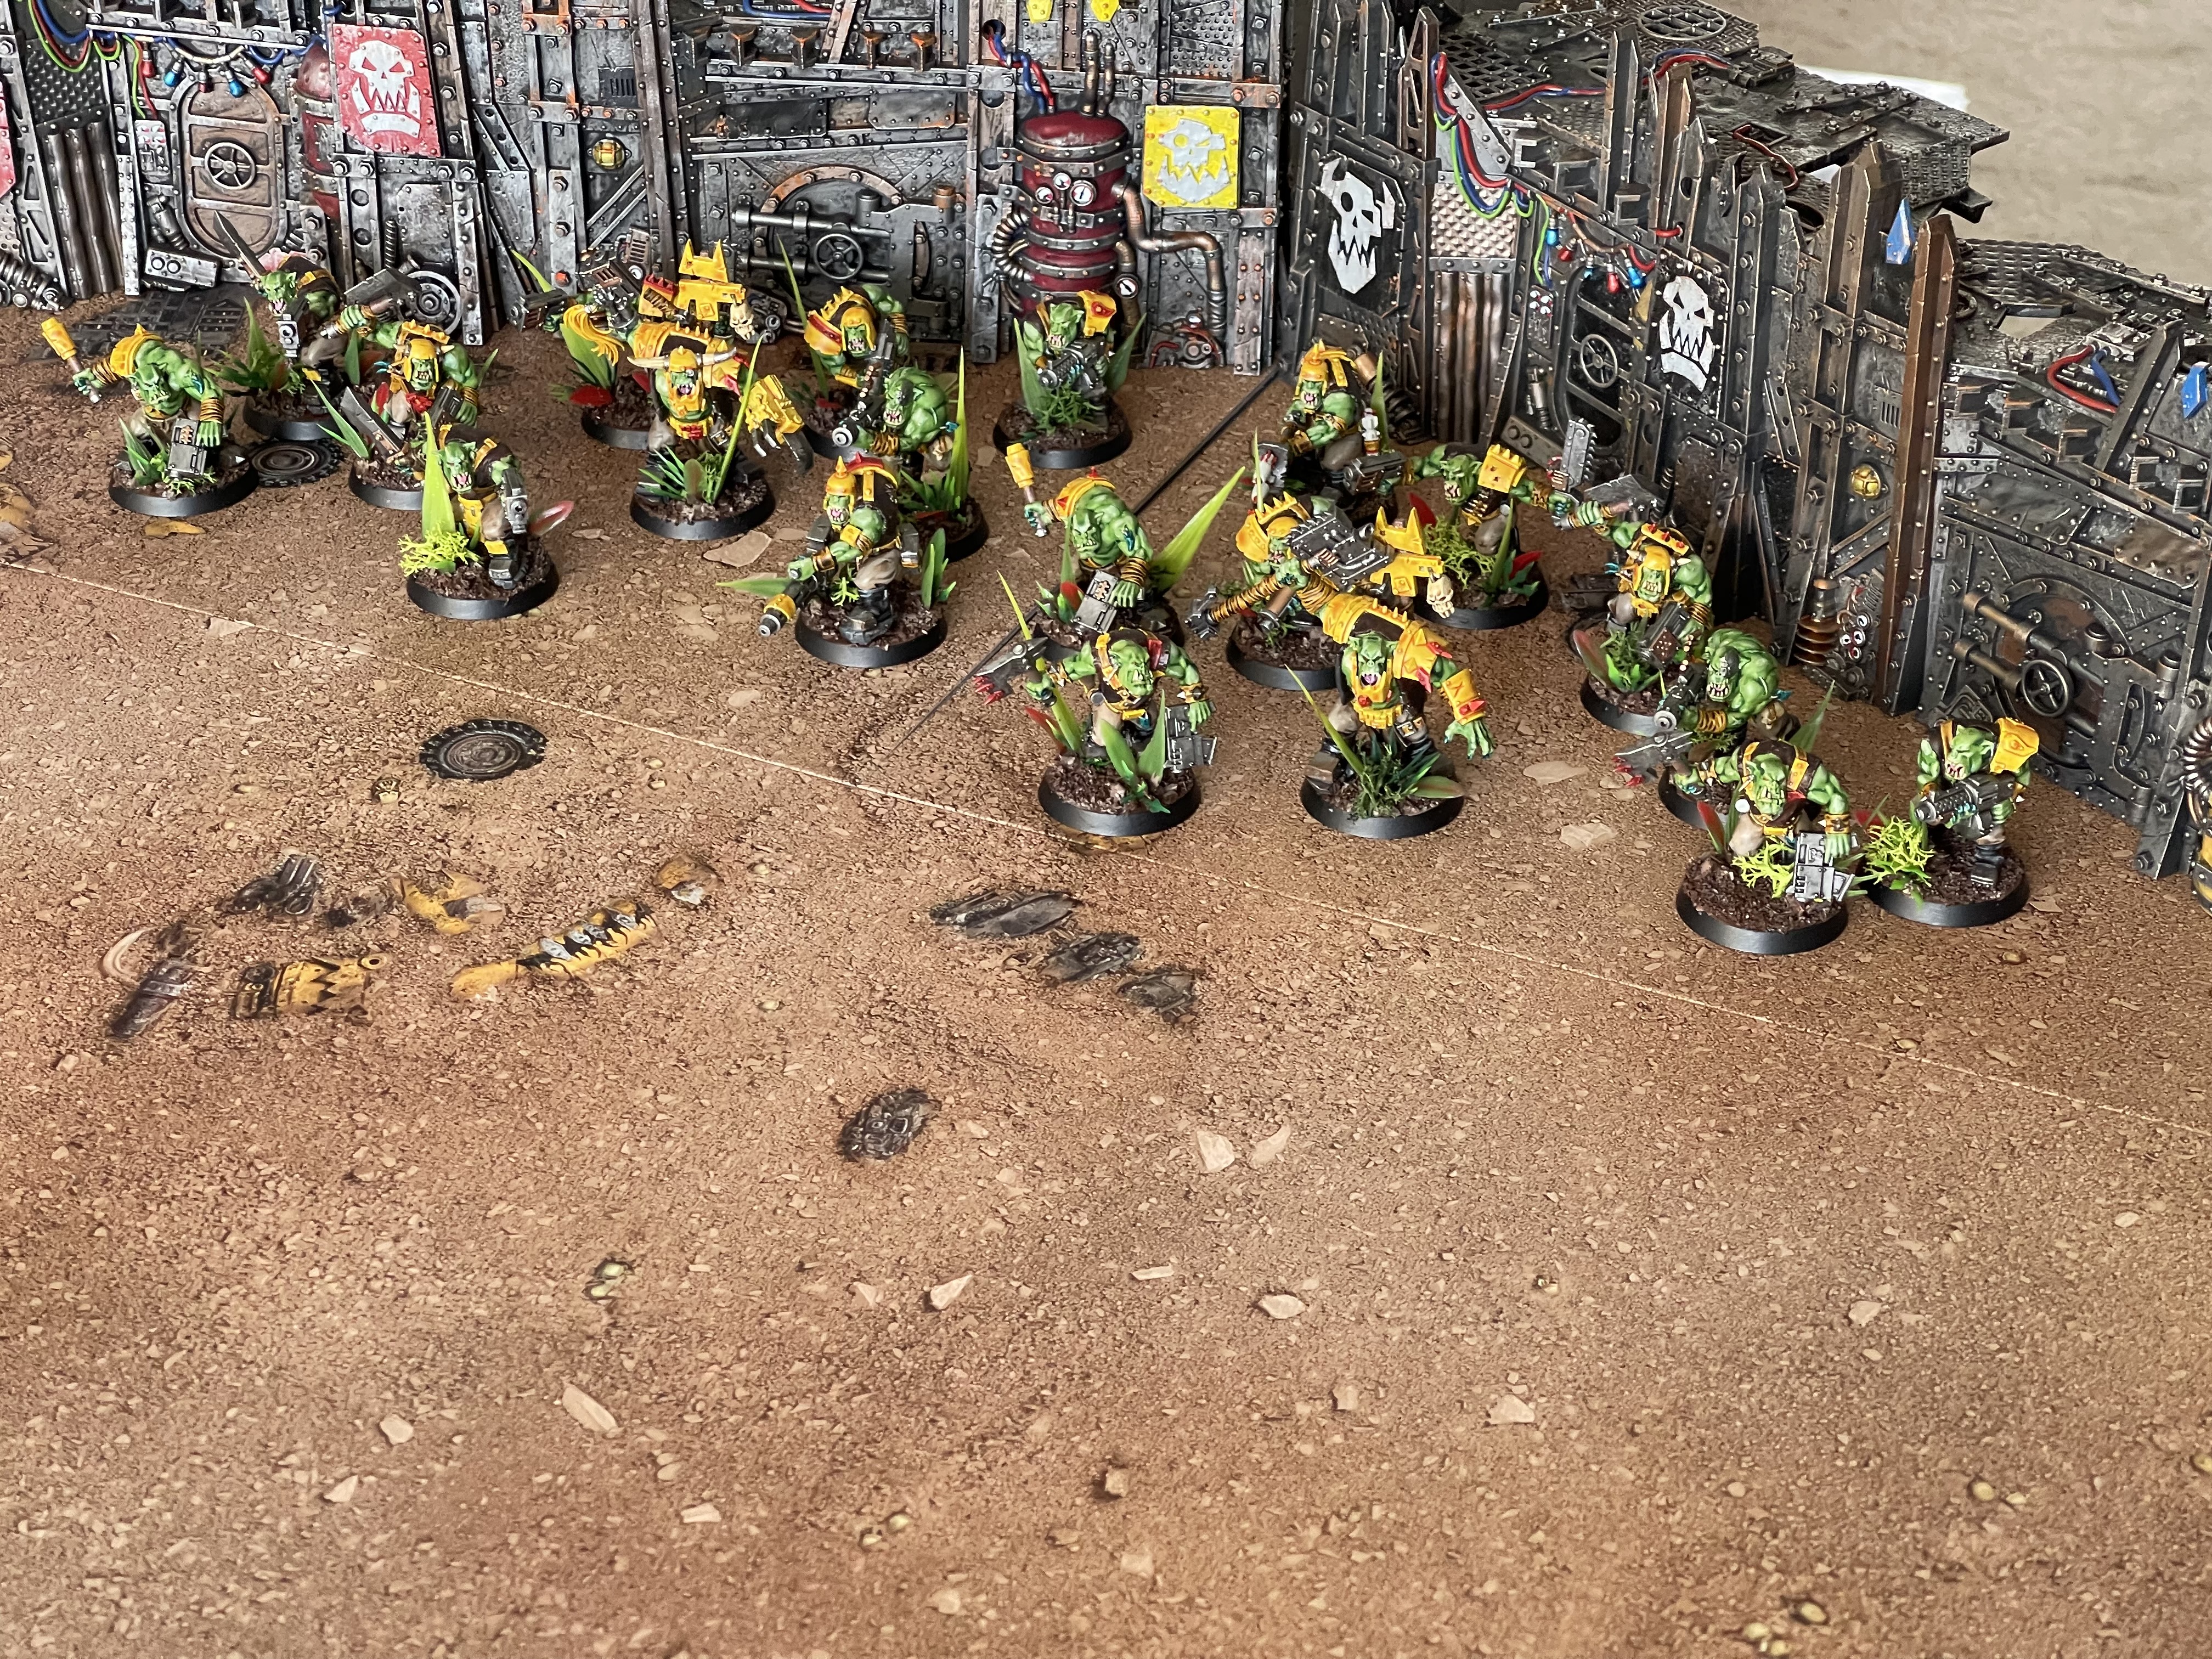
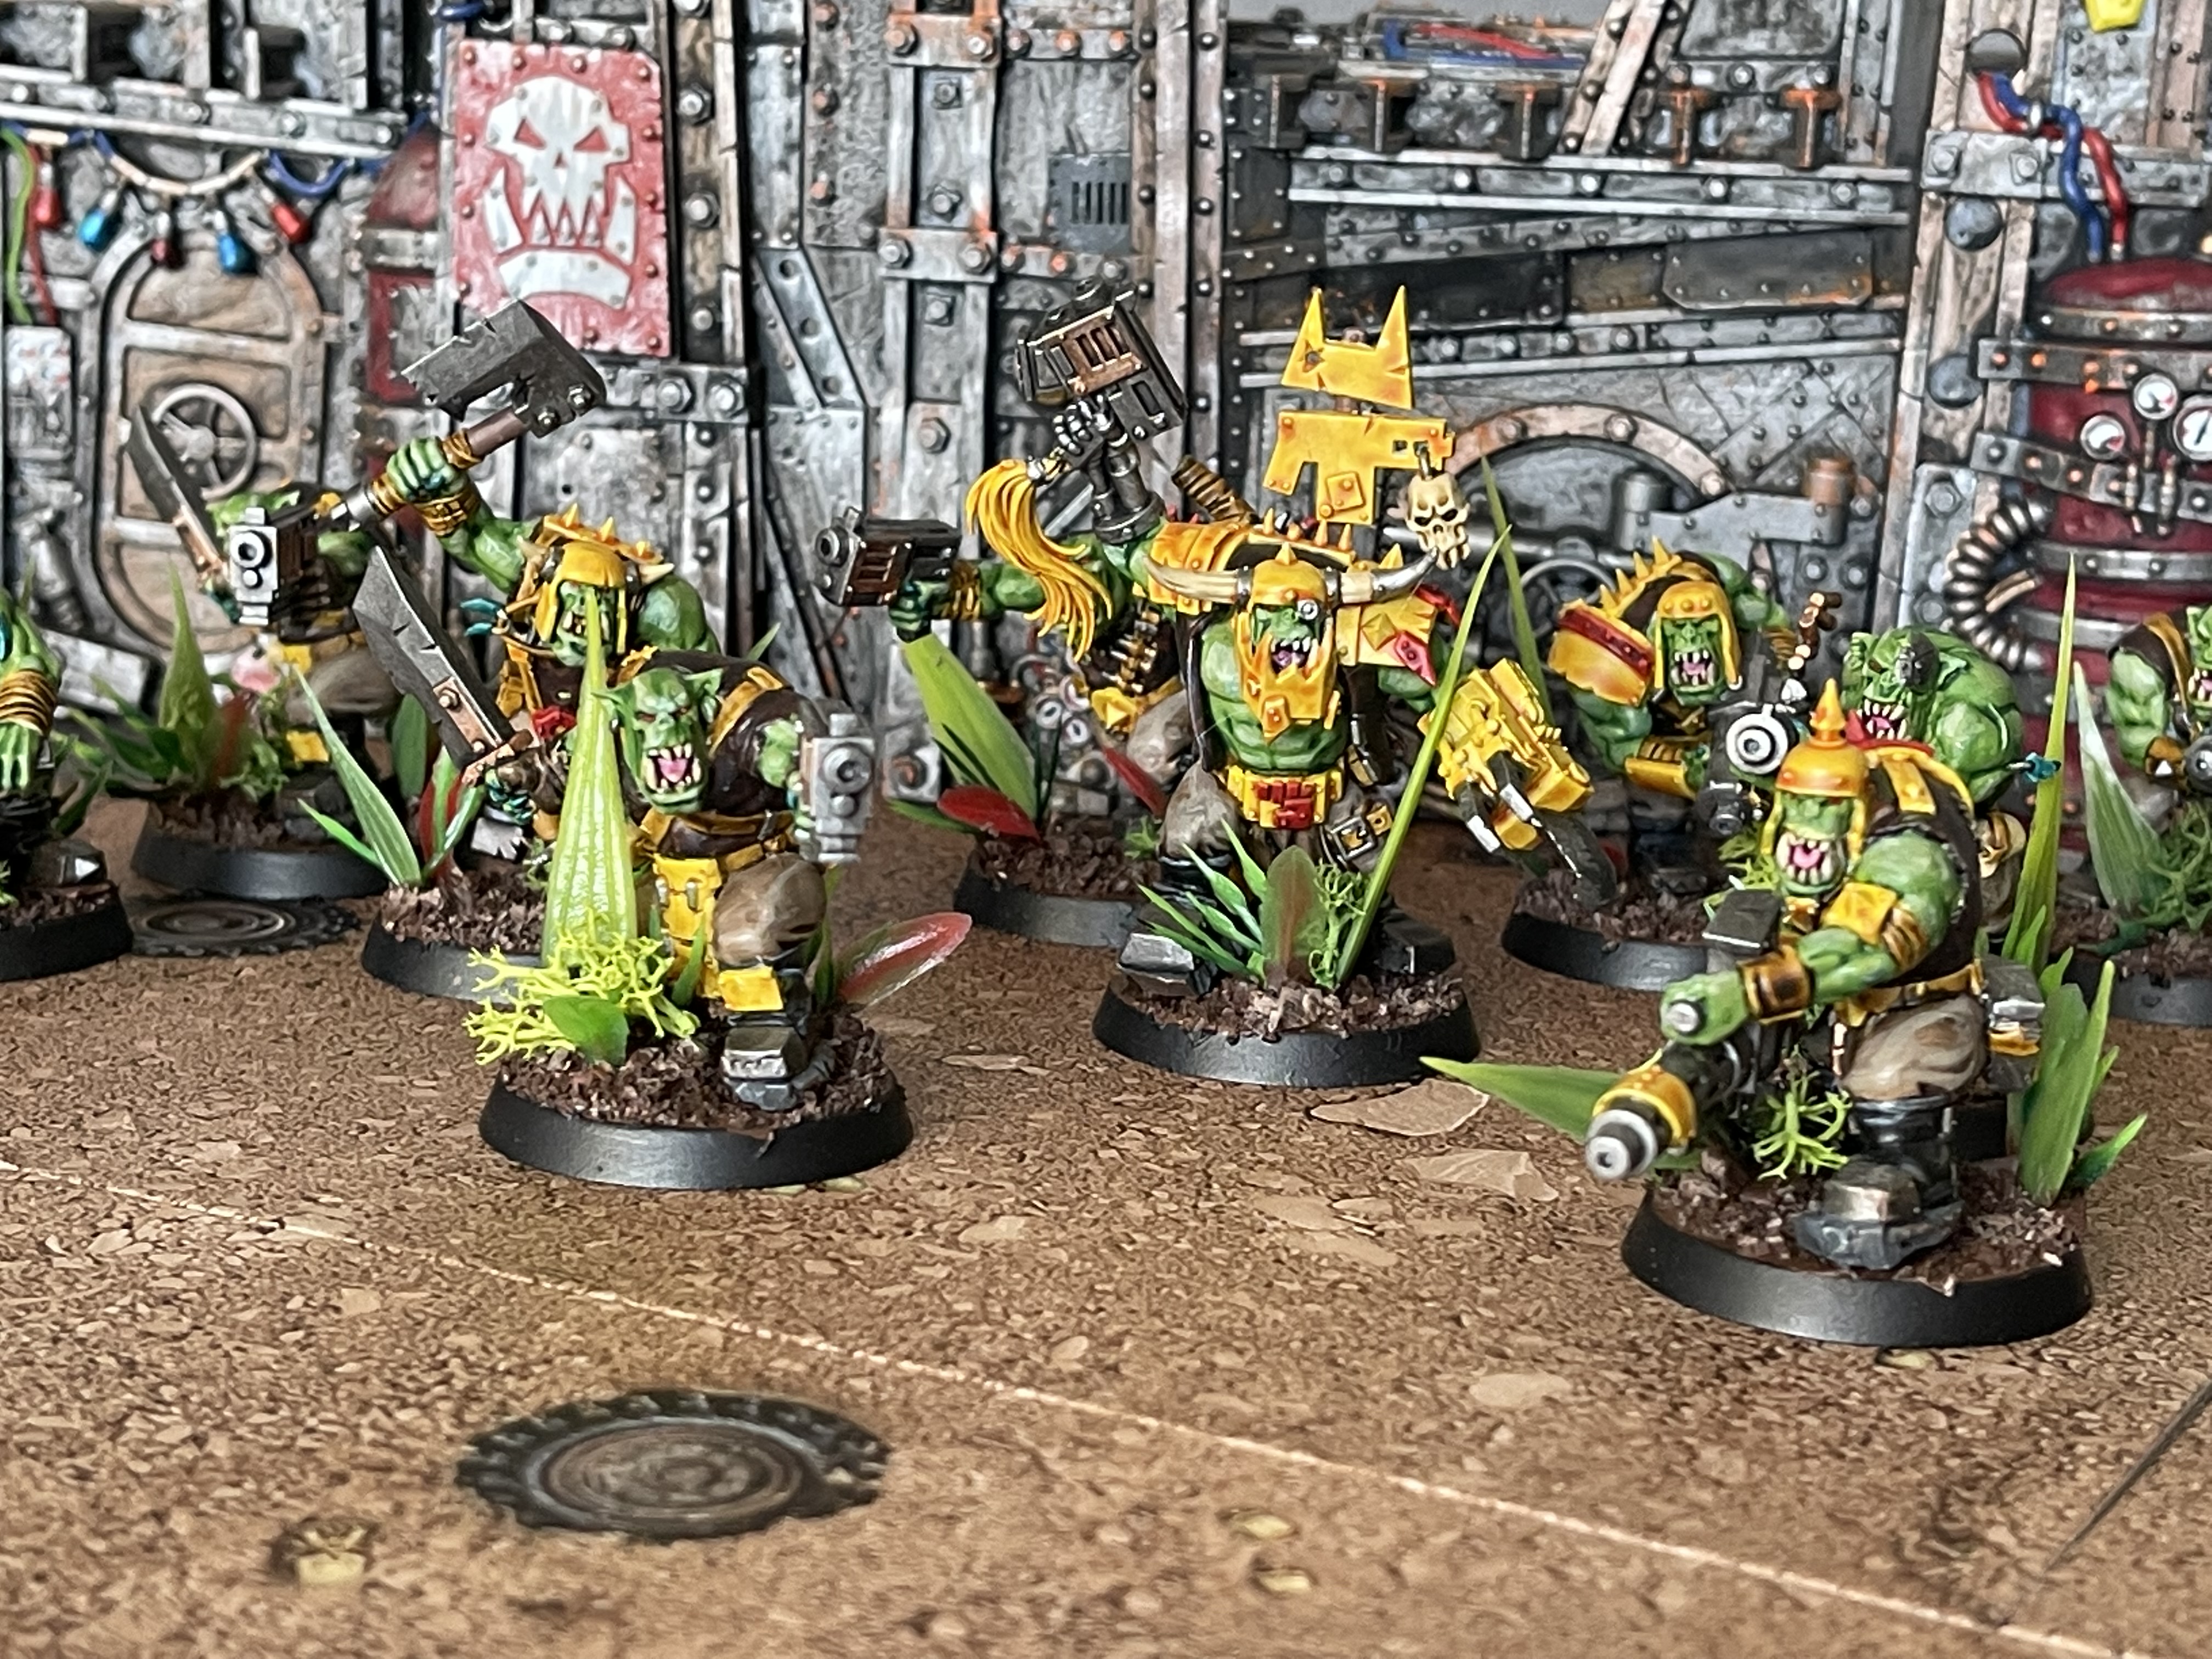
More Orks (part 2)
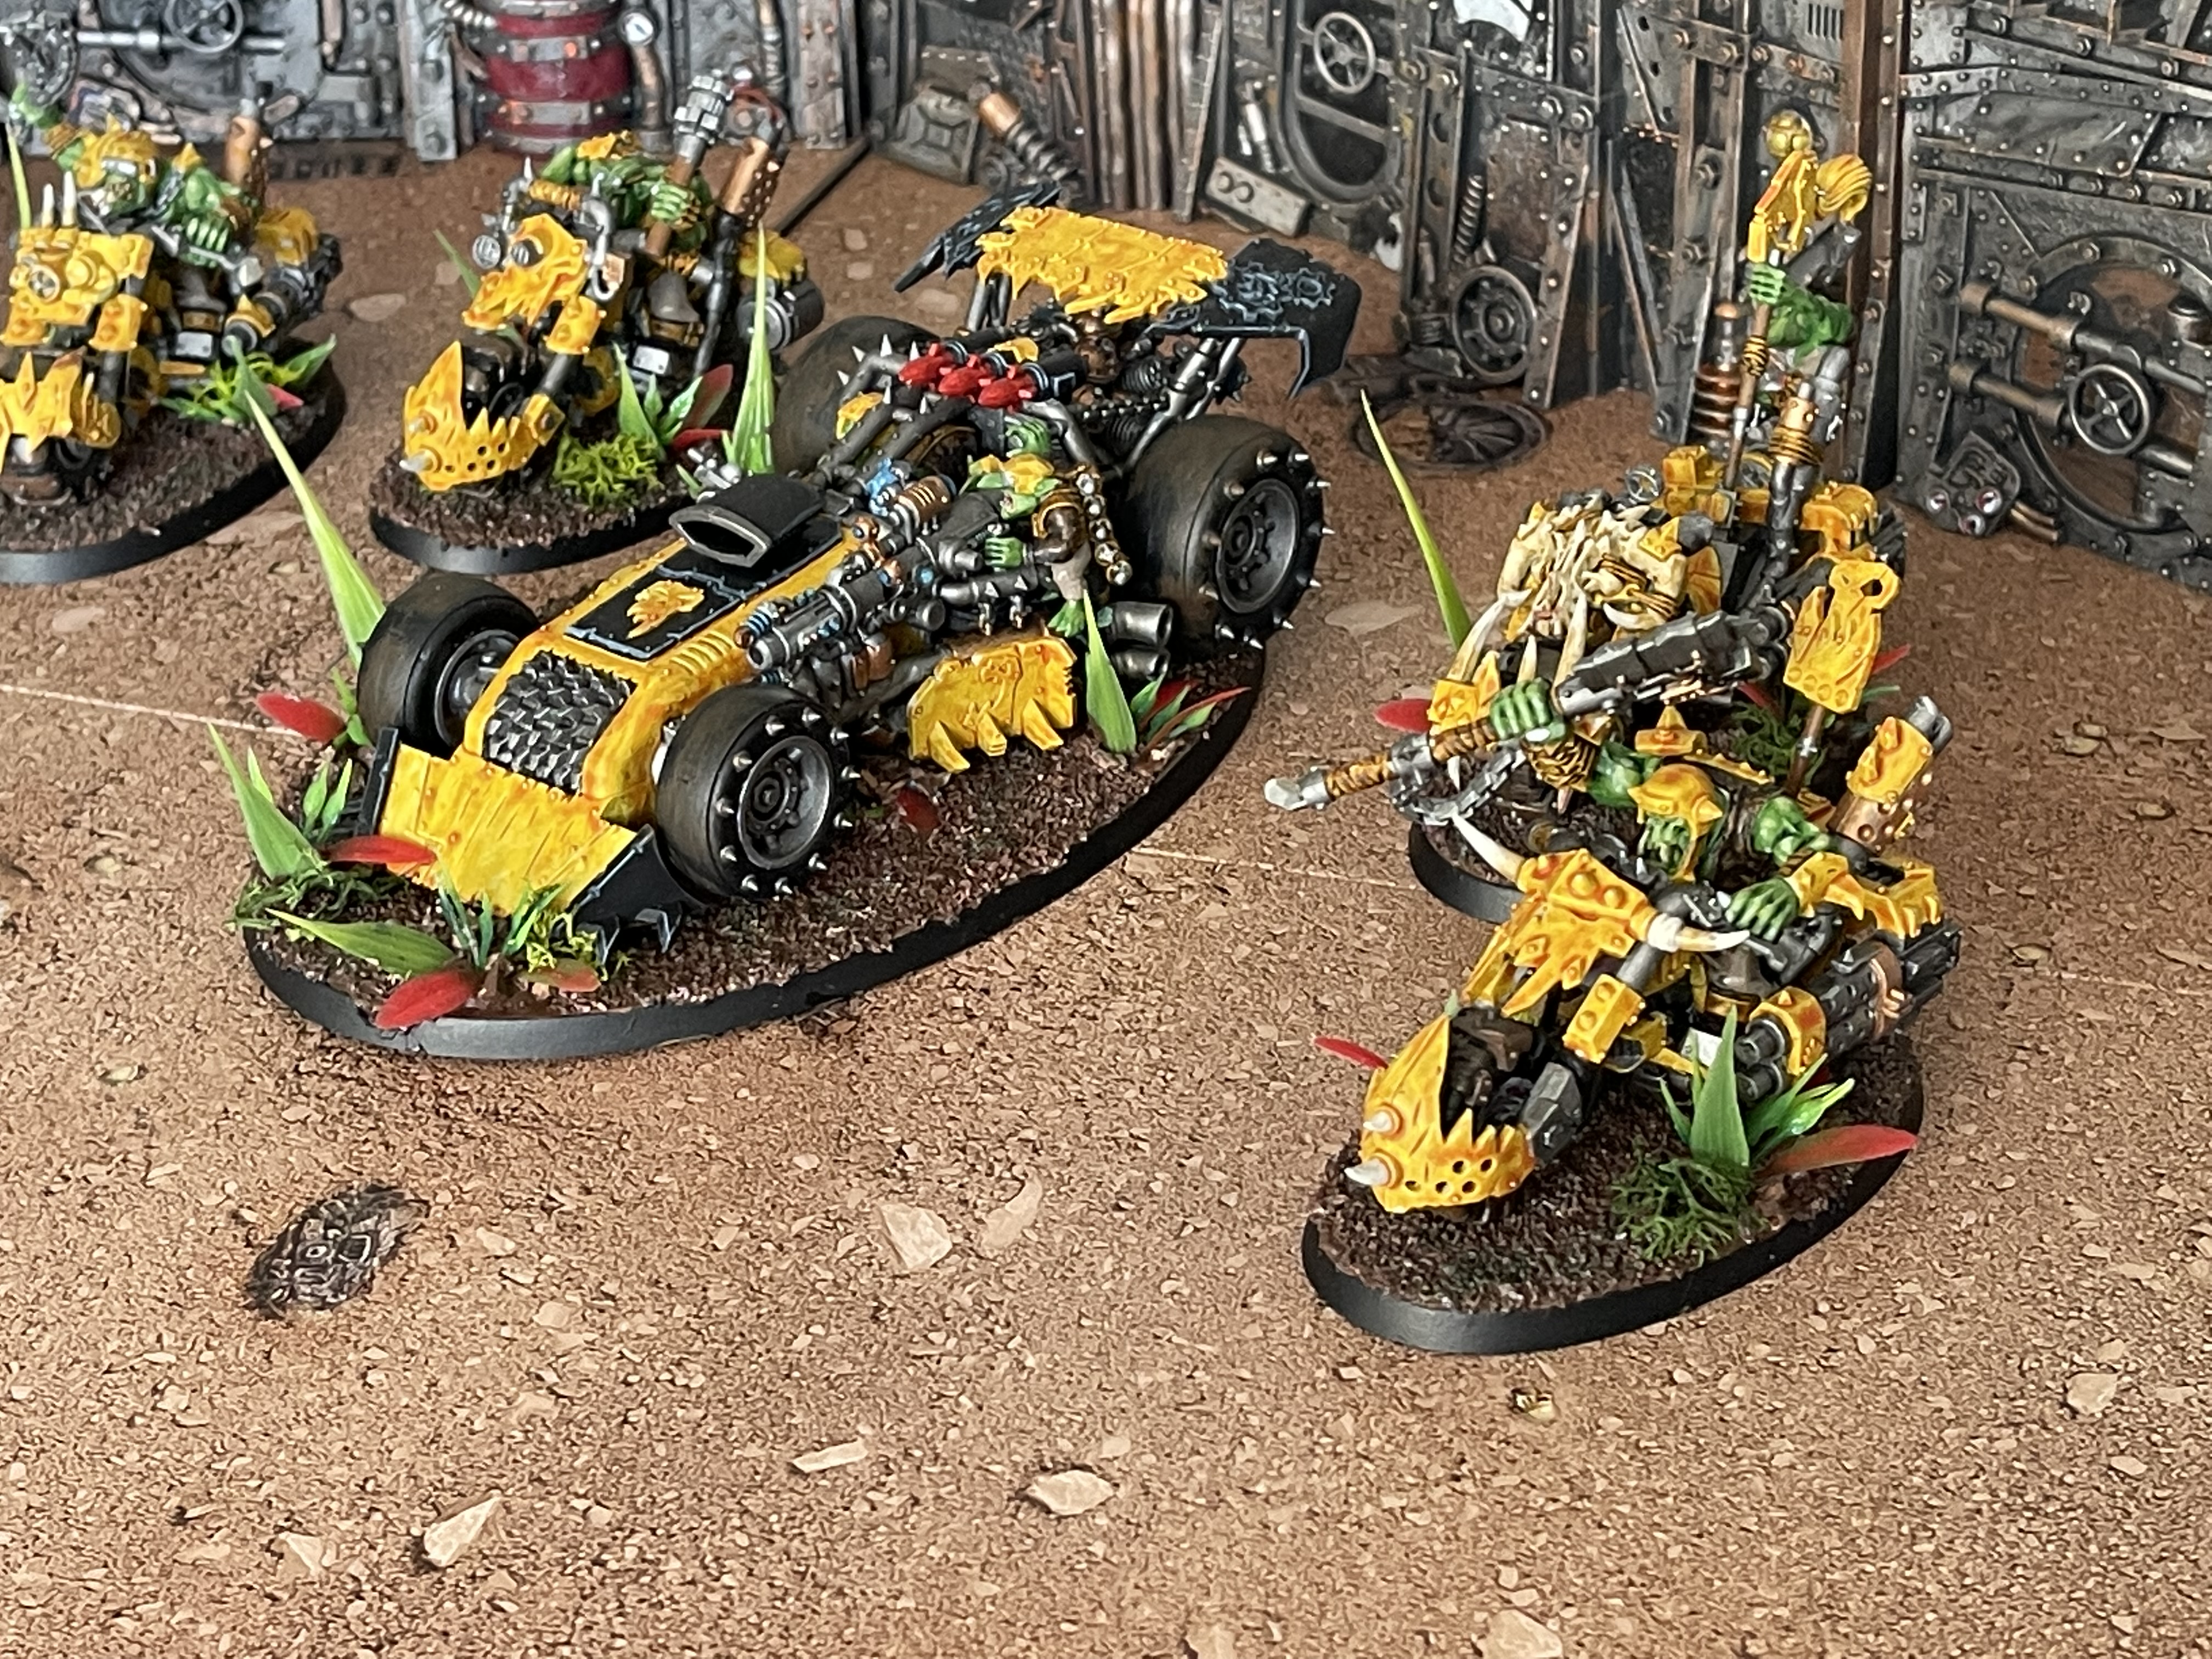

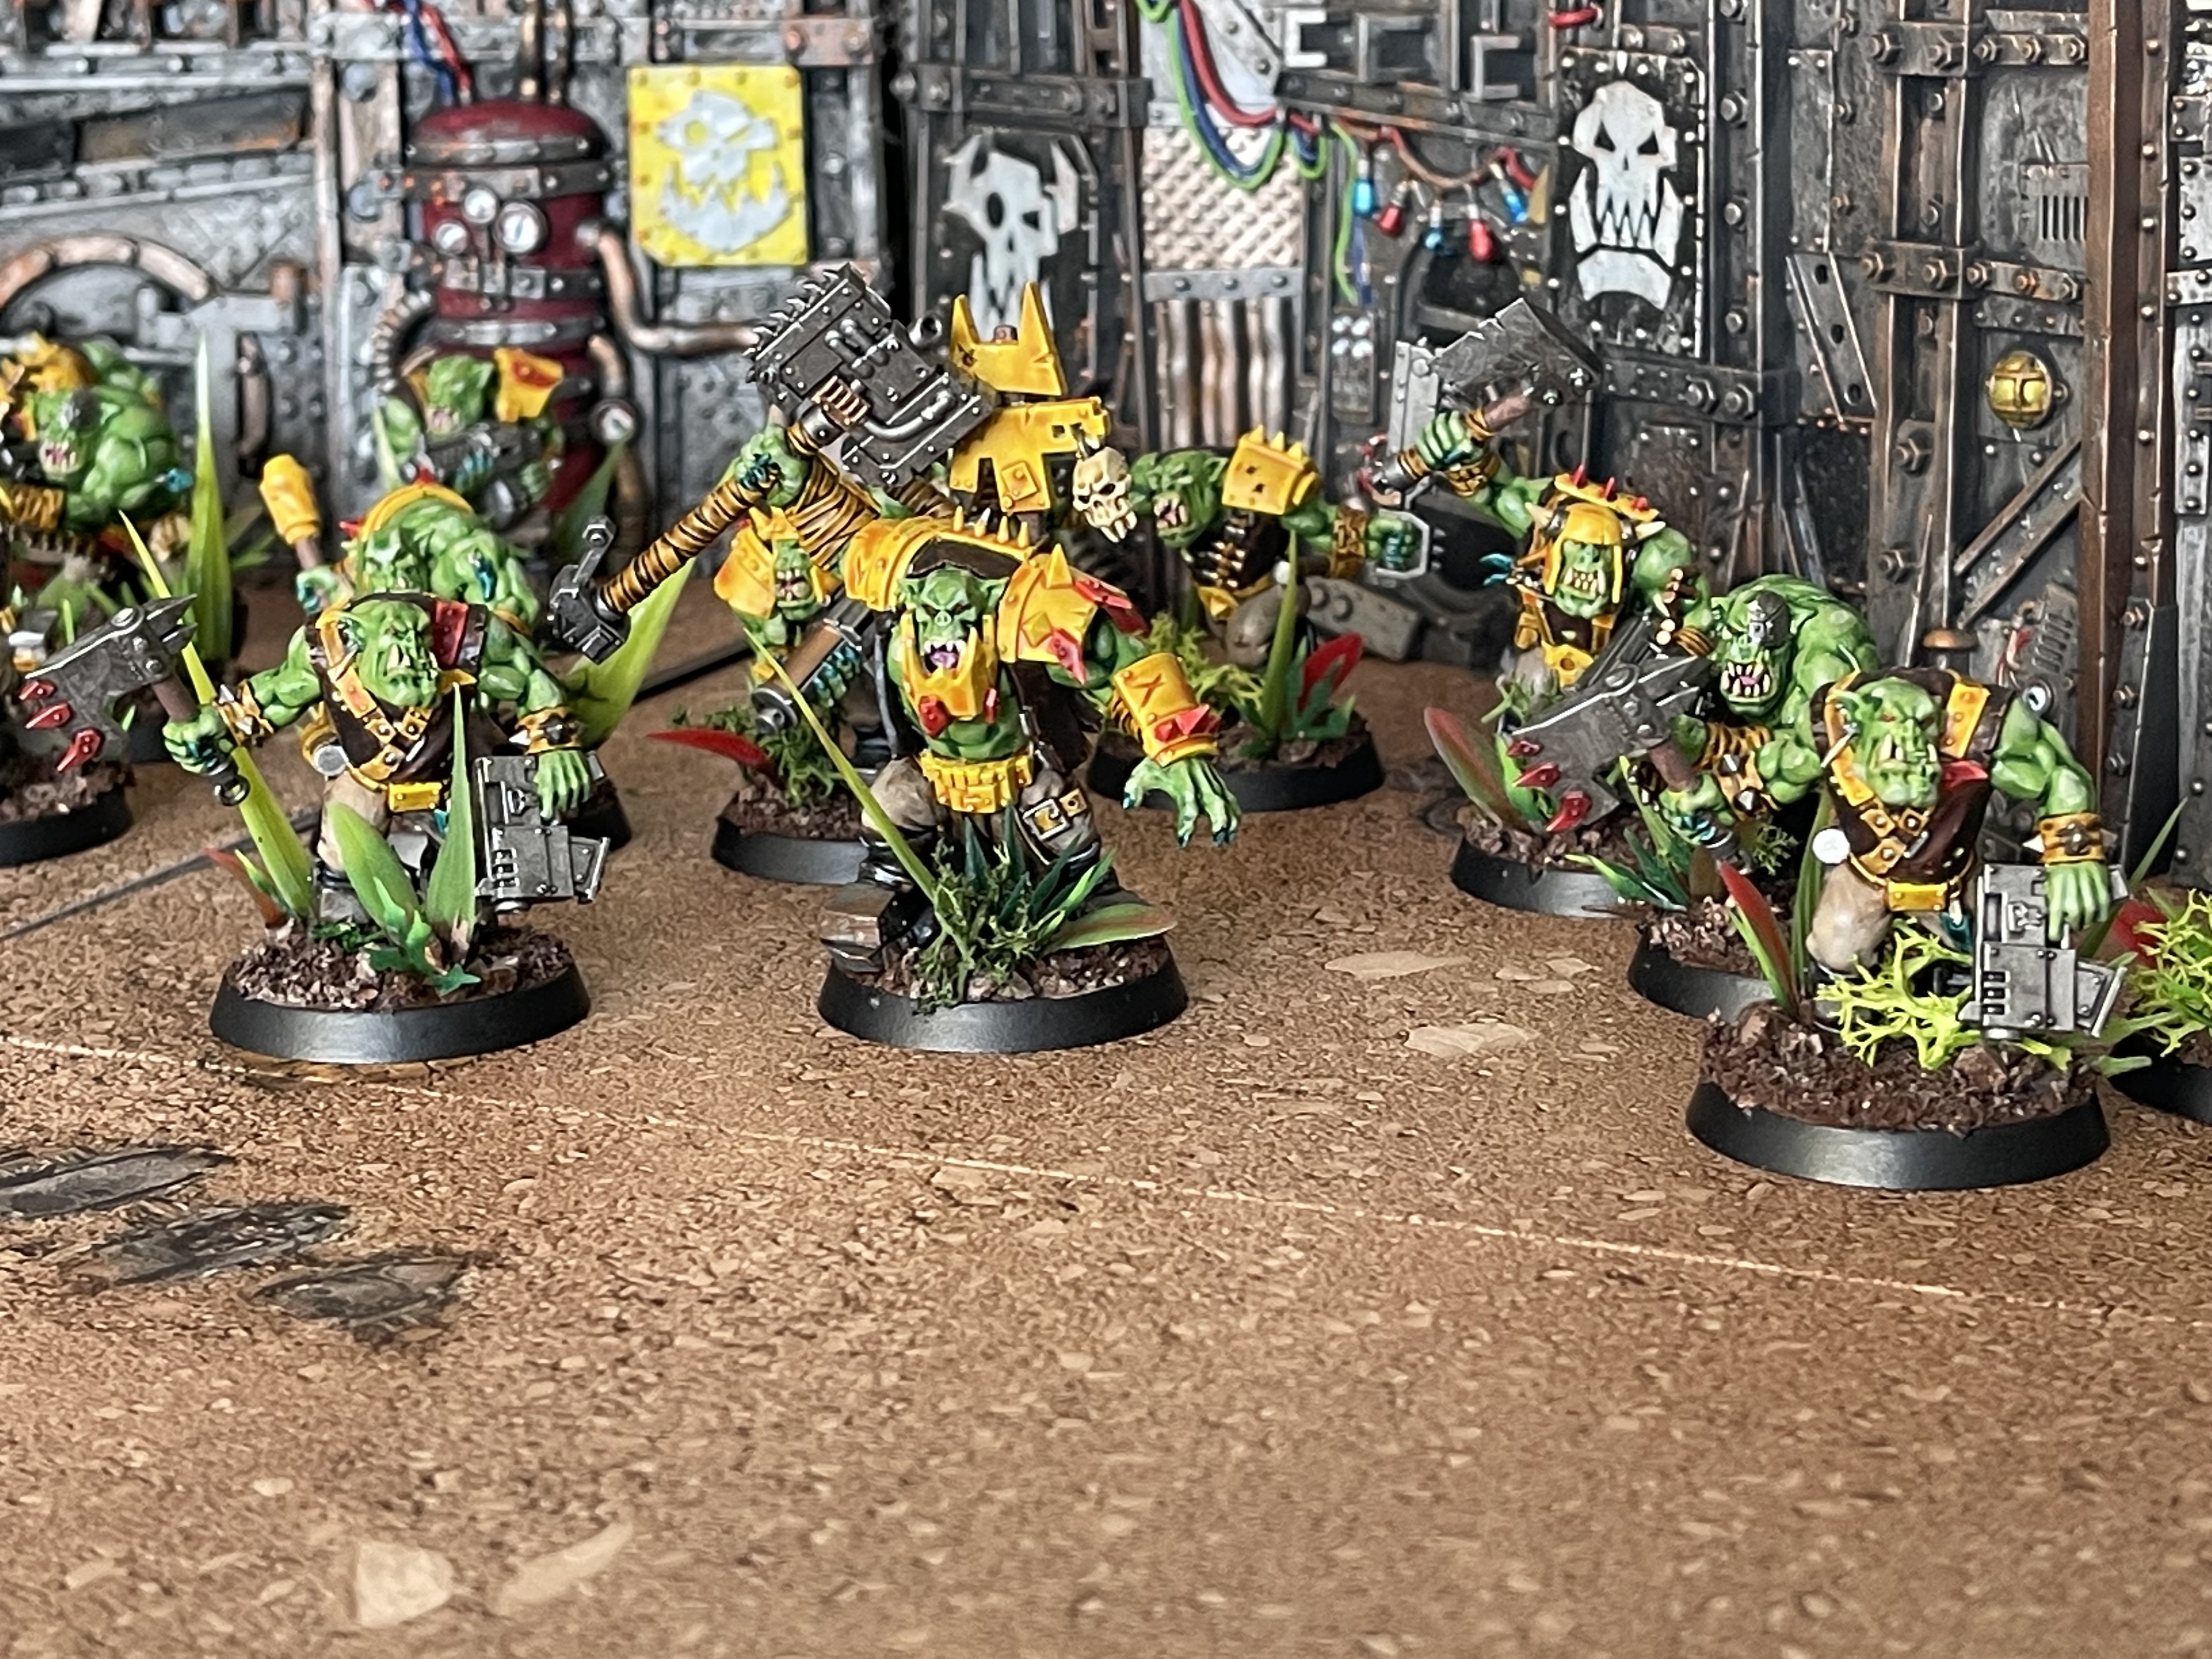

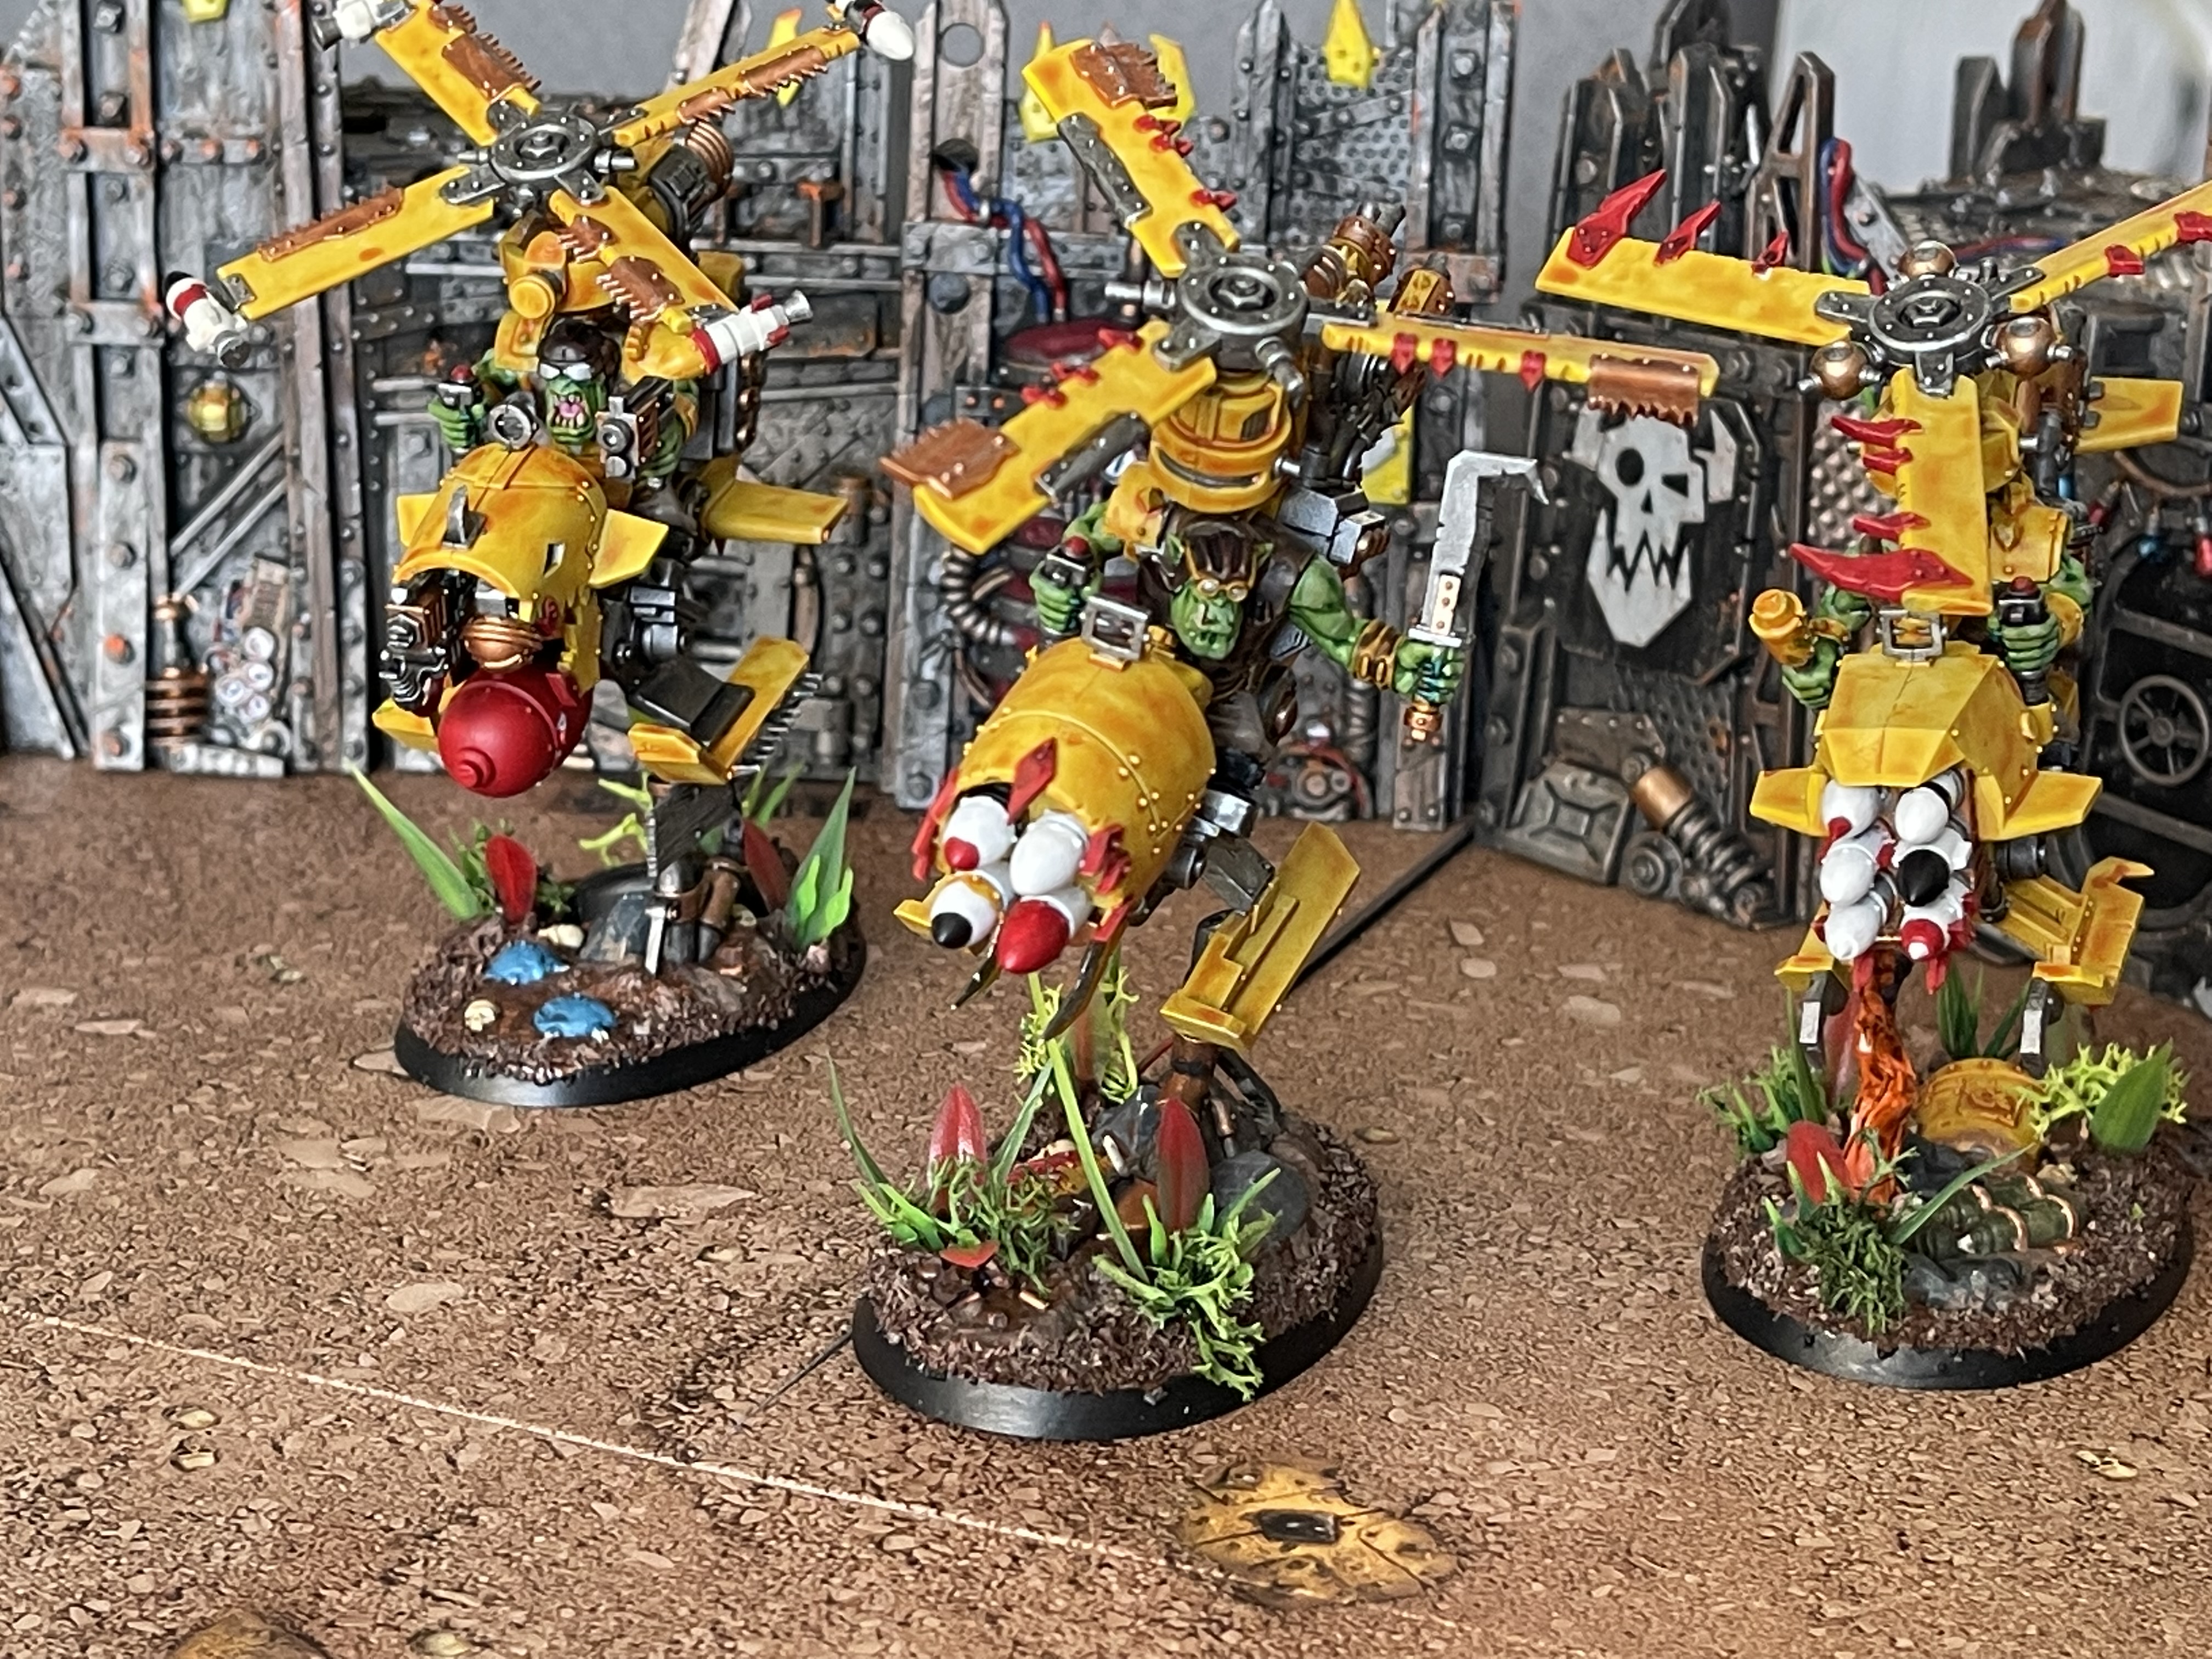
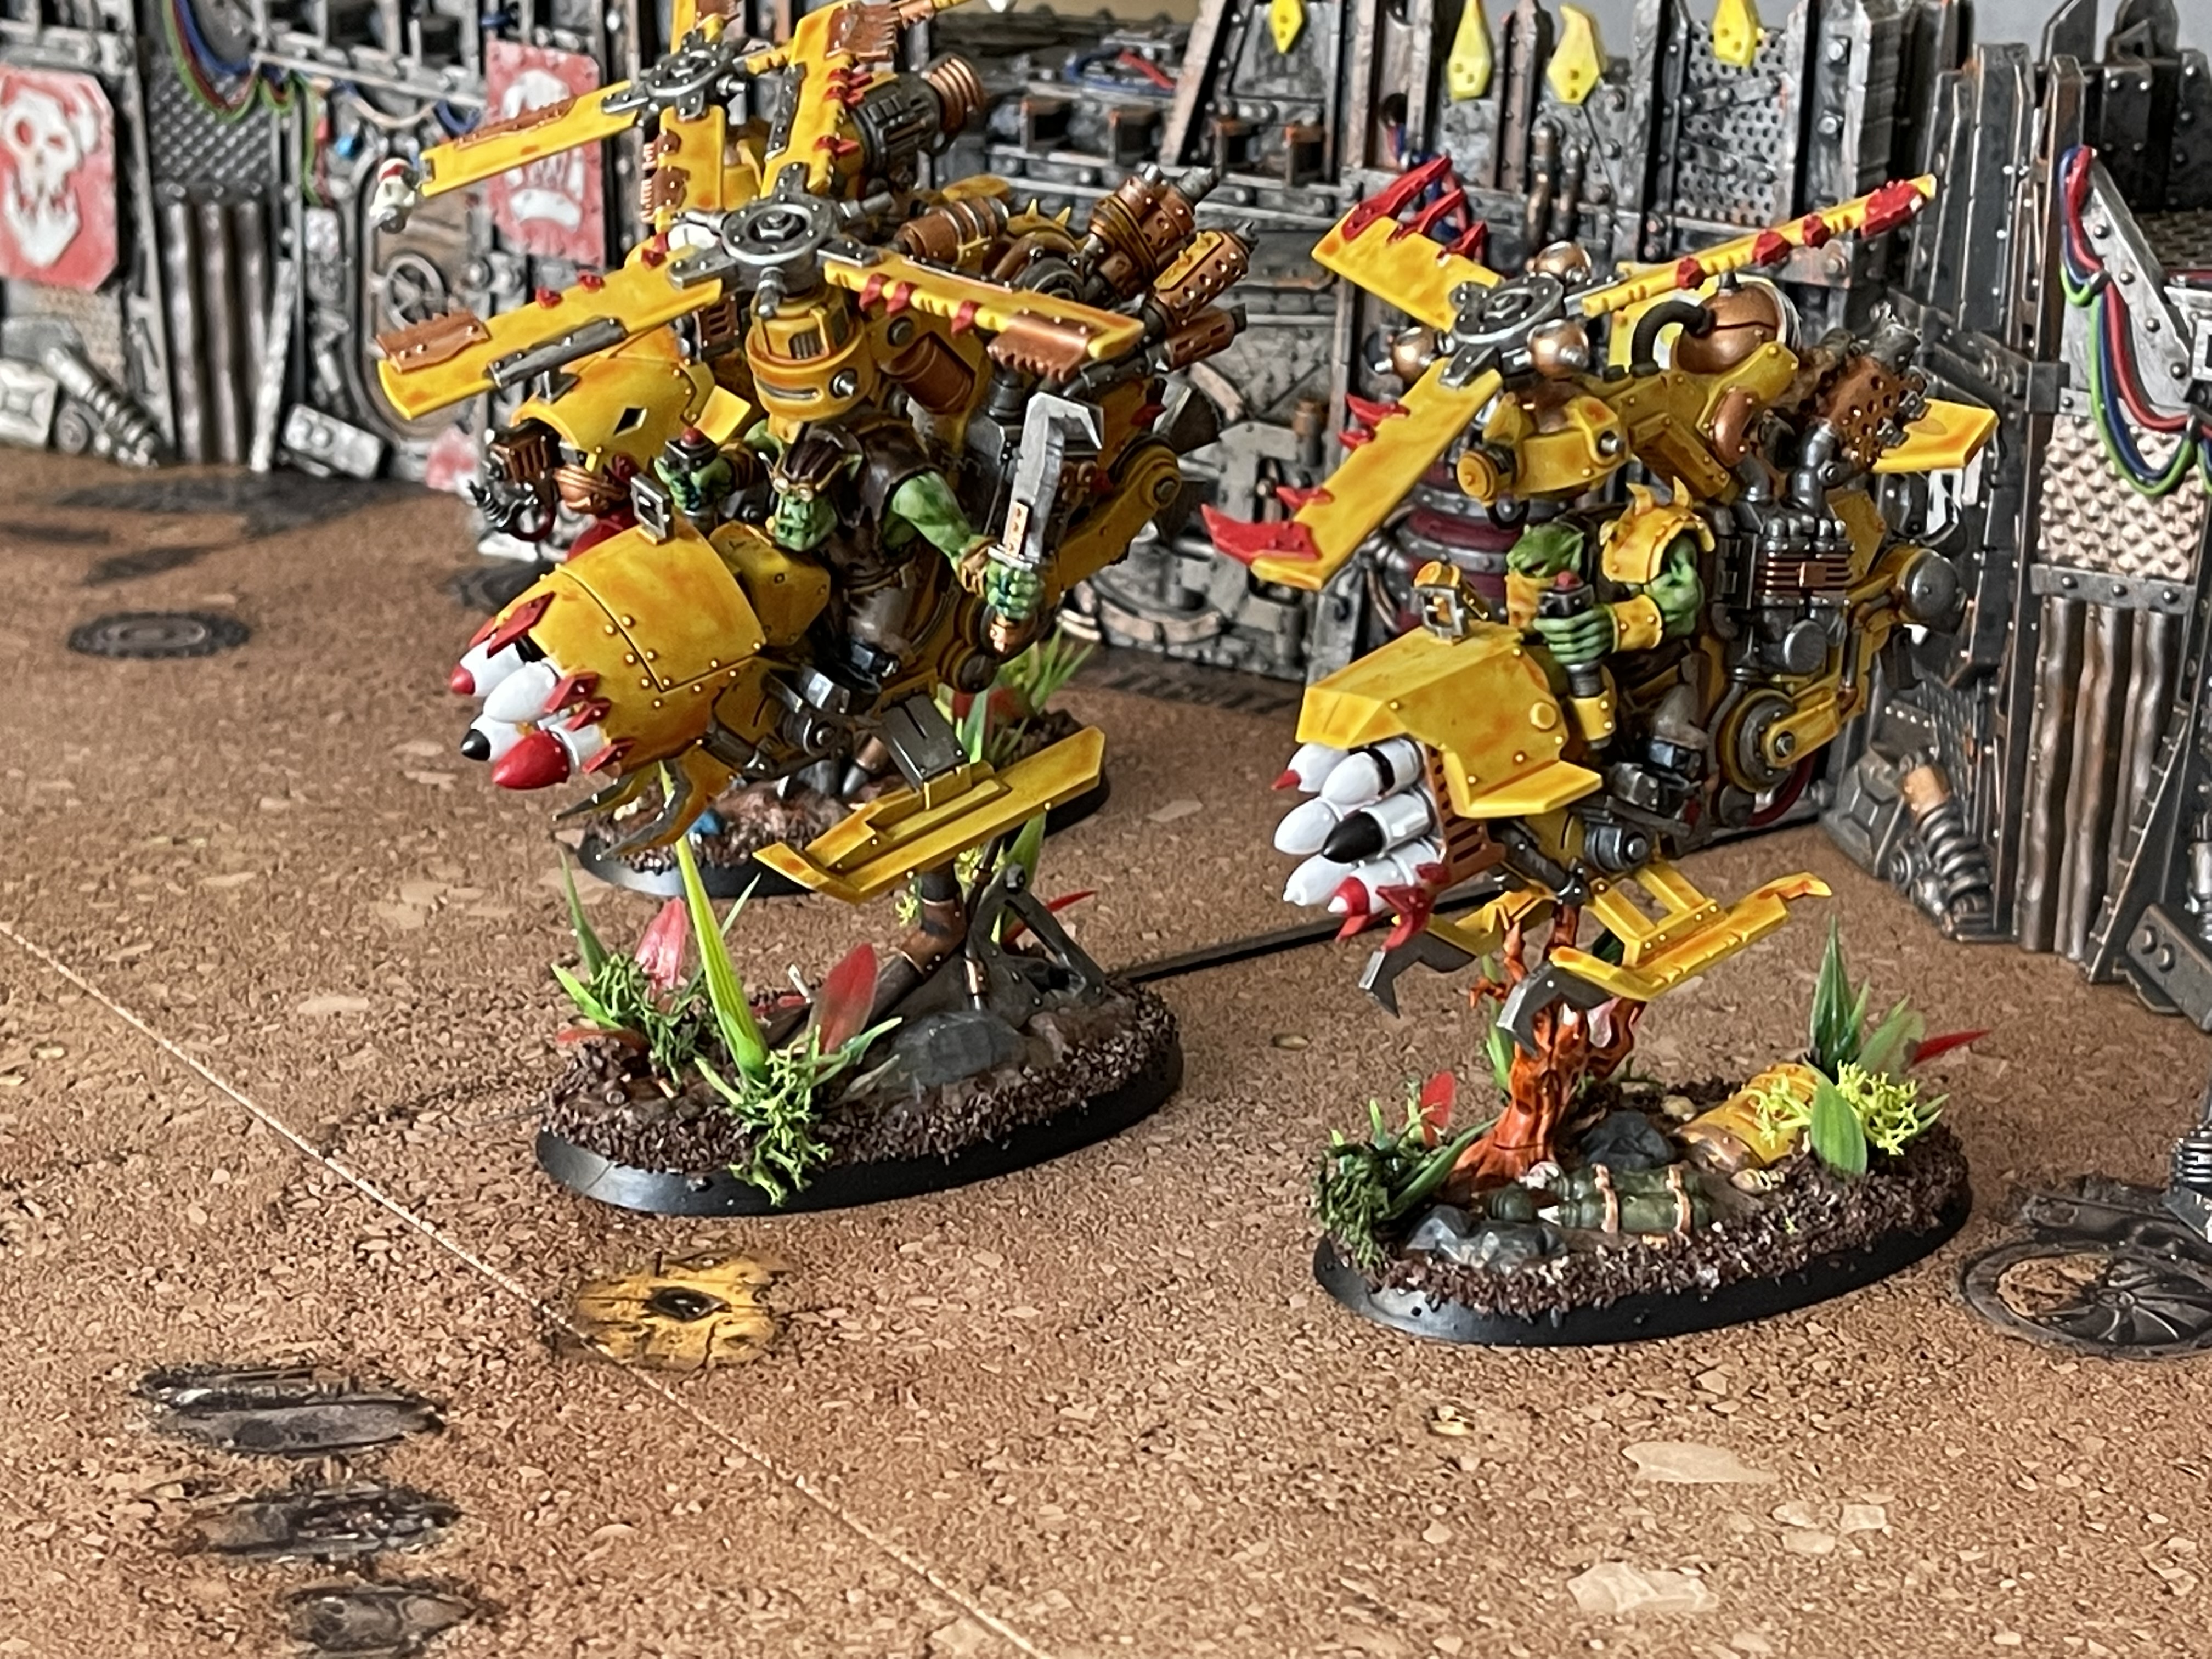
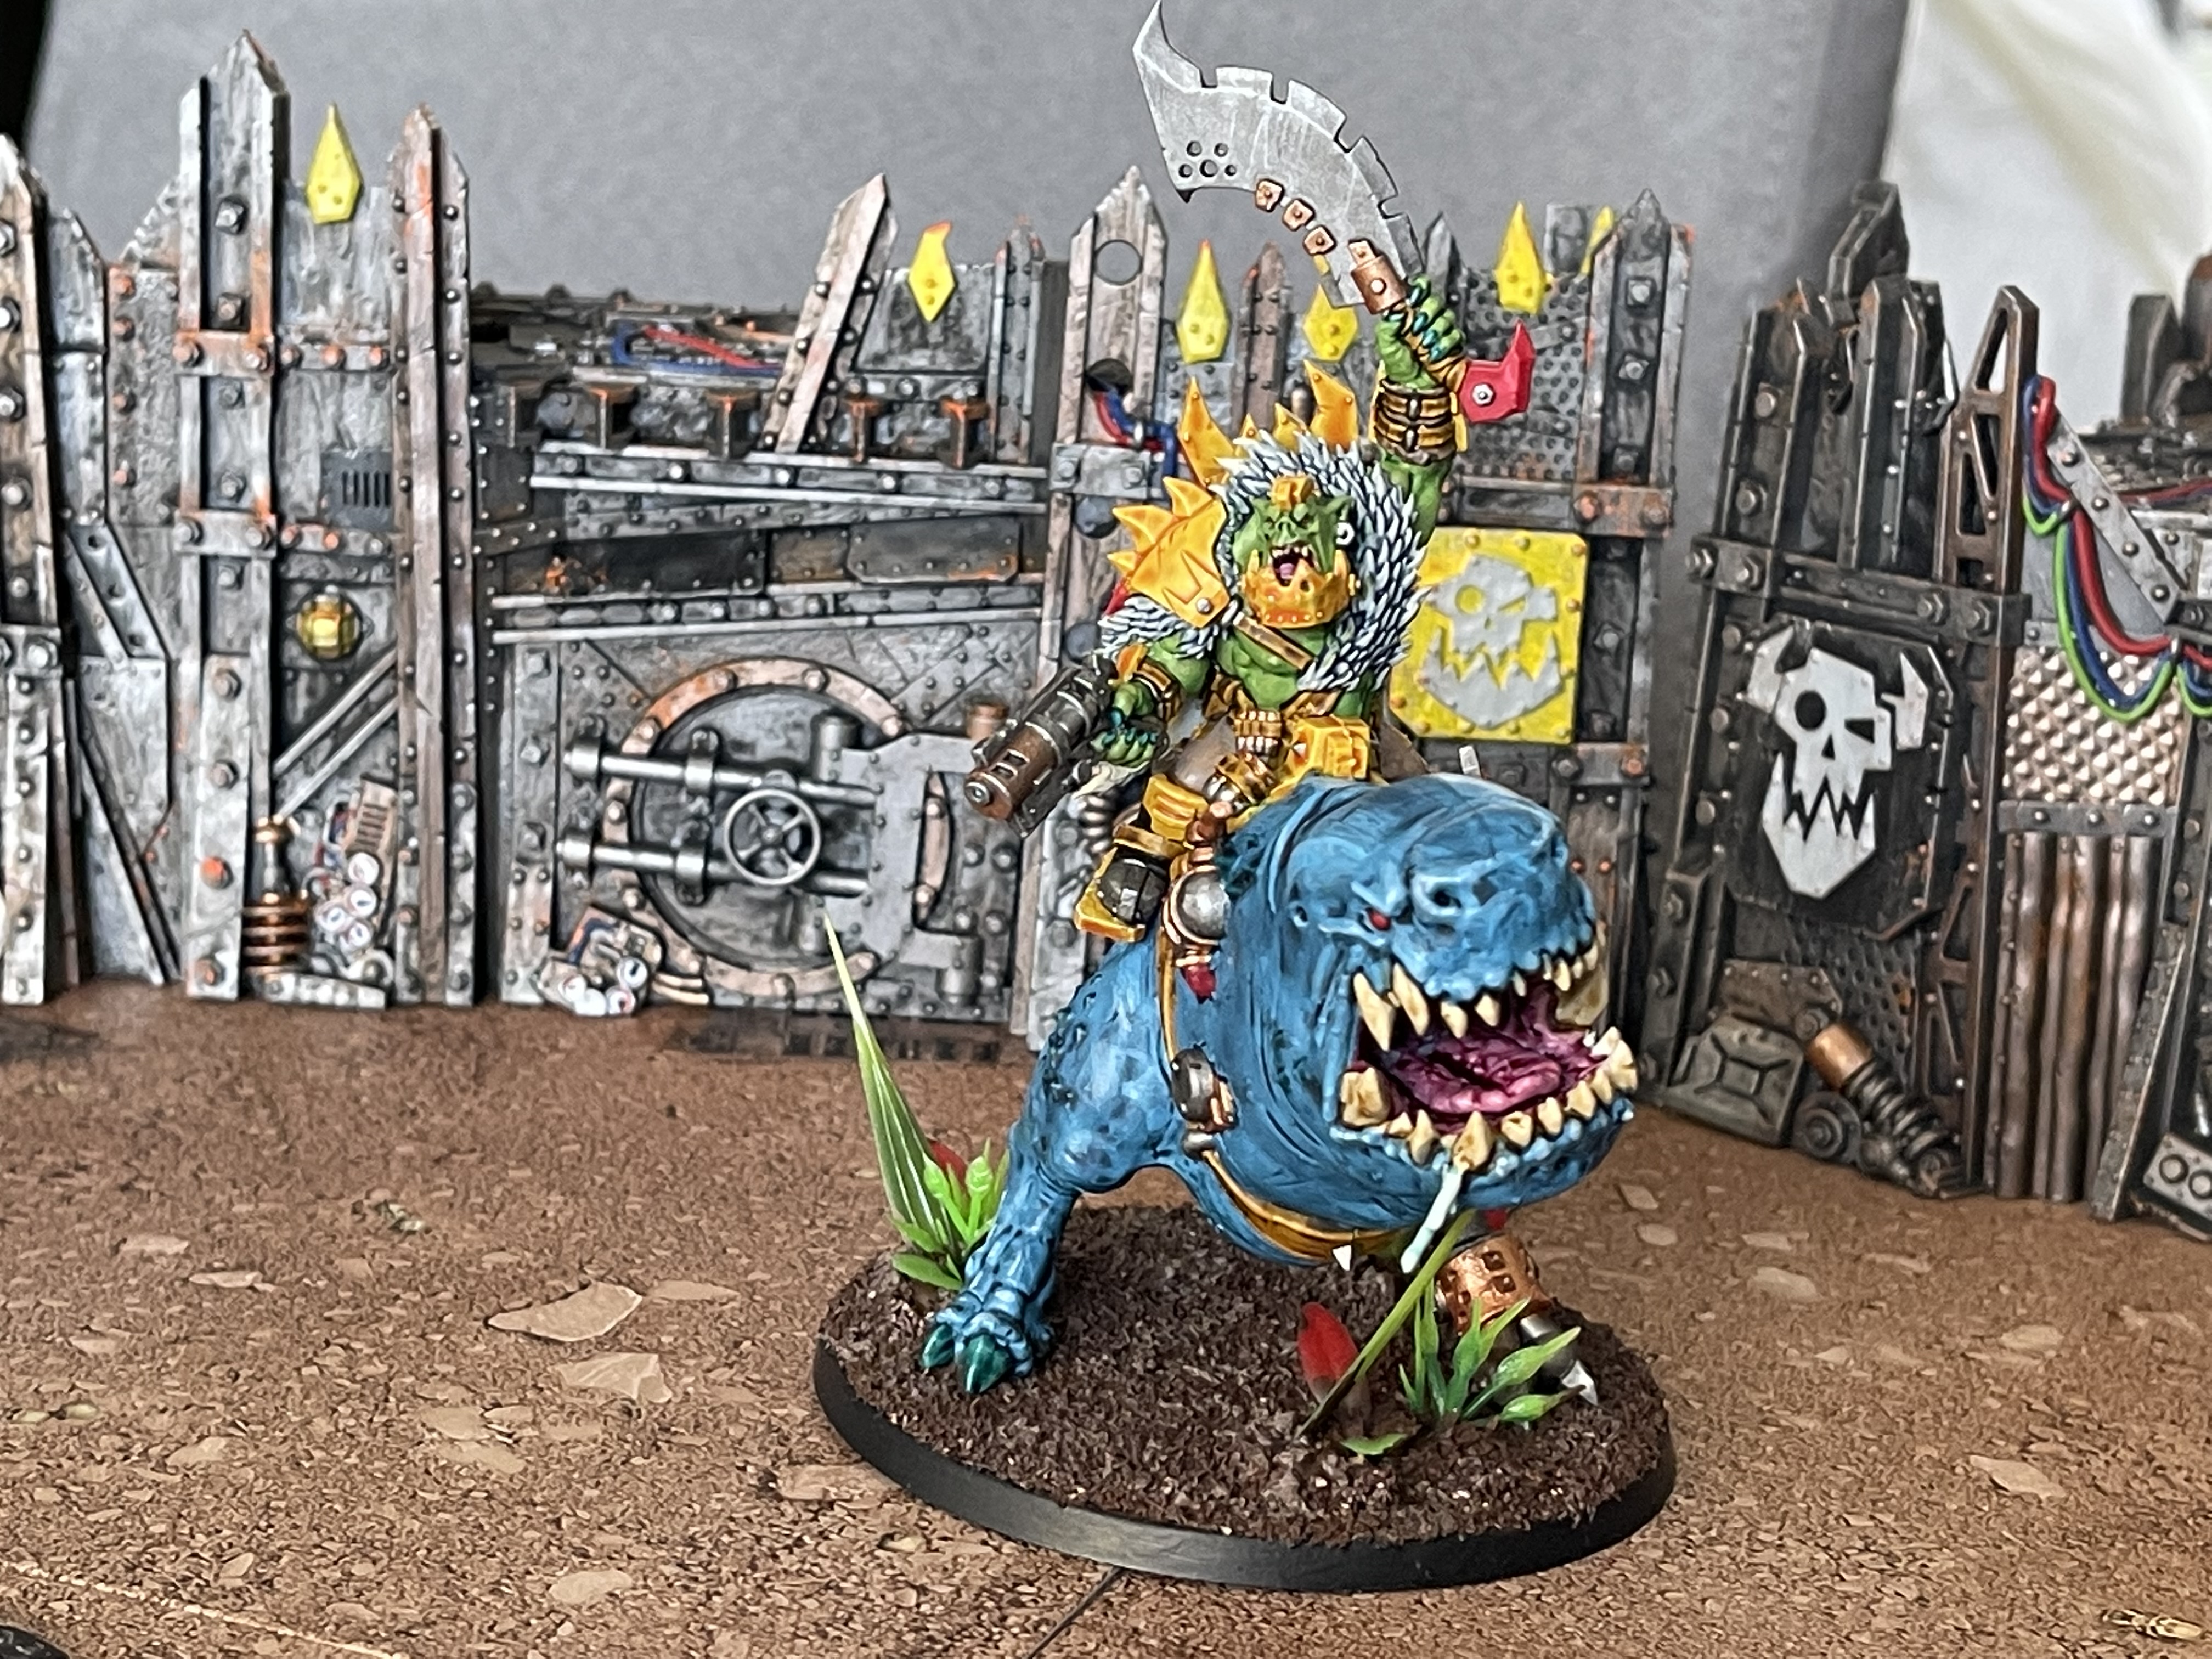 He sneaked in from somewhere
I got myself the new Ork combat patrol mainly for the Deffkoptas and boss with a grot gunner on the top and for once I have finished painting these up. They are done with same recipe as before and I’ve even finished the speed freeks box as well!
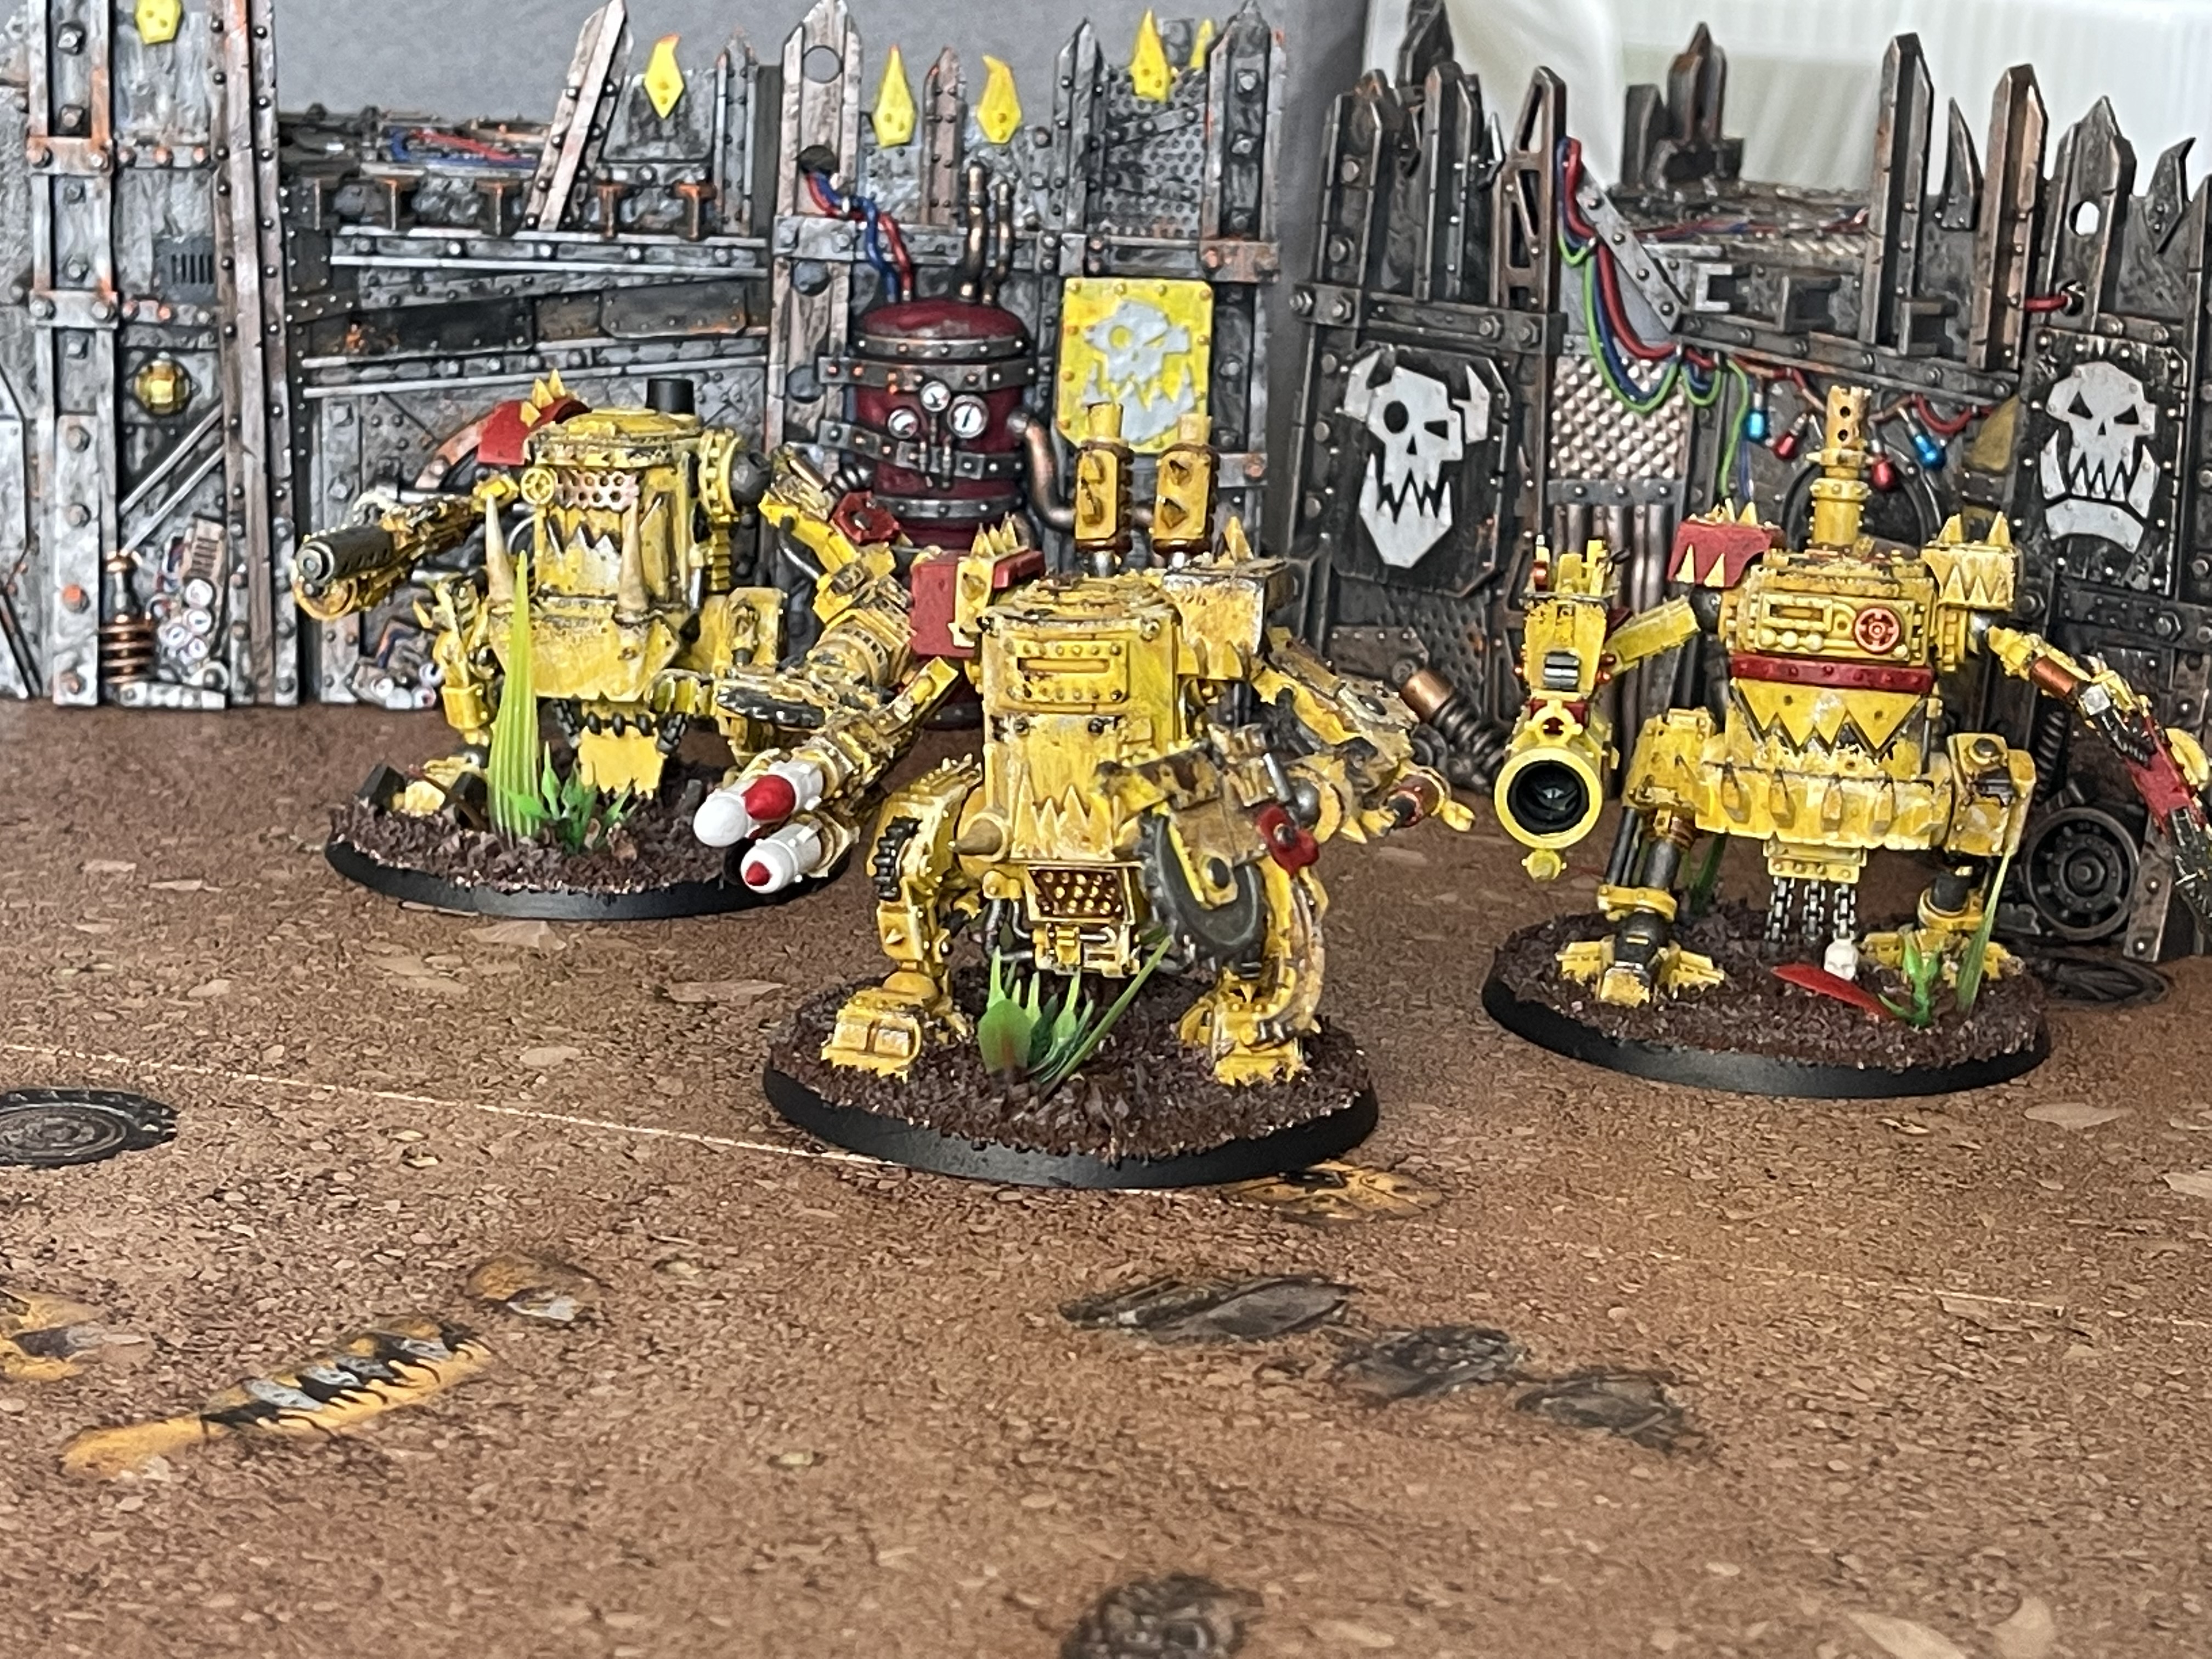
There is even some basing finished on some Killa Kans that I had done in a similar scheme. I am hoping this will be enough to finally get a game in with these boyz.
Kill teams are done
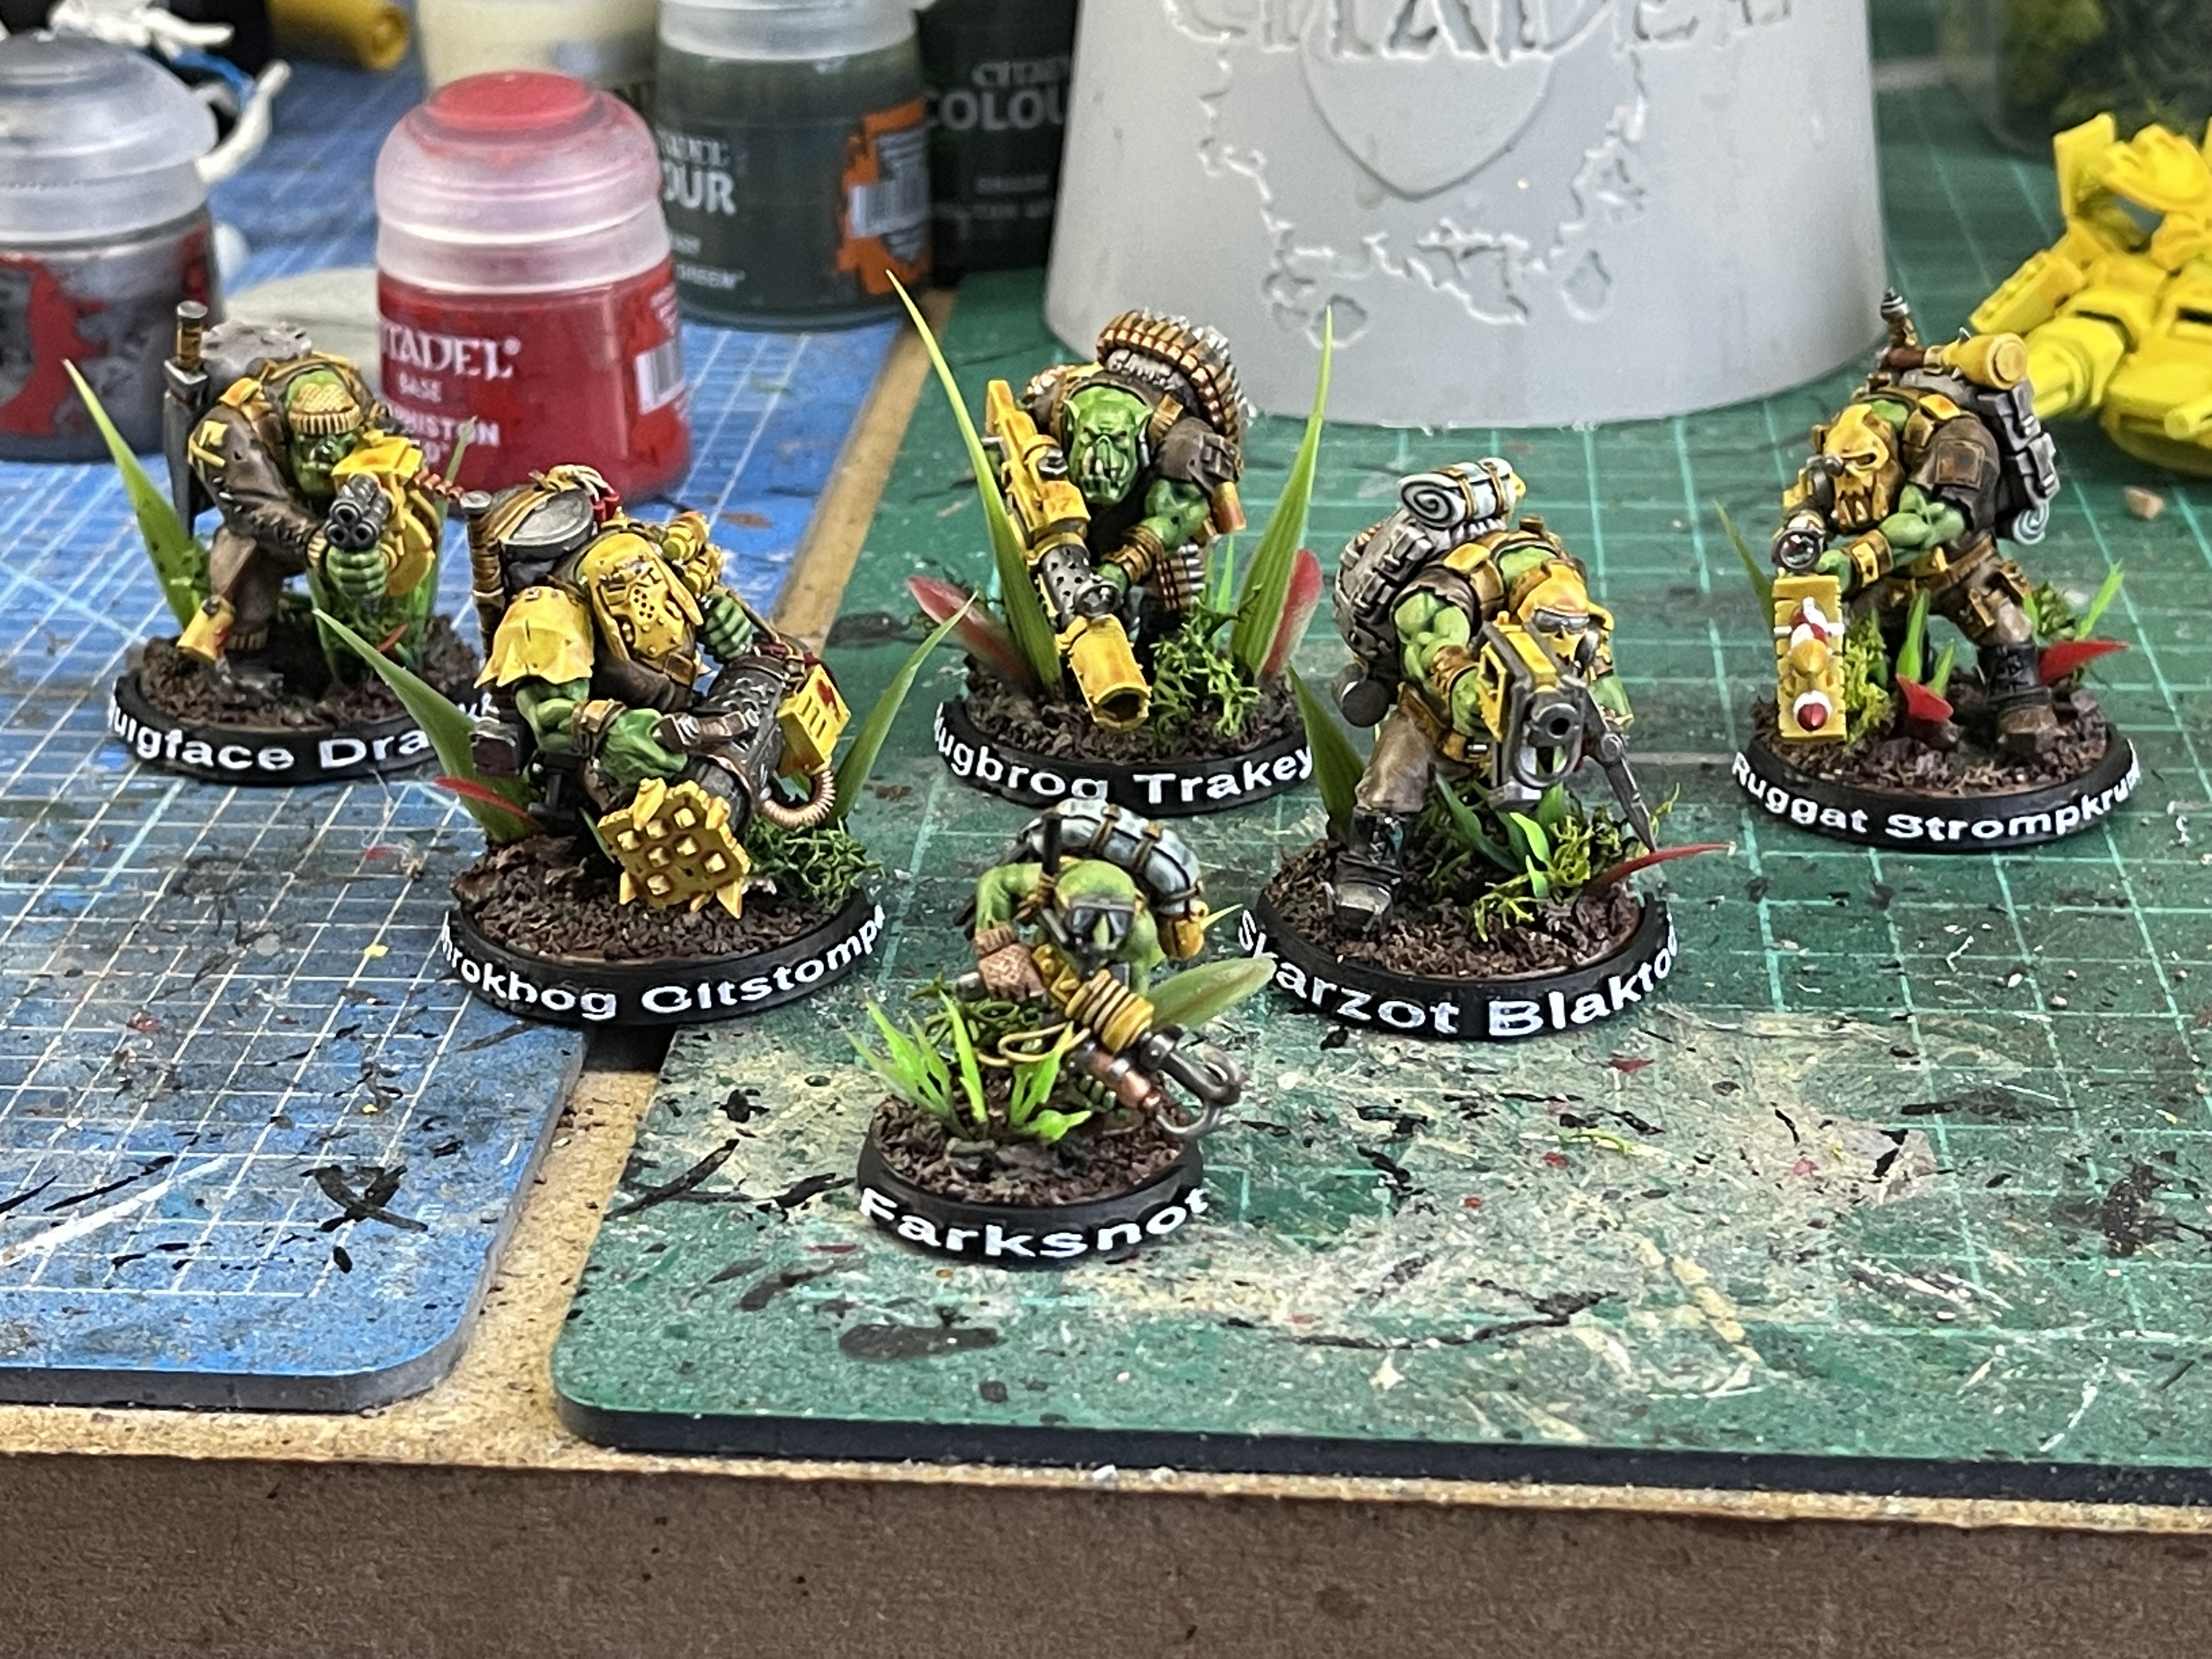
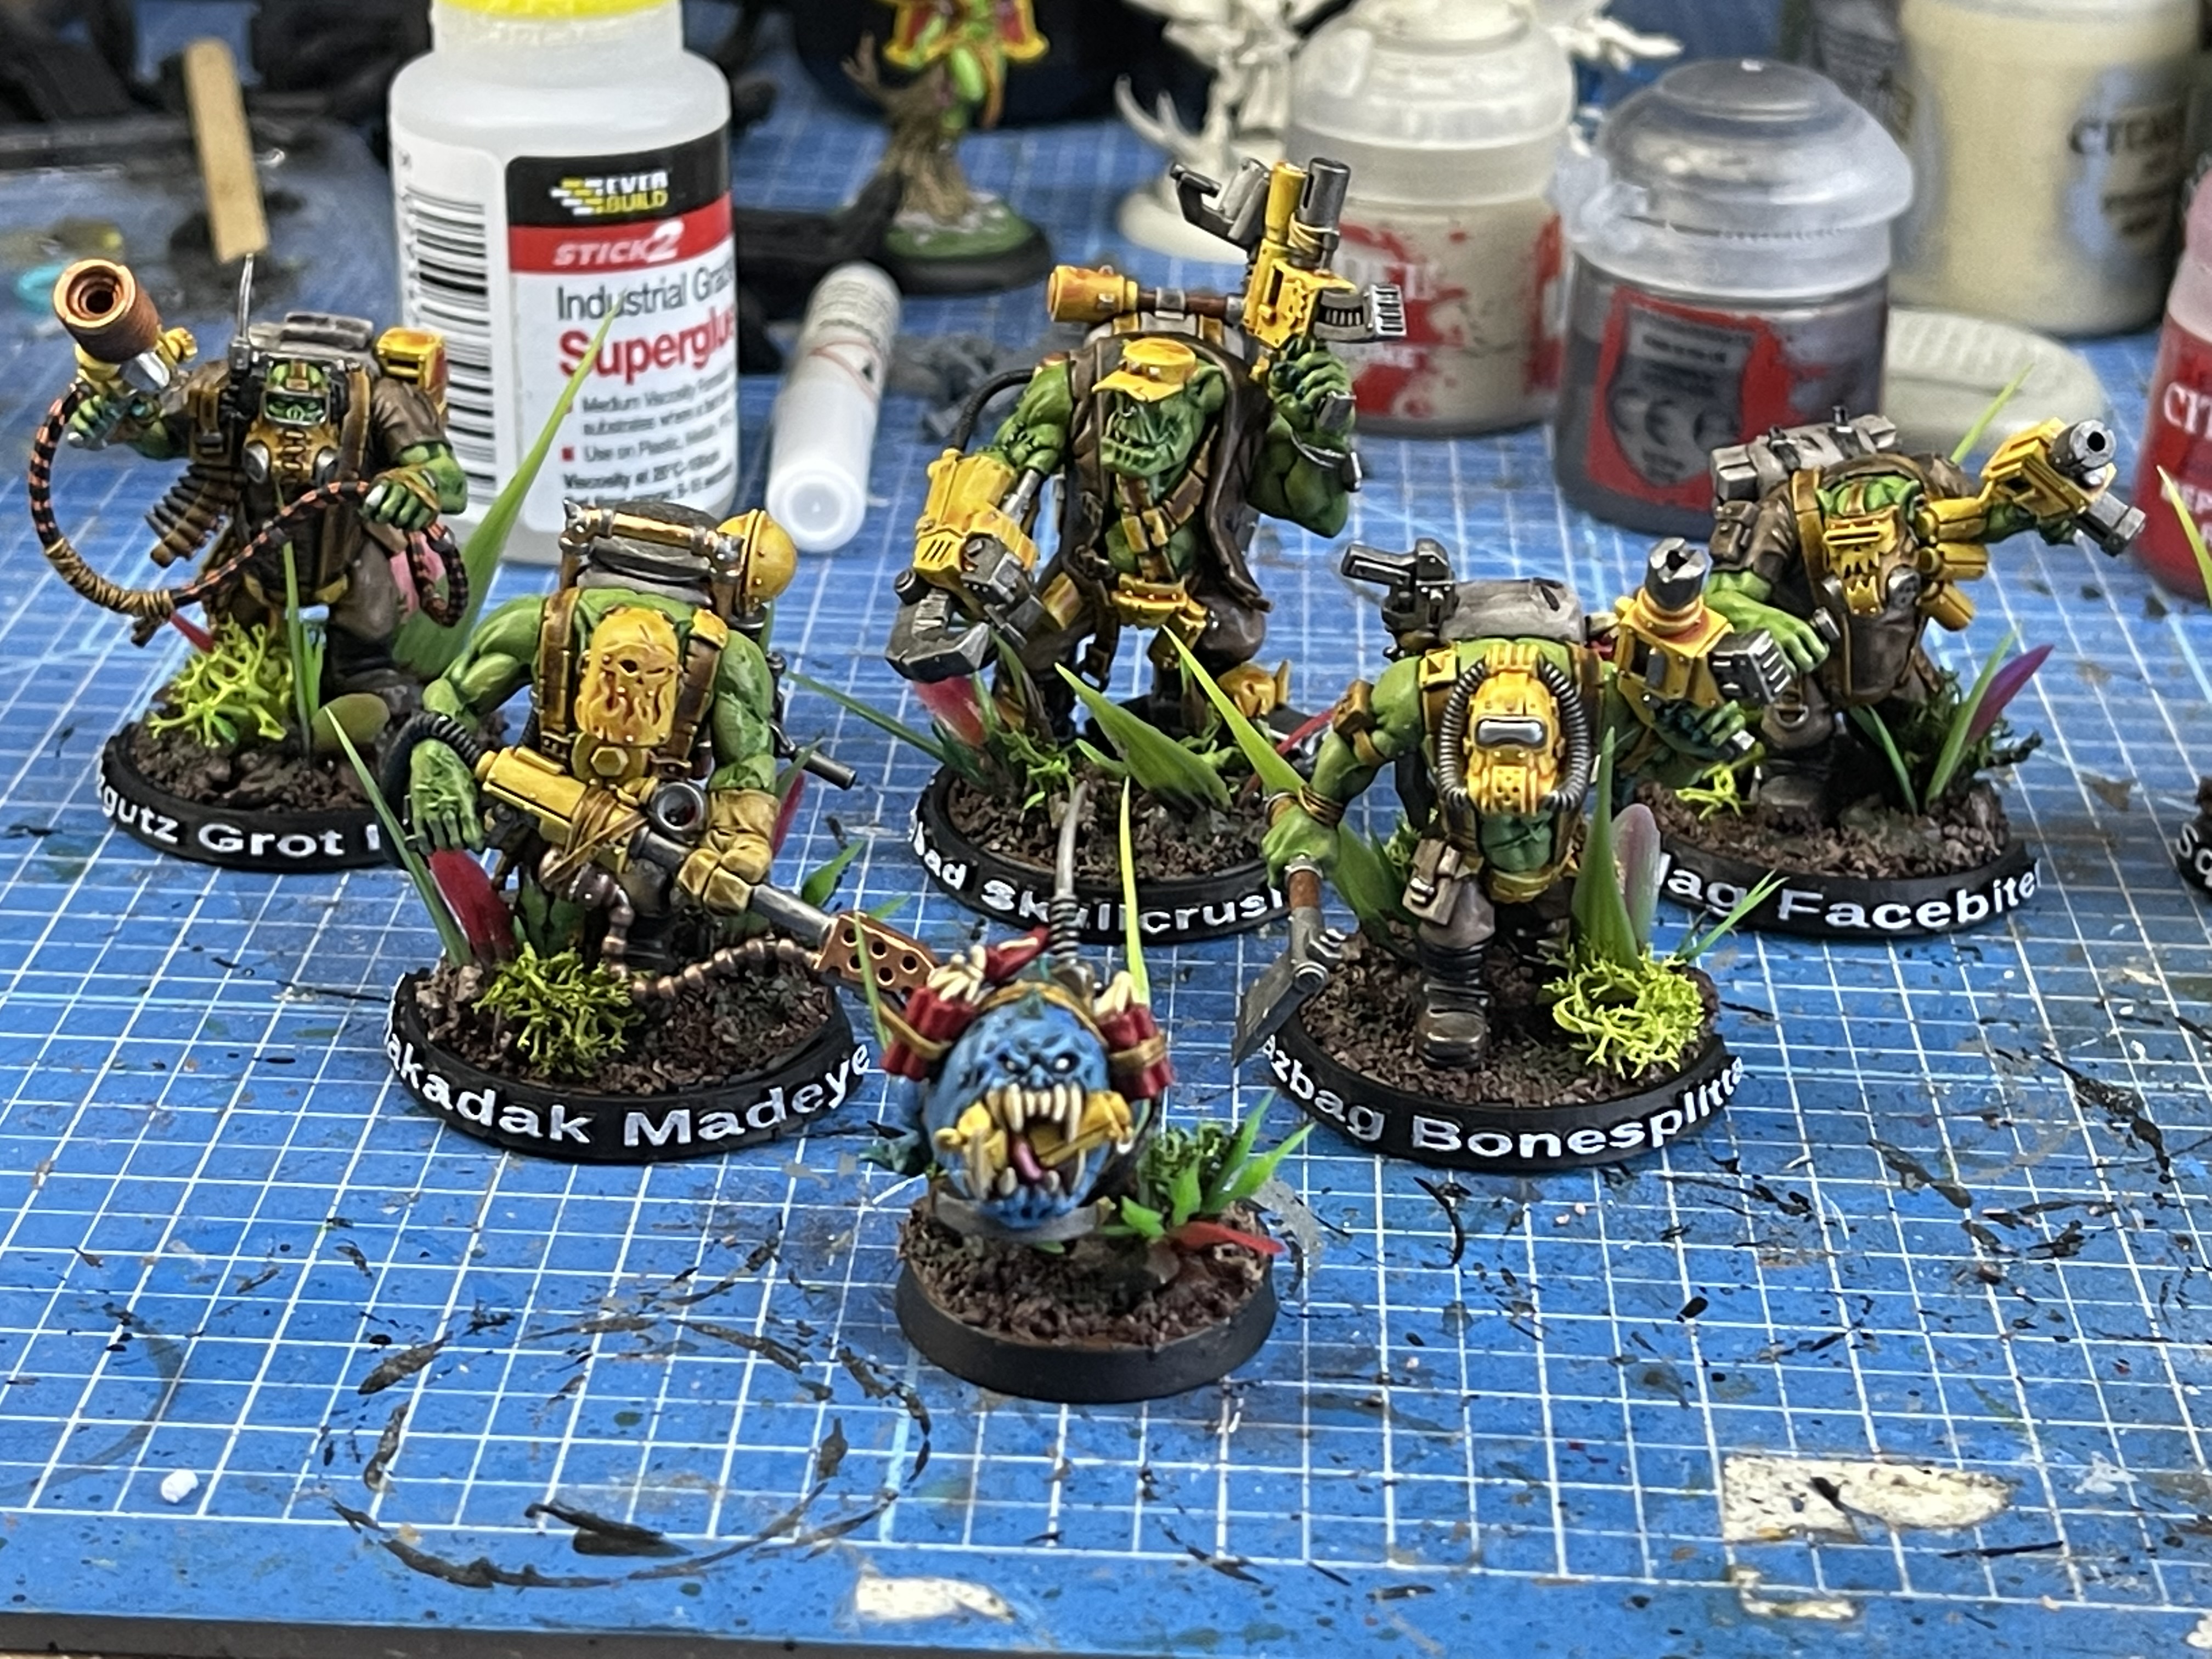
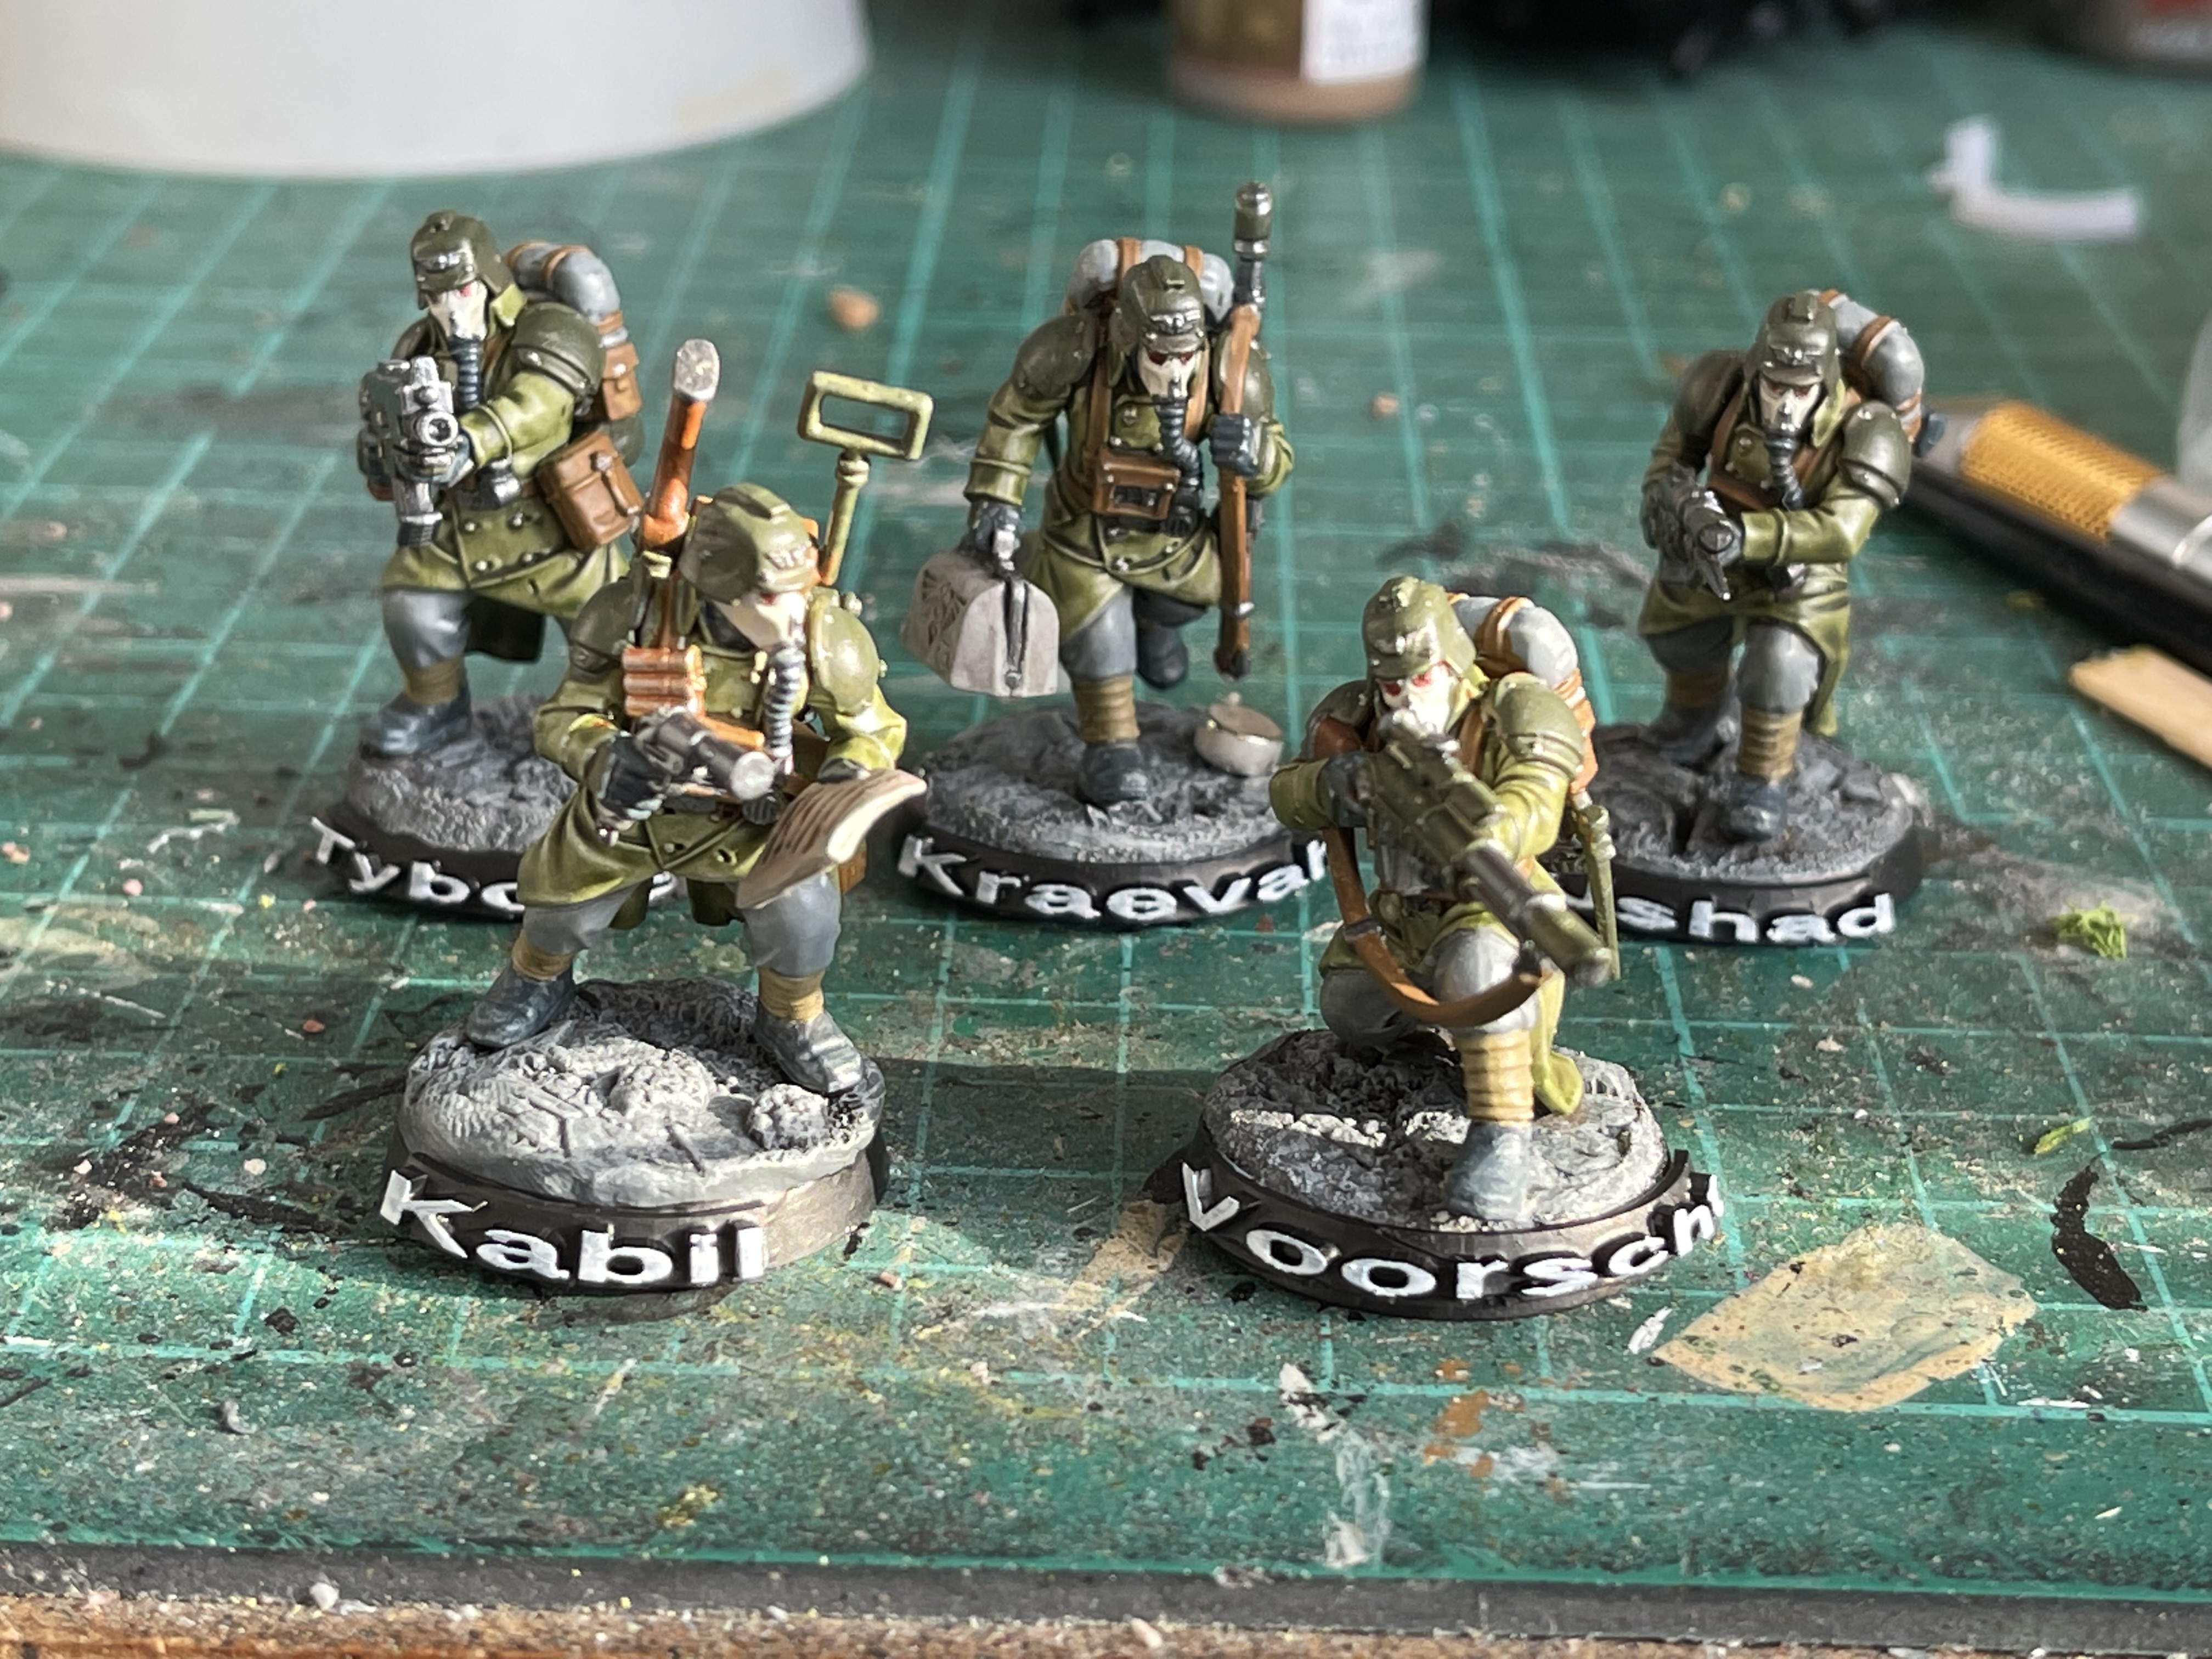

The orks are painted using the colour scheme I used for all the others and the guard are painted using Johns colour scheme from his 3 colours up but with militarum green coats.
I looked at buying some nameplates but that seem very expensive so I designed some in tinkercad and printed them on my elegoo saturn. I used ABS like resin so they would have some flex and not snap as they are very thin. If I do some more I will look at changing the font or going all caps next time, the names I rolled from the book.


![StarCraft Tabletop Miniatures Game Pre-Orders Live Now [Updated]](https://images.beastsofwar.com/2026/03/starcraft-tmg-news-cover-600-338.jpg)


![Mounted US Cavalry On Kickstarter For Dead Man’s Hand! [Updated]](https://images.beastsofwar.com/2026/03/us-cavalry-main-600-338.jpg)


