


![Alternative Trench Crusade Miniatures? Trench Missionaries Review | Wargames Atlantic [7 Days Early Access]](https://images.beastsofwar.com/2026/03/unboxing-wargames-atlantic-trench-missionaries-coverimage-225-127.jpg)


A Steampunk Challenge


Recommendations: 176
About the Project
A challenge to paint a 75mm figures
Related Company: Scale75
Related Genre: Steampunk
This Project is Active
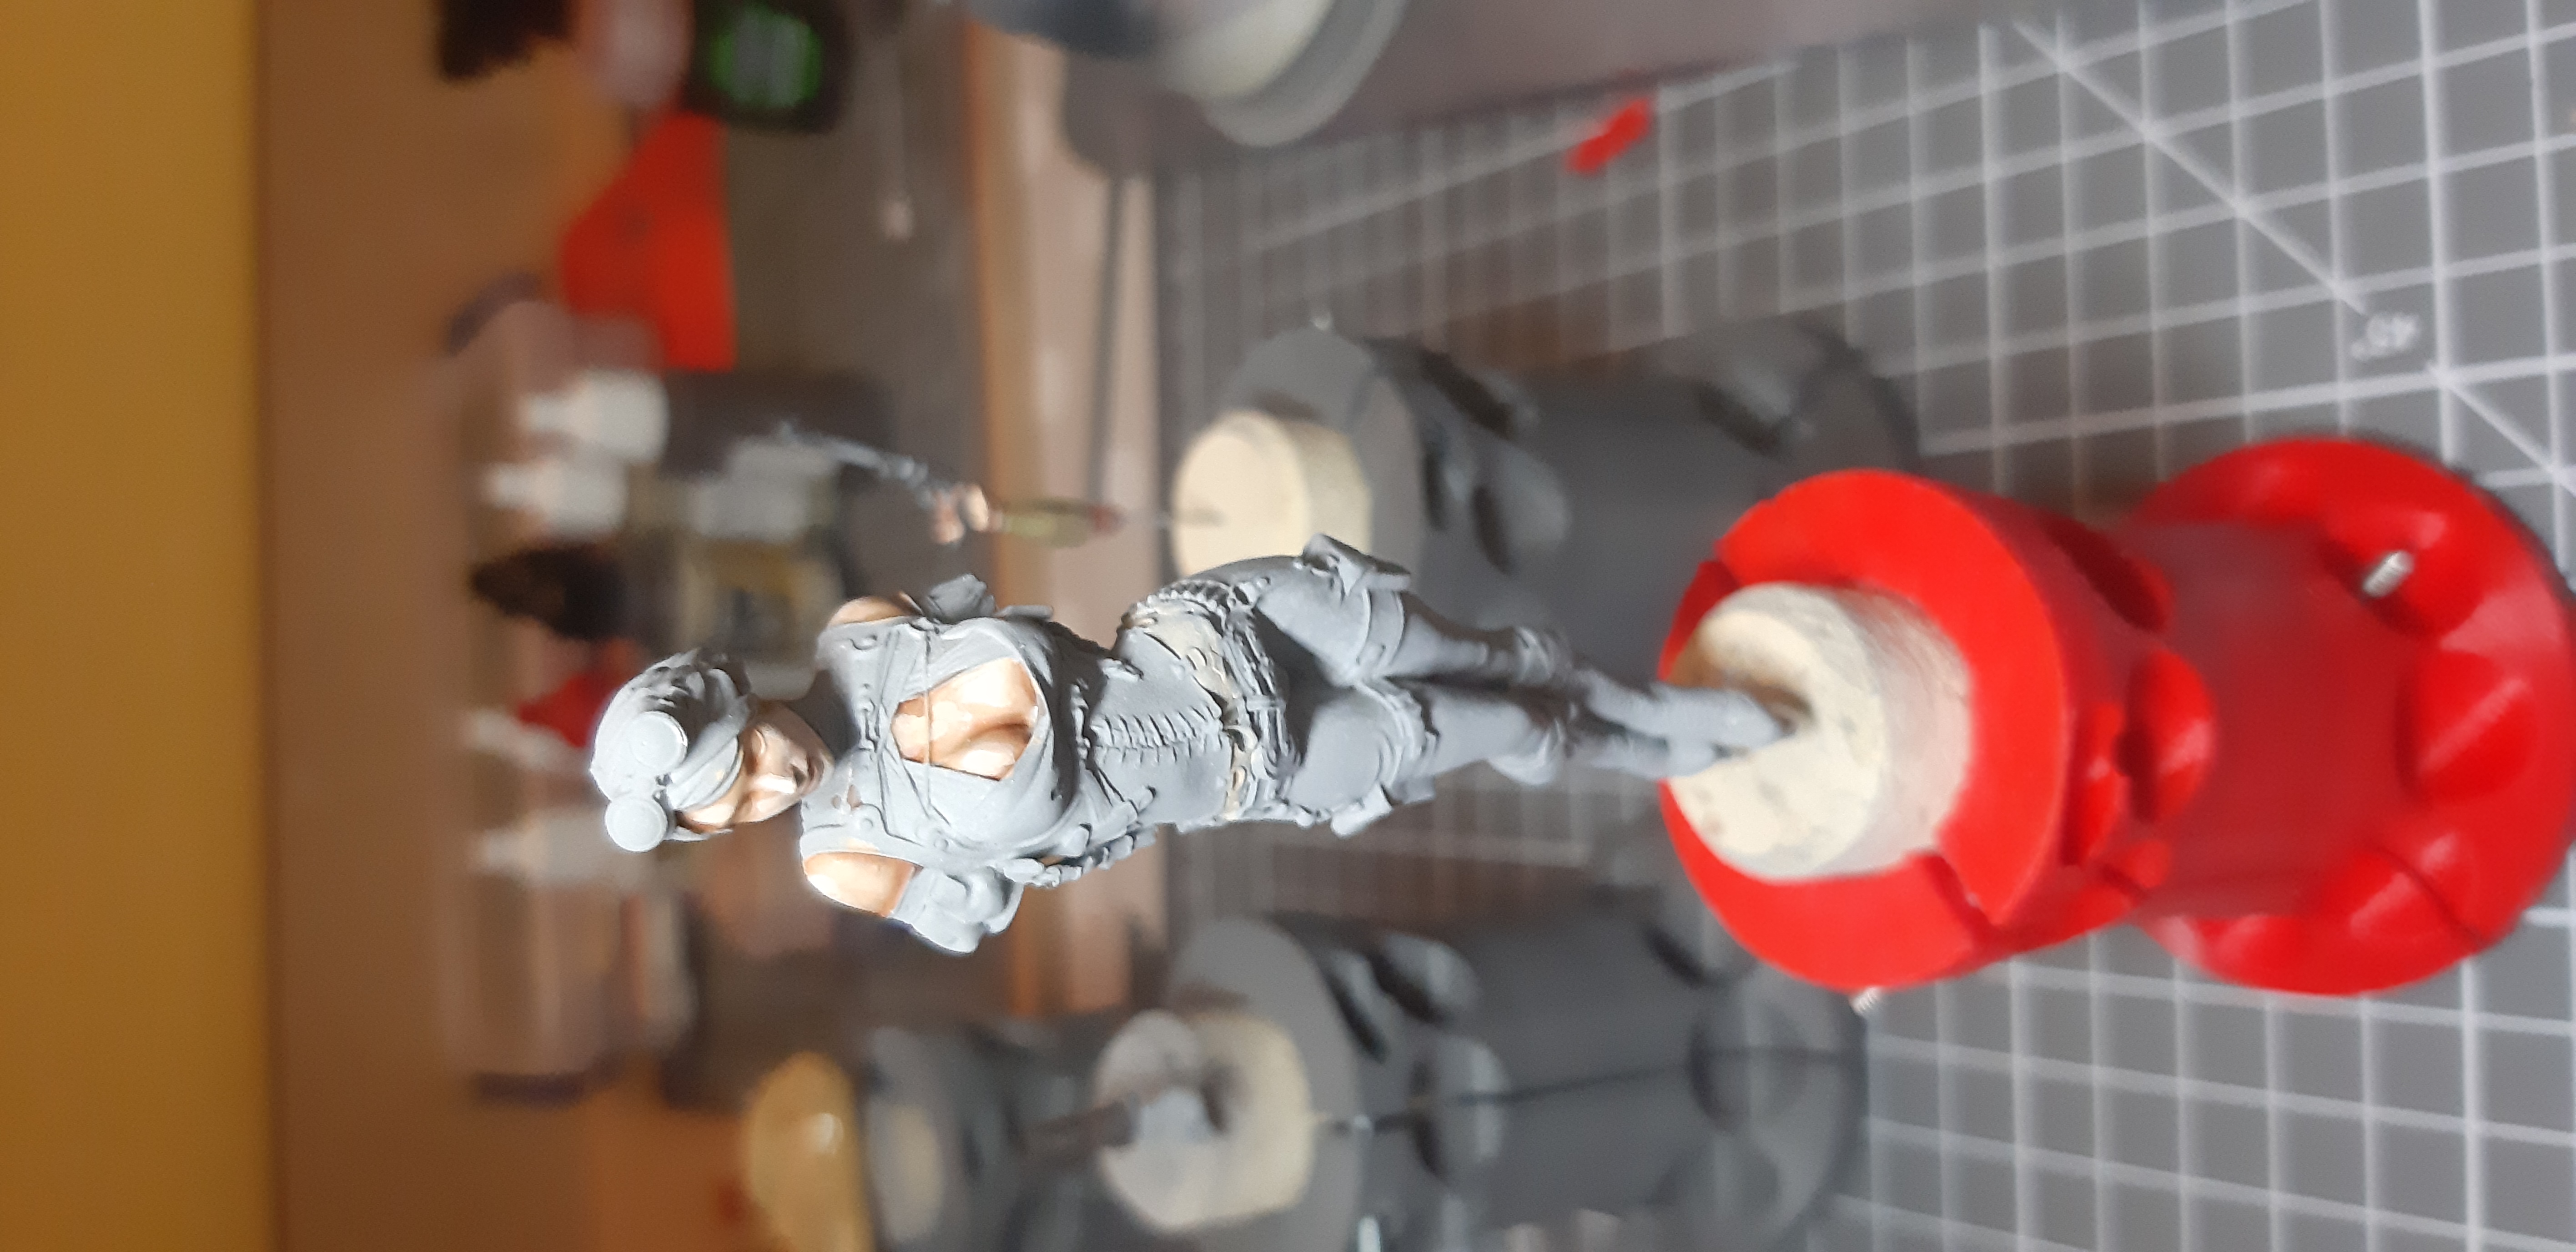
Skin
I managed to crack on with the skin yesterday and today, I think I’m happy with it (although my wife described it as fake tan).
I don’t have any Scale 75 paints so I have had to make adjustments to the scheme, the paint rack app on my phone does a good job of suggesting alternatives, but sometimes they are a little wierd (it suggests metallics sometimes for non-metallic colours!). So having undercoated in grey I decided to use GW Kislev Flesh as the base colour I gave this a wash of Reikland Fleshshade. I then went back in with the base colour and then added a little white in for two more watered down highlight layers. I tried a little of blending to cut the edges down.
Having painted the upper areas of skin I realised that I had missed the small amount of skin round the waist, which I have just started in this picture. The lighting isn’t brilliant the spotlight needs to be more diffuse.
Next up will be the eyes.
Priming
I had hoped to have more time last week to crack on with this project, but my family ended up in isolation (not me!) and so it was put on one side. Anyway having got the sub-assmeblies done I have been out and primed it with Halford Grey primer.
A Challenge
I backed a recent kickstart by Scale 75 and got a copy of their book on how to paint steampunk. Having looked at it I decided that I would challenge myself to paint one of their 75mm figures. Fortunately, Black Friday came round and I purchsed Jessica Thunderhawk.
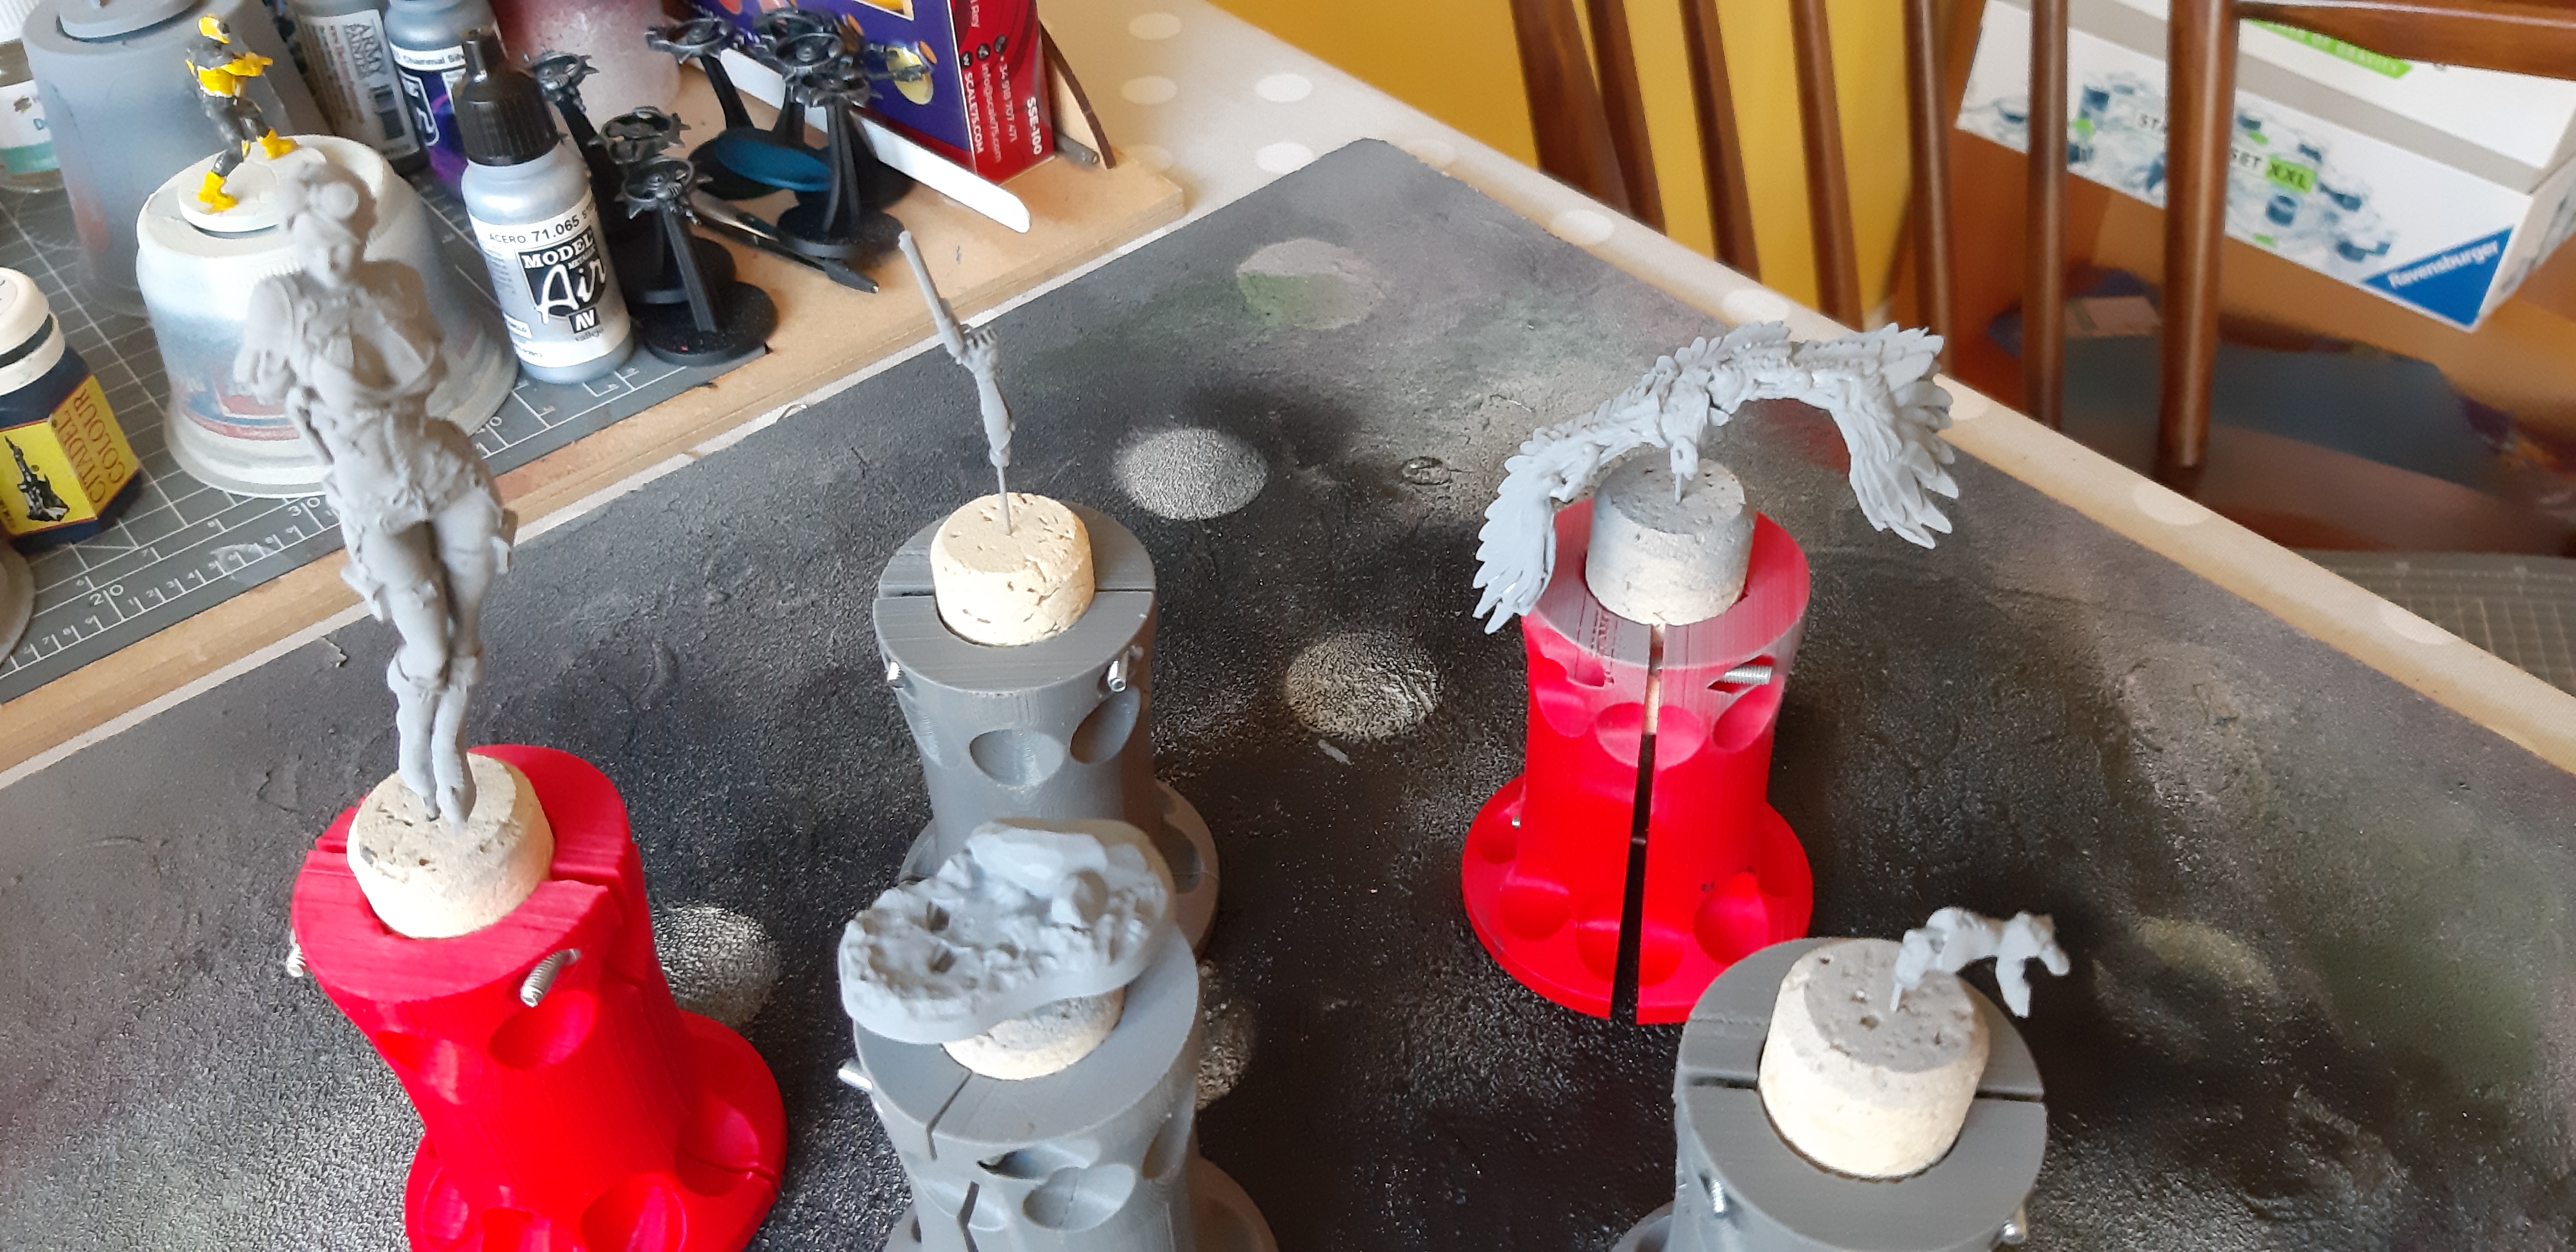
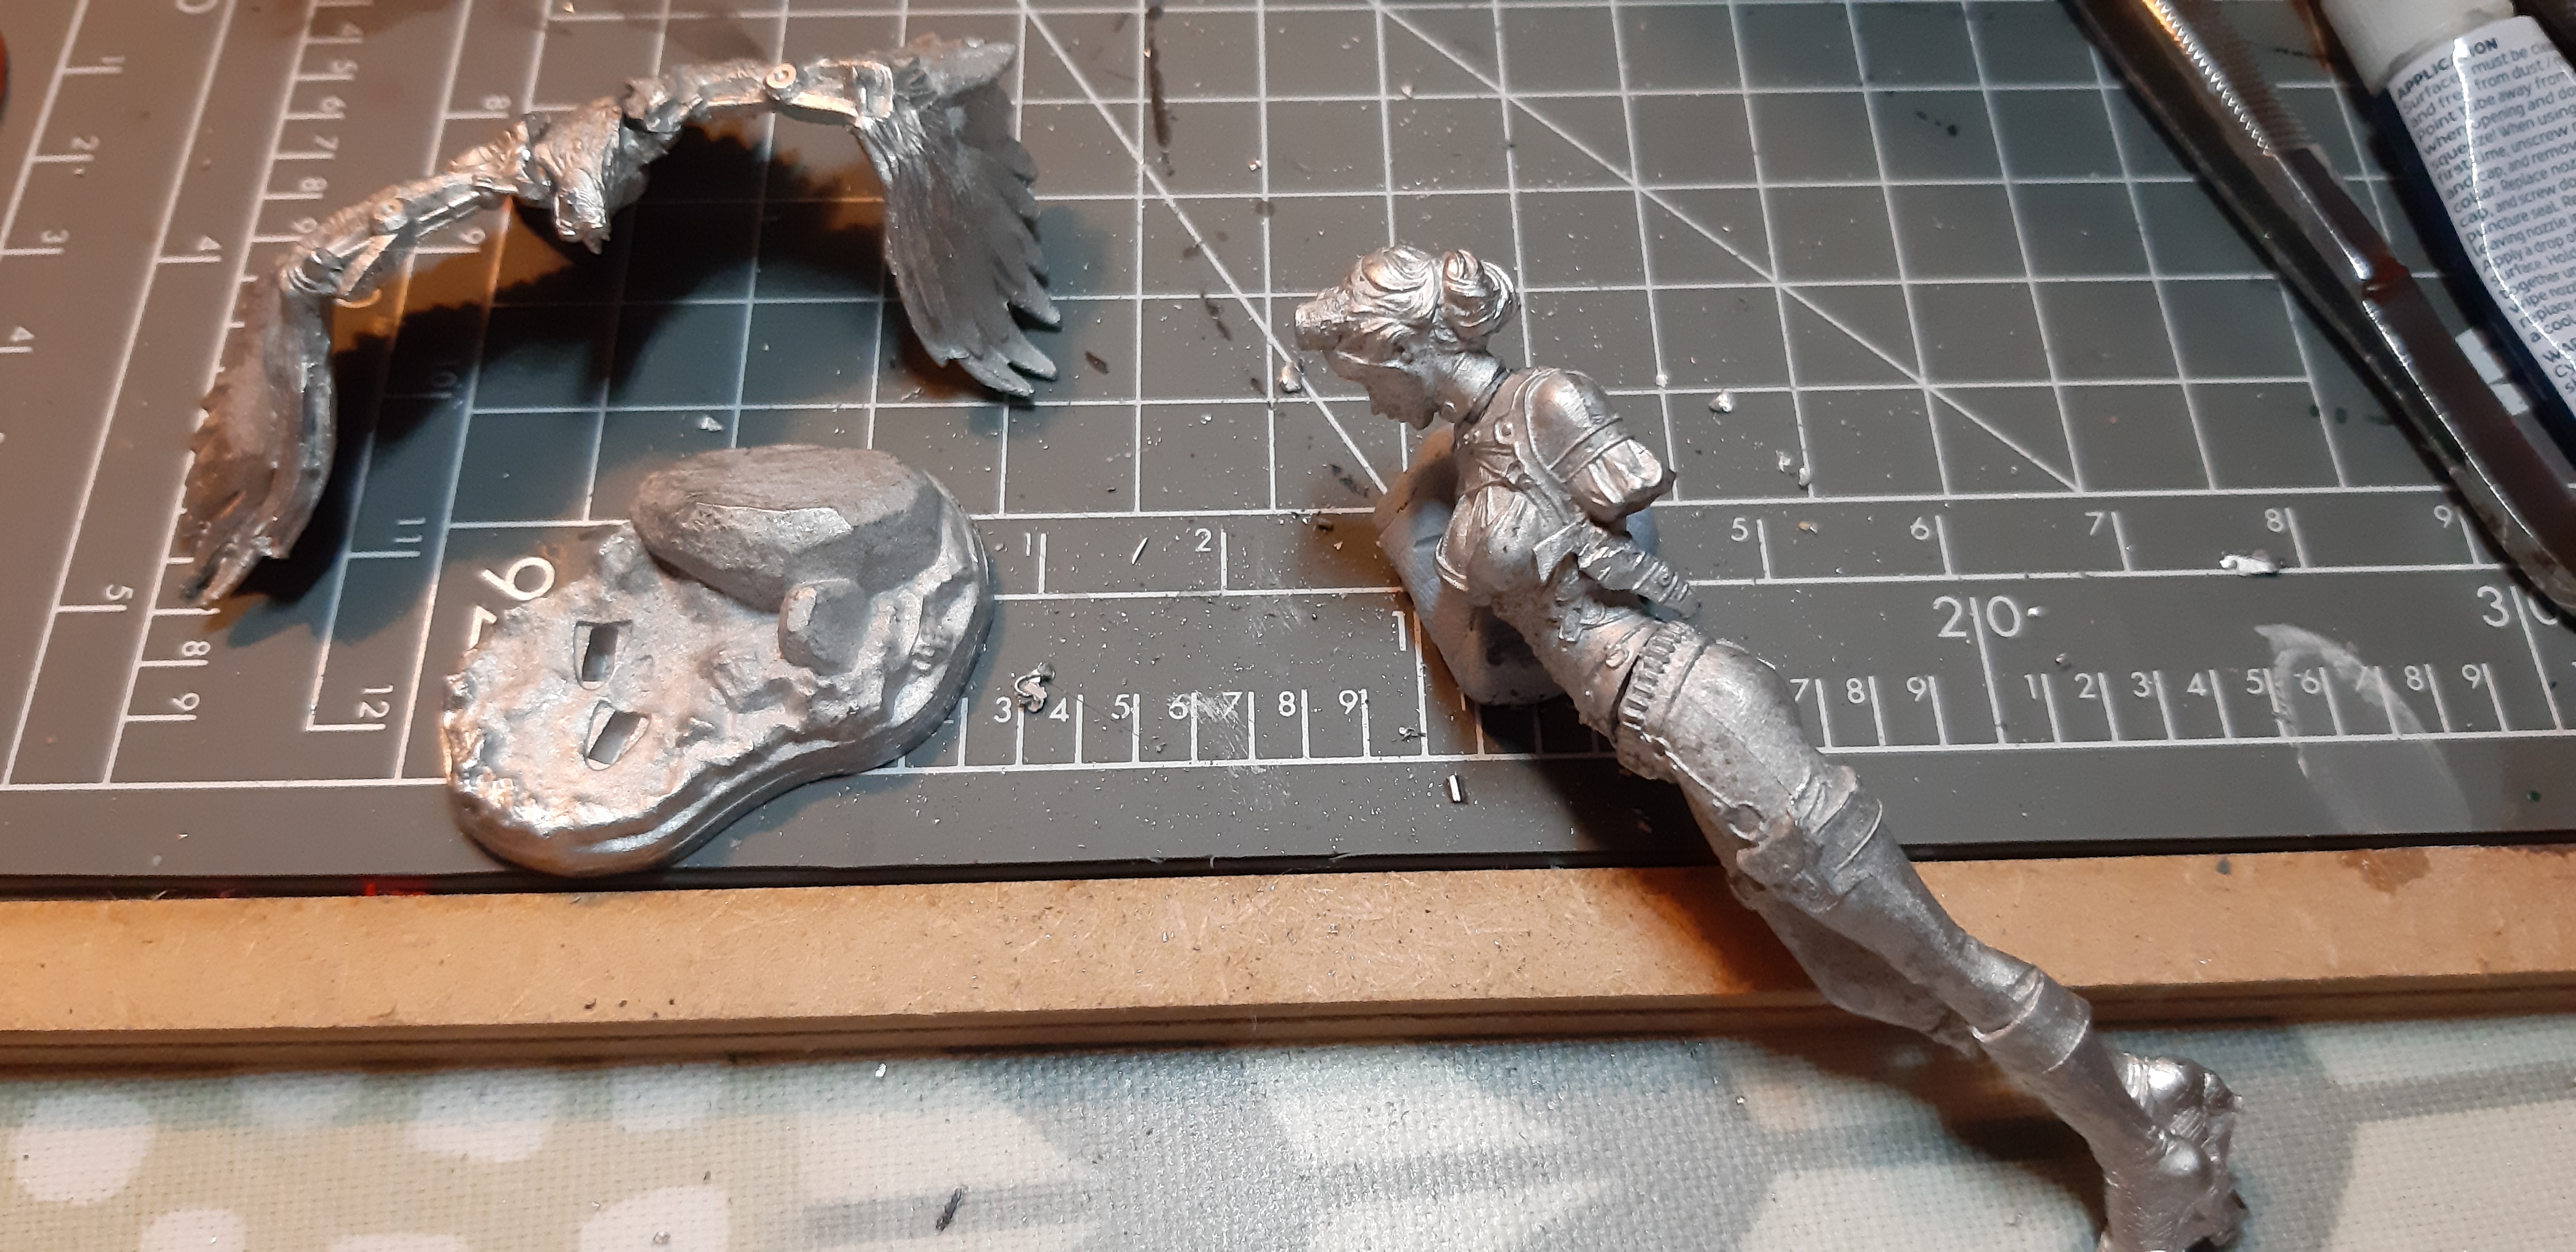
The figure arrived this week and I’ve just got round to opening the box to look at the parts and start cleaning up for assembly. The figure comes in 11 parts, head, torso, legs, left arm, right, arm, two under-shoulder pistols, hawk body hawk left wing and hawk right wing. There is also a white-metal base which look well designed to maintain the balance of the model. There was some flashing apparent on the miniature, but not too much and it cleaned up easily.
I dry fitted the parts and I am a little concerned with the connection between the hawks legs (on the left arm) and it’s body so I might try to put a pin in there. I’m going to paint it in several parts so have assembled the head, torso and leg as well as the hawk.
 The pre-assembled parts
![StarCraft Tabletop Miniatures Game Pre-Orders Live Now [Updated]](https://images.beastsofwar.com/2026/03/starcraft-tmg-news-cover-600-338.jpg)


![Mounted US Cavalry On Kickstarter For Dead Man’s Hand! [Updated]](https://images.beastsofwar.com/2026/03/us-cavalry-main-600-338.jpg)


![Play WW2 Commando Operations With Butcher & Bolt [Updated]](https://images.beastsofwar.com/2026/03/relaunch-600-338.jpg)


