


![10mm Medieval Miniatures! Azincourt English Army Review | Wargames Atlantic [7 Days Early Access]](https://images.beastsofwar.com/2026/03/unboxing-wargames-atlantic-azincourt-english-army-coverimage-225-127.jpg)


Bot War Painting Challenge 2021 – Atlanticans Rising


Recommendations: 597
About the Project
2021 Bot War painting challenge. To paint for 30 minutes daily for 20 consecutive days, completing at least 5 models during that time. This year, its the rise of the Atlanticans!
Related Game: Bot War
Related Company: Traders Galaxy
Related Genre: Science Fiction
This Project is Completed
Day 5...
1/4 of the way through
And about 5% of the task complete. Really need to step it up a gear. The yellow debacle knocked me back but I do still have a plan. Today though its pushing on with Neptune.
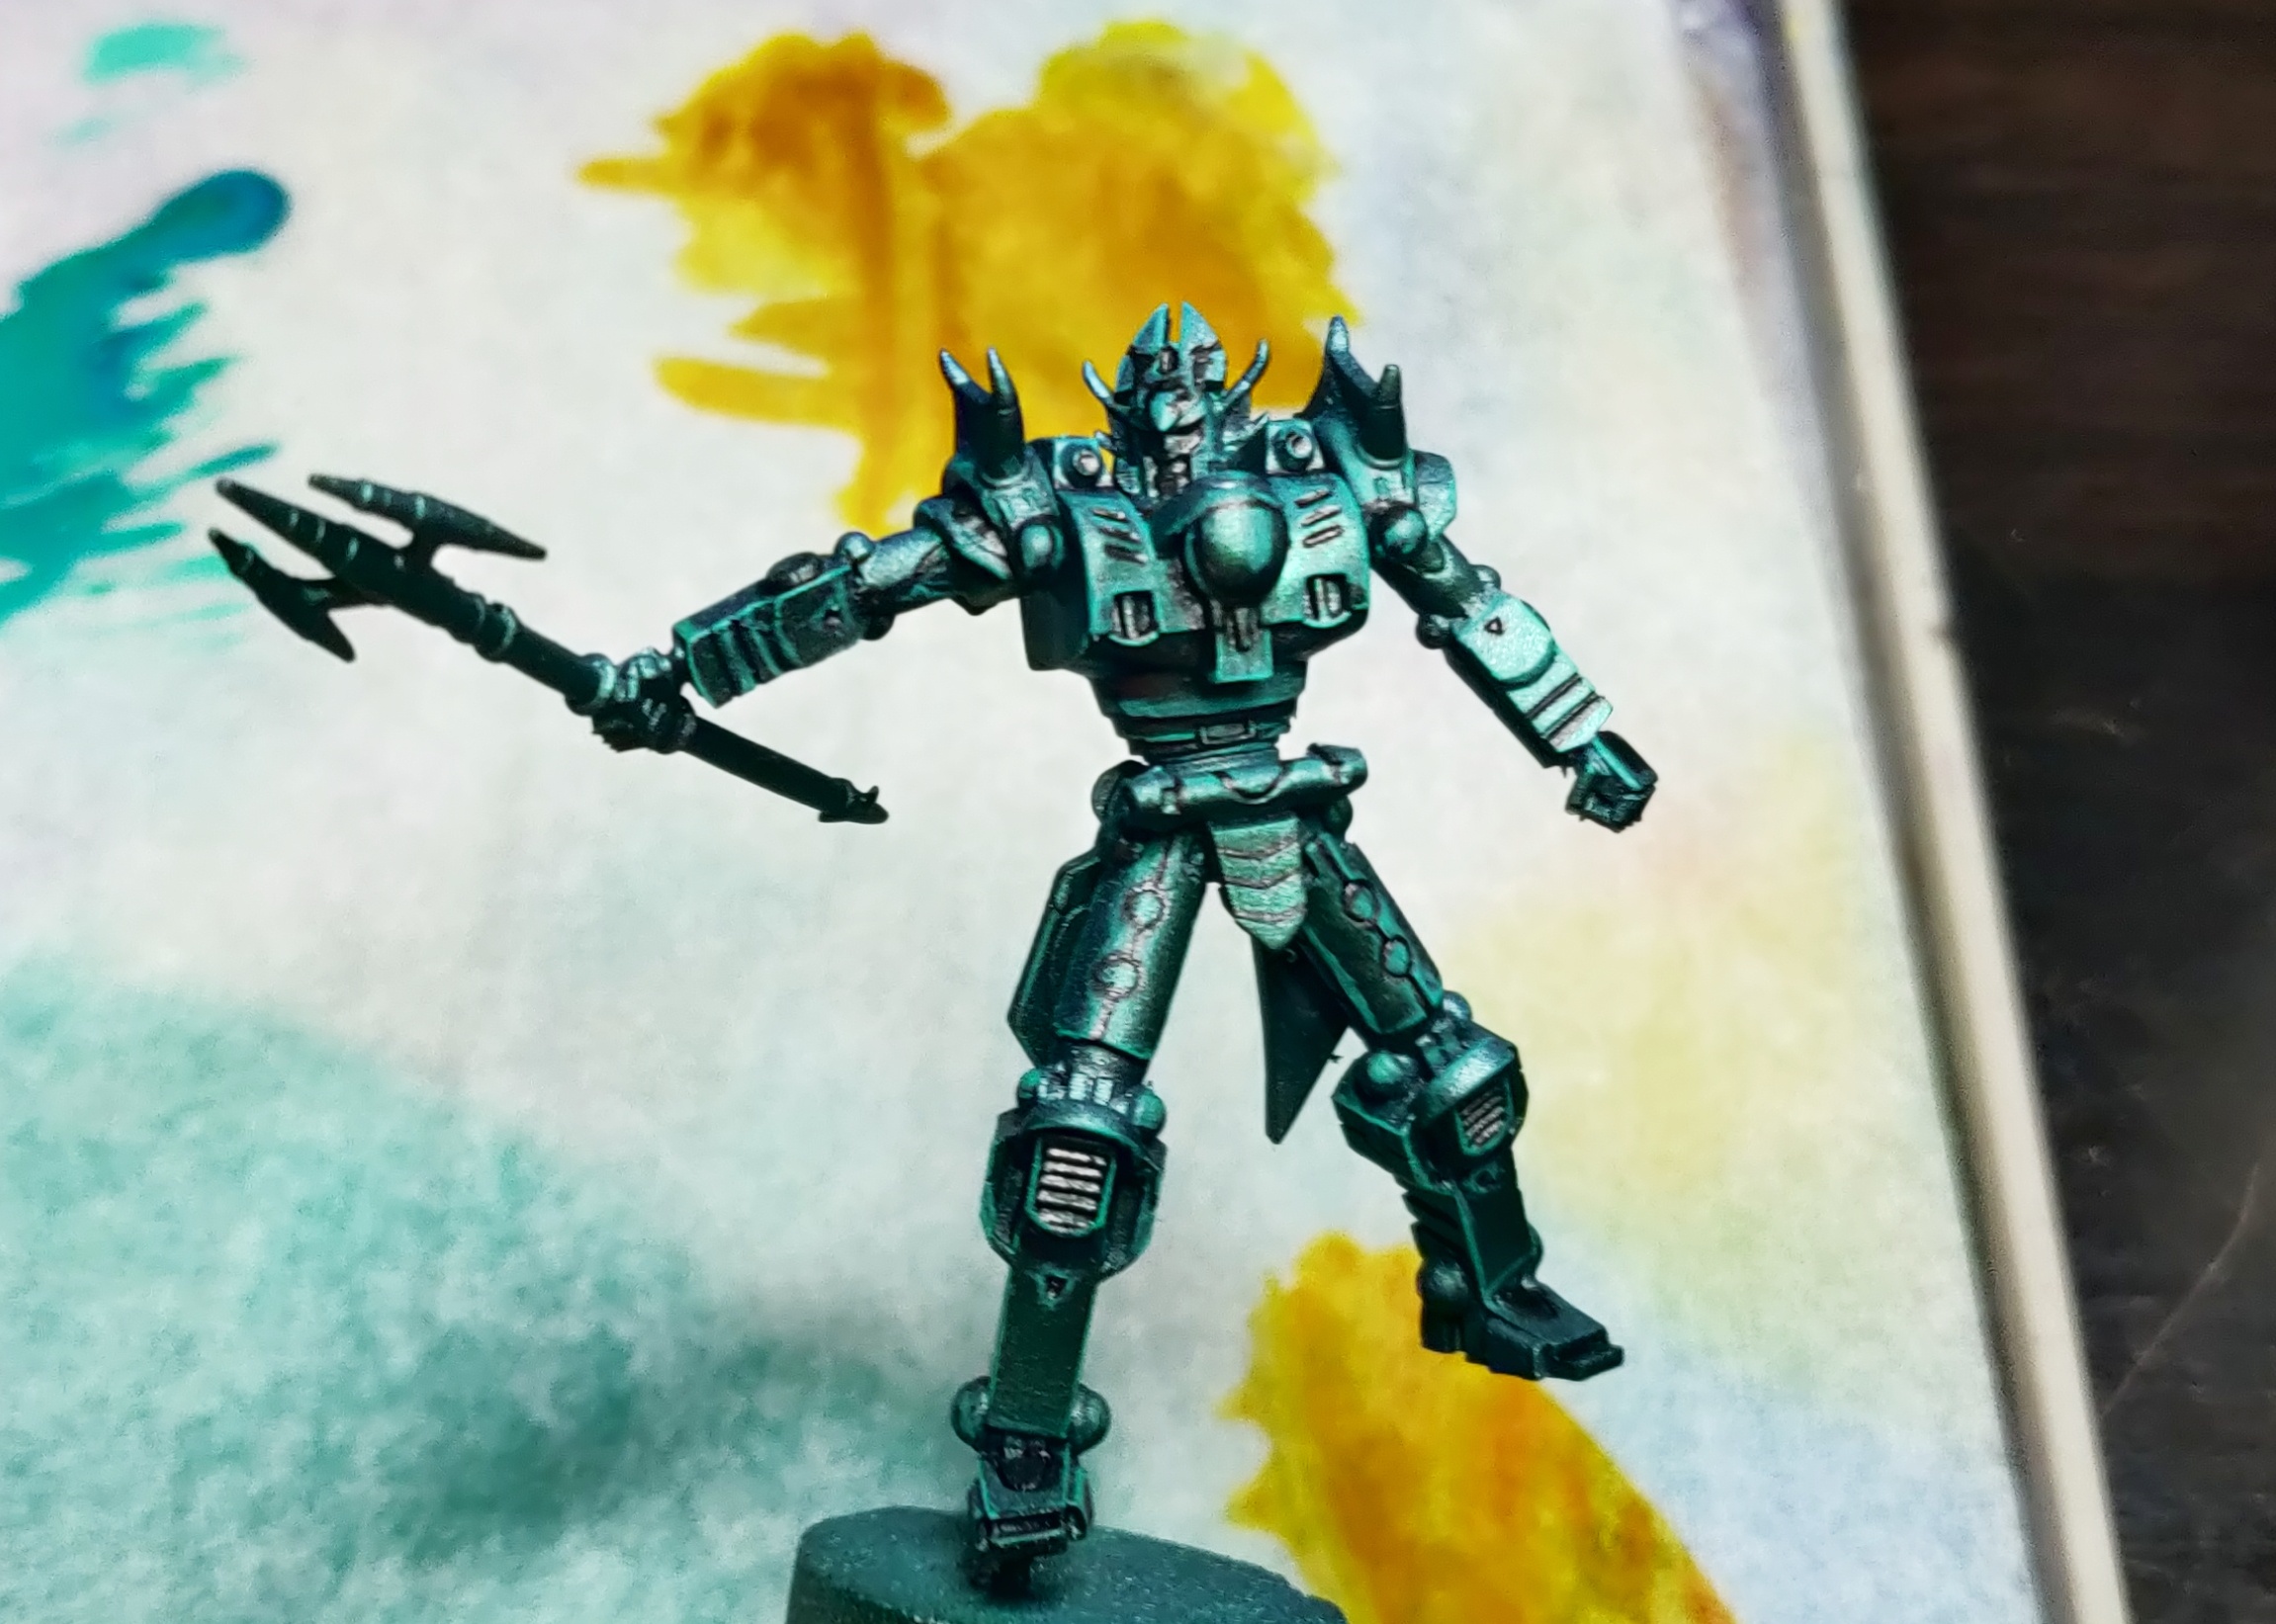 Starting position for Day 5
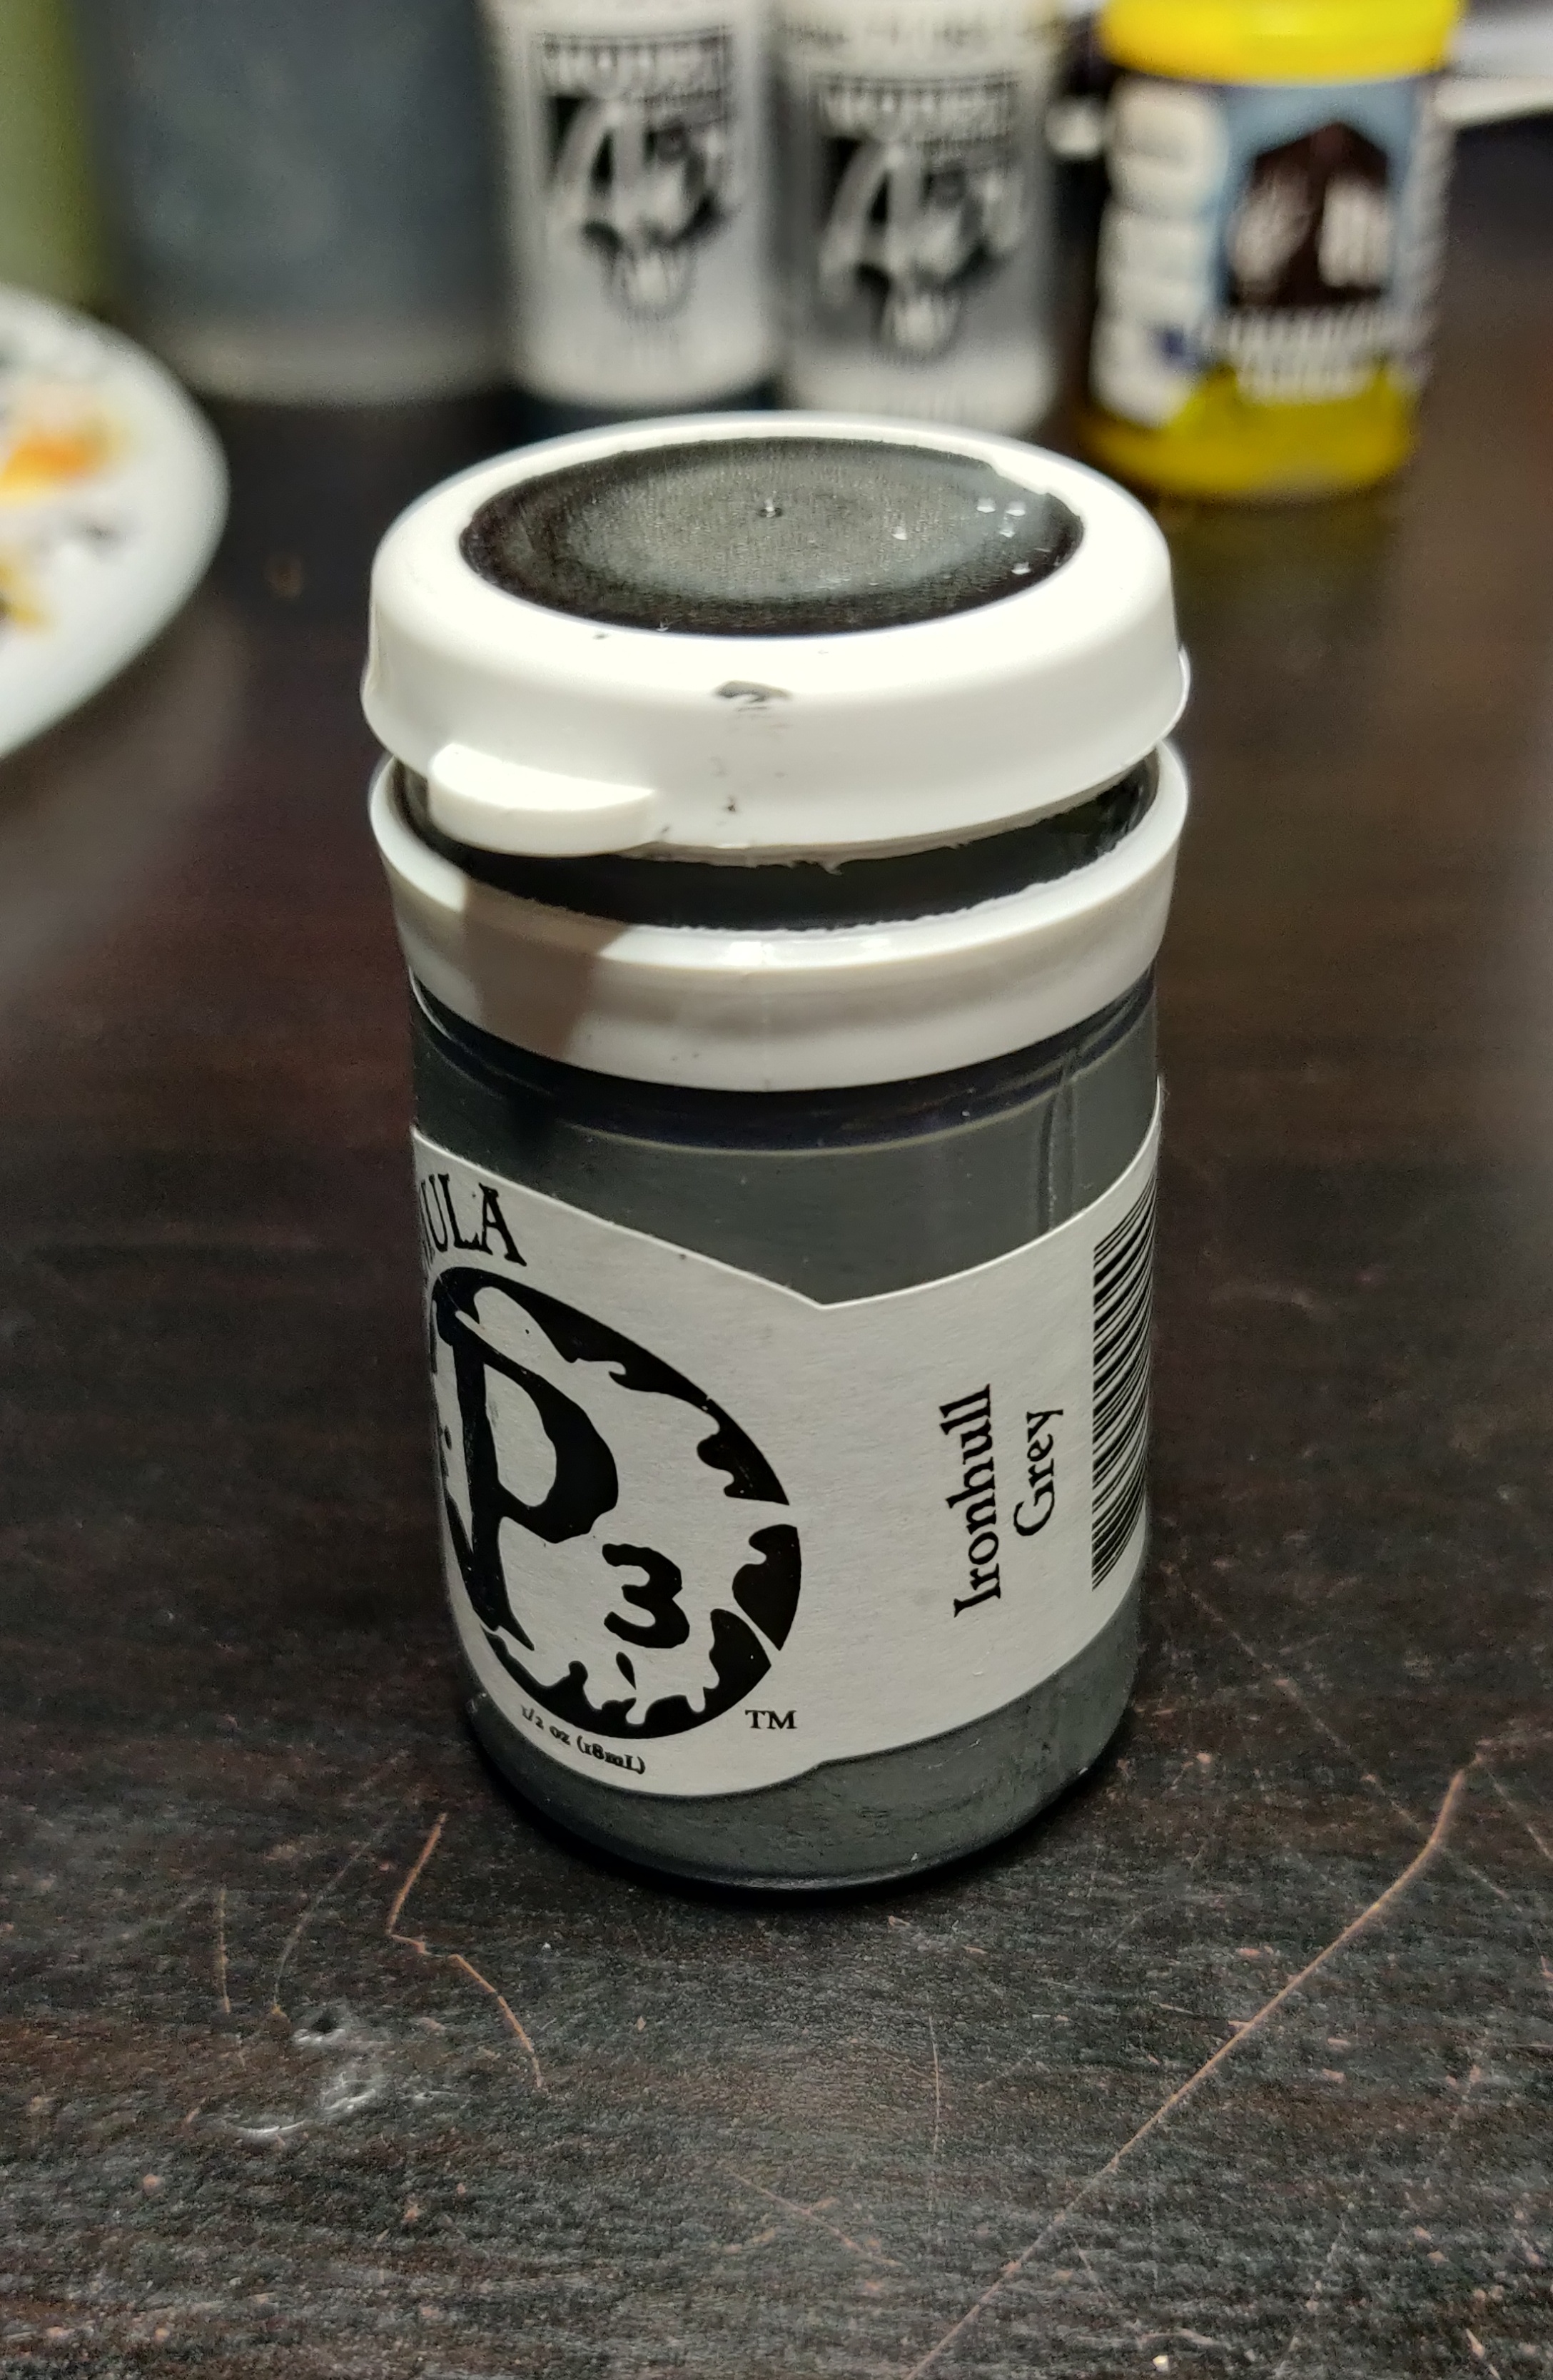
Wanting to really make progress with Neptune I decided to help the overall vision and block in some more colours. Painting the under-armour joints and limbs with P3 Iron Hull Grey gives me a solid (opaque) starting point for these parts which I can then go onto edge highlight tomorrow. The dark grey works well to separate out the armour sections and hold up well to blacklining. Plus if I make a mistake with blacklining the opacity of the P3 paints means it’s an easy remedy.
The next bit of colour blocking was to start to add the green gold trim, giving it a powerful look.
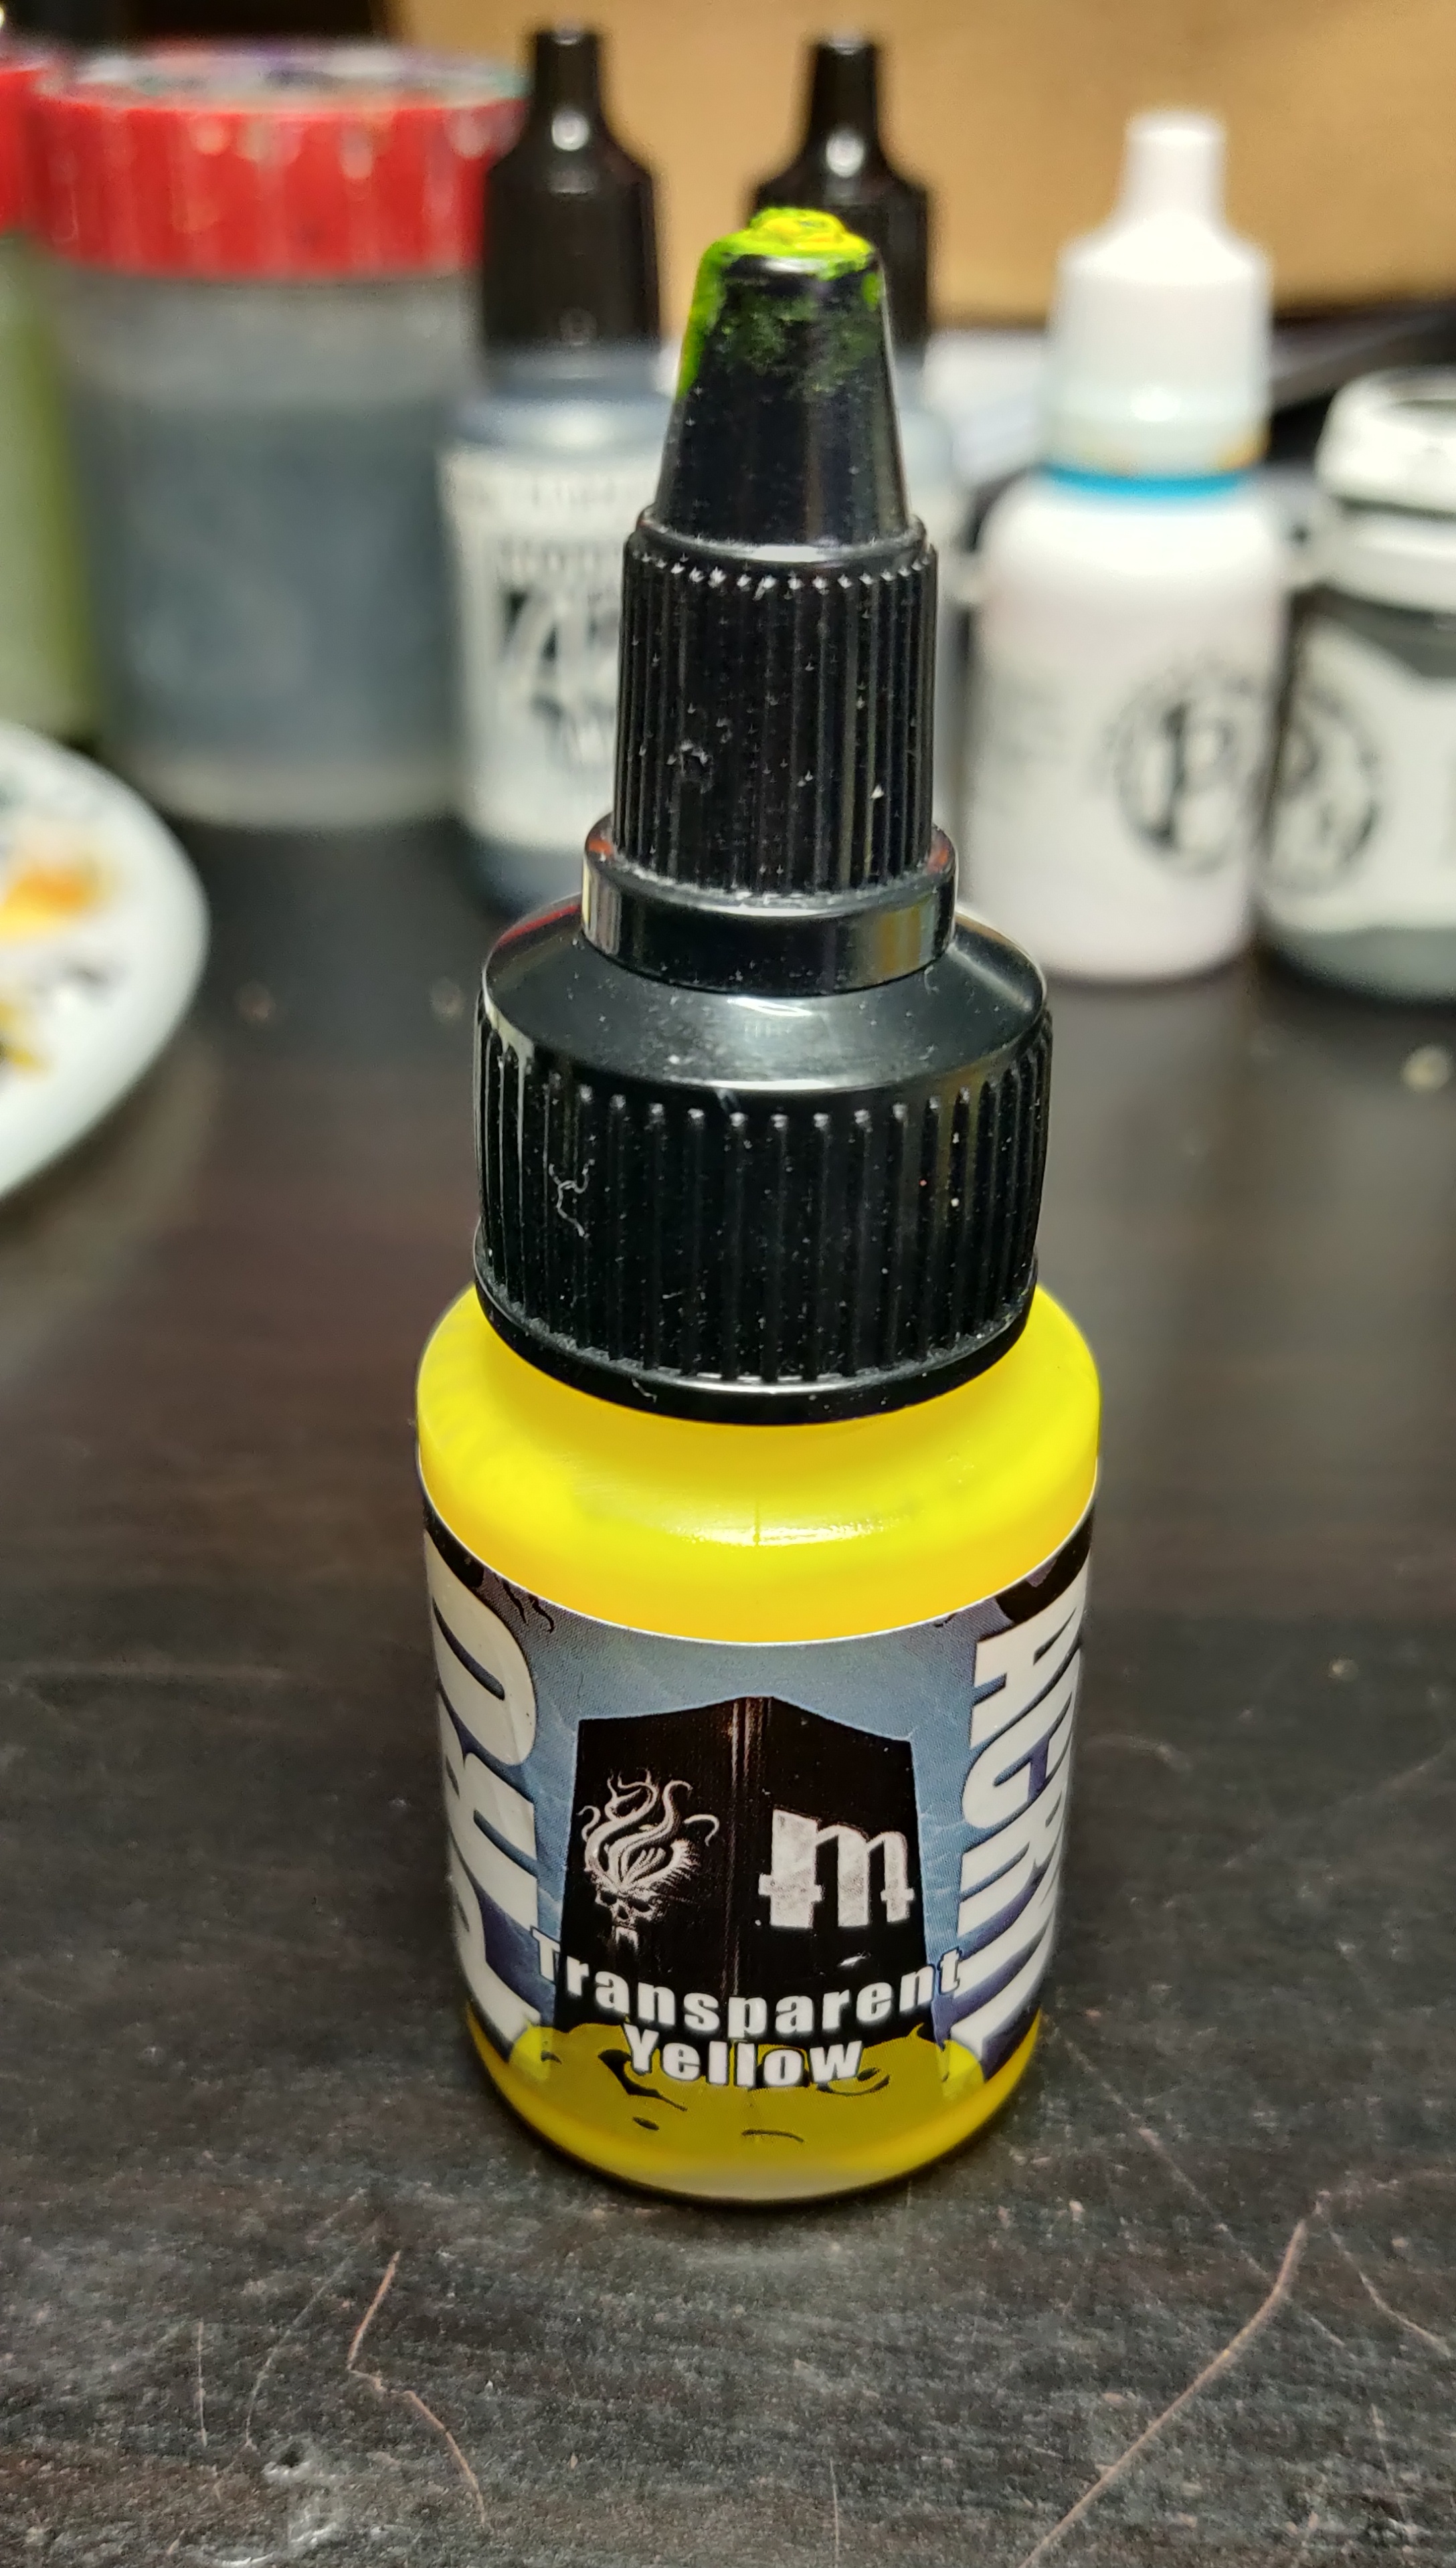
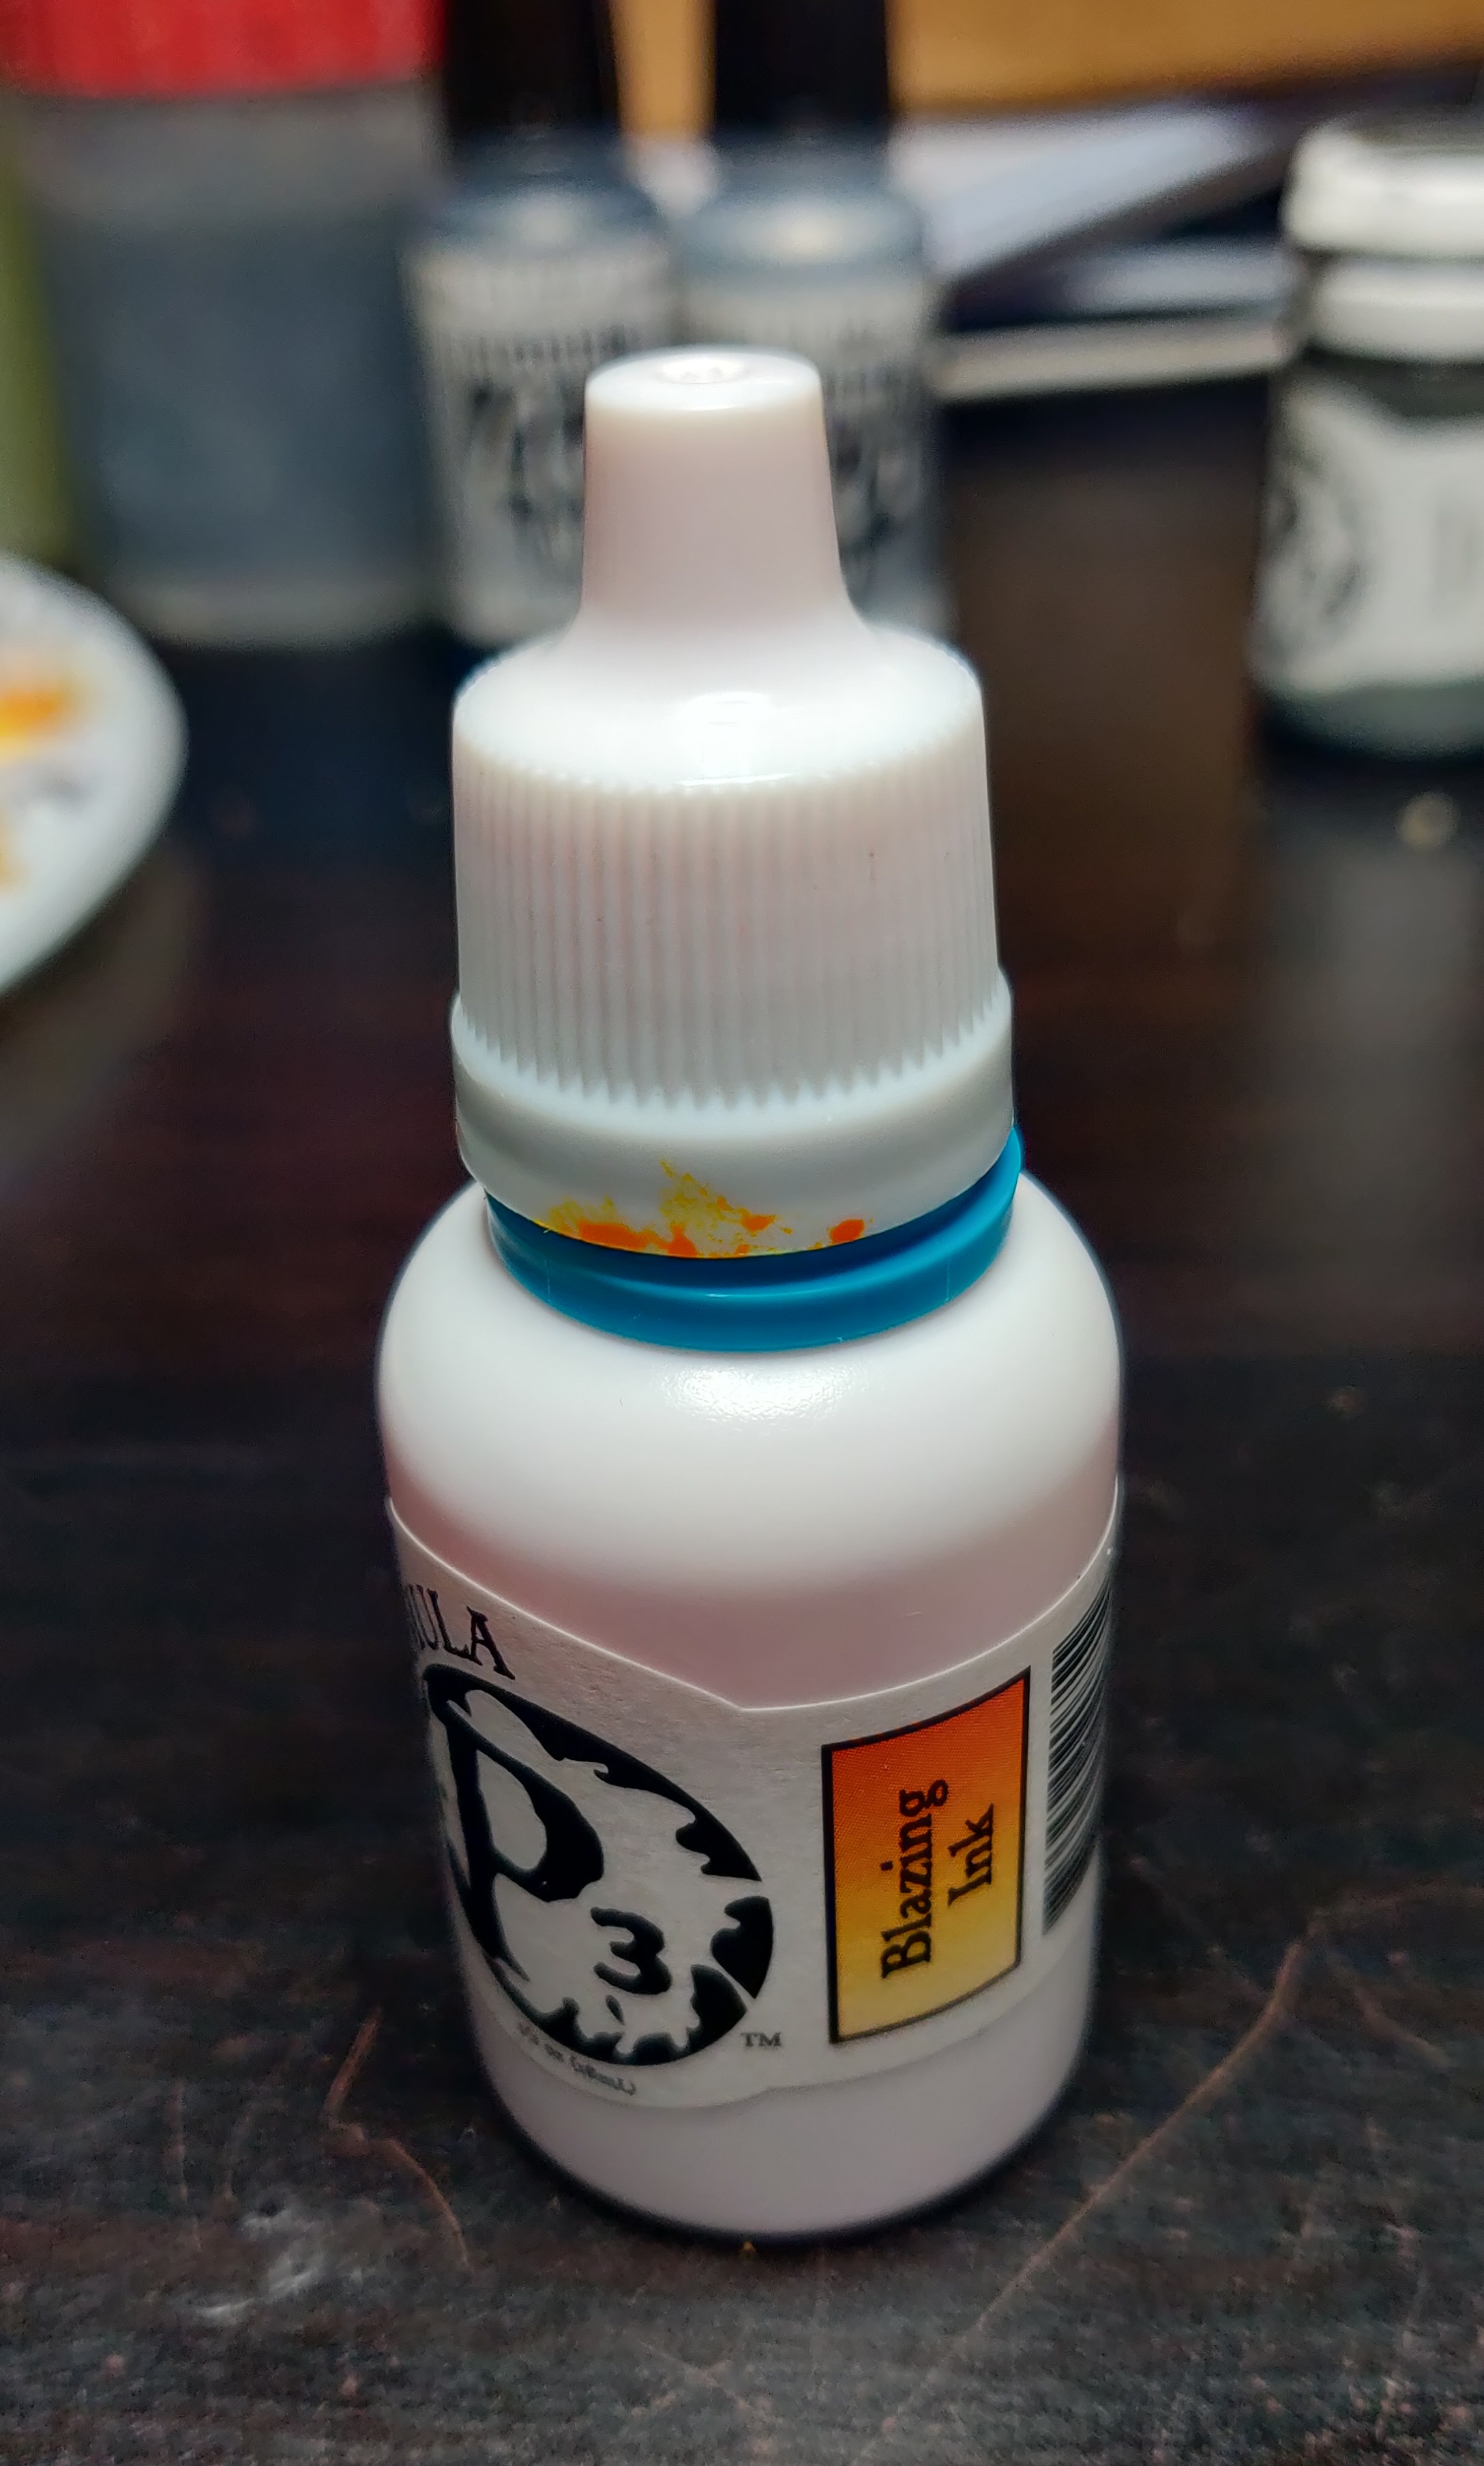
This was achieved by using a transparent yellow (Monument Pro-acryl In this instance) directly over the metallic basecoat of the amour pieces. This mix of the teal and yellow created a green gold that I would associate with a nautical scheme. This took a few coats due to the transparency of the paint and yellows generally poor coverage, and I will continue with more coats tomorrow. But I have started to introduce a warm tone to the gold using P3 Blazing Ink mixed into the transparent yellow.
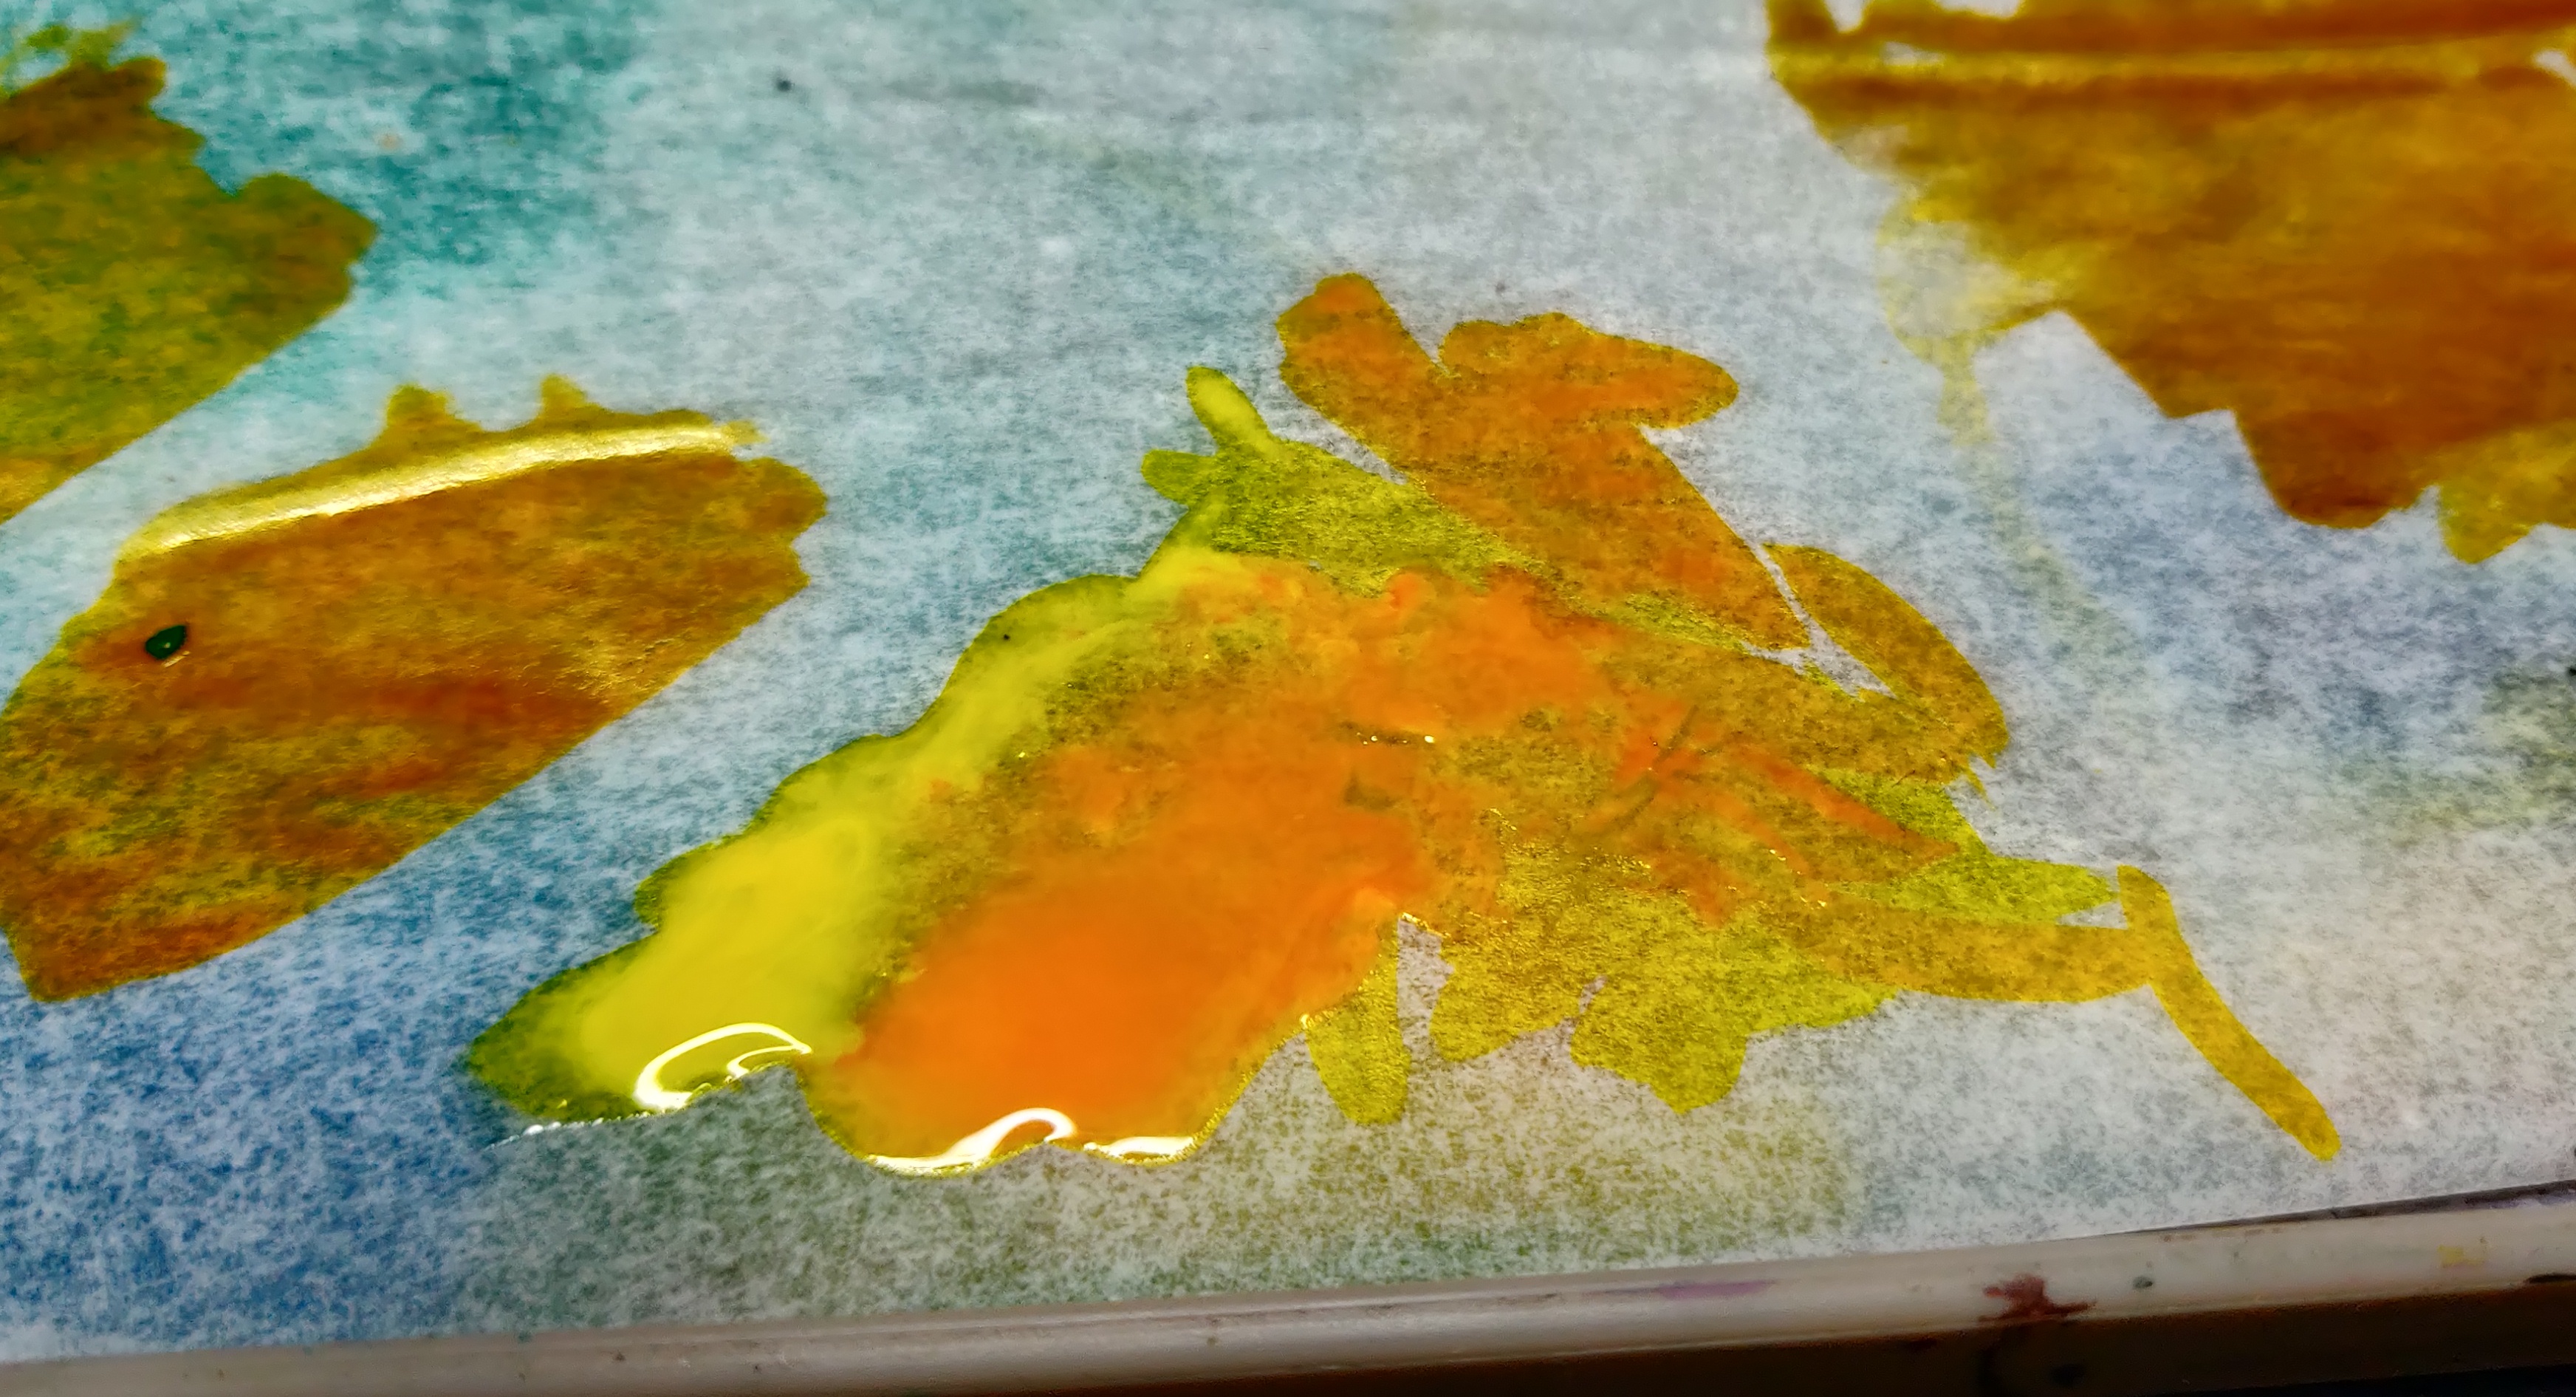 Mixing orange ink into the transparent yellow increases opacity and warmth
After brushing some of the orange yellow mix on I wanted to leave things to dry so gave some parts a quick blackline with watered down carbon black ink. I didn’t want a harsh black at this point, just enough to lift some parts from each other, so the ink was diluted quite considerably.
30 minutes done.
15 days to go
 Neptune will be finished tomorrow
Day 6...
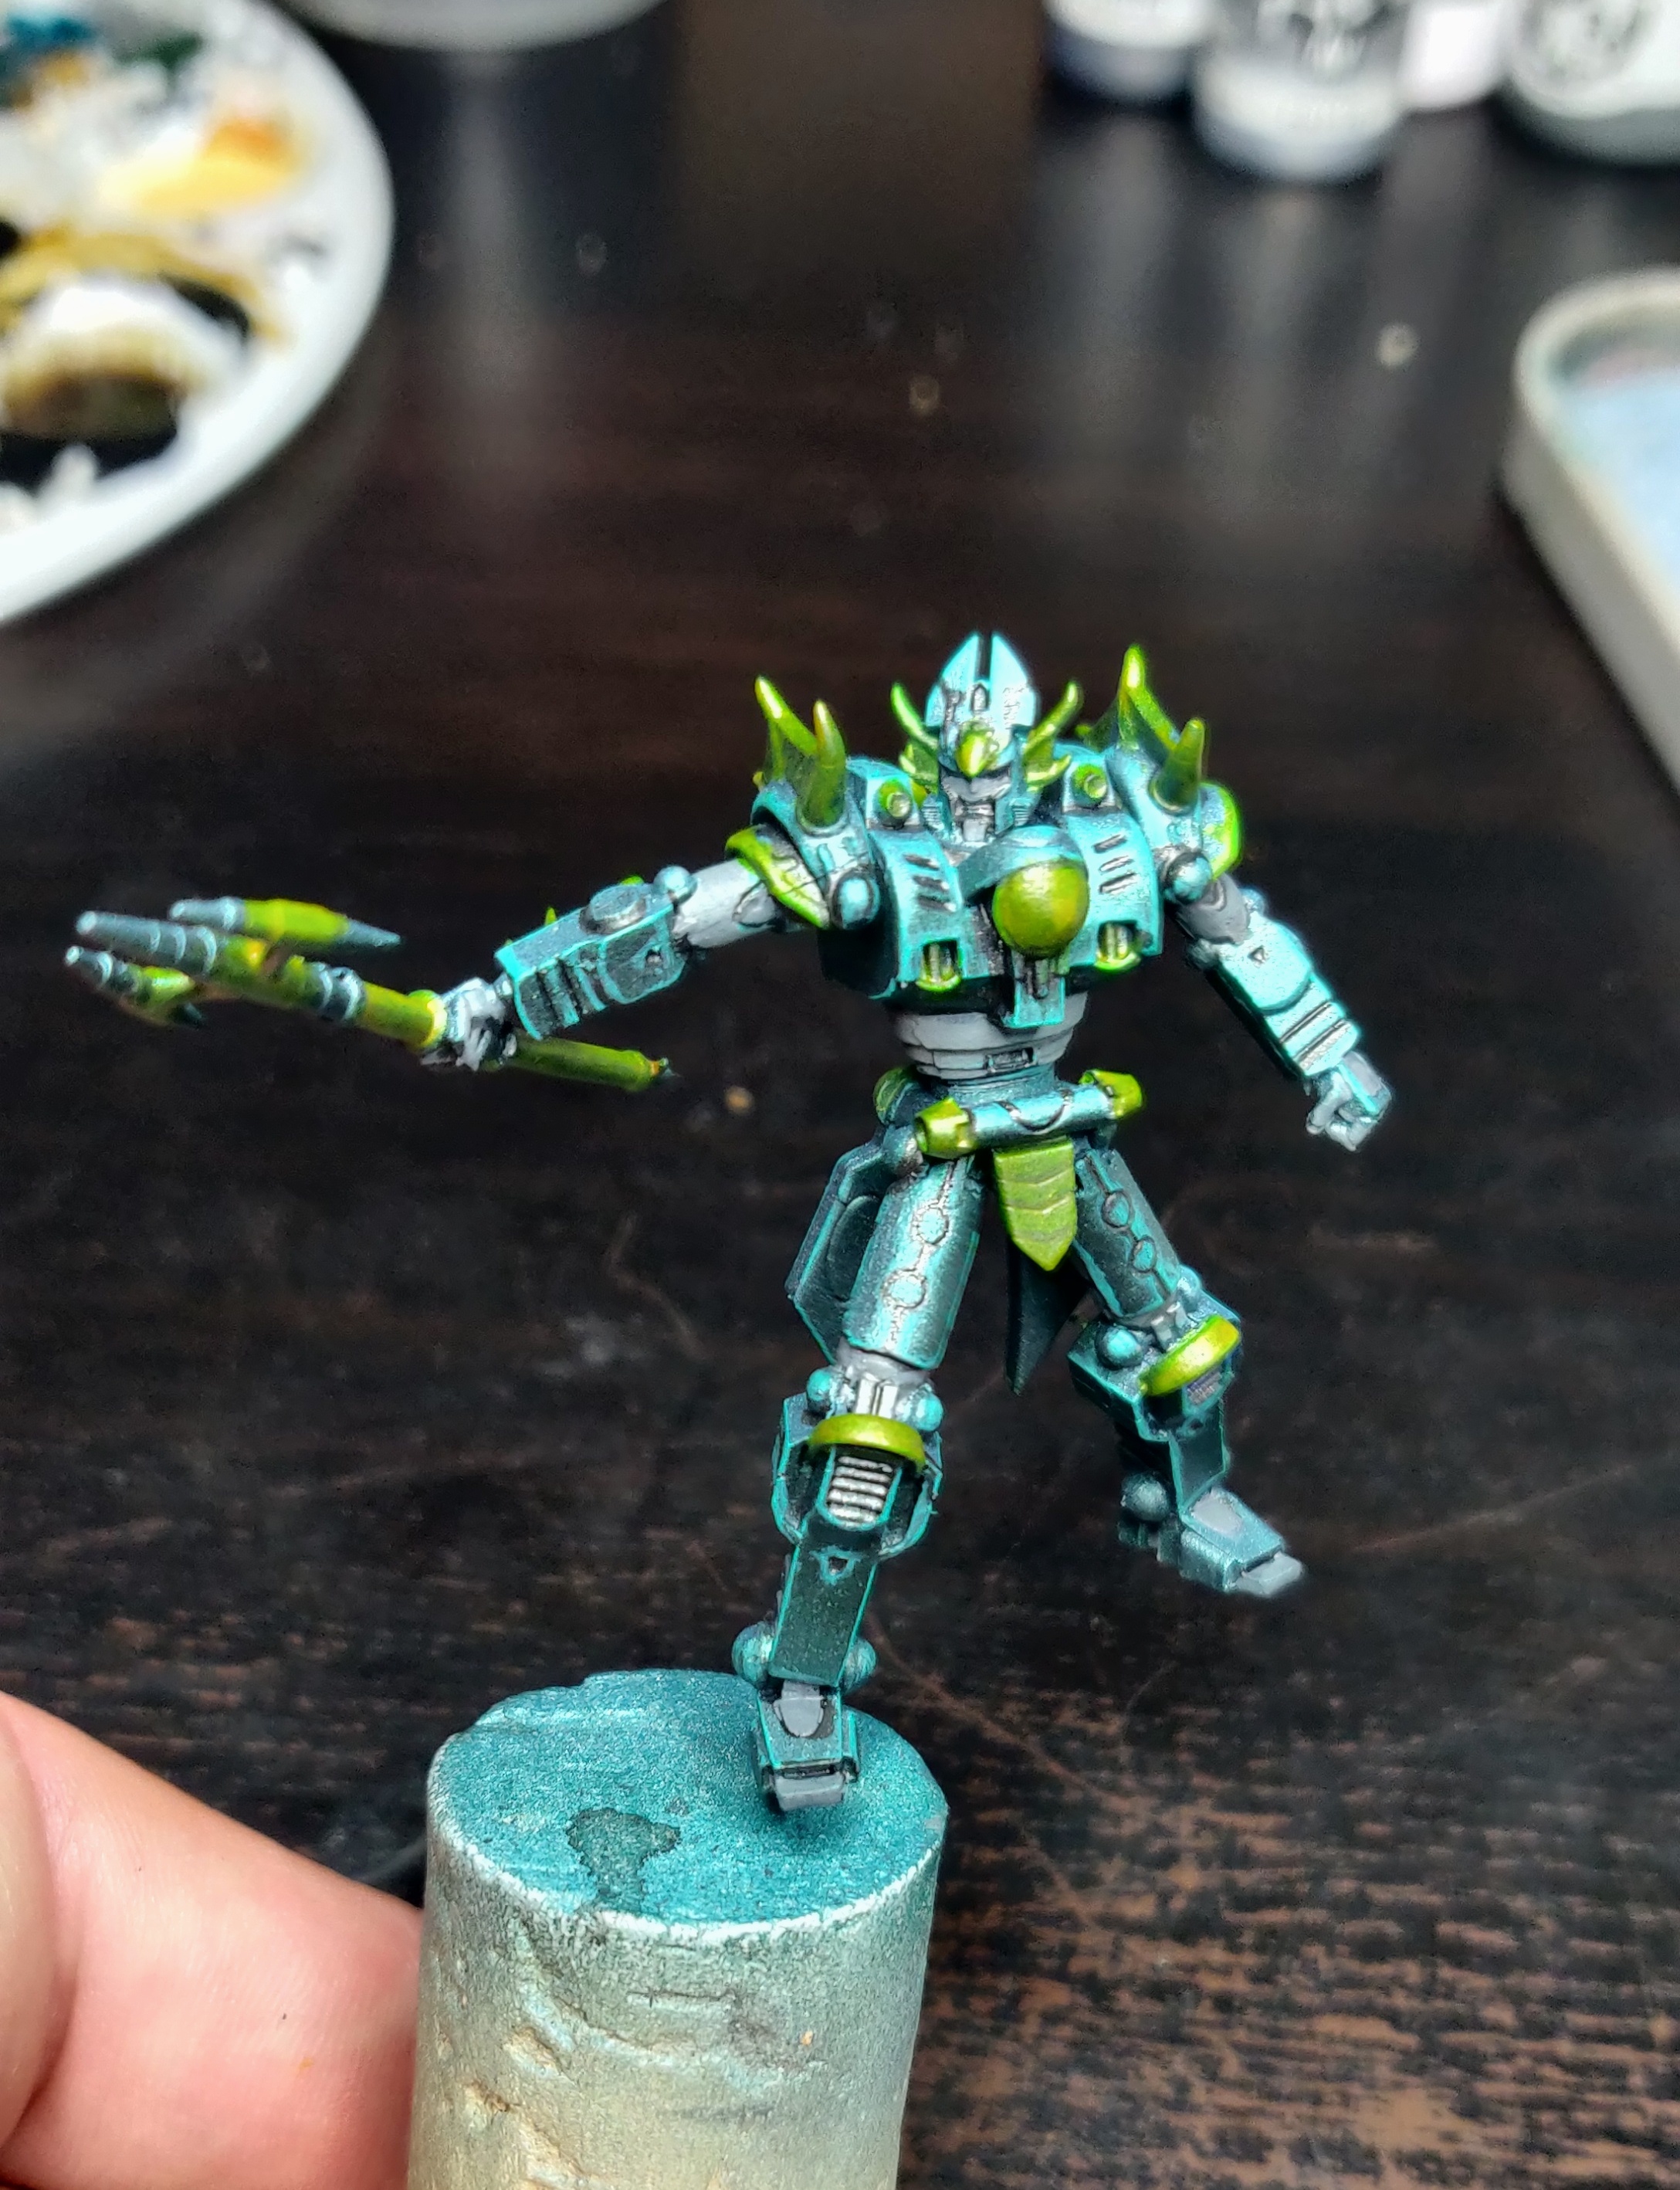
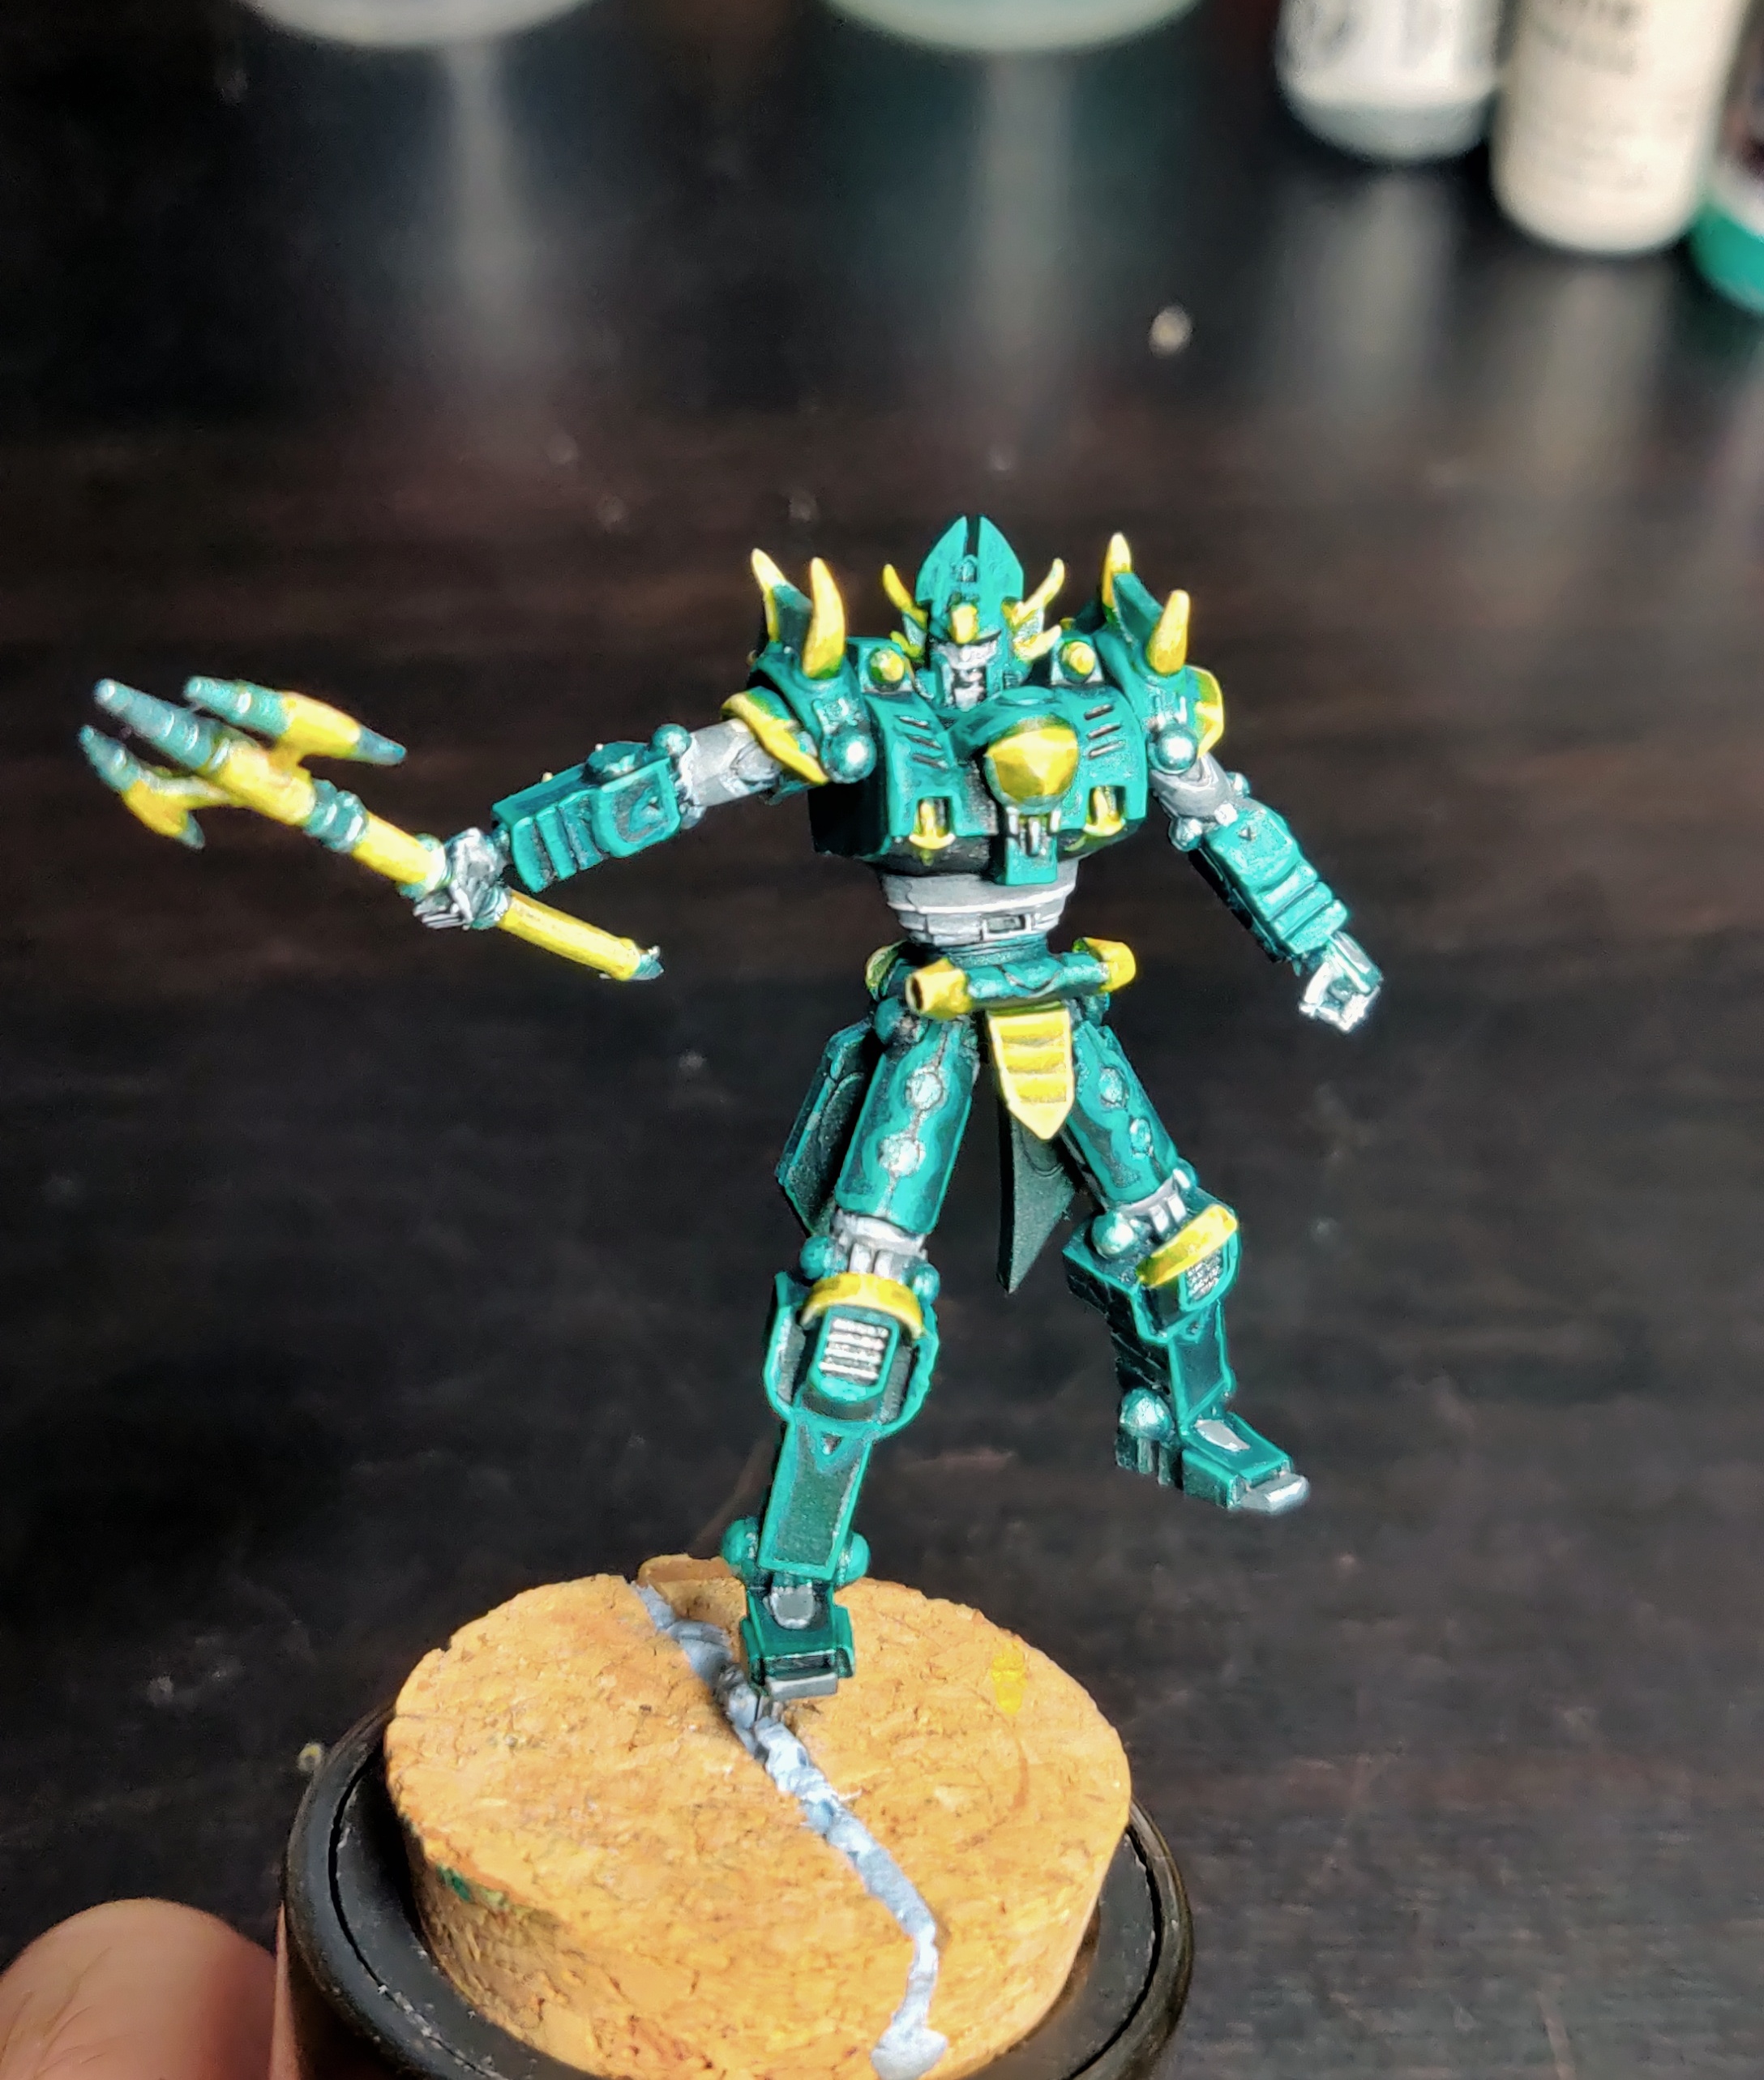
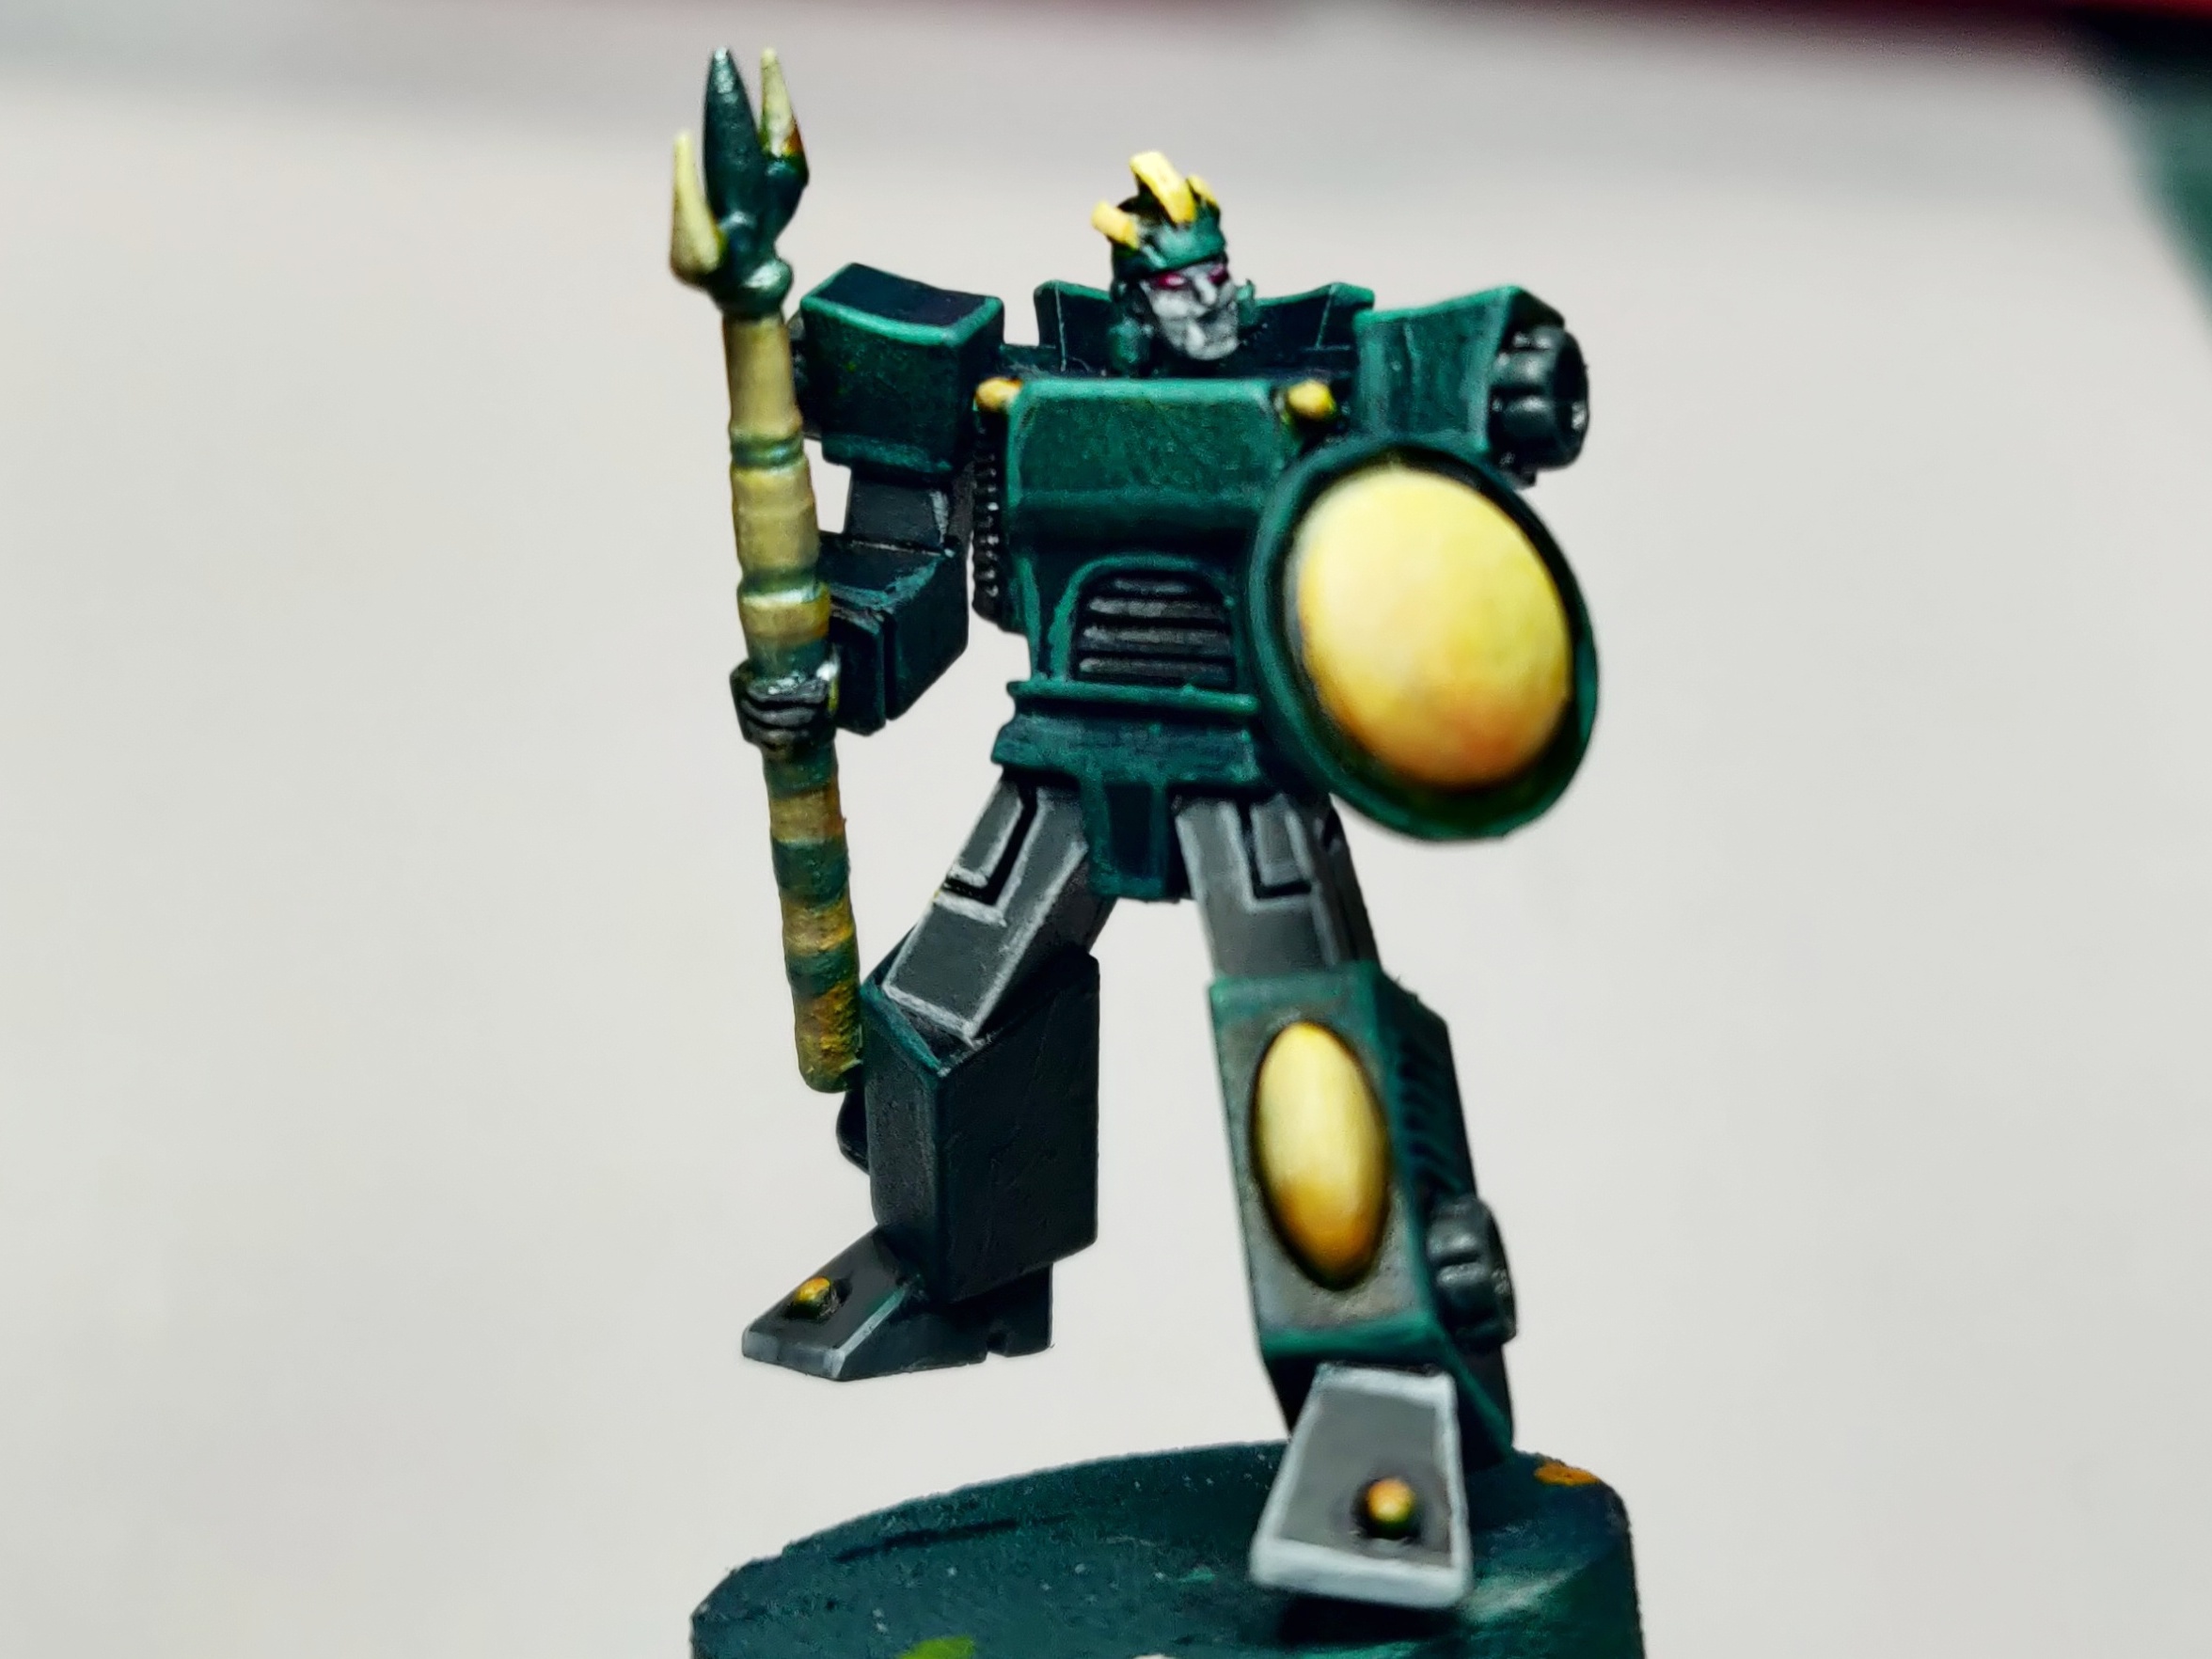
Neptune done
Tonight I wrapped up Neptune to a finished point. I could do so much more to push him further, but the timing constraints and need to get some other models finished meant I had to get him out of the queue.
I spent a little longer than I should on him, maybe an hour over the 30 minute mark but I wanted to add in some more highlights for the trim and general armour. Whilst I really like the effect of the tinted green metal armour its actually really difficult to correct any mistakes, and as I’m rushing there have been mistakes, lots of them, more than I’d be happy with usually, but I don’t have time to go back and redo things (you know like stripping minis).
 Starting point for day 6
It has also been really hot in my office today, after a full day of work in there and the sun beaming in i just wanted to get today out of the way. I had several goals to do tick off to call it finished:
- Highlight the grey armour
- Highlight the yellow trim
- Try to tidy bits of the green armour
To highlight the P3 Ironhull grey I got out my classic Reaper MSP Foggy grey as and painted edges and highlights, I like this grey as its cool and bright.
For the yellow trim I went over it with scale75 hykey yellow this is a great icey yellow that works well in NMM schemes as an alternative to vallejo ice yellow, I used it to pick out lateral highlight points on curves, sharp edges, and the points on the spikes.
For the green armour I used Scale75 Surfer Orc Green. Whilst this removed the effect of the tinted metal, it gave a nice enough highlight colour that worked well with the rest of the scheme, and being from the scale75 fantasy & game range it has a slightly satin finish so isn’t as matte as some other paints. The Hykey yellow is also from the same fantasy and game range so I hope the two will play nicely as highlights.
 P3 Ironhull Grey, Reaper MSP Foggy Grey, Scale75 Surfer Orc Green Scale75 Hykey Yellow
 And with that, Neptune is into the done pile ready to get a base once all other models are finished. I like to leave the bases until the end as I can cheat a little and use the base colours to bring cohesion to the whole unit, and use complimentary colours to generate interest, and this is easiest when I know what all the models actually look like.
So that’s it for today.
One down, many, many more to go.
Day 7...
A solid core
Time to work on pushing up the numbers. One of the big leaps you can make when doing a challenge like this is to break the project up into smaller mini sprints and hammer out some batch painting.
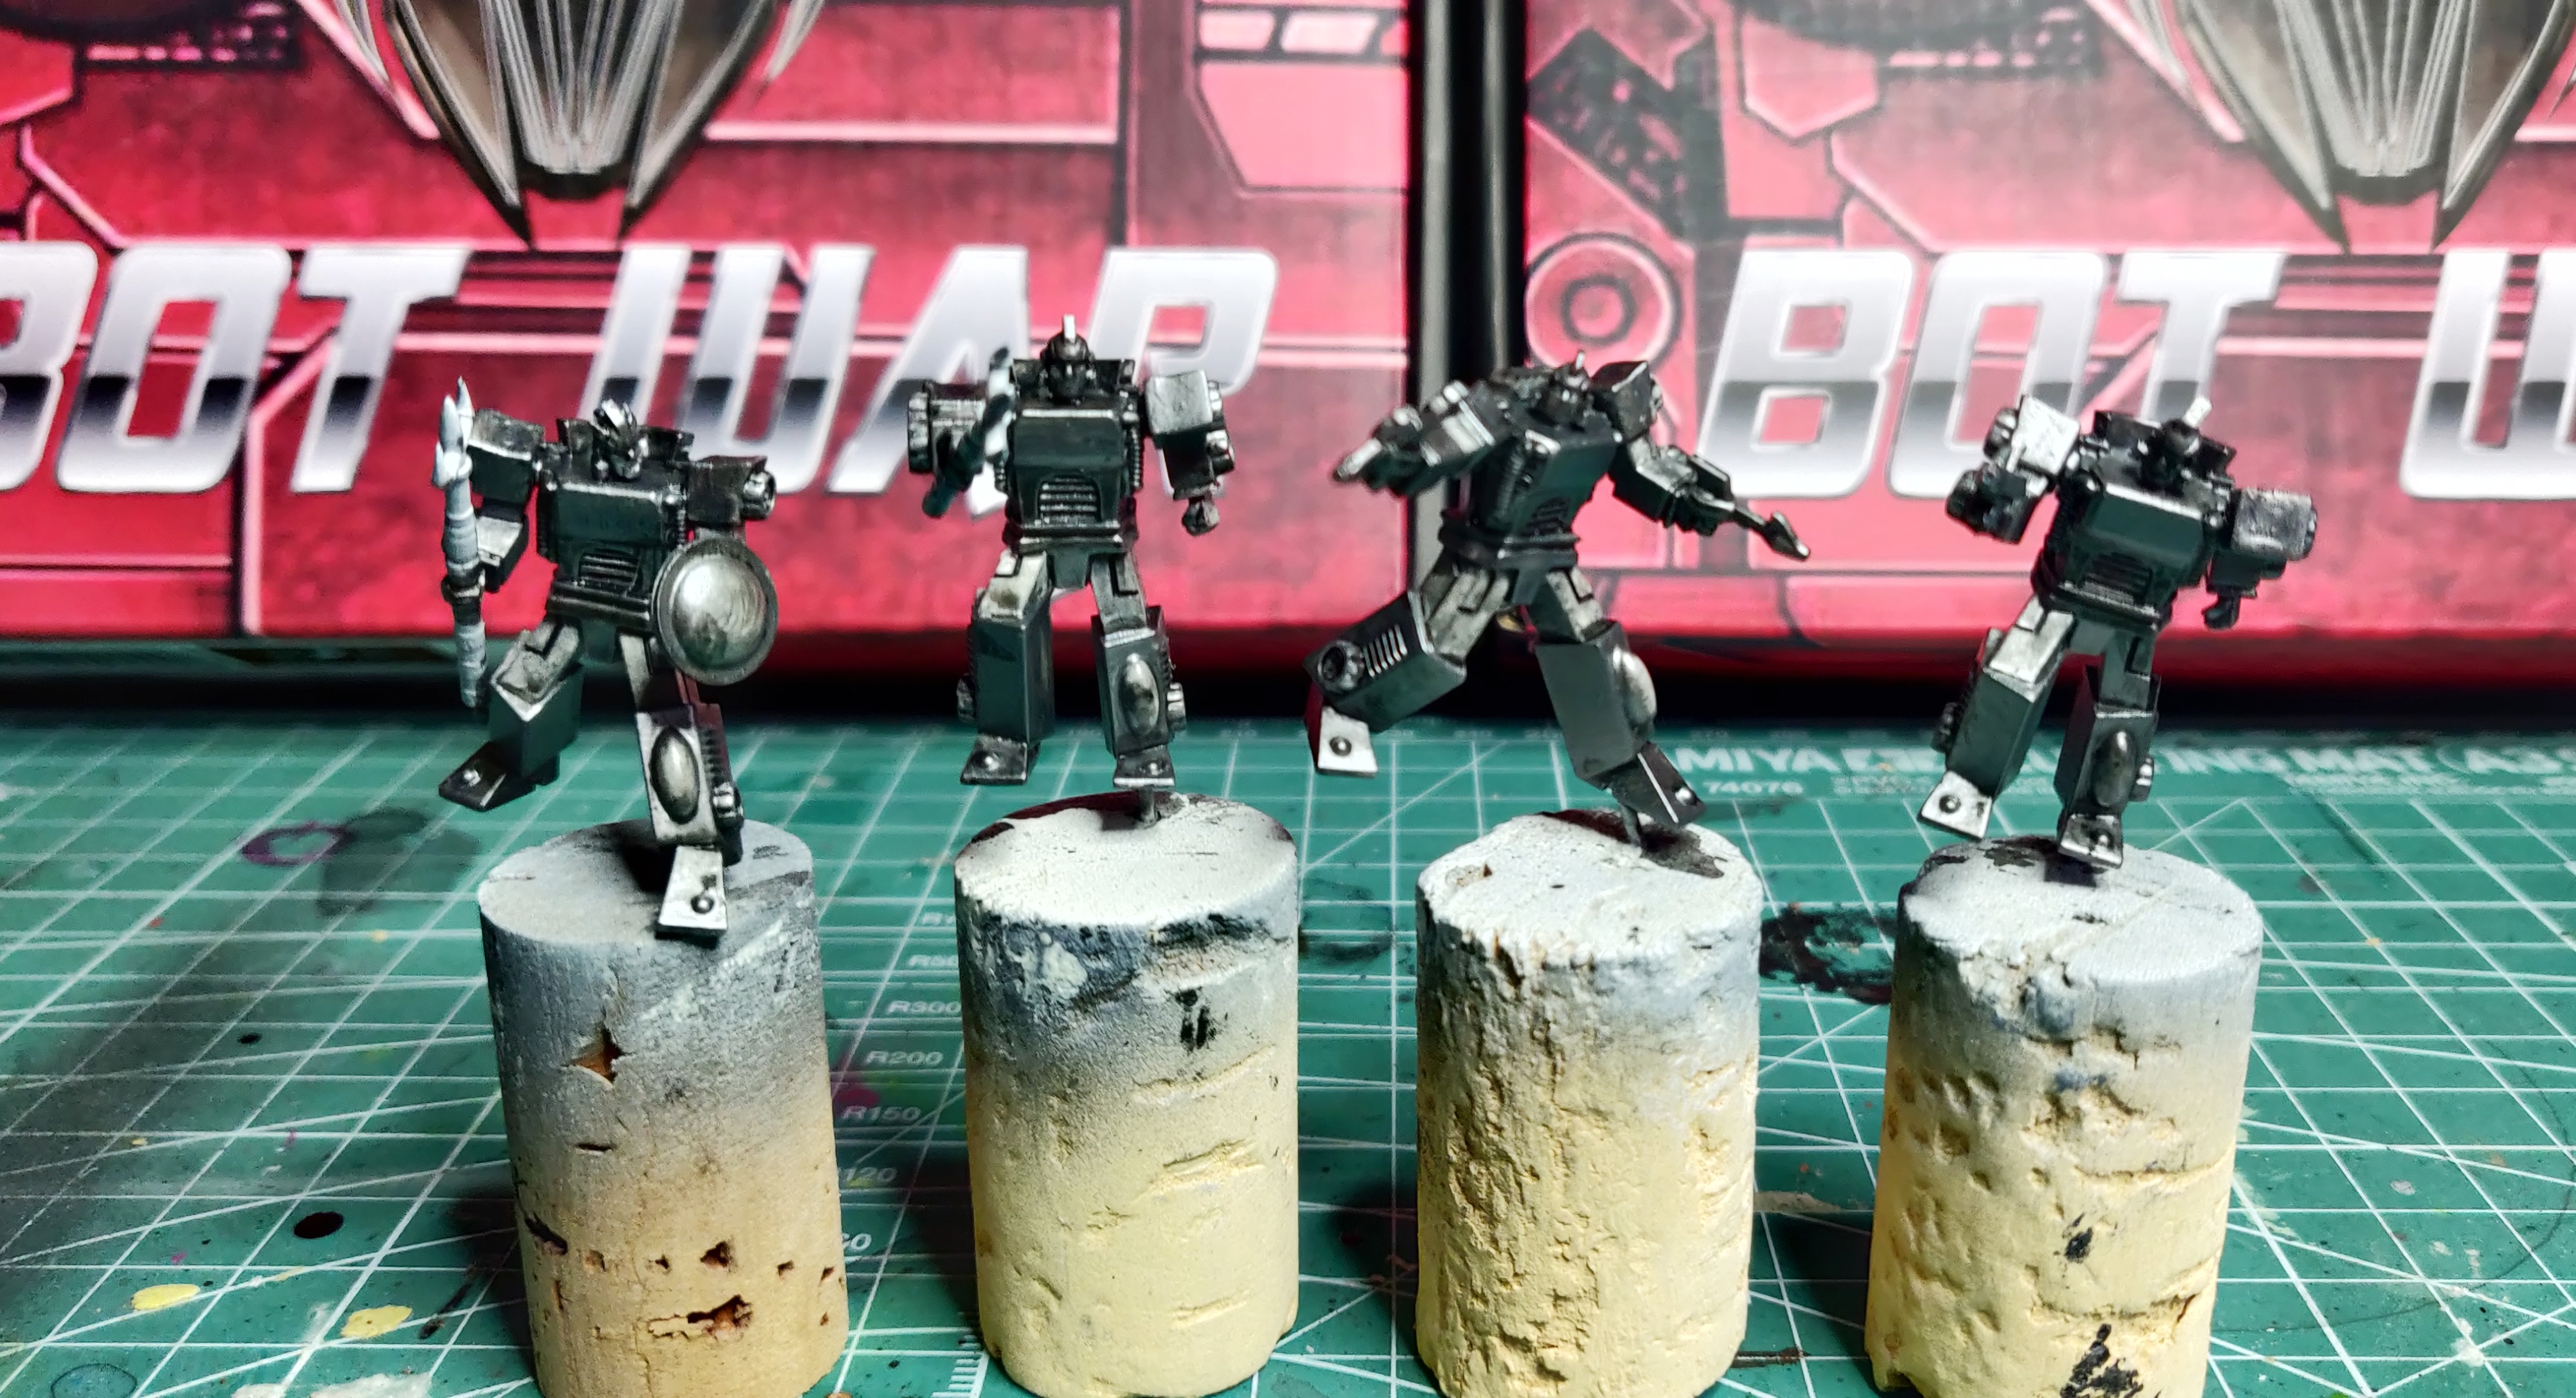
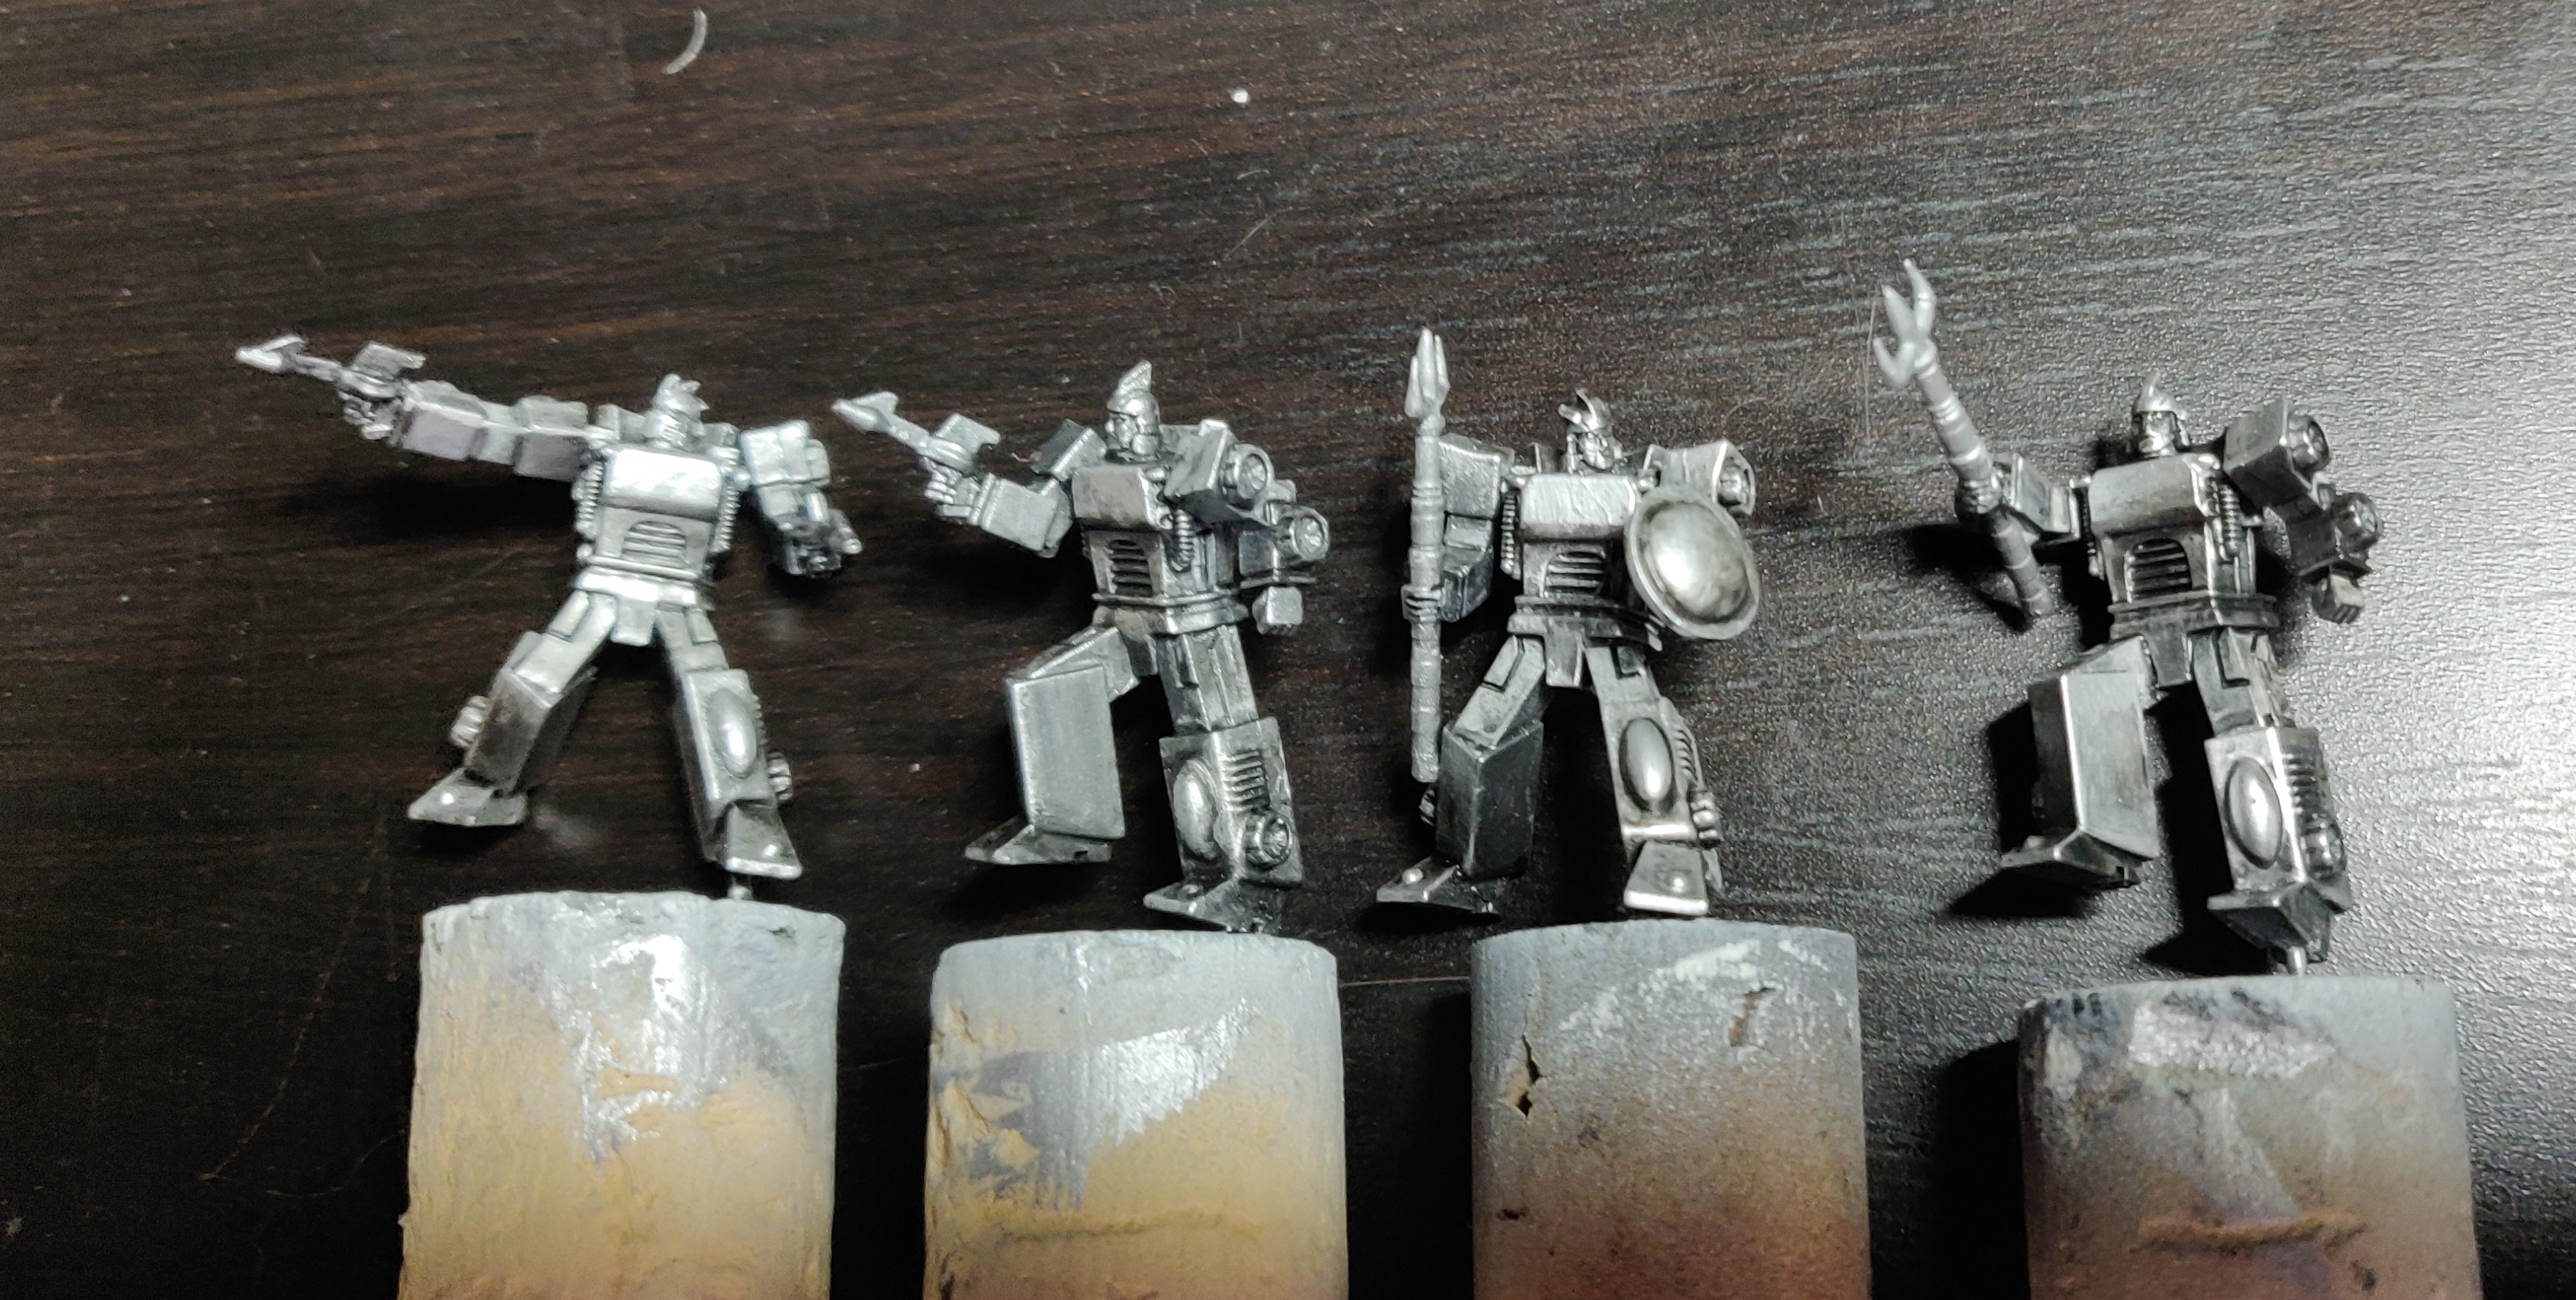
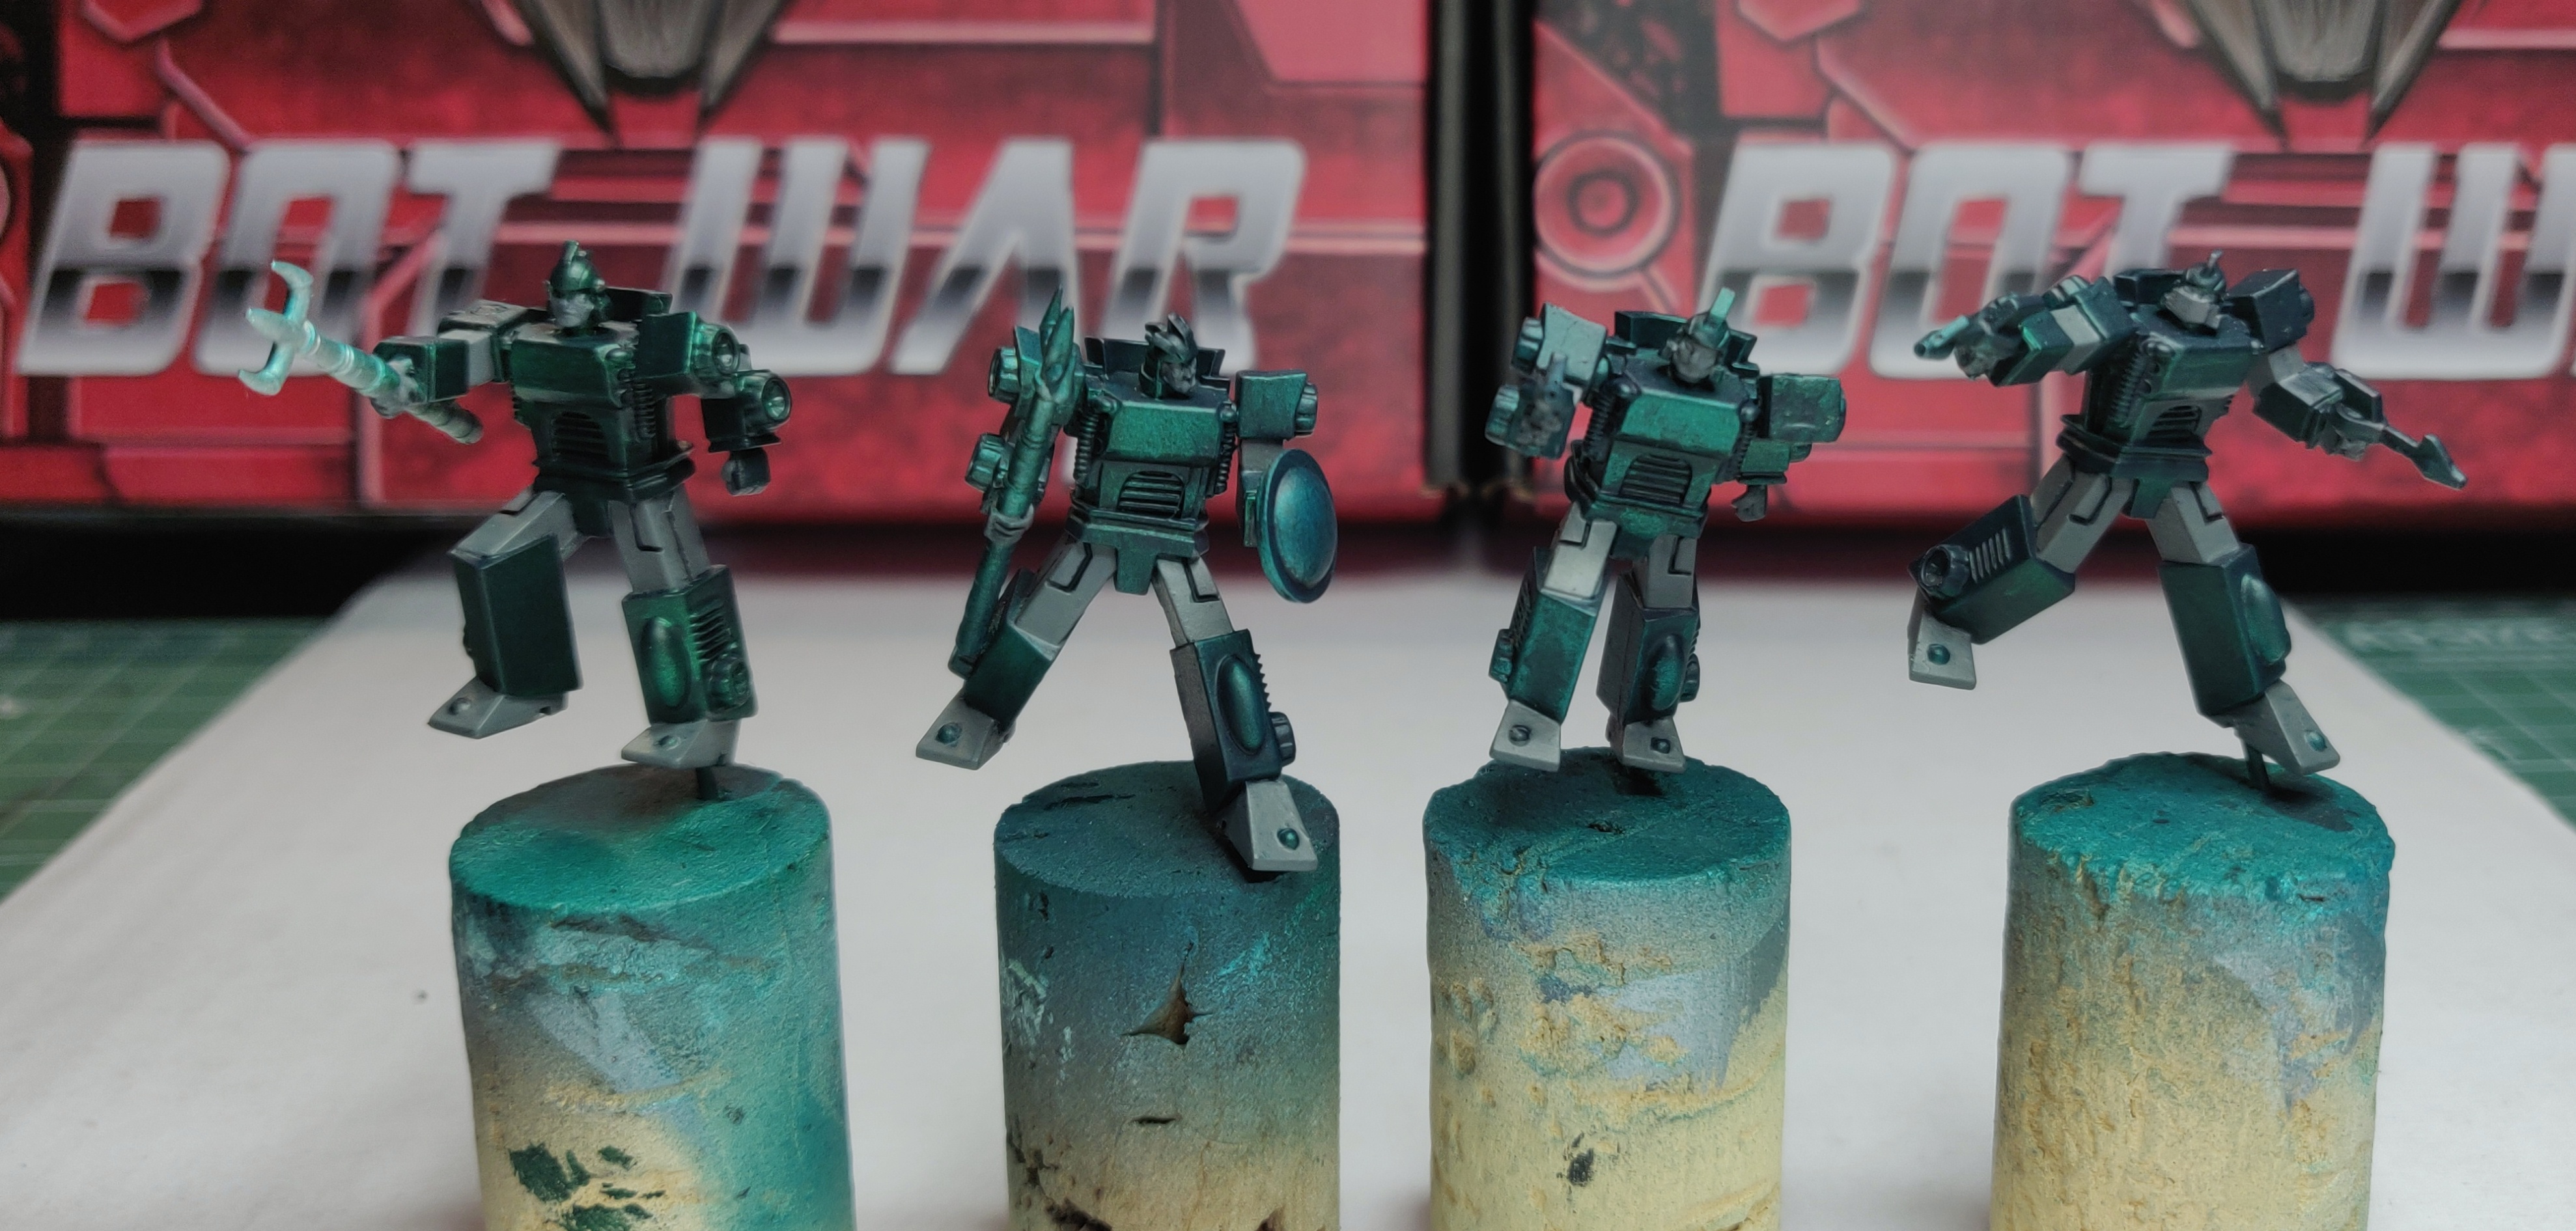
Step forward Aegon, Thermal, Nami, and Nebulous. These 4 bots are the Mud Warriors, the grunt core of the Atlantican force in the starter set, combining both ranged and close support roles. Together with Octo (who I don’t yet own) these 4 bots combine to form the mighty Leviathan.
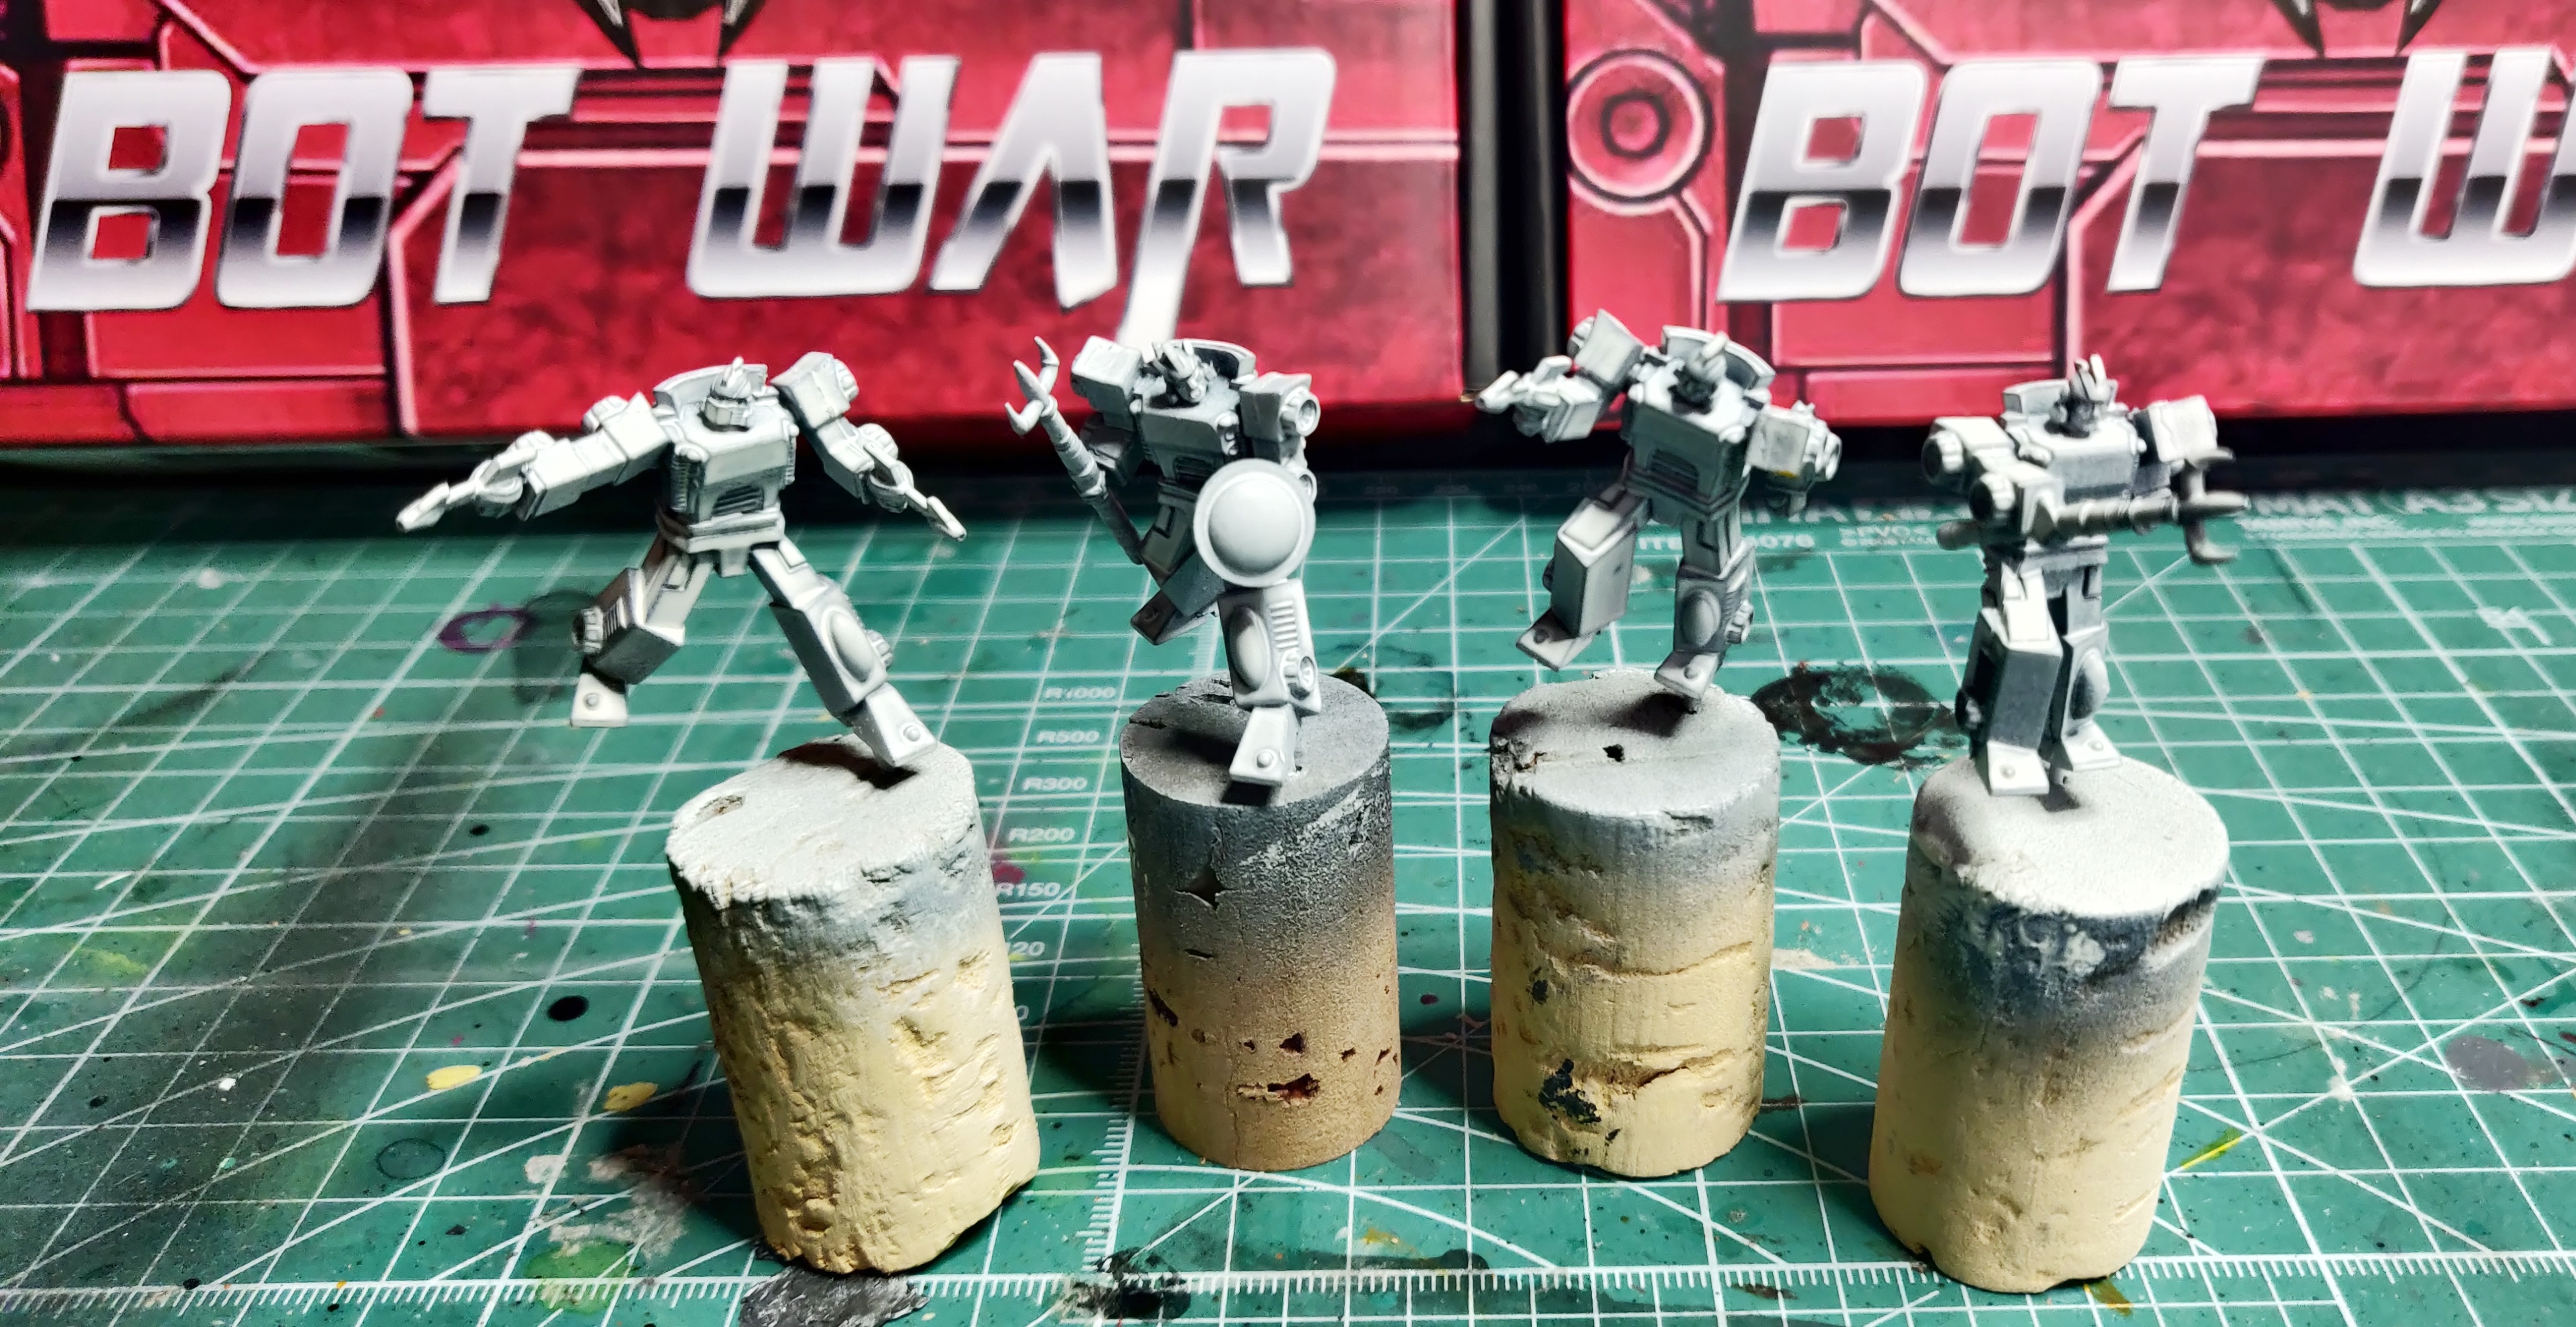 Atlantican soldiers
 My goal for tonight was give these 4 their 3-paint metal coats so that I can break out the airbrush tomorrow for the top coats, and then have Friday and half of the weekend to edge highlight and detail them to completion. All being well that will be 10 days down and 5 bots down, with 4 + Leviathan for the final half of the challenge. I’m on the back foot, but I know I can do it using the weekends to be able to dig deep for big gains.
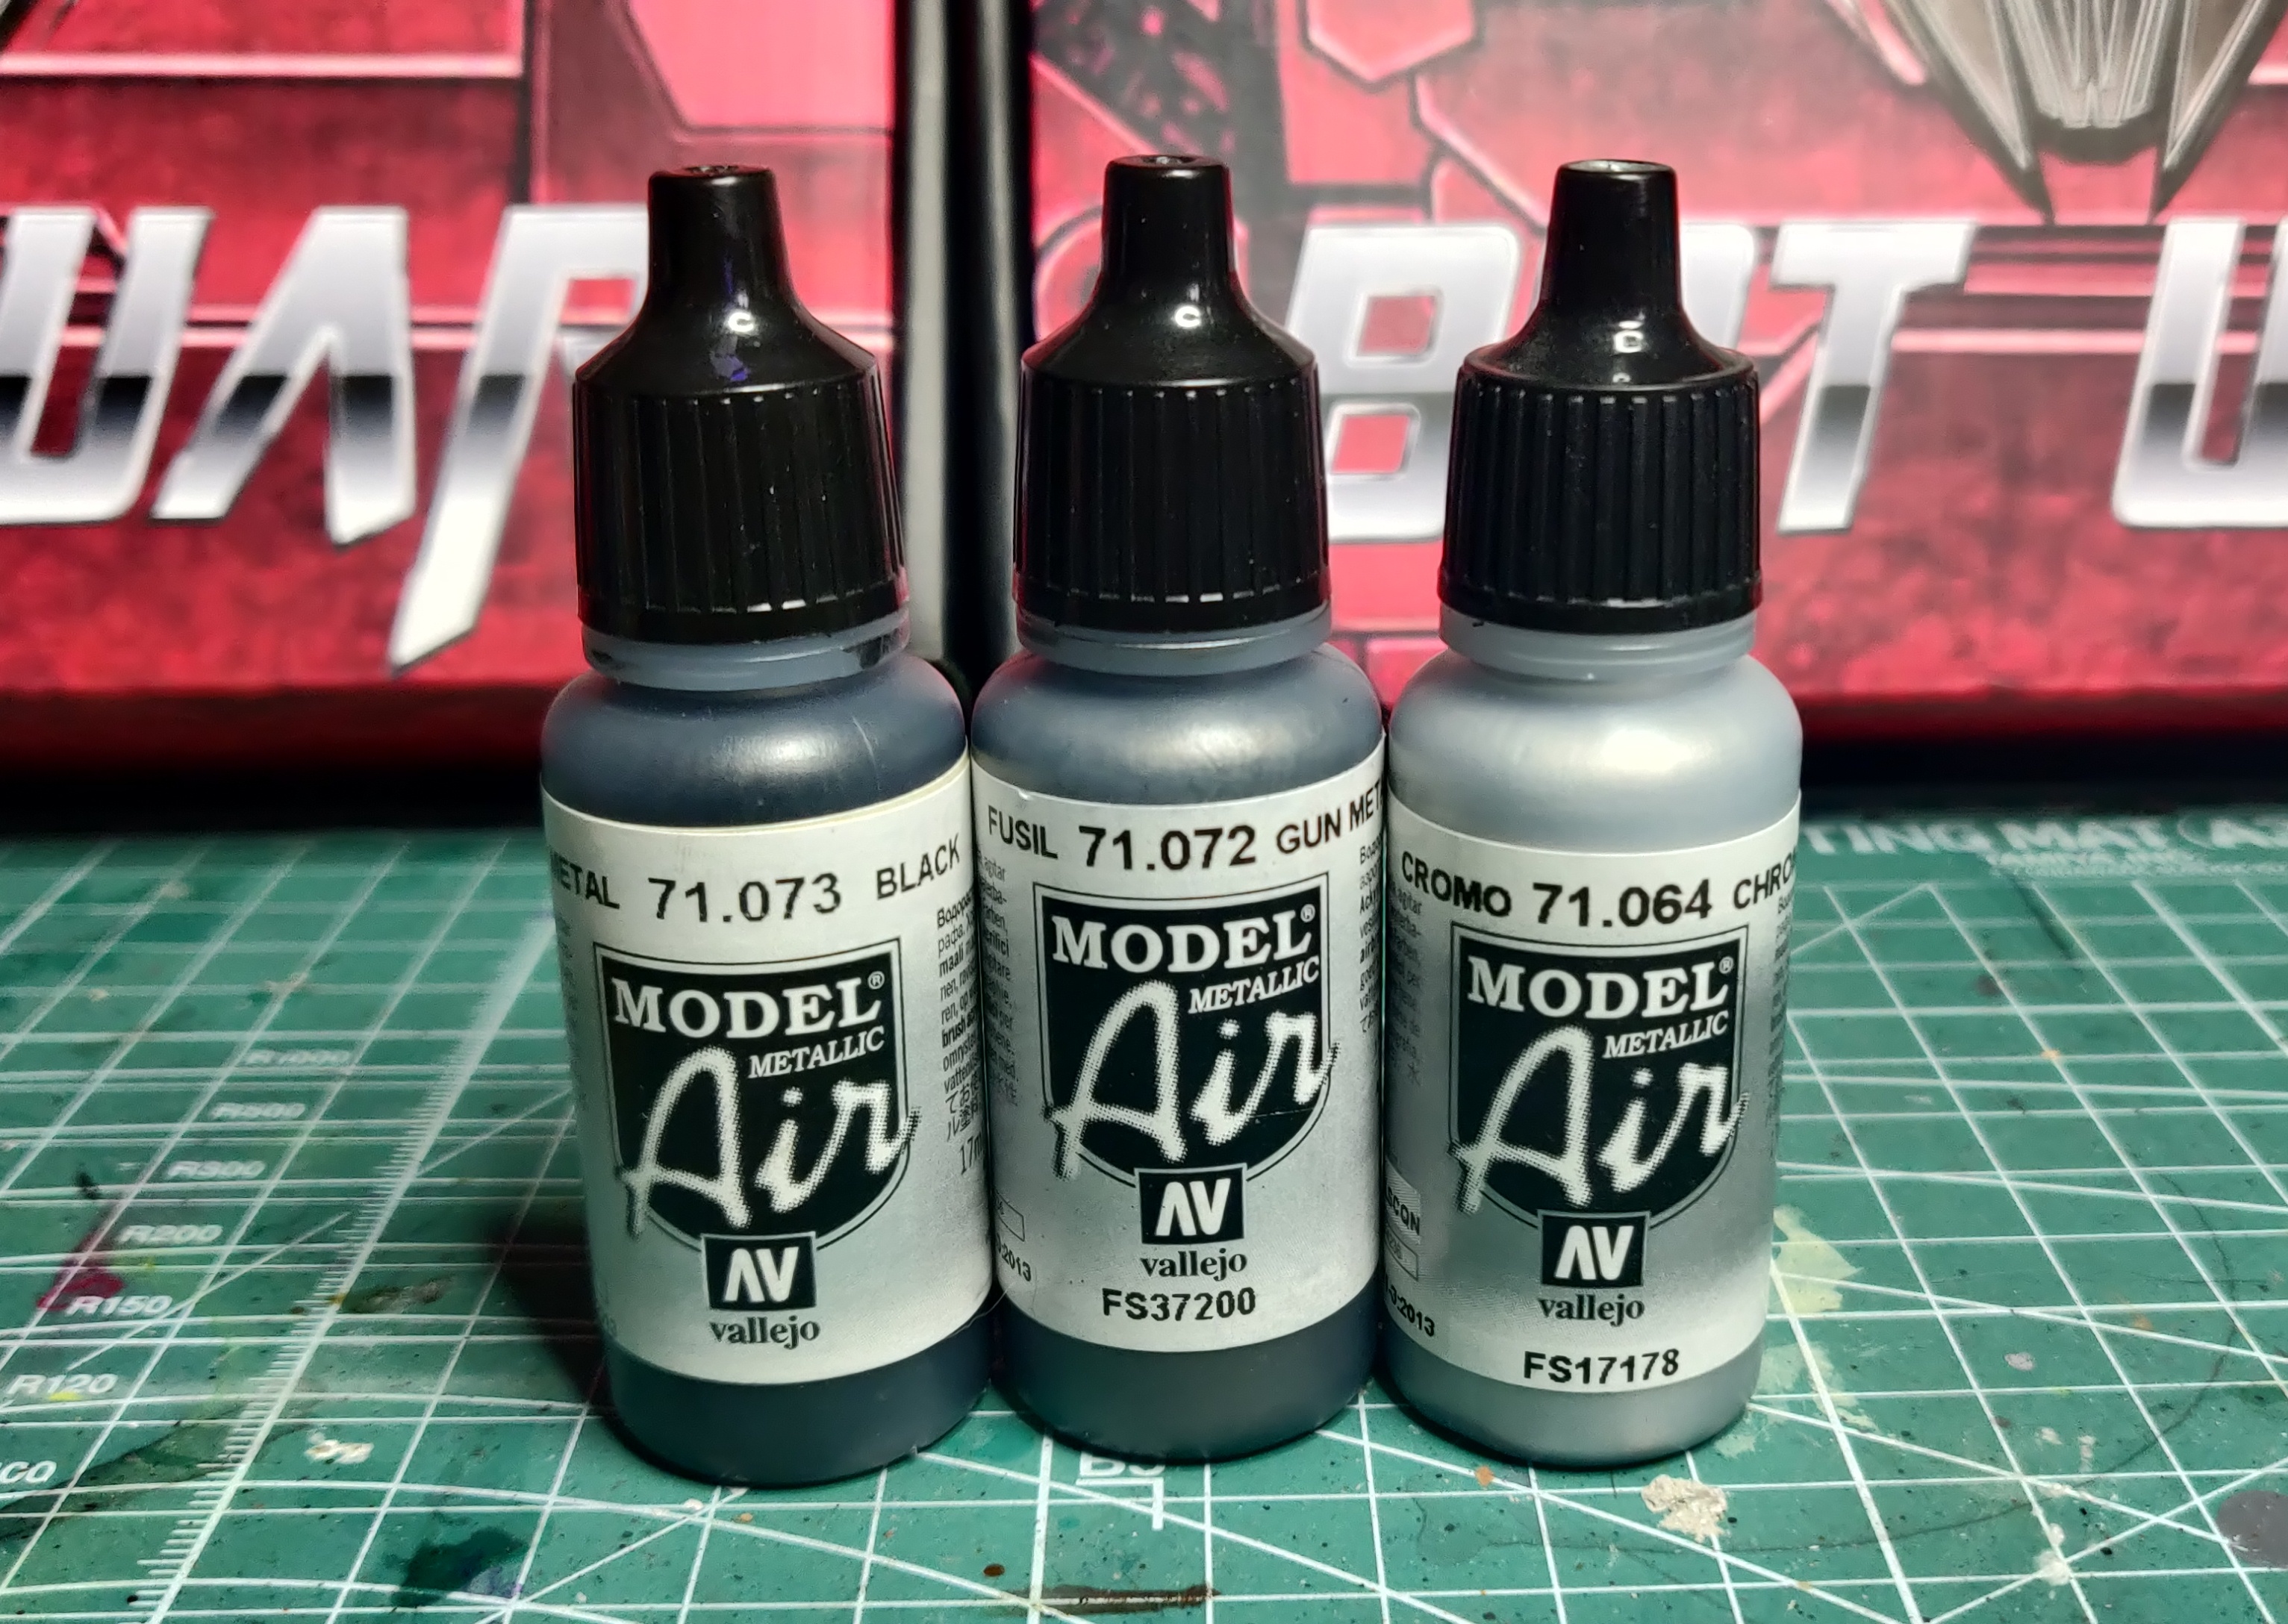 Vallejo metal air TMM triad: Black Metal, Gun Metal, Chrome
This is the same workup as I used for Neptune, a thinned black metal base coat to cover the primer and seep into the recesses, a gun metal layer over the top to block in most of the colour for the metal parts, and then highlights and edges in chrome. I’m not too worried about the joints that will be painted grey later so ignored those for now to reduce the number of paint layers going into them.
I use a synthetic brush when working with metallics, and have been enjoying the Broken Toad Fugazi for this sort of work. I find I’m more aggressive with the synthetics compared to kolinsky sable and end up stipple and smudging the paint with the Fugazis to almost buff the colours into each other – a rough buff blend so to speak.

Back in the queue
For the last of today’s painting progress I re-primed Stingray and Moray to get then ready for the weekend.
Exactly as before, prior to their biostrip 20 bath, I gave them a Badger Stynelrez Black prime with the airbrush, then once it was dry (it was very hot in the south of the UK this evening) I went over with Vallejo Mecha Primer Ivory coat.
And that’s Day 7 wrapped up. Setting myself up nicely for the next few days and the coming weekend.
One week down!
 Today's progress
Day 8...
Marching onward
 Starting from the metal basecoats
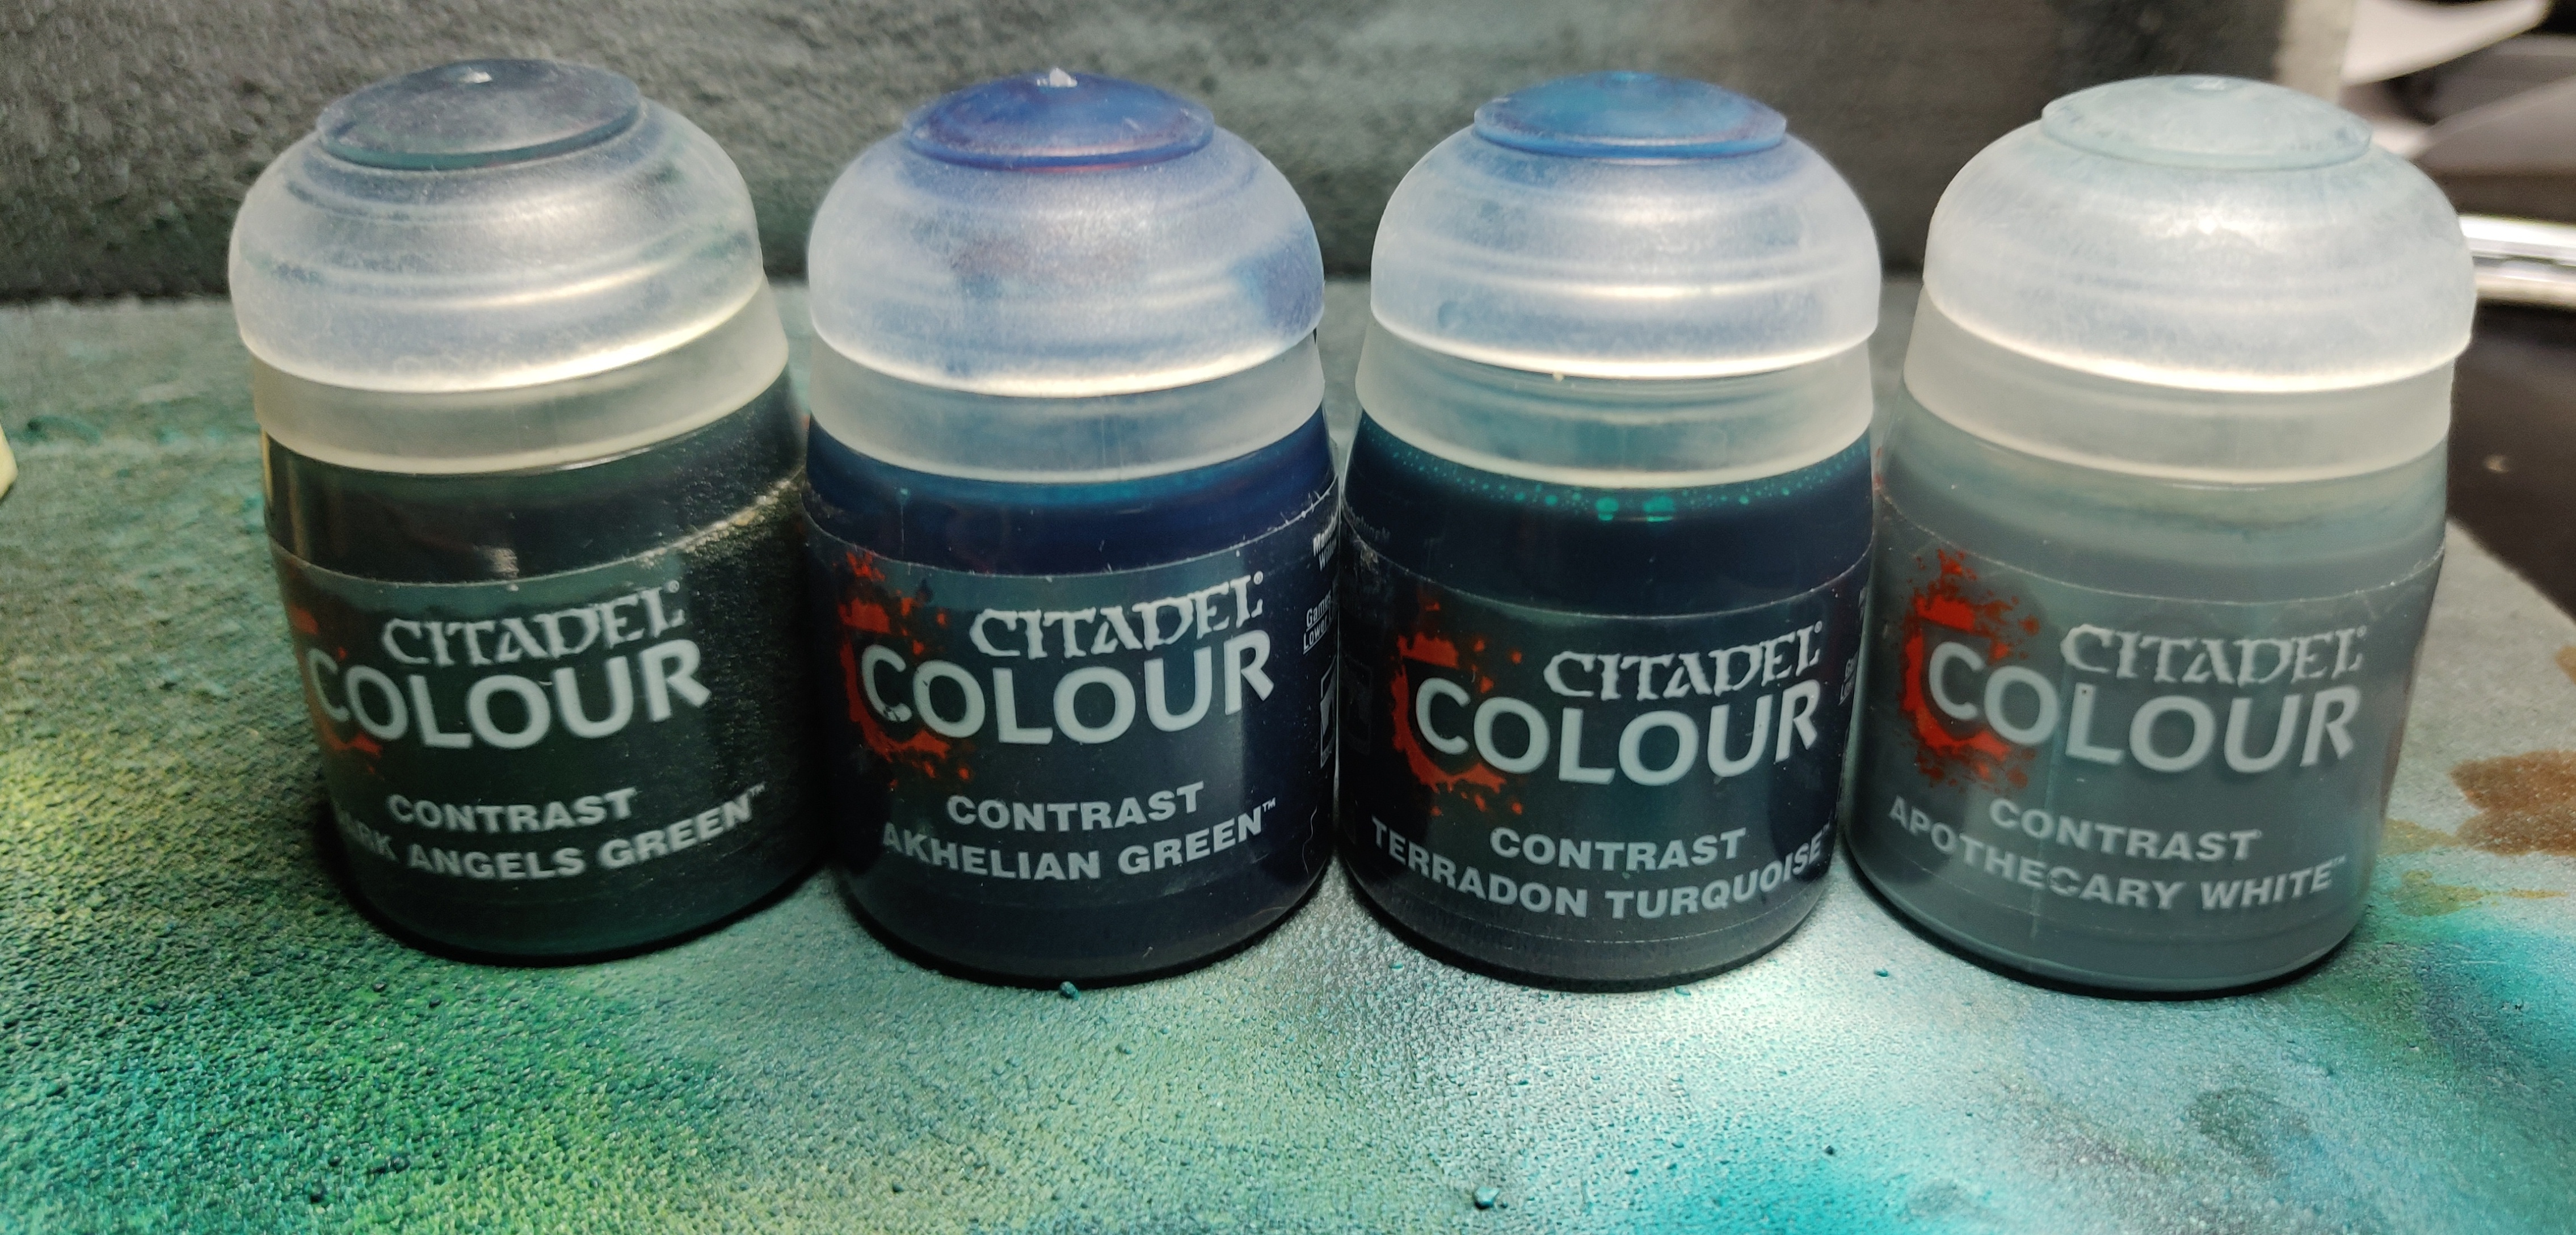
Taking the metallic basecoats of yesterday, I used the same technique as Neptune and applied Citadel Contrast paints over the top to tint the base, remove some of the lustre, and provide a nice looking nautical scheme of greens and blues.
Using a similar mix as I used for Neptune, I decided to add some more turquoise into the mix using Terradon Turquoise mixed with some Apothecary White. Applying the mixes from different angles, and the turquoise white mix from above created a slightly colour shift iridescent effect.
Continuing the batch painting session on these 4 bots, I swapped out my needle in my airbrush for a 0.2 and dropped the psi to 40, and set about applying the contrast mixes.
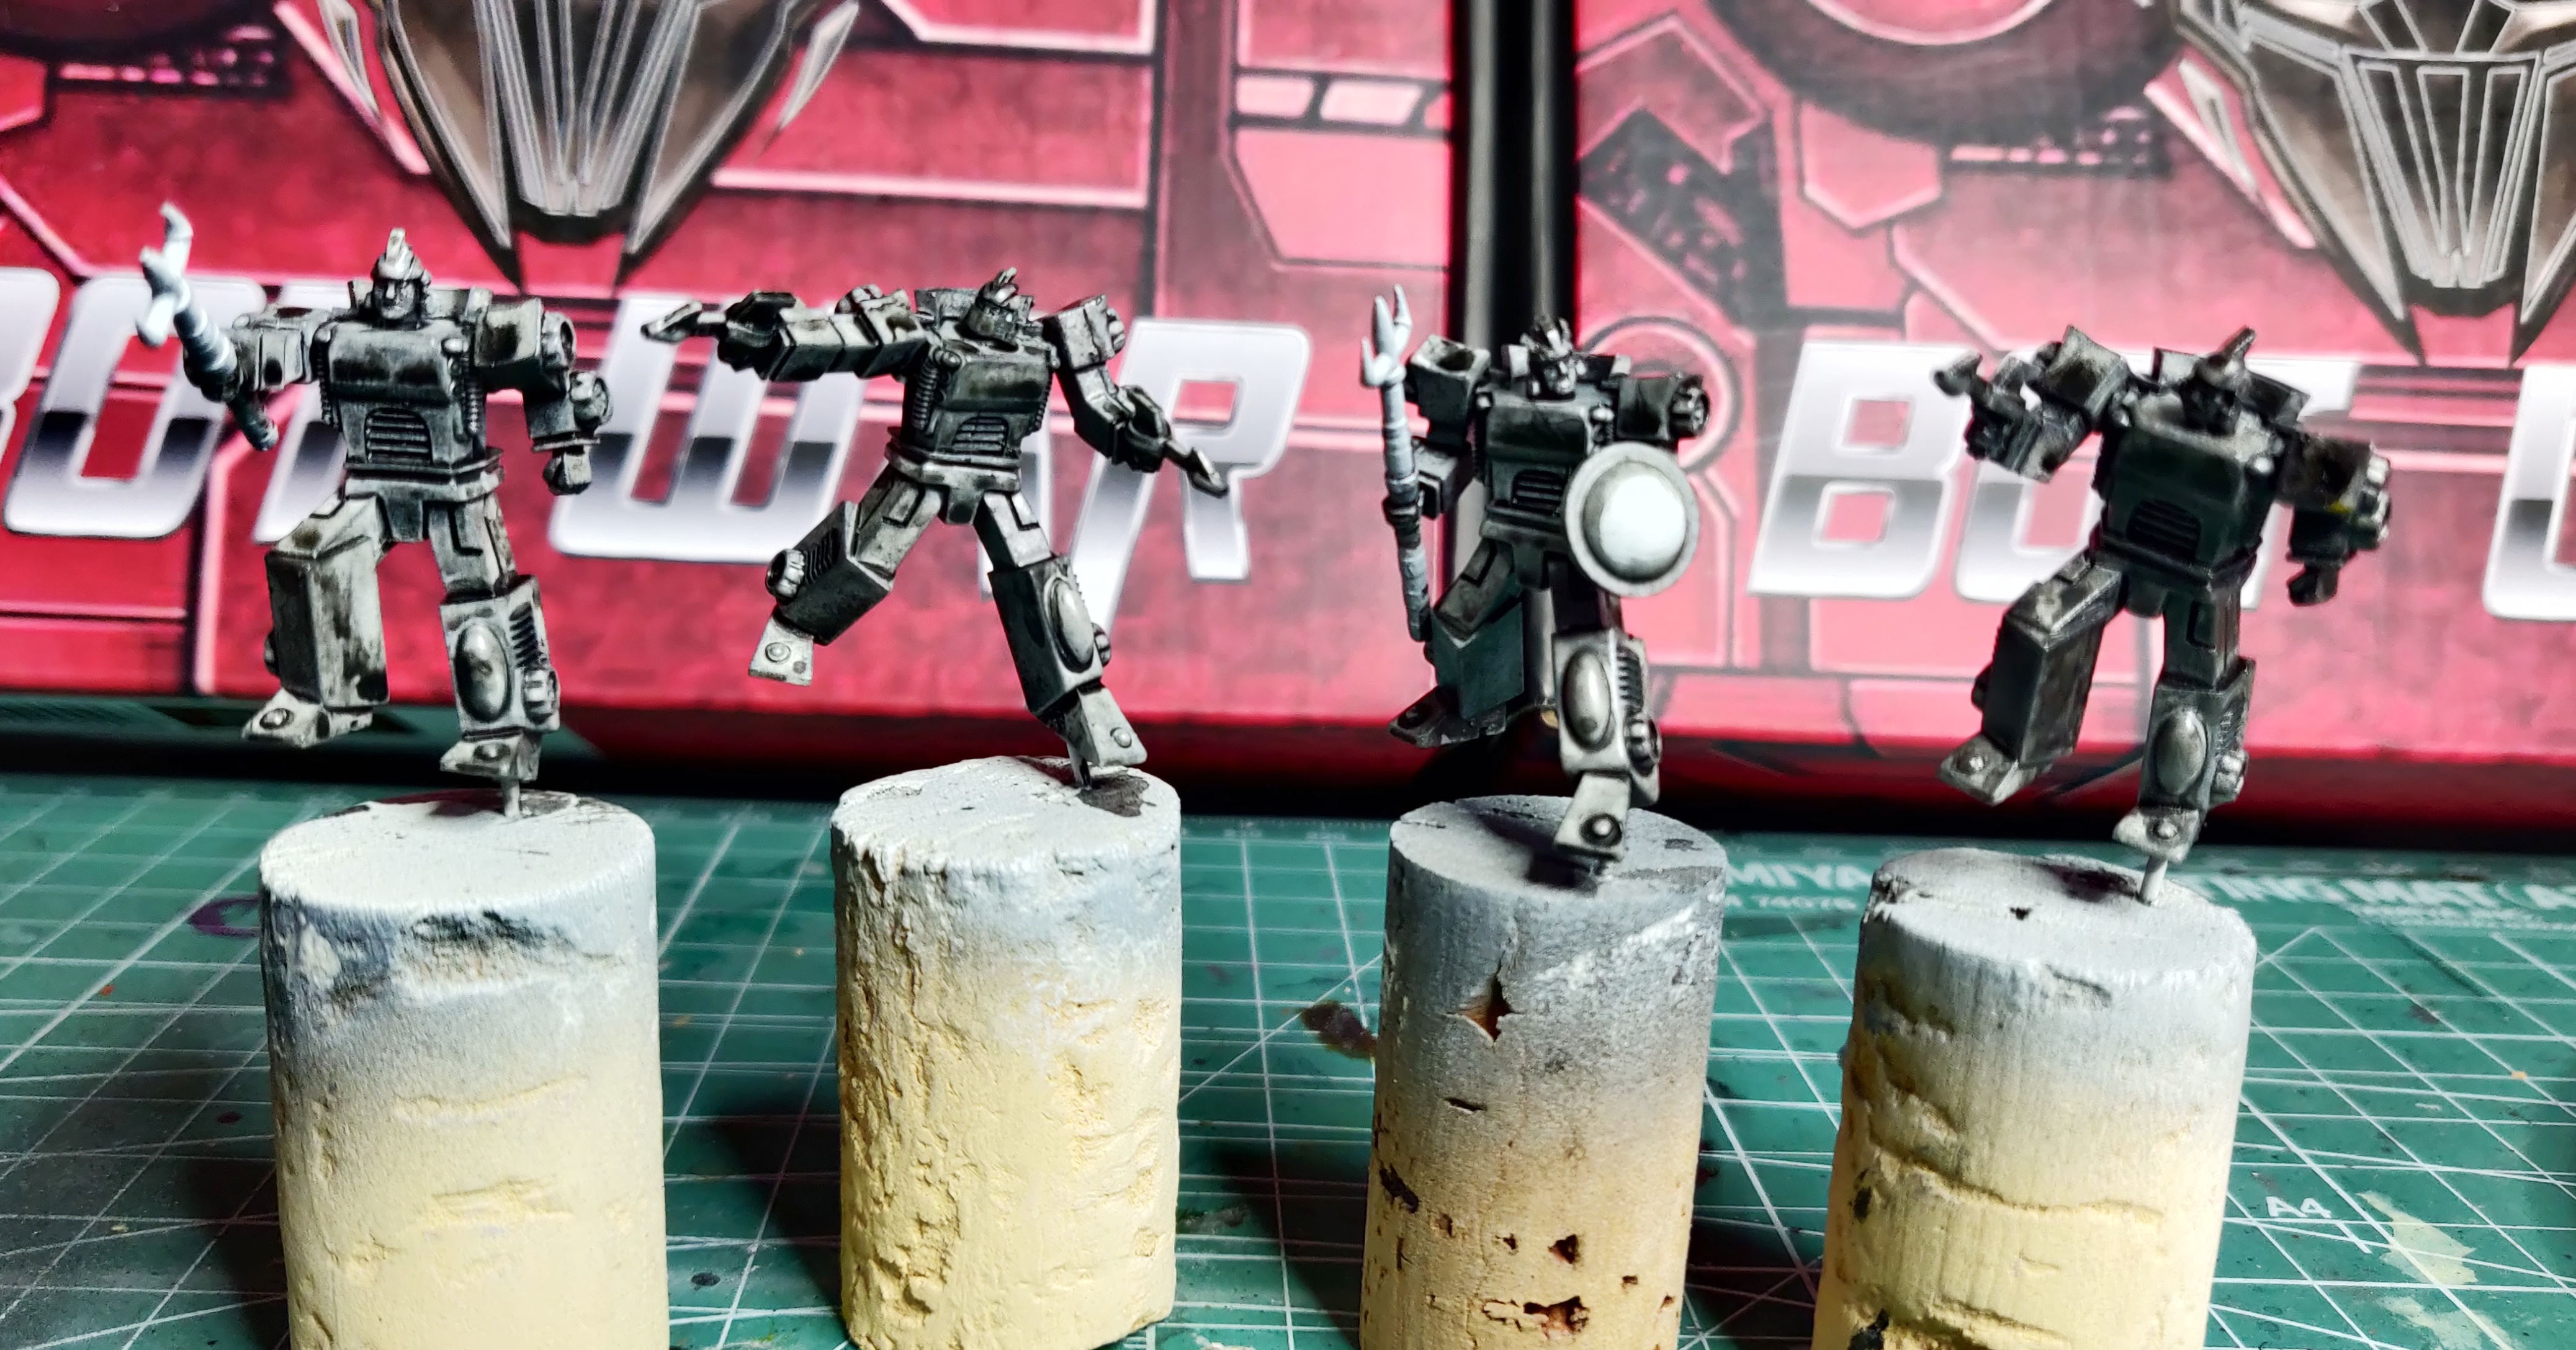
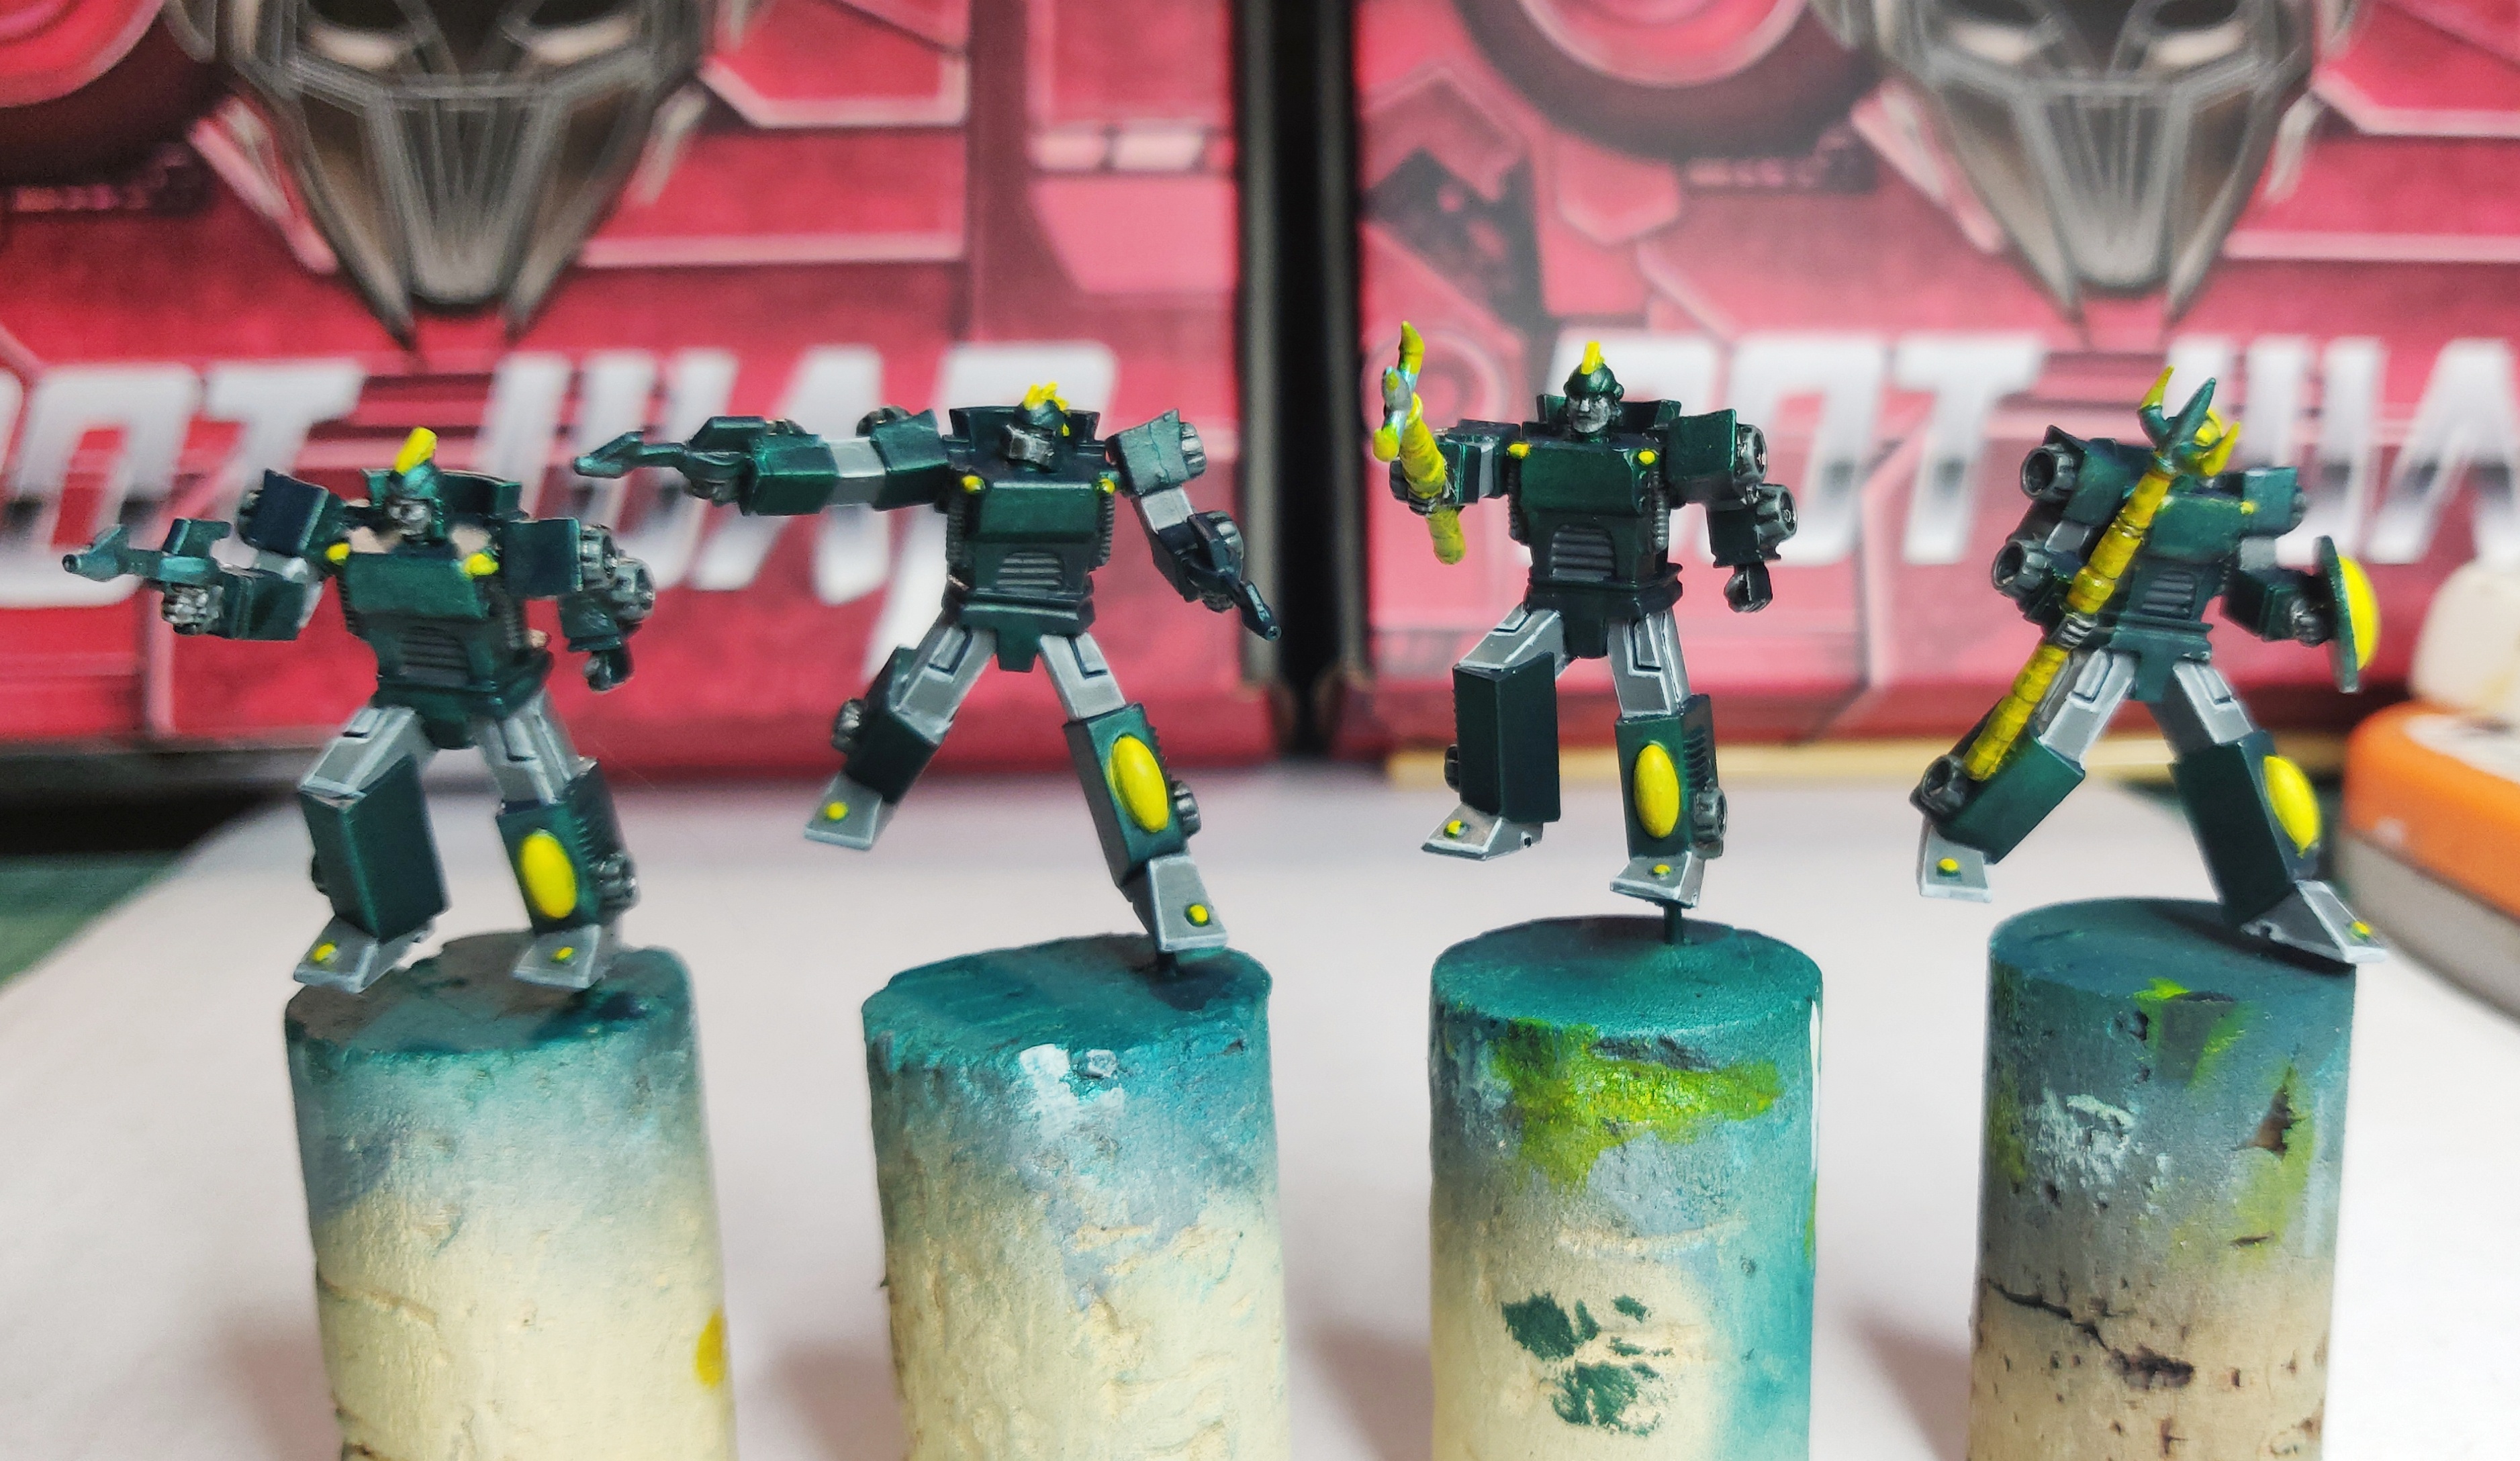
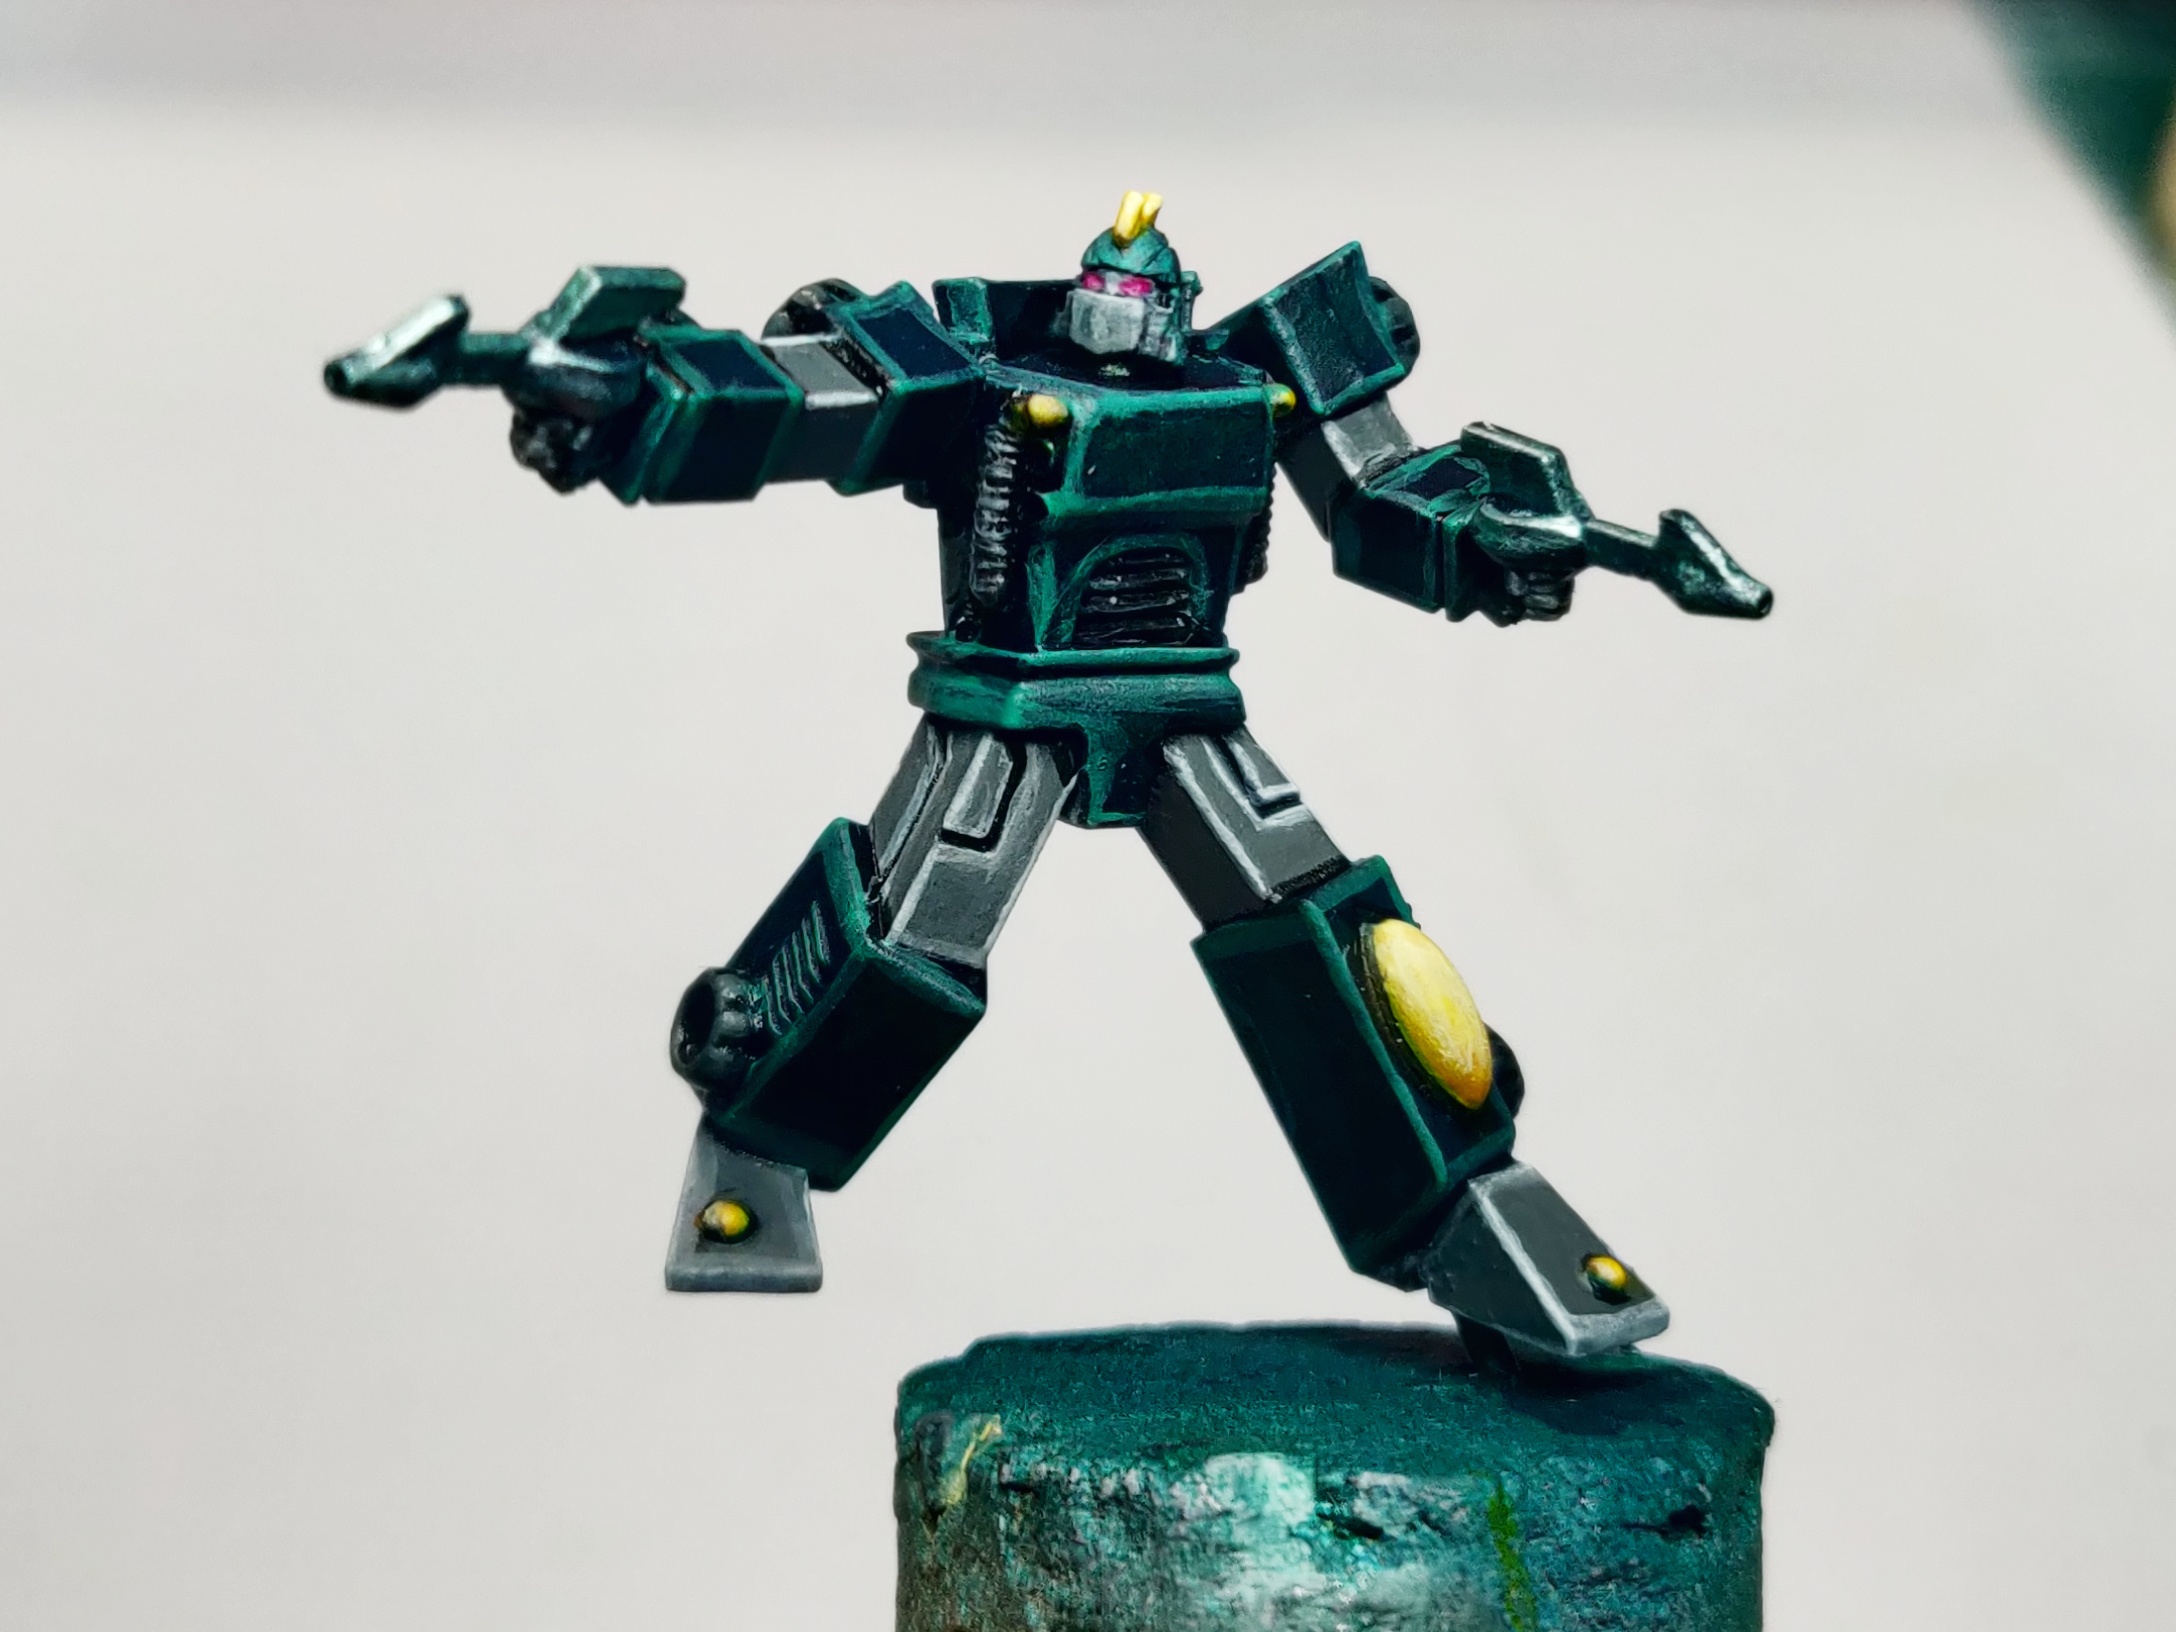
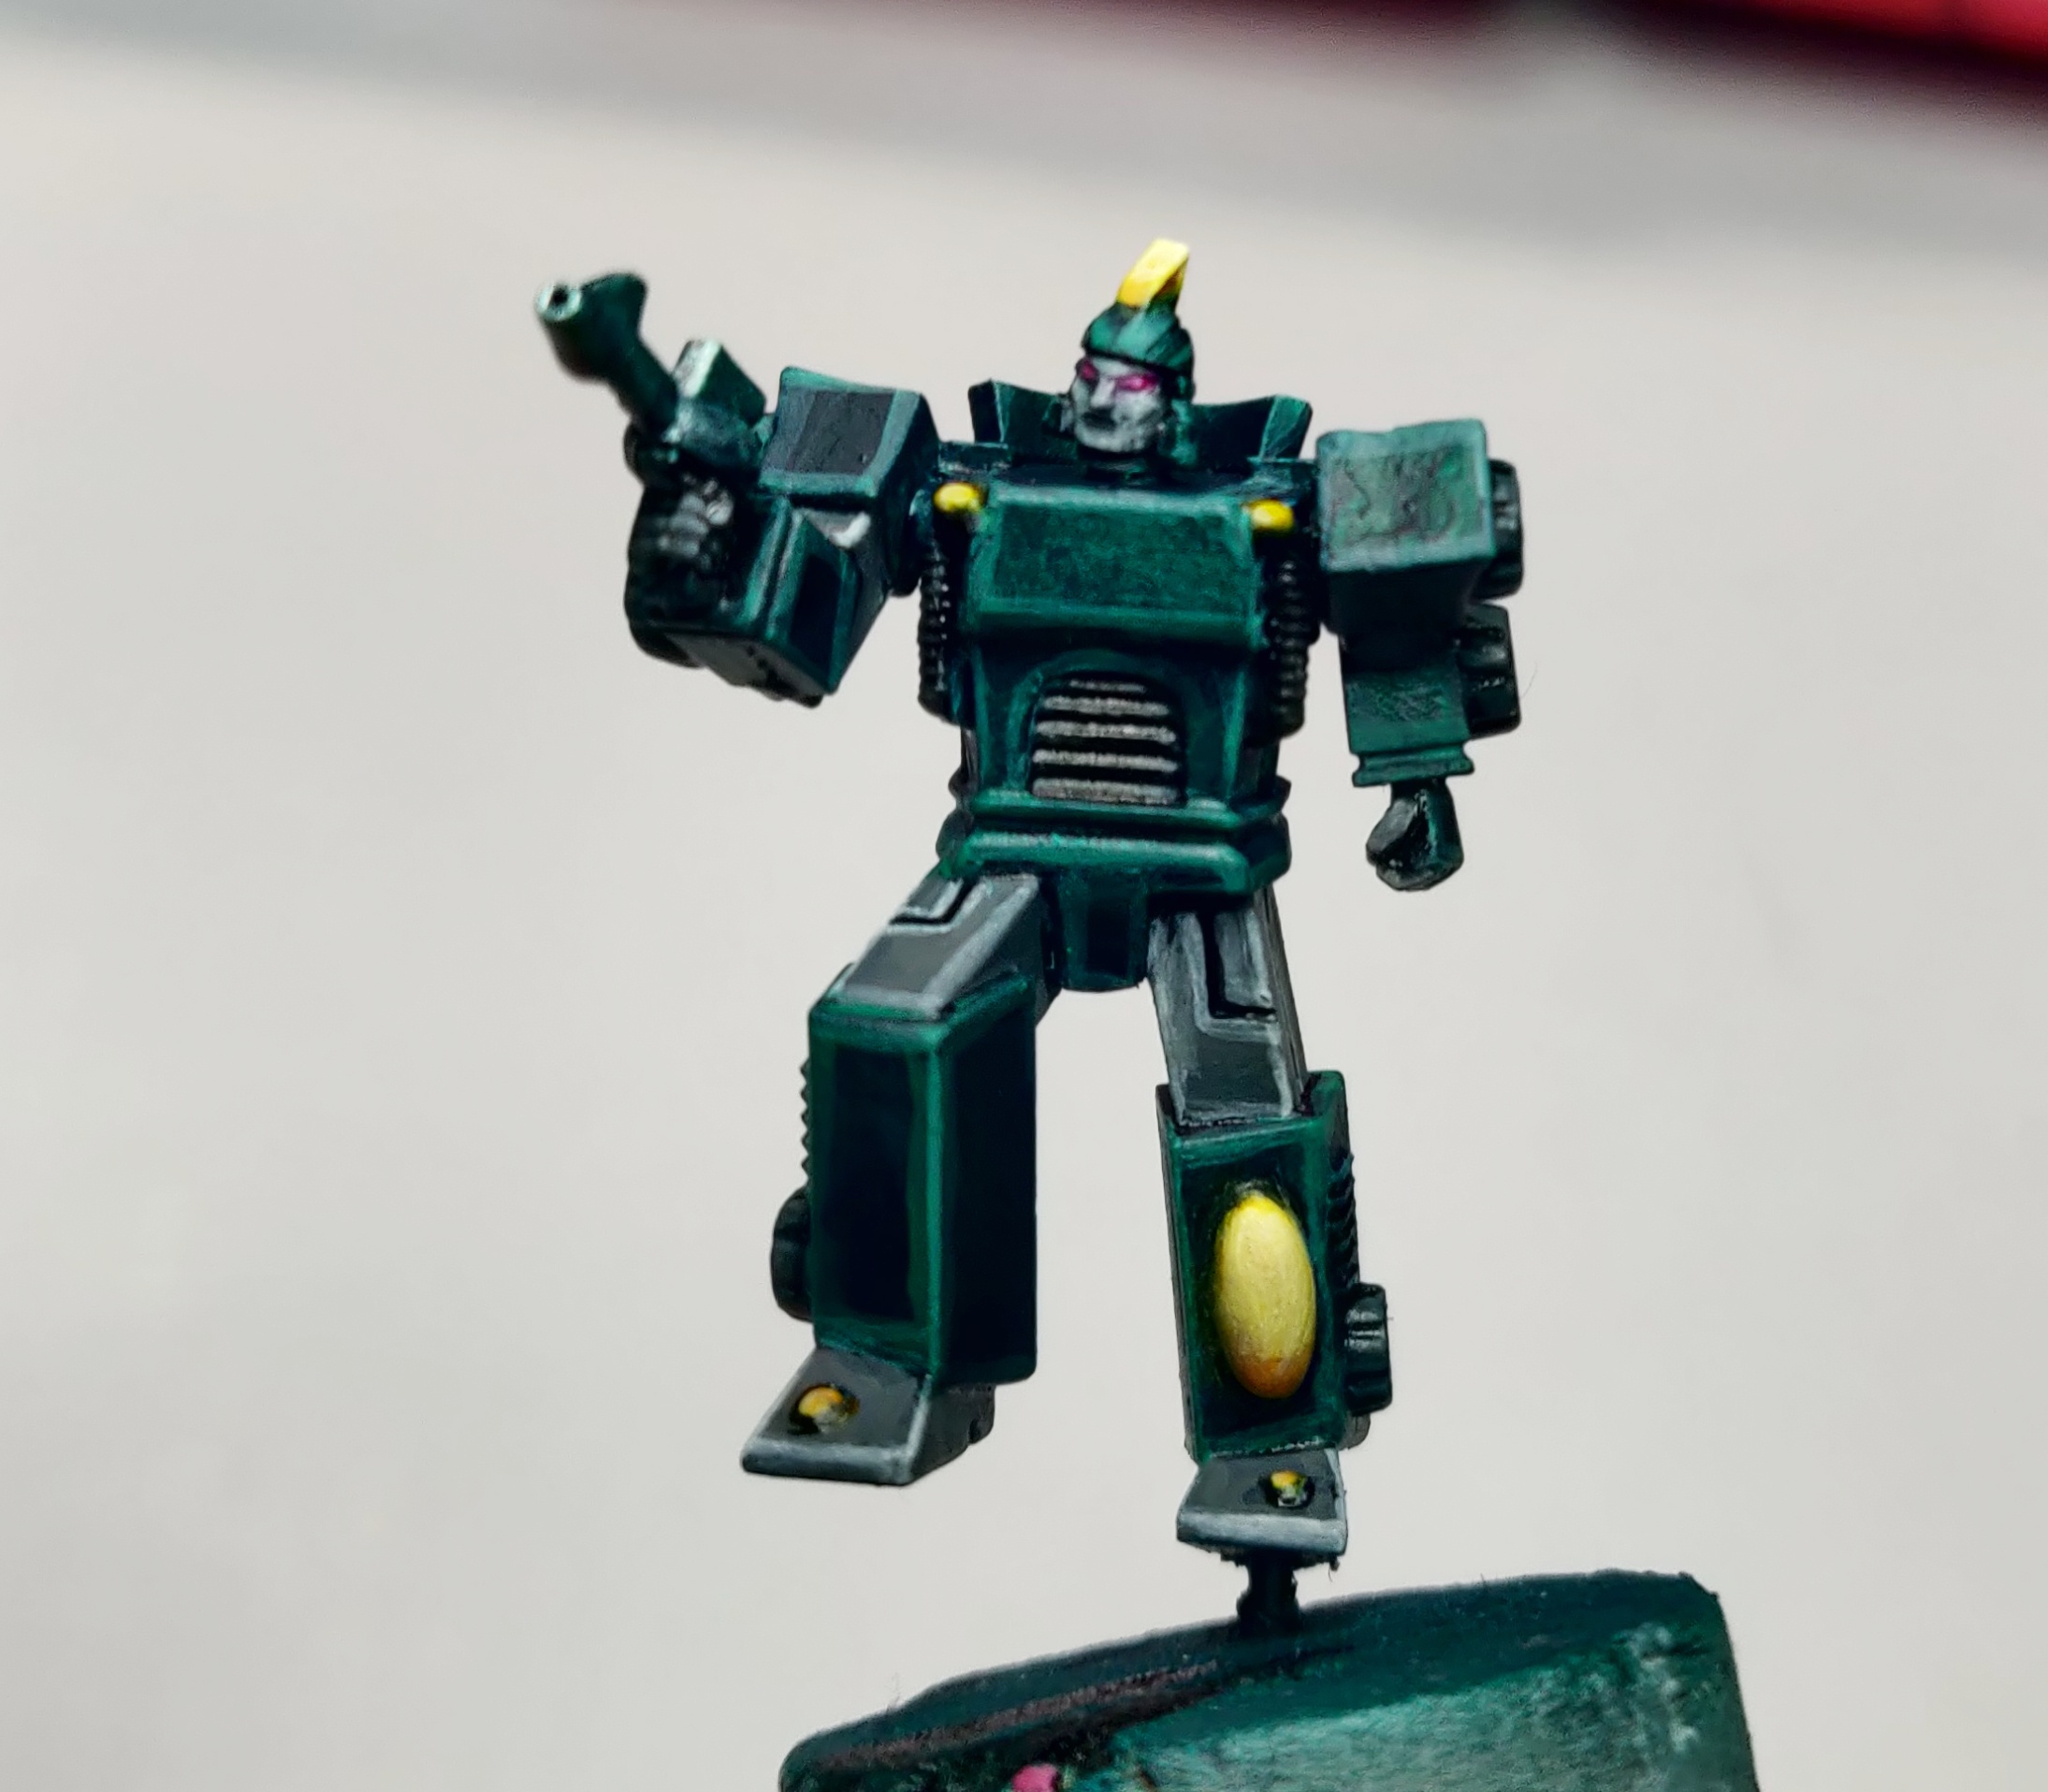
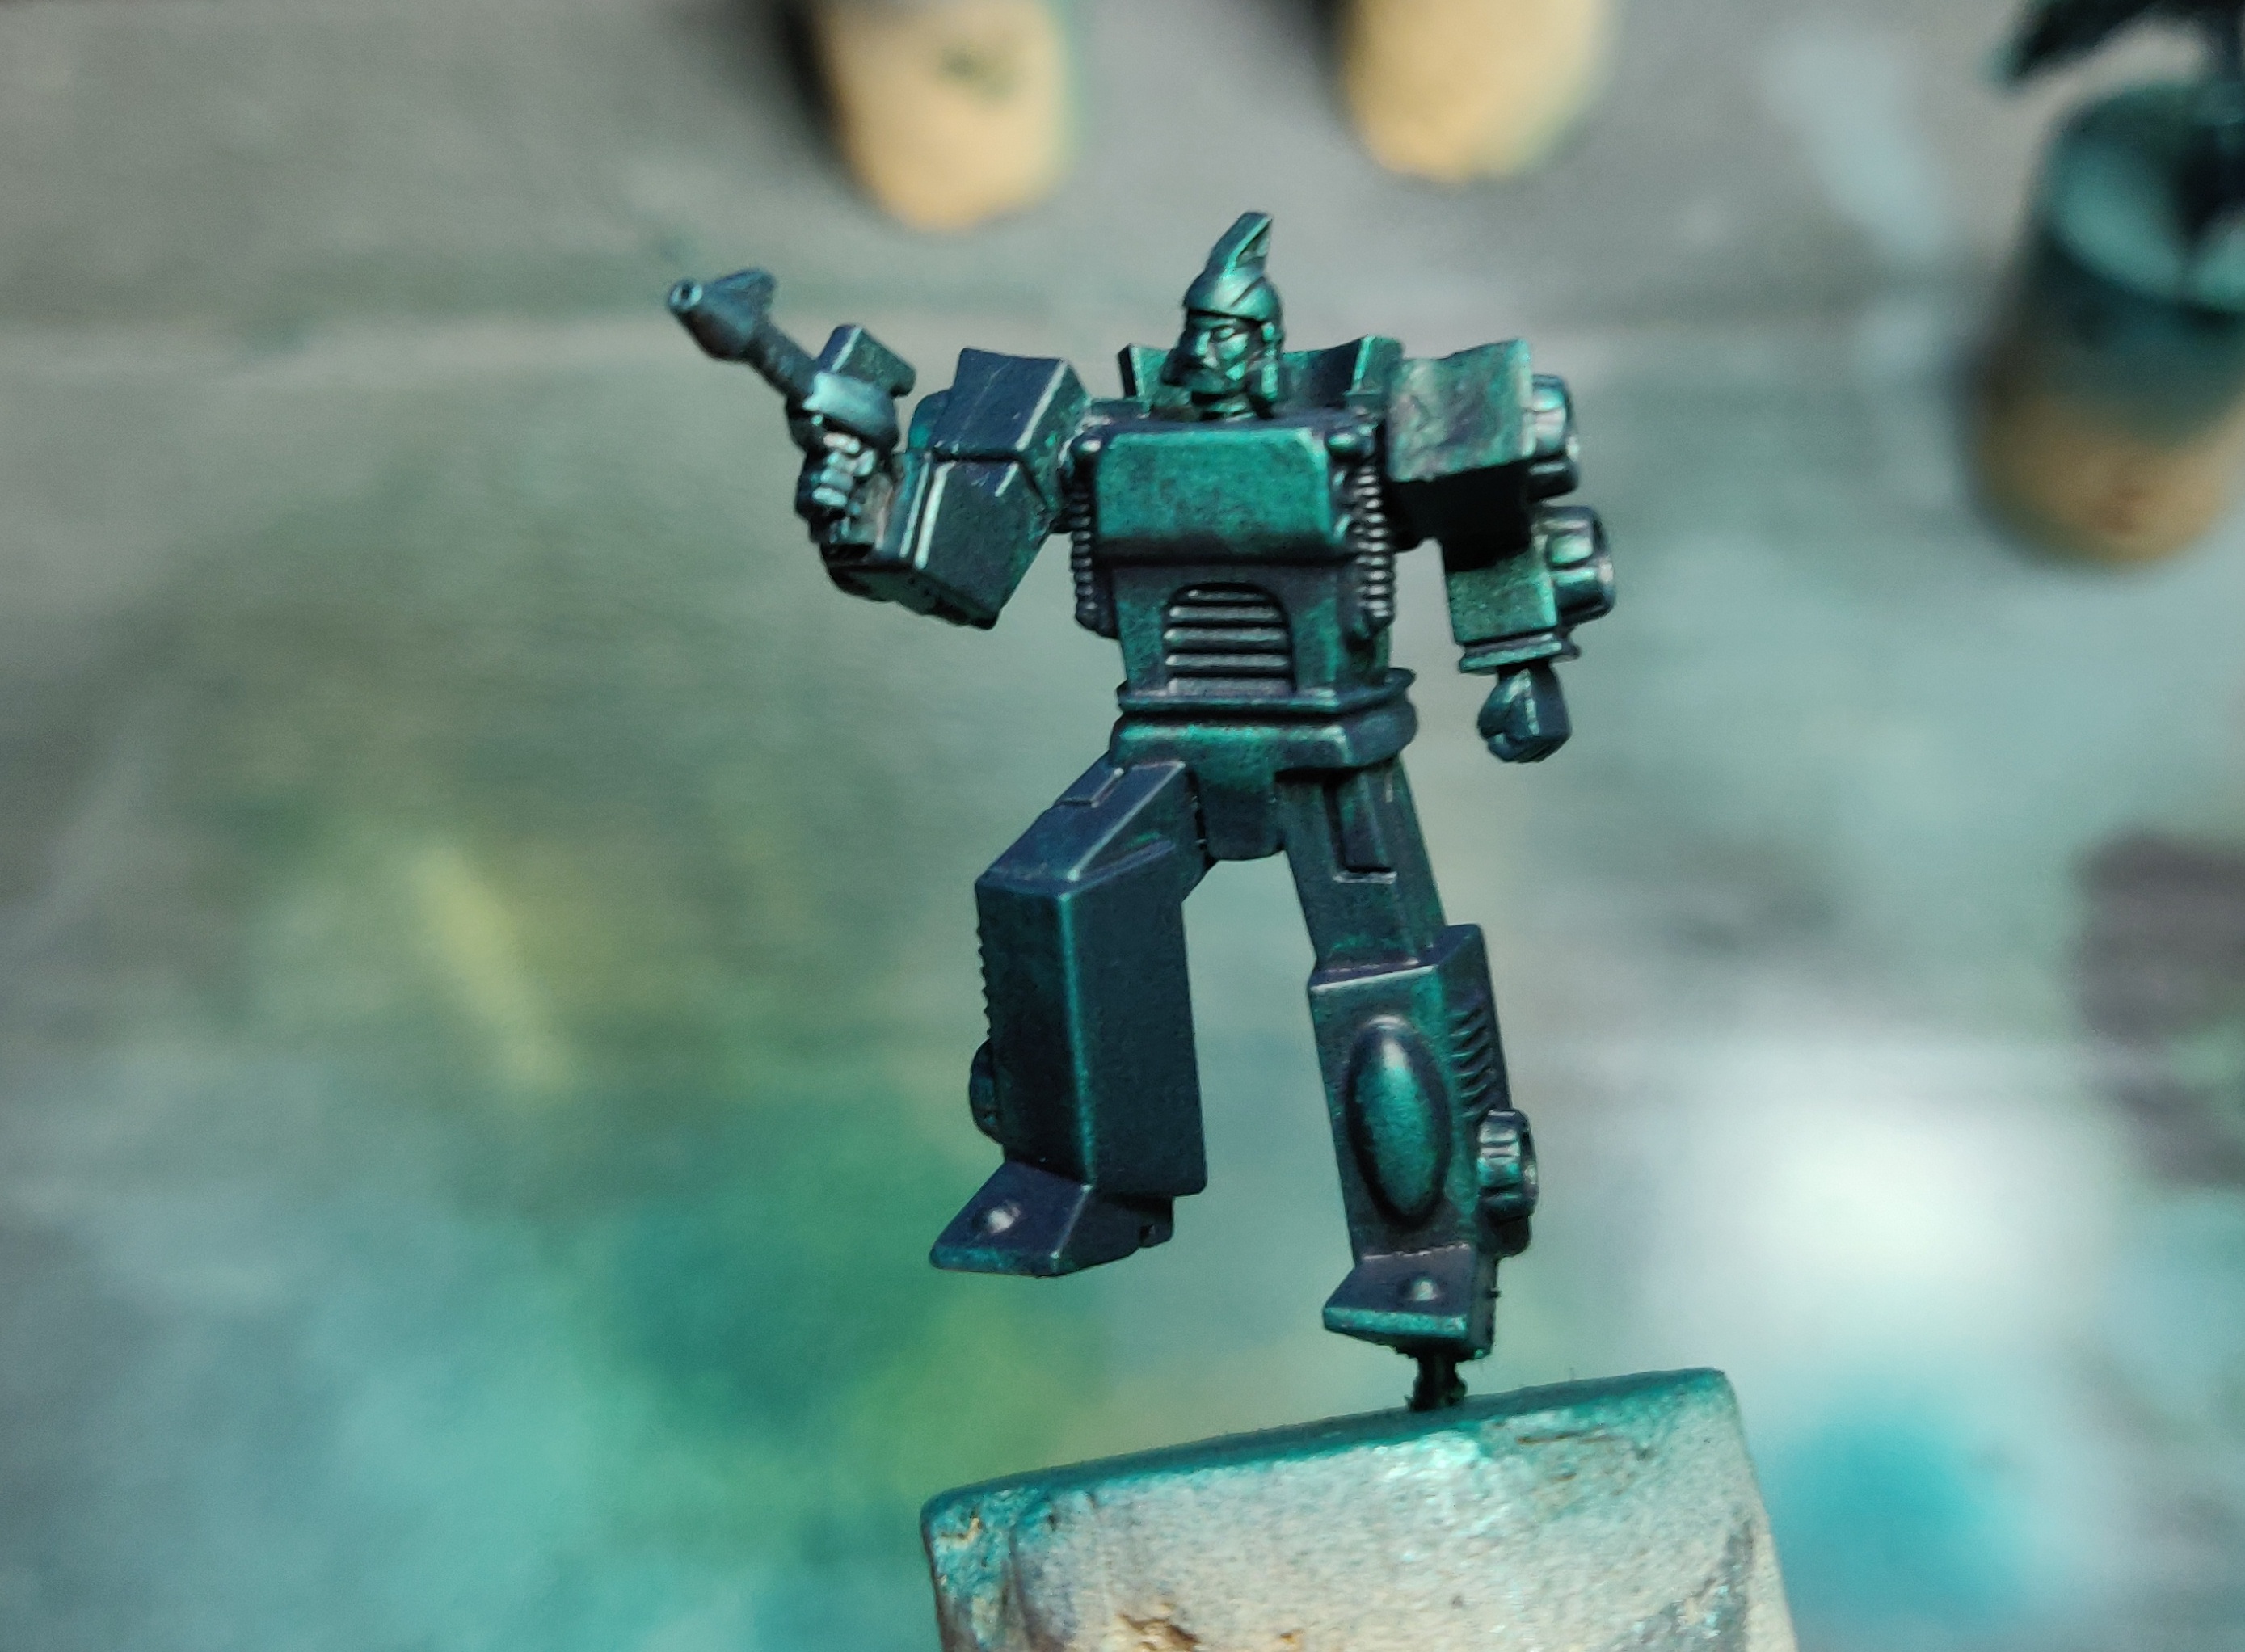 Nebulous
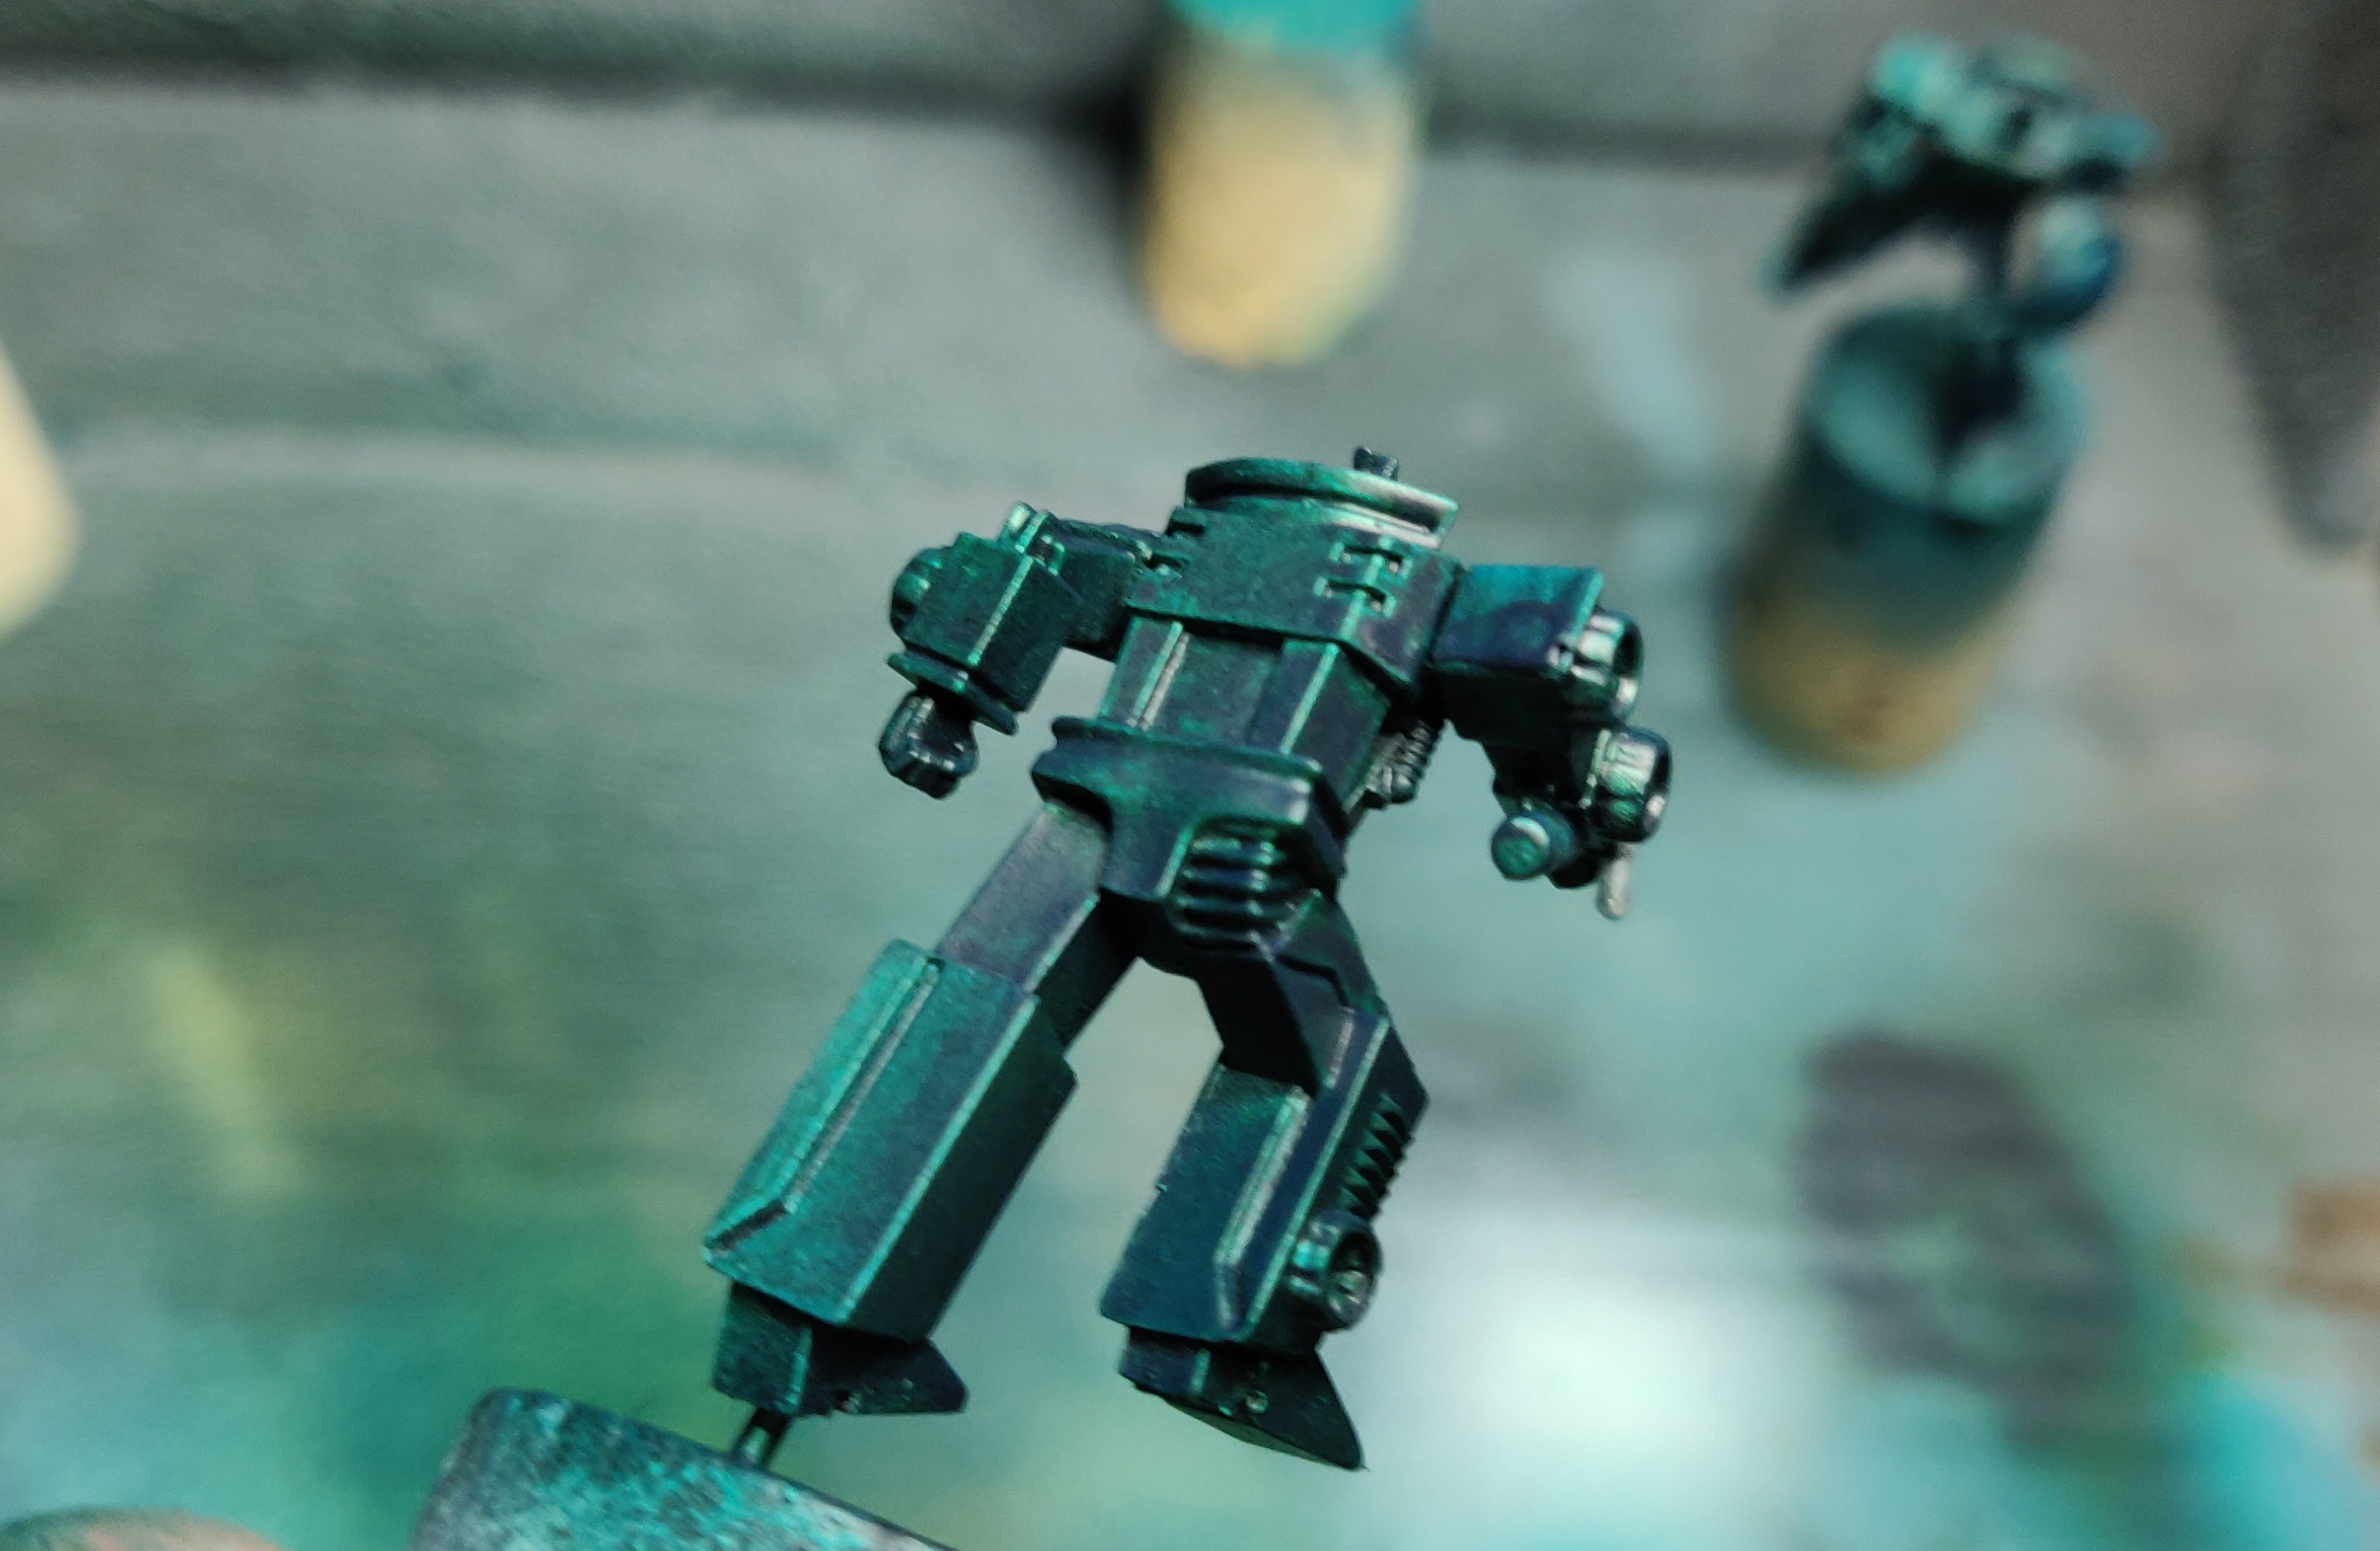 Aegon
Aegon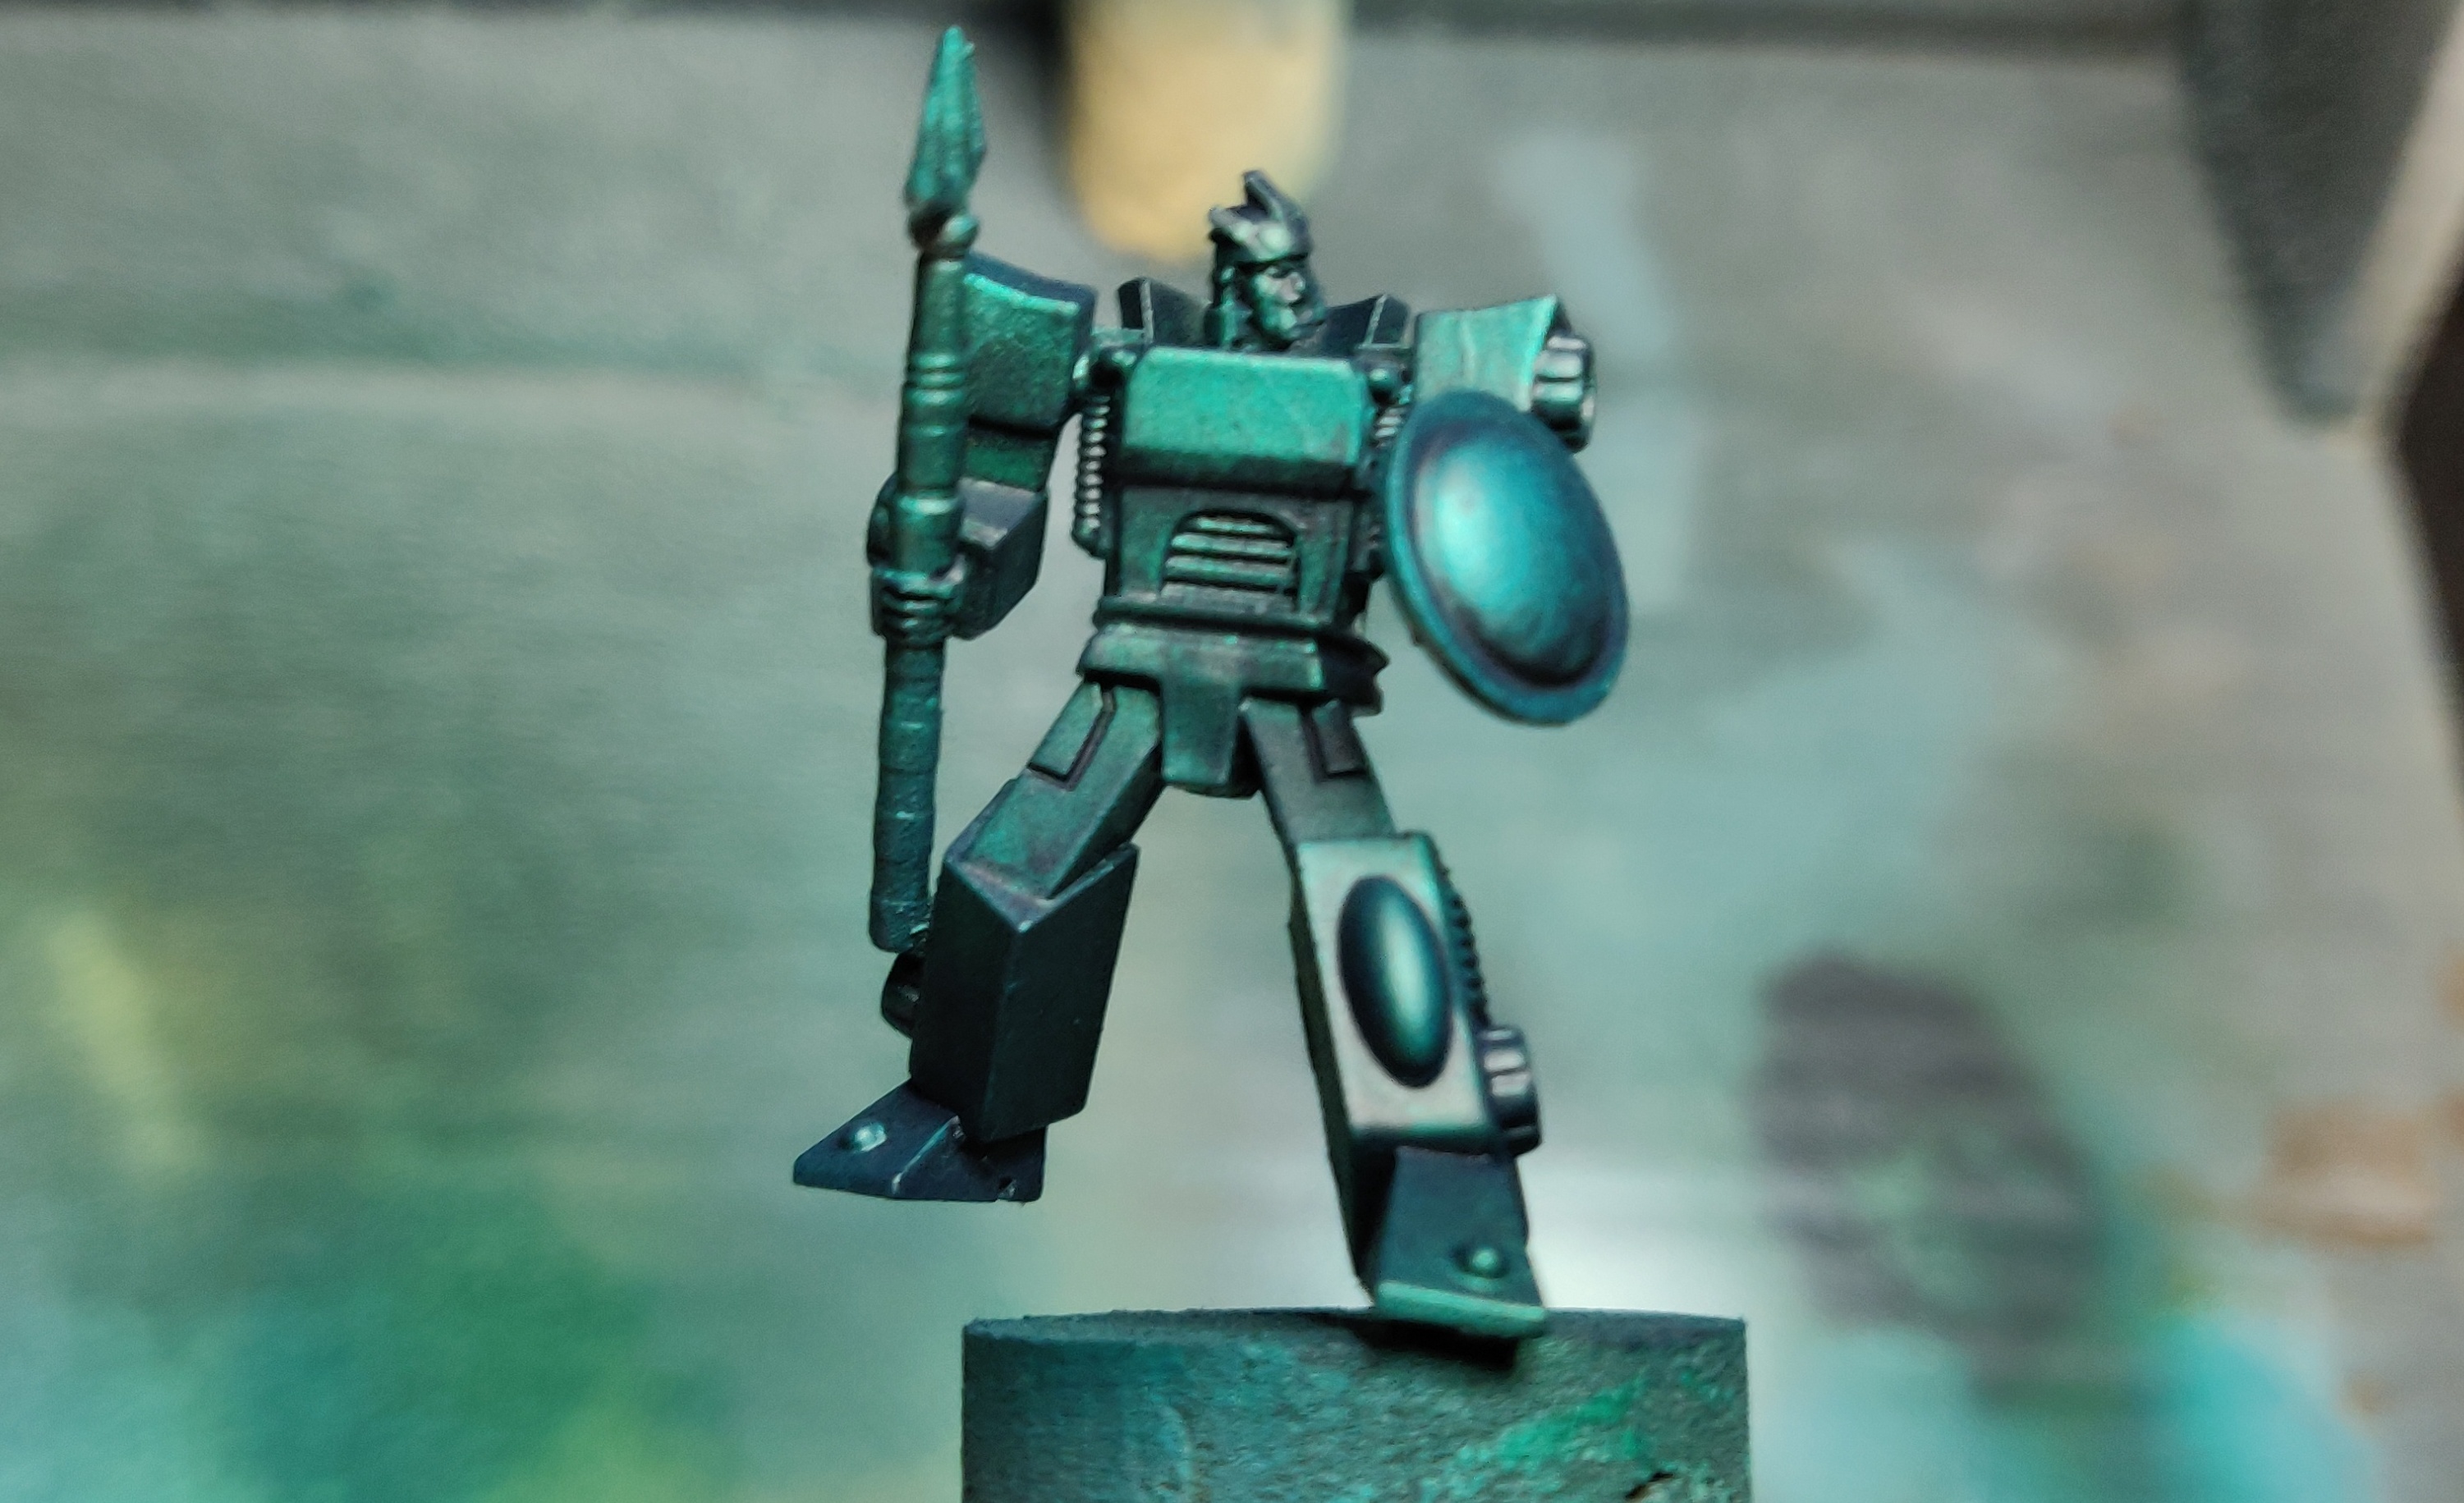 Nami
Nami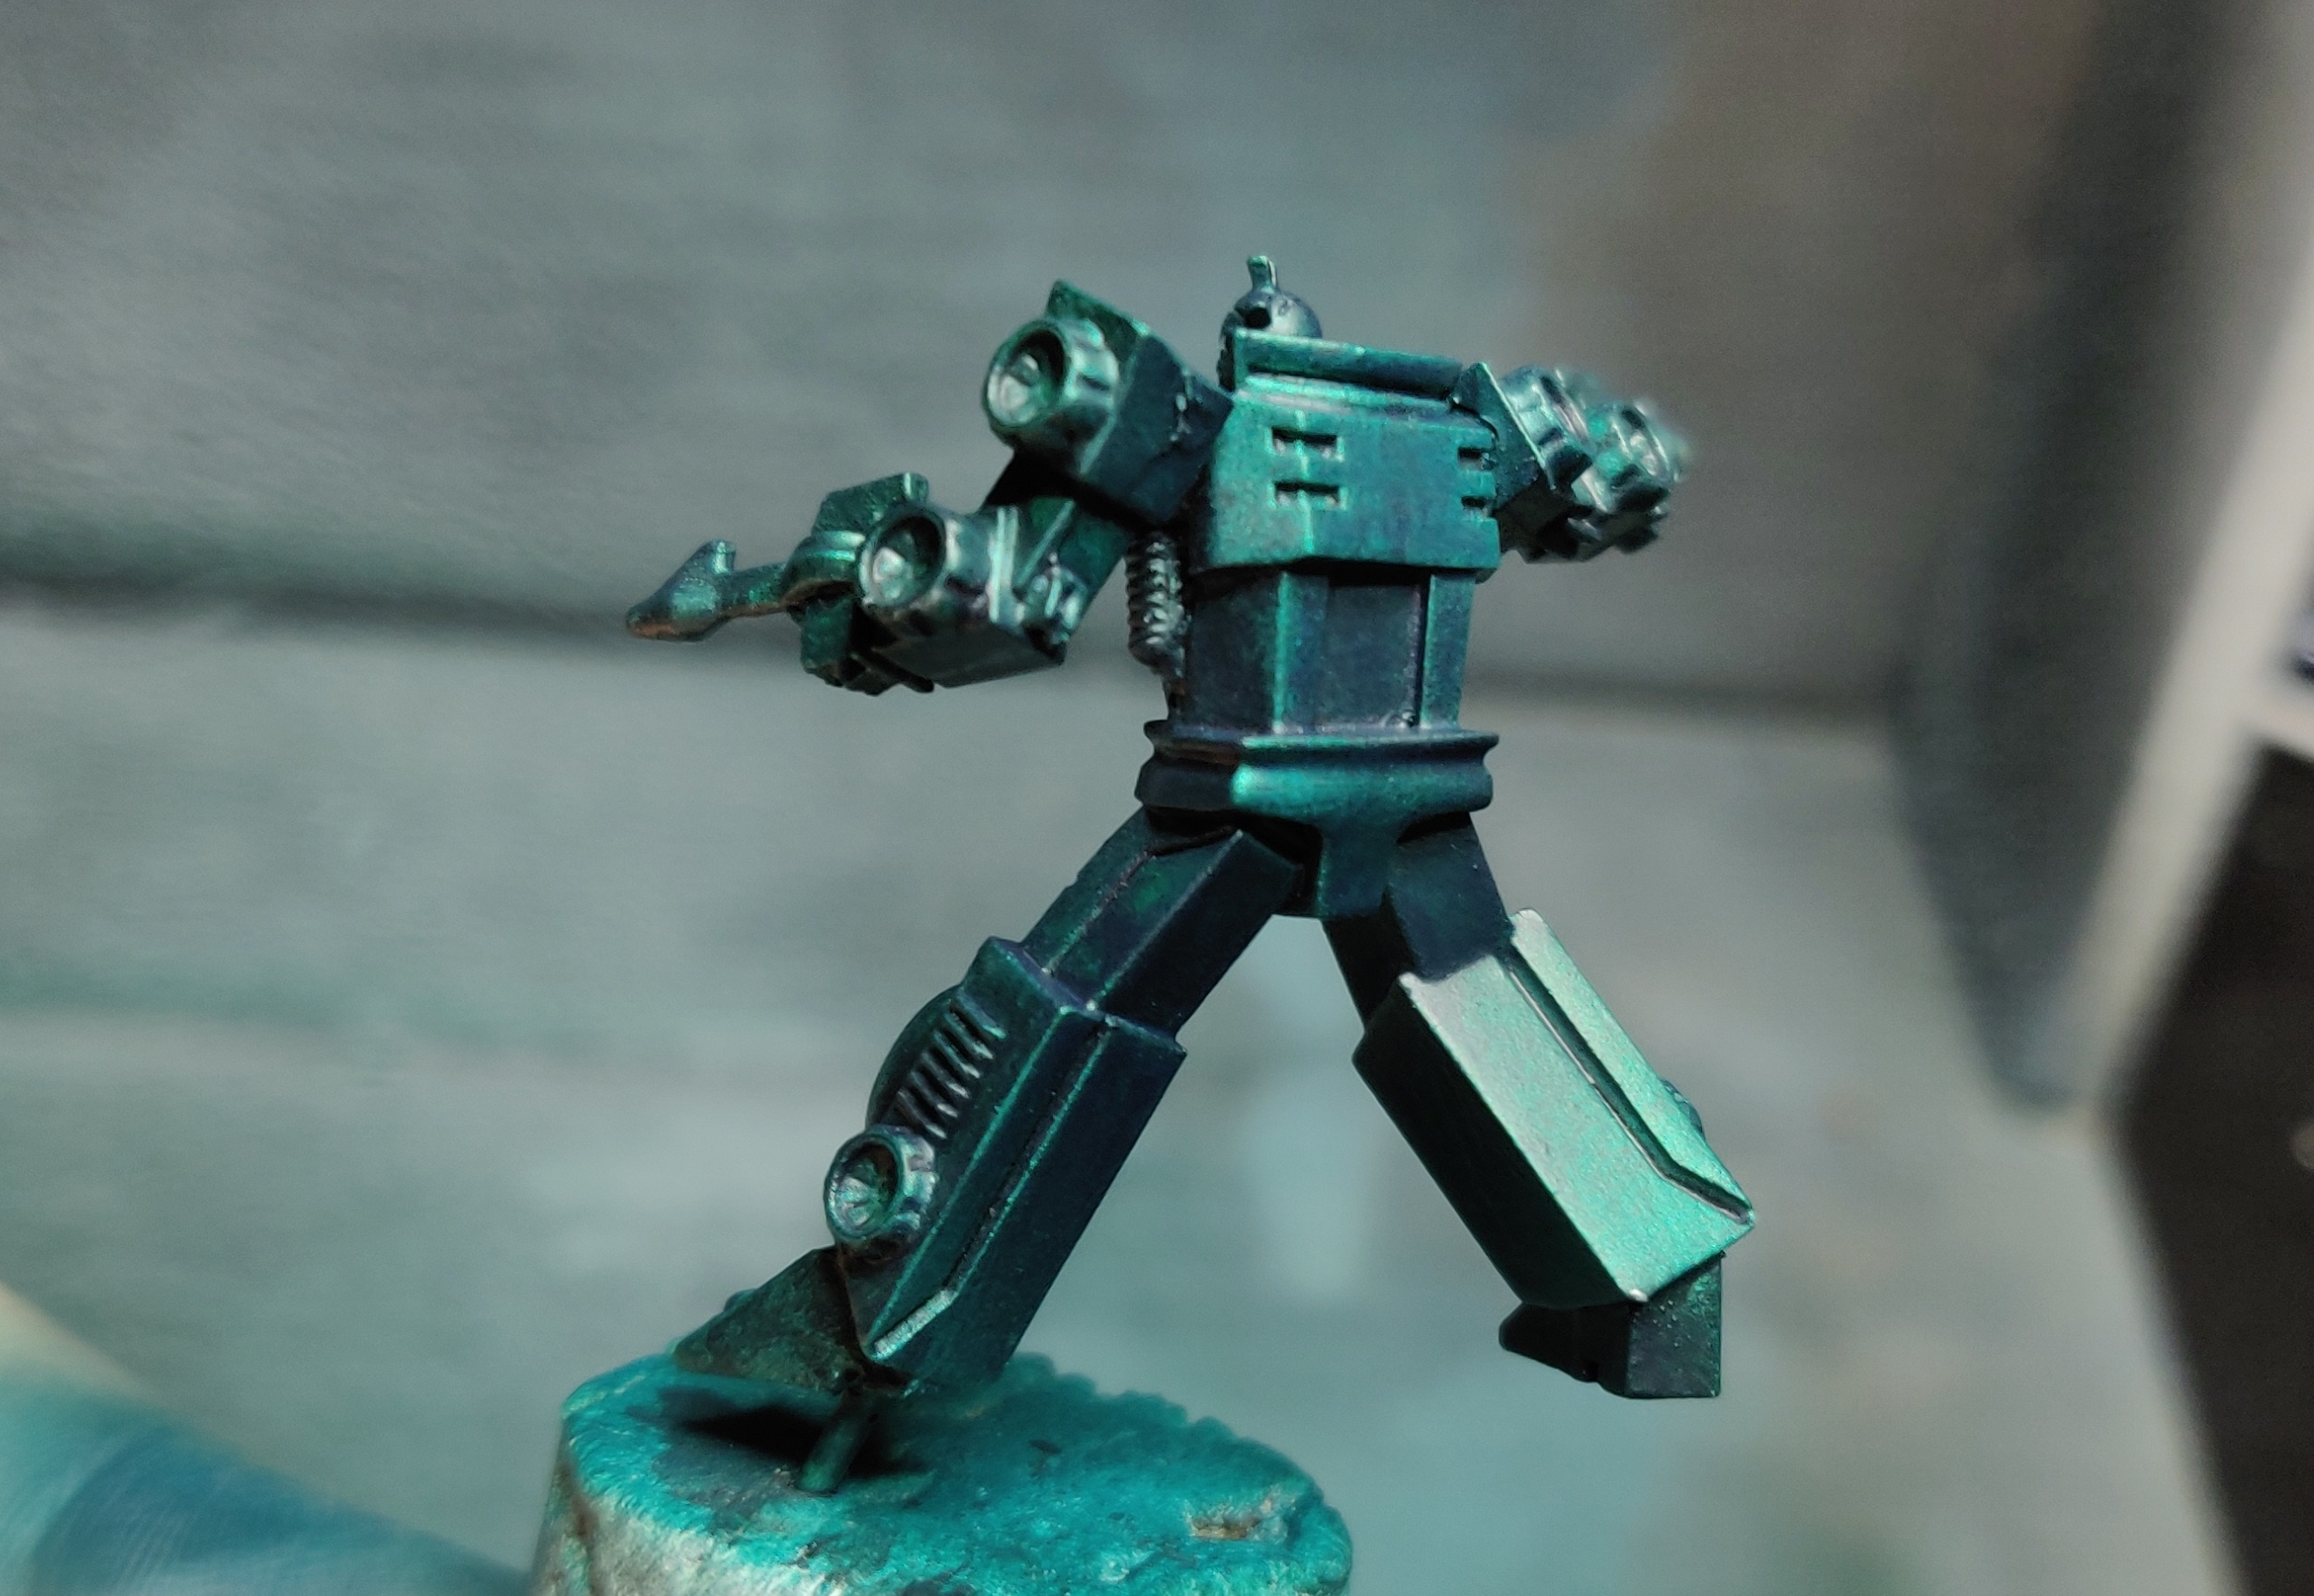 Thermal
To finish off today’s session I went in with P3 Ironhull Grey to paint up the limb joints with a nice opaque layer. This is my classic look for bots, like they’re all wearing the same inner frame under all of that outer armour.
It also provides a nice contrast to rest of the armour which can be a good way to highlight interest in the armoured parts and also provide a cohesive look to the force.
This will be highlighted and blackline tomorrow (hopefully) and then I can add some colour to trim details weapons.

Day 9...
A little splash of colour
A quick update today, I was pressed for time due to “life” but managed to get a bit of colour added in the form of Monument Hobbies pro-acryl transparent yellow onto some detail parts, and get the grey parts edged.
Both will need touching up to neaten, and the yellow especially will need many more layers to give a solid base to then work up like Neptune.
Anyway, that’s it for today, I know tomorrow may be another quick session, but Sunday will be very productive!

Day 10...
Halfway point
 Need to pull out details
 These bots certainly don’t have as much detail as Neptune, but that’s not surprising as he is a “character”, I say that loosely as each of the characters is named, but it’s clear in its design that Neptune is a bit more special than these 4. Anyway, I still wanted to bring out the details on these bots starting with the tyres that are on each arm and leg. Their alt-mode takes the form of a 6-wheeled artillery vehicle, so the tyres needed to be picked out as they would be prominent on that mode and are key characteristic for these bots.
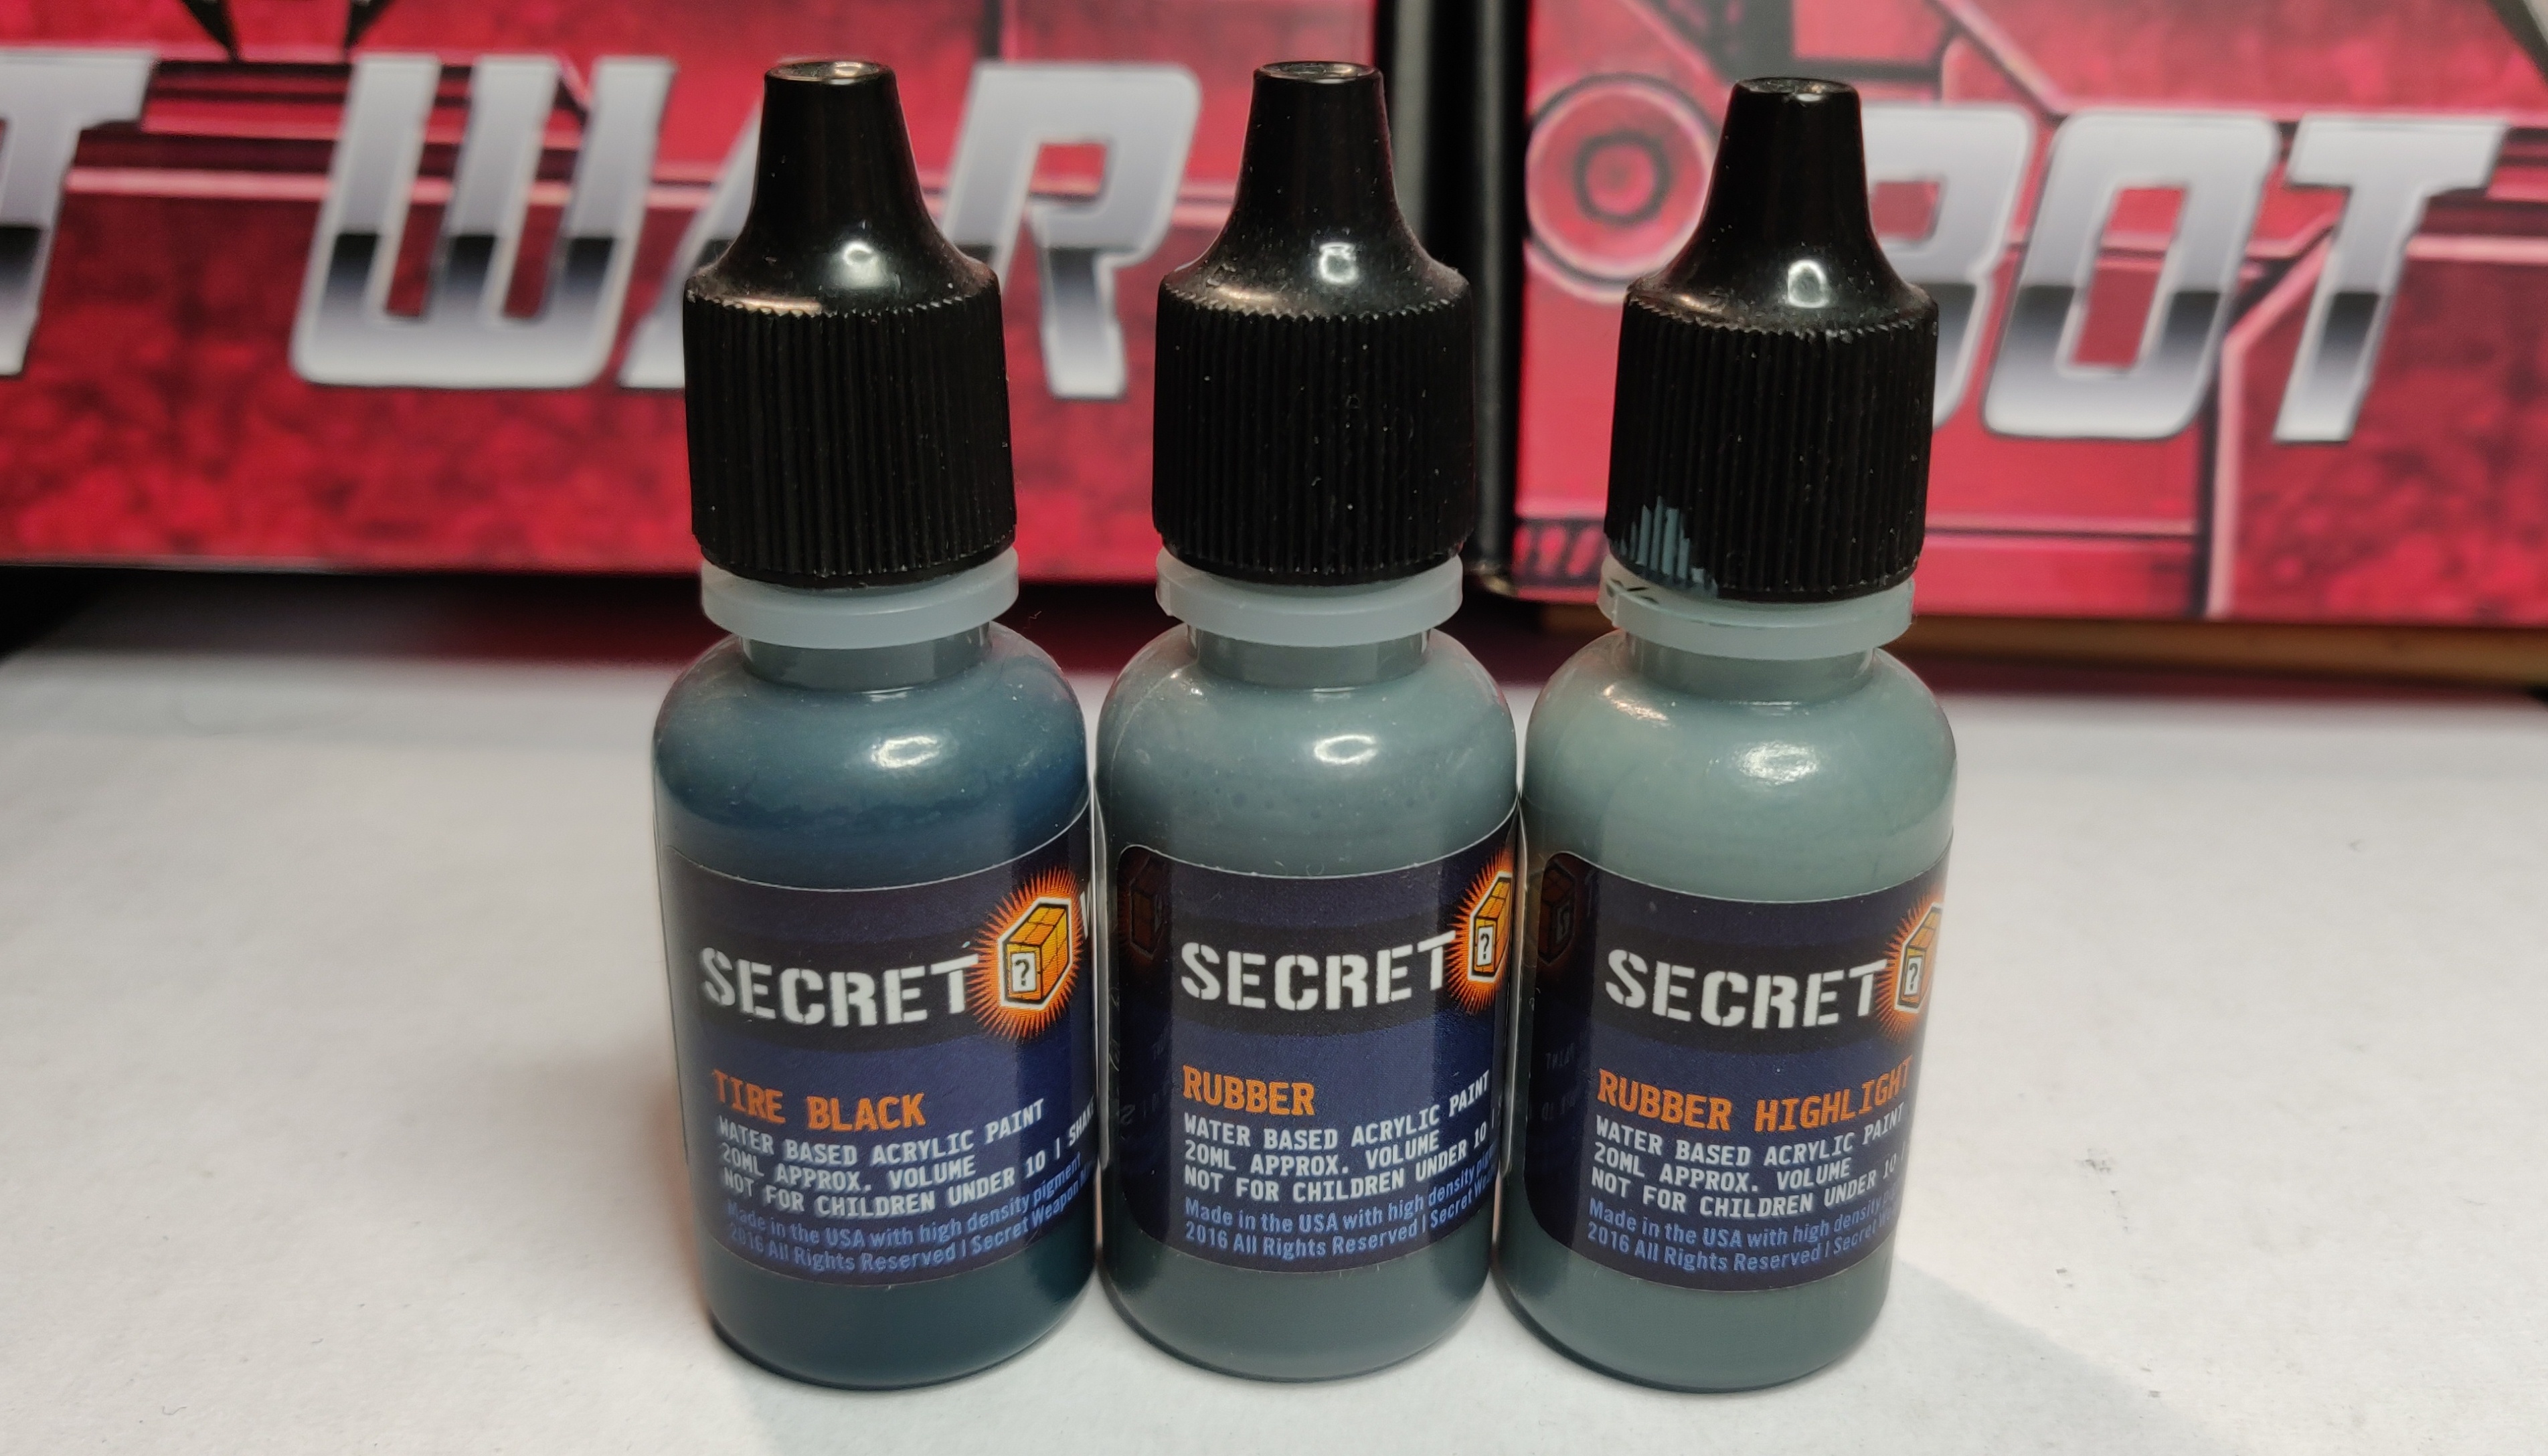 Secret Weapon tyre workup triad
Secret Weapon do a lovely set in their acrylic range for doing tyres and rubber hosing. Starting with a basecoat of Tyre Black (which is a sort of bluey coal black) this is painted over the whole tyre. Over that I then applied Rubber which is a blue-grey to the main tread parts leaving the recesses in tyre black. A highlight of Rubber Highlight was then used on the edges and to help single out each of the tread points.
This same workup was used on the piping that runs down each side of the chest piece.
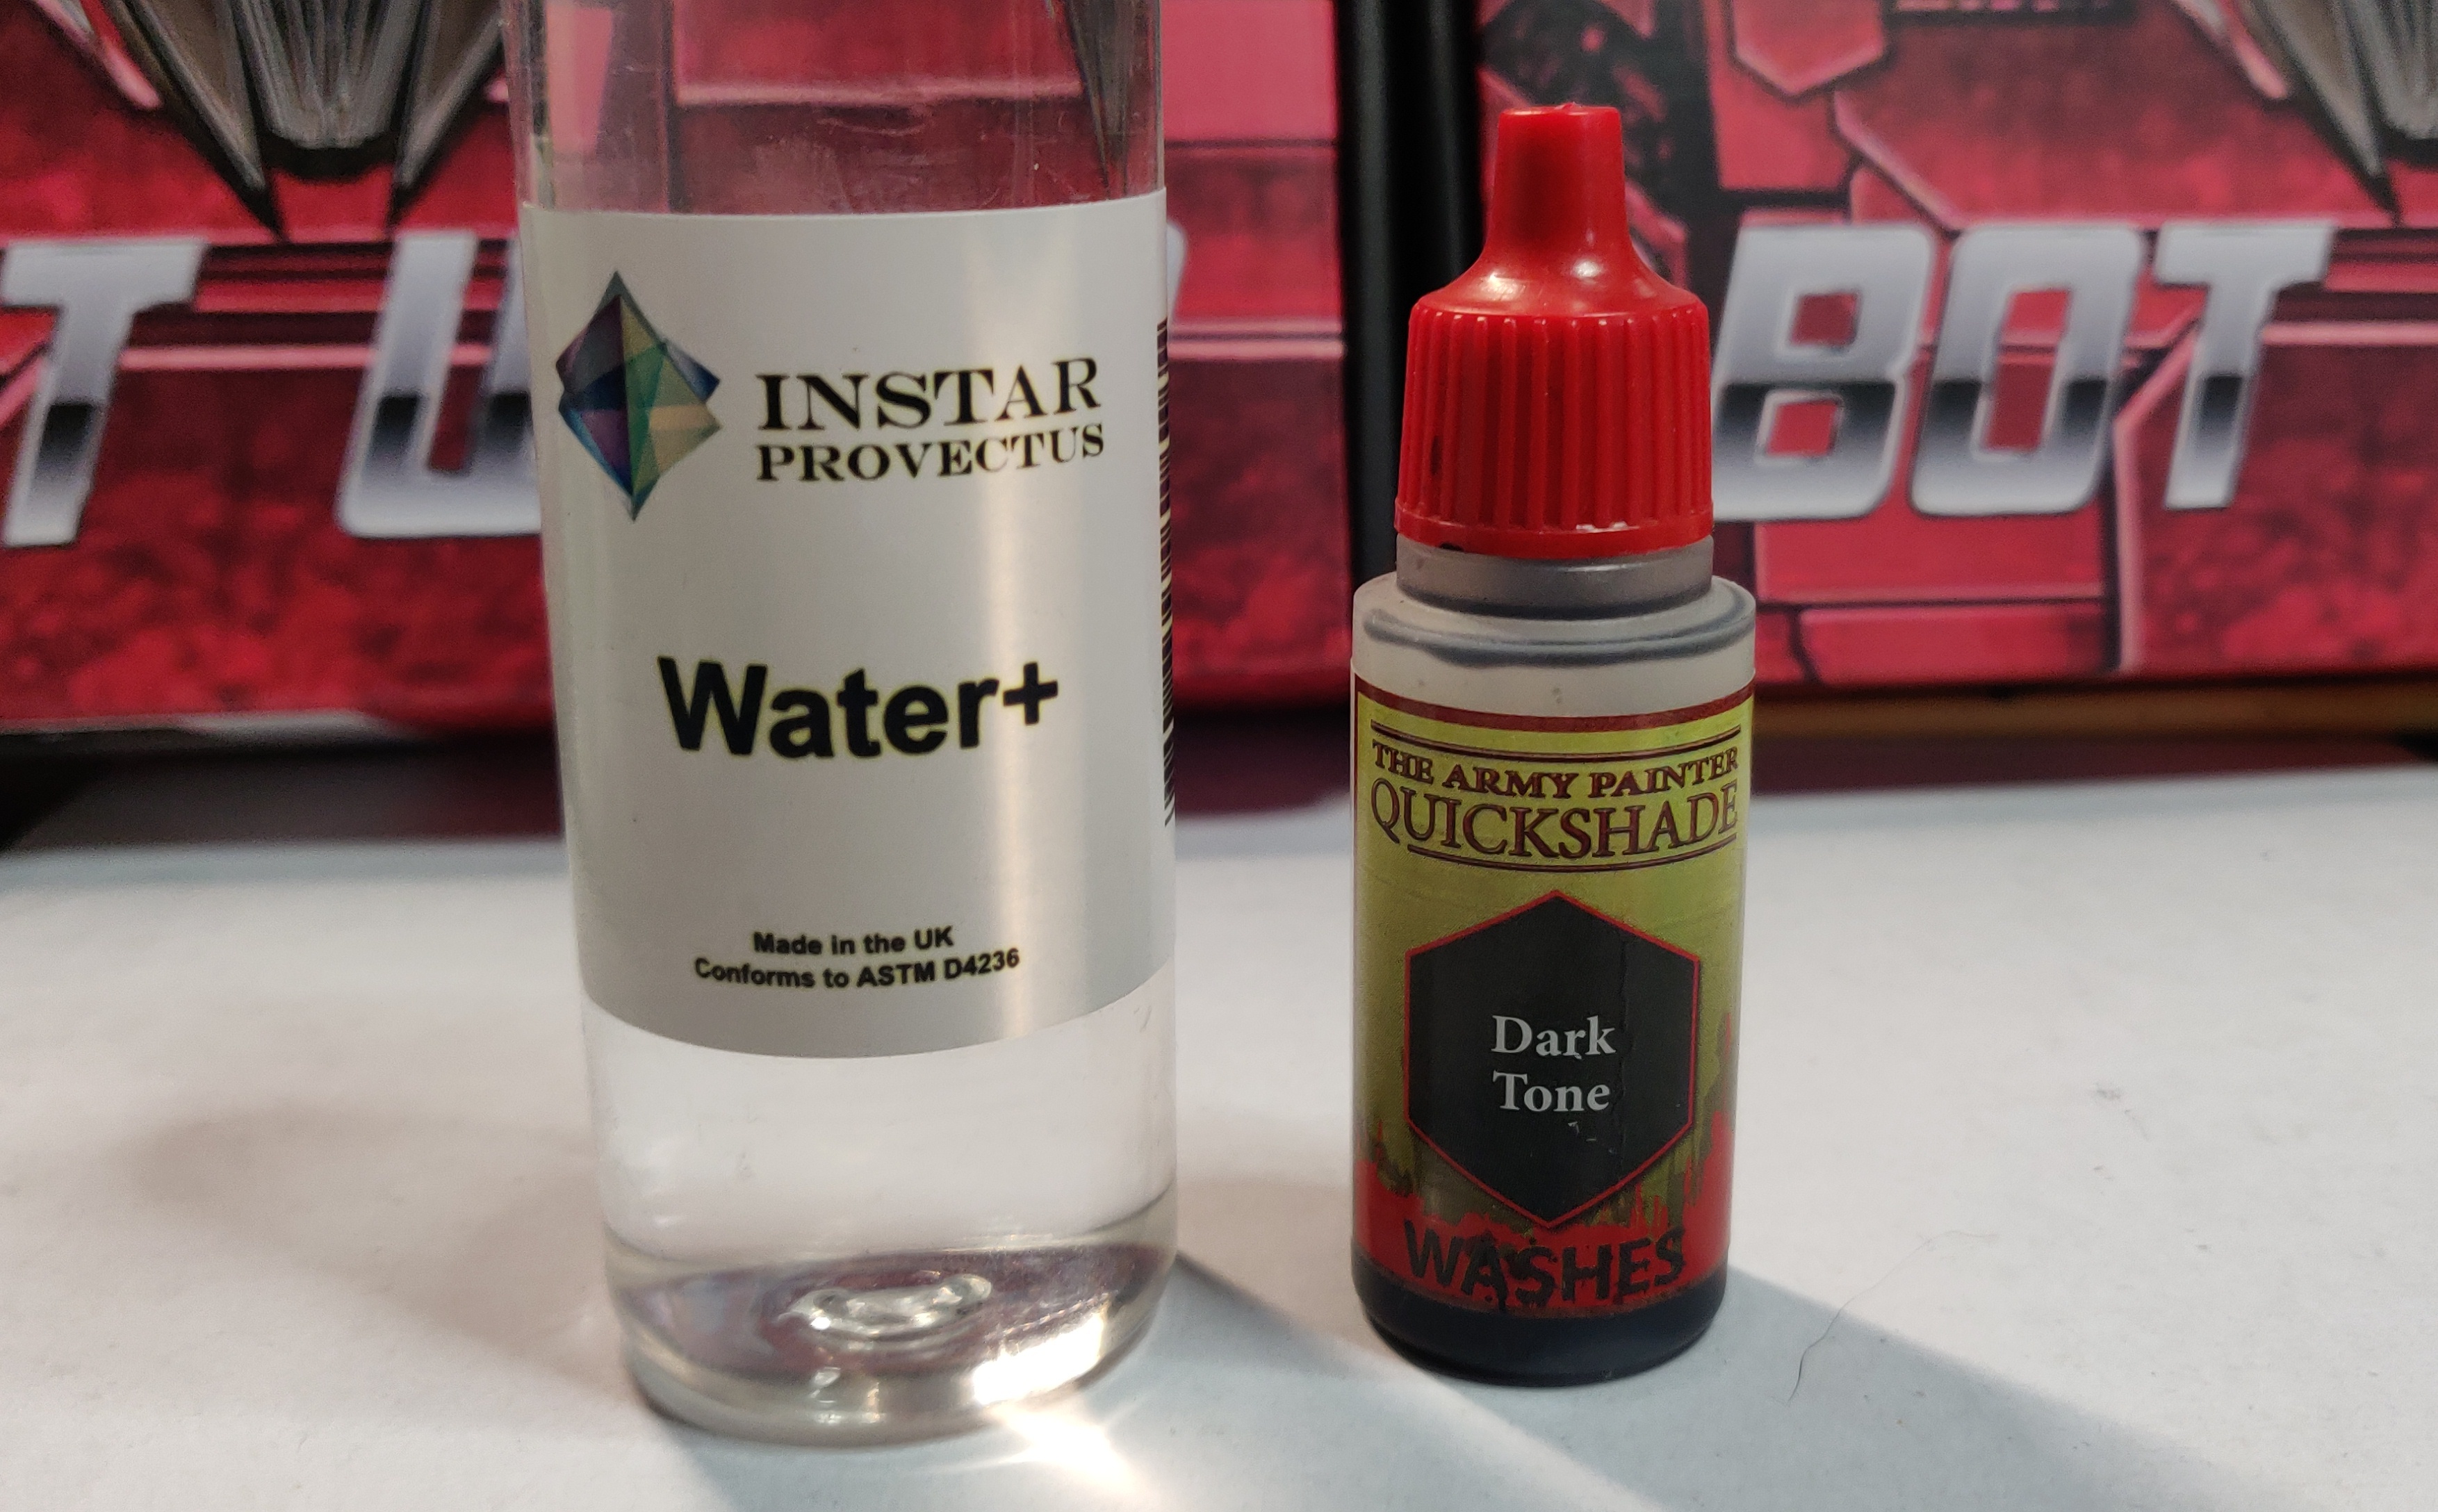
To finish off the tyres I used a thinned down mix of Army Painter Dark Tone, which I mixed with Instar Paints Water+ to reduce the strength of the Dark Tone and help it to run onto crevices as well as glaze the rubber workup to improve colour harmony.
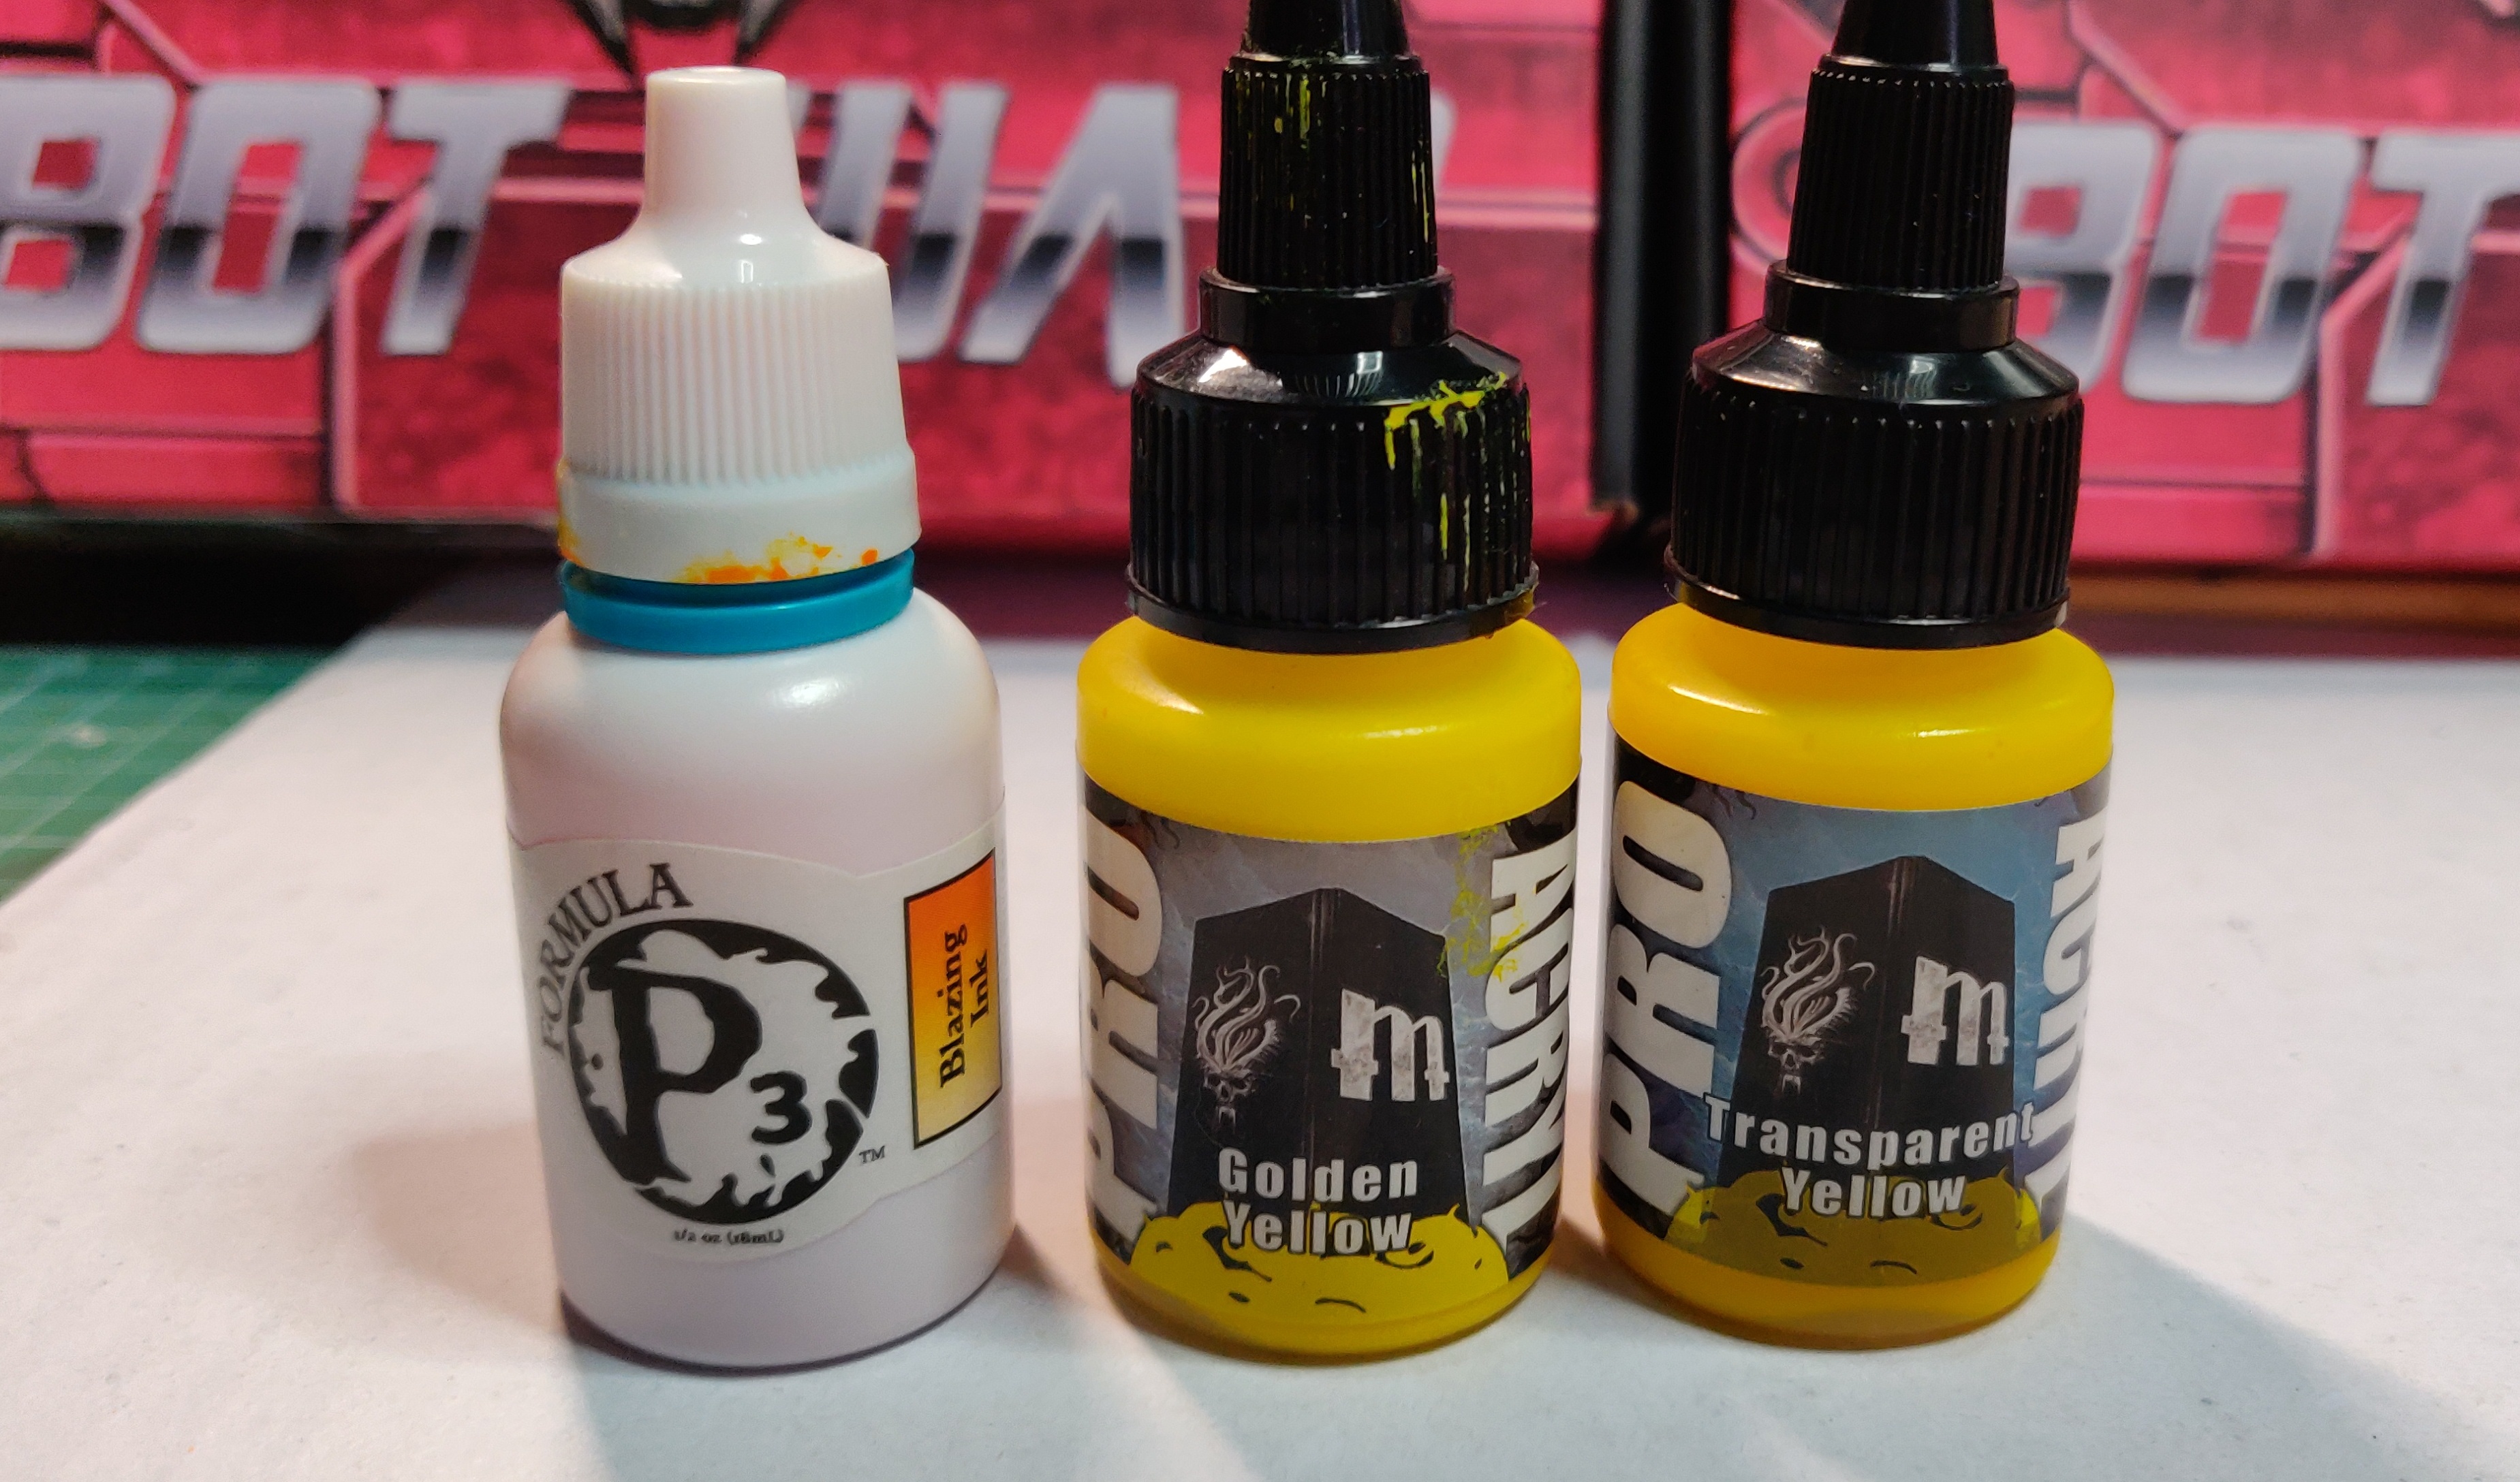
 Making a dark wash
The final piece for today was to go back and work up the yellow details. This was achieved by using several layers of Pro-acryl transparent yellow and then mixing in Pro-acryl golden yellow to increase opacity, painting upwards with this mix so that my brush left more pigment at the top of the detail and concentrating the yellow there.
This is a fragile step so will take a few more coats. I will leave it to dry overnight and then go again tomorrow. These bots will be finished tomorrow, I just need to finish the weapons, black line, edge the armour, and paint some other little details. I’ve injured my ankle so that will be a good excuse to keep my foot up and paint.
 End of day 10
Day 11...
5 down, 4 to go
 The final push to completion
 I’ll be honest, I spent a bit more than 30 minutes today painting. But I needed to have a solid painting session for a number of reasons, including the fact that I still have a lot of Bots to do and 11 days in and I only have one finished (that isn’t even based).
Yellow... We meet again
Continuing where I left off yesterday I began by mixing in P3 Blazing Orange to my Pro-acryl yellow to crate a warming glaze that I could apply to the yellow parts, drawing my brush down and lifting off towards the bottom of the detail. This ensures that pigment is concentrated at the last contact point, as this is a more orange colour than before it creates some good volume.
A few glazes of this mix, and then some straight transparent yellow to help blend, and these details were ready for a highlight. This was achieved using Scale75 Hykey Yellow. This is a lovely icy yellow which is great in proper NMM workups and worked equally well here. You can see on the shield of Nami, where the orange and icy yellow are more obvious. Again some thin glazes of transparent yellow help to bring these colours together.
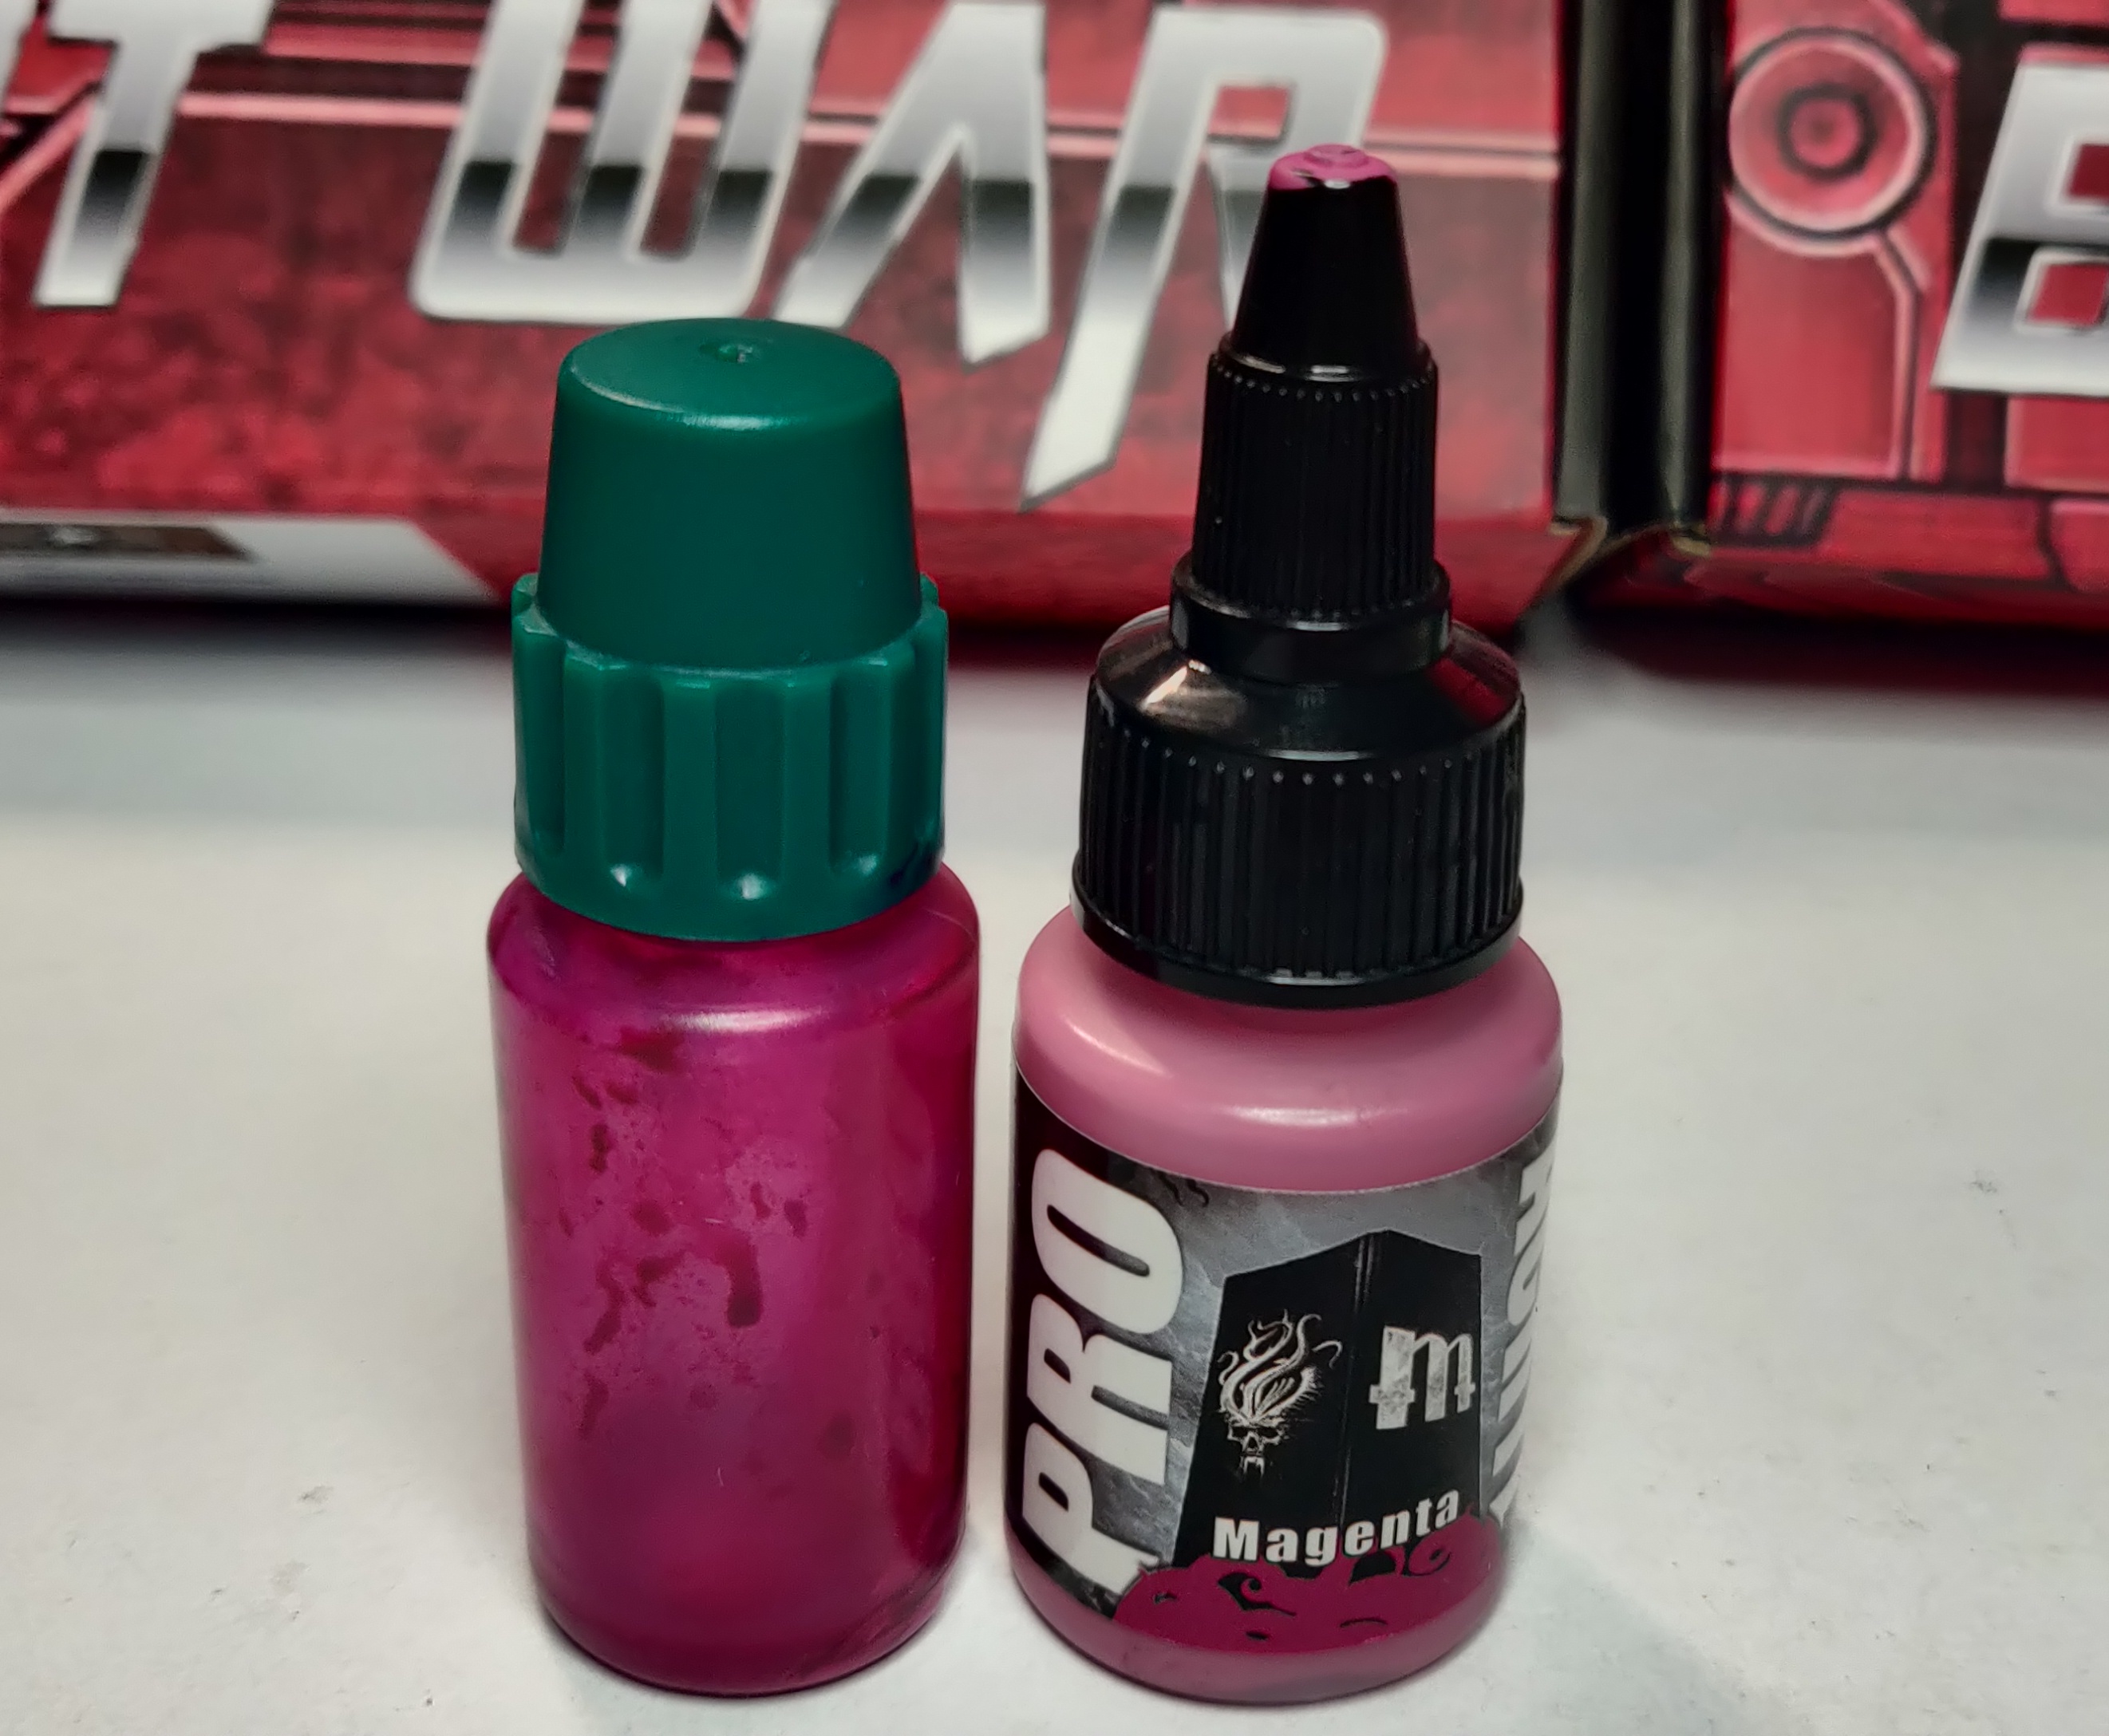 Contrasting colour for eyes
Painting in the eye lenses I used some Kimera Colors magenta (that I had decanted and mixed with some flow improver for a previous airbrush project), and pro-acryl Magenta. You can see how different these two paints are in their saturation. The Kimera made a good base in the eye sockets, and then the Pro-acryl was used for the detail.
Edging to the end
The final thing to do was edge all of the green armour. This was a long part of the painting session and also the most fiddly, having to paint under a hot lamp with a thin brush meant my paint was drying too quickly, but thinning it too much made it difficult to get saturation and thin lines. It’s not the cleanest finish but I’m happy with the results. The edge paint used was the scale75 fantasy & games Surfer Orc Green, the same as Neptune. This does compliment the green well and give the bots that nice Tron-like 80s pop.
As always, there’s always something left to do, weapons, this was a quick coat of Scale75 Alchemy Emerald green, this was also used on Neptune as its essentially a green tinted chrome and worked well to show metal in keeping with the nautical theme.
5 down, 5 to go.

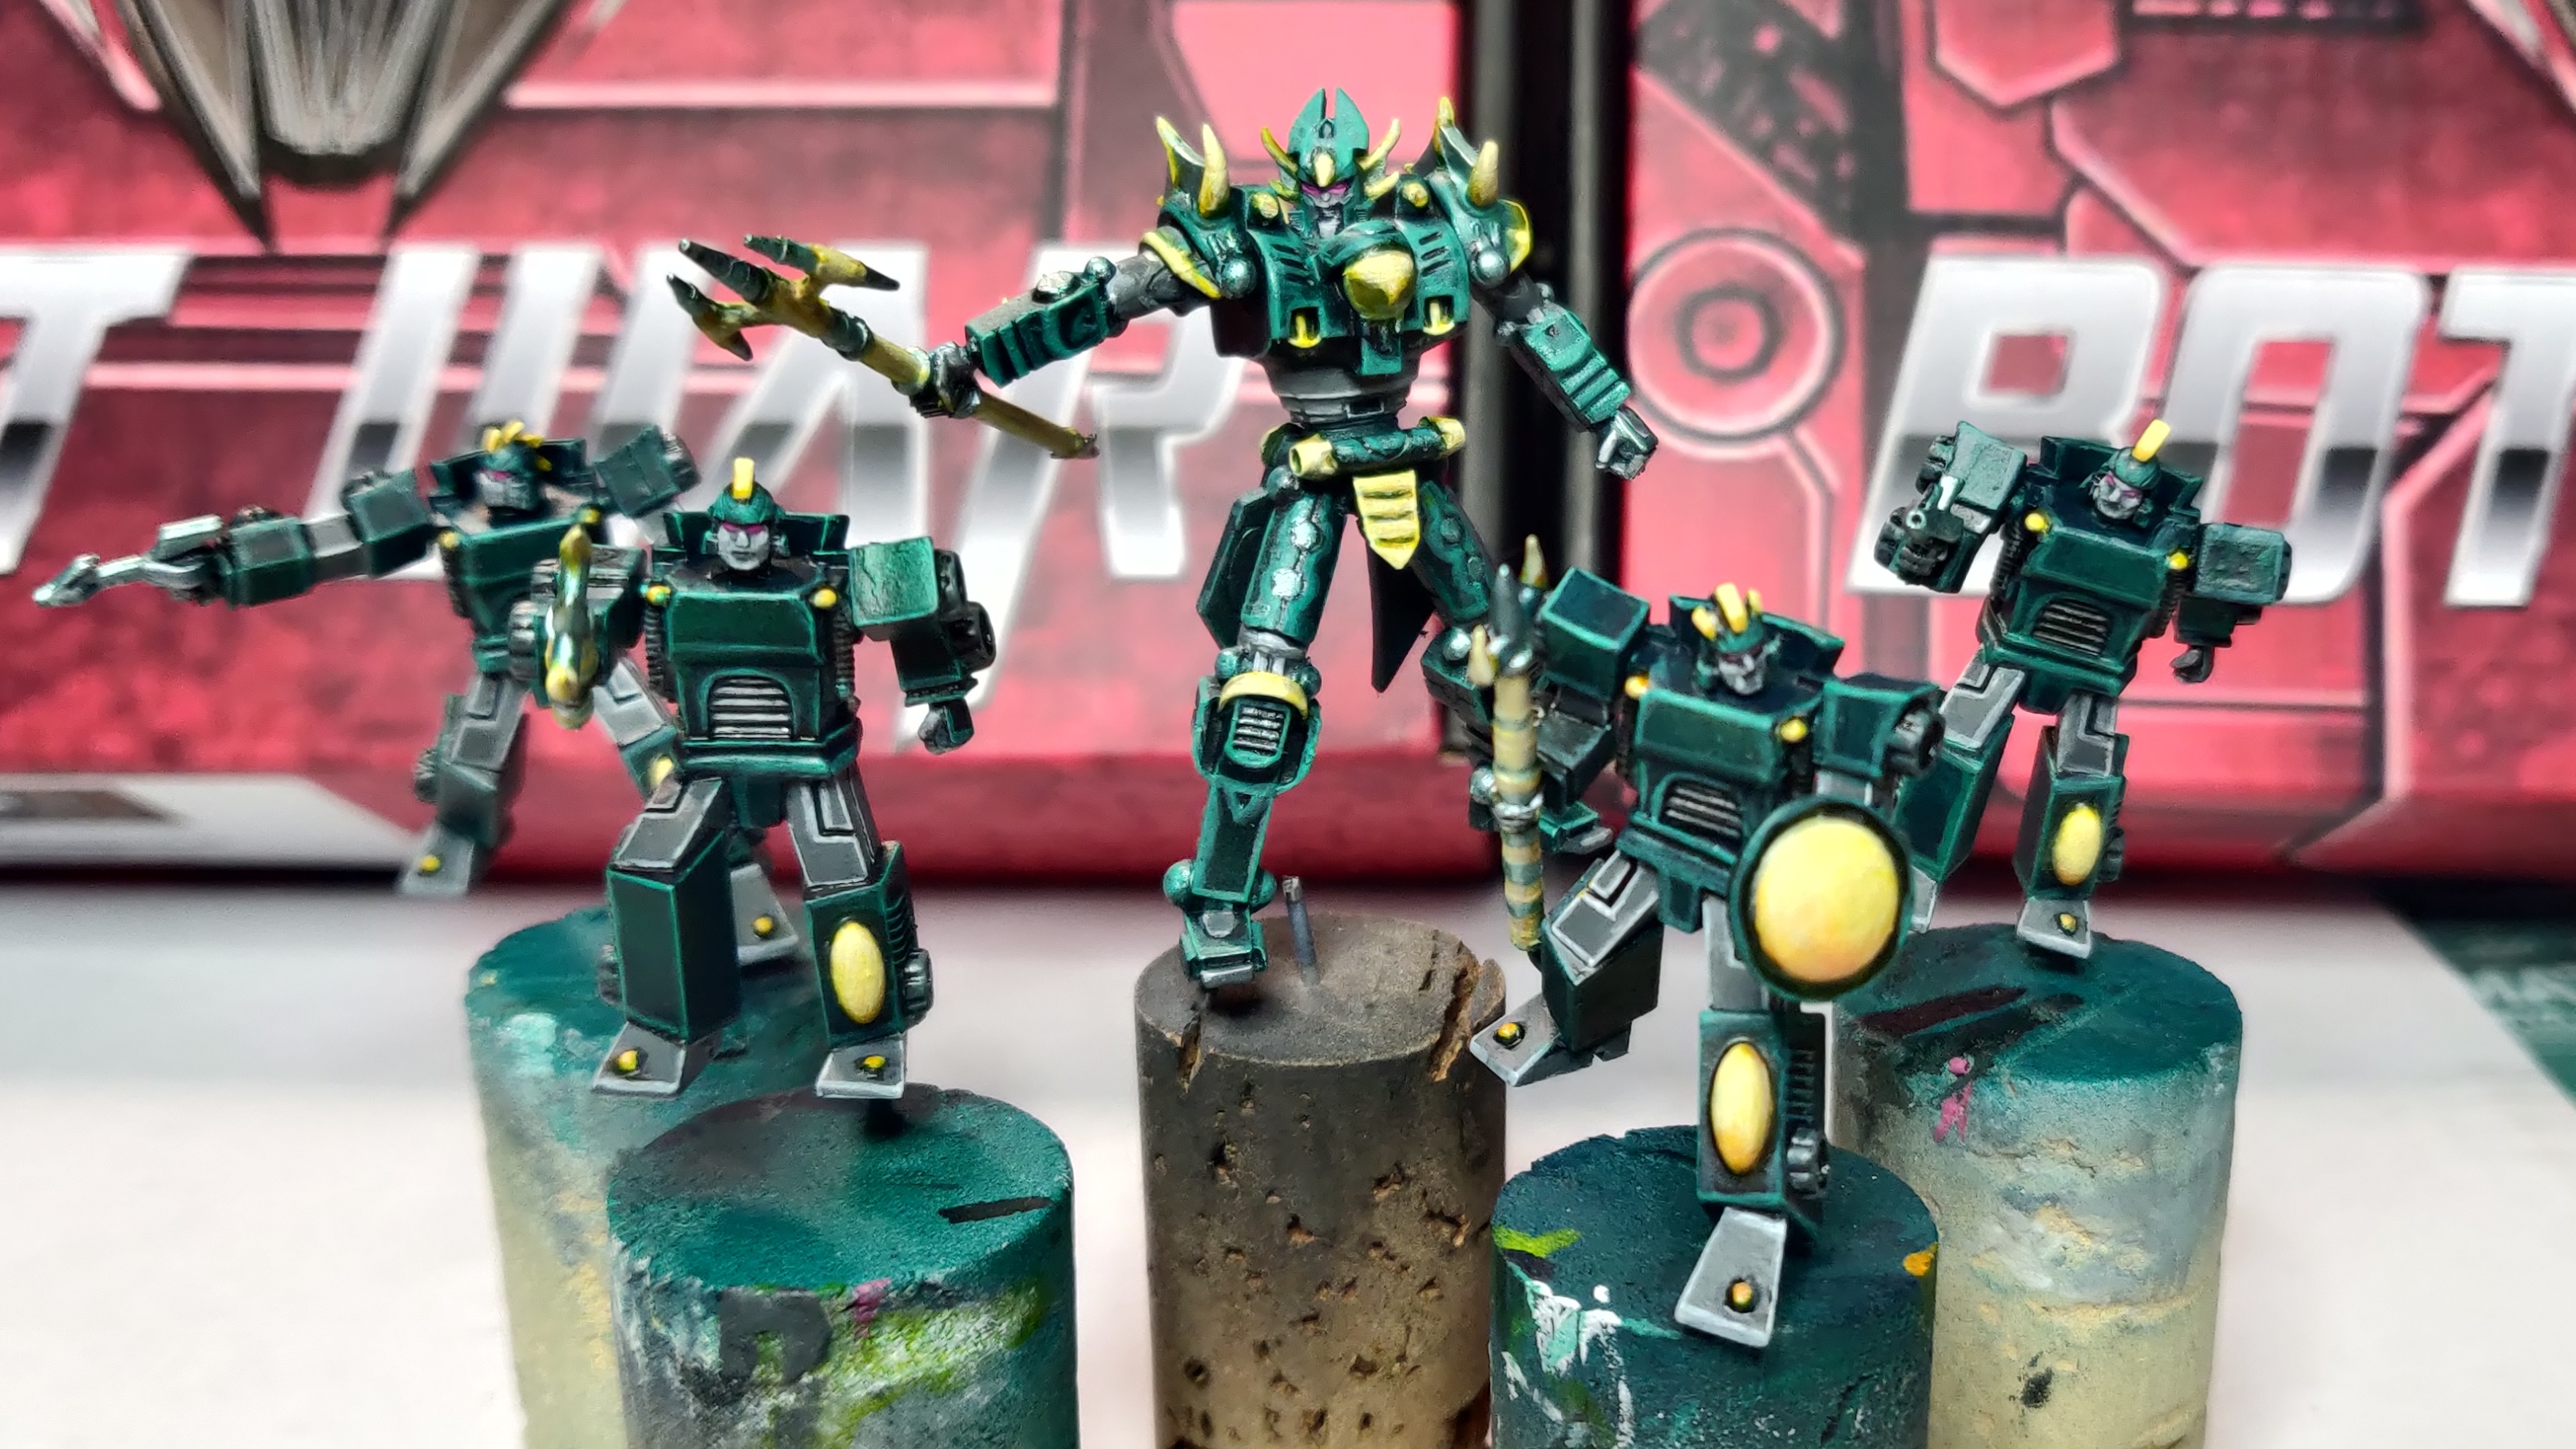 Atlanticans Rising!
 Day 12...
Top brass
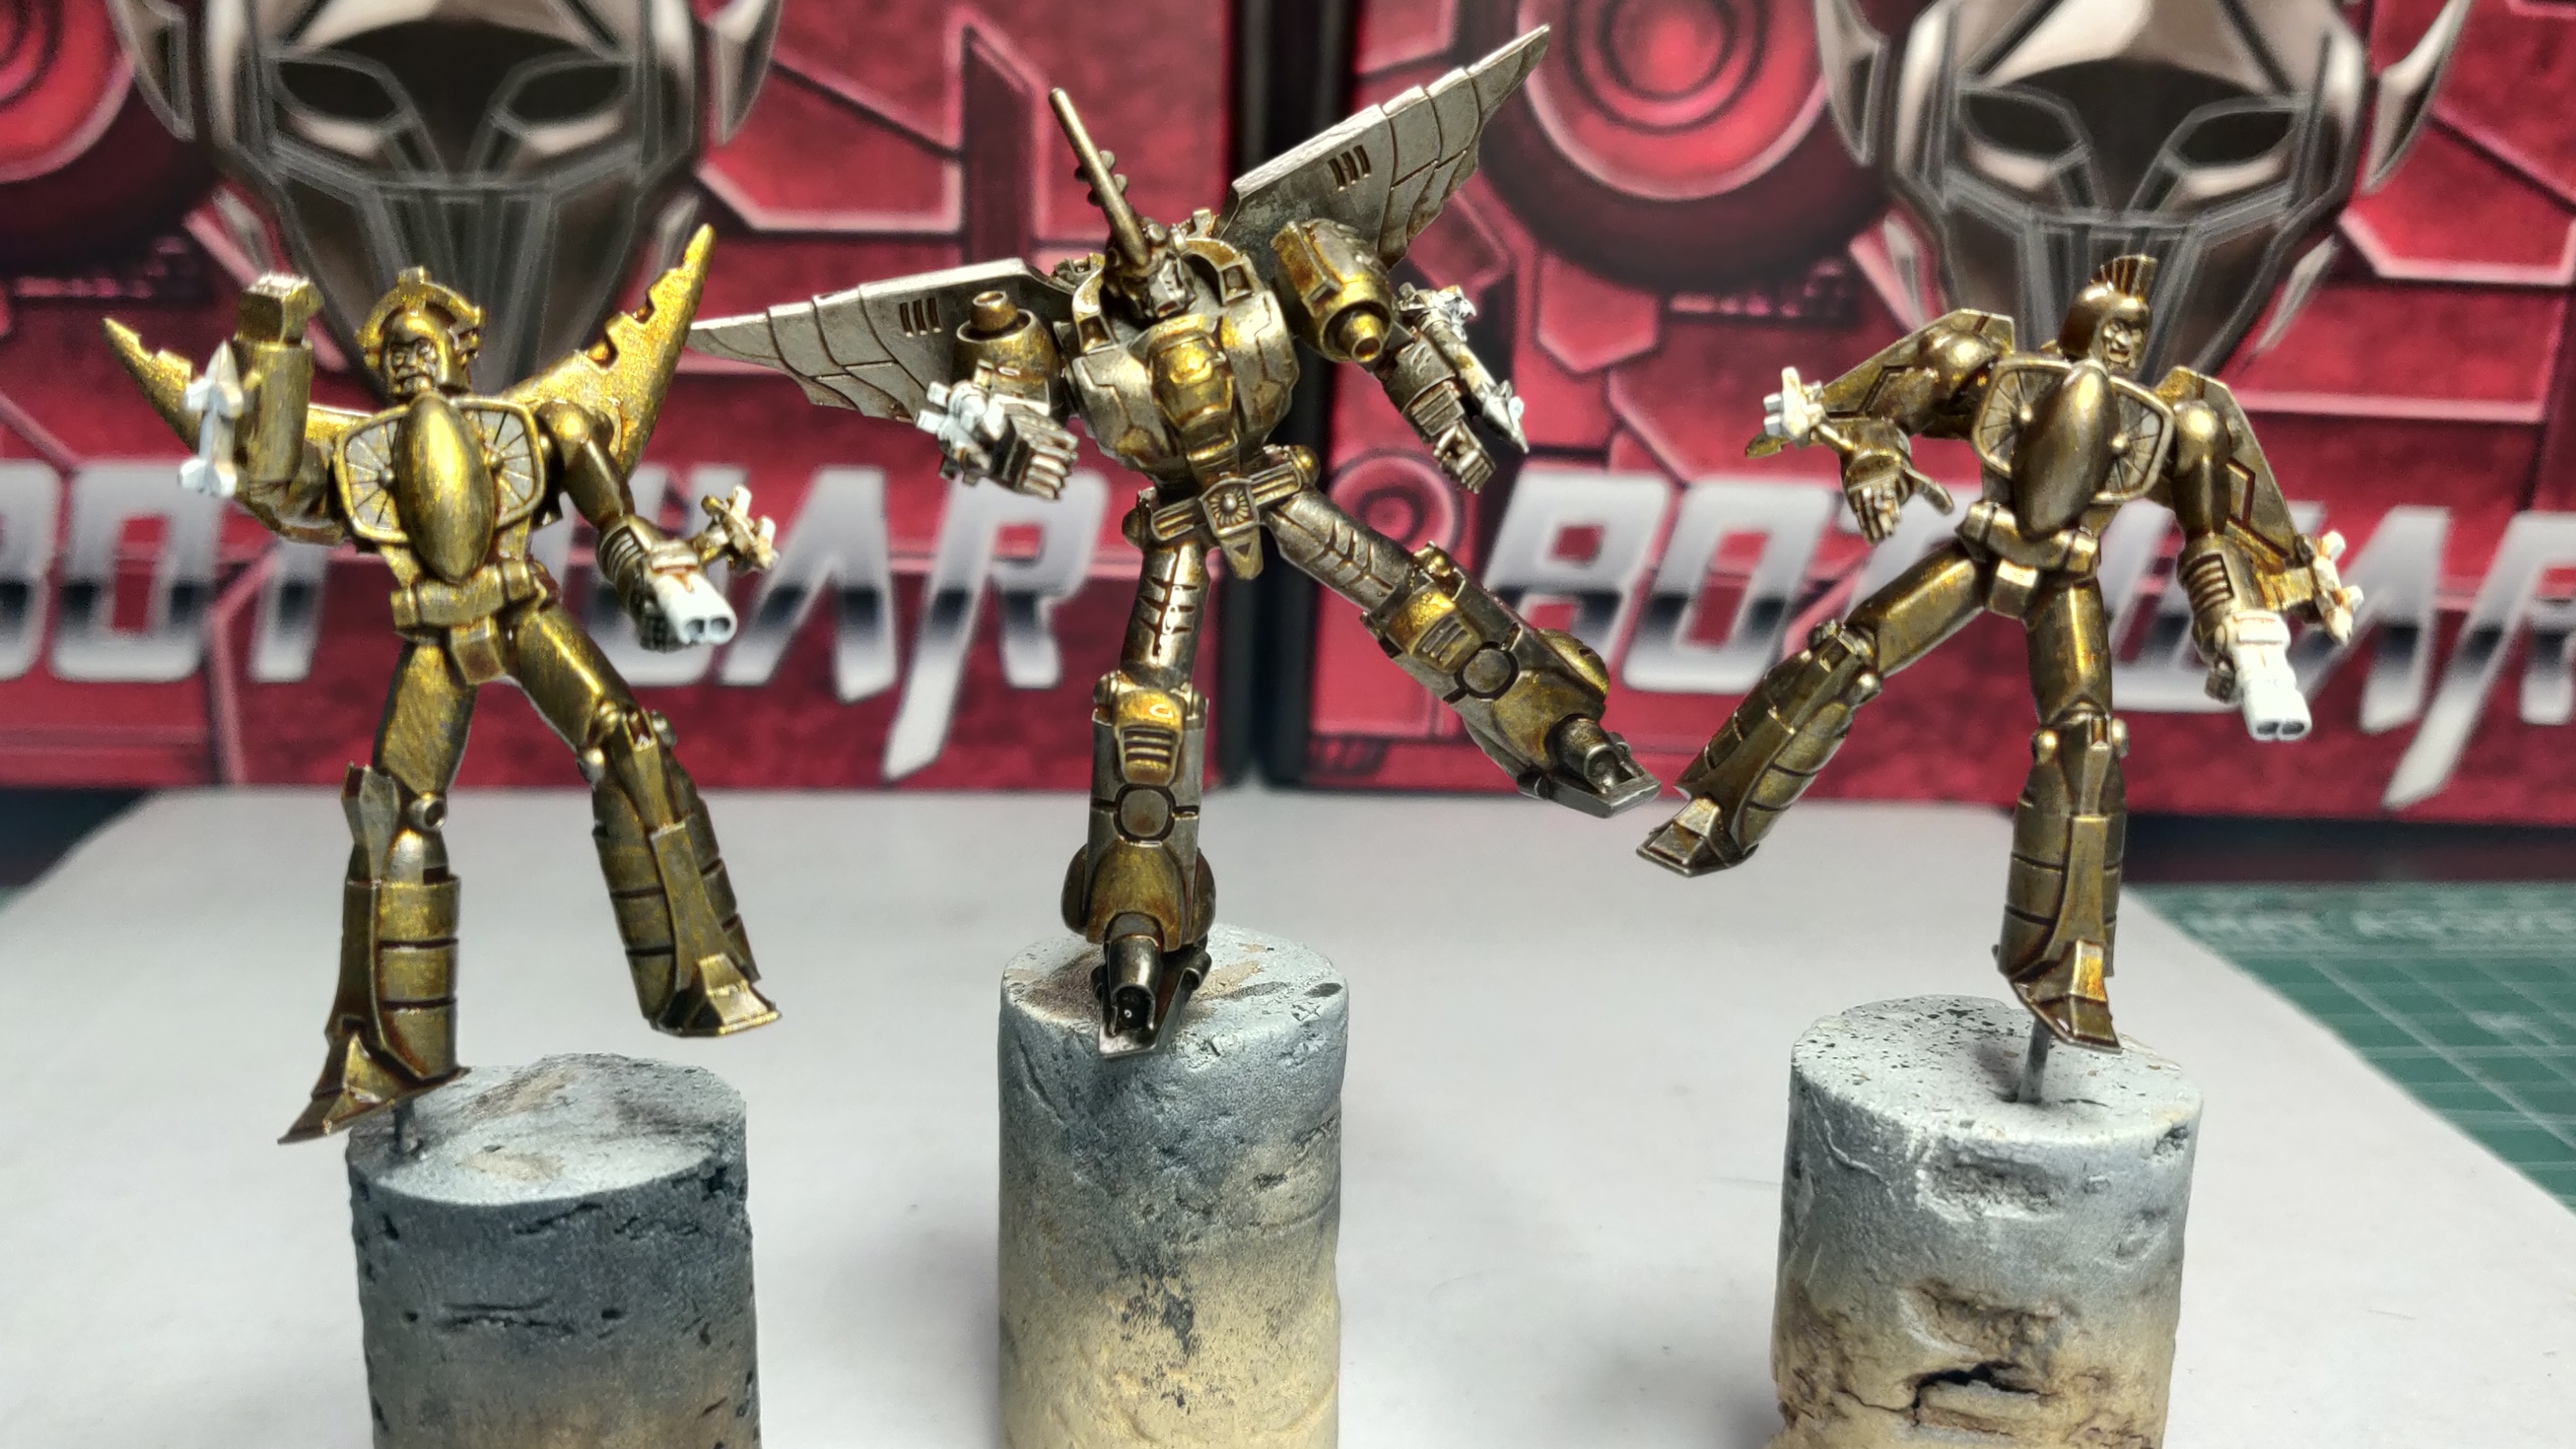
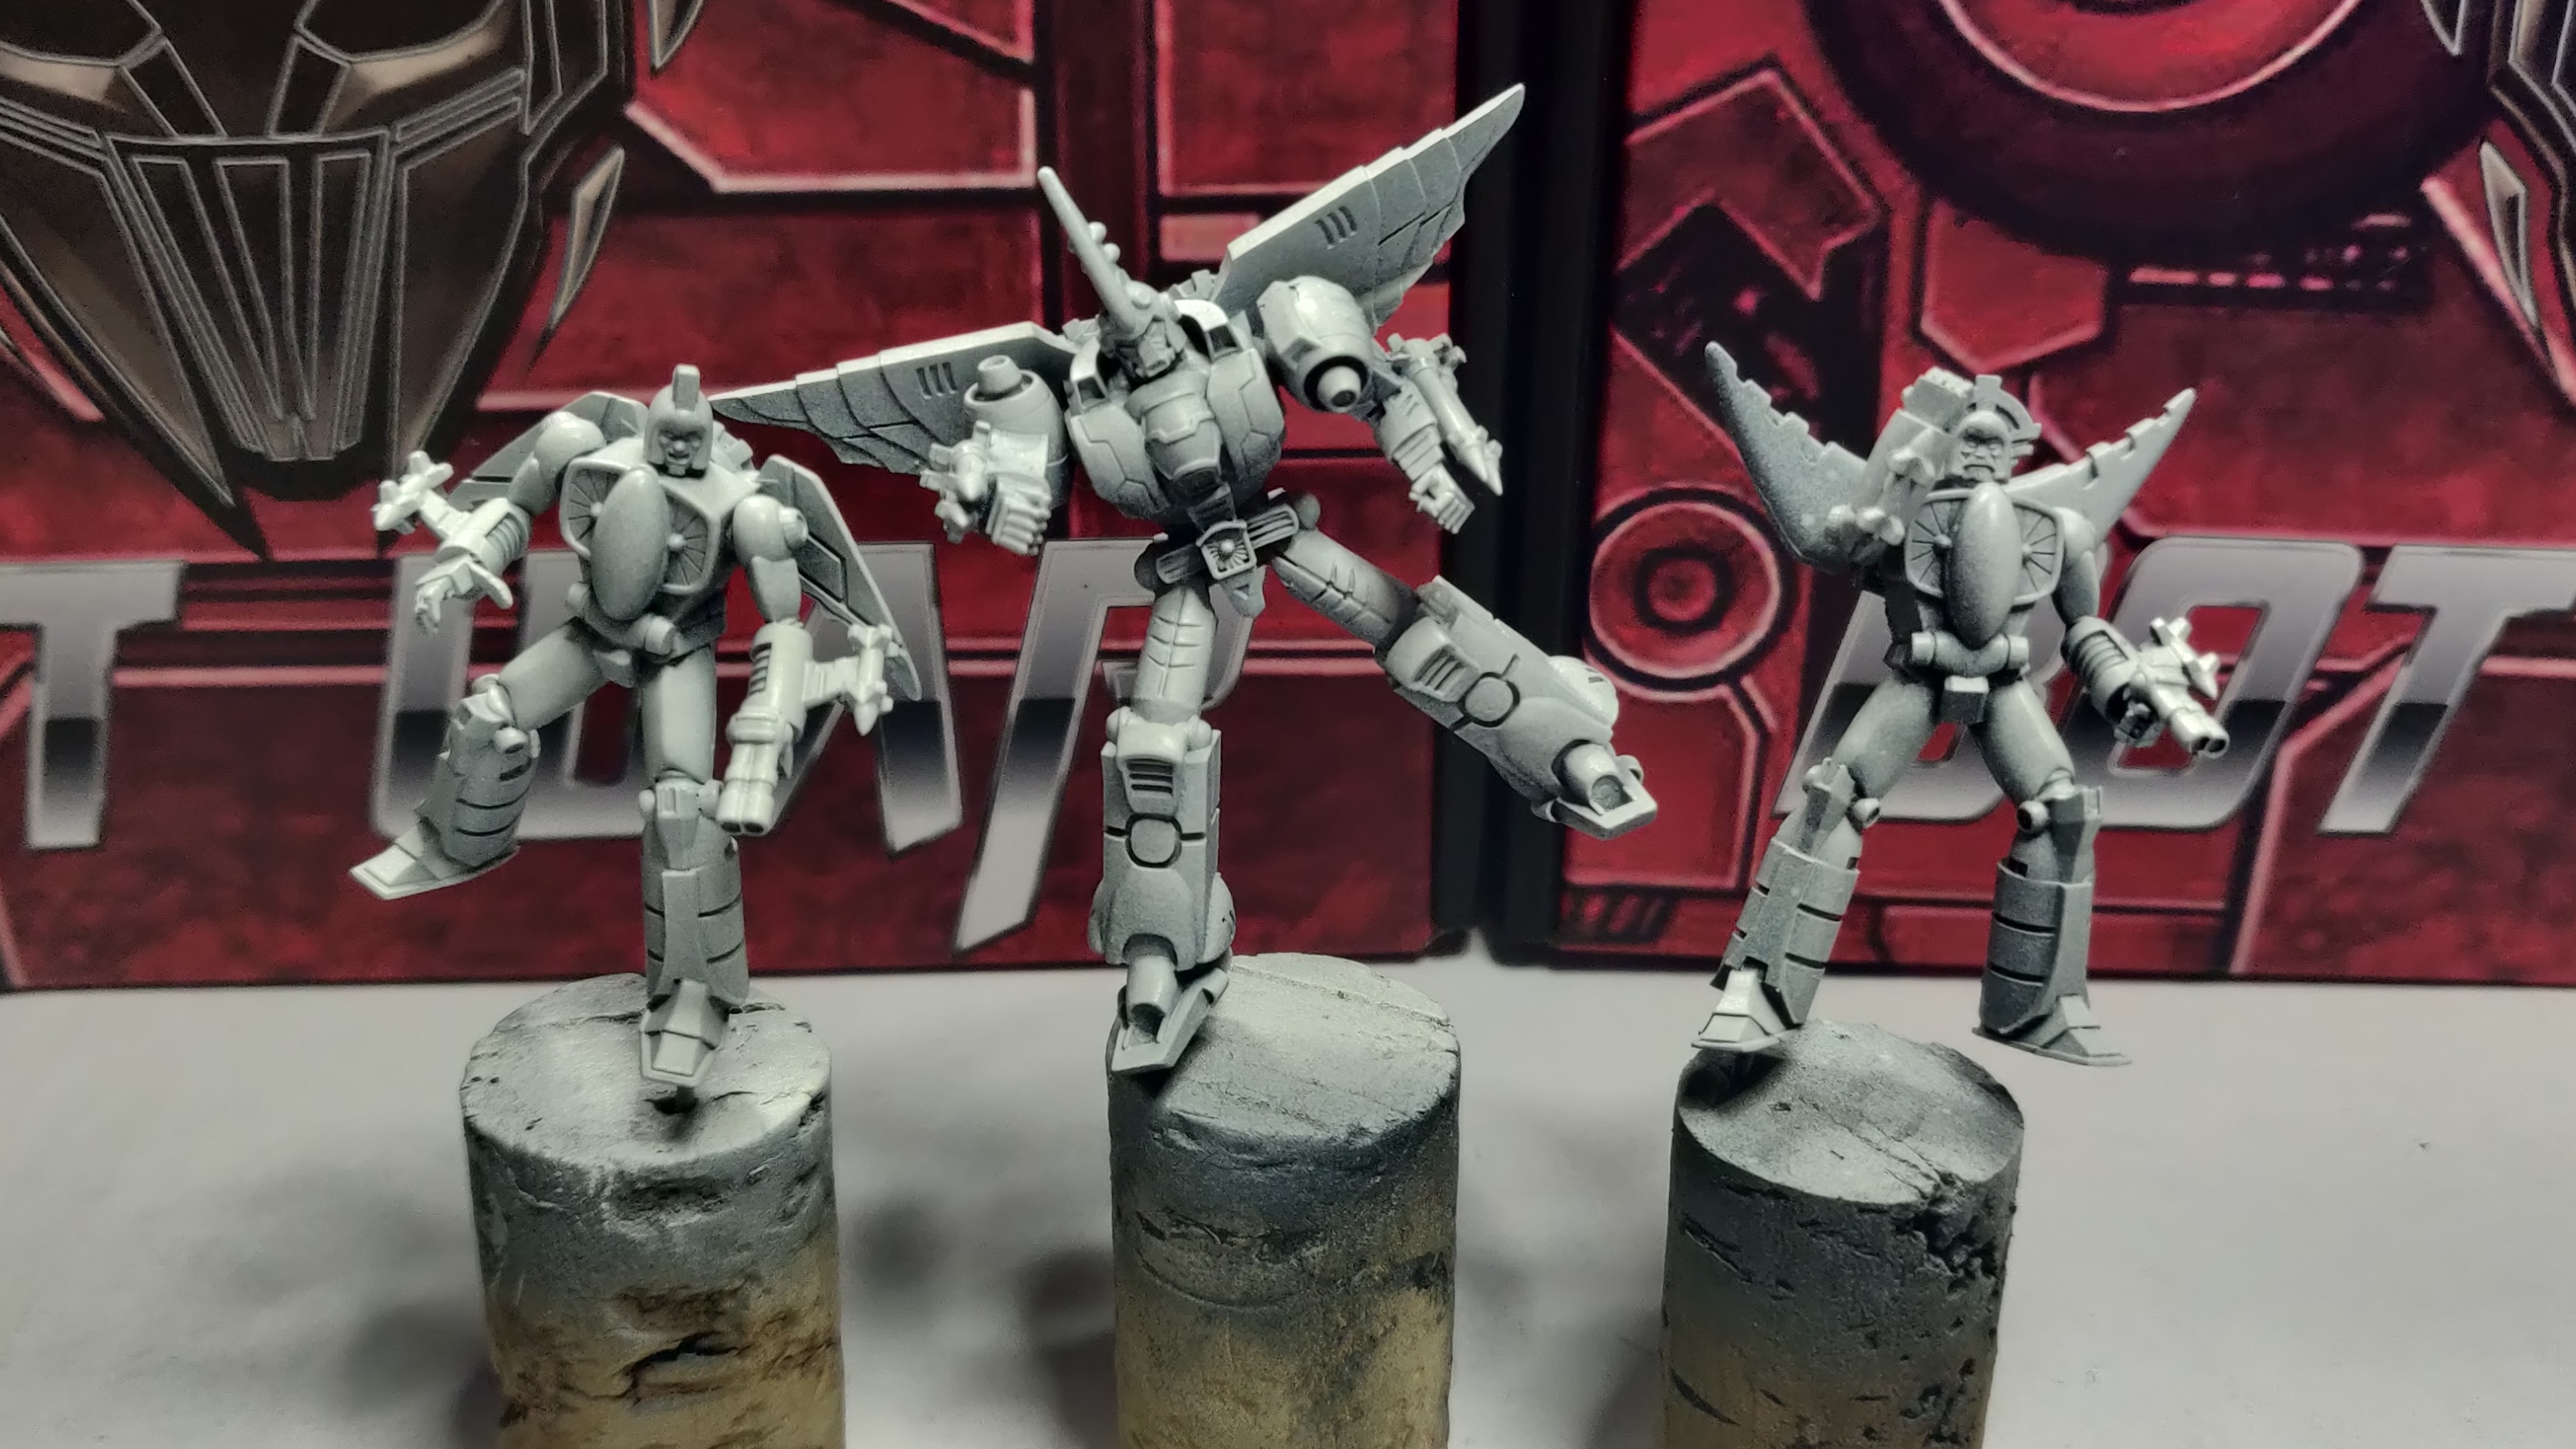 Atlantican Air Warriors starting position
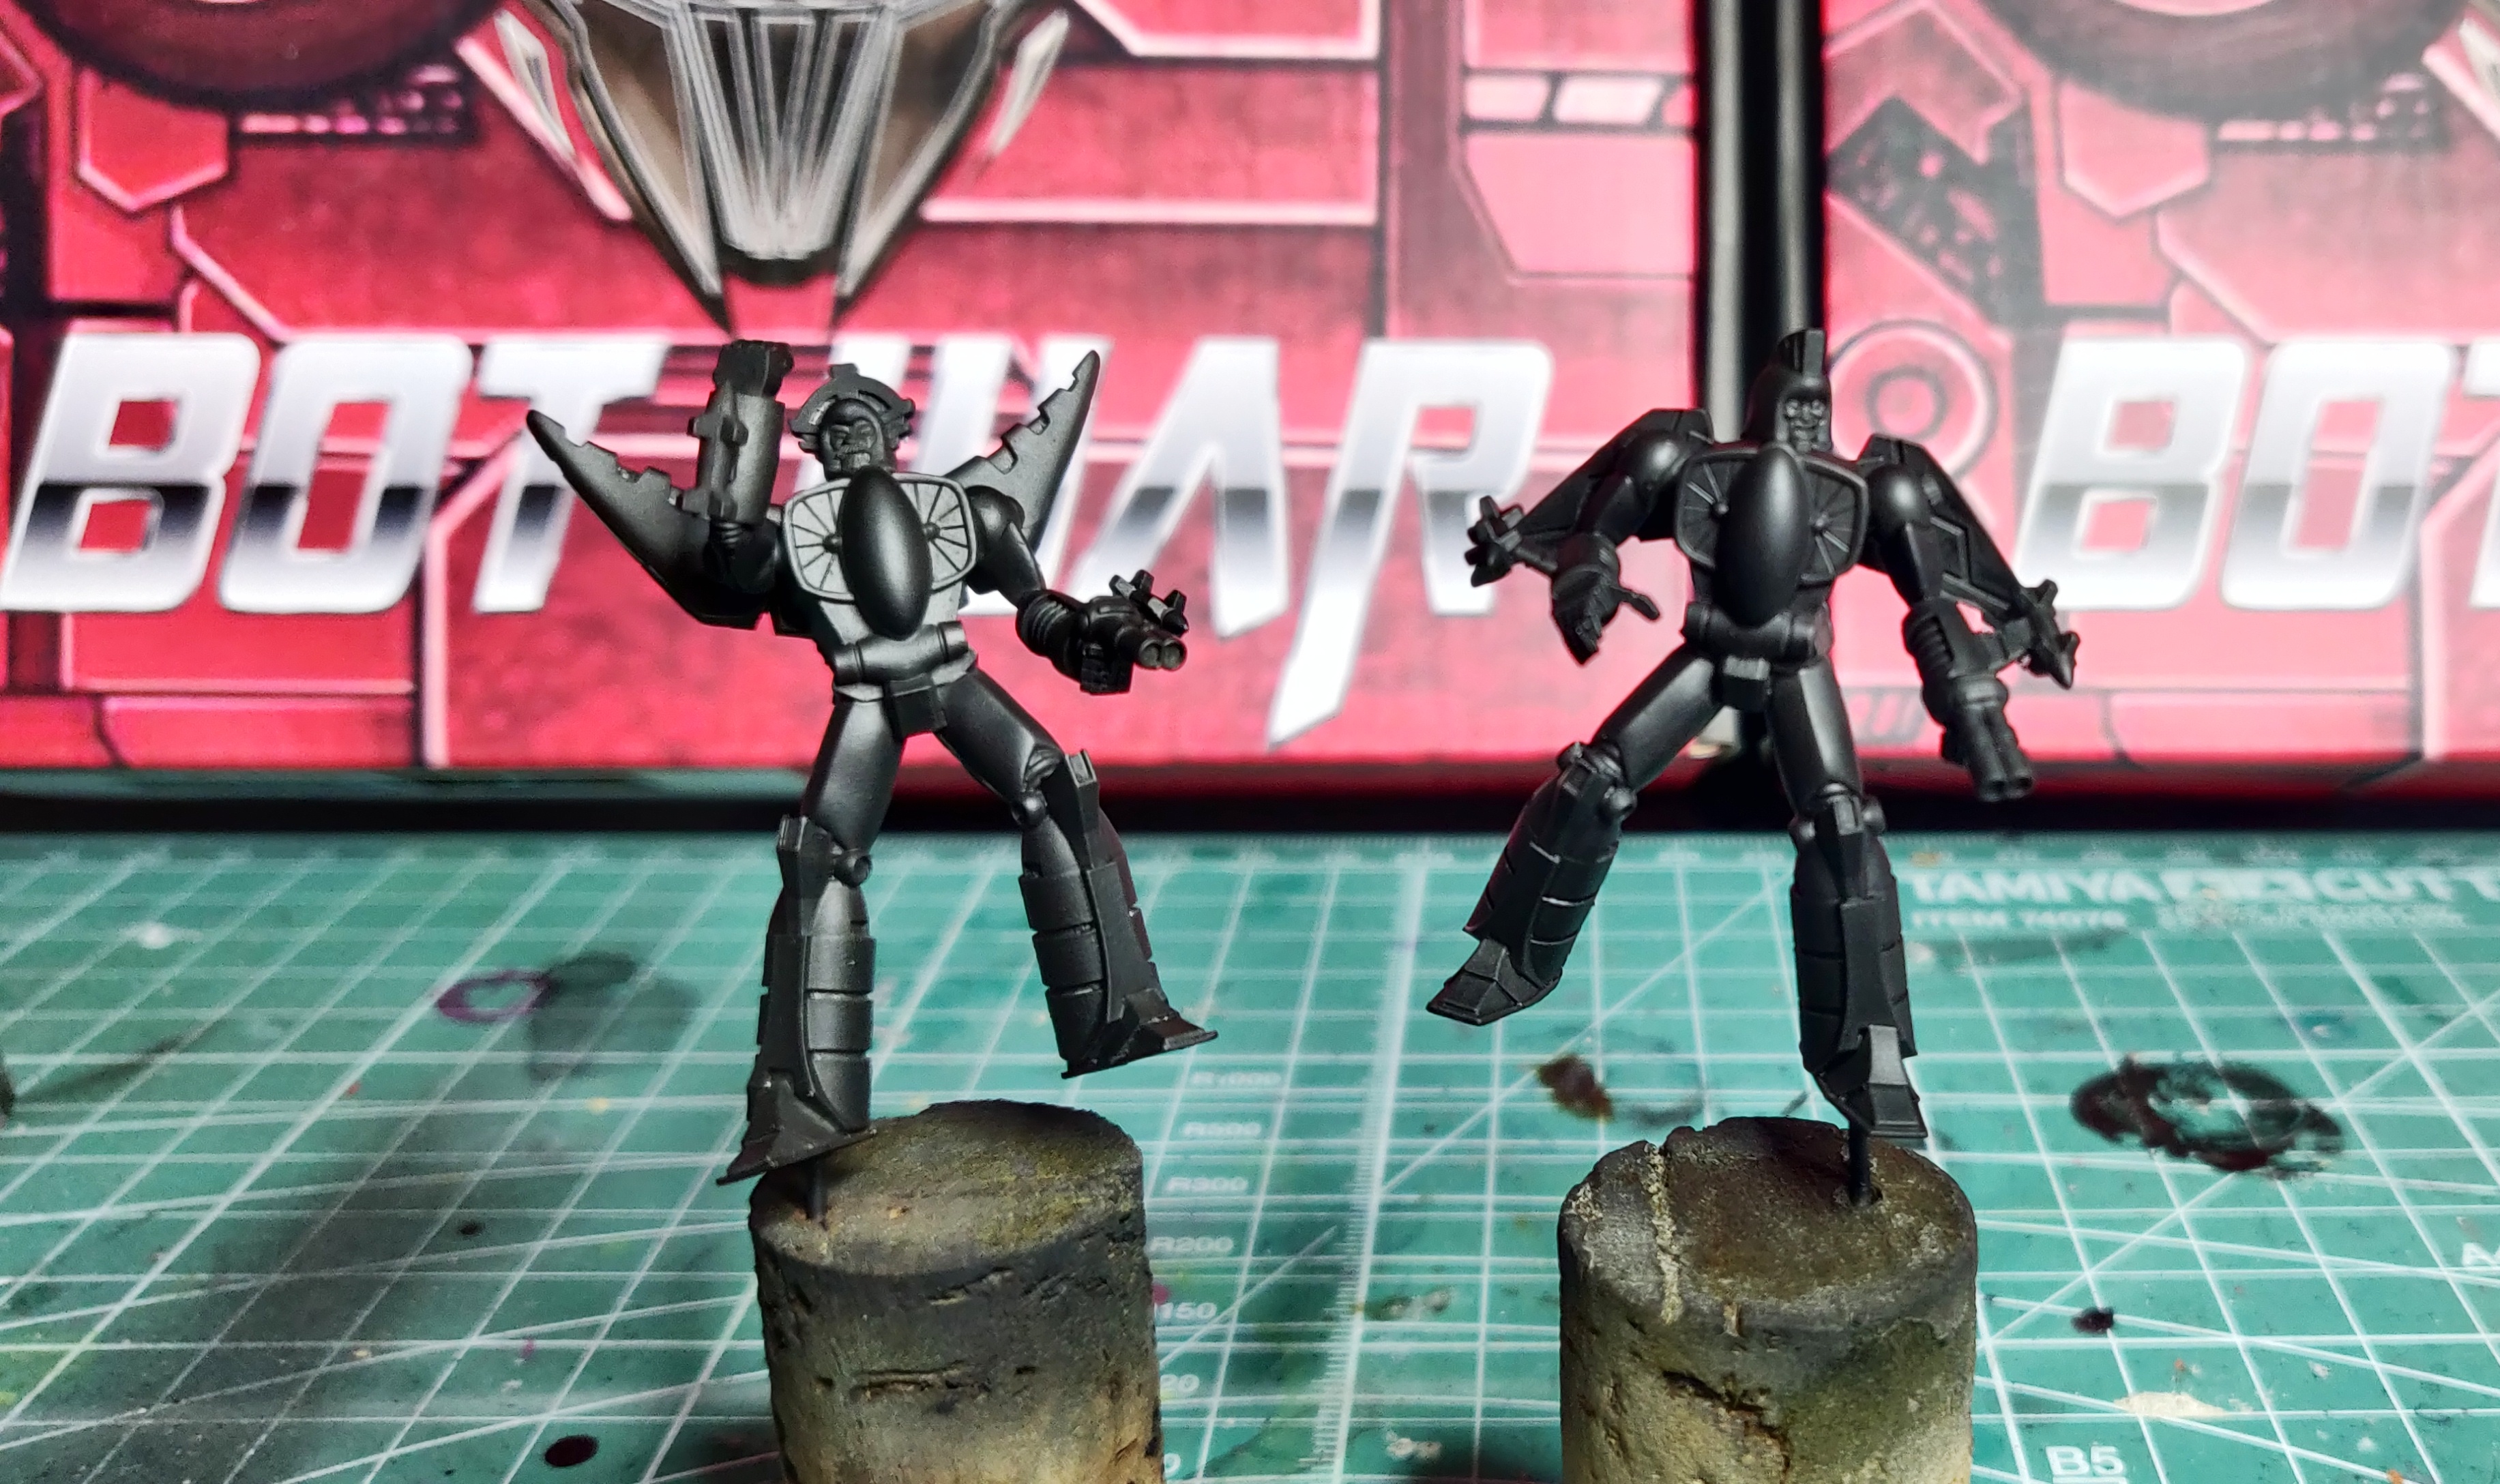
The next bots I will be focusing on are Kamen and the air warriors Moray & Stingray. The plan for these bits will be similar to the others, a TMM starting point, contrast glaze over the top and then edge highlight for pop.
The original art for Kamen is very similar to what I have done already, so I will try to work my scheme in where I can. The Air Warriors though are originally yellow, and seeing as I hate yellow and my first attempt failed, I will approach this slightly differently.
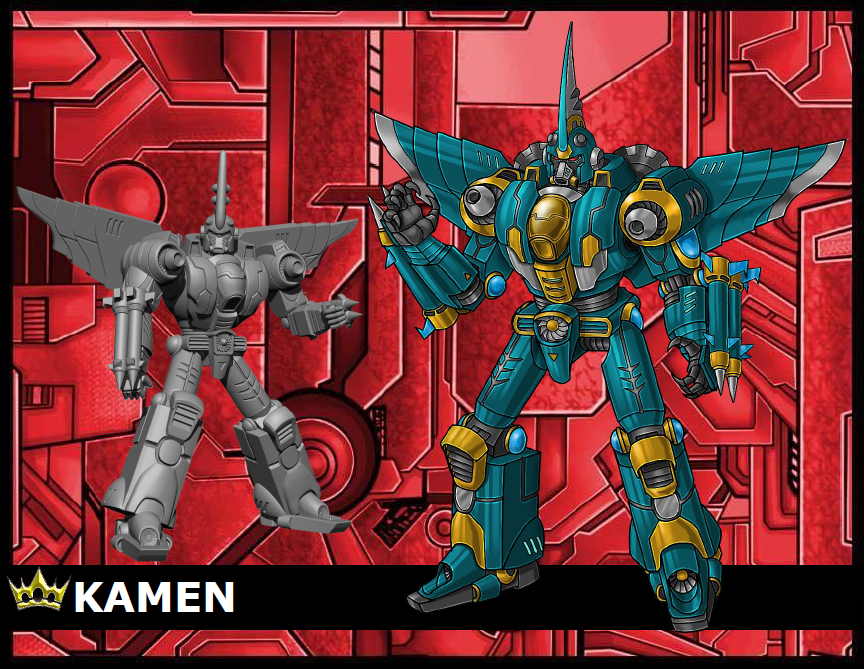 Kamen artwork
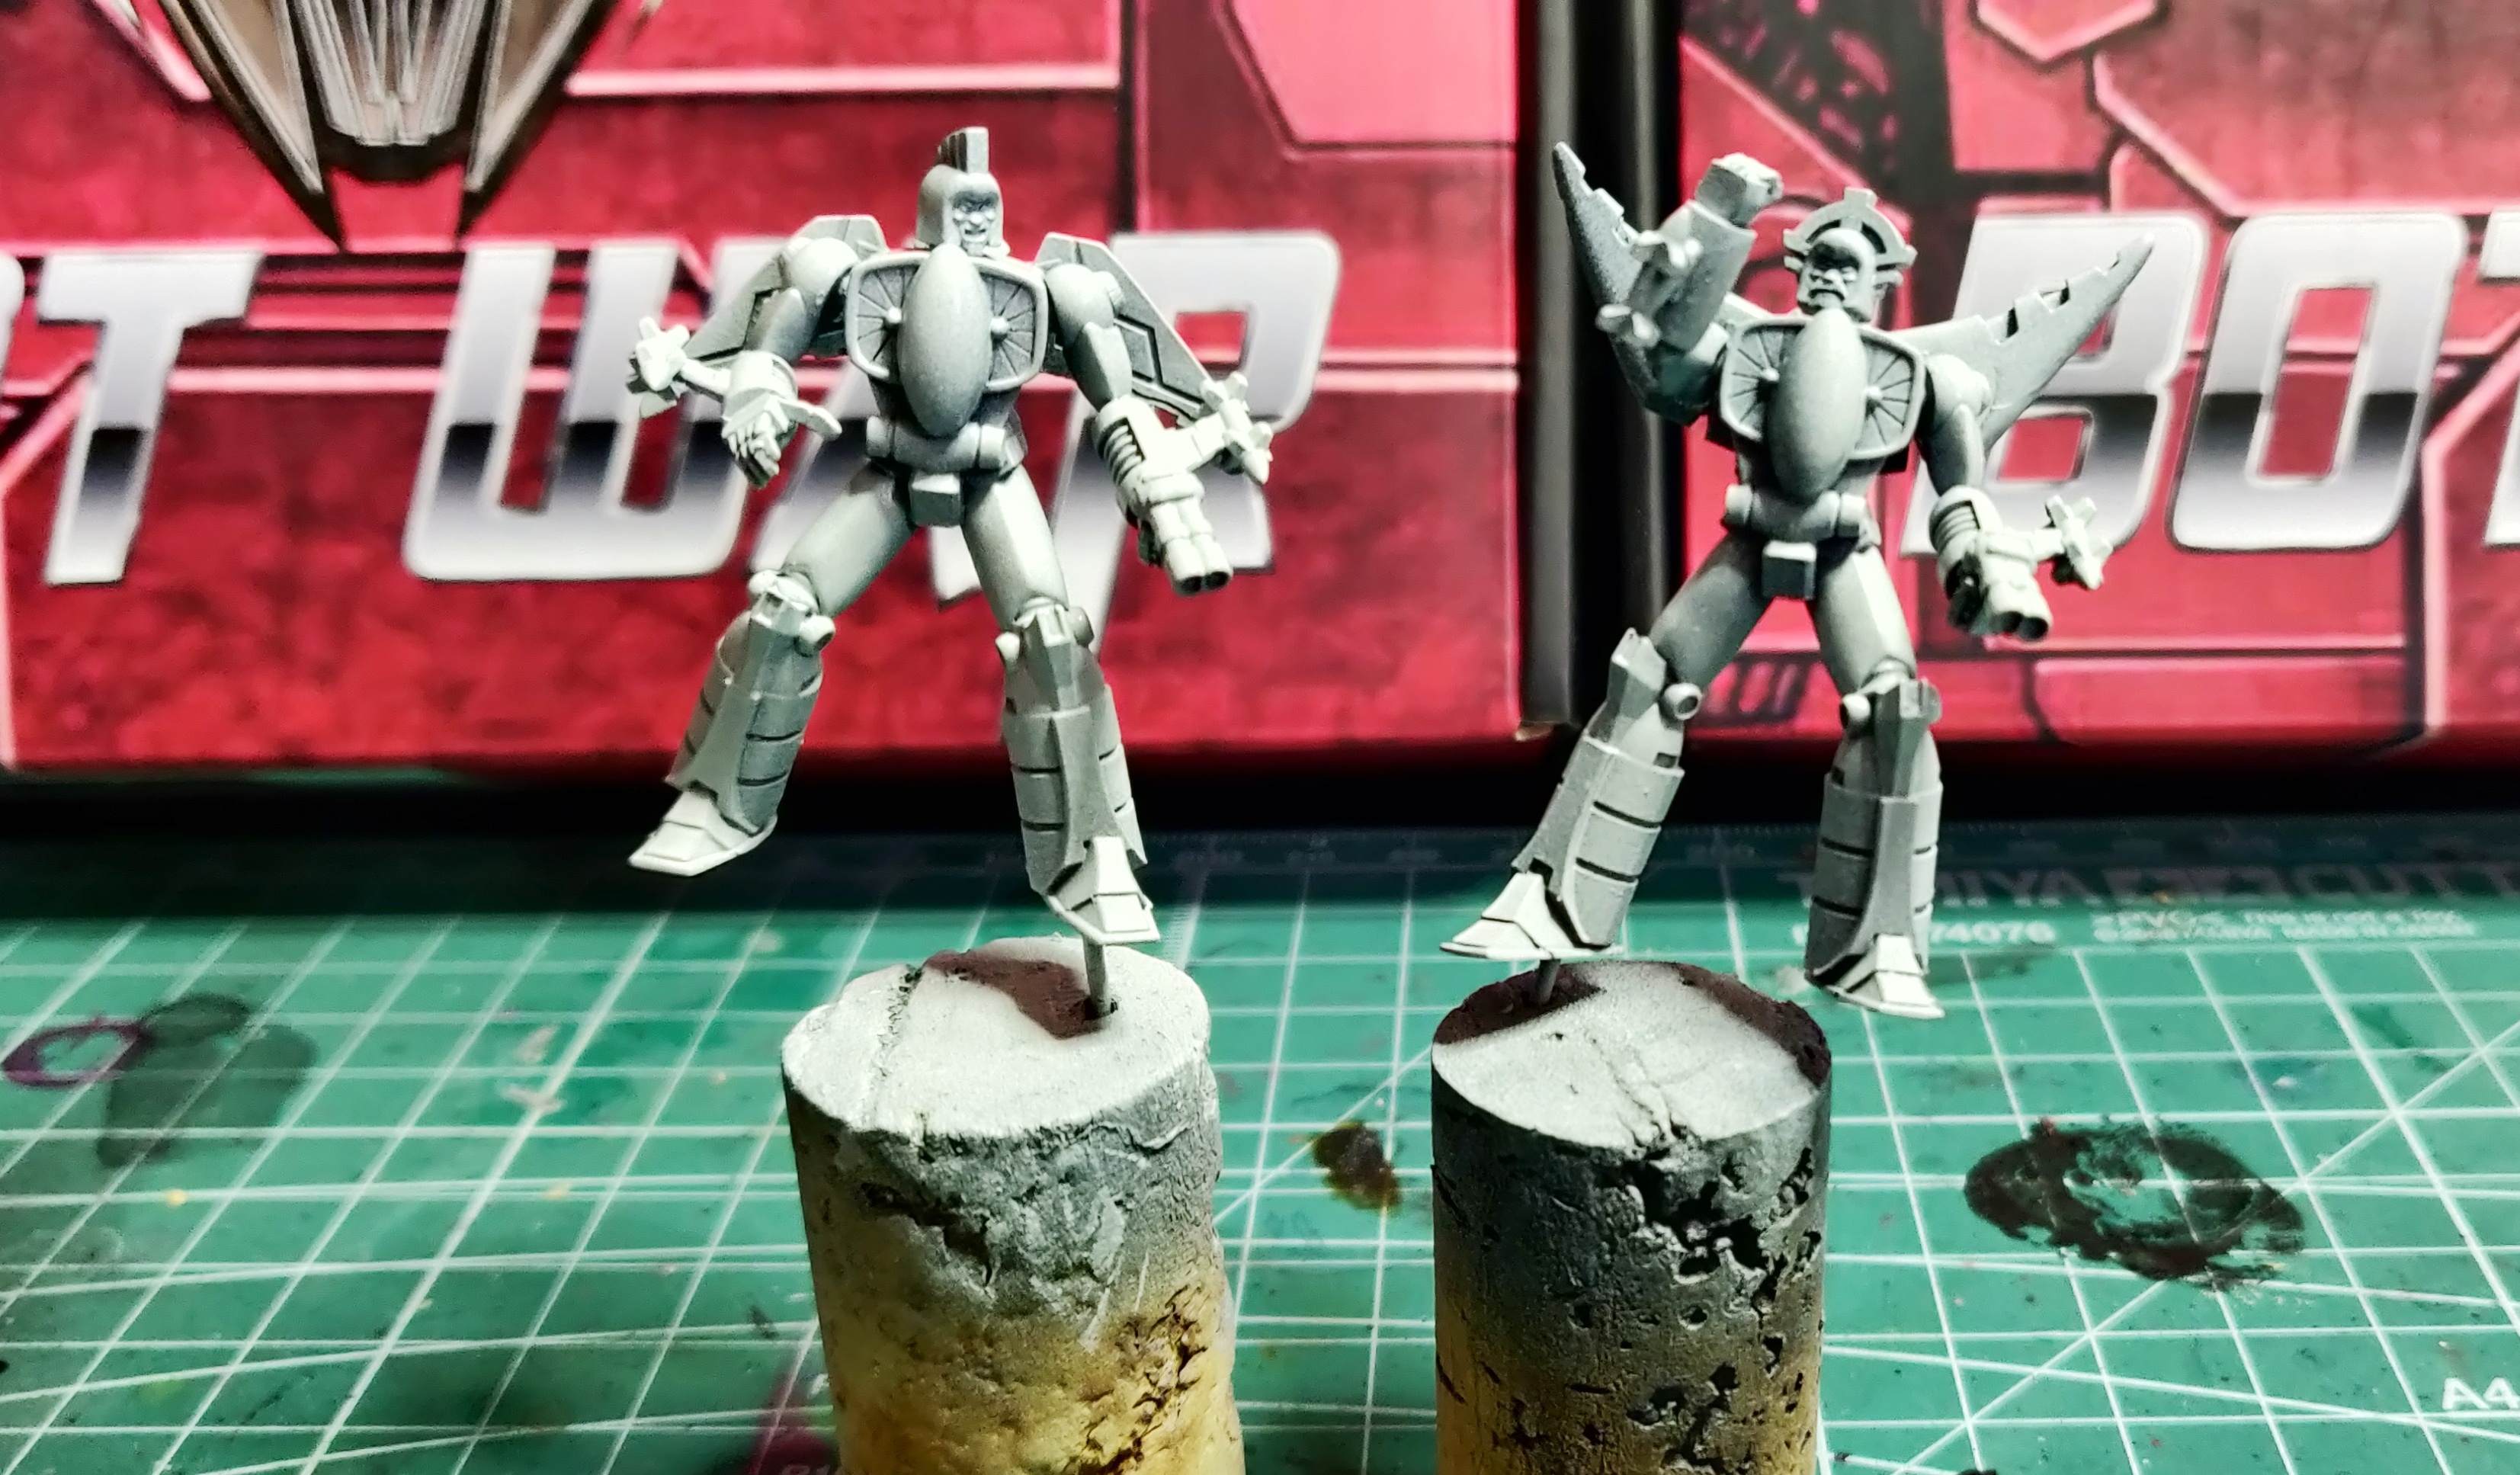
Starting off with the basecoat, I added a little Vallejo Metal Air Gold into the Black Metal to have a slightly warmer starting point.
For the next layer I again added gold, this time mixed into the Gun Metal and worked this over the whole model but eying to leave some of the basecoat in the recesses.
Finally I used straight Vallejo Air Metal brass for the final layer. My reason for this is it should give a solid yellow starting point to work up from without turning too green (that’s the plan anyway, this is all experimental)
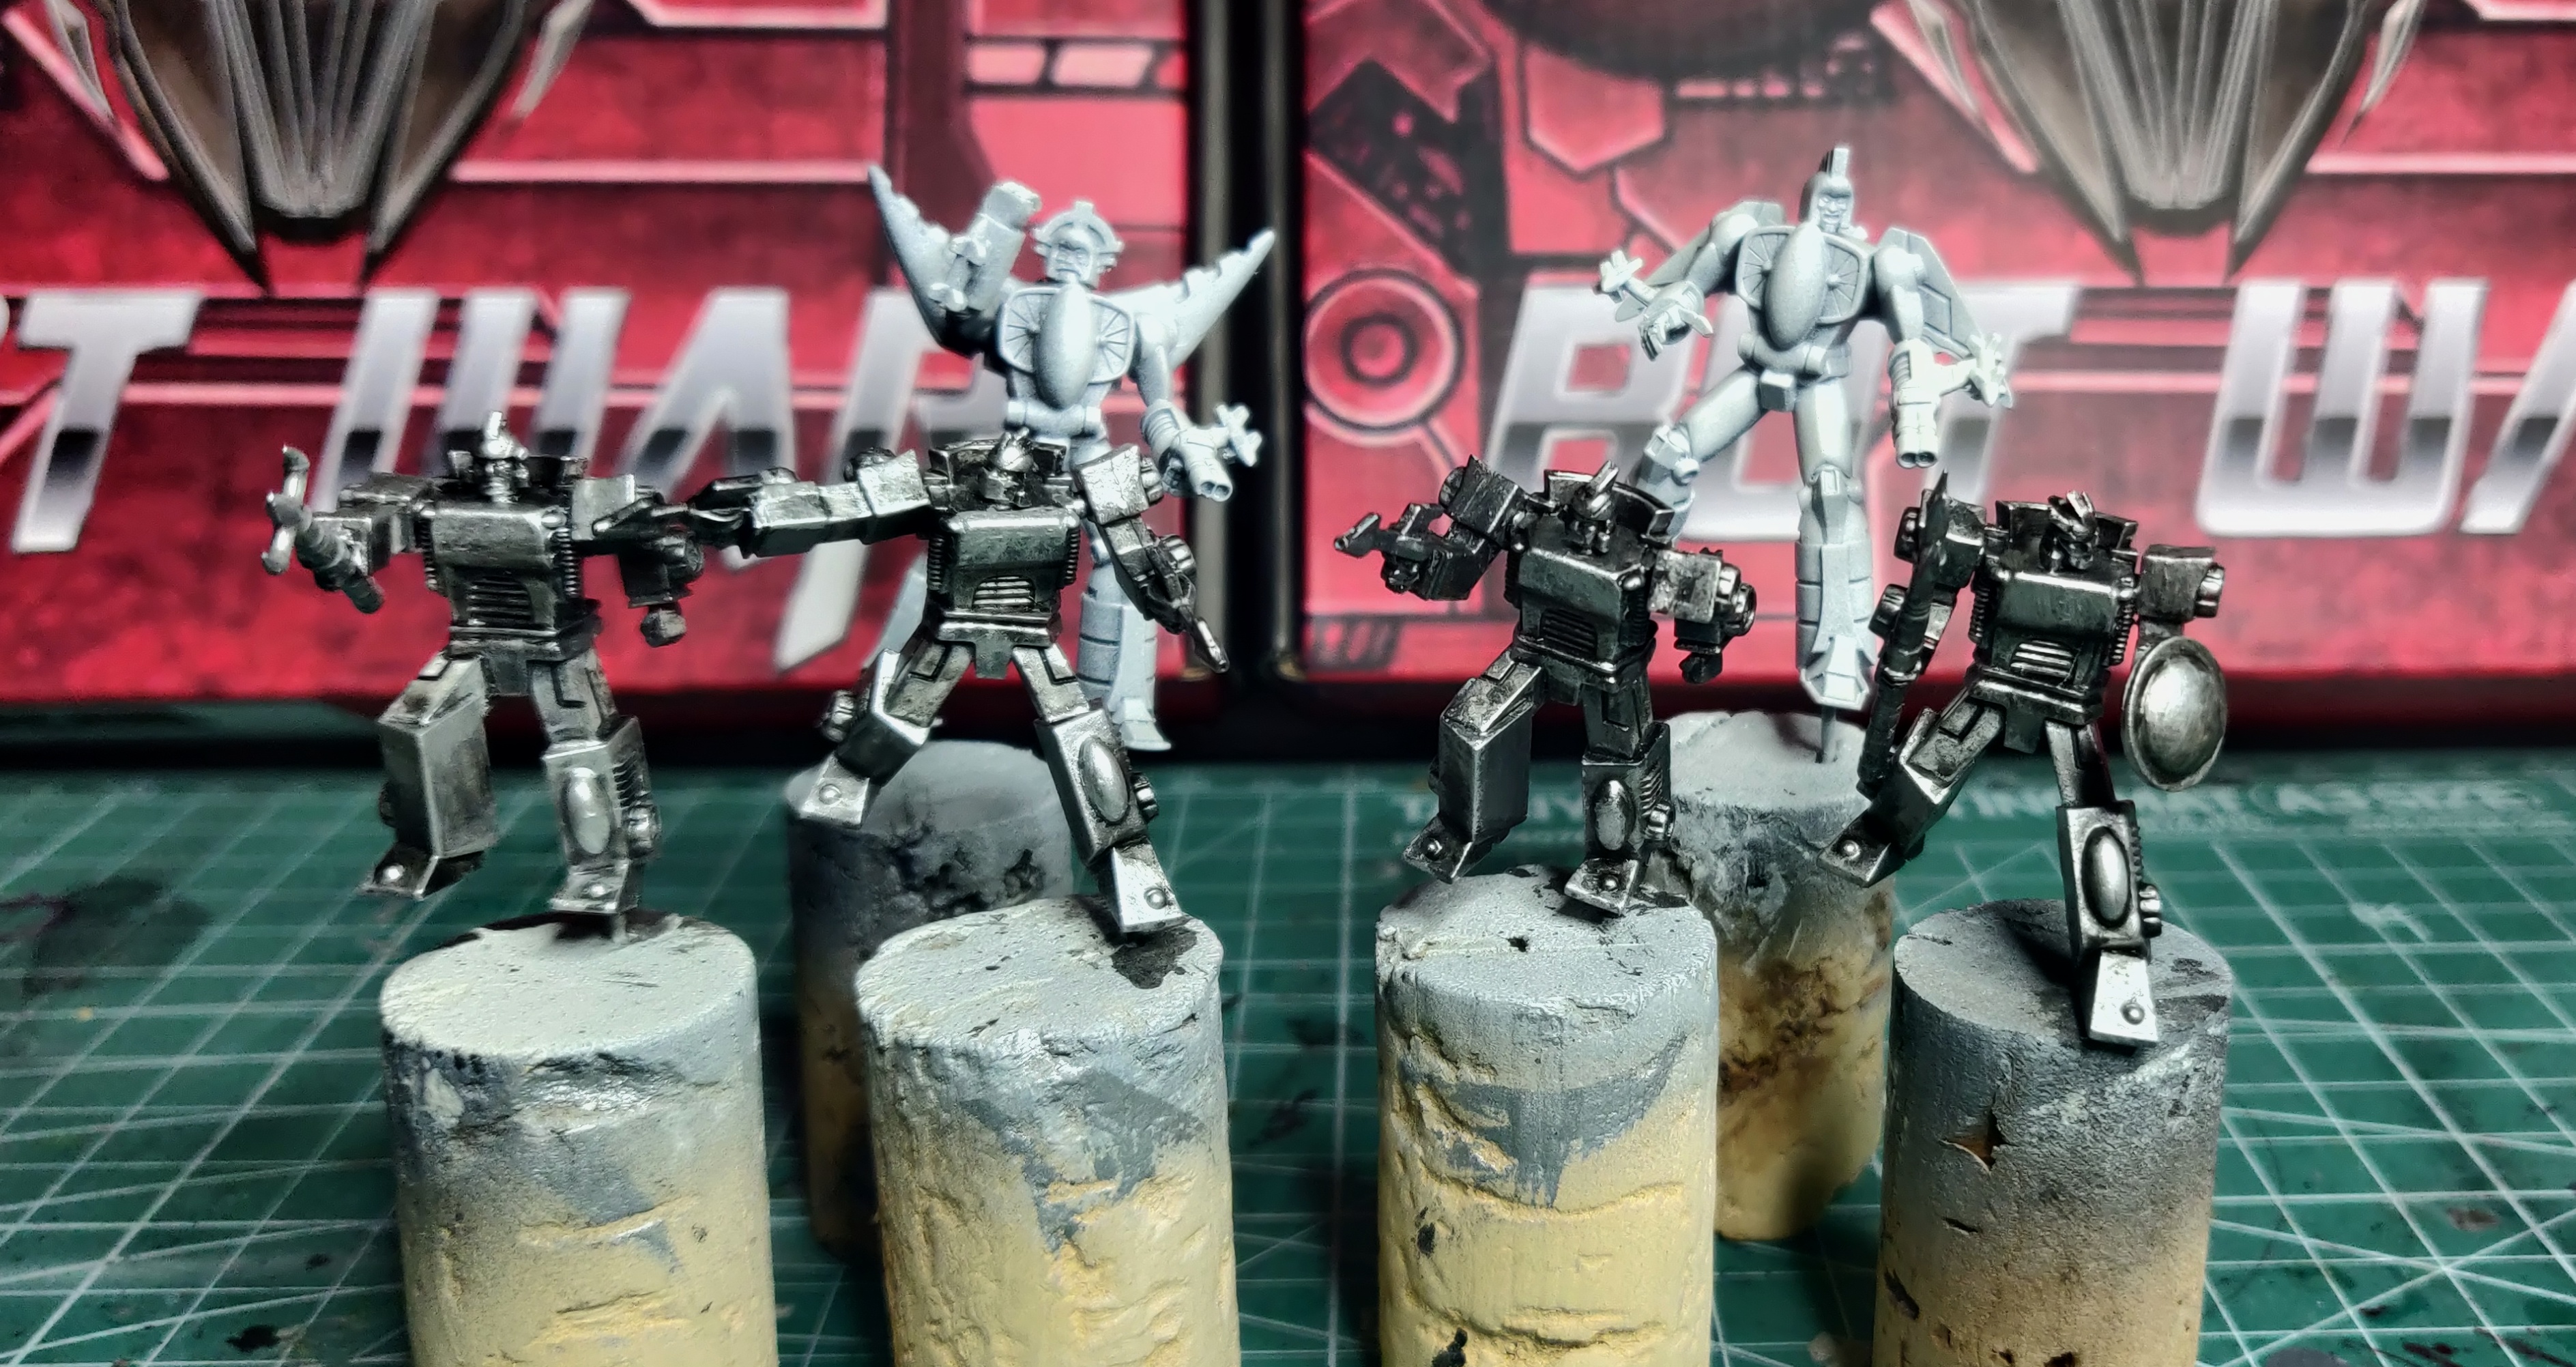
For Kamen I choose to leave some of the parts without brass to add some variety to the character. Like Neptune he has a lot of extra detail so introducing some variety at this point may help during the next phase as well.
…. If not there’s always the Biostrip
To finish off I gave each model a wash with a very thinned down Umbra ink from Liquitex. This was used to harmonise the metals, add more warmth, and also preshade some of the recesses where armour joints meet.
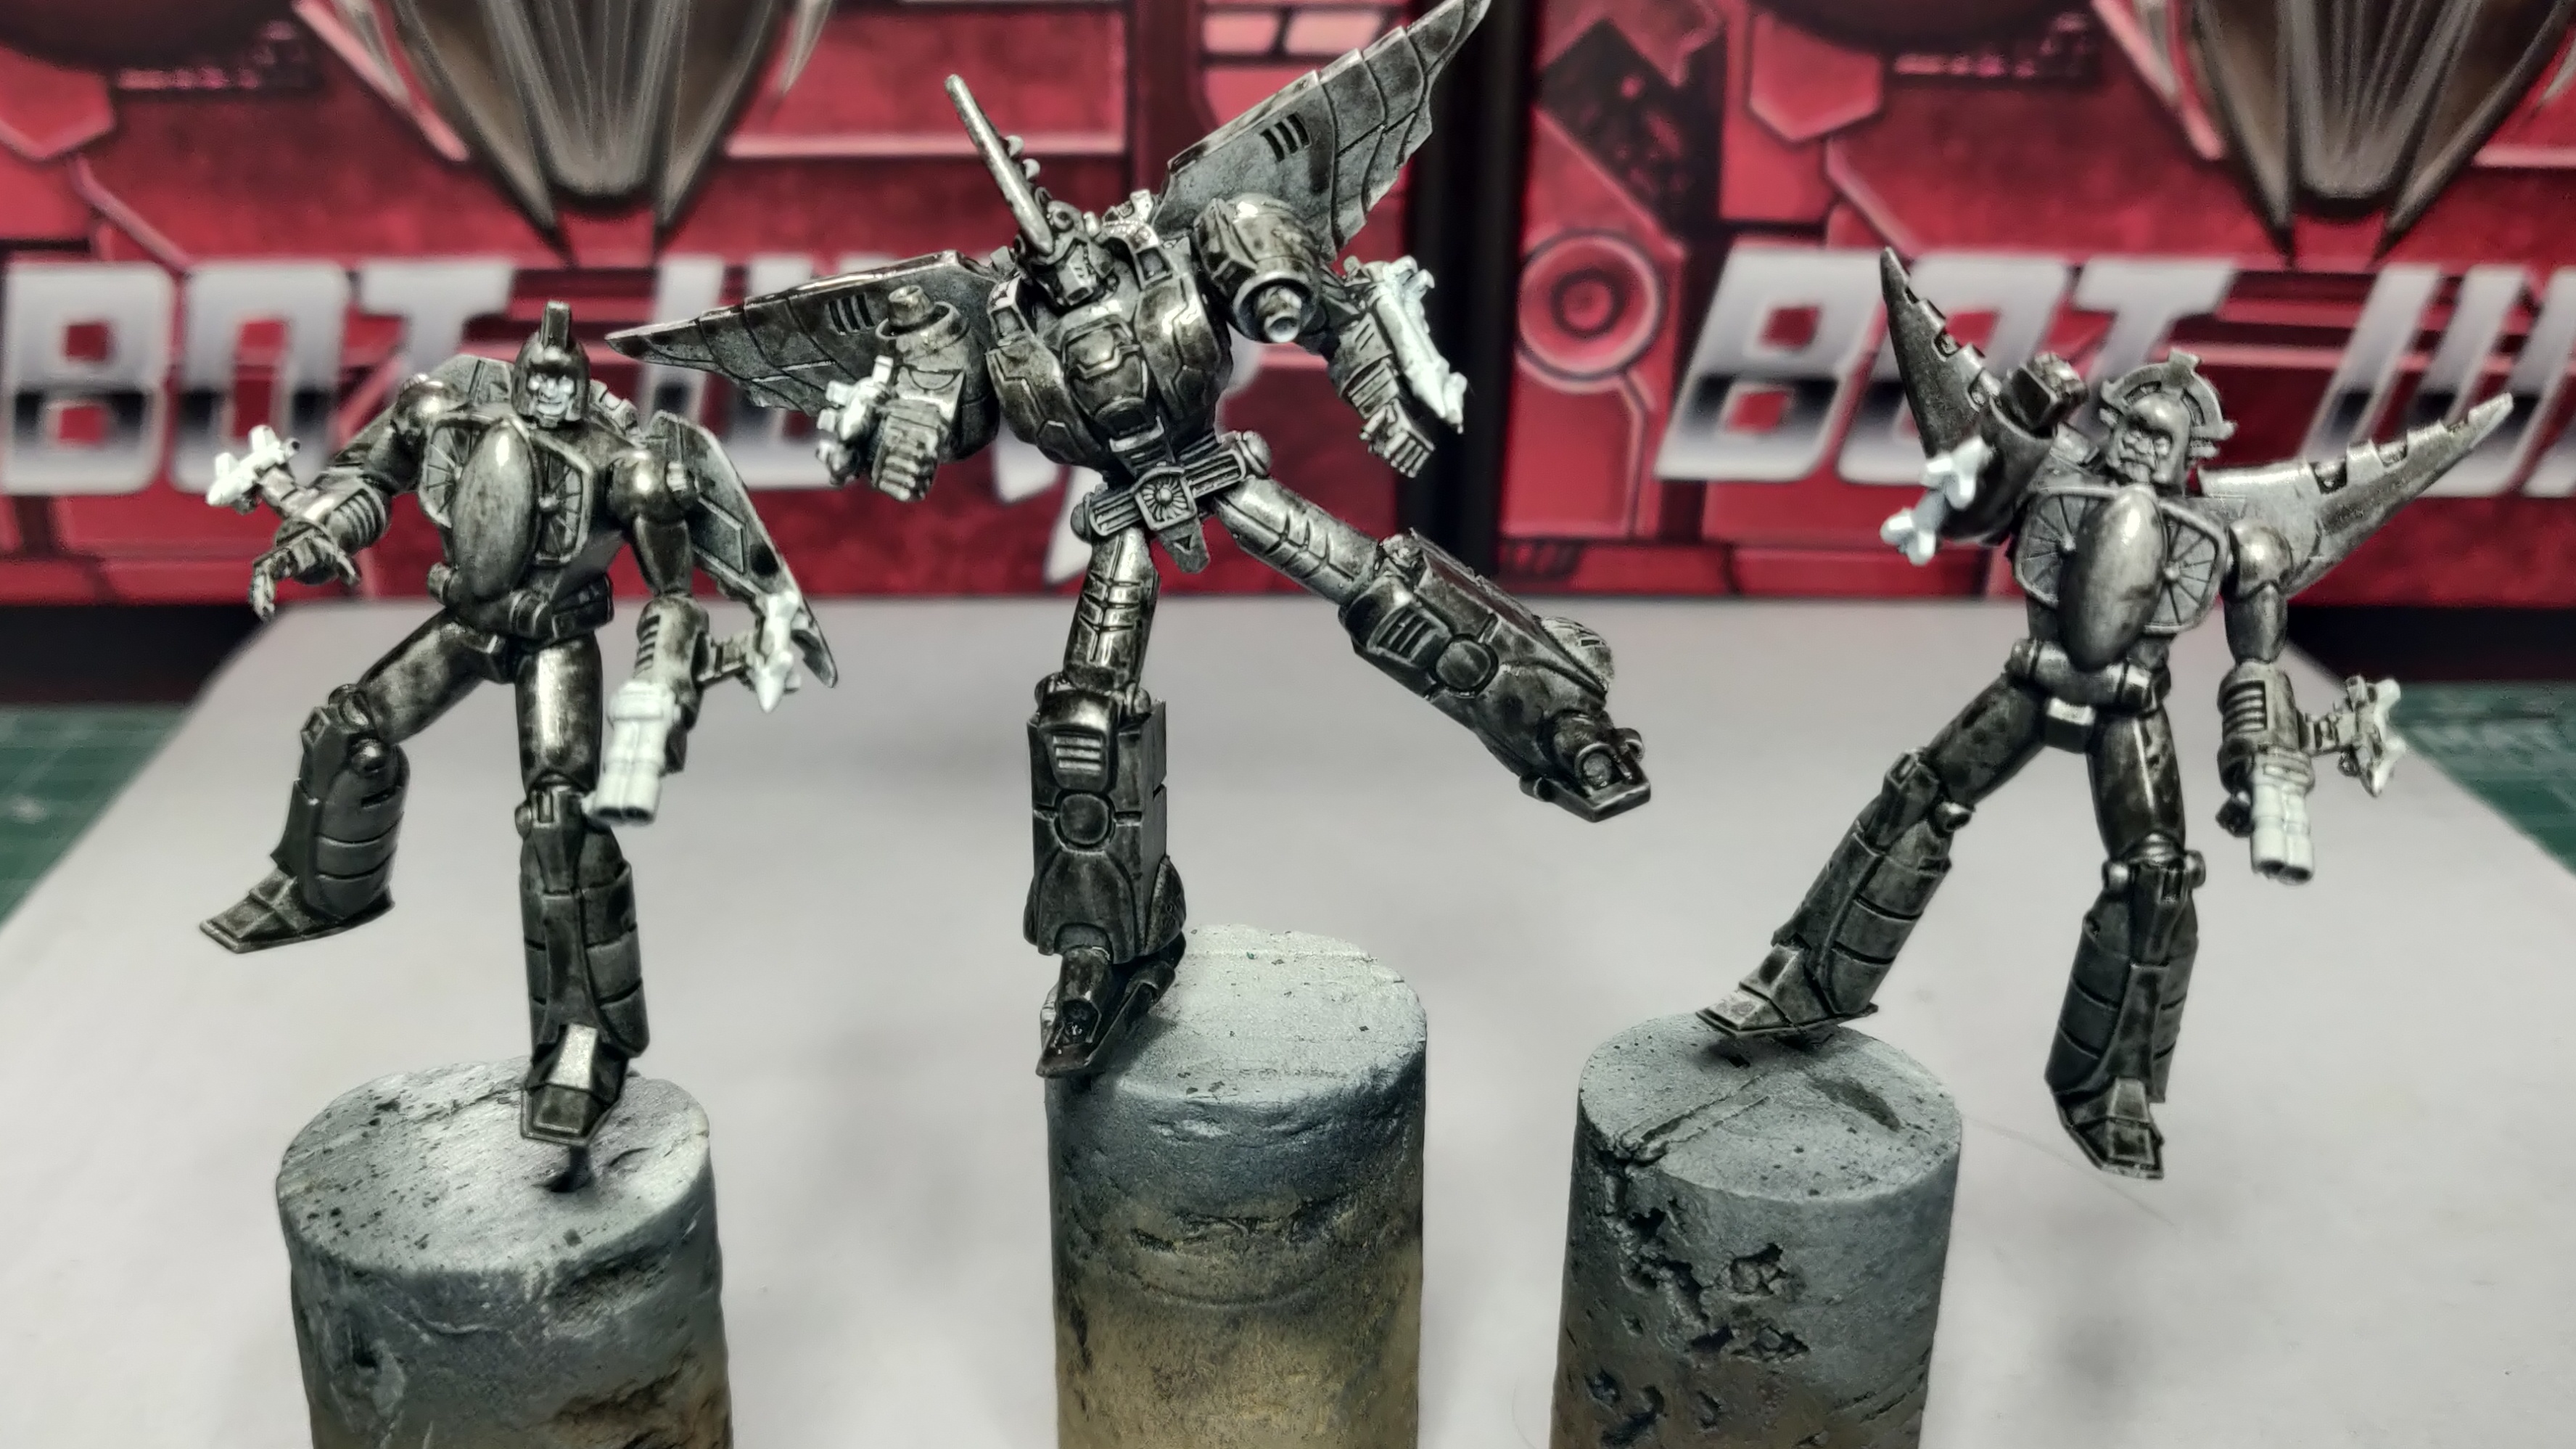
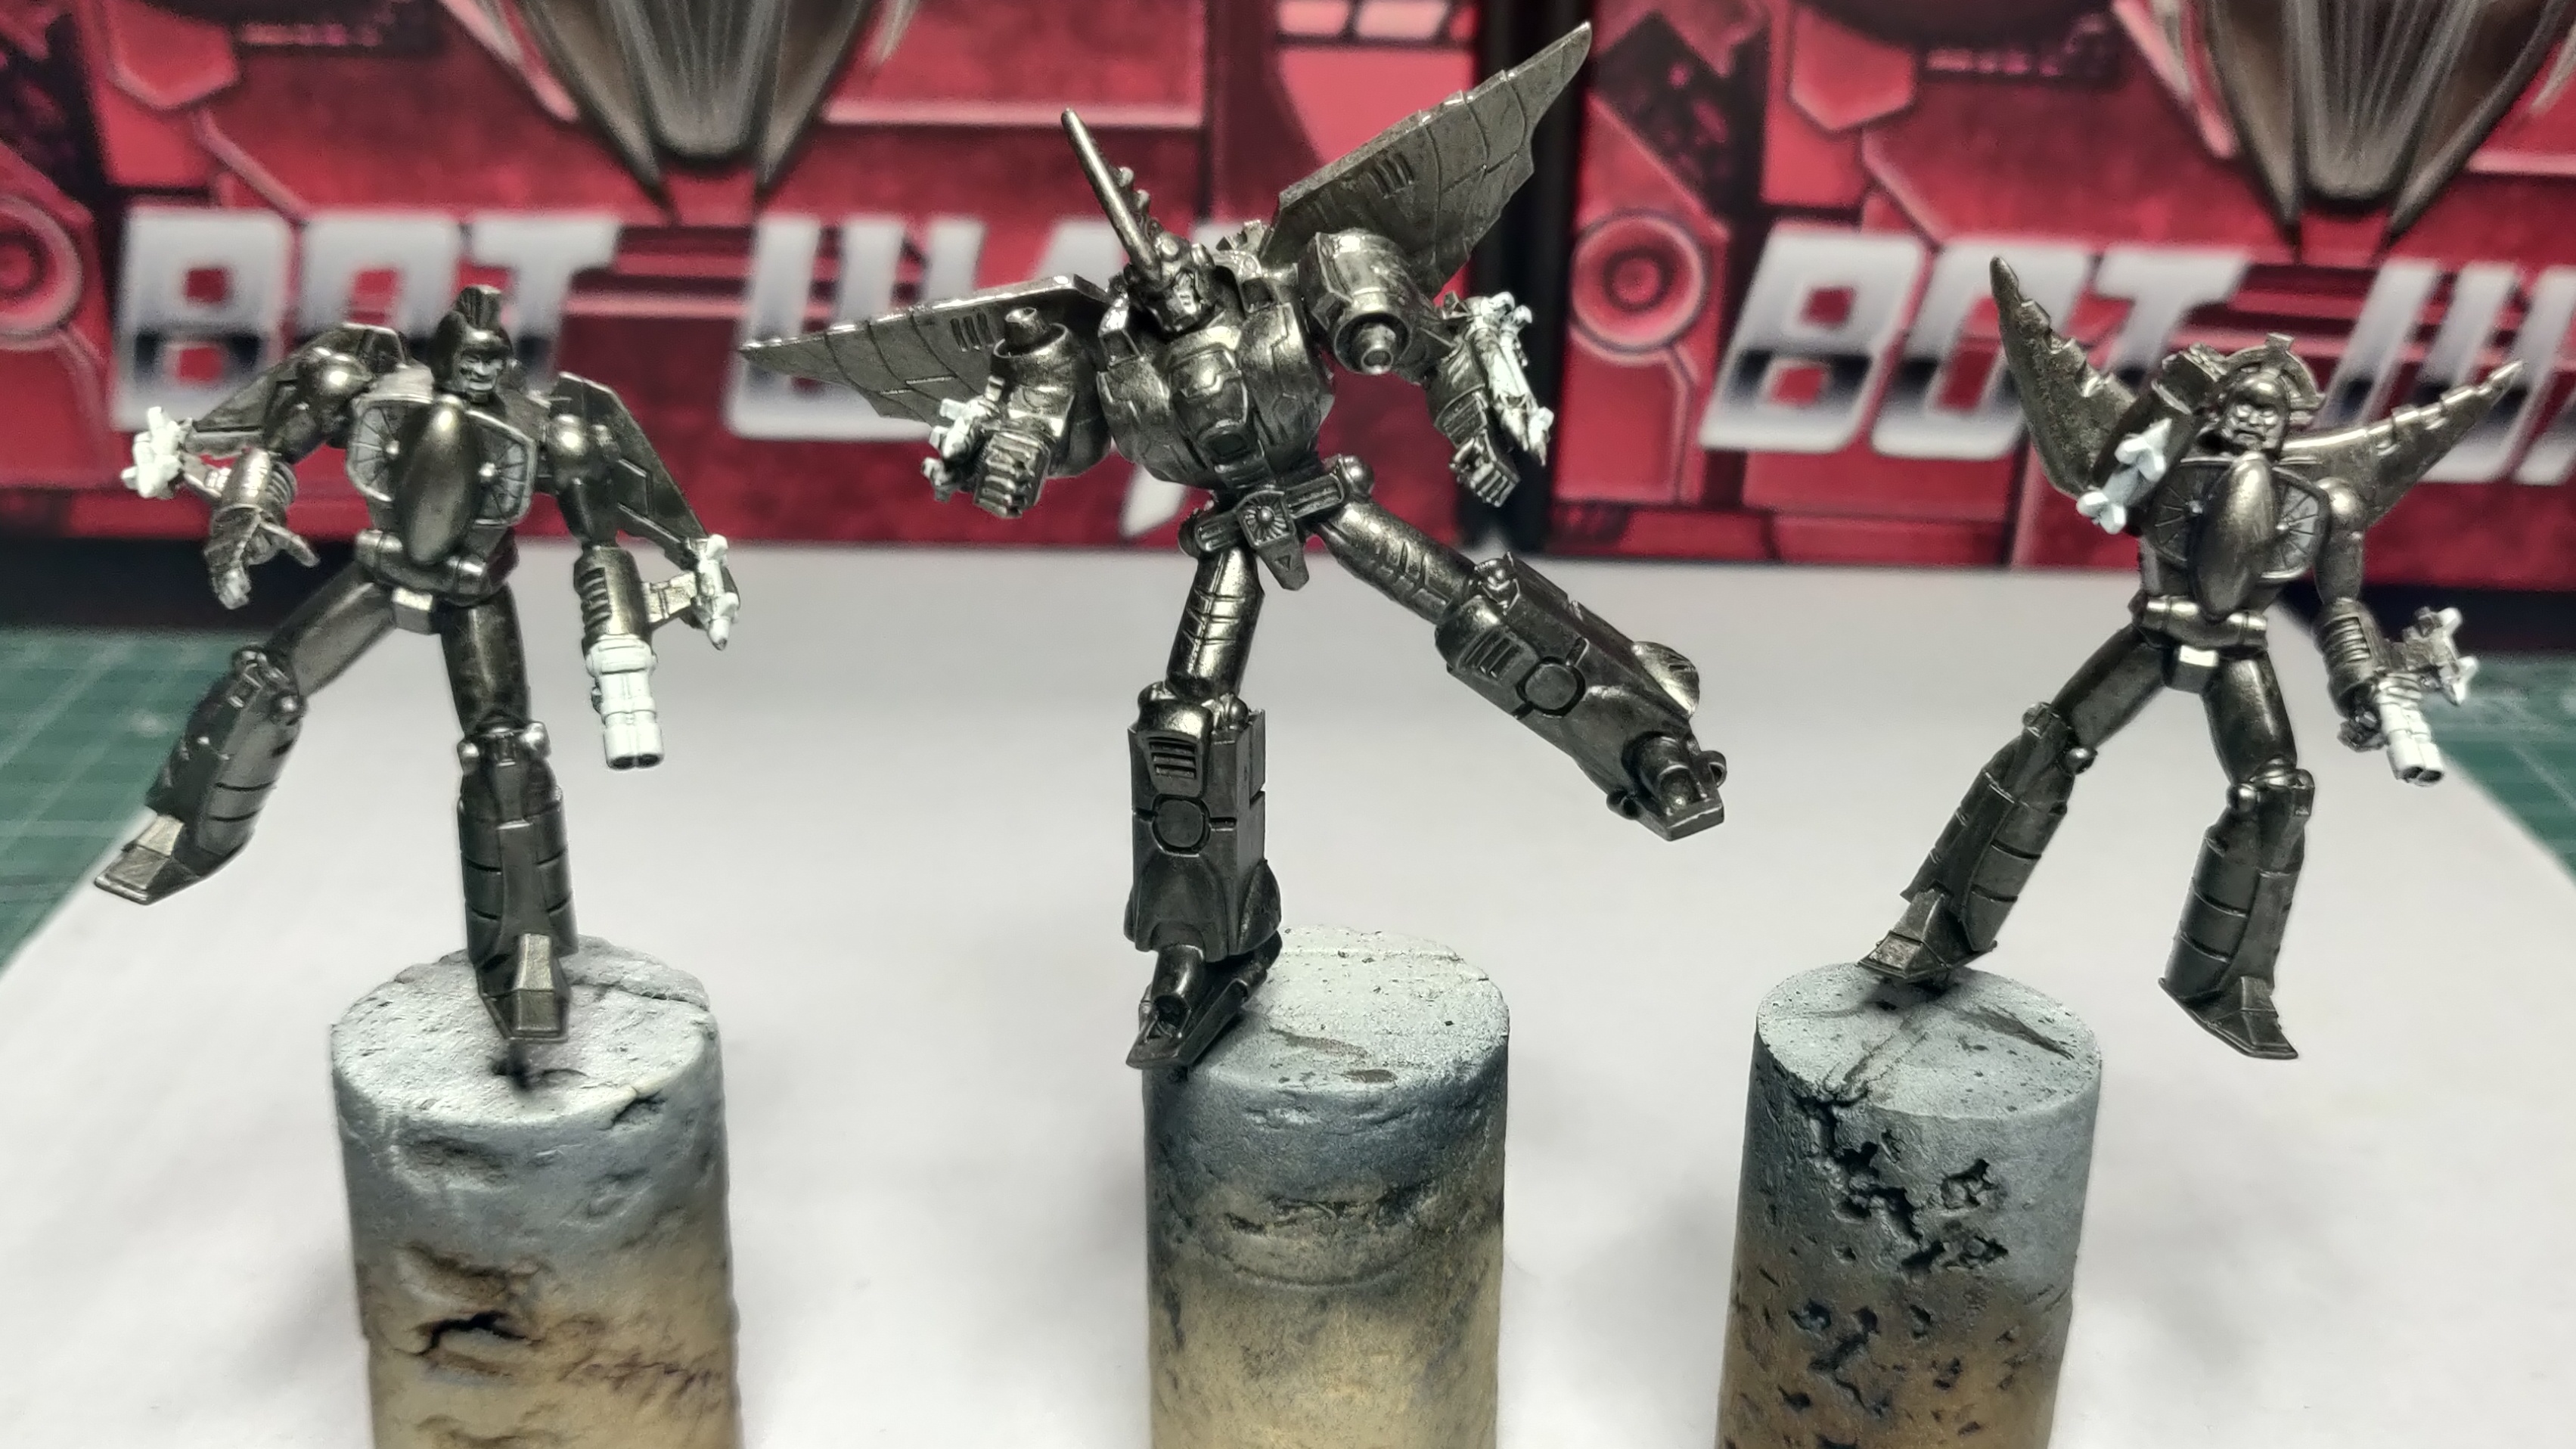
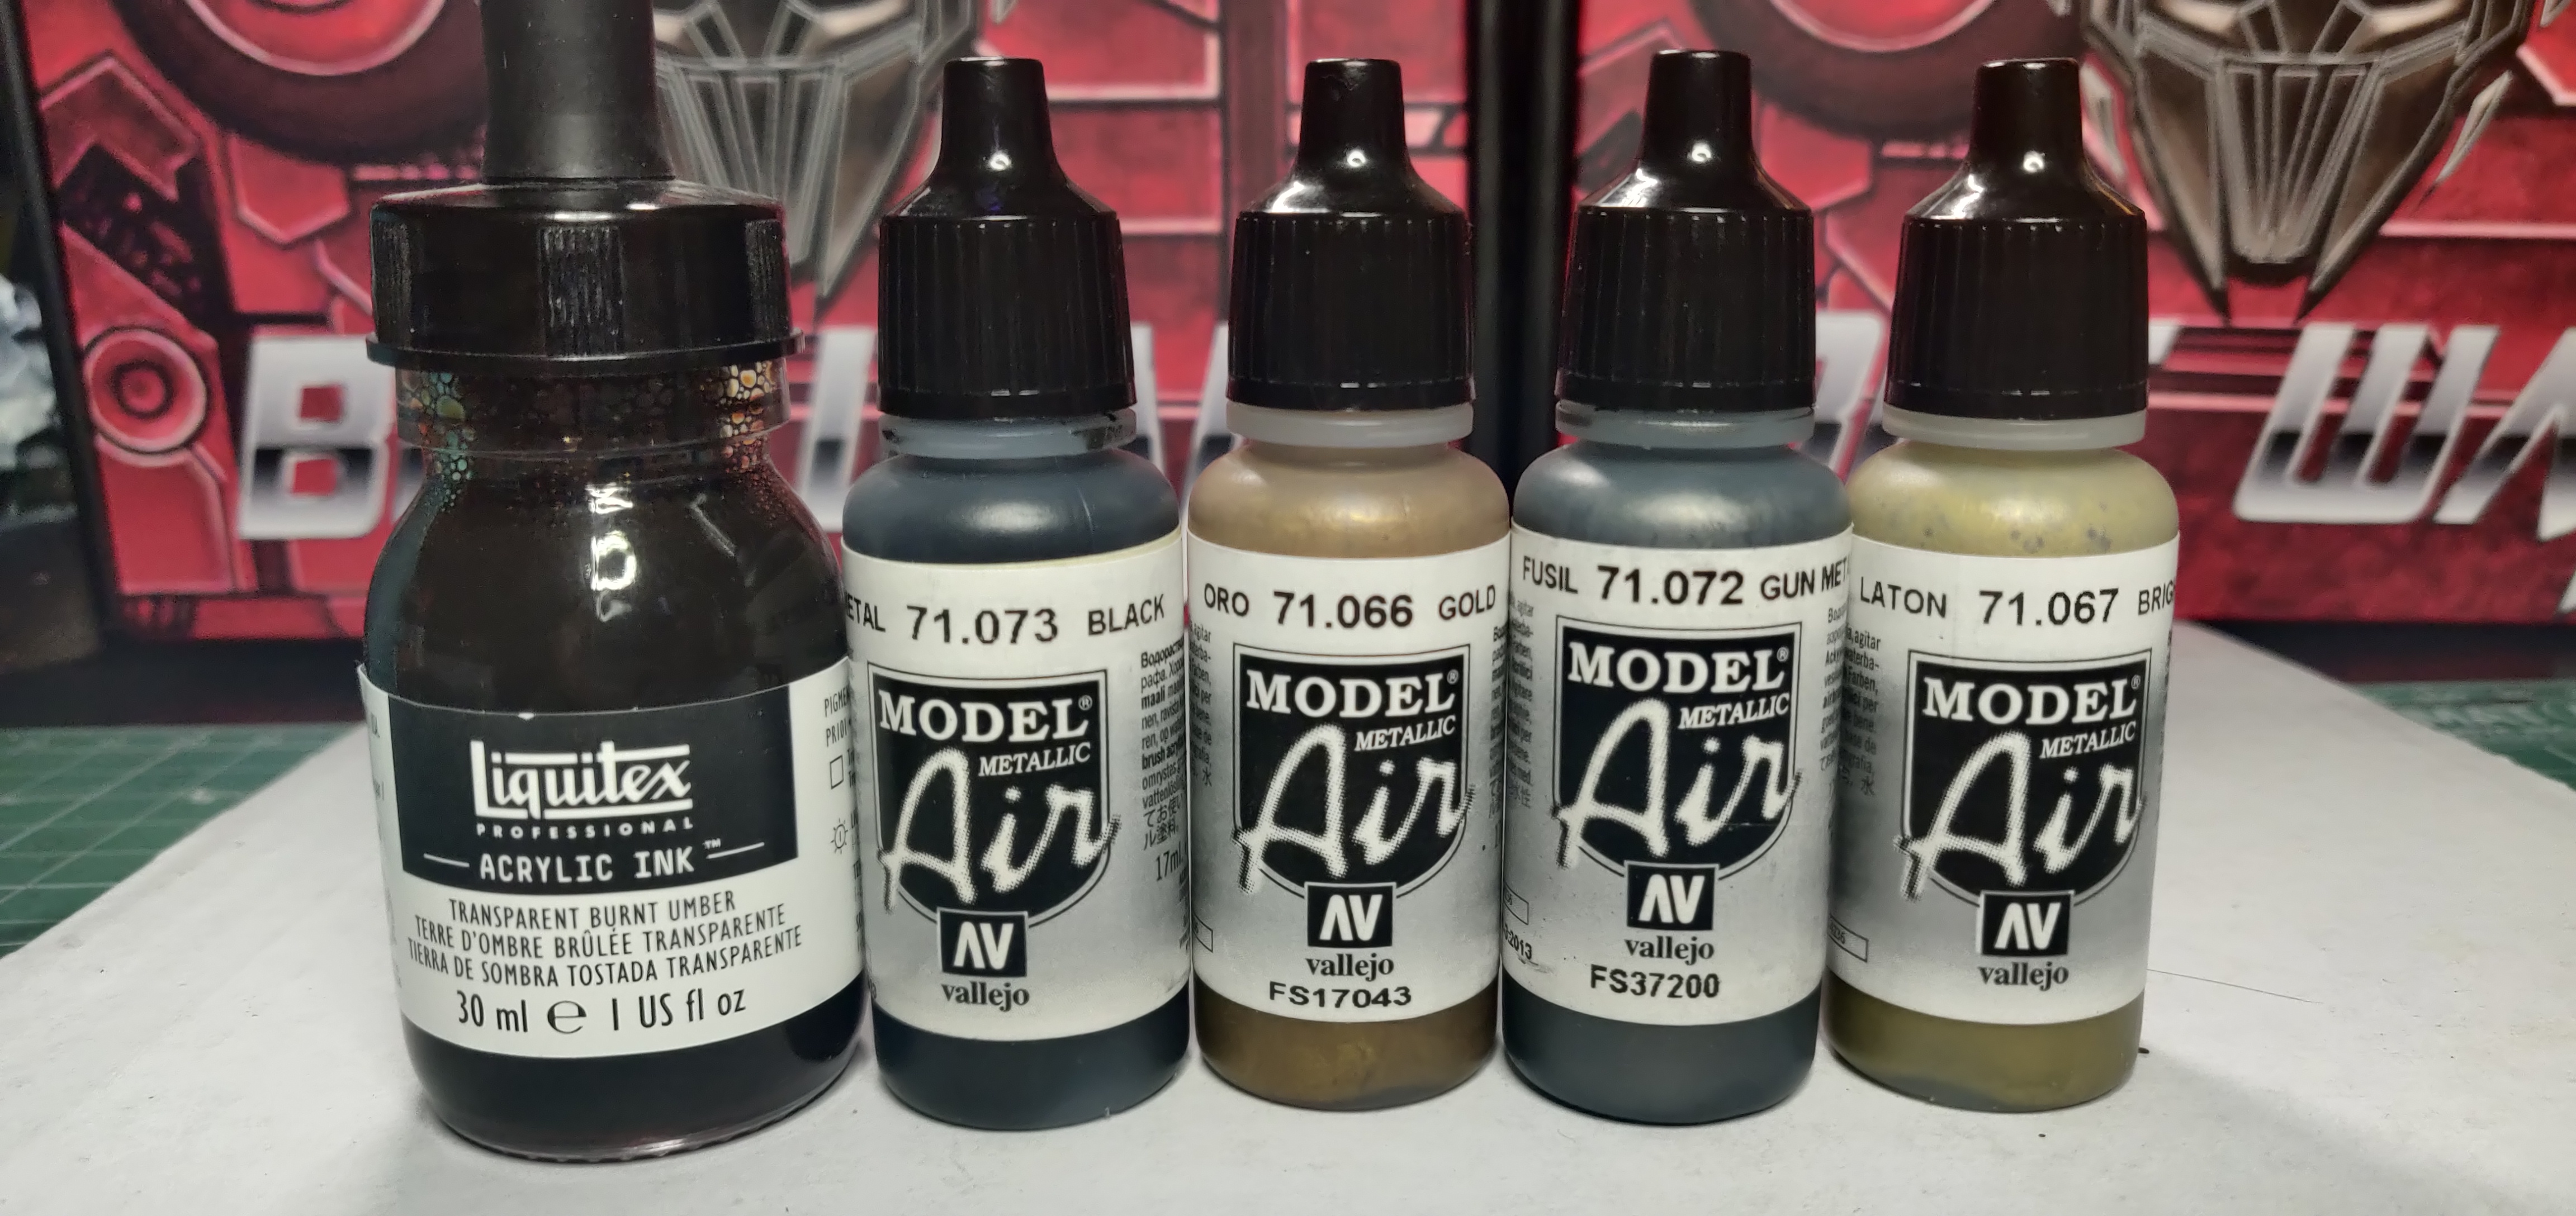 Air Warriors TMM workup colours


![Mounted US Cavalry On Kickstarter For Dead Man’s Hand! [Updated]](https://images.beastsofwar.com/2026/03/us-cavalry-main-600-338.jpg)


![Play WW2 Commando Operations With Butcher & Bolt [Updated]](https://images.beastsofwar.com/2026/03/relaunch-600-338.jpg)


