


![1918 Spring Offensive Wargame | Full Rules Overview with John & Gerry (WW1 Tabletop Game) [7 Days Early Access]](https://images.beastsofwar.com/2026/03/unboxing-warfulcrum-games-1918-spring-offensive-review-coverimage1-225-127.jpeg)


Chaos Knights Stride Forth


Recommendations: 132
About the Project
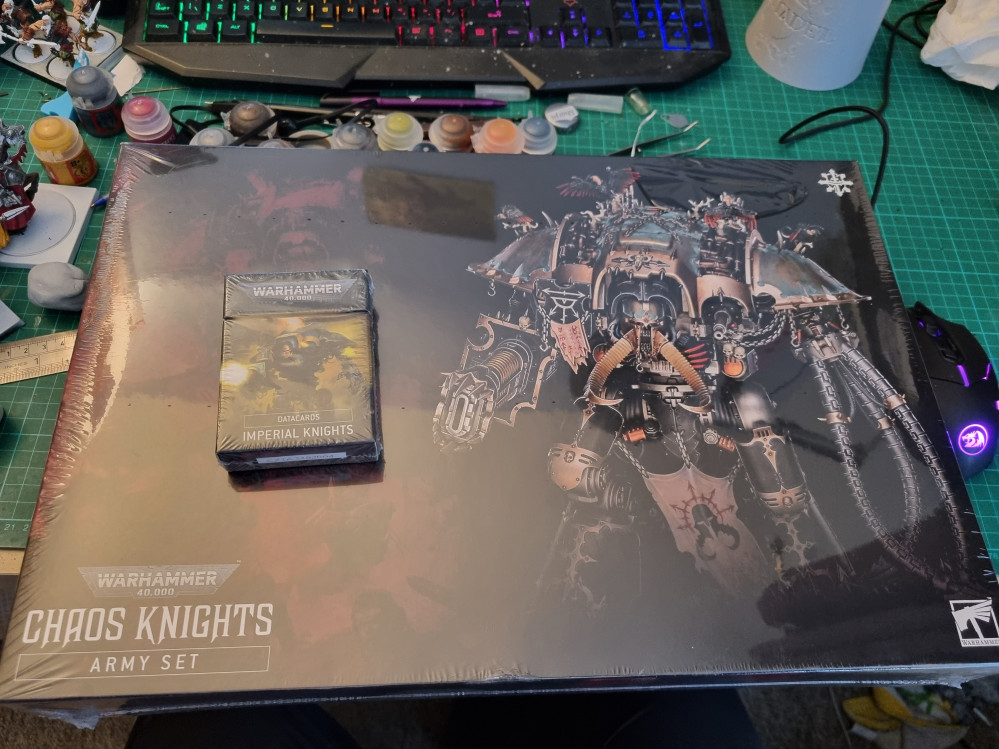
A record of my Chaos Knight army from unboxing to build to eventually tie in and play against my Imperial Knights
Related Game: Warhammer 40,000
Related Company: Games Workshop
Related Genre: Science Fiction
This Project is Active
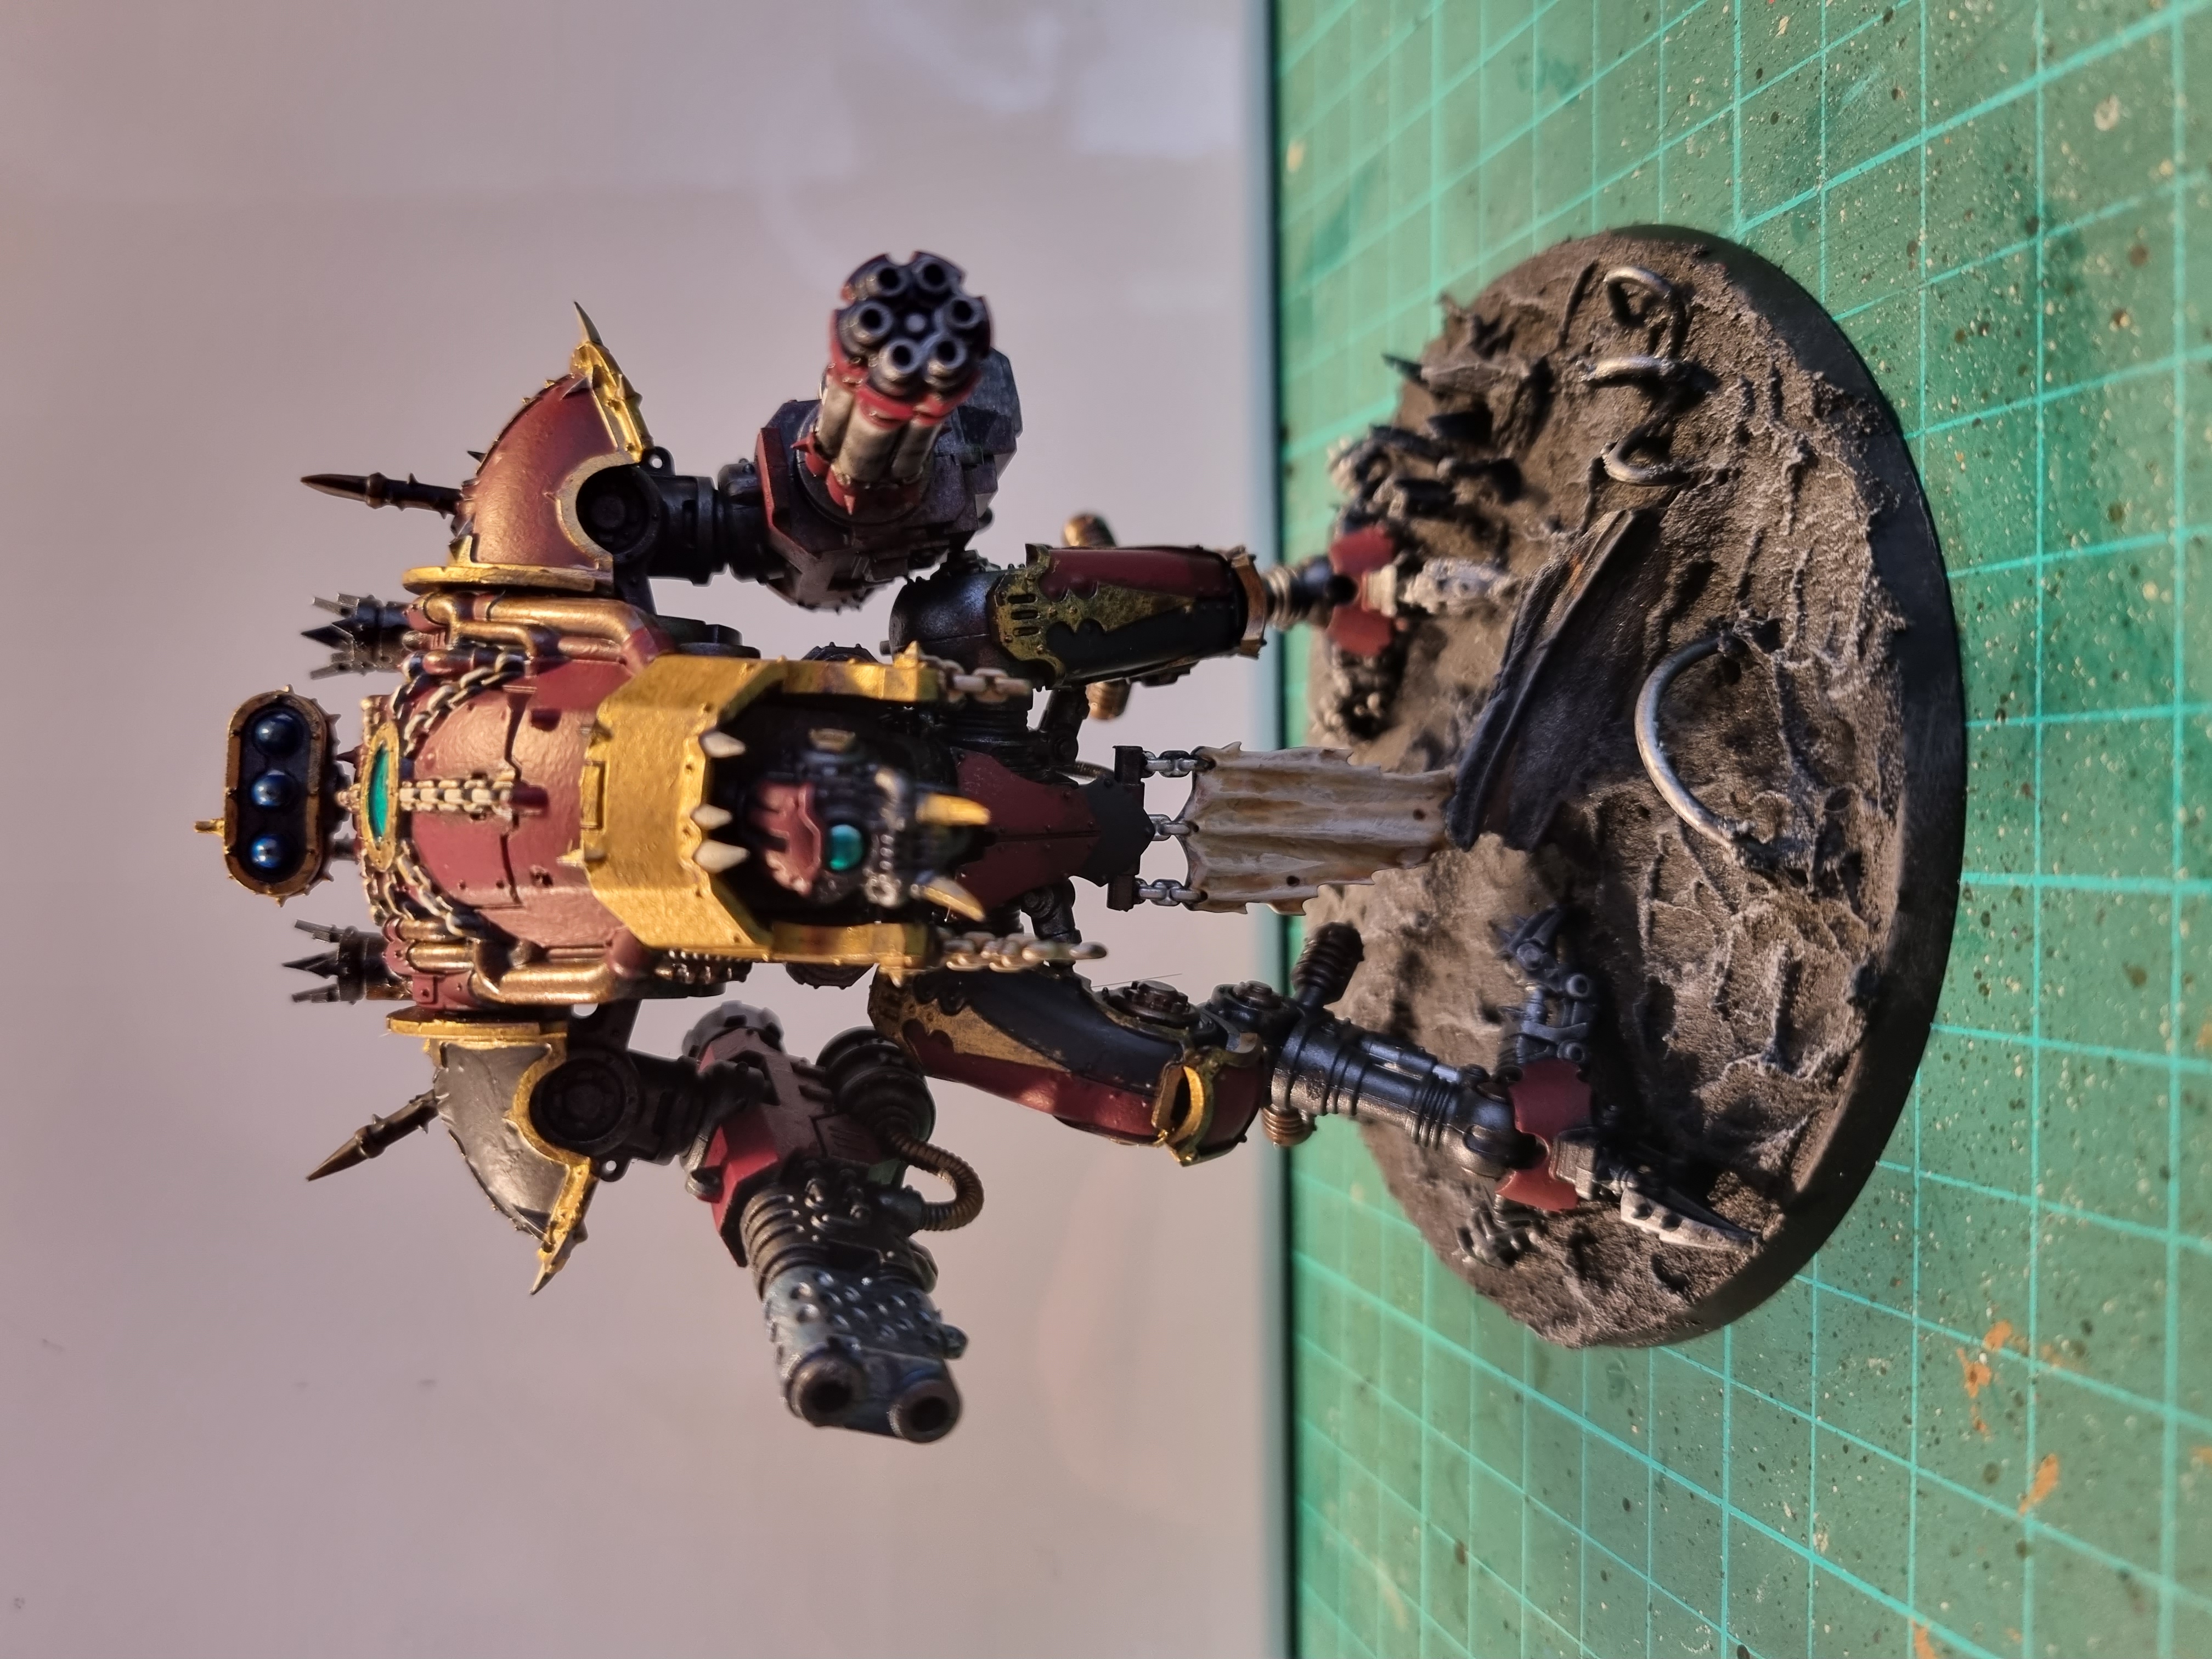
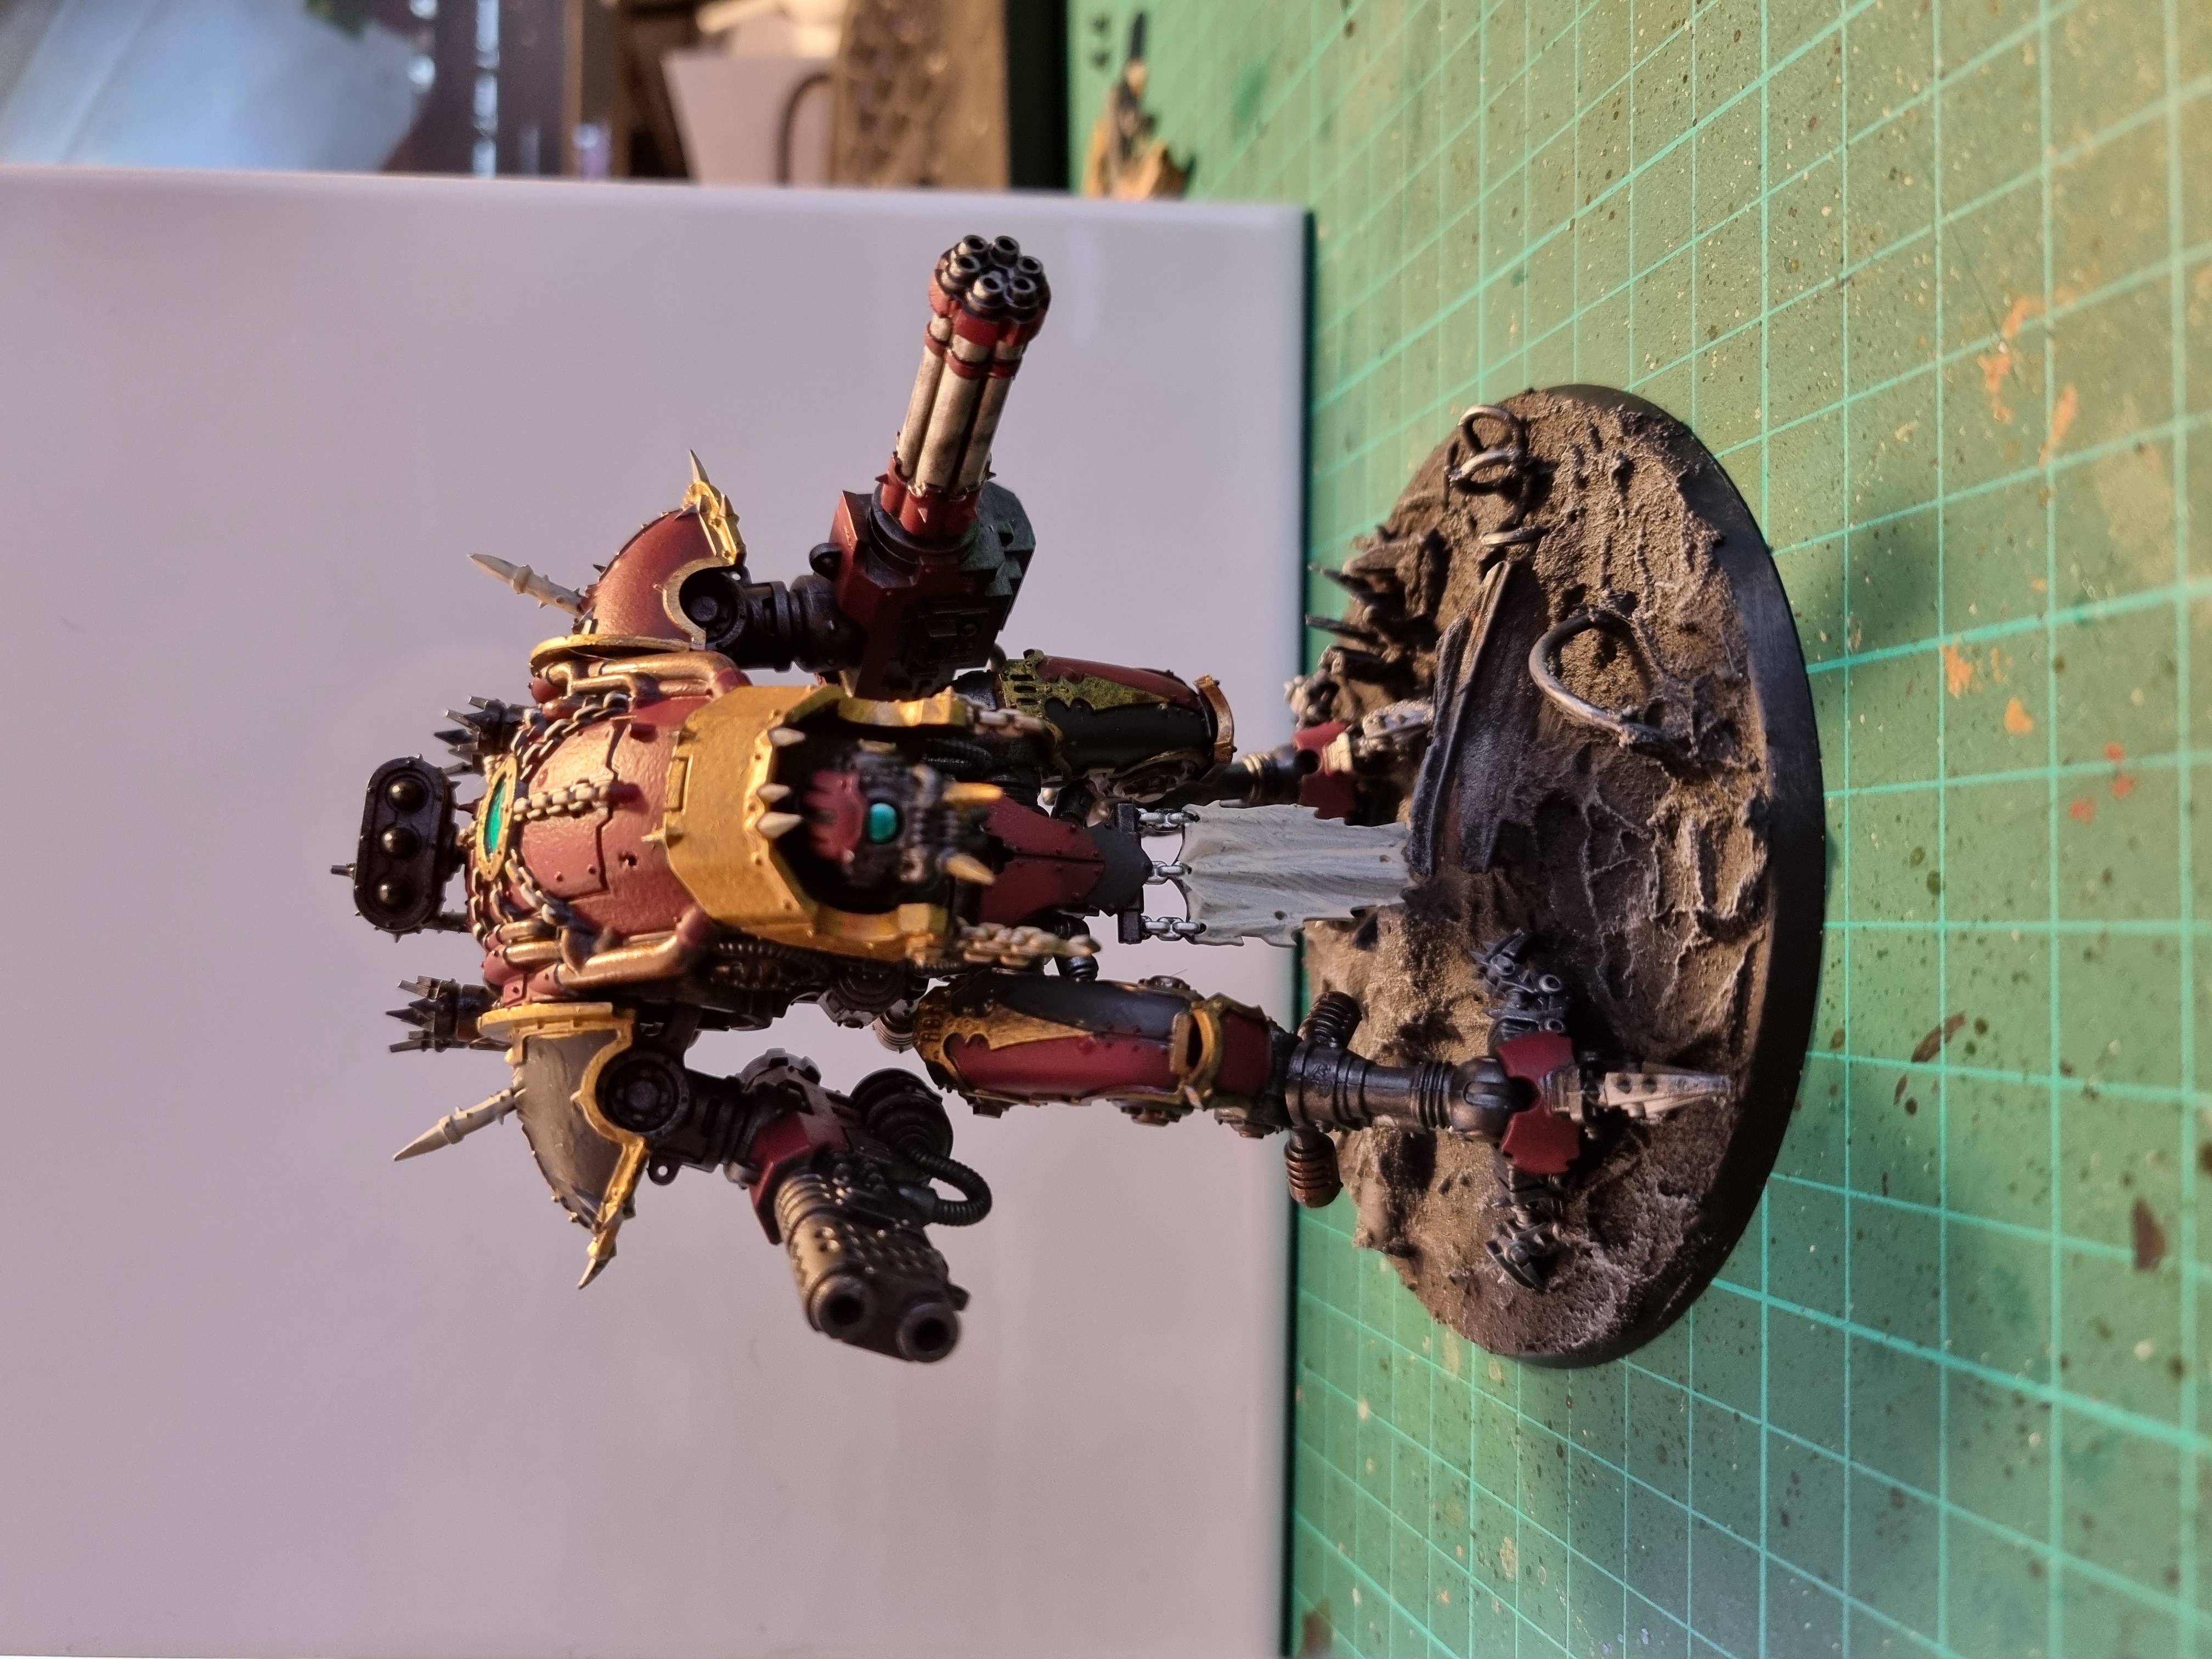
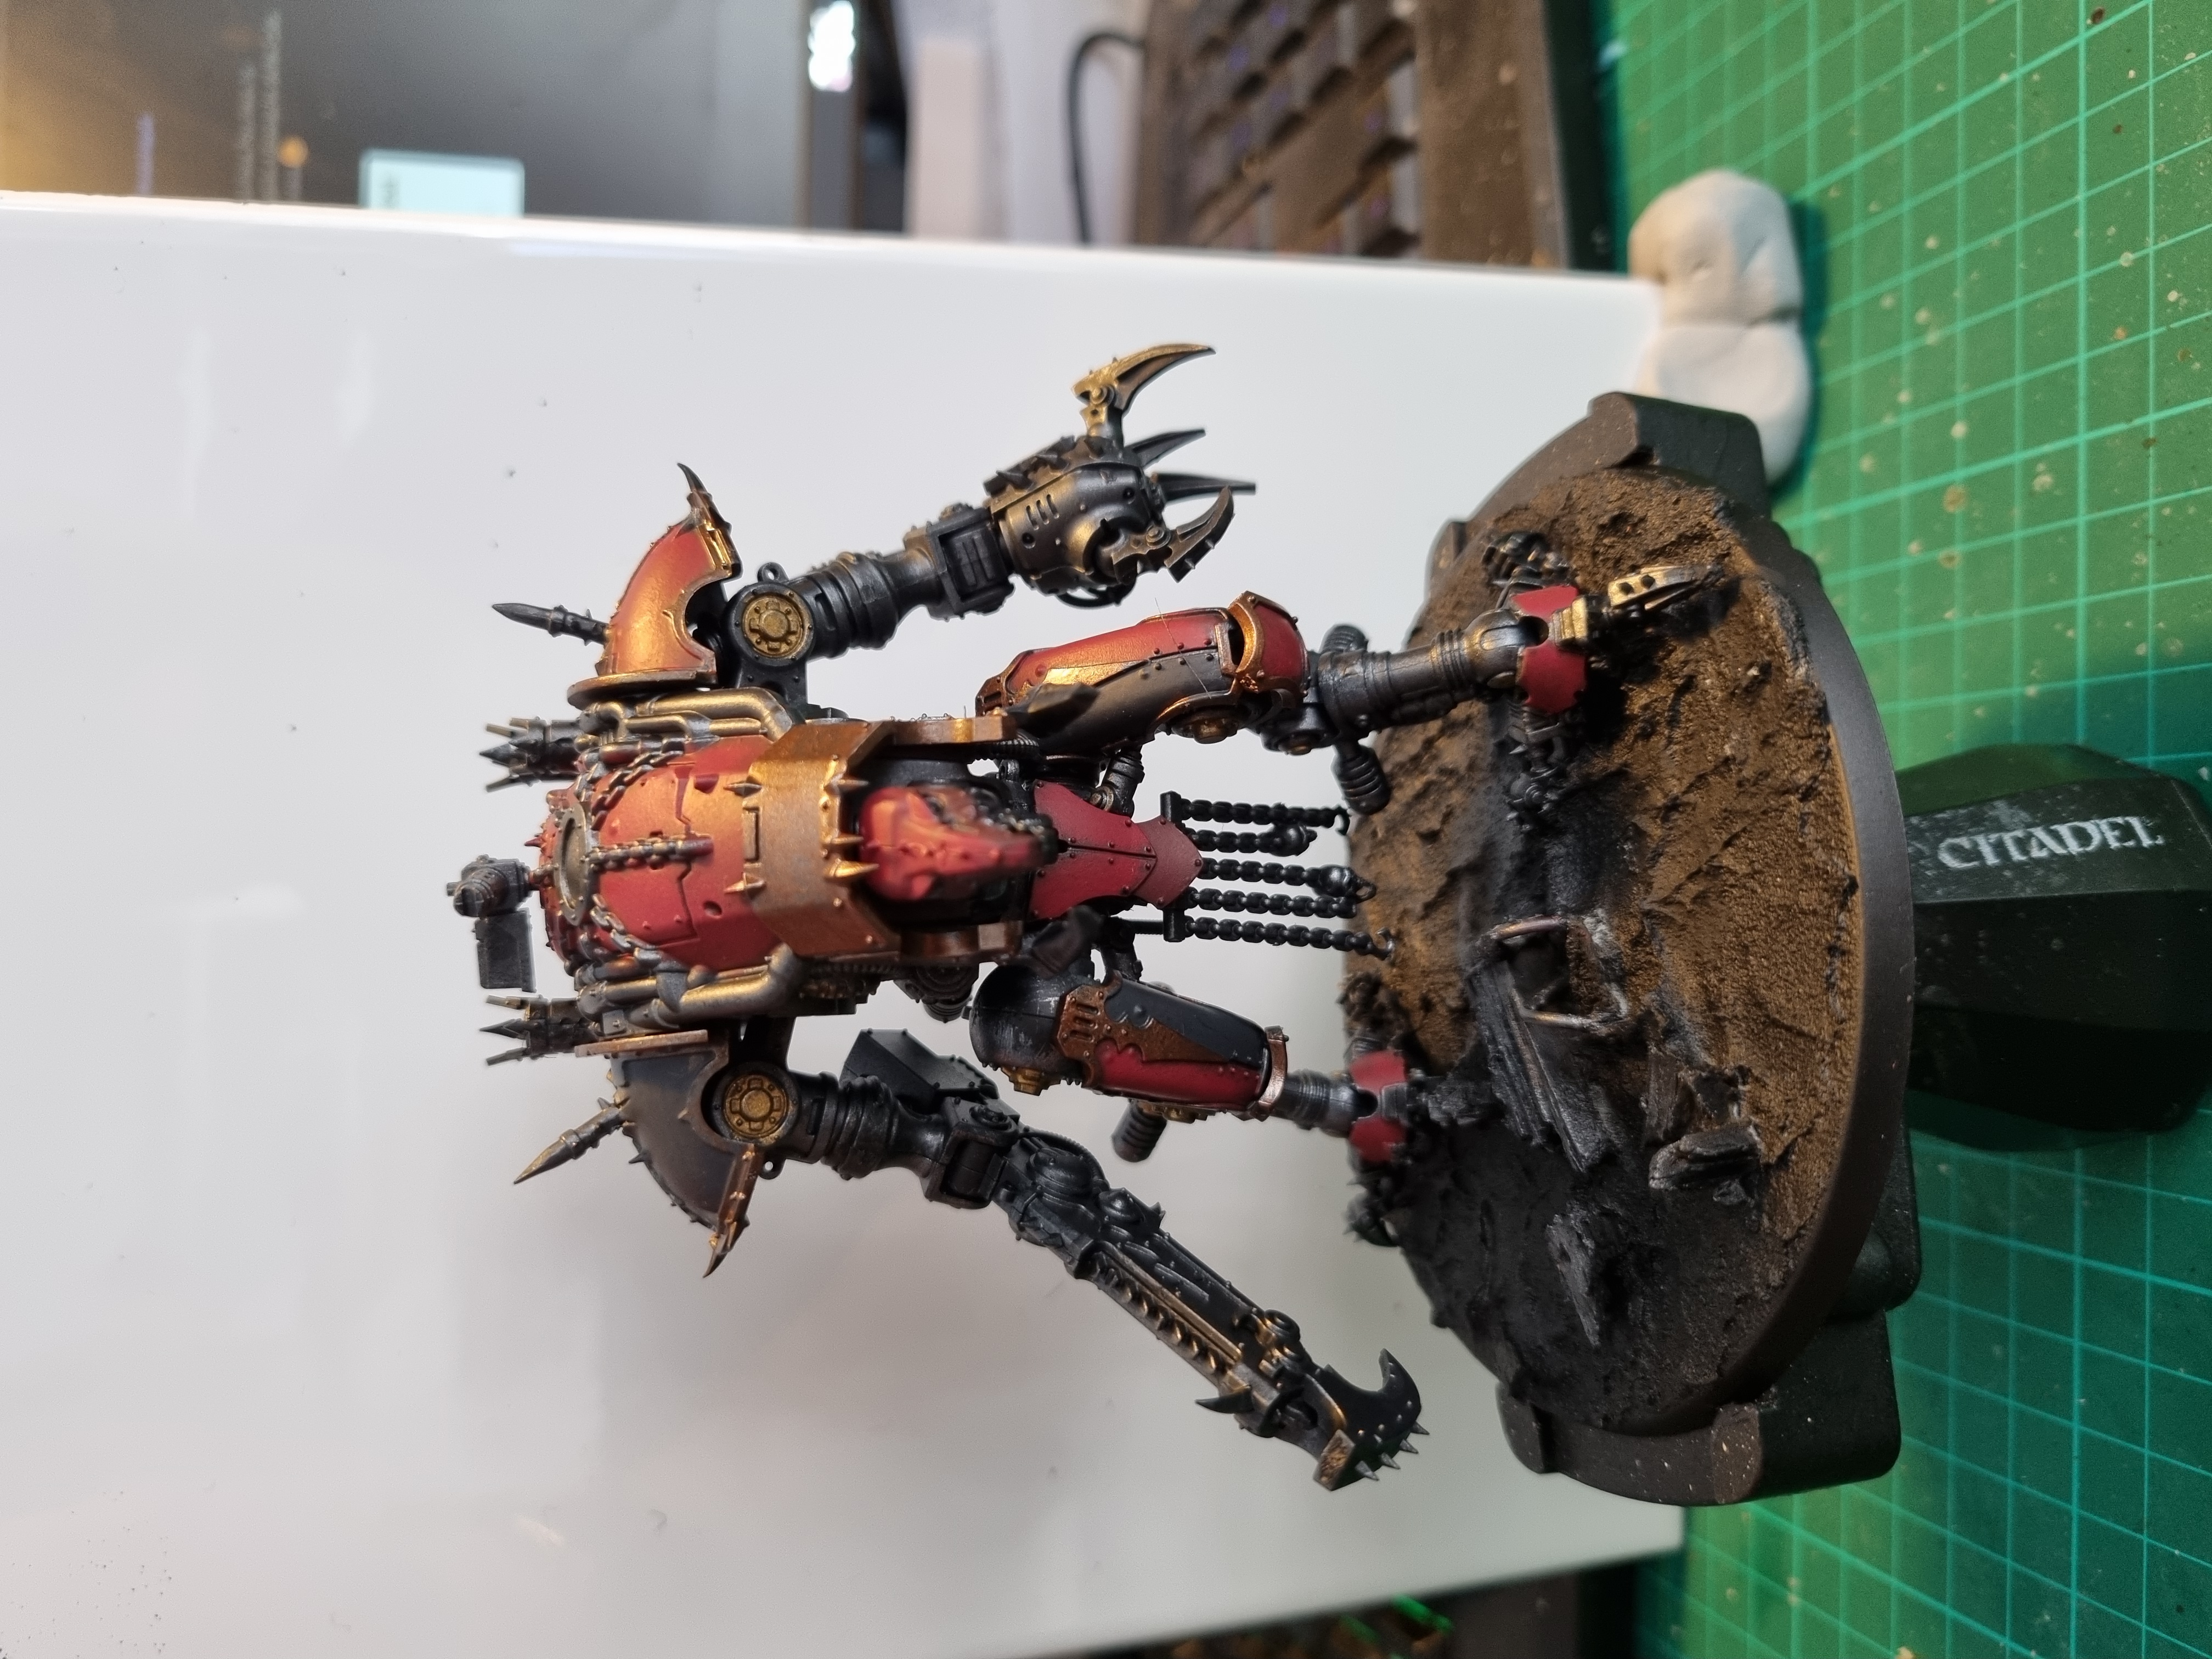
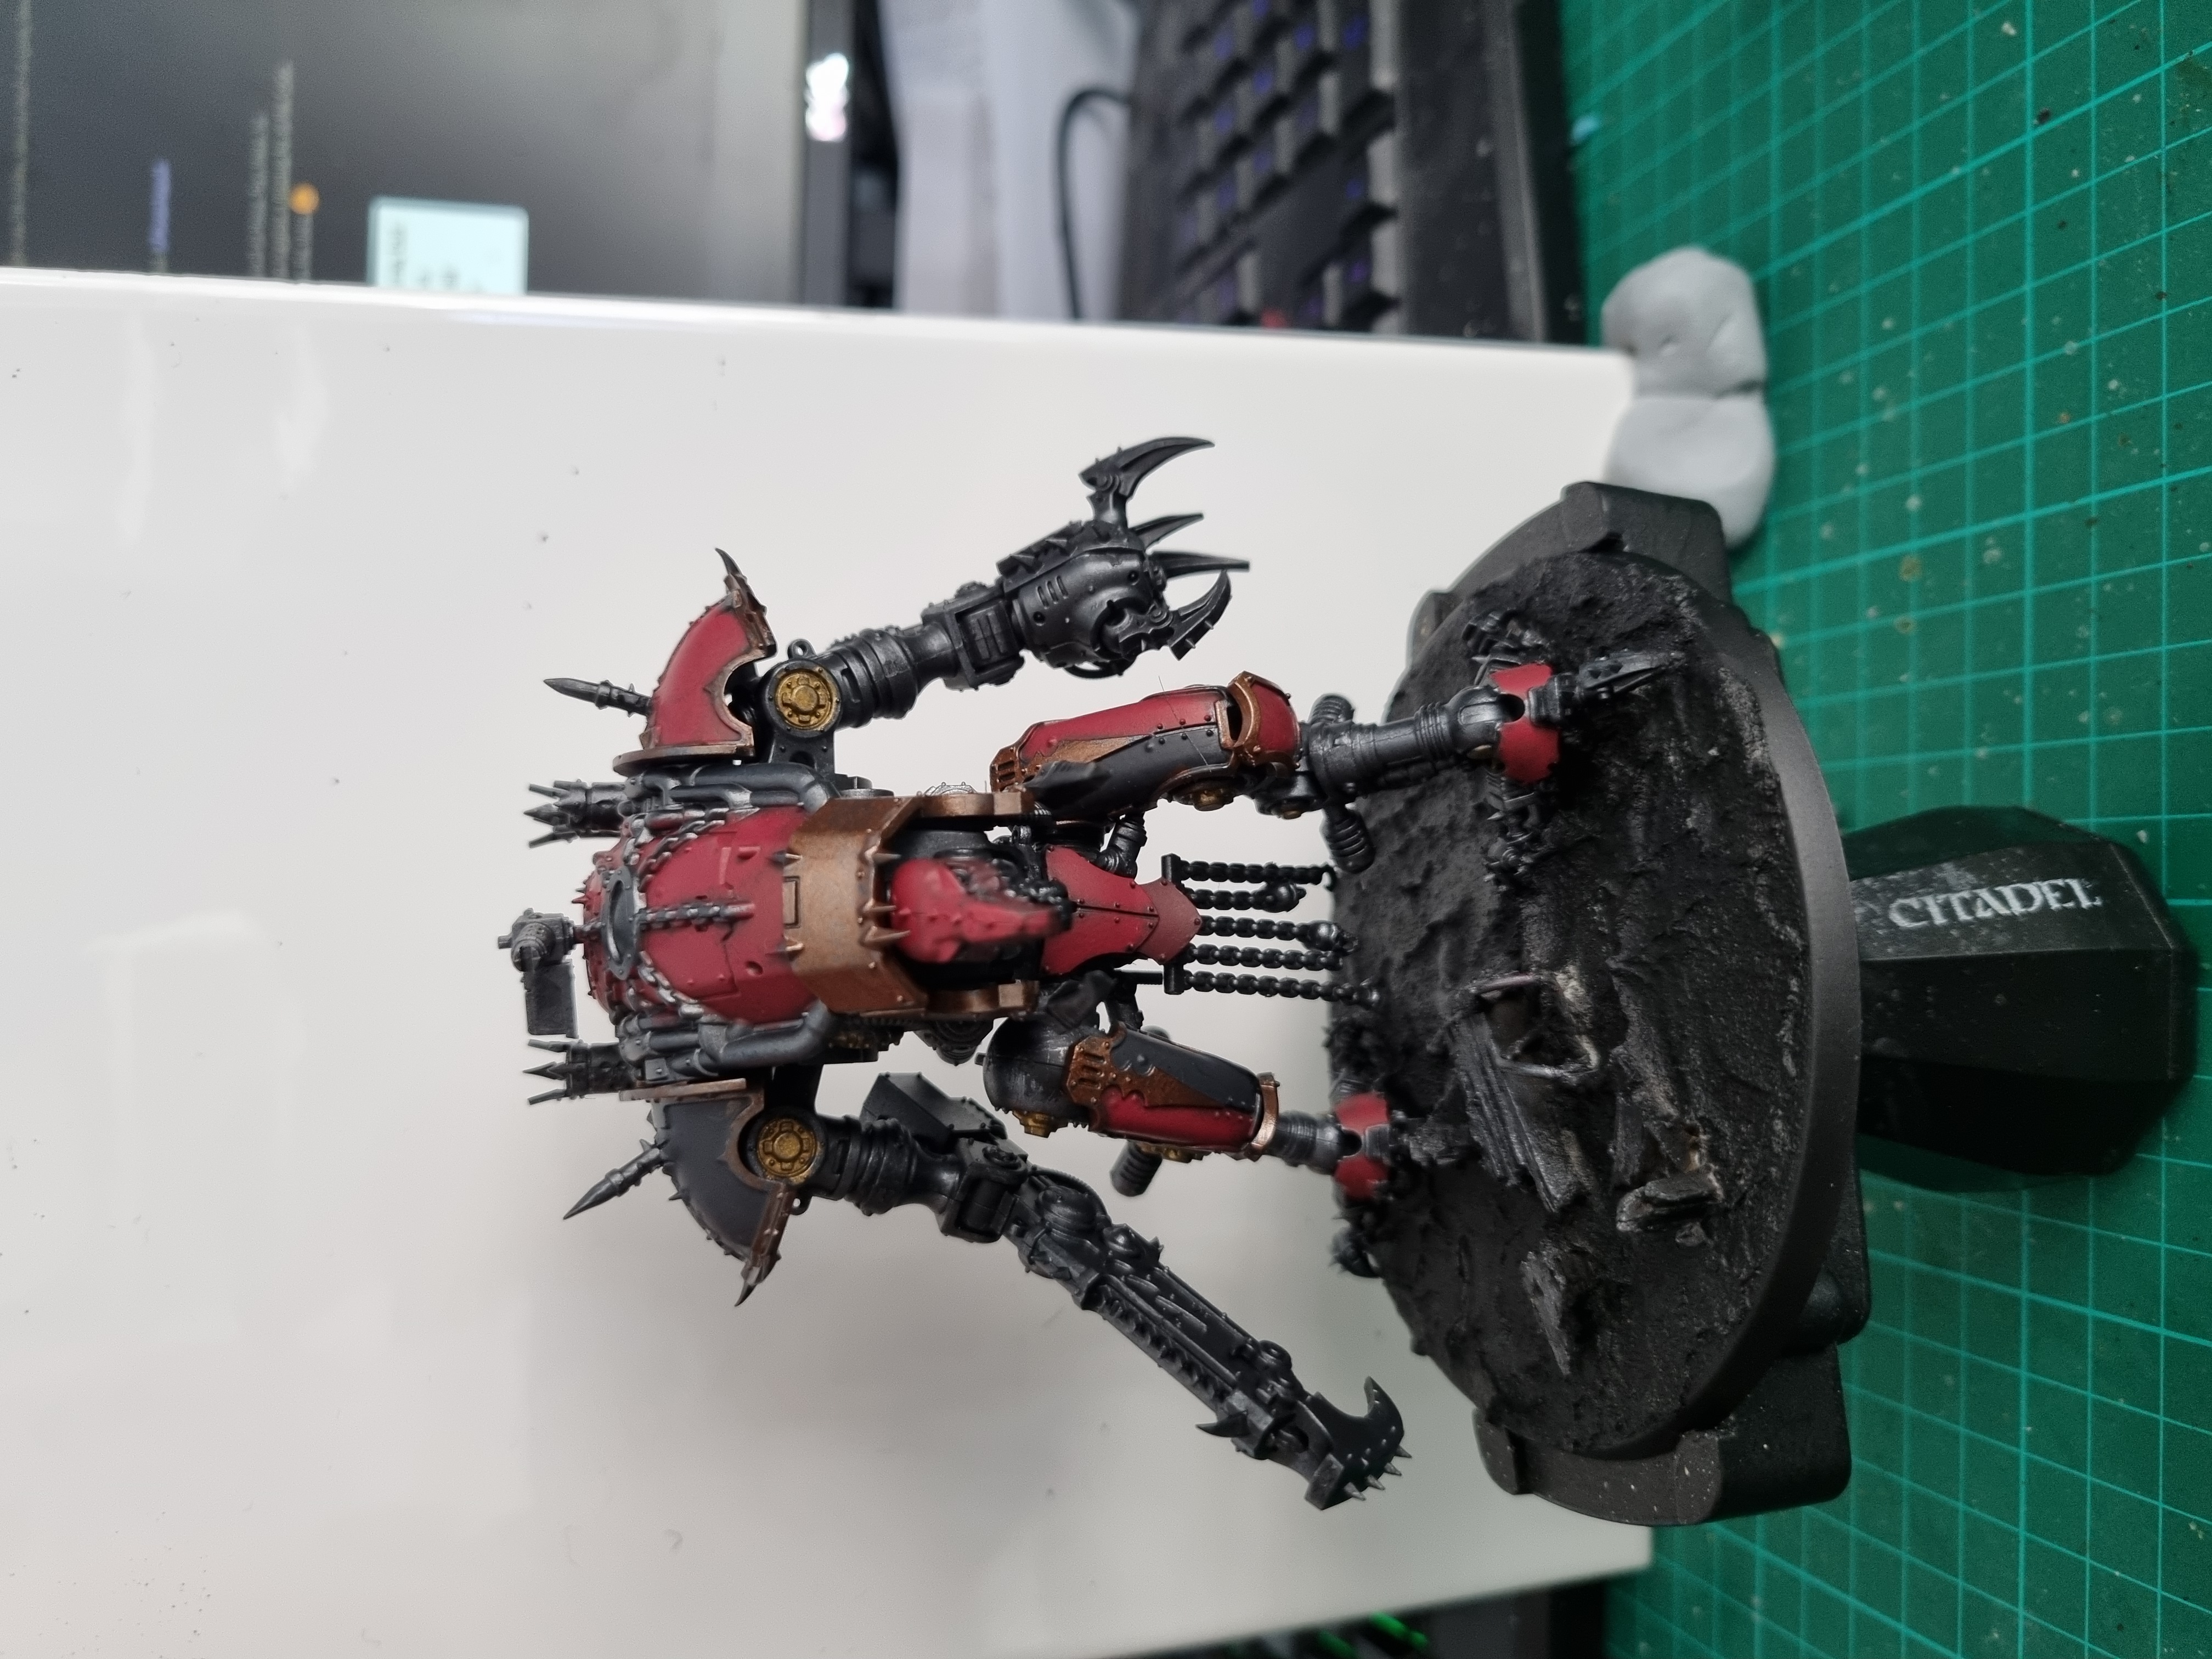
Big Brother strides forth (maybe if he jogged he'd hame been 3rd...)
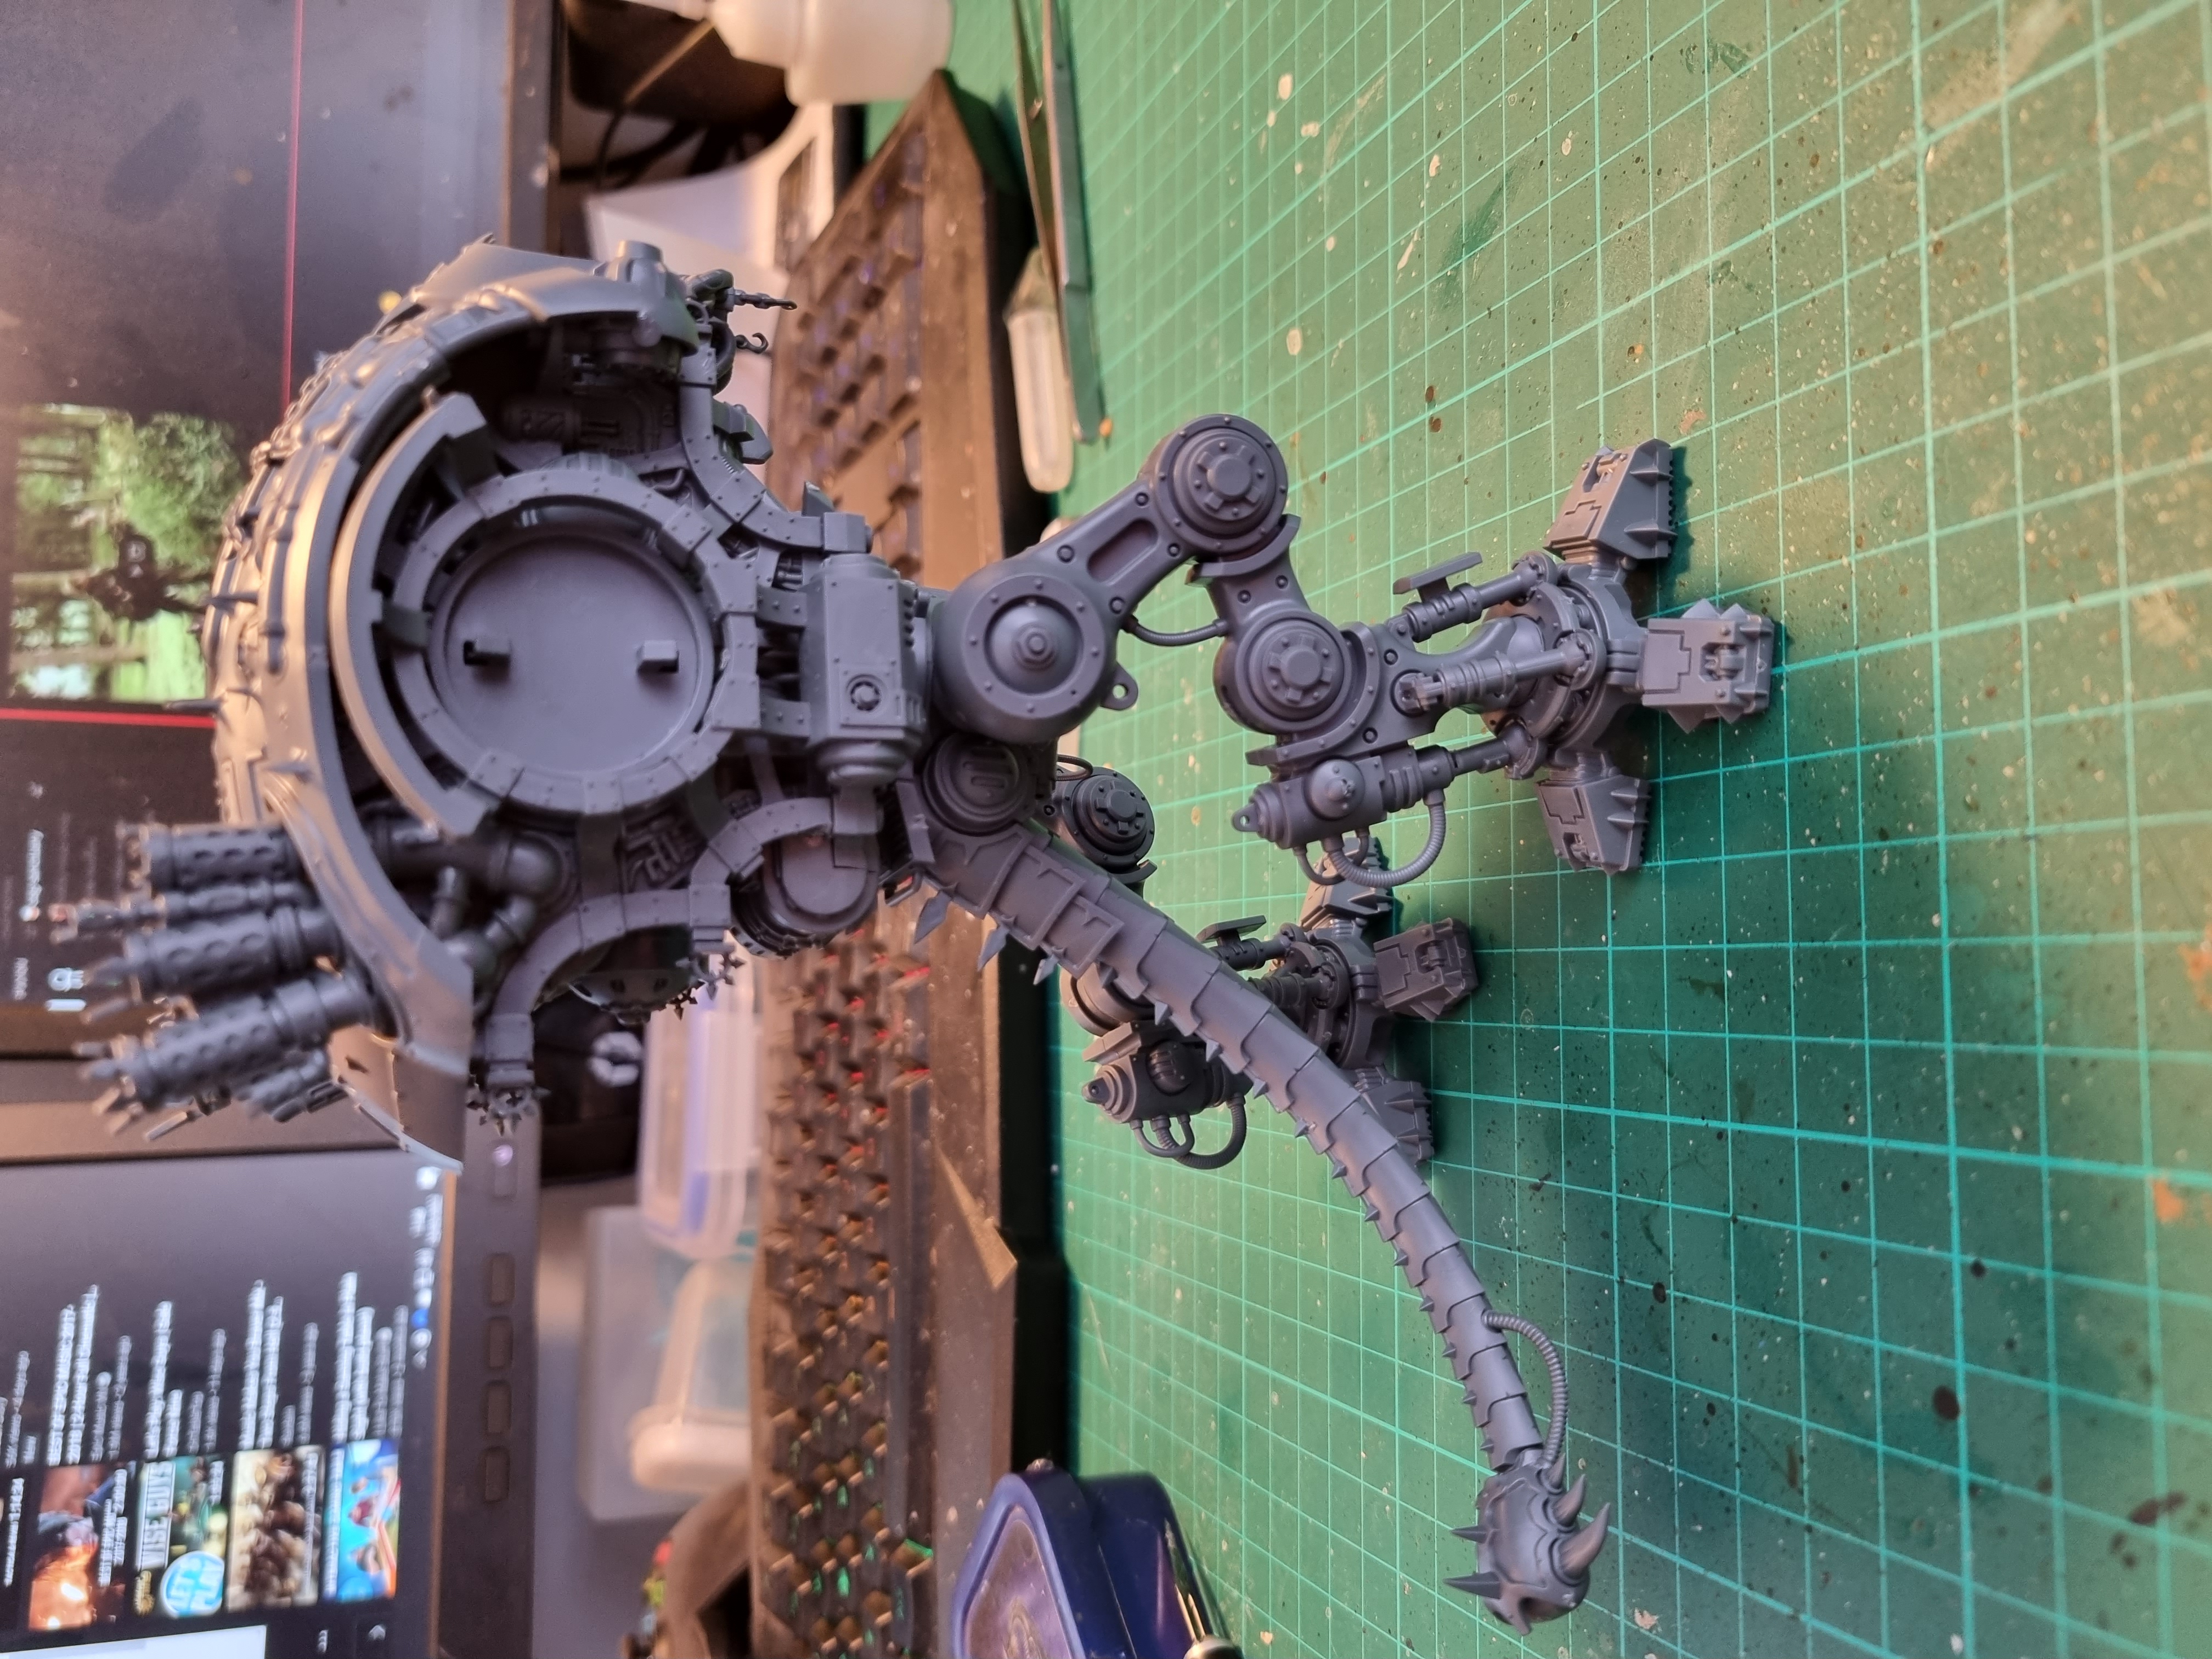
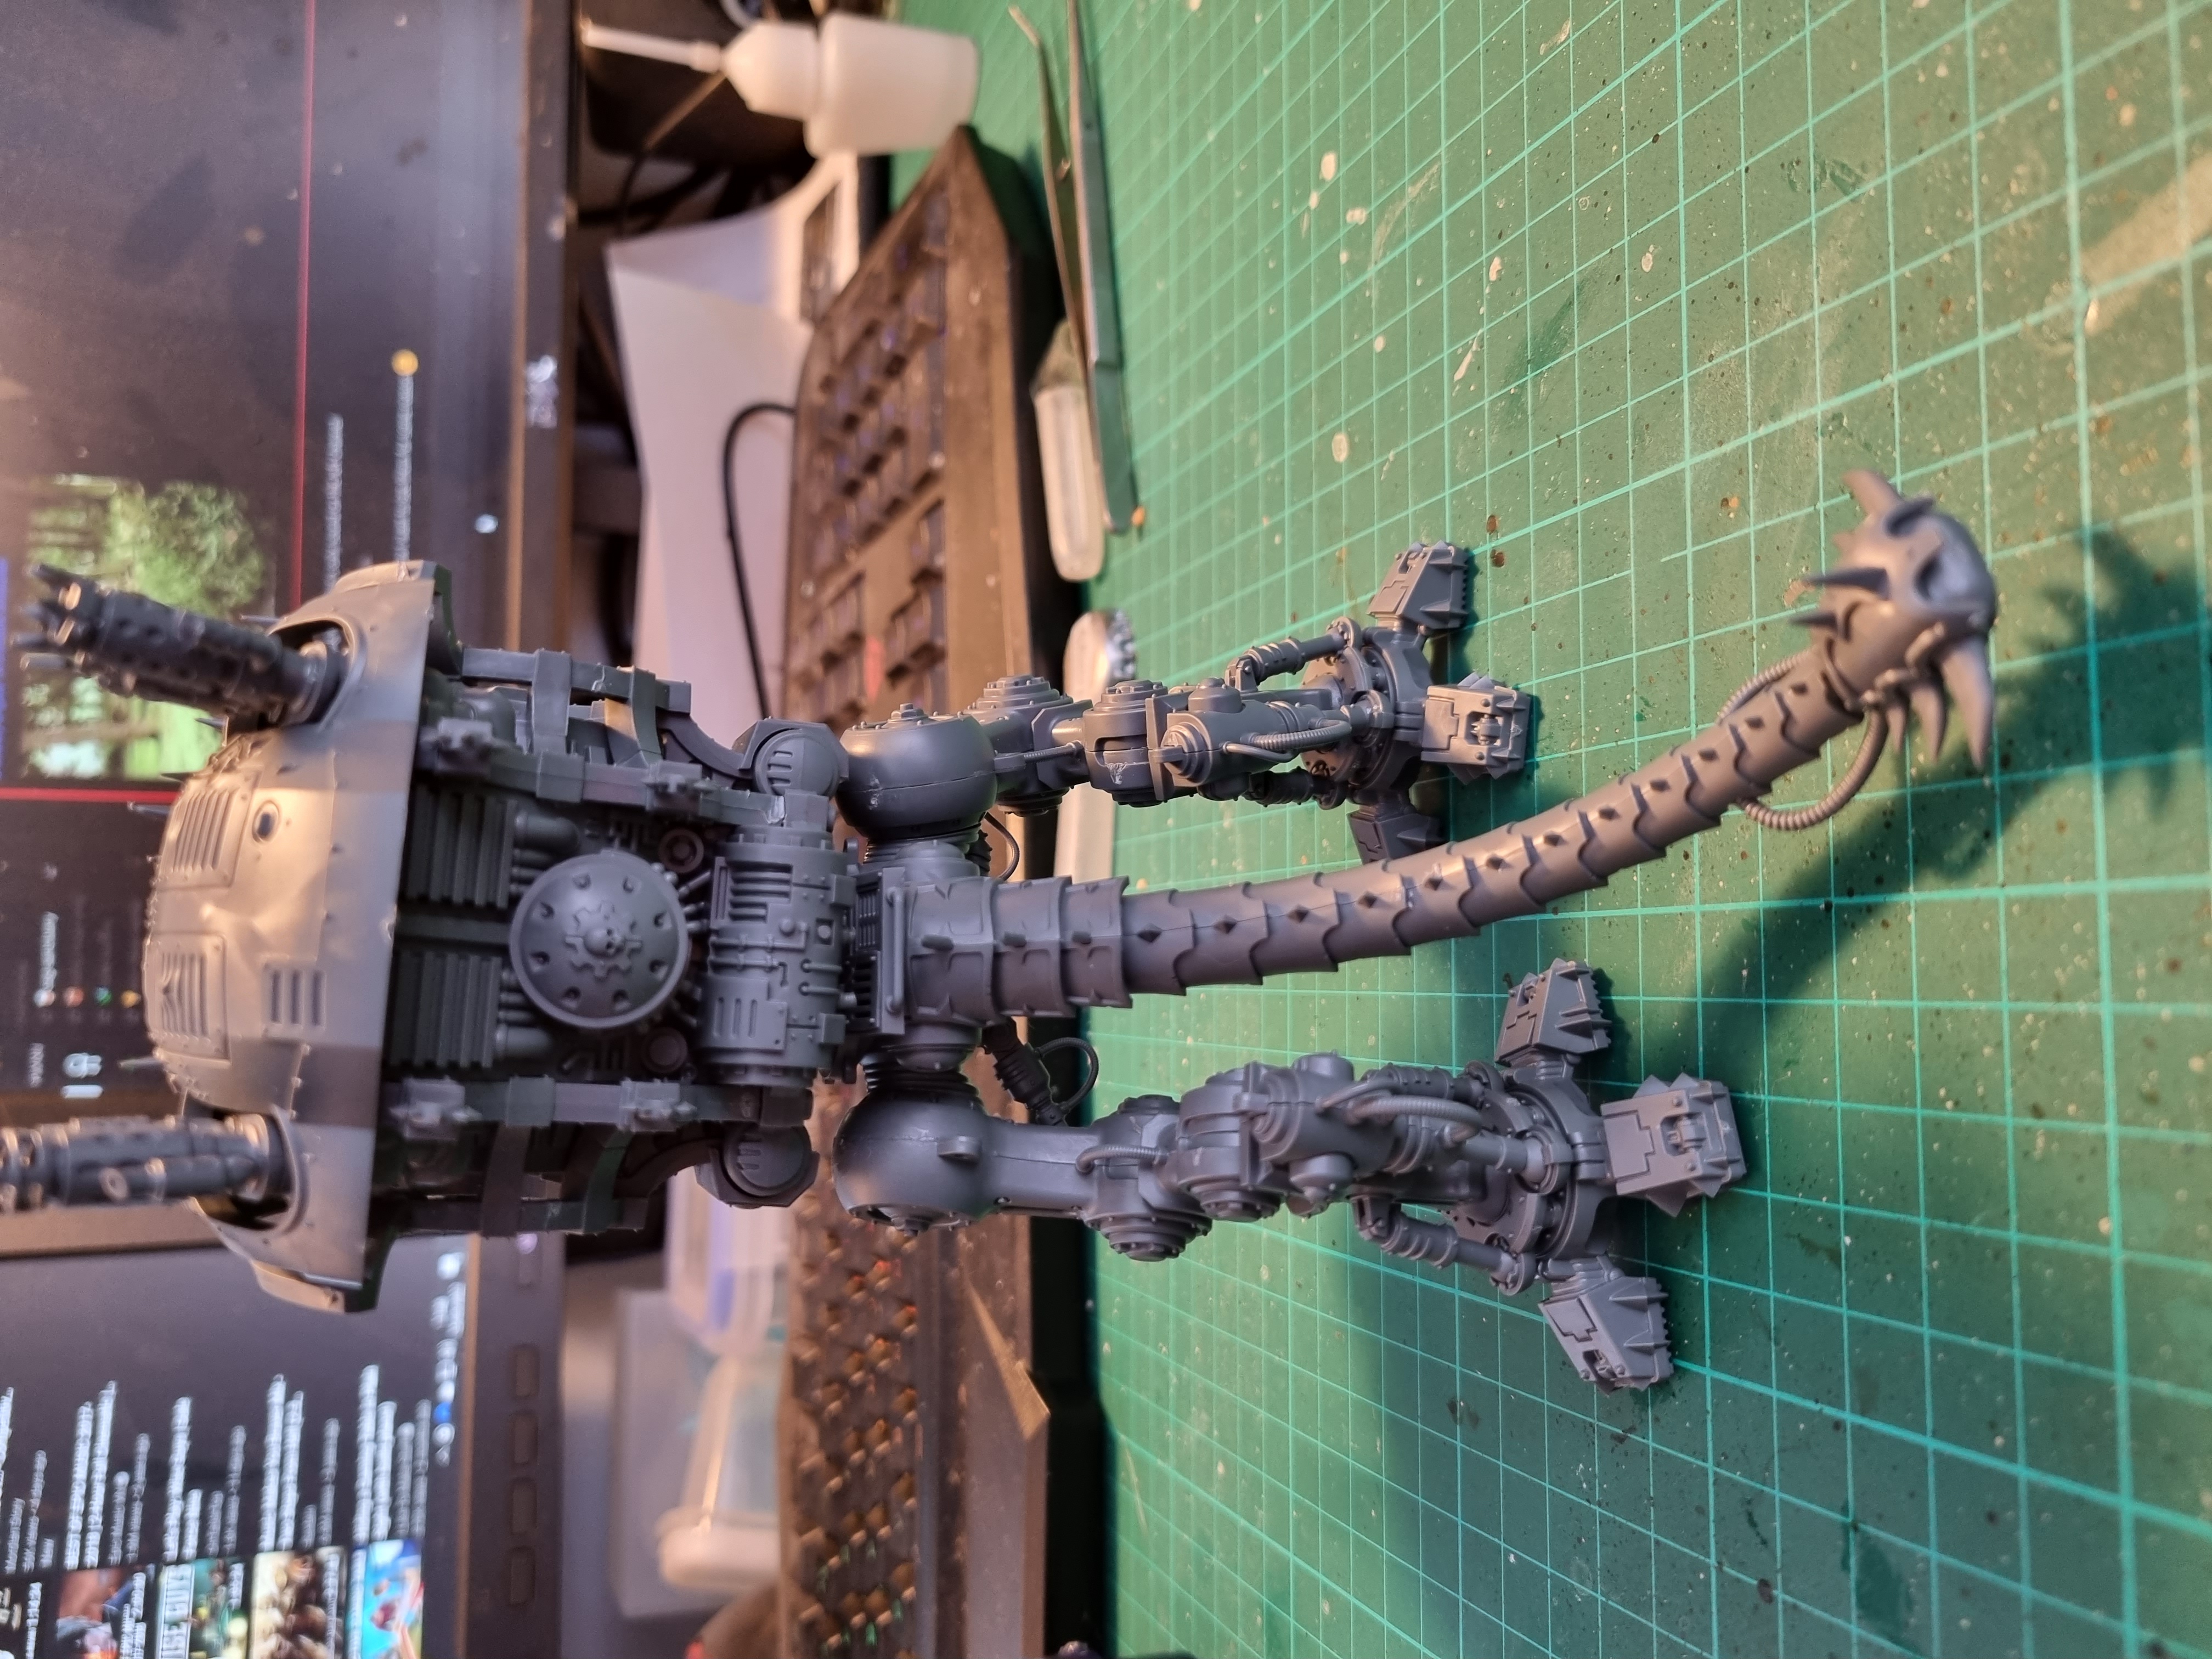
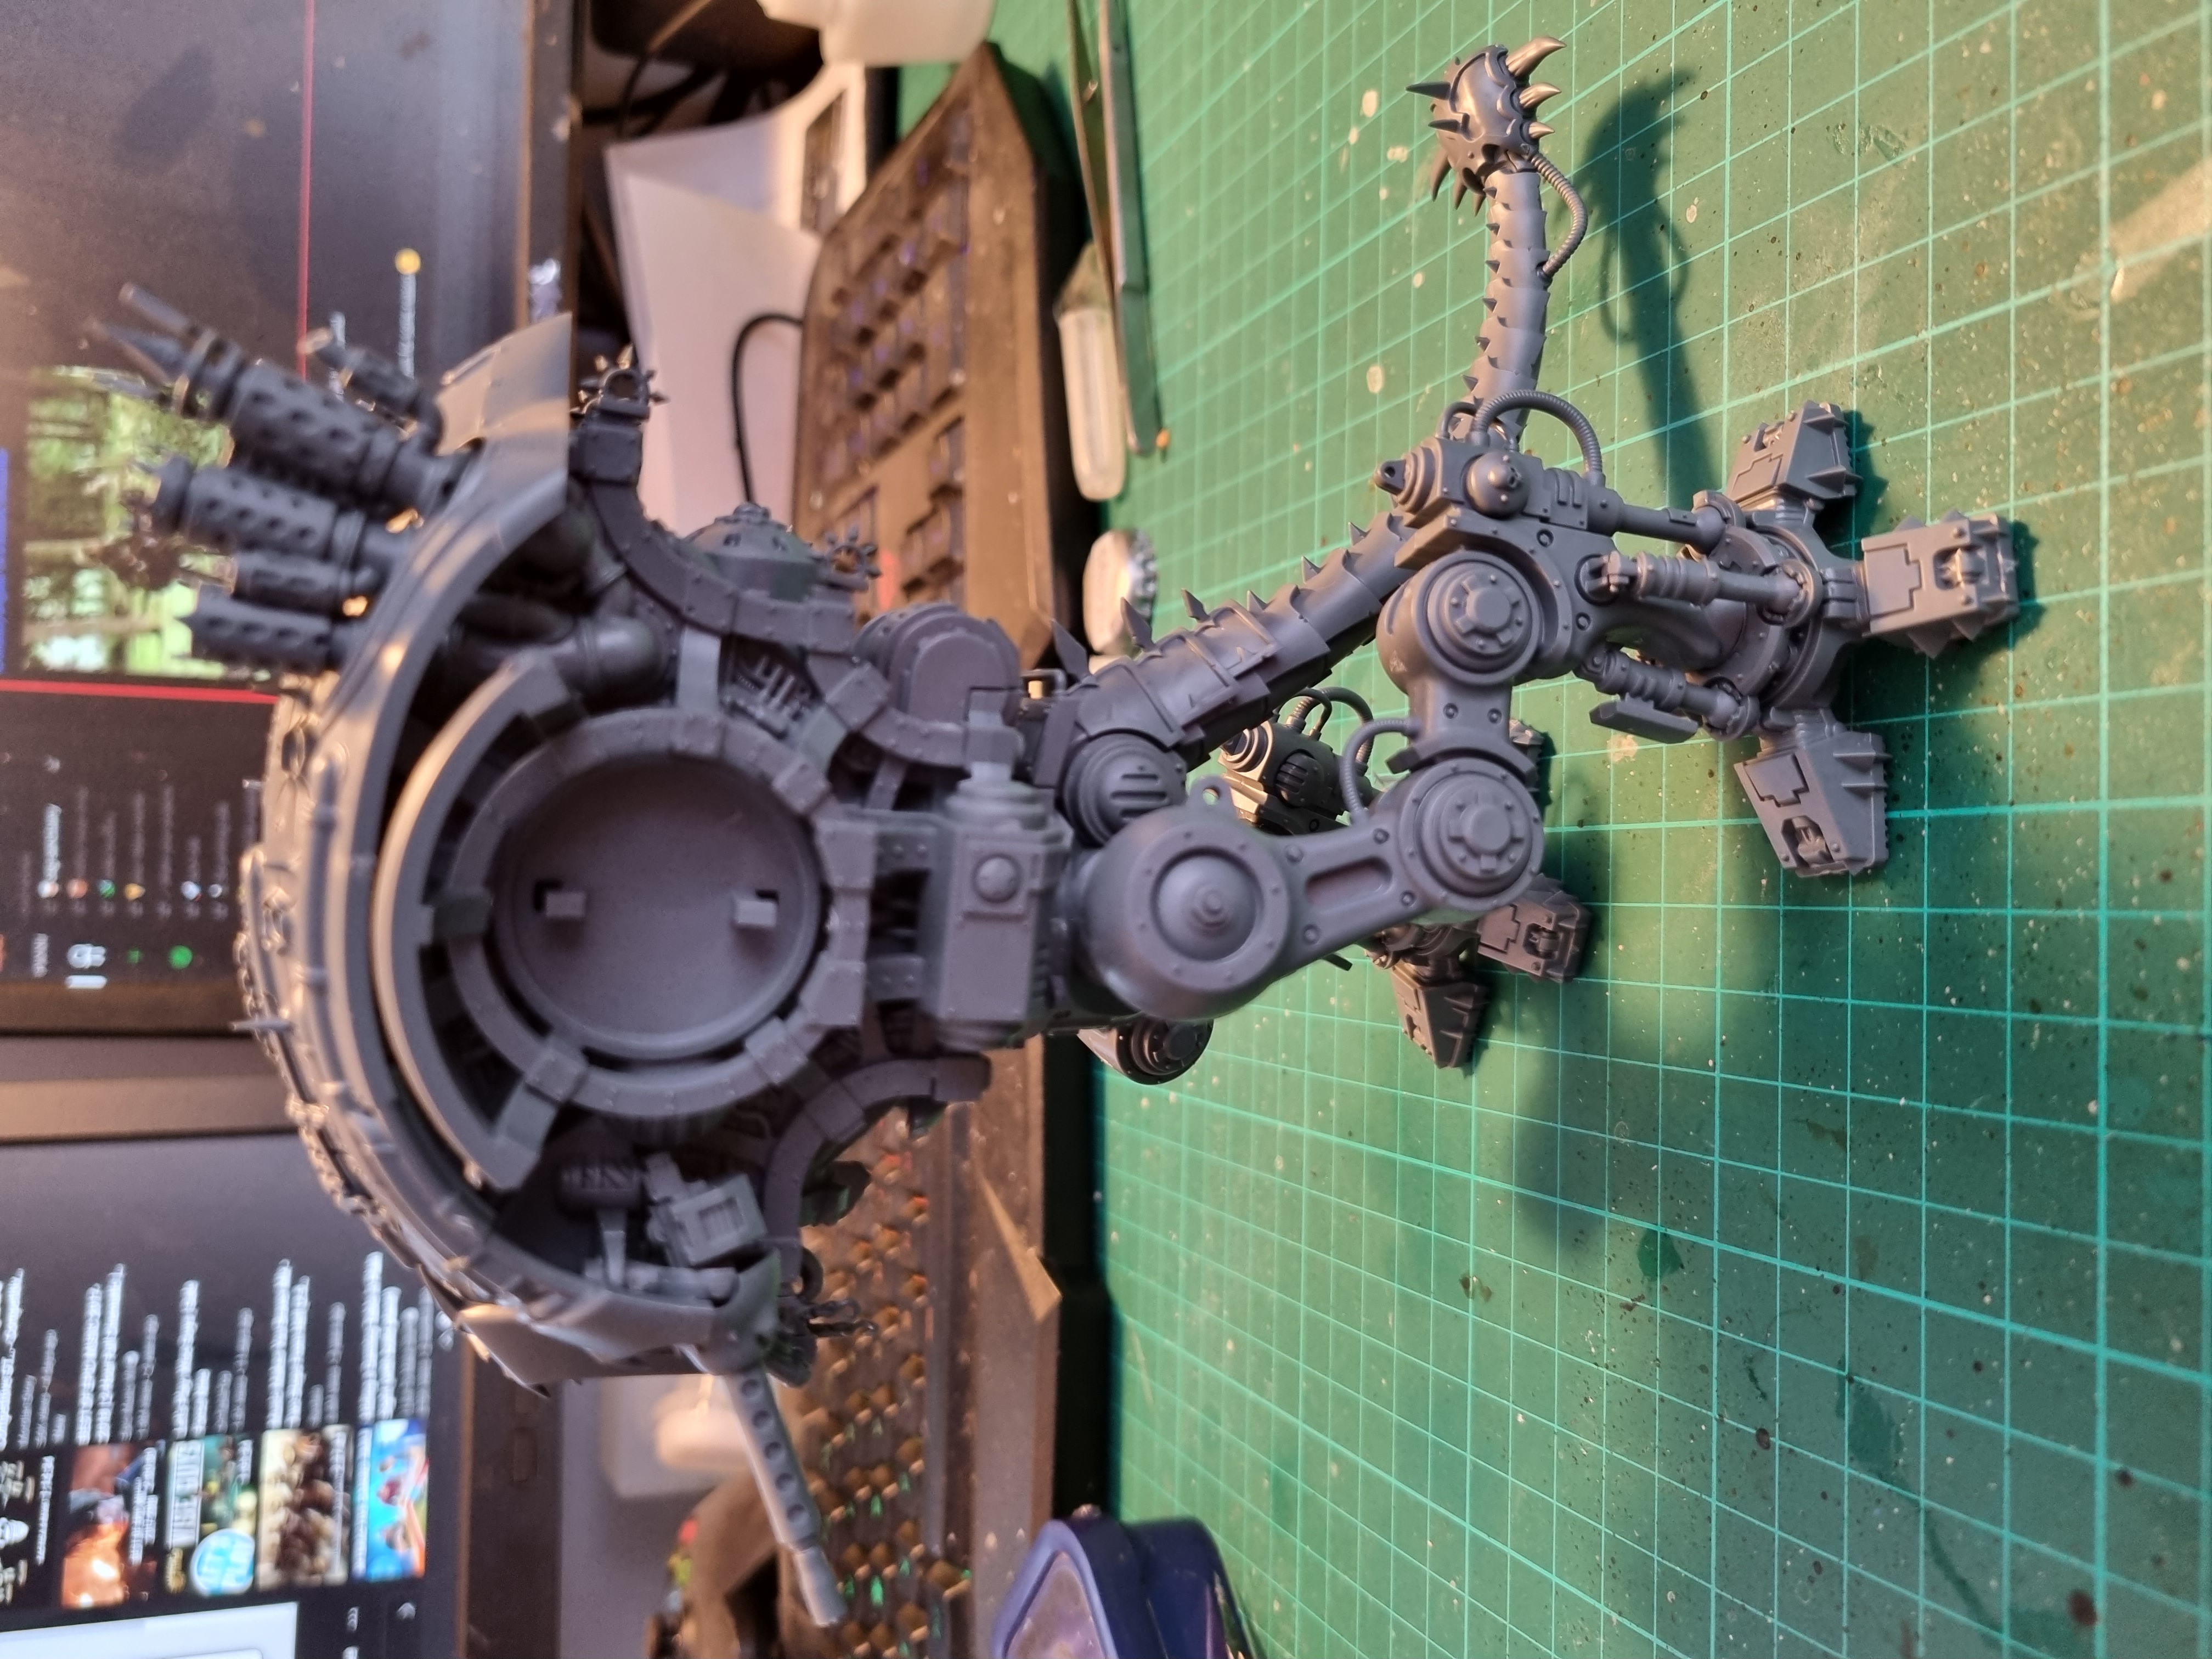
Progress moved semi swiftly on the Knight Abominant as I had the scheme pretty much laid out from the two War Dogs, just added some different bits here and there such as using Guilliman Flesh for the loin flag to try and make it look like skin.
Still got the transfers to do but I’ve never yet used any so gonna try and find someone local ish to either teach me or someone to apply them as a commission.

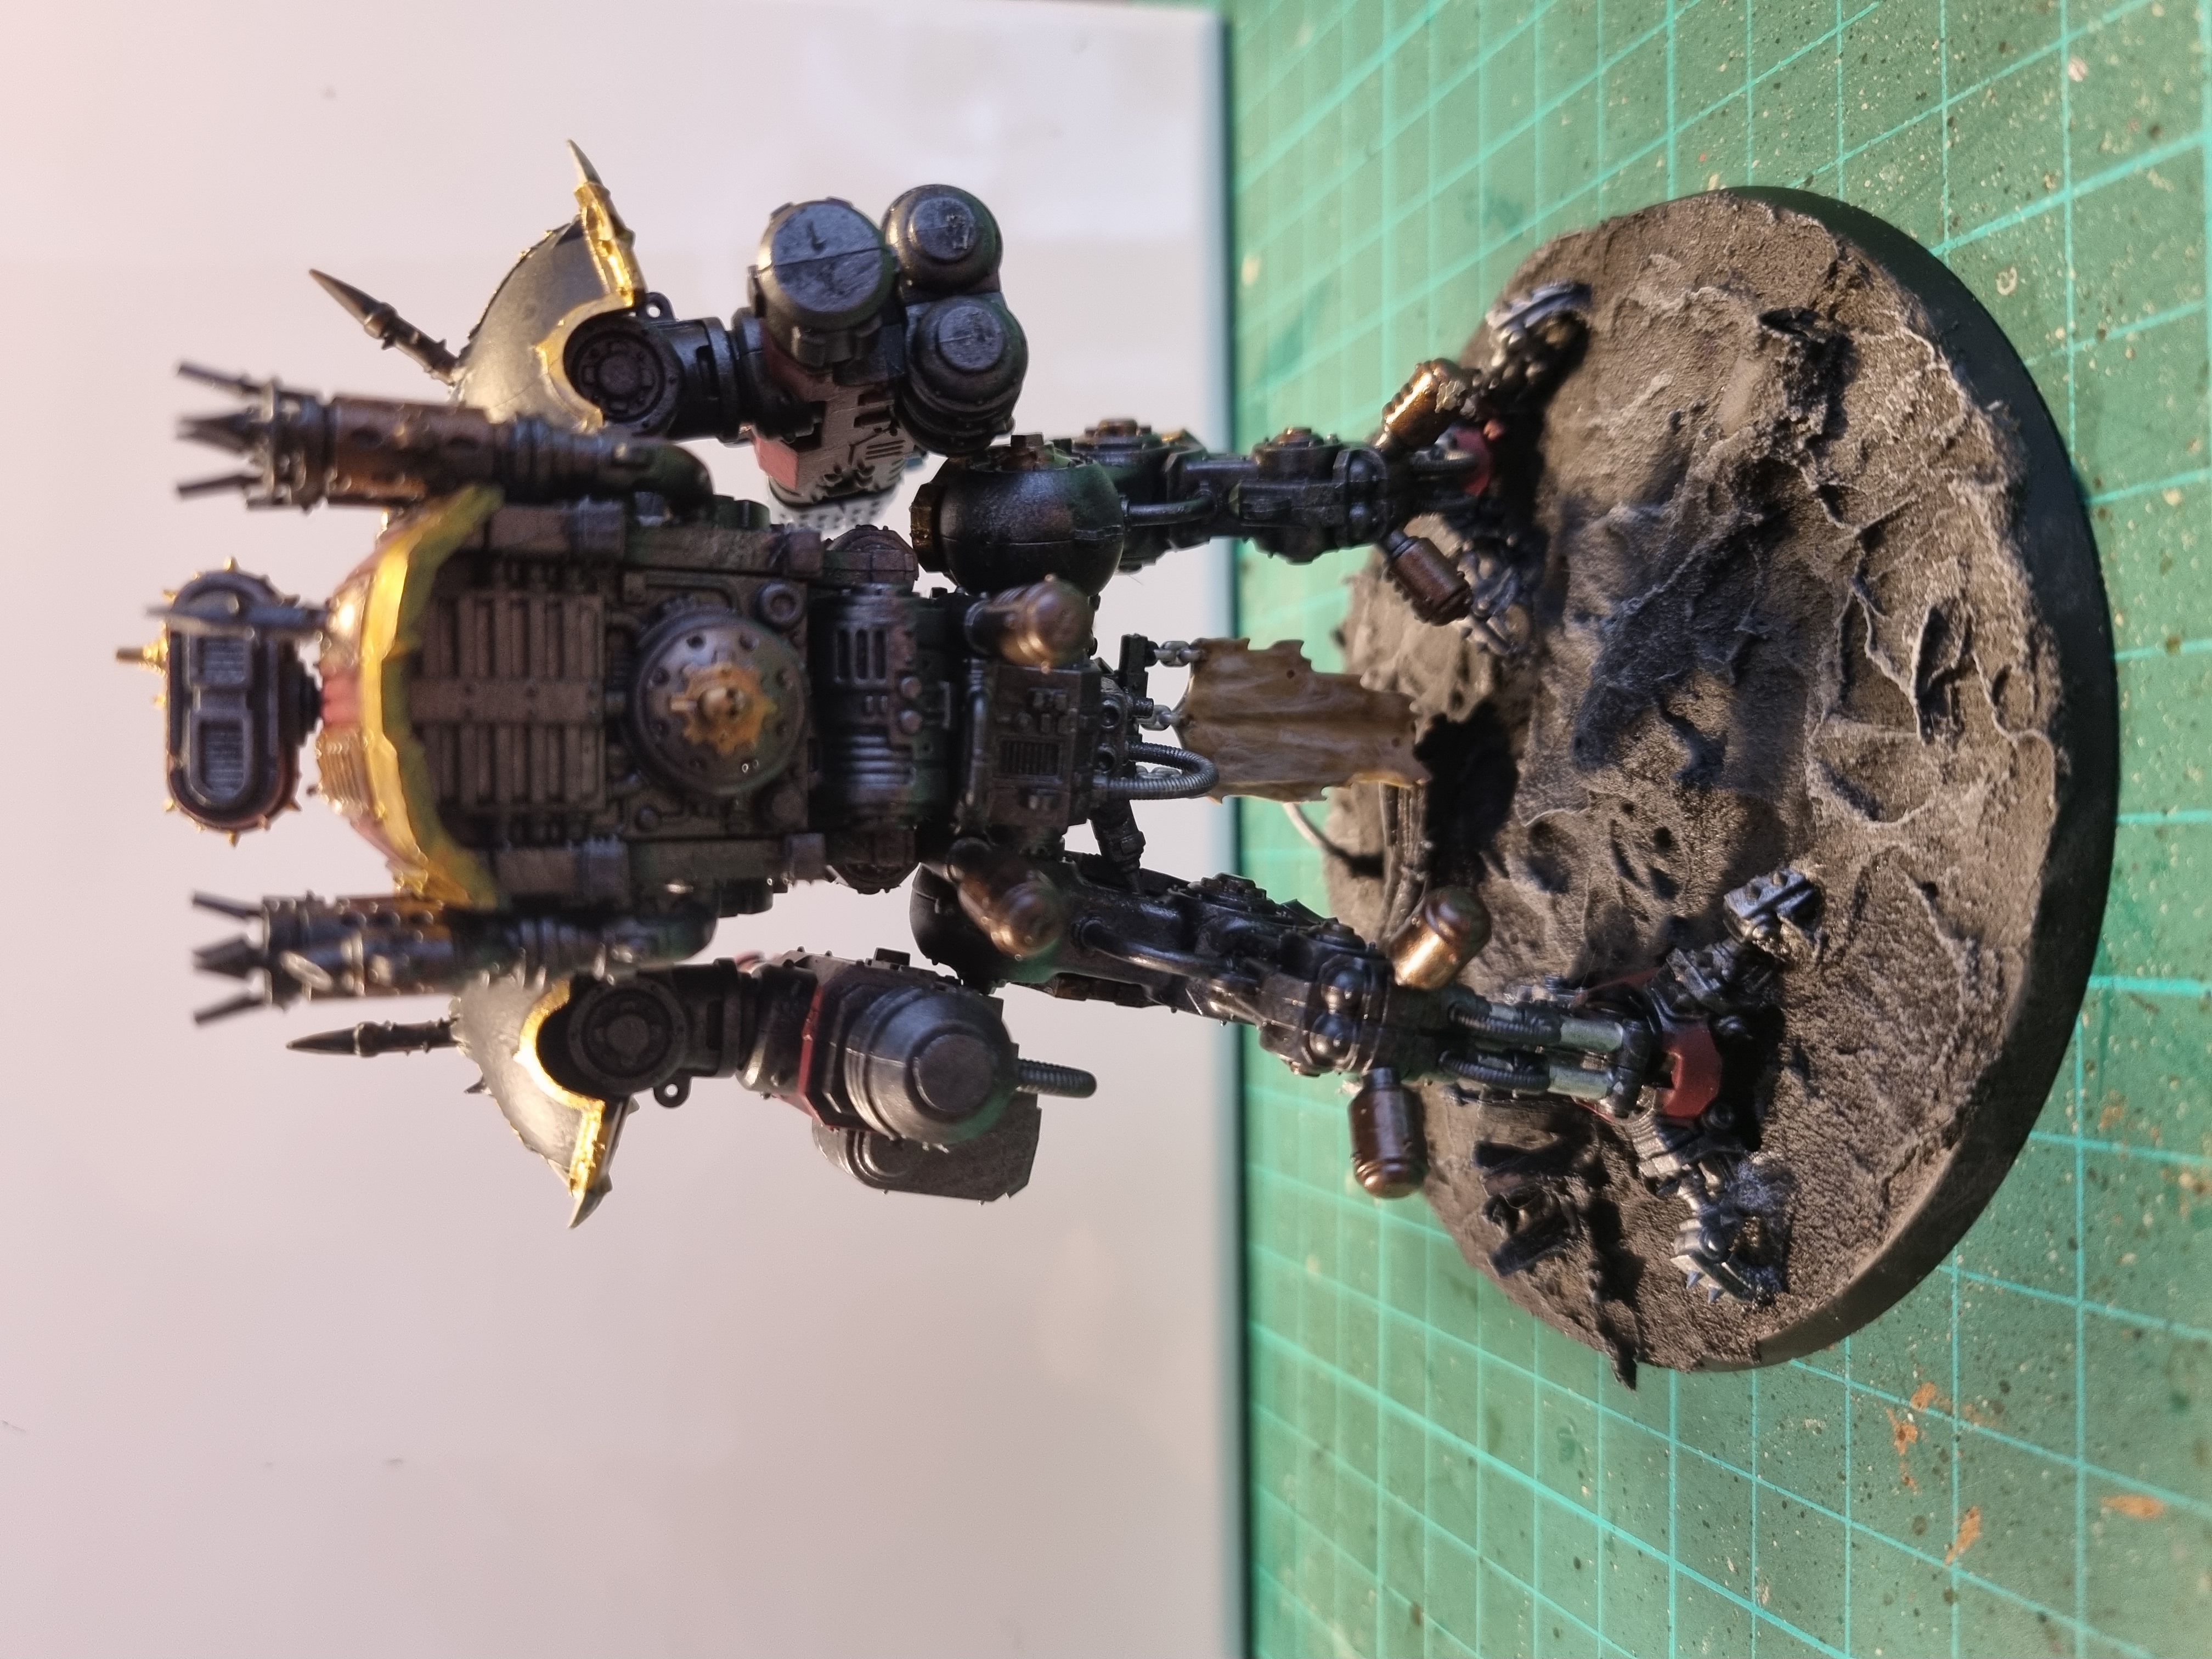
 Never skip leg day...
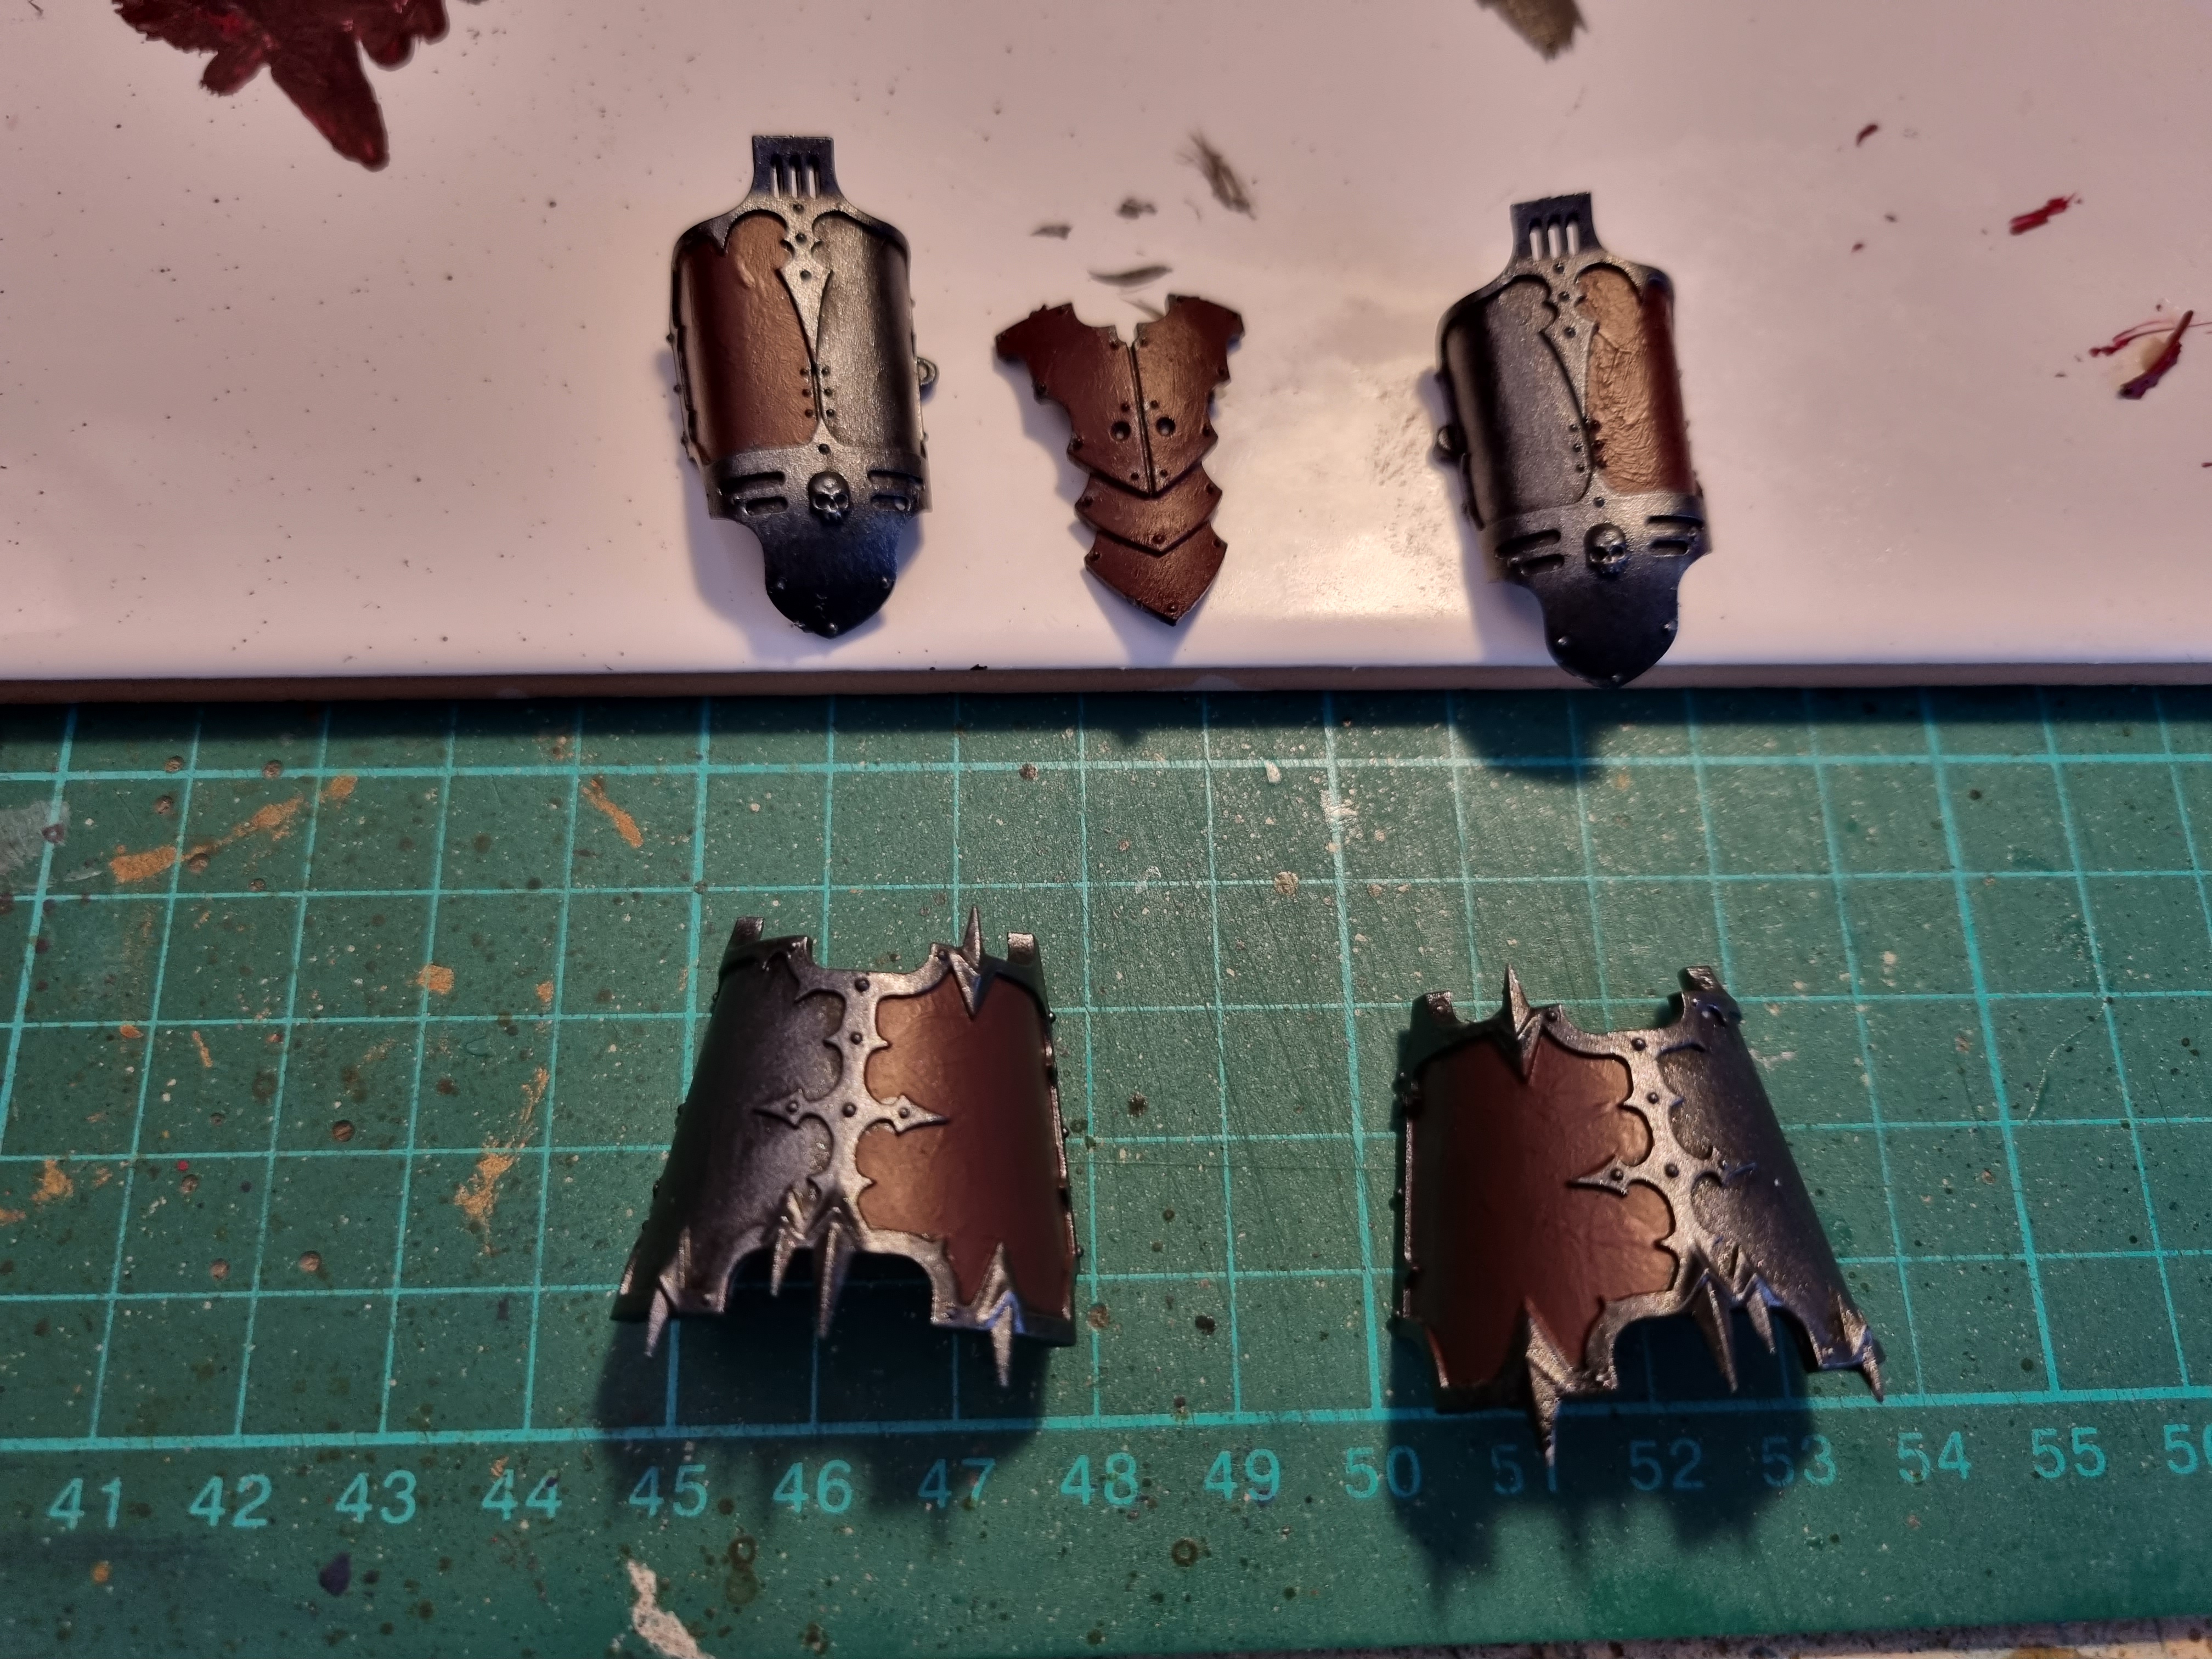 Working on the leg armour

A quick trial of how it all looks together
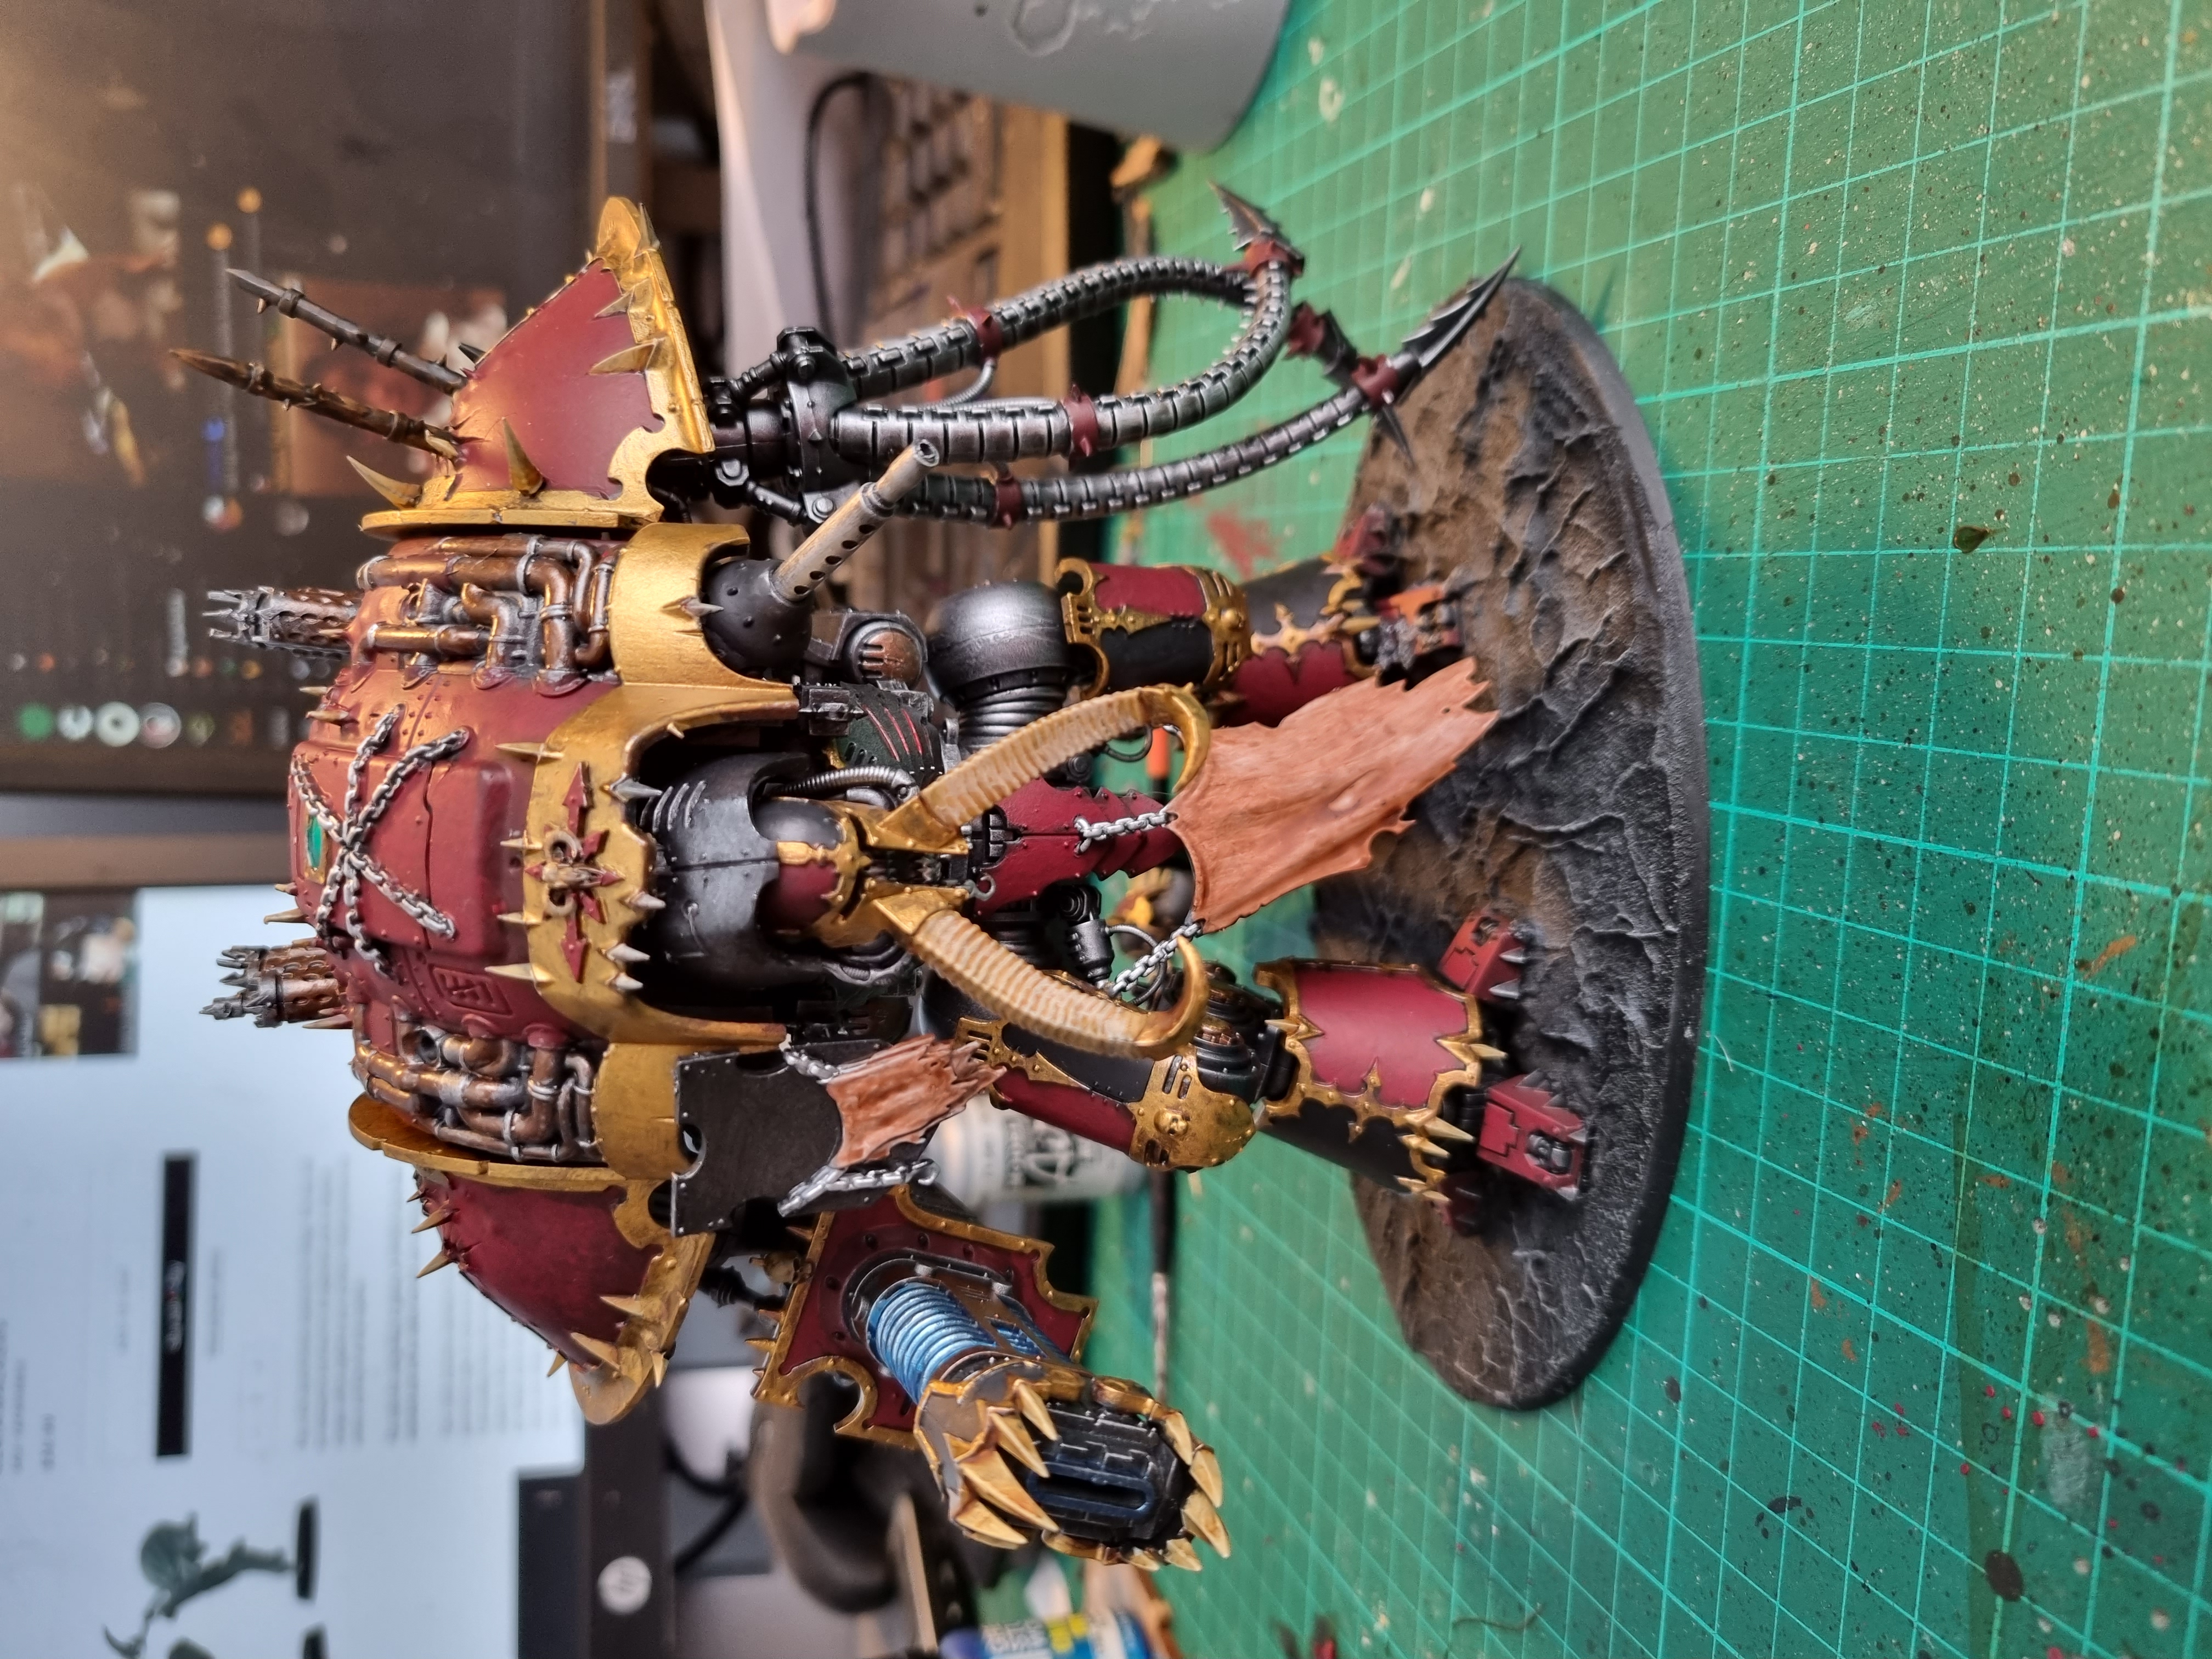
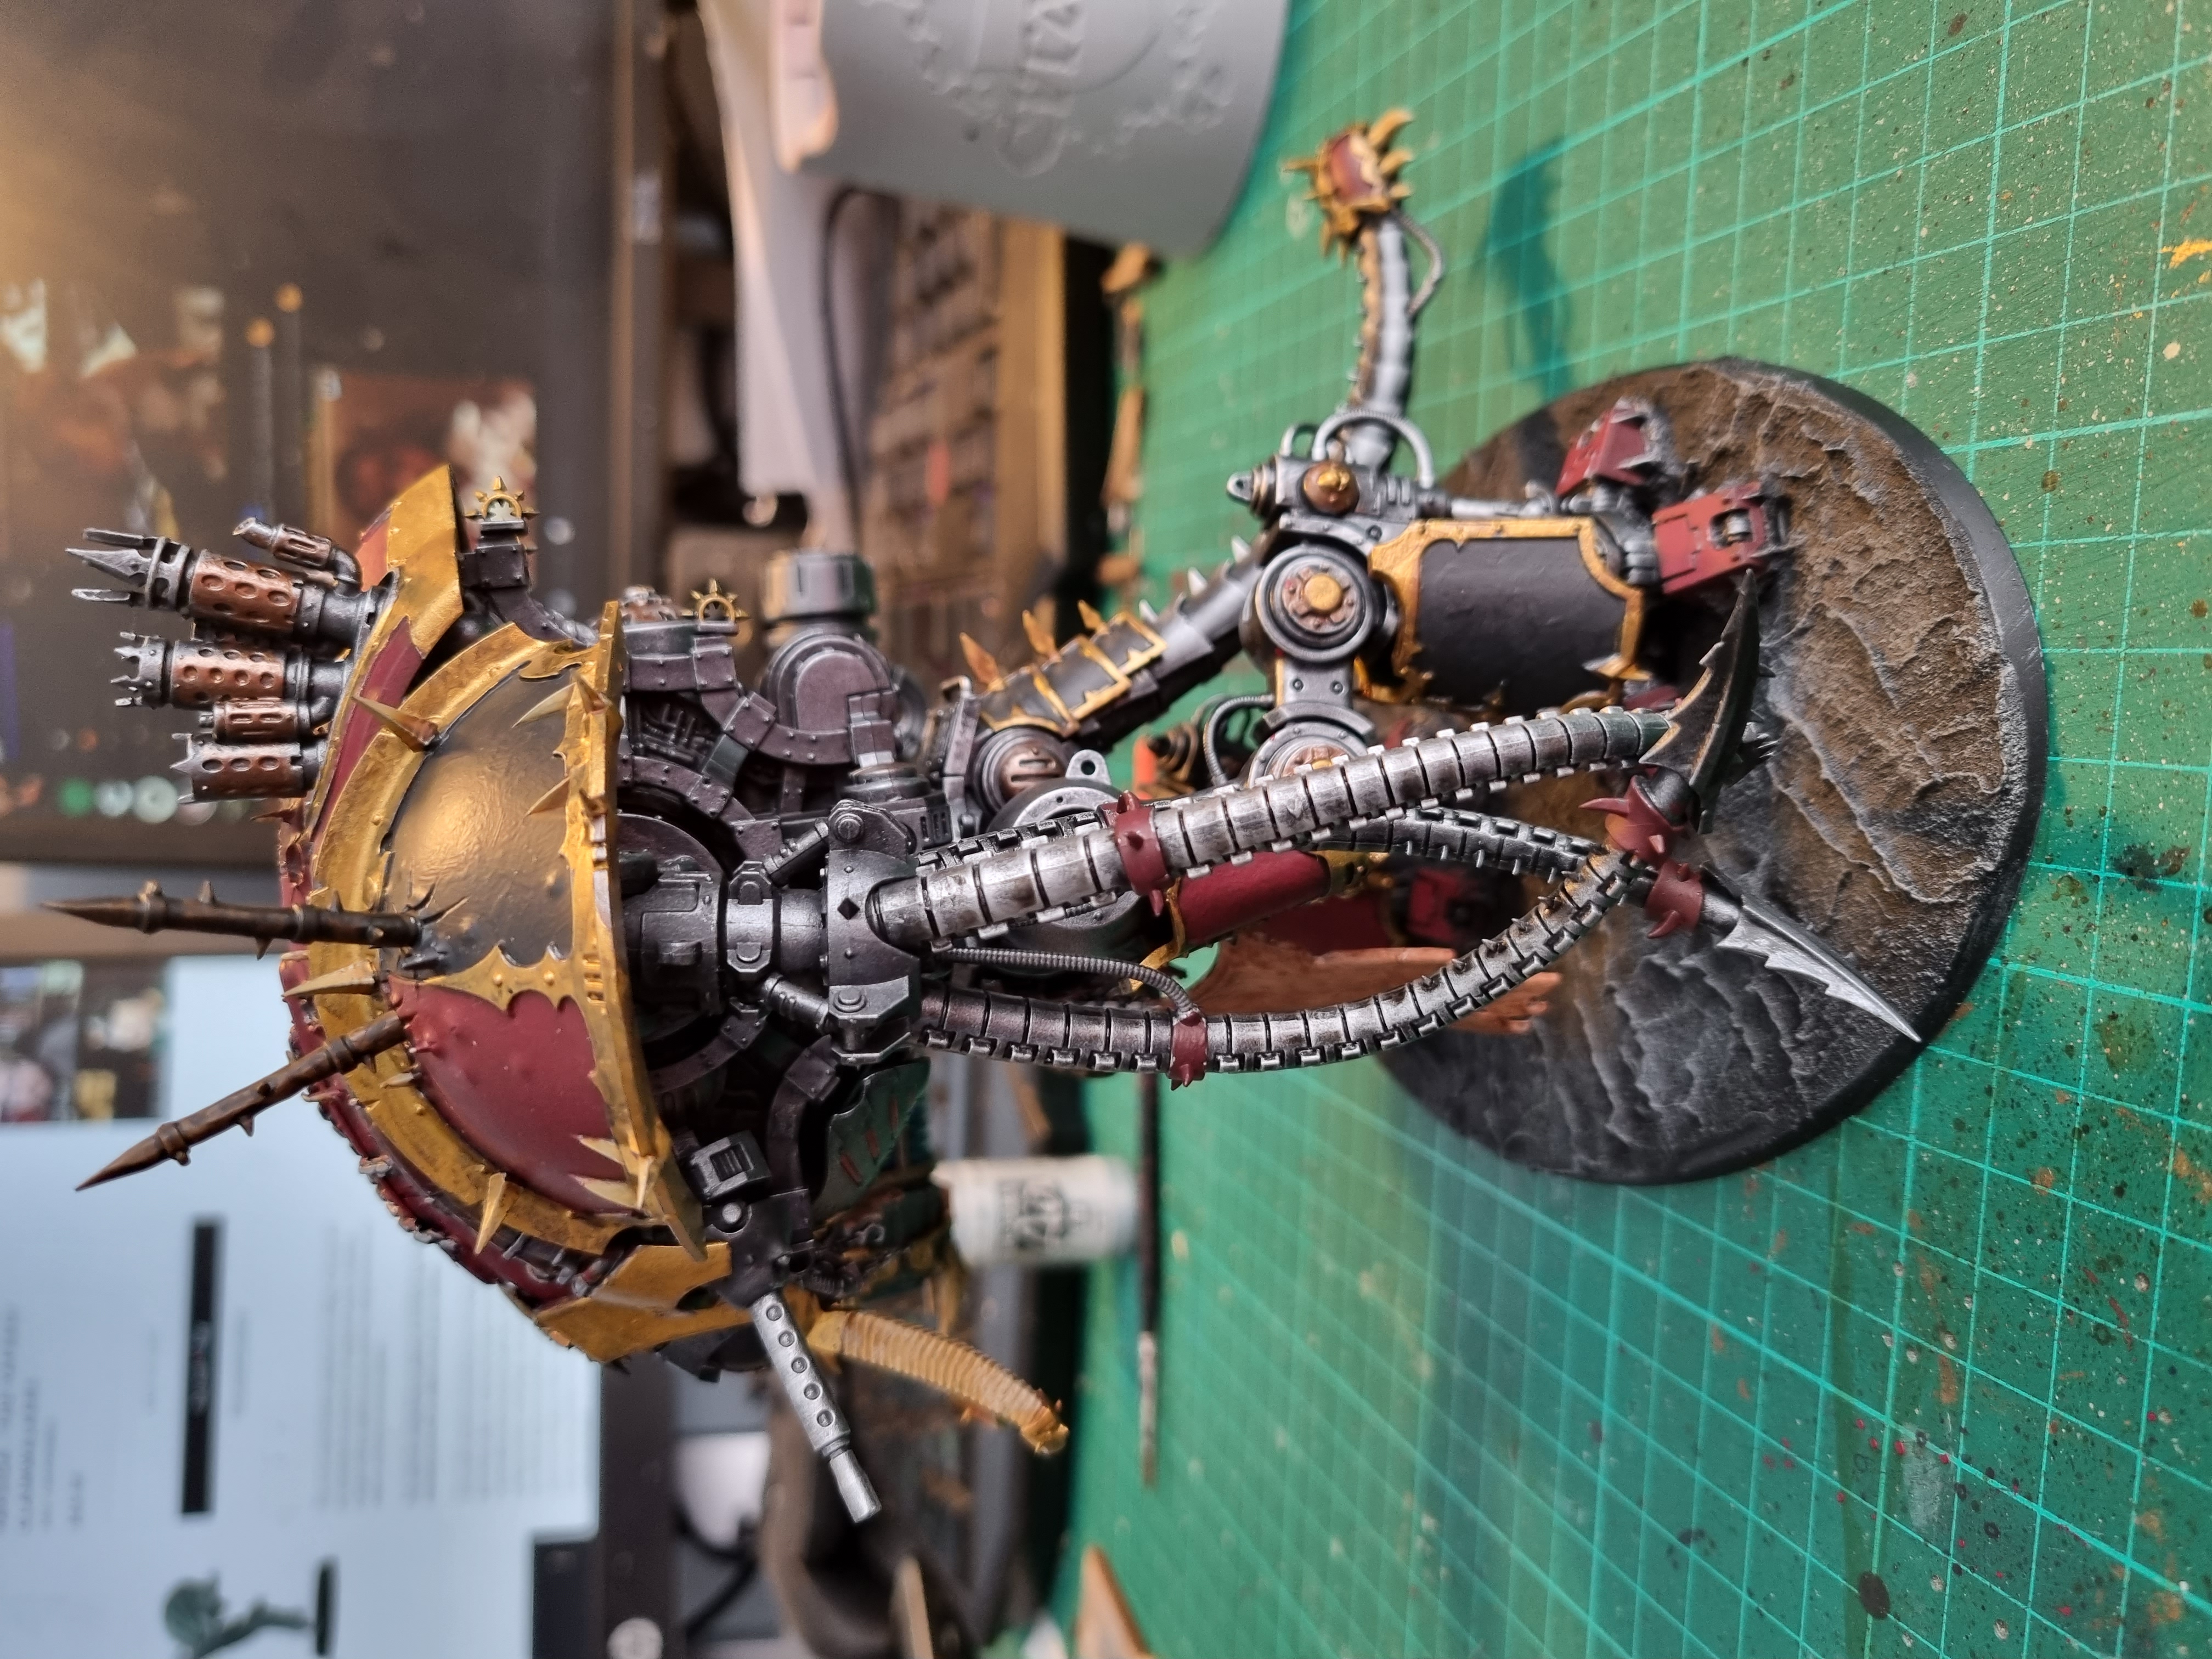
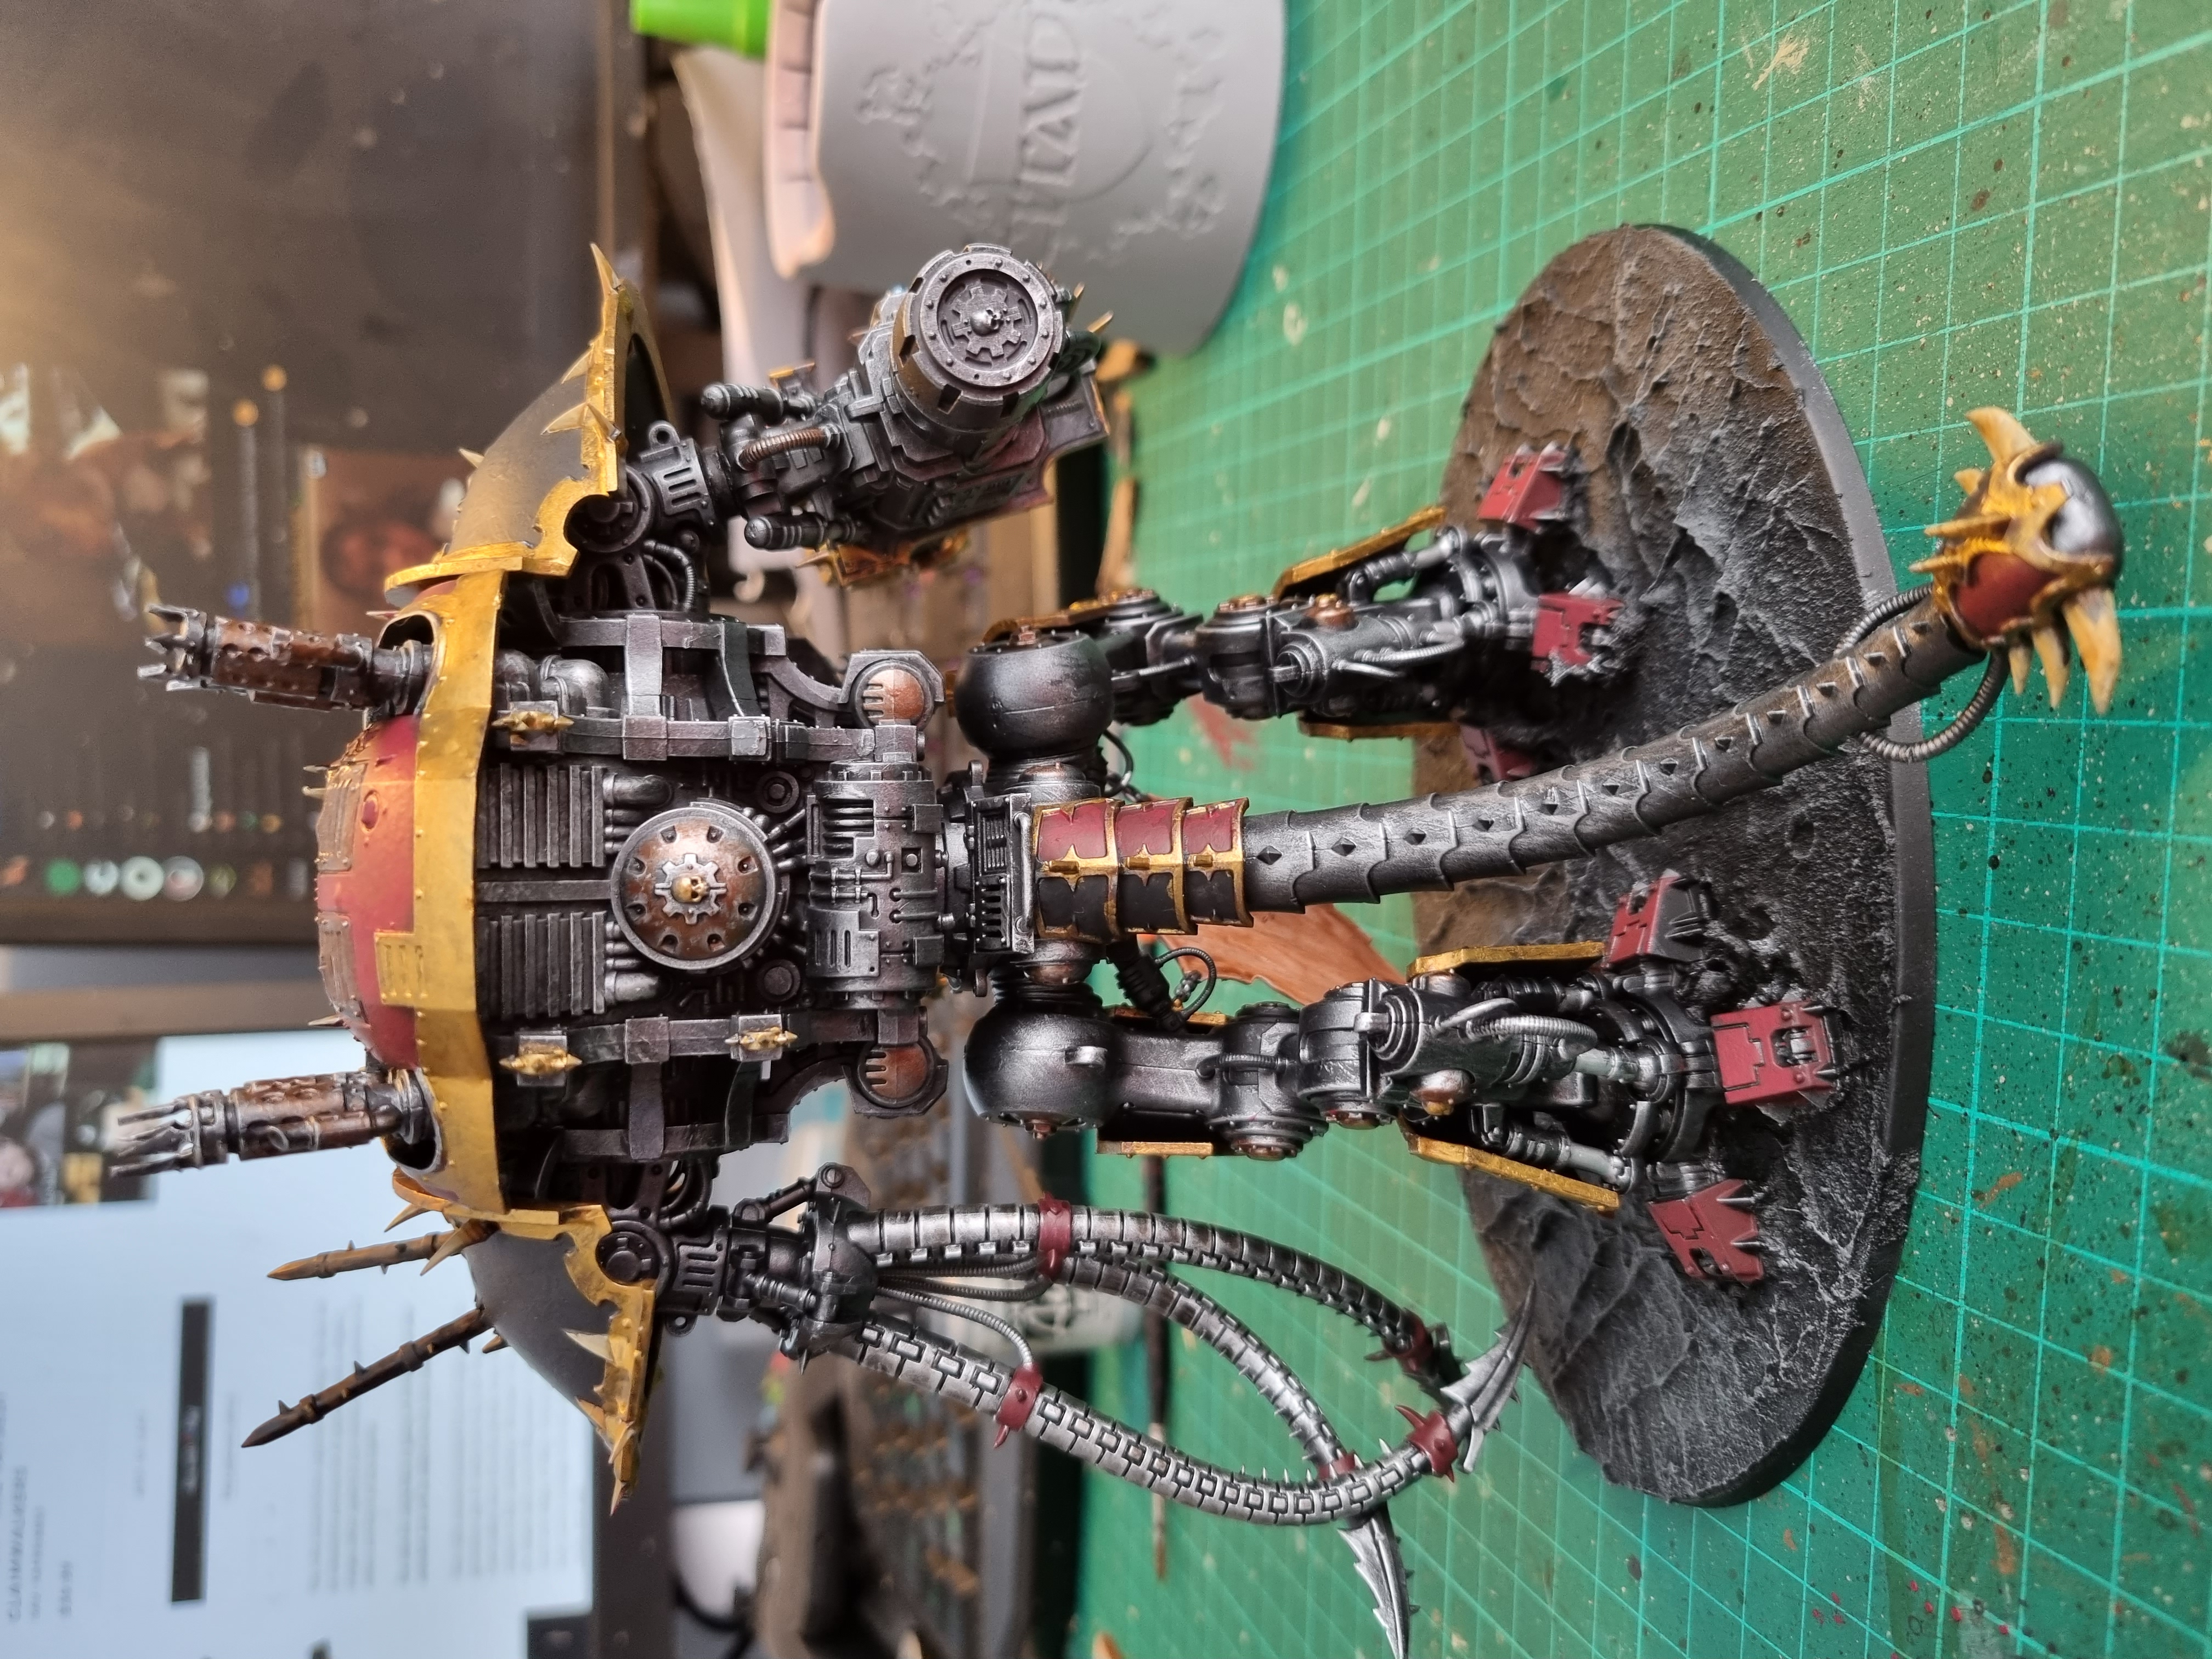

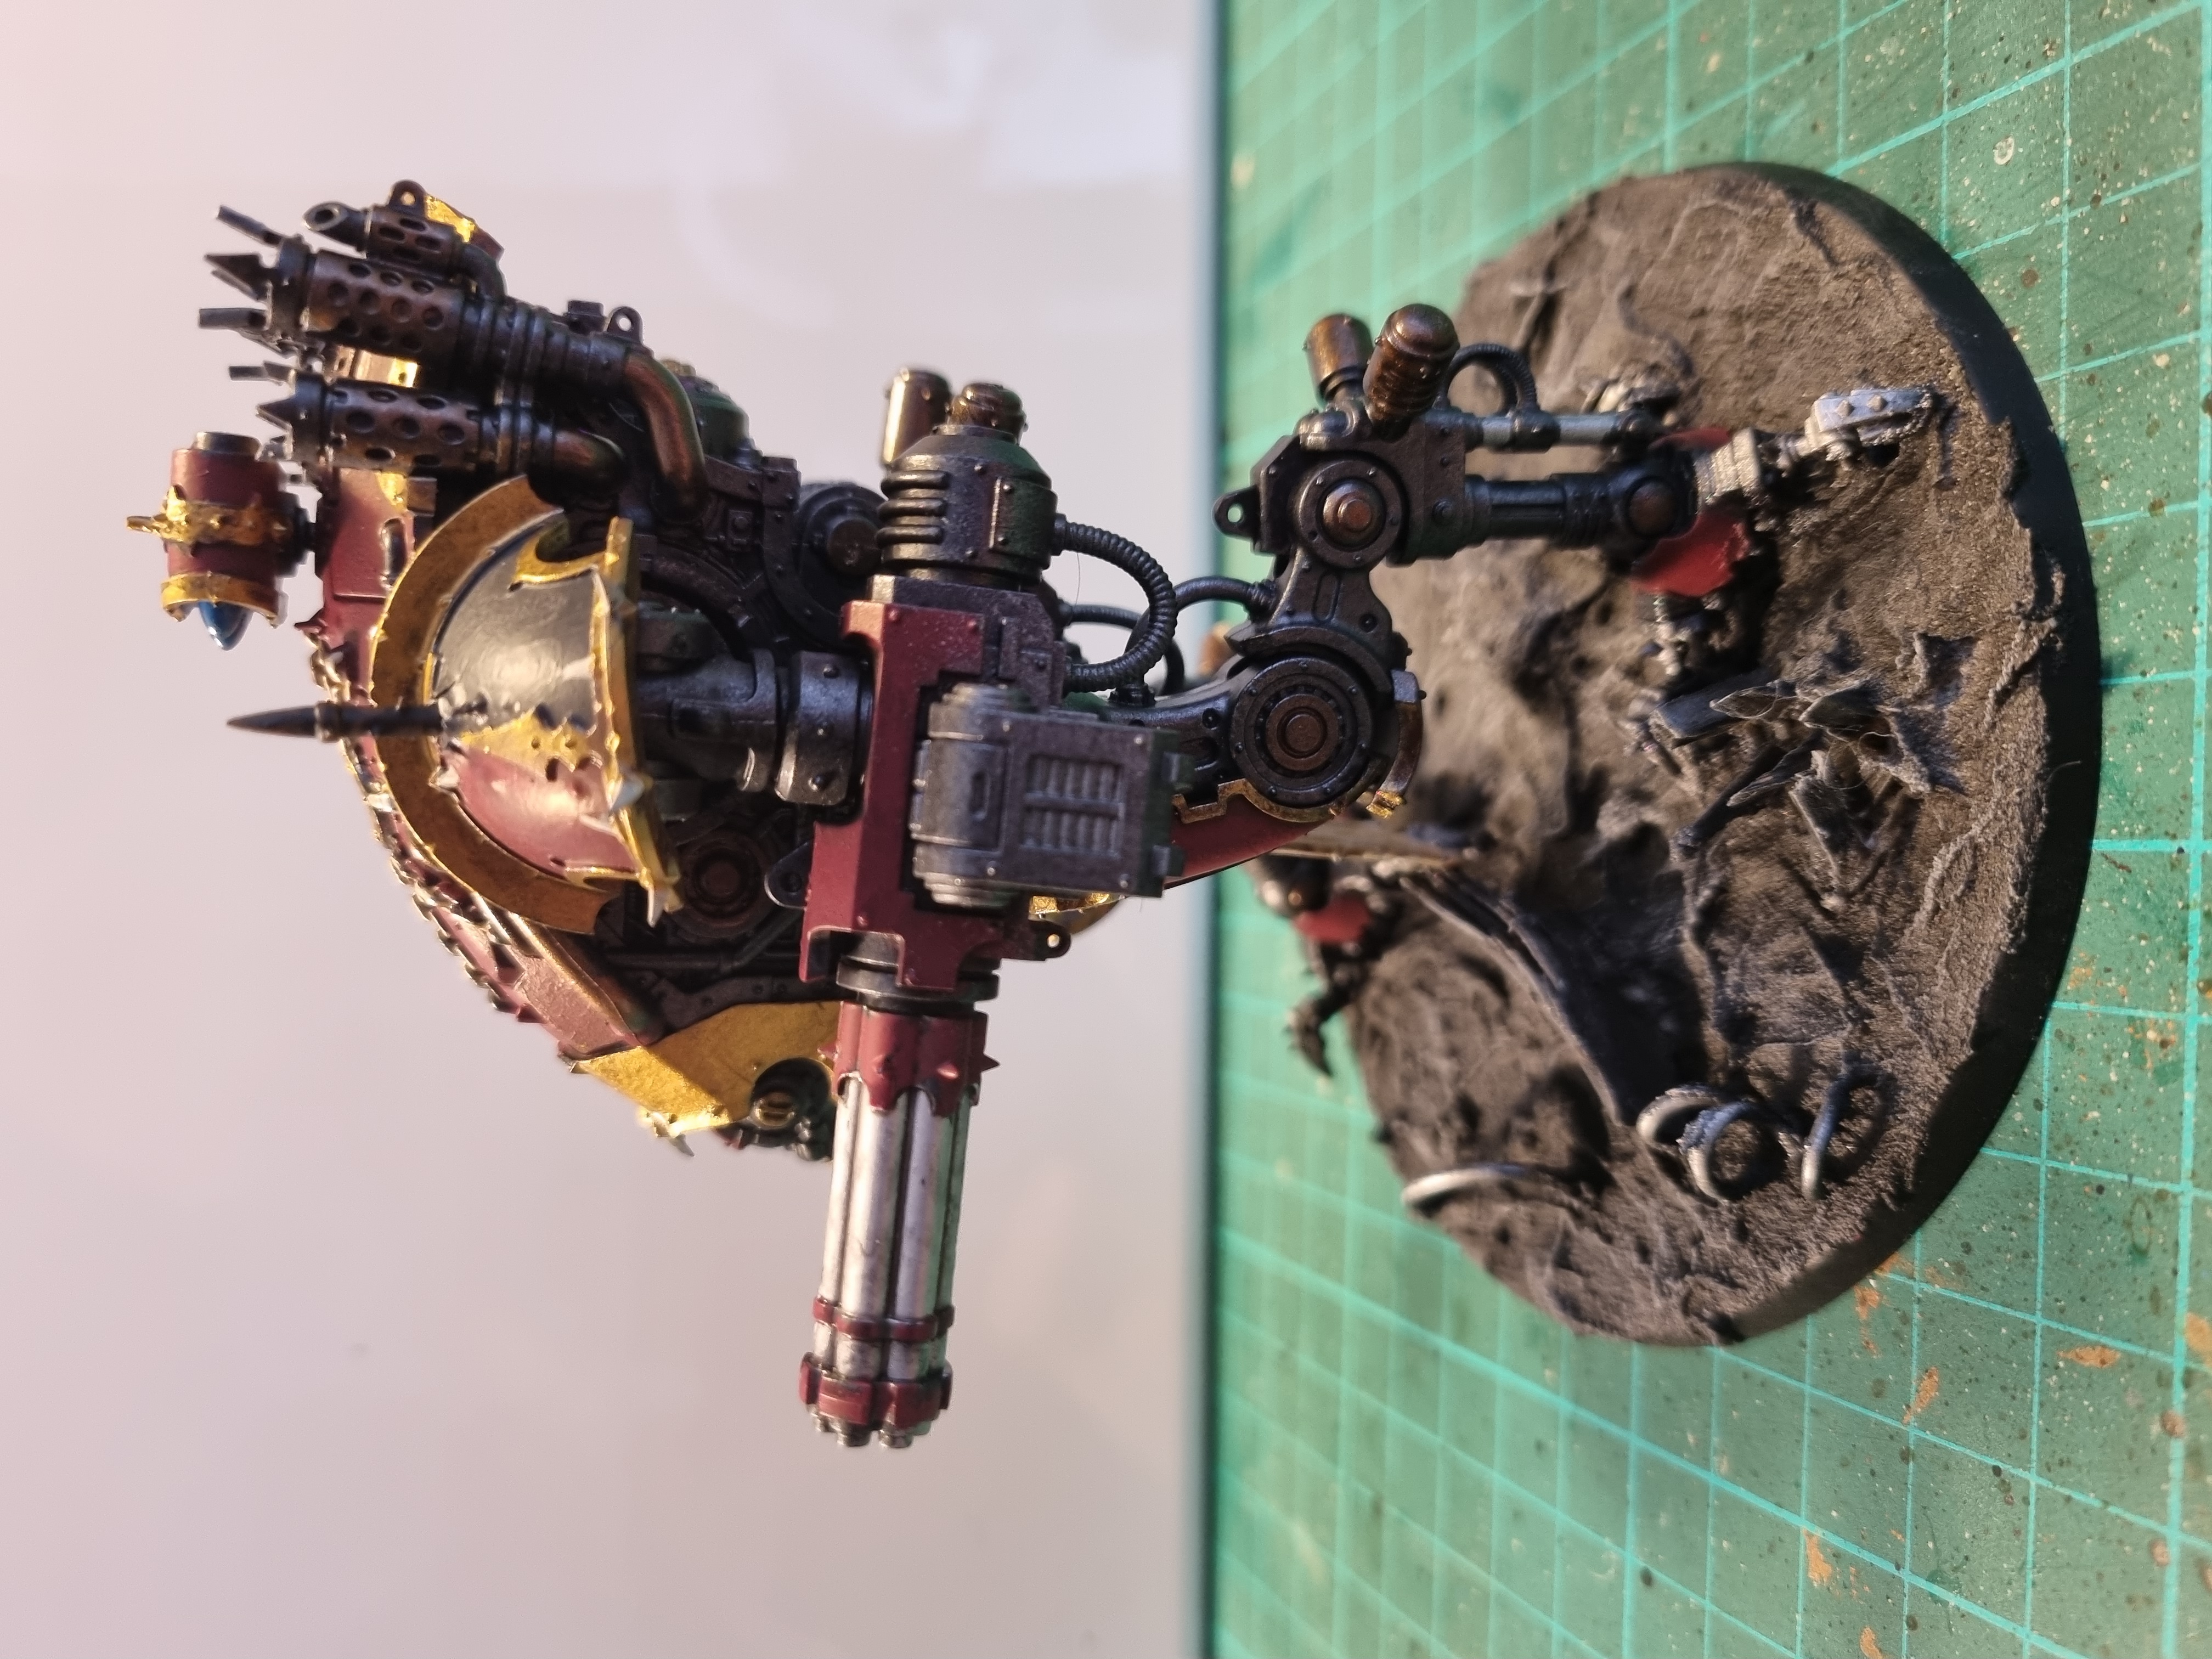
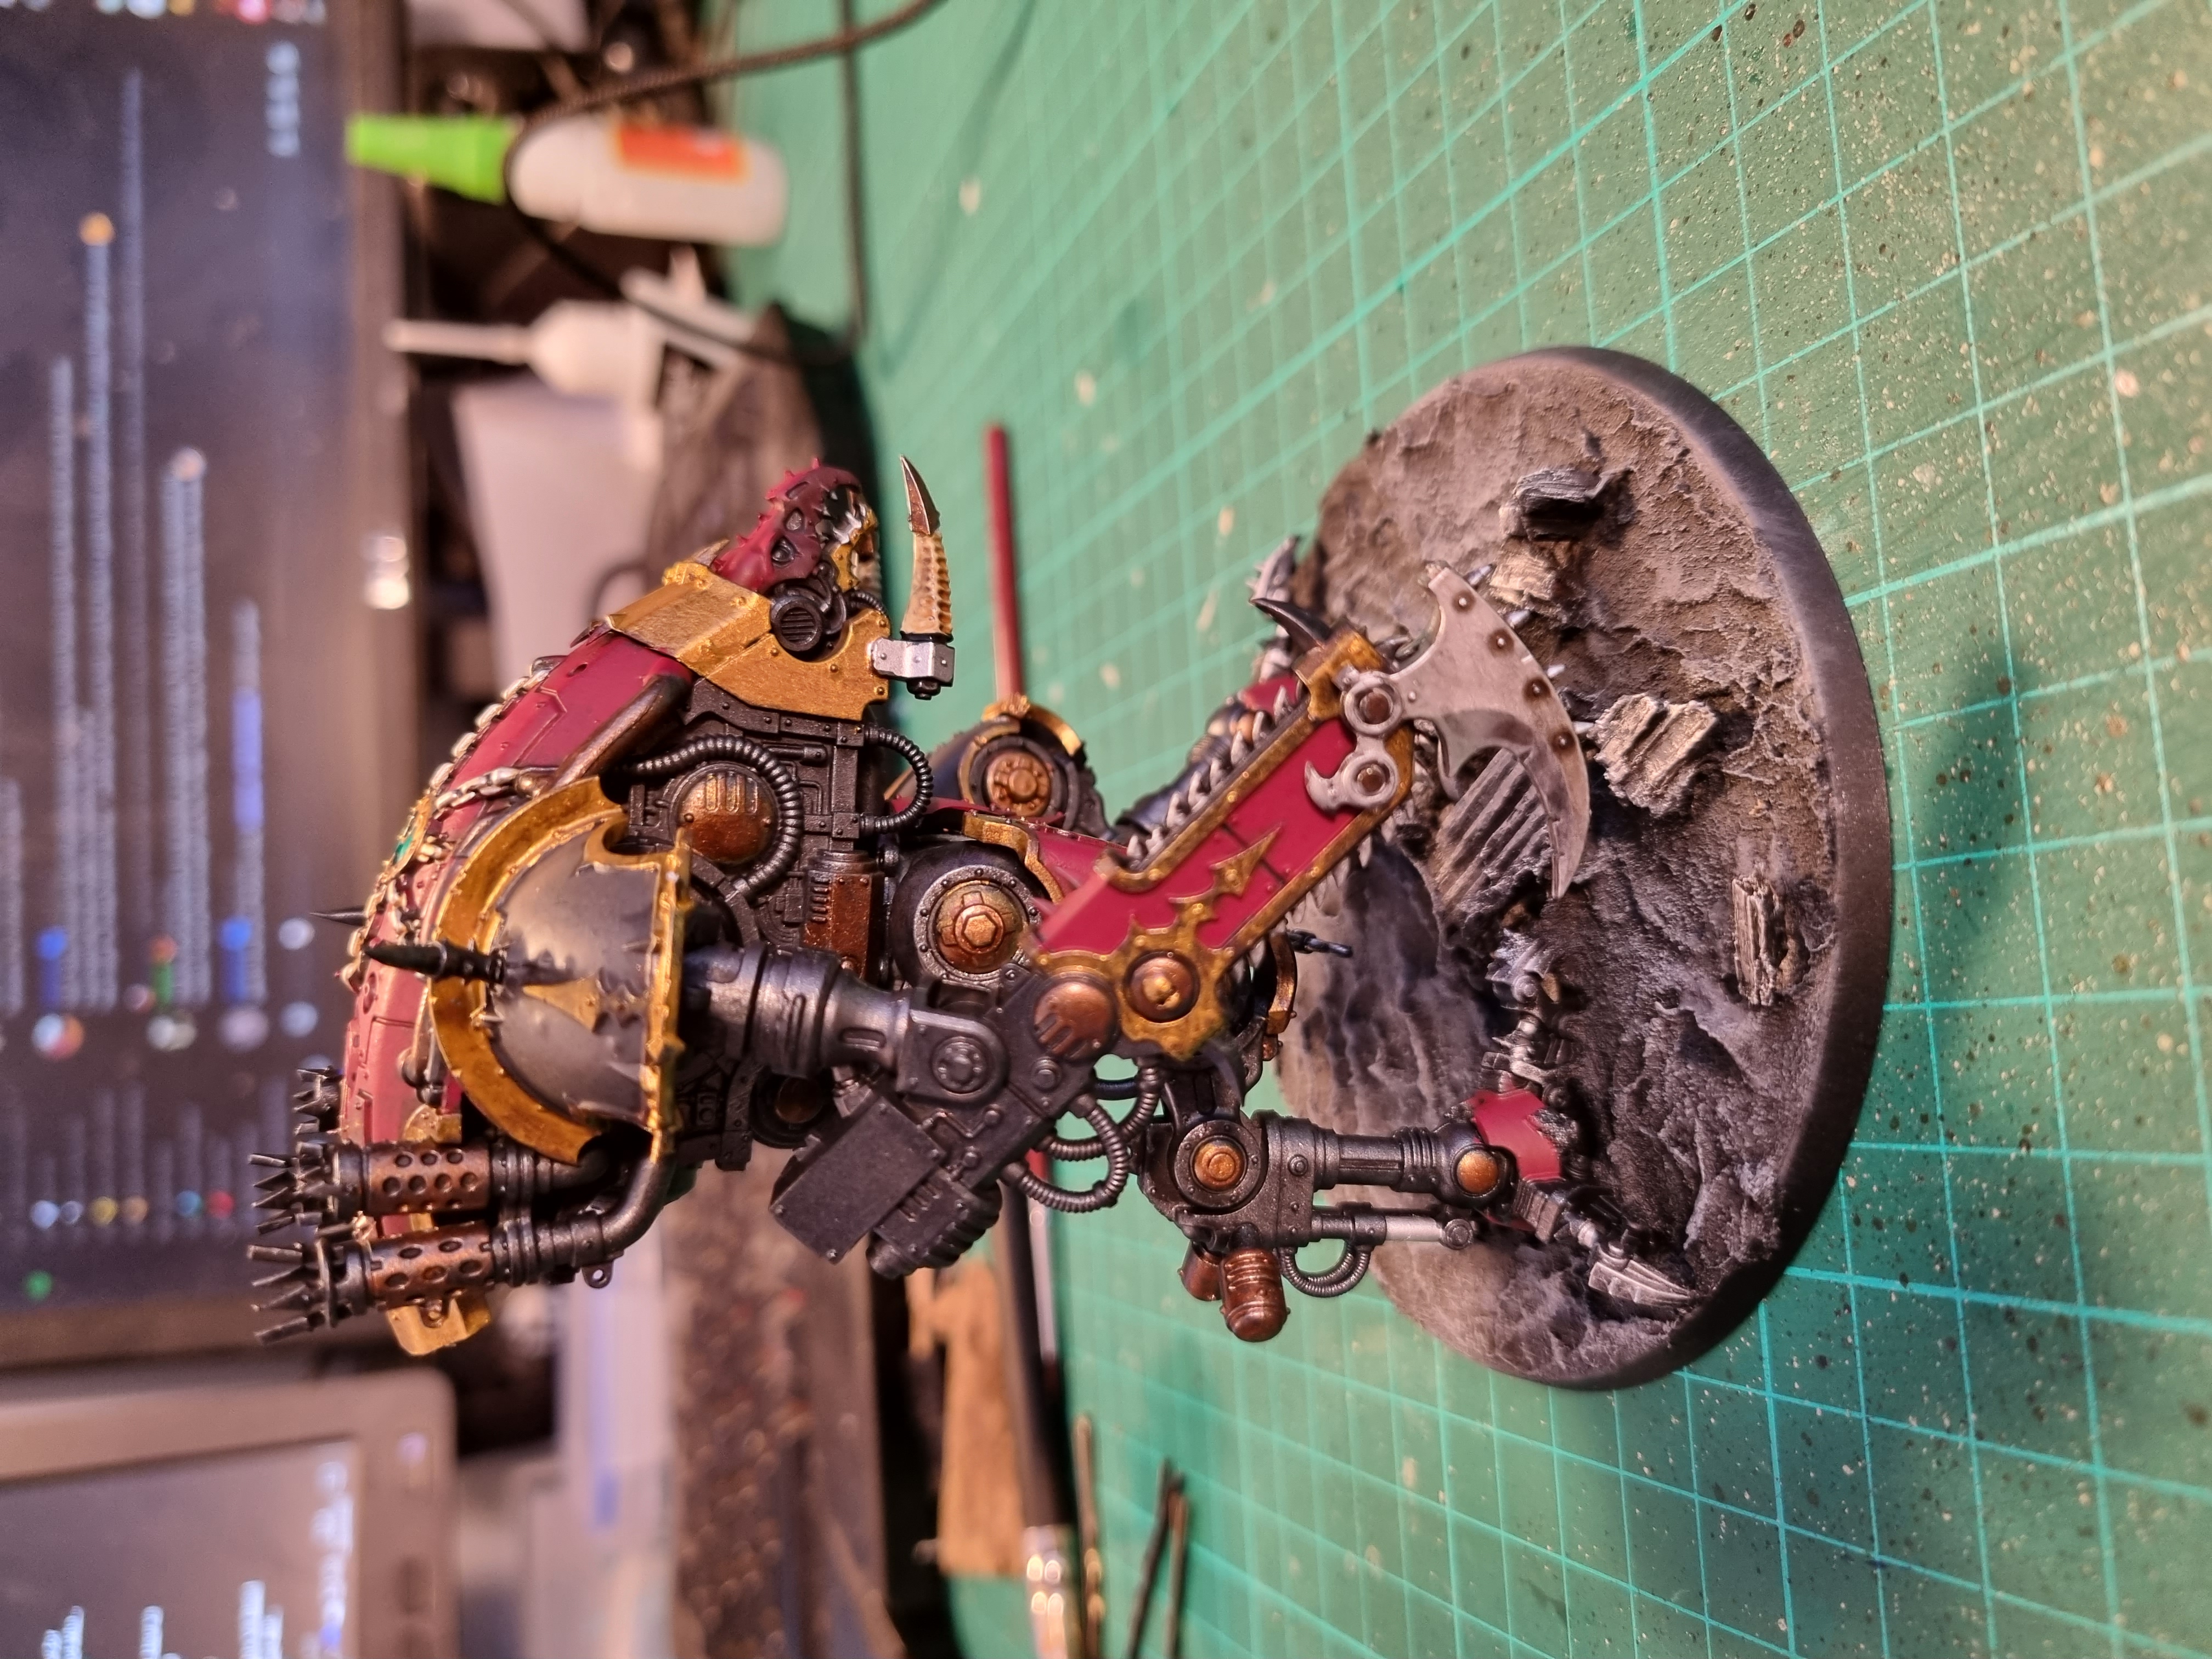
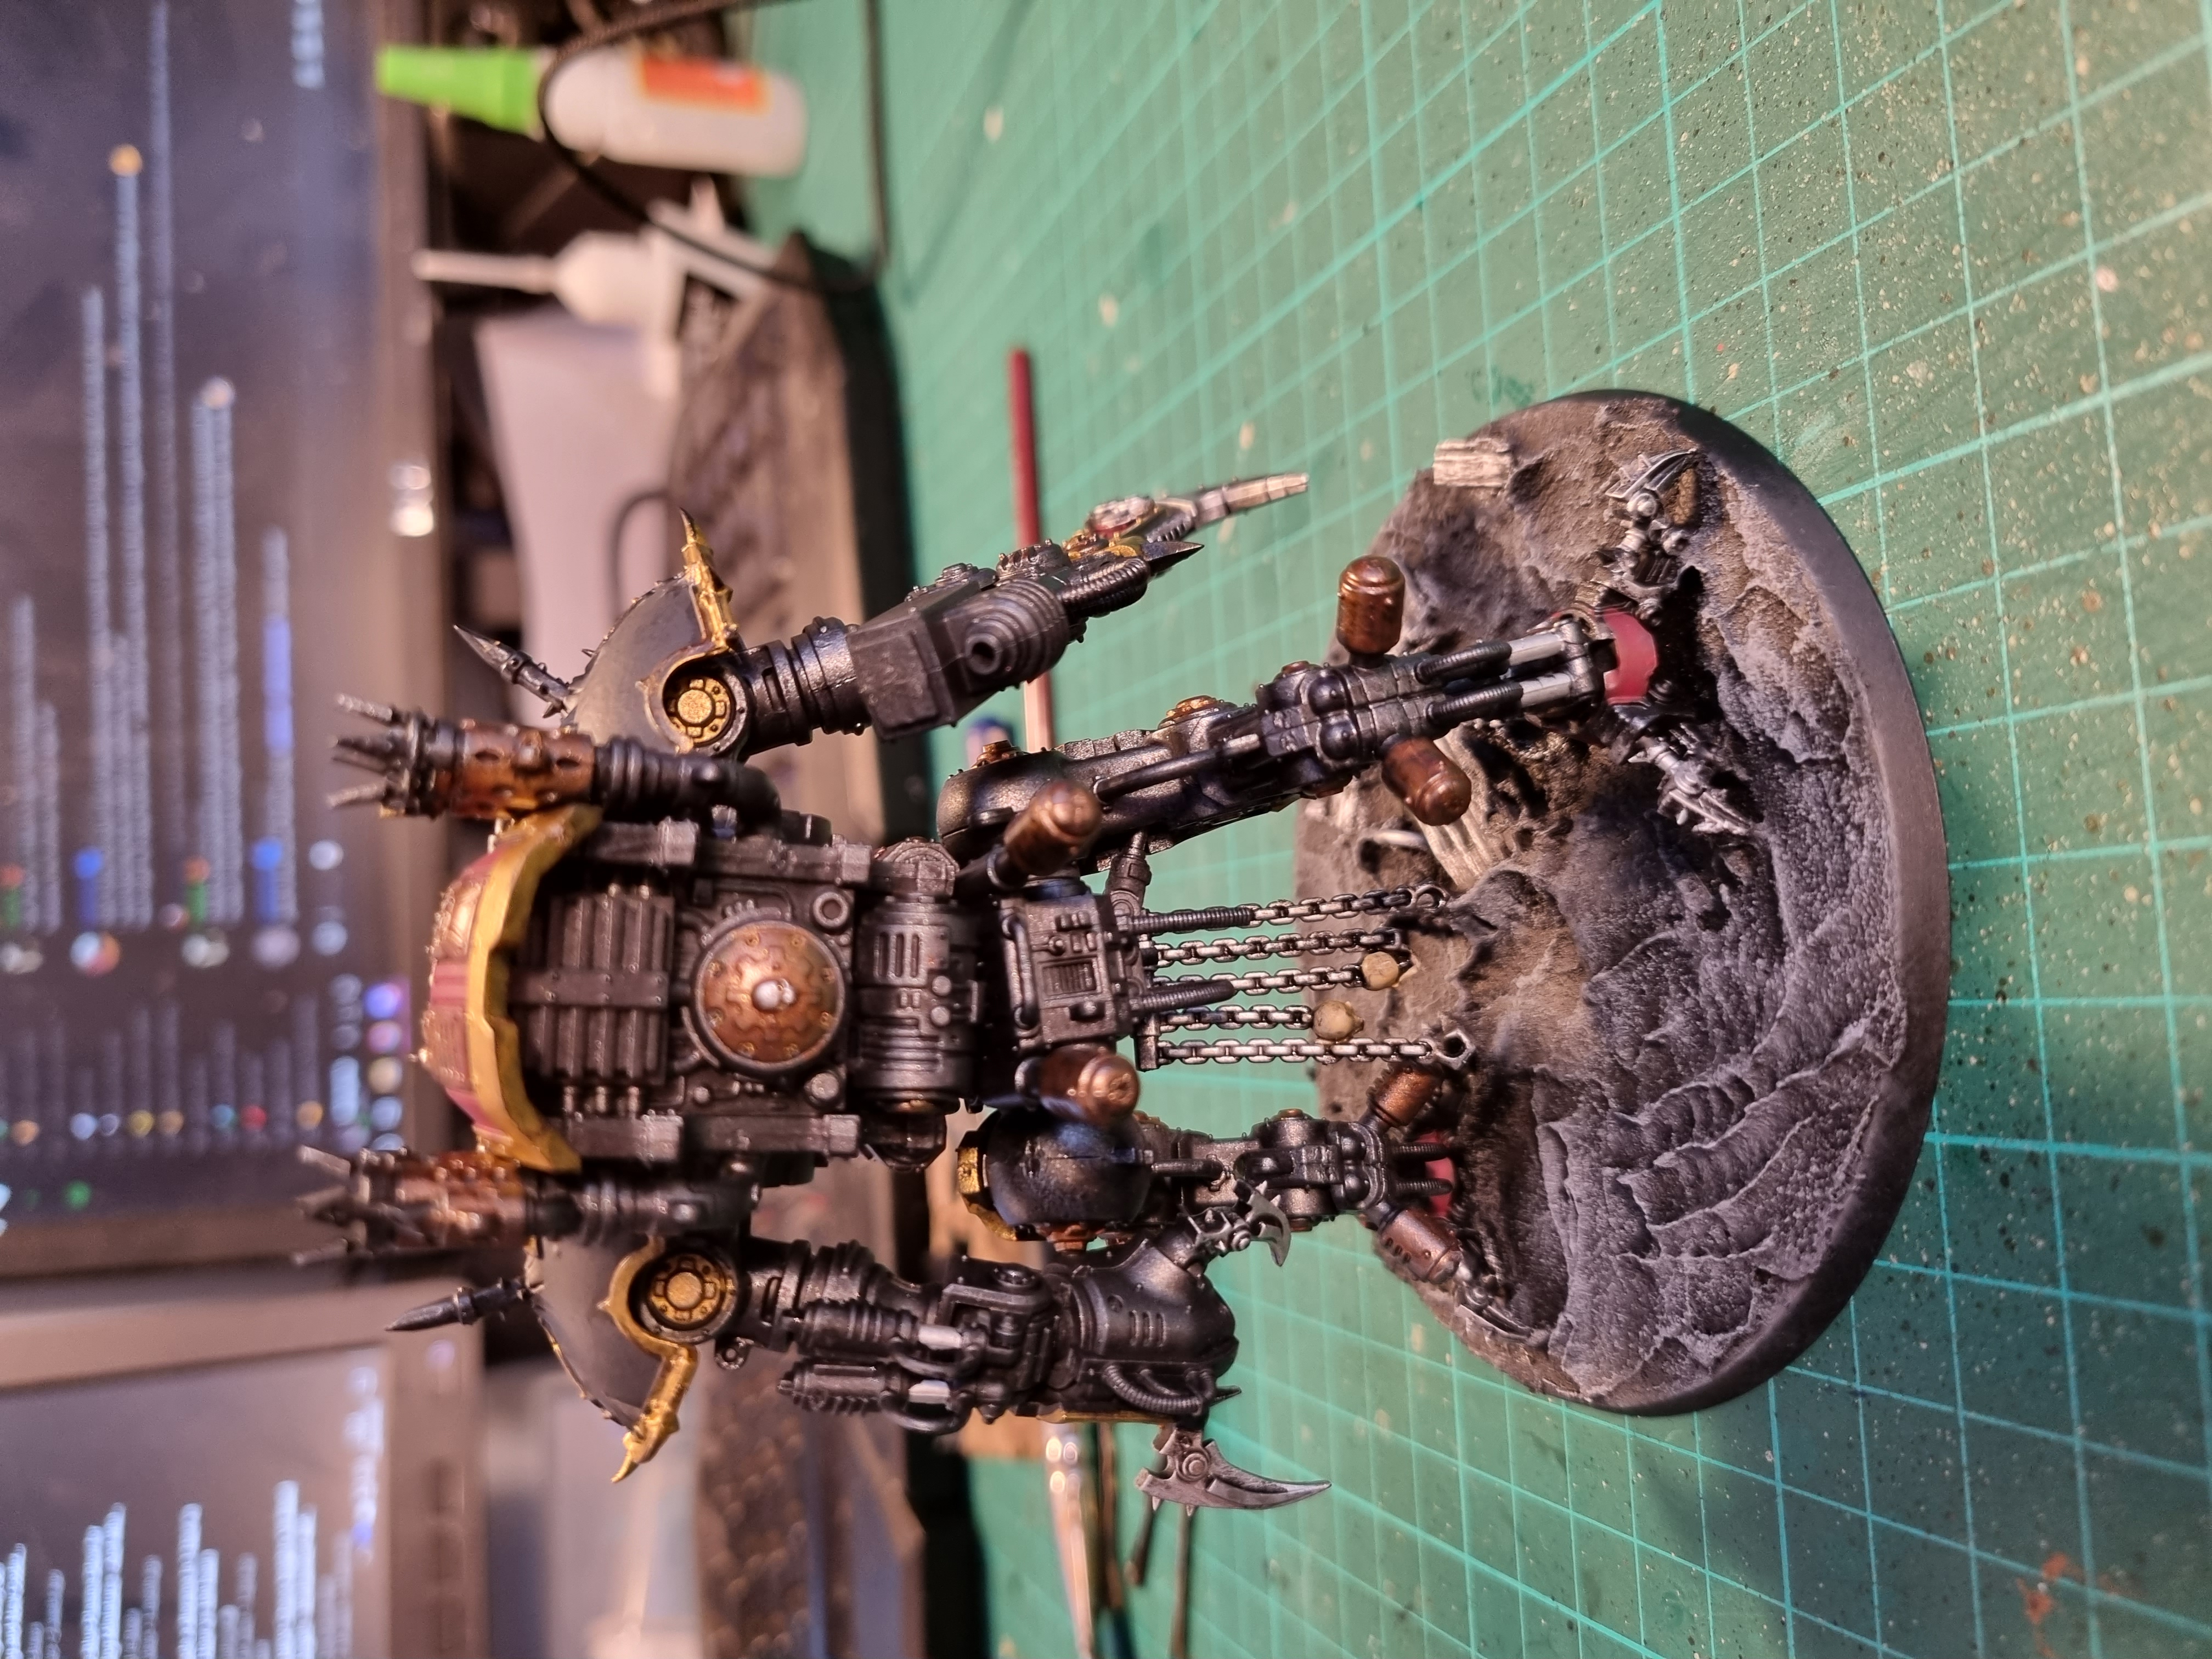
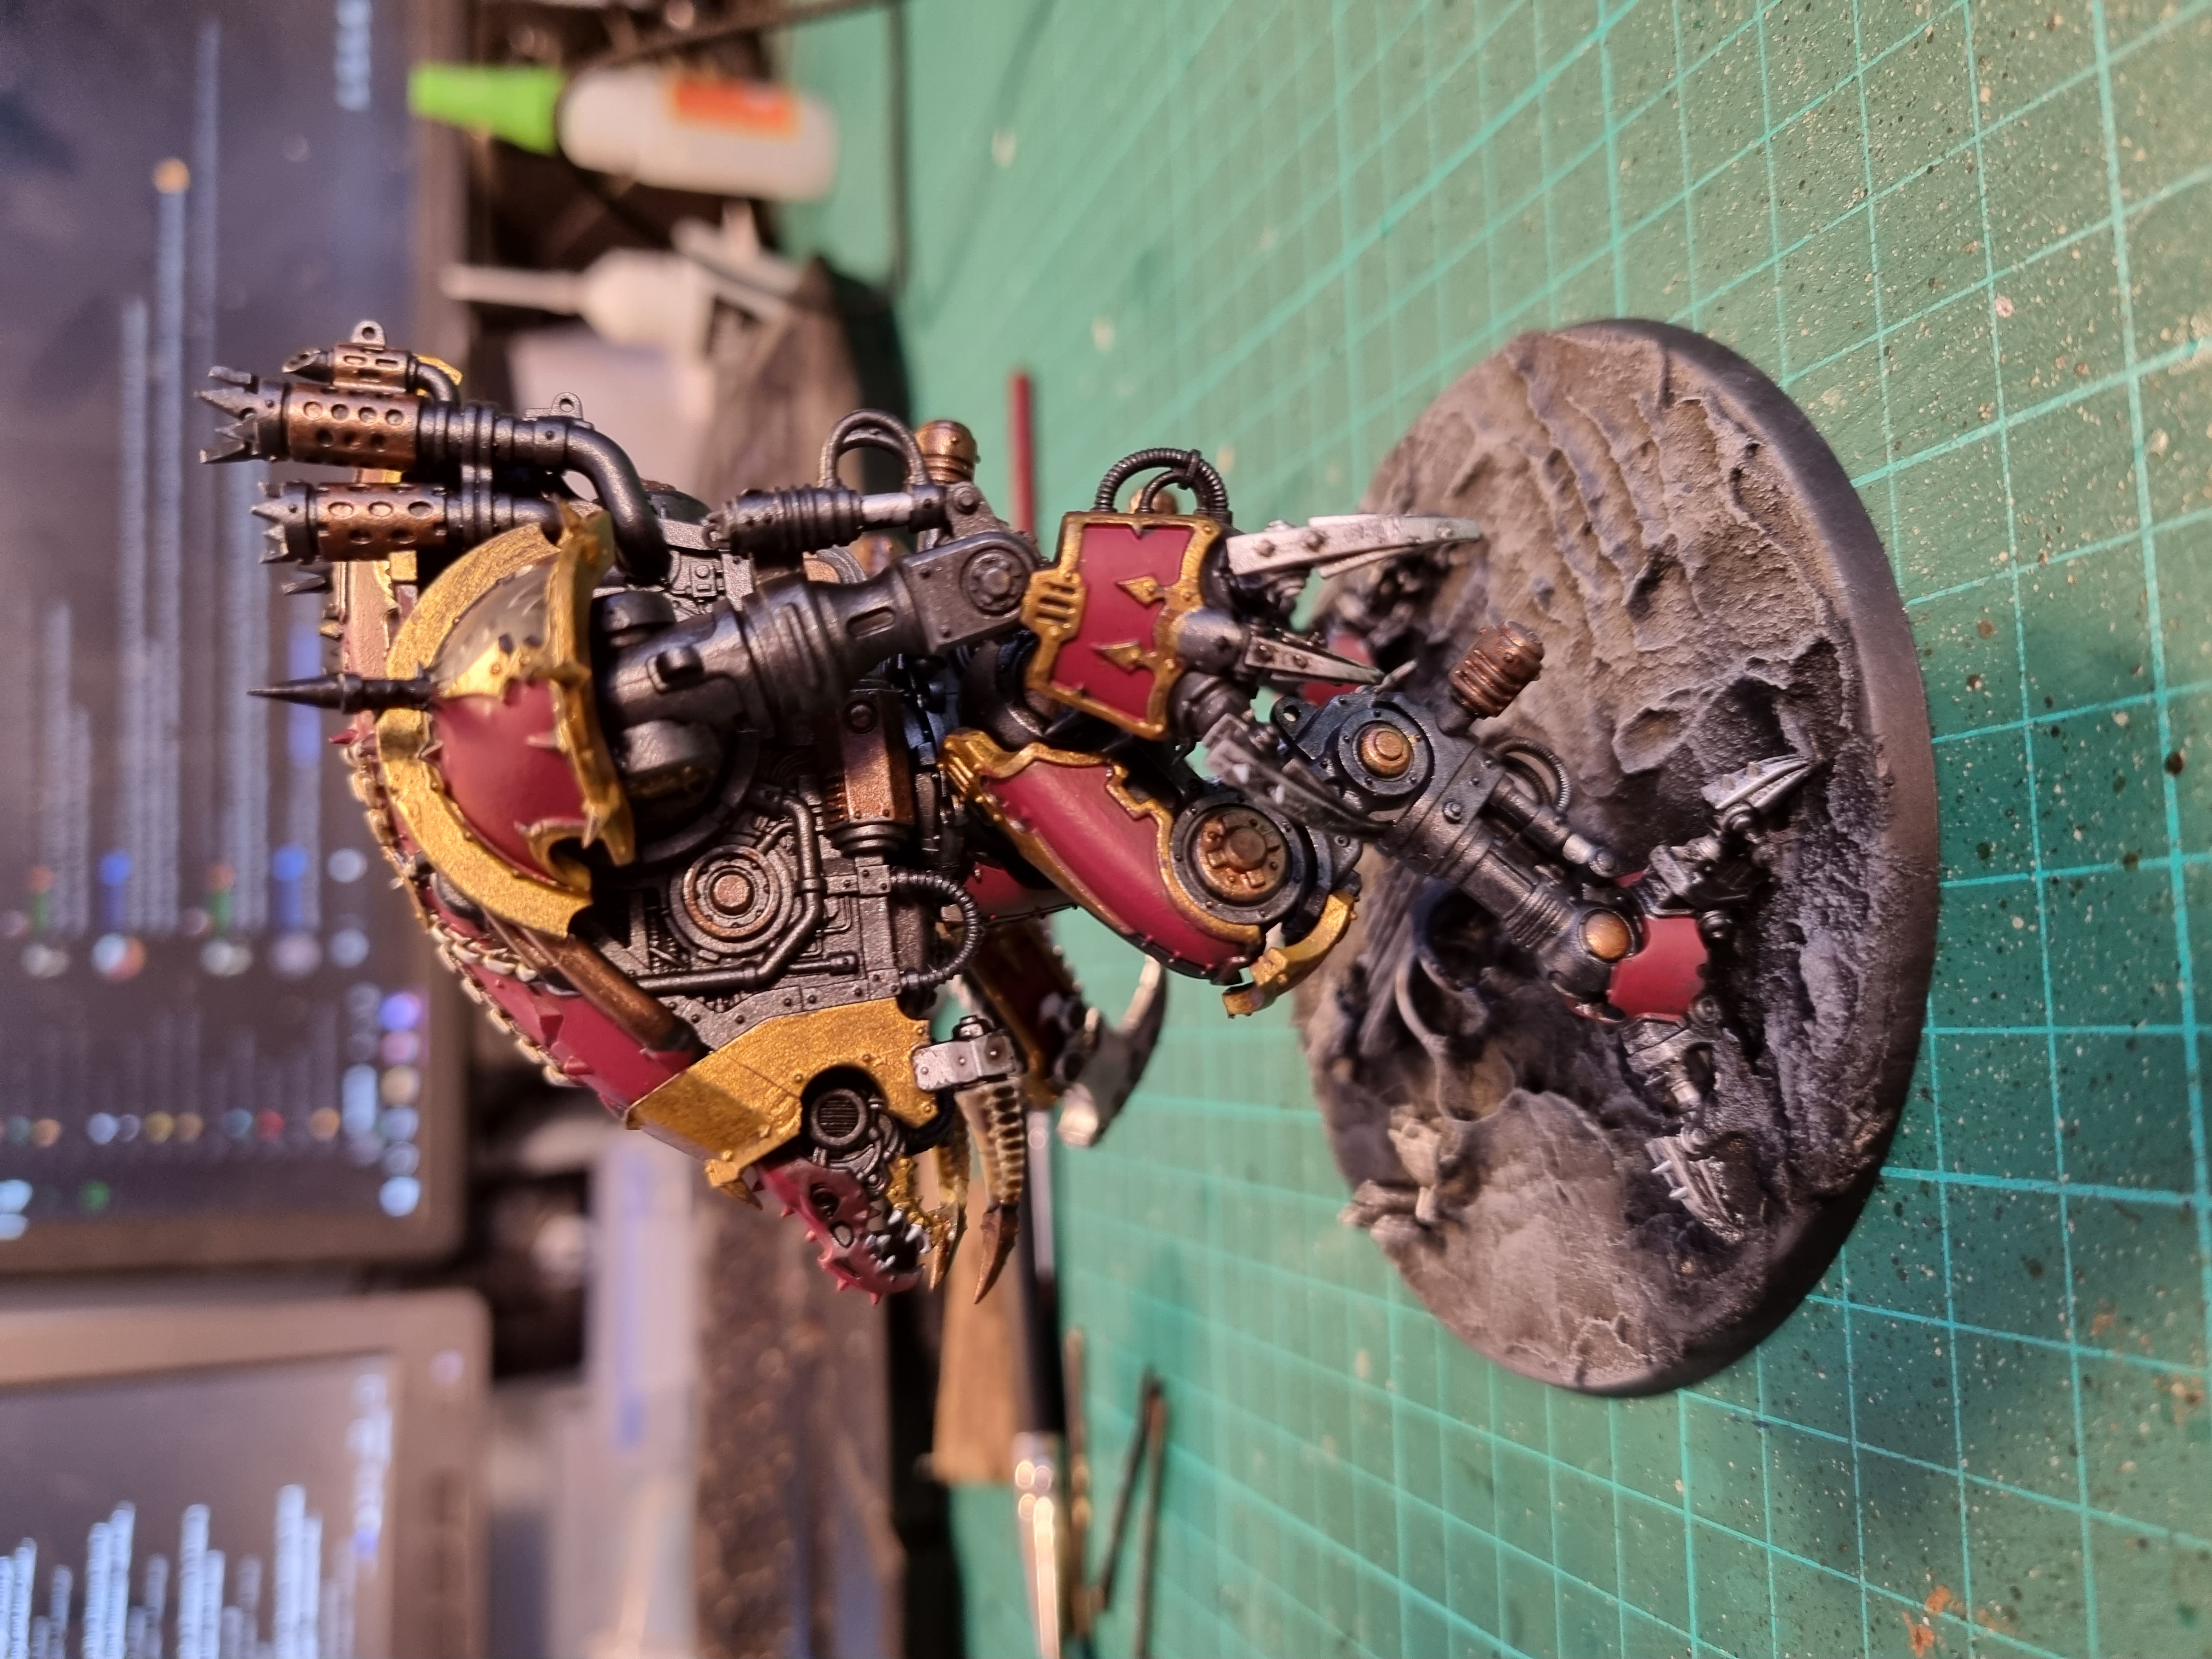
So that’s him done (bar the transfers), I do love the tail on a knight, the main gun is magnatised (because why not) but I didn’t manage it for the flail. I did experiment with adding magnets to the shoulder plate to help with weapon swaps but no joy, maybe I’ll try again when I get some more…
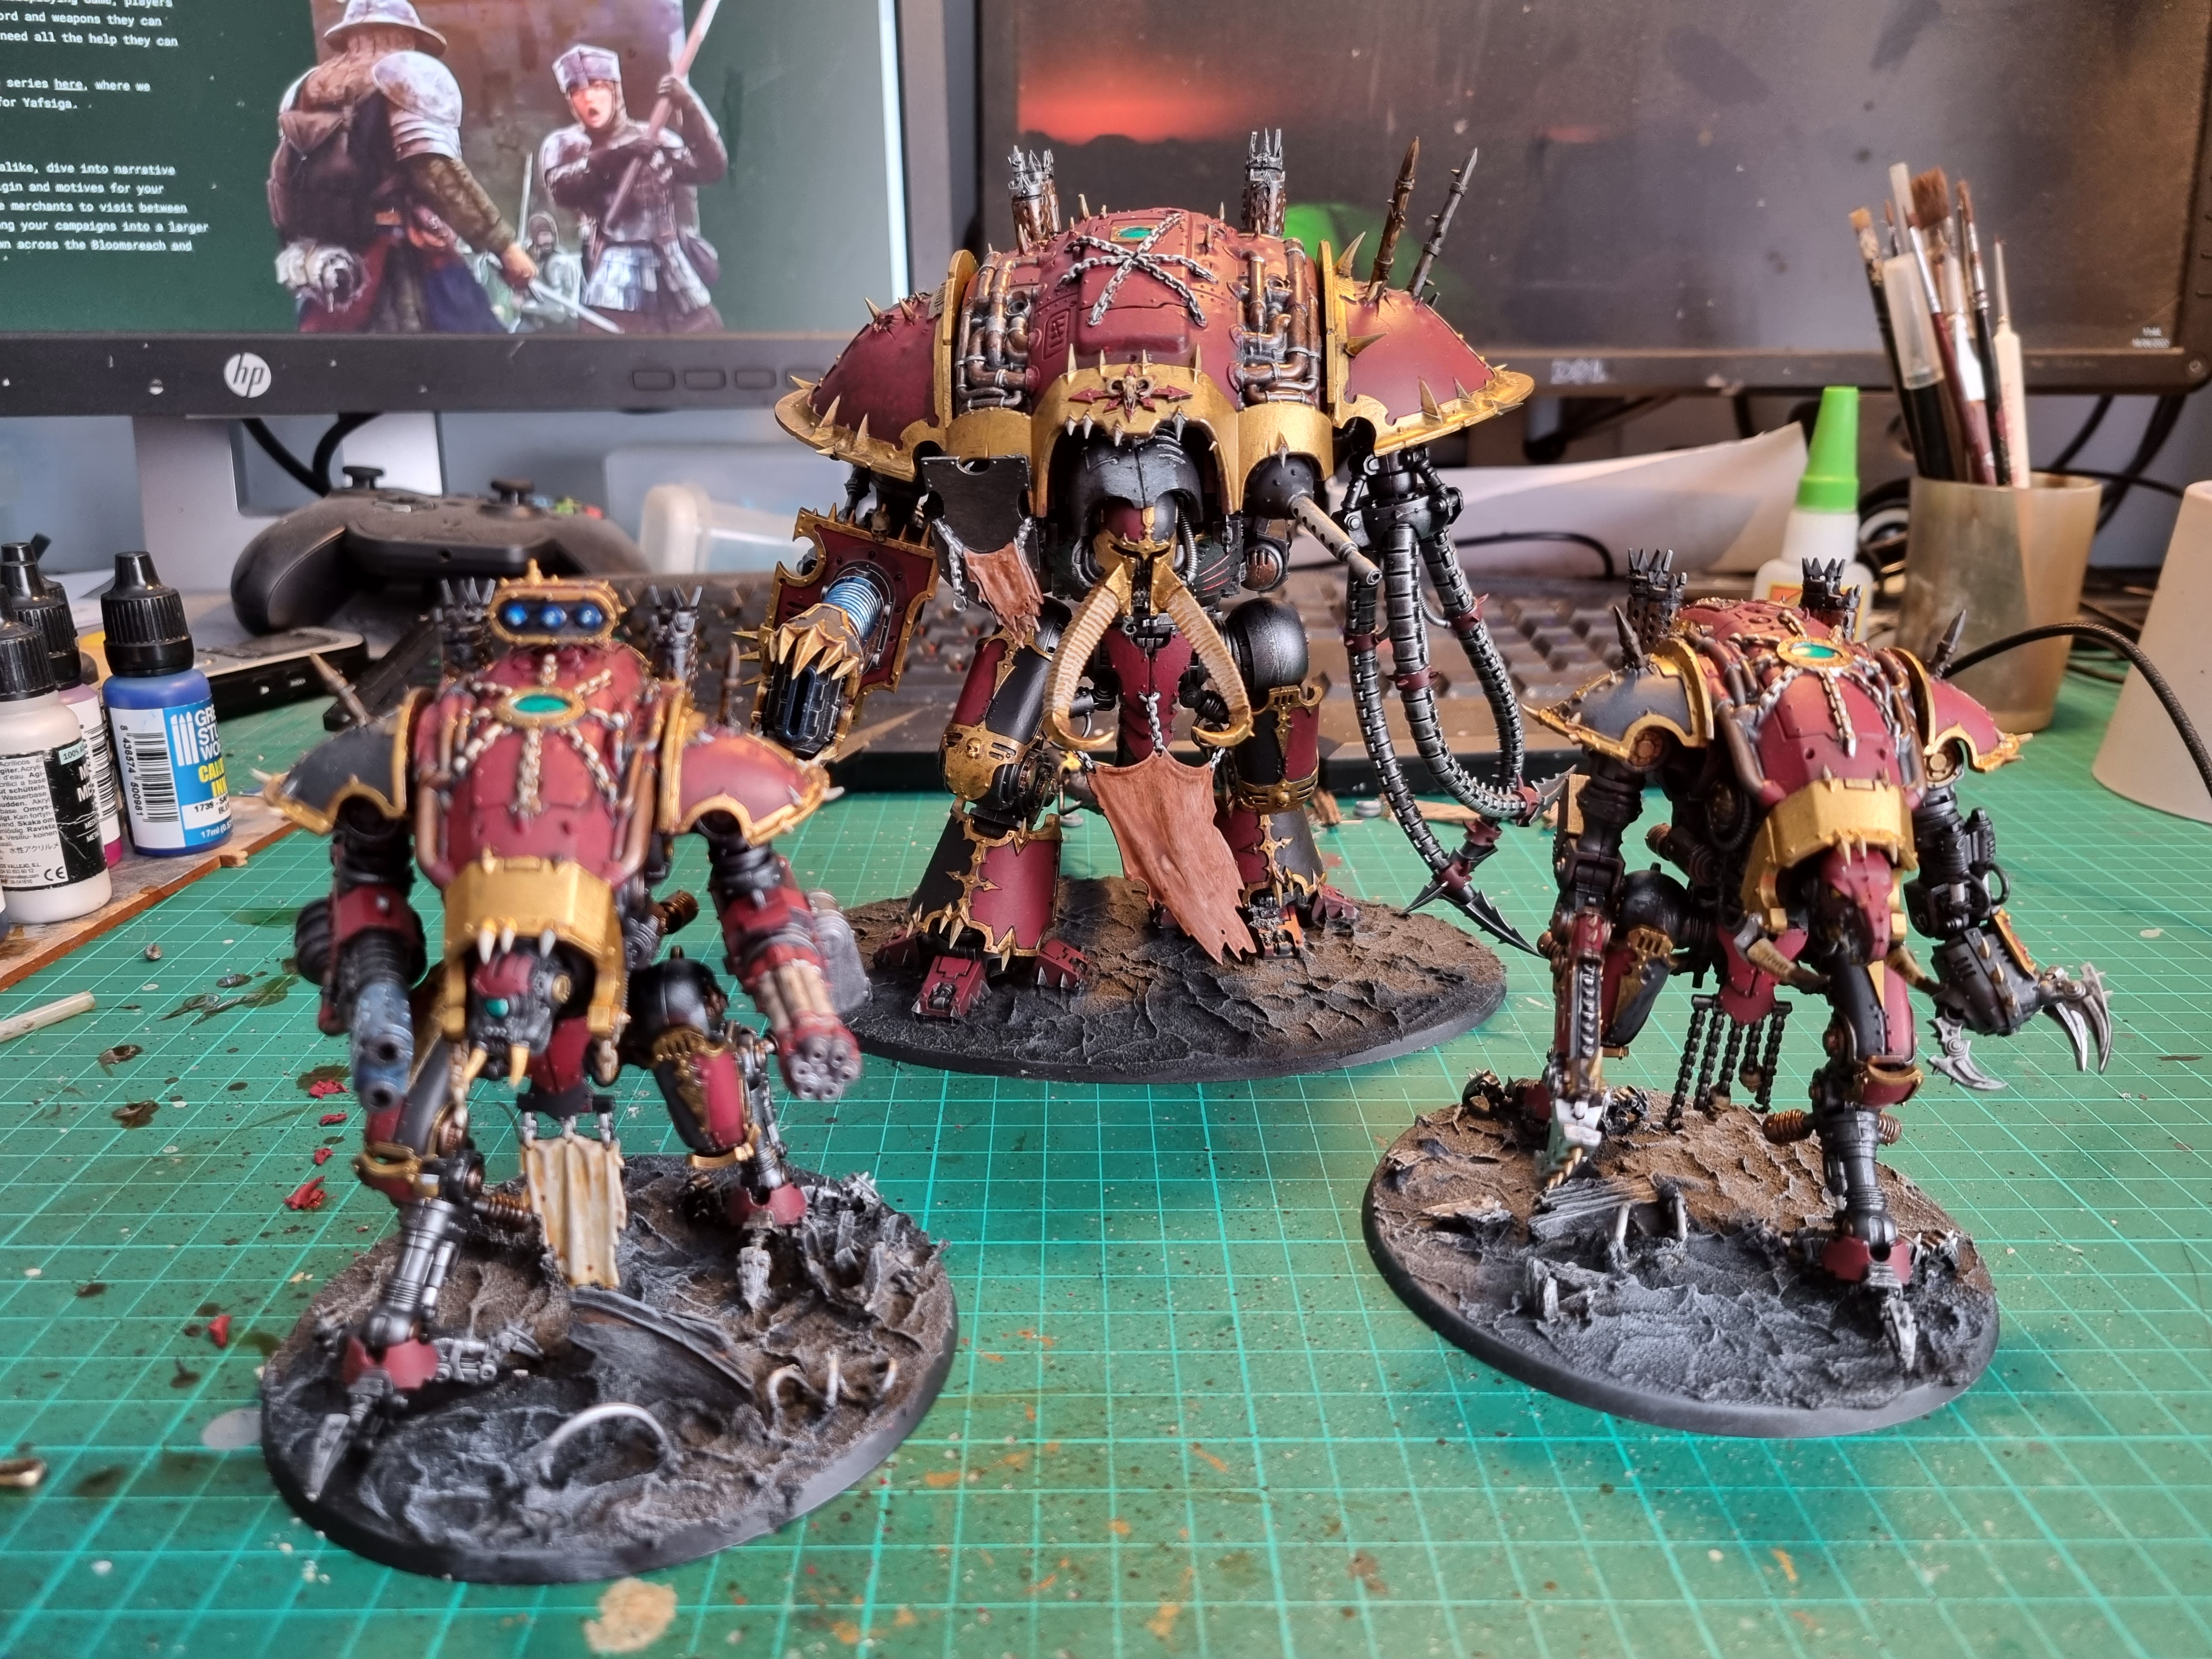 The final family shot
The Brigand strides forth (if he ran, he might have got 3rd...)
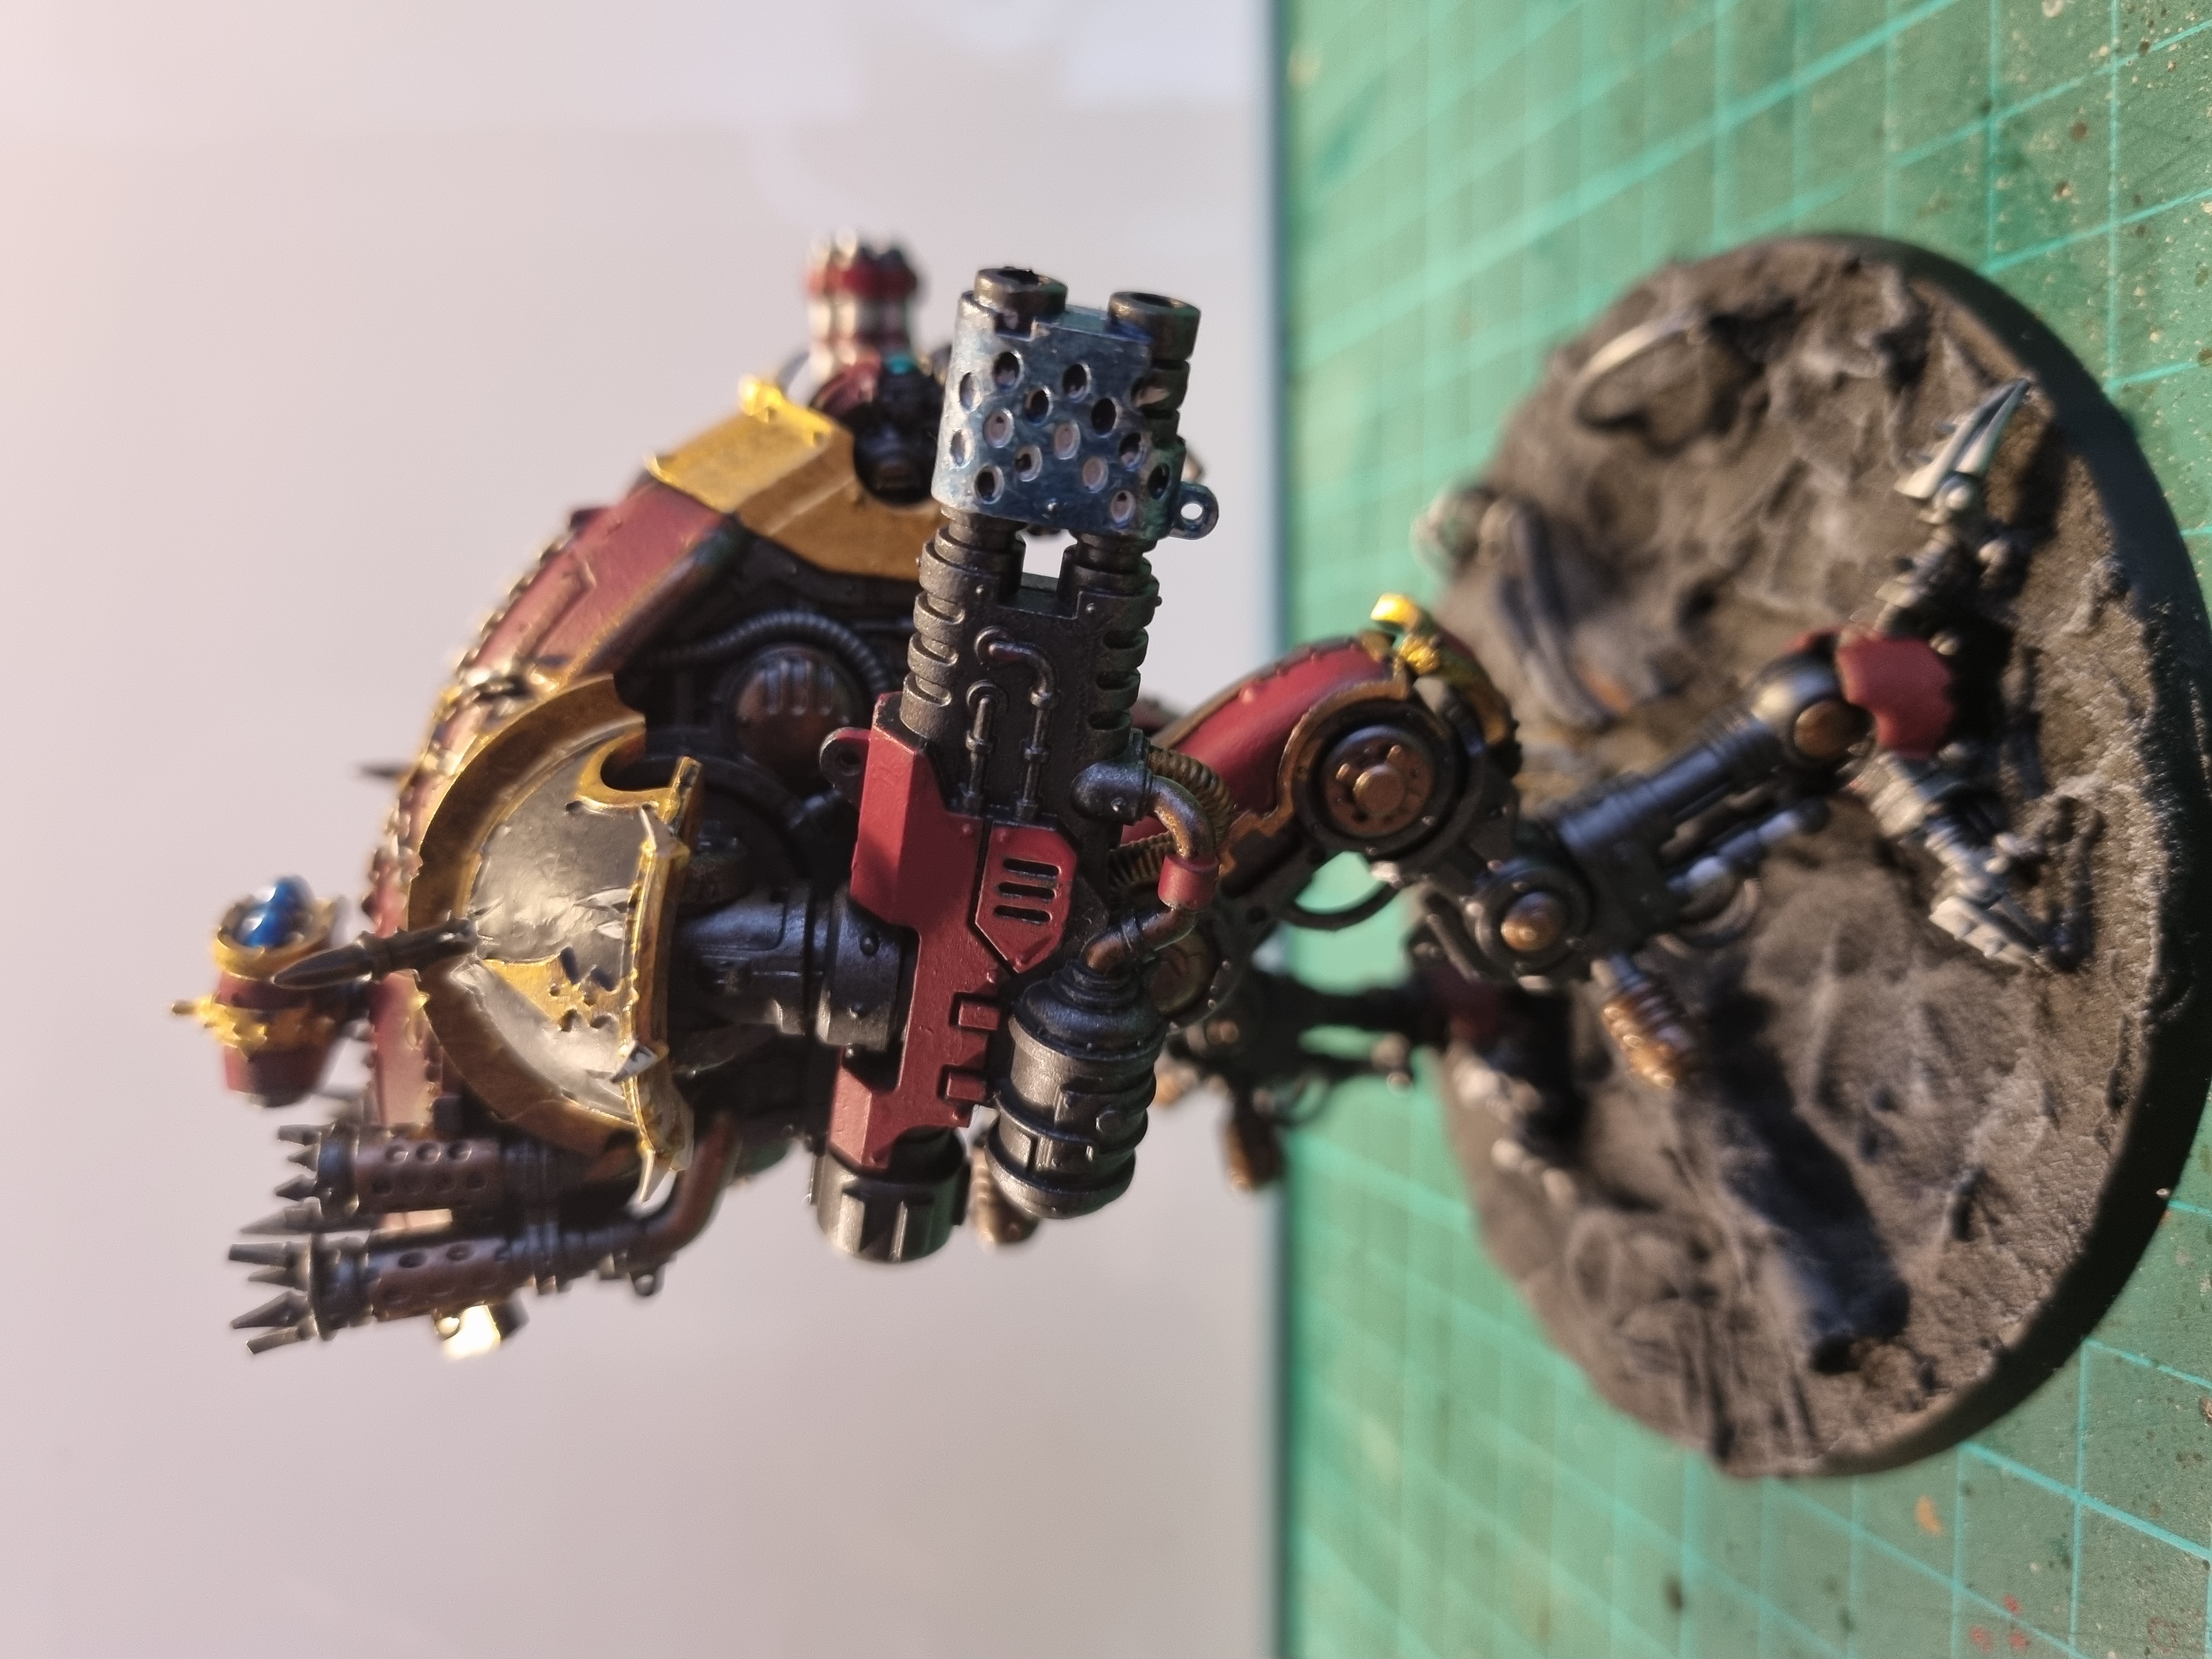
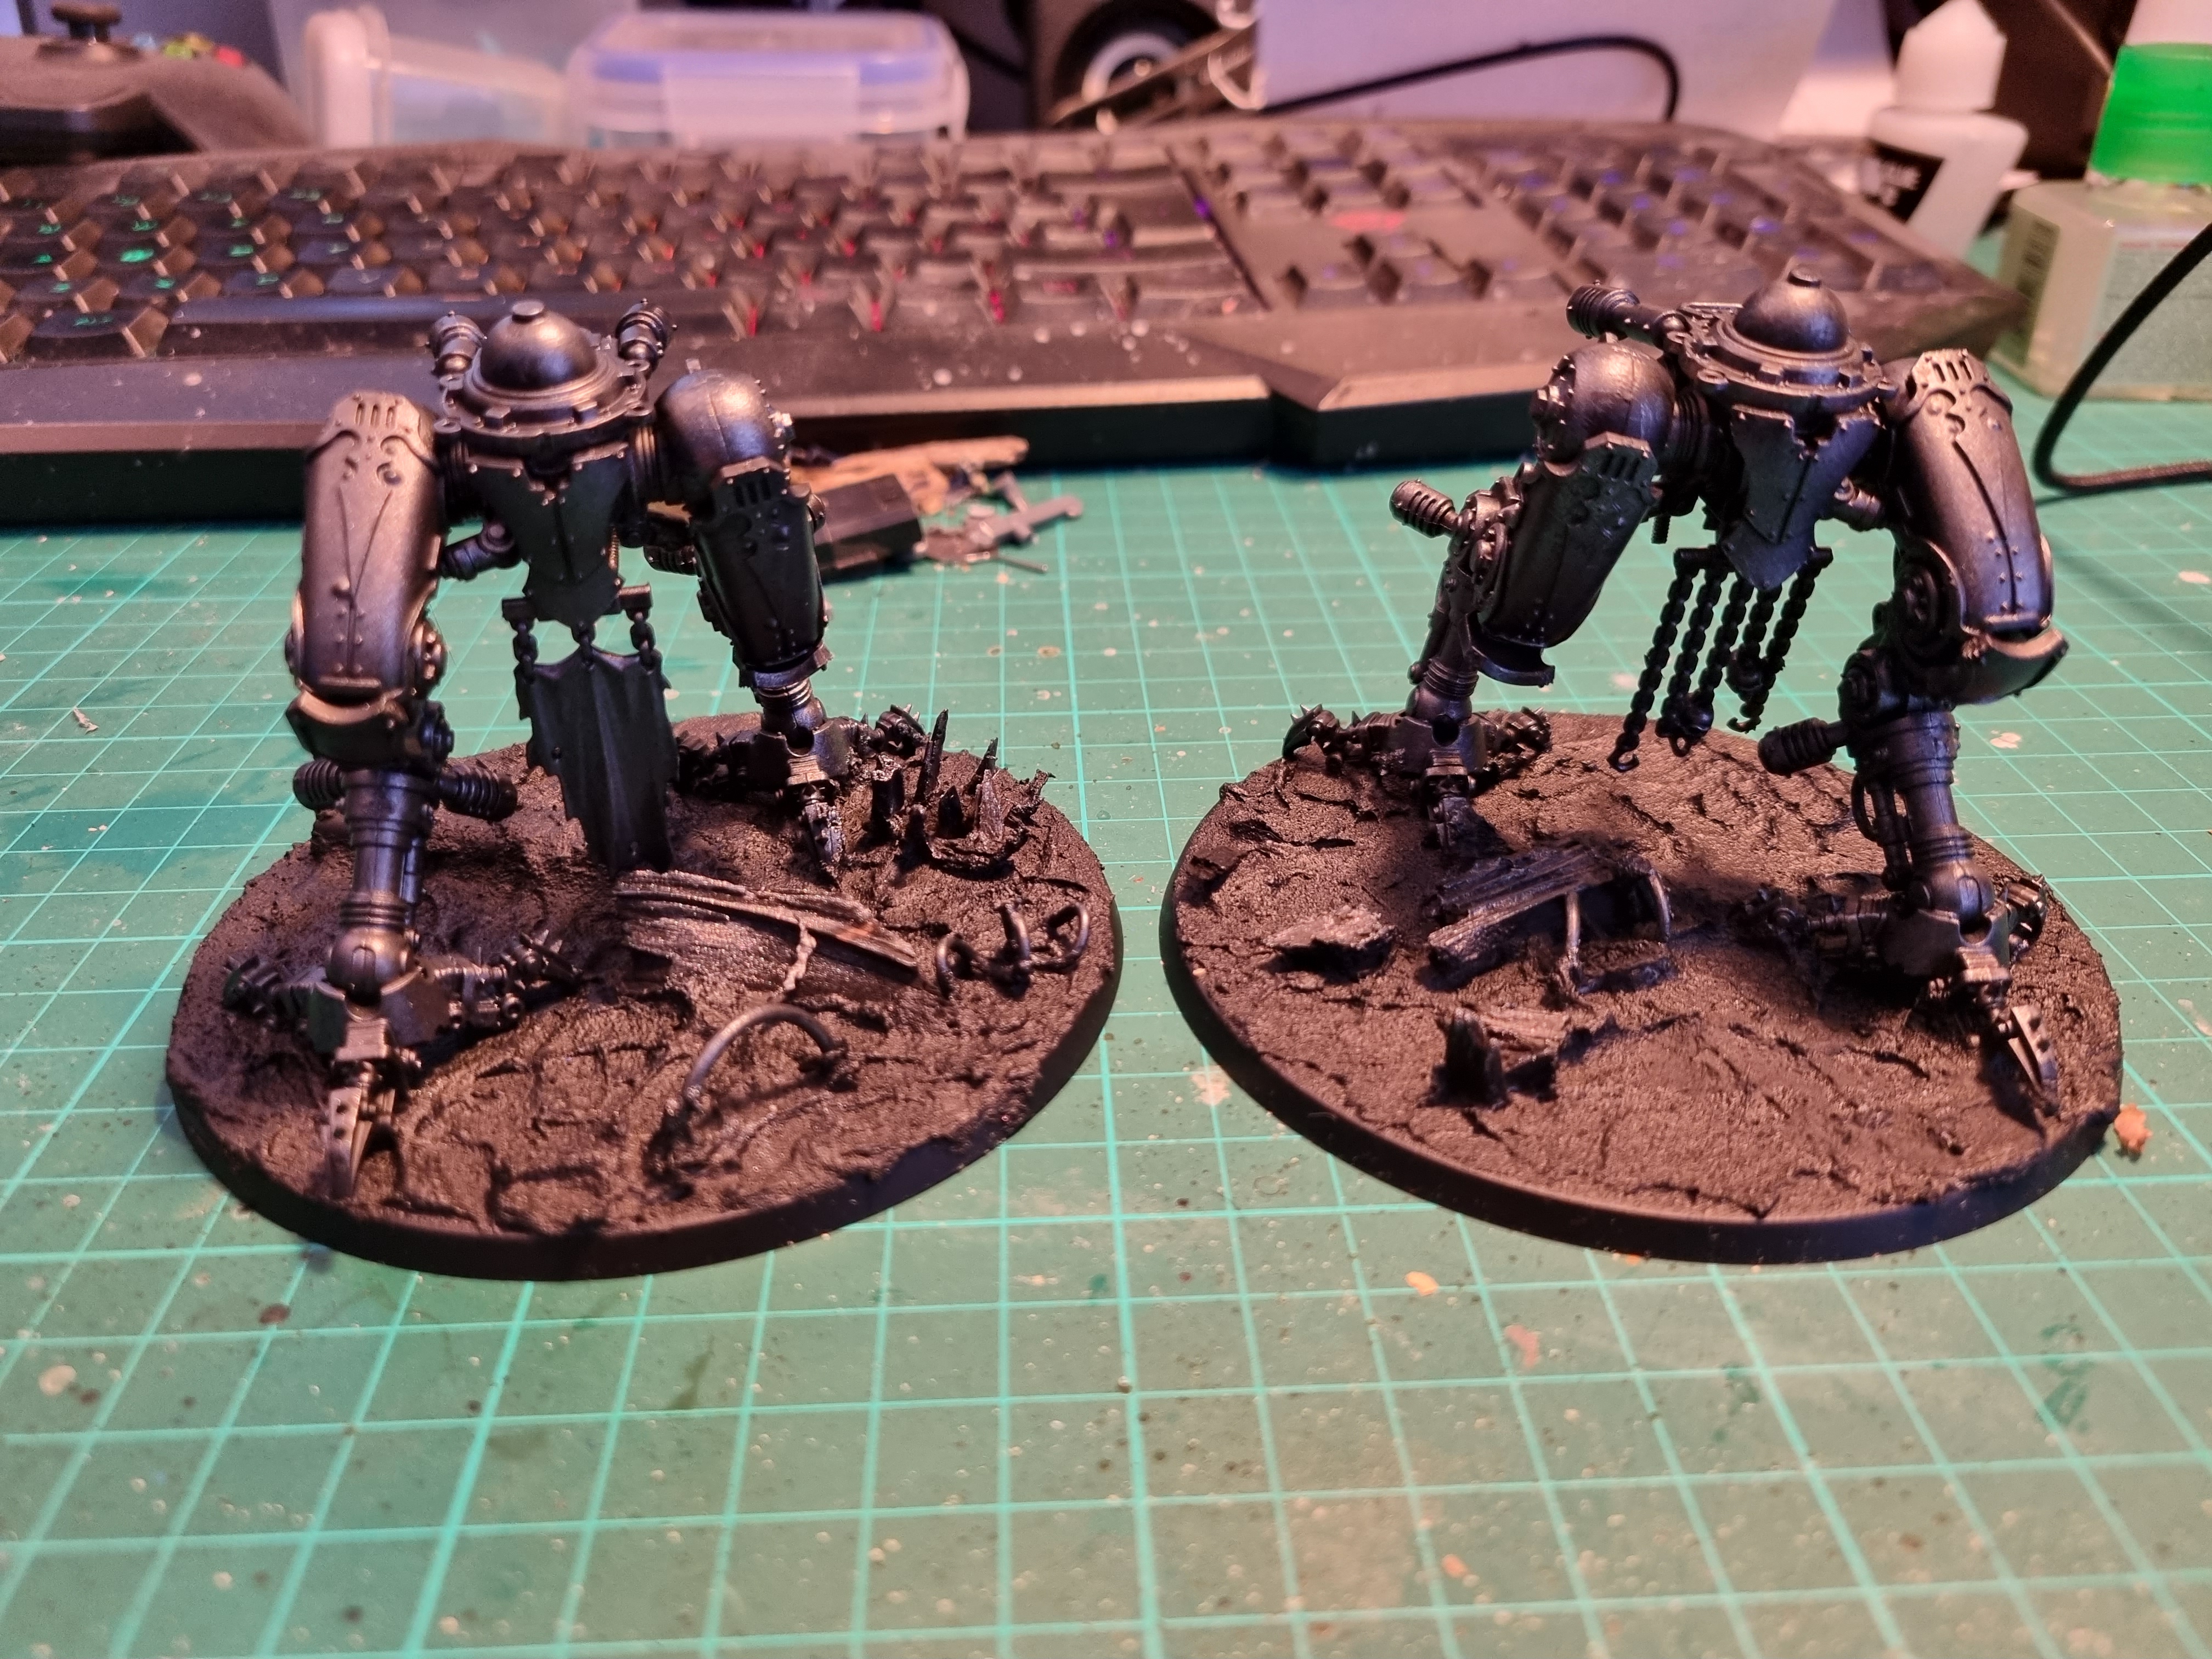
Second War Dog is done, this one is armed as a Brigand (tho all the weapons are magnetised).


Next will be the Knight Abominant
The Brigand strides forth (if he ran, he might have got 3rd...)
Second War Dog is done, this one is armed as a Brigand (tho all the weapons are magnetised).

Next will be the Knight Abominant
Howie Did It! (sort of)
Started War Dog number 2 with the view of trying to document each step in case anyone wanted to try and copy the techniques if not the colour scheme used.
As usual, started well then it became a chore, so procrastinated so took some painting to the Old Skool Youth Club (for the over 40’s), got painting, and forgot to take photo’s. so here we go…
 Started with a mix of Khorne Red and Abbadon Black, roughly 3 to 1 ratio and using a mini stipling/dry brush painted/polished (small circular motions) the mix onto the relevent armour panels
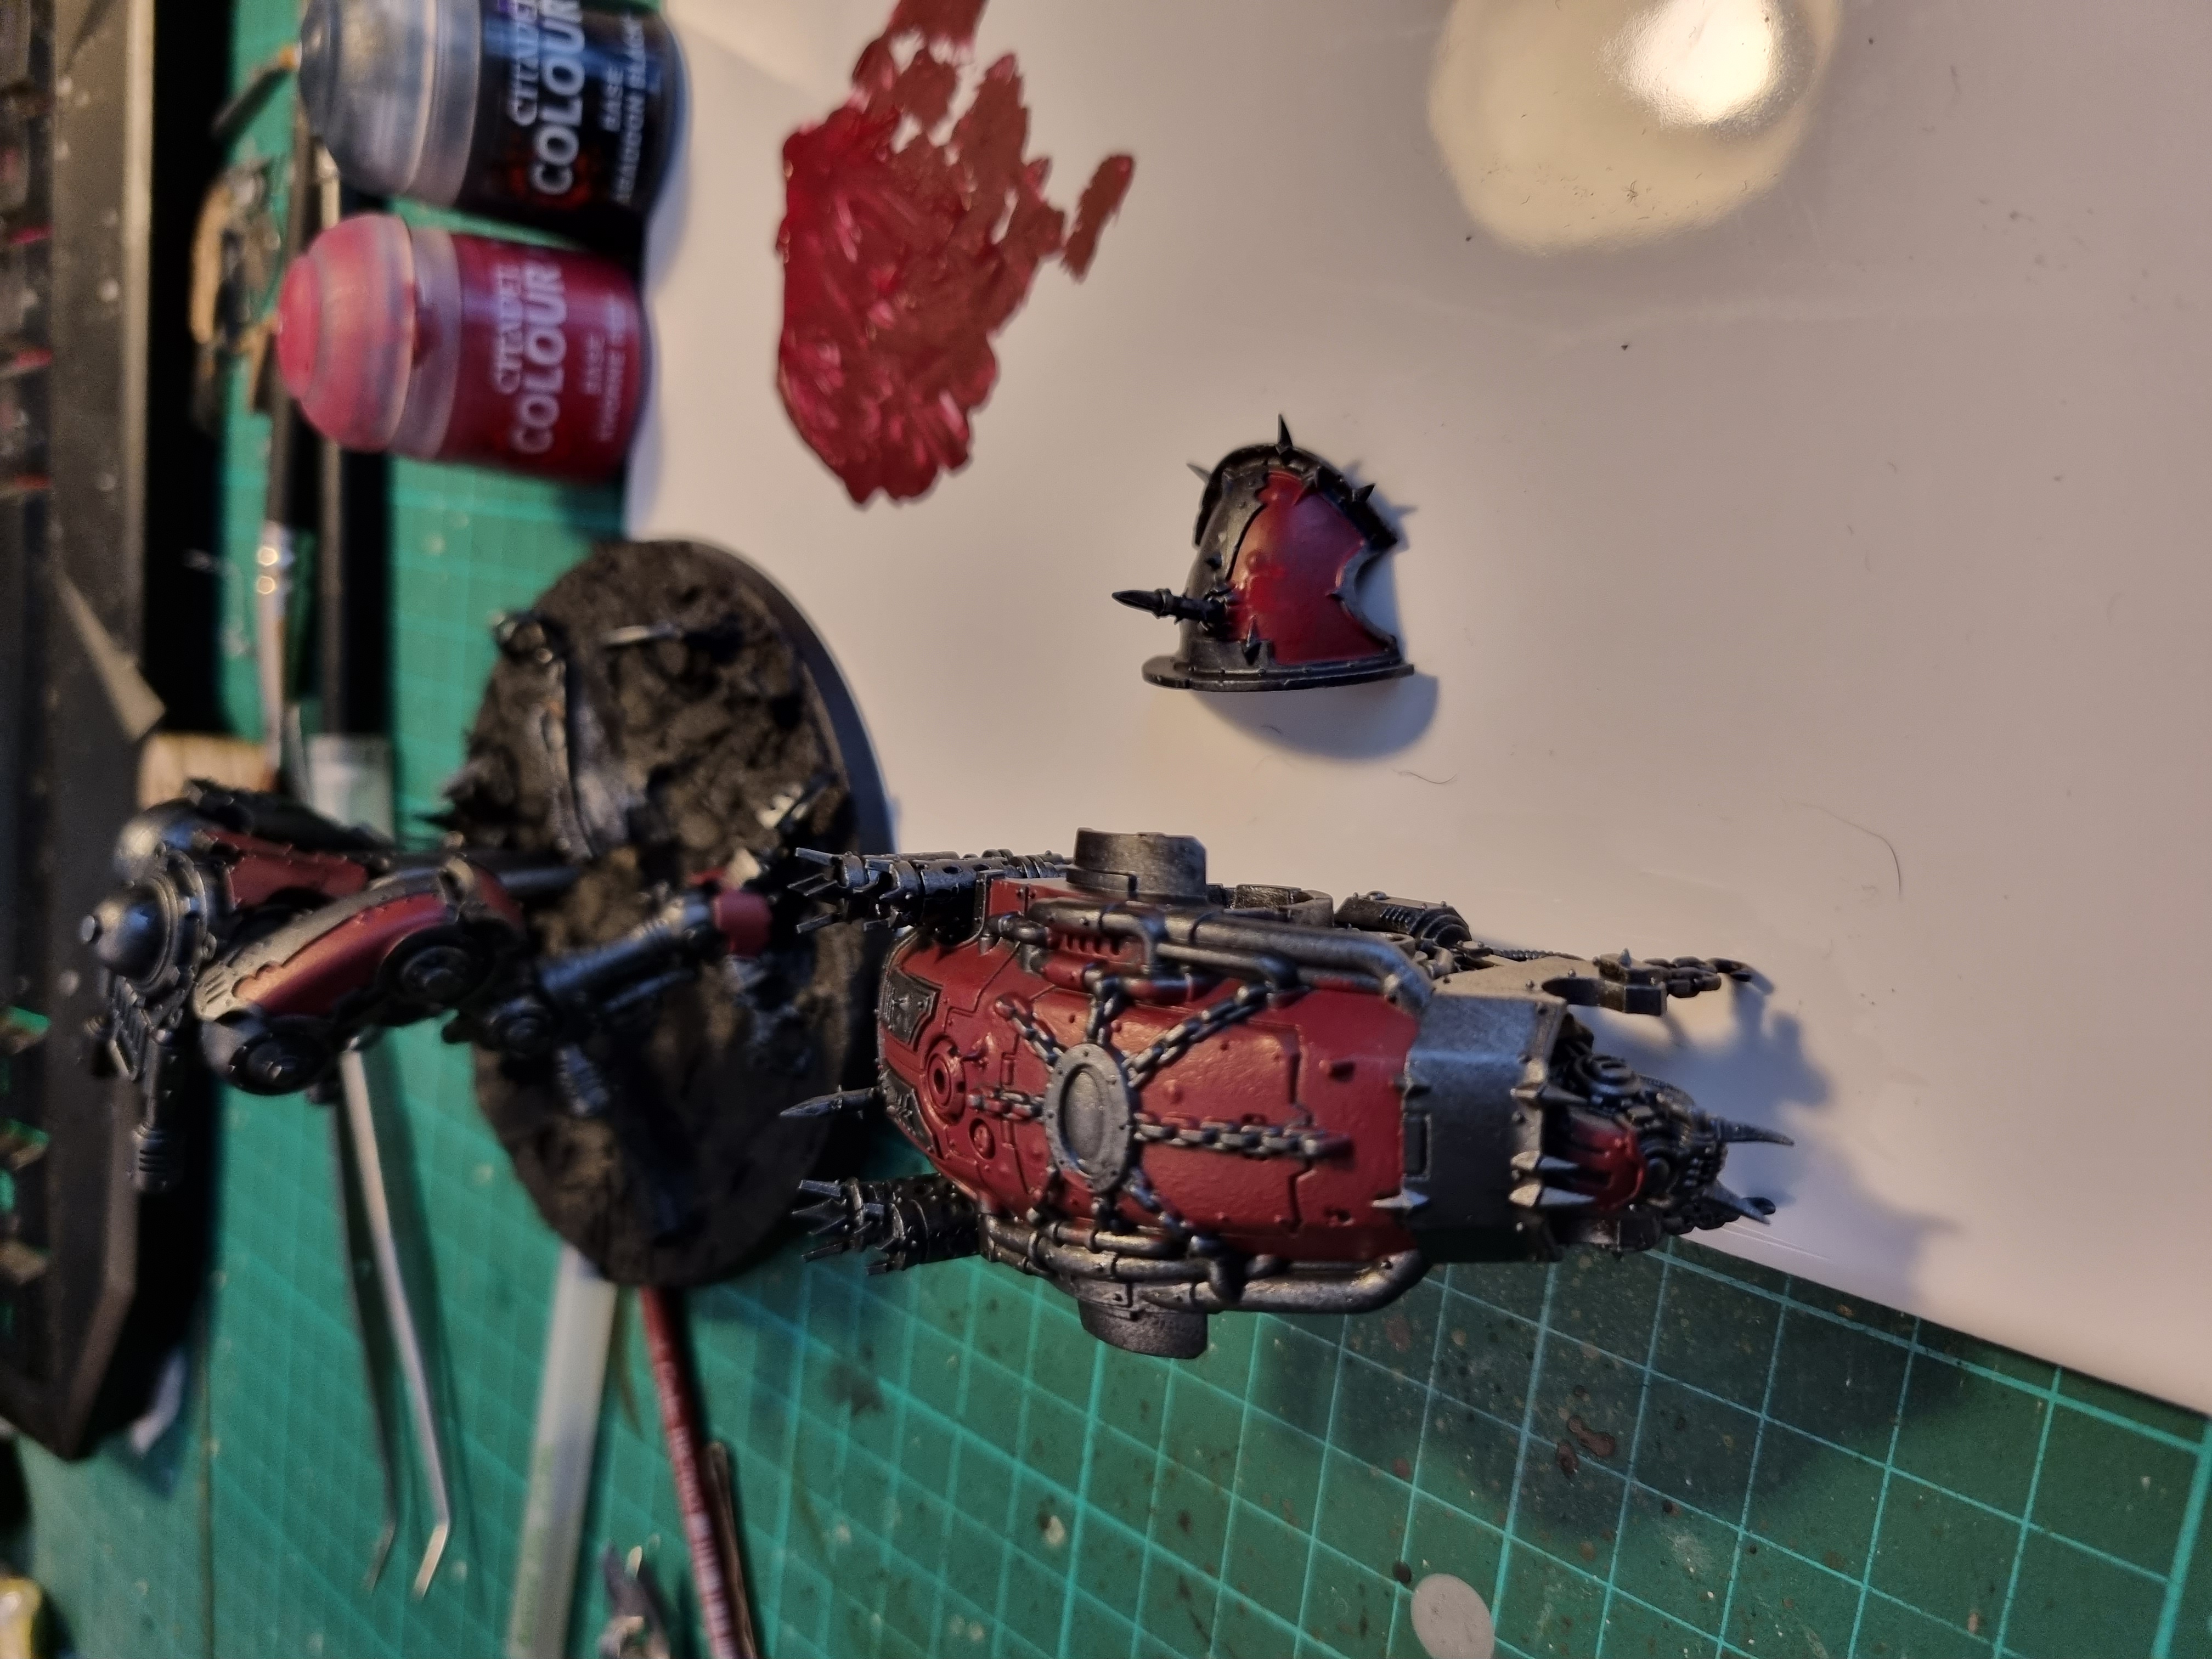 1st layer down on the red armour
 Next I repeated the red step but with Skavenblight Dirge and Abbadon black on the black panels
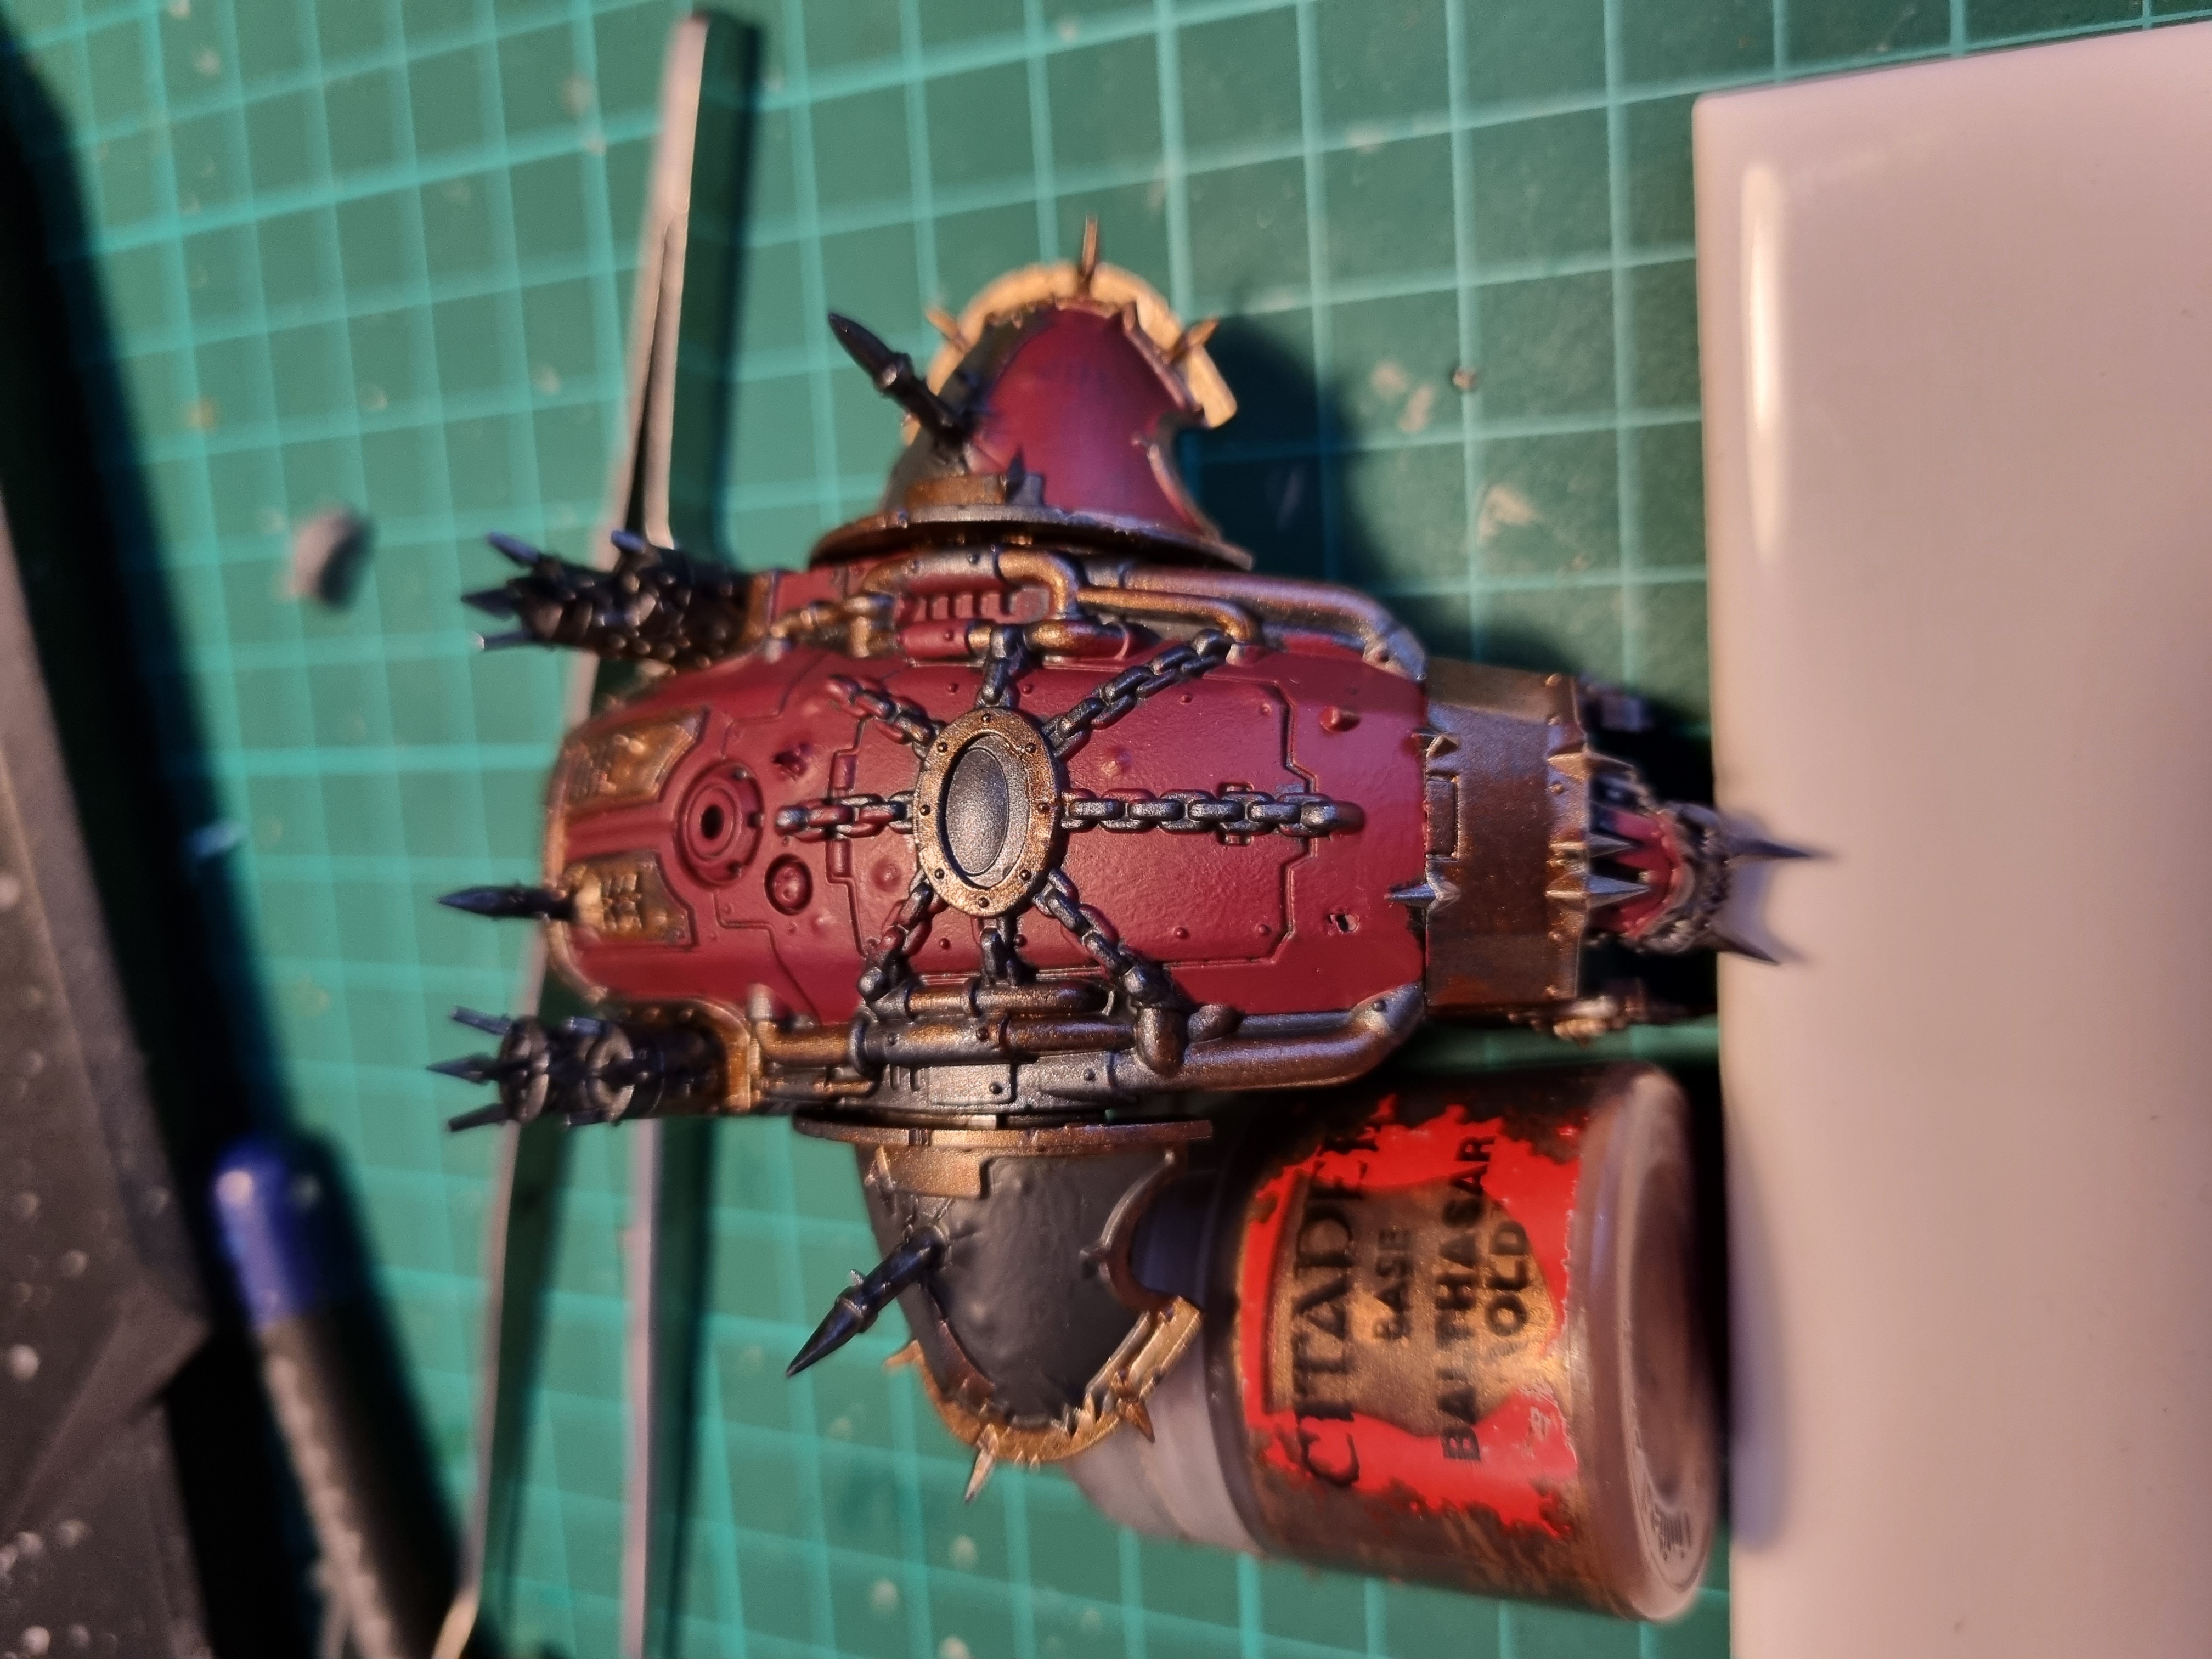 Once the base layers are on the armour panels I use Balthasar Gold for the base layer on the trim, pipes and vents
 Next step, Vallejo Brass
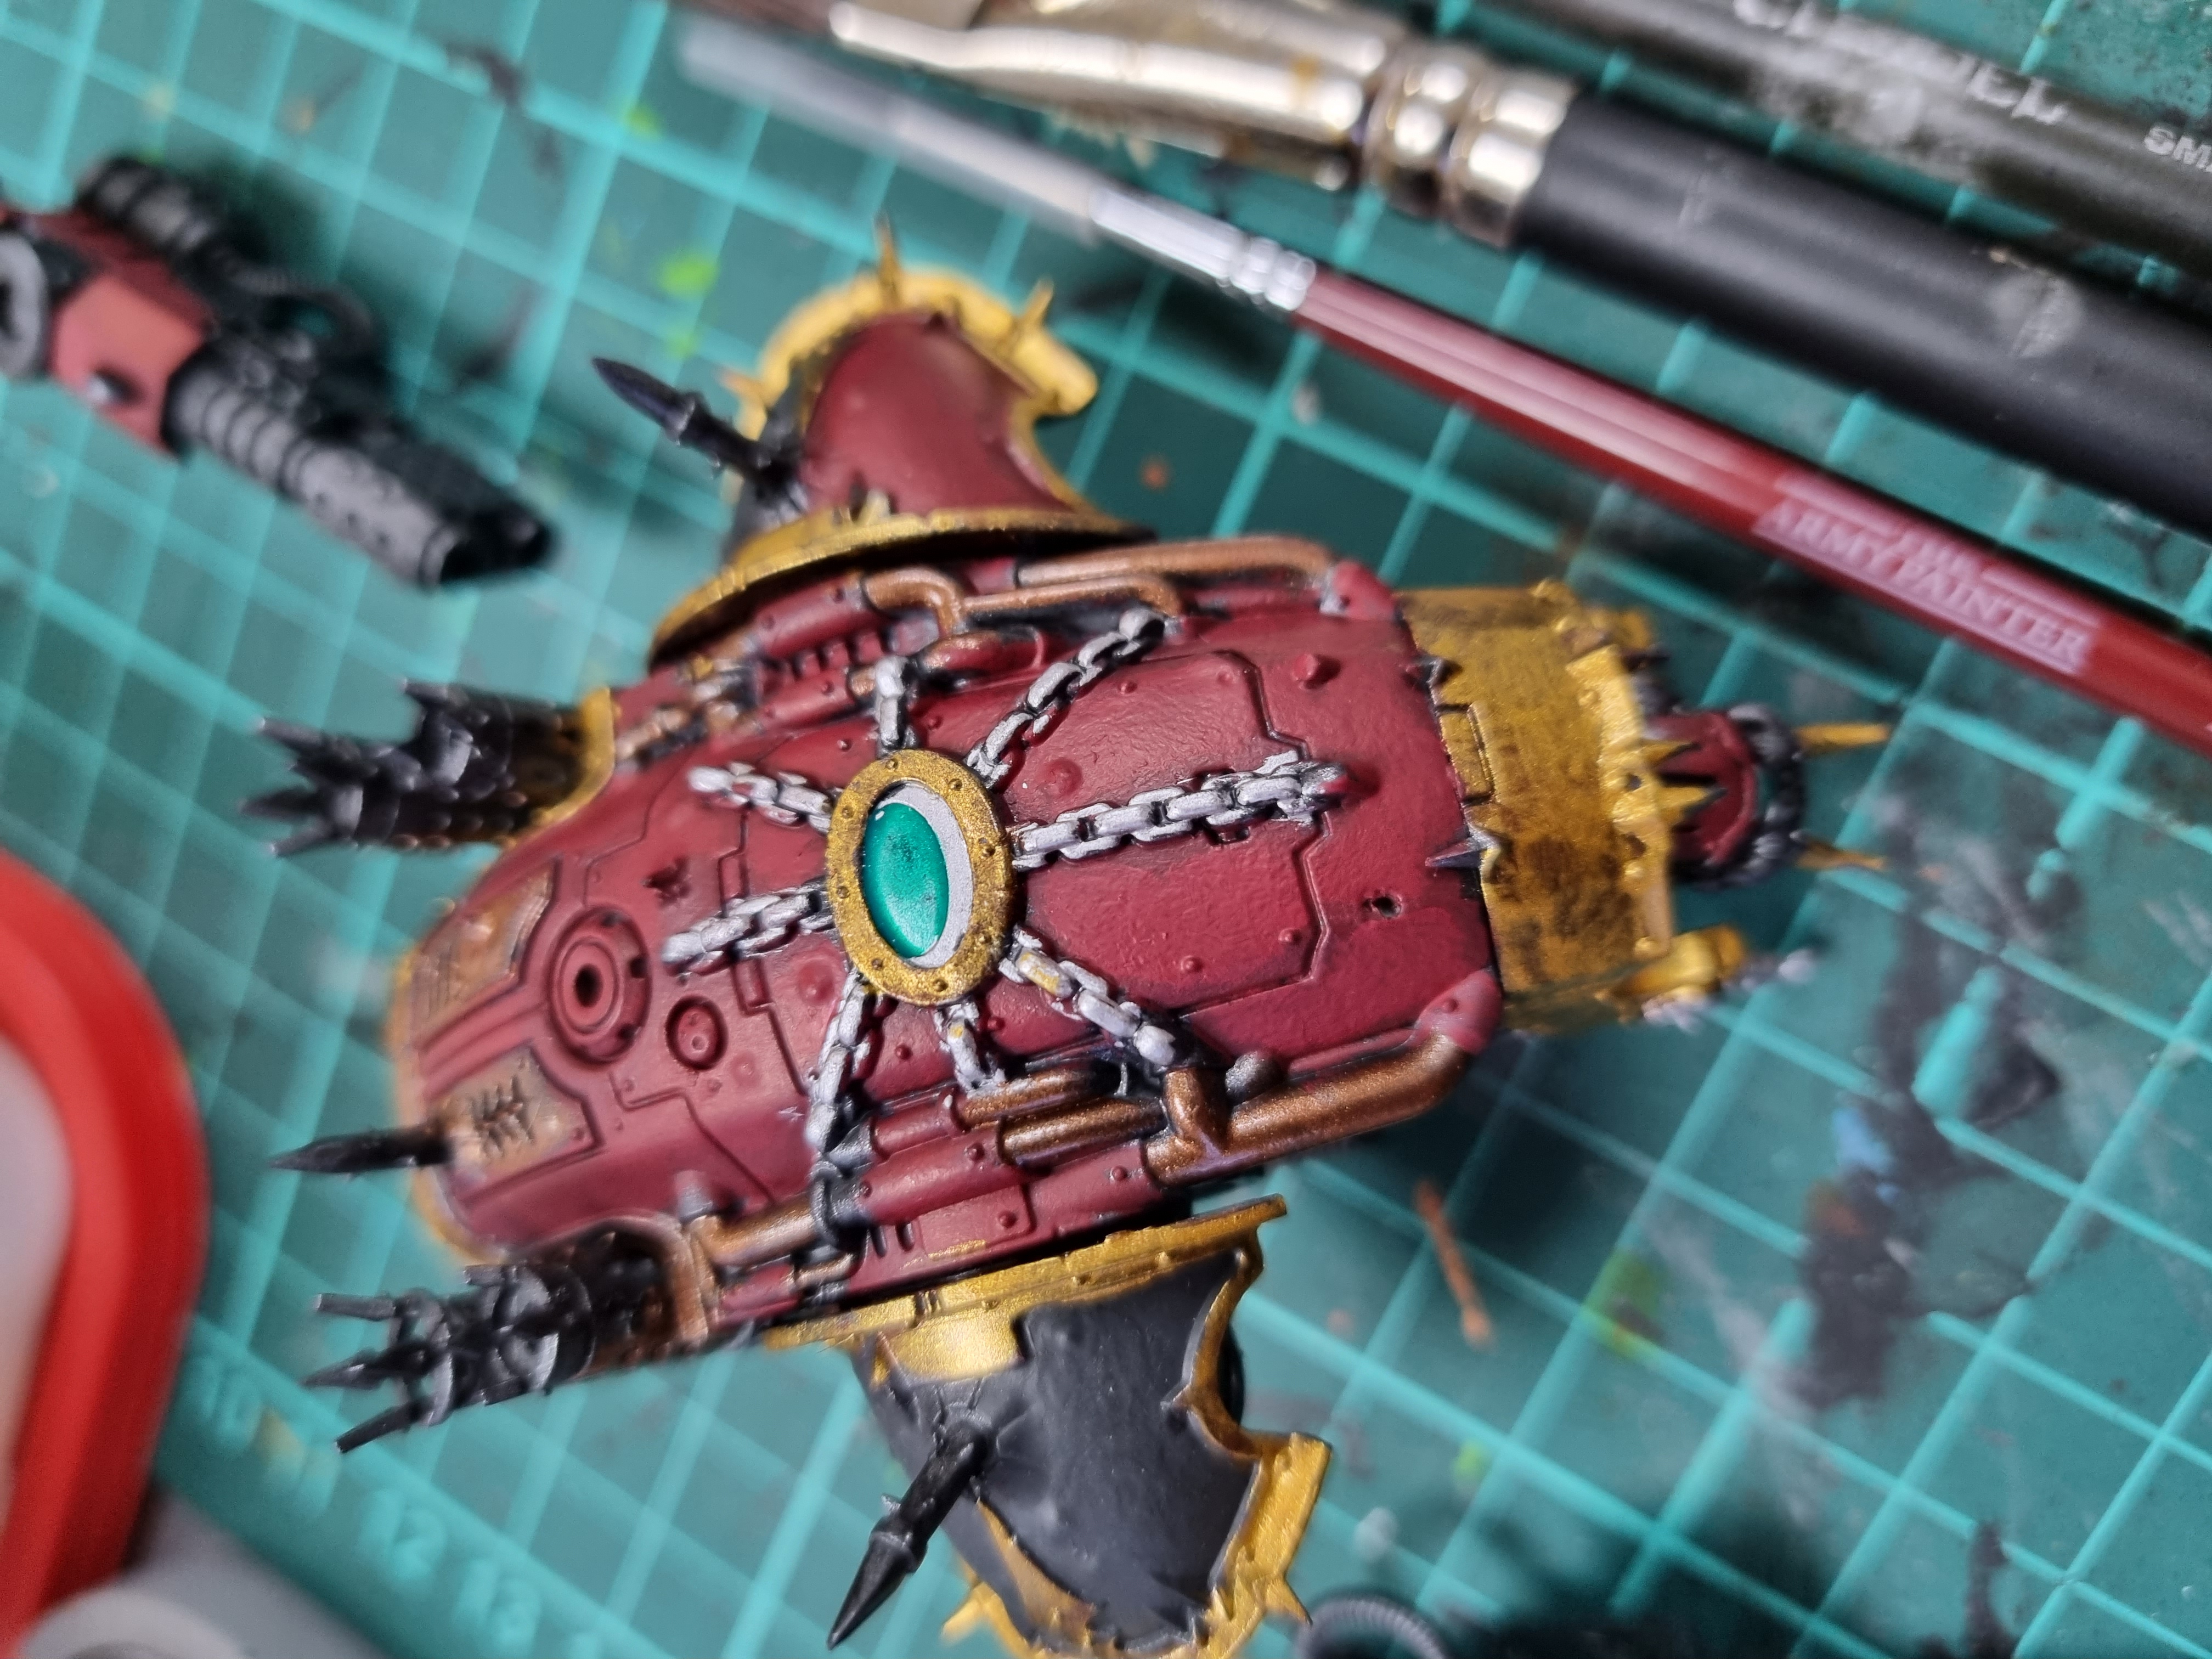 Added the Vallejo Brass, then some how, the red aromour went through lighter stages of the red/black mix before finally pure Khorne Red on the highest area, the silver on the chains and Jade Green Candy Ink on the hatch eye.... Just like magic yeah?
So yeah, it’s an update, all be it a bit of a naff one.
Let me know if there’s any bit’s you’d like to know more details on and I’ll try and oblige

A mini update :) maybe...
Got some time to get everything primed and sat down over the weekend to do some painting. As usual, got engrossed and forgot to take pictures as I went so here’s a quick dump and I’ll try to get step by step on the next one.
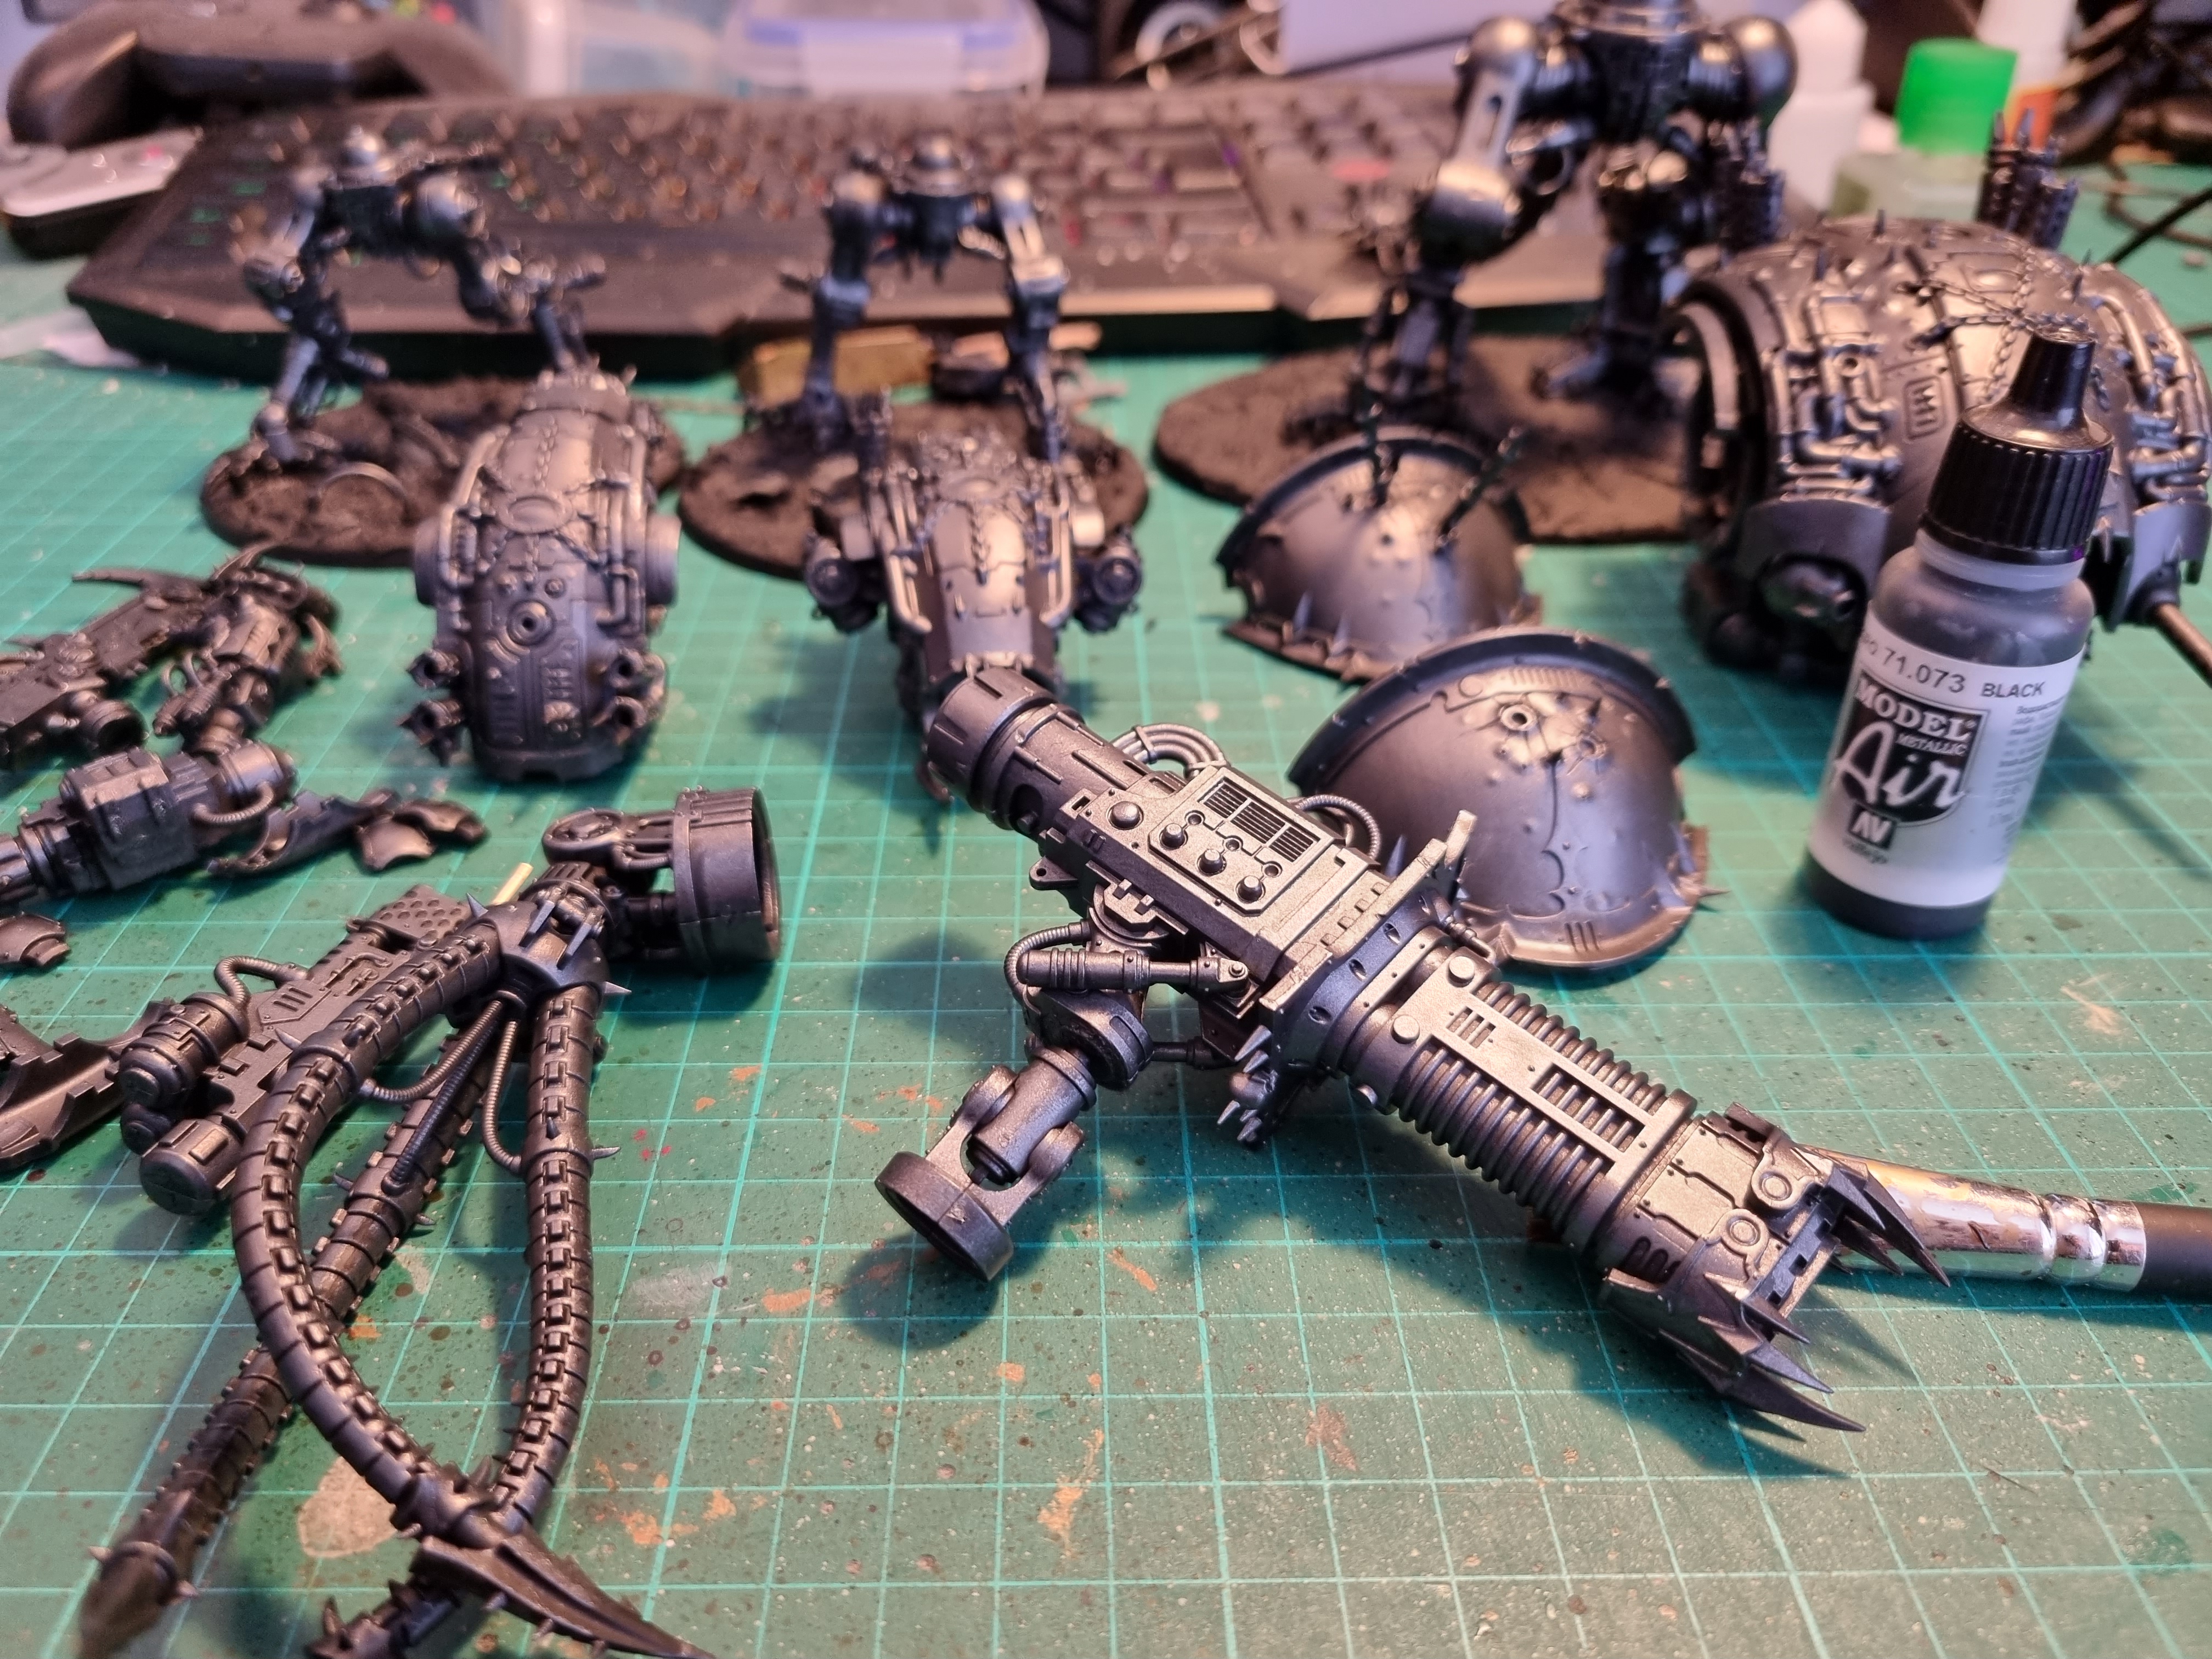

Primed everything separately then glued on the leg armor panels before doing a heavy/wet dry brush on Vallejo Metallic Black over everything. This has served me well over the years as a first main base for all my metals as it can still be dawn but have that sheen. It can be left as is or followed up with a silver dry brush
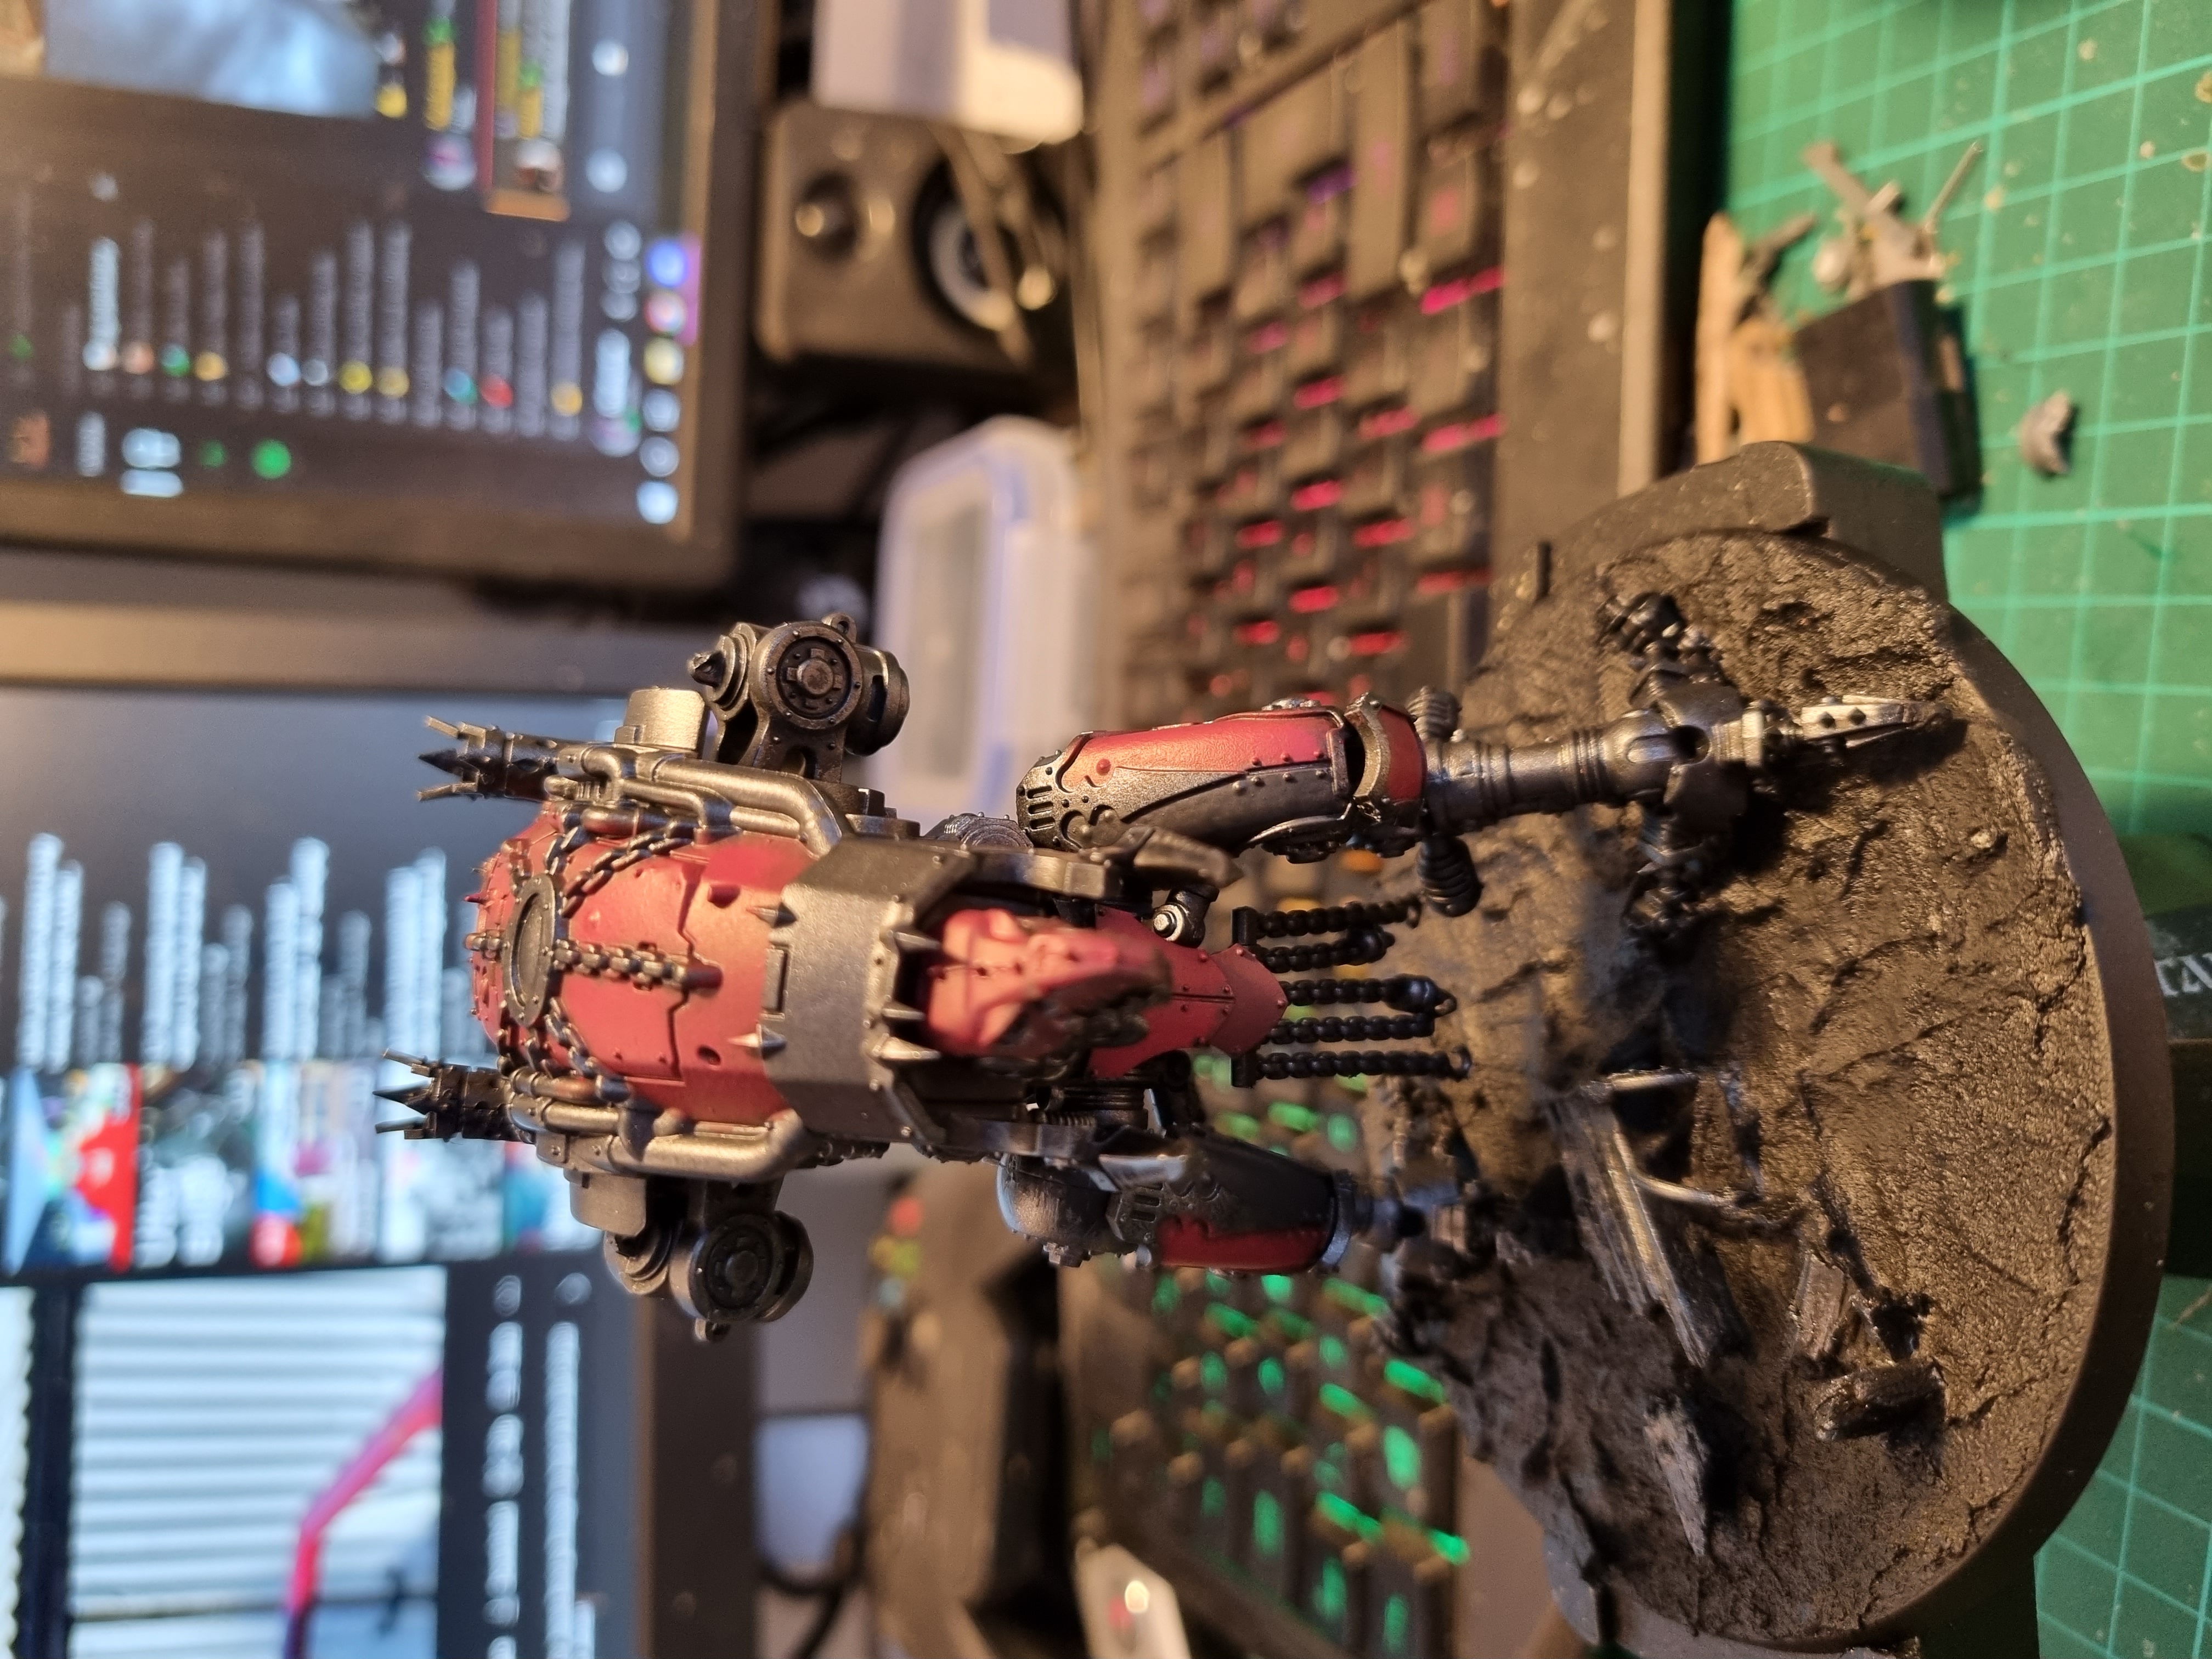
A few steps on, the red is pretty much complete and all the trim done with Balthasar Gold from GW but it was too dark for me with following the red/balck/brass so after a quick chat in the Discord group I went back over the trim with Vallejo Model Color Brass.
 Here is the top sections all brassed and looks much better
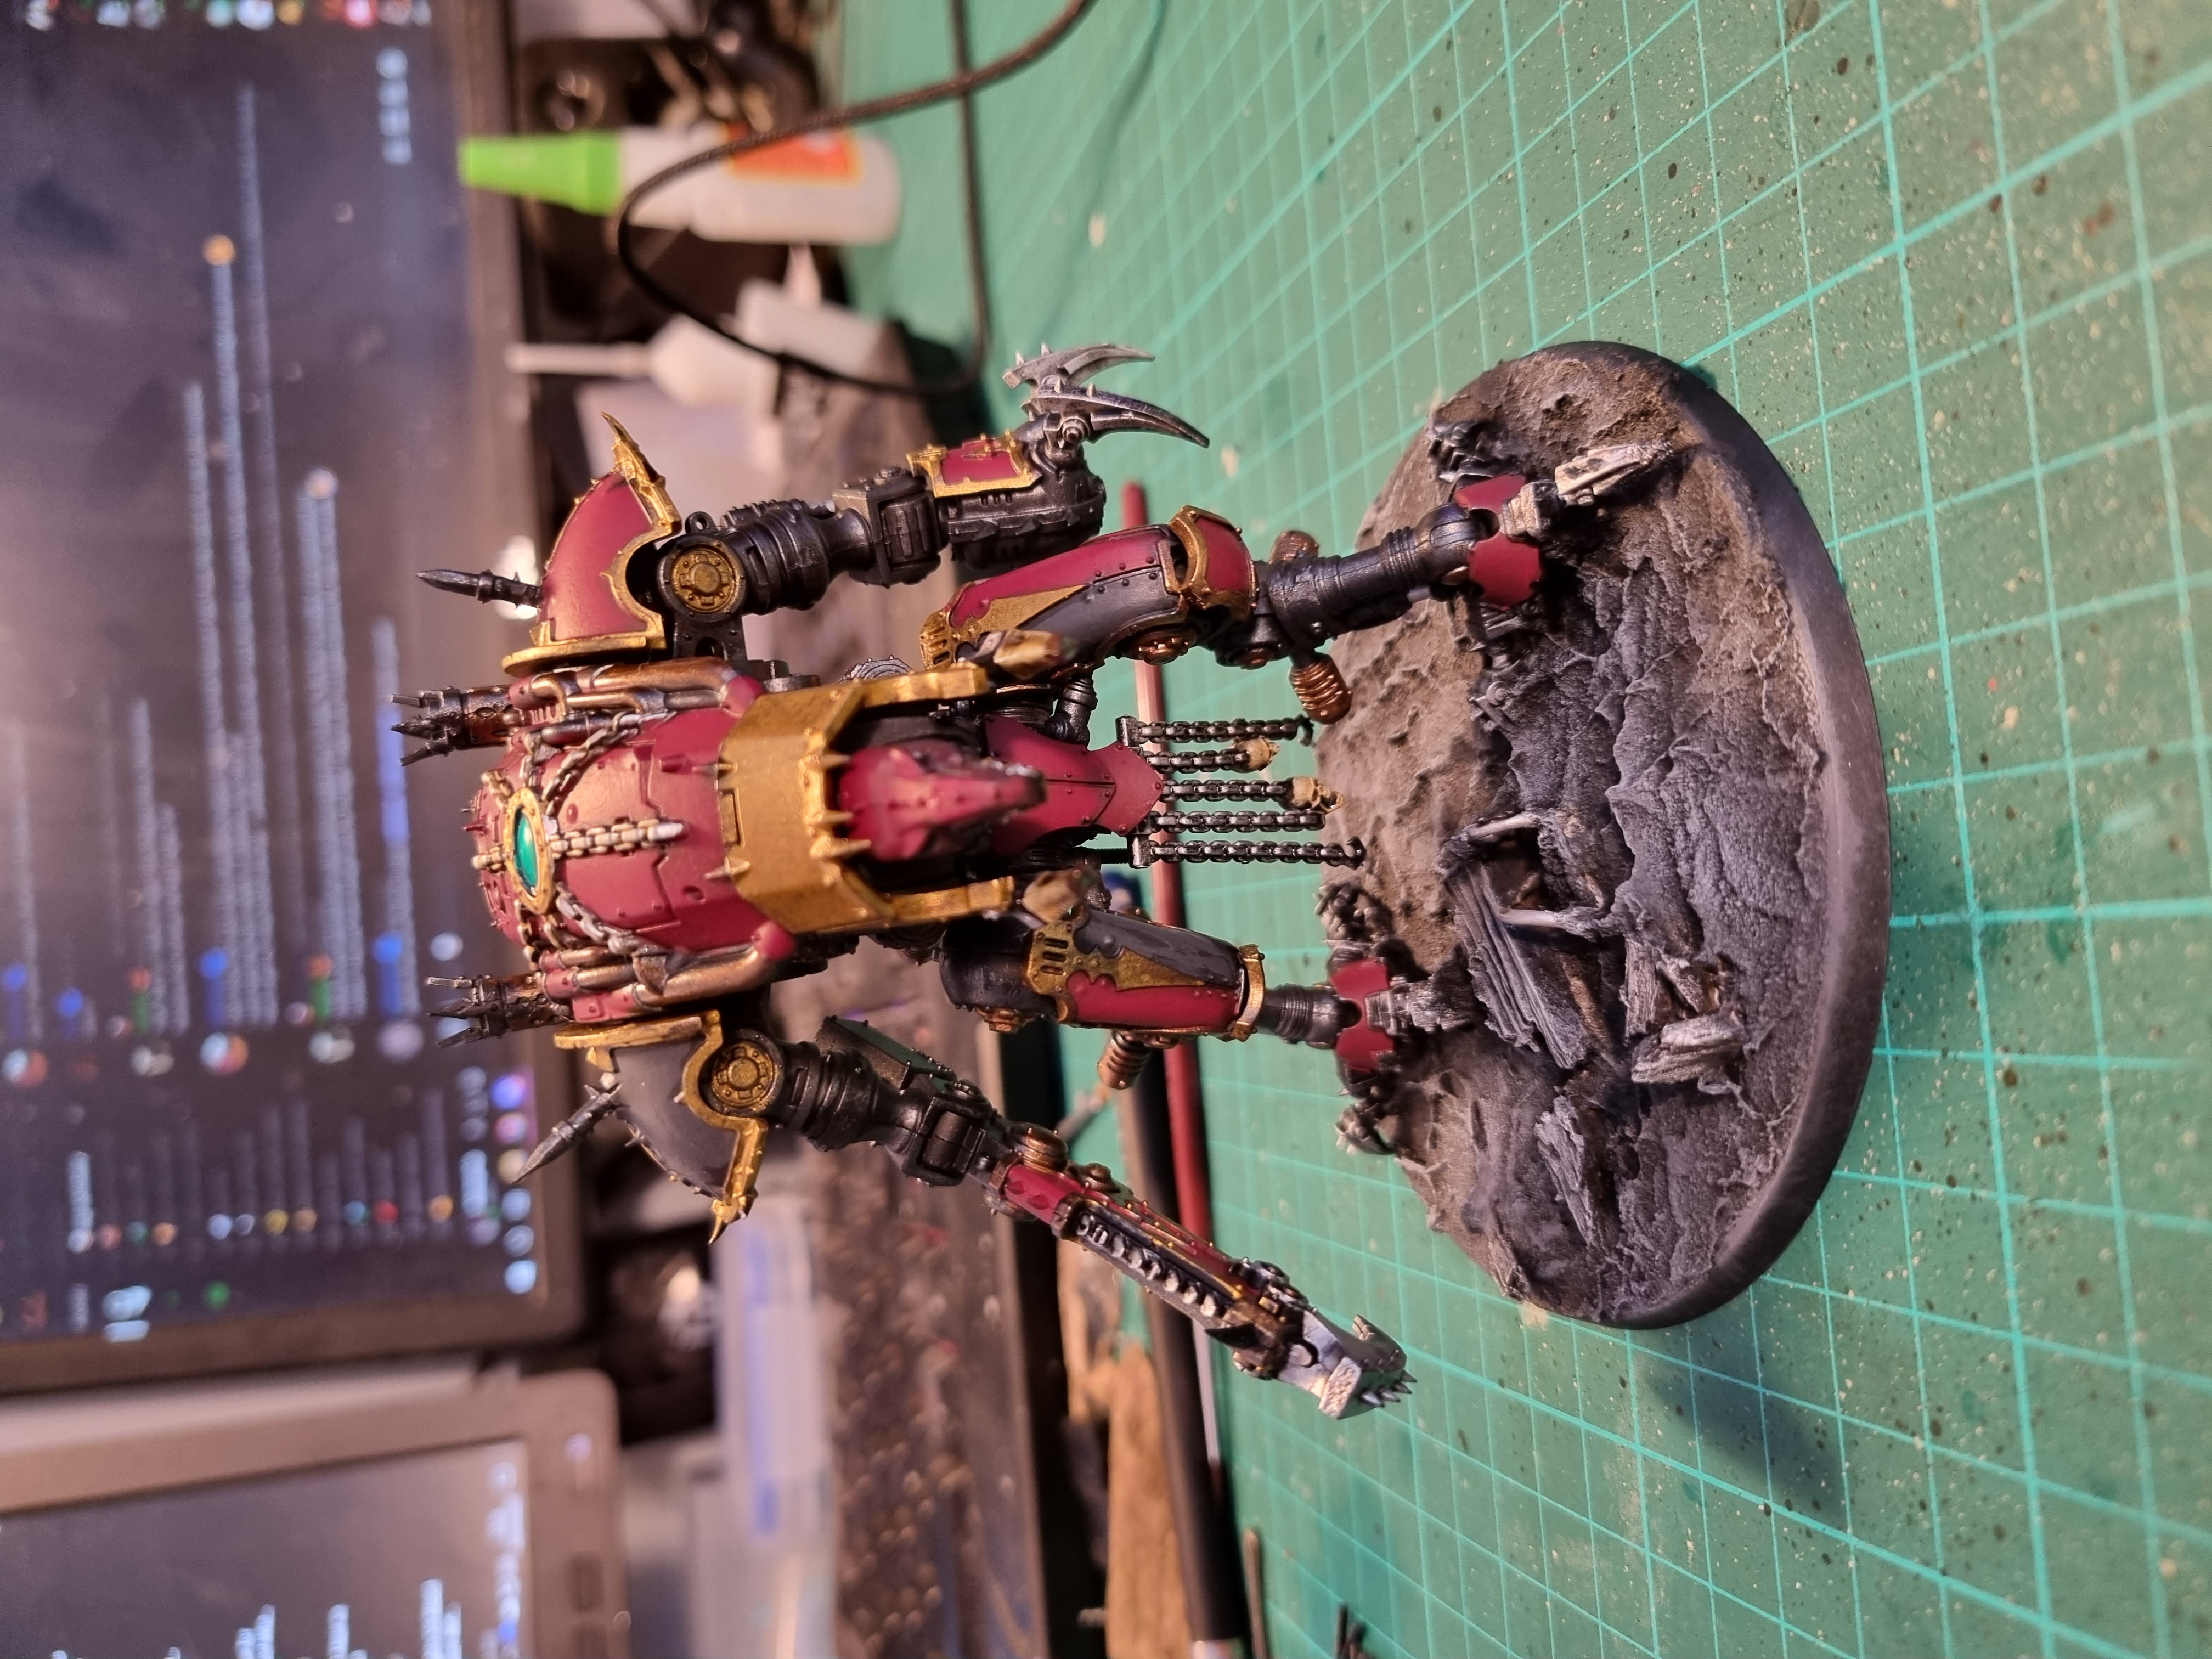
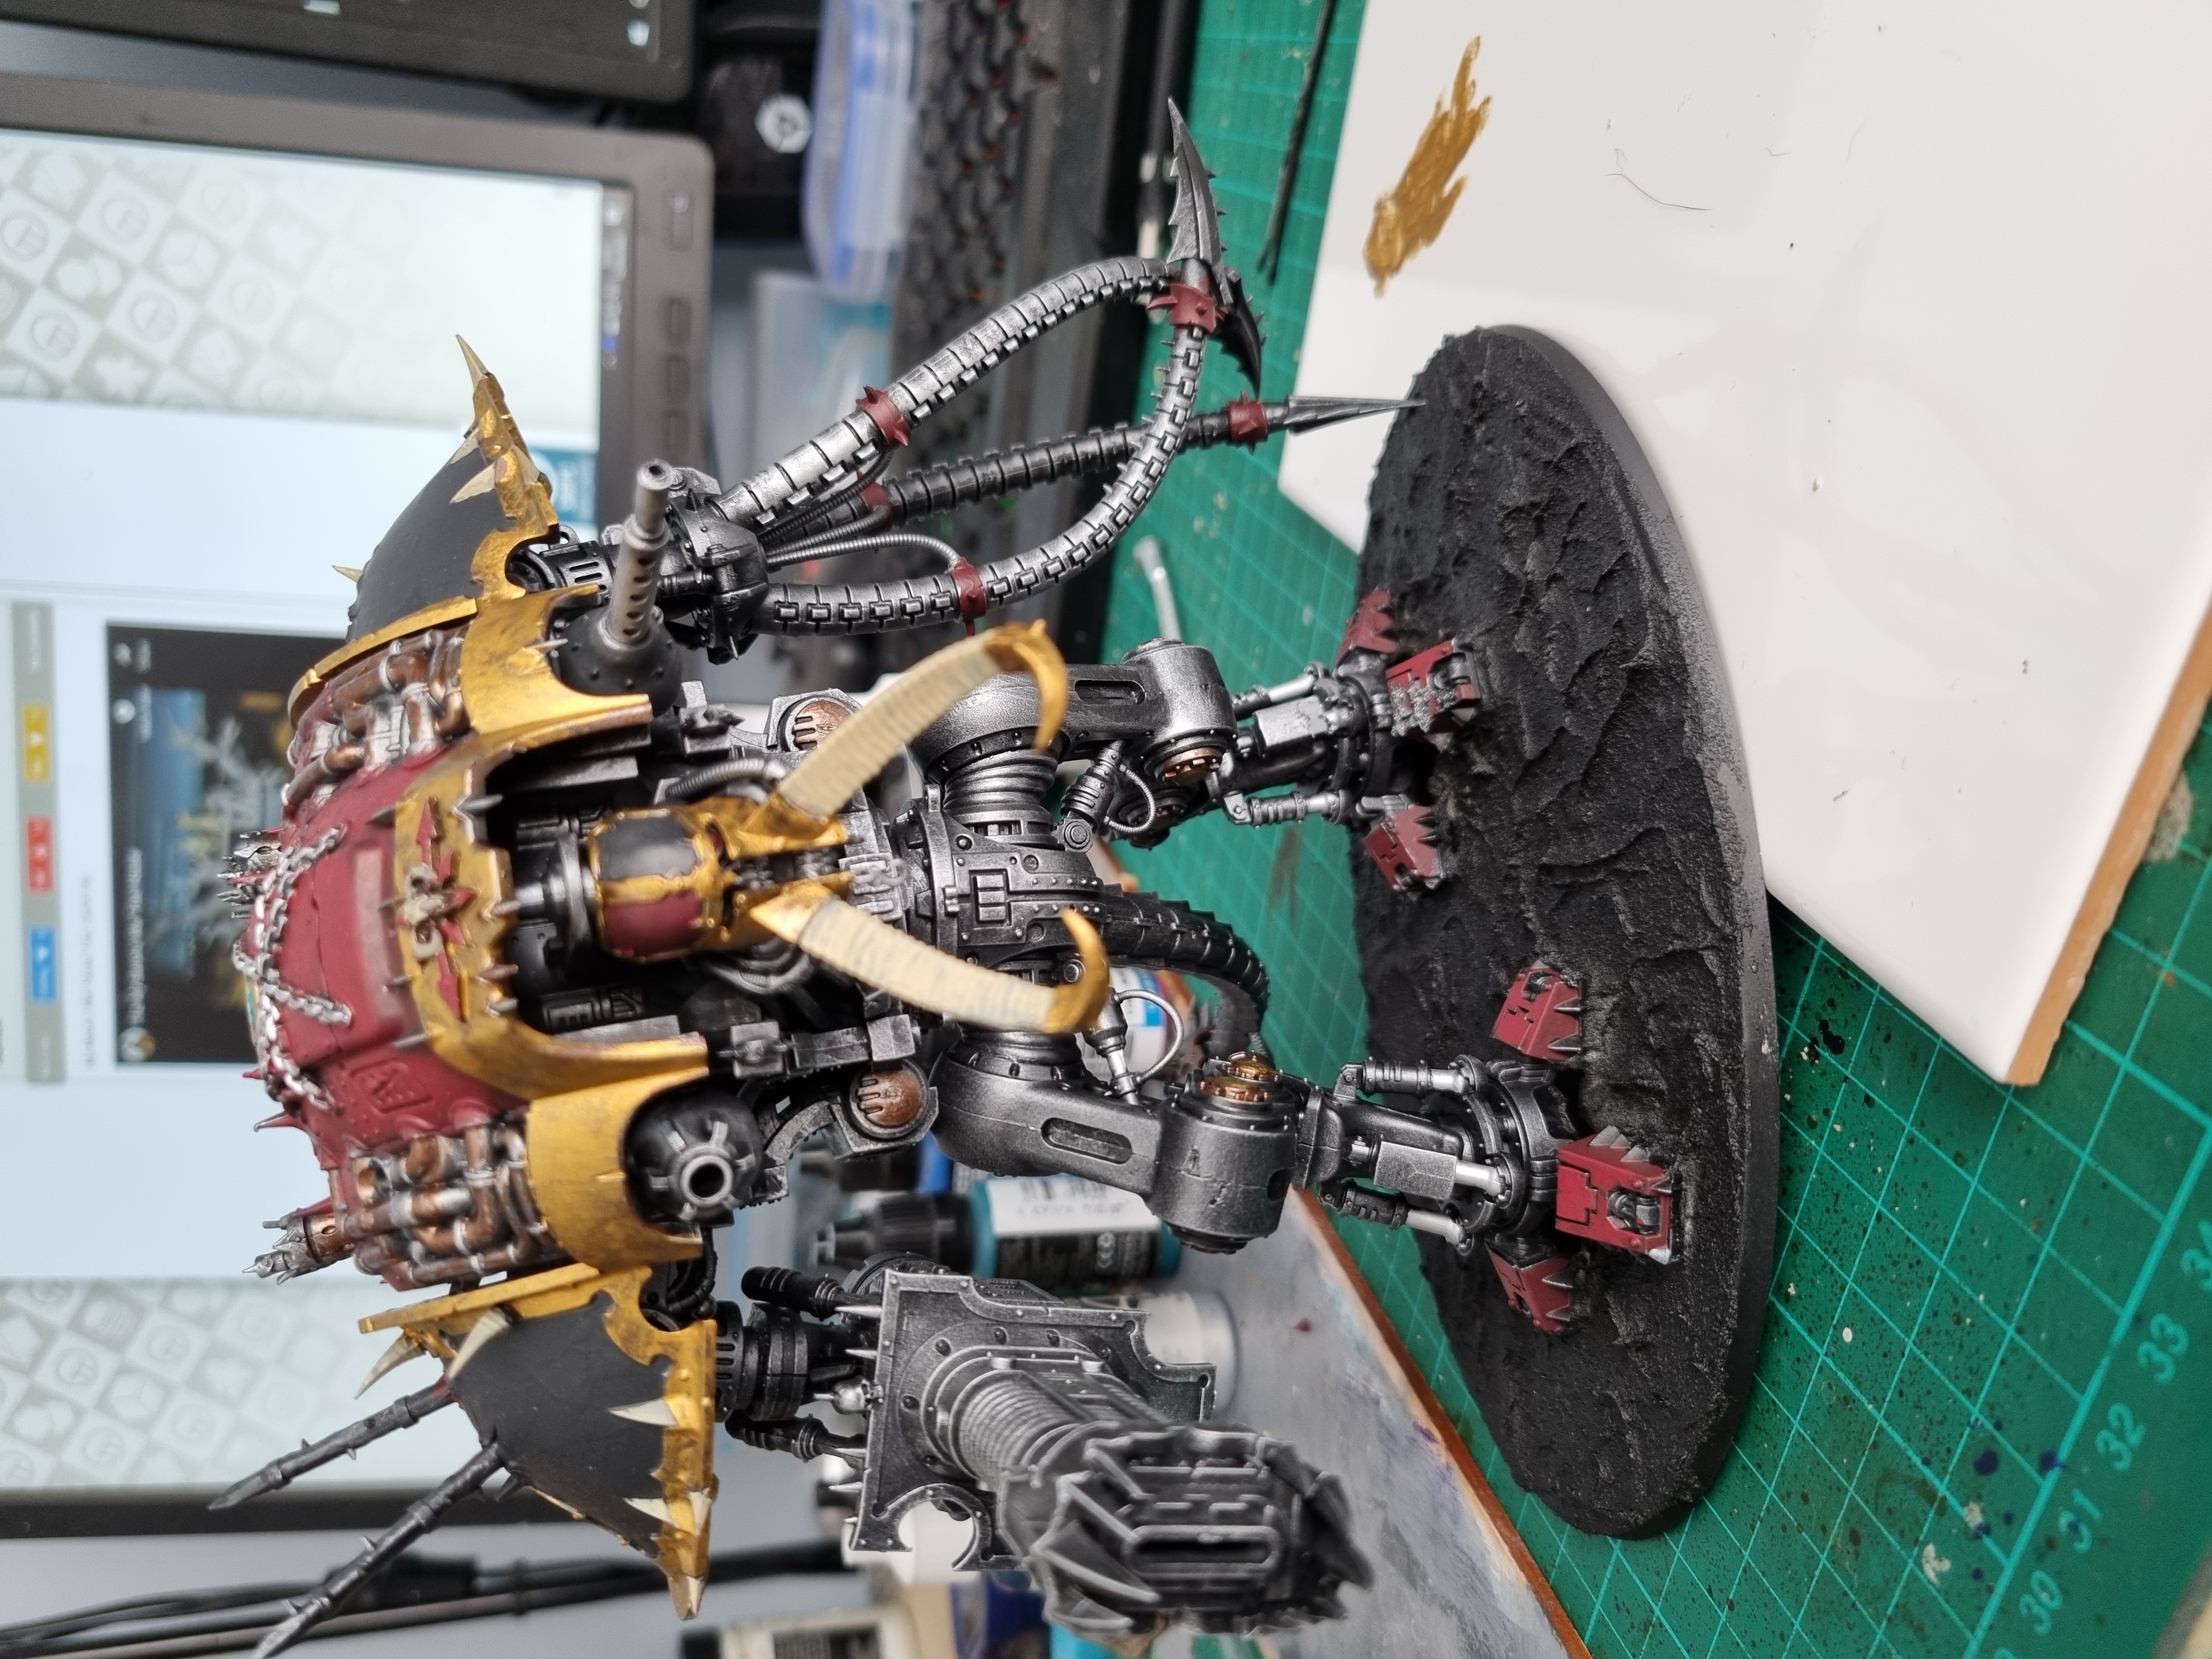
Near enough called this now done, then spotted all the tiny fangs that I want to do bone coloured…
Cry Havoc Harder! The return of the War Dog
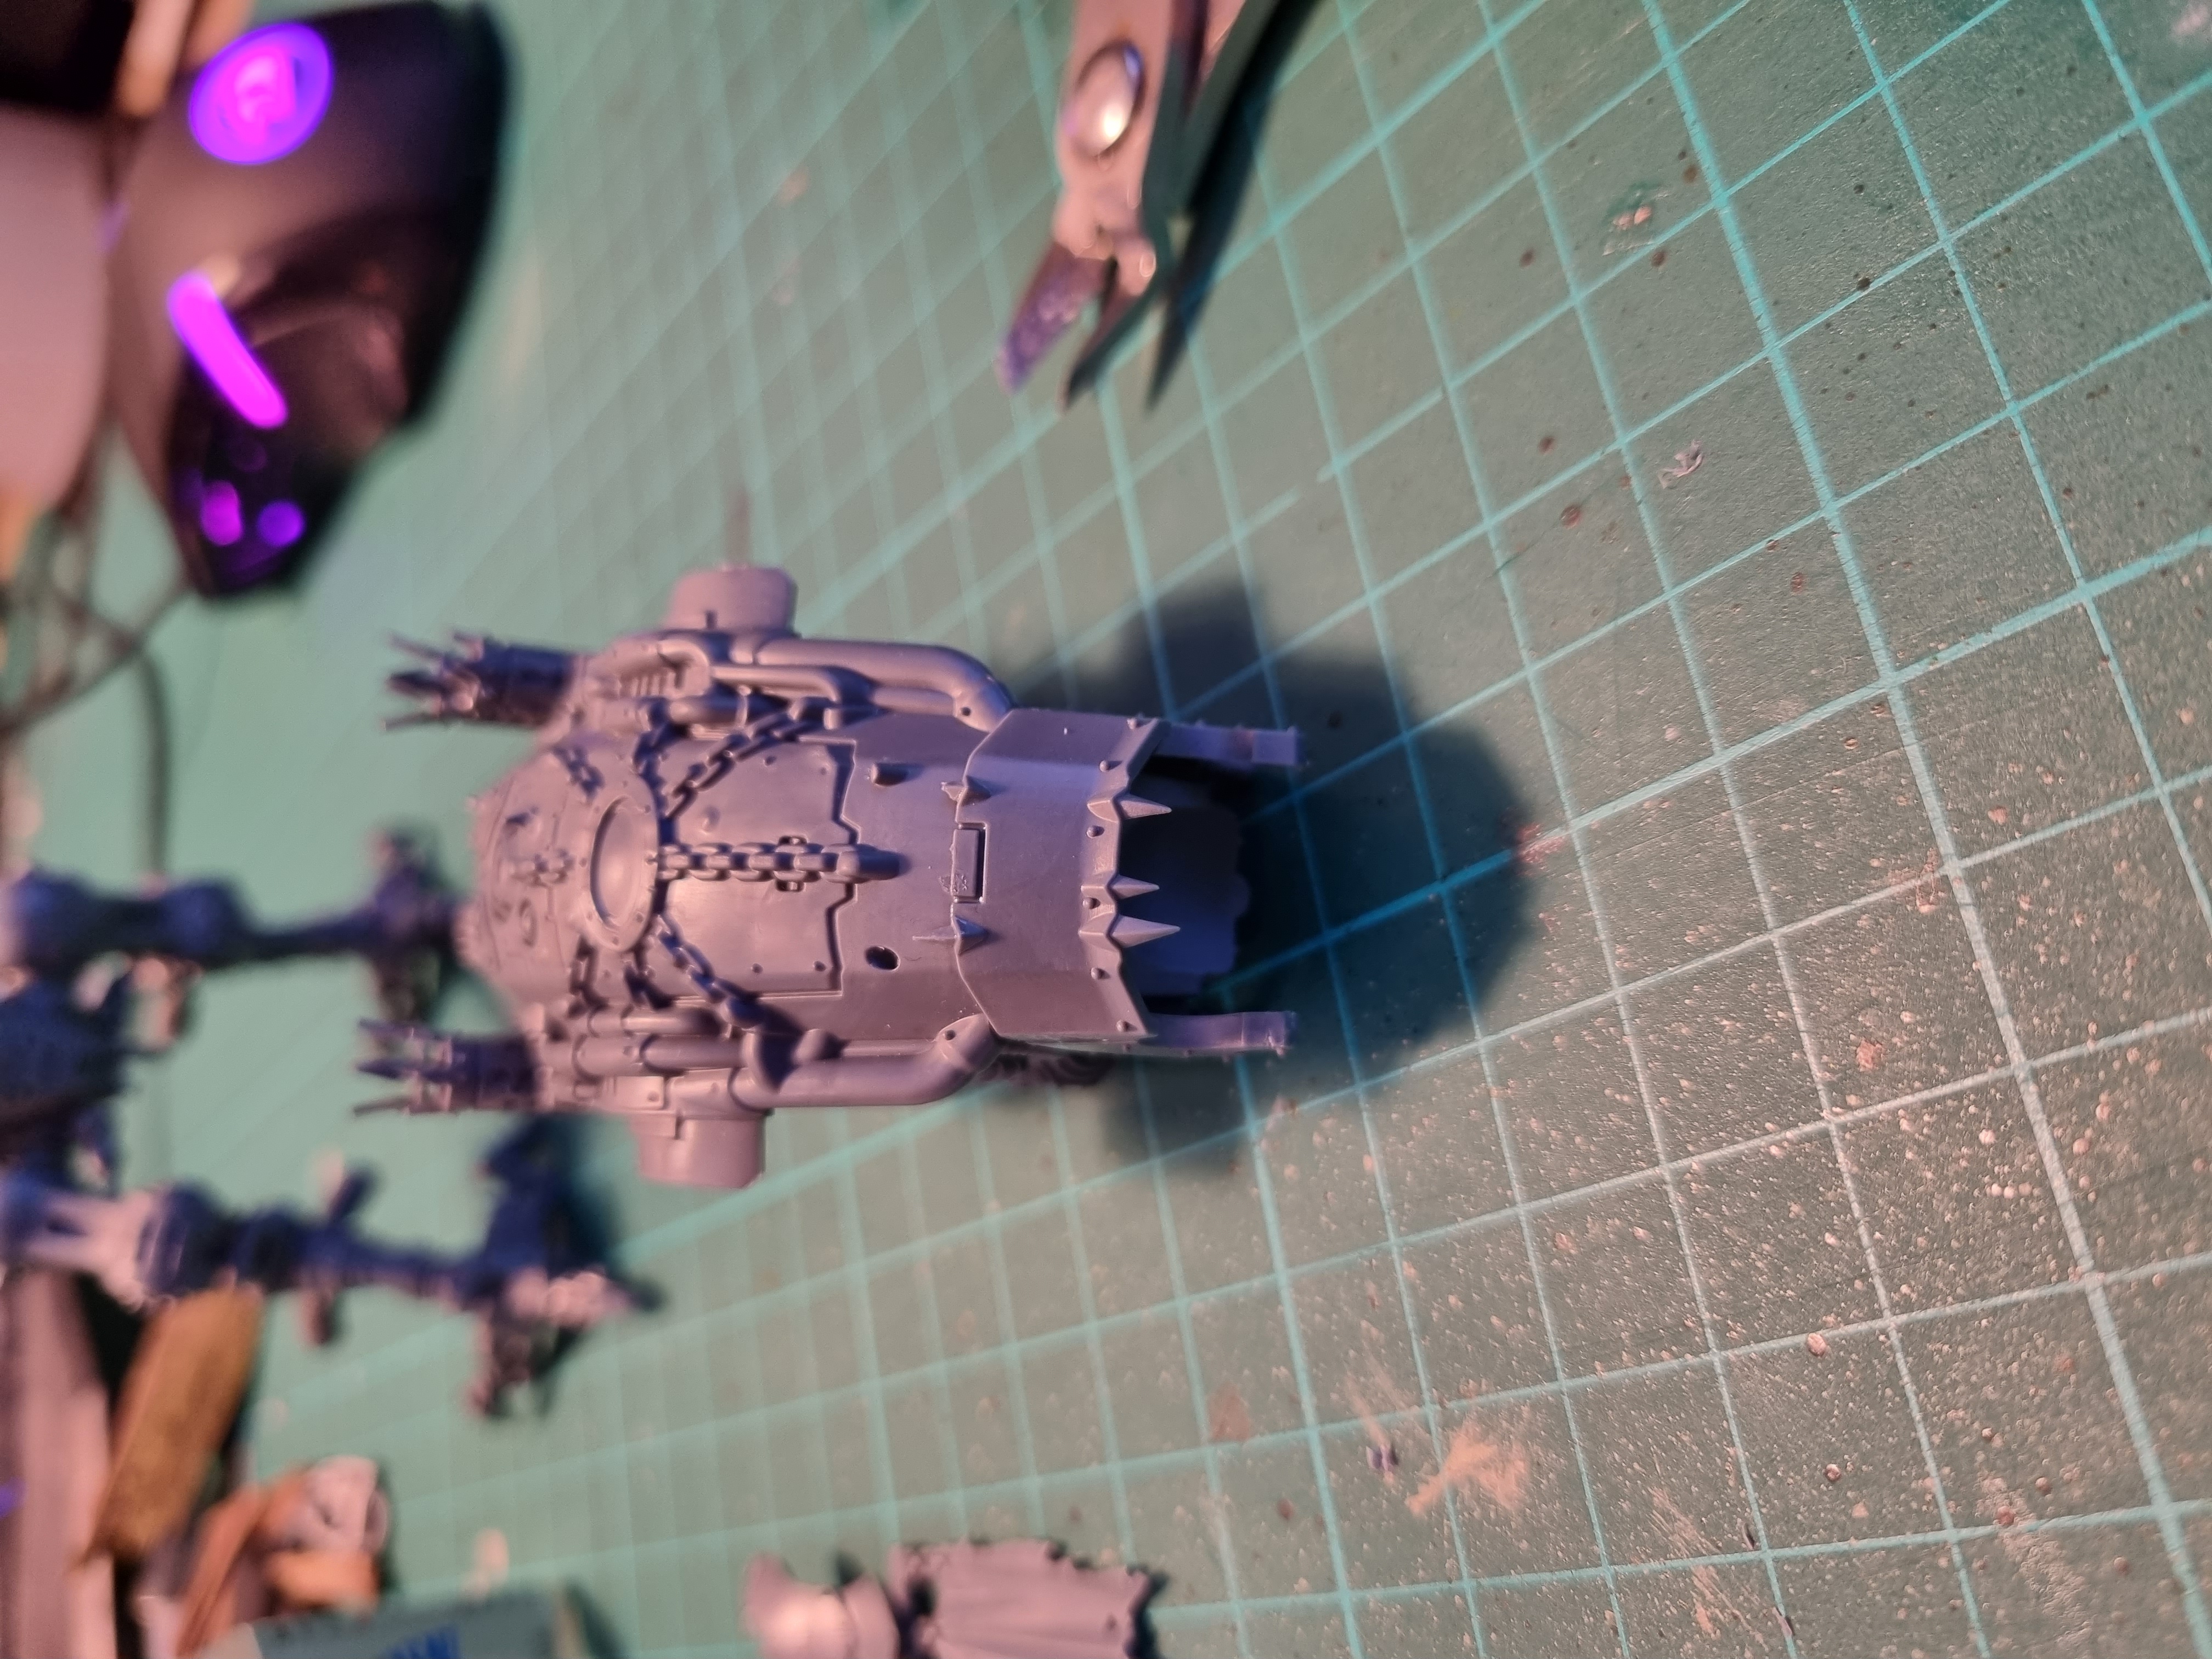
Last night I built the second War Dog, this on as a Brigand. Took a couple more WIP photo’s to hopefully help someone else build theirs.
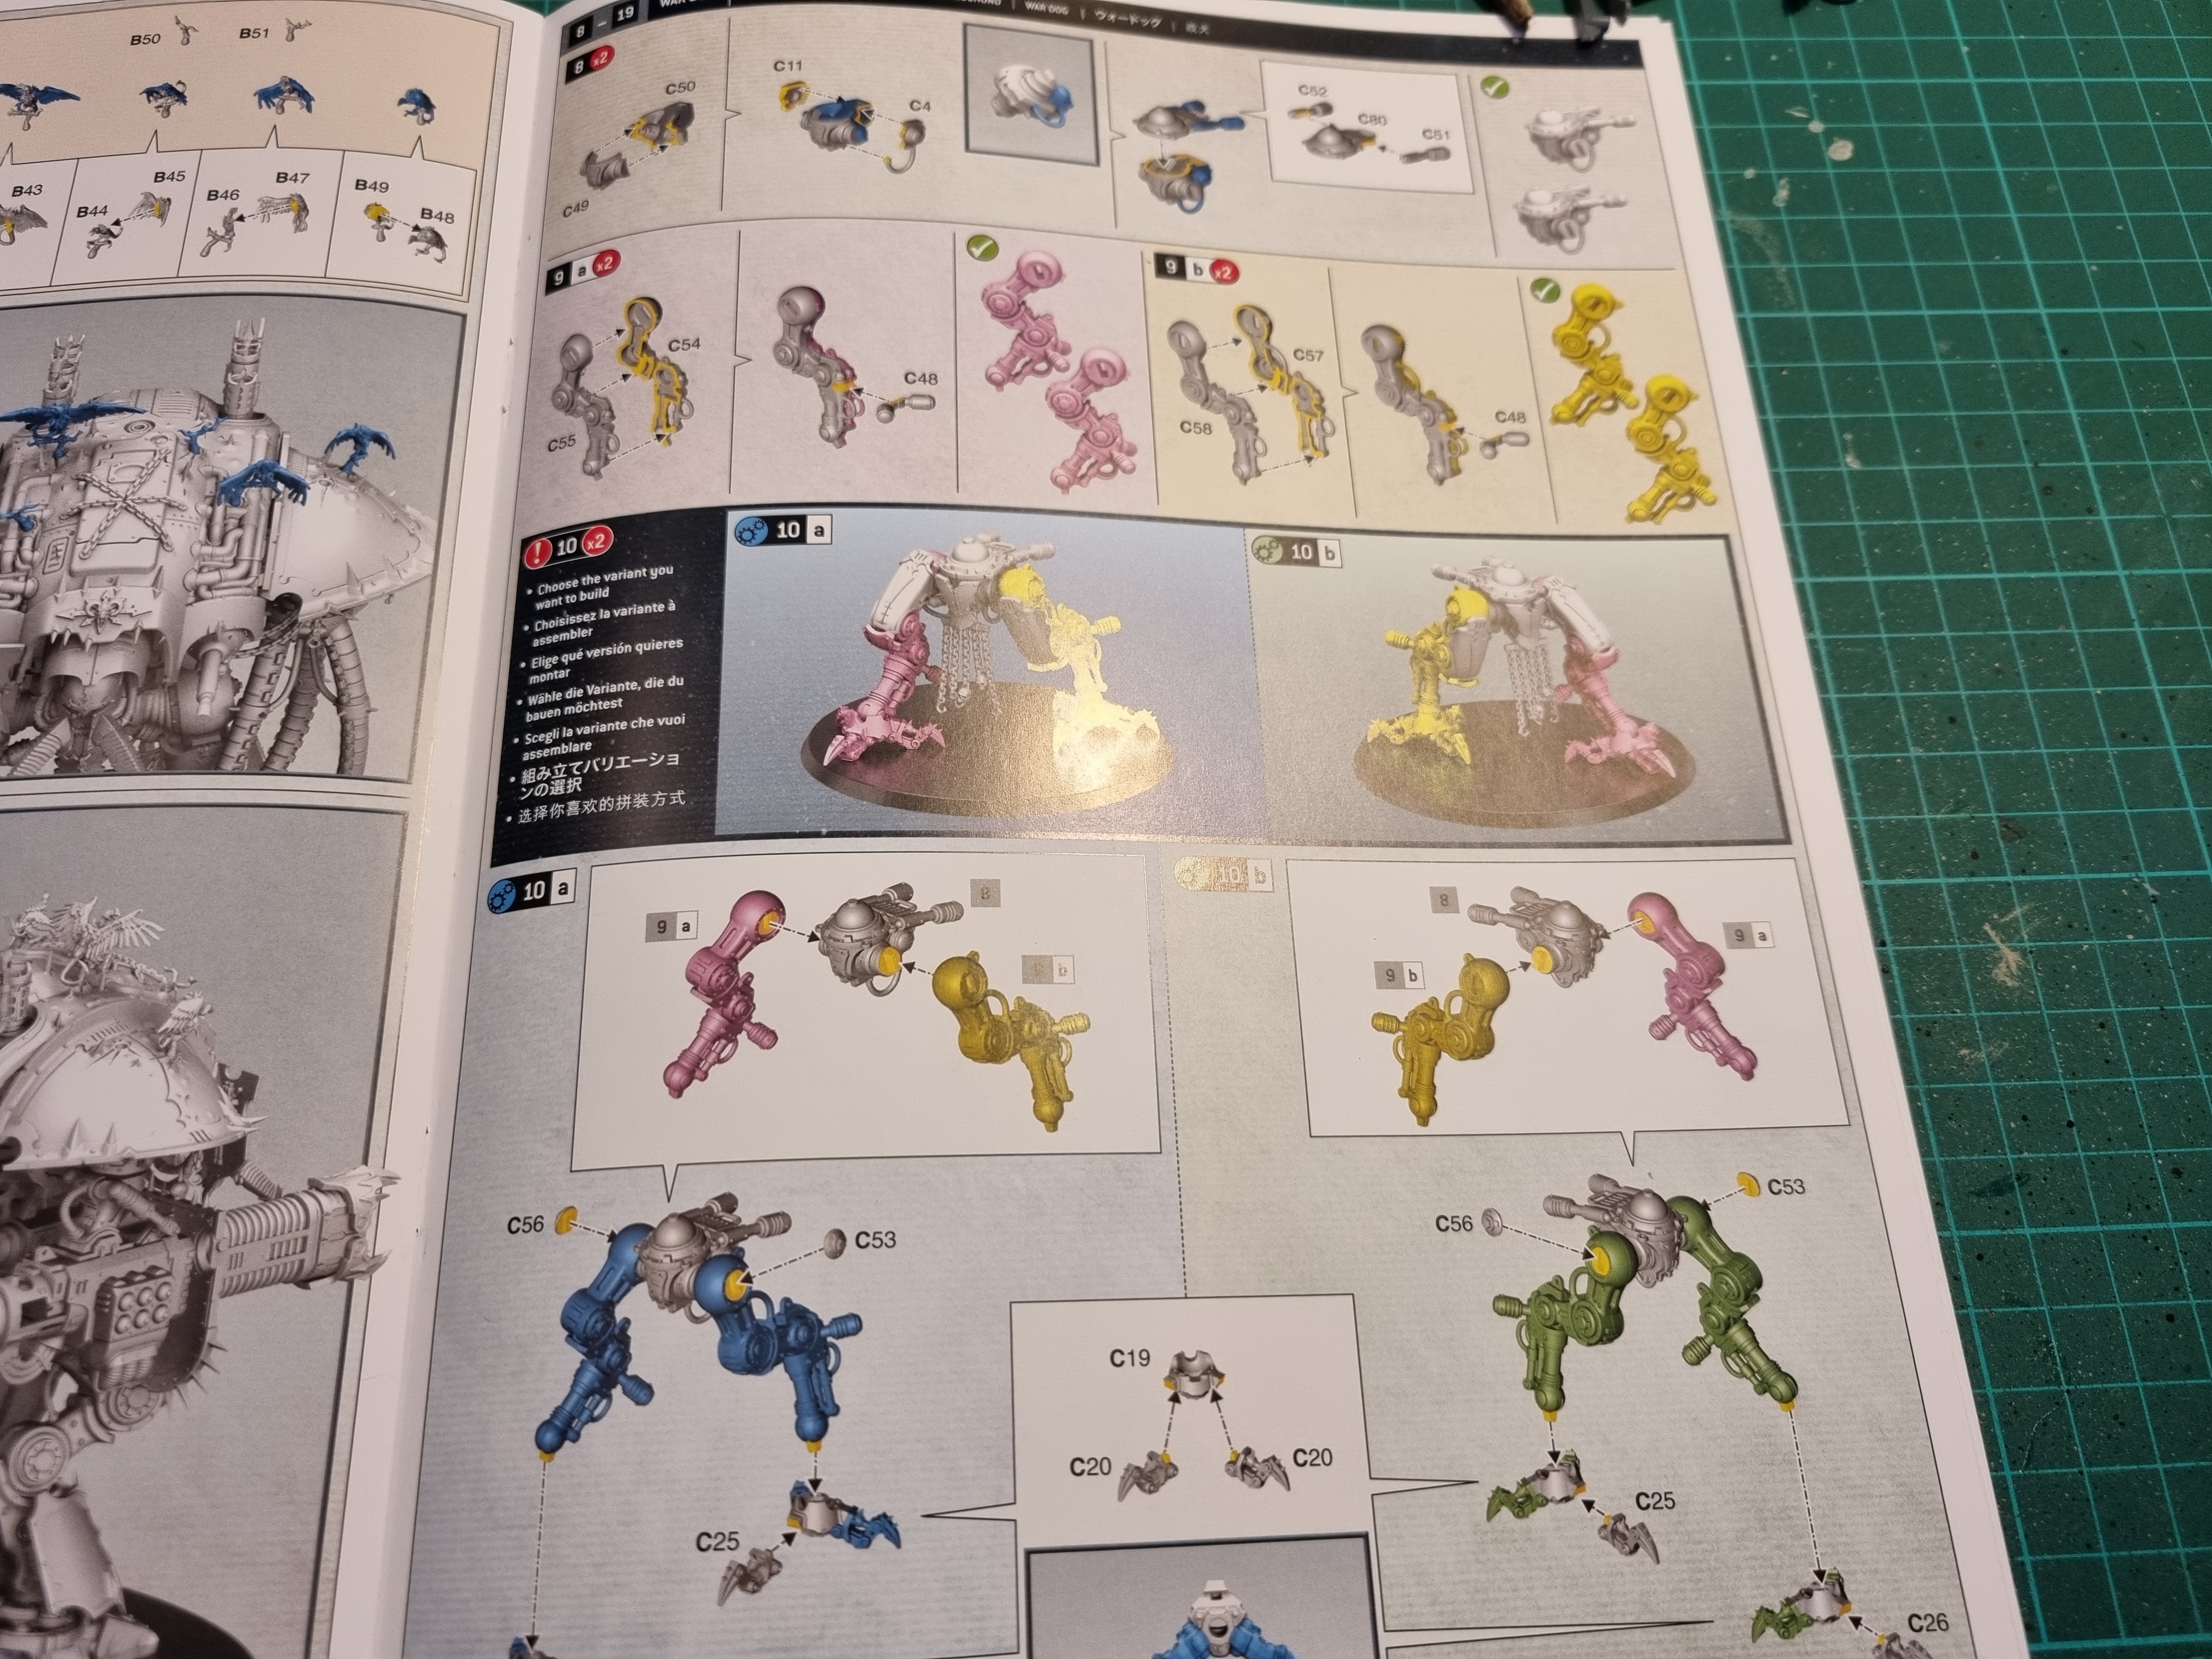 Watch out on this one for Leg/Foot placement as sometimes it doesn't sit flat and the front tow claws are a different depending on which leg is forward.
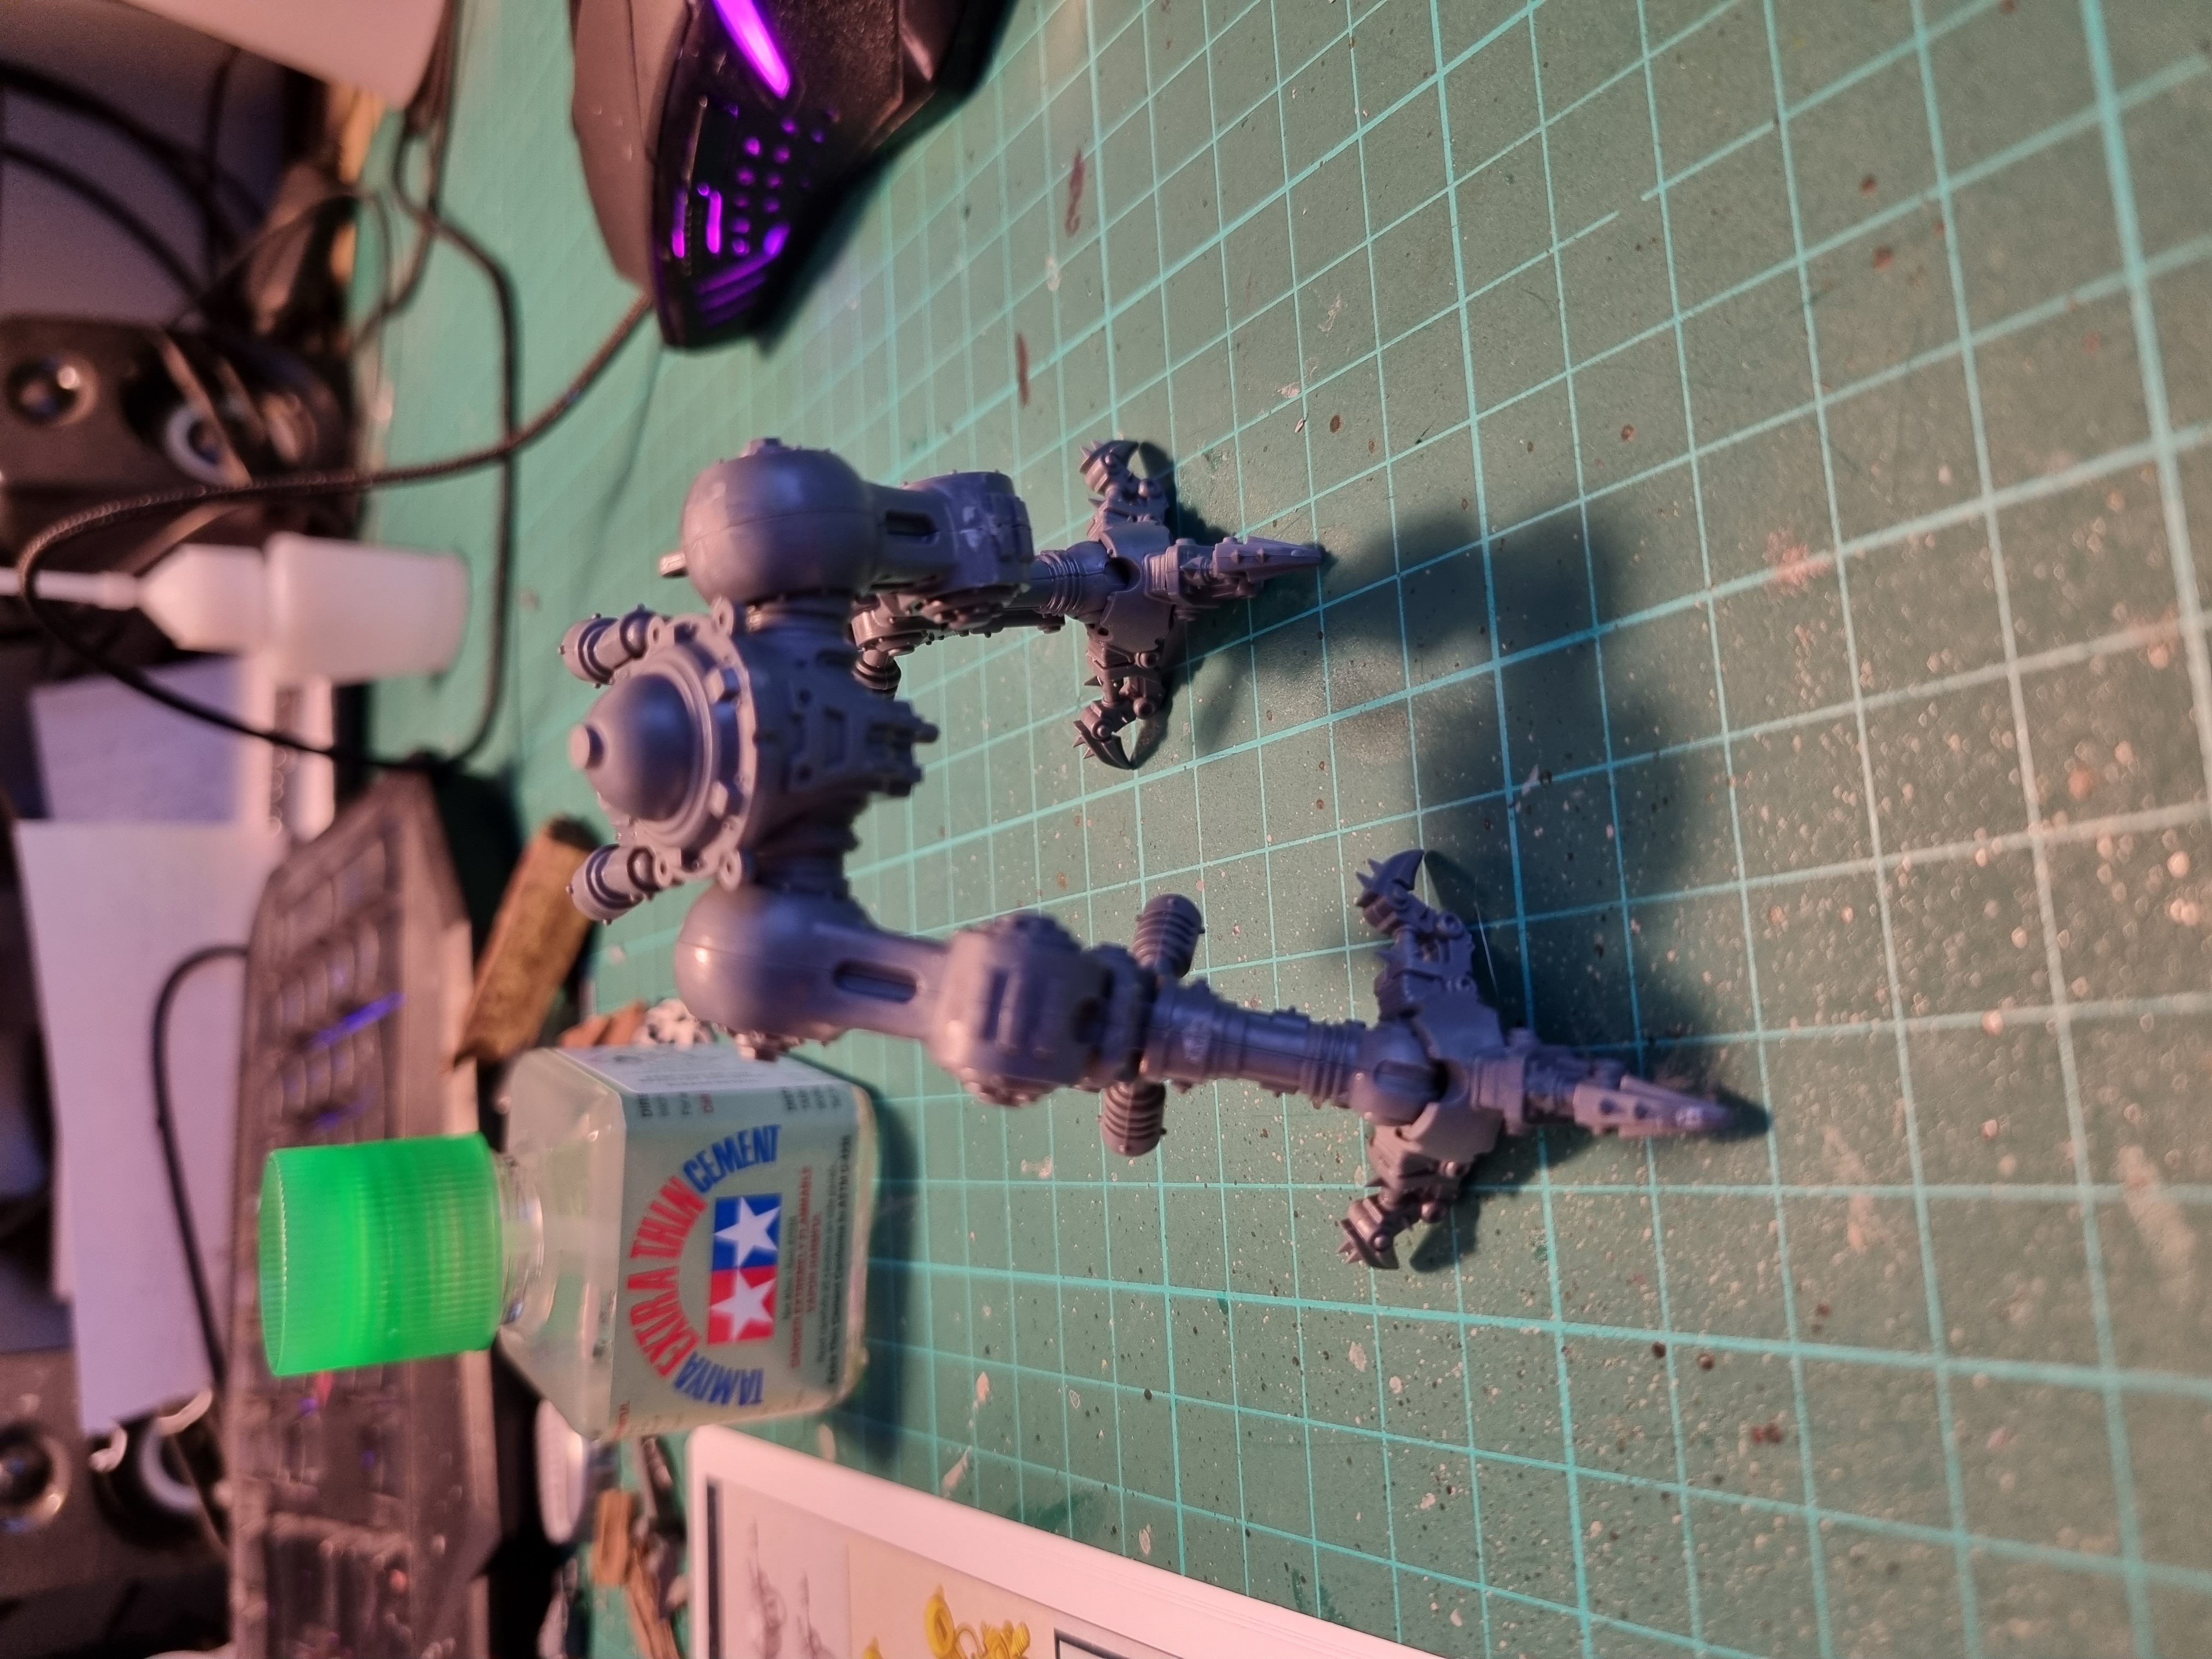
 Preparing to magnetise the weapons, making sure I got the same polarity as the others.
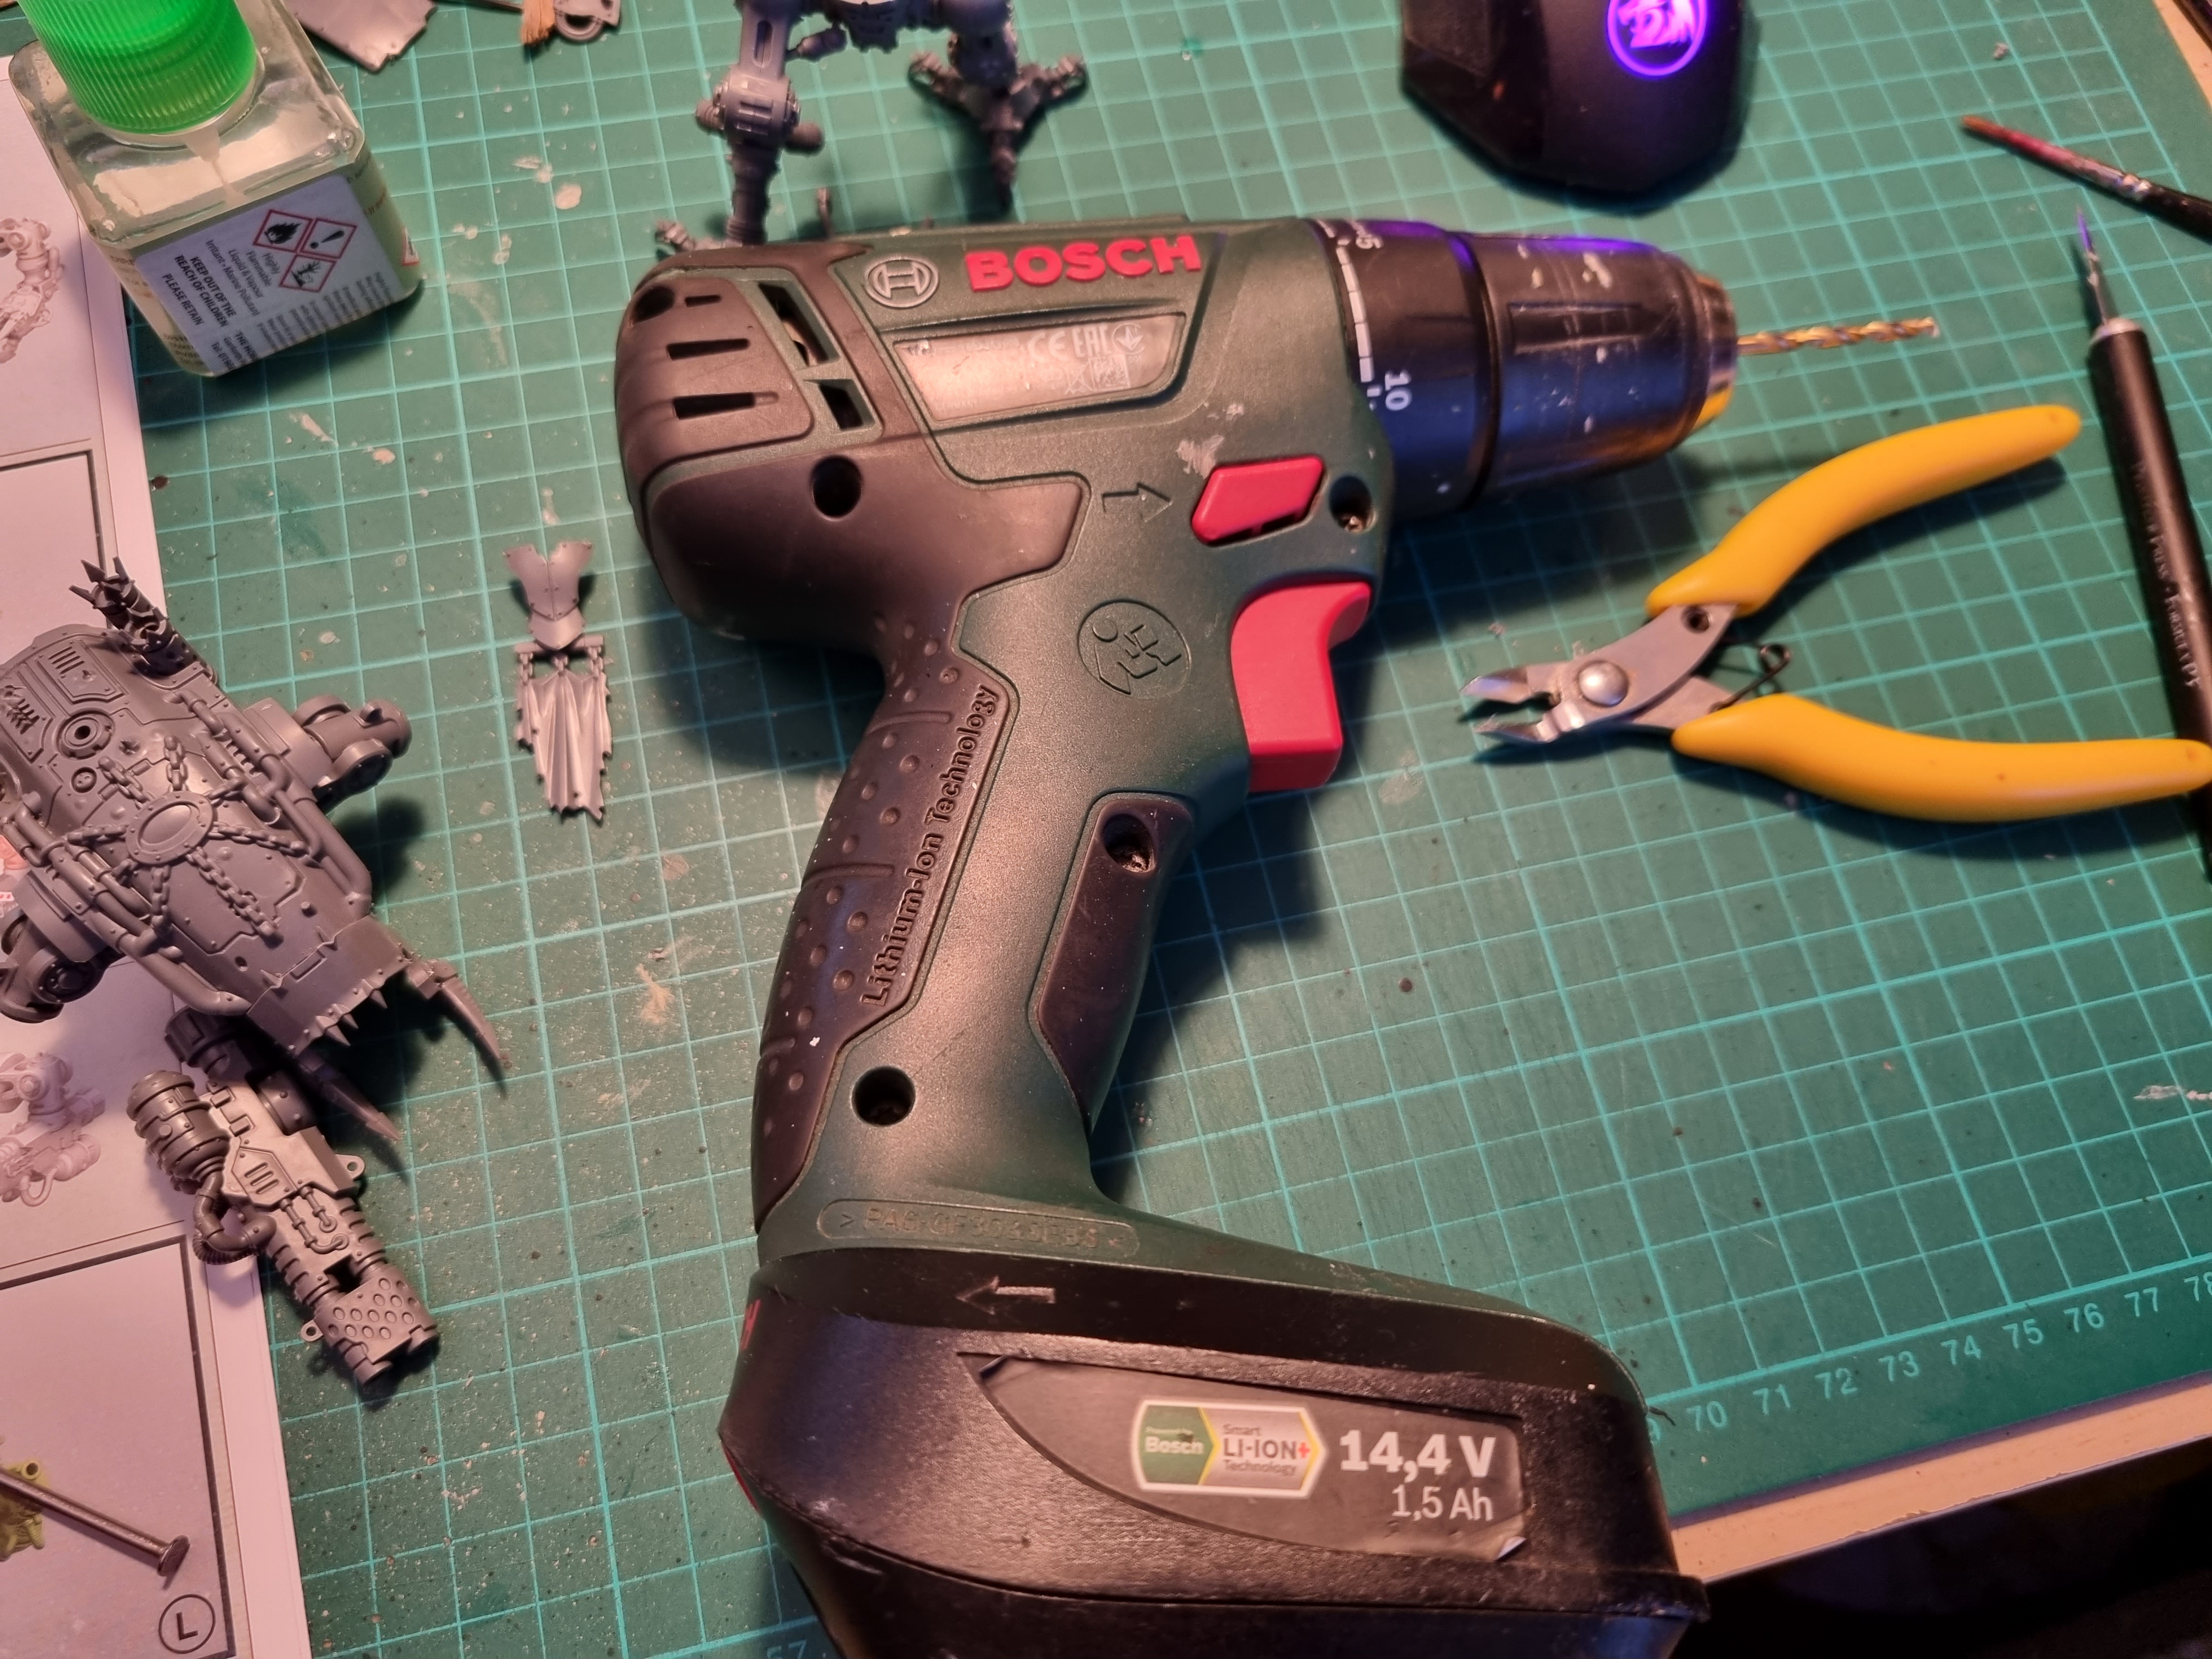 You all know the drill, his name is Colin... (joke shamelessly borrowed from Project Binky on YouTube)
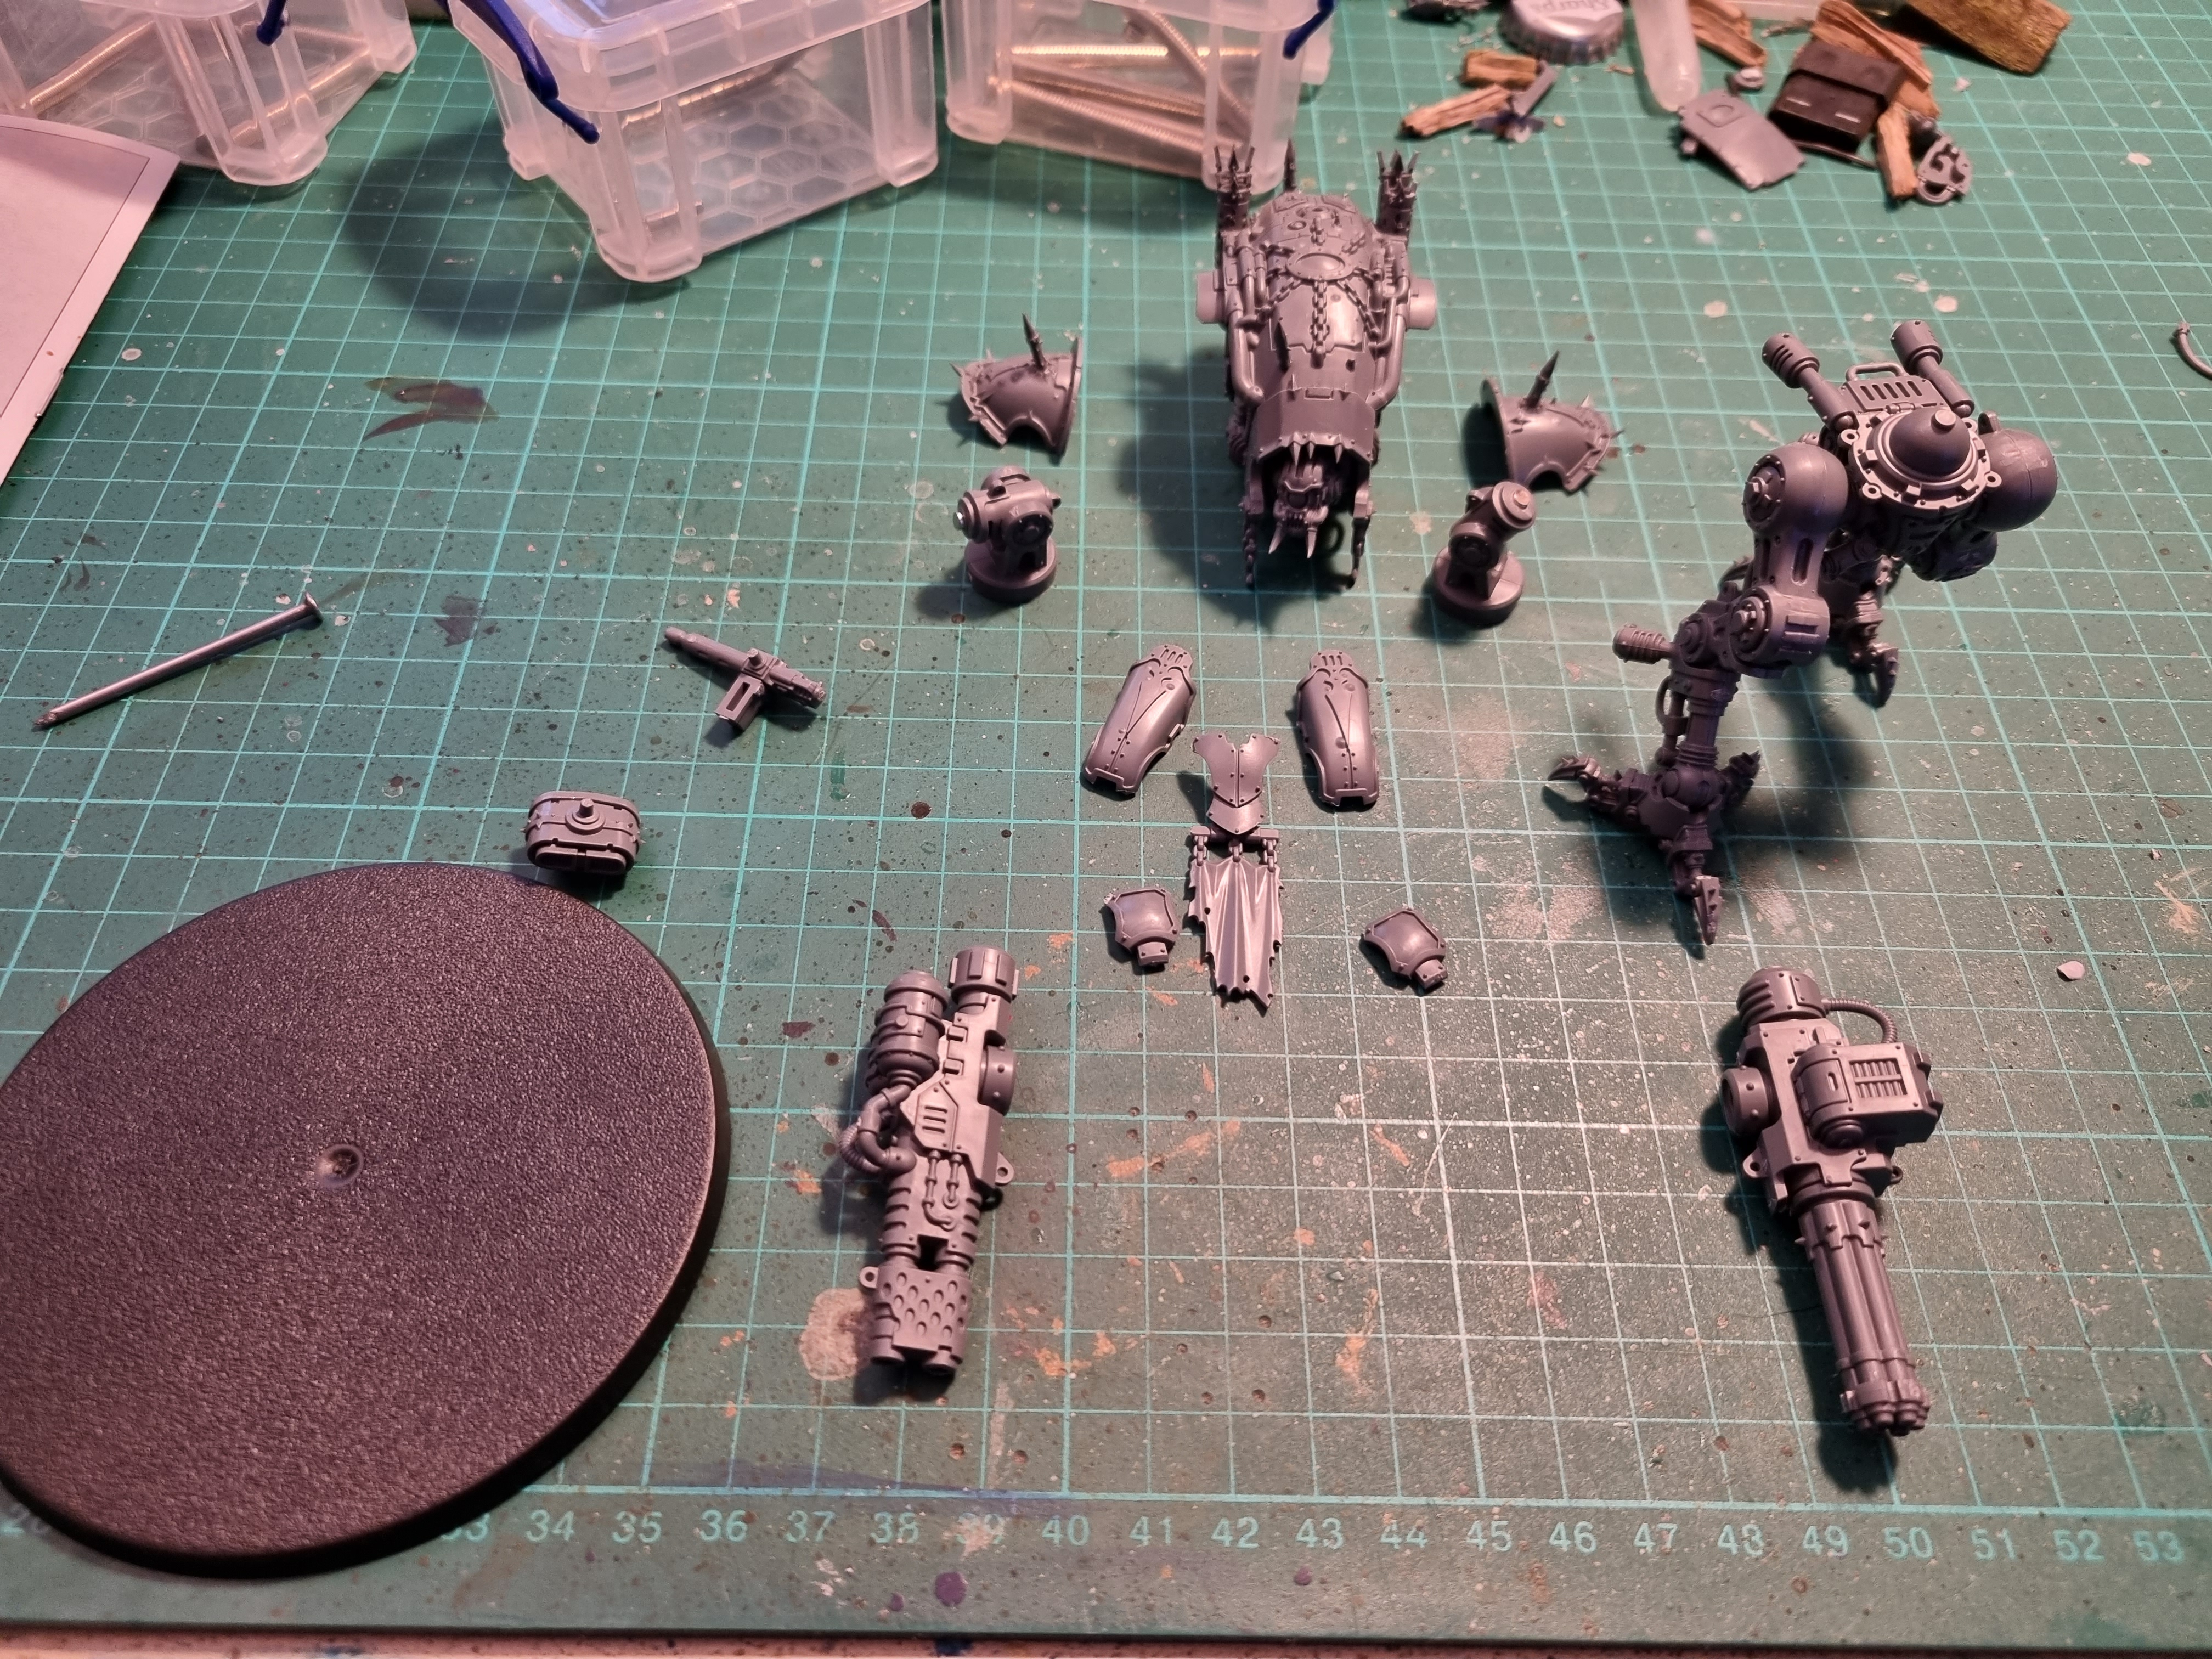
Parts all laid out at the end of building, followed by the base prep and then after the Grey Sand has been added. Still kinda trying for the Ash Wastes look, will see how it goes with the painting.
Next update will either be the start of painting with the final decision on which house or as the magnets have arrived, the magnetising of the large Knight
Cry Havoc! And let slip the dogs of war...
Didn’t get any inprogress pictures on the first War Dog but I’ll hopefully correct that on the second one. This entry is mainly showing how I magnetised the weapon options for the War Dogs and eventually the larger Knights.
I saw a guide on YouTube from a Channel called Watch It Paint It so here’s my version….
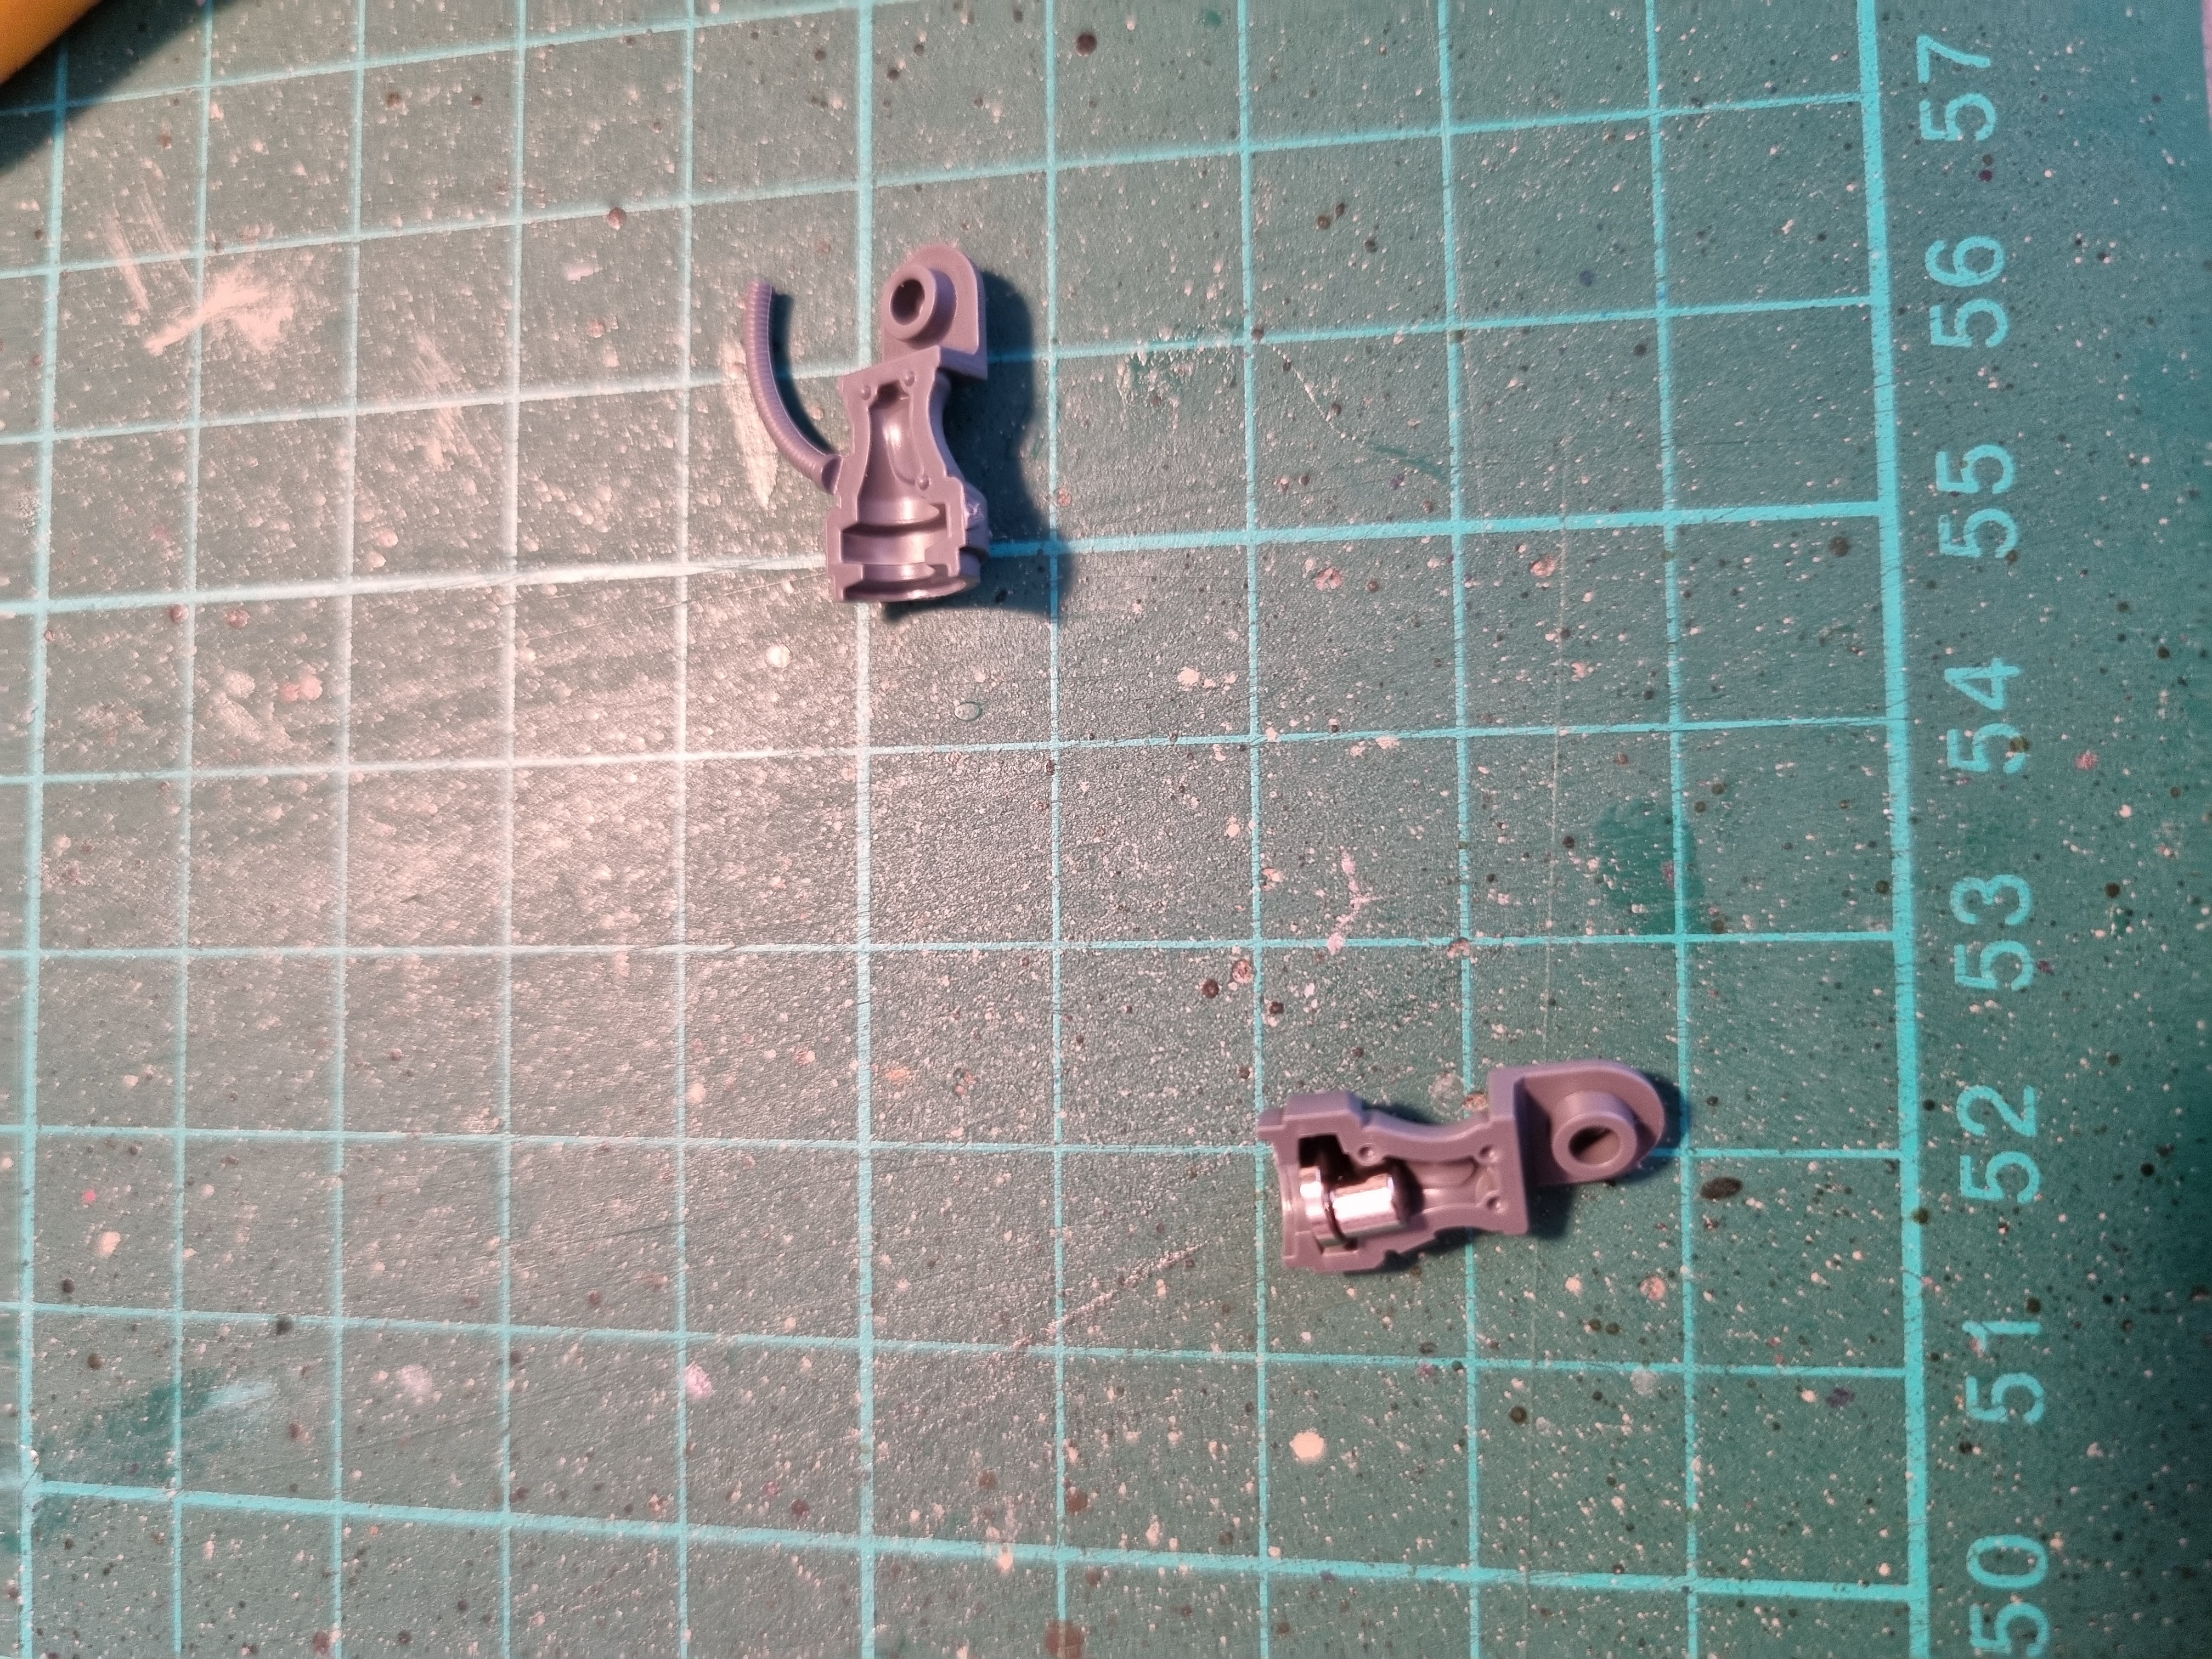 Test fitting a stack of 1 x 6*2mm and 1 x 3*3mm magnets
The fit was a very tight squeeze and wouldn’t quite seal tightly enough so after picking the brains on the Cog Sanctuary Discord I tried a 5*1mm magnet with a 3*3mm magnet and the added a 5*0.5mm to that for a better fit
 Success
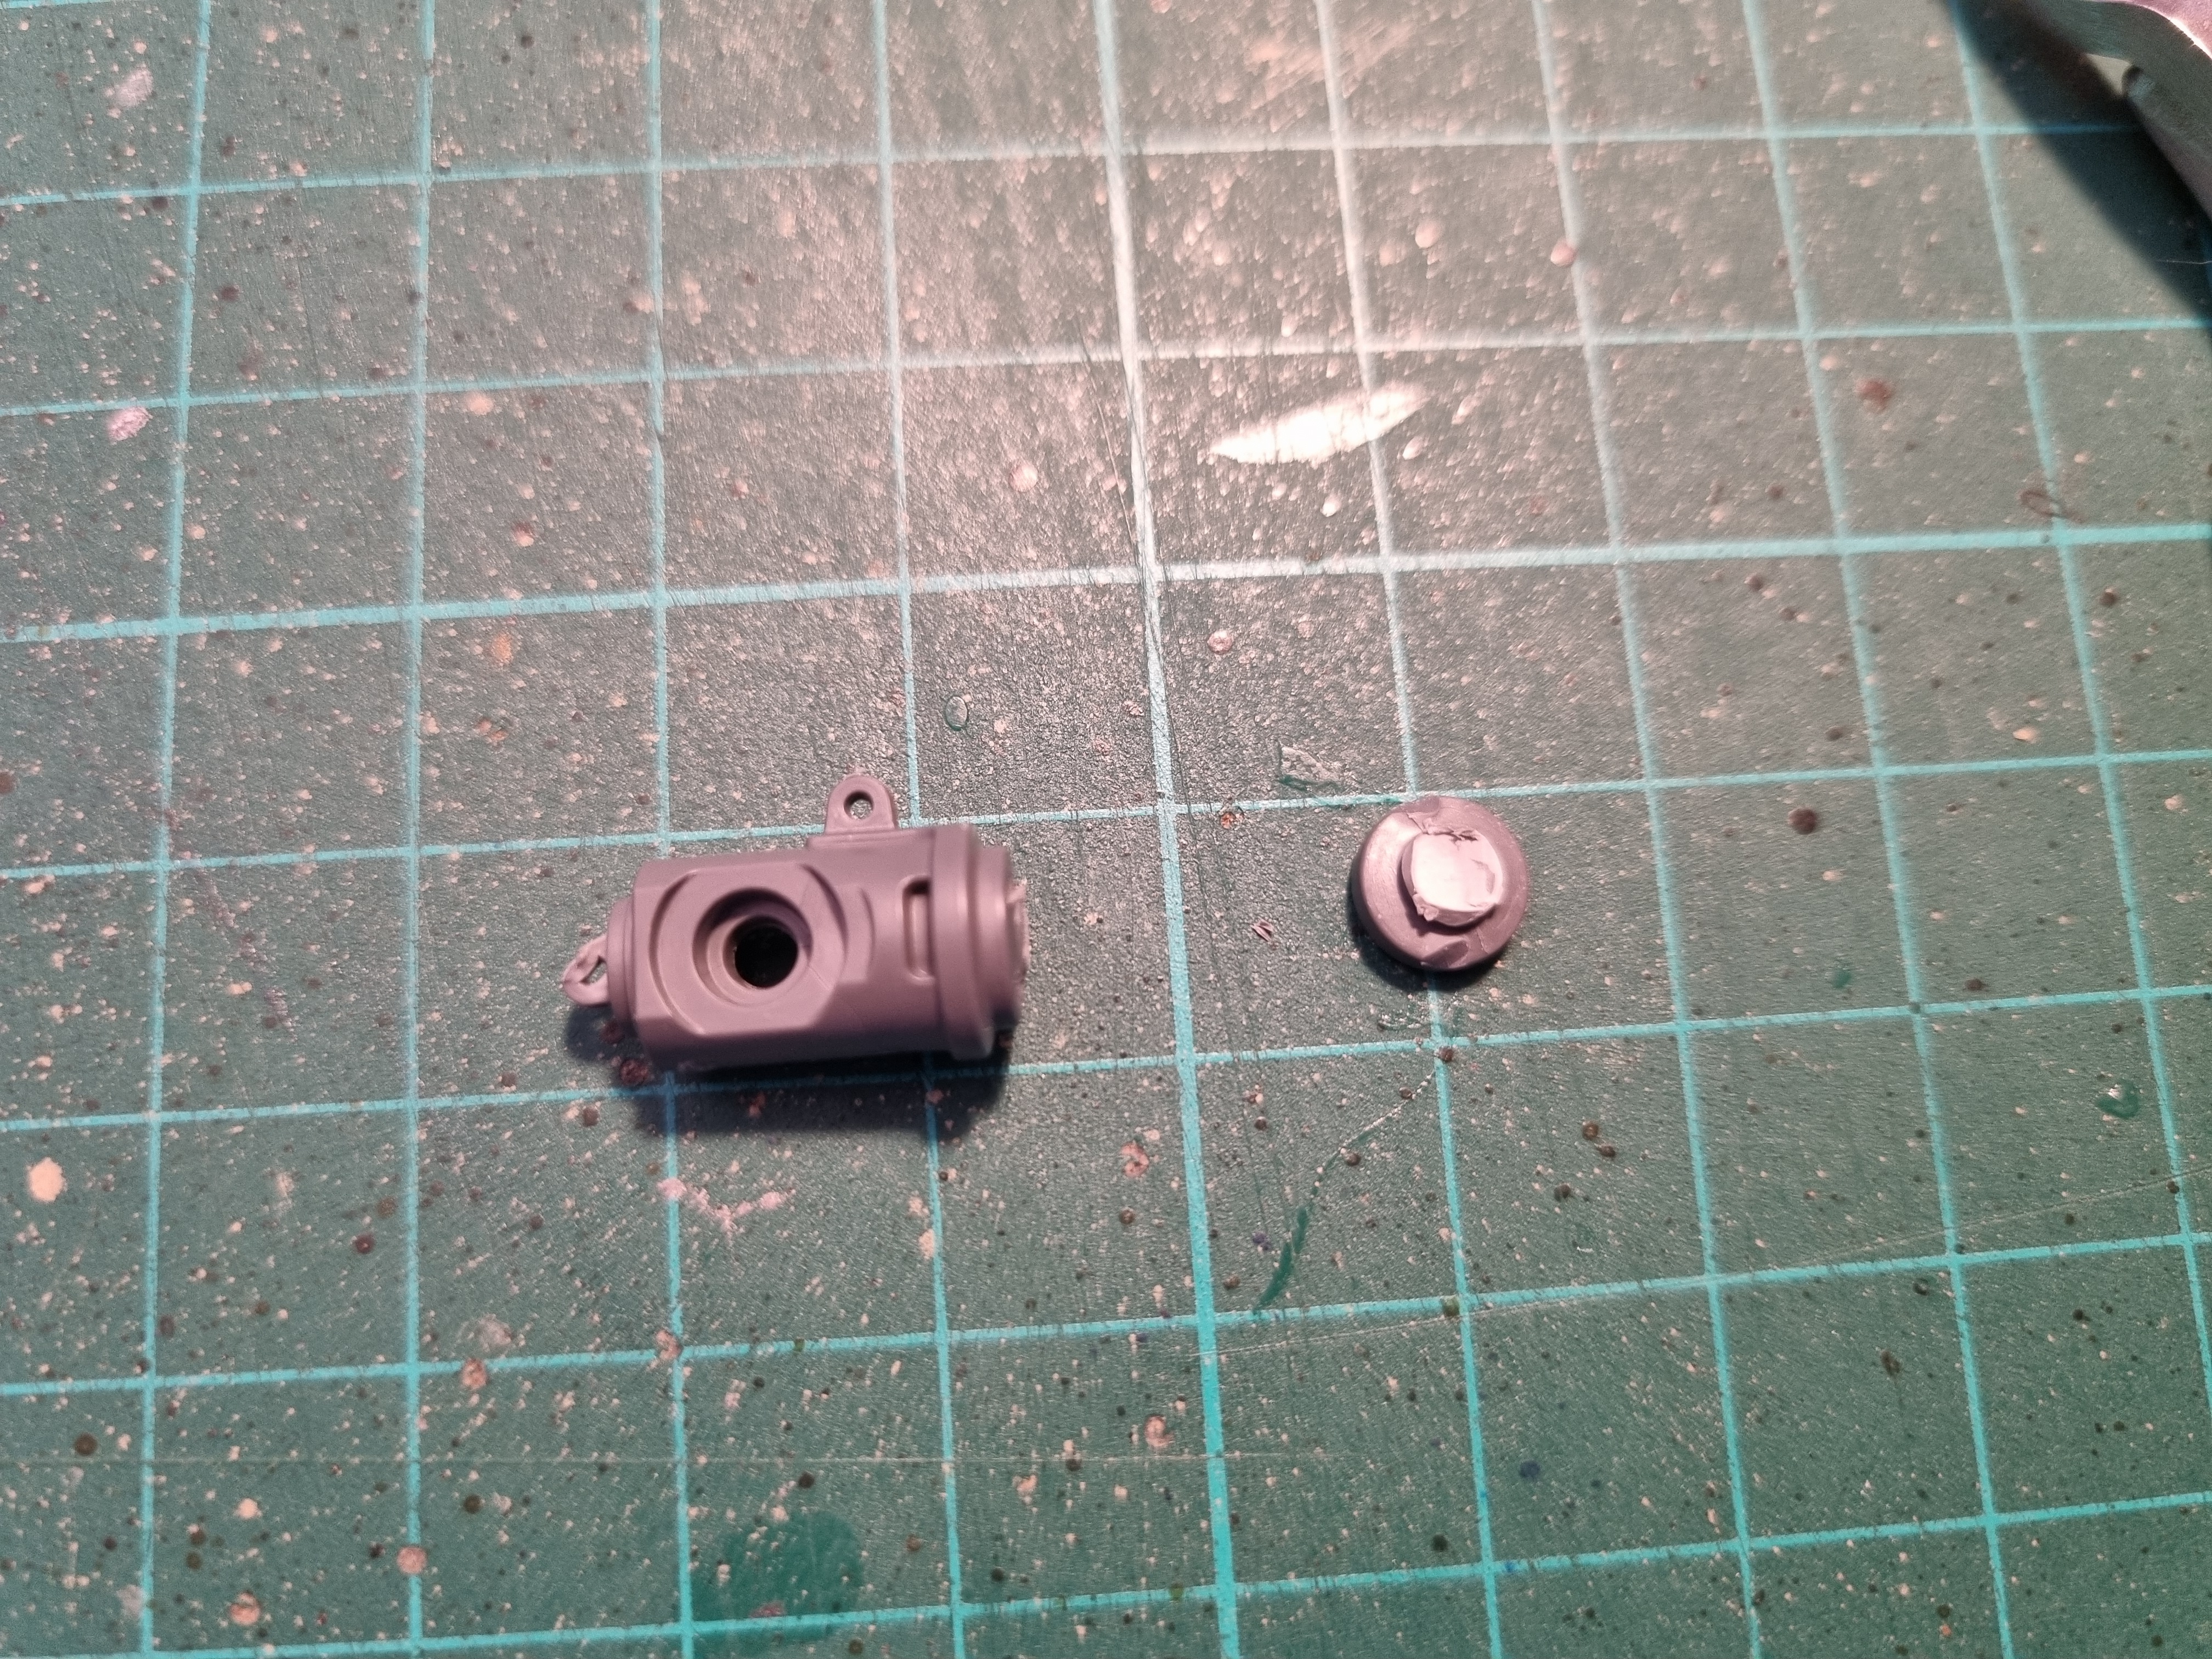 T piece cut off
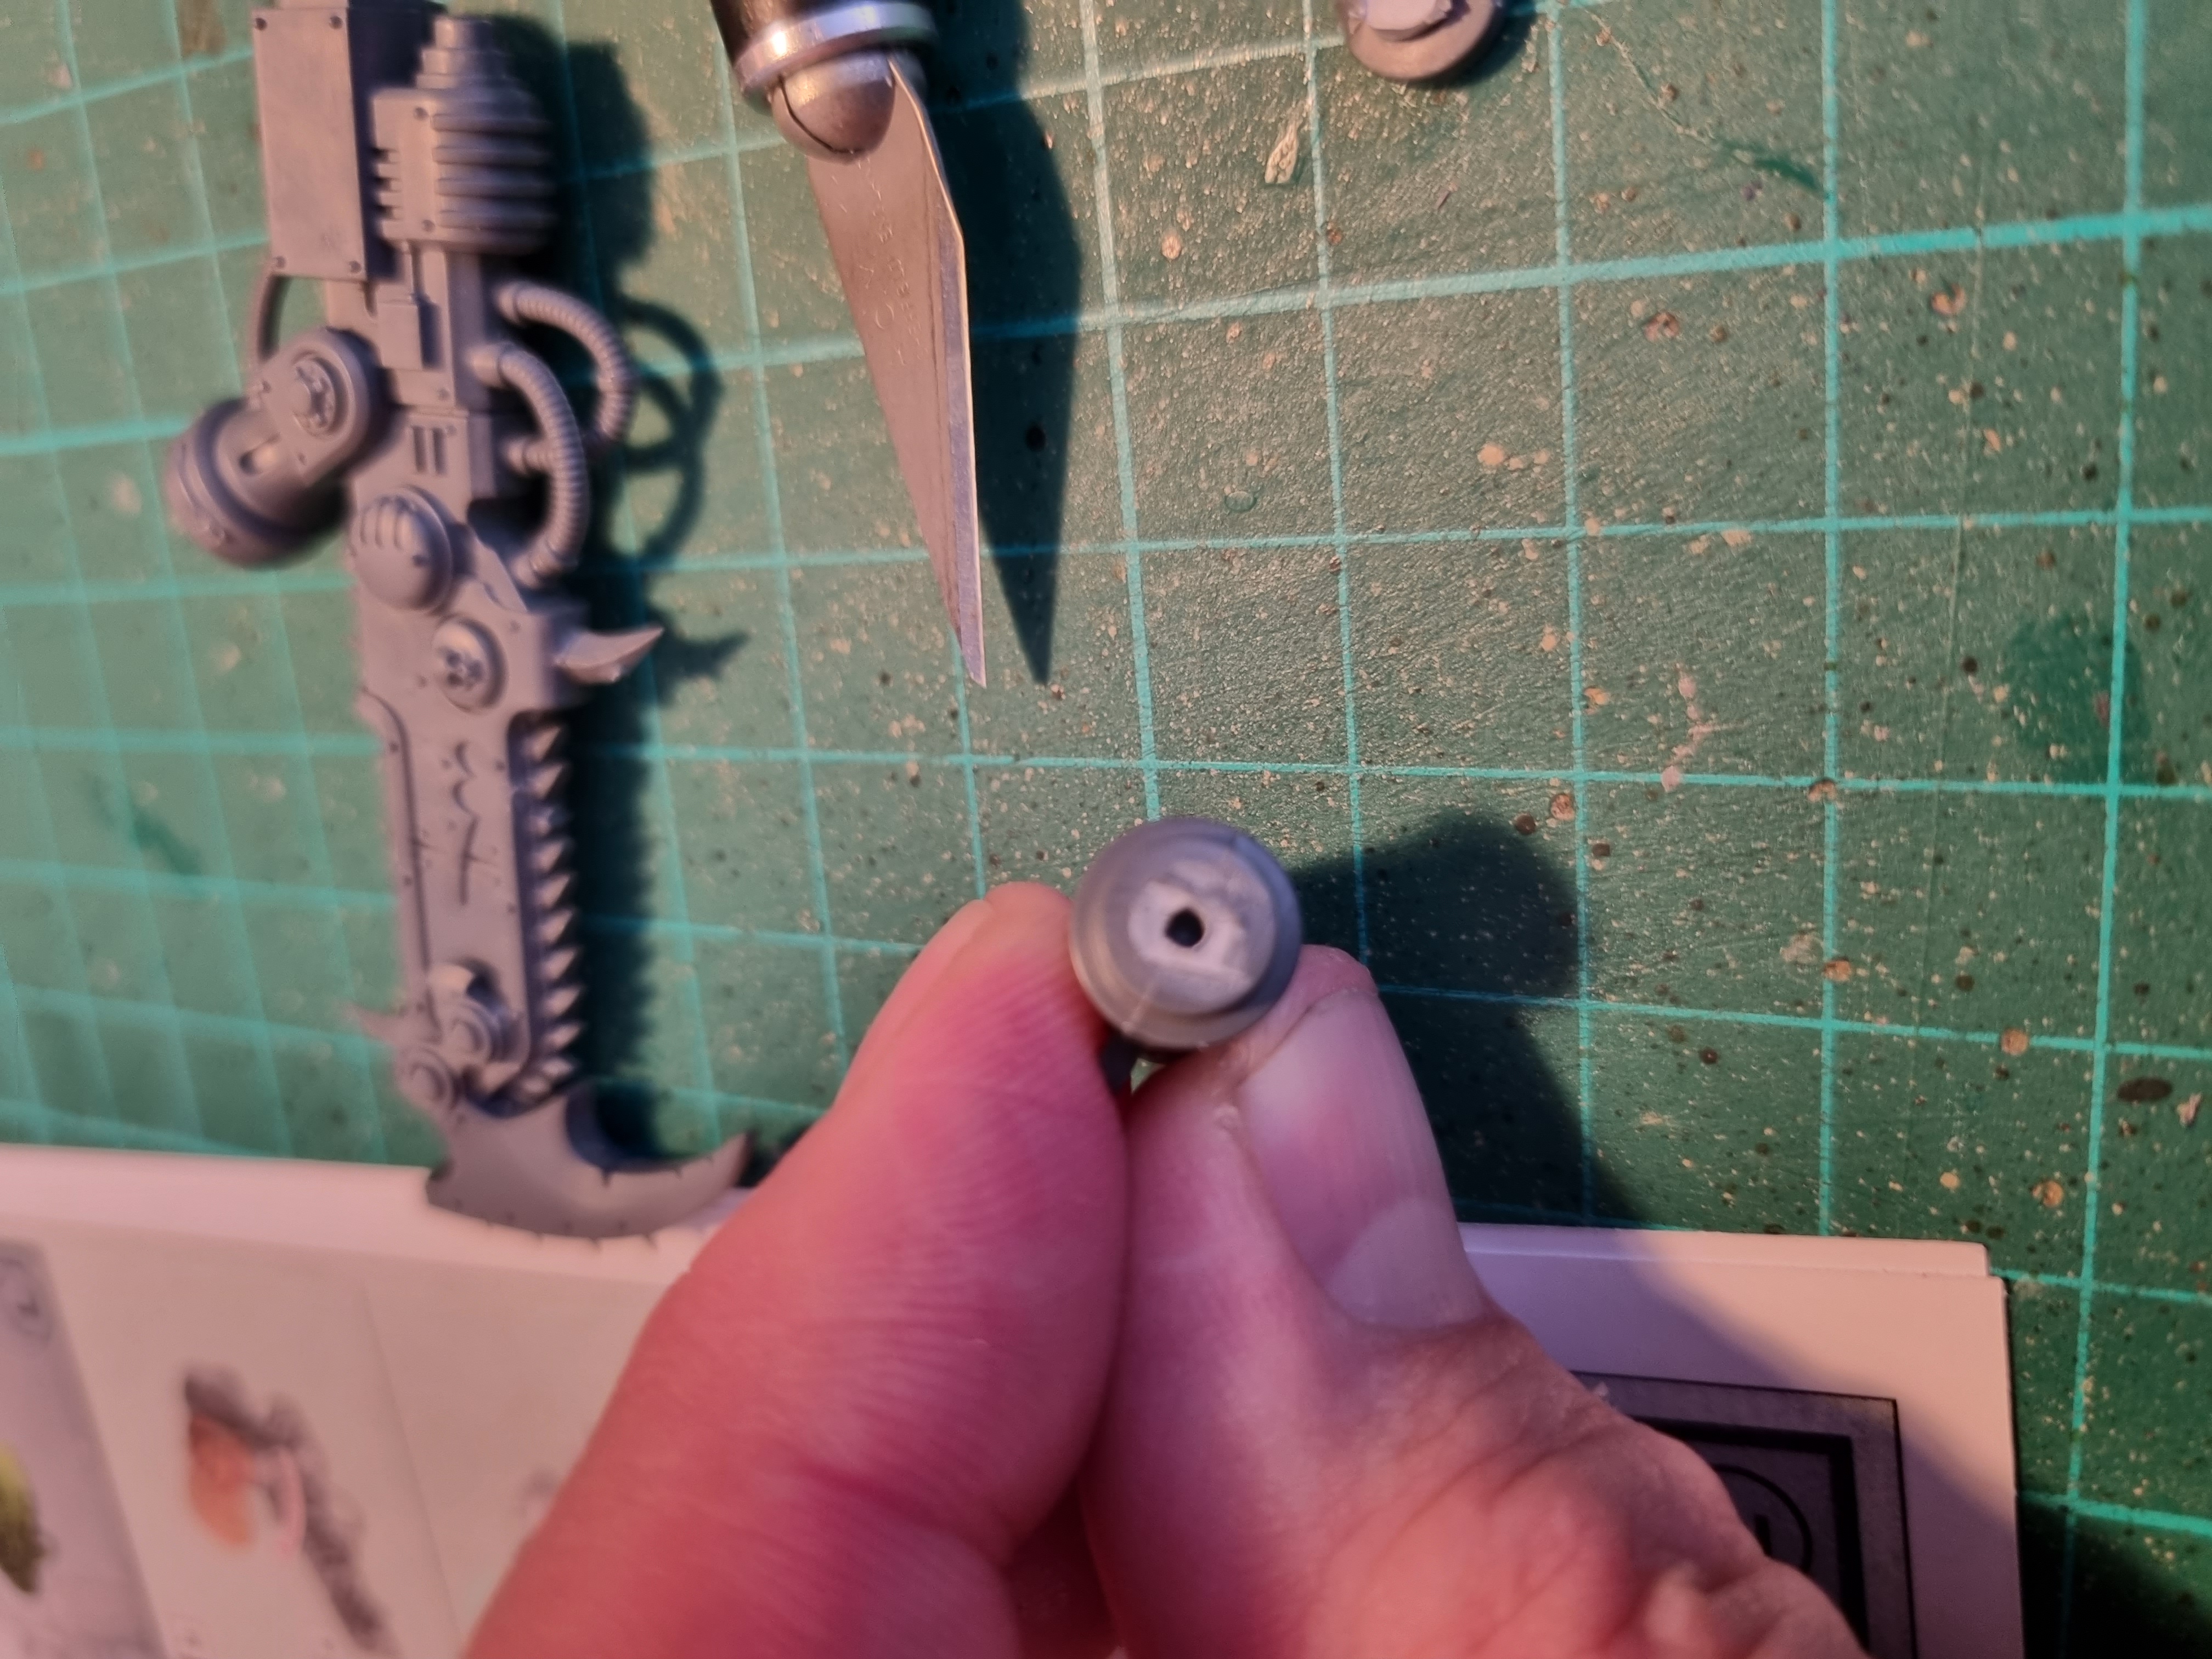
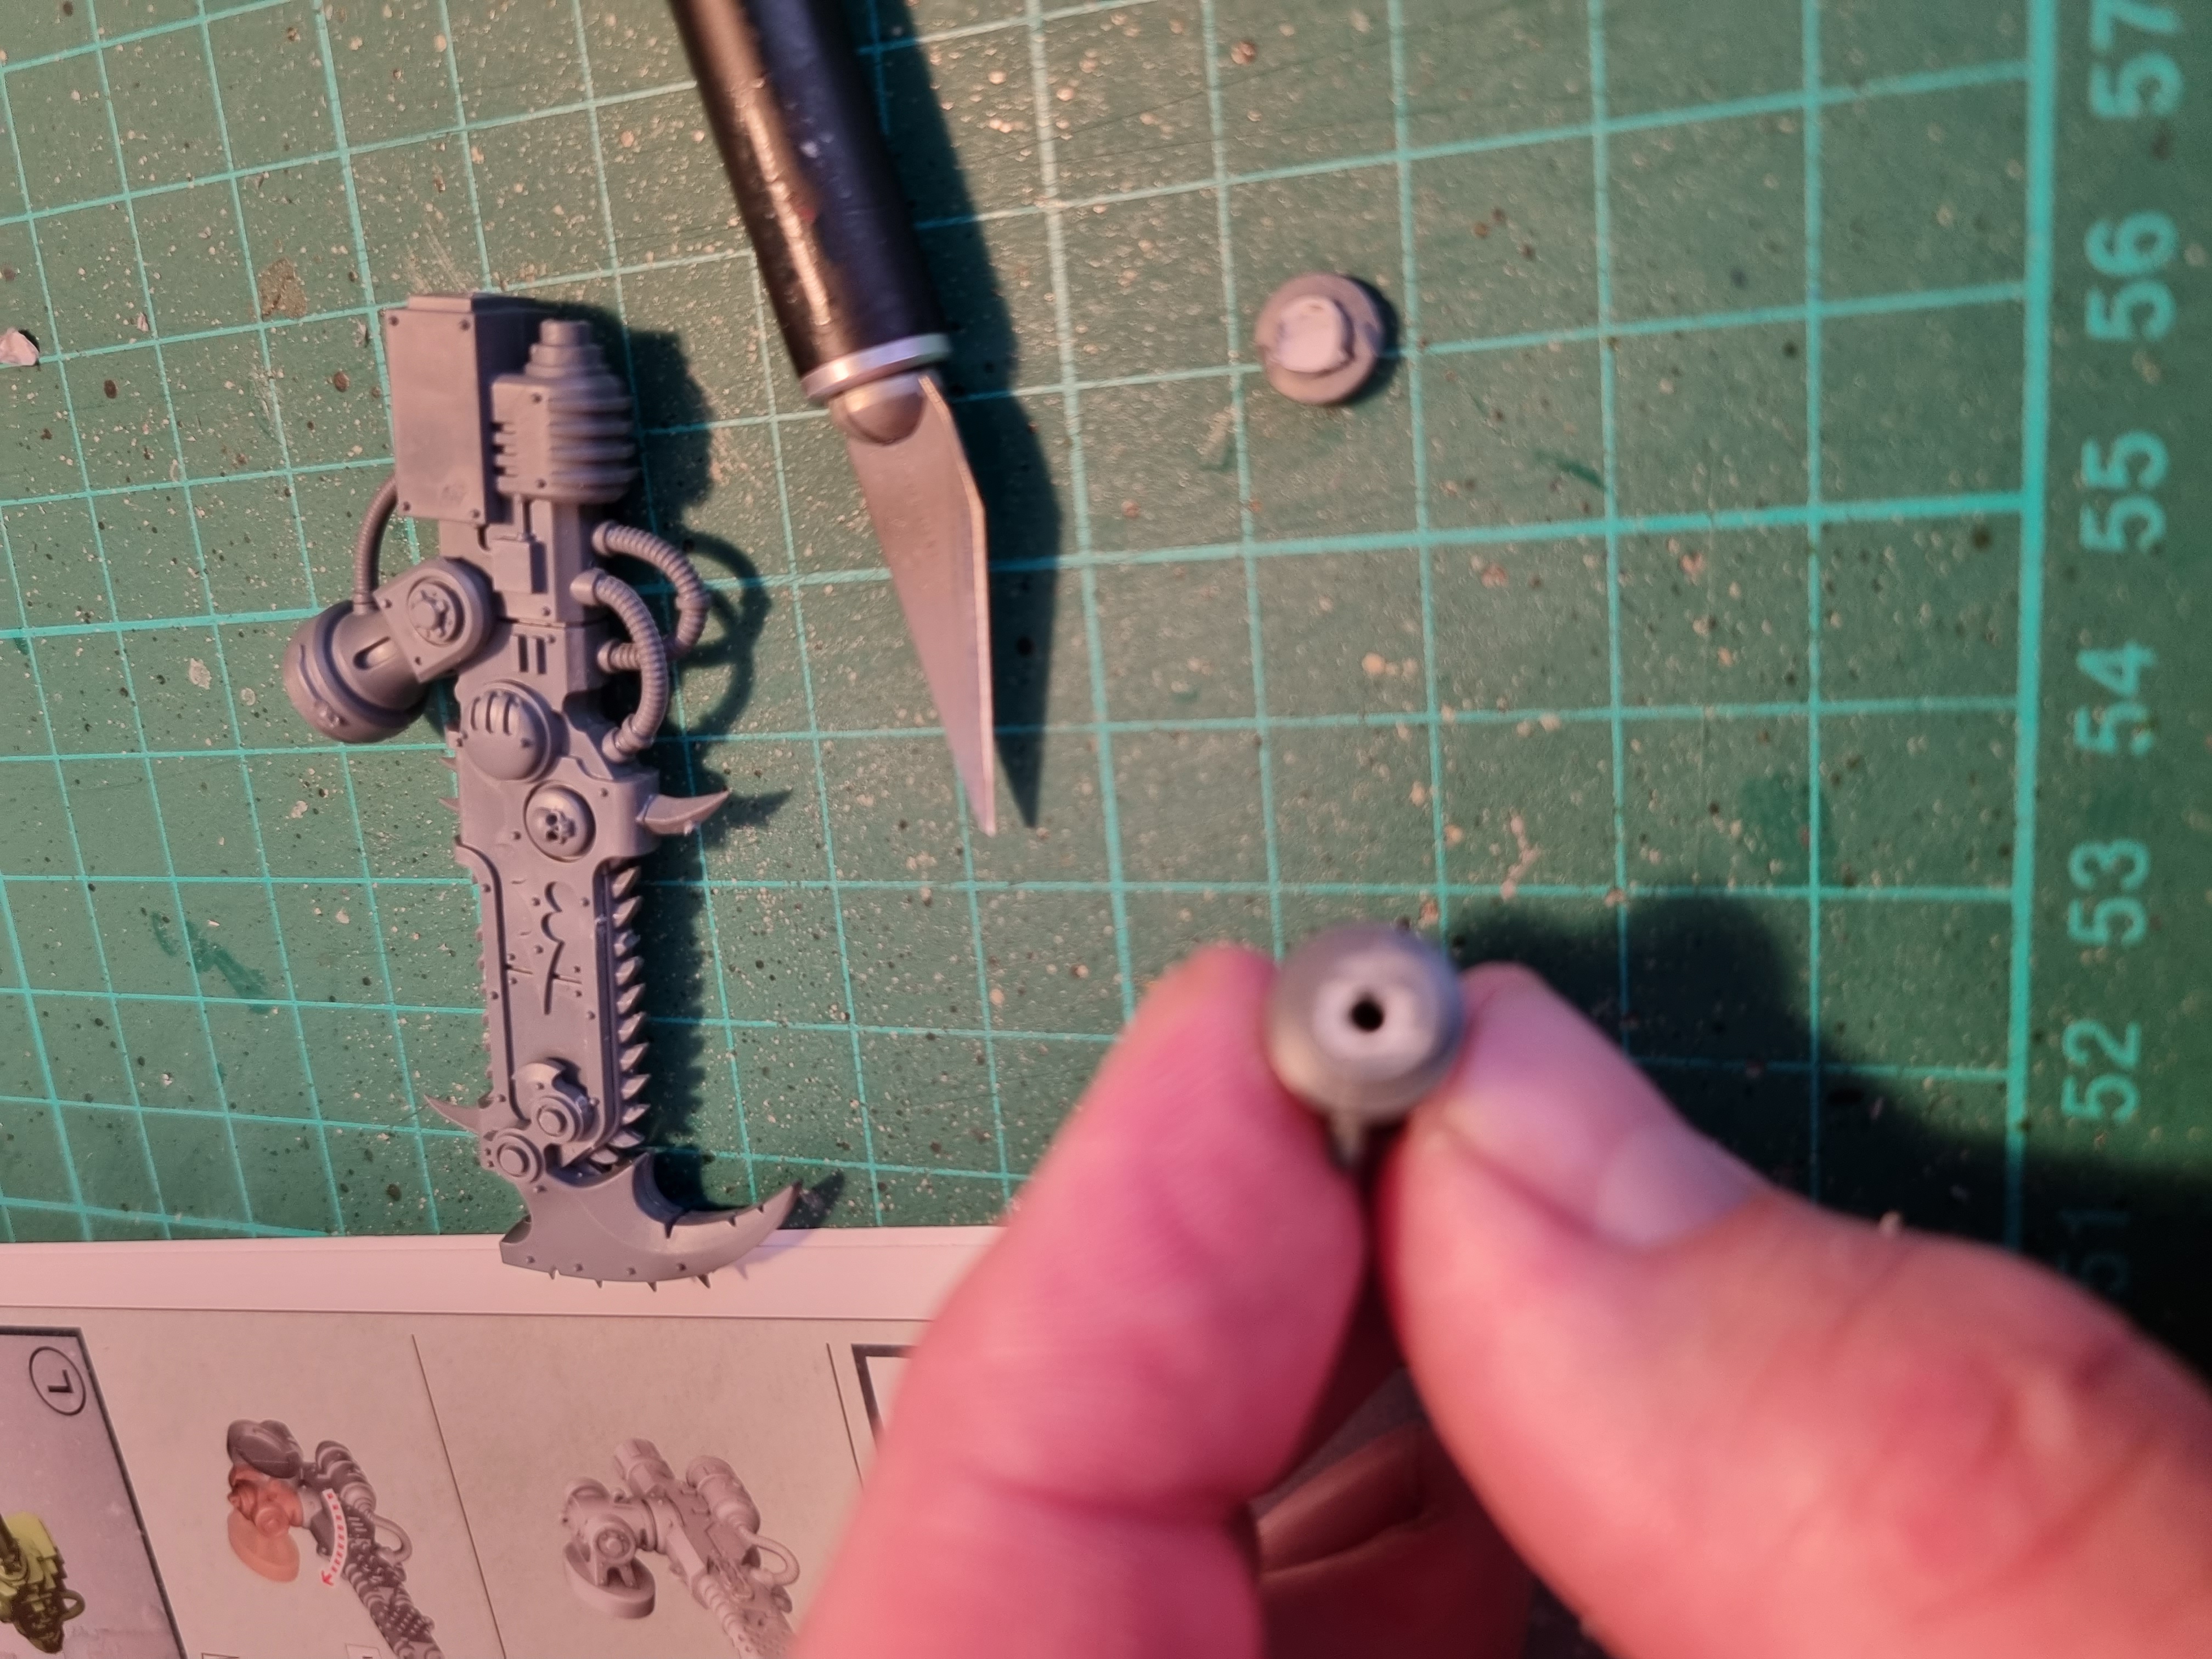
I tend to use the knife point to start a pilot hole then work my way up in drill bit sizes till I get to the size I need. I usually end up with a tight fit that doesn’t need gluing reducing mess (and stuck fingers).
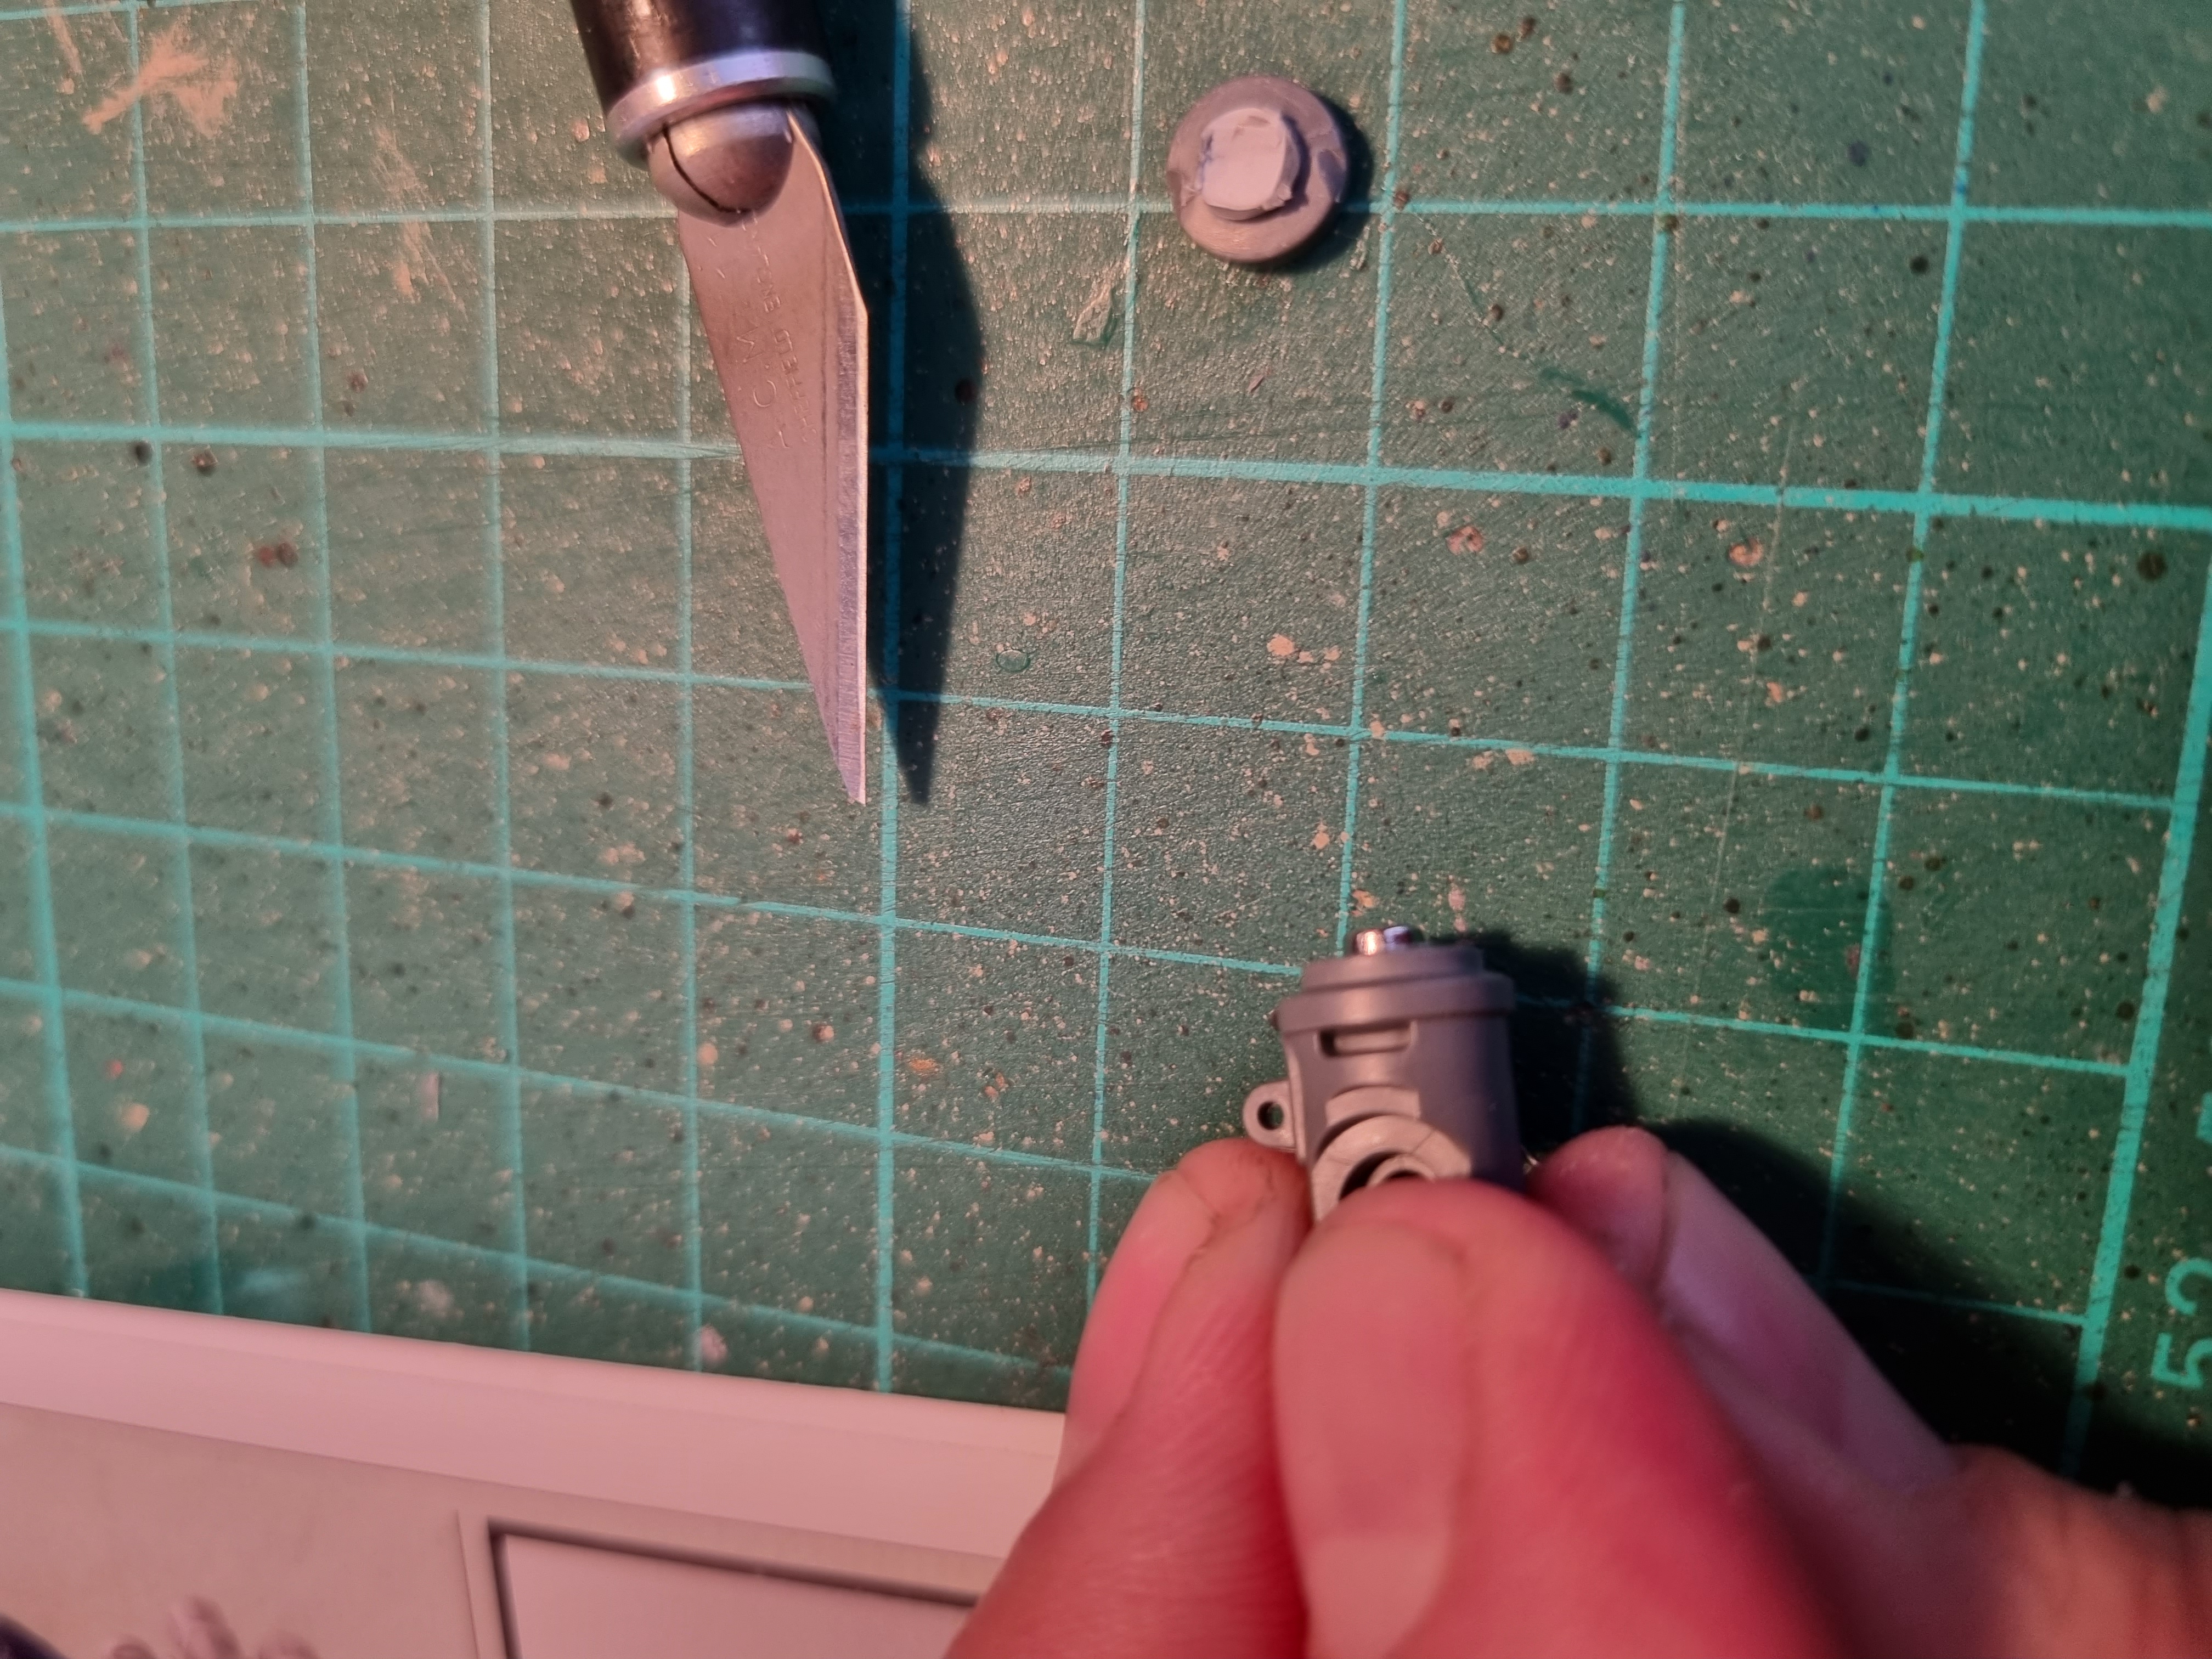 Magnets in, there's a stack of 2 x 3*3mm magnets and they stick a little proud to help attach better
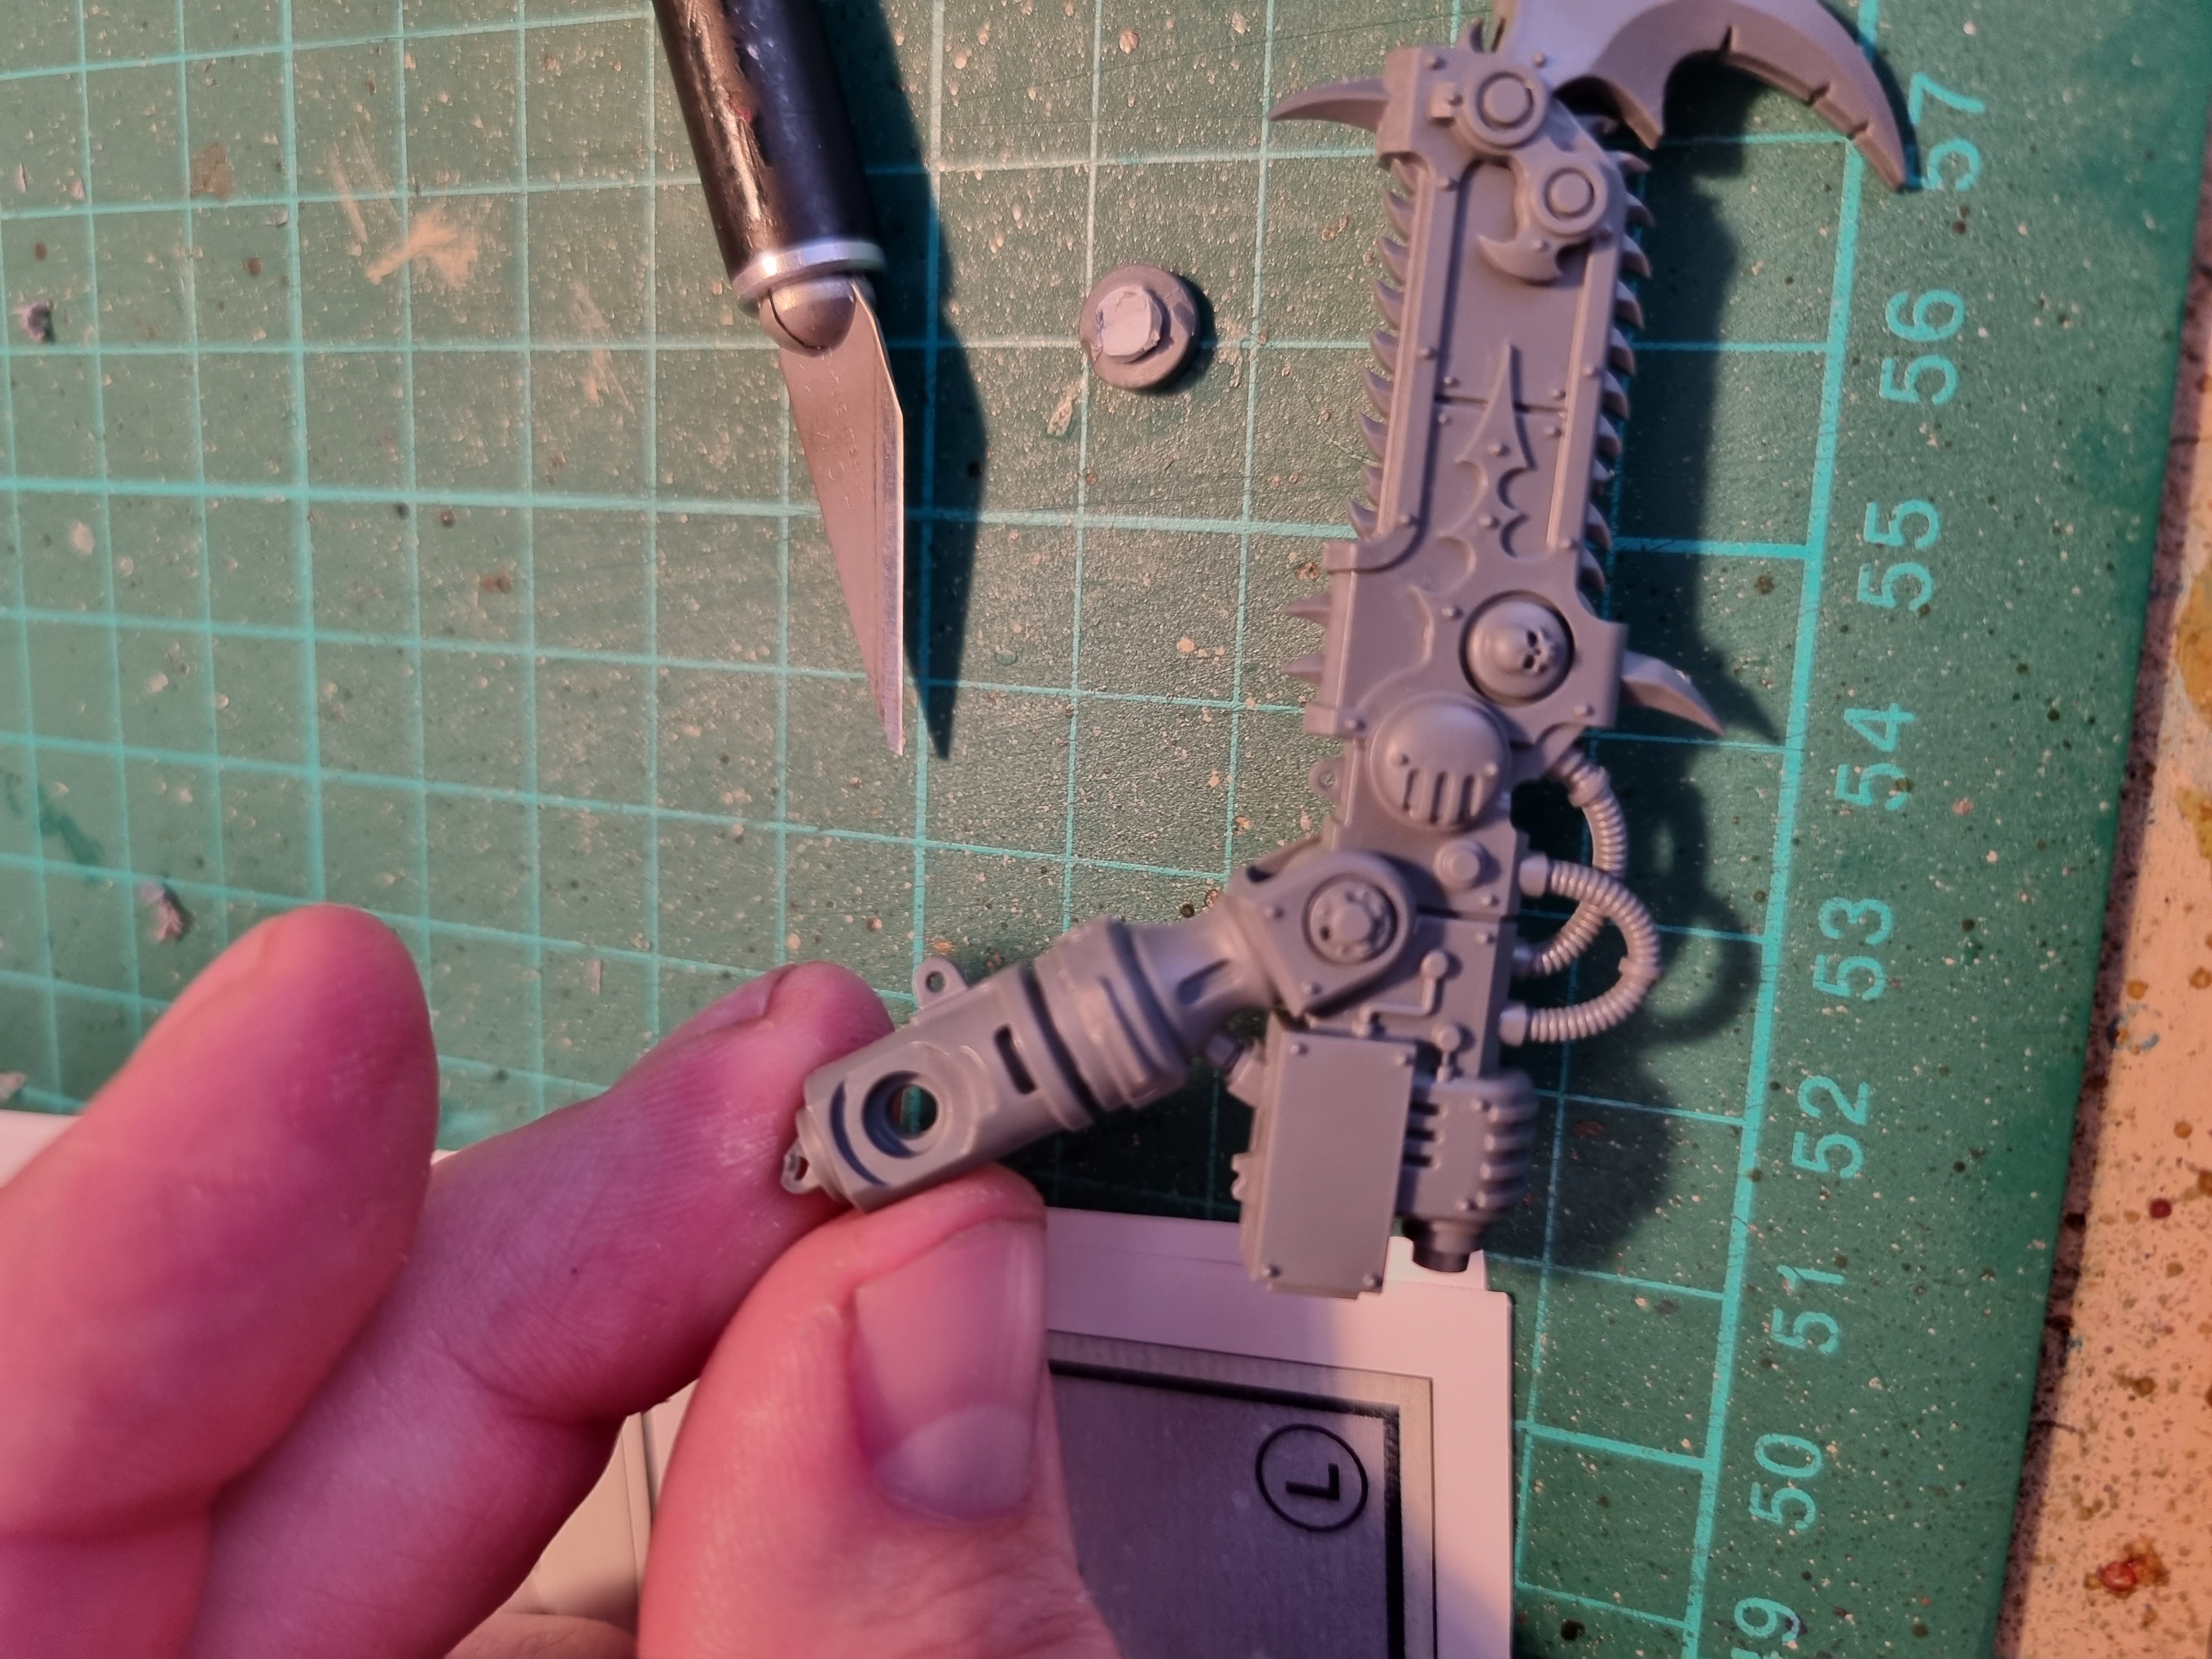 The finished weapon and arm
Started the basing and decided to go with an Ash Waste type feel and raided the garden for some bark pieces and dug out the Imperial Knights box from storage to hunt for some “spare” Knight parts.
No joy on finding parts so I improvised a little…
Yes, that is an old knfe blade I “disposed” off safely…
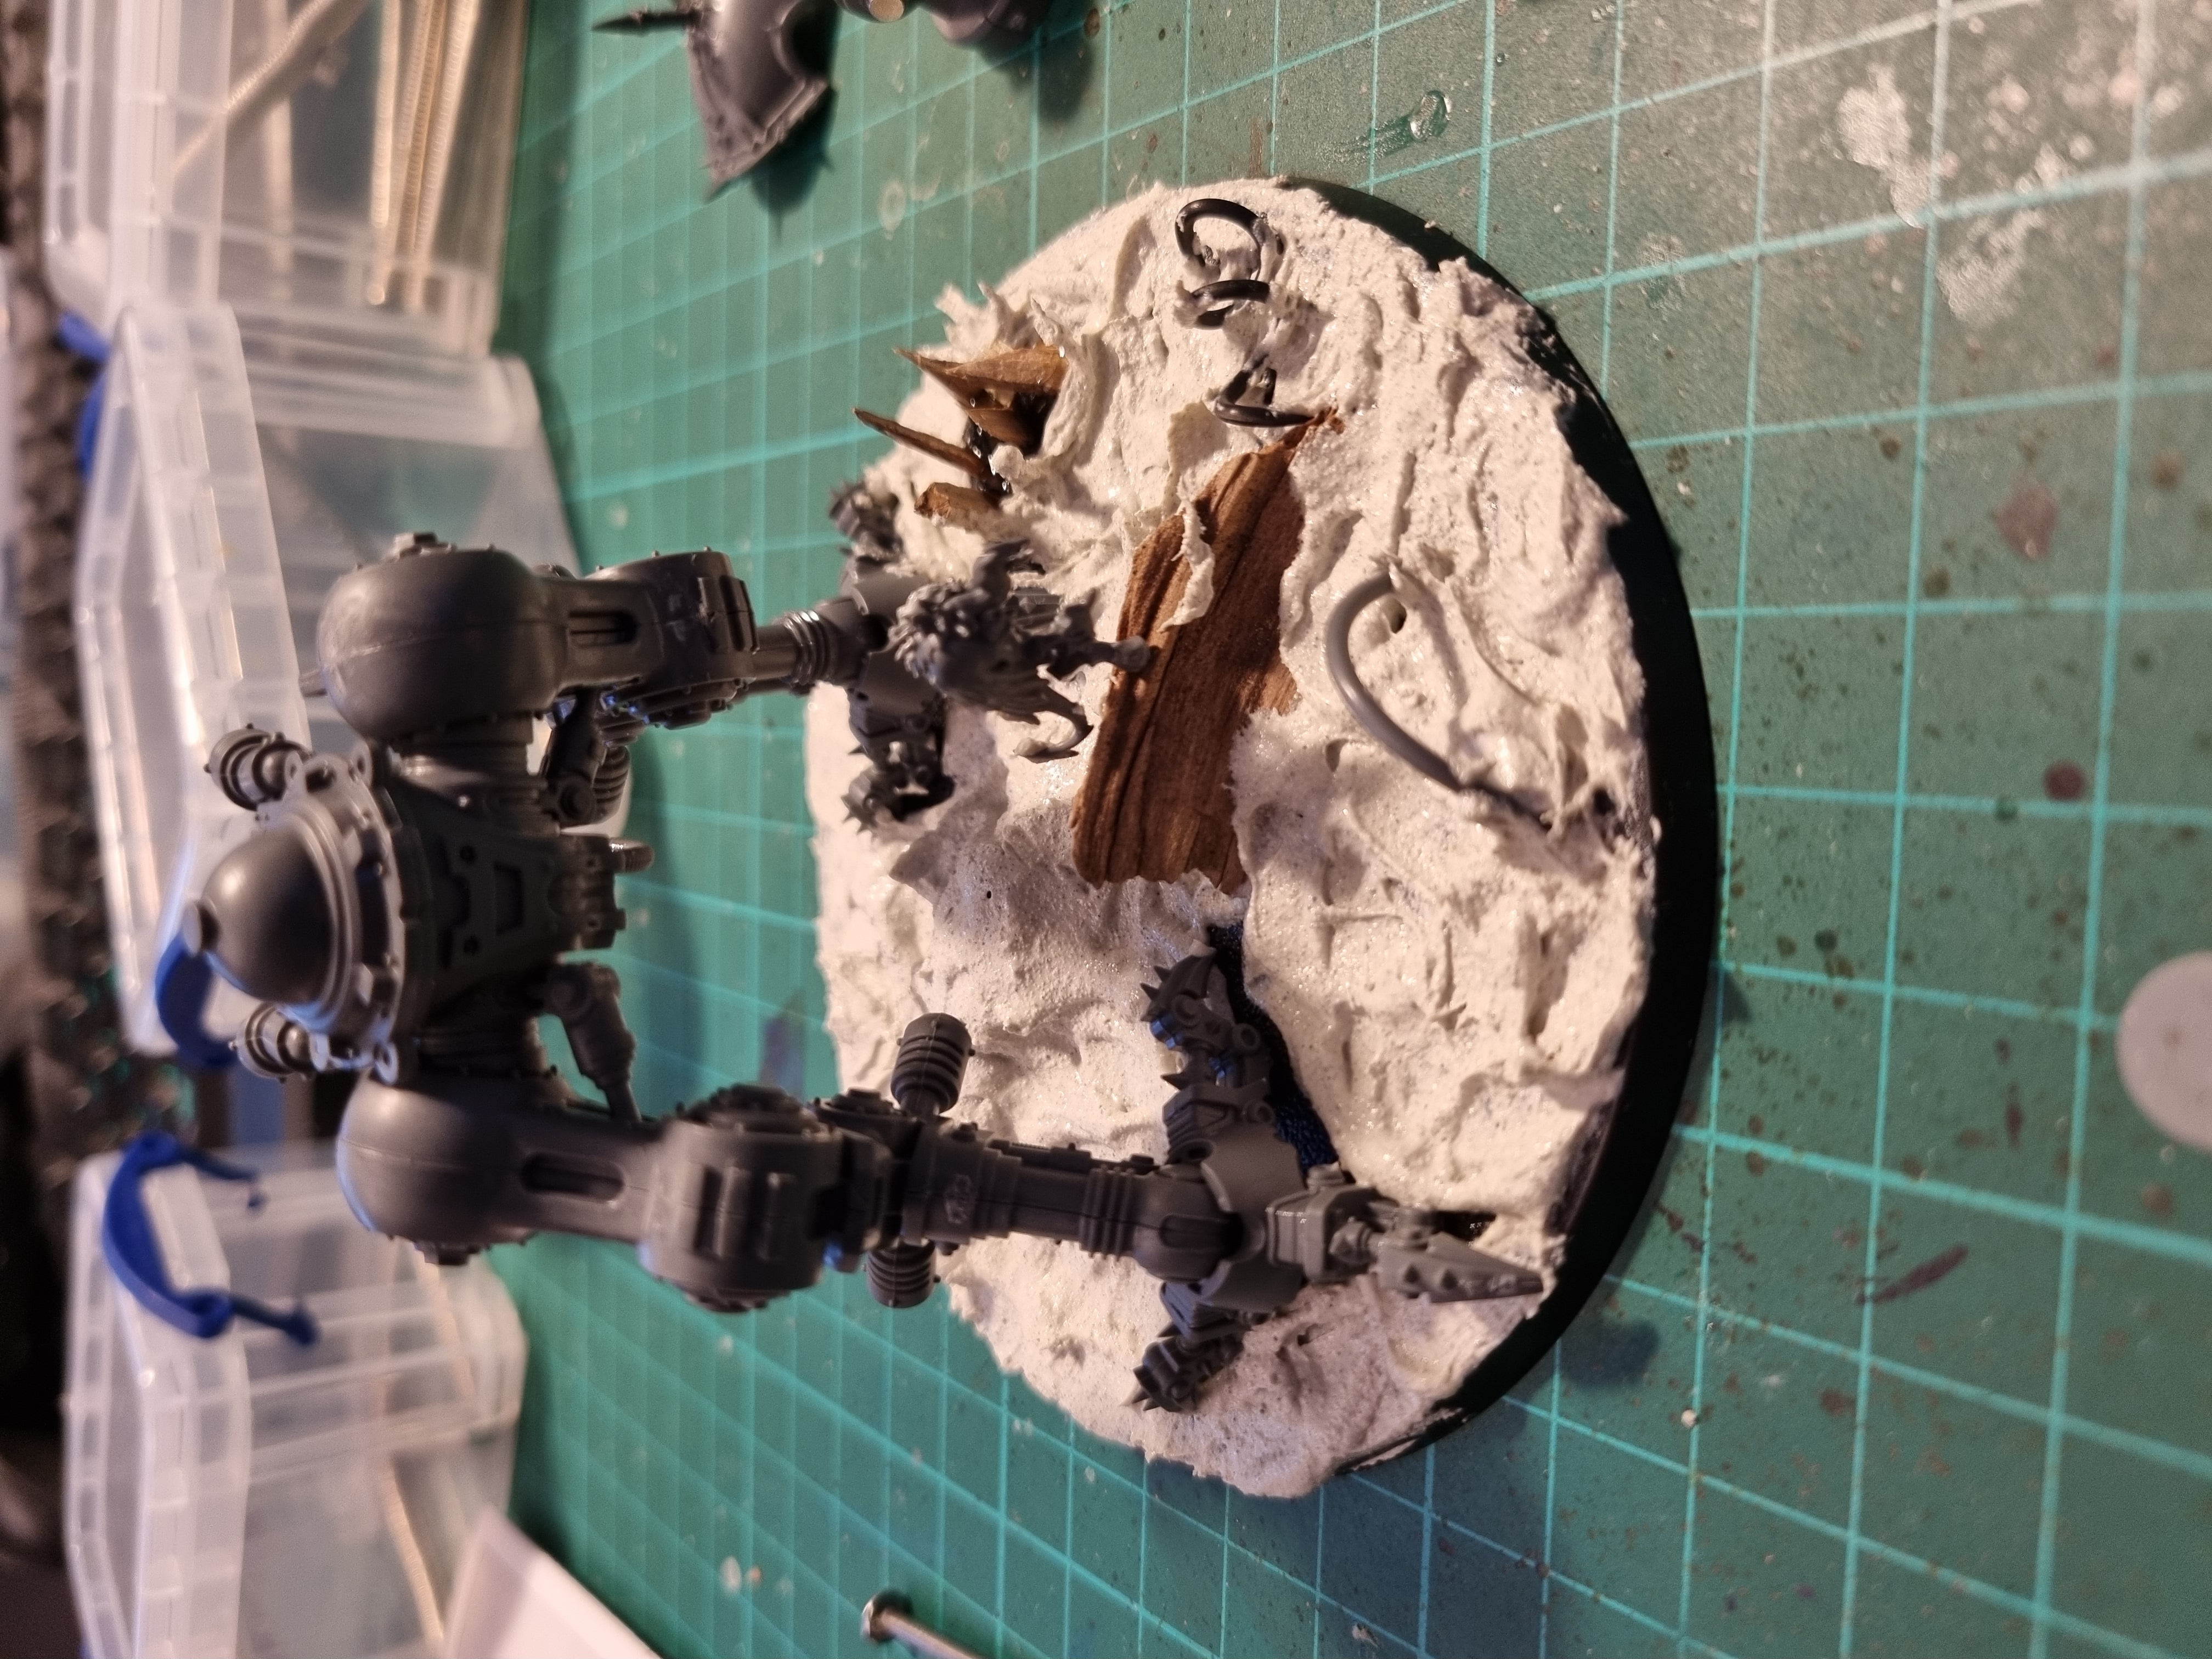
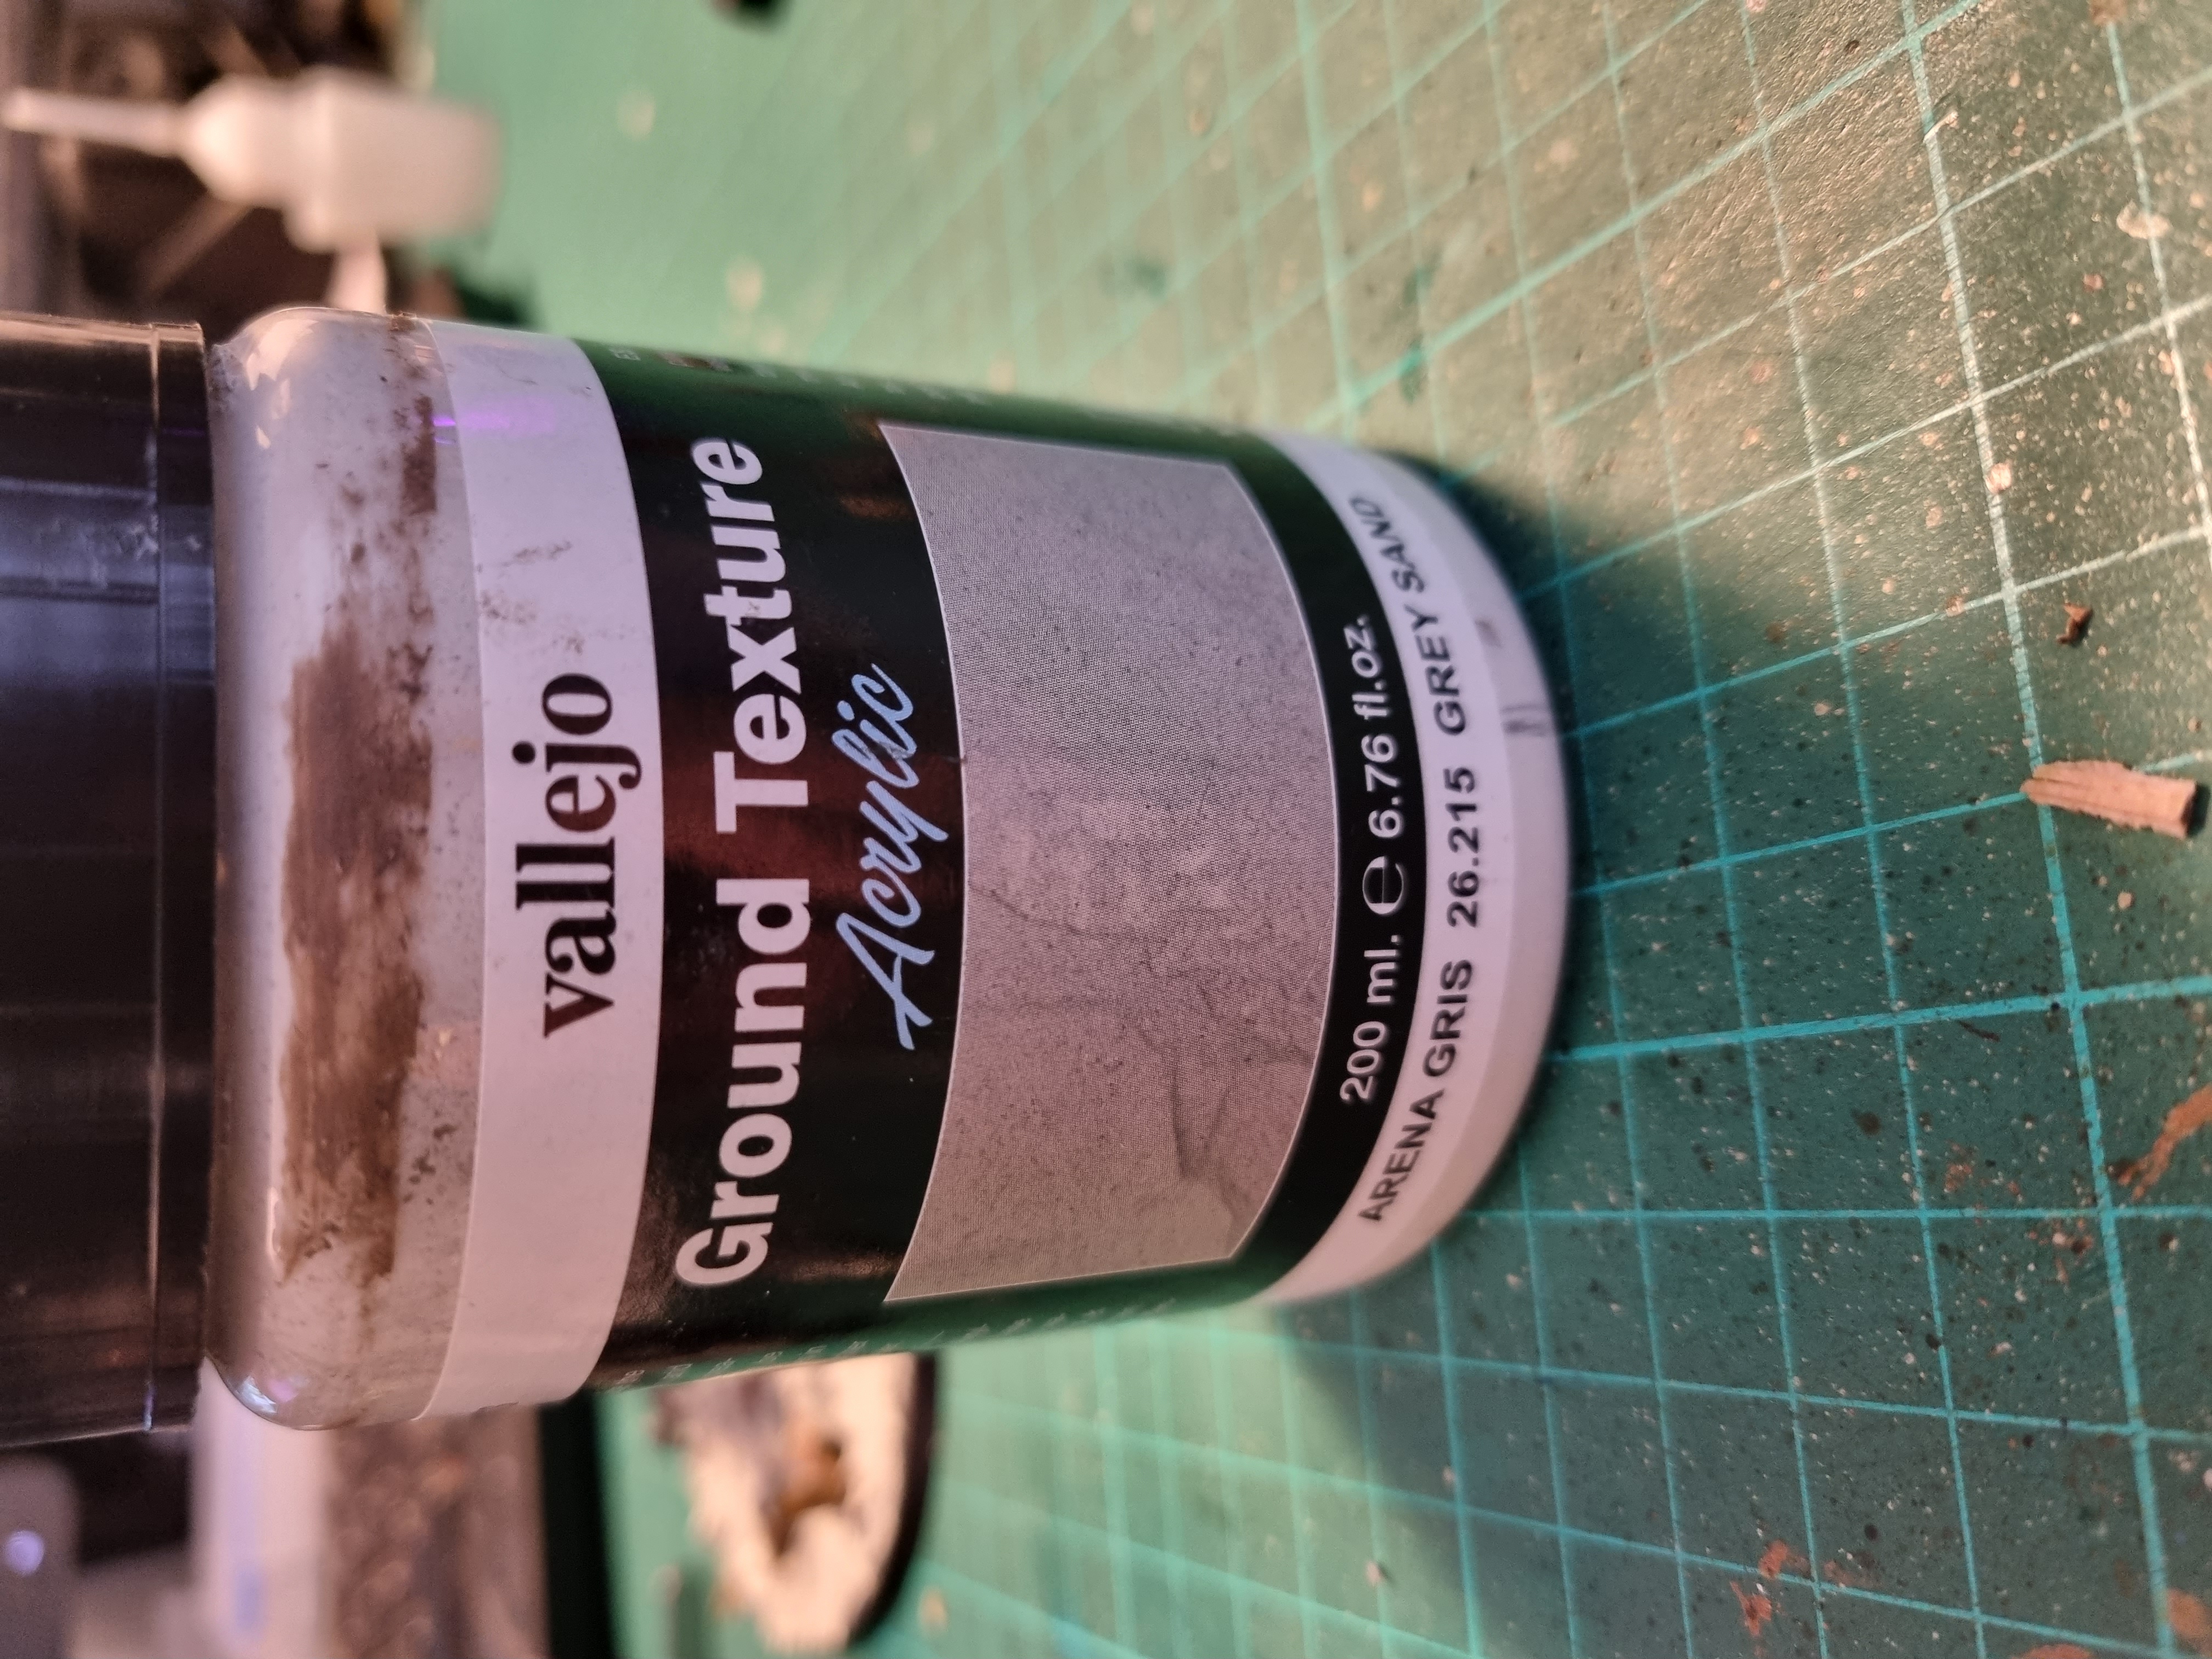
Added bark and a bit of wire then dug out the old faithful, Vallejo Diarama effects – Grey Sand…
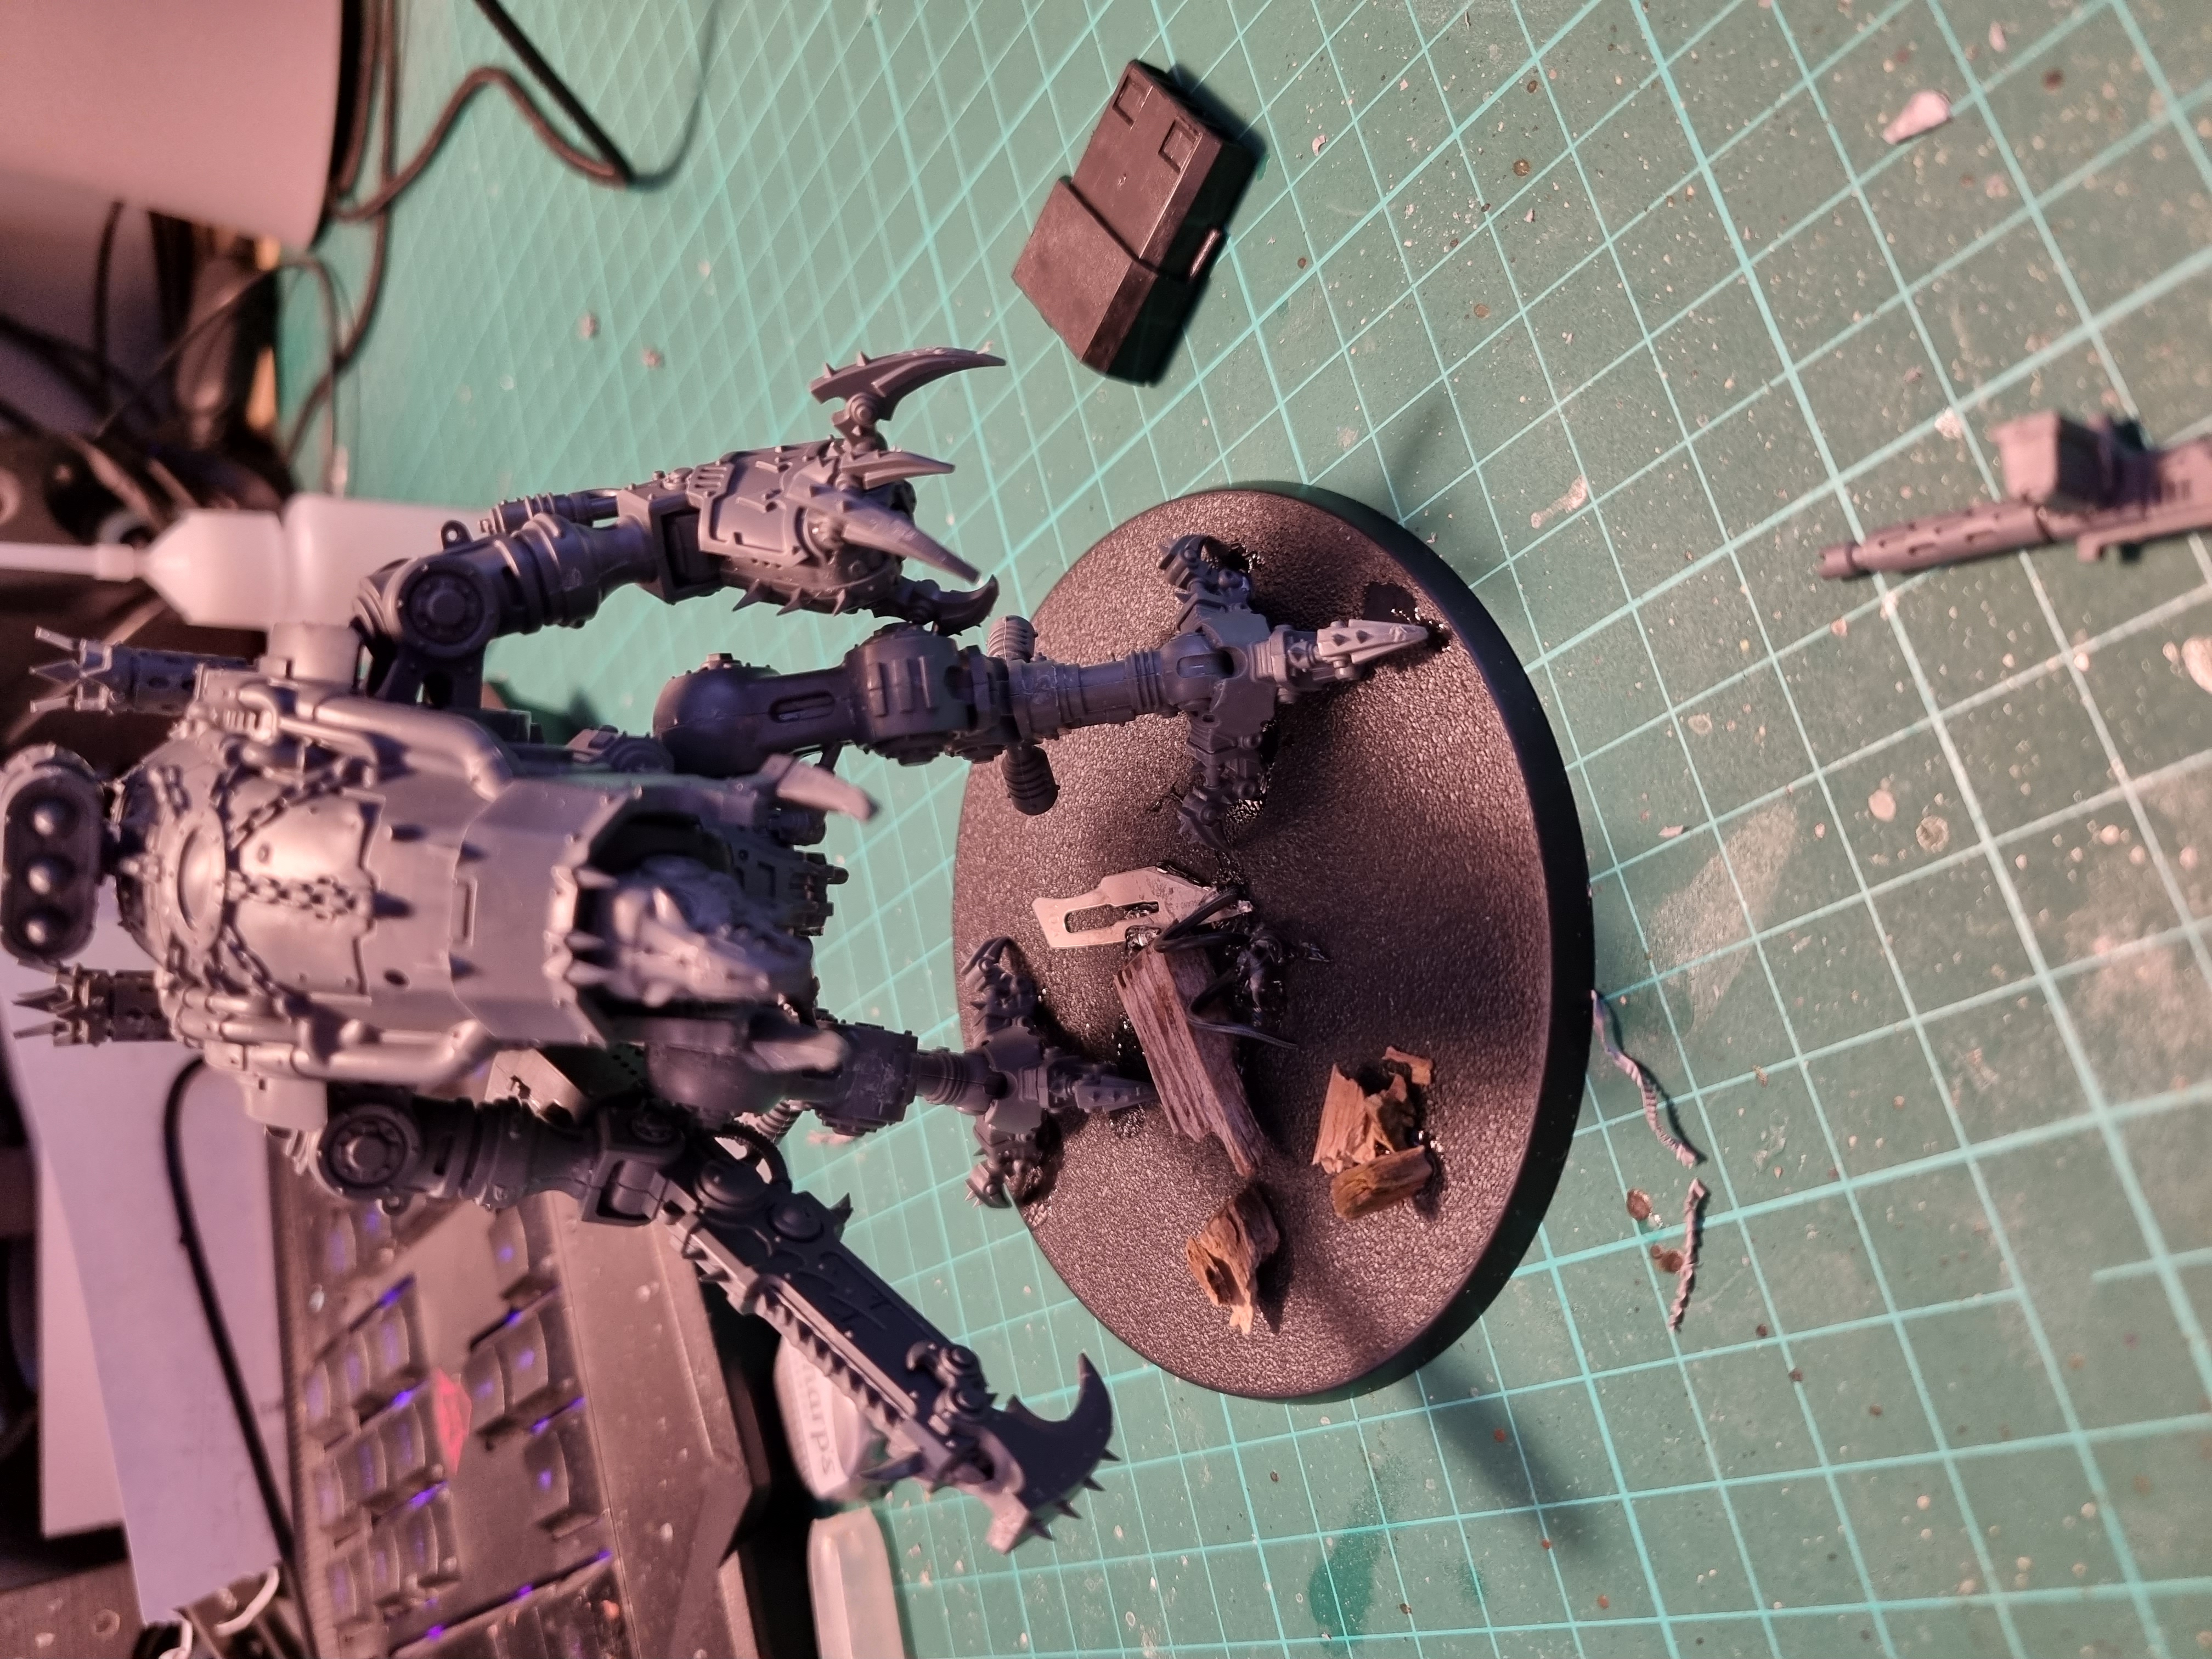
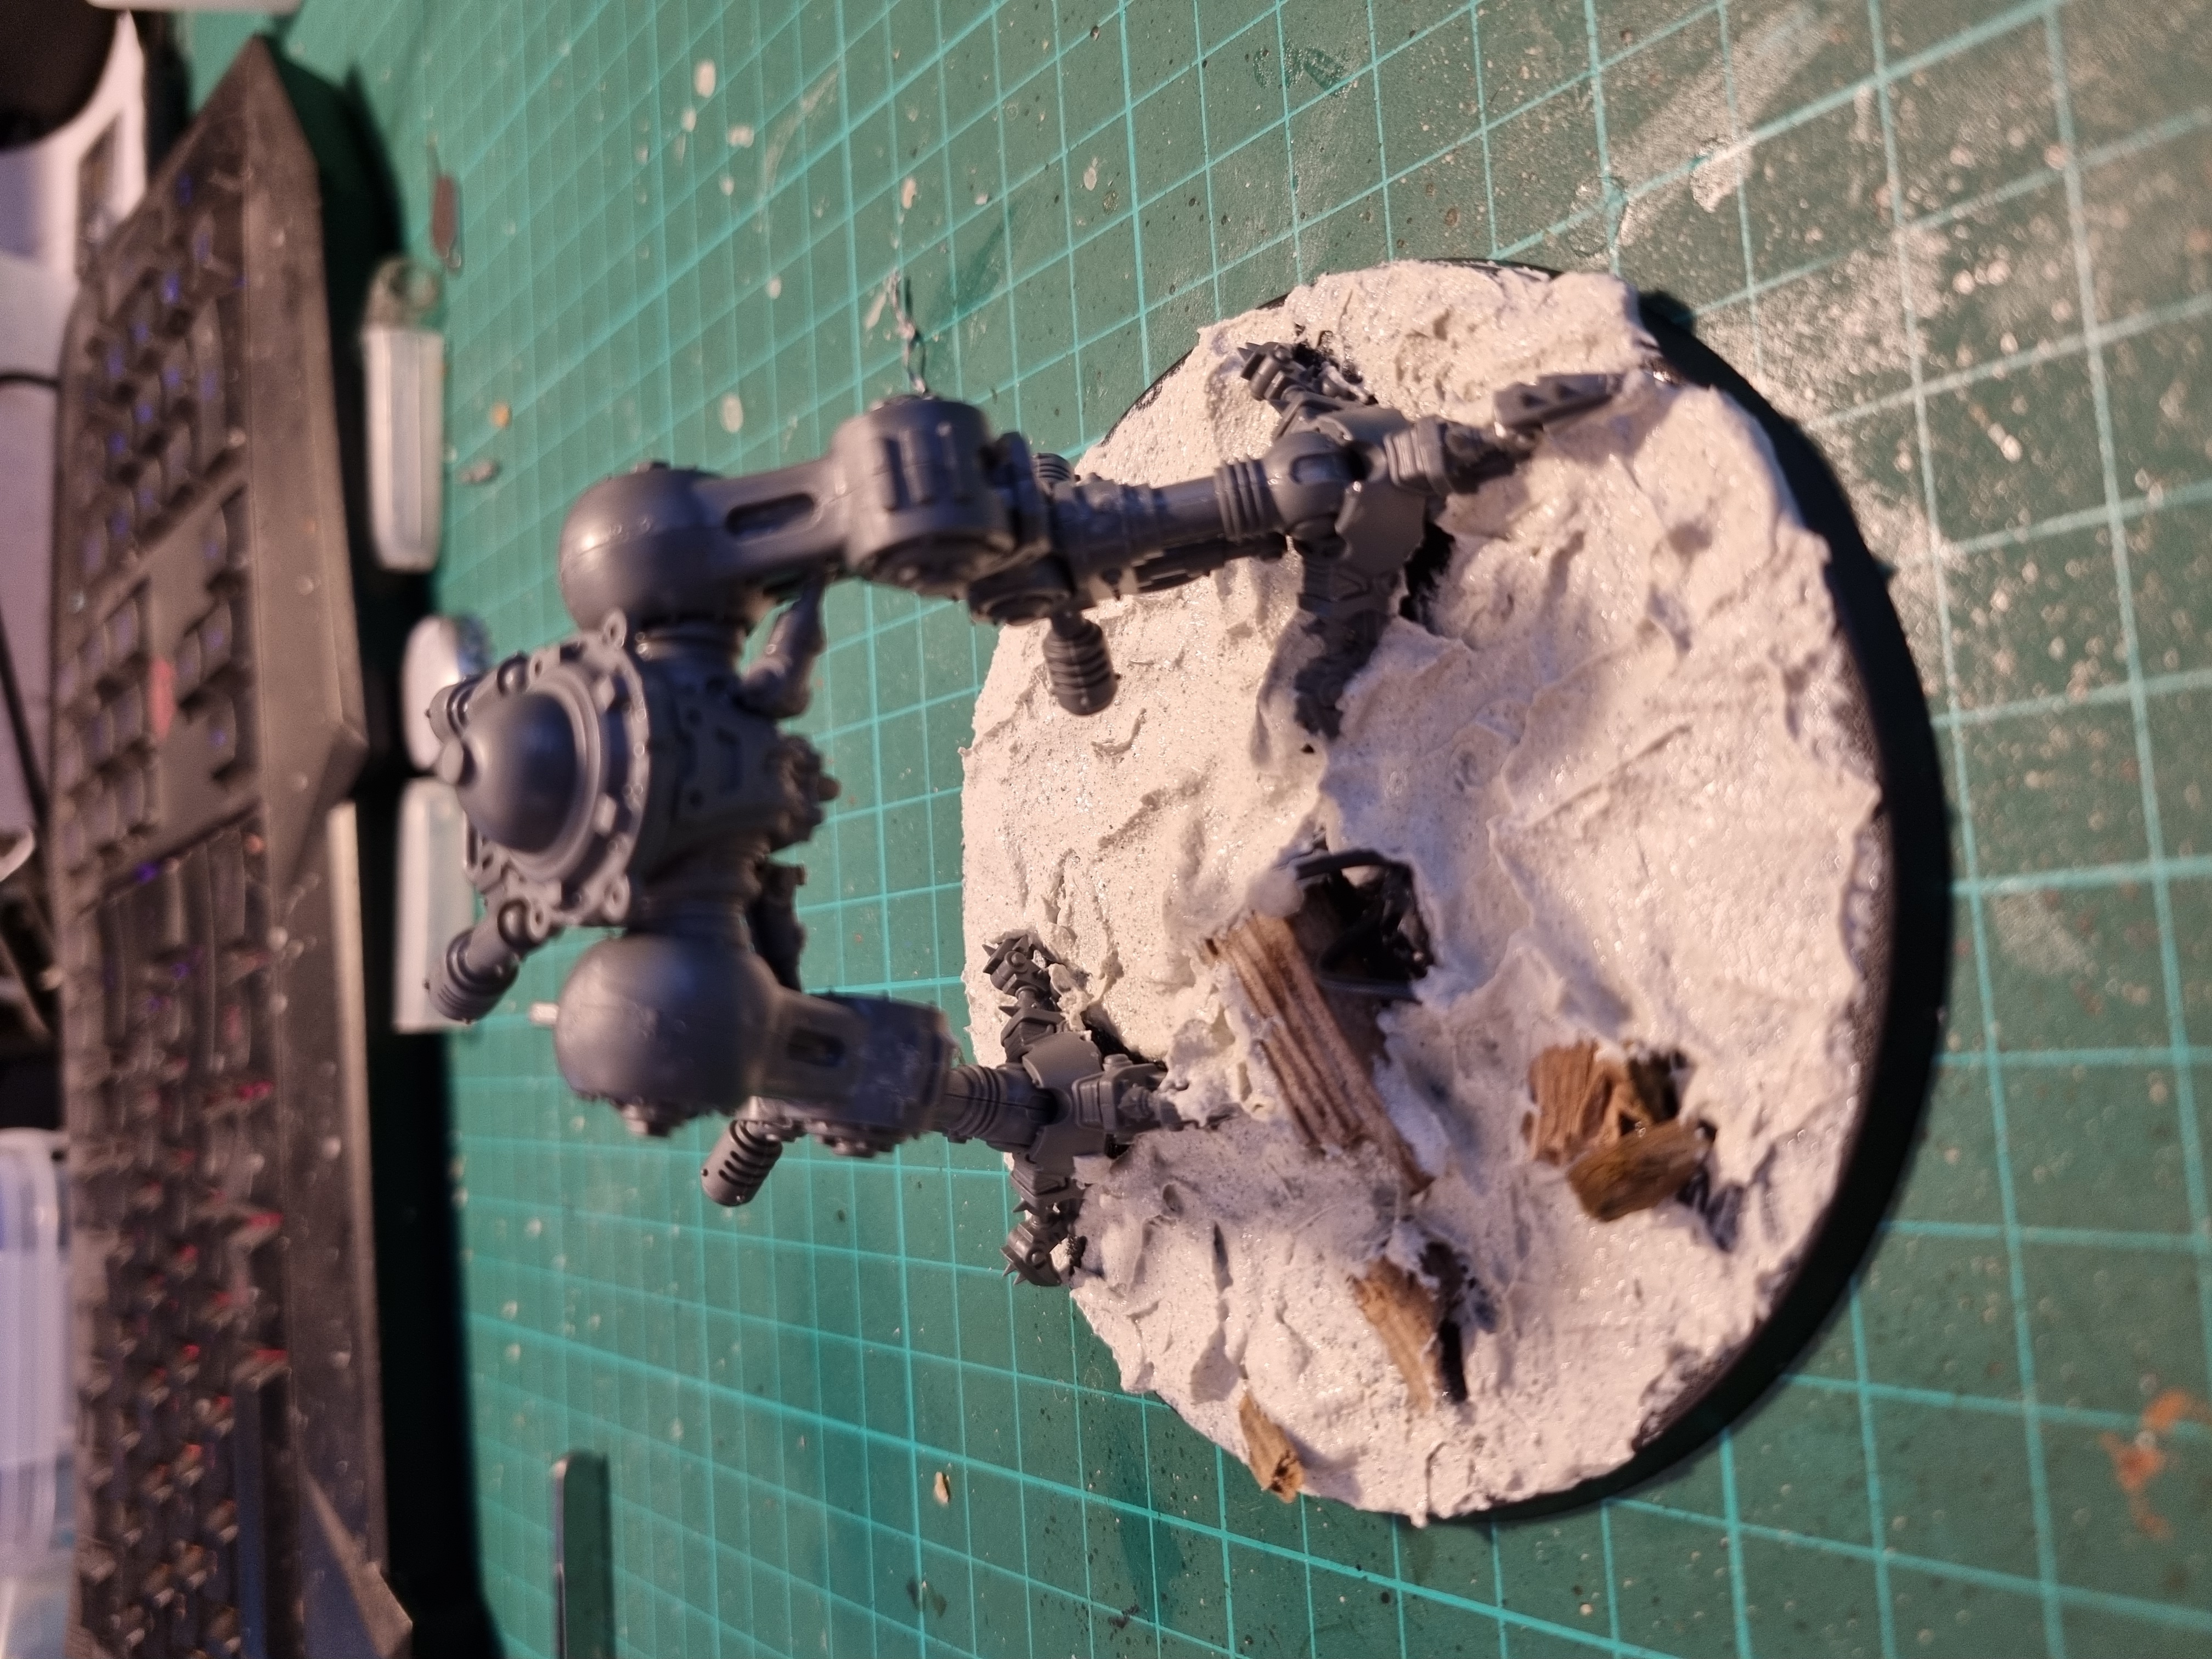
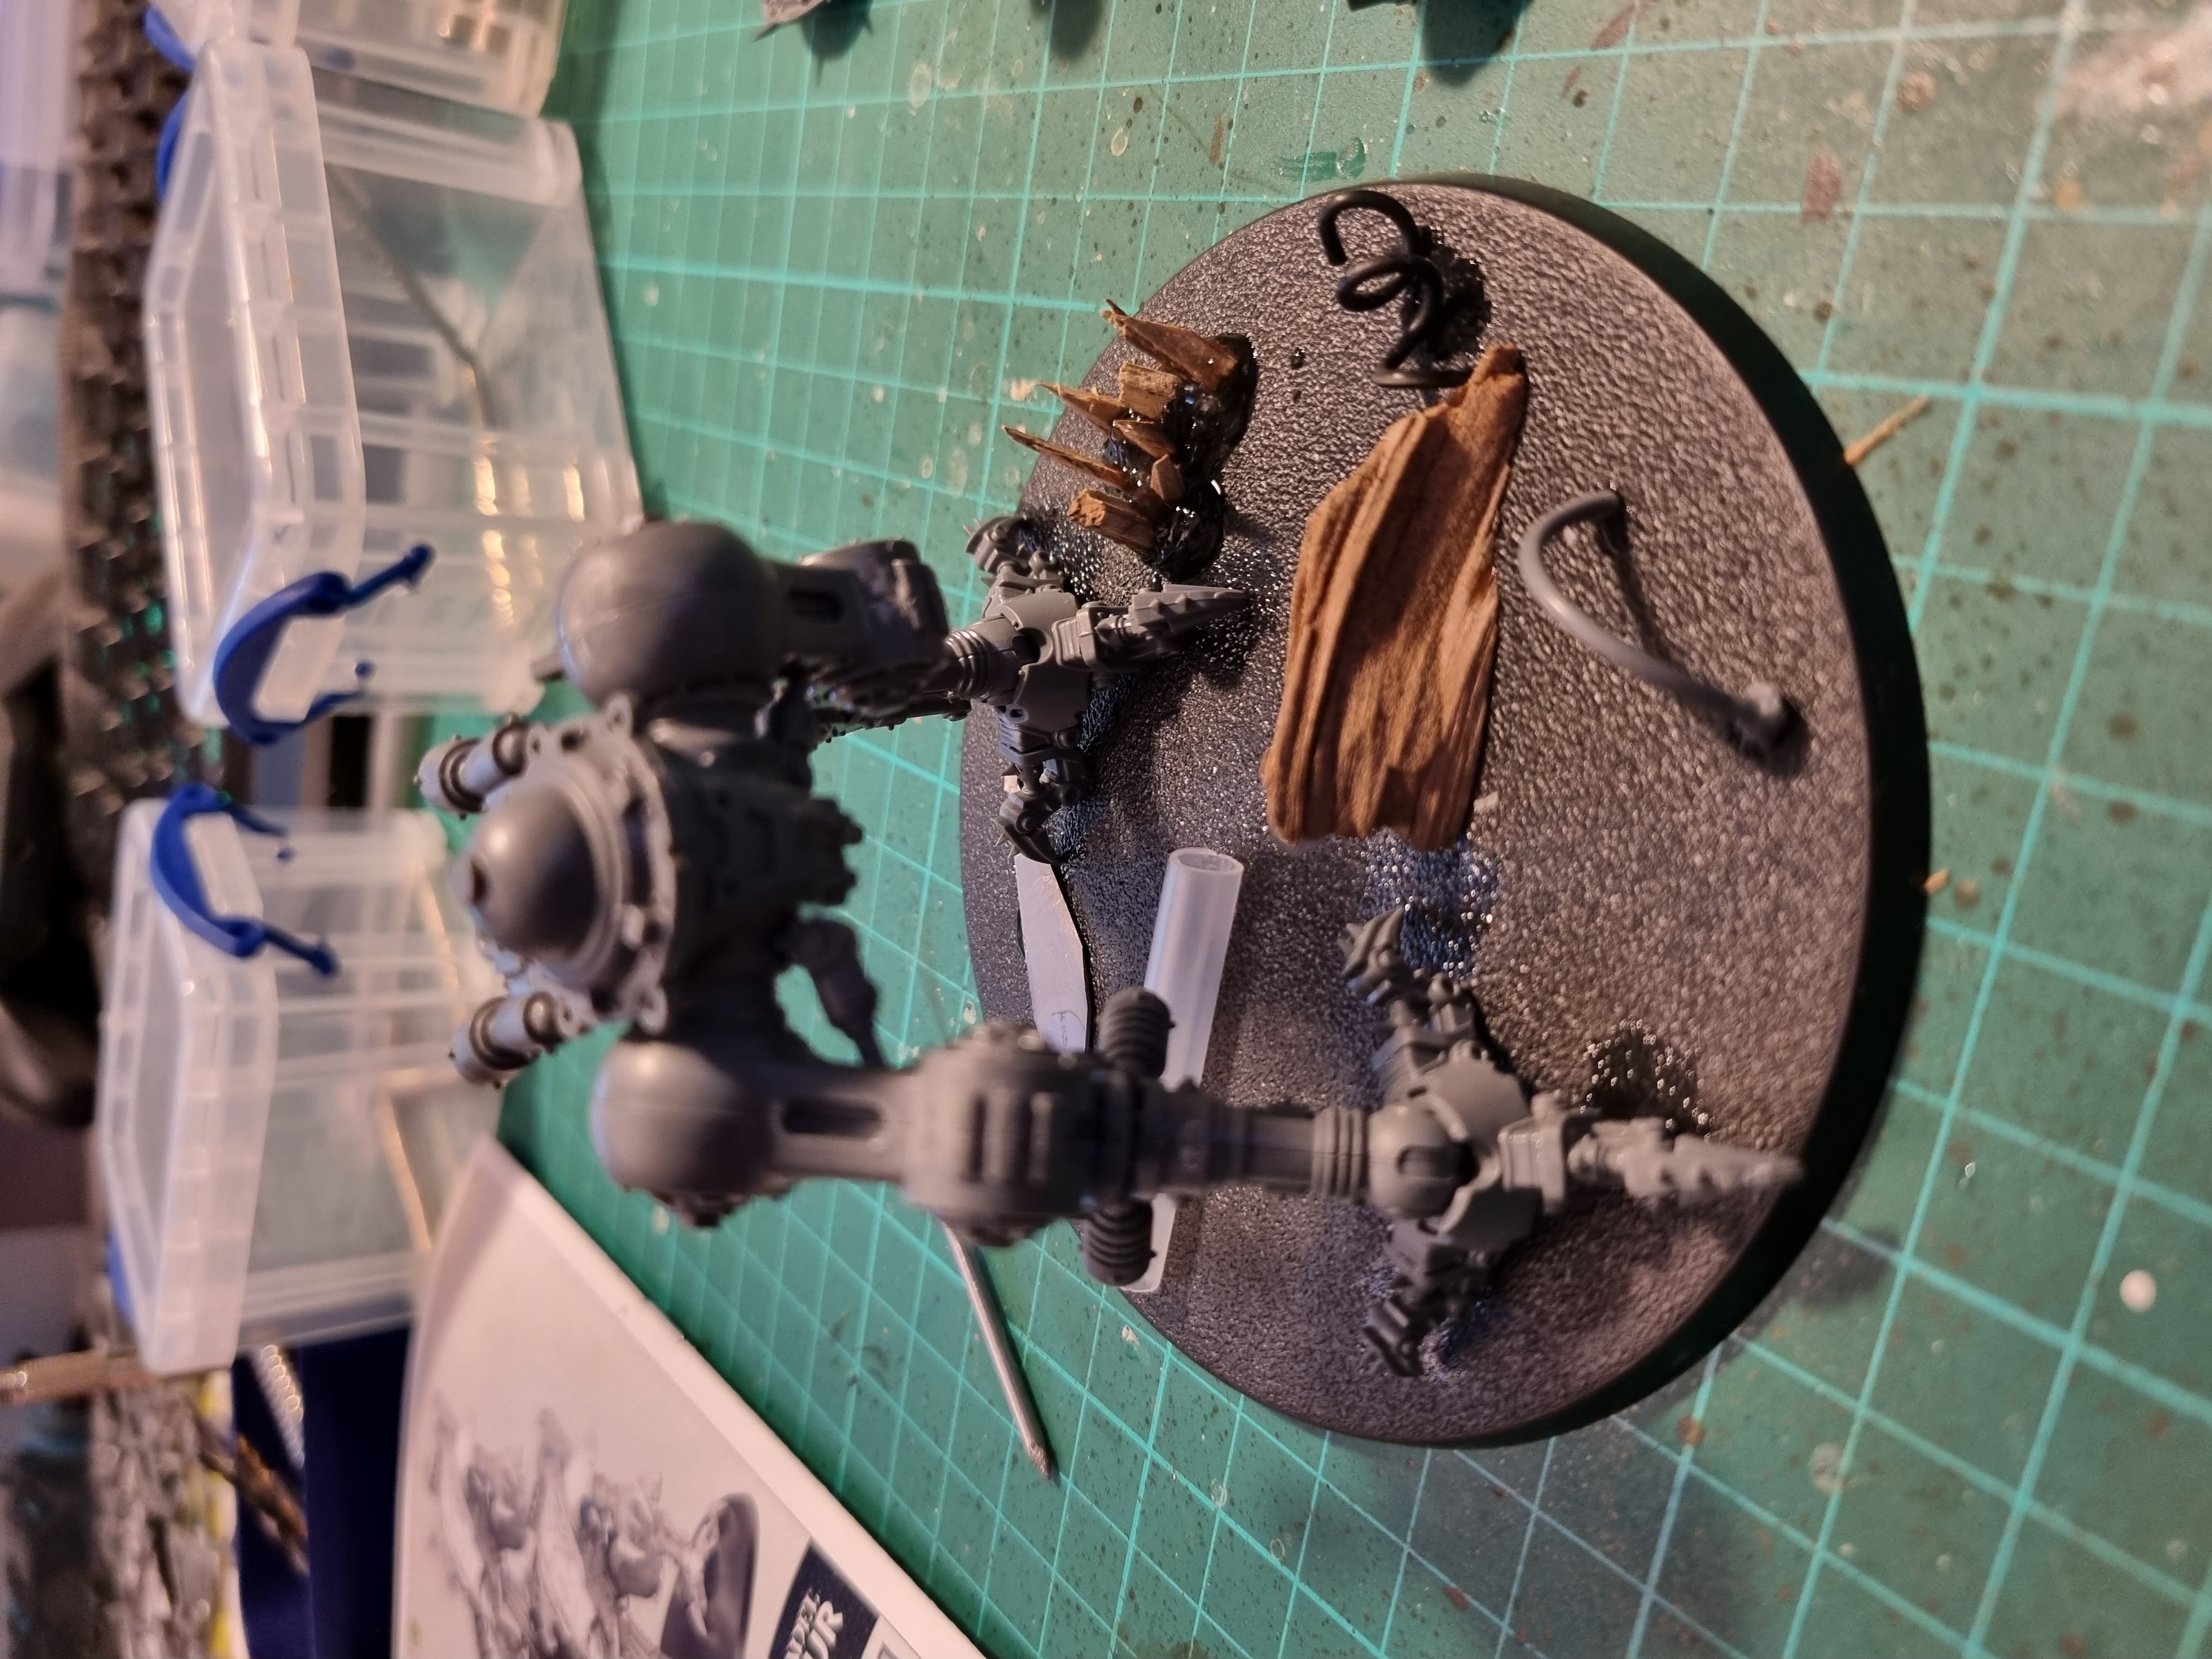
Stand up, stand tall

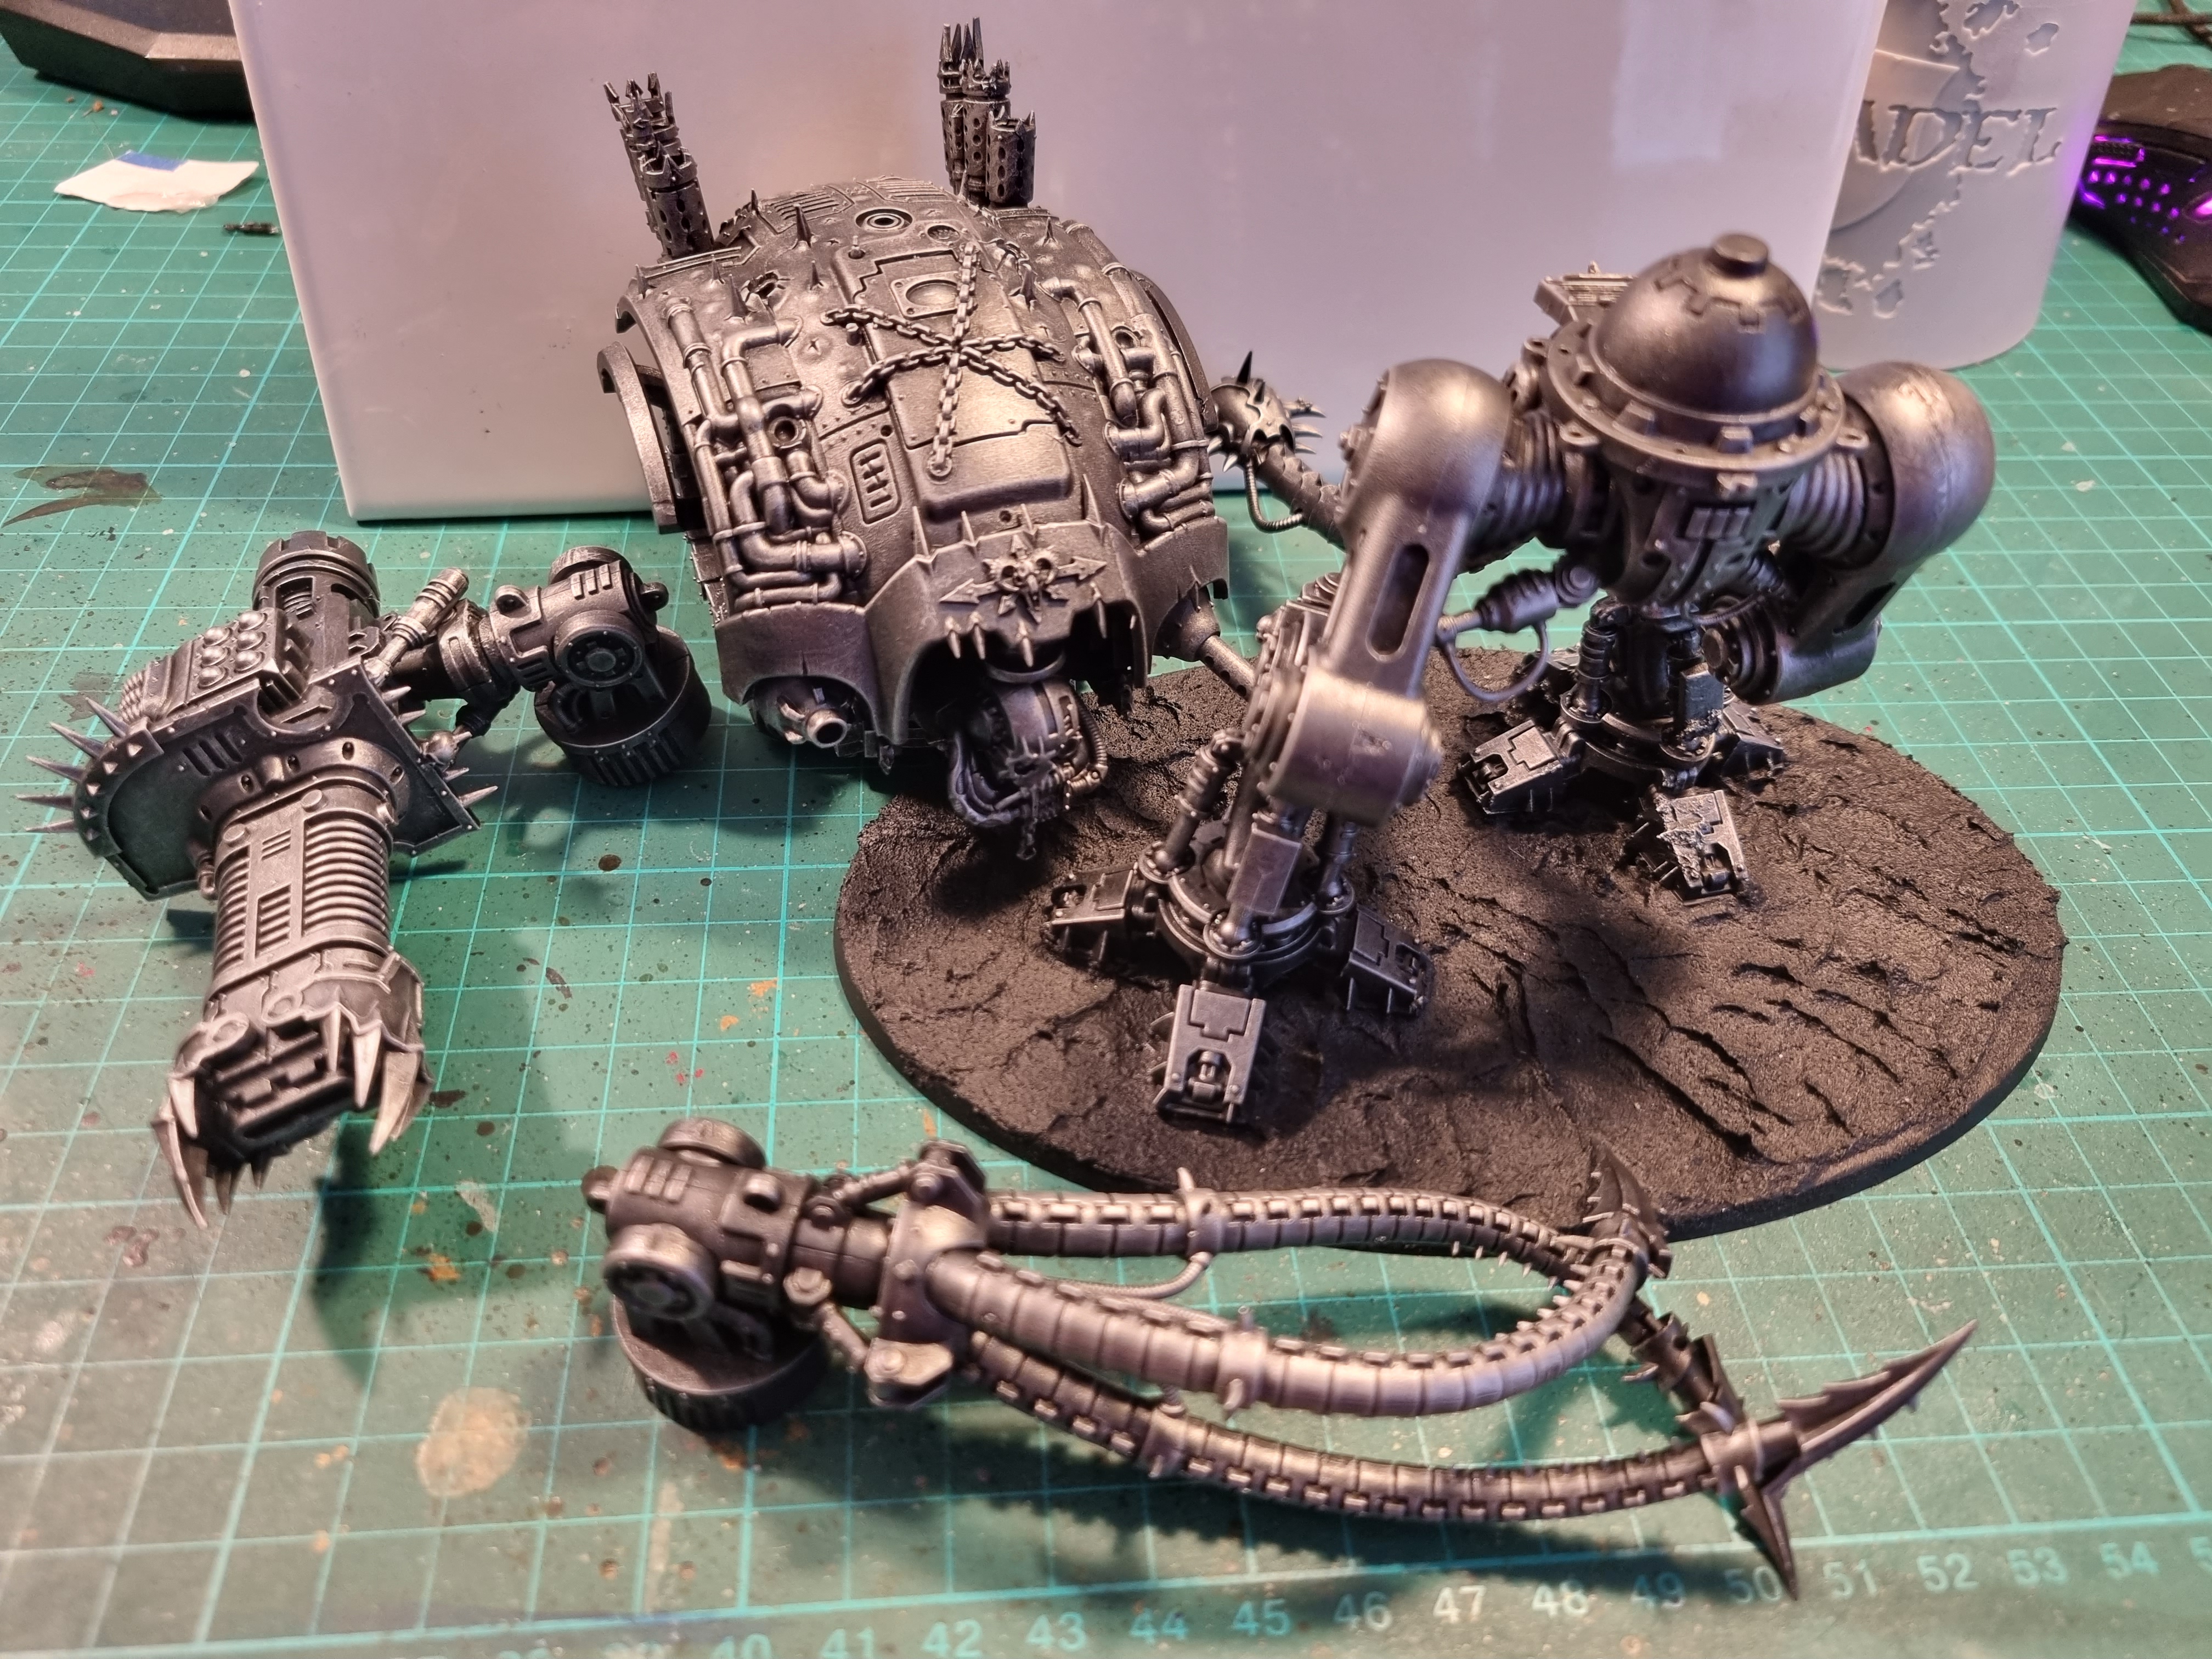
Main body built, time to look at the weapons.
Unfortunately I didn’t have the magnets I wanted/needed to progress stalled on the big guy so I turned my attention to the “small” guys instead.


![StarCraft Tabletop Miniatures Game Pre-Orders Live Now [Updated]](https://images.beastsofwar.com/2026/03/starcraft-tmg-news-cover-600-338.jpg)


![Mounted US Cavalry On Kickstarter For Dead Man’s Hand! [Updated]](https://images.beastsofwar.com/2026/03/us-cavalry-main-600-338.jpg)


