


Building terrain of Doom


Recommendations: 85
About the Project
Bam ? Rather than just thinking about building scenery Hopefully I can use this project to get some scenery built up to make my games more interesting. Having just got hold of starwars shatterpoint I'm looking forward to making the buildings for that, as well as making some fantasy buildings from card for moonstone. There are also plans underway for a small game table that doubles as a picture frame. I also need some epic tenches and bunkers for my kreig so fancy scratch building them using some templates from an old white dwarf. Gonna give some new techniques a go as well including messing with a cheap spray gun and trying out weathering solutions.
Related Genre: General
Related Contest: TerrainFest 2023
This Project is Active
Getting some terrain on the table
Managed to get a small game of shatterpoint in at the weekend using one squad each and a smaller table with the three objectives across the middle on different levels. The highest objective was worth 2 points and the remaining 2 were one point each.
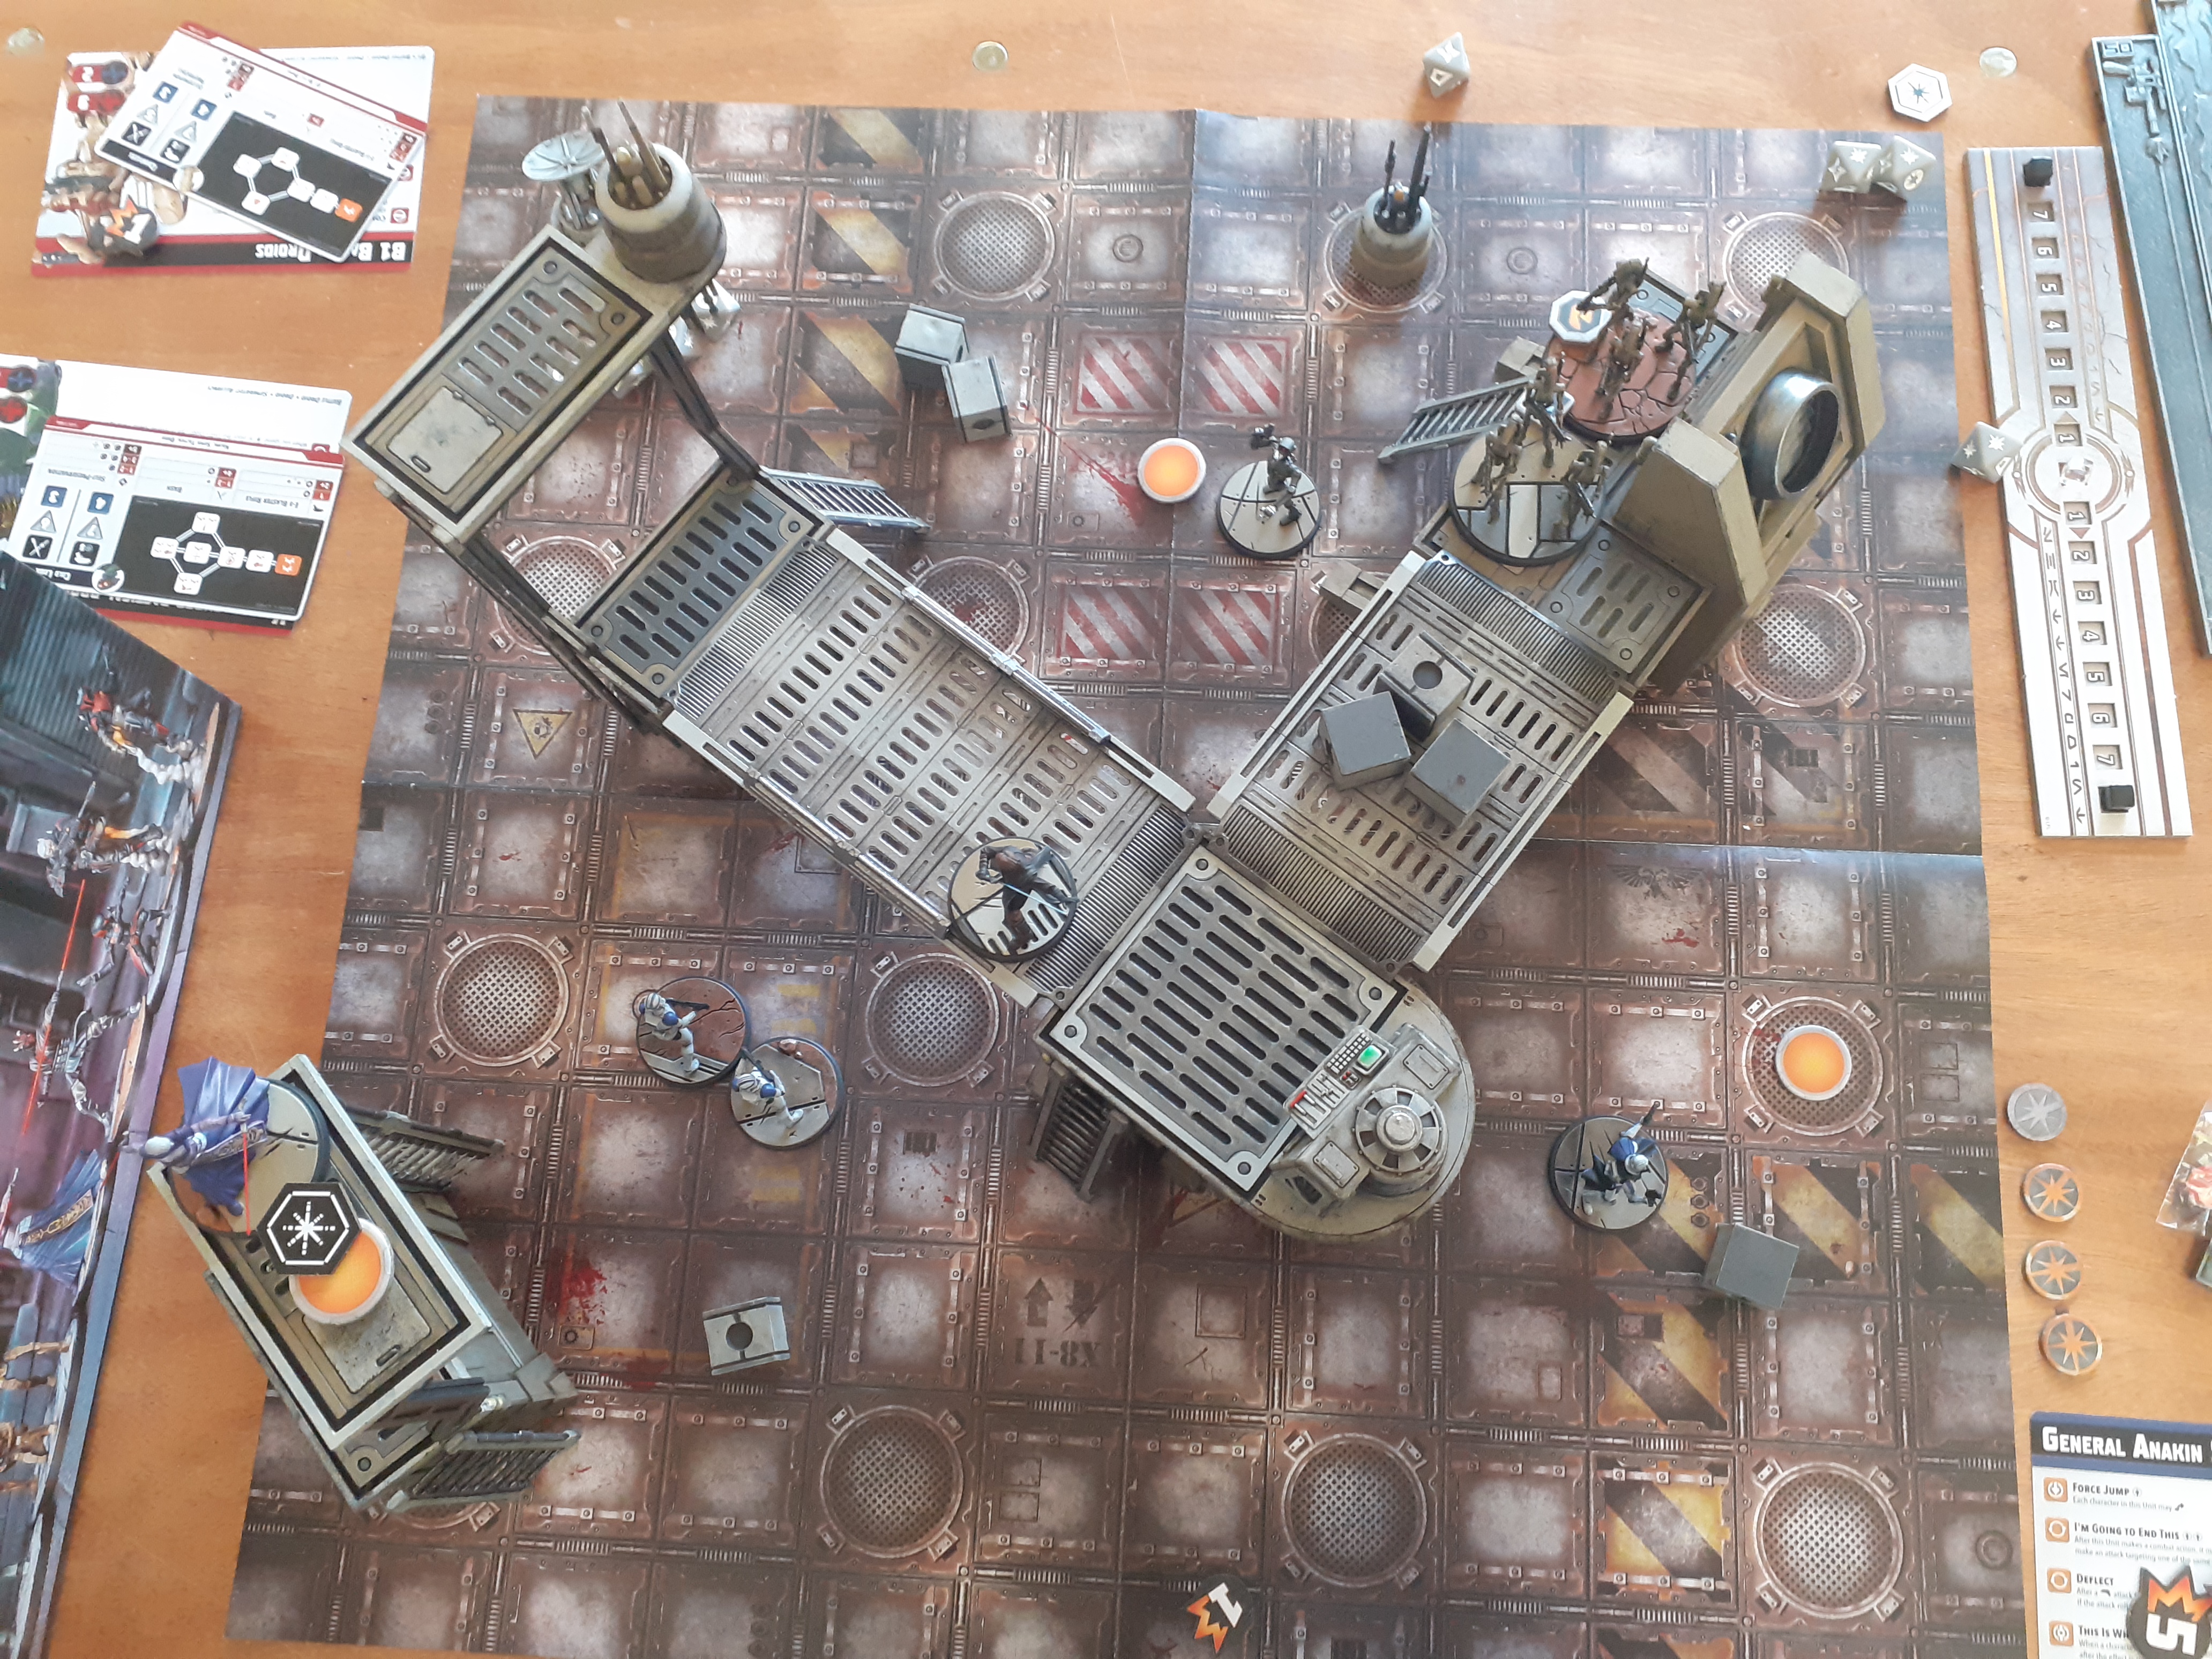
We set up the table on a 2′ x 2′ necromunda mat, I’m pretty pleased with how it turned out, the multi level buildings joined up with walkways look pretty cool on the table top.
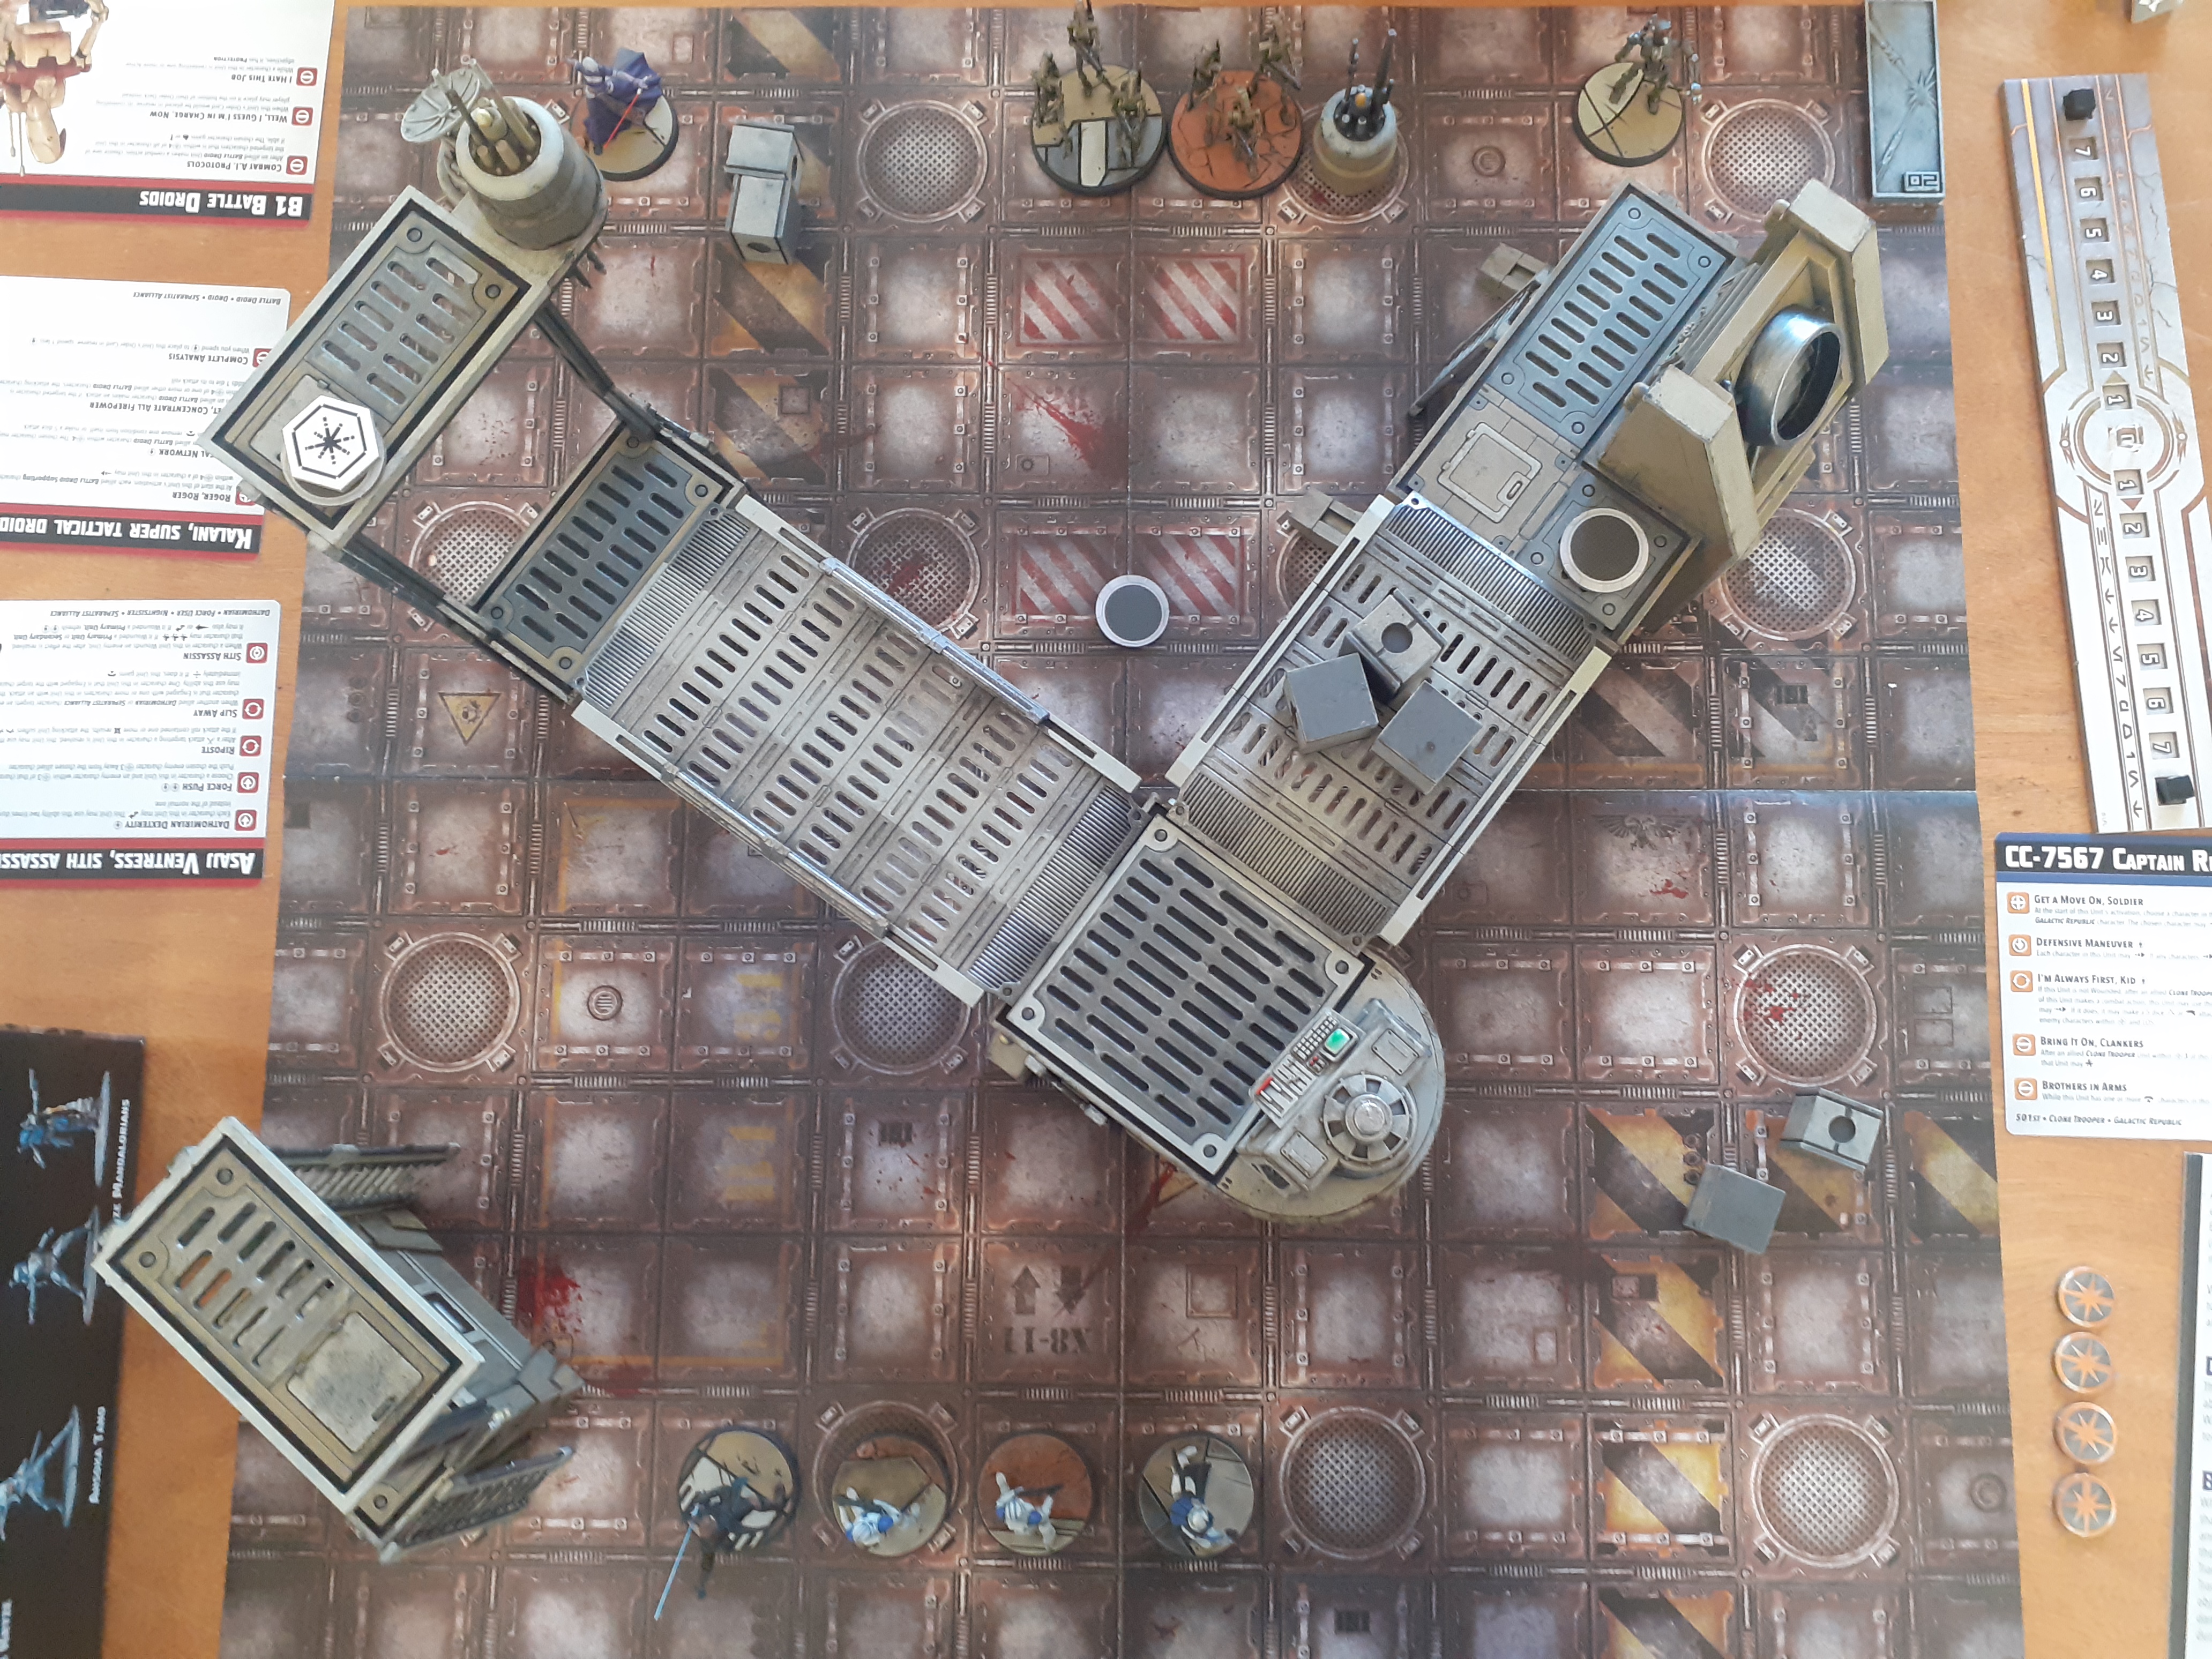 The table set up and ready for a small game
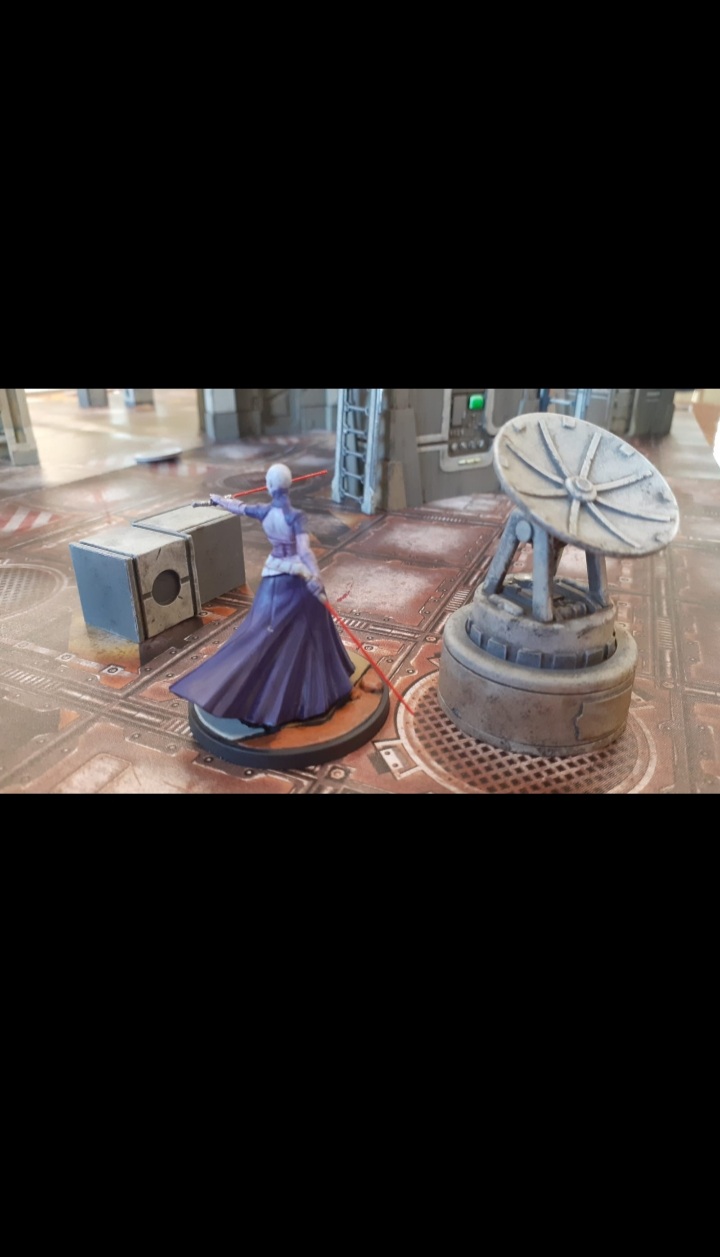
Rhi took the initiative and flipped her first card activating ventris who using some force tokens was able to advance and force jump onto an objective that as it was the first turn would gain no points but would in the following turns.
Next it was Rexes chance to advance on an objective but due to my poor setting up of the ladders on my side of the table this proved more difficult than it should be. He did manage to order his fellow clone troopers forwards putting pressure on the central objective.
Kalani use one of his special rules to advance the b1 droids on to the second objective.
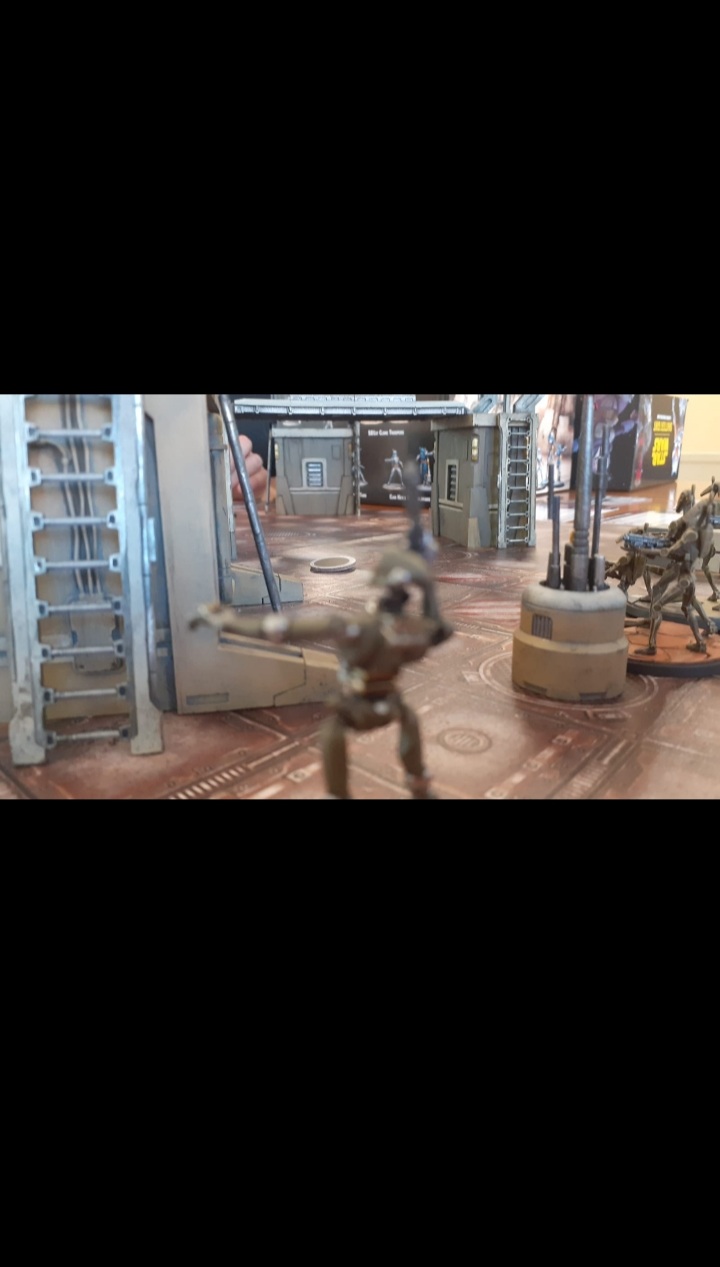
Anakin snuck around the corner of a building trying to scupper ventris’s plans of taking the highest objective.
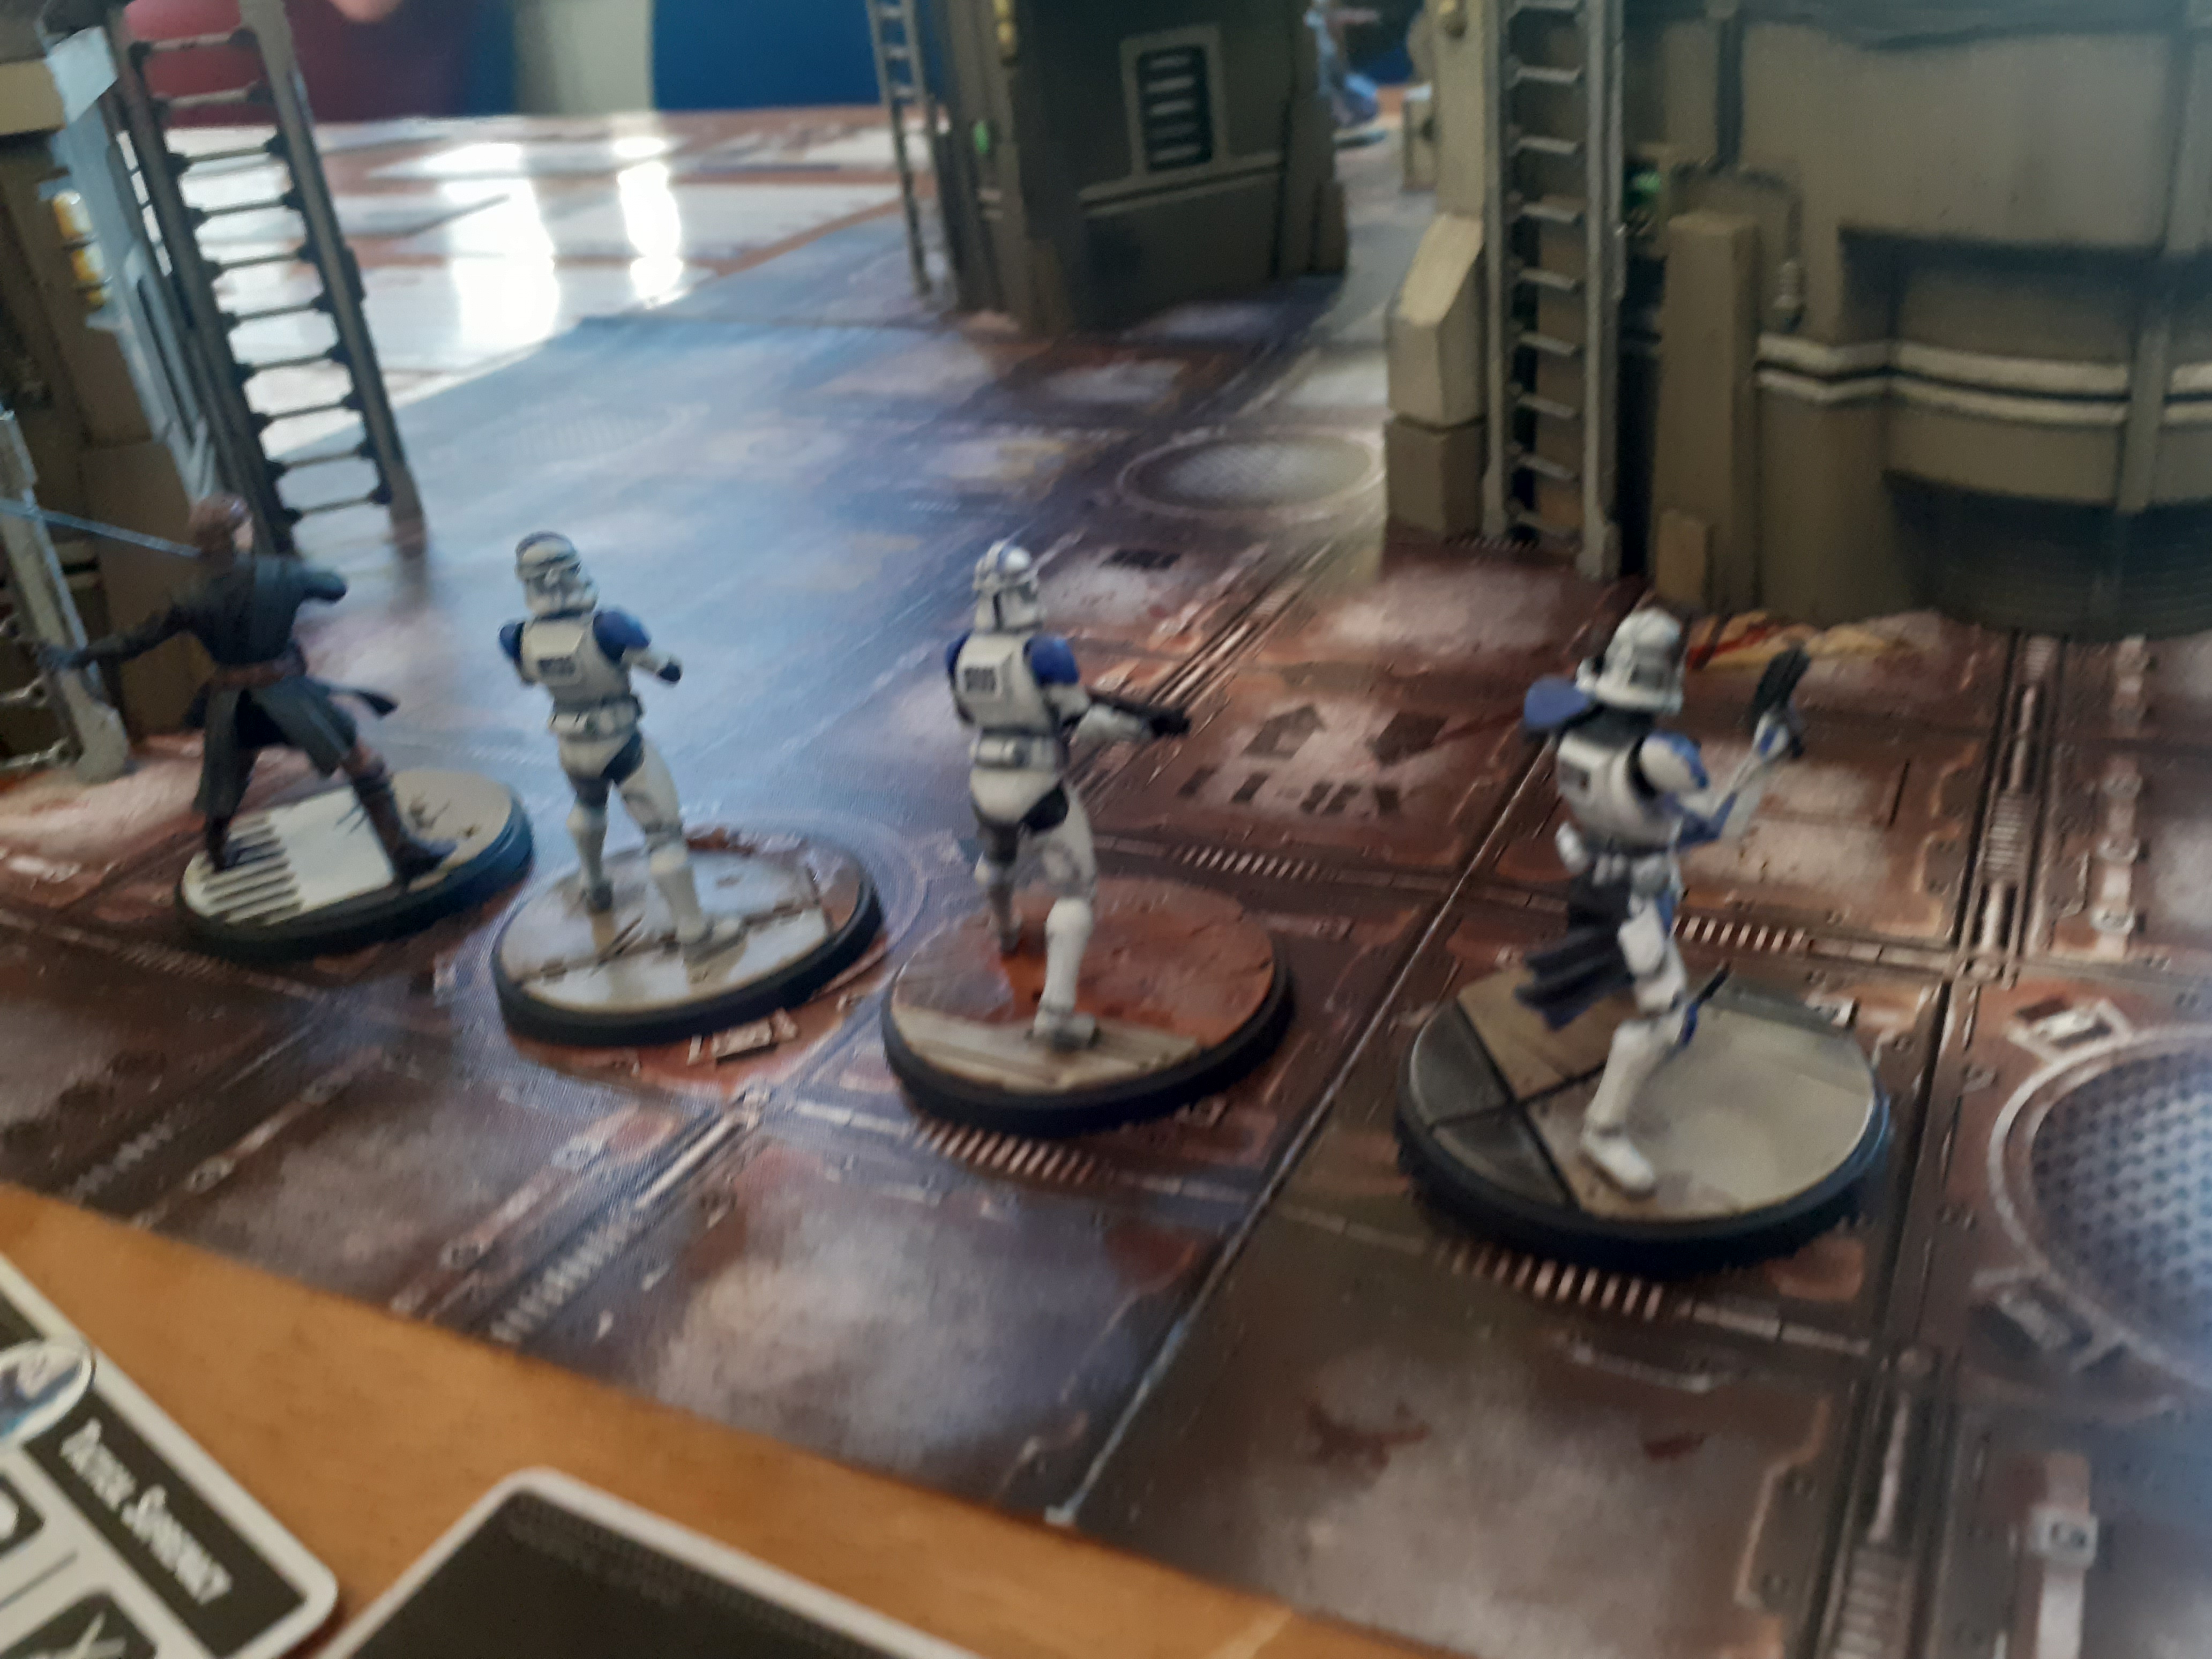
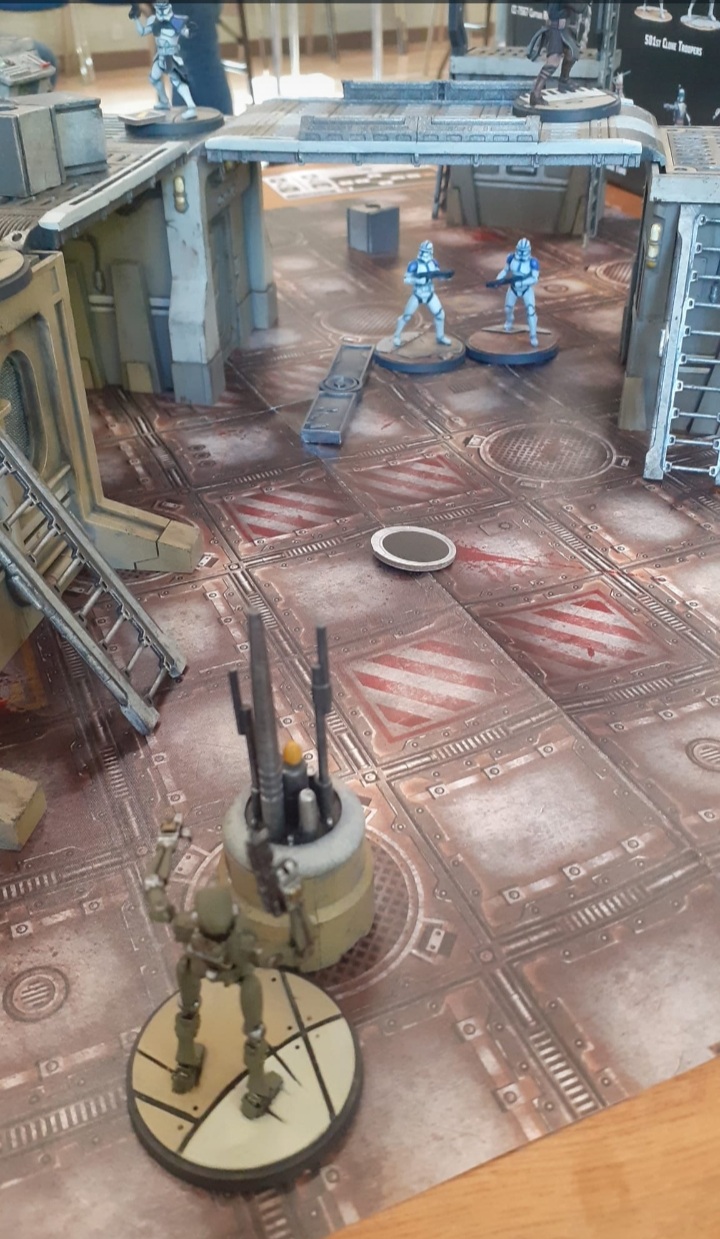 The clone squad advance pouring shots into kalani but the dice gods were not in my favour missing or having there shots deflected by cover.
 The b1 droids pour fire onto the clone troops forcing them back around the corner into cover keeping their objective secured
The first struggle was won by the seperatist as no matter how hard they tried the Republic force was not able to push the droids off and take hold the objectives.
The second struggle started well for the clones, by moving into the open they were able to take an objective early on.
However a fight over the highest objective between Anakin and ventris sealed the deal for the separatists snatching victory from the republics grasp and winning the struggle and with it the game.
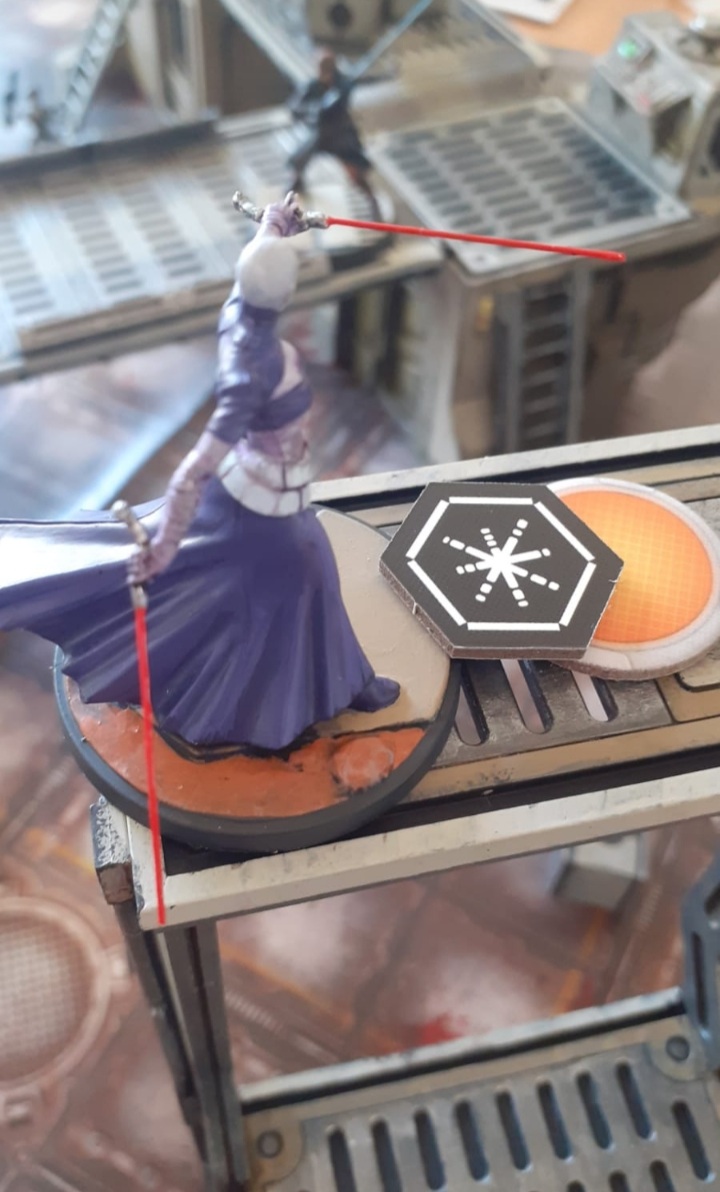
Ventris took the initiative early on and using a force point jumped up to the highest objective gaining more points.
Anakin try to stop this in the vein hope of wounding ventris so he coukd take controll of the objective for the Republic.
My grand plan was to use his two activations to move across the table and up the ladder knowing that I still had a shatter point card to use allowing me to activate Anakin again.
If only I remembered Rhi still had her shatterpoint card in the deck and it was the next to be revealed.
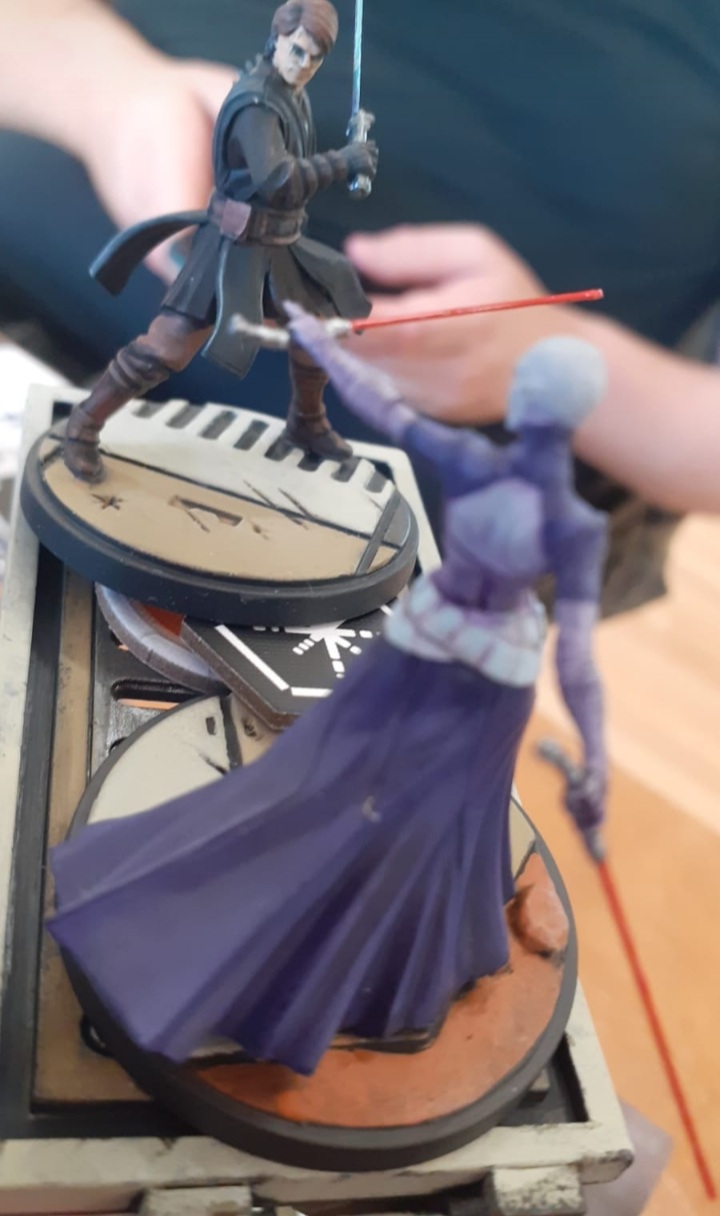
Ventris with a wicked smile jumped into action and attacked Anakin with a flurry of blades which he defended well and was even able to score some damage back even when defending by using a special rule he has in defence, unfortunately ventris had enough hits to force push Anakin off the top of the building and the objective sealing victory for the seperatists
 The swash buckling fight that sealed my forces fate. The battle ended with Anakin only able to look on as Ventris carried out her mission at the objective
 Final thoughts.
Playing a game on fully painted scenery definitely makes a nice change, I found that it draws you into the game and makes it easier to create a narrative for the tiny fighting men.
It was also fun trying out different techniques on the scenery to see what effects can be achieved with a little bit of time and not much effort.
As far as shatterpoint as a game goes it was great fun. I wish the rule book was a bit easier to find things in and the use of symbols instead of words can be annoying but I’m sure that will work itself out the more I play.
The game itself definitely works well with multi level buildings and walkways, the forces are very fluid in there movements whether it be a leader moving units forwards or enemies forcing your units back with heavy blaster fire.
All in all its a fun rule set and the buildings and walkways included were fun and quite quick to build, as well as being full of details that add some background to your gaming table.
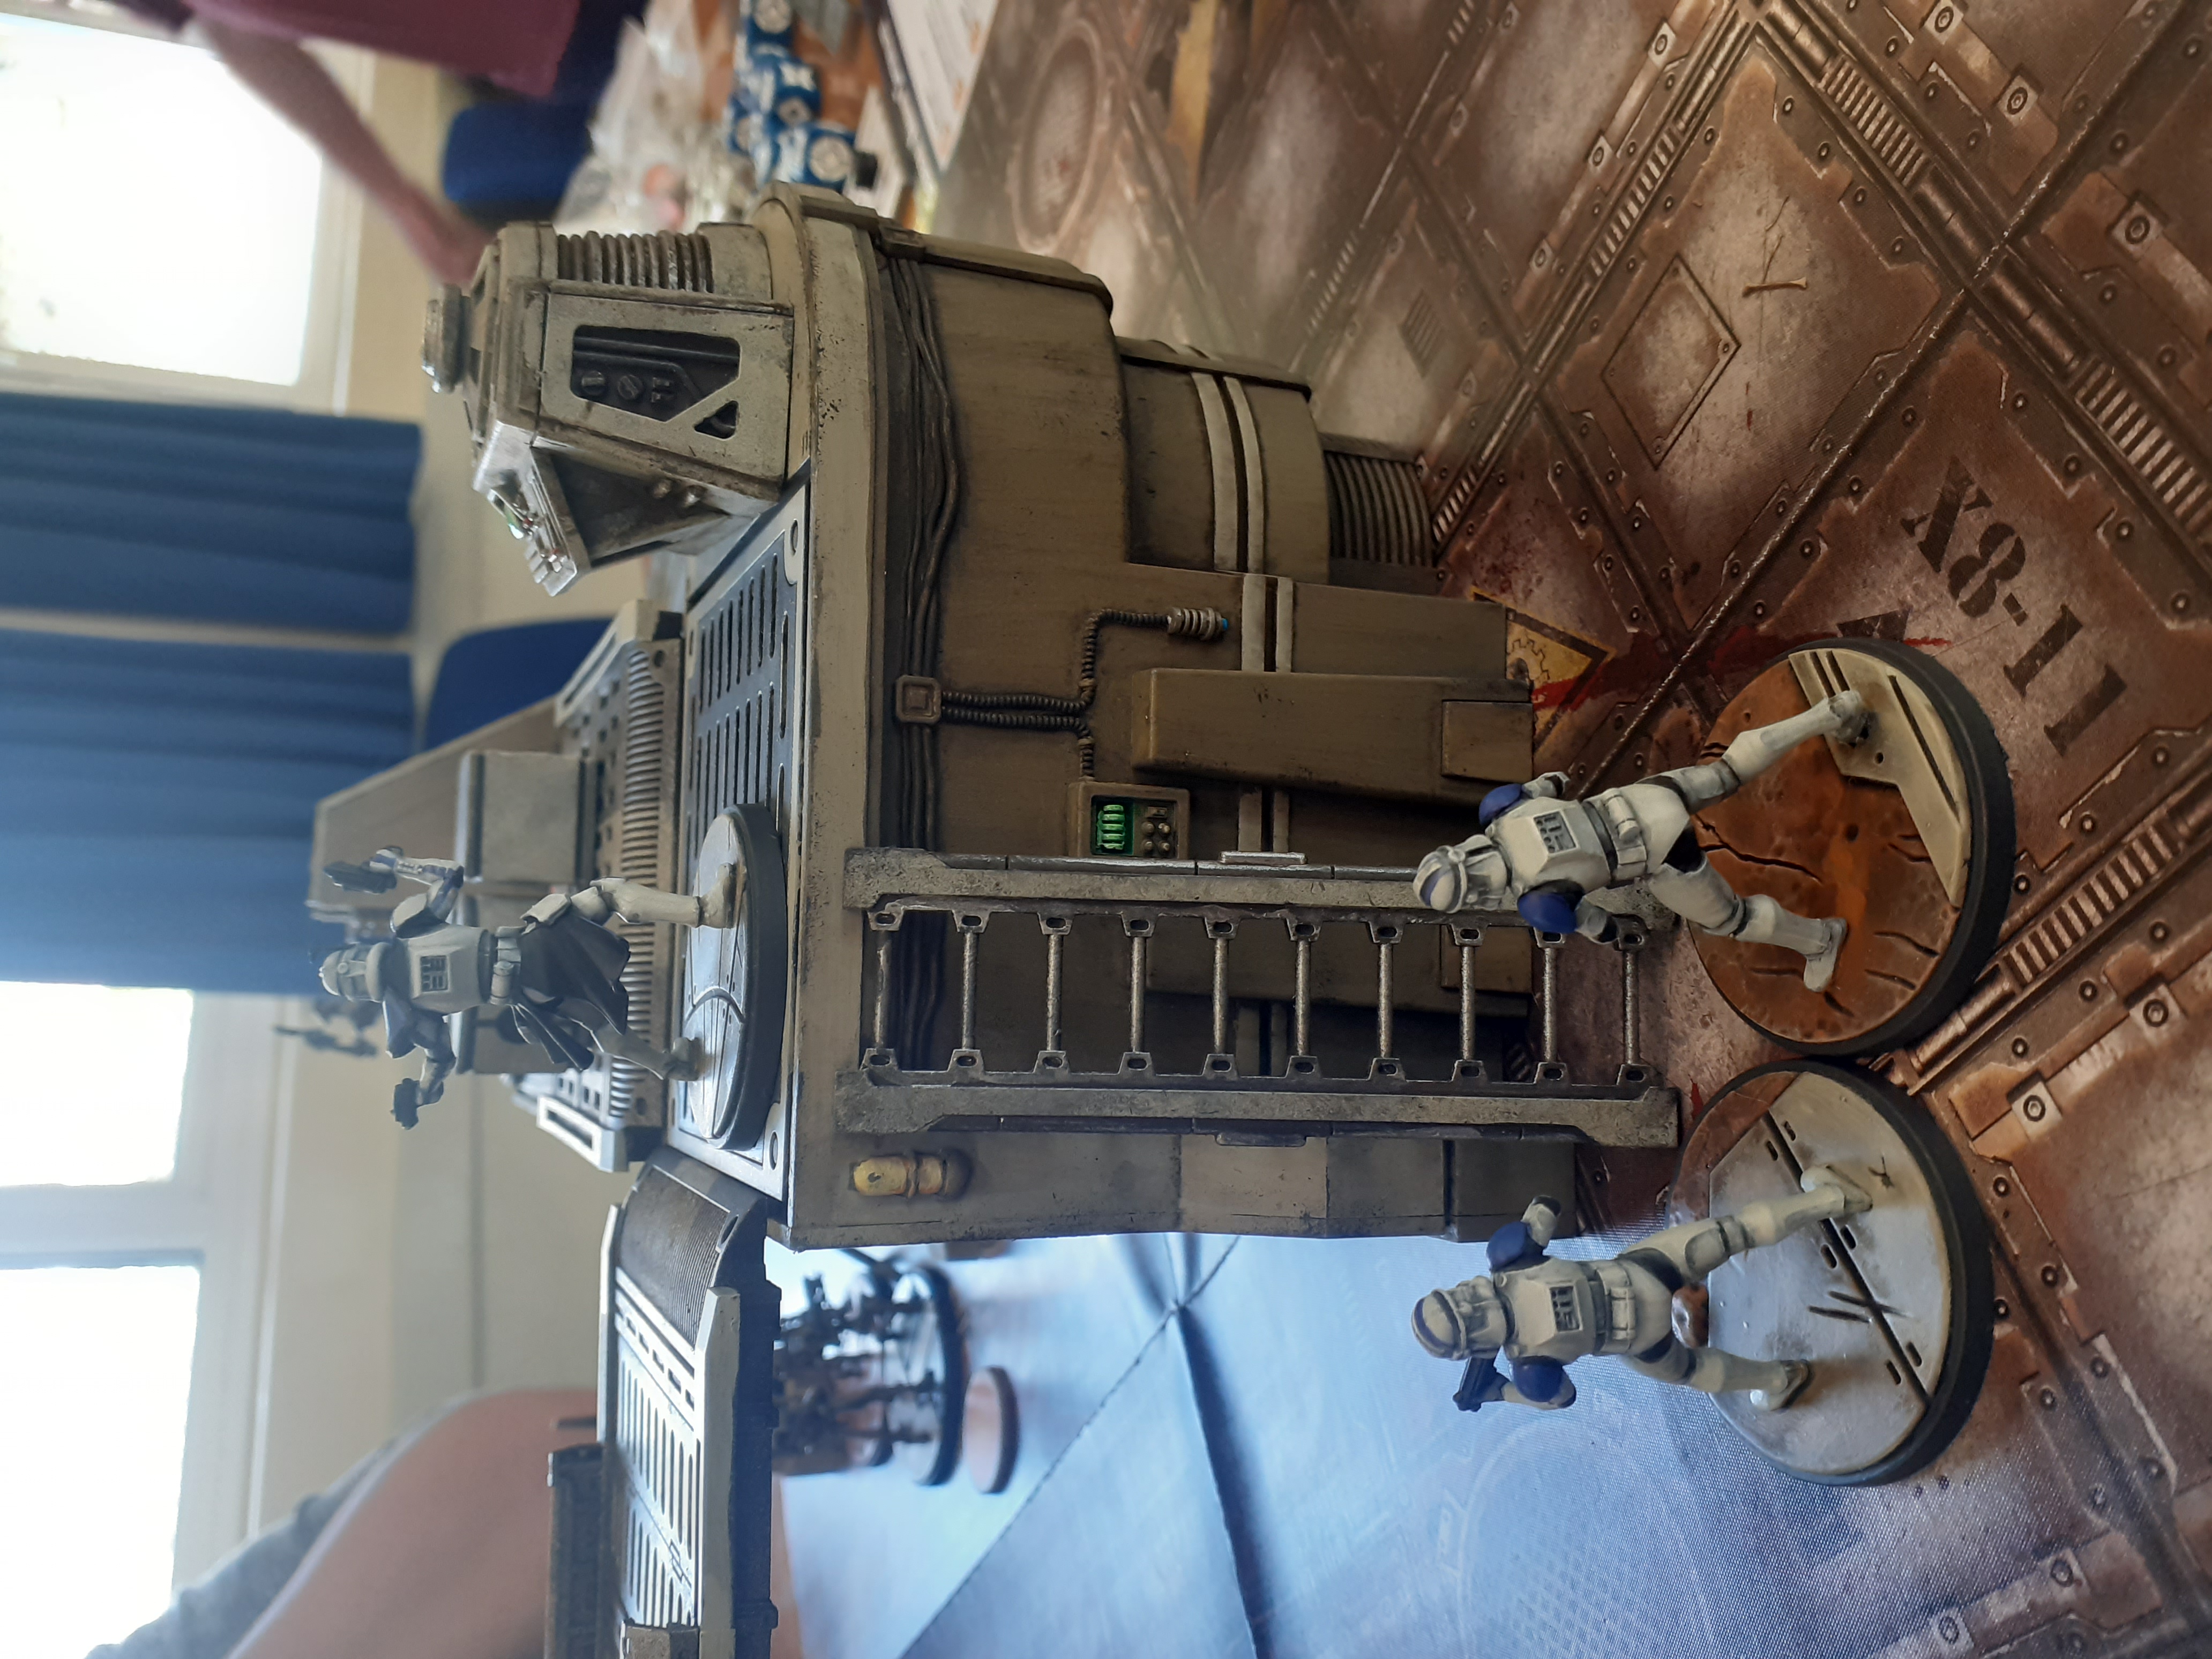
Scatter terrain of doom
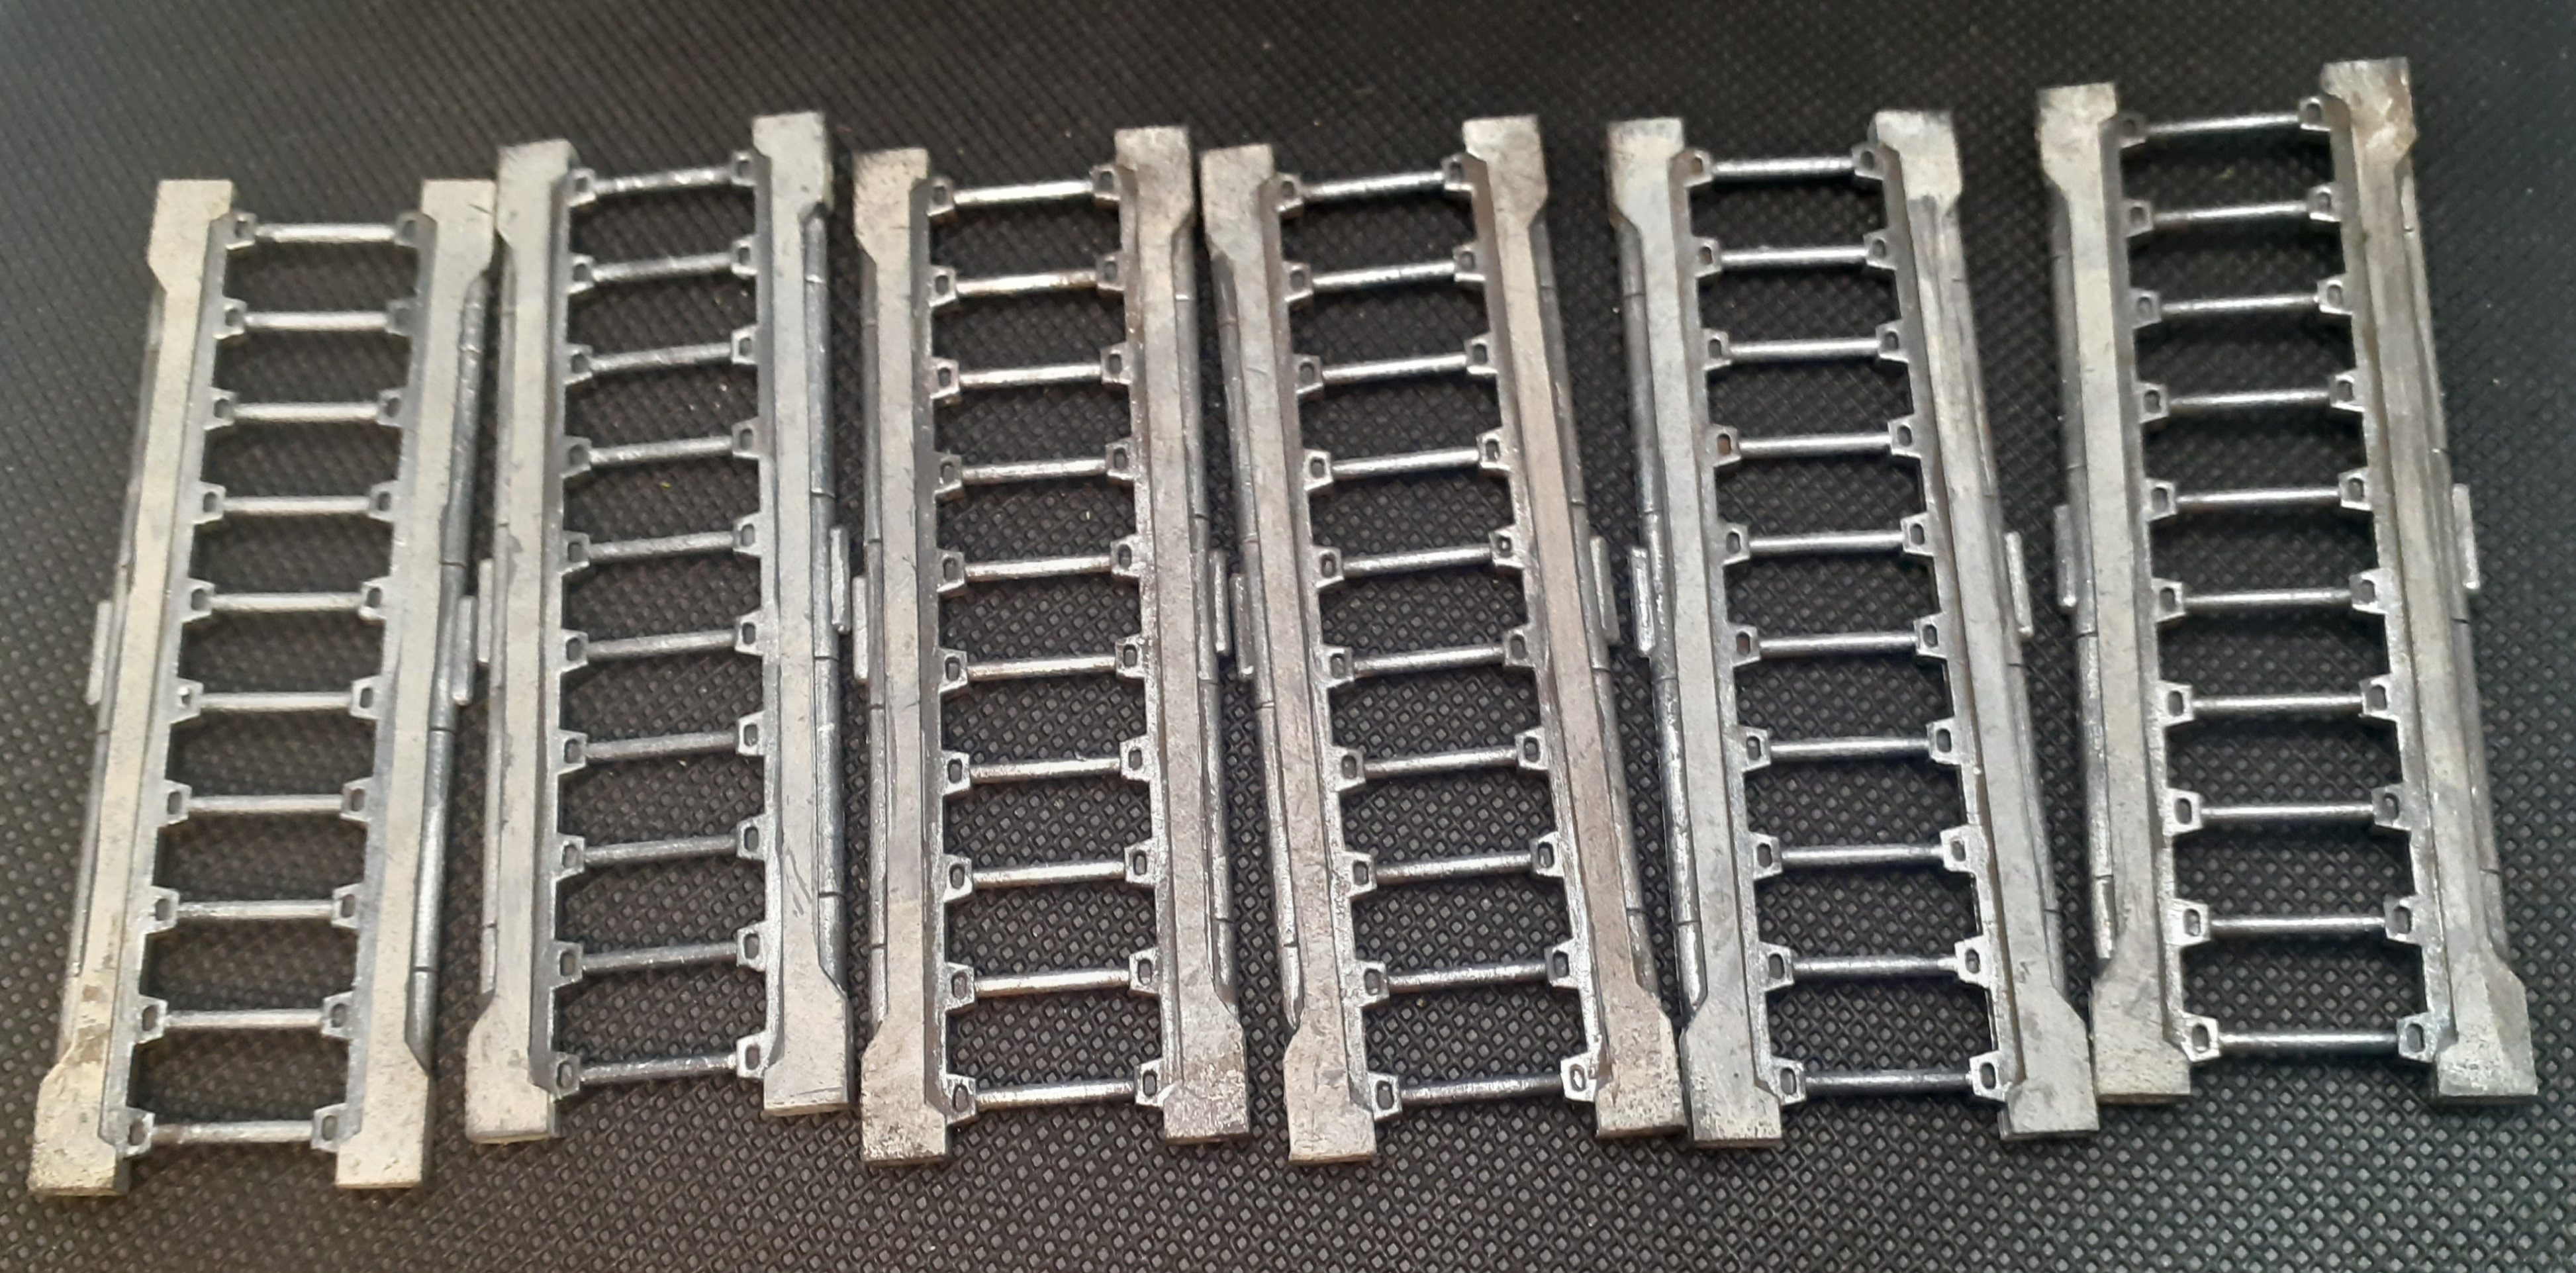
No table top is complete without line of sight blocking terrain and some ladders to allow the tiny fighting people to move about.
I Painted these bits and bobs up with the sponge technique followed by an acrylic wash for a grimy effect.
They were very quick and easy to get done and think they look pretty cool
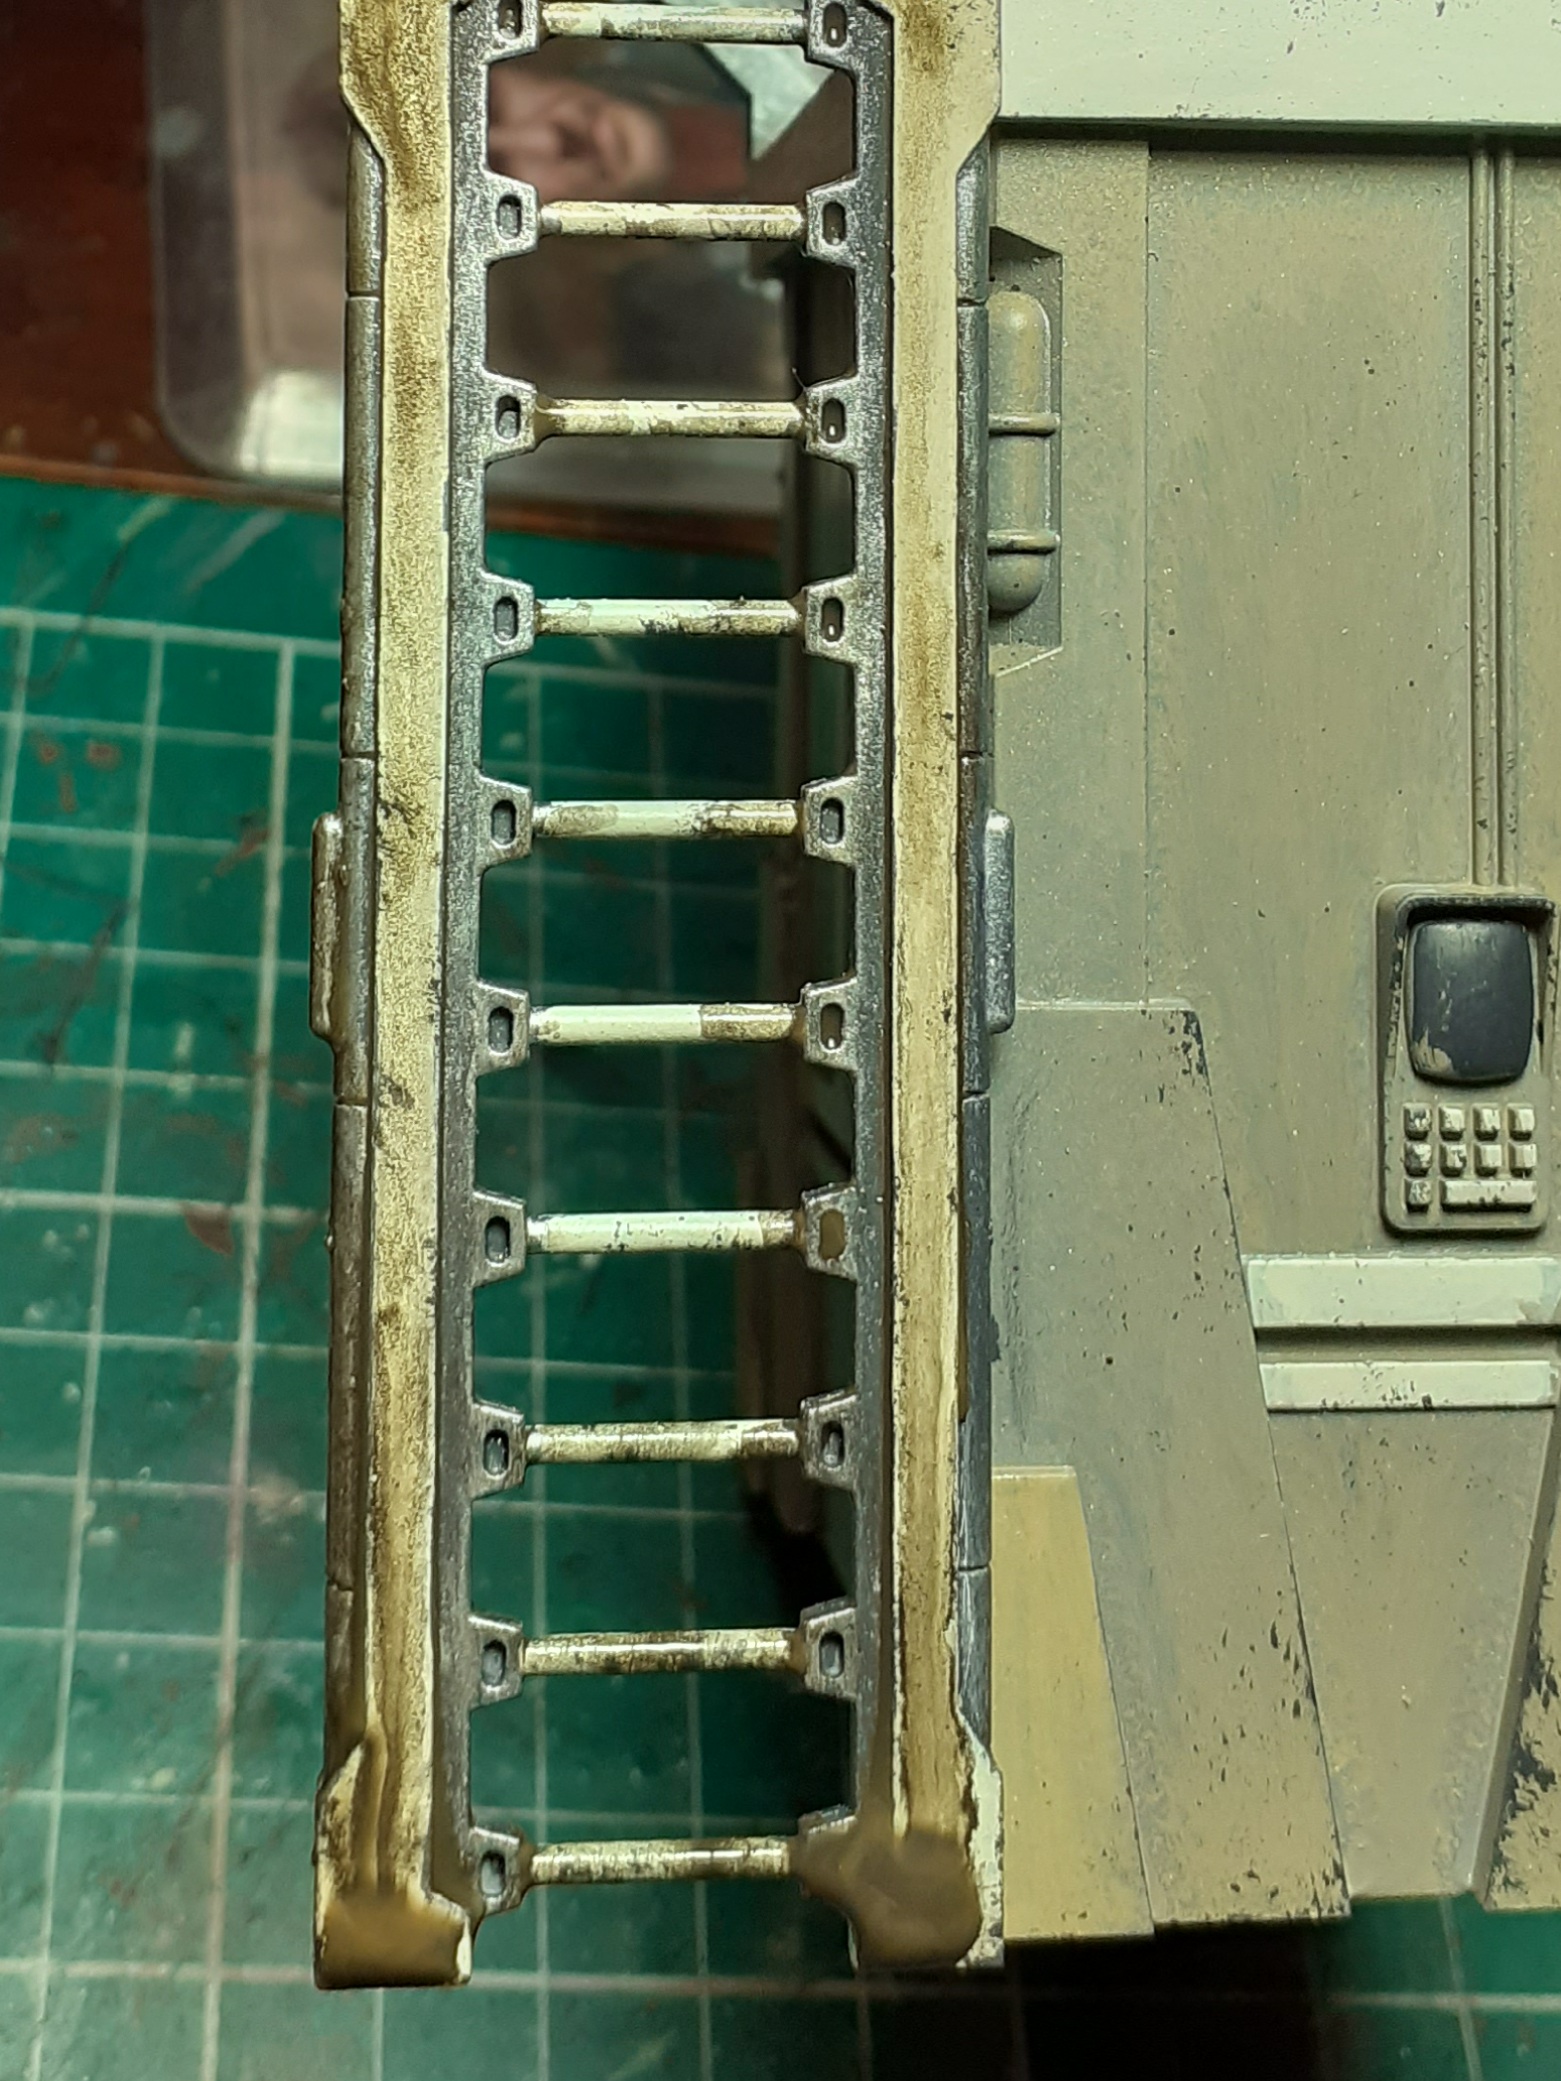
Having a go at fancying up some gantries
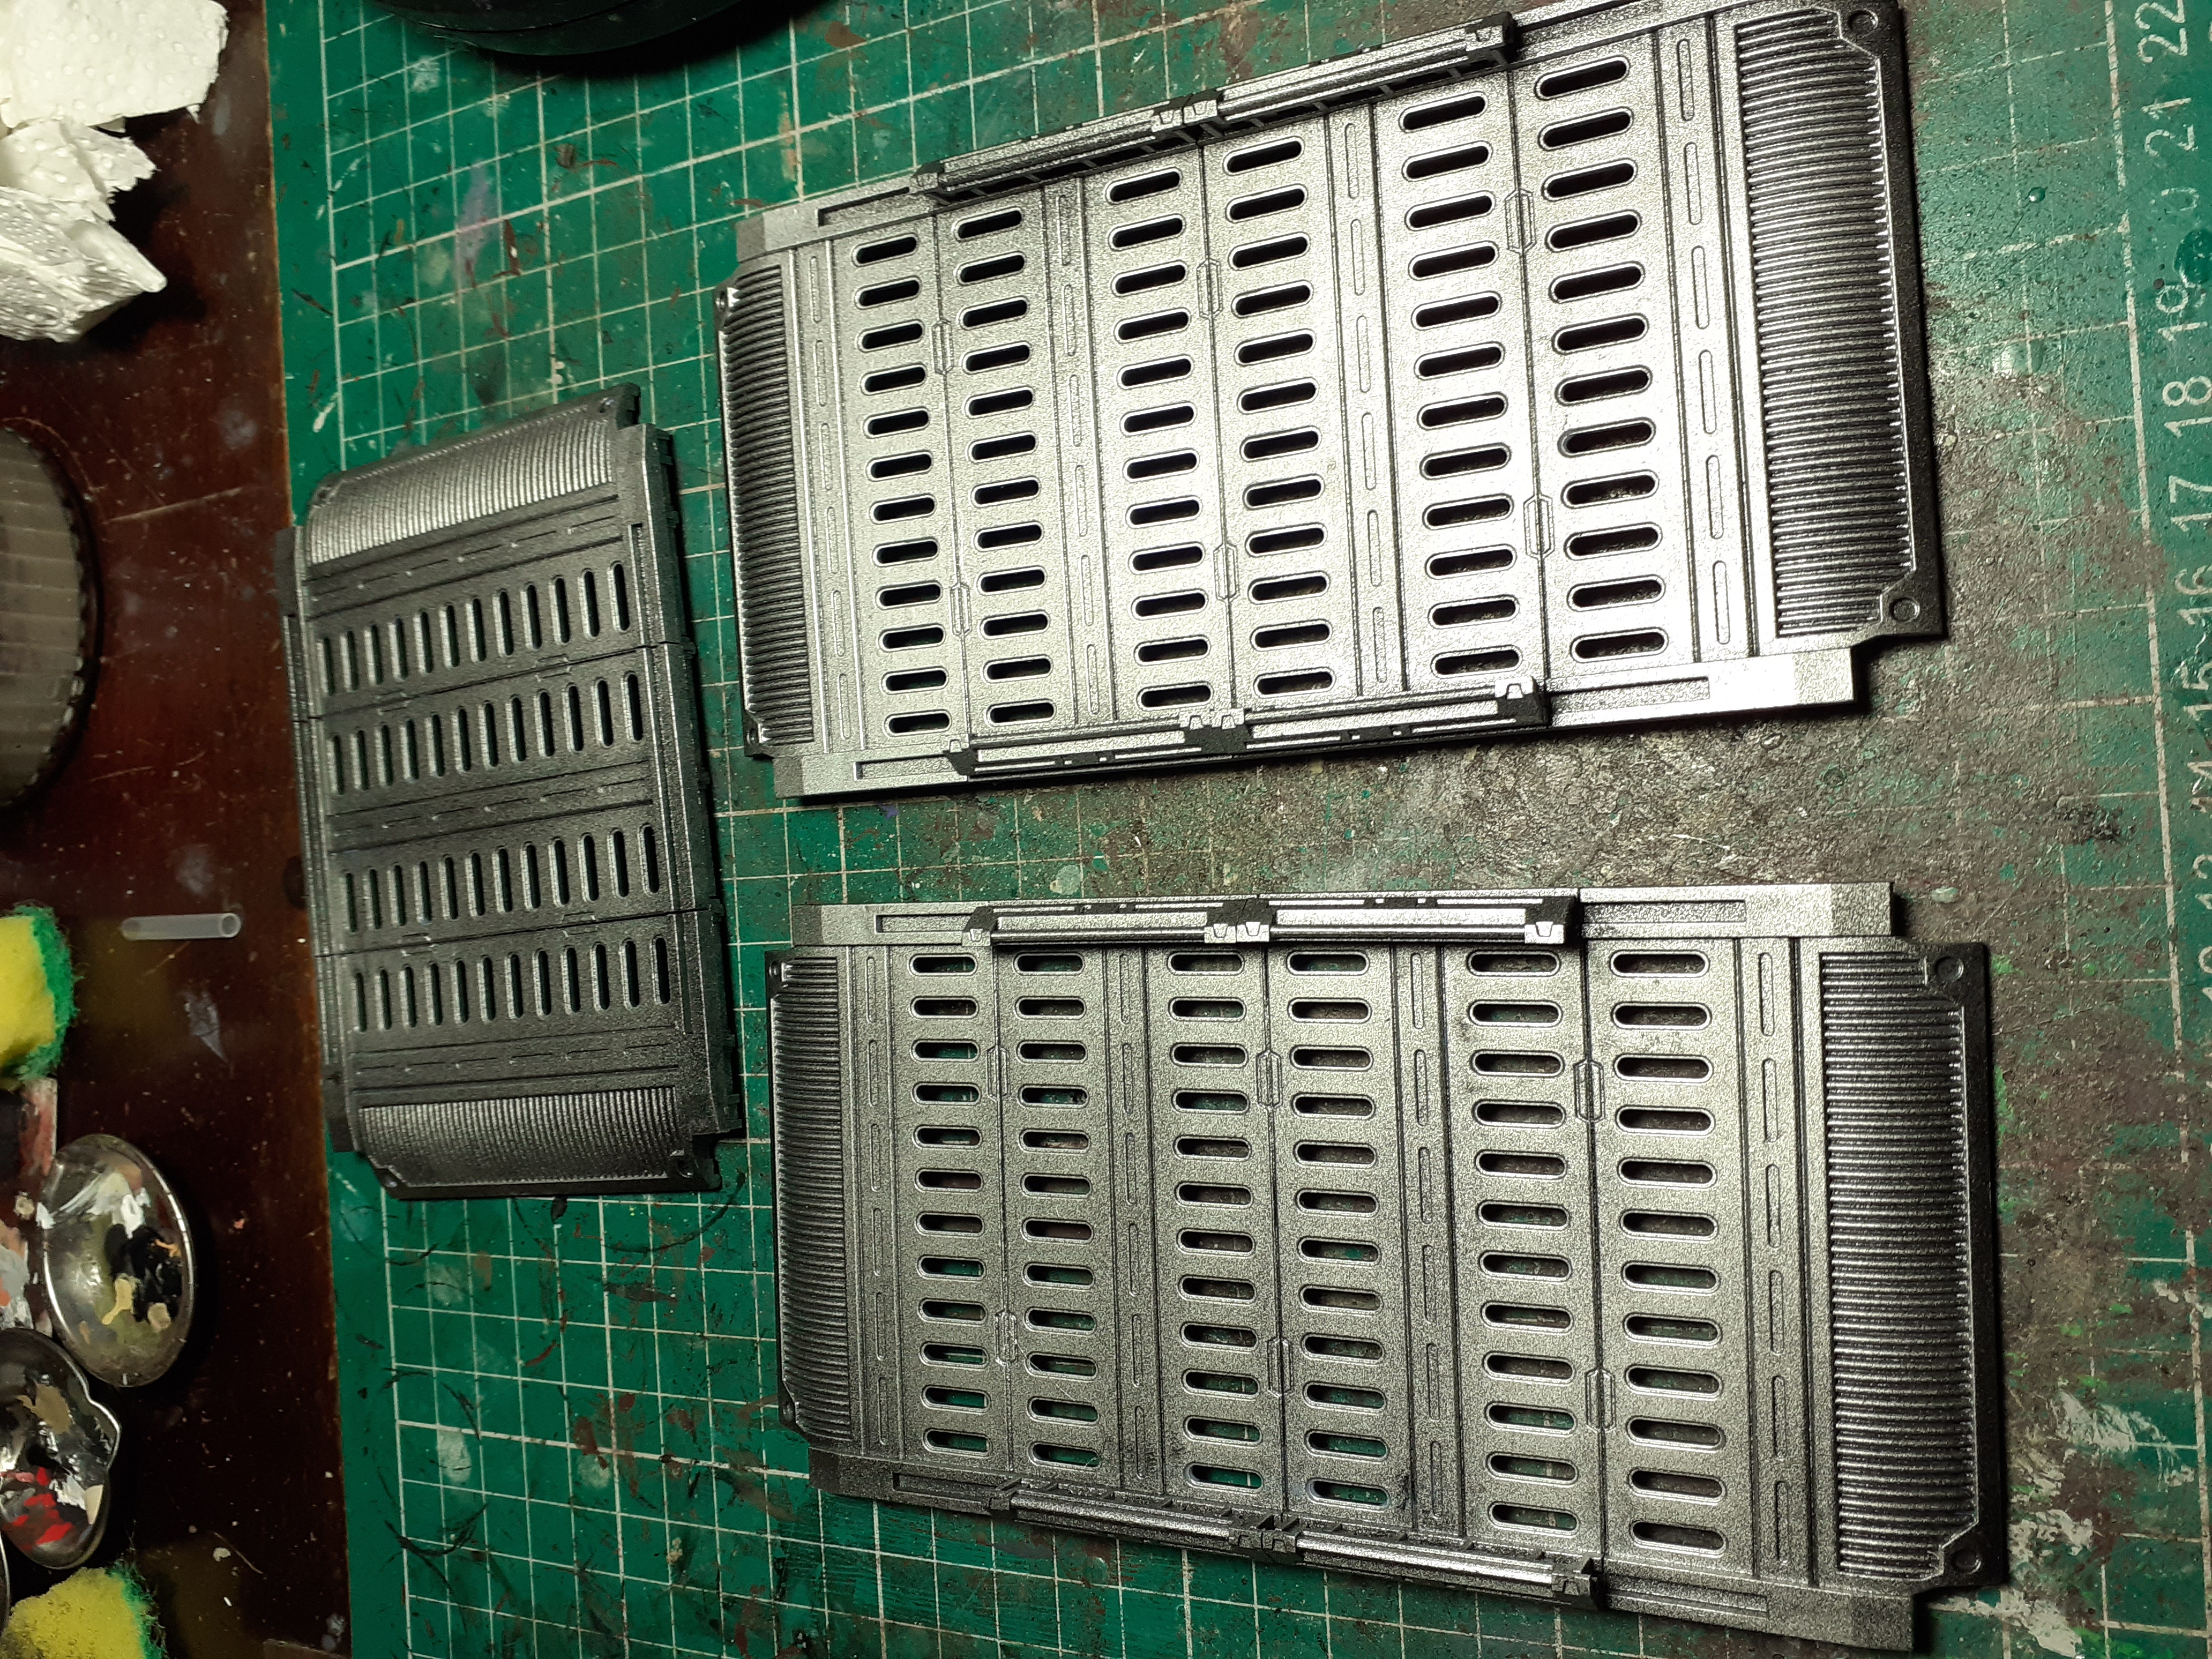 Starting off with plain silver gantries sprayed with vallejo silver air paint
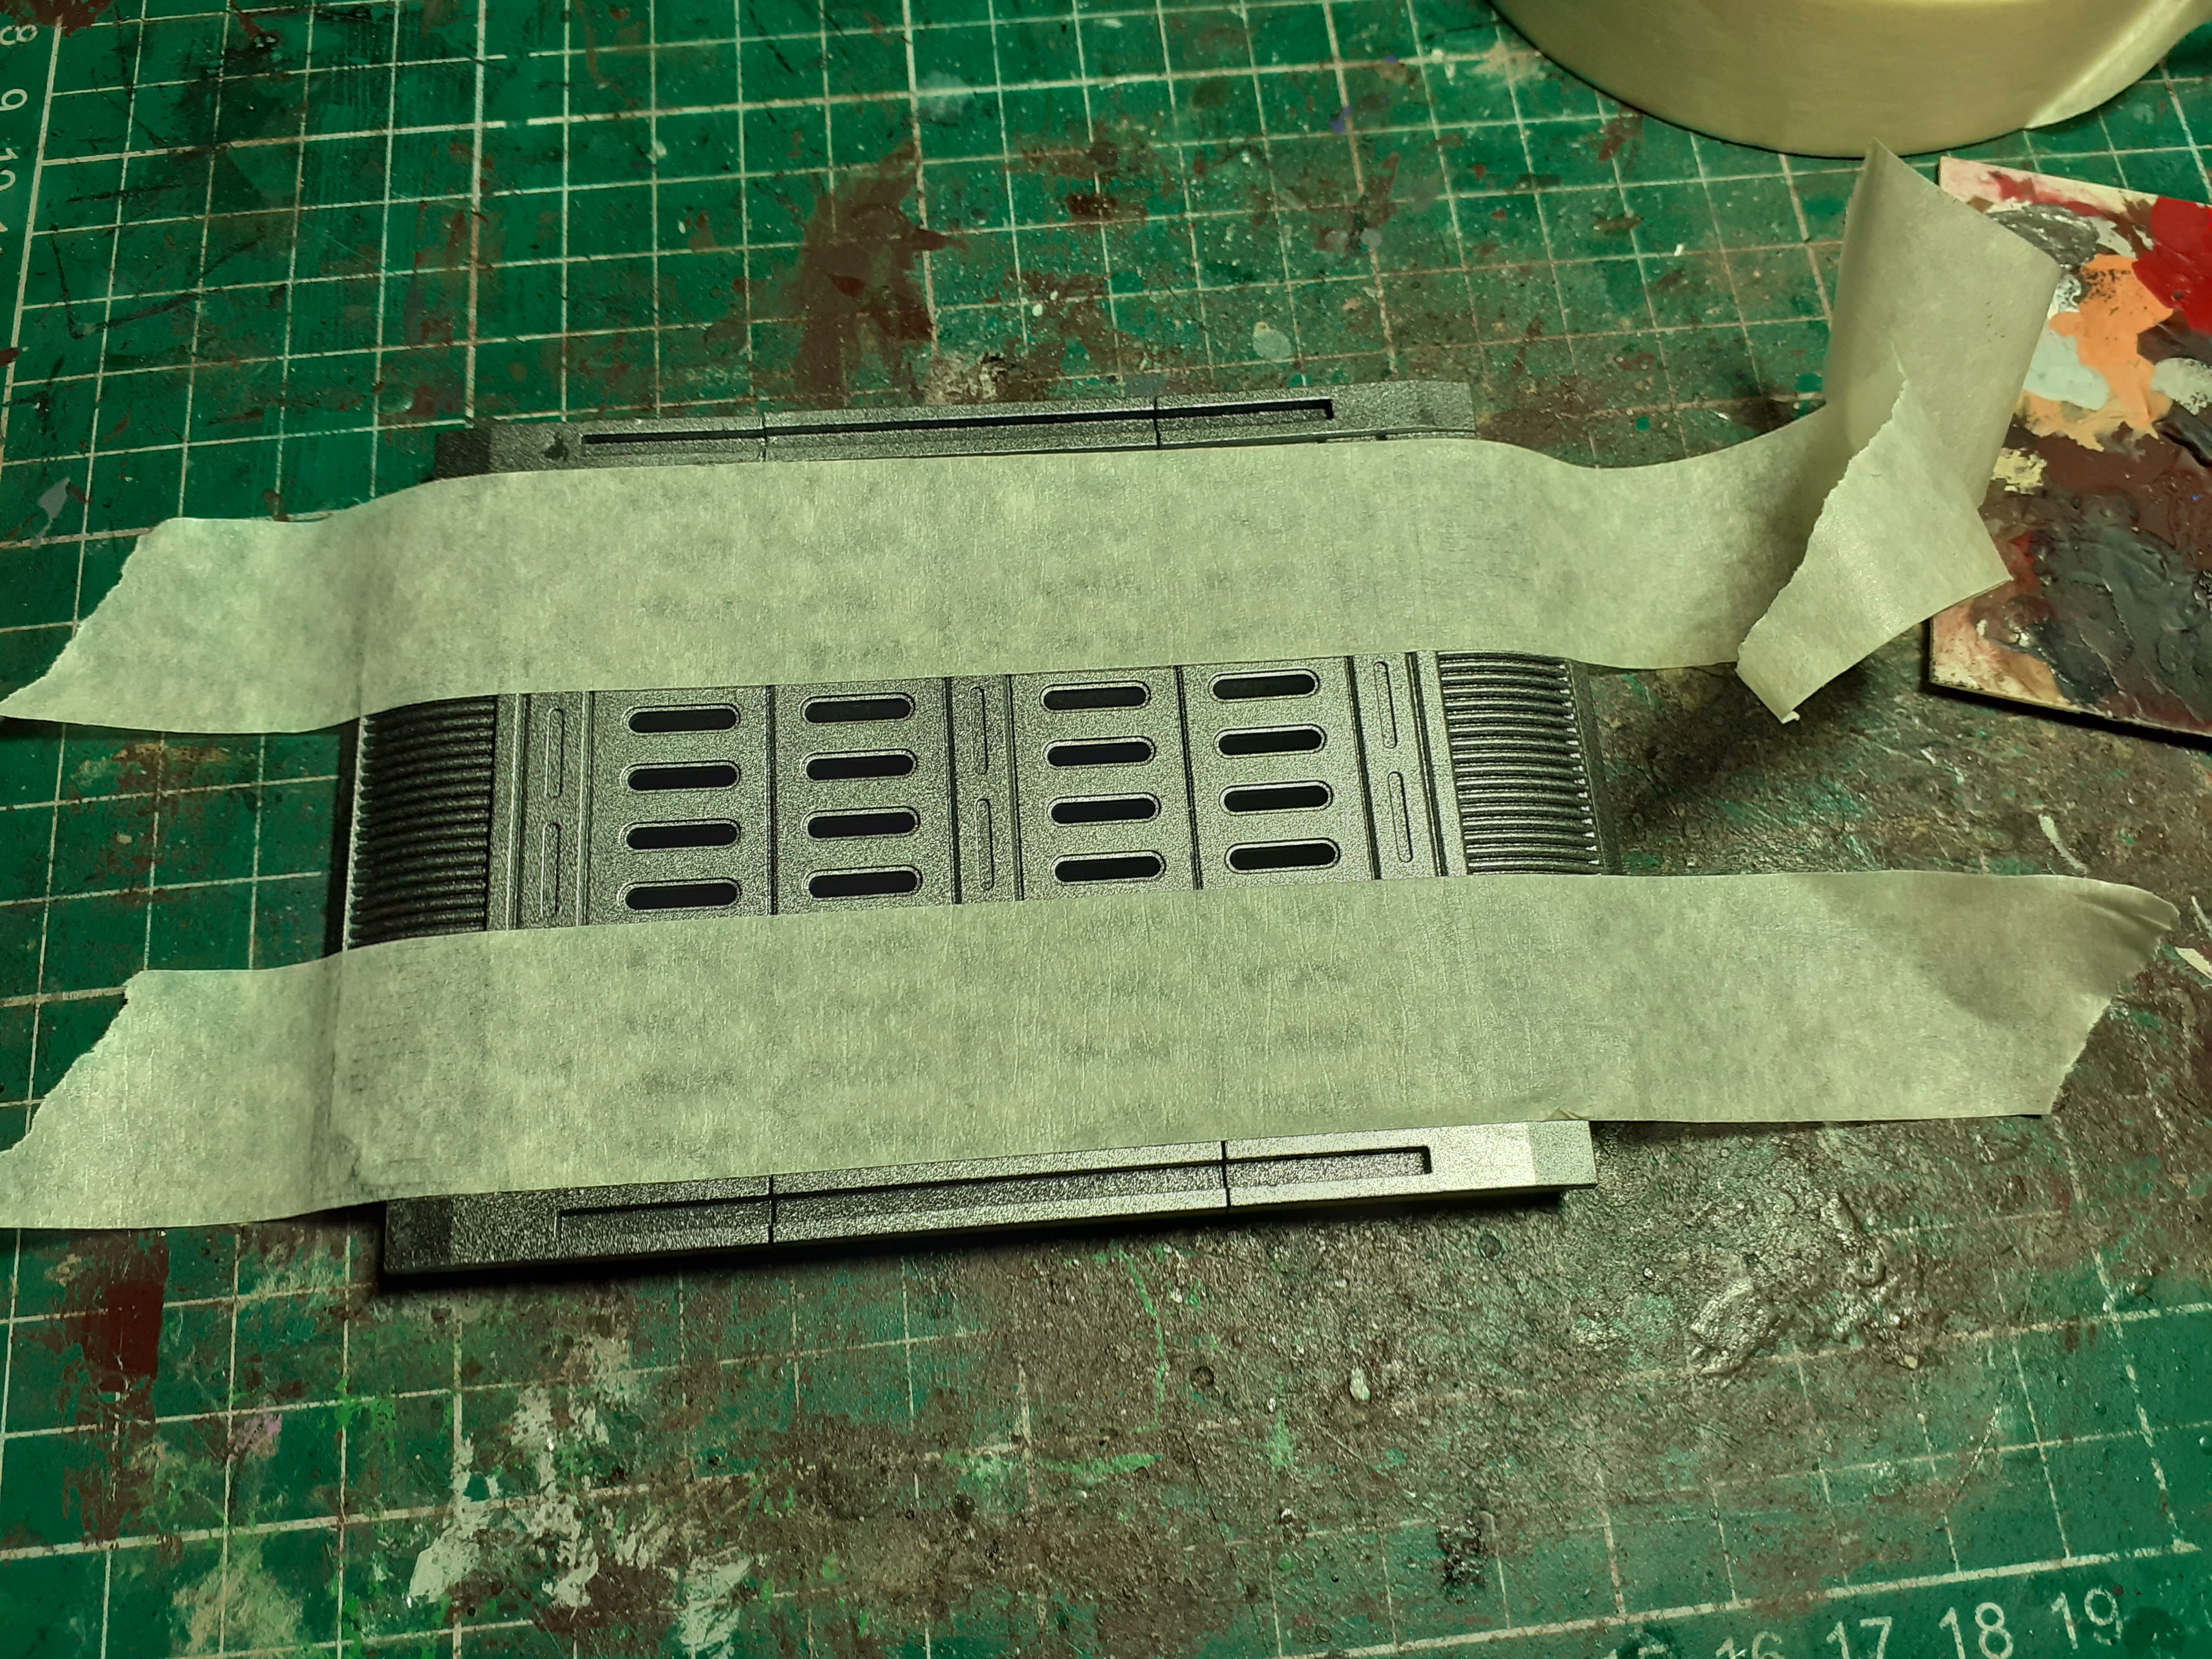 Using the cheapest masking tape I can find as it is less sticky so does not damage the paint I marked out where I wanted my stripes
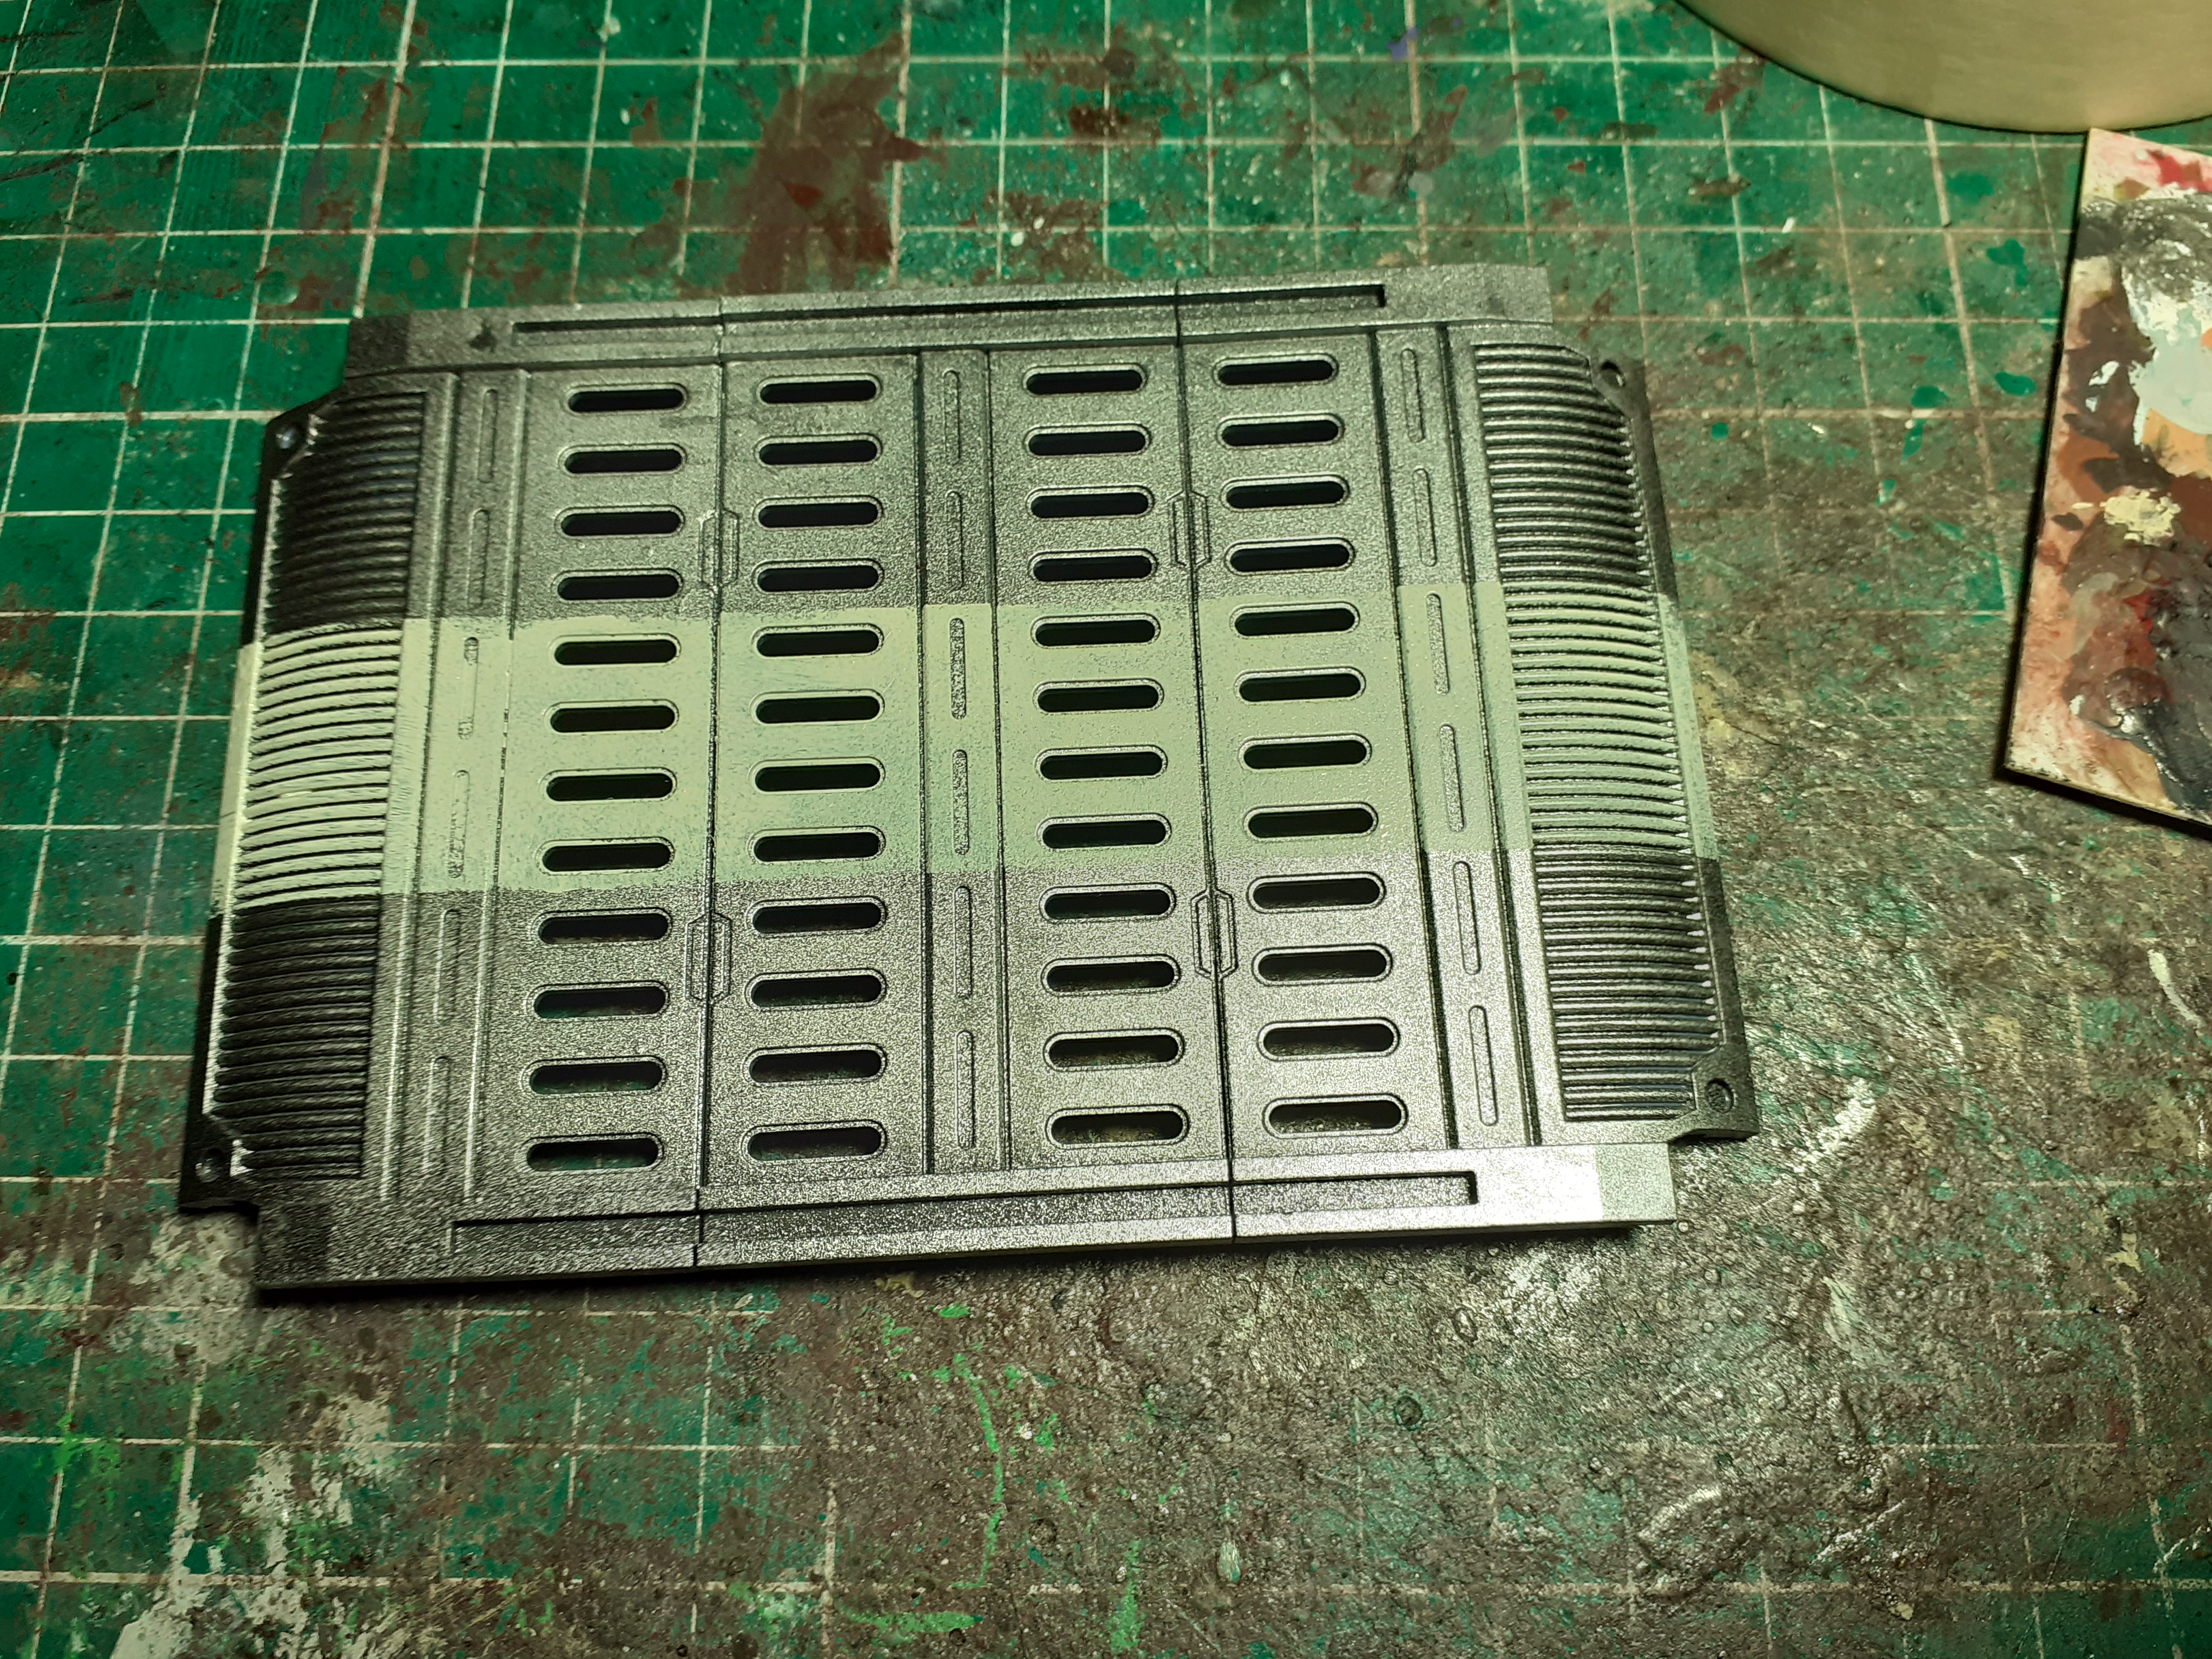 Roughly apply vallejo deck tan with a Sponge remove the tape and Bam ? a swish stripe
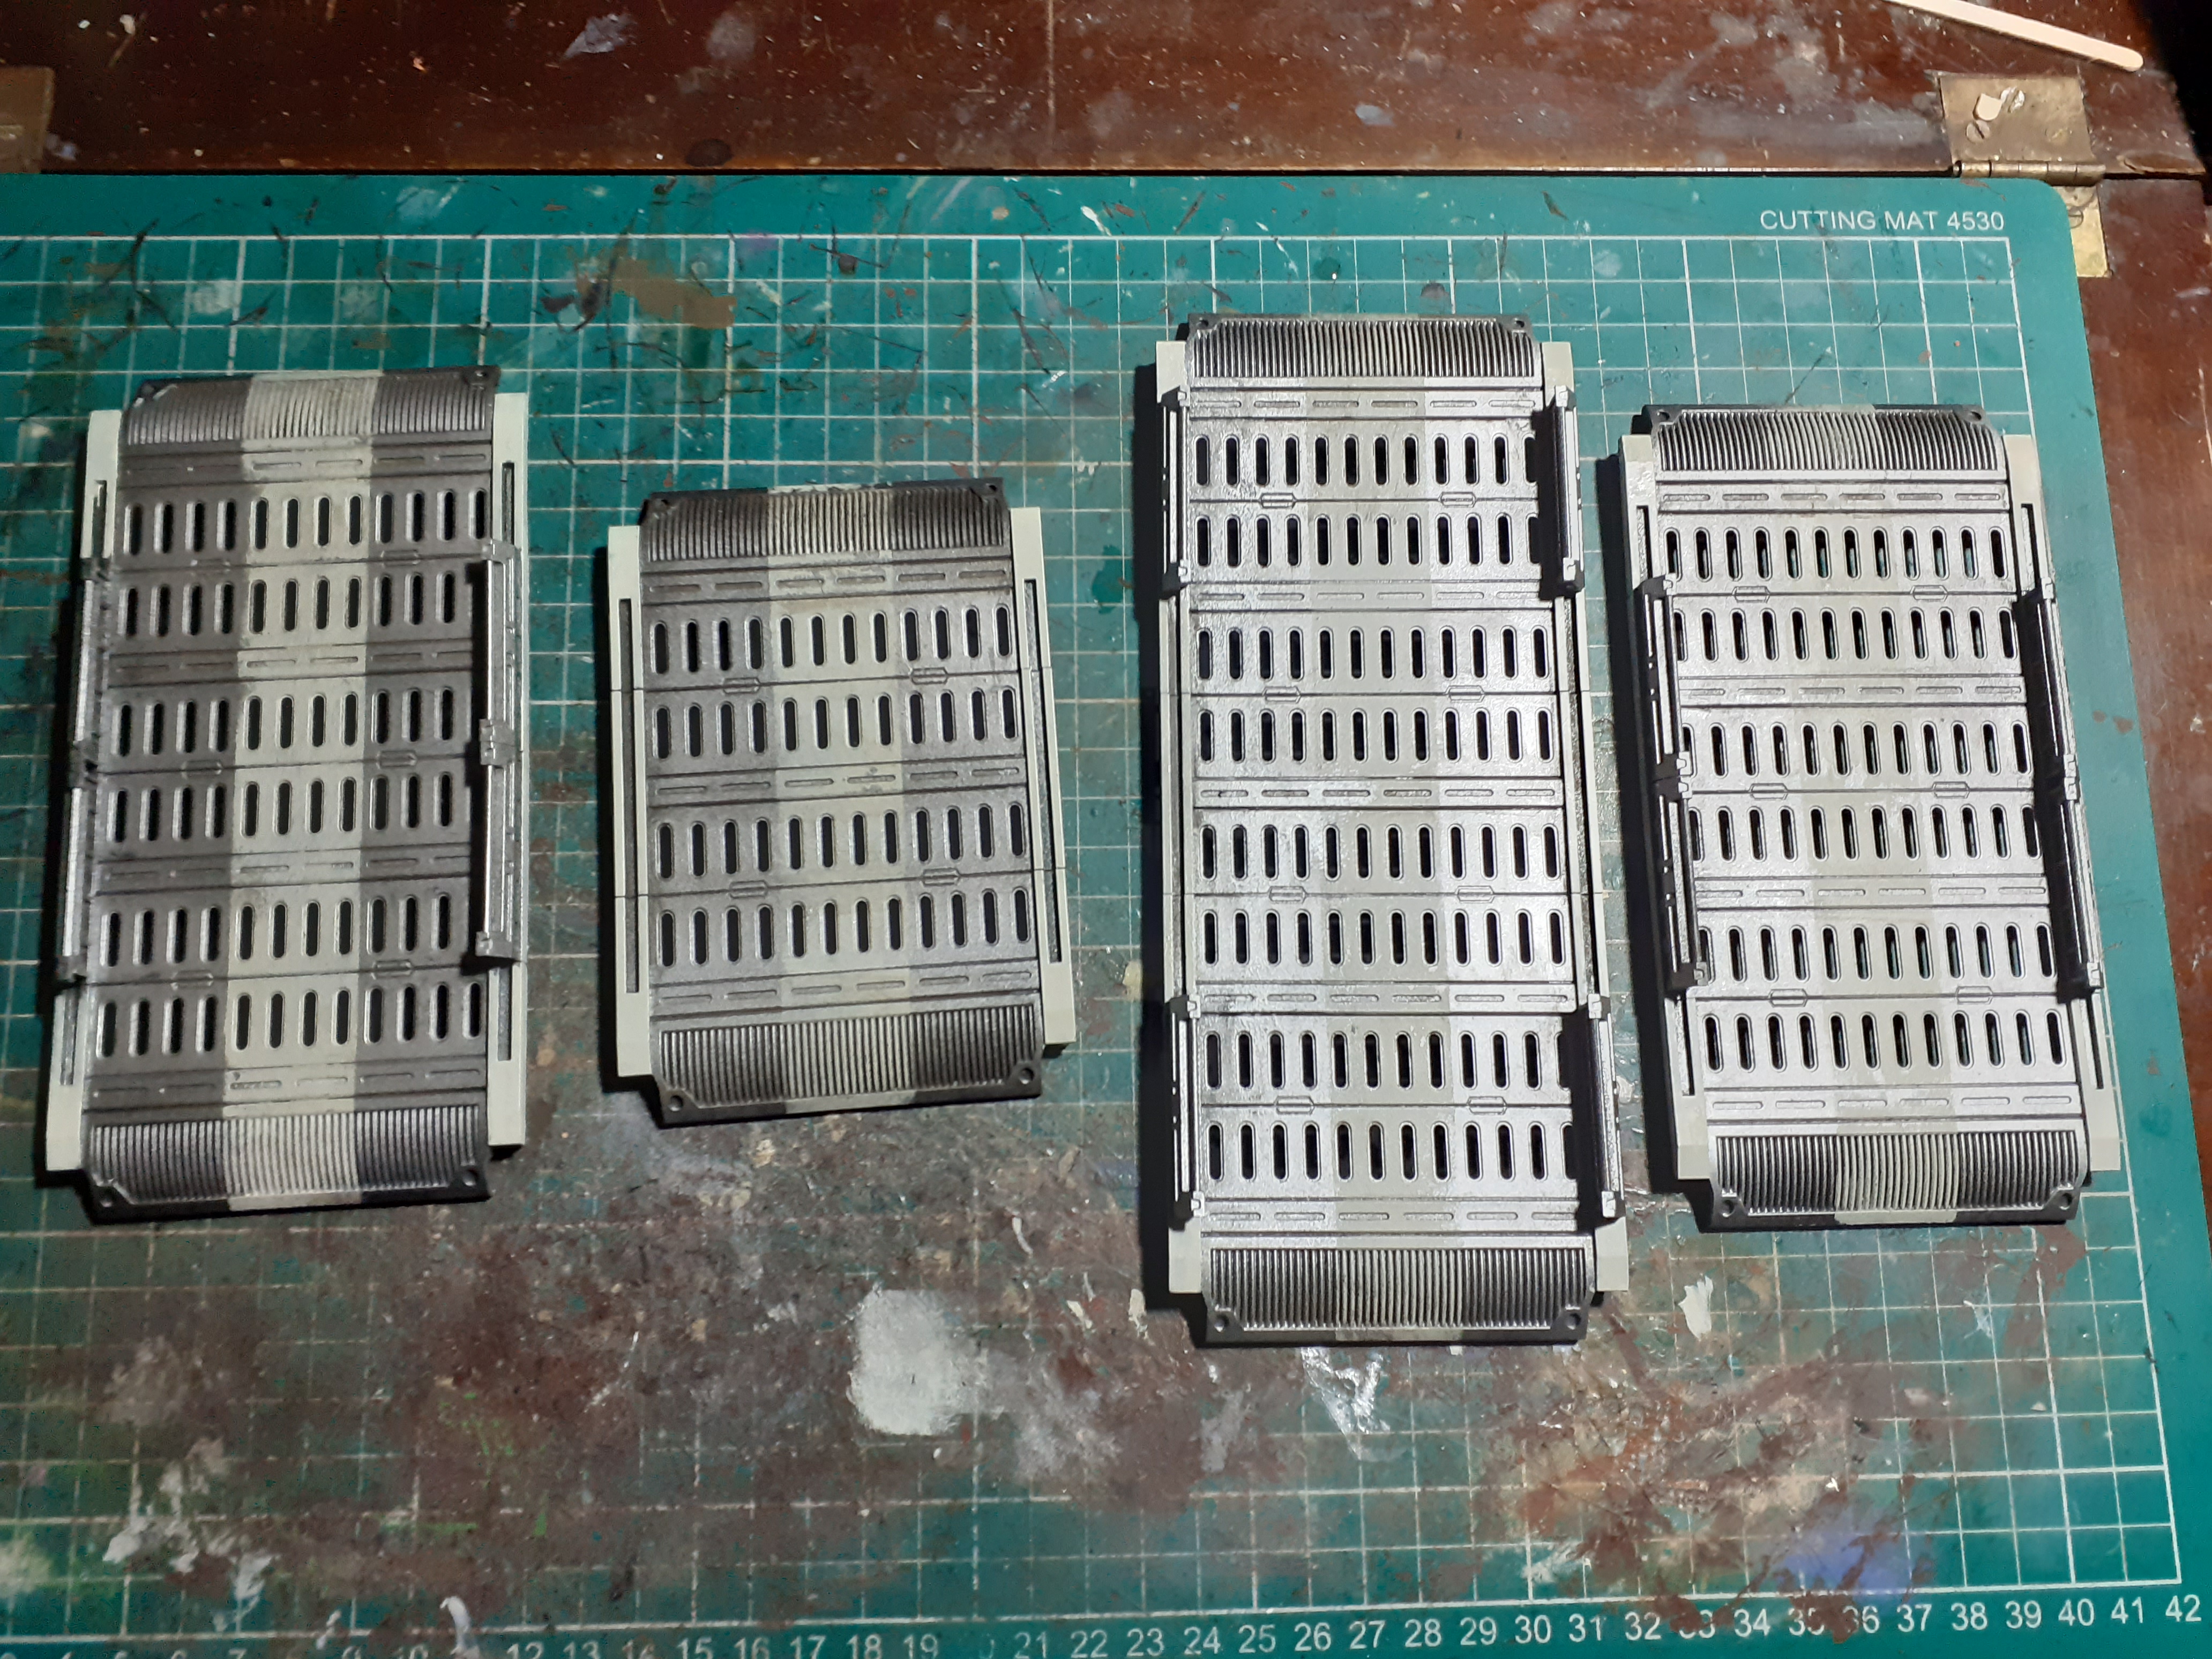 Add a dirty wash and paint in the edges with deck tan and that's the gantries done in an evening pretty pleased with the results
Having a go with chipping pencils.
 Ak weathering pencil set a bit like a crayon but can be activated with water to create effects
 Different pencils for Different effects, feel a bit like crayons crossed with makeup
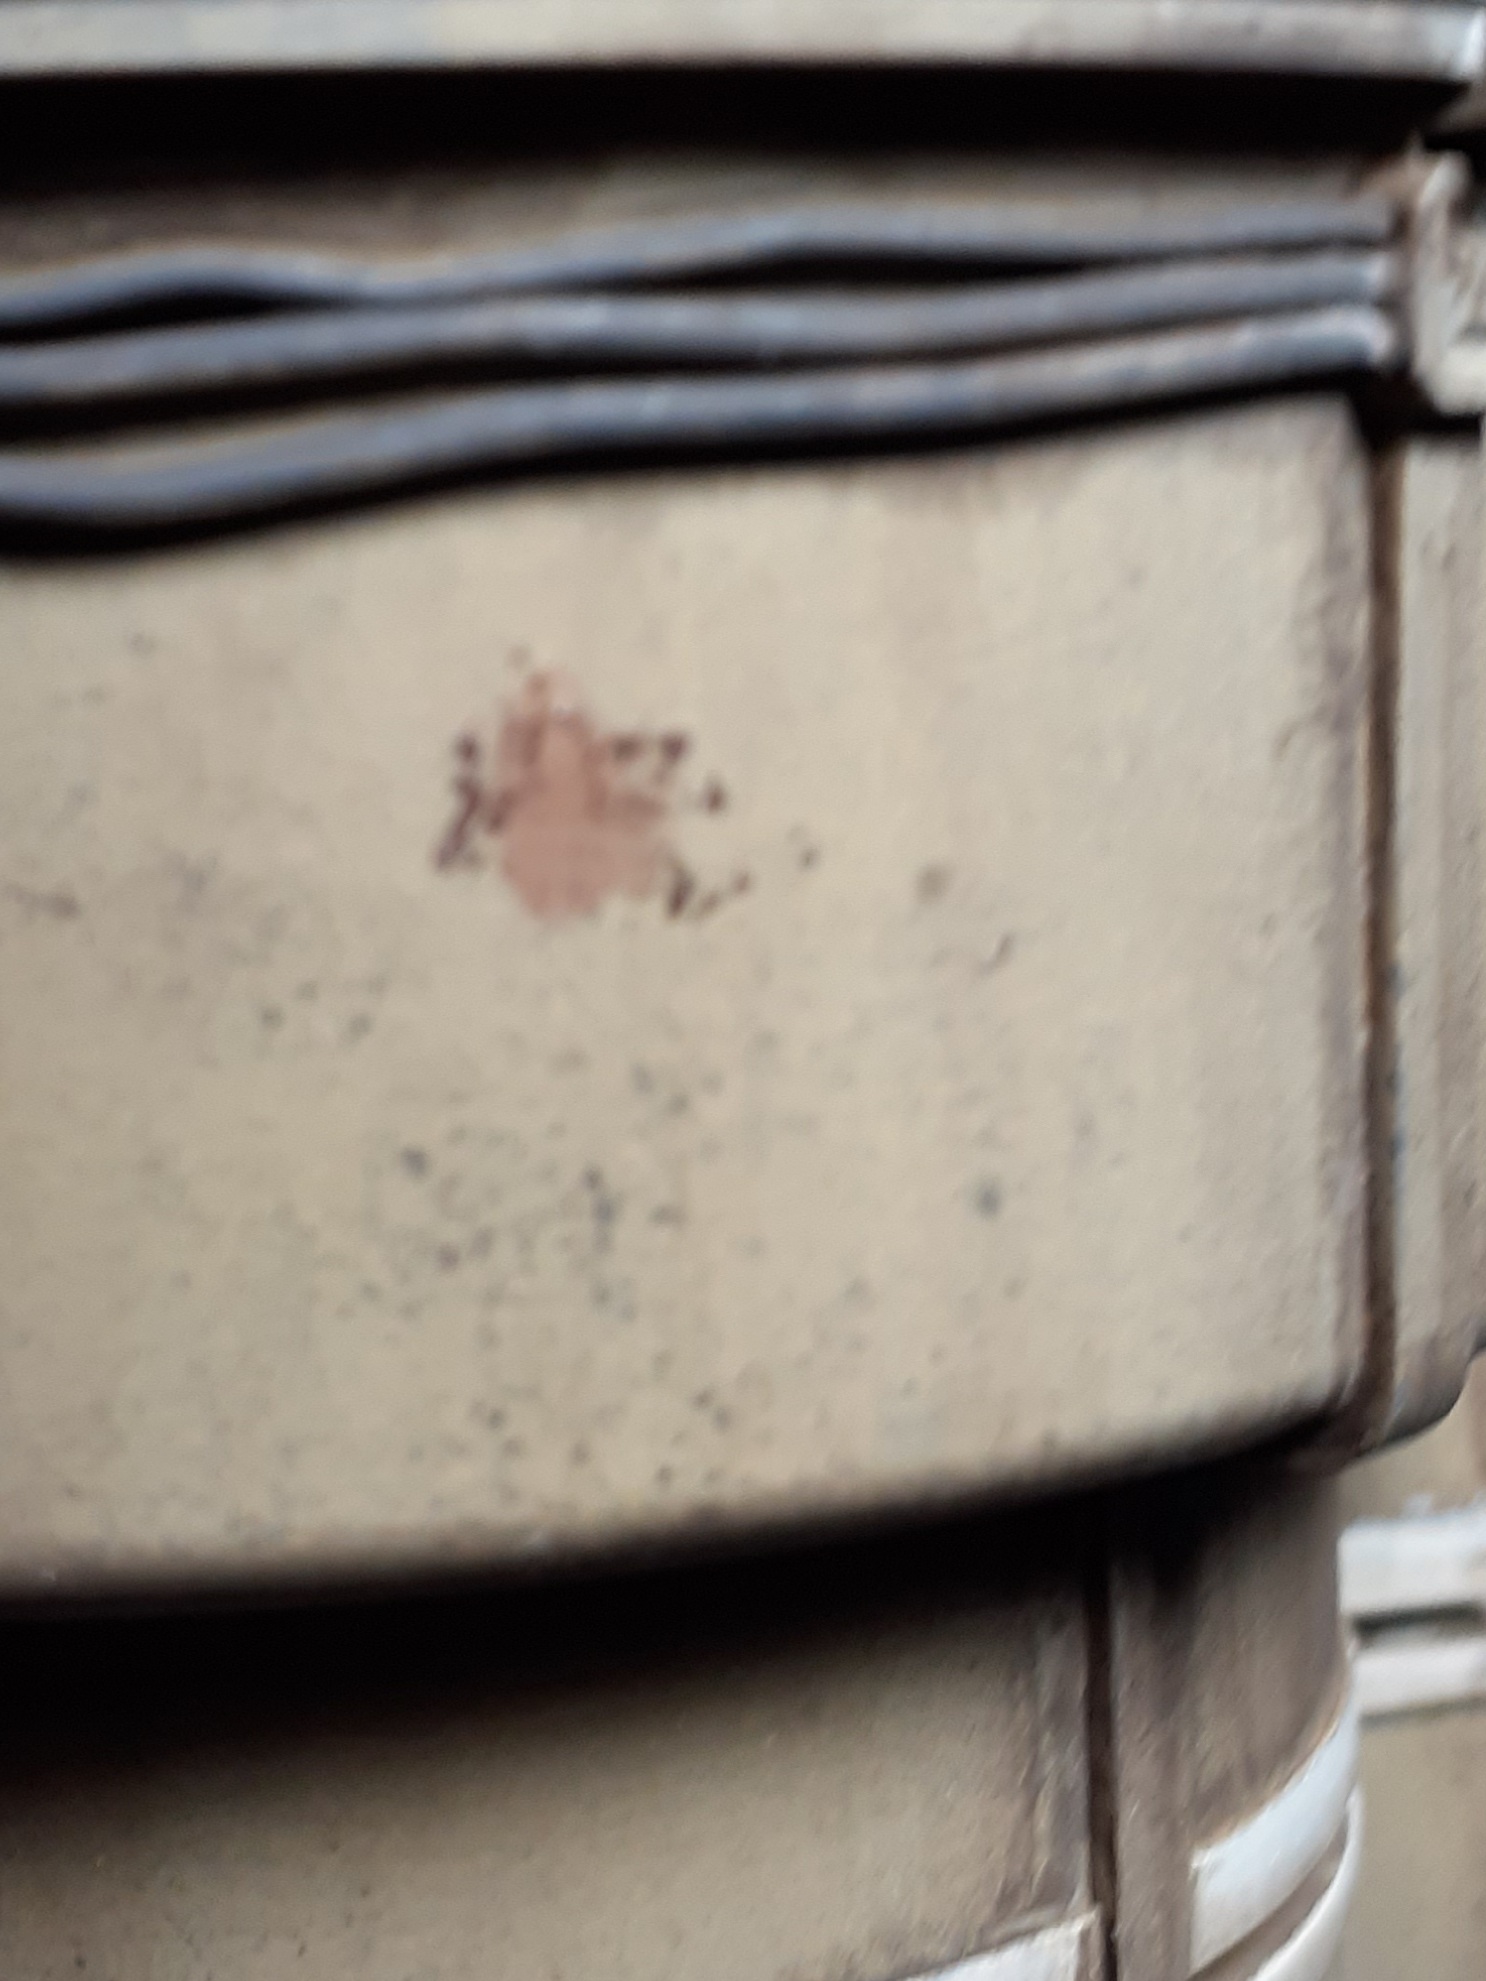 Started by drawing on a blob, think I may sharpen the pencil next time to make a smaller chip, looks very dusty at the moment.
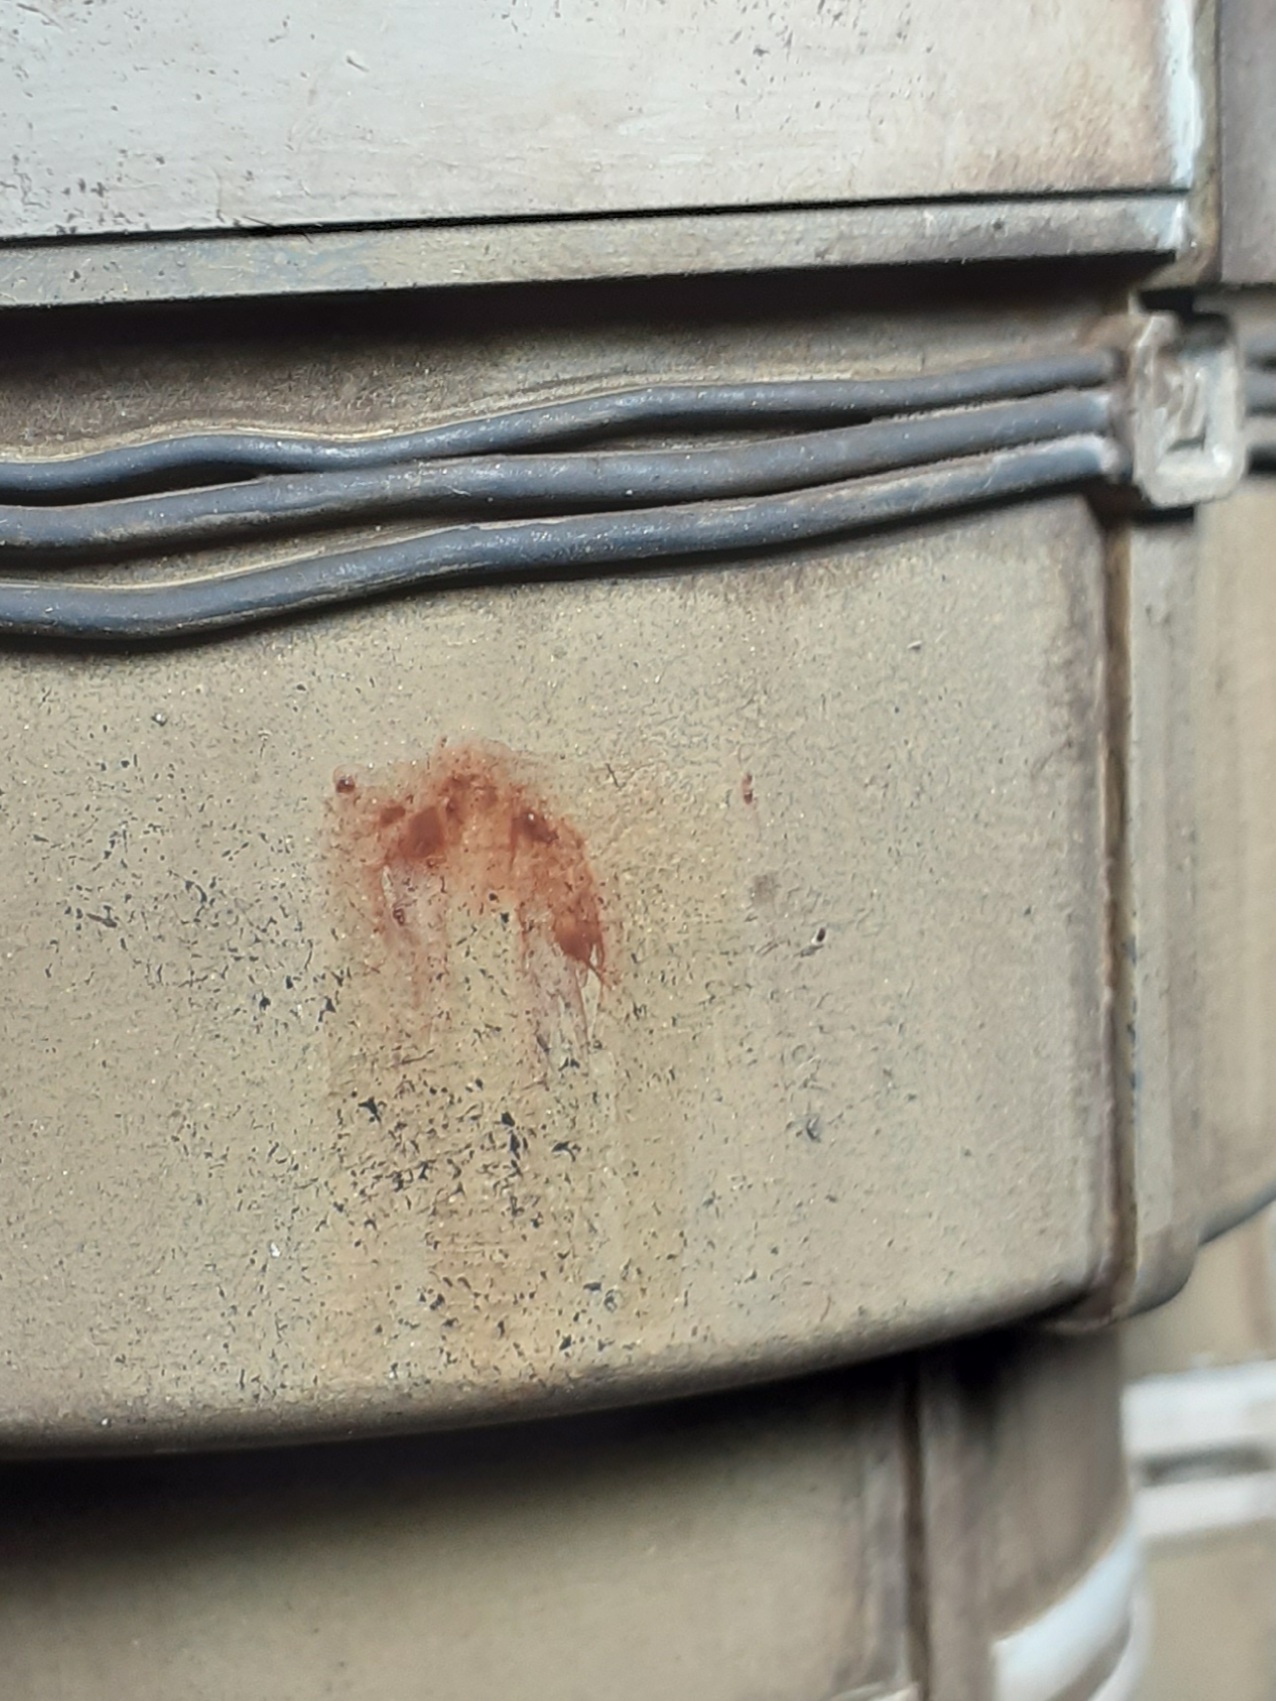 Splodge it with a damp brush
  Let it dry and you have a pretty cool looking bit of wear and tear
 Fiddling with mig acrylic wash
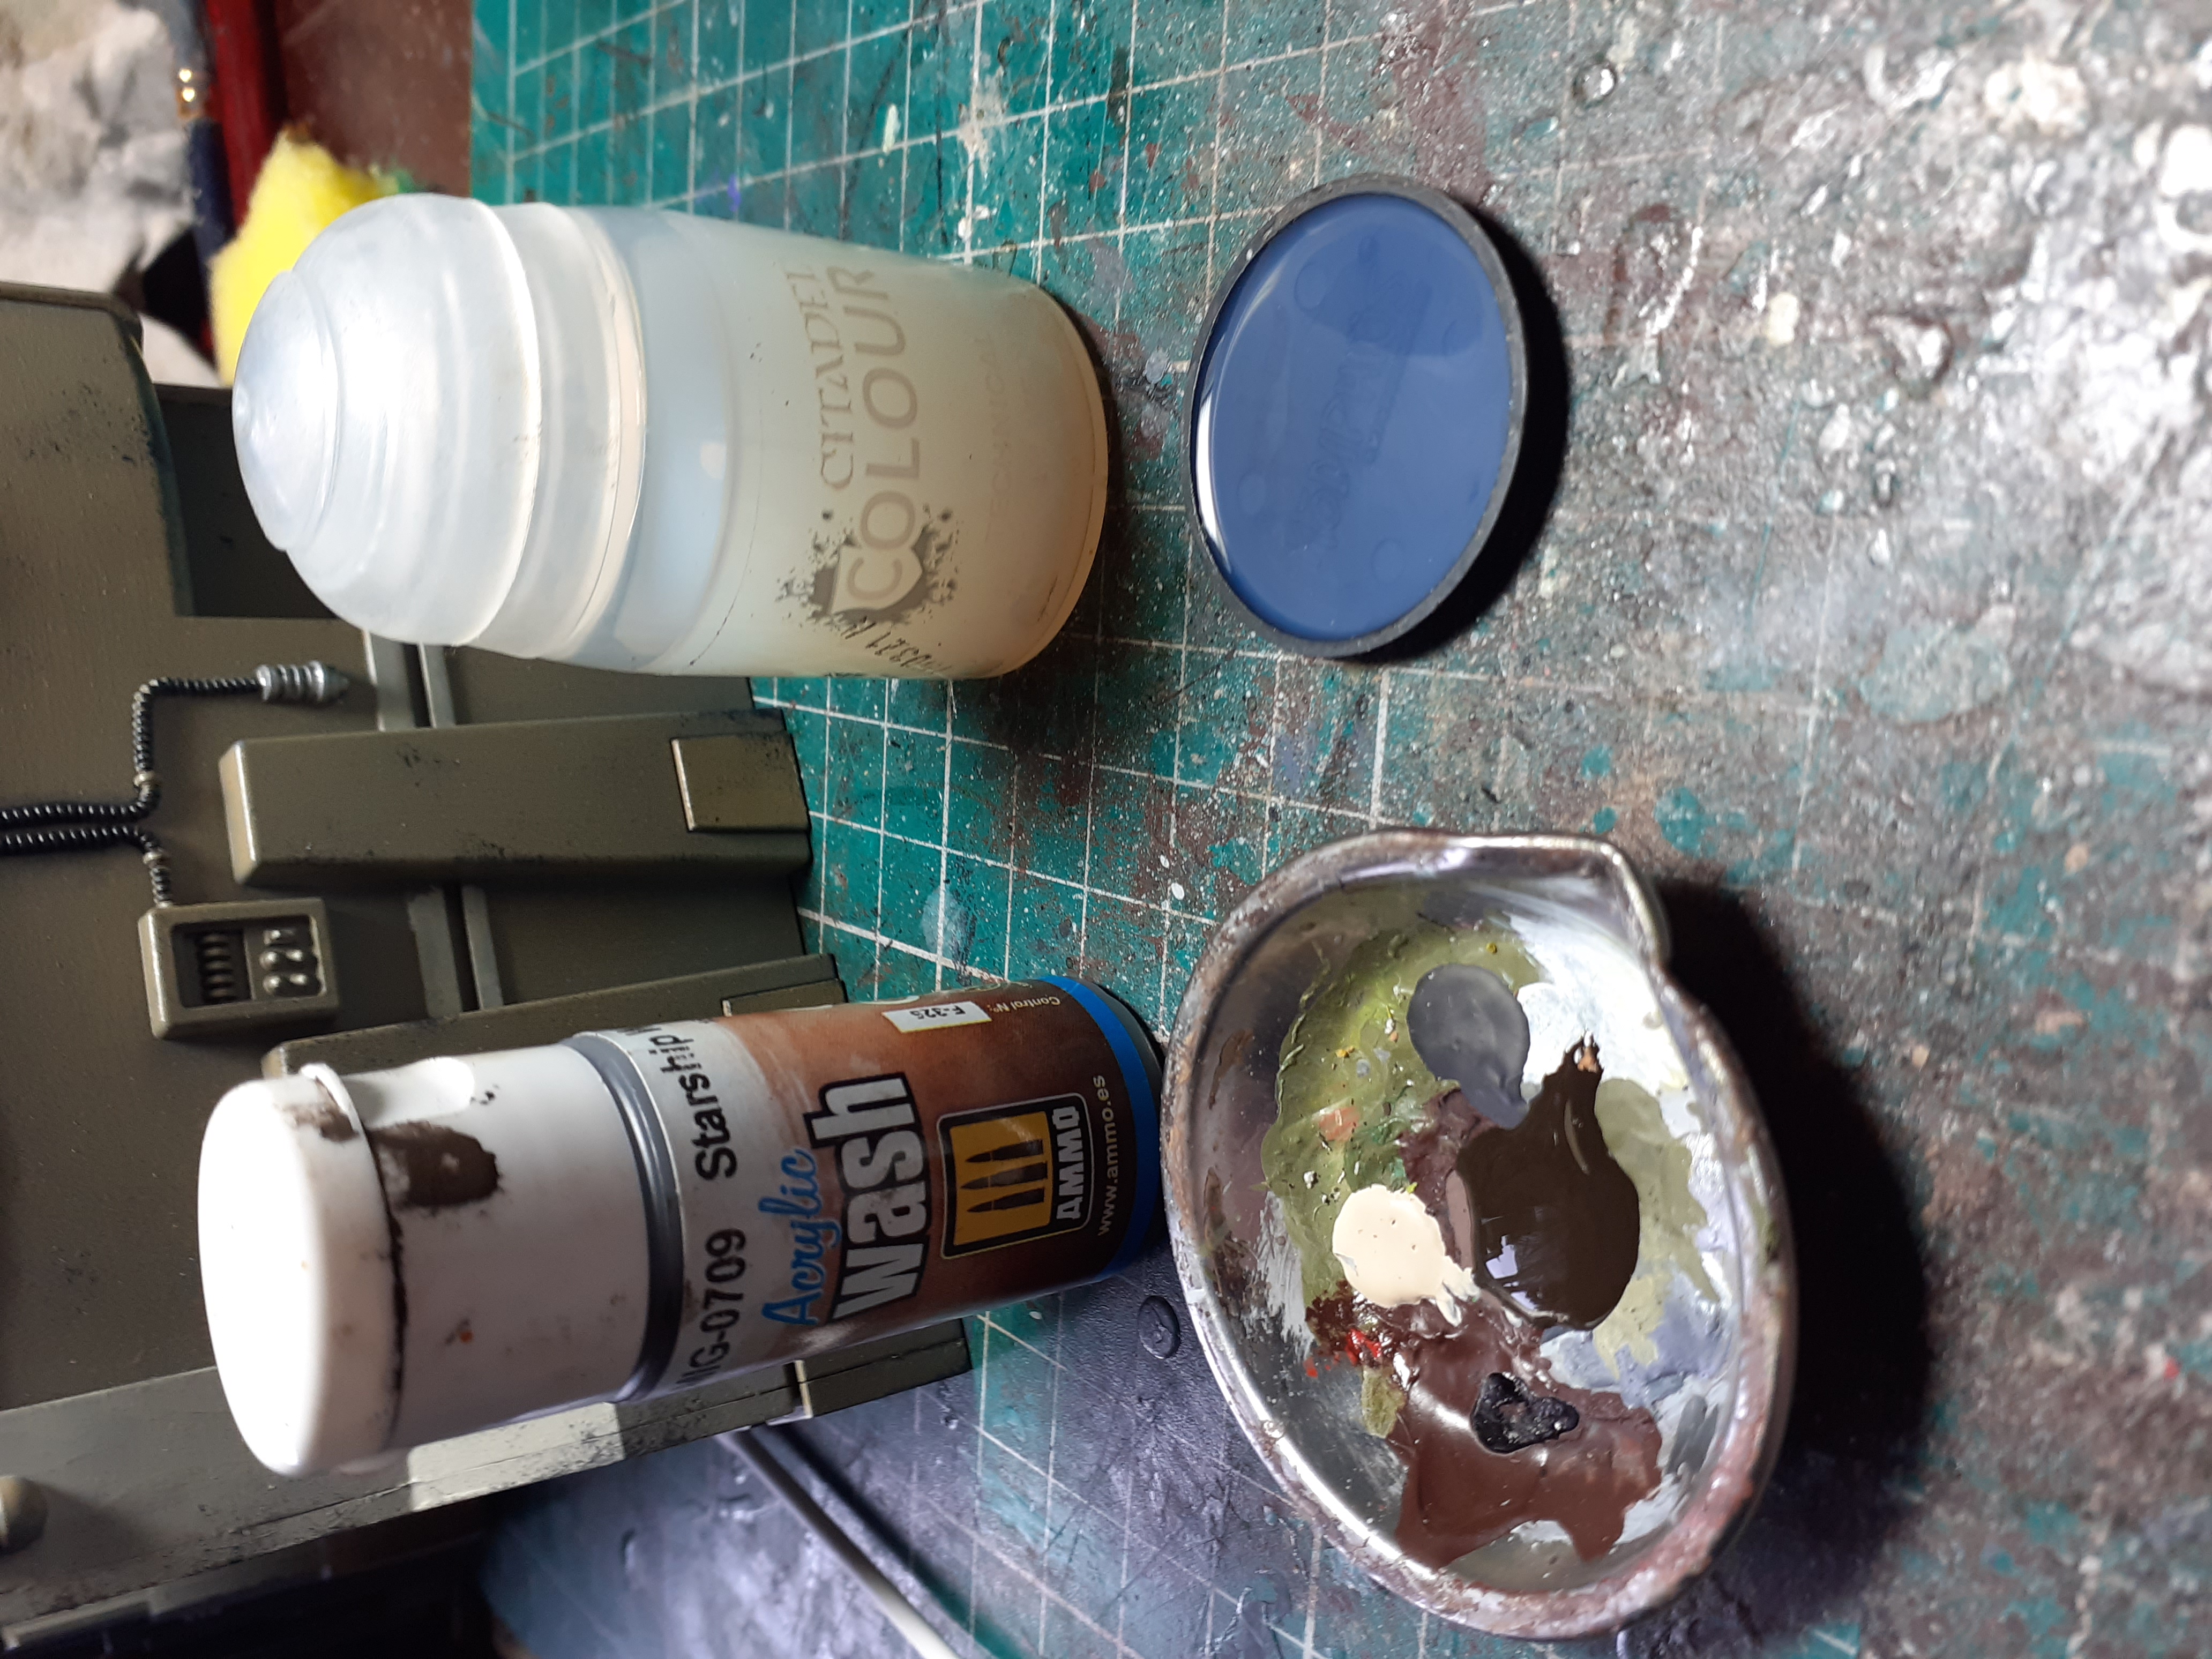
I wanted the buildings to have a bit more texture so thought I would have a go with an acrylic wash to see what effects I could create.
The first step was to coat the buildings in varnish, I found satin worked best as matt did not allow the wash to flow as well when I moved it with a damp cotton bud and gloss looked very shiny.
Once that was fully dry I coated the model in diluted wash and let it dry for a bit before removing the excess with a cotton bud, drawing it down the model to create streaks and dirt.
I tried diluting the wash with lahmium medium but found this created a skin that made the wash hard to manipulate later so just stuck with good old water or in dirtier bits just added it neat.


With this building i started by running a line of neat wash along the top then brought lines down with a damp brush creating streaks, then removed wash from parts I wanted to stay clean with a cotton bud.
For this building and the ladder I coated the whole side and let it sink into all the details let it dry for a bit then cleaned it up with a cotton bud

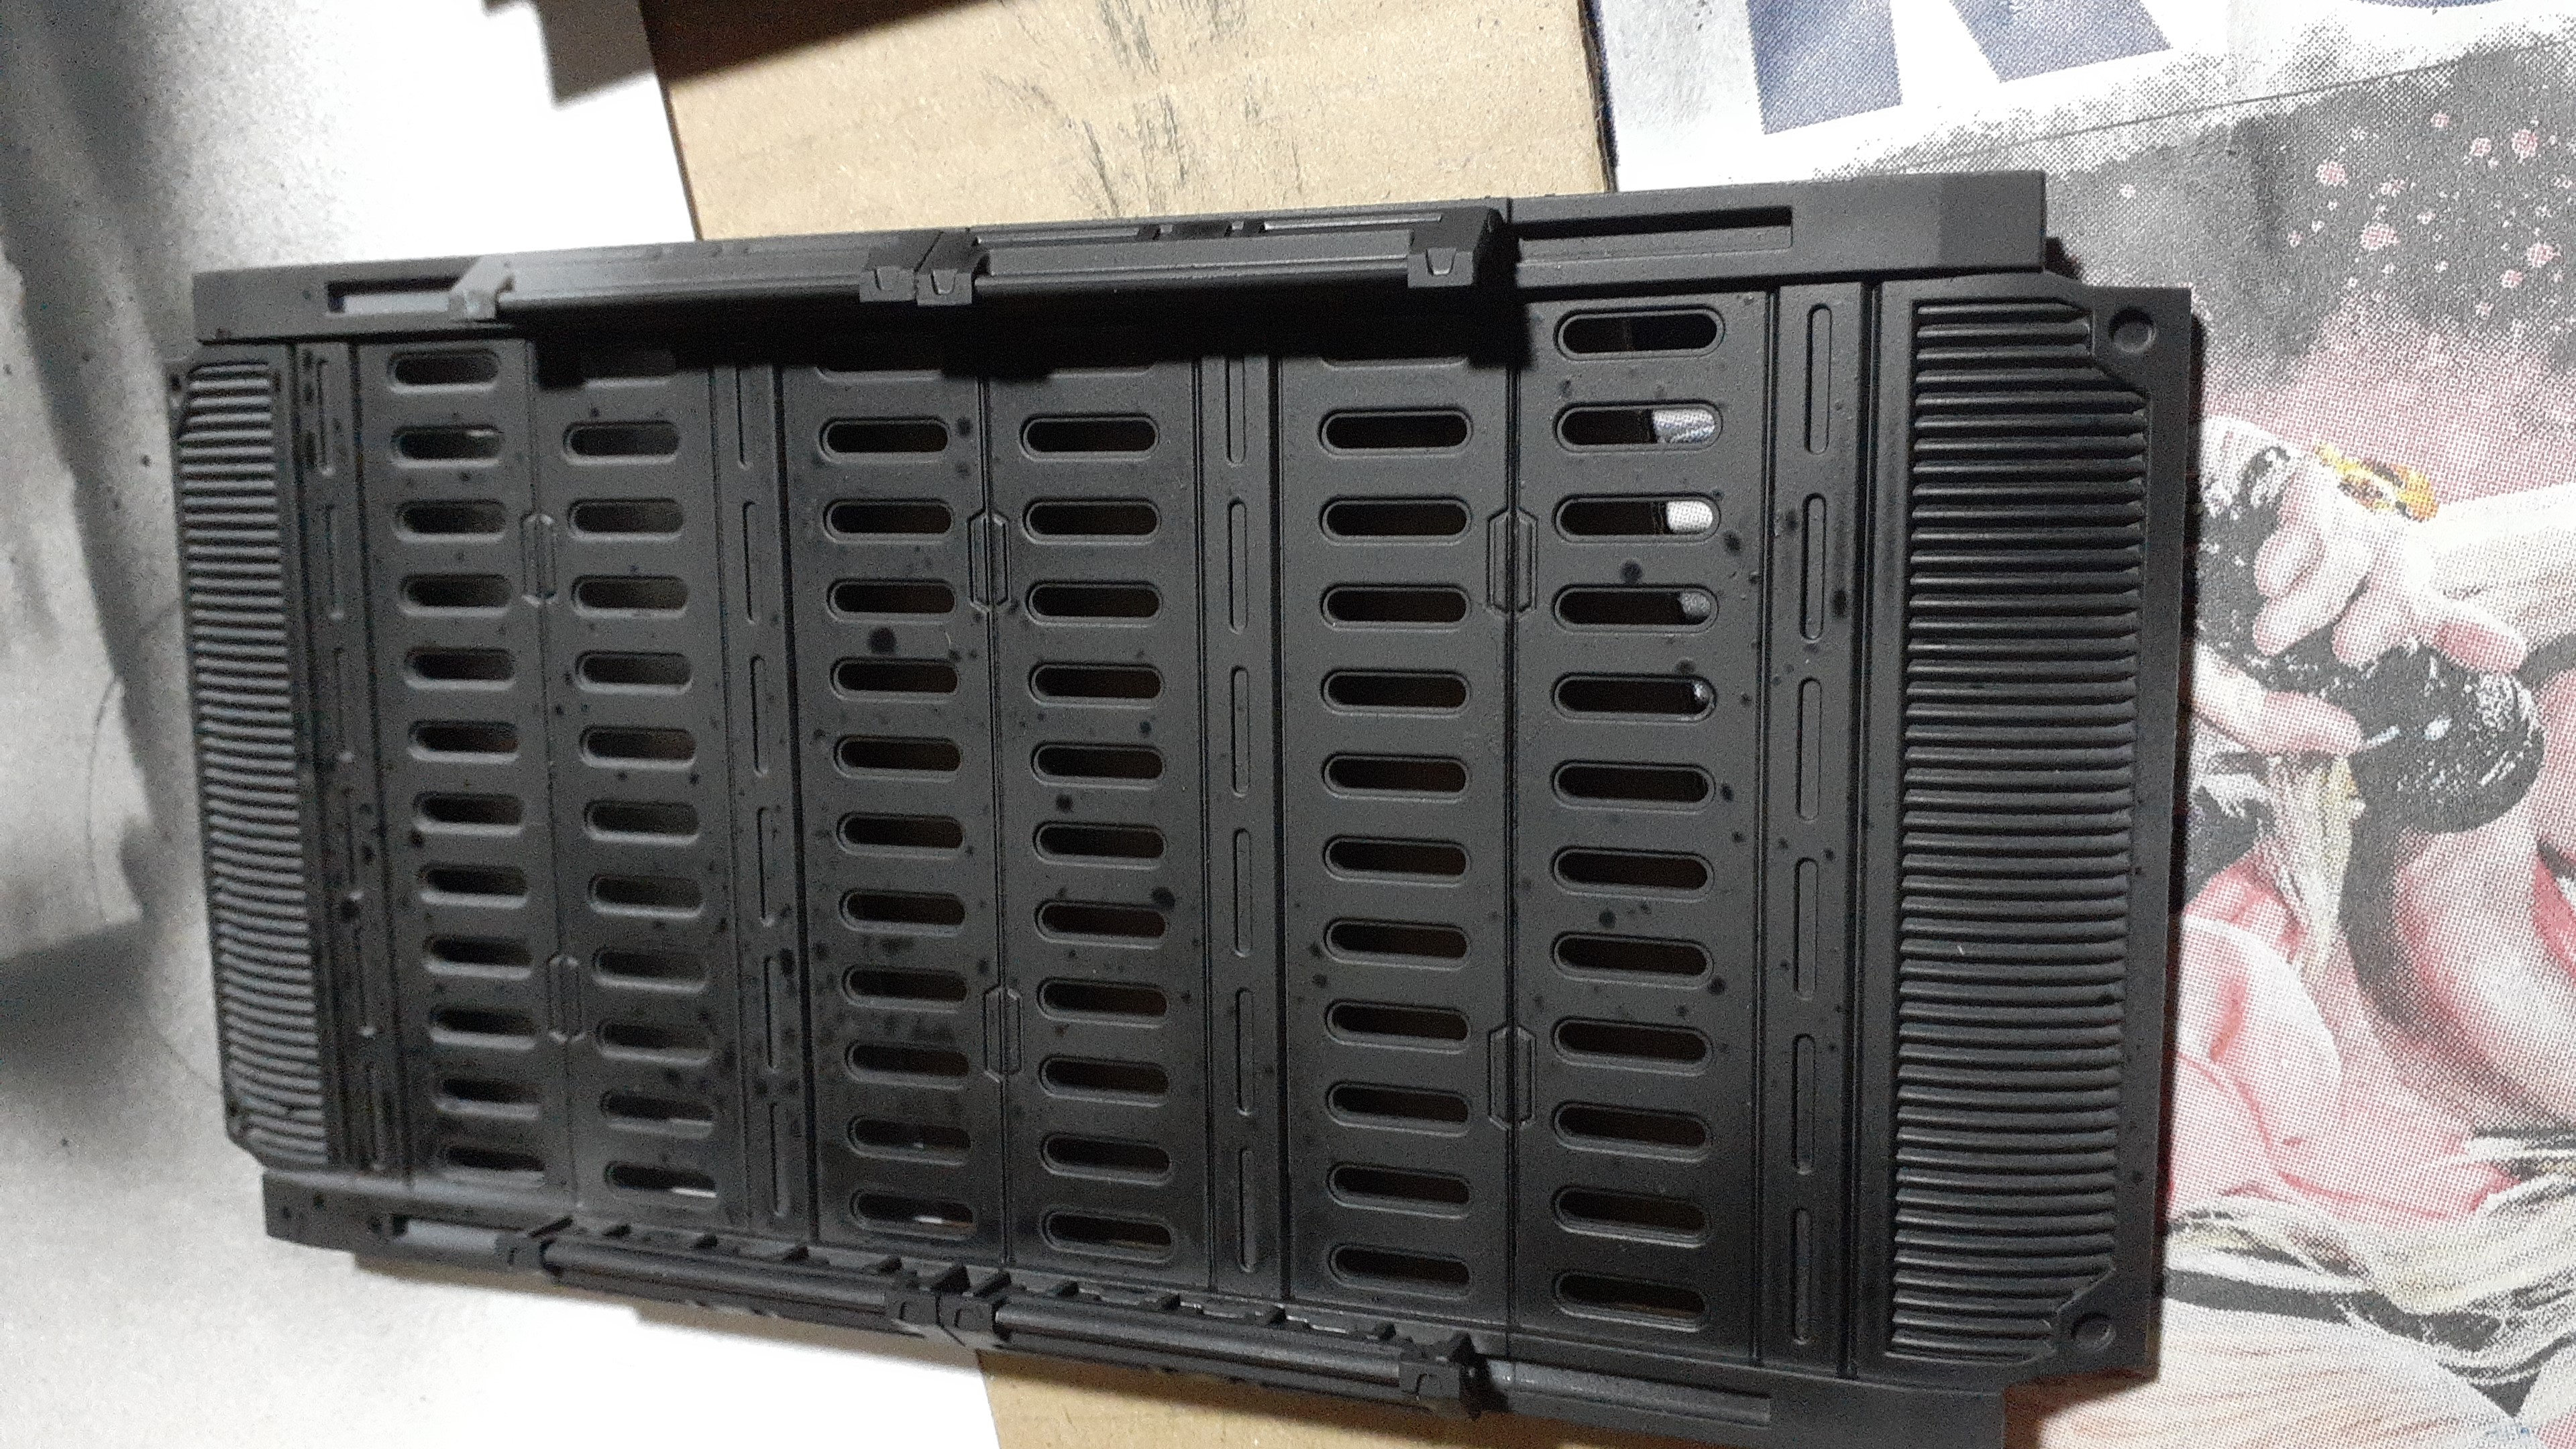
Airbrush of Doom
Having a few buildings left to do I thought I would try to speed up the process by investing in an airbrush.
Turns out they are pretty expensive so I took a look about on the interwebs and came across rechargeable airbrushes used for make up with a built in compressor.
So for the price of about 2 rattle cans I thought I would give it a go at the very least I can give my self a spray tan if it does not work.
The first thing I worked out is that although acrylic paint is not smelly airbrush cleaner is so I went out to the shed with my cardboard box spray booth to experiment with the spray gun, cool thing is because its rechargeable I don’t have to worry about getting power to it.
 The brush of doom in all its glory
Things I learned today…
Airbrushing takes a bit of practice to get a cool result but is fun to mess about with.
This brush is pretty cool as long as you only want to base coat or create zenithal highlights and am looking forward to messing about with stencils in the future.
I have not found a way of making the spray fine enough for smaller details but think that may be due to the uneven pressure produced by the small compressor.
I used vallejo paints with airbrush thinner and flow Improver mixed in I learned pretty quickly that there is a sweet spot of both not enough and the paint splatters in blobs like a morning after a curry, too much and the paint beads off the plastic.
Once I worked it out the buildings were pretty quickly painted.
 Not enough thinner creating blobs of paint forced out the needle
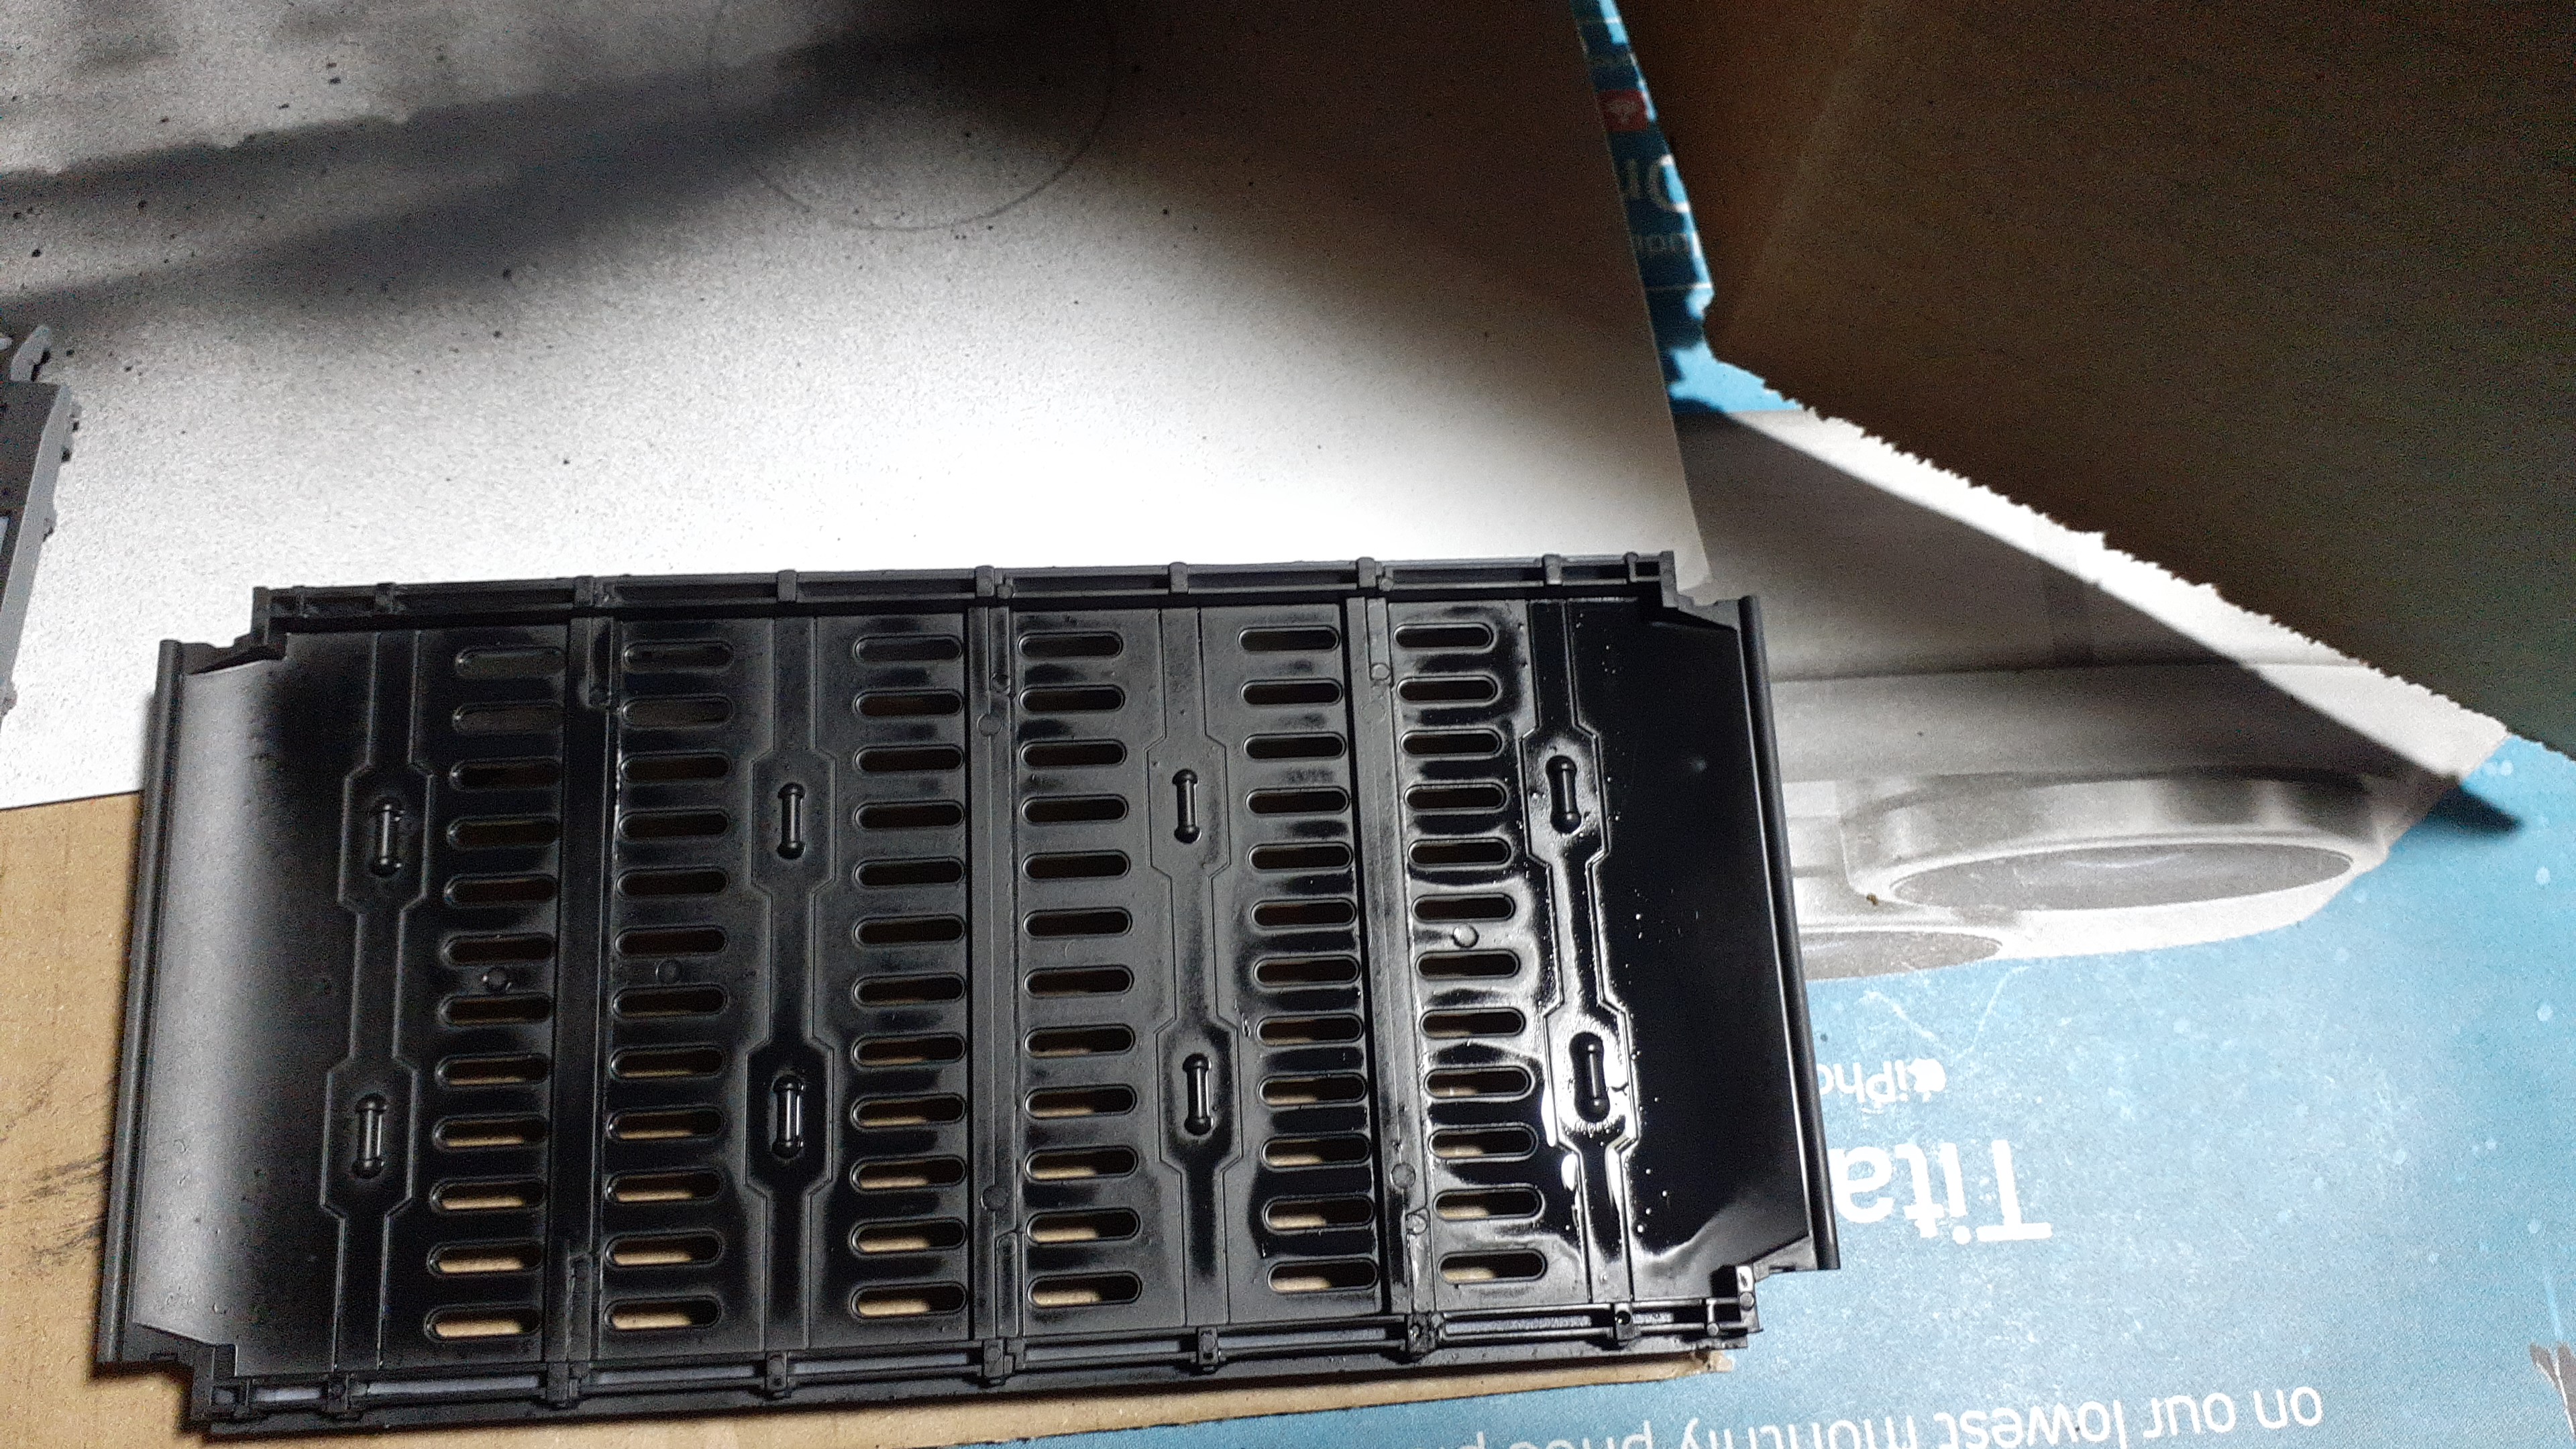 Too much thinner takes ages to dry and pools, if the brush gets too close it blows the wet paint off
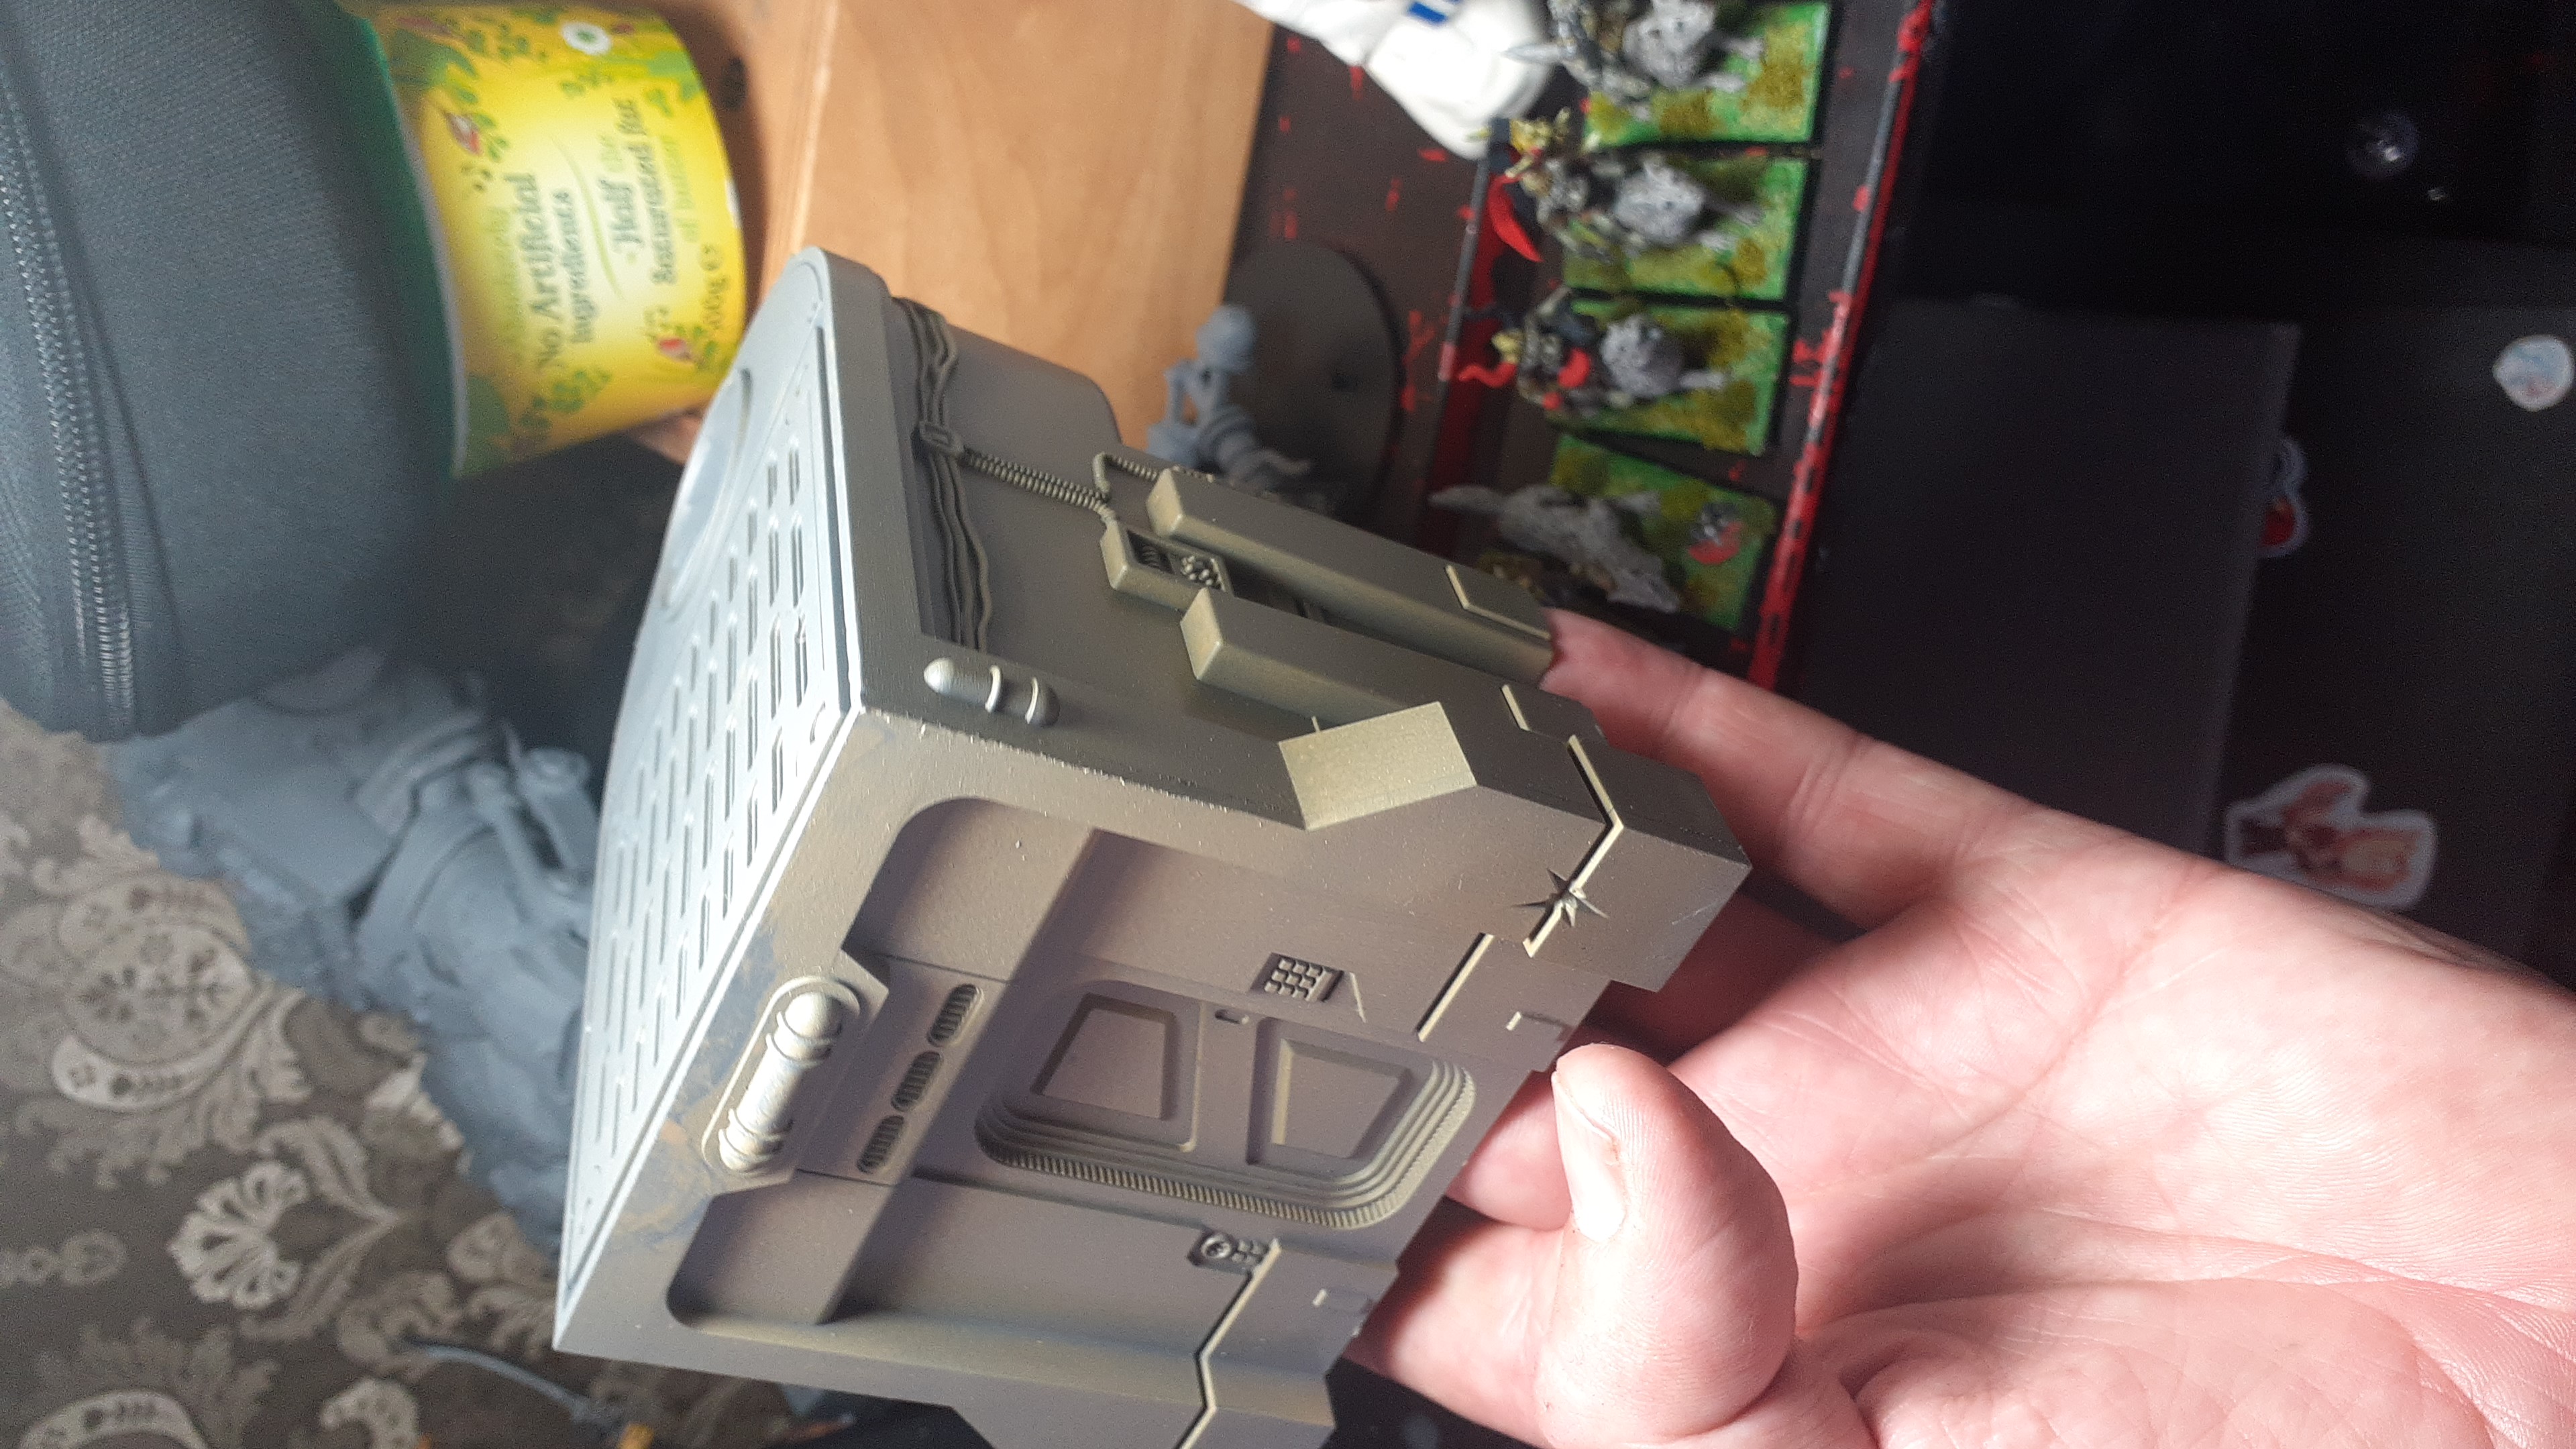 My first bit of airbrushing, pretty happy with the result and it was super quick.
Time for a sponge bath
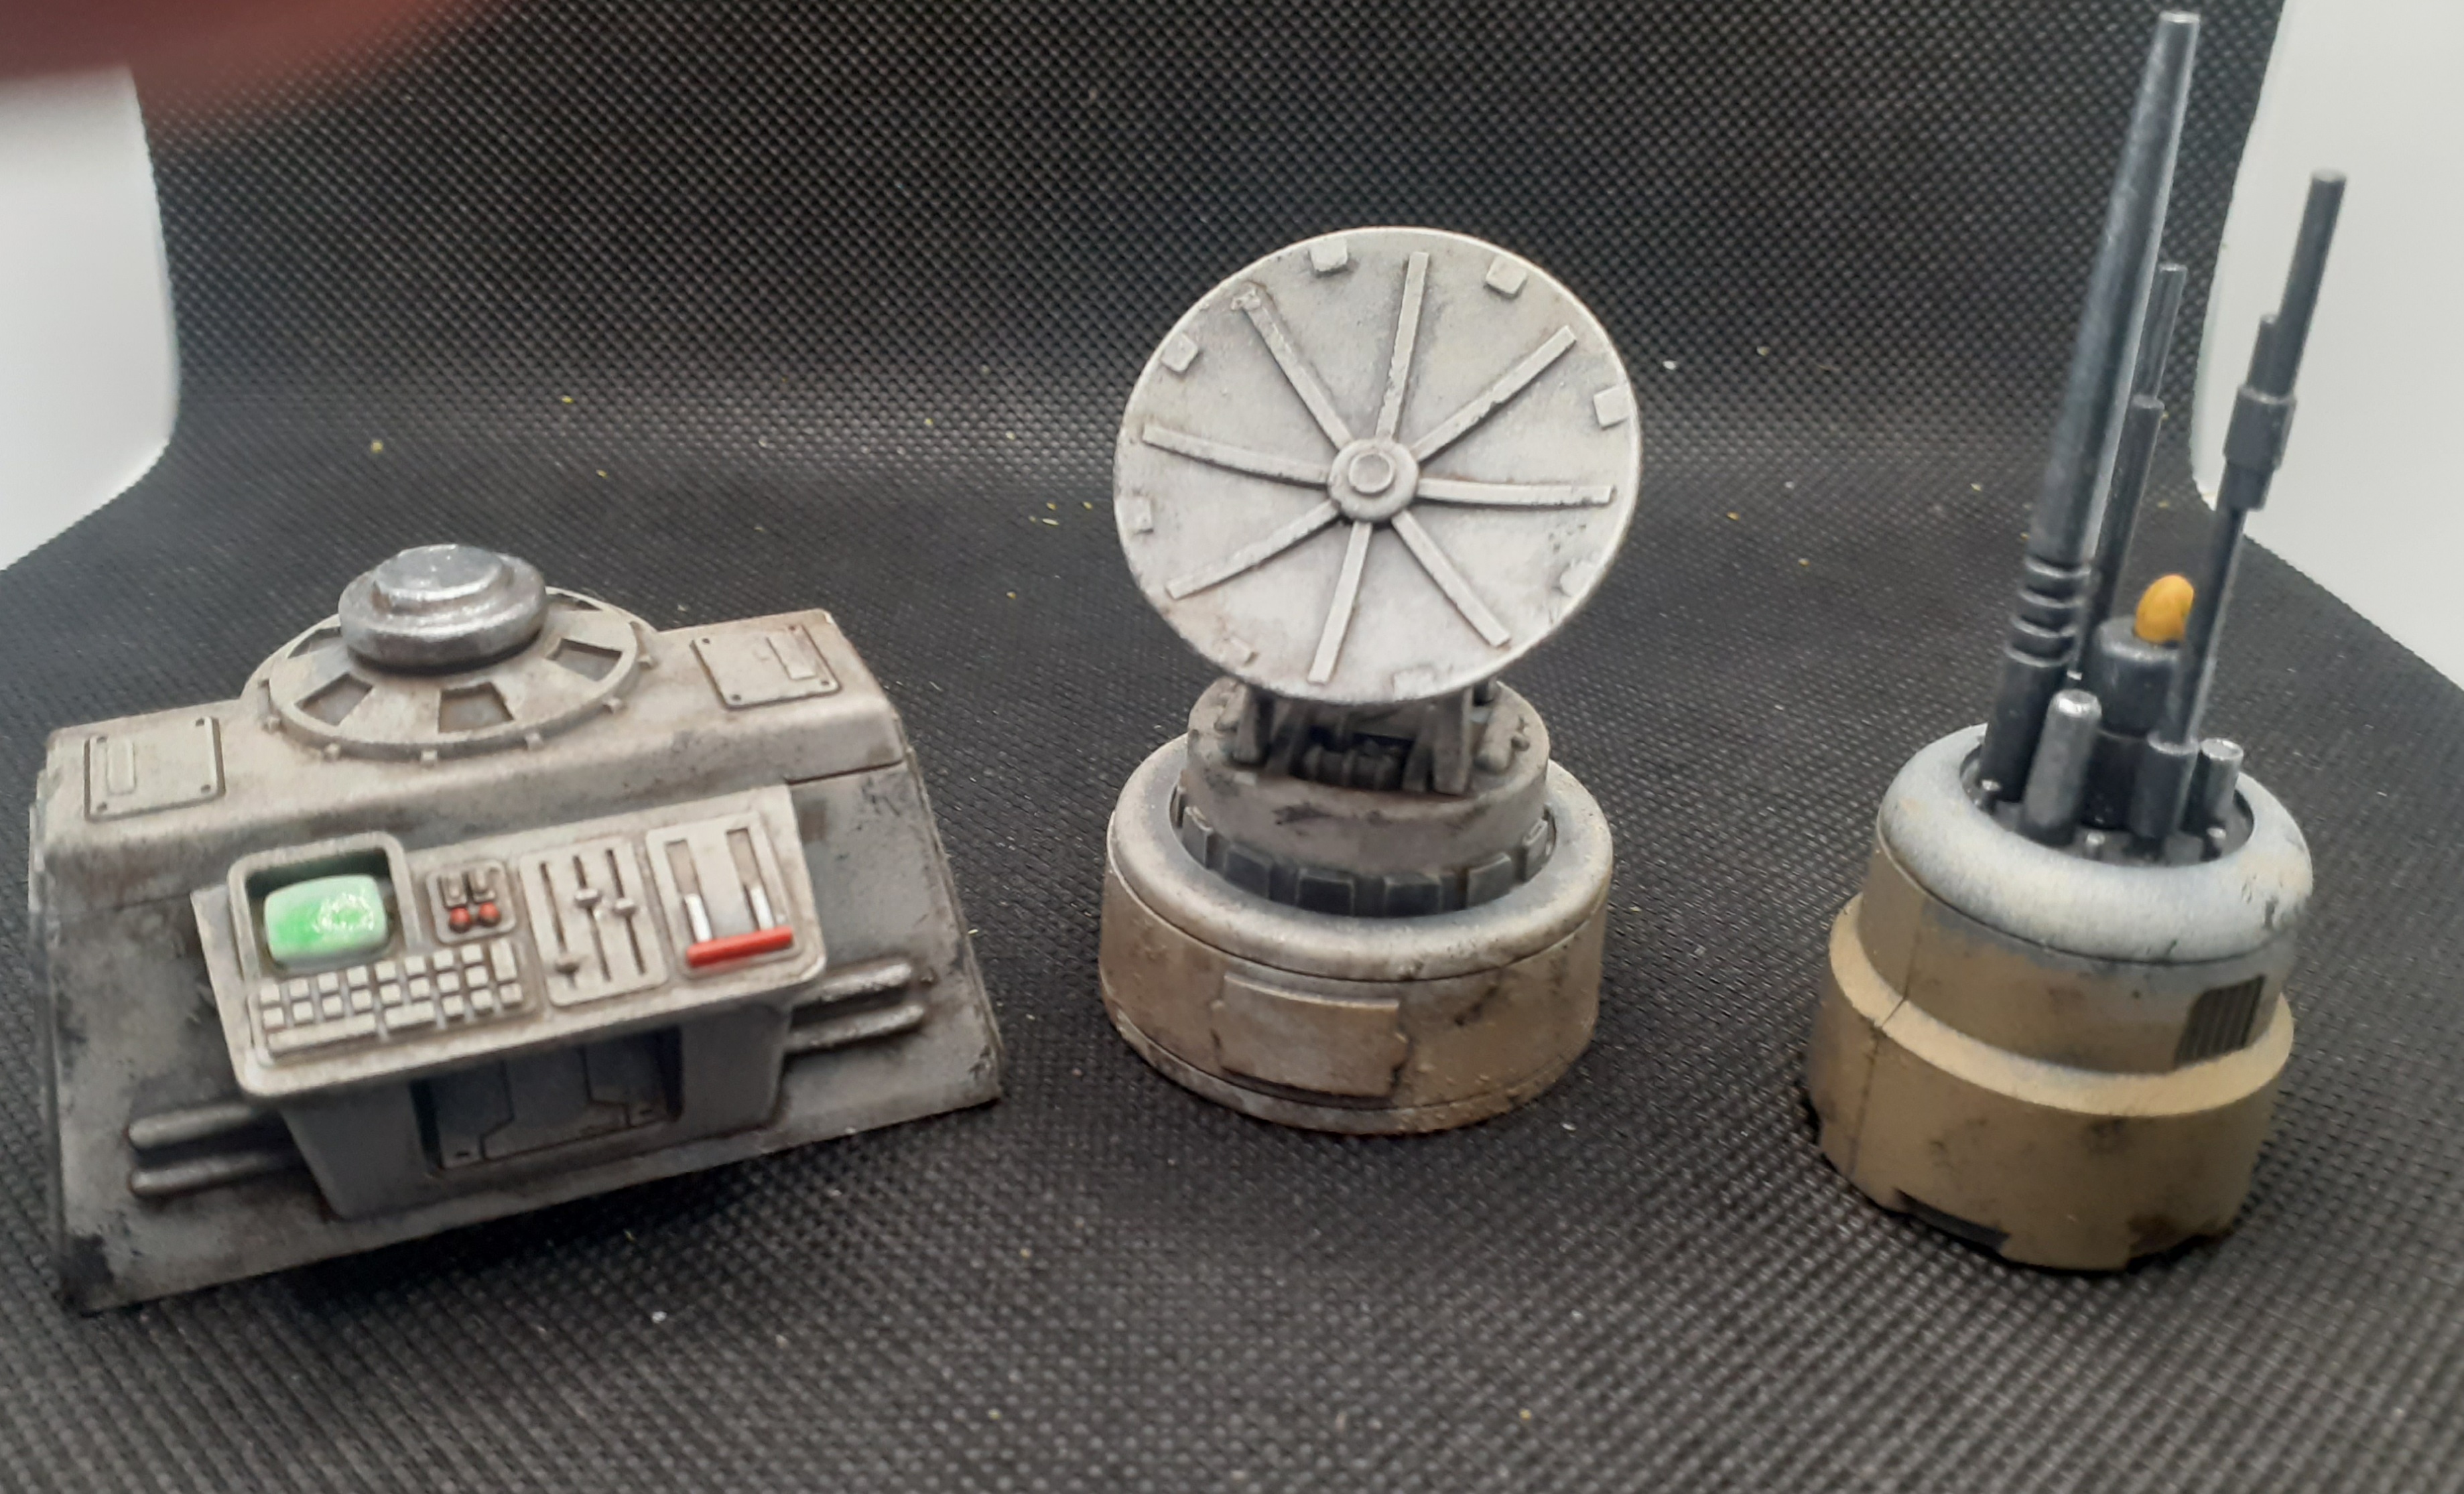
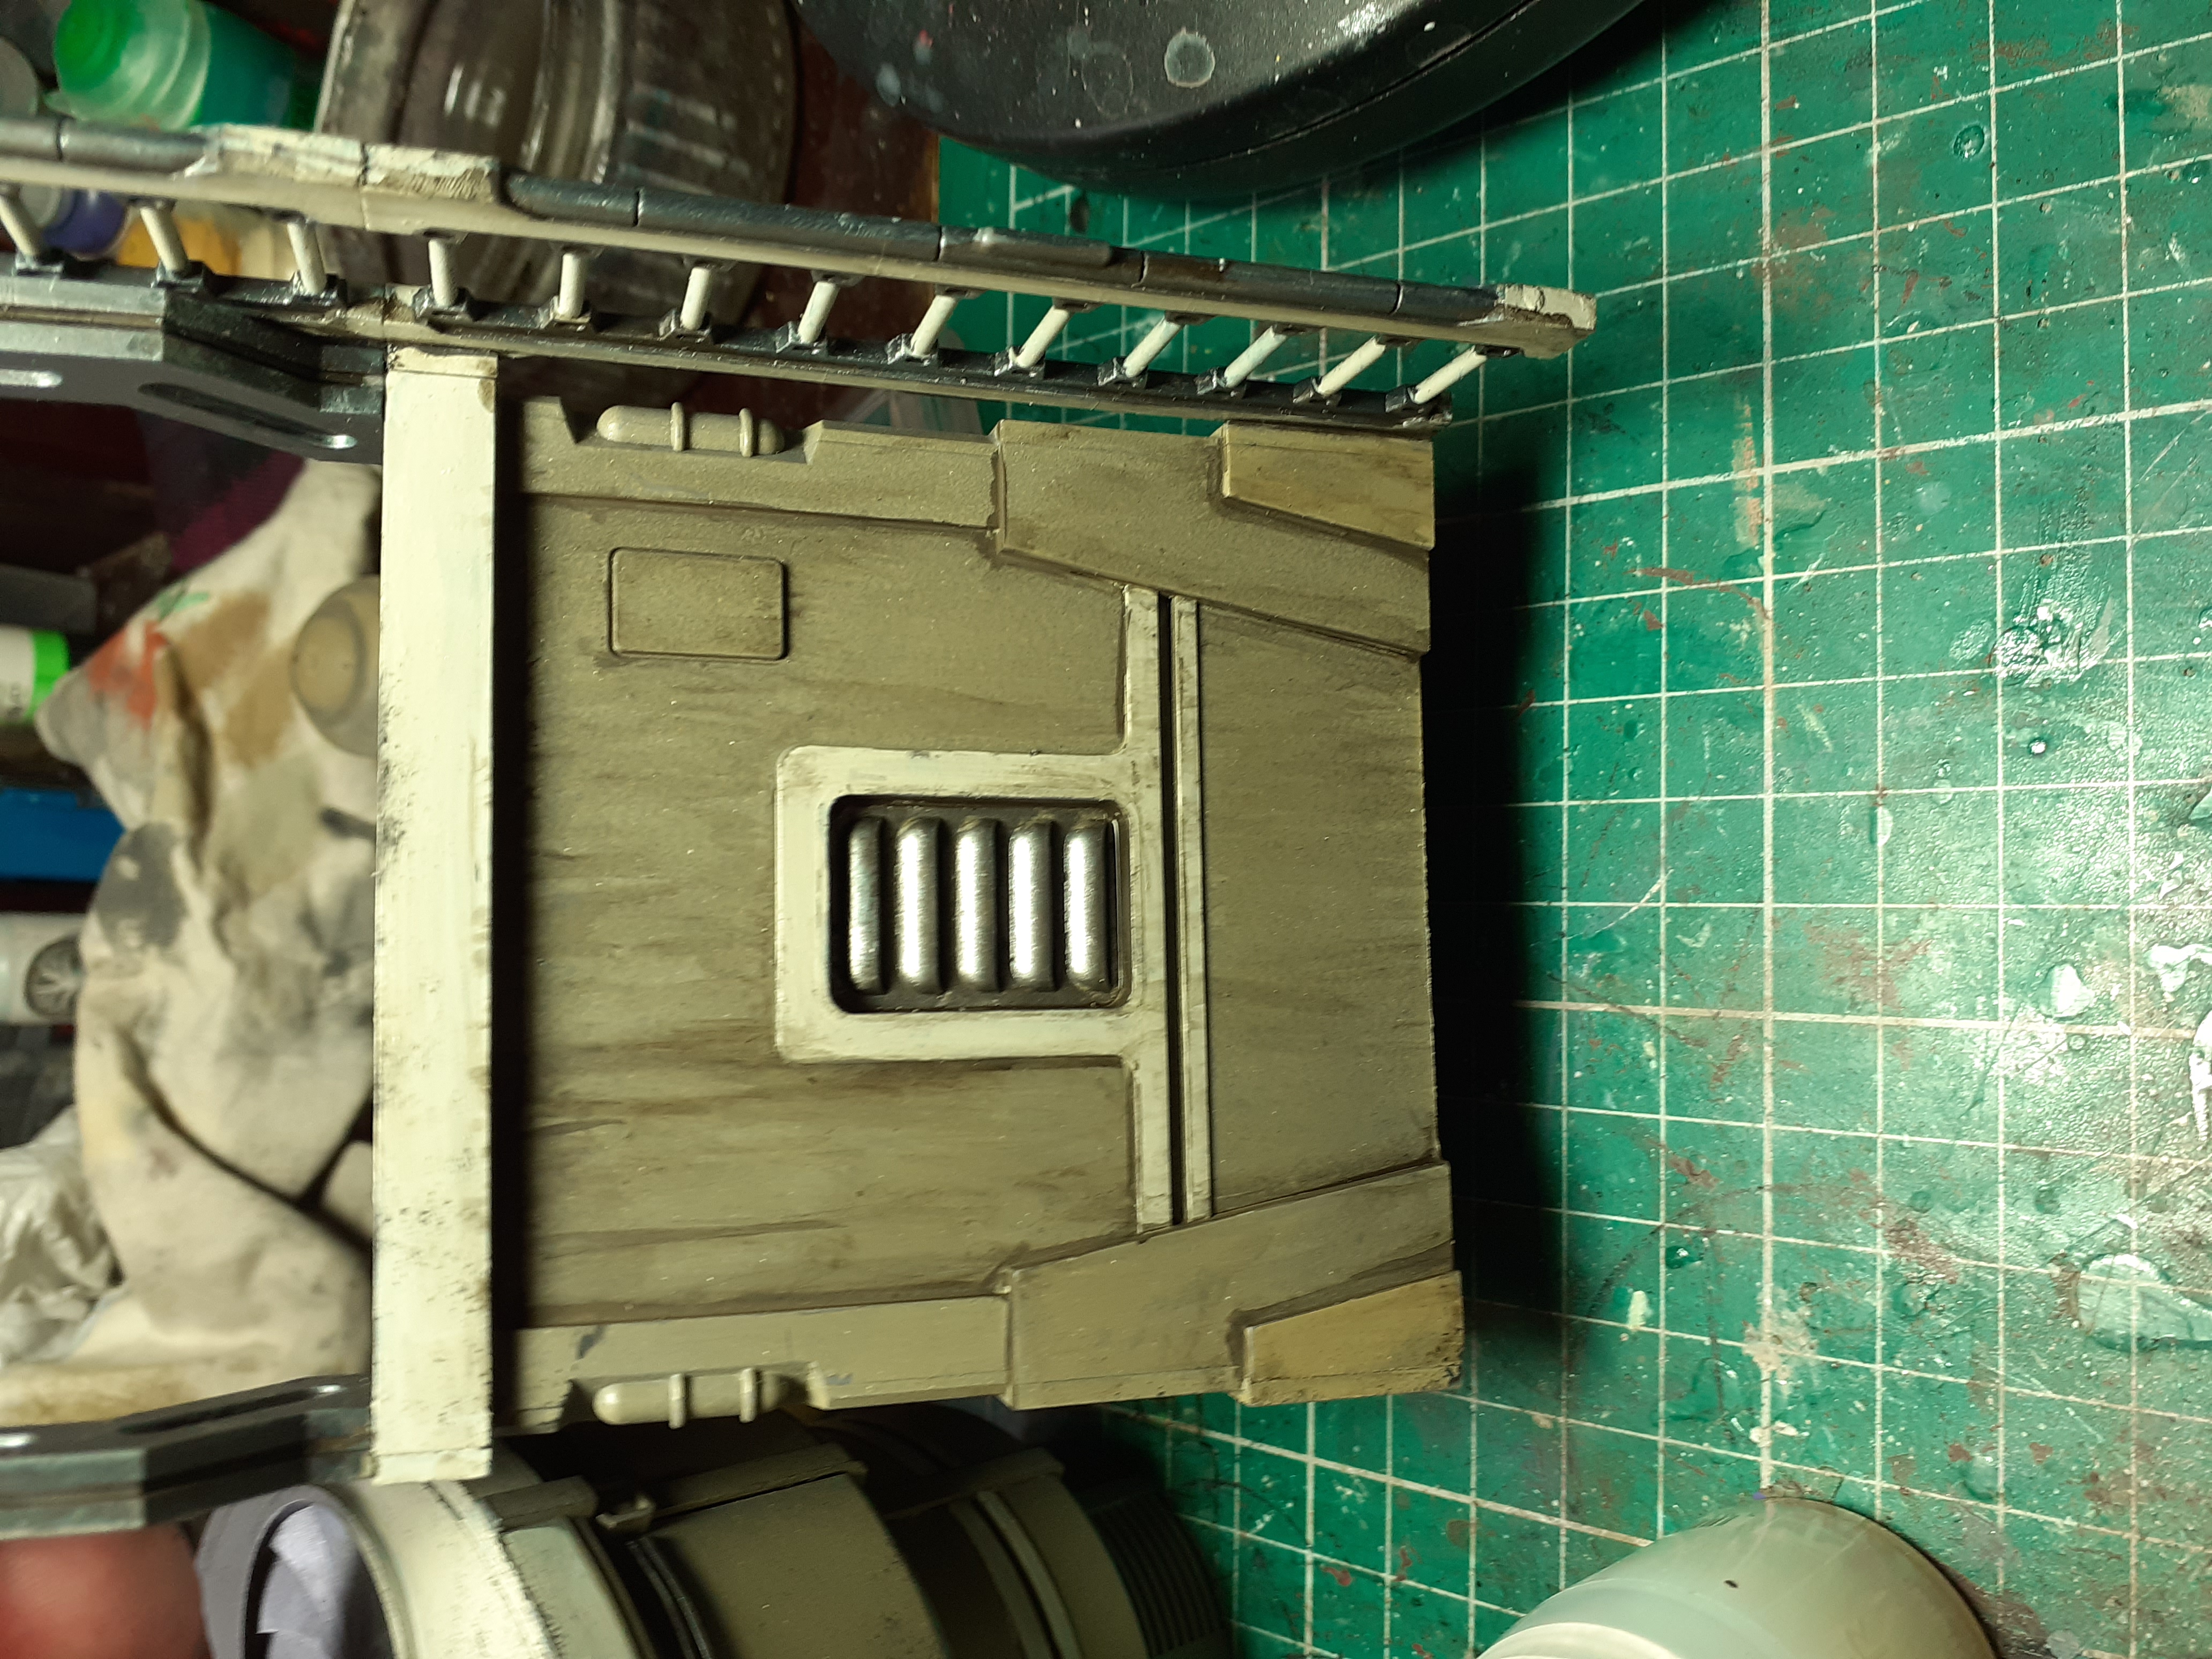
- I kind of want to get a stone like texture effect on this building.
Kind of thought using a bit of sponge to stipple a sandy colour over grey may give me a cool effect so gave it a go.
 Started by painting the whole thing grey with the biggest brush I could find. I chose grey over black as I thought it would work better in the areas the sponge could not reach with the lighter colour giving a cool amount of shading with little effort on my part
 Next up I sponged it over with zandri dust which is a nice thick paint, the sponge adds a bit of texture. Be careful not to let it get too saturated or it splodges.
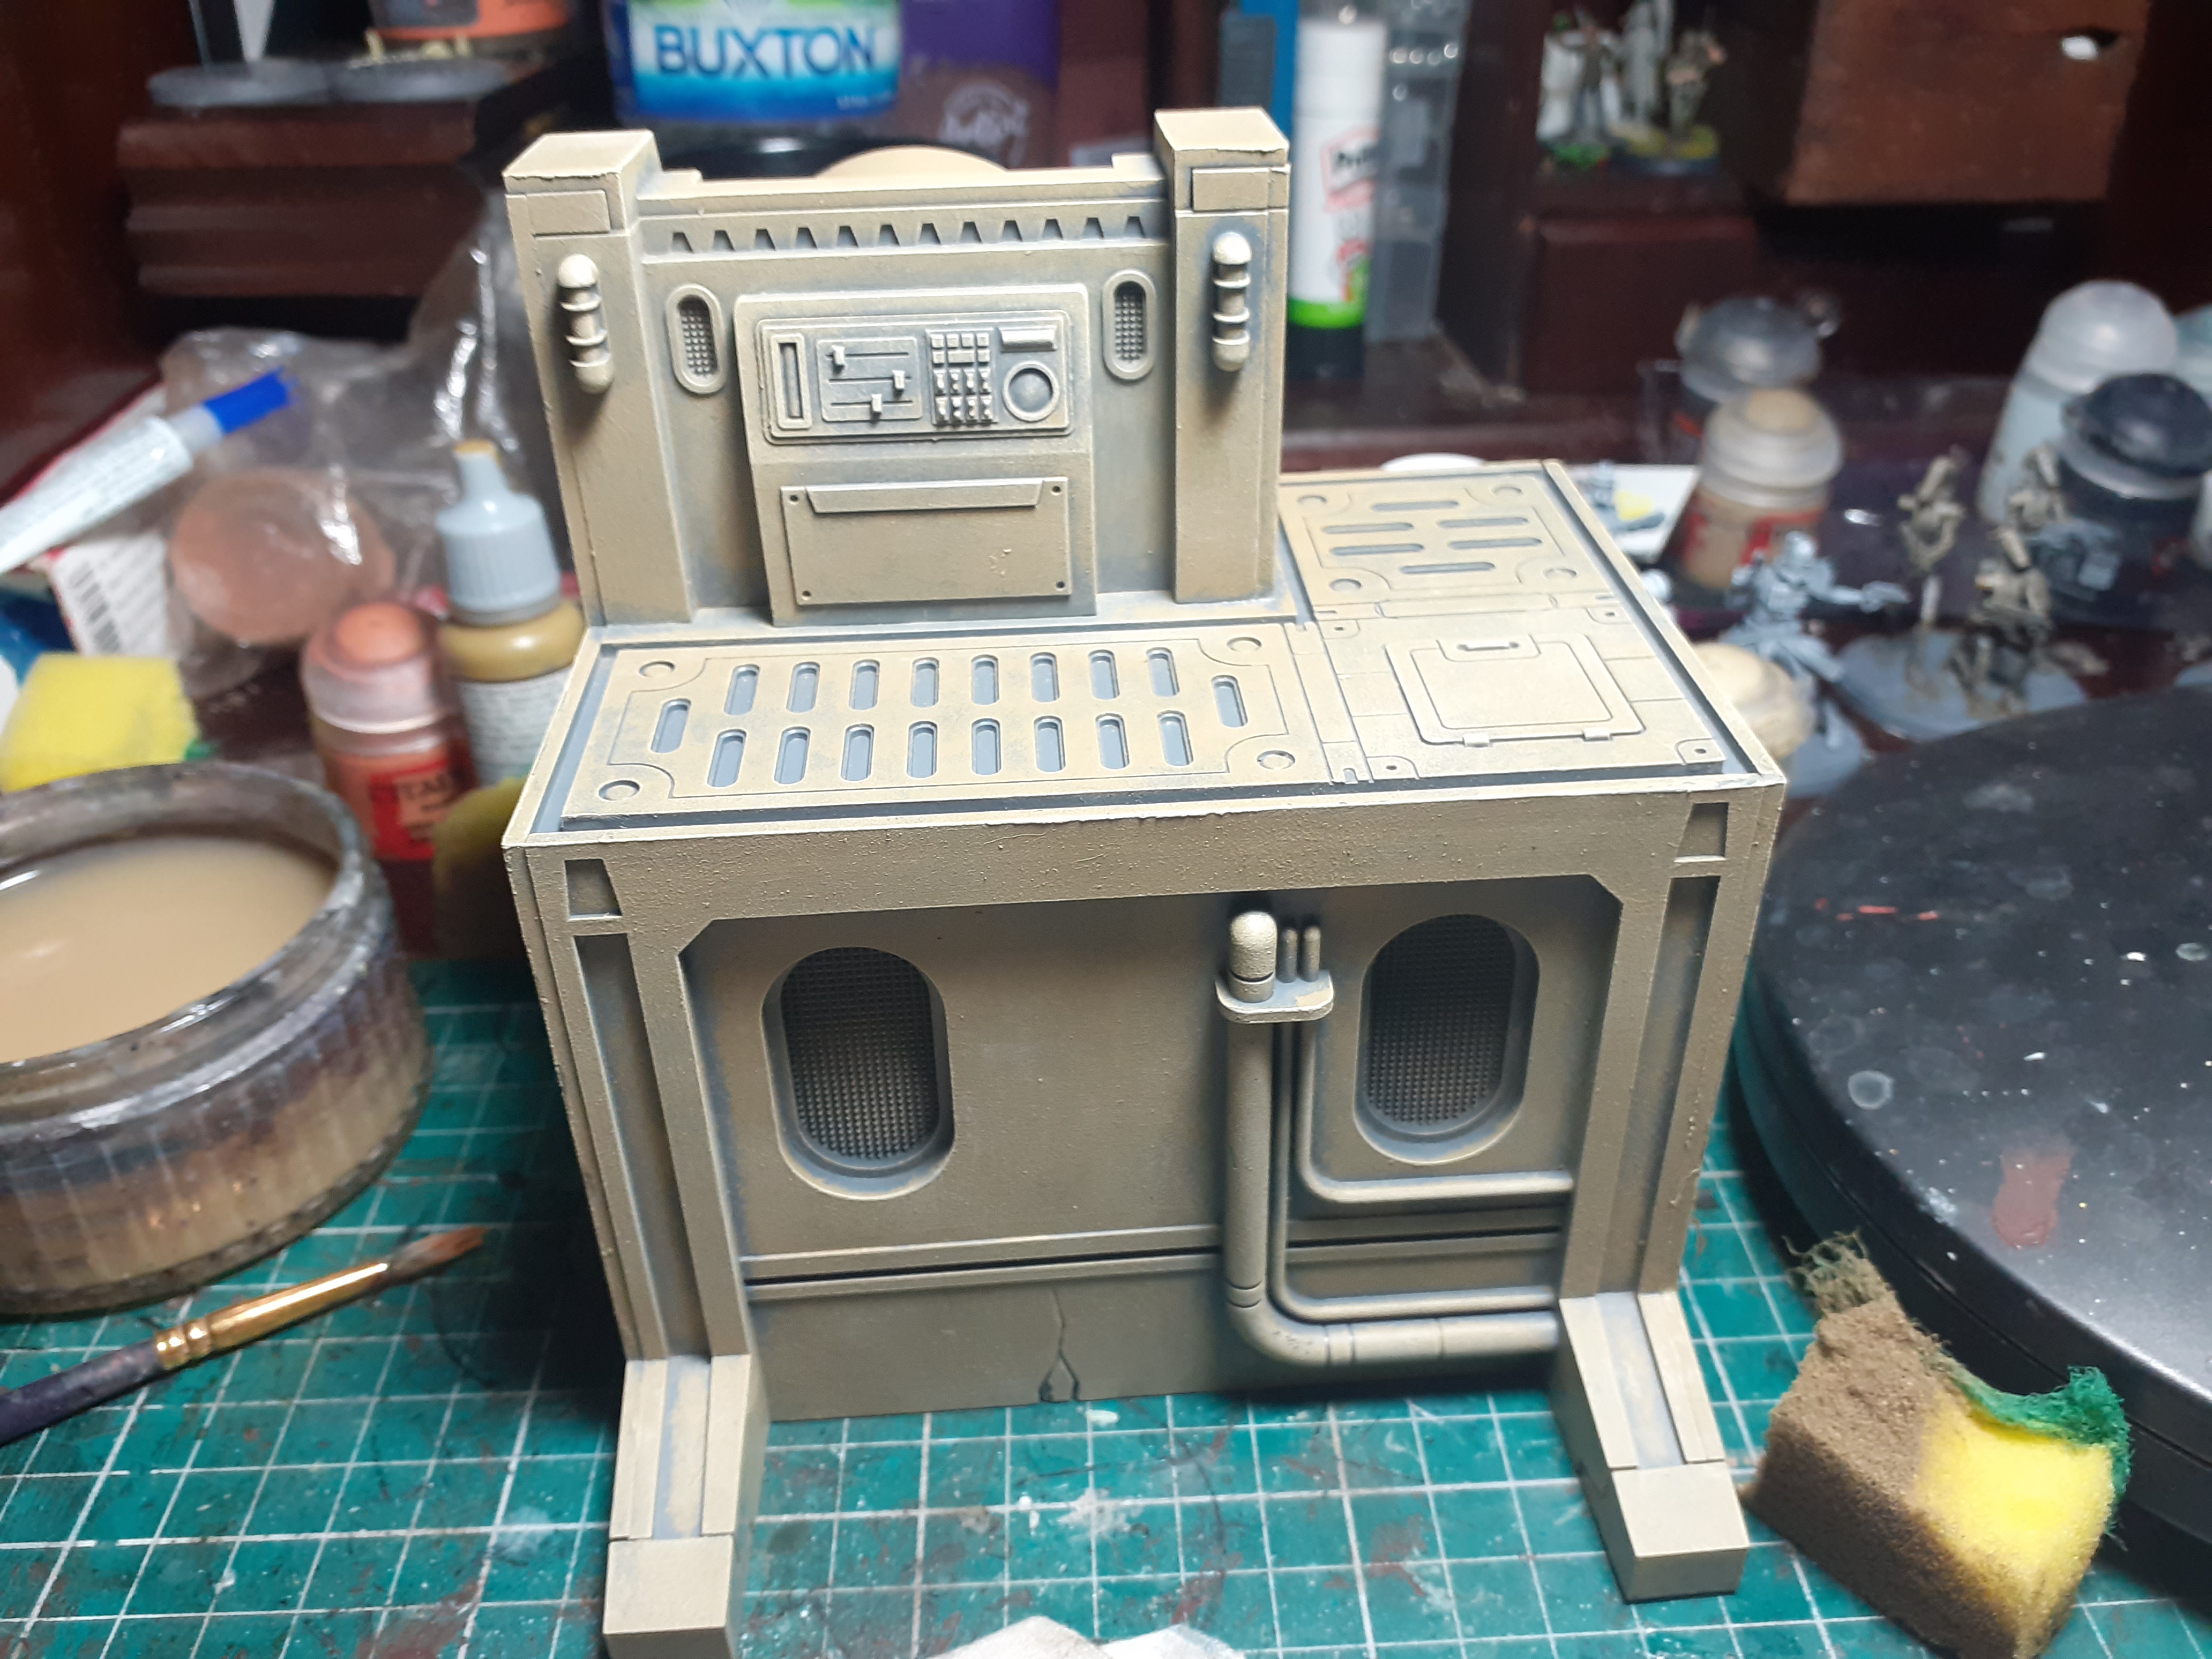 Now it gets a good old drybrush with bleached bone to pick out the edges and pipework
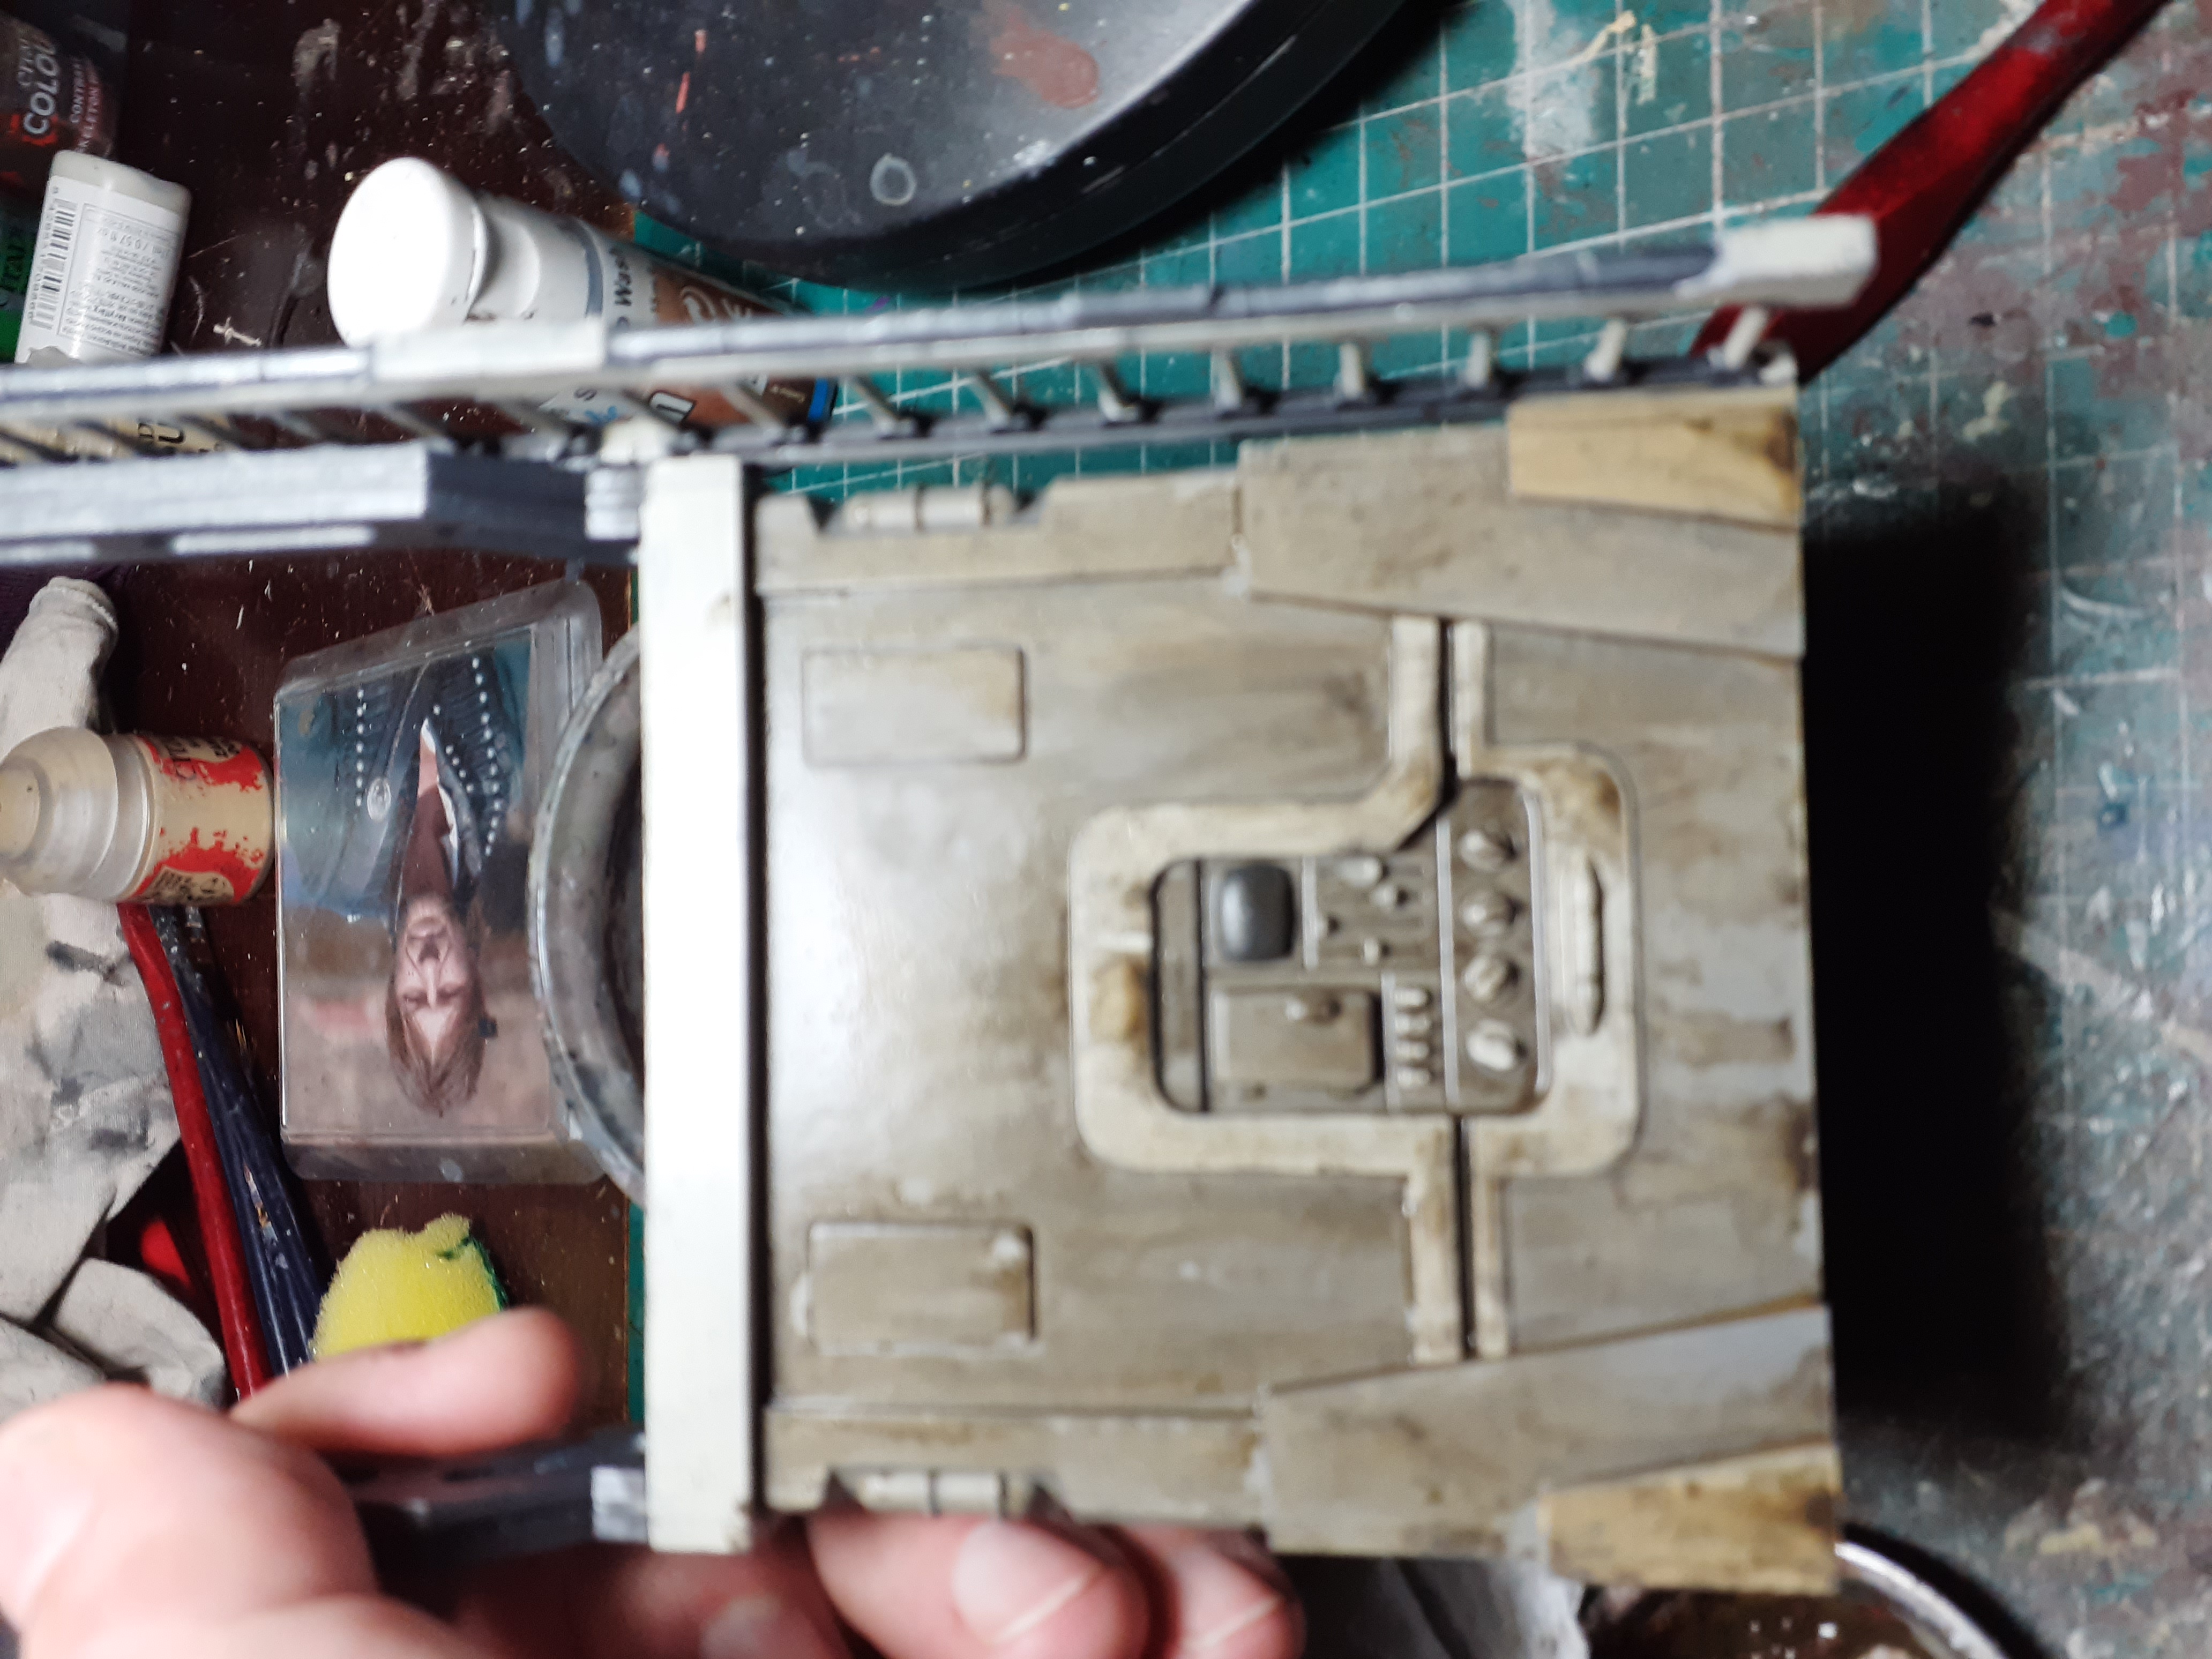
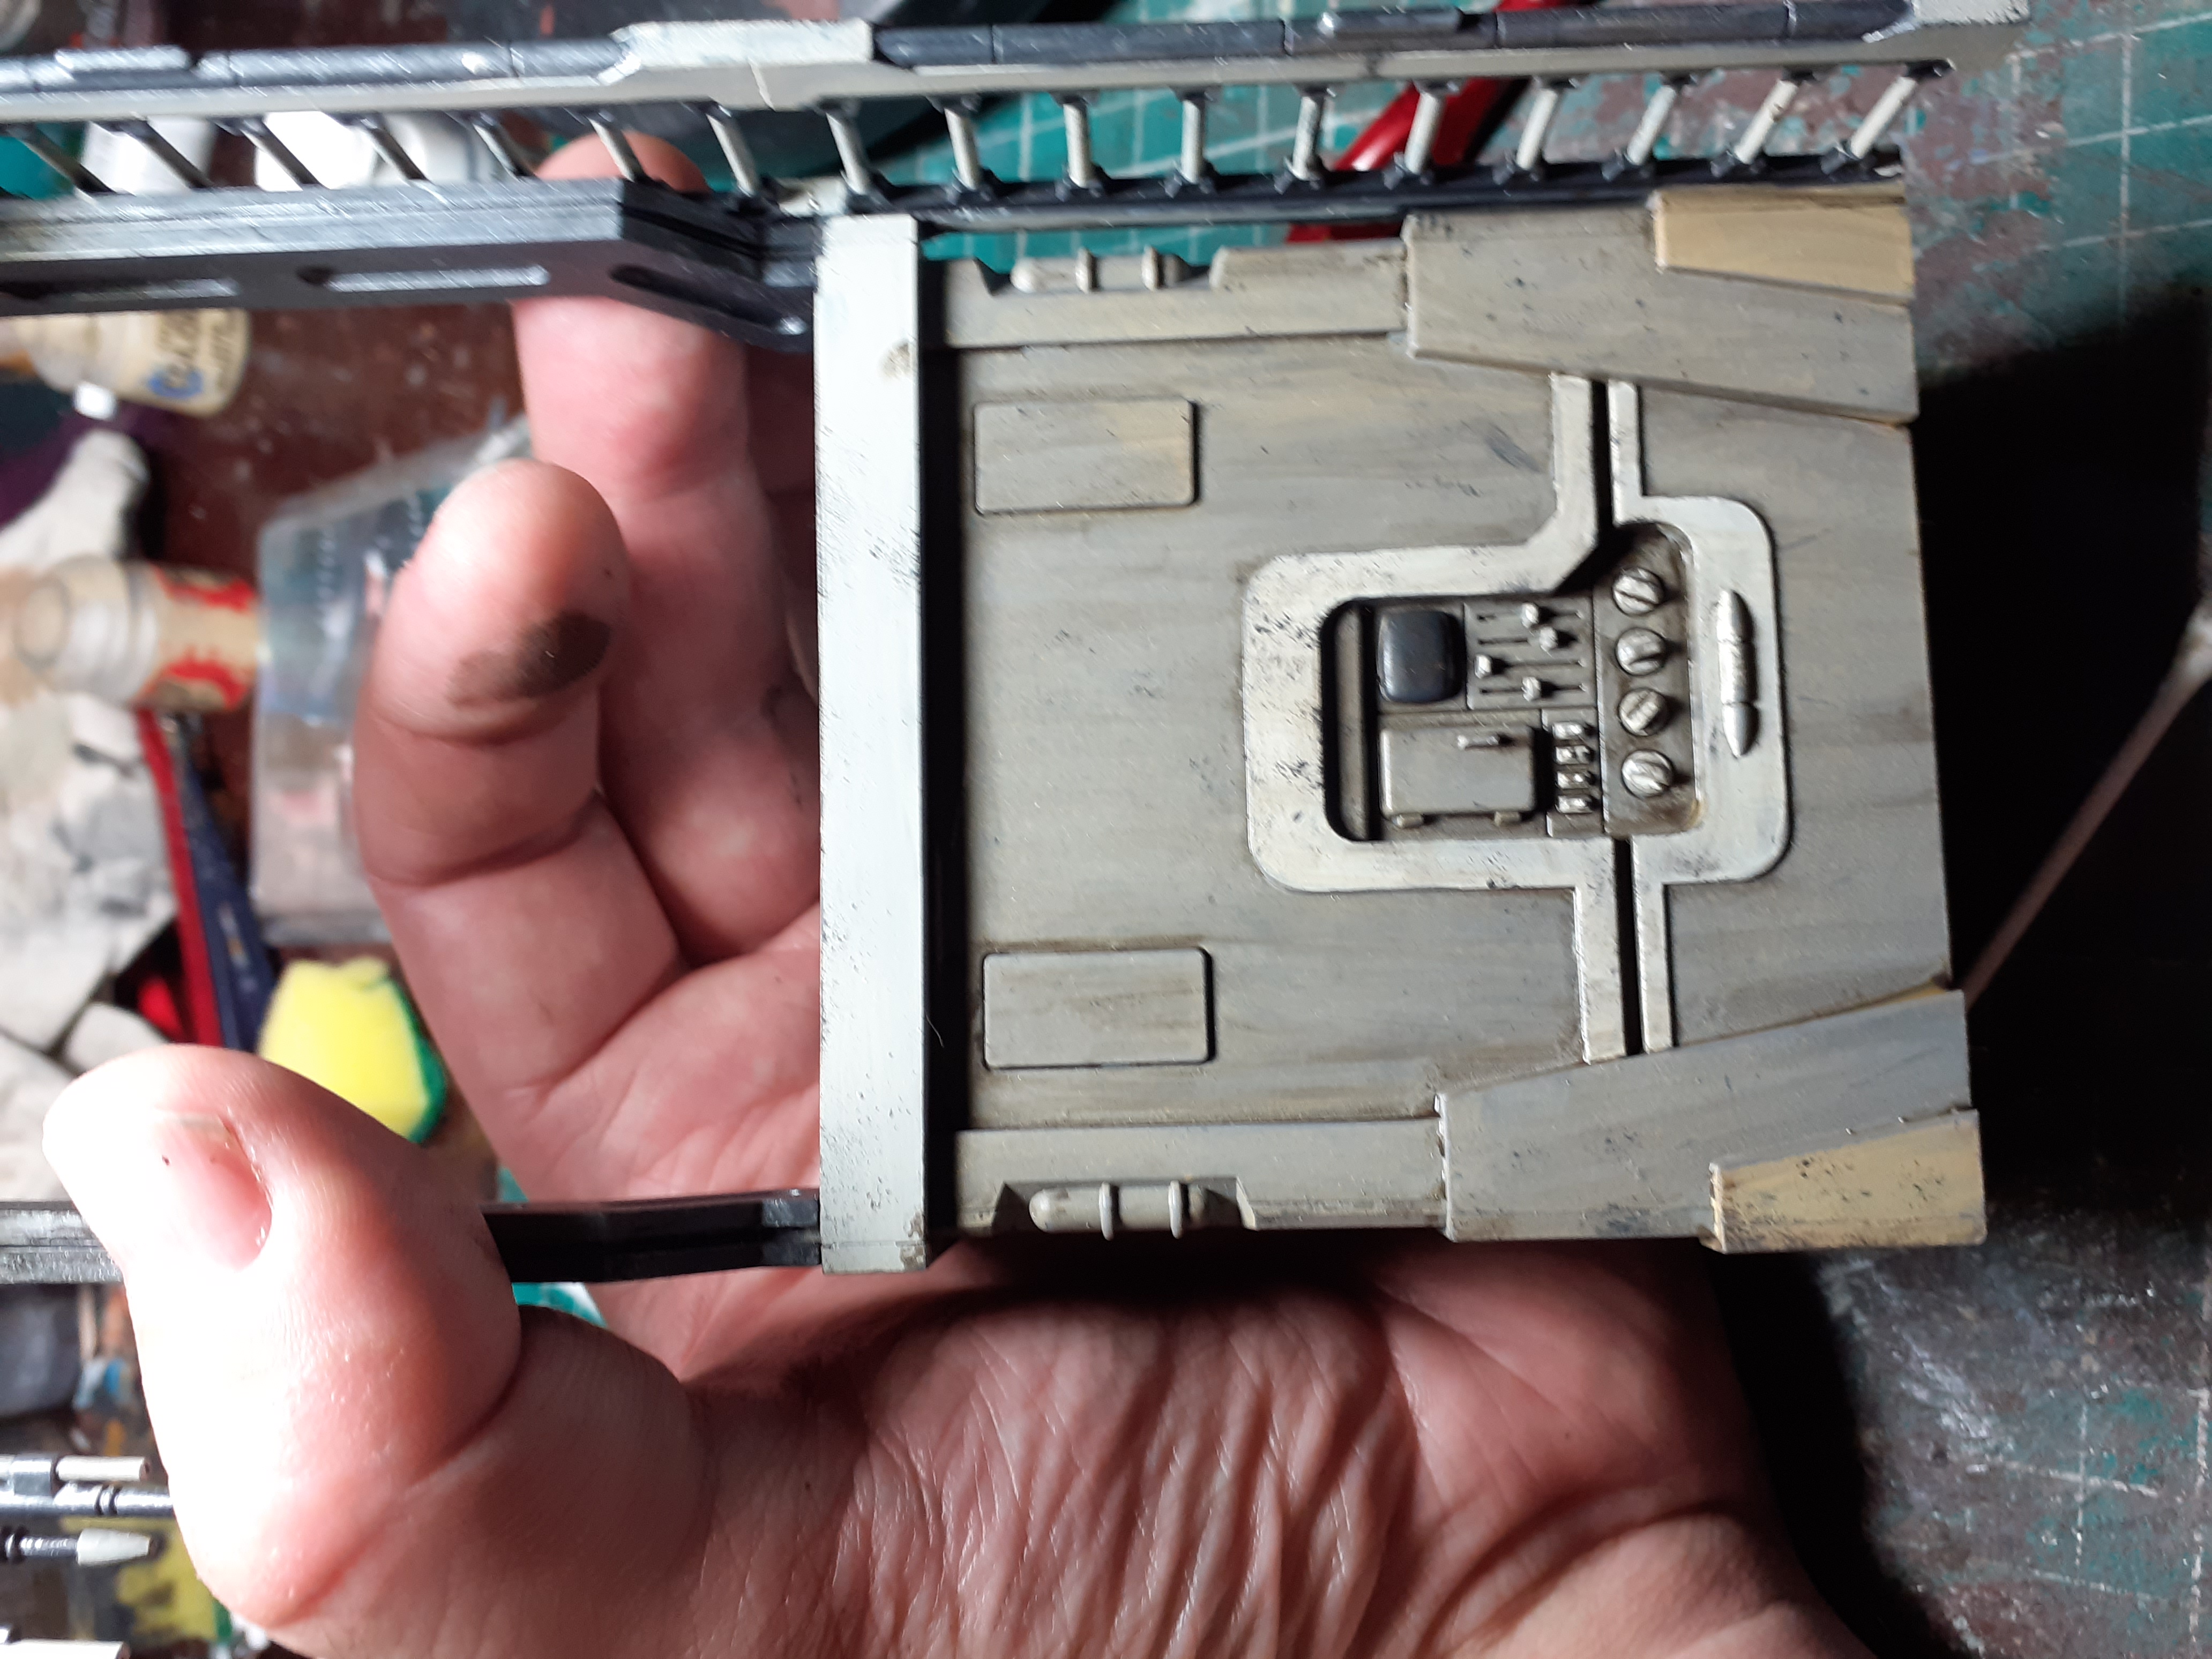
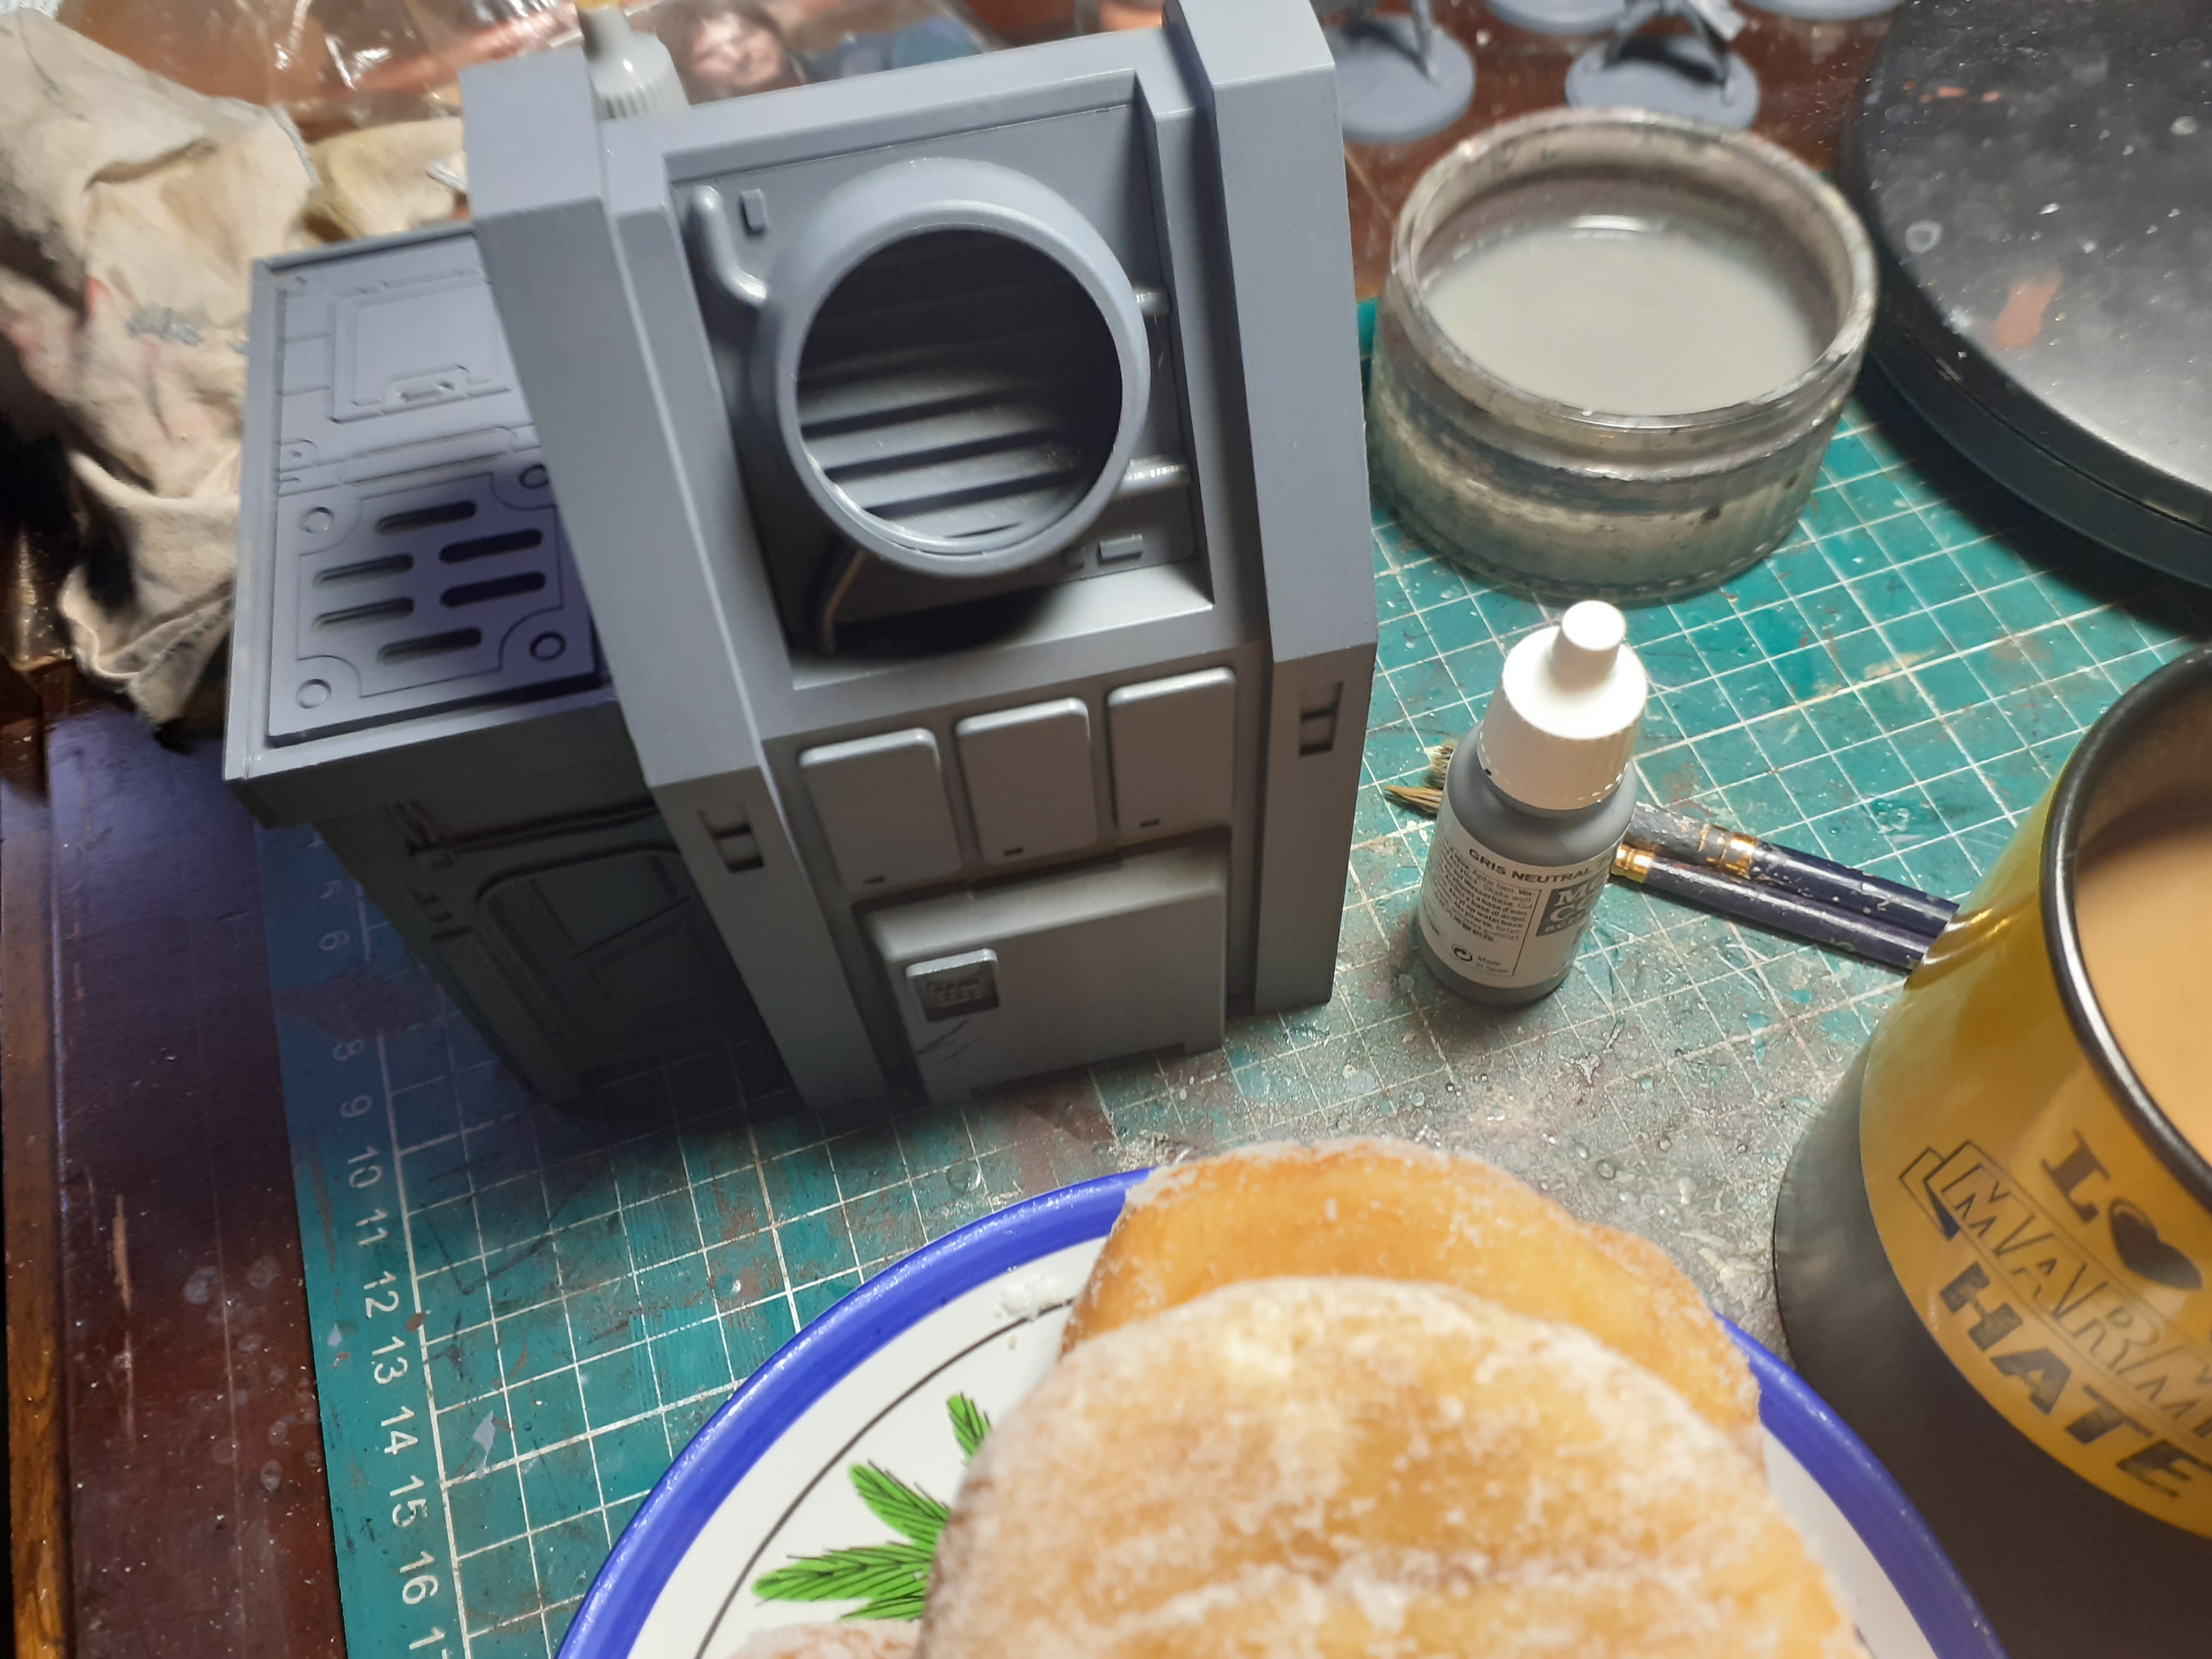
 Once that was fully dry I painted Any metal parts with vallejo German grey and painted the edging with vallejo deck tan
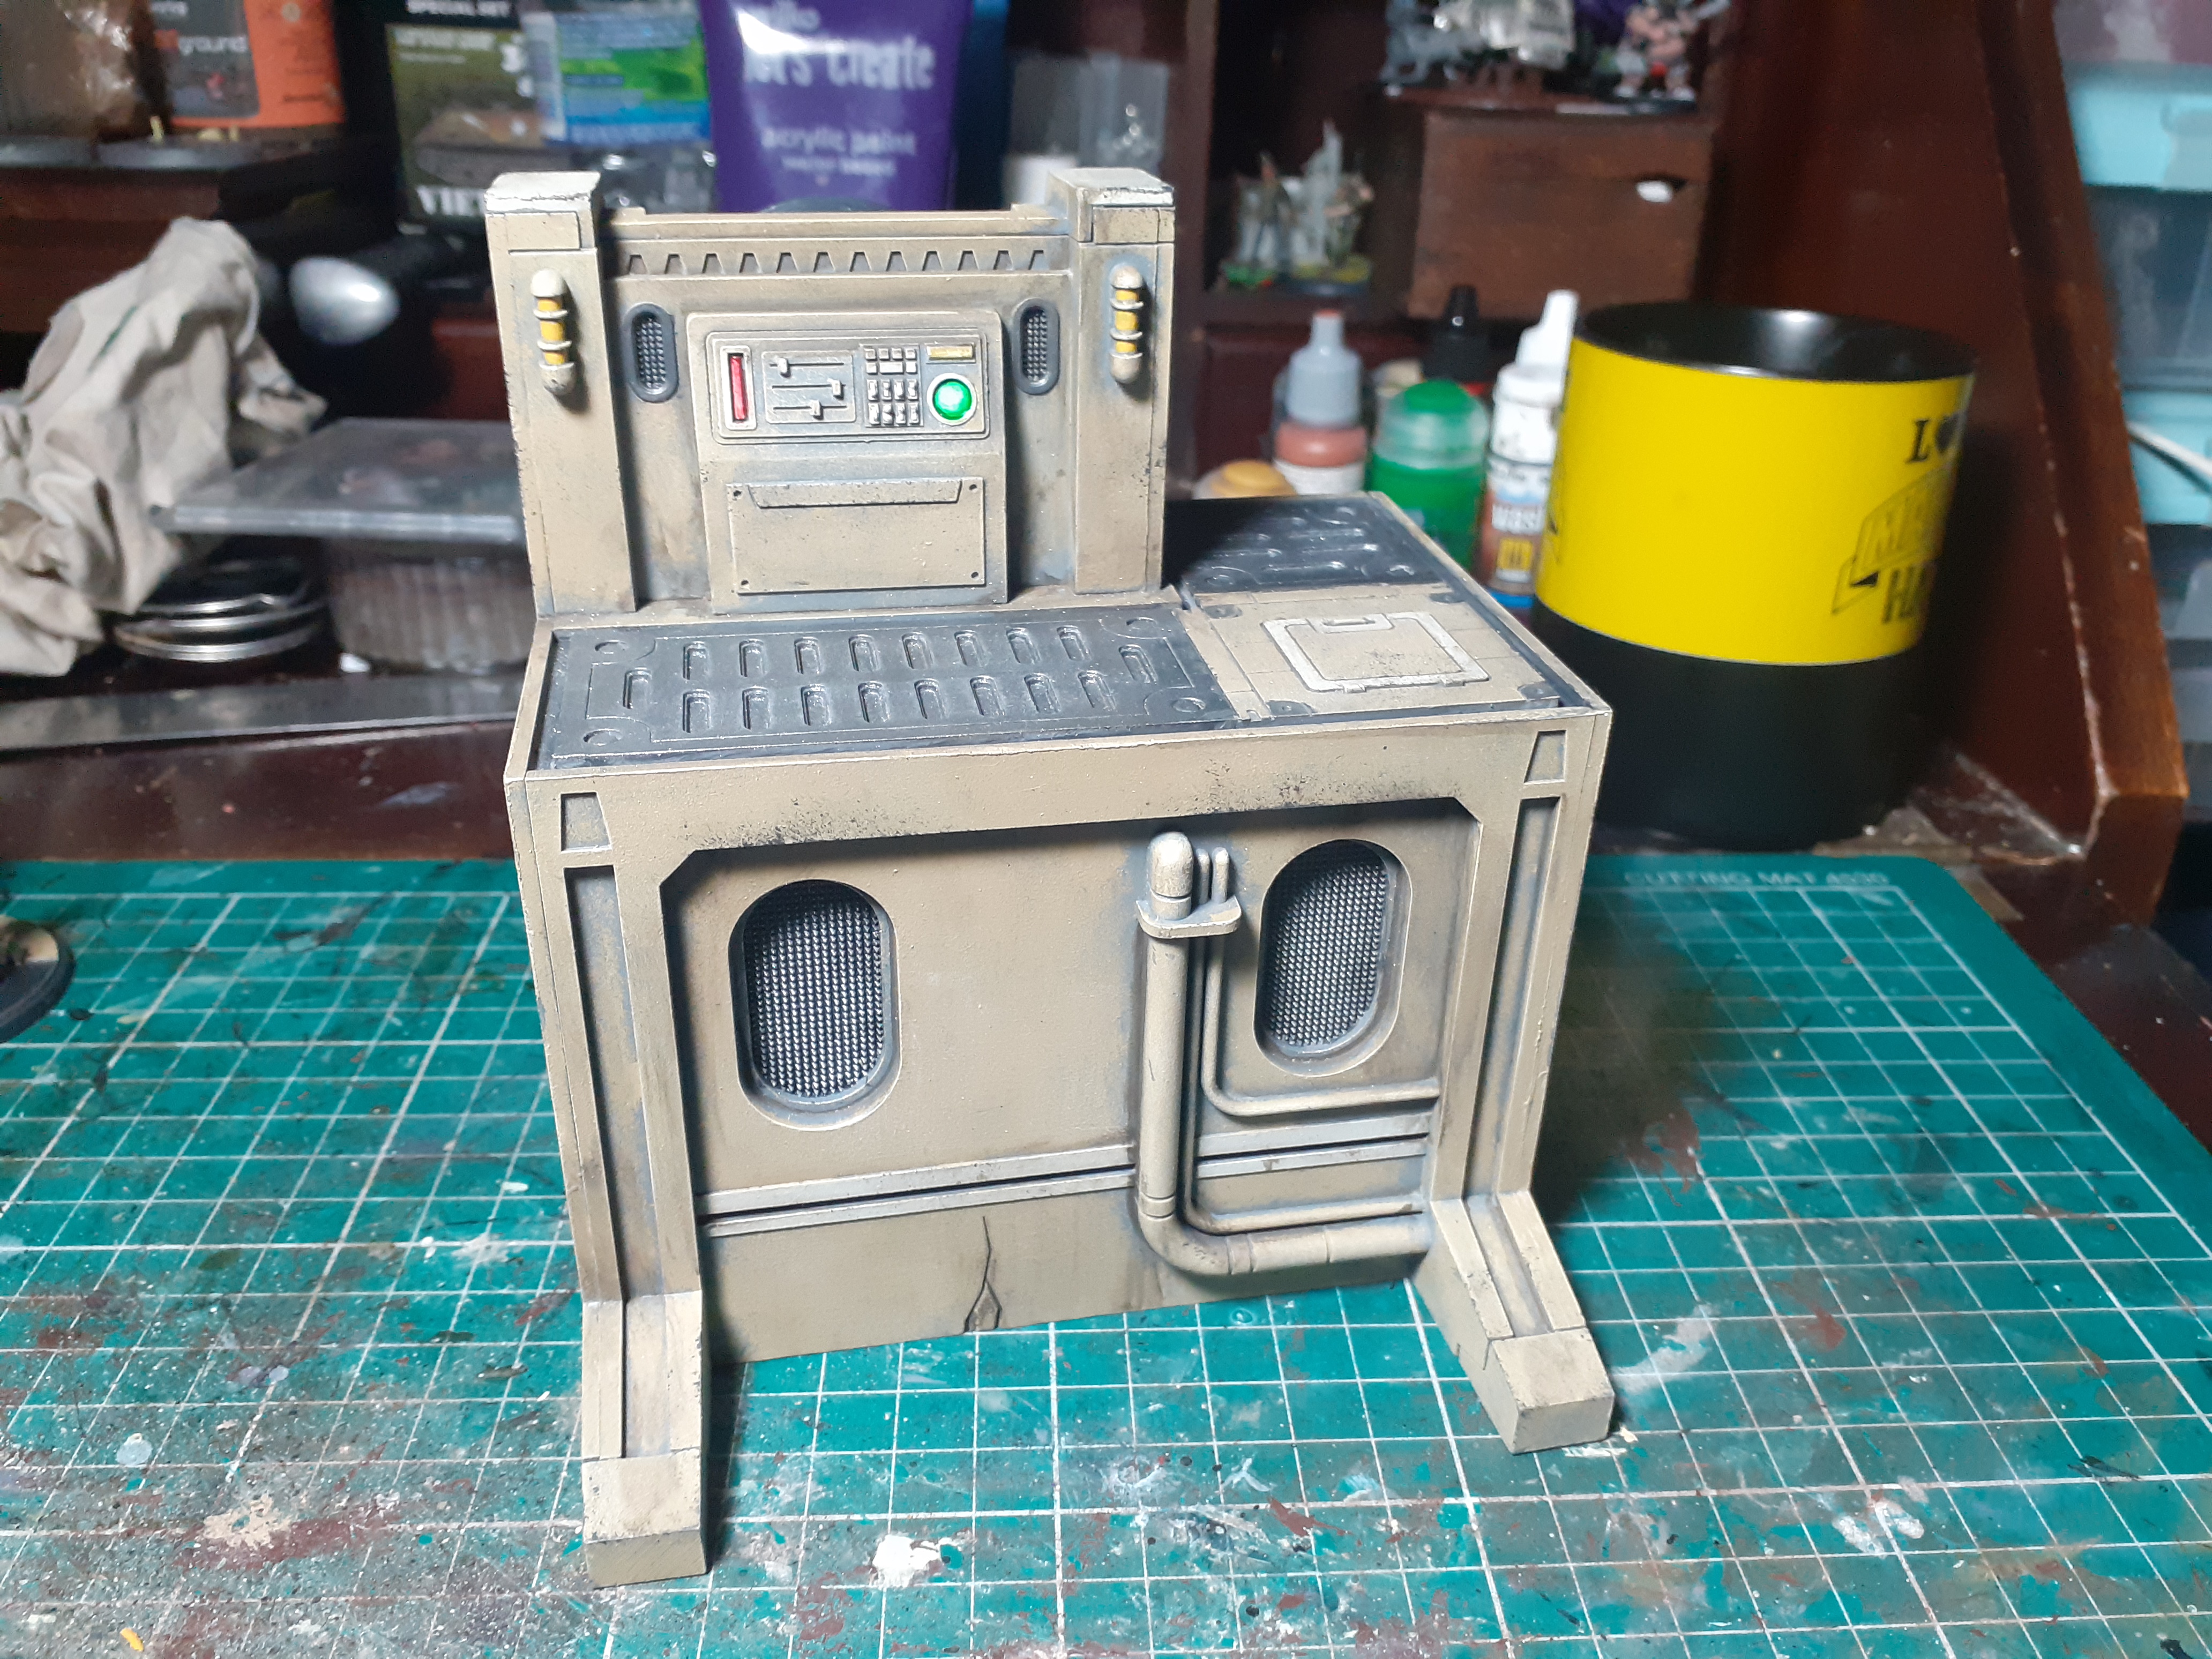 The last bits I had to do was to satin varnish the walls then go over any metal parts with vallejo chain mail, then Once that was dry I added some chipping effects with a sponge and some German grey lightly splodging it about. The computer screens were painted white then painted over with a light green followed by some gloss varnish.last but not least I painted the lights yellow followed by some gloss varnish
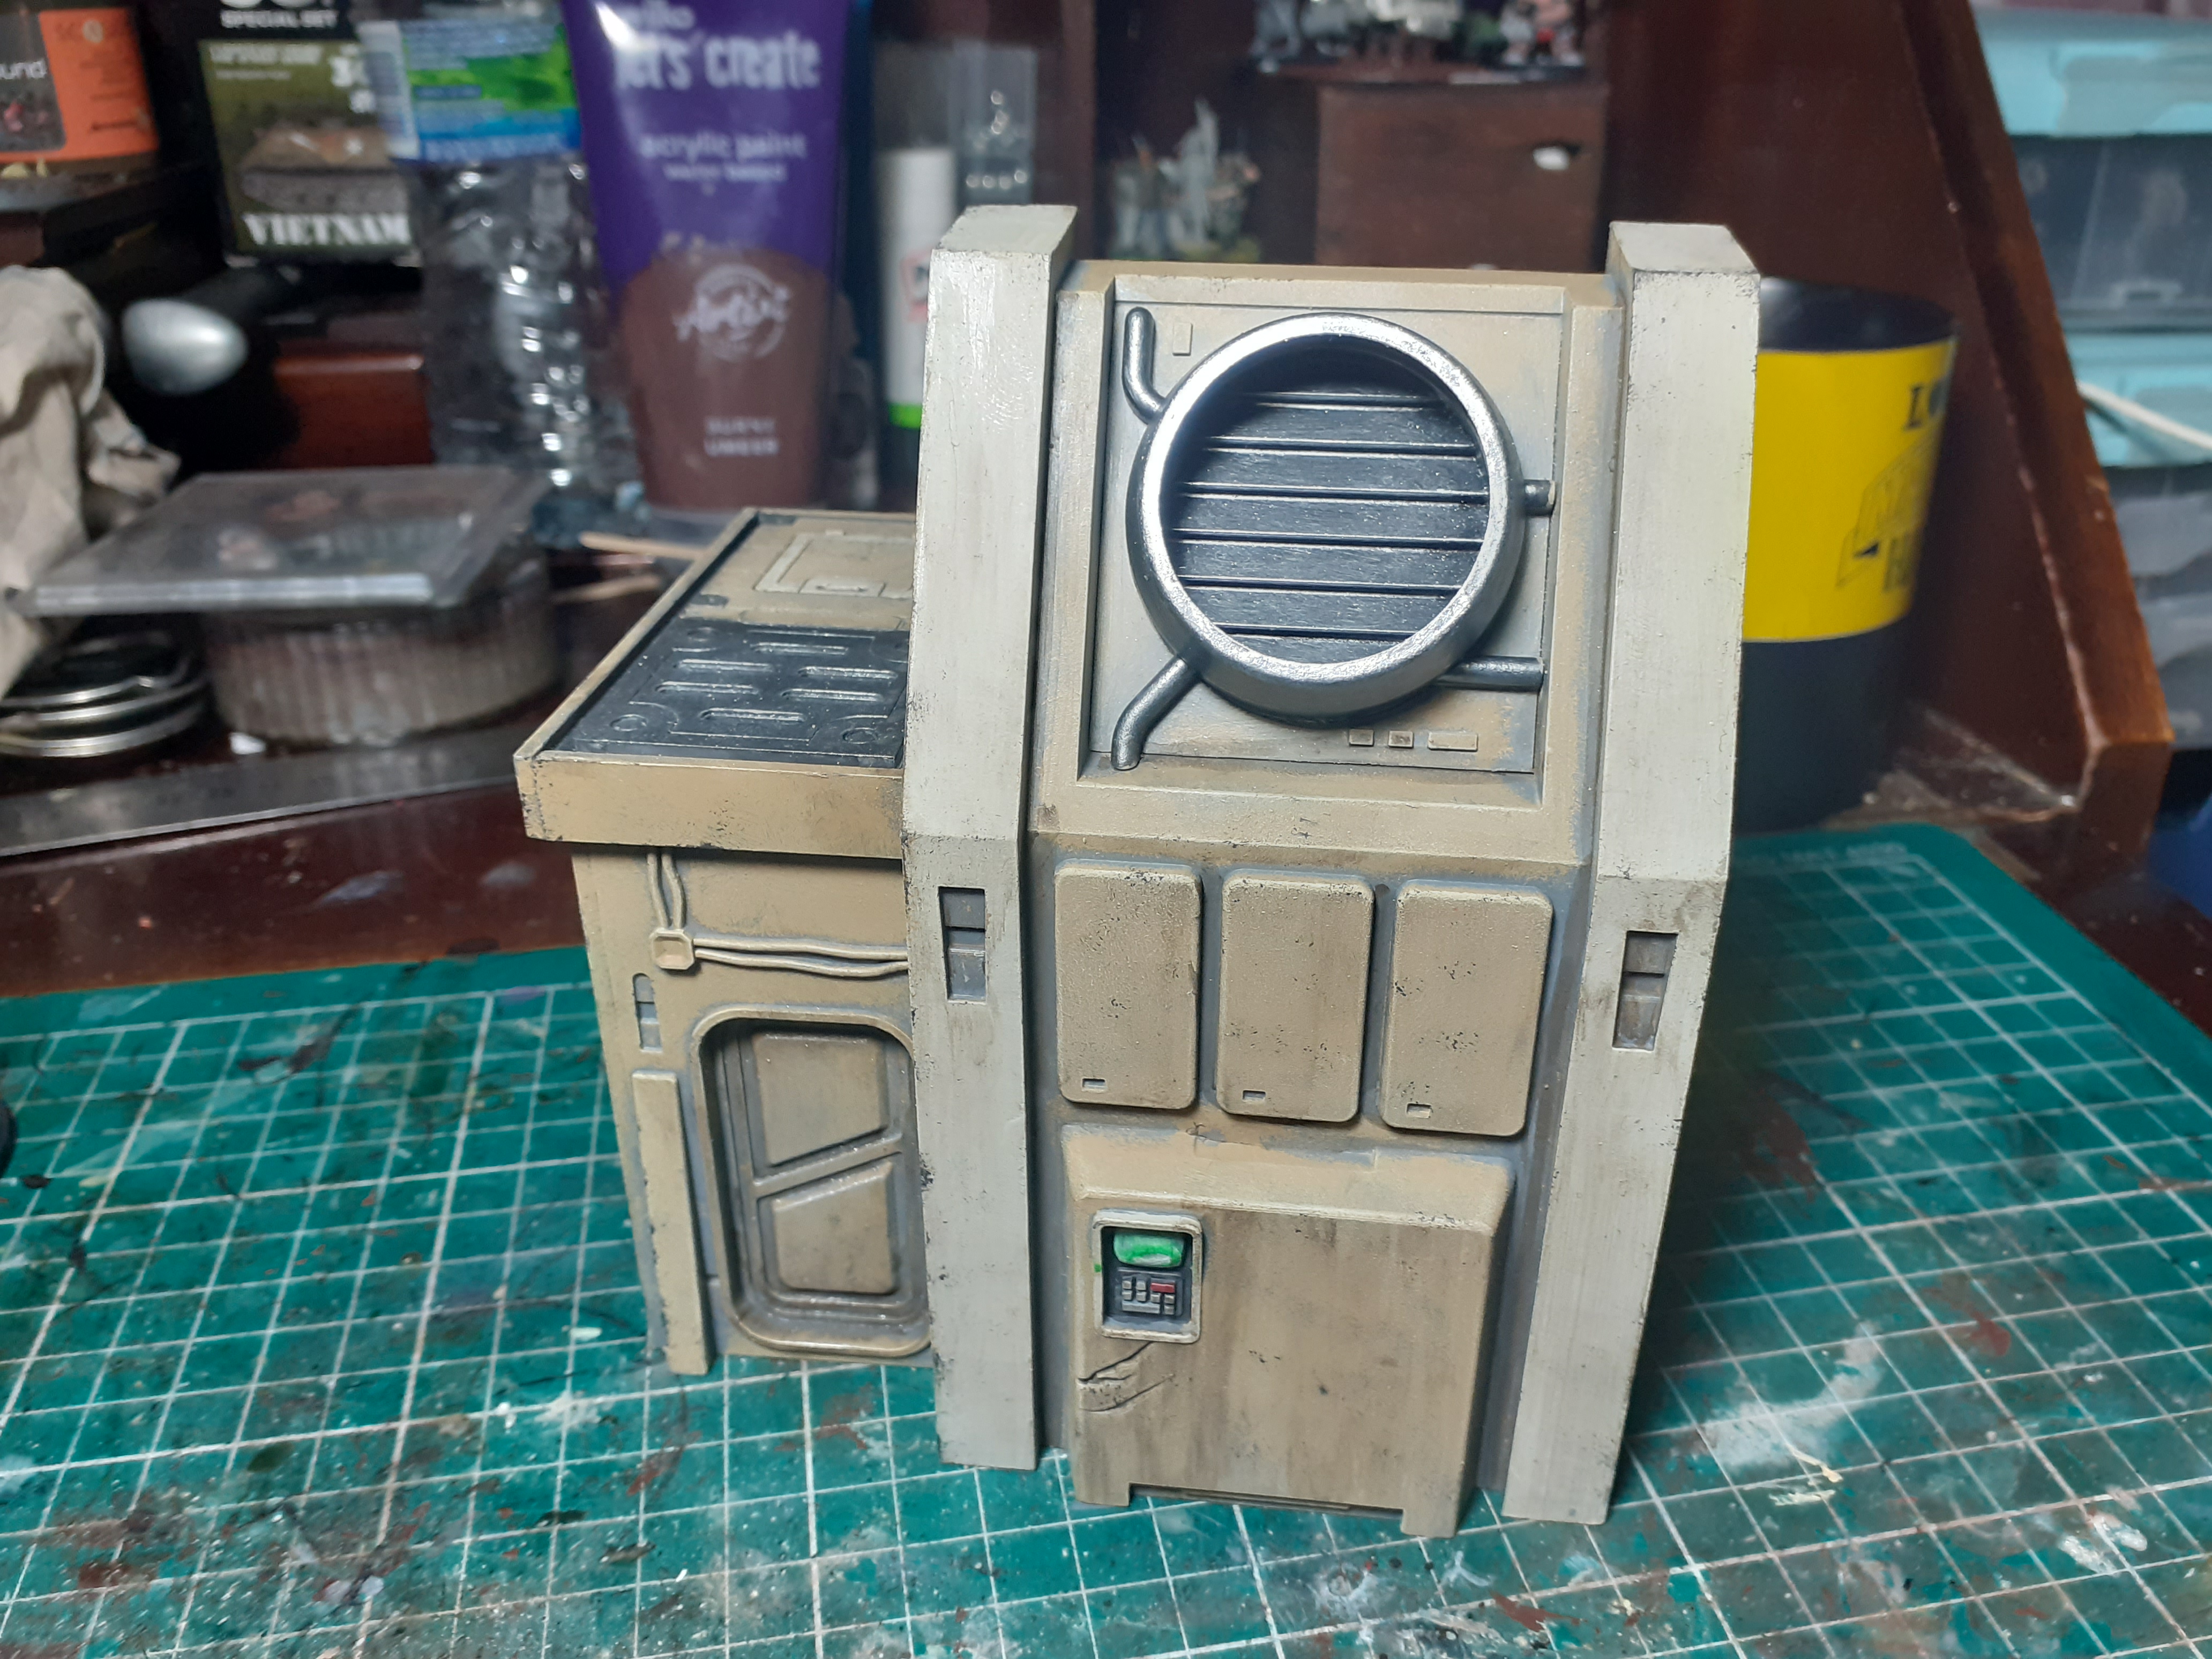 Adding some washes. Had a go with mig starship acrylic wash, for this building I painted lines on with an old brush and used a damp cotton bud to create streaks of grime.
 Soooo much stuff
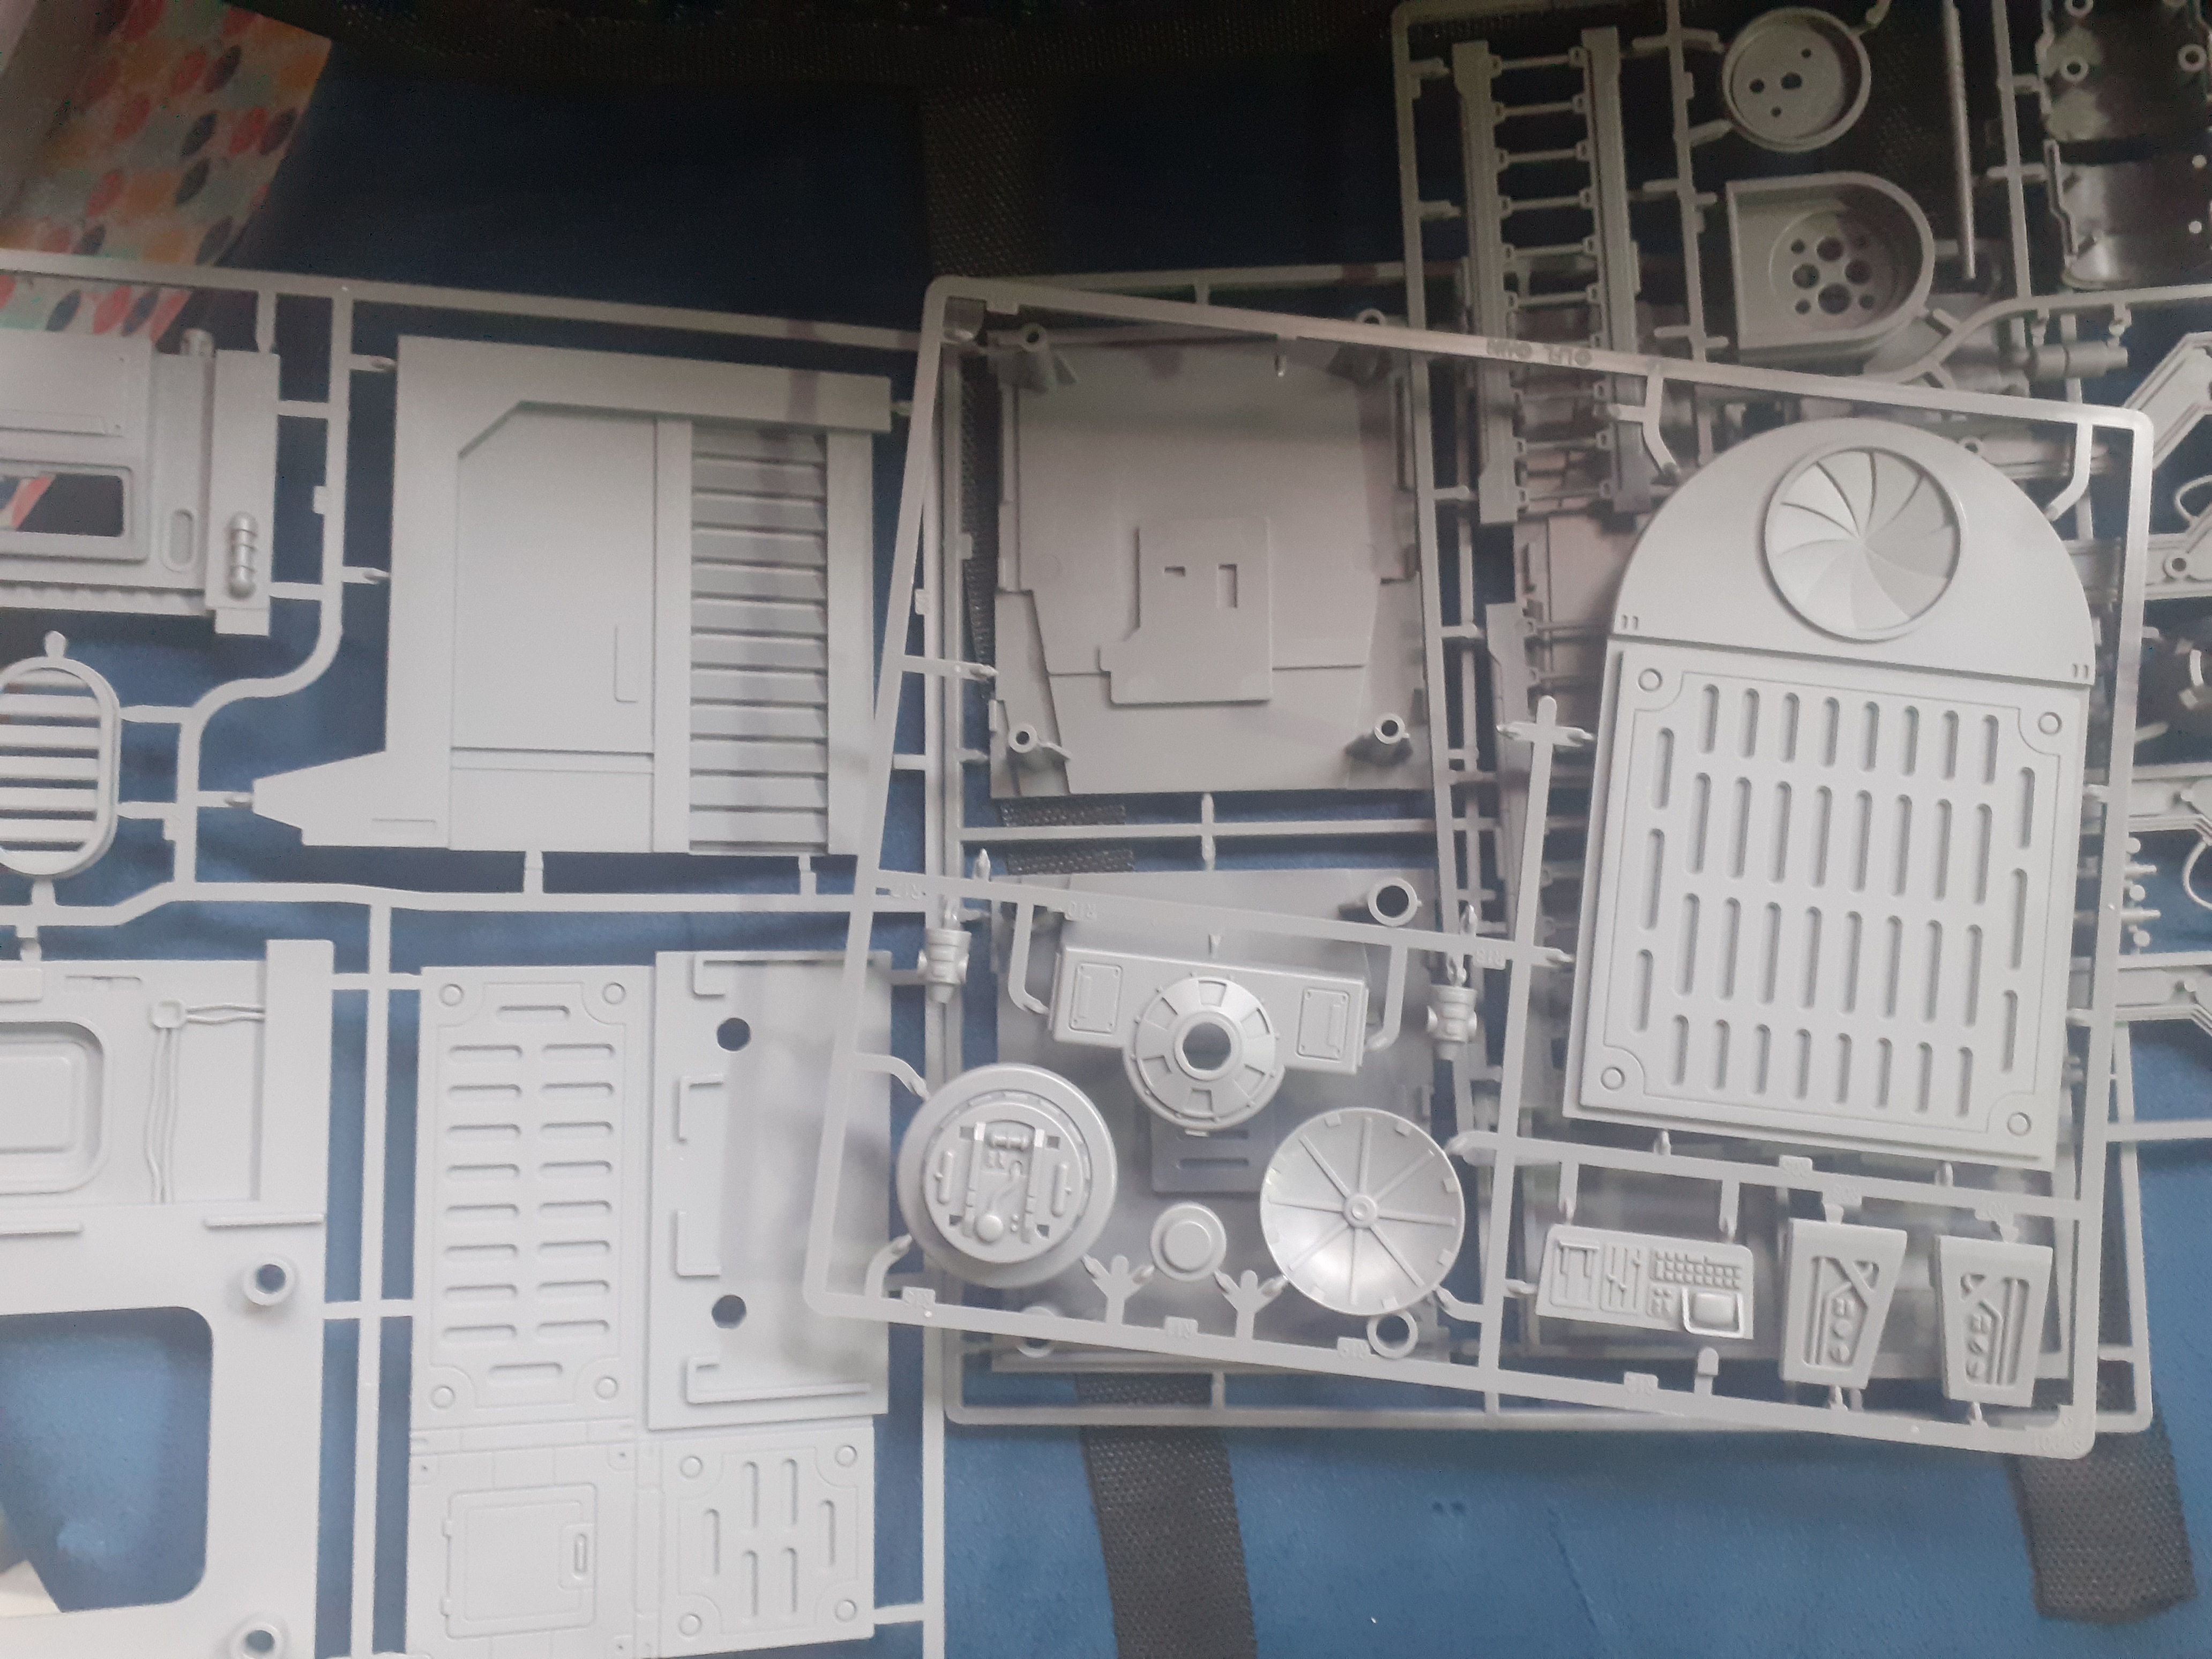
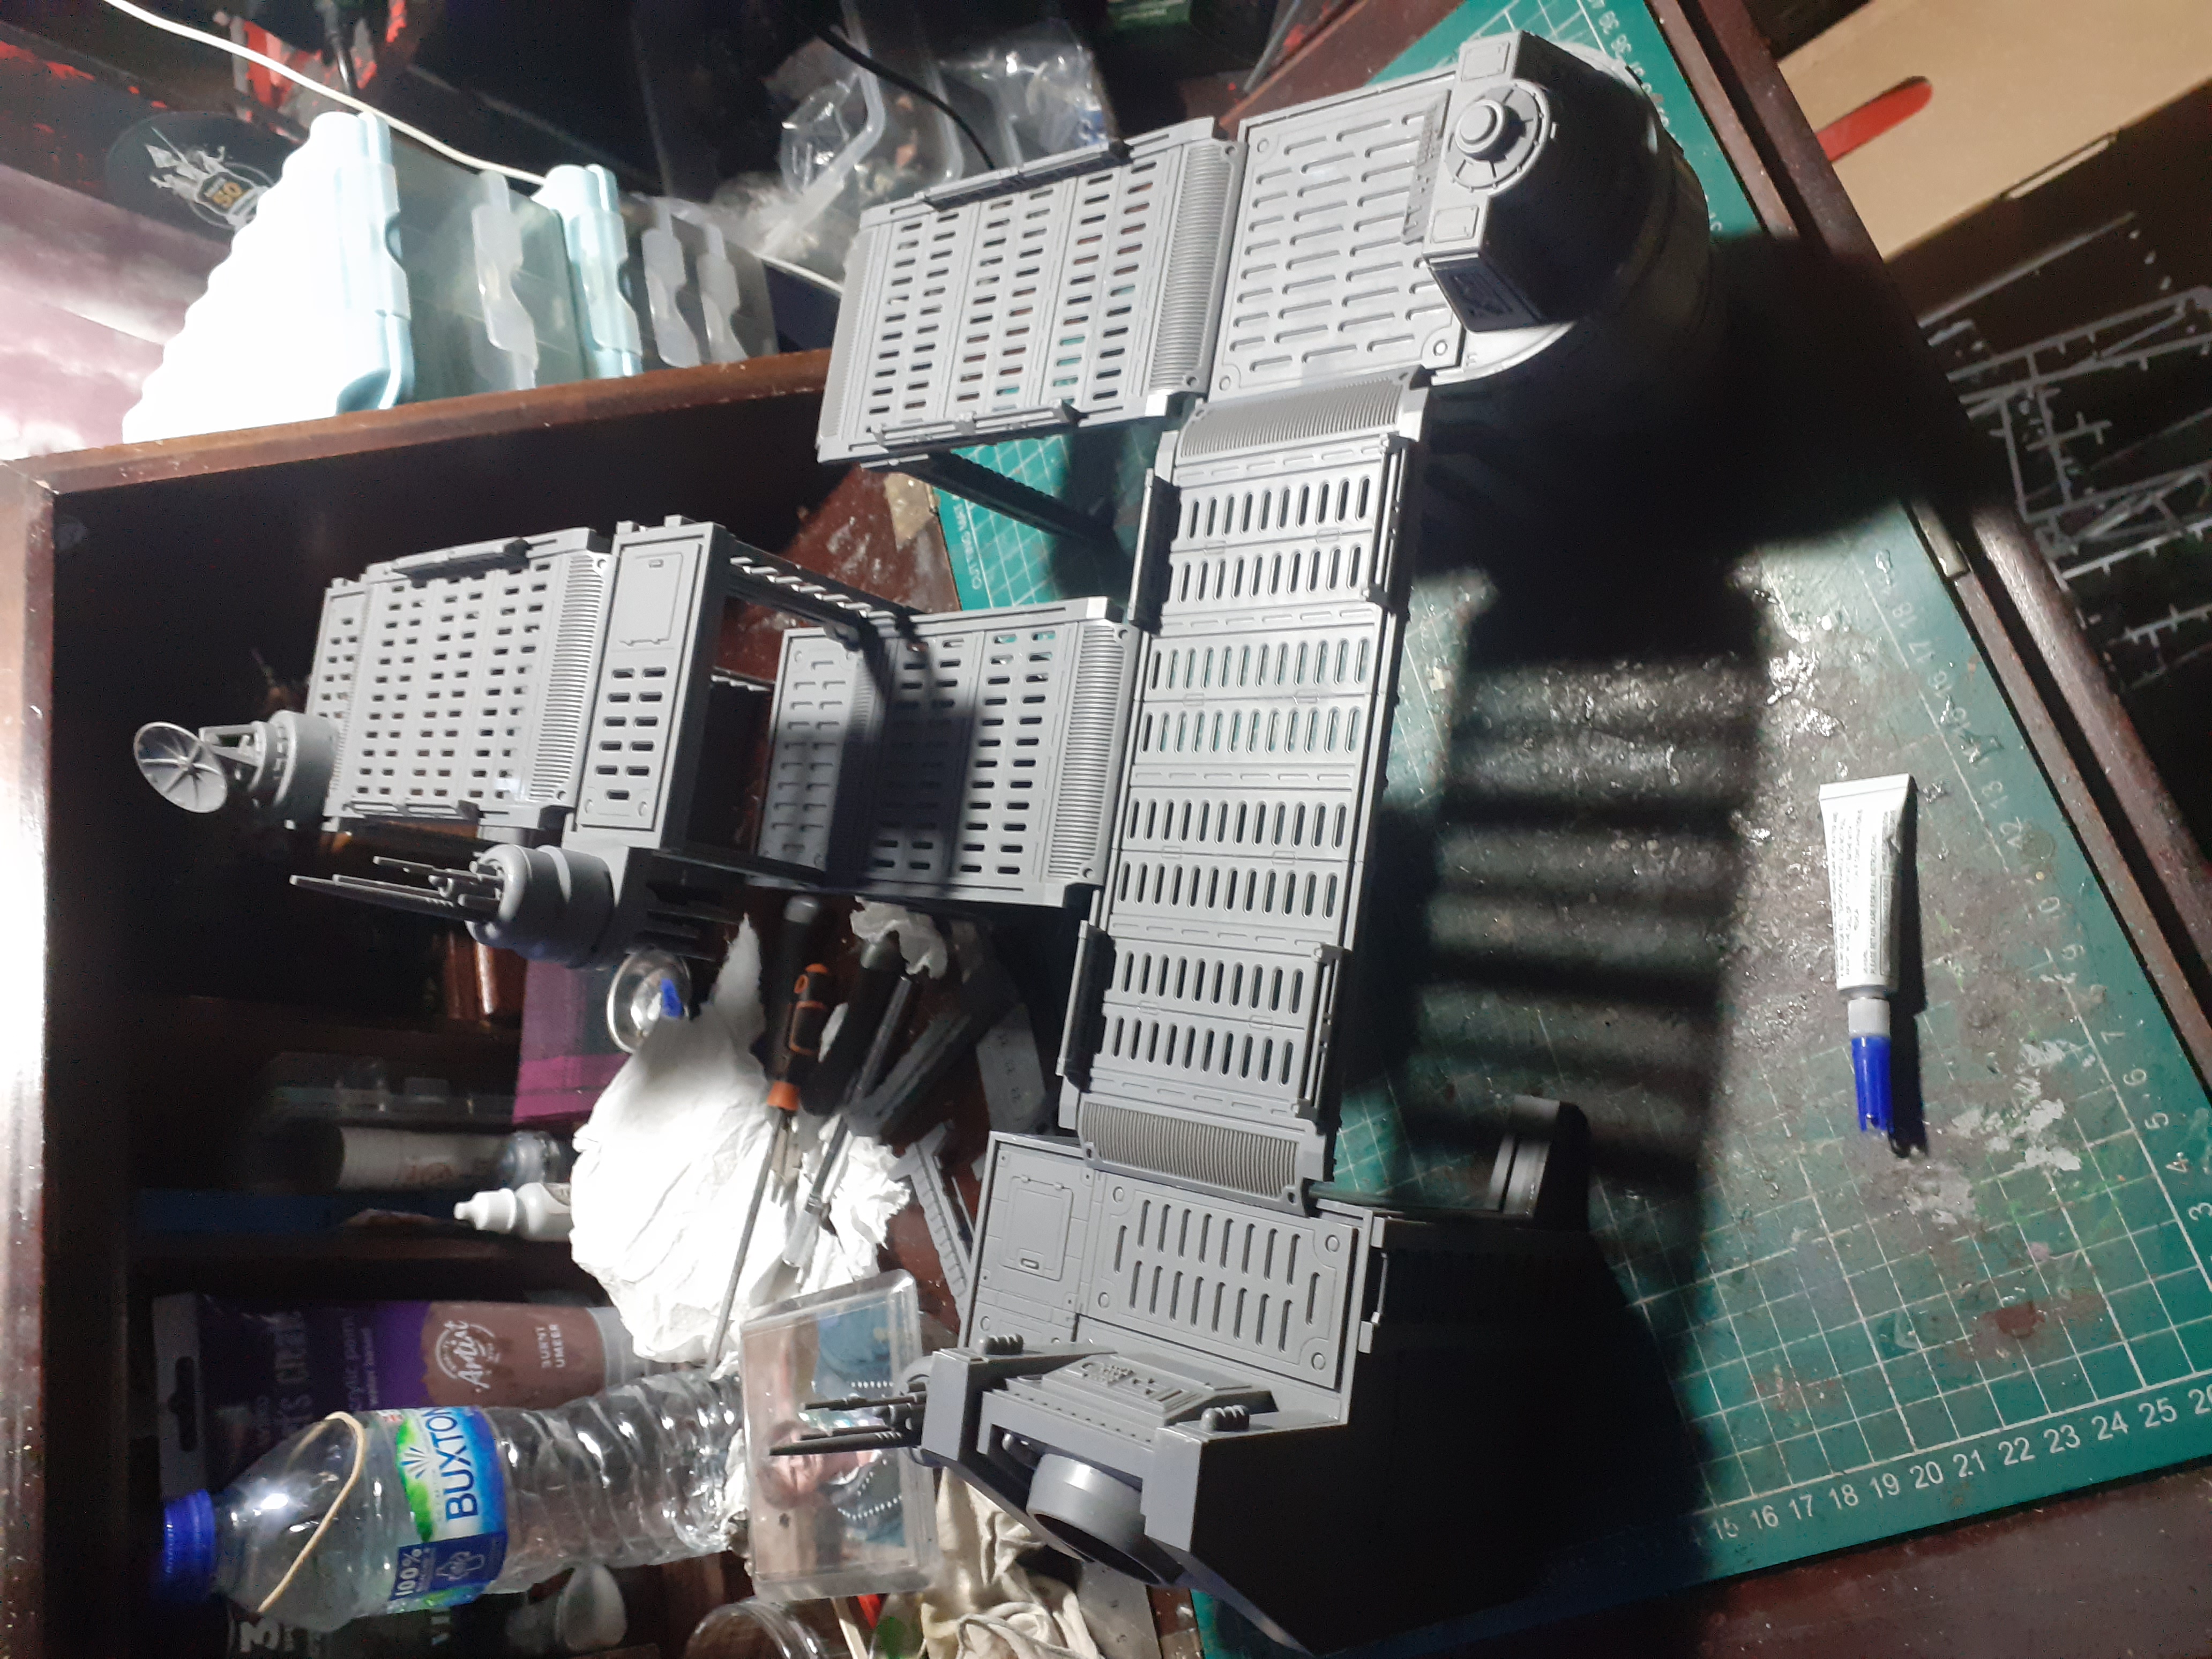
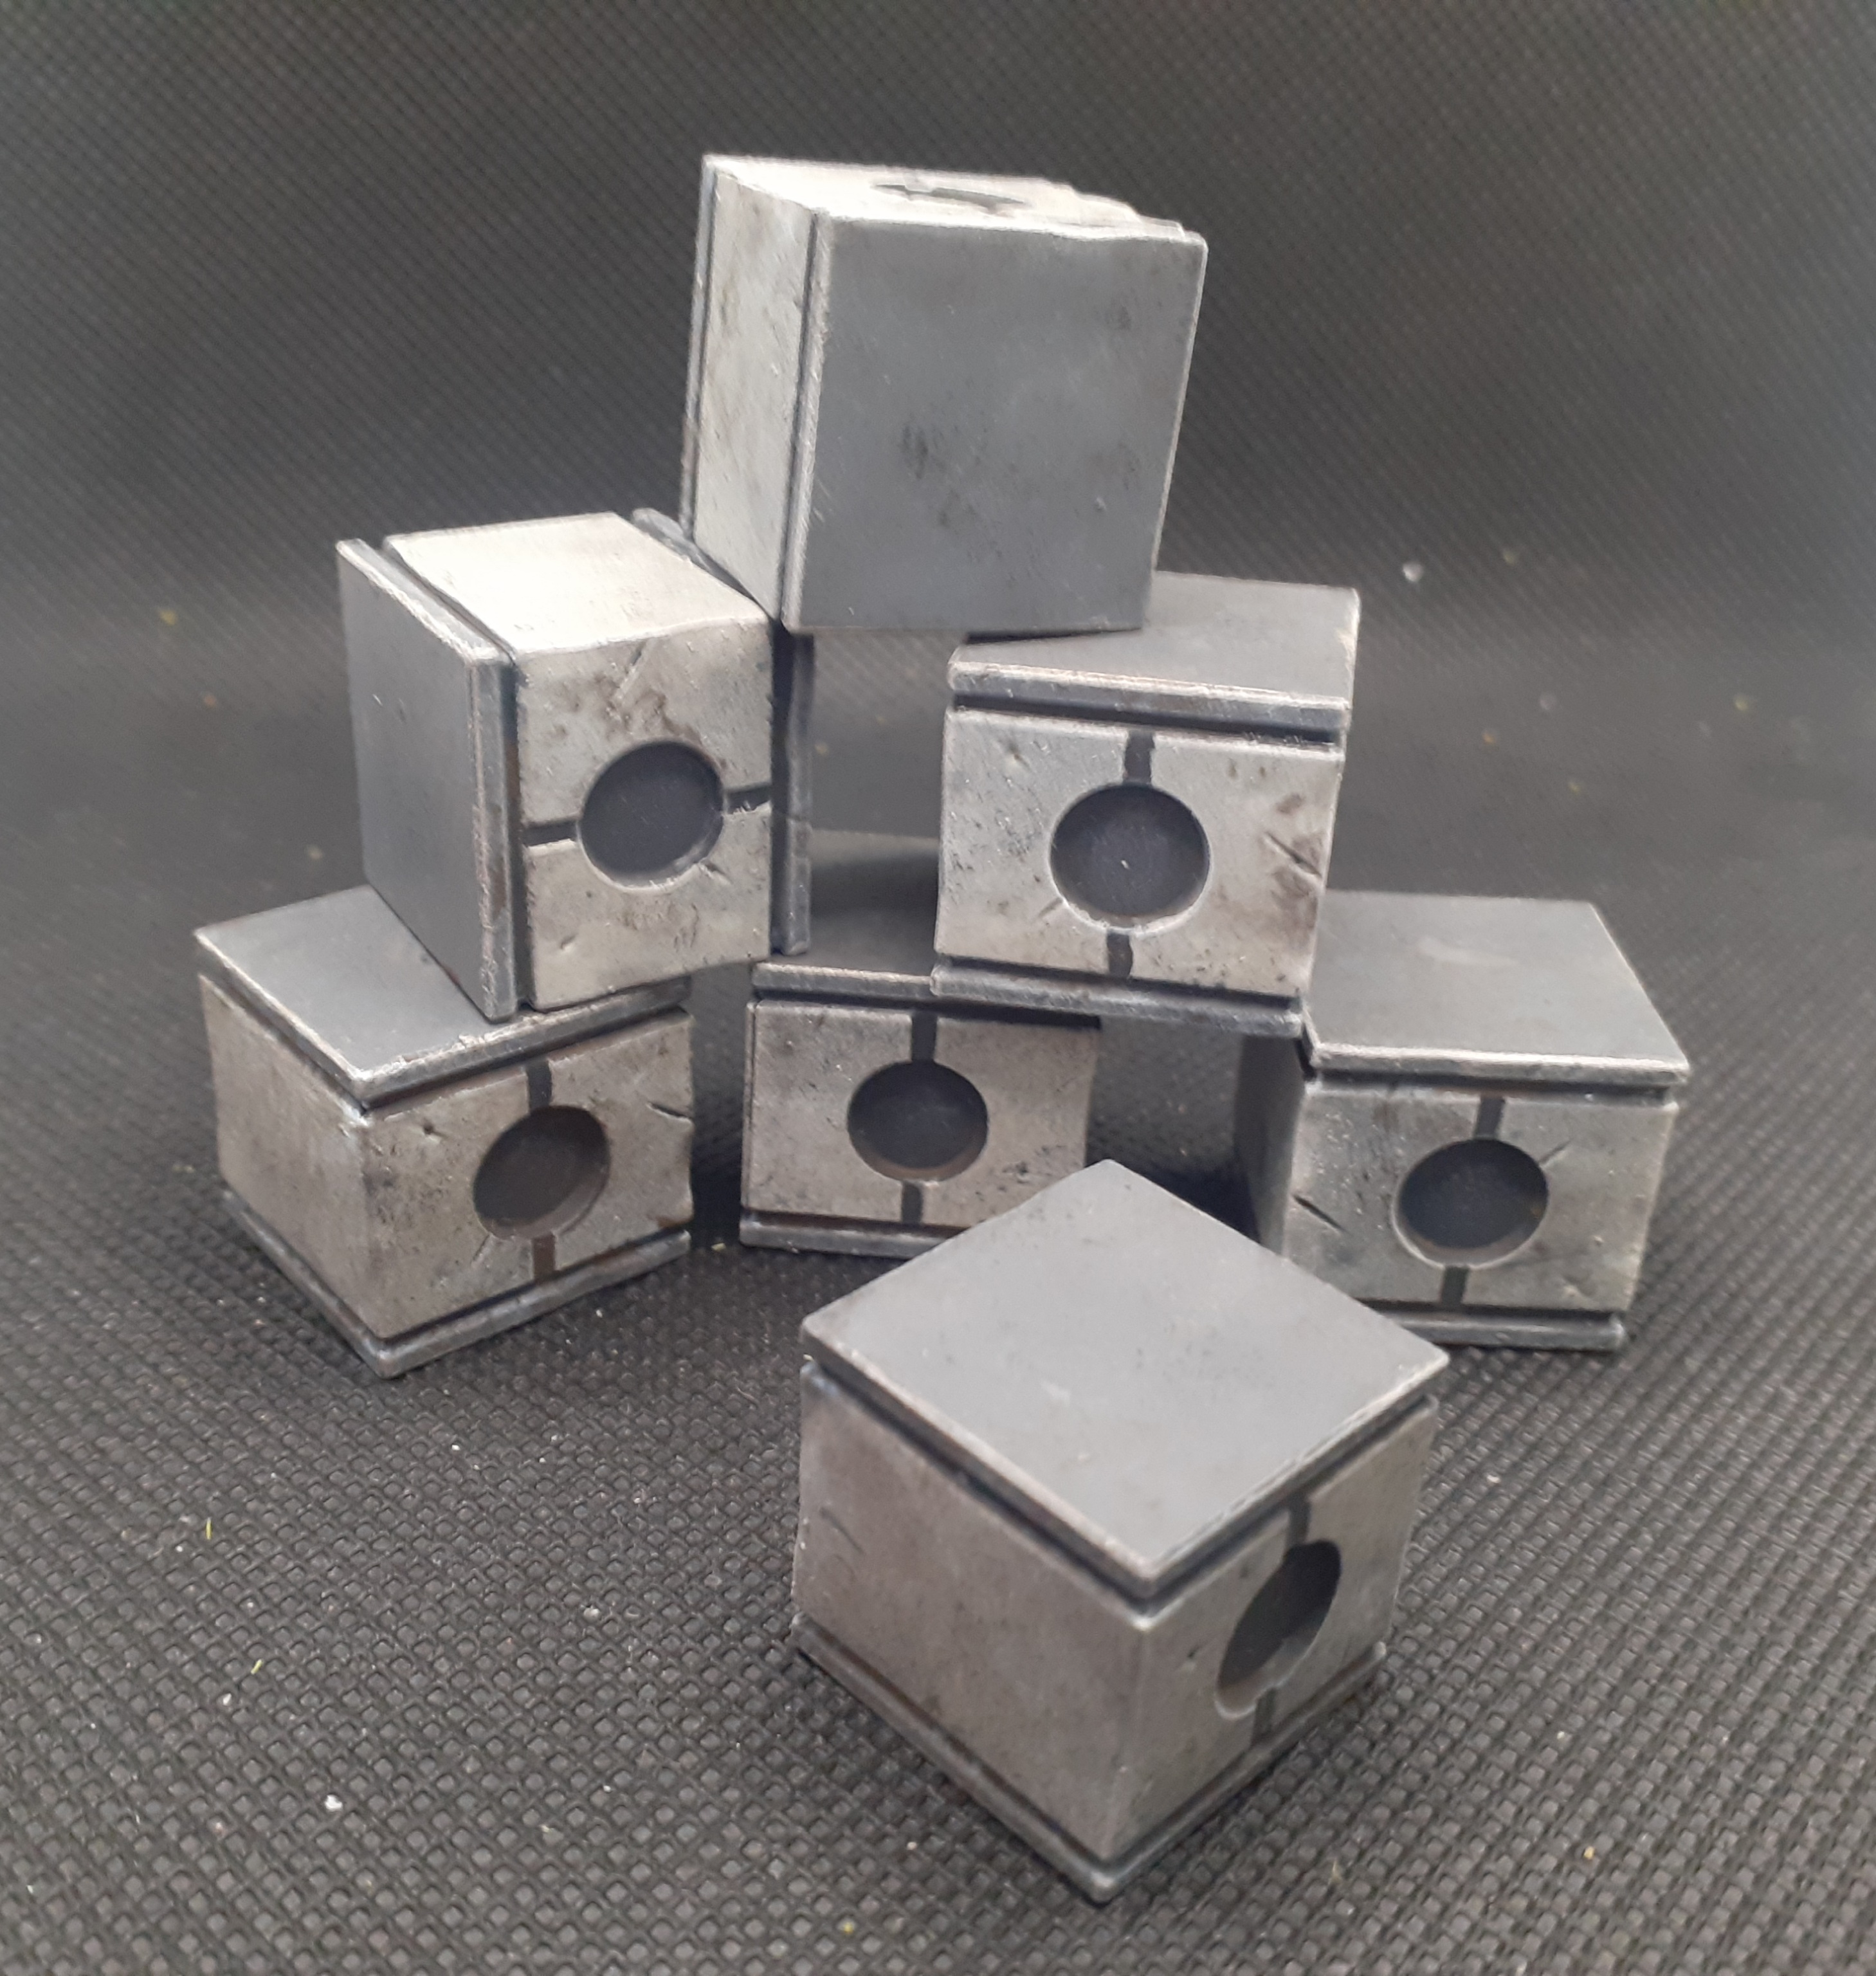
The core set for shatterpoint comes jam packed with spruey goodness allowing you to build up to 2 chunky buildings and 2 multilevel towers with funky walkways to join them together. It’s almost as good as the old cardboard necromunda terrain from 1995.
It took an afternoon of chopping scraping and gluing but the results were worth it you get a table full of very sturdy buildings and walkways as well as a load of crates that can be piled up to create cover or to add to the story being played out.

![StarCraft Tabletop Miniatures Game Pre-Orders Live Now [Updated]](https://images.beastsofwar.com/2026/03/starcraft-tmg-news-cover-600-338.jpg)


![Mounted US Cavalry On Kickstarter For Dead Man’s Hand! [Updated]](https://images.beastsofwar.com/2026/03/us-cavalry-main-600-338.jpg)


![Play WW2 Commando Operations With Butcher & Bolt [Updated]](https://images.beastsofwar.com/2026/03/relaunch-600-338.jpg)


