


![NO Weekender Or Cult Of Games XLBS This Weekend [Updated]](https://images.beastsofwar.com/2026/03/No_Weekender_and_XLBS_this_Weekend-225-127.jpg)


Oldhammer Lustria


Recommendations: 178
About the Project
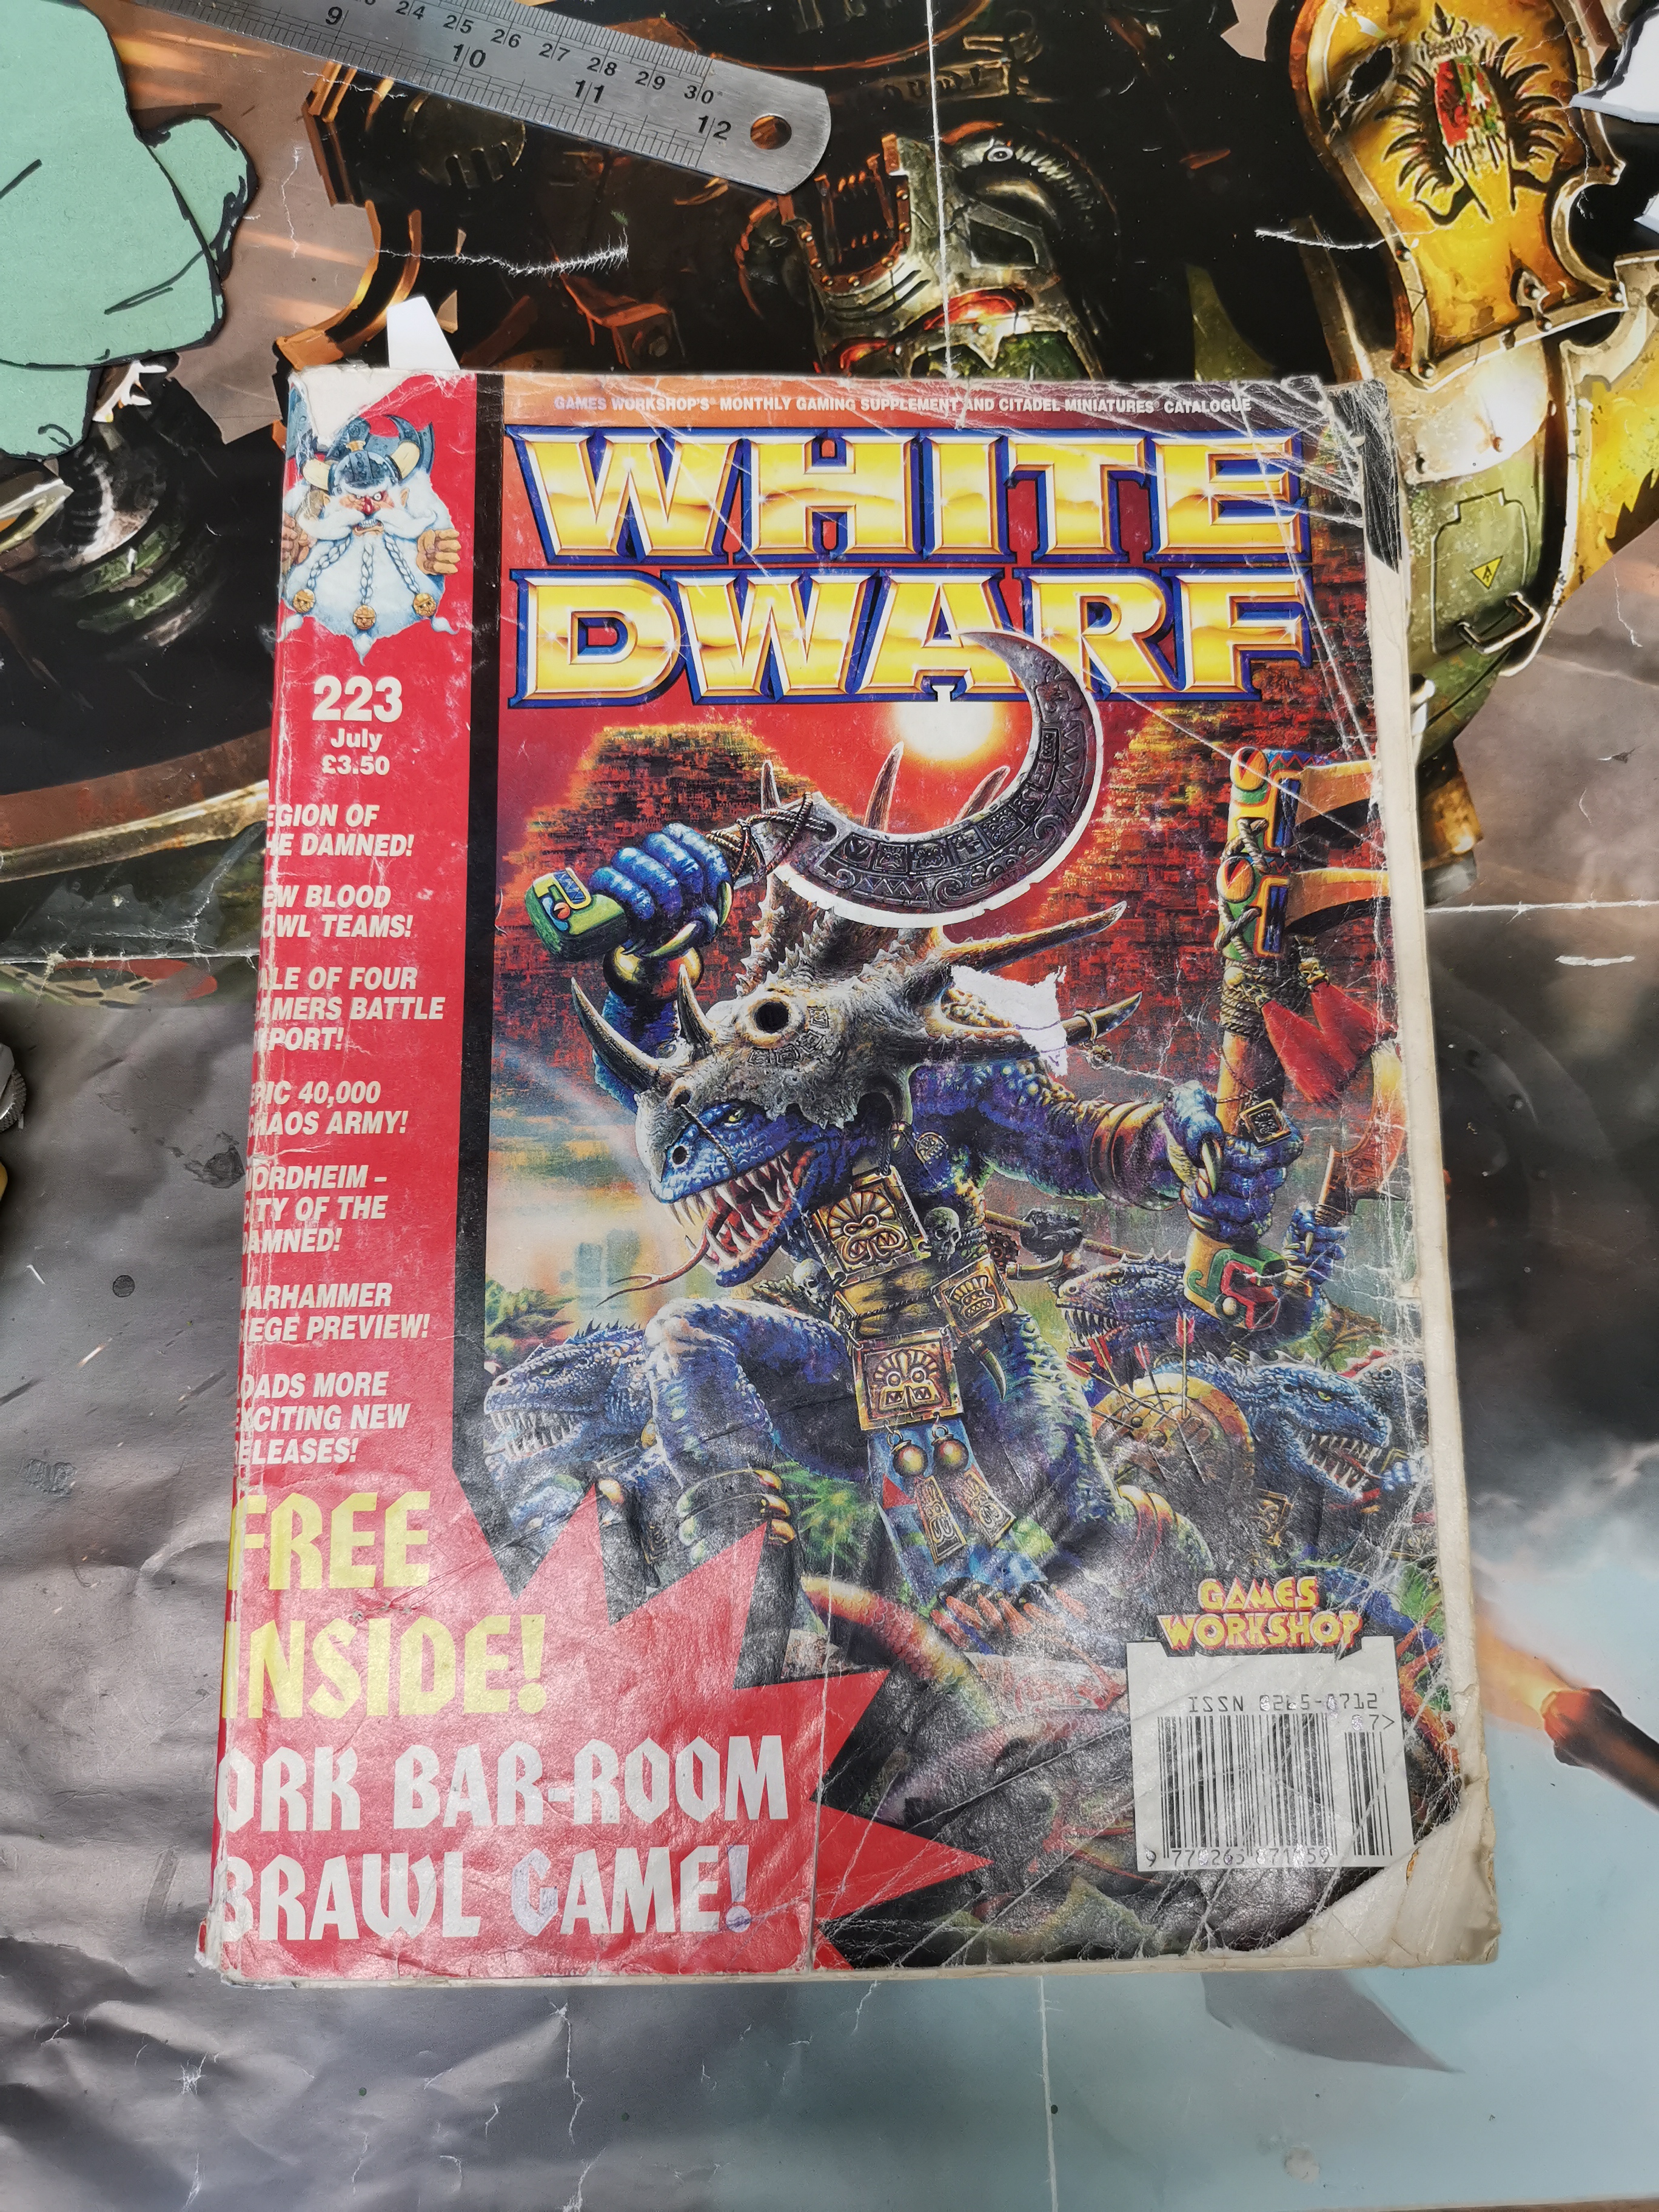
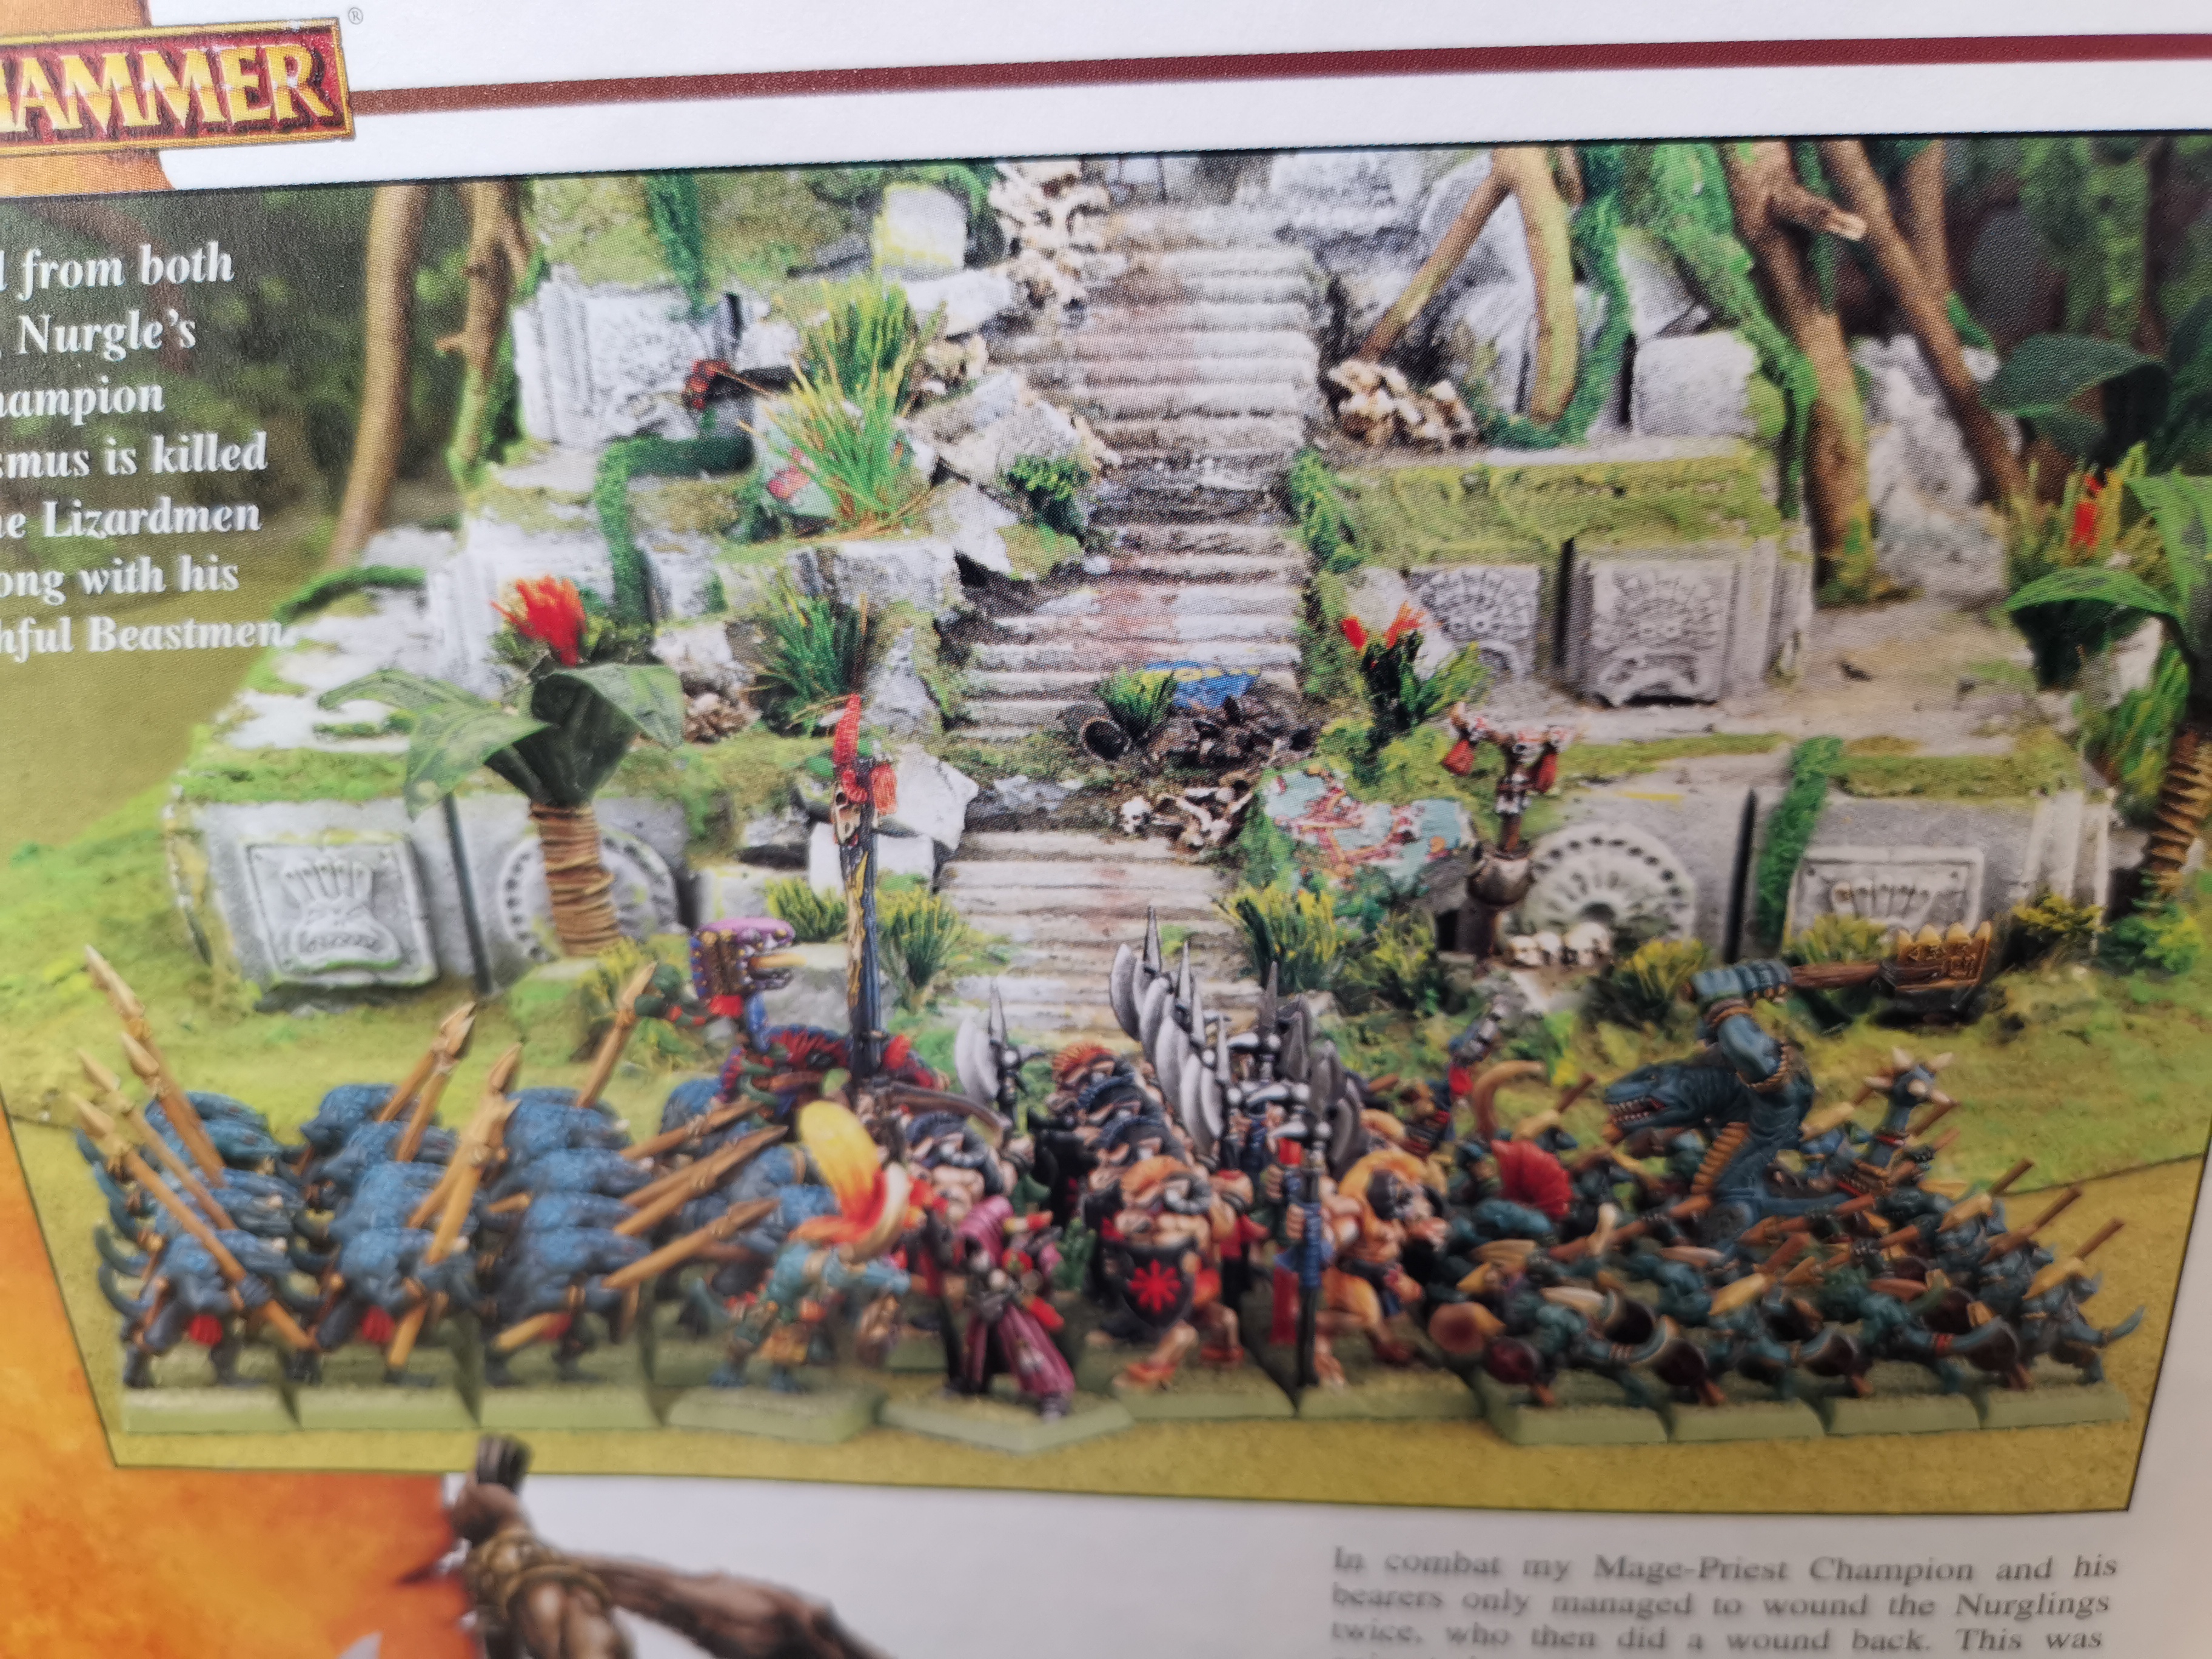
I decided to run a 5th edition Warhammer fantasy campaign between my Lizardmen and my friends High Elves and despite it going excellently, I felt like it was missing something. Going back through the old white dwarfs and watching The Crown of Command Channel on YouTube I realised we needed to be playing on an equally 5th edition table. Fortunately I had kept a lot of my uncles white dwarfs when he was throwing them out and amongst them was issue 223, the Nick Davis Lizardmen terrain edition! With such a perfect starting point, off I went to the workshop...
Related Genre: Fantasy
Related Contest: TerrainFest 2023
This Project is Completed
Step One: The Board
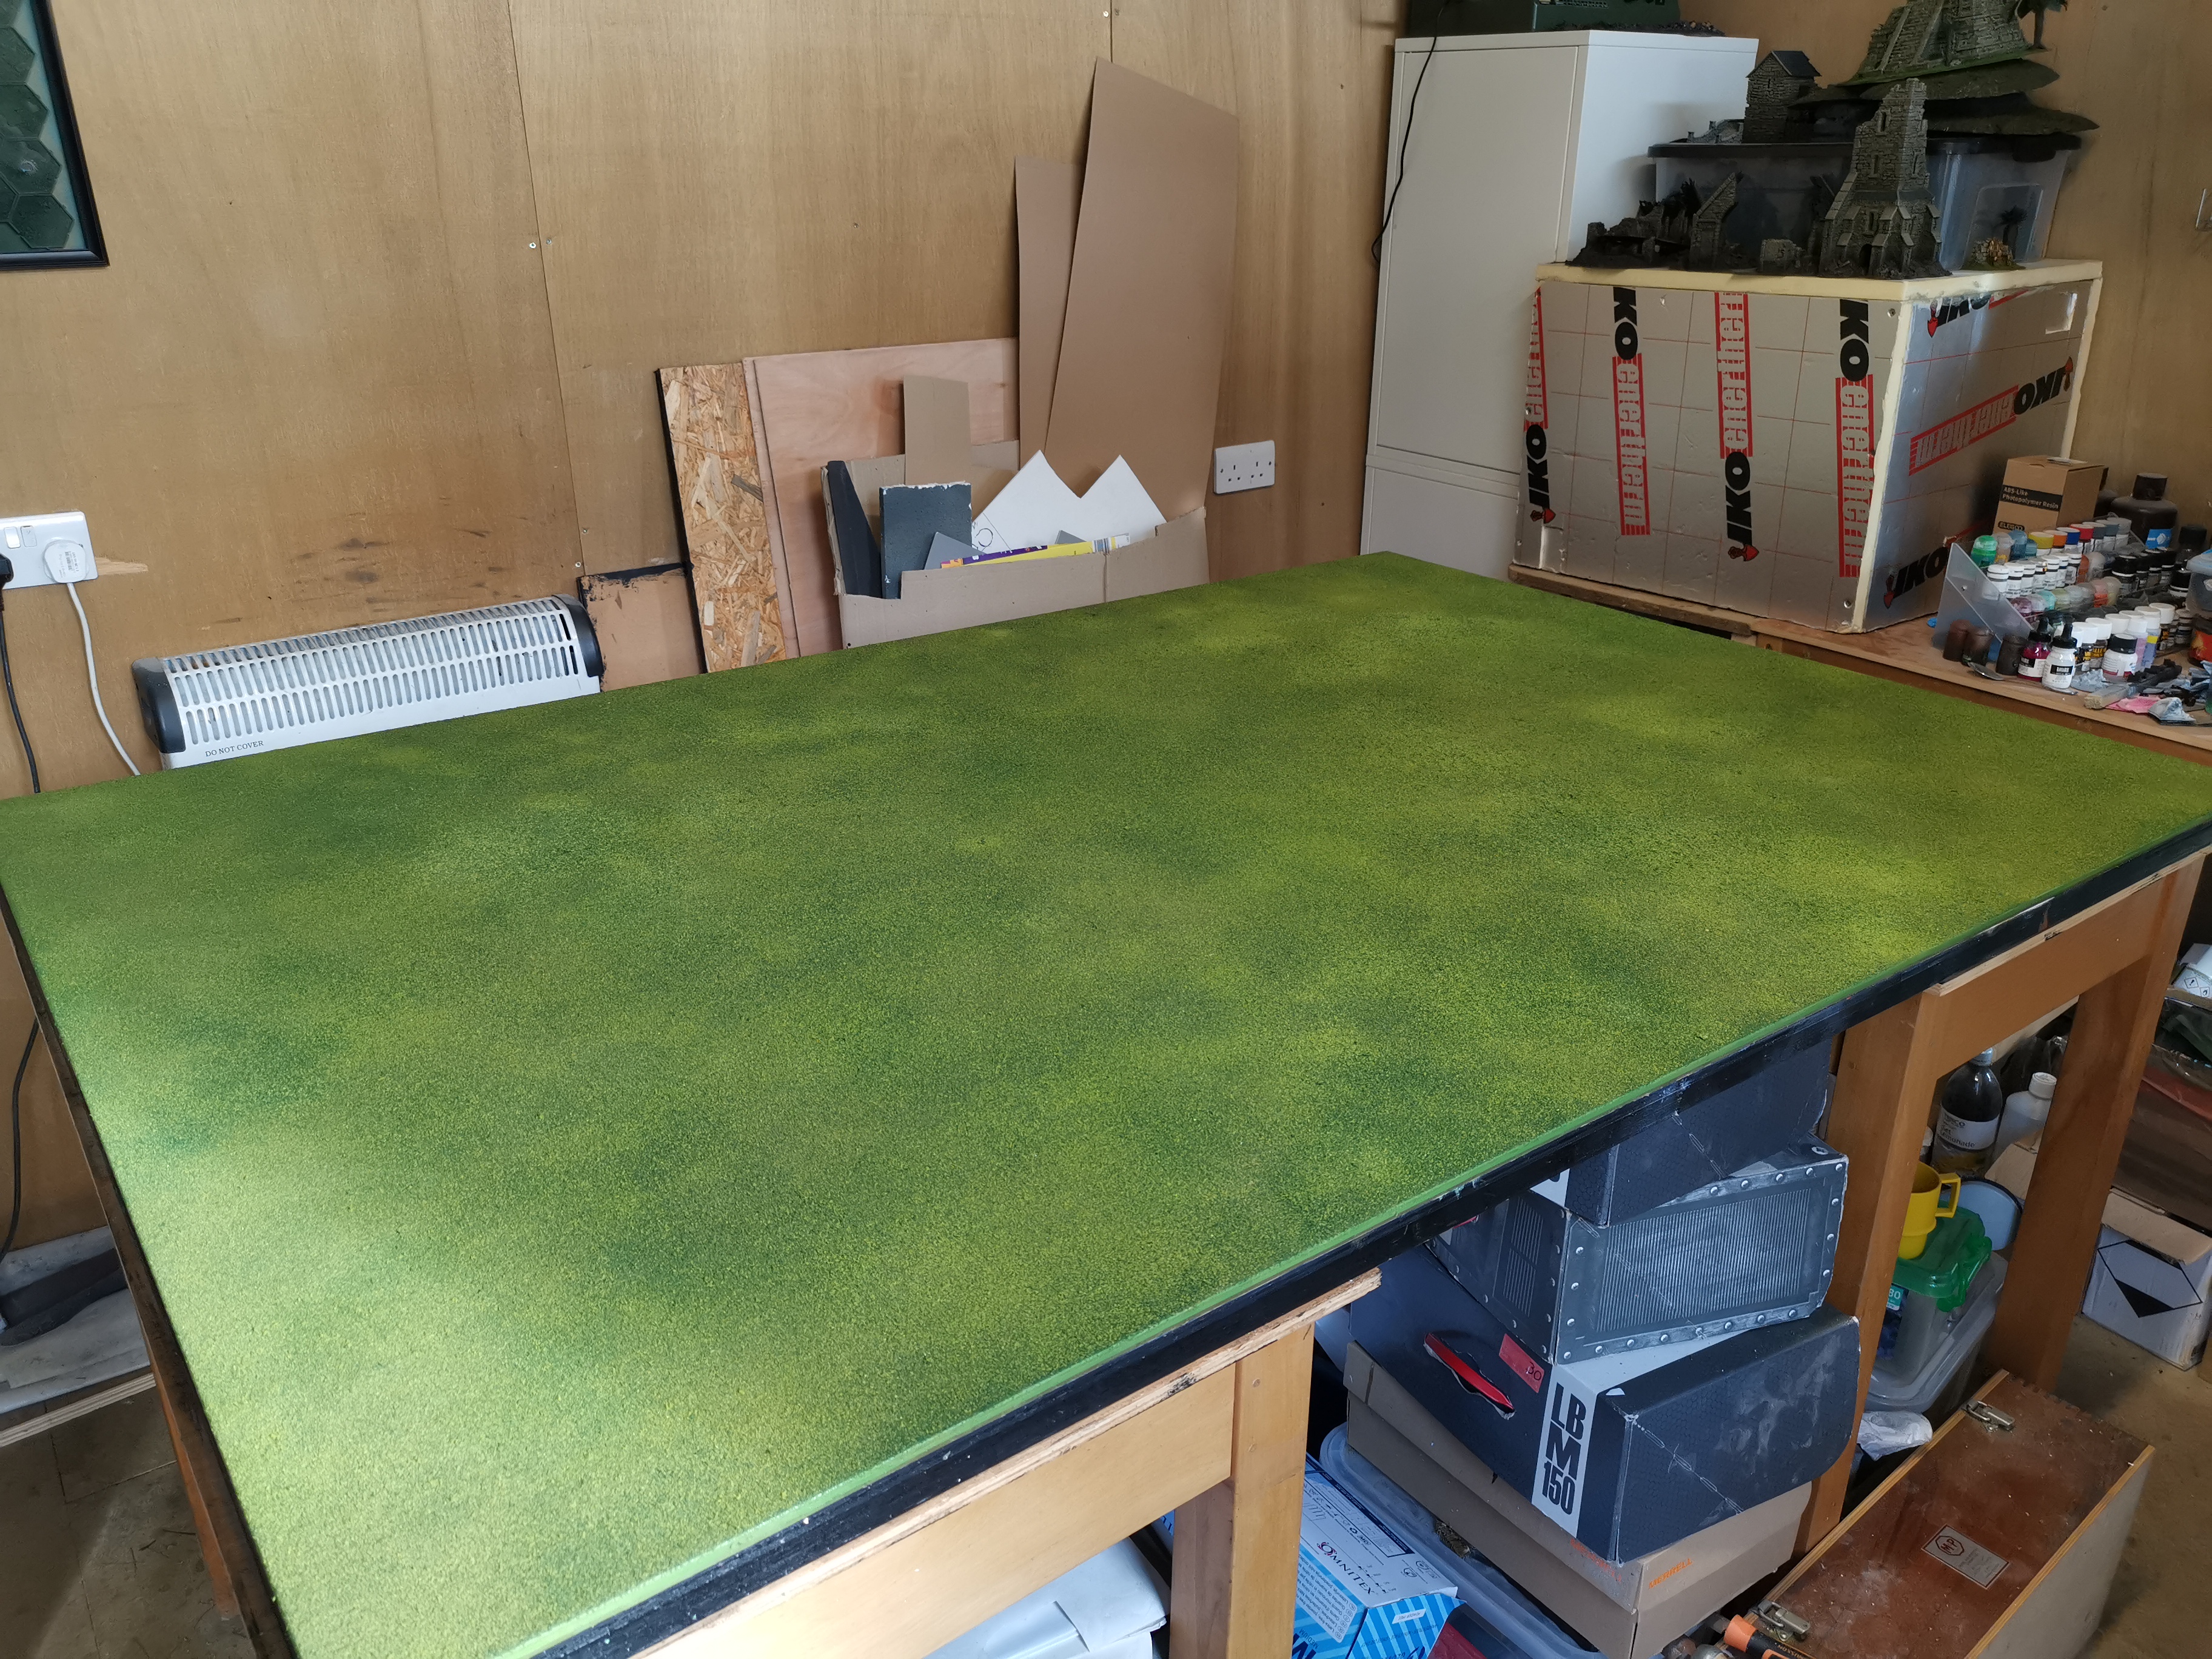
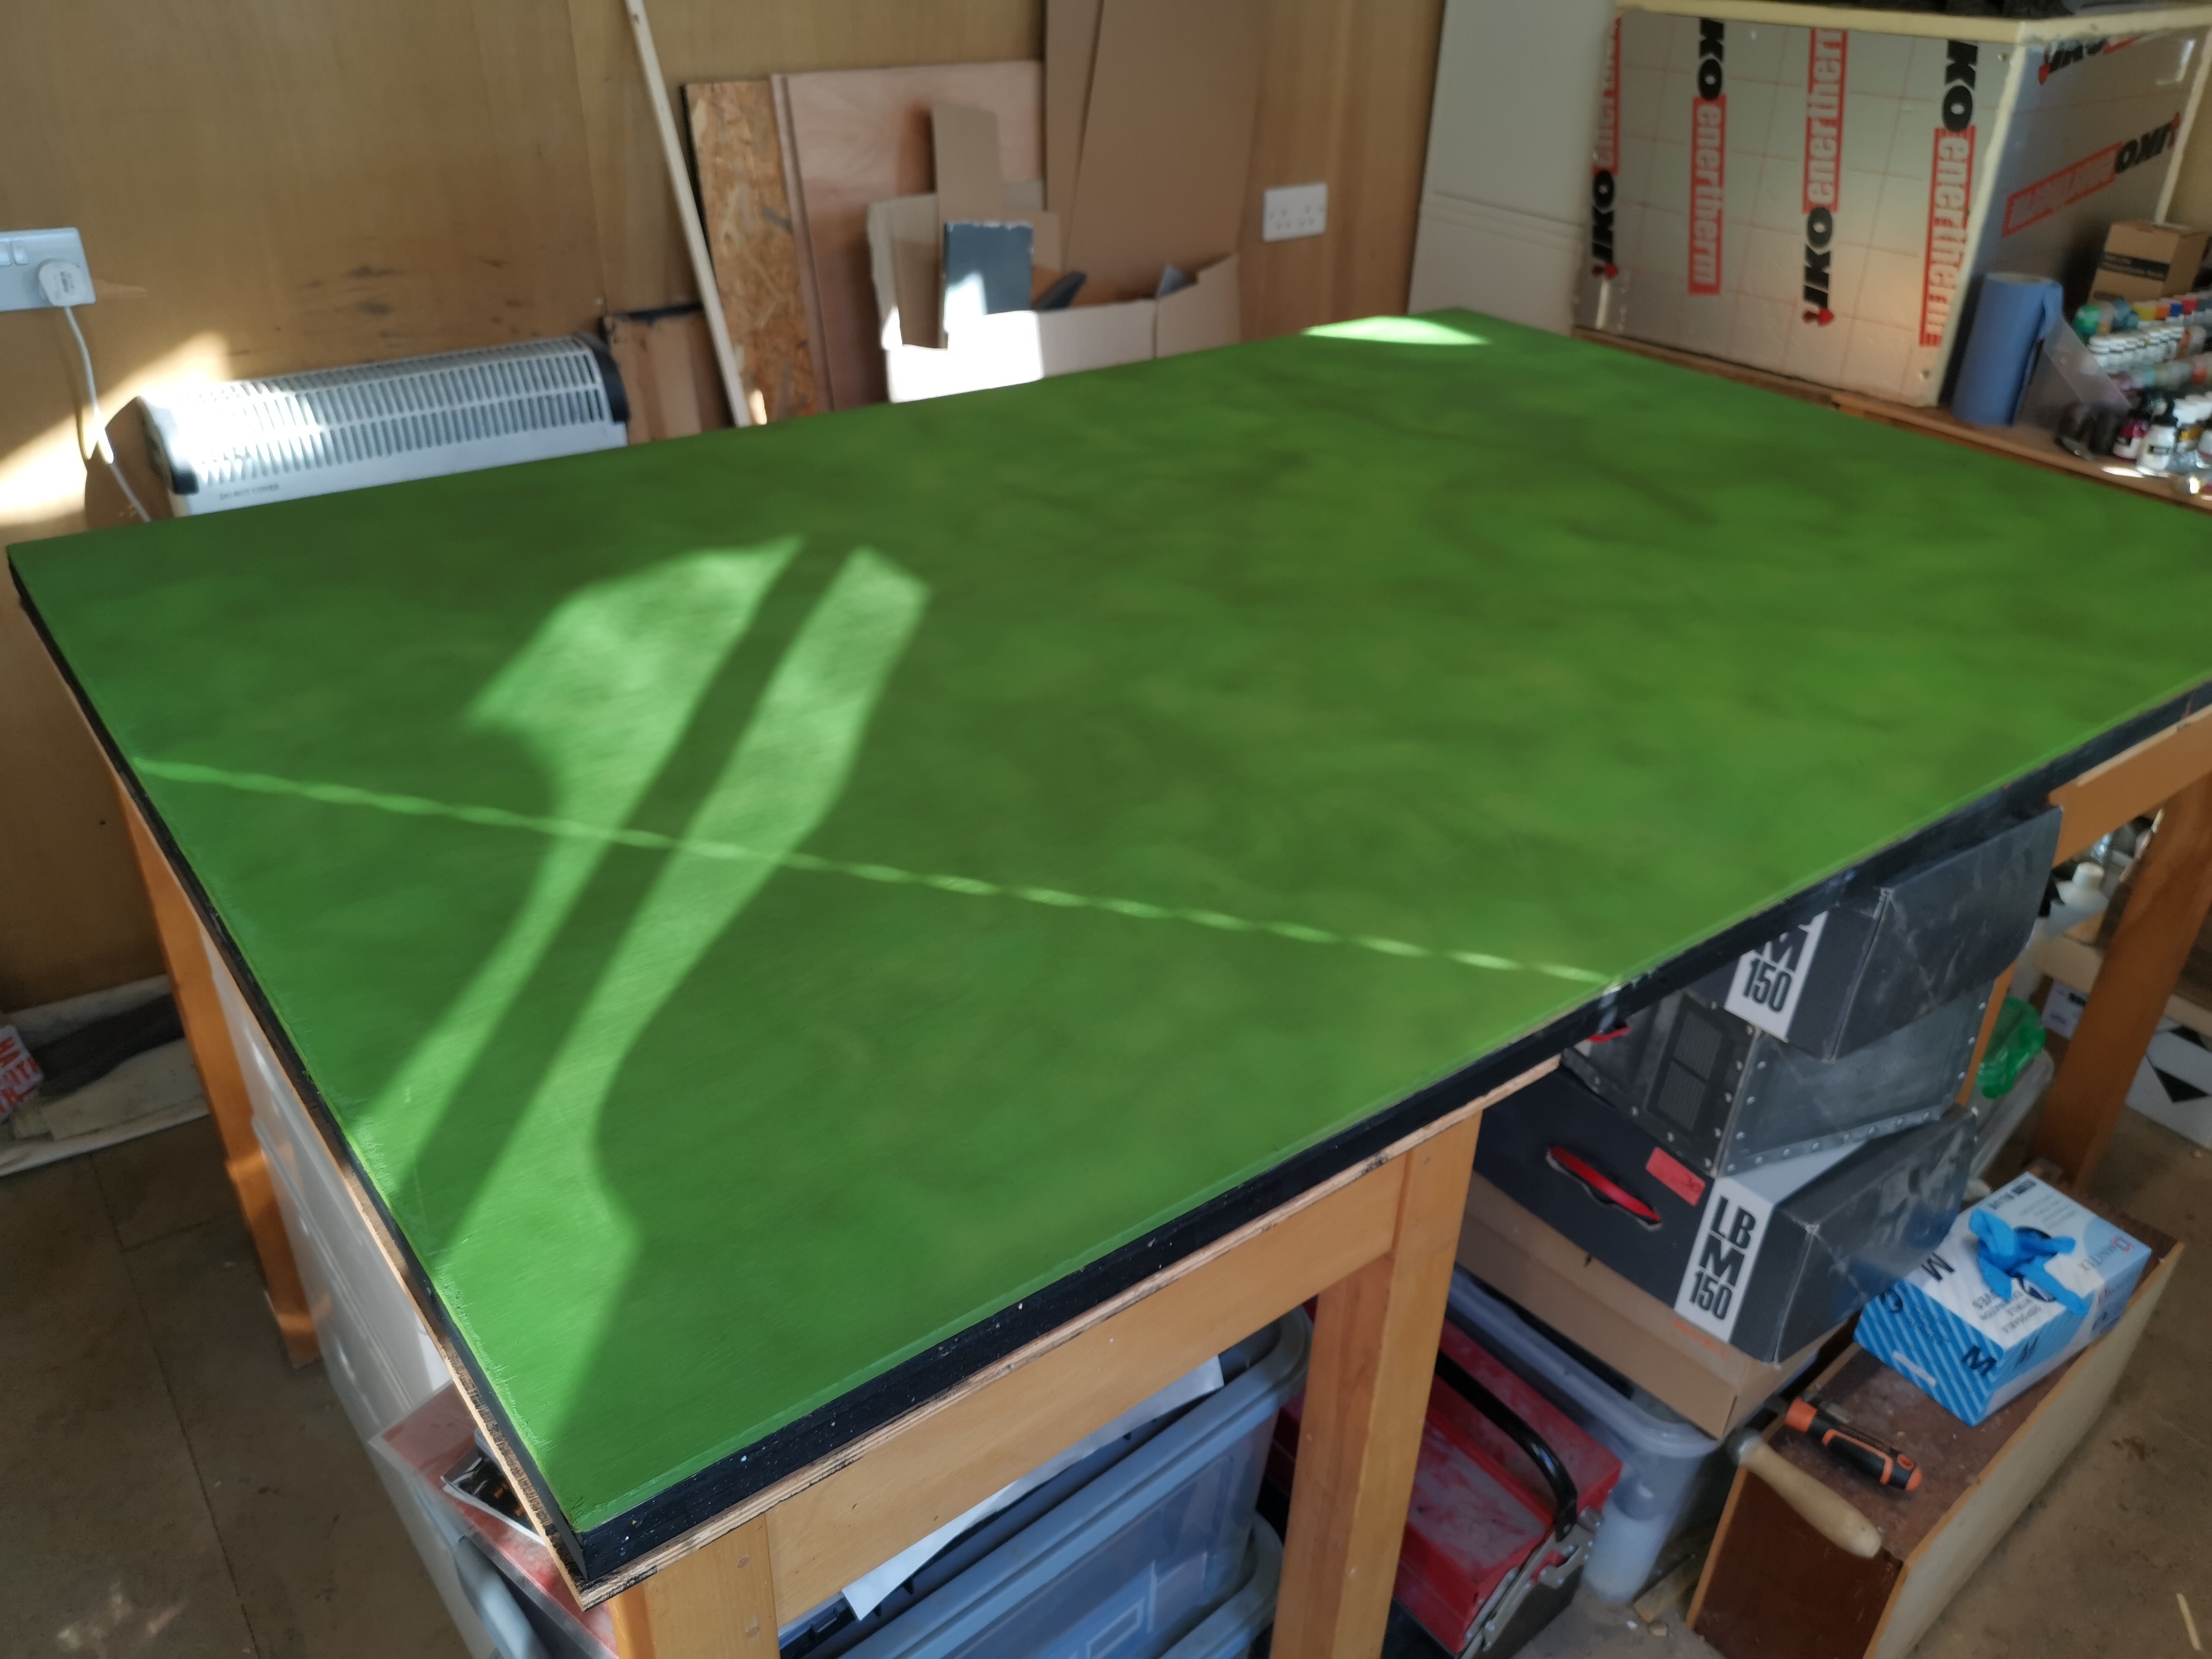 I begun by spraying a 6'x4' 9mm sheet of plywood green using a handful of spray cans I had
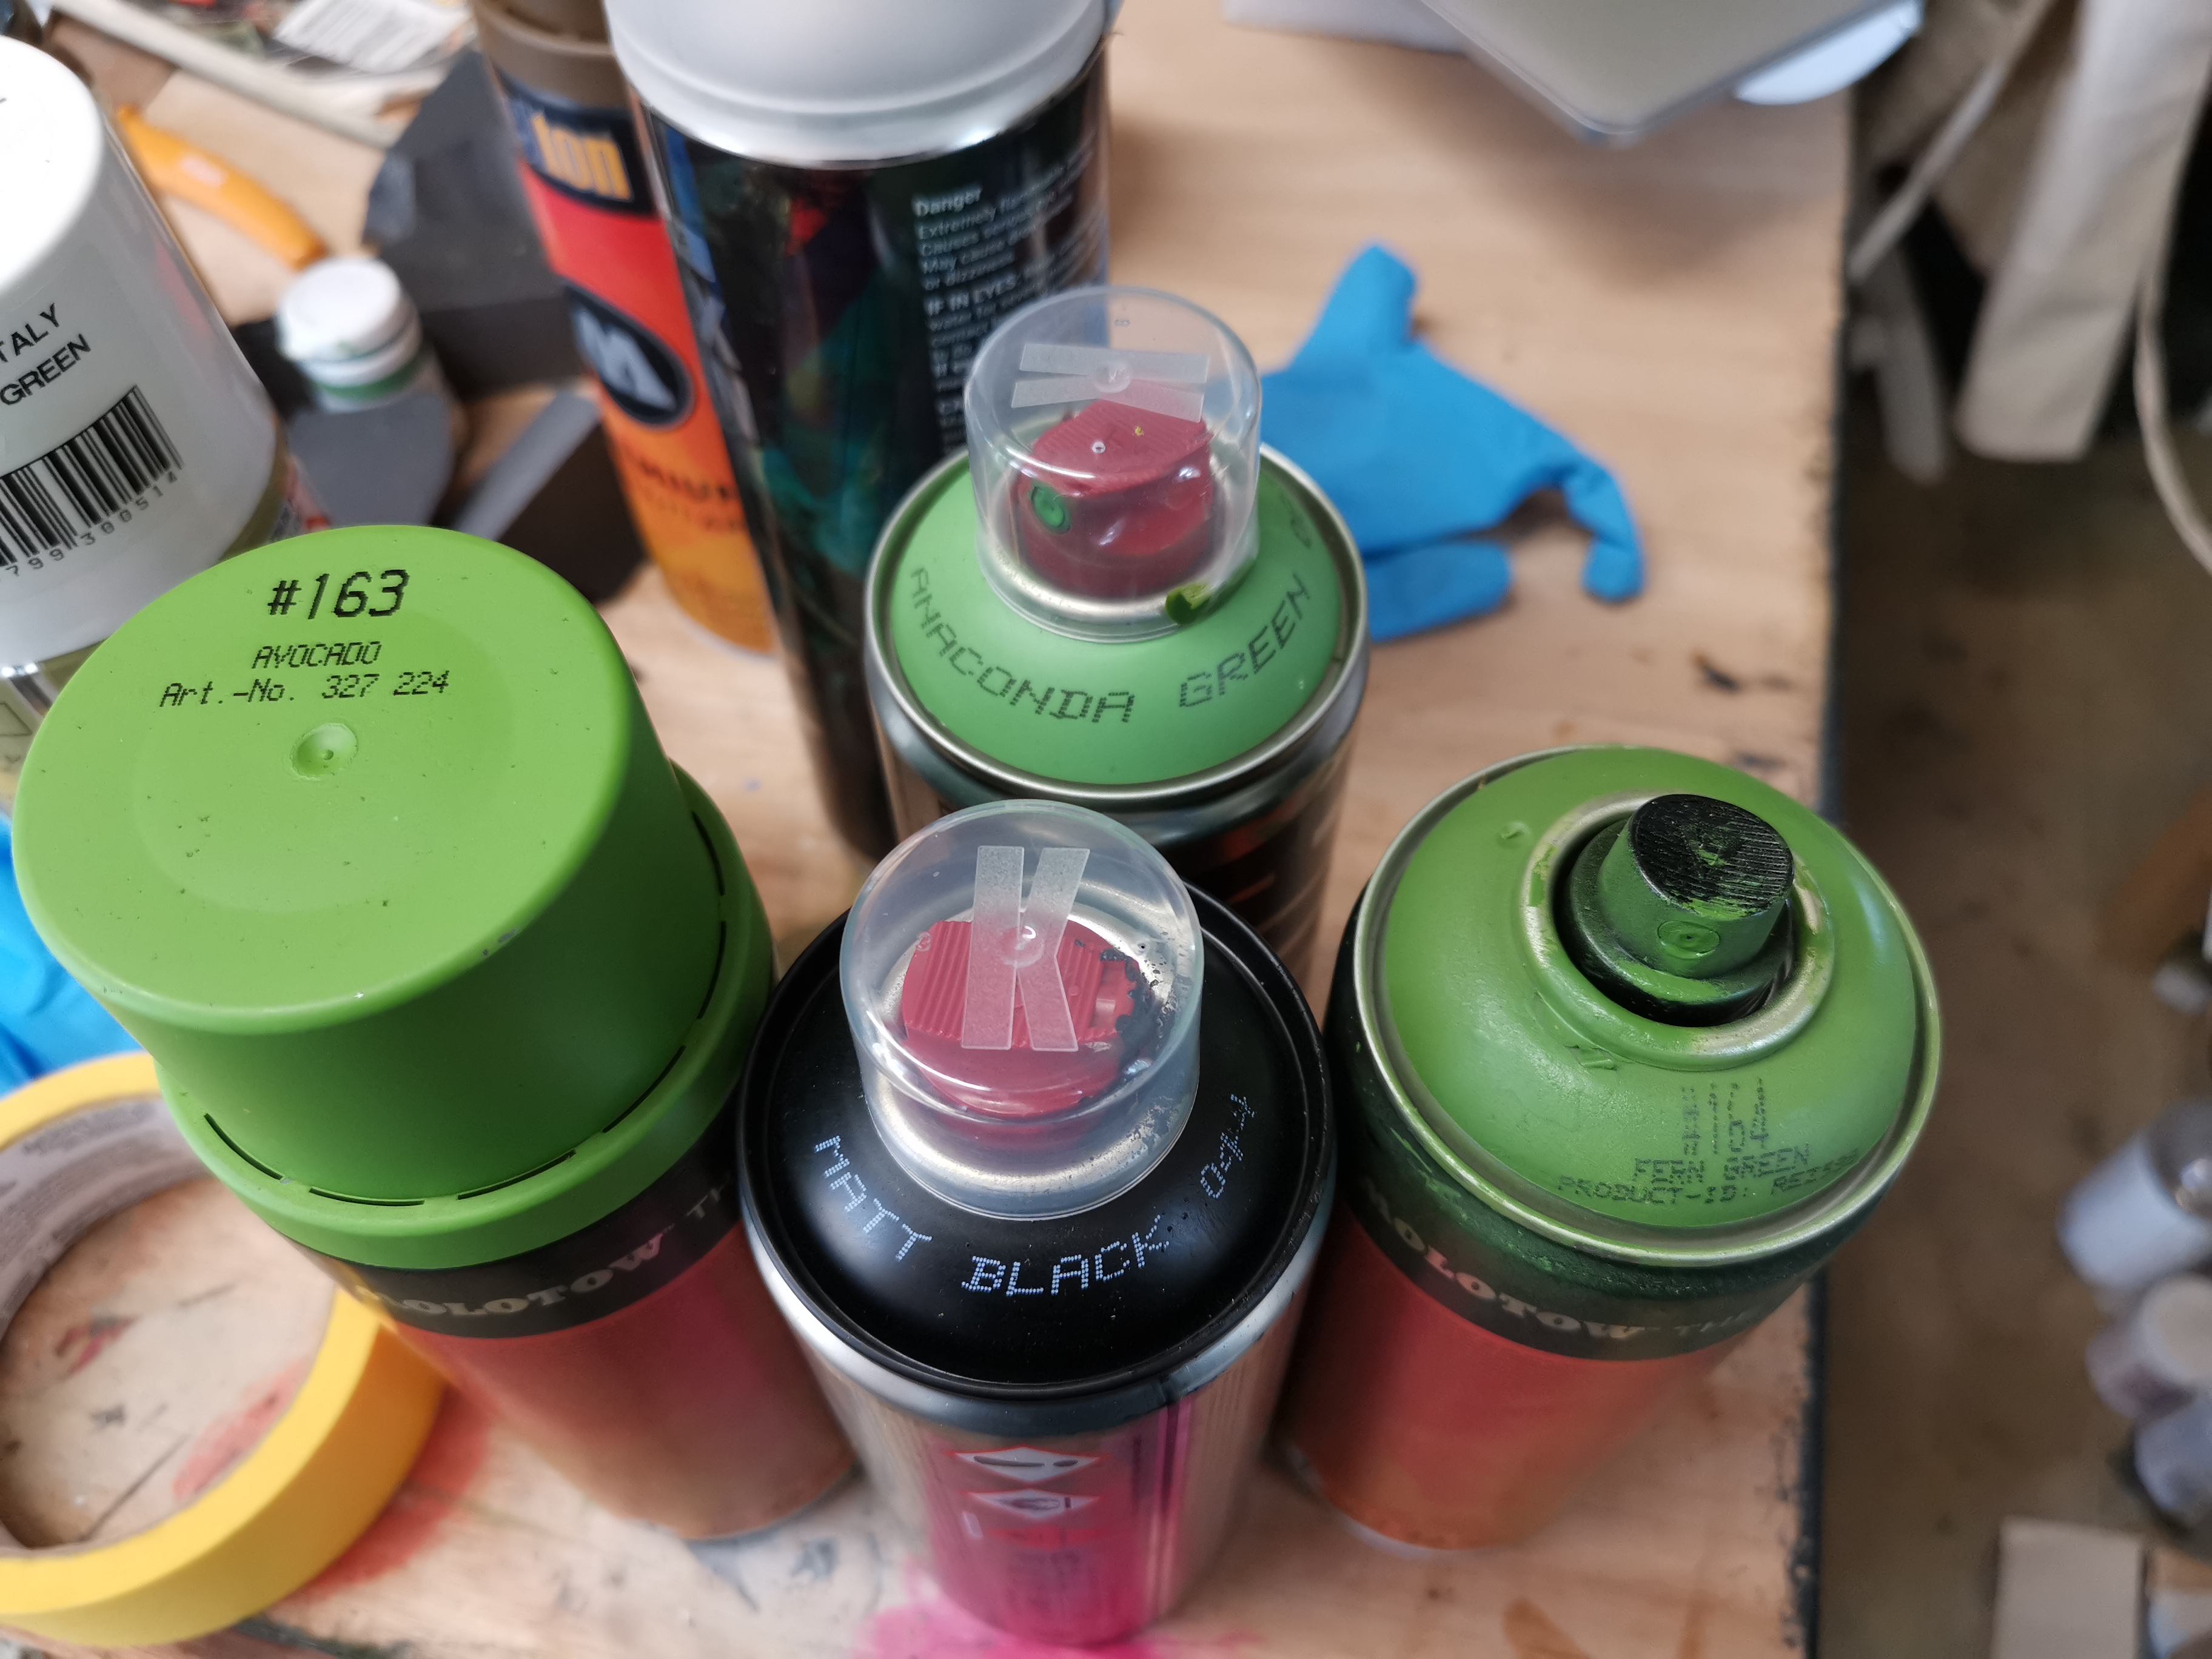 I made sure to use a little bit of all of them so none ran out
Flocking
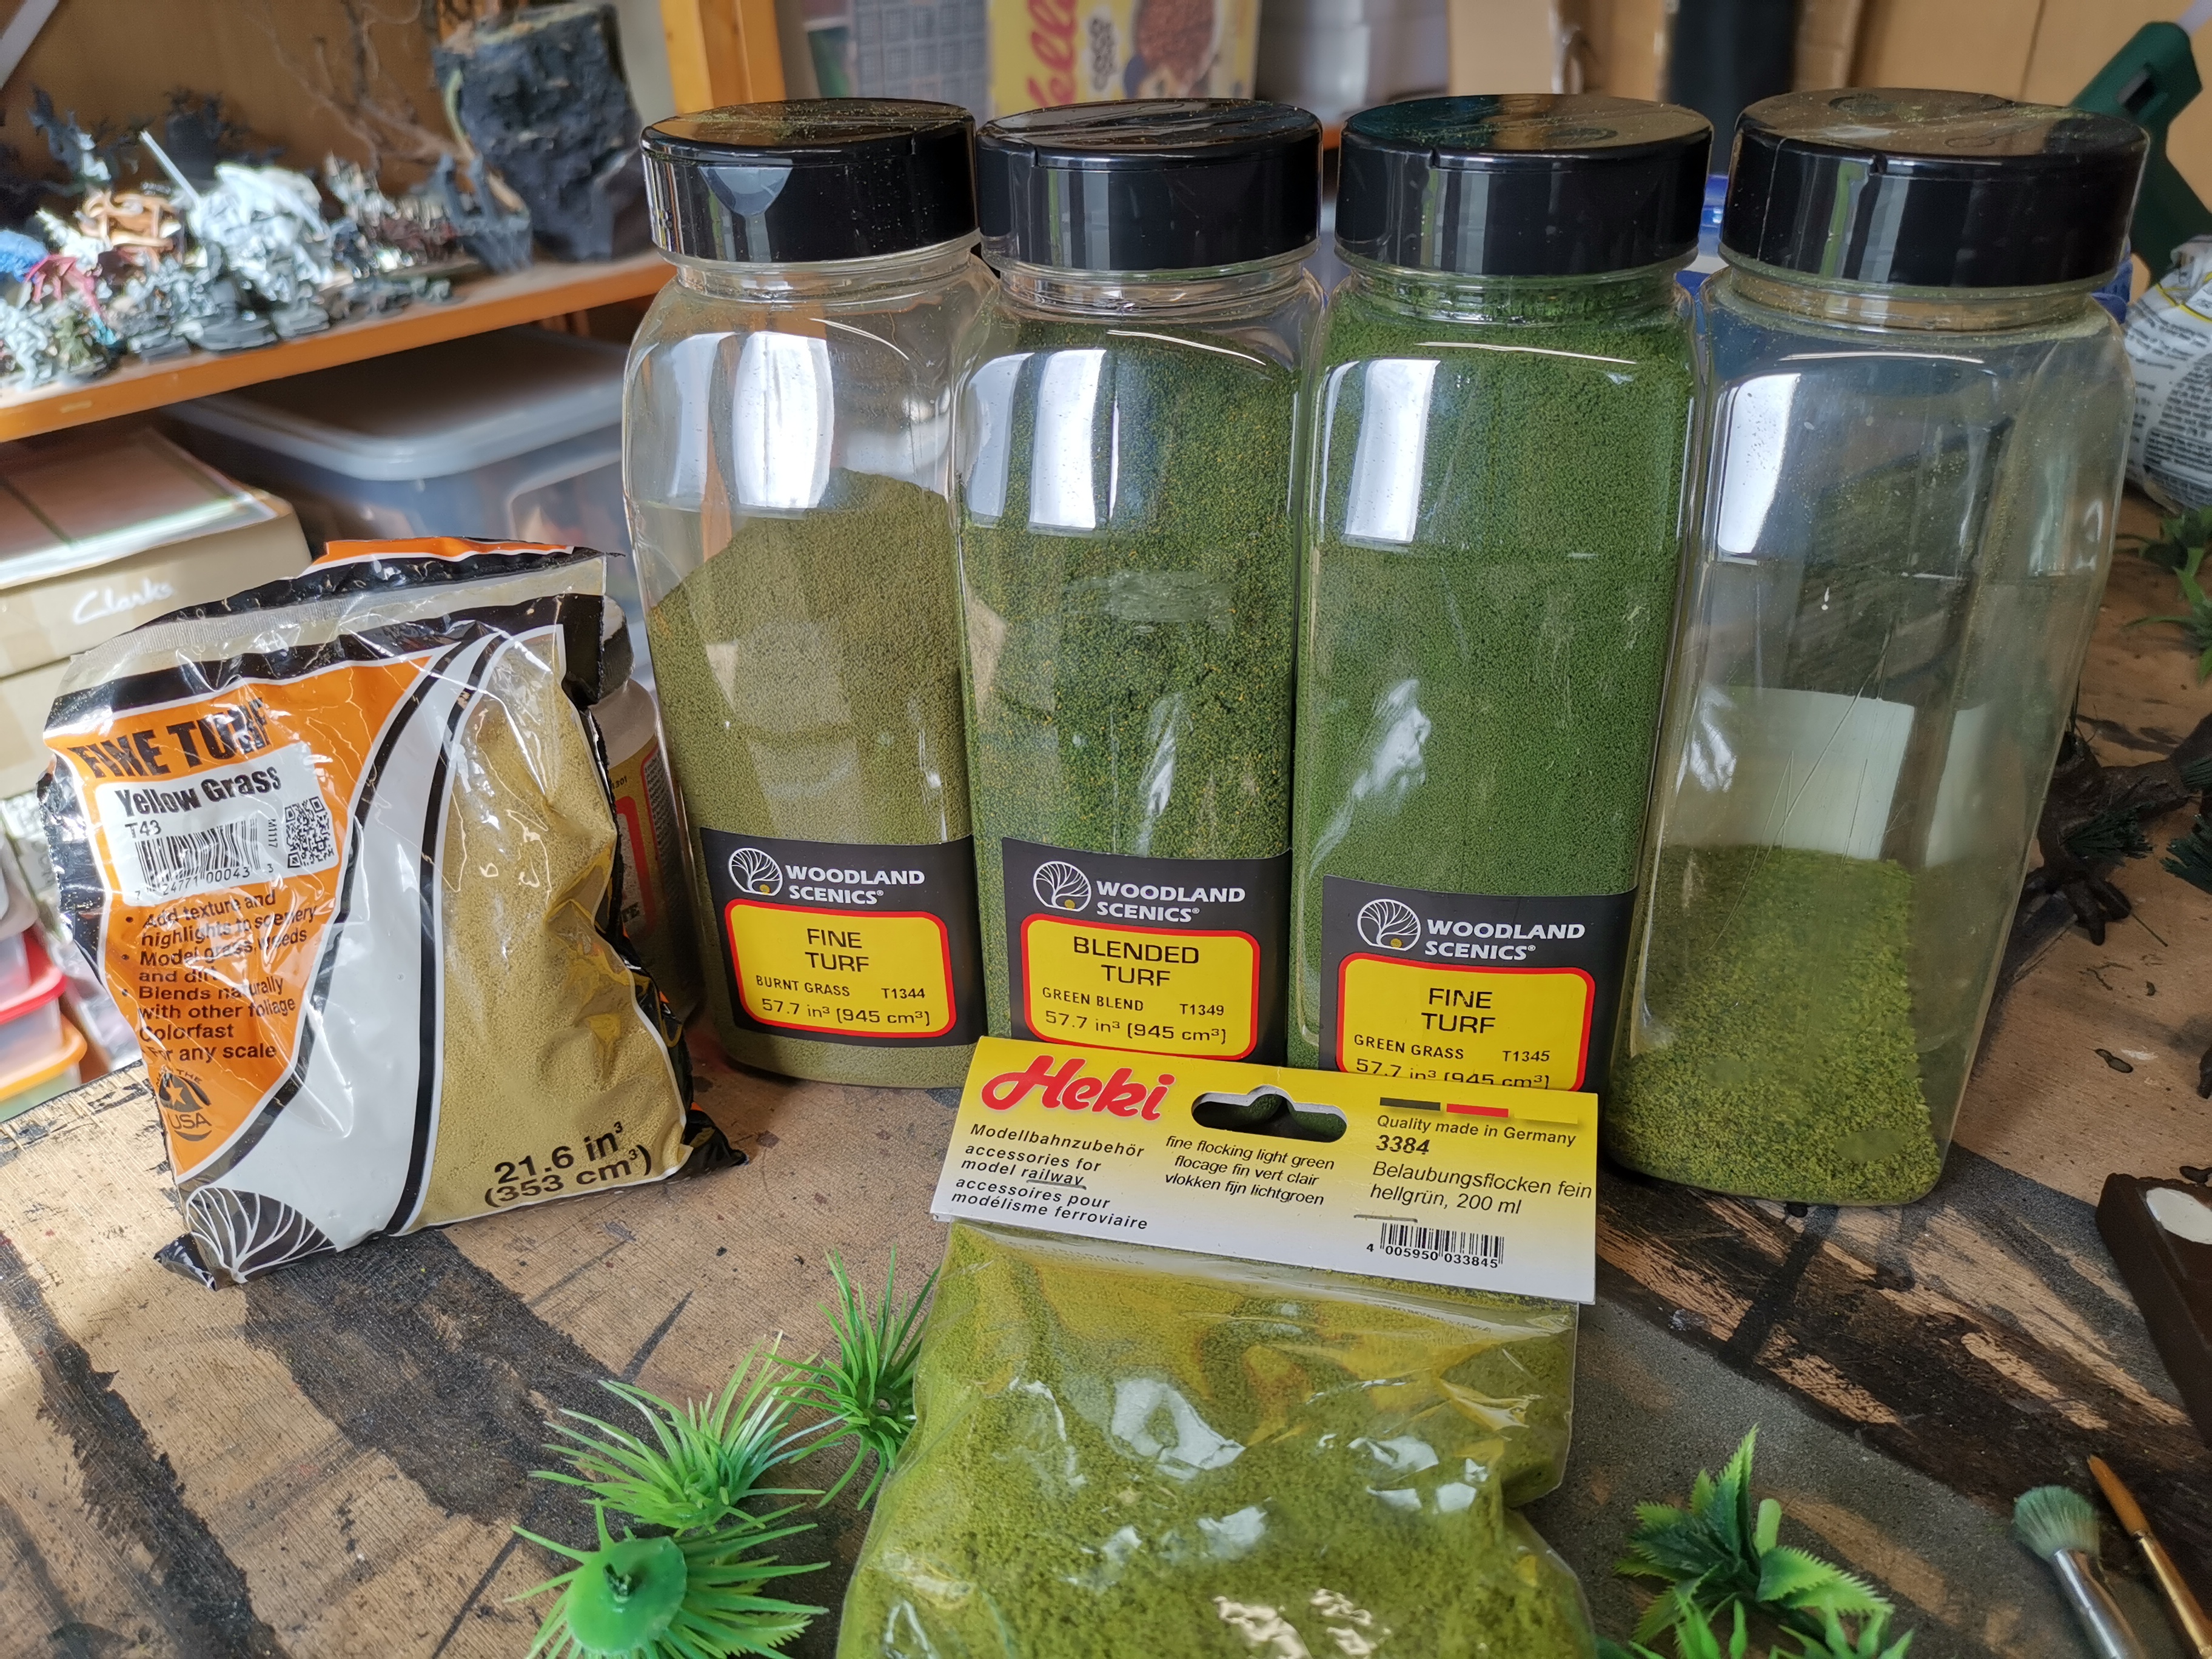
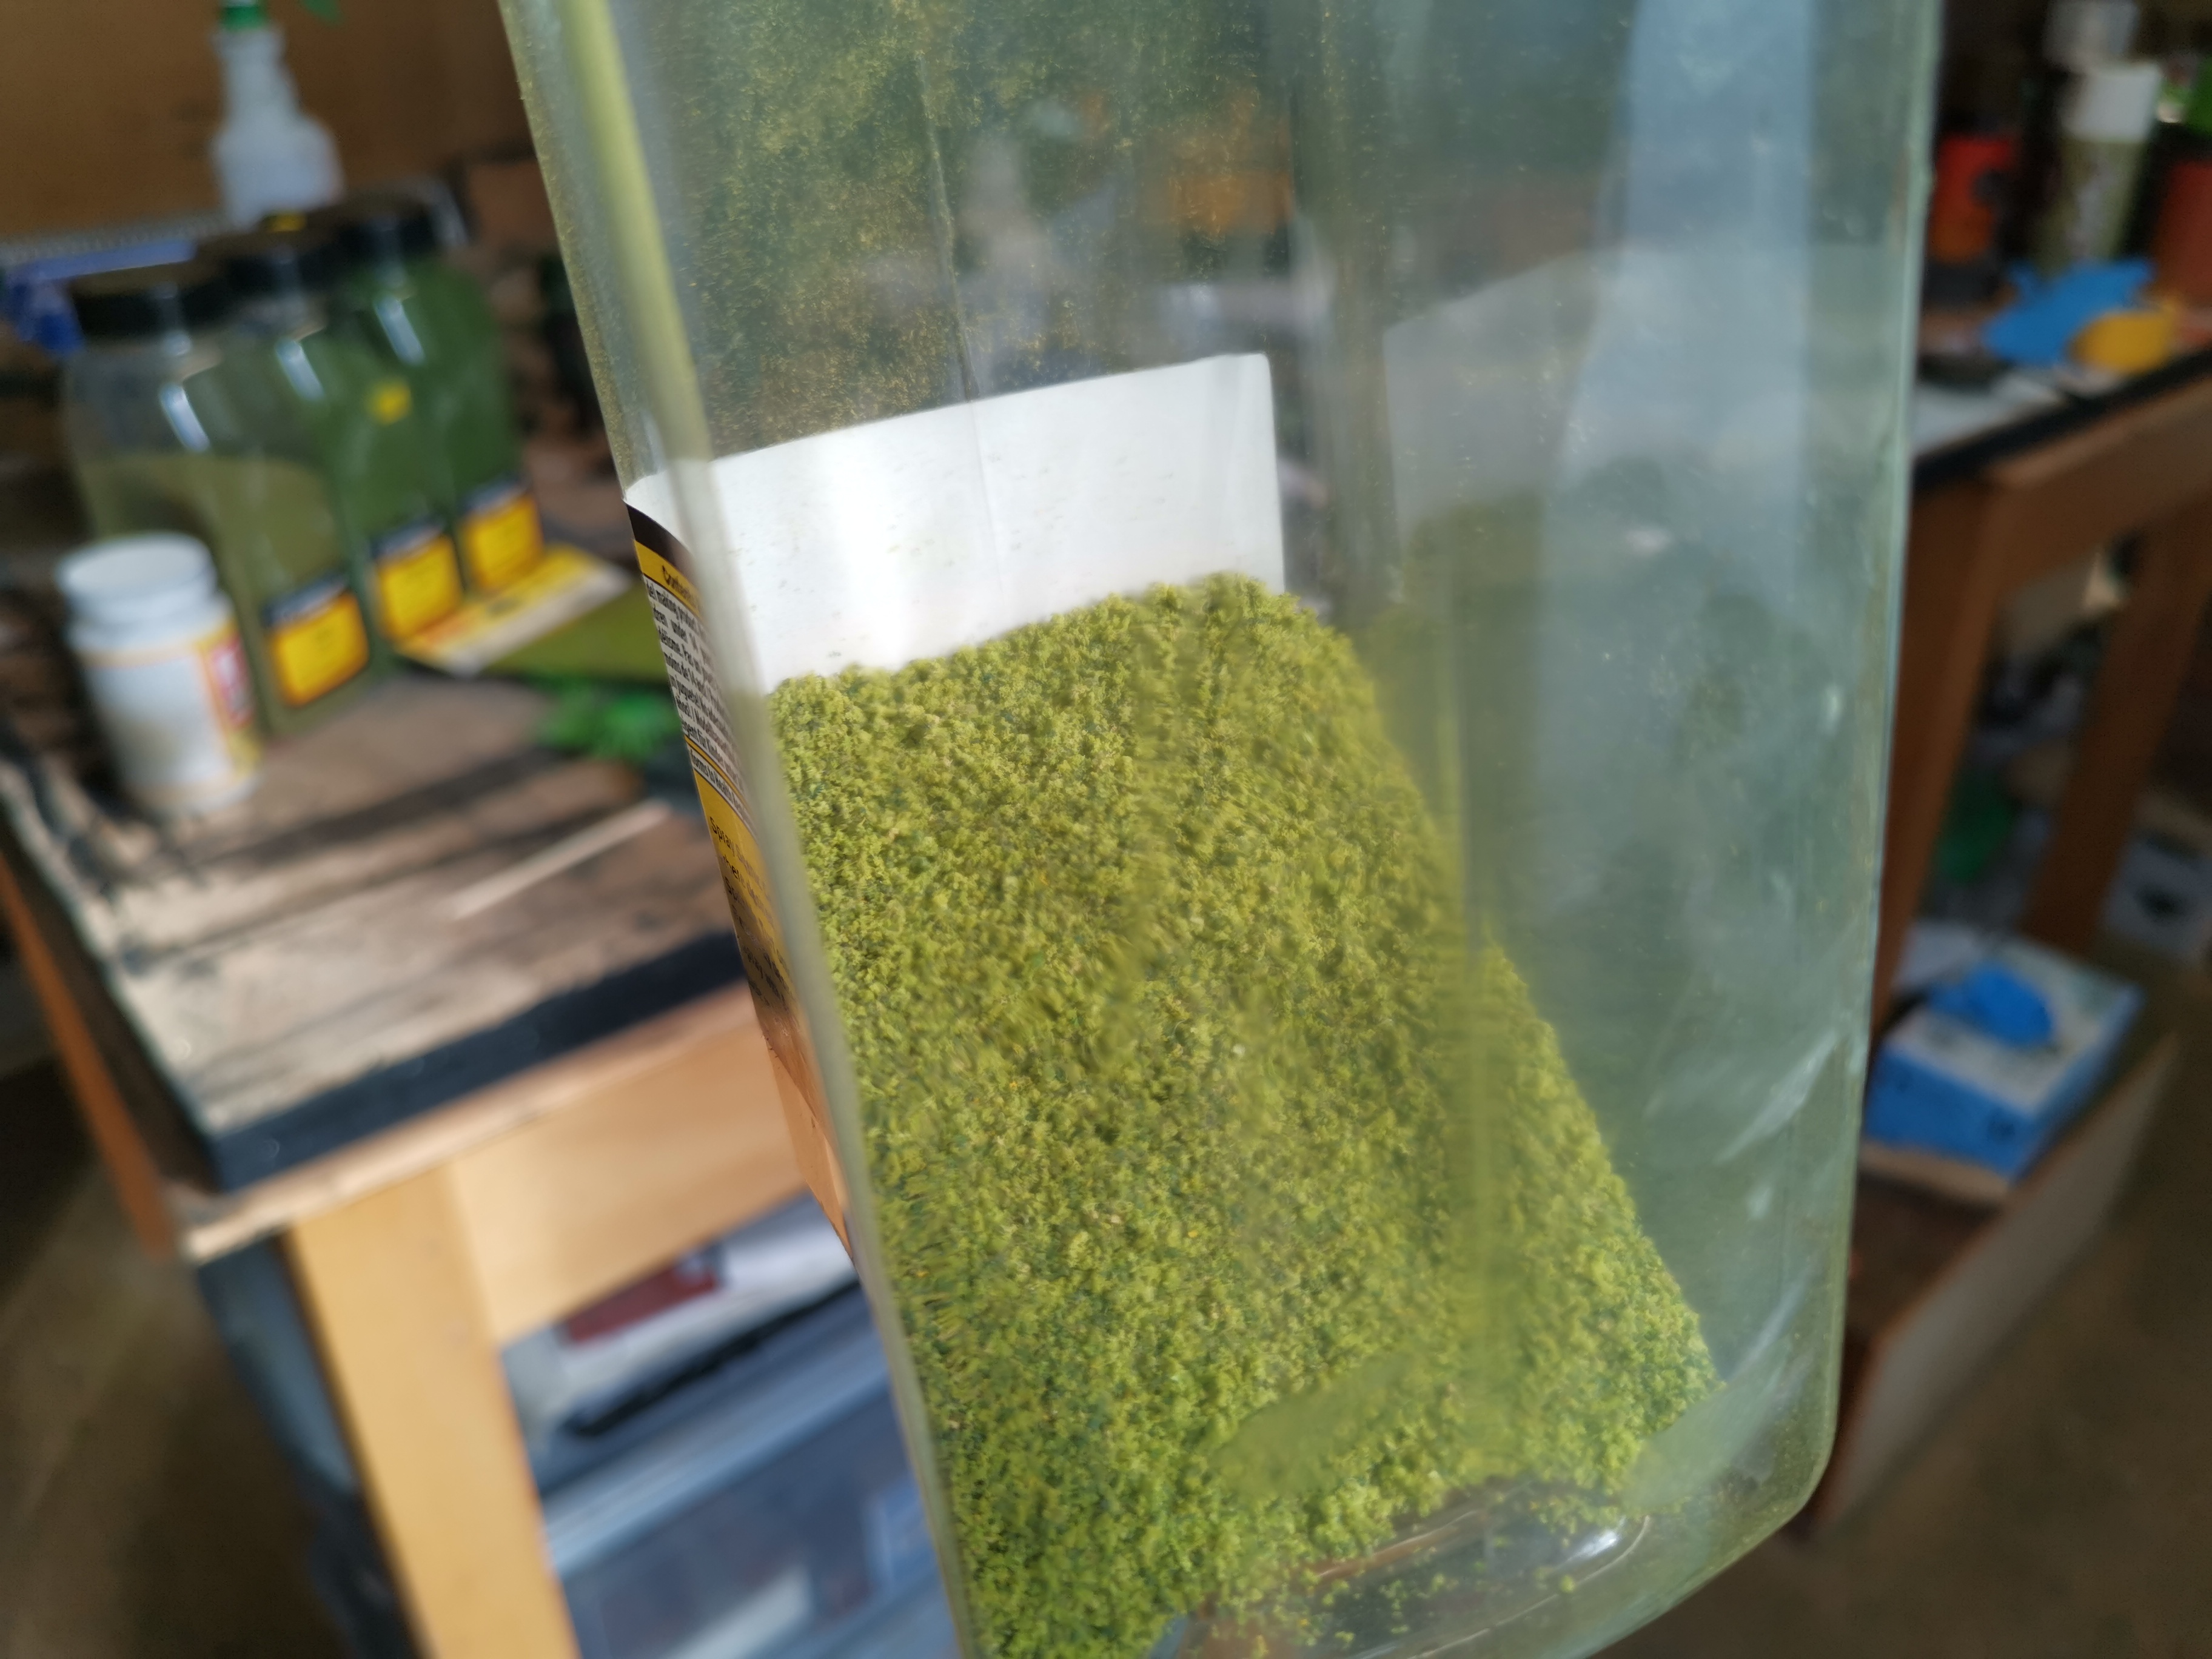
The next step would be the last for the board itself. Simply flock it and seal it. I started by painting PVA over the entire board. I first applied the dark flocks and then followed with the light flocks on top. I finished off with the custom blend I mixed using all the colours but mainly using the Heki light green fine.
This was then sealed using isopropyl alcohol to break the surface tension, then I saturated the flock using scenic cement (PVA, matt varnish & water). I repeated this for a second time to make sure it was all solid.
Starting the Trees
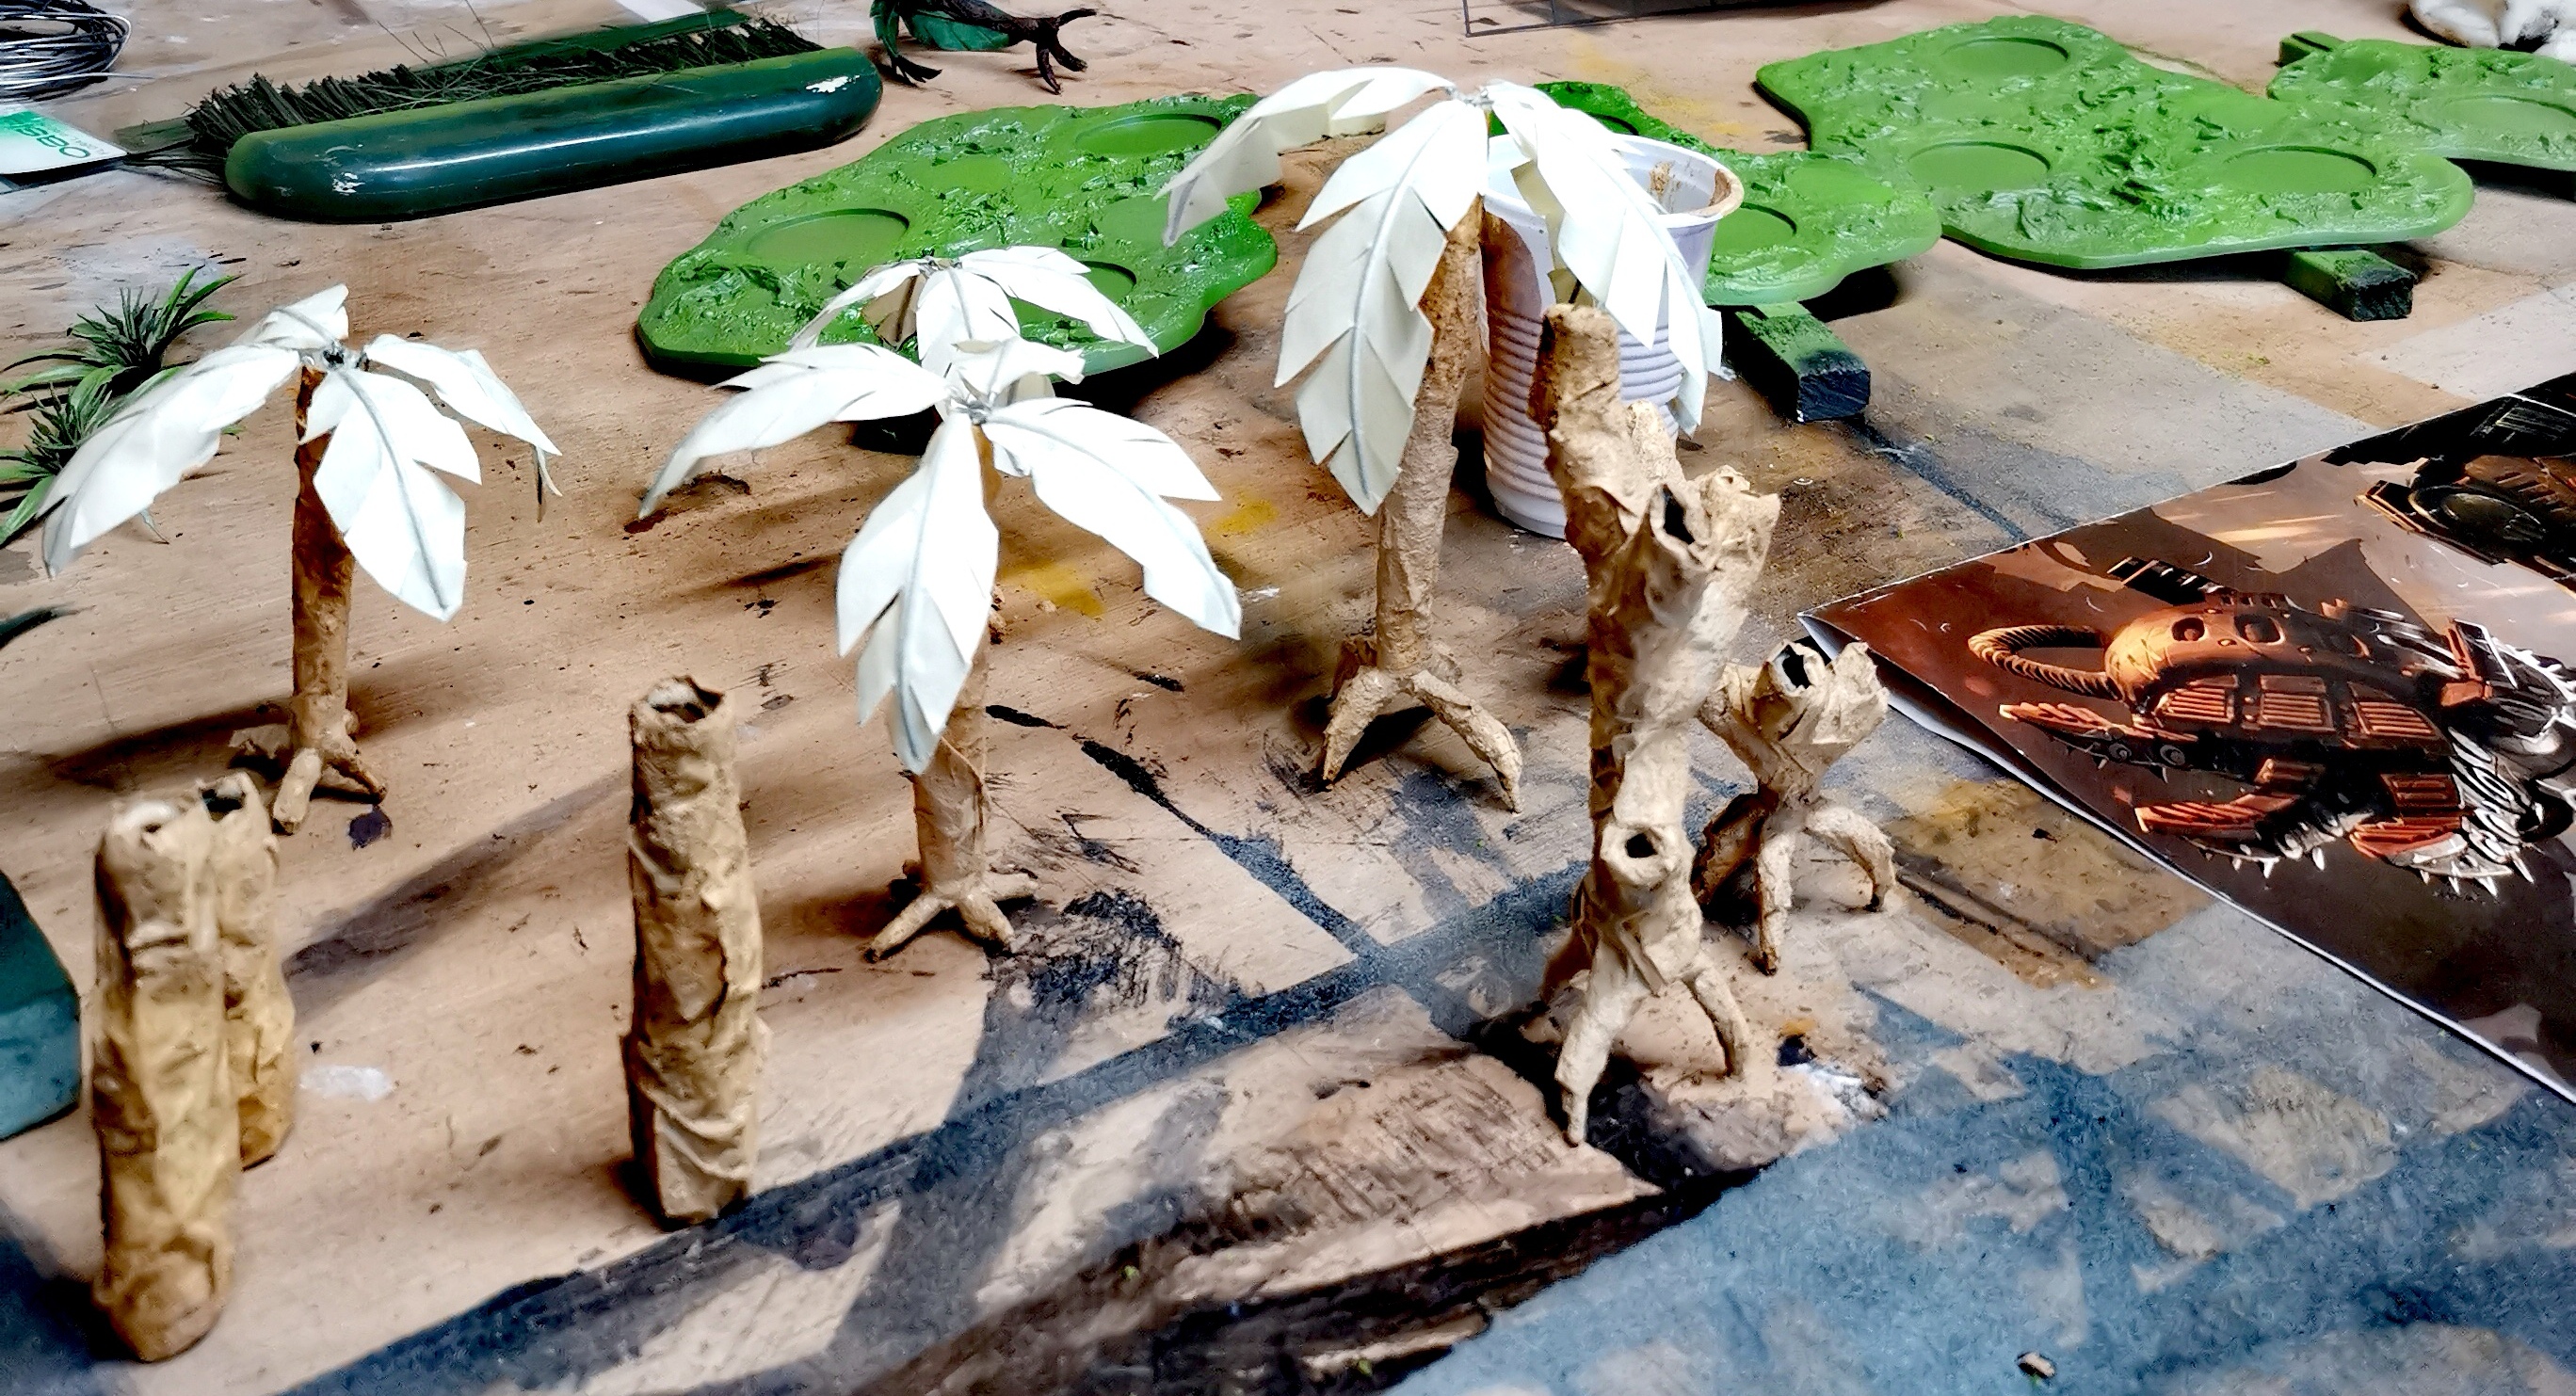
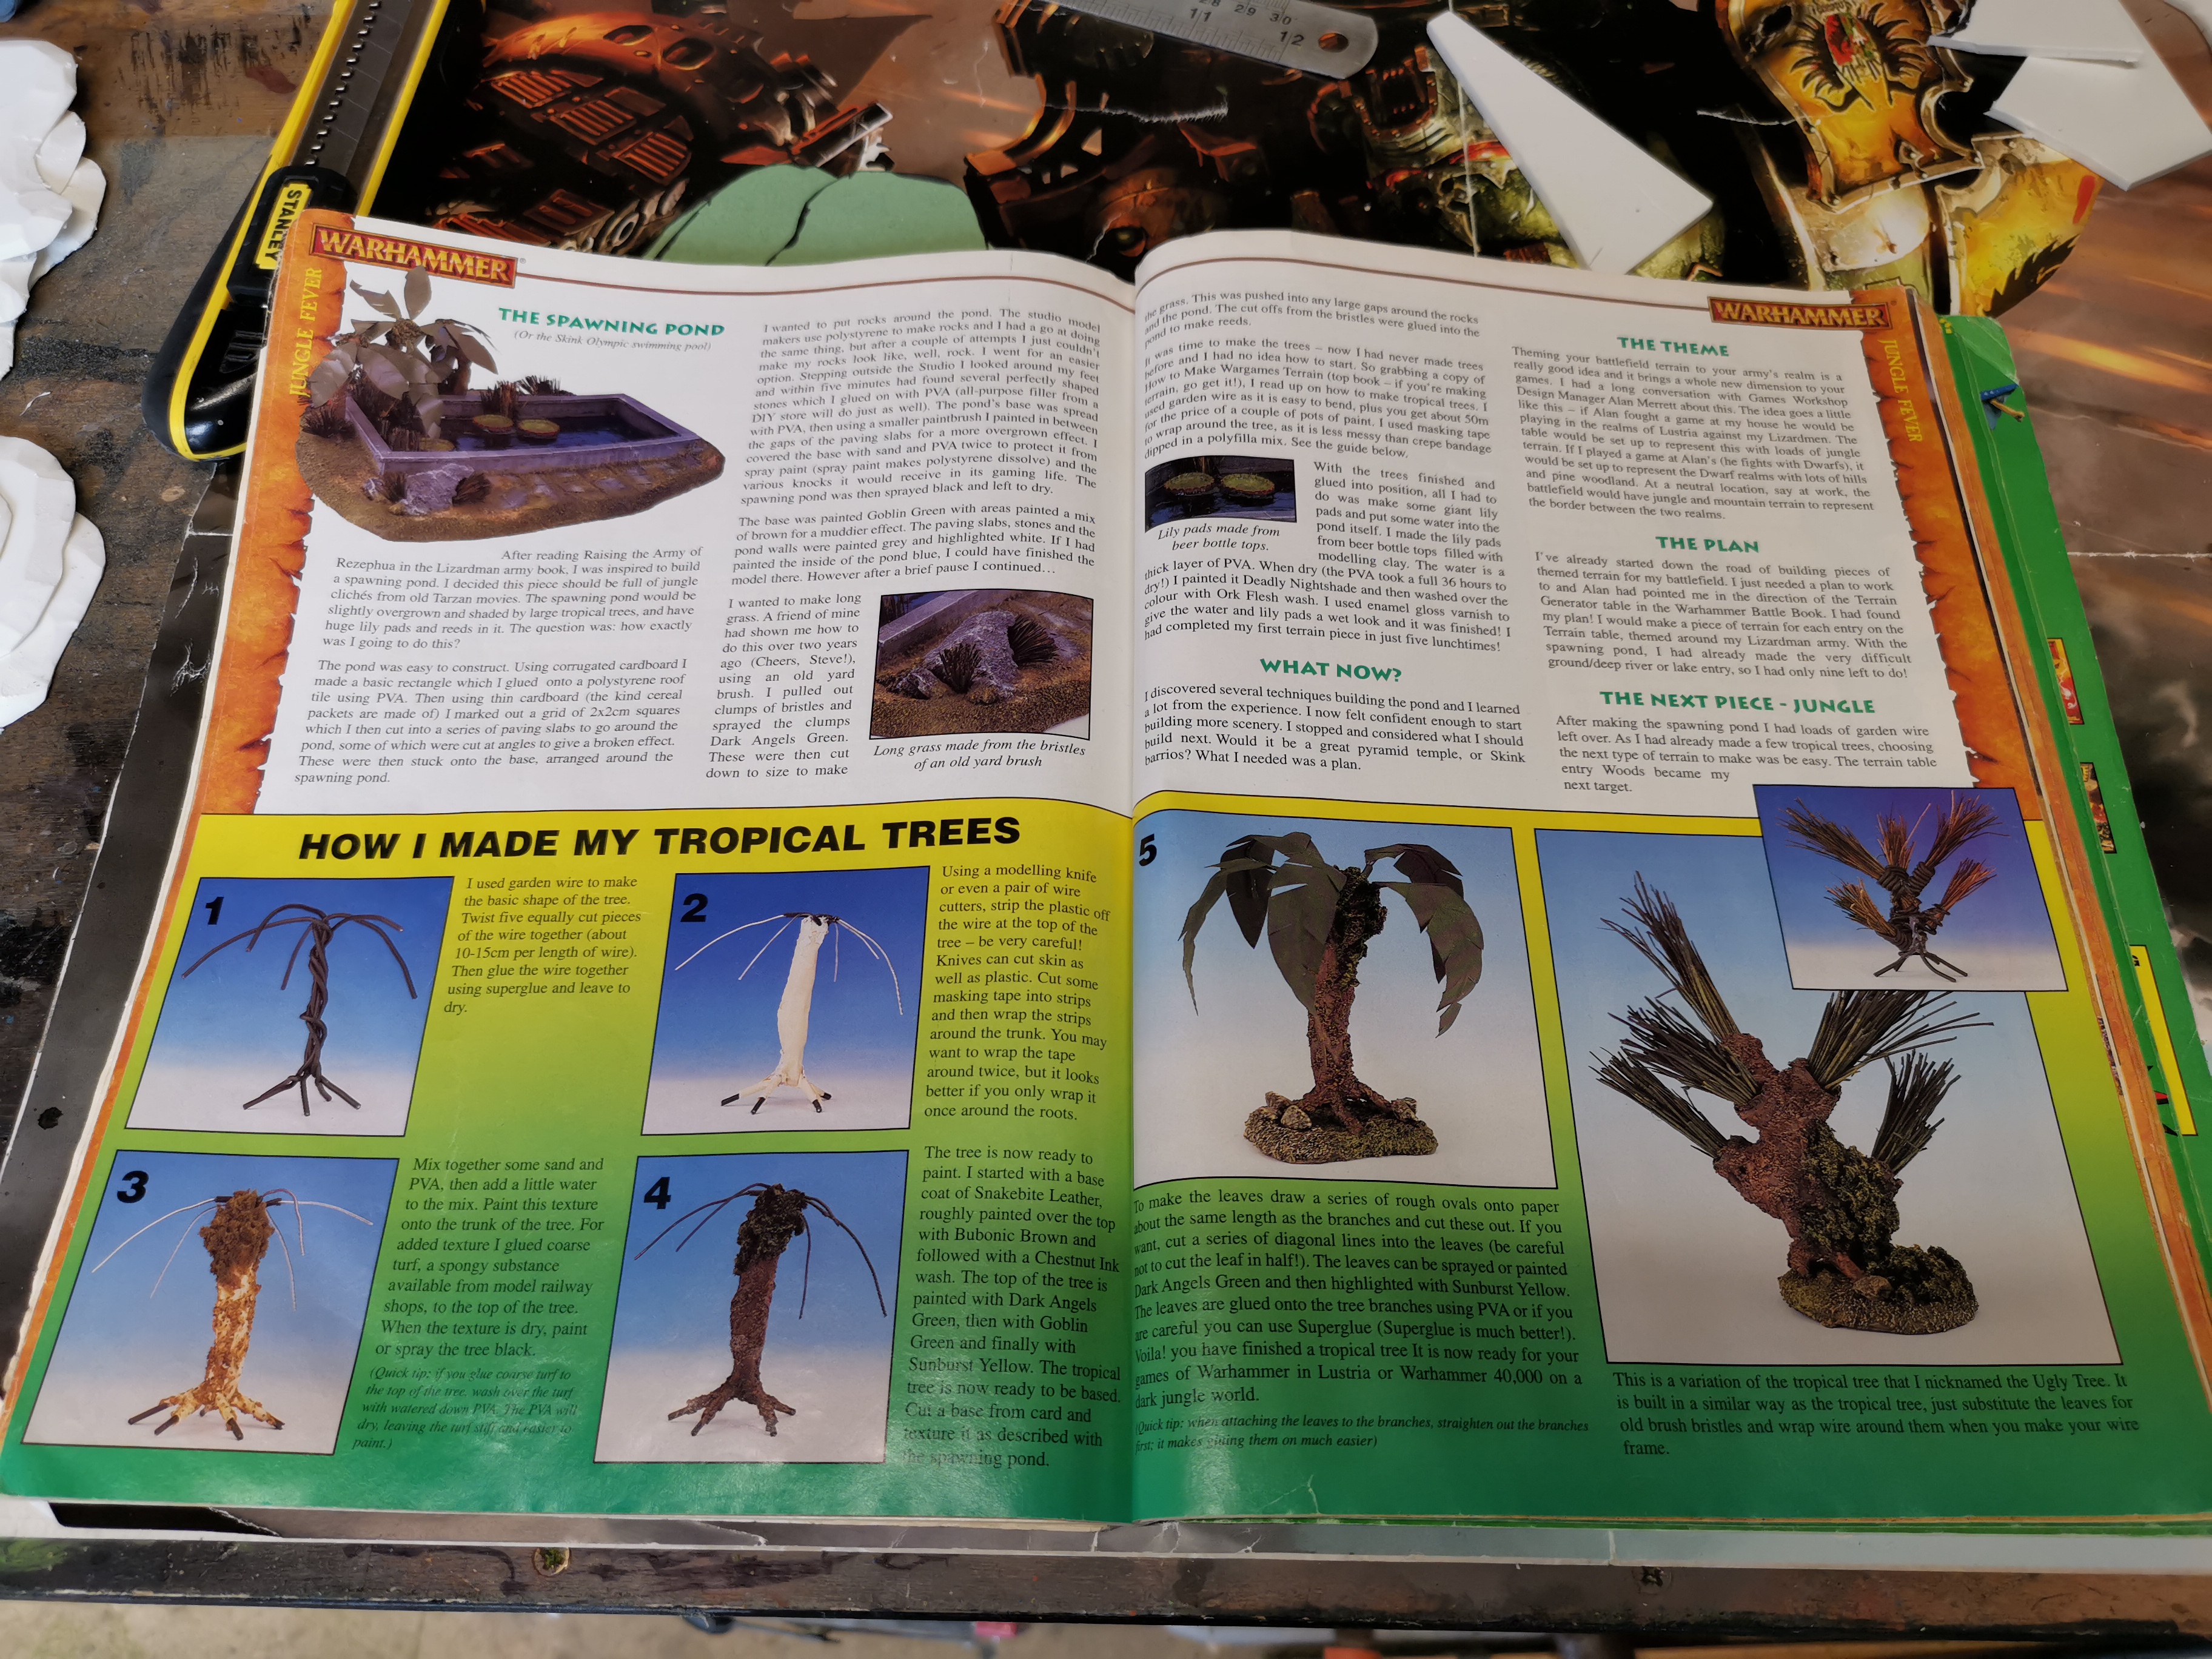
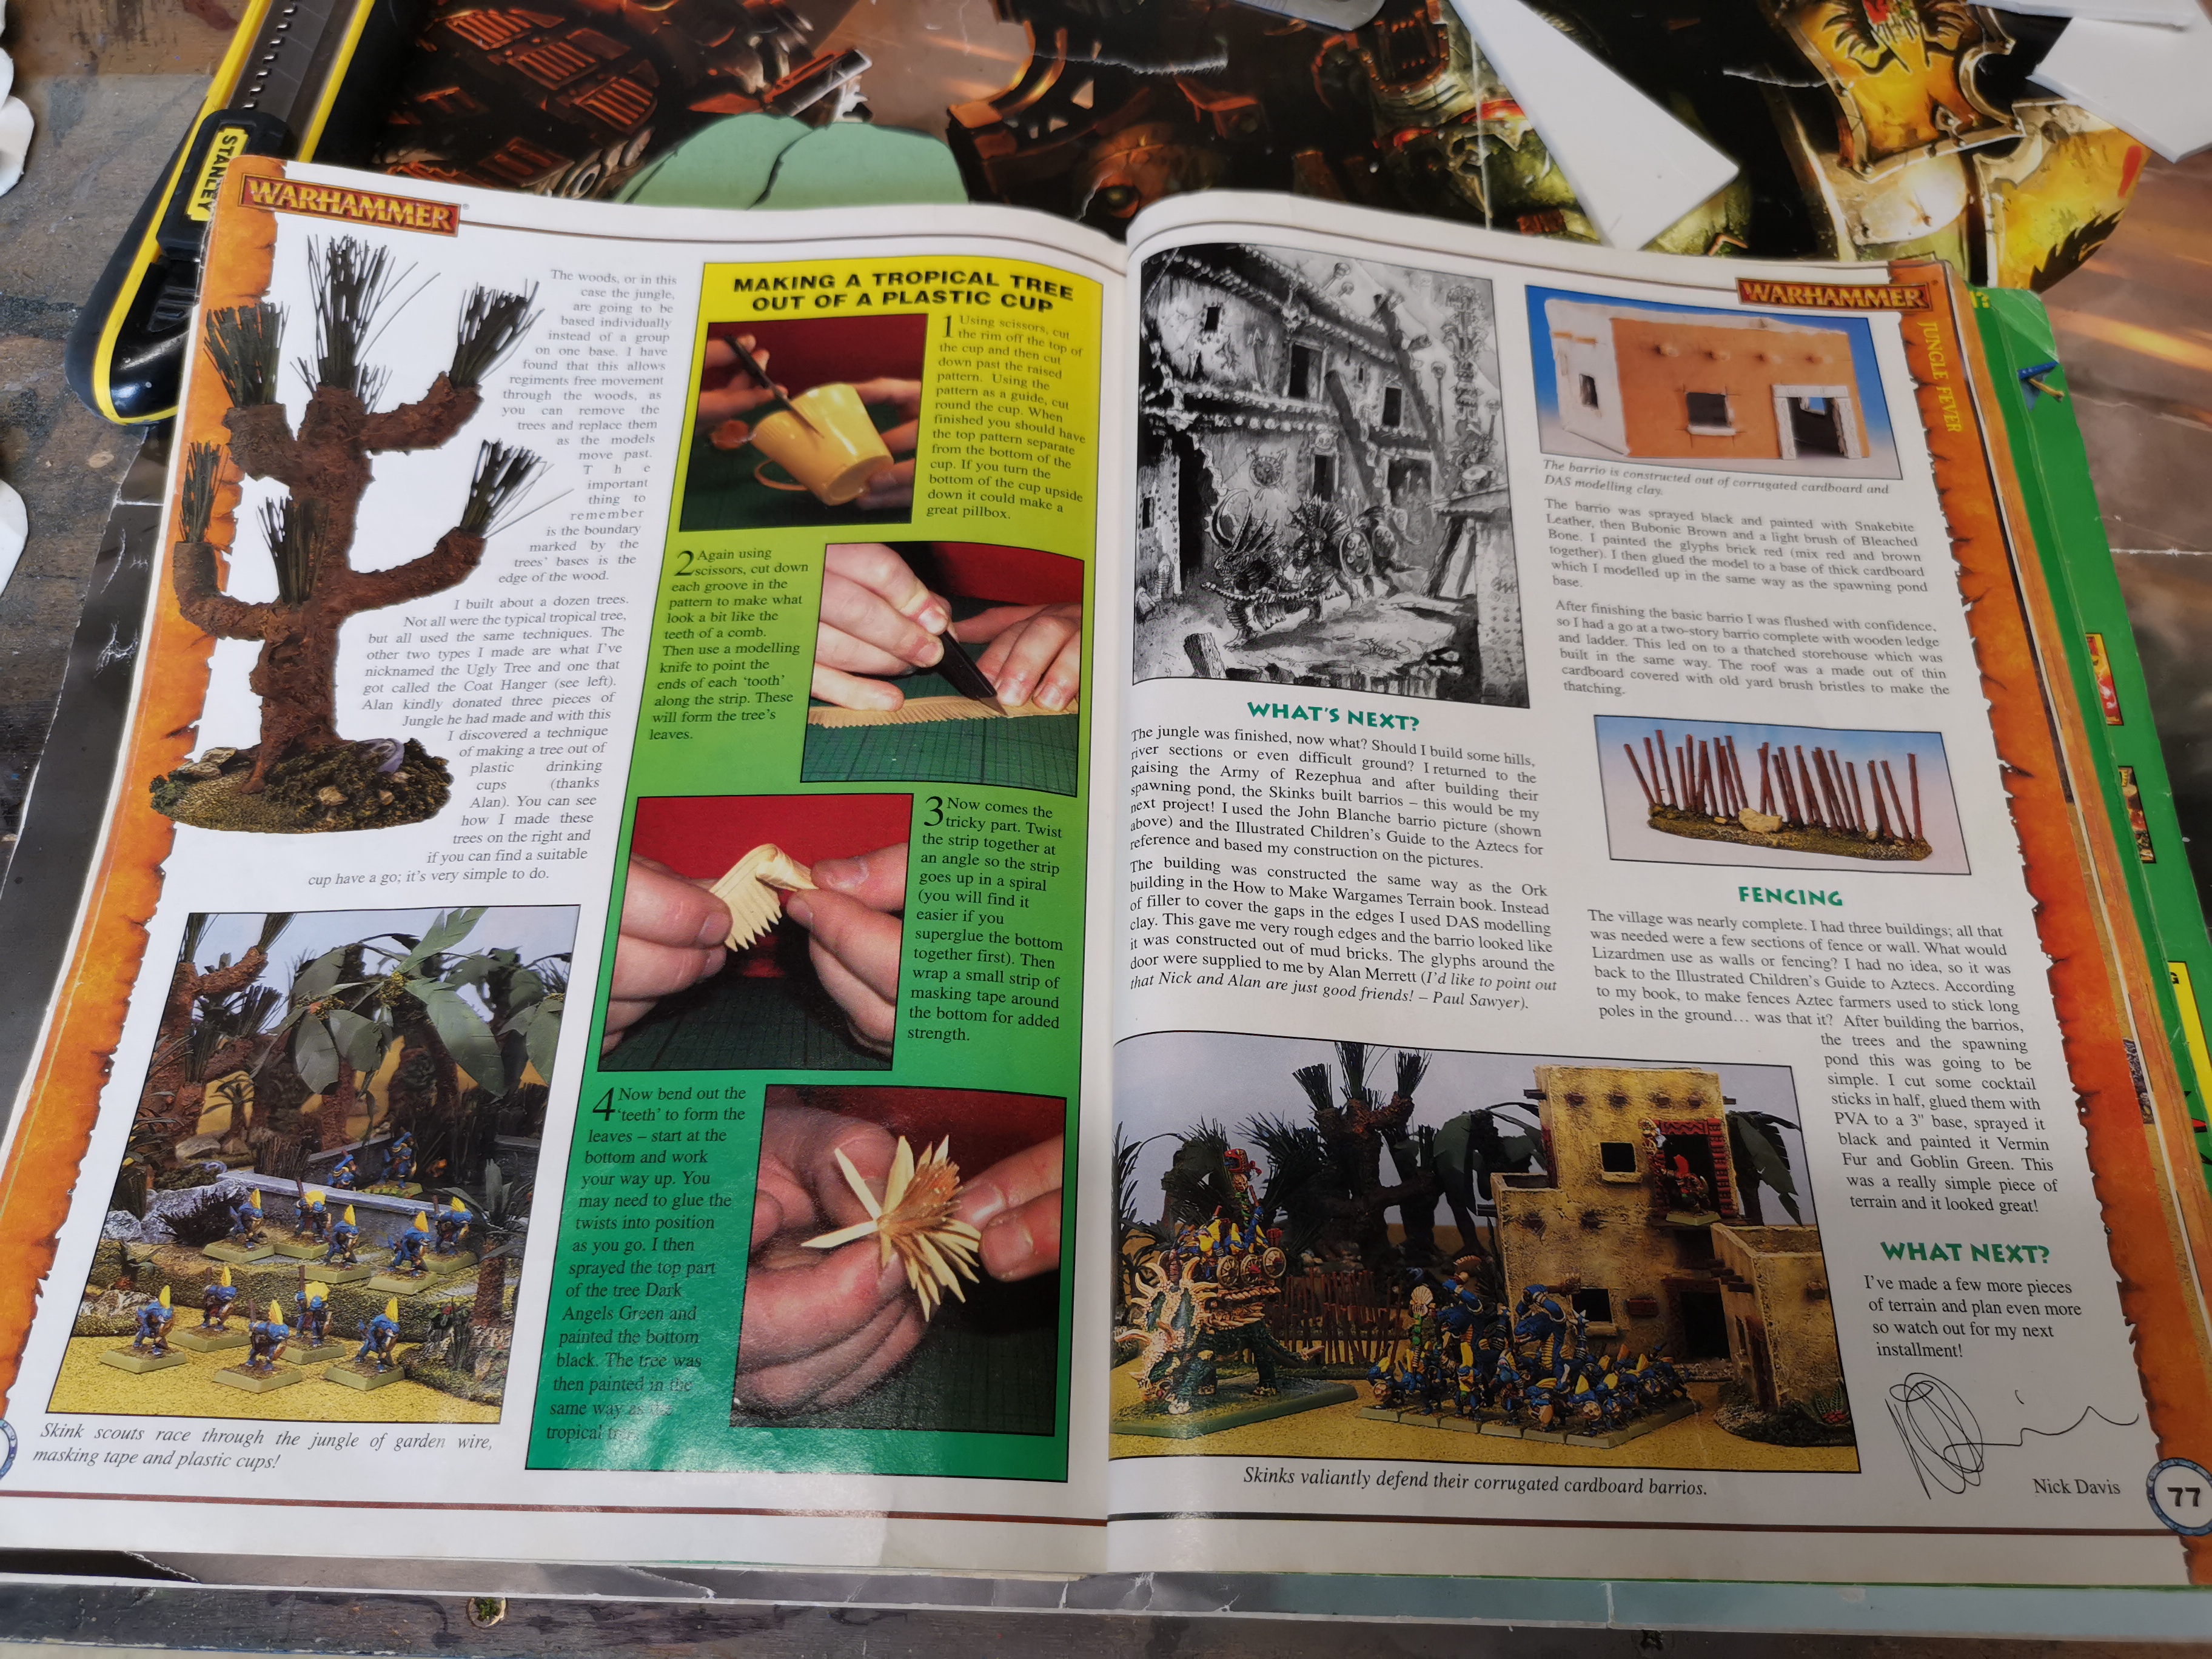
Following the instructions in the white dwarf I made a bunch of trees, this turned out to not be enough and I had to make more (probably should have counted them).
Simply put: twist 4 or more lengths of wire together into an interesting tree like shape, wrap masking tape around the trunk and cover with a texture paste of some kind. The leaves were also masking tape, stuck to both side of the wire and cut to shape.
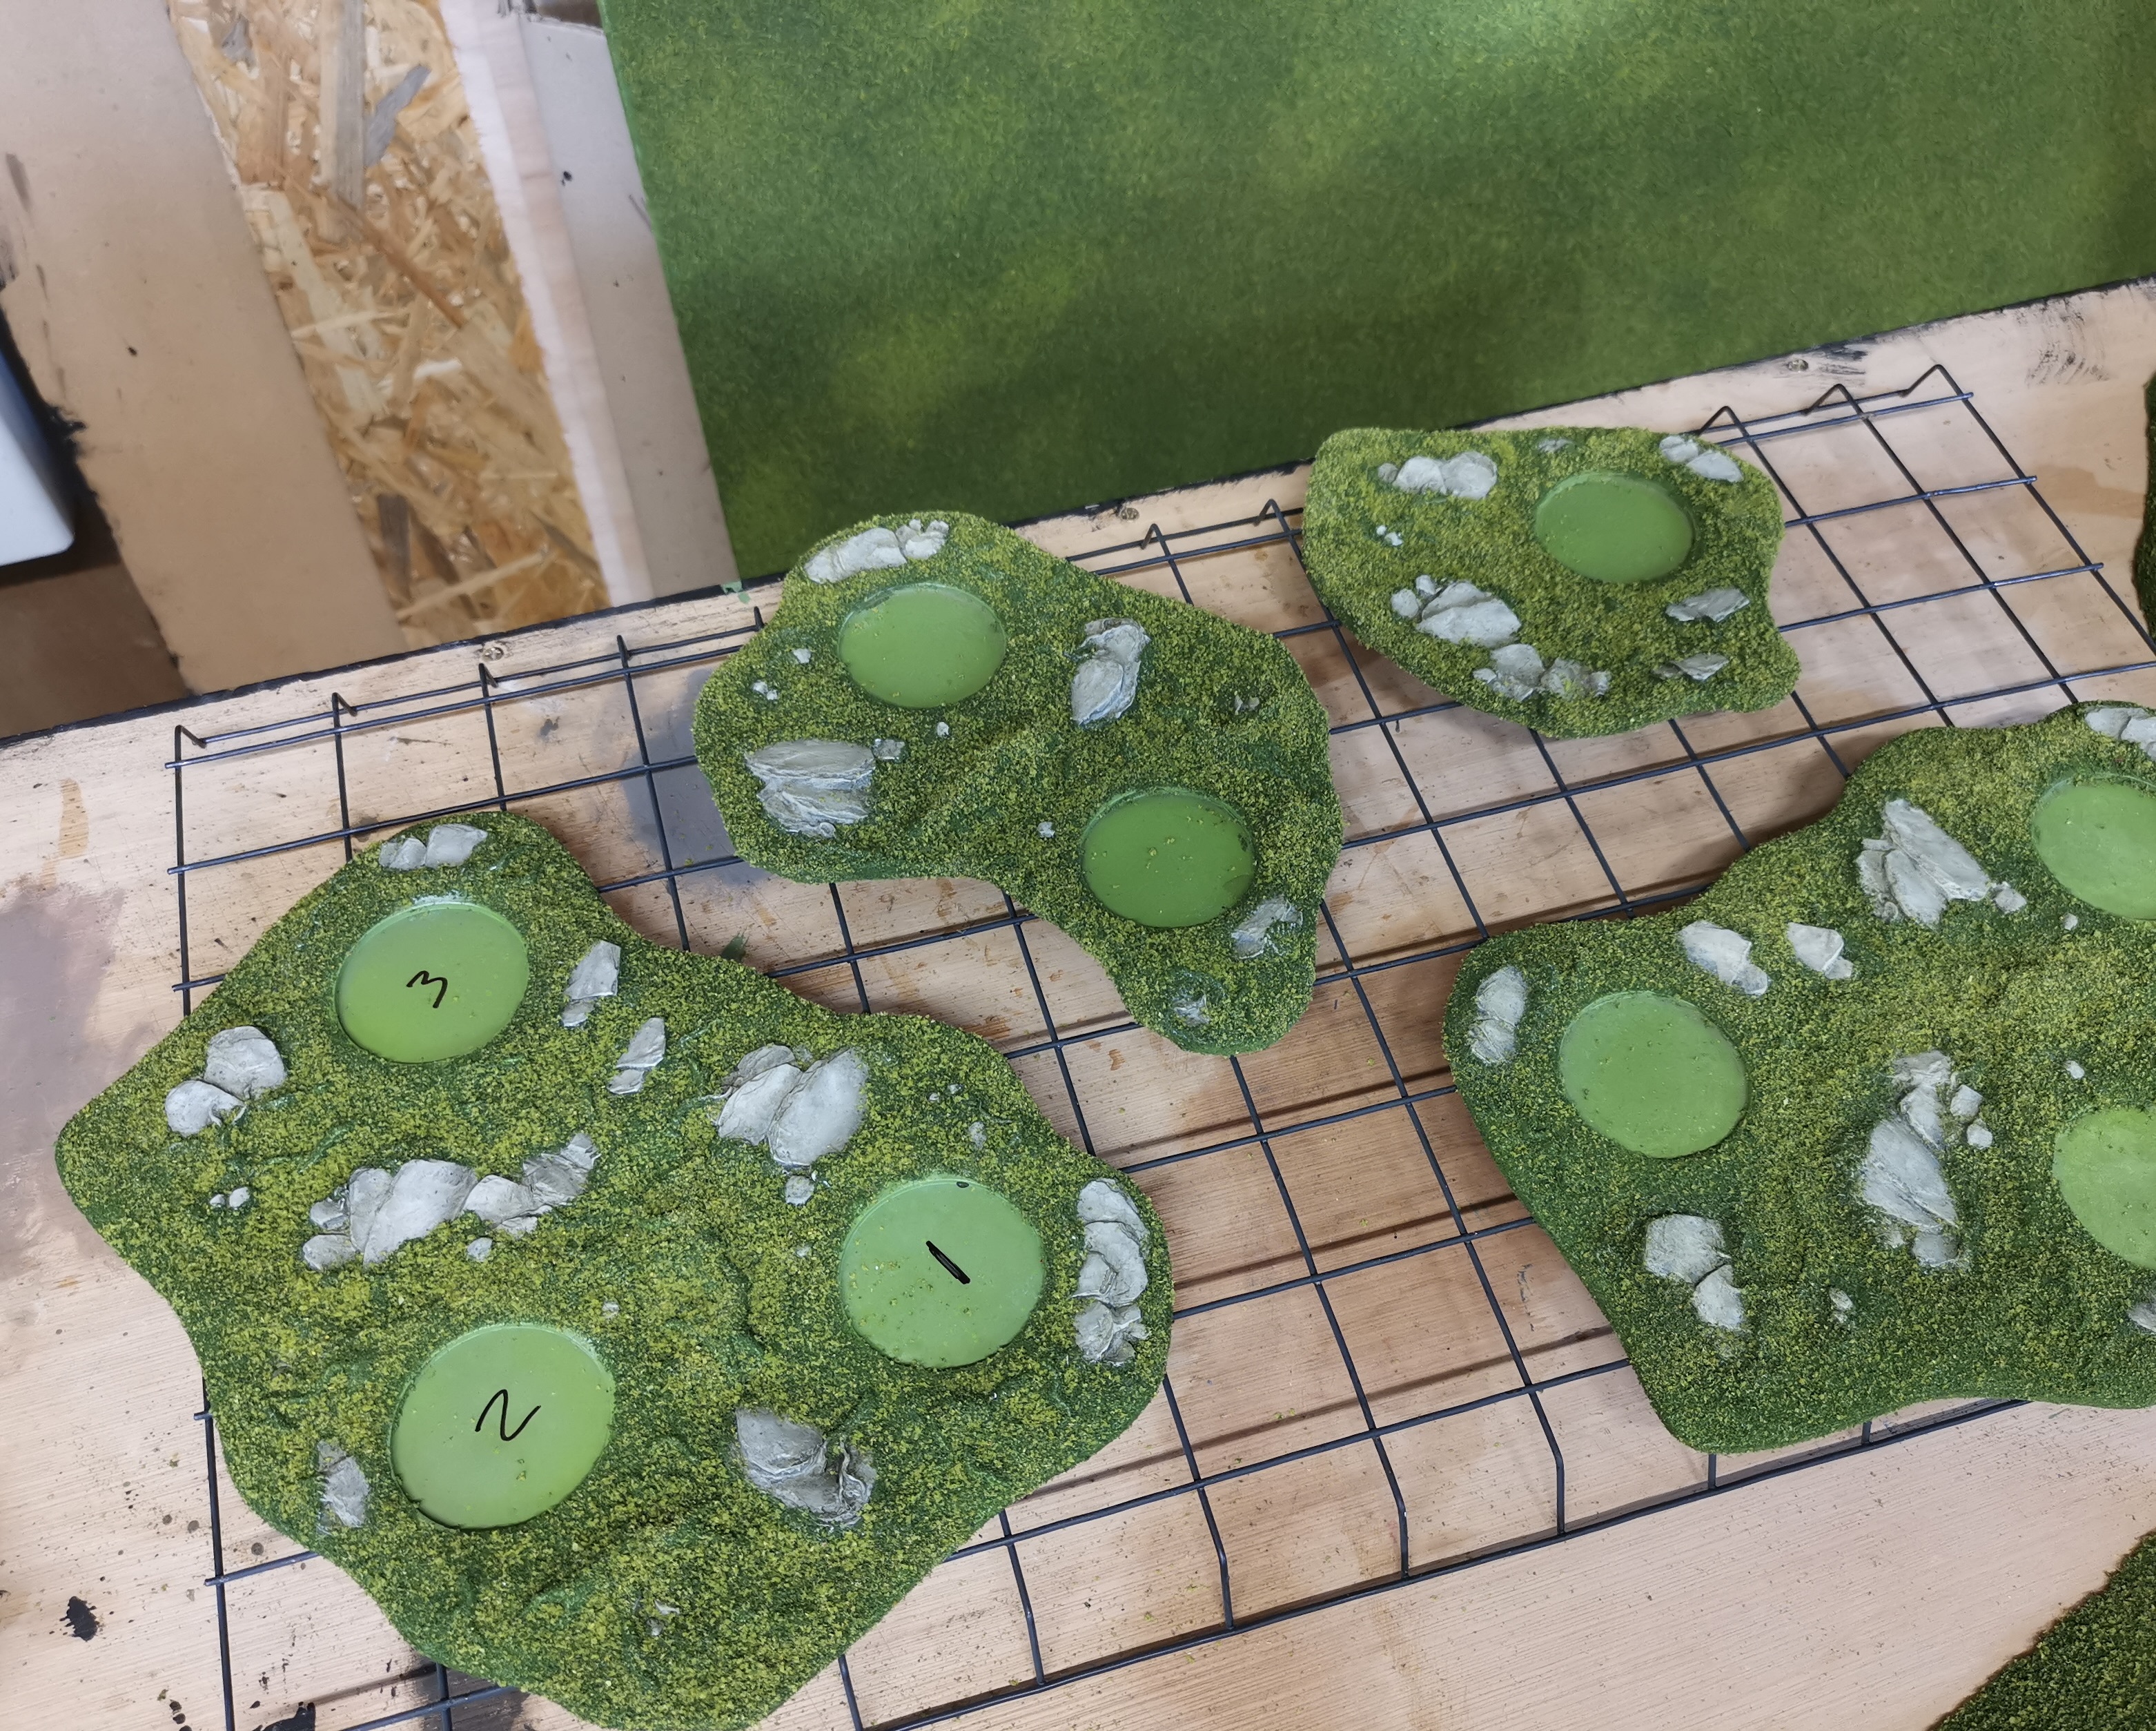
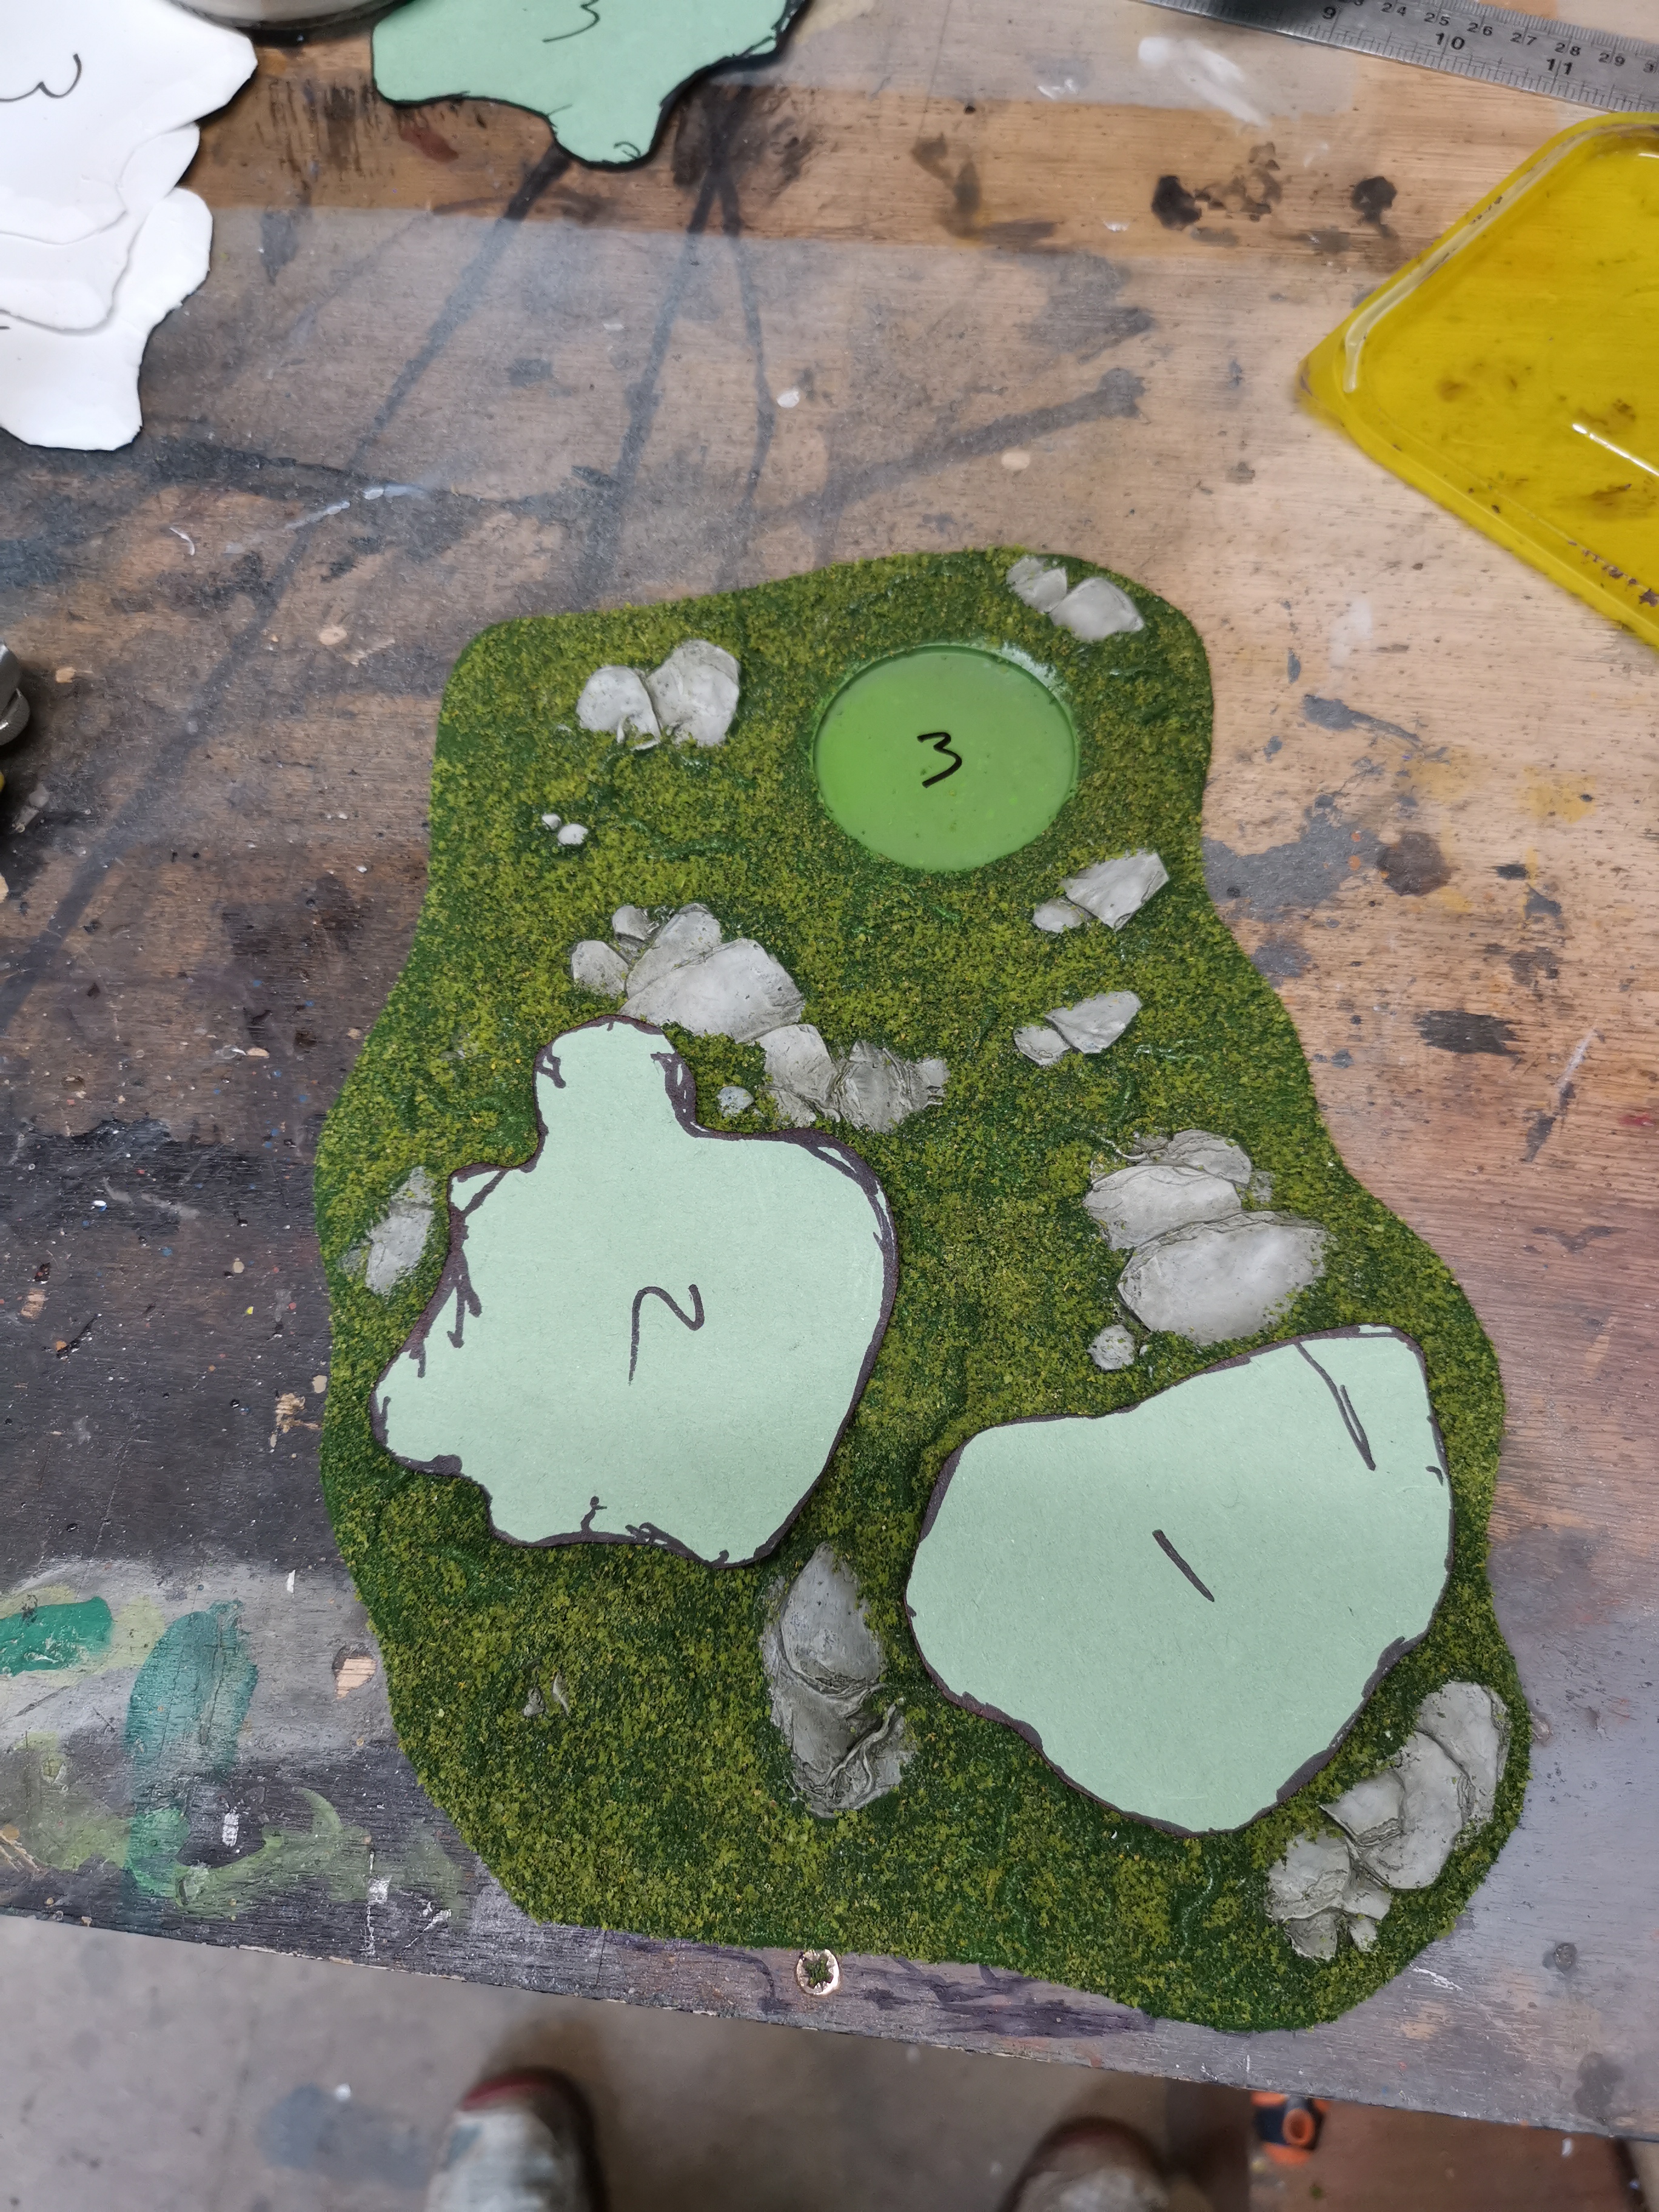
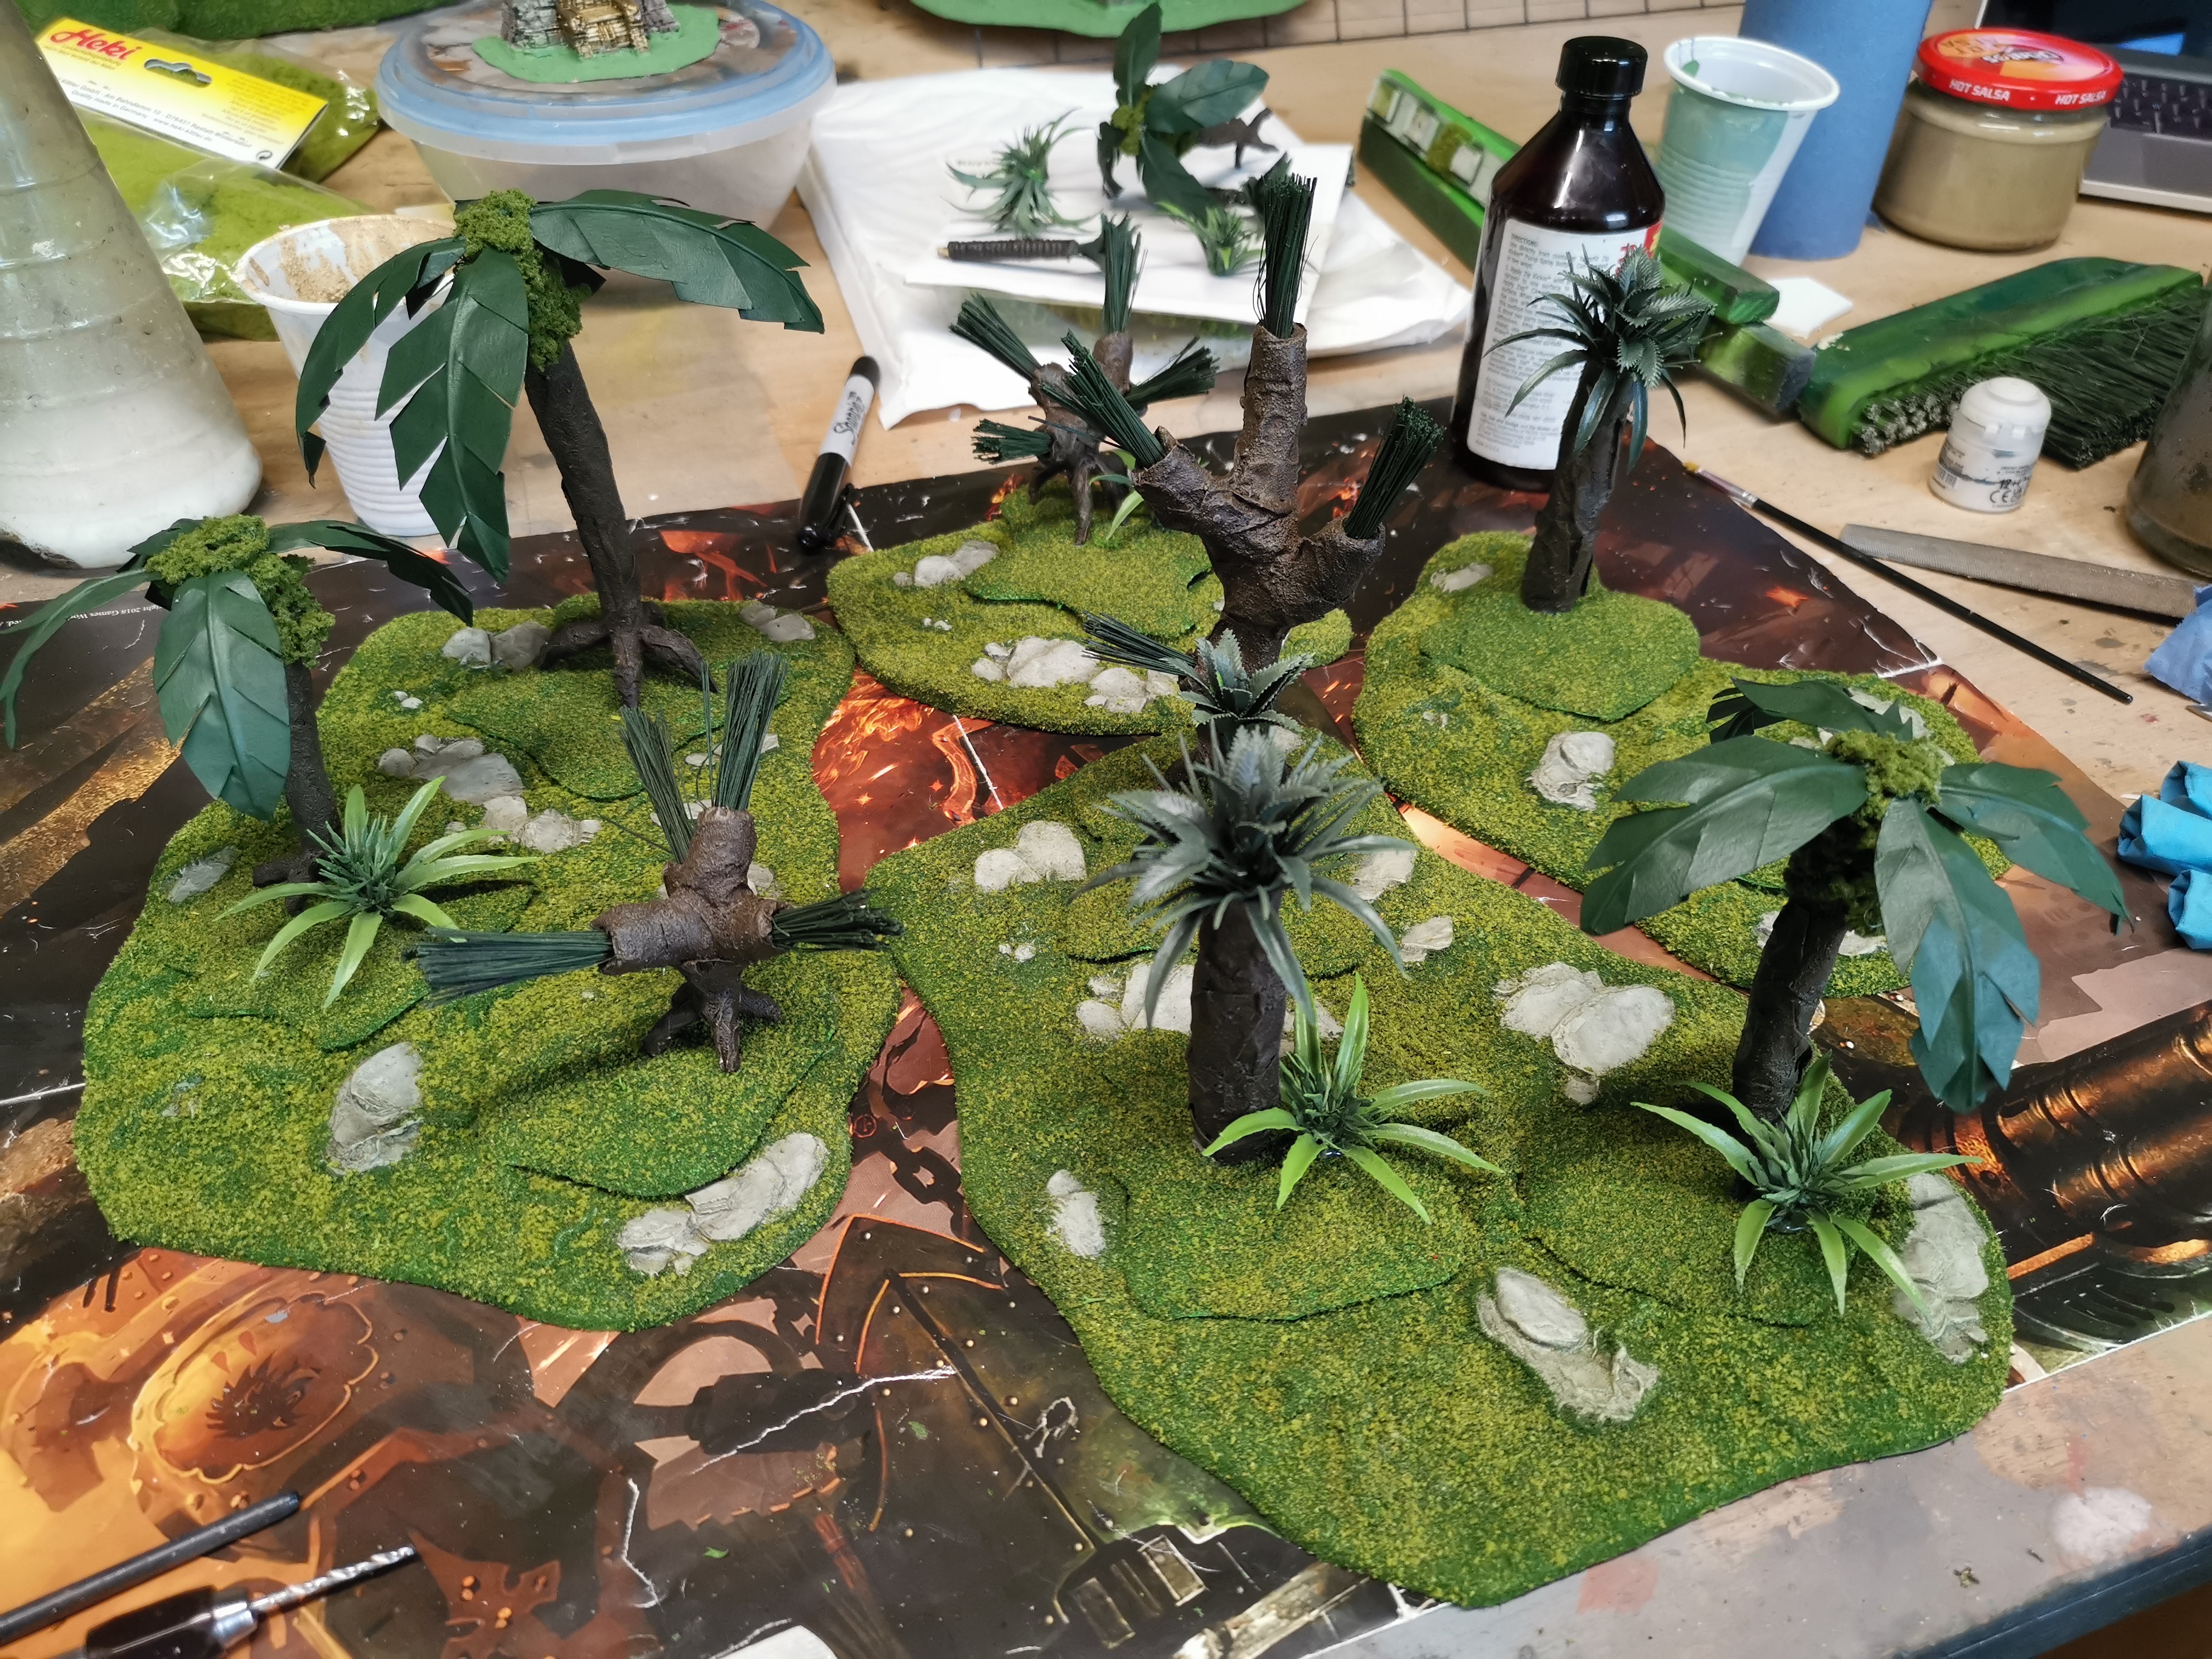
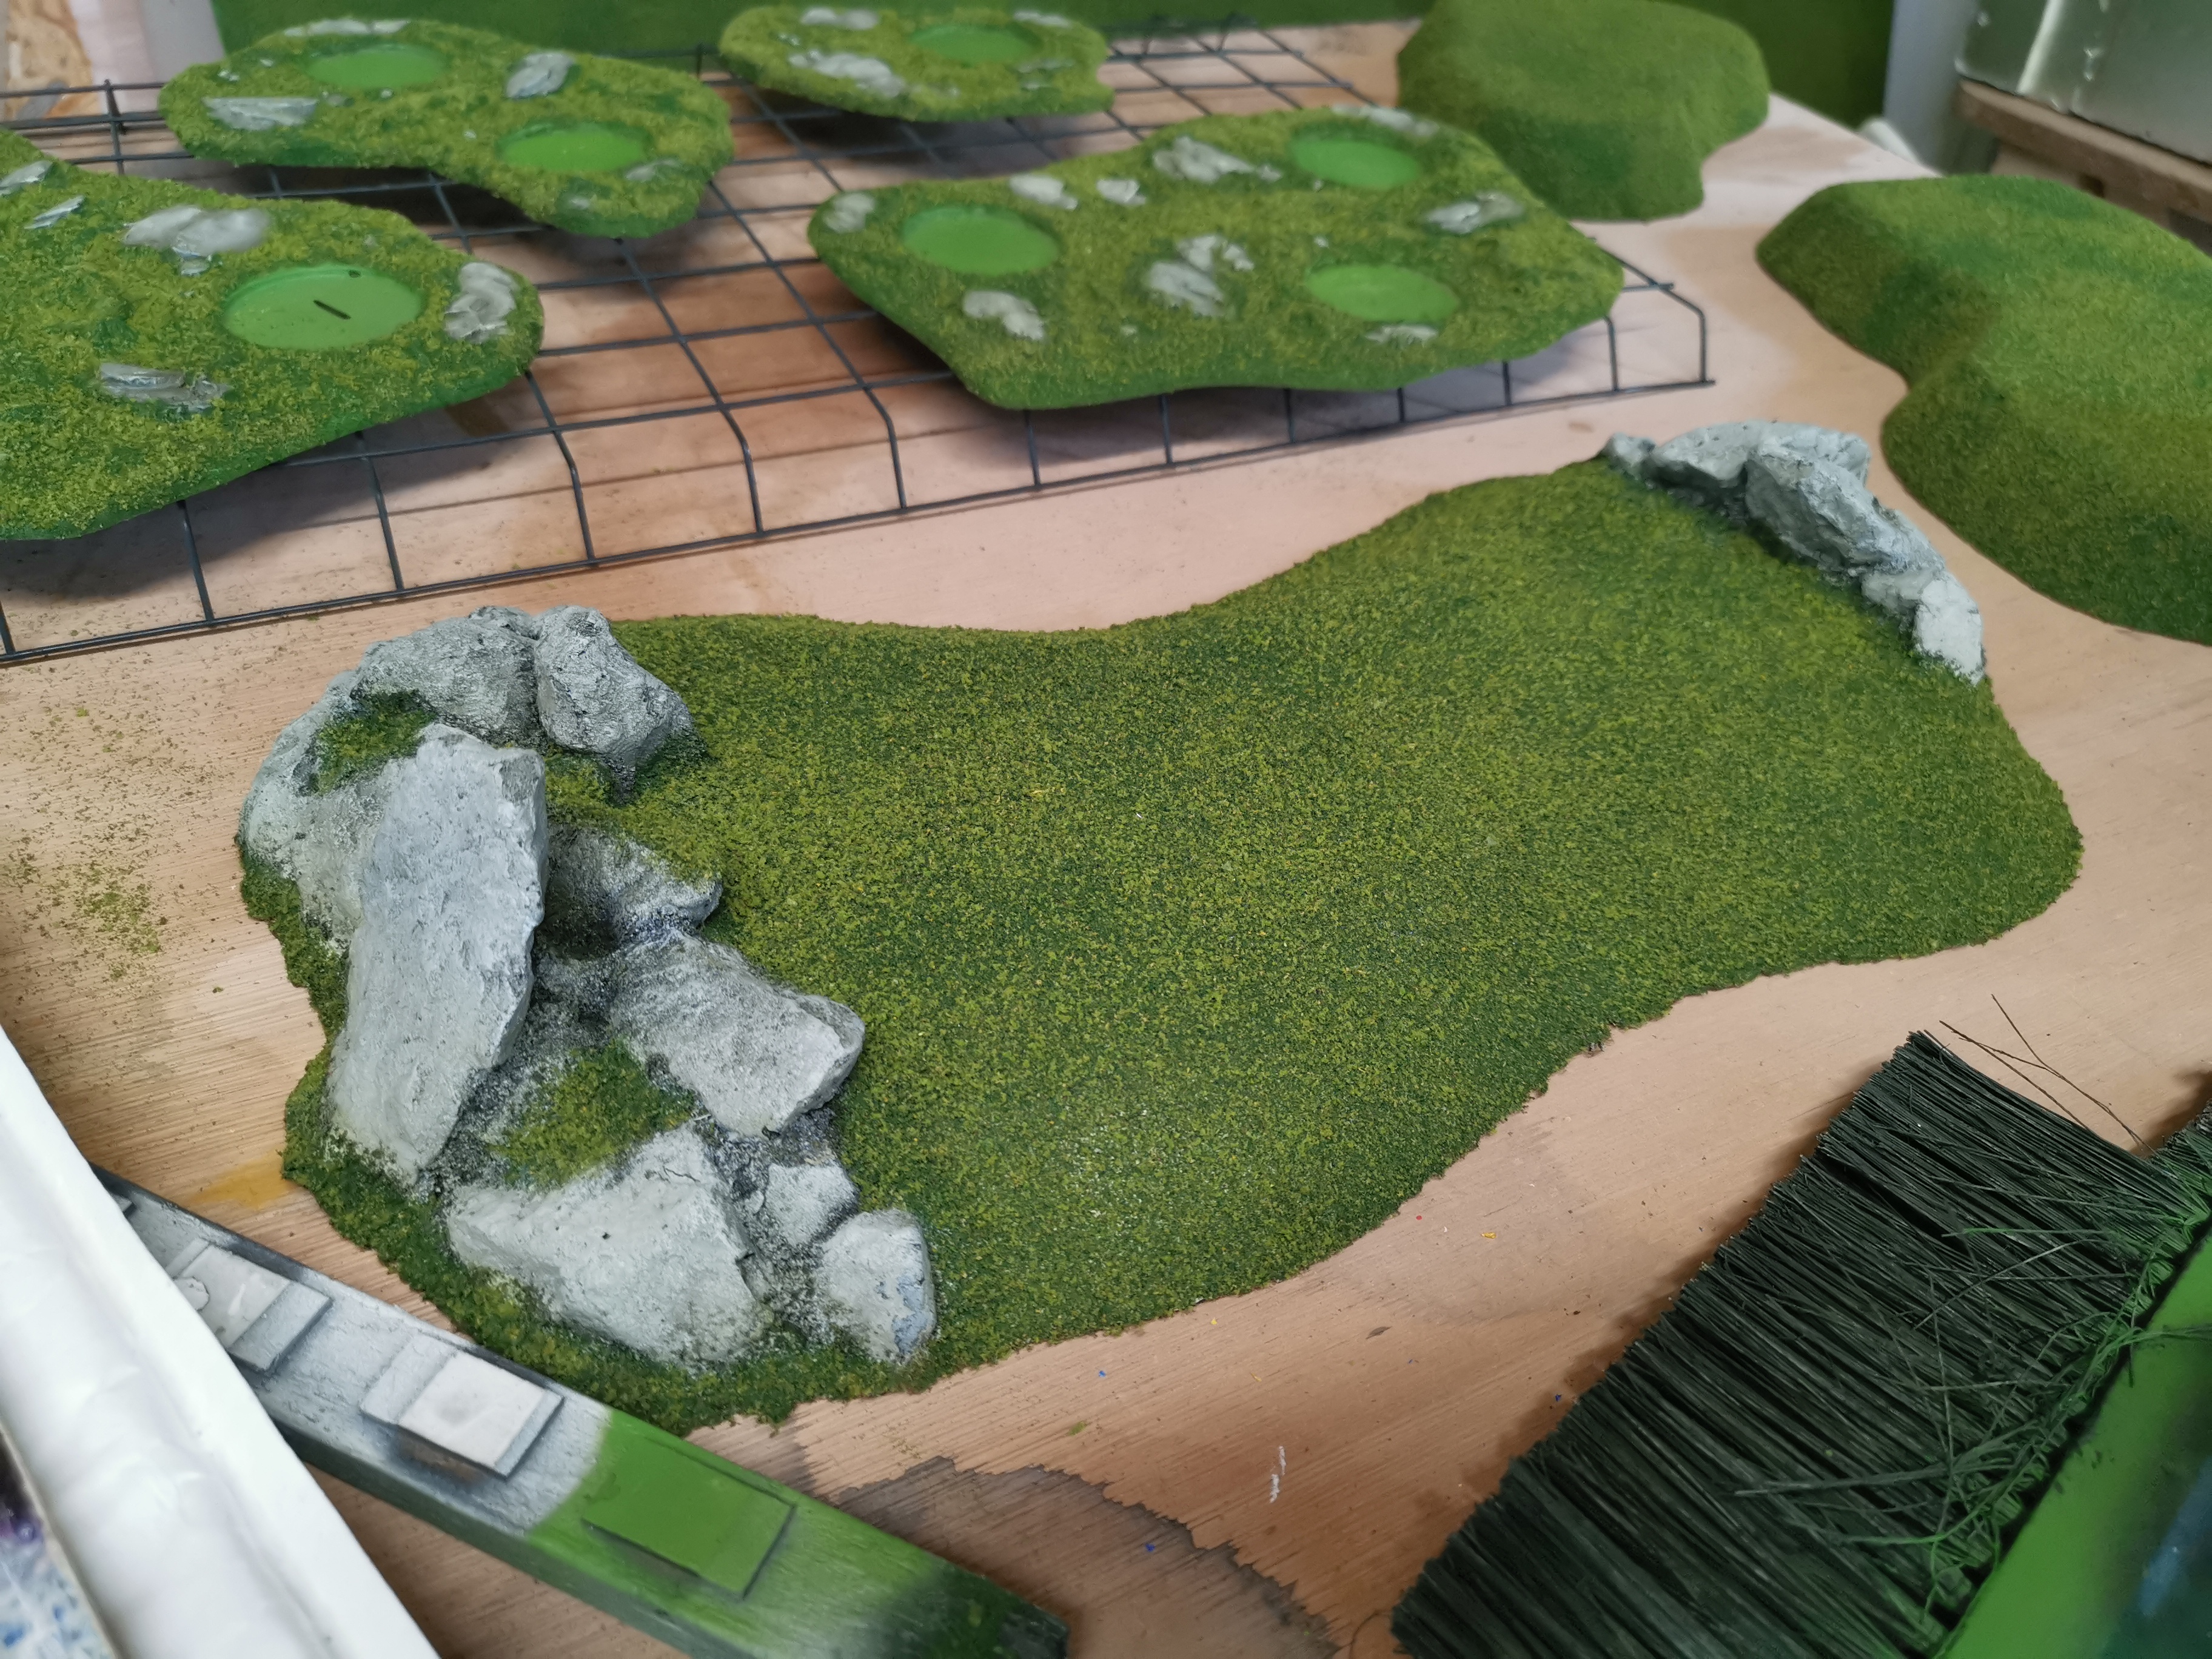
The bases in the background are some old Citadel woods bases I had in the attic. I could have used MDF but I quite liked all the rocks that are sculpted into them. I sprayed these green like the board, painted the rocks and flocked them the same as the board.
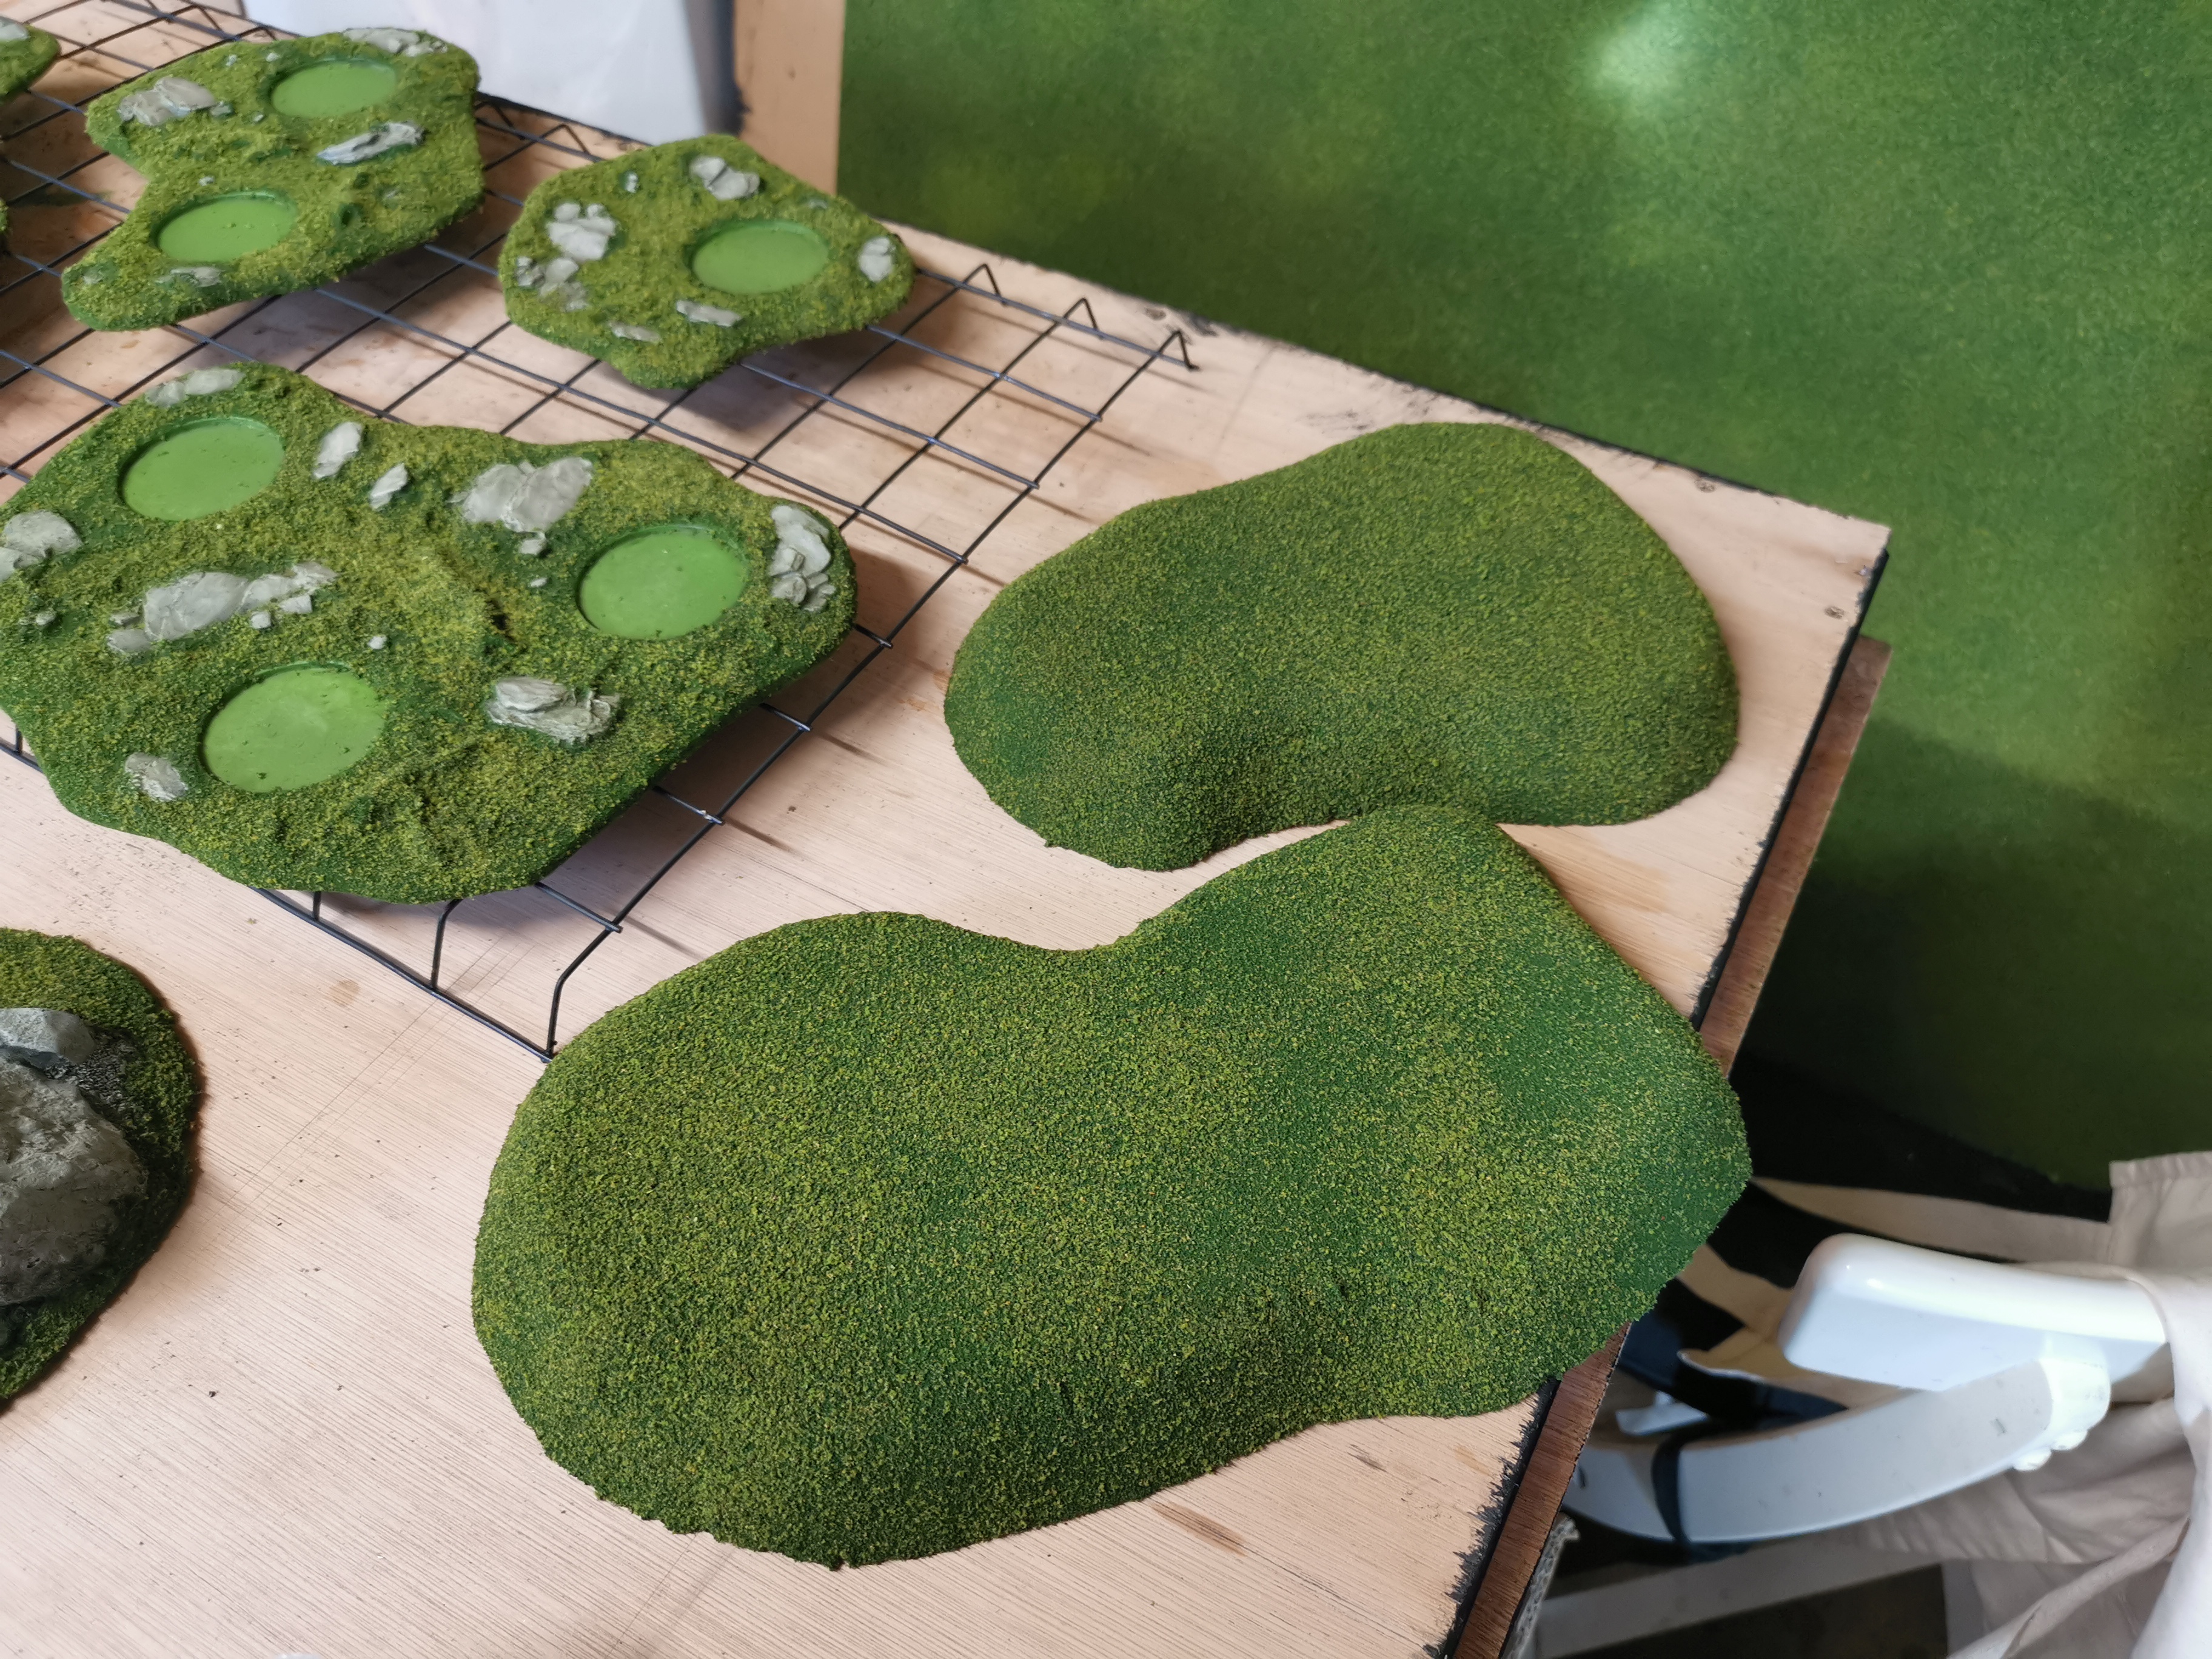
Tree Bases
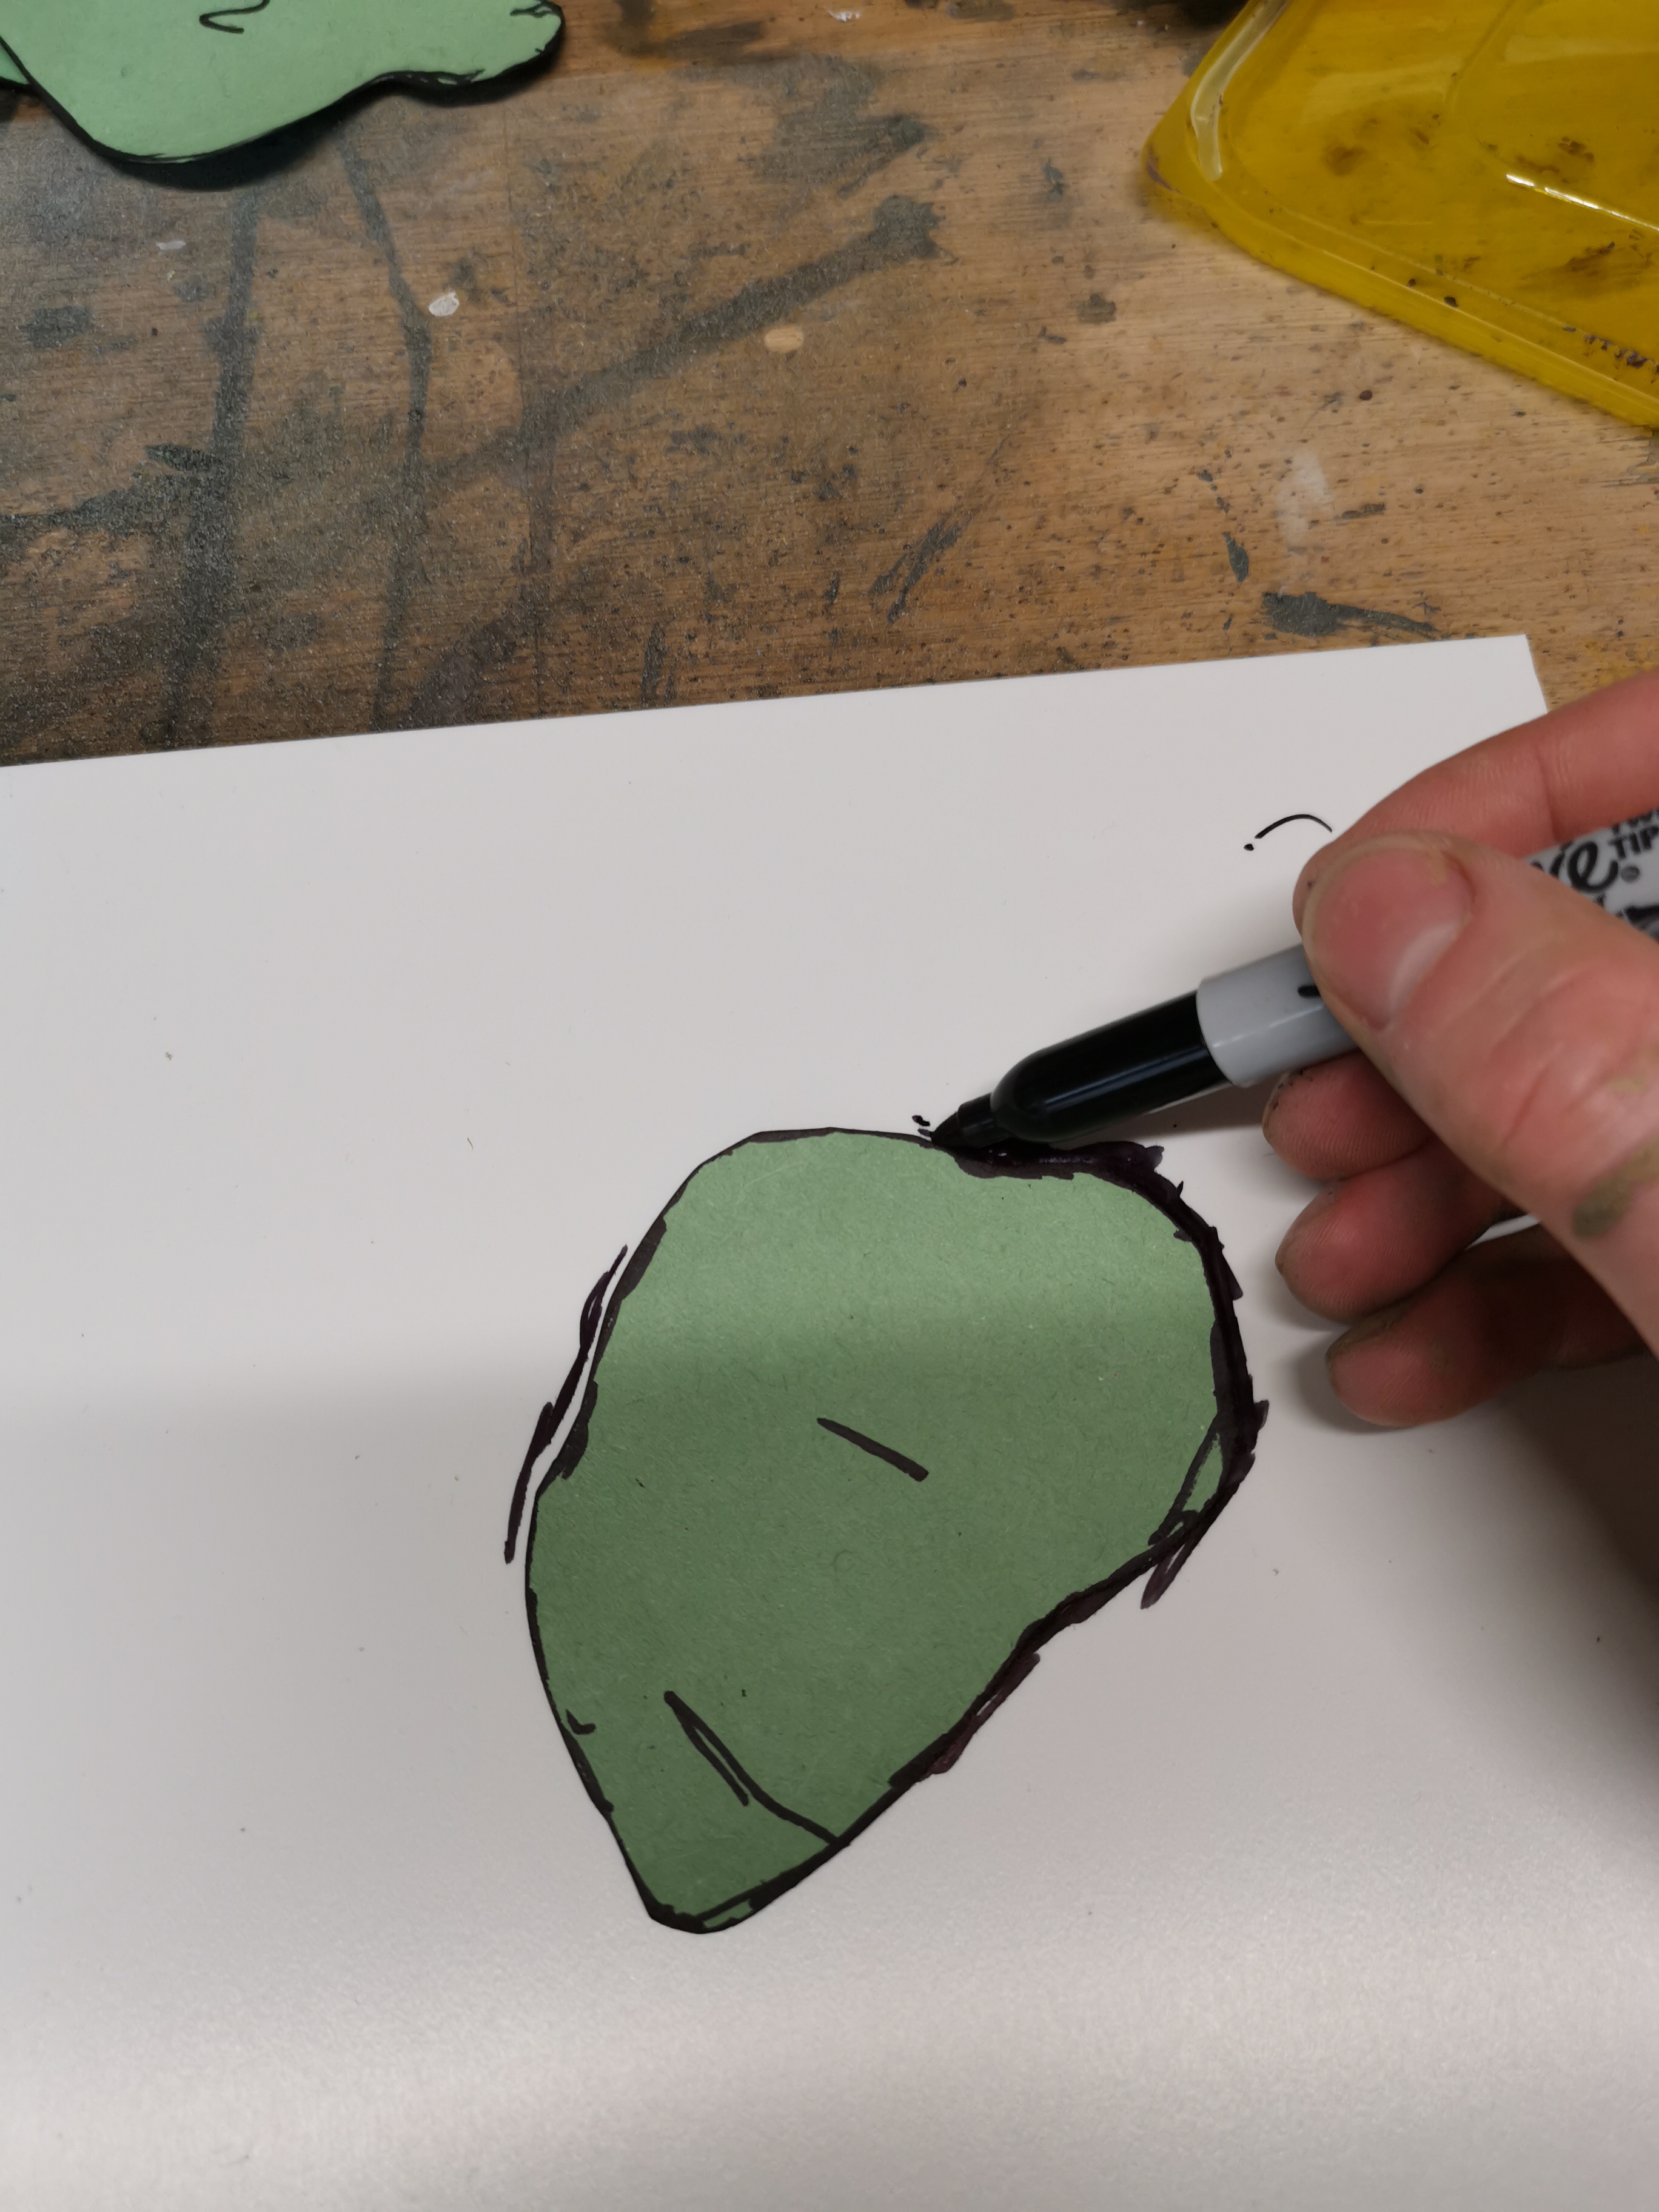
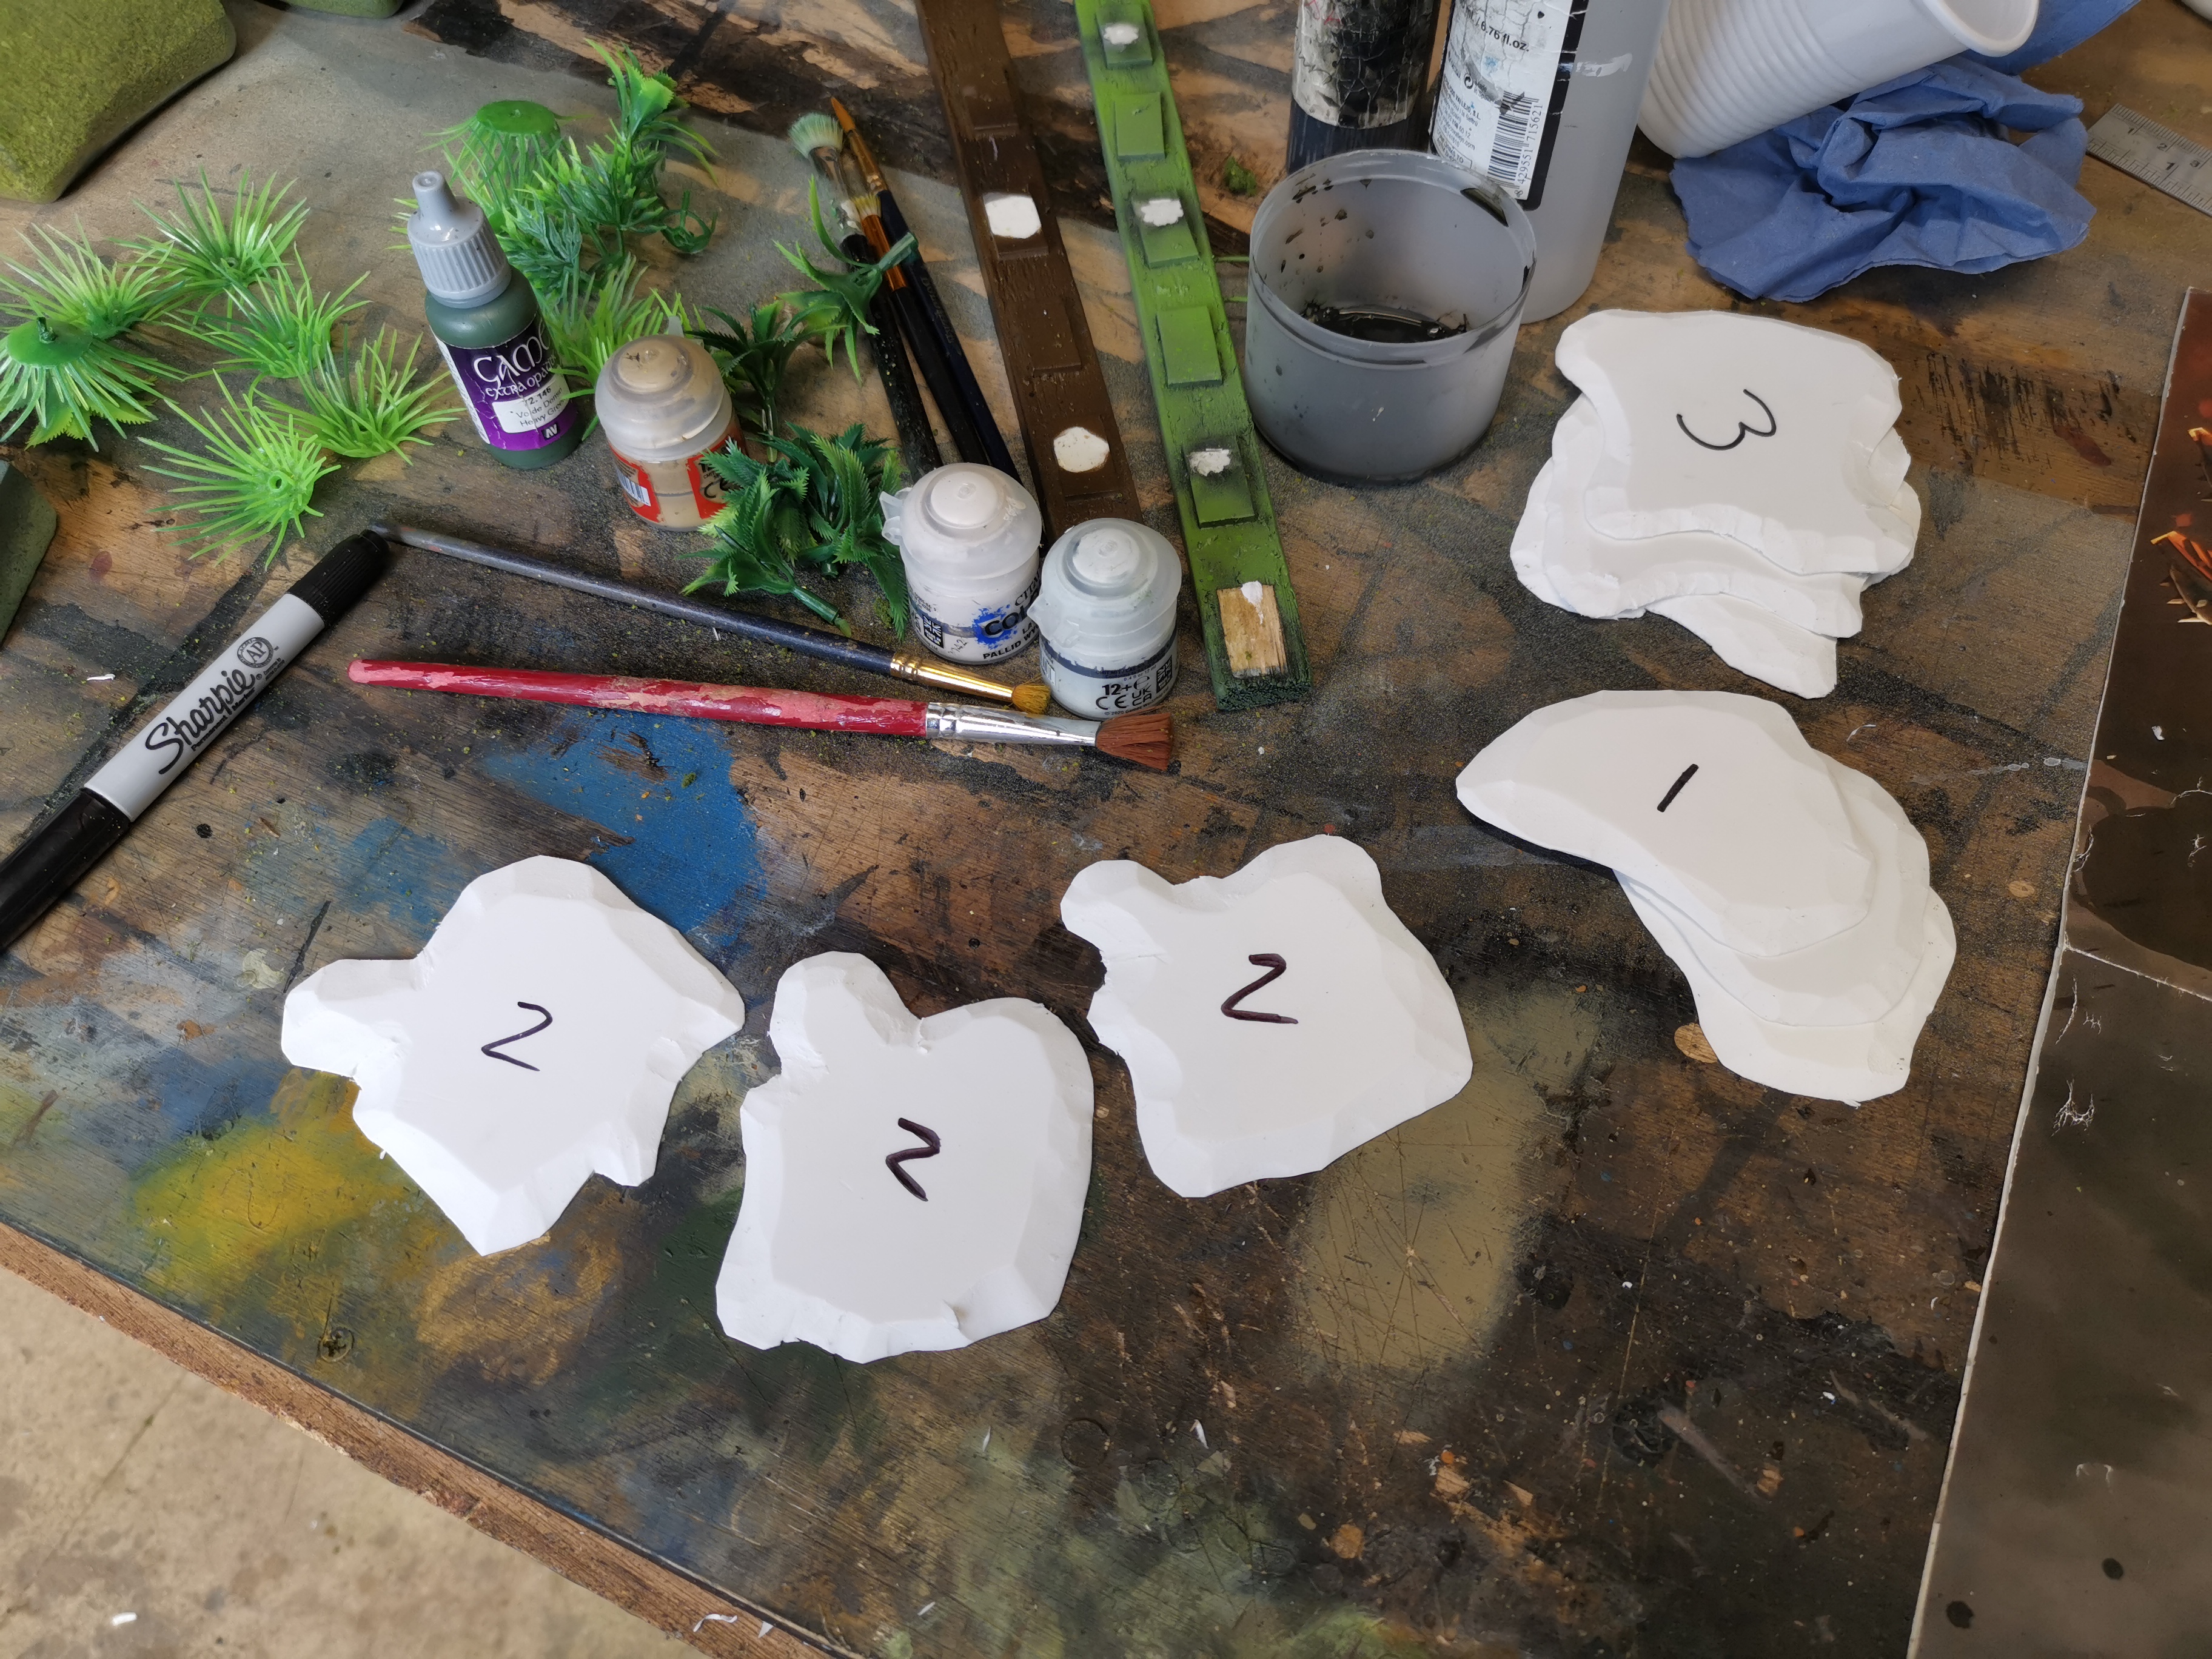
Now I needed some bases to attach the trees to so they don’t keep falling over. The Citadel woods come with small circular holes for swapping the trees out. After laying my jungle trees out over these, it was obvious there just wouldn’t be enough space for everything I wanted to stick down.
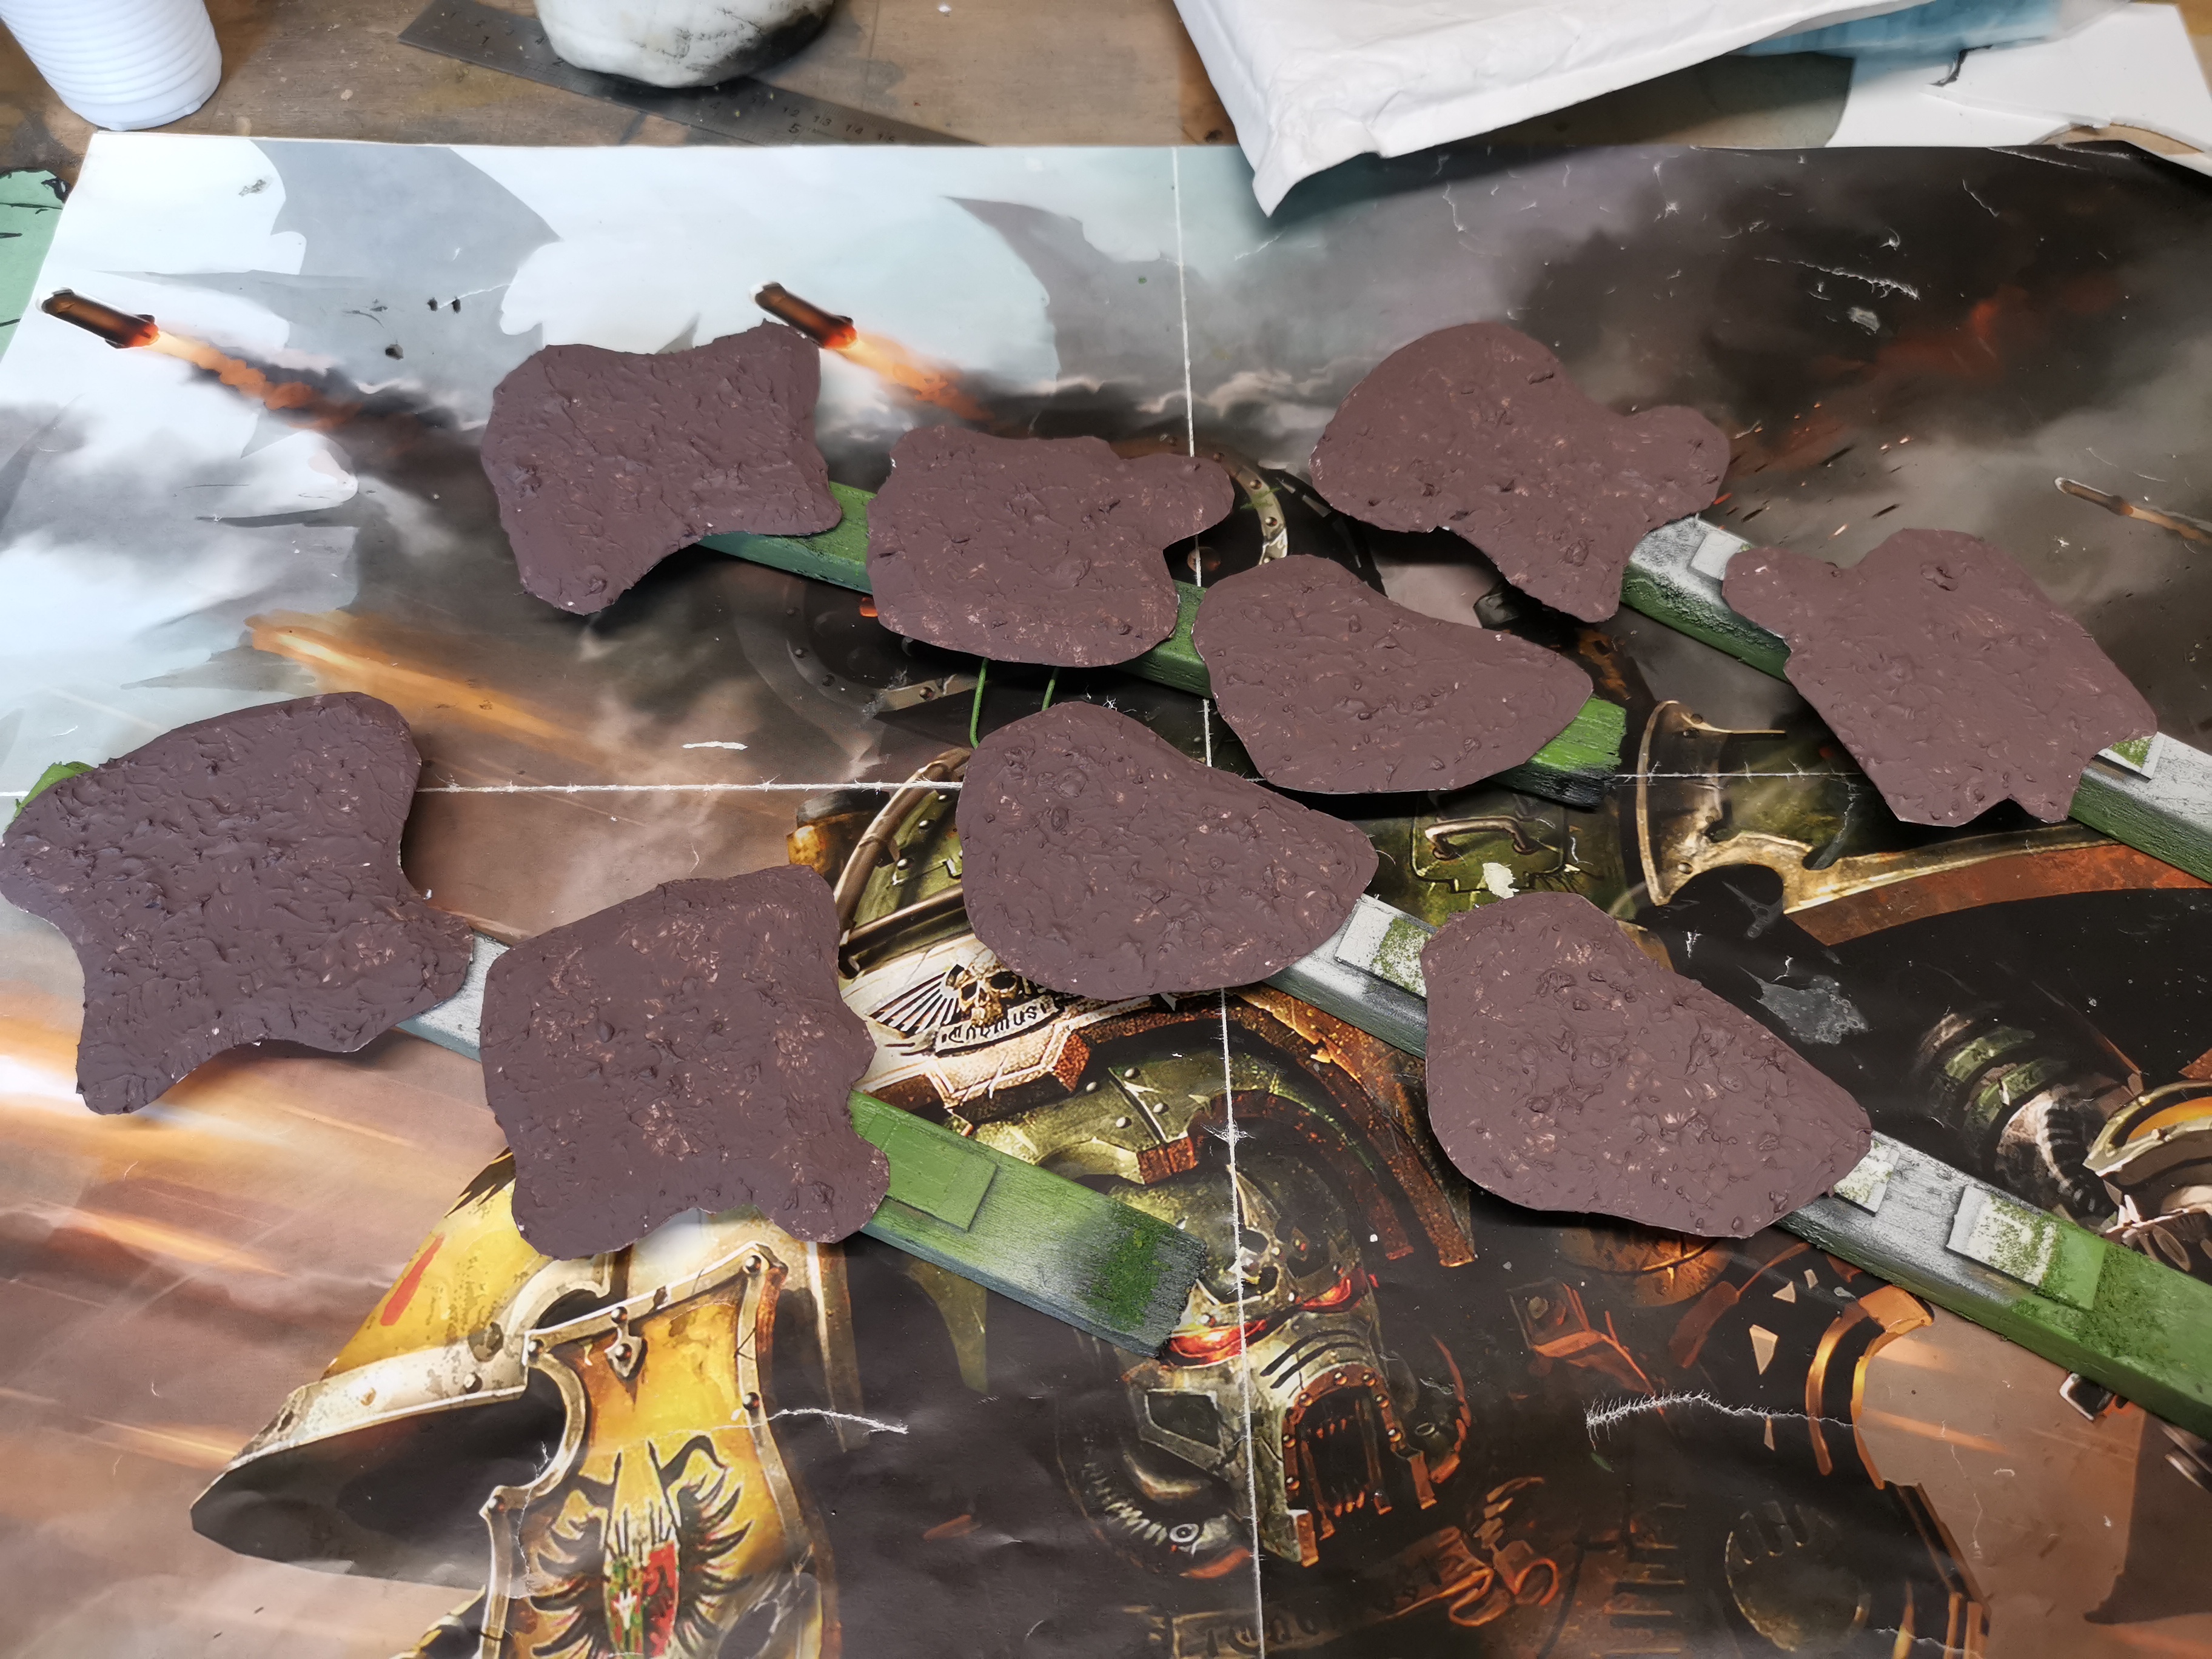
The solution was to make paper templates of the available space between all the rocks and transfer this onto some expanded PVC Board. After cutting these out and bevelling the edges, i covered them in texture paste.
Finishing the Trees
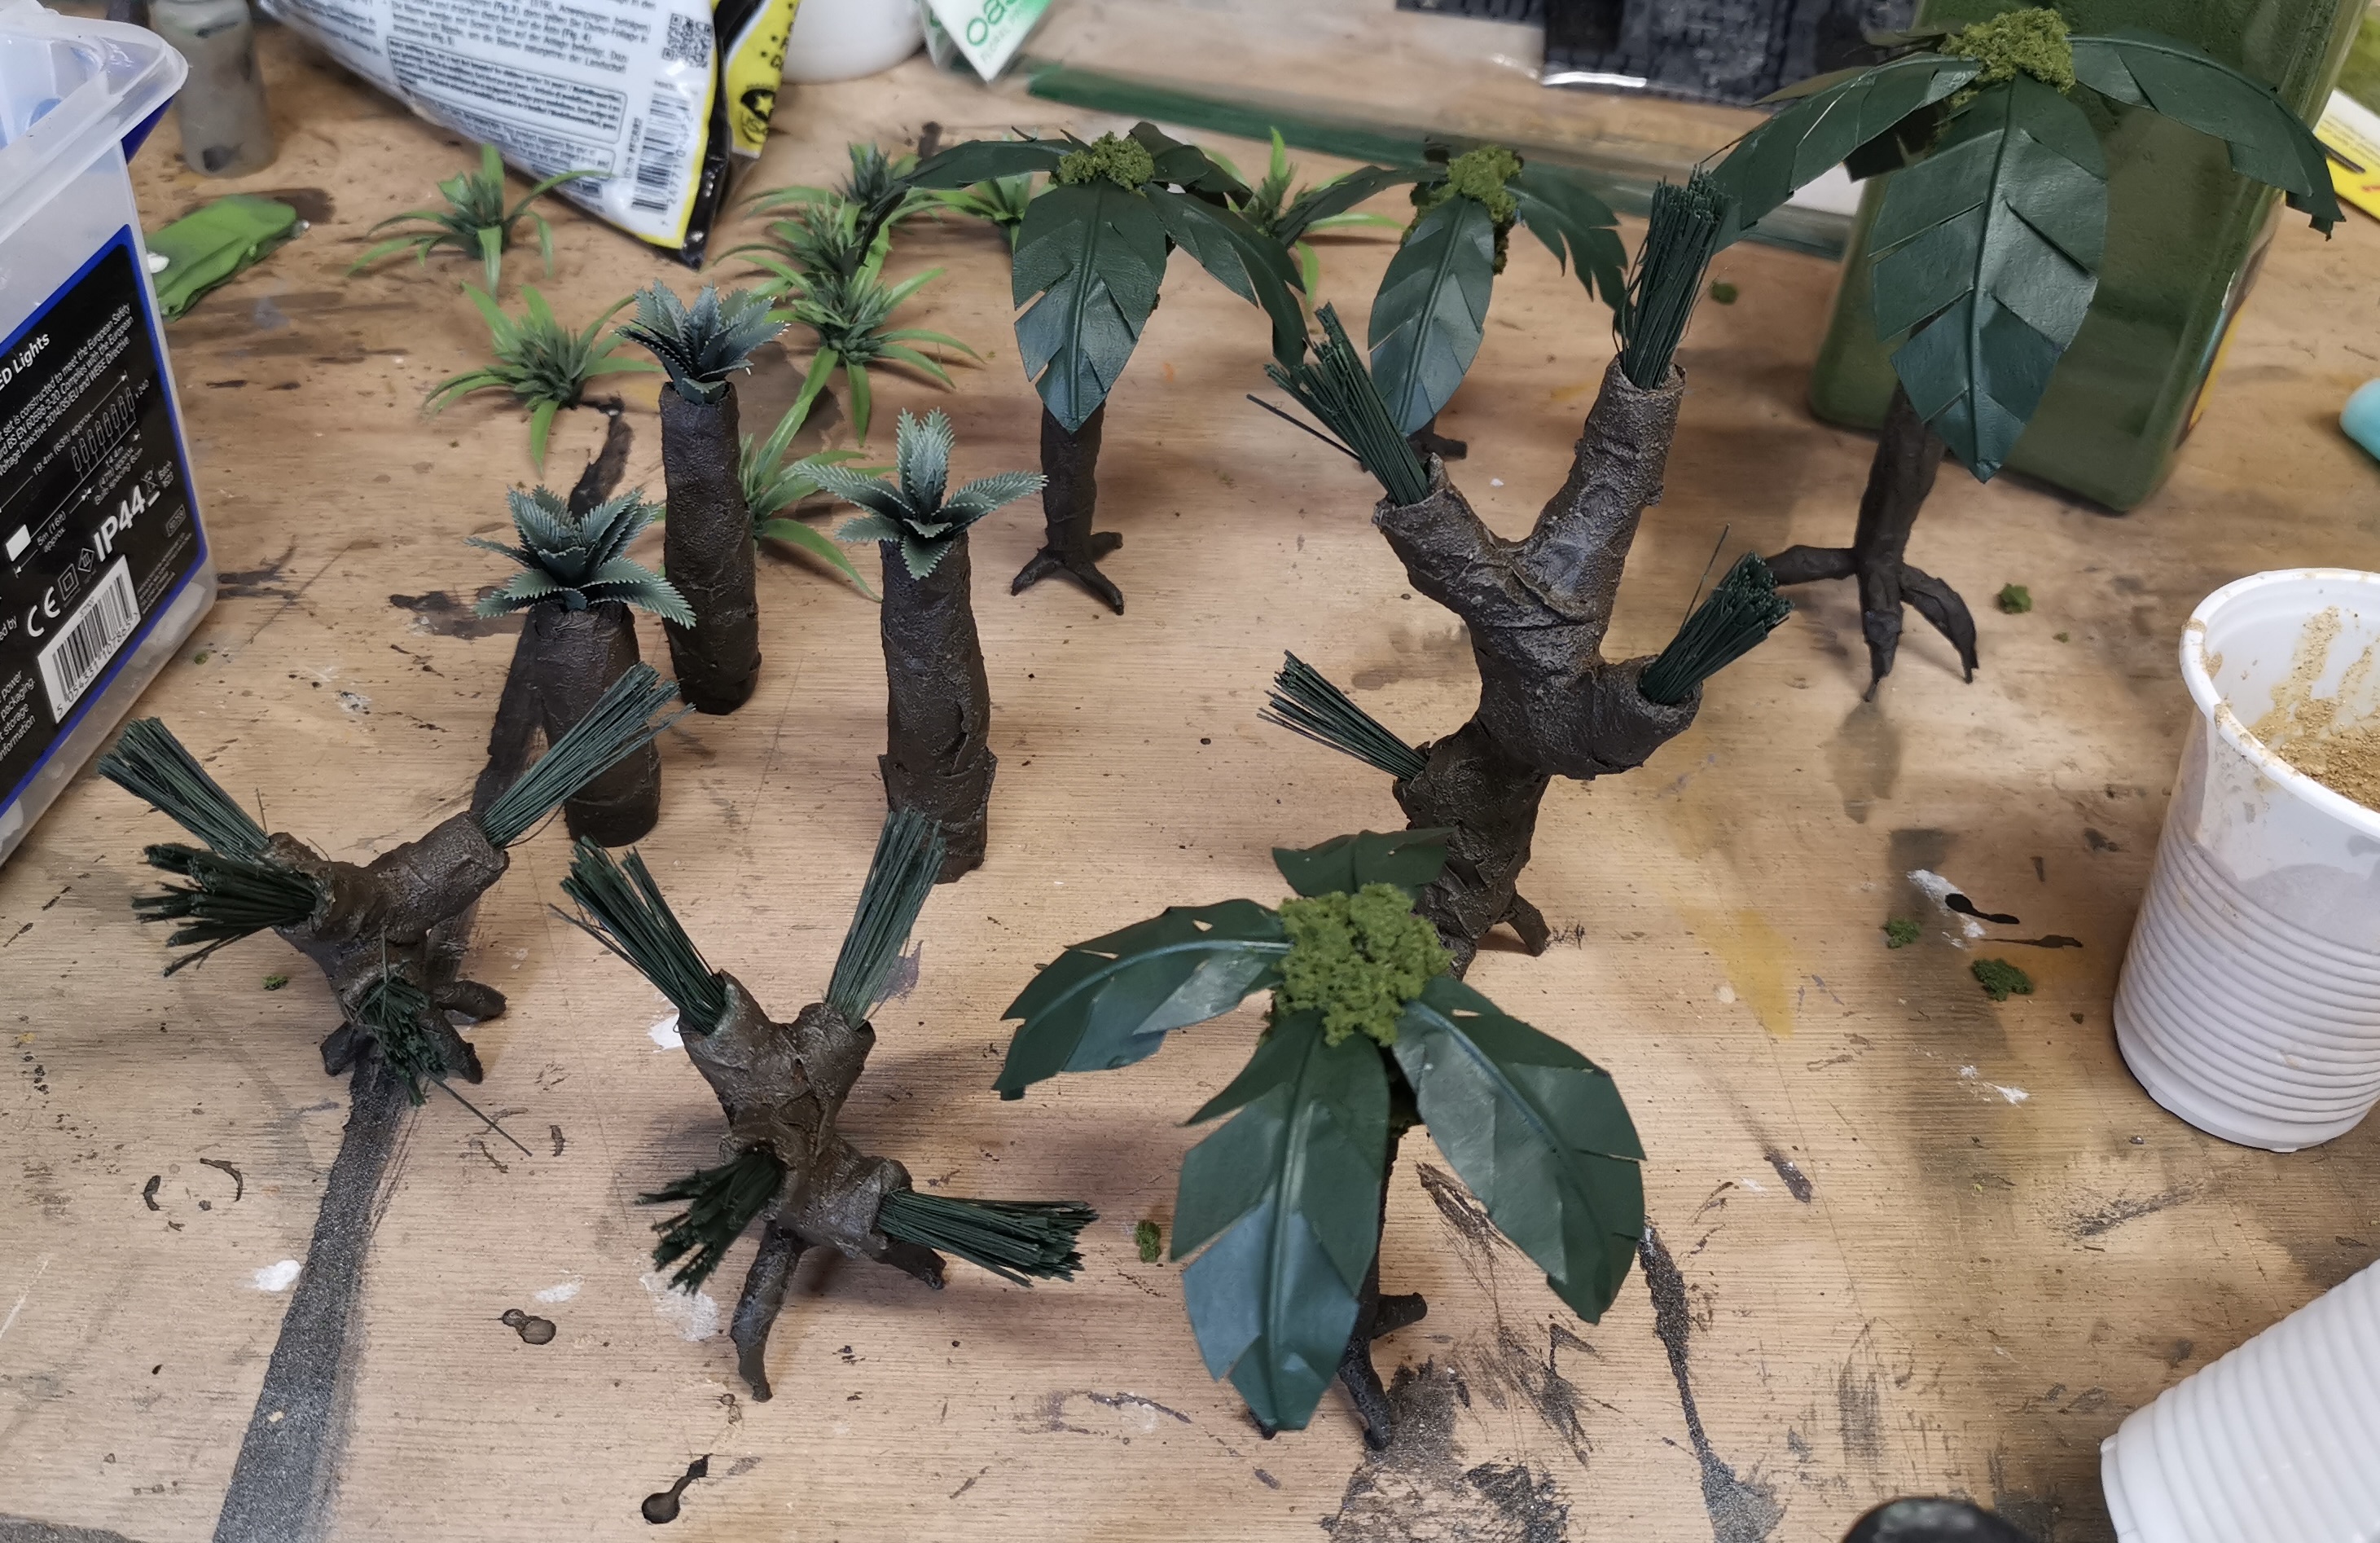
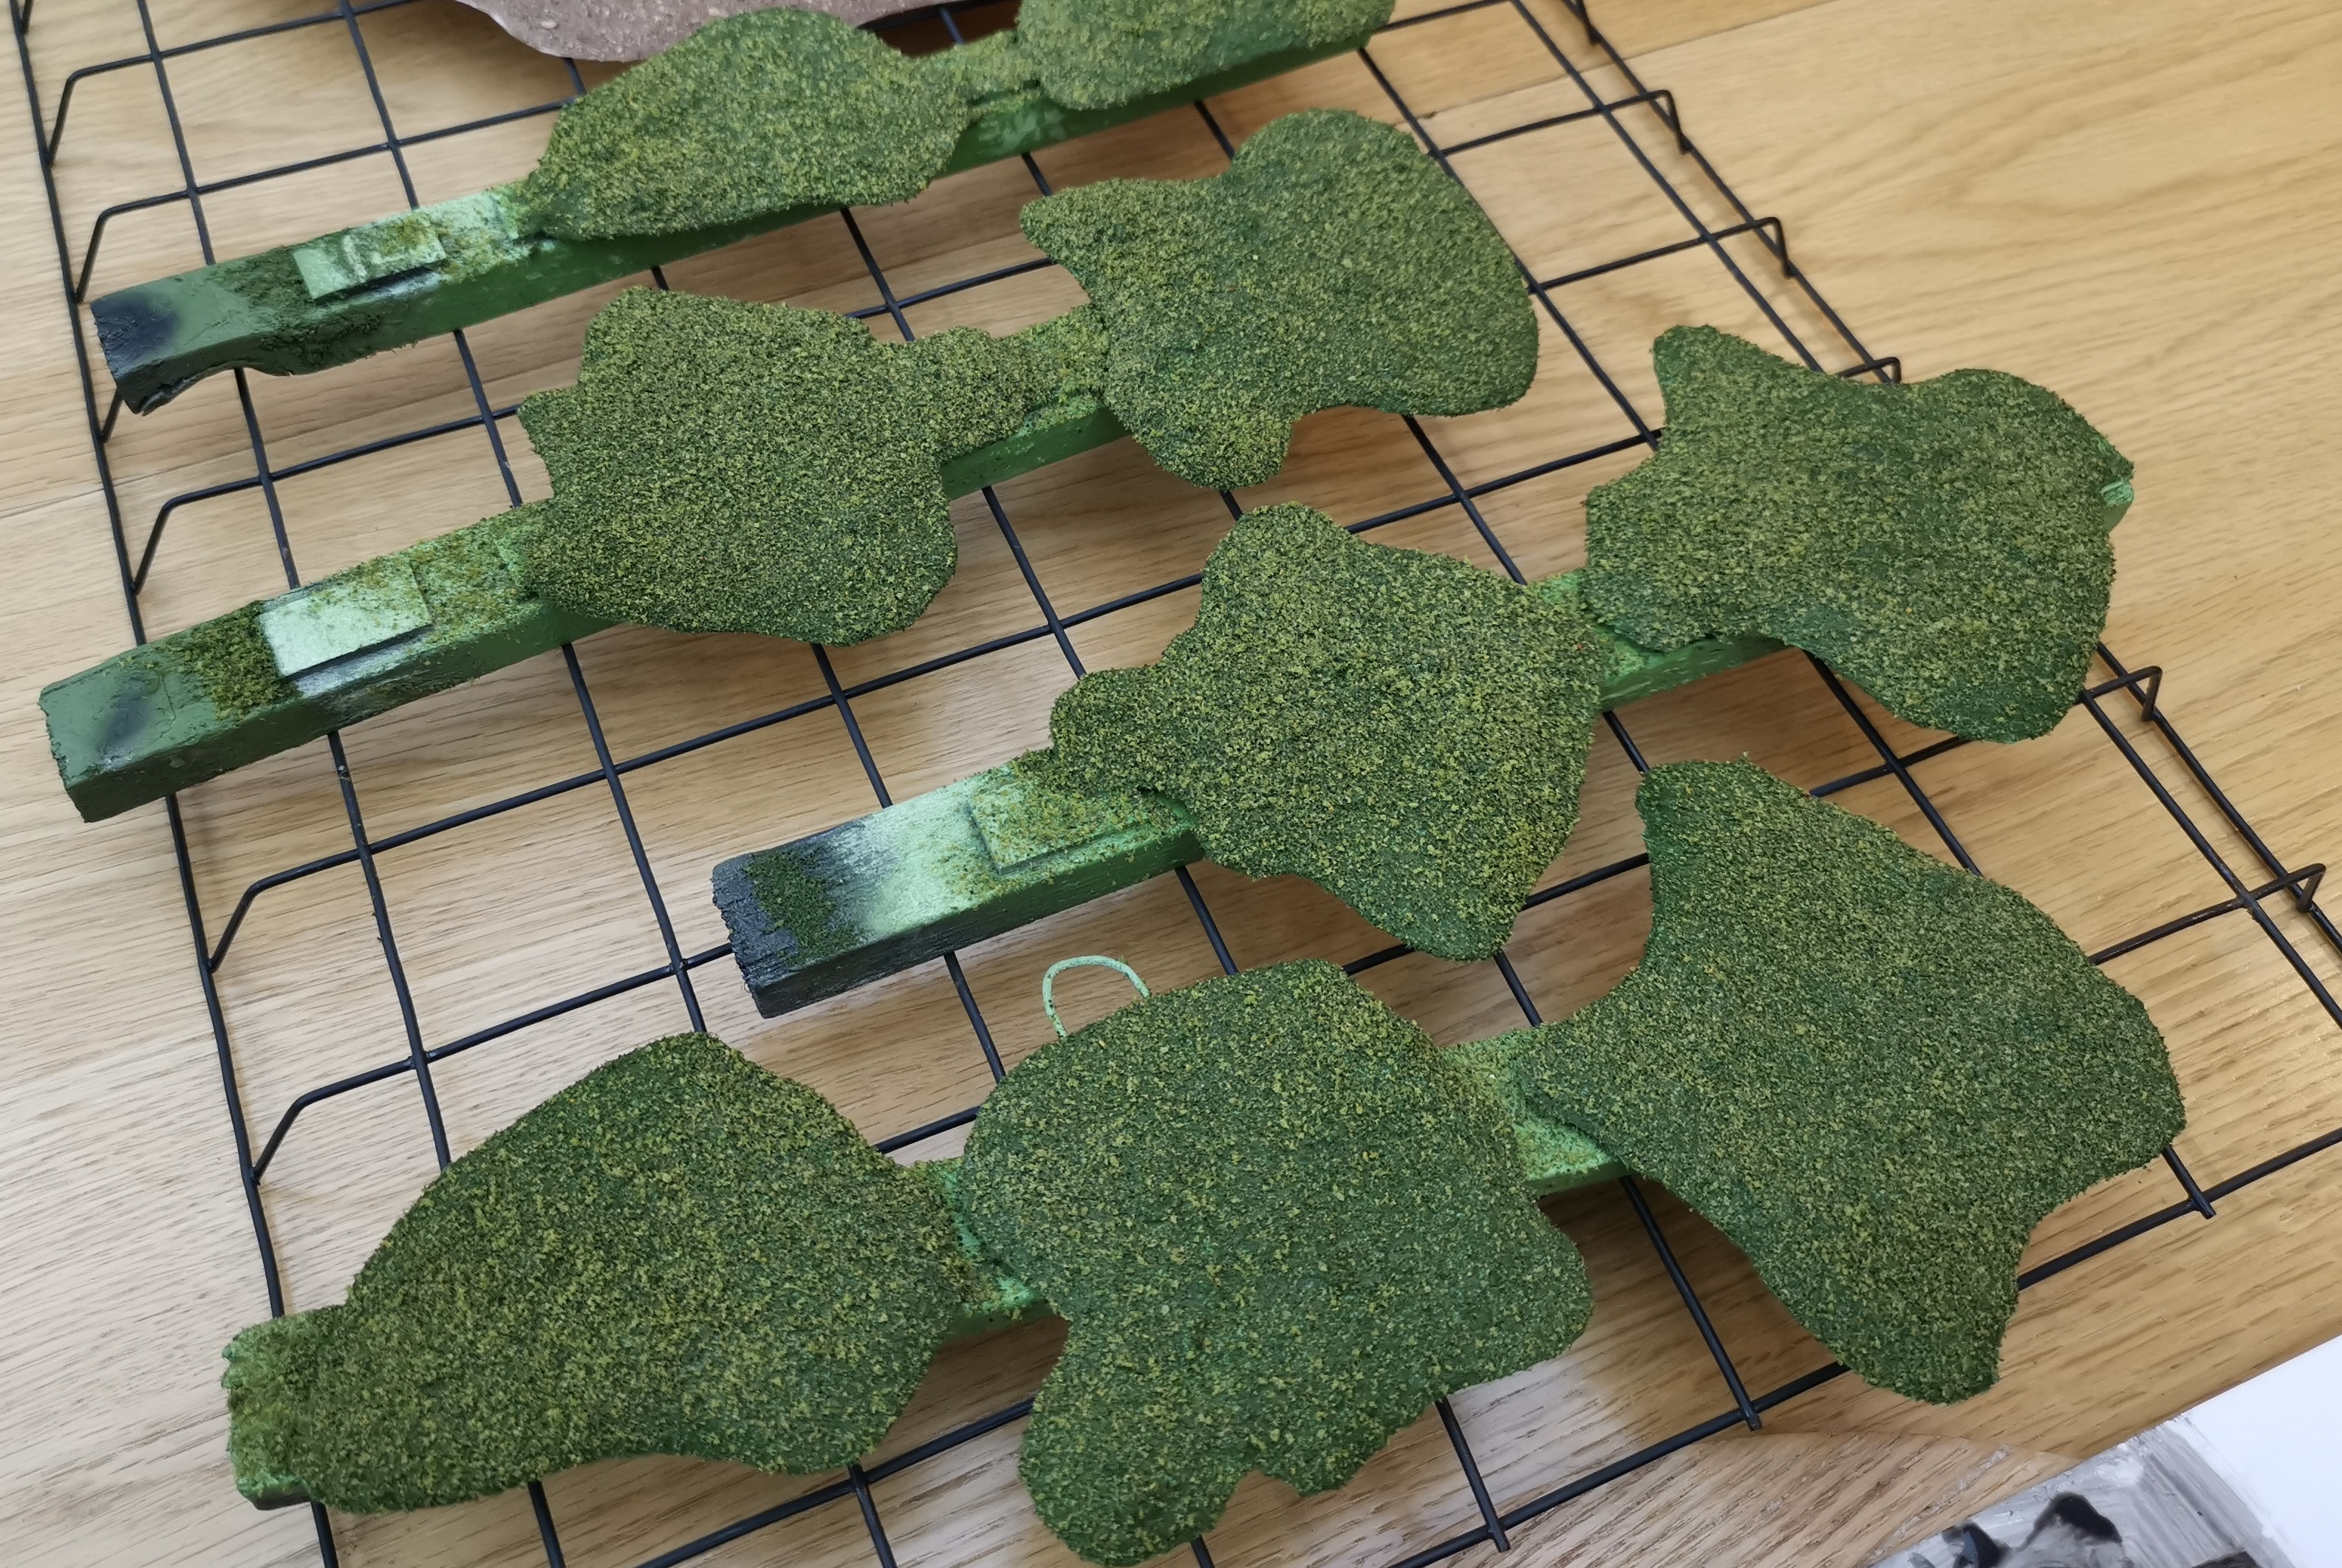
To finish the trees I sprayed all of them black, then I sprayed the trunks brown with whatever cans I had. I then painted them with a brush by dry brushing the trunks with zandri dust followed by a homemade black/brown wash. A single coat of dark green on the previously black leaves and the painting was done.
Some of the trees used aquarium plants for leaves which I had spray painted and others used the bristles of an old wallpapering brush (an old yard brush would be better). I also used some aquarium plants for shrubs around the trees.
I painted then flocked the bases the same as the Citadel woods.
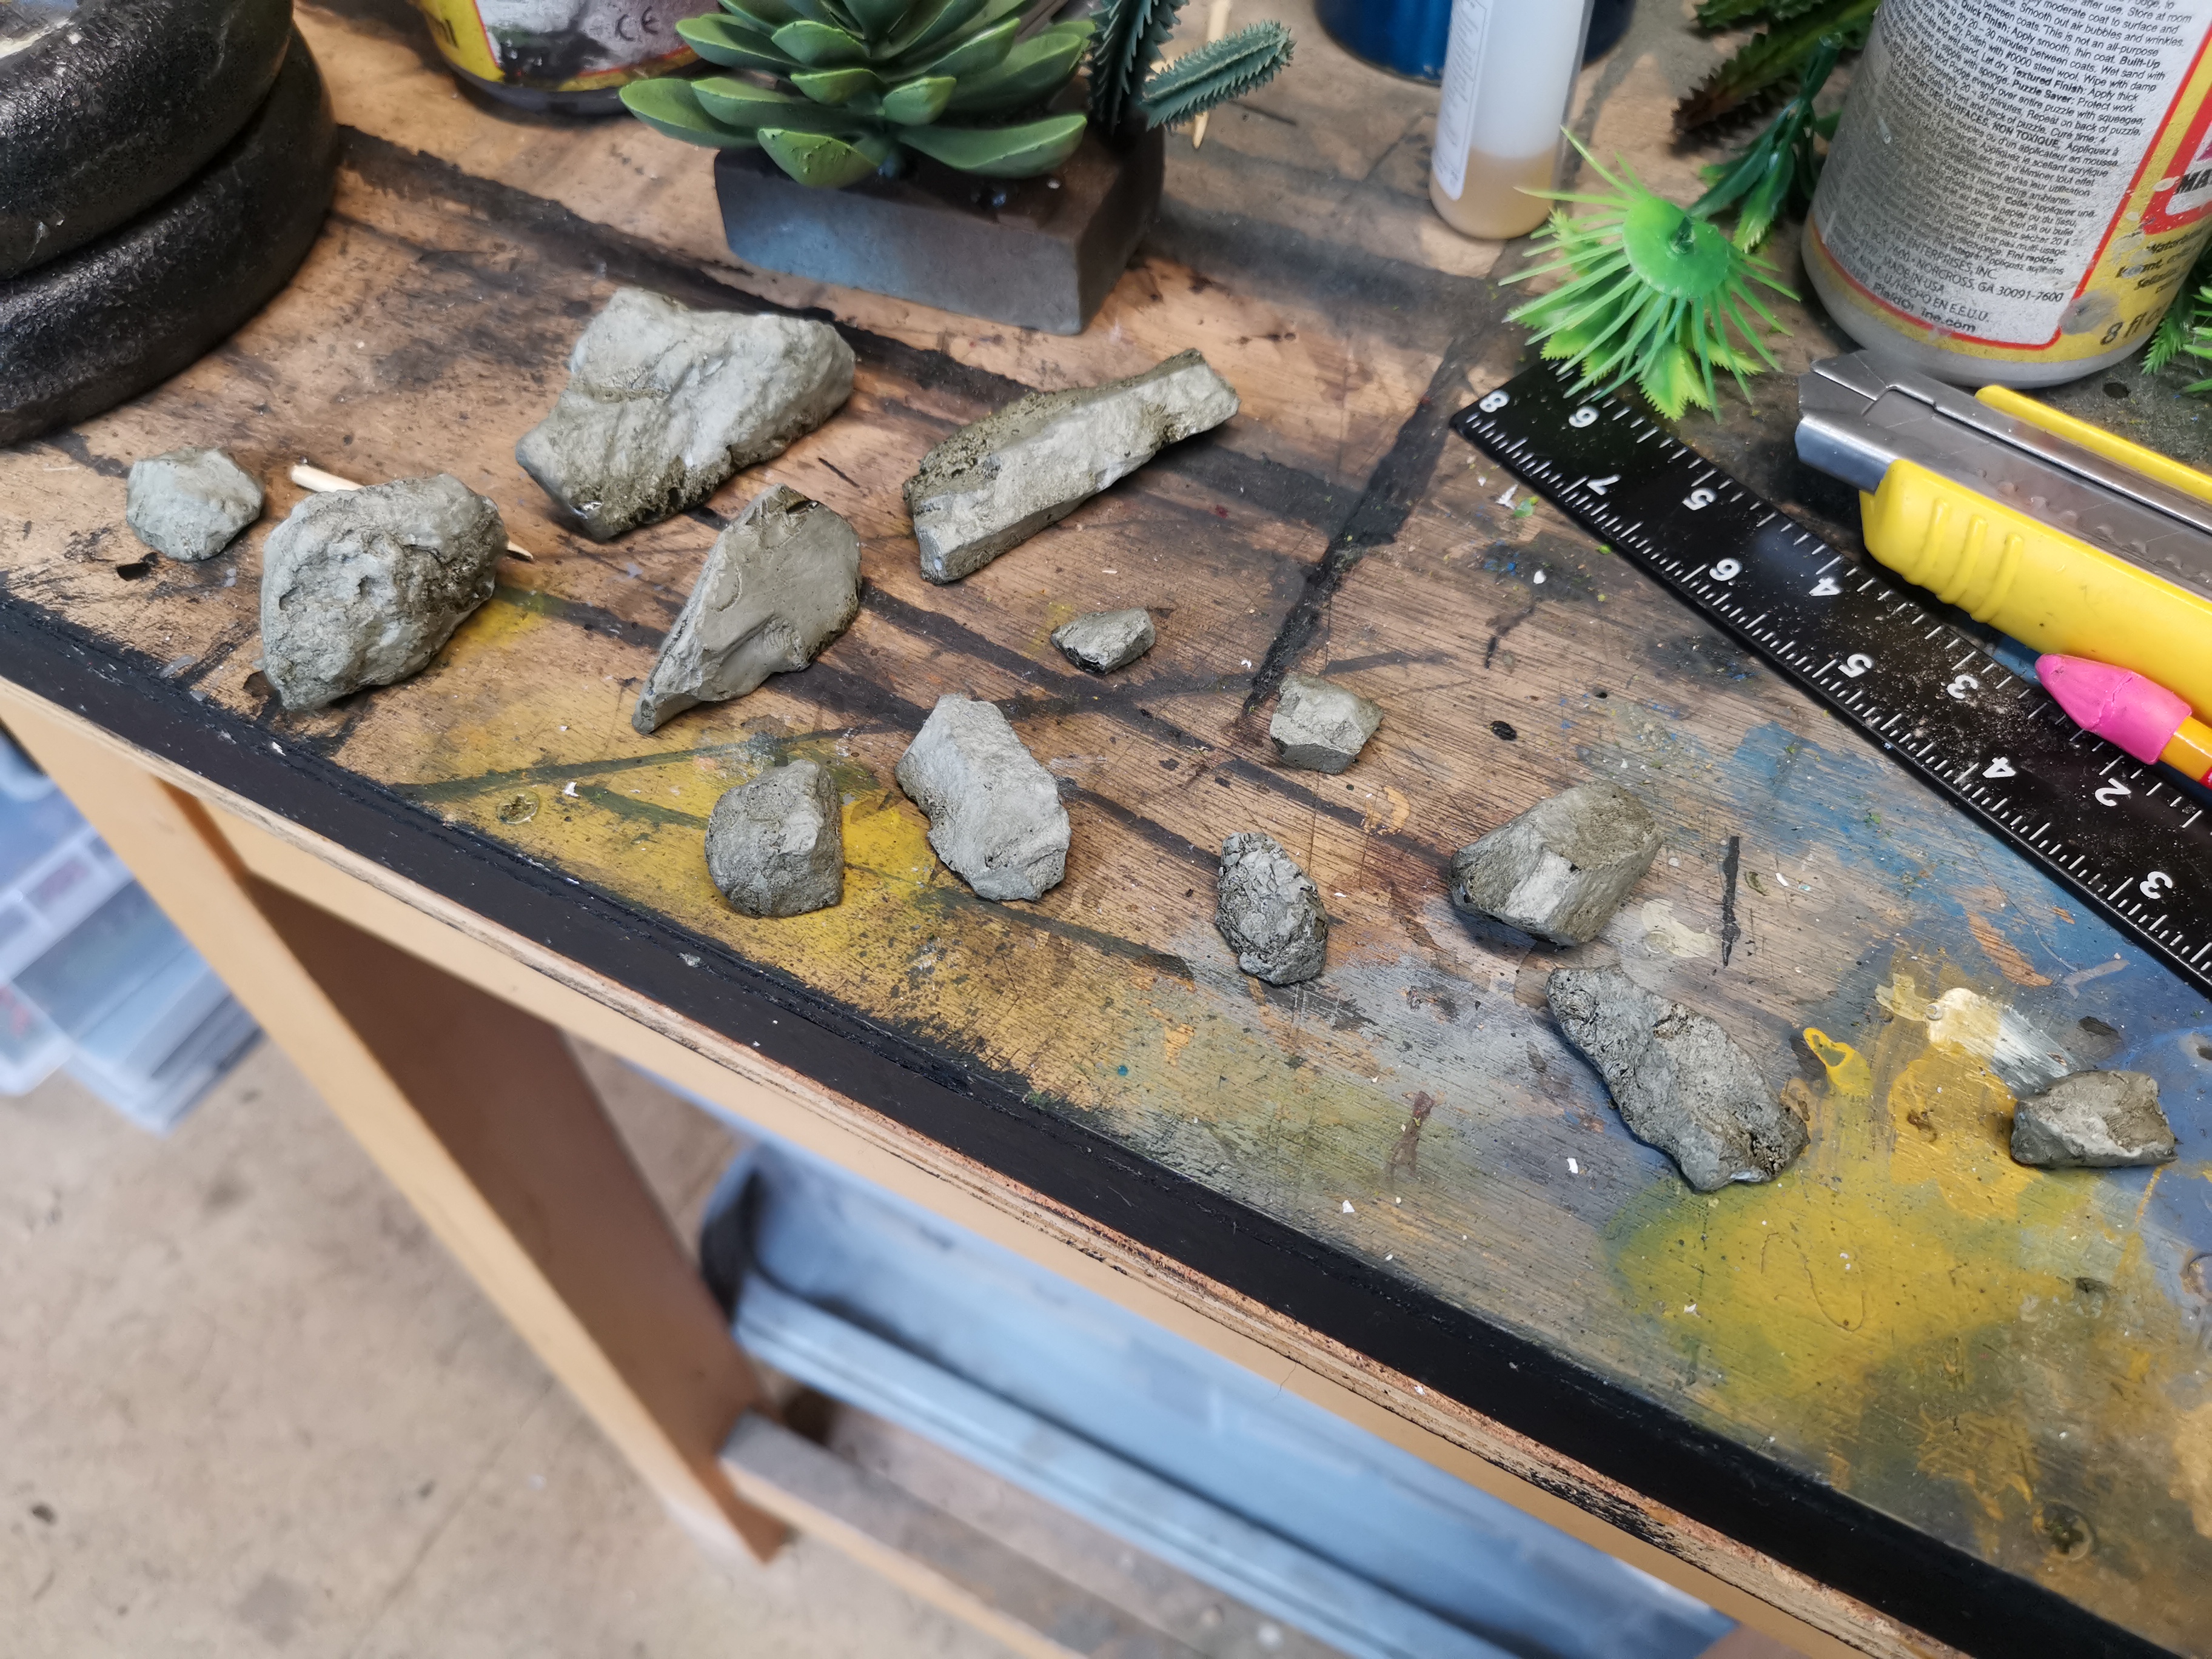
I also painted up some rocks from the garden to match those on the Citadel woods
All of this was glued down using either hot glue or superglue. I made sure to drill little holes in the bases so the root wires could feed through making the trees extra secure.
 For some reason at this stage I didn't take a picture of them with the rocks glued on
Hills
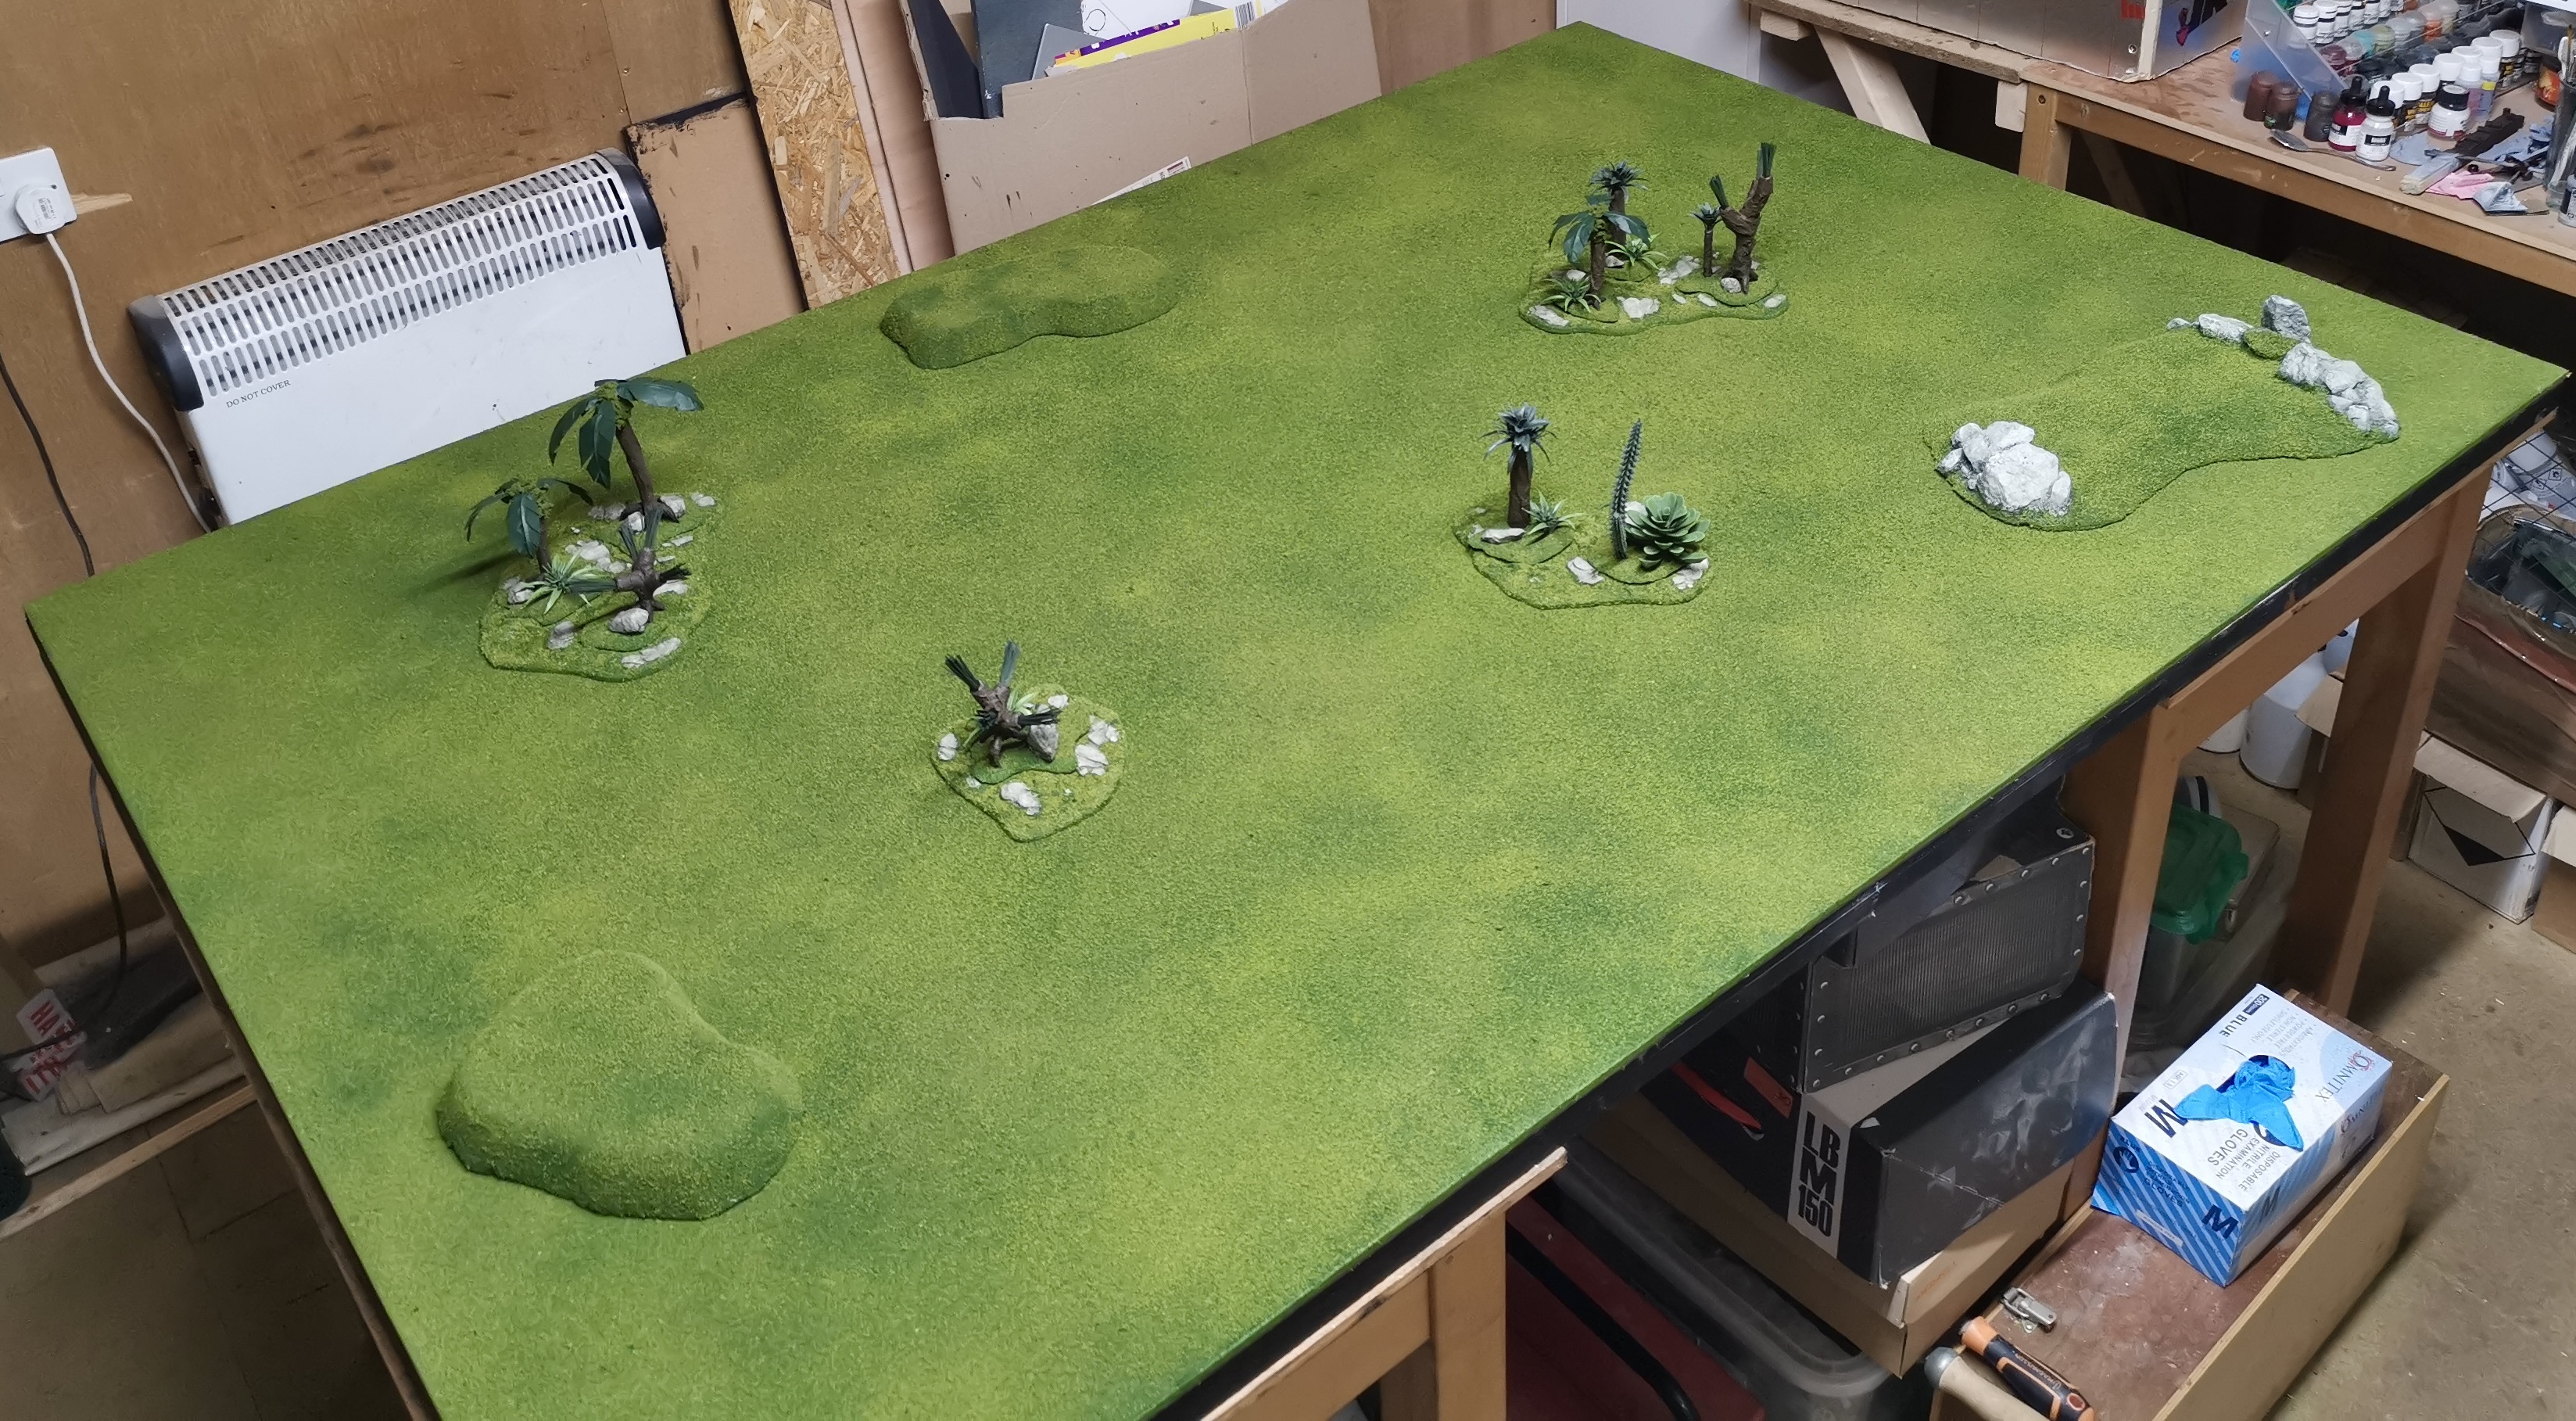
Hills! After all the high elves need somewhere for their repeater bolt throwers to snipe my lizards from (I’m sure it’ll be fine, i’ll just bring Mazdamundi or take high magic and cross my fingers).
One of the hills is an old GW hill that I found in a forgotten box. I covered the old patchy static grass with flock to match the rest of the board and re-painted the rocks to match.
The other hills are 2″ XPS foam that I cut to shape and flocked. I wanted to go for the classic steep sides and flat tops.


![StarCraft Tabletop Miniatures Game Pre-Orders Live Now [Updated]](https://images.beastsofwar.com/2026/03/starcraft-tmg-news-cover-600-338.jpg)


