


legions imperialis board


Recommendations: 120
About the Project
I'm going to steal Warren's idea here and do a board for legions imperialis. I am going to start with some 3D printed tiles and then add some buildings from GW.
Related Game: Warhammer: The Horus Heresy - Legions Imperialis
Related Company: Games Workshop
Related Genre: Science Fiction
Related Contest: TerrainFest 2024
This Project is Active
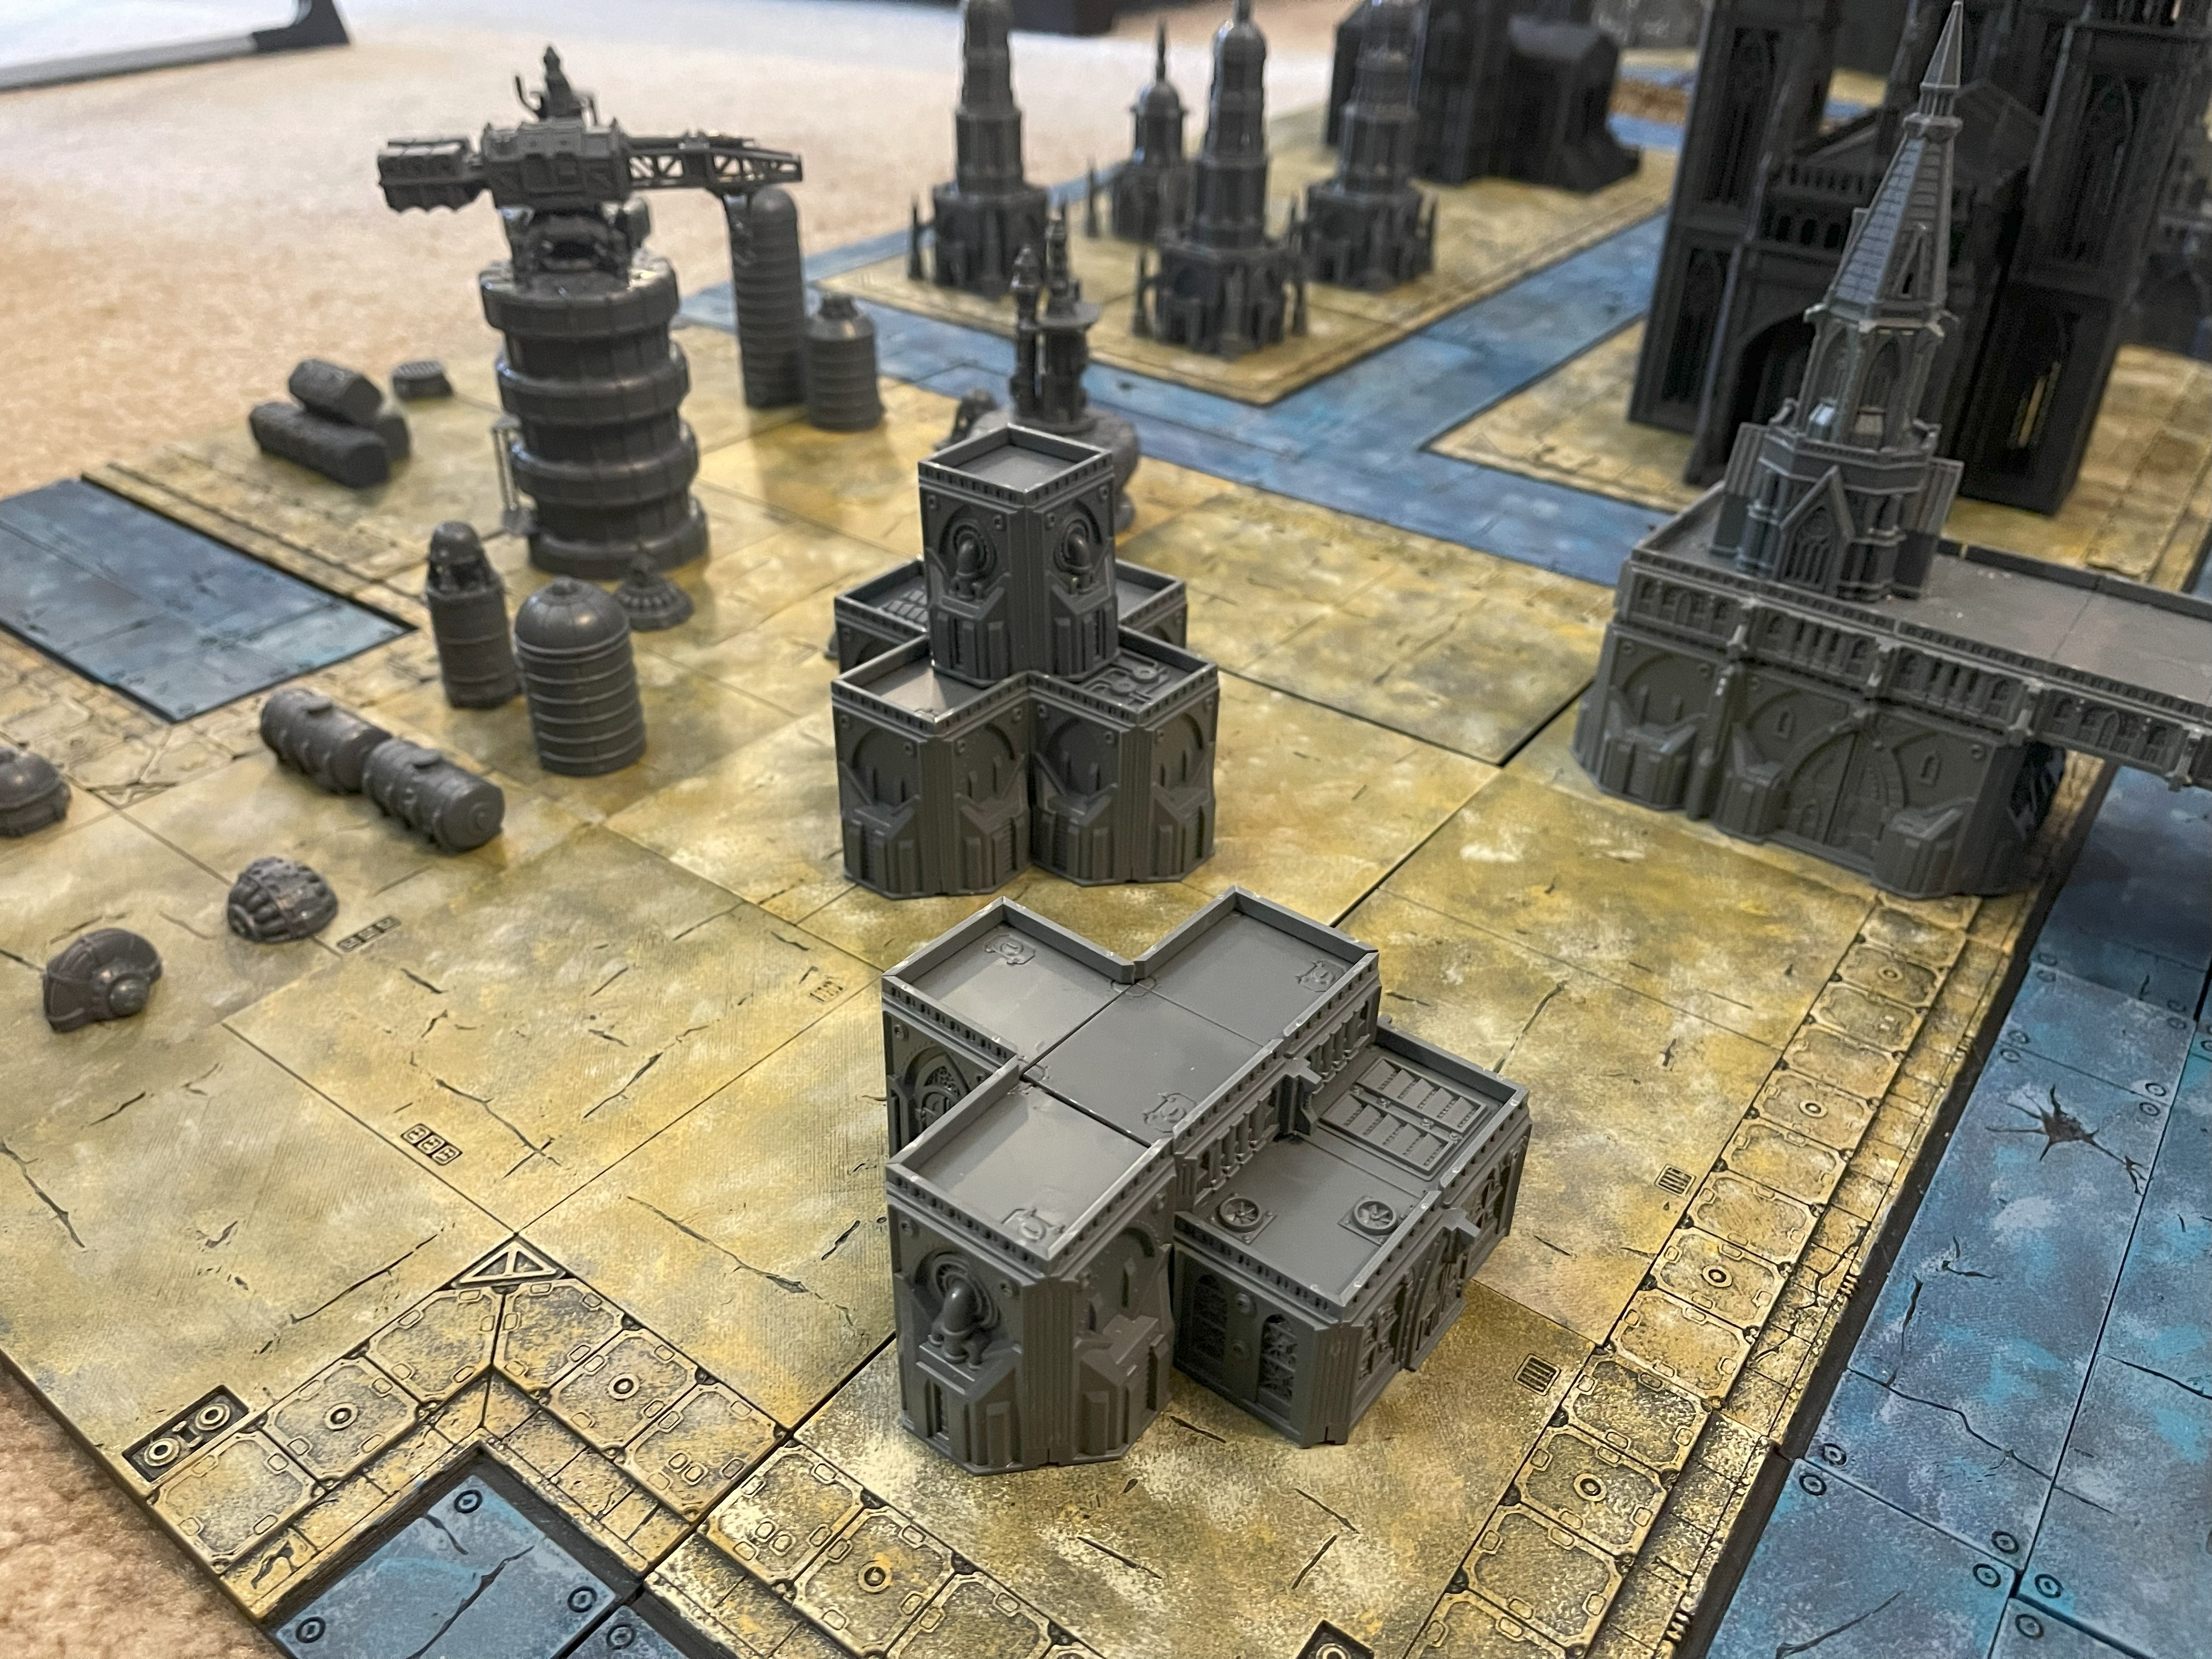
Some Ruins
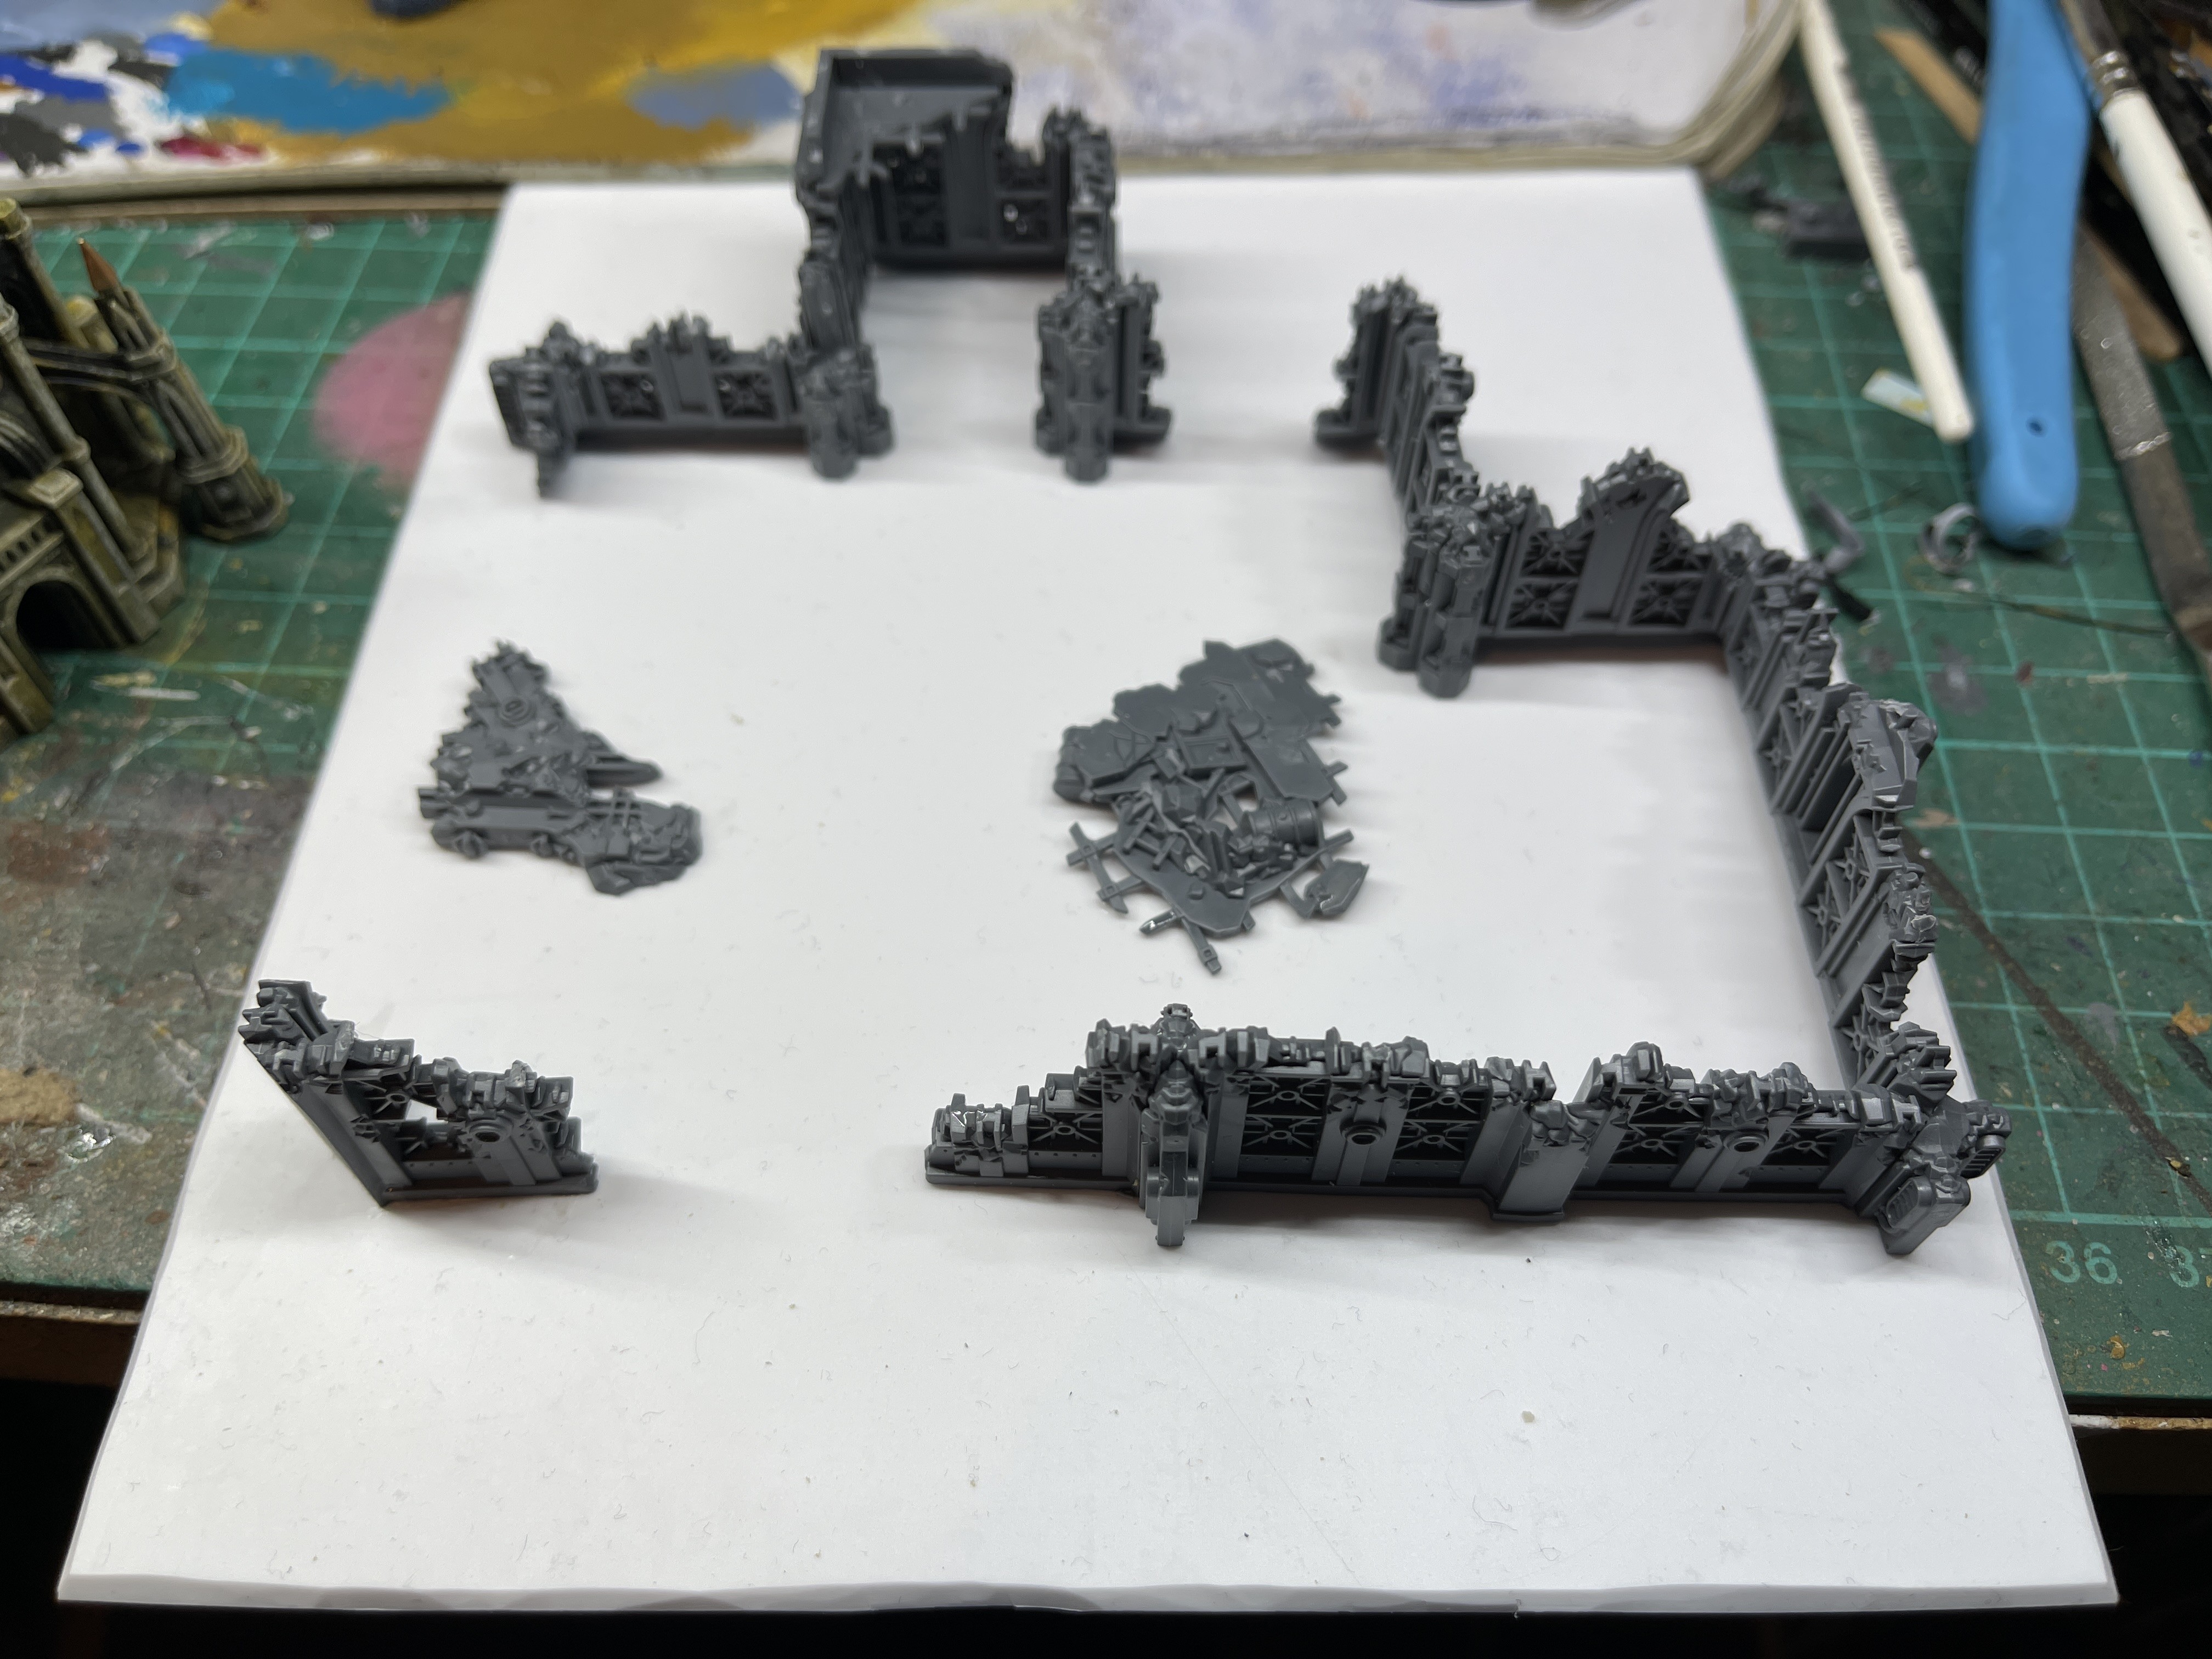
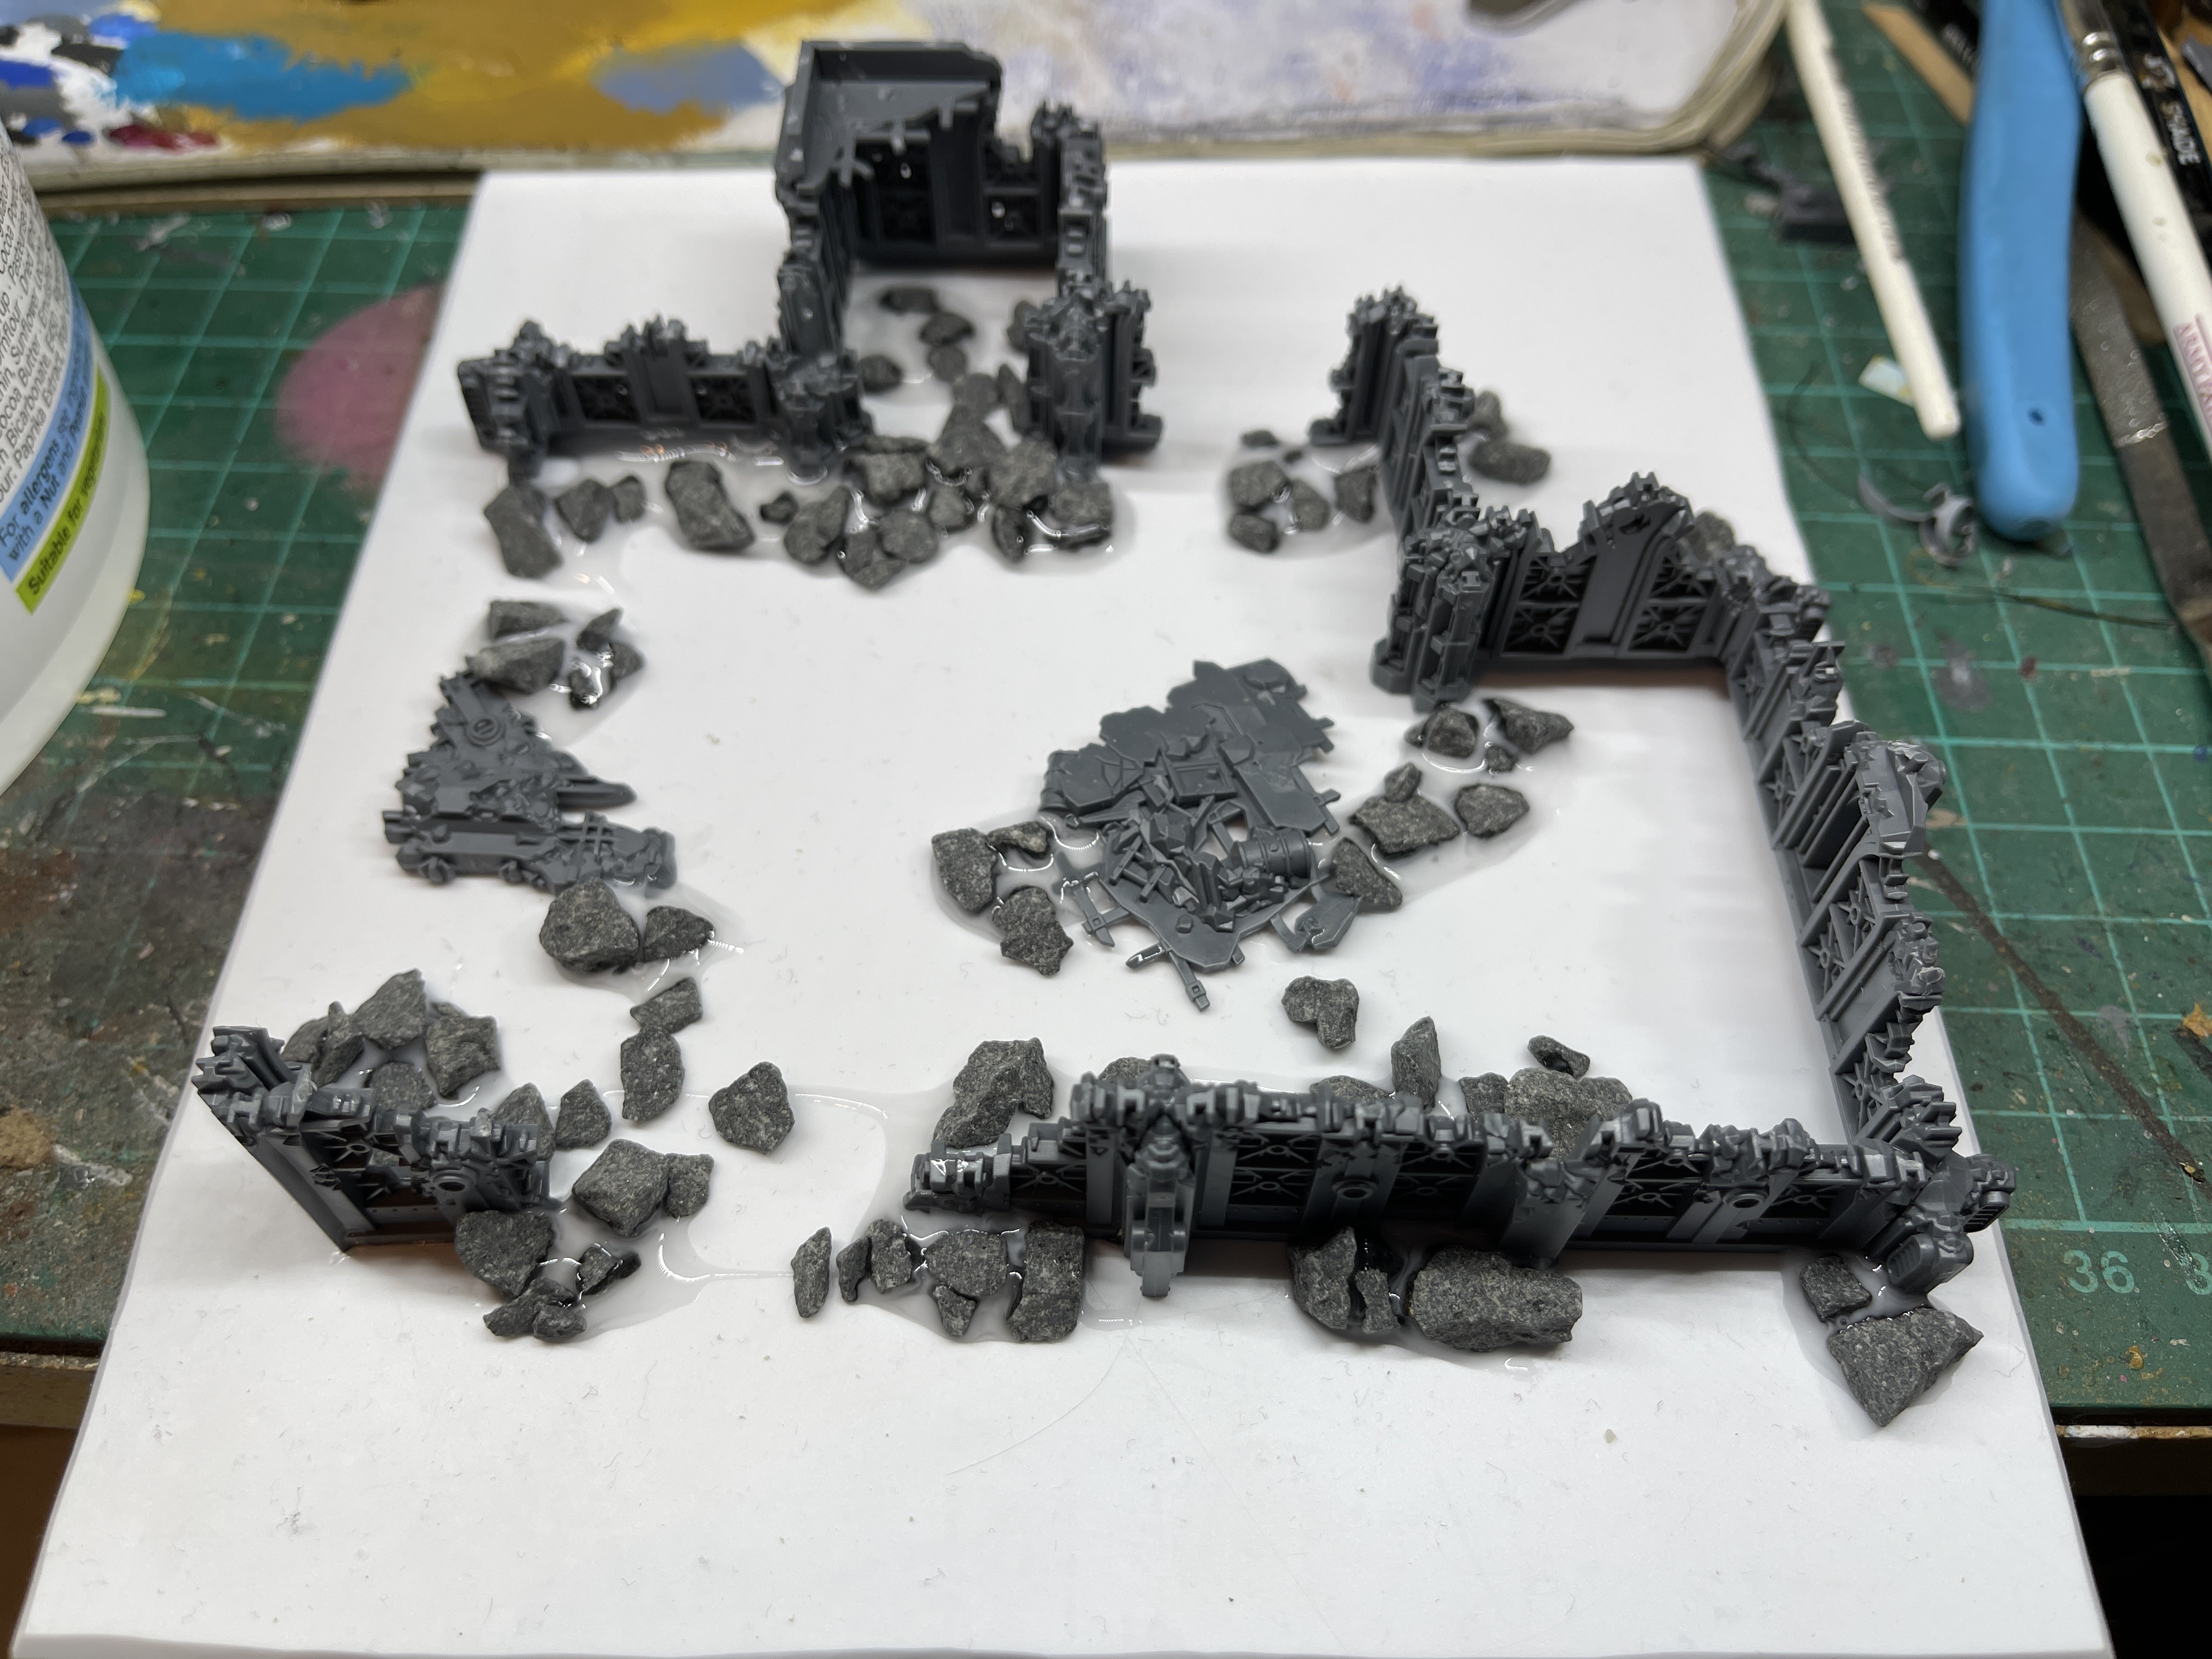
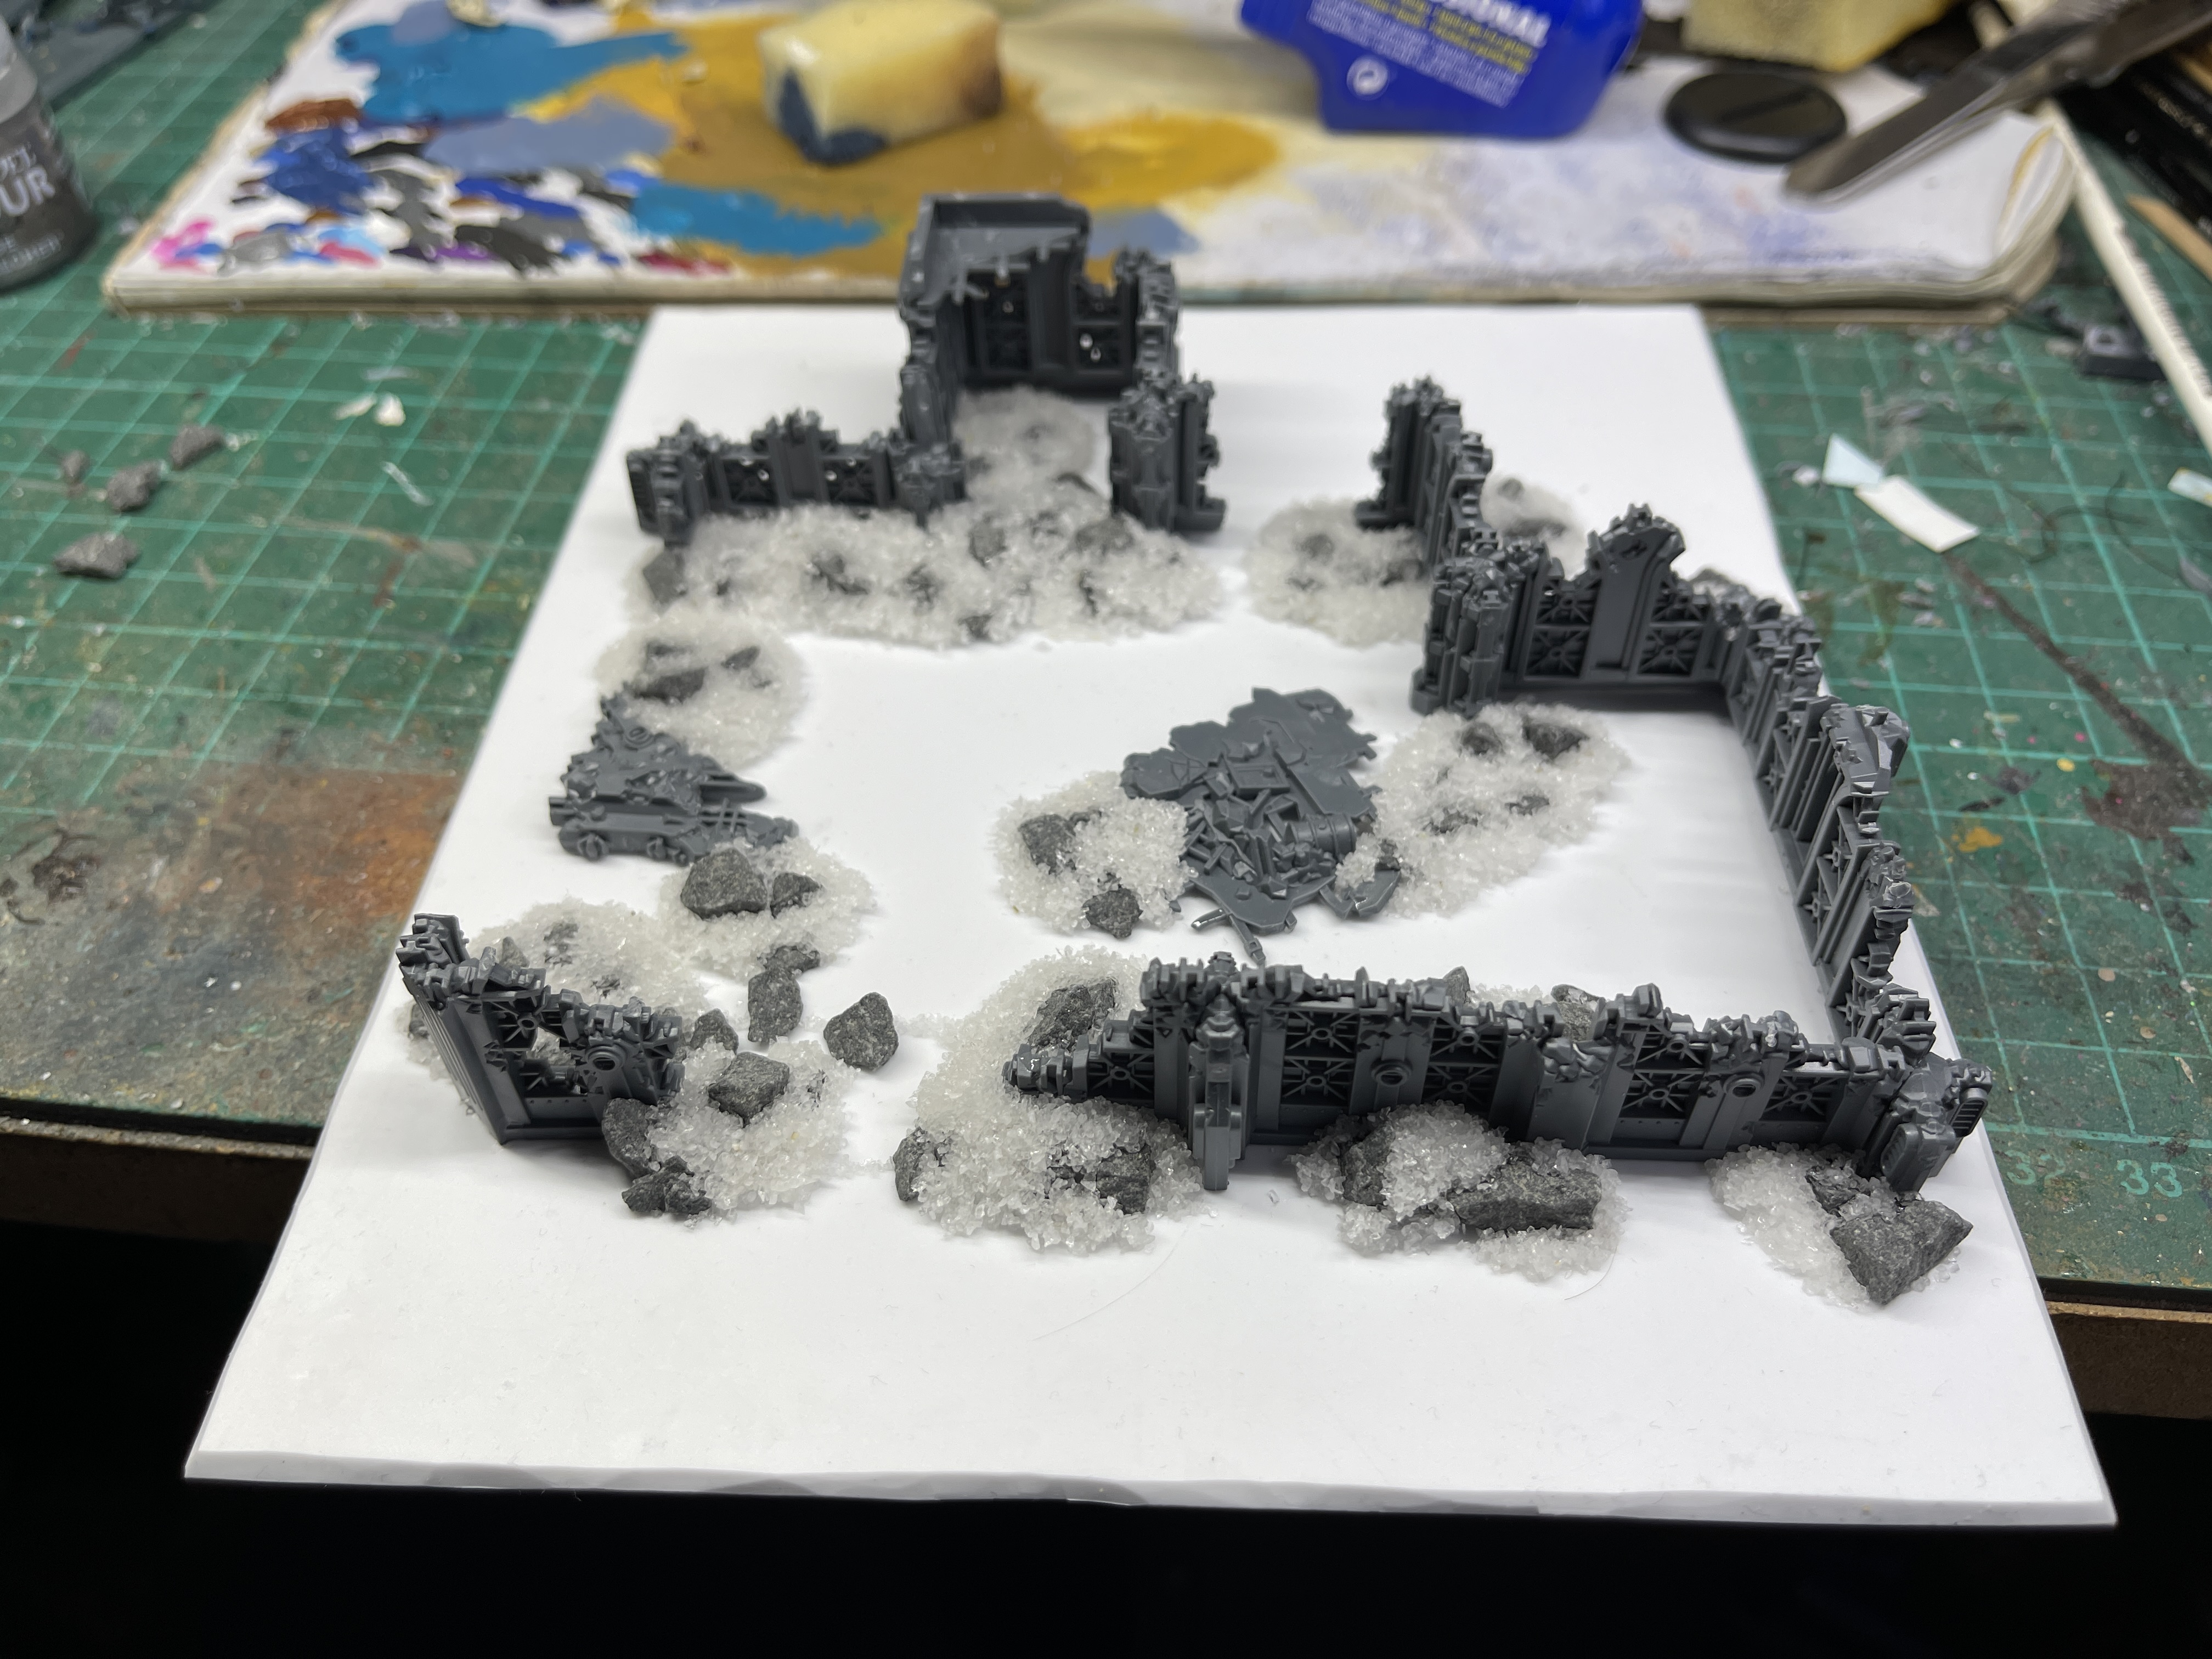

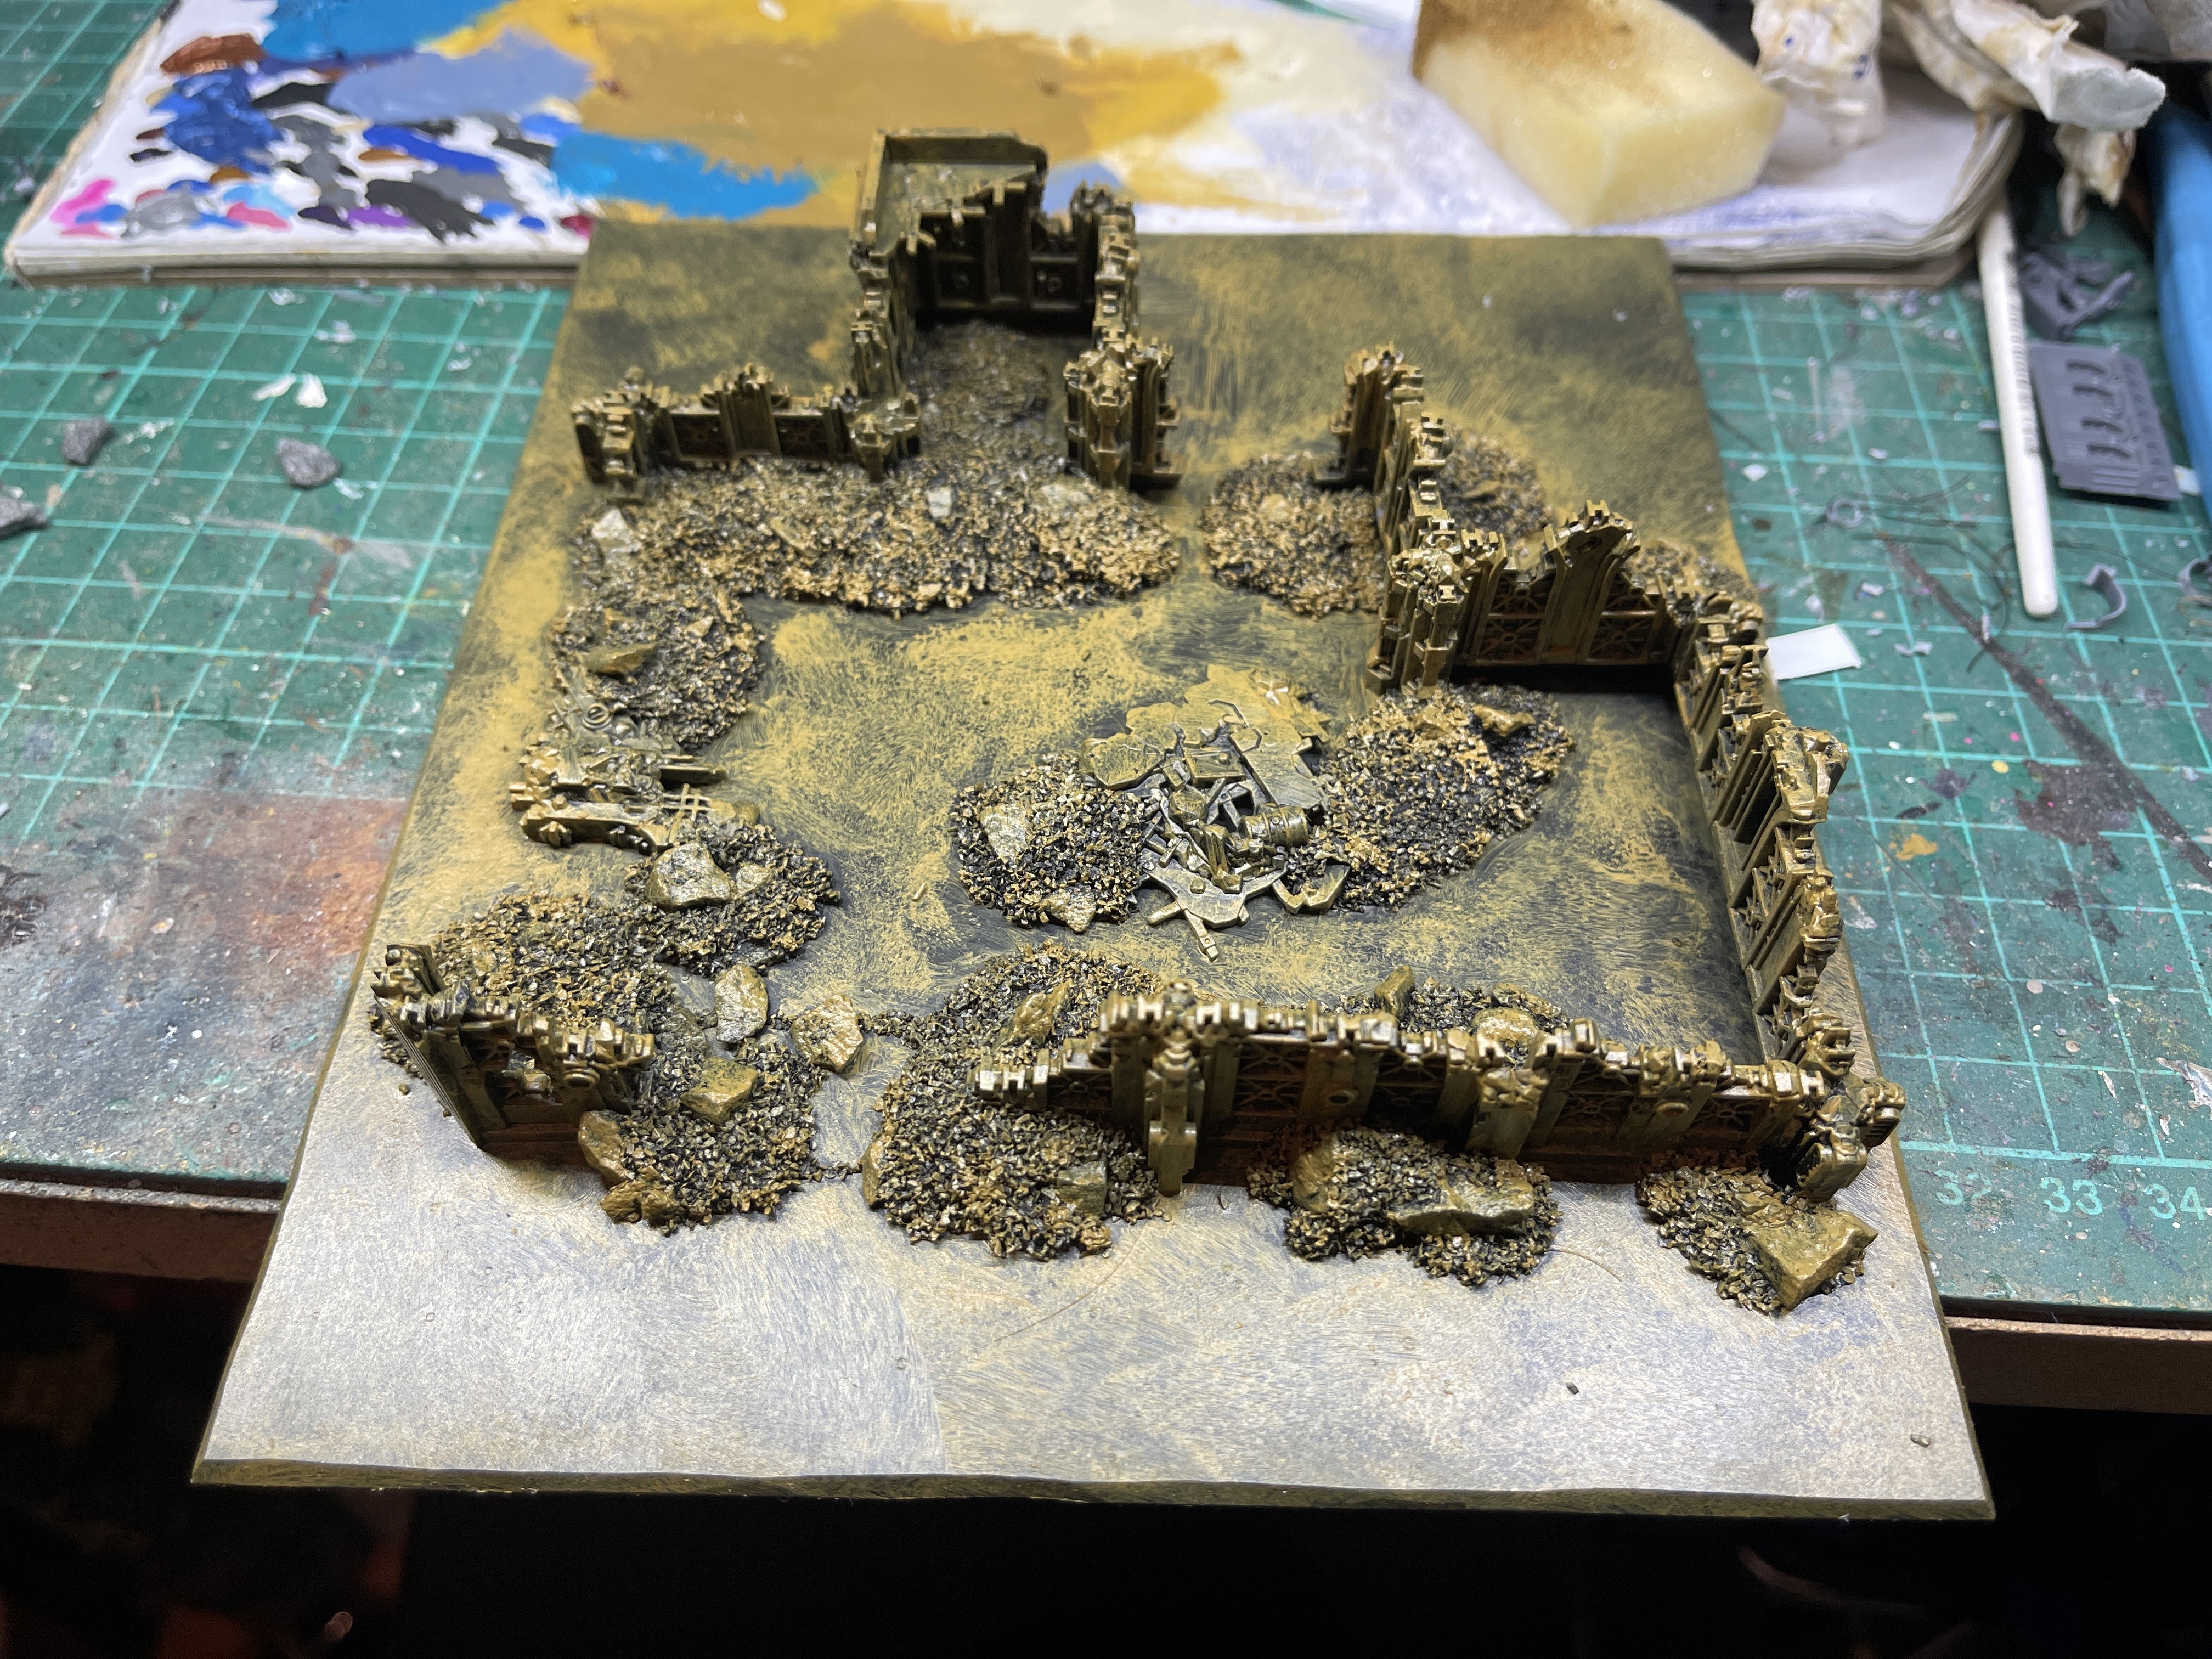

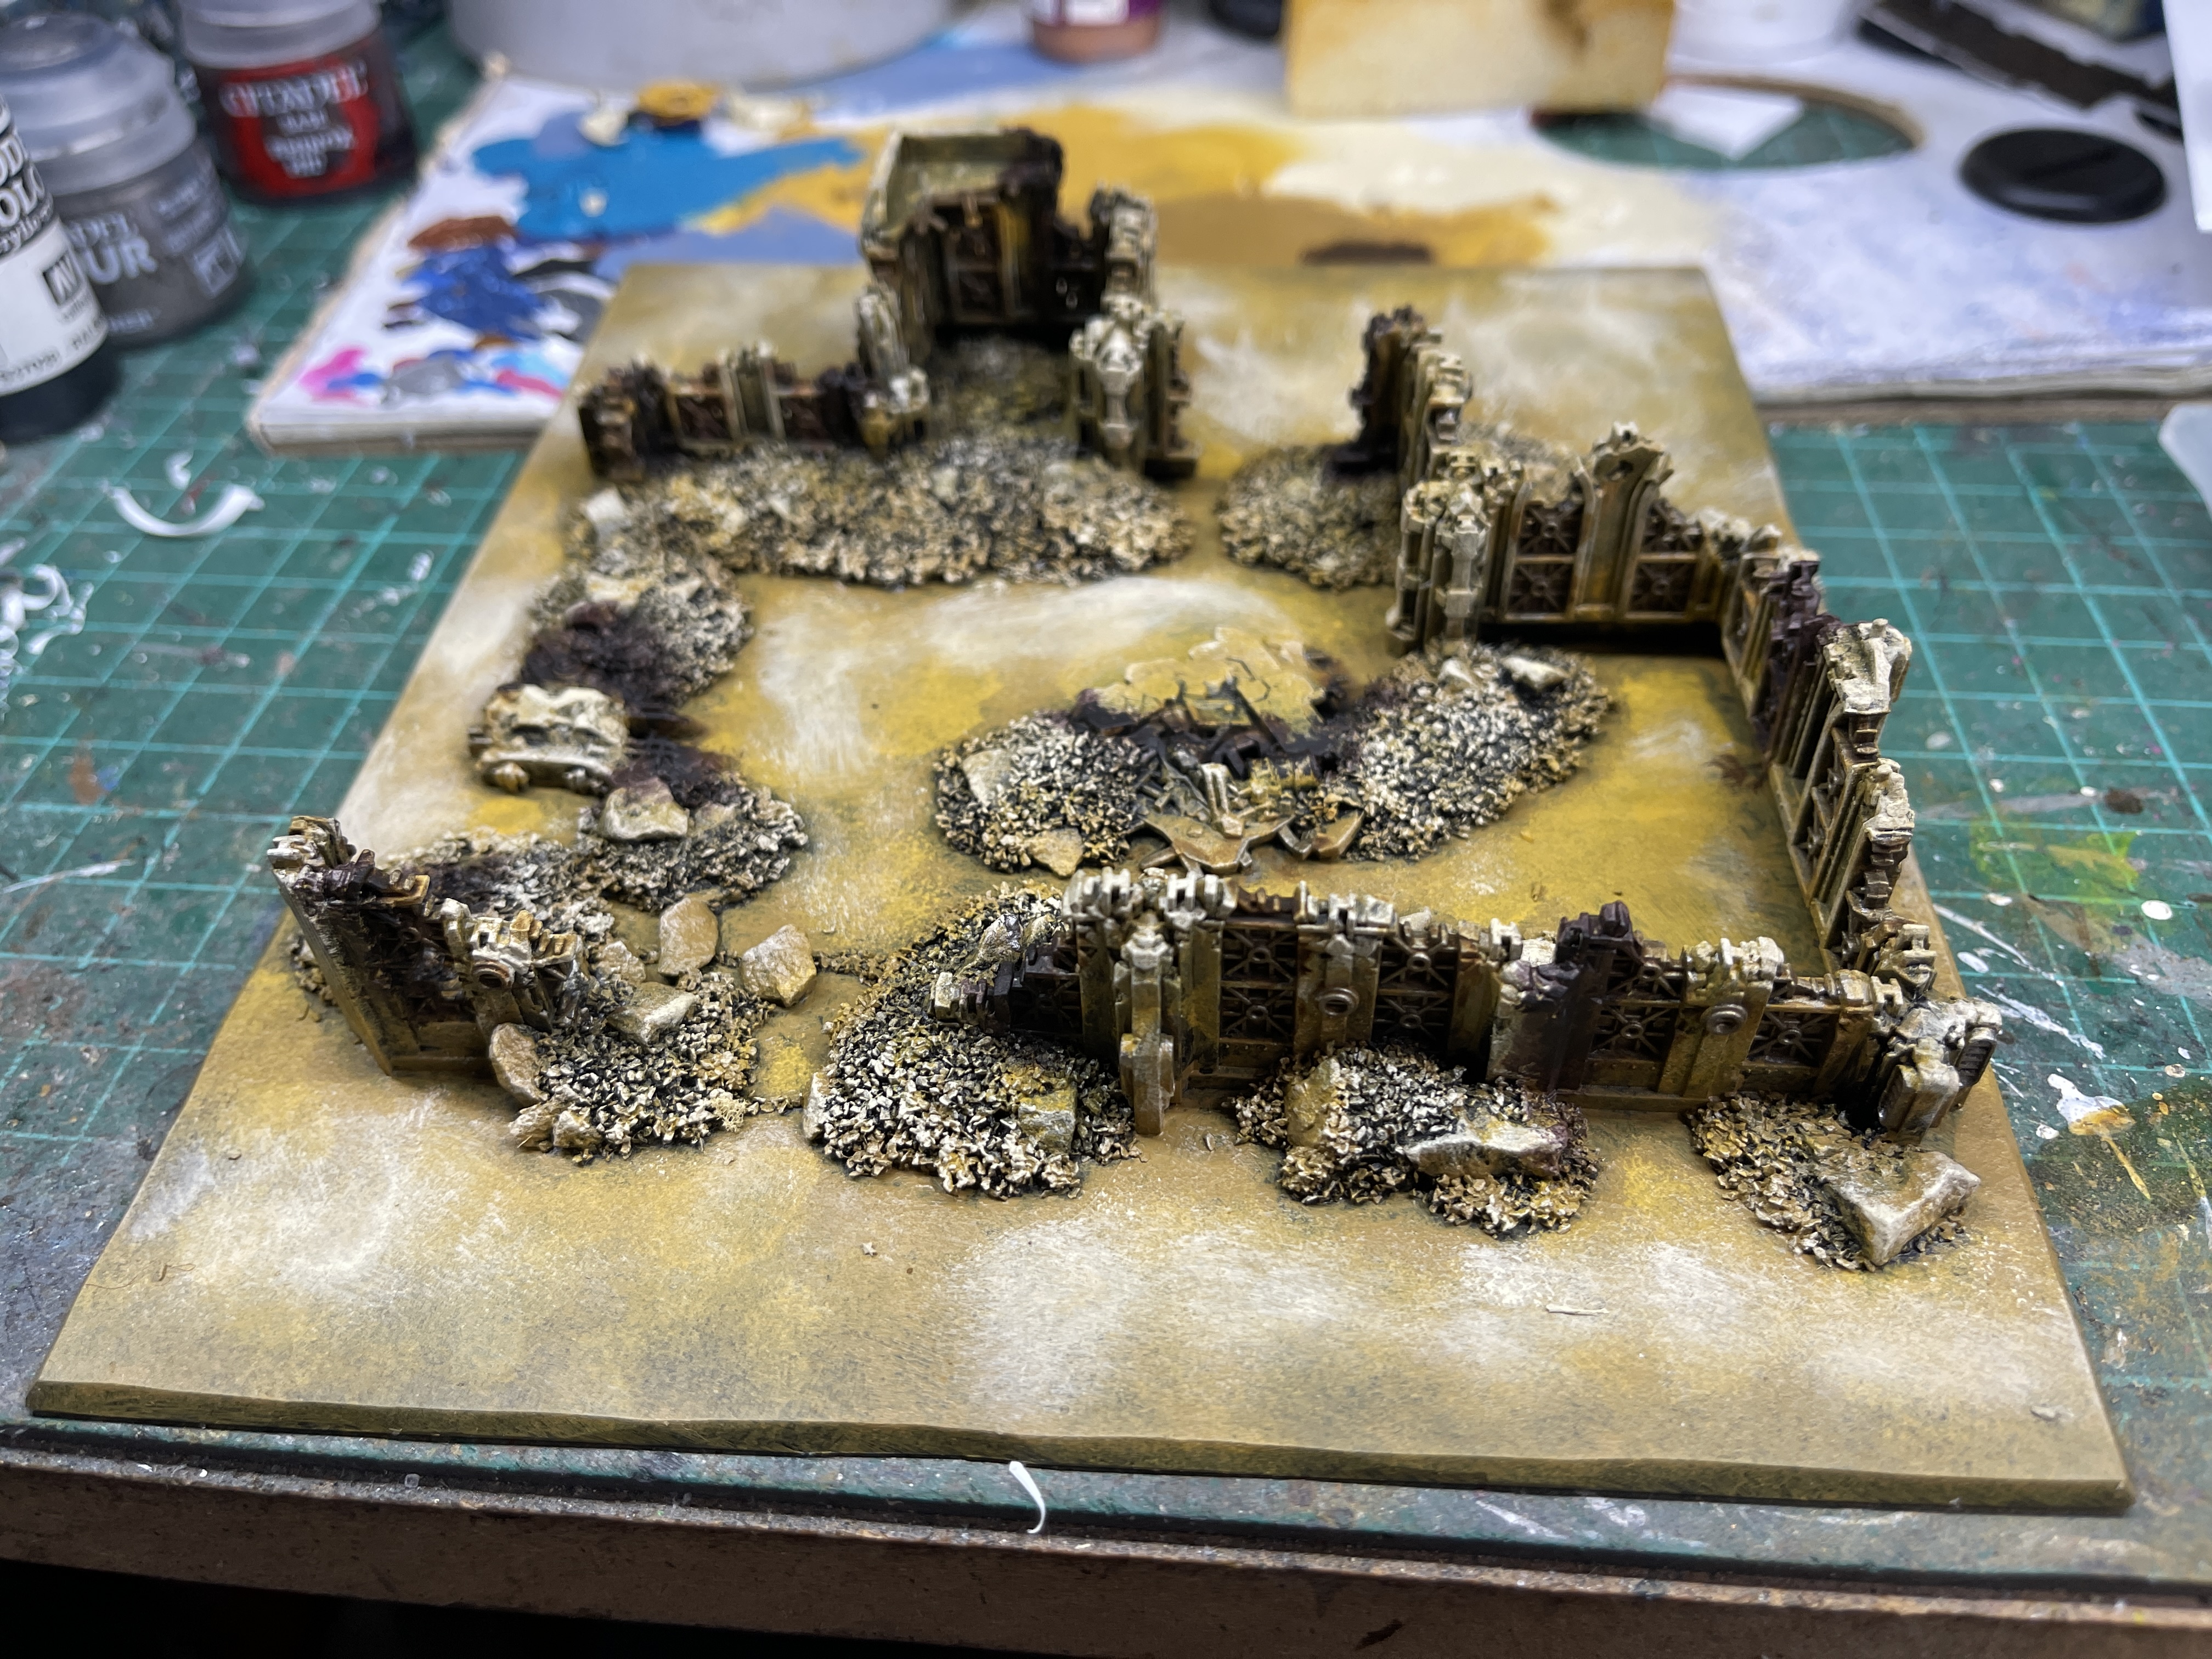
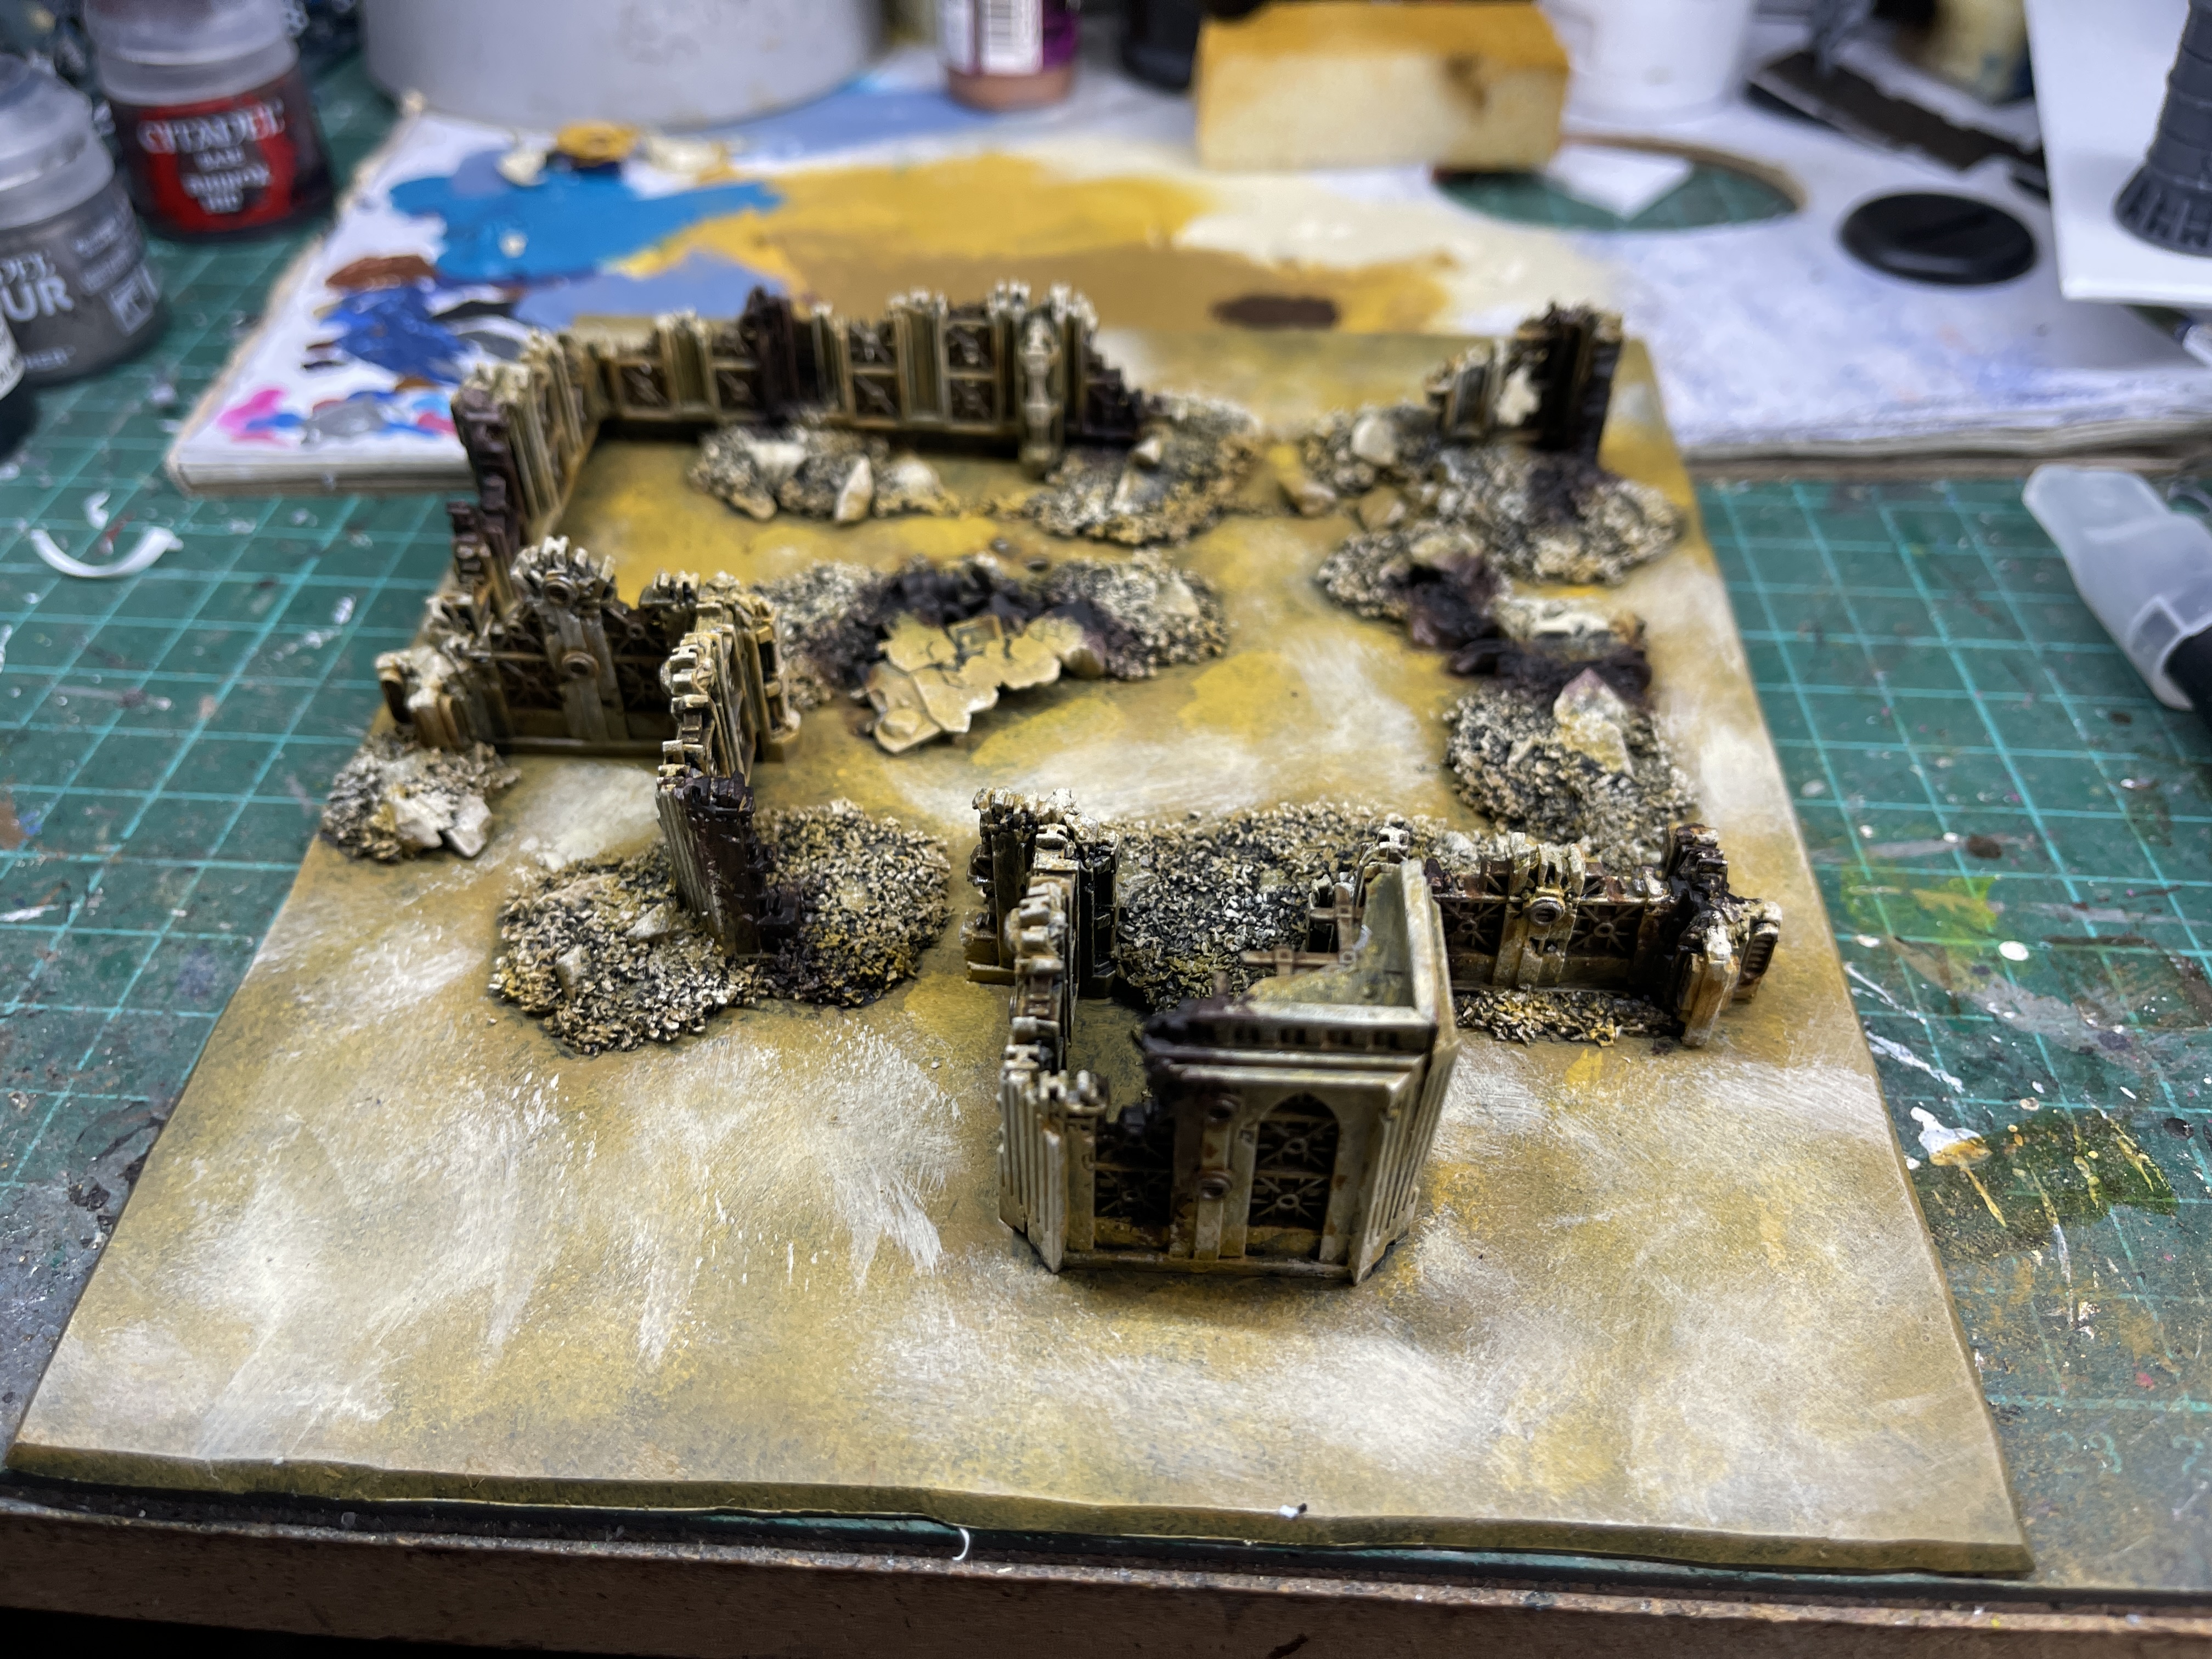
For the ruins I decided to stick them down on some plasticard. I then added some rocks and sand, sprayed it all black. The base and buildings were painted the same as the tiles and other buildings.
Lastly I added some burning marks on the buildings stippling rhinox brown on and using black in the centre.
I am going to make a few more and then its the industrial areas and I am going to use the plasticard again here.
End of Terrainfest update
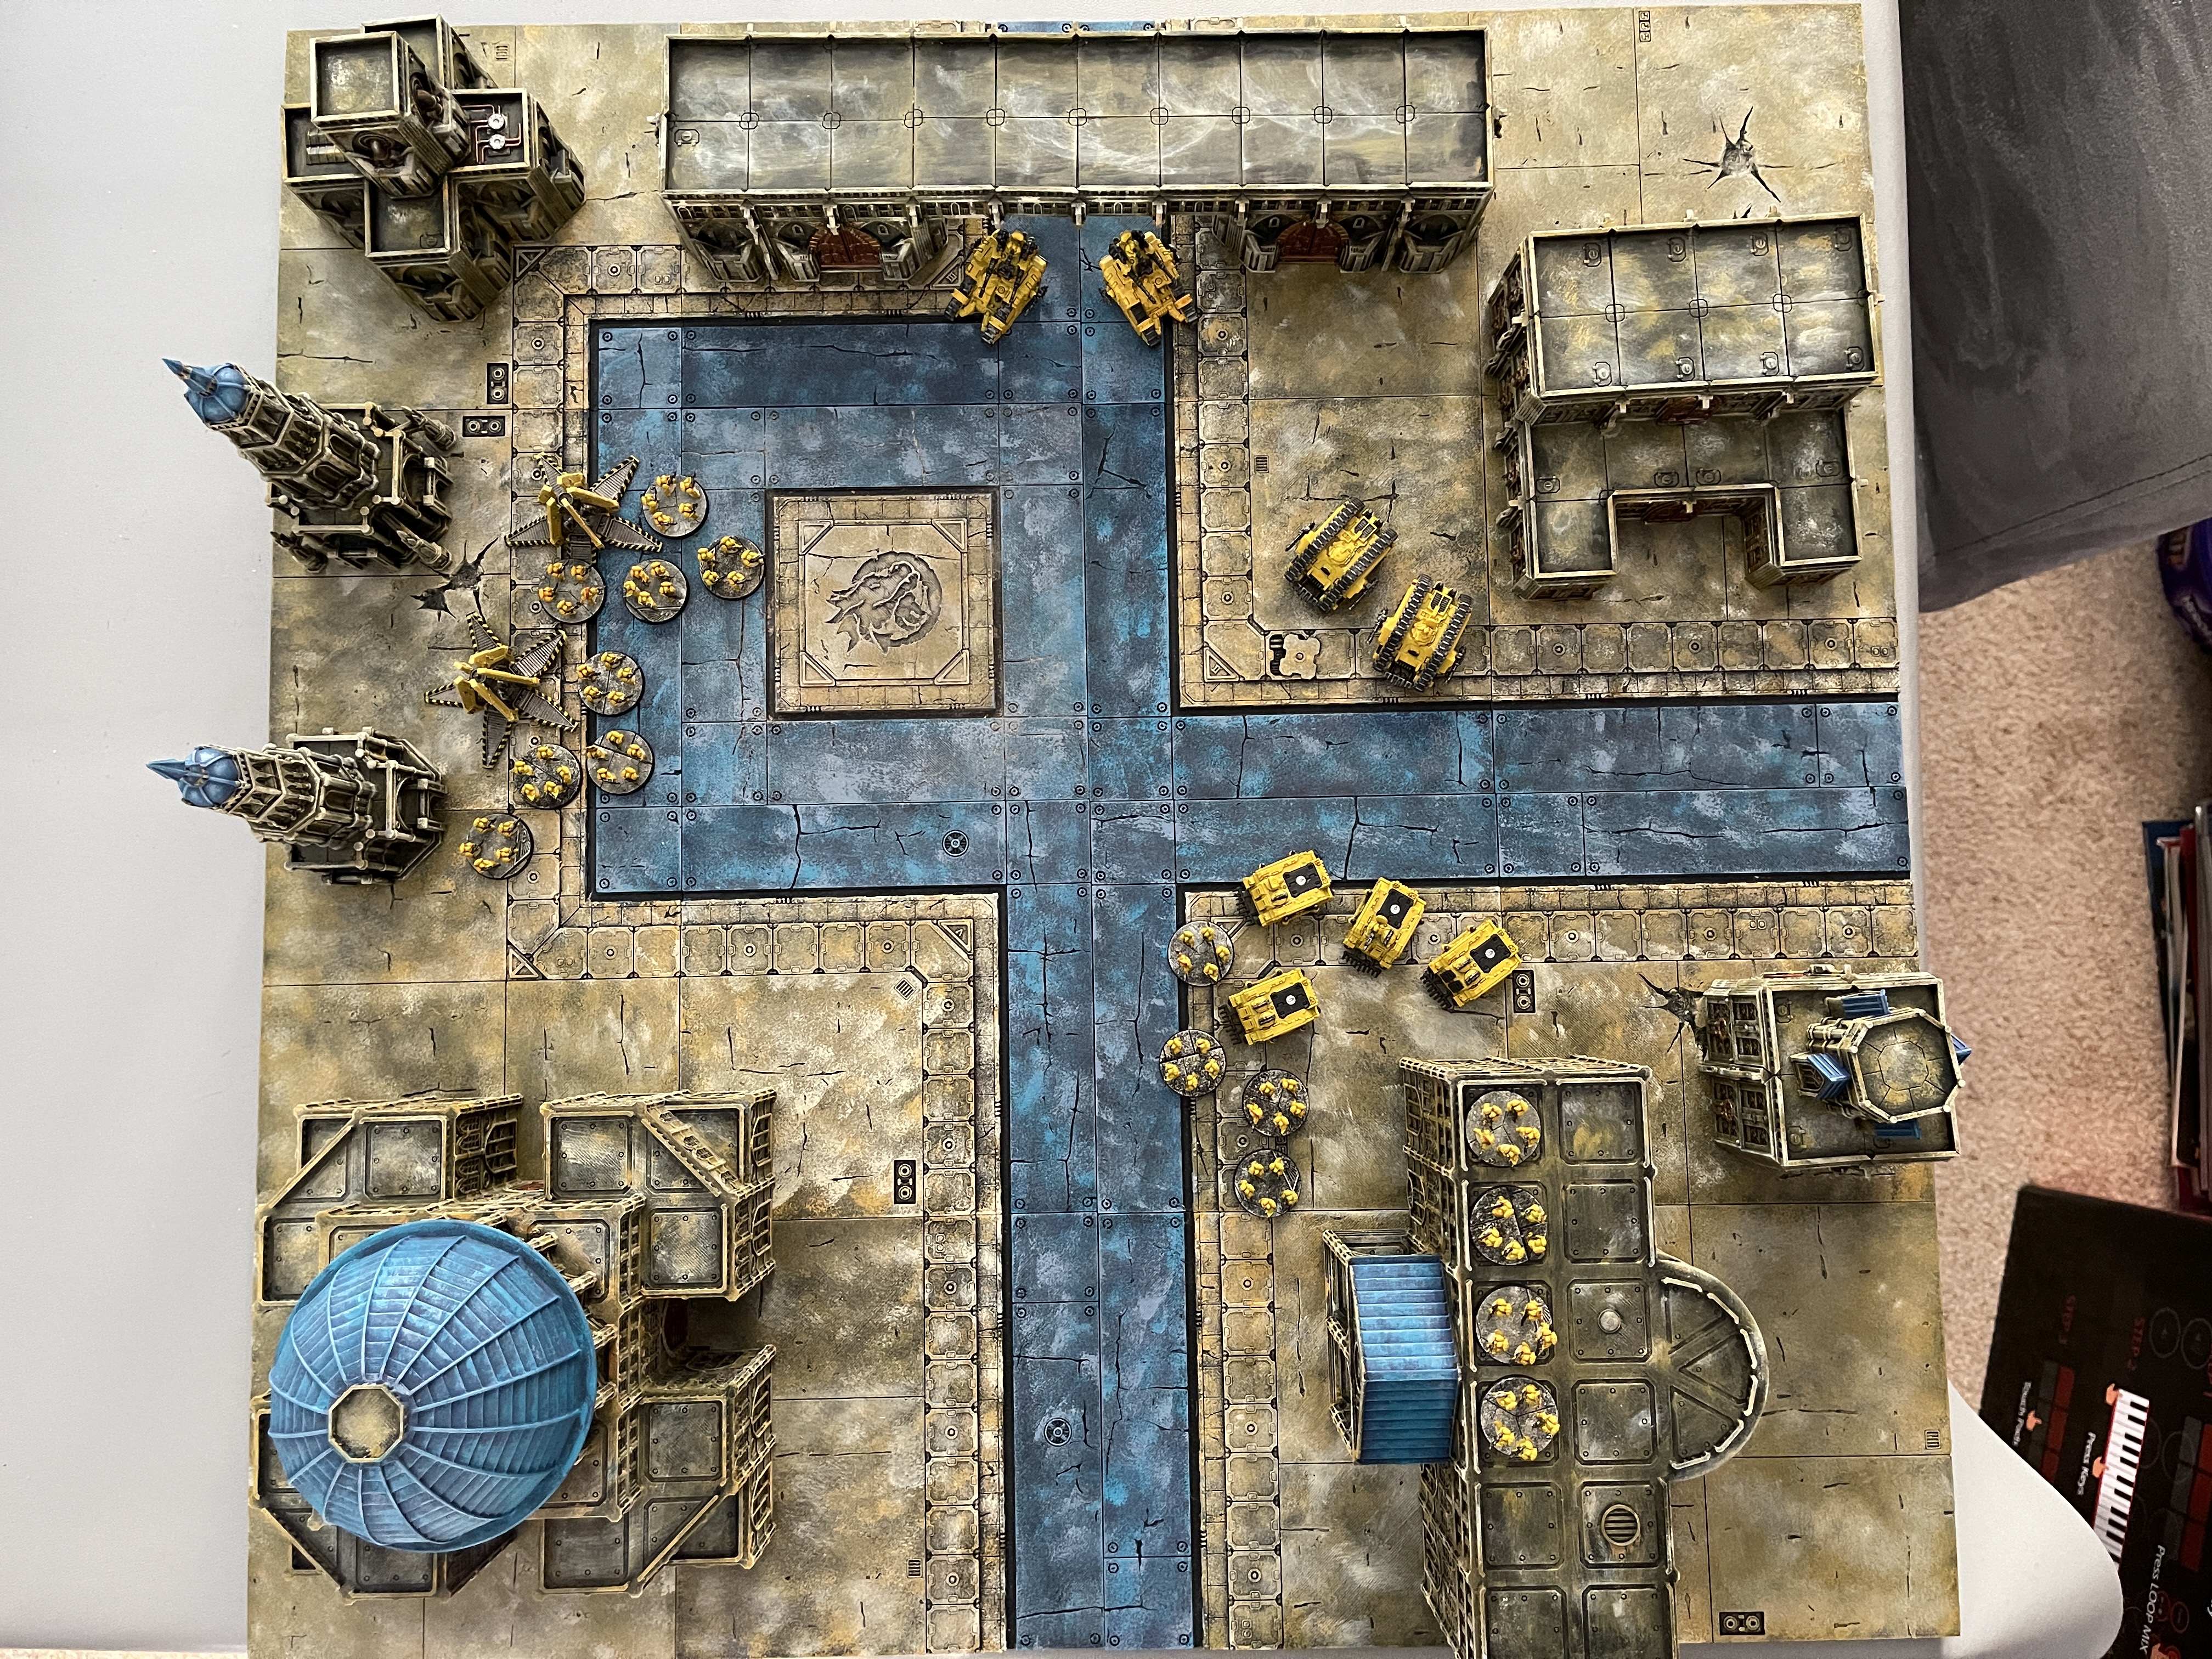

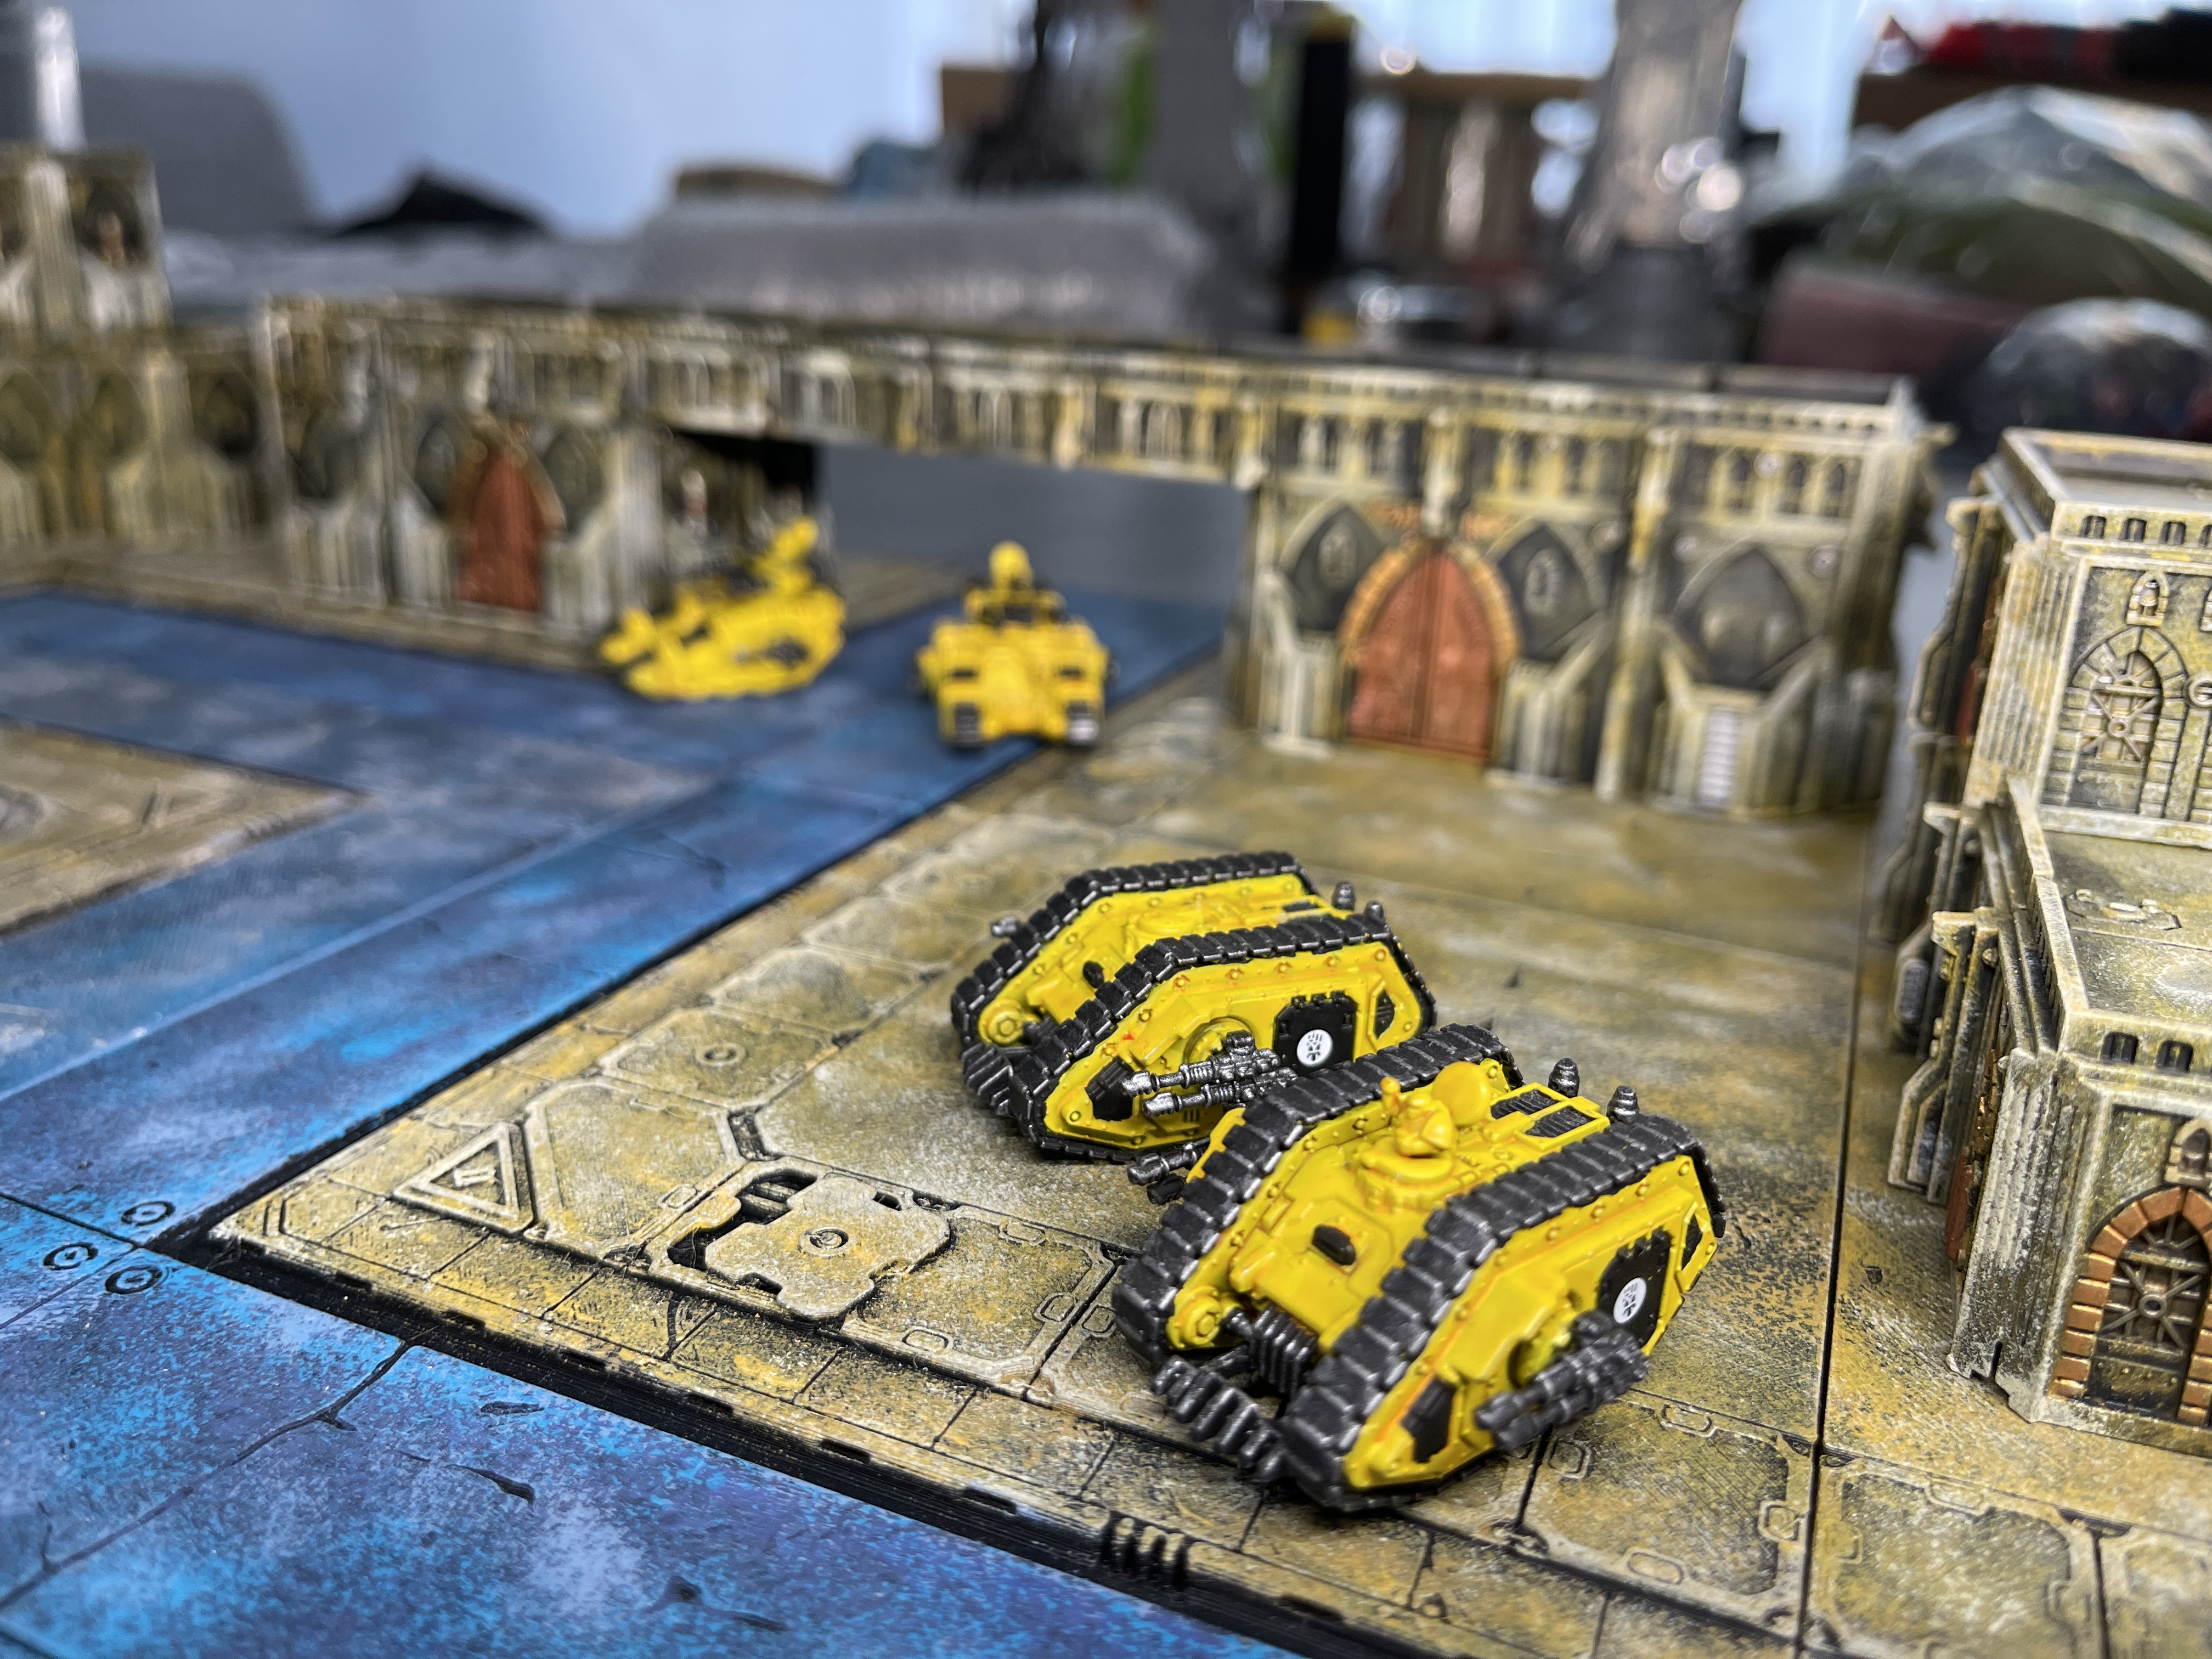
As terrainfest ended a couple of days ago I thought I would setup a small section of the board and put my Imperial Fists down (the titans seem to have gone AWOL at the moment). I will continue on with this to finish the project but mostly I have the ruined buildings and the industrial sections to finish.
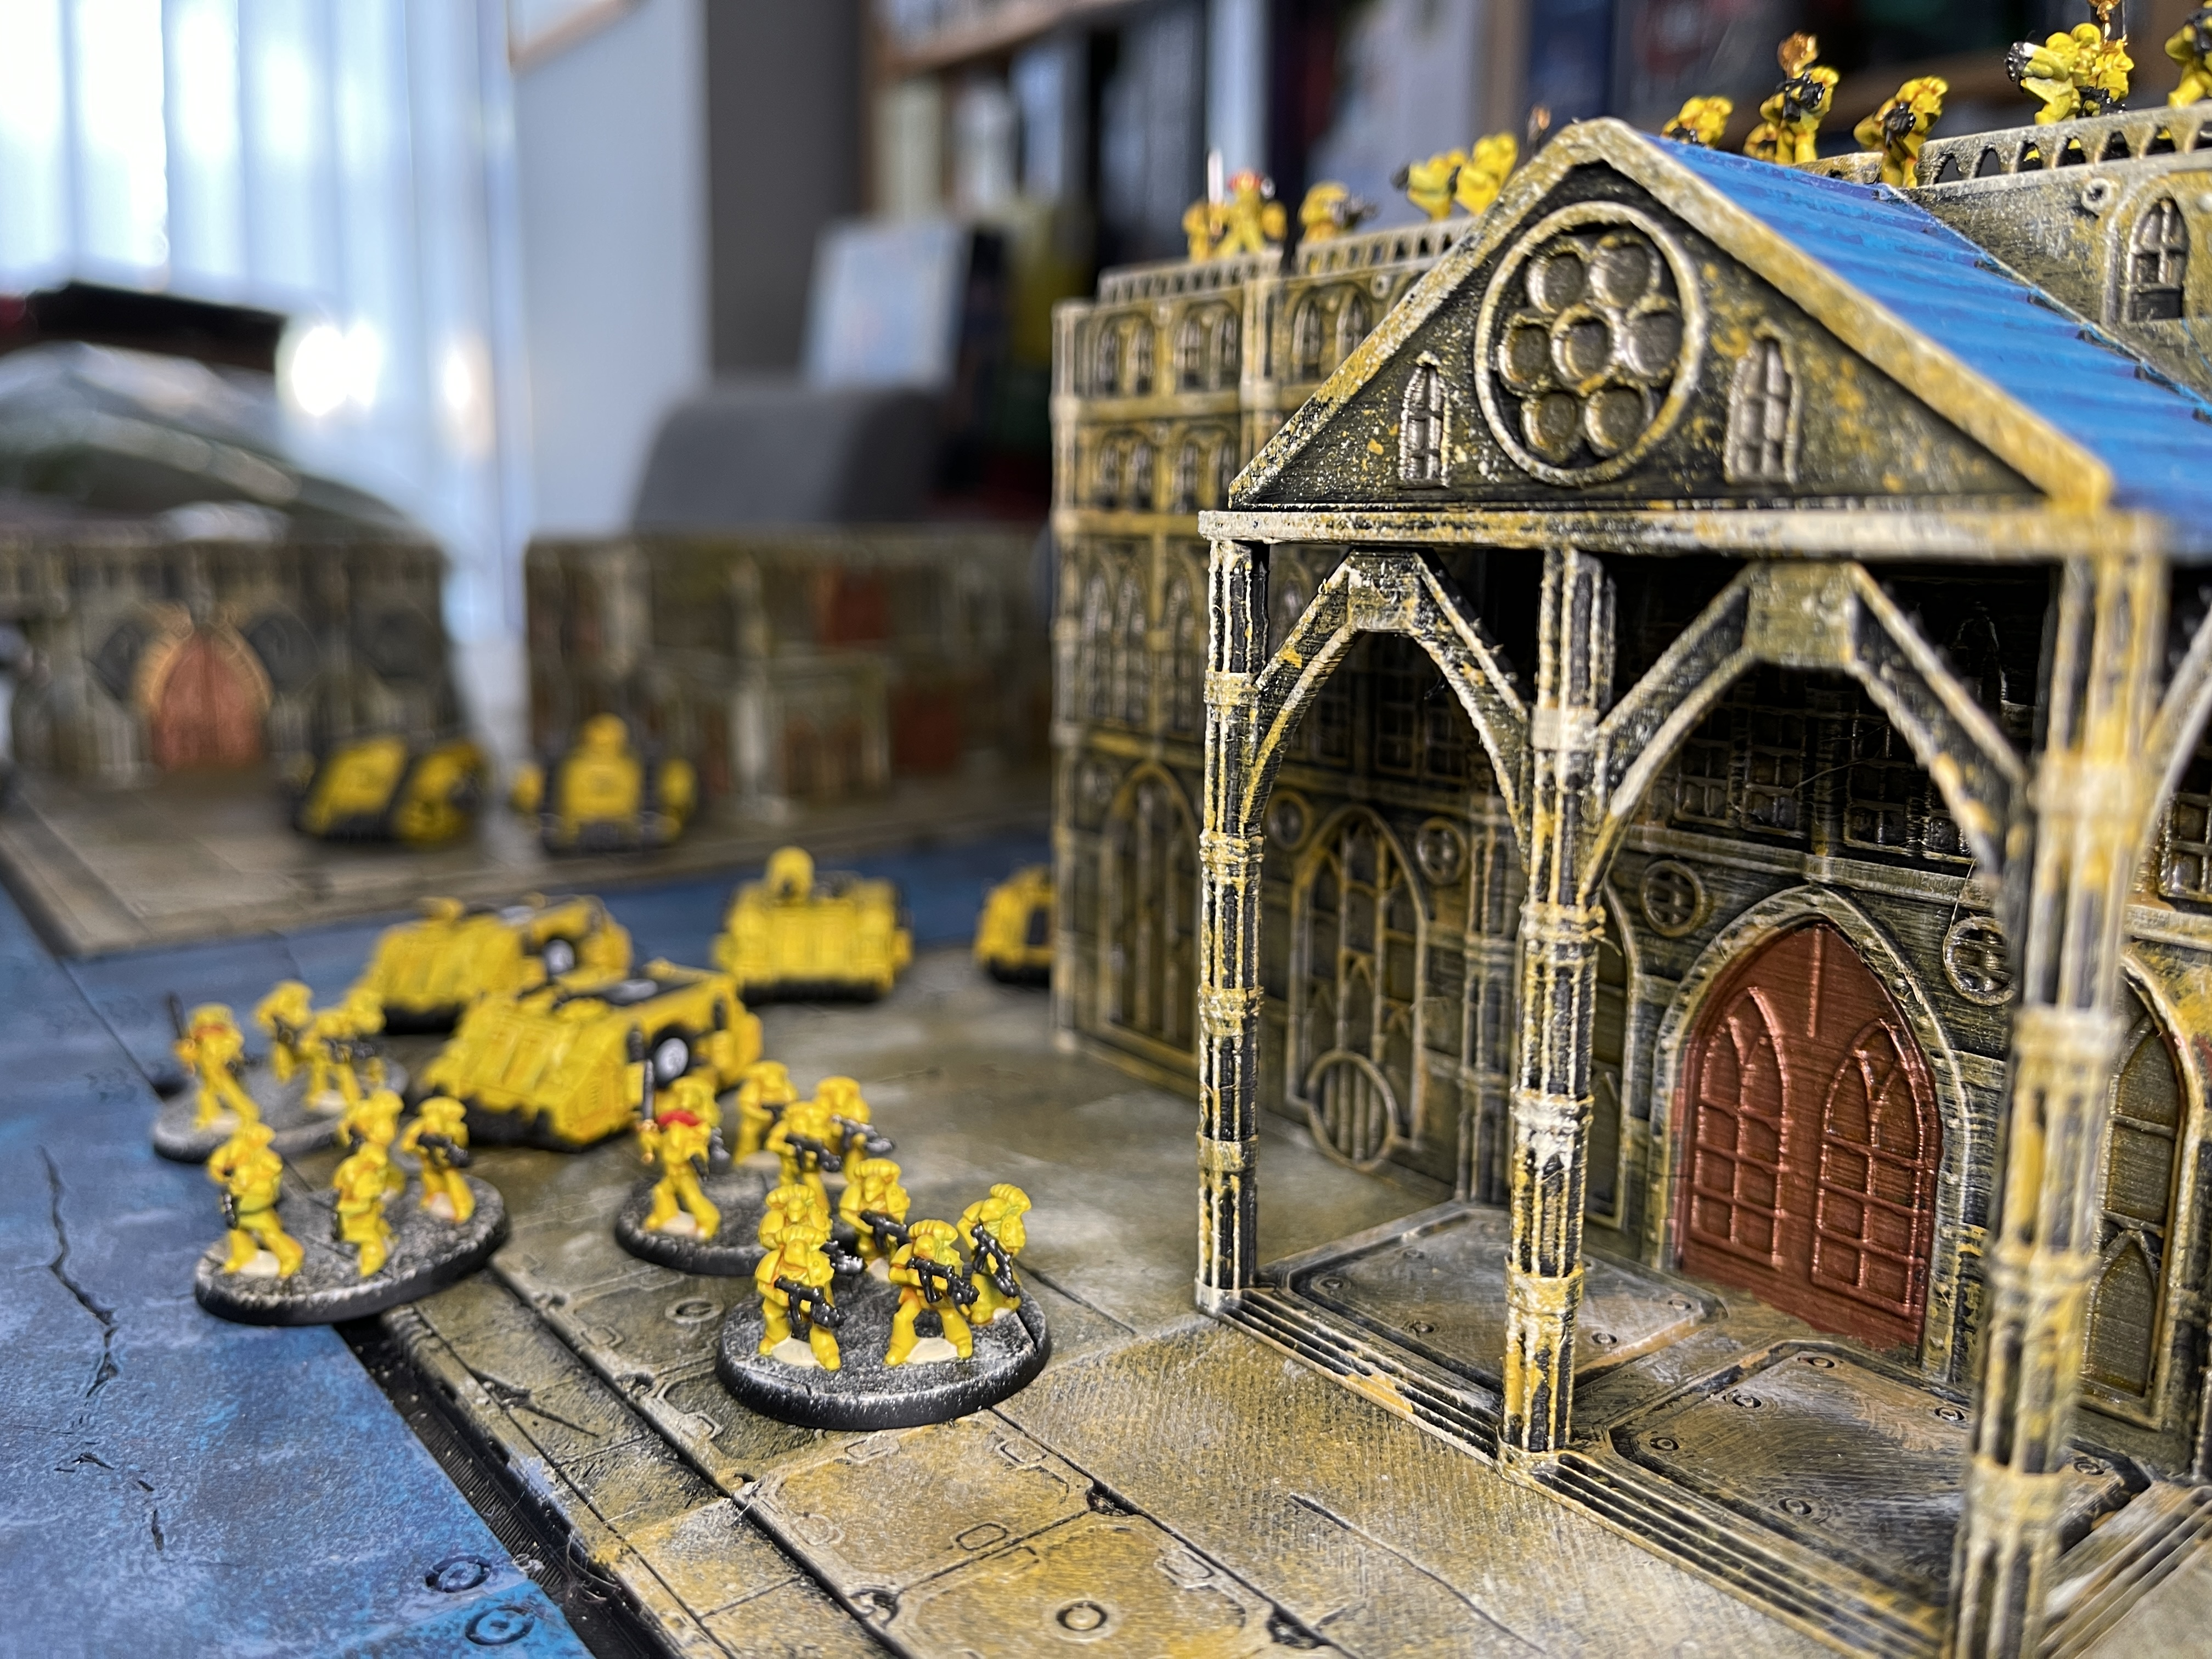
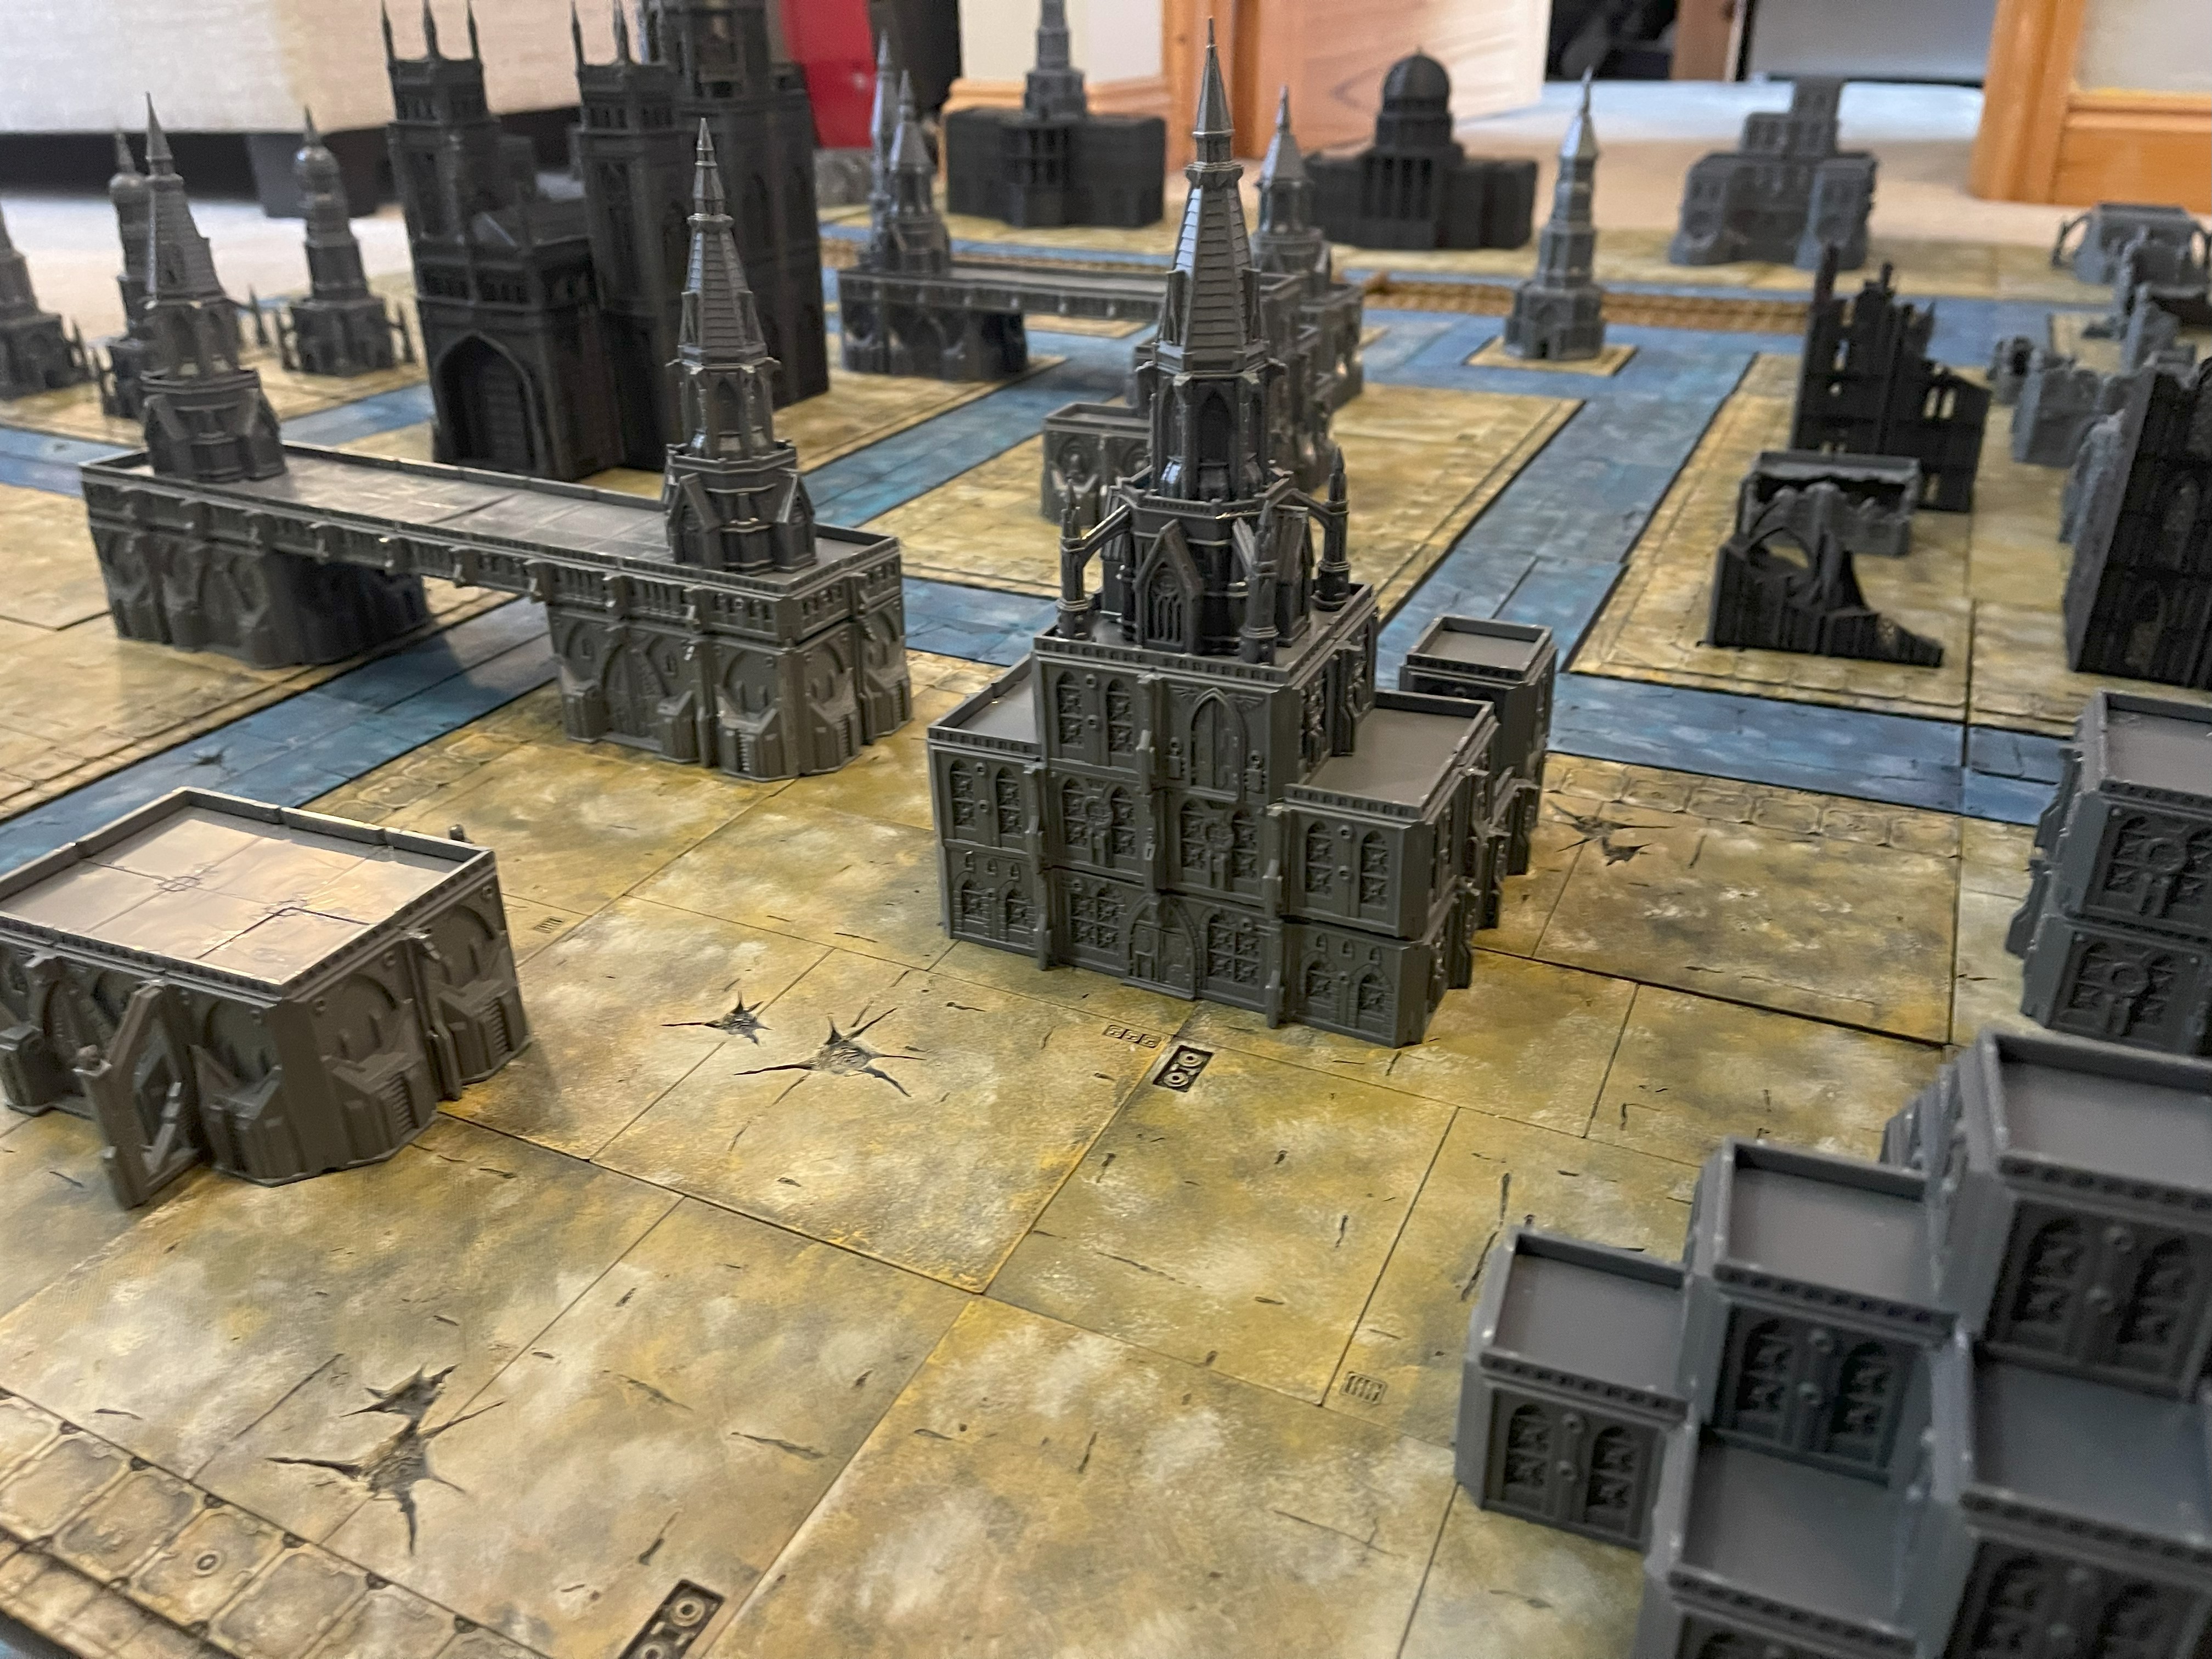
Sample Building

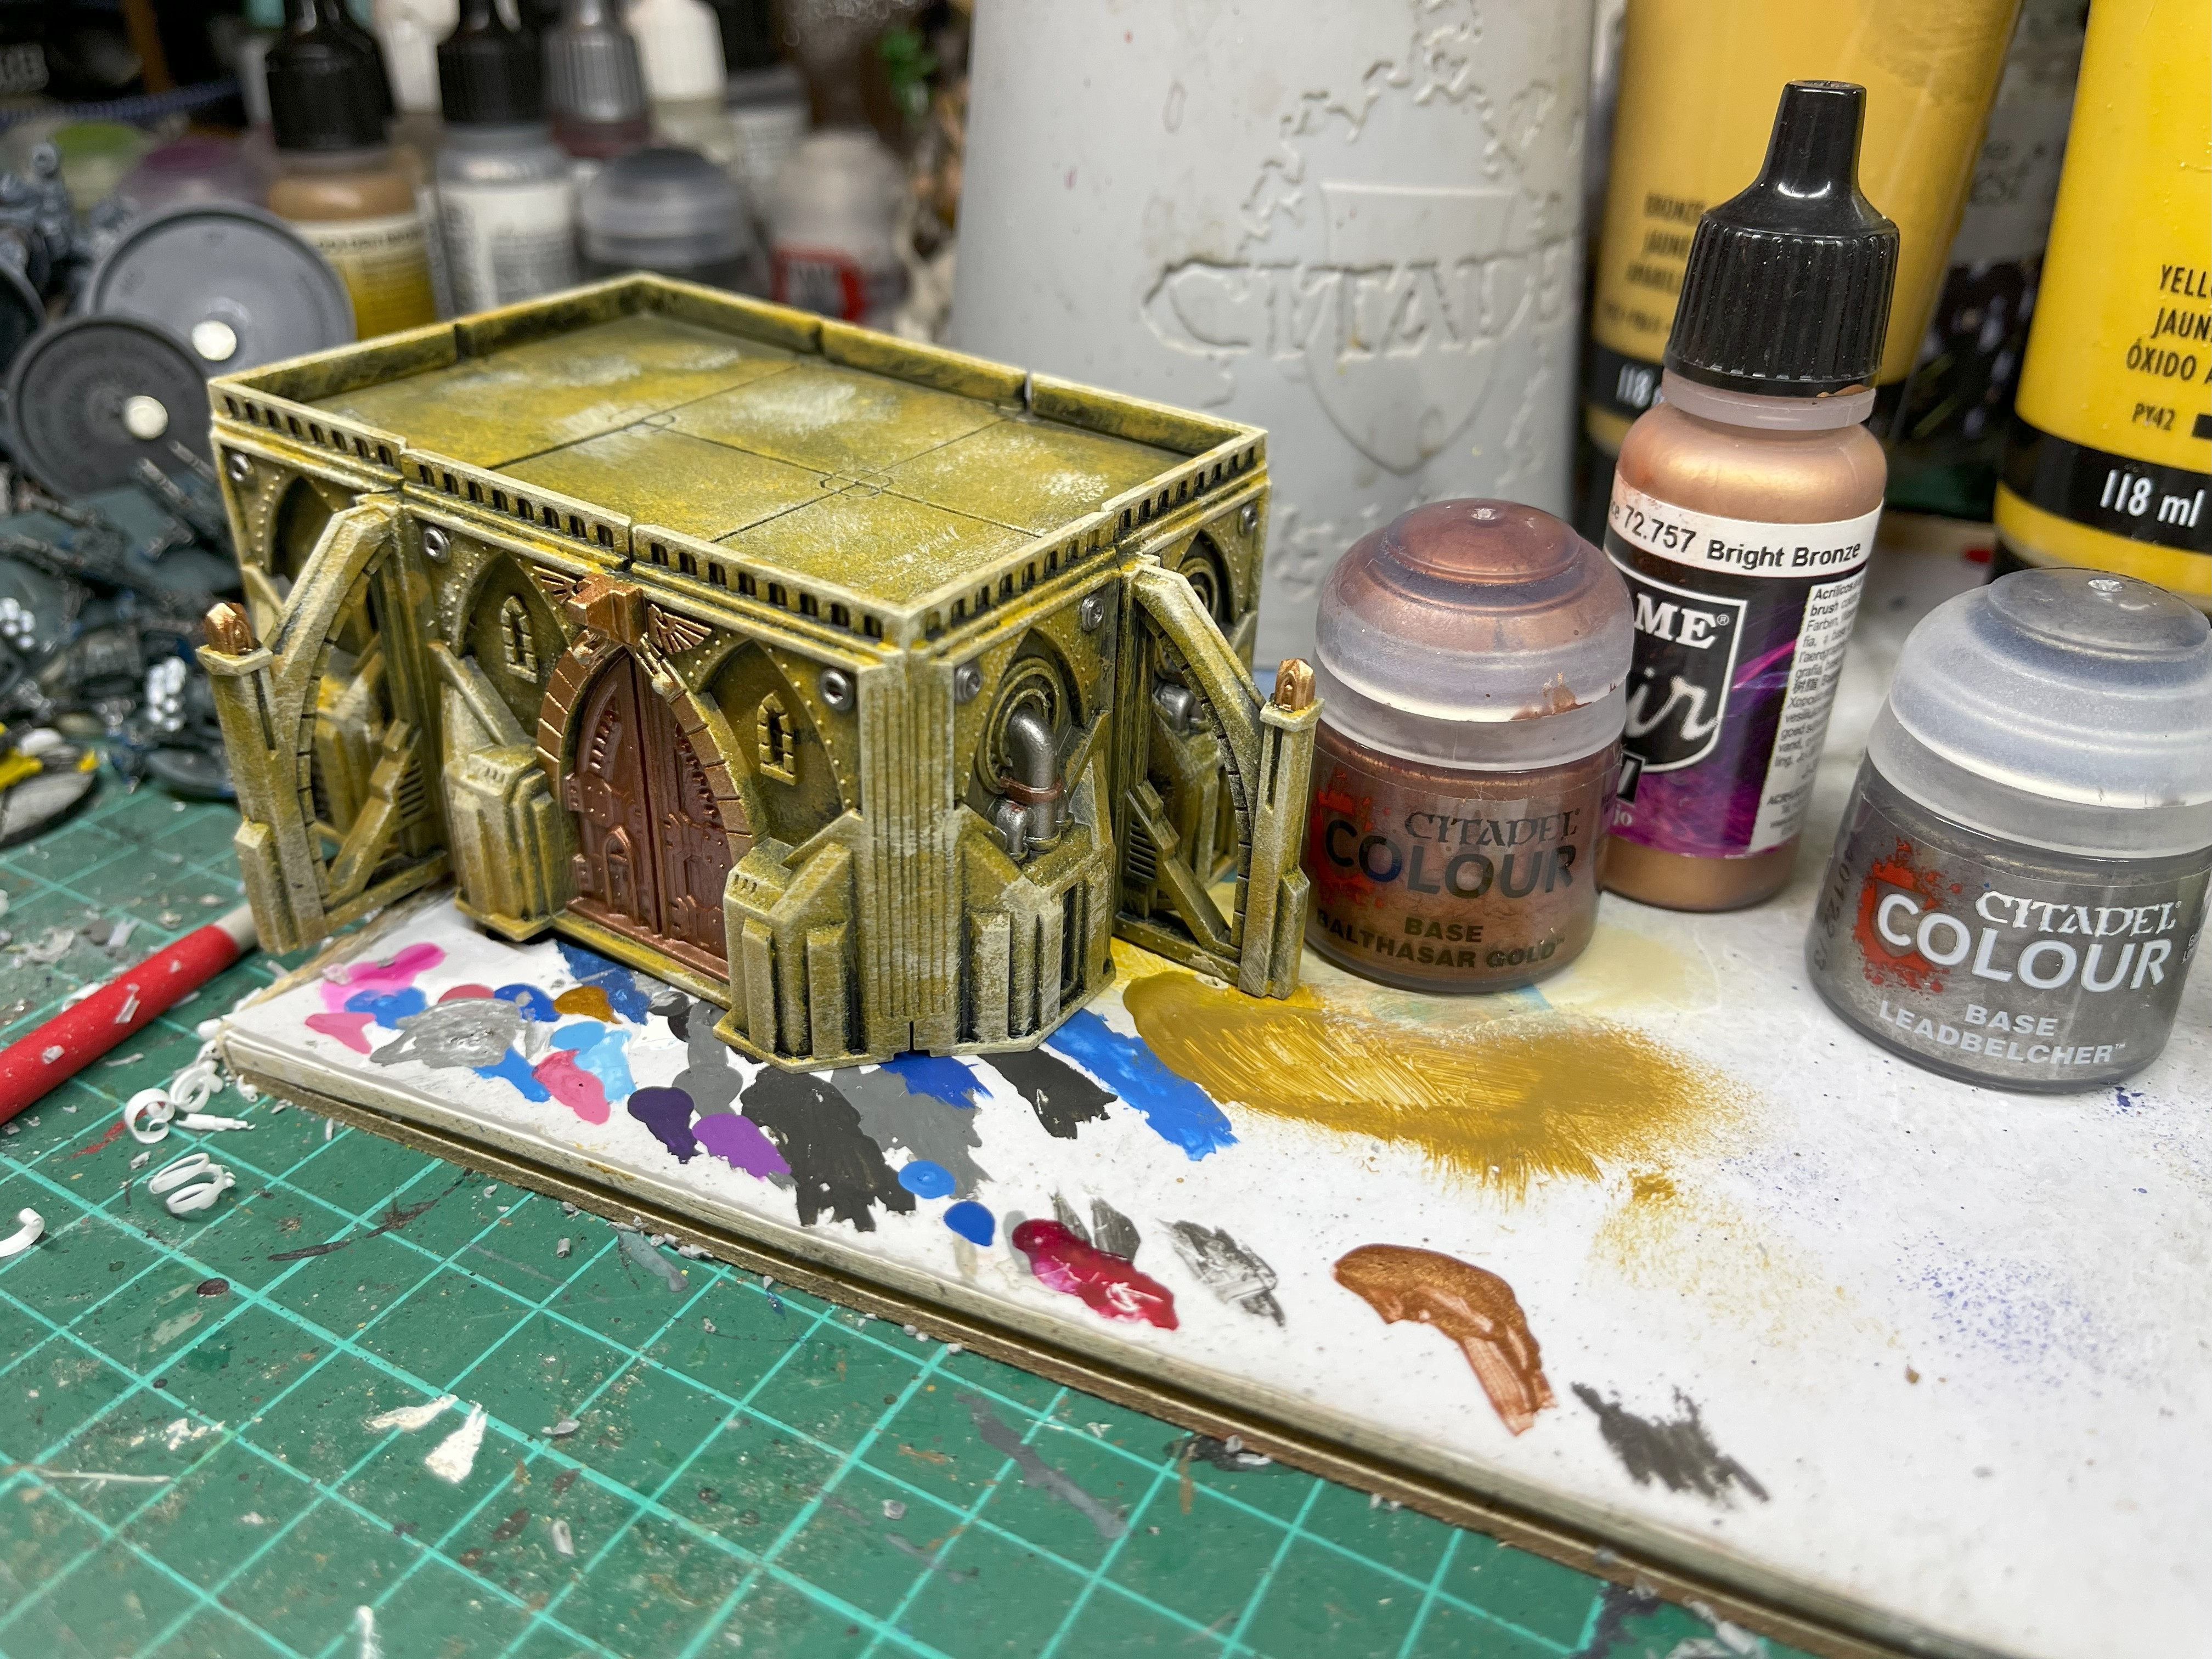
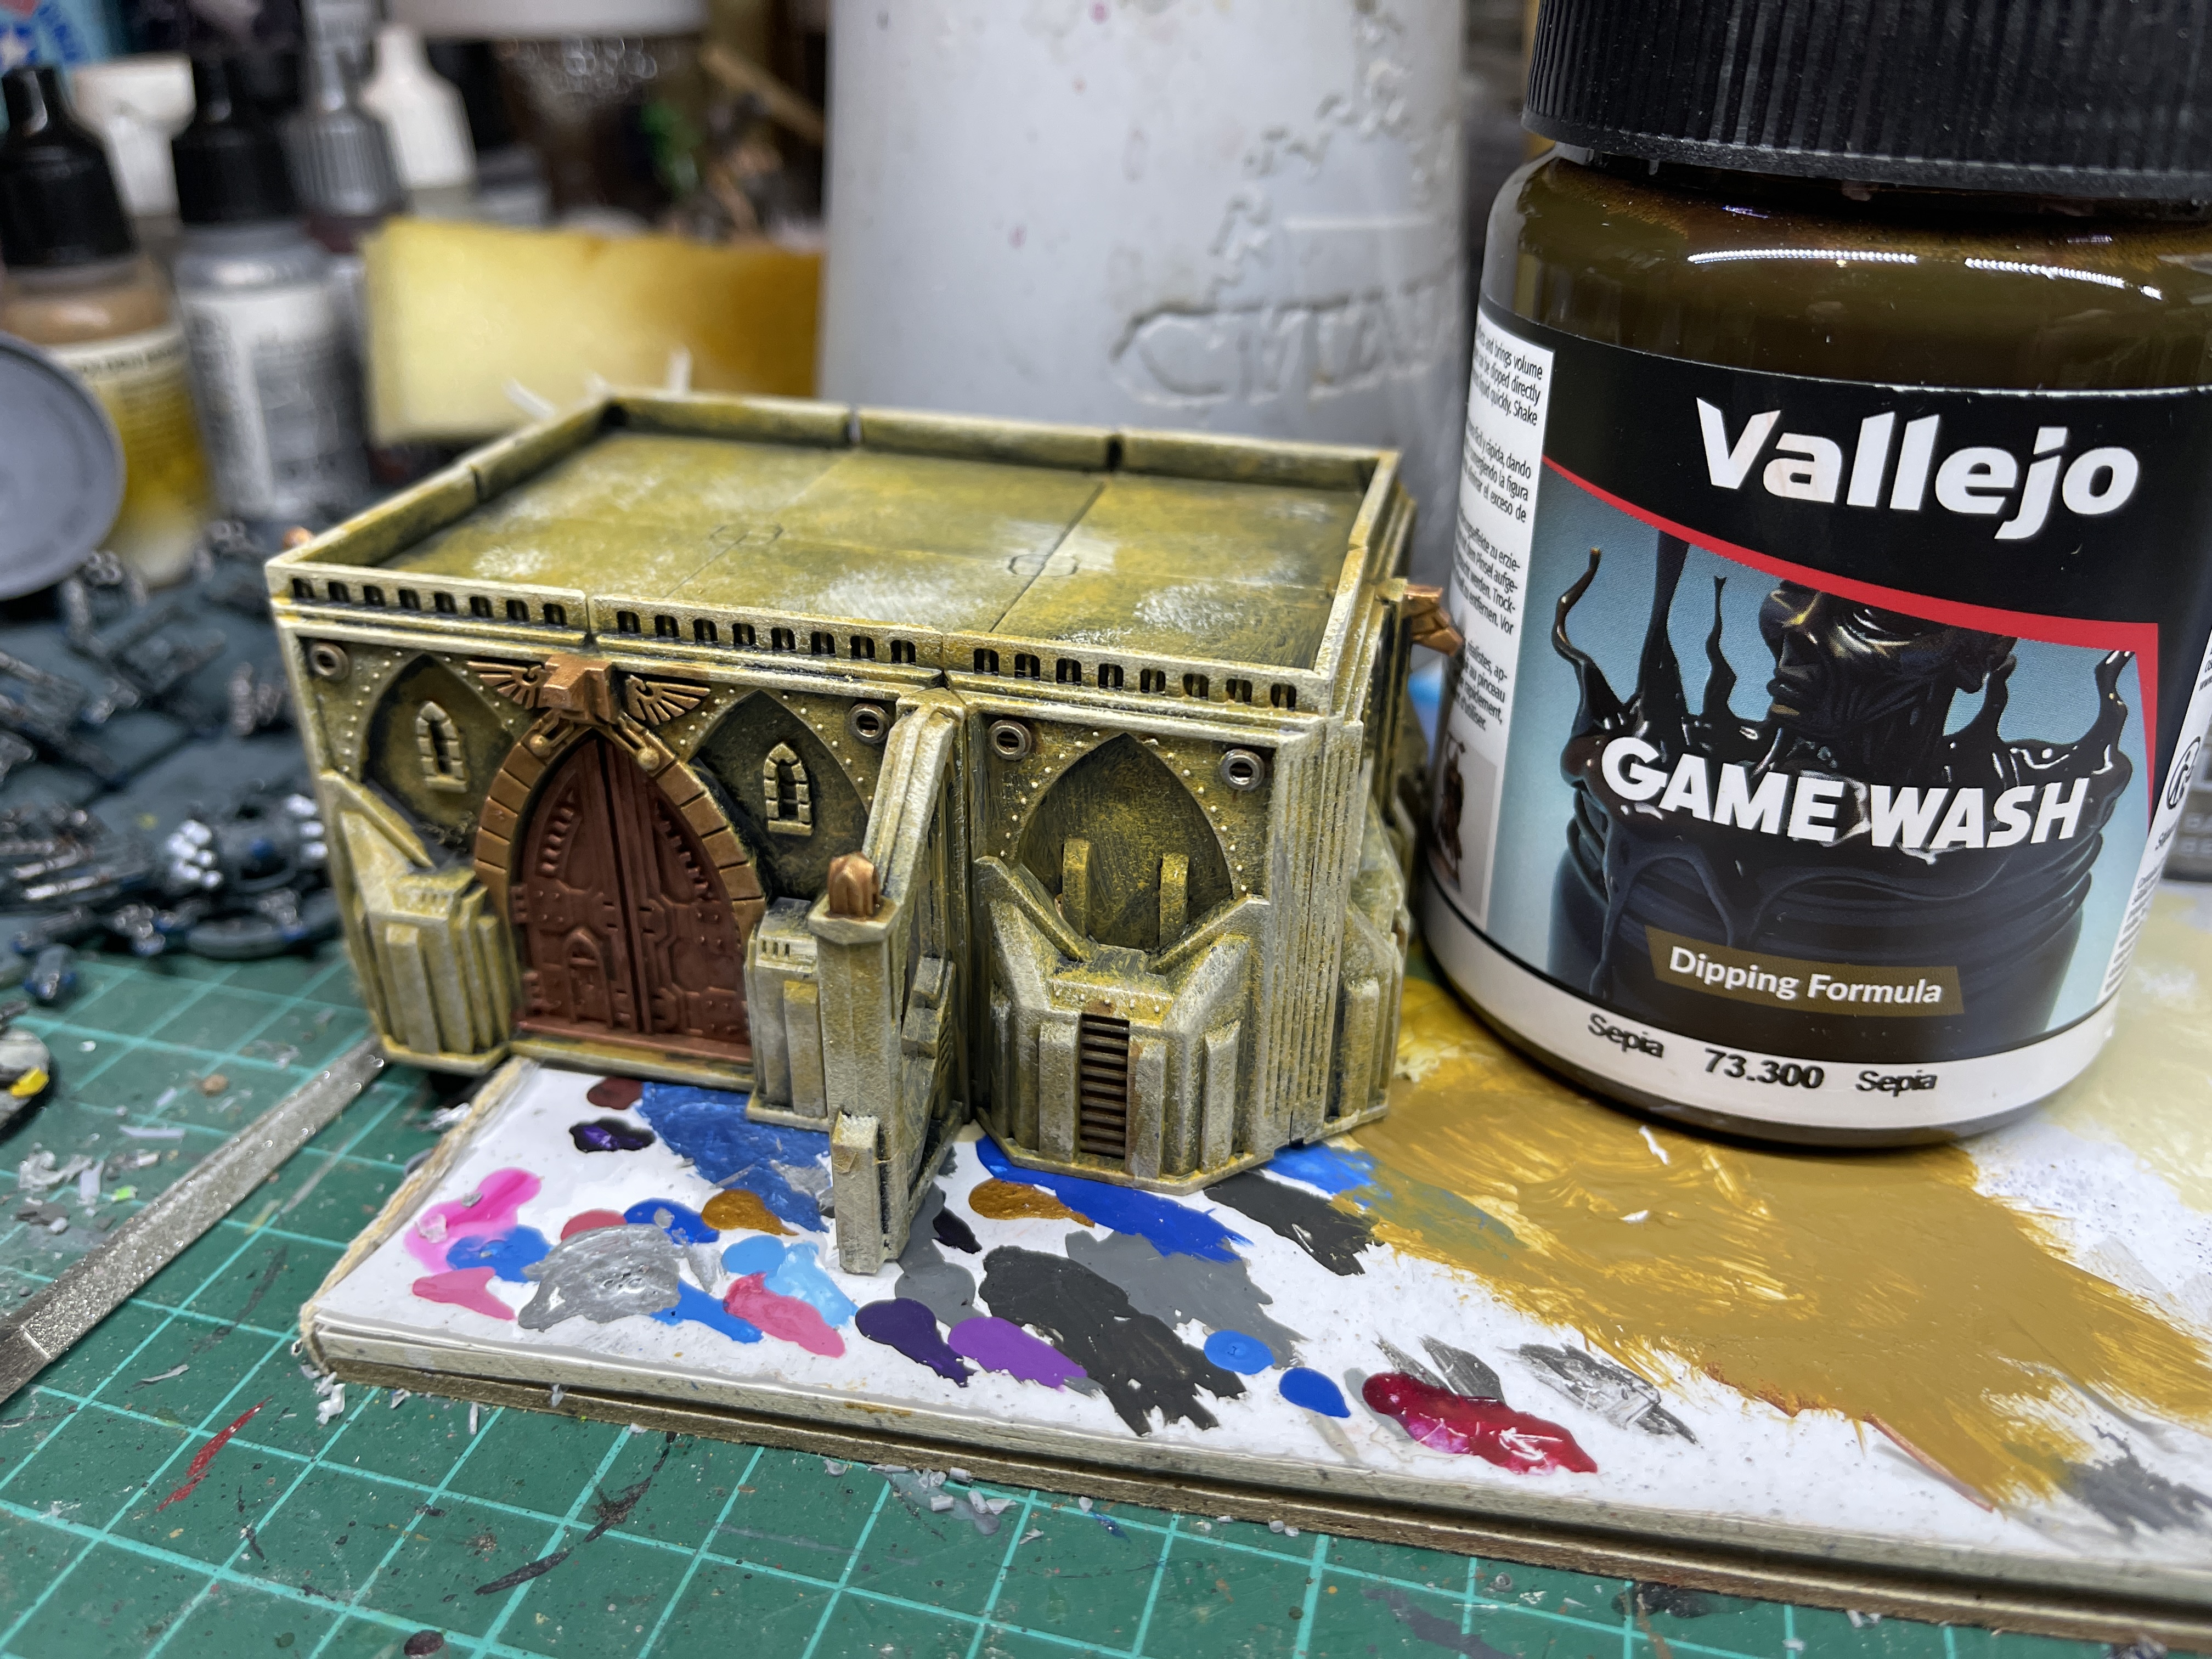
The building was painted using the same colours used on the tiles and then the doors and windows picked out with metallics and then given a brown wash.
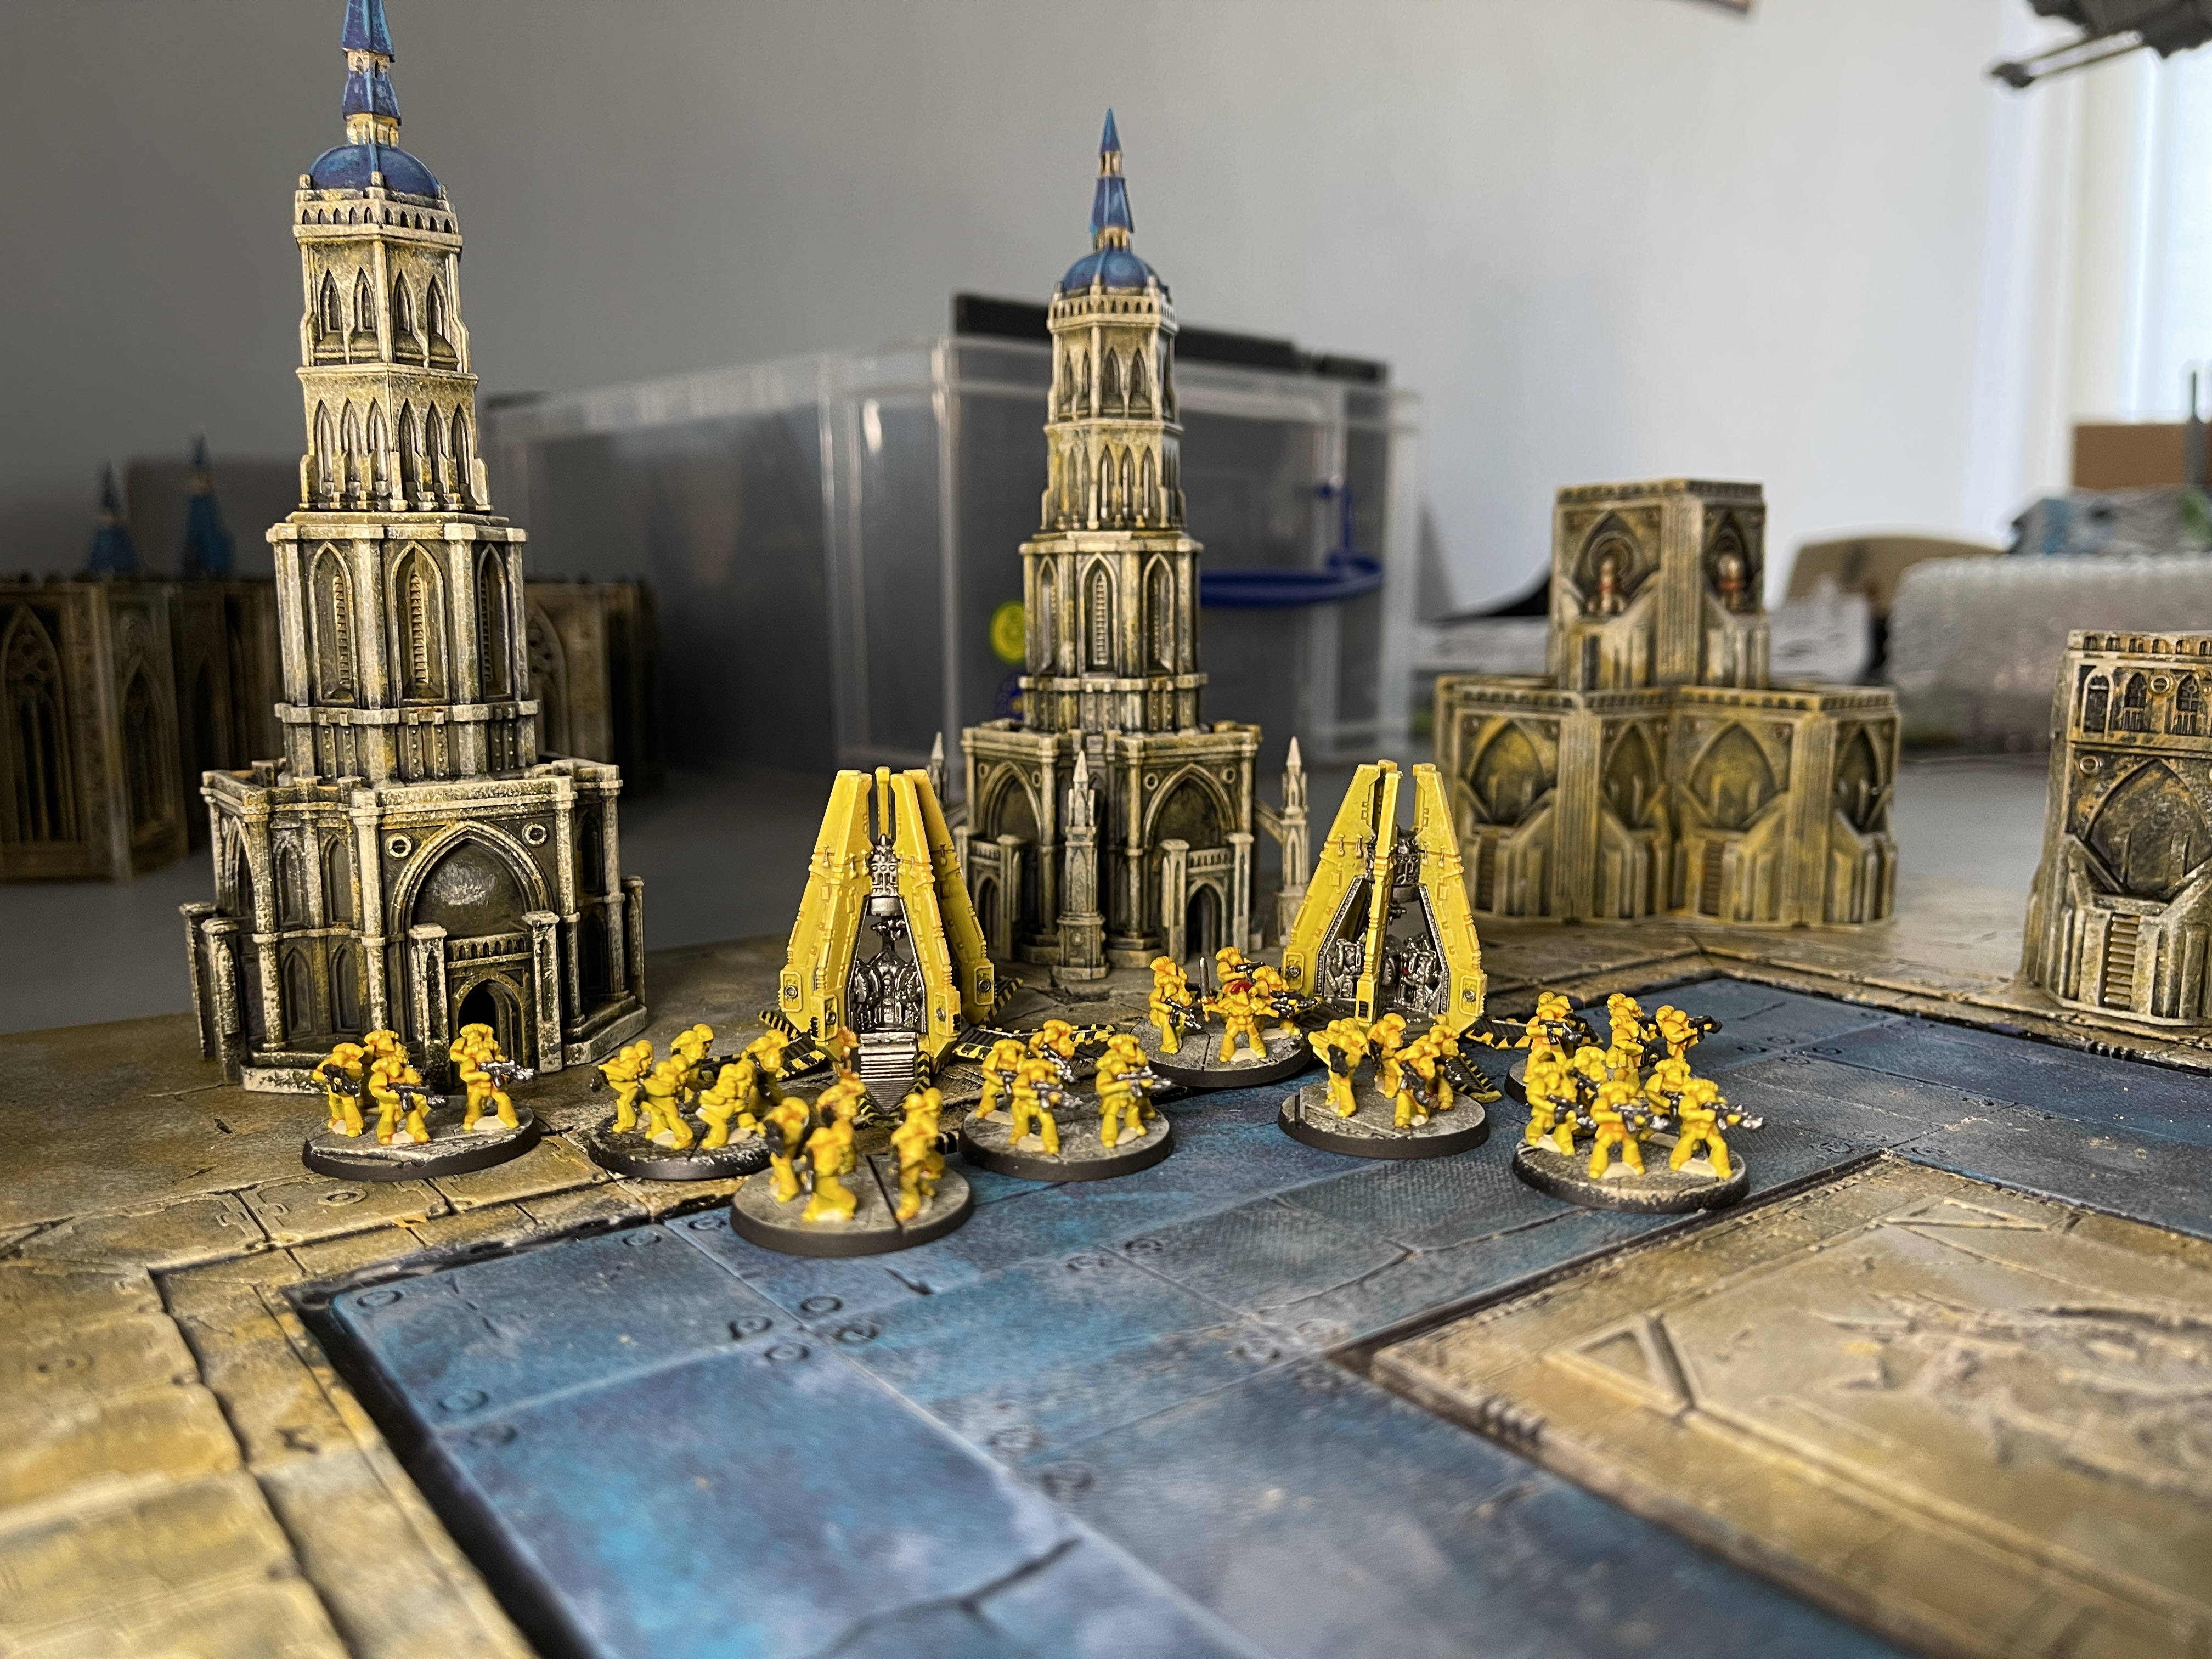
More board layout shots
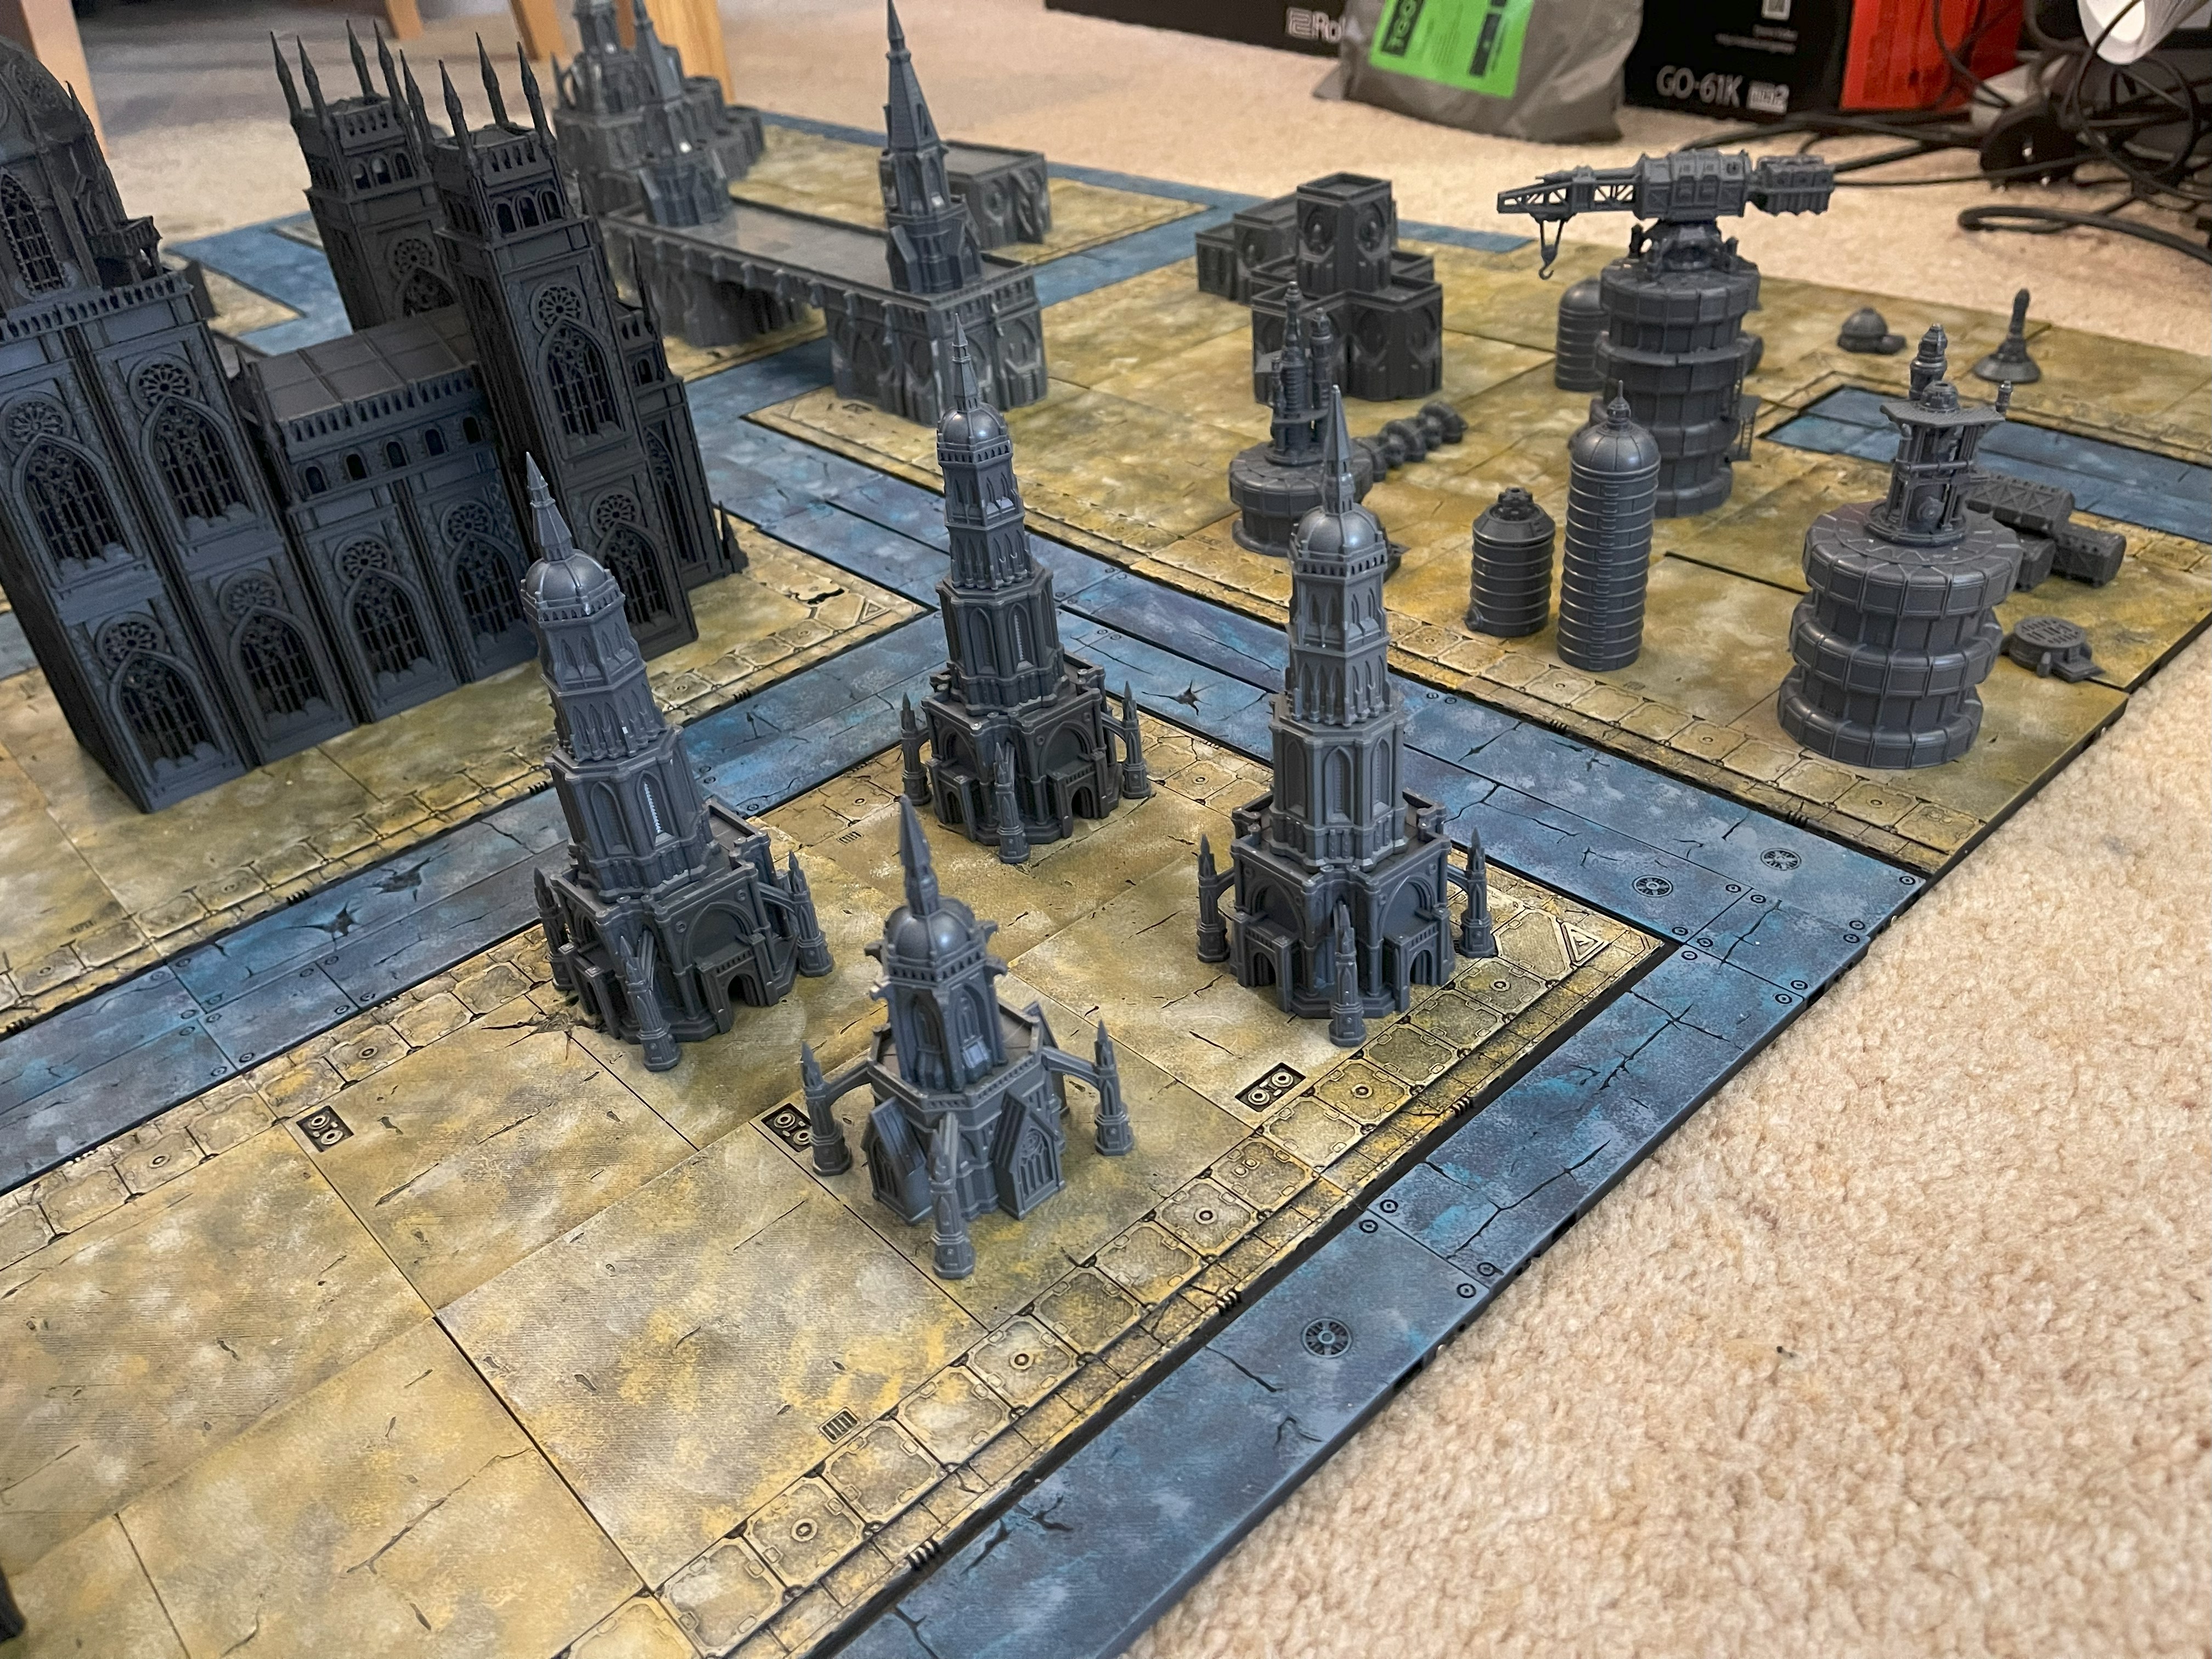
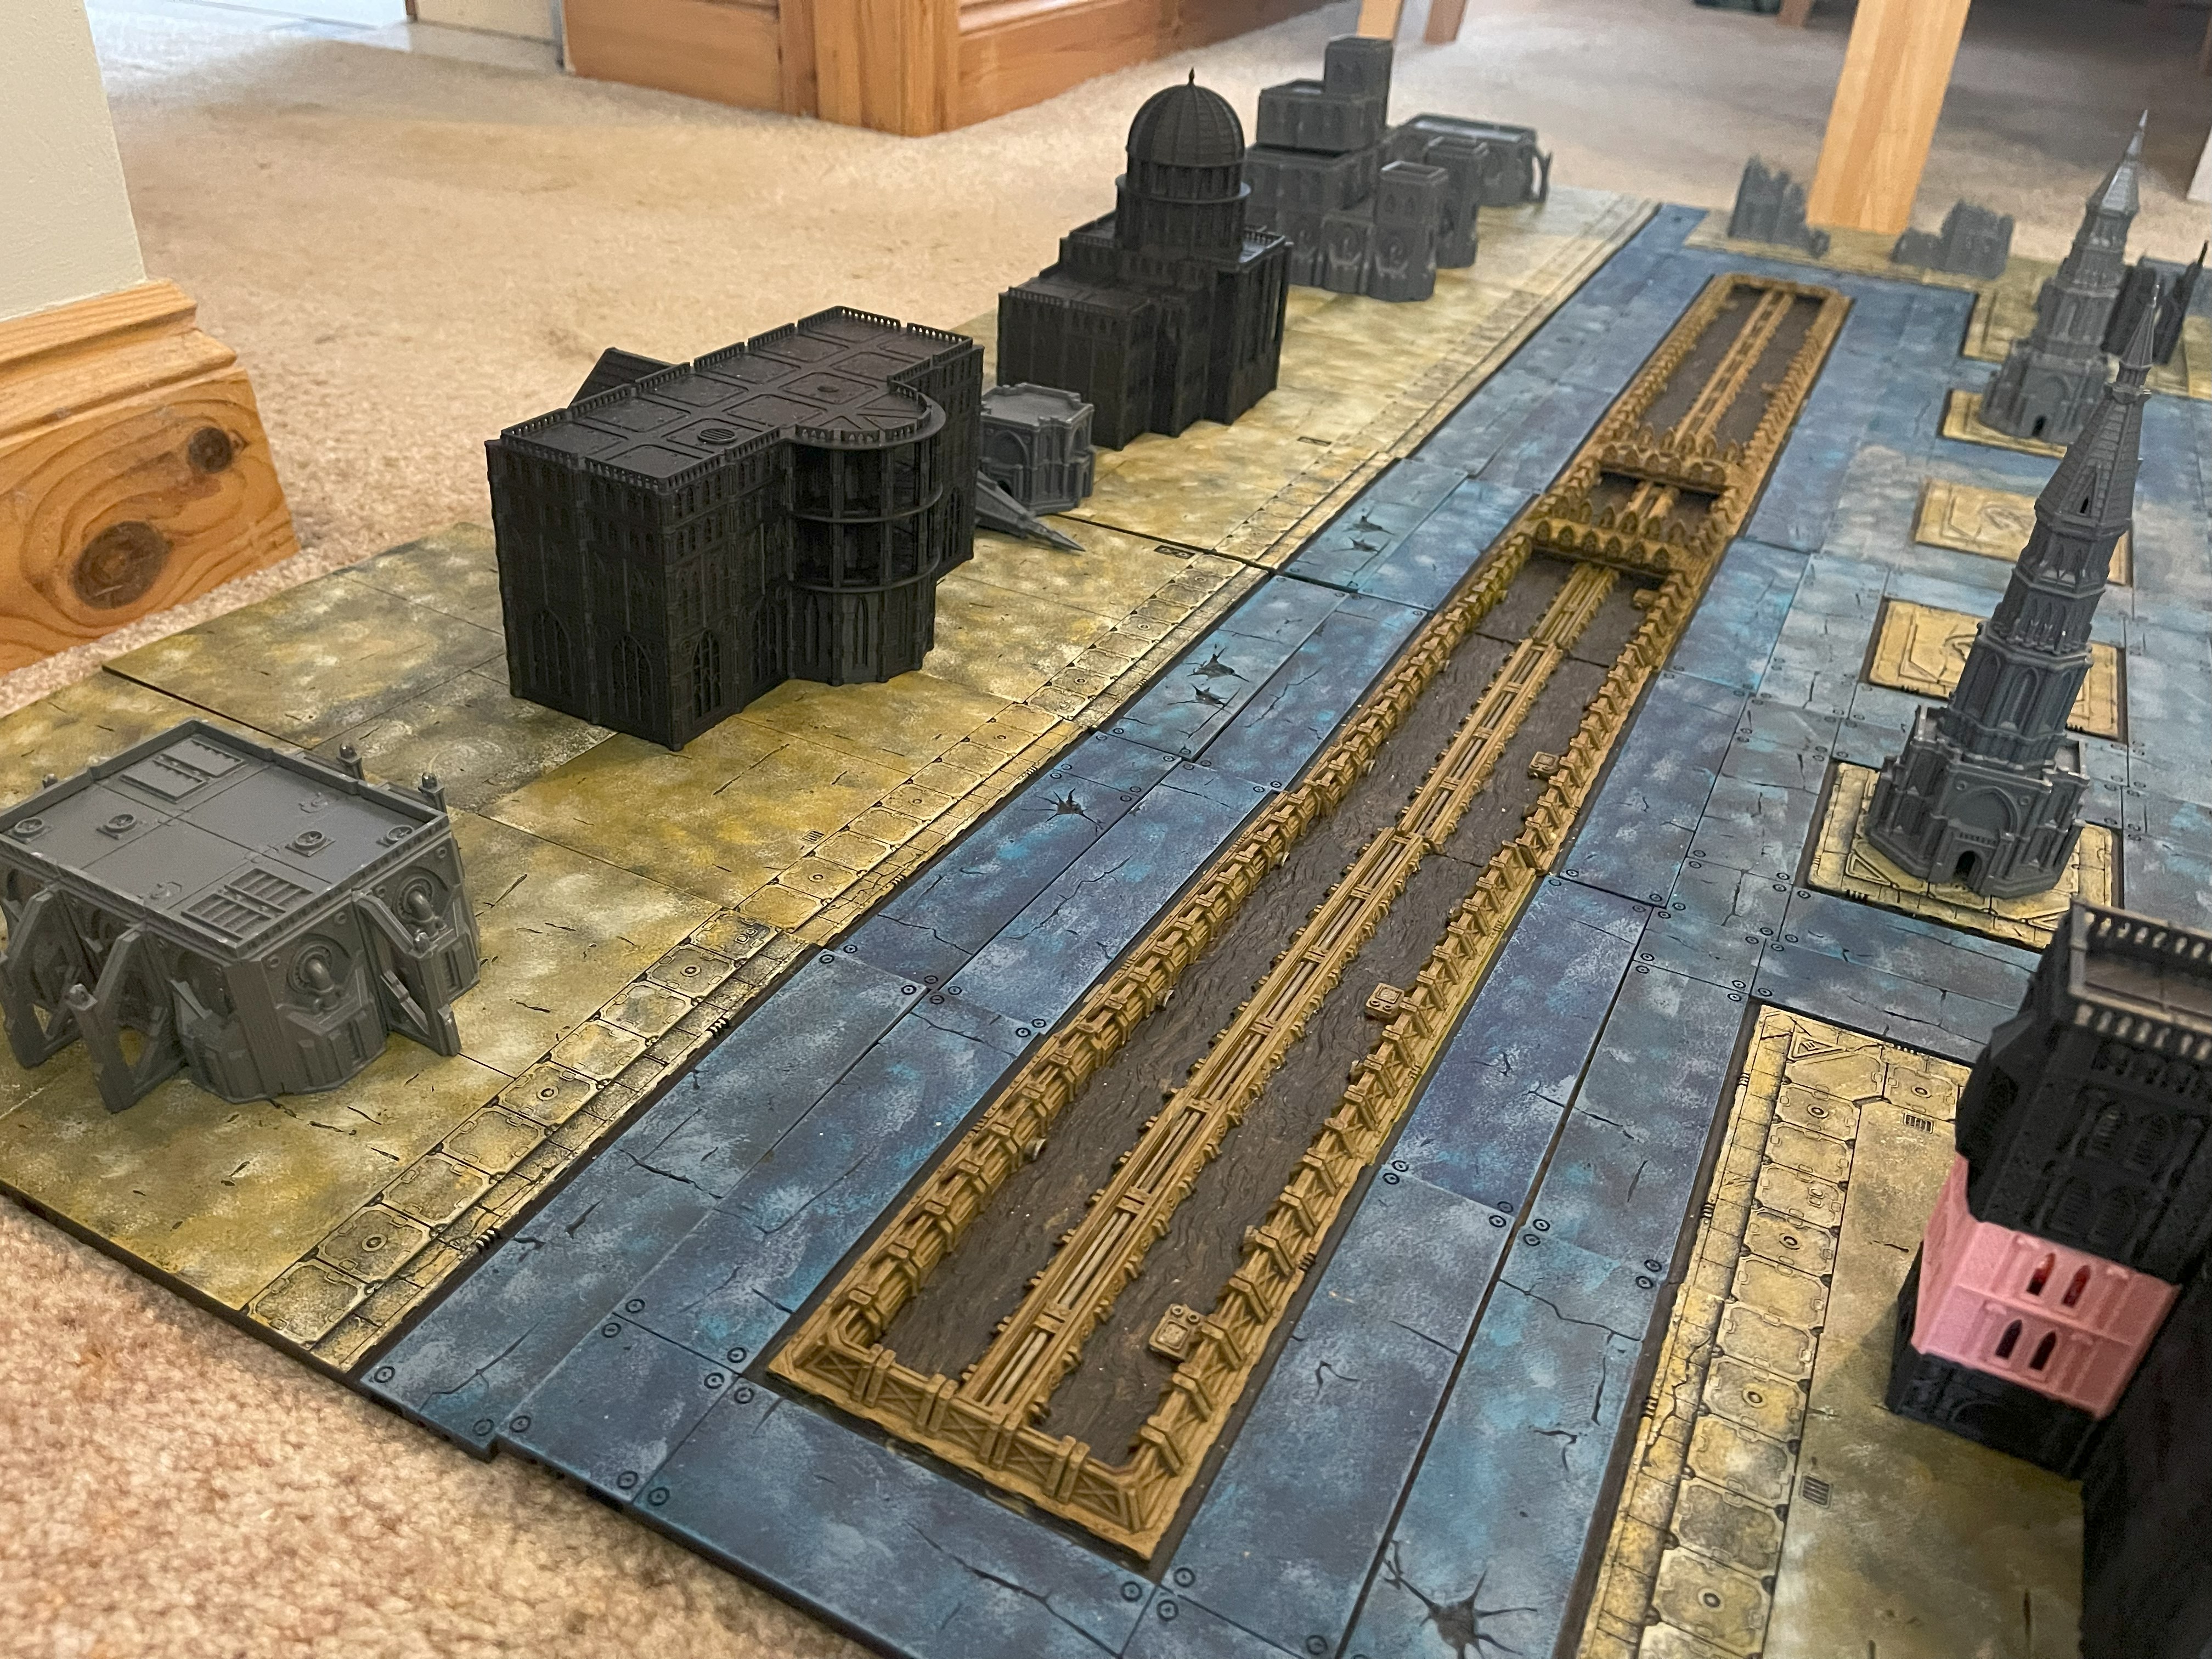
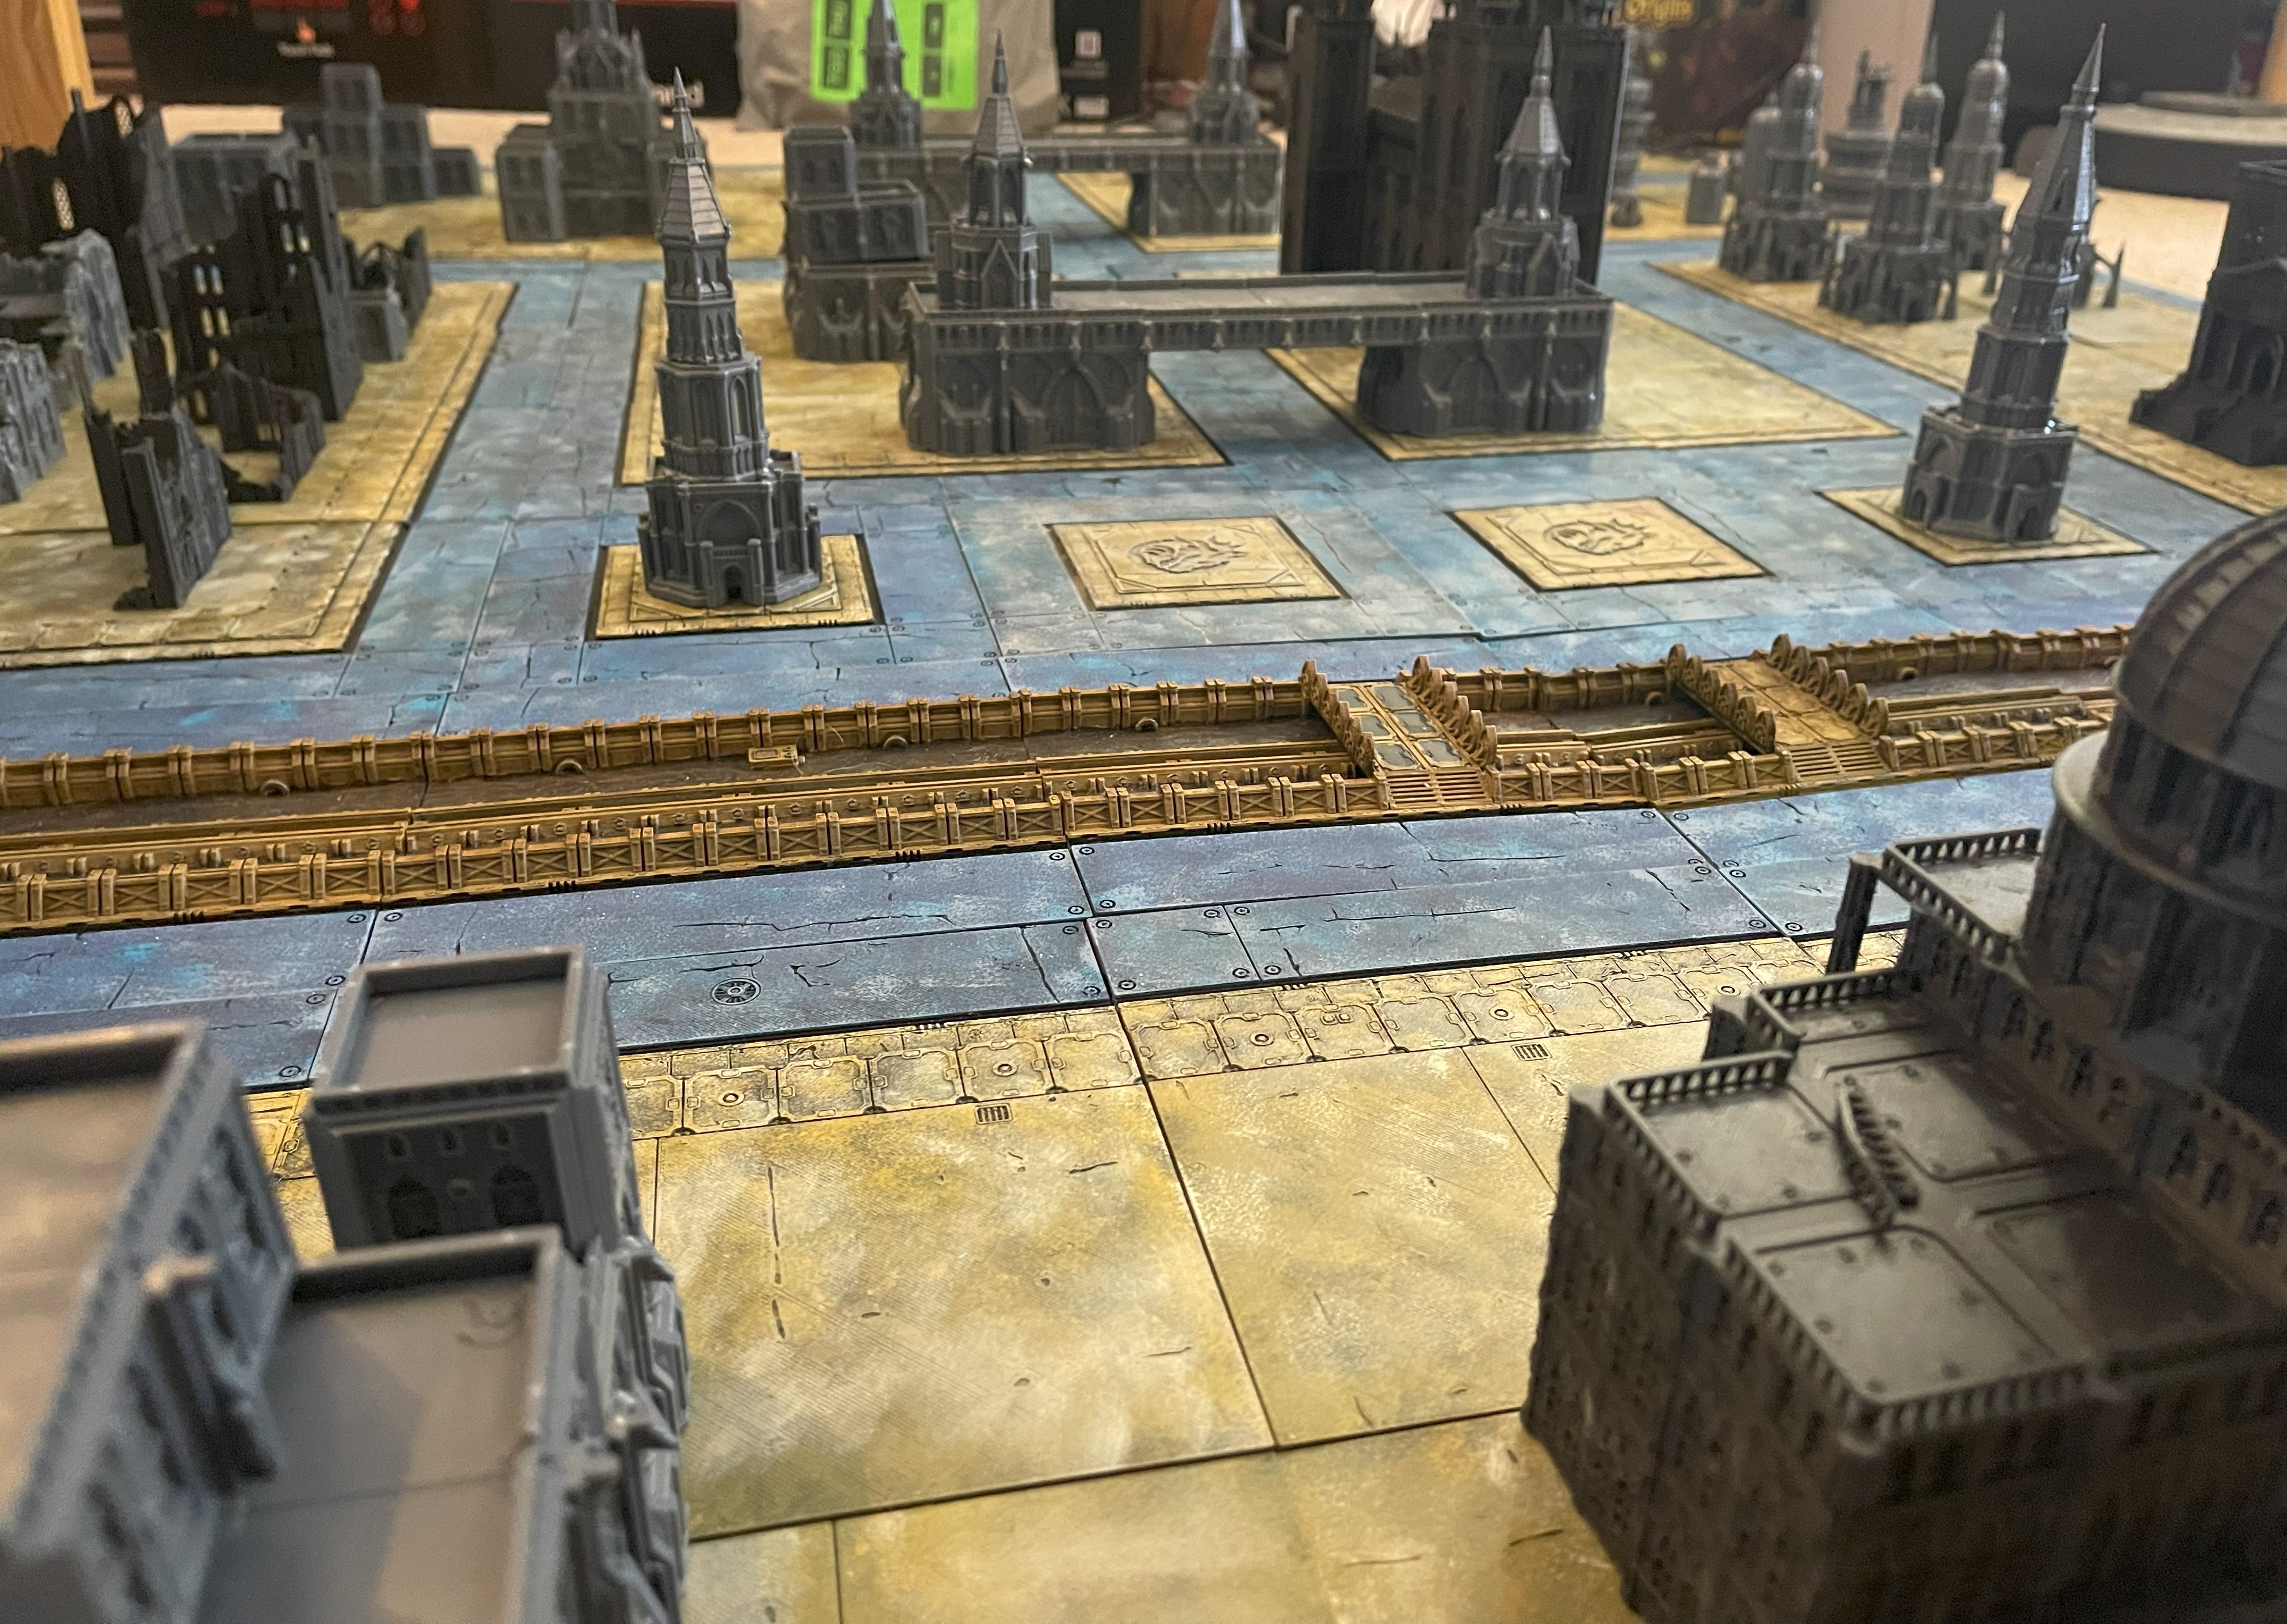
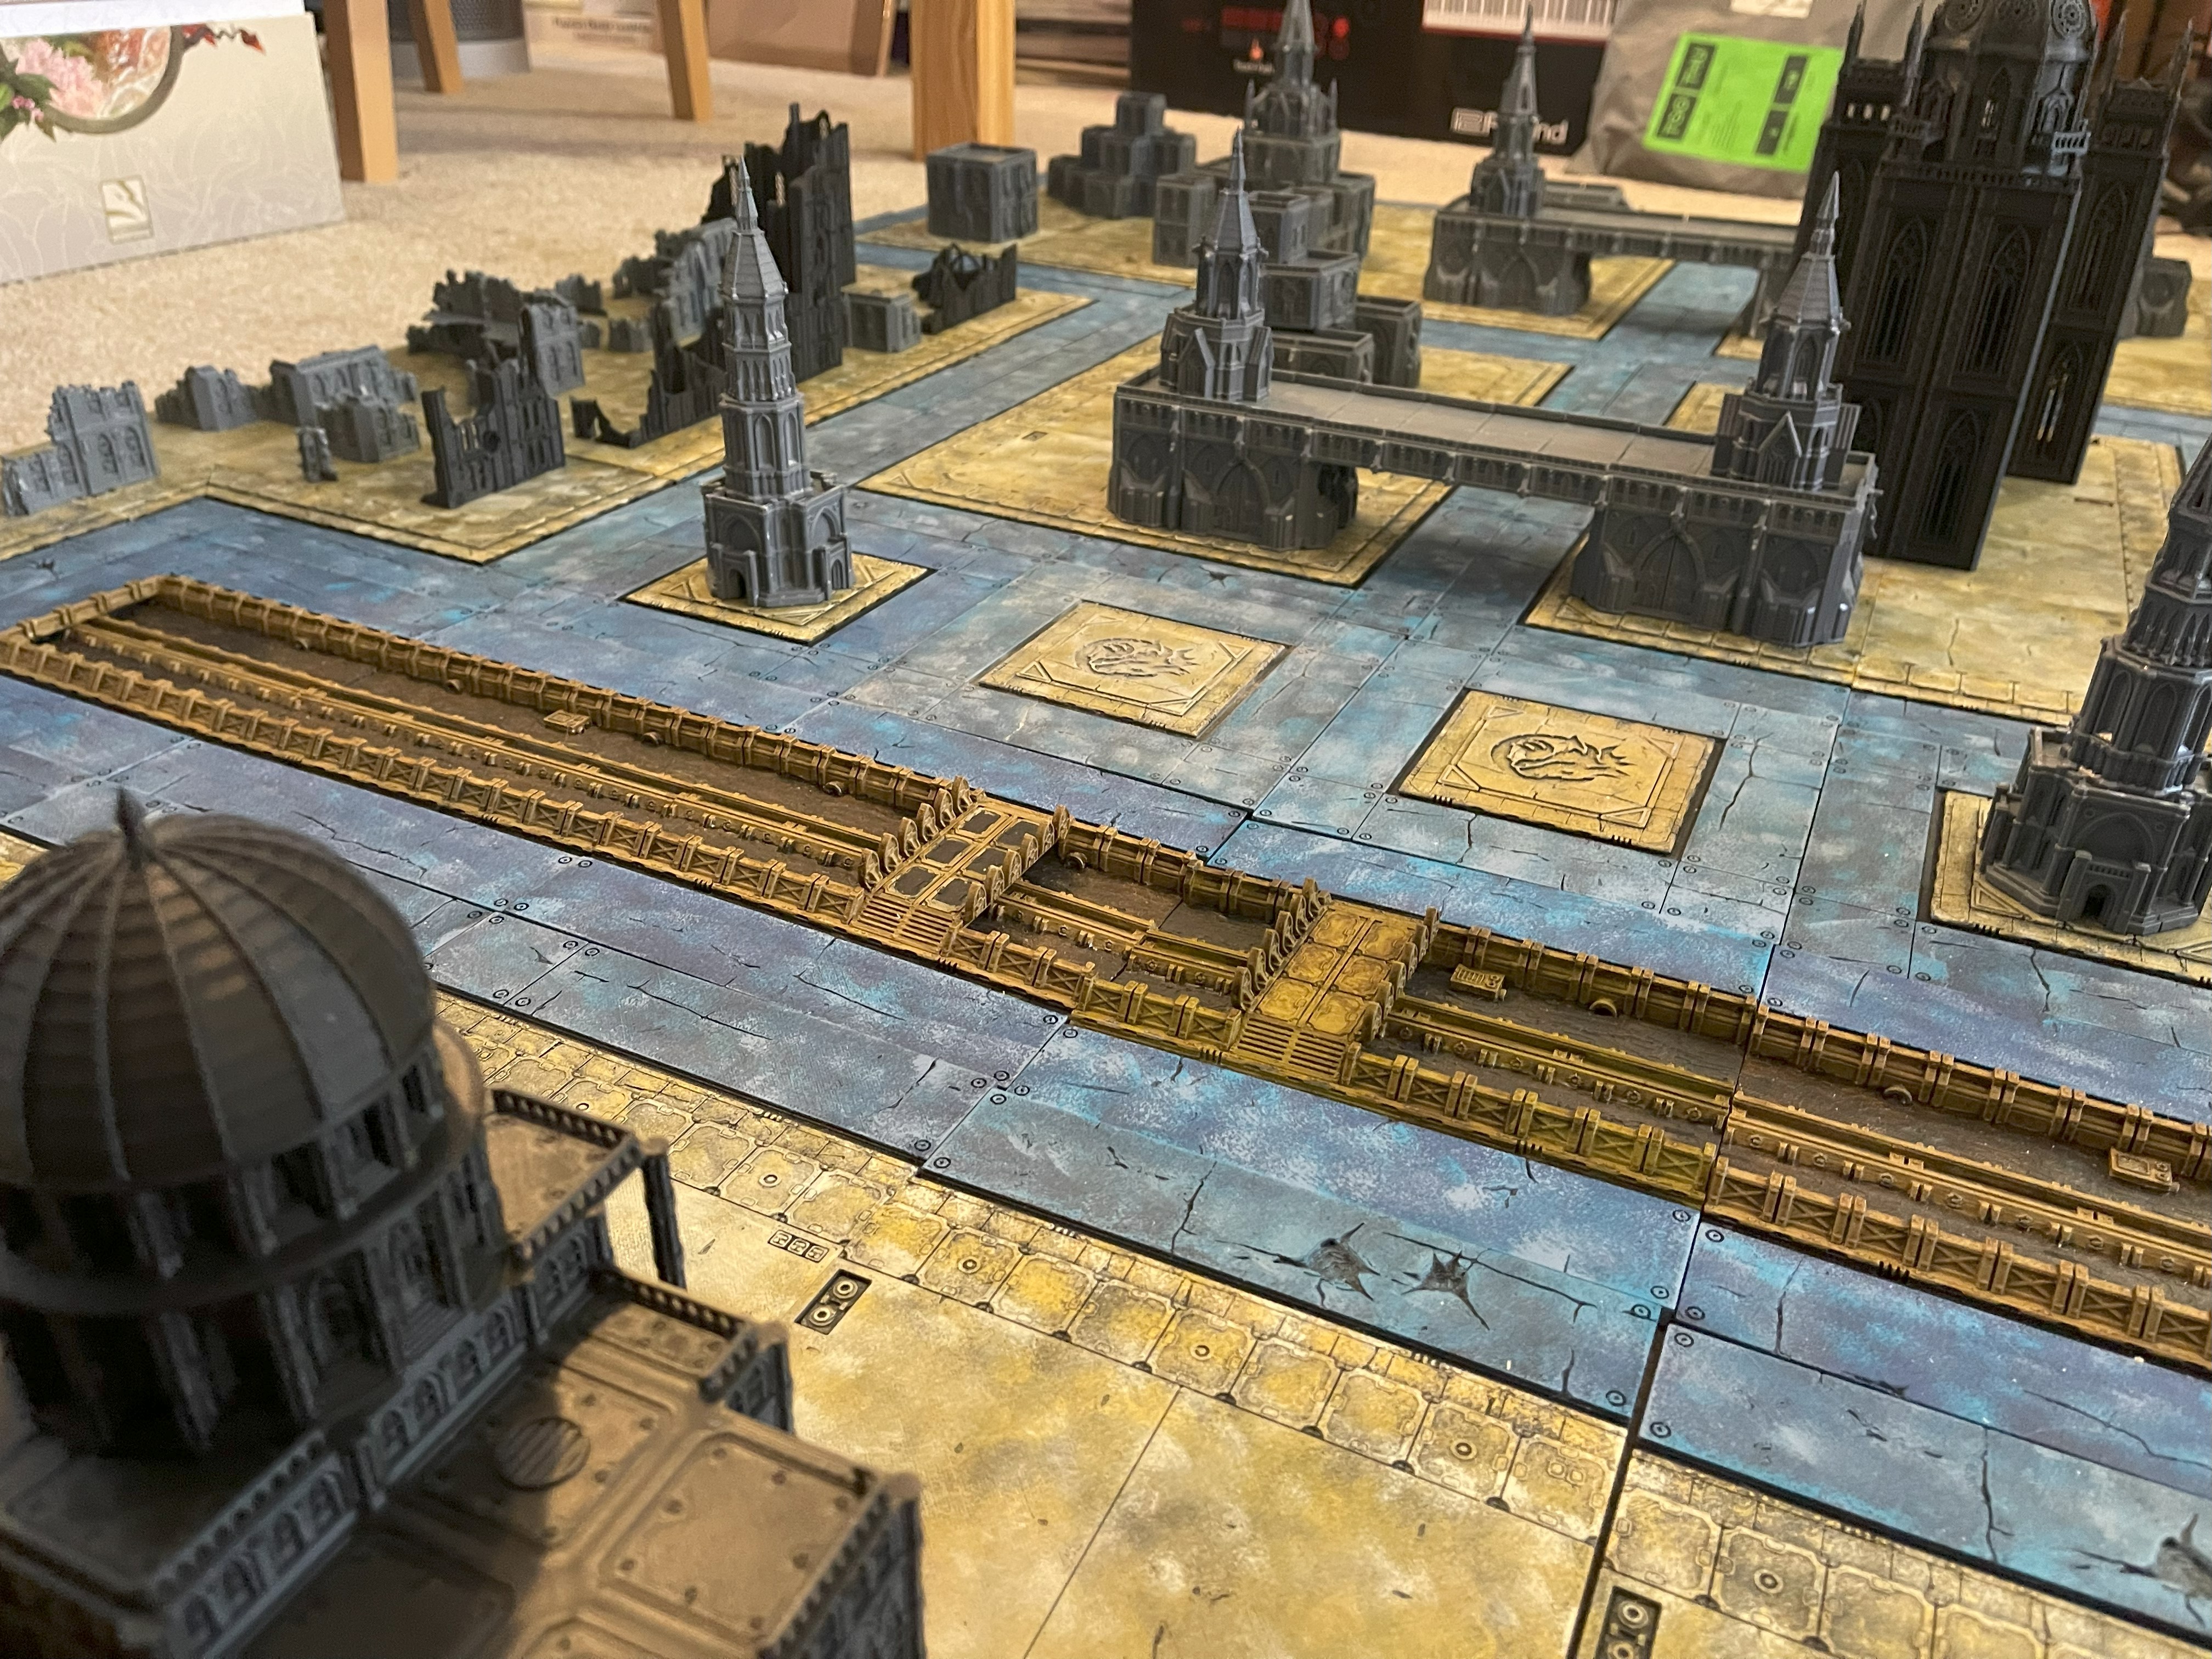
Here are some more close up shots of the buildings. Now I just have to paint then things
Magnets
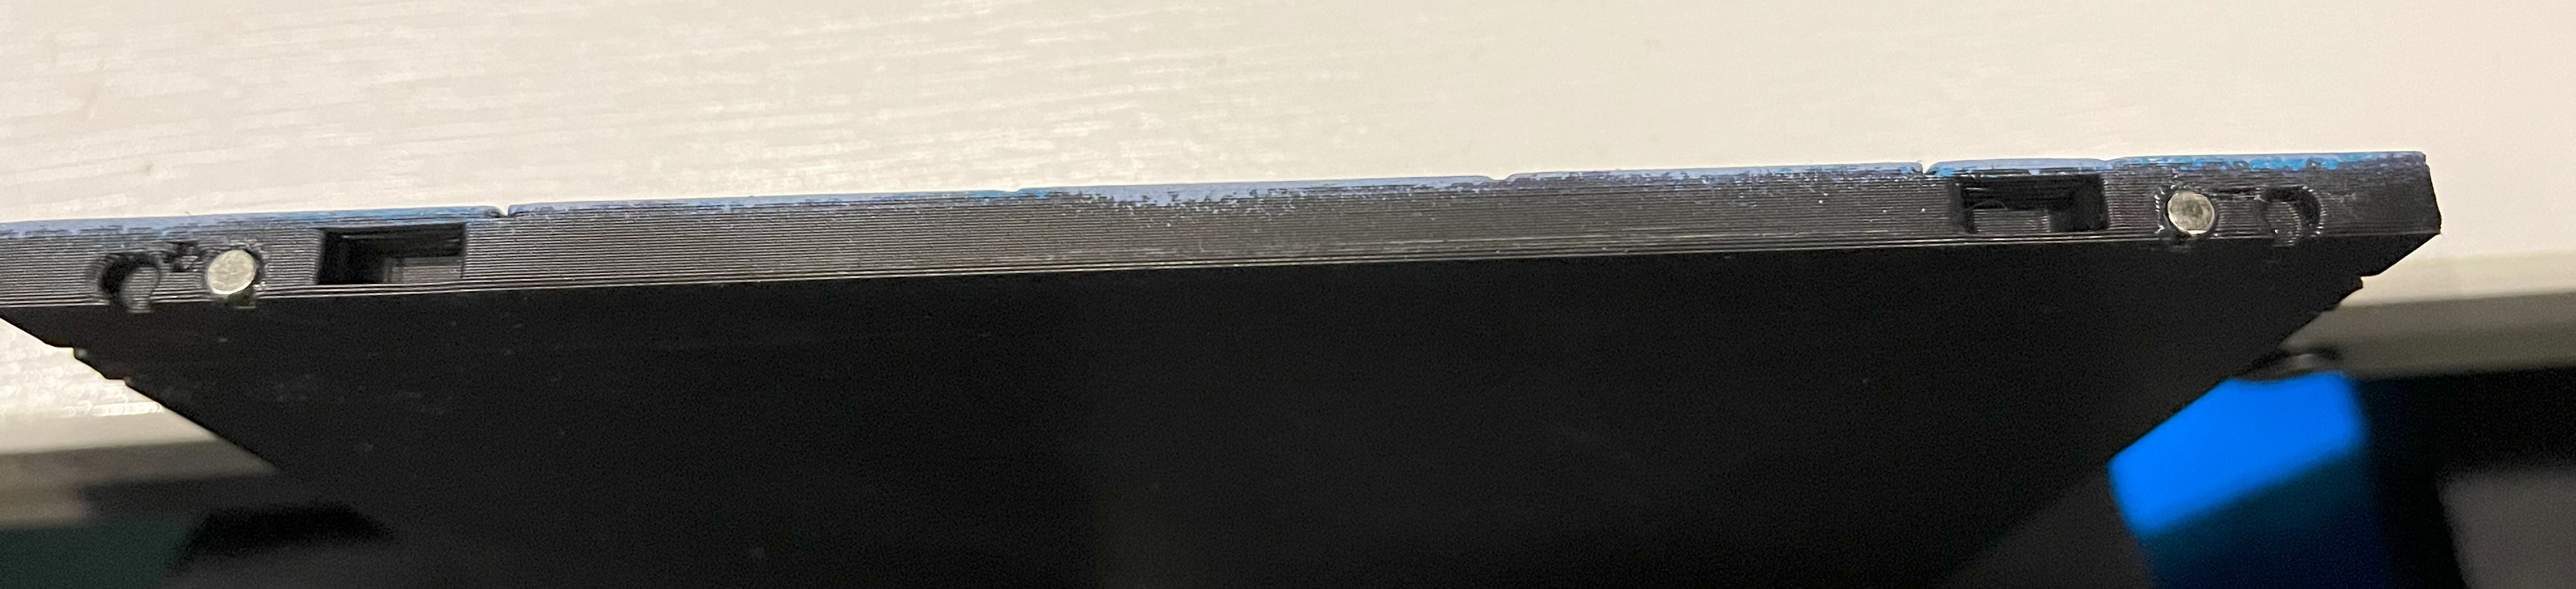
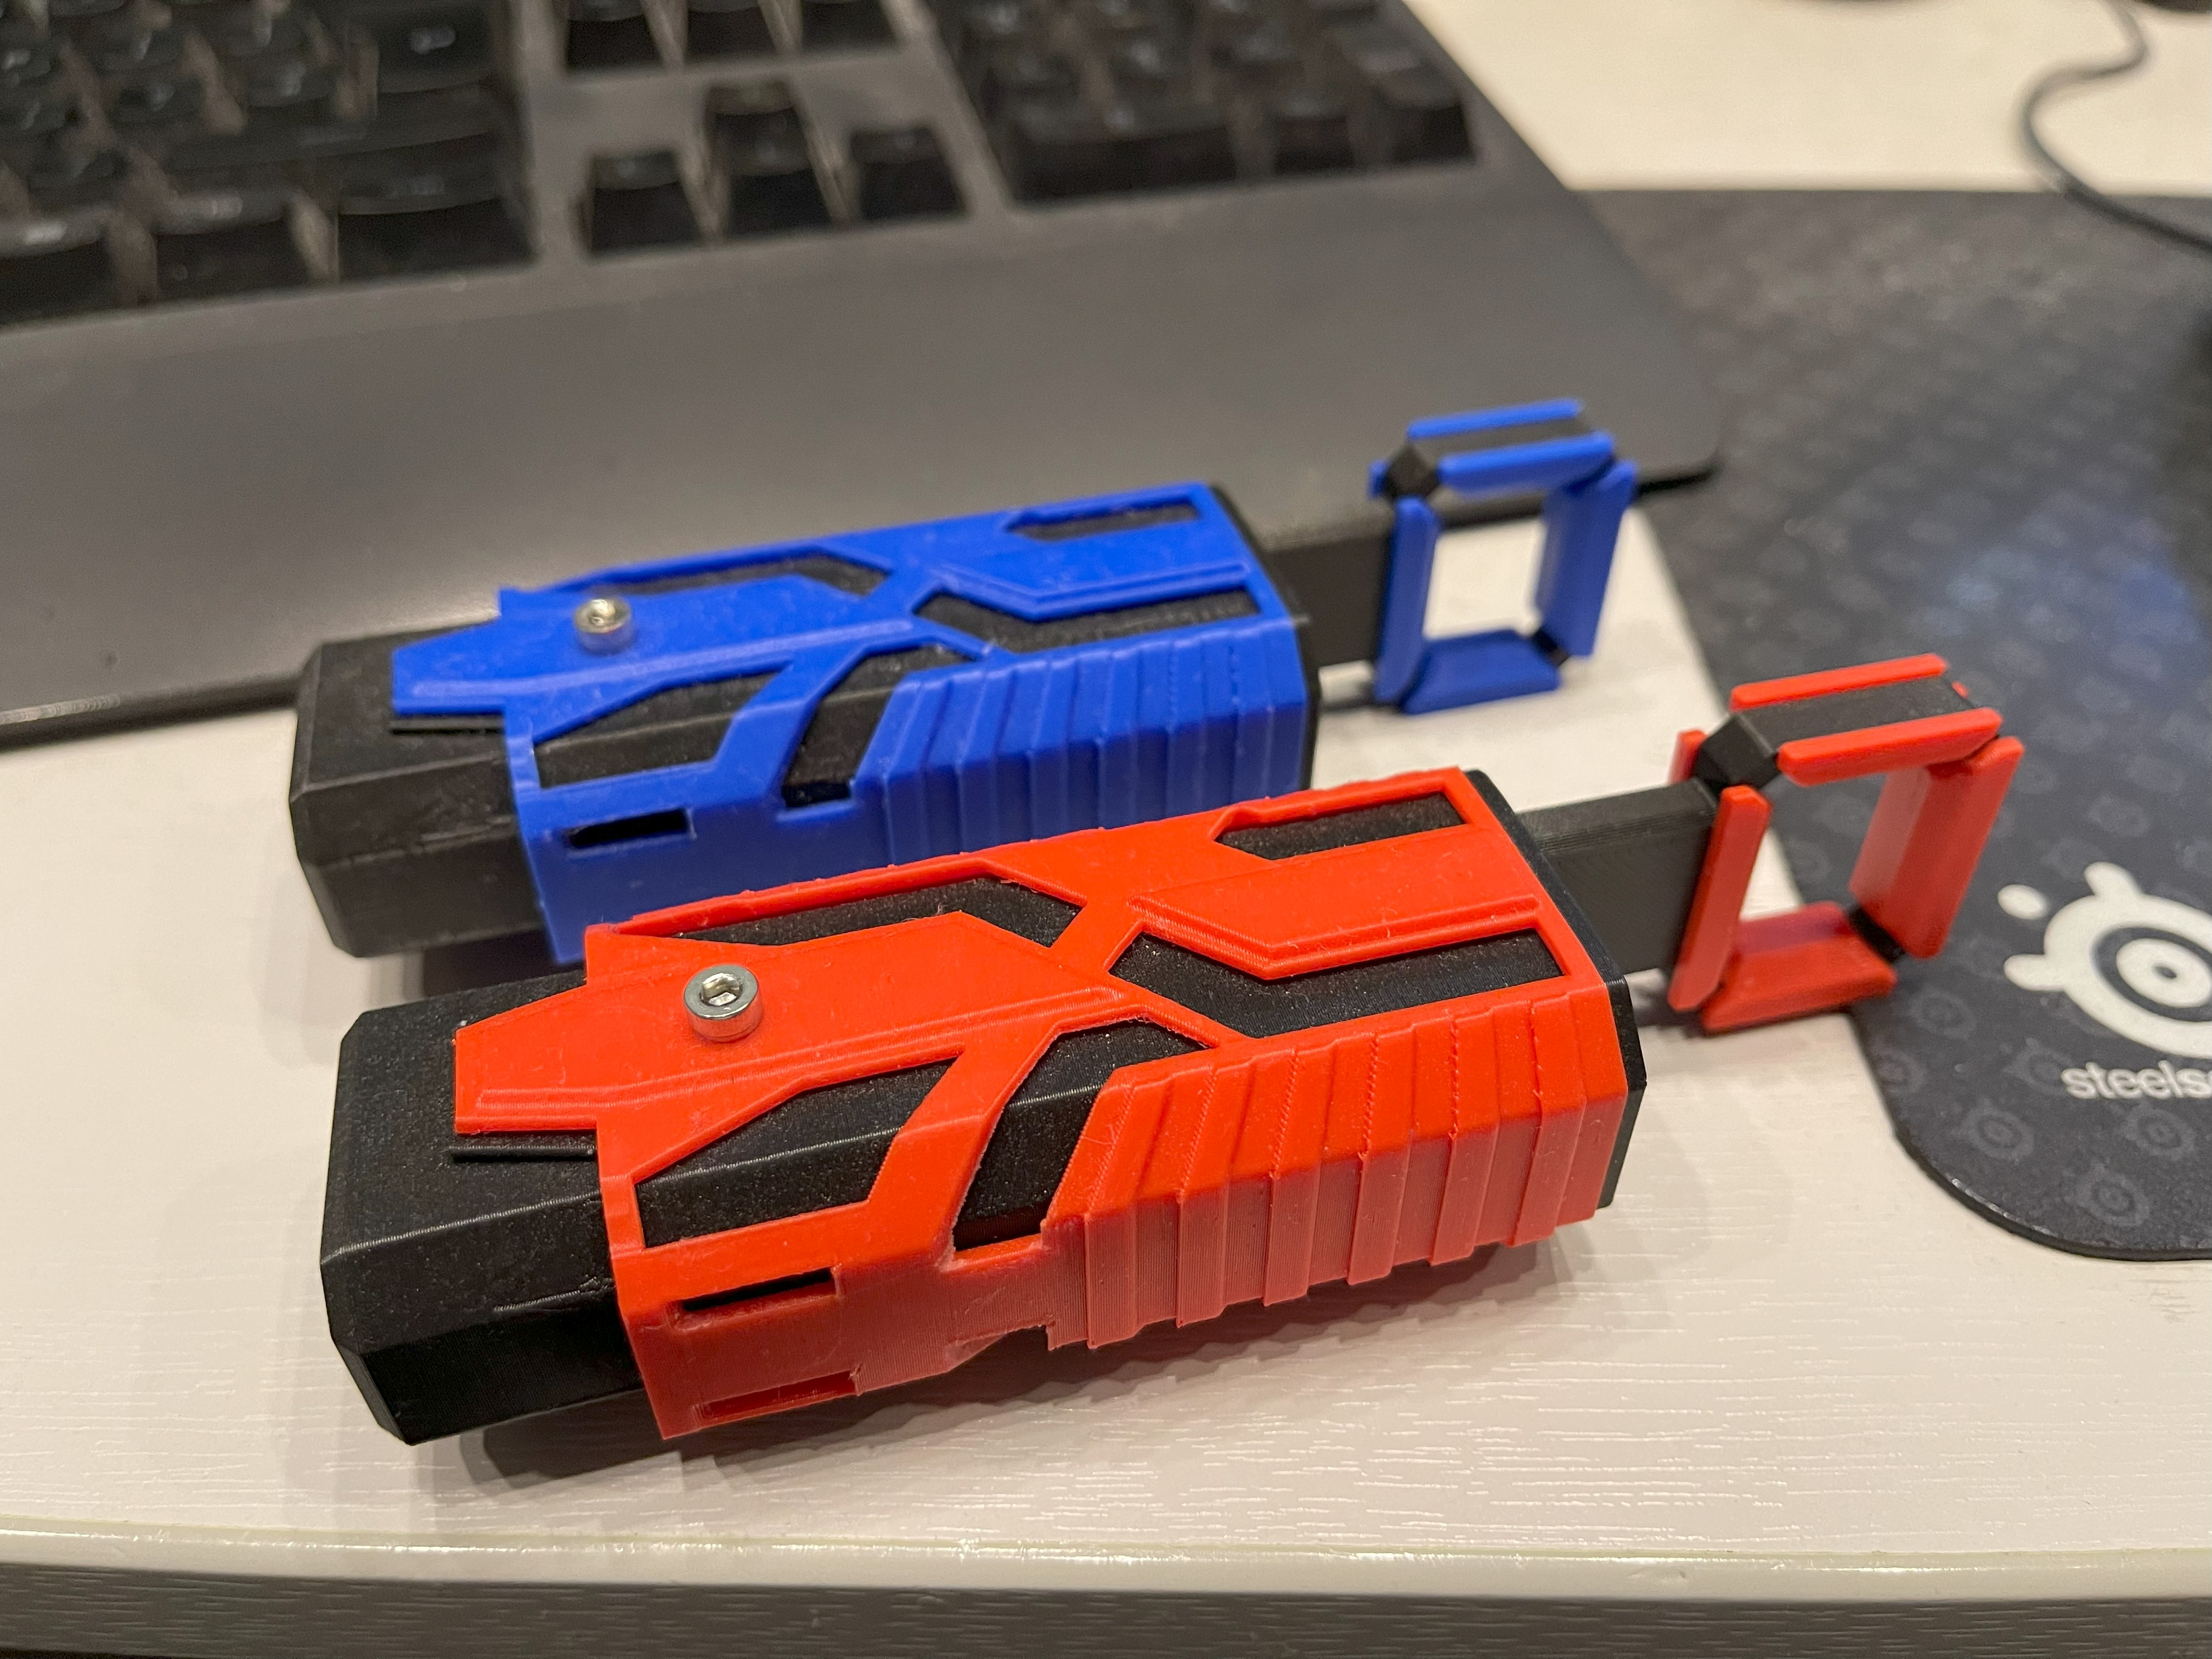
After a sometime with the hobby funk I’m finally back into this. I’ve started adding the magnets and have used the tools above to help me keep the orientation correct. These were 3D printed from this design:
https://www.printables.com/model/975729-magnet-insertion-tool-v1
The different colours are for the different magnet orientation and they have been very useful so far.
I have also been busy making and printing various buildings and below is sample layout. More on that soon.
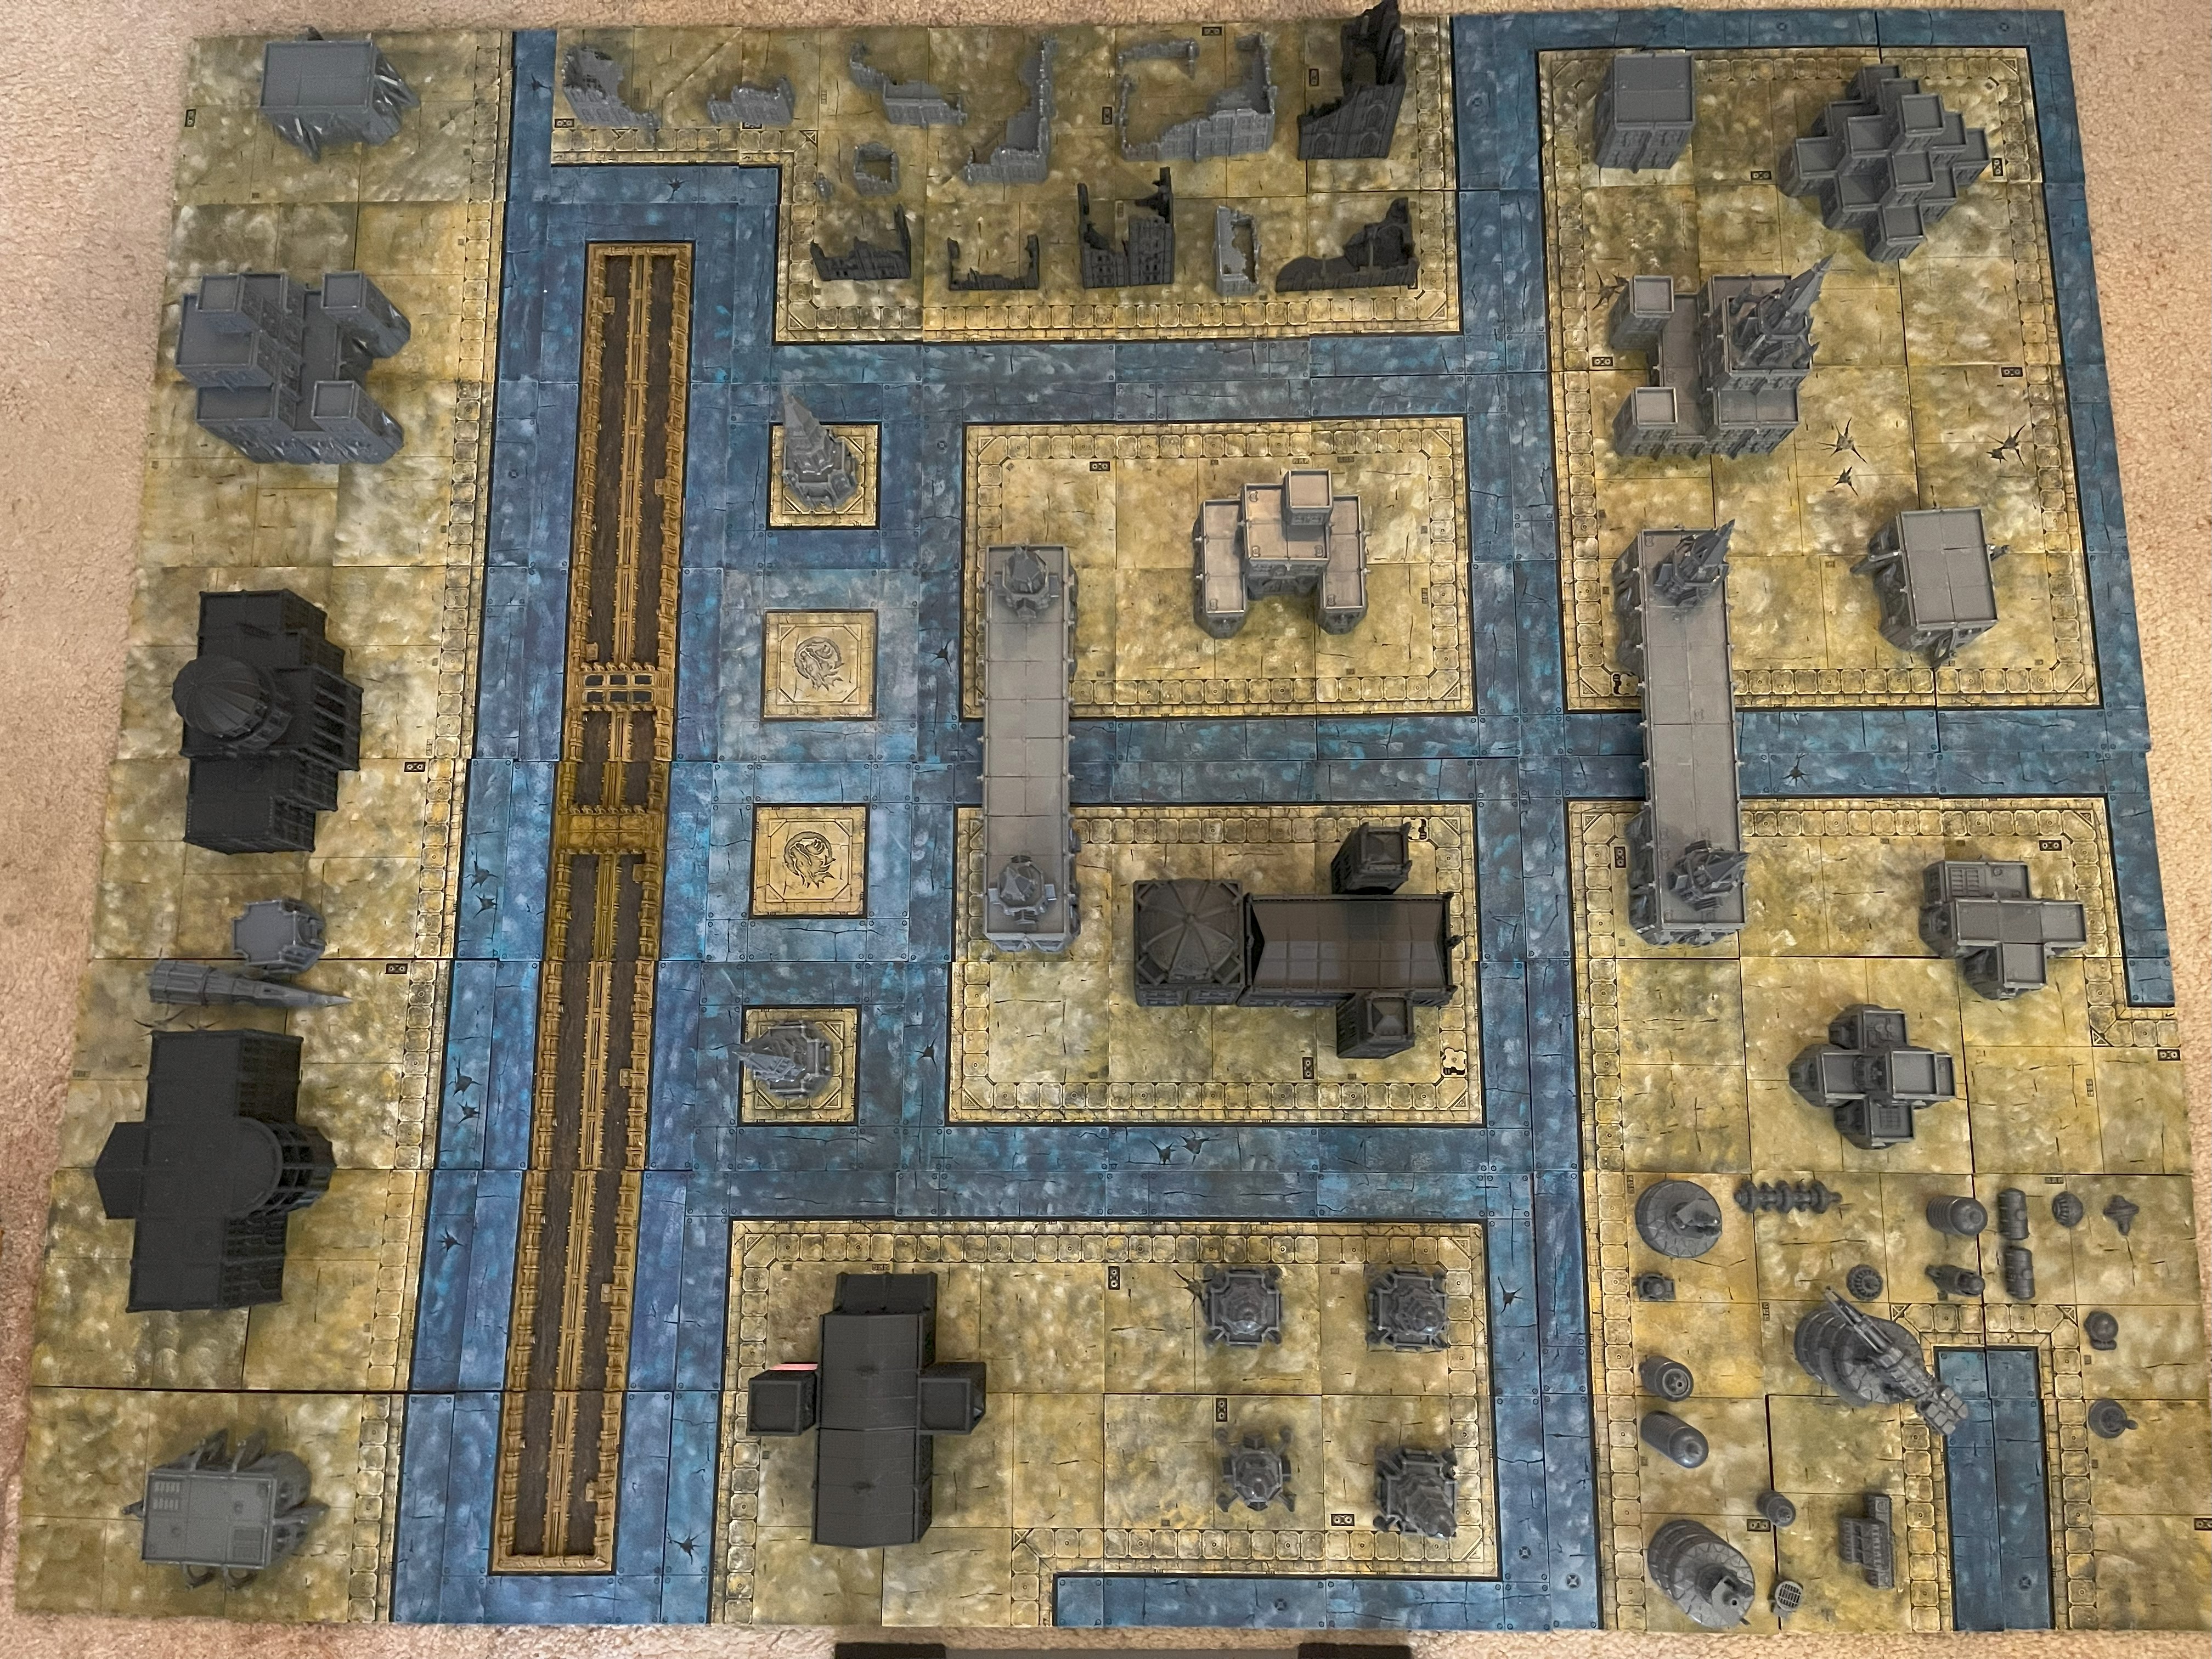 Preview Board
Weathering
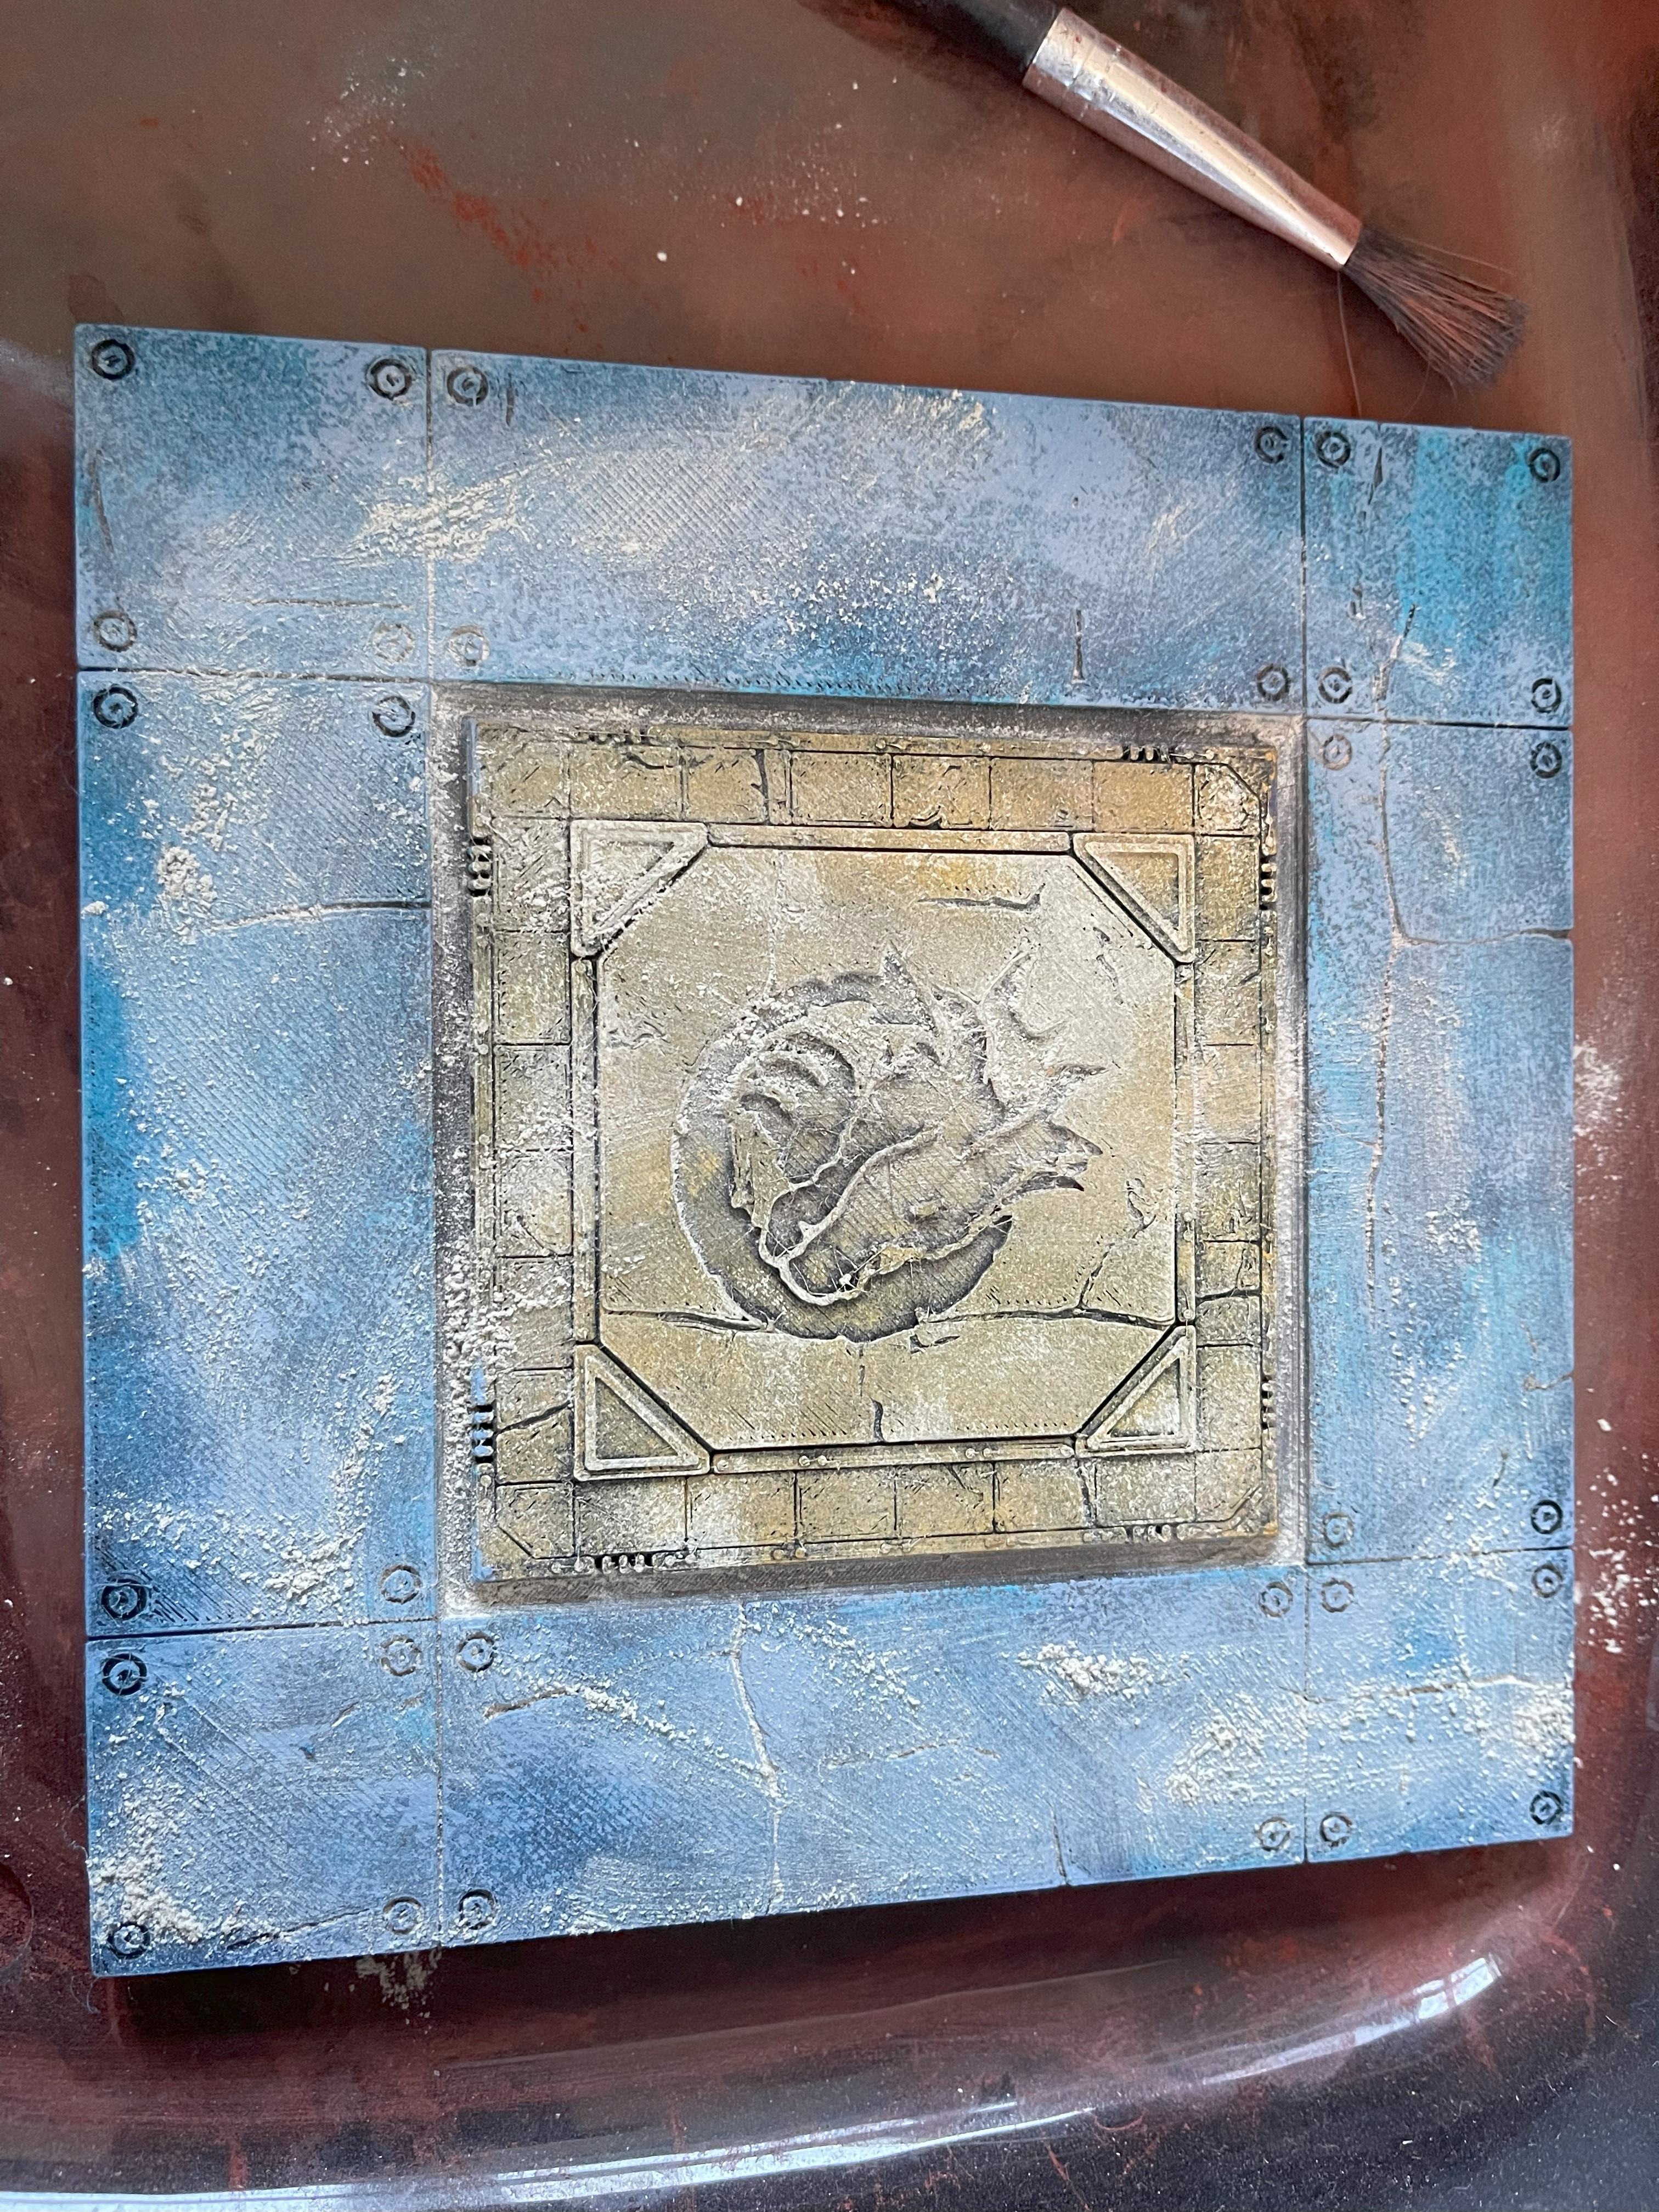 Before sealing
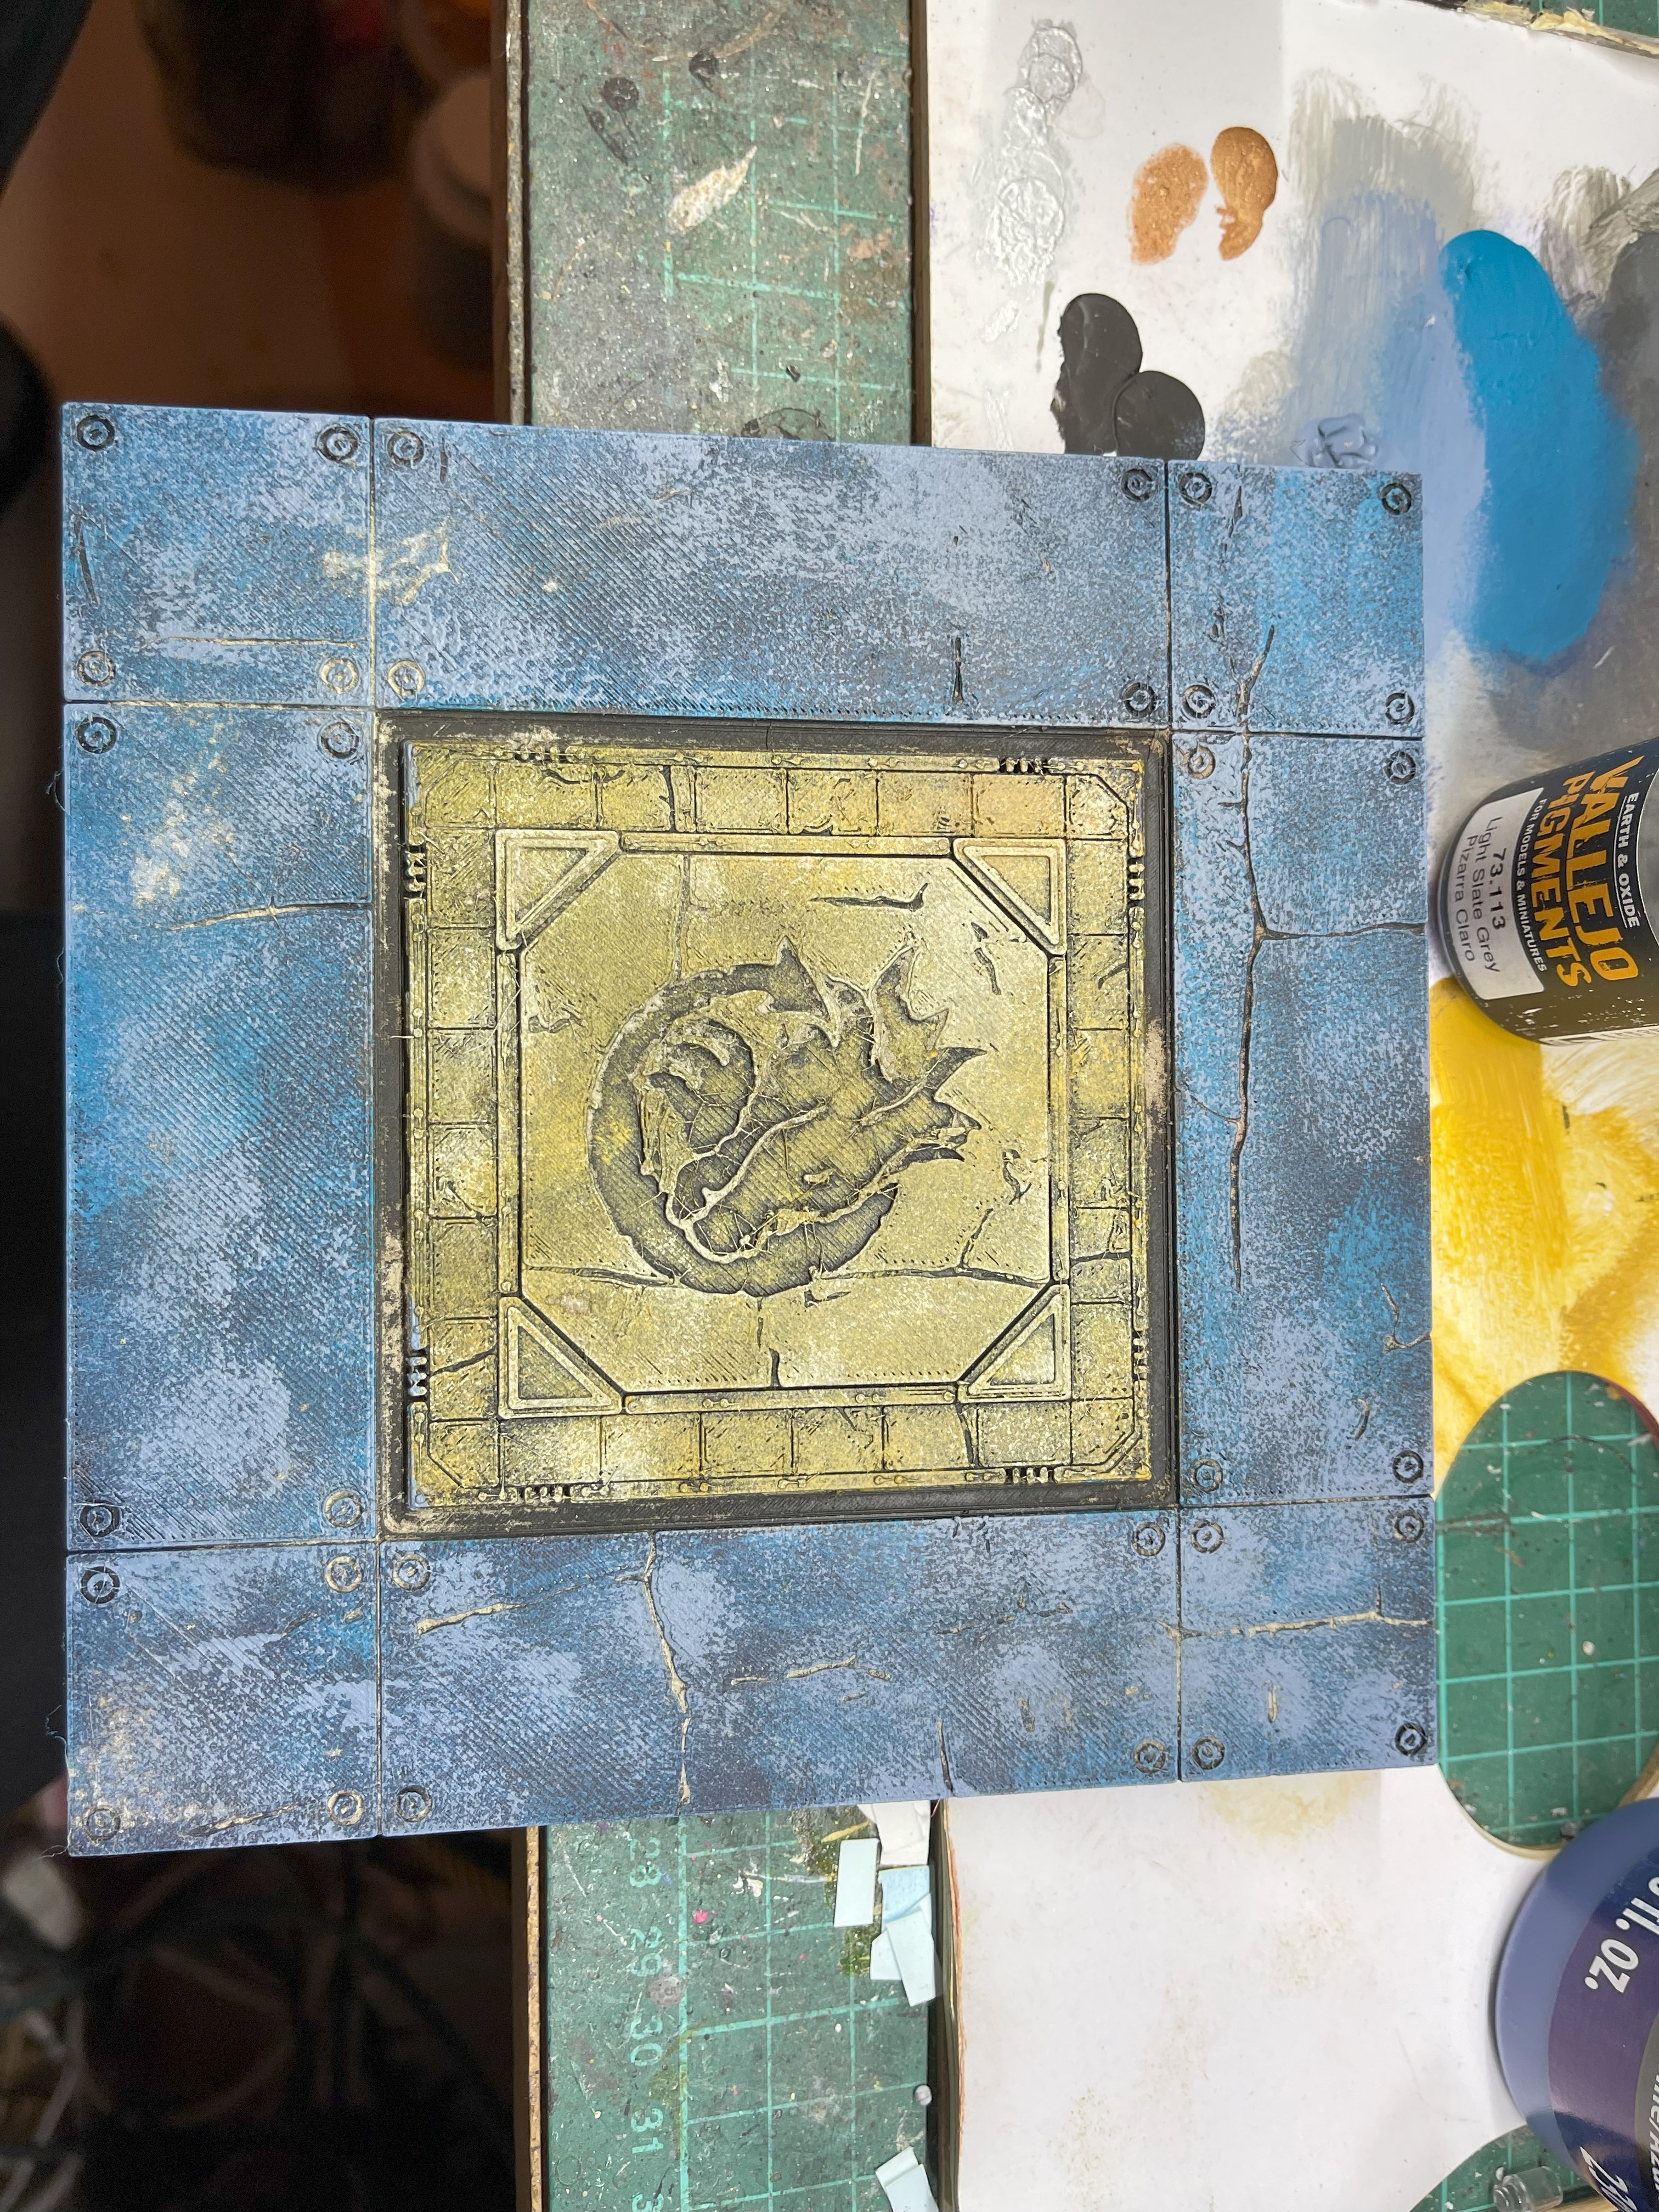 After Sealing
My first attempt at some weathering was to use a grey weathering powder and then seal it with some matt varnish. I tried to go heavy with the powder but unless it was in the cracks it seem to largely disappear when varnished.
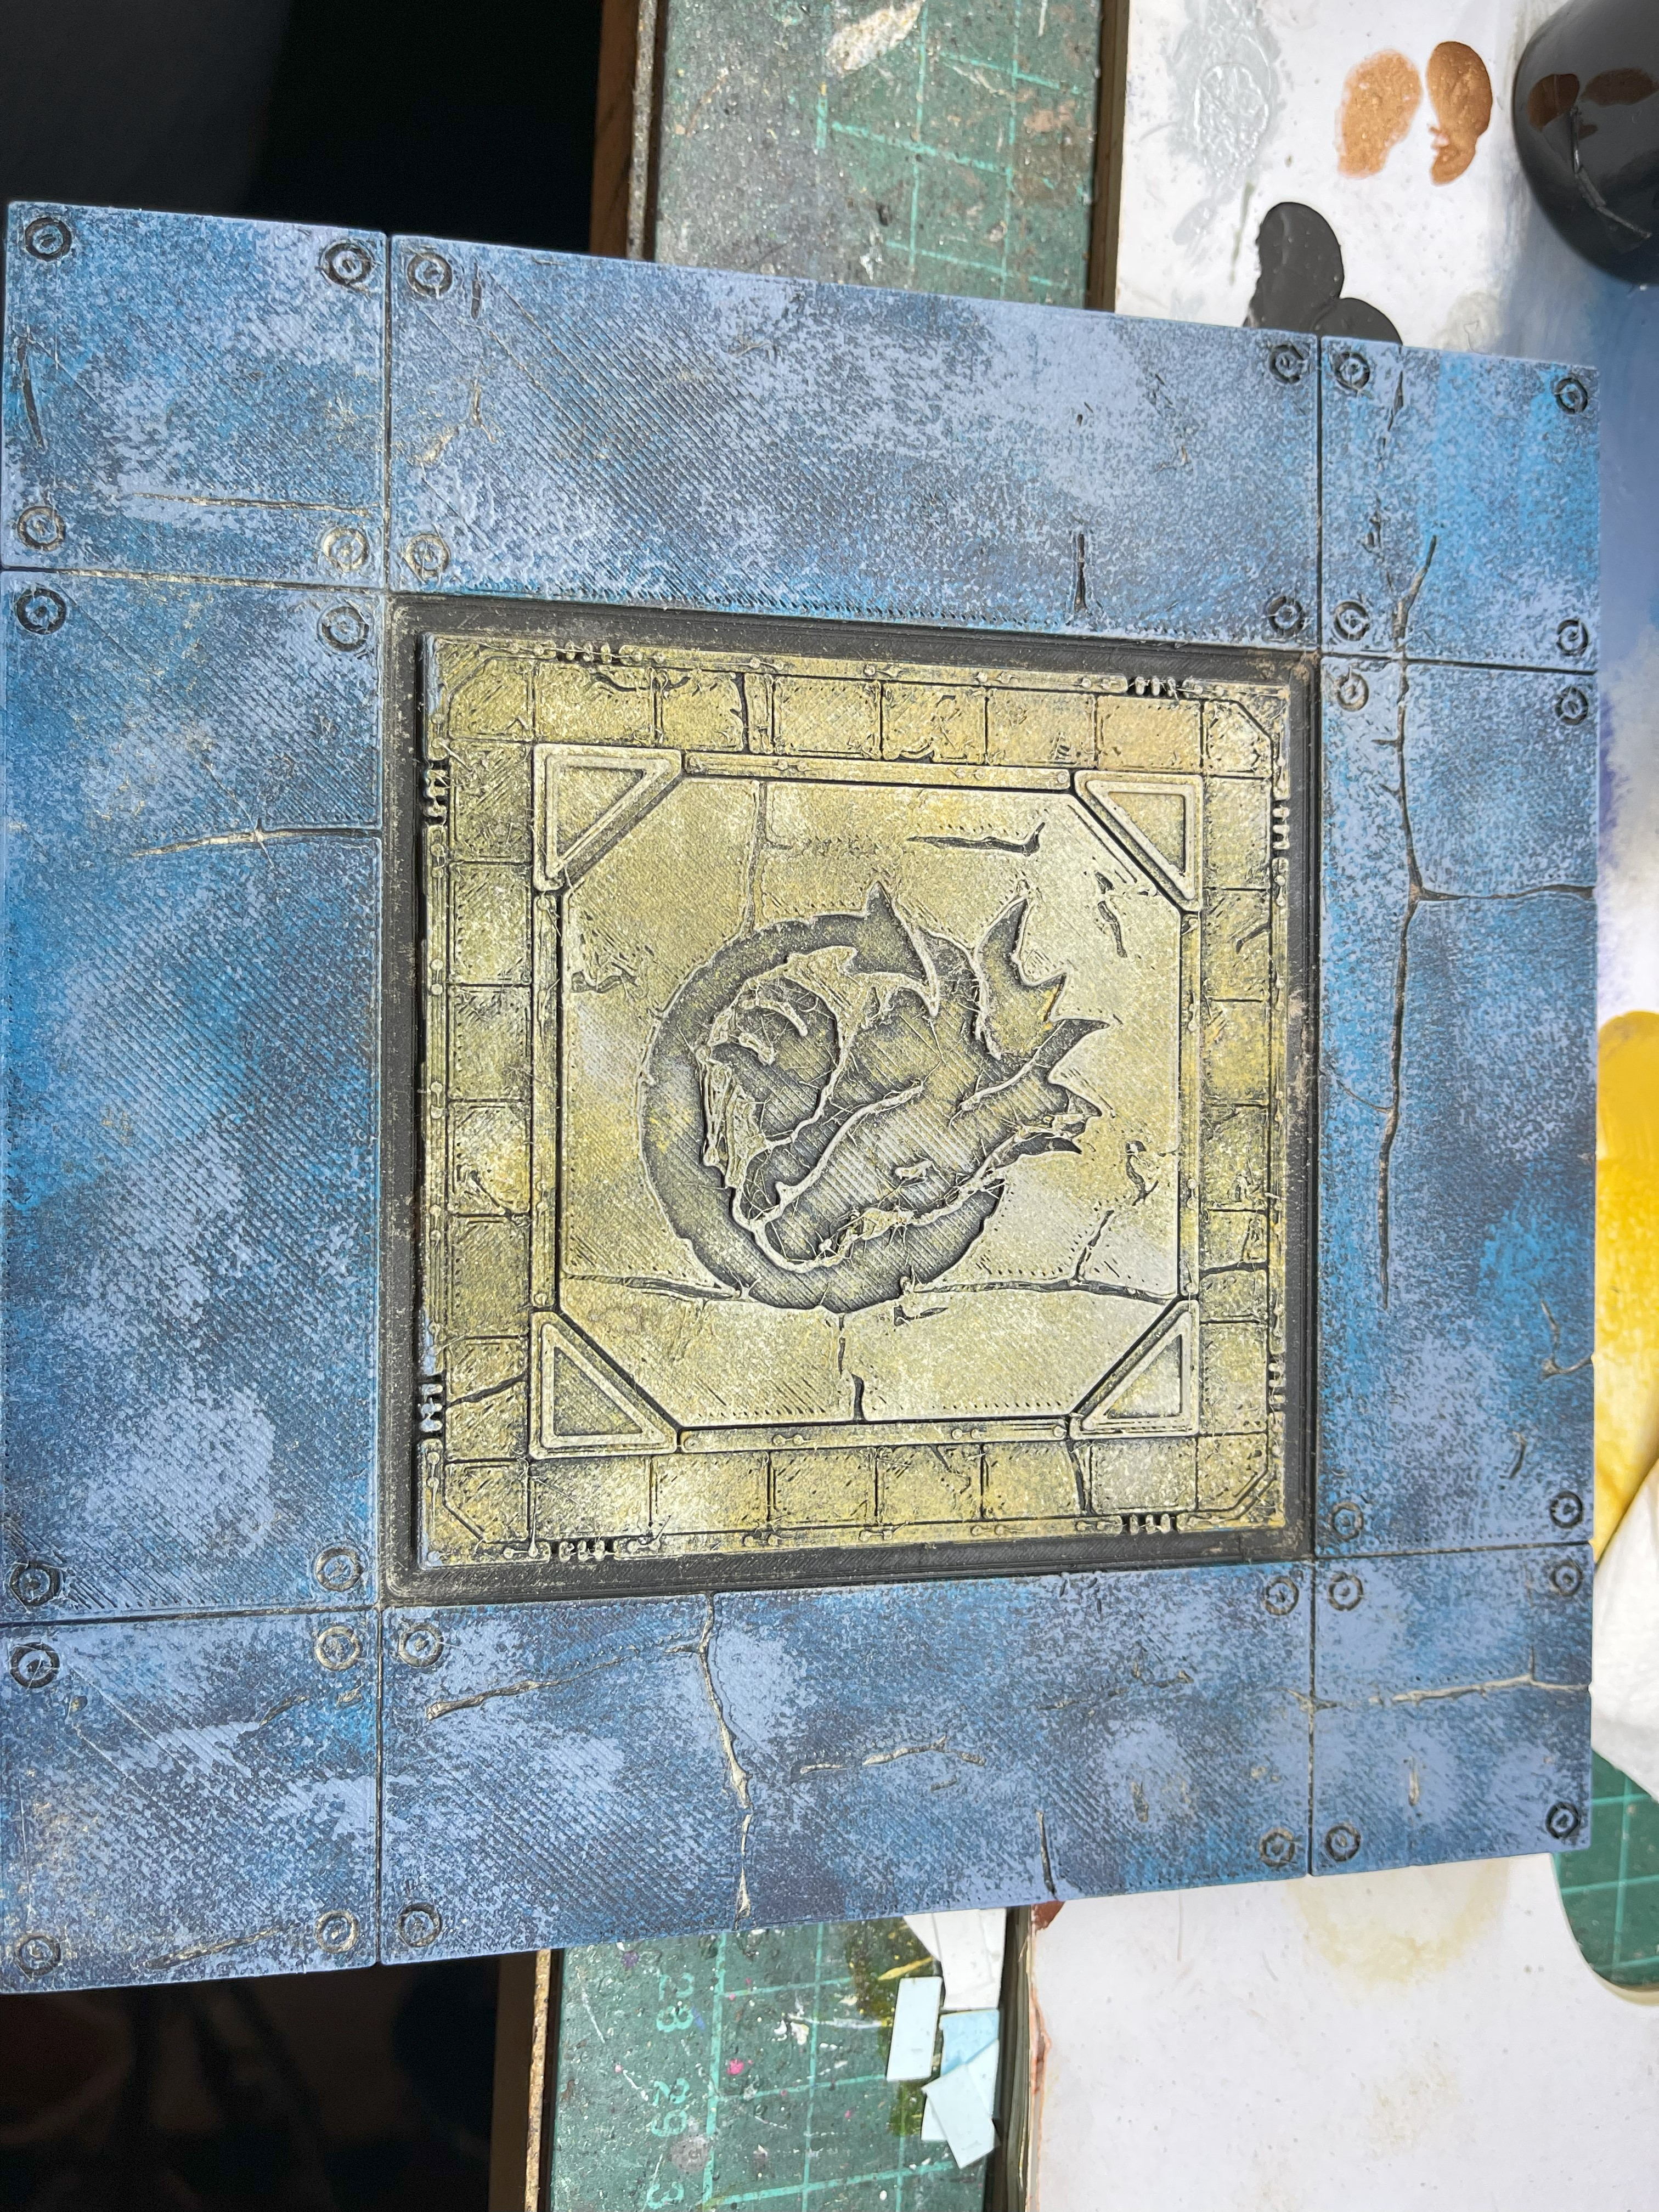
The next effort was to give the tiles a drybrush using grey paint. I am not sure it make a lot of difference as the side by side below shows but it does tone down the blue roads a bit.
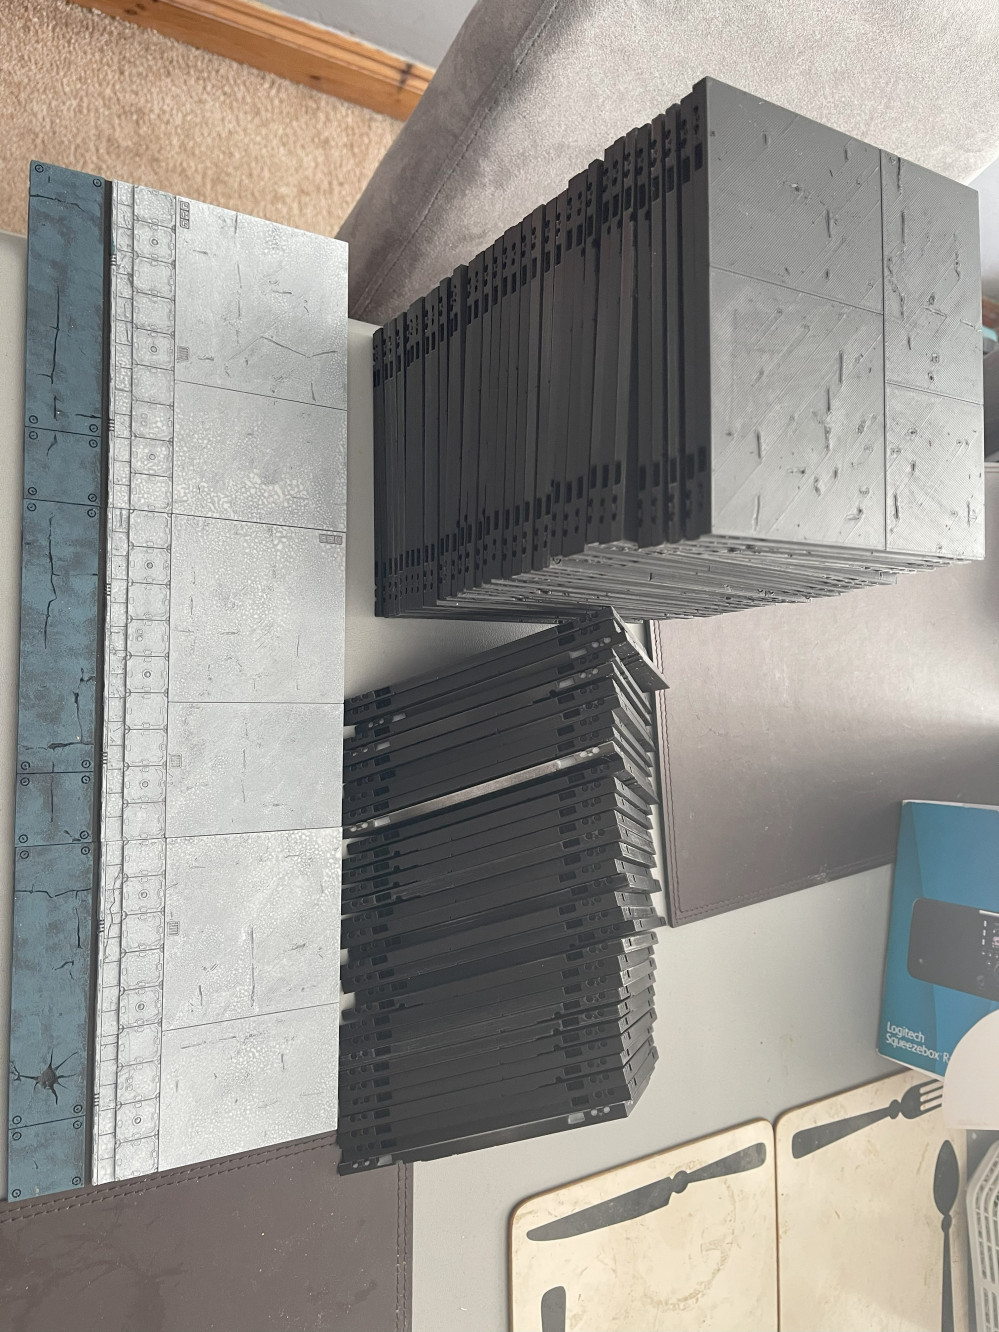
I assembled a section to see what it looks like and now it time for a lot of magnets, 2 per side although it could take 4 per side.
 Grey DryBrush
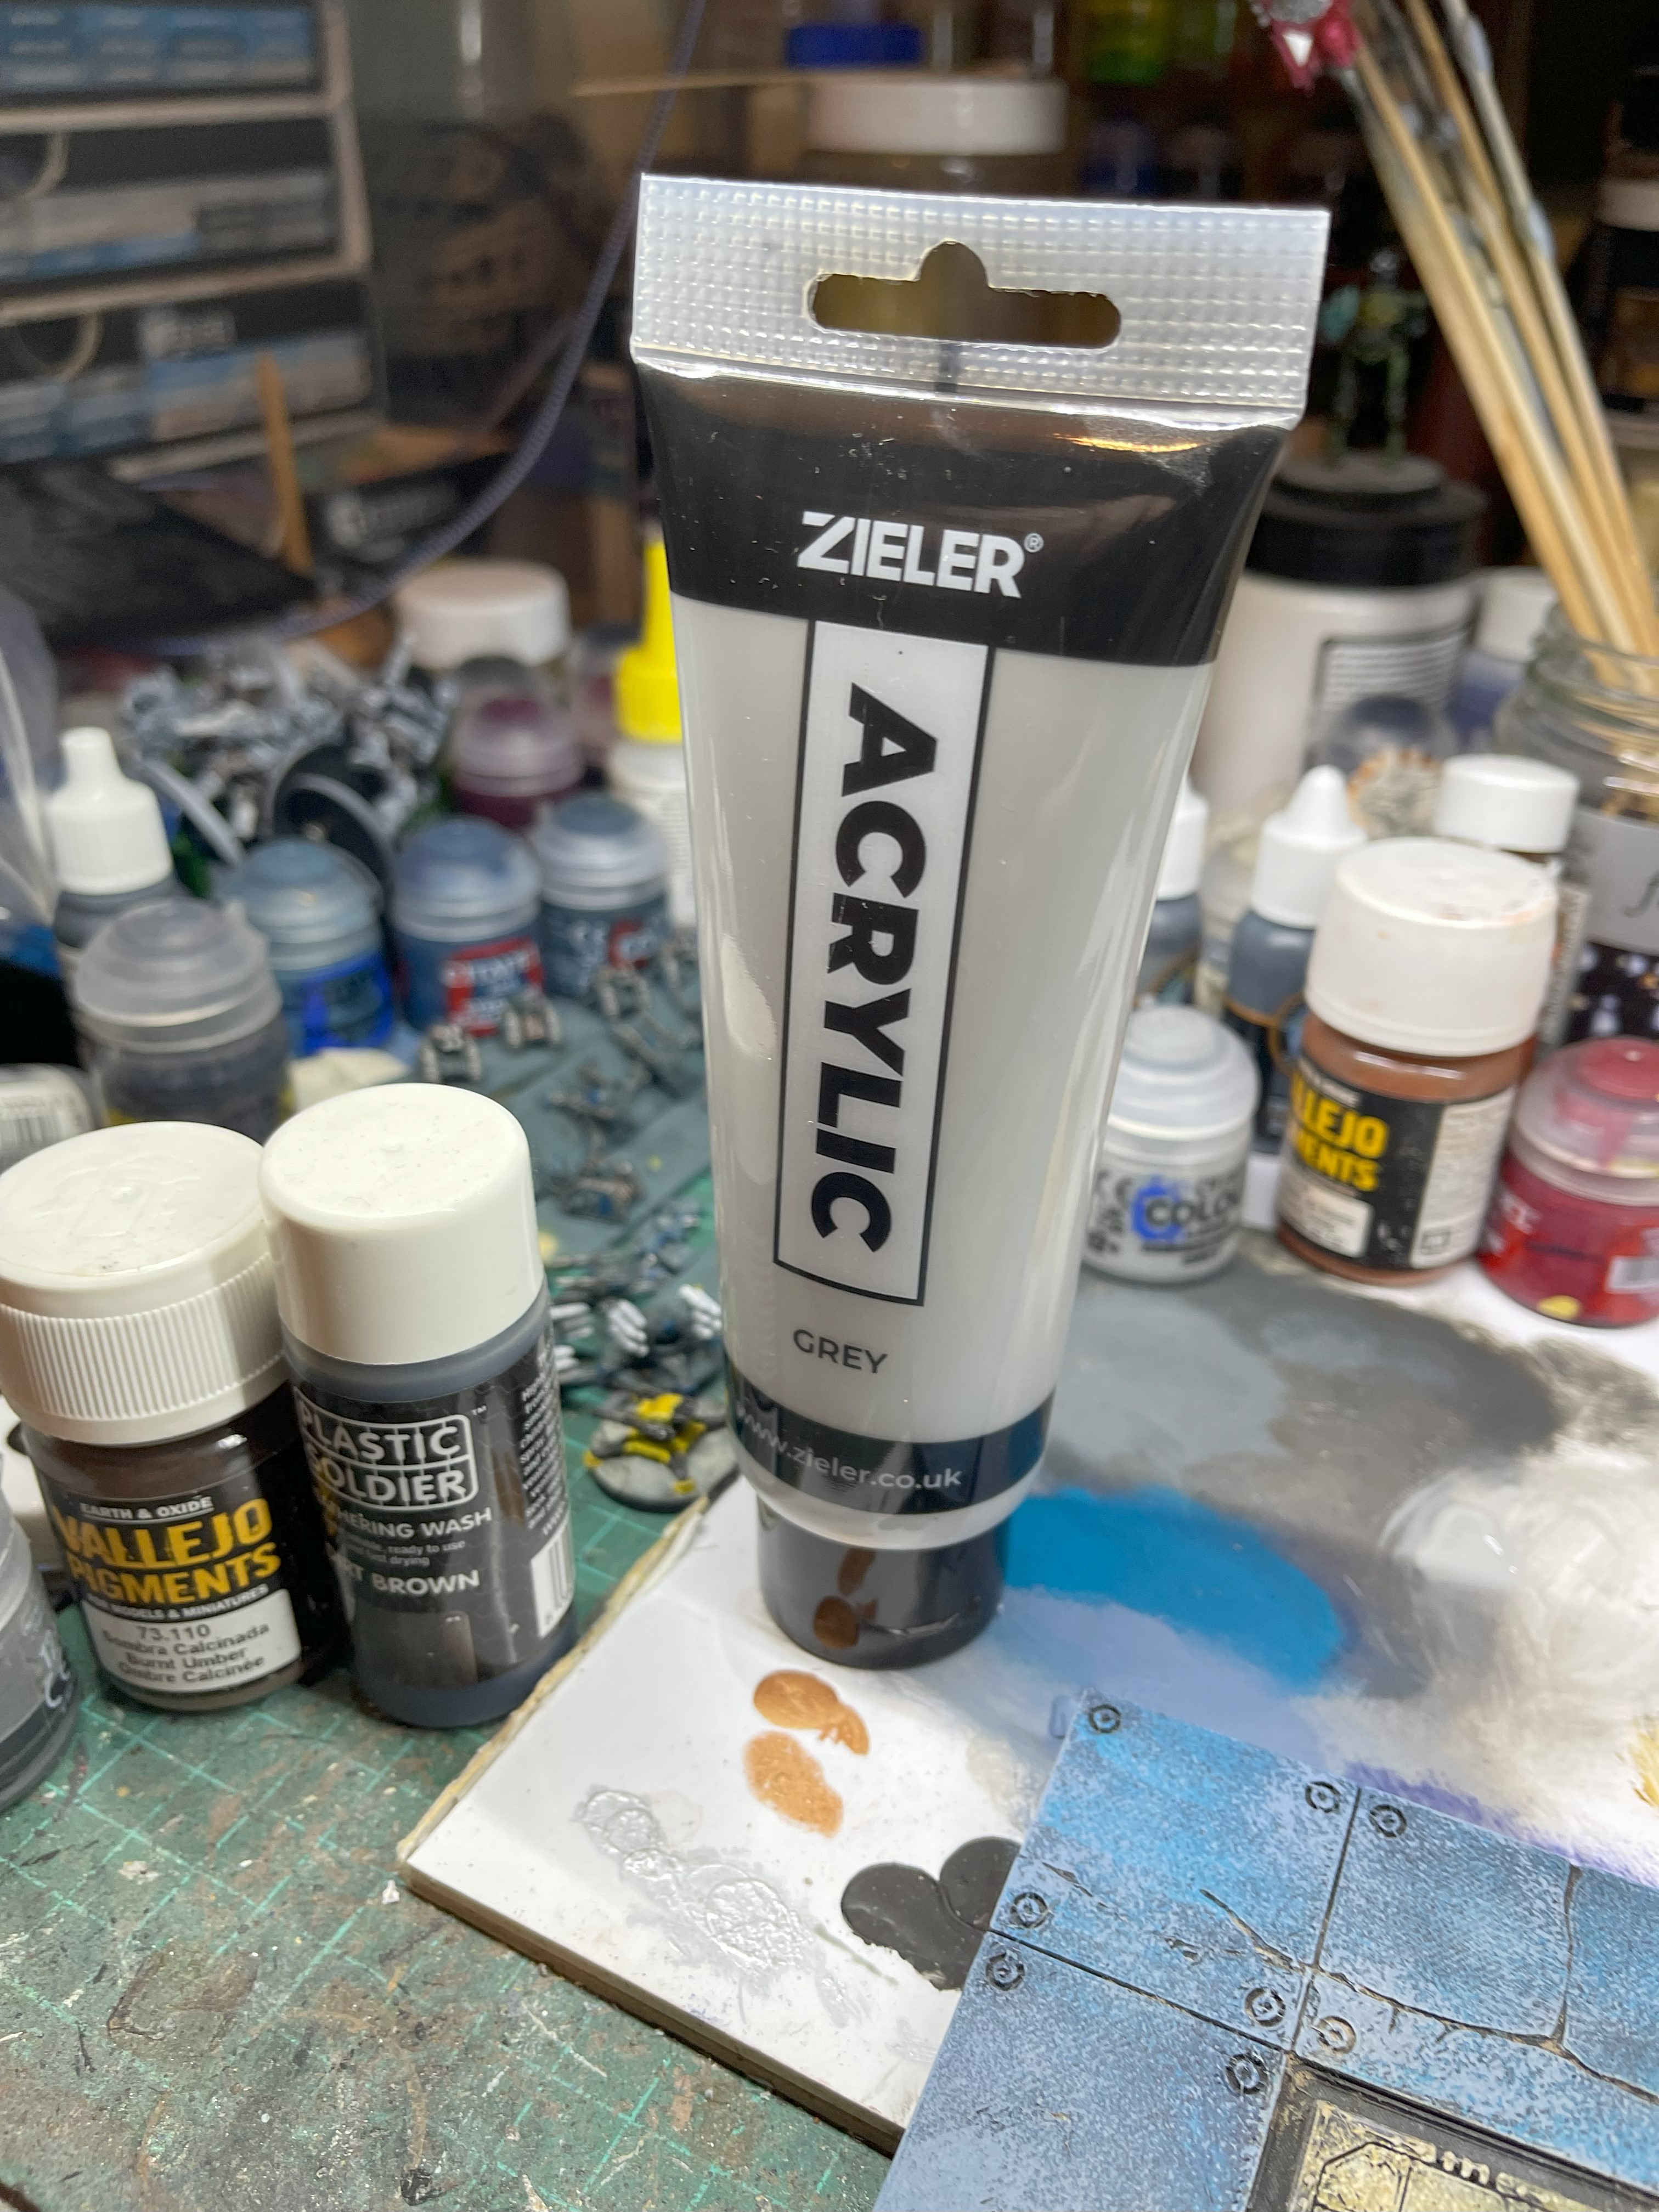
 Before and after Drybrushing
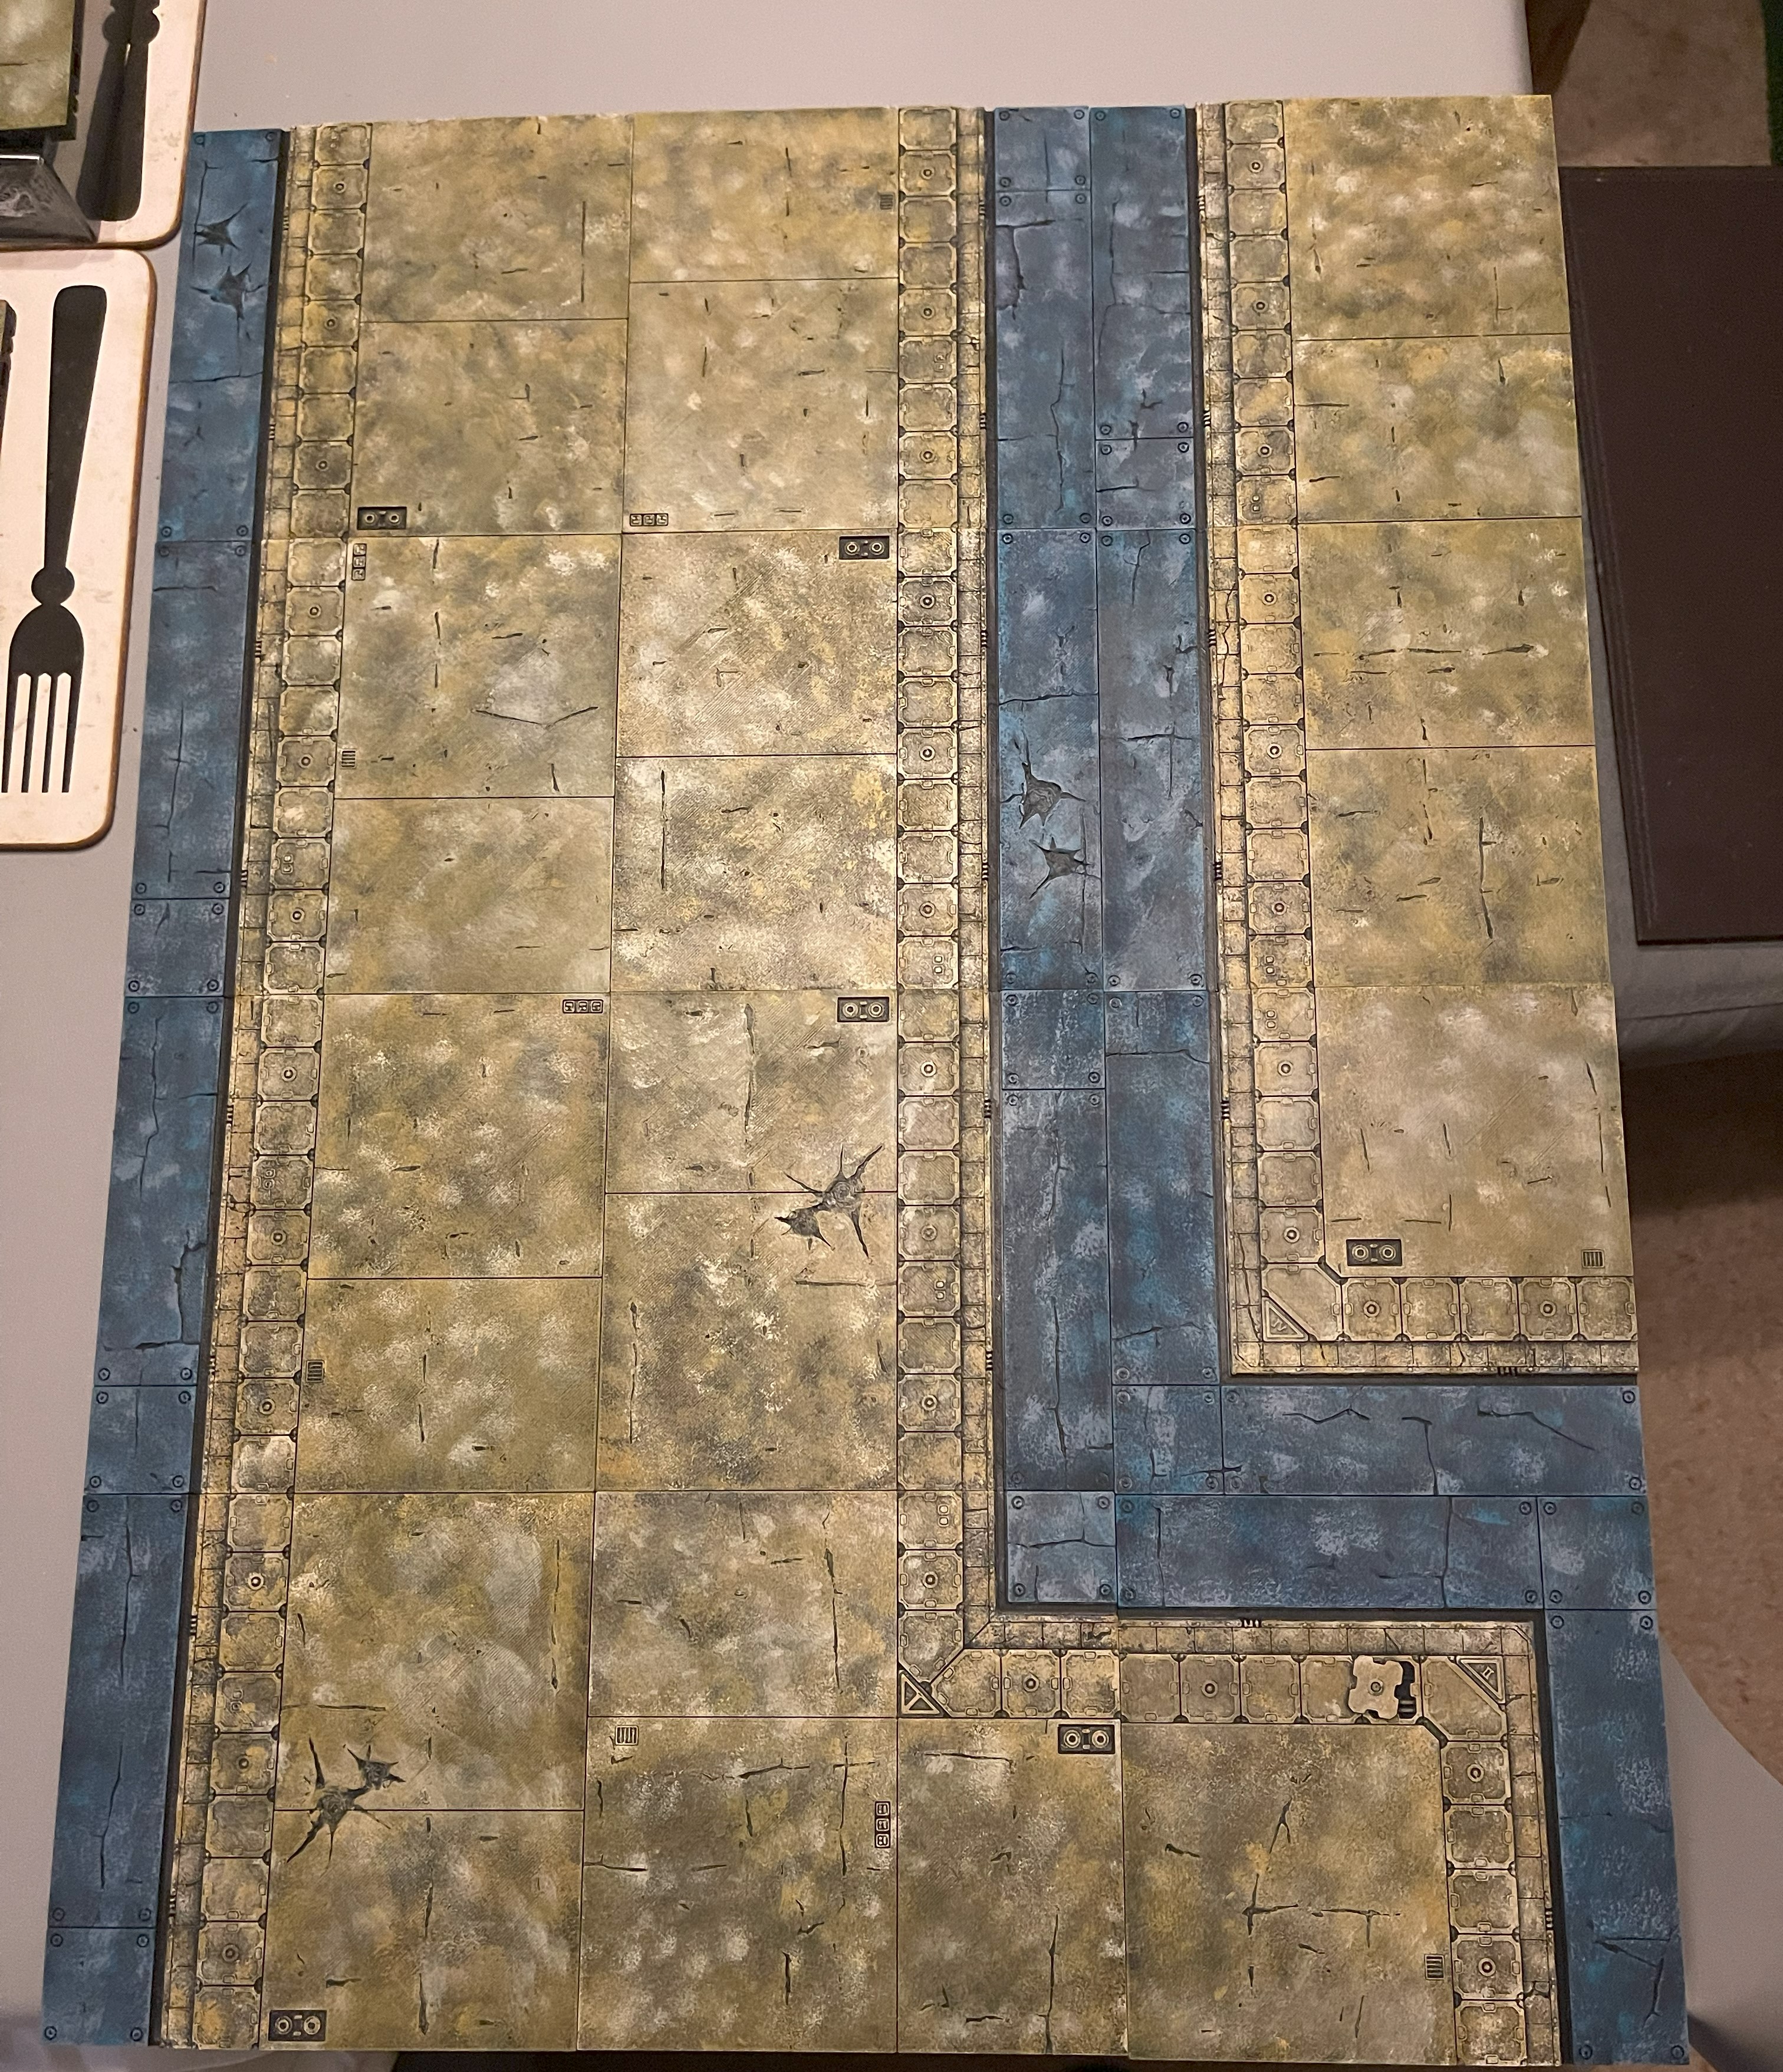
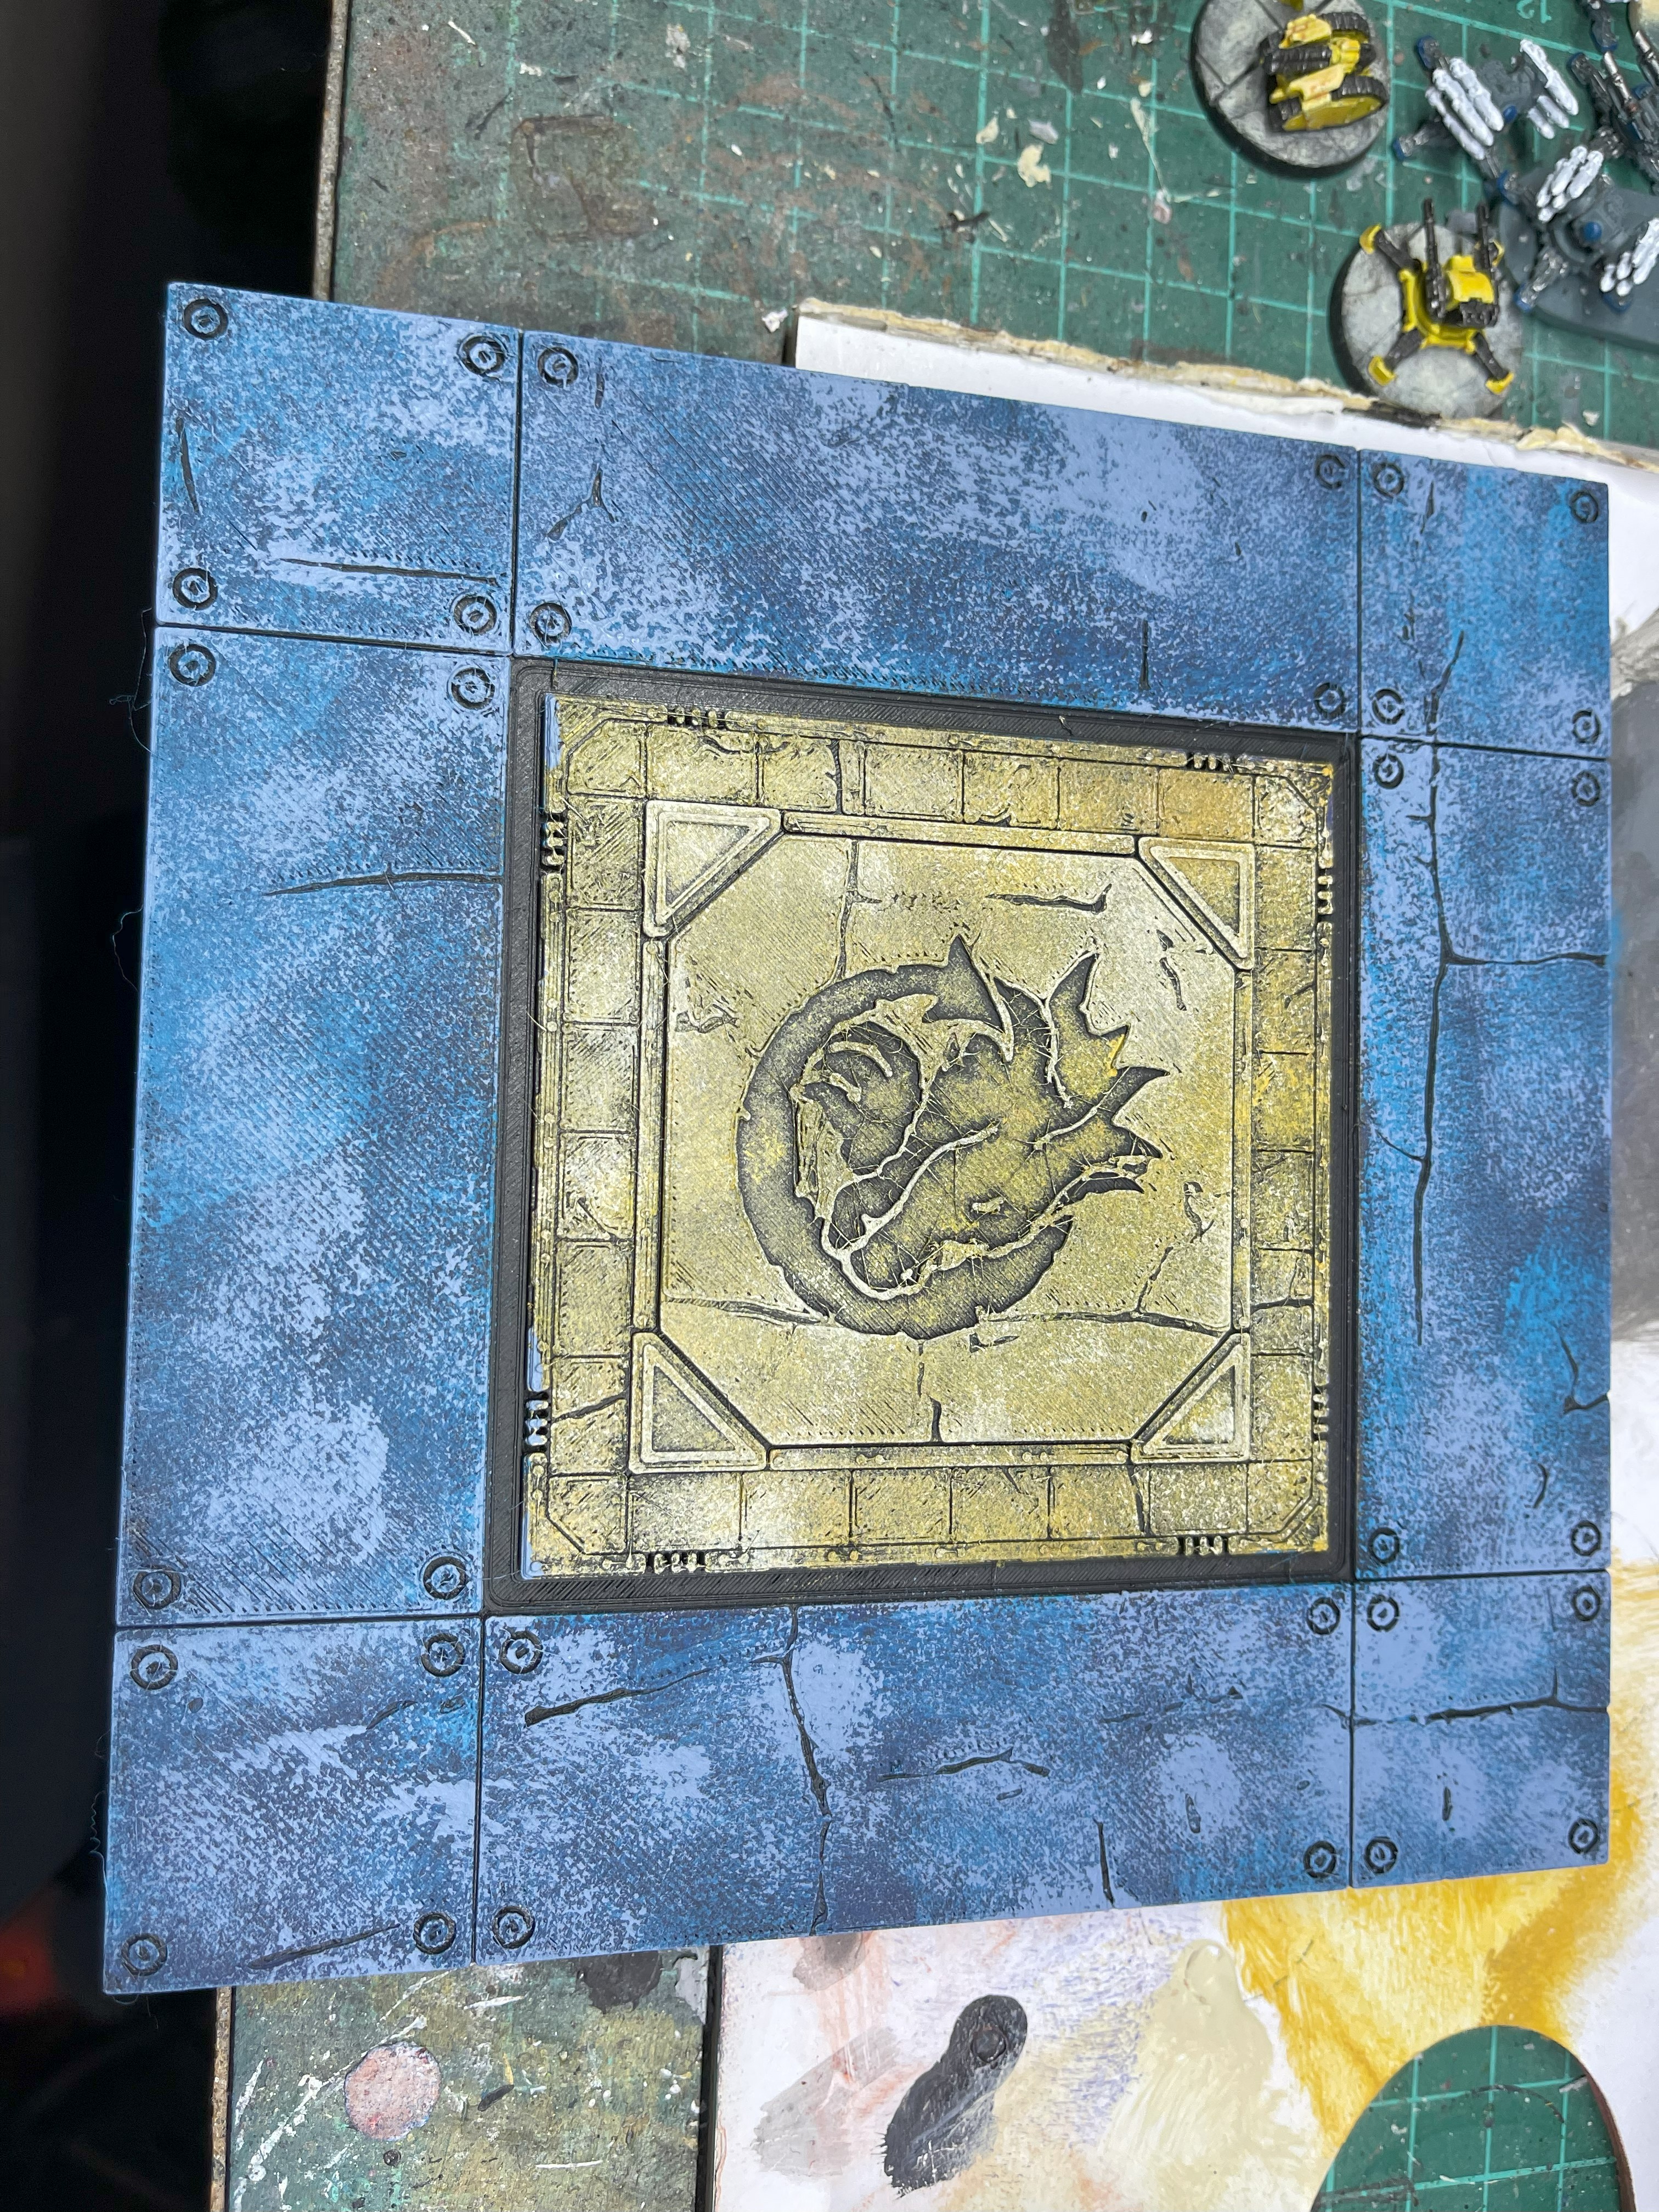
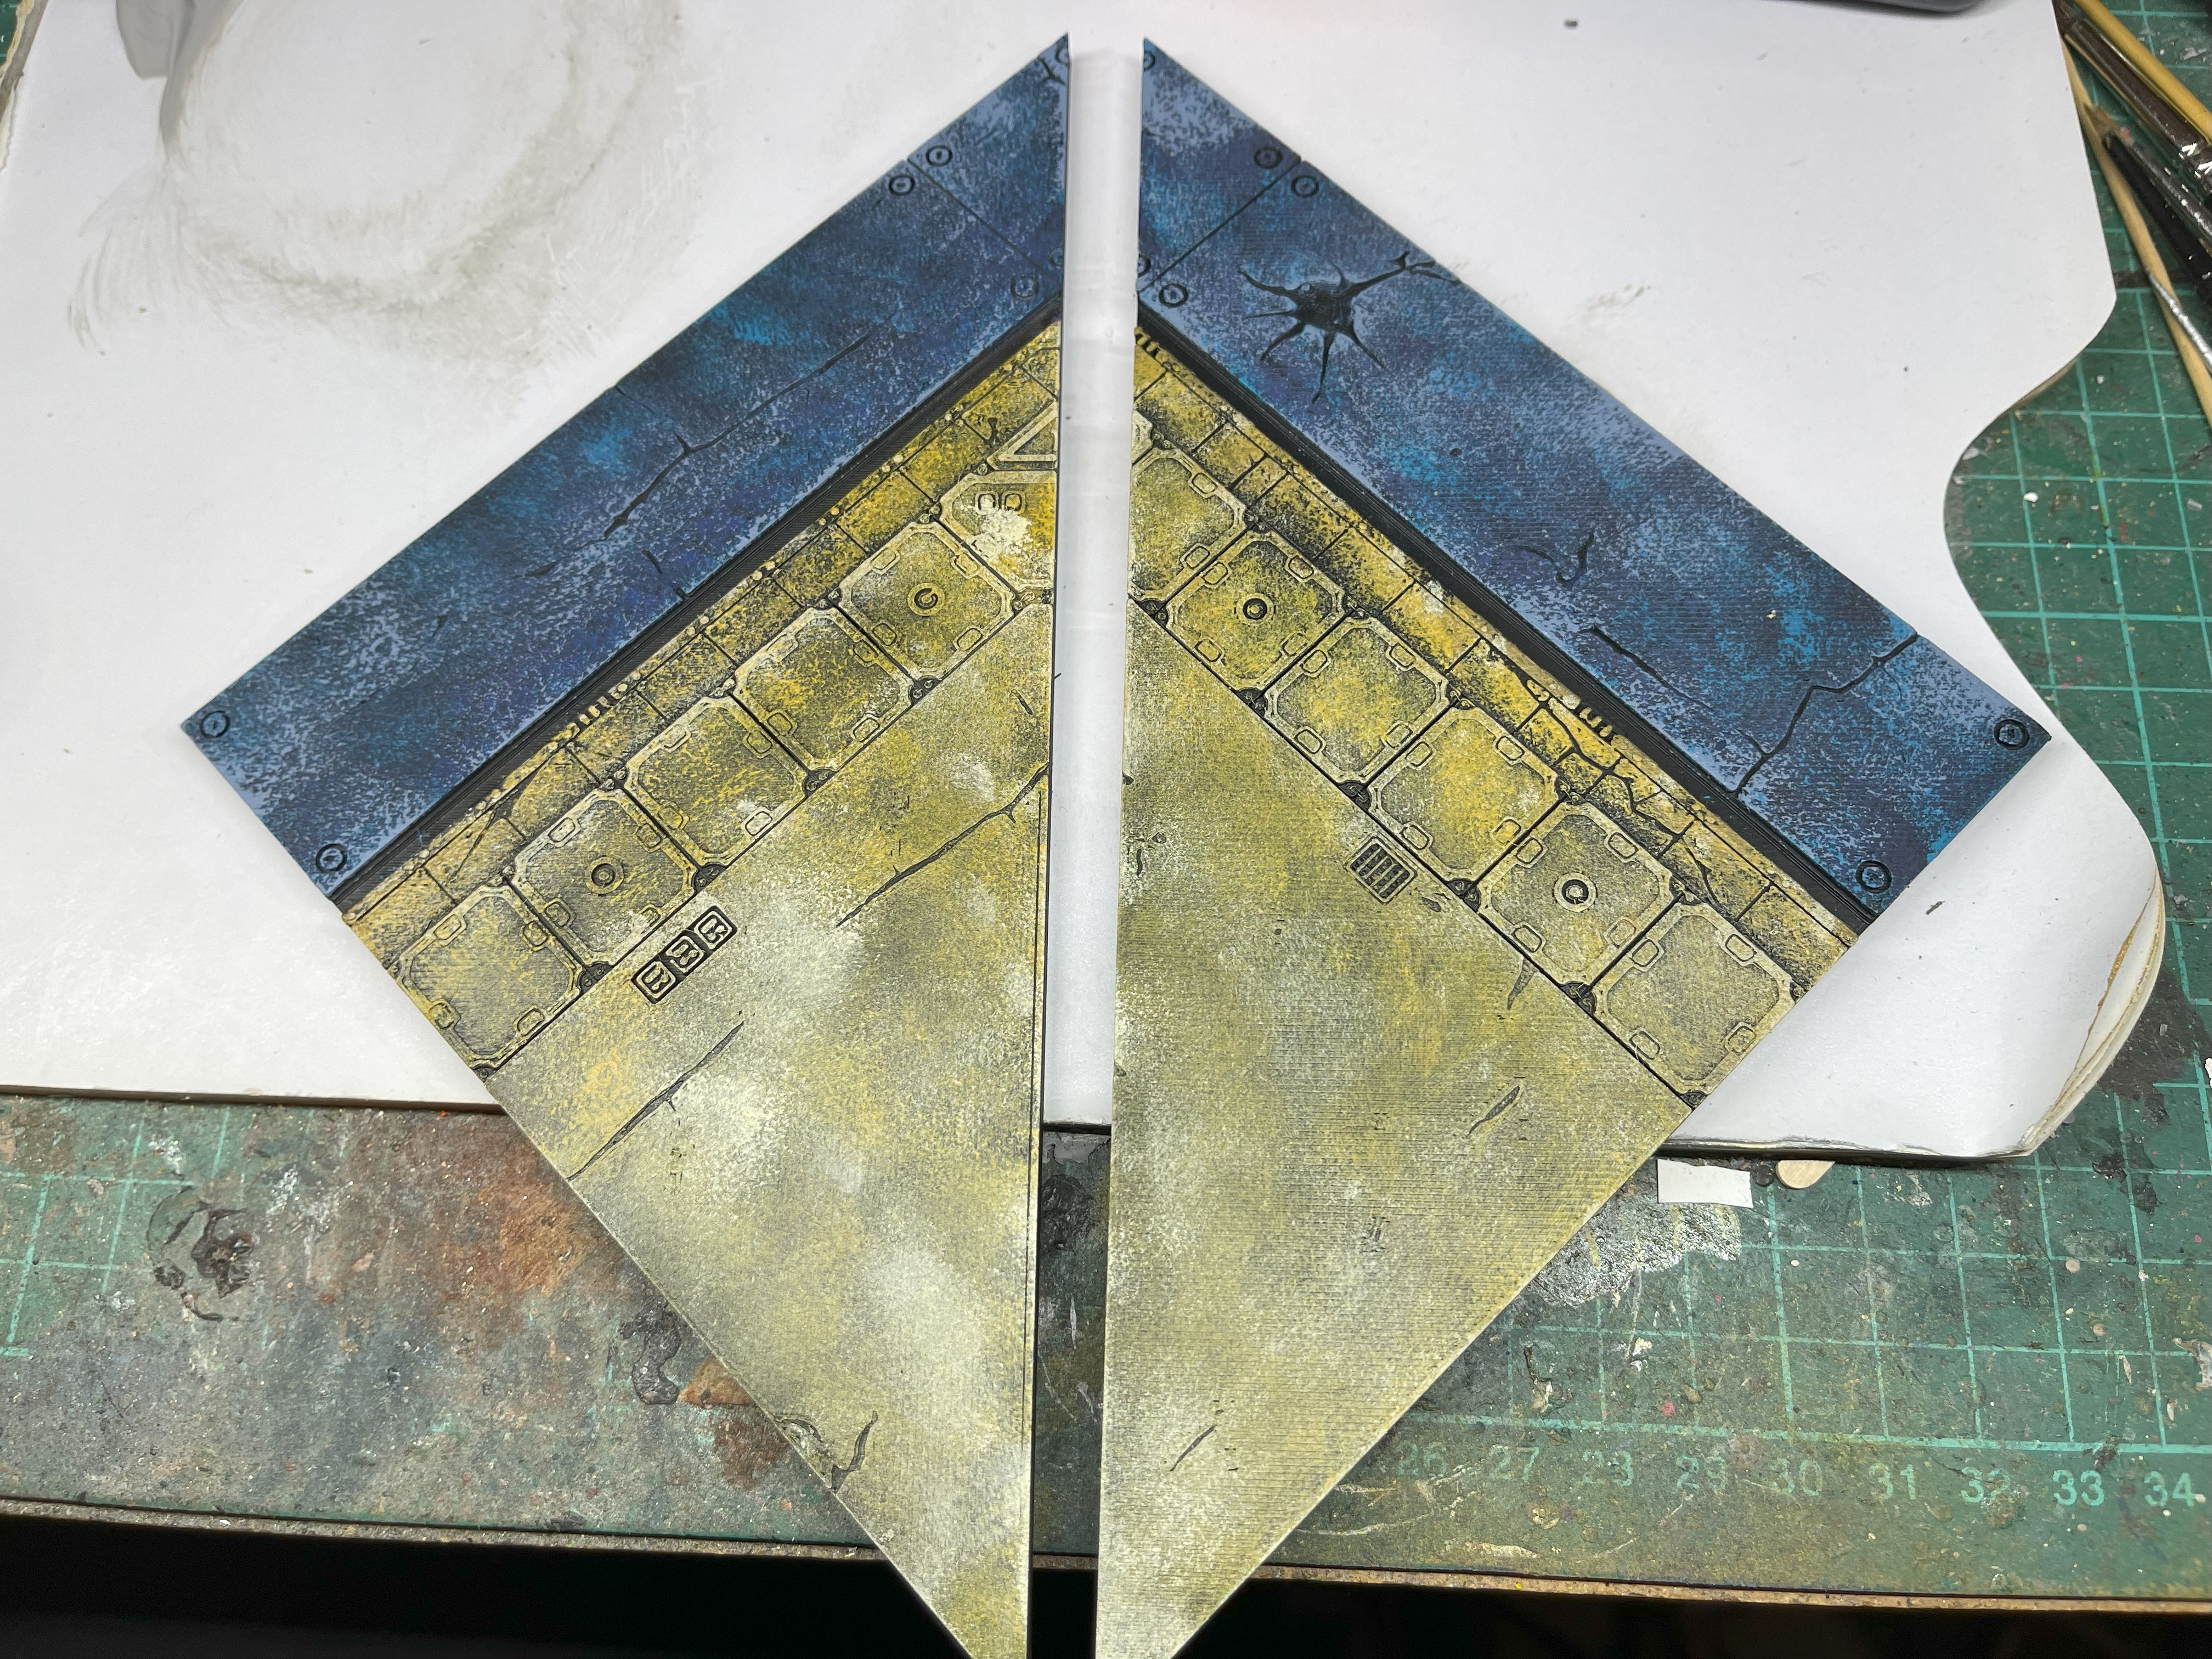
The foundations
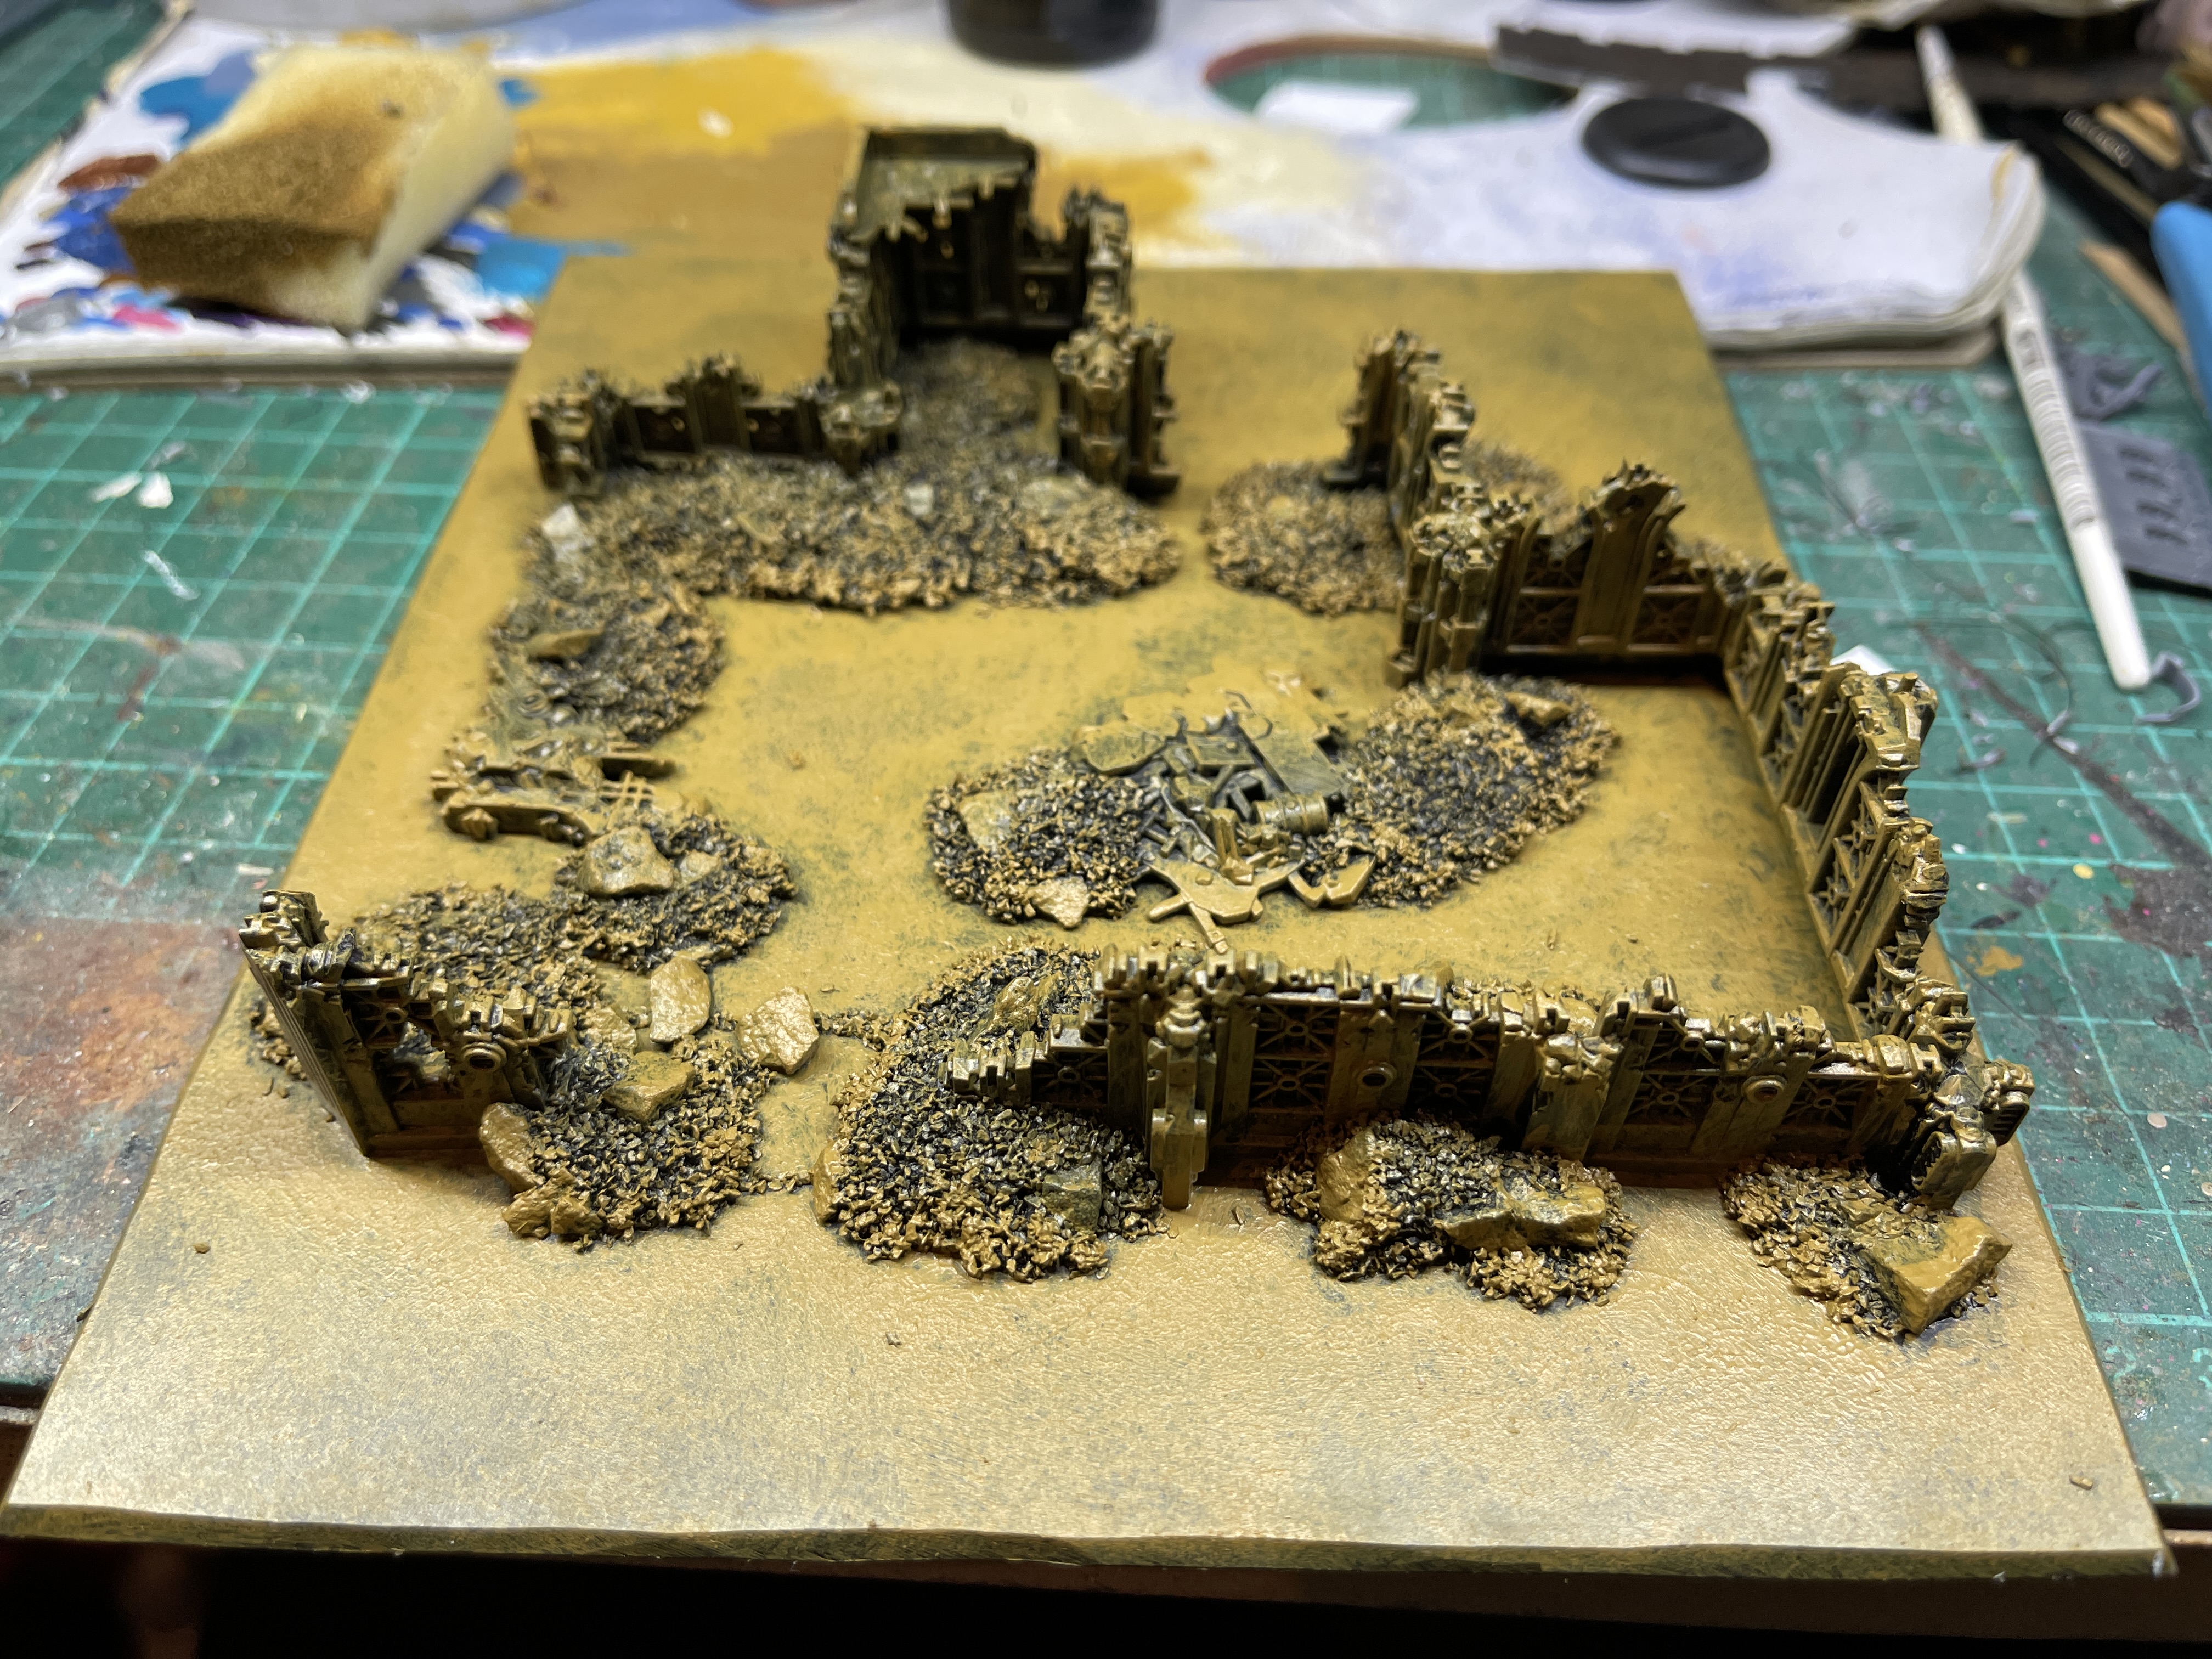
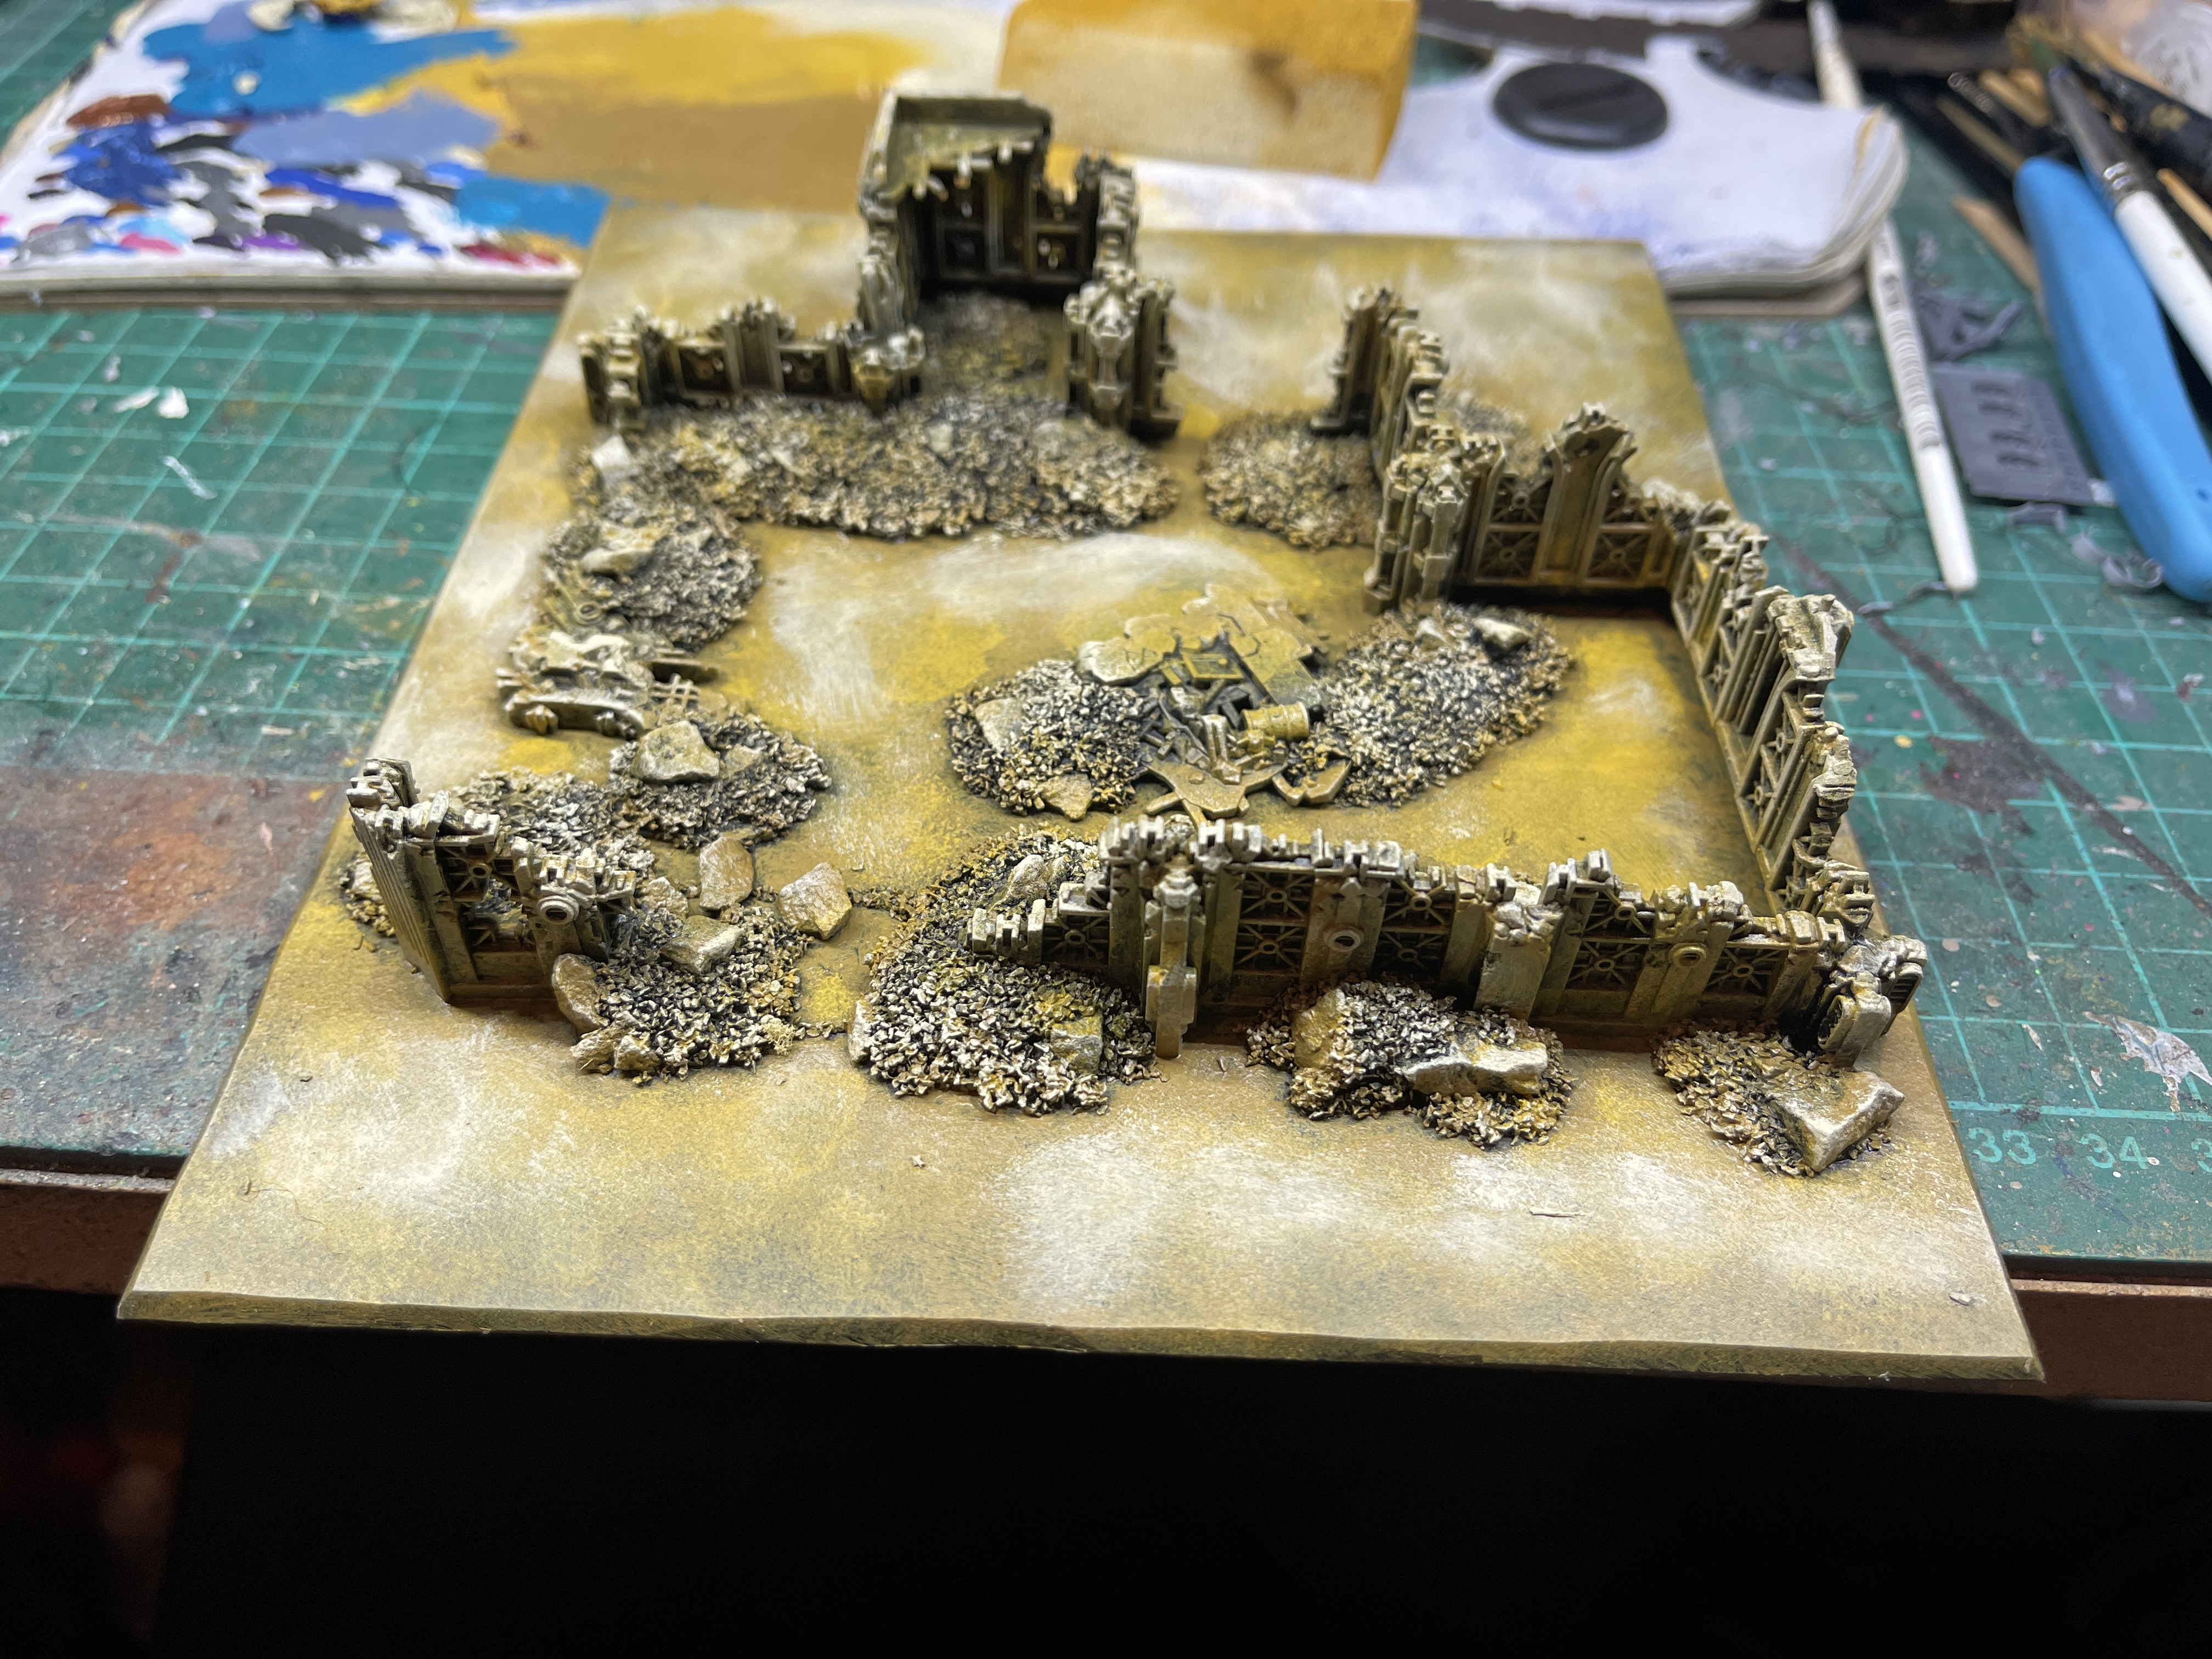
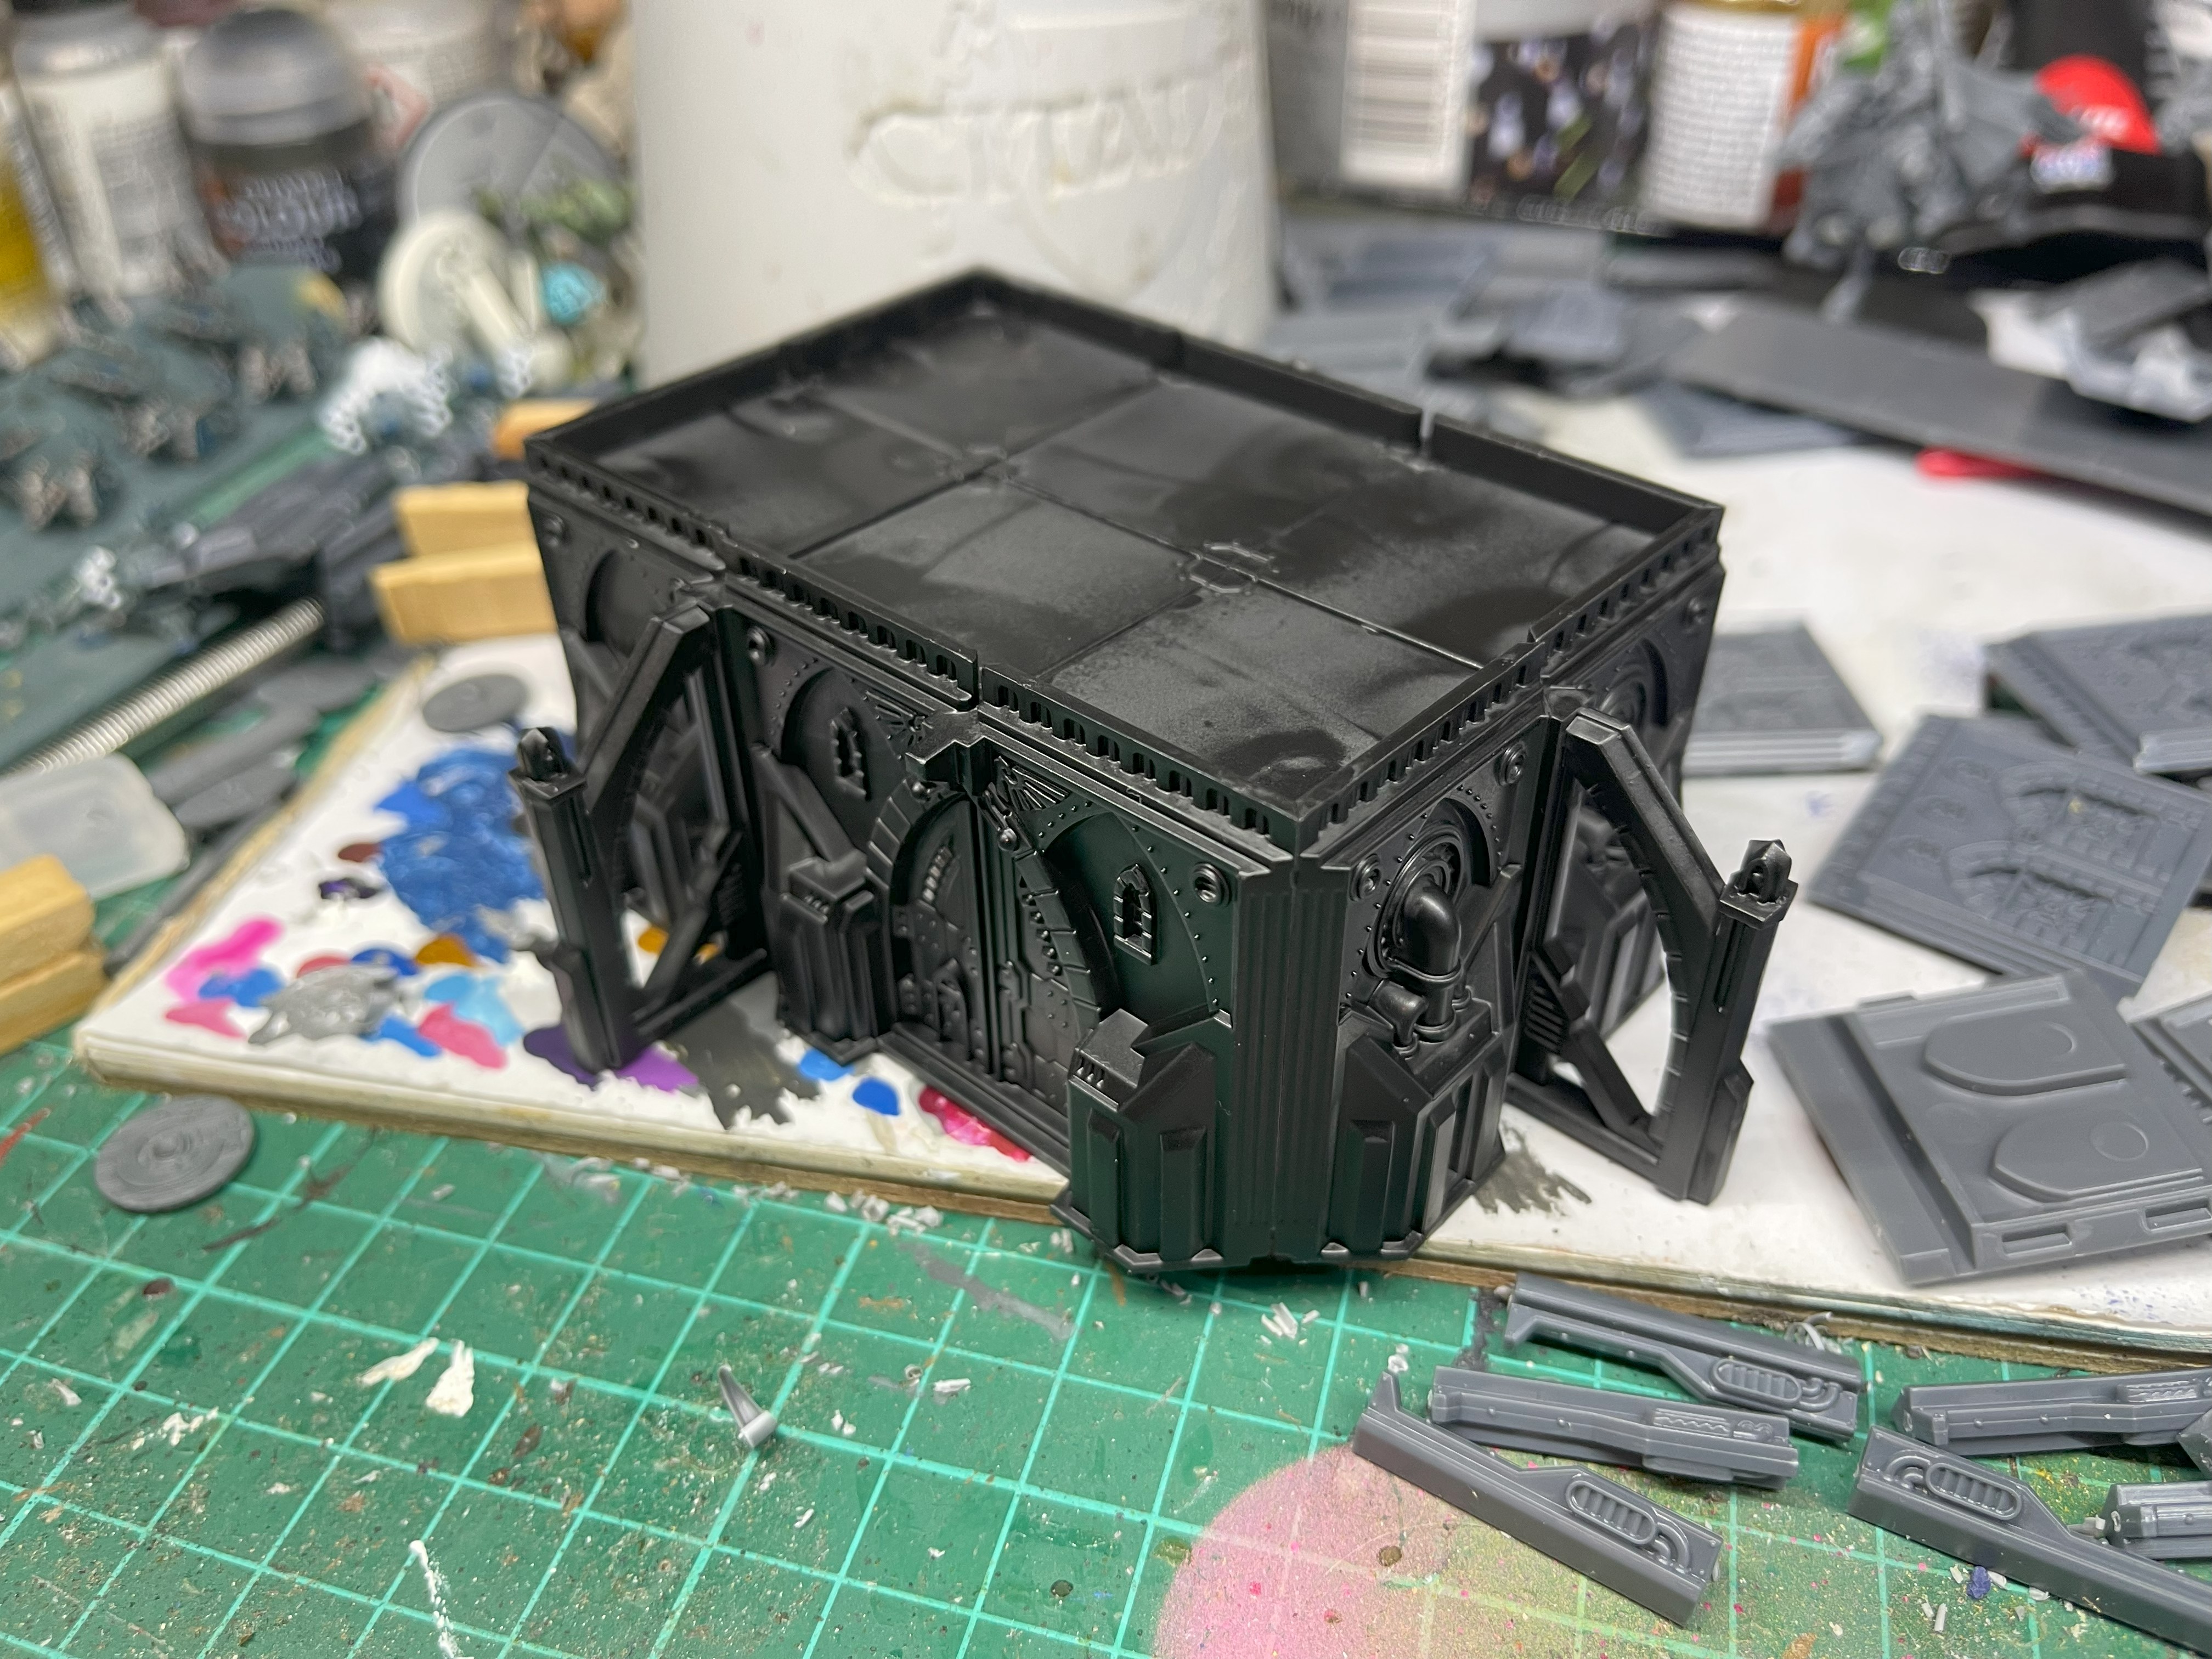
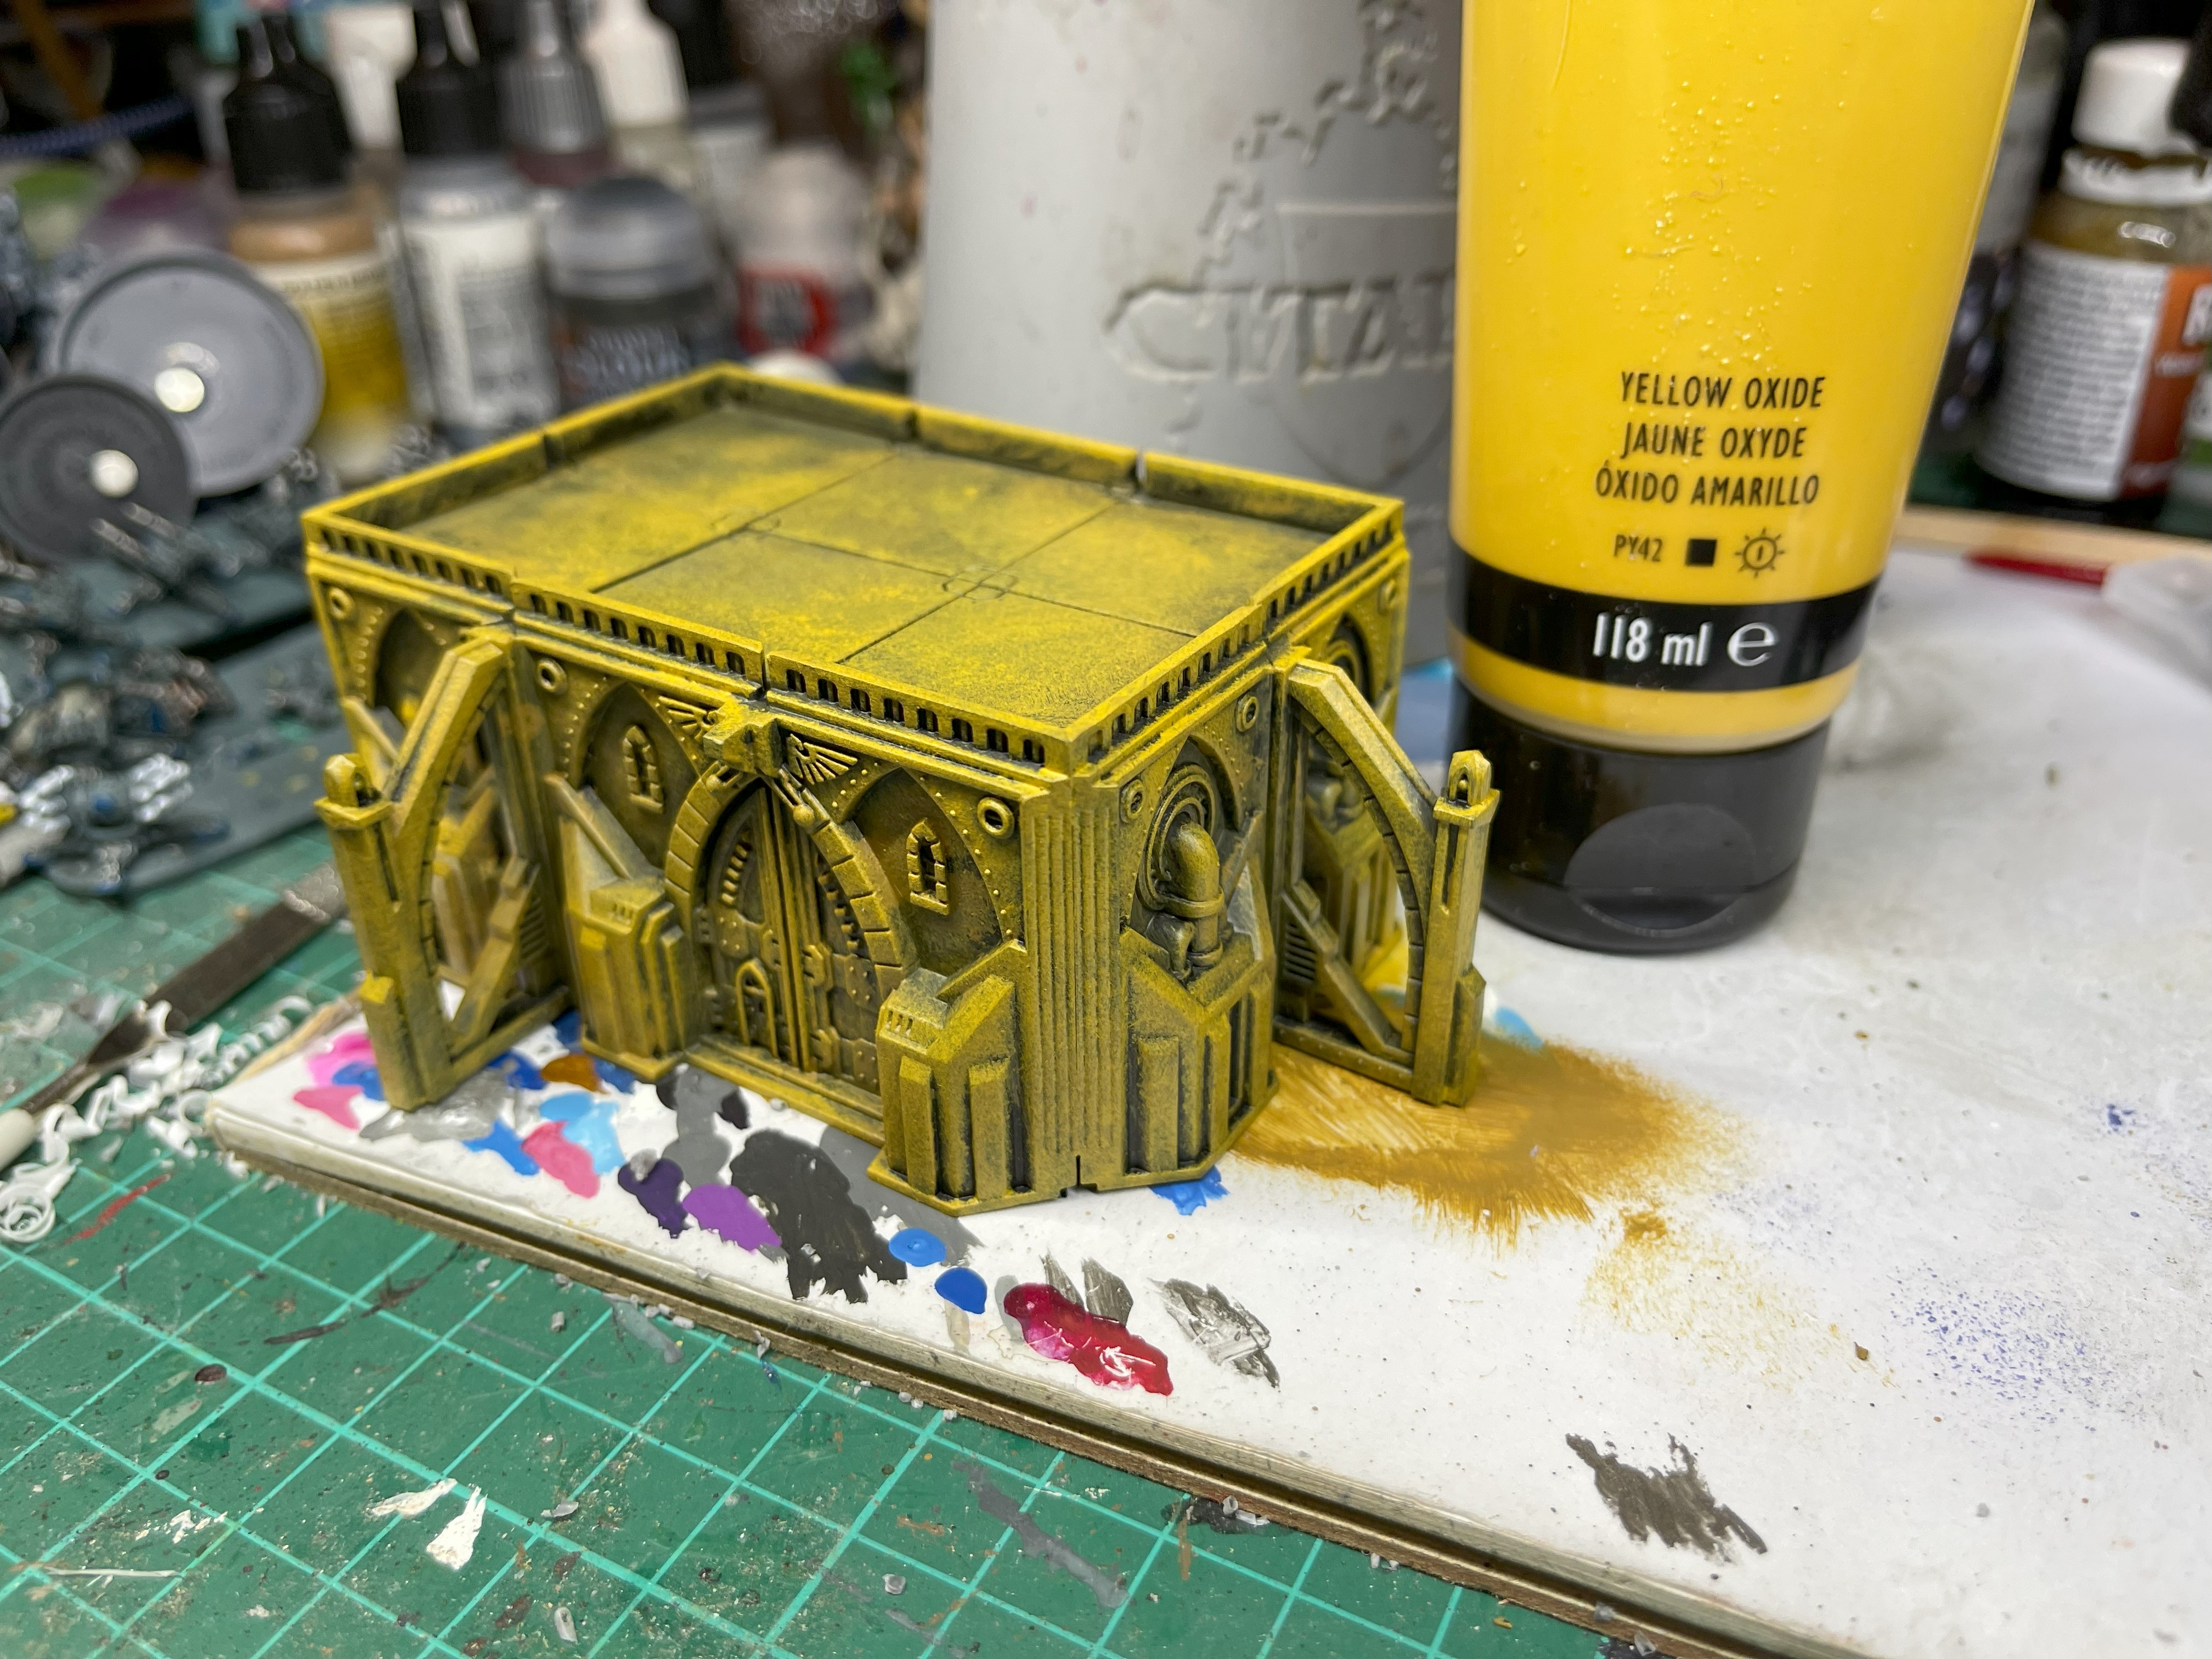
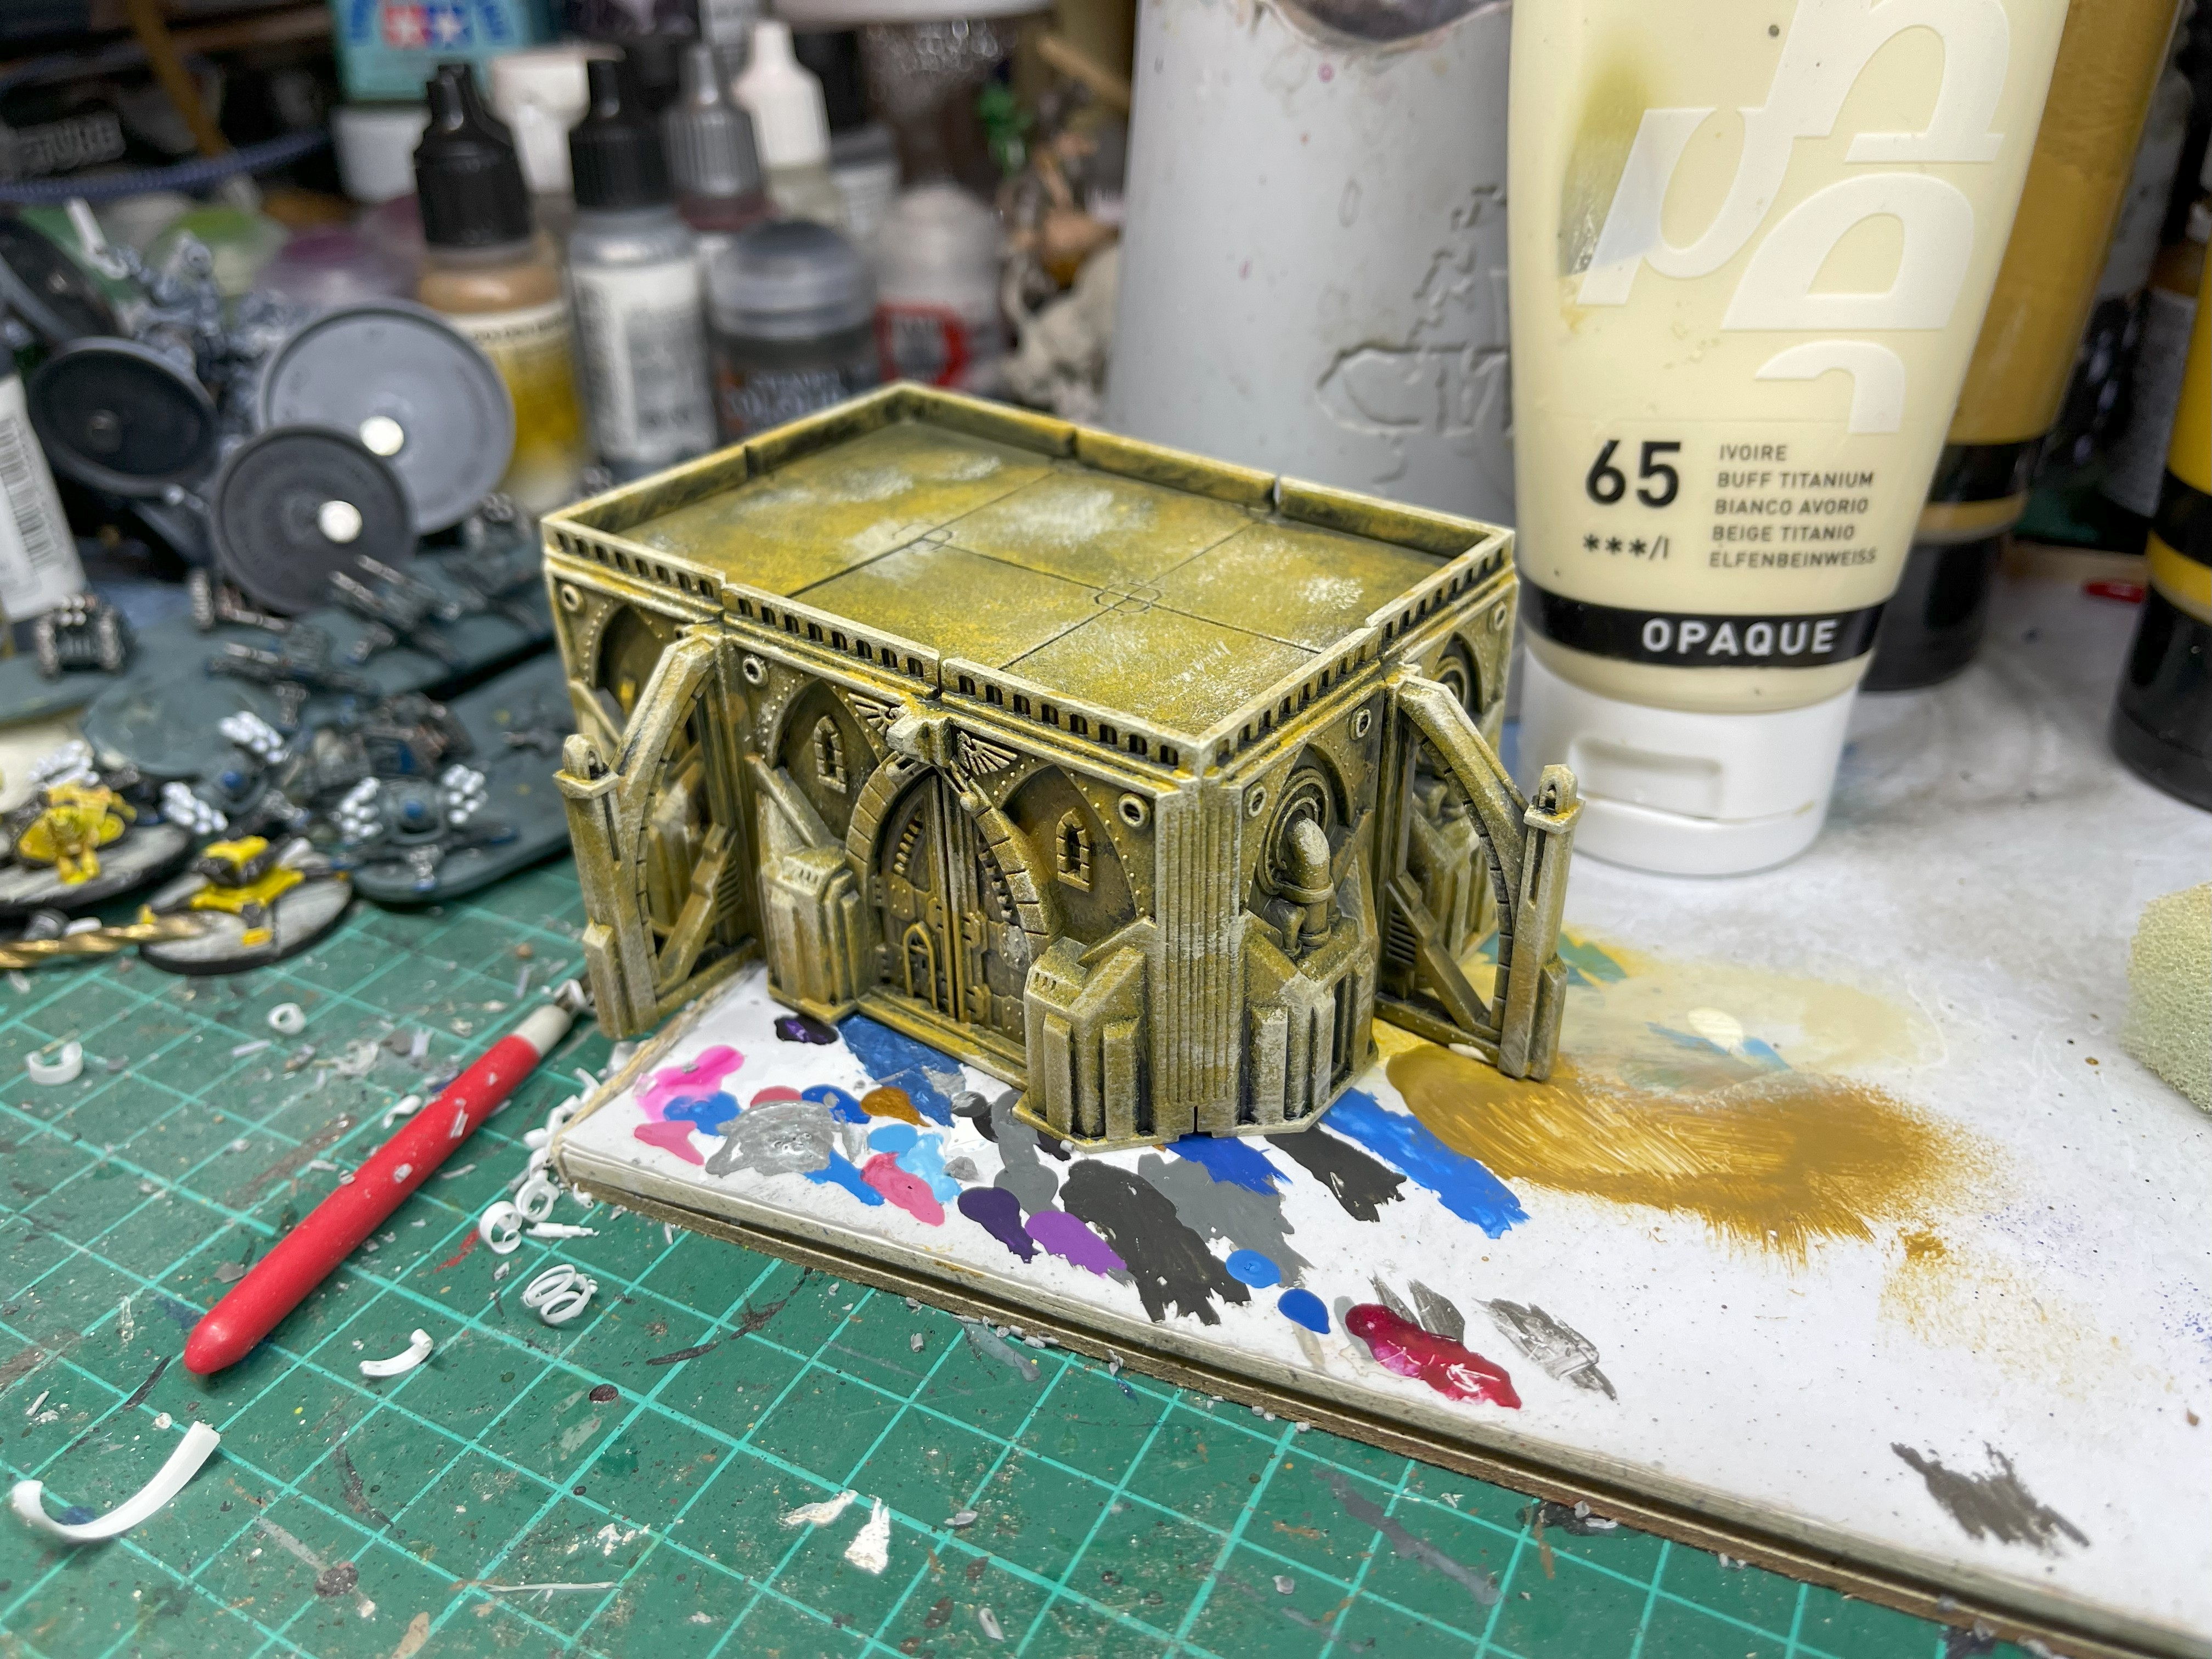
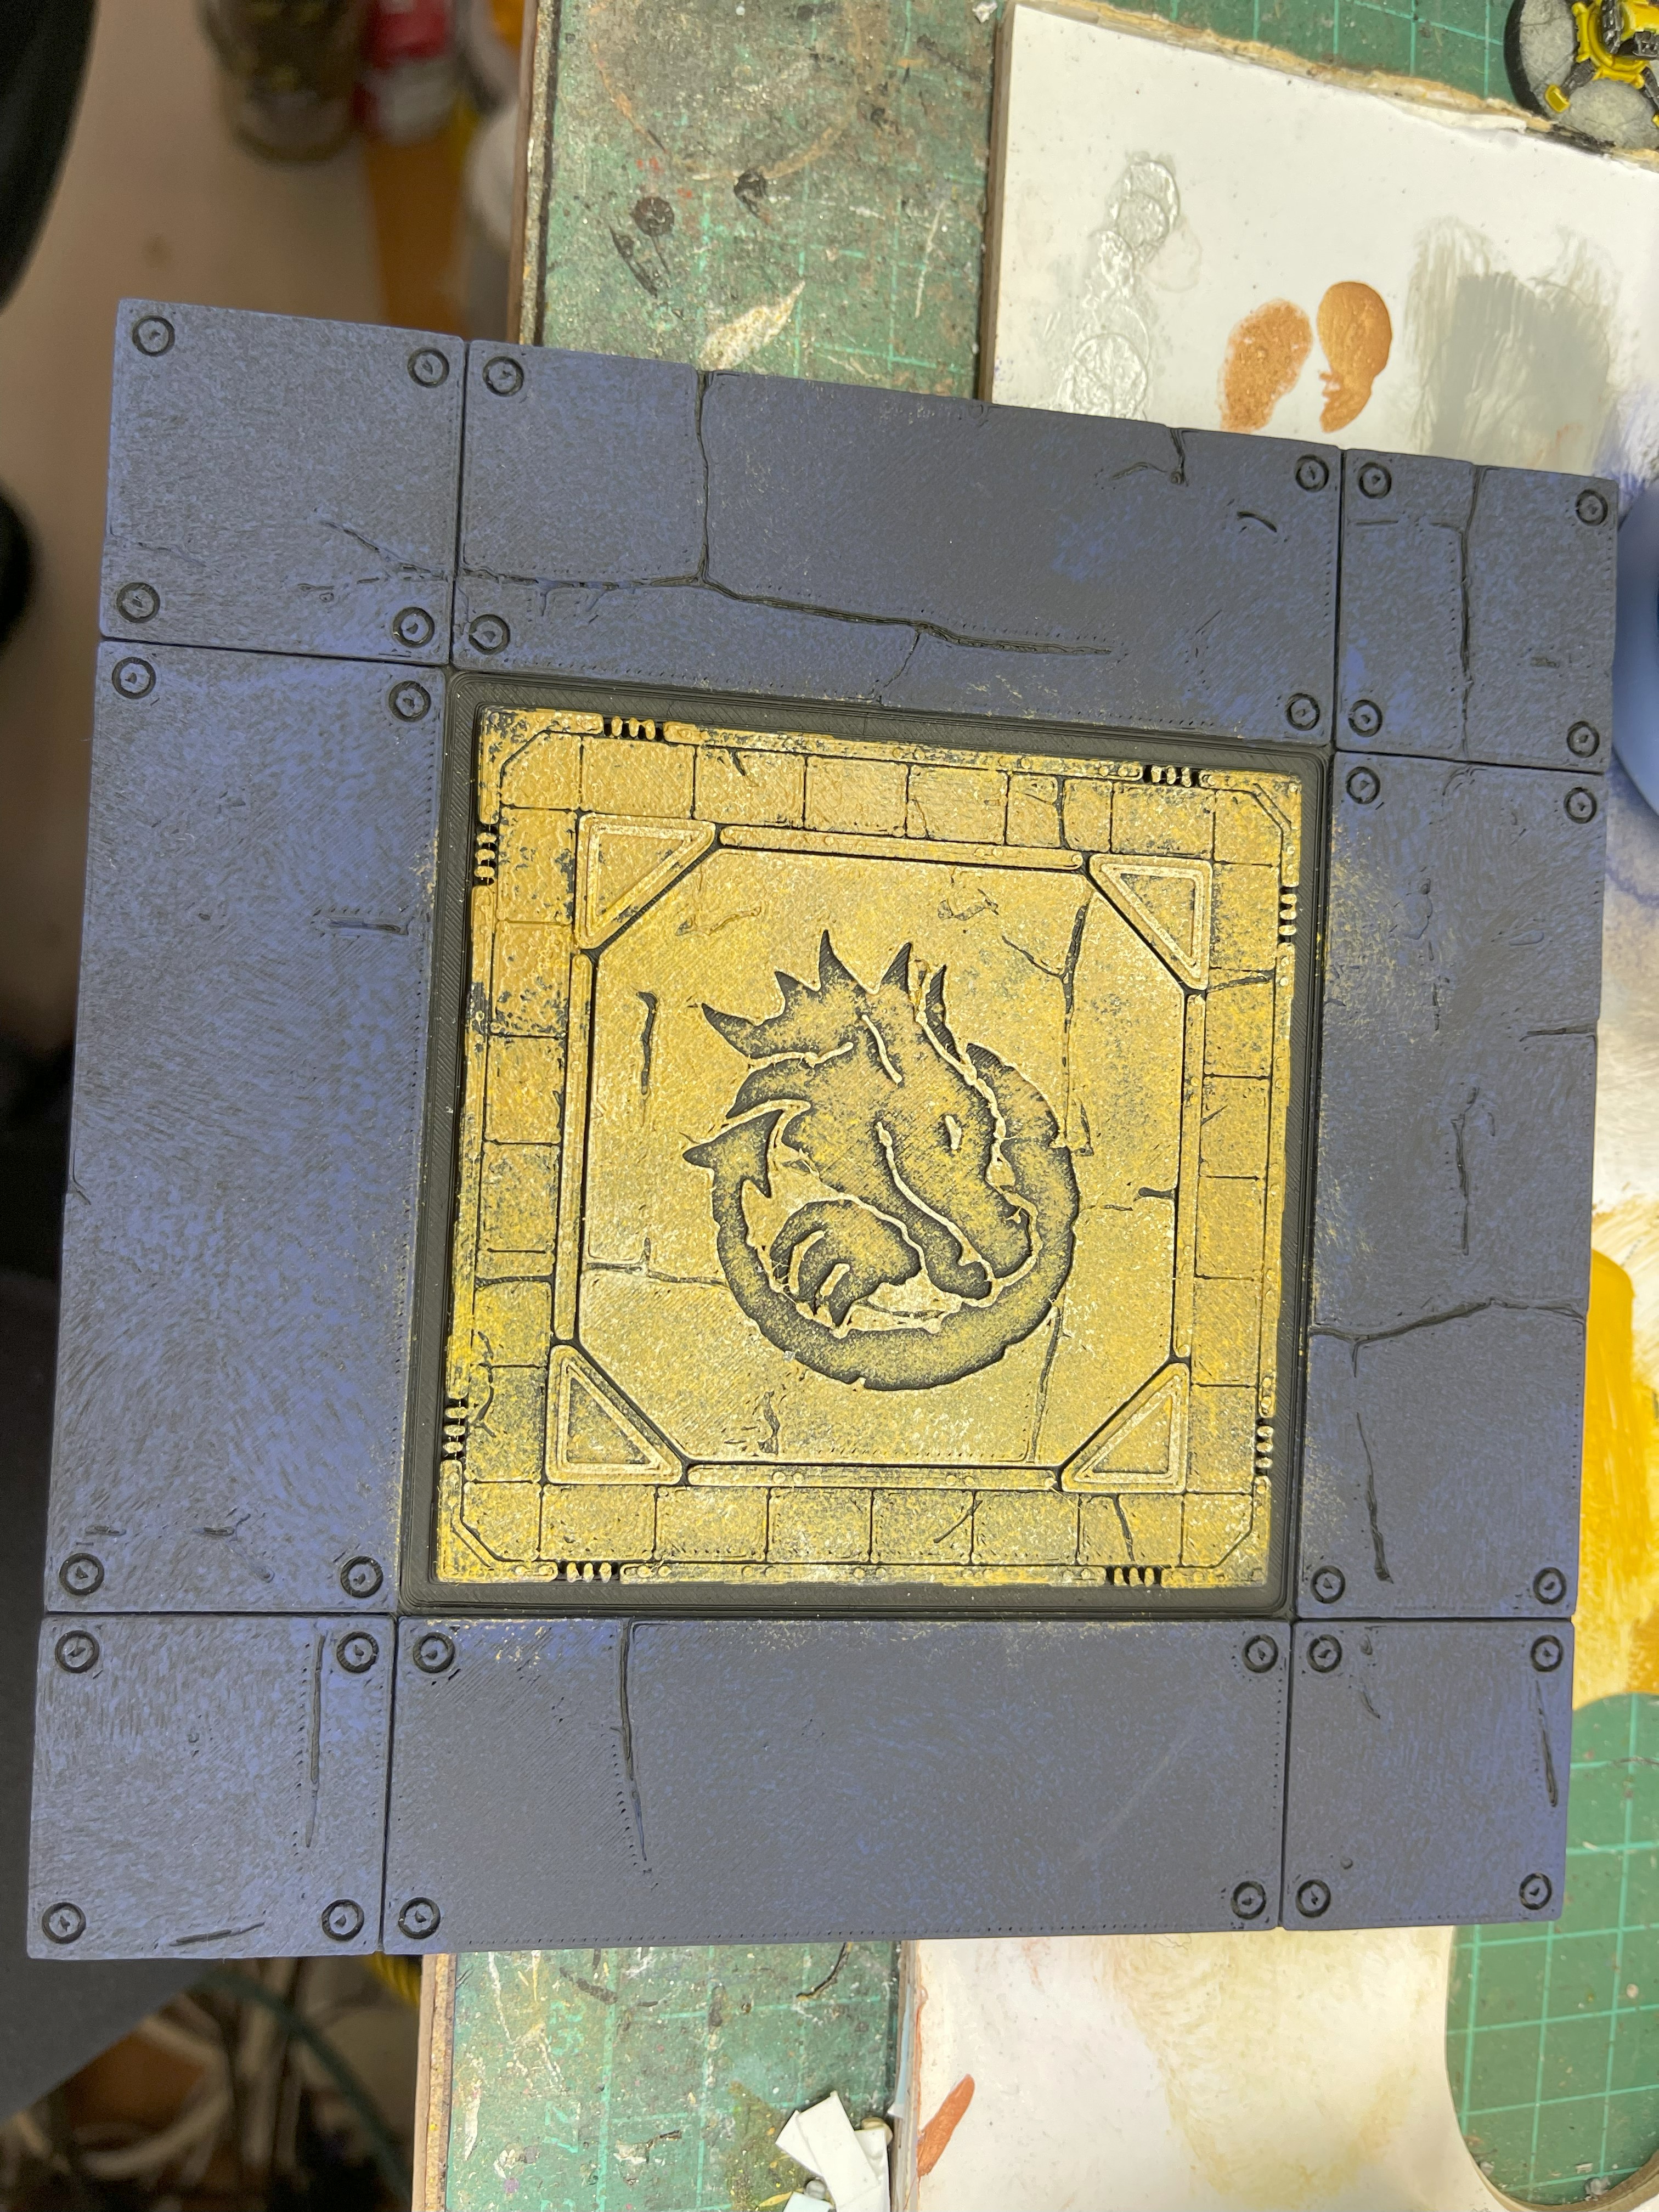
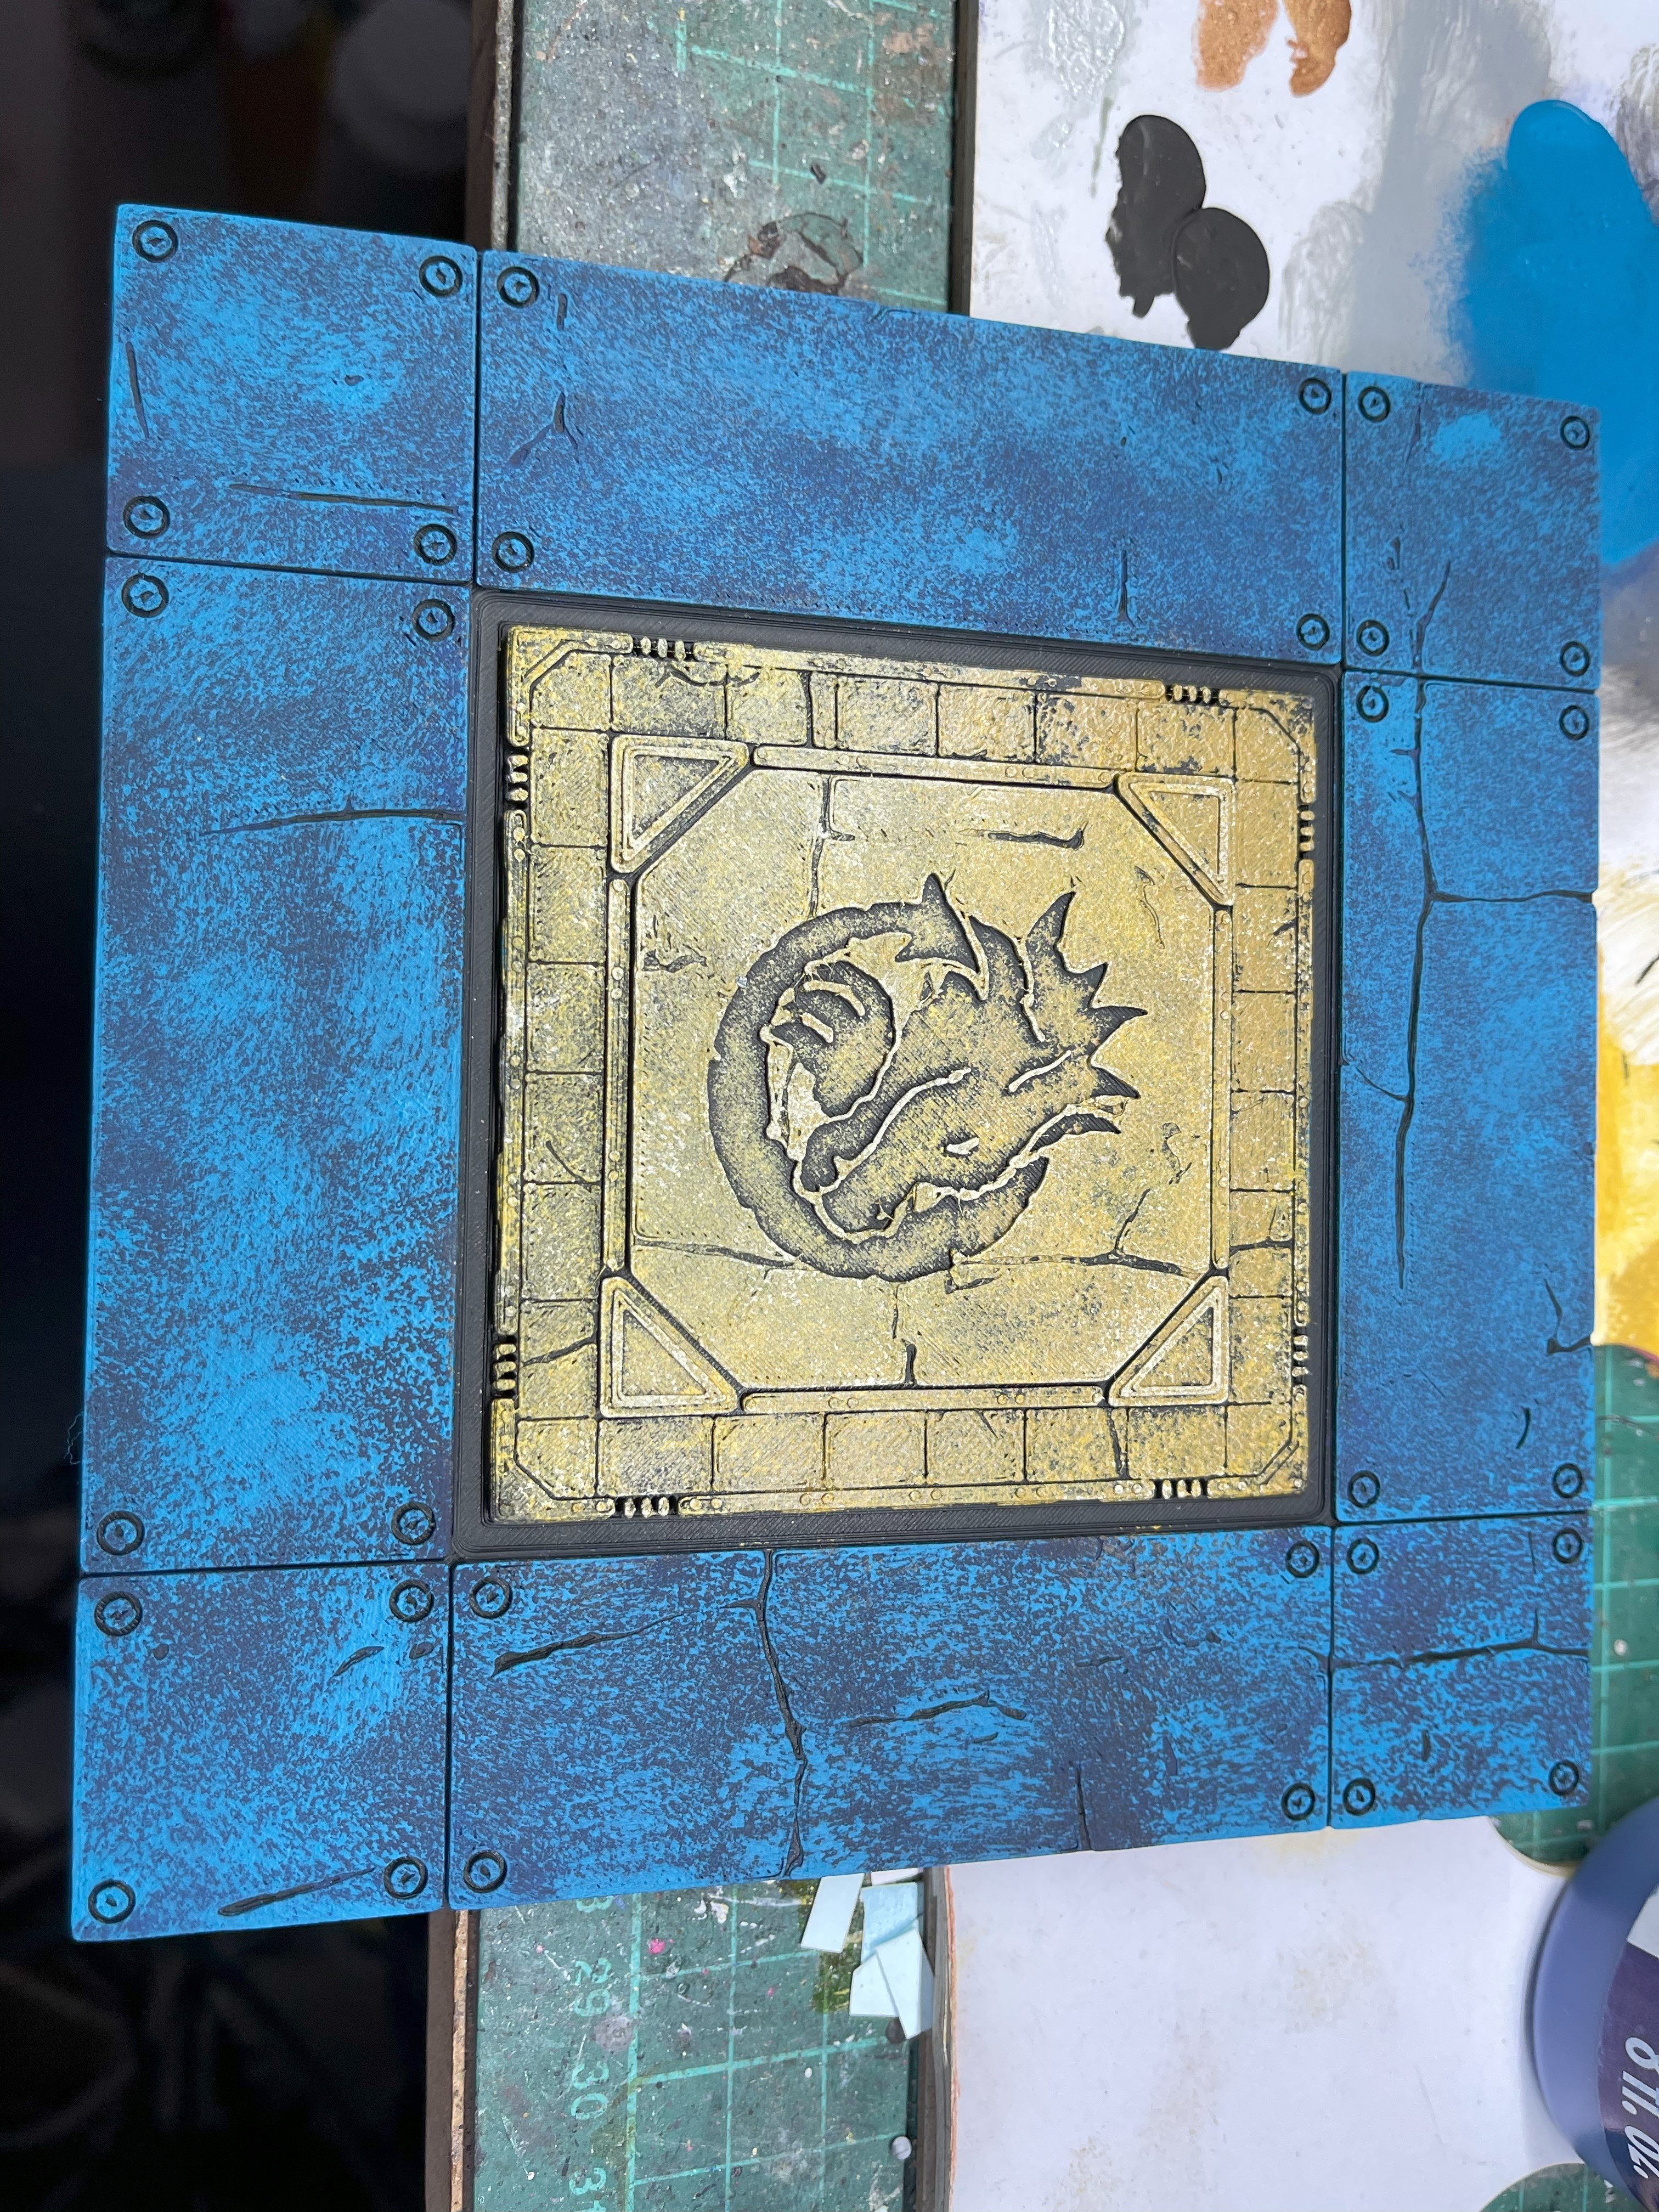
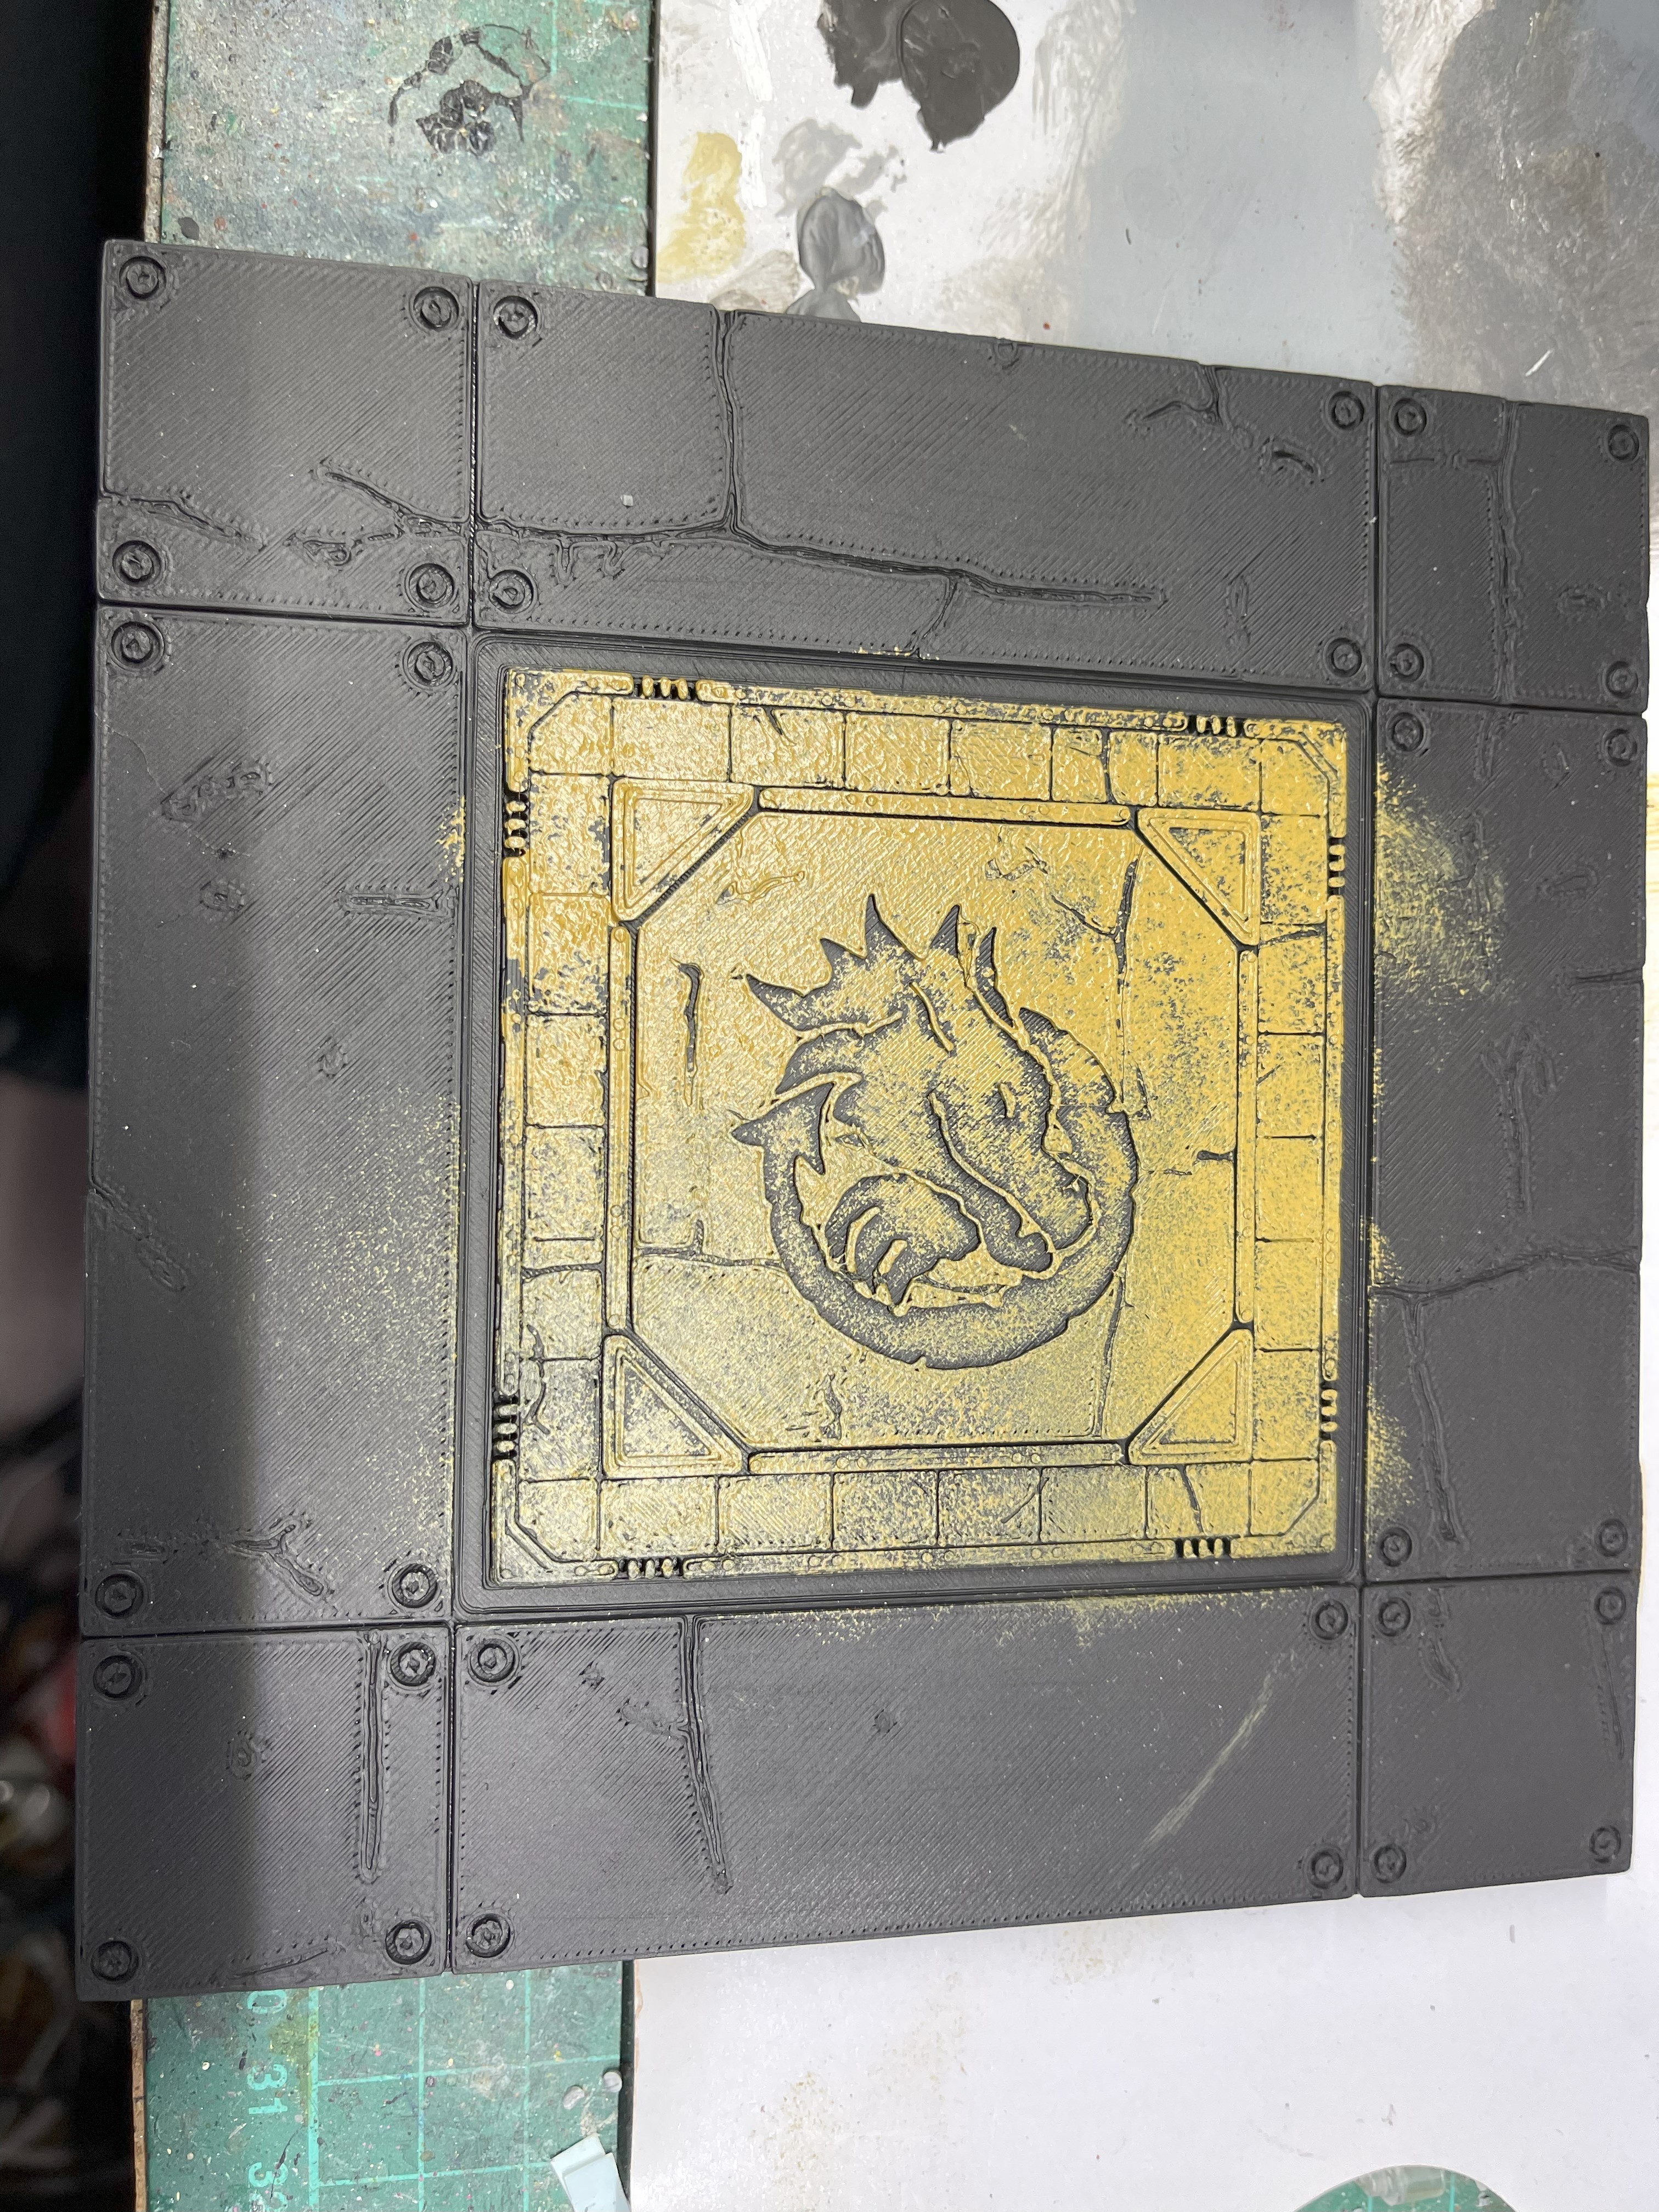 Bronzed Yellow
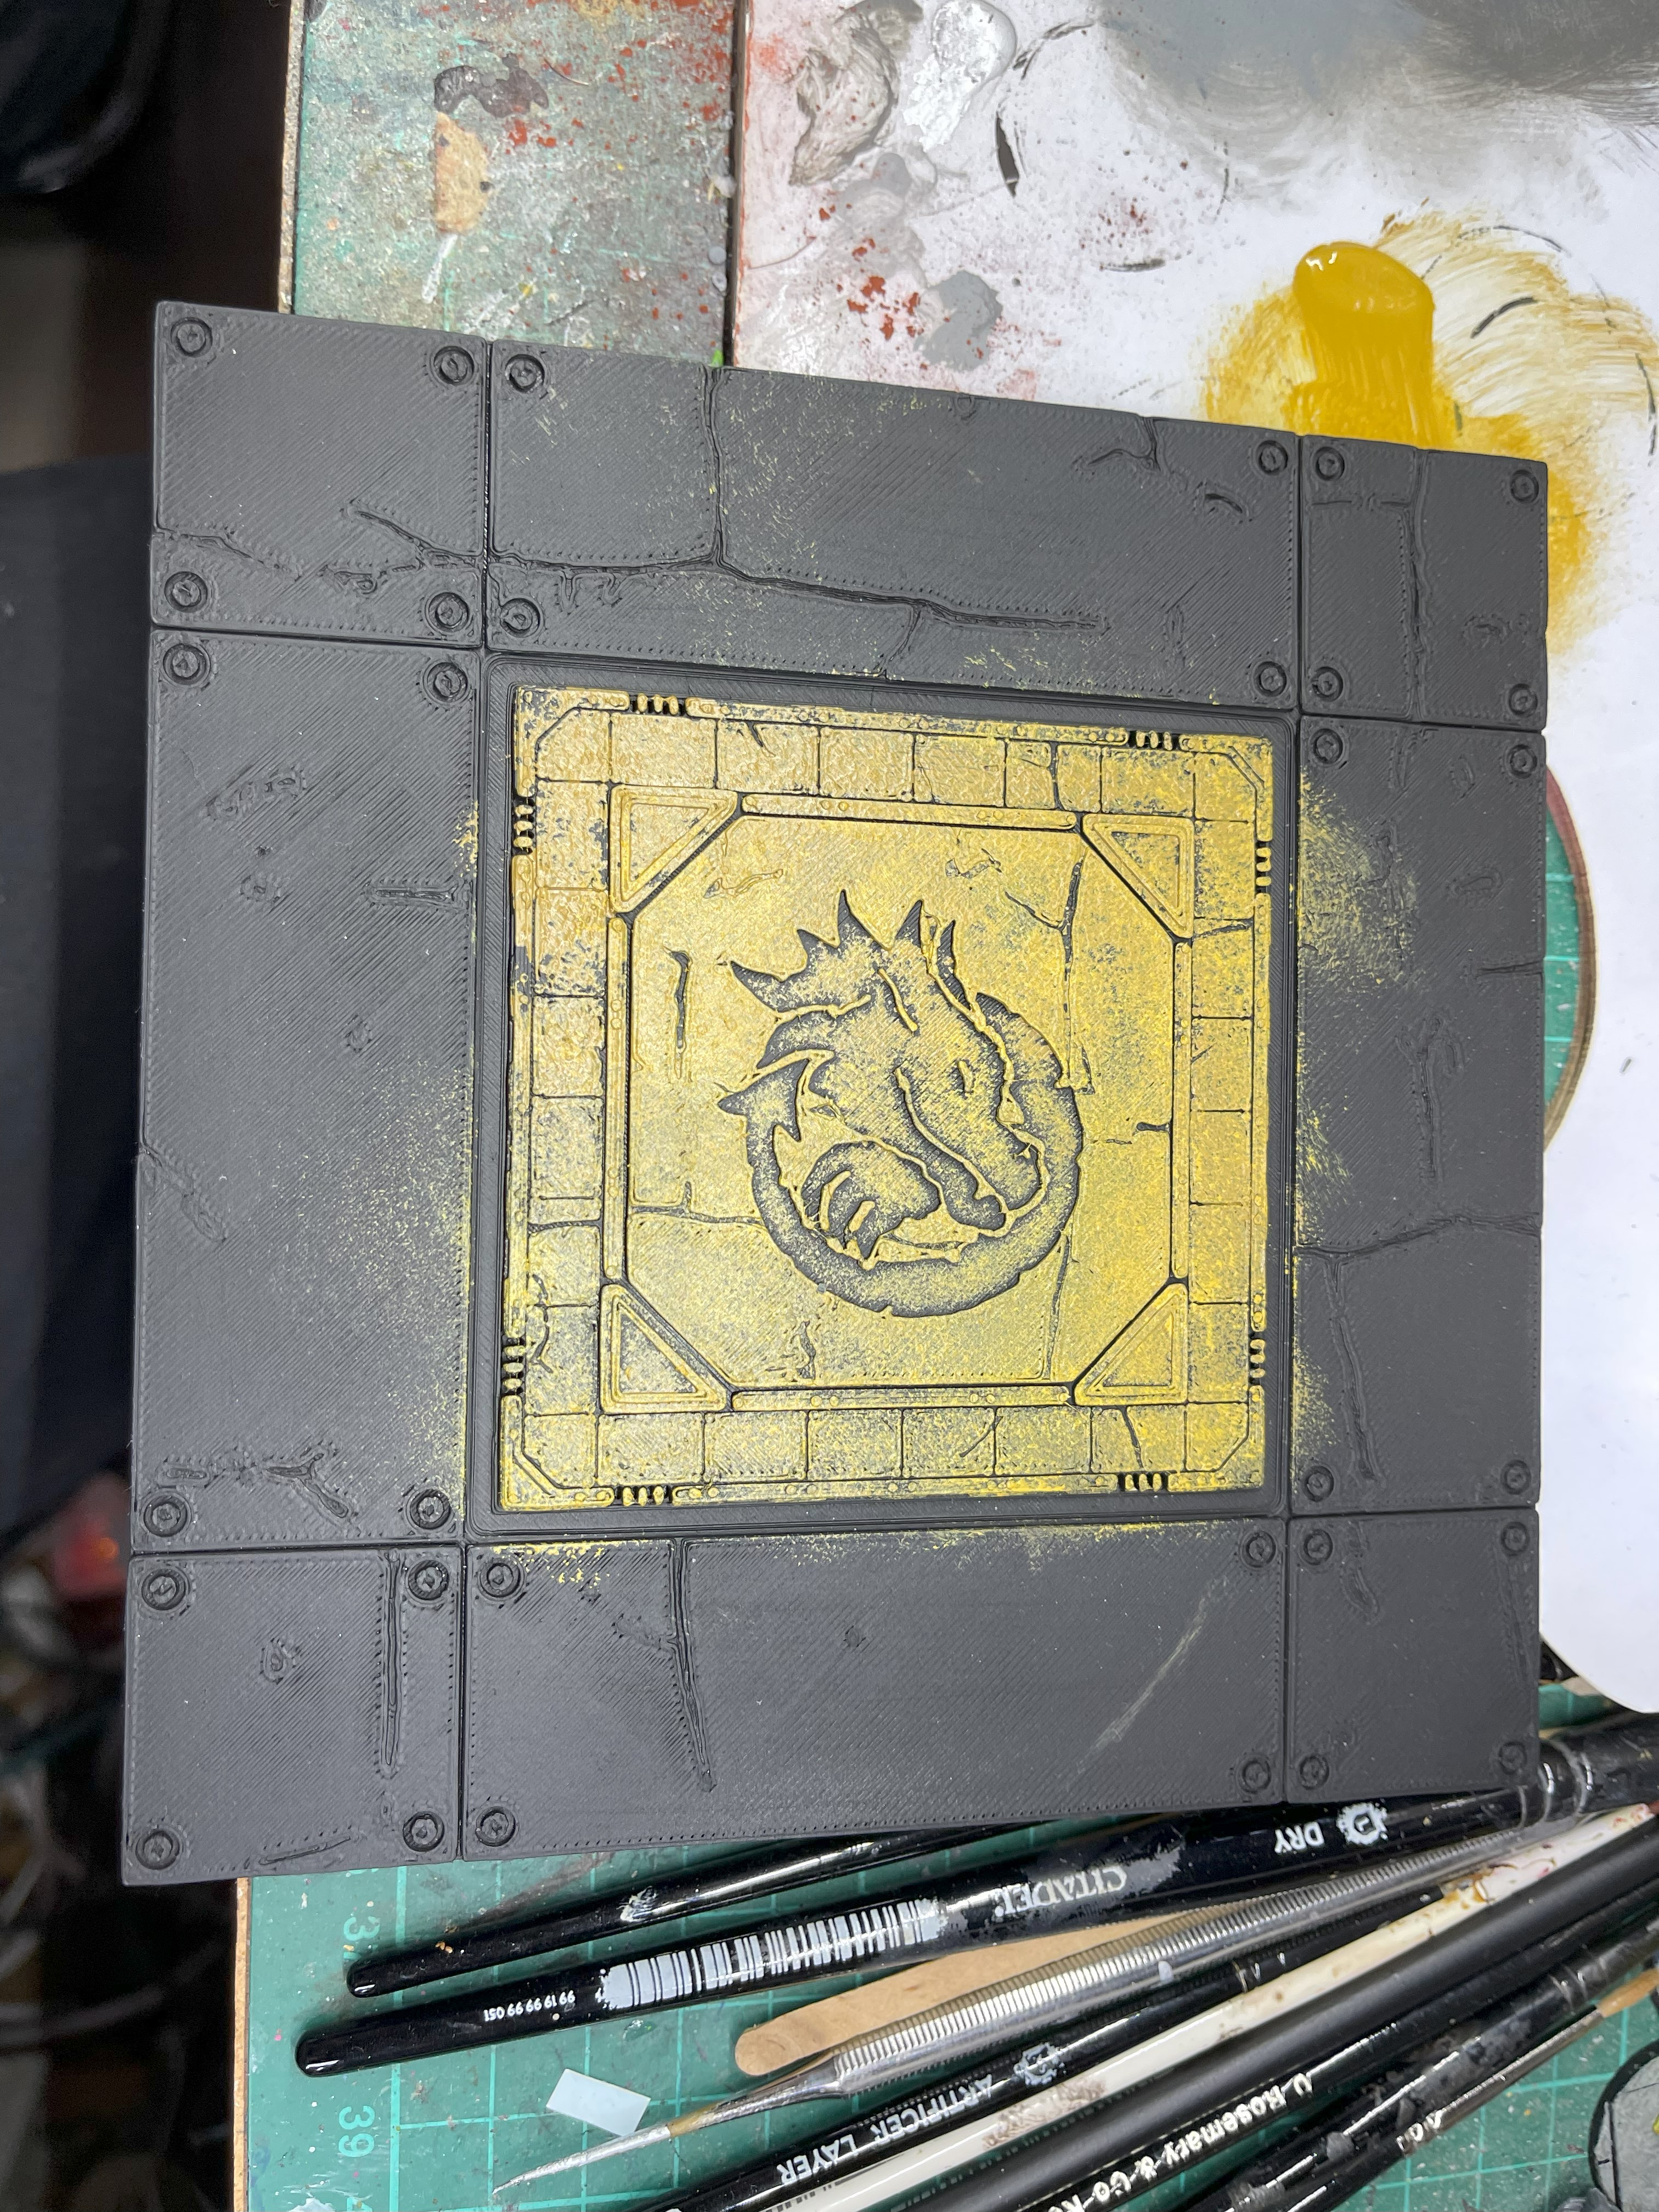 Yellow Oxide
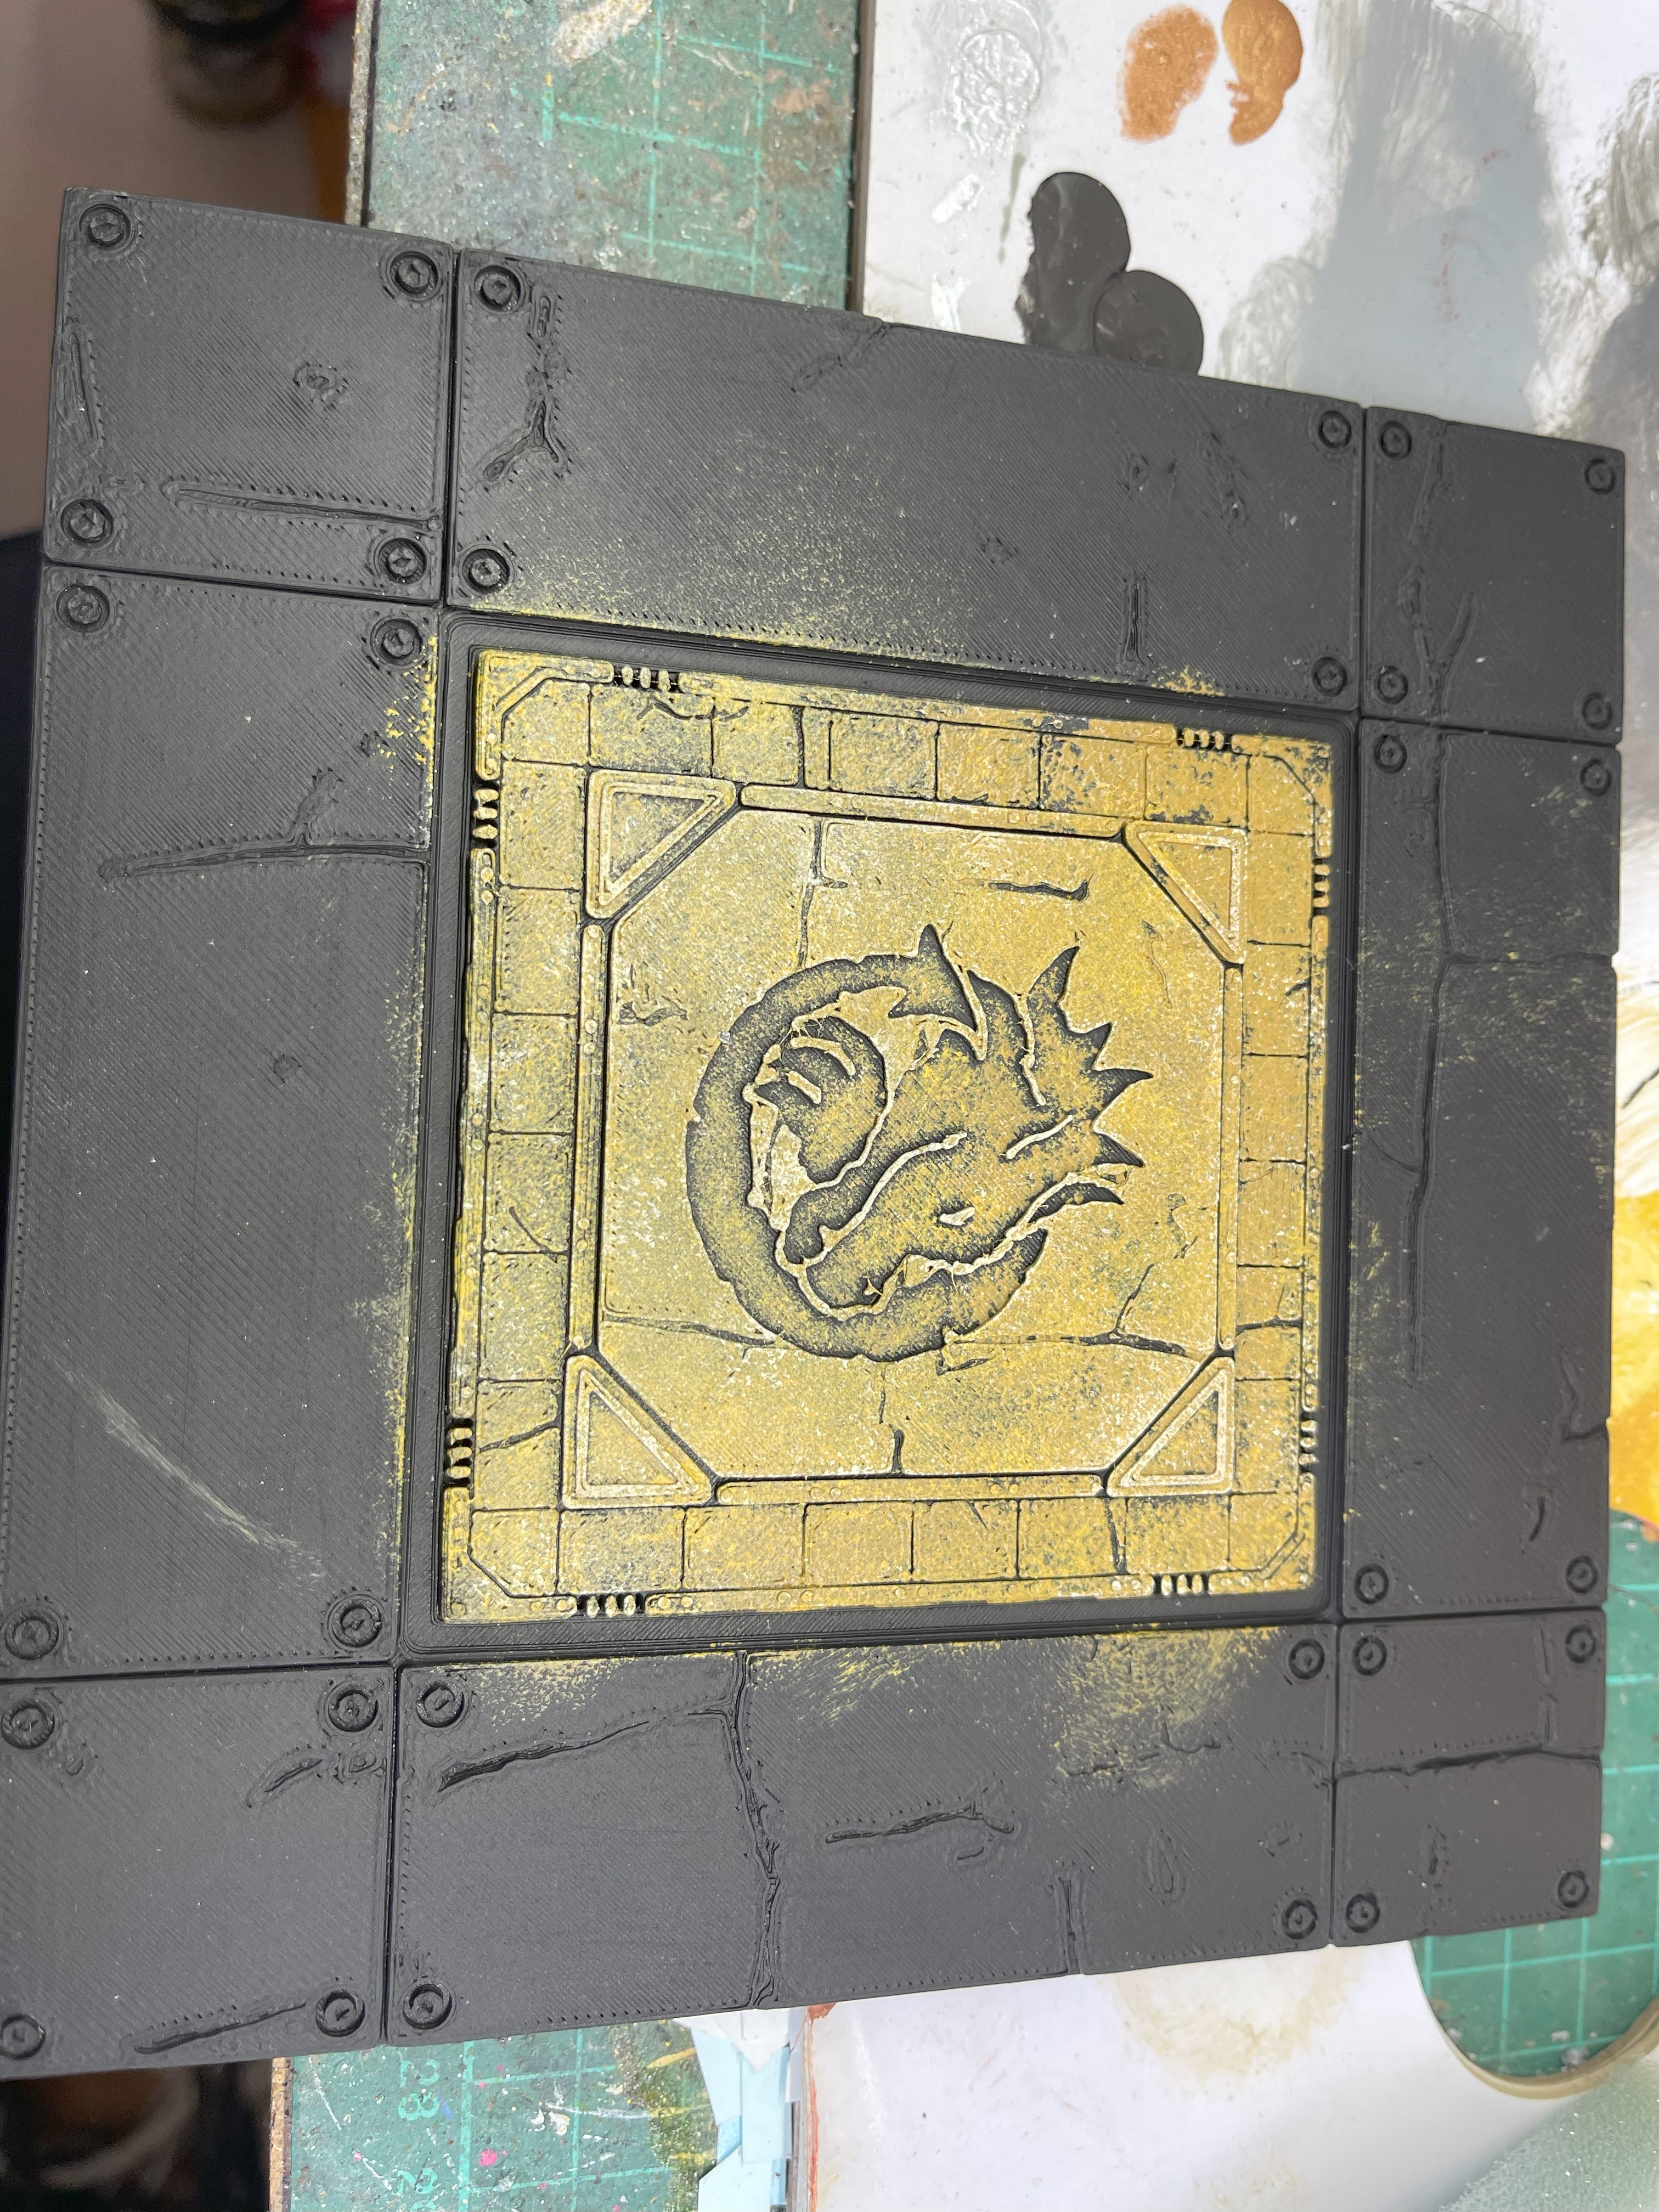 Buff Titanium
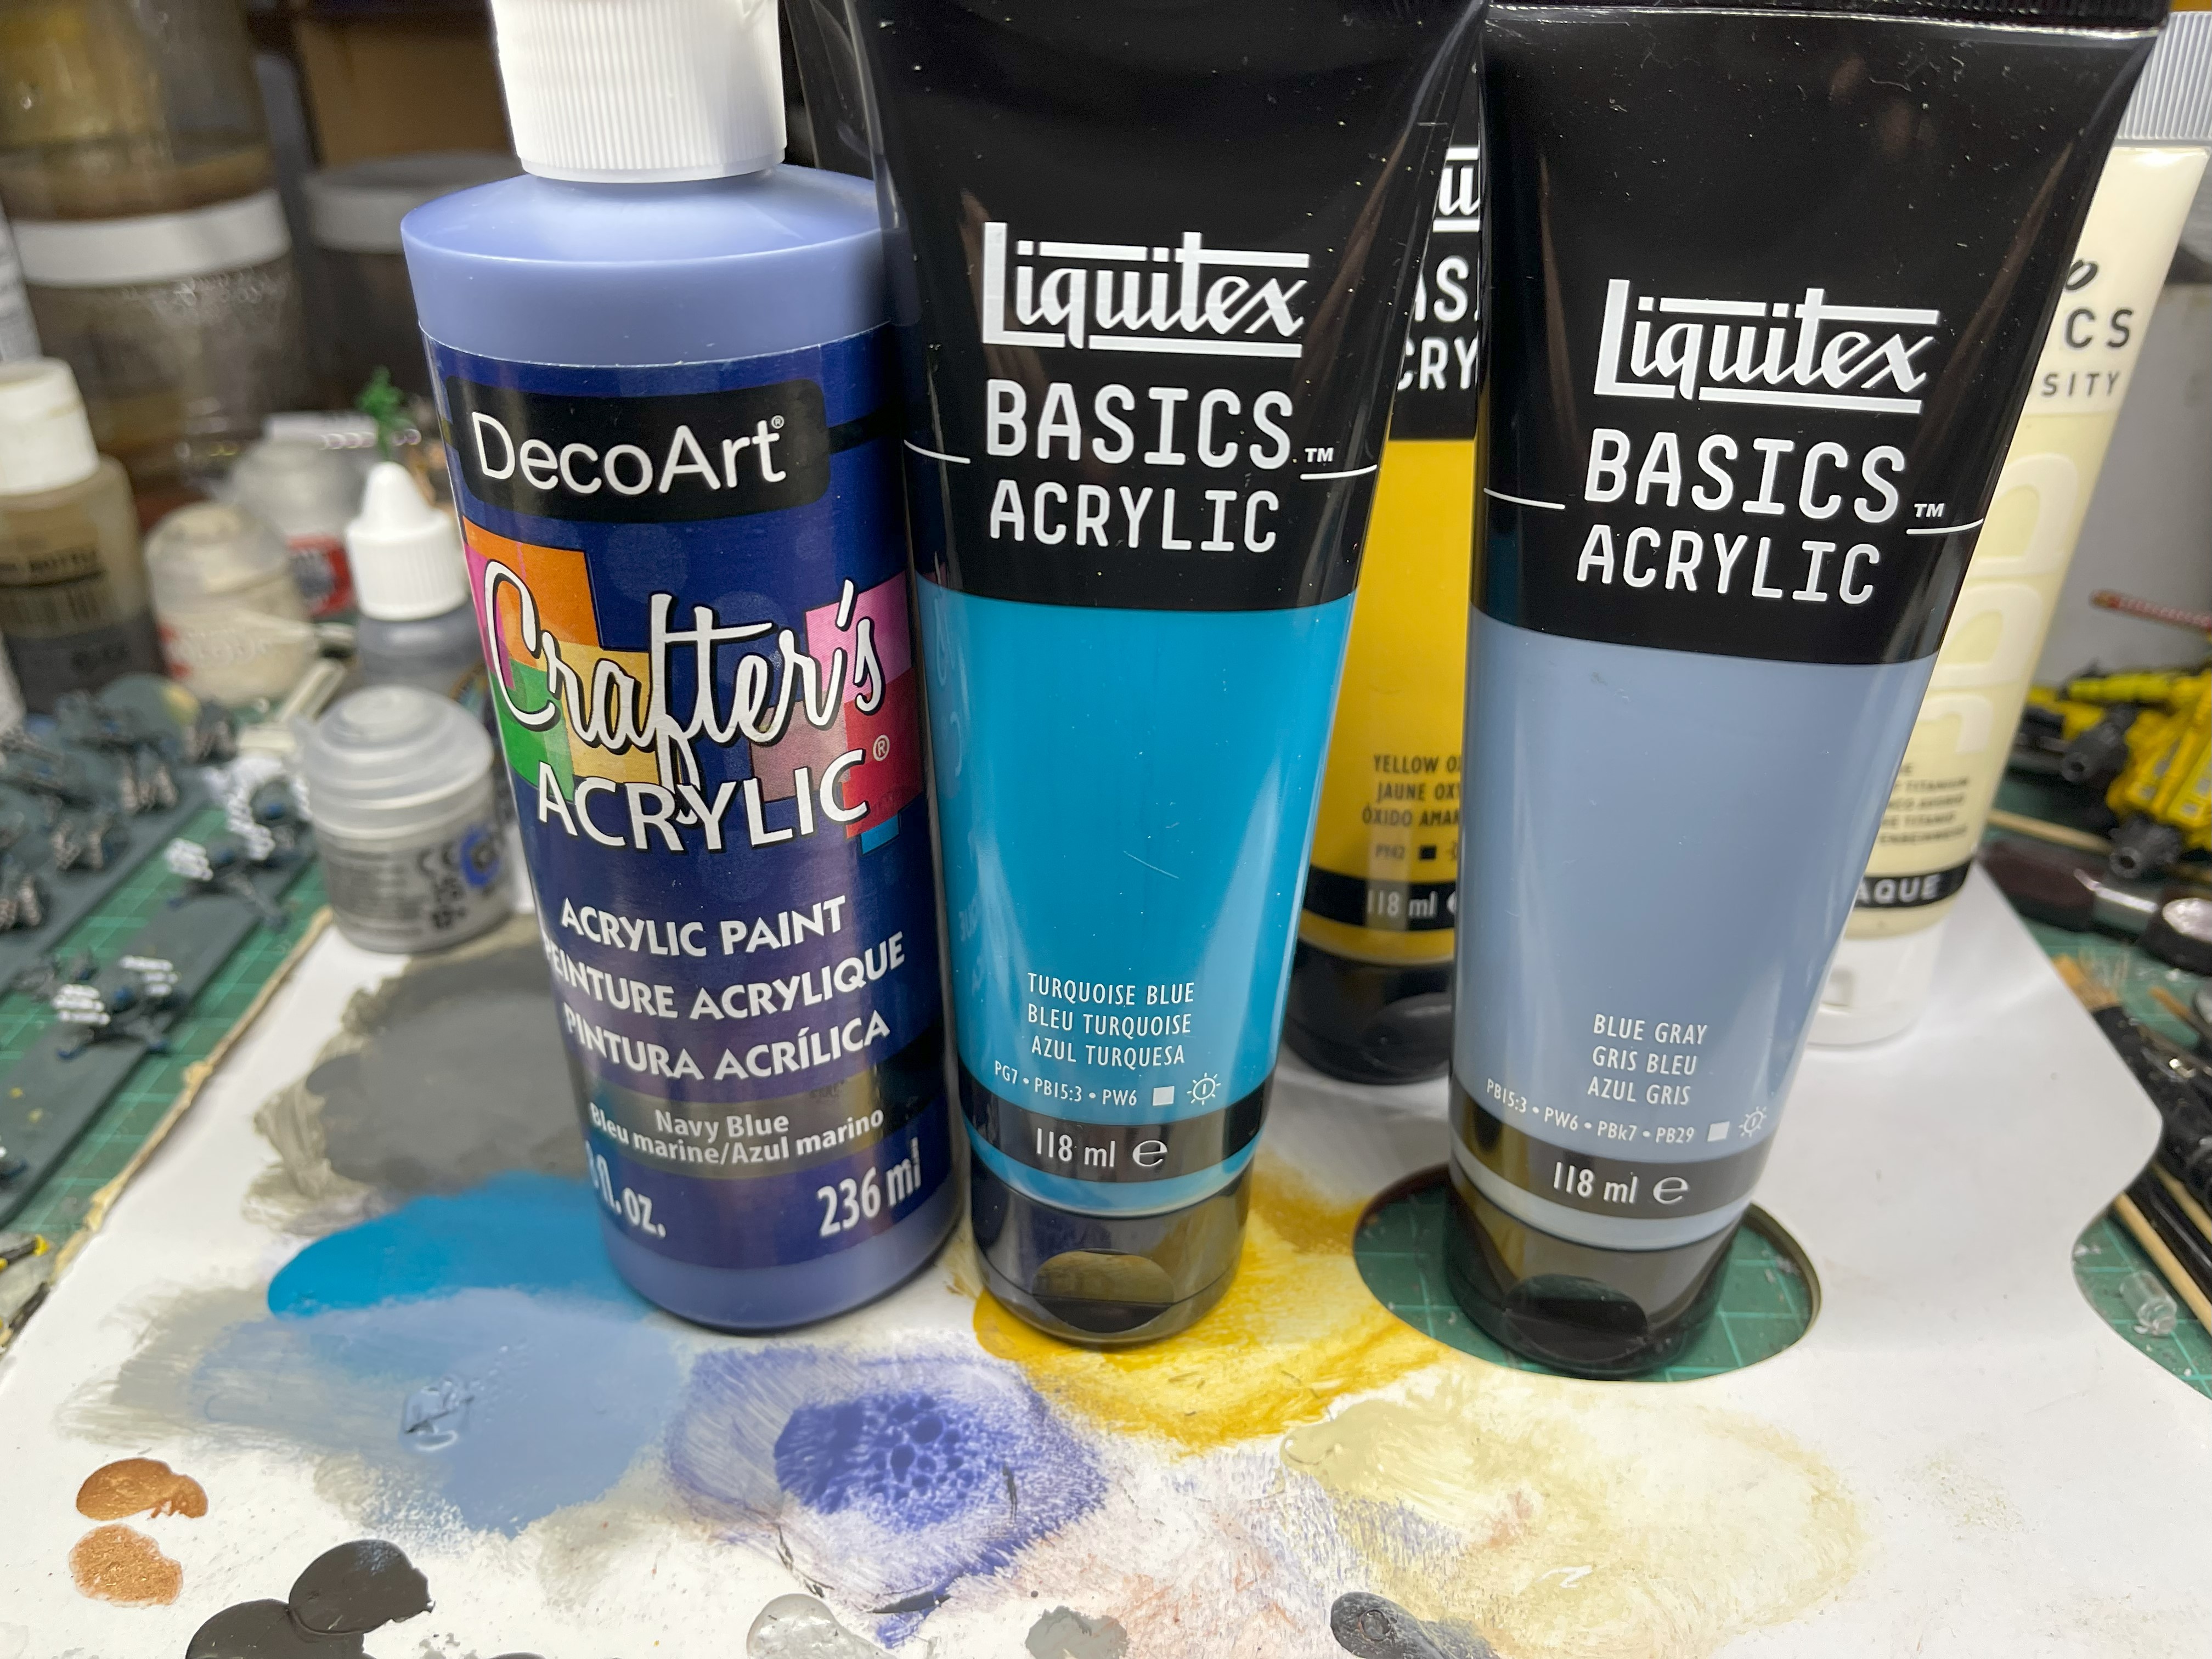
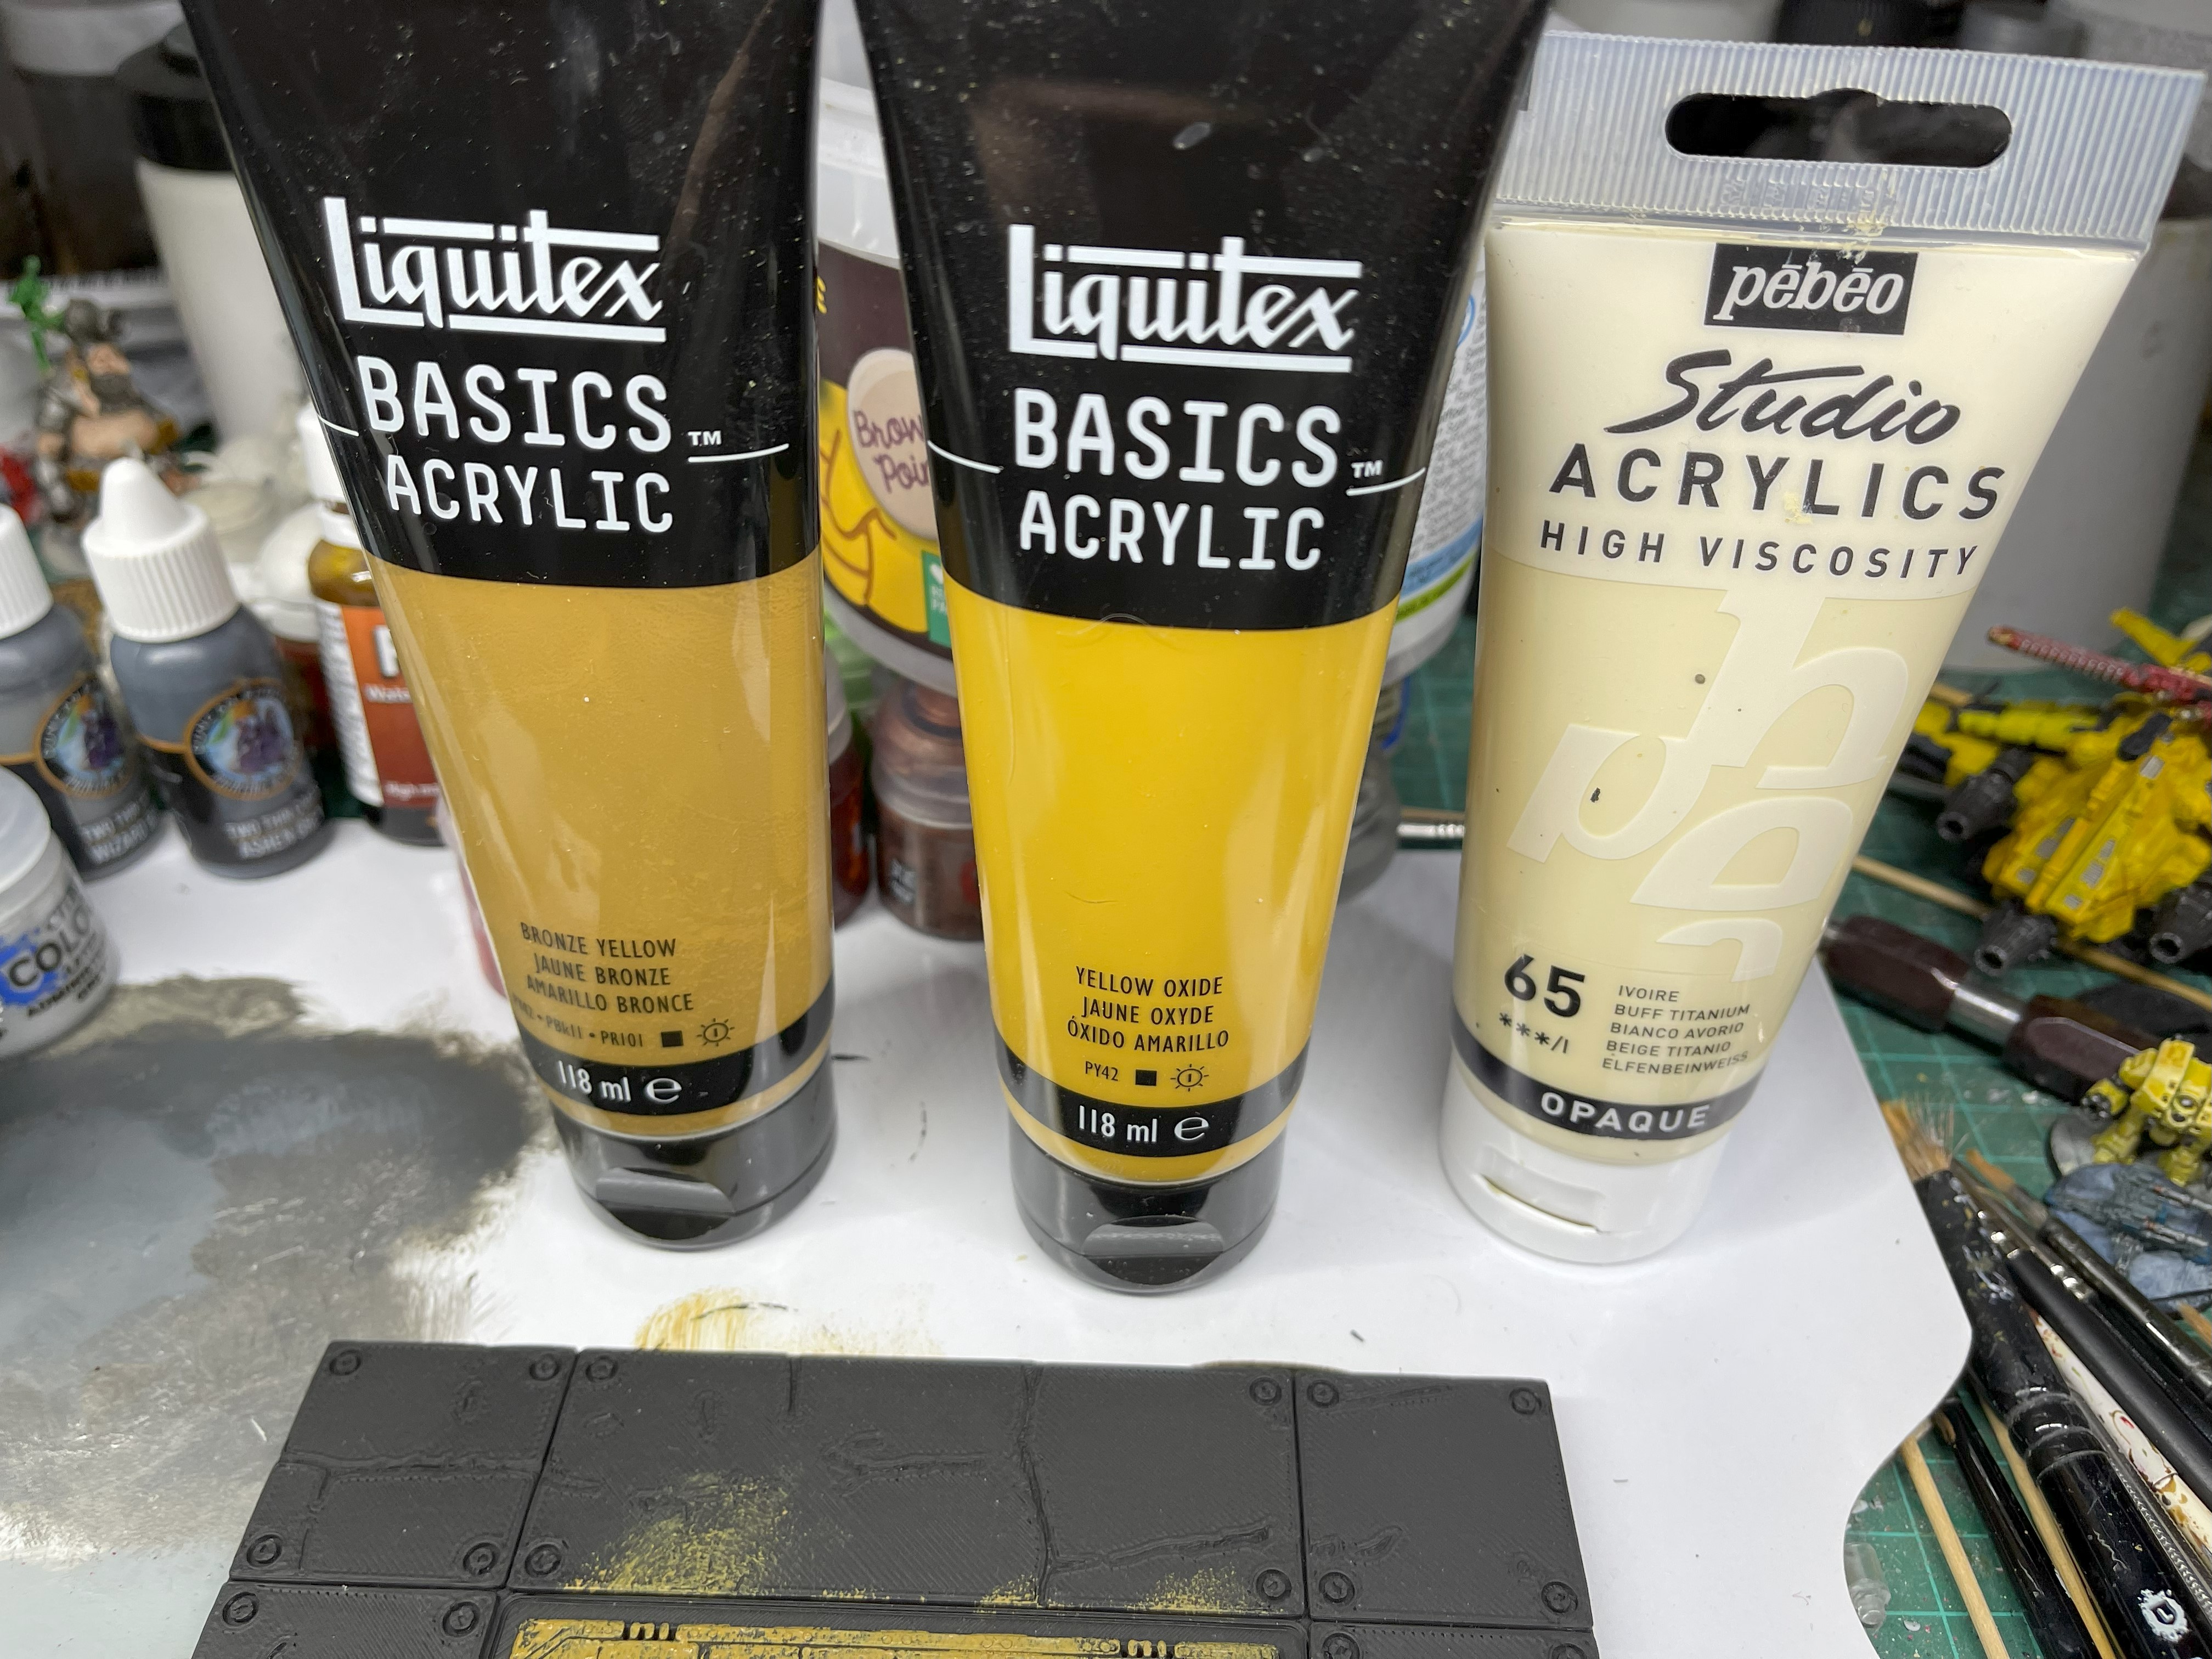
For this I’m using tubes of acrylic paint and dabbing it on with a sponge


