![NO Weekender Or Cult Of Games XLBS This Weekend [Updated]](https://images.beastsofwar.com/2026/03/No_Weekender_and_XLBS_this_Weekend-225-127.jpg)


Shining some light into Darkest Africa


Recommendations: 288
About the Project
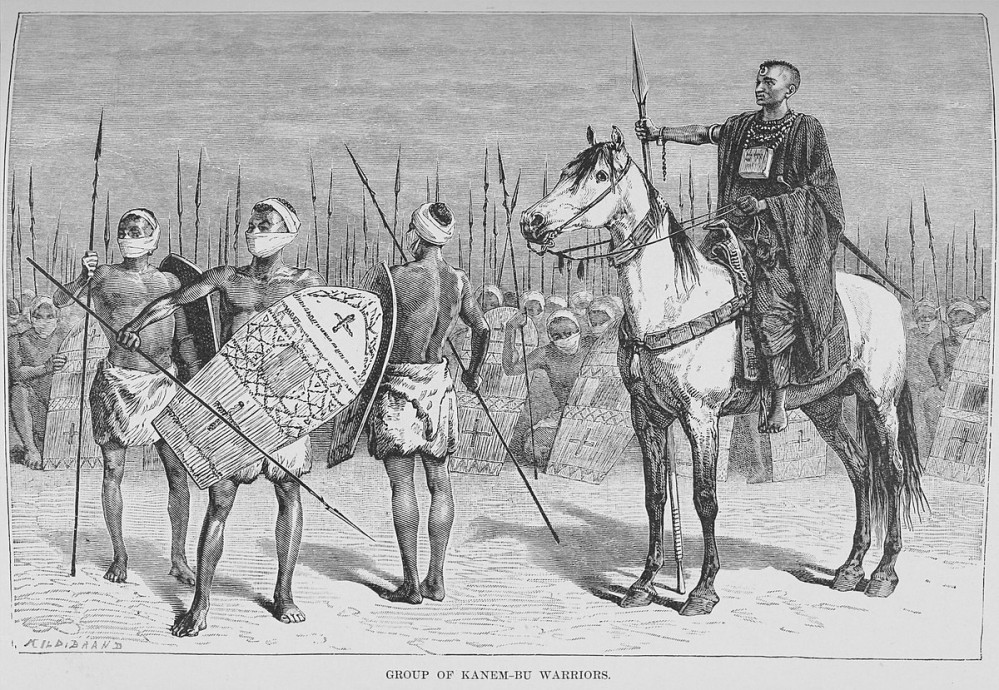
After getting a Runner up prize in Spring Clean 2025 I'll be continuing occasional returns to the long neglected but much invested in Darkest Africa collection. Specifically I'm going to build armies for Death in the Dark Continent. I started with Bornu-Kanembu who controlled an area broadly equivalent to modern Chad during the period of colonial expansion. They were the most eastern of the Fulani style emirates and interacted with many of the other forces I am now going on to build; Azande, Turkana, Sudanese and Congo Arab slavers and Congo tribal forces amongst others.
Related Company: Wargames Foundry
Related Genre: Historical
Related Contest: Spring Clean Hobby Challenge 2025
This Project is Active
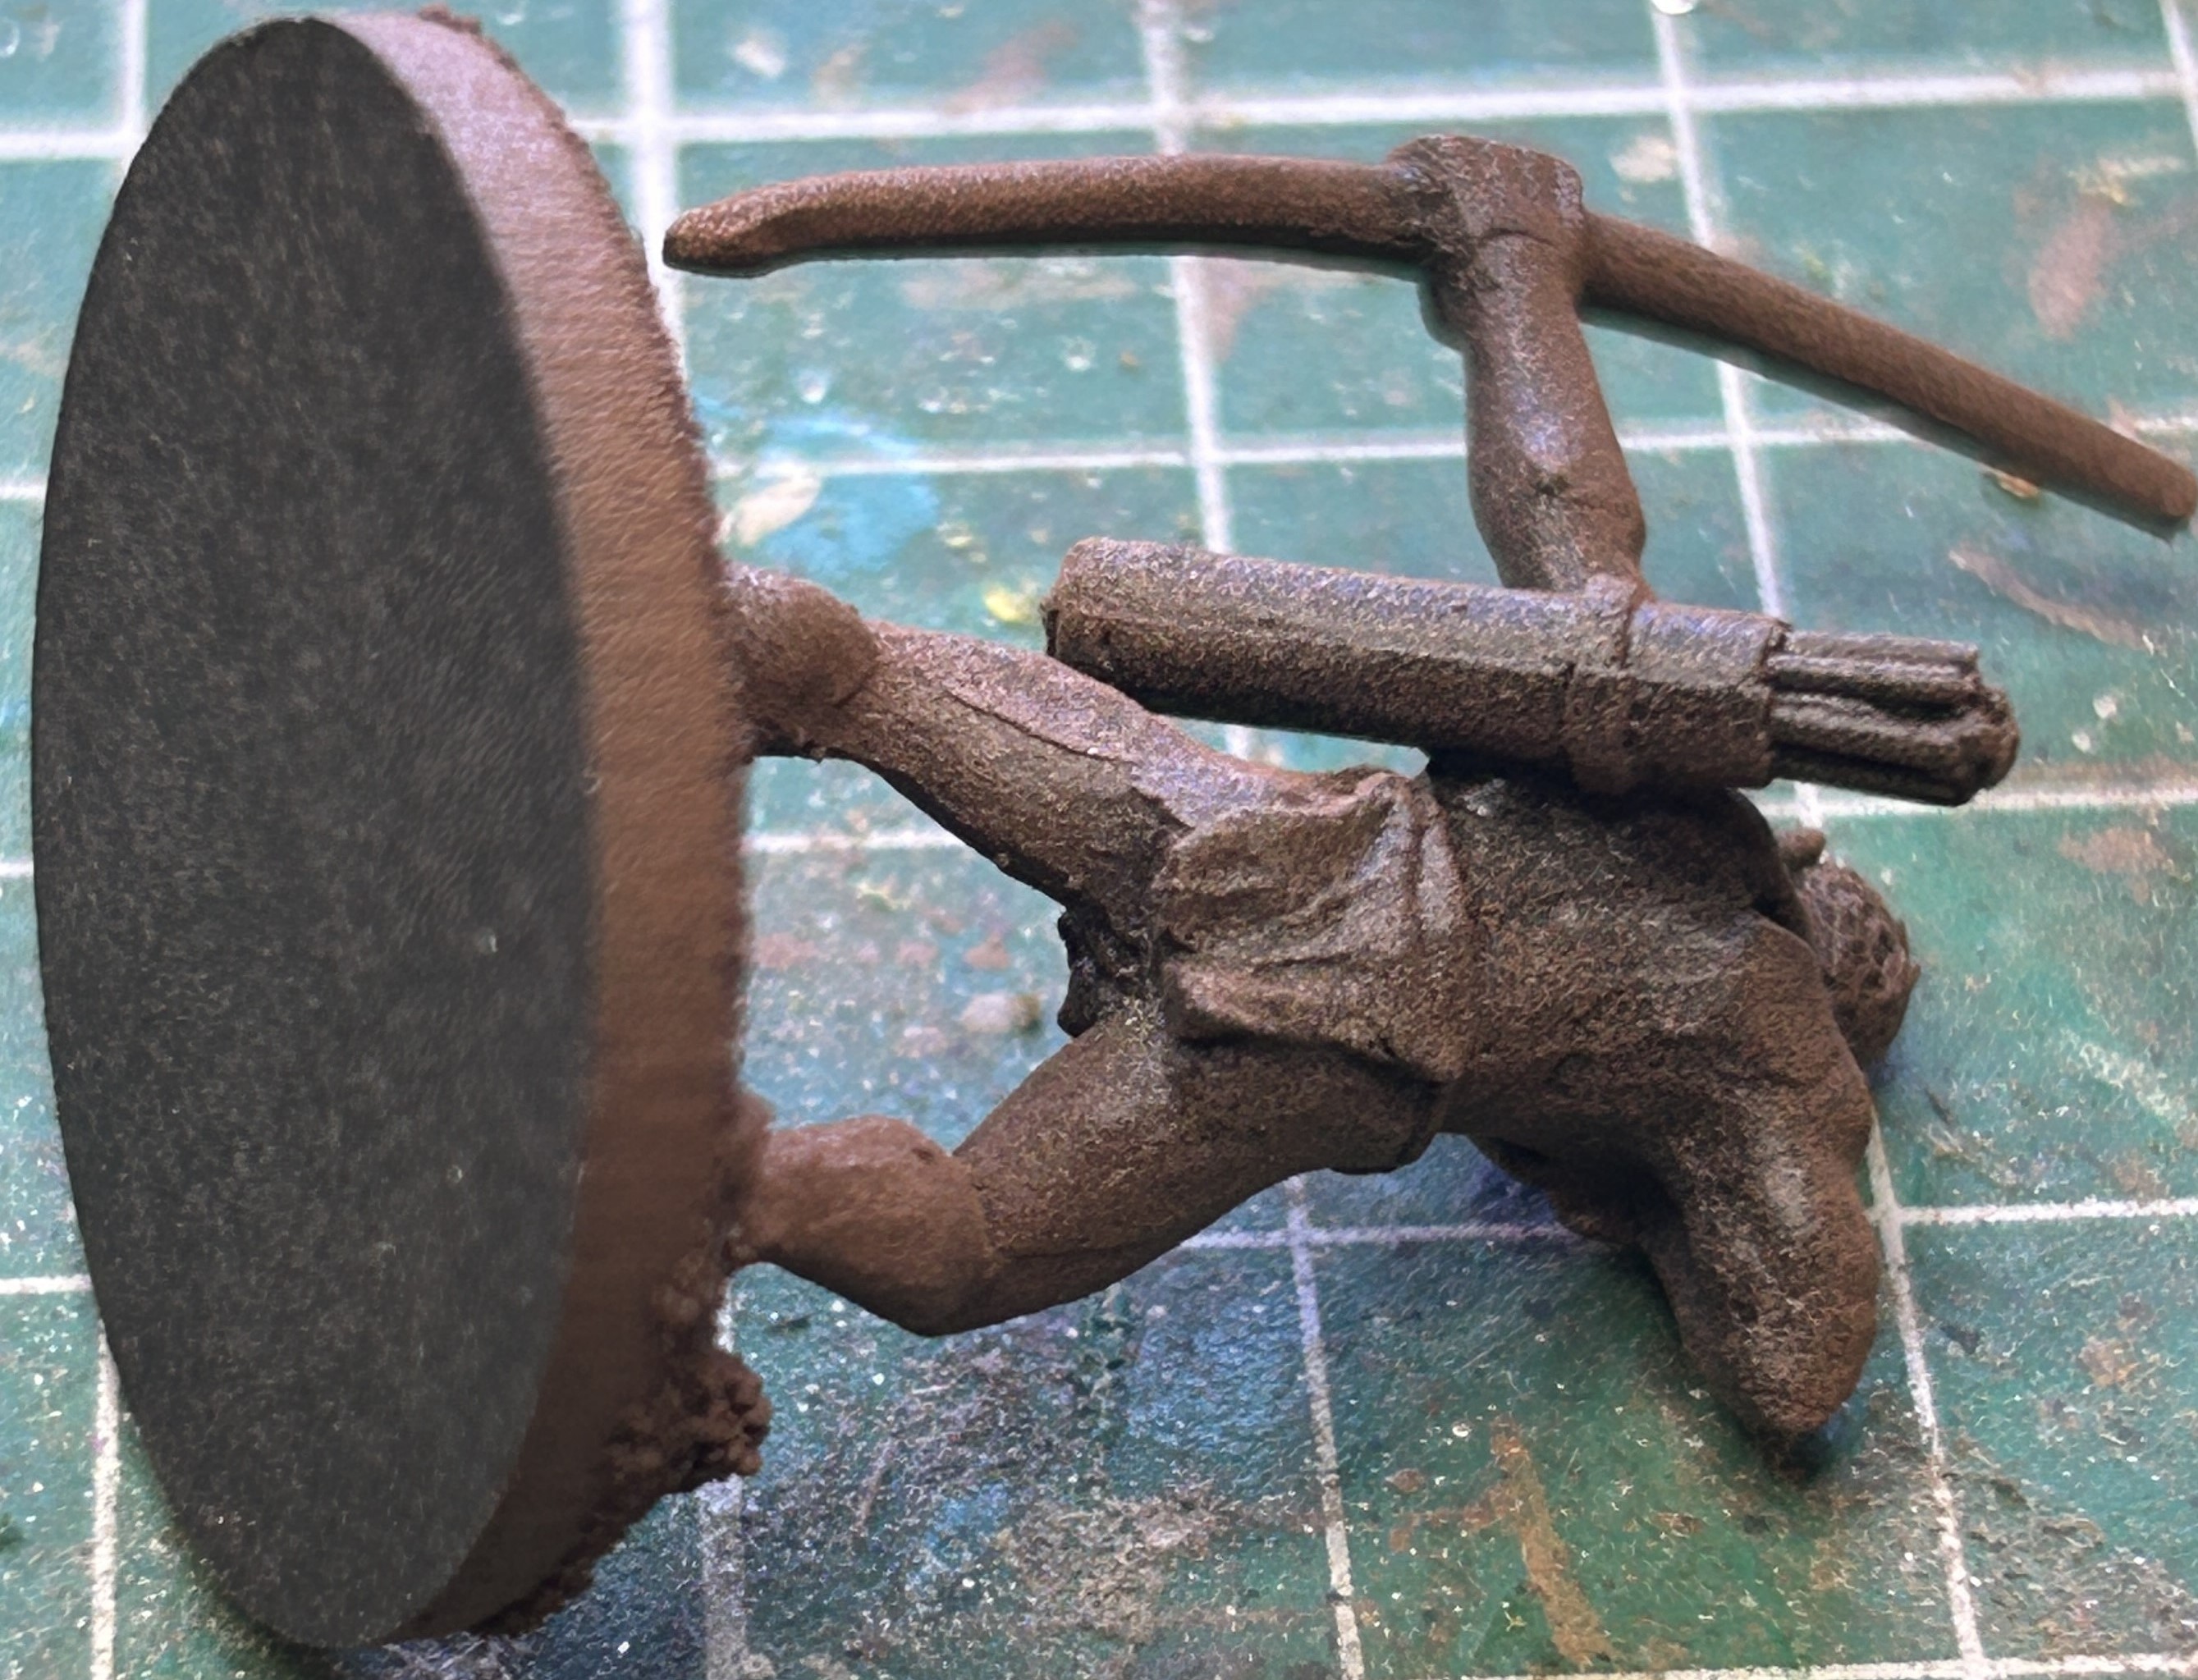
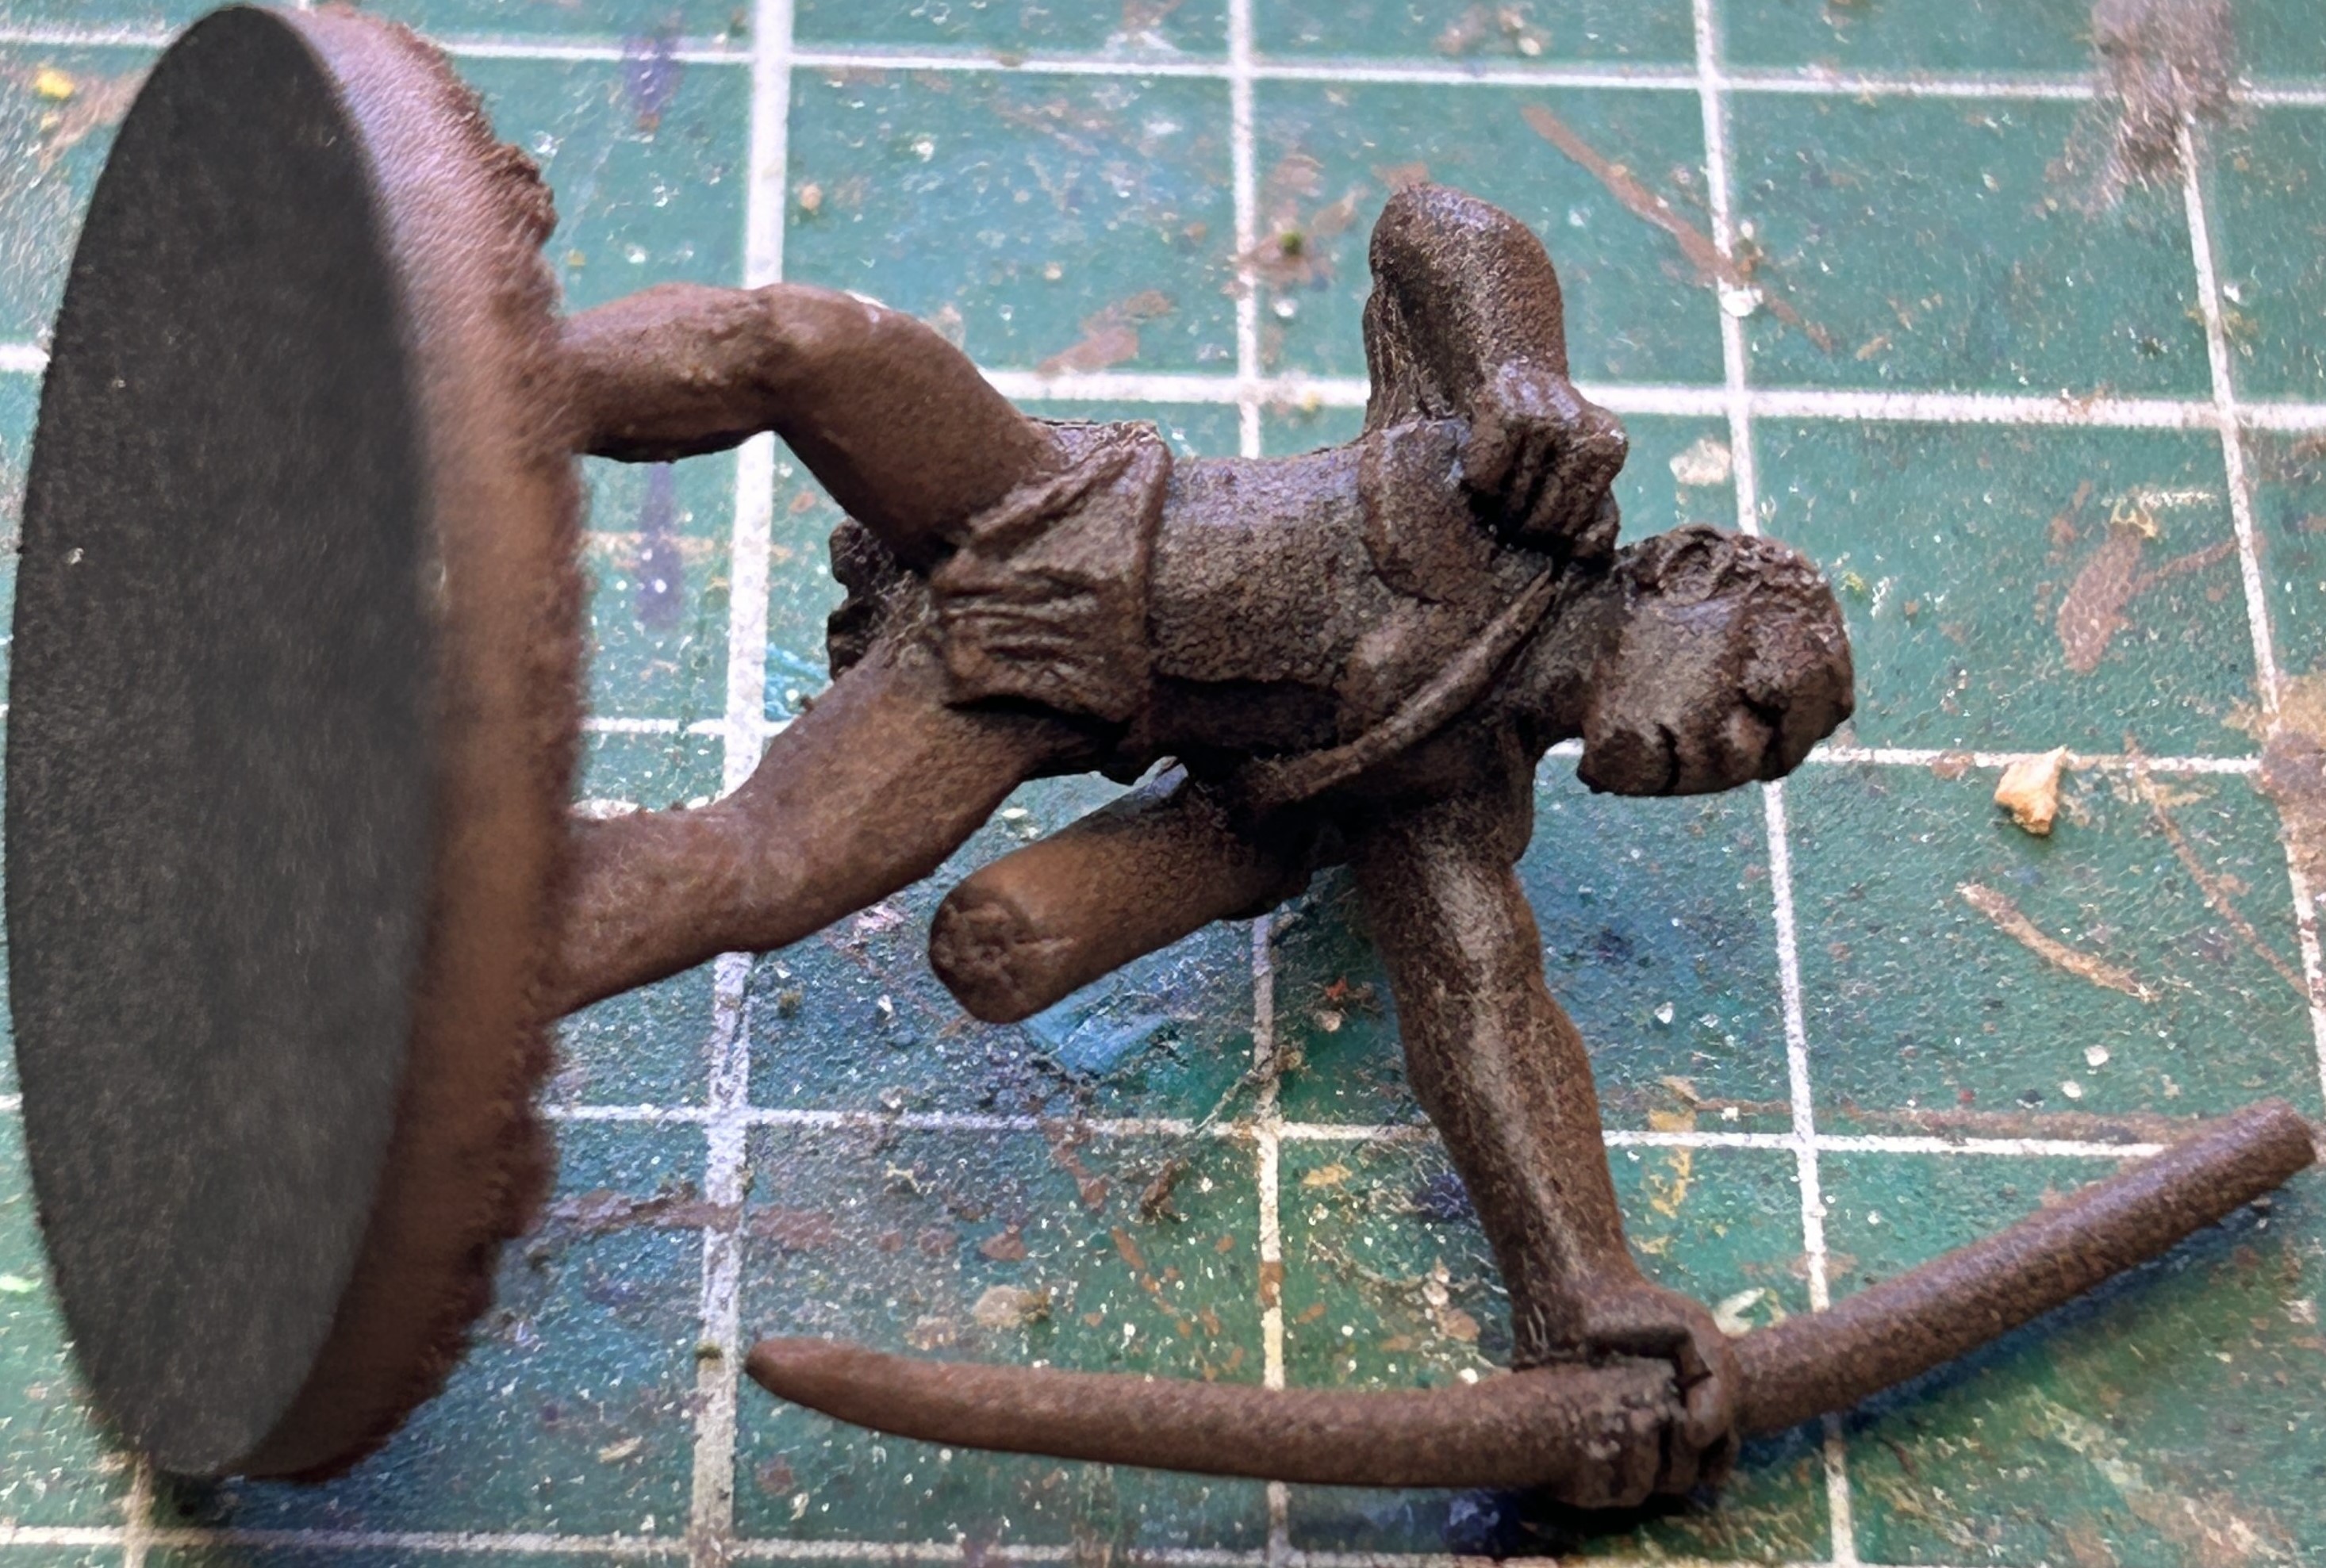
Random Camel
This miniature is just a game marker to remind me of the Strategem: Drums rule that this army uses. I often forget special rules or abilities so this physical reminder will jog my memory.
He’s a Perry metal miniature. Painted mostly in Speedpaints but with liberal use of Game Air Desert Yellow.


Kanuri Cavalry finished


These are the Kanuri cavalry. They are the local notables who have gathered to support their emir and hopefully share some plunder without any significant risk.
I didn’t paint these so I tweaked the colour scheme, fixed the horse colouring (never enough white on legs!) and then added some LBMS shield transfers and flag. I didn’t fix the lack of filling on some horses but as a unit it will still look fine at a wargaming distance.
I really didn’t like the multi-coloured scheme that had been used. Probably more historically correct that what I’ve finished with but I prefer some consistency of colour, it just looks better as a unit on the table.
Do you agree? Here are the development shots I took where I got rid of most of the warmer colours (purple, pink, red and orange) and replaced with white and a few extra blue pieces.


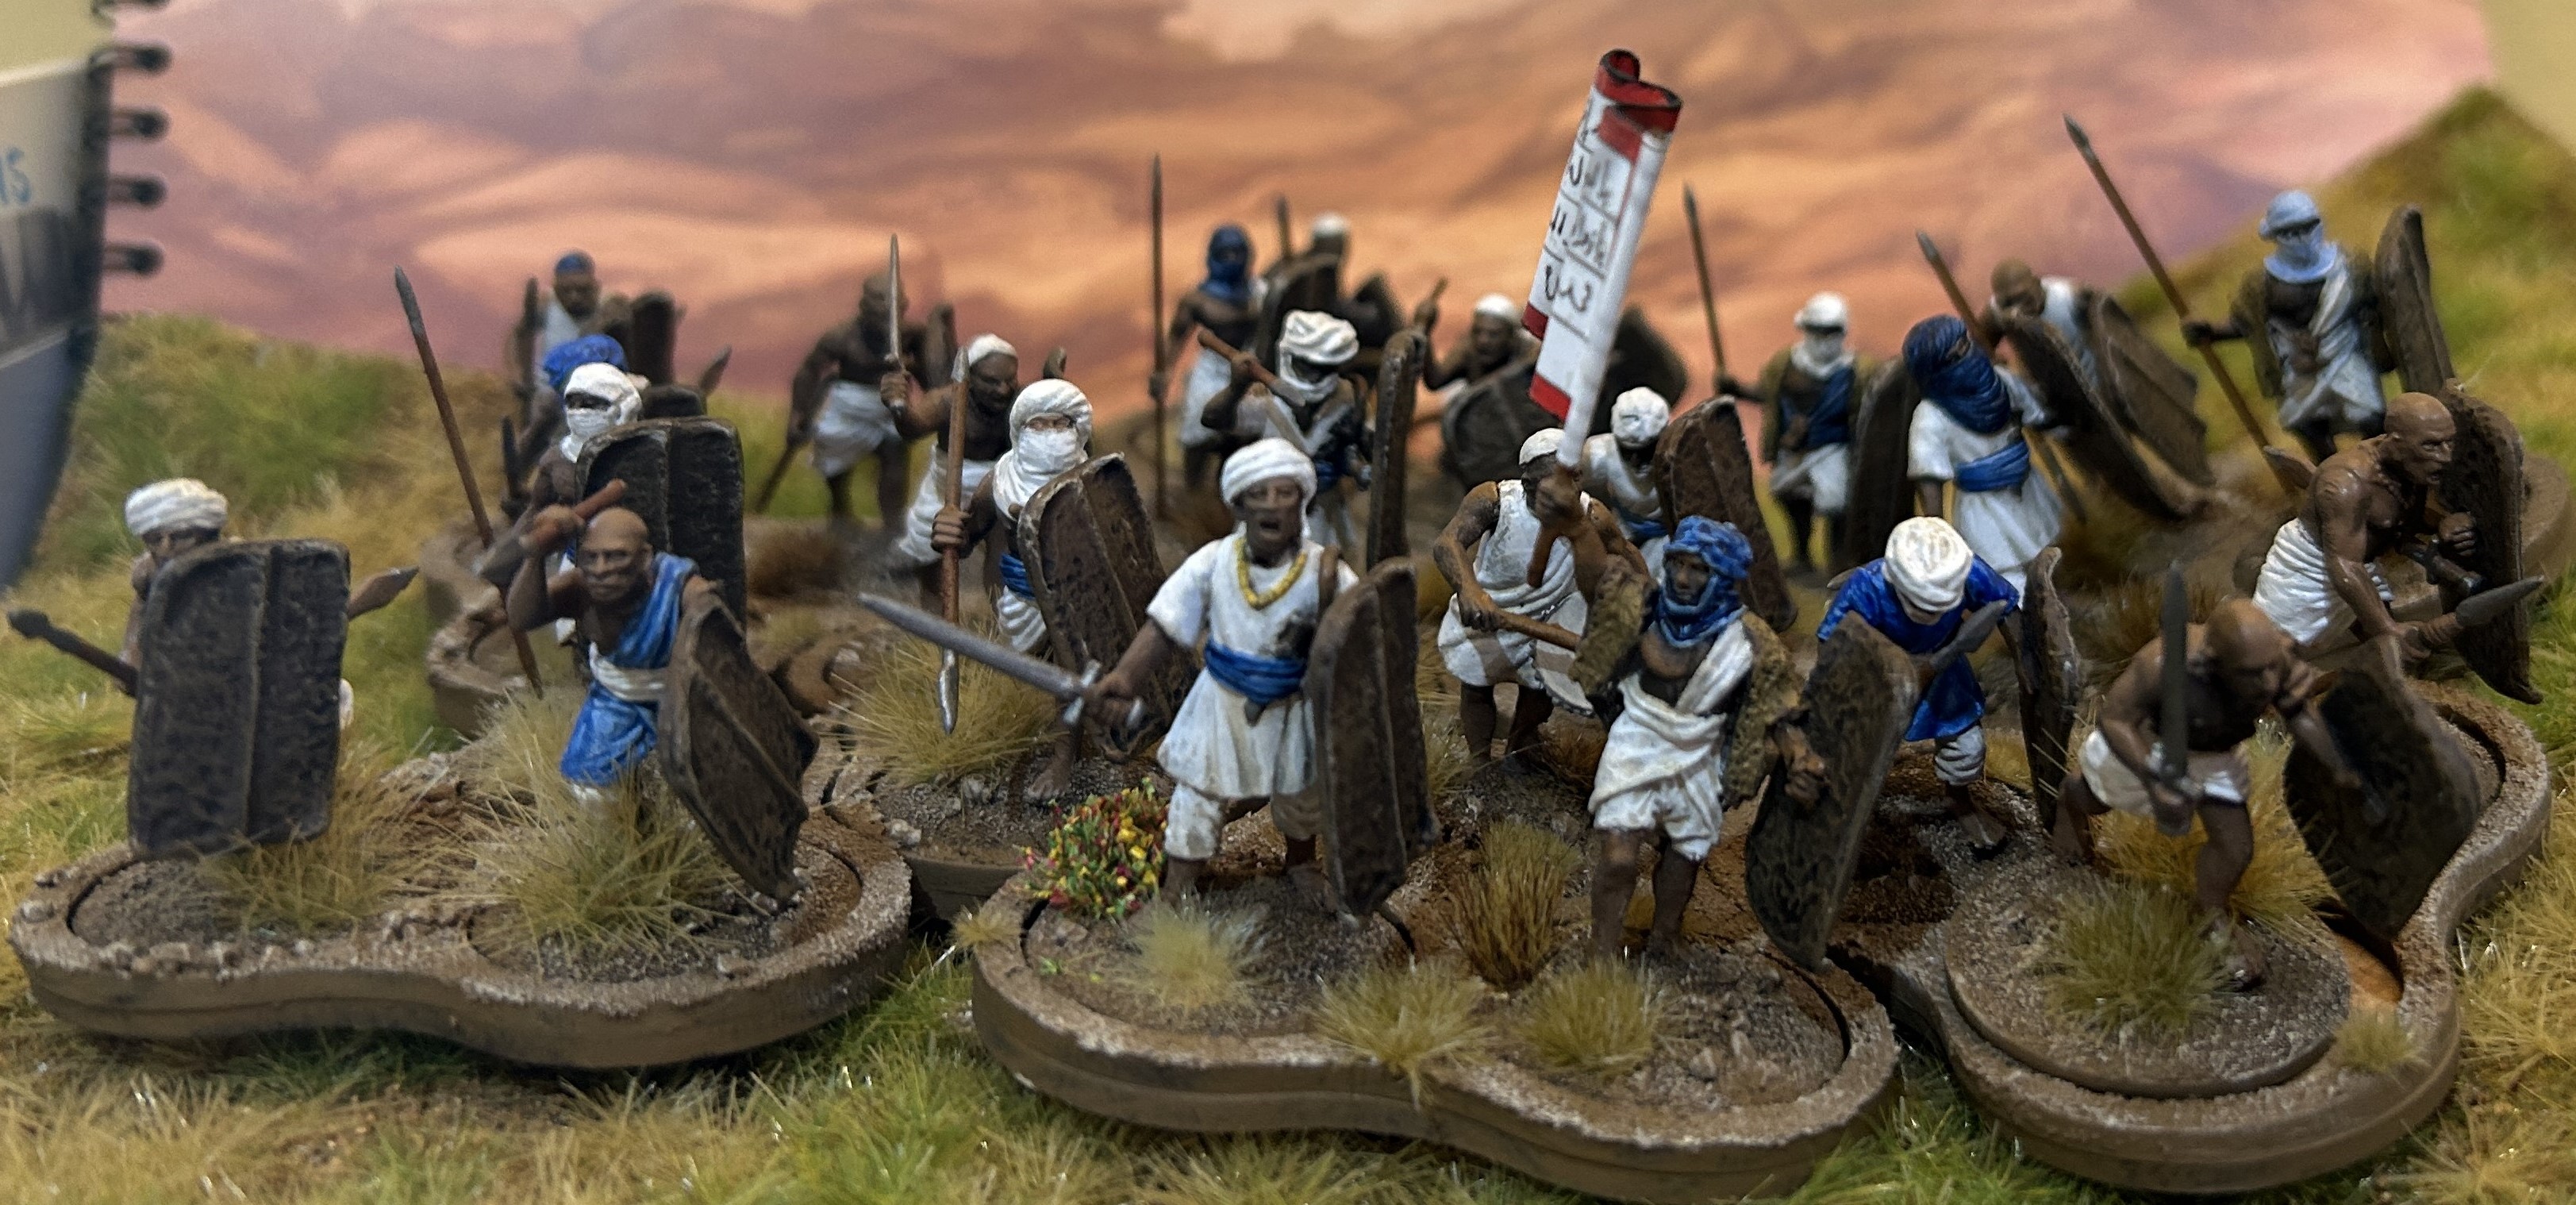
Shuwa Arabs 2 Finished, onwards!

This second unit is marked by having 2 flags. I try to keep differentiators simple so I don’t get mixed up in the heat of on-tabletop action.
An now on to the first mounted unit. Kanembu mounted warriors. Made up of higher ranking warriors that were native to the kingdom but not high status or rich enough to equip as knights. Still good quality kit on show with a couple of mail corselets of either Soudanese or North African manufacture.

Shuwa Arabs 1 Finished
A word on flags. I had a few to choose from and I’d like at least one in every unit, some will have two. The Perry Sudanese Tribesmen box comes with some Mahdist flags on the information leaflet and they look good to me. I’ve also got some Islamic flags from LBMS that I’ll use:
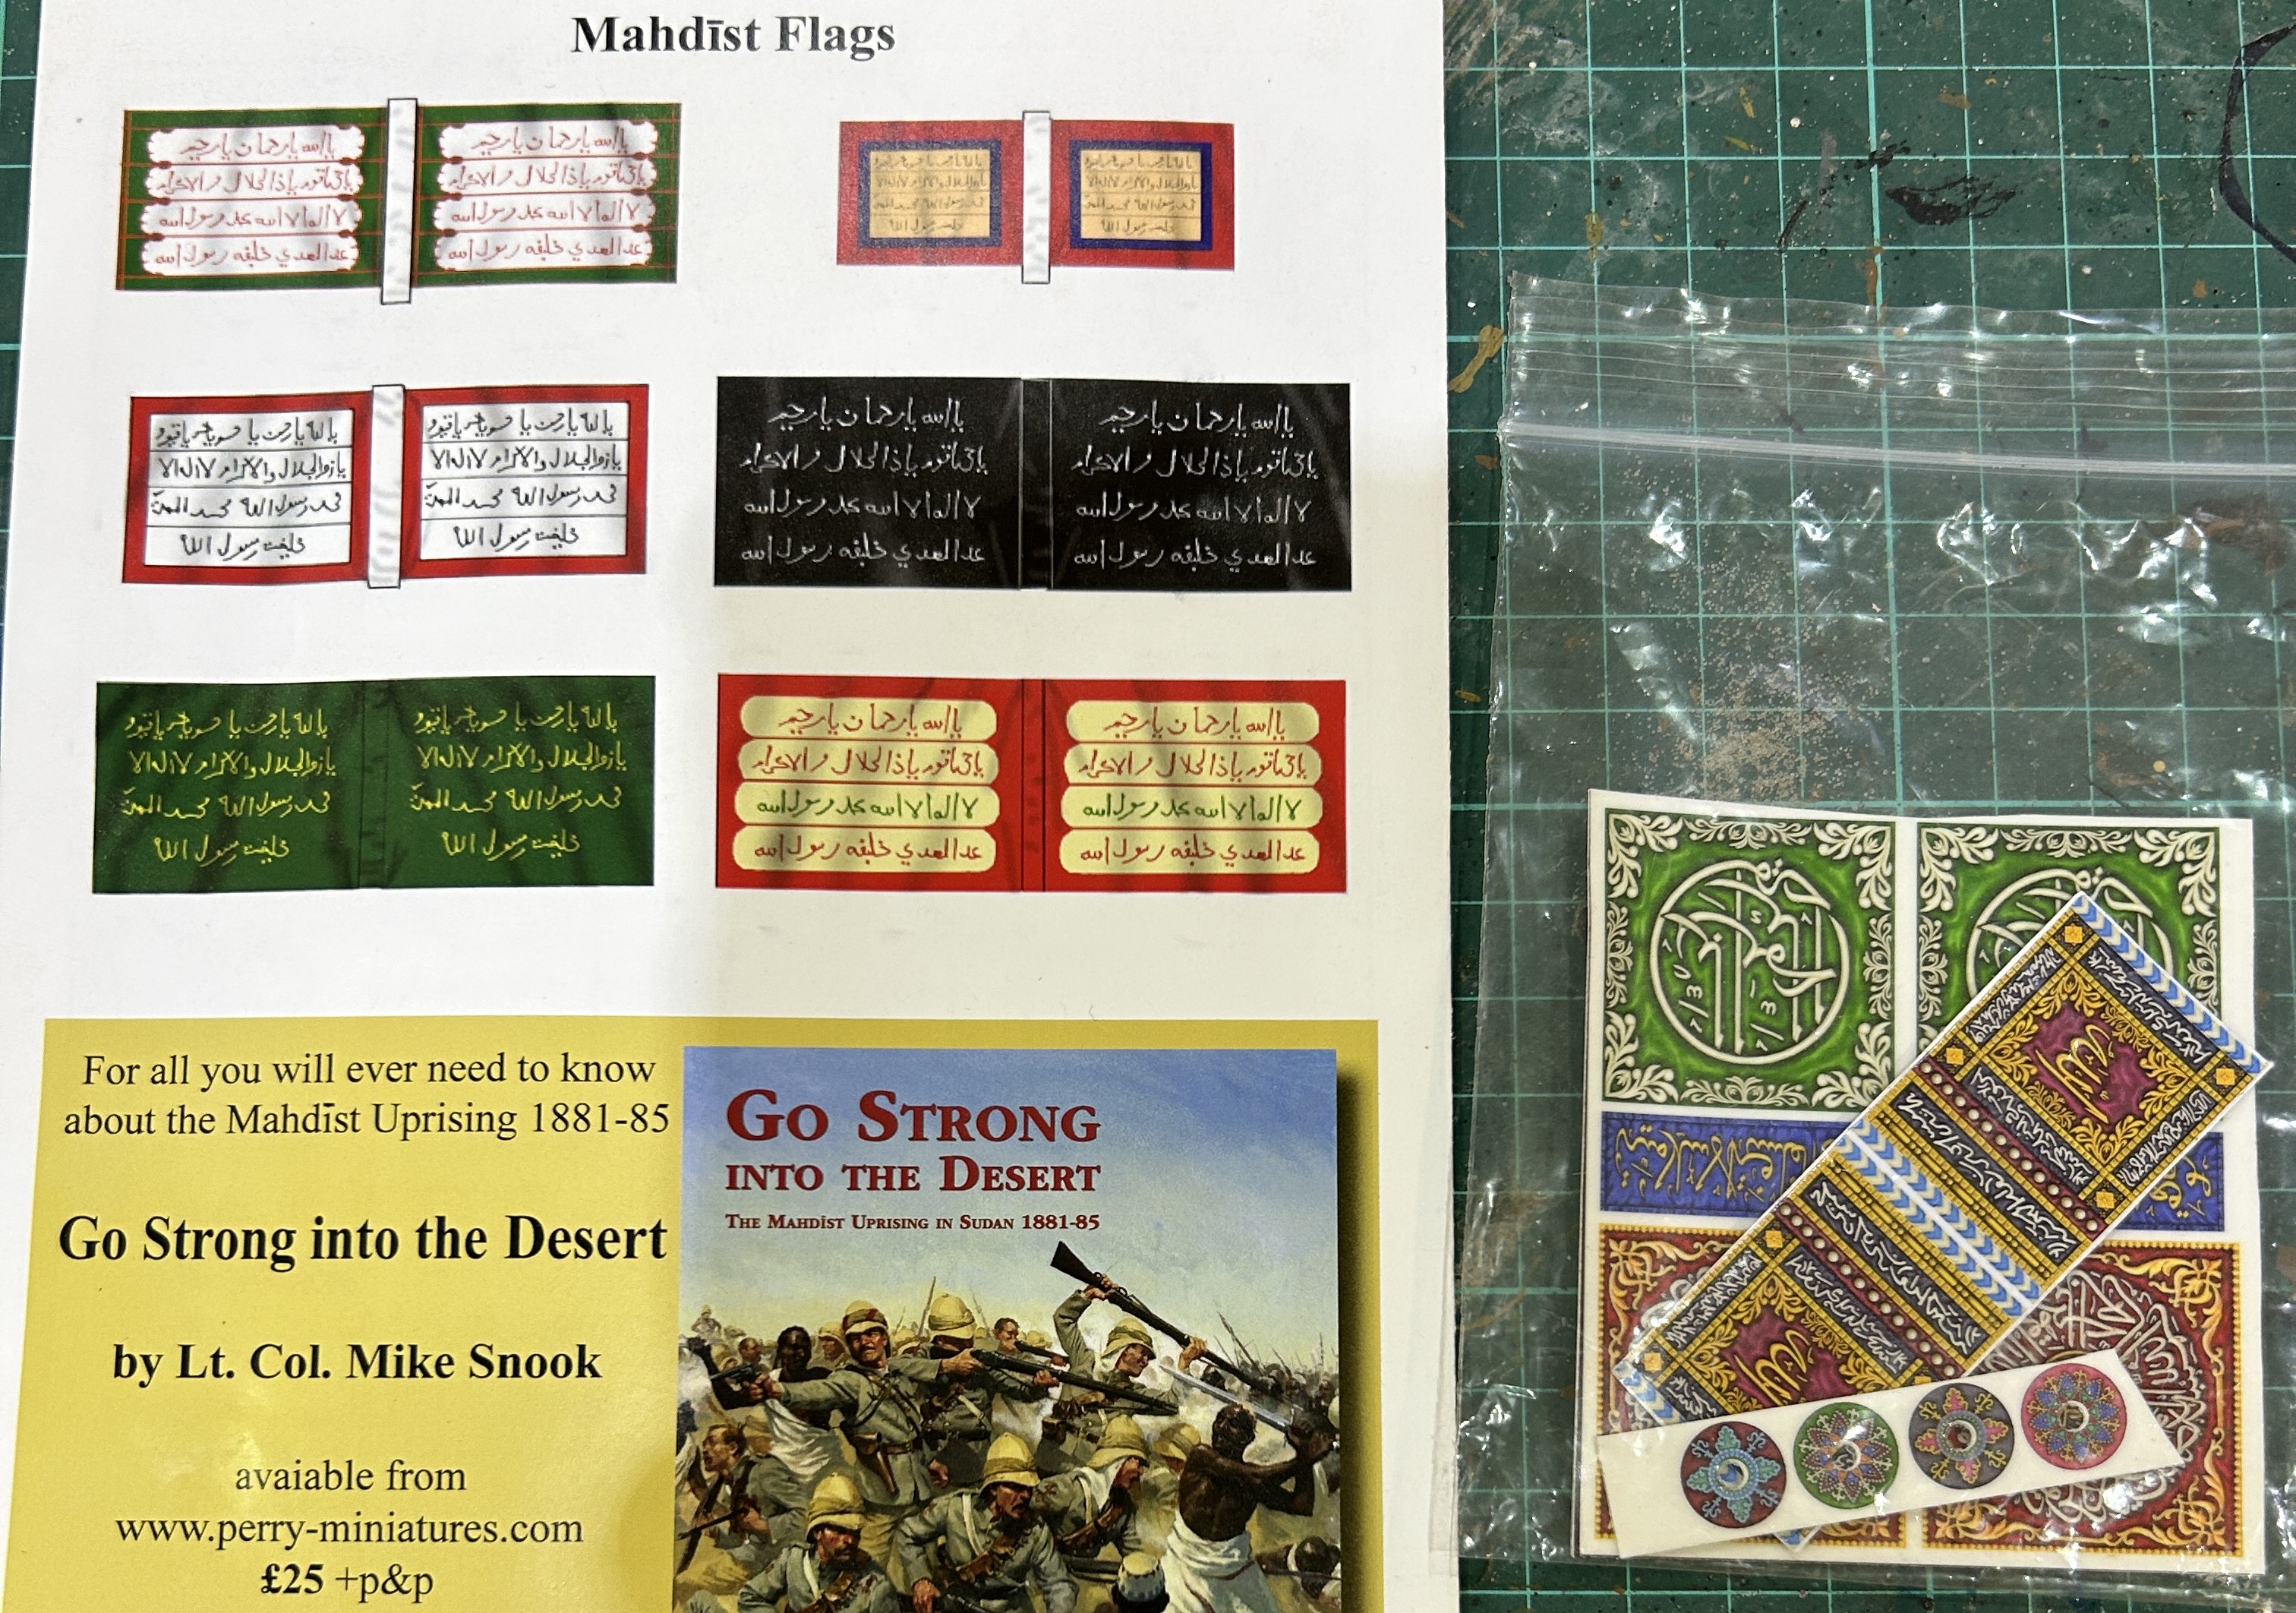
I like the bordered Perry flags for the Shuwa Arabs, the red and green Perry ones will go the the other infantry units. The cavalry will get the larger LBMS banners but I love the black flag for the main savannah knights unit so let’s hope it looks good when I fit it.
The finished unit:
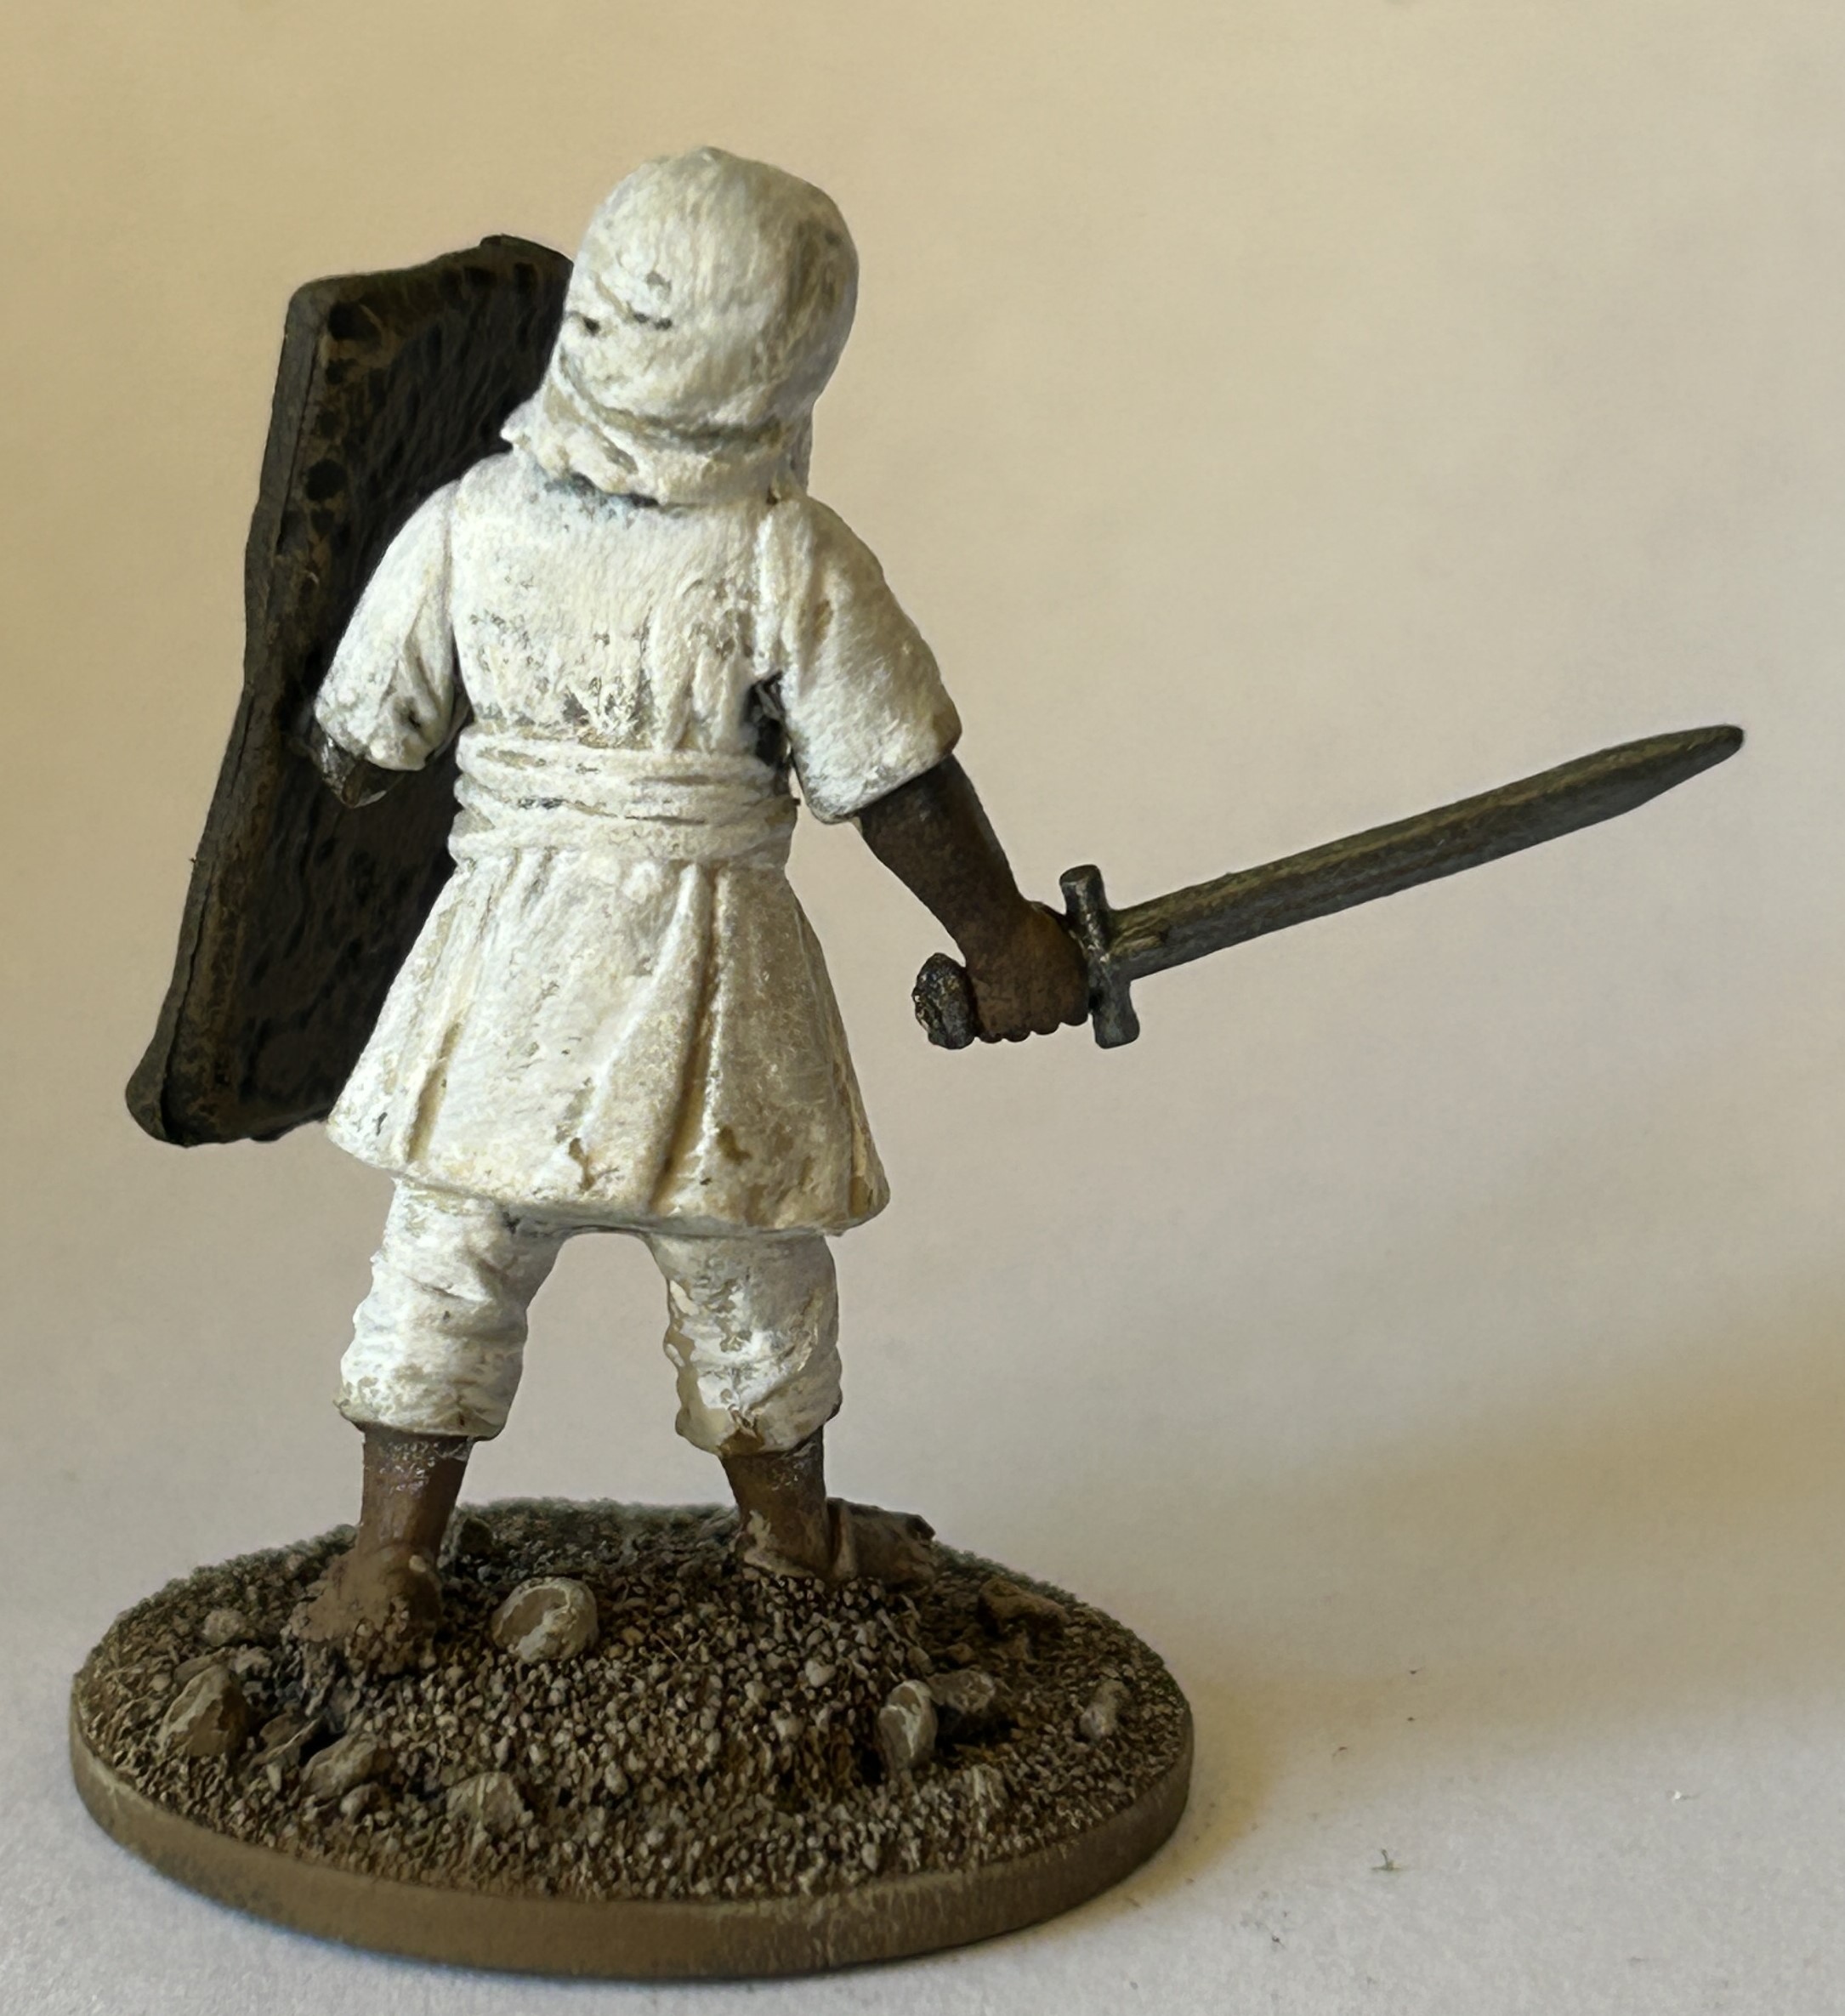
Painting Shuwa Arabs 1

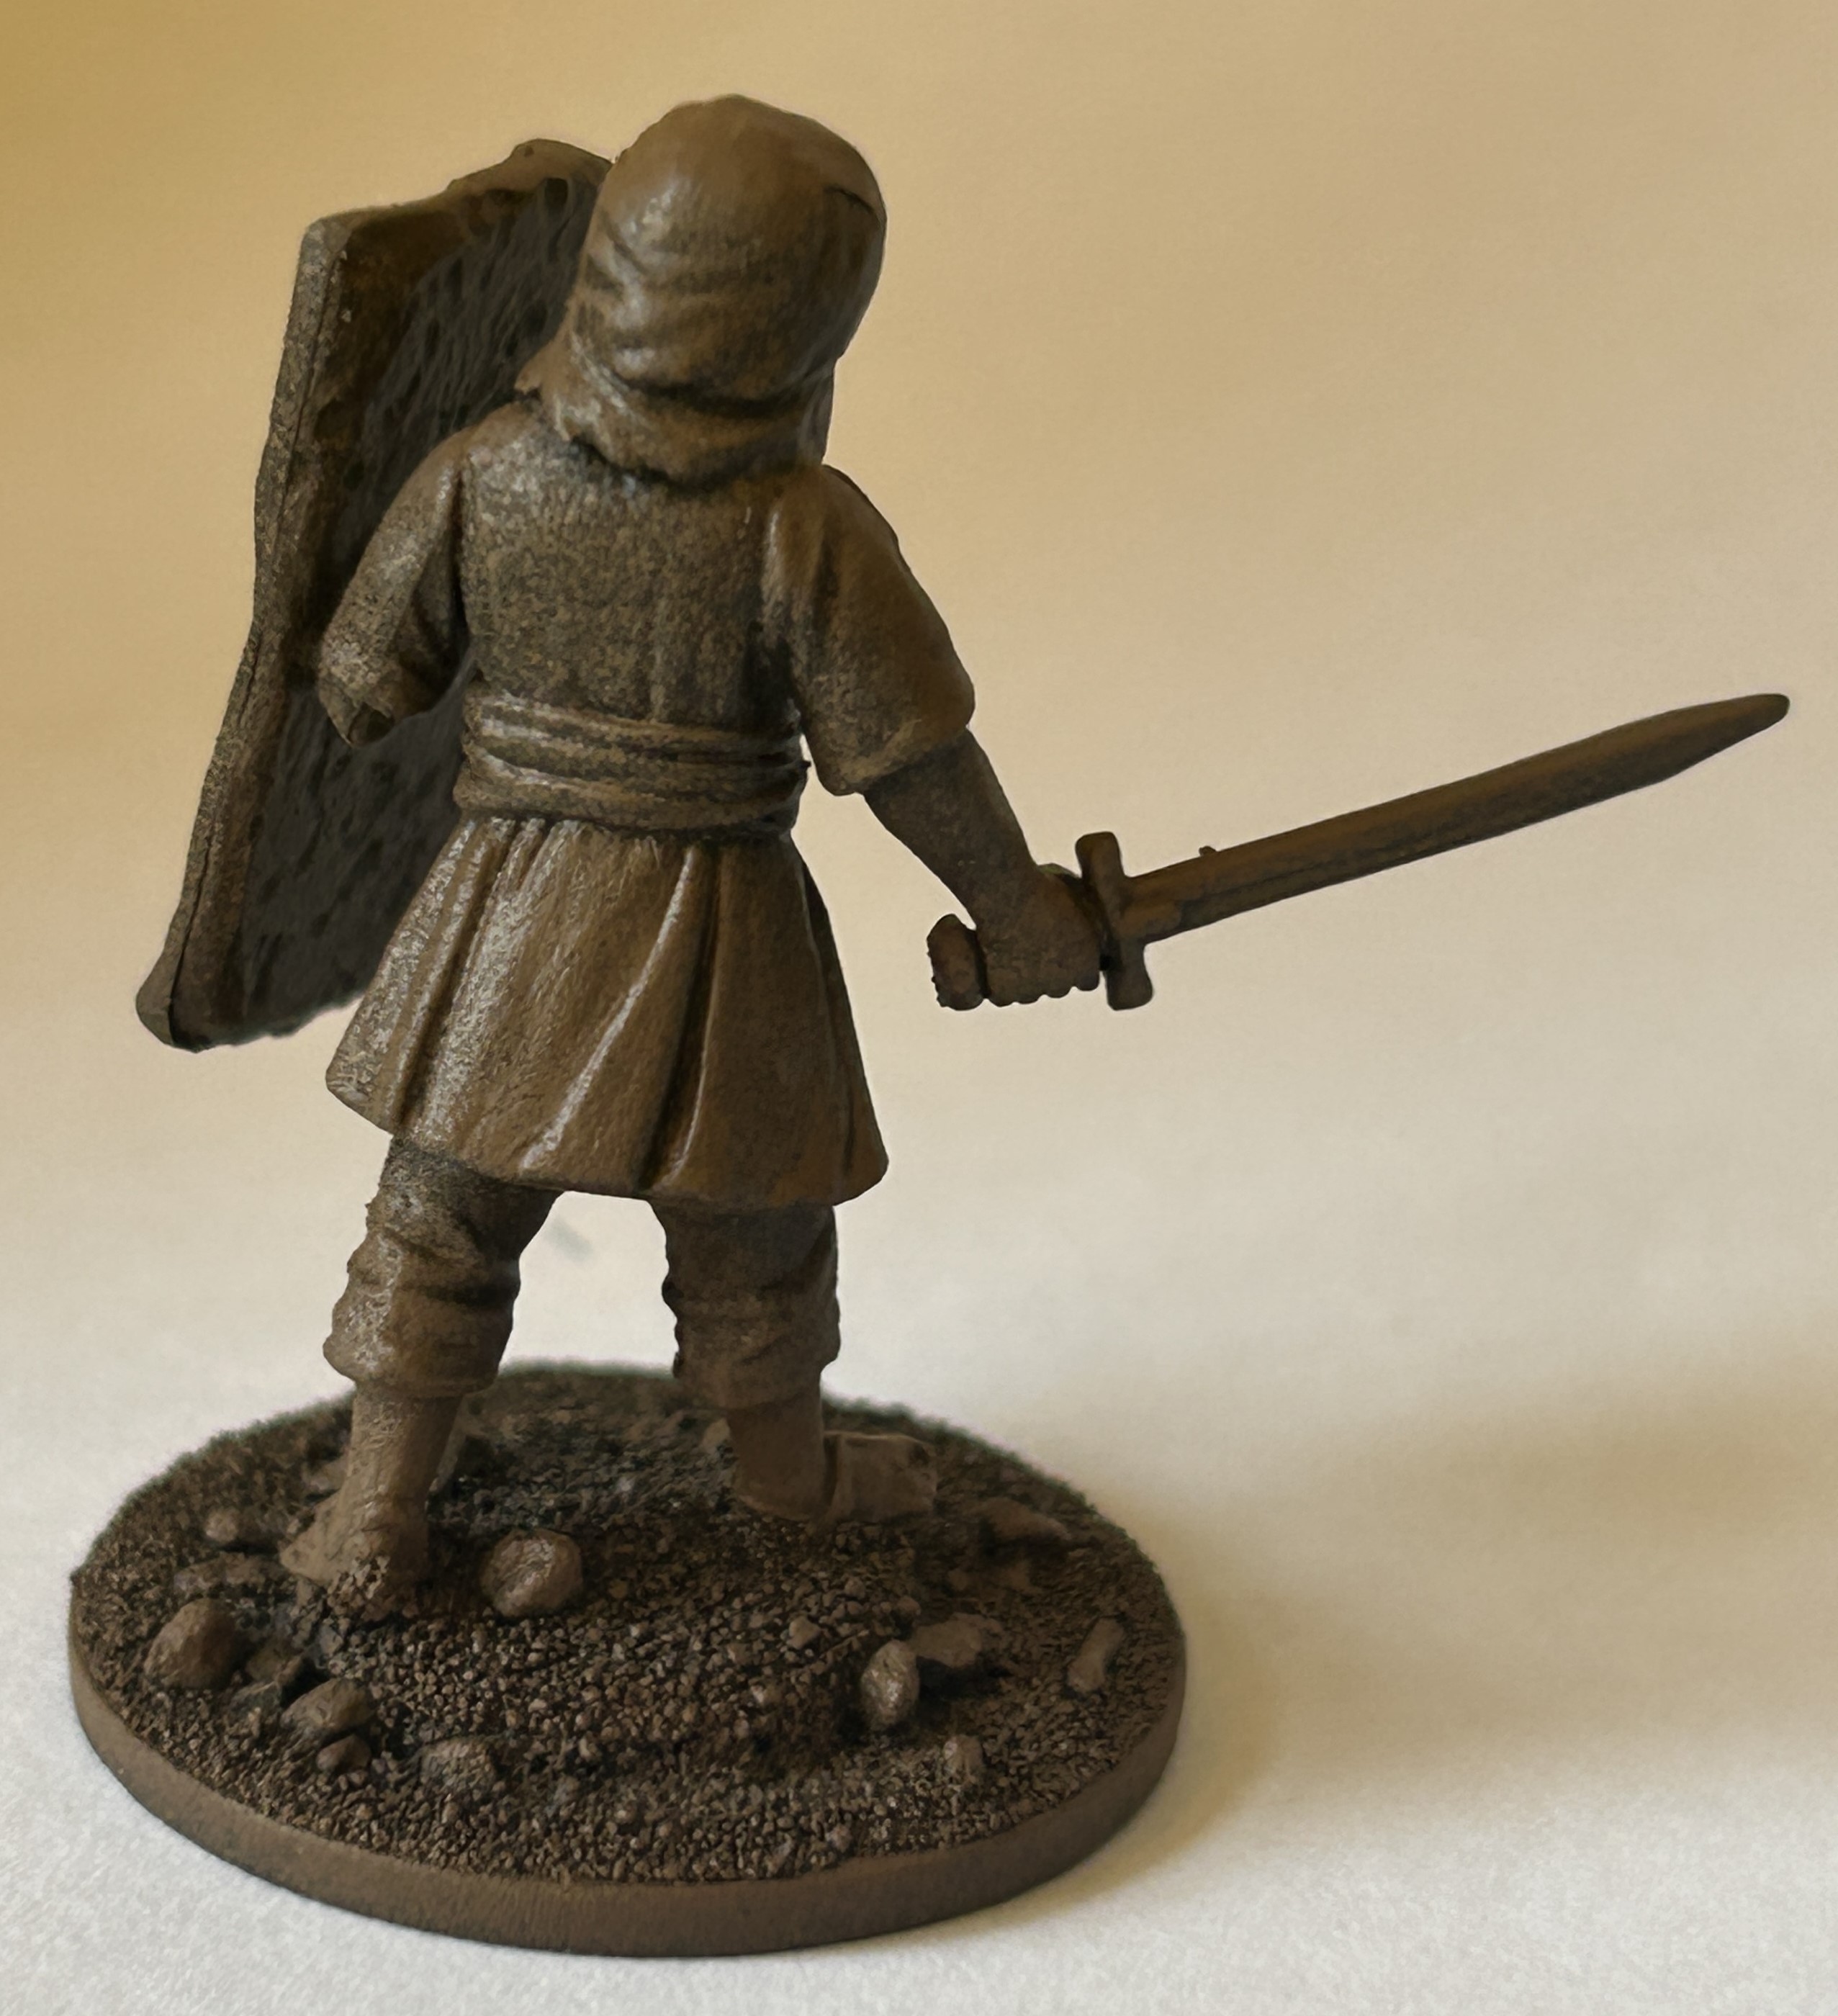
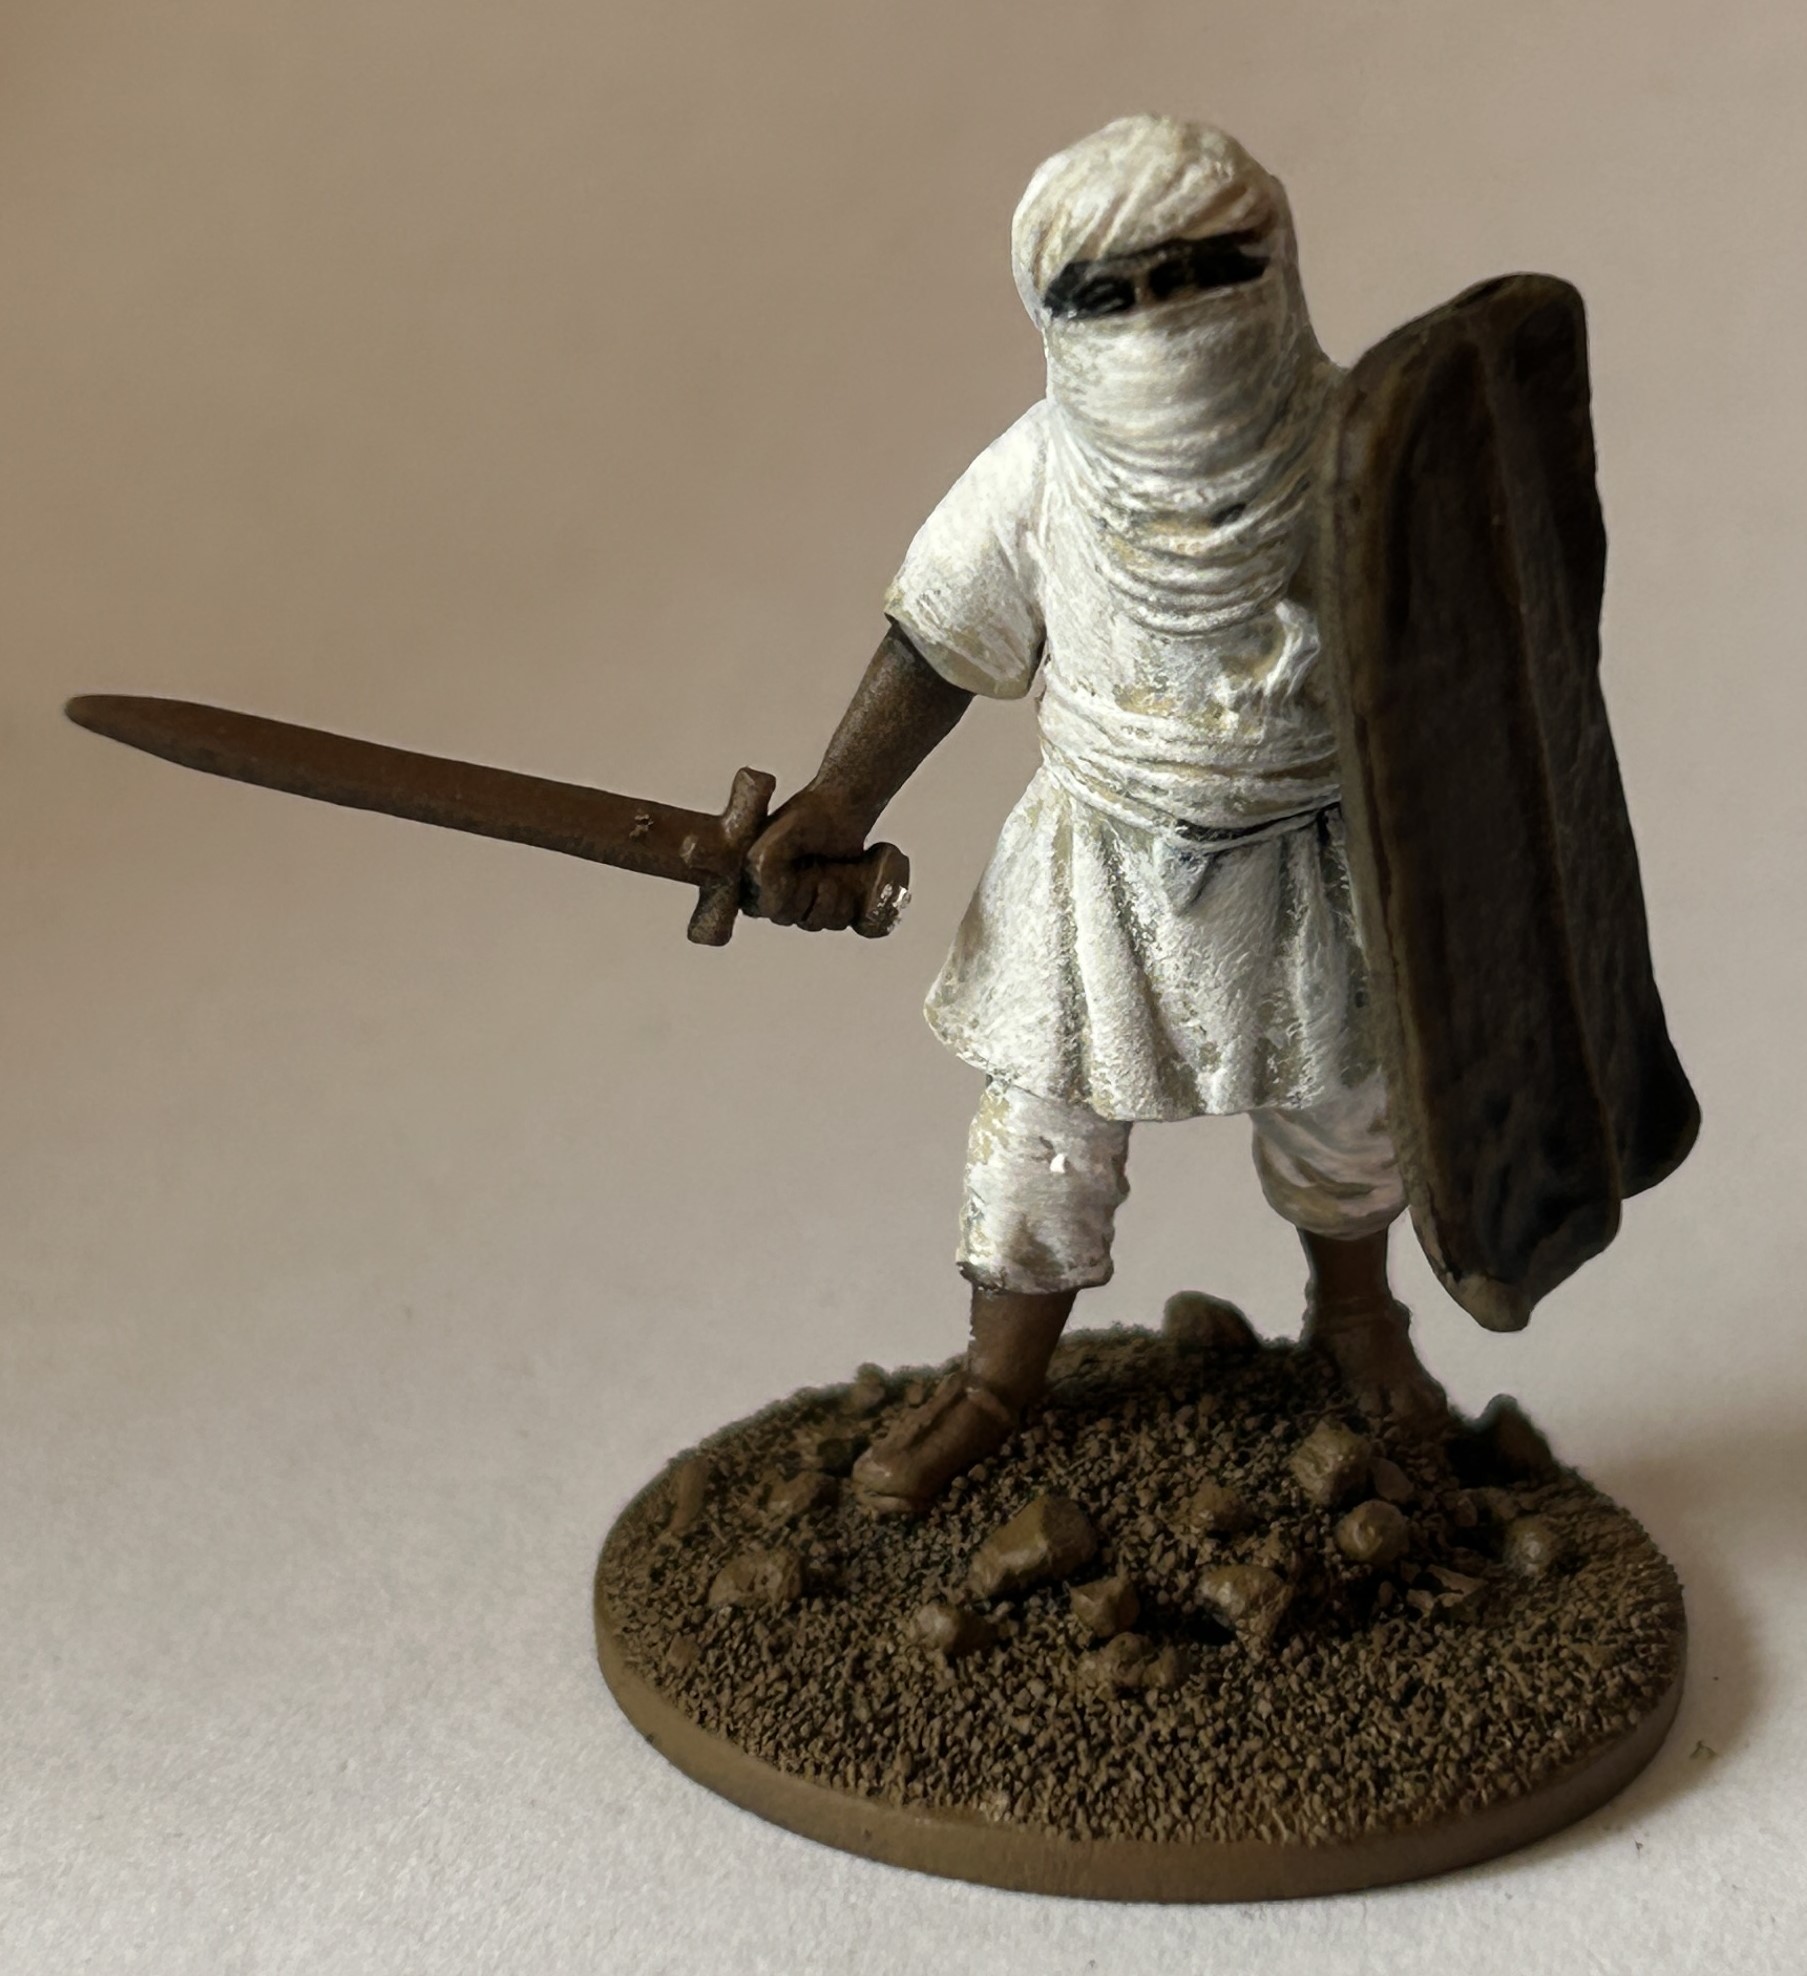
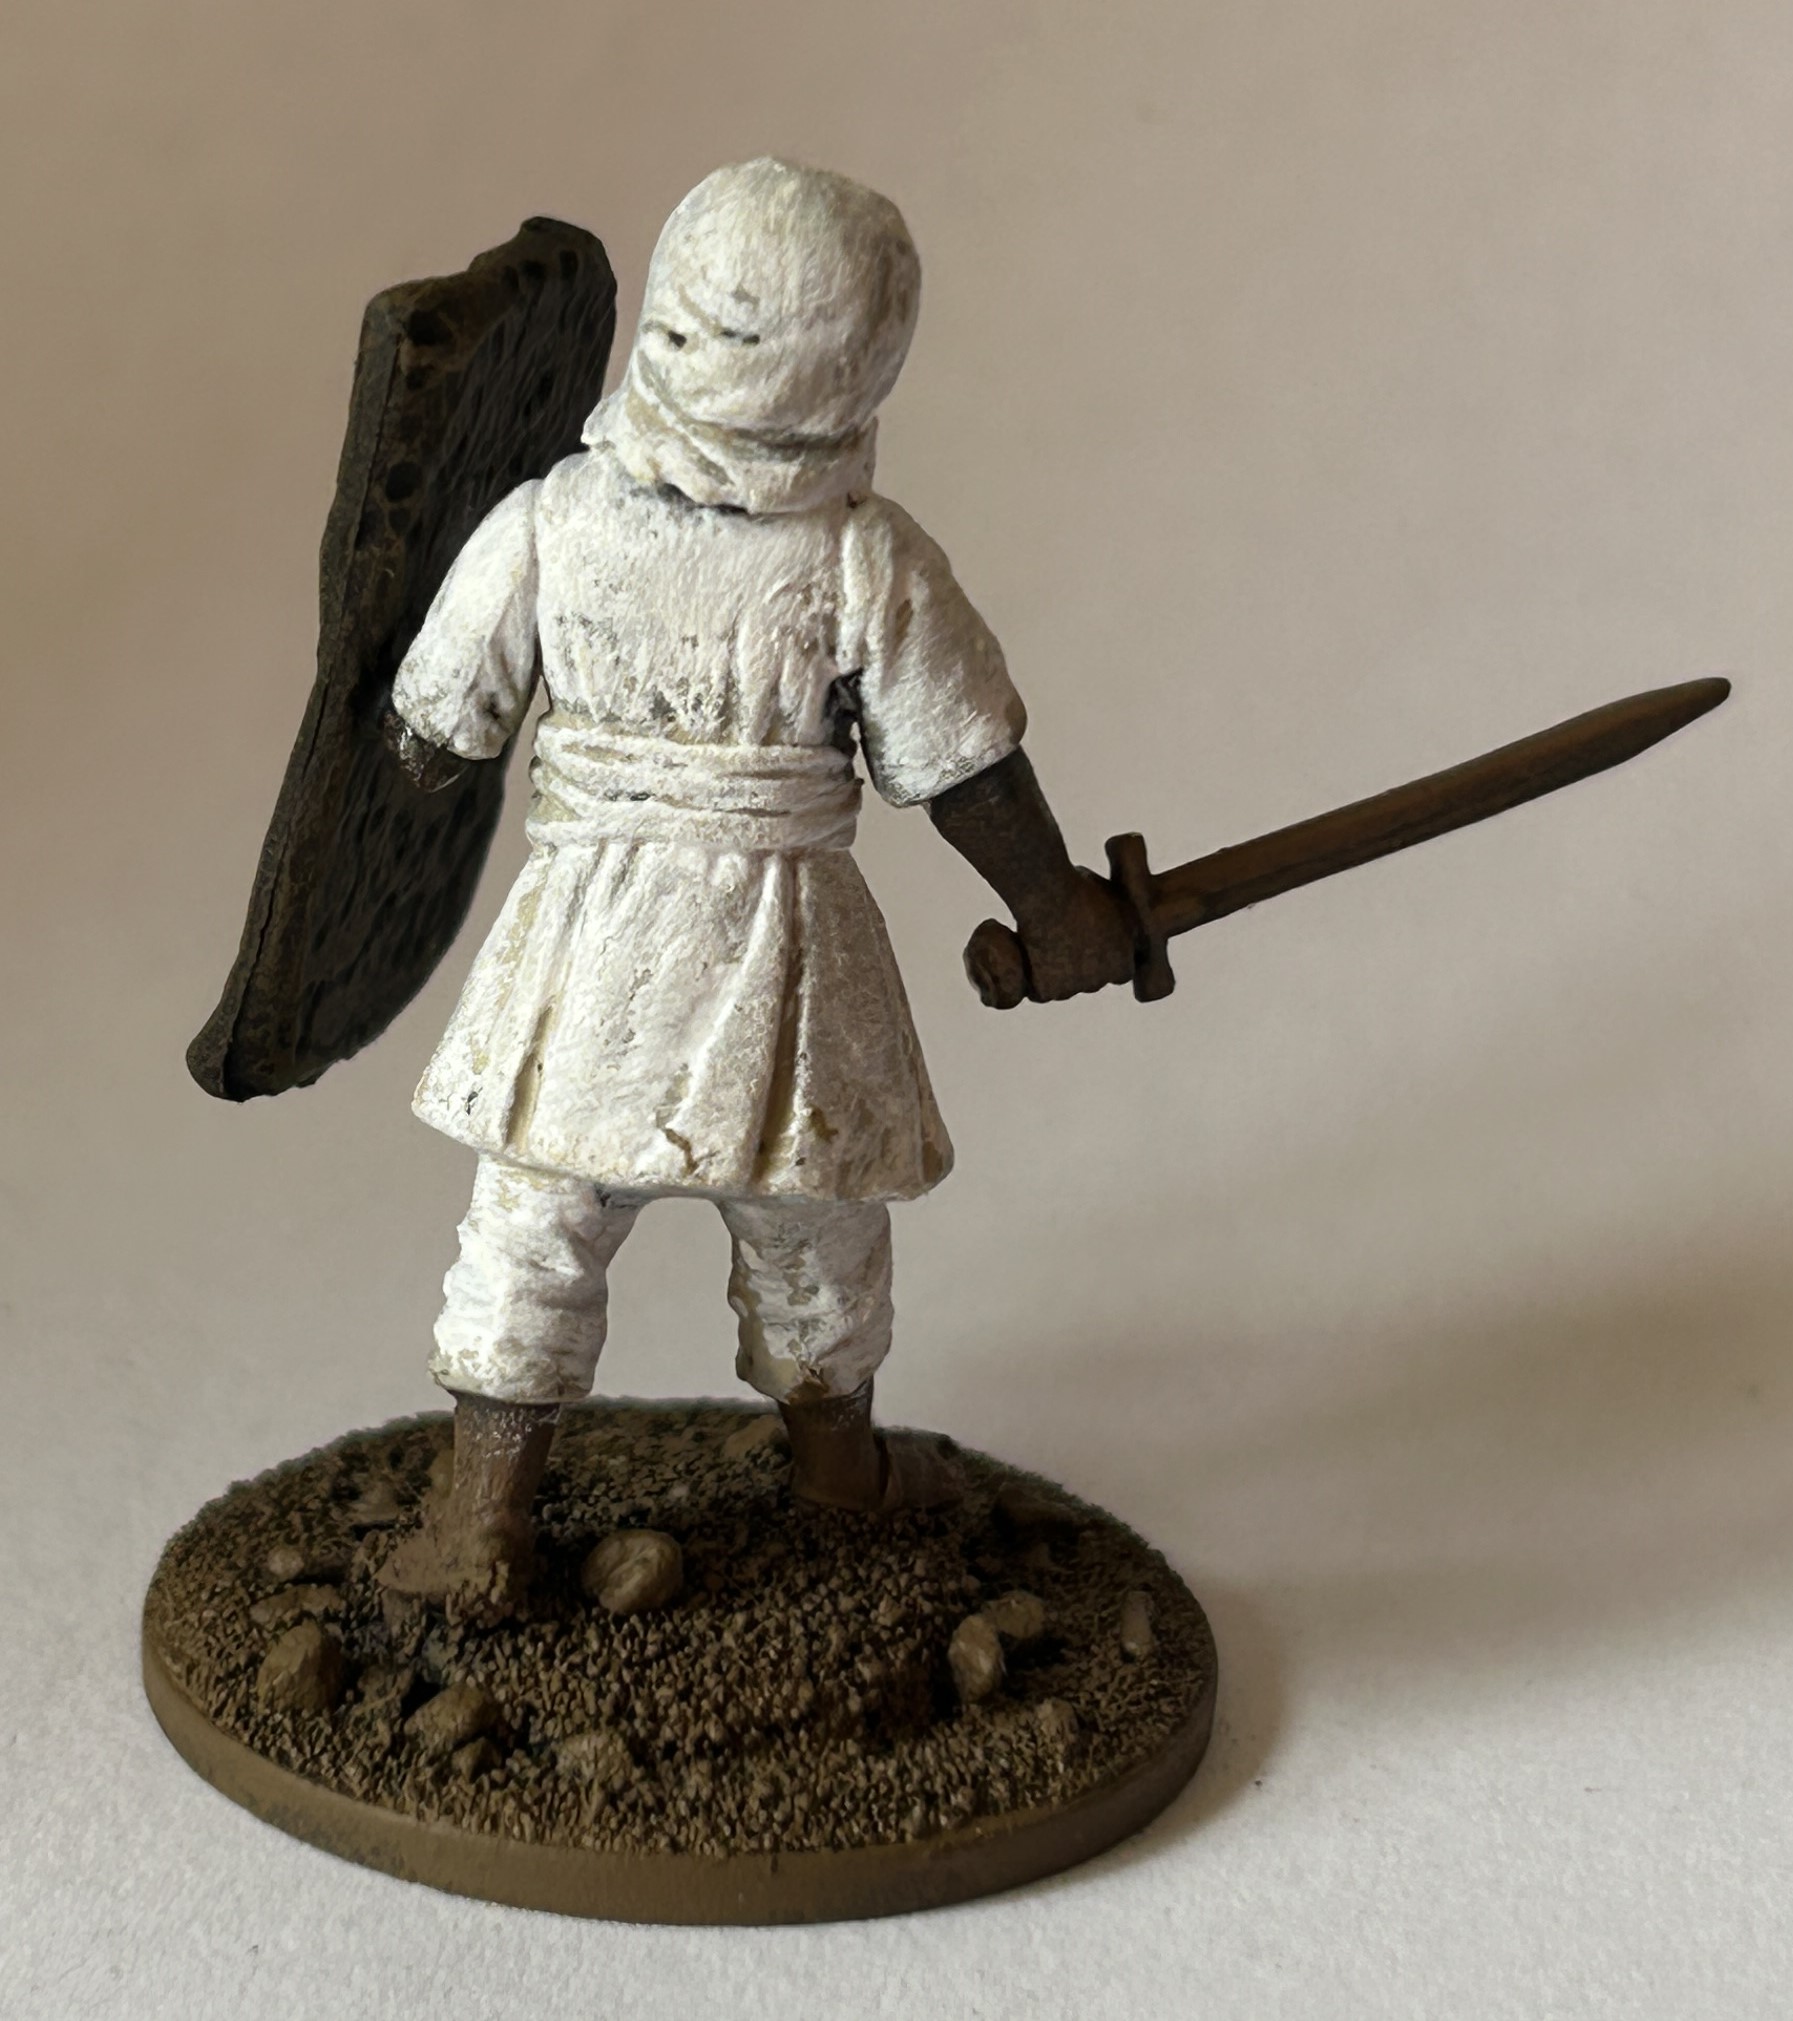
They started like this after the zenithed undercoat (leather brown over black). Next stage was Vallejo Bonewhite as a base coat on the clothing.
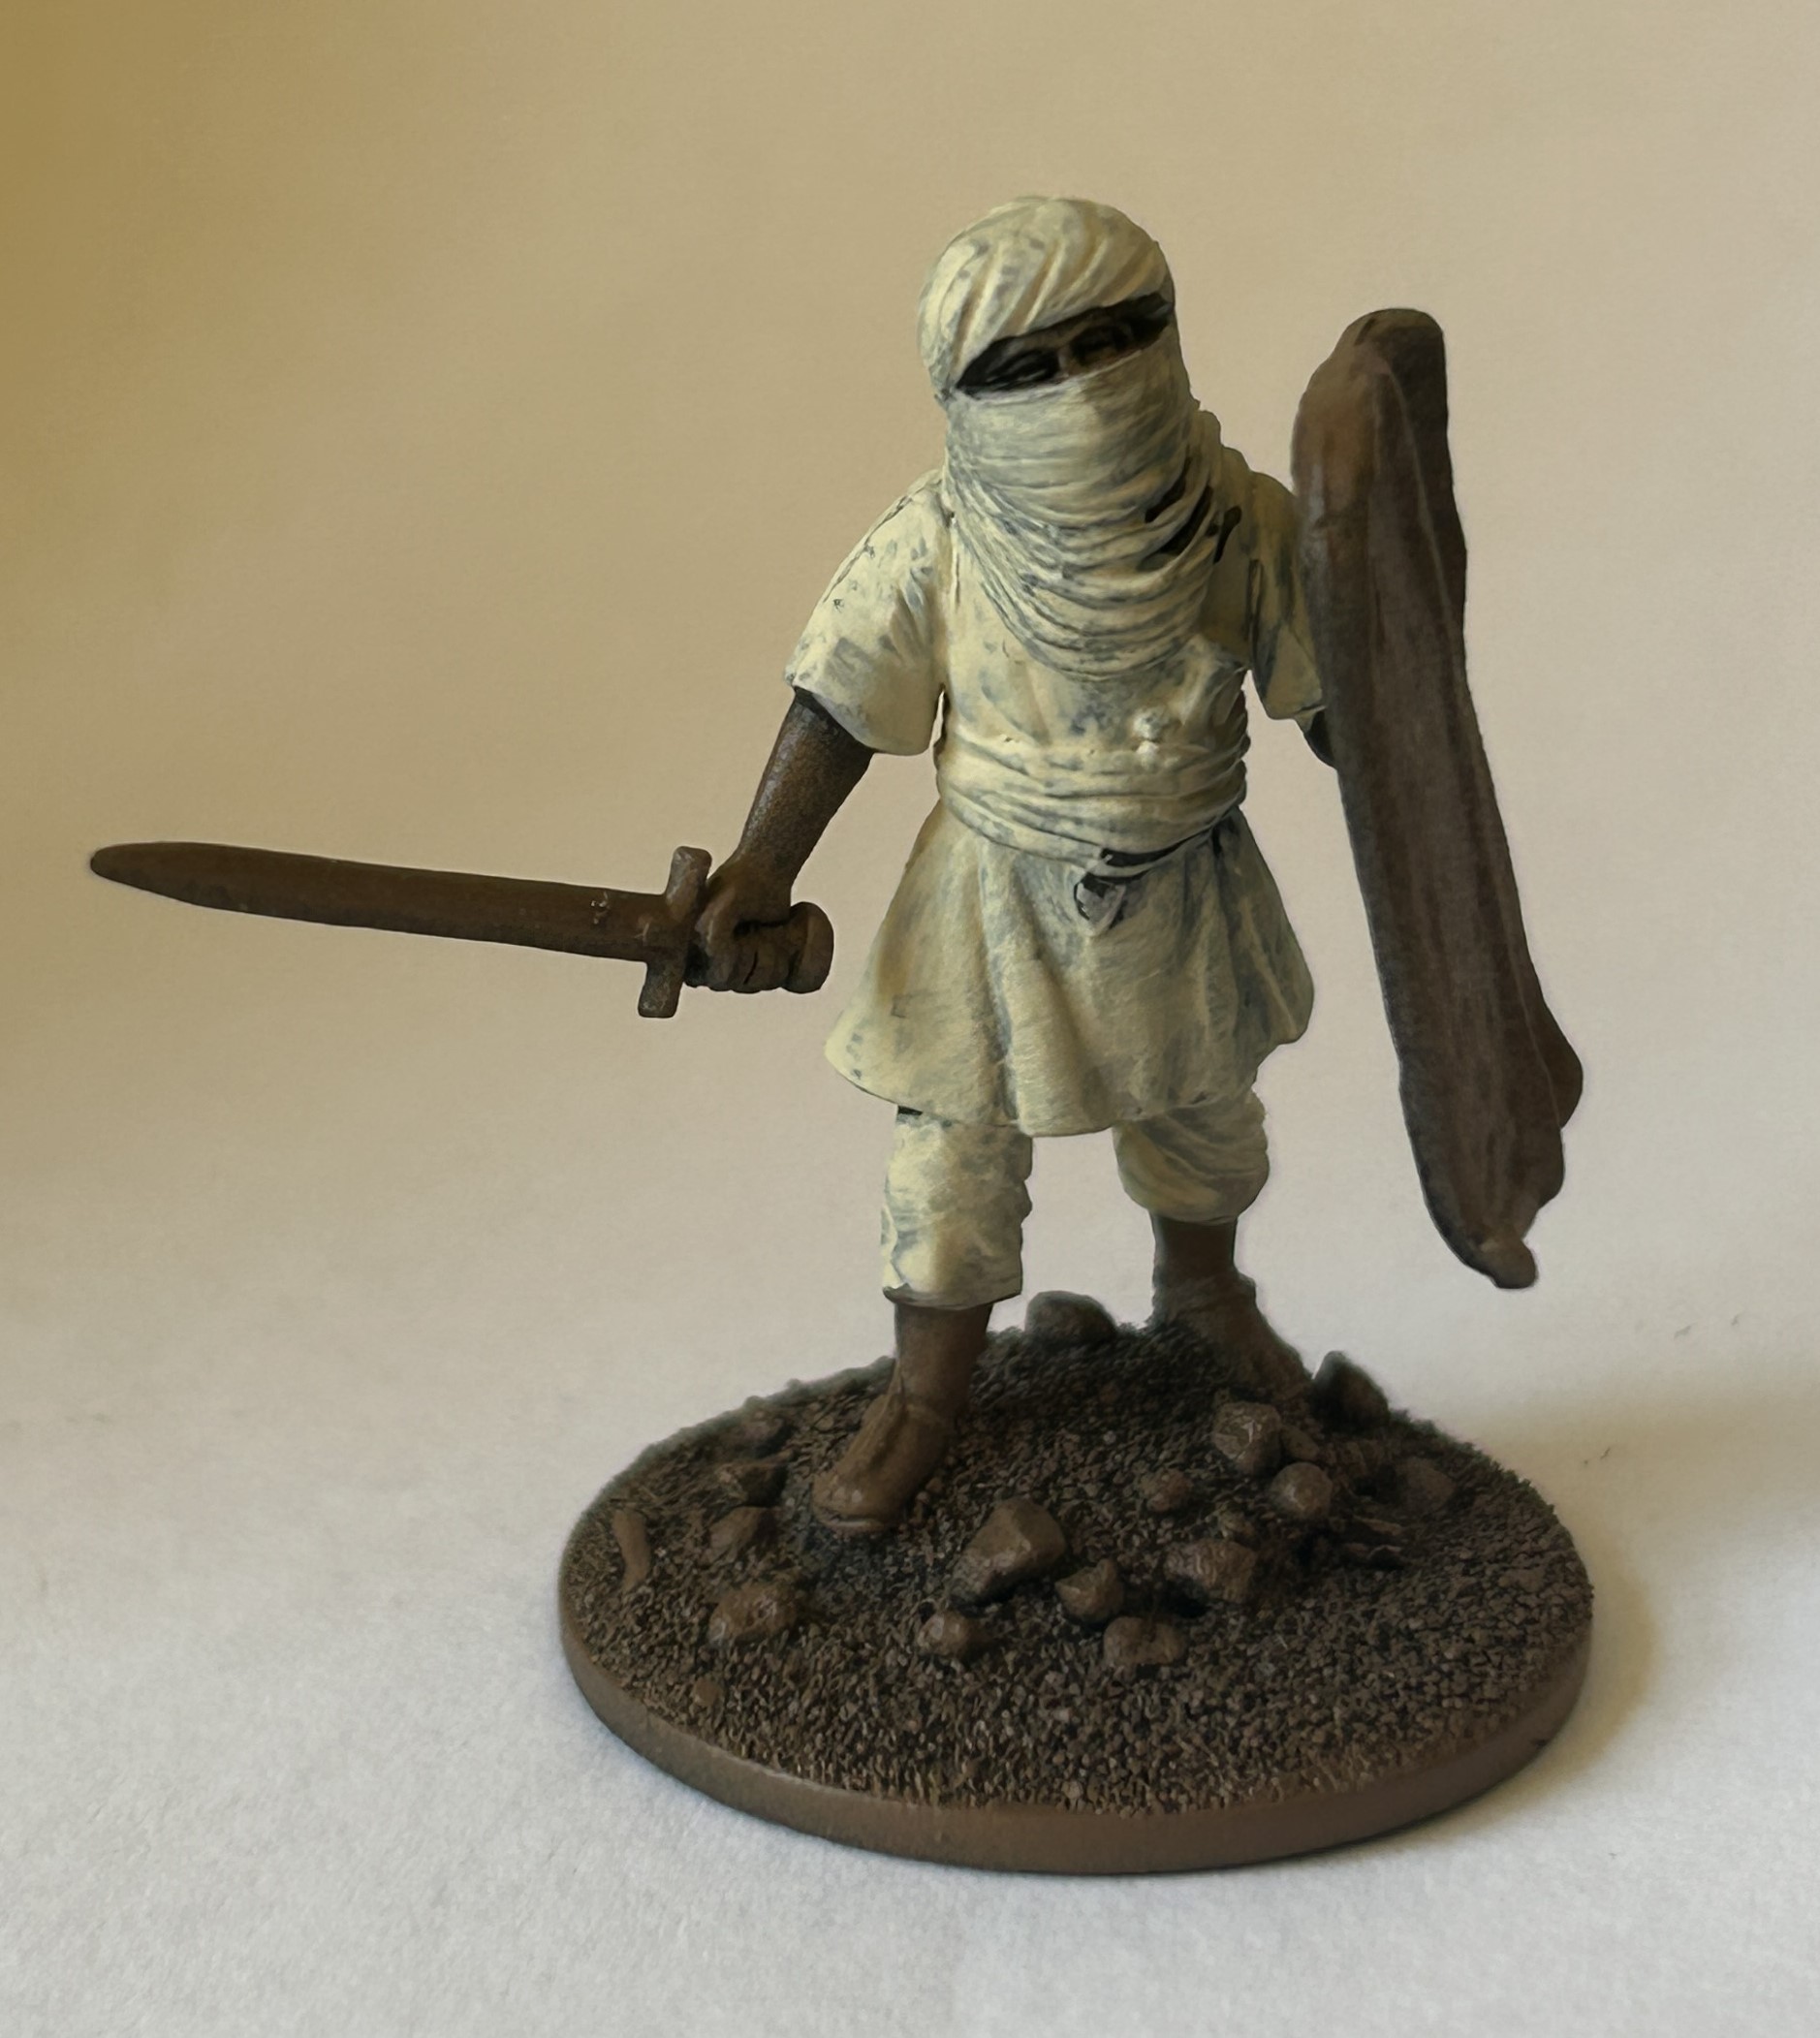
This basecoat doesn’t need to be too even as the next stage is a robust drybrush with white:
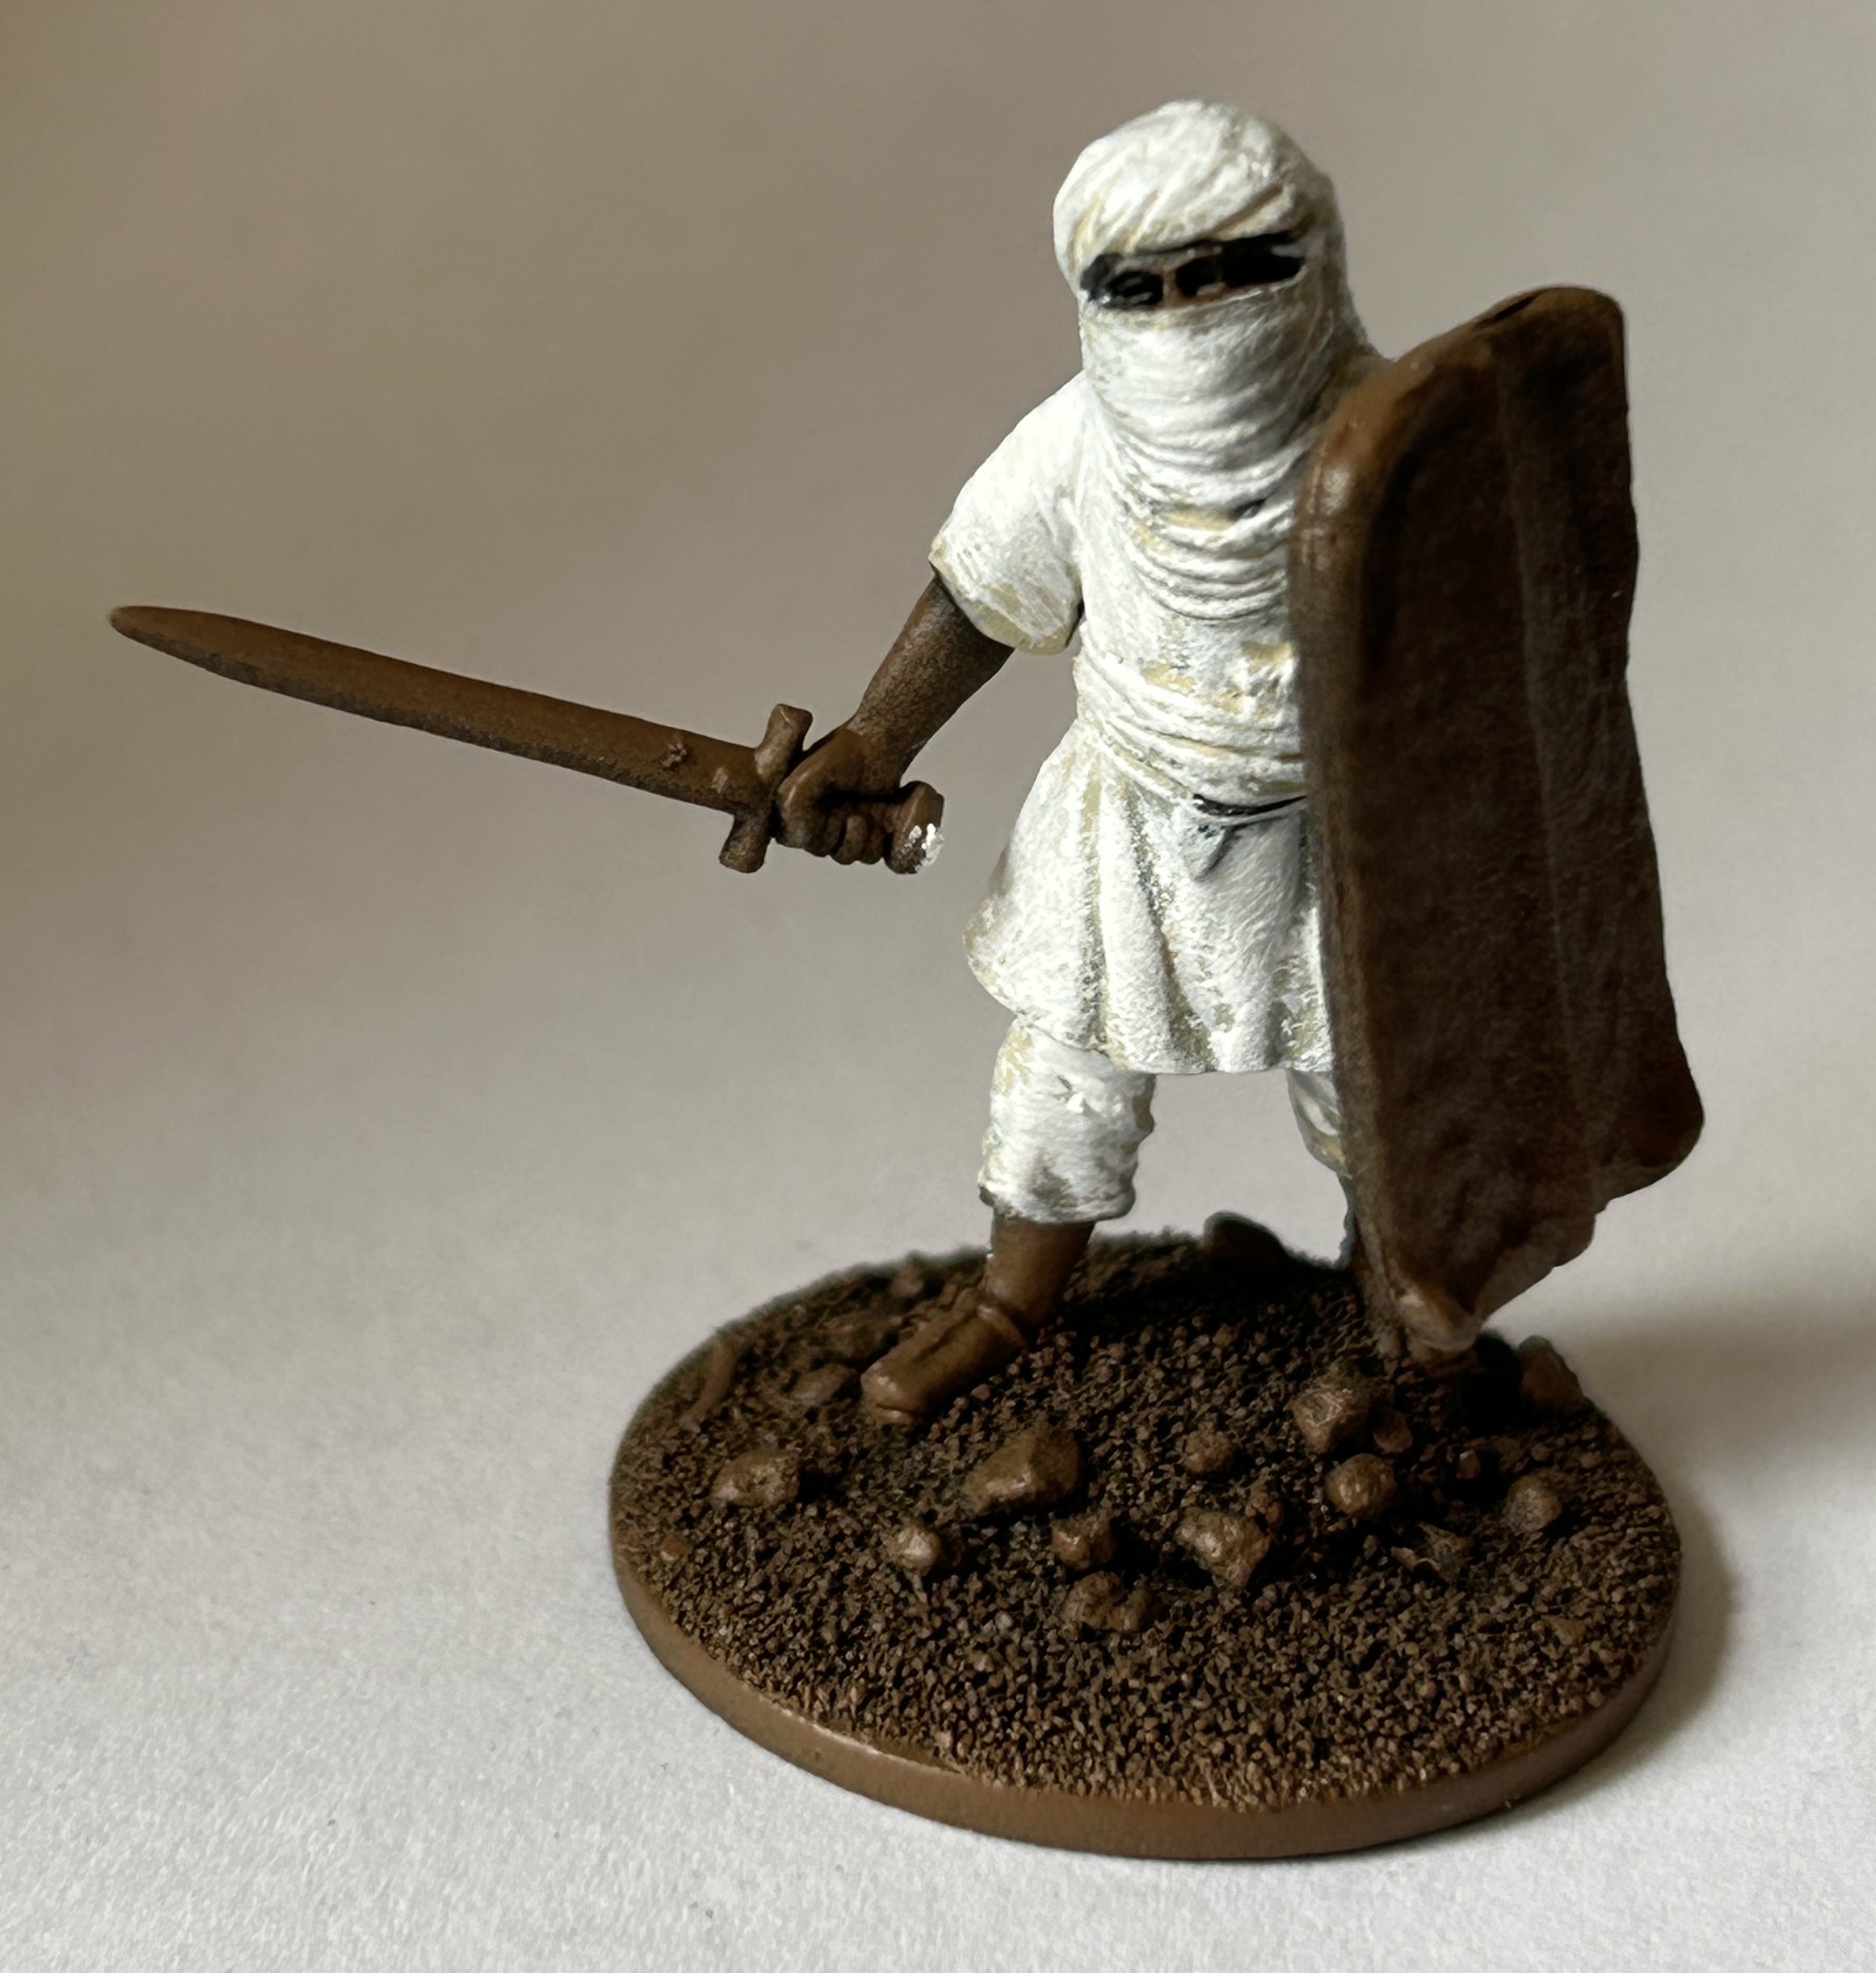
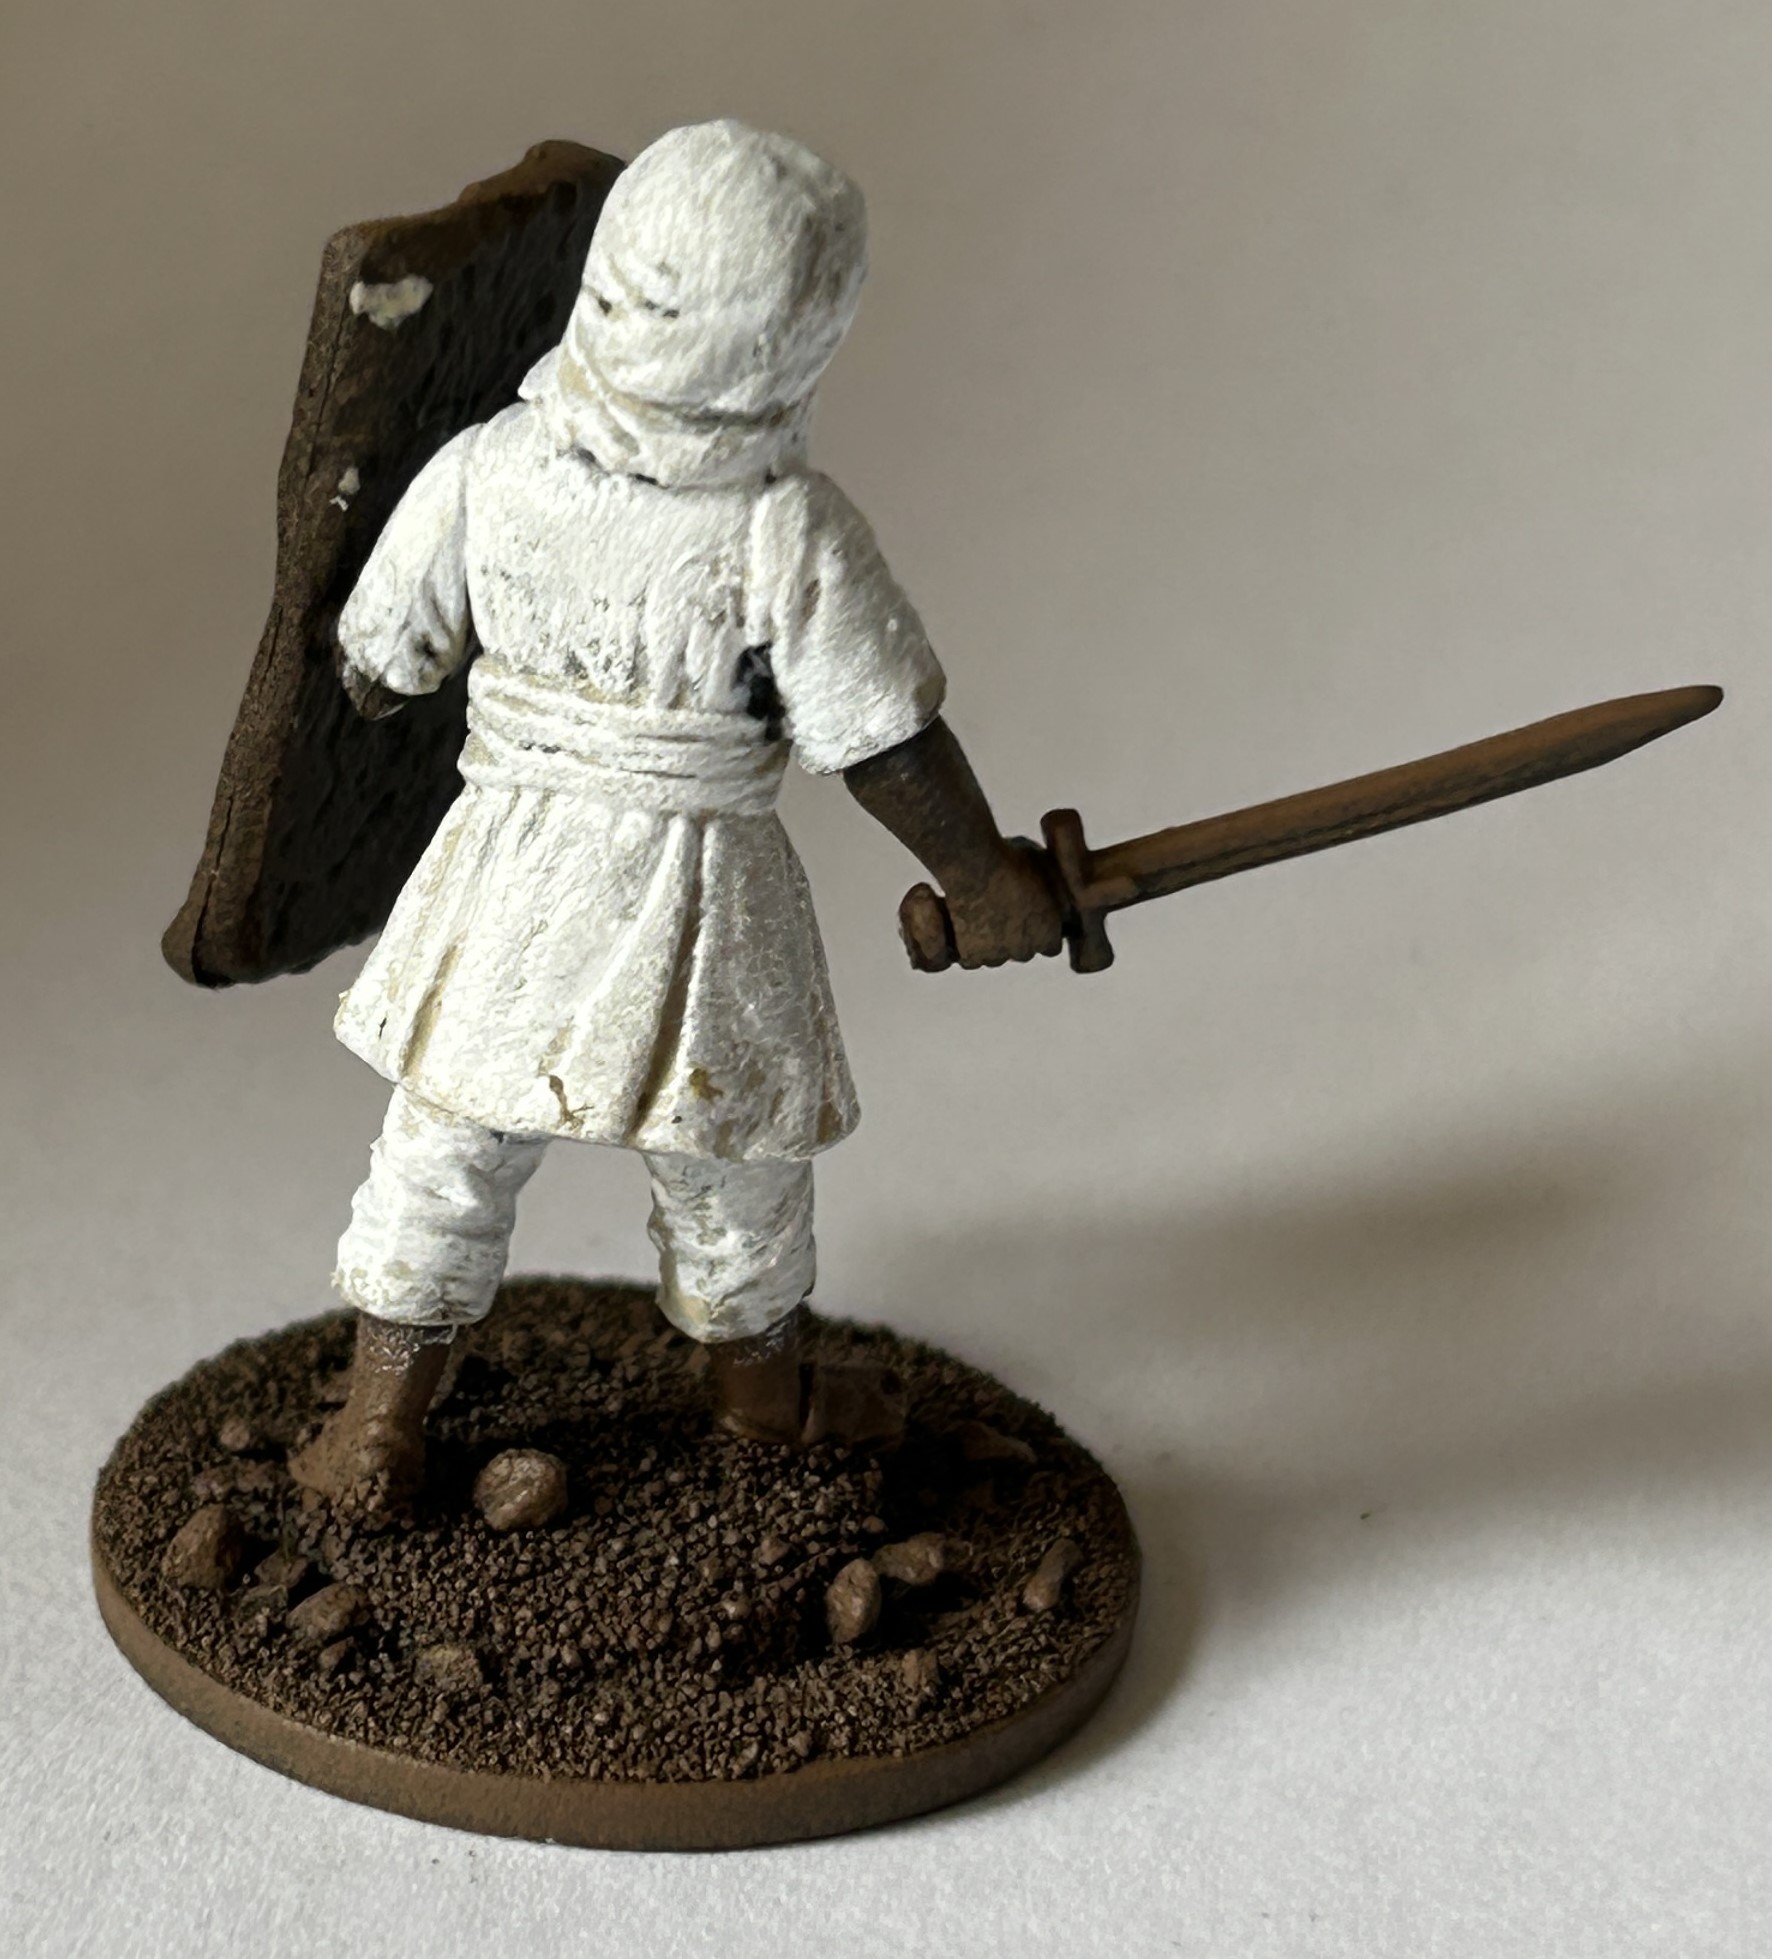
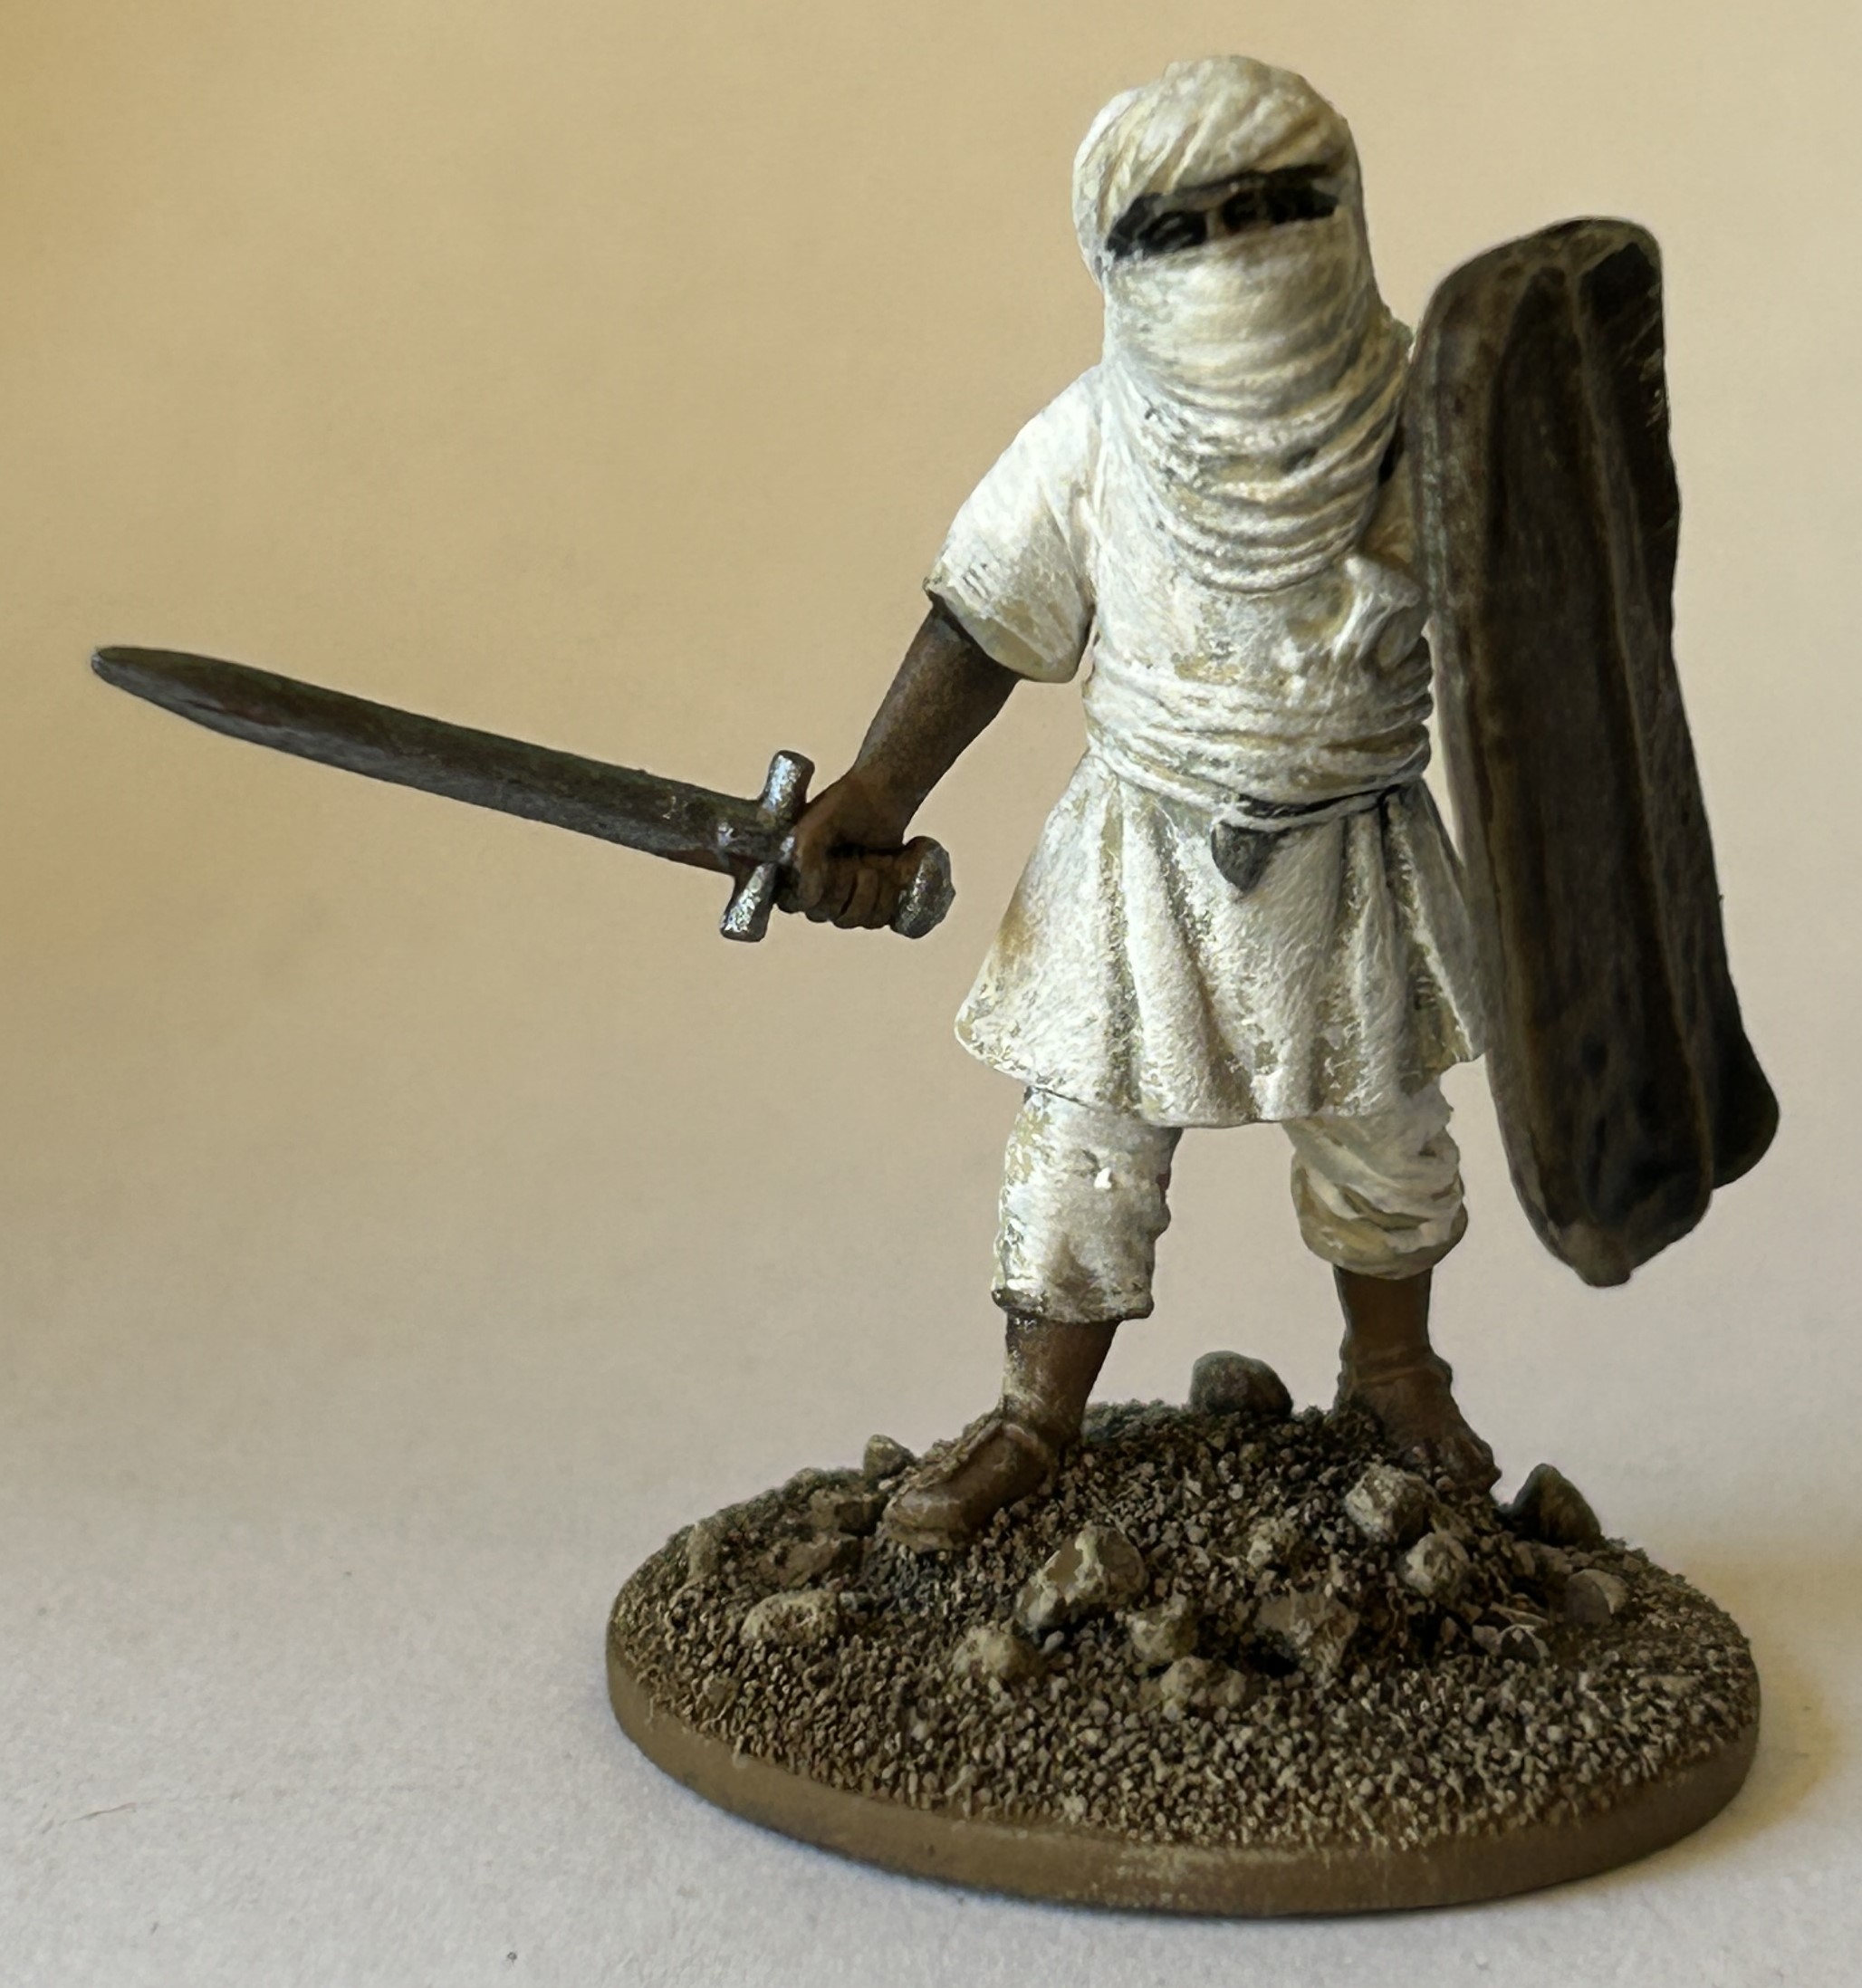
So now the minis have their clothes in the main colour of white with some tonal variation where the bonewhite shows through in the folds. Attention was turned to the shields. No clear evidence for what sort of skin was used for these shields. The larger Touareg ones are a pale colour but I thought that buffalo or elephant were likely candidates for these ones from the savannah. Therefore we’ll go for a deep tone. The examples of historic Beja shields (usually hippo hide) show a deep grey/green almost olive drab colour. I’m going to start with a layer of AP Speedpaint Gravelord Grey straight over the top of the undercoat. I’m going to mix in a squirt of green at some point and then a bit of lighter grey so there is a bit of variation in colour. They look quite dark in the photos:
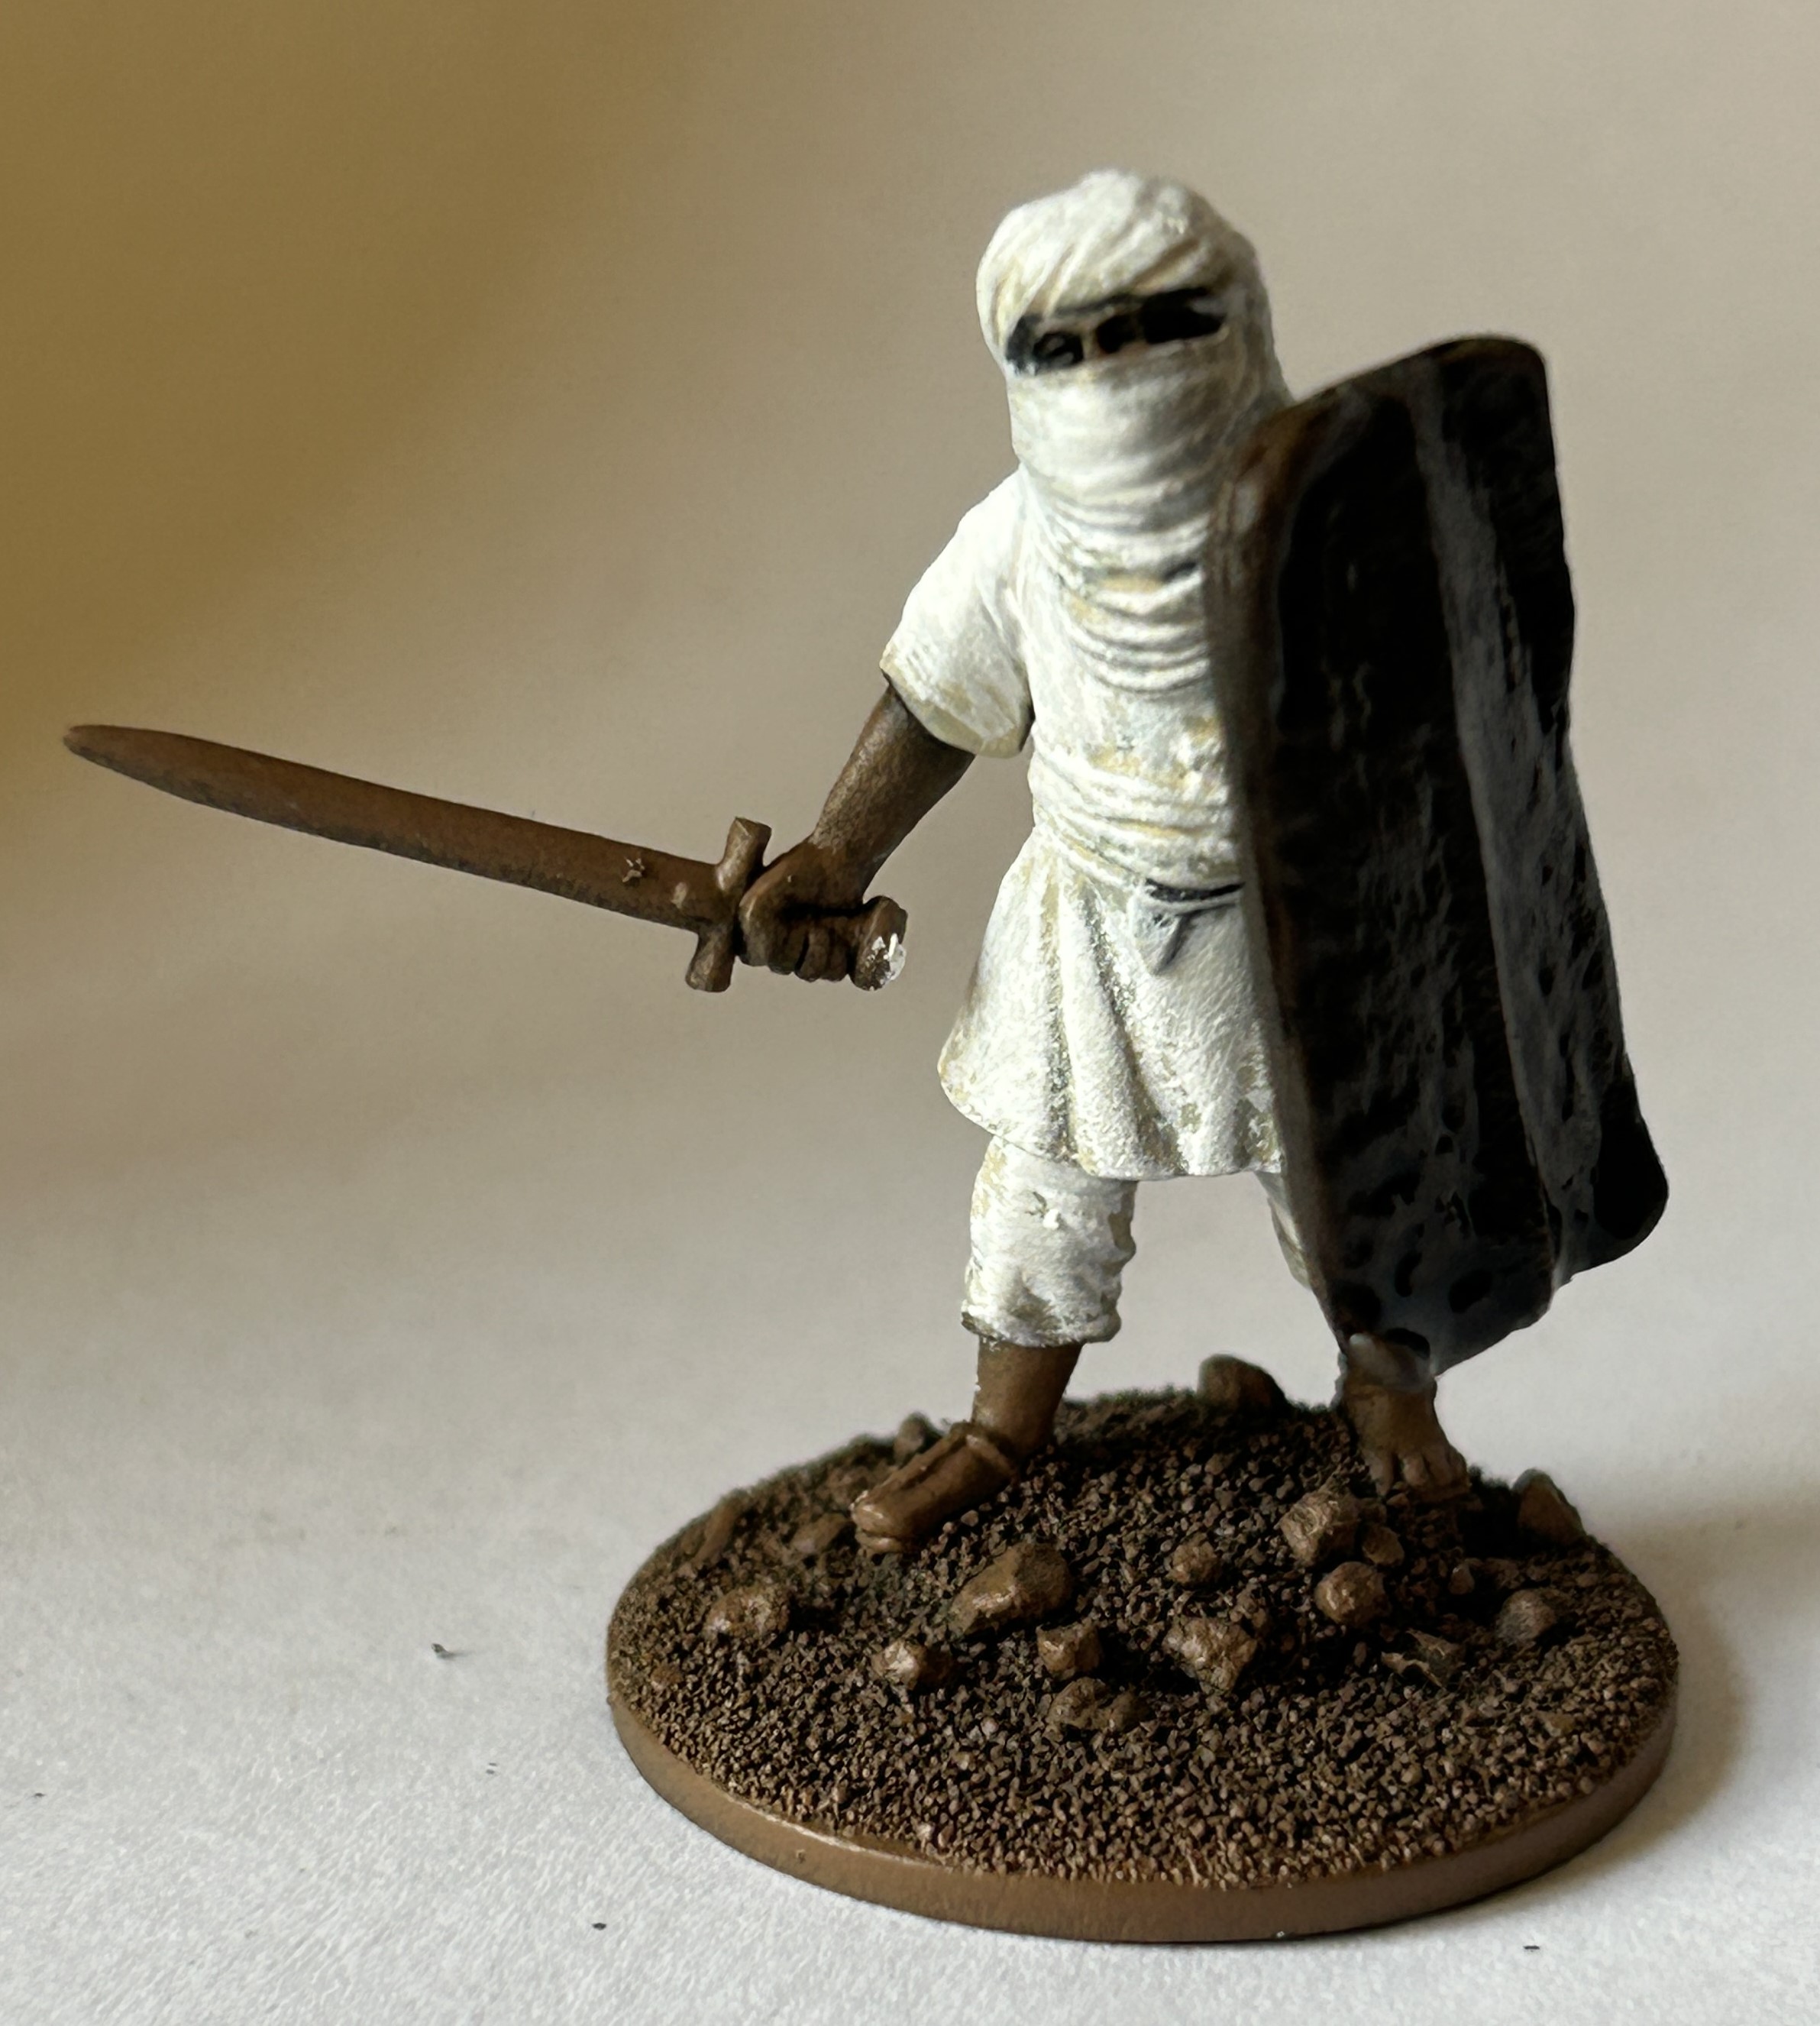
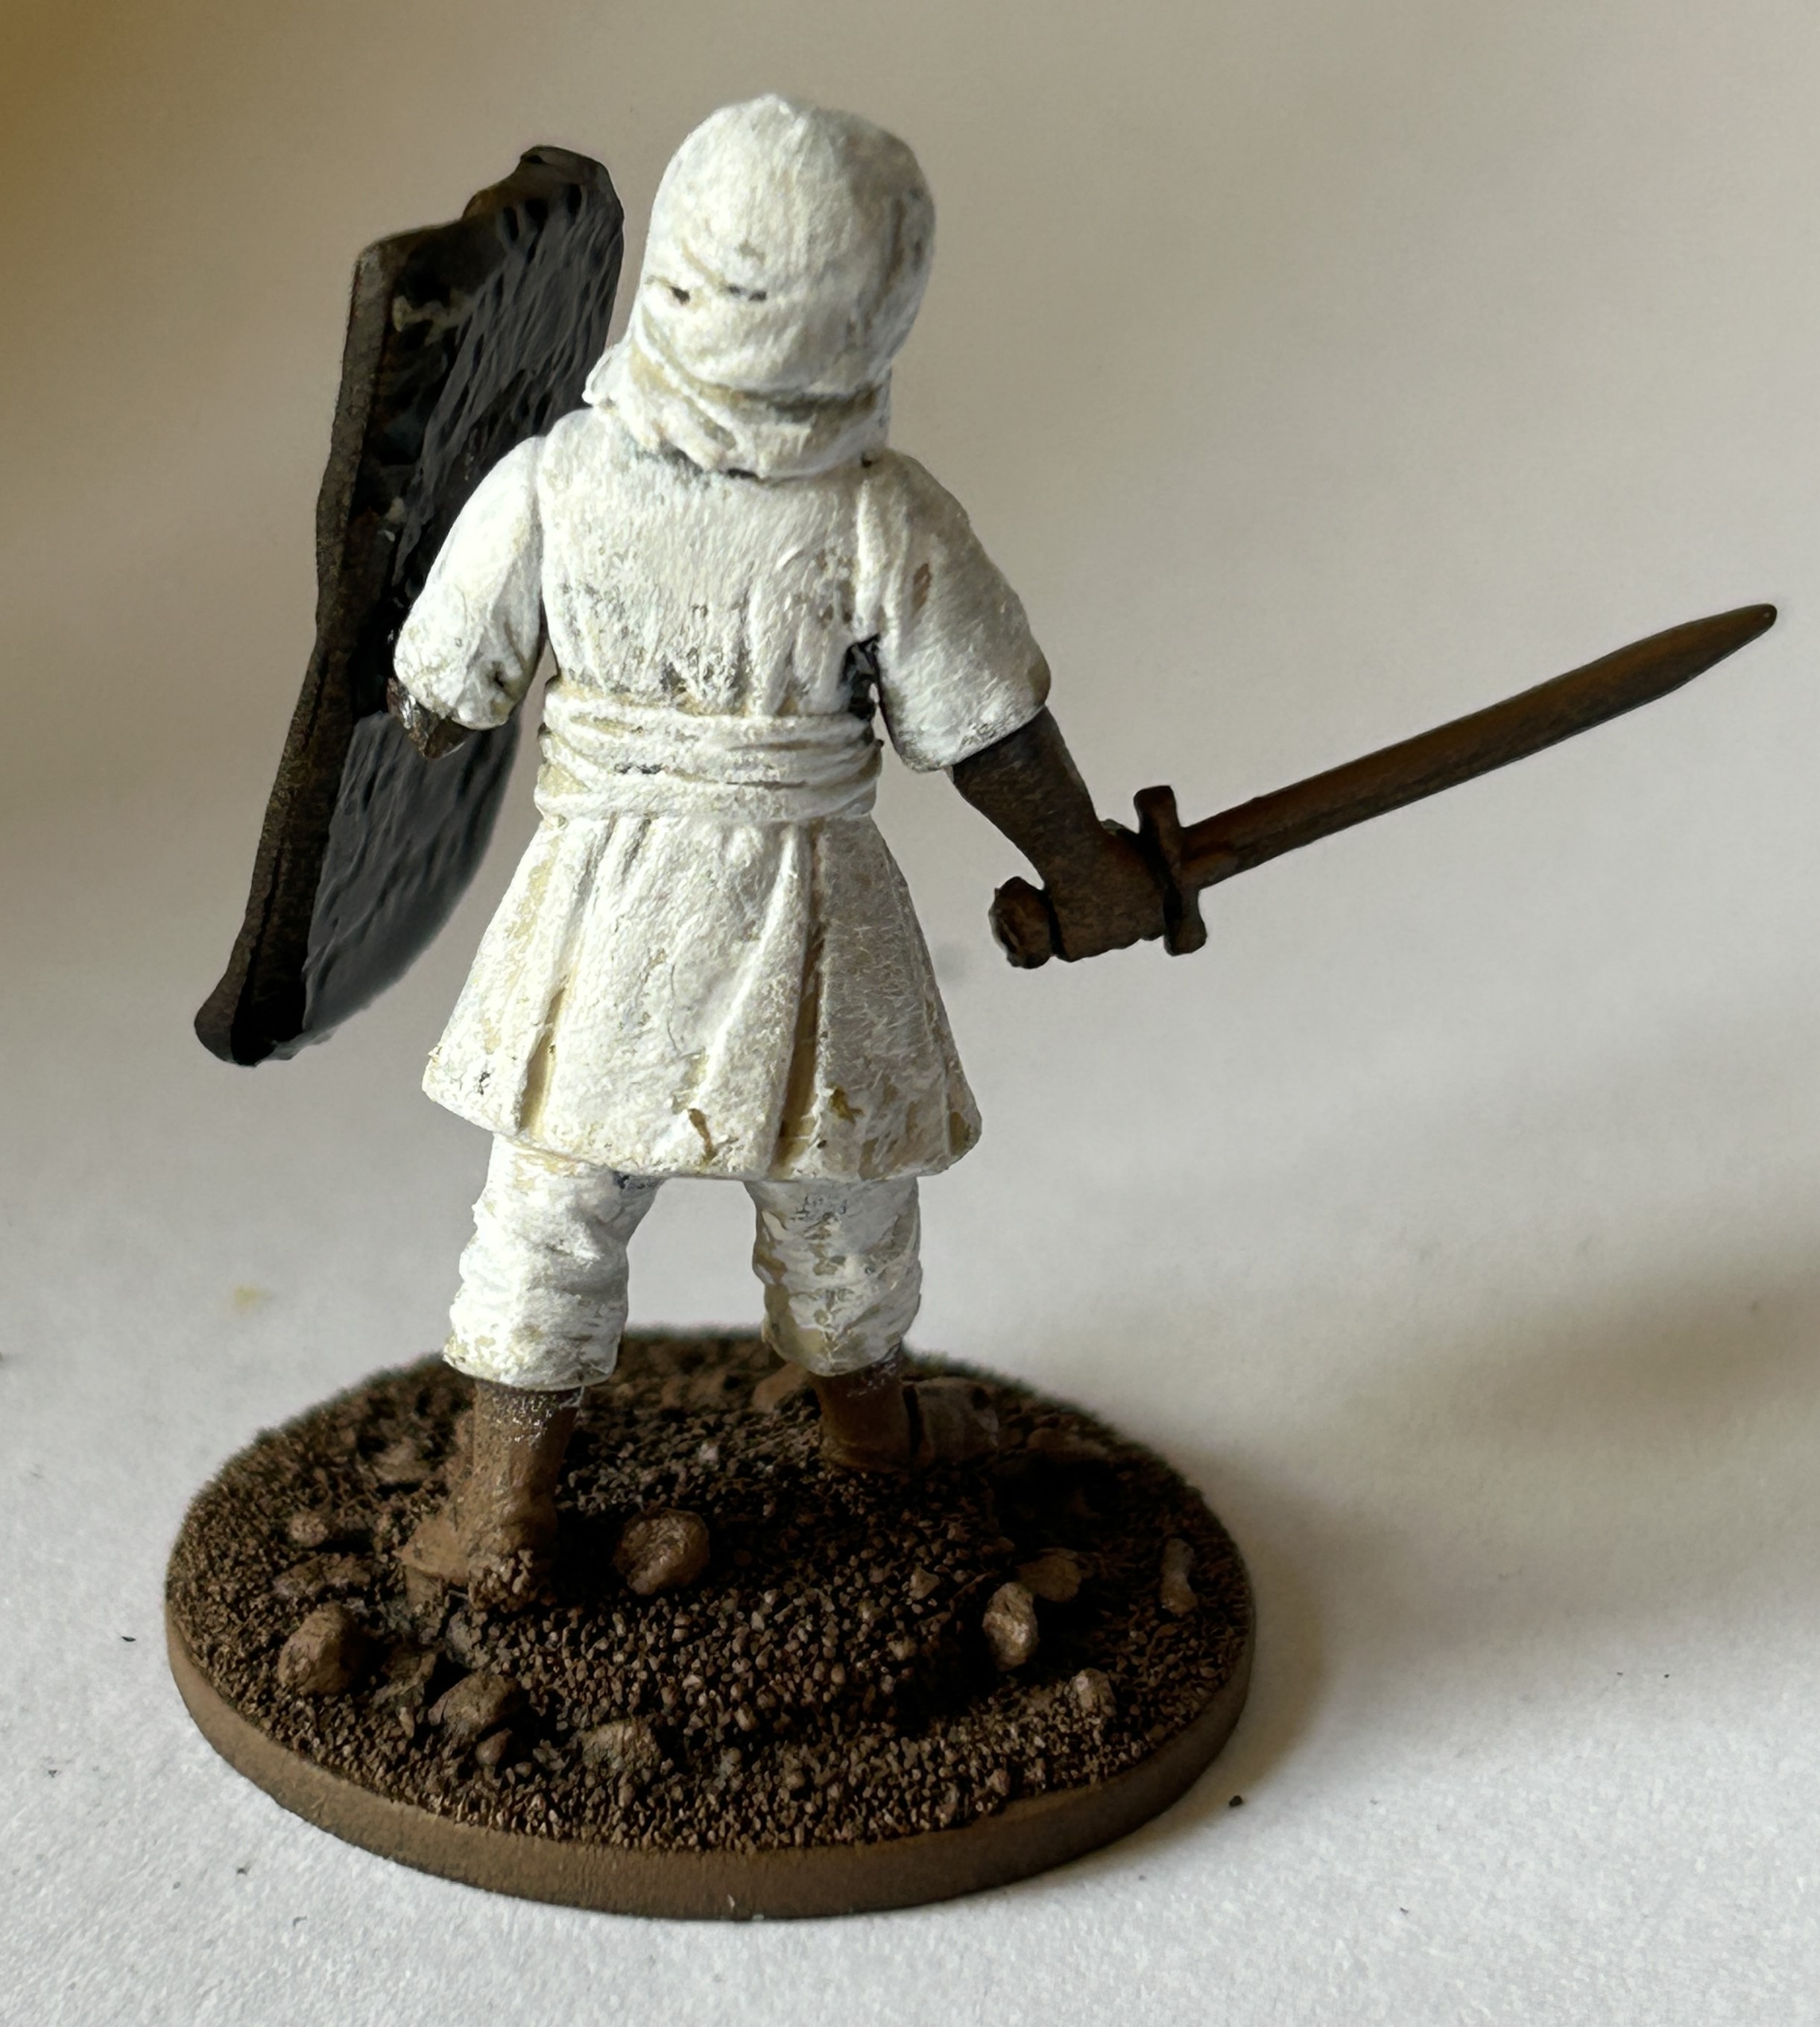
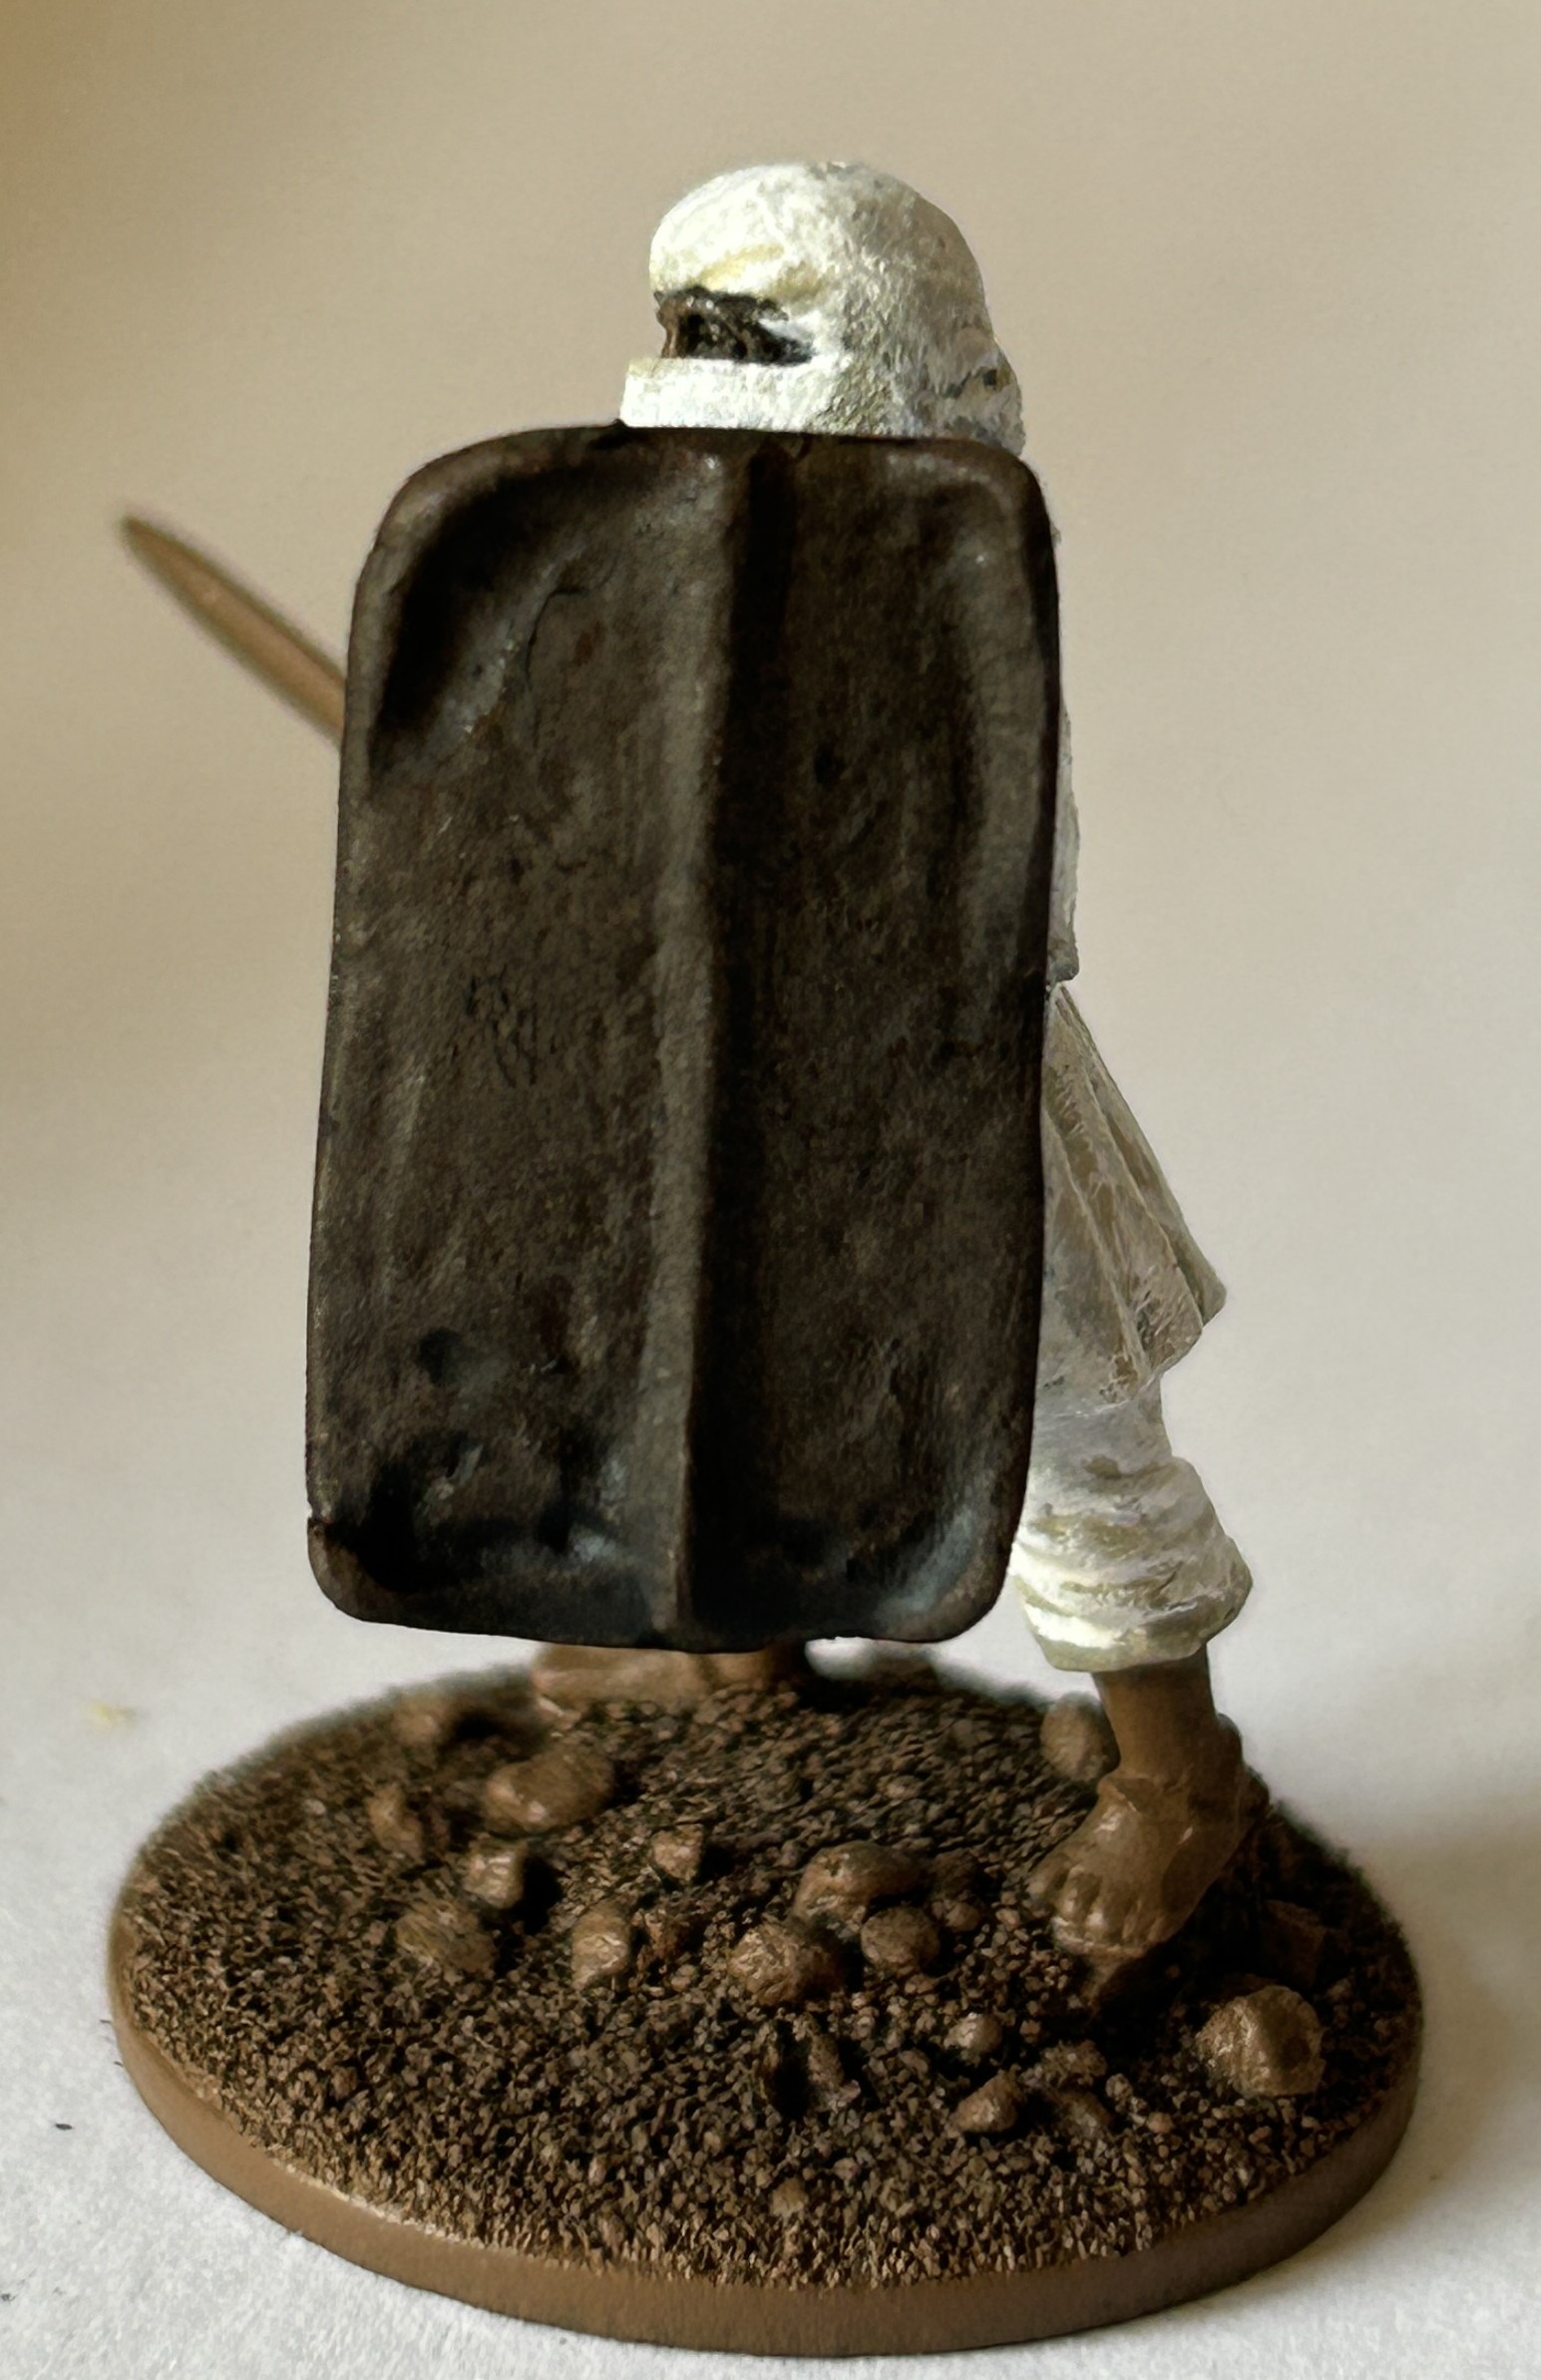
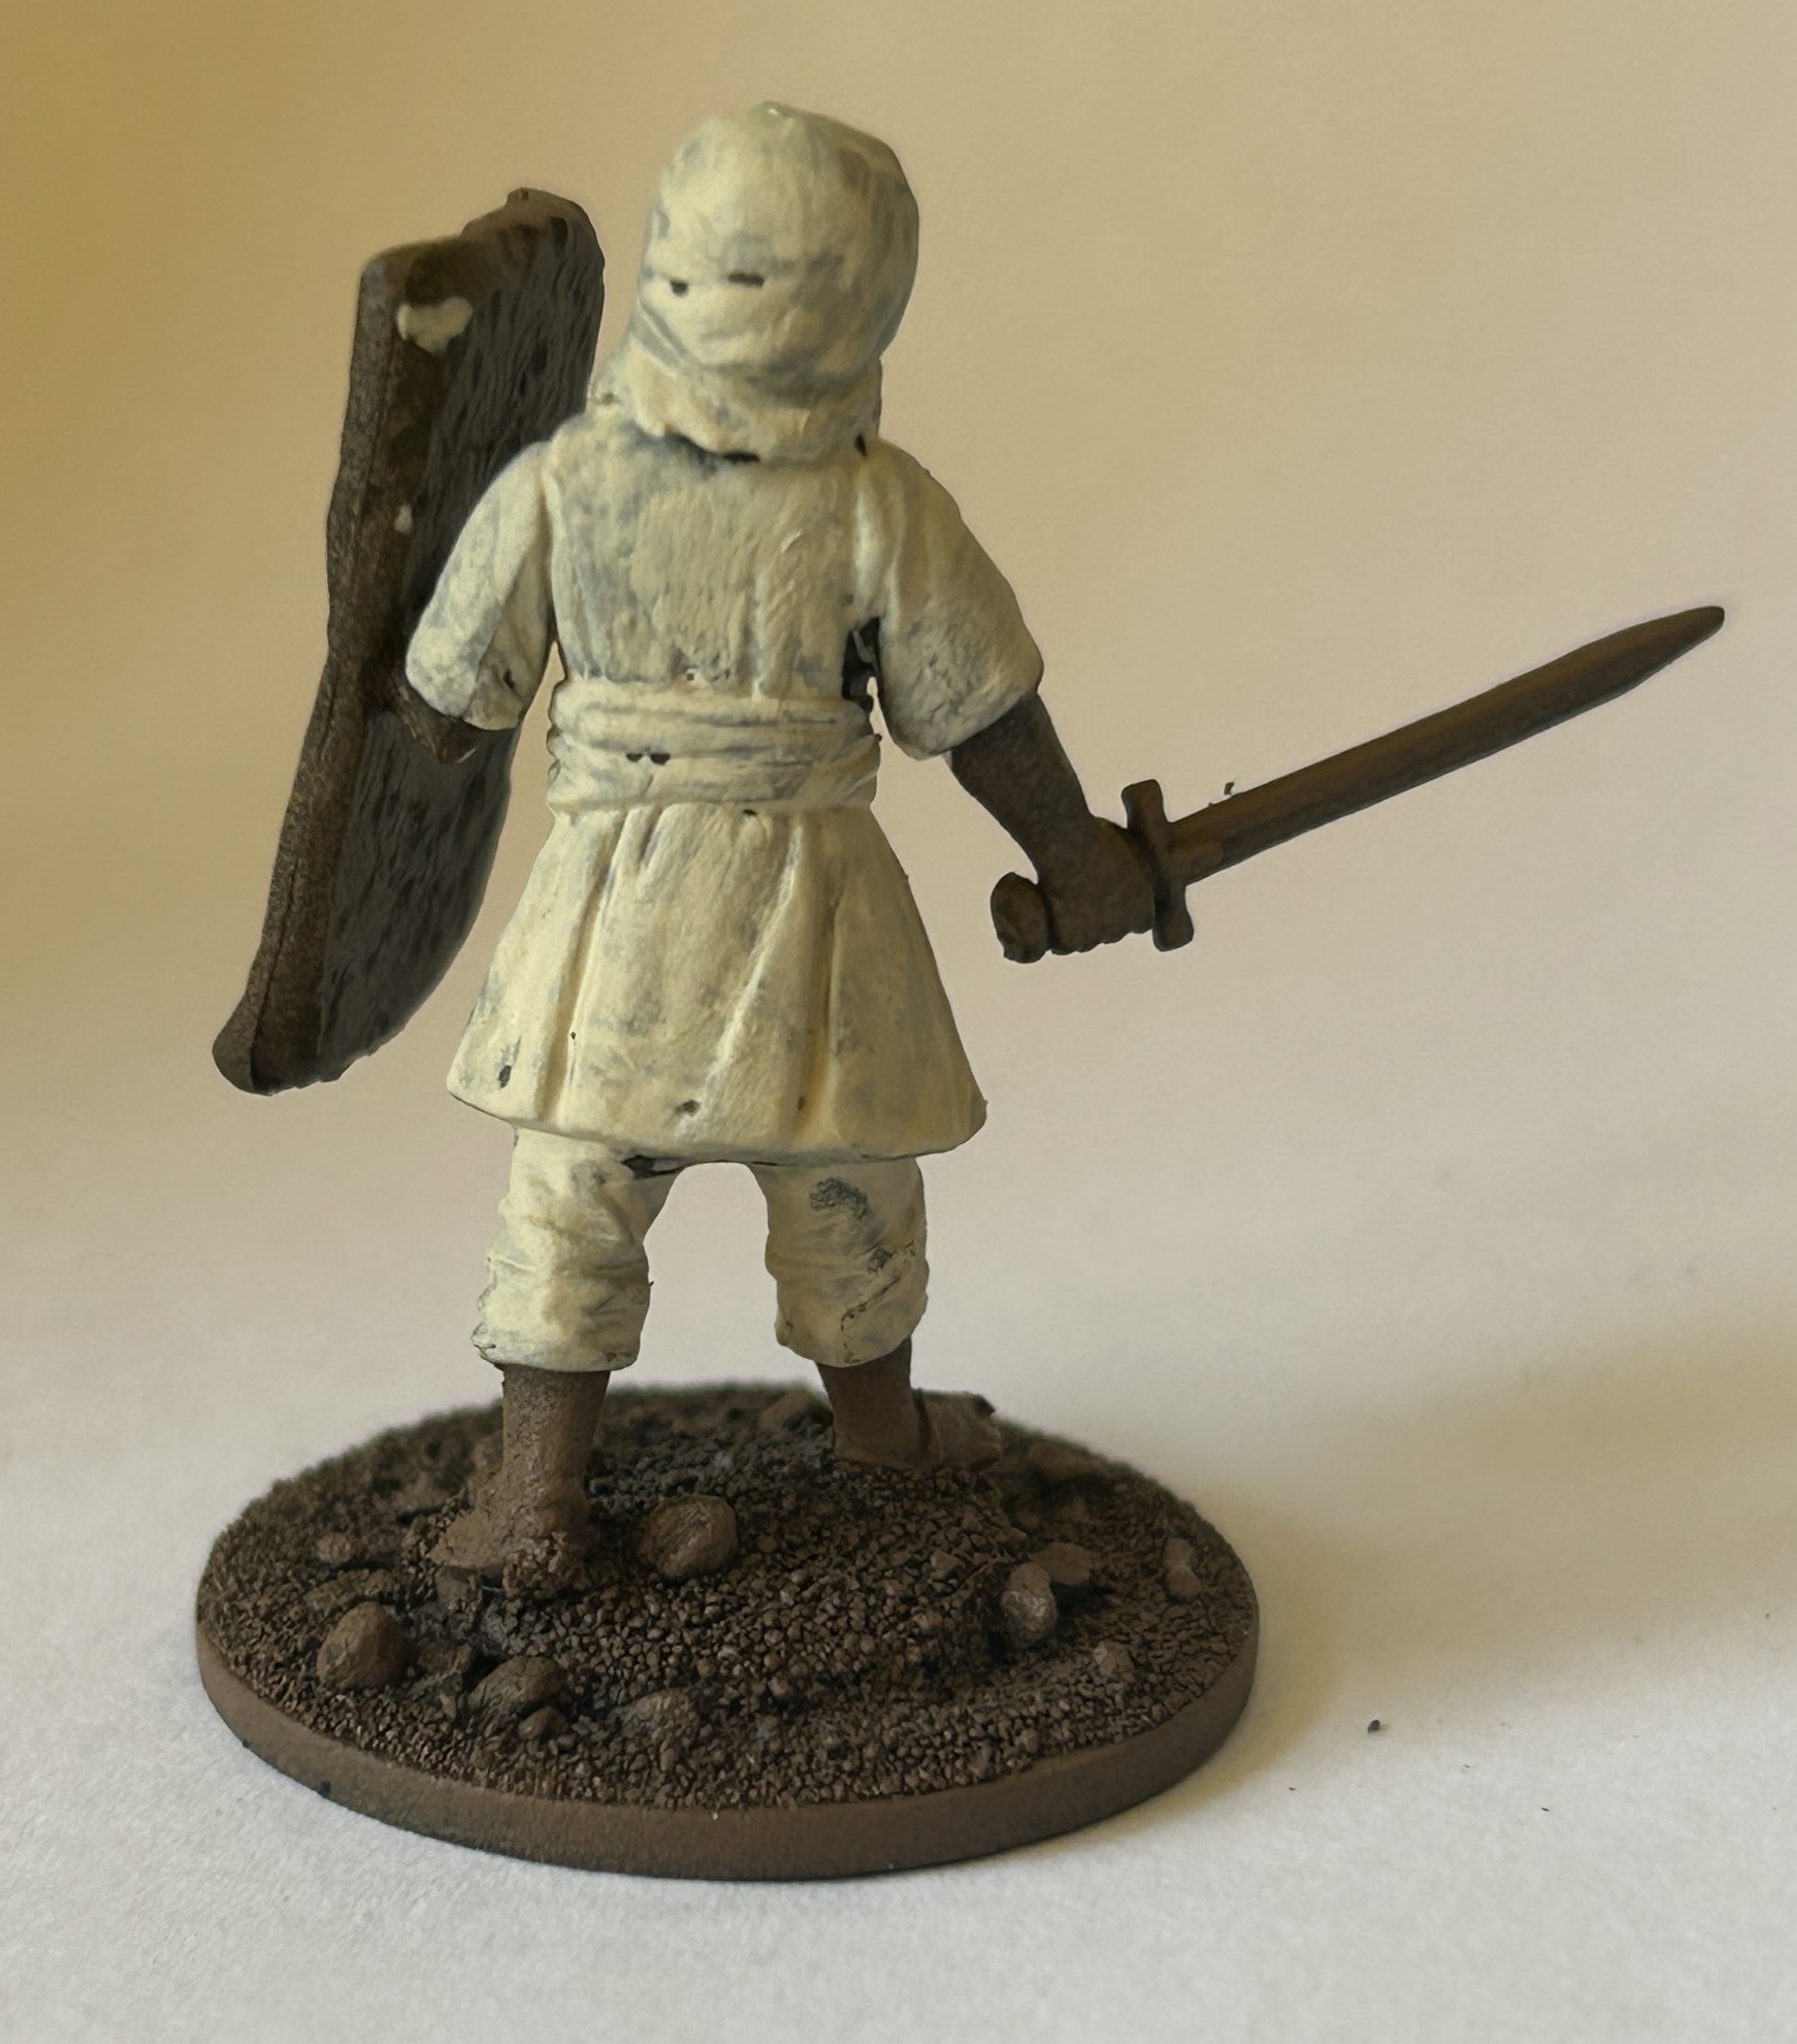
After some consideration I’ve decided the shields are darker than I wanted but I actually quite like it. I’m highlighting with a light dry brush of Vallejo Earth. Then another highlight with Bonewhite. Here they are after the first highlight. (After reviewing these images I decided to go with the second, lighter highlight):

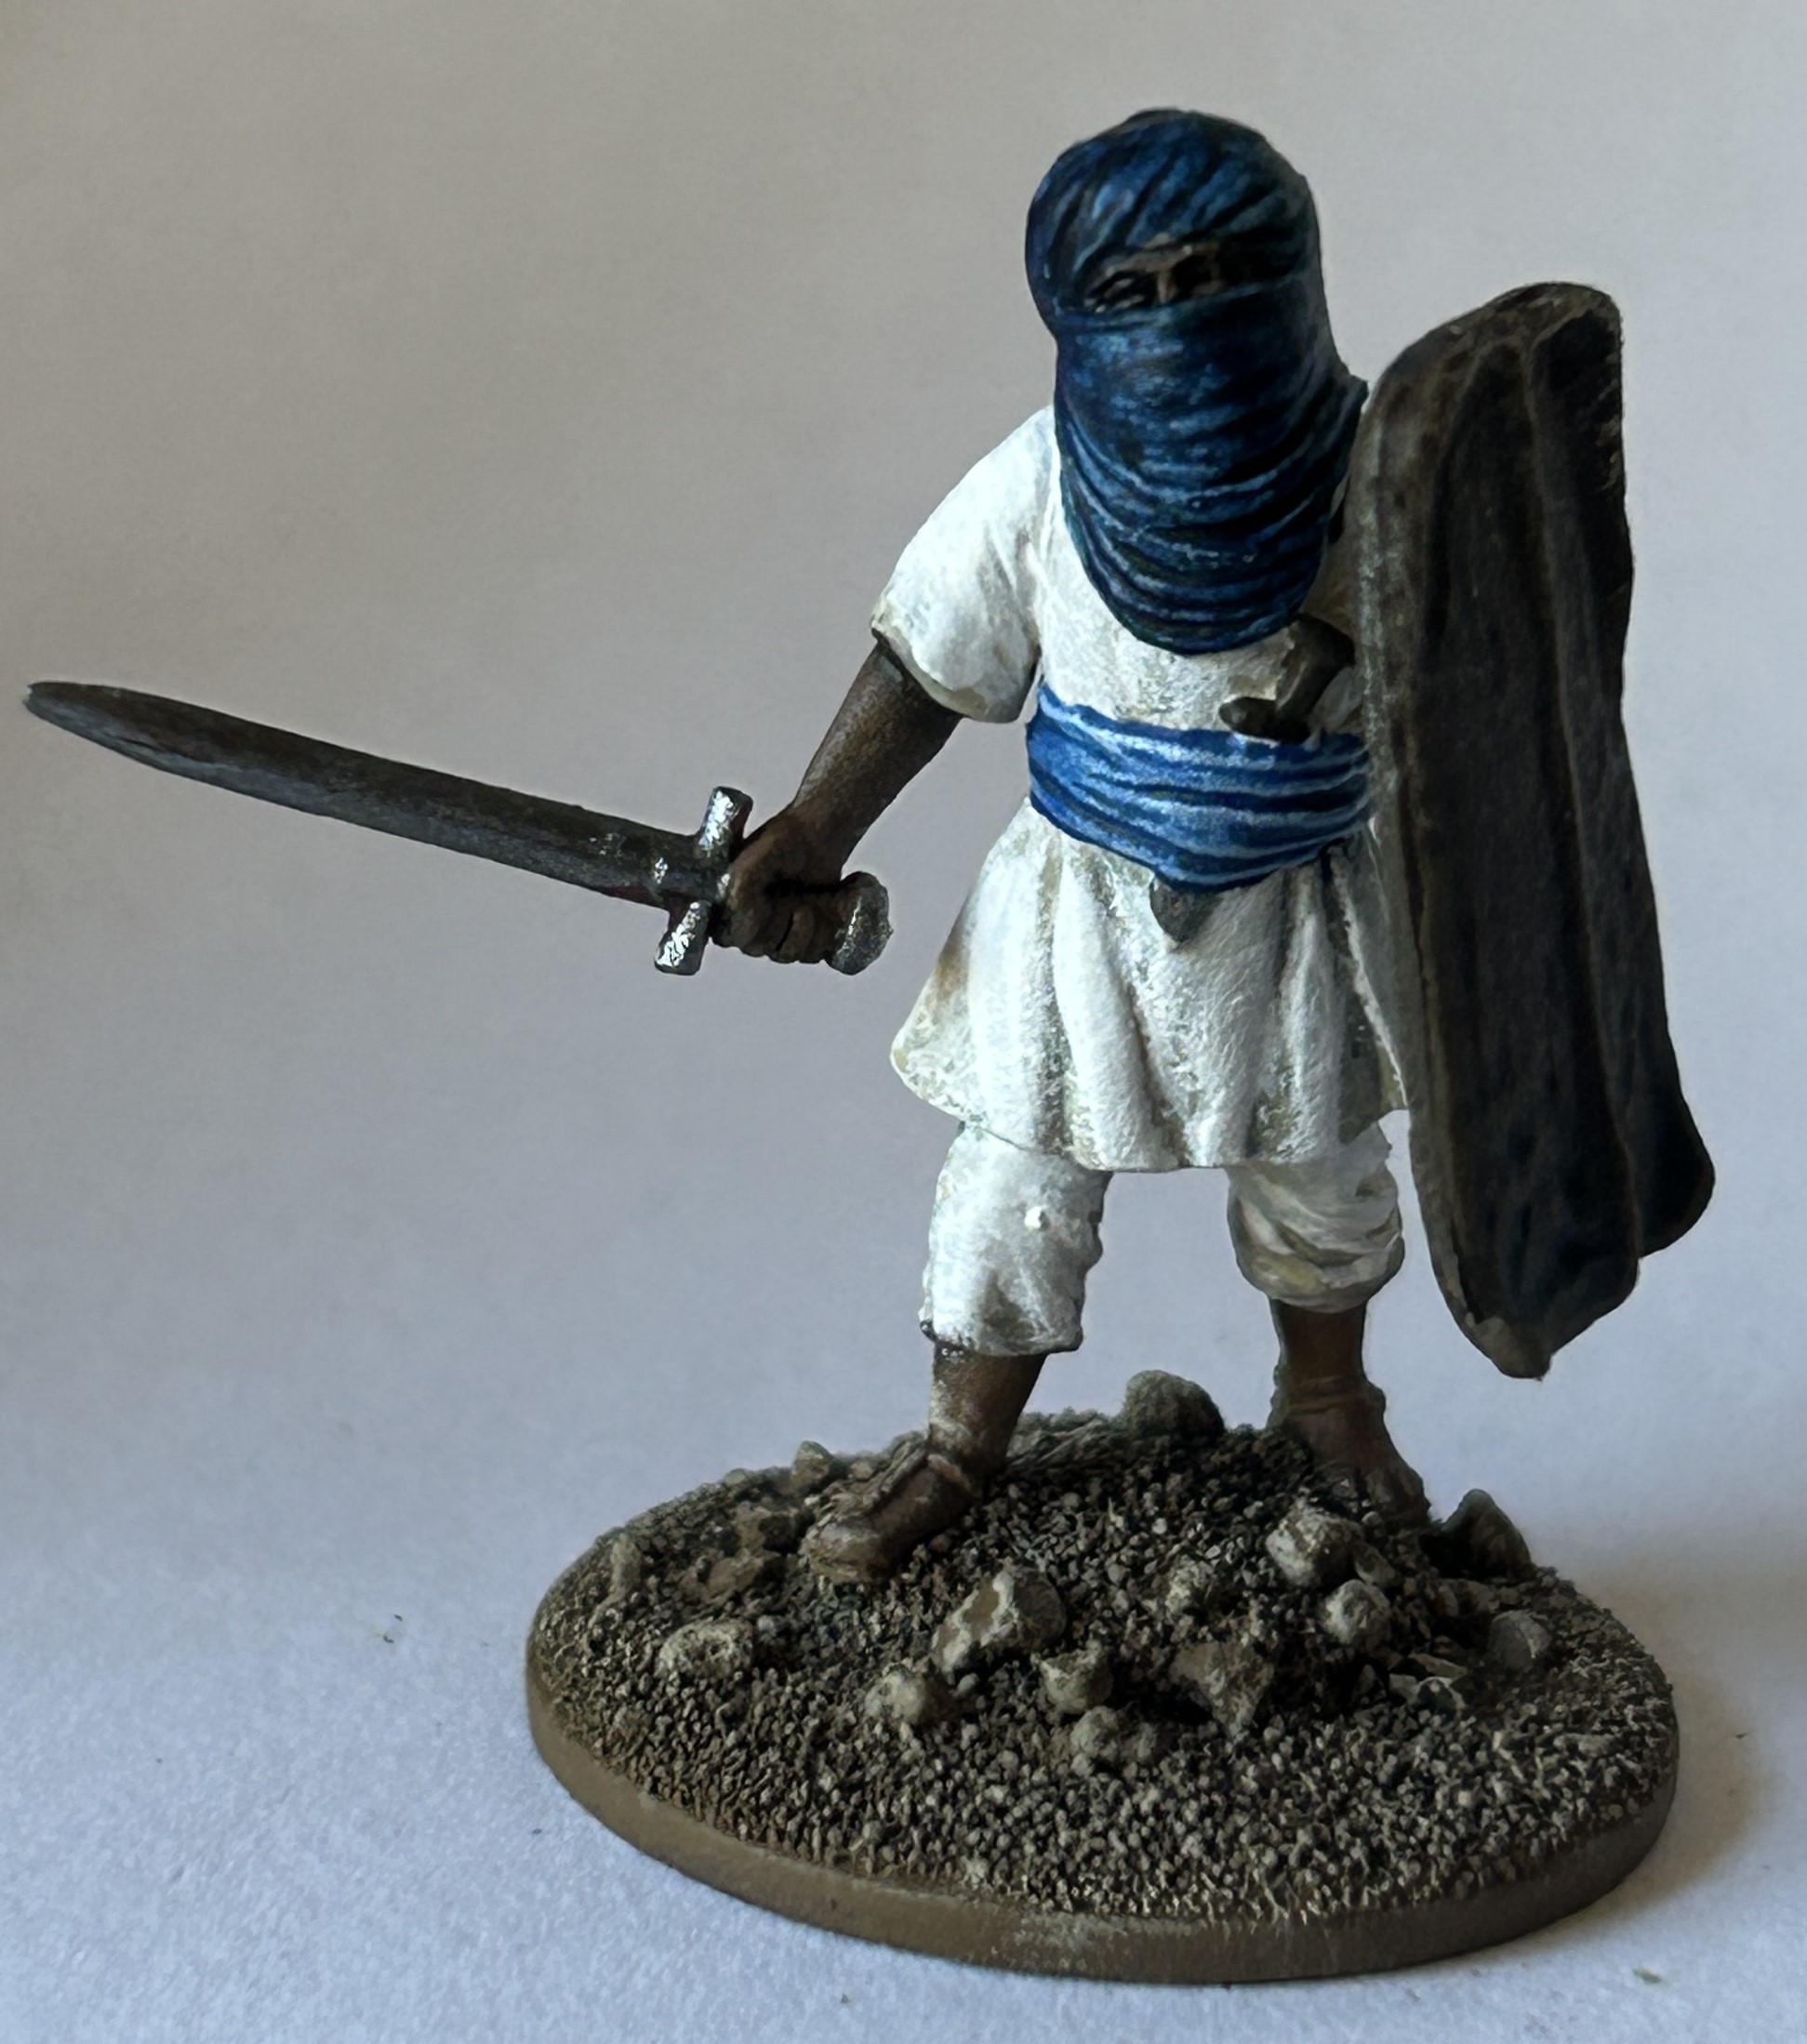
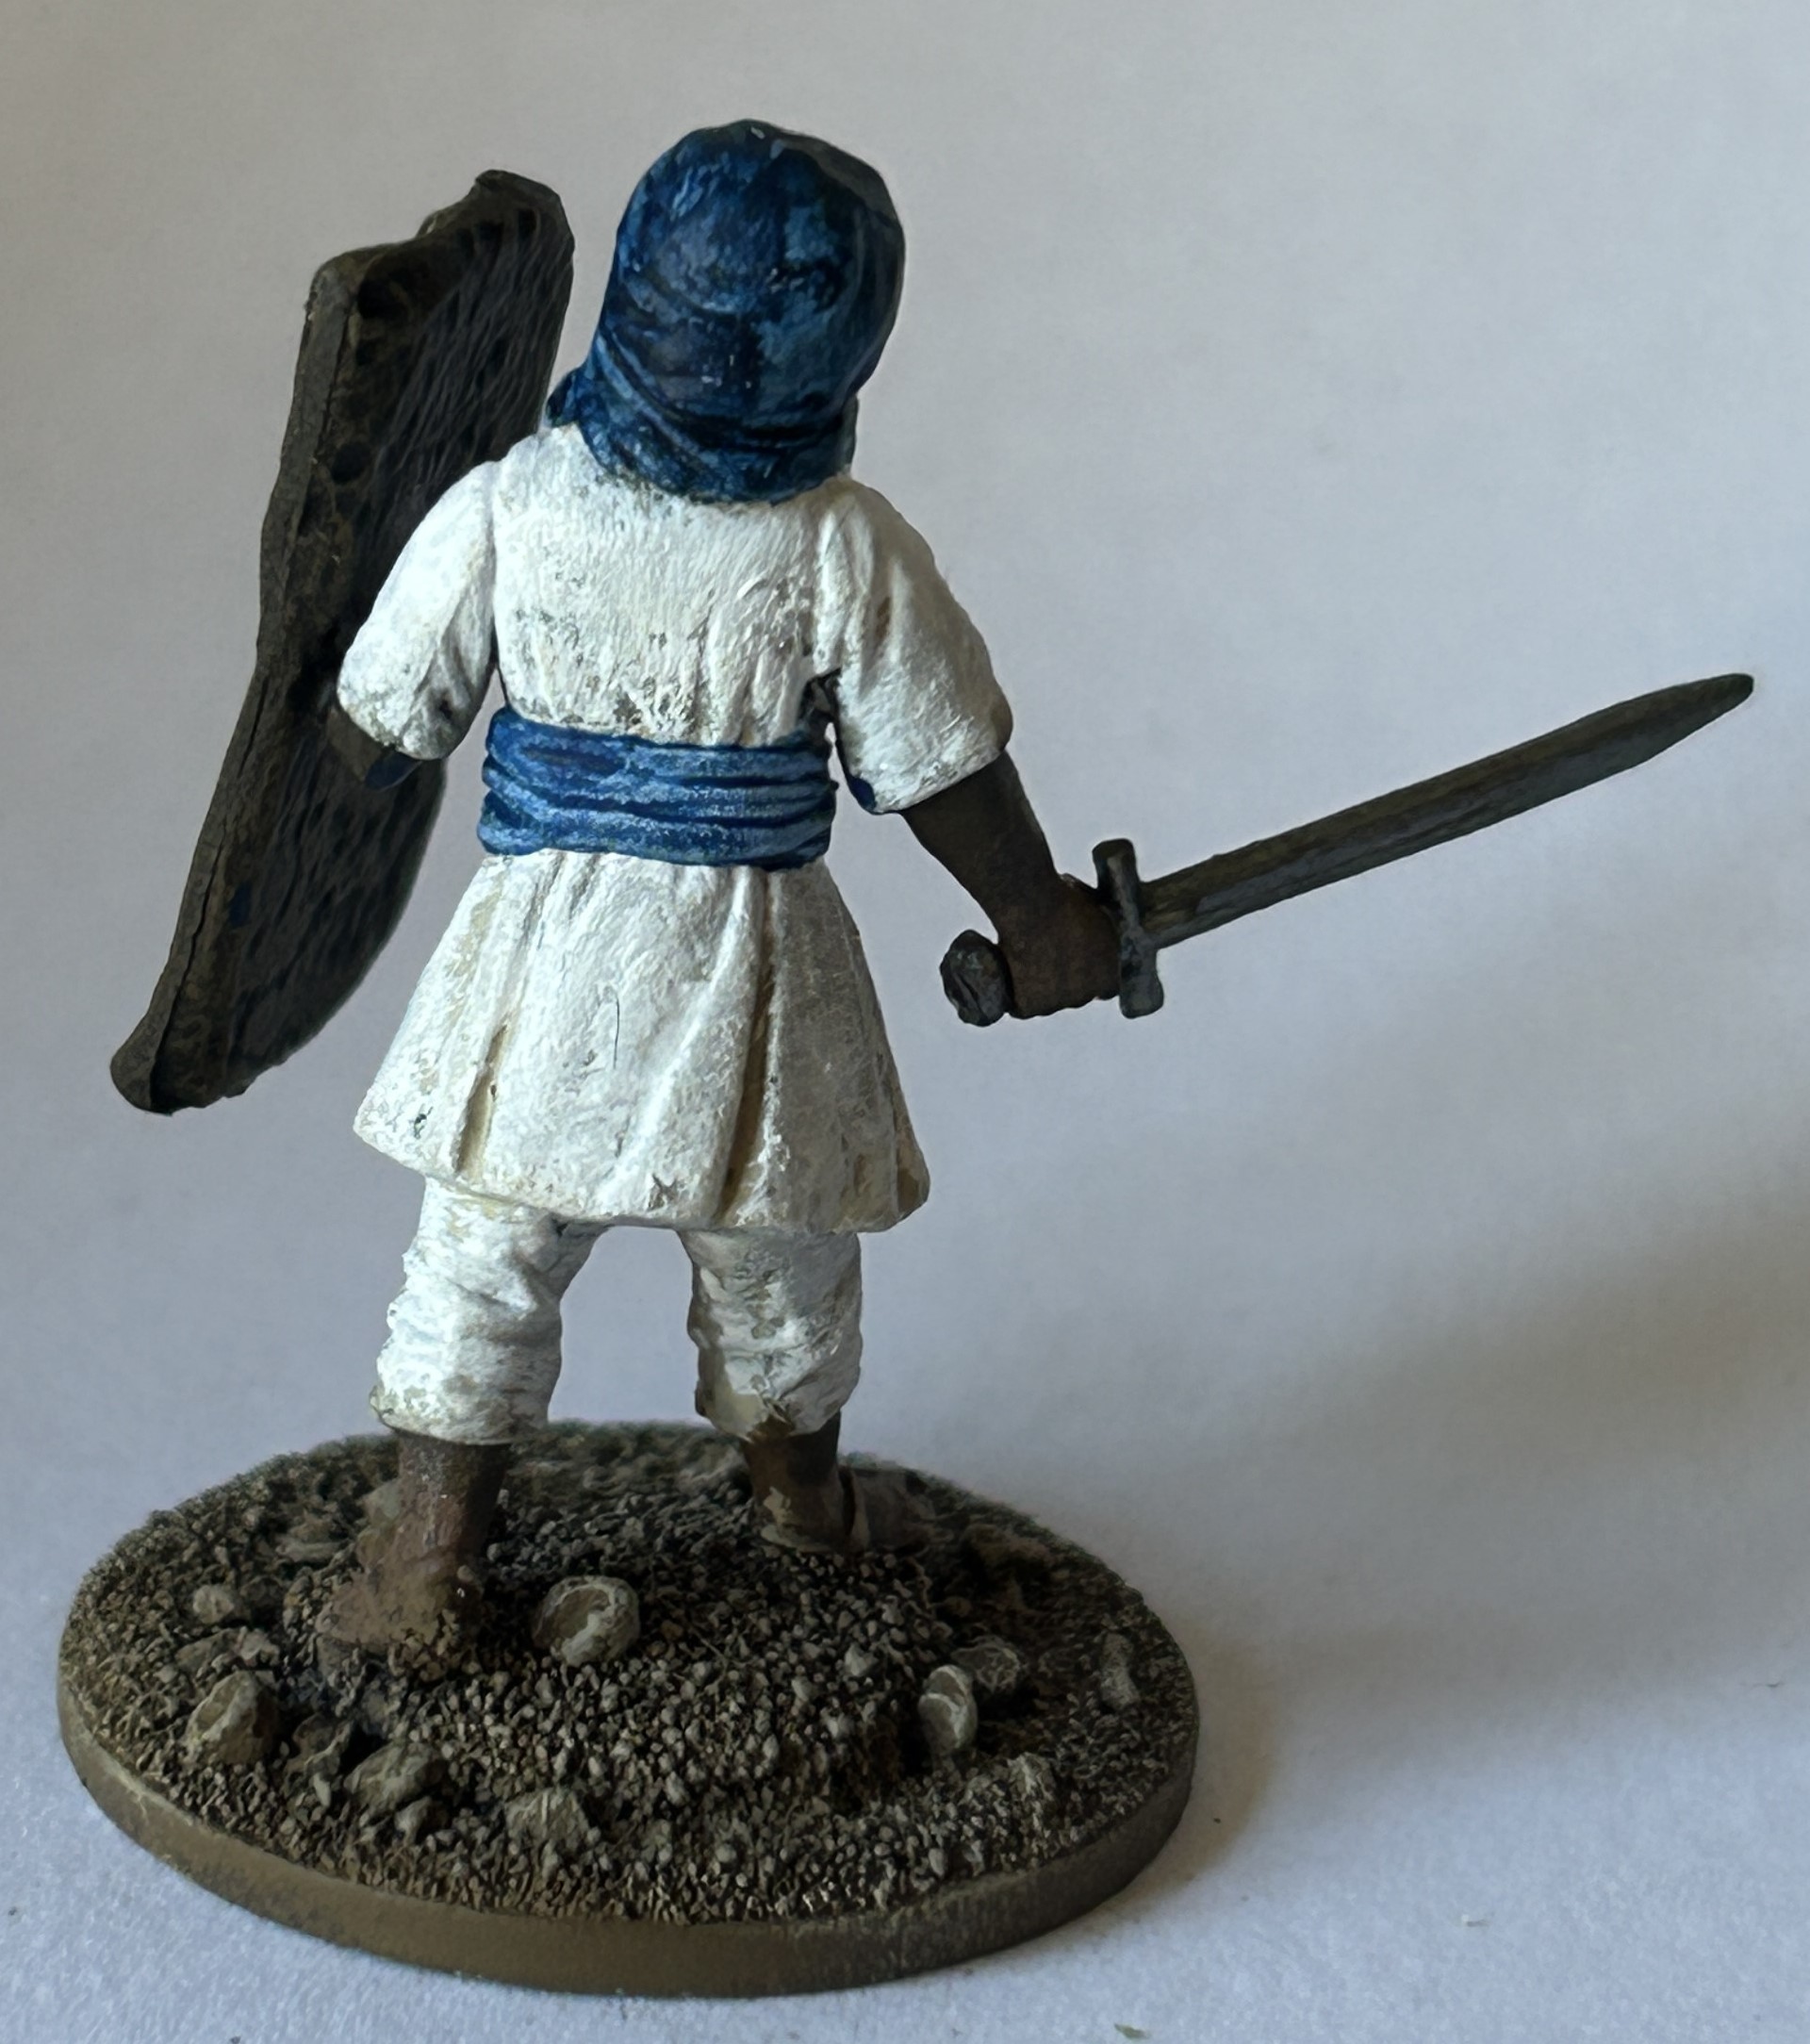
Now some focus colours. First photos are metal which is Vallejo Gunmetal. Then in the second some blue material using the same Speedpaint blues either neat or blended that were used on the Mungu archers. At this point I also tidied up the skin with some leather brown and black – blended to match the relevant colour for the area being repaired. Using this colour the handles of the daggers were also completed.
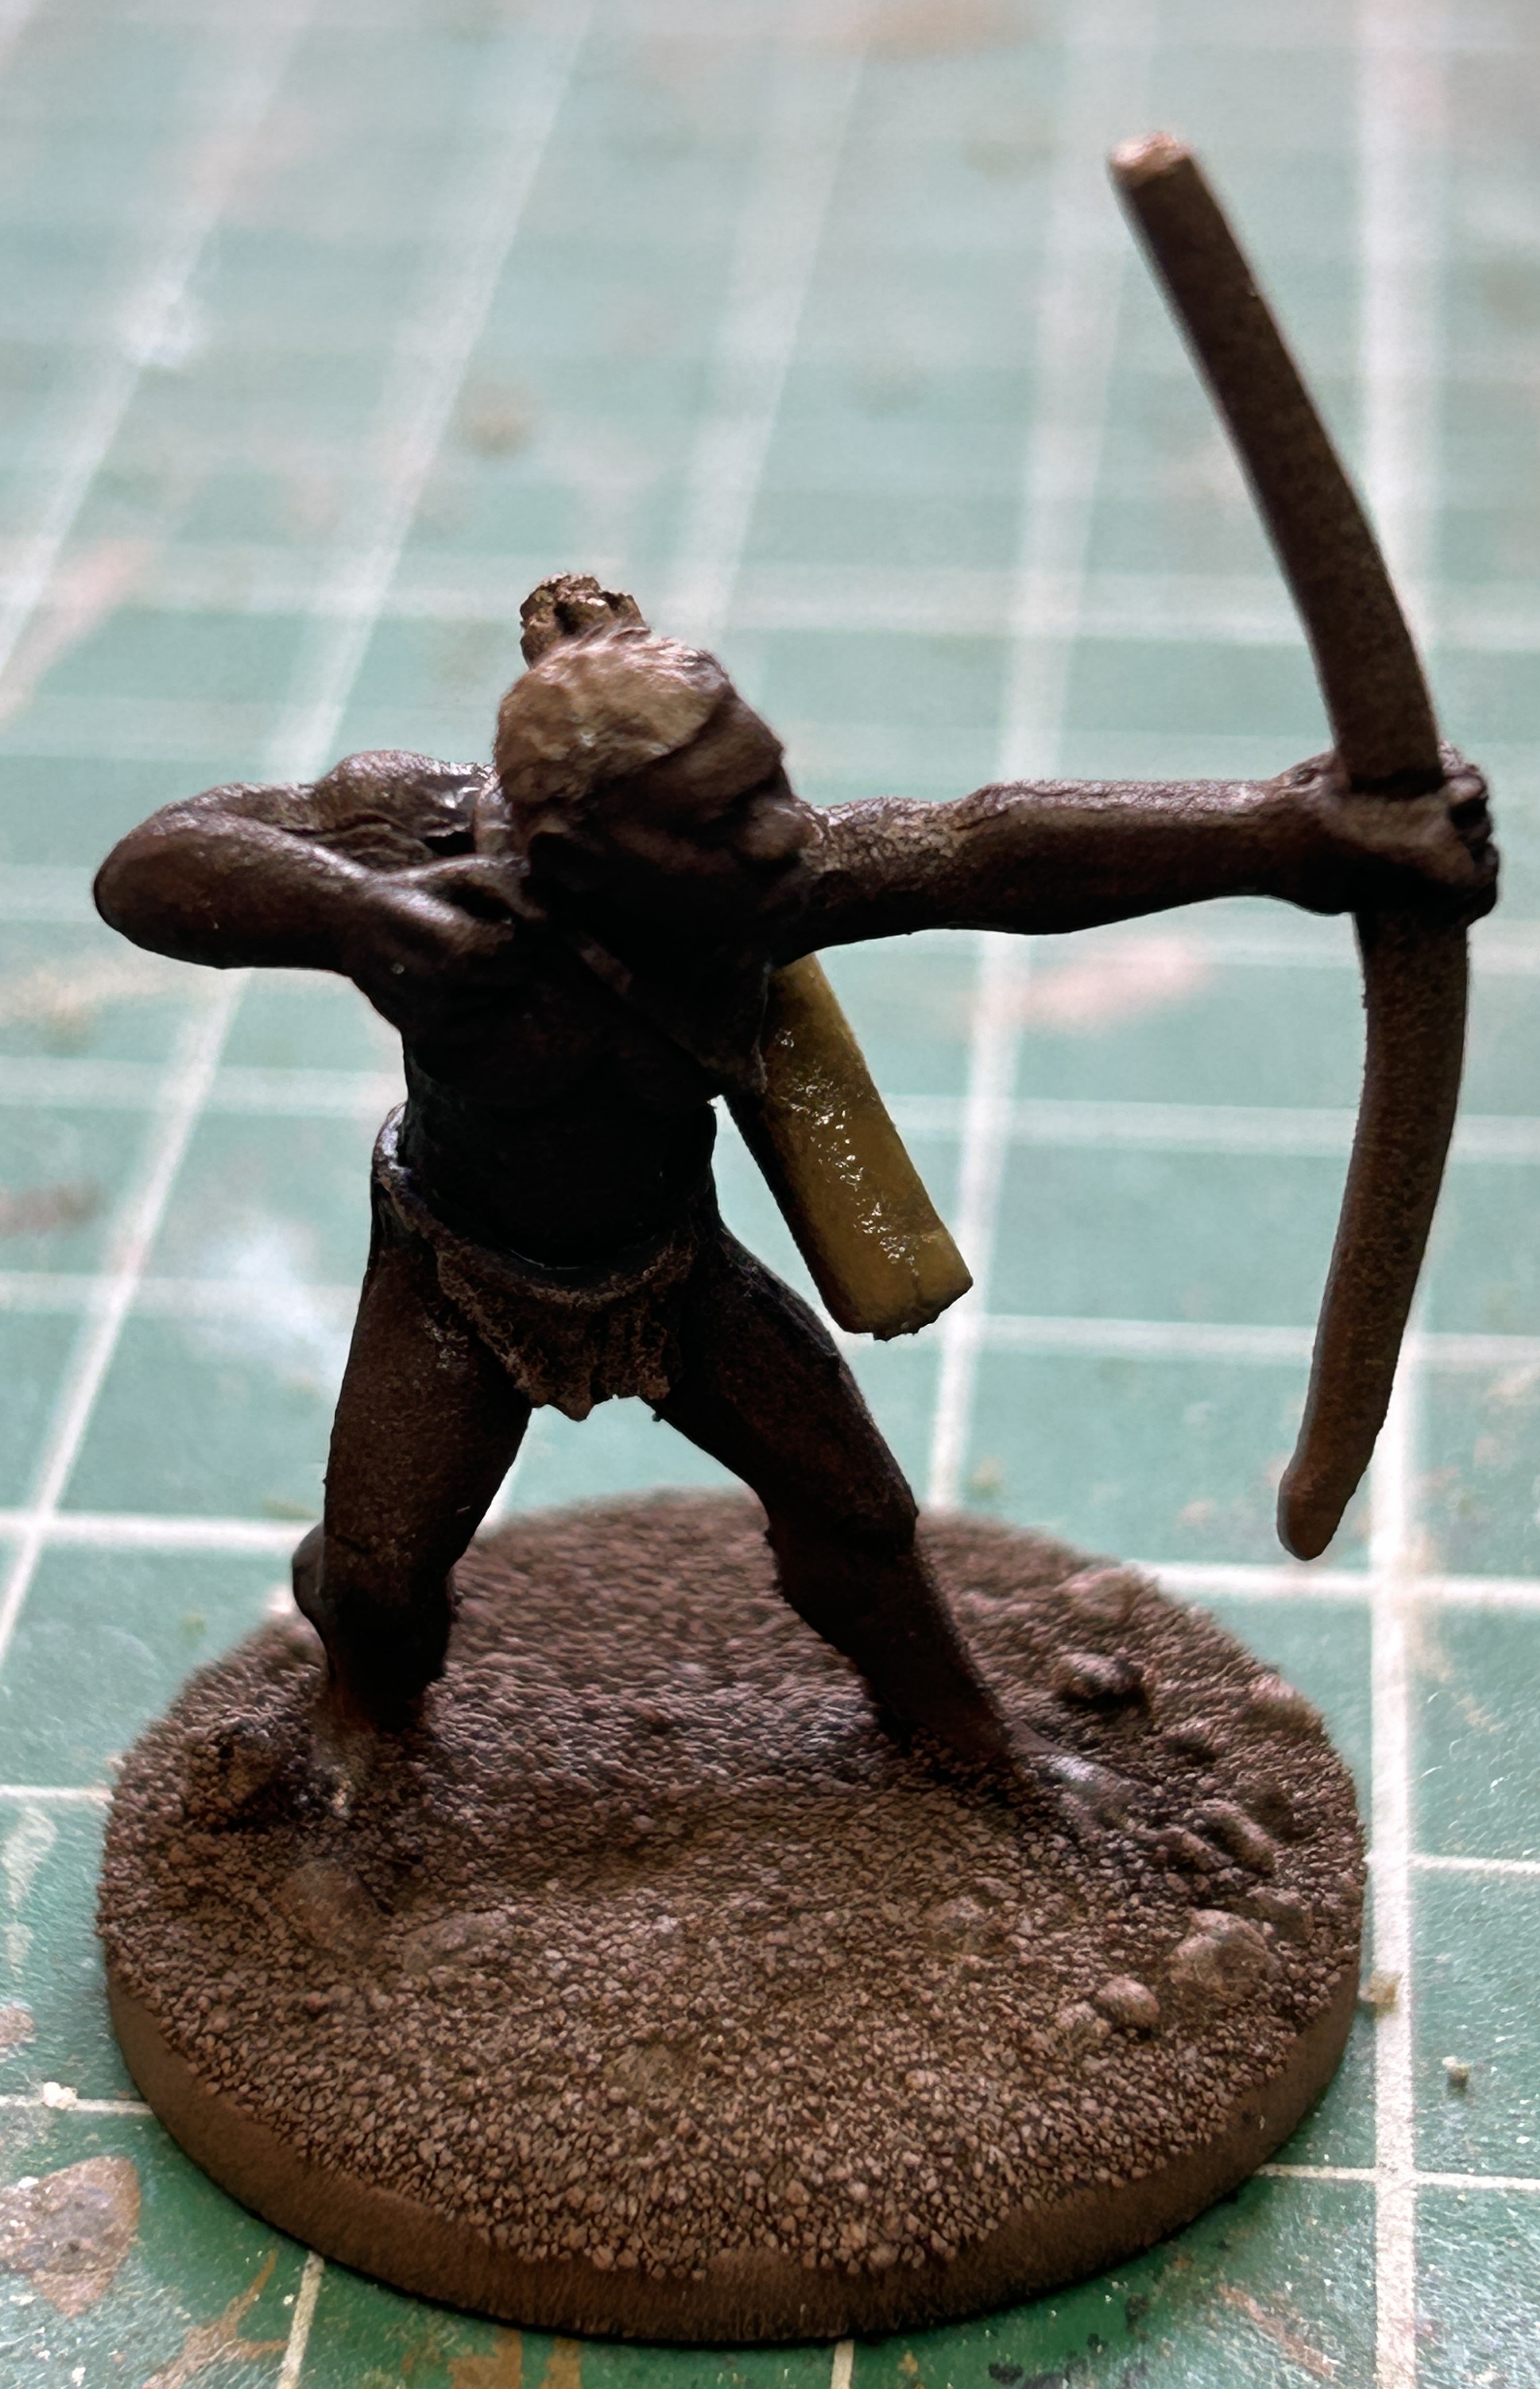
Finished Mungu Archers
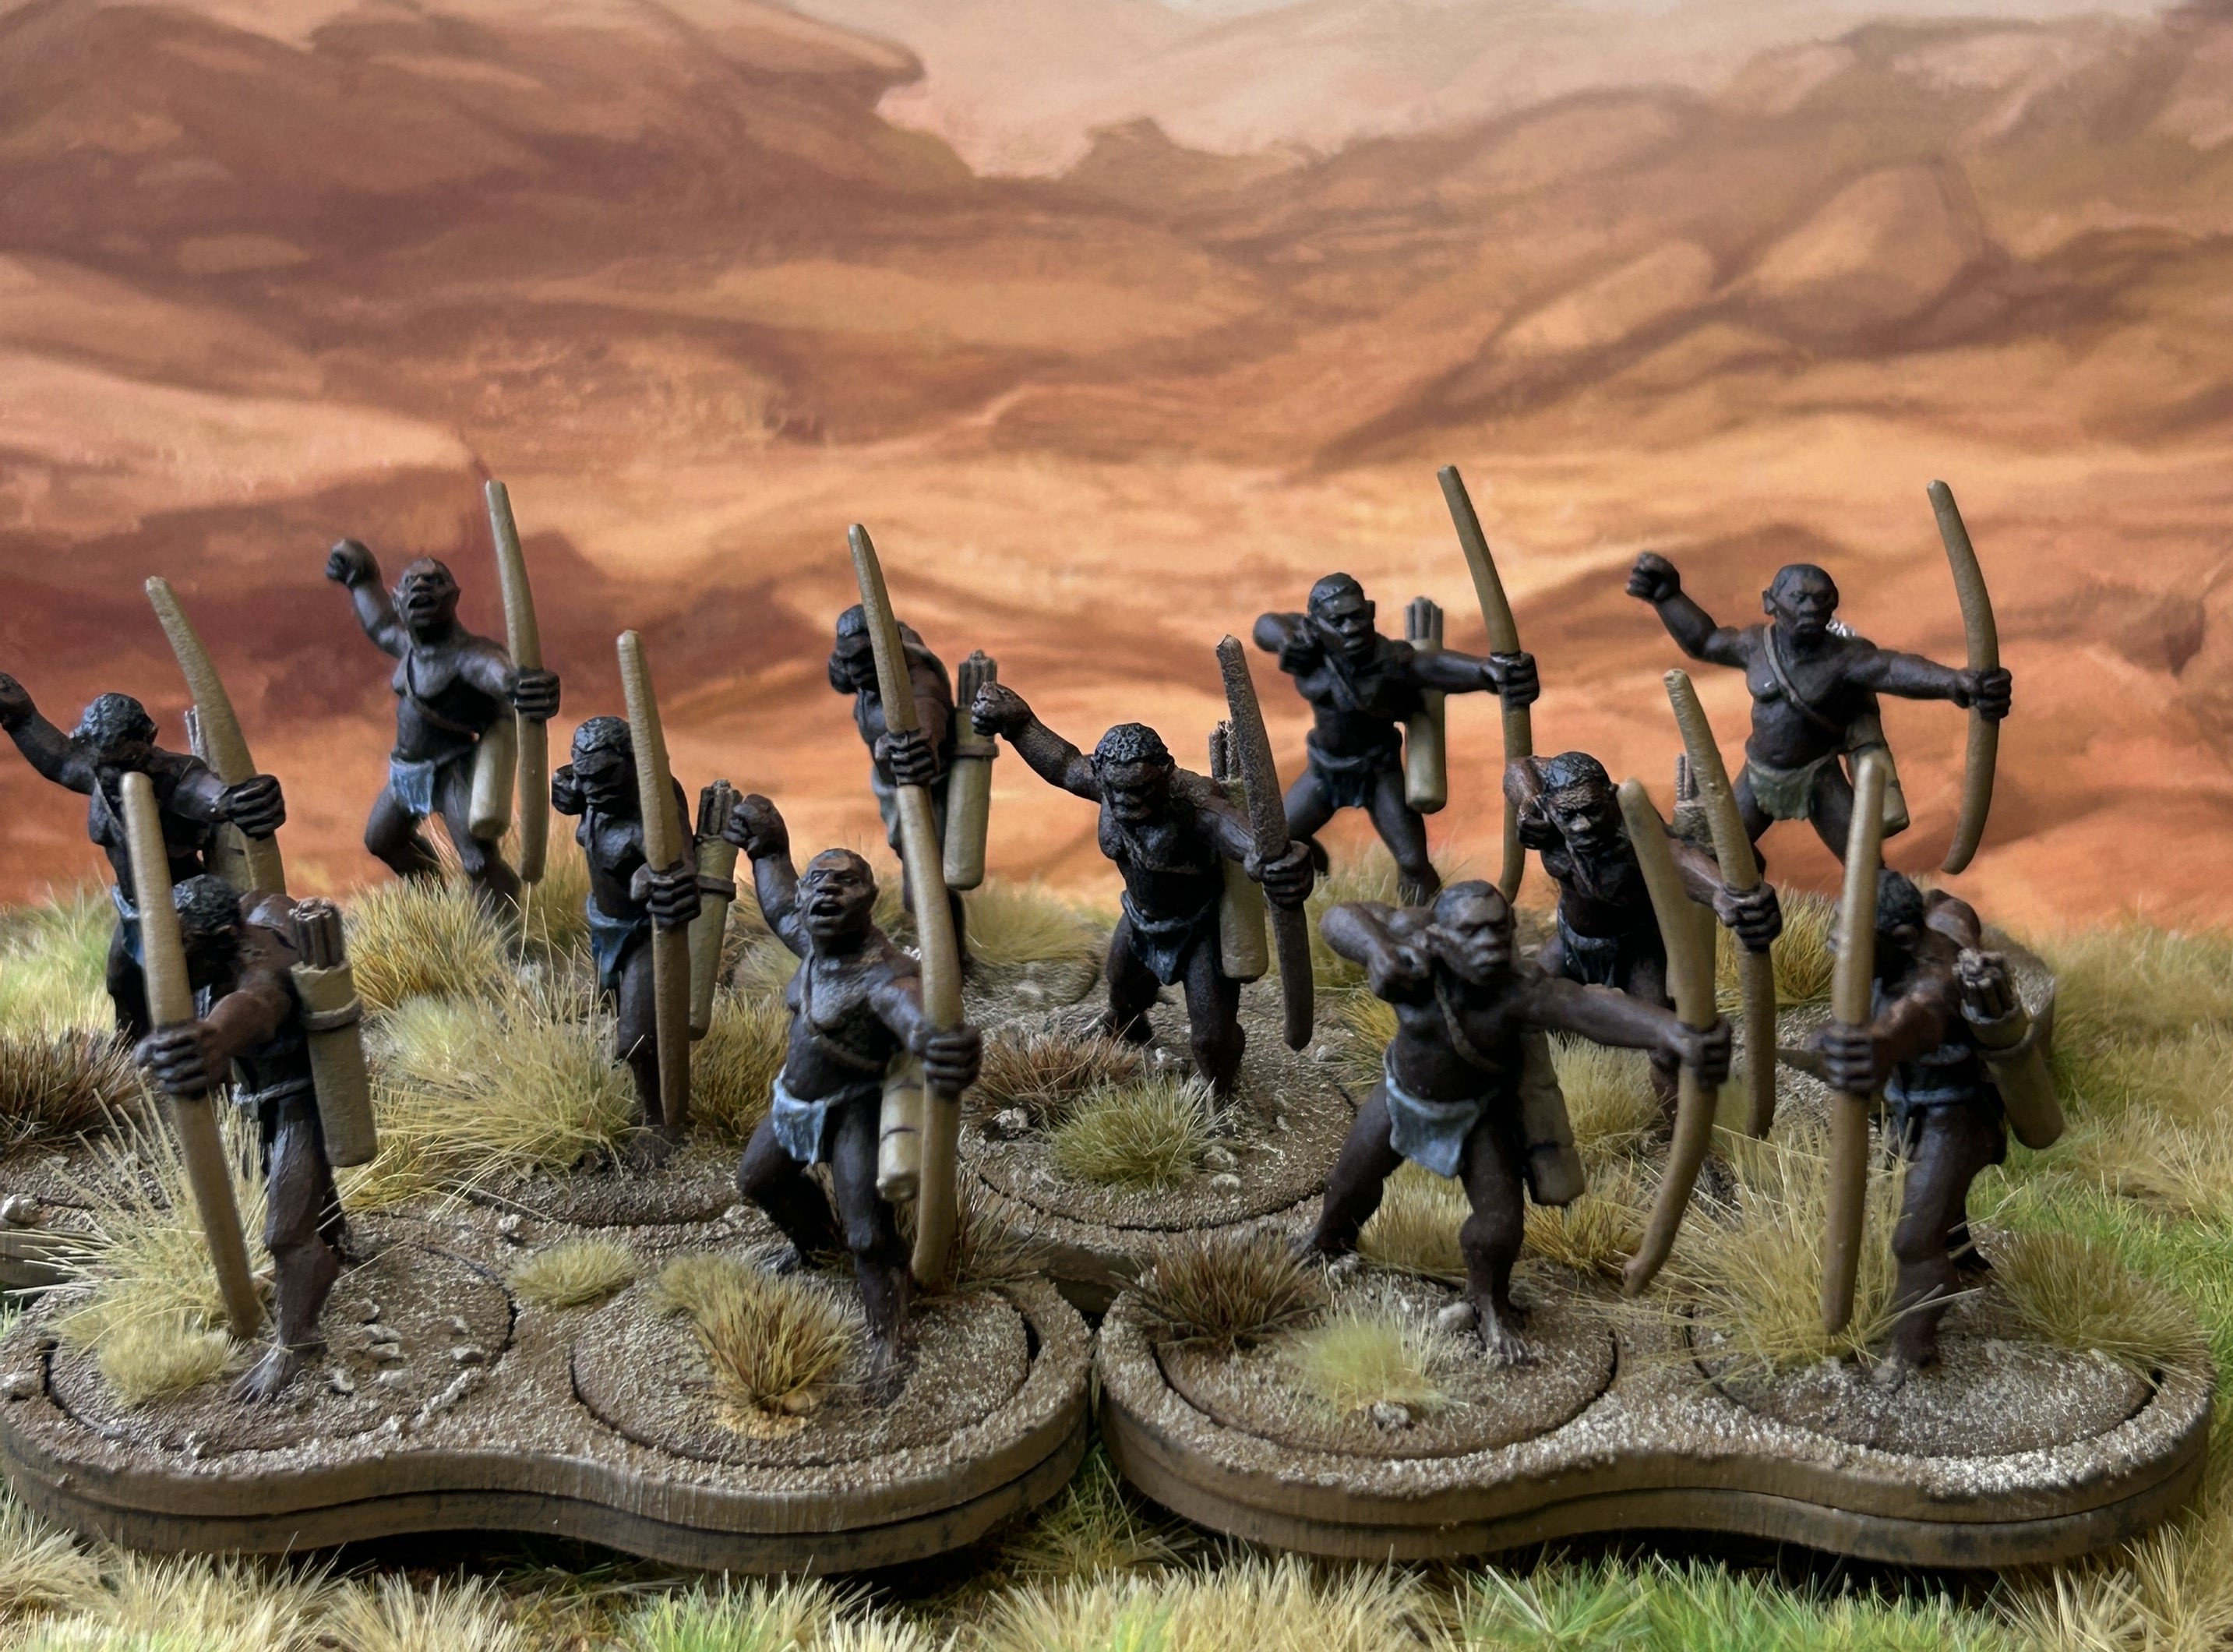
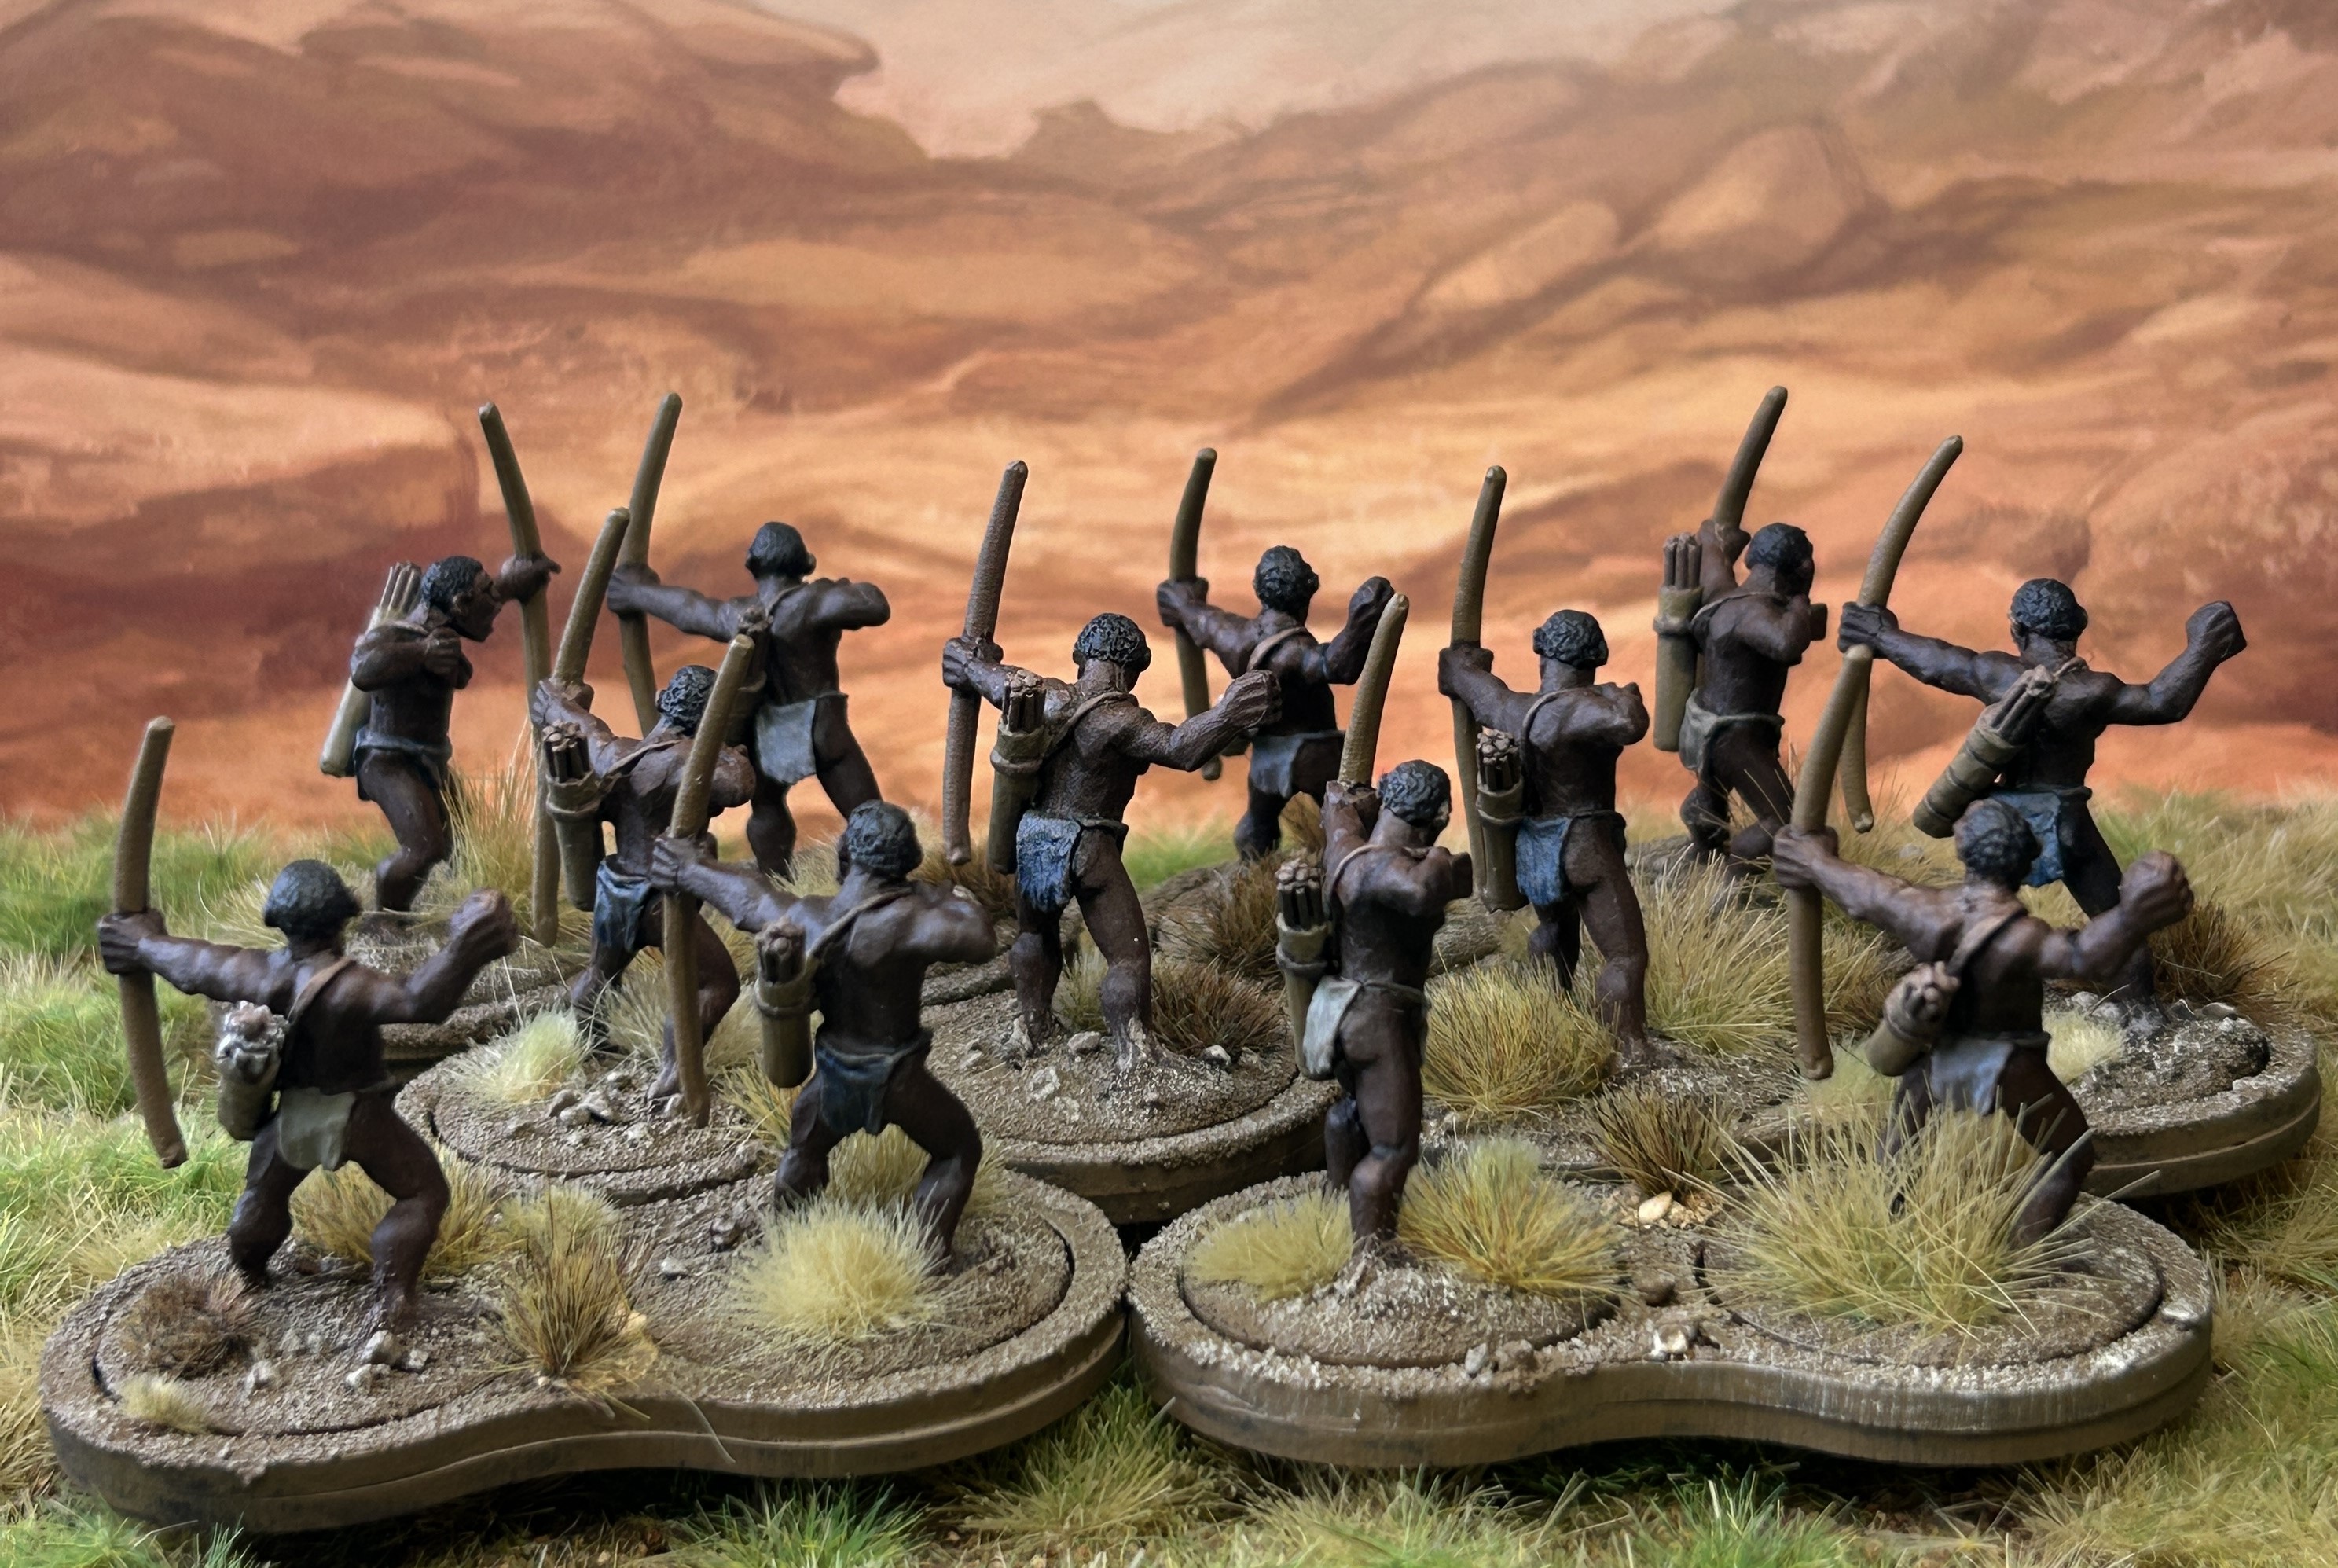
The completed unit. You can see the subtle variation in the loincloth colours despite the limited palette. Basing scheme as previously detailed. These six bases come in at 24 points and can be altered or omitted to provide points that I can use to upgrade one of the mounted units to Shuwa Cavalry.
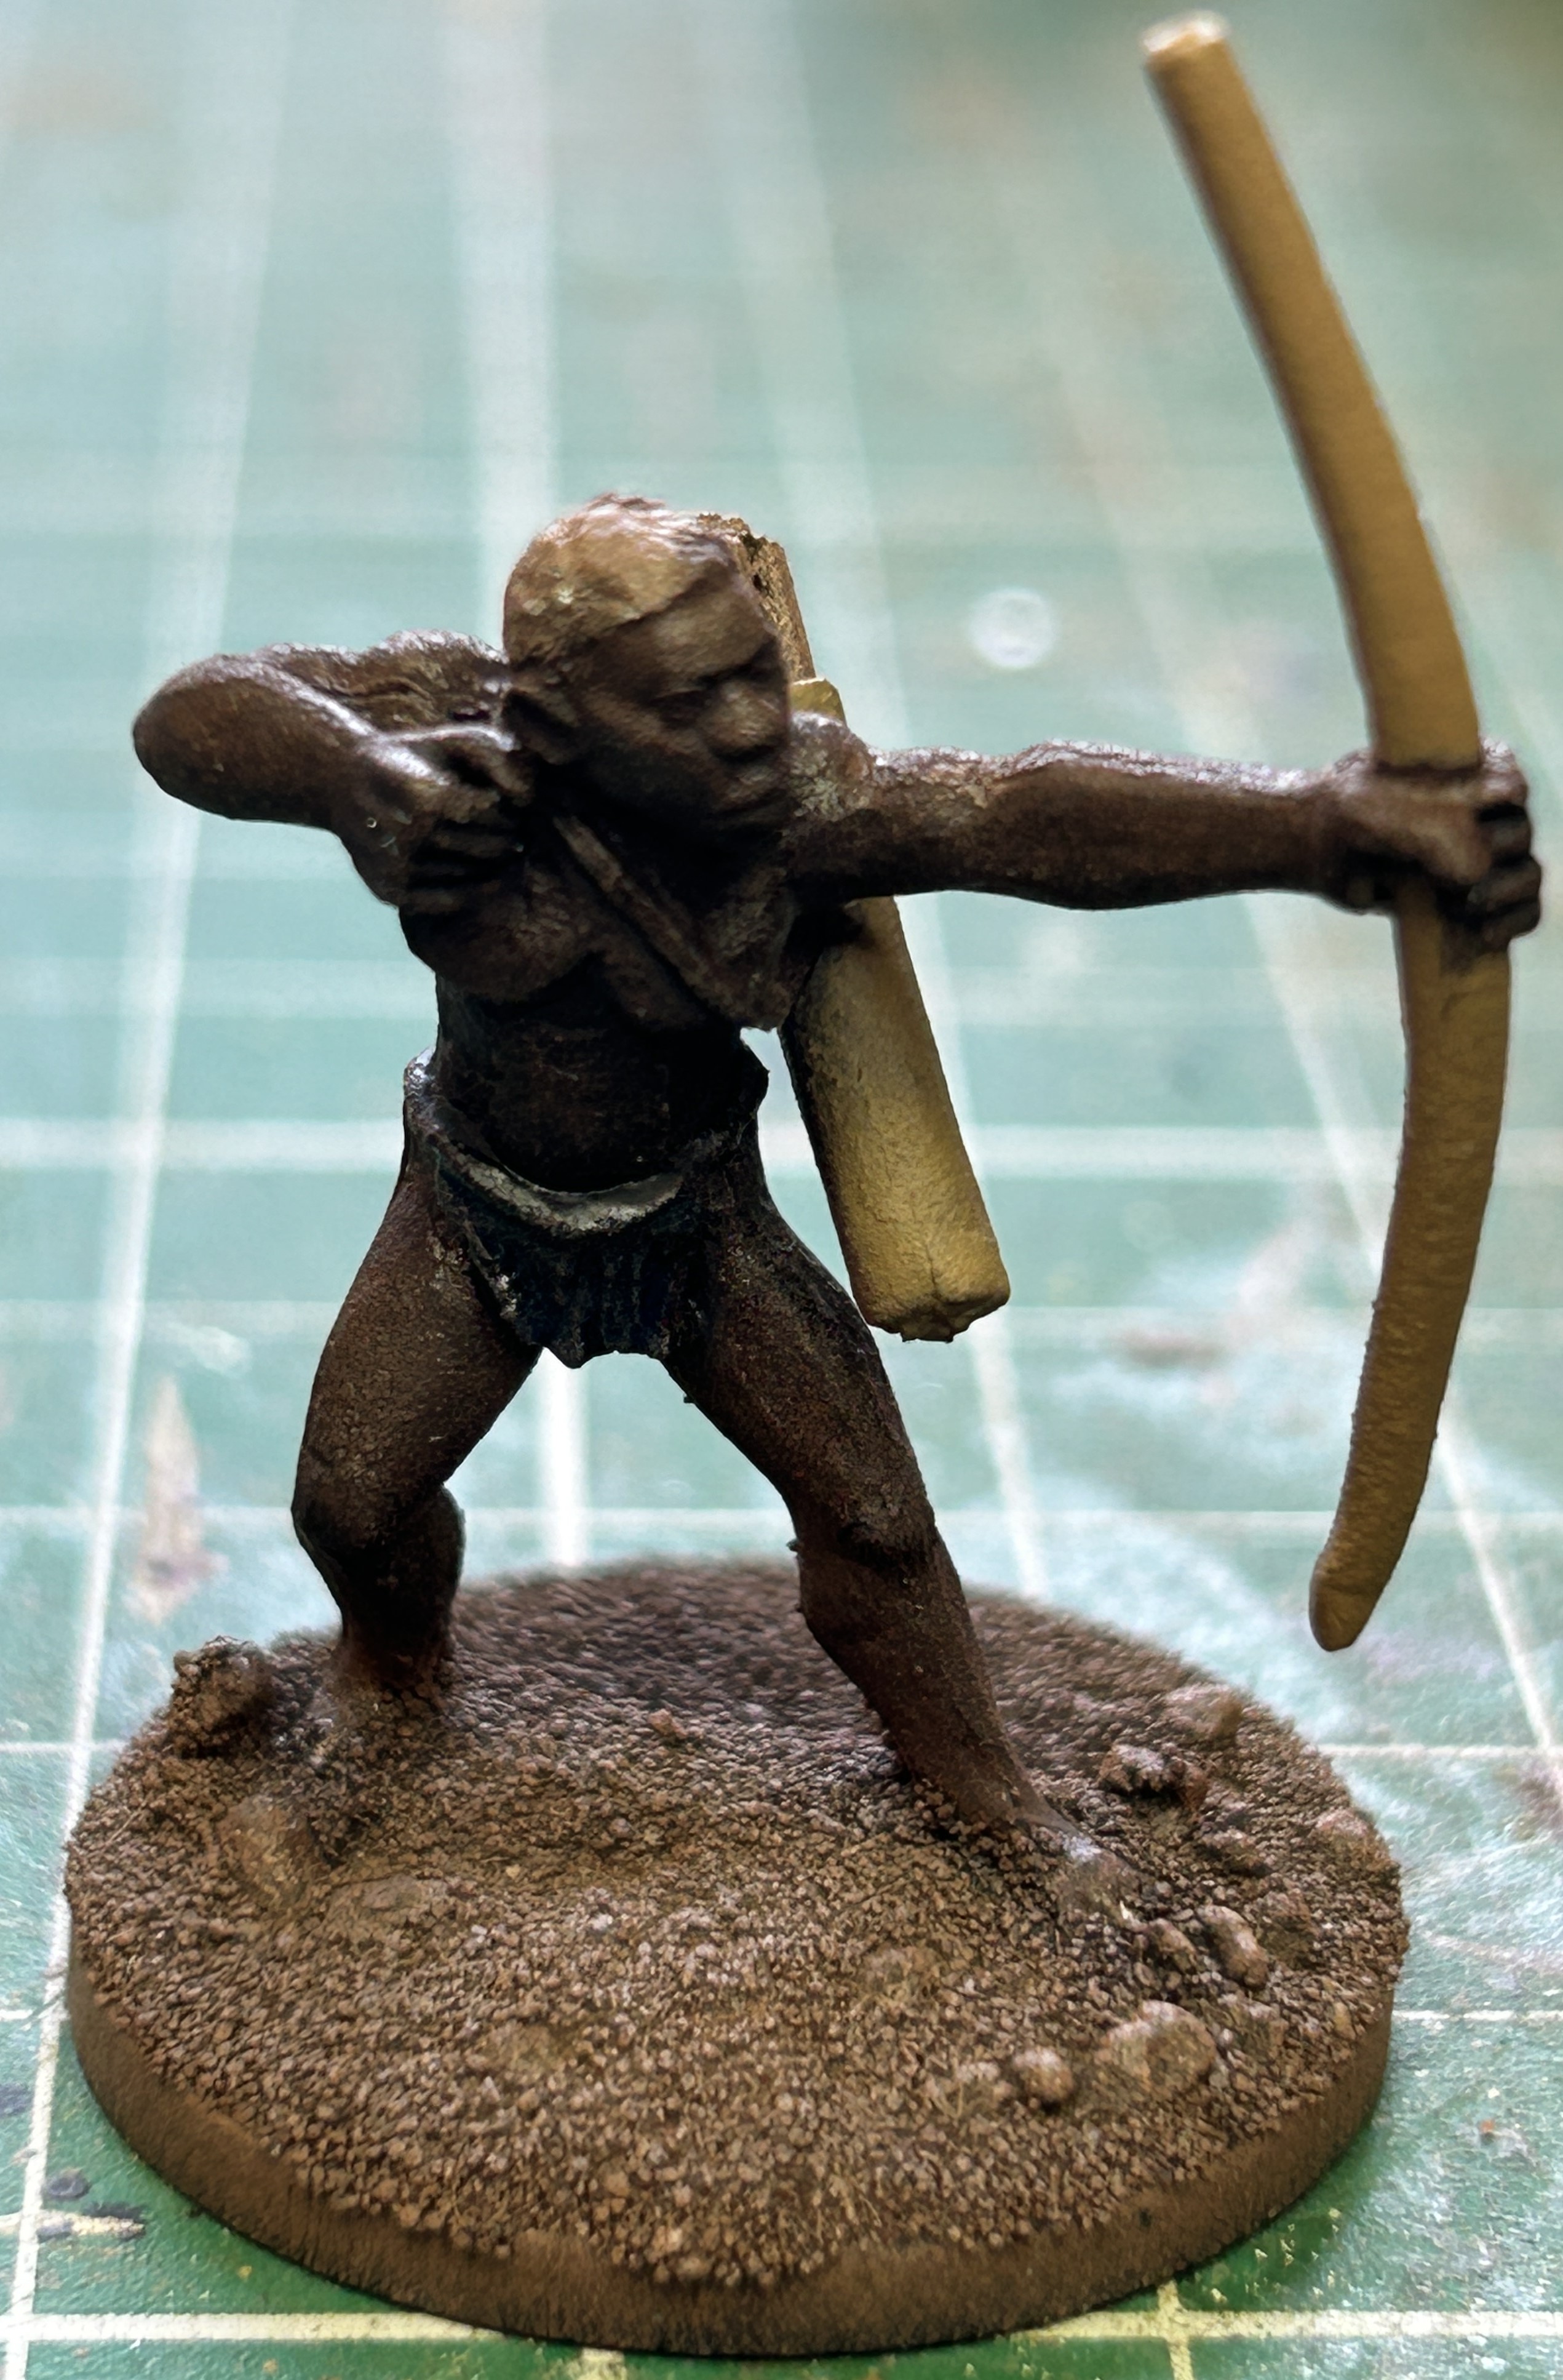
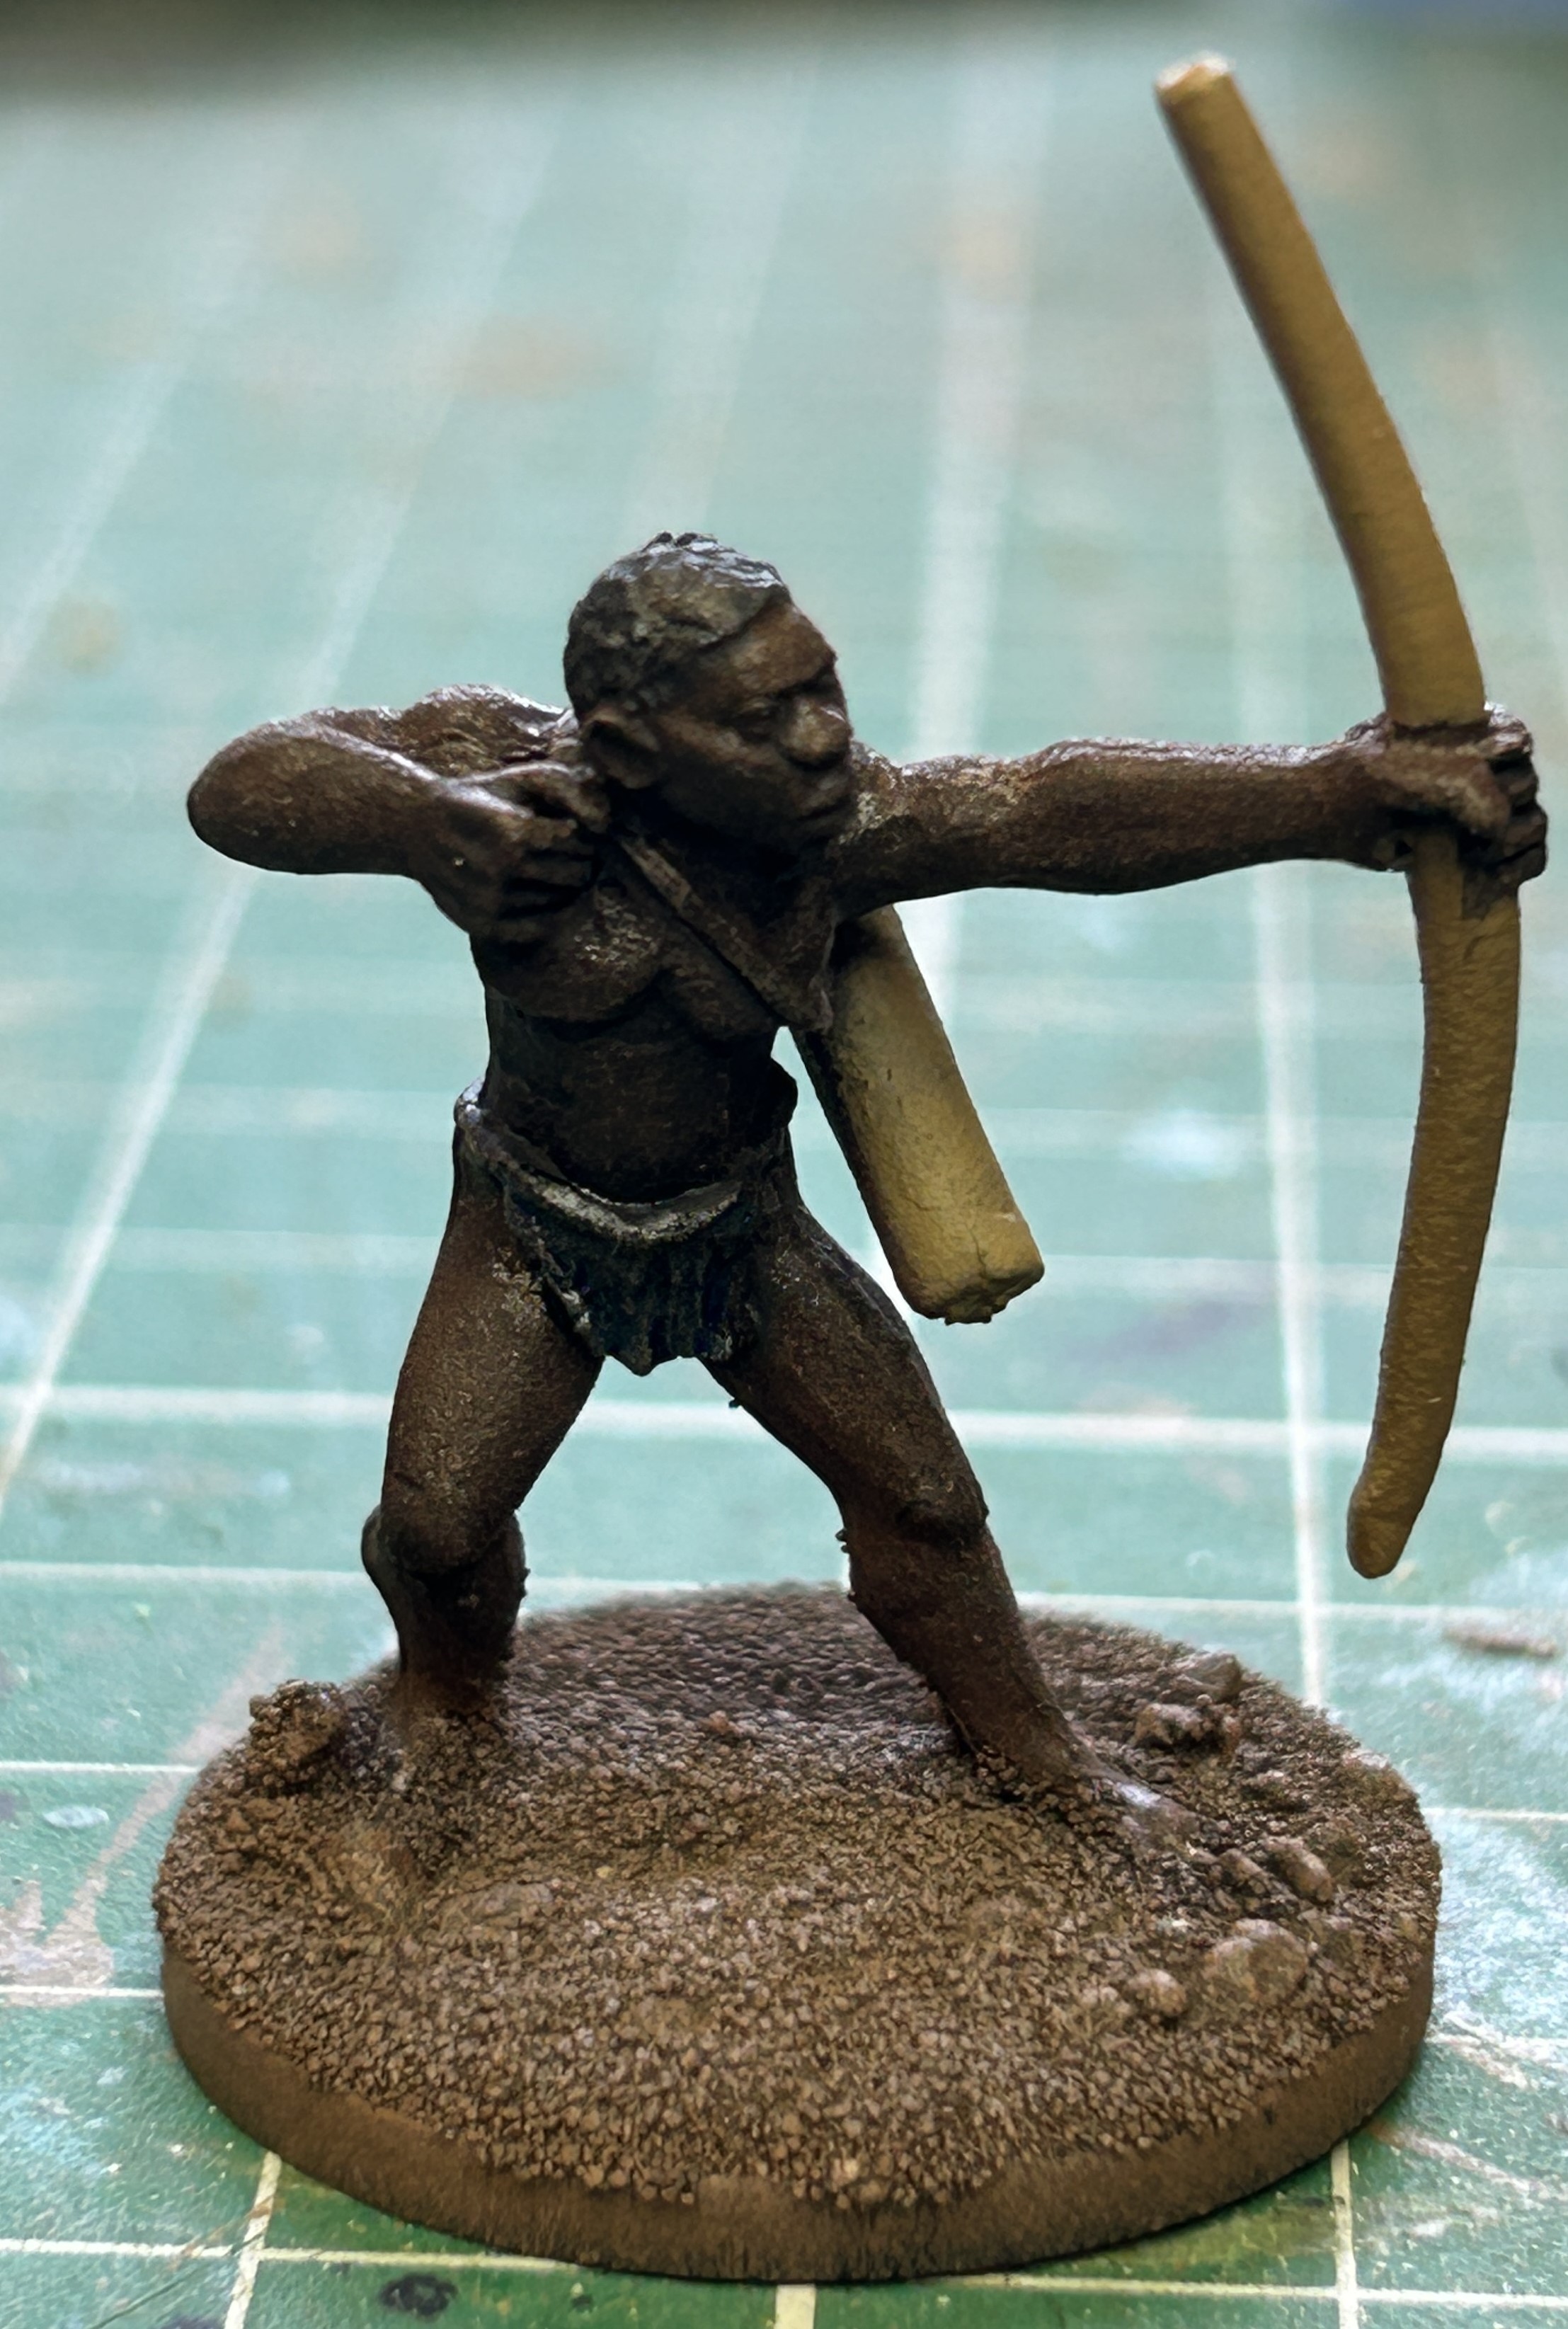
Painting Mungu Archers
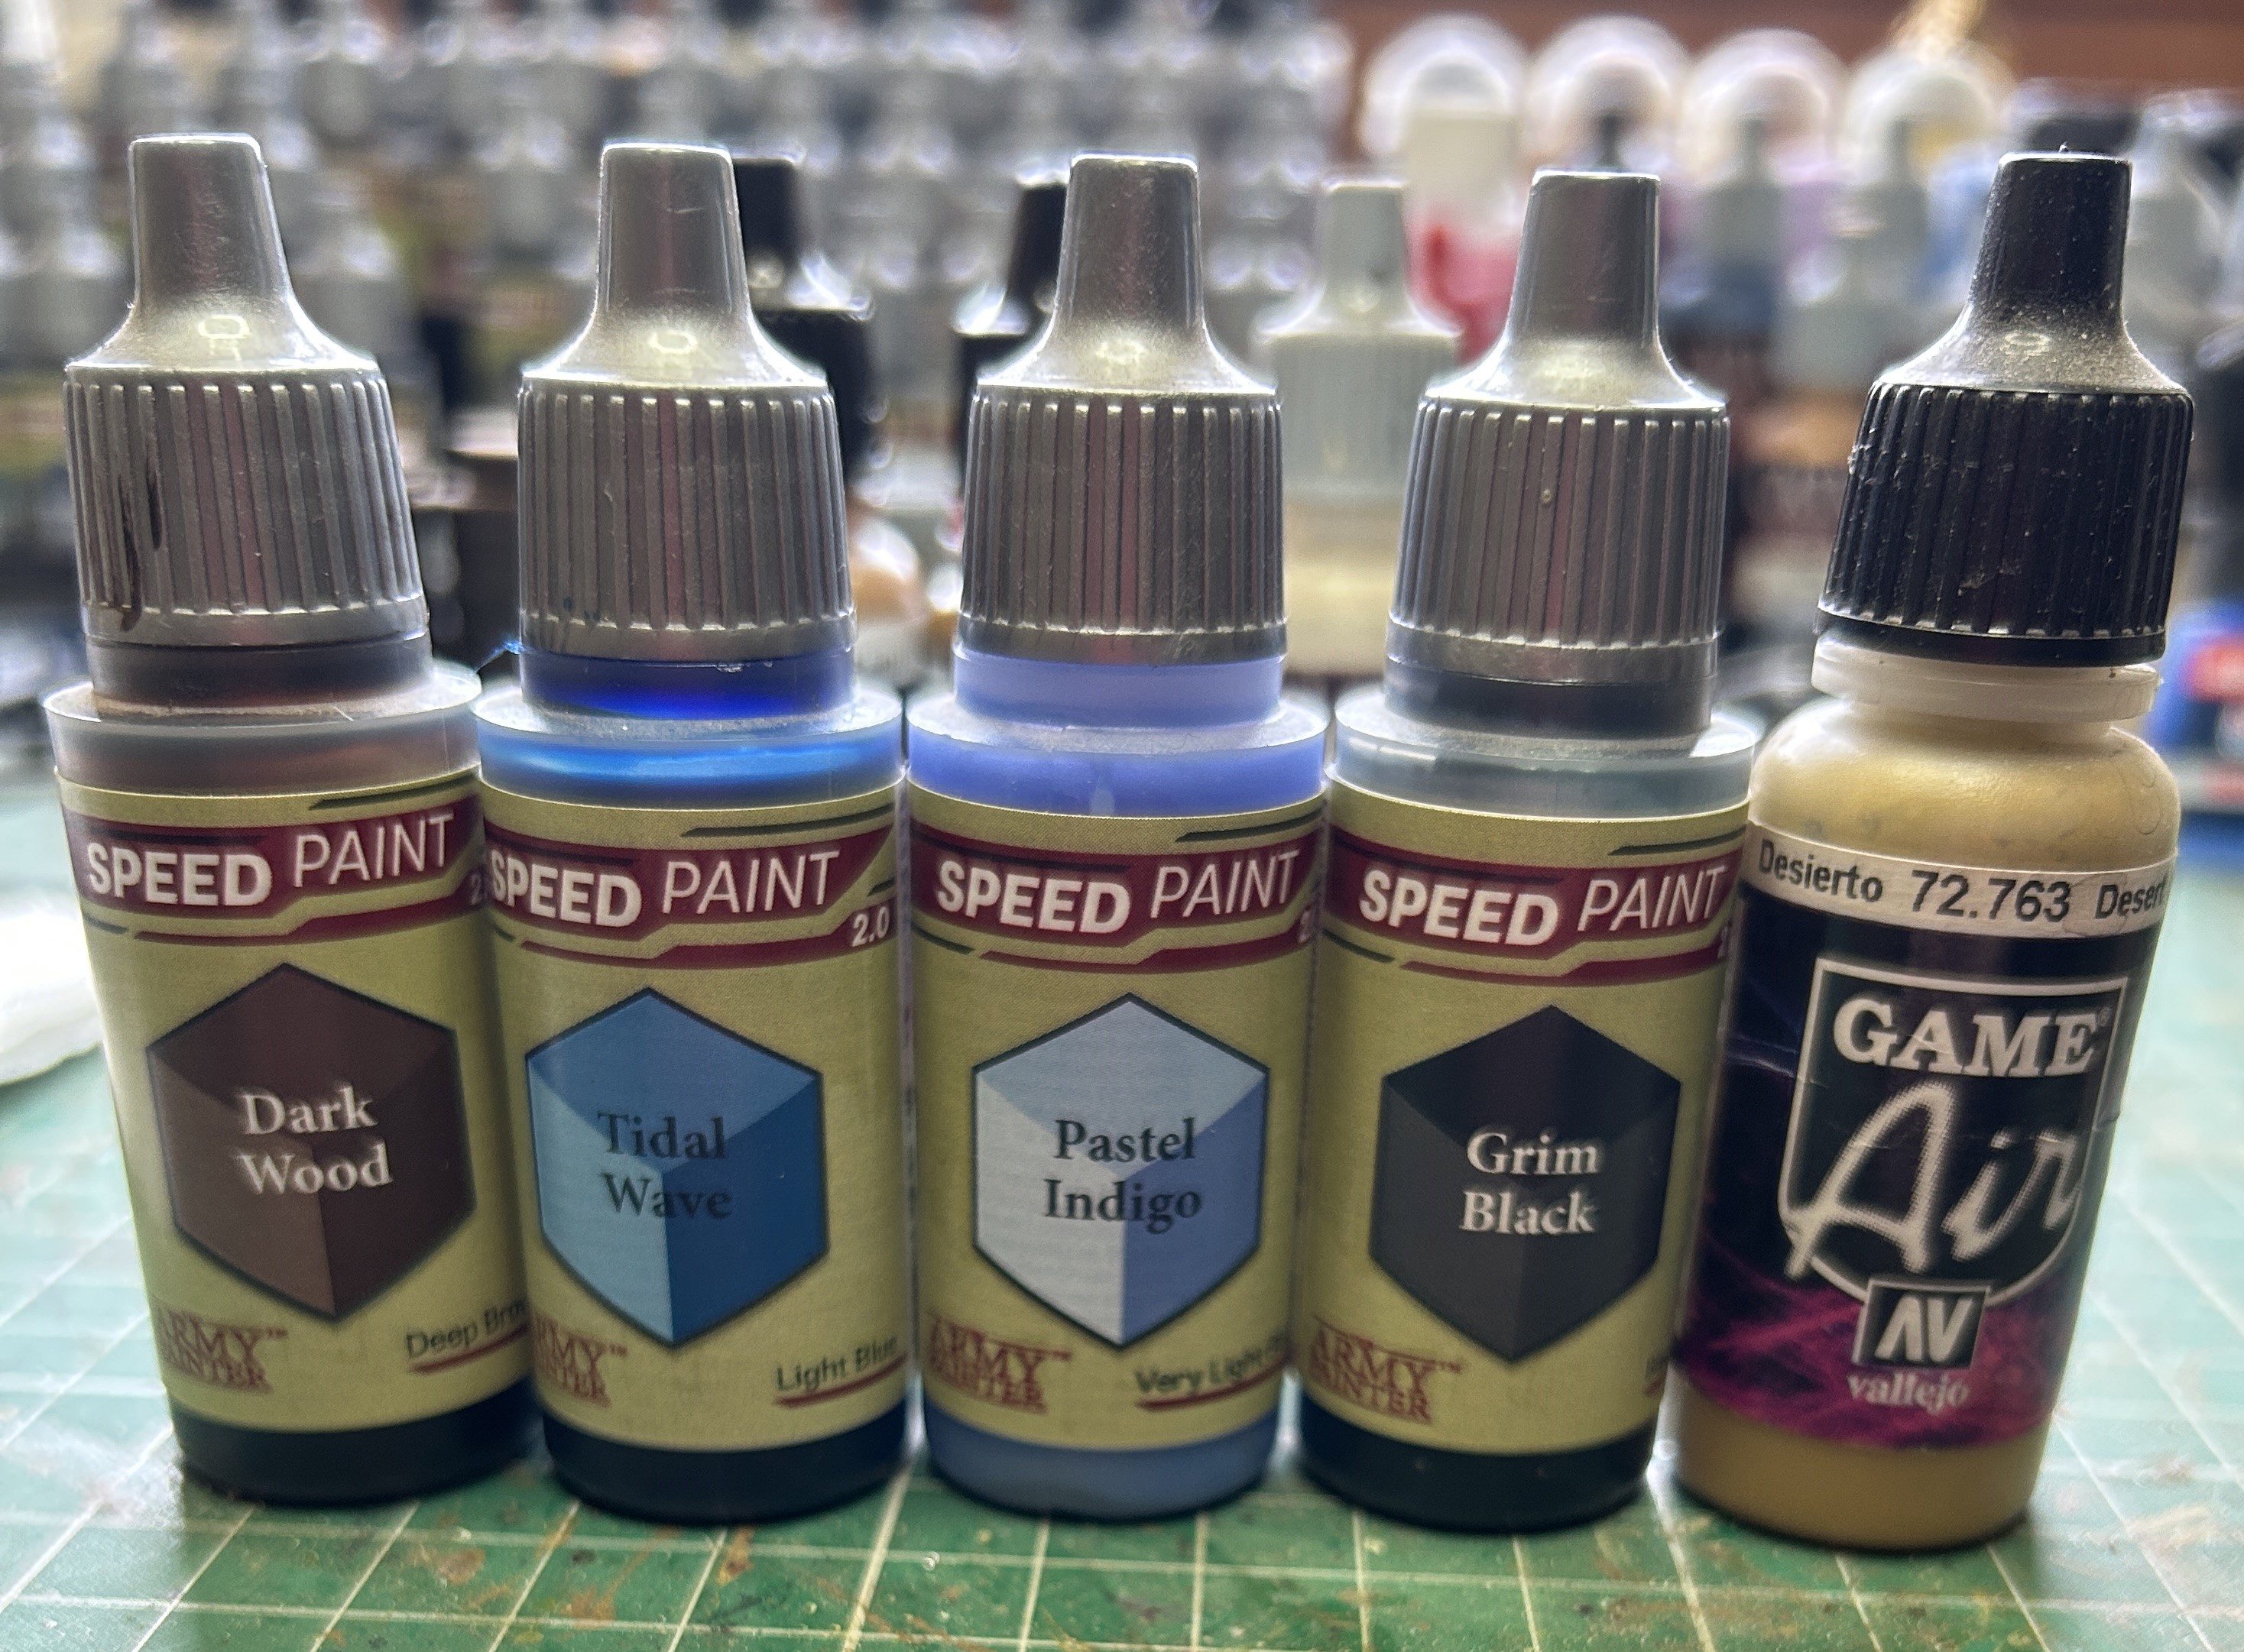
These are the selection of paints. I started with deepening the skin tone as these allies are from further south. Dark Wood Speedpaint in a slightly thinned (80:20 paint:water) even coat over all of the exposed skin. Looks like this:
Desert Yellow on the quiver. The strap was unpainted as it already has the leather colour on it from the final layer of the zenith undercoat. The Air paint is pre-thinned and taking care not to get too much into the grooves or shadow areas it is possible to achieve a ready layerd effect:
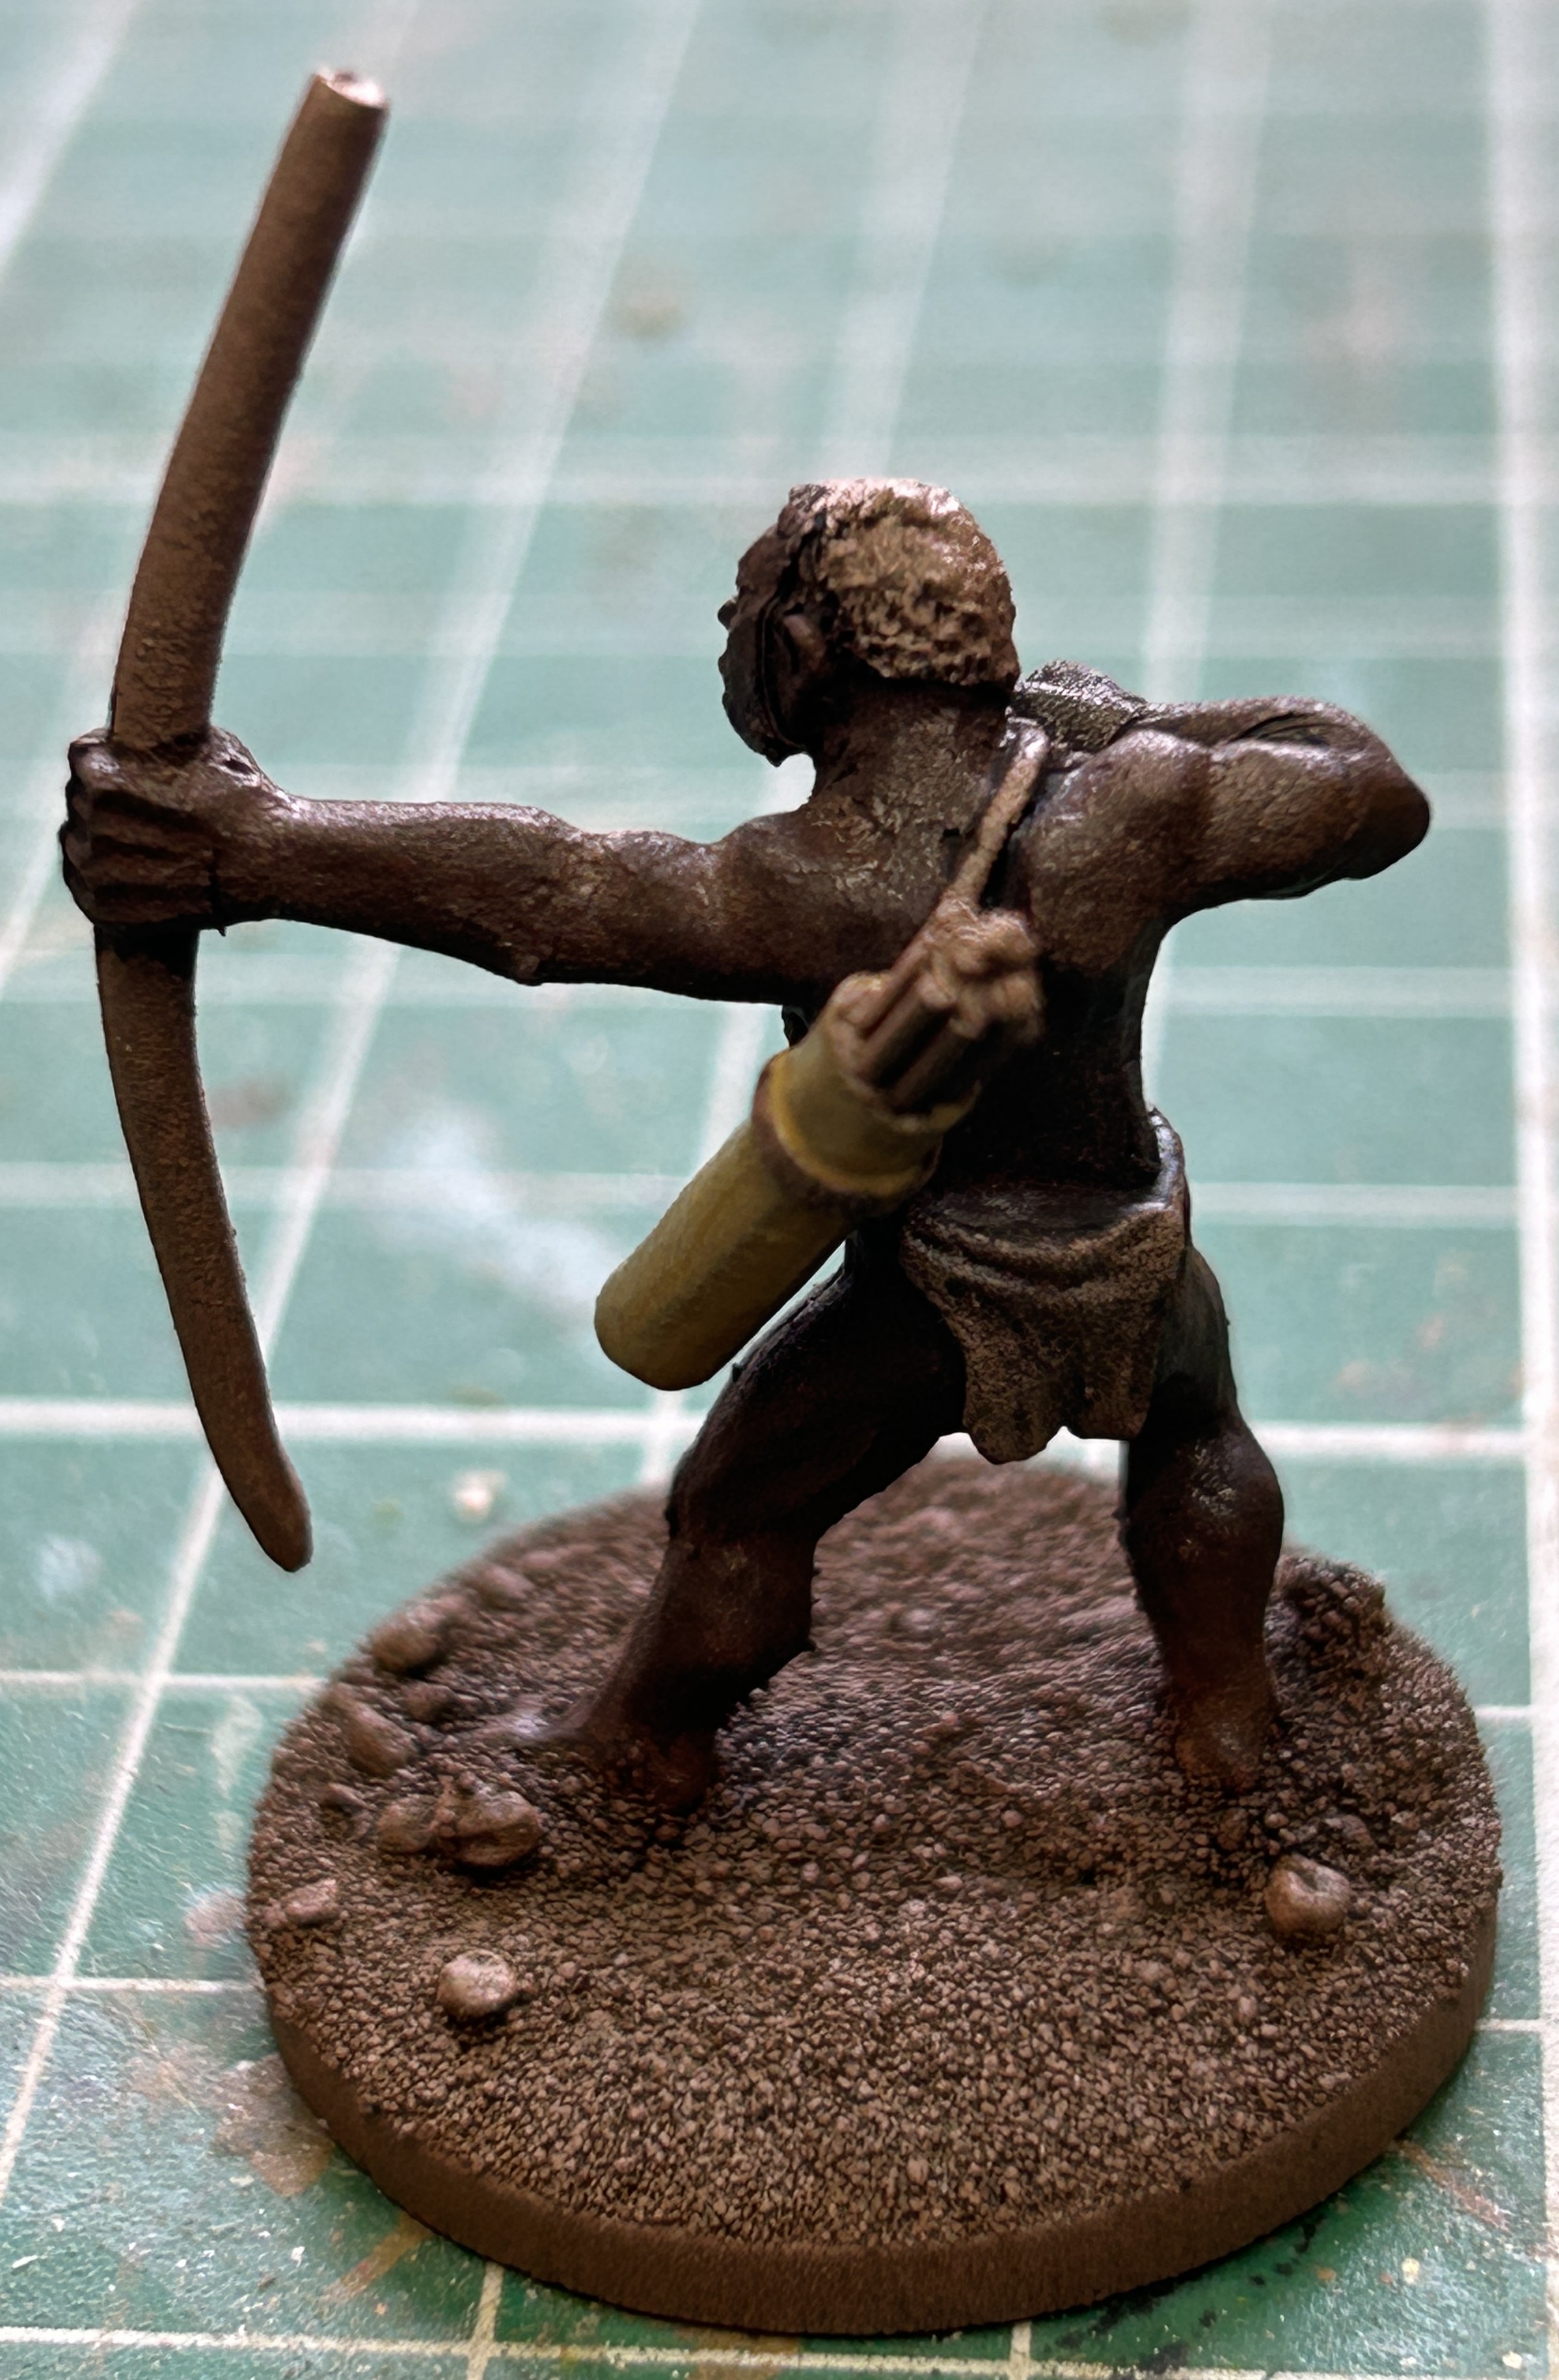
Next I mixed a bit of Vallejo Earth into the Desert Yellow on the palette. This was put onto the bows. The stronger pigment in the Earth helps to create a more even coat. Care was taken not to overpaint the shadow area where the hand meets the bow.
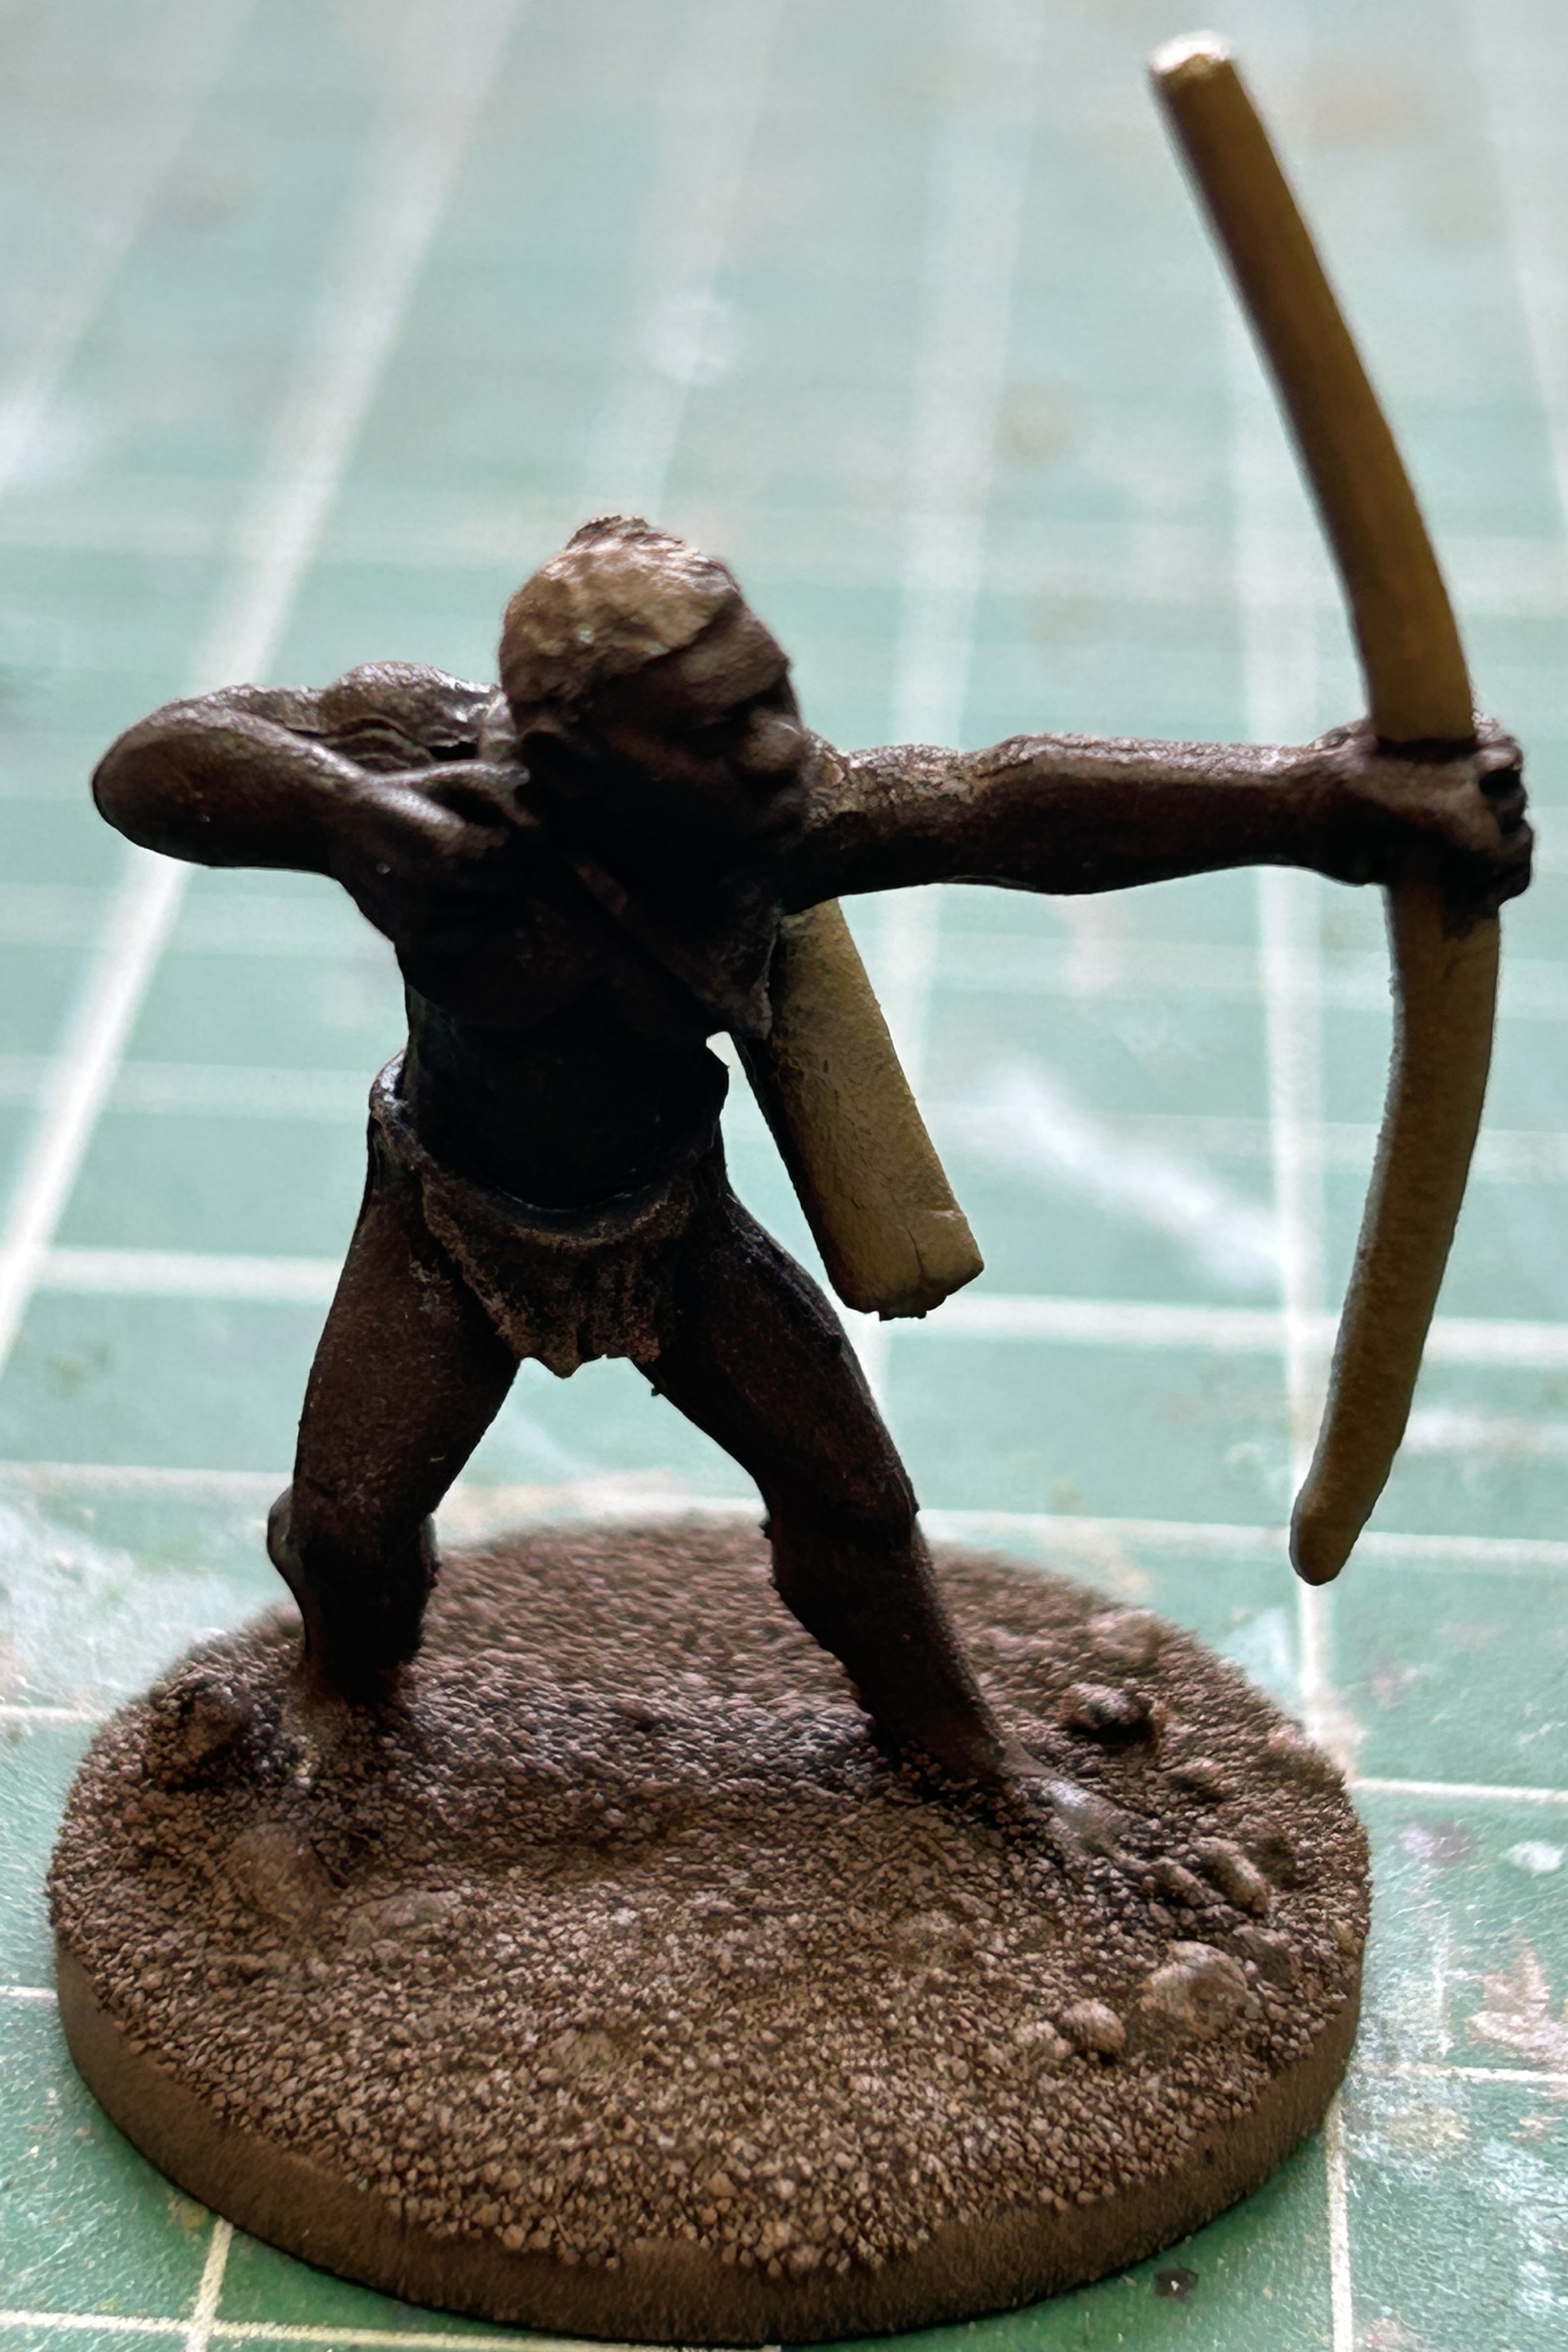
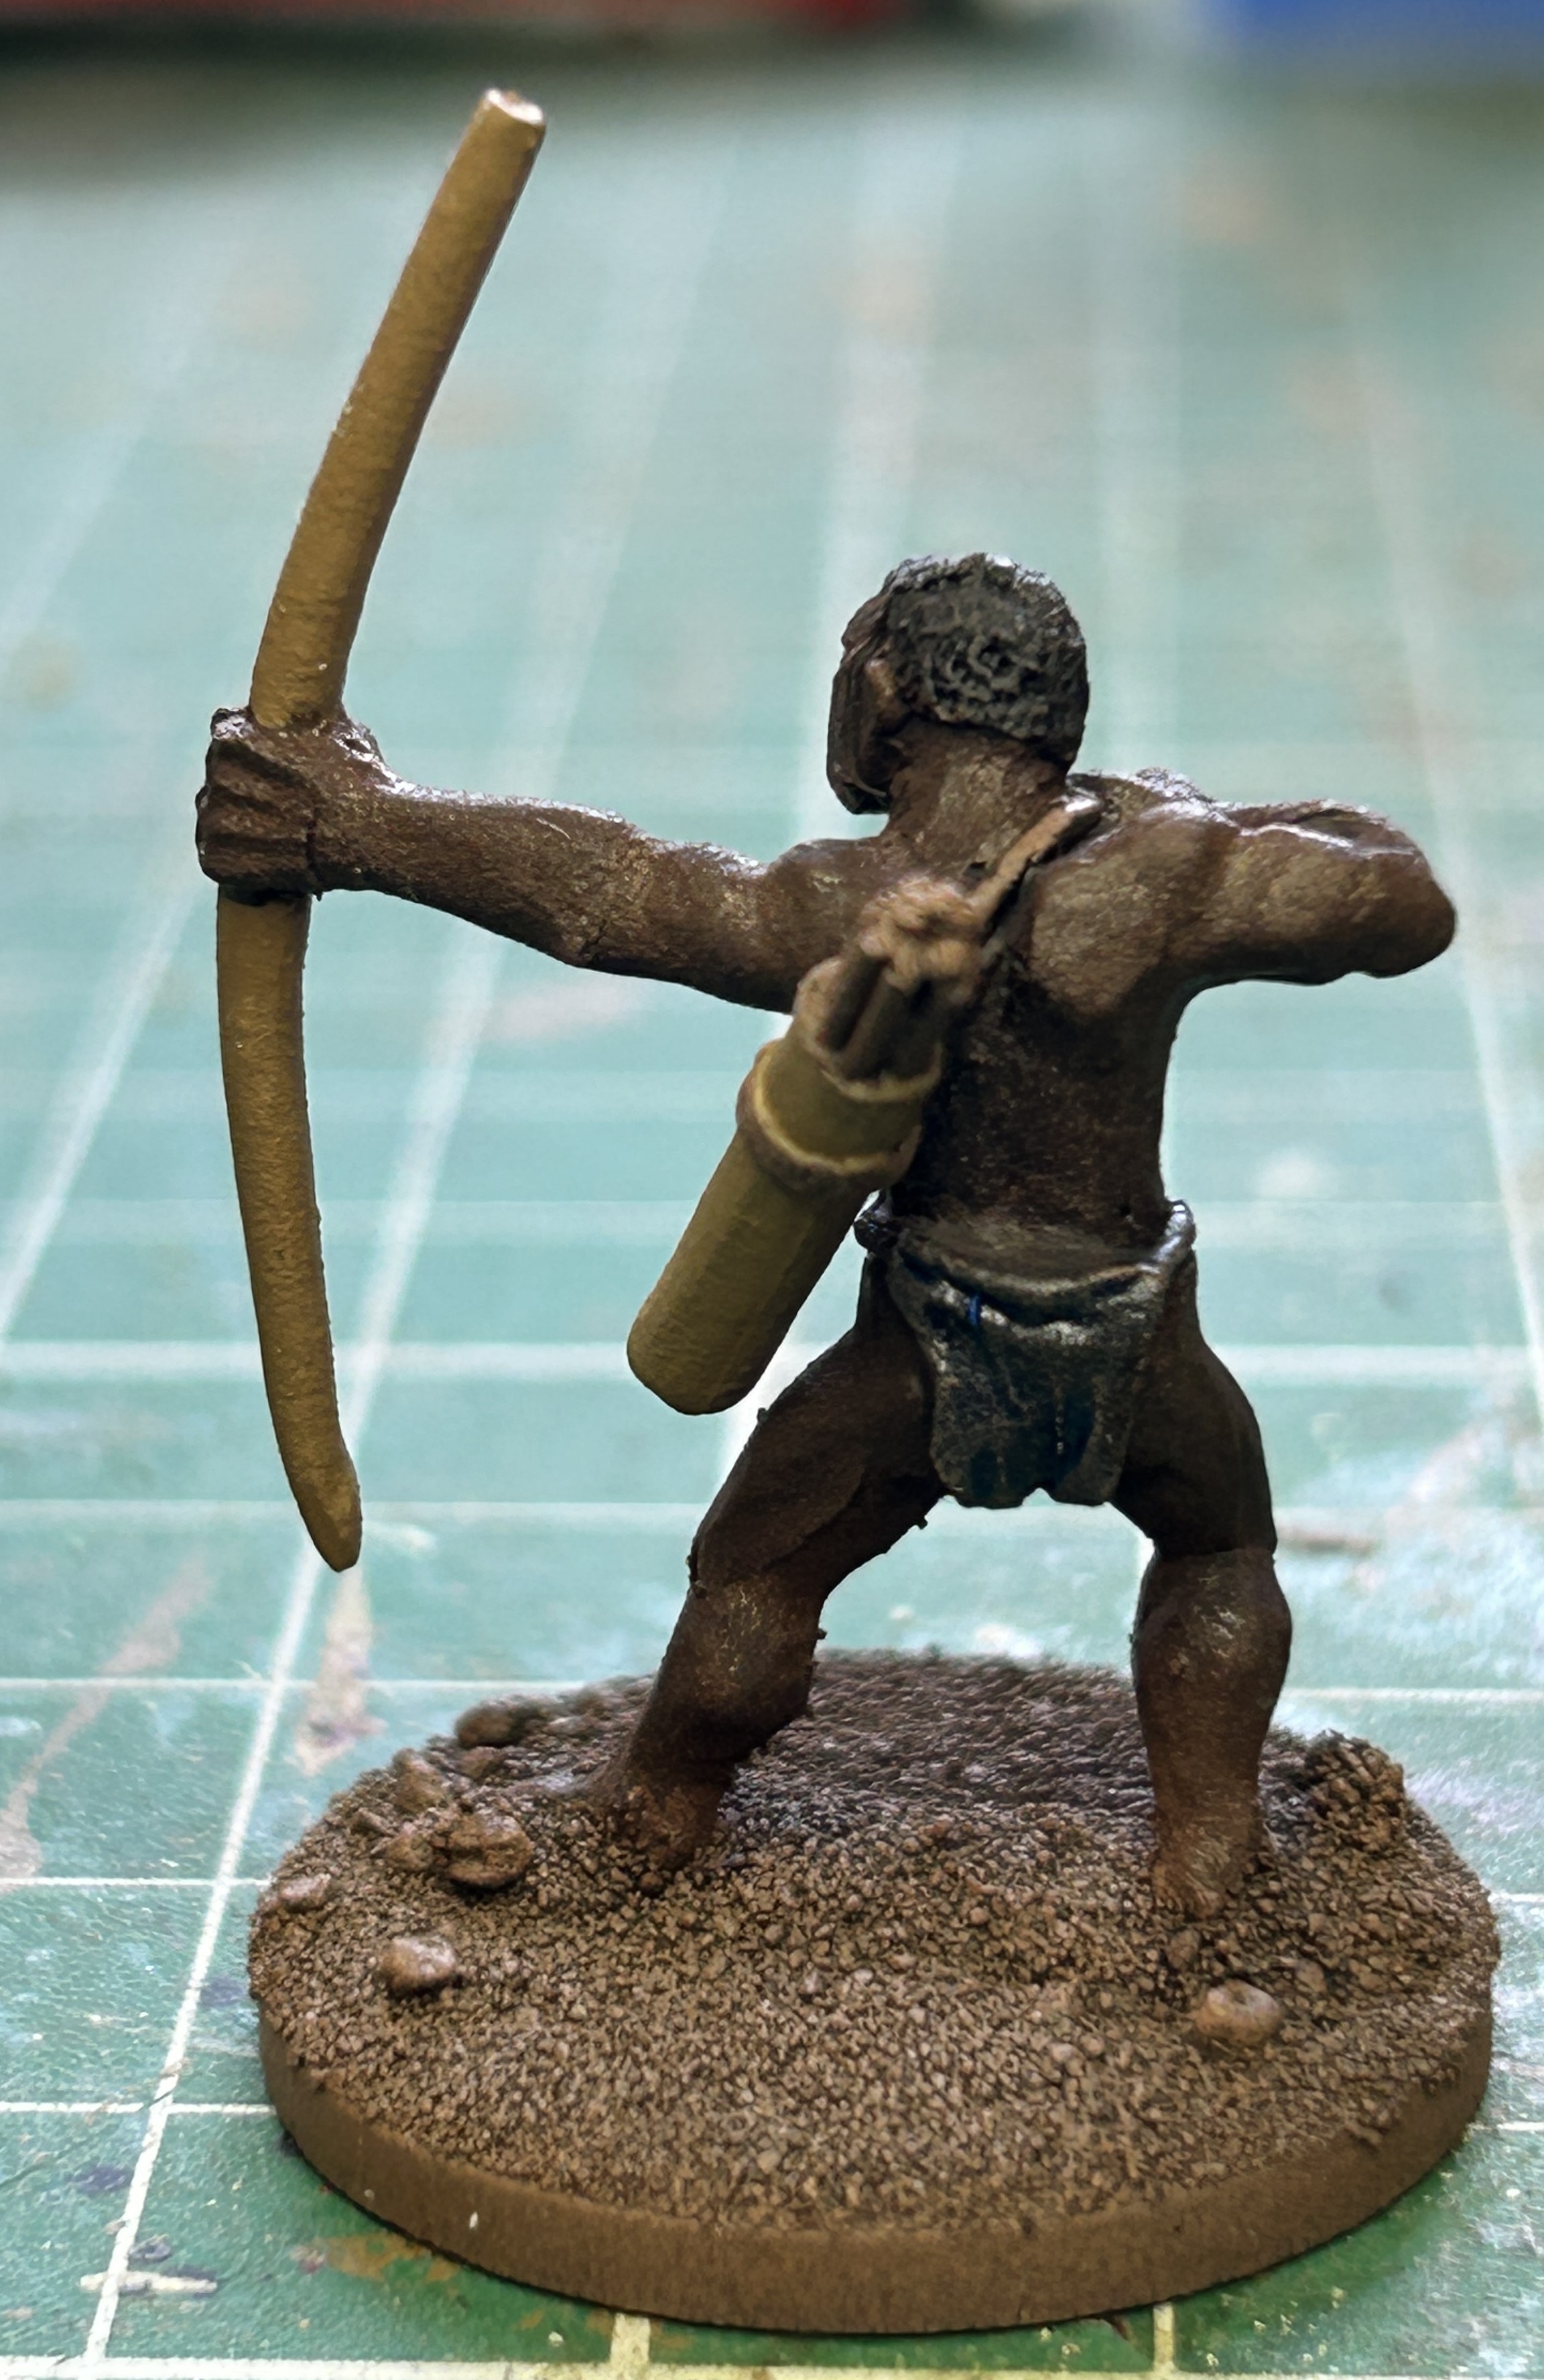
The two blue shades were used on the loincloths. I started with the Pastel Indigo and painted three, then mixed in a drop of the bow colour that was already on the palette. This desaturated the blue and gave a faded looking version of the same shade for another three models. Next the darker blue went onto the palette. This exemplar was painted with the neat Tidal Blue along with two others. Then a couple of drops of the lighter mixed colour was added to the neat dark blue to provide a mid-tone and the final three were painted with that.
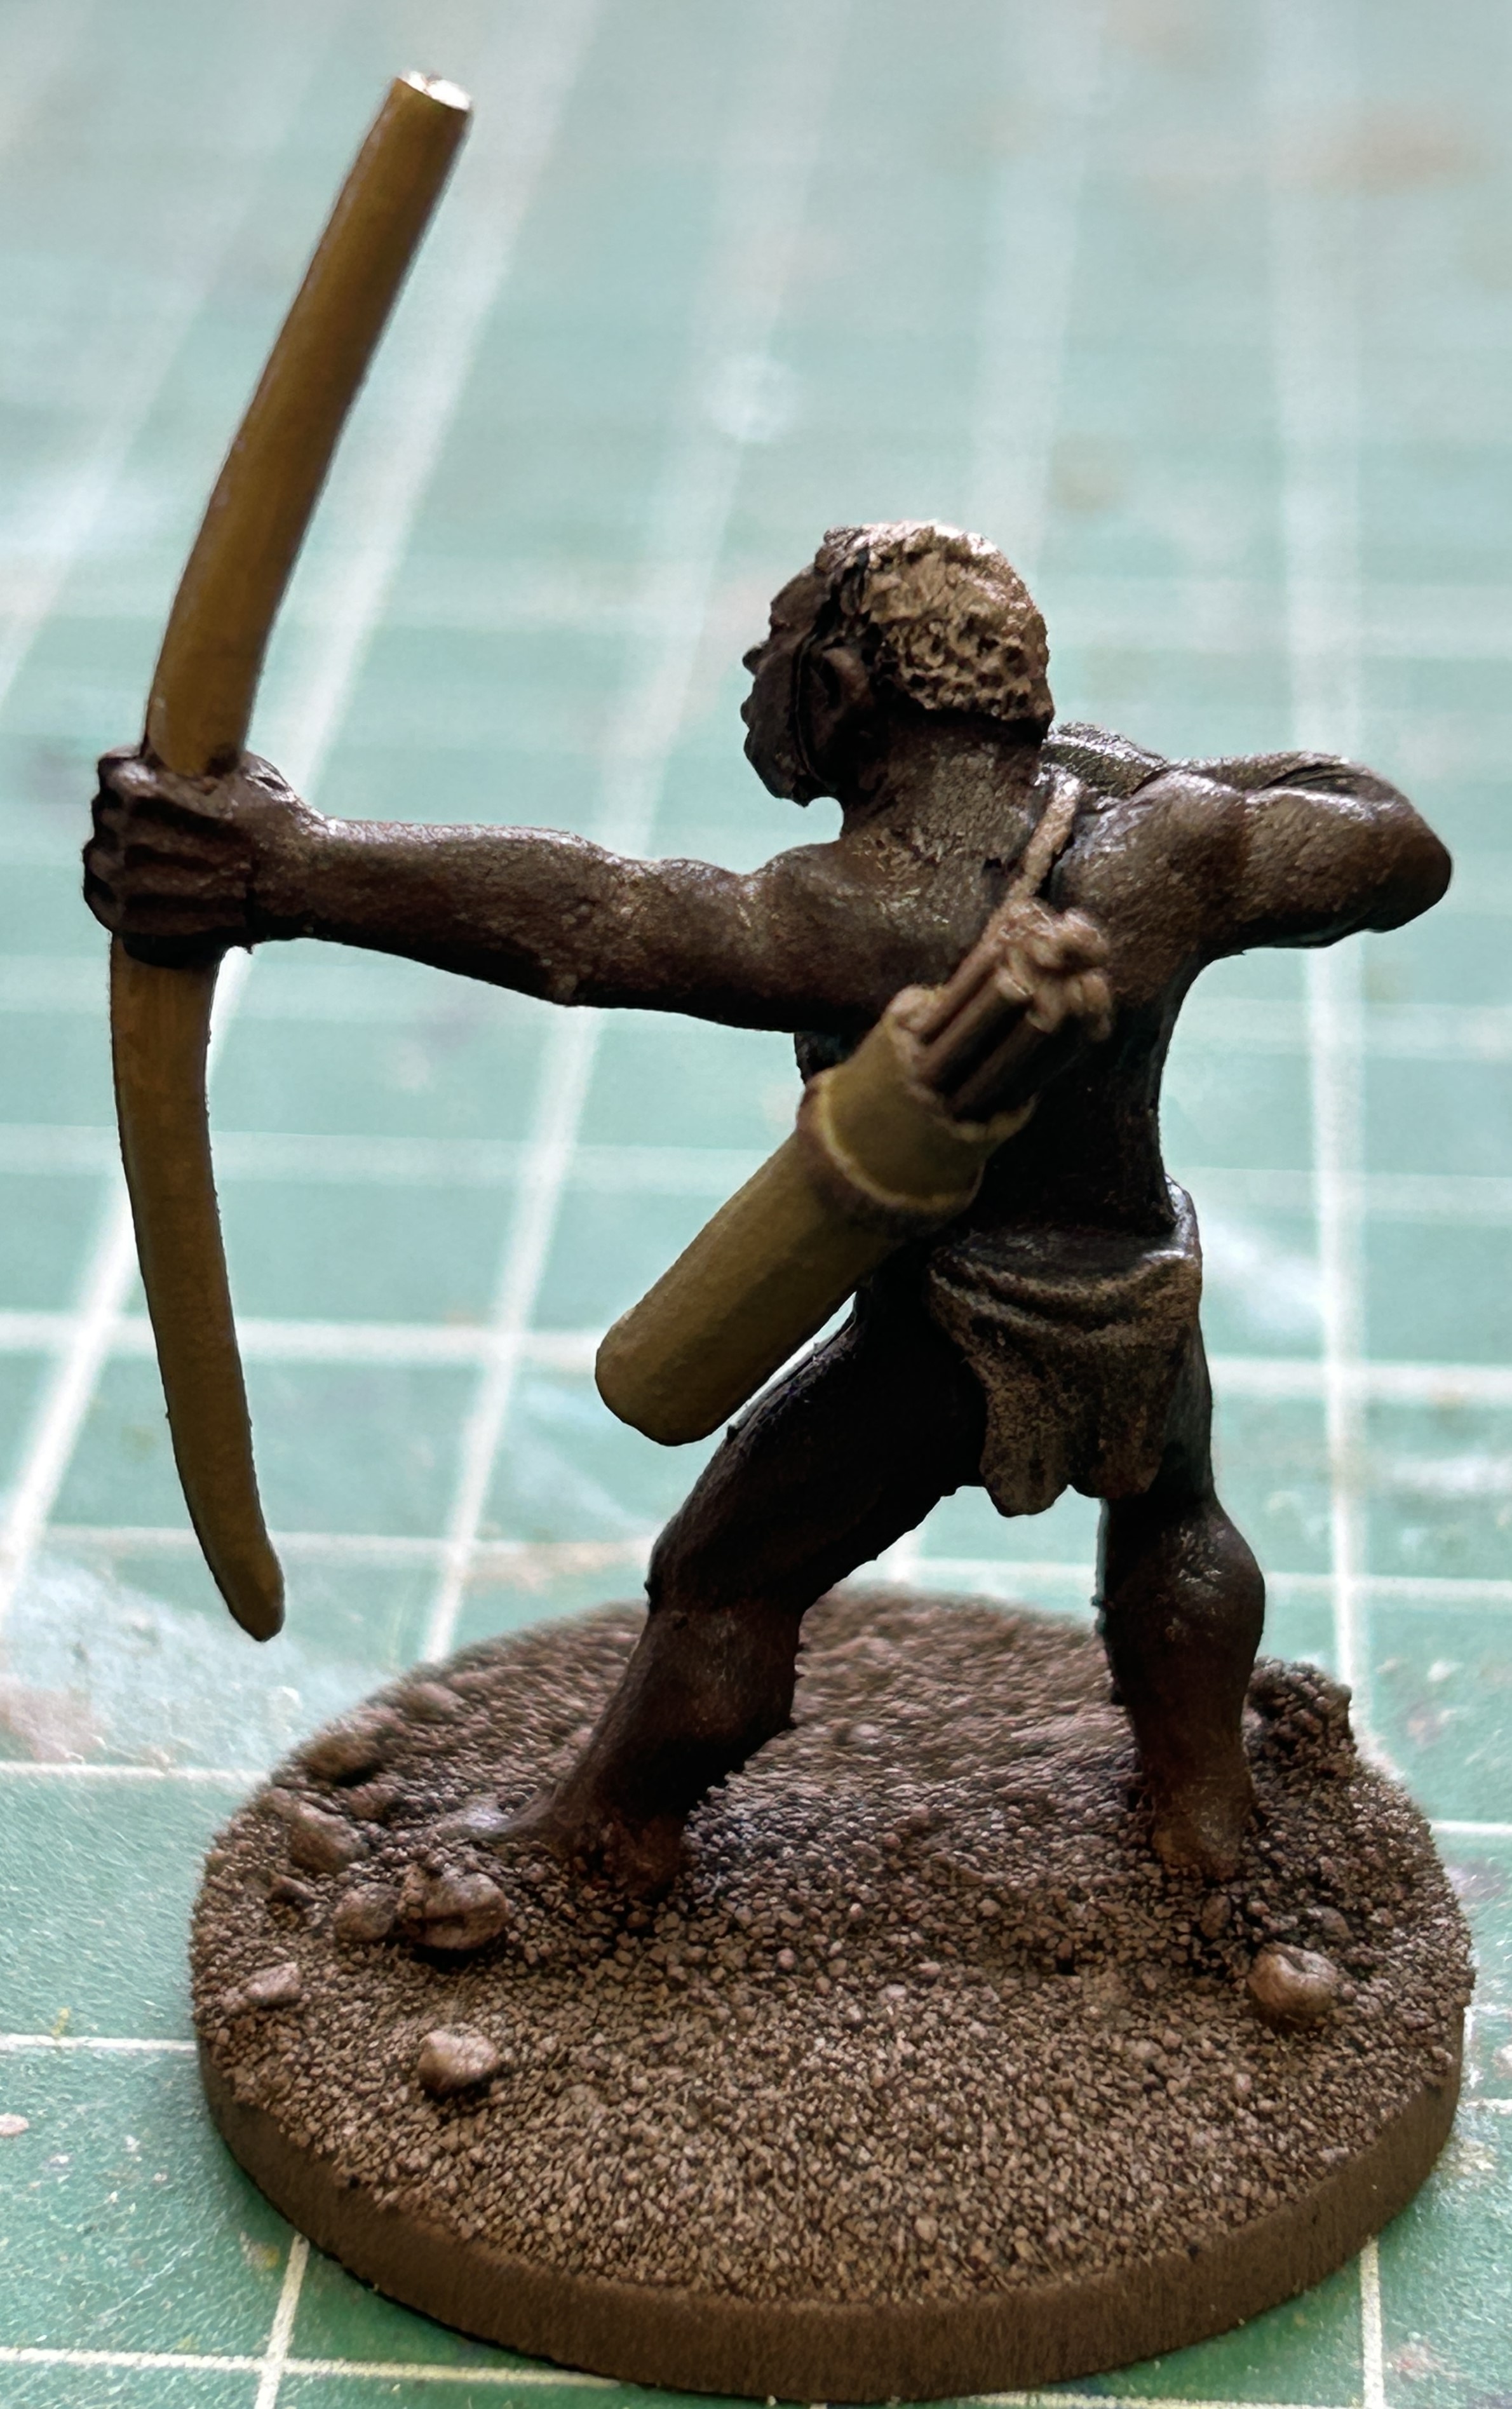
With the dark undercoat these blues don’t show strongly. Instead you get quite a subtle blue hue with the highlights of the undercoat still showing. I prefer this more subtle colouring for historical miniatures:

Finally Grim Black neat onto the hair. This is the most saturated Speedpaint and you don’t get much of the lower highlights showing through. I quite like that so didn’t thin it before use:
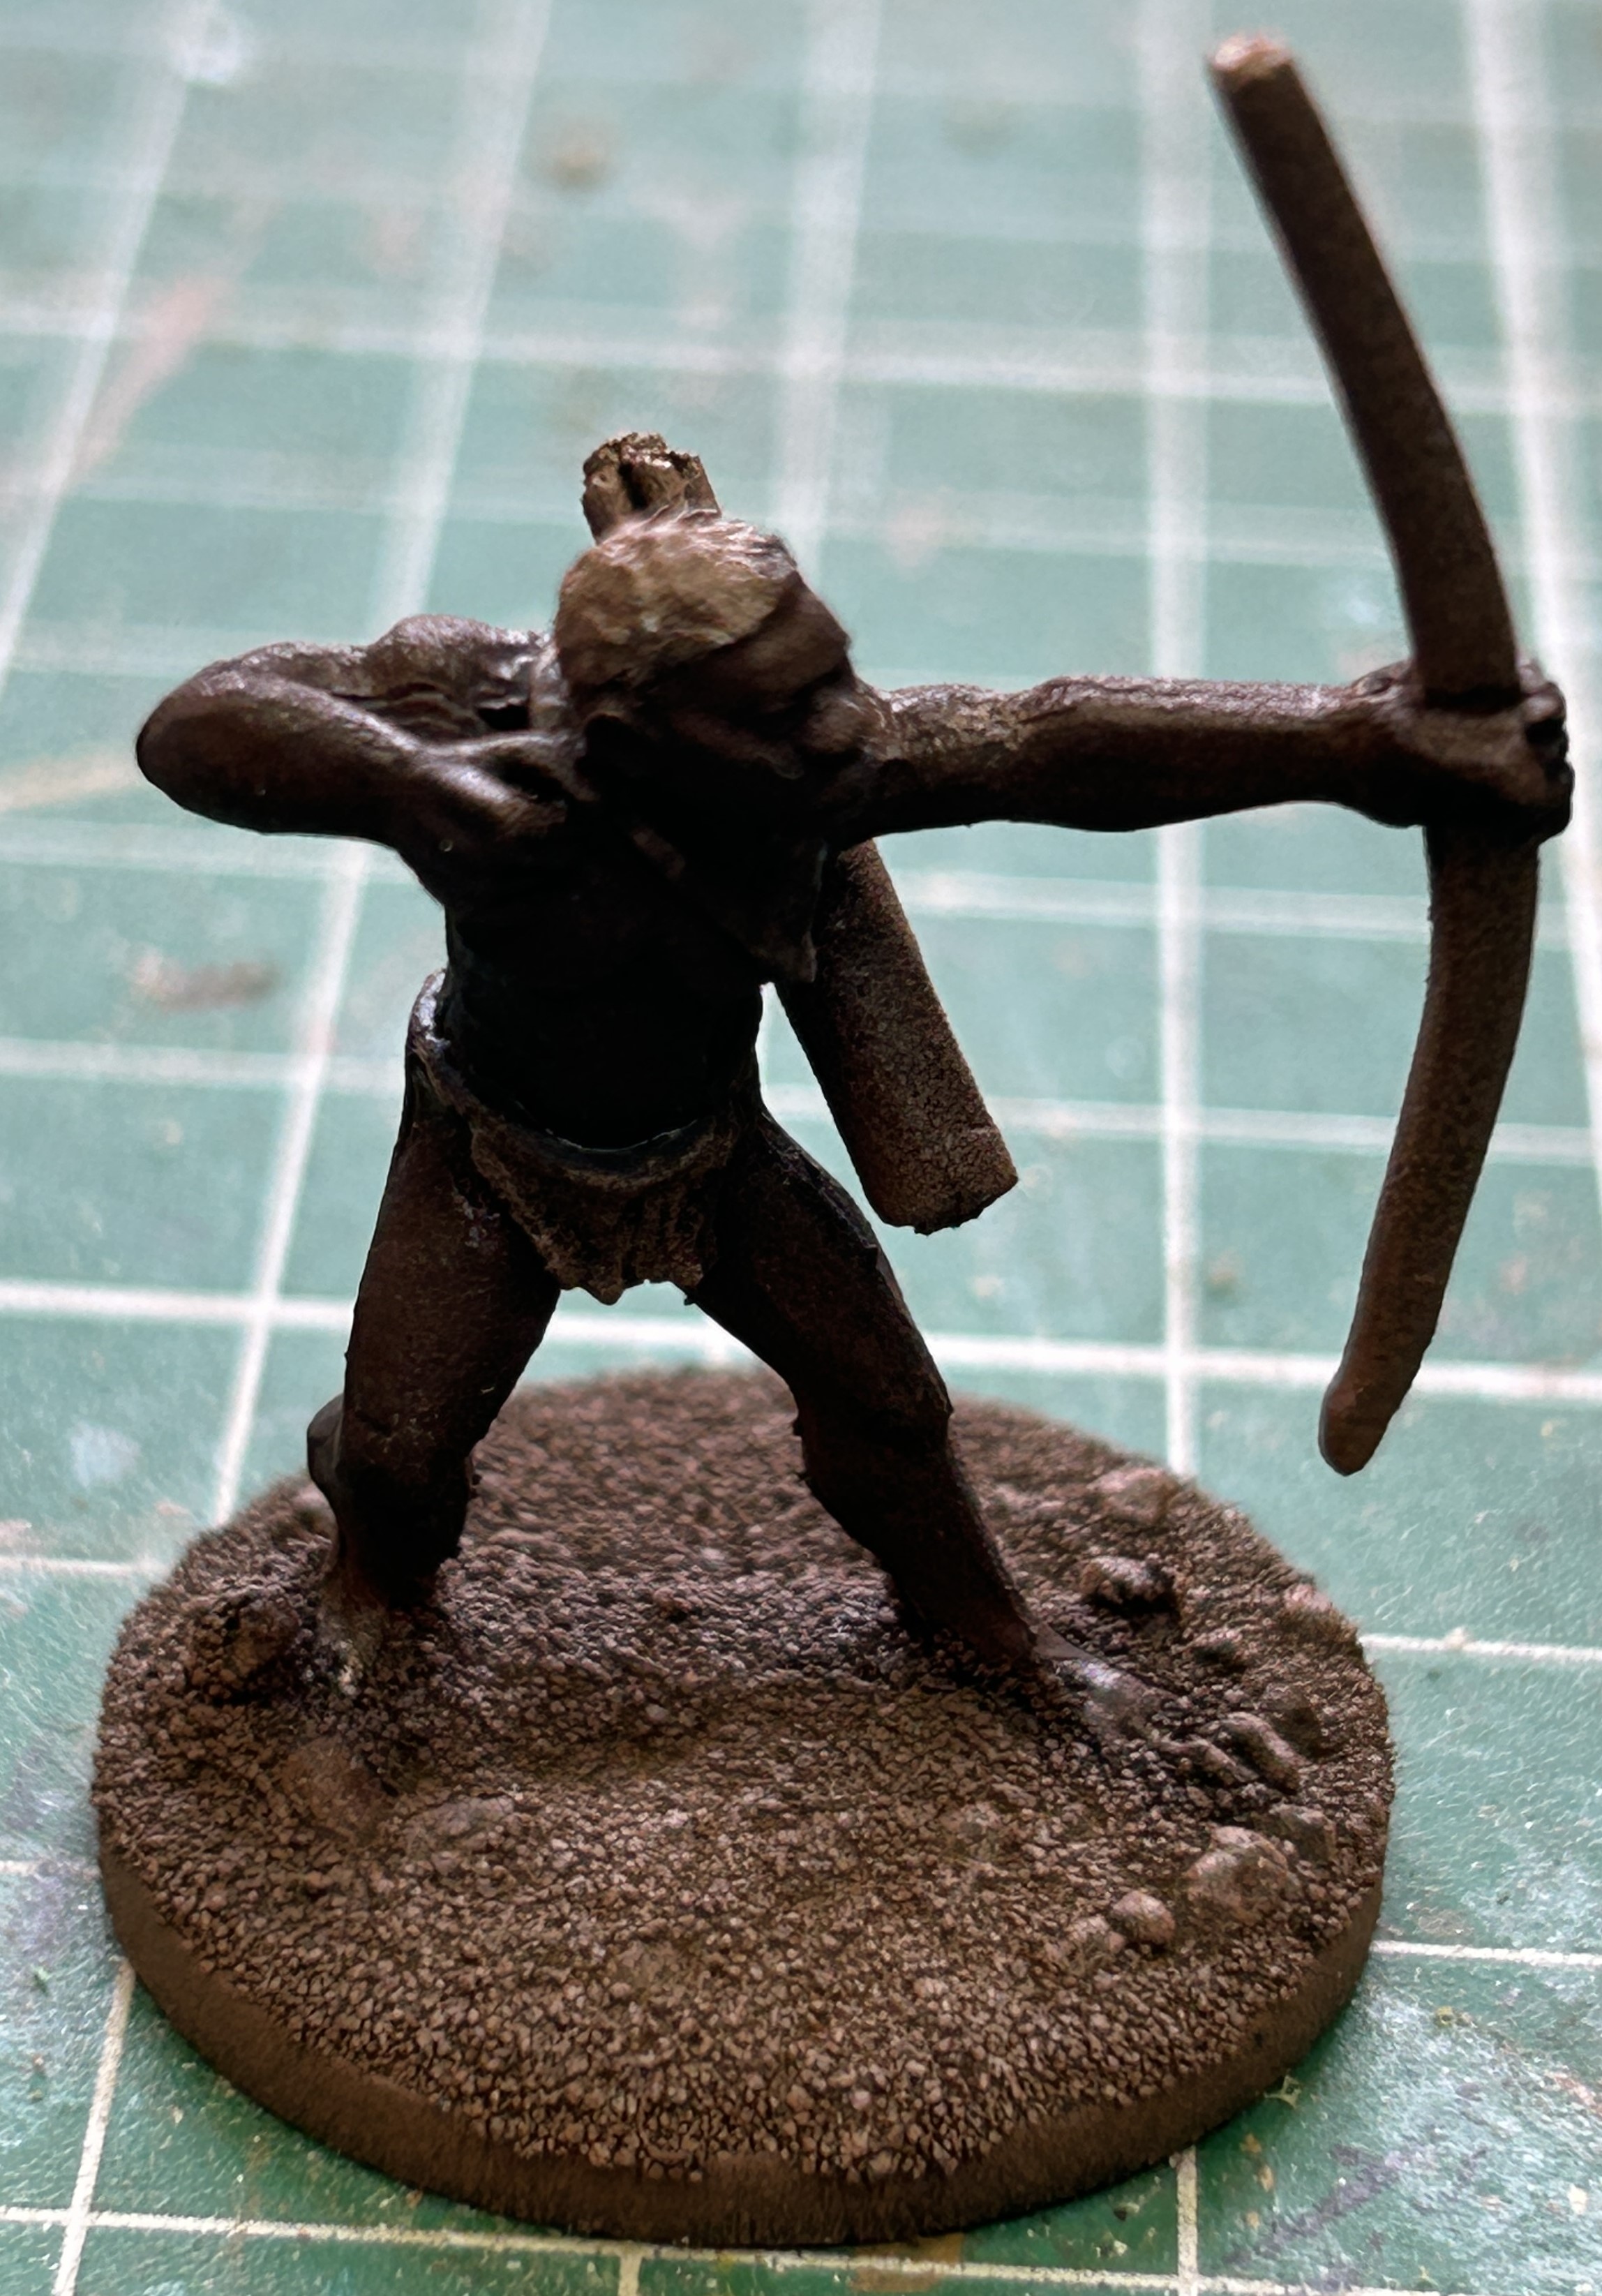
Undercoating the warriors
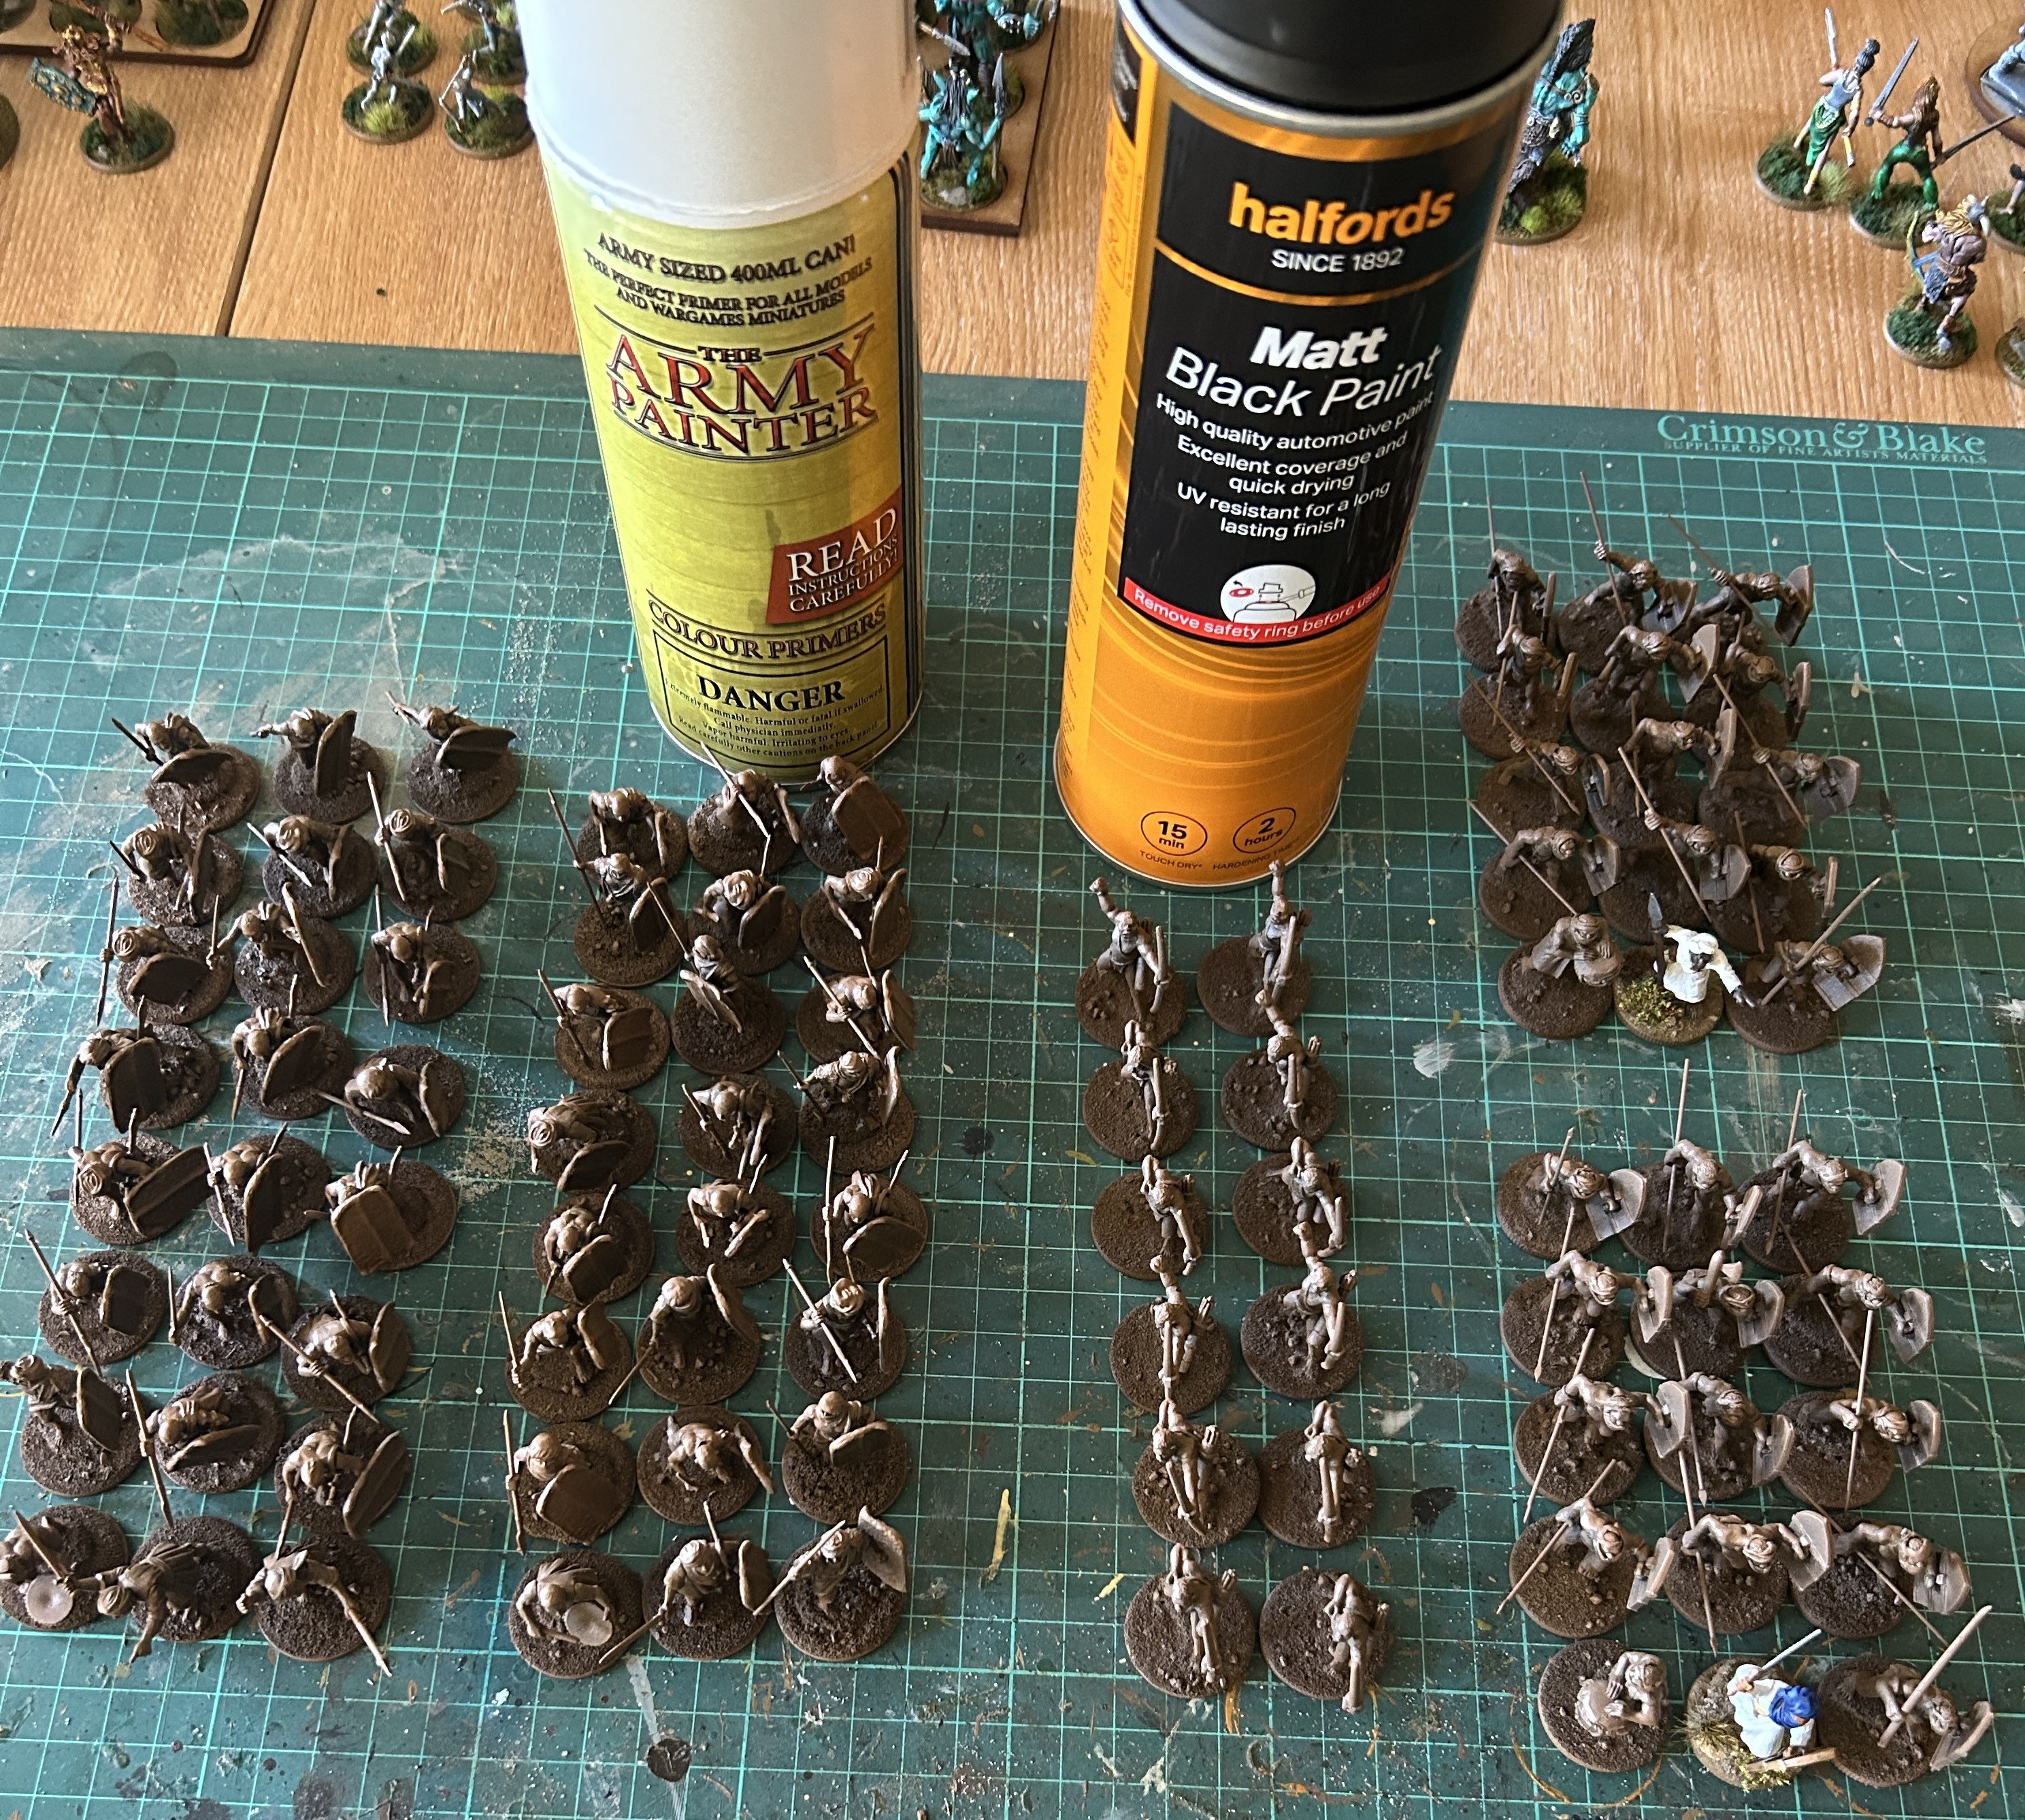
Two part zenithed undercoat and base colour for the warriors.
- Part 1 is Halford’s black with the models laid flat and sprayed from the base towards the head on one side, then when dry flip over and do the other side.
- Part 2 is AP Leather Brown zenithed from the top of the heads with the models stood on their bases. This is worked round and angled slightly from four directions to ensure a good even coverage of the visible parts of the model.
This is what you get:


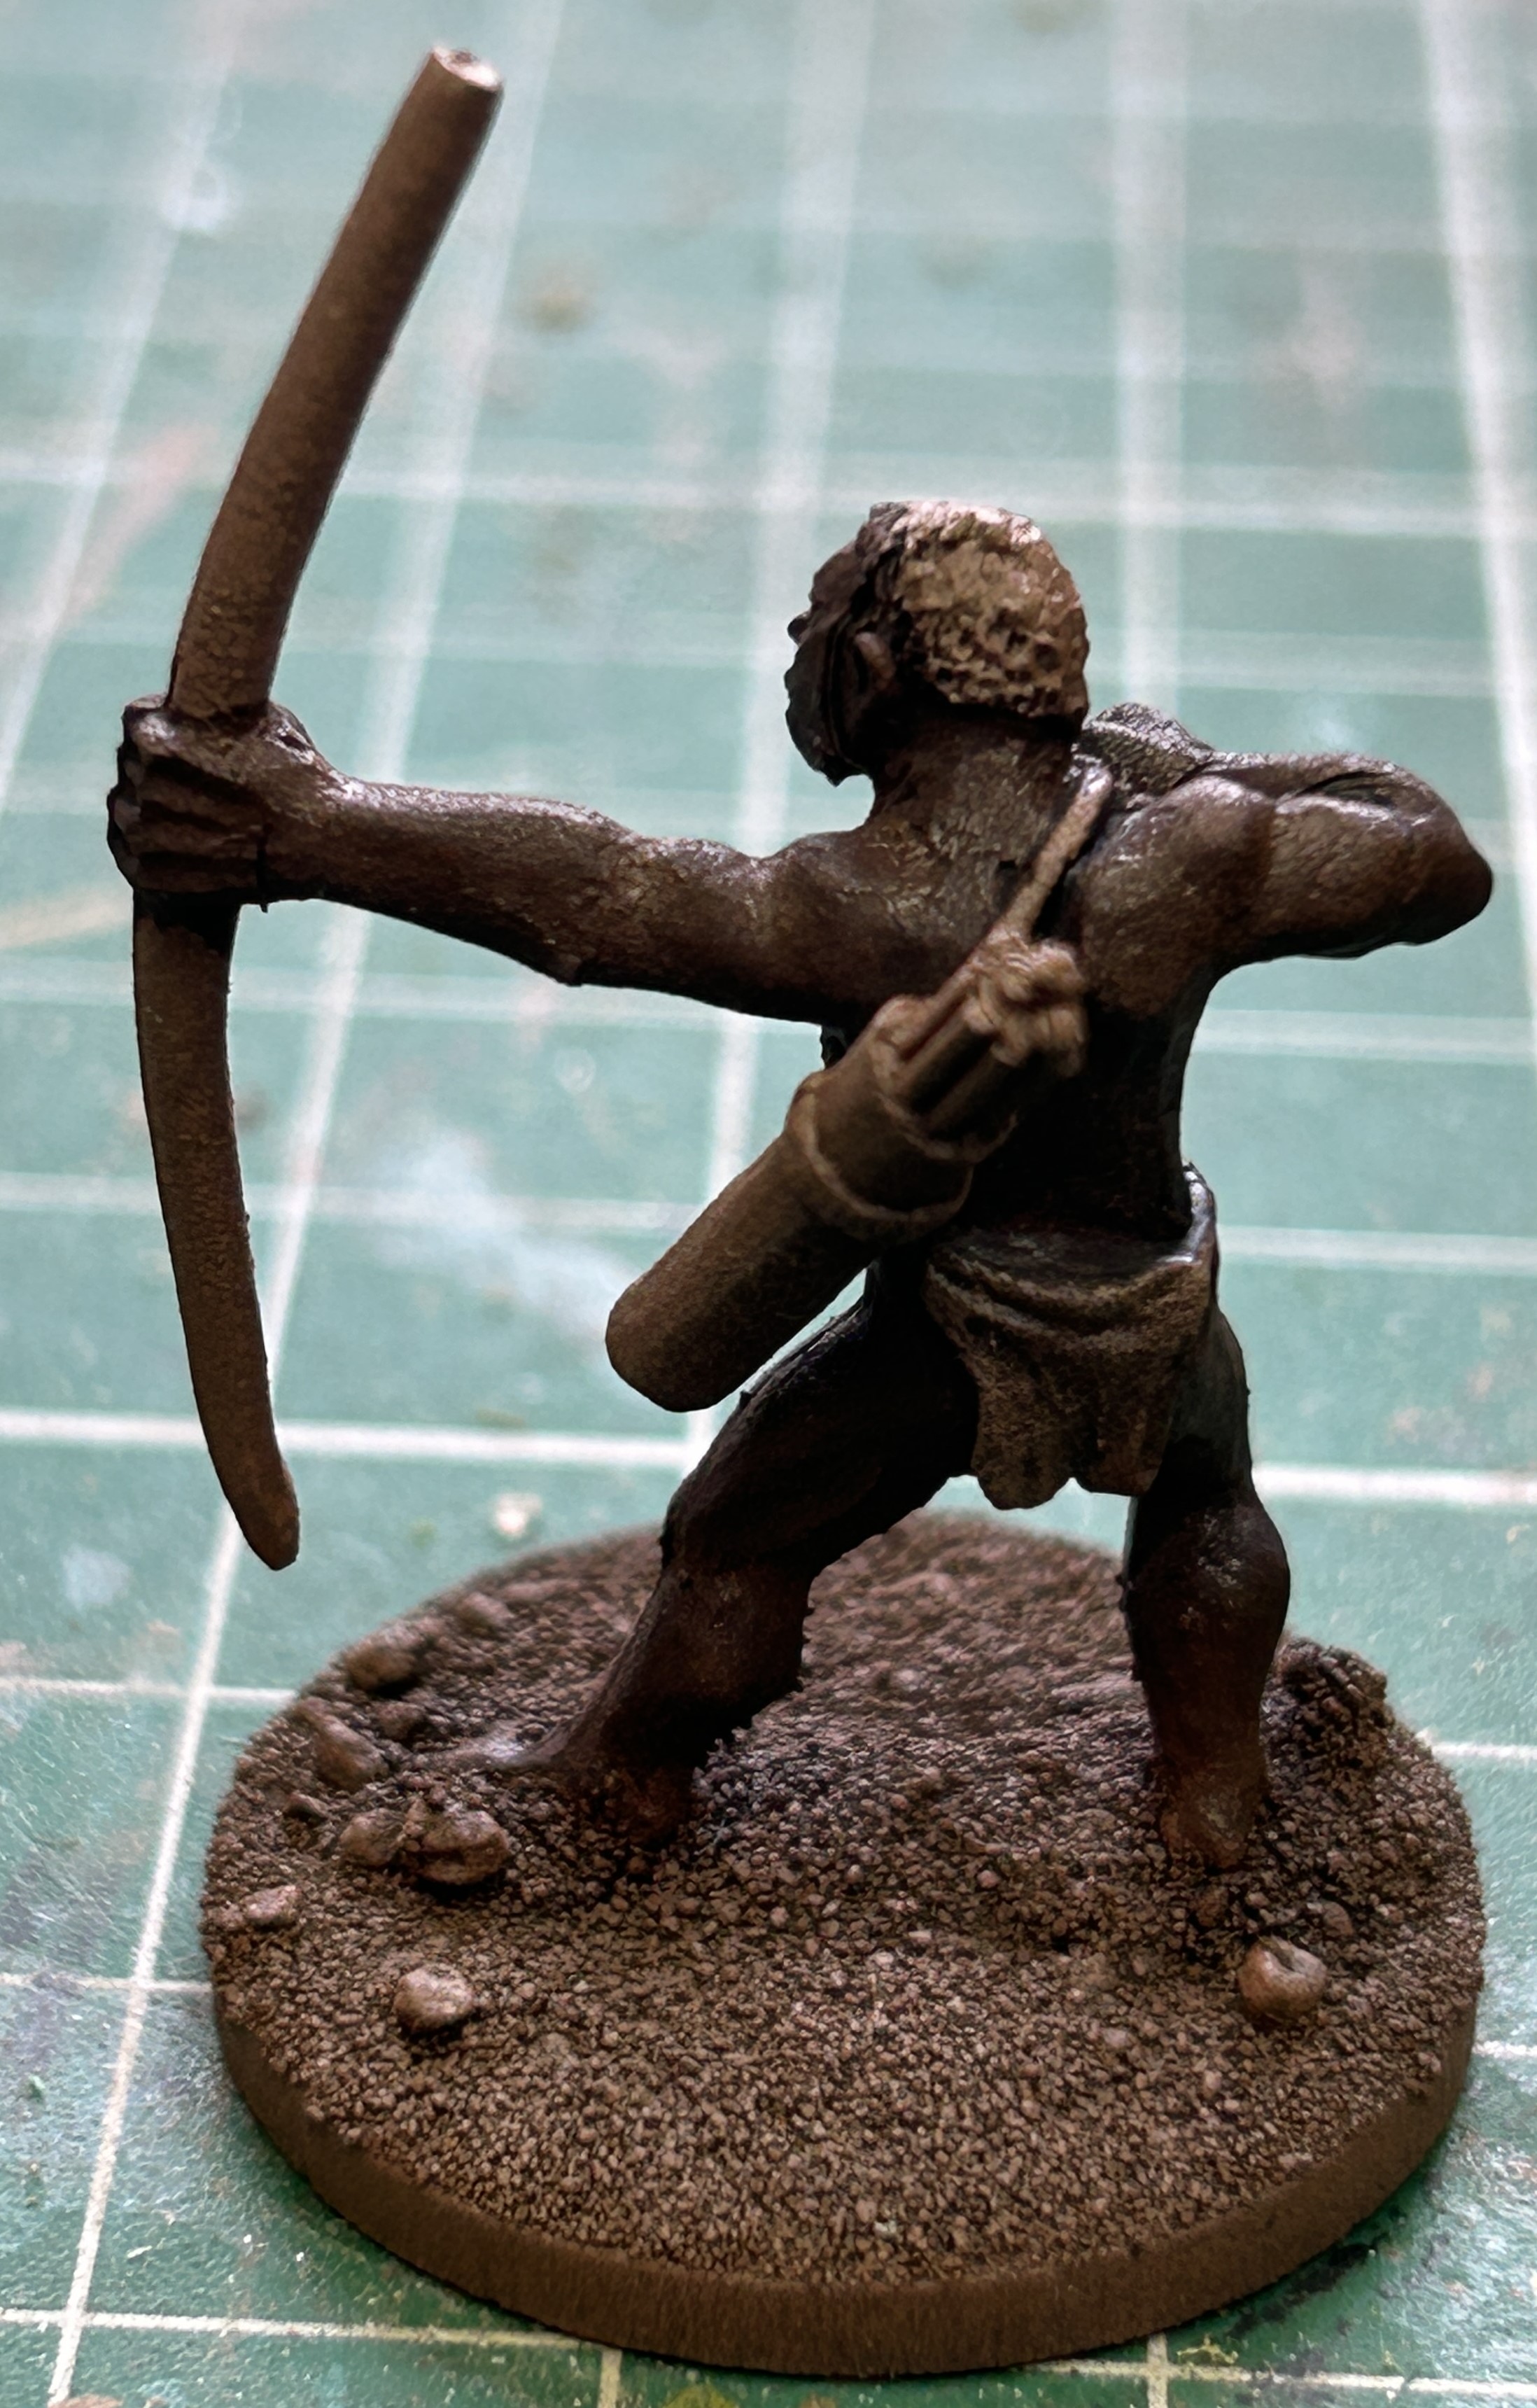
It is hard to see the difference that the zenith brings from the top but it is more visible when the model is laid flat (see below).
You can see on areas like the under side of the arms and the shadow created by the quiver that there is a darker layer and in some of the recesses this is still black. Even on the skin a variety of tones are evident, under his pecs and in the recess of his neck for example.
This will help to provide a good looking final finish, even though speedy techniques are needed because of the volume of miniatures – there are 90 infantry here.