


W1815 – Waterloo war gaming at its finest?


Recommendations: 189
About the Project
W1815 is the best waterloo game ever.
Let’s get that out of the way.
and the title of this project speaks merely of the game, not of my presentation of it!
It plays somewhat historically.
It is easy to pick up.
It teaches waterloos’s various areas of combats, timings and issues without getting bogged down.
You can play it in 15 minutes (30 for new players)
And best of all, being that it’s just a card playing board, a few unit cards, some small wooden blocks and two die, it’s small enough to carry in a bag as a backup.
About that last one.
For some reason a few years ago I decided I needed to change that and make it a singularly impractical piece of kit.
This is that project.
Related Genre: Historical
This Project is Active
Back to the Minis... 20/09/25
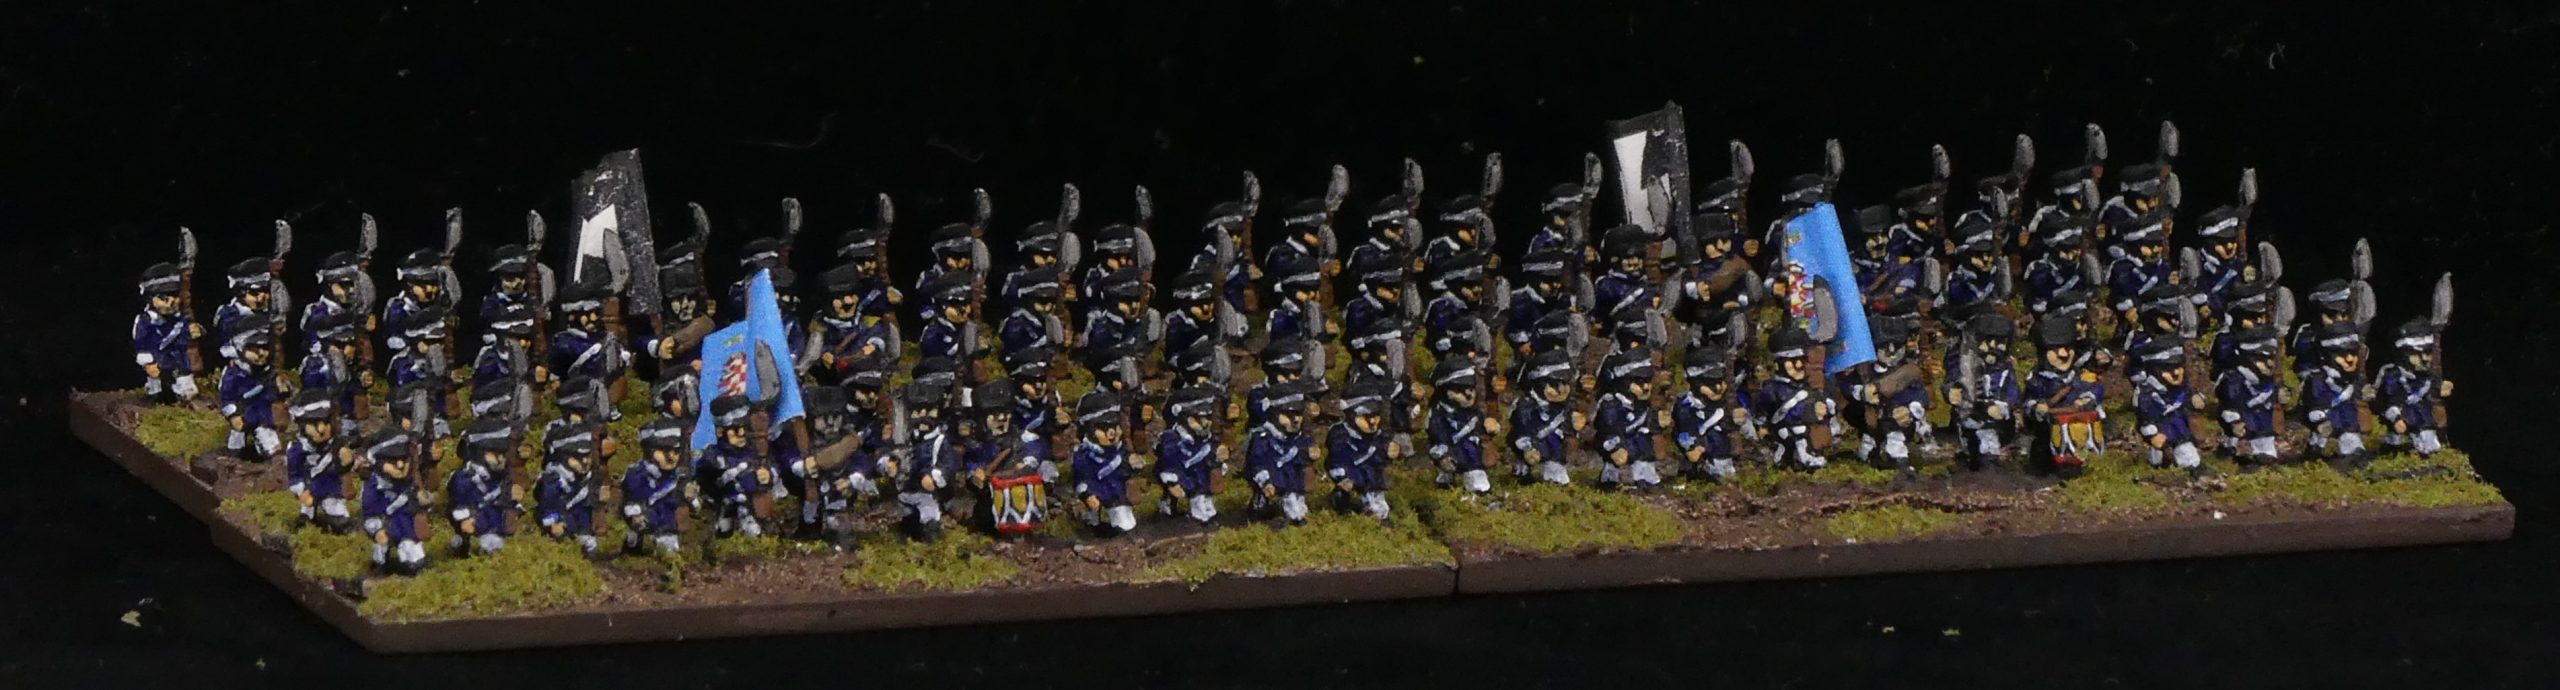
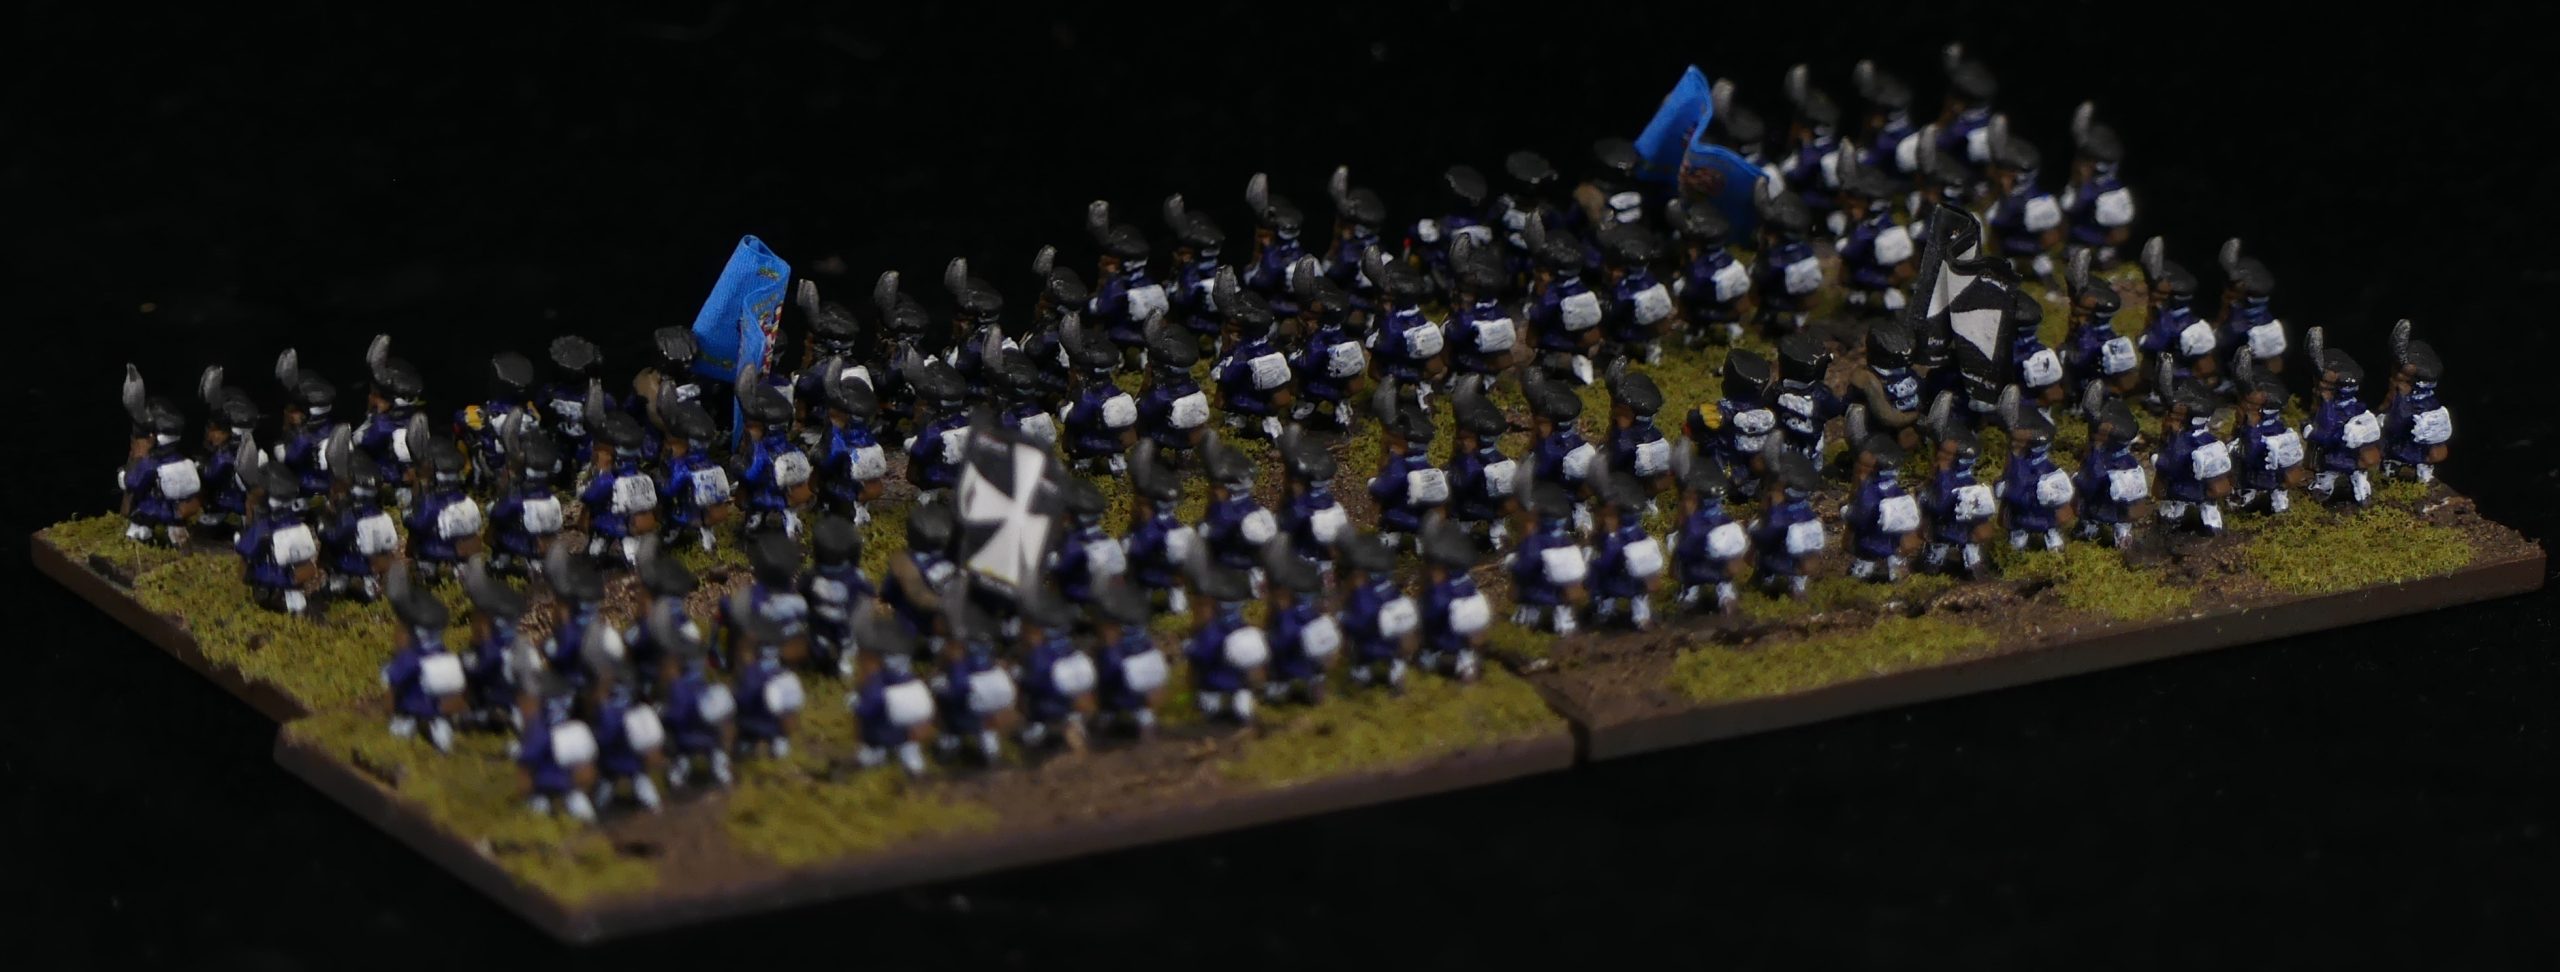
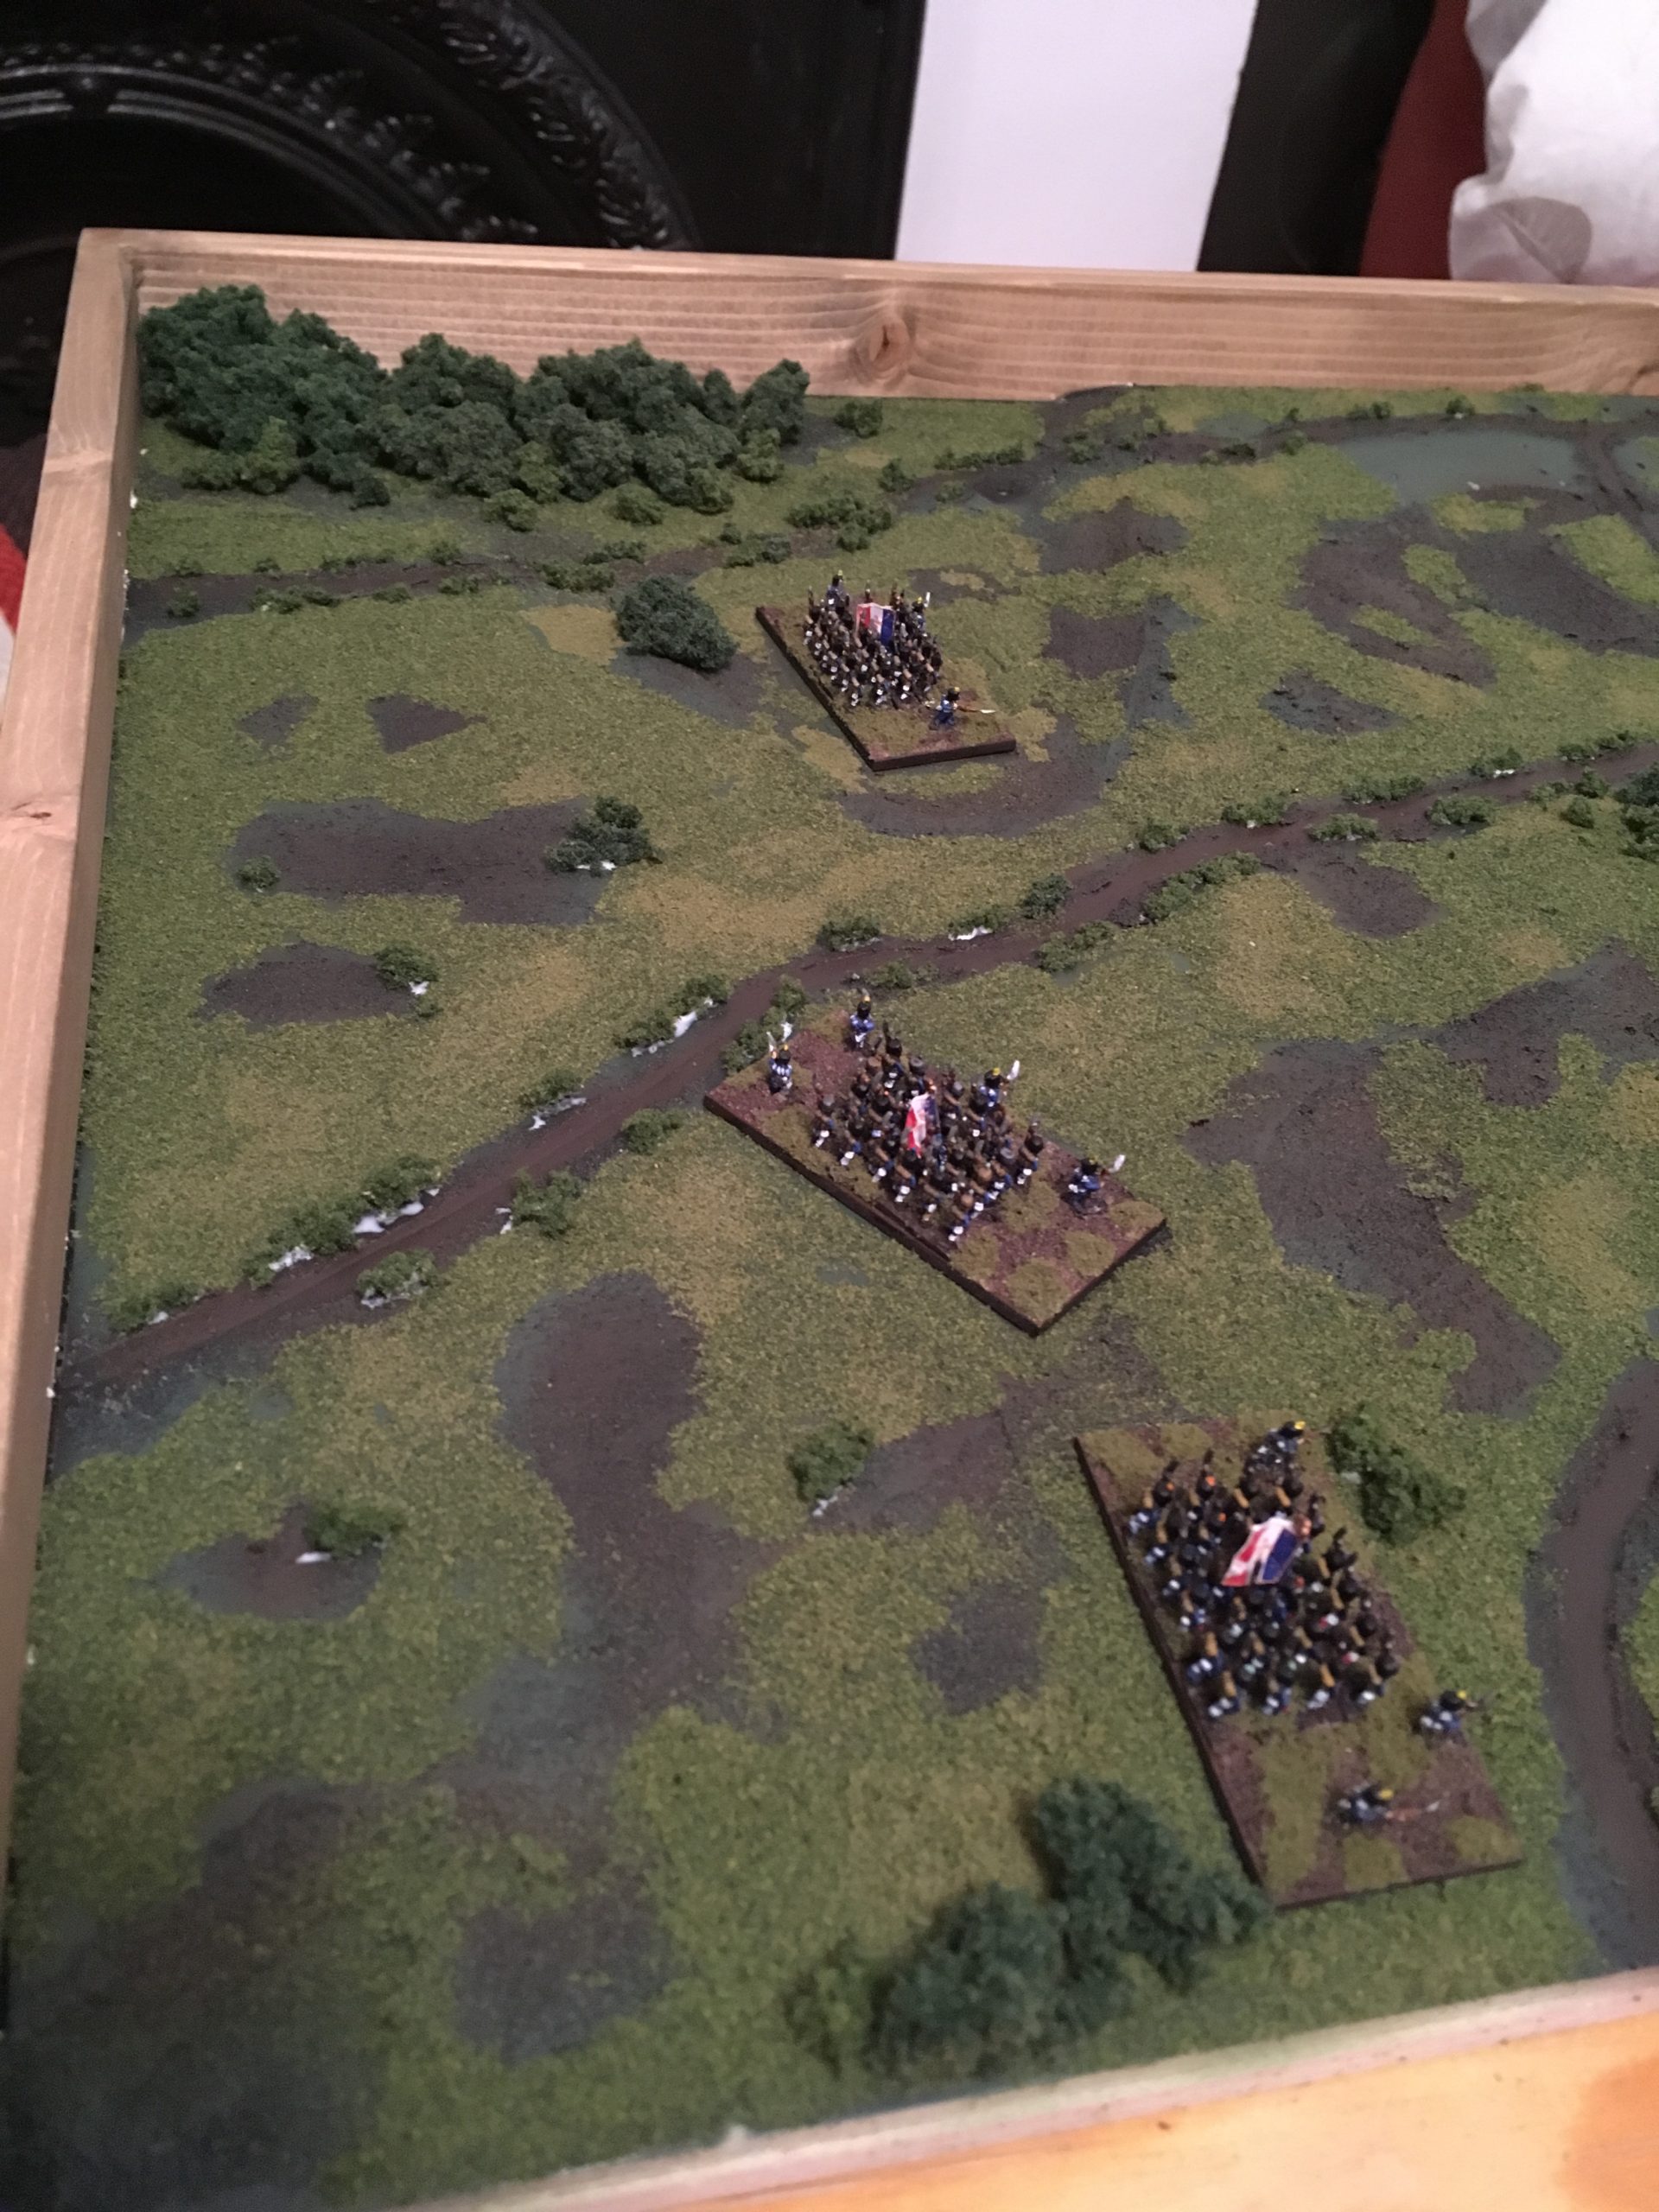
A battle isn’t a battle if only one side turns up, so I’m going to need more than just the french if I’m ever going to call this a complete battle game in a (big) box.
So the Prussians hit the paint table….
Models are from Baccus.
Cant remember the regiments I painted these as, because I did the test for them years ago and just copied it across more recently. Half of what I need is done, and I’ll research anew before I paint the second half and rememeber to write down the regiment notes this time!

Just name tags
Next up is something of a gaming aid, but this also needed to be added in style to fit the whole thing.
I couldn’t write commanders names on the board to let players know which corps was which as it is in the original, but I wanted them marked for ease of reference.
Harking back to the original game, little wooden blocks felt right but I kept them in the style of the boxing, pyrography wording and stained (thankfully I never throw much out so I still had the same stain) old wood.
Not the easiest to read, I grant you, but it fits nicely. These are an easy upgrade later if I feel like trying to improve it at least.
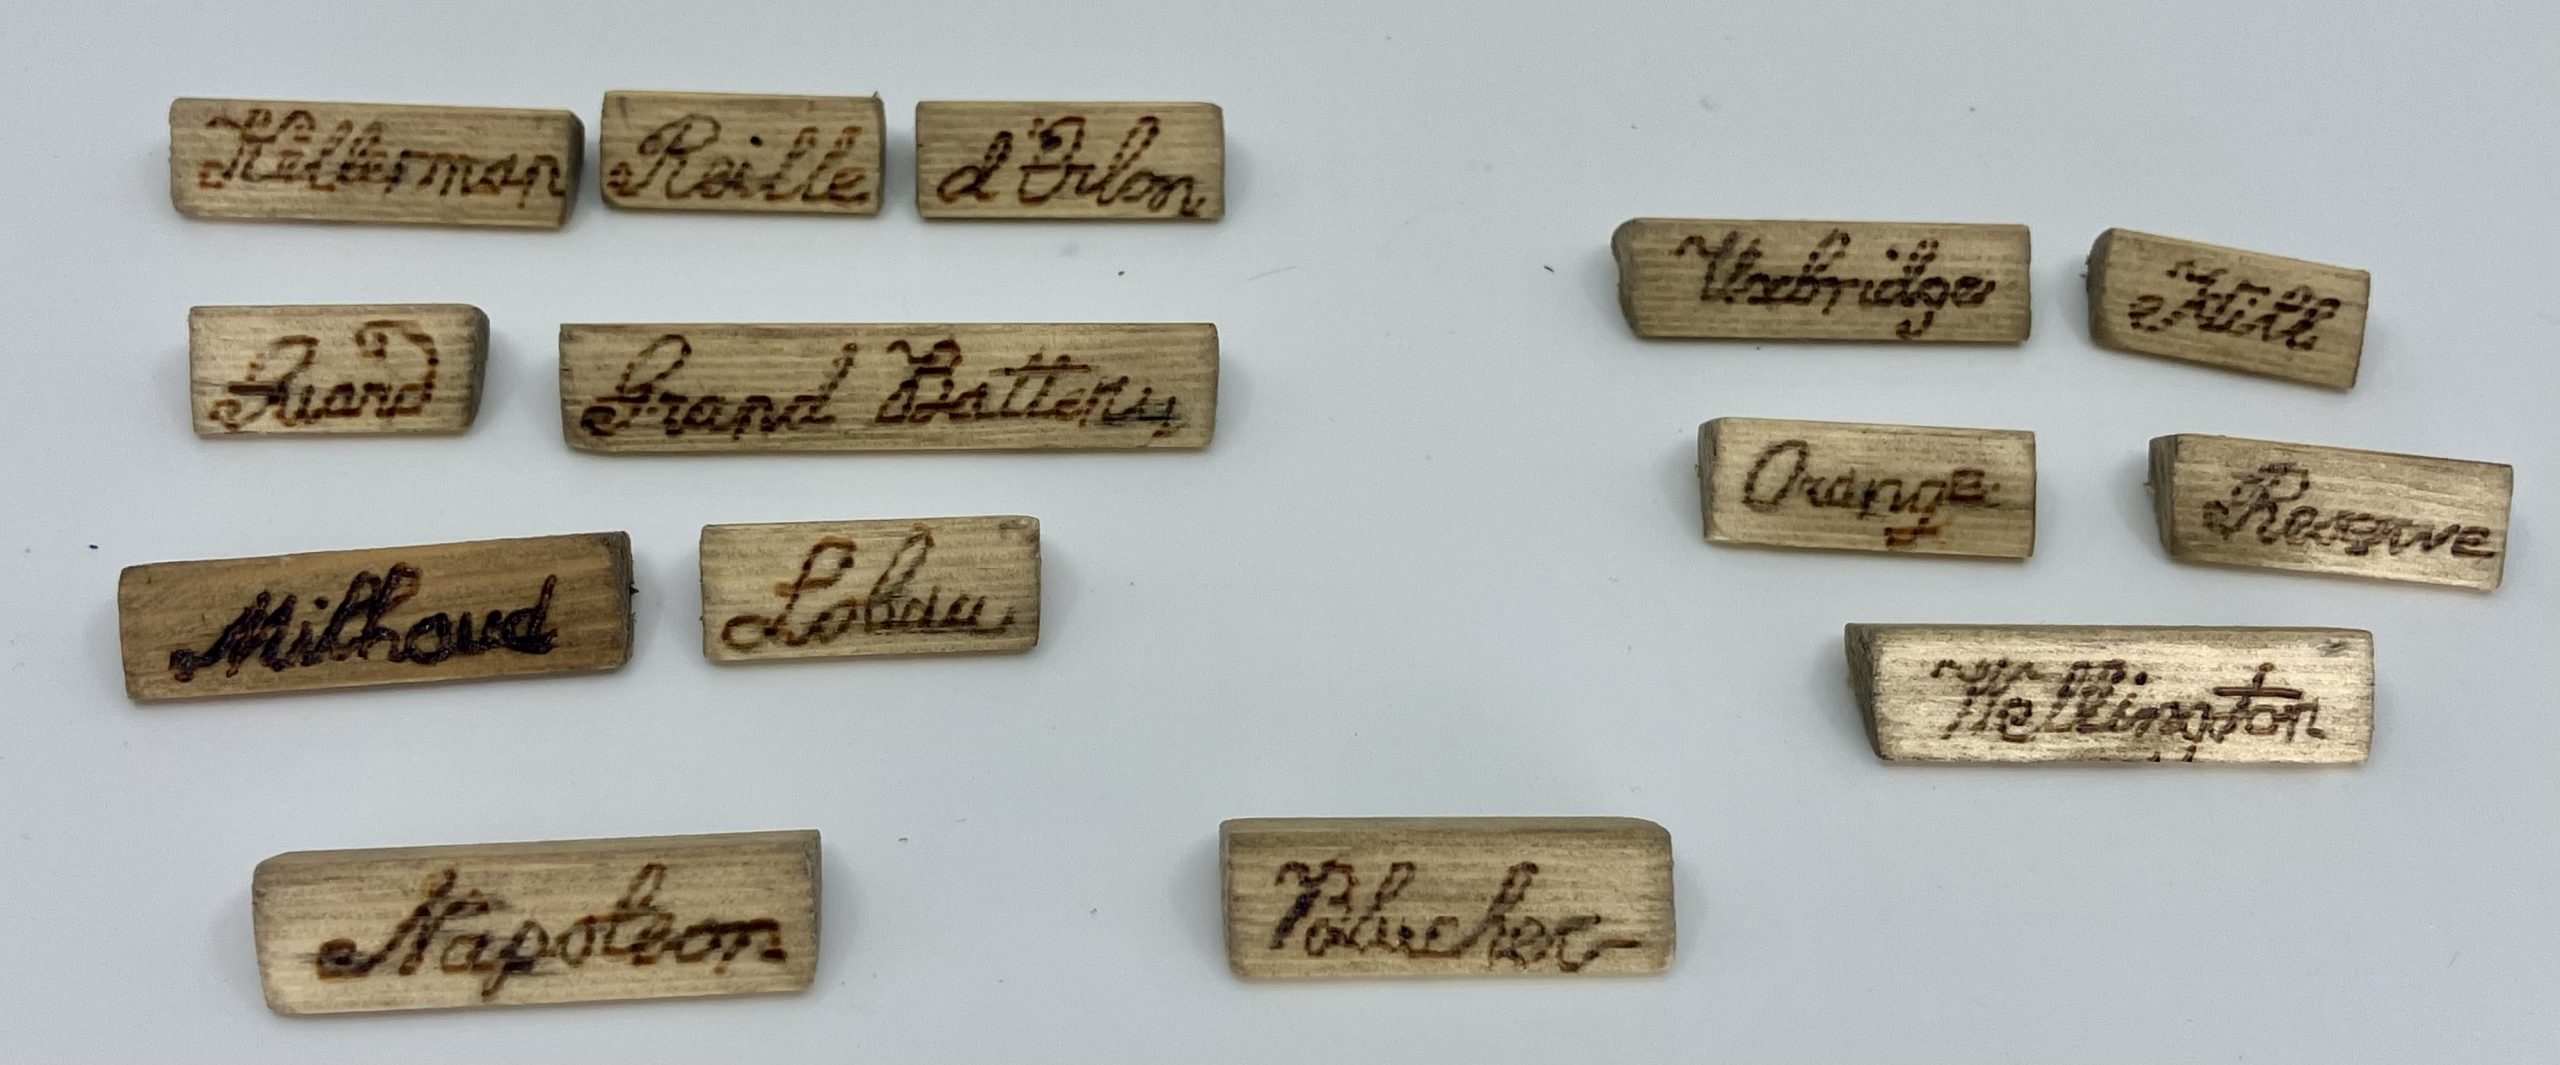 Corps and army commanders names as they are split in the game - each of these is a different activation choice for the player
Buildings finished! 11/09/25
Now we’re moving forwards. Buildings are complete!
Well, they need varnishing…. But beyond that they’ll count!
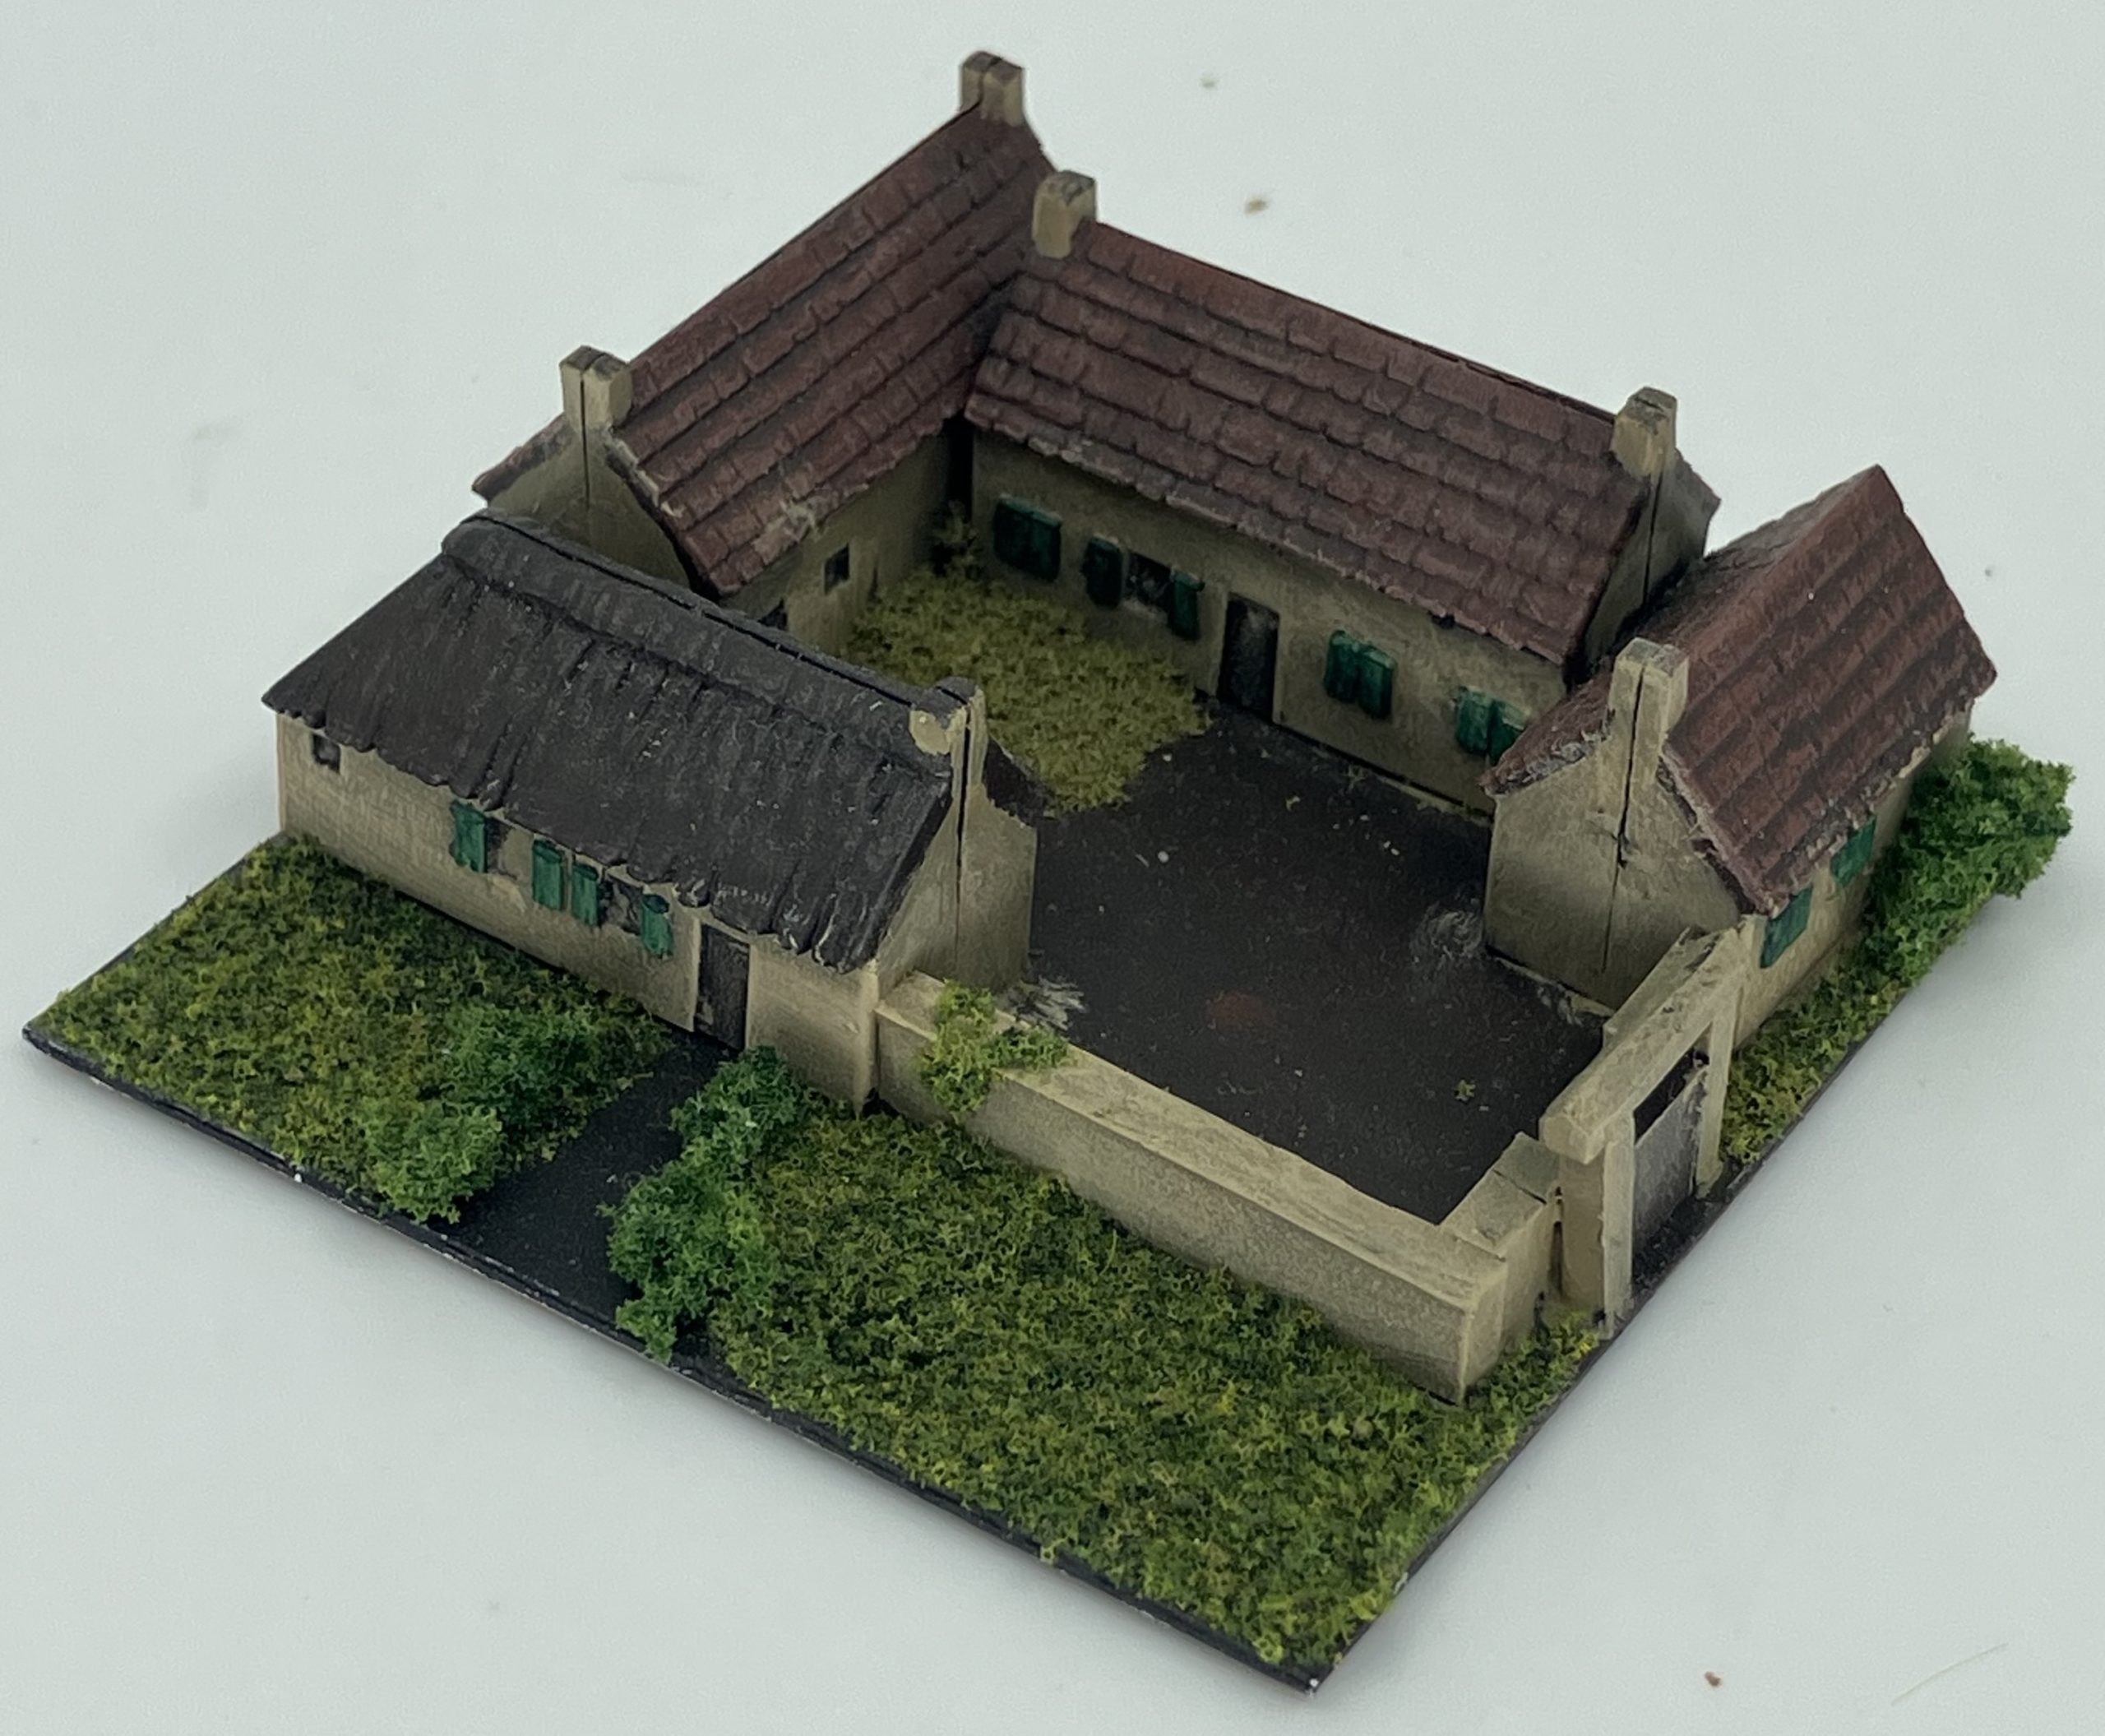
All done rather speedily with basic drybrushed in a couple of greys to represent stone and slate while clay brick and tile done with Vallejo game colour terracotta with a little white added for definition.
A few were done with desert yellow and khaki to give variance and represent some wattle&daub / render without starting to add timber lines.
Thatch is citadel bone base with contrast skeleton horse or gagraks sewer (I’m probably butchering those names from memory…)
Windows picked out in black and shutters done in a variety of shades to add interest but I may actually dull them back on the basic houses once I see how it looks all together – they’re not meant to be the focus.
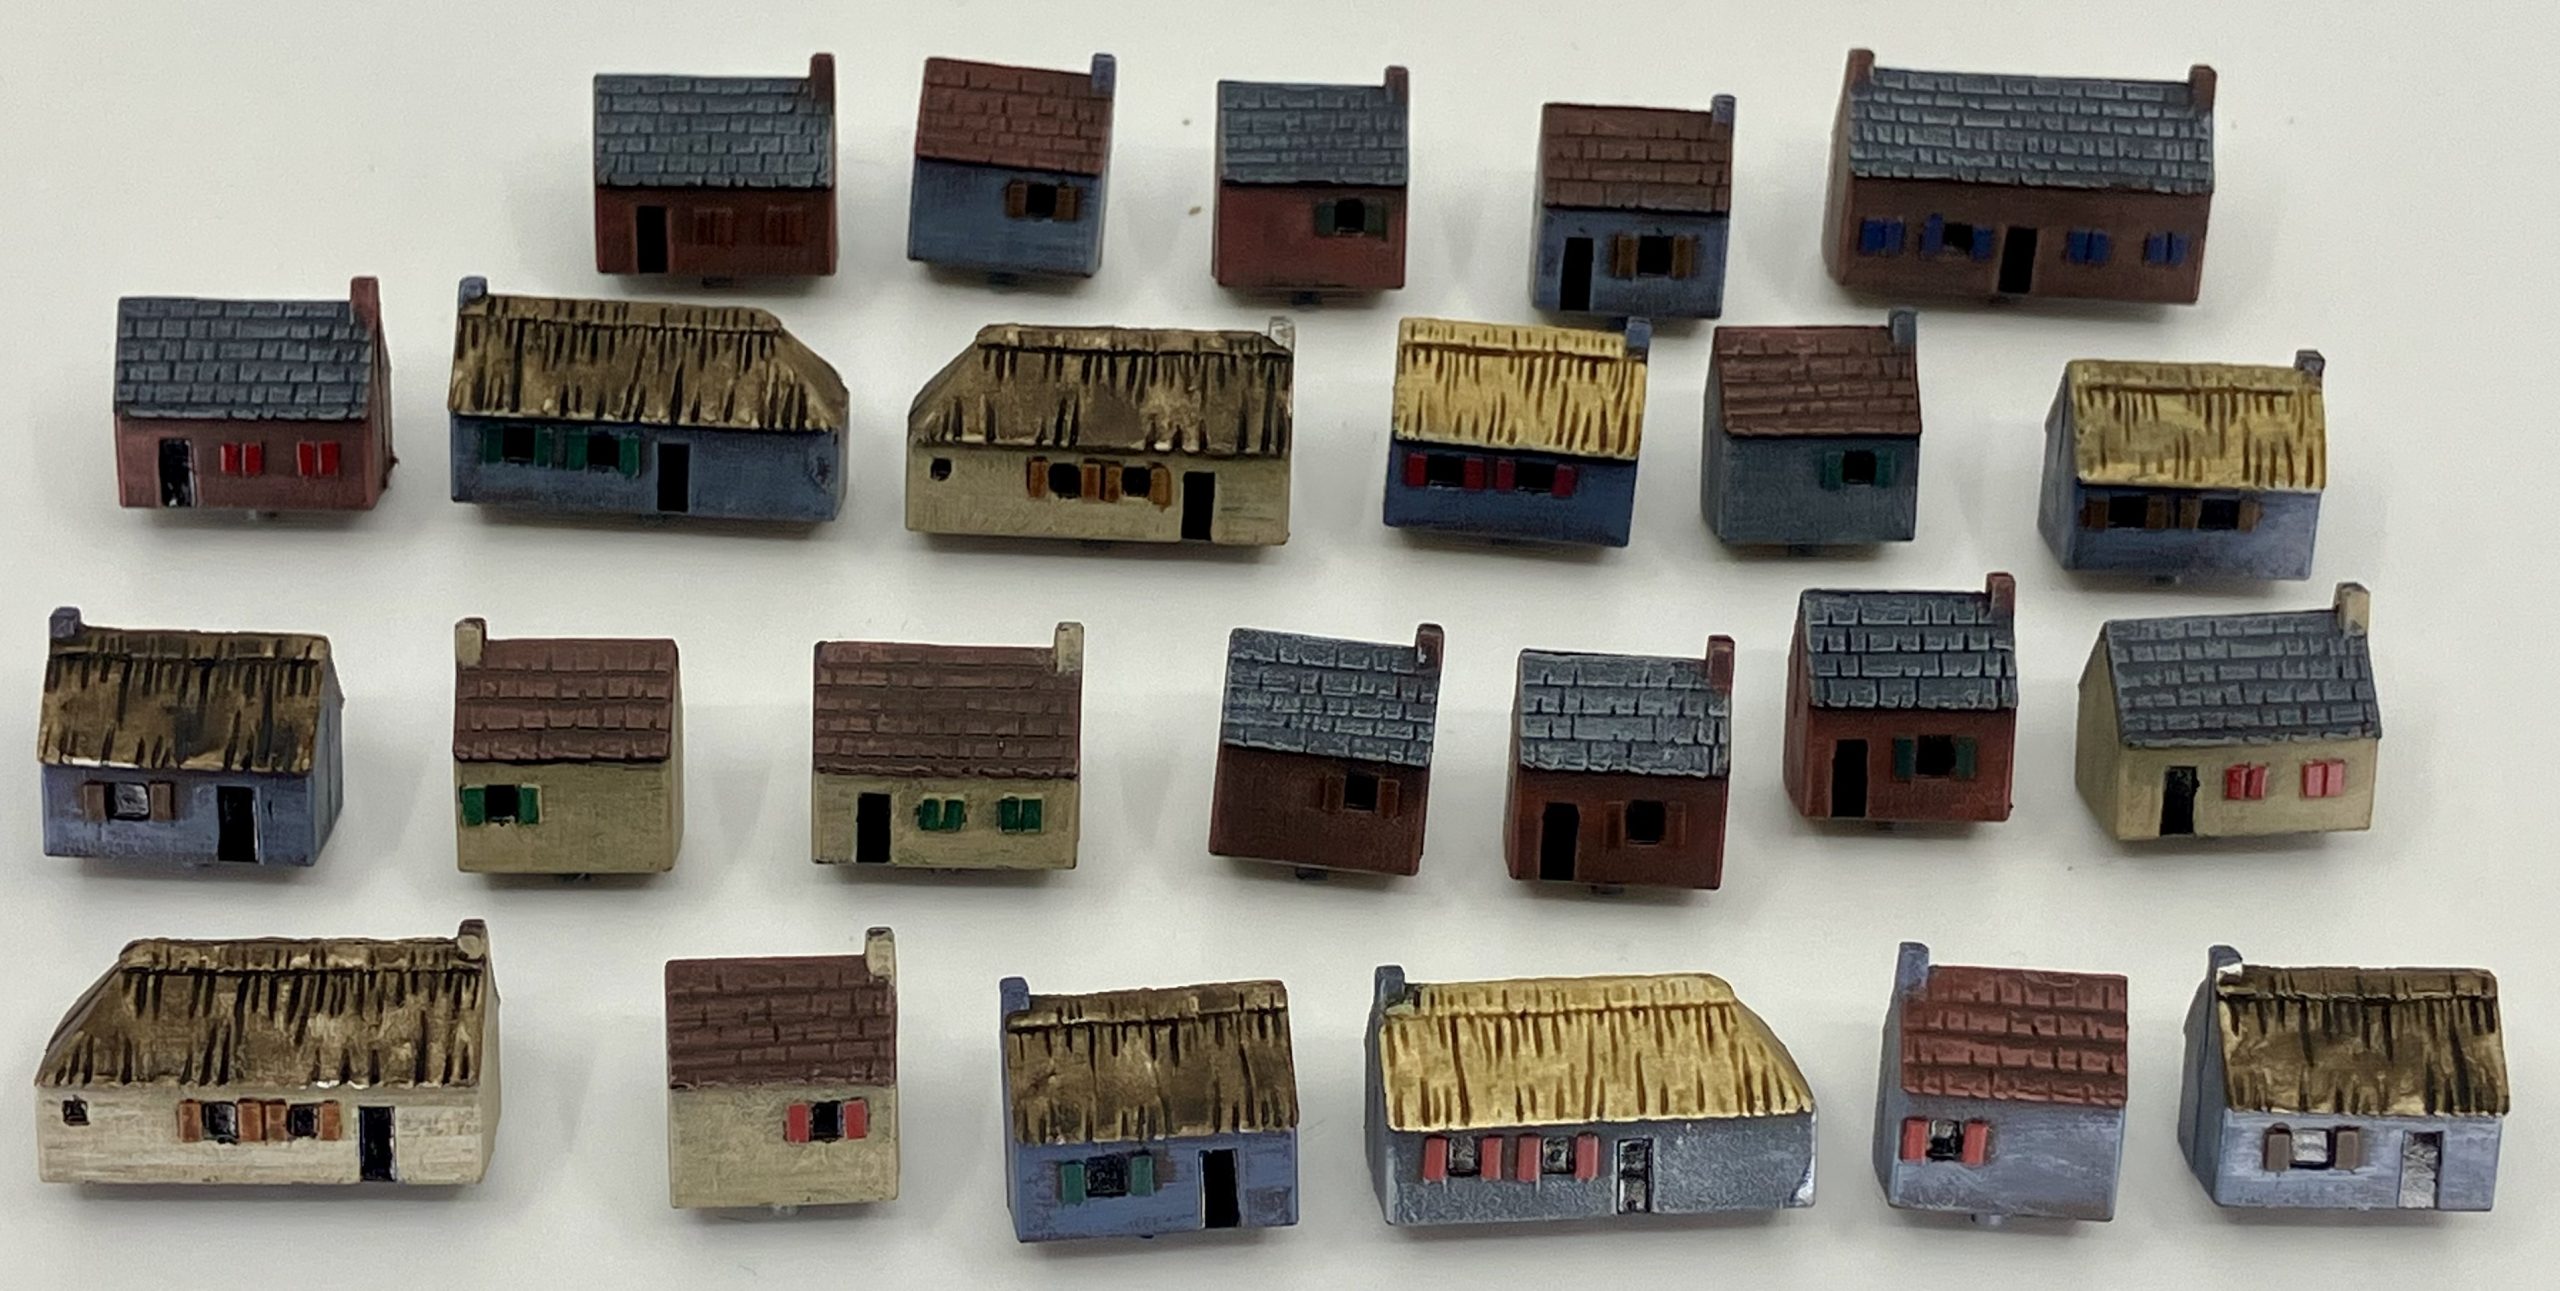
Of buildings….
Buildings are all from travel battle by Perry miniatures and are just representative of the historical structures and areas rather than attempting to be tailor made models accurate to the colour of the windowsills.
the models are hard plastic and have a reasonable if simple level of detail and variety.
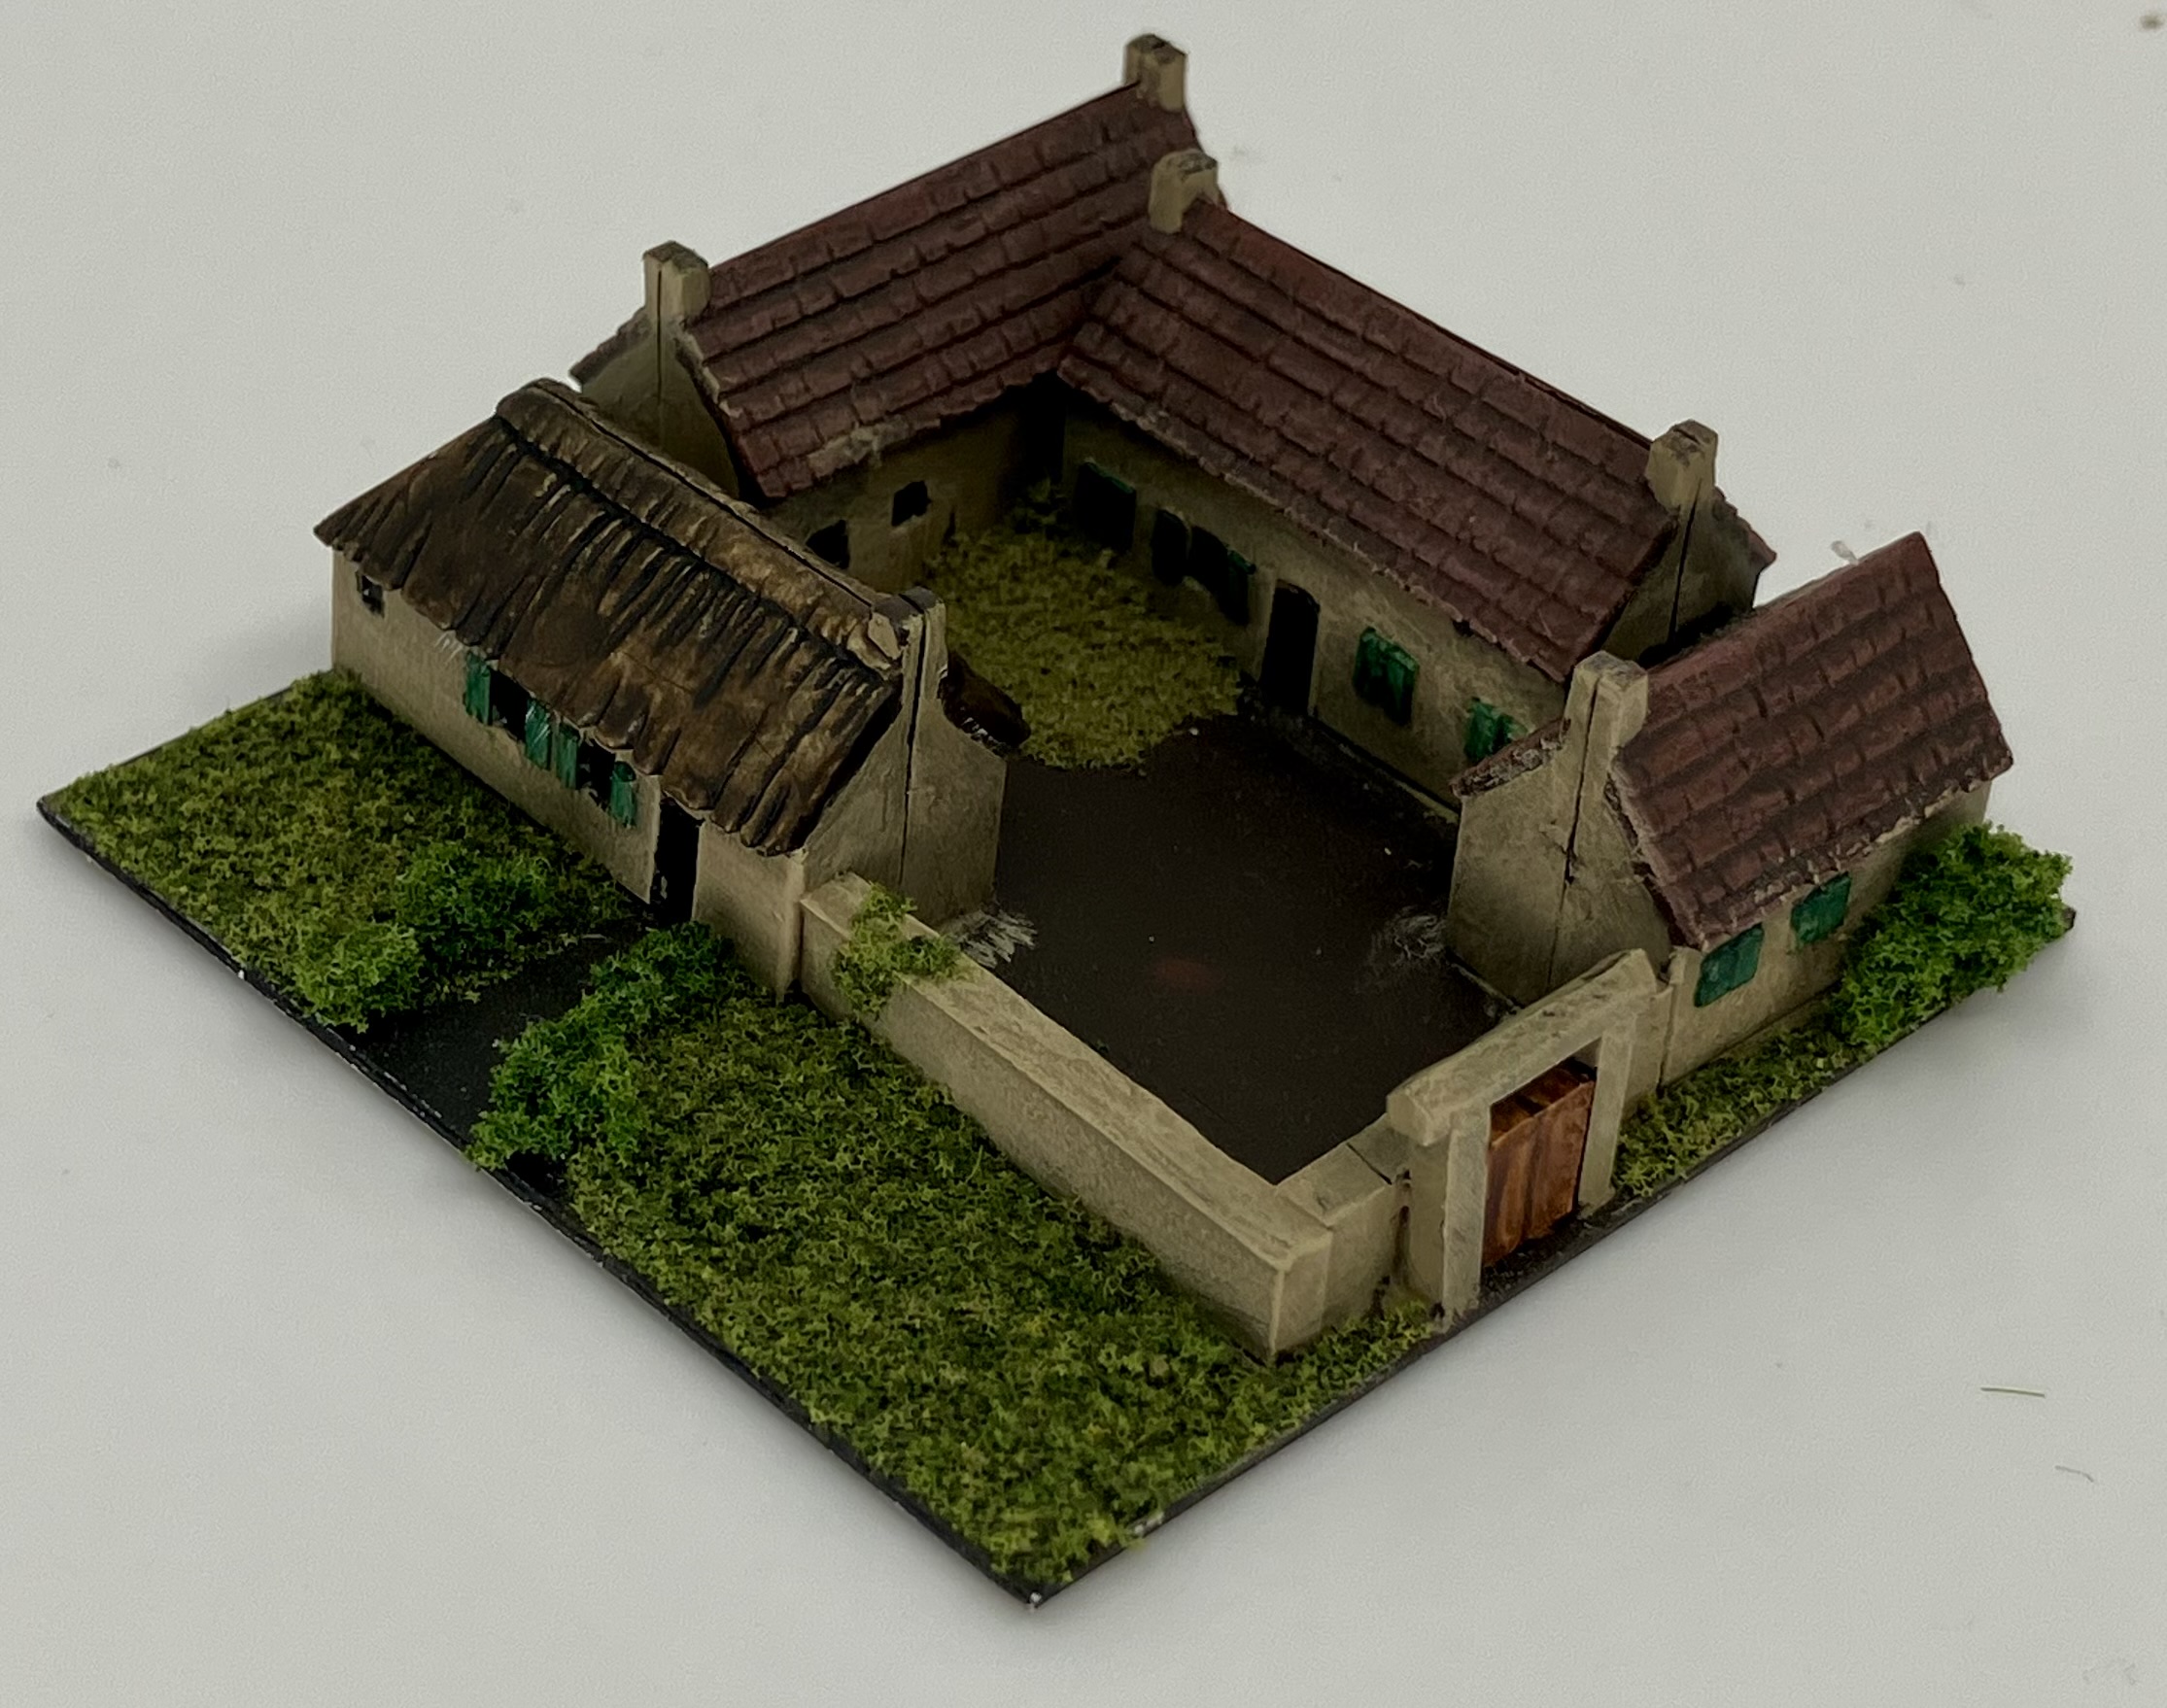
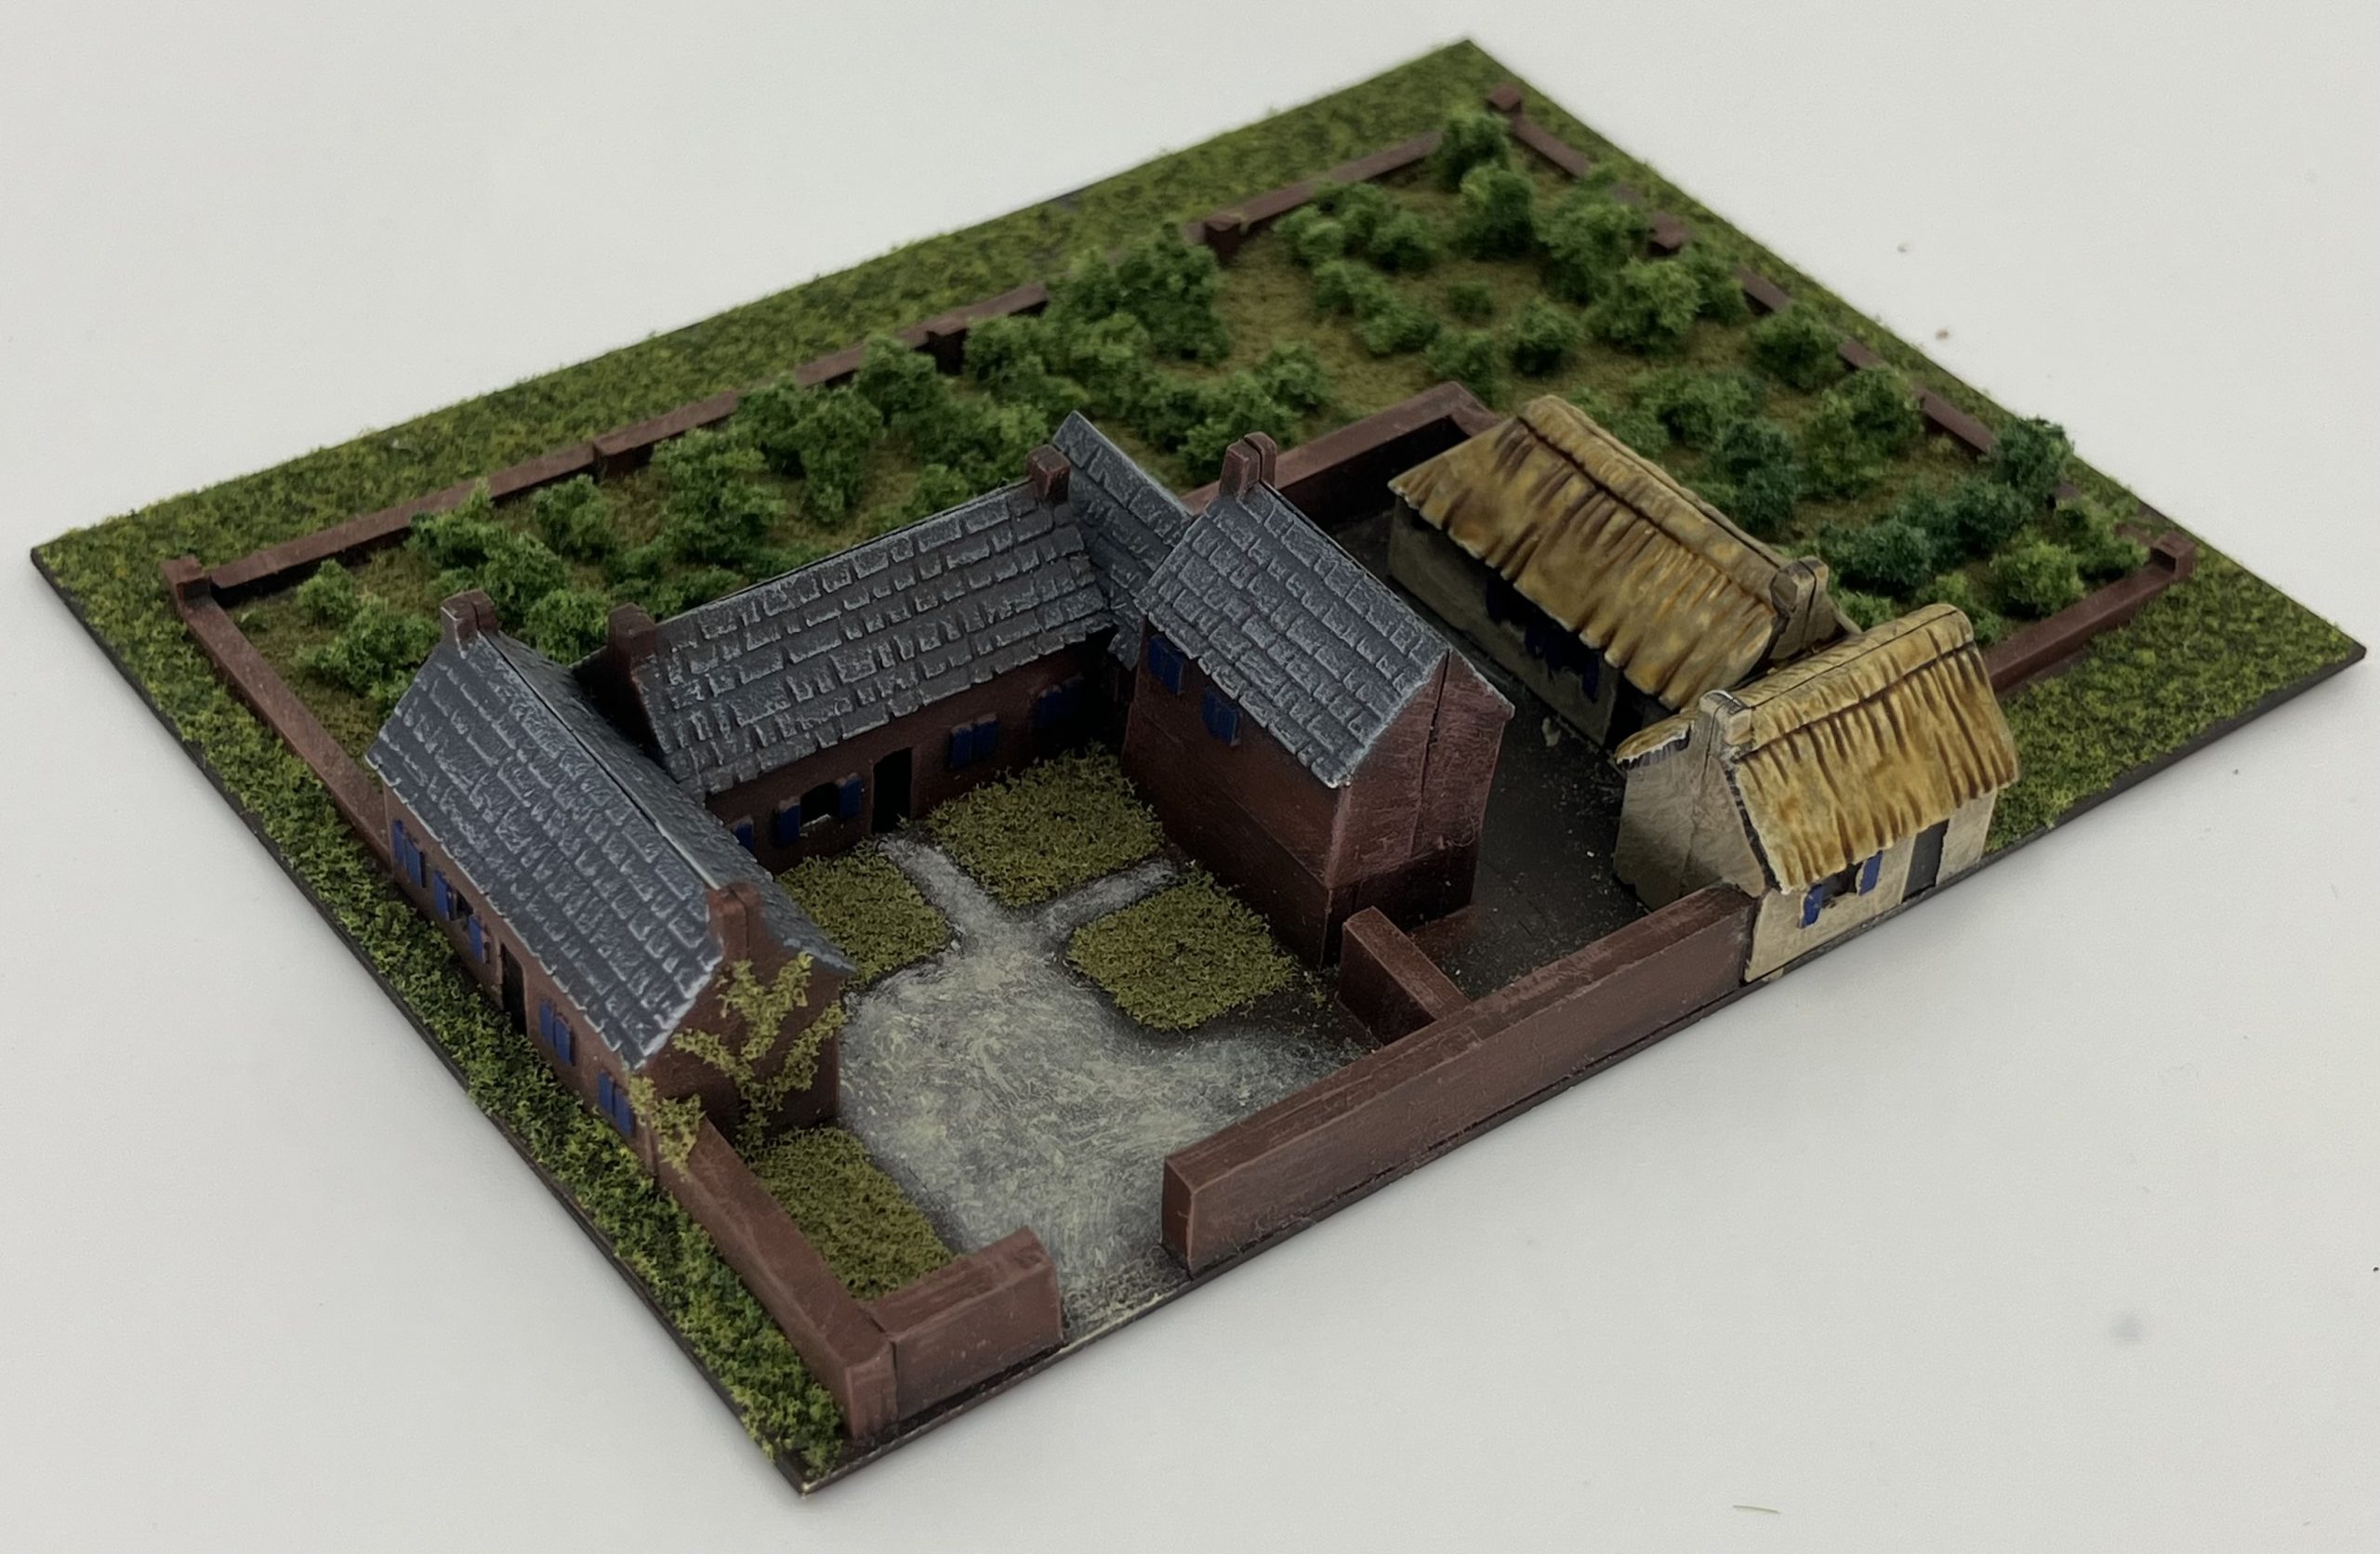
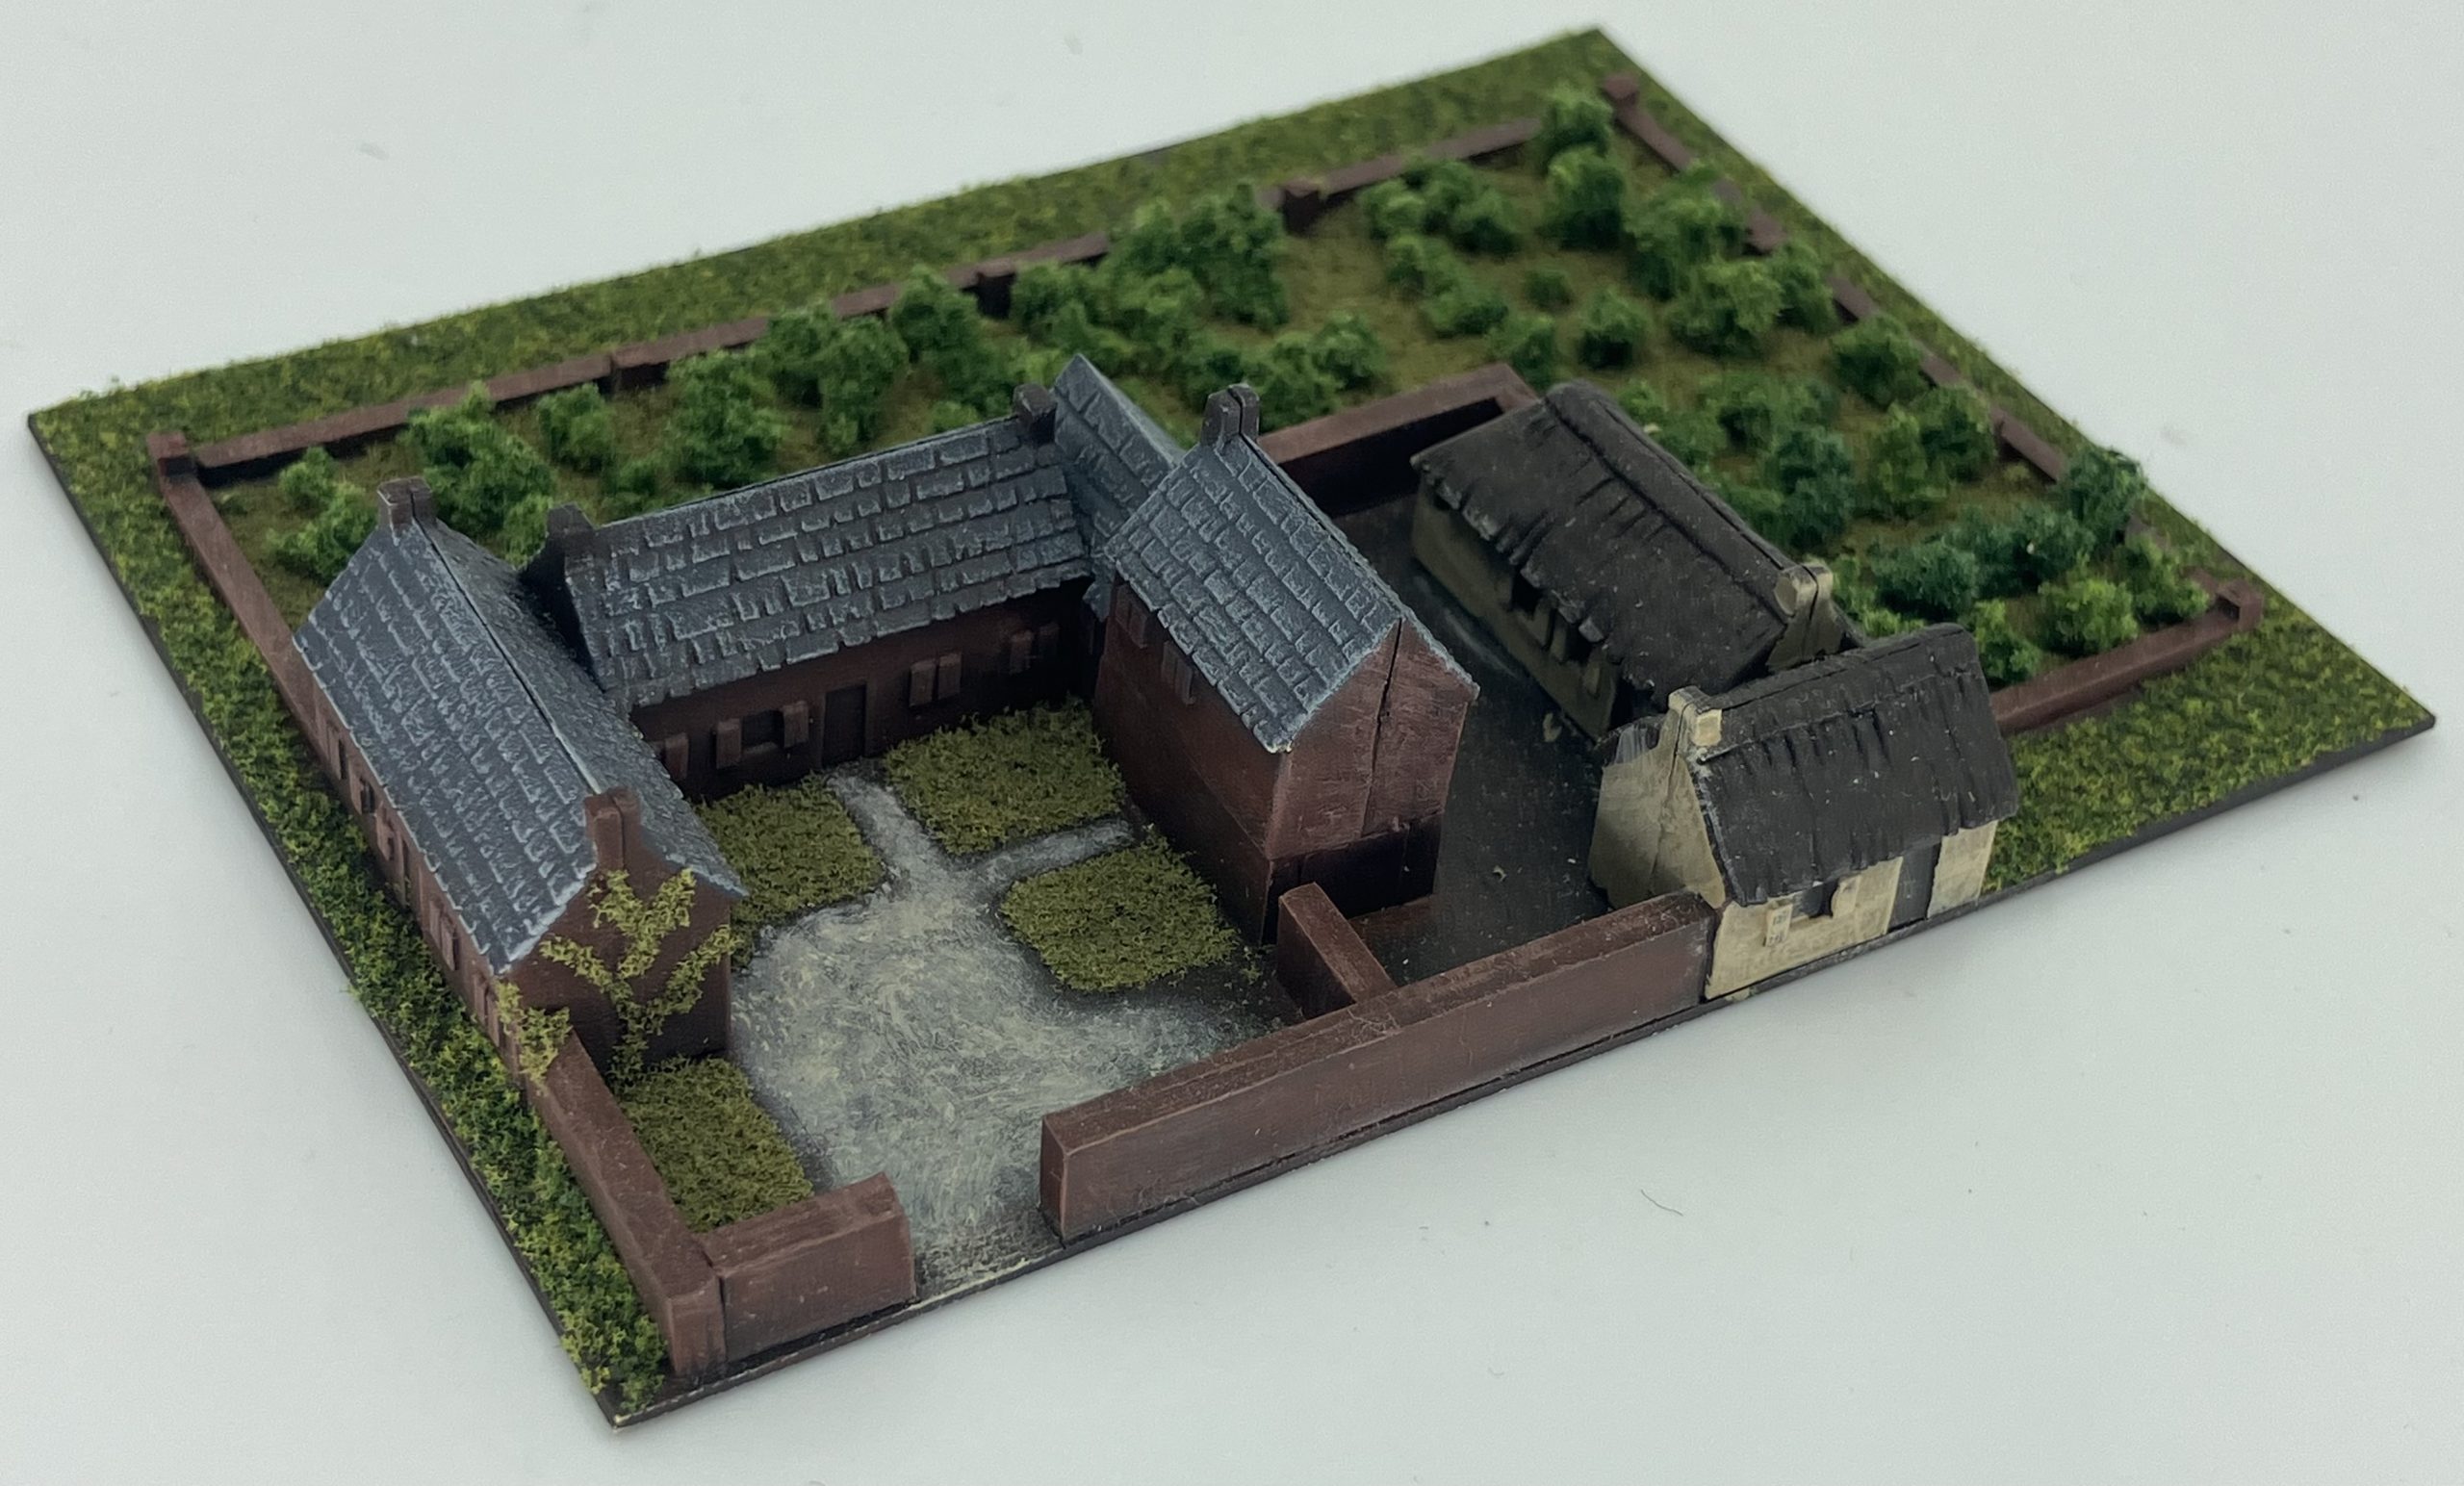
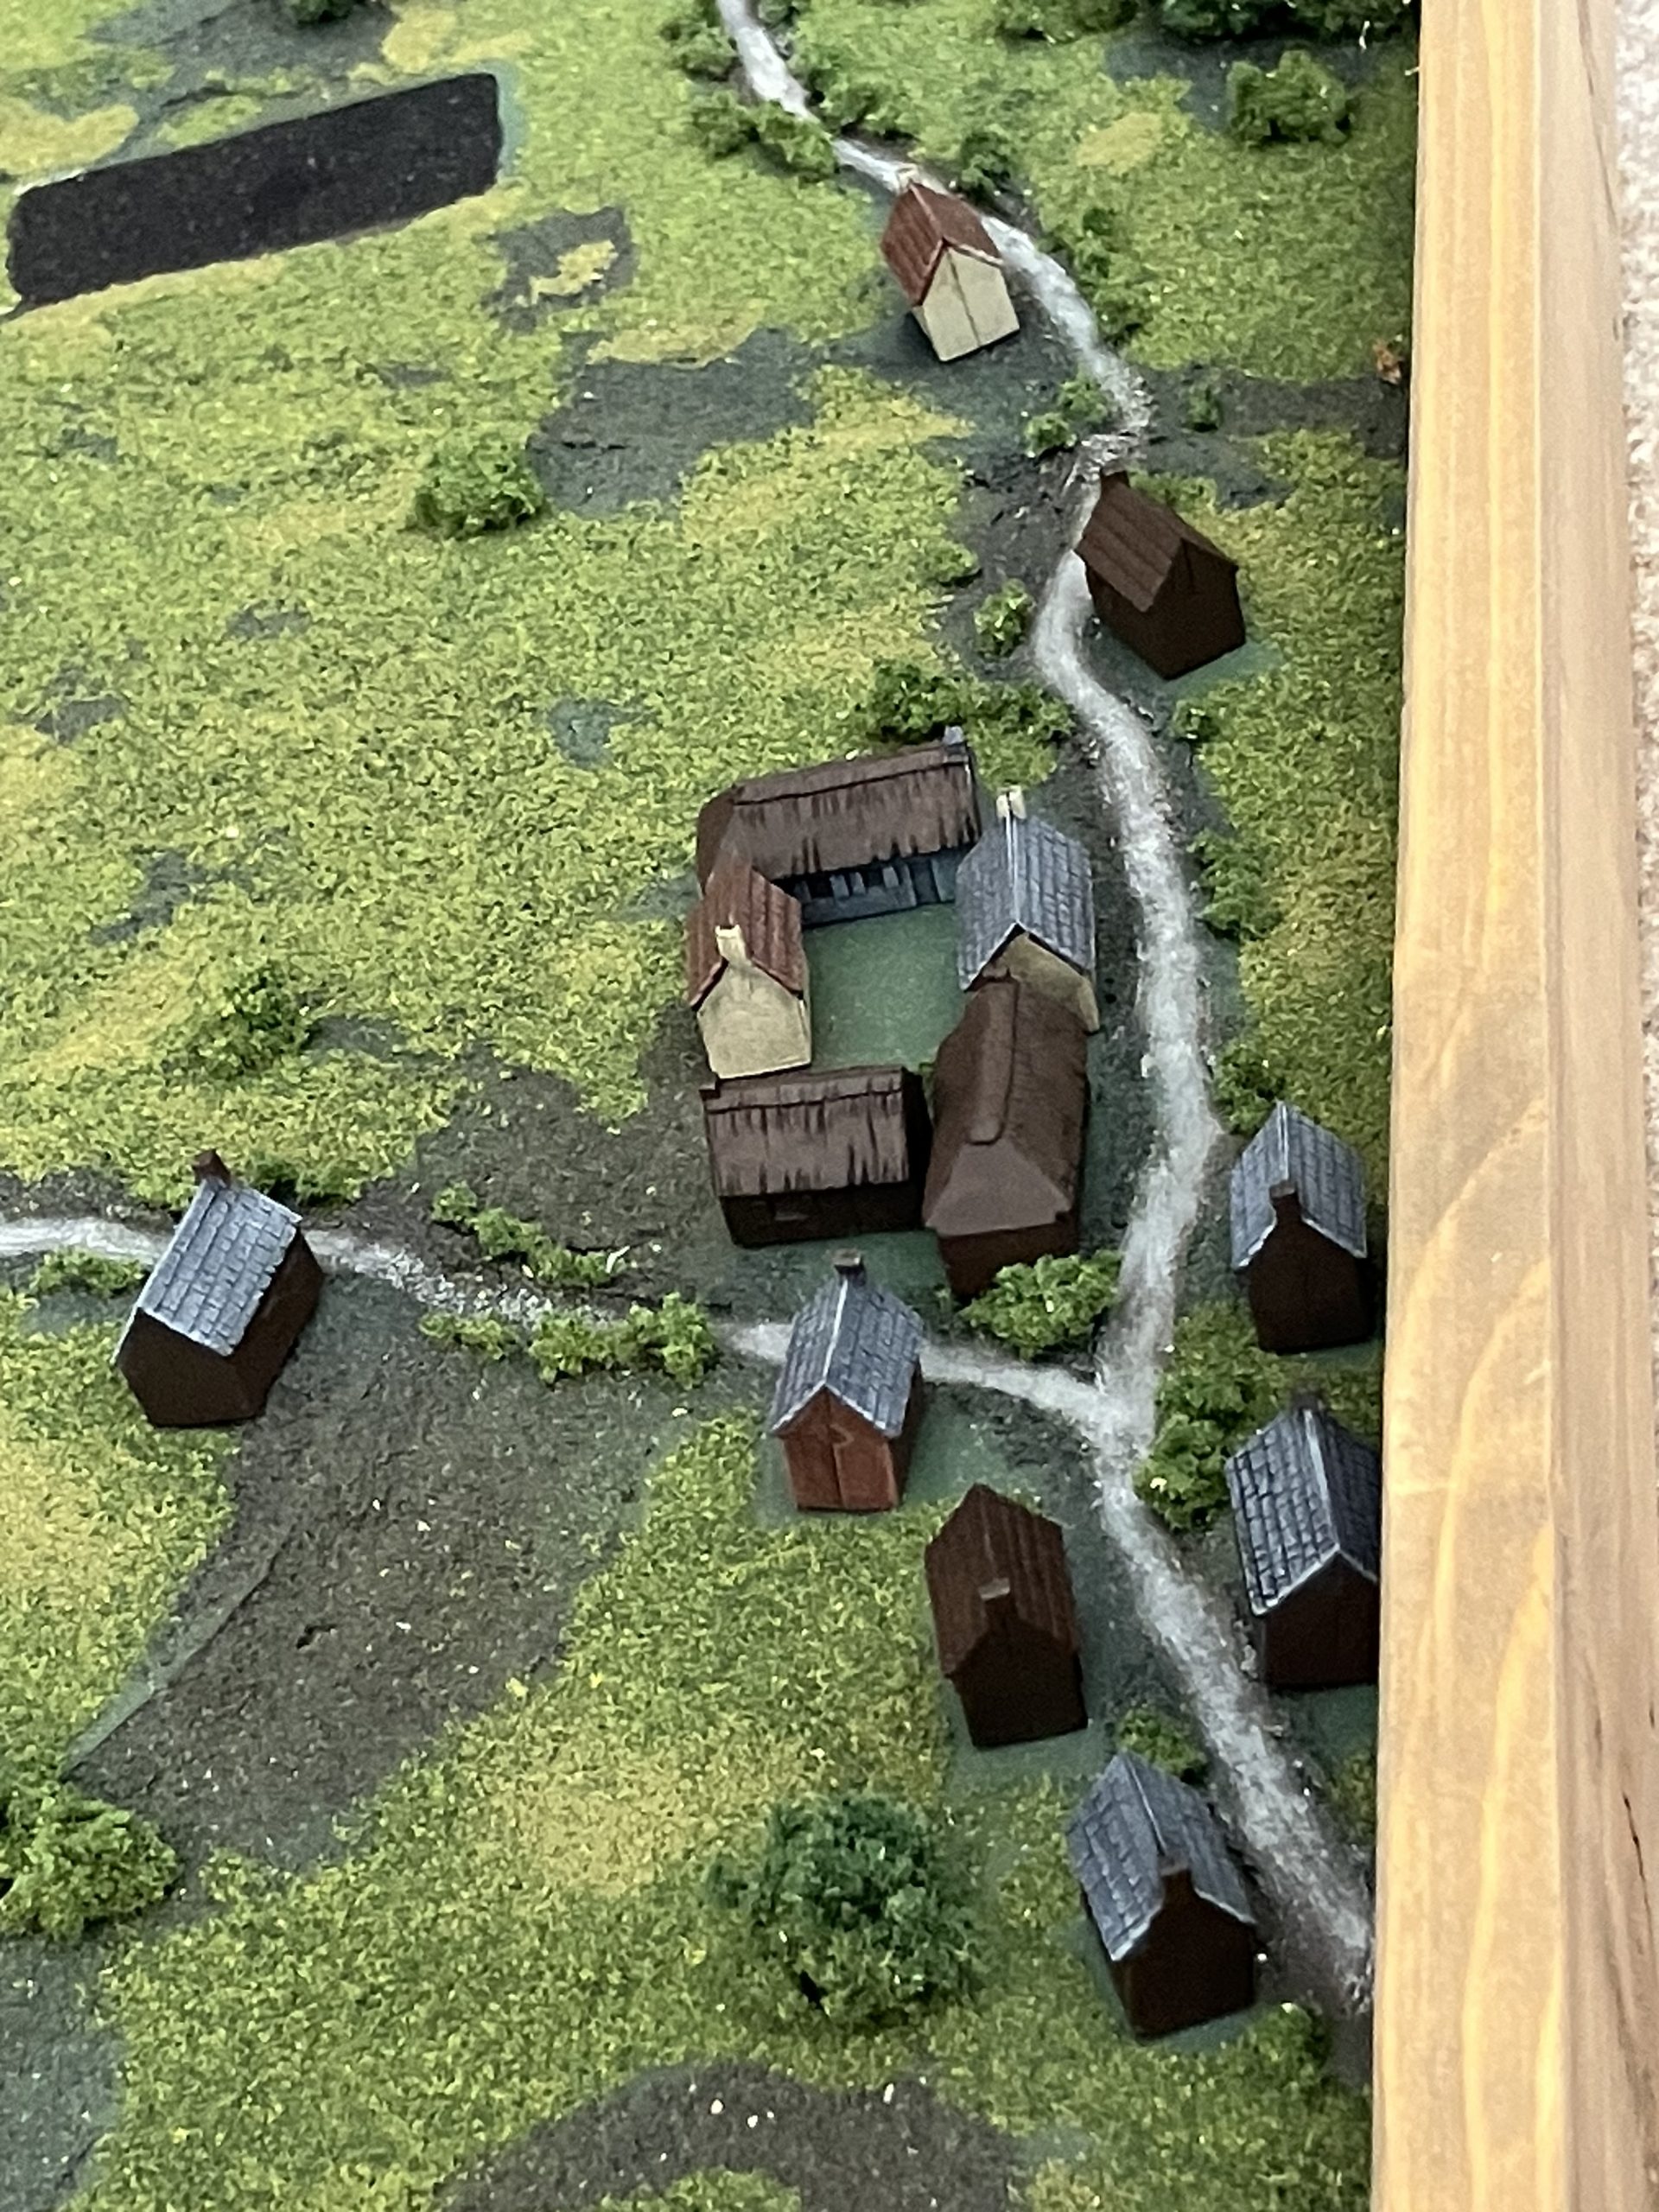 Its Plancenoit, honest…..
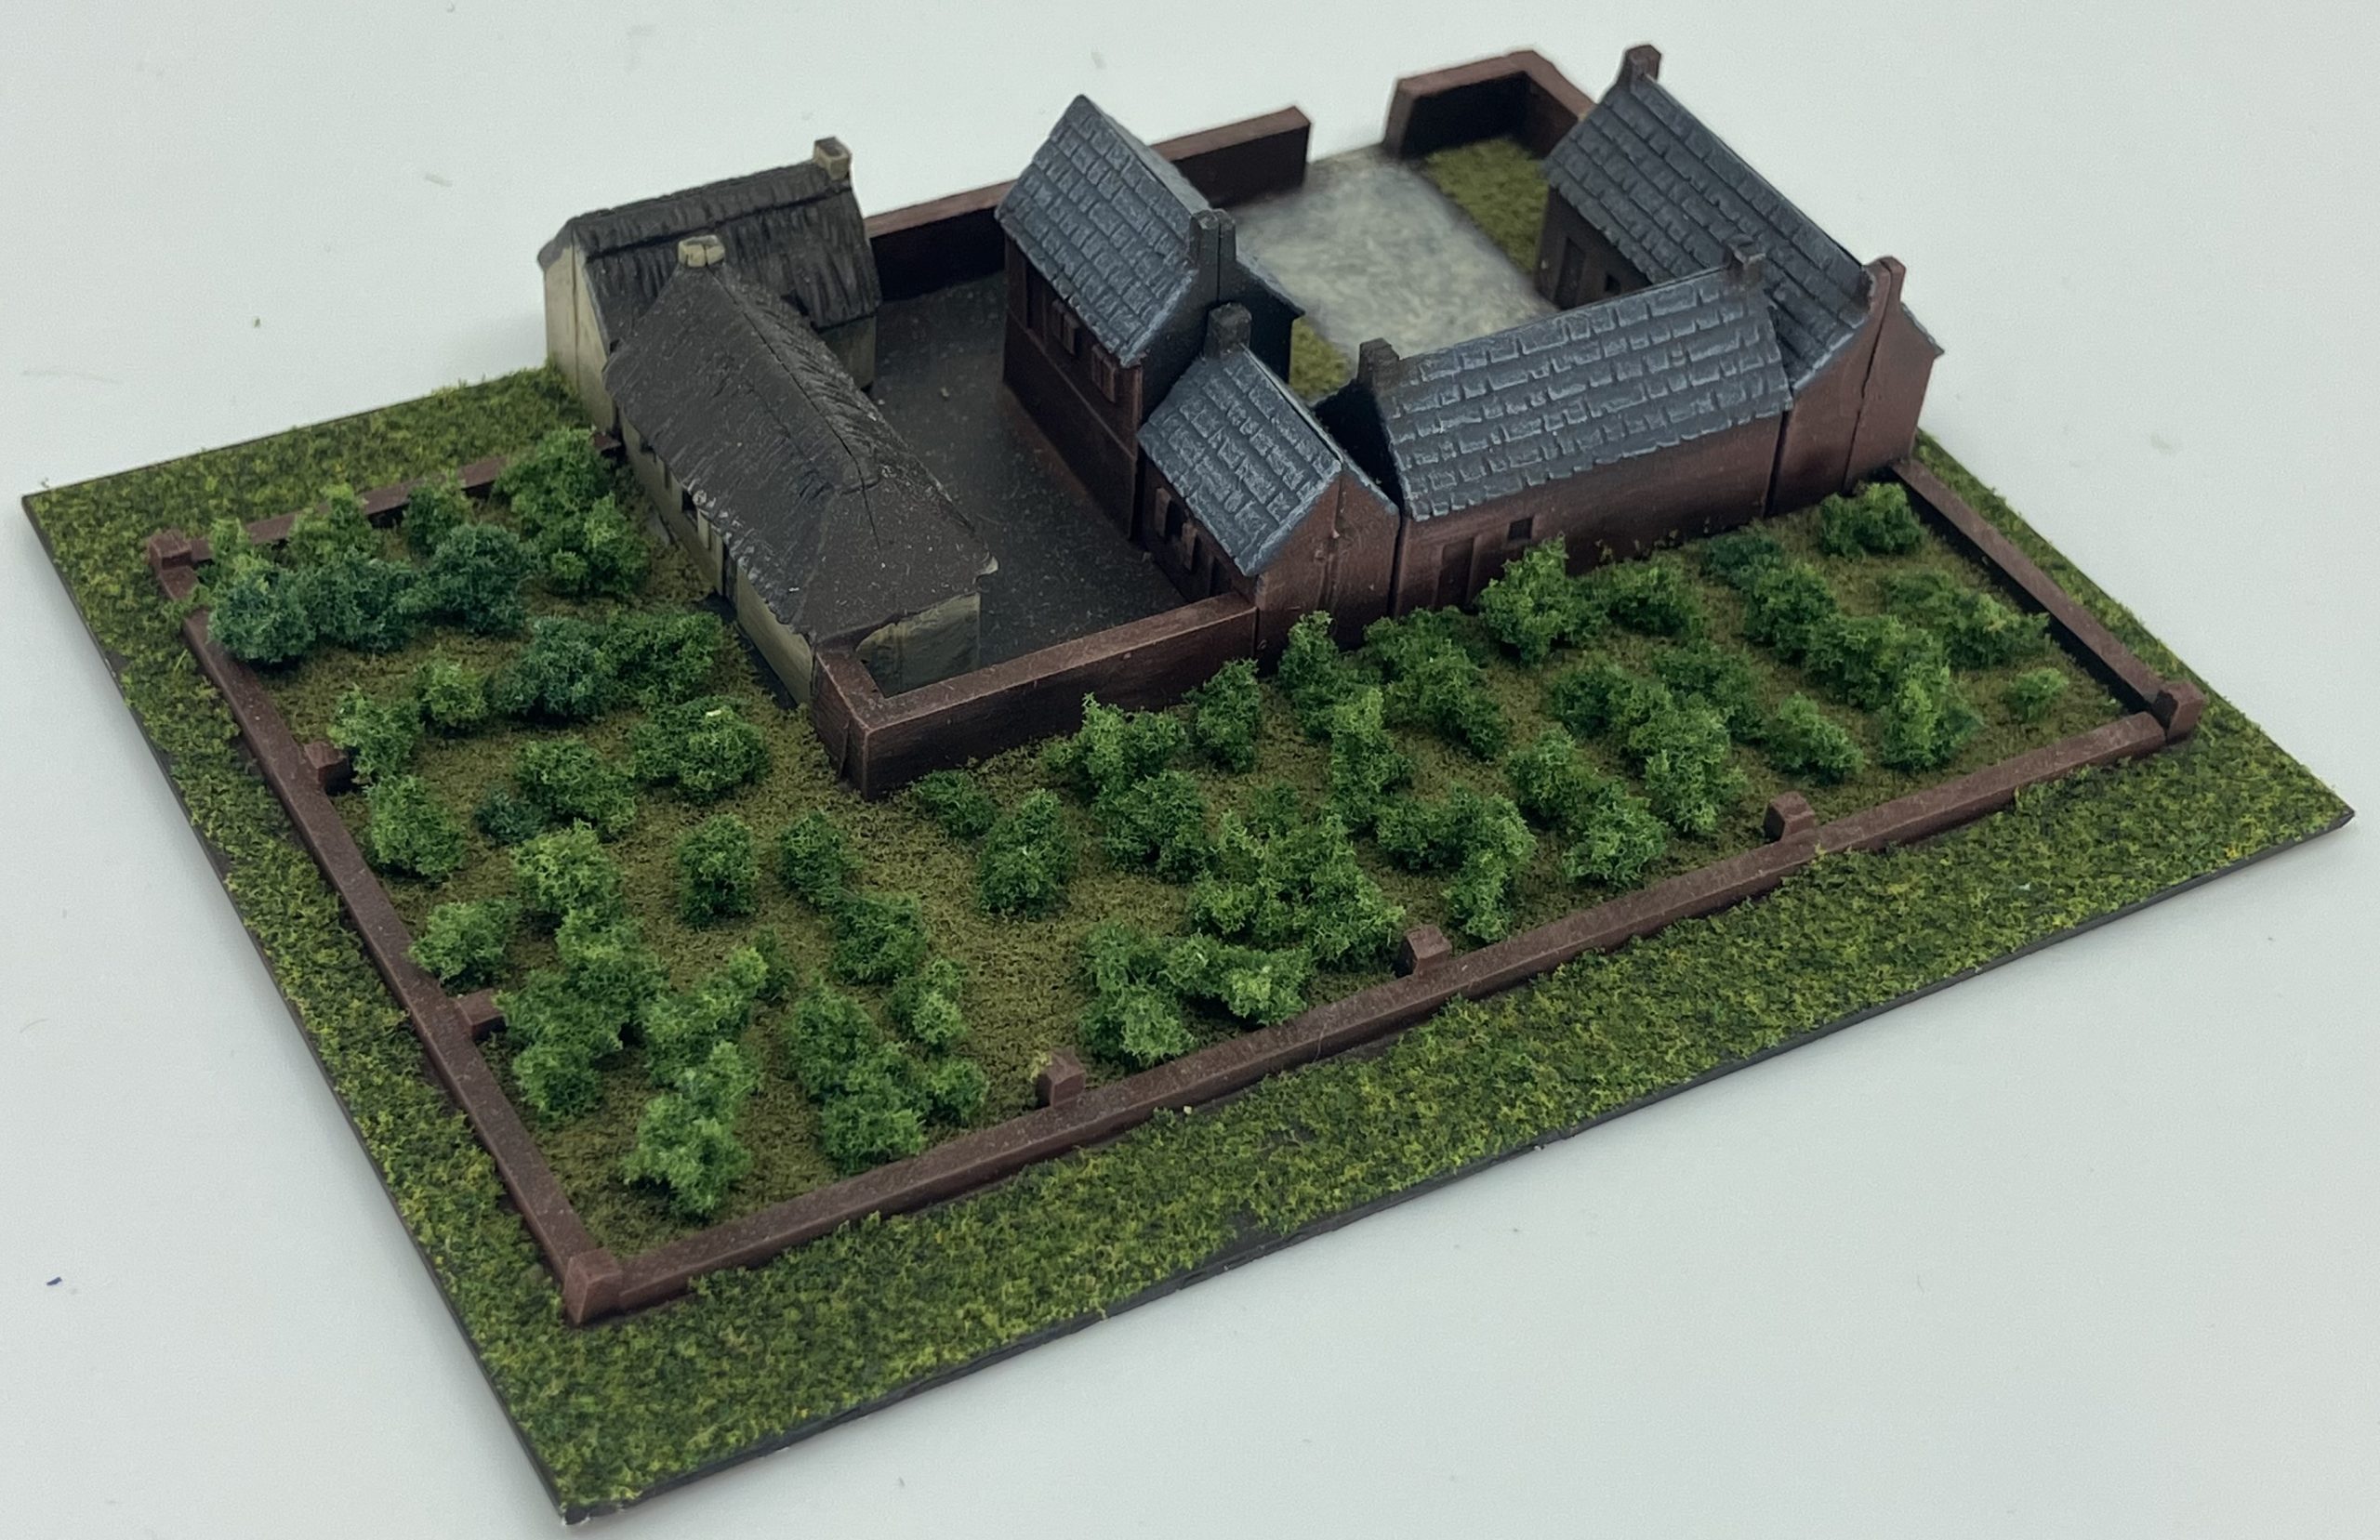
 Chateau D’Hougoumont and the farm of La Haye Sainte got a little more attention and have been made on their own bases, removable from the game board.
The Chateau has its orchards with it while the Farm’s carefully maintained fields remain part of the larger board.
again, travel battles range models form the basis, with walls and lower levels added using simple strips of plastic.
pictures here are all WIPs – finished pics soon!
Its current status (August ‘25)
And so, finally, I have this project up to date as I intended to get it on day 1 of posting, and ready to move forward!
a lot of the below occurred late 2017 -2020 and it’s been dormant ever since. The spring clean brought it back into focus but it was too big to be just a part of that. And here we are.
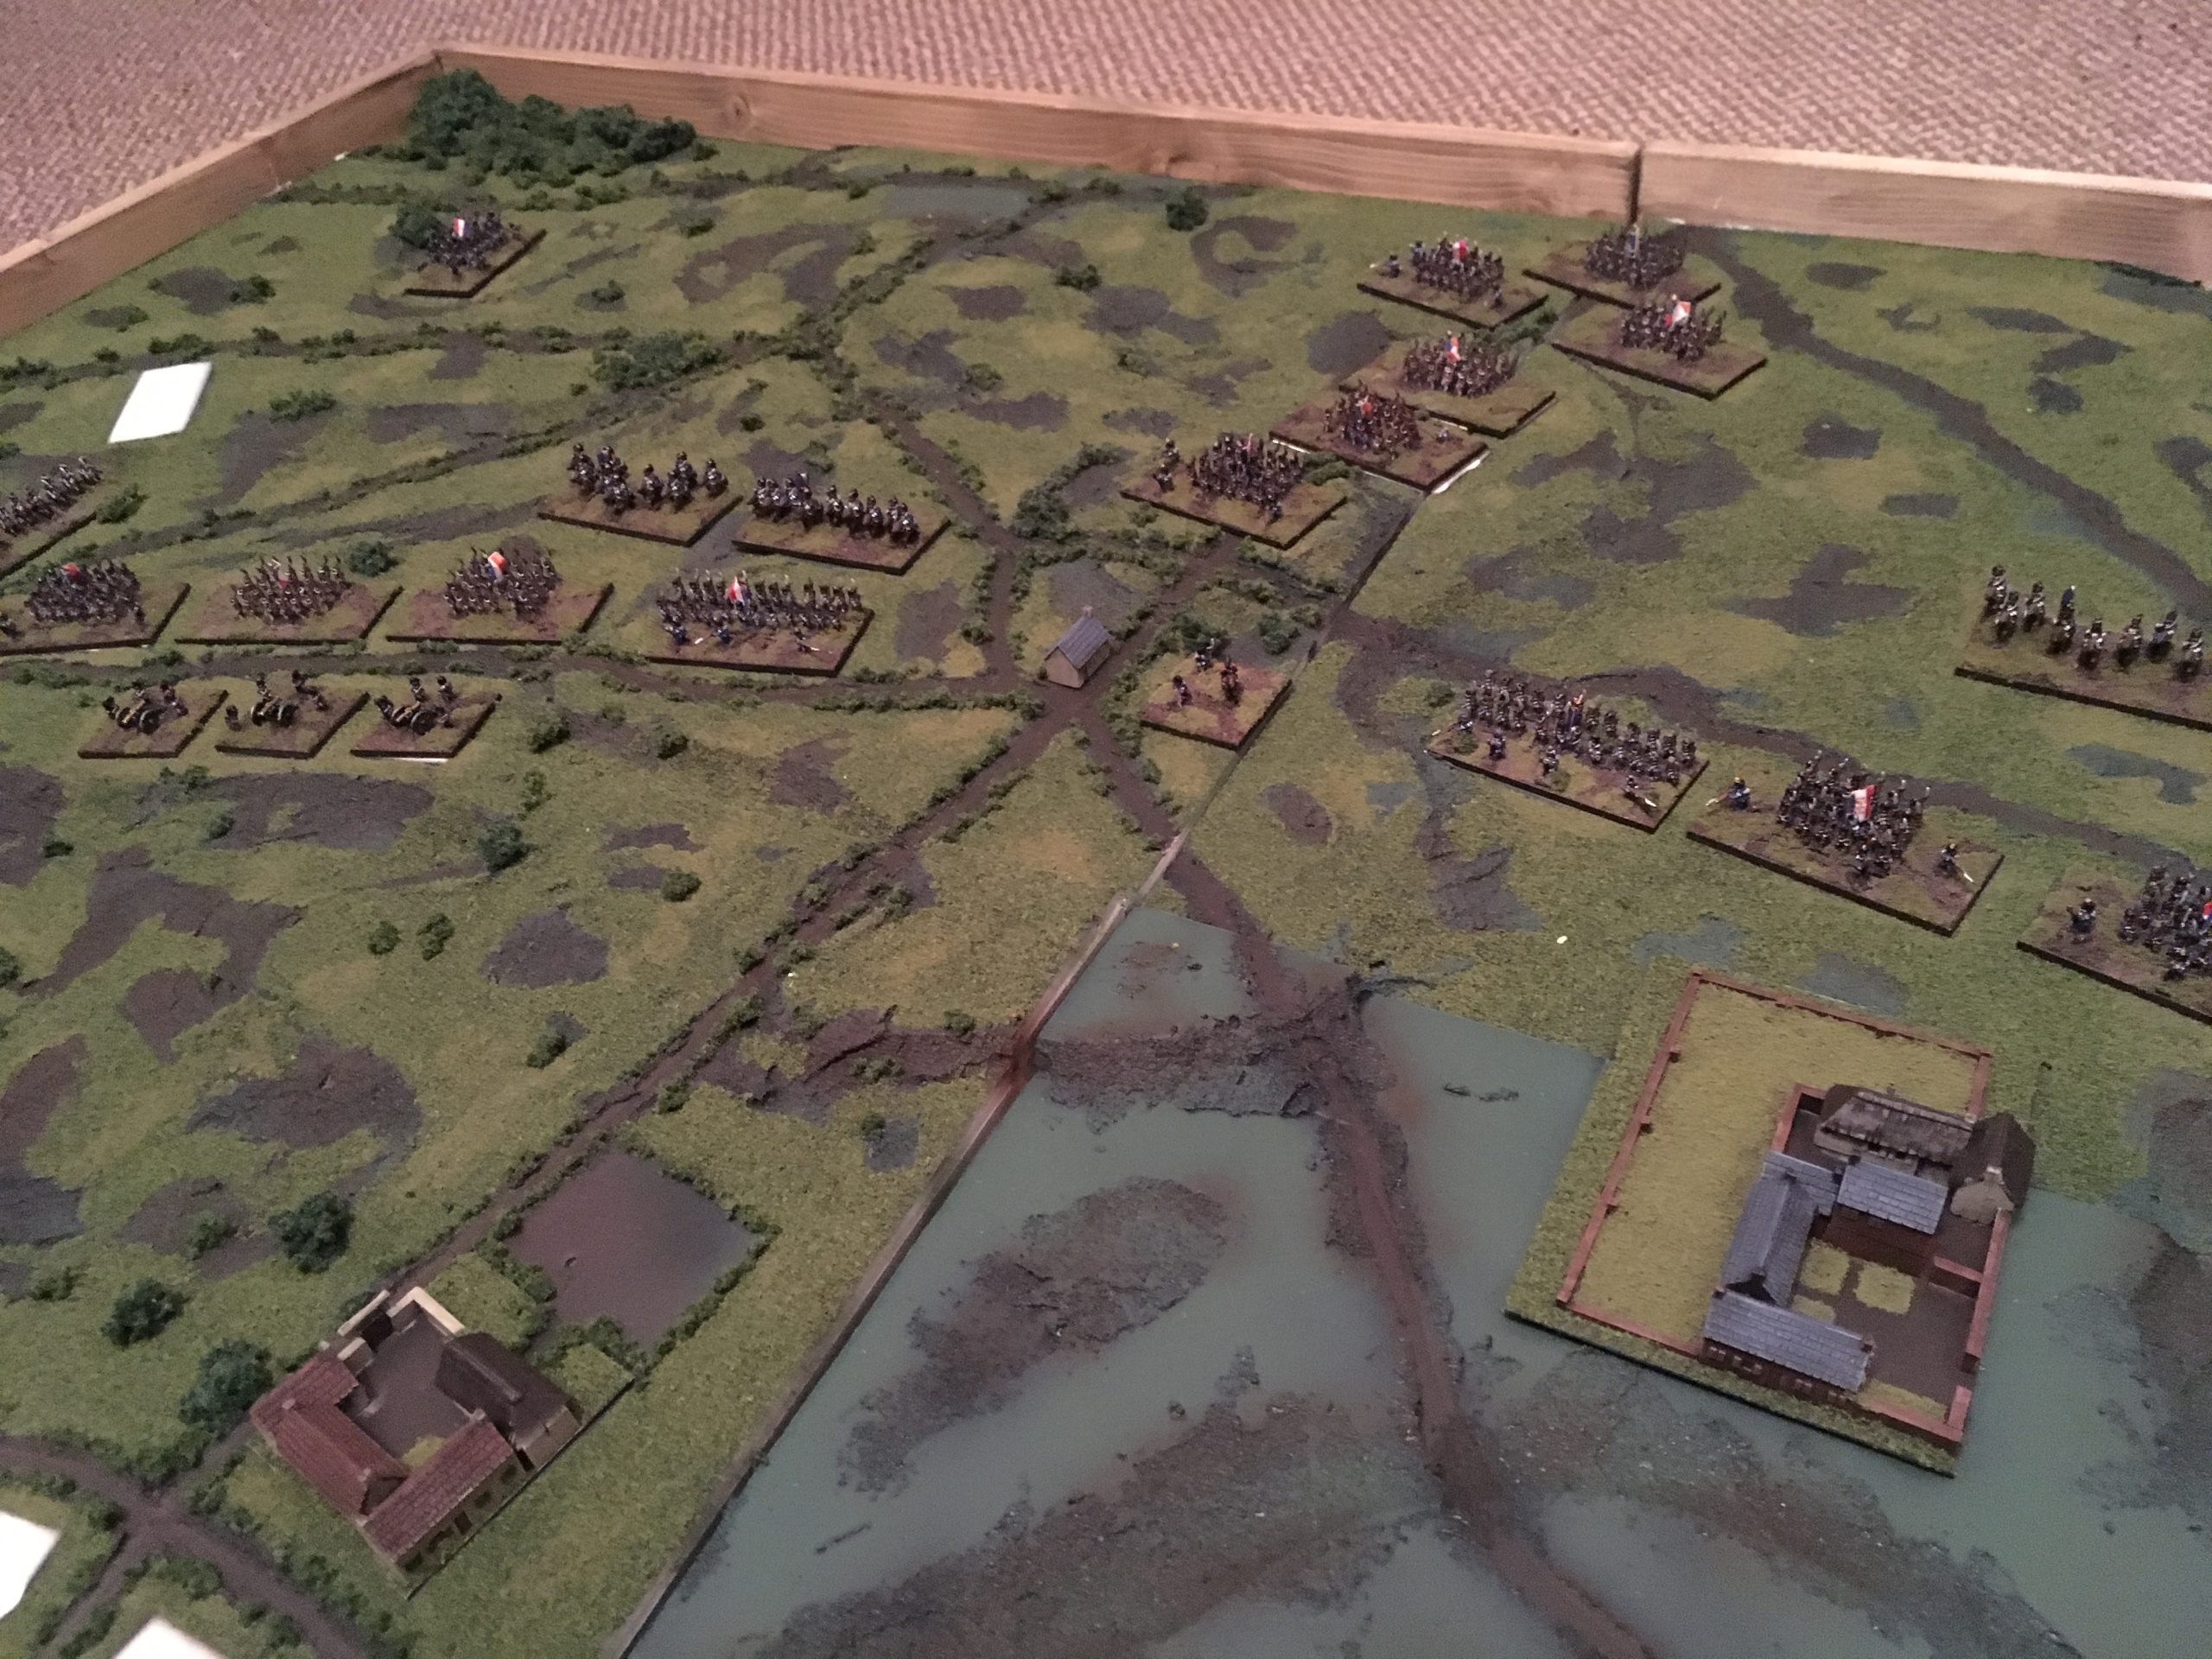
I got it back out and a few things did occur since its last photo shoot:
roads were drybrushed with denheb stone (citadel) to make them stand out, and conversely, all the locations for the models and buildings (except hougoumont….. don’t rememeber why…) were painted black so they disappear a little more into the landscape.
shown below with the box edges still on, ready to stack back up and secure from kids and cats!
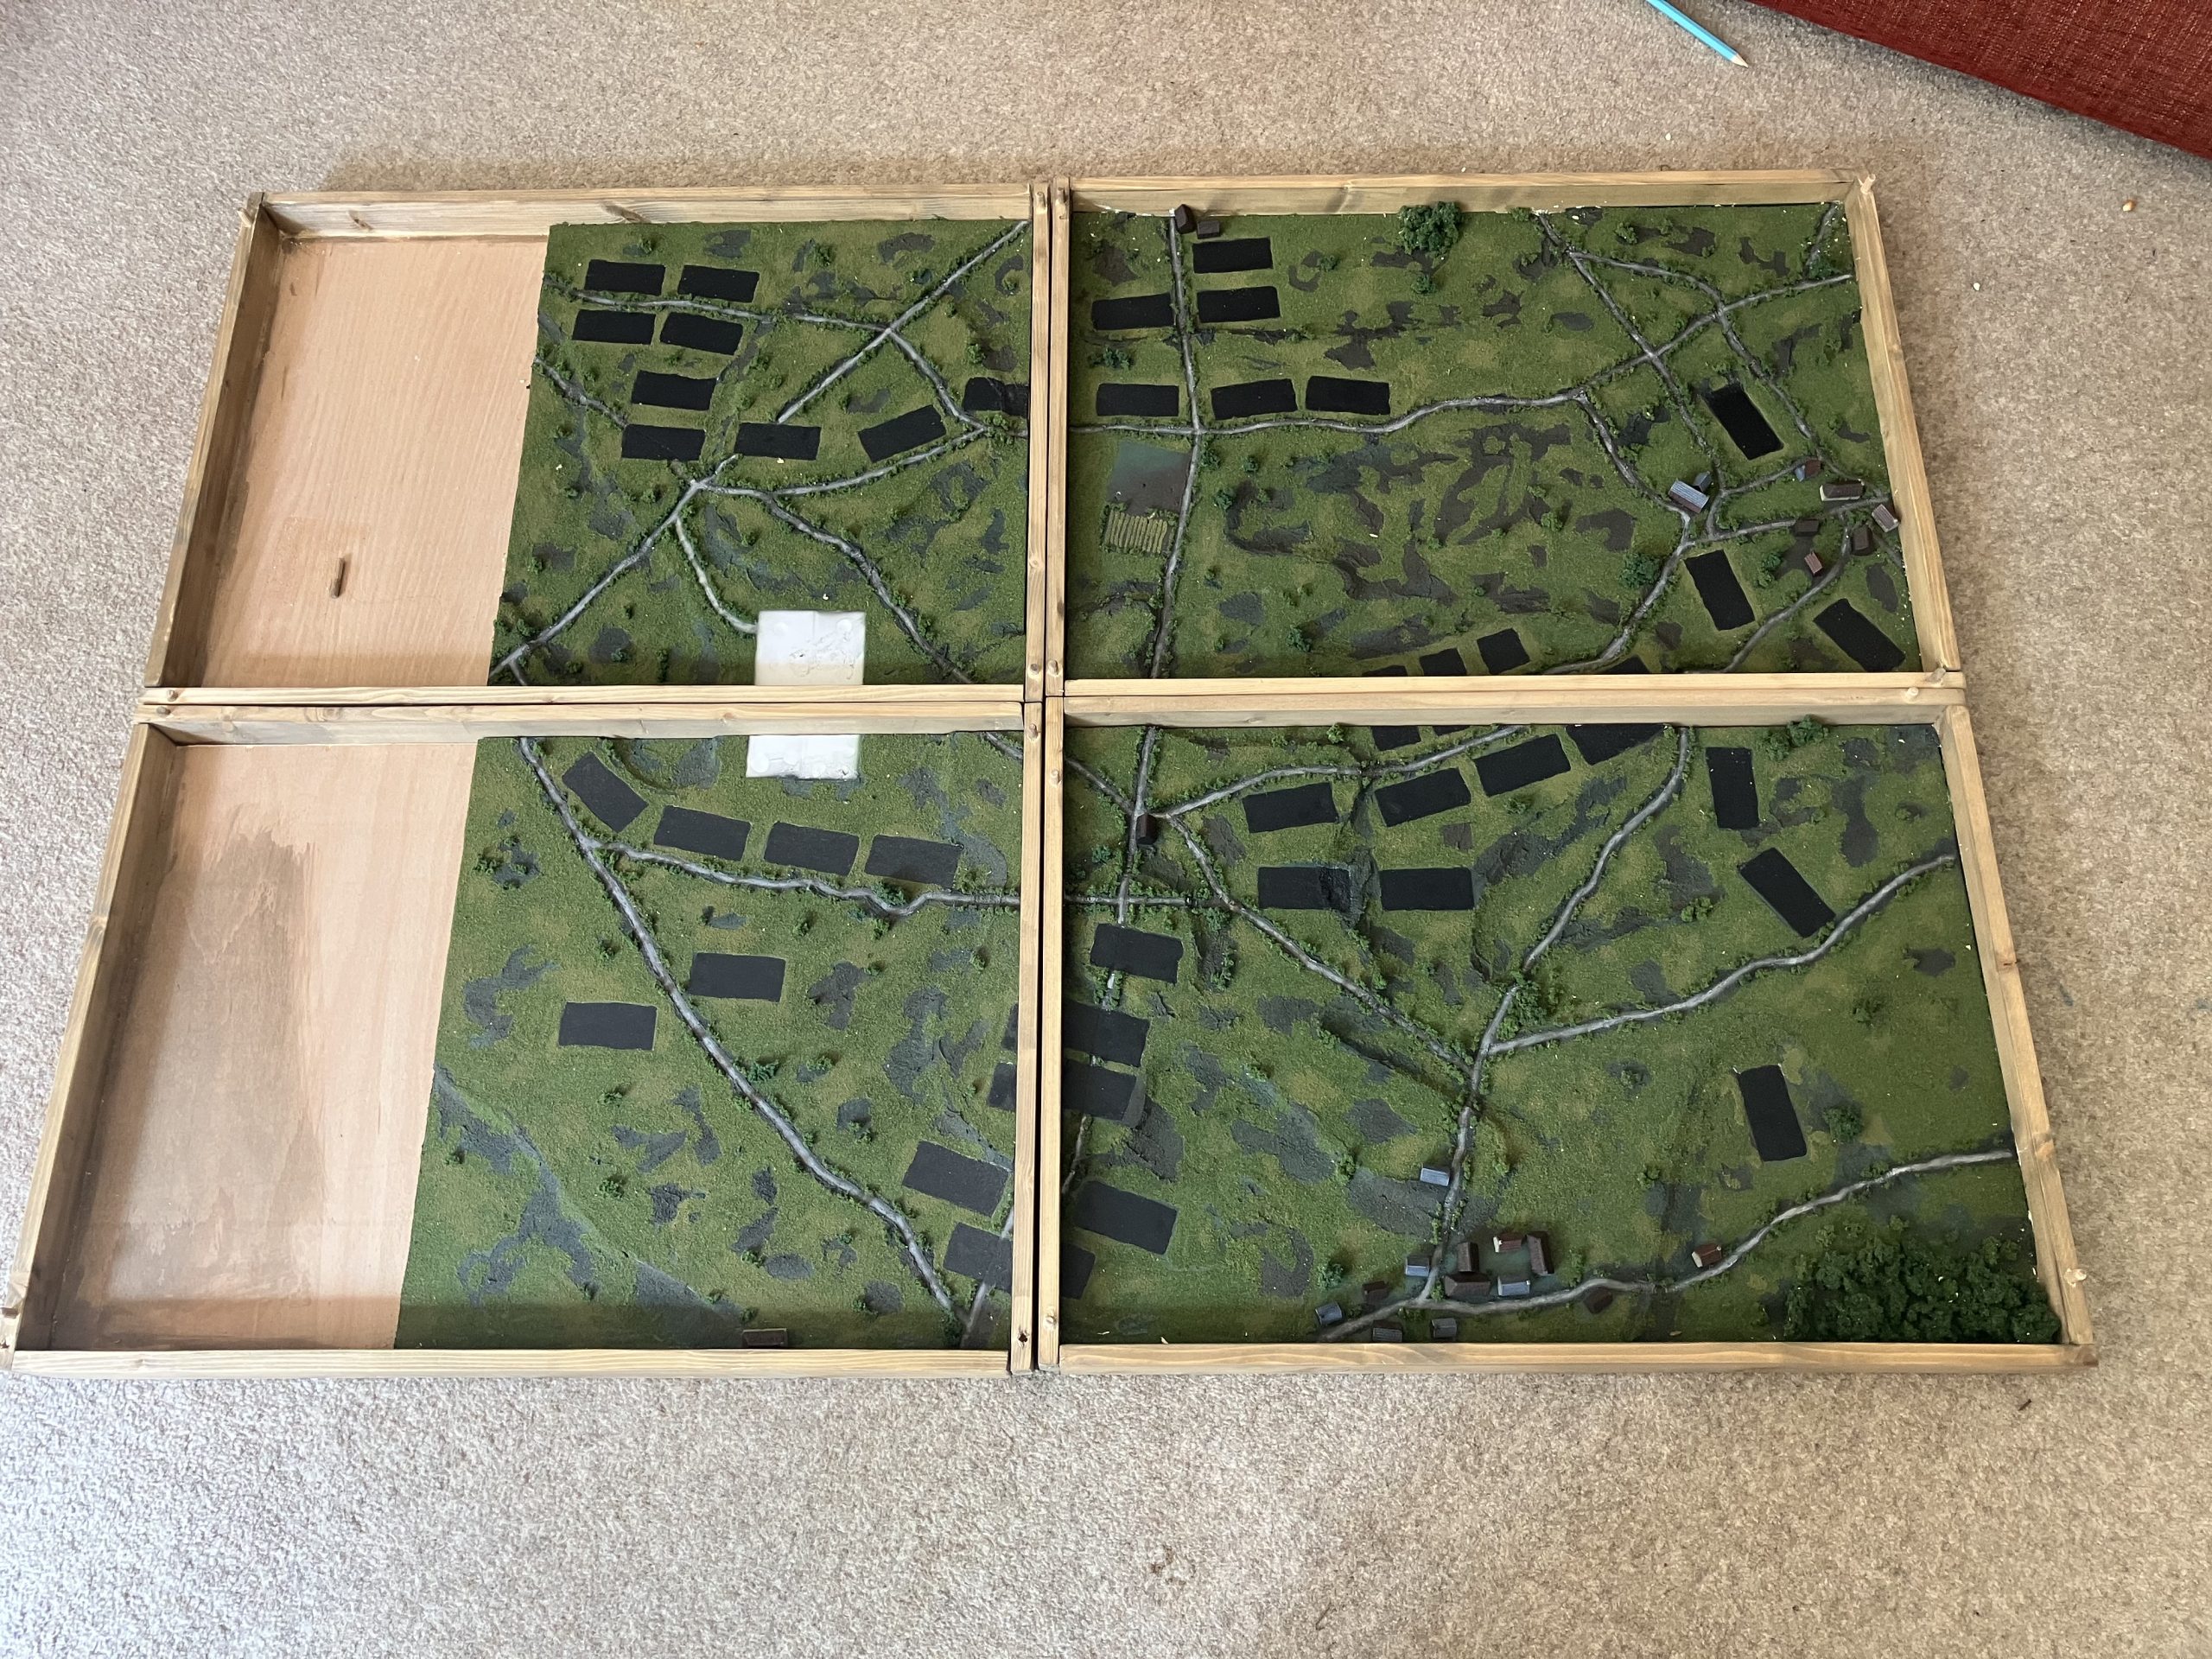 Waterloo map in its boxed sections 08/09/25
Because we love the projects system…
These images are separate – description in the previous entry….
Of the box. Trays. Boxes. Container, whatever!
This project isn’t just a board.
it’s not just minis
im not that sensible.
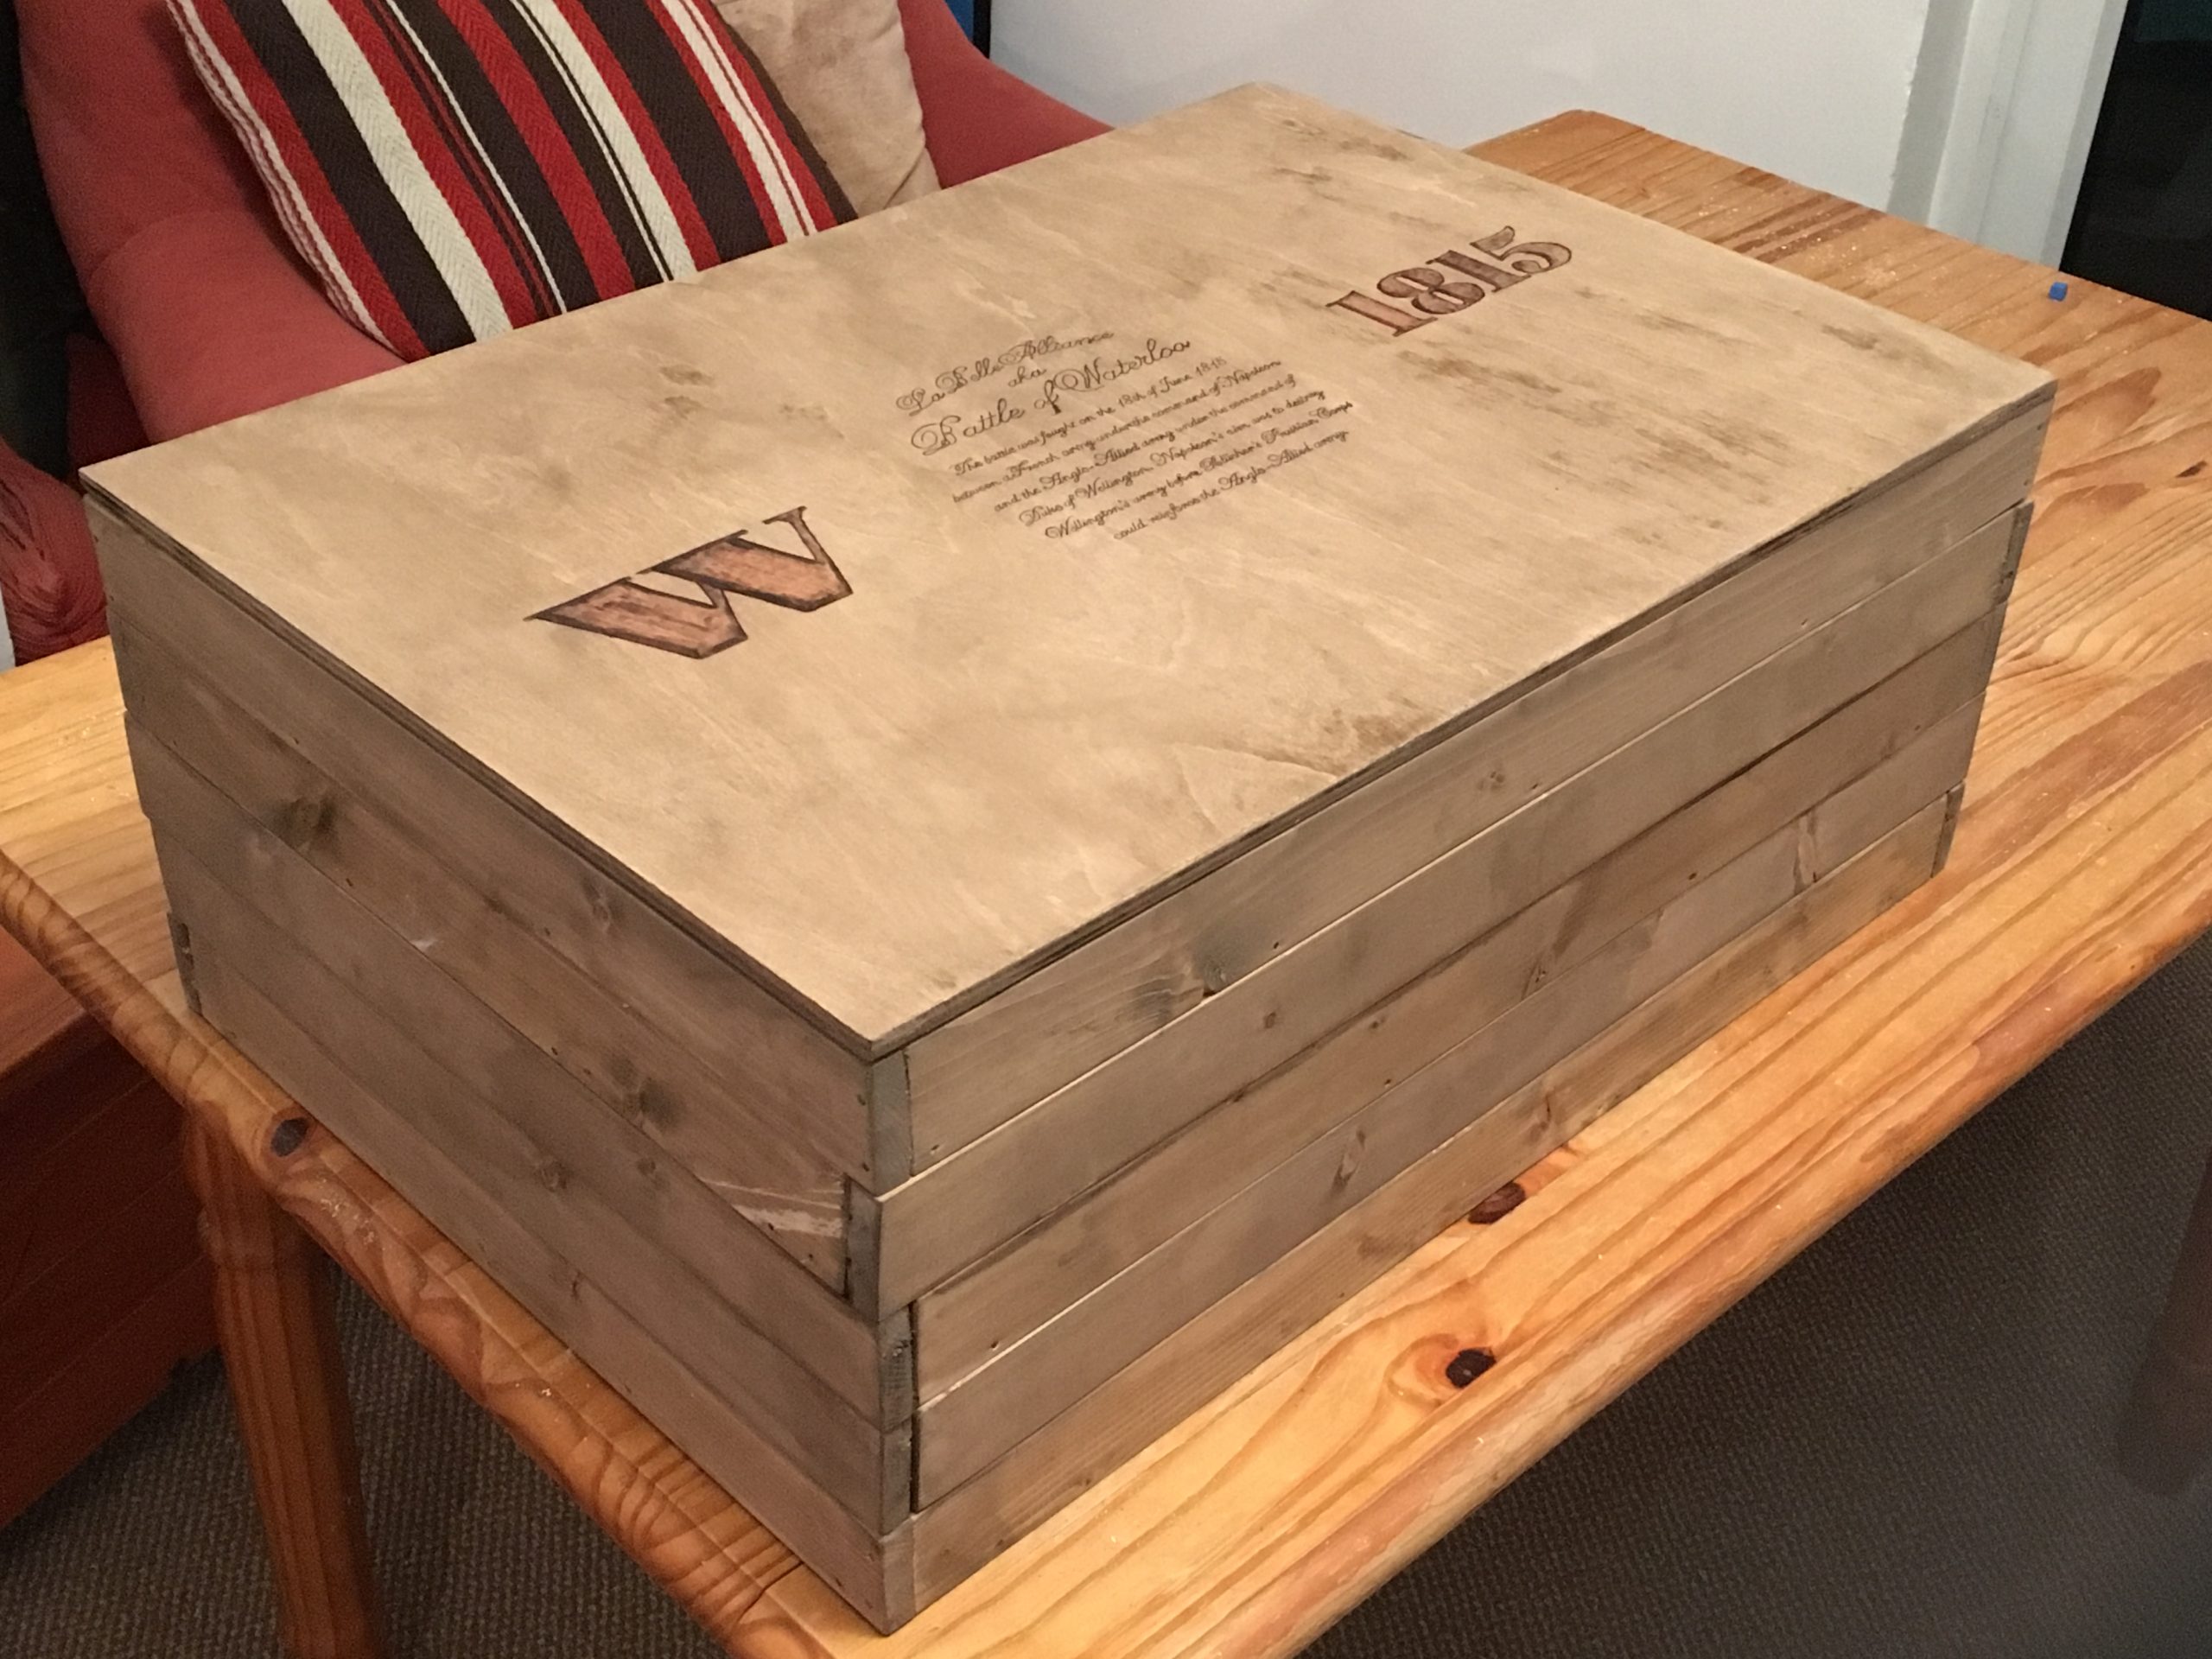
The way this was all to be stored was important to me too – I wanted it contained but themed.
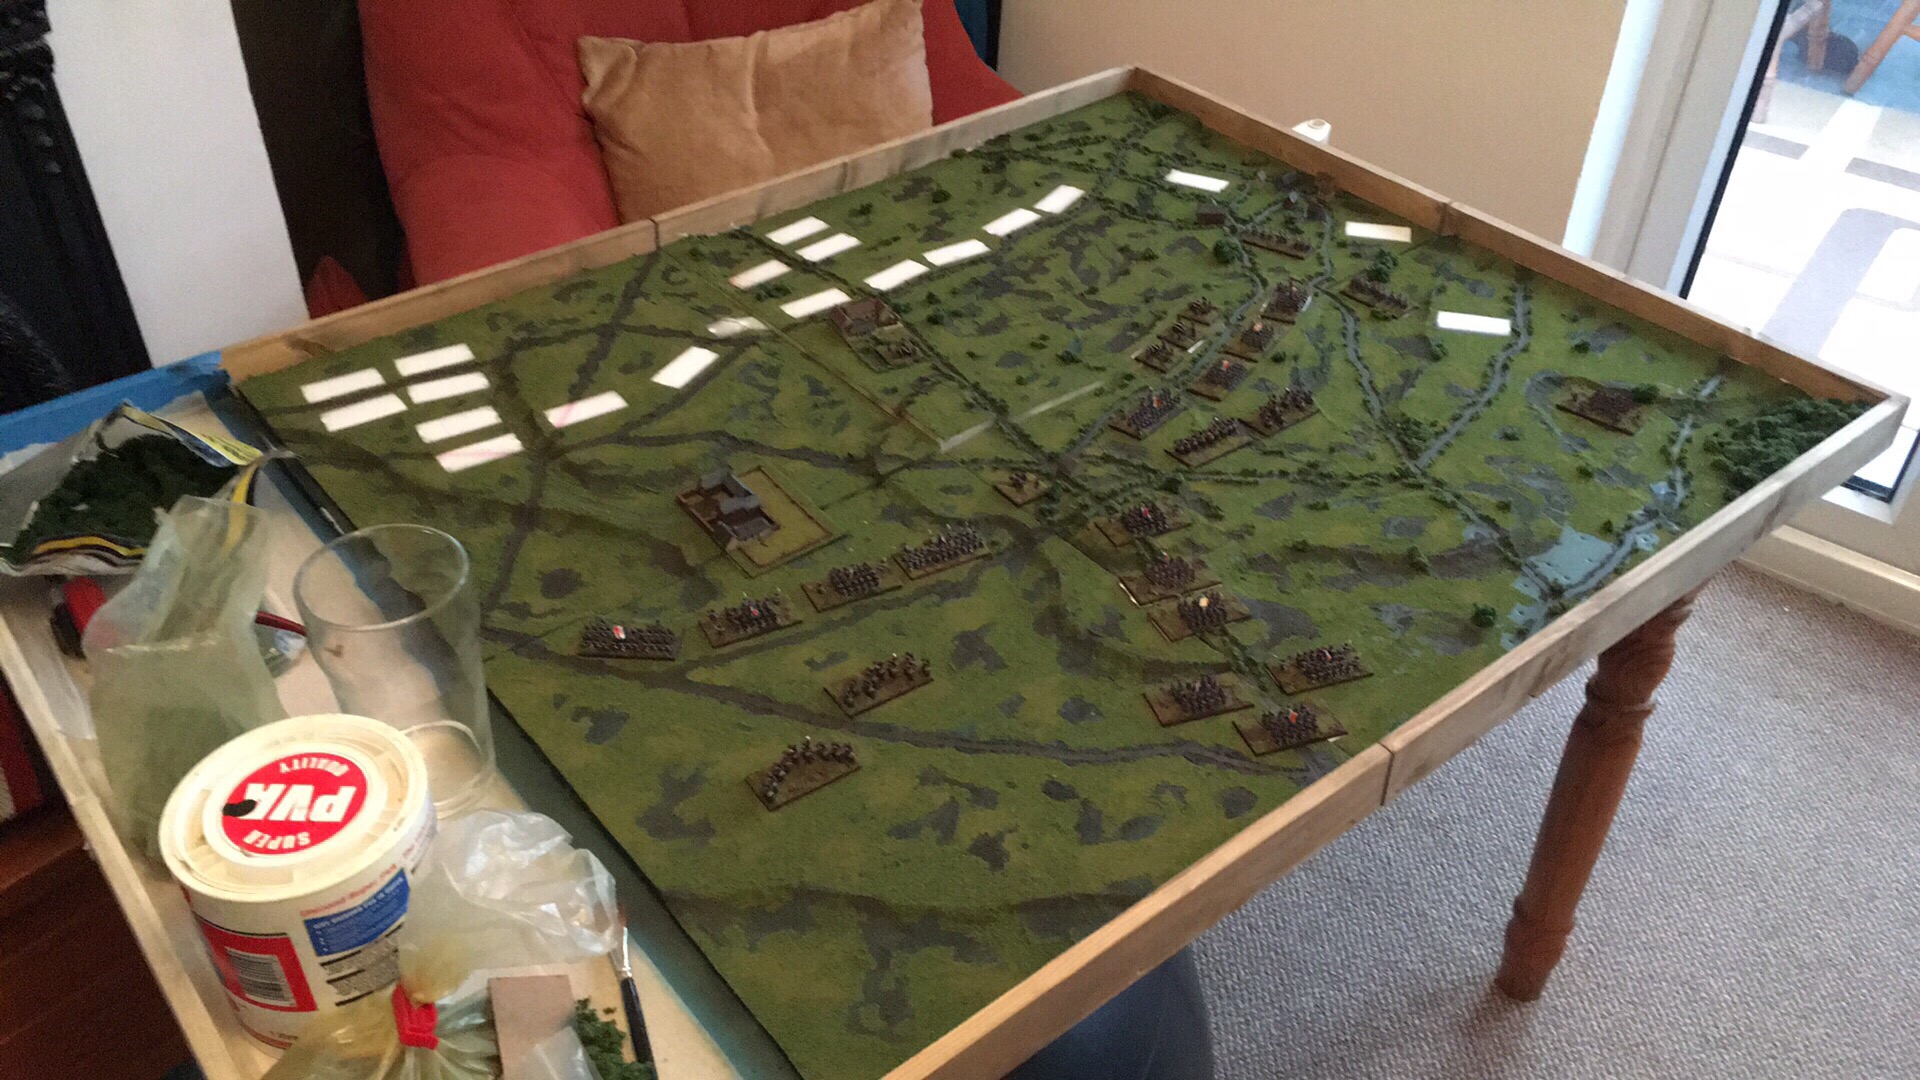
as such, each section of board is actually contained within a four sided frame, two of which come off to put the board together.
the four sections stack together with dowel fixings and a Fifth section, which is intended to take the models and cards for the game, was made as a solid layer with a hinged lid. This goes on top making the appearance of one large, old, wooden box.
one benefit of being somewhat long in the tooth and being a hobbyist not driven by tournaments or “the latest thing” (still always tempted, don’t get me wrong…) is that I don’t mind if a project takes a long time or stalls.
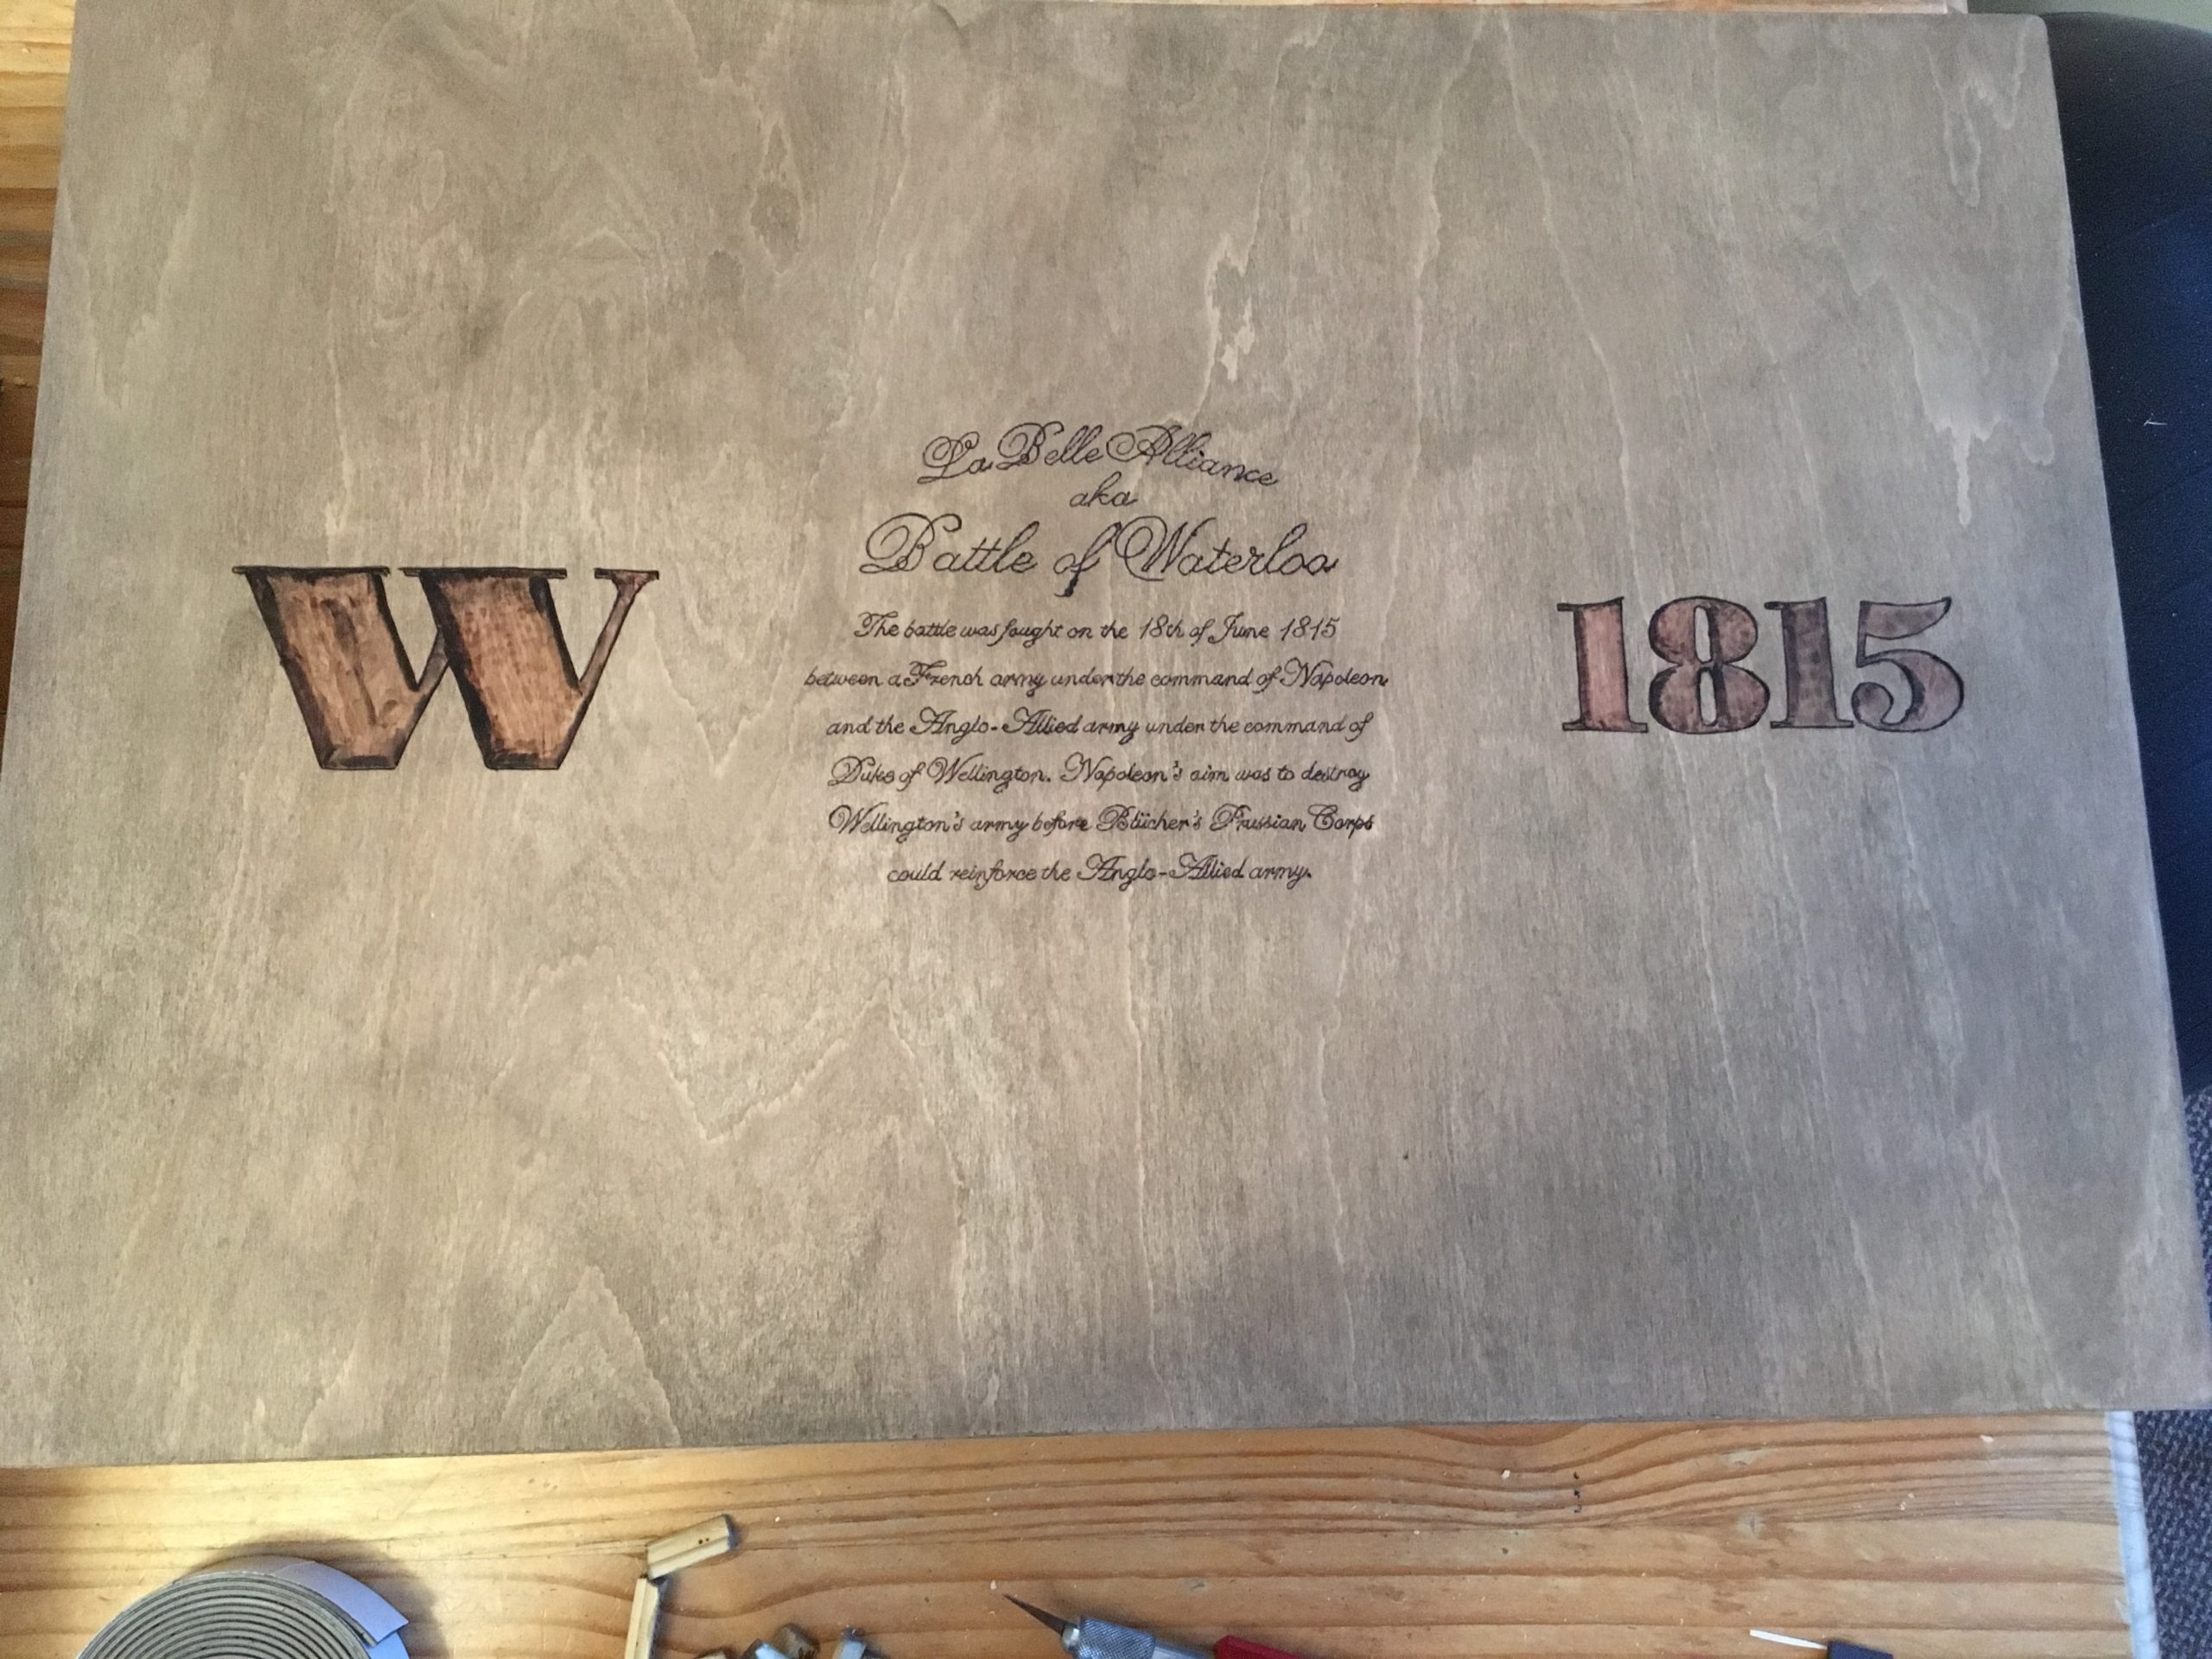
for this one I didn’t know what I could do on the lid.
I wanted the container for all this to be as special as the contents but I have no sign writing skills to paint fancy on the lid and I let it sit for a long time just plain wood. It wasn’t until I was on holiday that I came across pyrography.
I saw the opportunity and decided to try my hand.
first thing I made was a box for all my general games stuff which is still used for all dice, counters and tapes any time I go gaming….
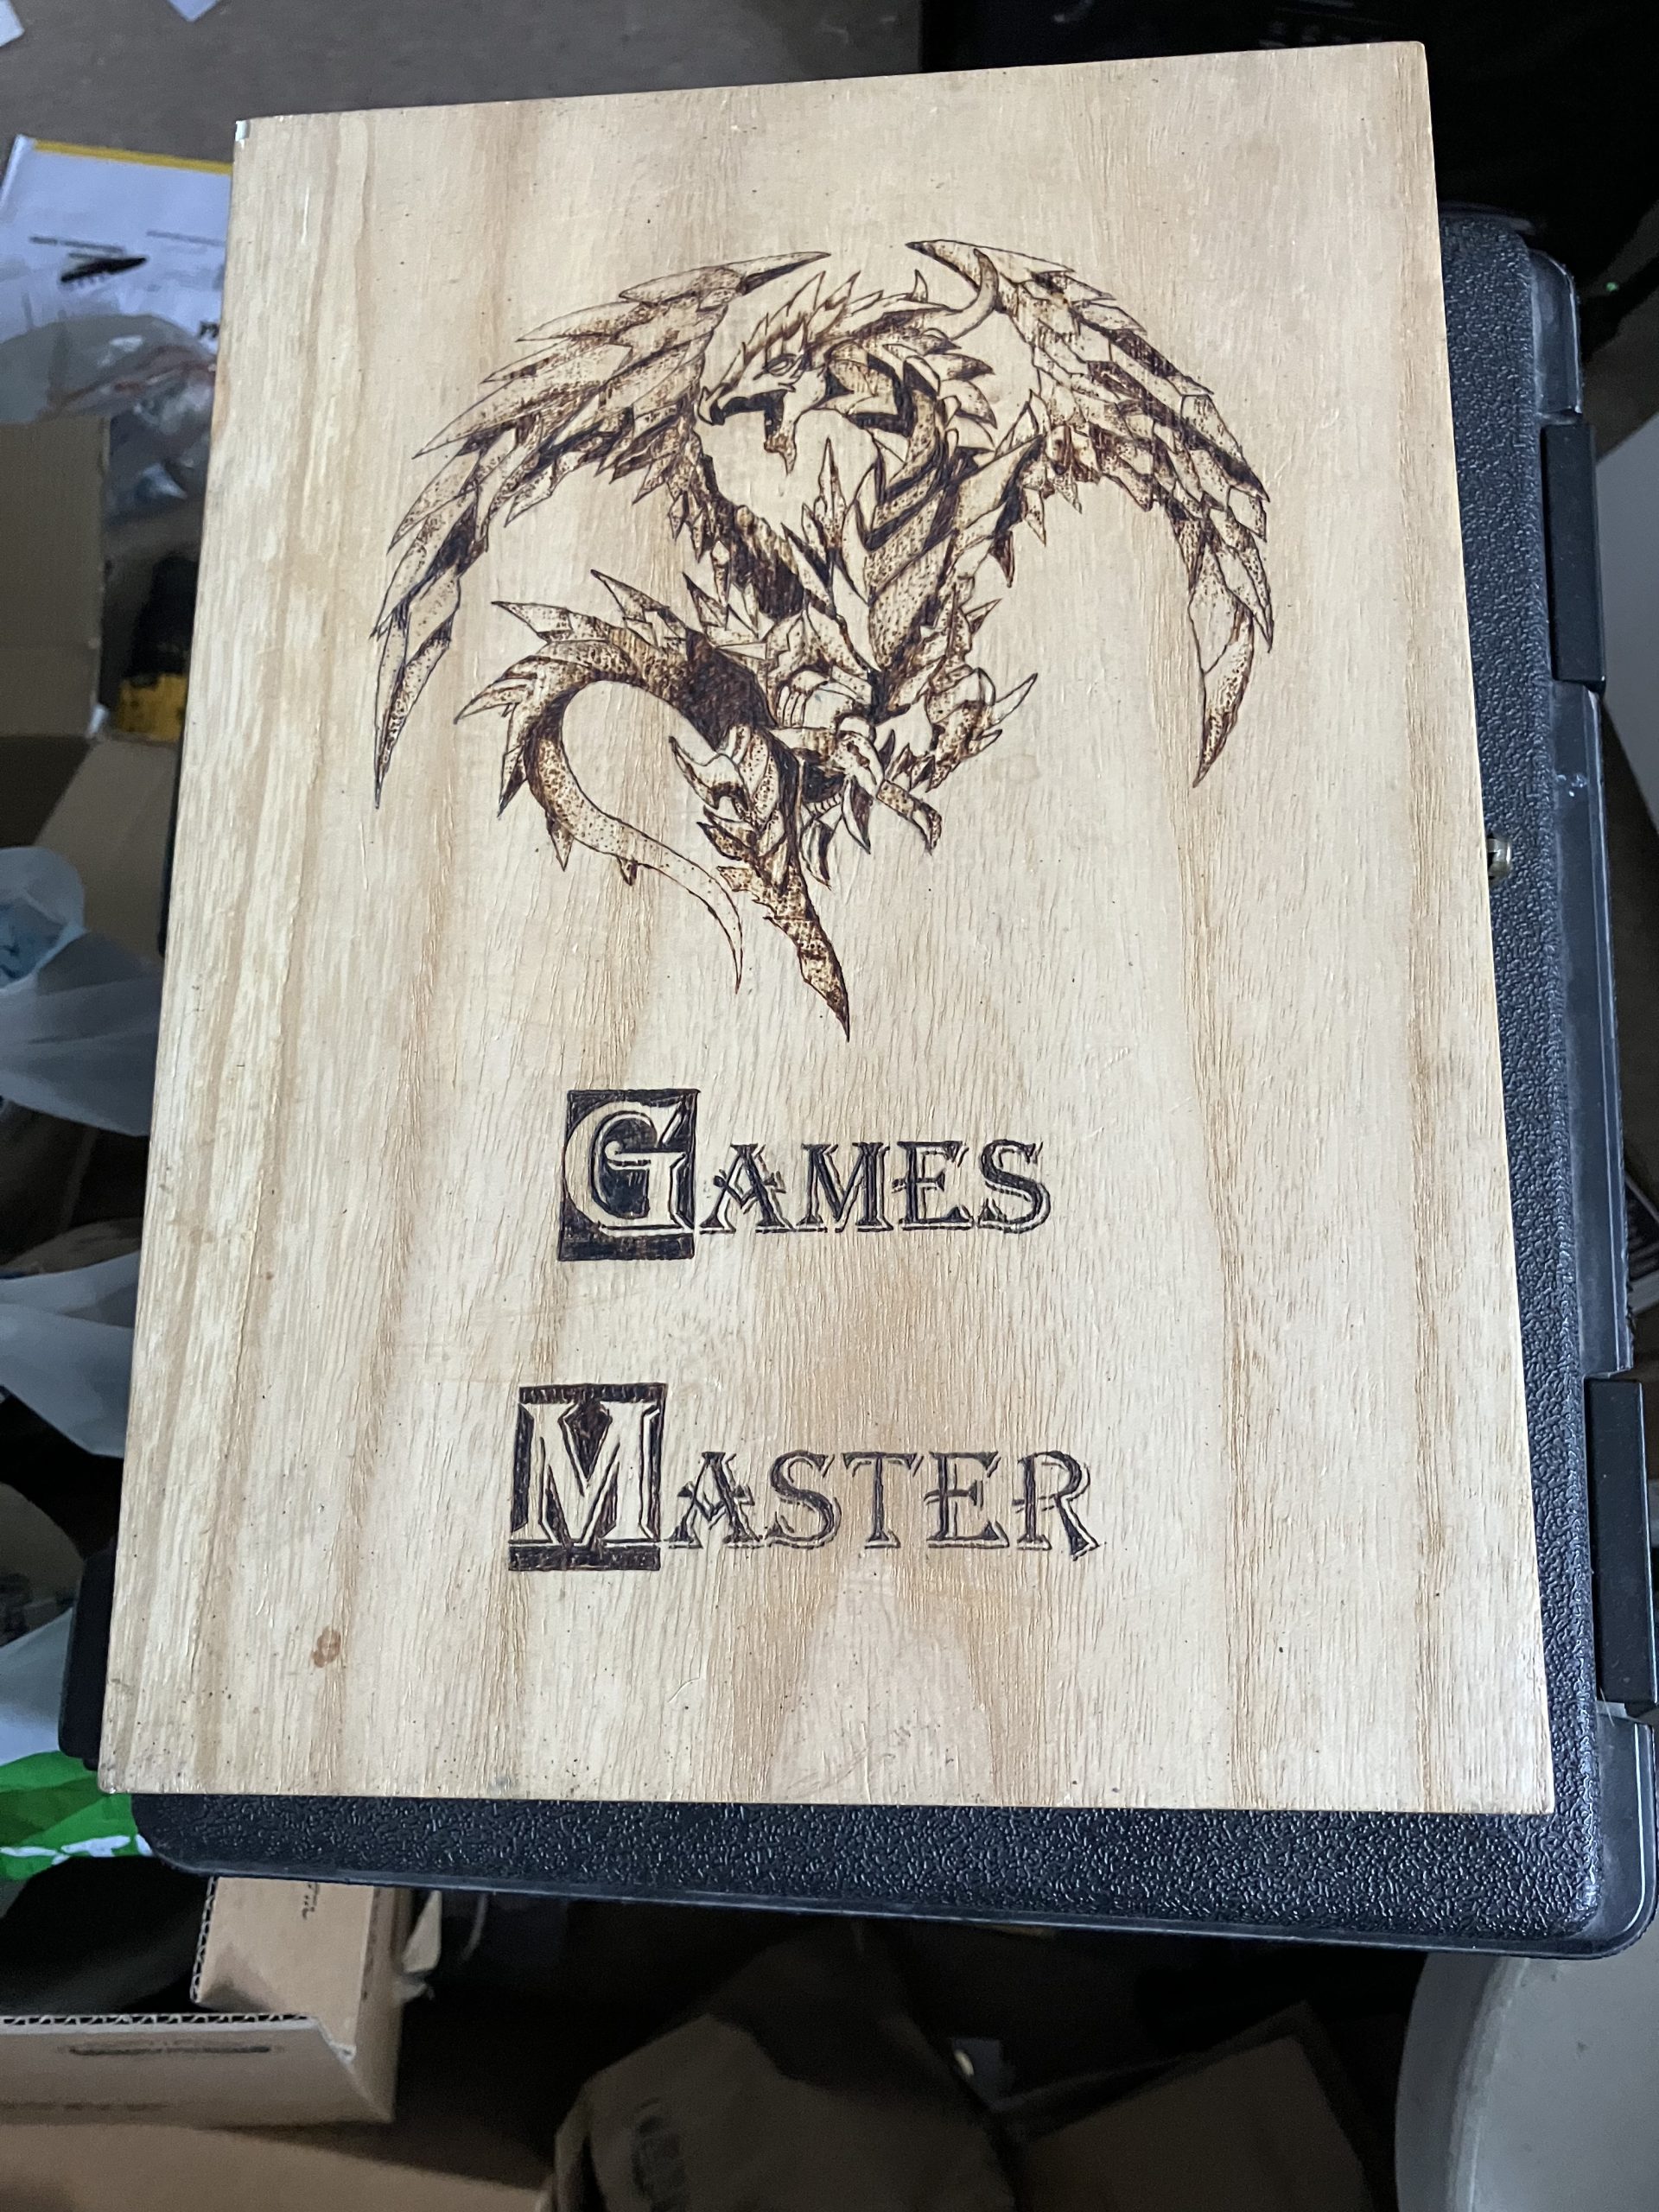
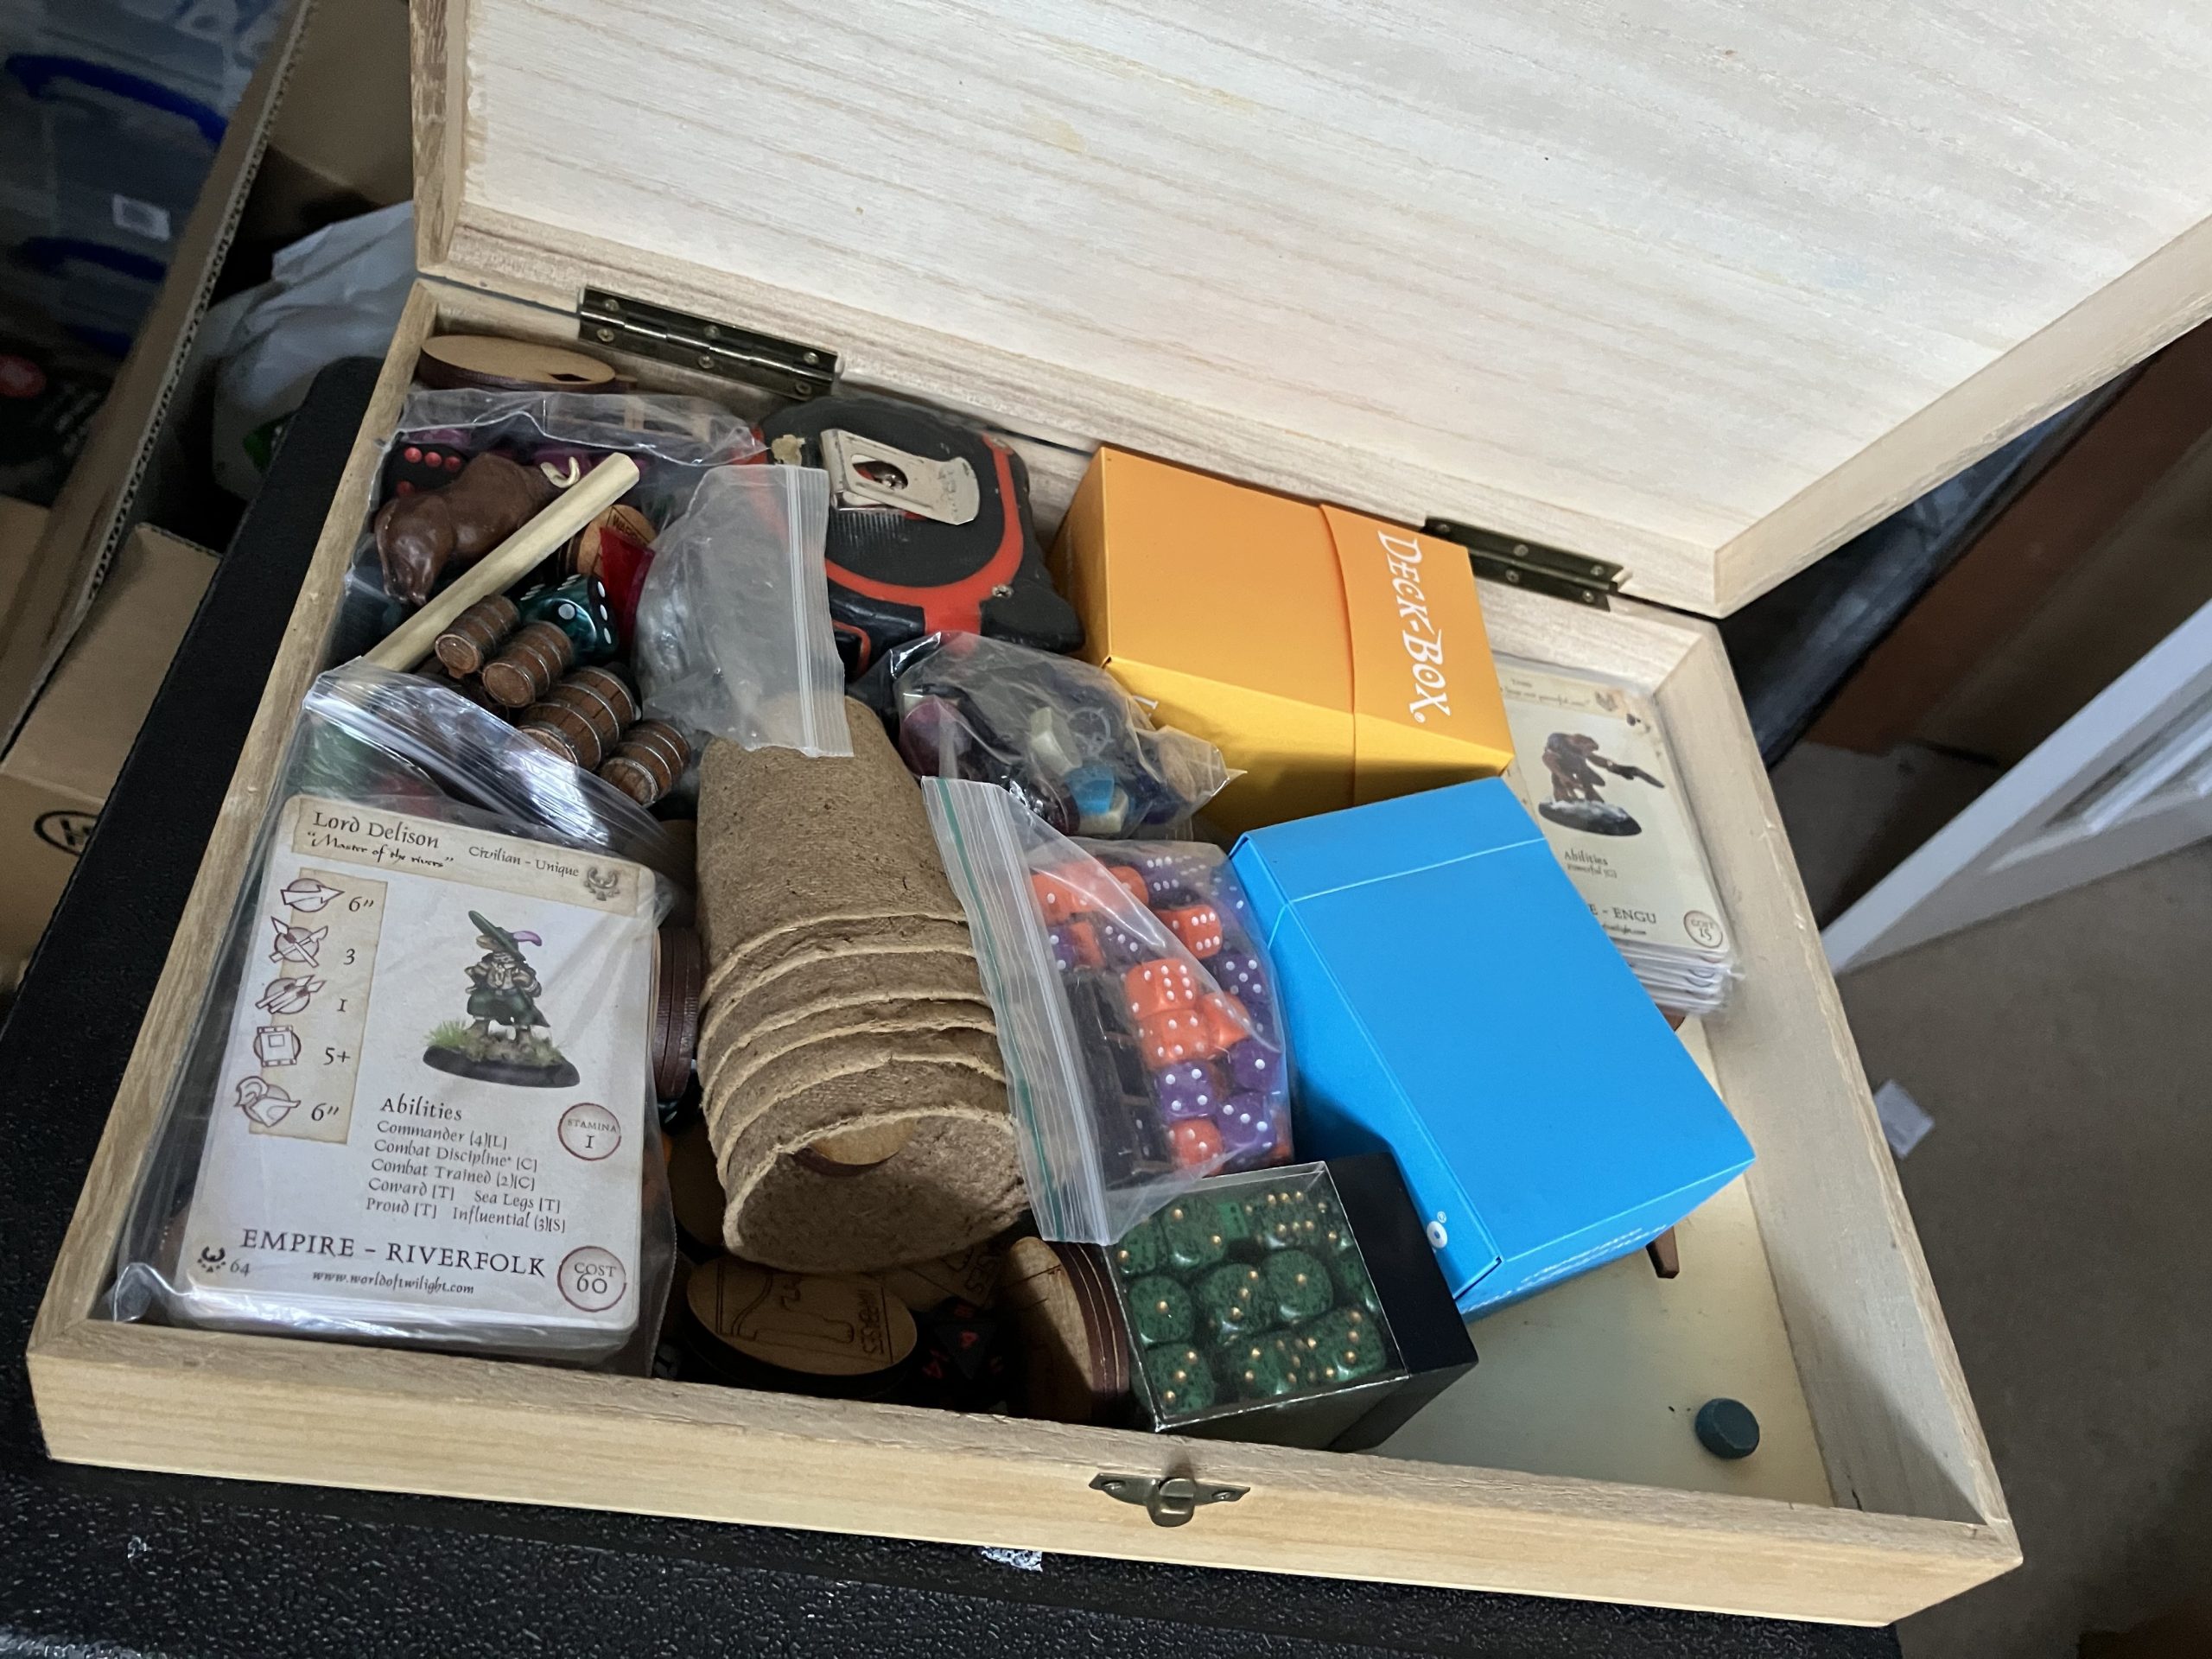
I take no credit for the dragon design – it was a stock image I copied.
after that I should have practiced more but enthusiasm took me.
I printed a large copy of the W1815 cover, transferred it to the lid with carbon paper and went to it.
theres a few errors I really regret but the end result (with additional wood stain antiquing) works for me quite well – I was a happy hobbyist years after not knowing what I wanted!
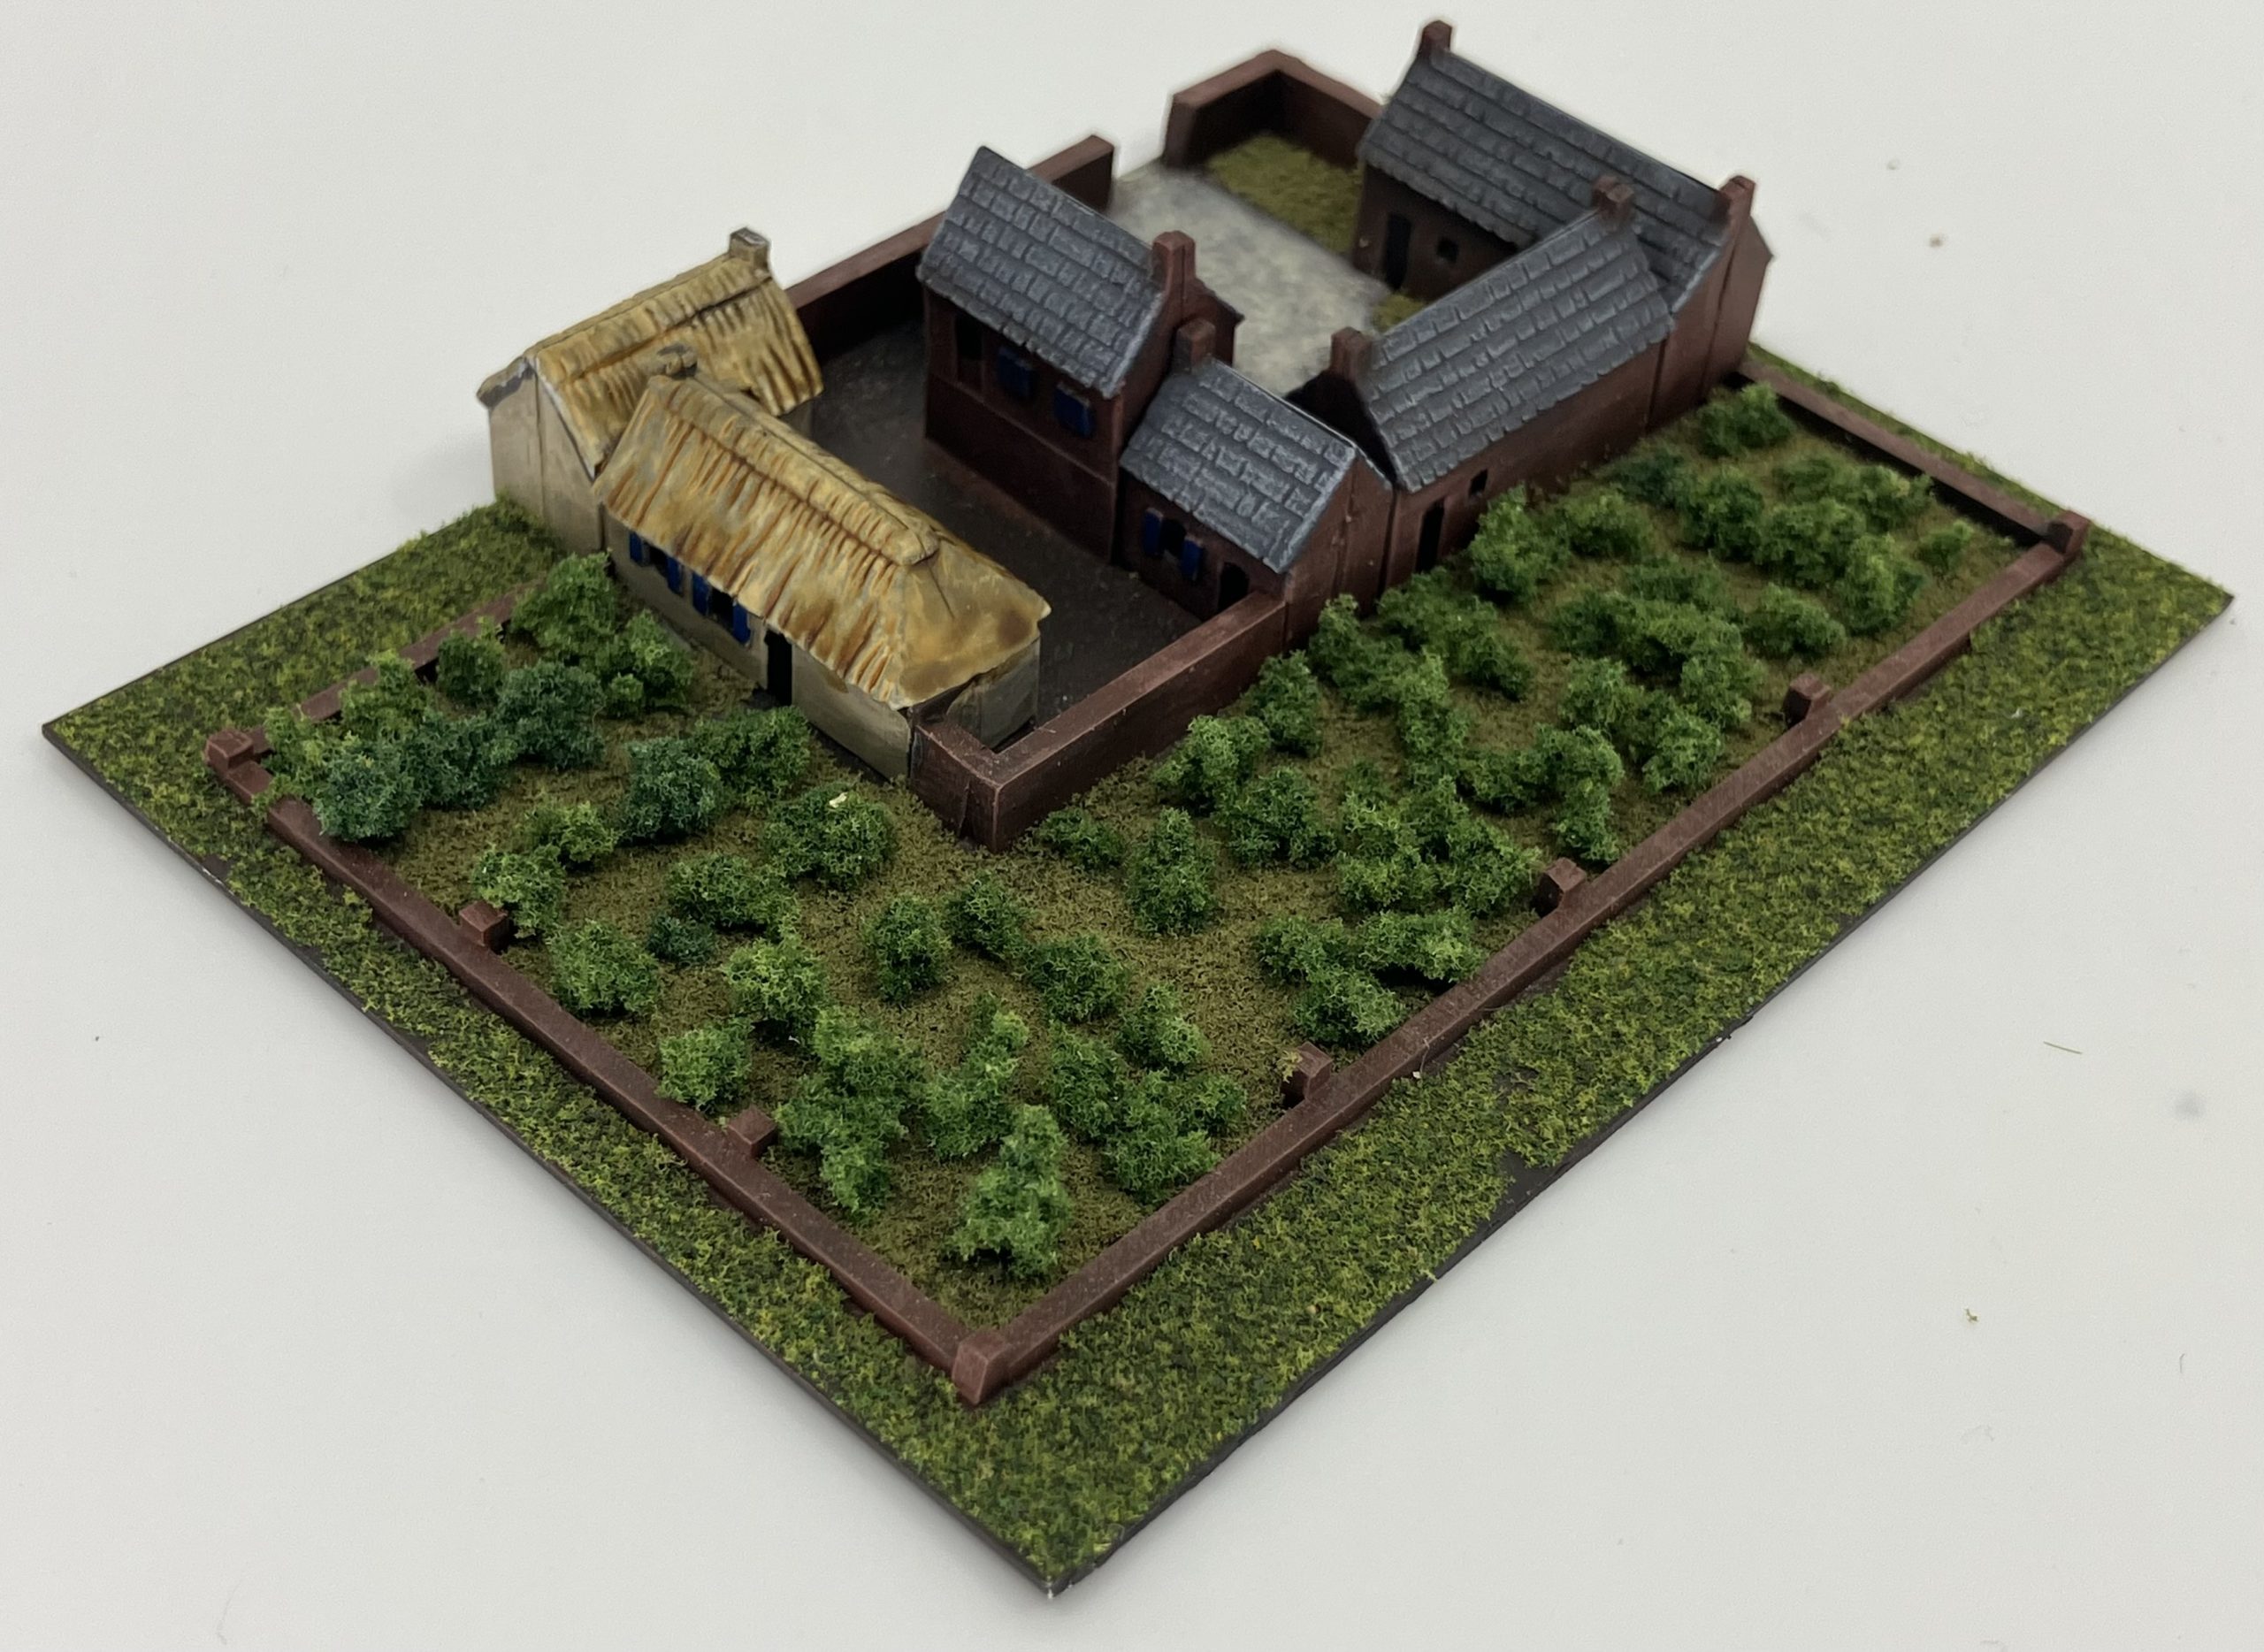
Yet more bushes….
The most draining stage was lining the roads. I used sponge clump
Foliage, broken into small pieces and placed all along the edges to help define the paths. It took forever but the end was result worth it…..
Next up is explaining the box, the (incomplete) thing sees action, and then up to date and finally moving forward after a four year break!!


