


Cosmic Horror Terrain (Late Terrain Challenge)


Recommendations: 24
About the Project
Some time ago I bought the lovely Spectre Miniatures Cosmic Horror Range alo g with the rules pamphlets snd Spectre Operation rules book. At the time I could not get my head around cross referencing yhe two rules books, do everything got put on a shelf and fothotten about. A couple of weeks ago I got the playtest rules for the new complete game. So I thought I had better get my miniatures painted for playtesting, and I NEED SOME SCENERY. Hence this late entry (hopefully) for Terrain competition. I have a game planned for this Sunday, so I have a lot to do.
Related Game: Cosmic Horror (Spectre Operations)
Related Company: Spectre Miniatures
Related Genre: Horror
Related Contest: TerrainFest 2025
This Project is Active
And a game board! You must be bloody mad
When I was thinking about what I had that I could use I remembered that I had an unfinished 2×2 coastal board. Smallest size games I play fit this board and again if I am careful can also be used in Cohors Cthulhu.
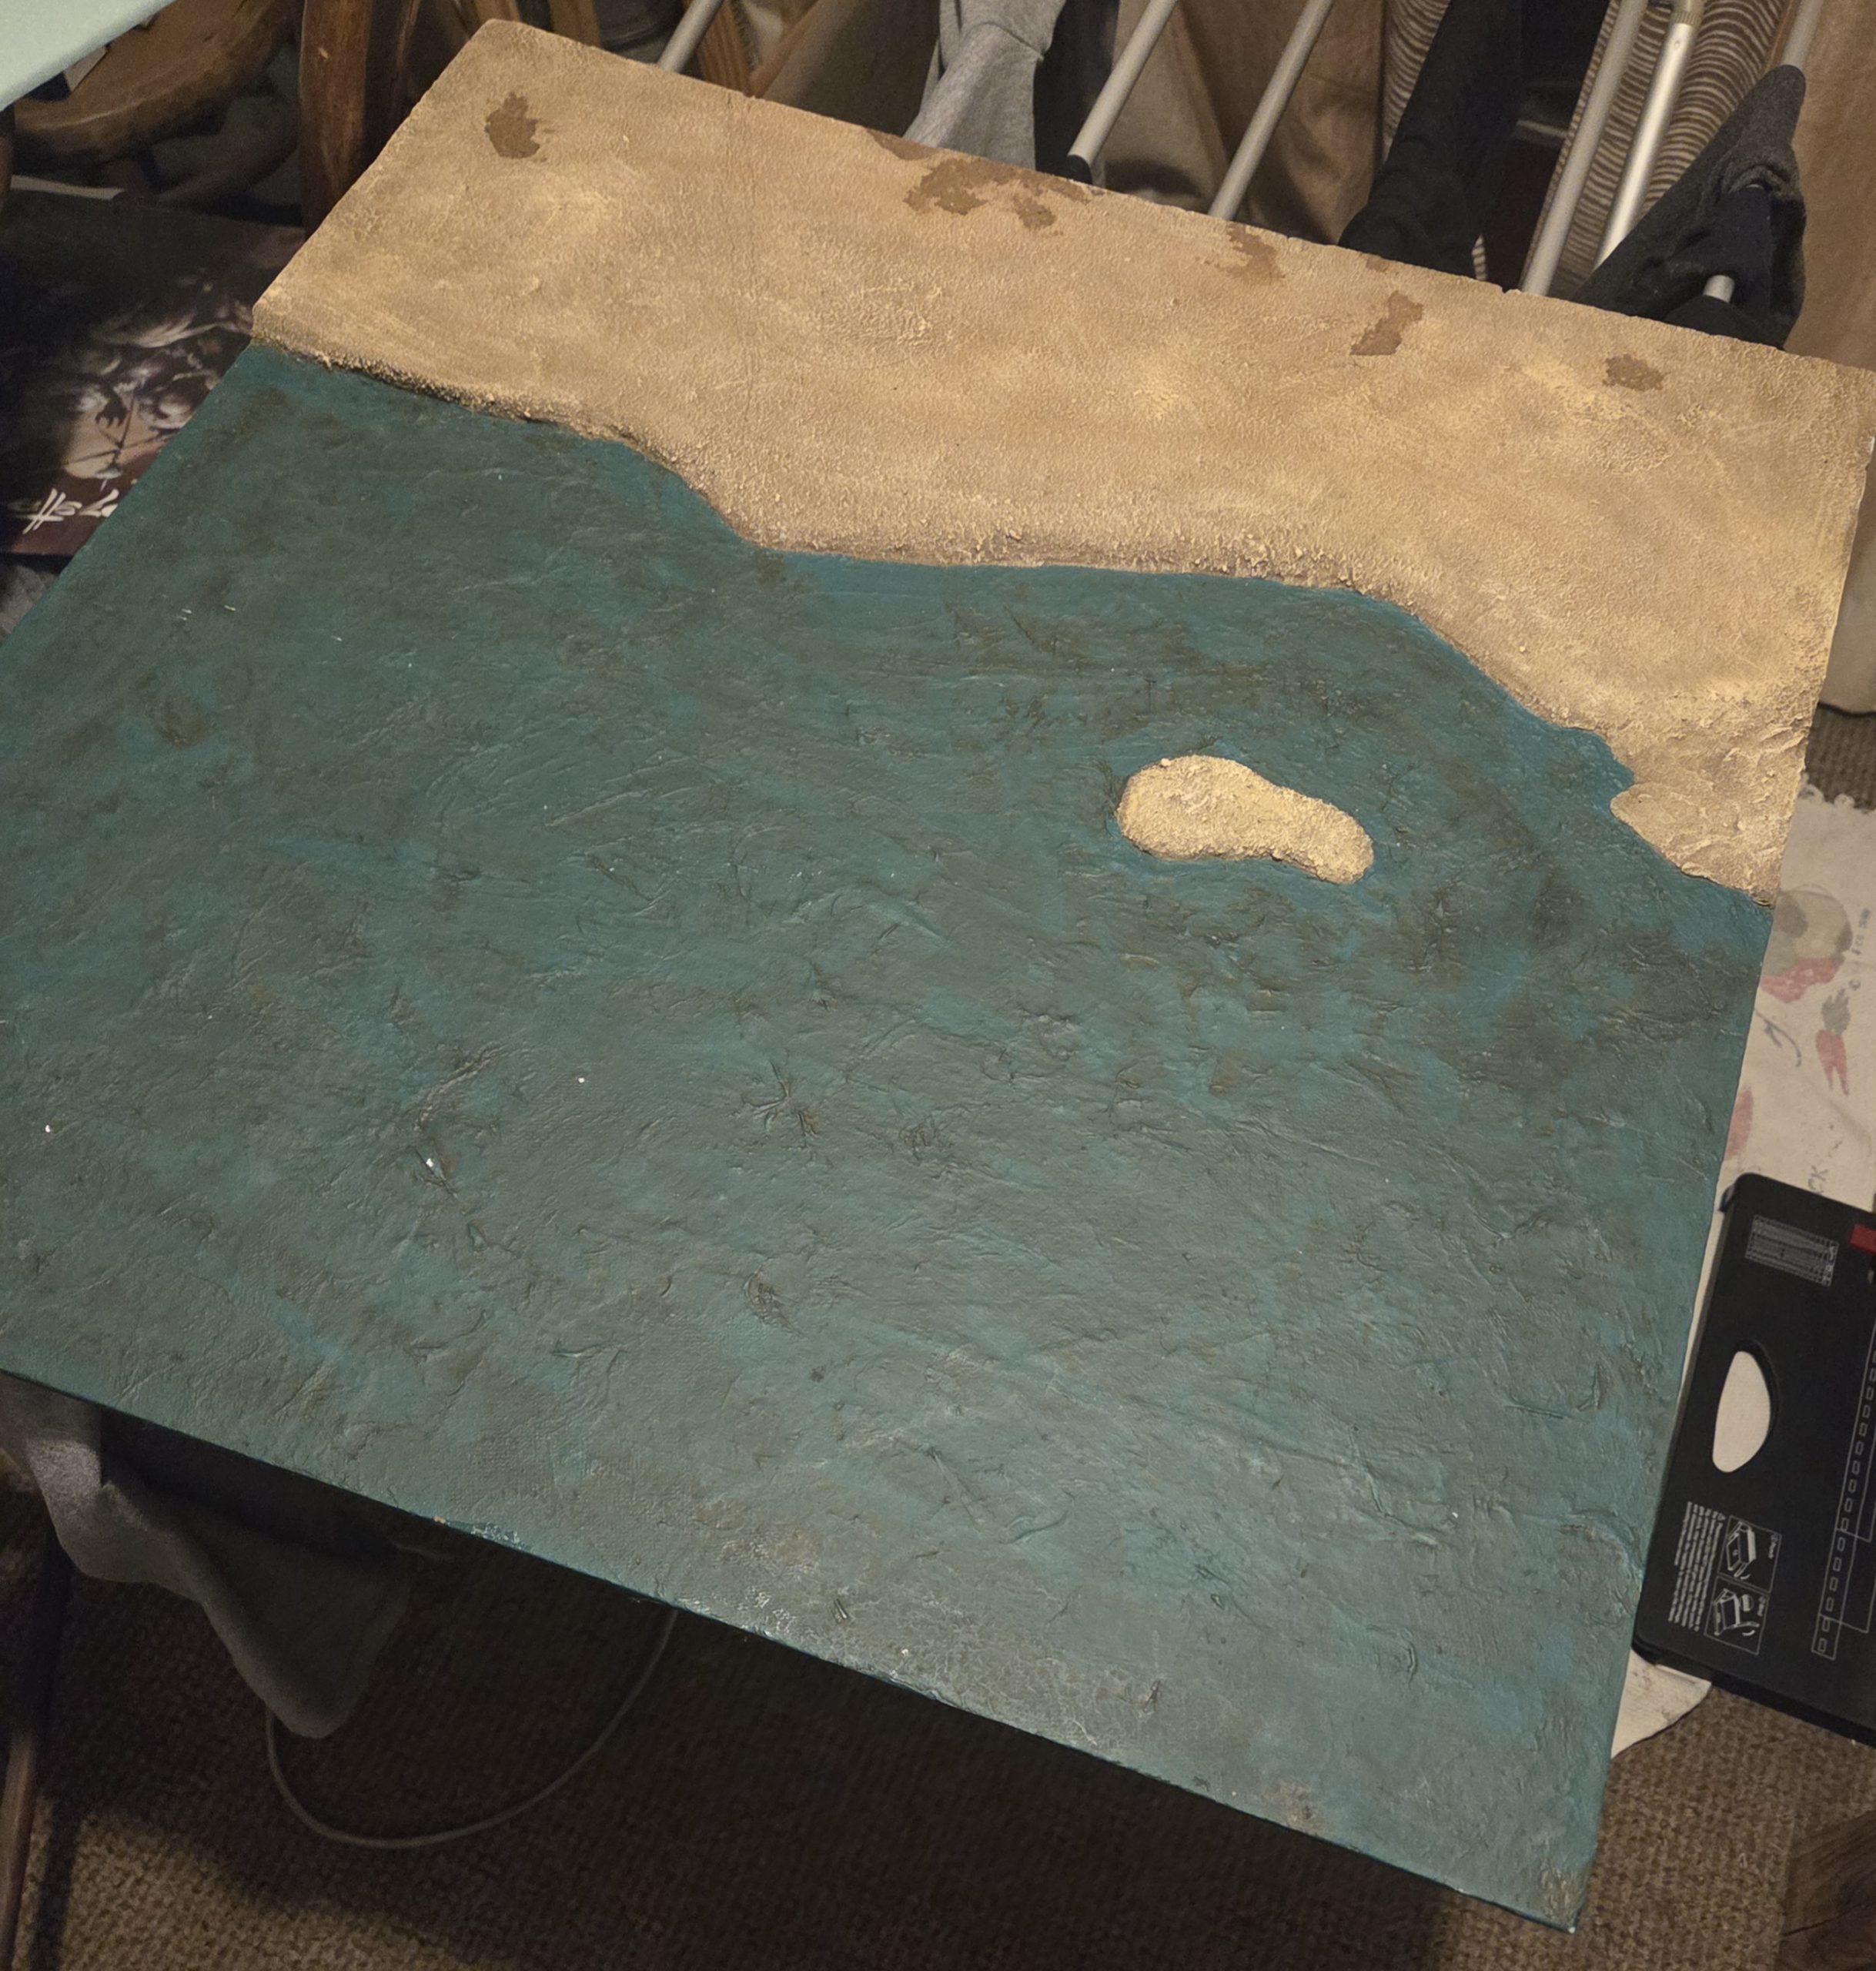 The board as was.
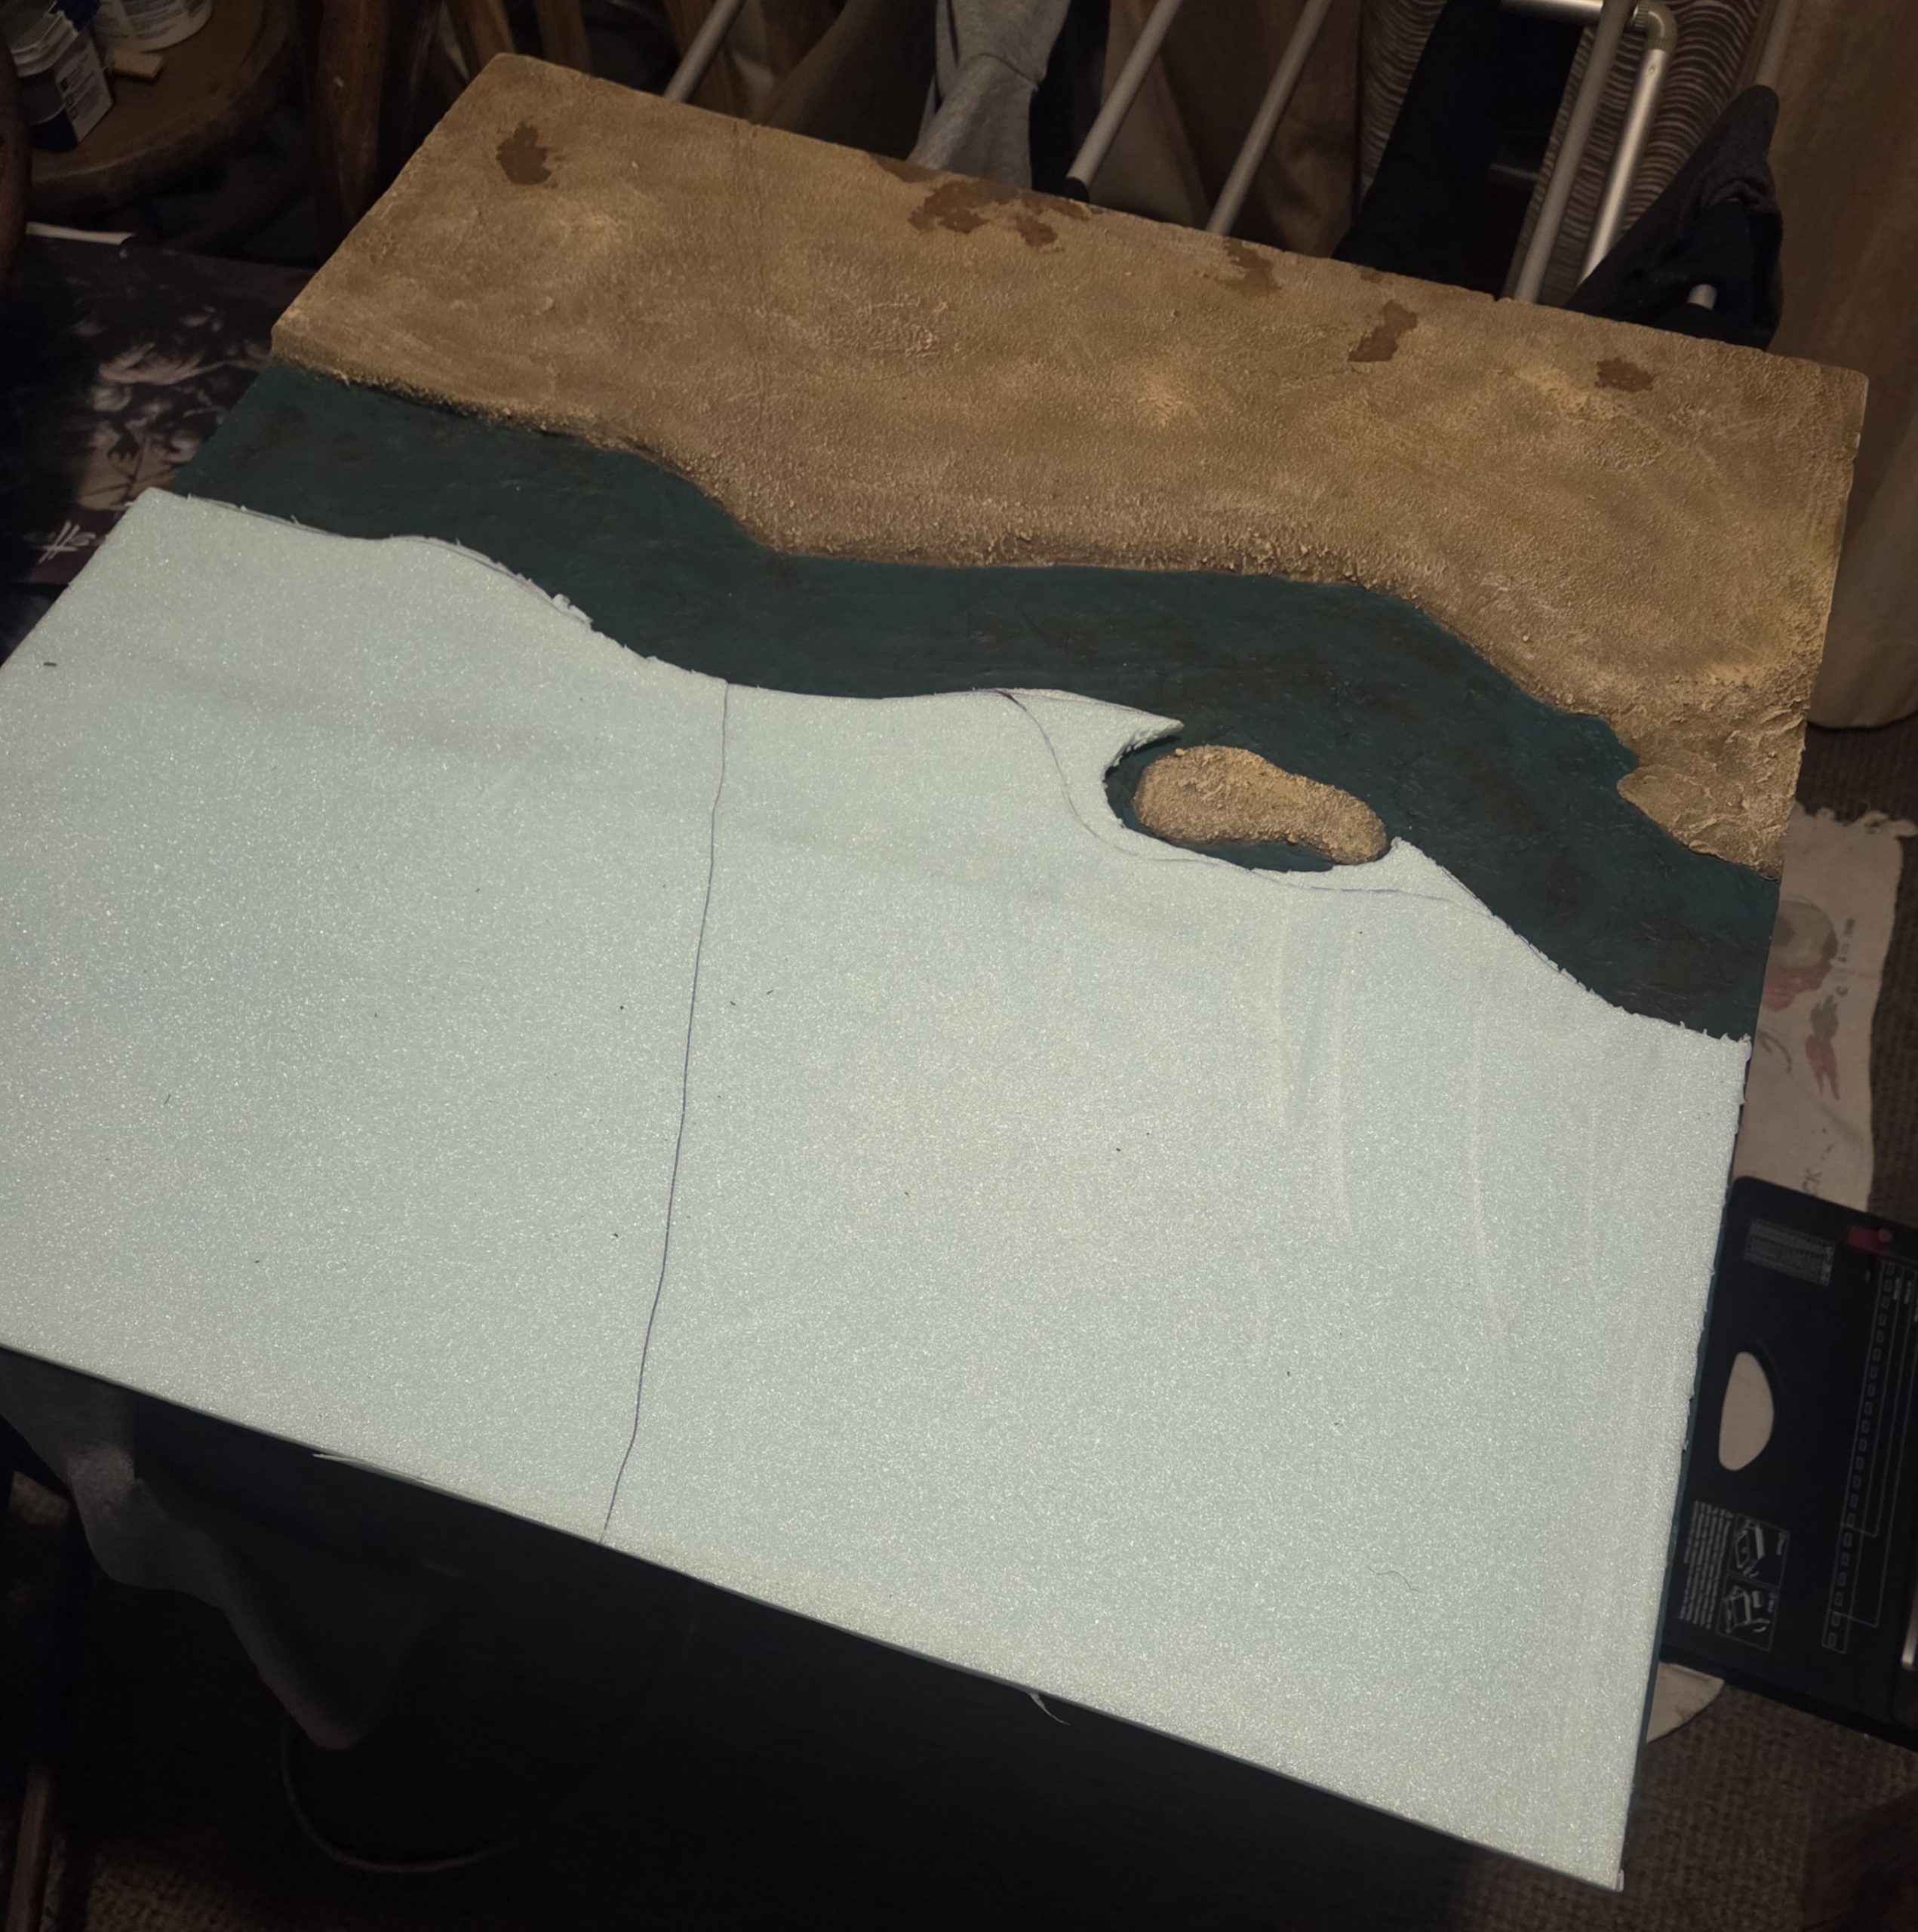 Fitting the first bit of polystyrene.
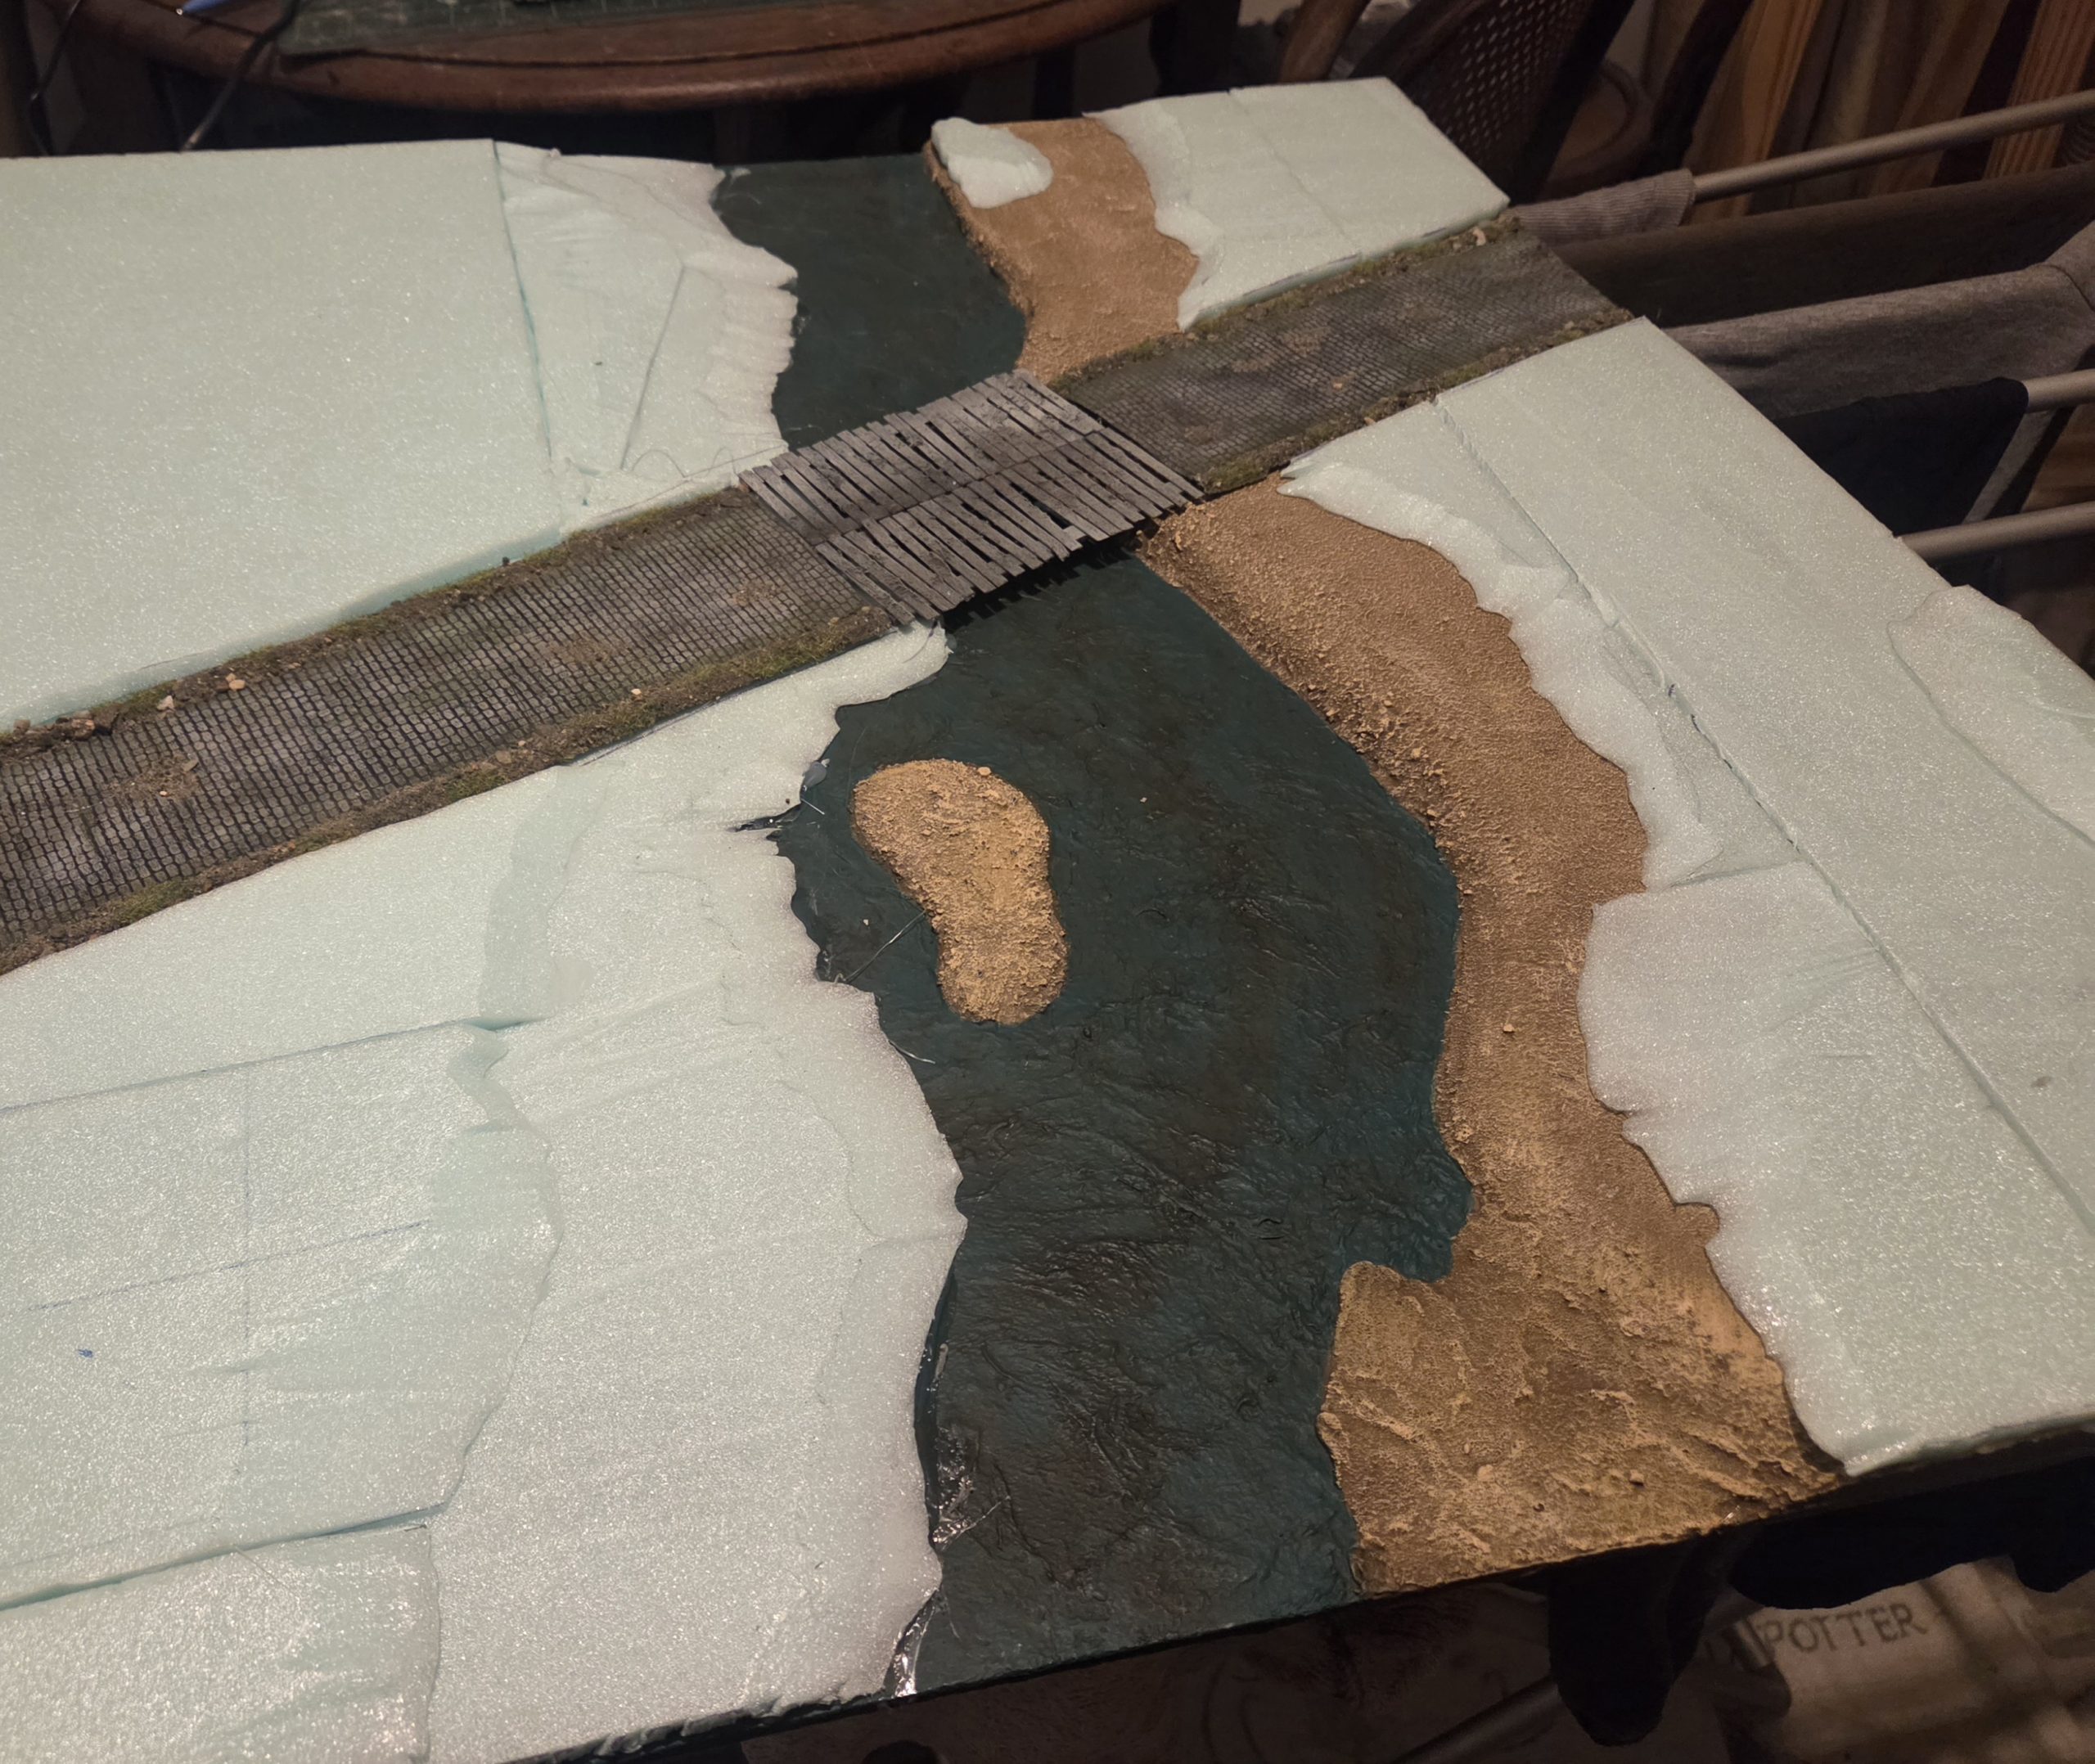 Added,another layer of polystyrene, inser the roads ( these are the nicely loaded rubber ones which you have to paint, I can't remember who makes them. The bridge is two of my trench walkways ( no longer required) butted side by side
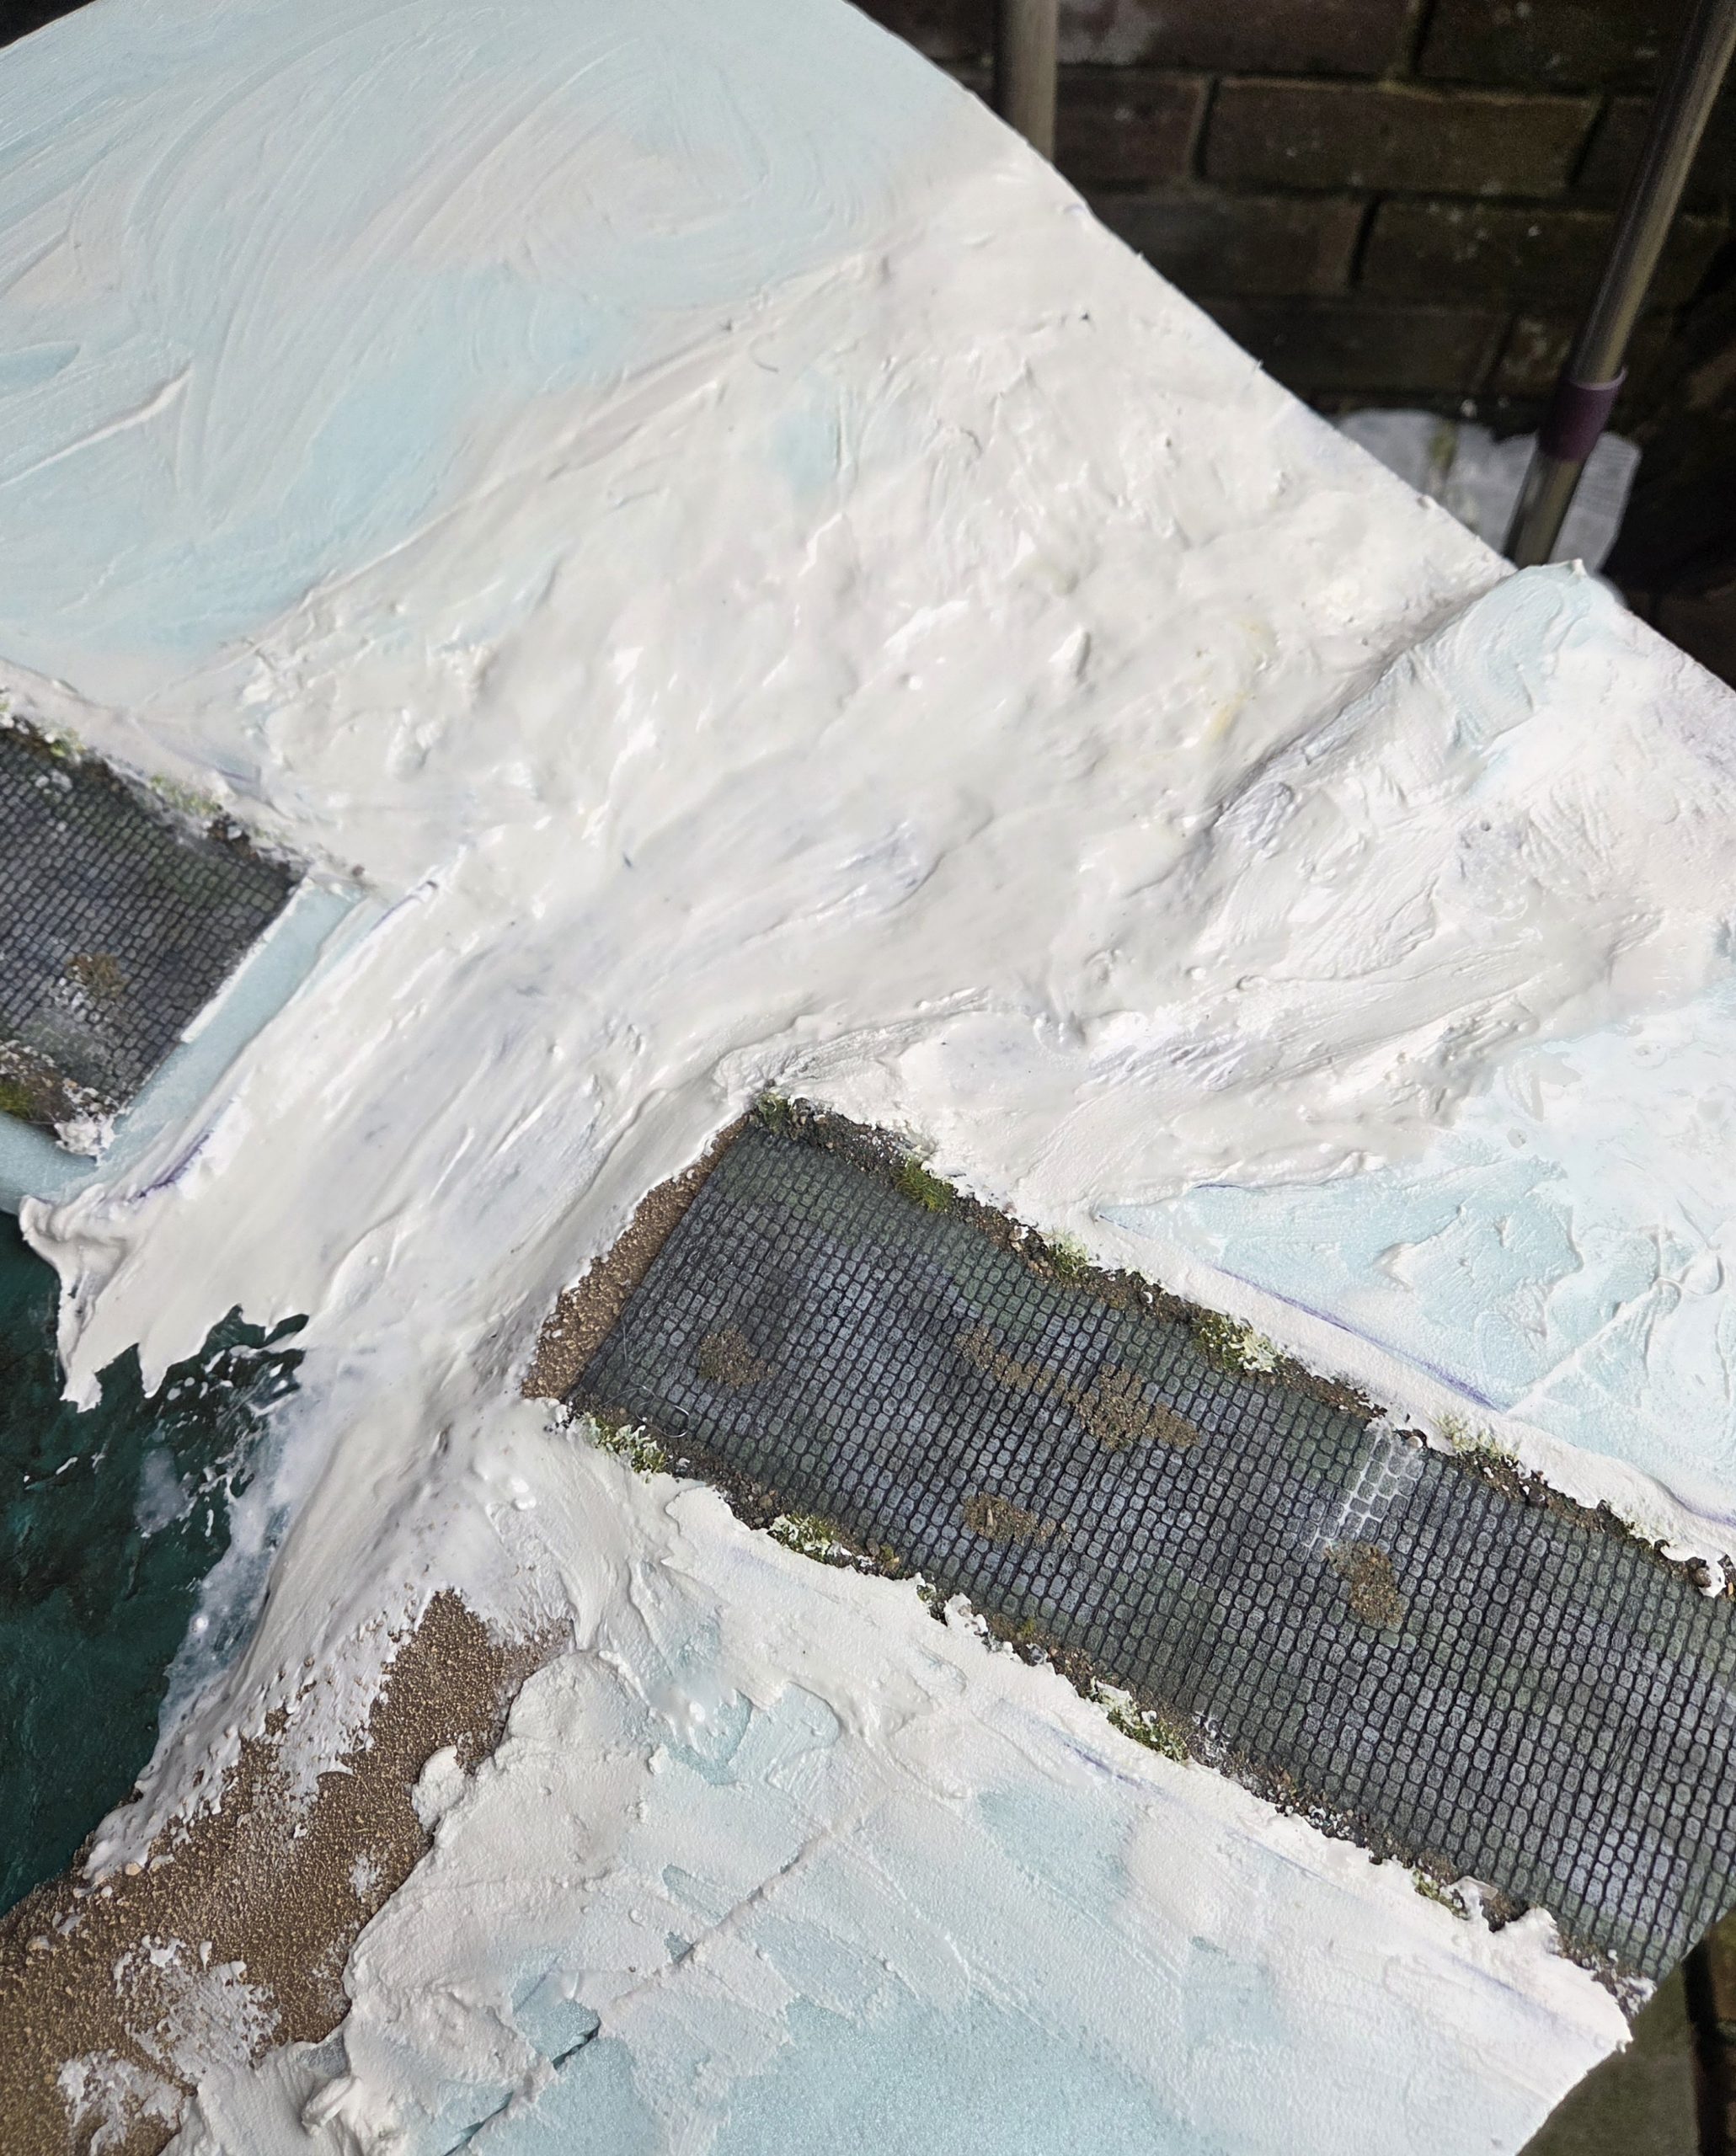 I ha e started to apply yhe polyfilla. Because I dont want the table to be restrictive am modelling two fordable places at either end of the river, now I can declare 1, 3 or all fordable.
The Folly in the Woods
One of the pieces of terrain I repurposed was a bell/church tower I had built for Trench Crusade.
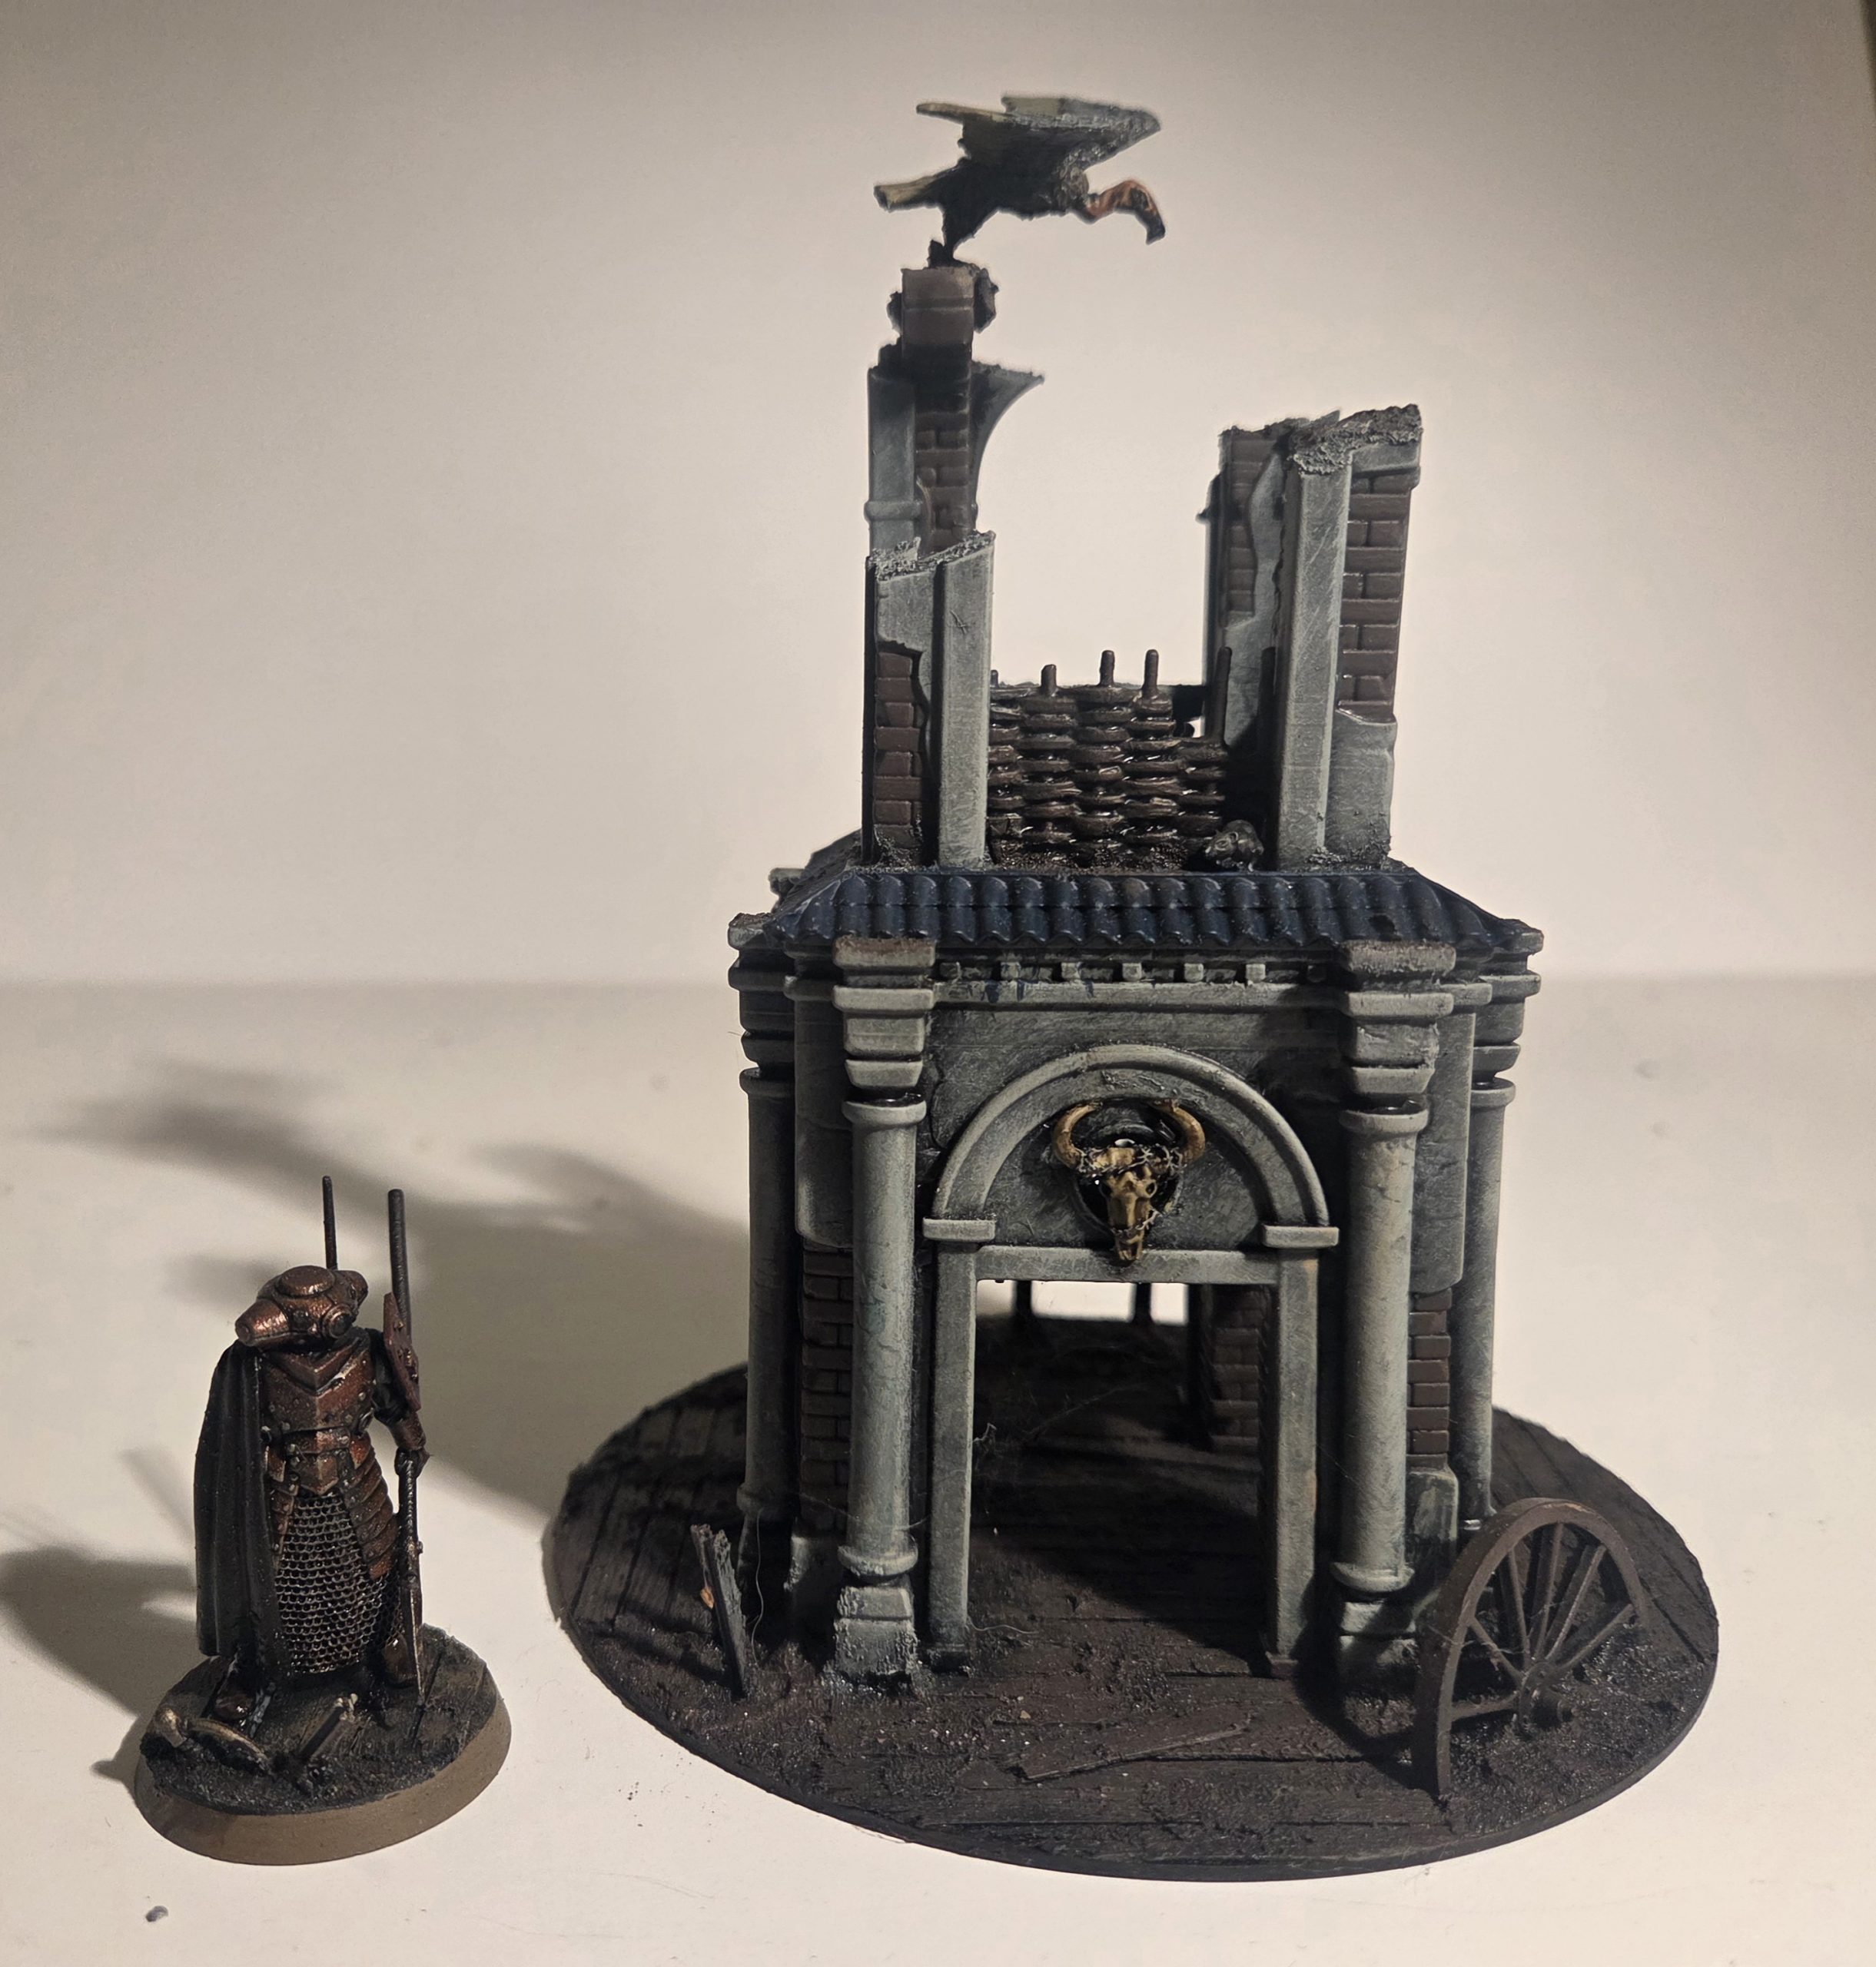
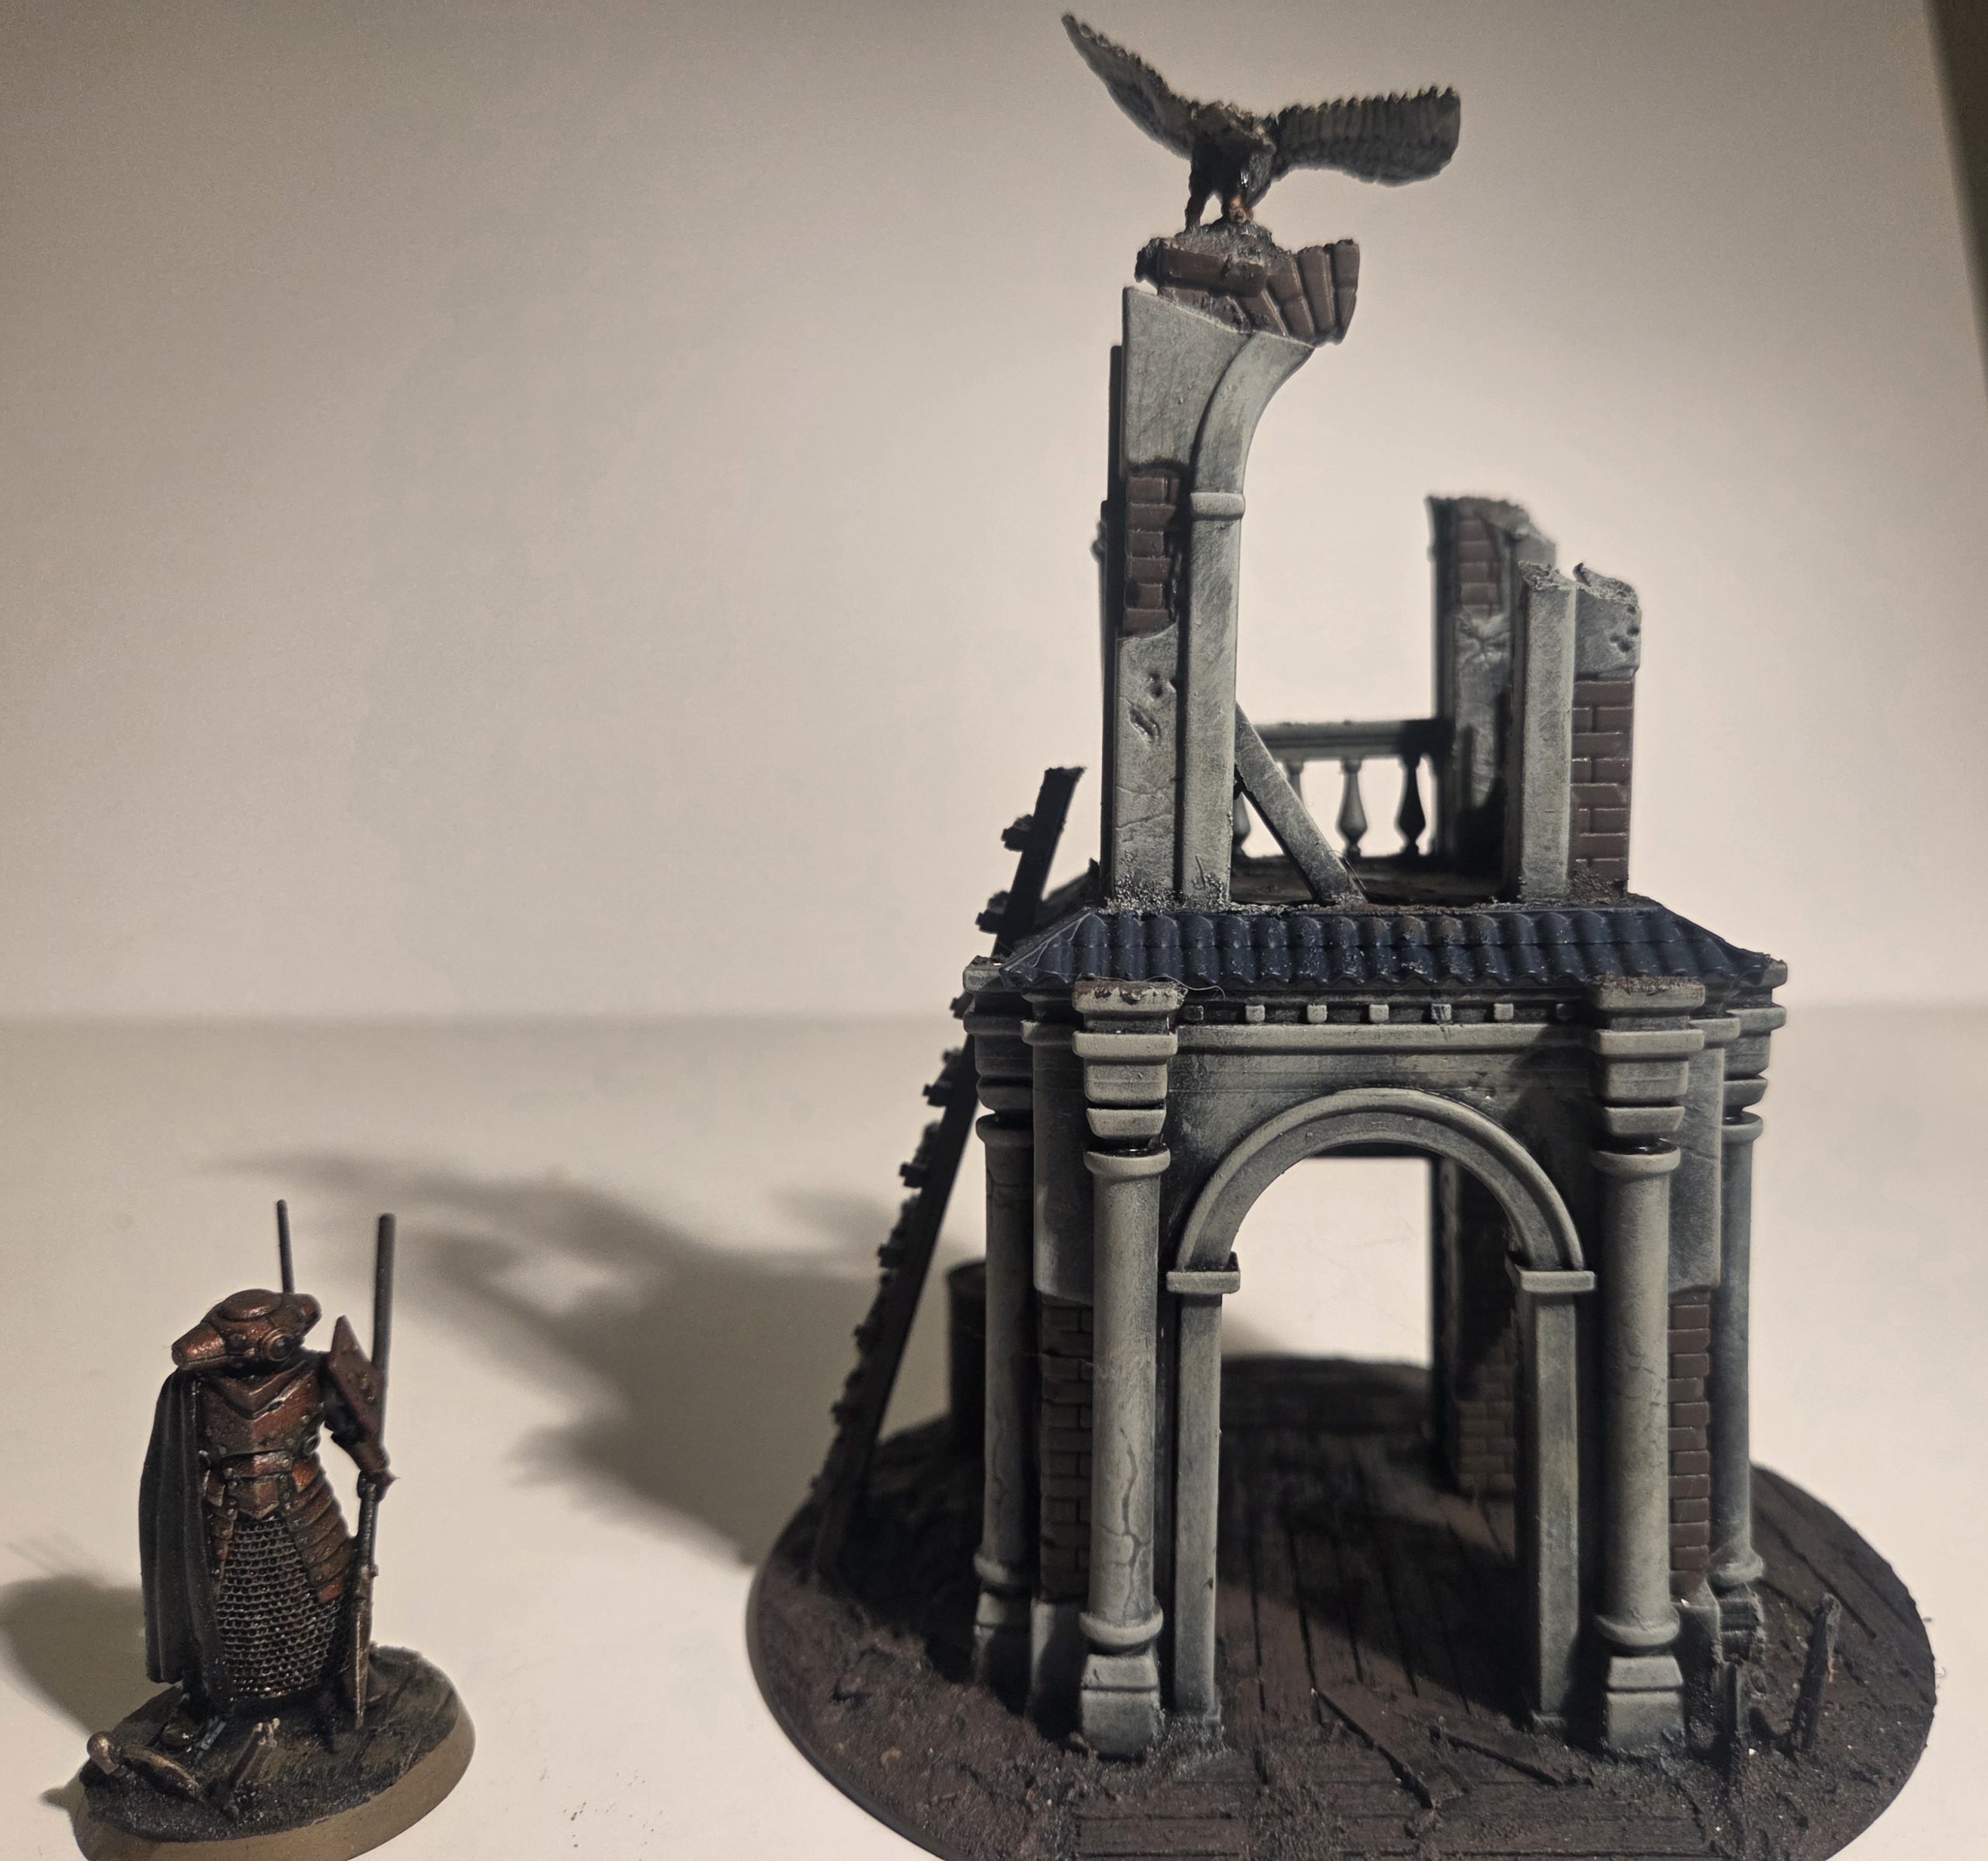
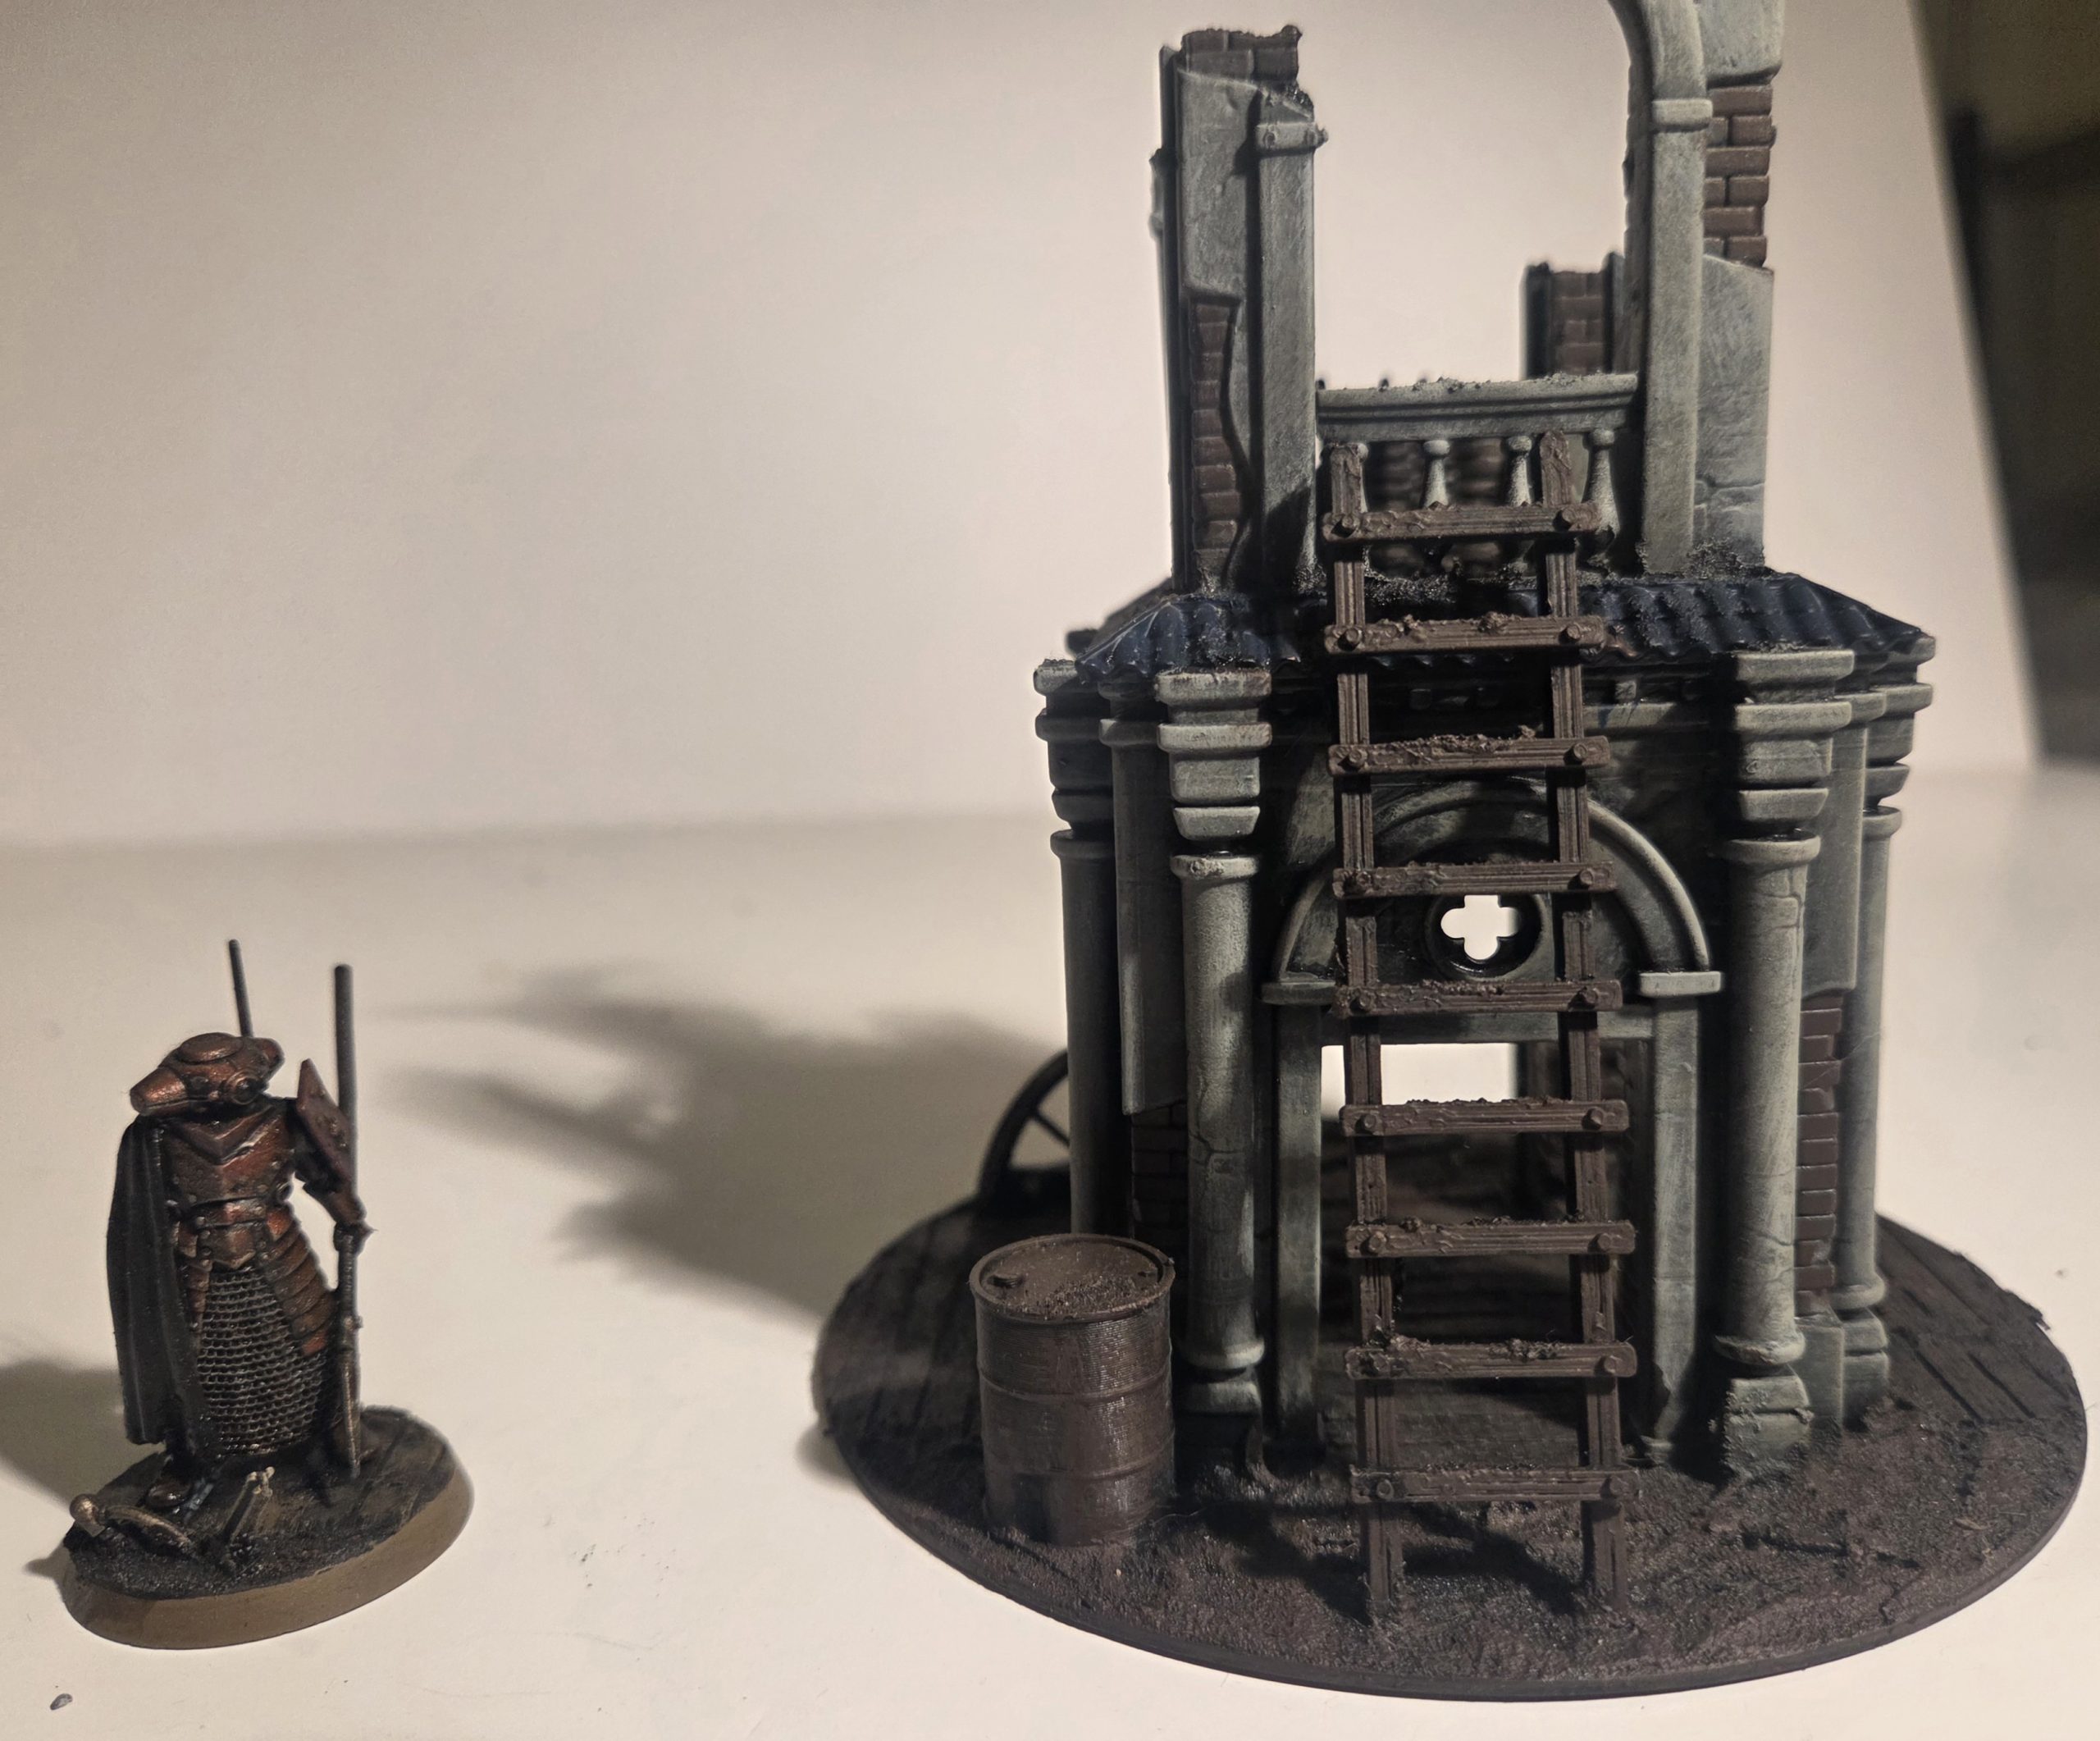
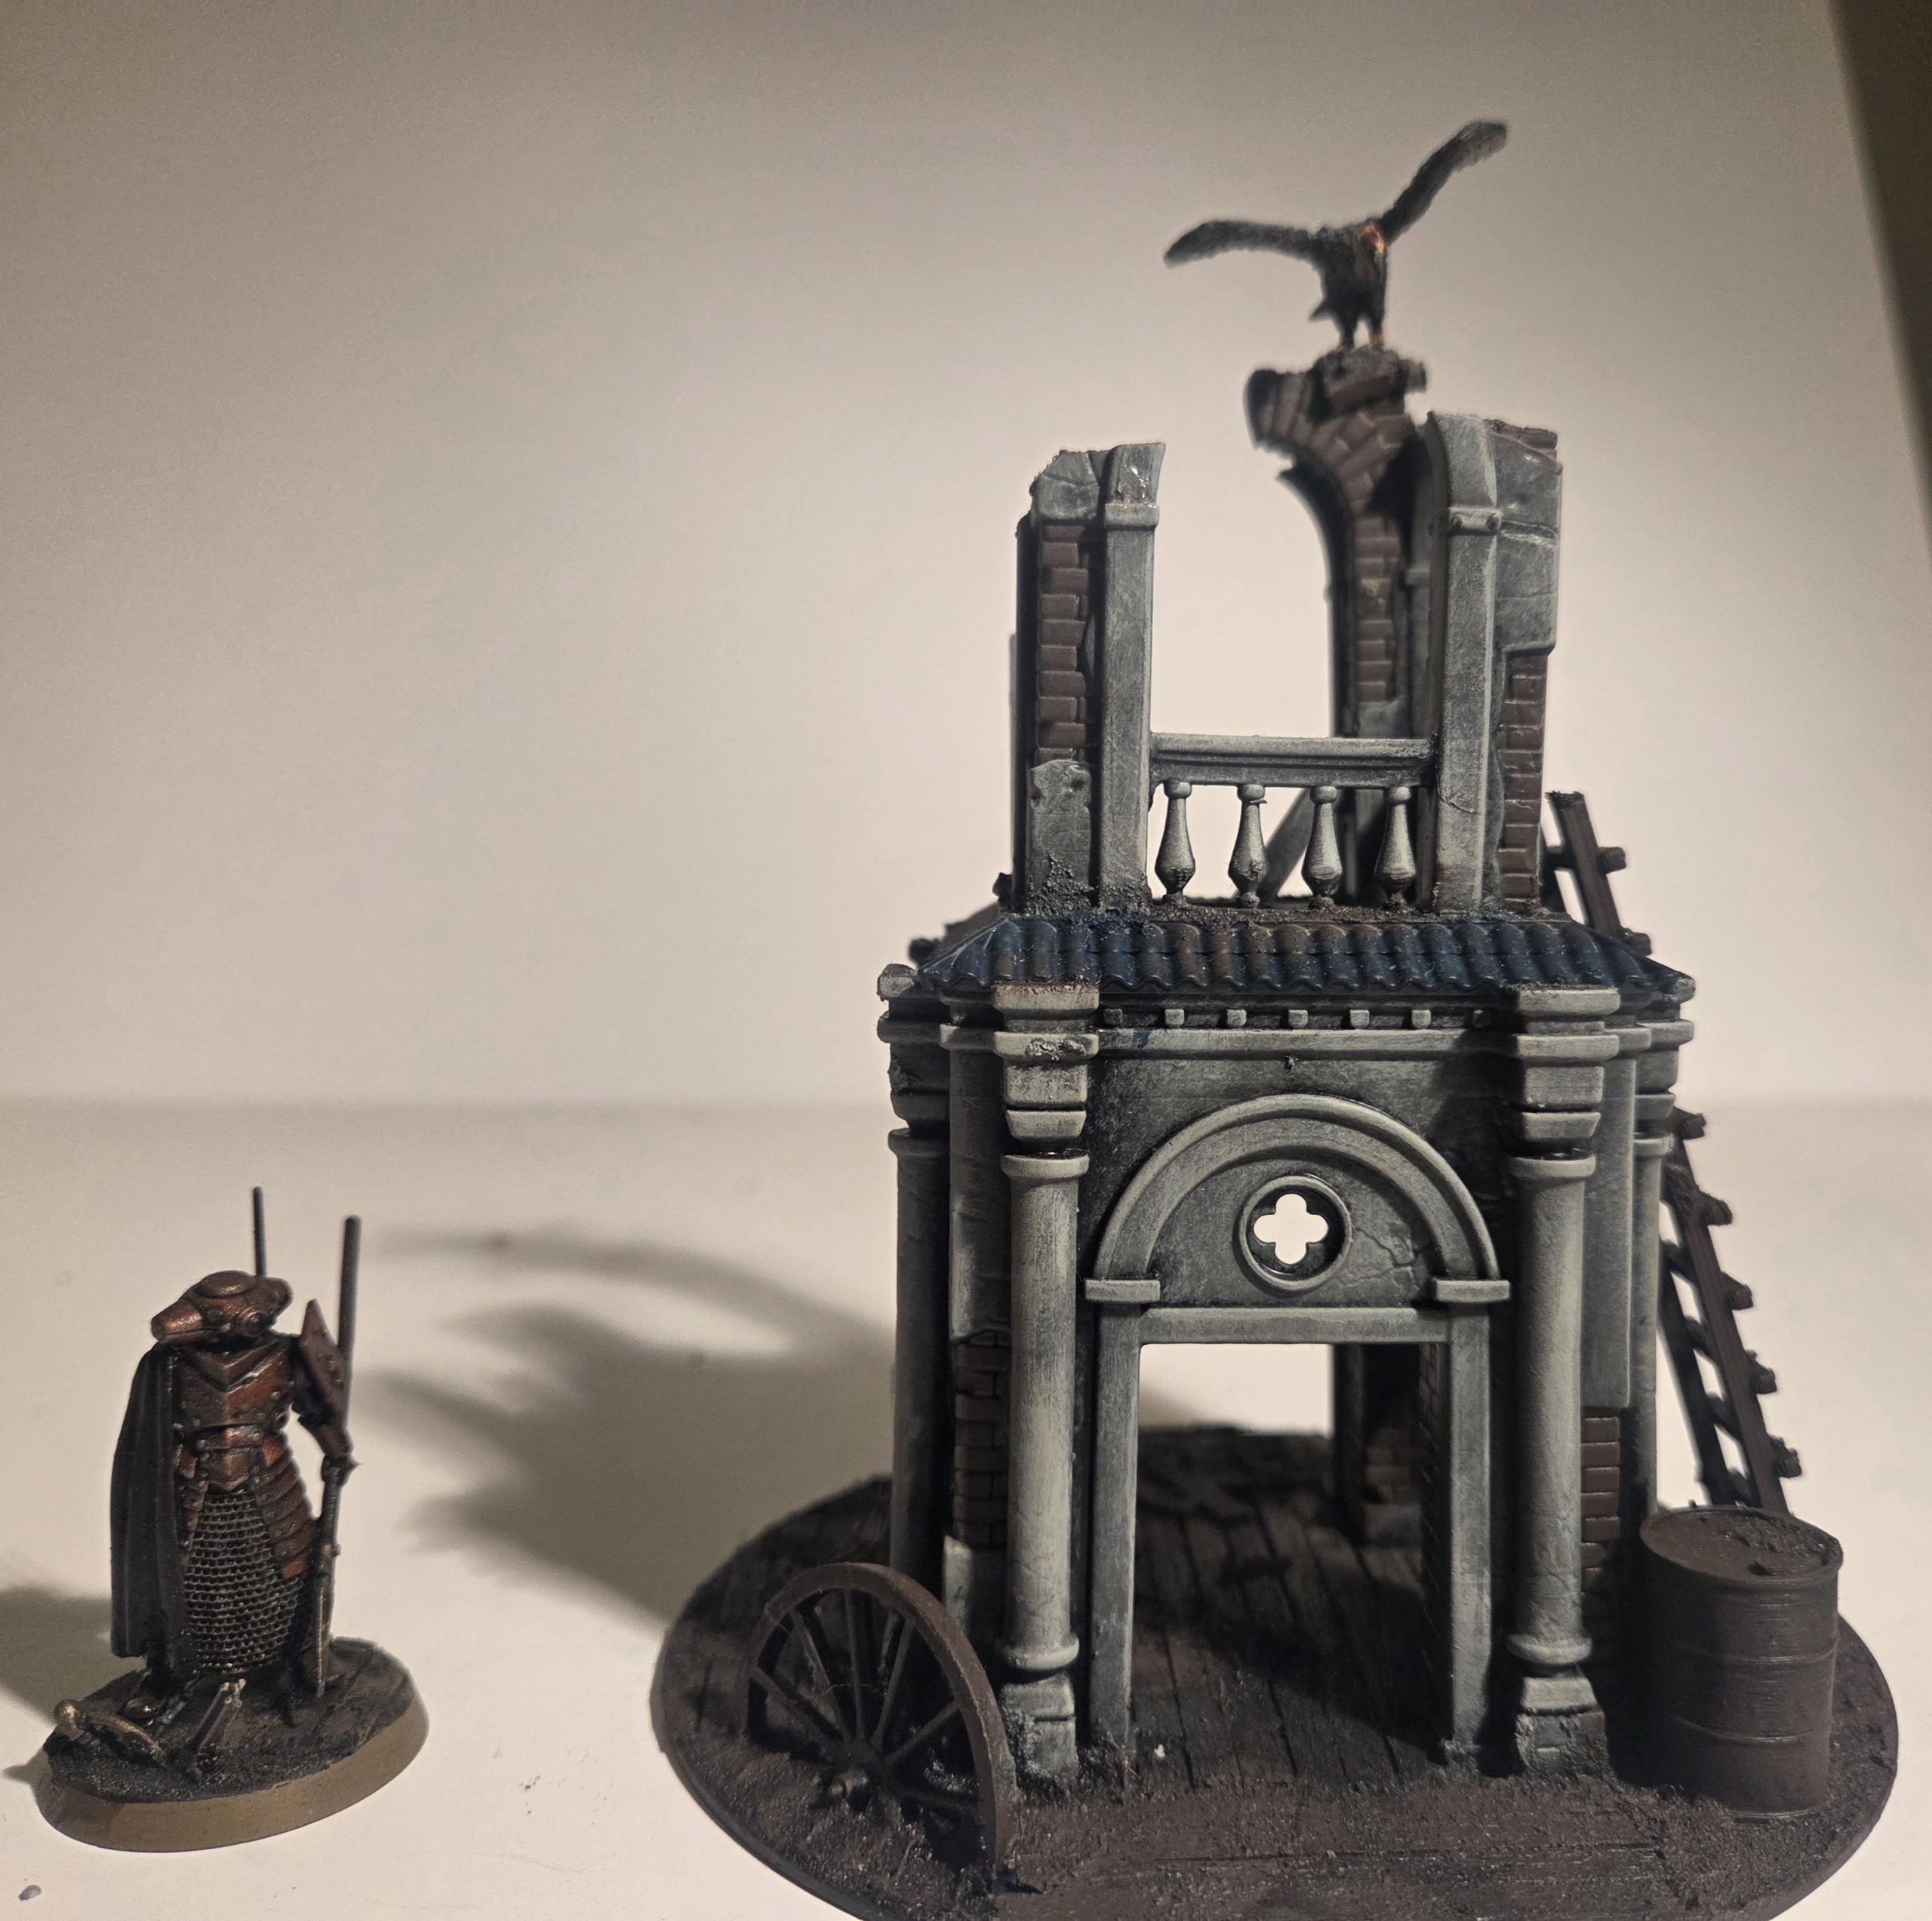
The first thing I did was rip off all the trench crusade bits; the vulture, the wicker fence, the ladder, the oil drum, the wheel…..
I then drybrushed the roof blue, painted the brick work, dry brushed dark terracotta upto an orange, this was then given a very thin glaze of pale sand.
The while model was then given a drybrush of Brianmater Beige, and the base covered in first a placed scattering of Geek Gaming Scenics Base Ready Rugged Field, with the rest being filled in with GGS Base Ready Scrublands.
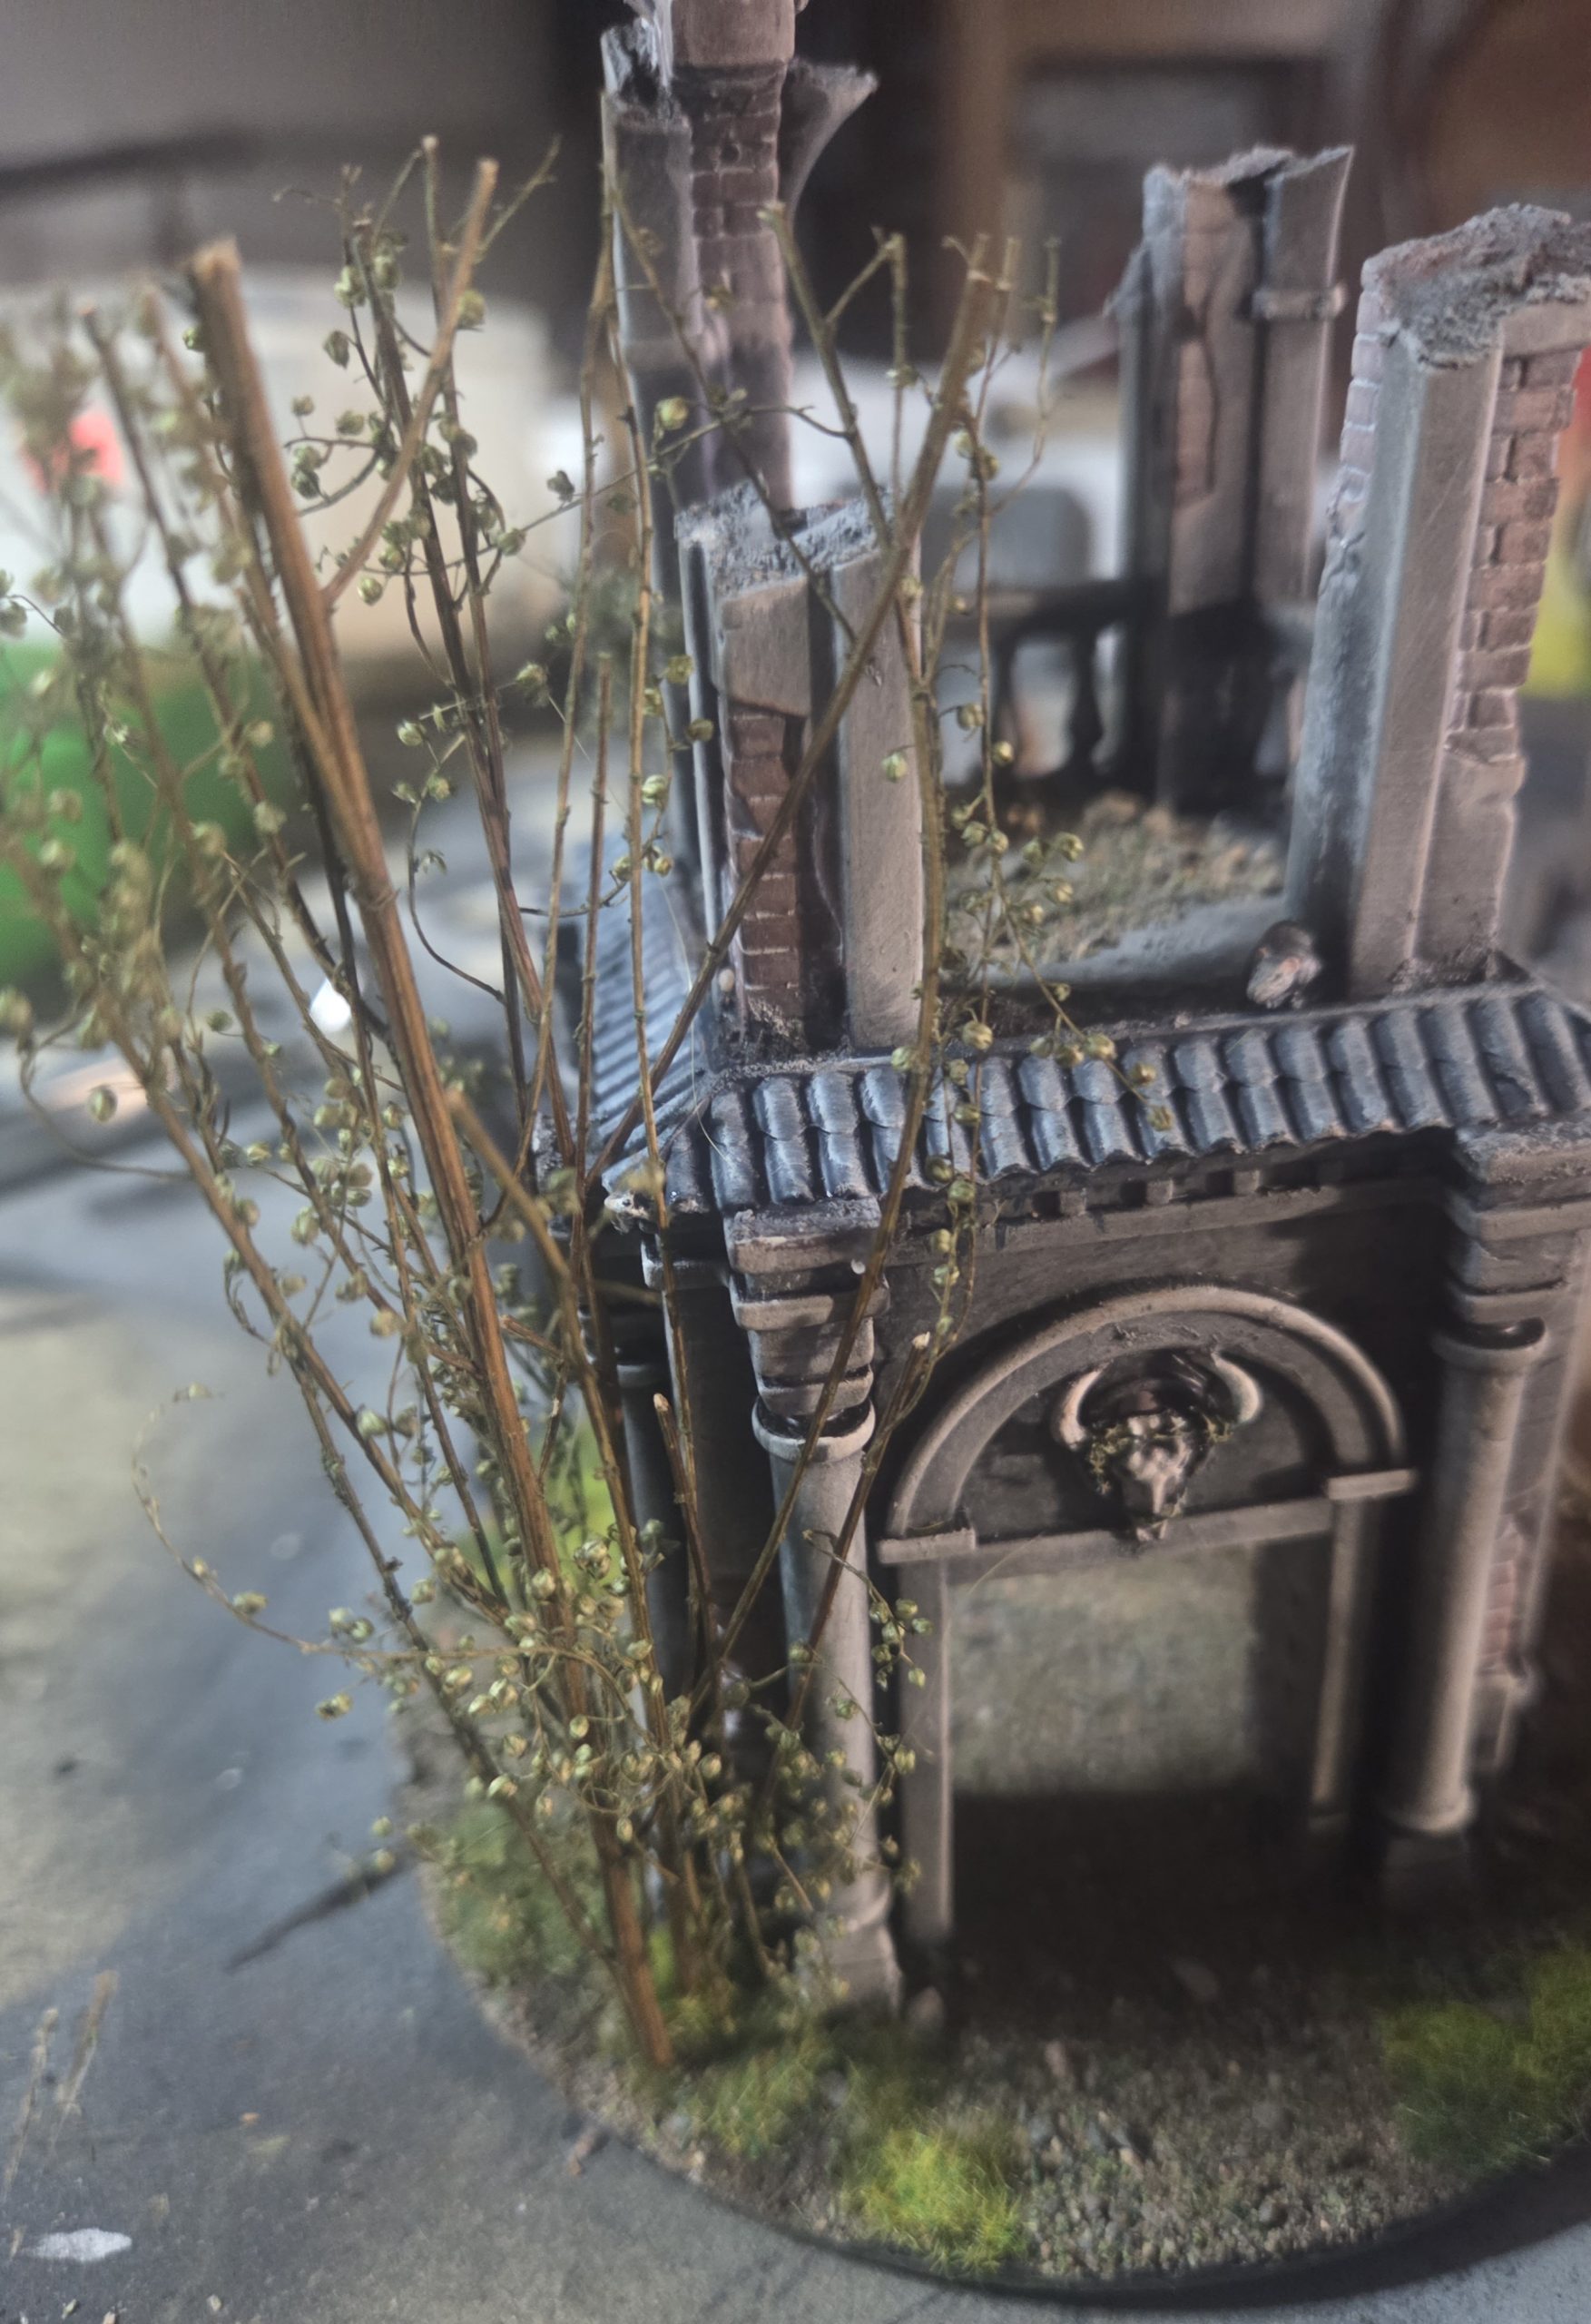 I wanted this shrine/folly to look returned to nature and desecrated. The skull was fastened on to windows with barbed wire, so I just painted as thorns. I also added these cool twigs, about 10 of them in this patch. These are a recent discovery of mine, I cannot remember what they are called, but I love them. I used super glue, applying lots on bottom where twig connected with base, and then selecting contact points against building to further secure. Once I have given a healthy coat of matt varnish will be quite robust.
 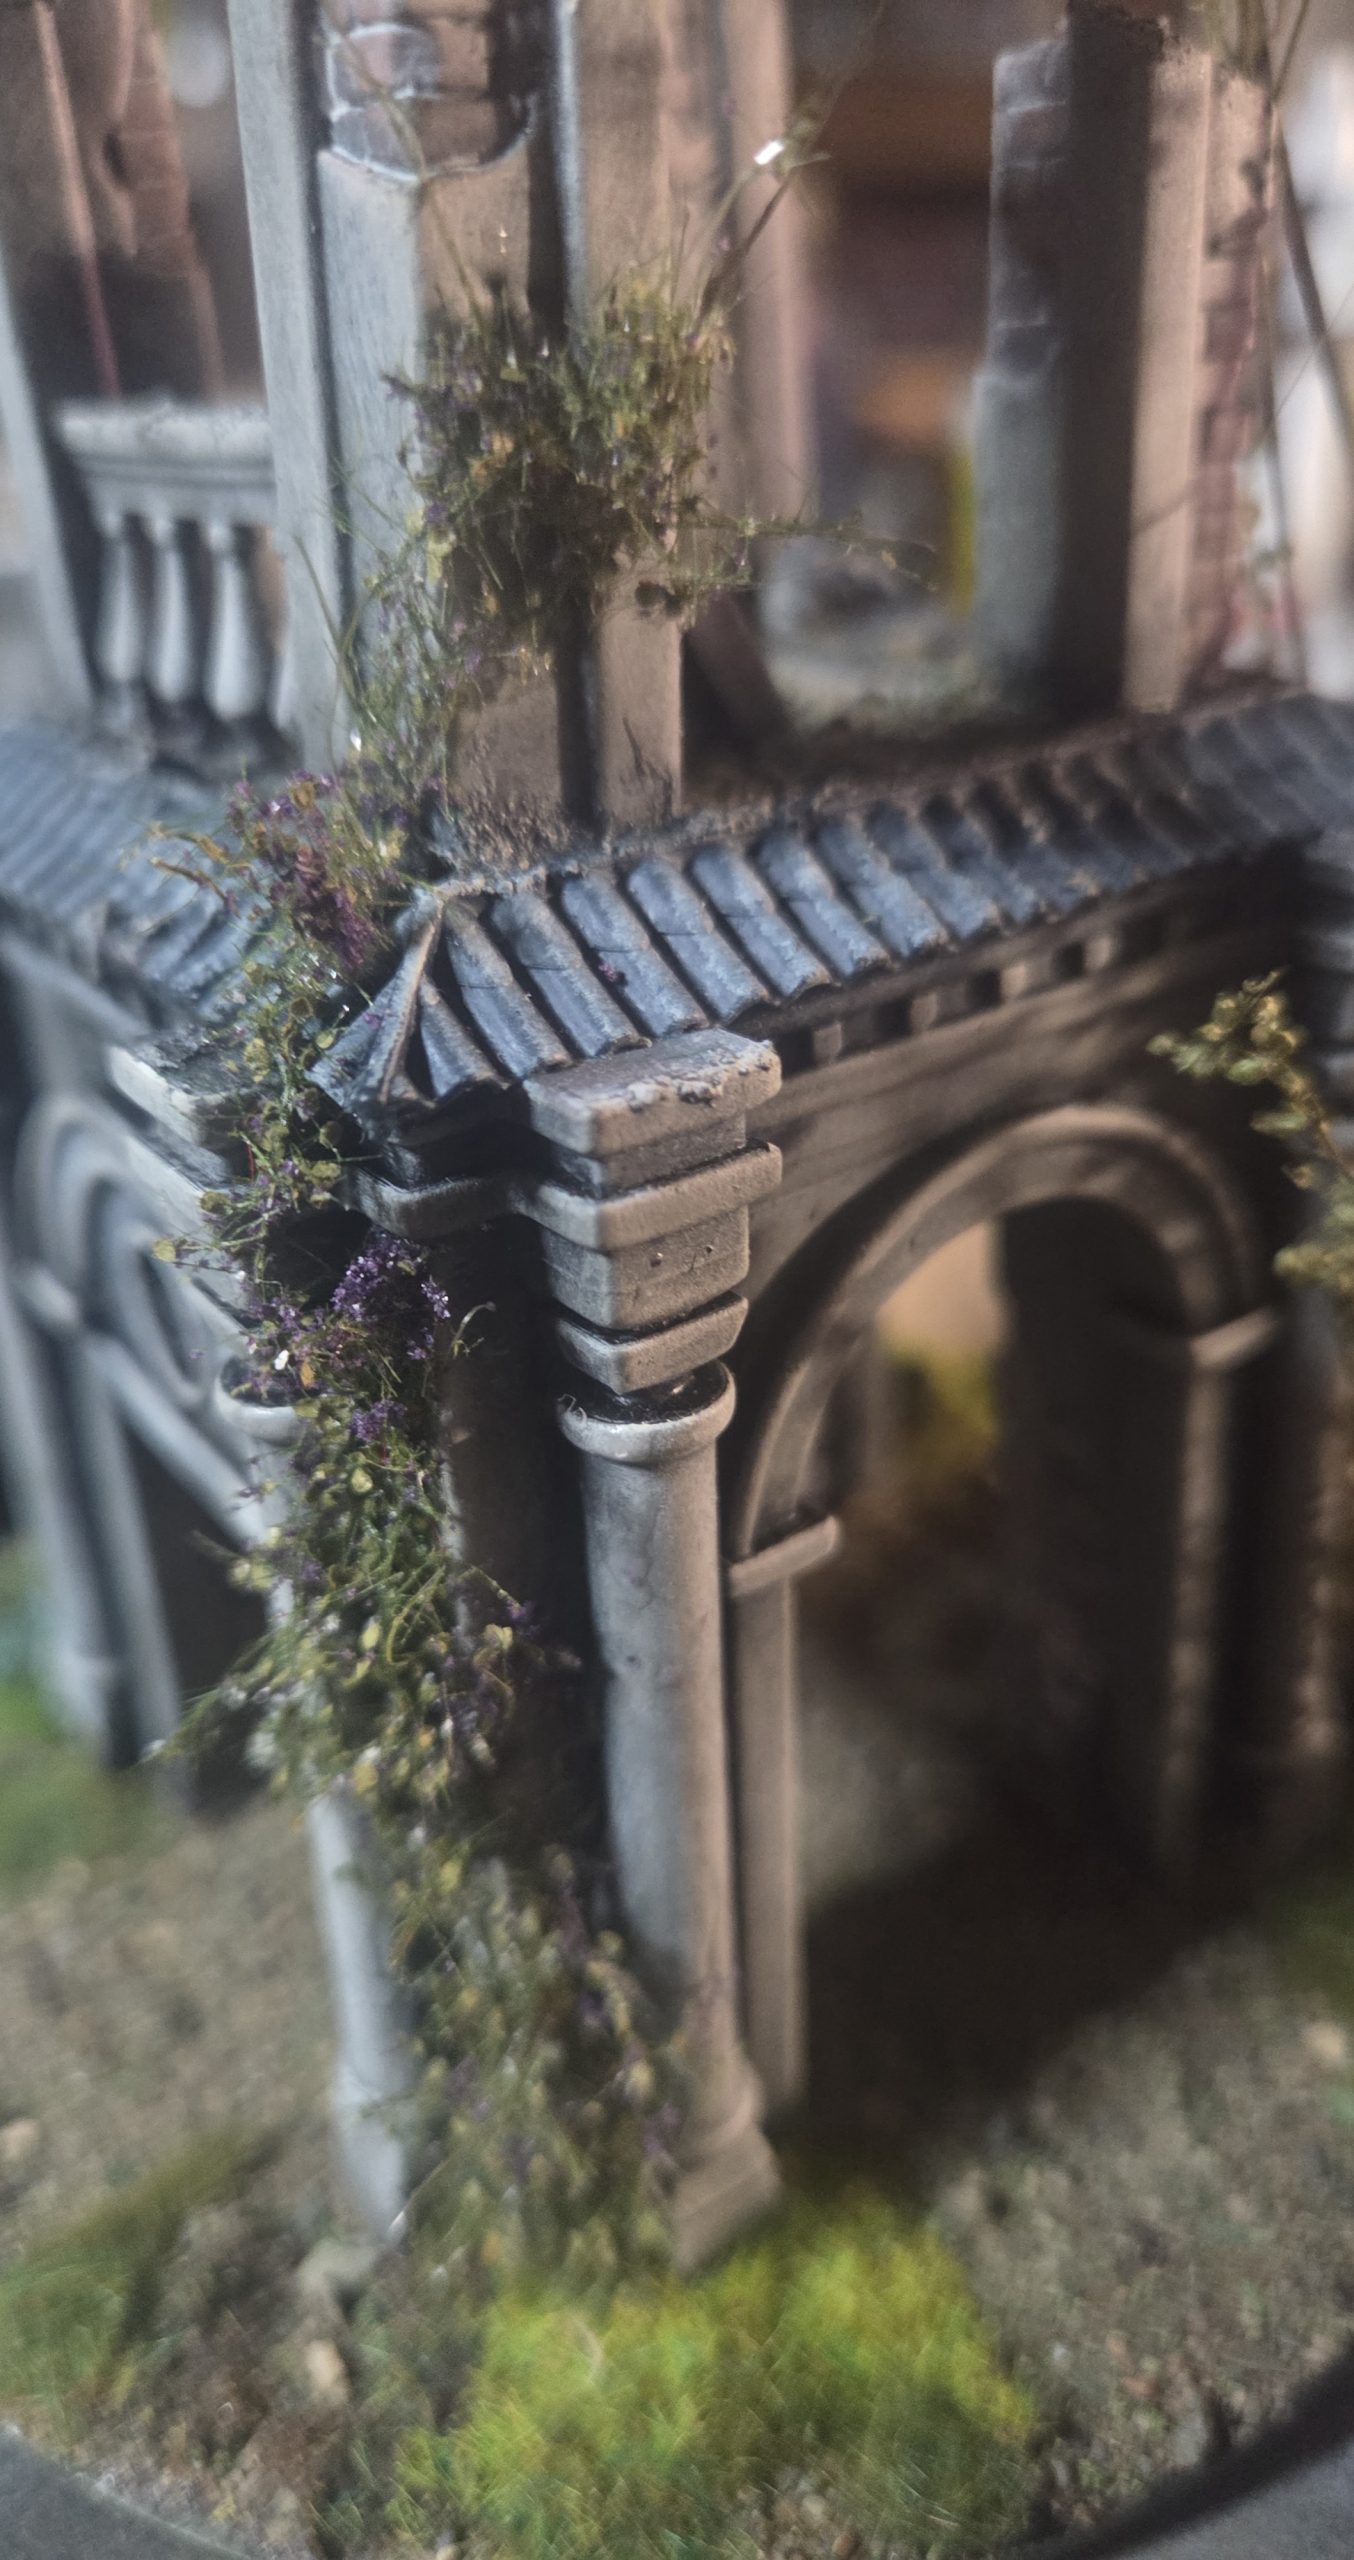 On another corner I added ivy, tearing apart a long stem purple flowered shrub, removing most of the purple.Then with a puddle of superglue, pick each piece with tweezers, gently squish on side of stem in puddle the apply to building, working from ground upwards. Pictures of completed model to follow. On another corner I used lichen on a similar way only in larger chunks.
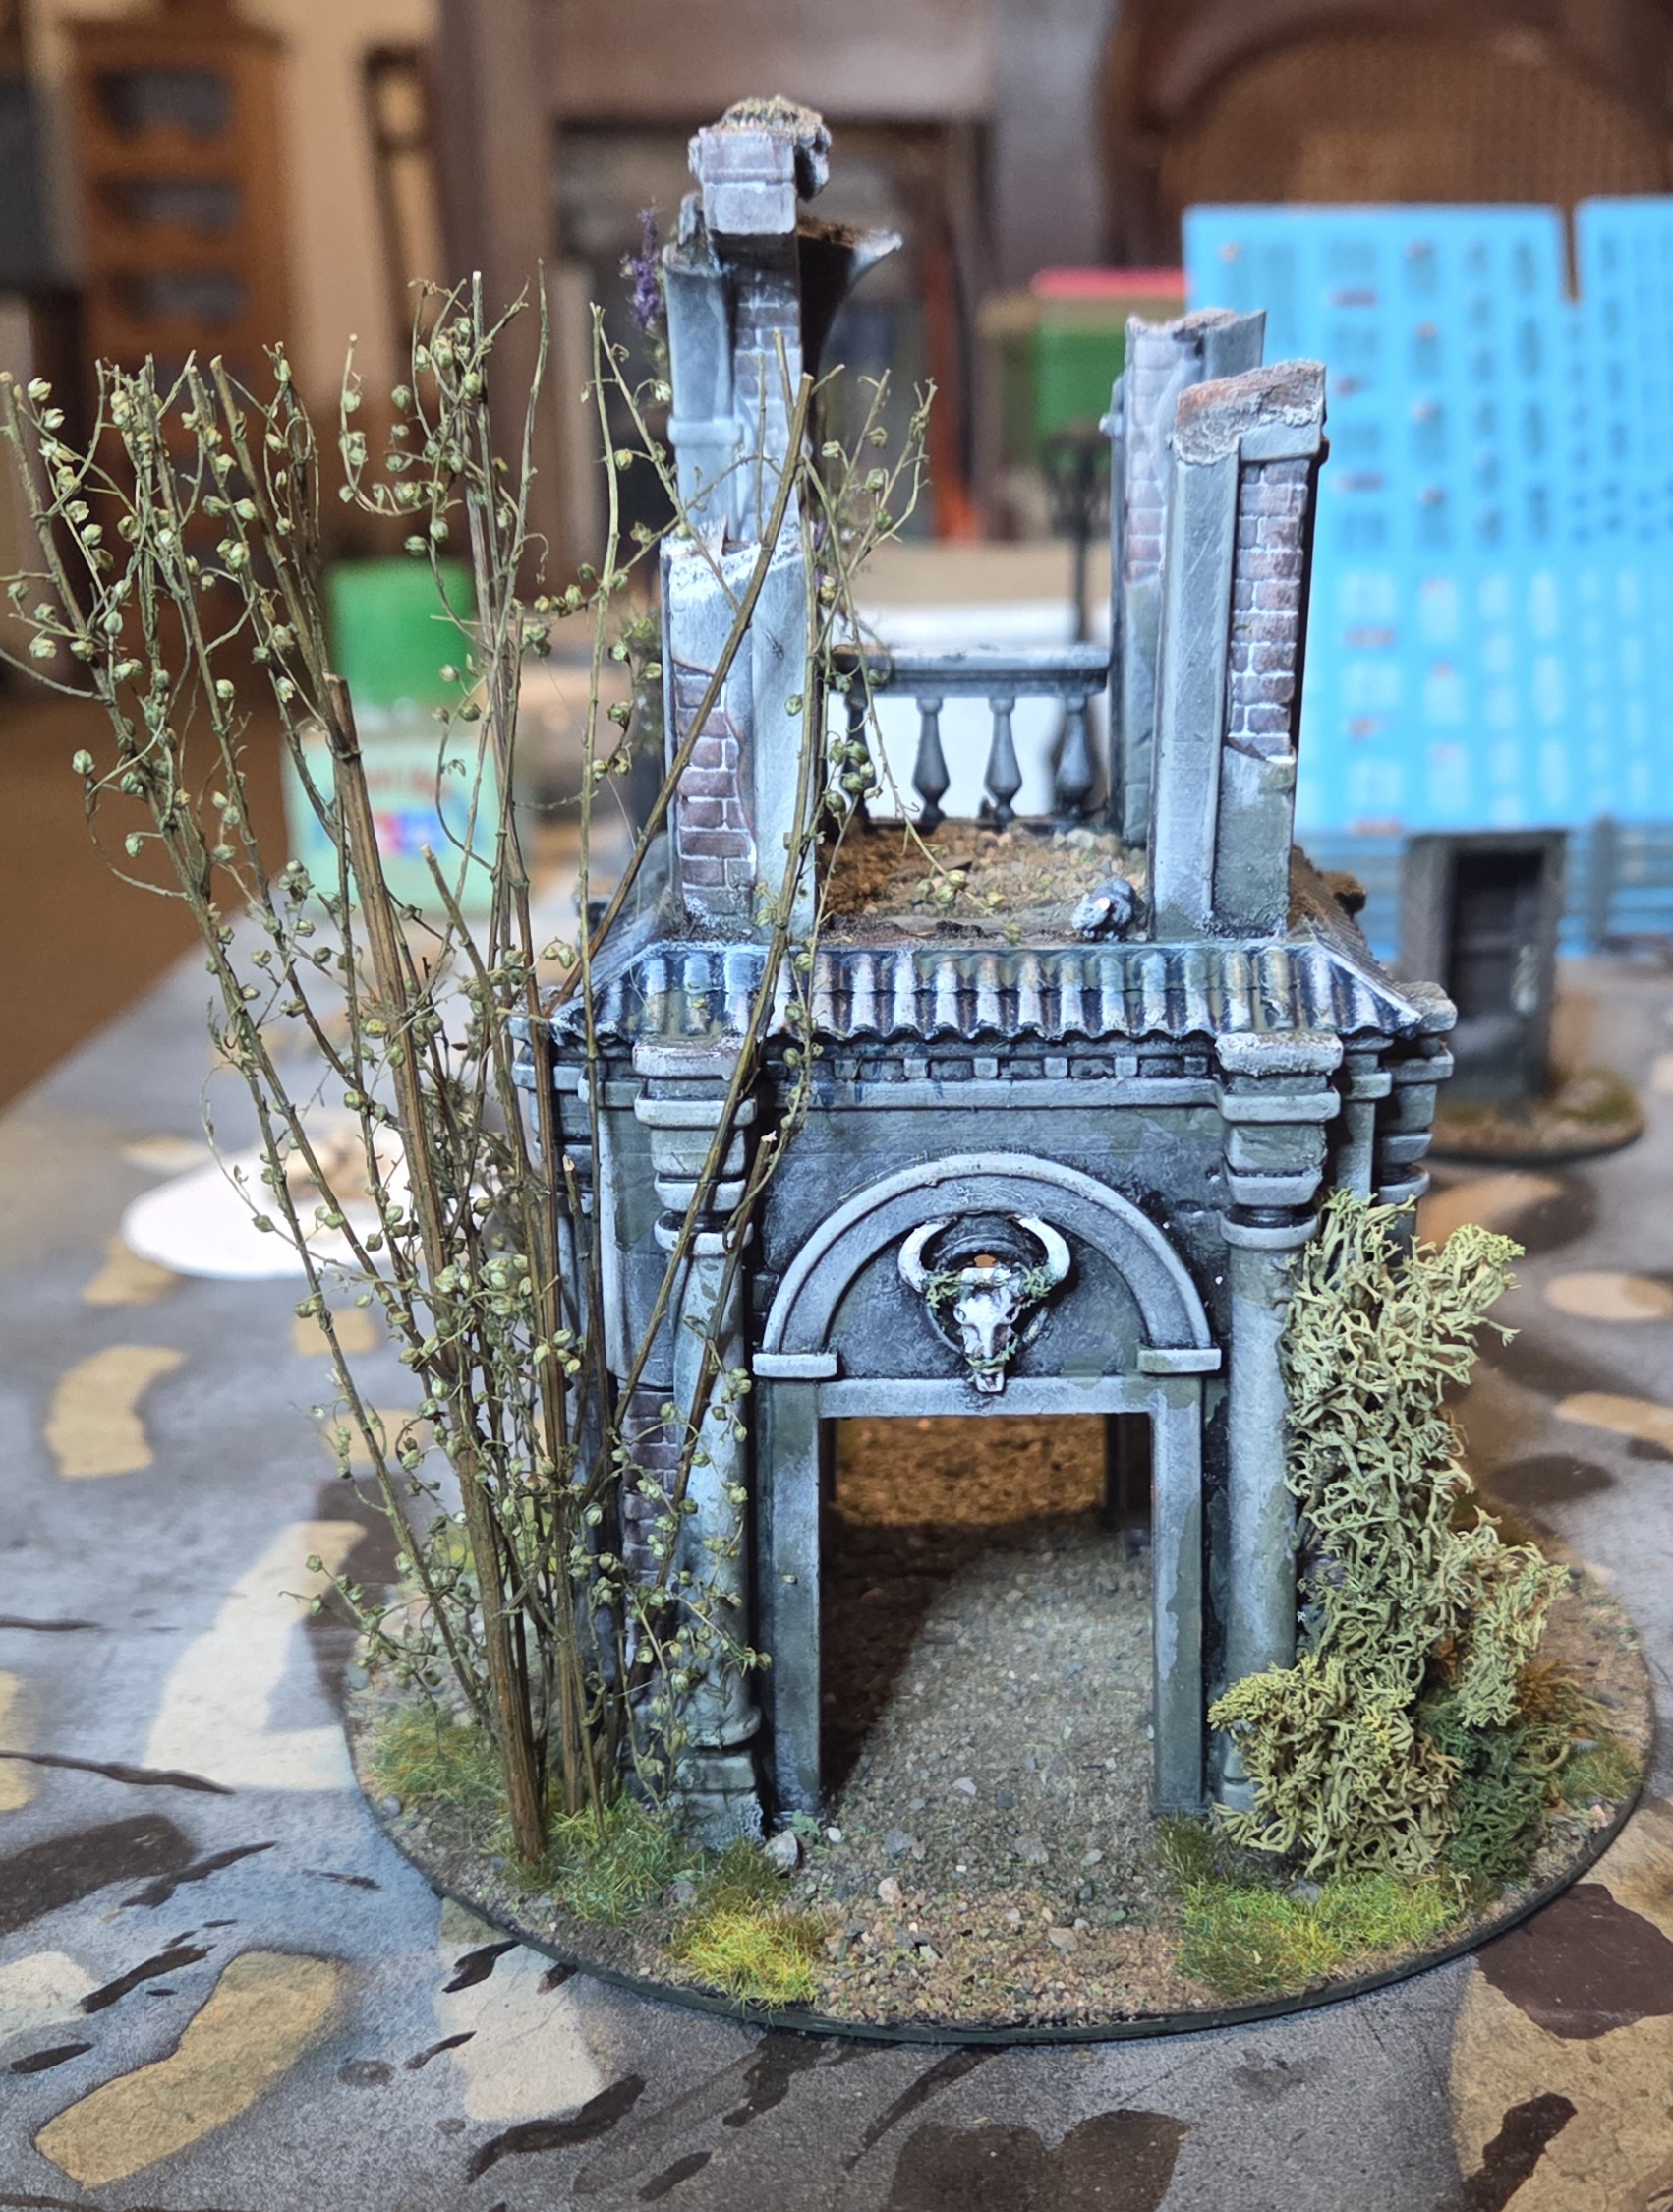 All completed inc. Green washes for dampness. Just needs a matt varnish.
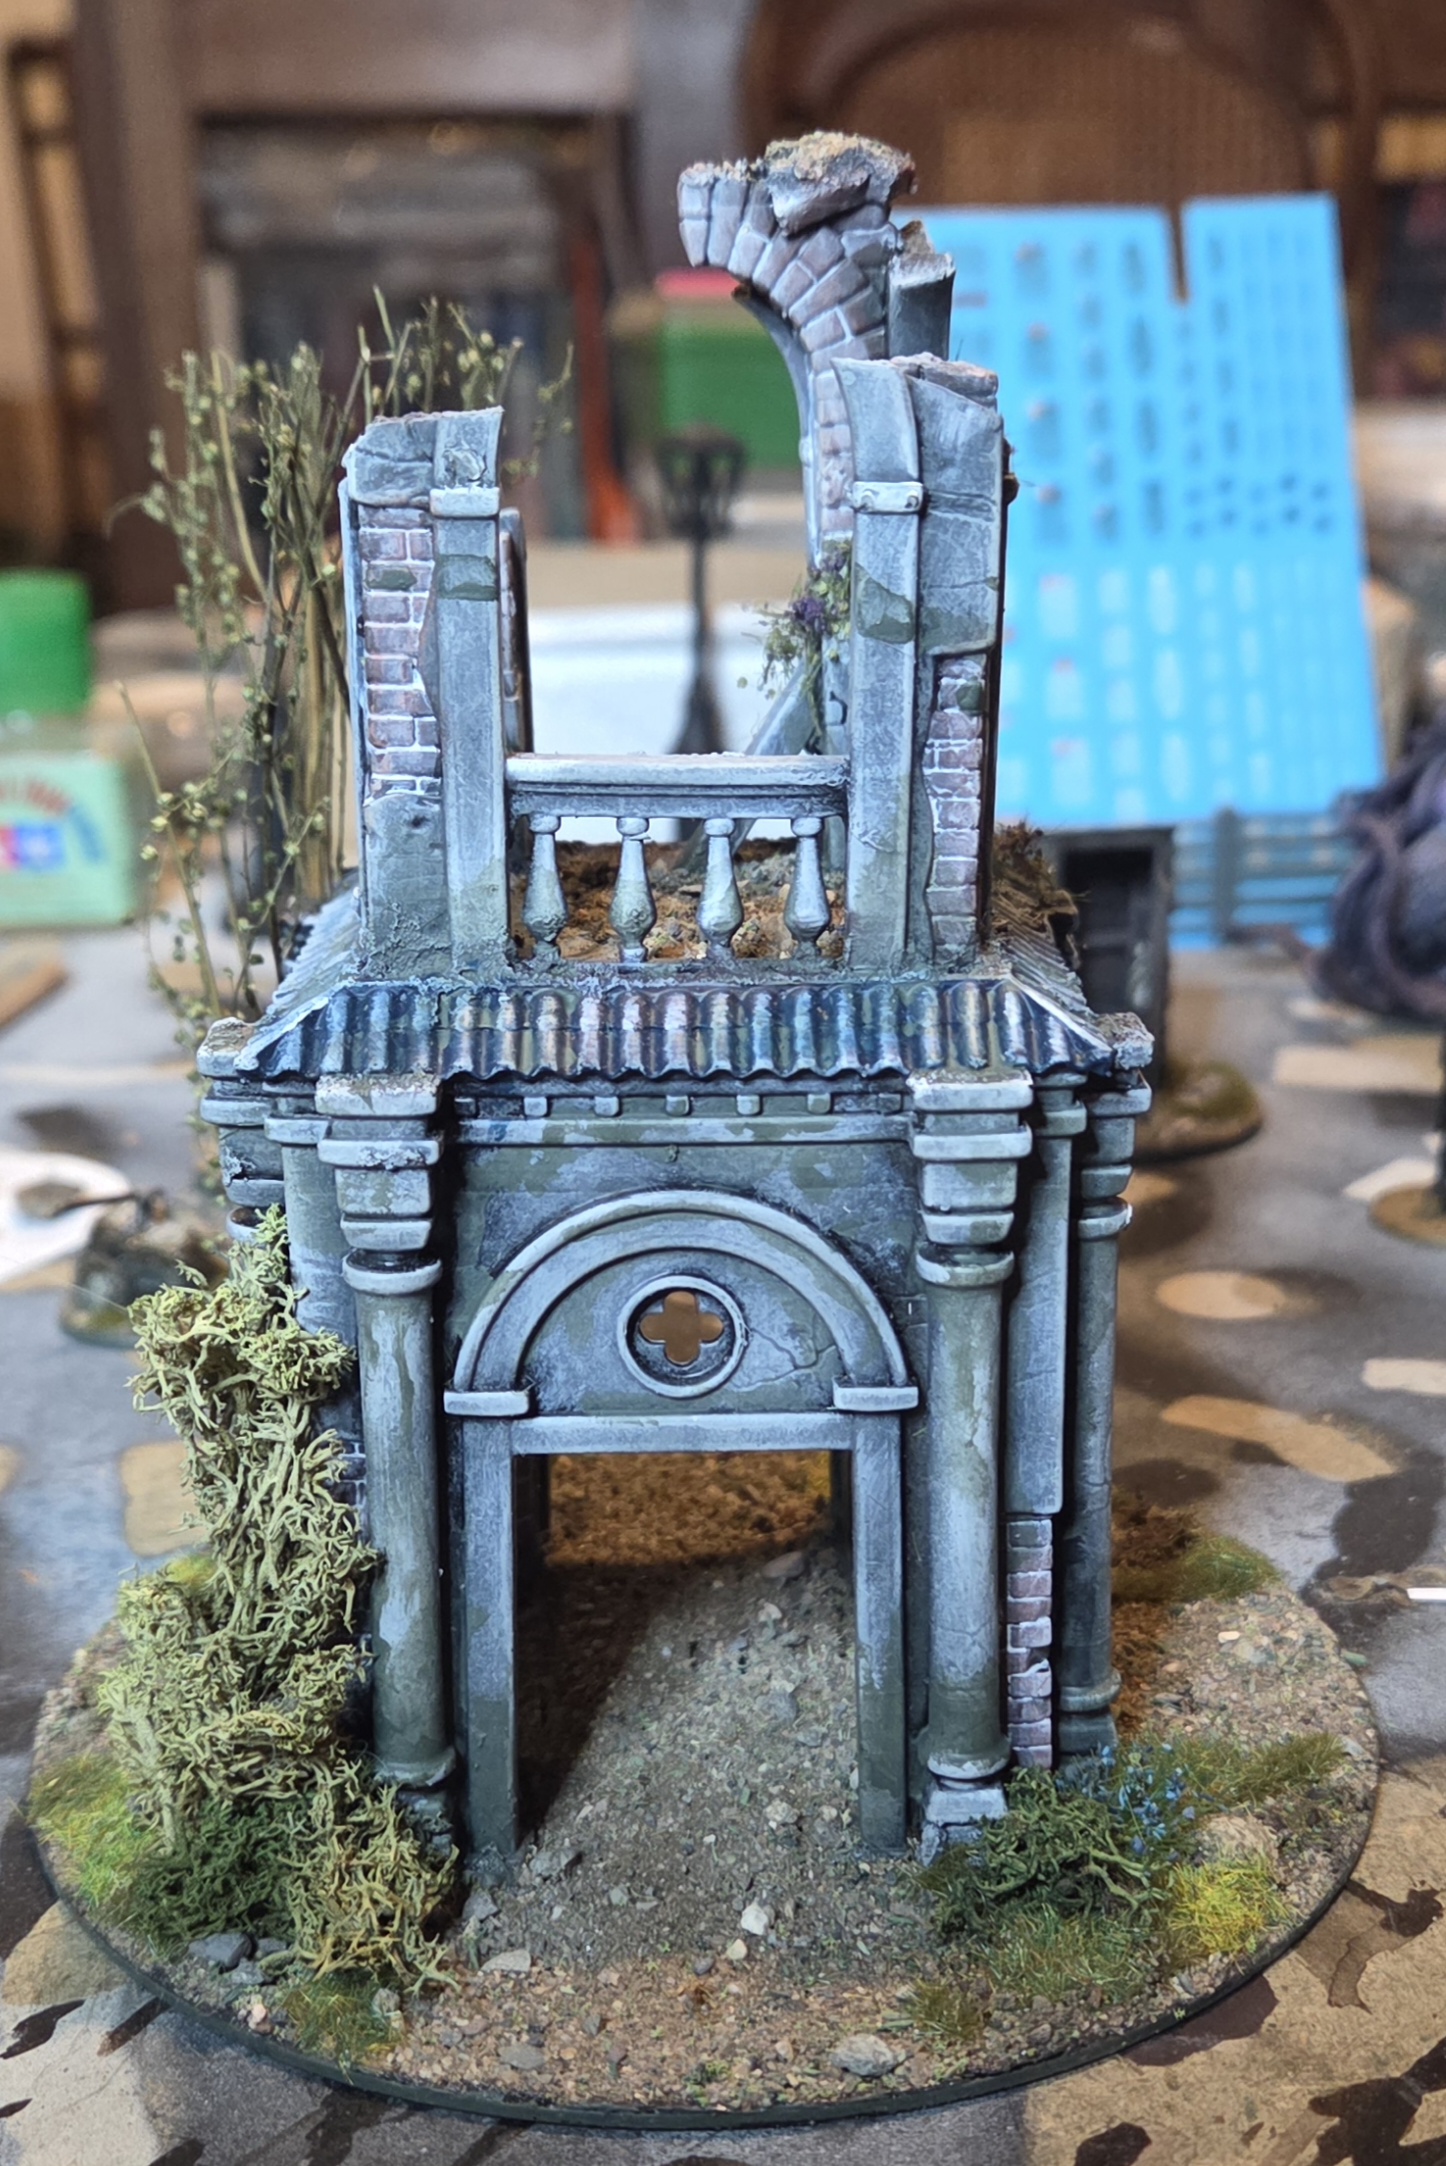 This model now also works well for my Cohors Cthulhu project which will be resetected for part of this year's Spring Clean Challenge.
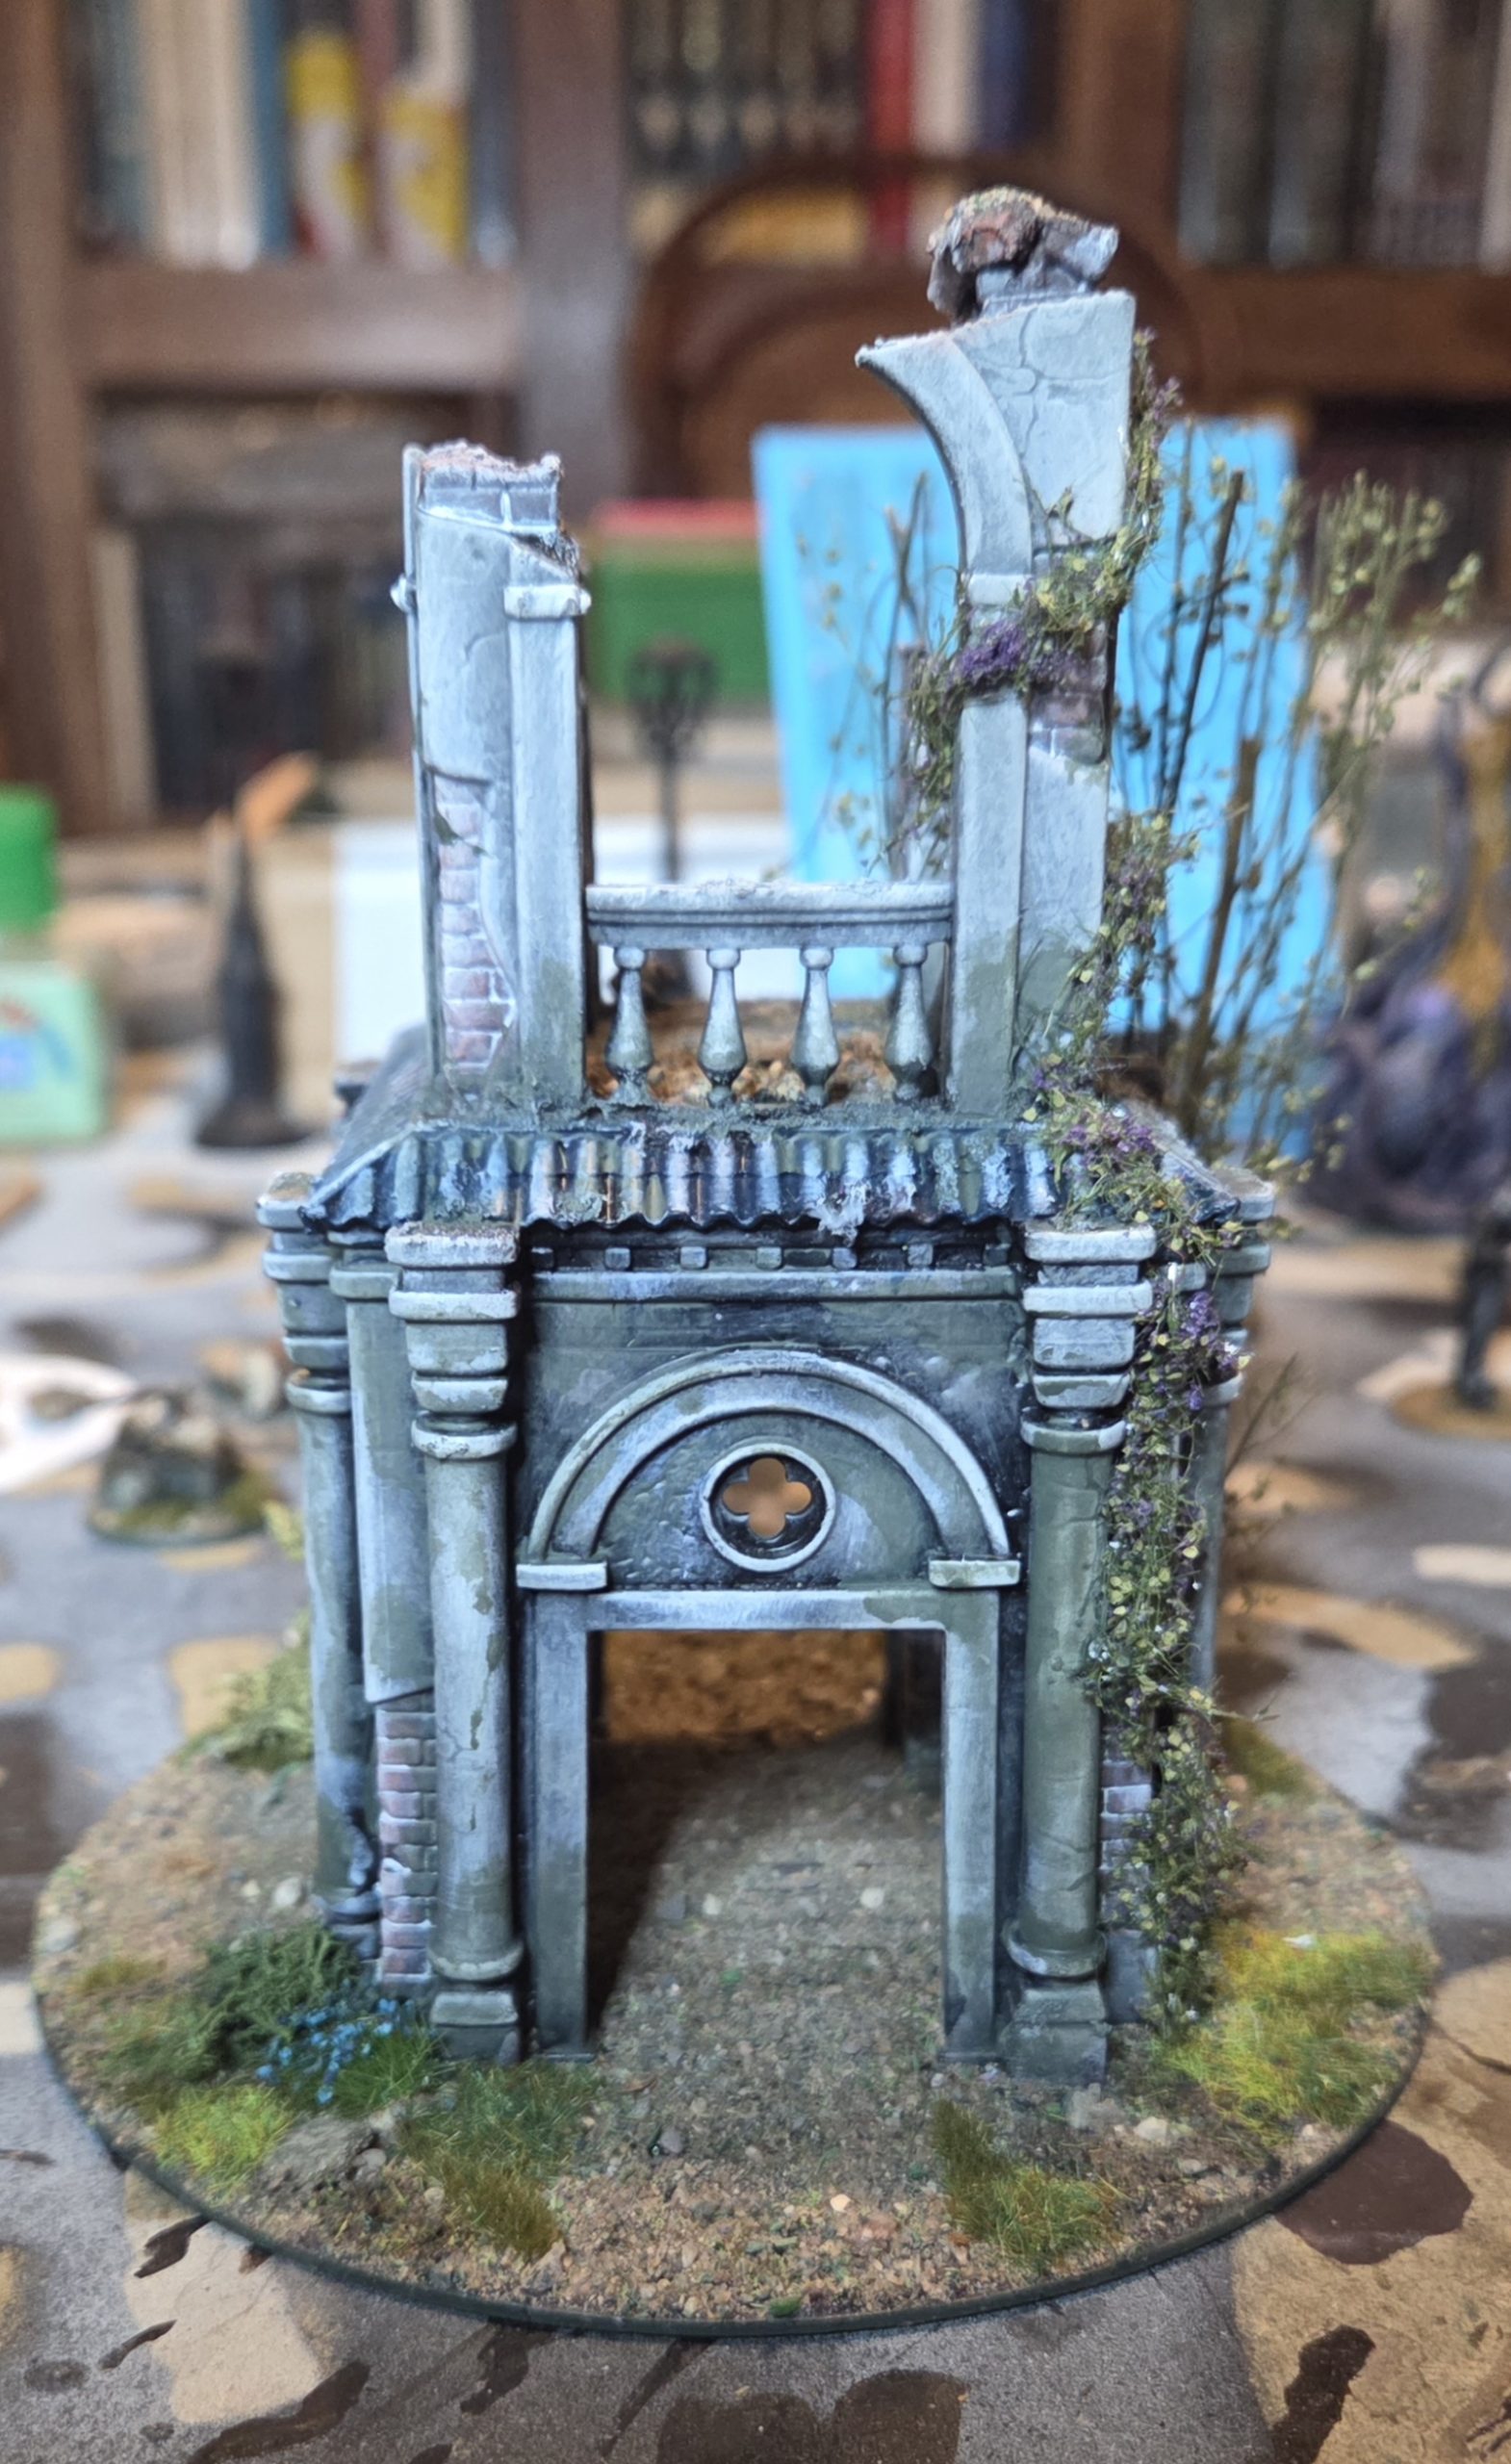 A good view of the ivy.
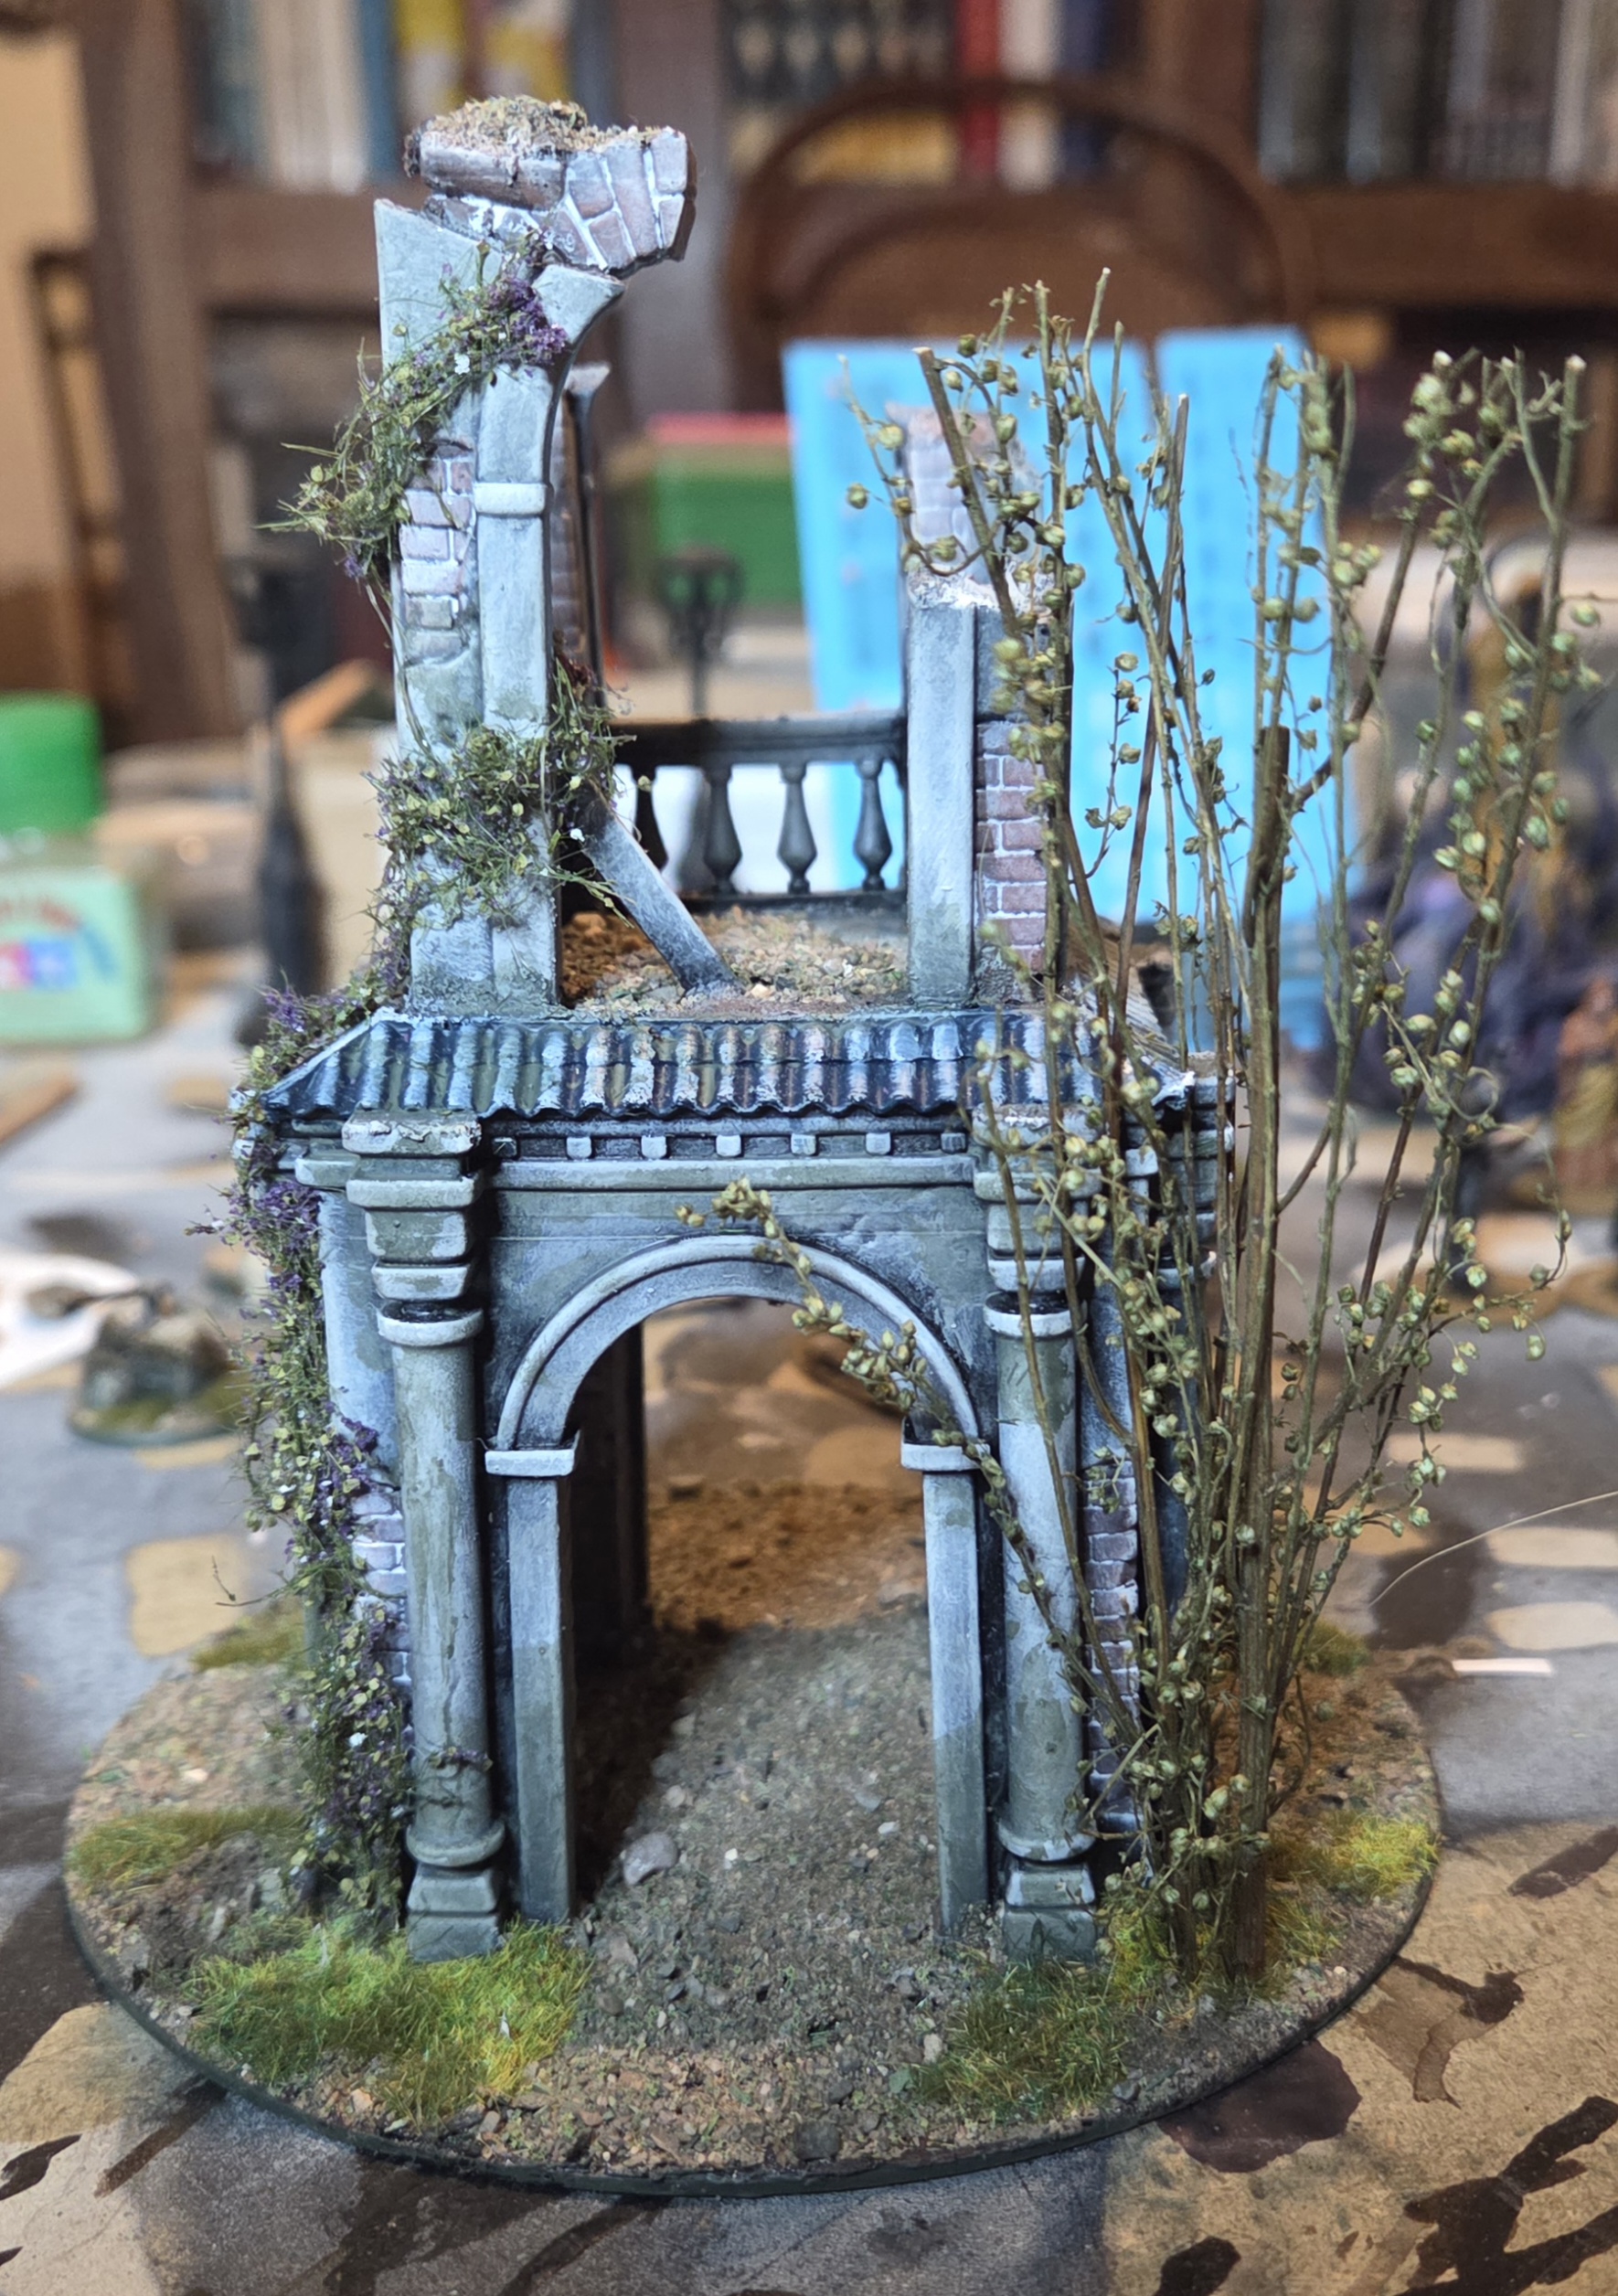 My favourite bits yhr ivy snd the shrub.
Bloody Hell, yhere is queue out here ( The loo, part two)
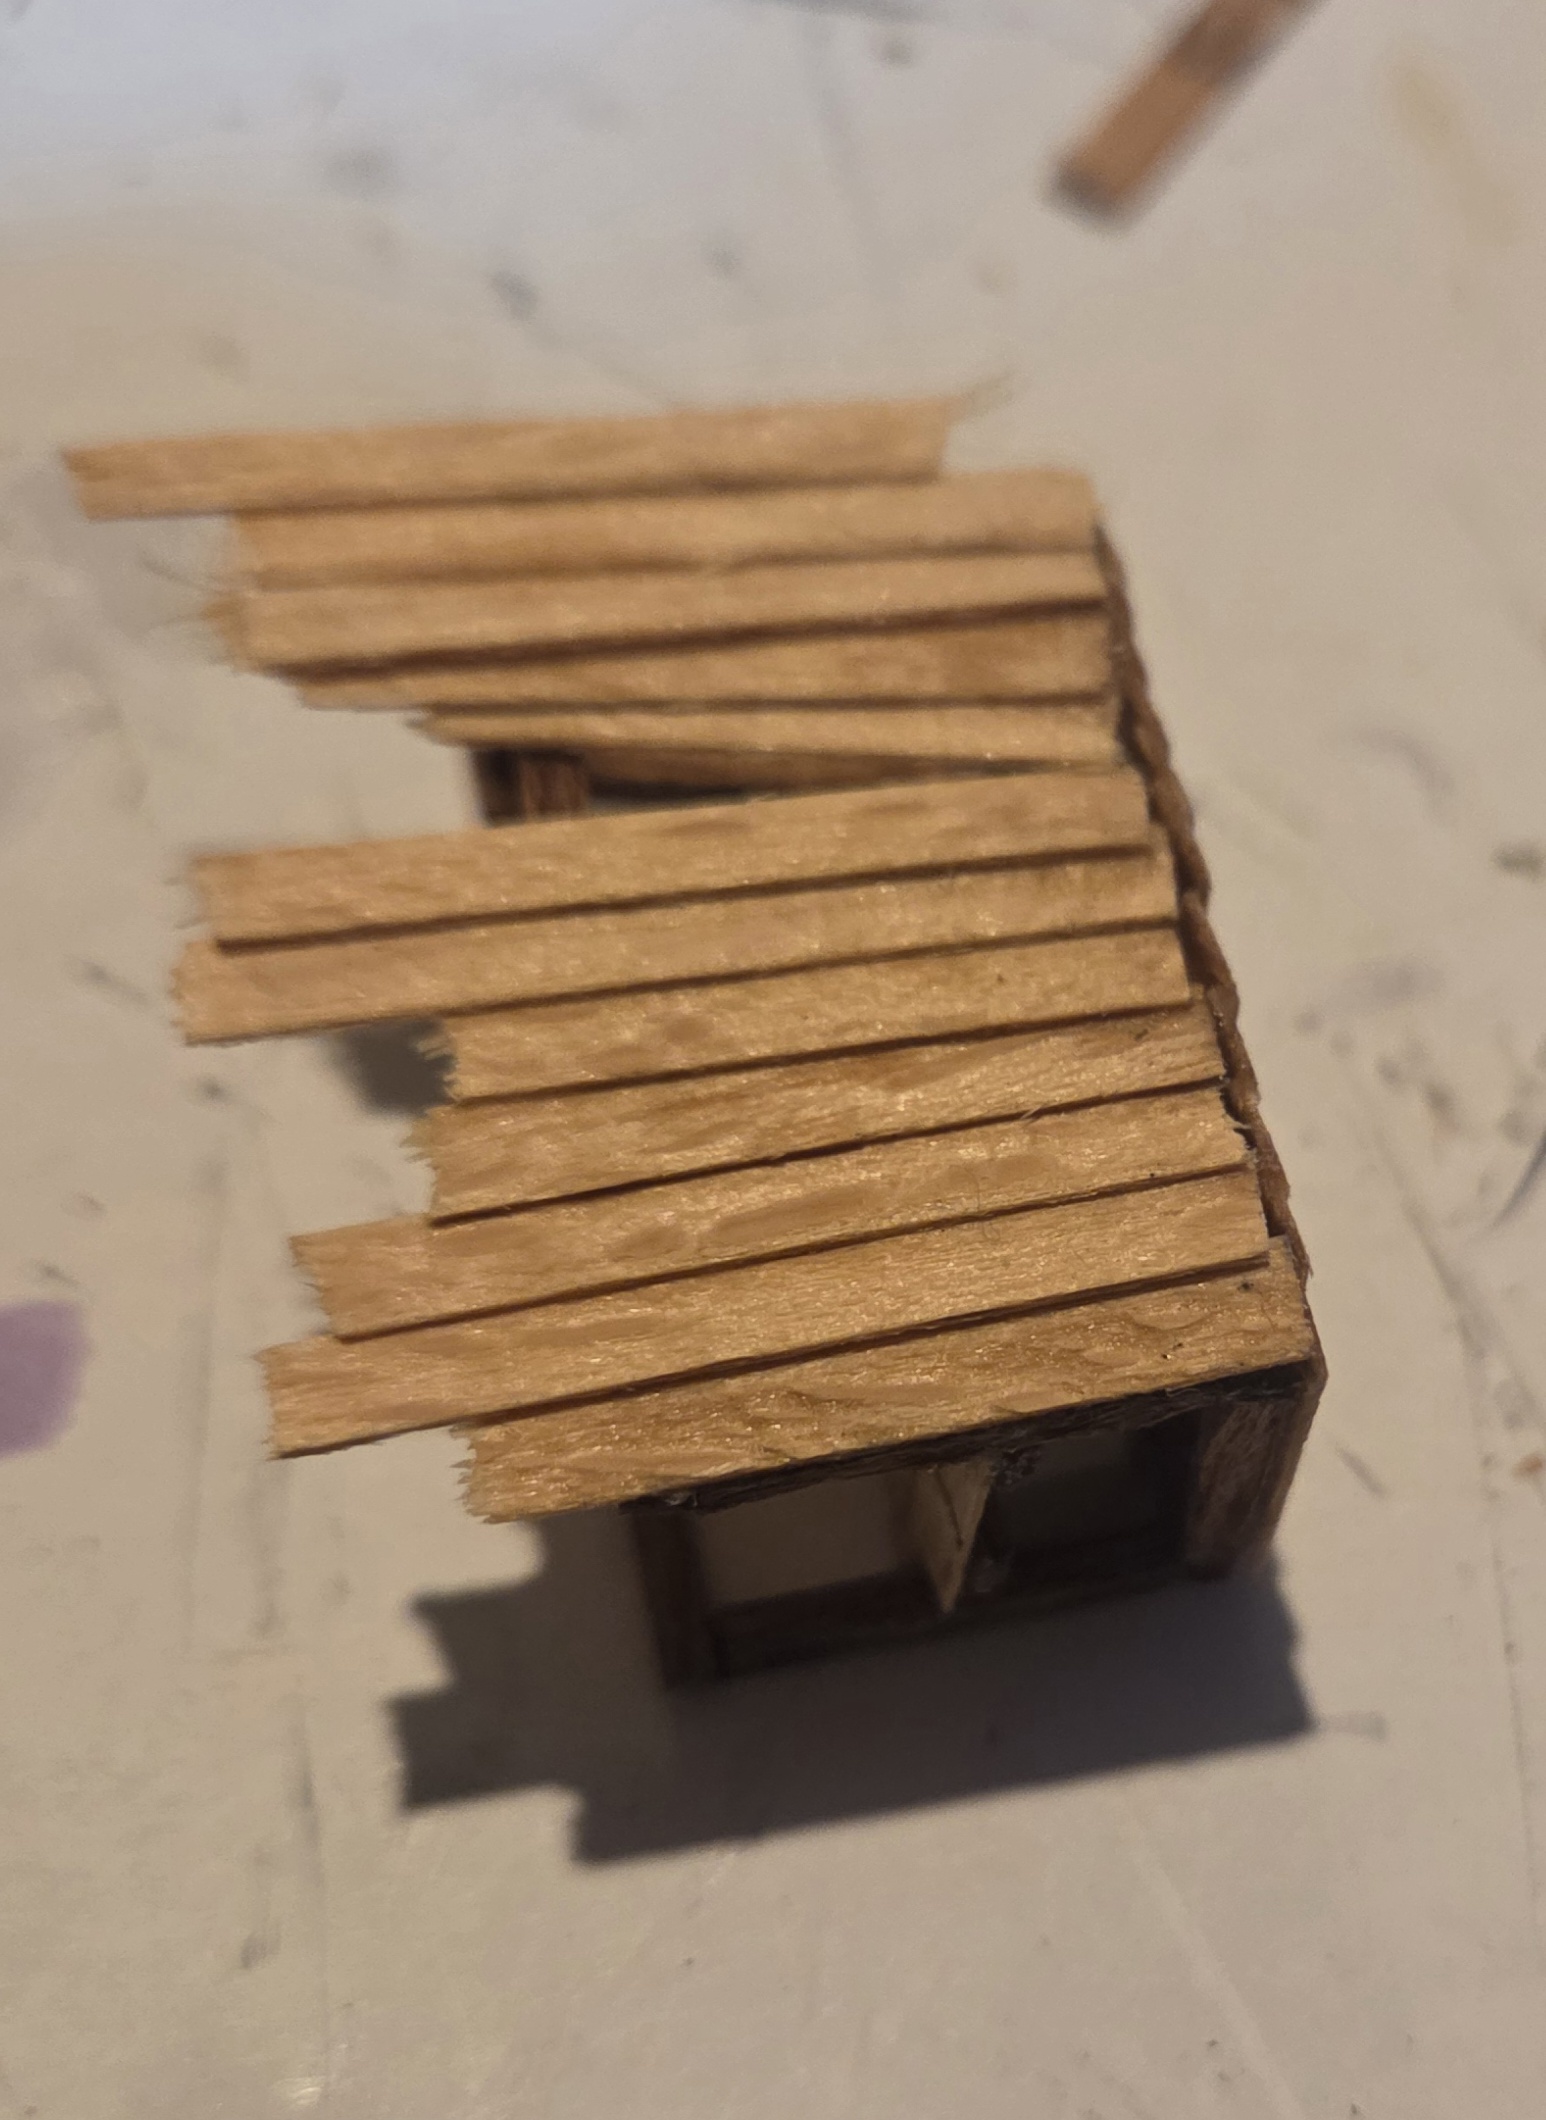
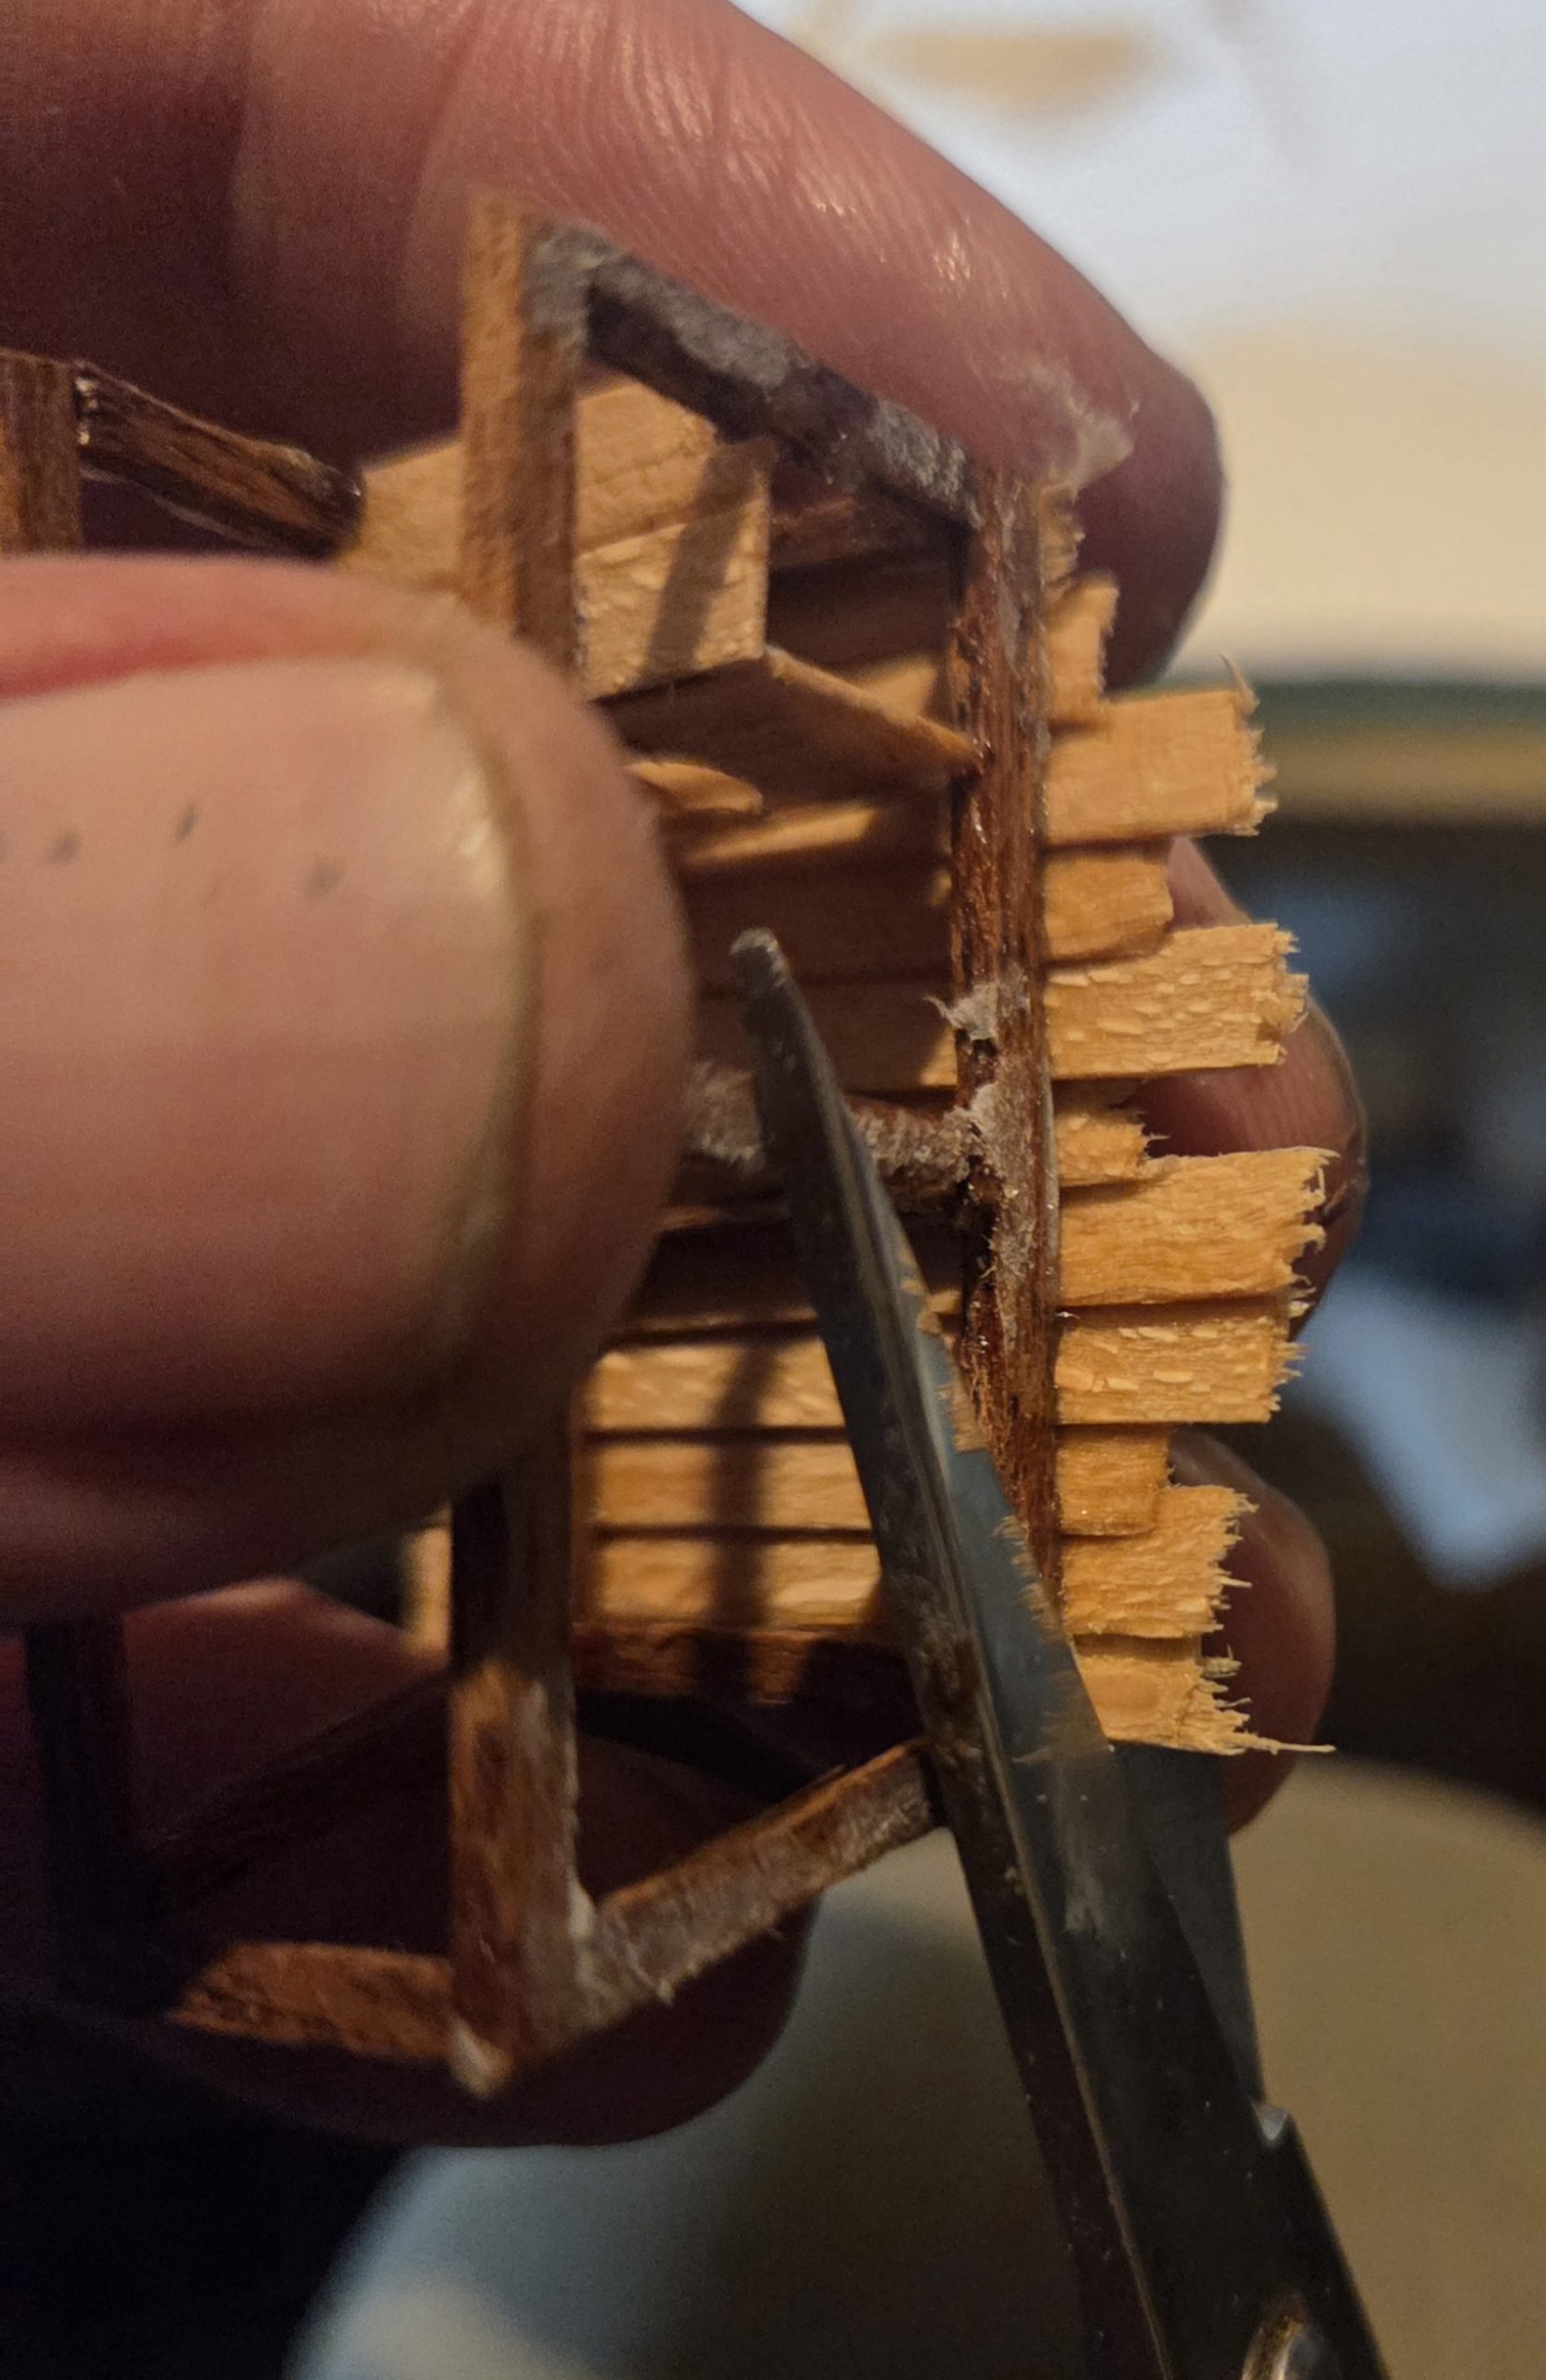 Cutting off the excess wood. Any good scissors cuts through this thin wood. I keep all the excess bits of wood in a tub makes great battlefield debris.
Adding more planks.
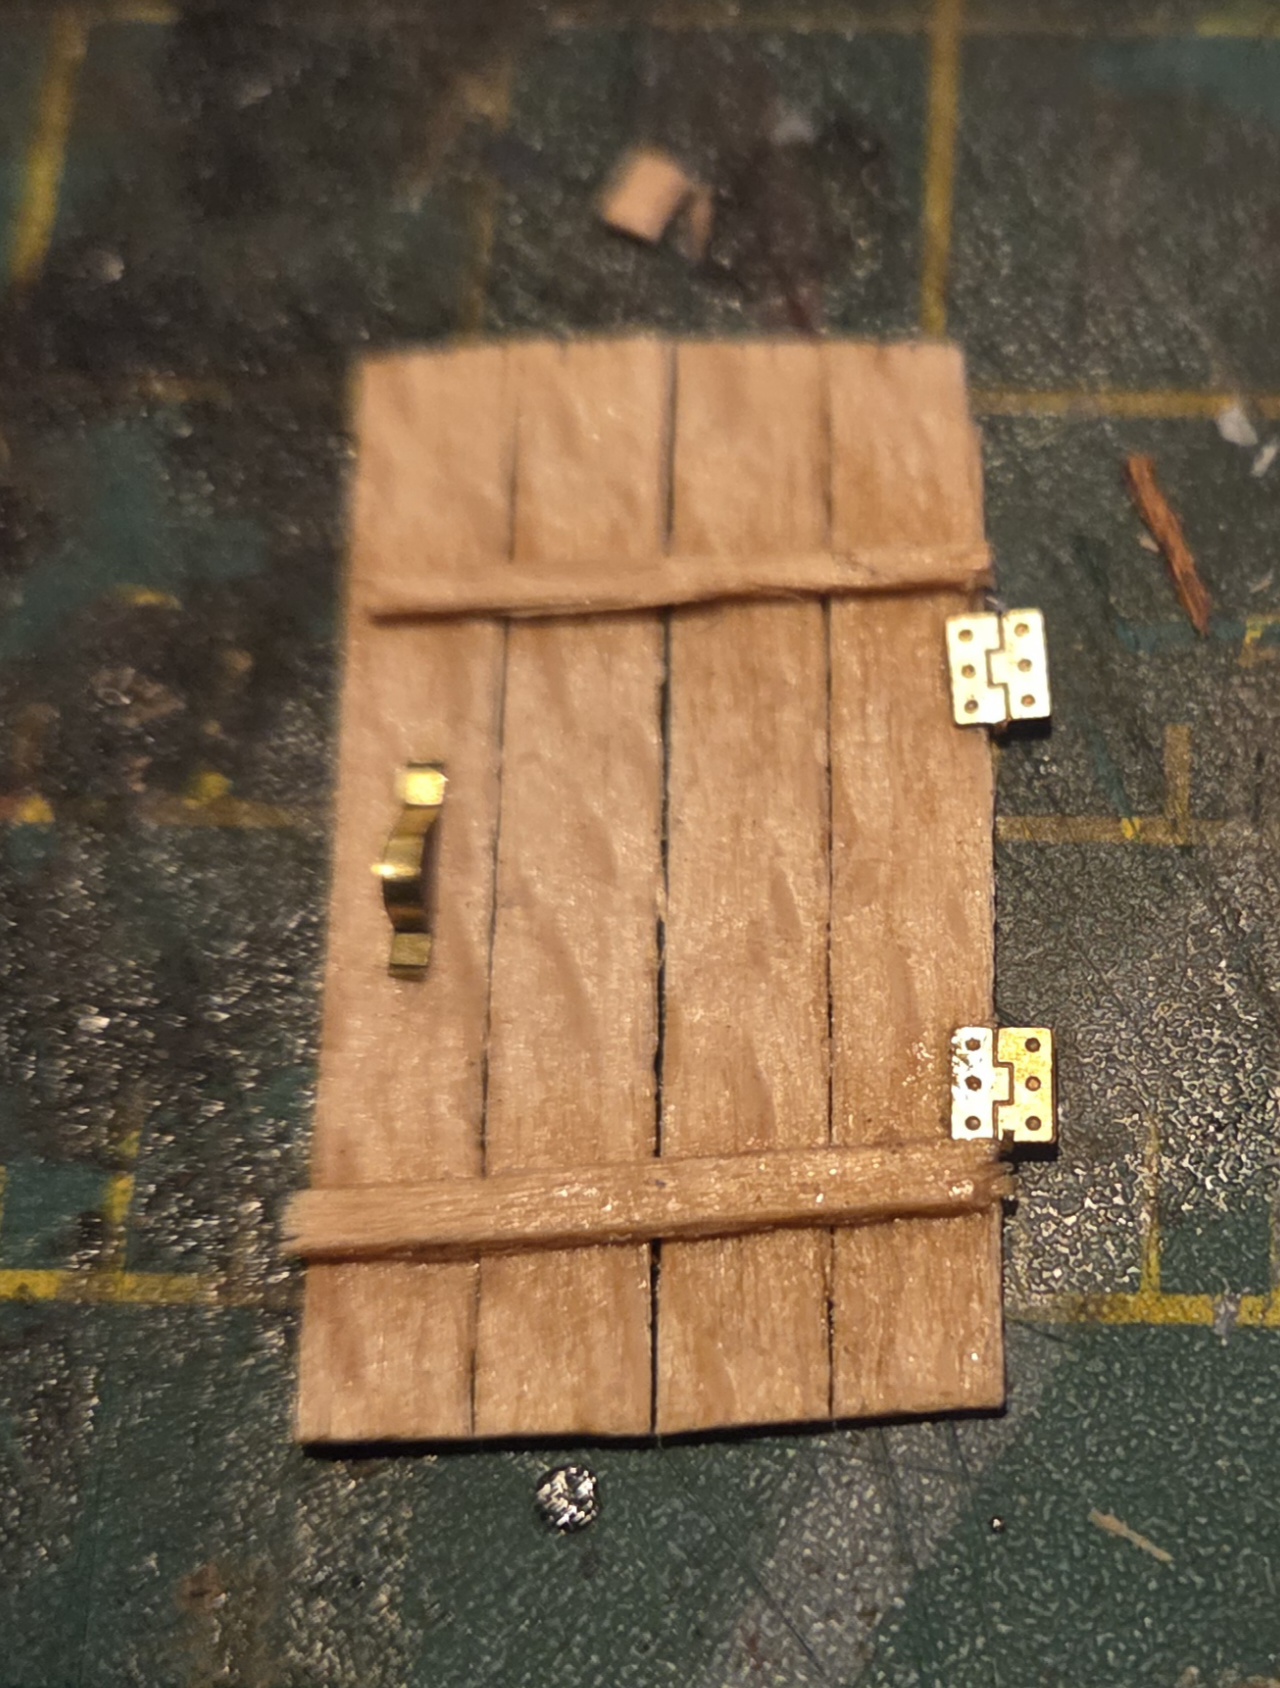 The door, again using etched brass bits for the door furniture.
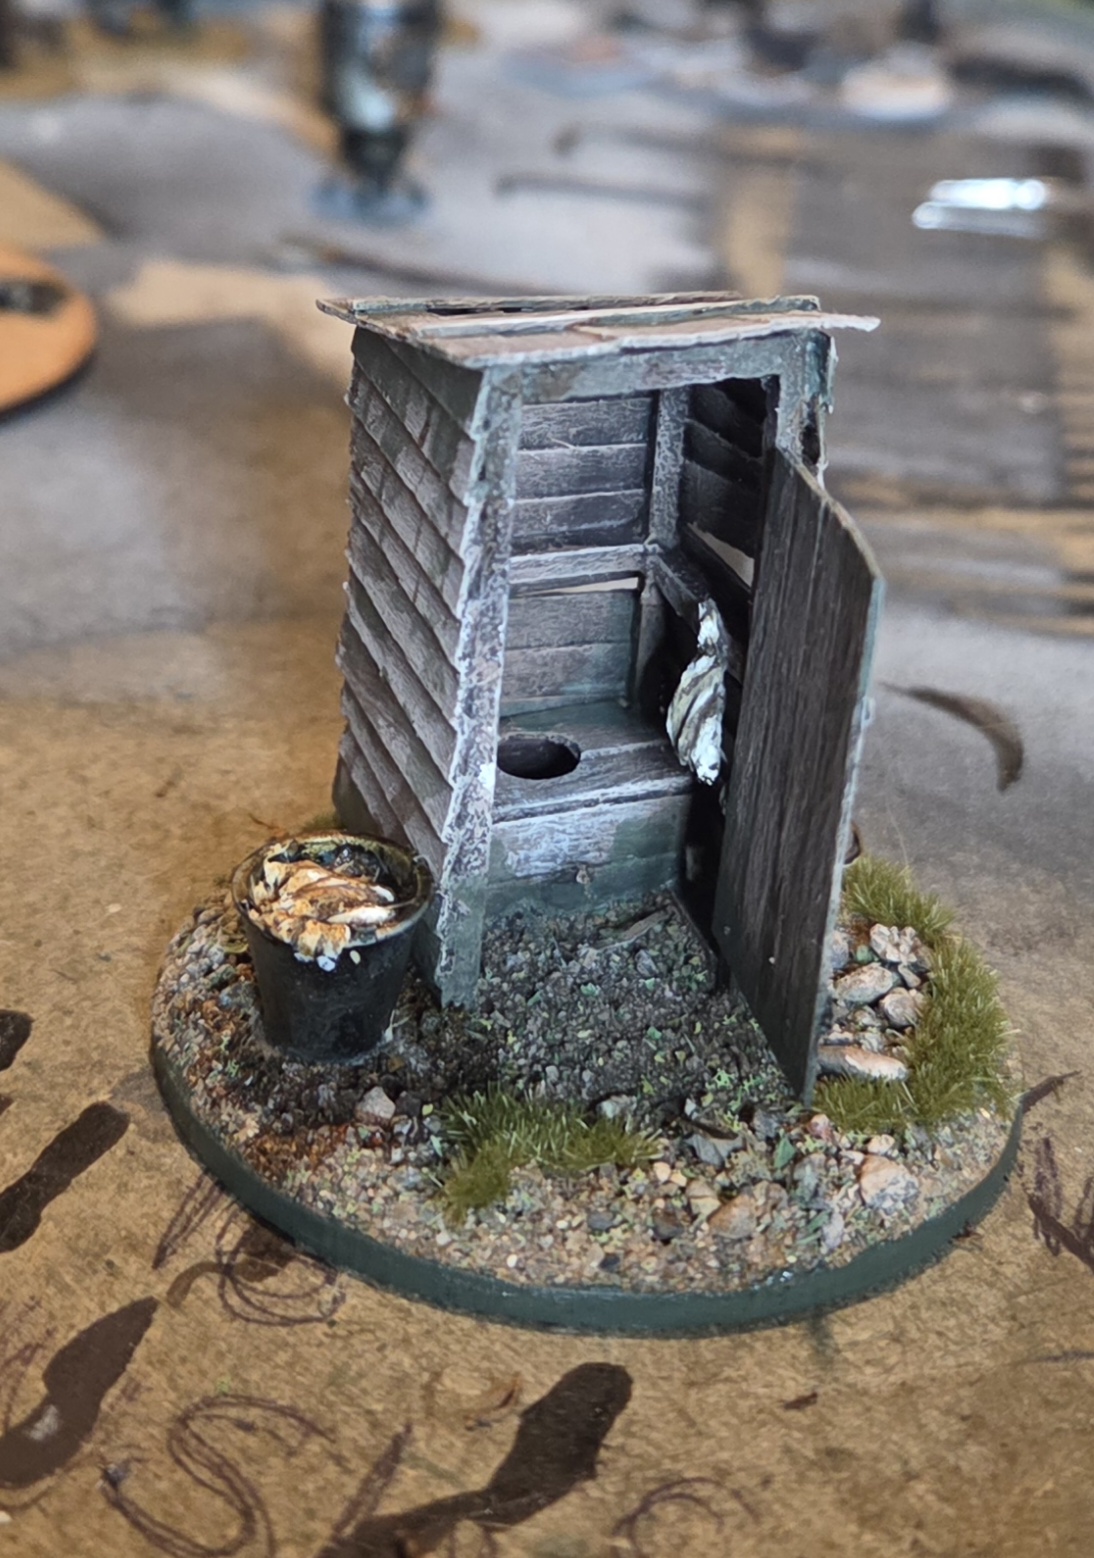 The finished toilet, complete with tags bucket, and clean rags hanging up
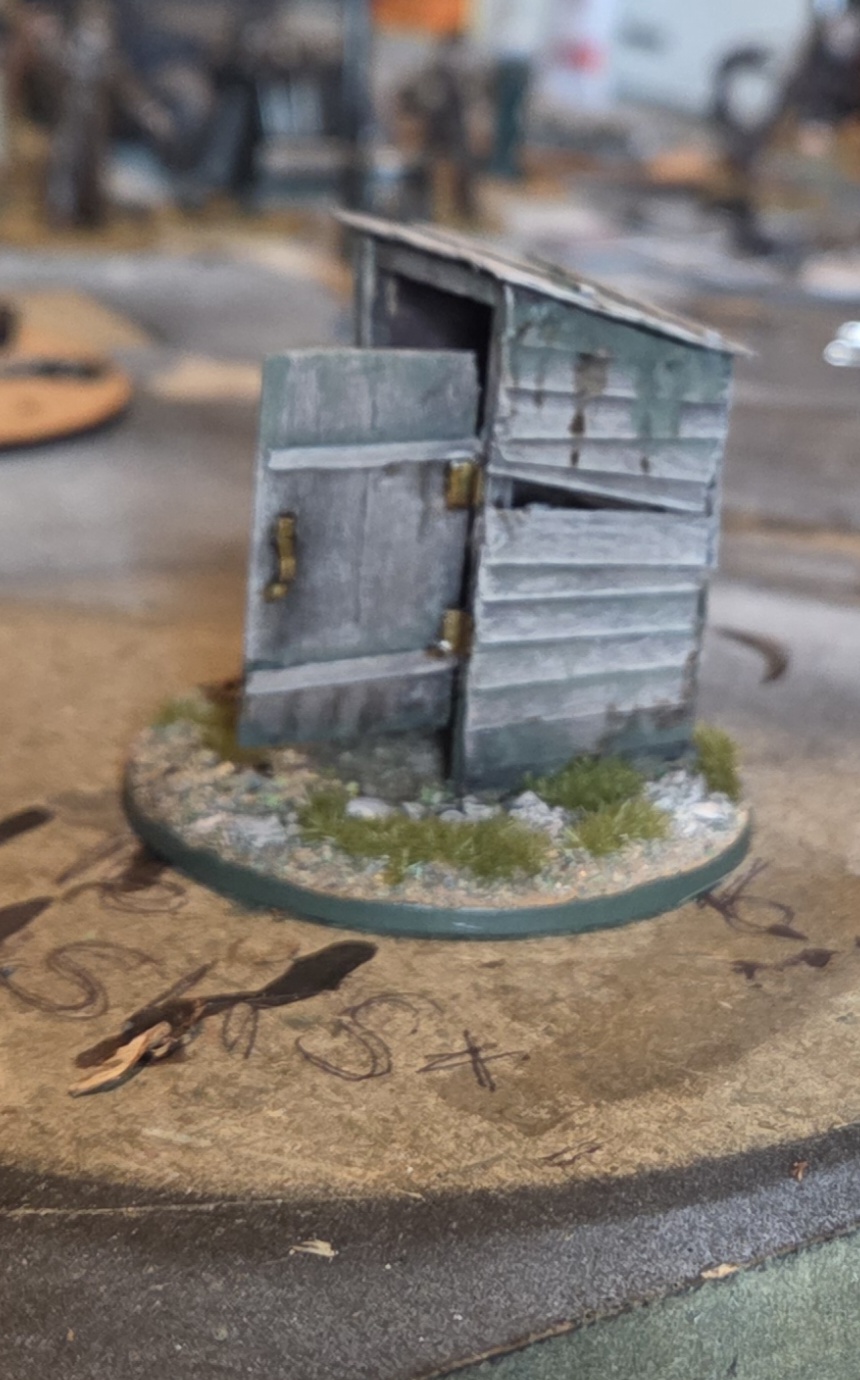 Another view.
At your convenience
The house is very small, no room for a loo. So I had better make one.
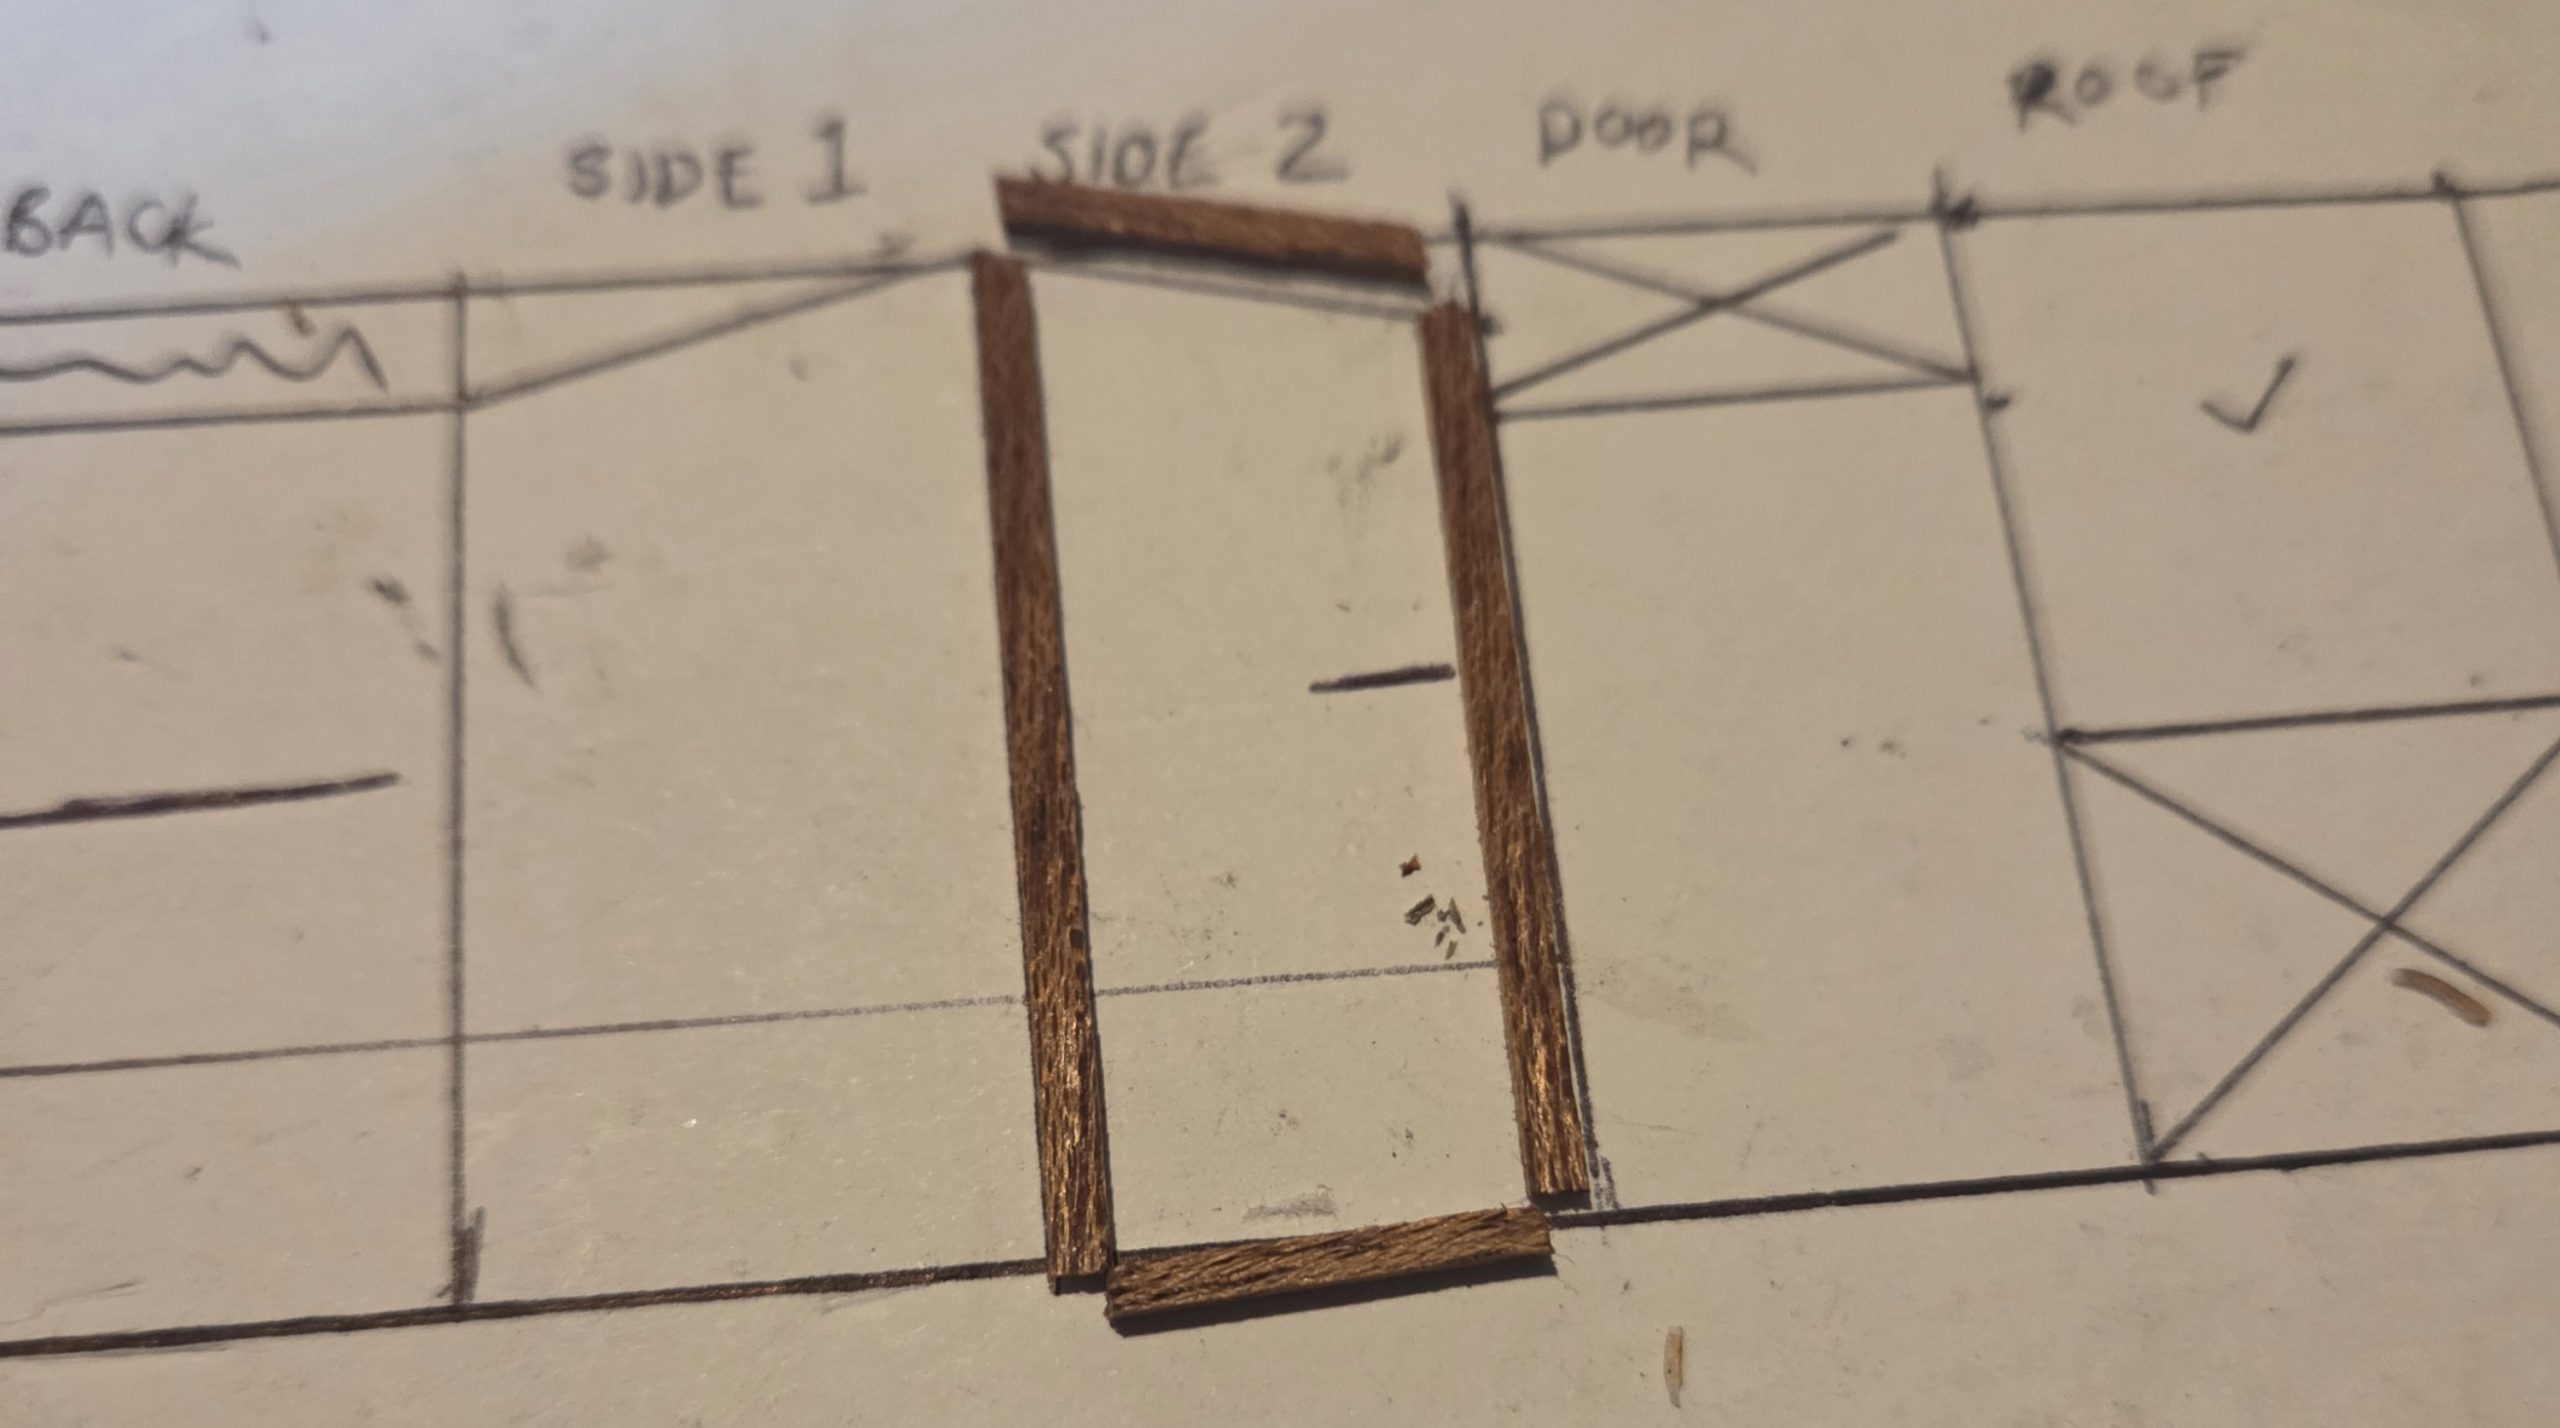 I drew out actual size plans for the small building and used these to cut the wood to size
 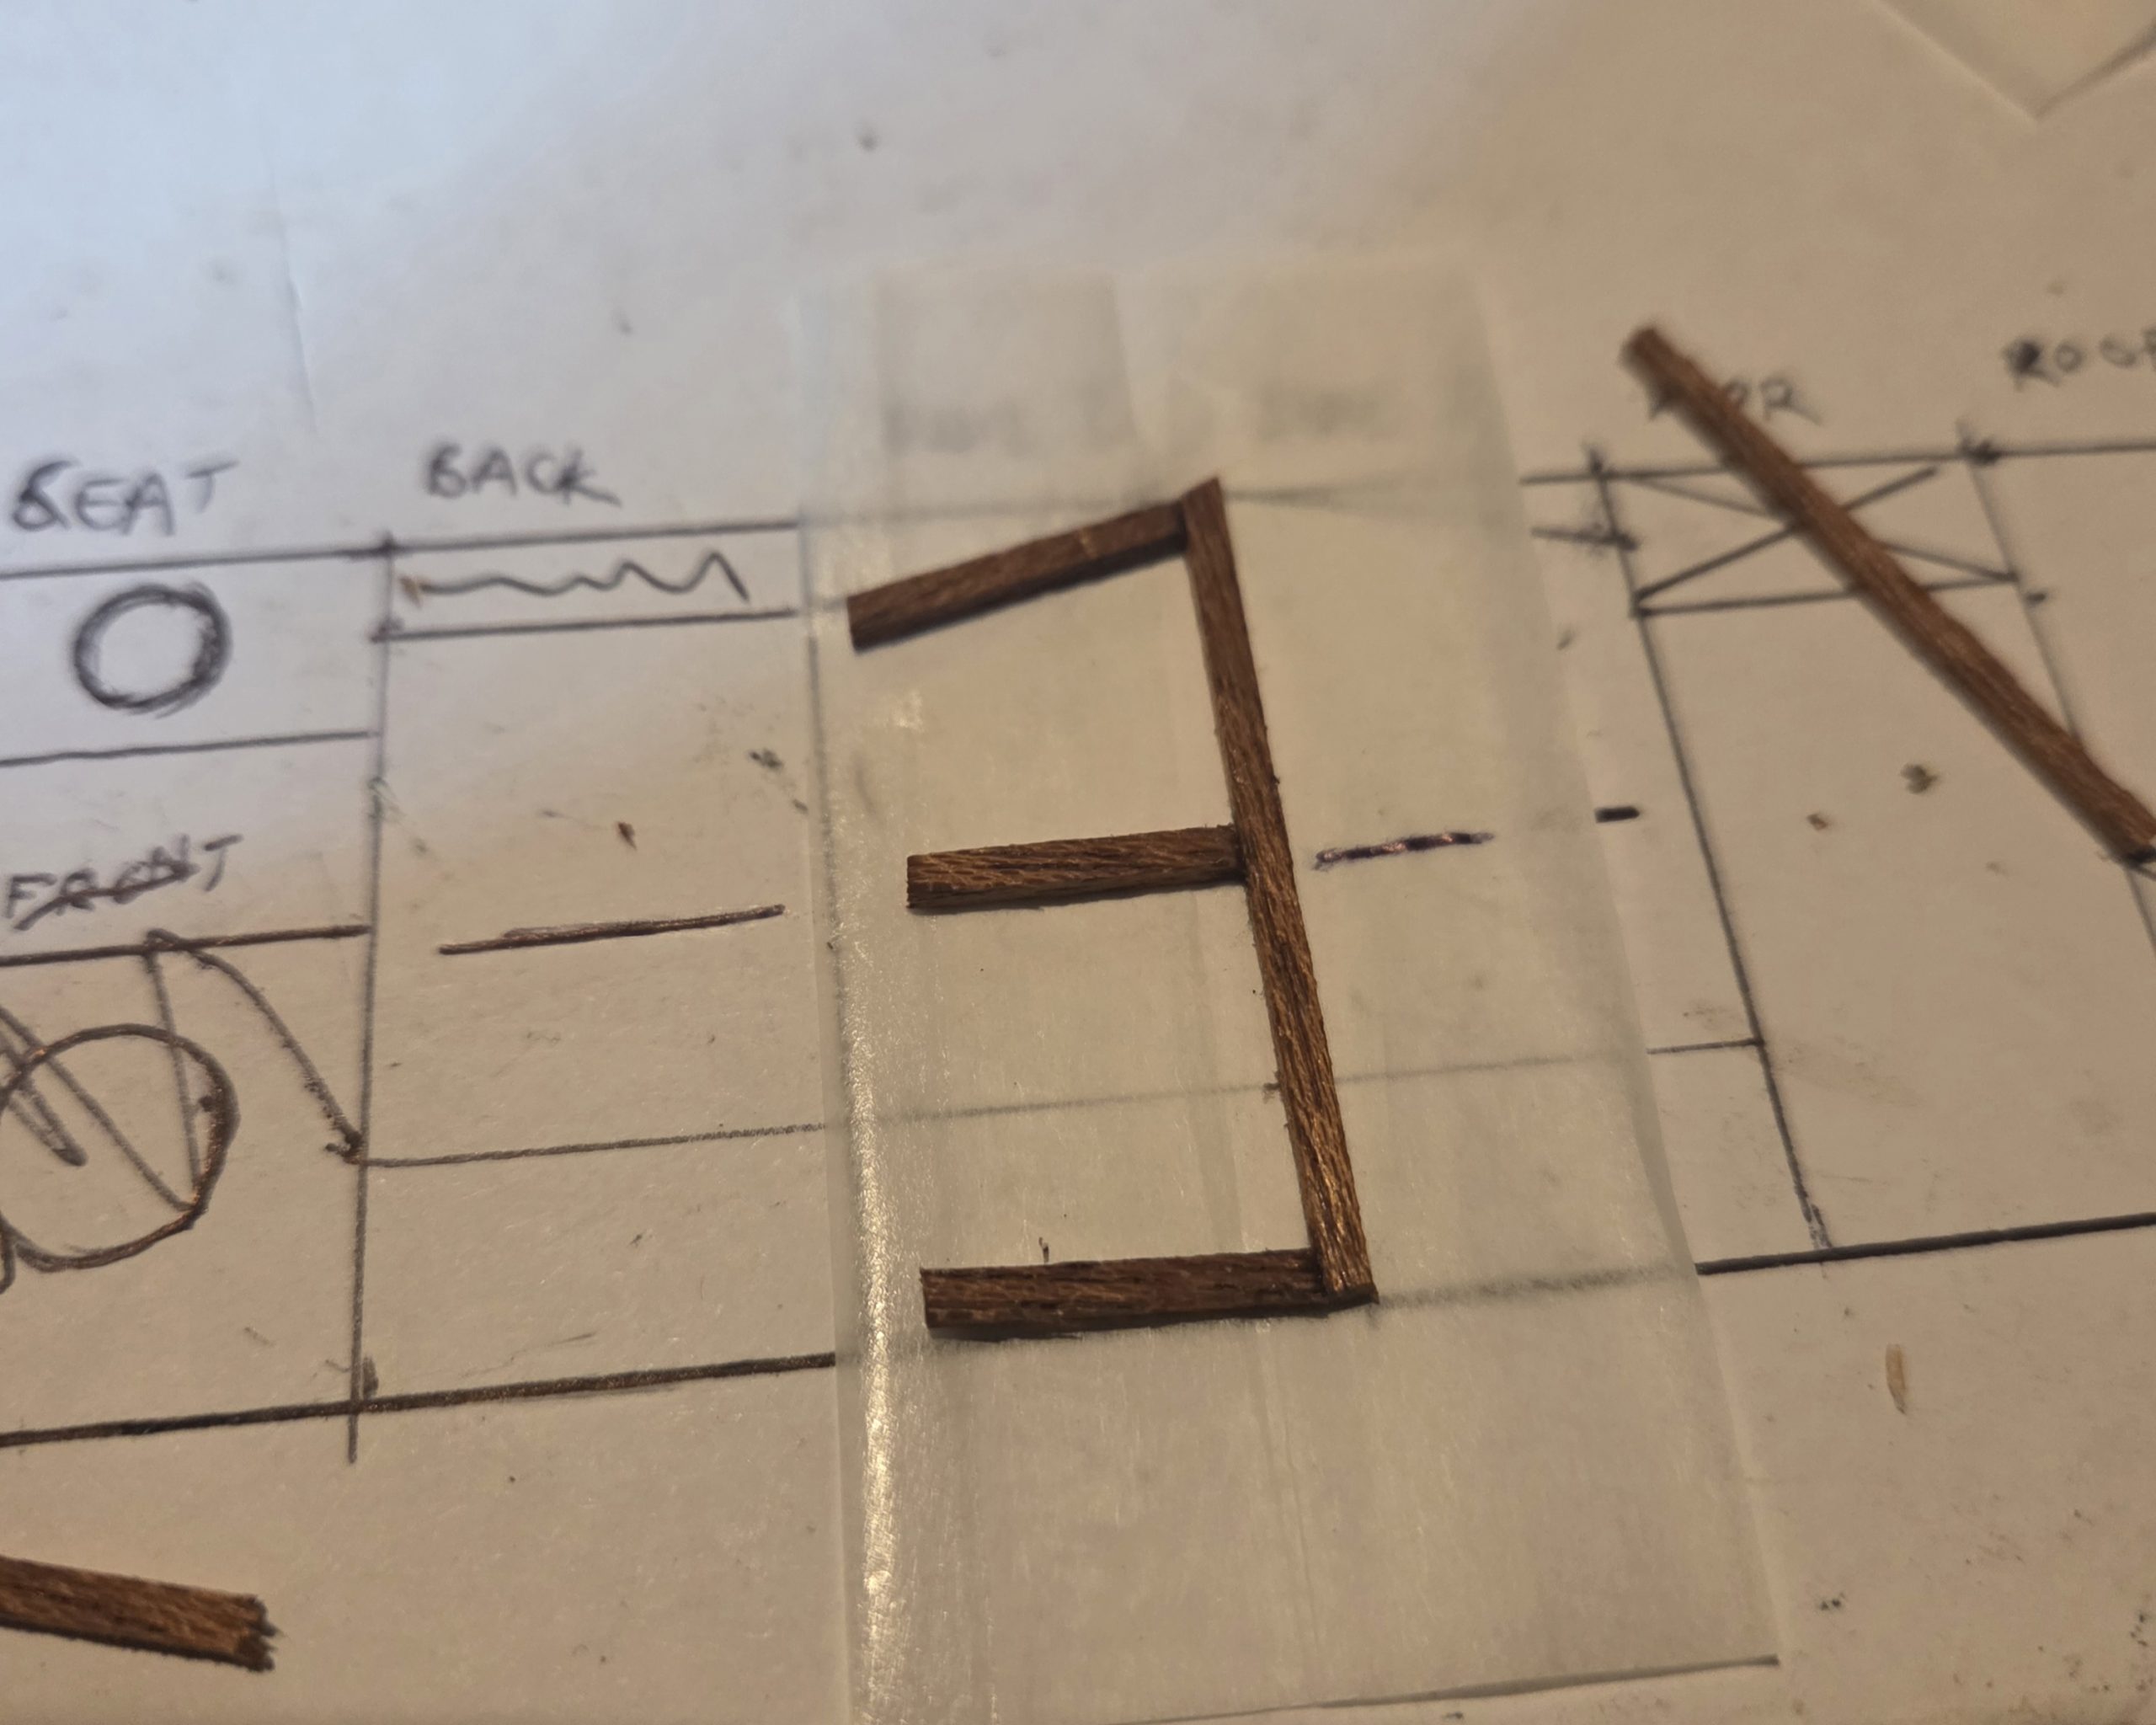 To stick together the wood I assembled on a thin cigarette paper, I could see the plans beneath and the cigarette paper prevented frame from sticking to plan.
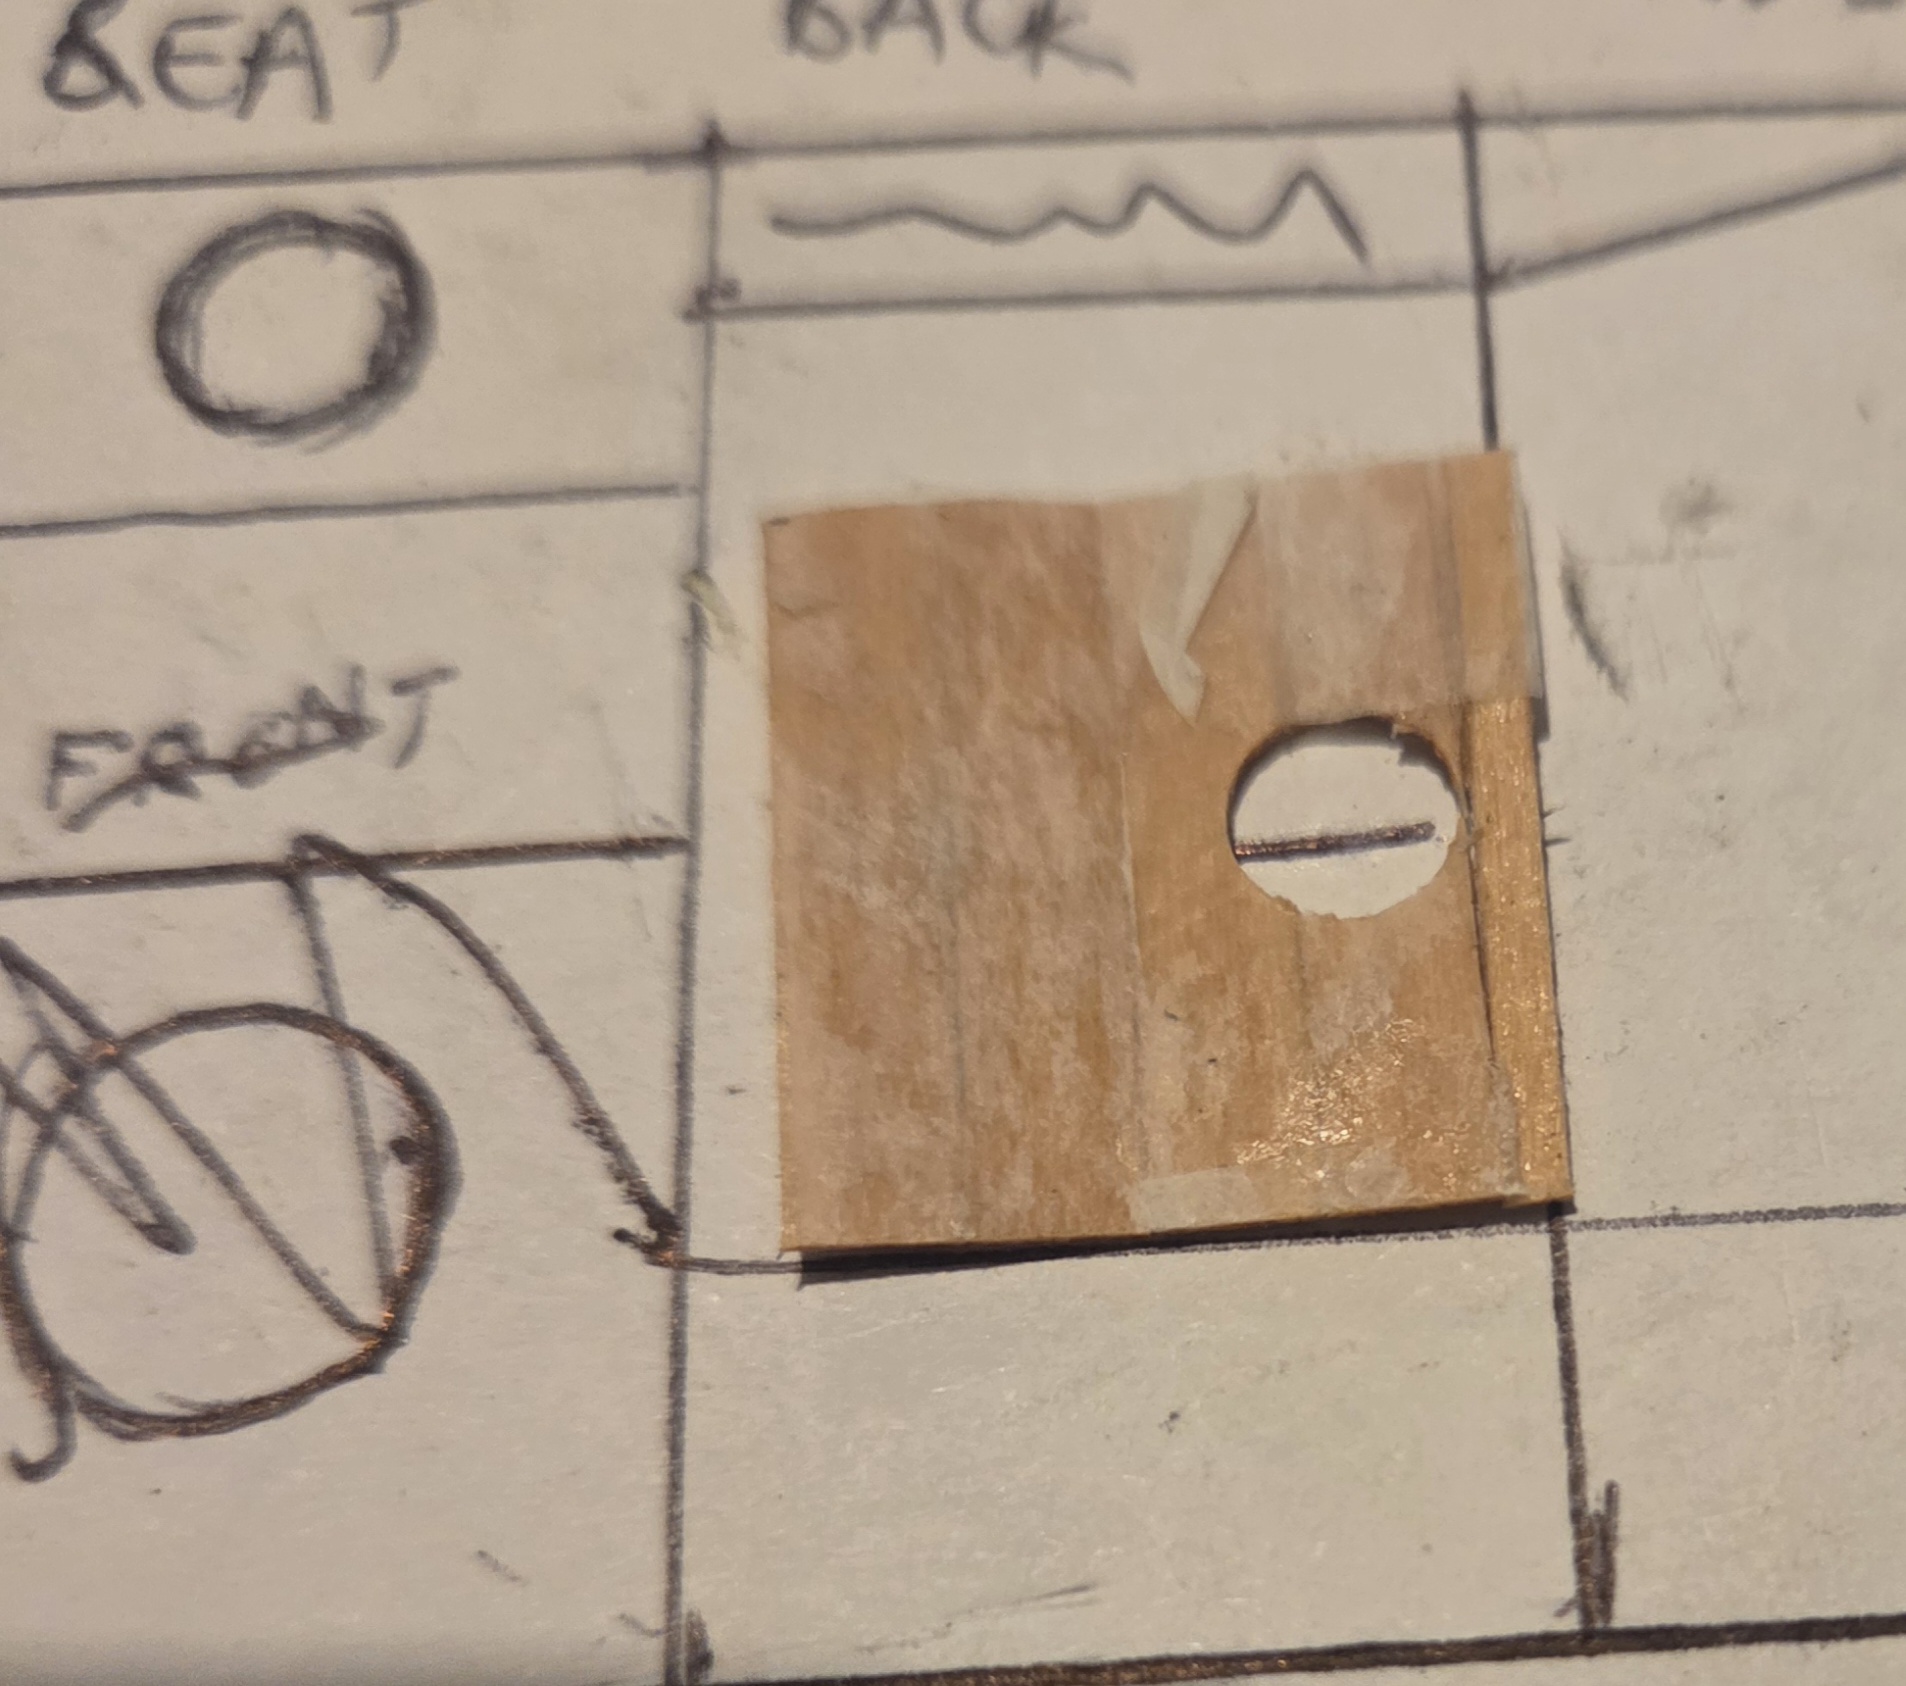 To make the toilet I stuck planks to a cigarette paper, let it dry, and used a hole punch for a perfect round hole.
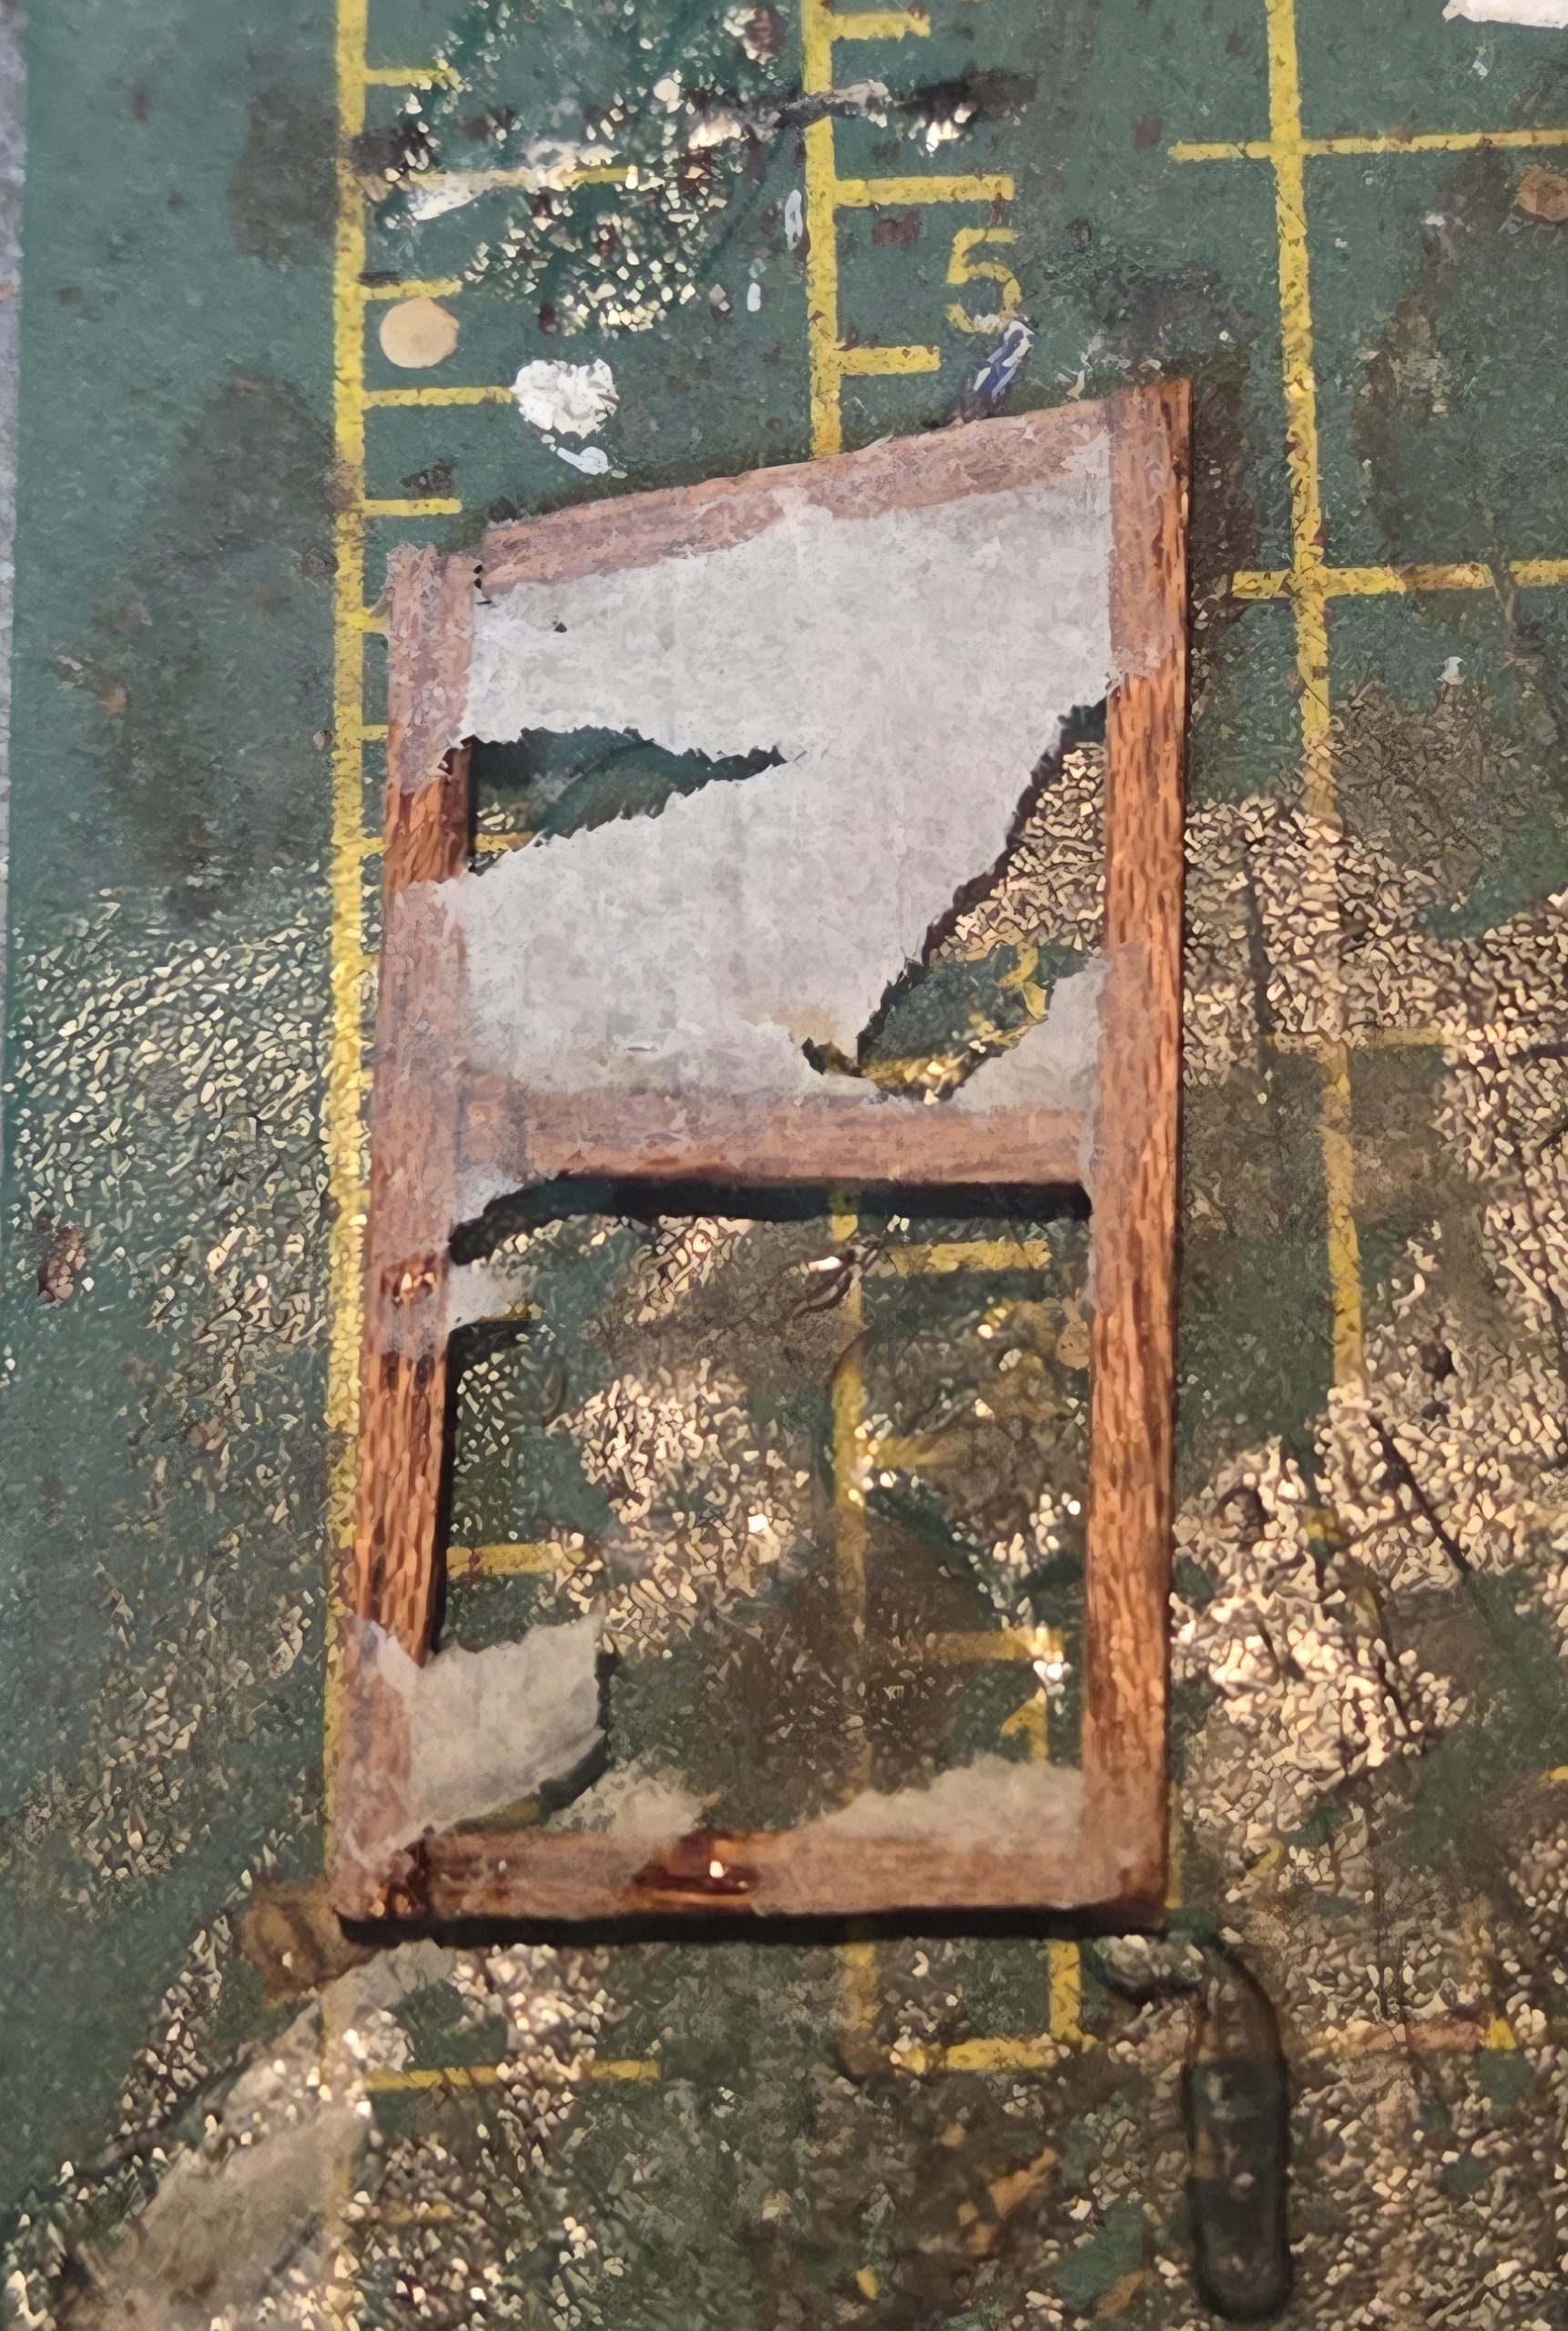 Removing the cigarette paper from wood frame. It was at this point I realised this method would be fantastic to create internal japanese screens, just leave paper on and for damaged version see photo....
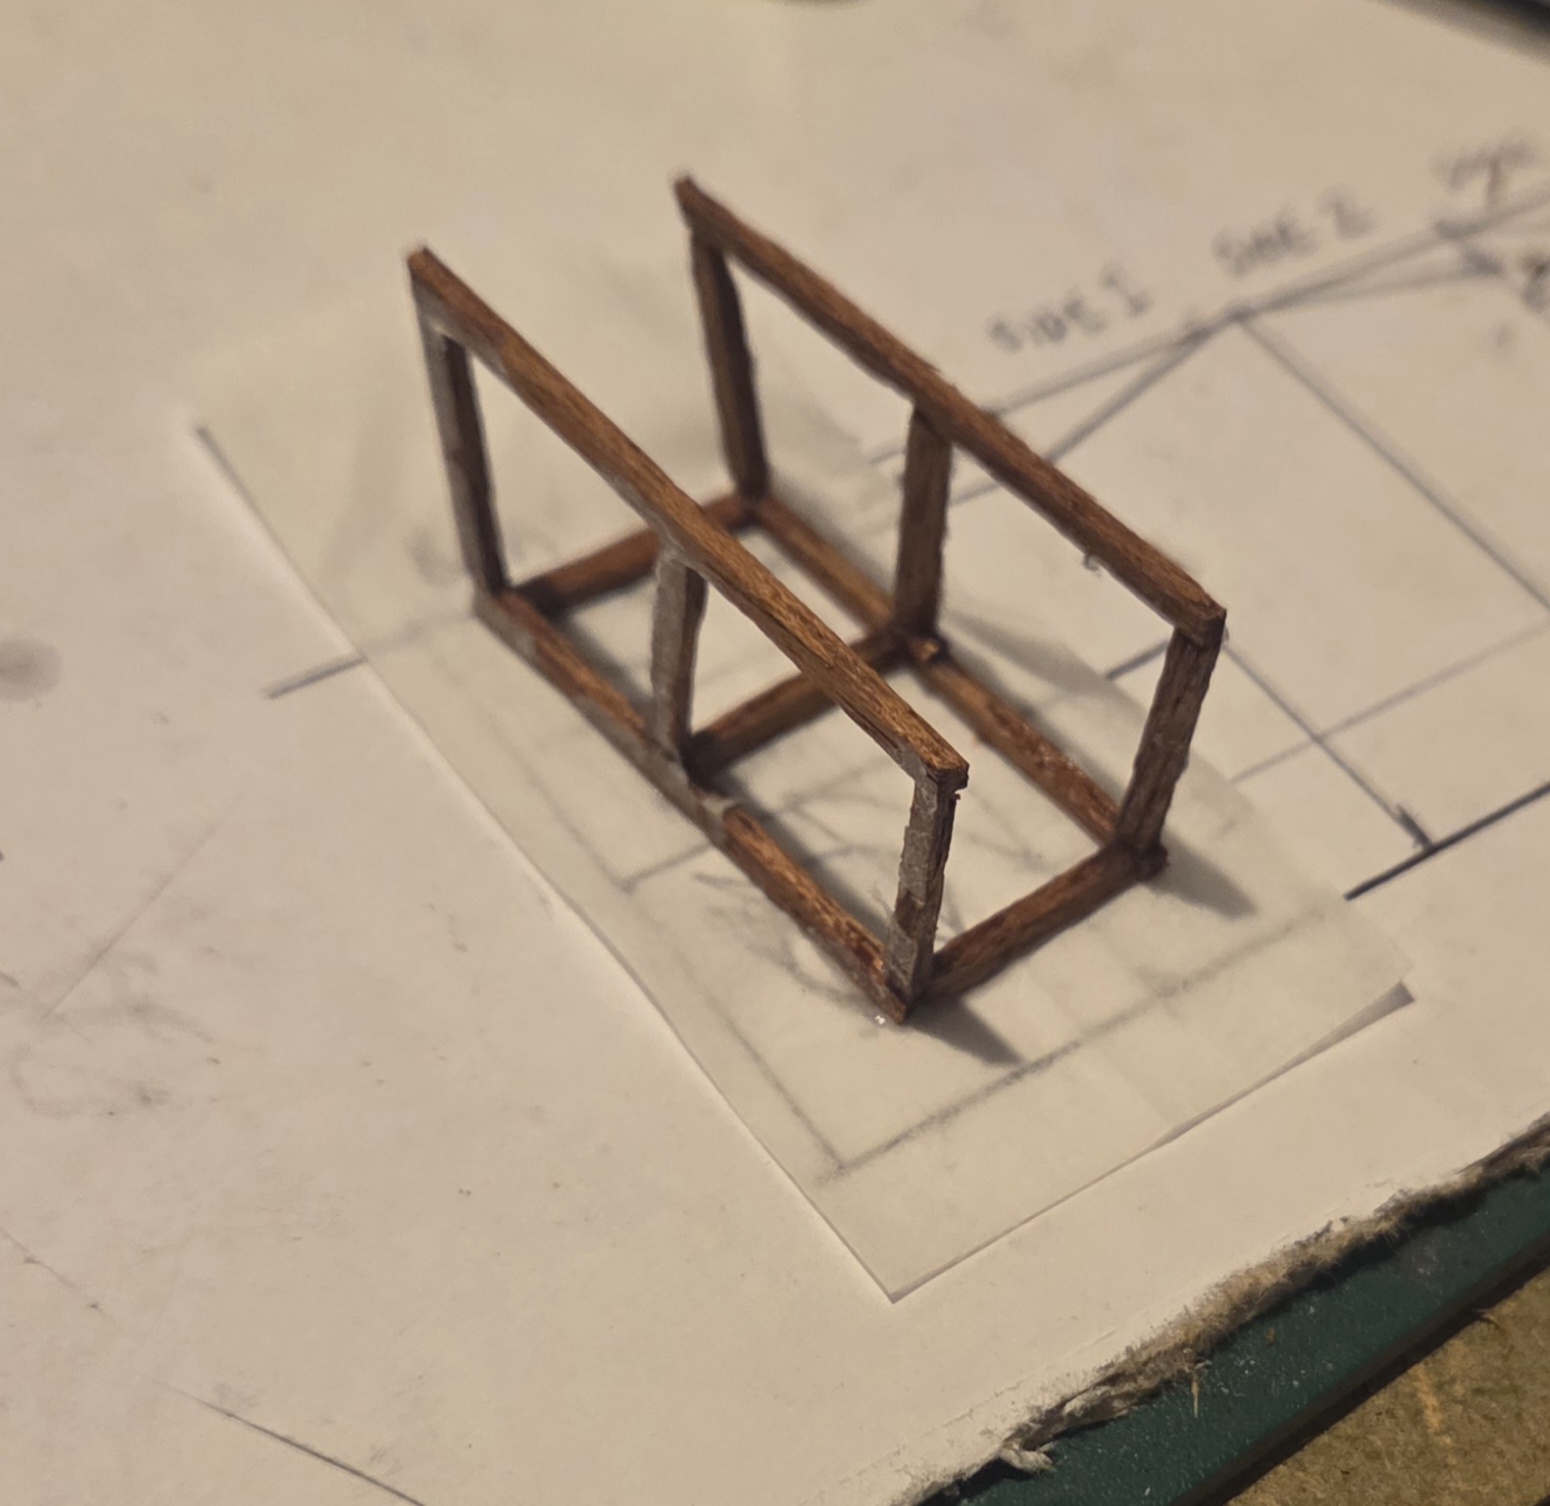 I first built the two sides, and then attached them to the back cross members. All wood construction undertaken with super glue.
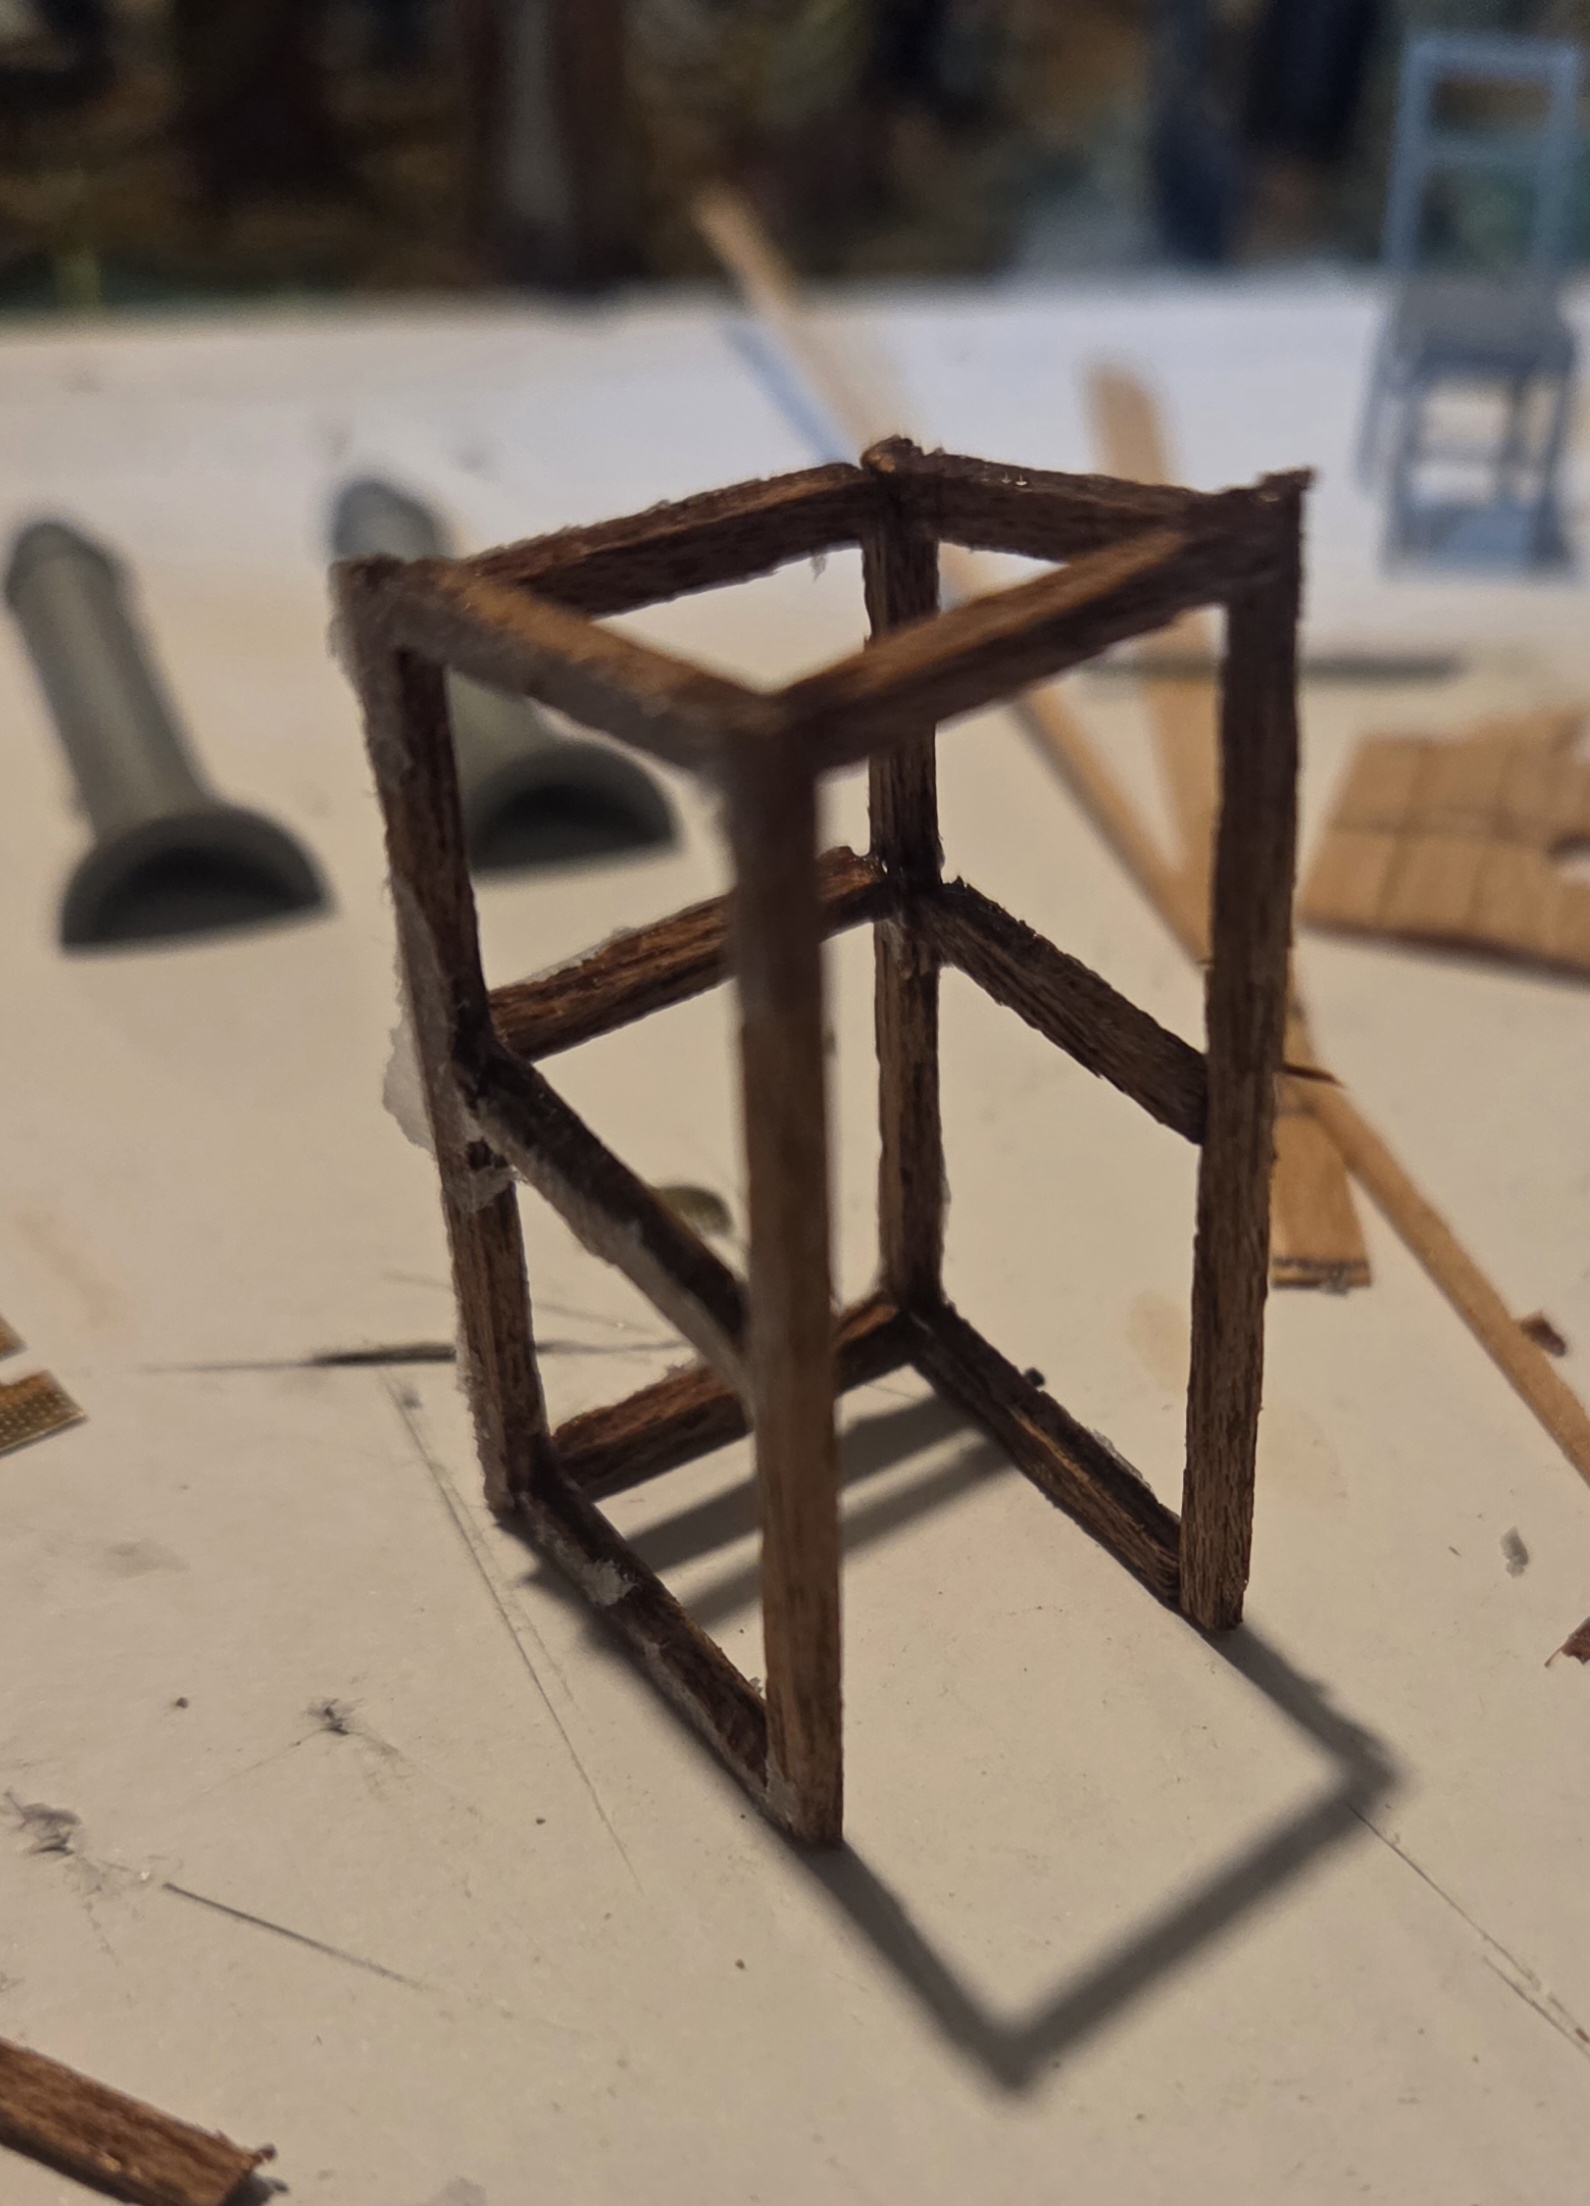 I then secured the front brace.
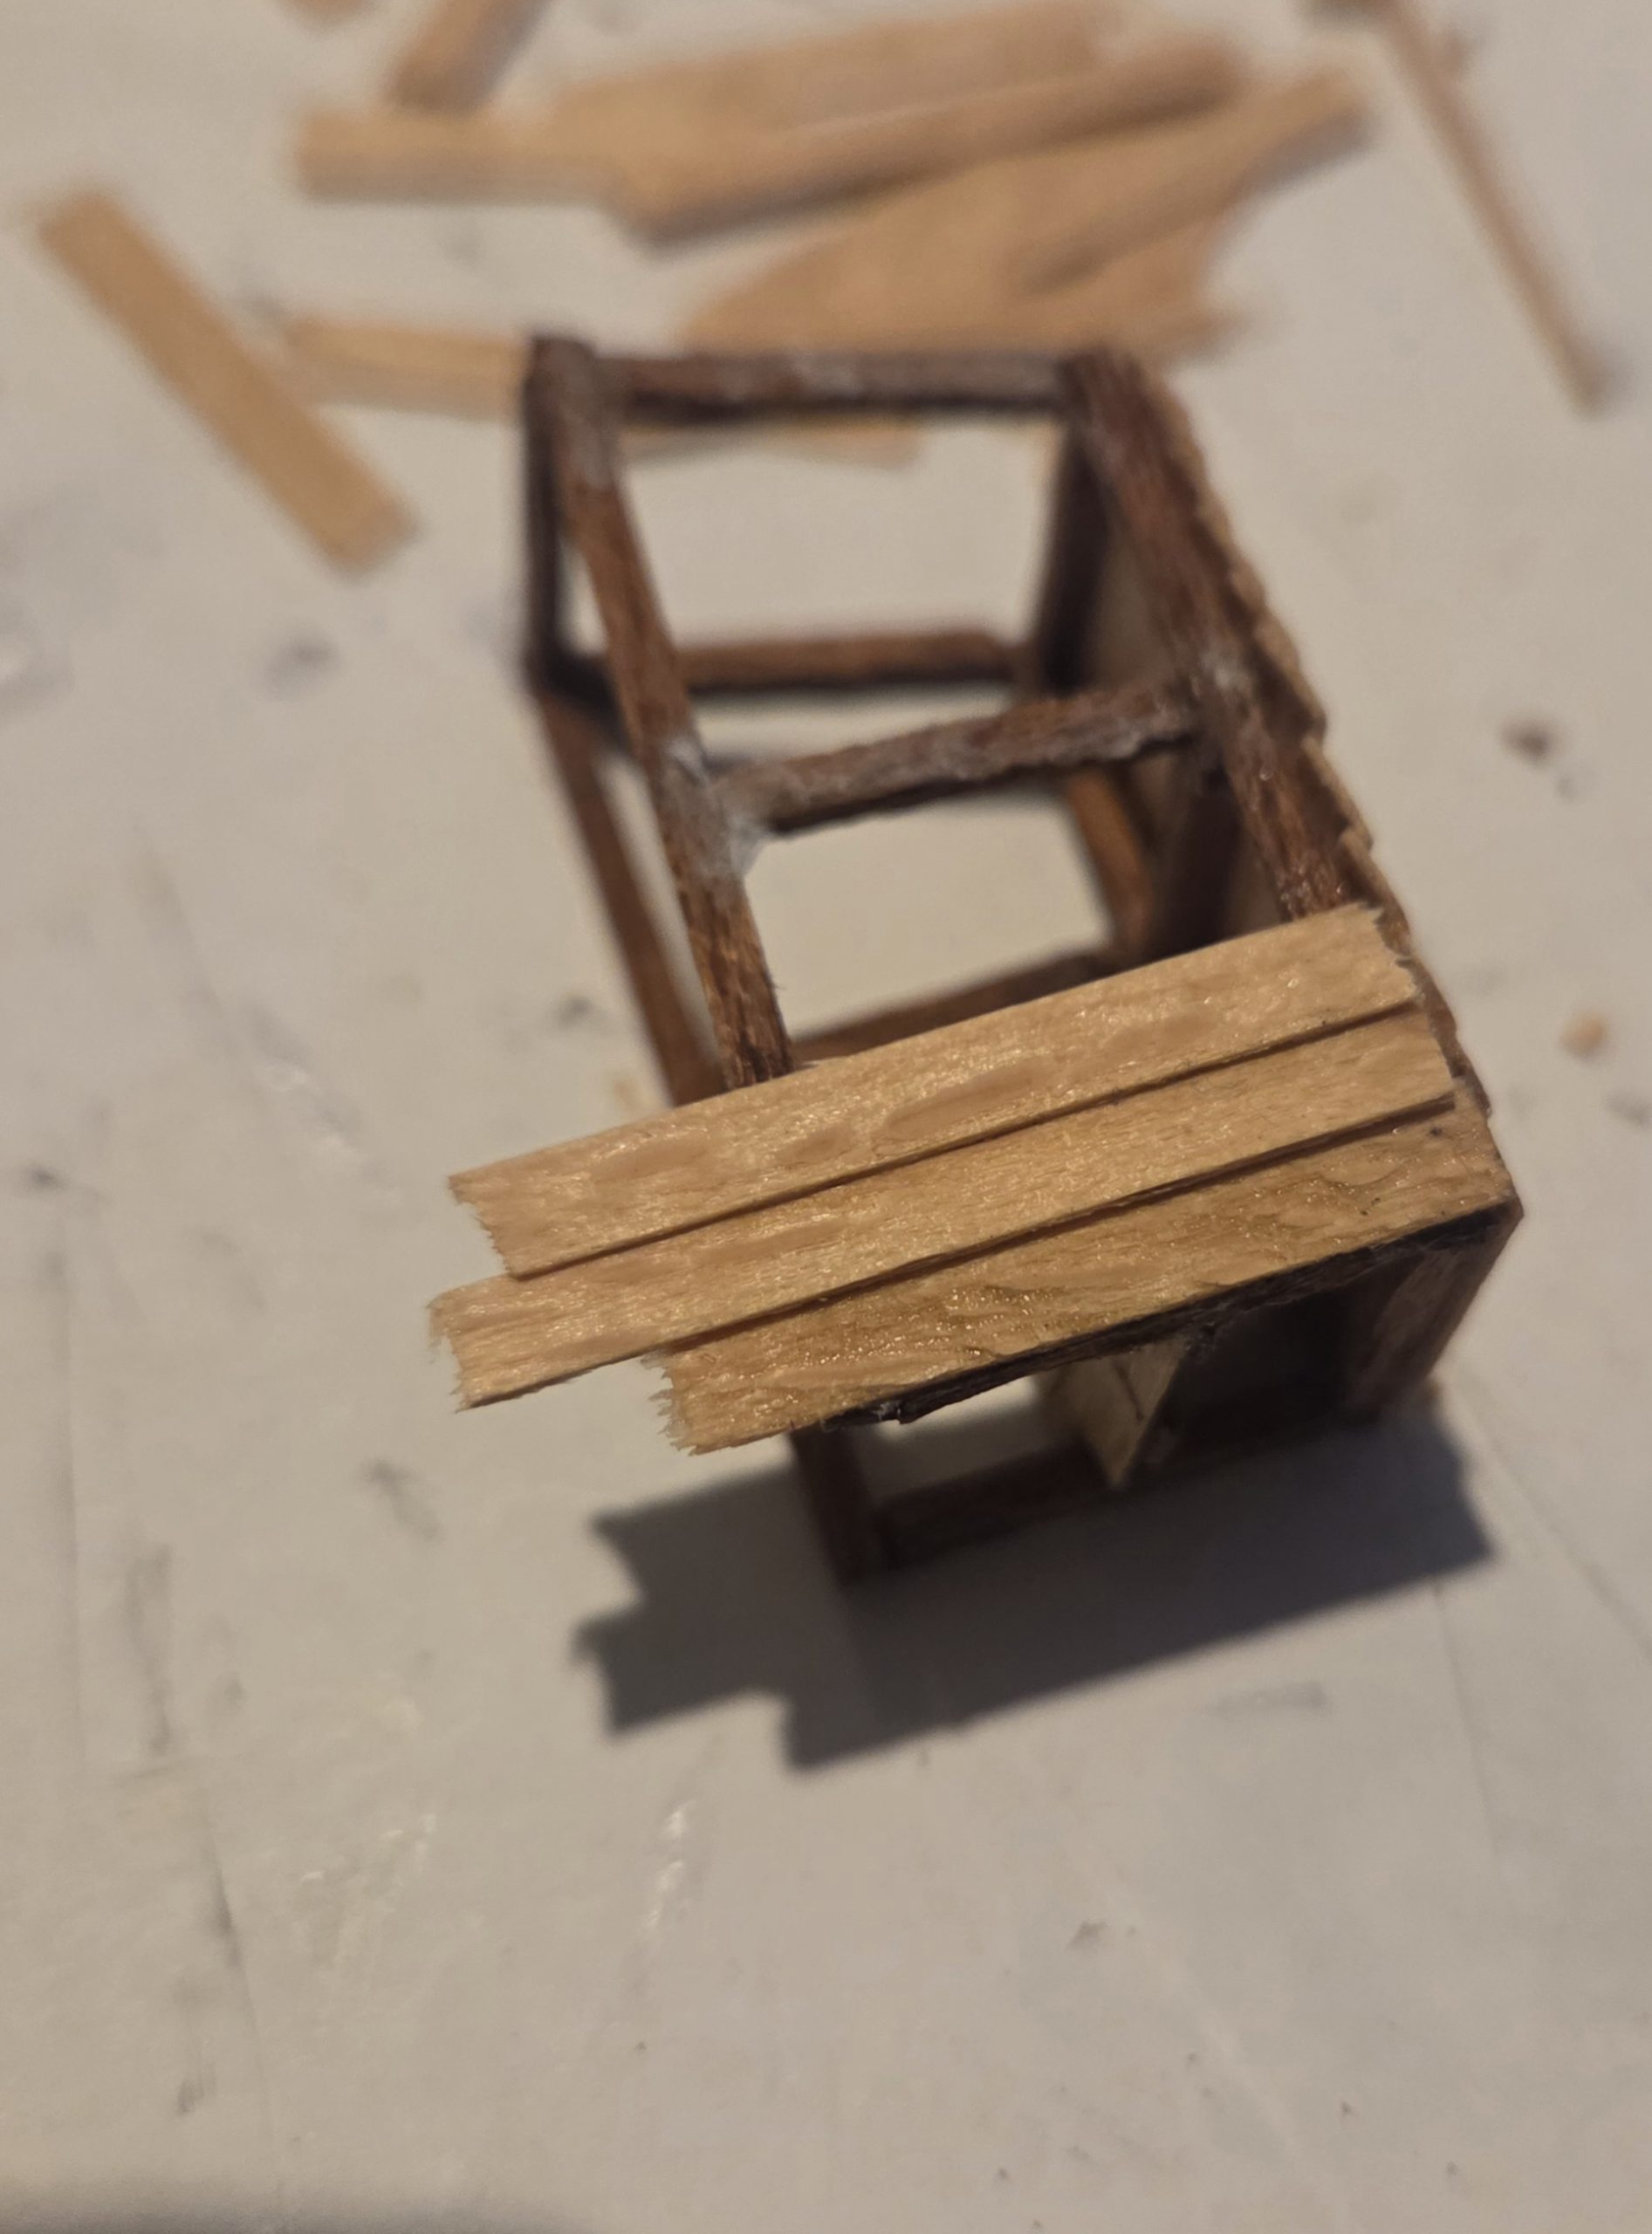
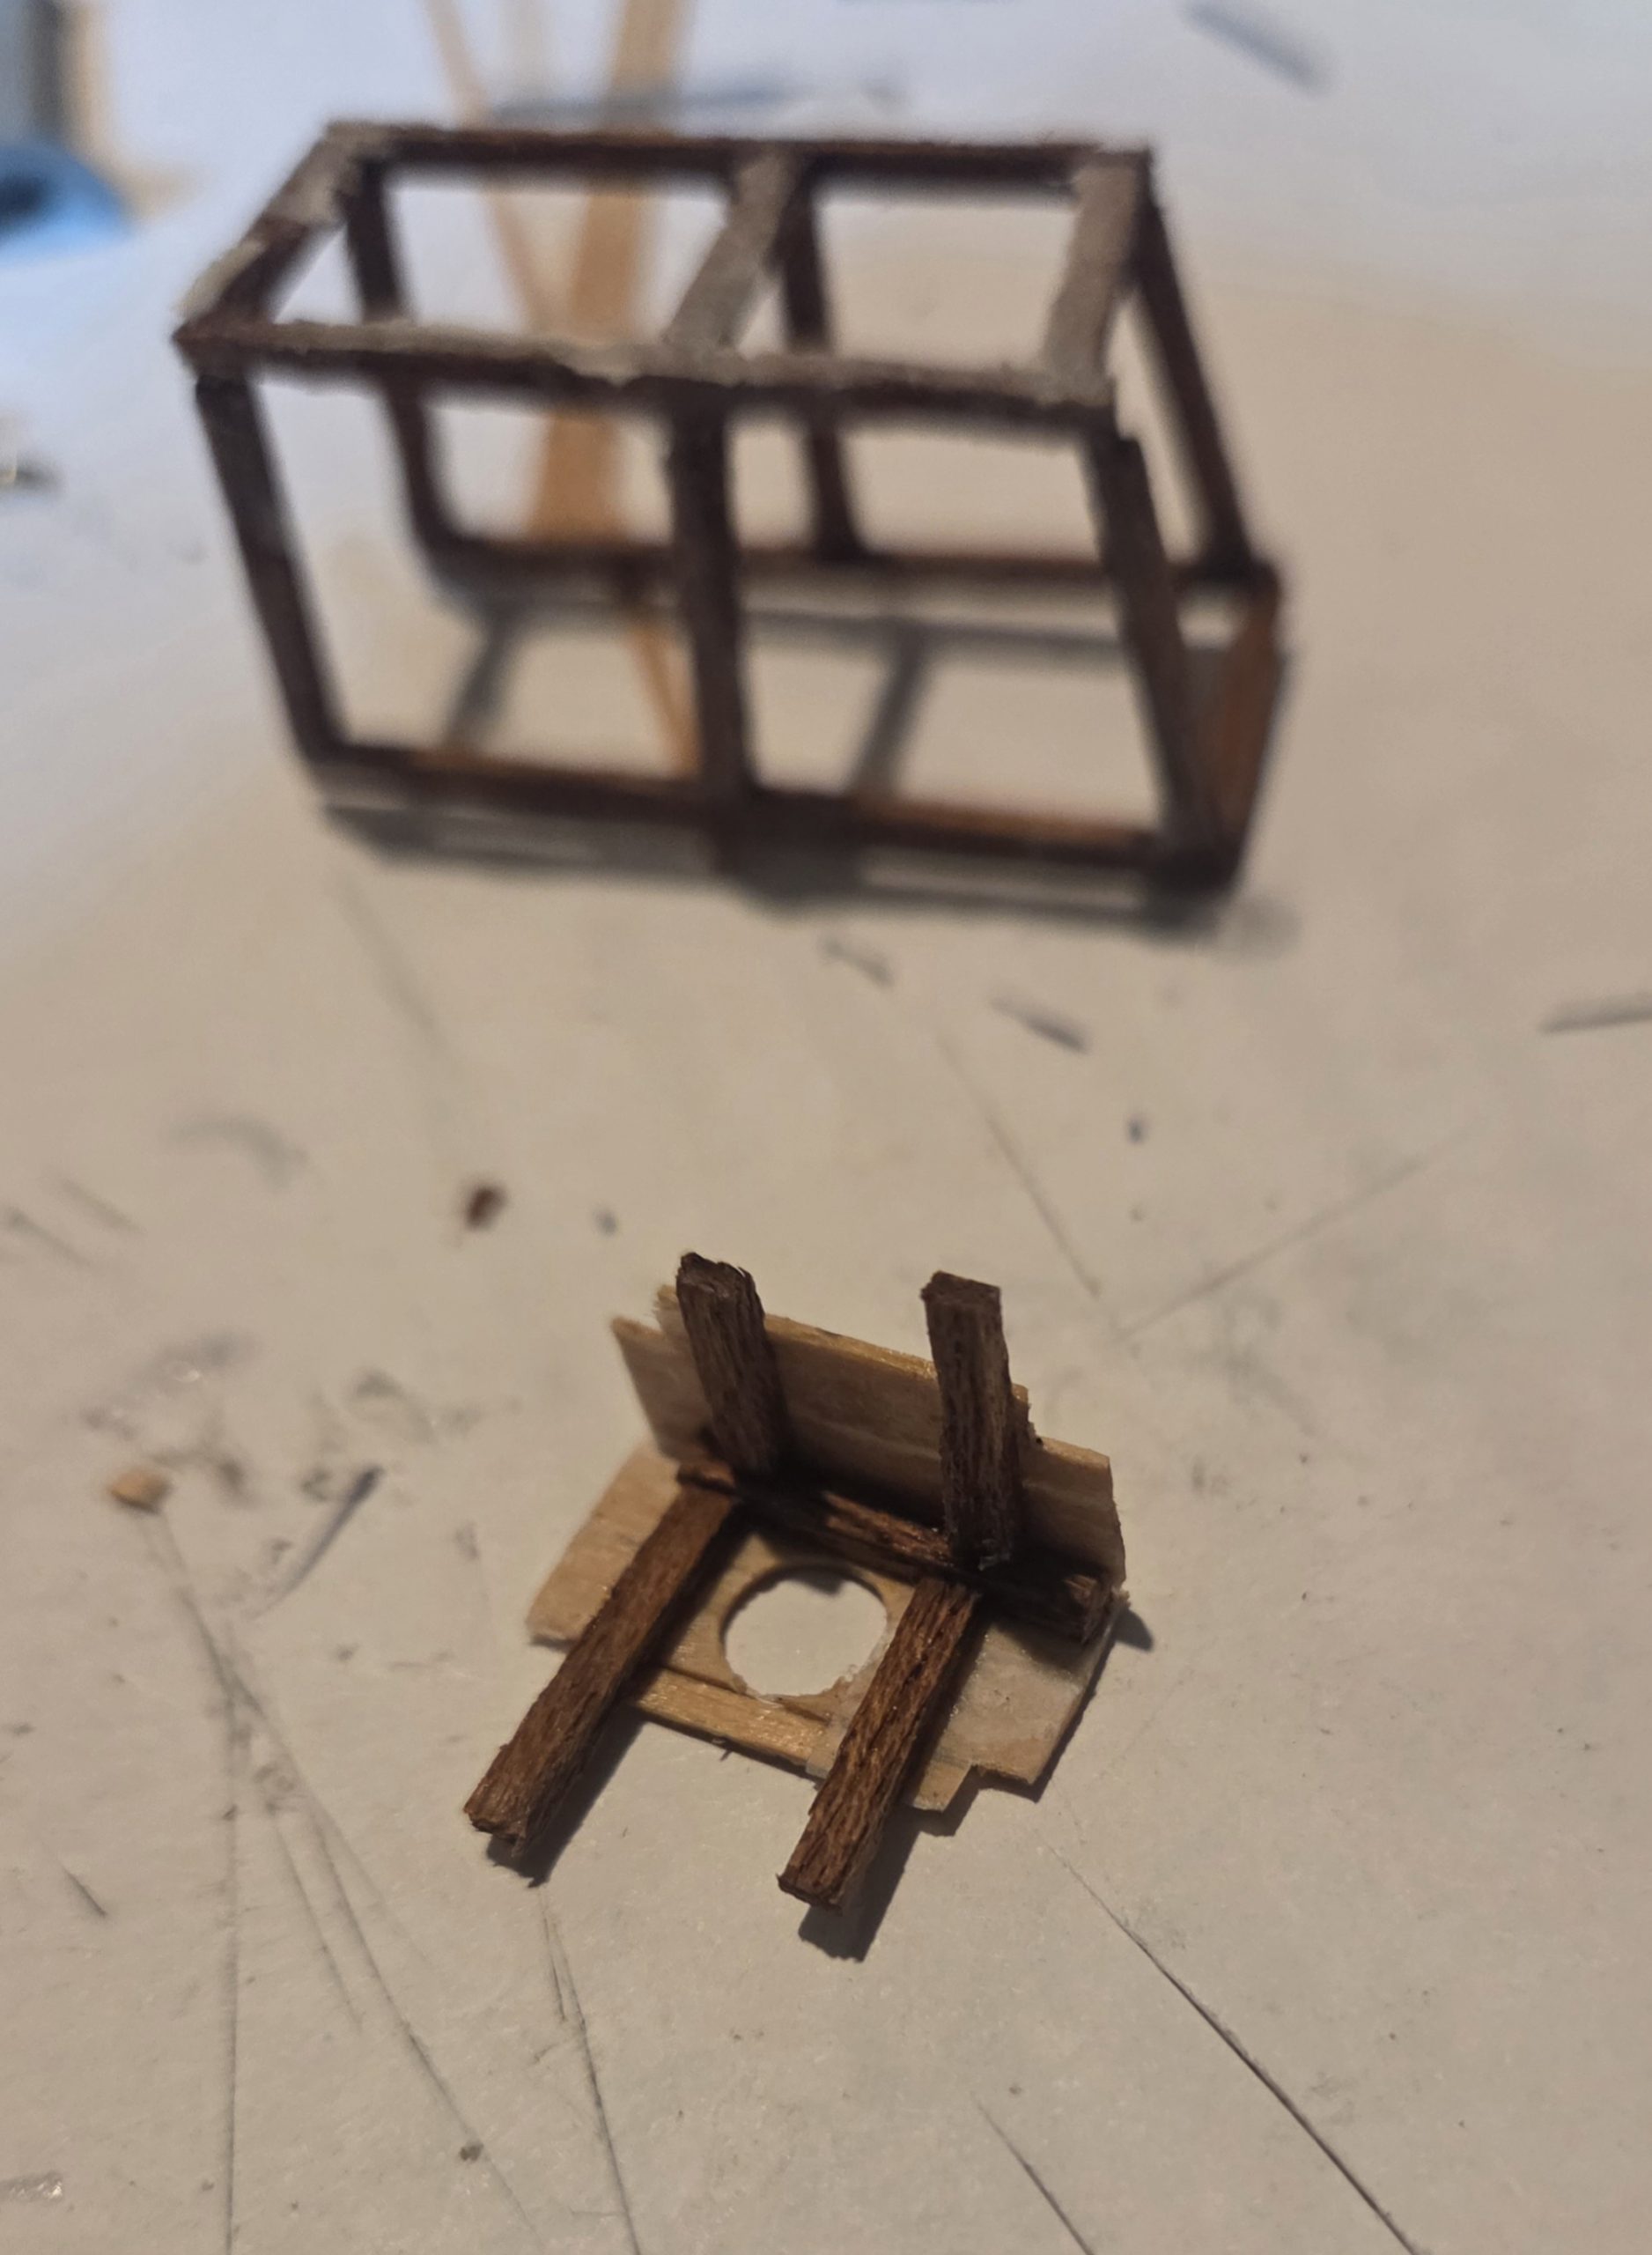 Measuring, trimming and shaping the toilet seat.
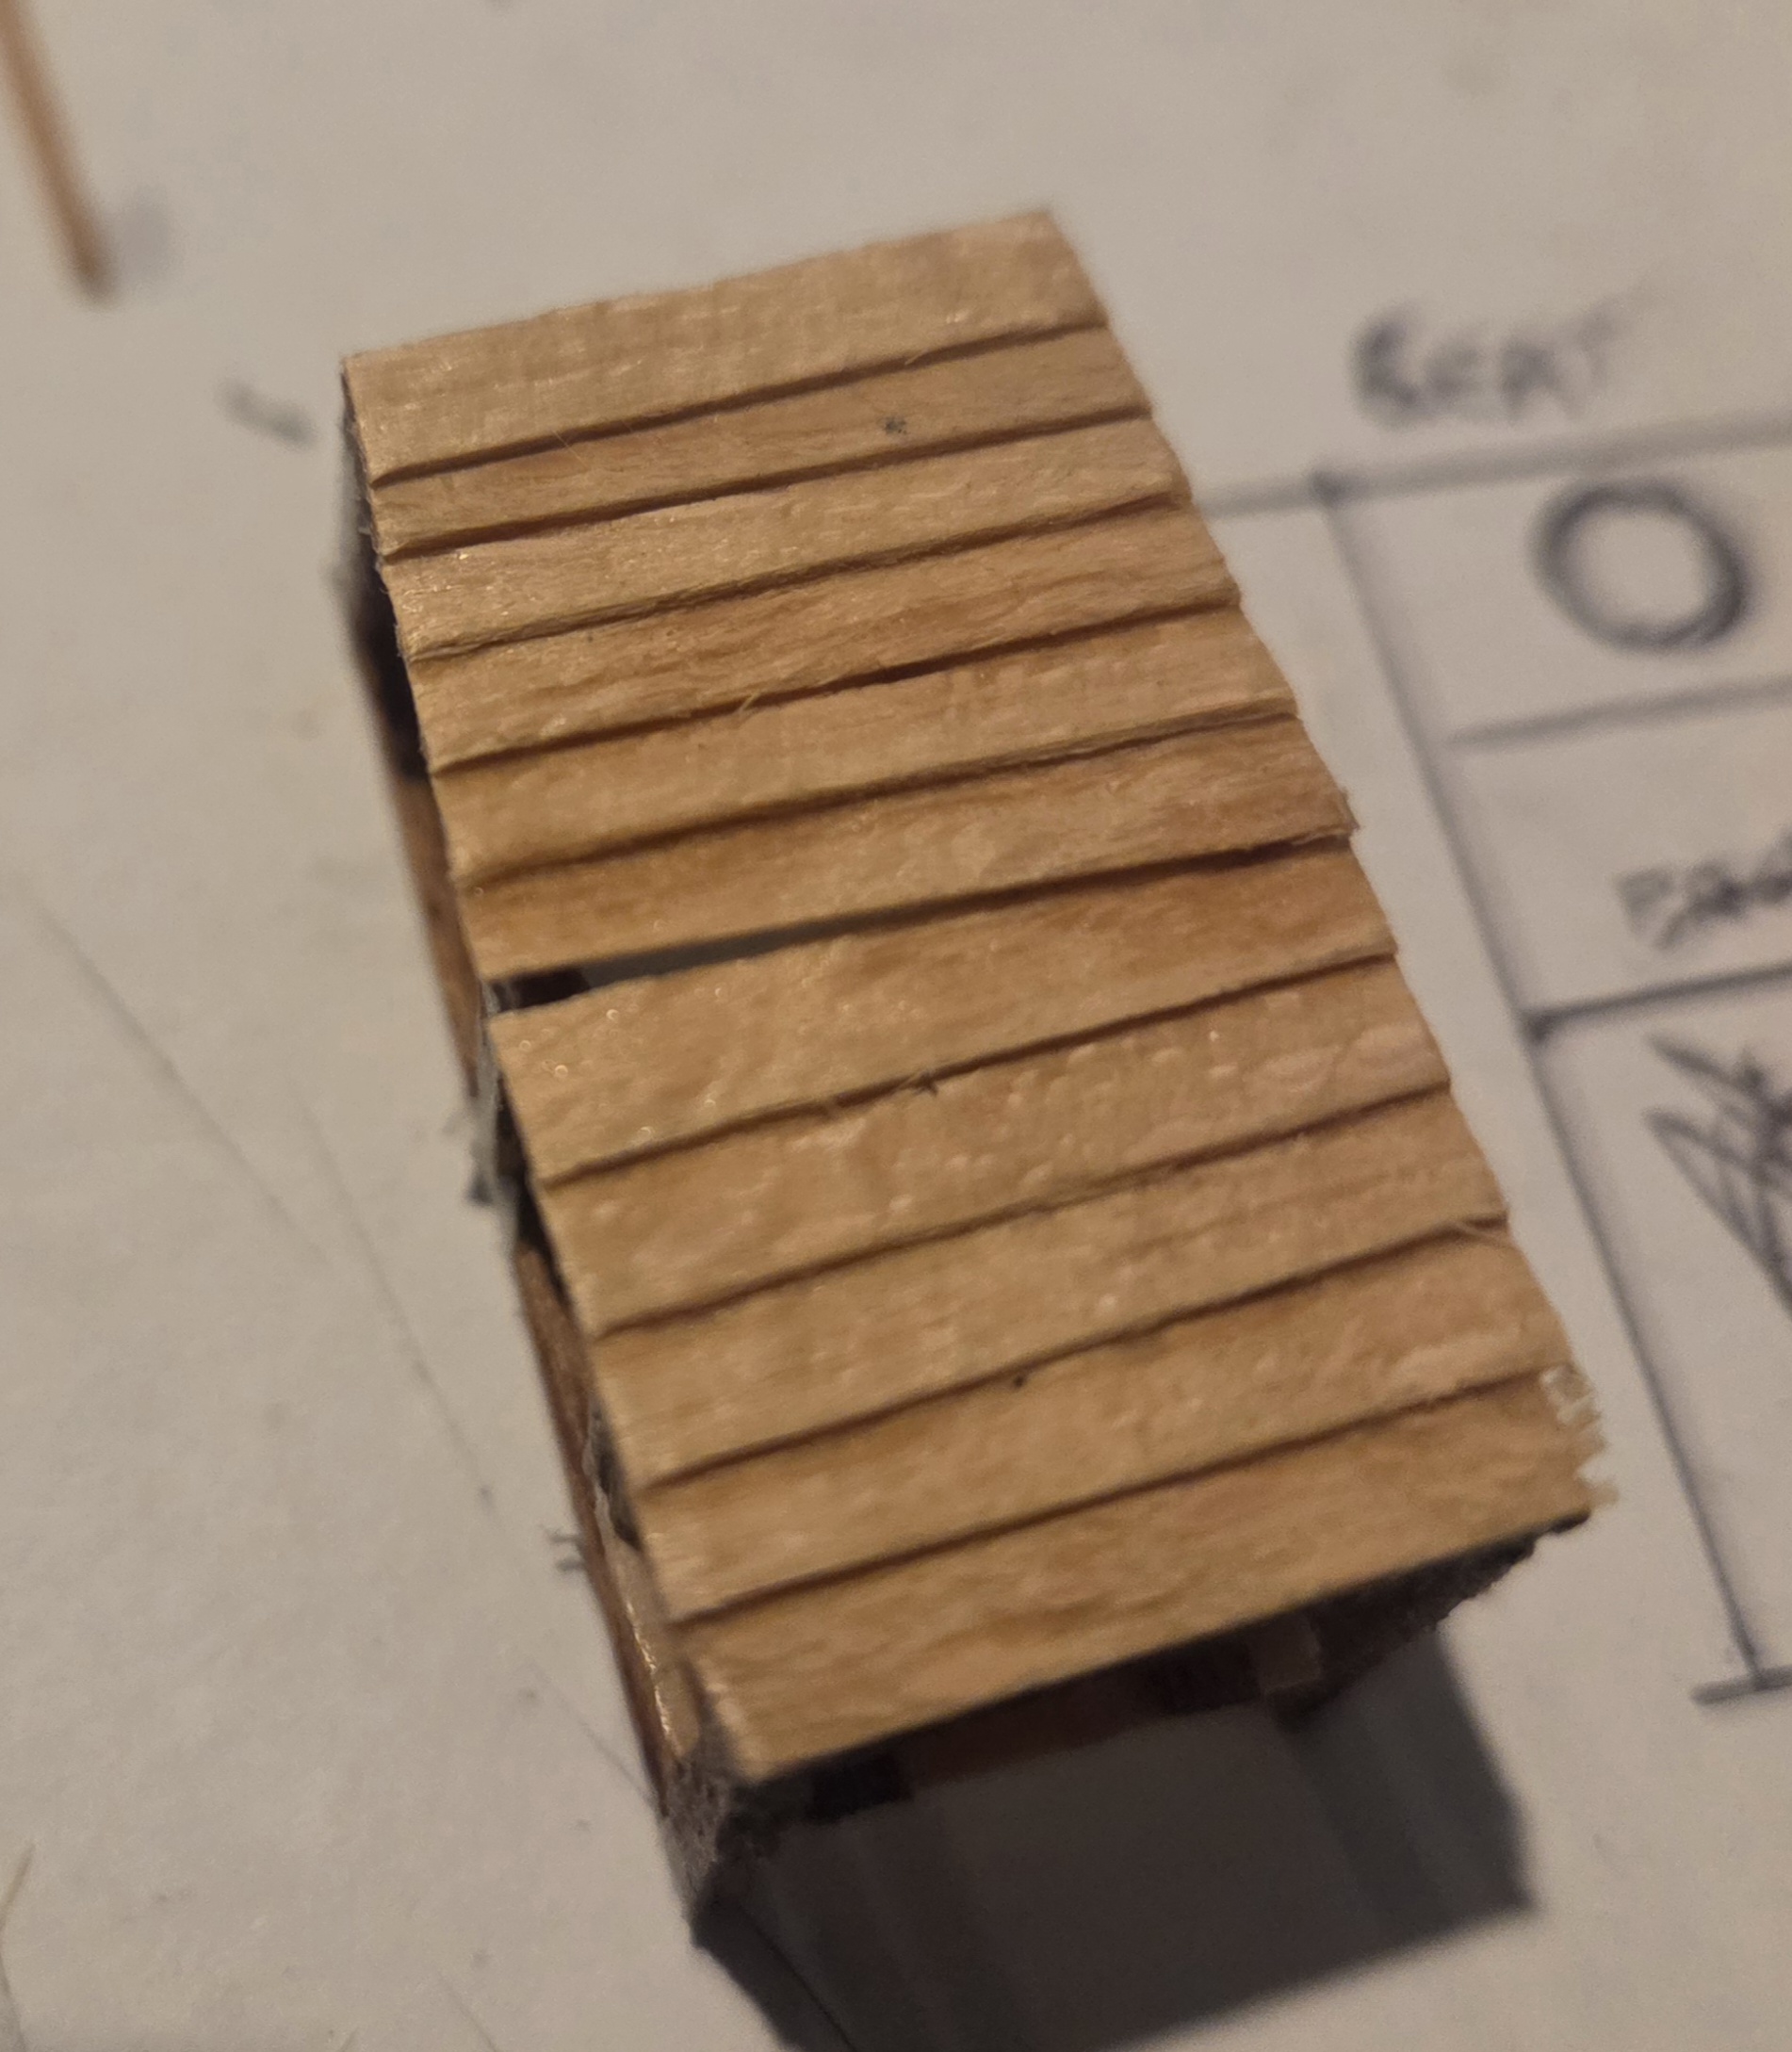
 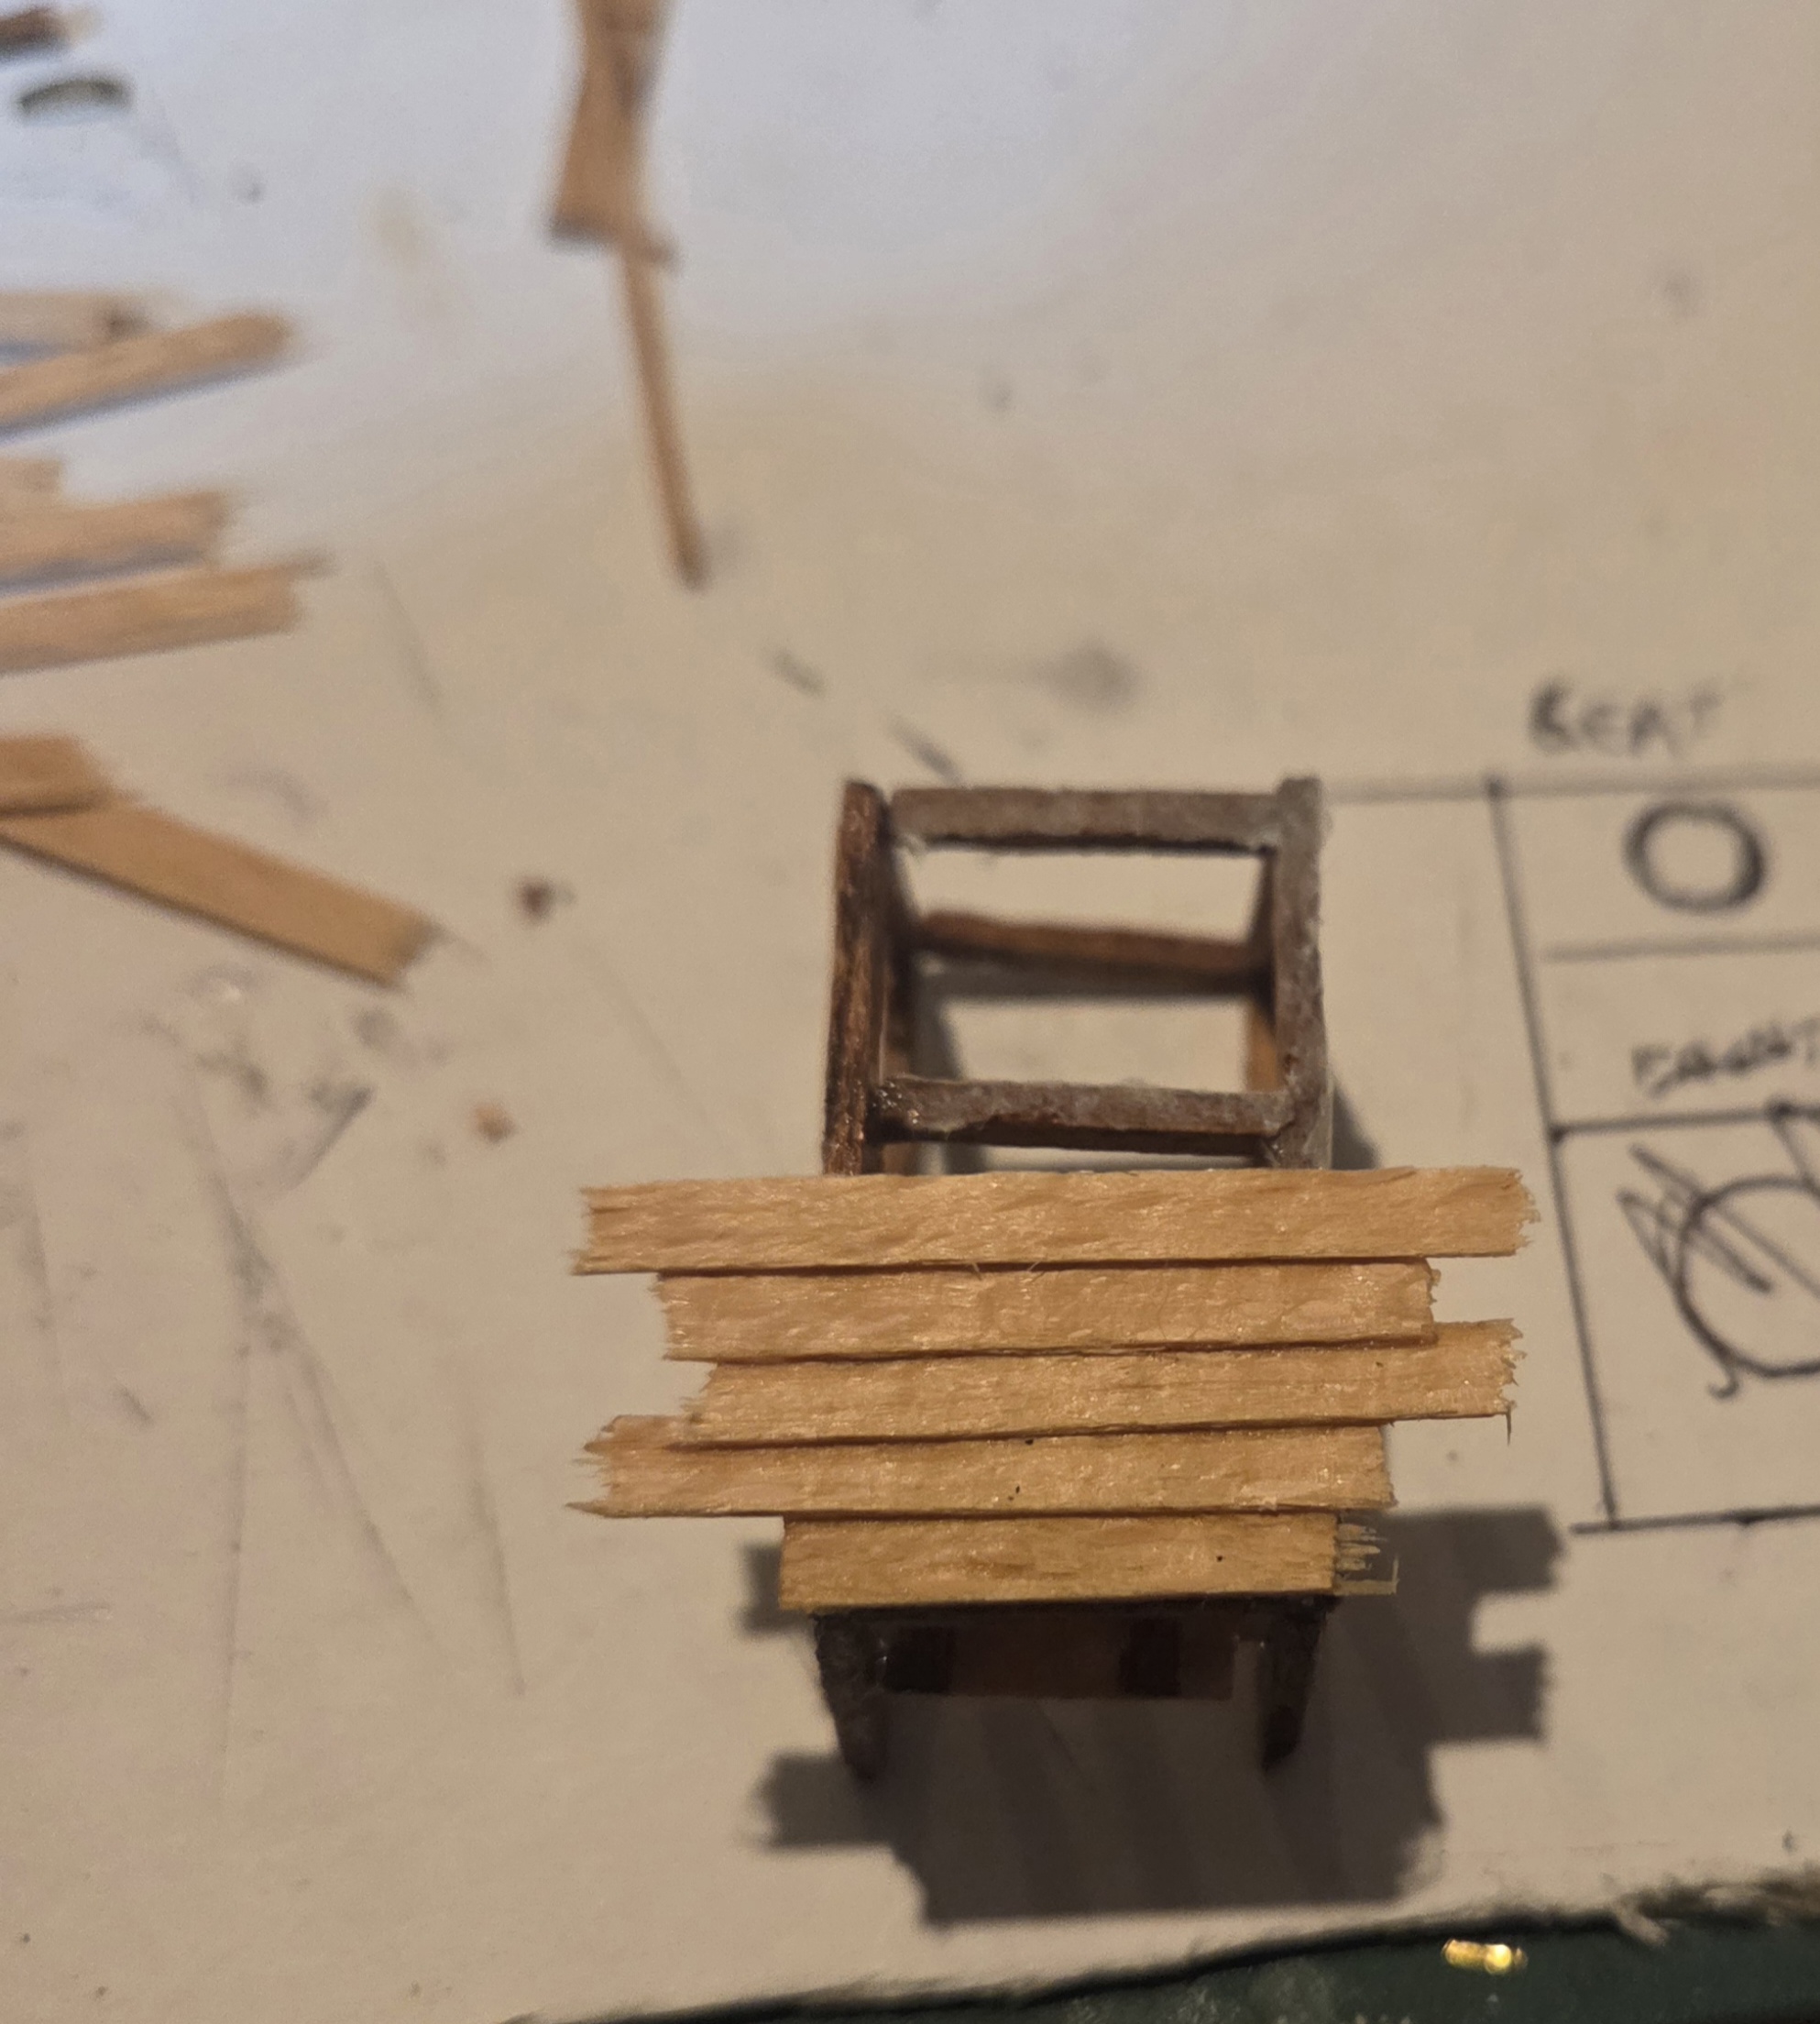 Starting to attach the teak scale planking, for speed i just break into approximate lengths amd trim when dry. I do the same when planking my Sarissa buildings, so much quicker. To be continued......
The devil is in the detail
As I said I went a bit mad on the furniture and extra detailing, and still more to do.
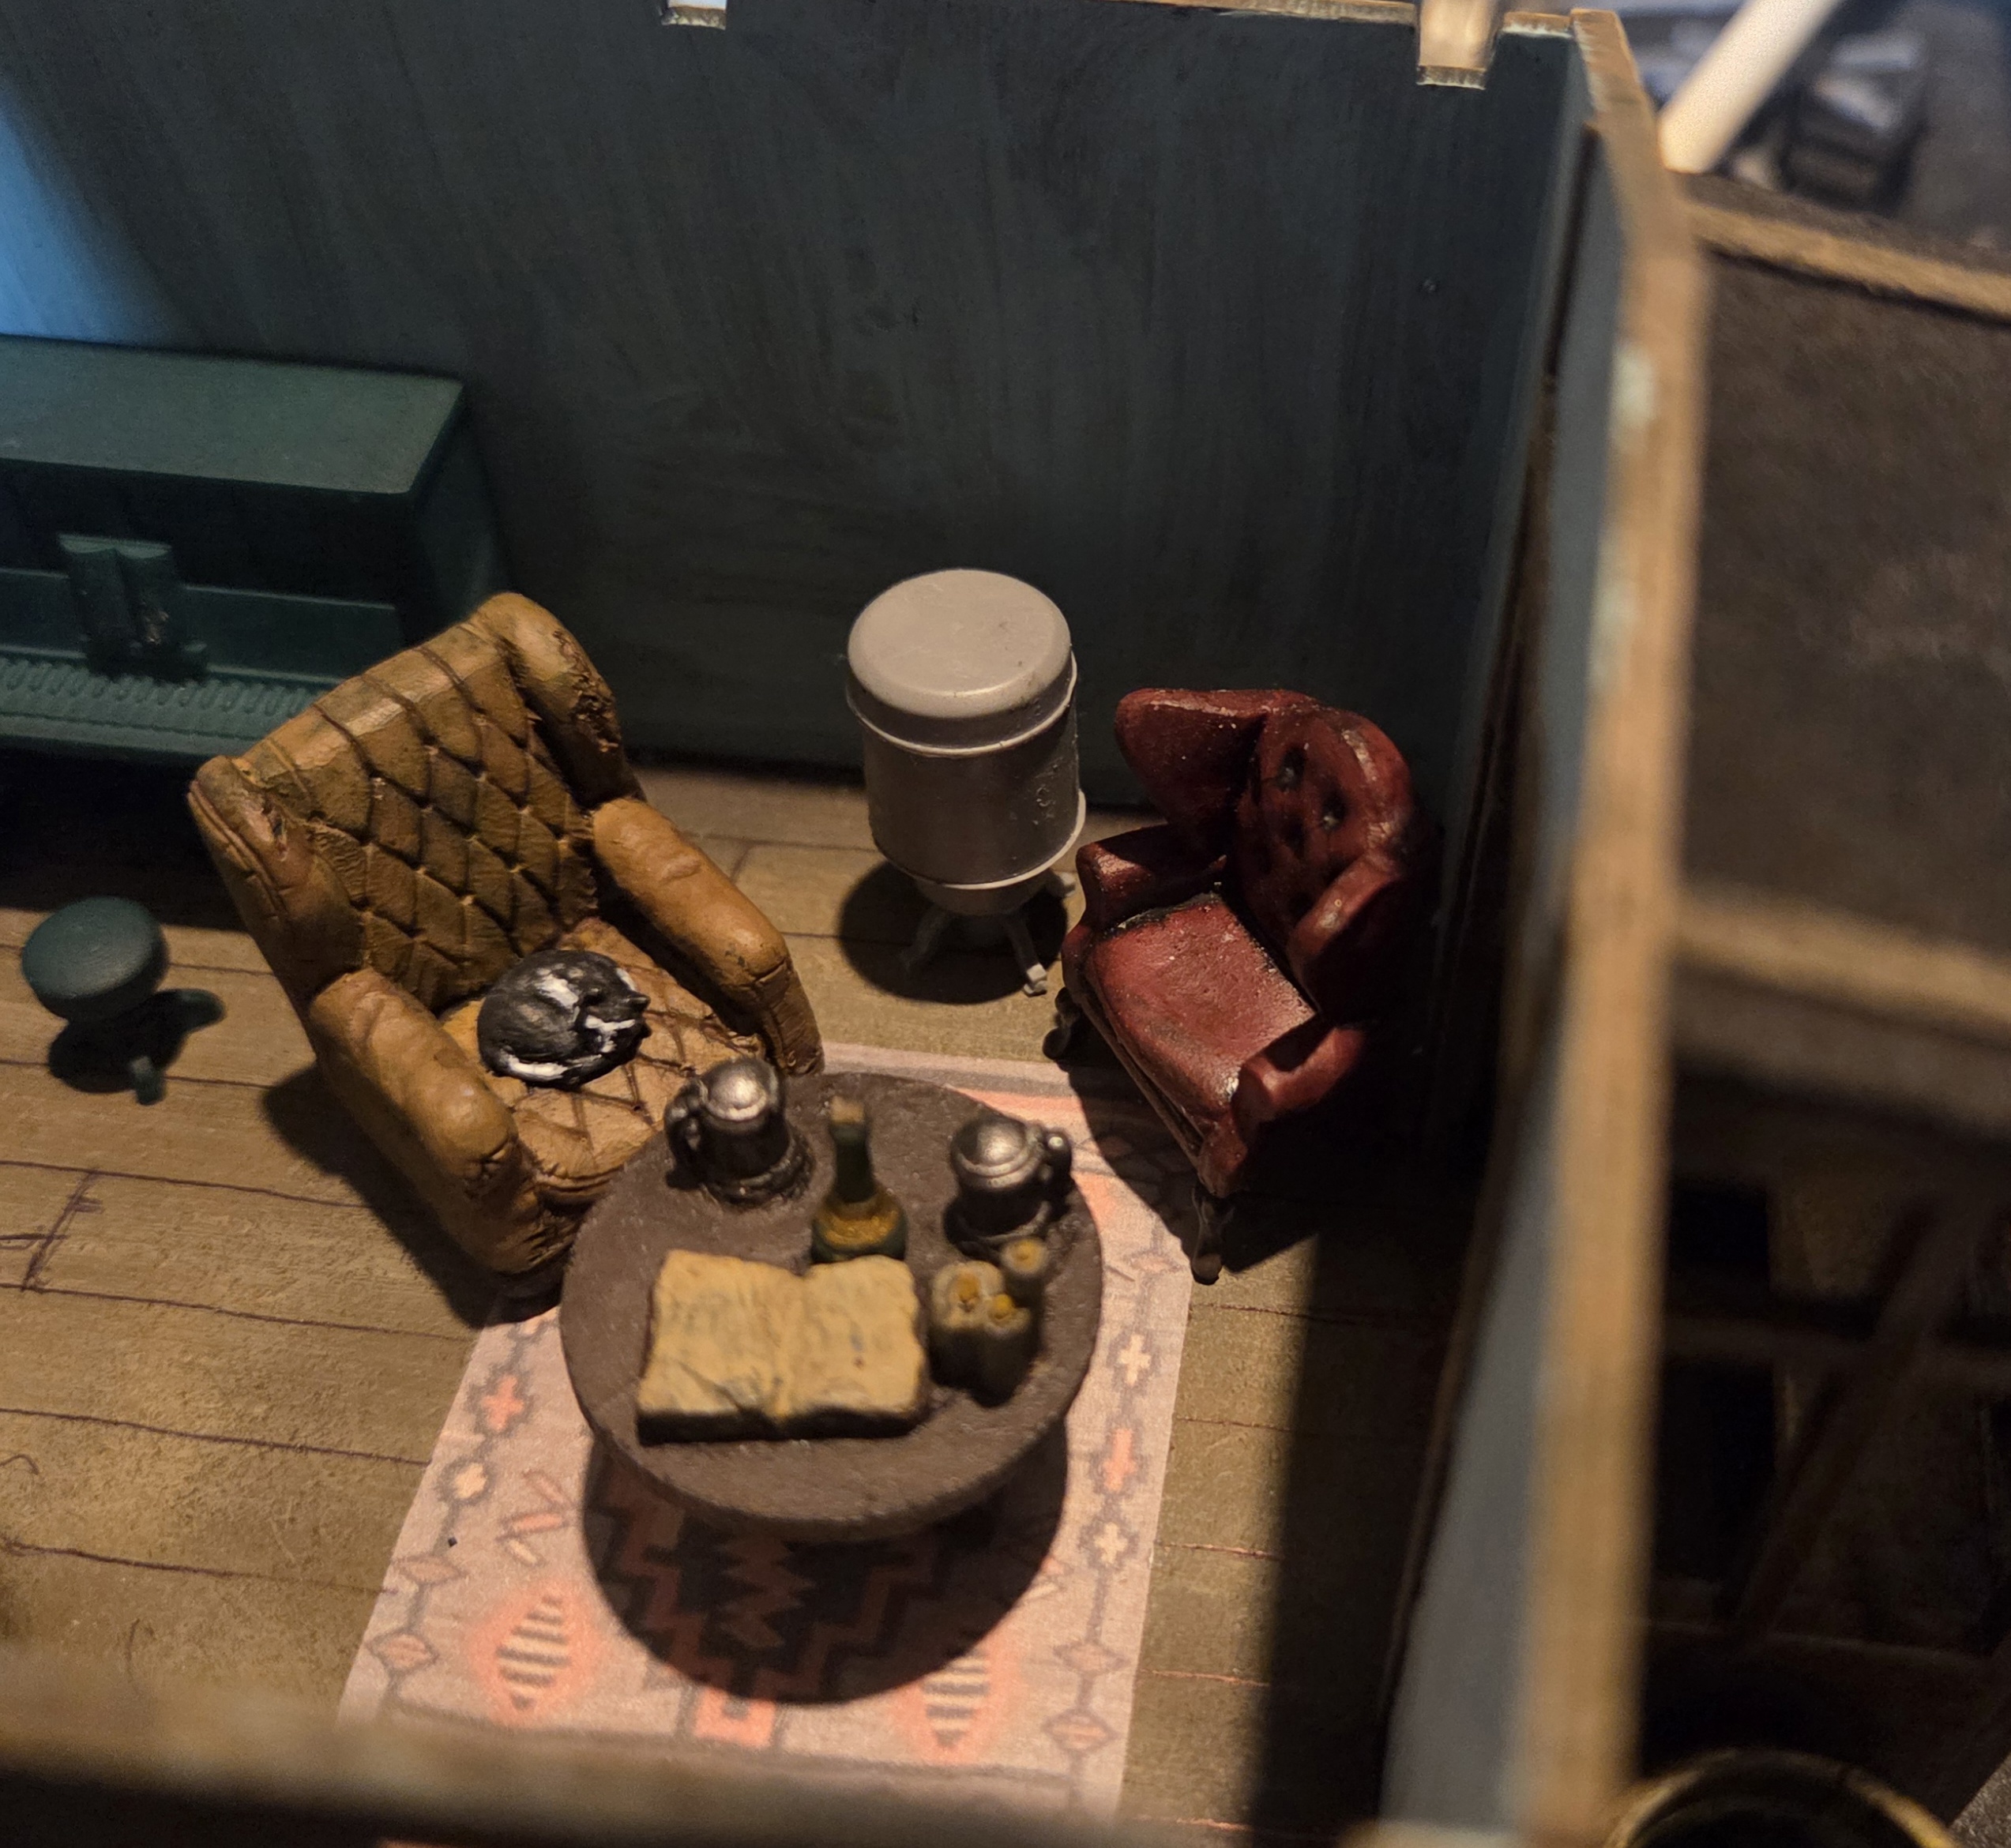 Early draft. The rug is an image I found online, shrunk down and printed. The floor in the cabin was undetailled, so I created a single plank template and drew the planks on with a black biro.
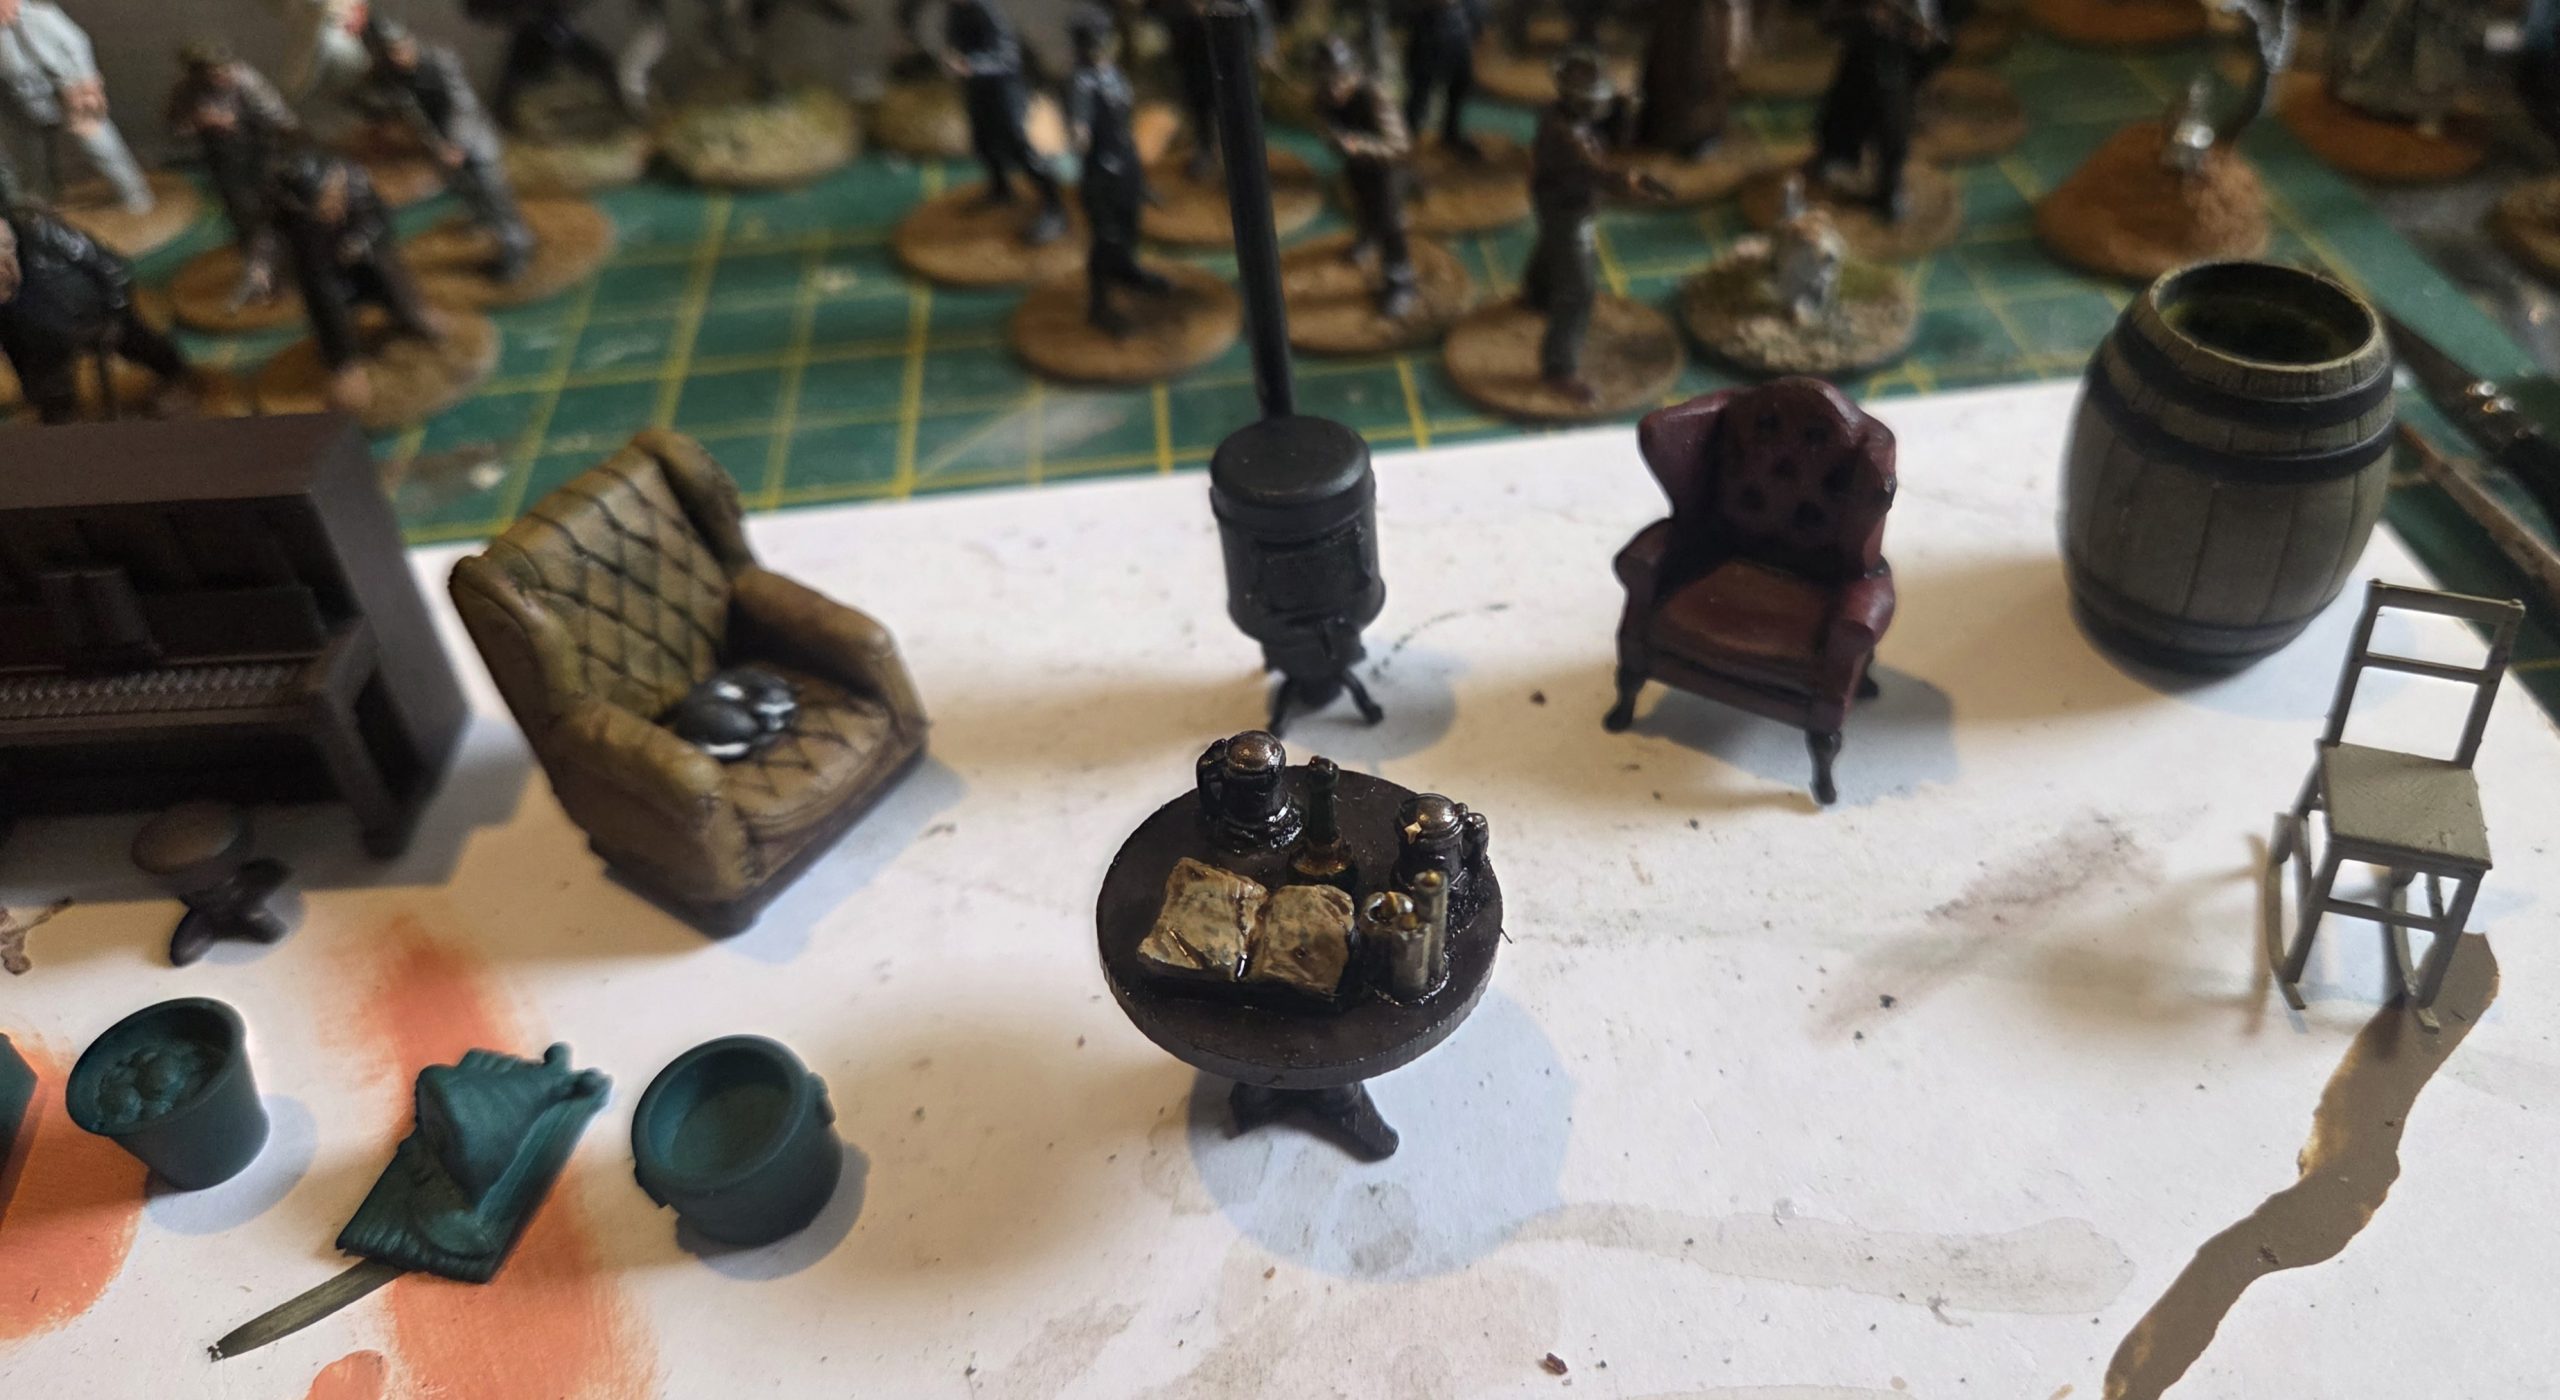 Piano from Iron Gate scenery, chairs from TT Combat, the burner, table and rocking chair are scratch built. All the parts used so far have been found around the house, either repurposed from previous projects or scratchbuilt from the bits box.
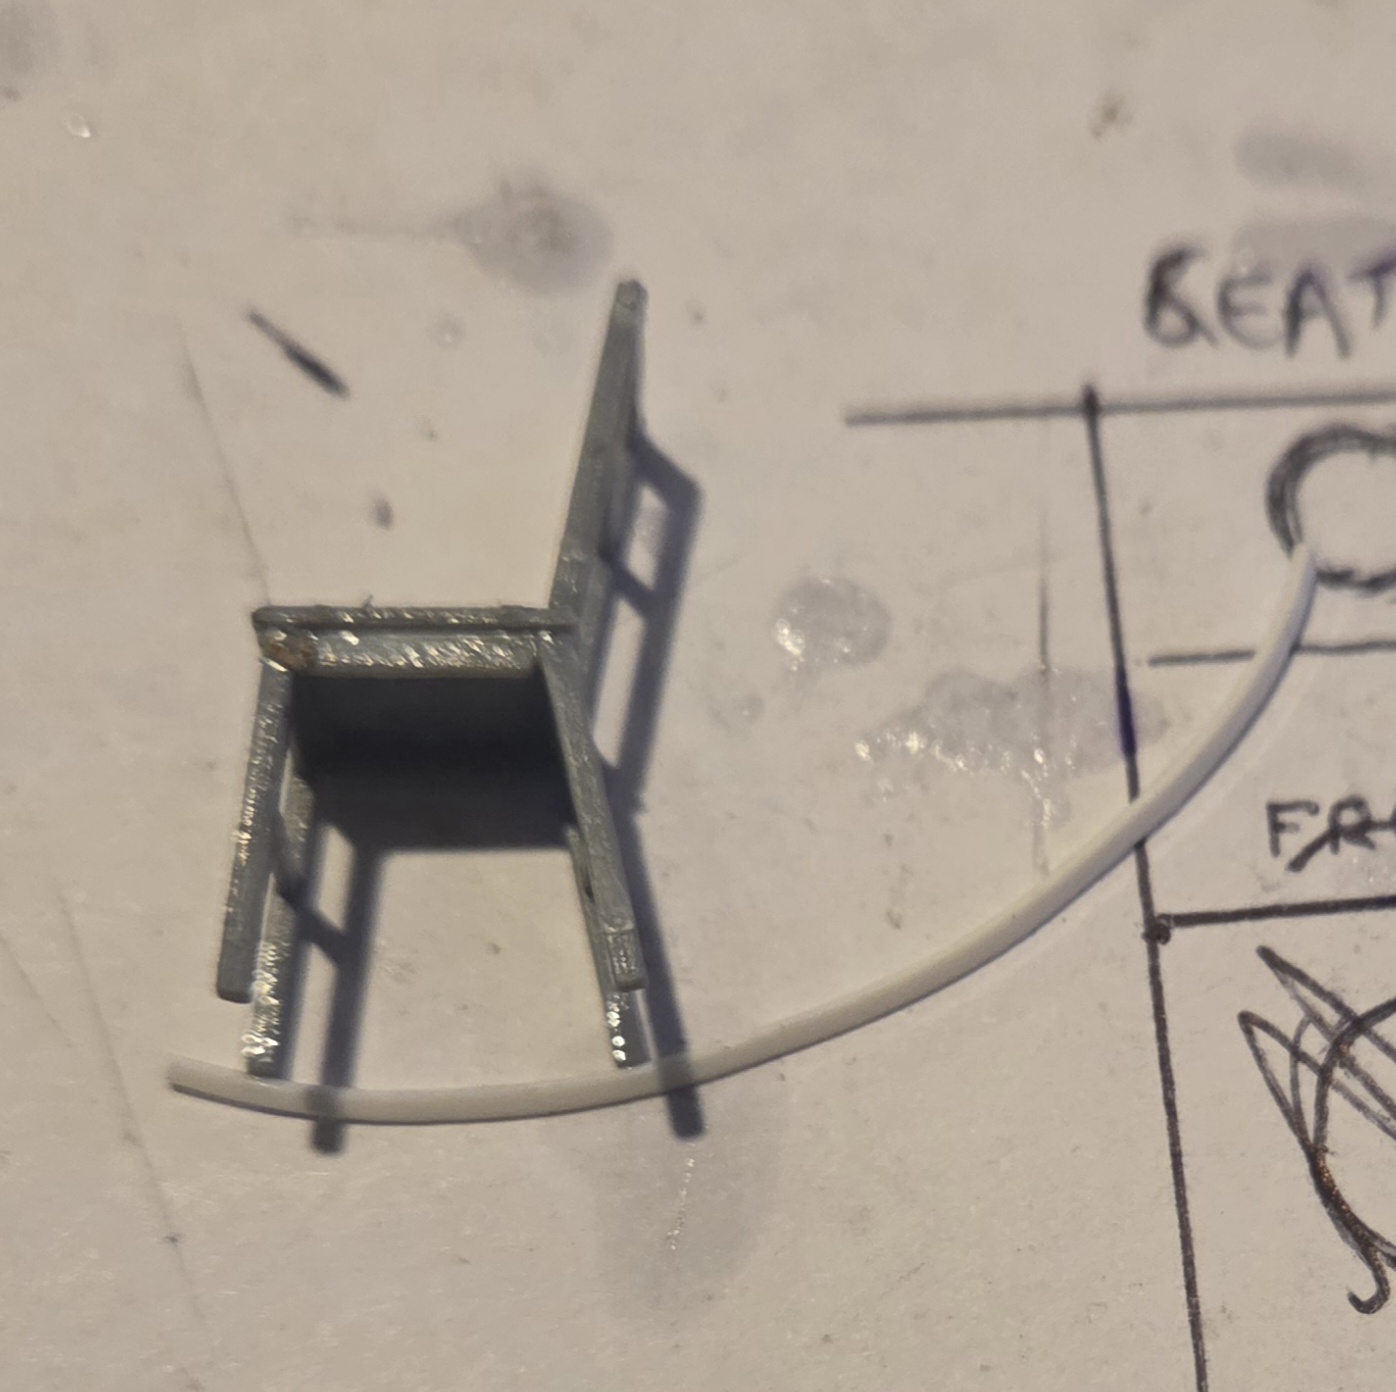 Every old house in the woods needs a rocking chair on the veranda, again i looked on line and all the options I found were horrible and expensive.The rocking chair is made from two stool kits, the legs and base are the stool, I just changed the angle of the legs as they were originally straight down, the rocker is .ade from a strip of plastic card curled ny hand.er is a thin strip of plastic card curled by hand. The back is another set of stool legs.
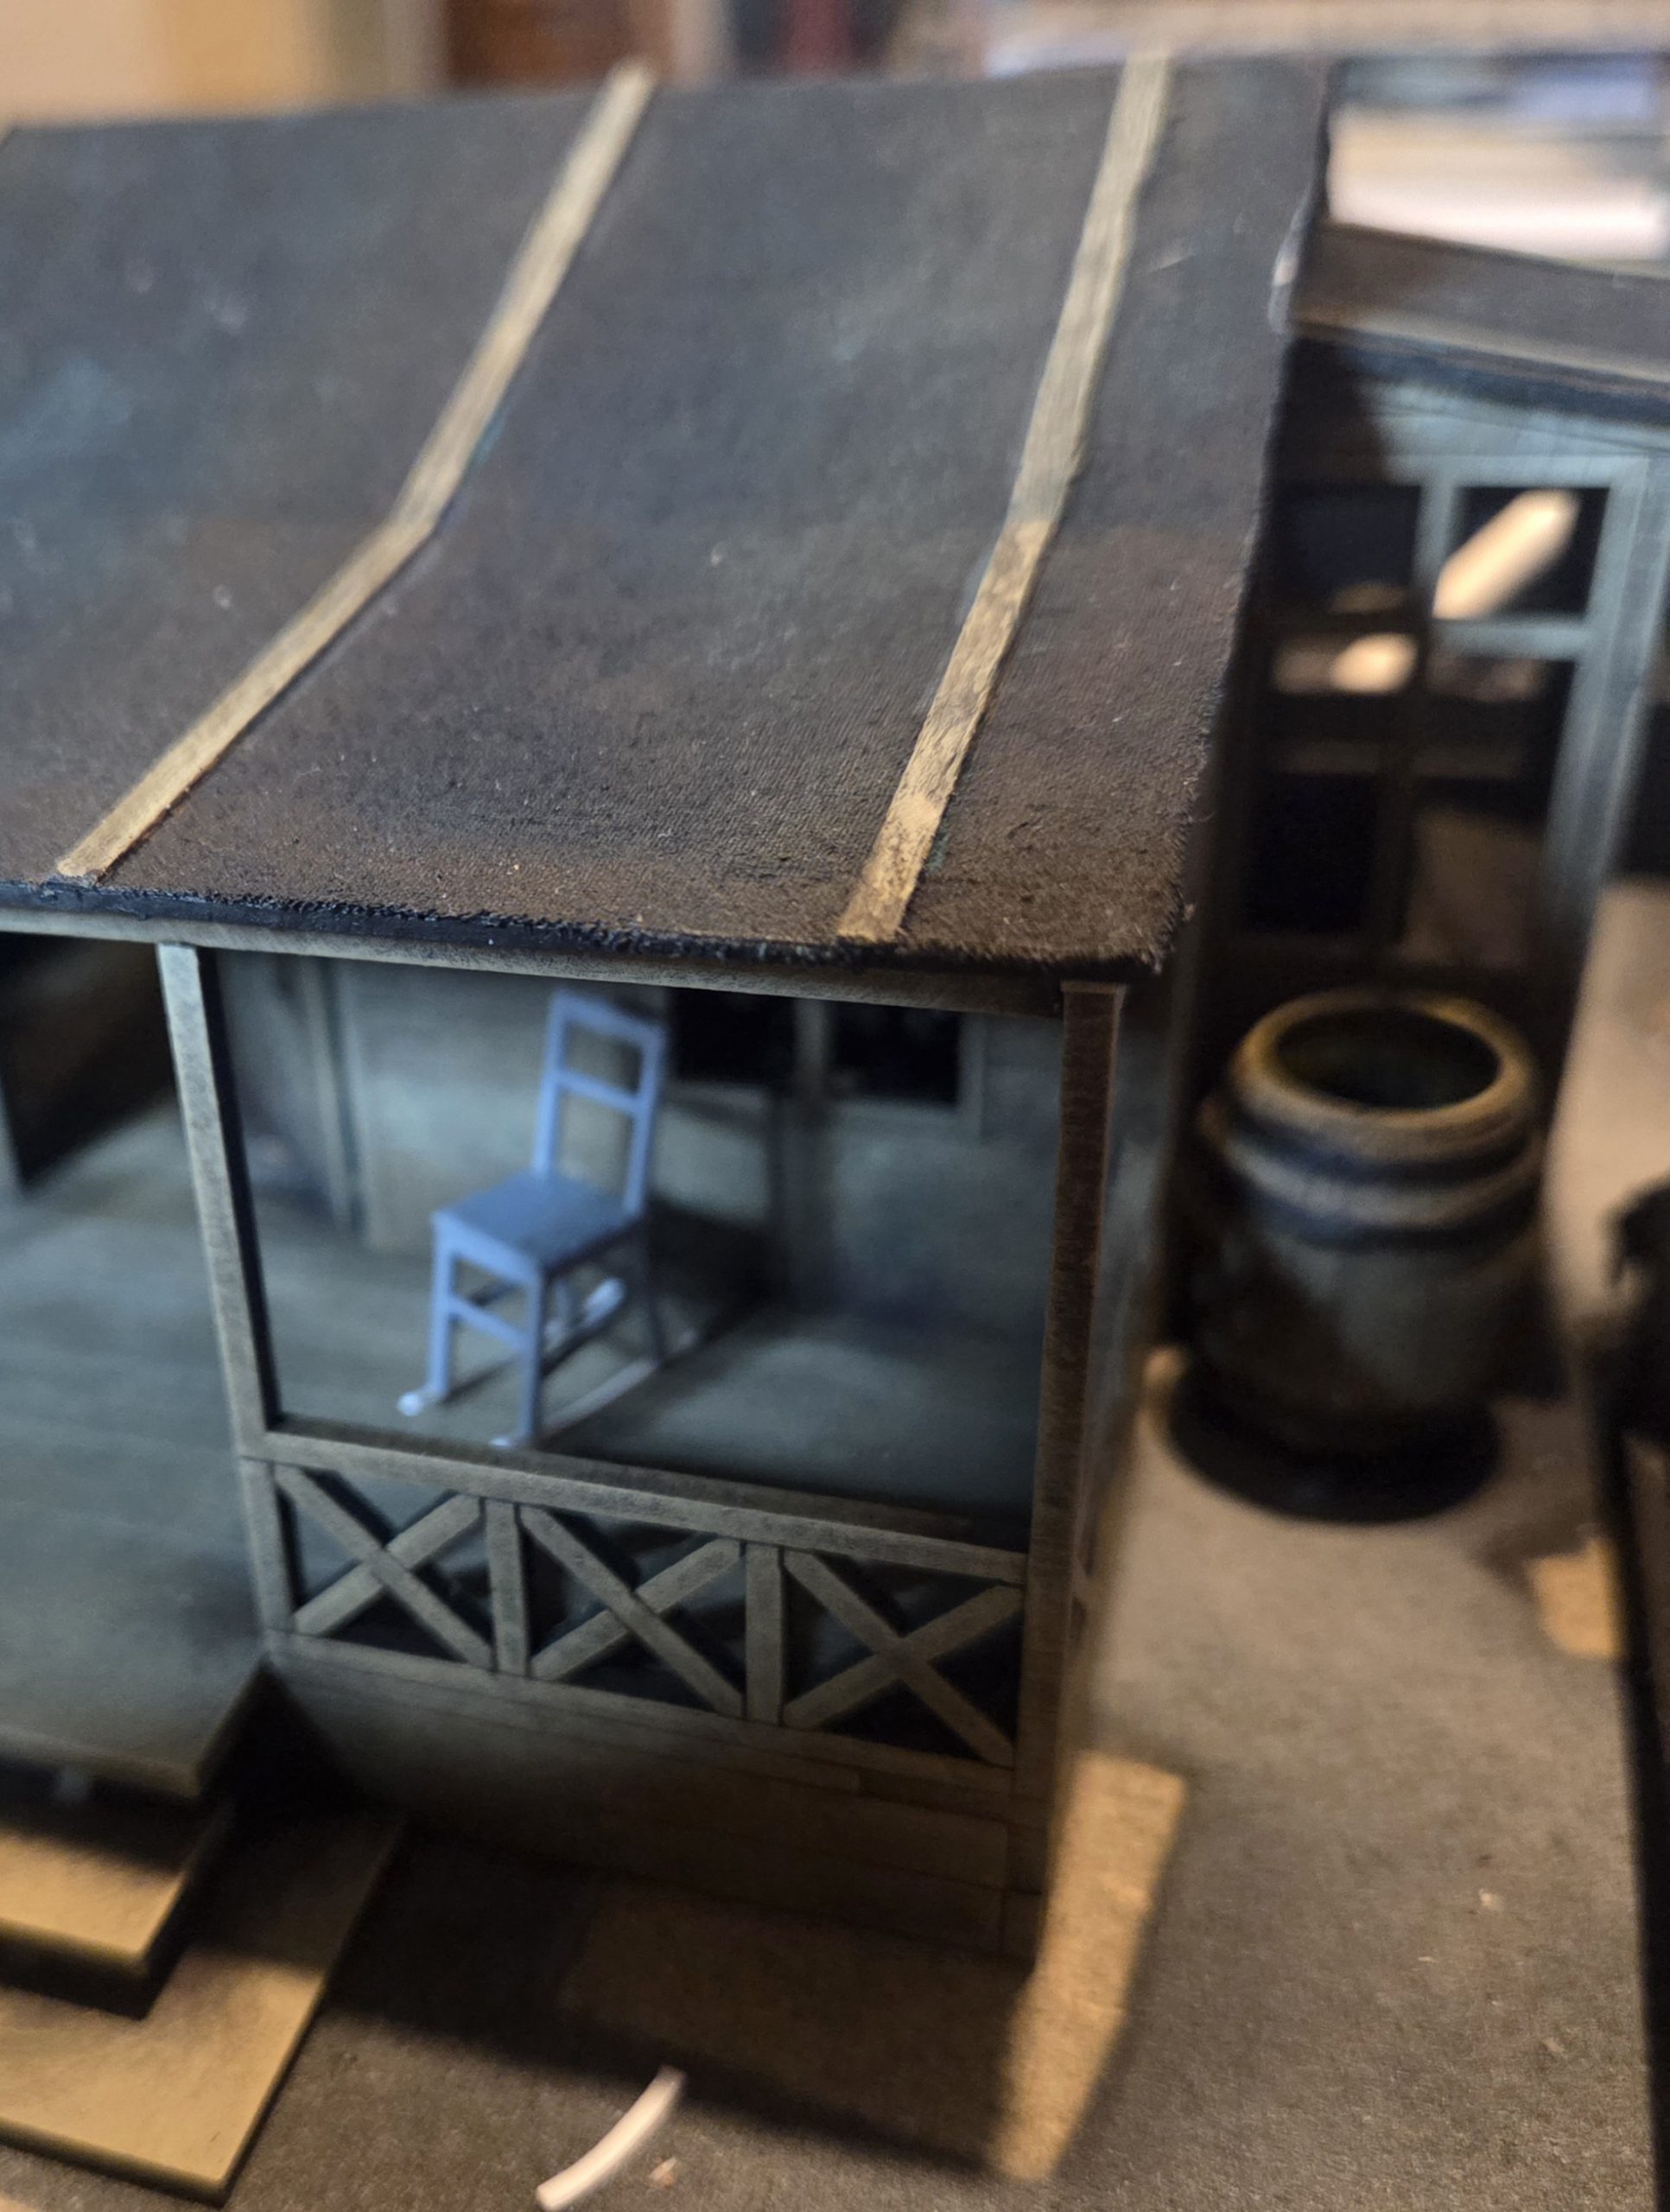 Finally i cut down a piece of thin plastic to make the braces hust above the rocker.
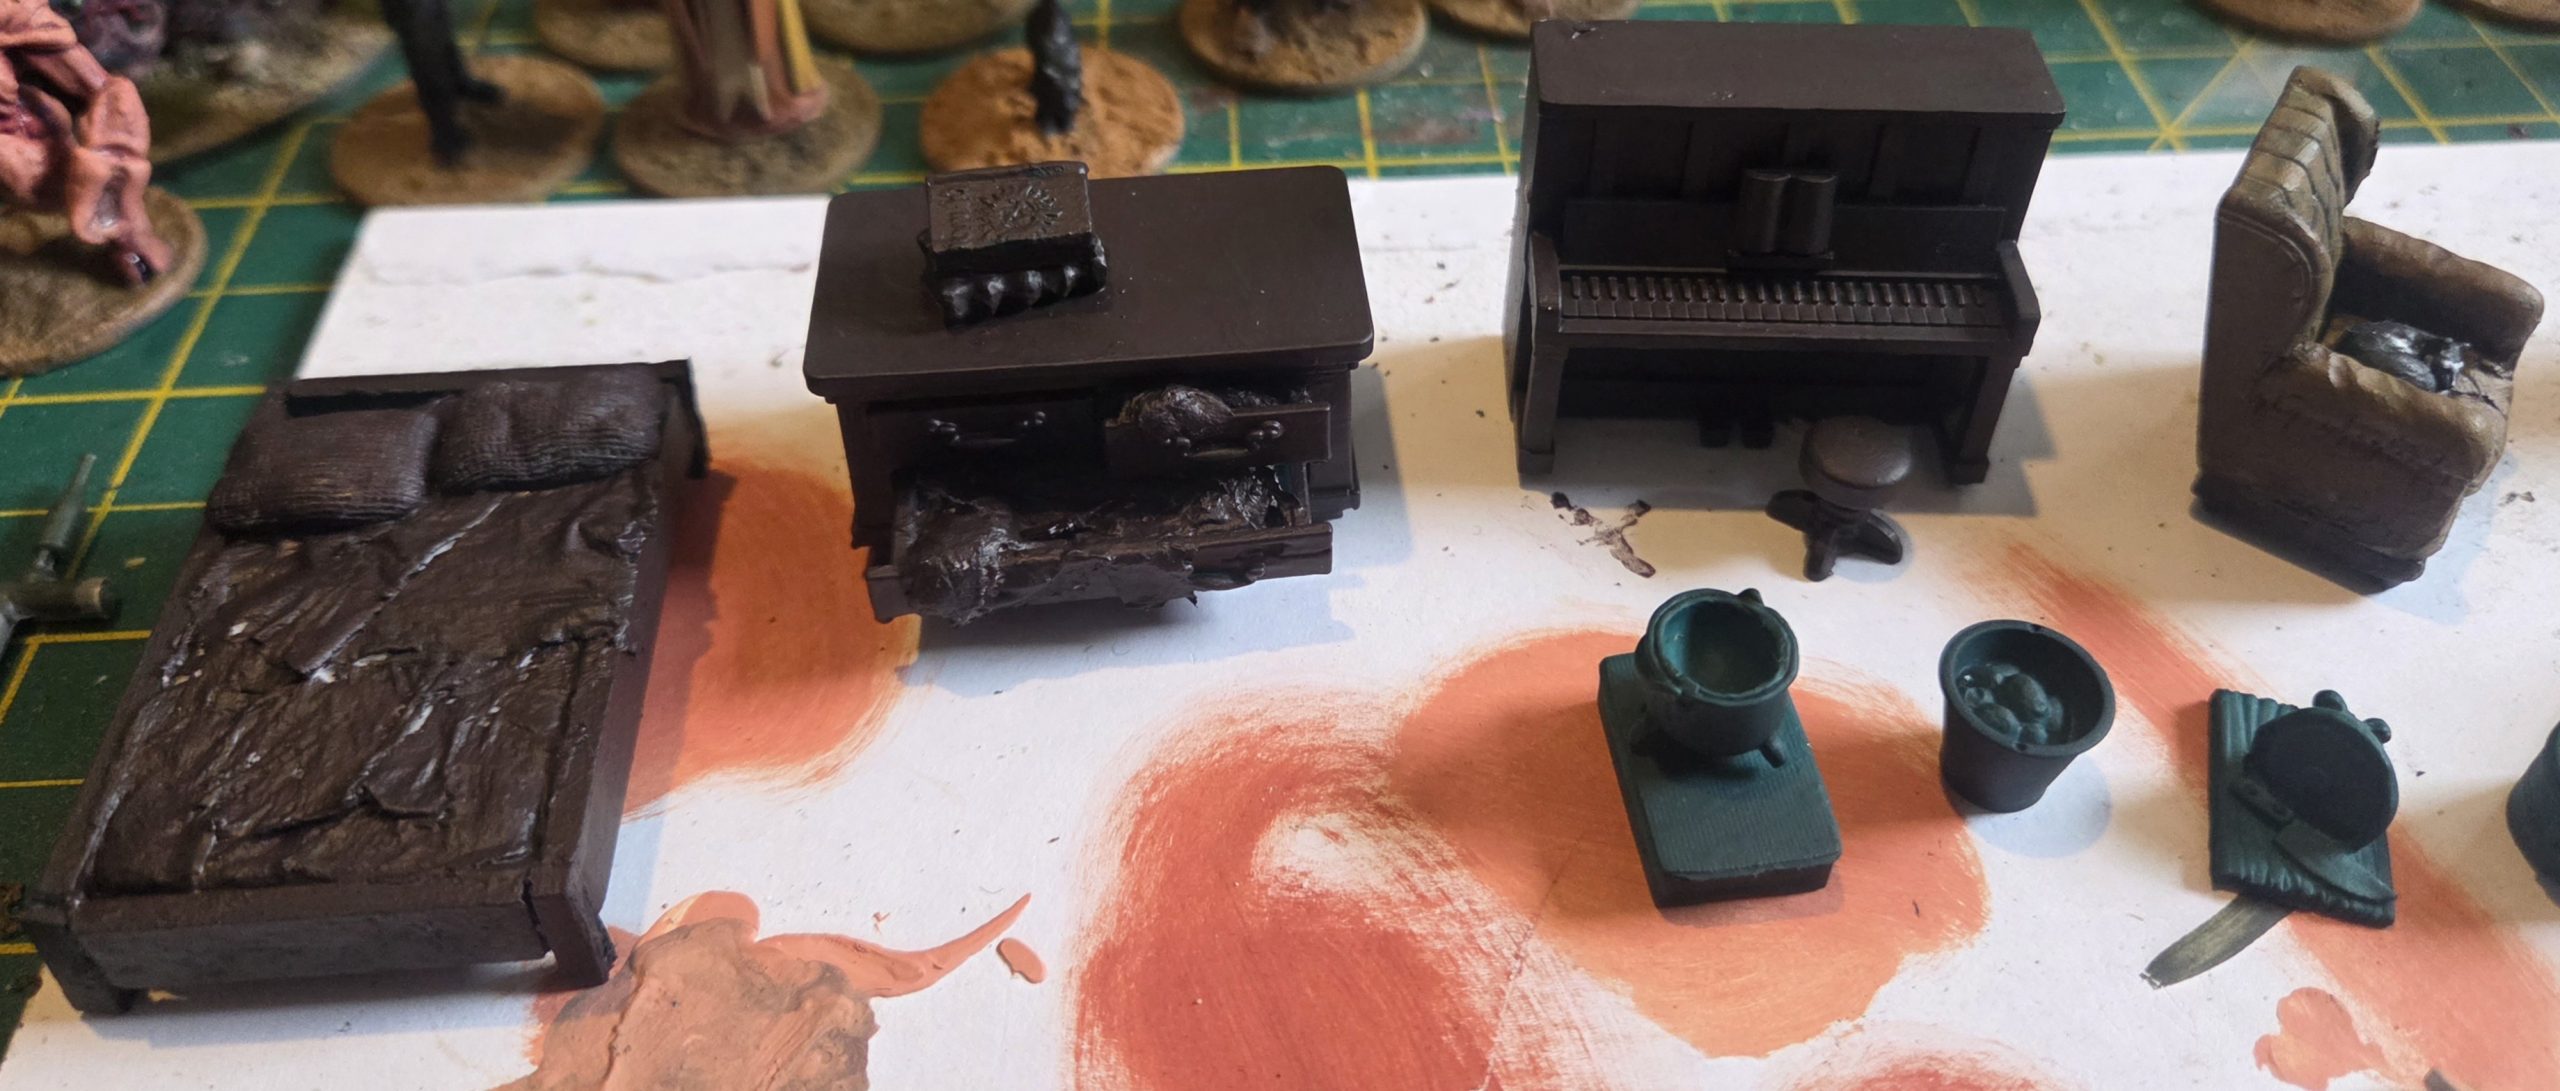 Chest of Drawers from TT Combat, clothes made from tissue paper soaked in PVA glue, books from Green Stuff World. The bed is scratchbuilt, the bedding is tissue and PVA, the pillows are sandbags..
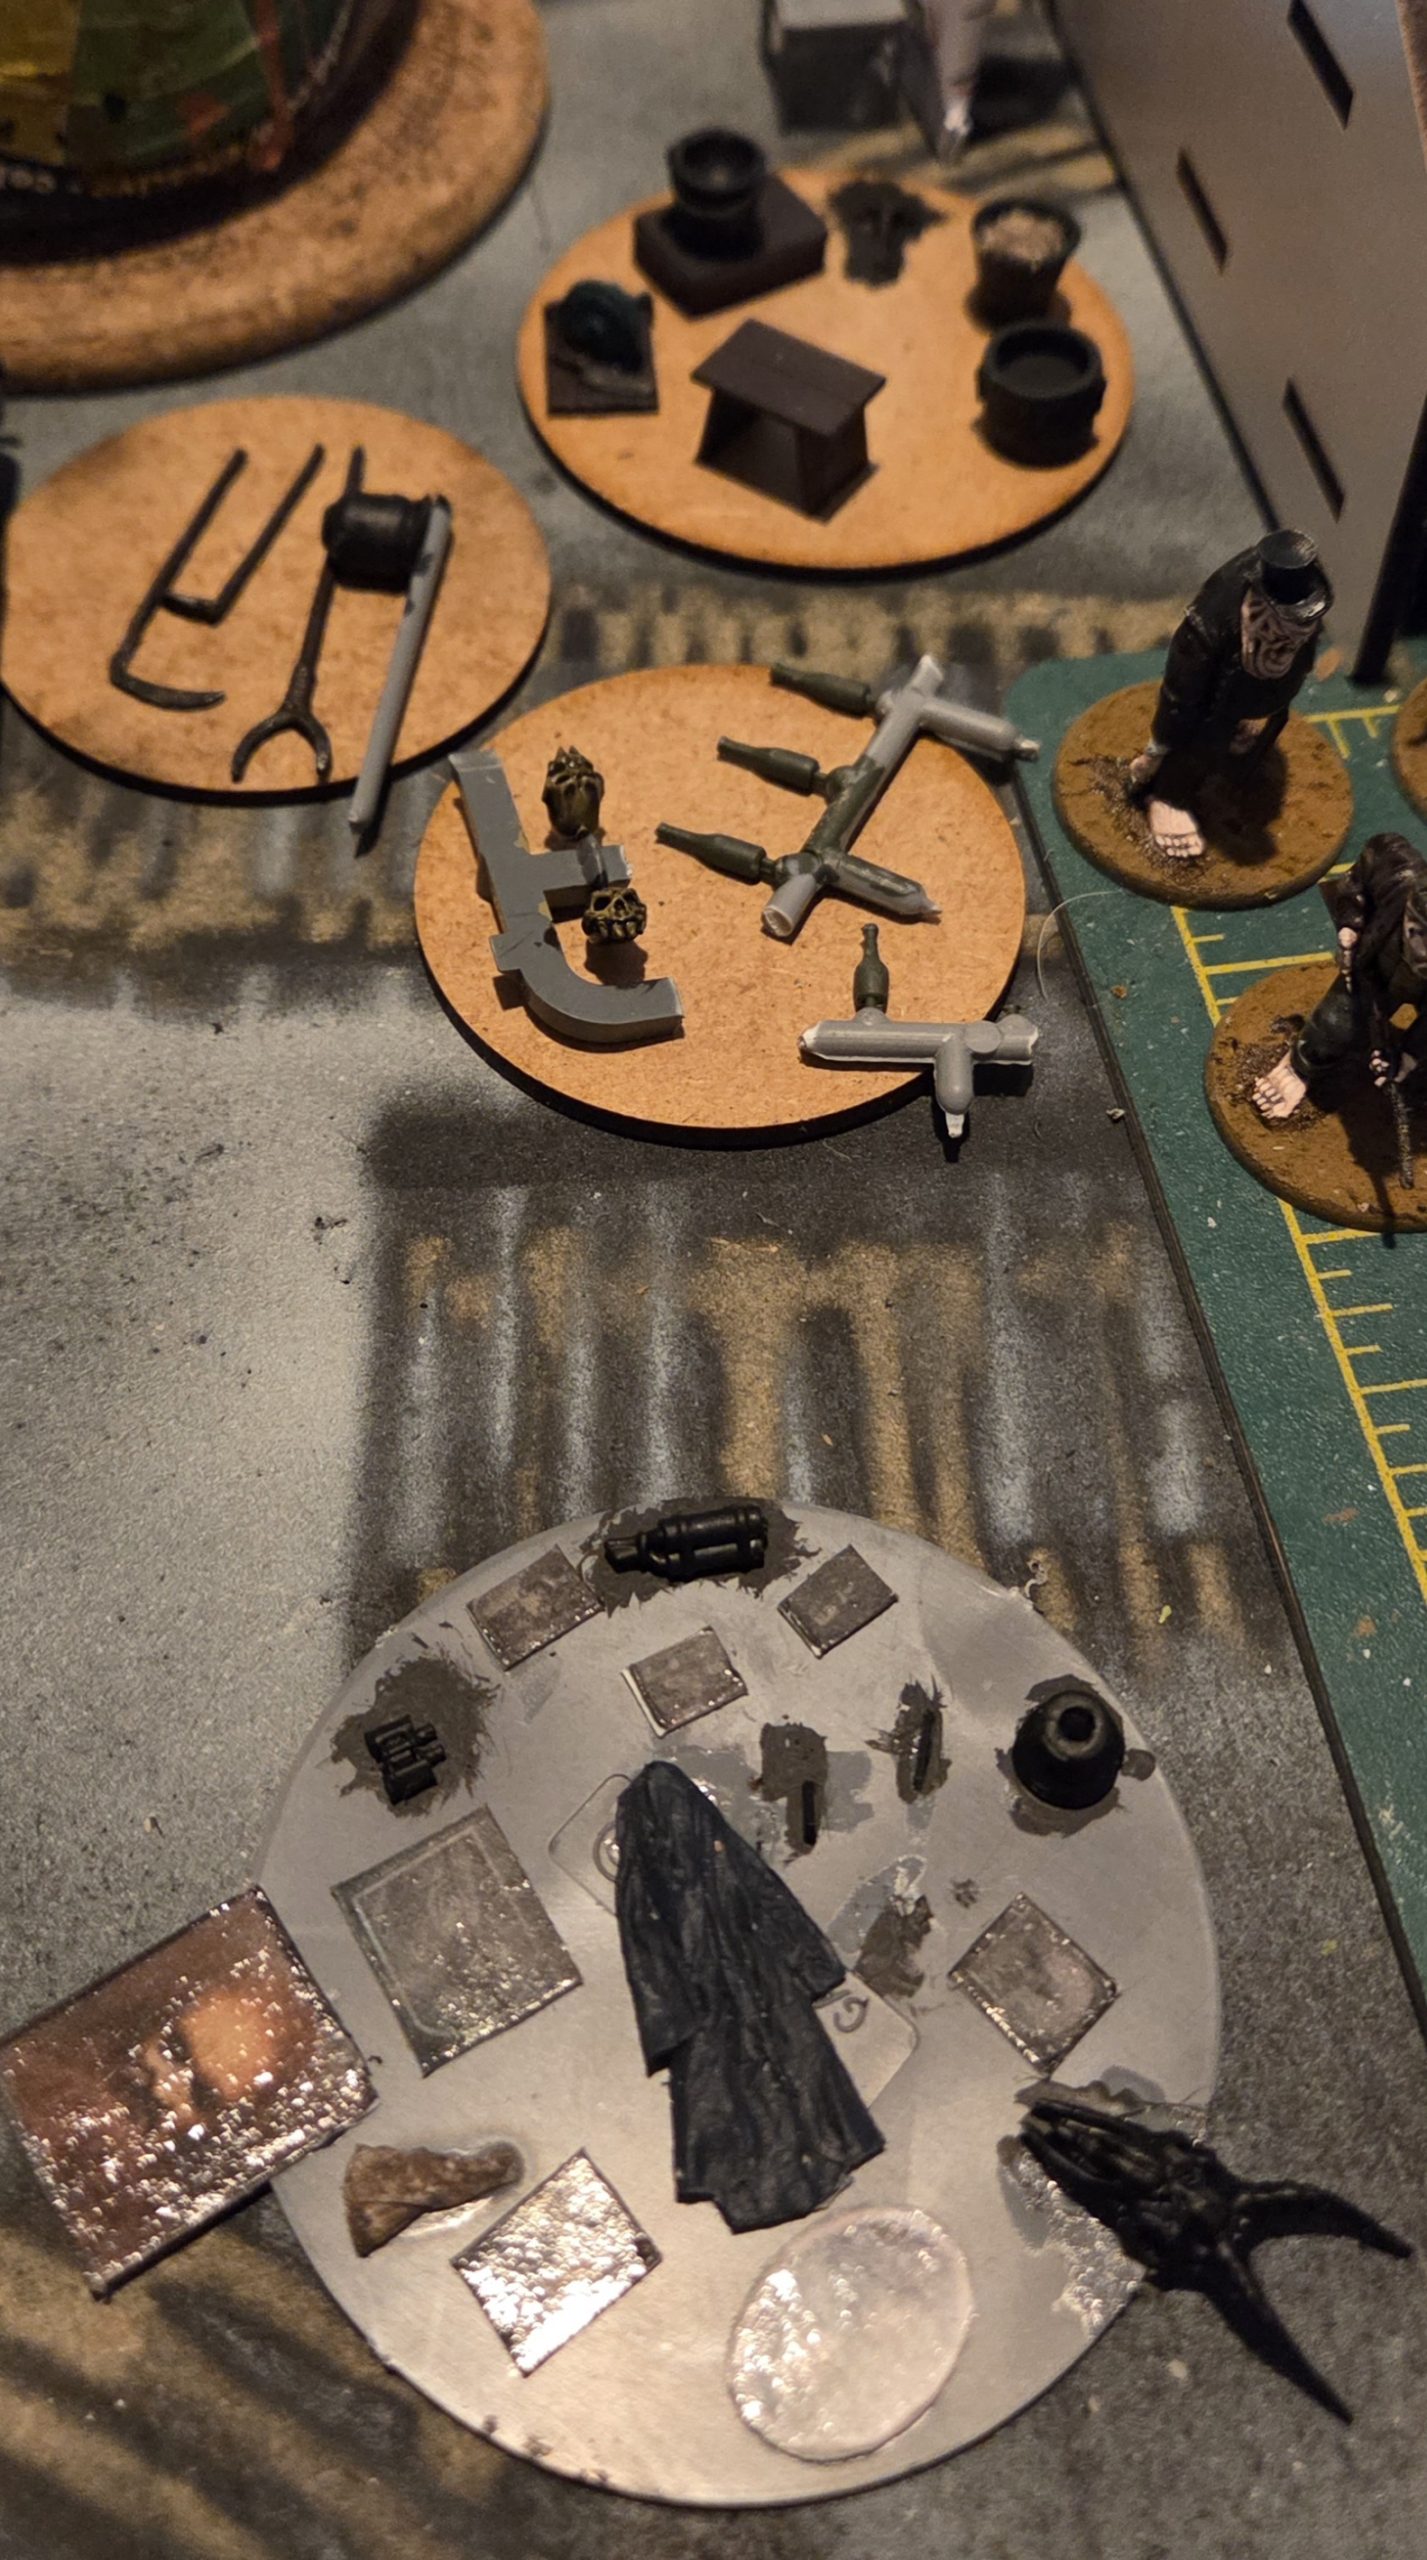 All the small details ready for painting. The framed prints are photos online, shrunk down, printed, glued on plastic card and several voats of gloss varnish, I just need to paint the frames.
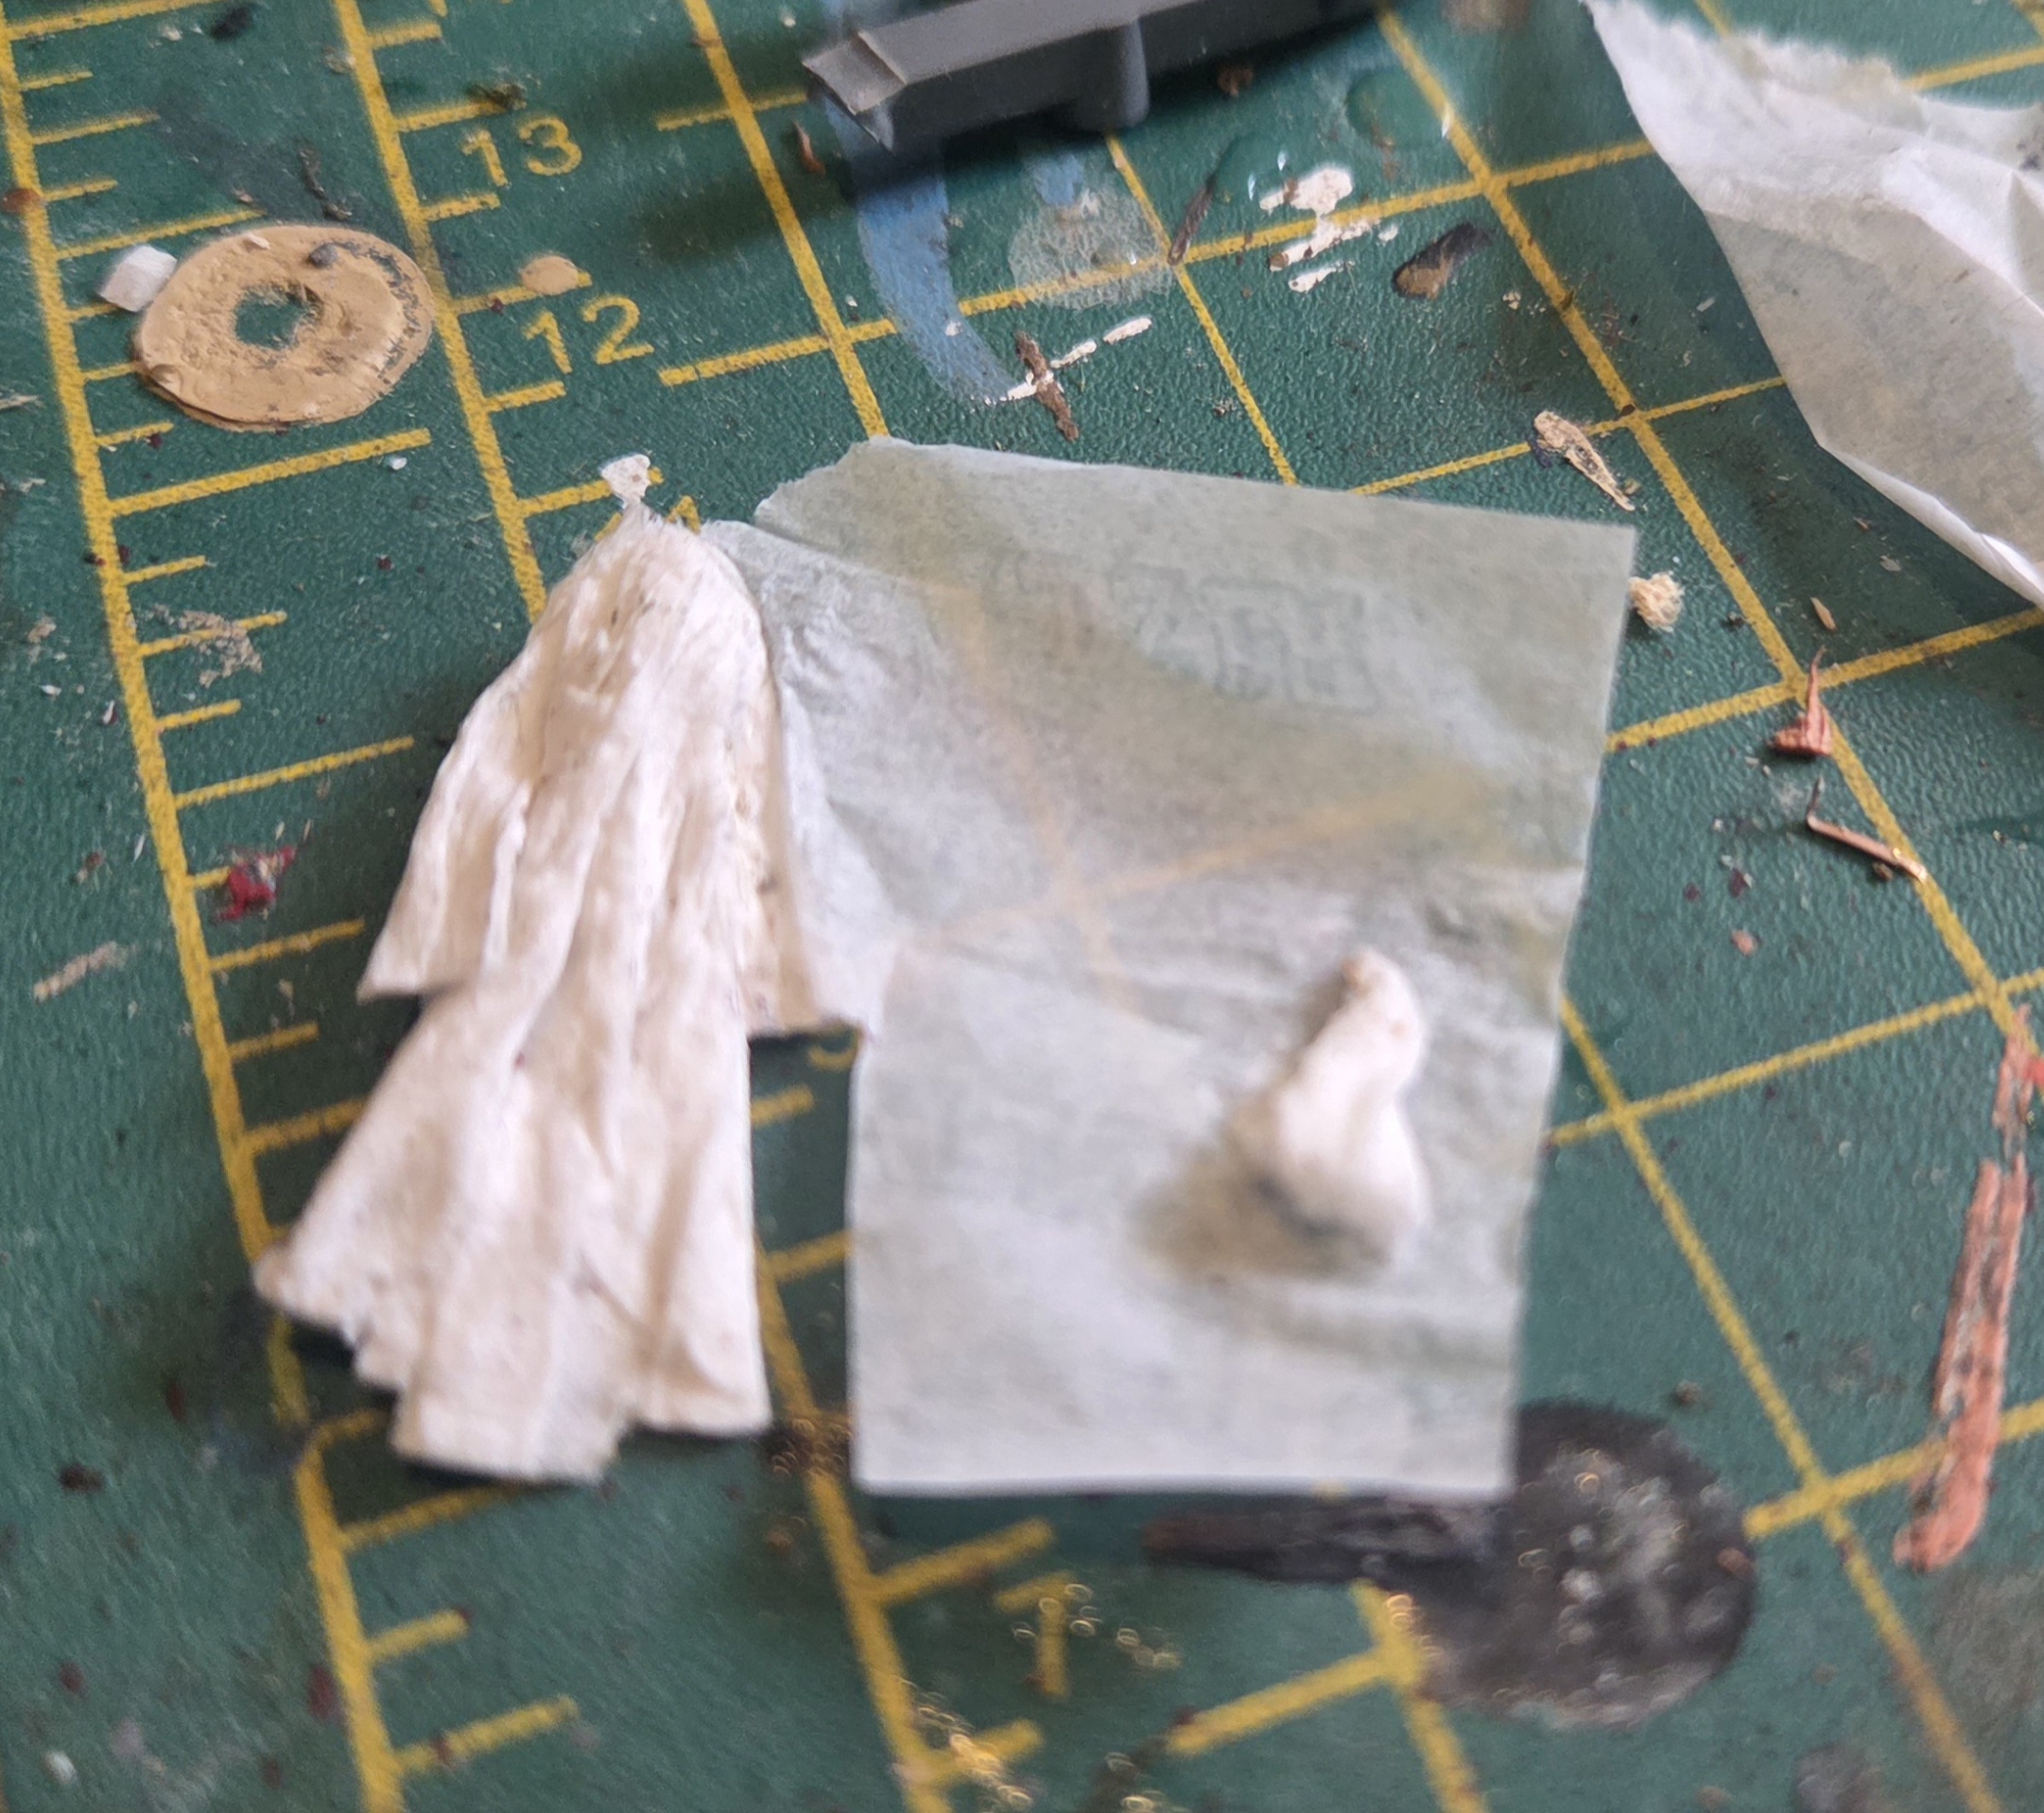 A cloth and a long coat made from tissue paper and PVA glue.
 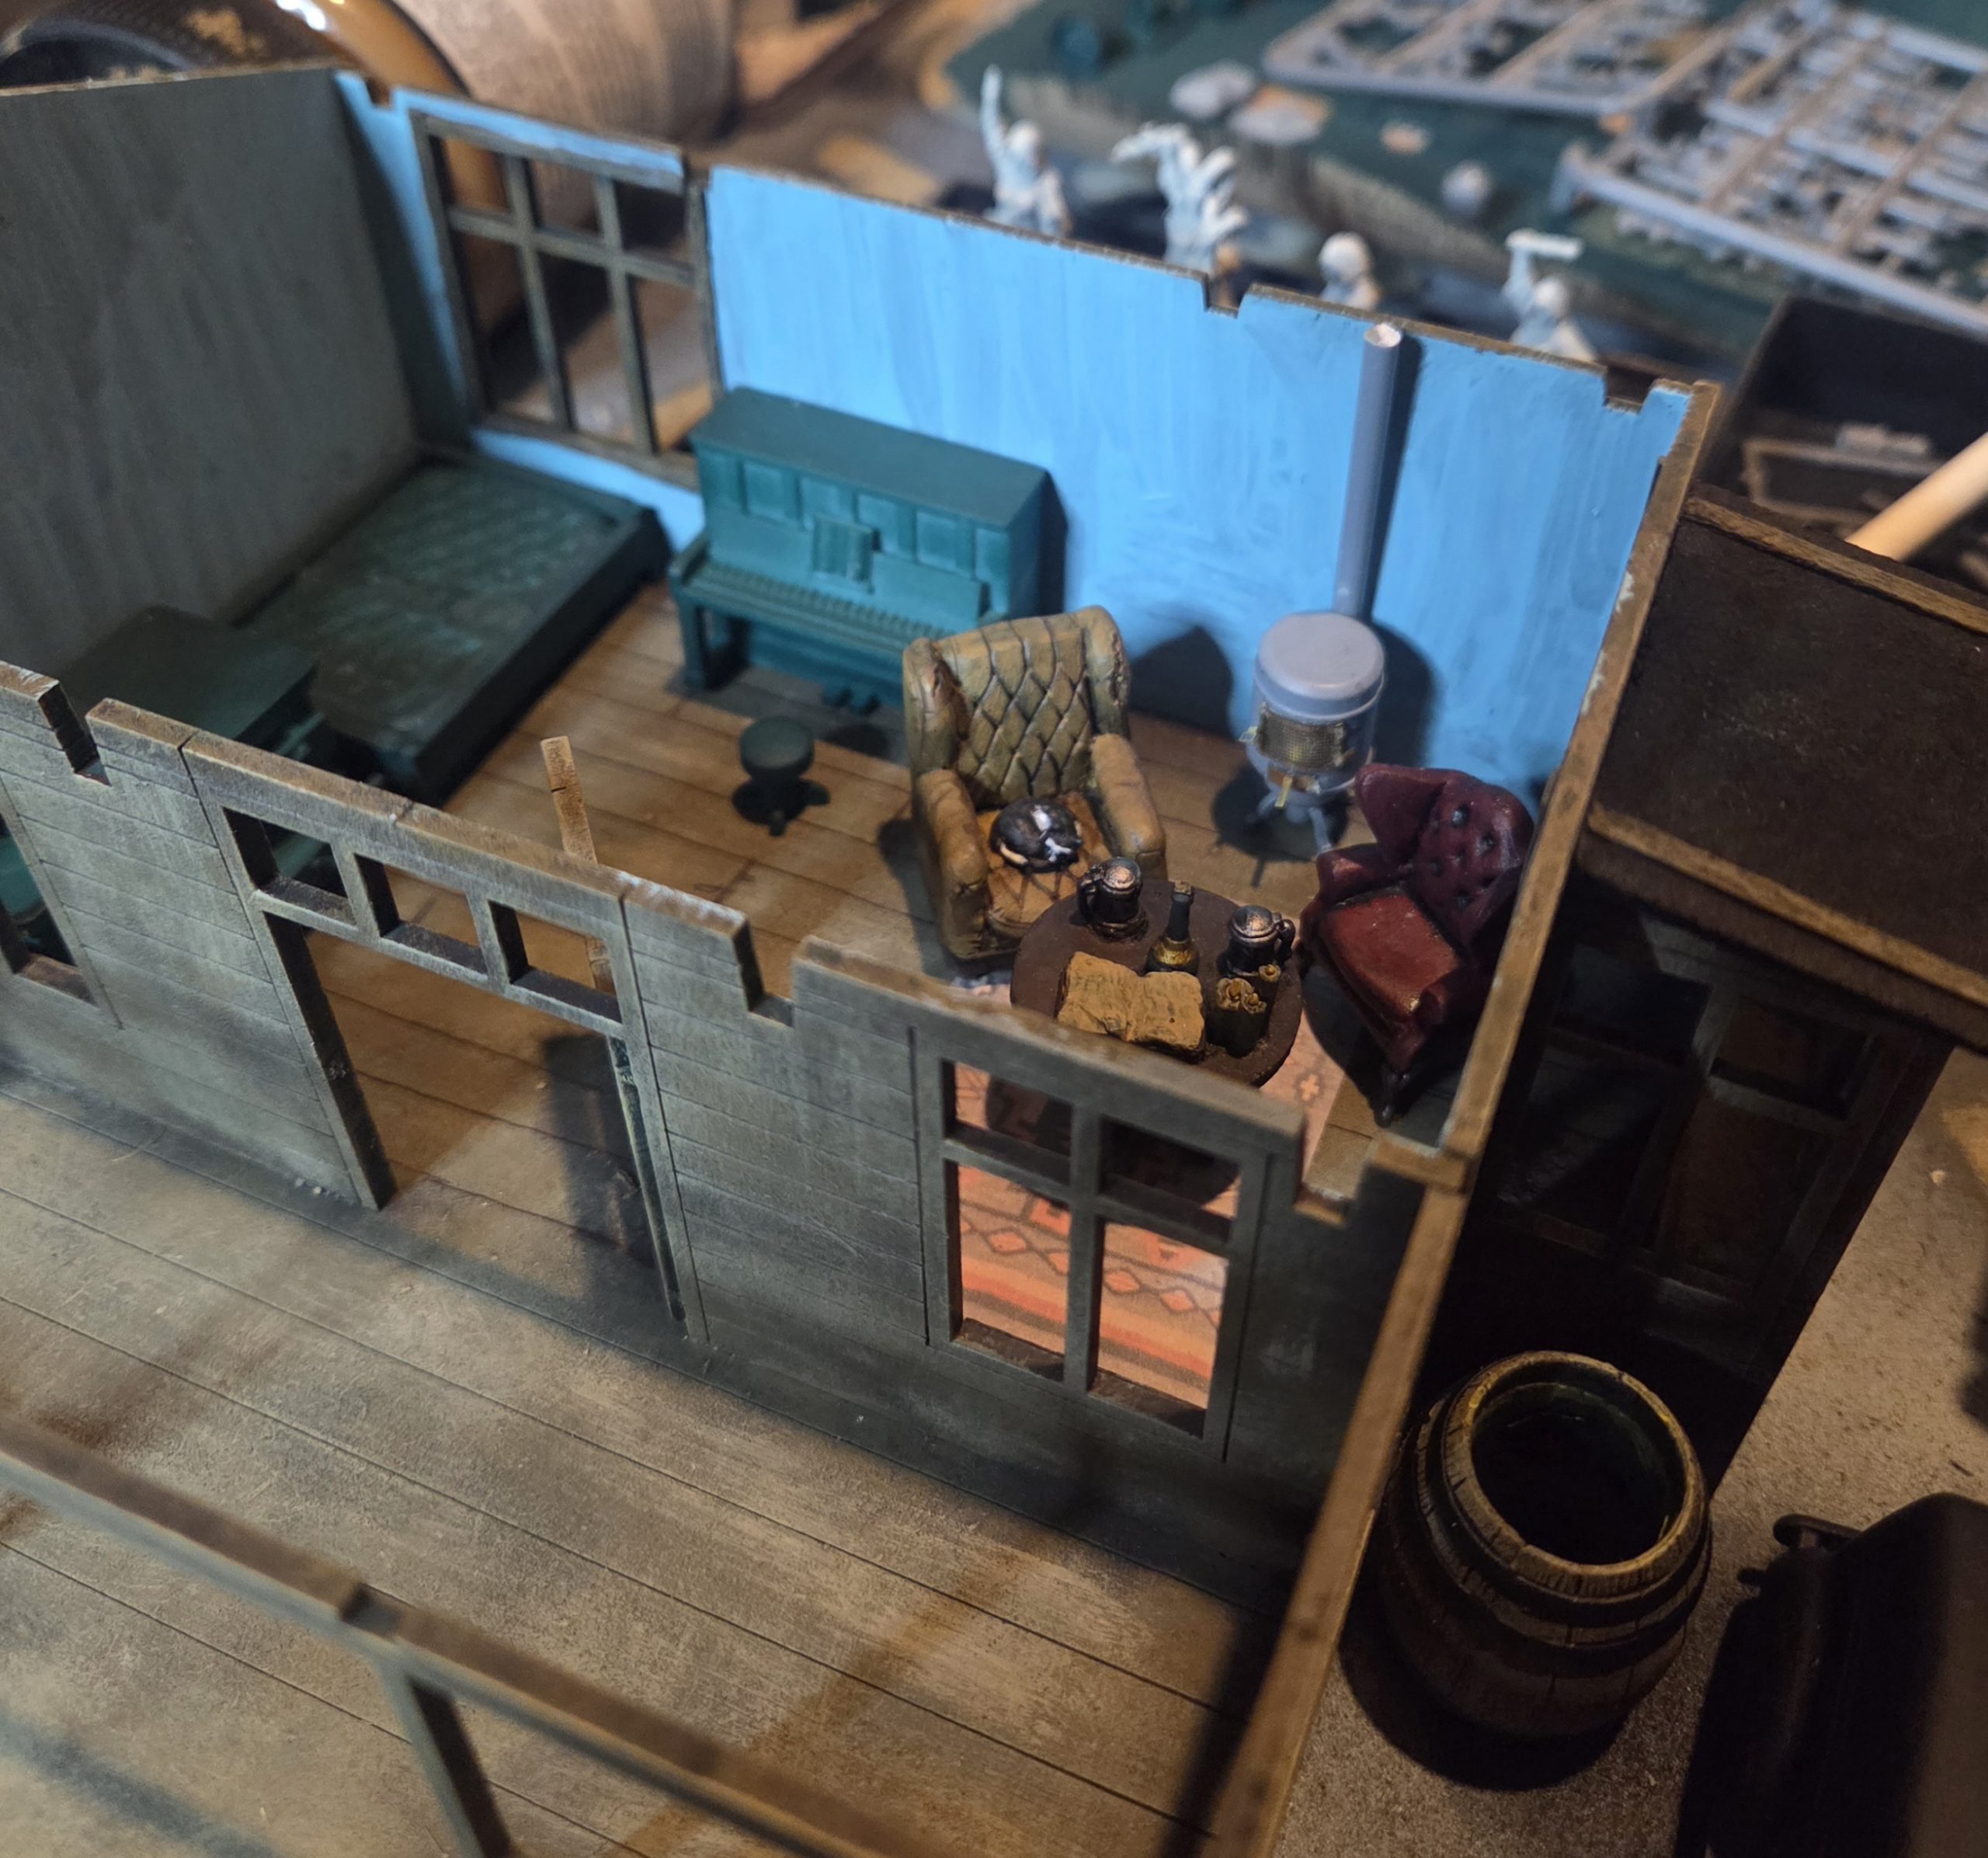 Just needs painting now.
I need some heat.
With the weather being so miserable here I thought they cabin needed some heating, I toyed with the idea of building an open fire but the cabin was to small to acomagate that, I looked on line for an inscale wood burner model, but the cheapest was £15.00 and I did not like them.
So I delved through the bits box.
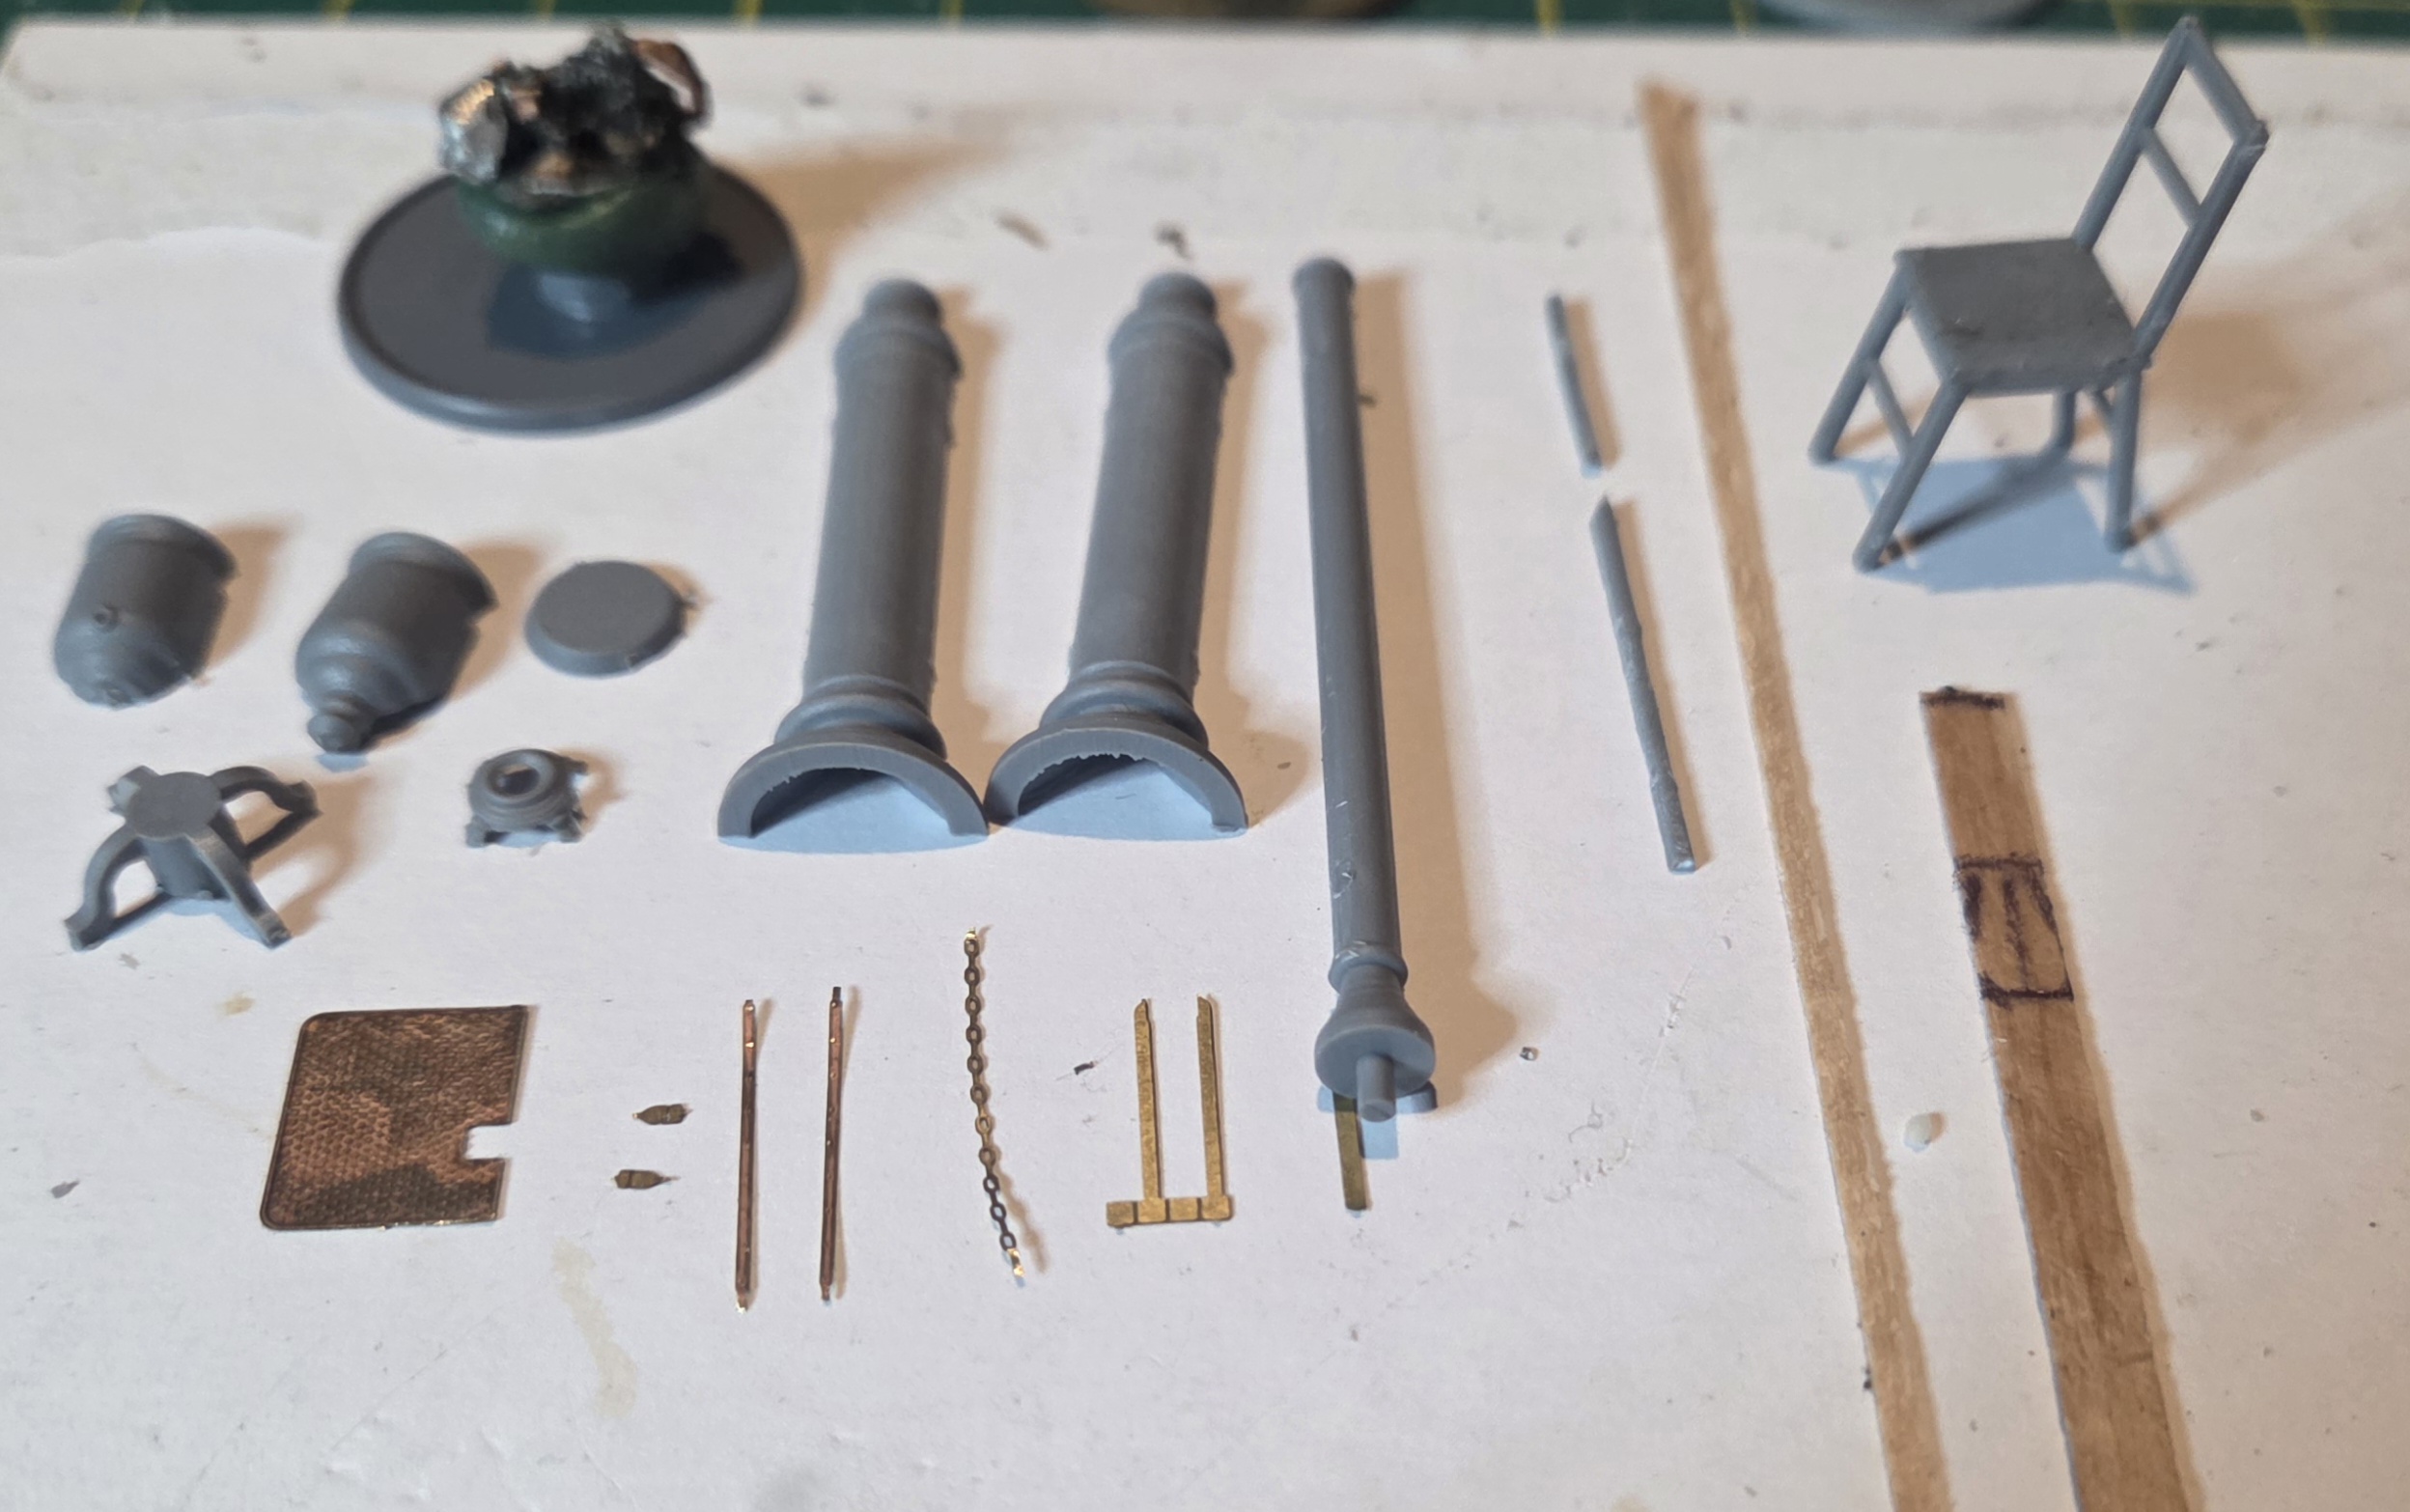 The bits I have dug out that have possibilities.
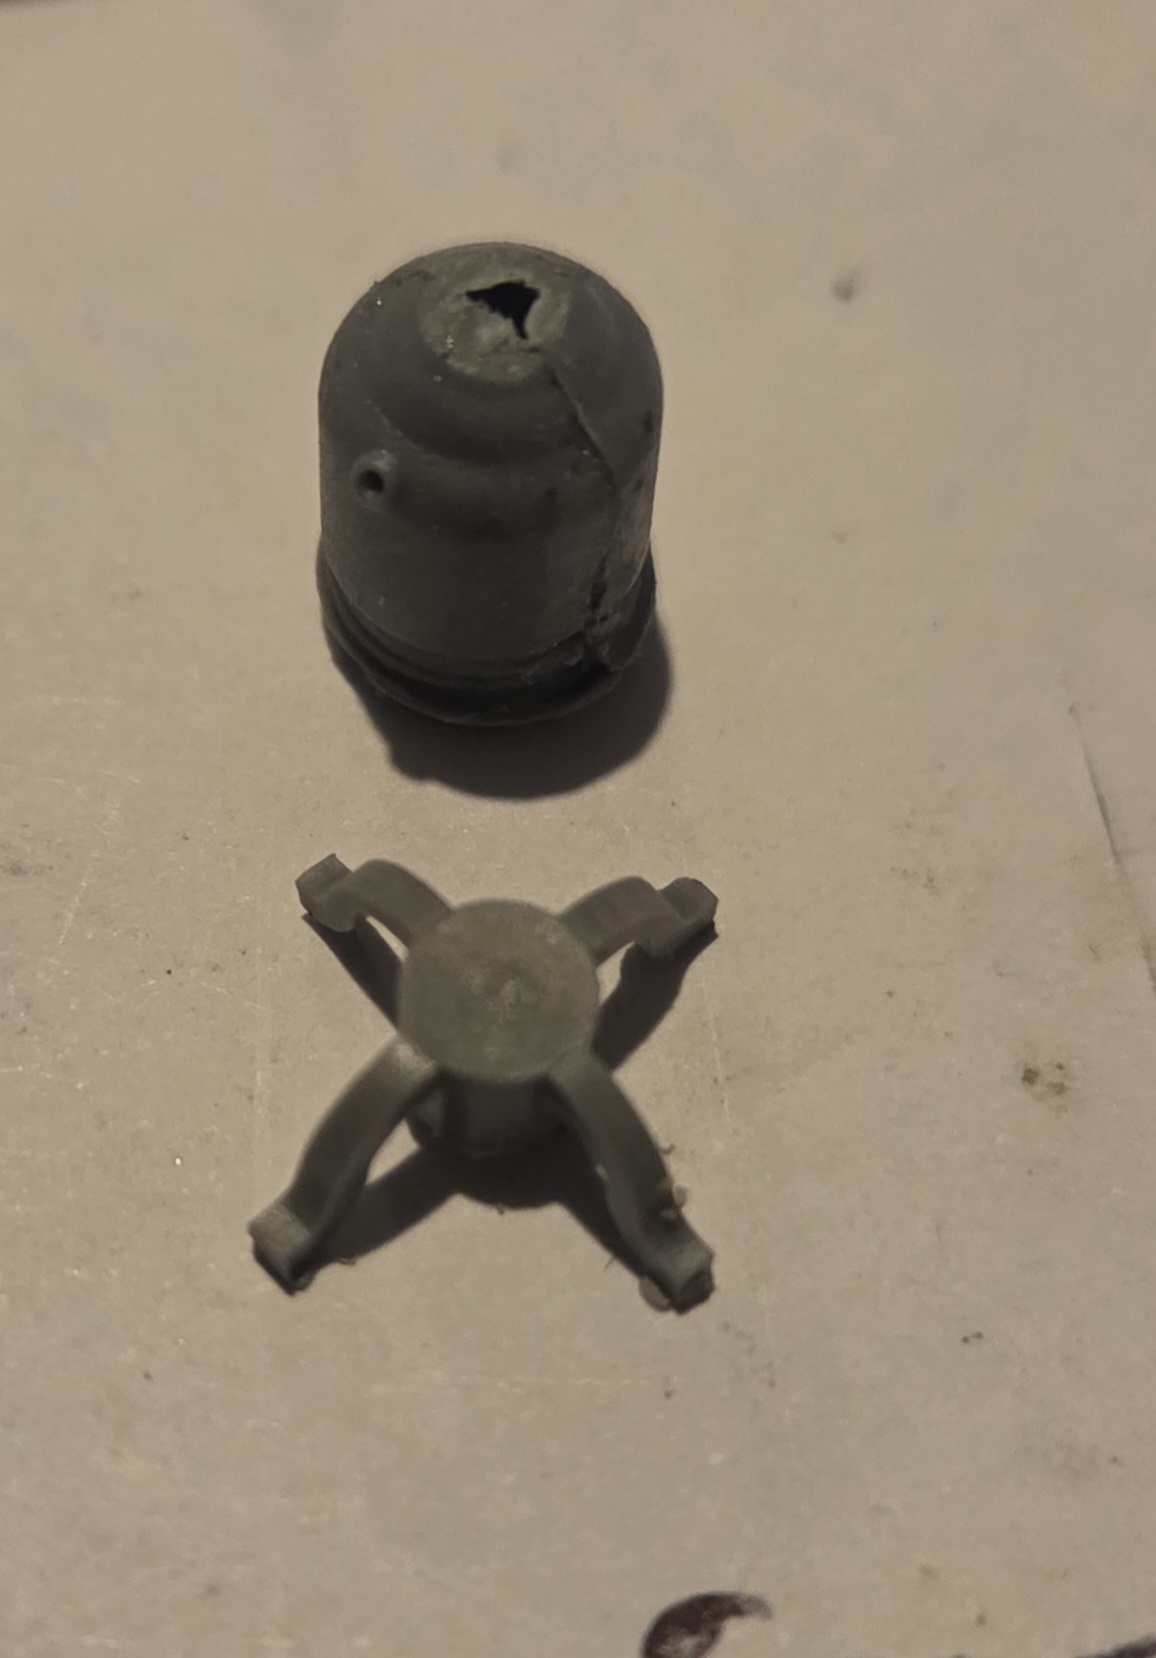 This might work.
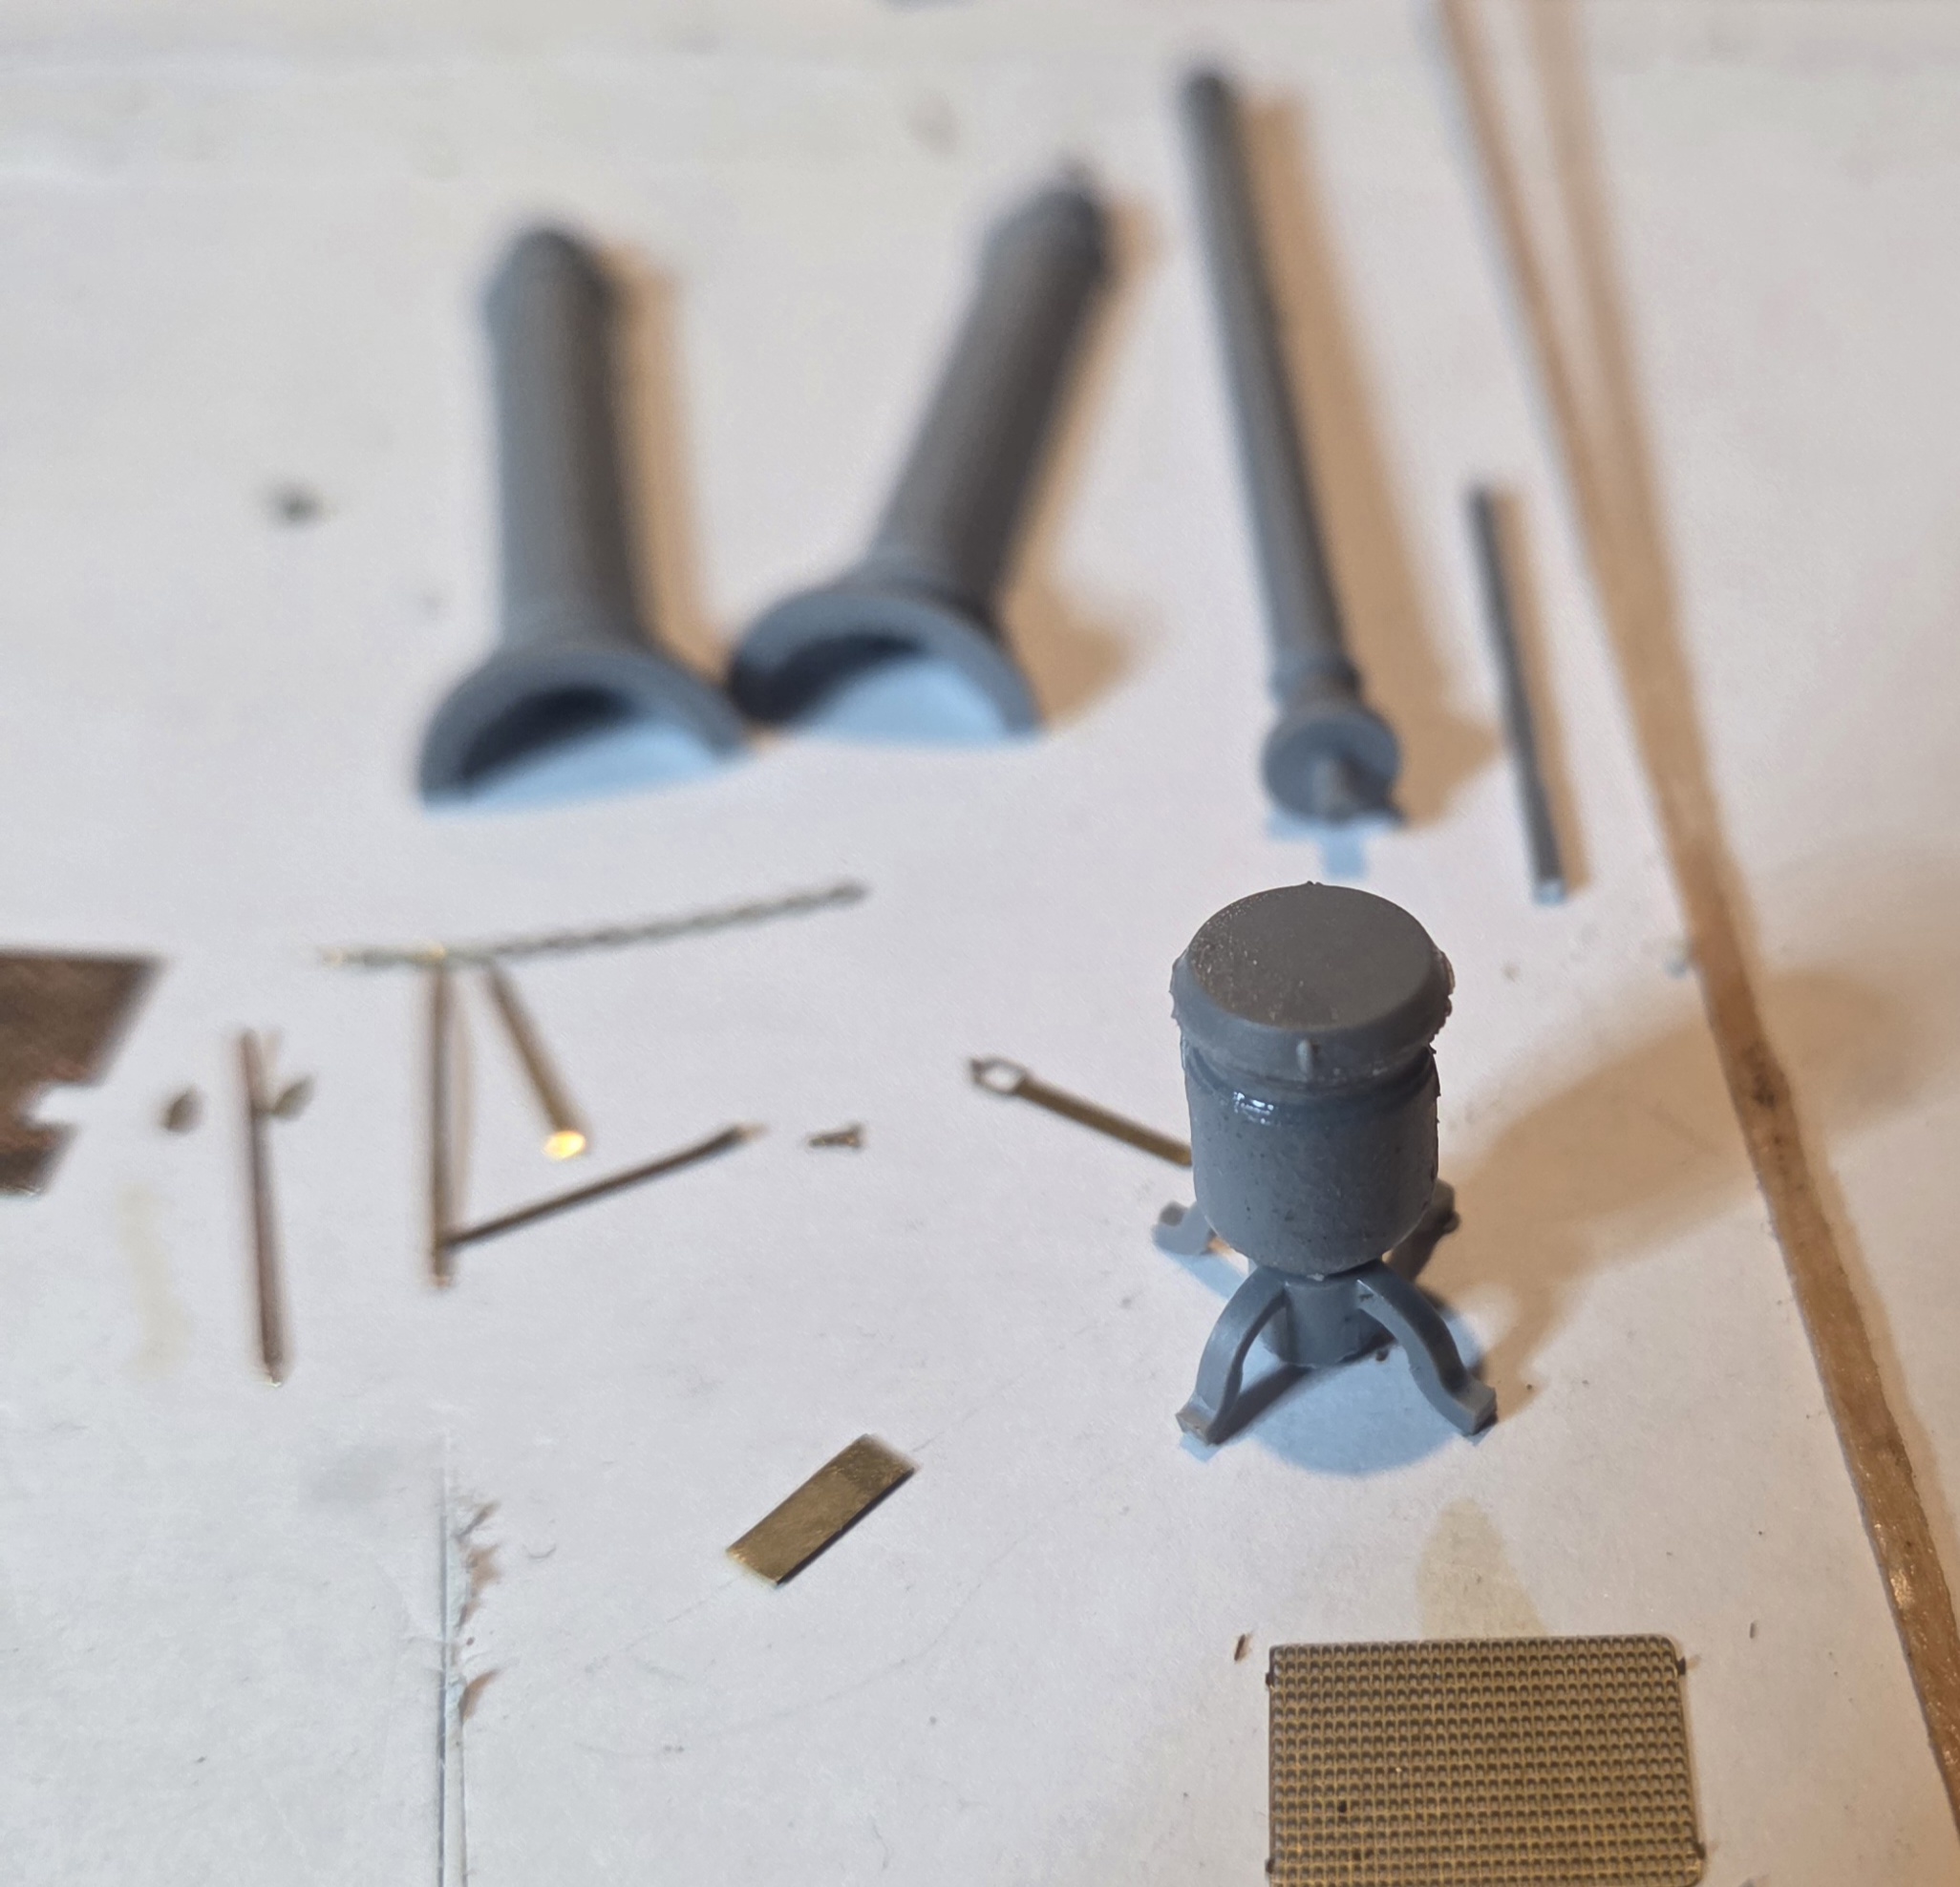 Not bad!
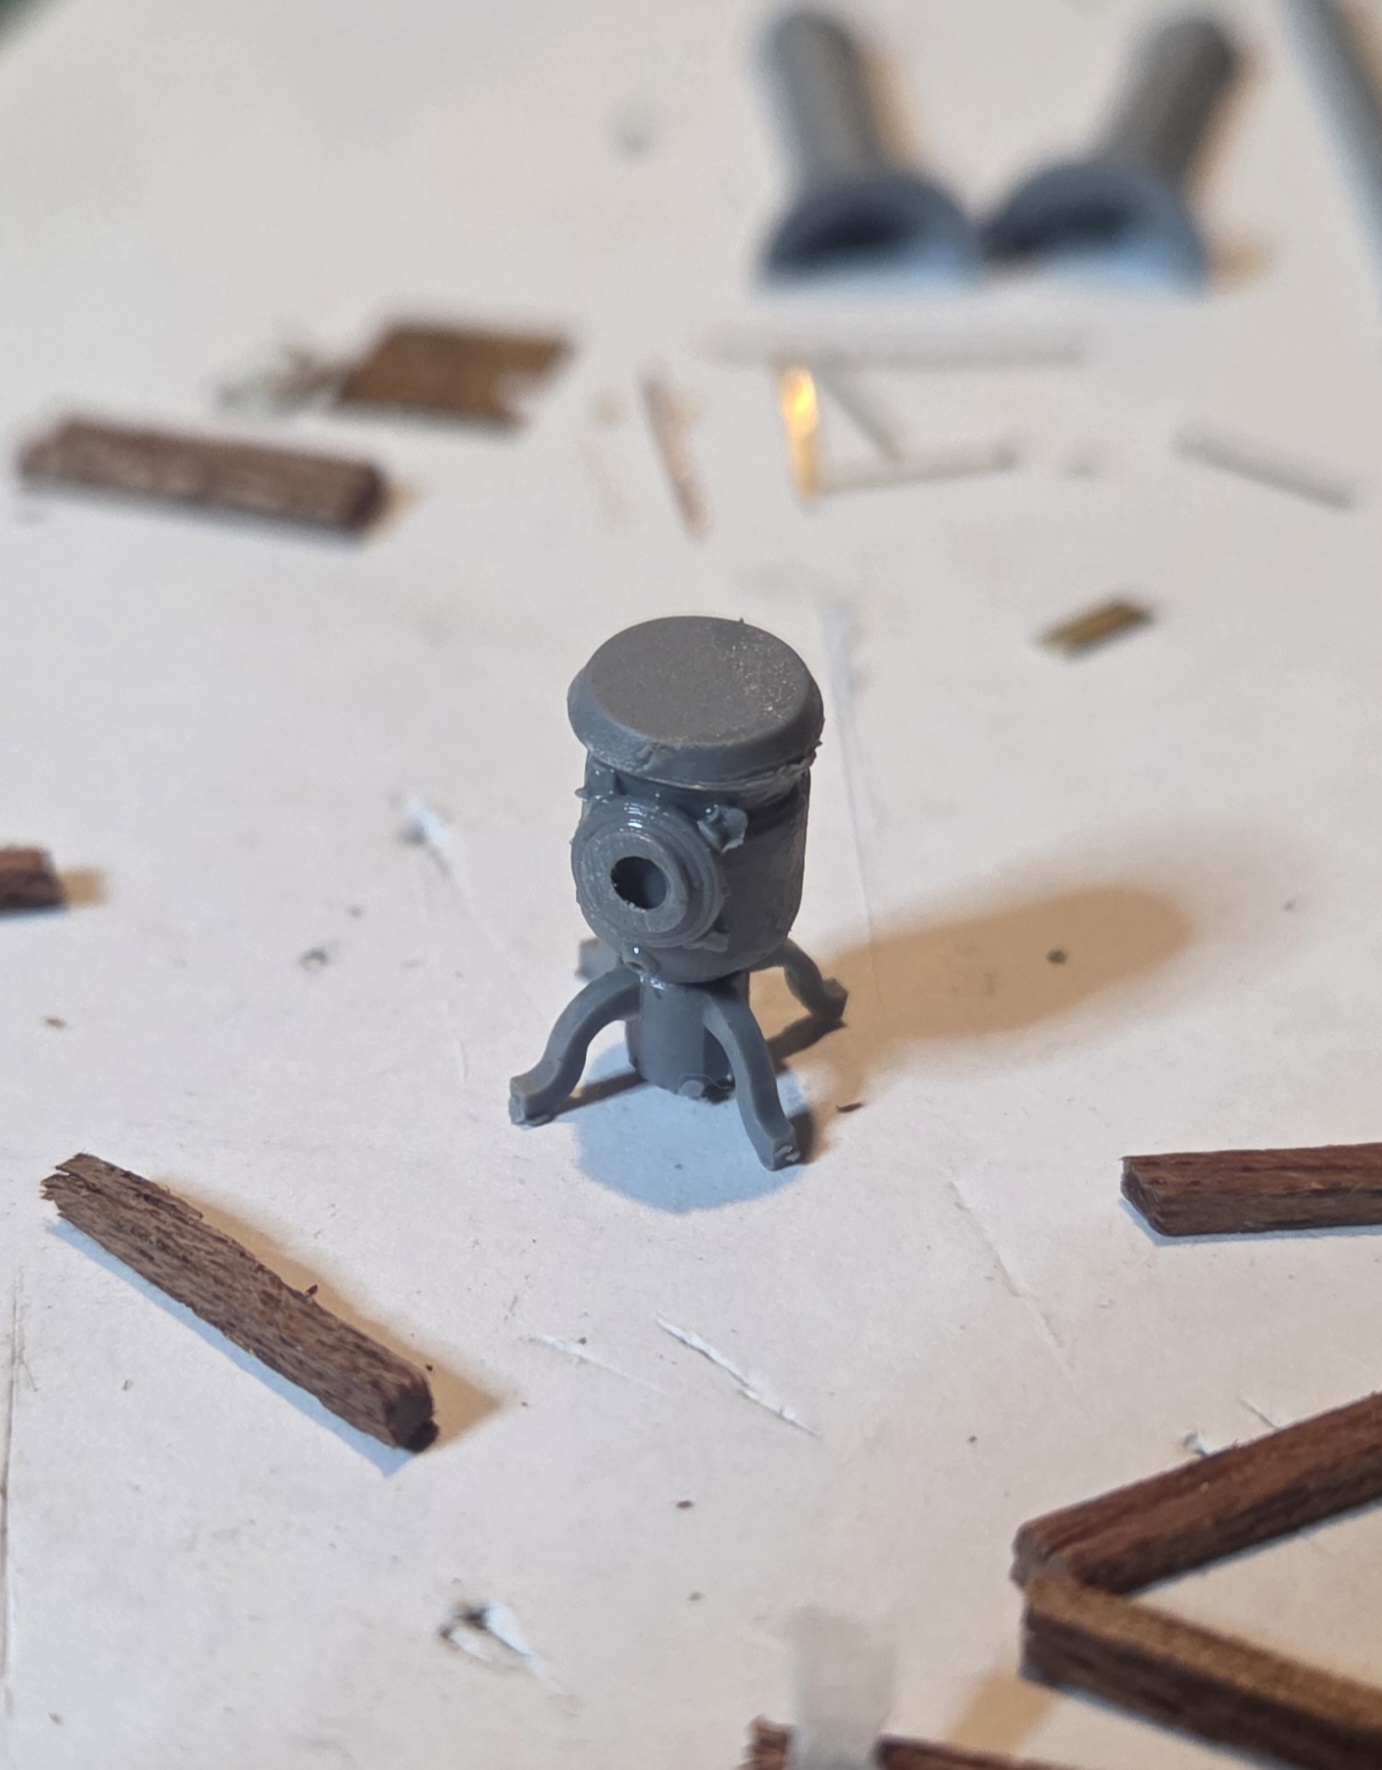 An attachment for the chimney made from a piece of scrap. It was at this point I realised the burner was too small. So I ripped it apart and fortunately found a milk churn.
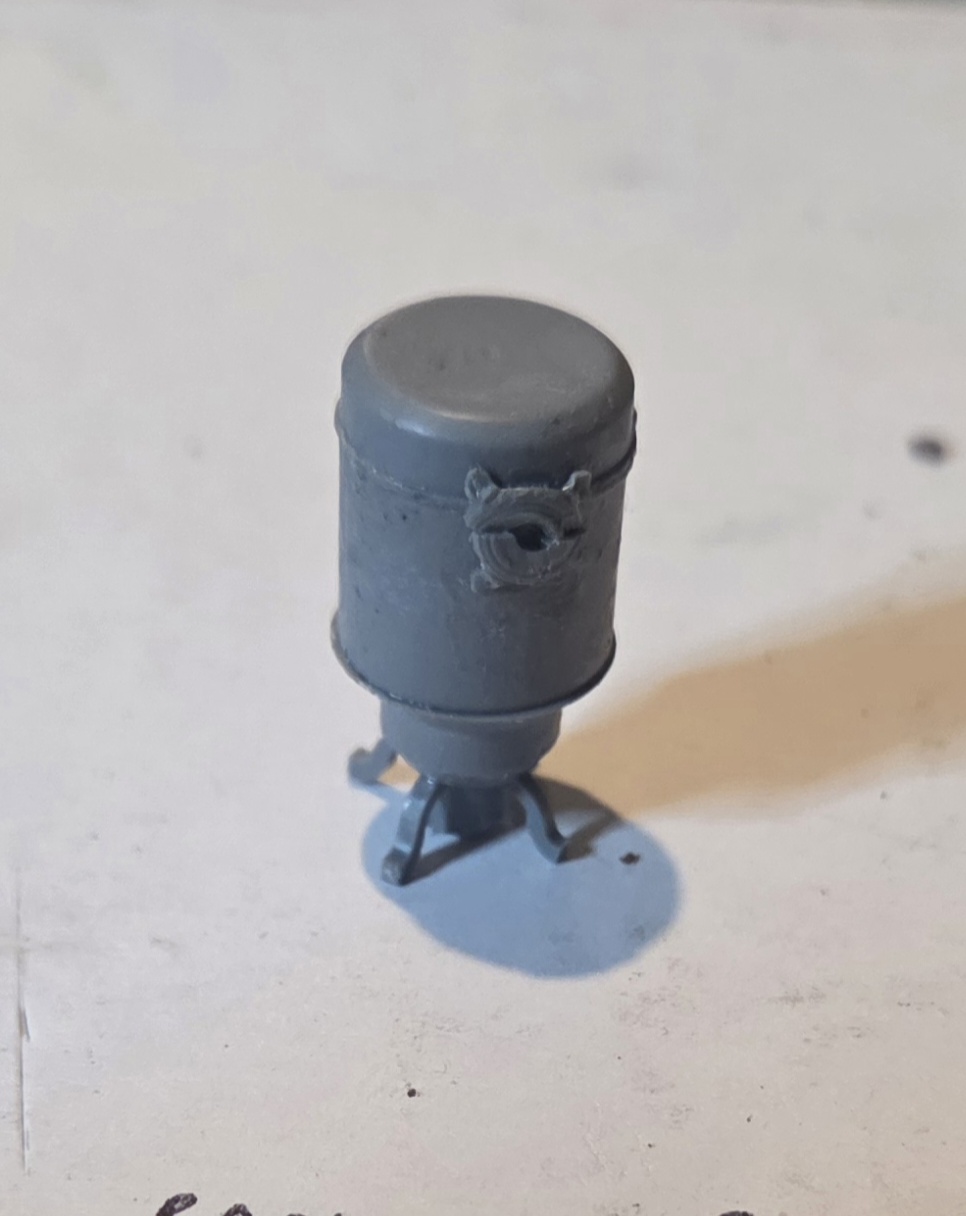
 Making the door, I had a piece of etched brass mesh to which I glued thin brass etch strip, once dried, I trimmed off all the overhang.
 The completed door with hinges and handle, and the front of the ash tray. All using bits I found on unused photo etch.
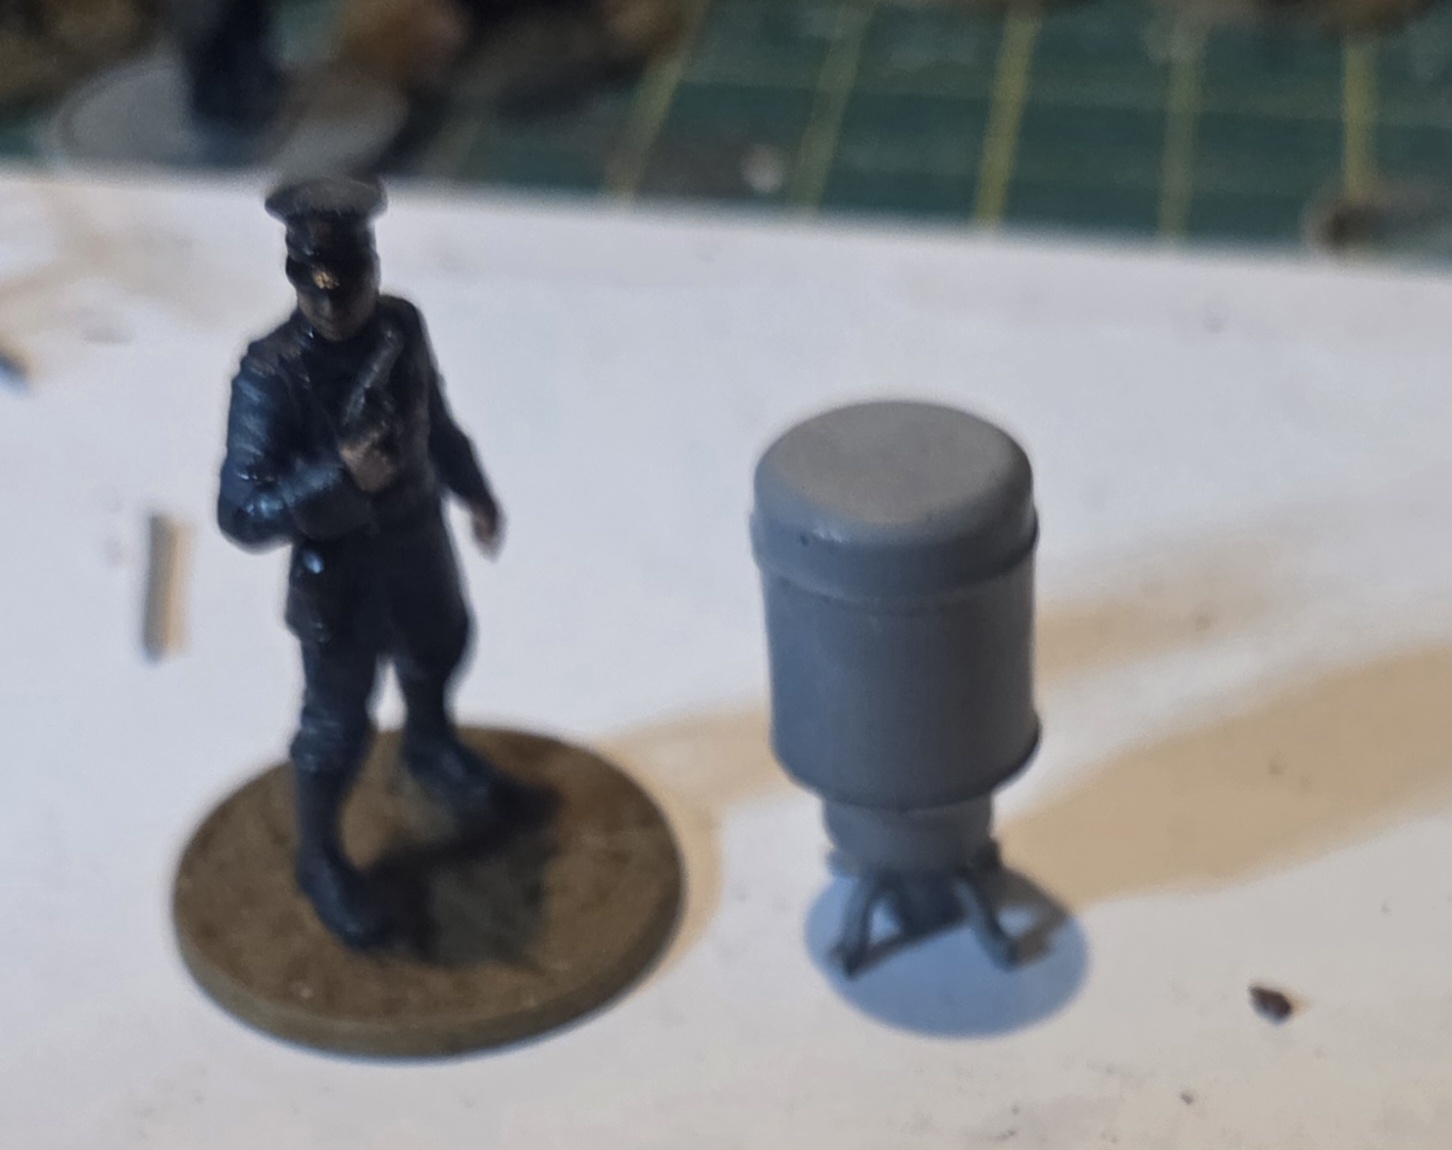
 The completed wood burner. I did later decide the chimney was too thick, so replaced with a piece of plastic sprue.
 Chimney top glued in corresponding location on roof. This is a piece of plastic sprue with one end drilled out. I still need to make a rain cap.
Salvaging Terrain
When I got the rules I knew I wanted to play with painted minis and nice terrain, but I had no suitable terrain.
I hunted around and found stuff to use, convert or scratchbuild.
I have tried to do a tutorial on some of the bits and pieces. Hope it gives you some tips and ideas.
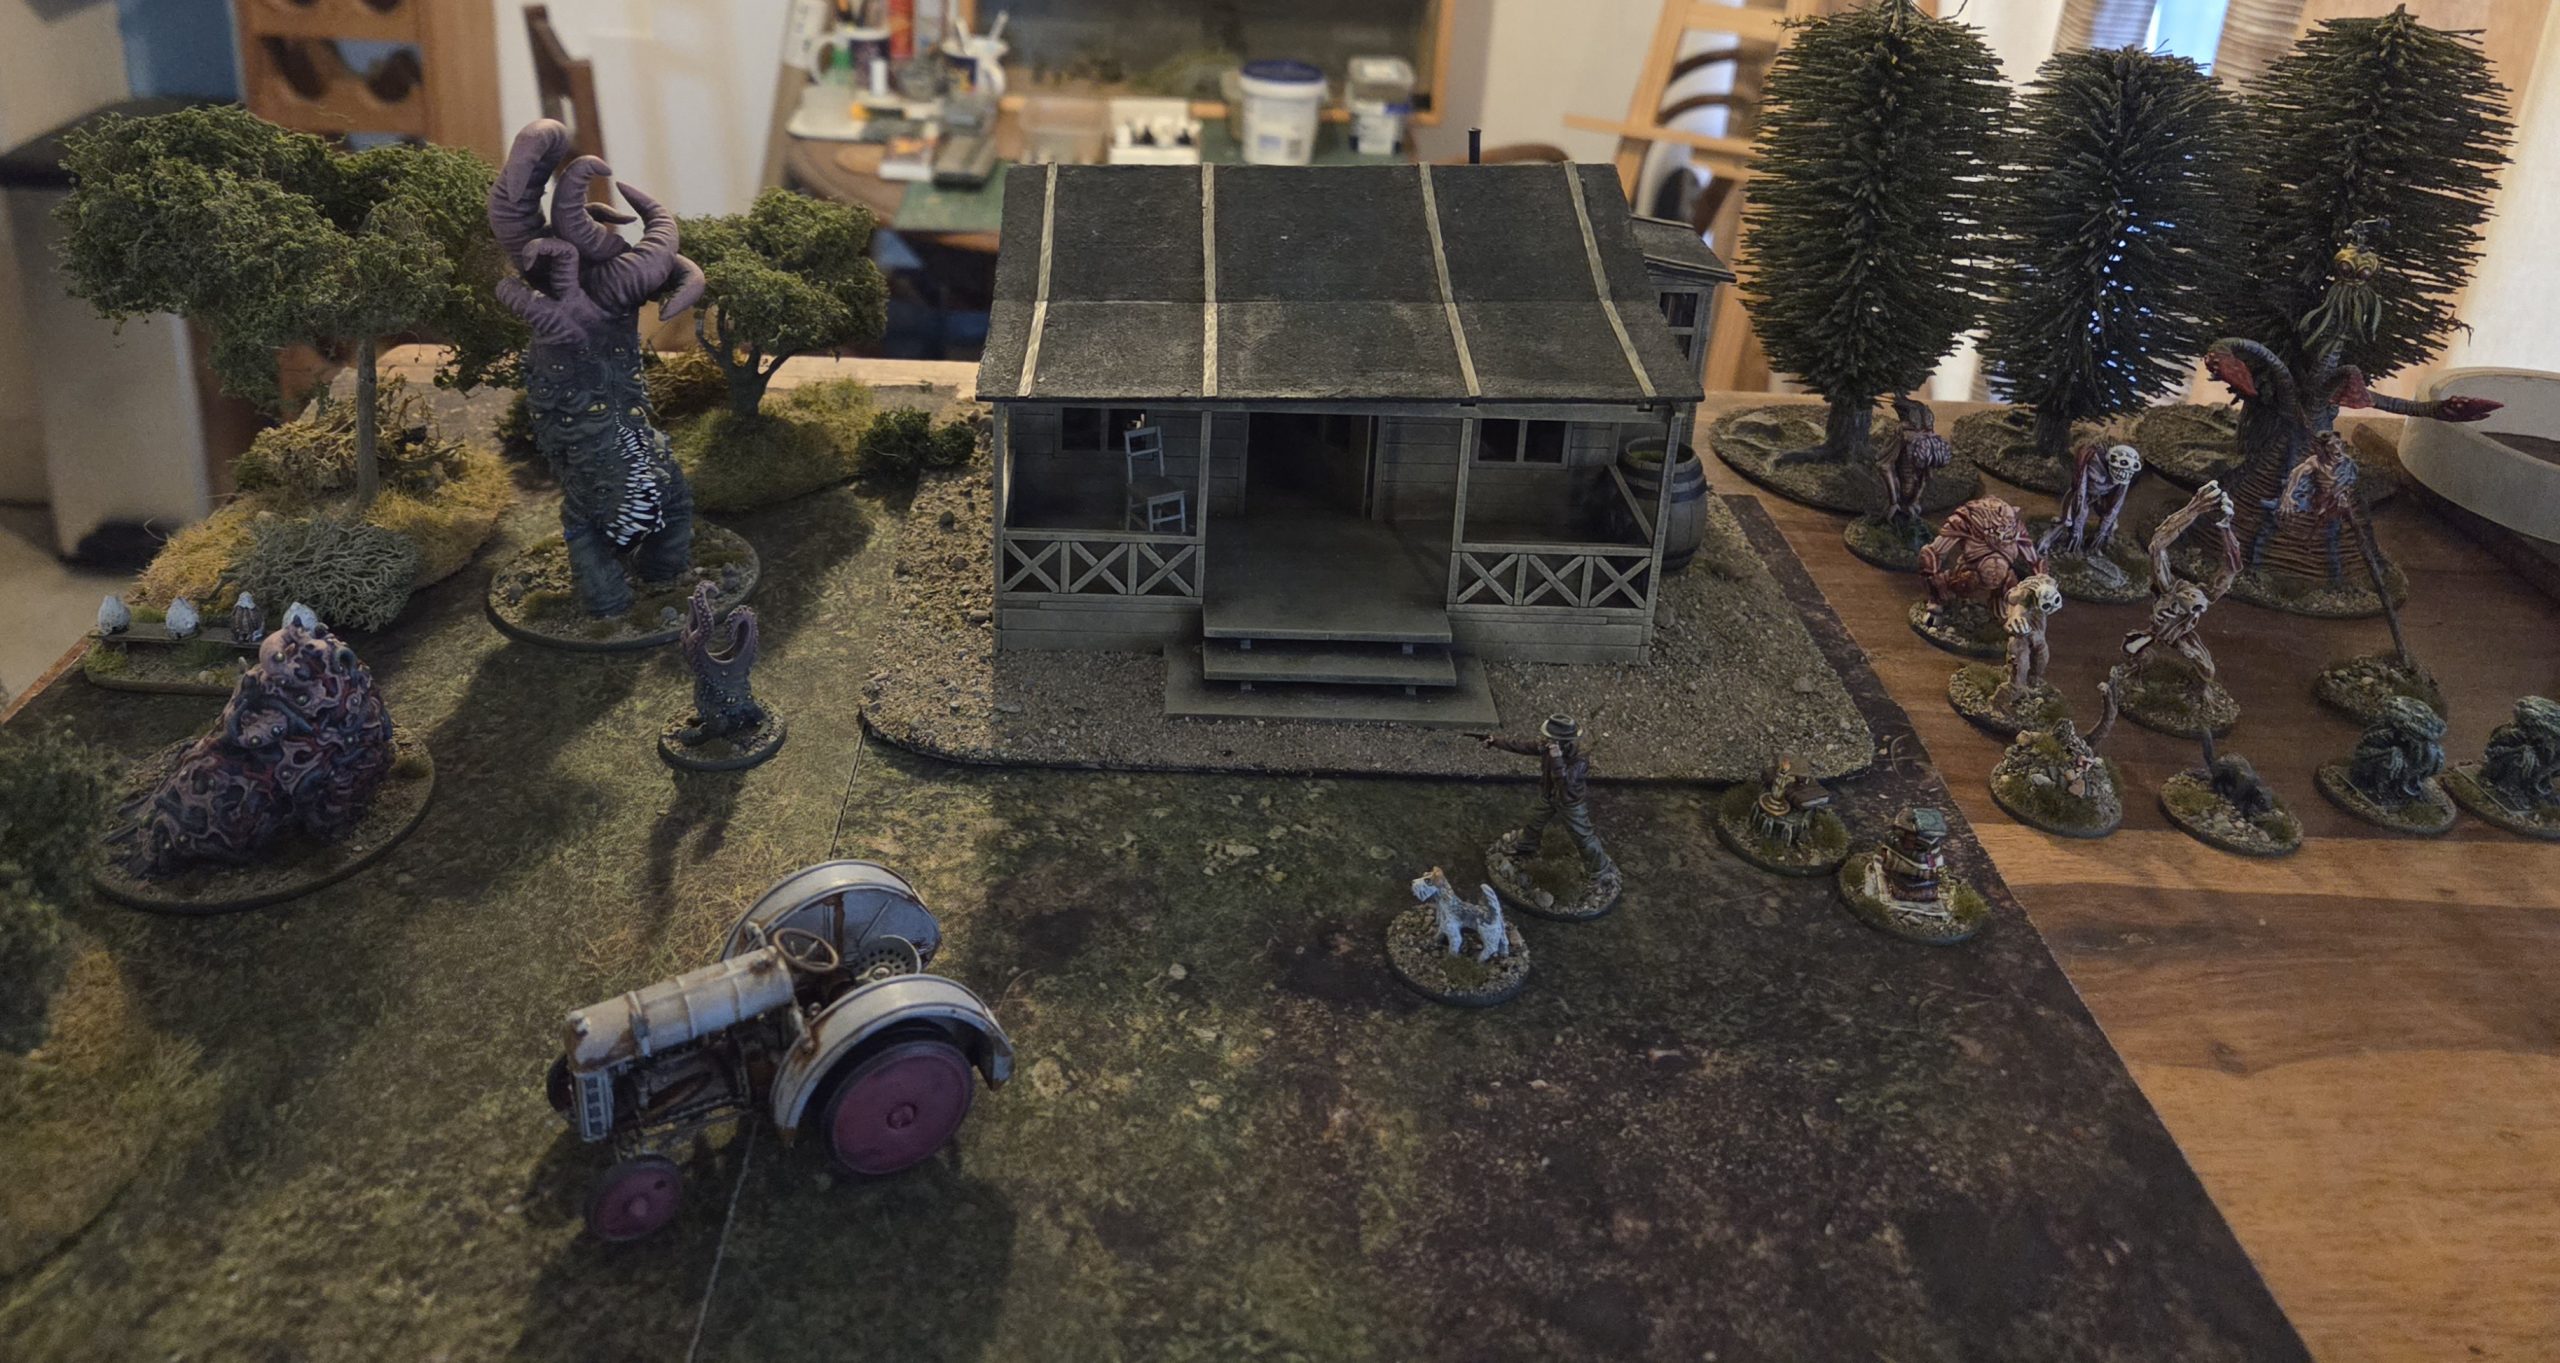
So here is my adventure.
I realised that I had a suitable house I could build, the Sarissa Precisian Post Apocolyptic House. Leaving off the hasty repairs/armour I could create a house that would still work for both 1920’s and PA.
Normally I would plank the outside but I am pressed for time, so I am doing more of a basic build, but I have still gone mad on little details as usual.
 I did not take any early pictures of the house, but I built as instructed, adding internal door and window frames from .5mm x 5 mm teak strips from the Cornwall Model Boat Company, i always have this available, marvellous stuff), a back window ledge, worktop from leftover mdf sprue, and a canvas finish on the roofs using an old cotton shirt, and the ubiquitous teak wood strips. I will be doing a lot of weathering on the outside of building, which I will share with you
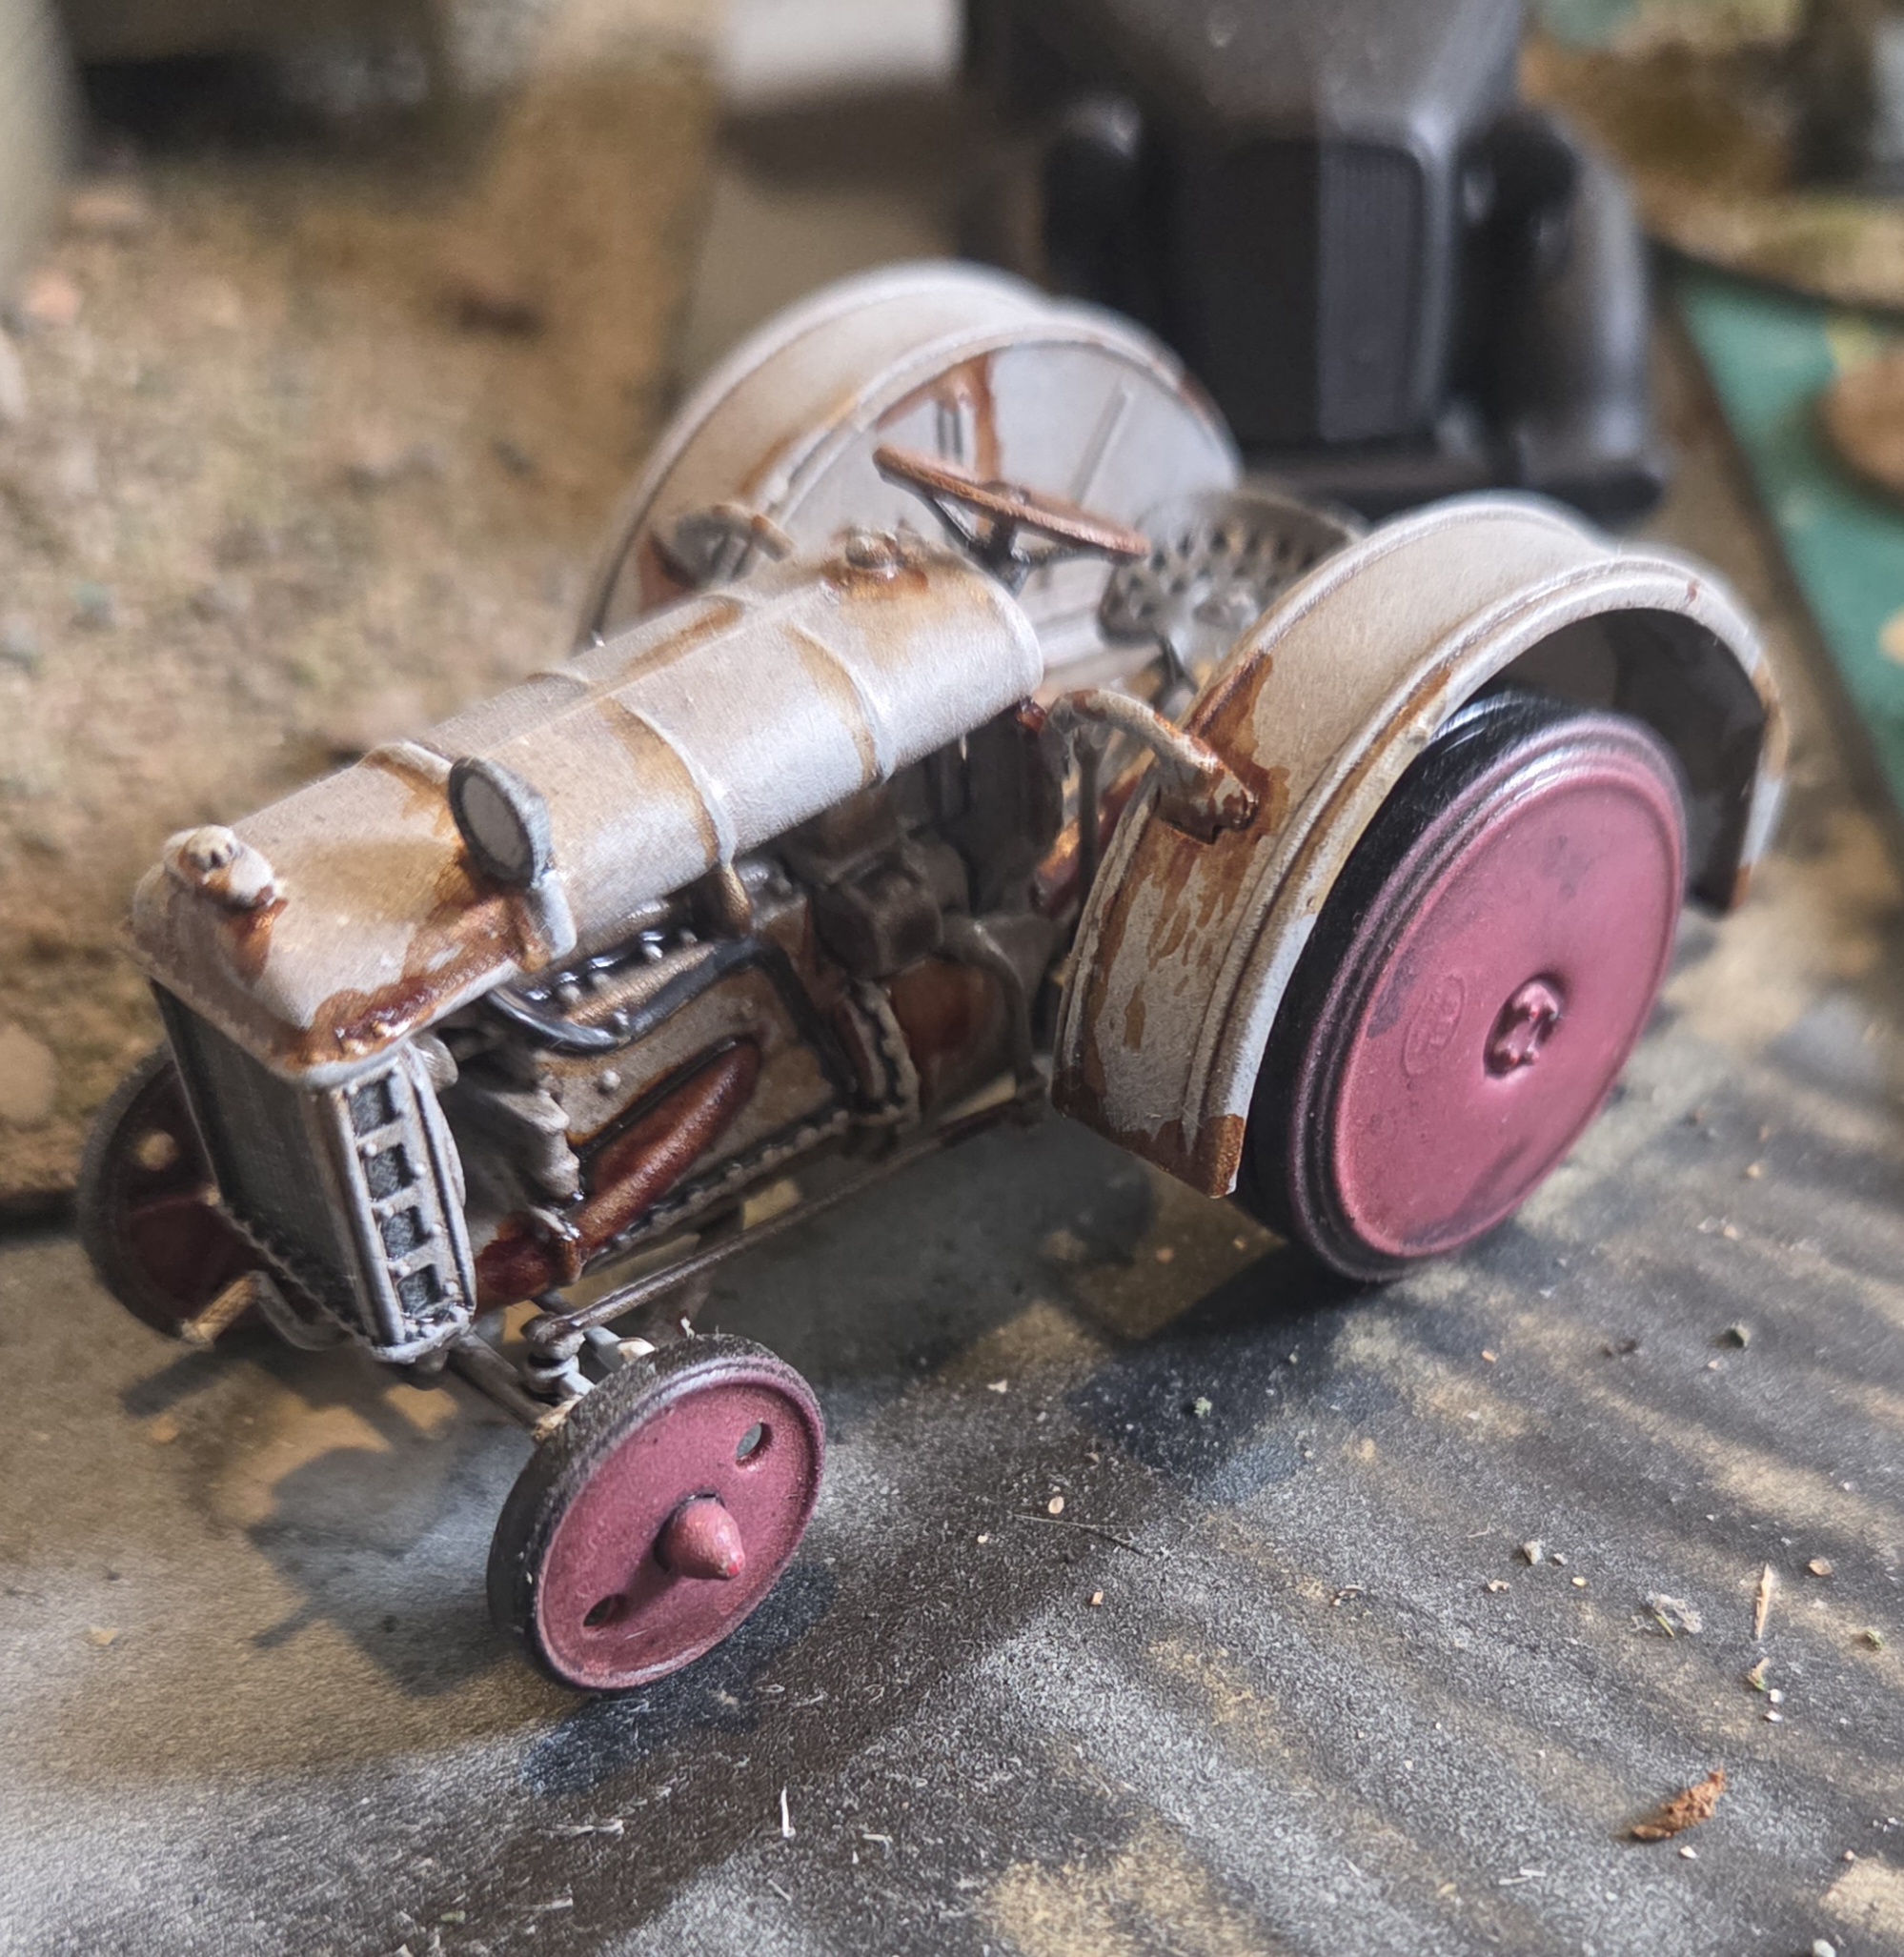 I found this Tractor on ebay, it is 1/43 1922 Fordson F by Hachette, I got this for £8.00 far cheaper than any resin model. I matt vanished it, gave the whole model a coat of Agrax Earthshade, and once dry an additional coat of Nuln Oil over the engine. I drybrushed up to Brainmater Beige, followed by scratchy edge highlight with a thinned down white. The wheels were drybrushed with progressively lighter shades of red, mixed to match the existing red. Some rust effects, a few additional details on the engine and the steering wheel were completed. All that needs doing is adding pigments to lower half and wheels.
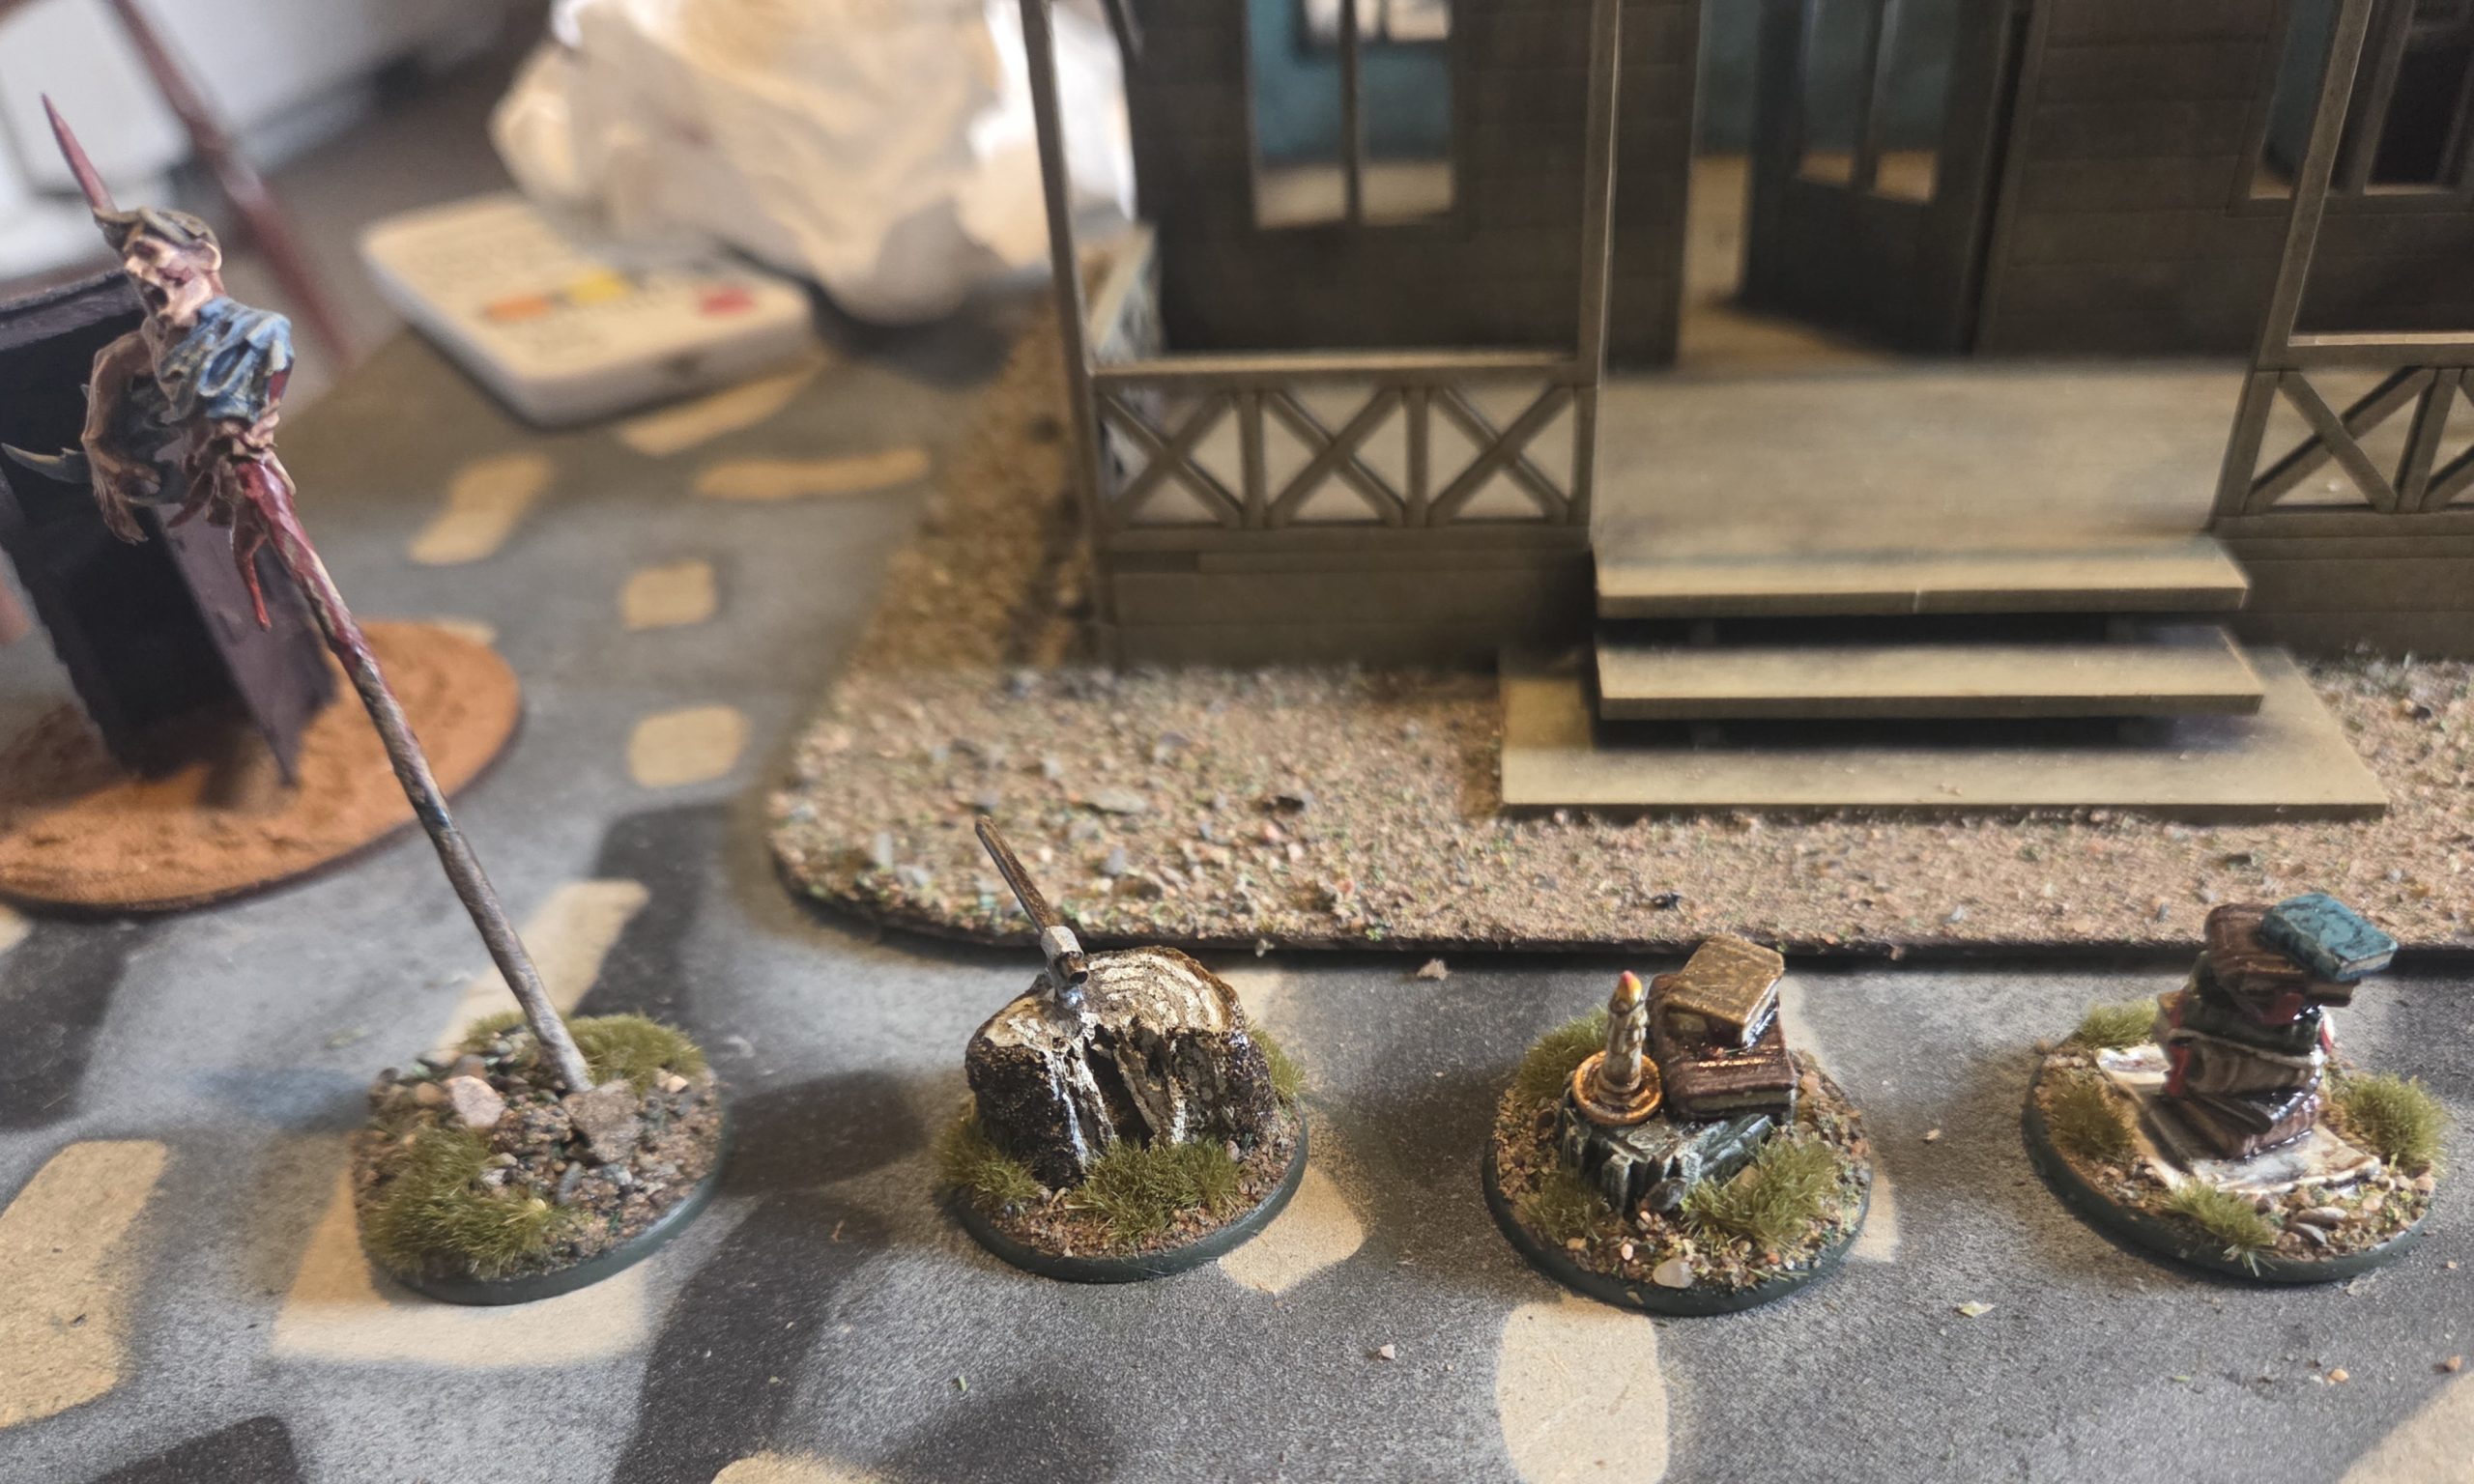 Some existing tokens I finished off/rebased to be used as objective marker/clue tokens or just plain old set dressing.
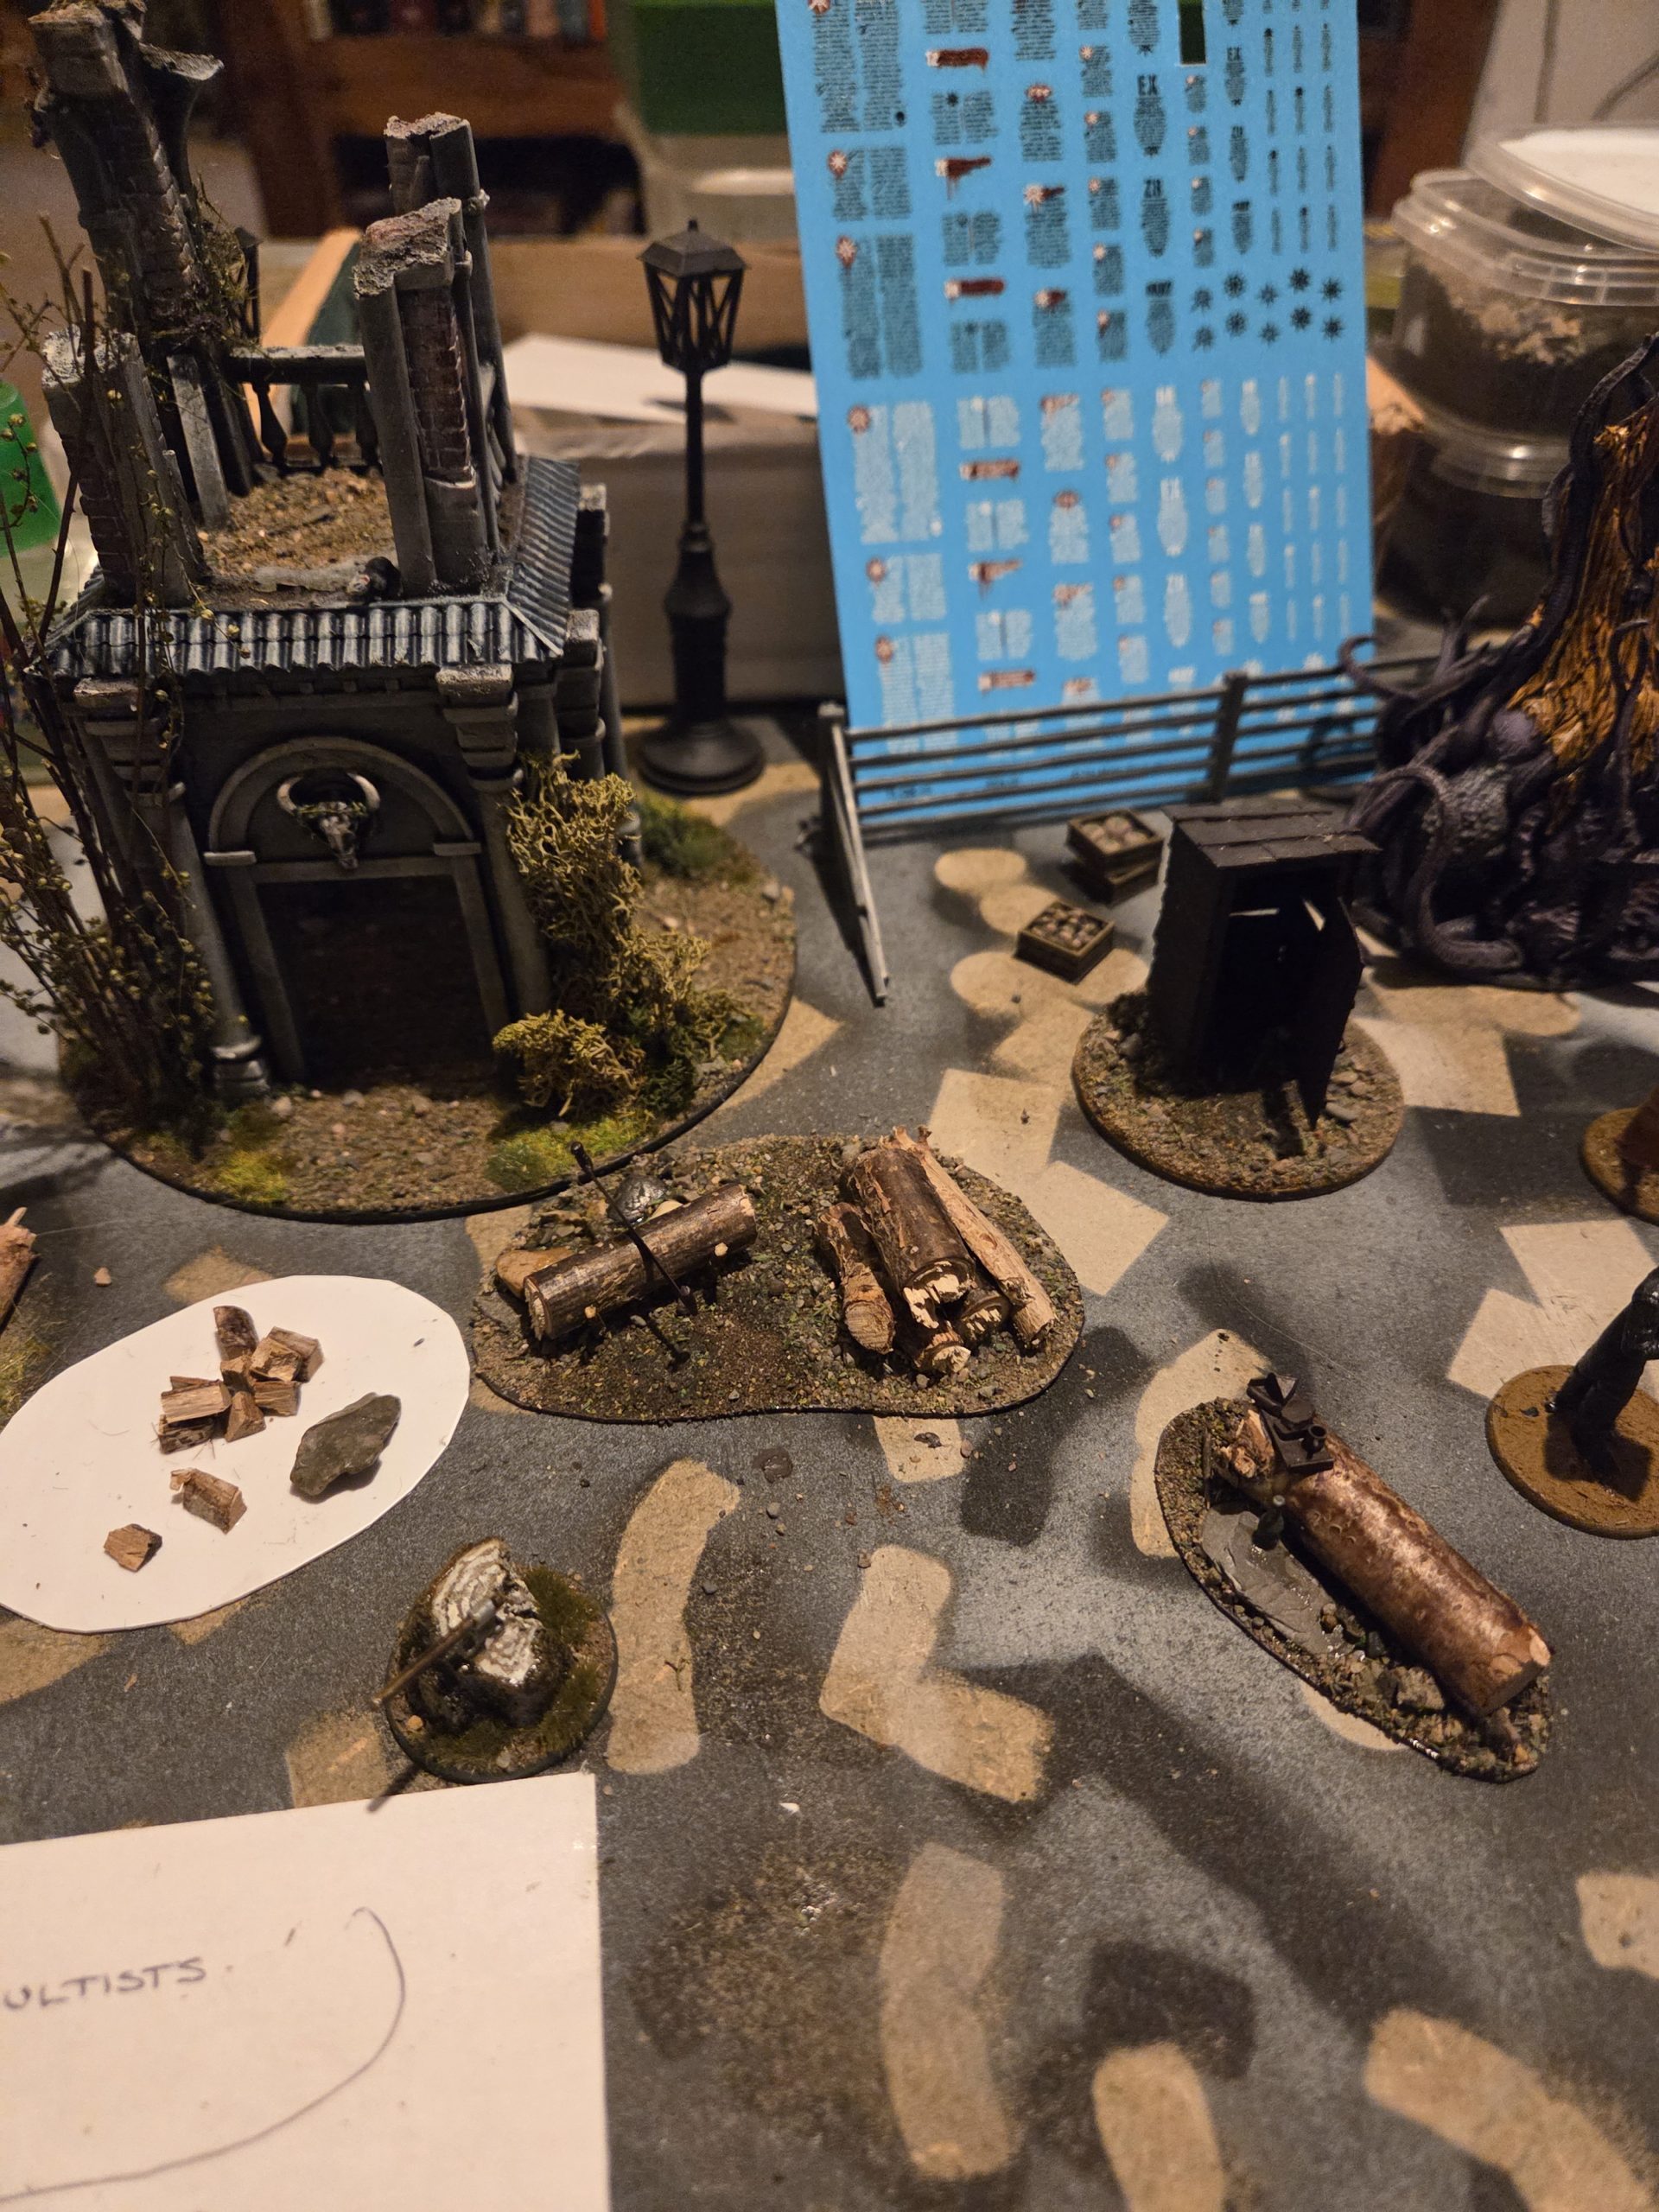 Inspired by the axe in the tree trunk, I have utilised some sticks to make a log seat, a pile of large logs with a sawing station. And I have still to finish the small logs ready for the wood burner, just need to cut up lots of small logs, also need some to be stacked by the house.
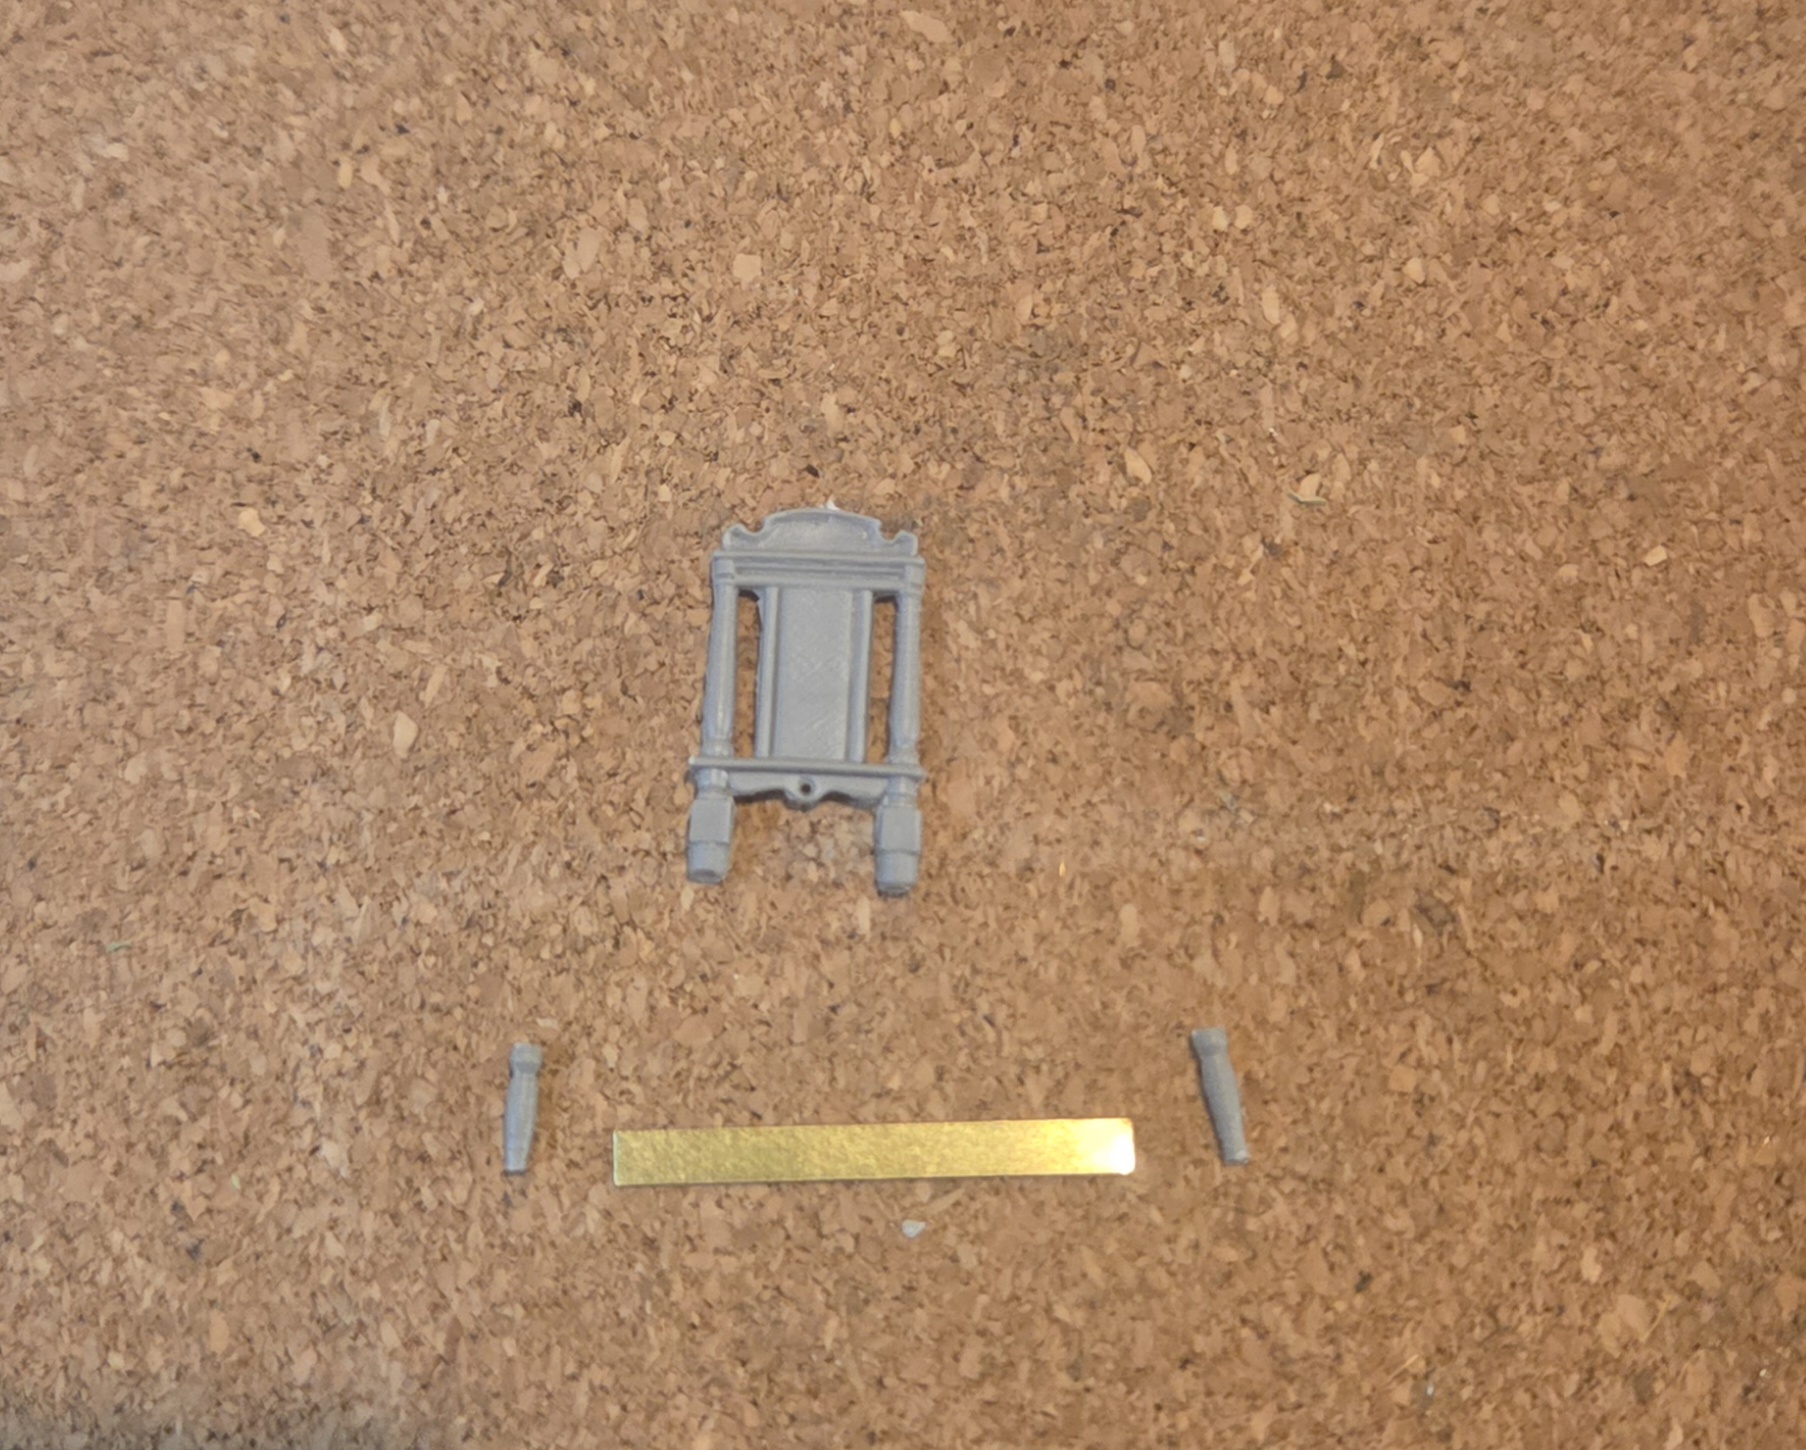 For the saw I used a piece of photo etch sprue, to my mind it does not matter that one edge is not serrated as the piece will always be viewed from above and will not be noticed. The handles are two chair legs trimmed down, and then superglued together.
Next I will be showing you how I built a wood burner from my bits box.


