


![1918 Spring Offensive Wargame | Full Rules Overview with John & Gerry (WW1 Tabletop Game) [7 Days Early Access]](https://images.beastsofwar.com/2026/03/unboxing-warfulcrum-games-1918-spring-offensive-review-coverimage1-225-127.jpeg)


Terrain Challenge: Manda’s (Amachan) Happy Radiation Pond


Recommendations: 283
About the Project
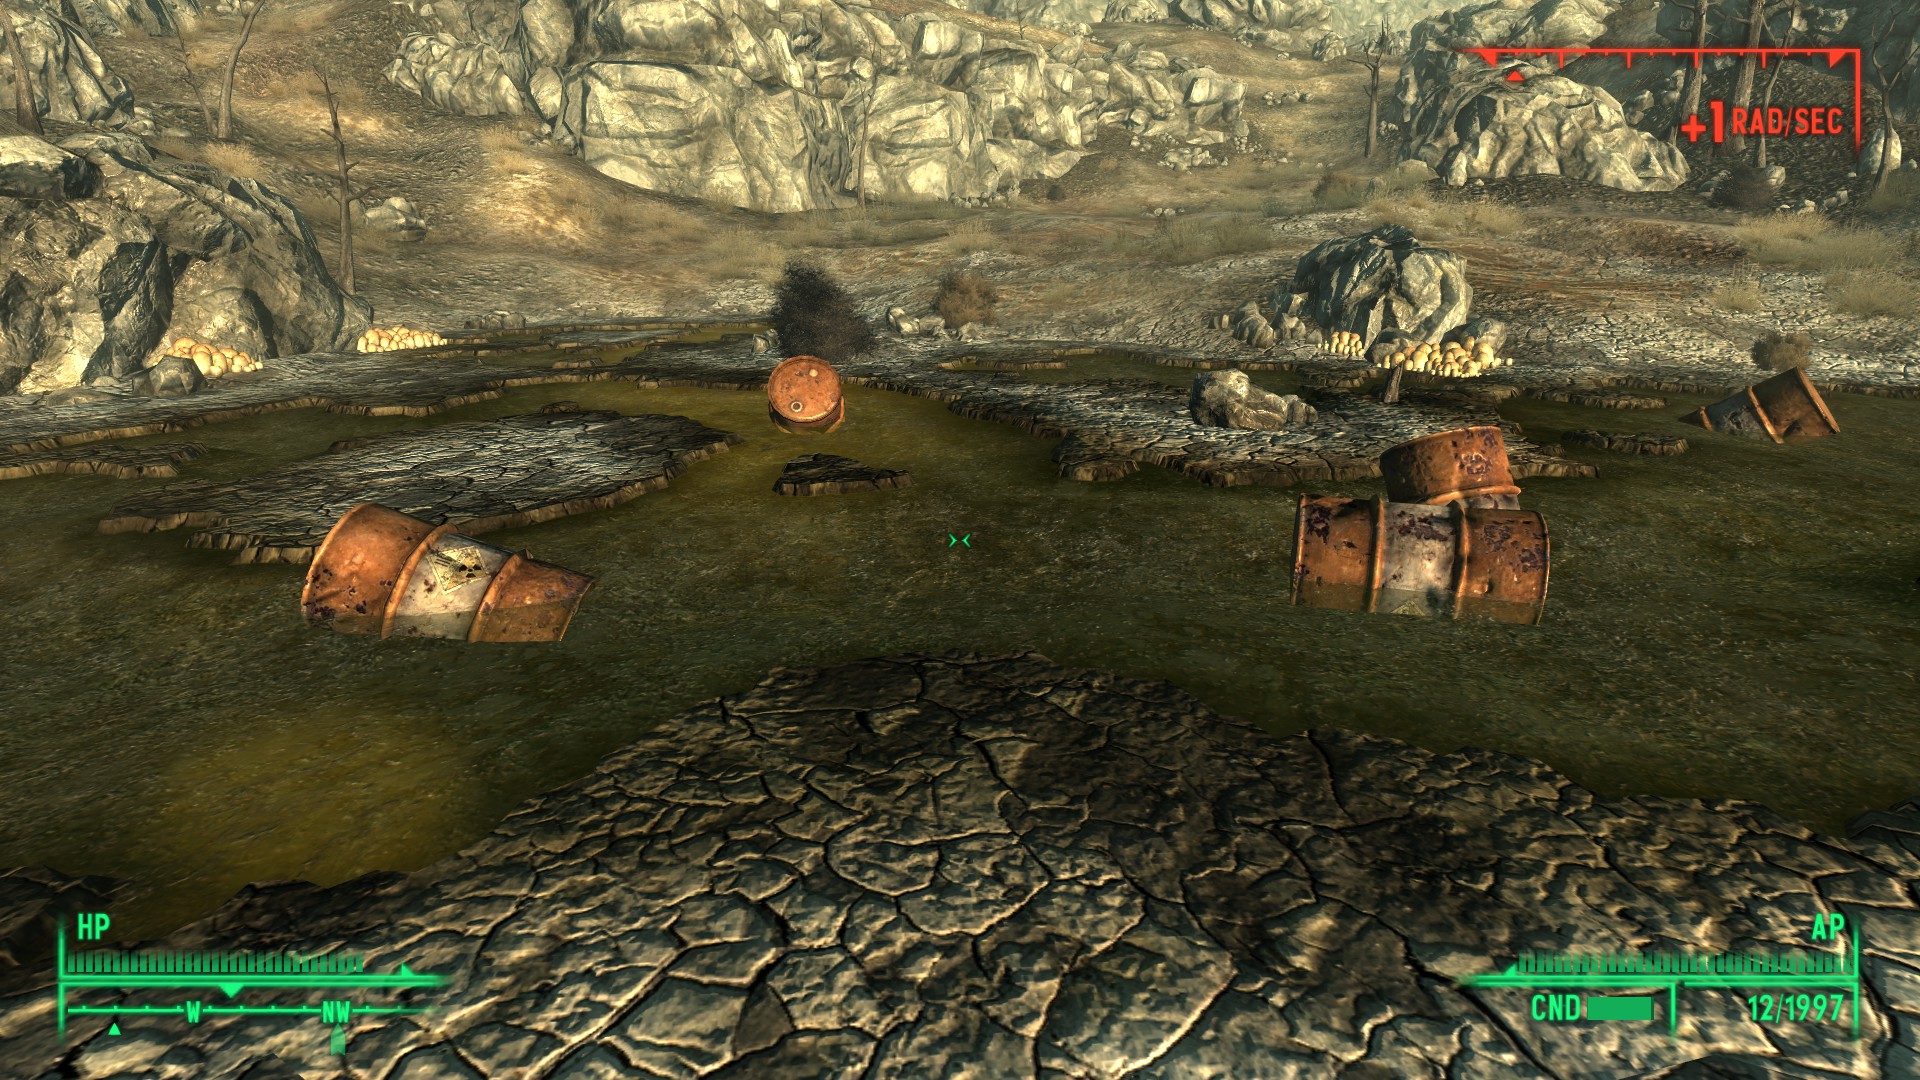
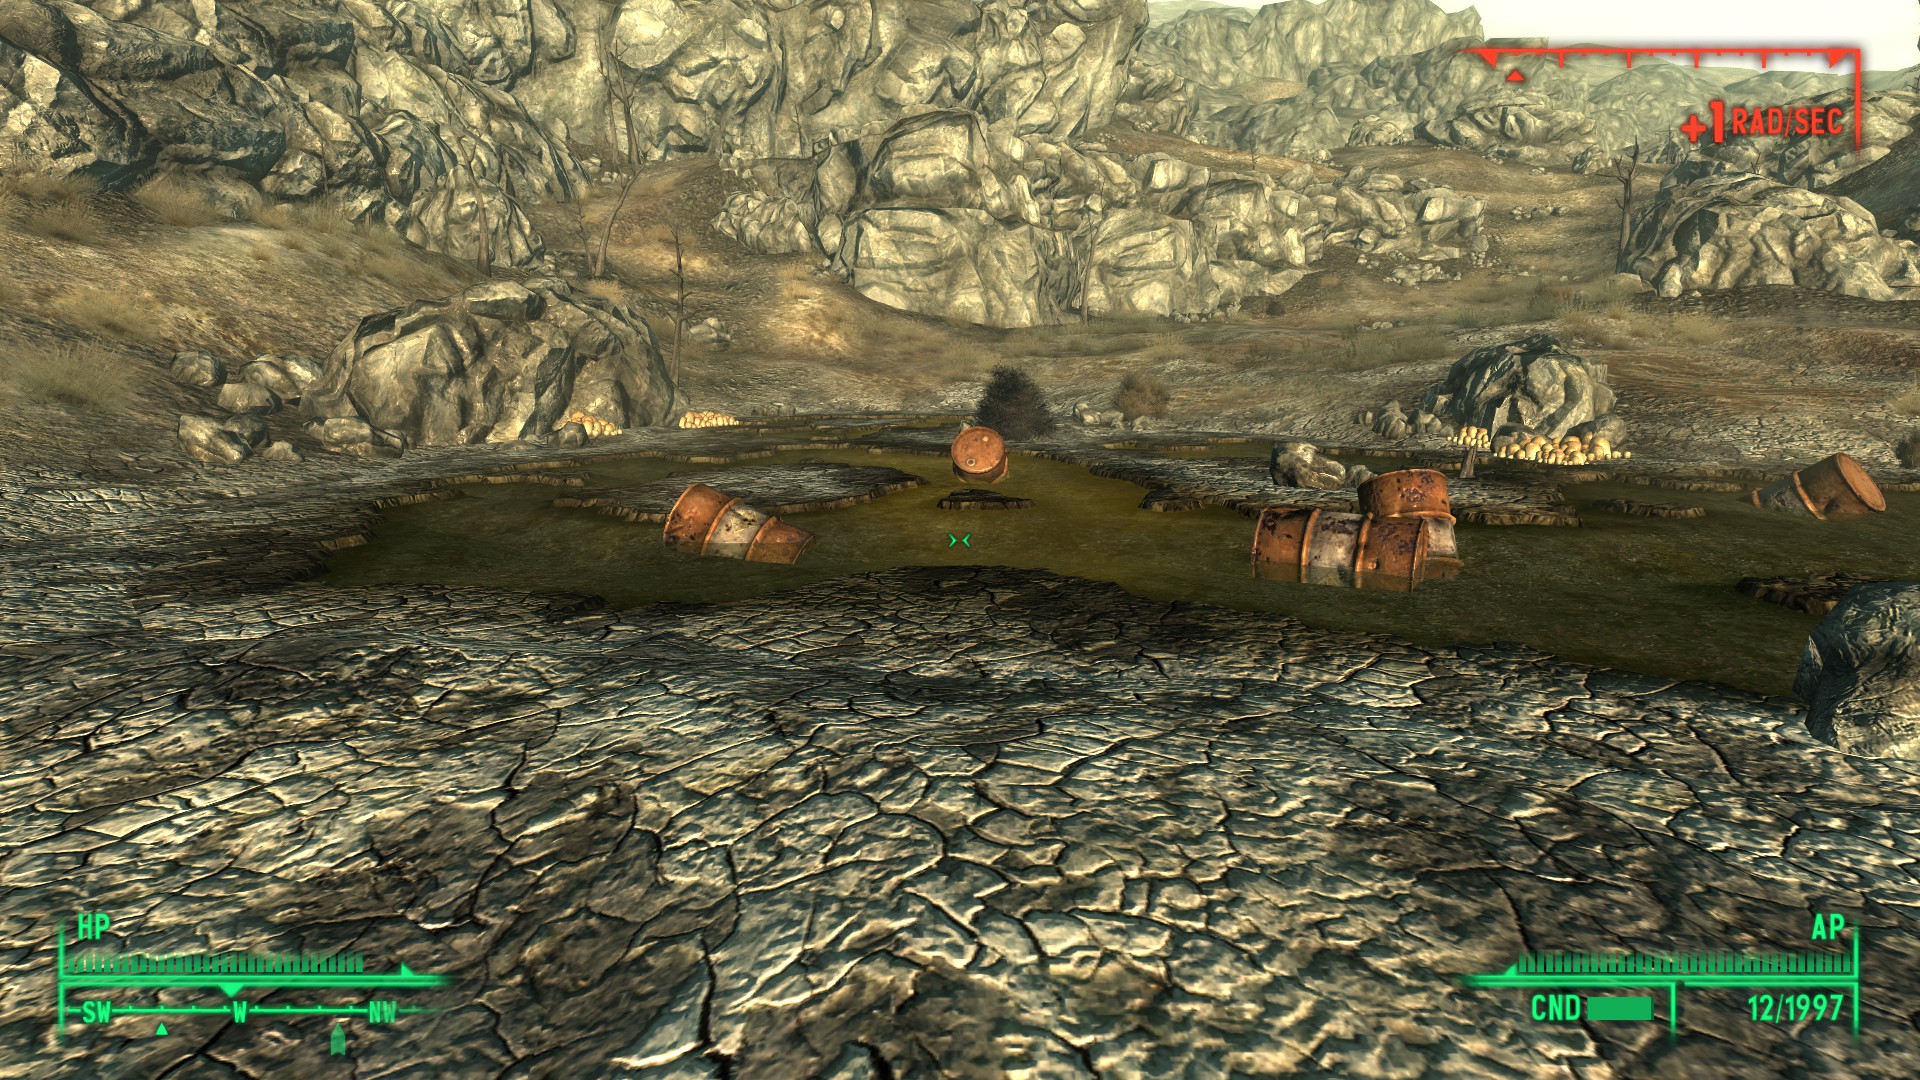
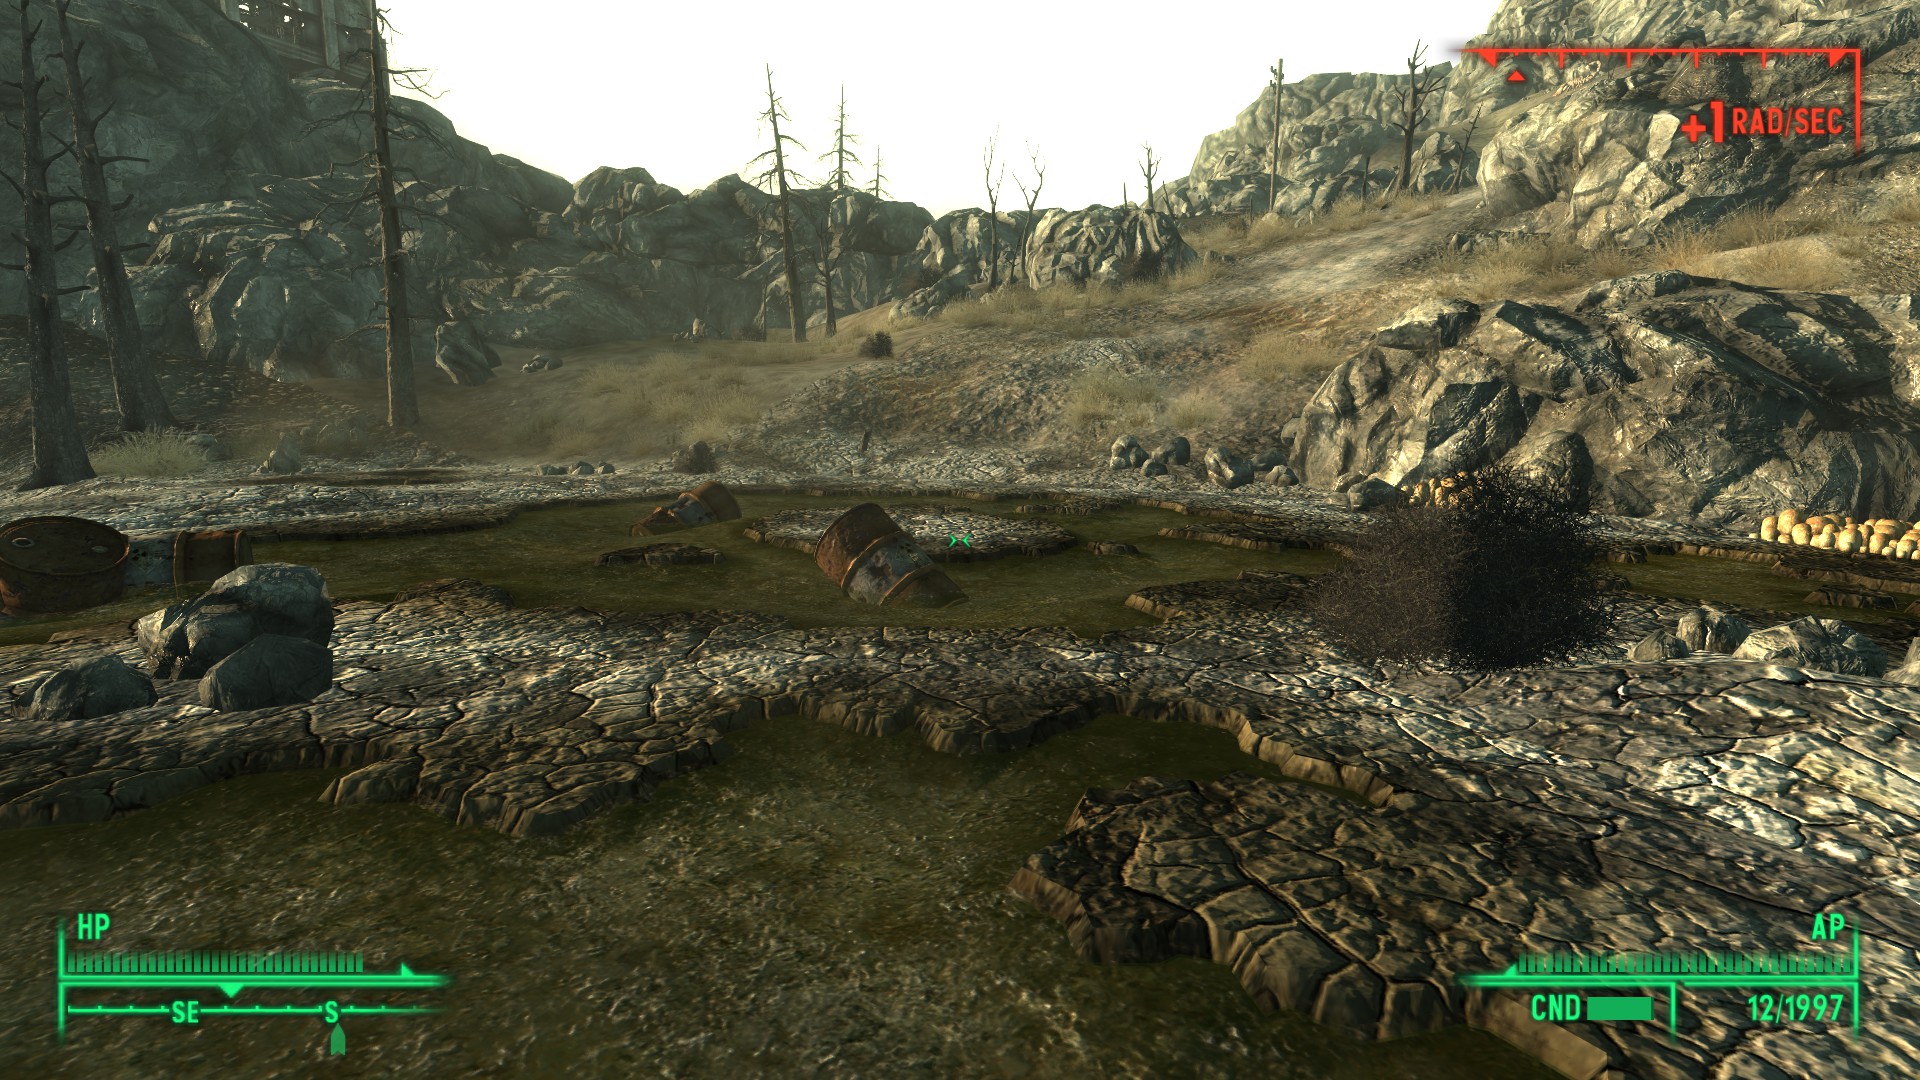
This is my entry for the 4Ground Terrain Challenge announced in the weekender of 23rd of June 2018. https://www.beastsofwar.com/board-games/weekender-wargaming-kursk-new-terrain-challenge/ It's an irradiated pond inspired by the beautifully ruined Capitol Wasteland from Fallout 3
Related Company: 4Ground
Related Genre: Post-Apocalyptic
This Project is Completed
The Plan.
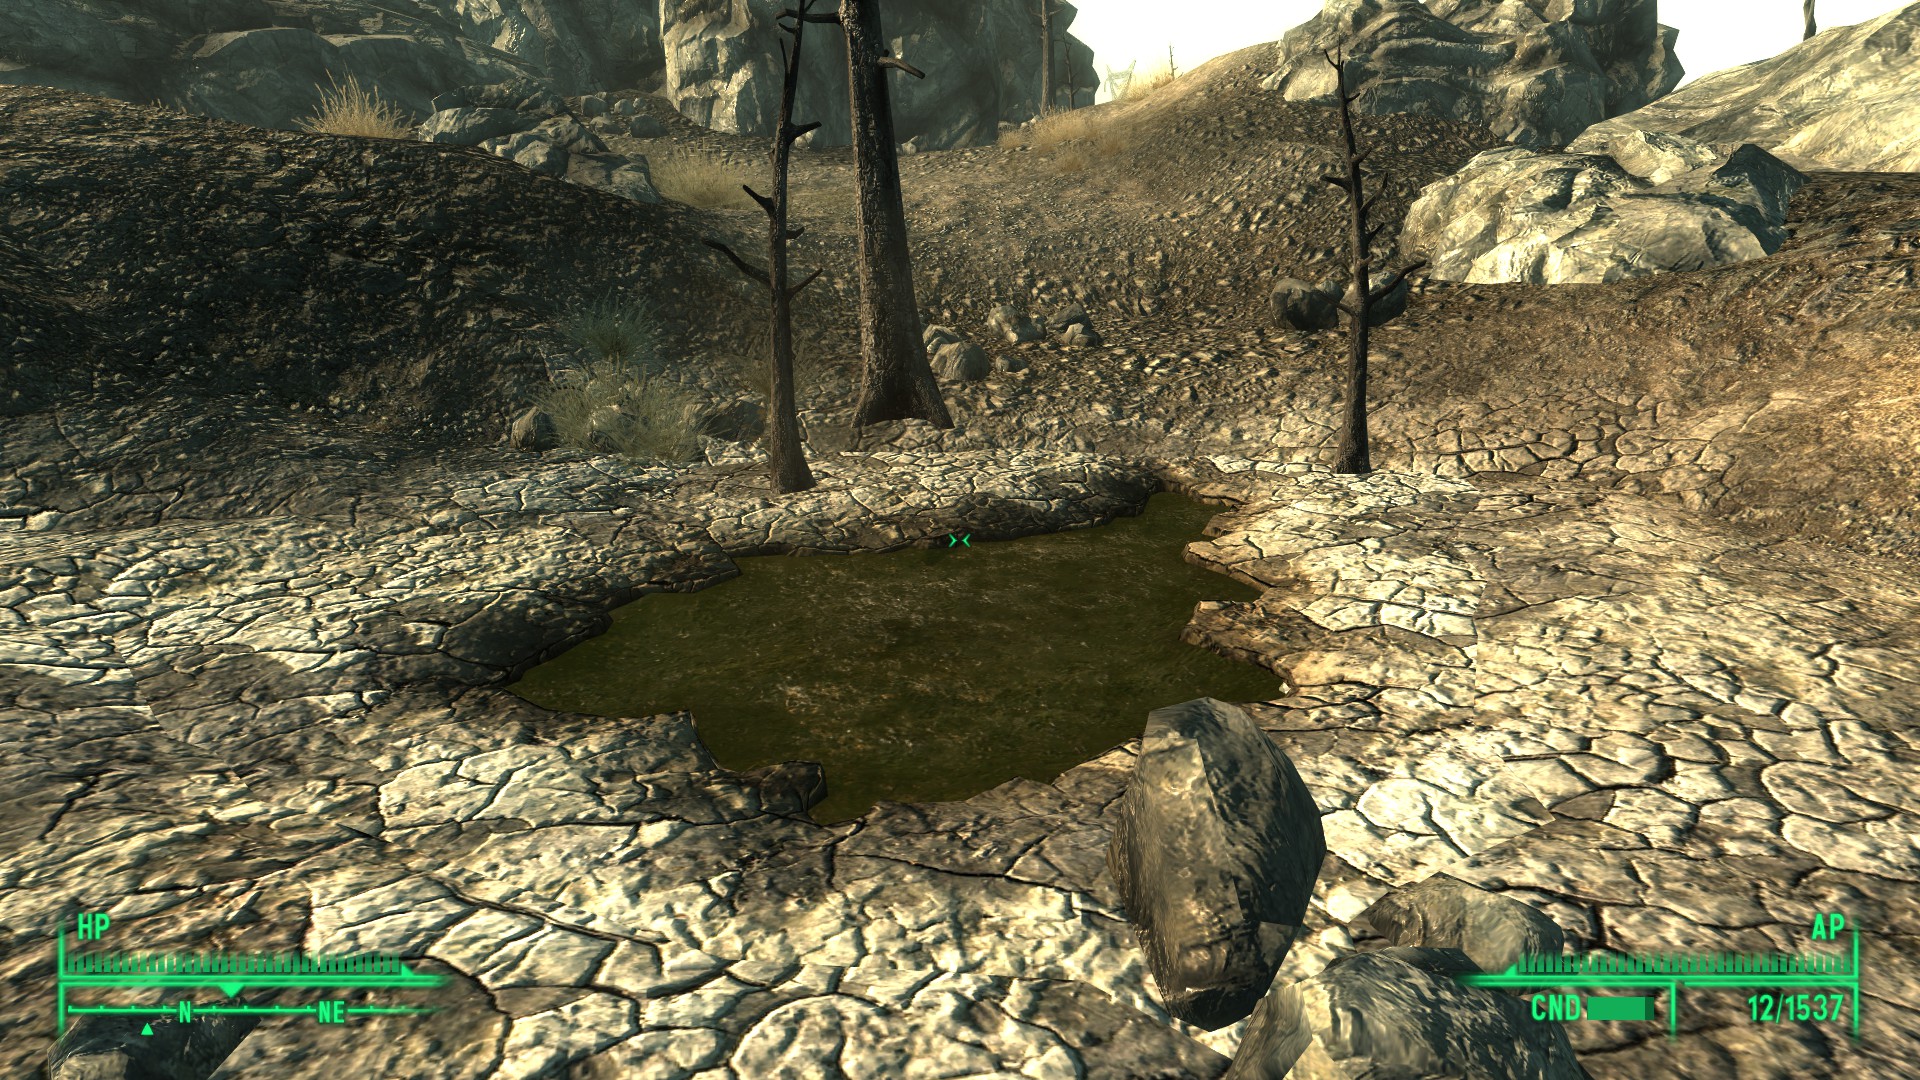
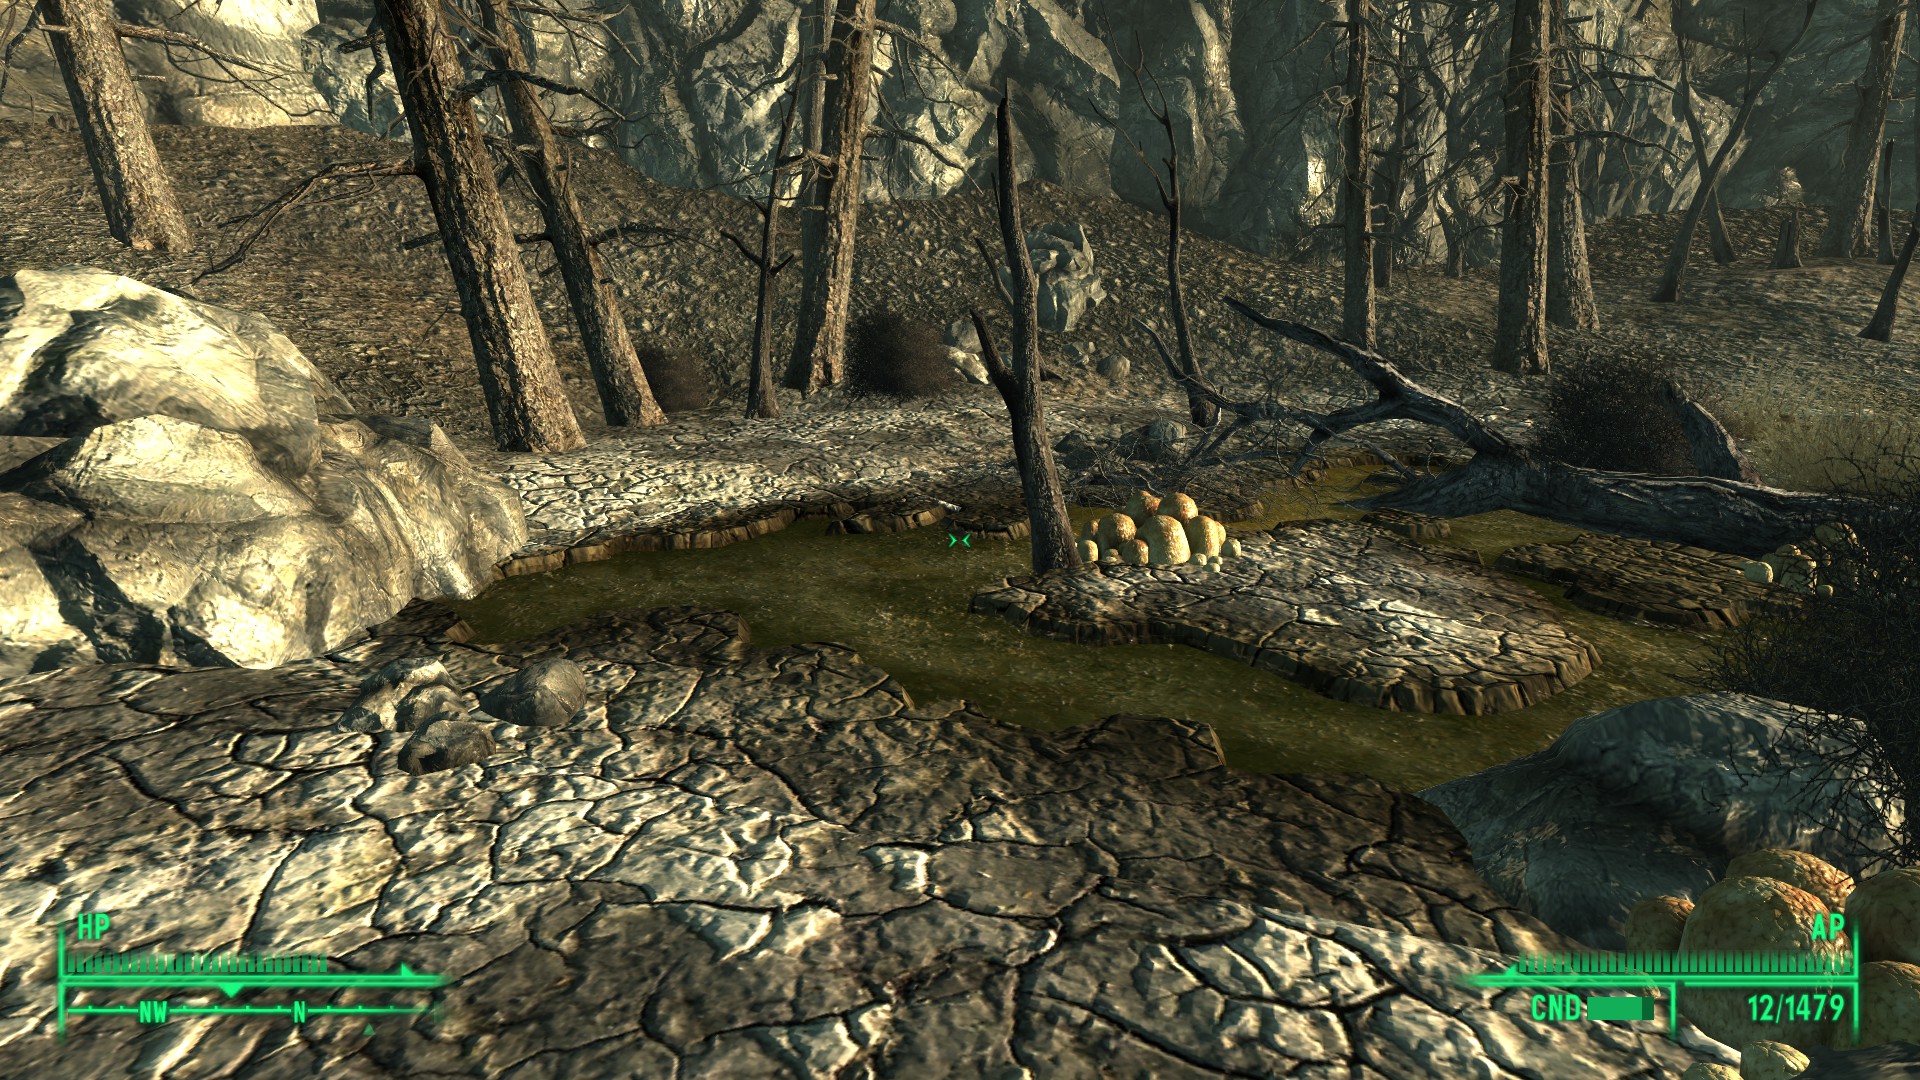
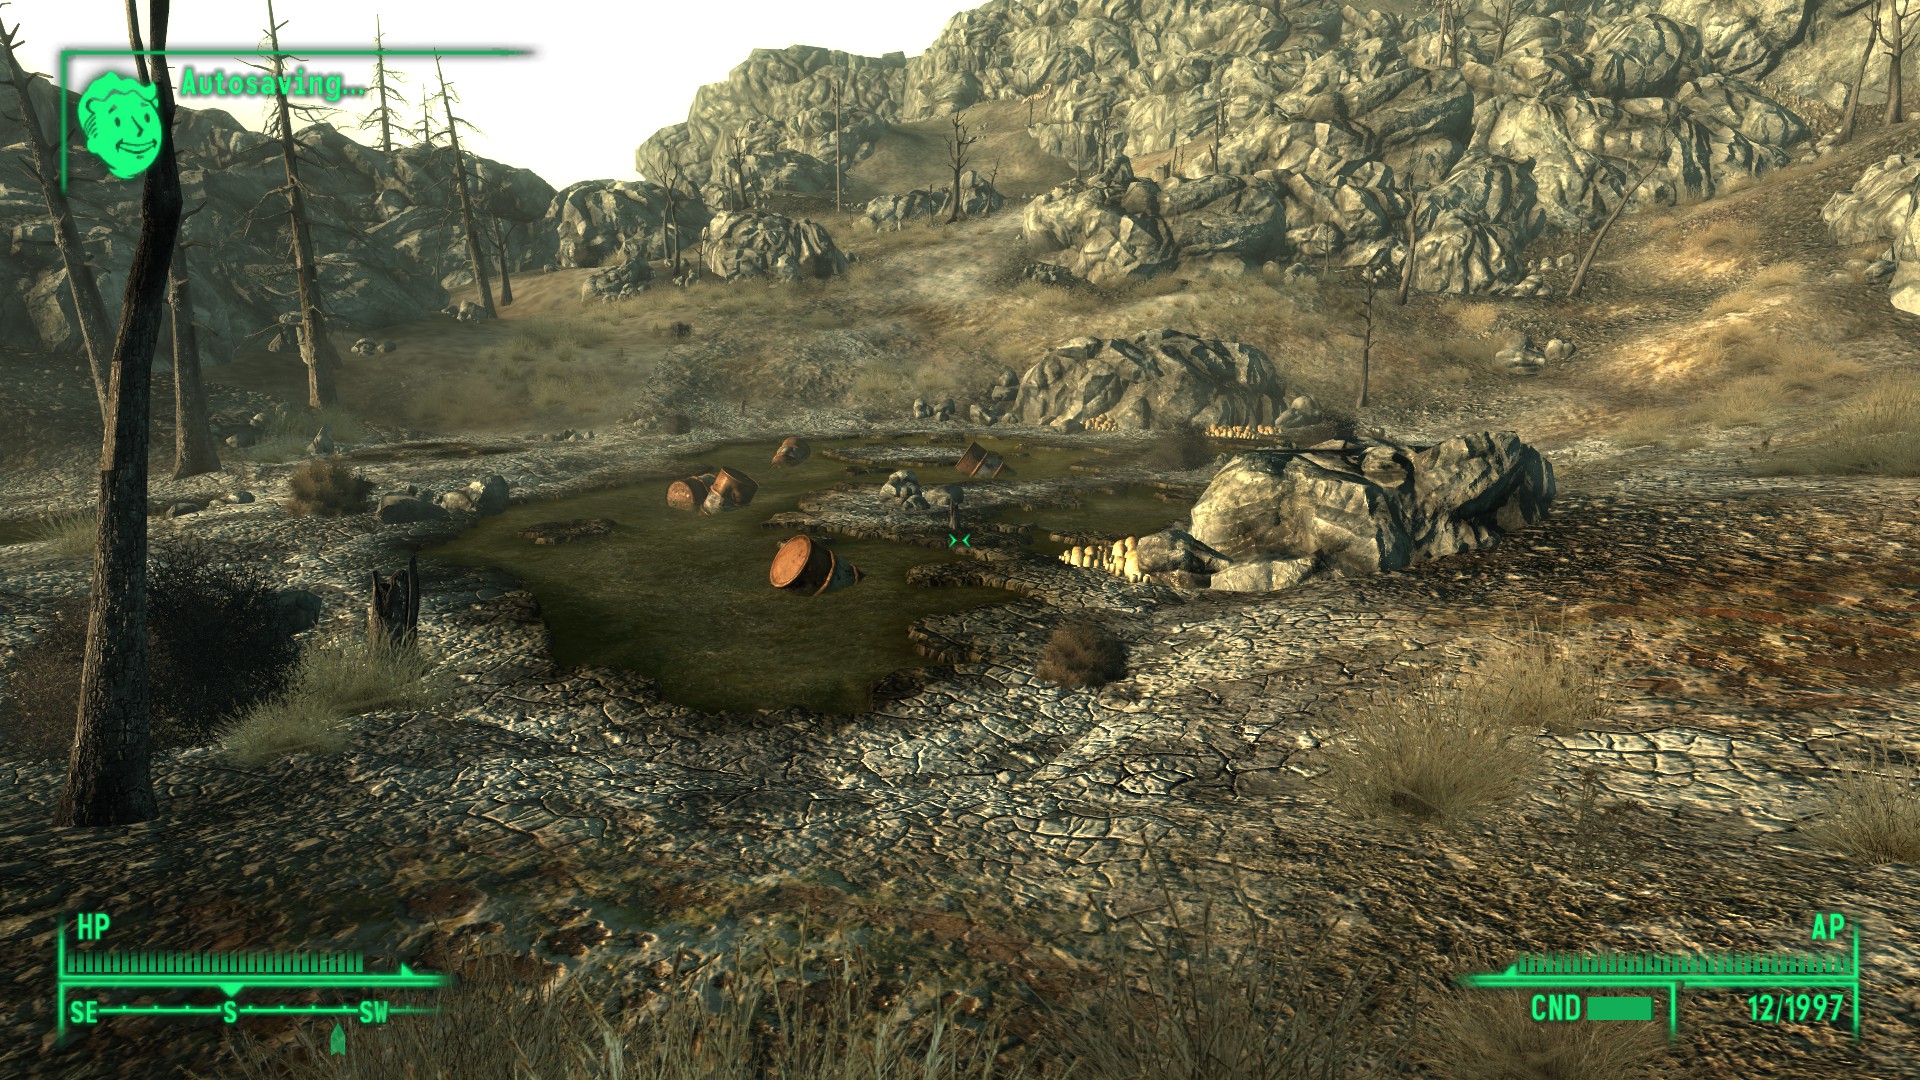
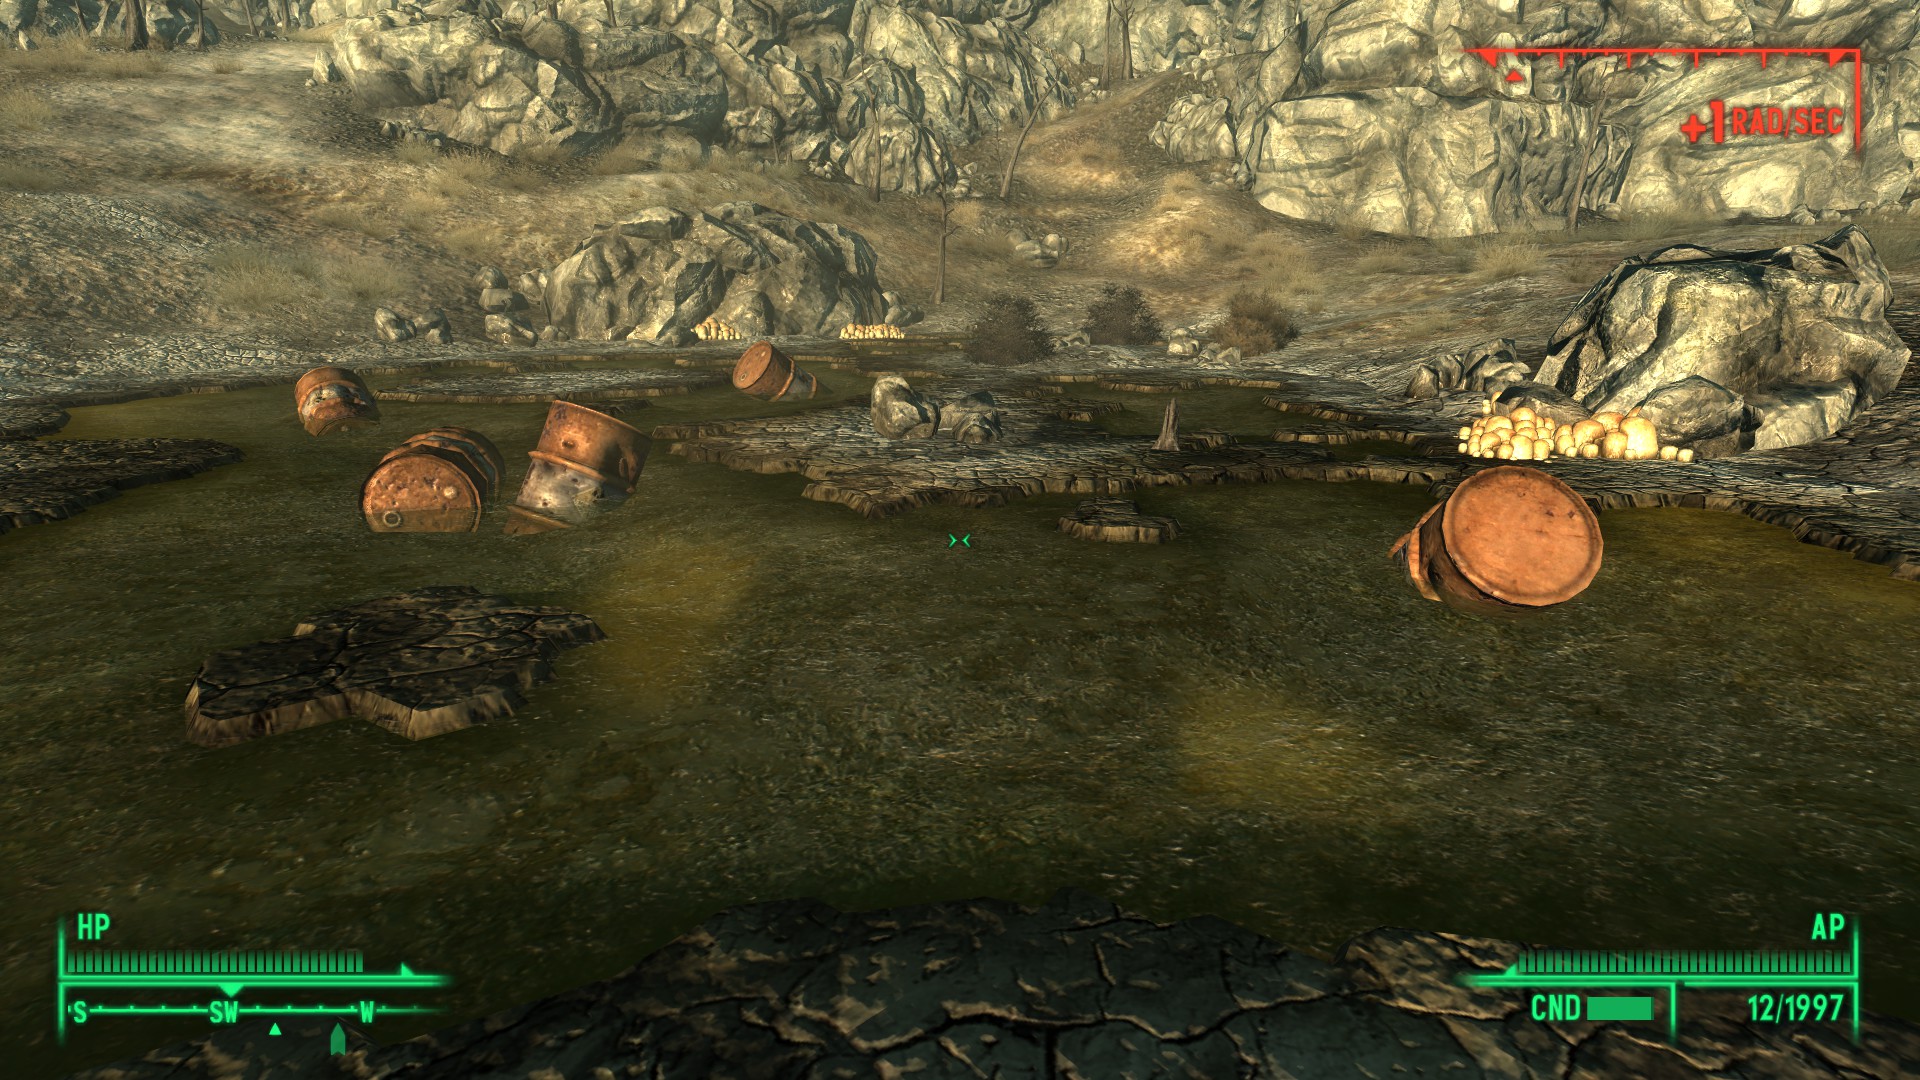
I’m planning on making a pond with a rock on the side and a radiation warning sign next to the pond. It will also include a miniature overlooking the pond and some barrels in the pond. My inspiration is from some of the terrain features found in Fallout 3.
Some Screenshots for Inspiration:


Now the miniature overlooking the pond I want to put on a rock behind it and I have decided to go Ms. Lovely Day from Crooked Dice. I will have to order the mini for this, but it seems like an appropriate miniature for this kind of scenery. Now the miniature is not the main part of this, but rather something to just add a bit of cinematic effect to it. But how could I not include a miniature, I love miniatures.
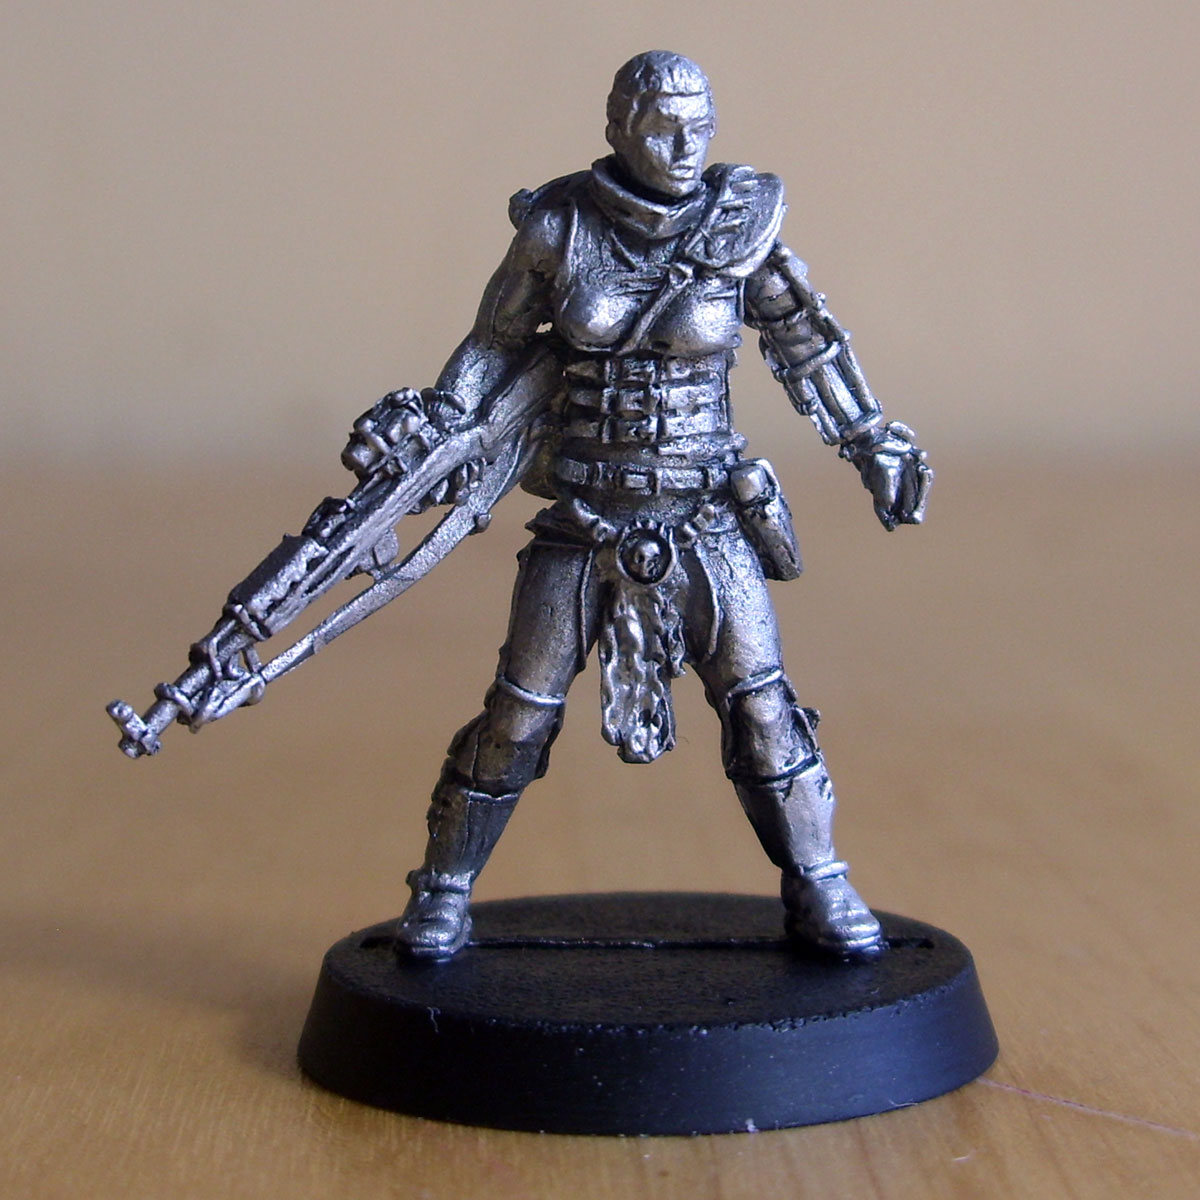

These pictures are from the Crooked Dice webpage.
Starting out.
Started by making the base to build the terrain on. I cut this from a box that I had laying around. It’s definitely not flat nor cut very accurately and straight. But It should do, I hope. It’s approximately a 25cm square.
 The So-called "Square"
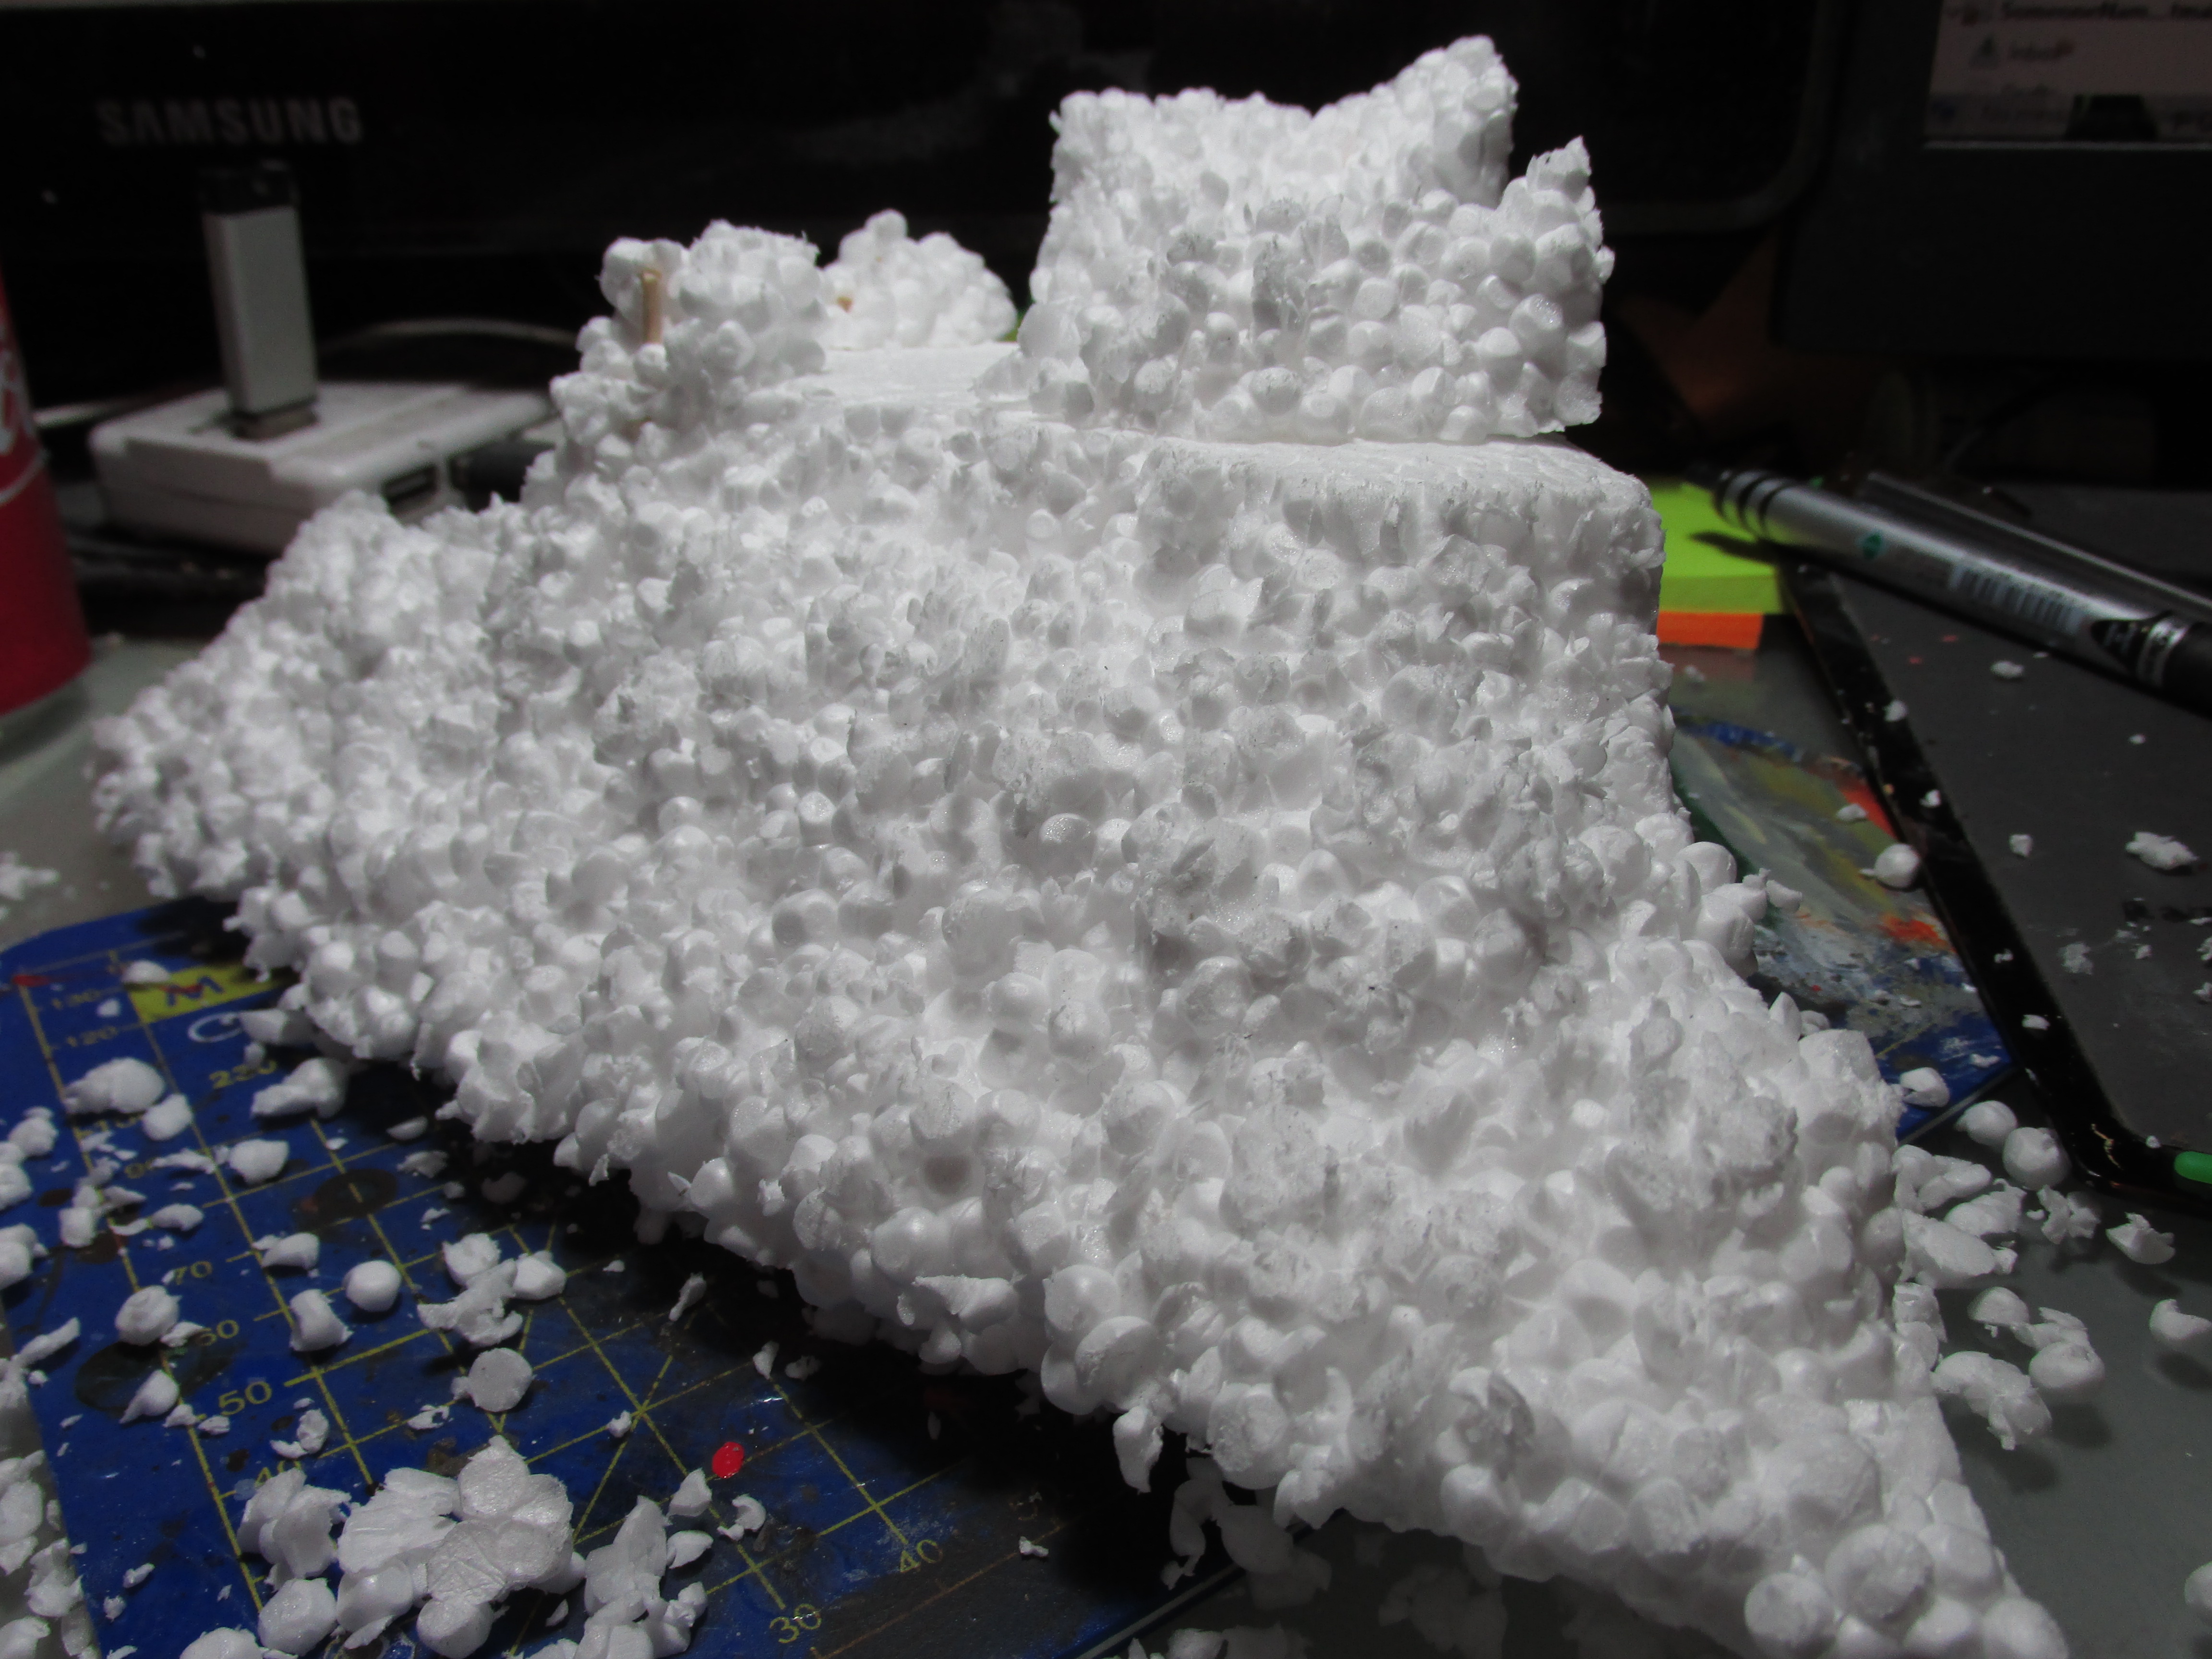
I used polystyrene to make the rock, which is now more of a cliff or something like that. I understand that this might not be the most optimal material, but it’s what I had. I glued certain bits on the top that I broke off and pinned them down with cocktail sticks in order to held them in place while the glue dries. I used watered down PVA to glue them down. I’m going to leave those sticks in and just cut off the top, because I’m not sure this glue is going to hold.
I also made a mess of my desk, because I obviously thought it wasn’t messy enough yet.
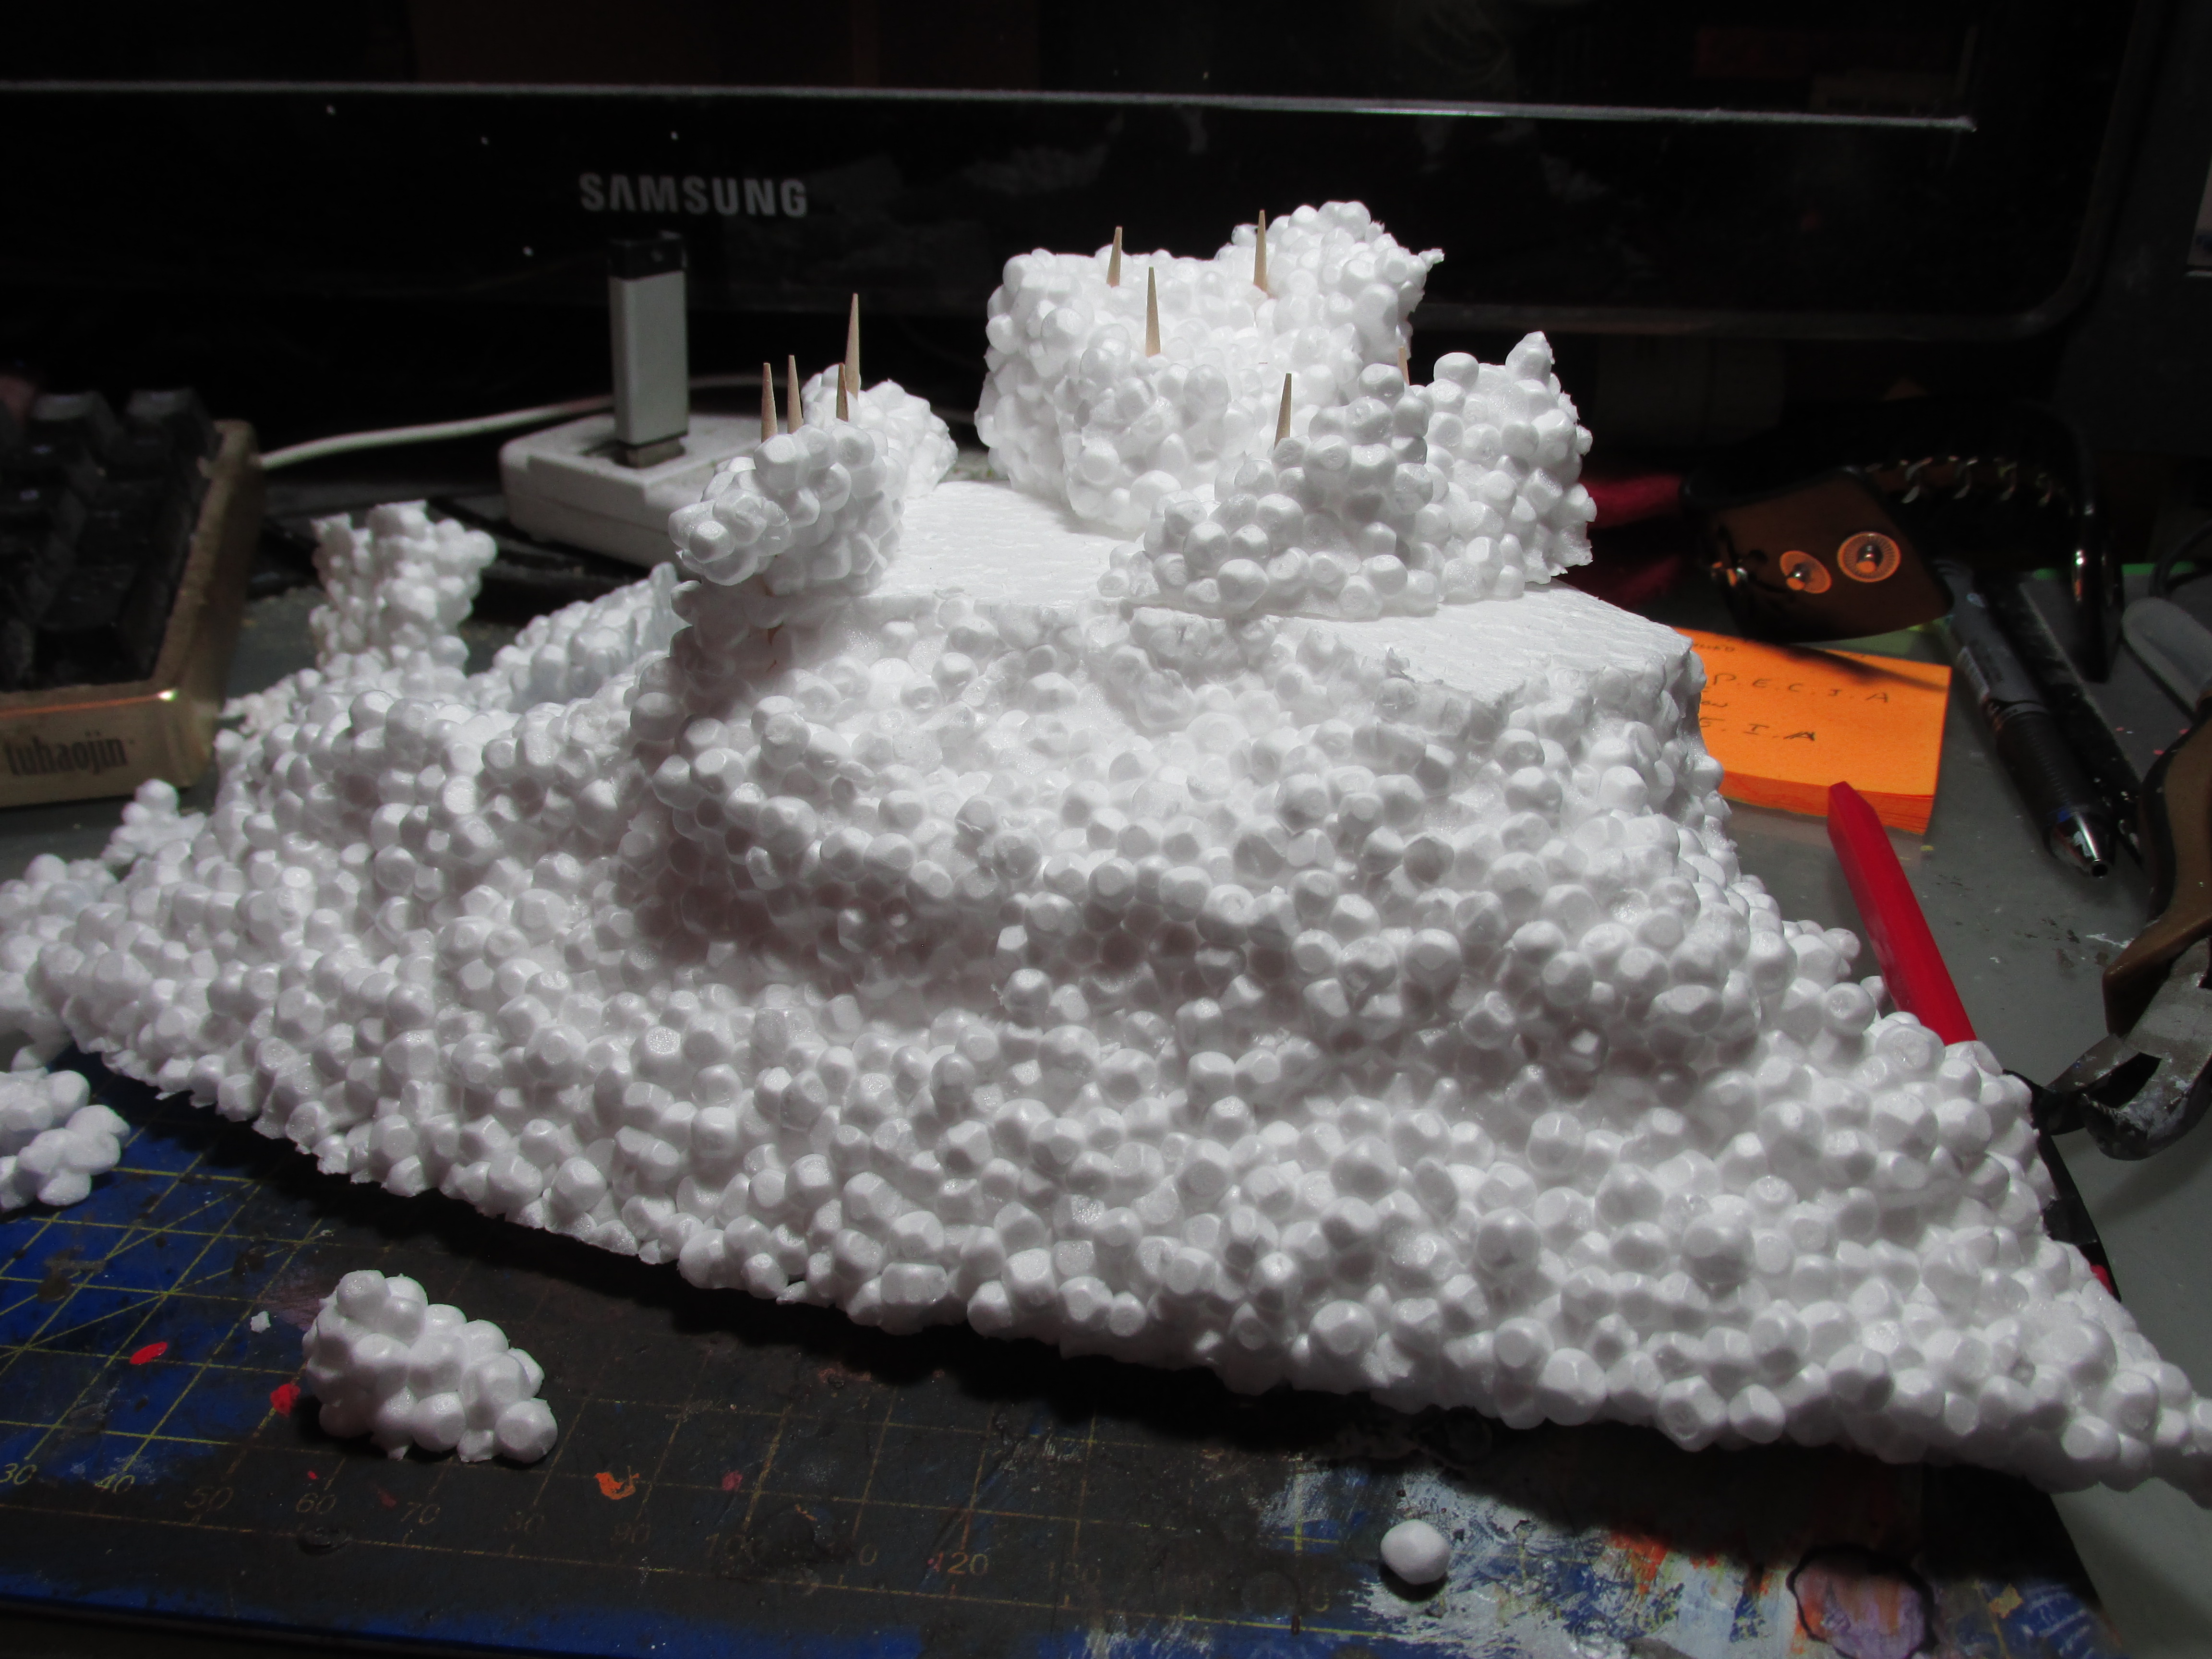 Polystyrene Bubble Mountain!
I printed the sign I want to use and glued it down to a bit of cardboard. Because I’m clumsy when I was flattening it I got glue on my hand and rubbed that over the image. It’s PVA glue so let’s hope this dries transparent, otherwise I can just print it again.
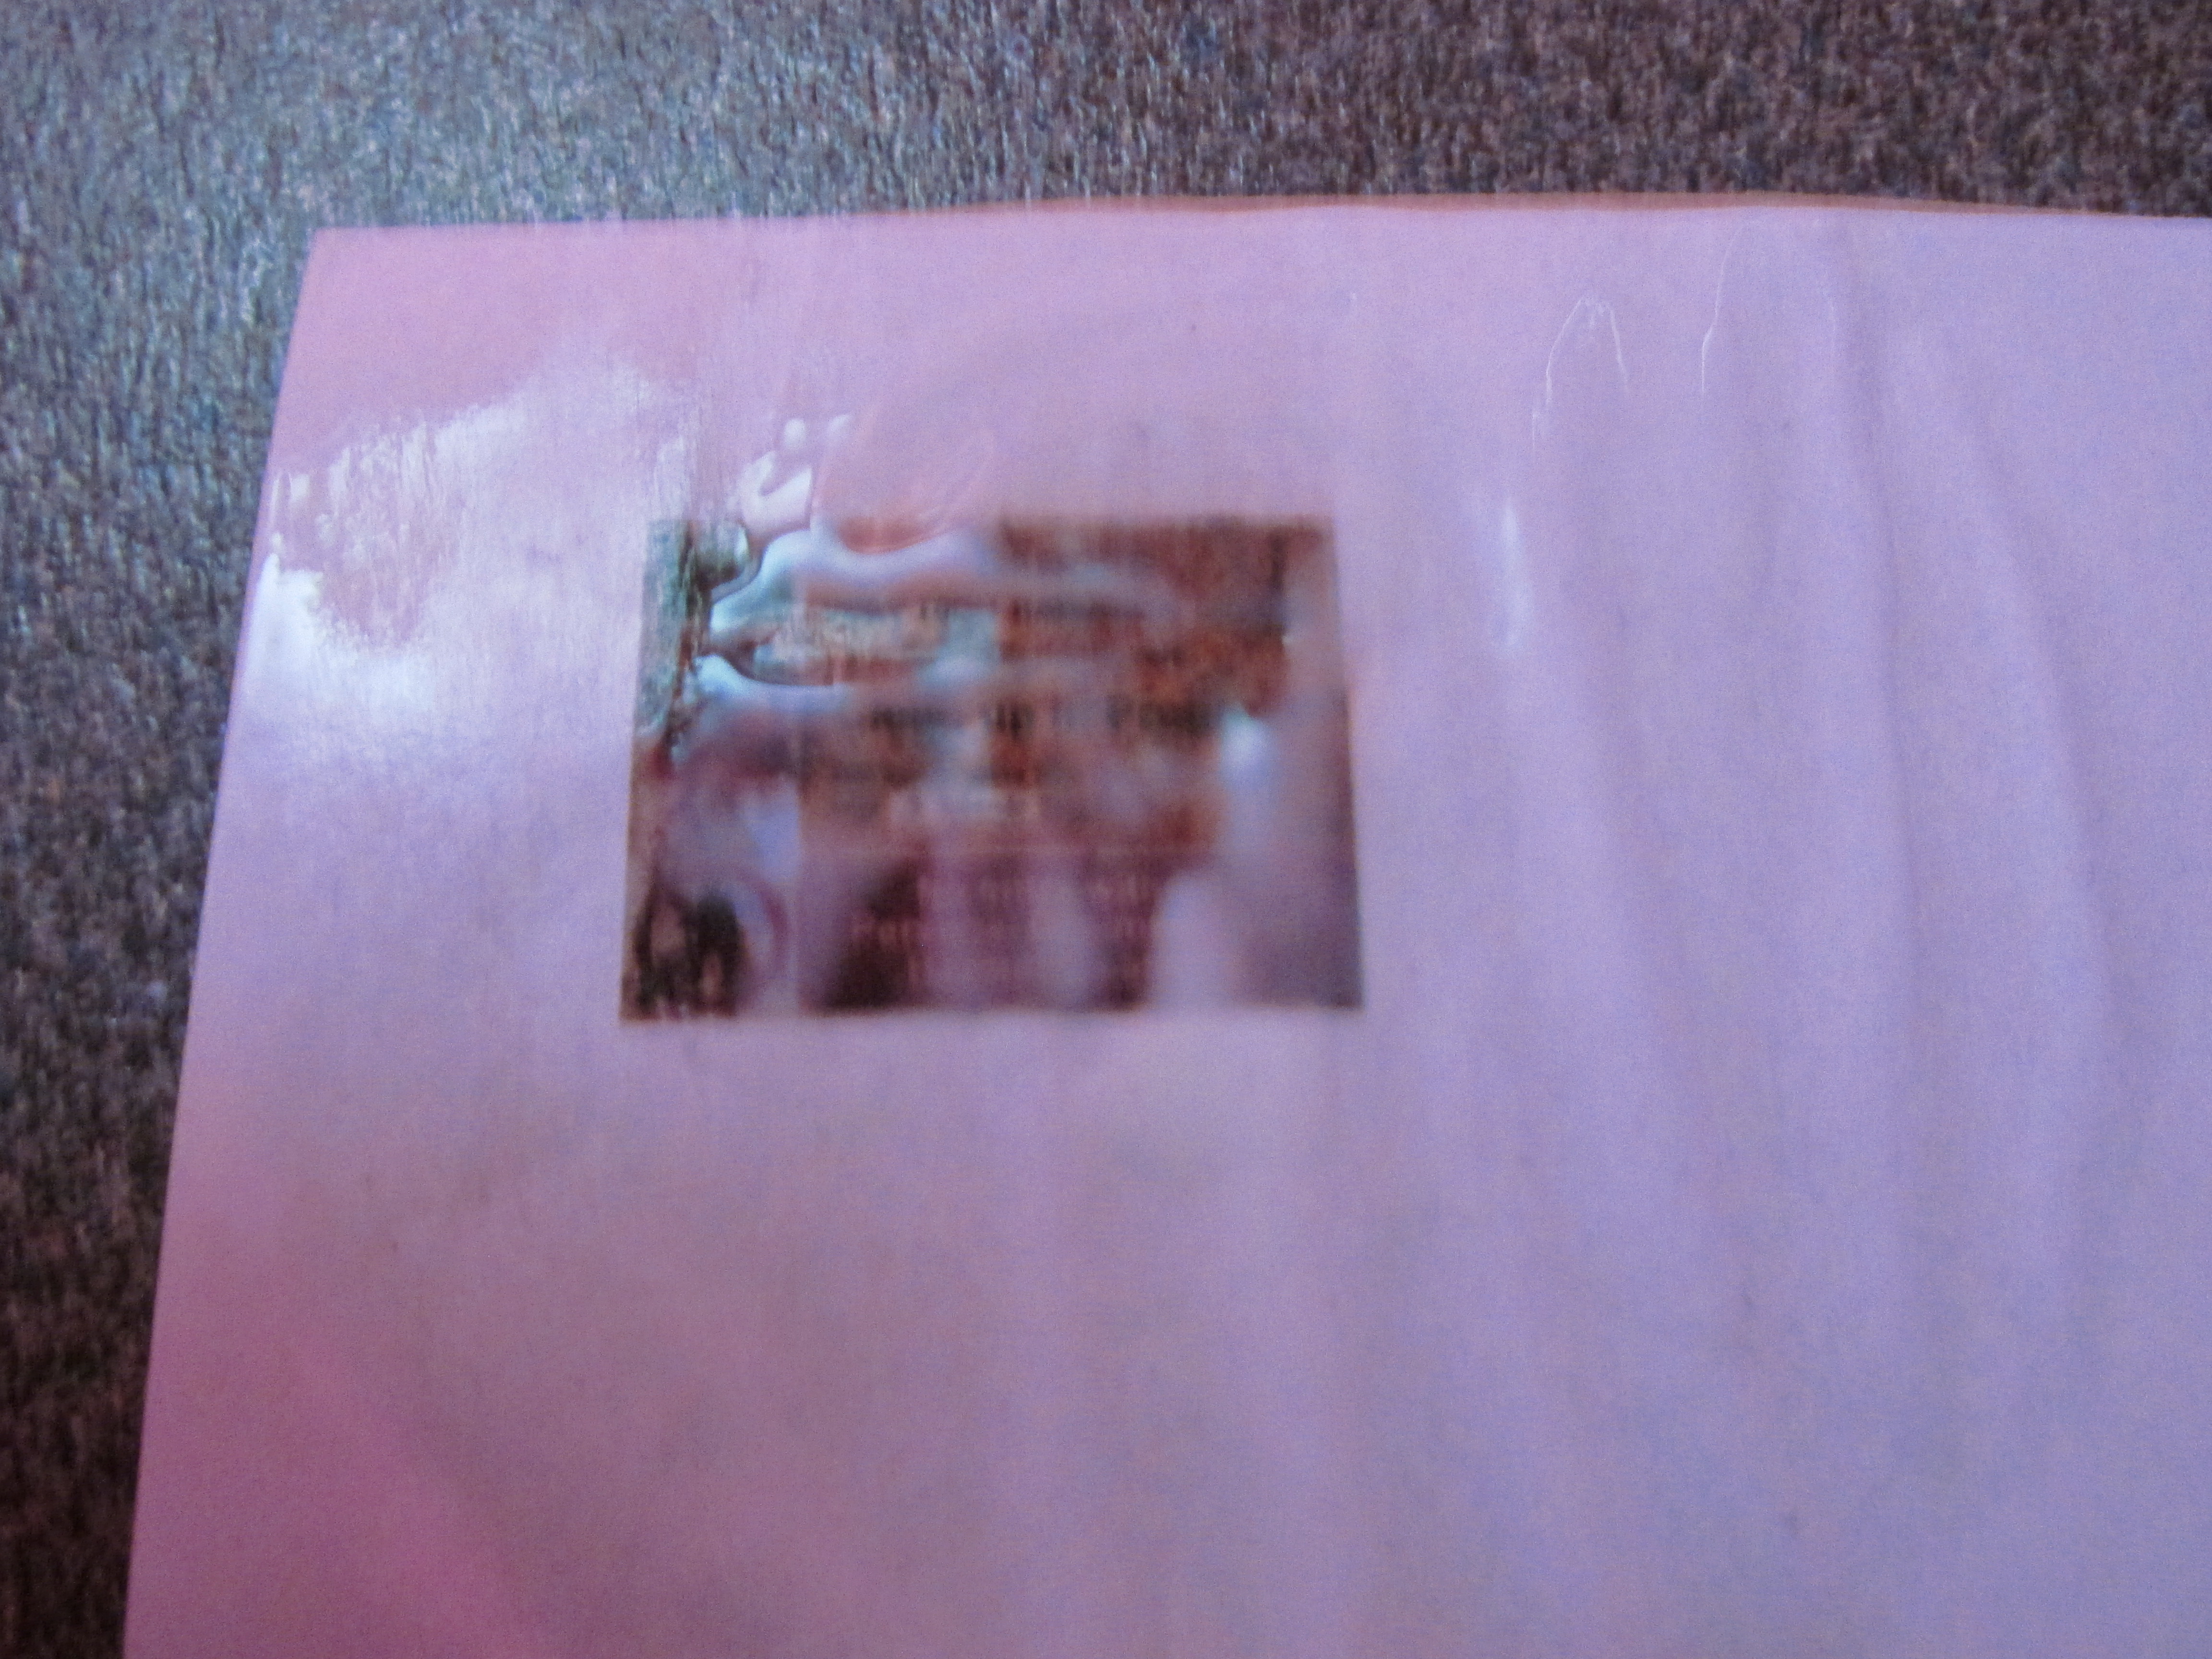 Sign of Soaked Glue.
More update, More mess!
I got these bend and busted barrels from Tabletop-Art to use for the barrels that are going to be in the toxic puddle.

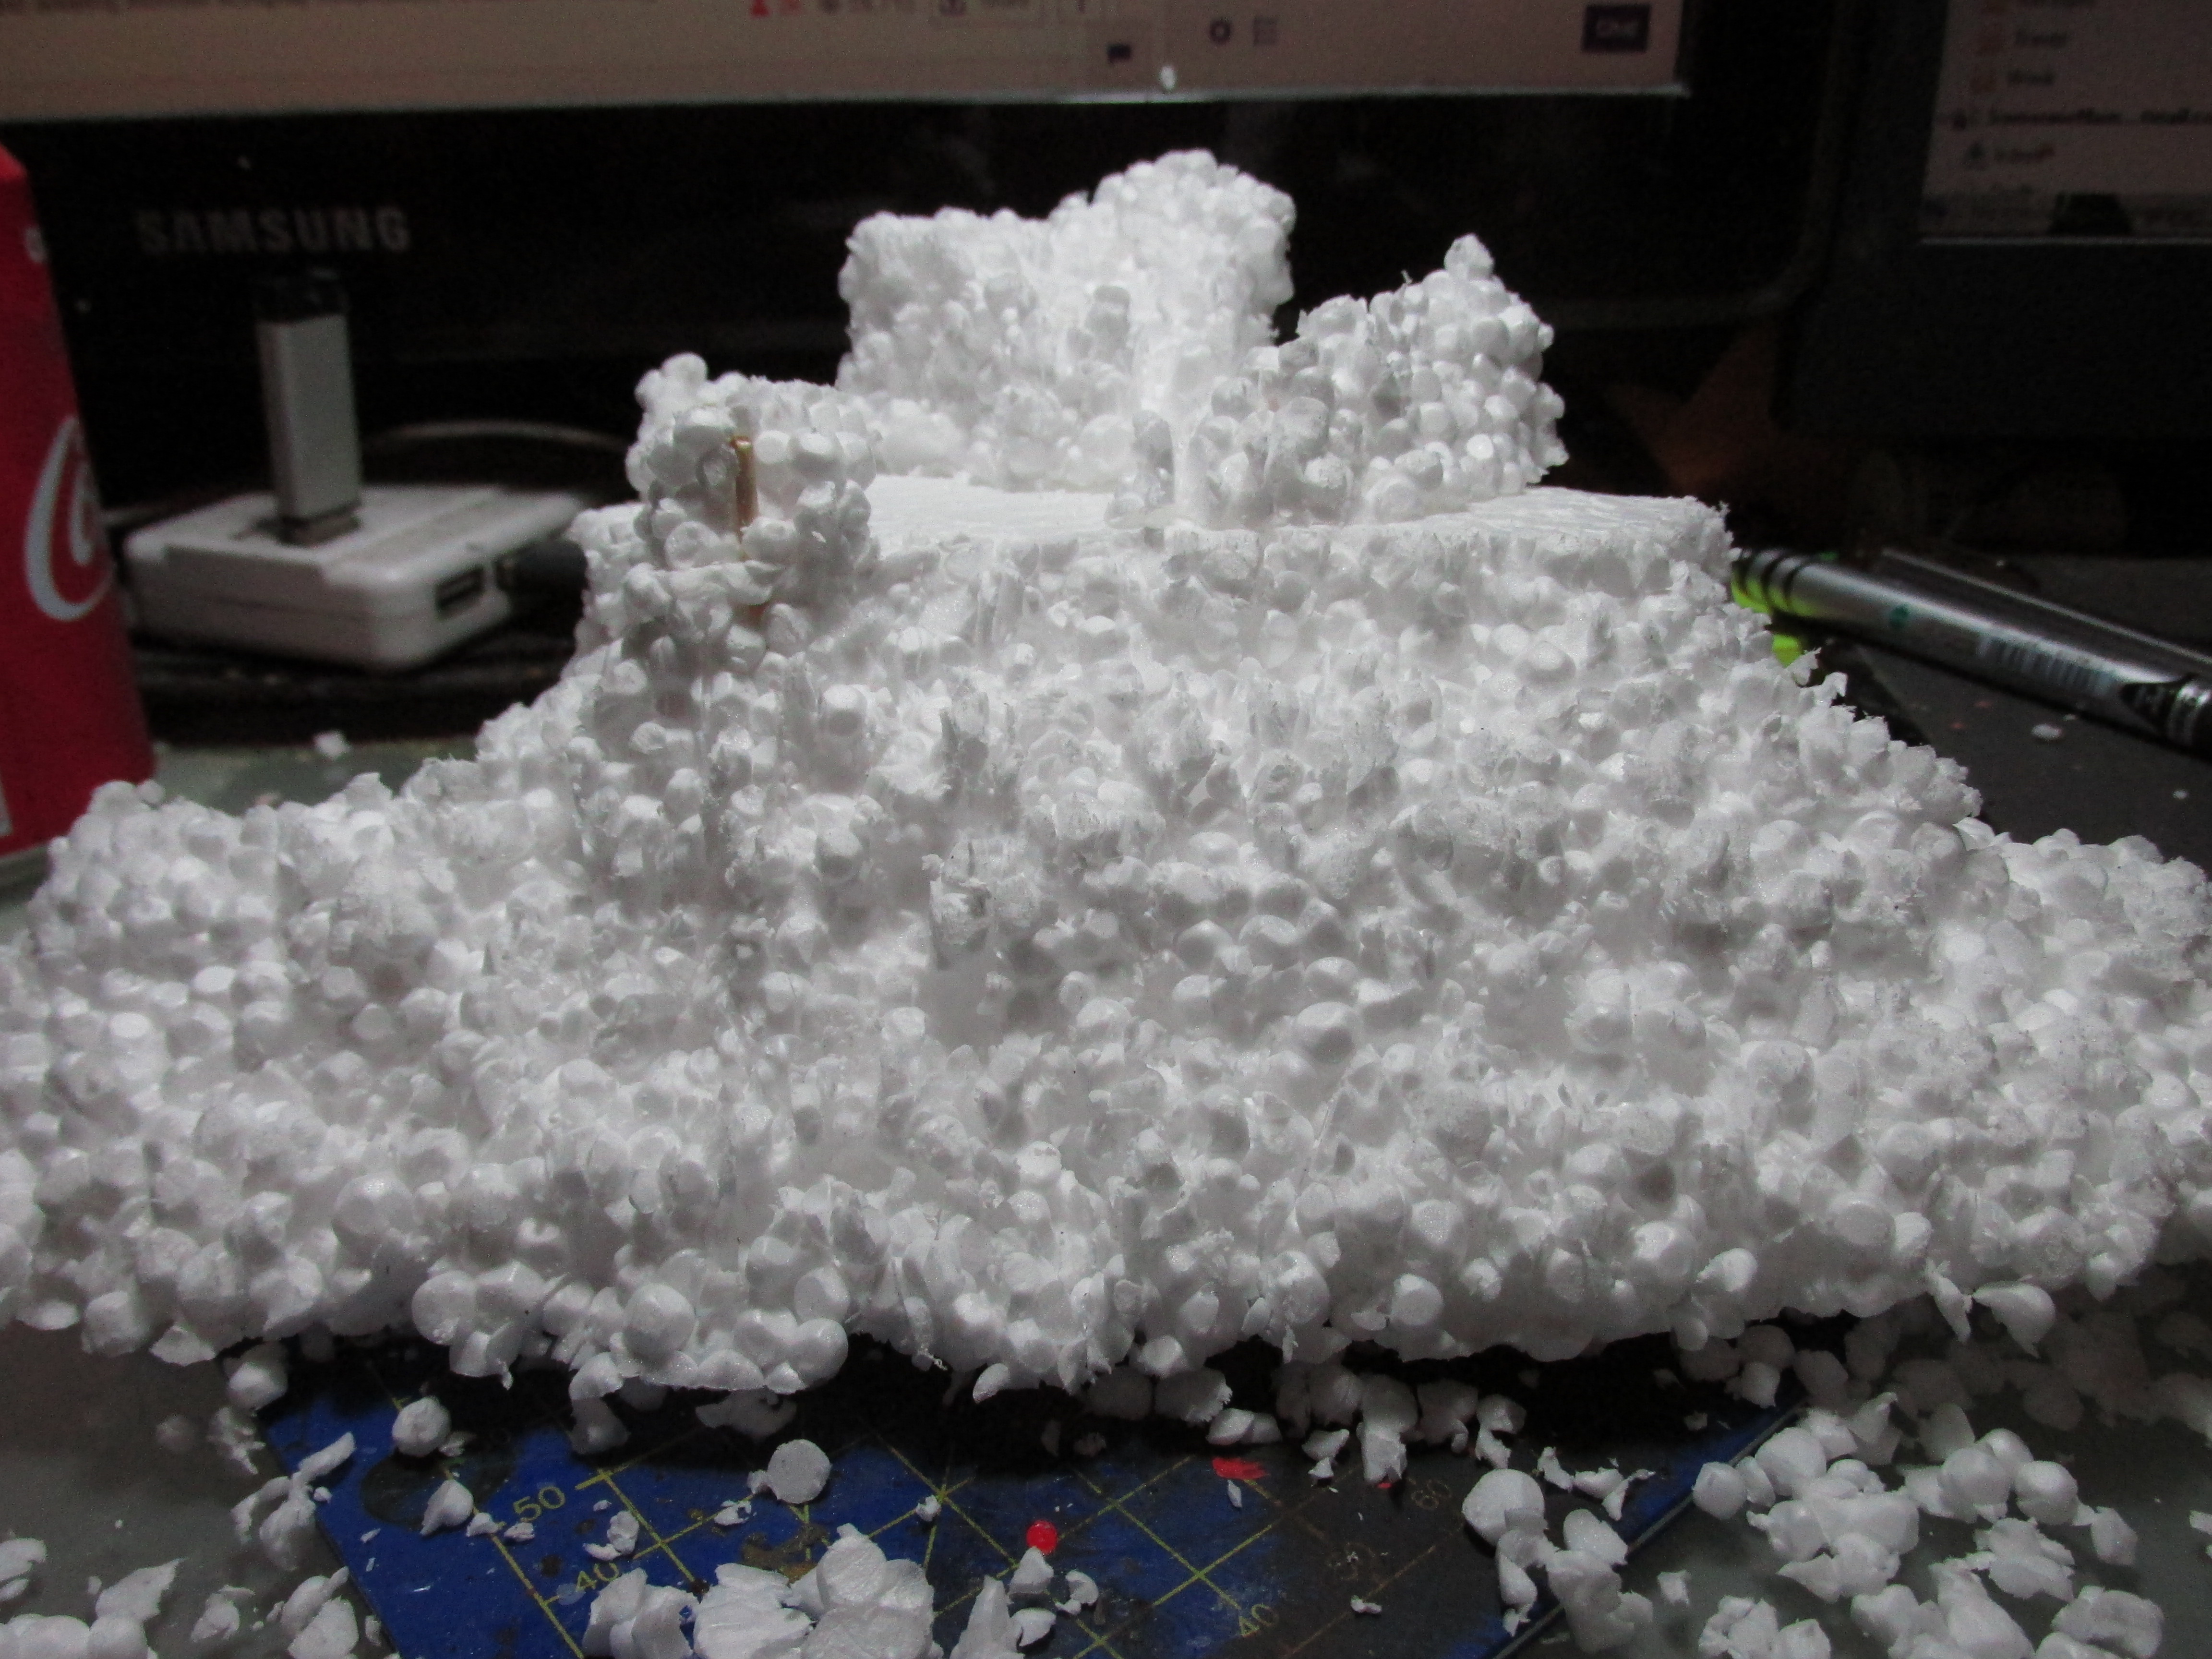
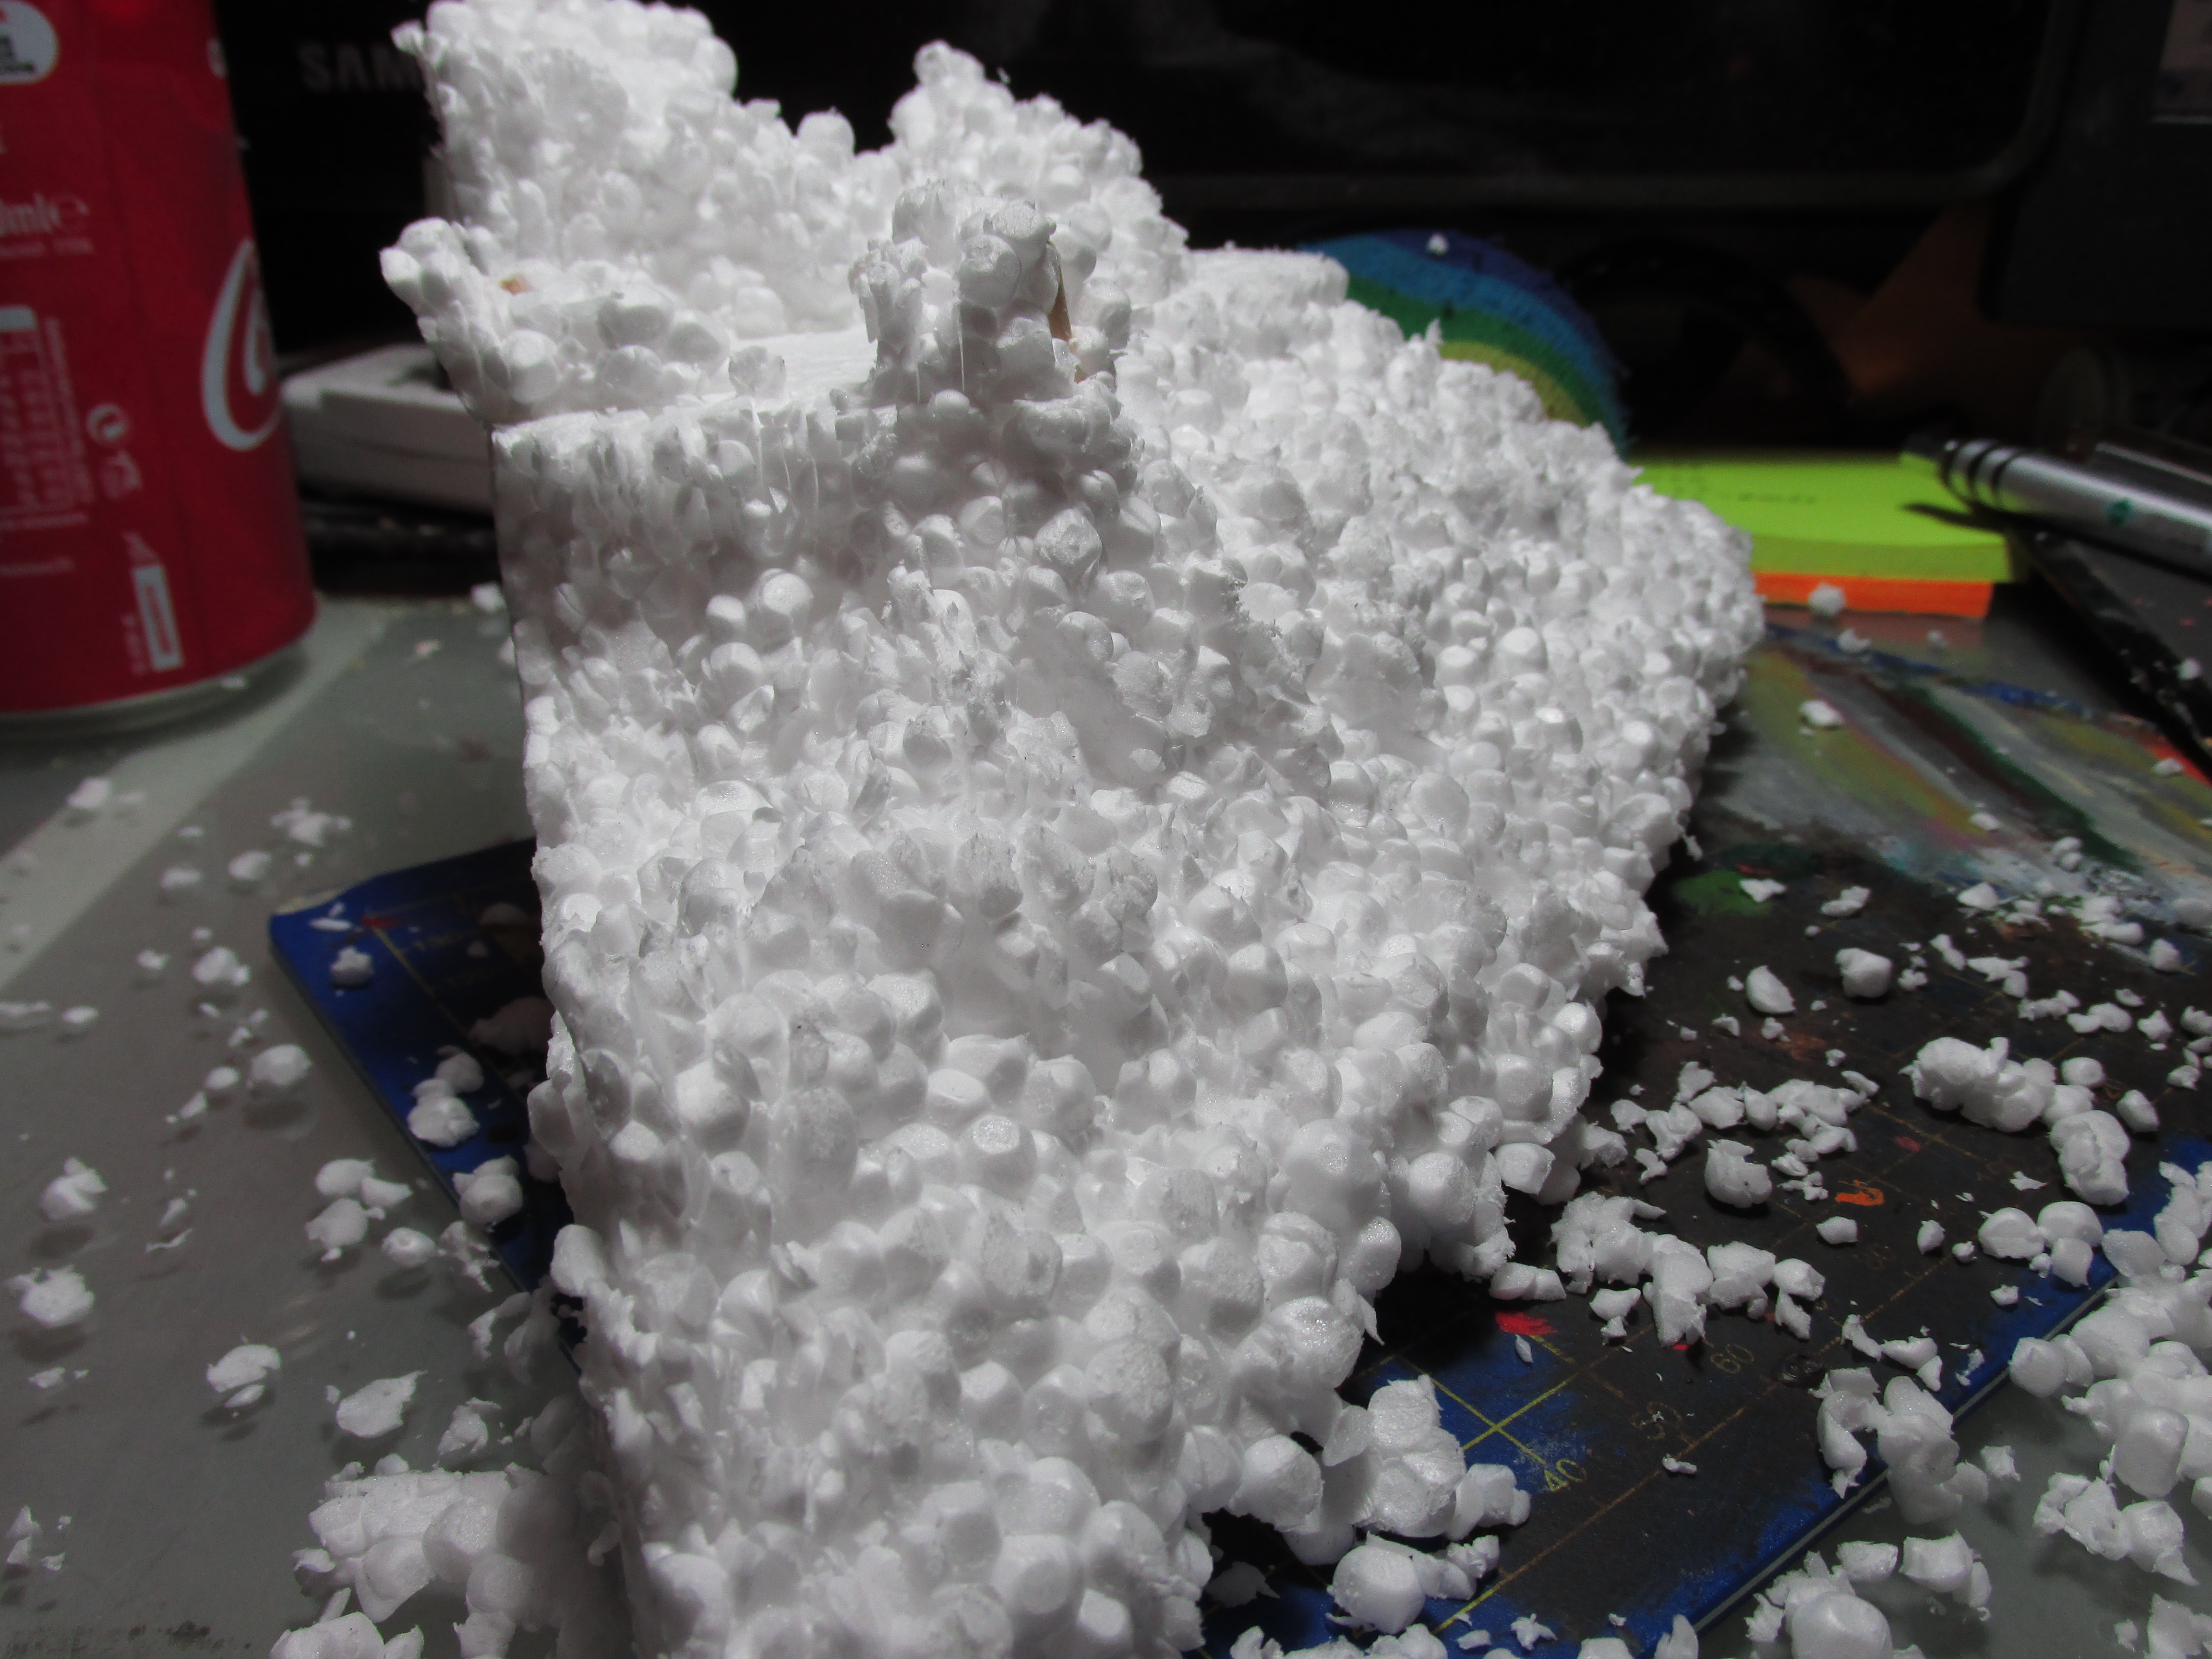
I then decided to make more of a mess of my desk by assaulting the bubble mountain with a knife. I did this to break up the bubble texture a bit. When it’s painted I hope it will look okay.
The sign dried up really nicely with glue leaving a protective cover over the image. I glued a bit of card to the back of it and primed the back of it black. I also got a little stick of card and primed that black. When that was all dry I cut out the sign and glued the stick on. I cut the stick to length comparing to a miniature for length. The sign is now ready for some painting and weathering.

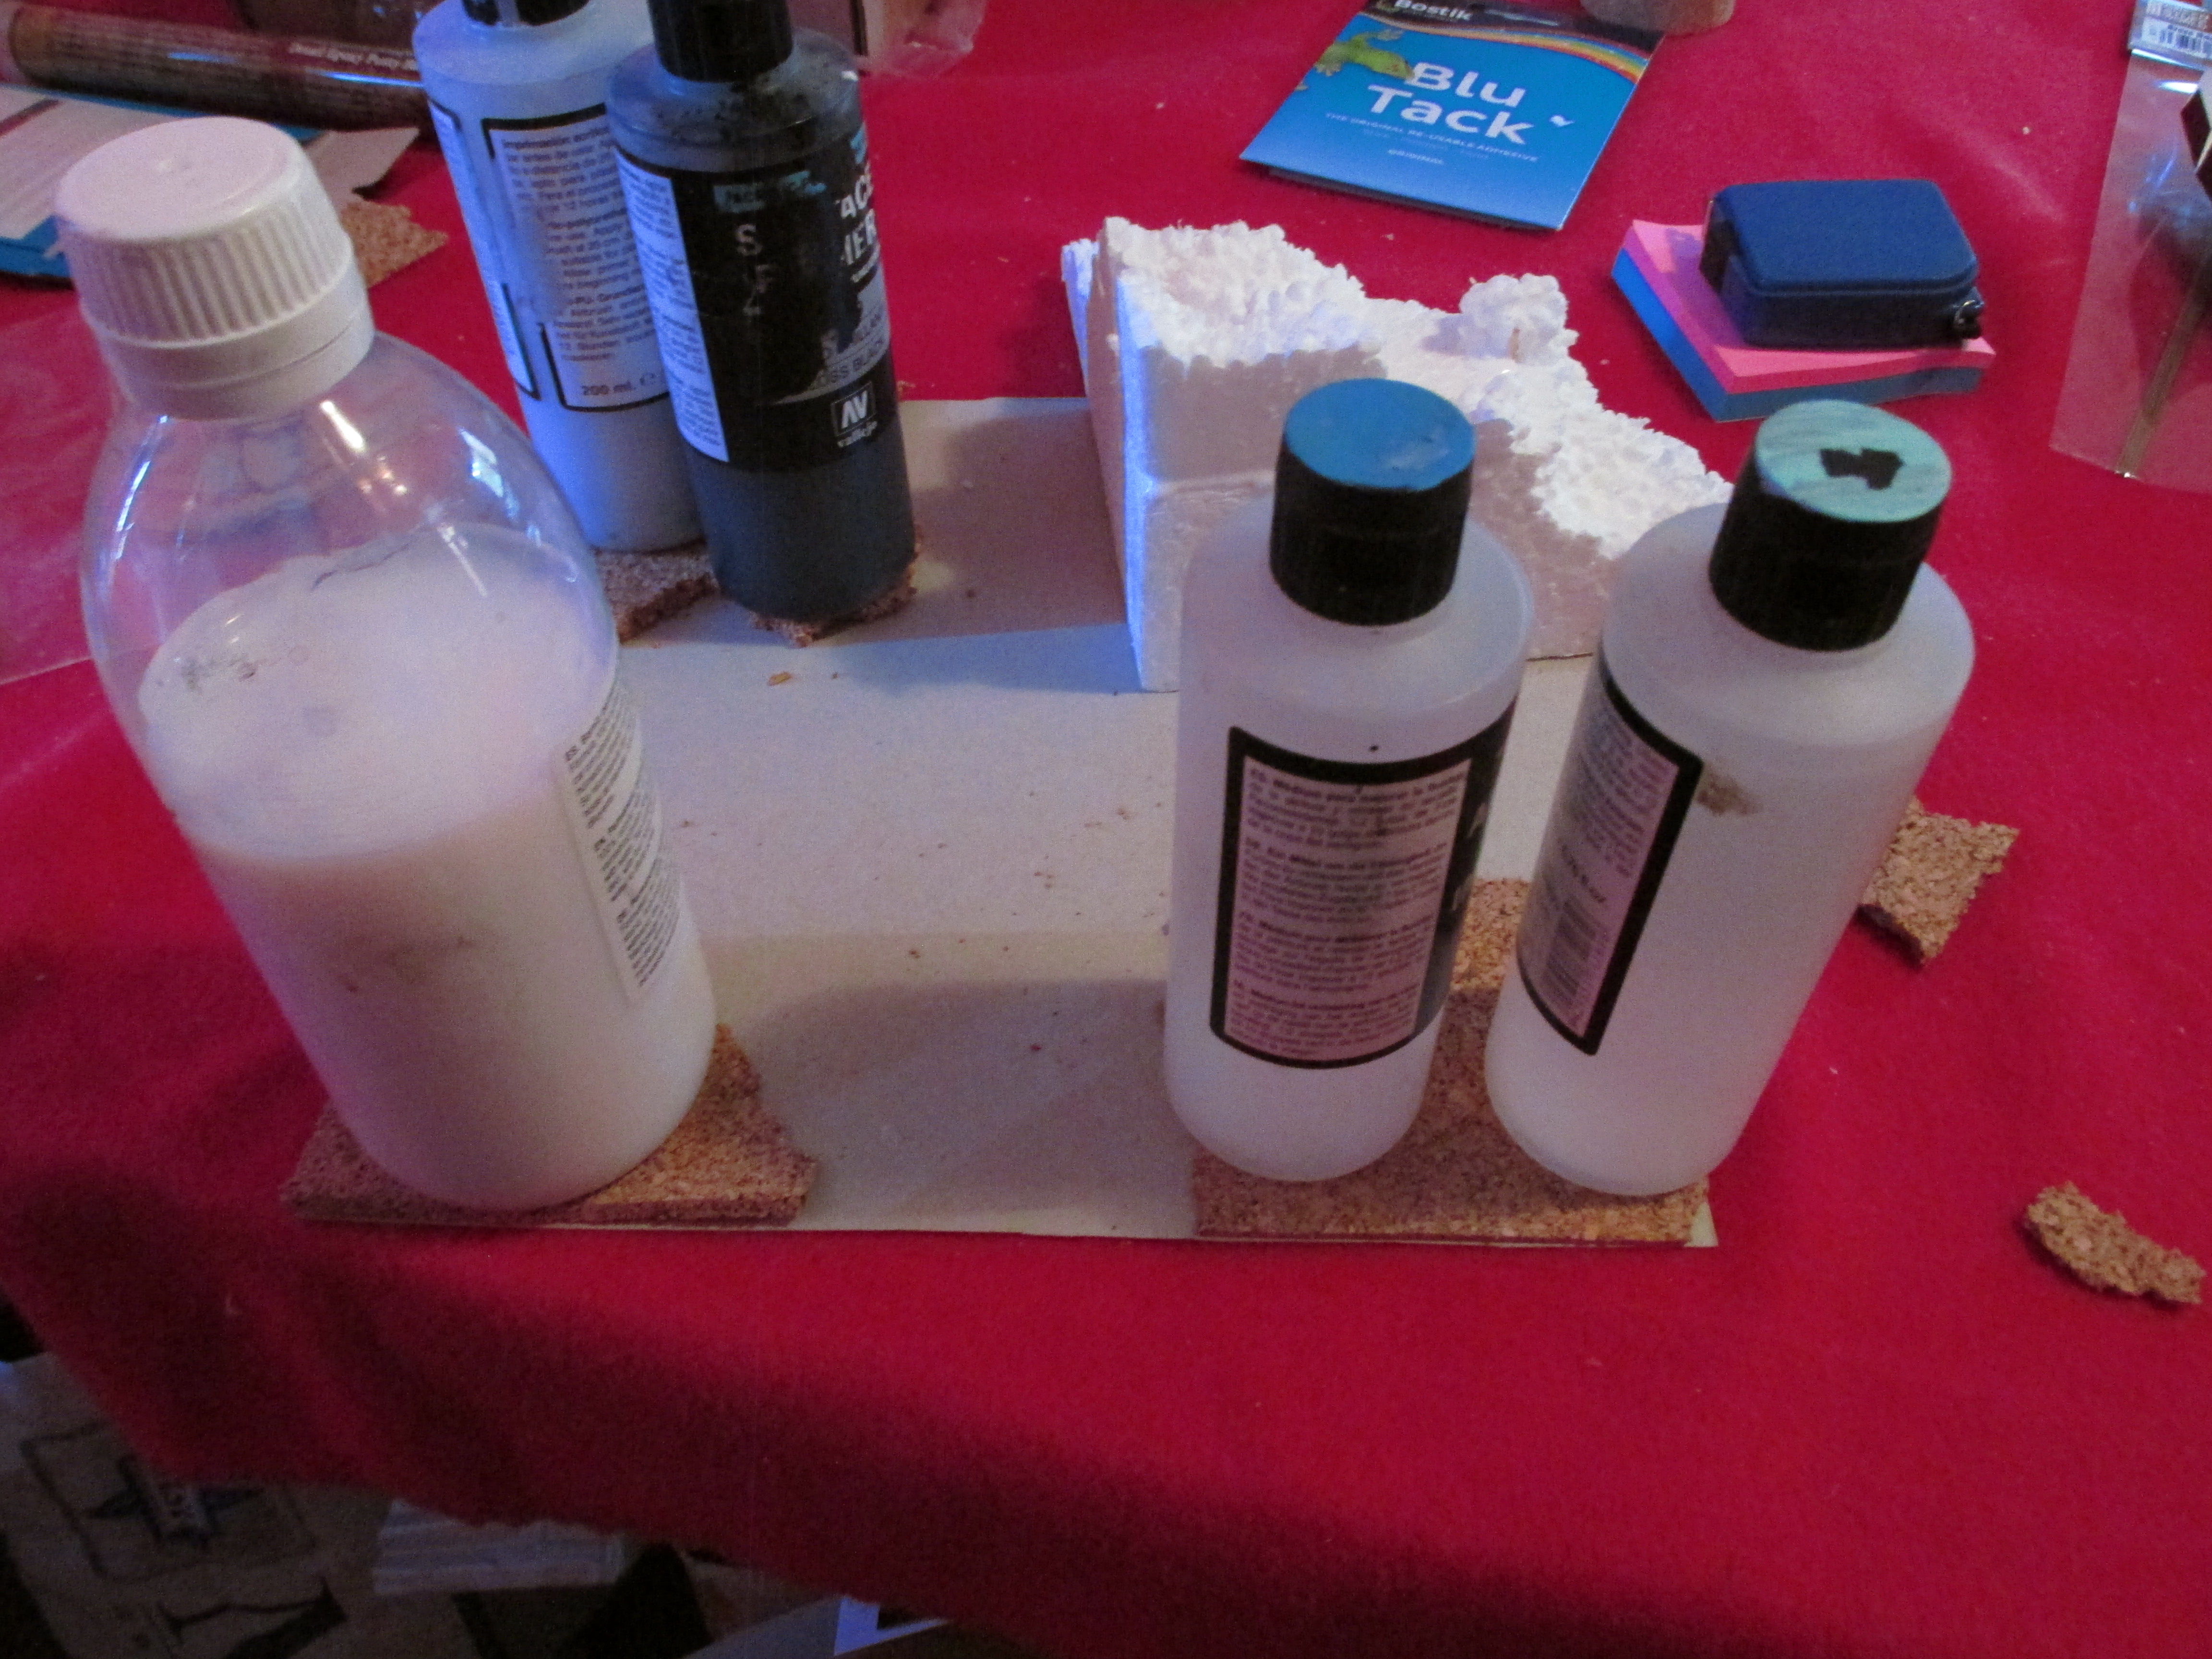
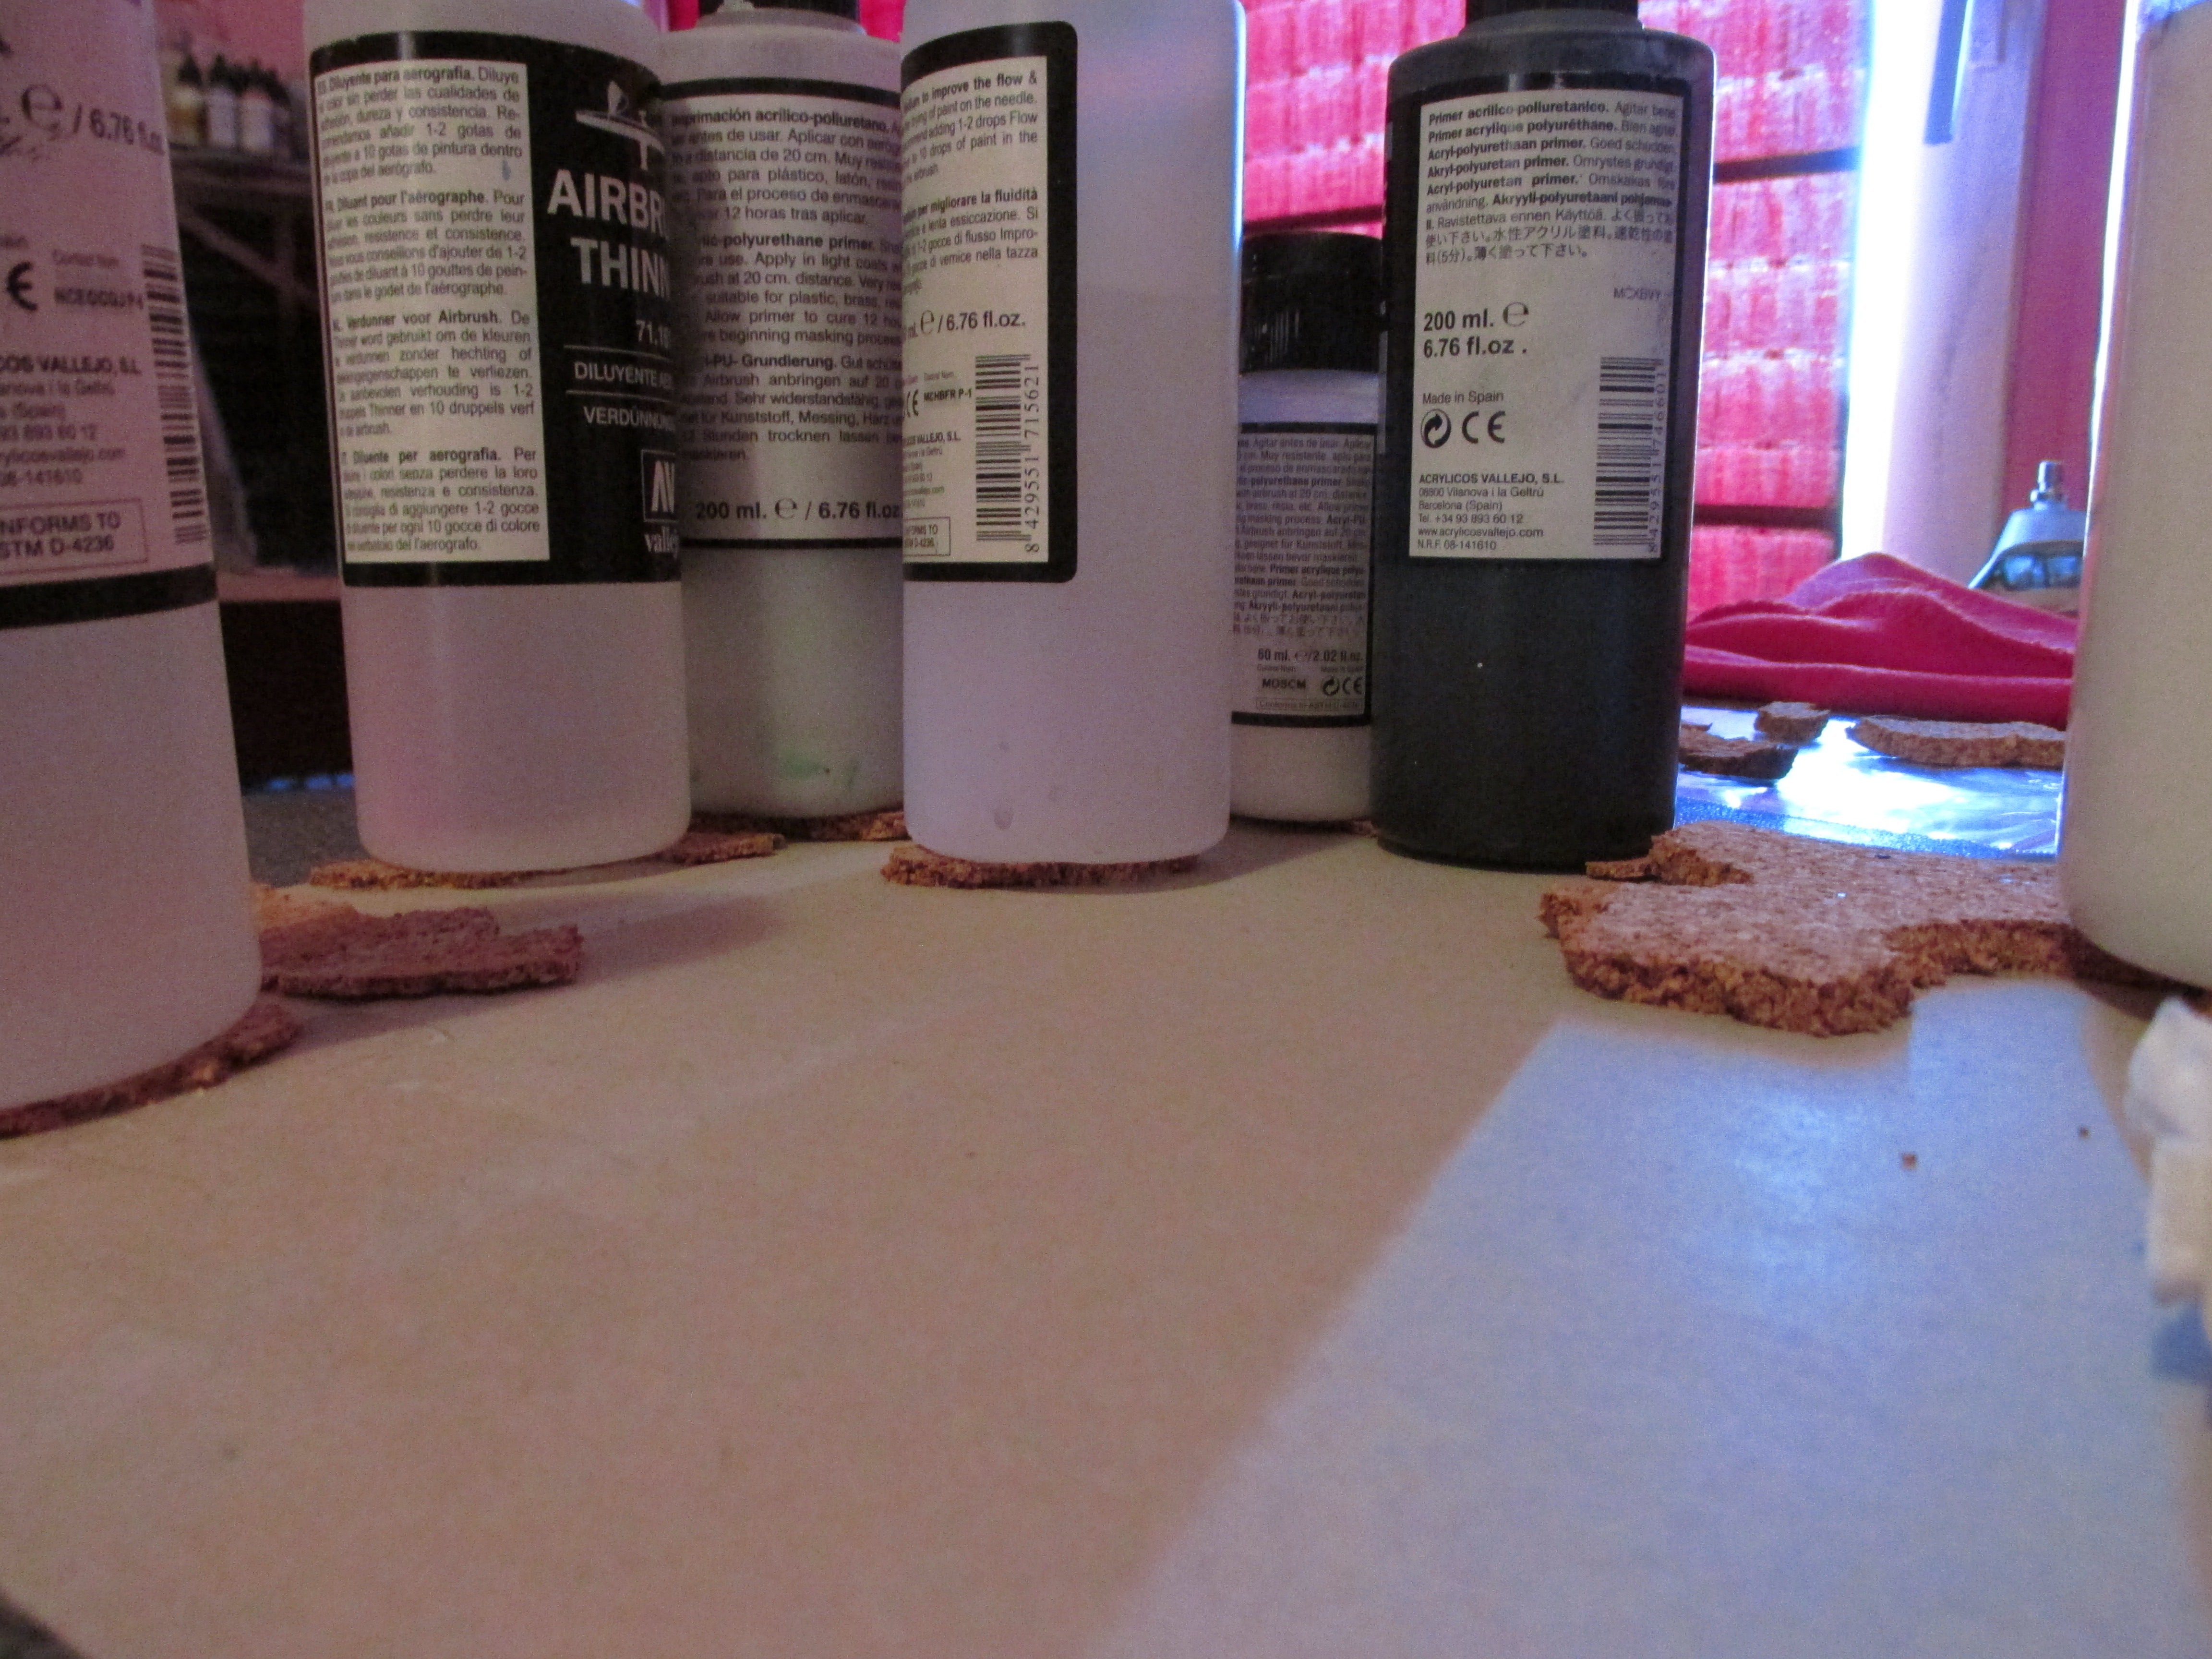
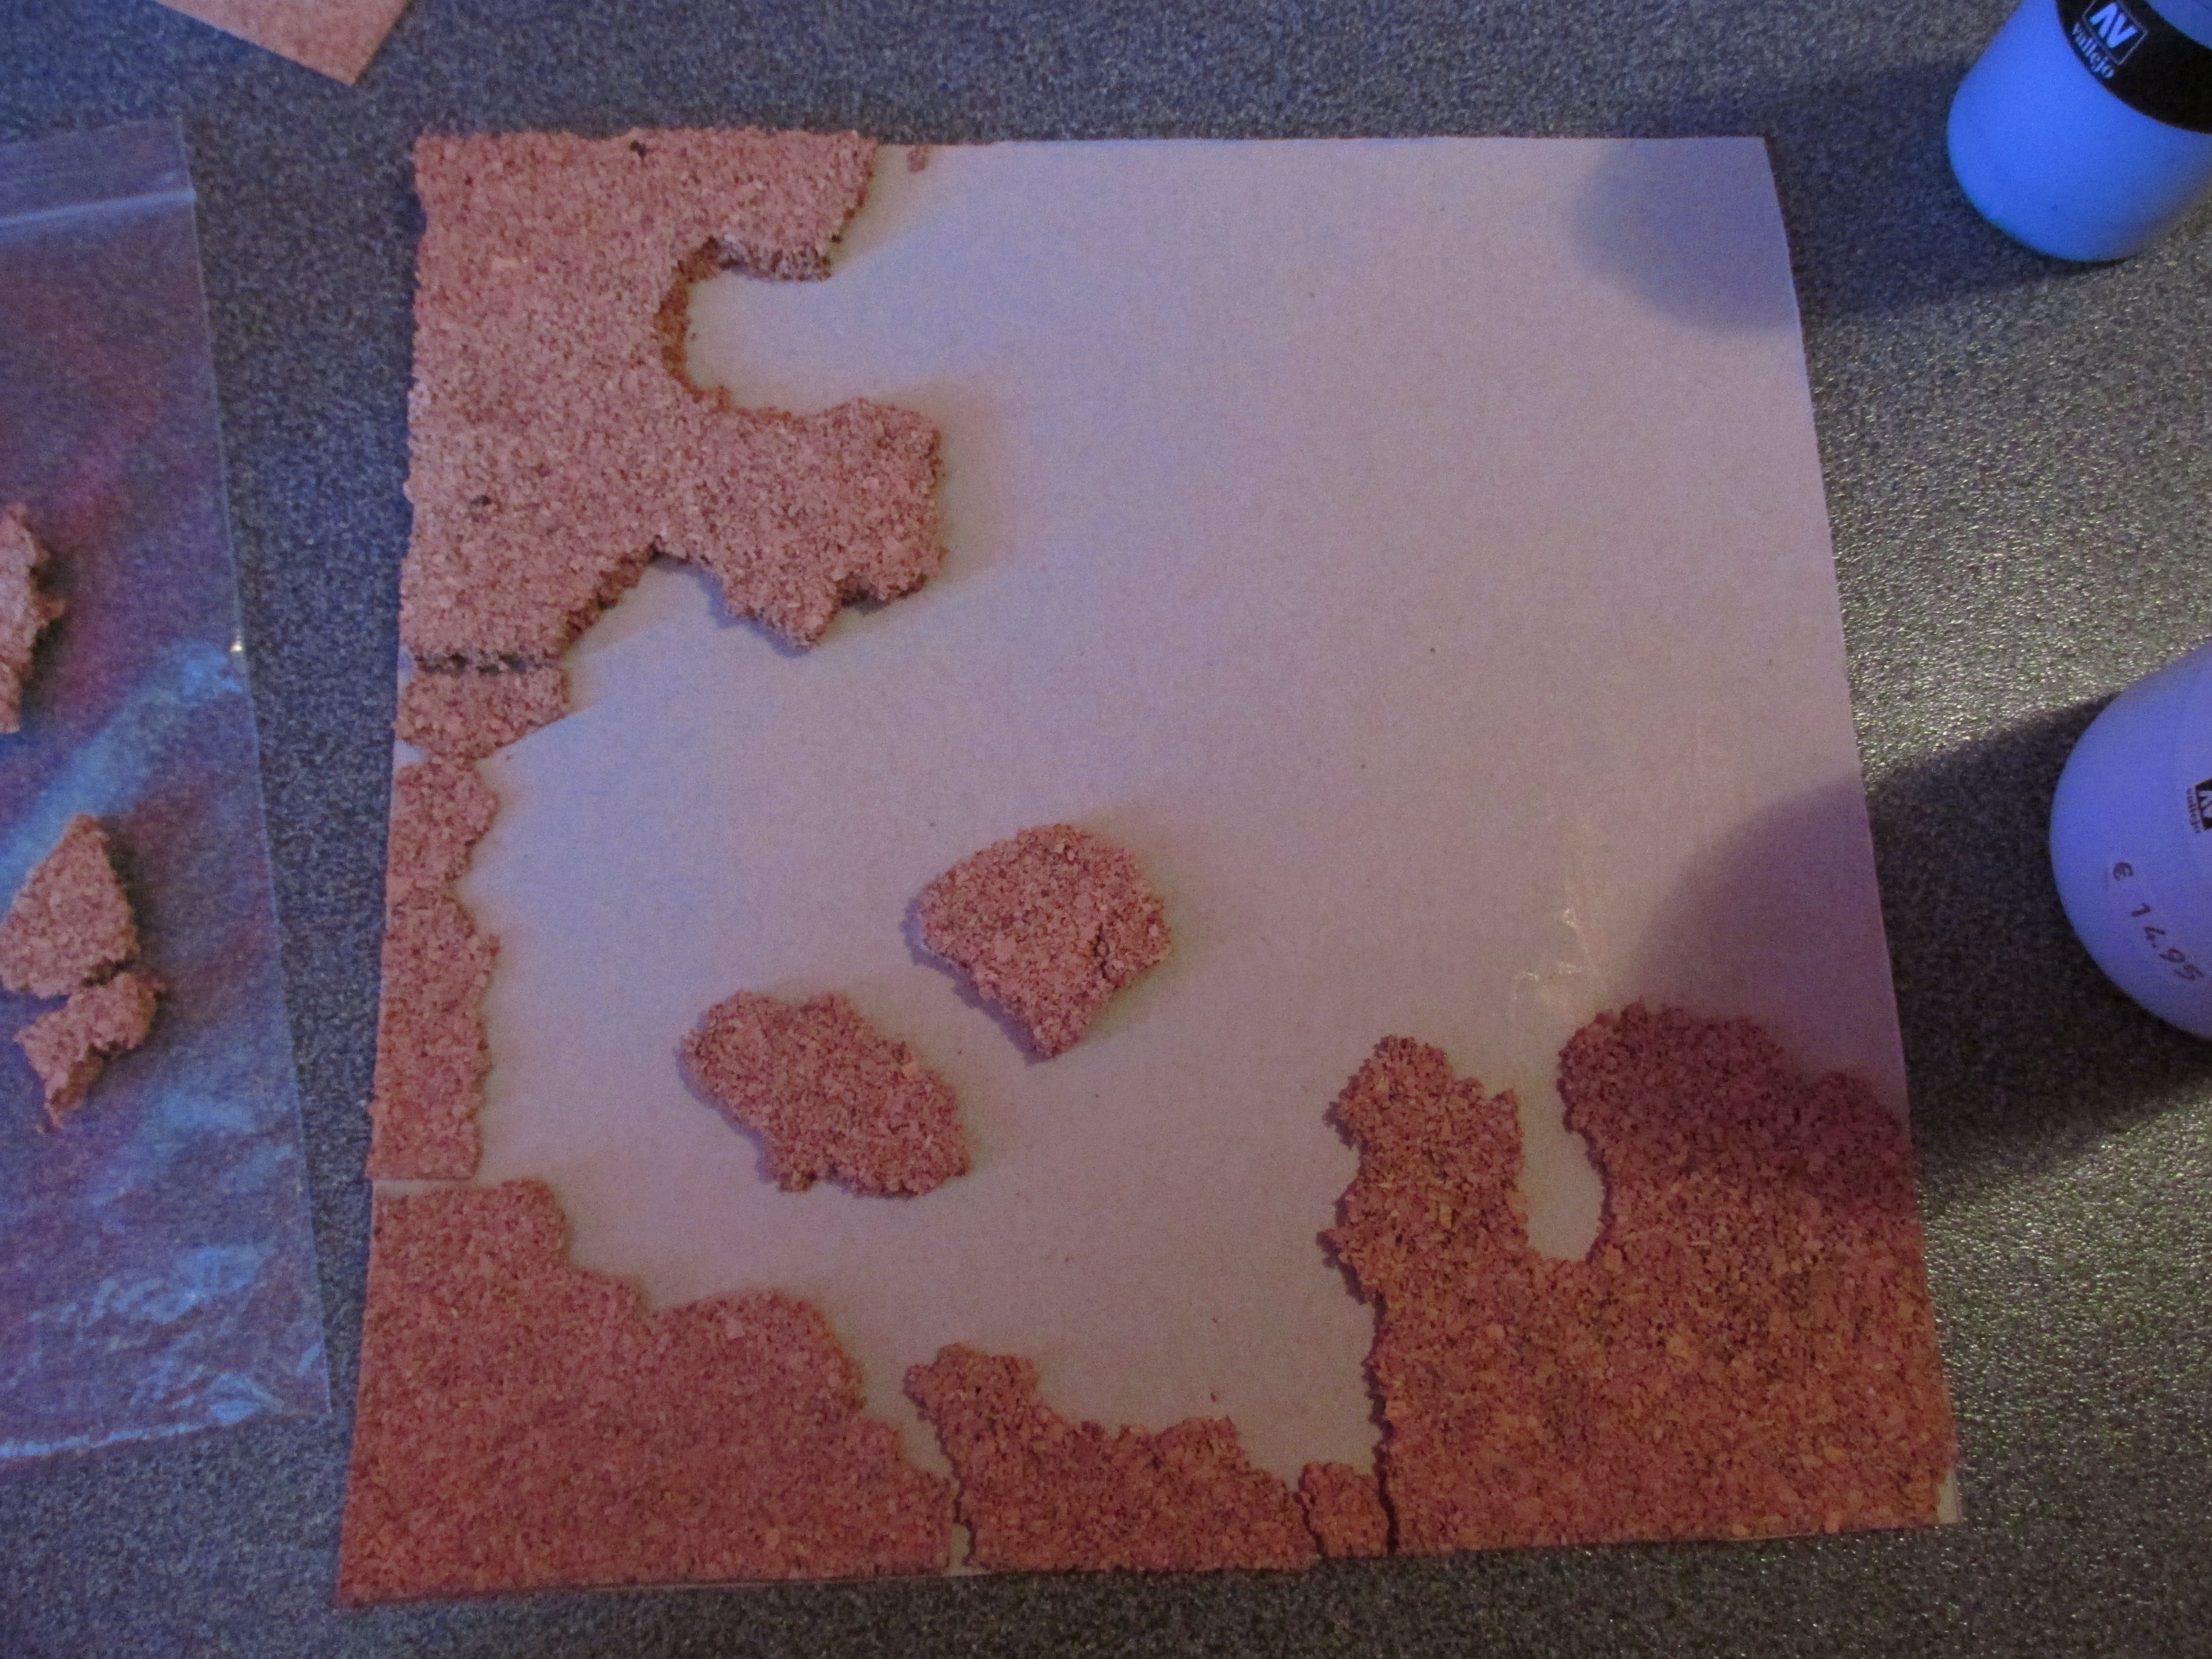
I got some pieces of cork and some stuff with straight edges. I got them glued to the corners of the square card. I put some wait on them as the pieces of cork are slightly bent in hope that they stick down flat. I can add pieces in between to fill up the edges and maybe add something to centre after this has dried.
A little update.
I primed the bubble mountain with my airbrush, when it’s painted up I hope it will look decent even with the bubbly texture.
I glued a couple more bits of cork on and glued down some bits where there were gaps on pieces I glued down before.
Another Little Update.
Due to the heat I really can’t do any painting as it results in a grab paint with brush and try to put dry paint on the miniature situation as it’s dry by the time I reach the miniature. Which is both not good for my brushes and is very annoying. Not doing any airbrush work either just to not have to clean up a clogged airbrush again. So I glued a bit more bits of cork on the card square. I’m thinking of leaving it like this, the bubble mountain will fill the the corner anyway. Just waiting on some clay to come in so I can smooth the edges a bit. After that it’s a base coat, once the temperature goes down.
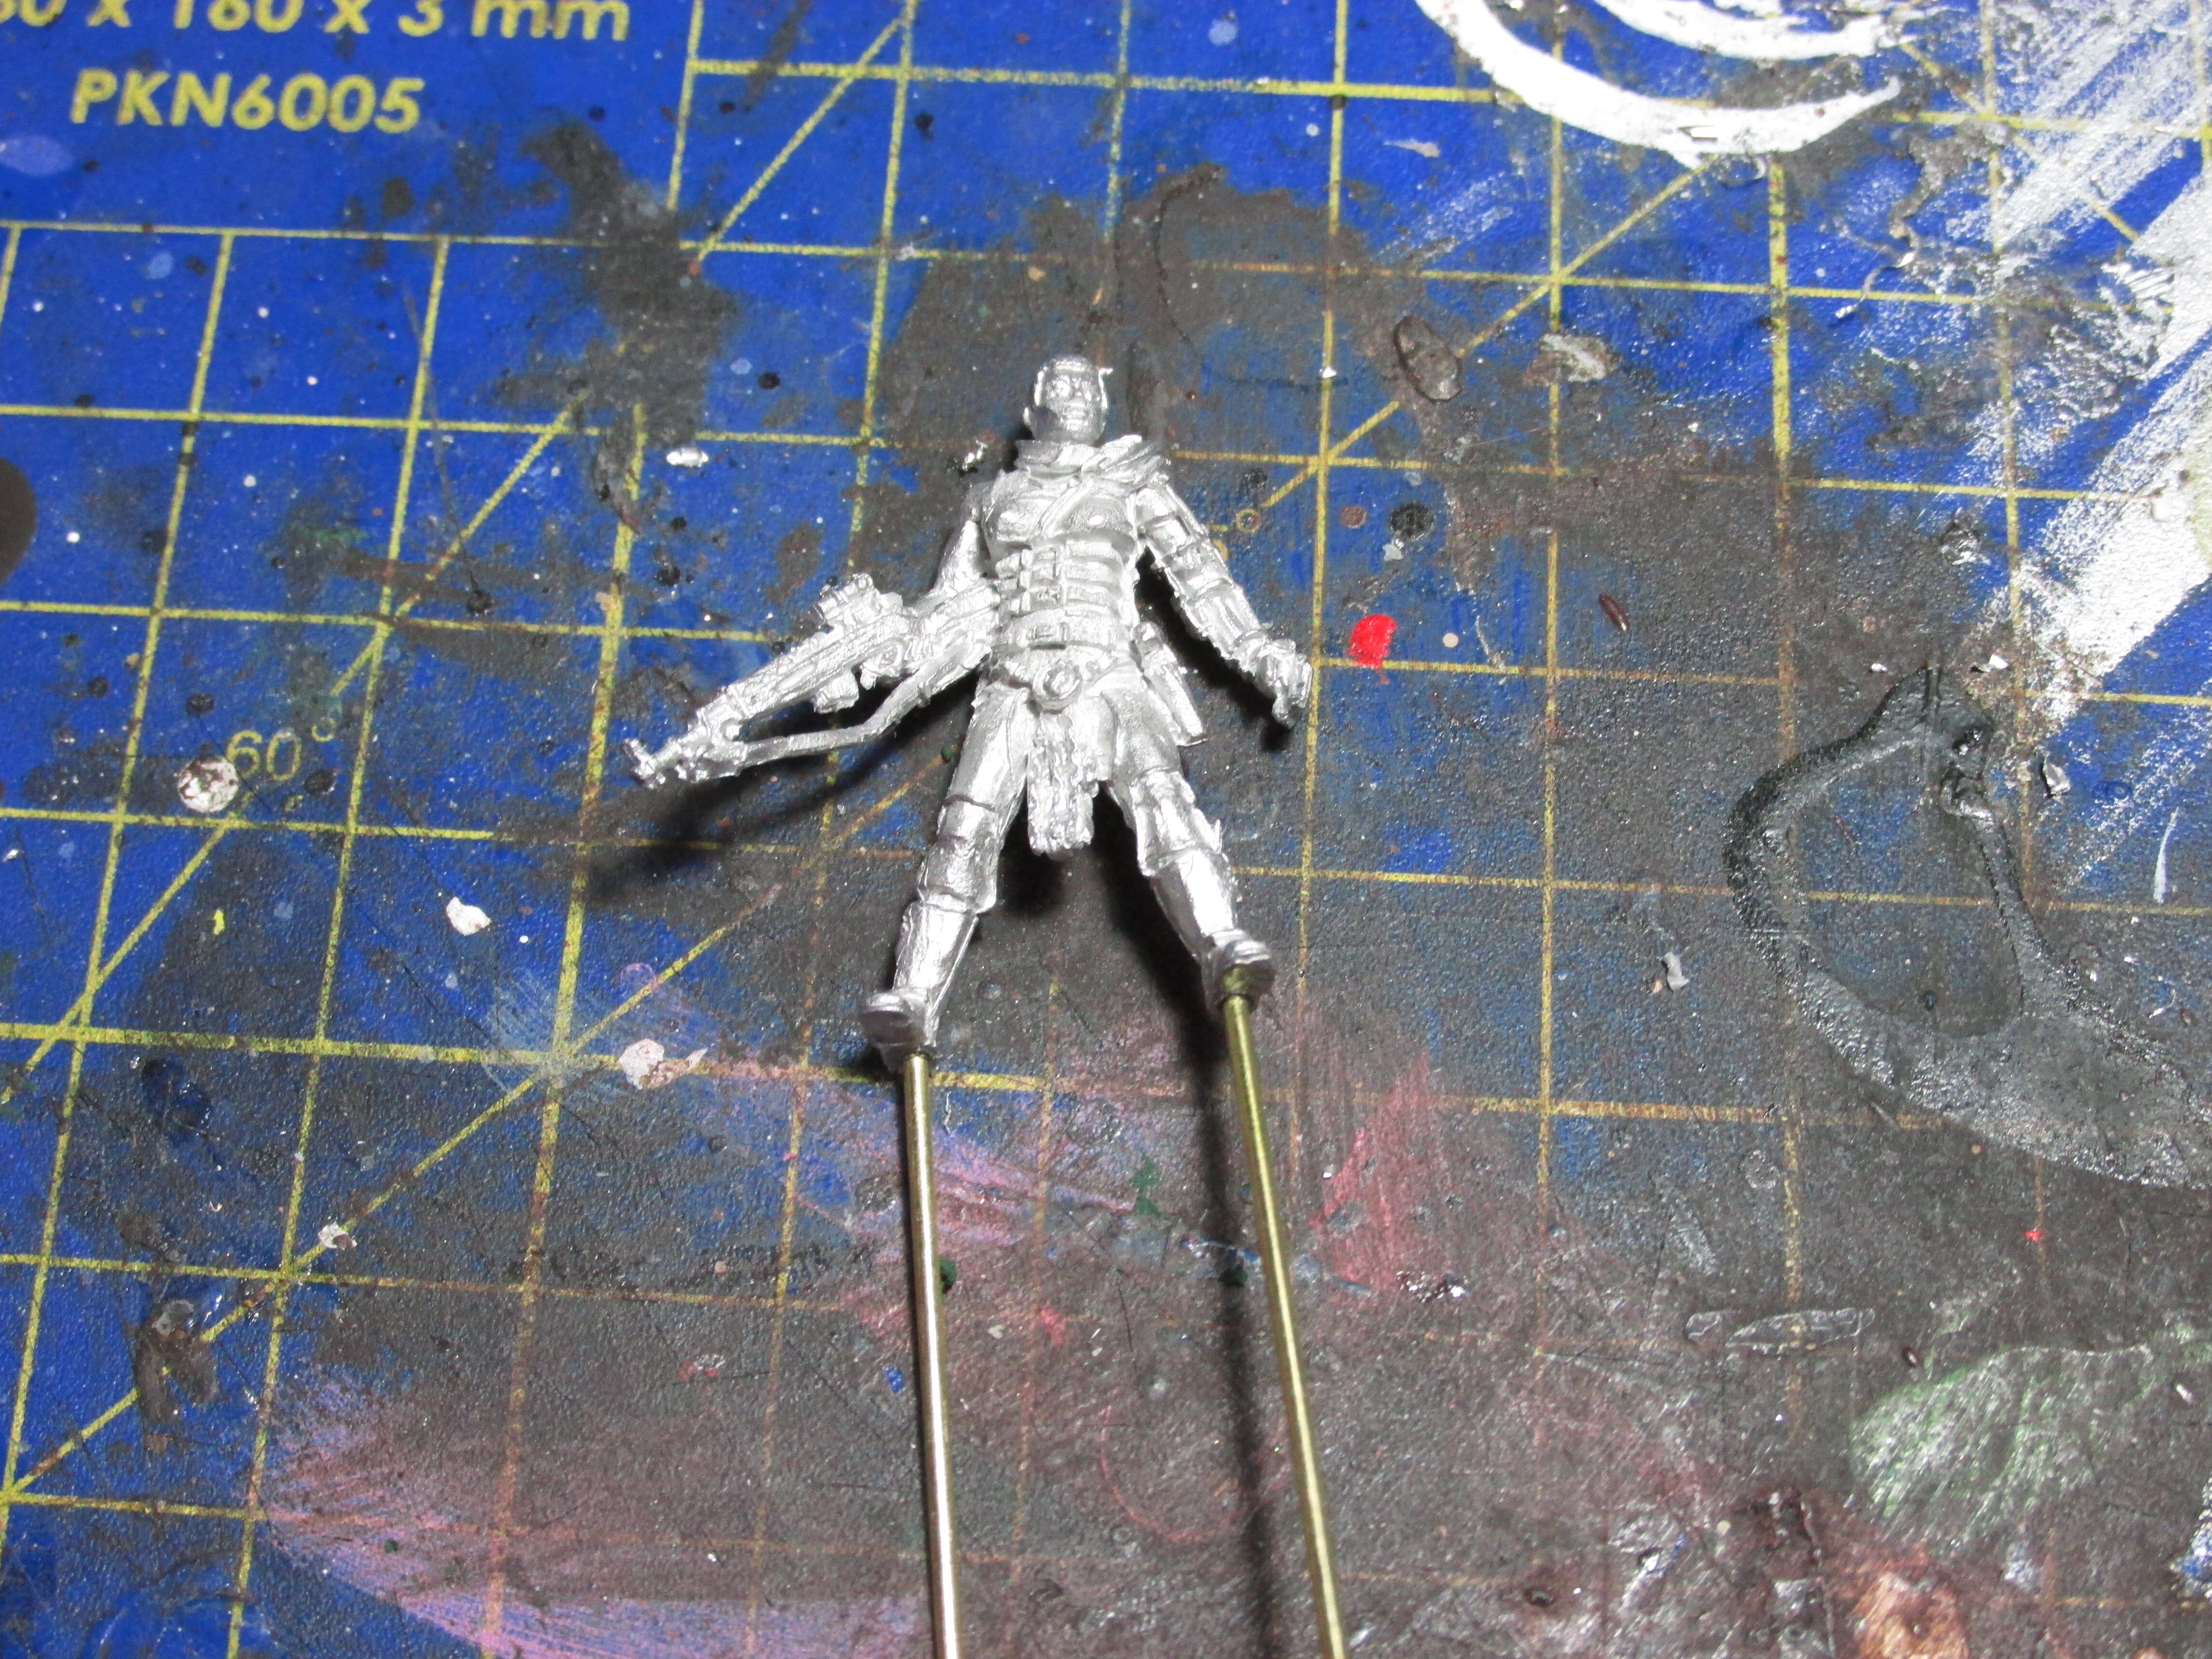
The miniature from Crooked Dice came in as well. Prepped it for priming and stuck it on 1mm brass rods so that I can just stick it into the bubble mountain with a bit of glue for a good tight bond.

An Update!!
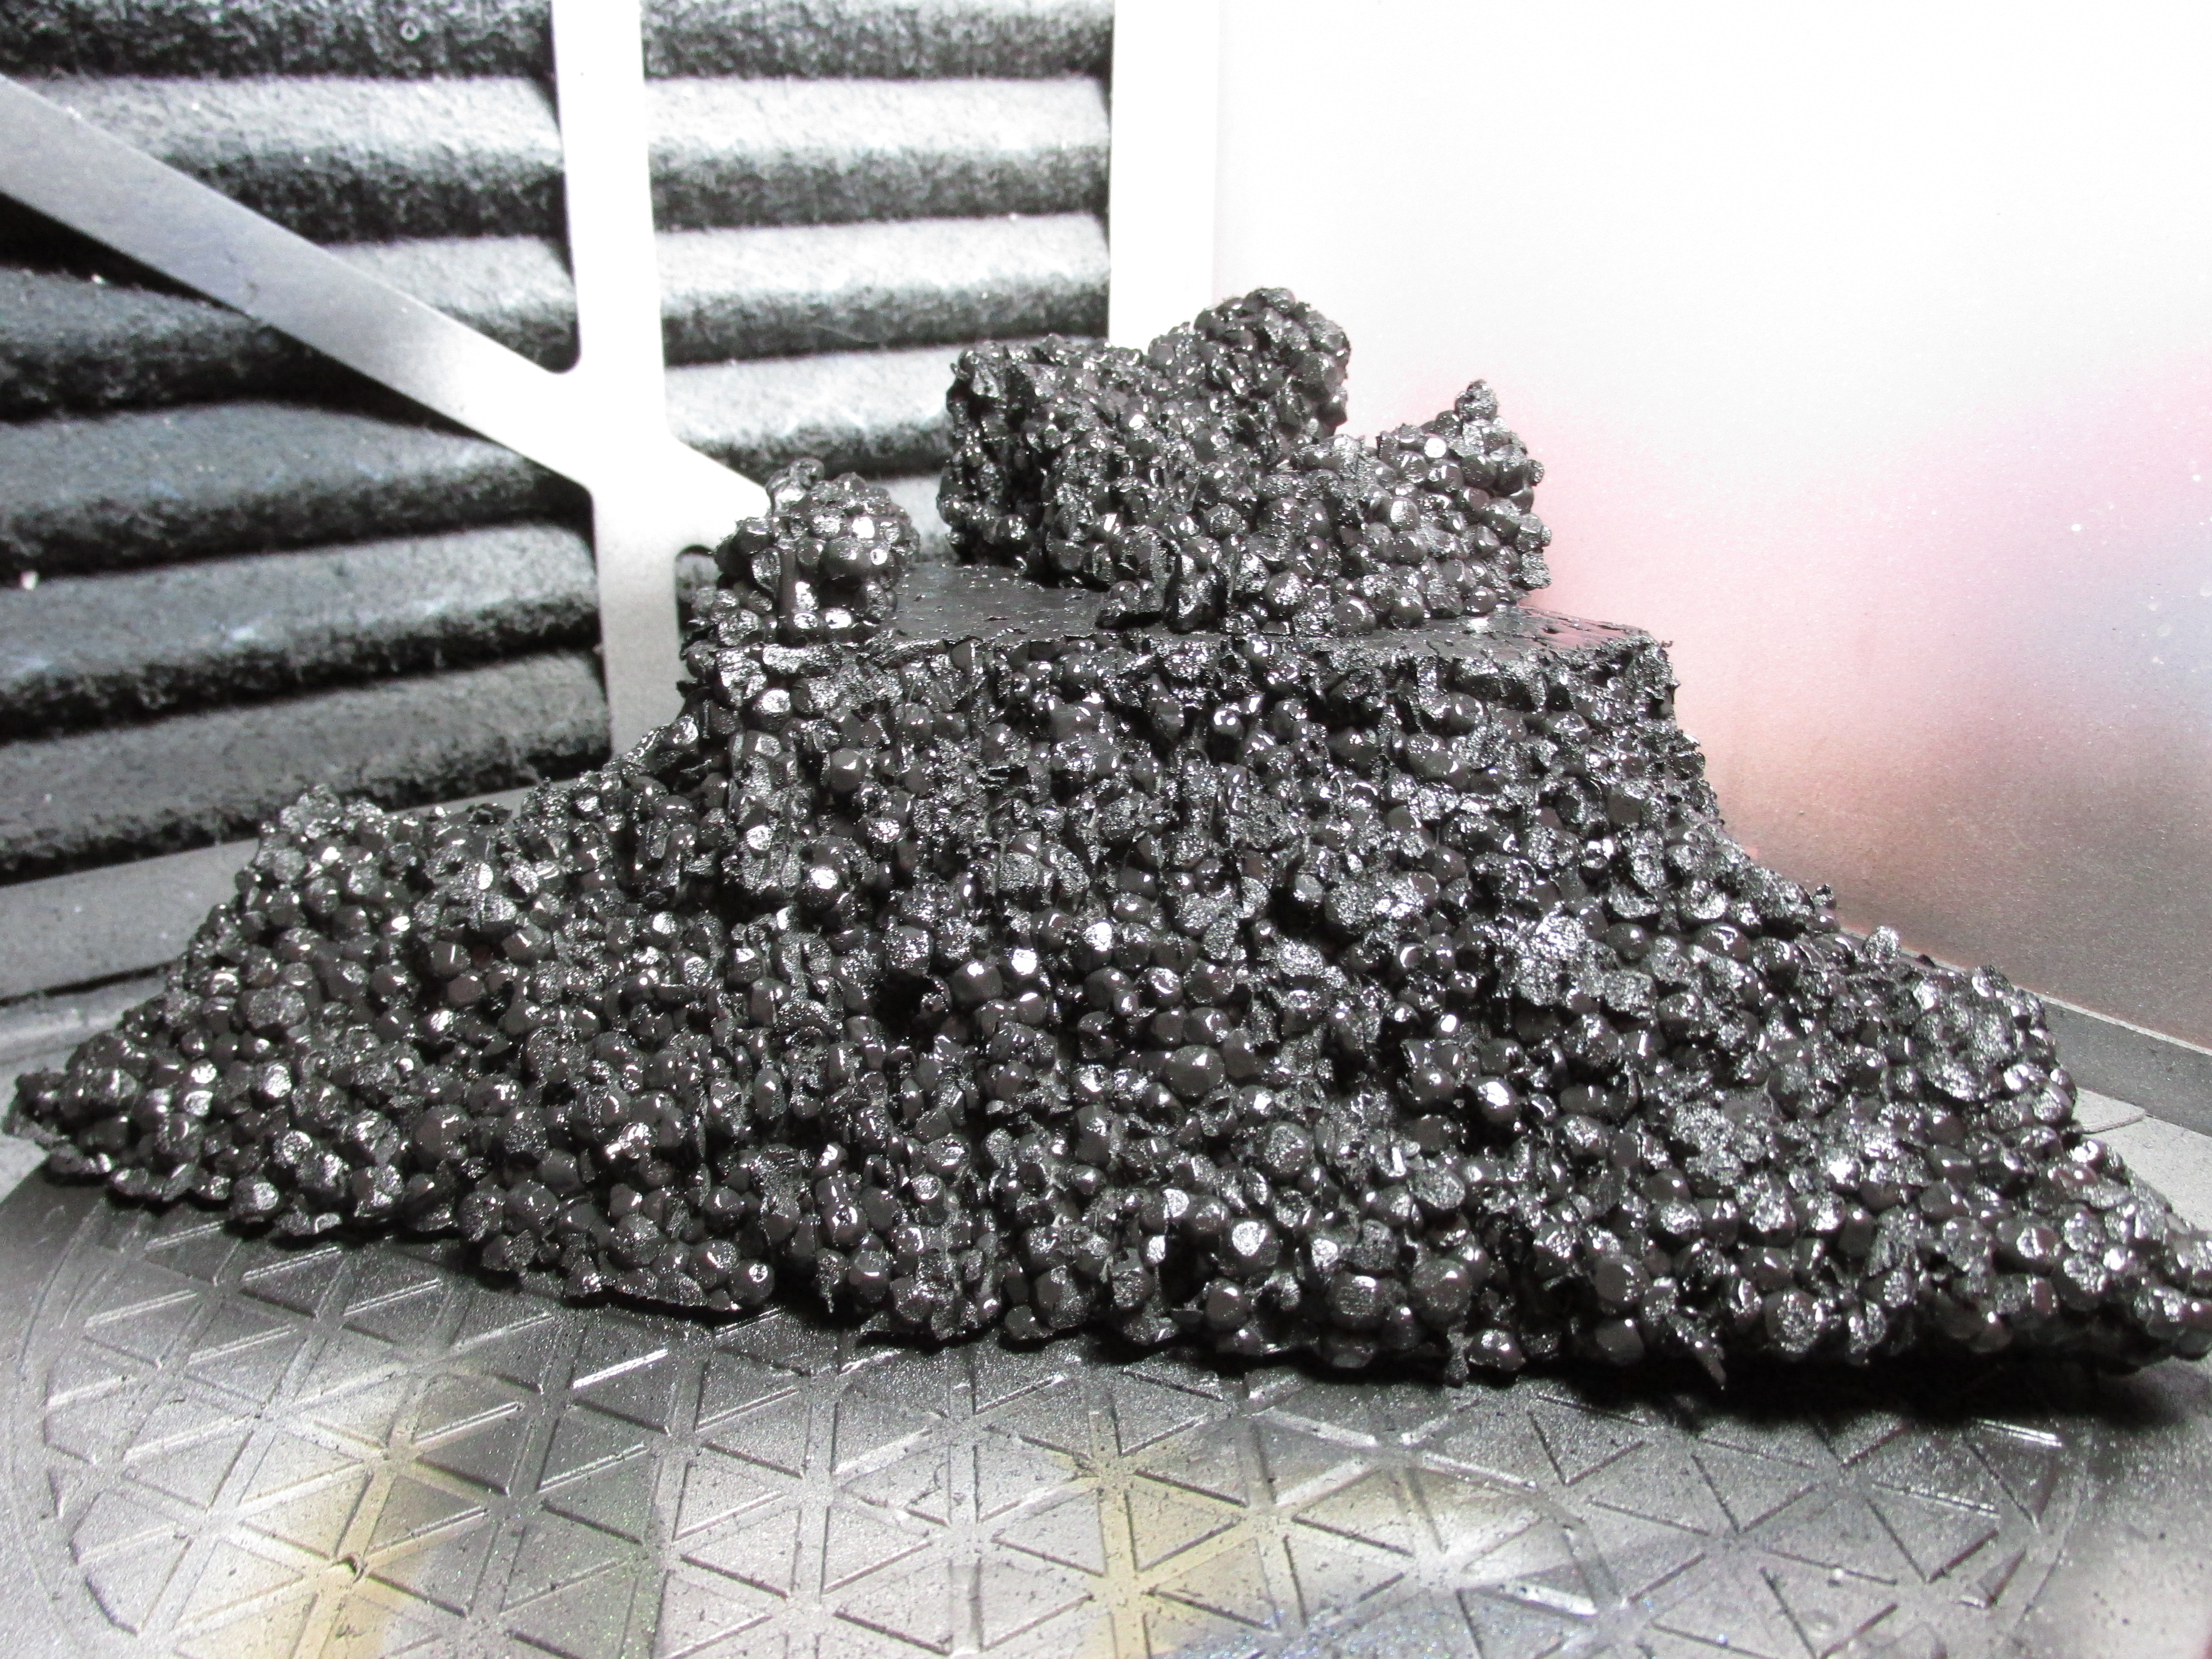
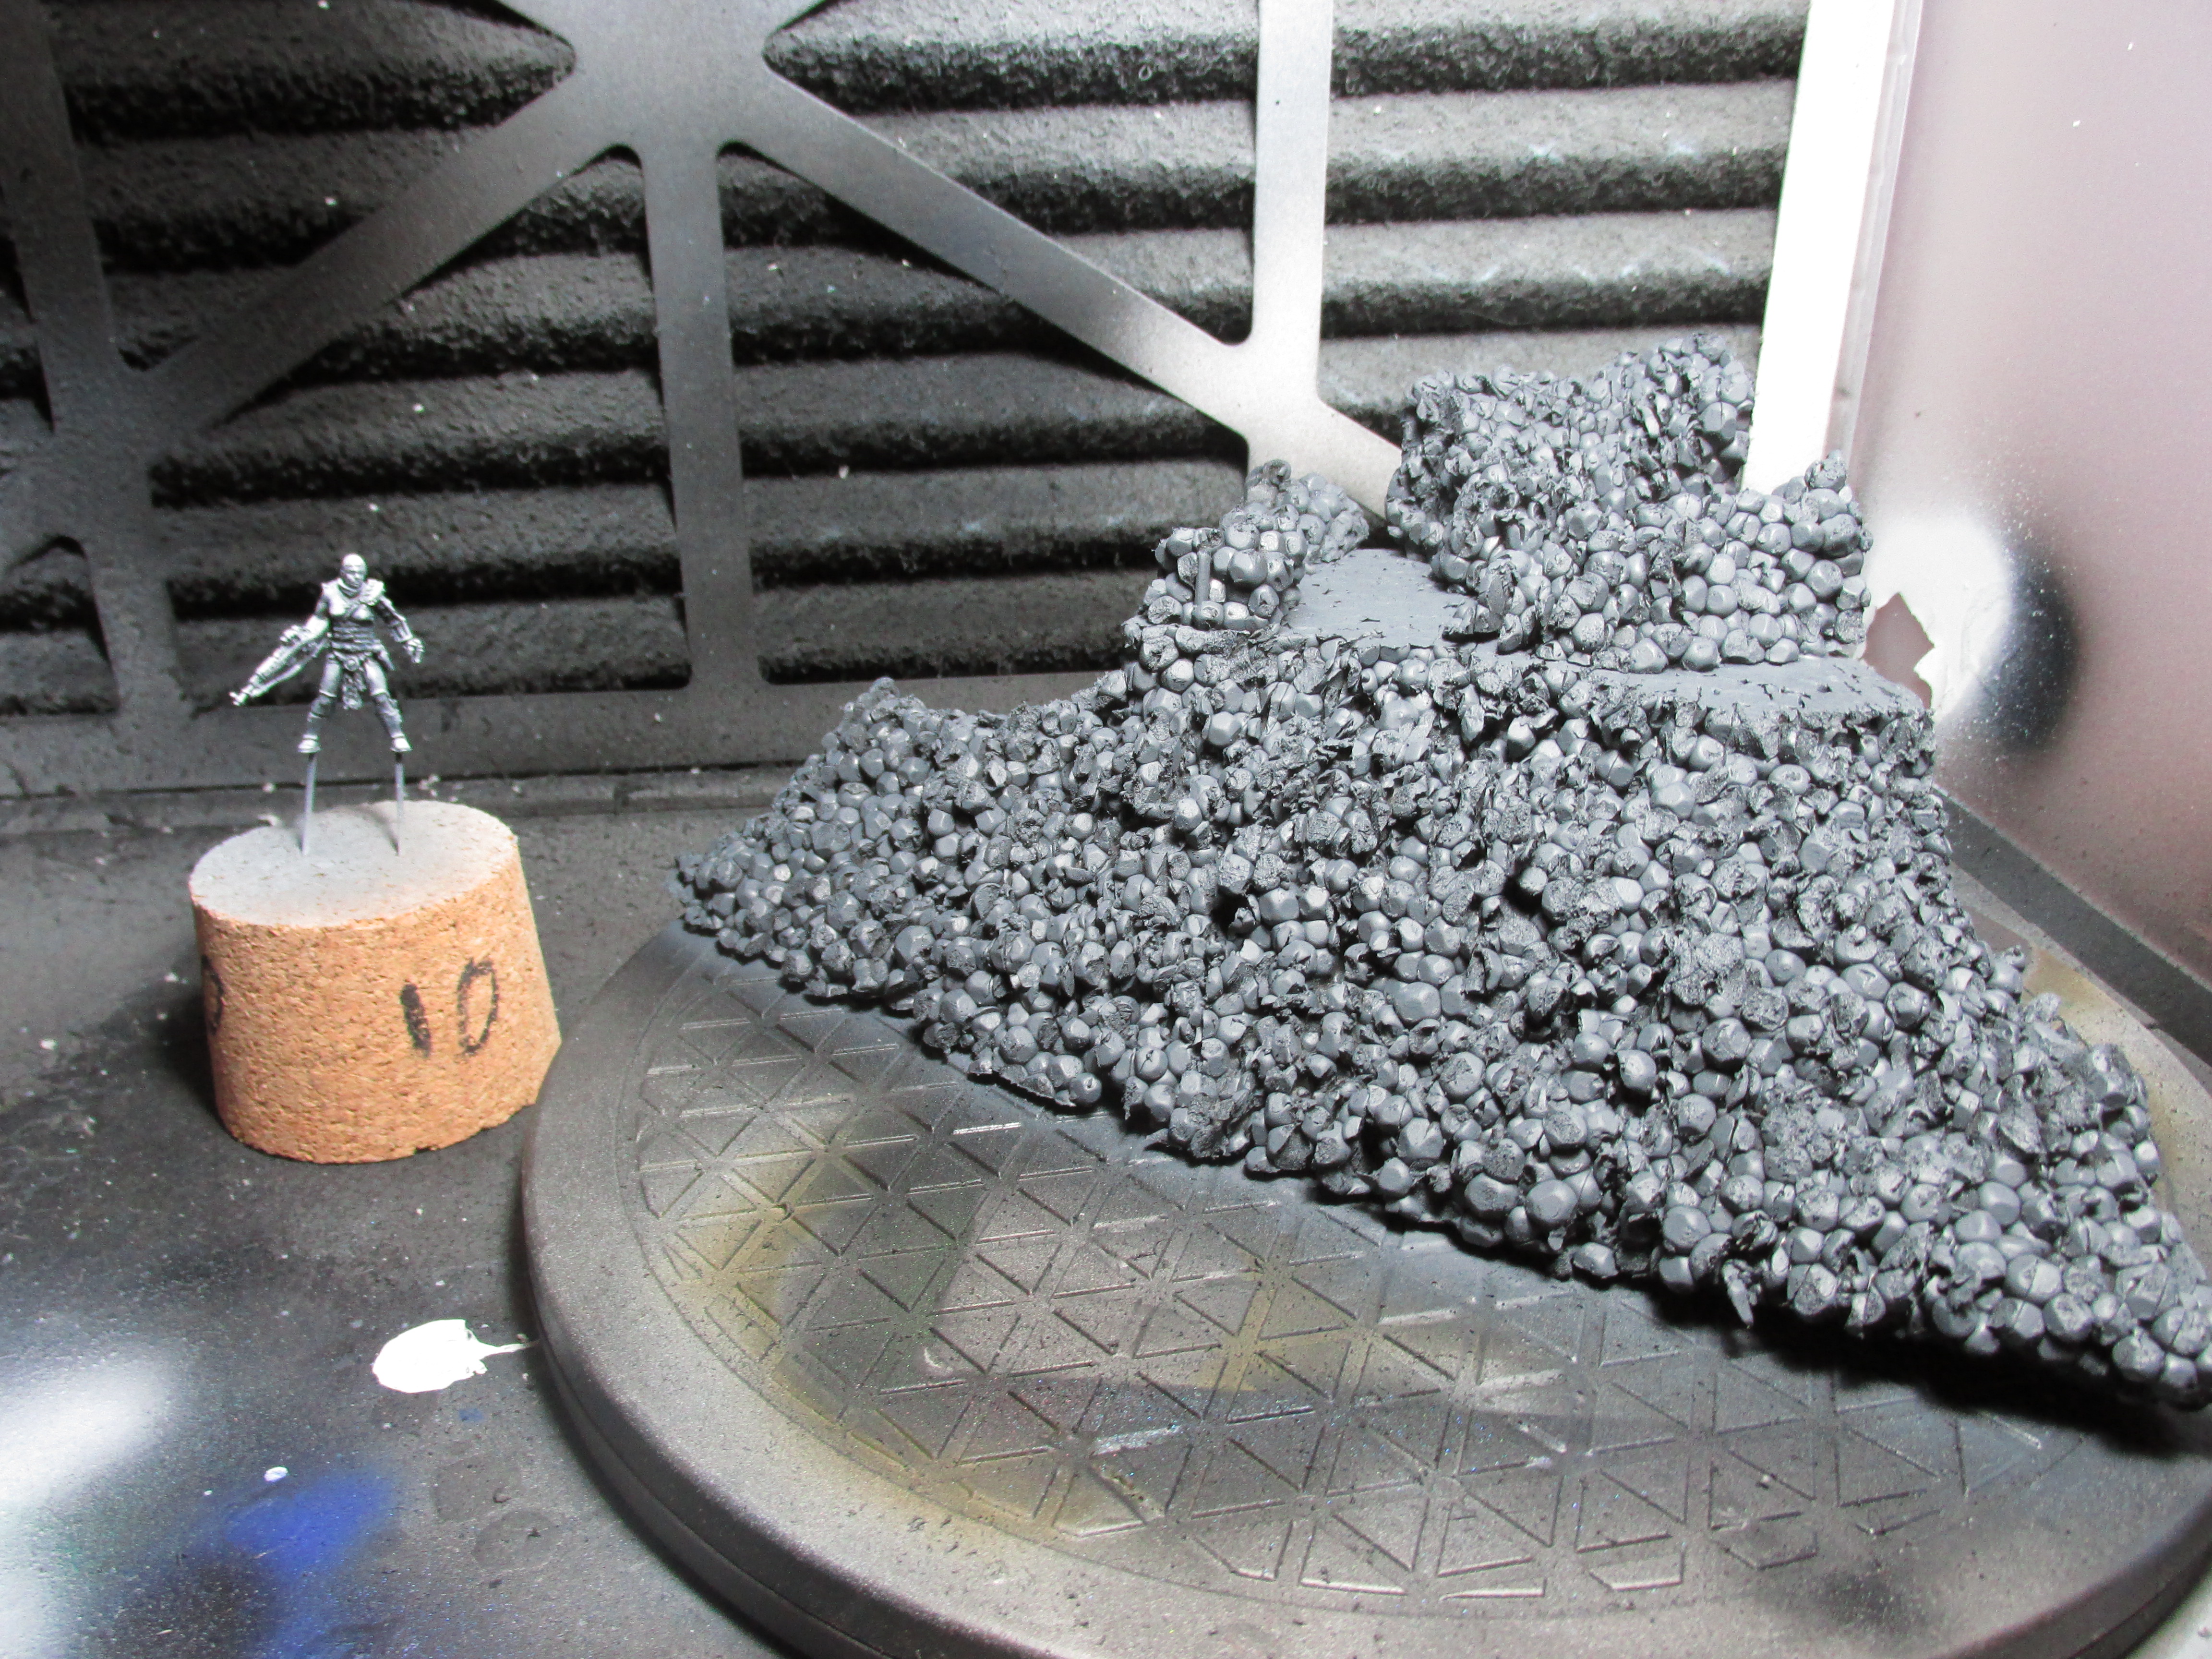
Temperatures are finally going down and I can do paint work again. I primed the miniature to make it ready for painting and gave the bubble mountain a basecoat with Vallejo Model Color Basalt Grey (70.869). I did both with my airbrush.


![StarCraft Tabletop Miniatures Game Pre-Orders Live Now [Updated]](https://images.beastsofwar.com/2026/03/starcraft-tmg-news-cover-600-338.jpg)


