MadDocStu’s Romans


Recommendations: 324
About the Project
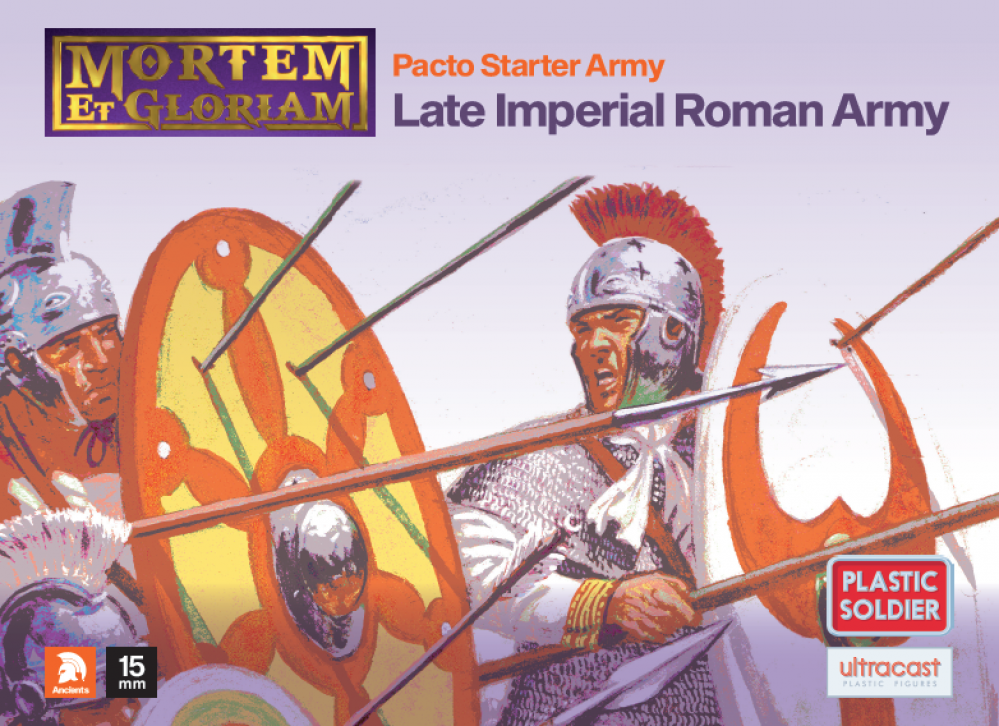
Saw Mortem Et Gloriam on OTT and thought it looked interesting, so got the rules and one of the new Plastic Soldier Company Pacto Box to make a starter army. Clearly I am doing the classic thing of getting into ancient and historical war-games as I approach 40... Welcome the world of the Late Imperial Romans (aka the People's Front of the Early to Middle Late Republical Roman Empire)
Related Game: Mortem Et Gloriam
Related Company: The Plastic Soldier Company
Related Genre: Historical
This Project is Active
The army is done

I will need to get some gloss varnish to to try and fix the varnish issue, but really wanted a photo of the whole army!


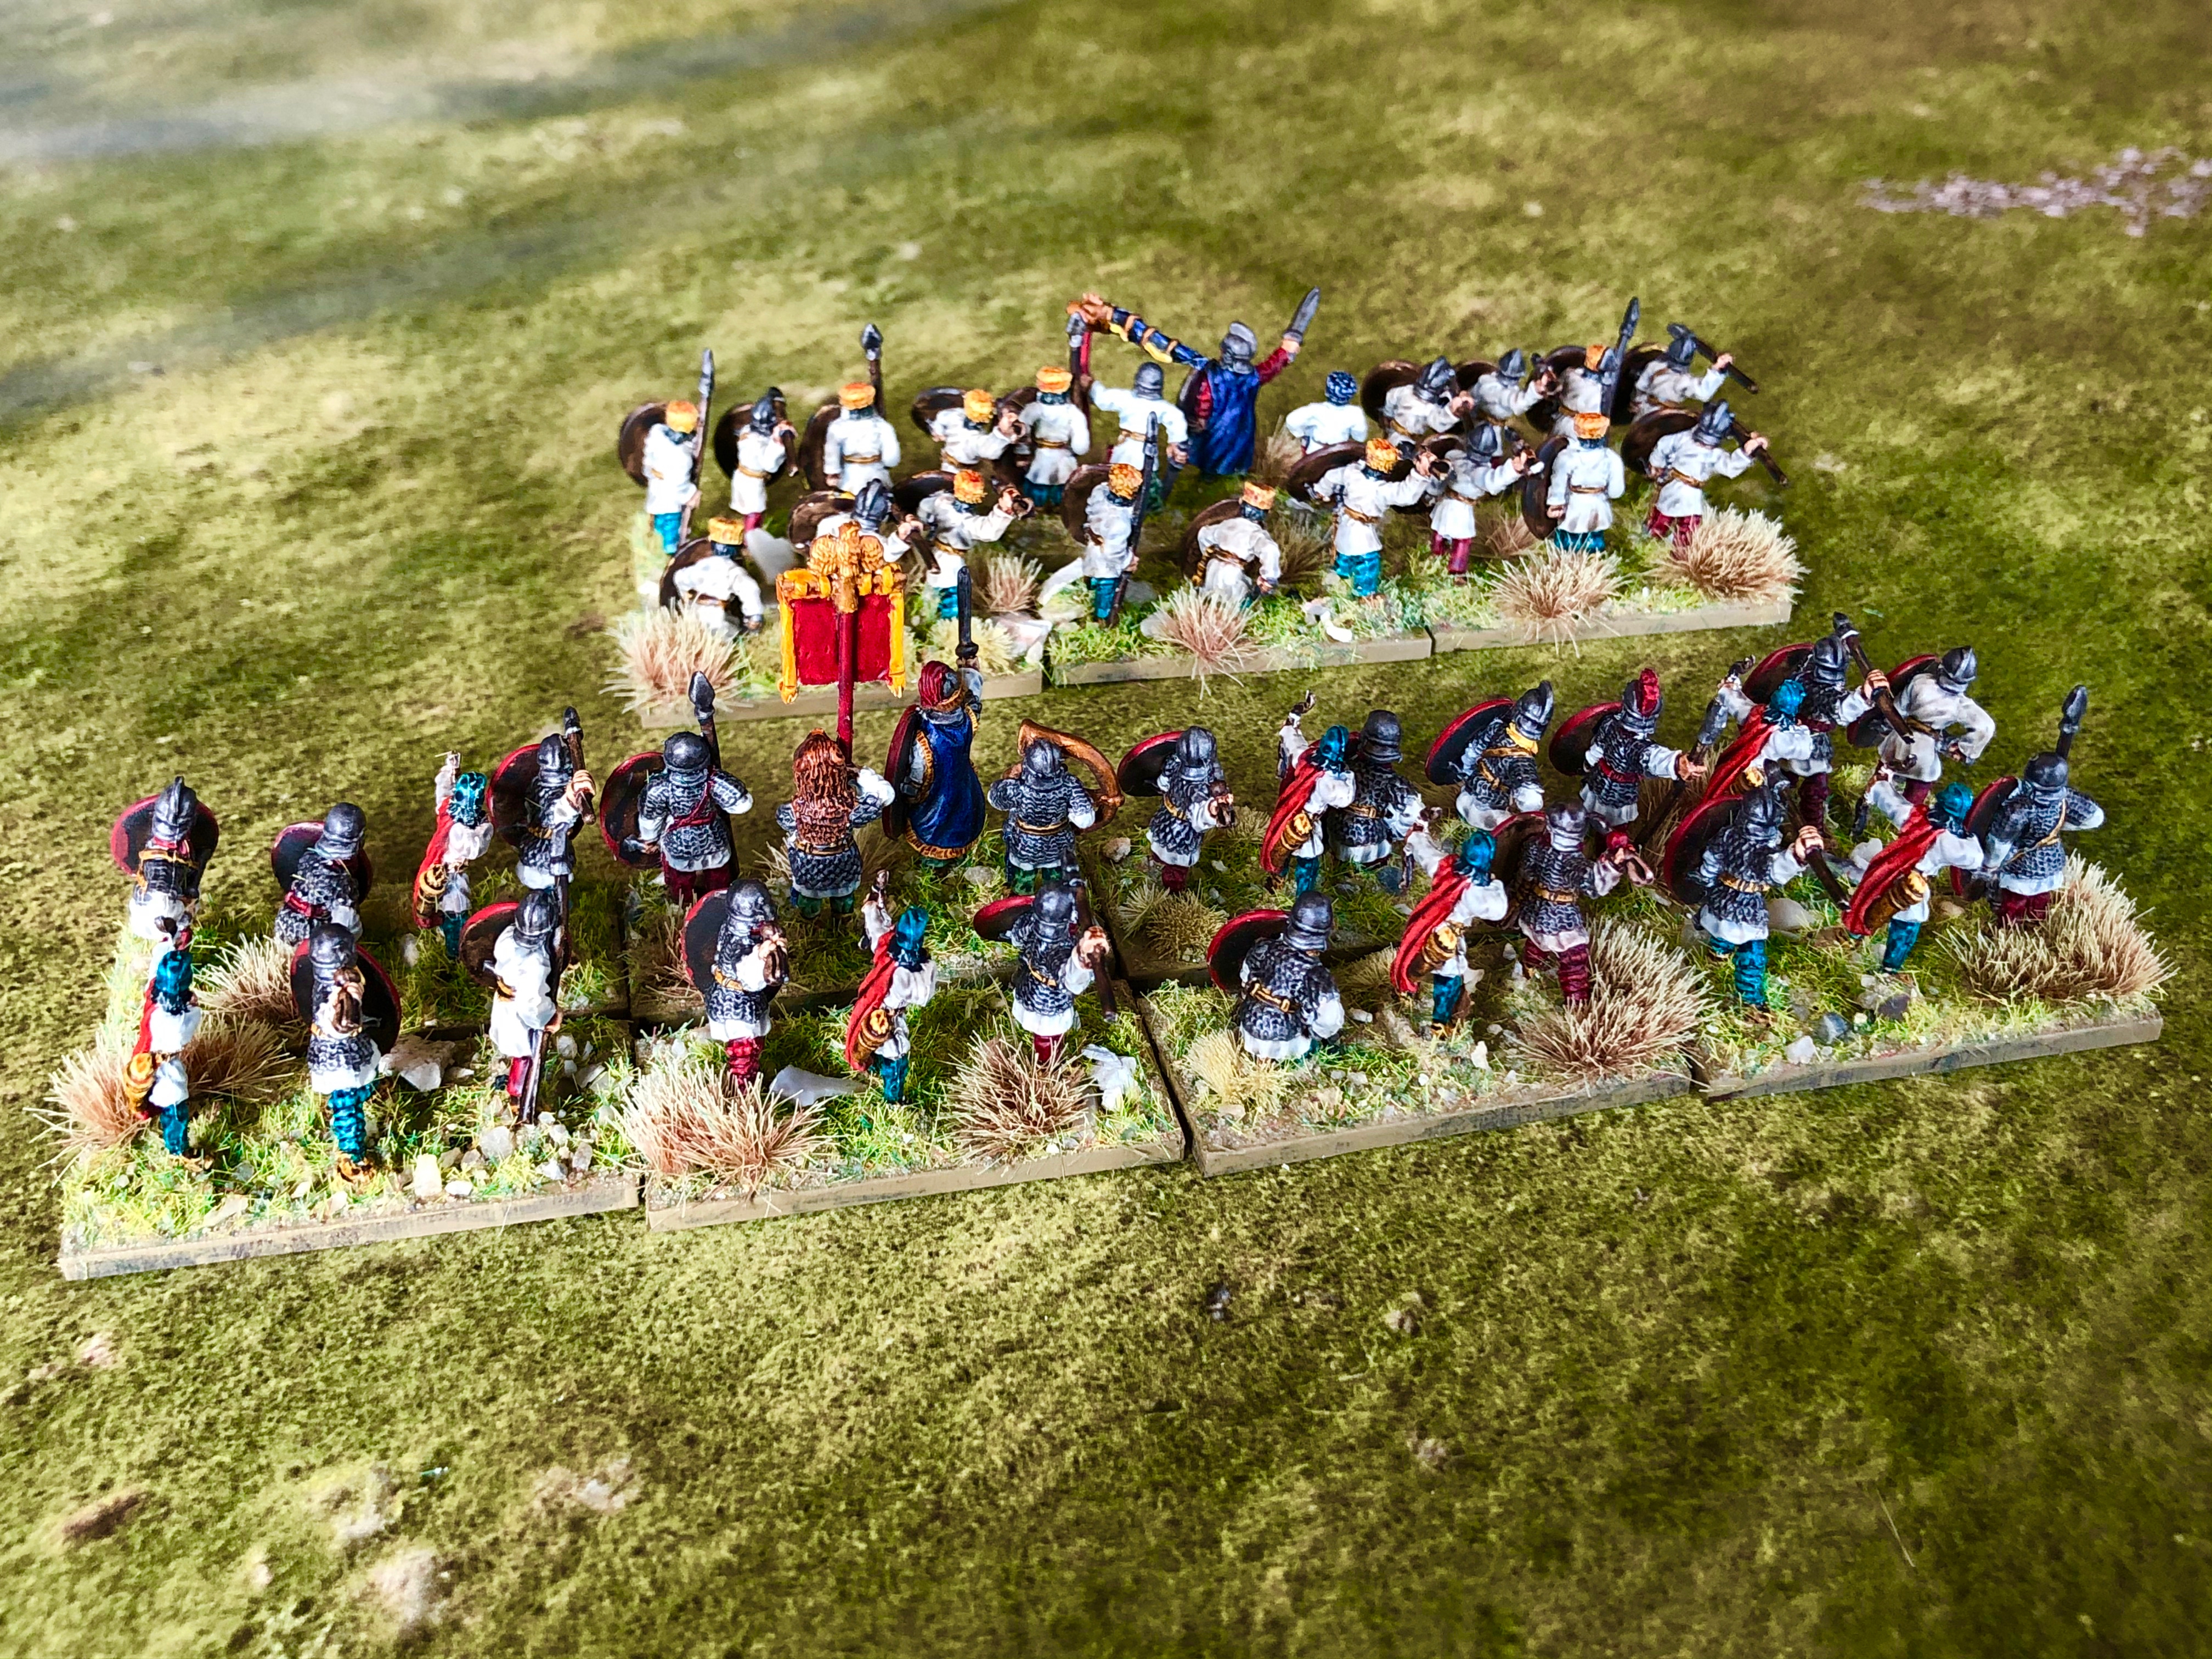
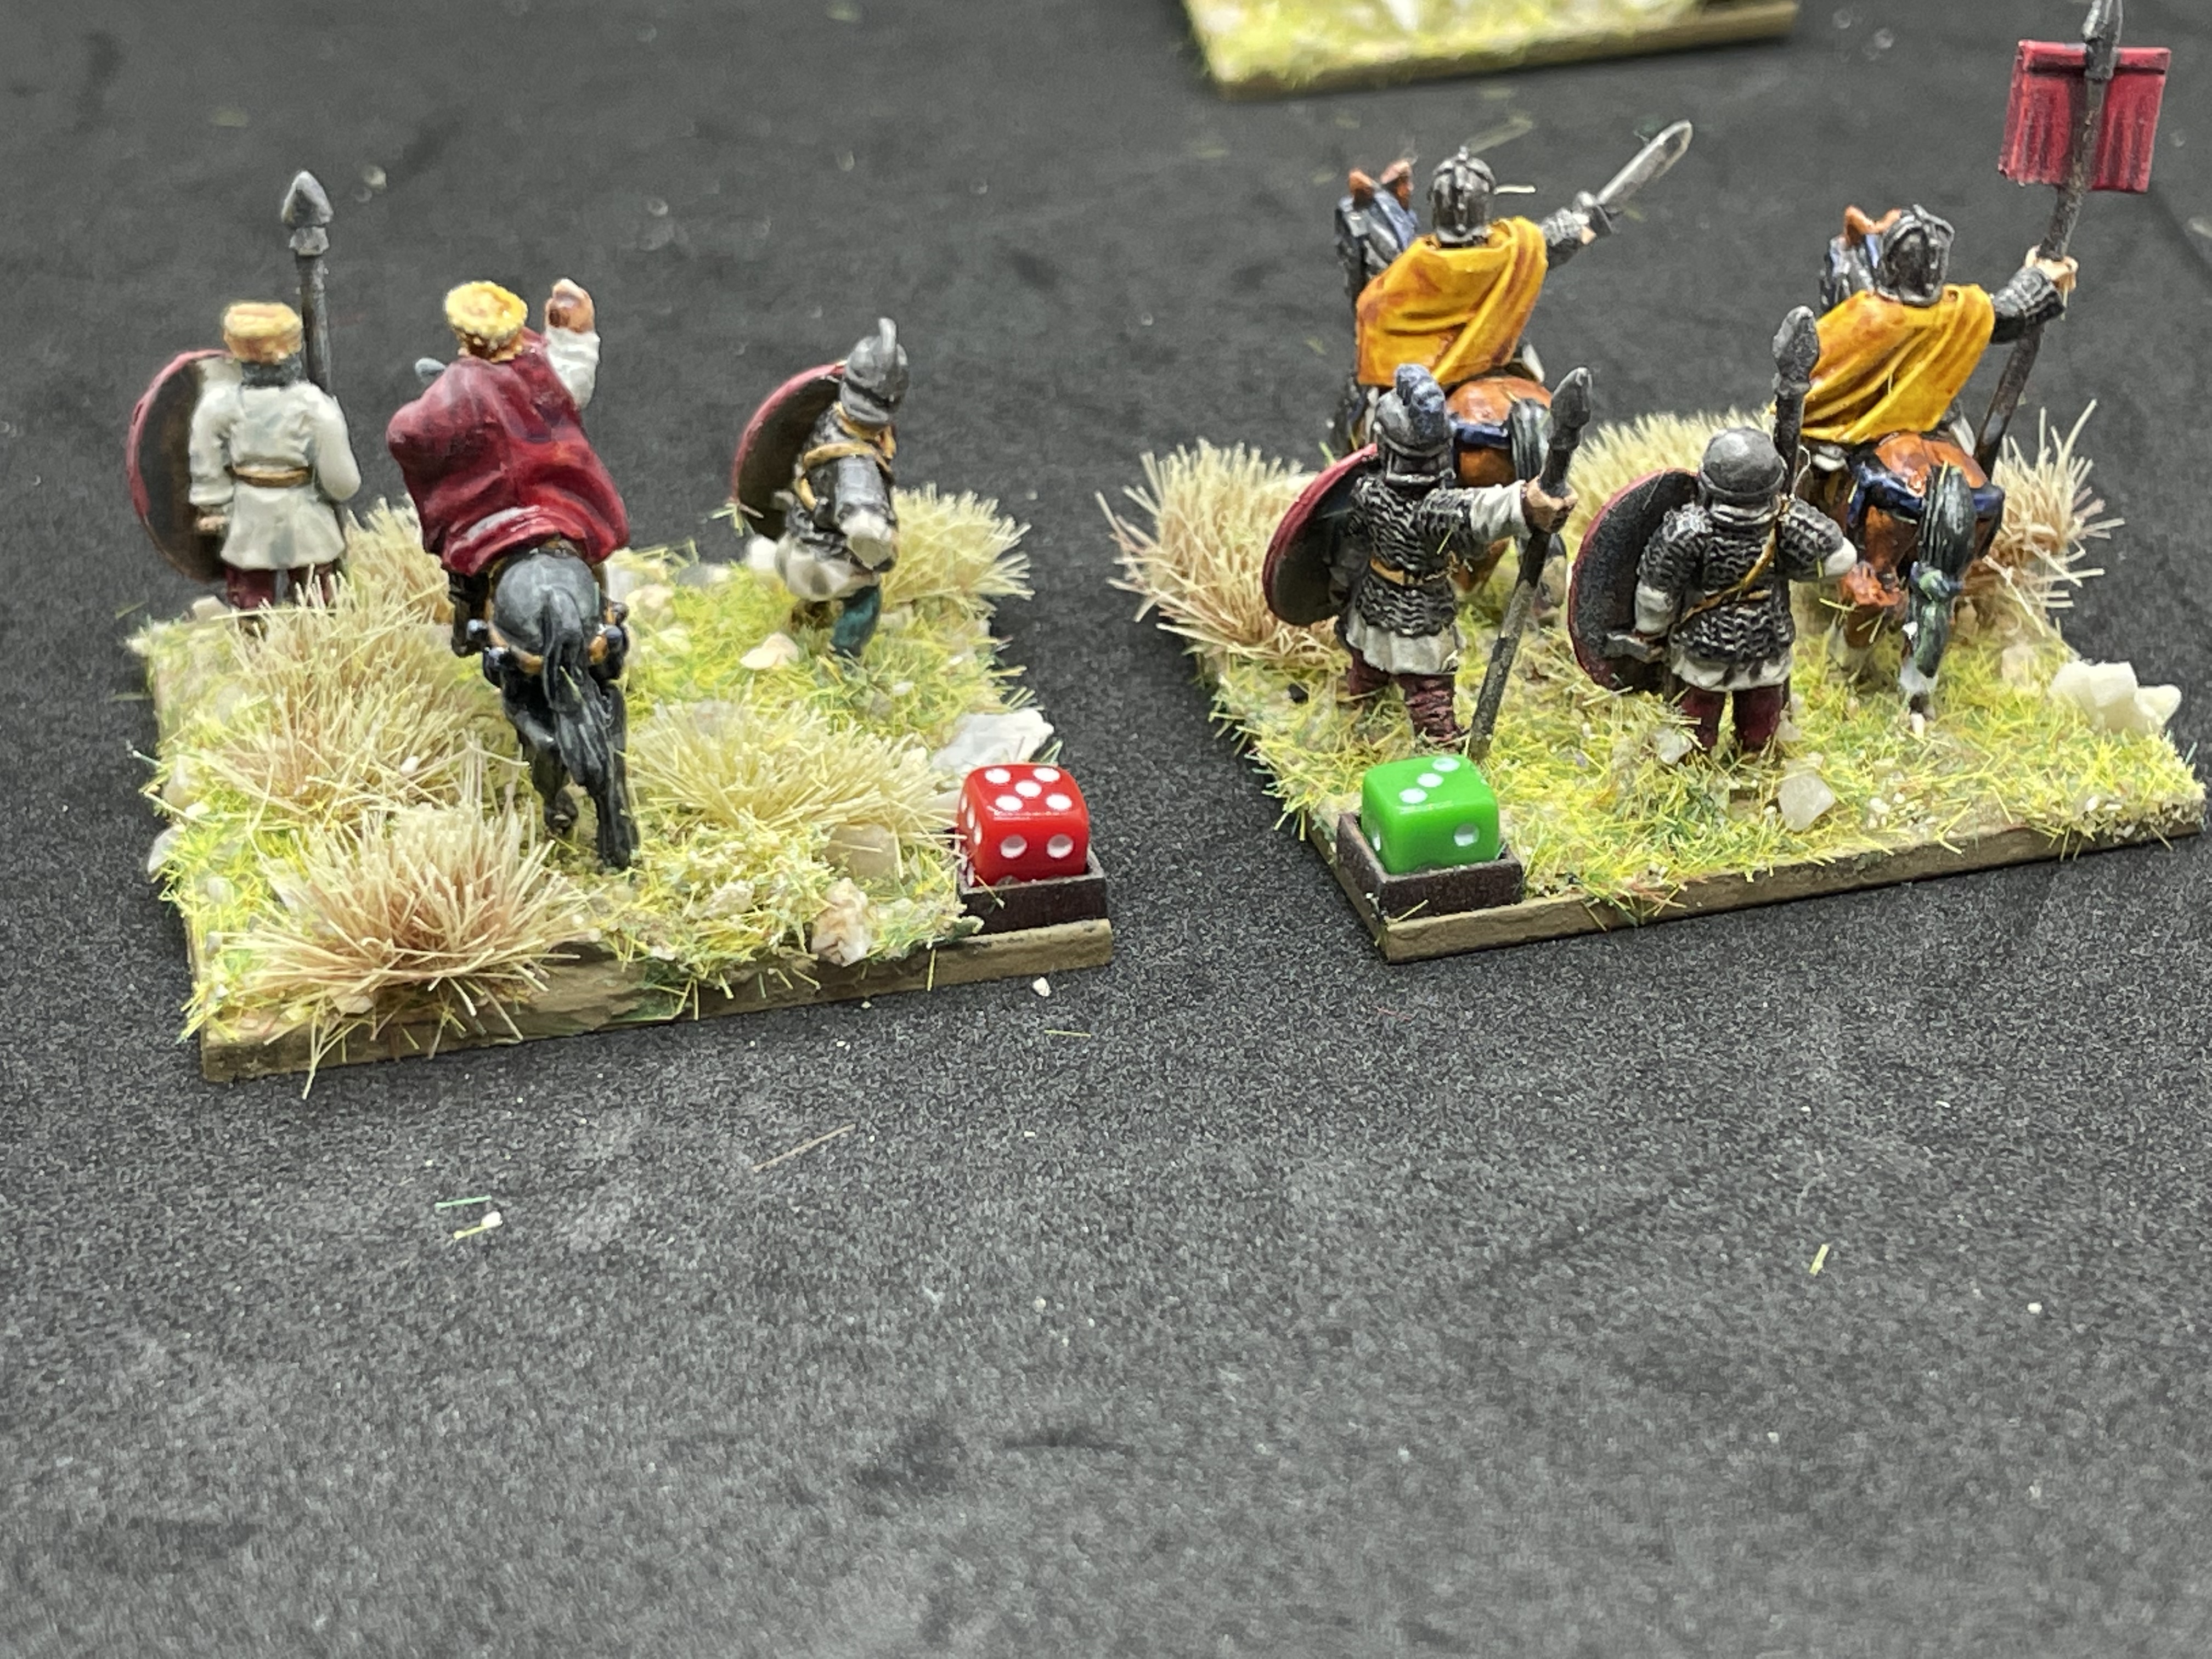
The generals
Added a couple of models from Forged In Battle to mix up the generals a bit.
Painted the same way as per other entries.
Added some tiny dice holders to the bases to keep track of the level of general and number of cards they get.

The varnish…
This went a bit wrong… got a dusty white effect in everything.
Will get some gloss varnish when I can to see if I can fix it.
In the mean time I’ve put some Lahmian Medium on them. I’ll just imagine they are dusty in the midst of battle…

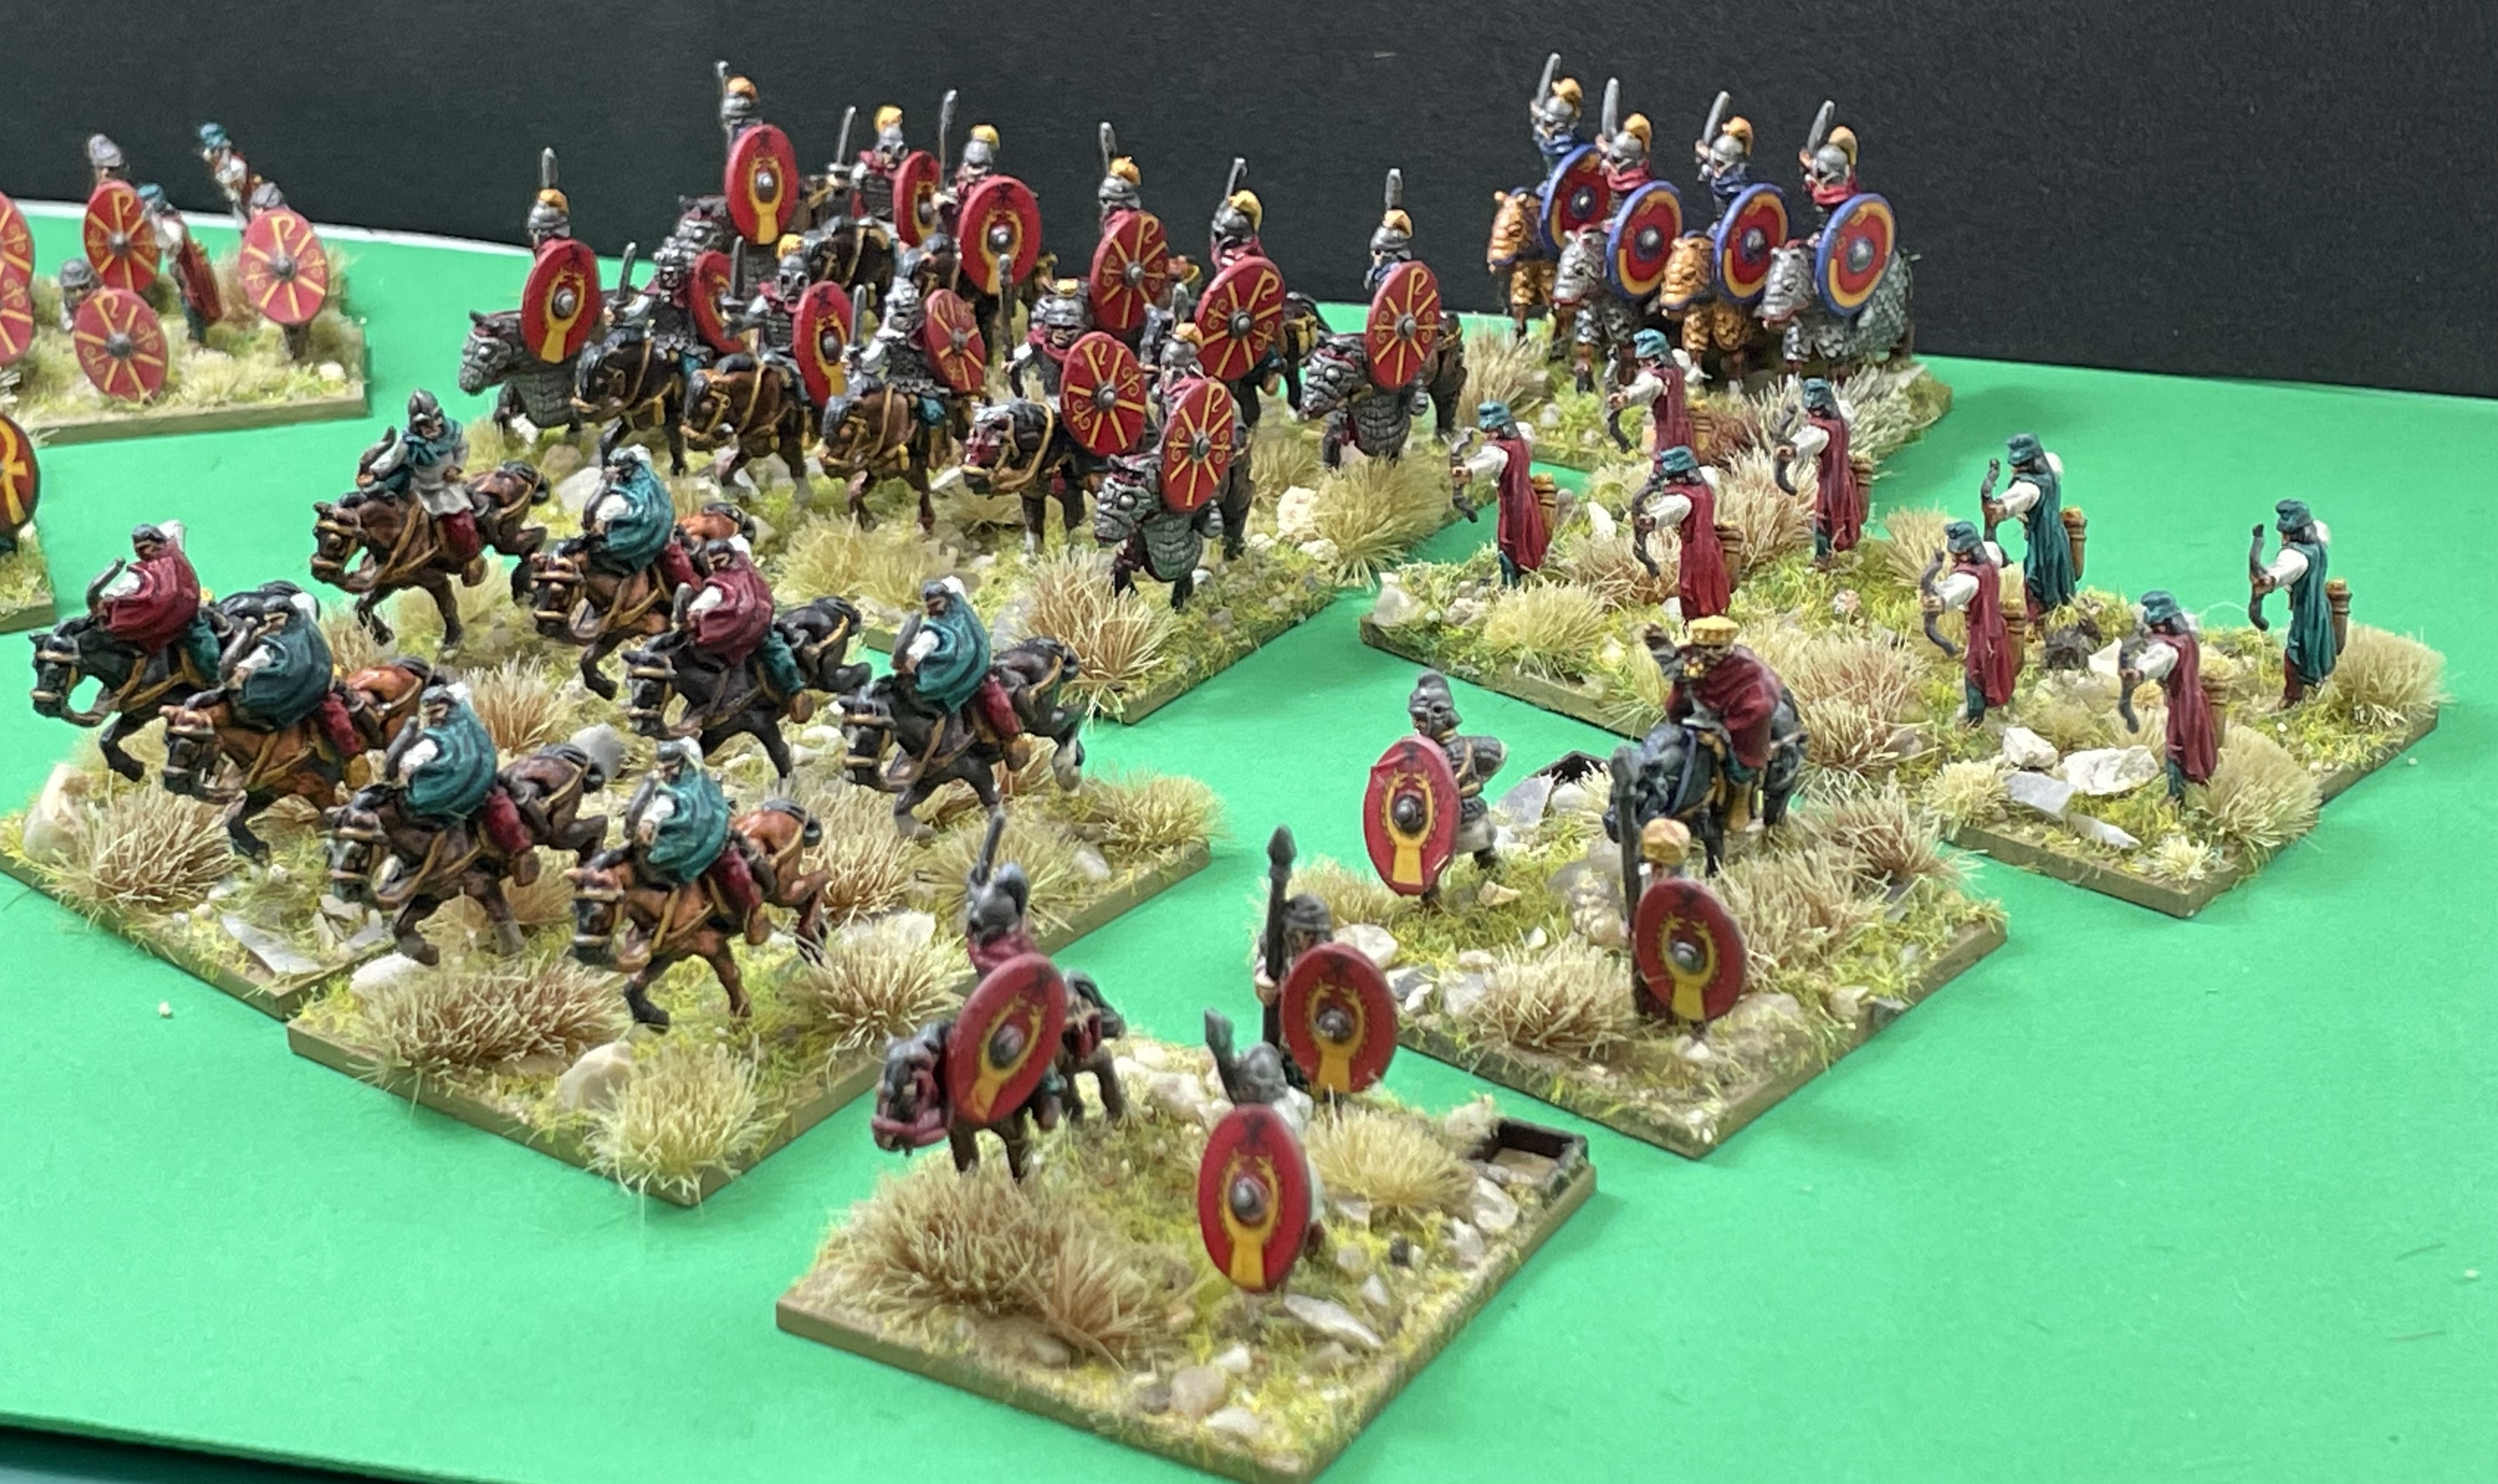
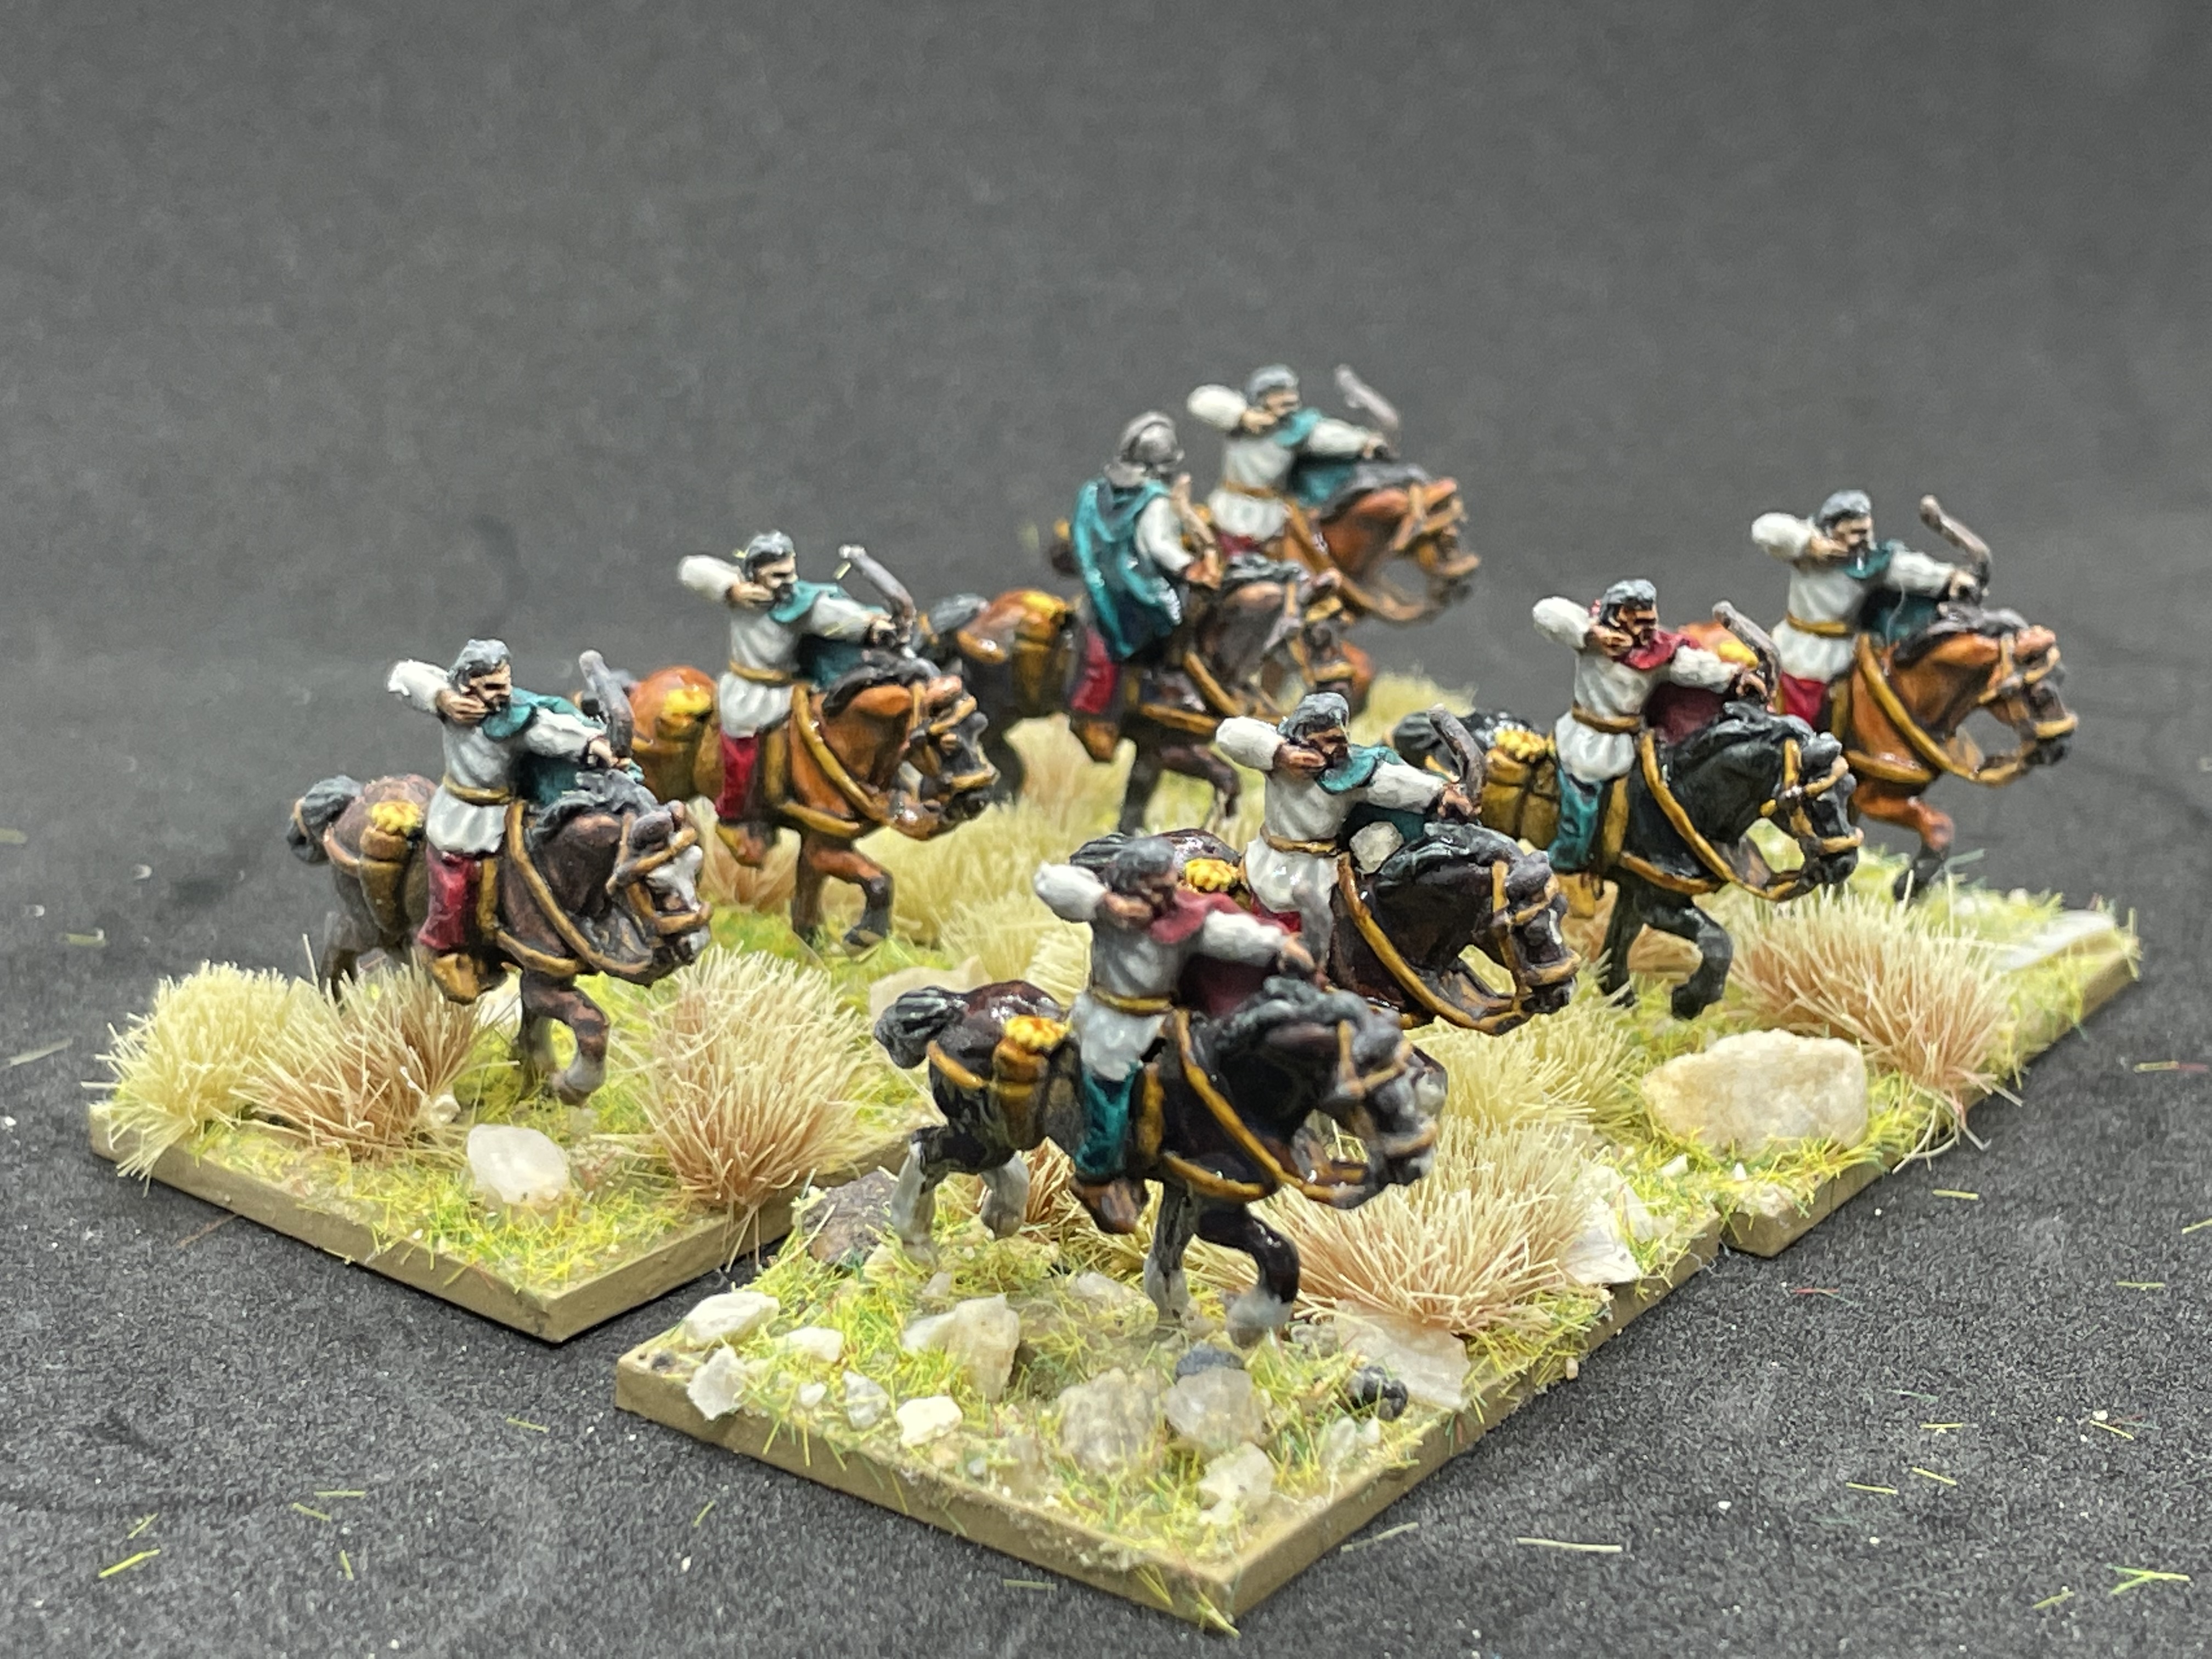
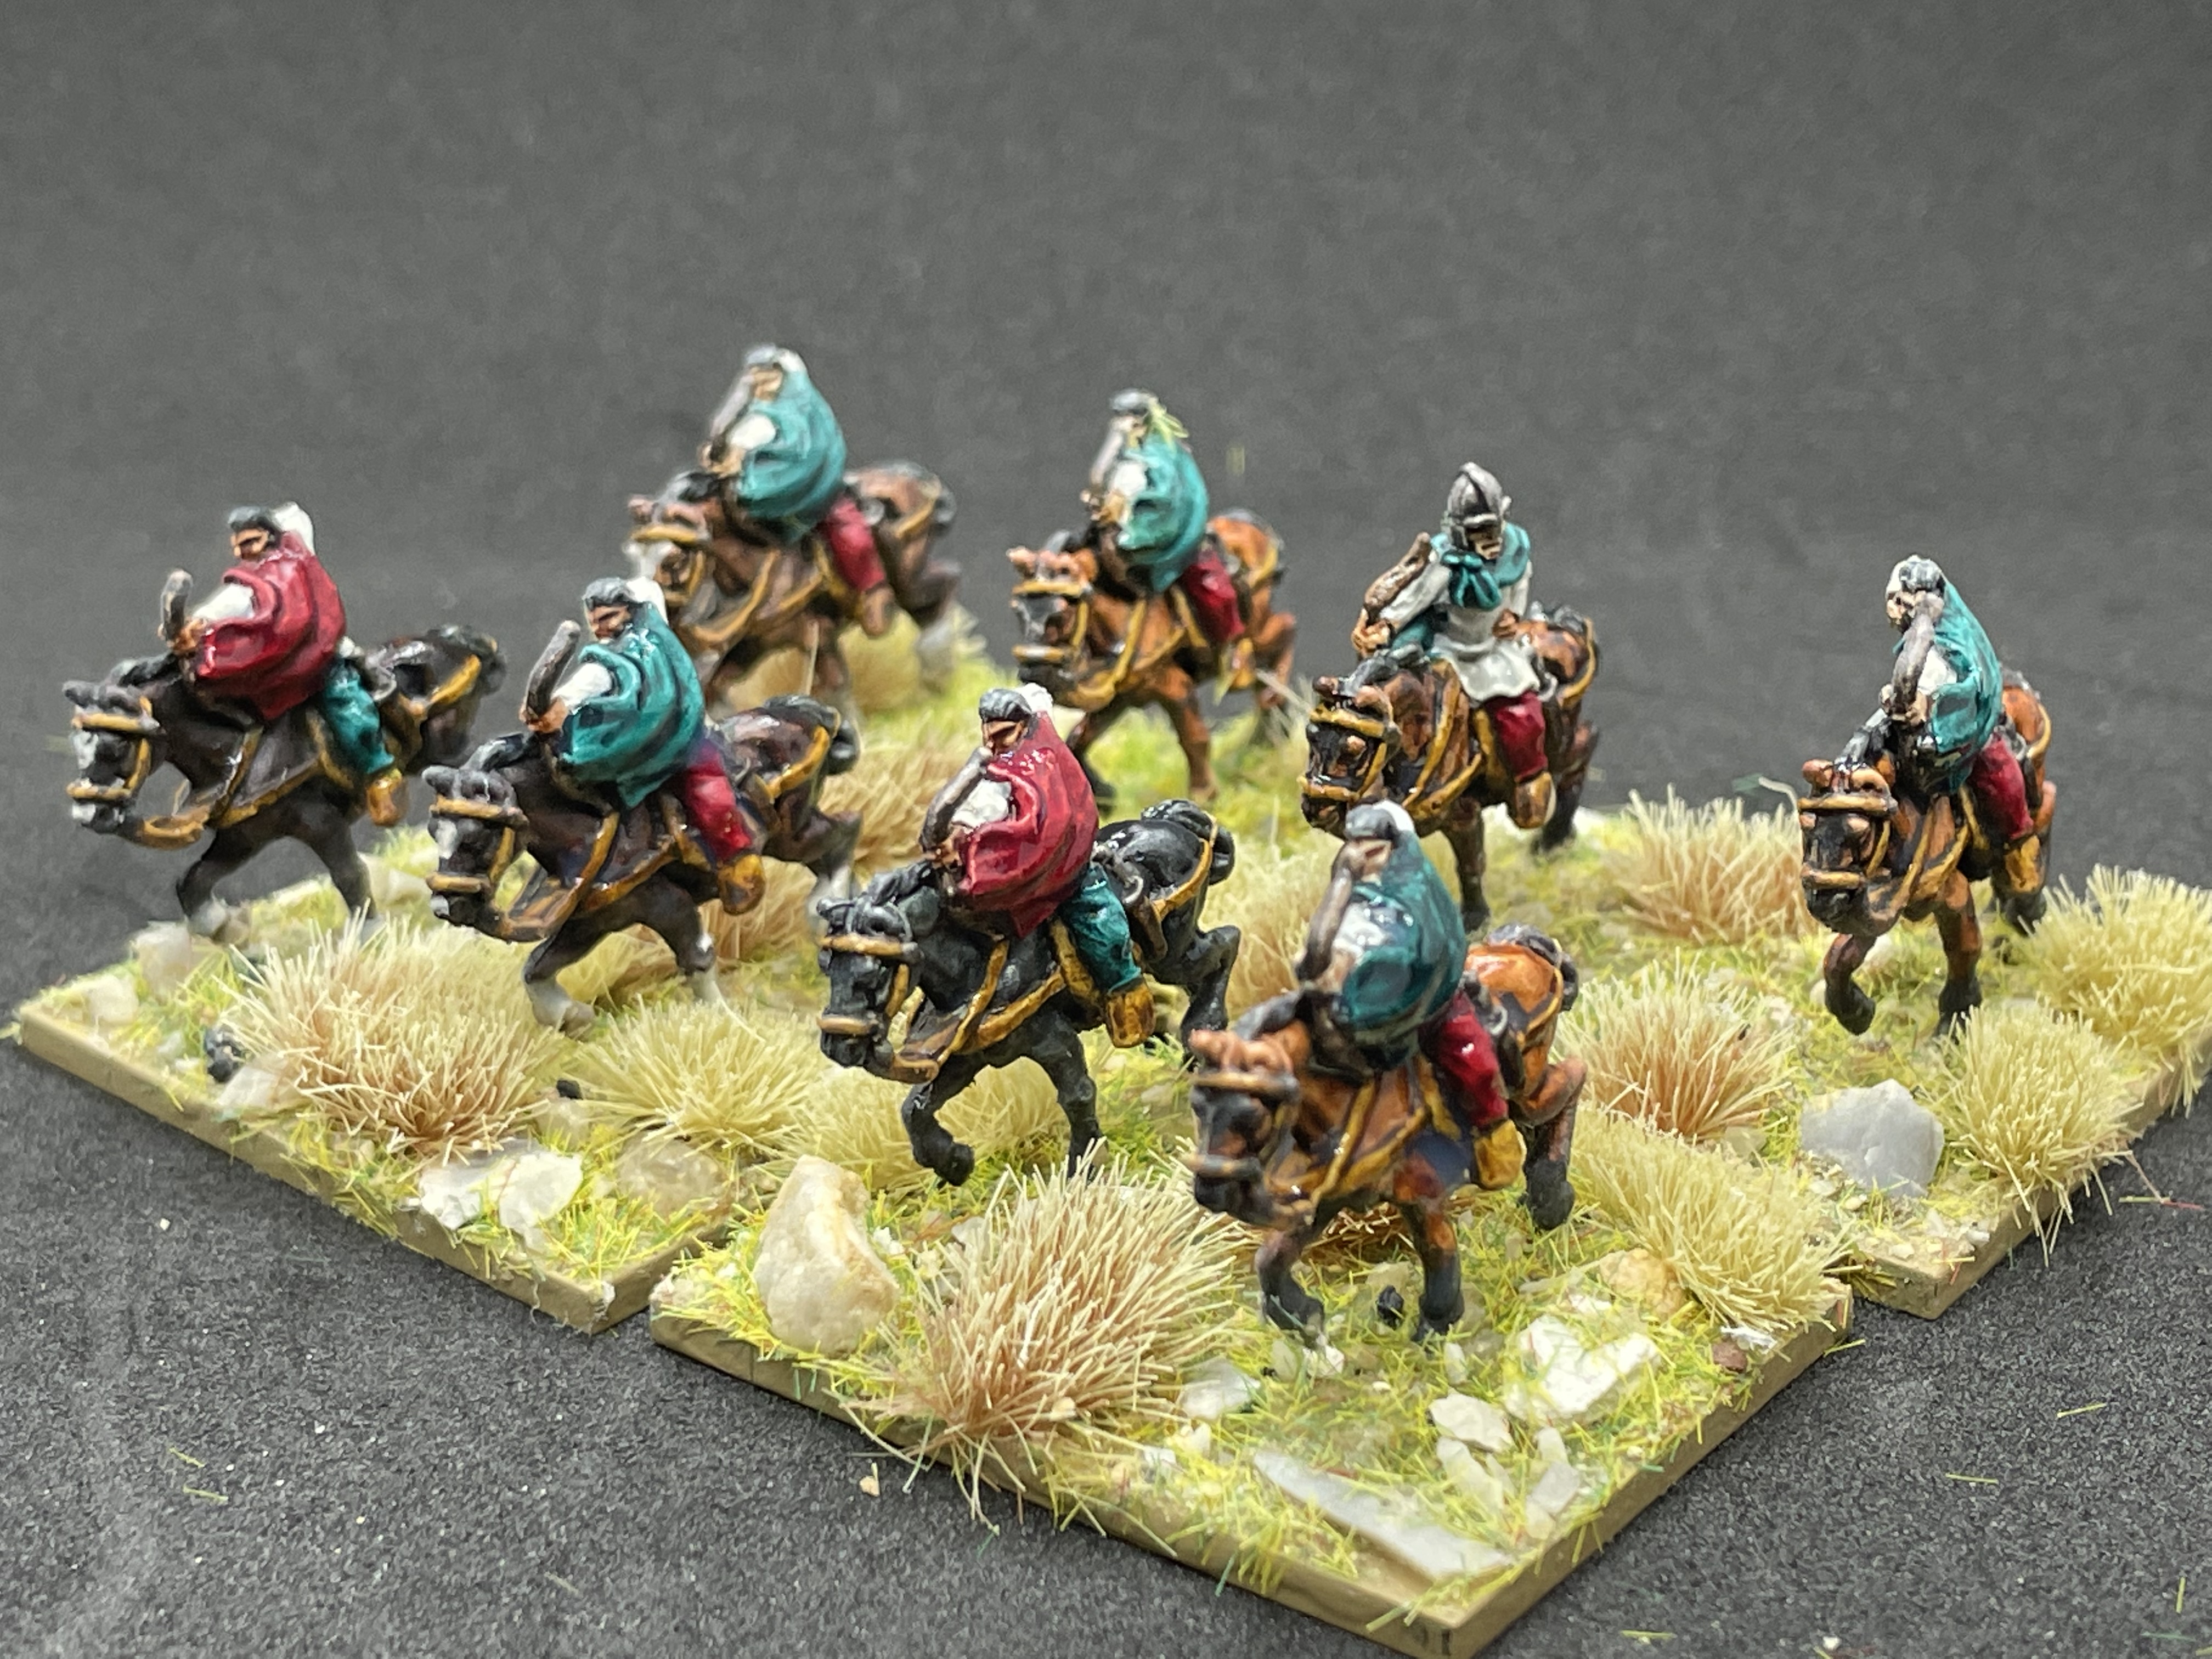
Some horses!
Went back to using contrasts for everything other than base coat for the metal (based with lead belcher and then contrast grey on top).
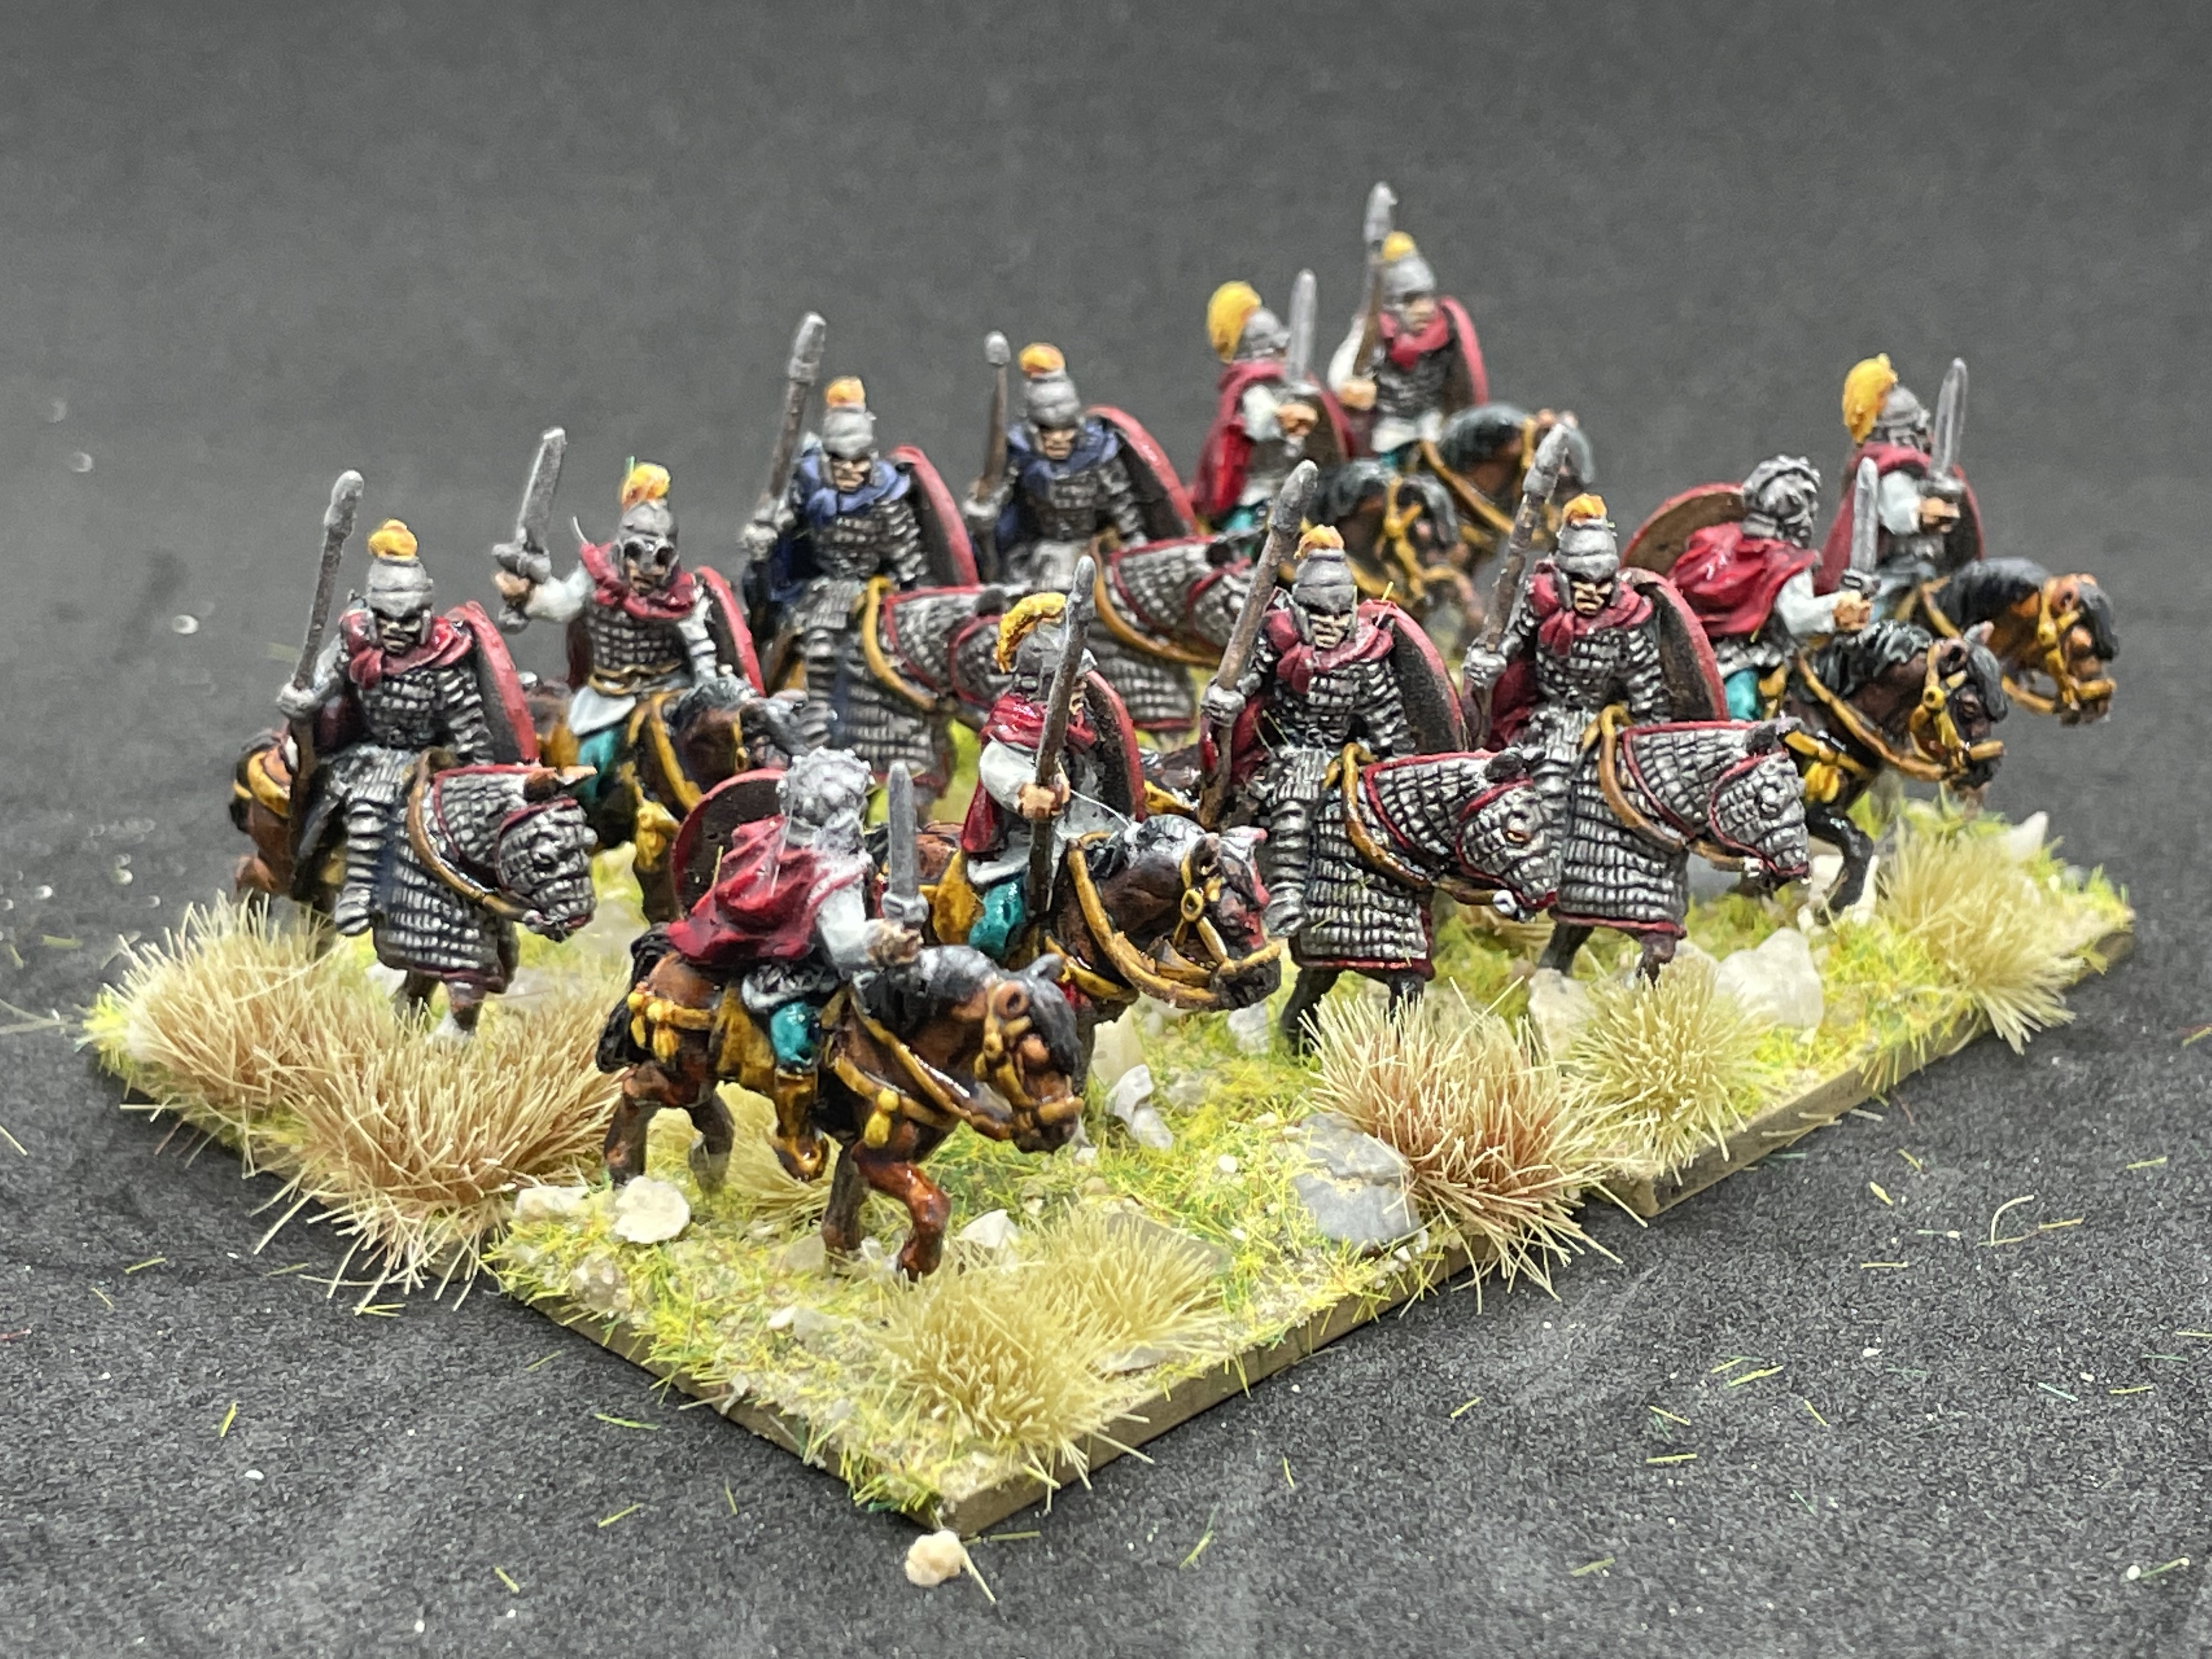


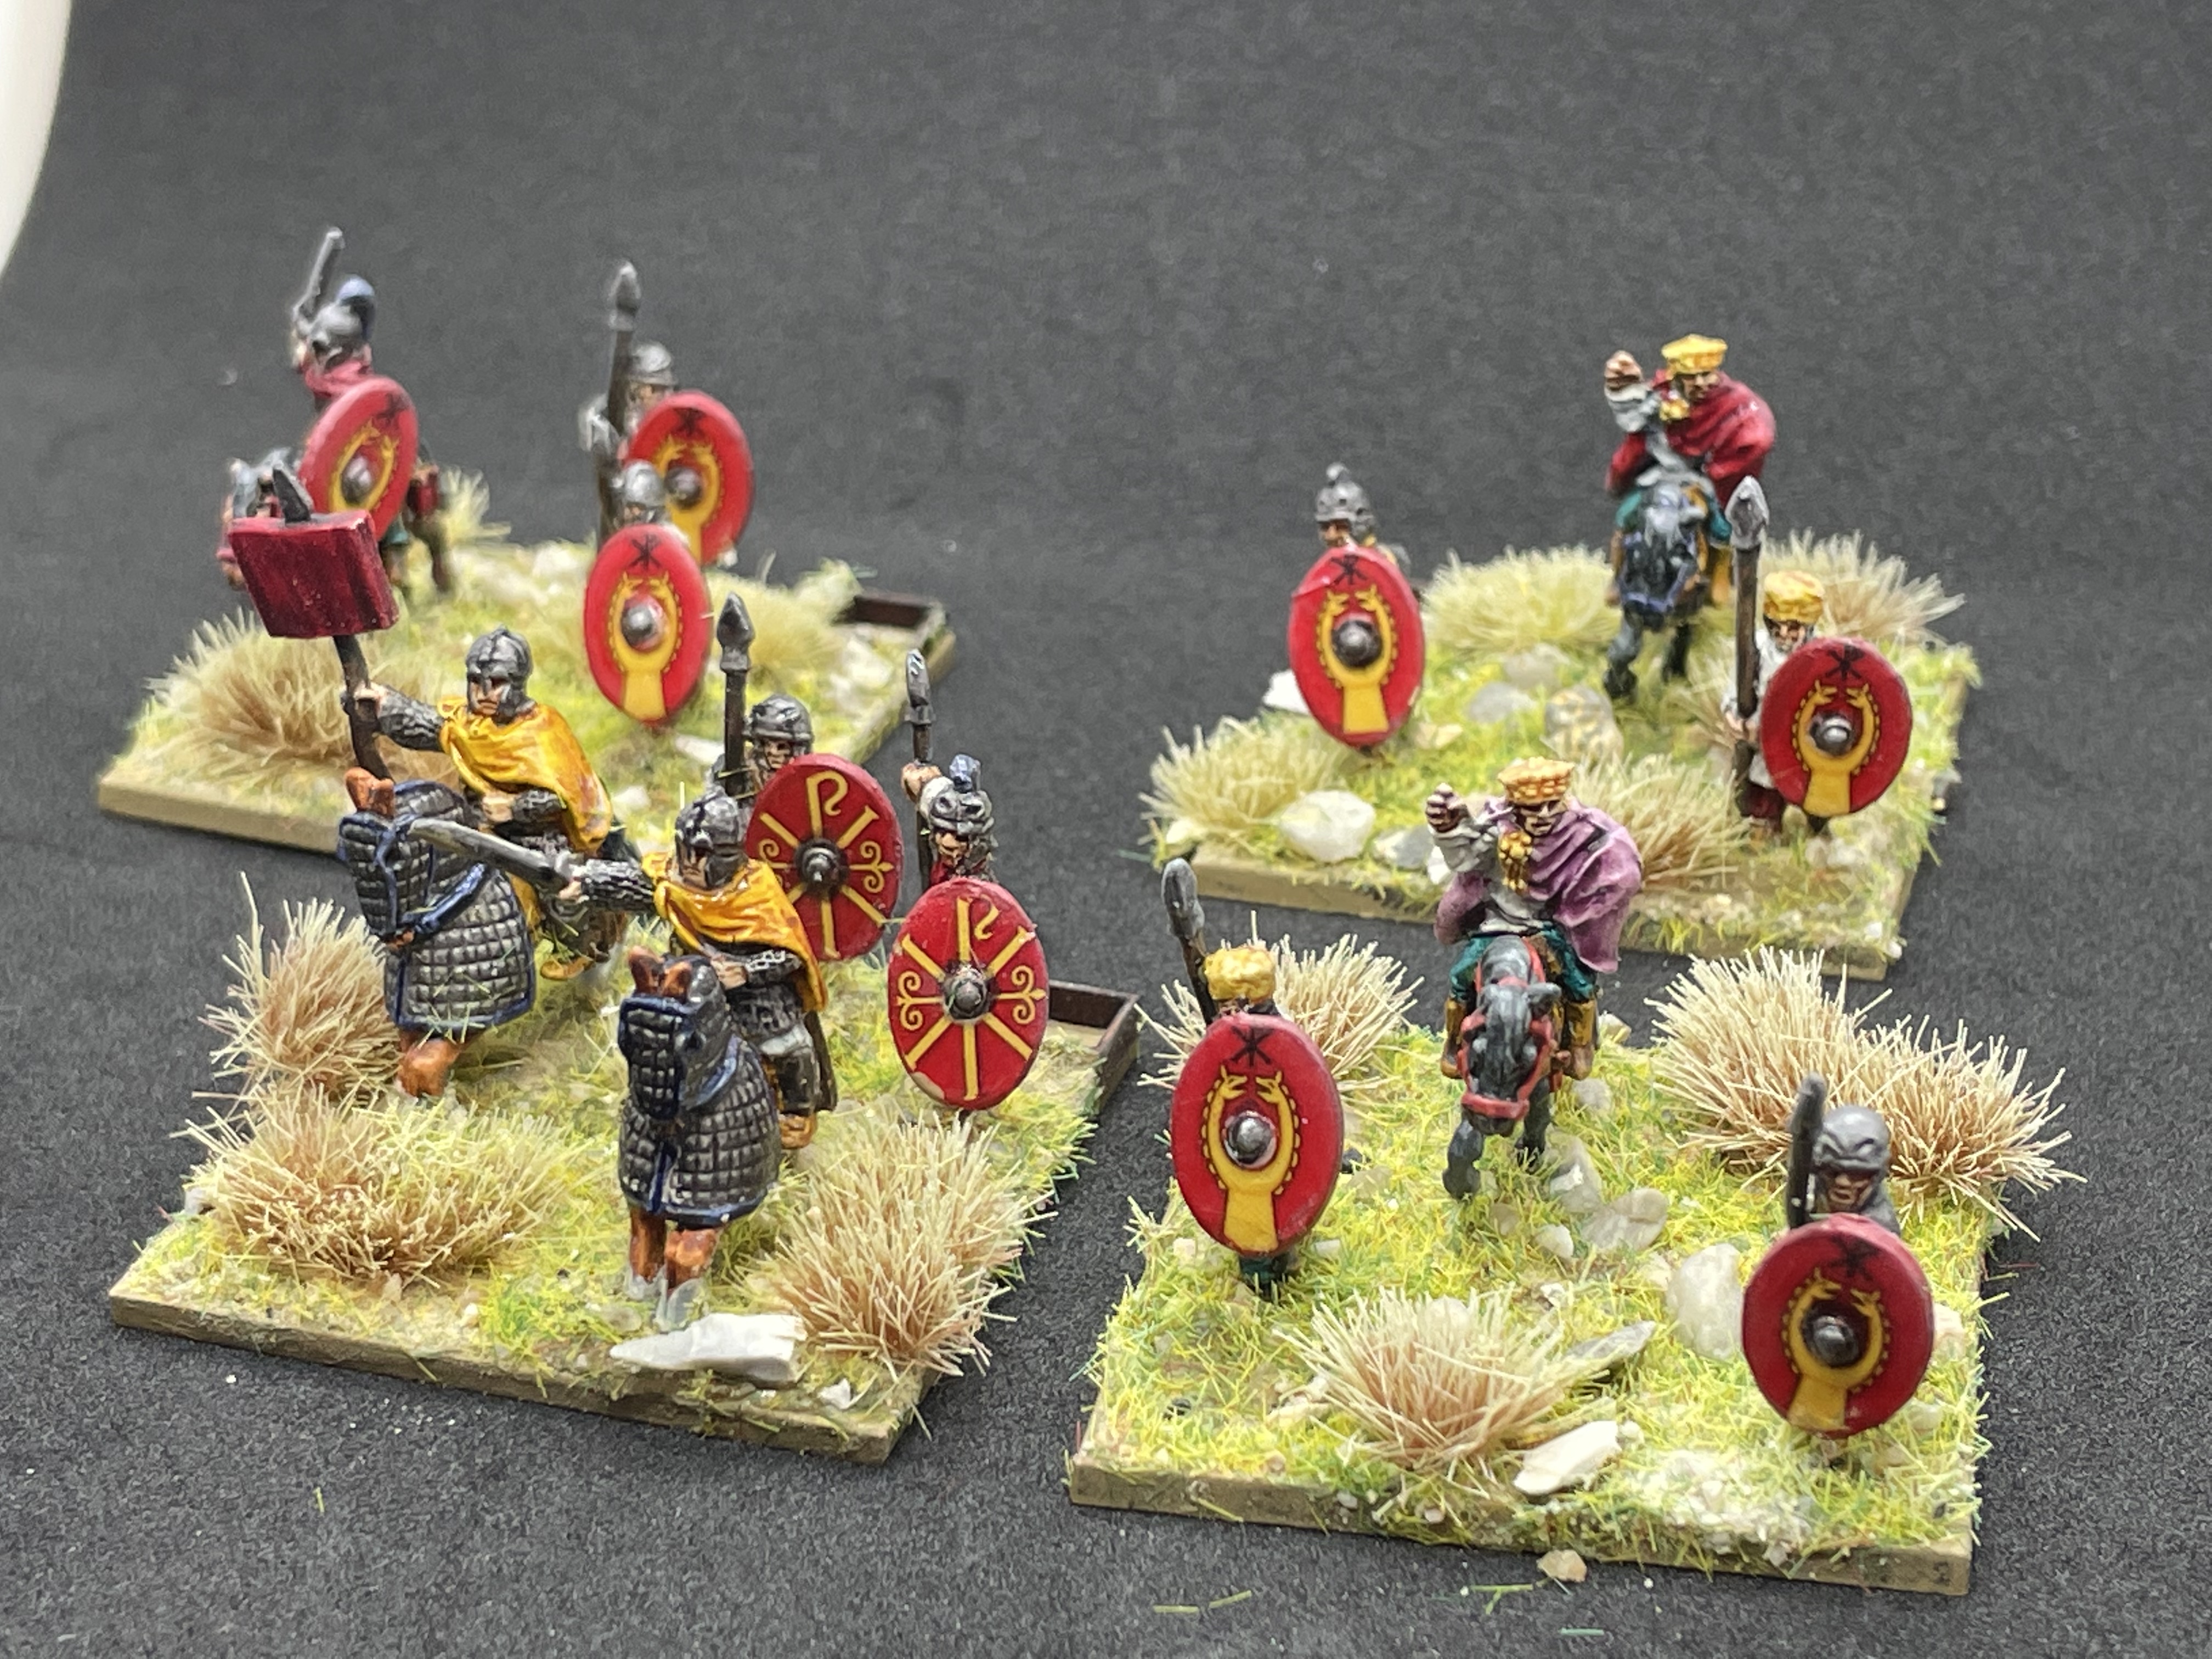
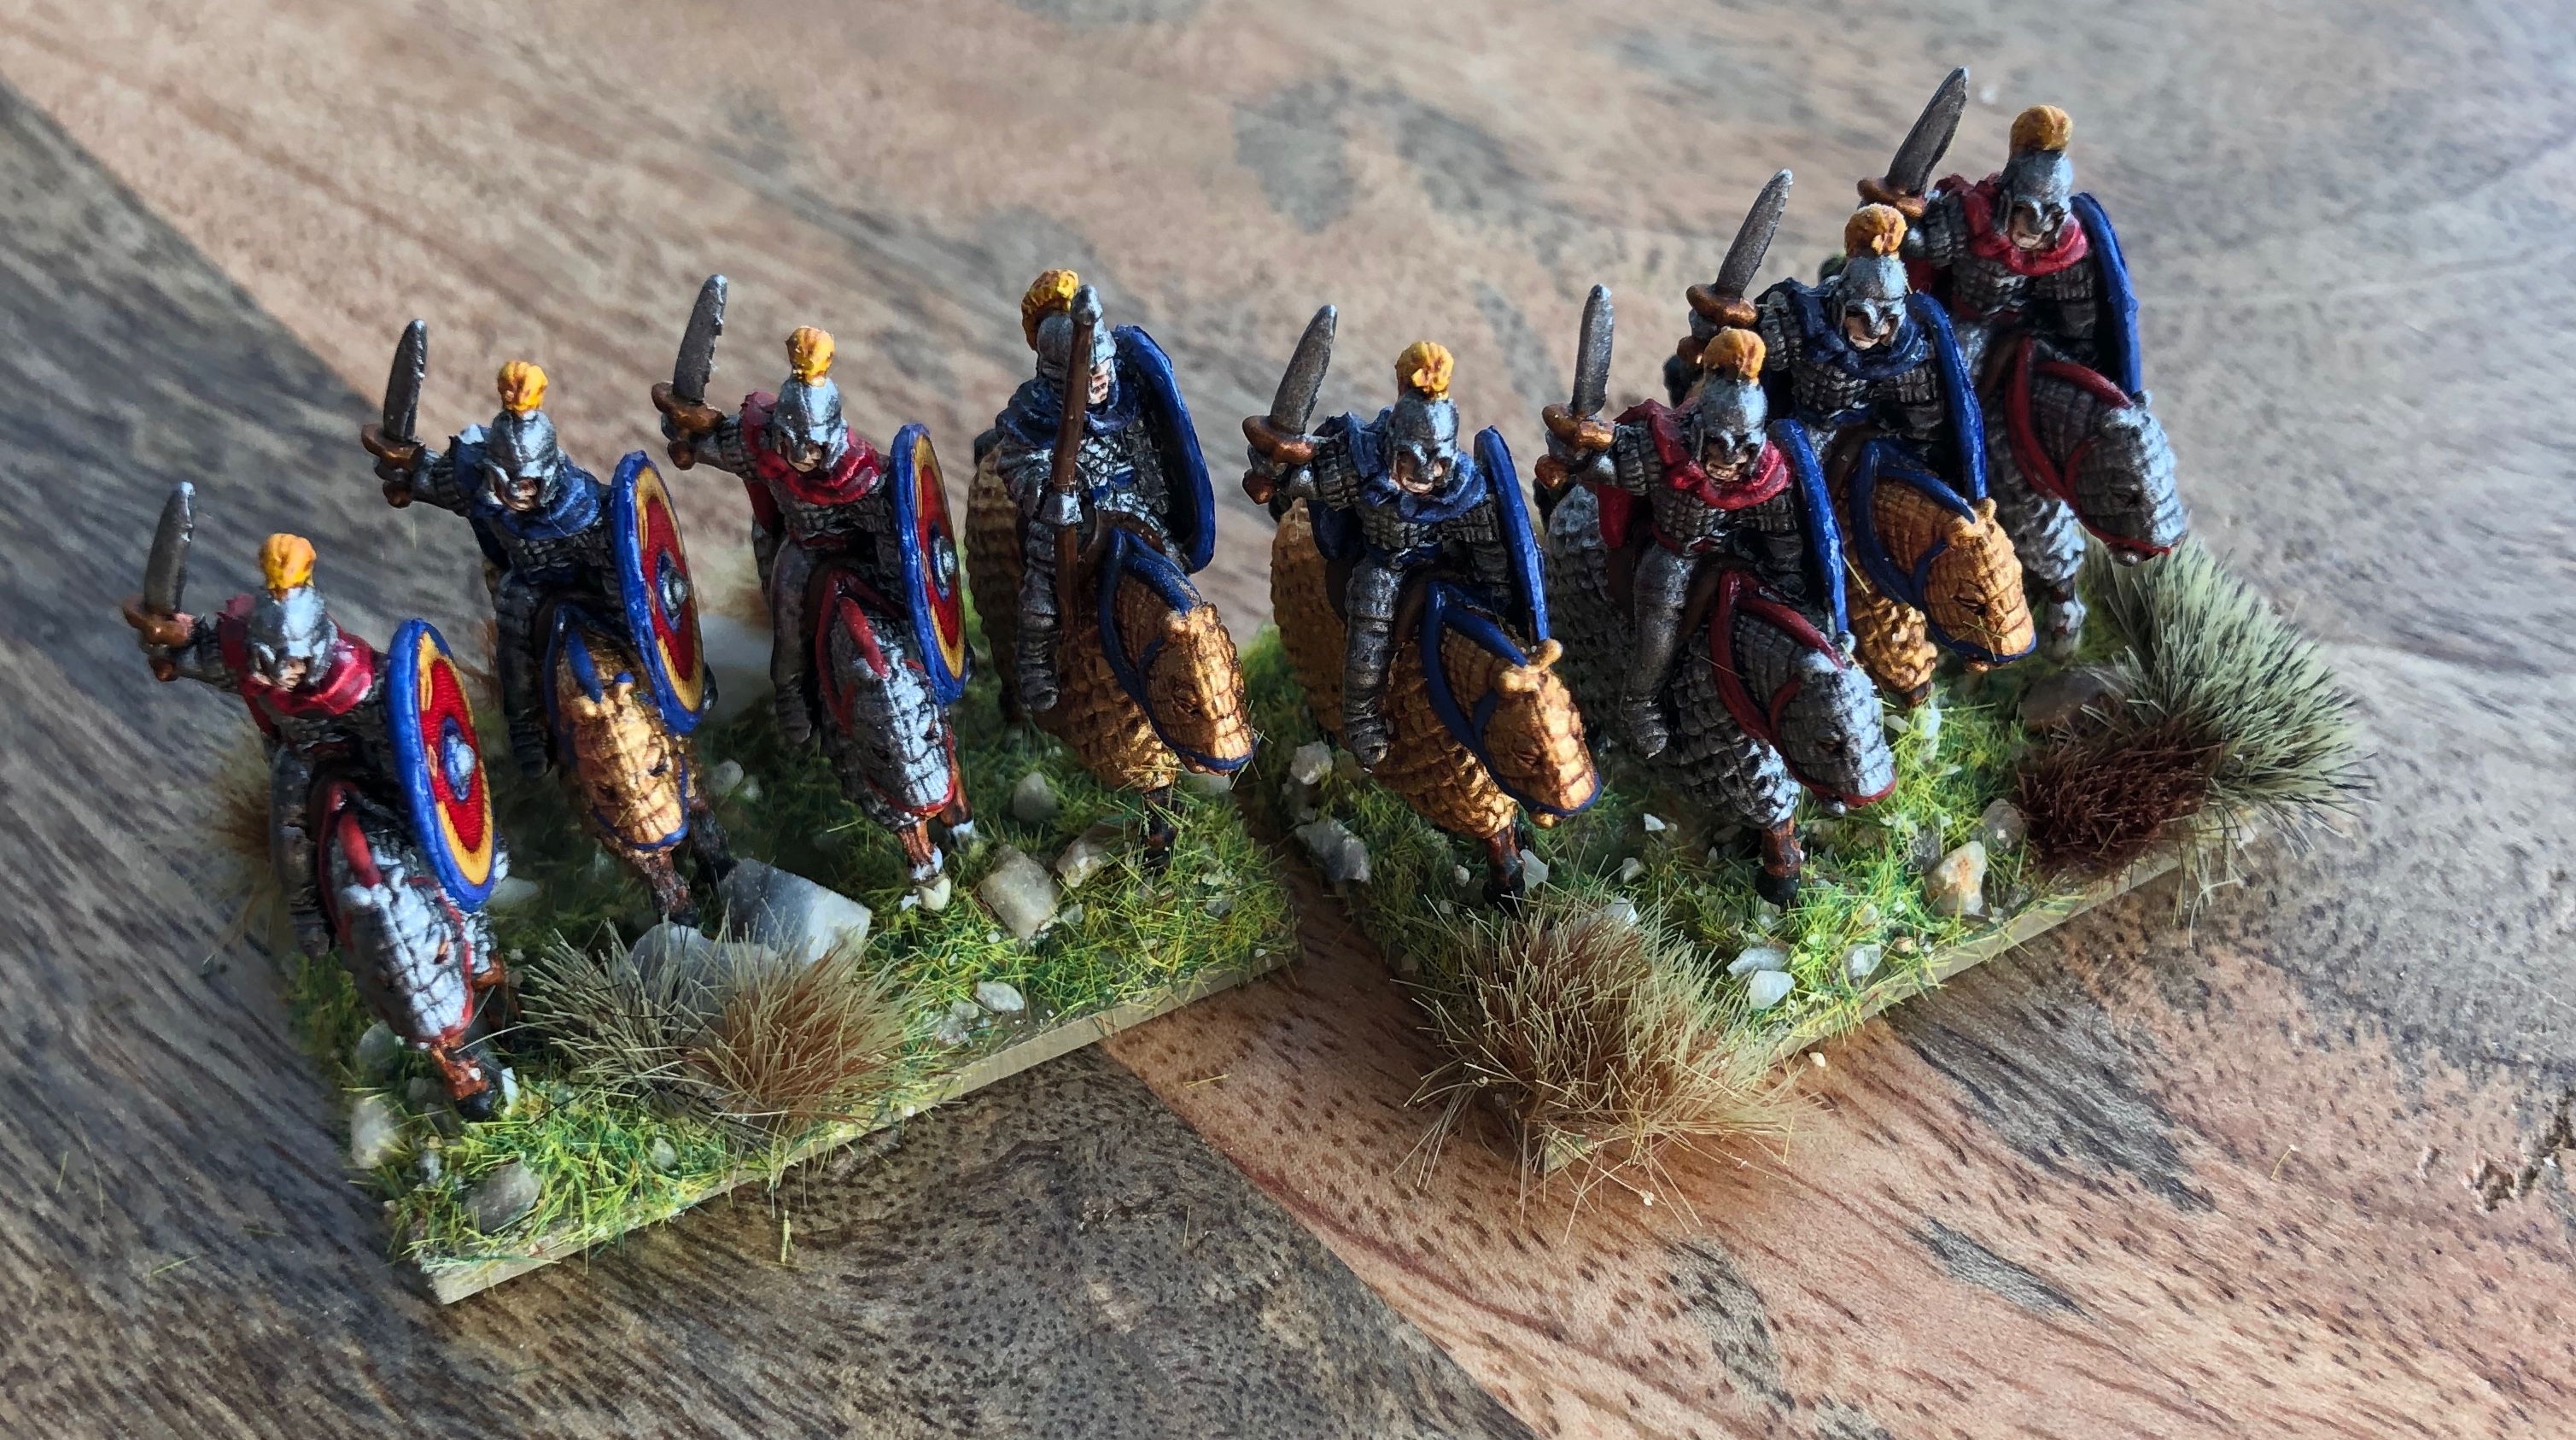
Cataphracts
Used good old contrasts on the cloaks and horses and plumes, but decided to use the old fashioned techniques on the rest of the minis (base, shade, layer, highlight).
Took ages to do the layers and at 15mm not sure it’s worth the effort.
 Contrasts - cloaks (Some done in Leviadon Blue and some in Flesh Tearers Red), Gorgrunta Fur for the horse
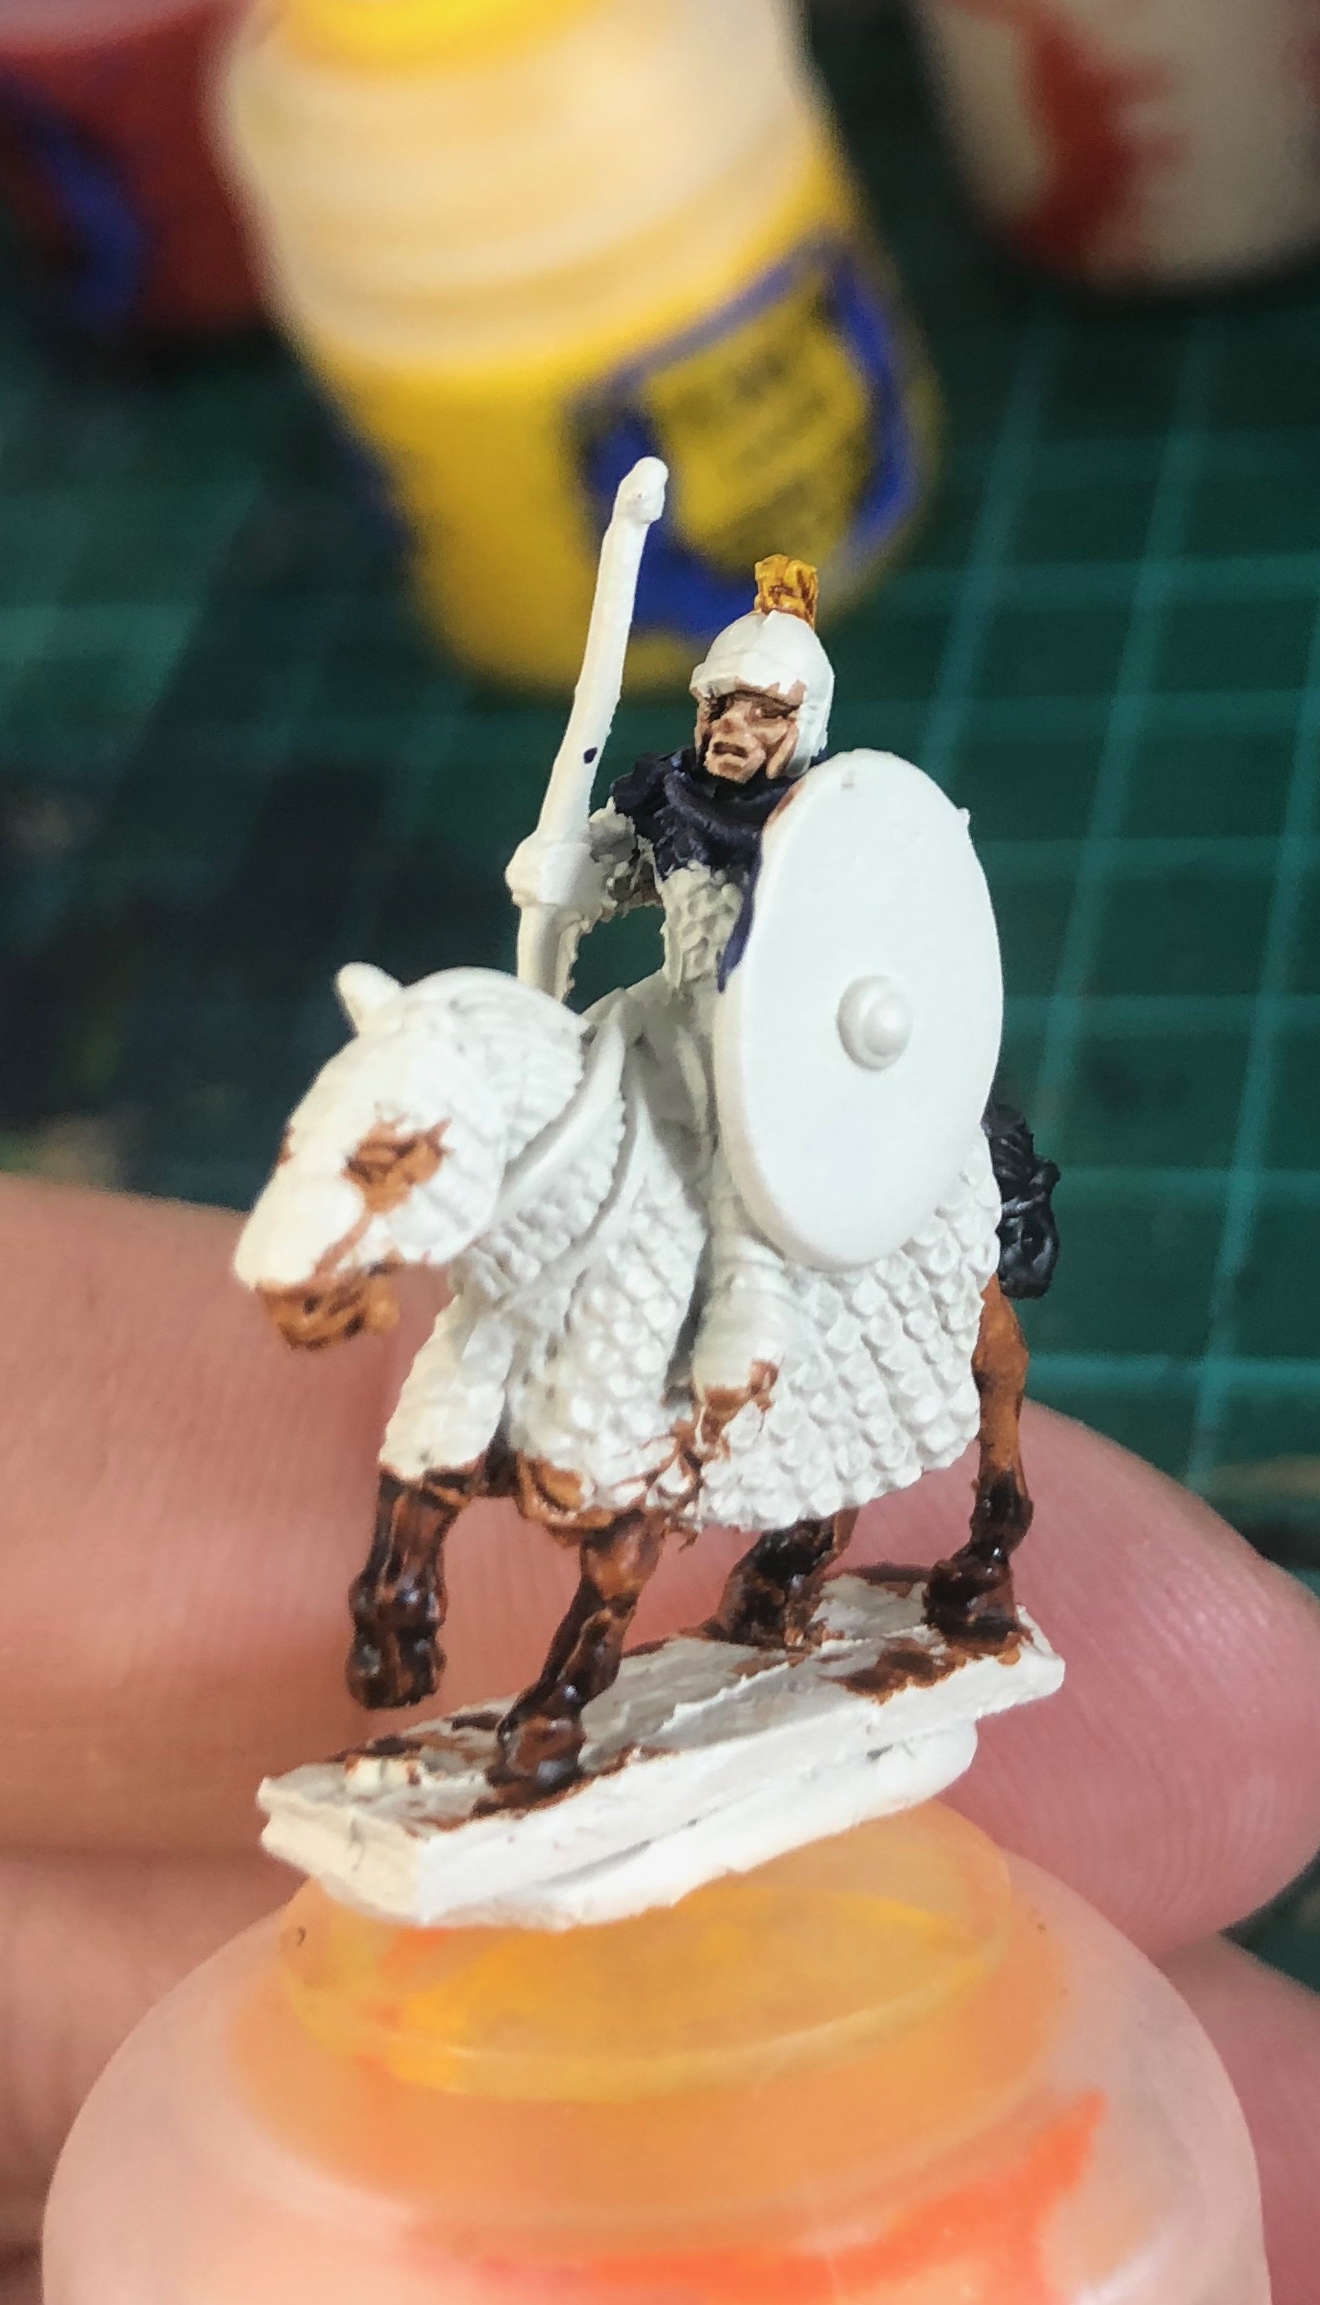
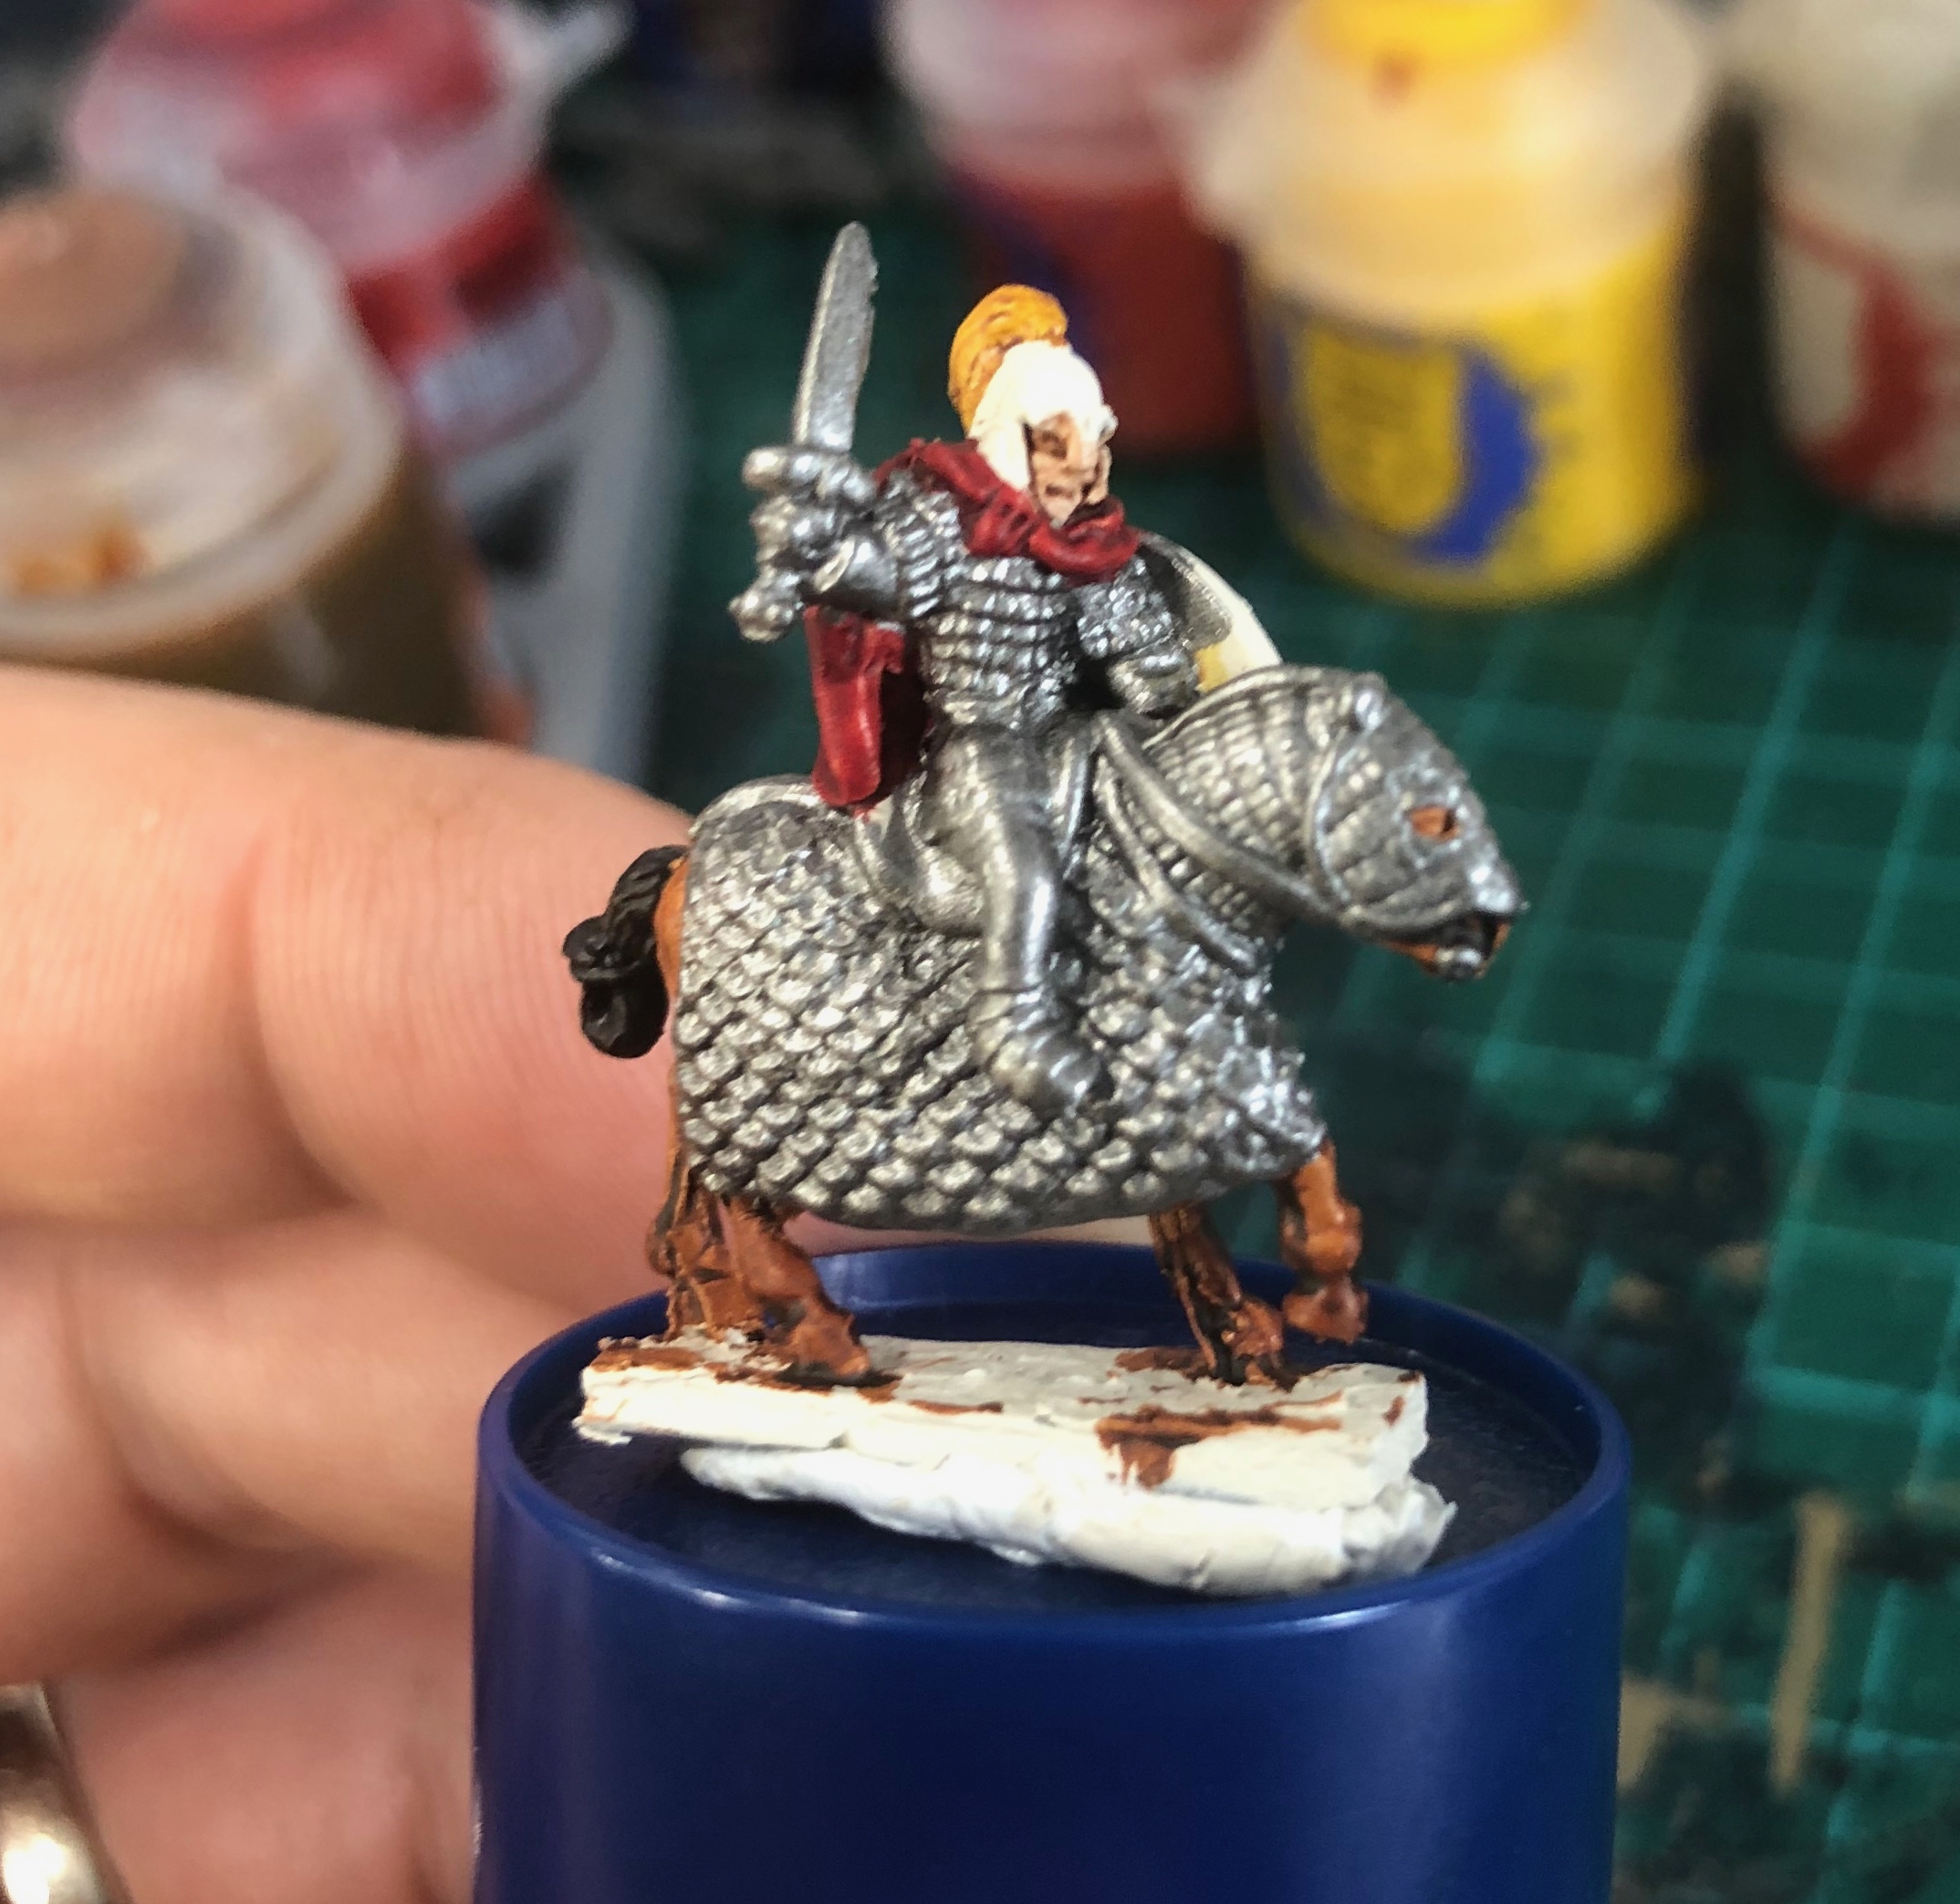 Adding the armour.
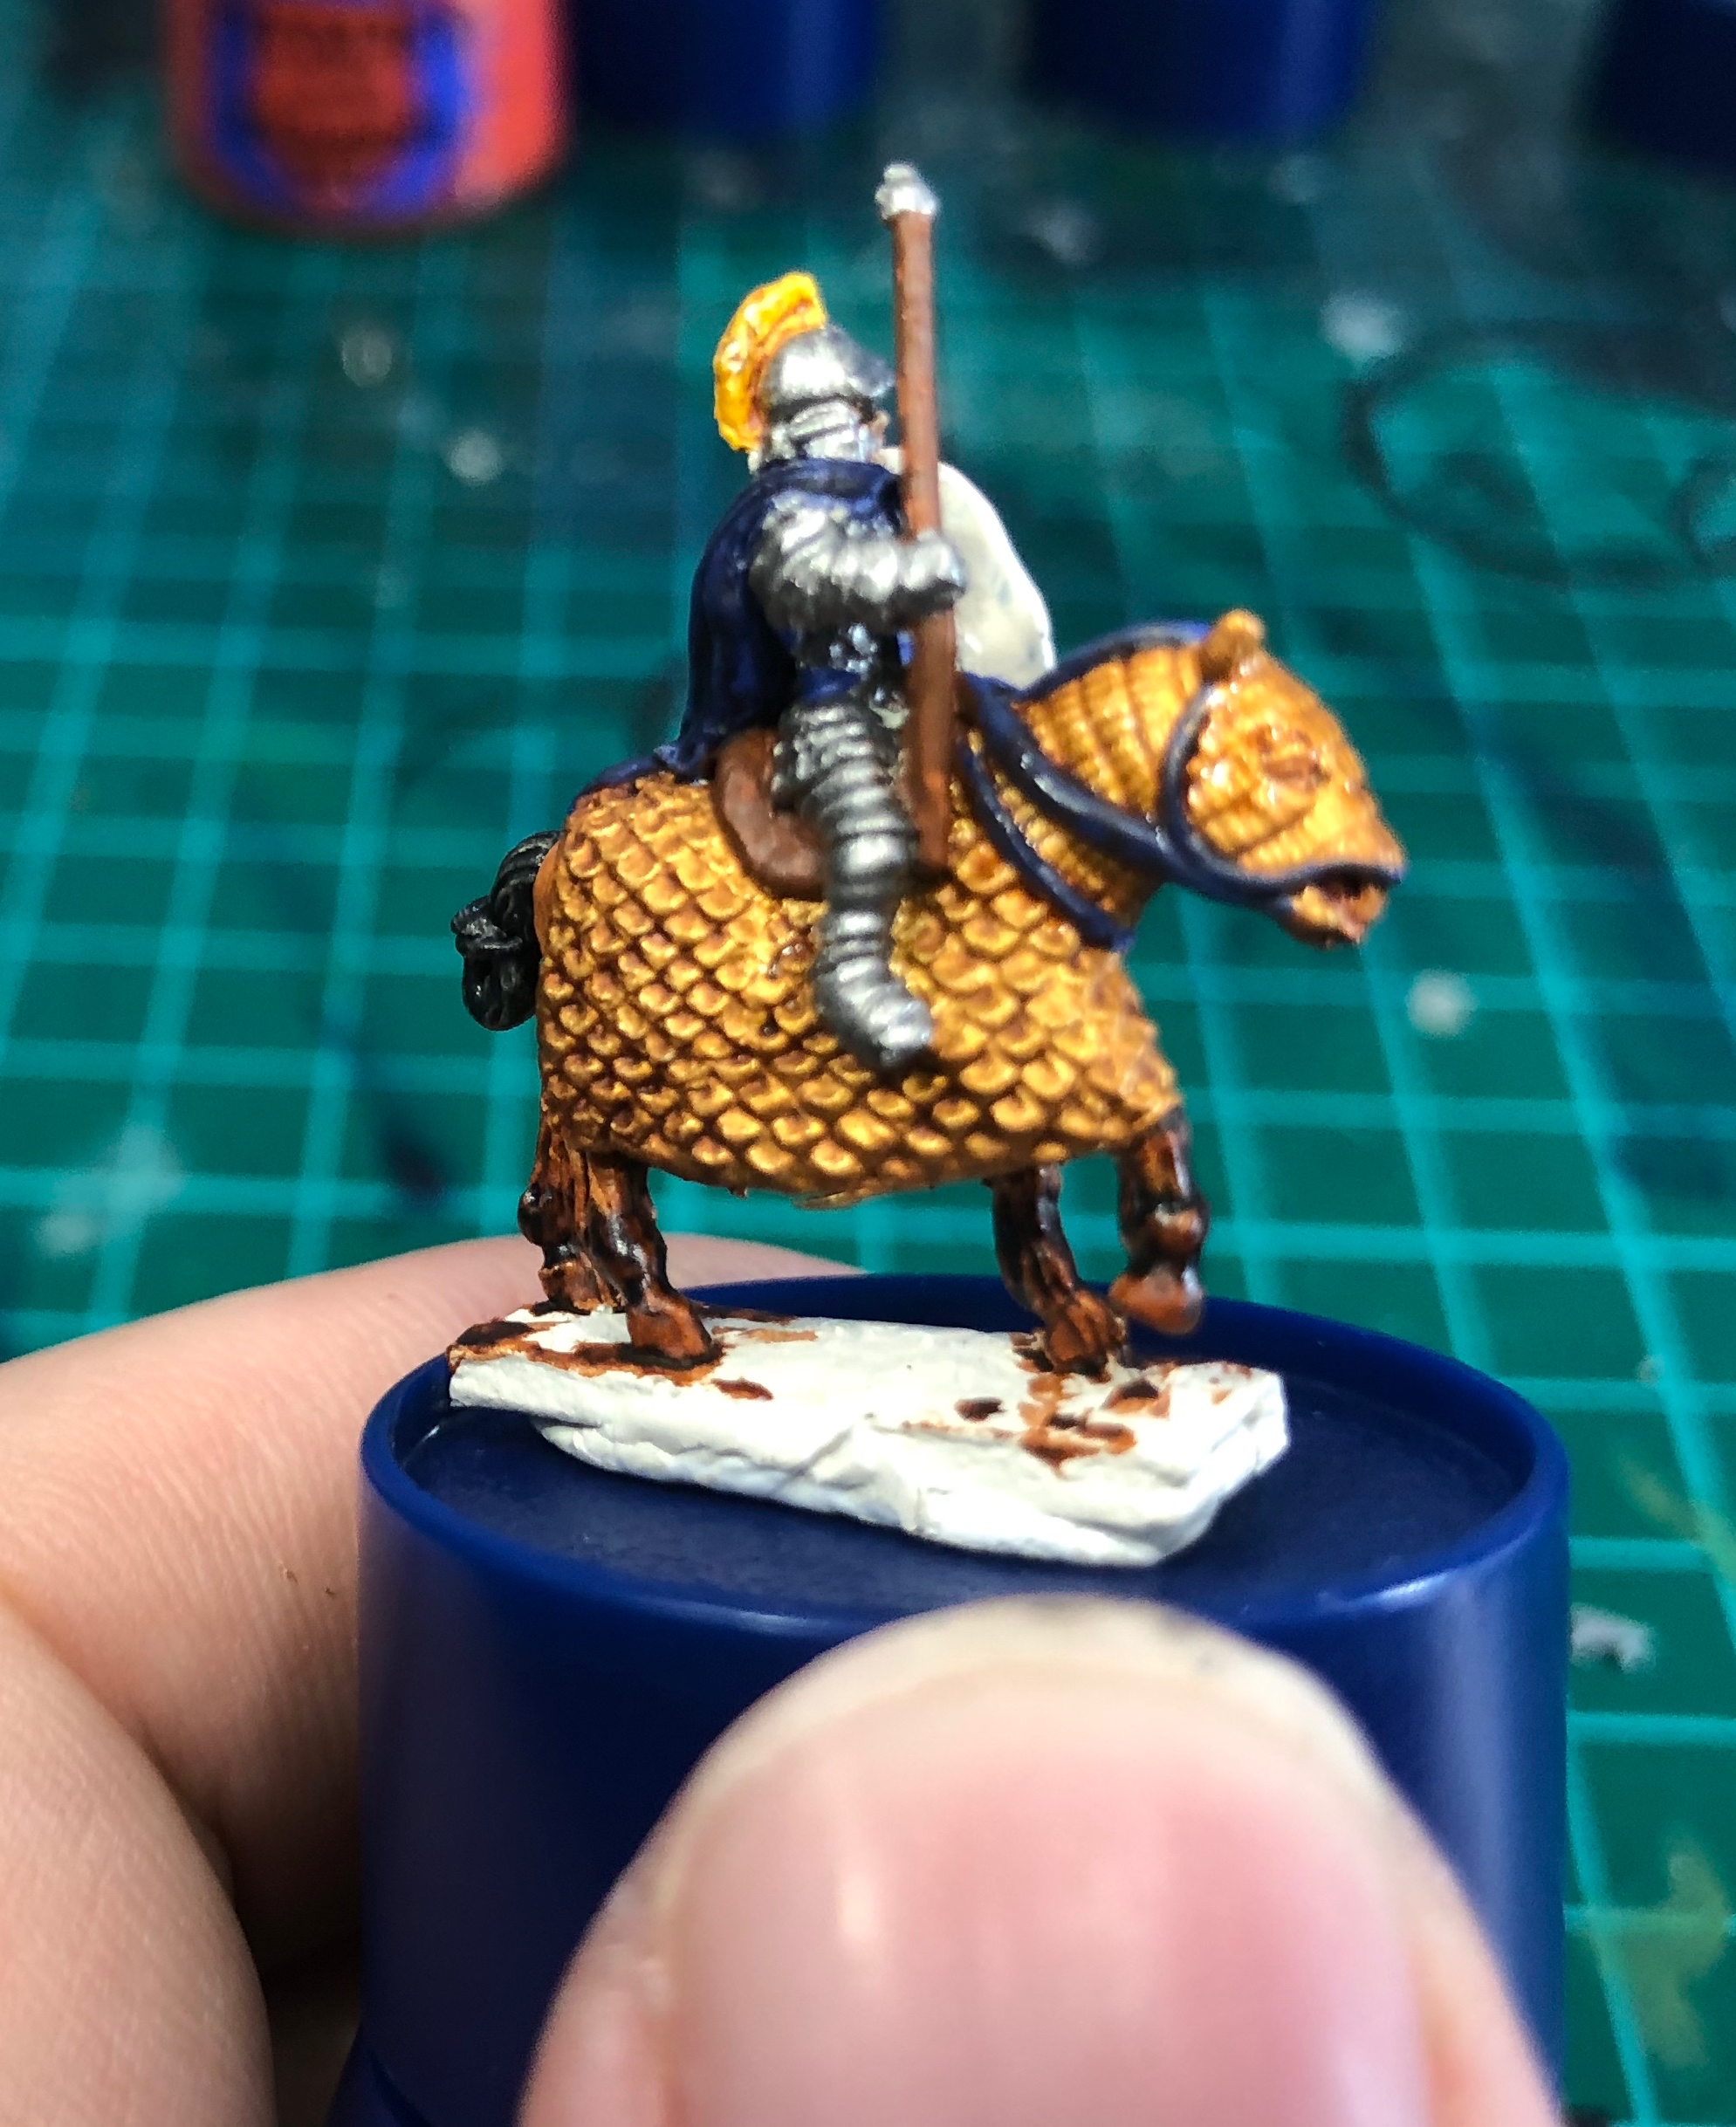 More base colours and then shading. (Retributor Armour shaded with Reikland Fleshshade, Lead Belcher armour and blues and reds on strapping of horses and browns on saddles all shaded with Nuln Oil)
 Layers added on details, (base layer, with lighter shades of base layer on top for details, but with skull crusher brass as final layer for gold armour). Also added shields.
 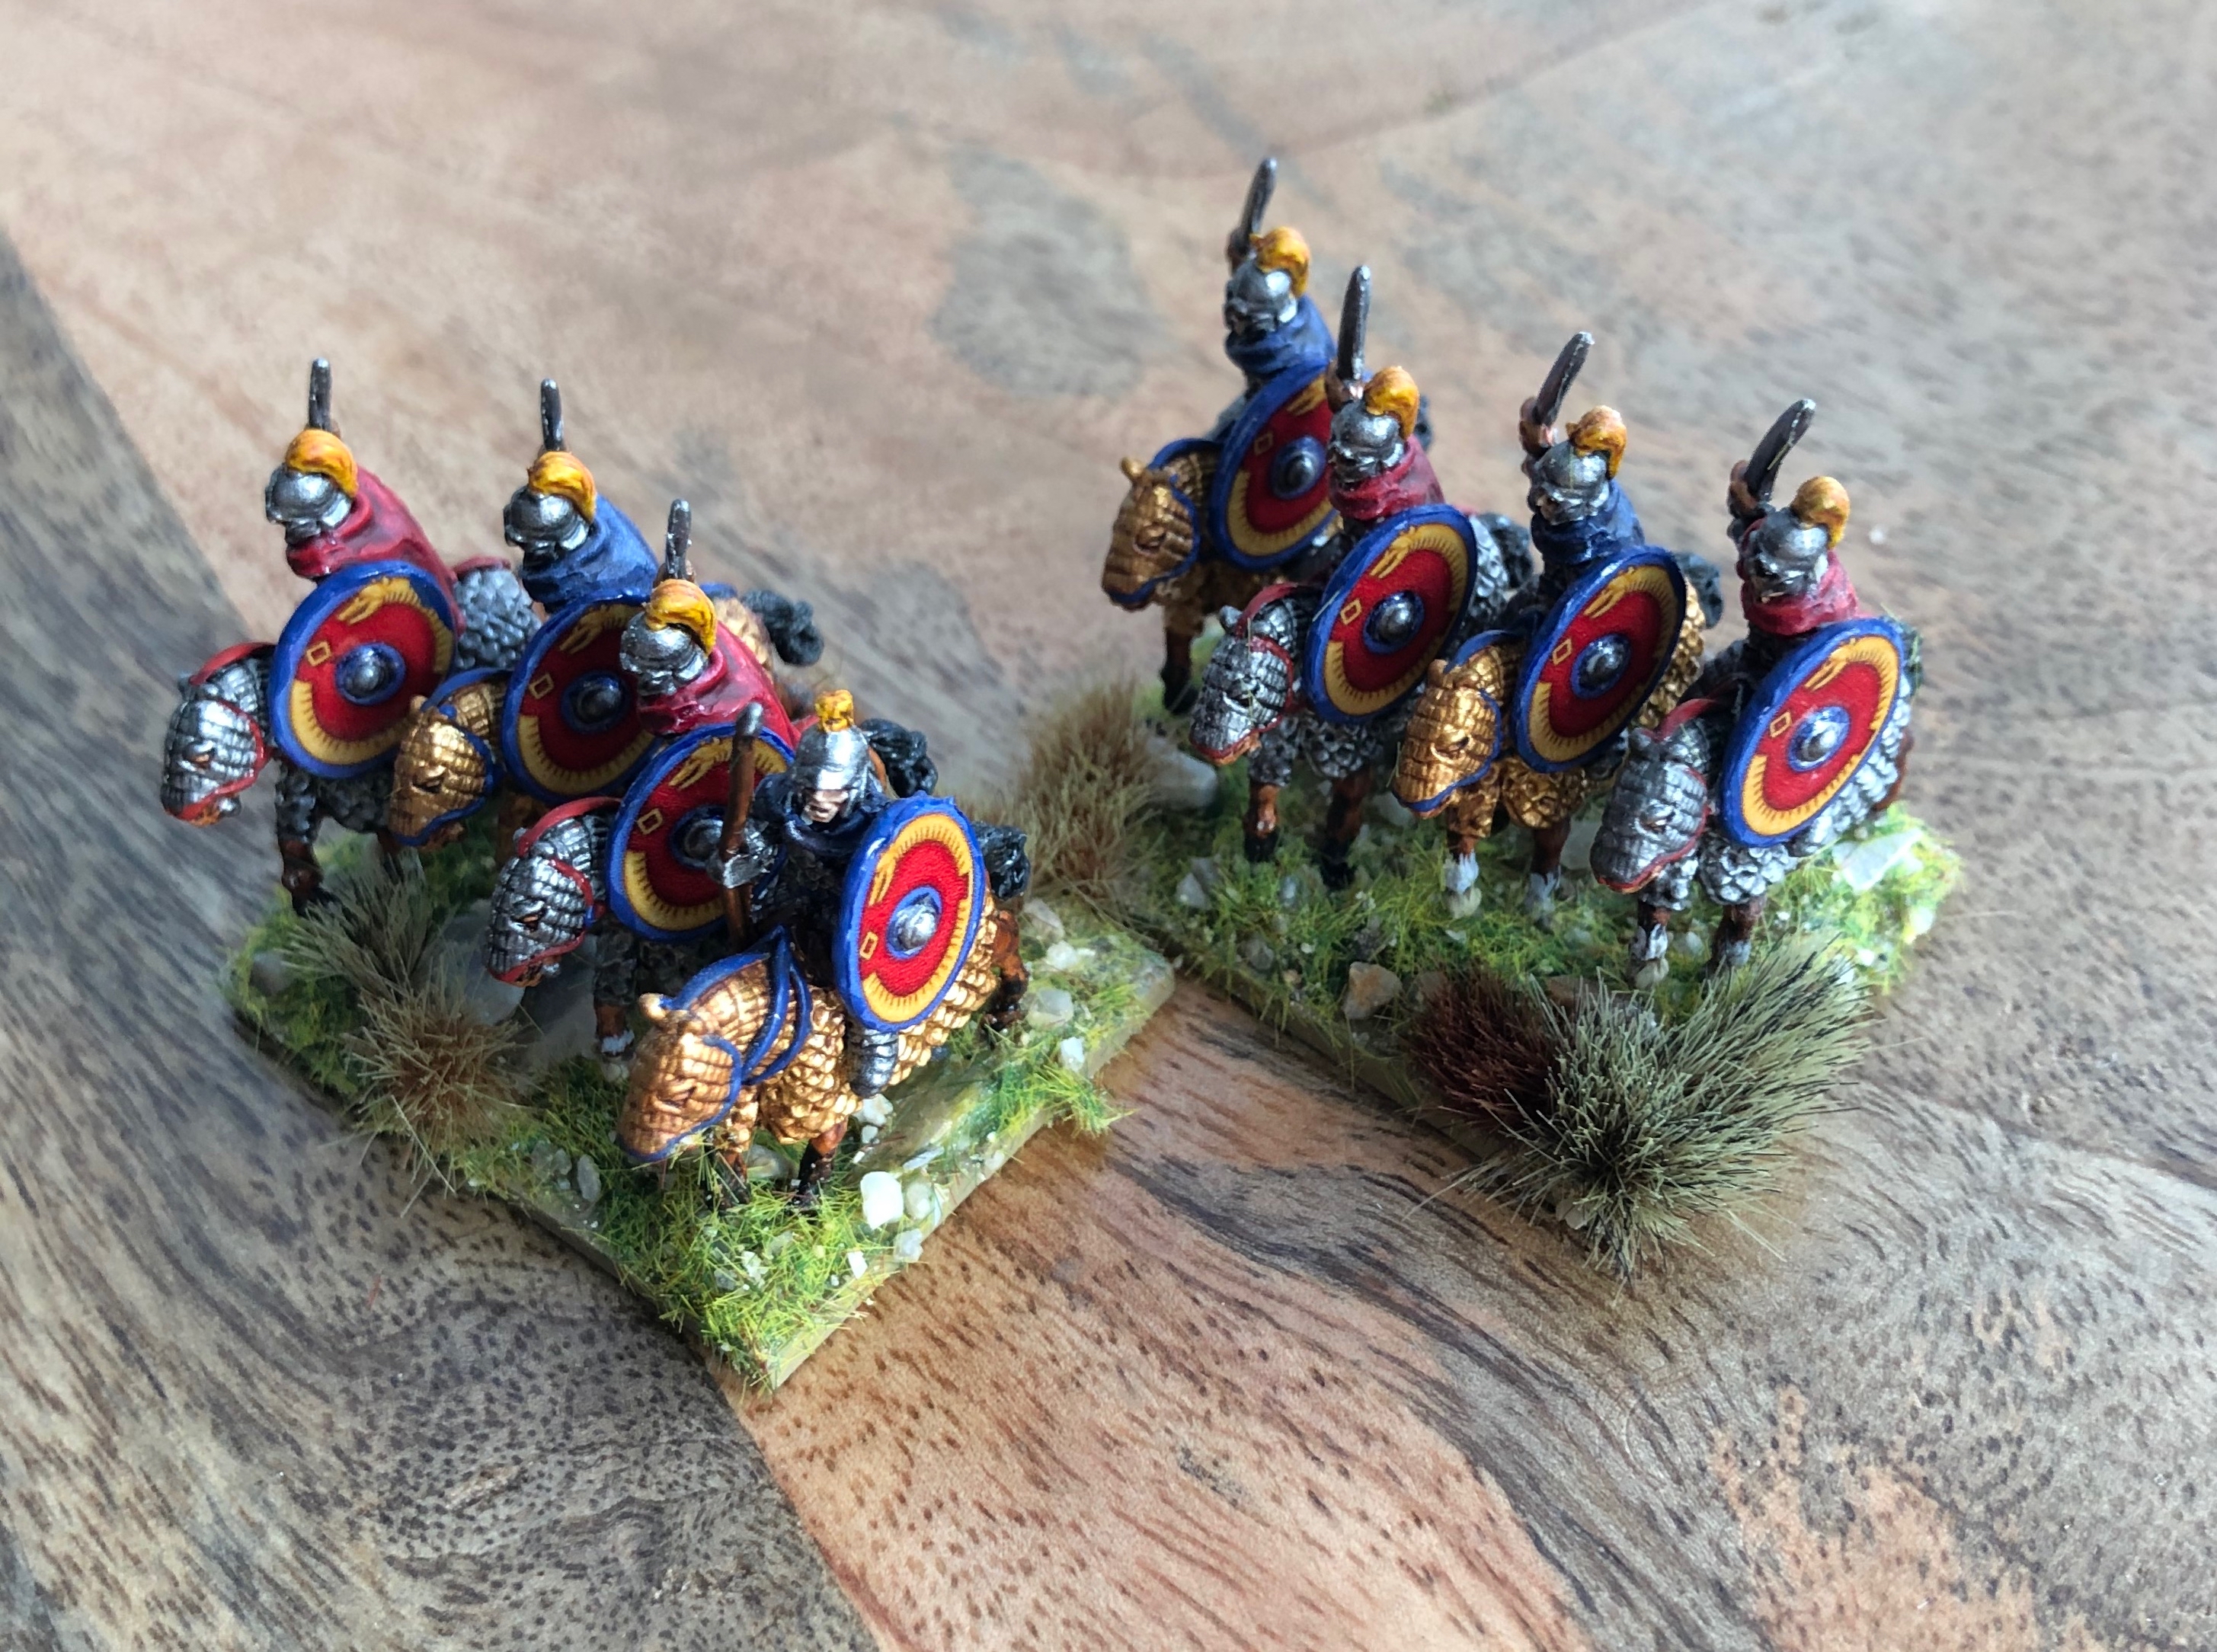 Finished by adding some details to the horses legs (Different coloured hoofs, and socks) and based up using techniques from older posts.
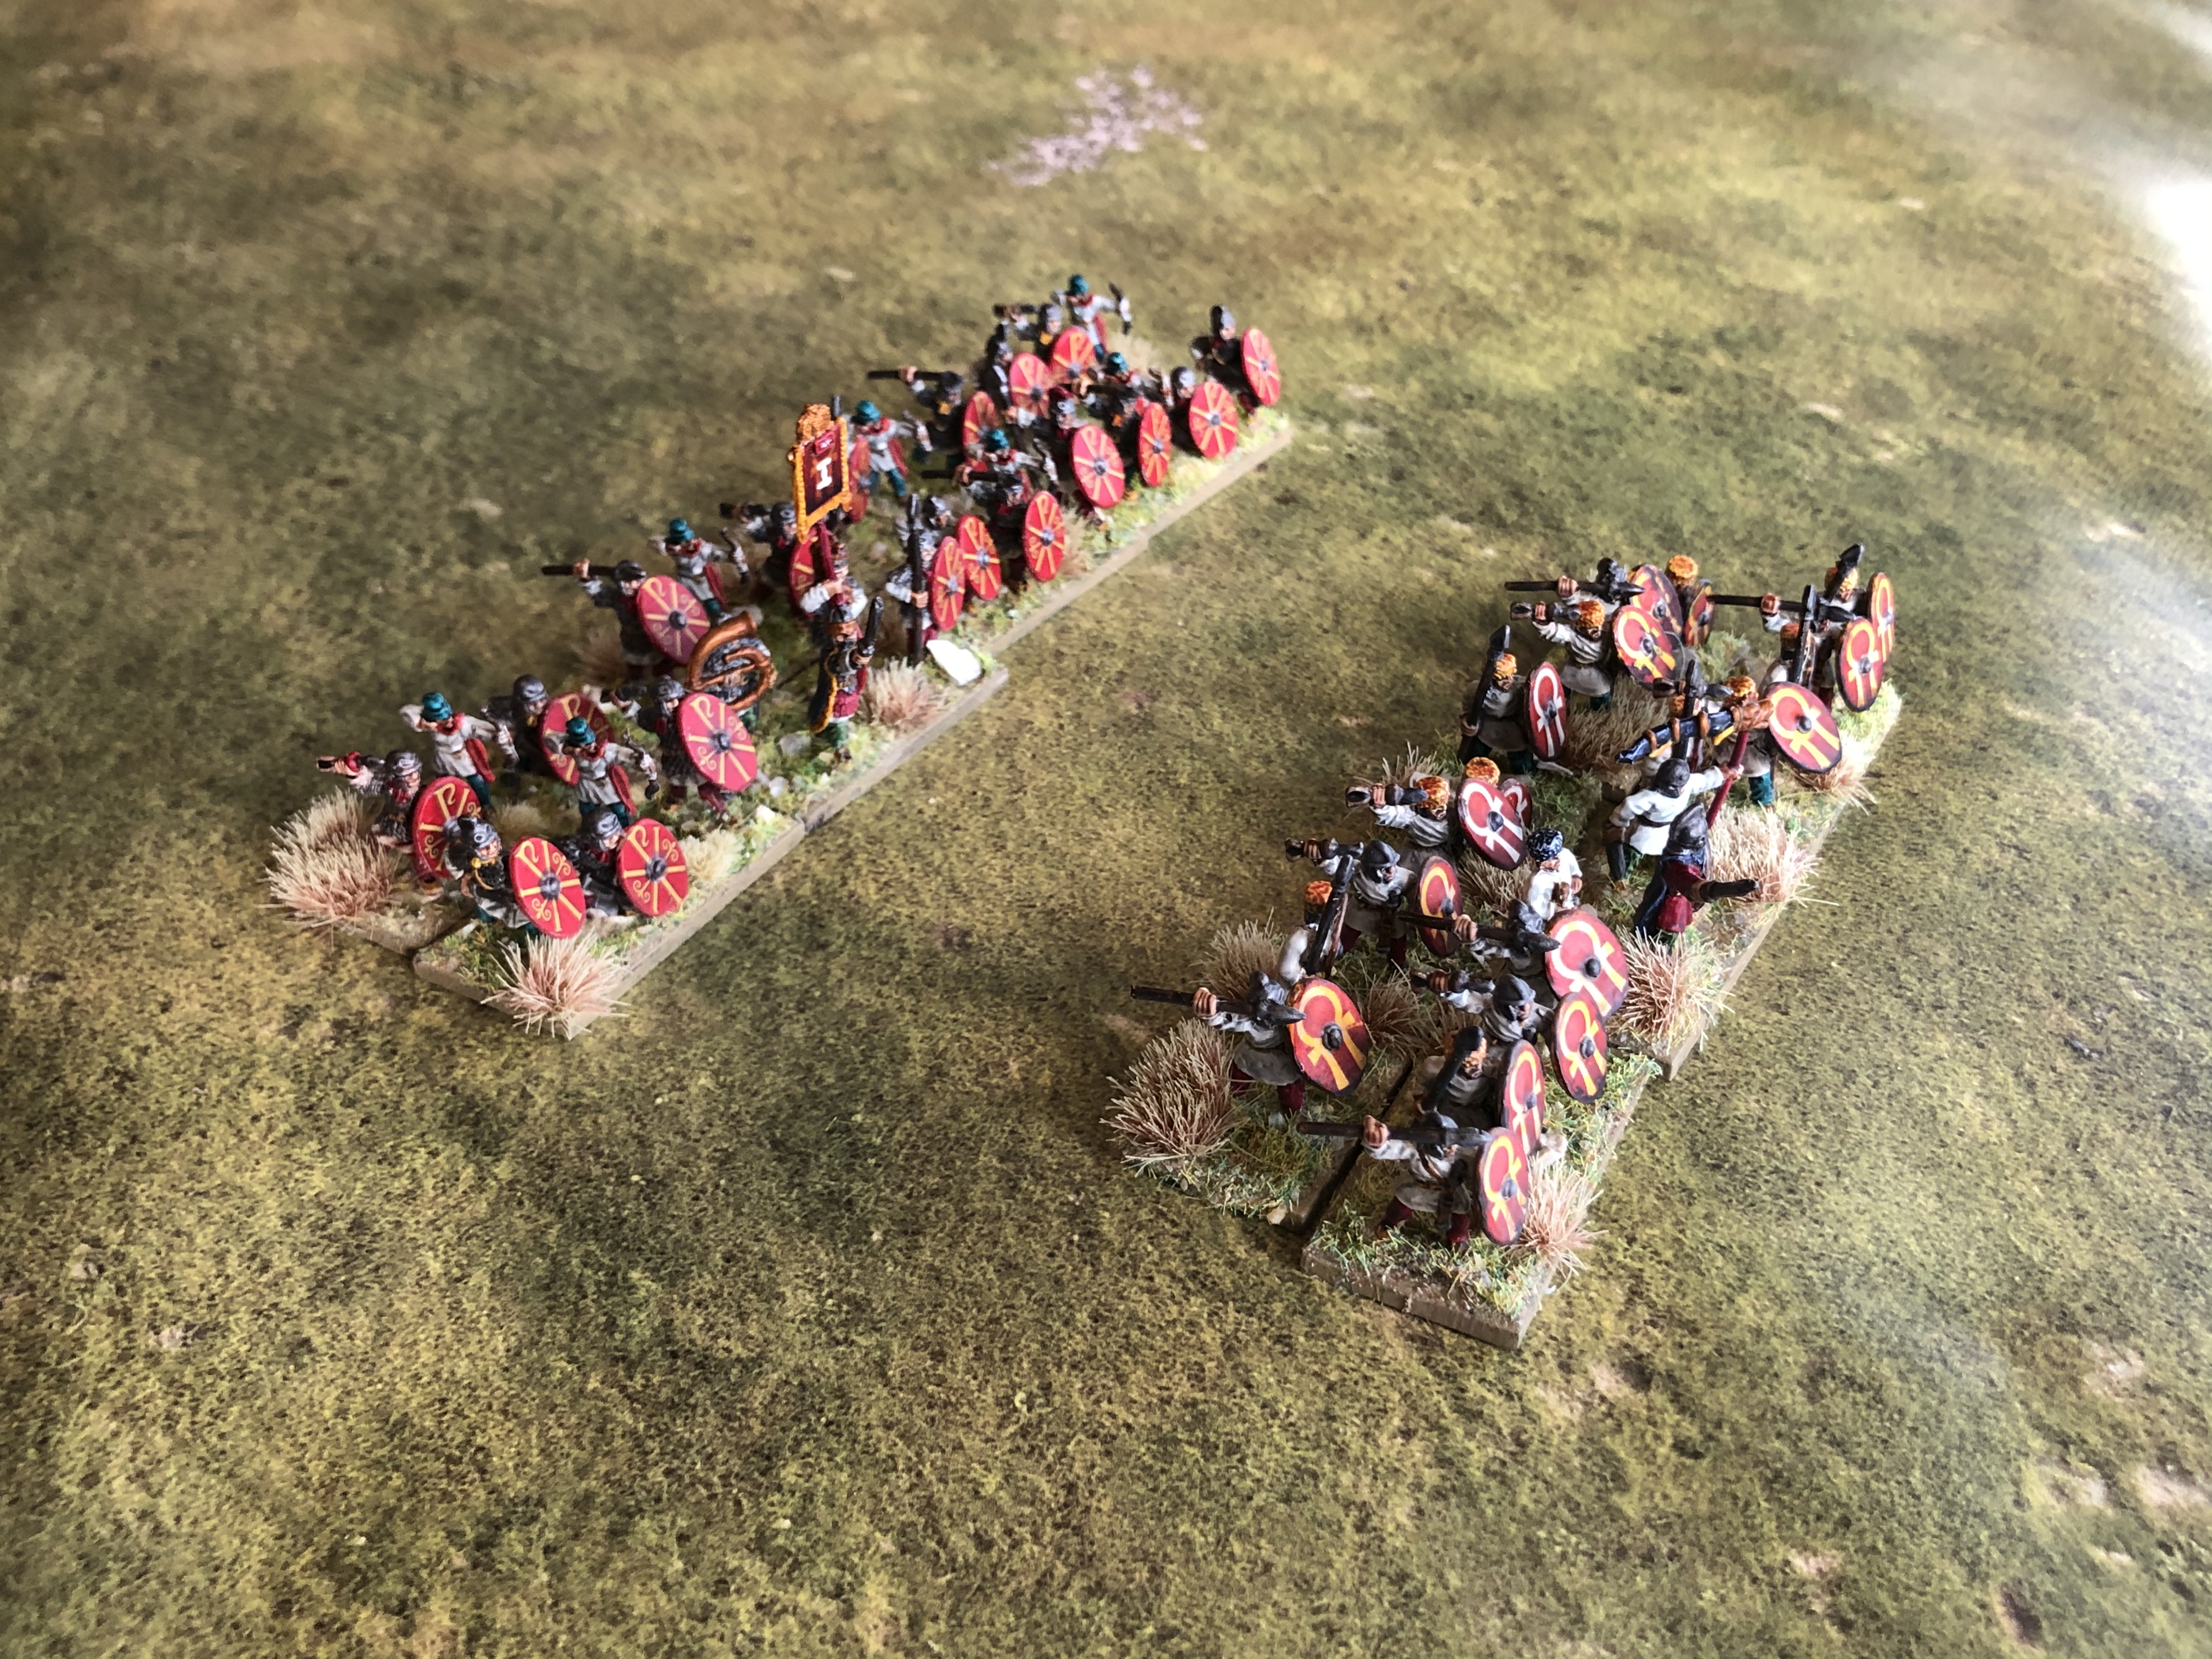
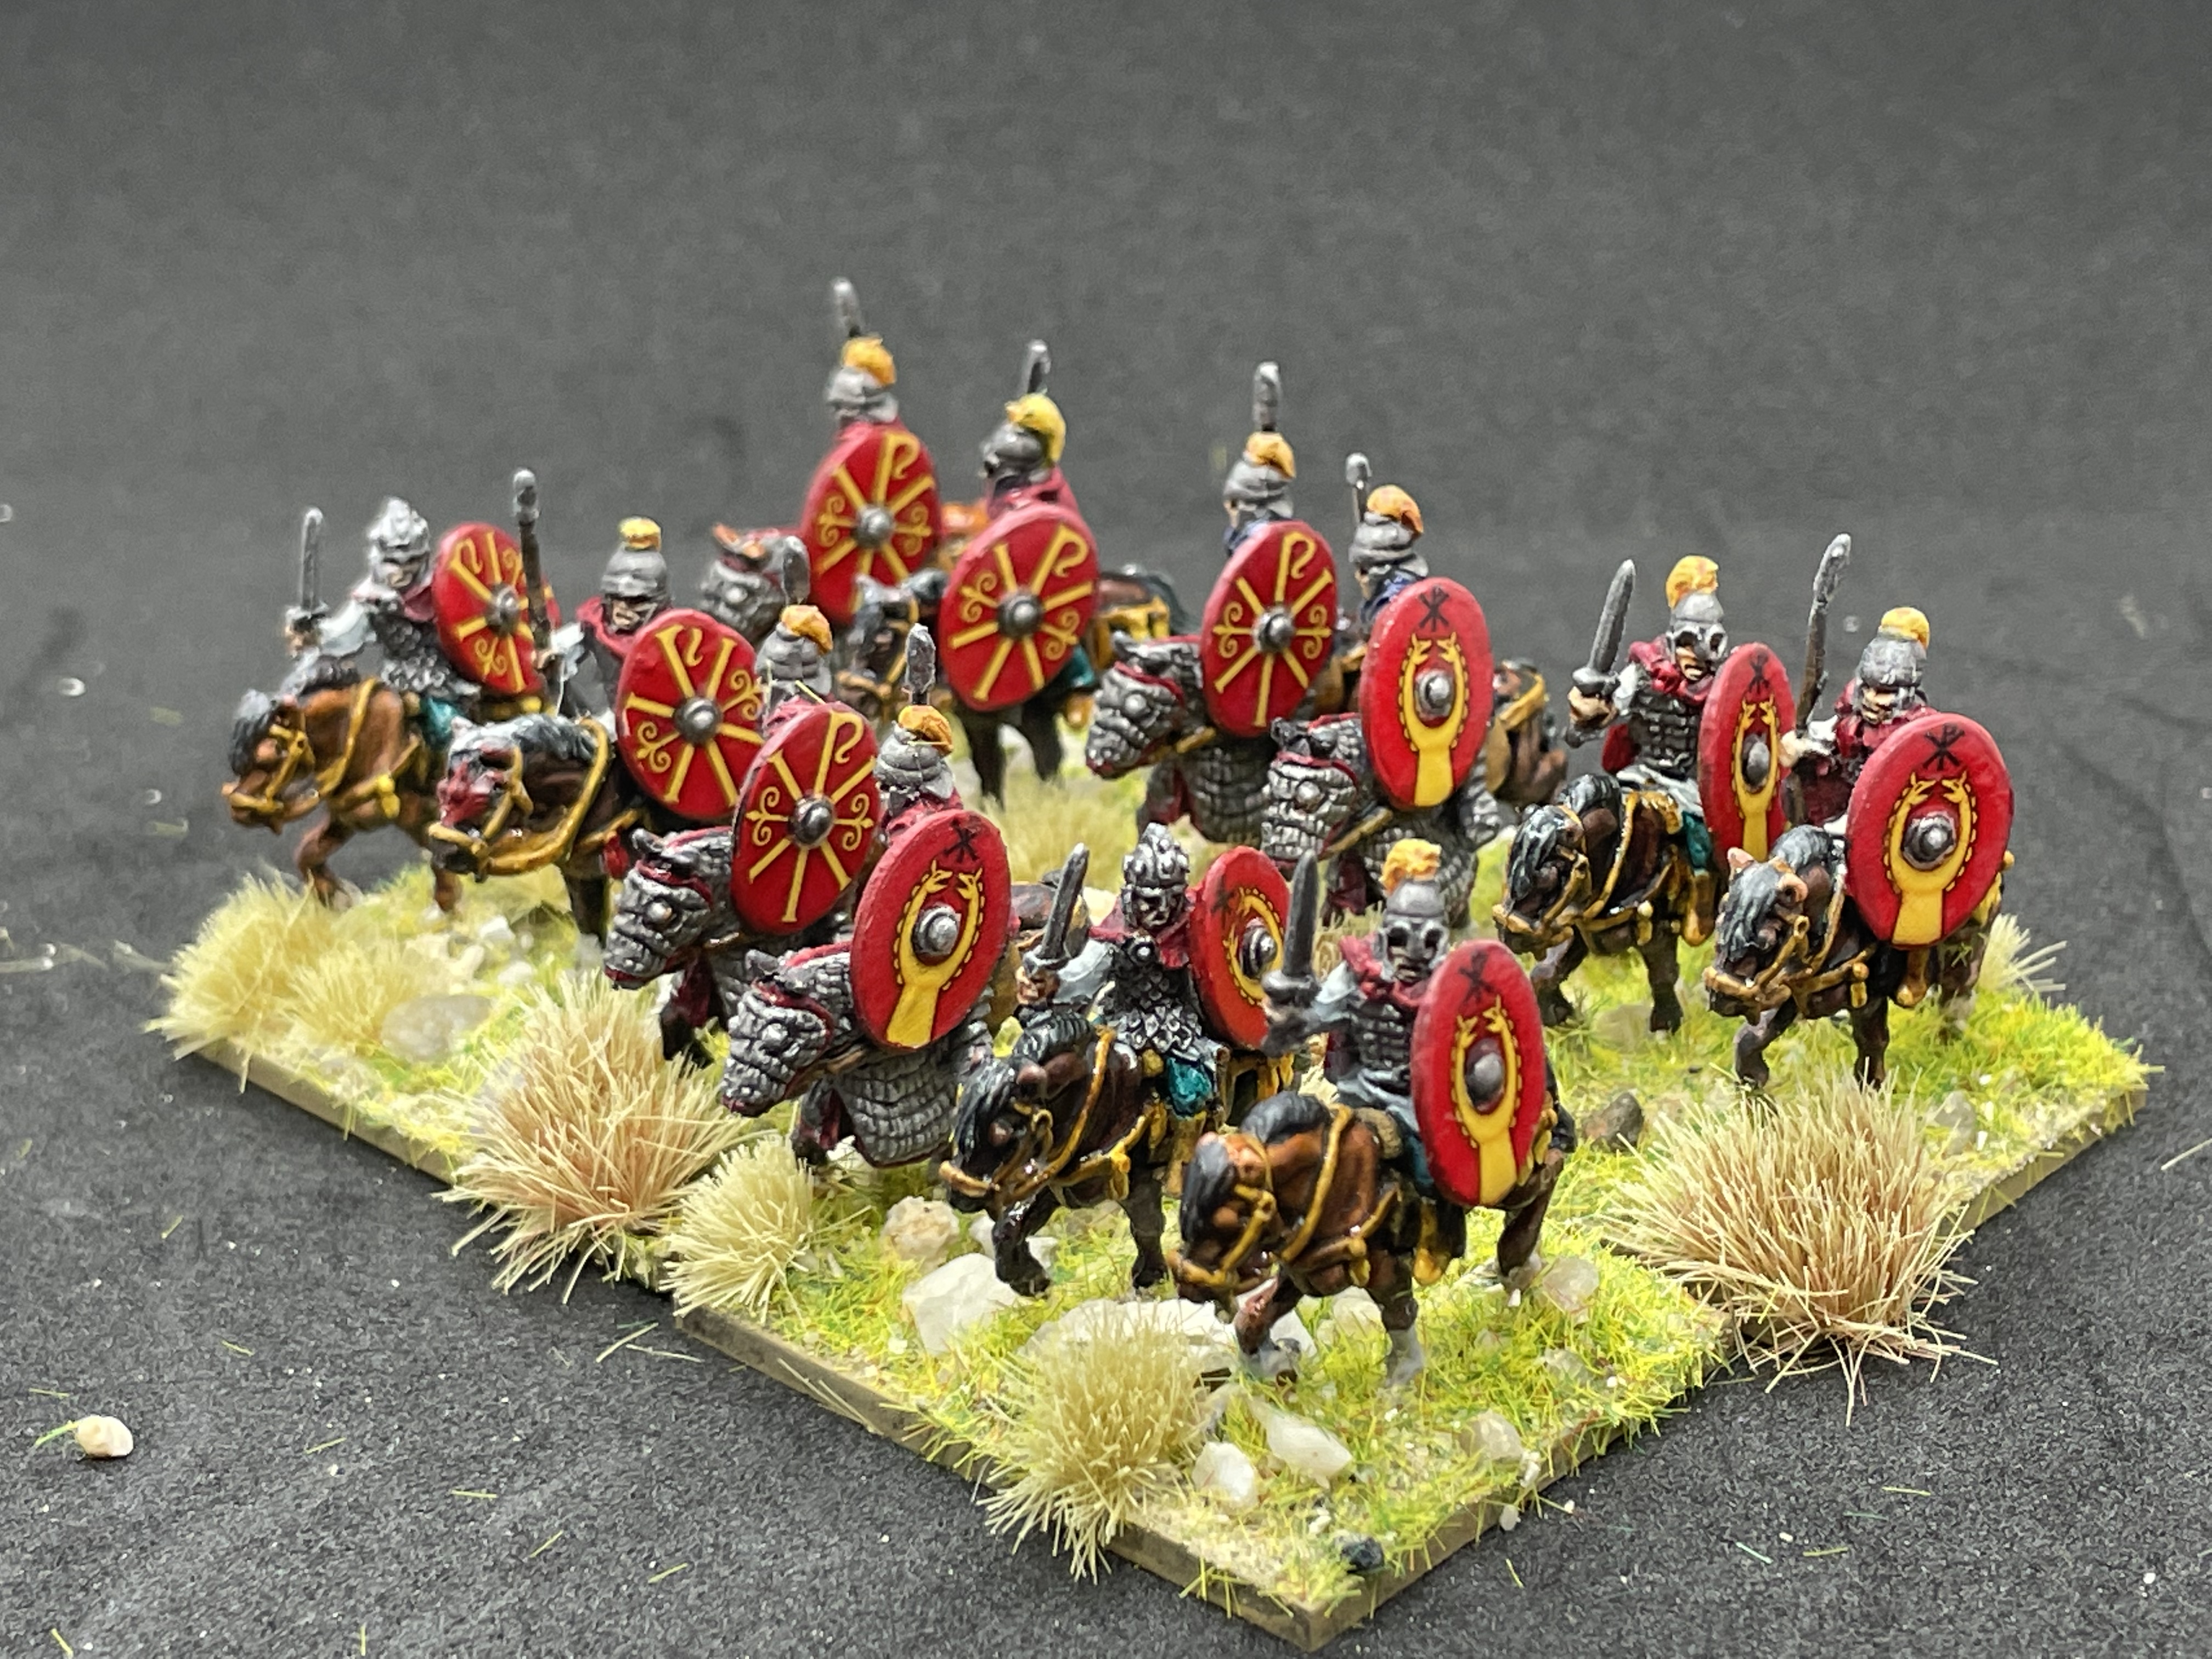
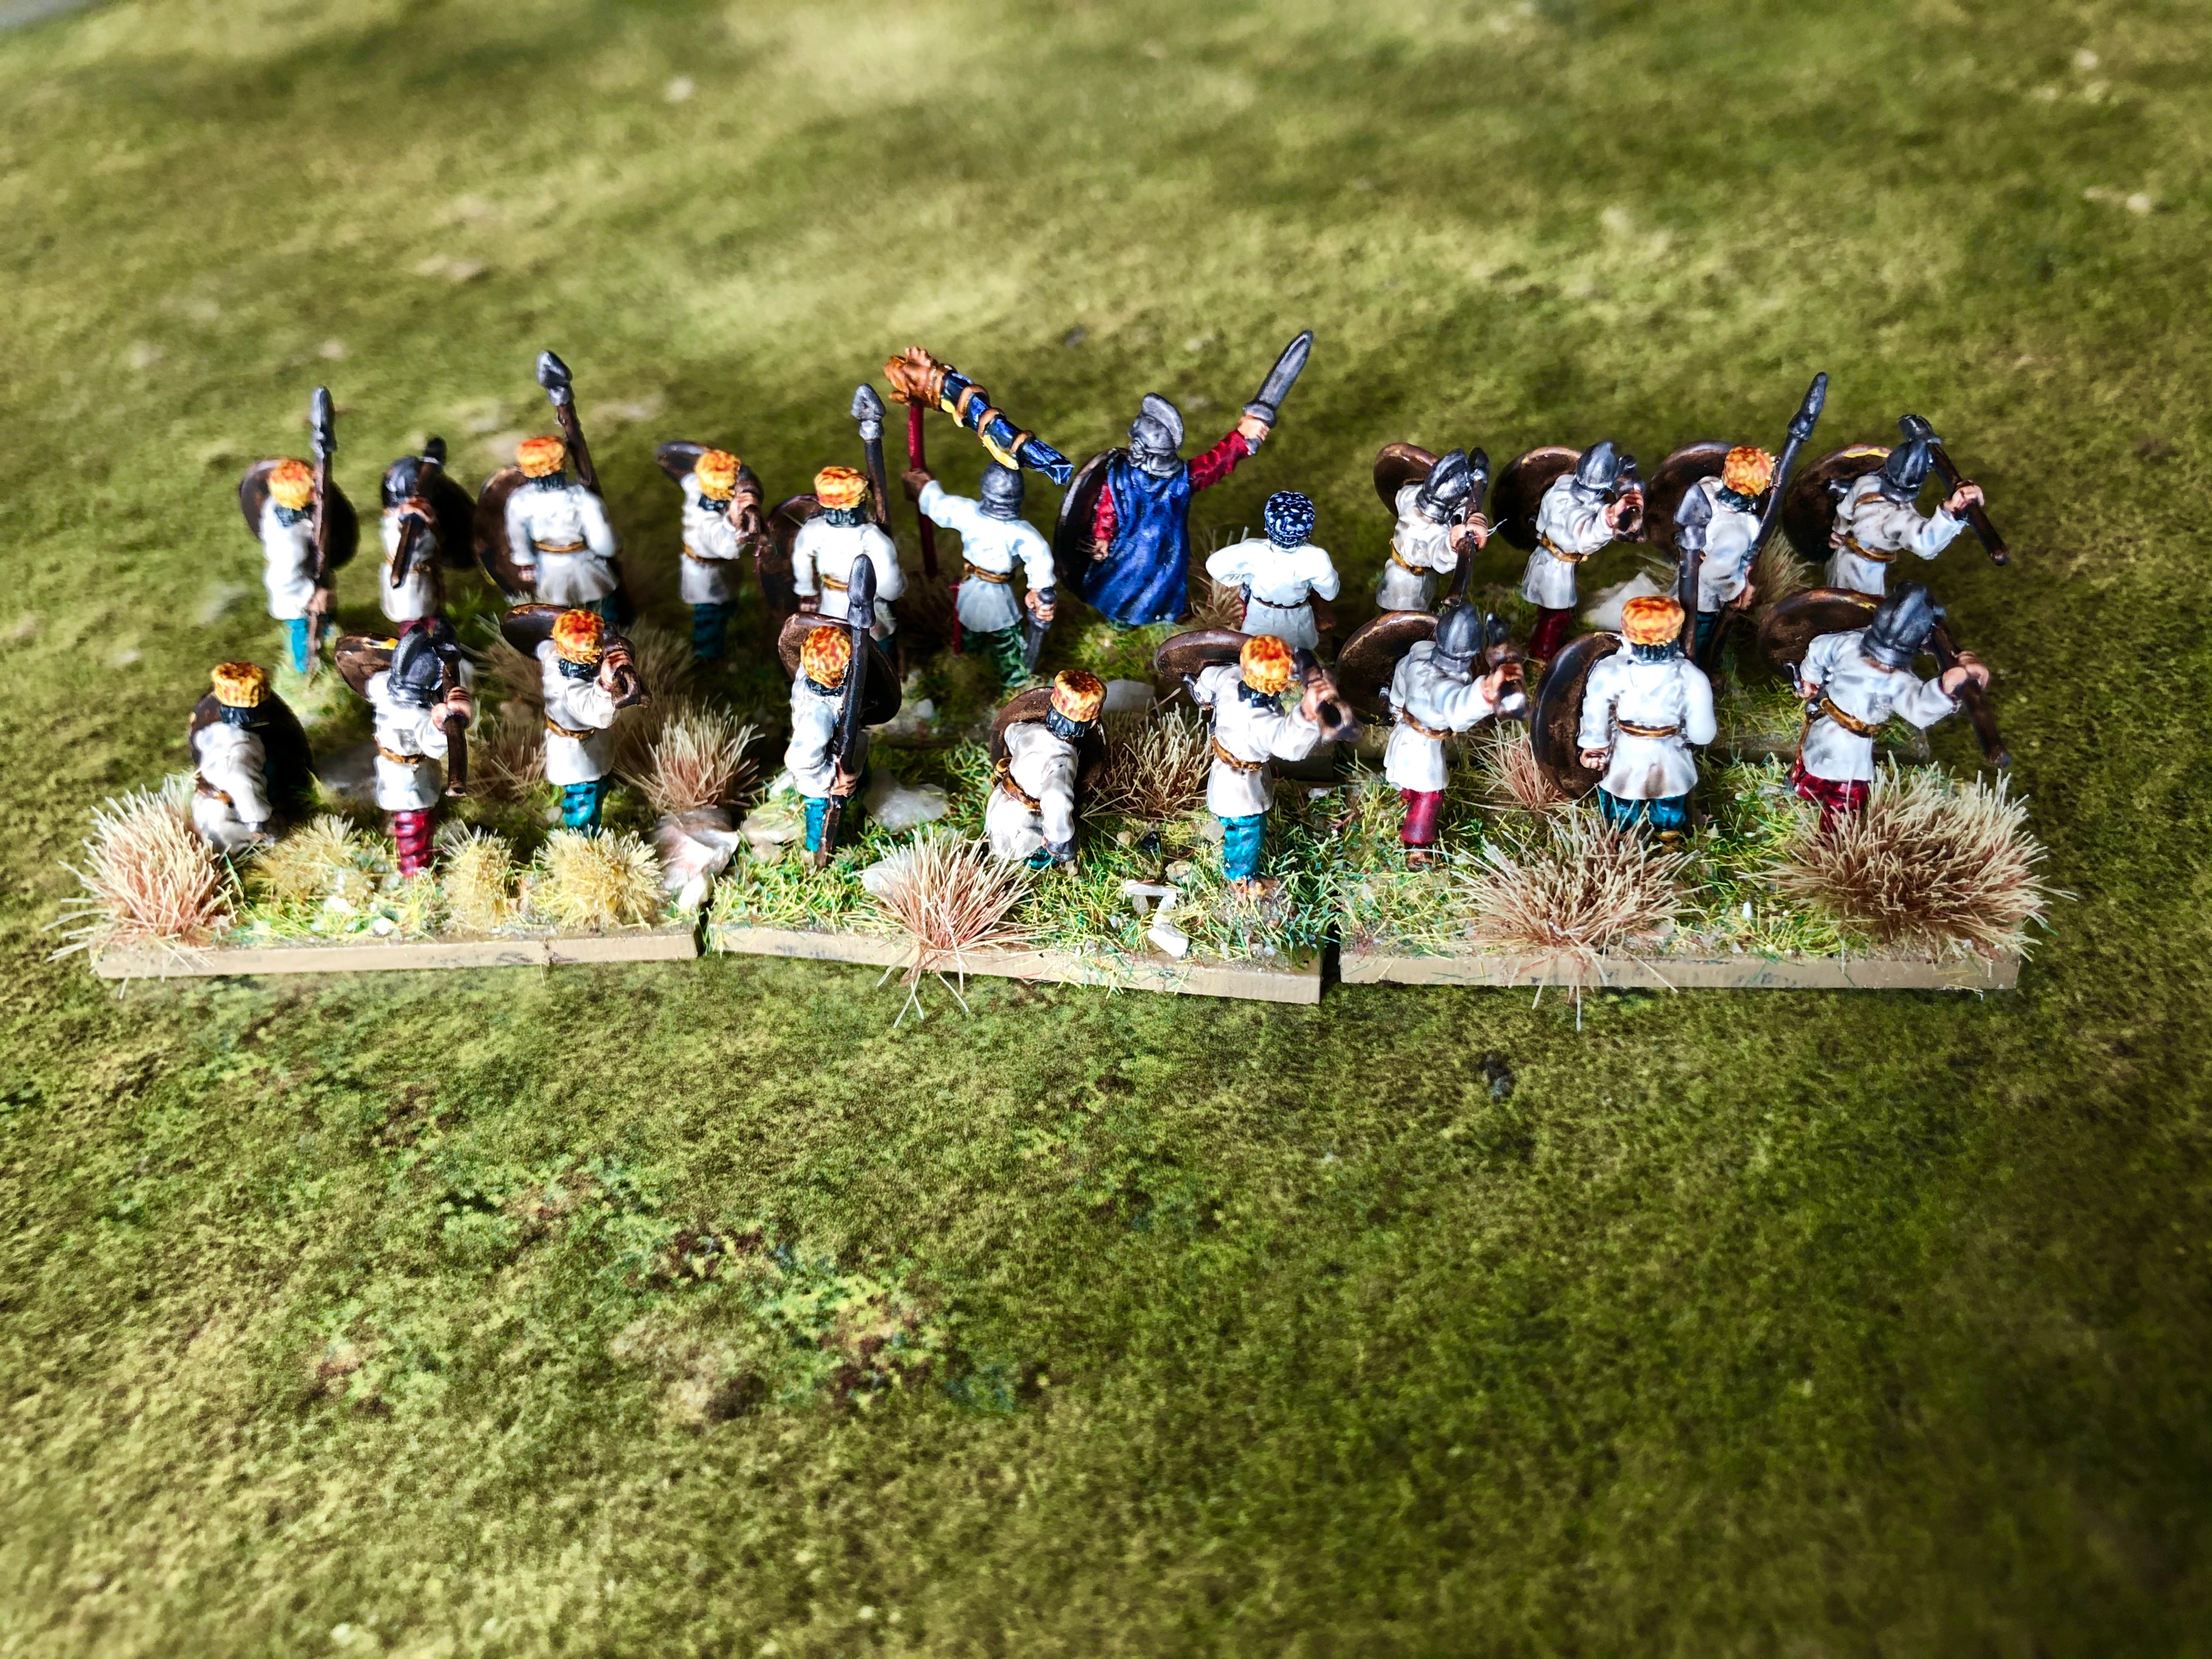
The Auxilia (and making your own transfers with Lloyd's help!)
Next up is the Auxilia.
Paint scheme and basing is a per previous entries so not going to go over that here in a detail. Only difference was the hats of the Infantry – these were Iyanden Yellow or Leviadon Blue to add variety.
Leviadon Blue is brilliant for larger areas like cloaks, but I found it very difficult to use on the hats – it just pooled together too much and took some time to get decent coverage on the finer raised details on the hats.
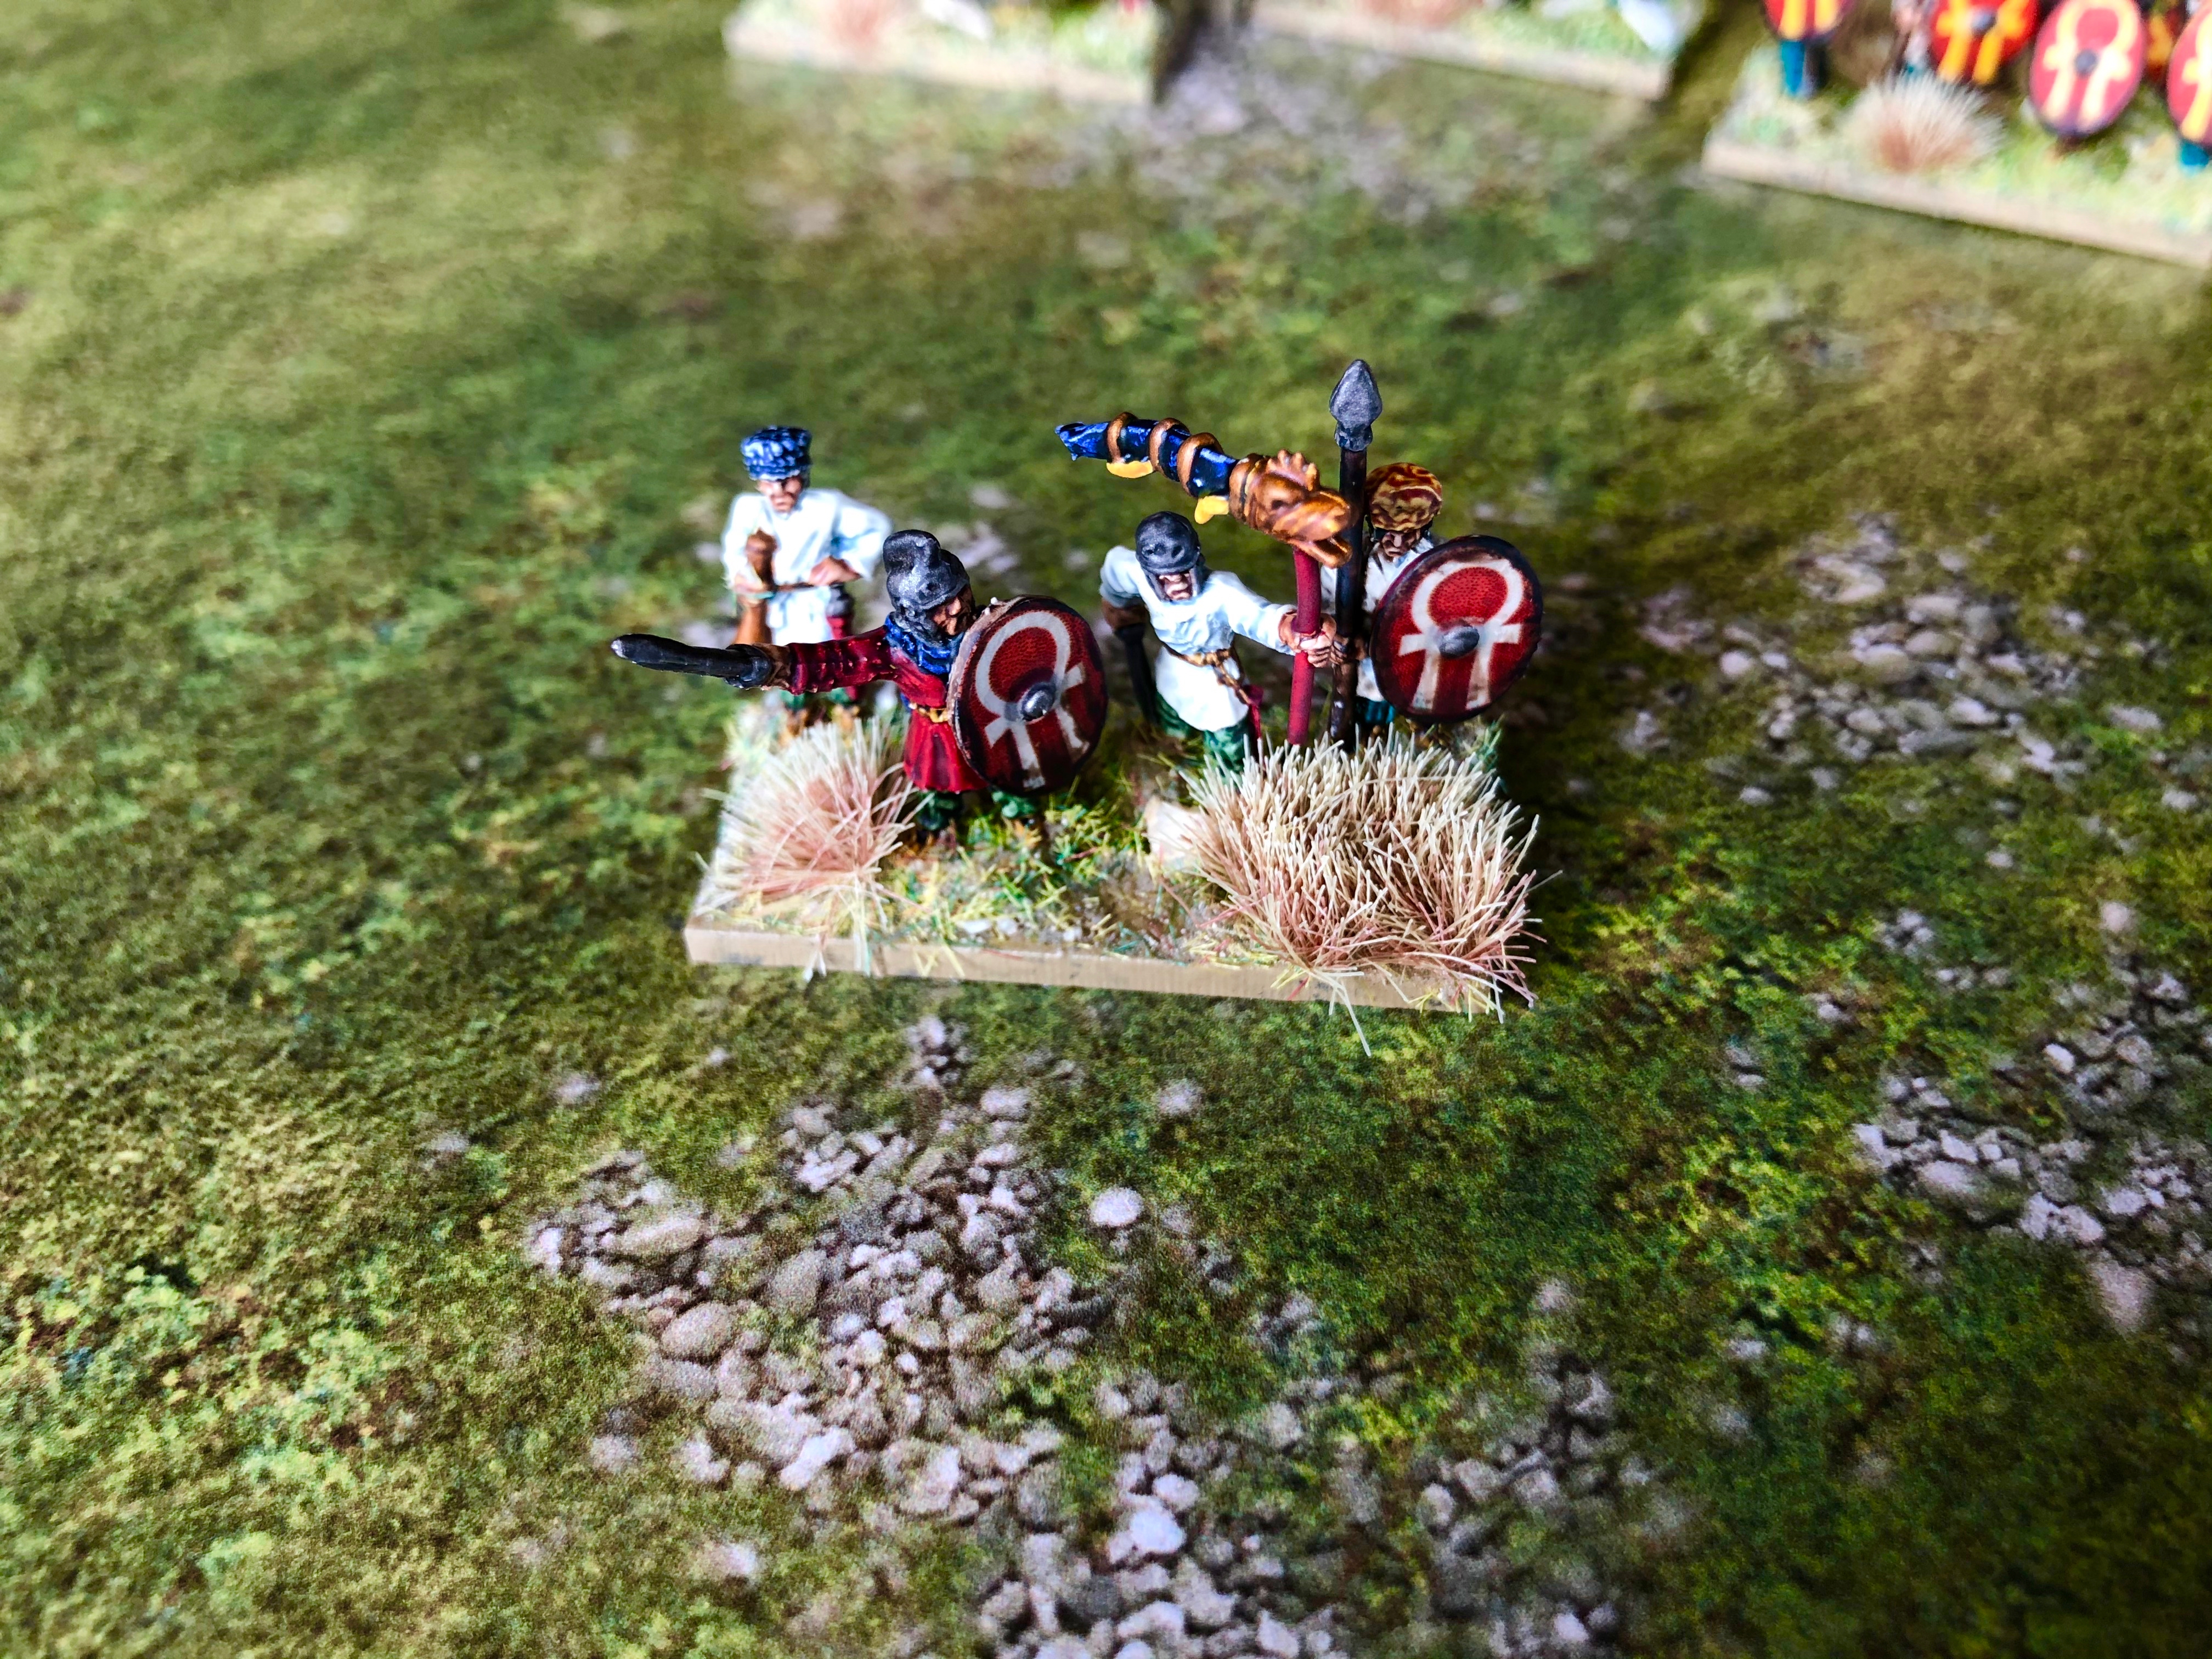
The real fun part for these minis was the shields.
I wanted a nod to Cult of Games and OnTableTop – the inspiration to keep going with hobby though lock down has been brilliant. I wanted the CoG logo on the shields. I figured Romans a) have secret cults and b) would nick anything they liked and make it their own so the CoG logo would be OK for Romans and their Auxilia.
(I’m ignoring the fact the CoG logo looks like a bit like the sign of Tanit from Carthage – but then again the Romans could have just ripped that off too…)
Cult Shields
I asked Lloyd if he had the logo for Cult of Games and I set about working out how to get them on the shields.
I brought some transfer paper to use with my inkjet printer and set about wondering how on earth I was going to create the right shape and size of shield. I am no graphic designer…
Meanwhile Lloyd was going above and beyond and had created some AWESOME looking shield designs for me!! He went through how he did them on the XLBS weekender – for which you need to be Cult of Games member (costs a coffee a month -what you waiting for?) https://www.beastsofwar.com/featured/xlbs-digital-skills-for-flags/
Panzer Kaput had also knocked something up for me when he saw I was looking for the CoG logo – they are AMAZING, but I thought they might suit an early imperial army better so am saving them for another day.
 All bow to Lloyd the creator of shields!
 The Auxilia arrive (the fun of transfers)
I tested the size of the transfers and they just need printing at 105% size to fit well.
I then got into making my own transfers – this works well if you know what your doing.
I didn’t.
I thought if I followed the instructions that came with the transfer paper it would work.
Nope!
Mistakes to avoid:
- Don’t assume the ink will dry. It doesn’t seem to – use a hair drier.
- Don’t assume it will now work. It doesn’t – the ink will float of the paper as soon as you wet it! The cultists came to the rescue telling me to put 3 coats of varnish onto the transfers..
So dry the ink with a hair drier and then 3 layers of varnish ensuring each layer cures properly (30 mins drying time).
Then I got it to work!

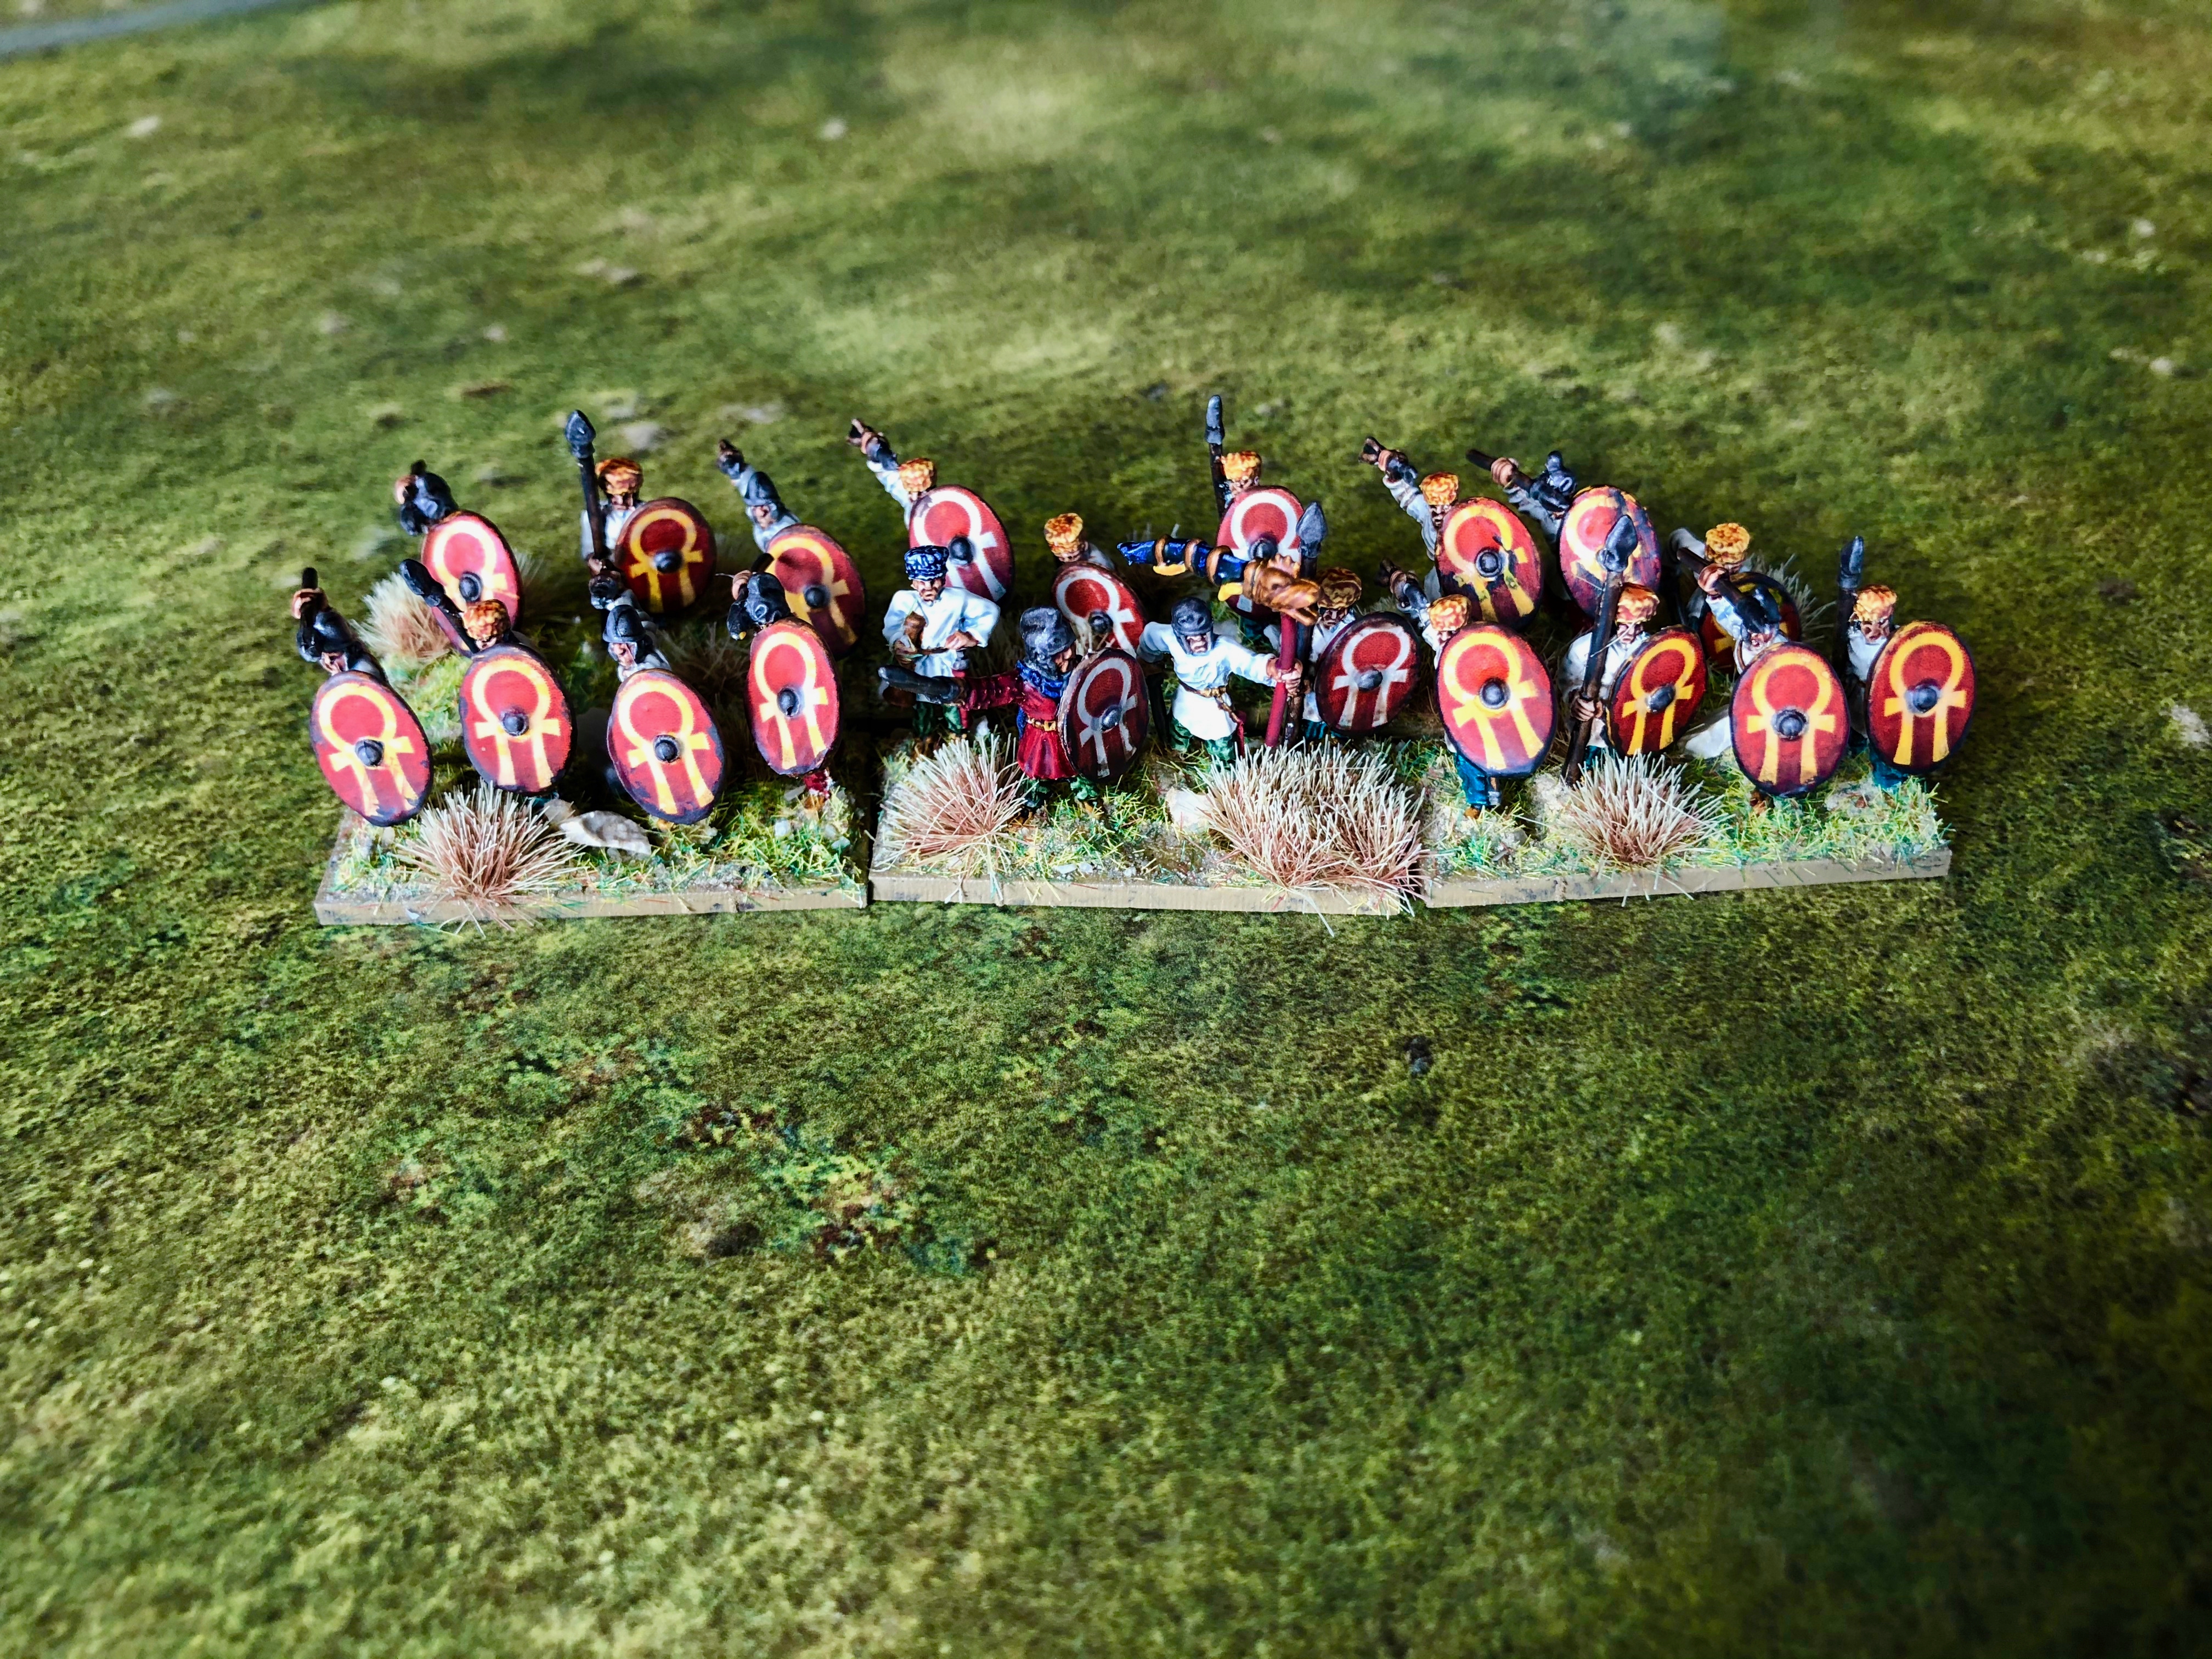
I used some Wyldwood contrast to turn the edge of the shields wood brown as I didn’t like the yellow that I had used and it didn’t match in with the grime that Lloyd had created for the shields.
This worked OK and let me put a heavier amount of colour at the bottom of the shield than at the top. An interesting side effect meant the contrast sometimes got sucked under the transfer by capillary action. It looks quite interesting – like damage or wear to the shields so I left it. (However I think letting the transfers dry longer would be better!)
I wanted more control over the paint on the edge of the shields so used my wet pallet and graded the shade of brown on the shields from dark at the bottom to light at the top. Again some of the paint got sucked under the transfers, but again it looked OK luckily.
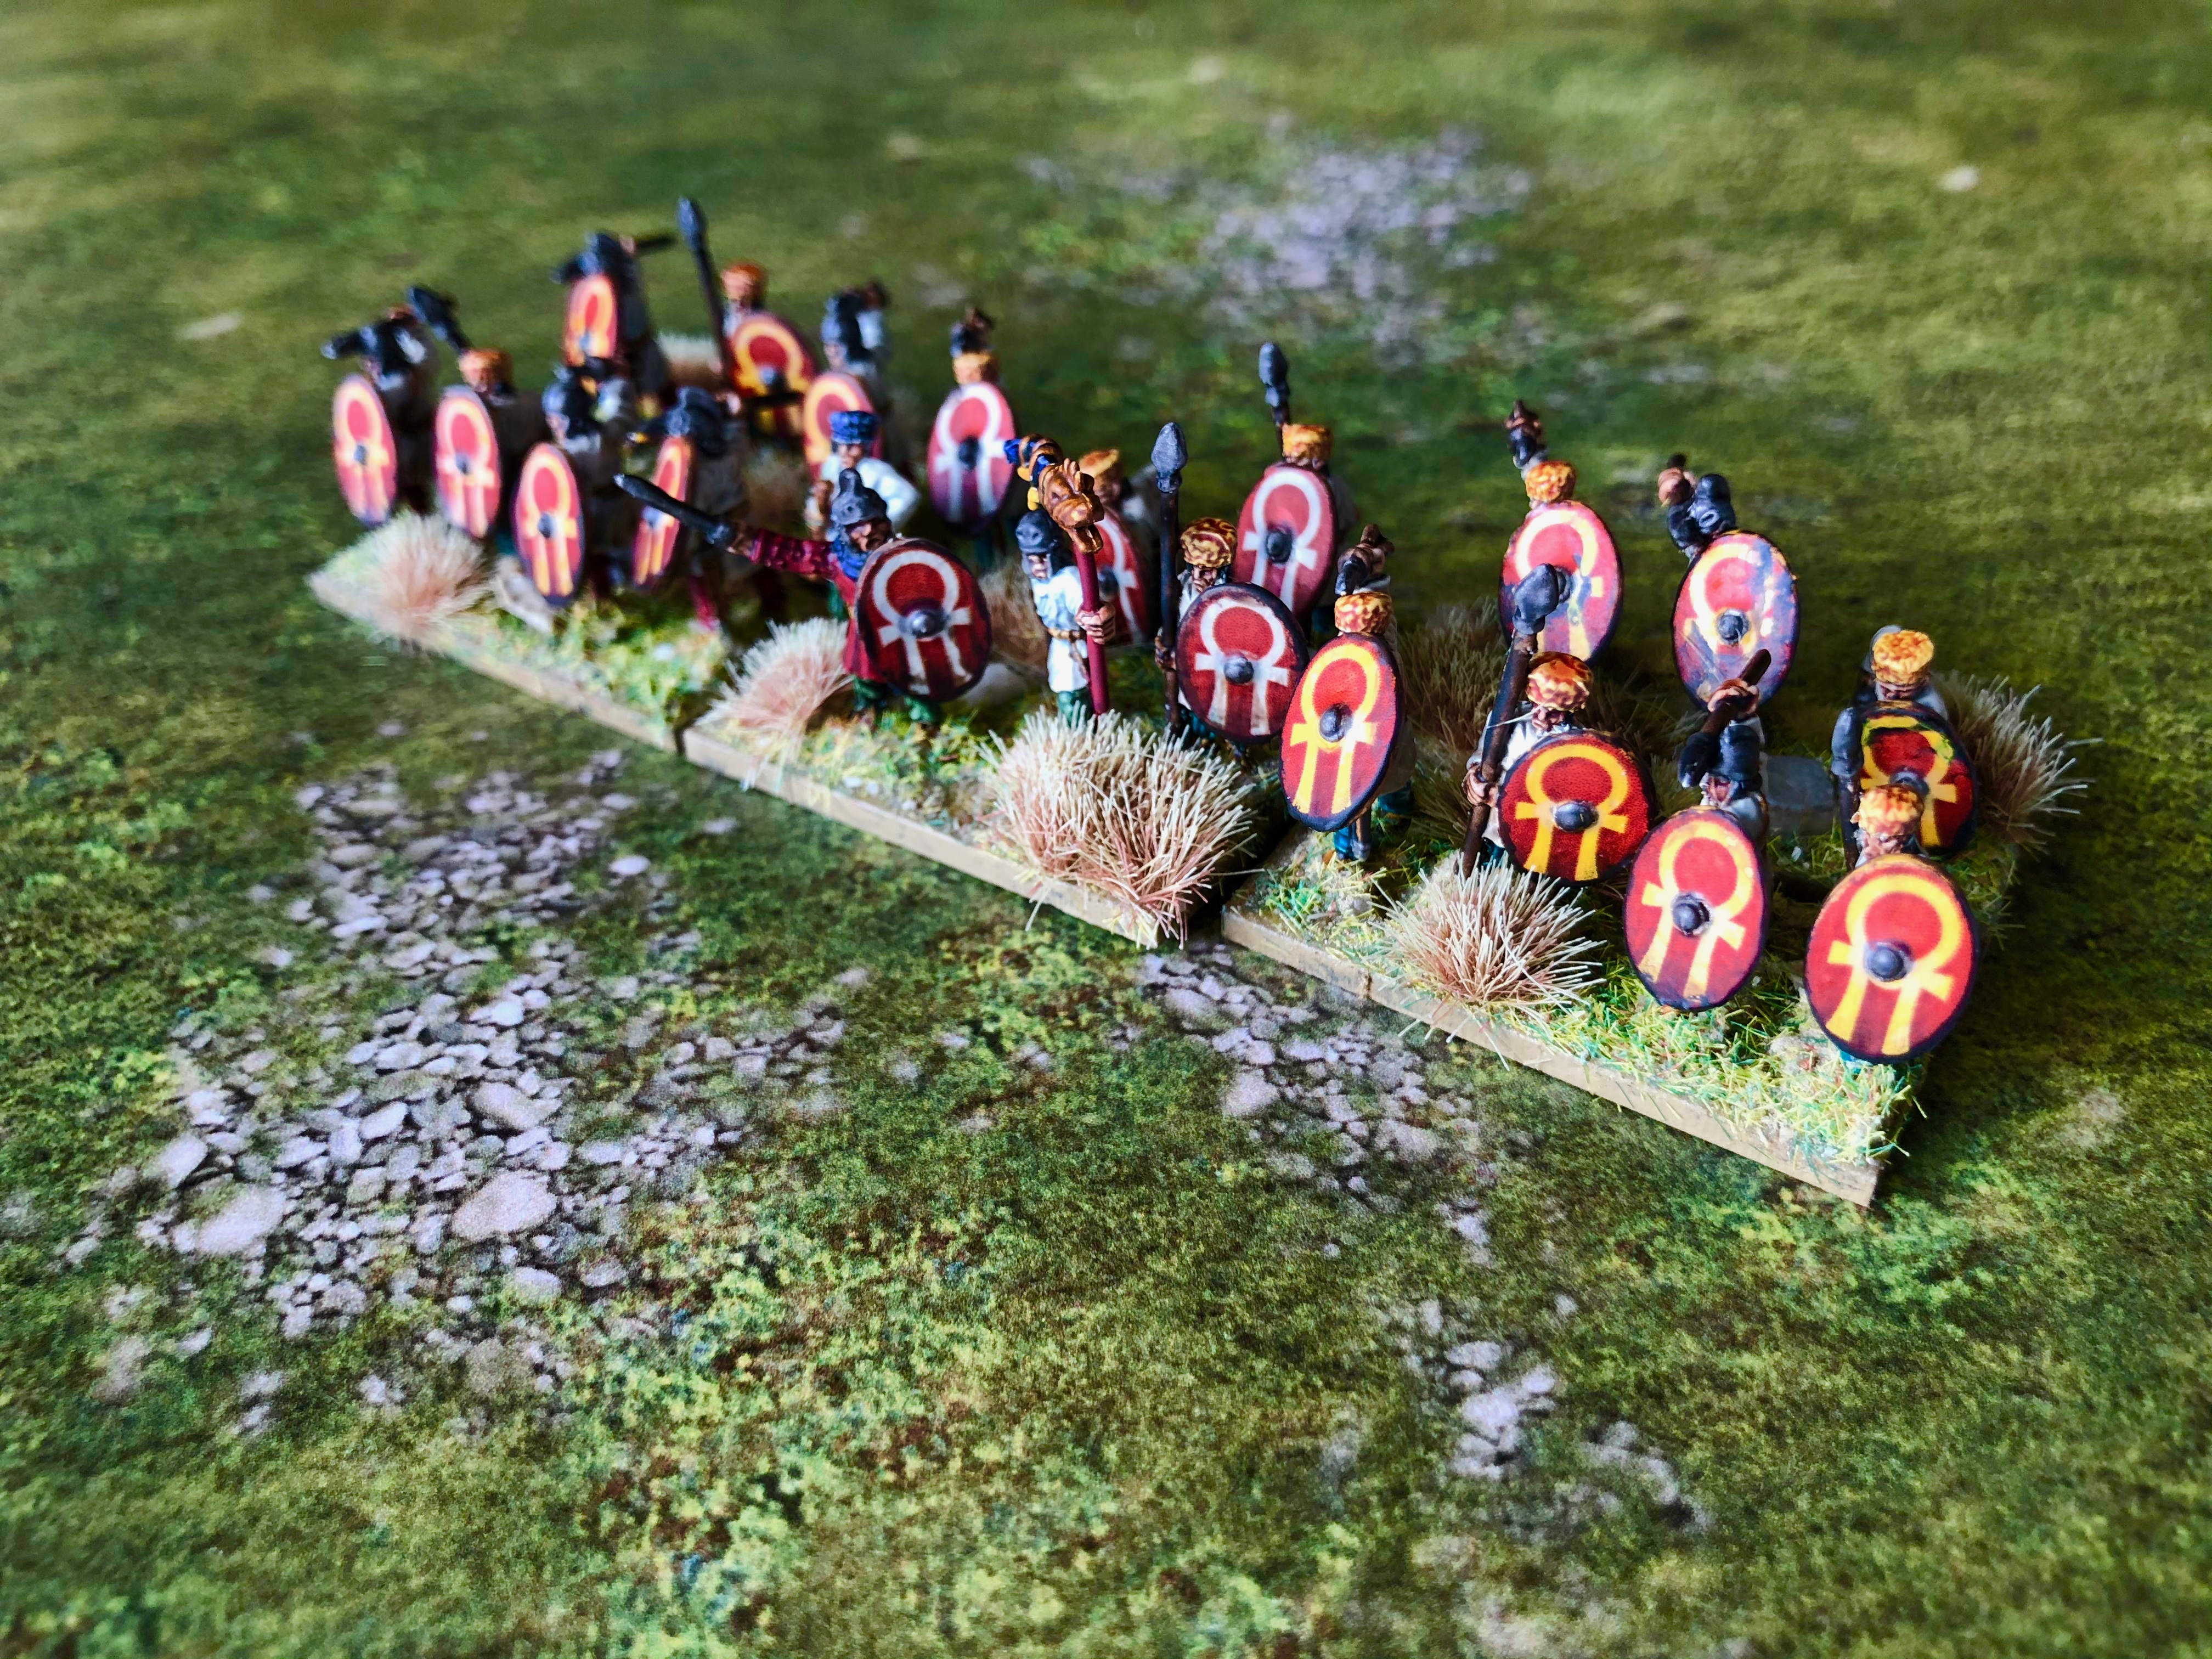 Finished!

And with the legions…