SCOOBY DOO AND THE MYSTERY OF THE MESMERISING MANSION


Recommendations: 167
About the Project
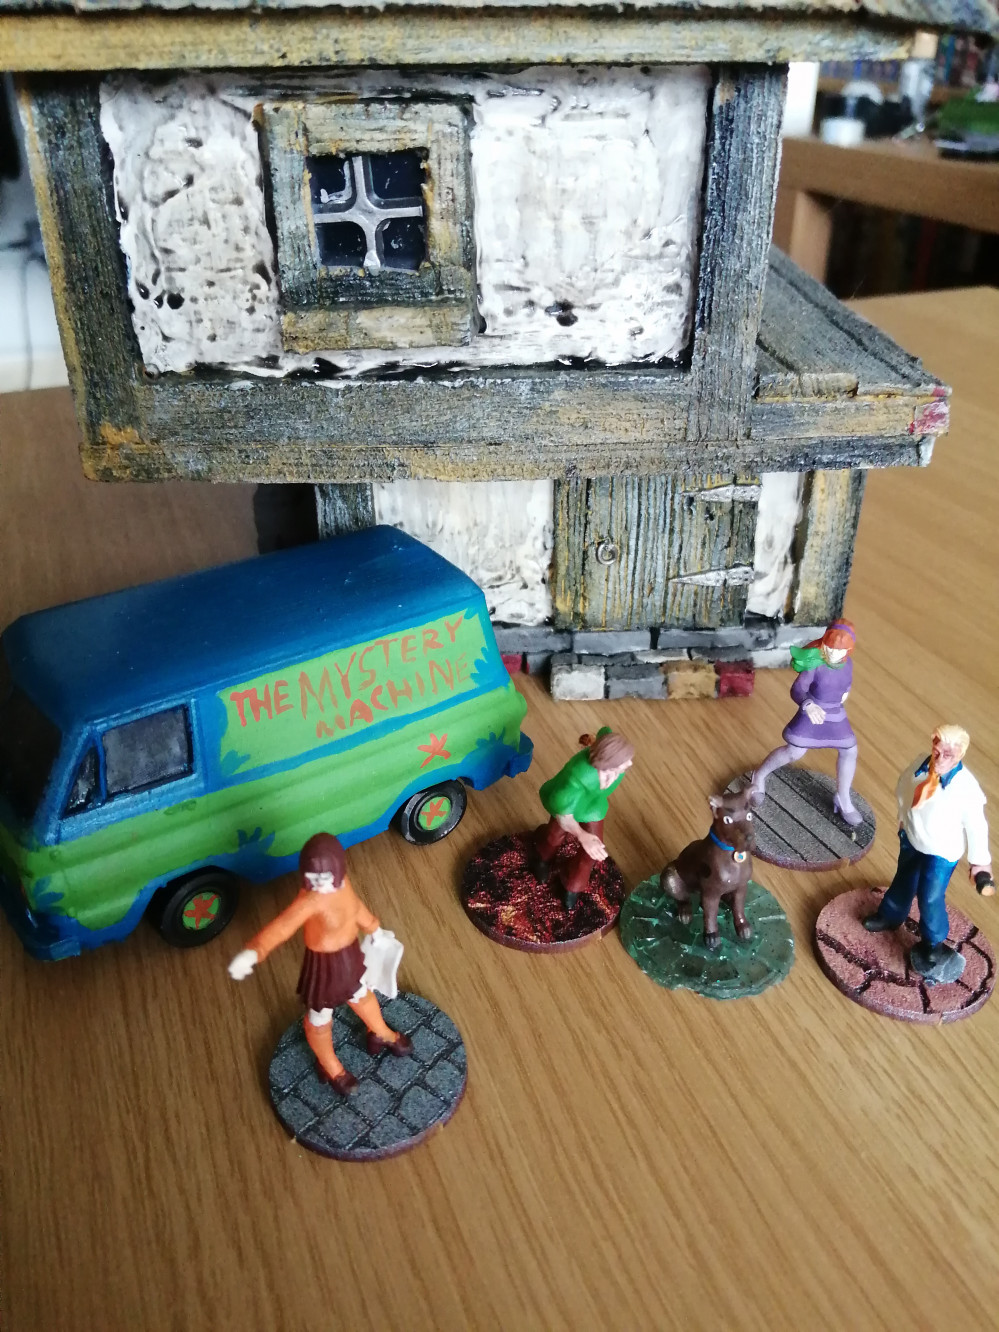
A set of modular tiles and accessories to use for a Haunted House/Mystery Mansion/Zombie Hunt. These will initially be themed around a scenario for a Scooby Doo game I am currently working on.
Related Genre: Murder & Mystery
Related Contest: Dungeonalia 2023
This Project is Active
Final thoughts.
With only leaving myself 2 weeks to get this done and only using materials I had lying around (OK I bought some more Mod Podge and glue), I wasn’t sure I would get this finished and to be fair I was right.
However I did manage to get the bulk of what I had envisioned completed, small footprint Mansion that could be assembled in a variety of ways and could be stacked away for easy storage.
If I decided I needed a bigger play area, the rooms can be built in about an hour, the decoration and drying time is what took up the most of the time.
I won’t be leaving it unfinished though, I will be completing the doors and furniture and updating the rules (with cards) and adding it this blog but for now I am taking a break from it, I have minis to paint for my first game of Necromunda and REM Racers on the way.
Thanks for your attention through this trip into the Mesmerising Mansion.
 Alternative build.
This is the end - at least for now!
Today is the last chance I will get to work on the mansion and whilst it is built and the decoration done, the furniture has not yet been moved in, the doors need re-hanging and the woodwork needs a coat of paint.
Let’s look at how the final stage was built.
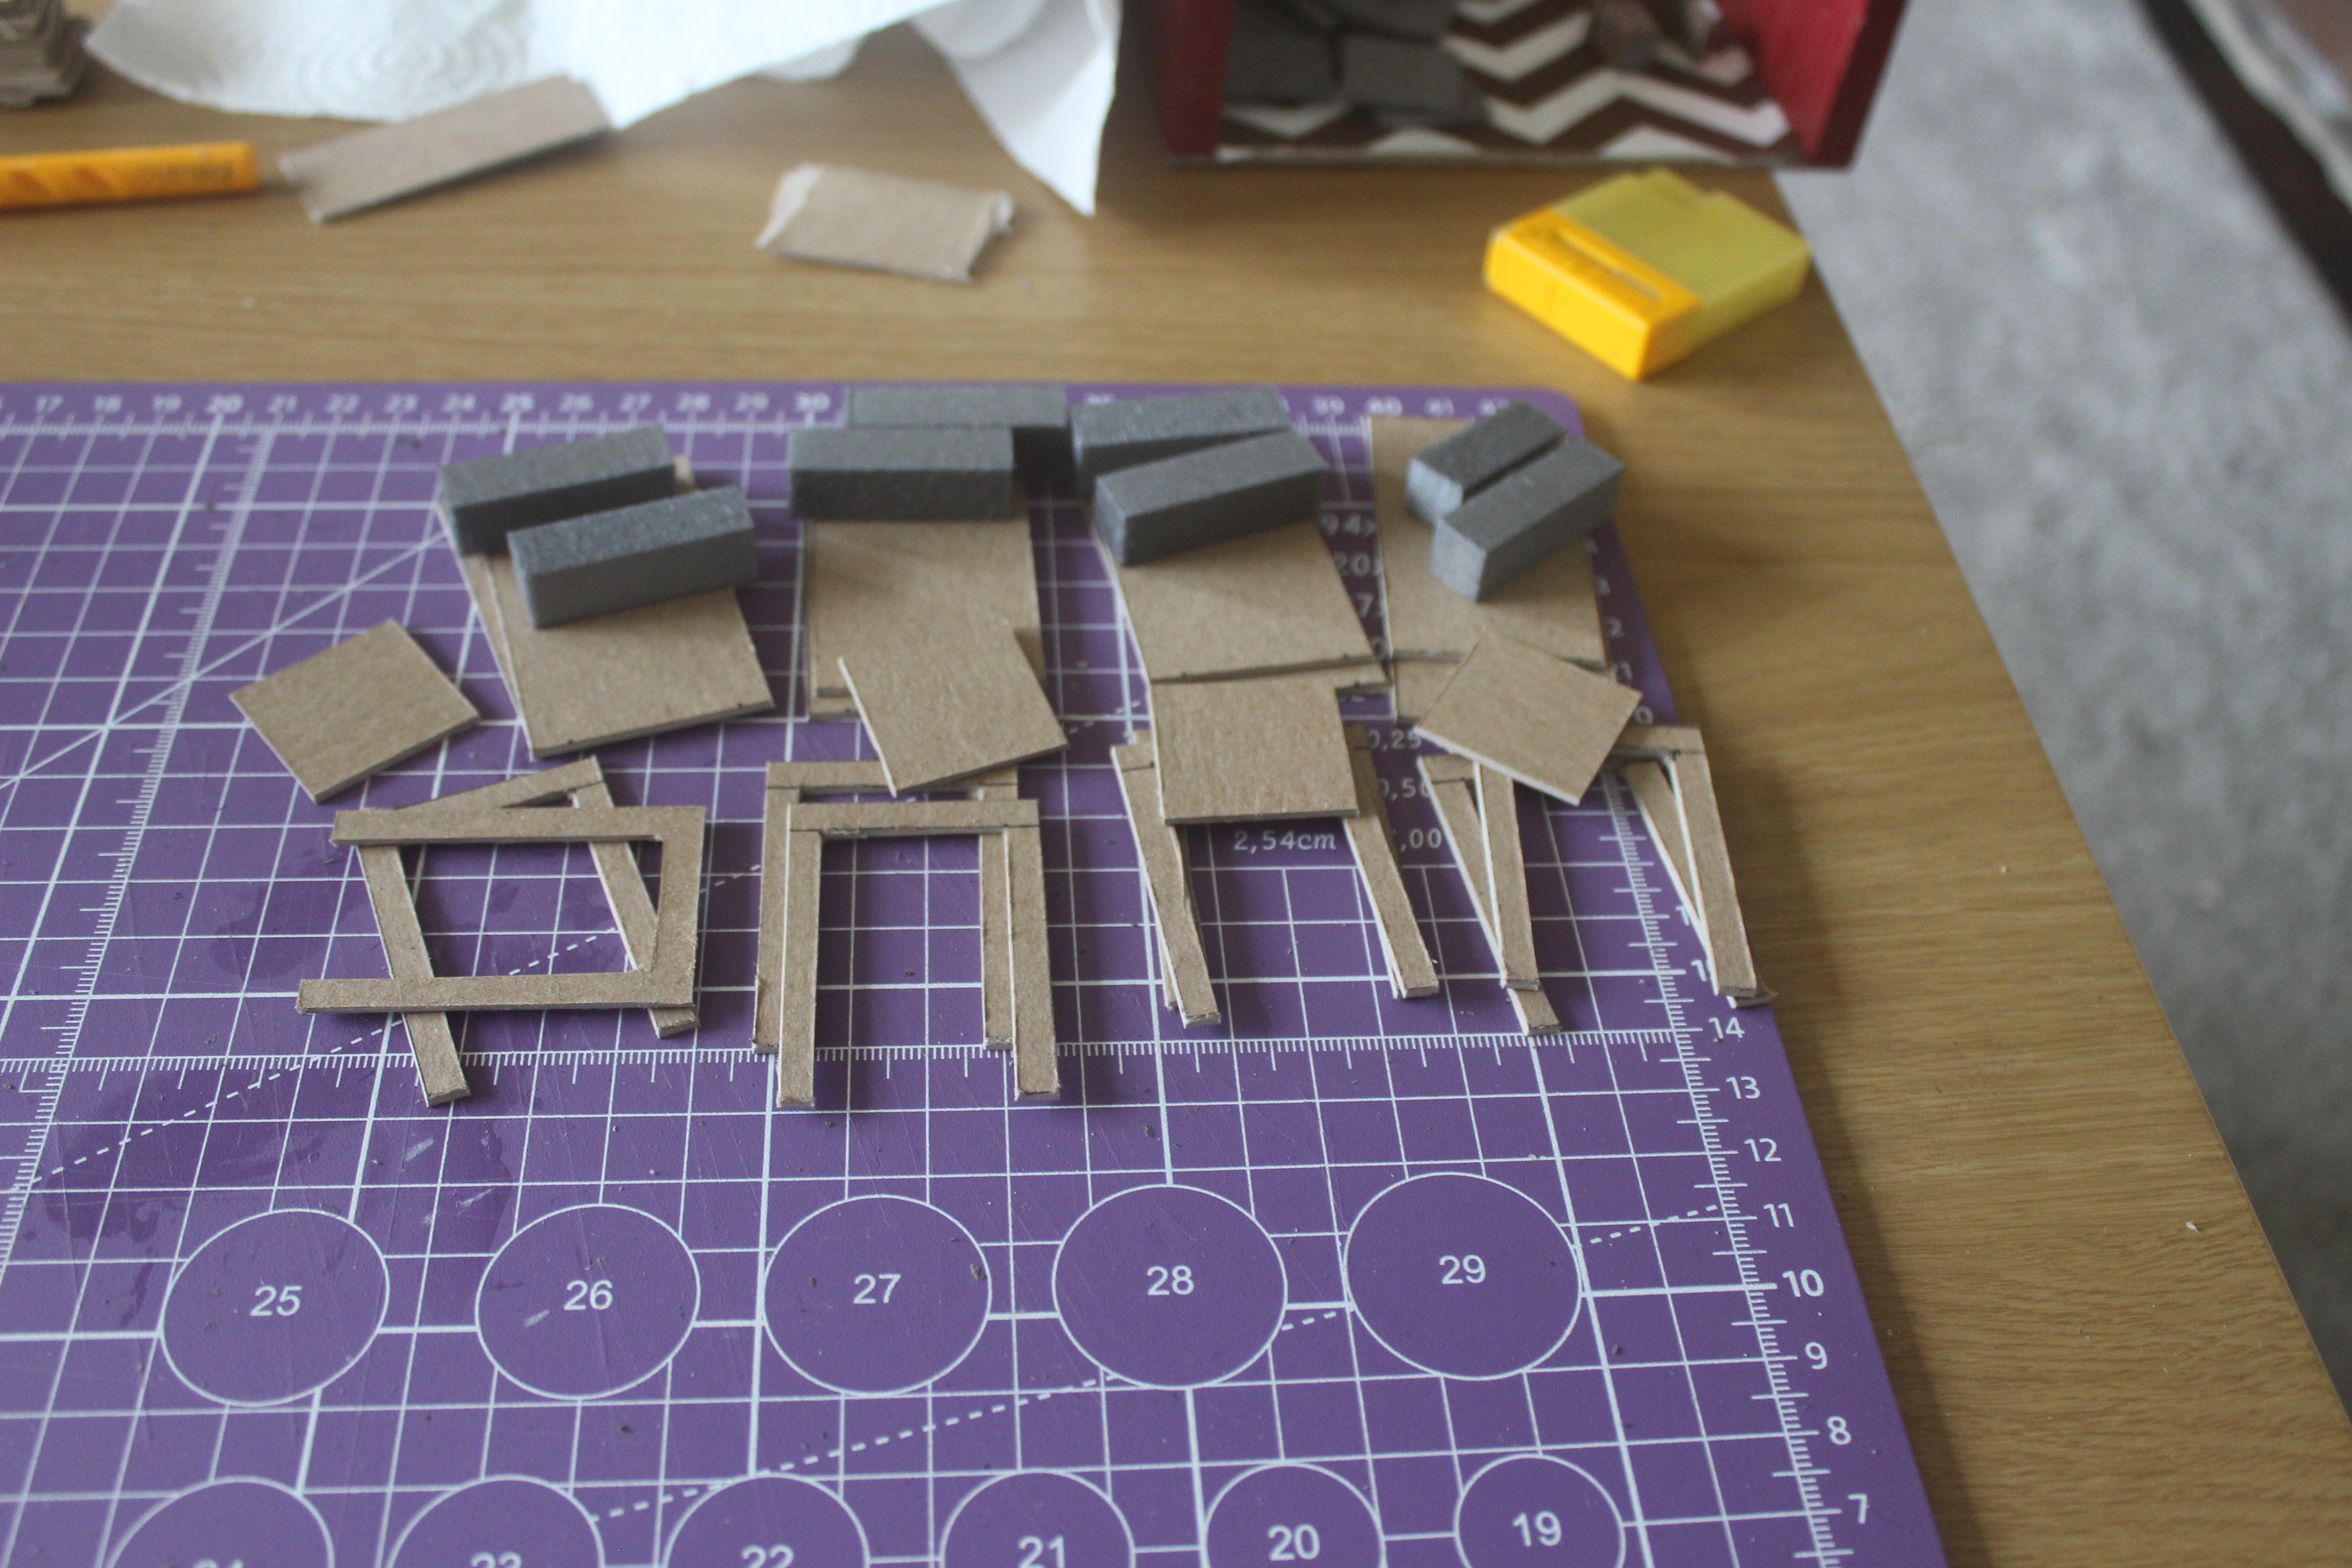
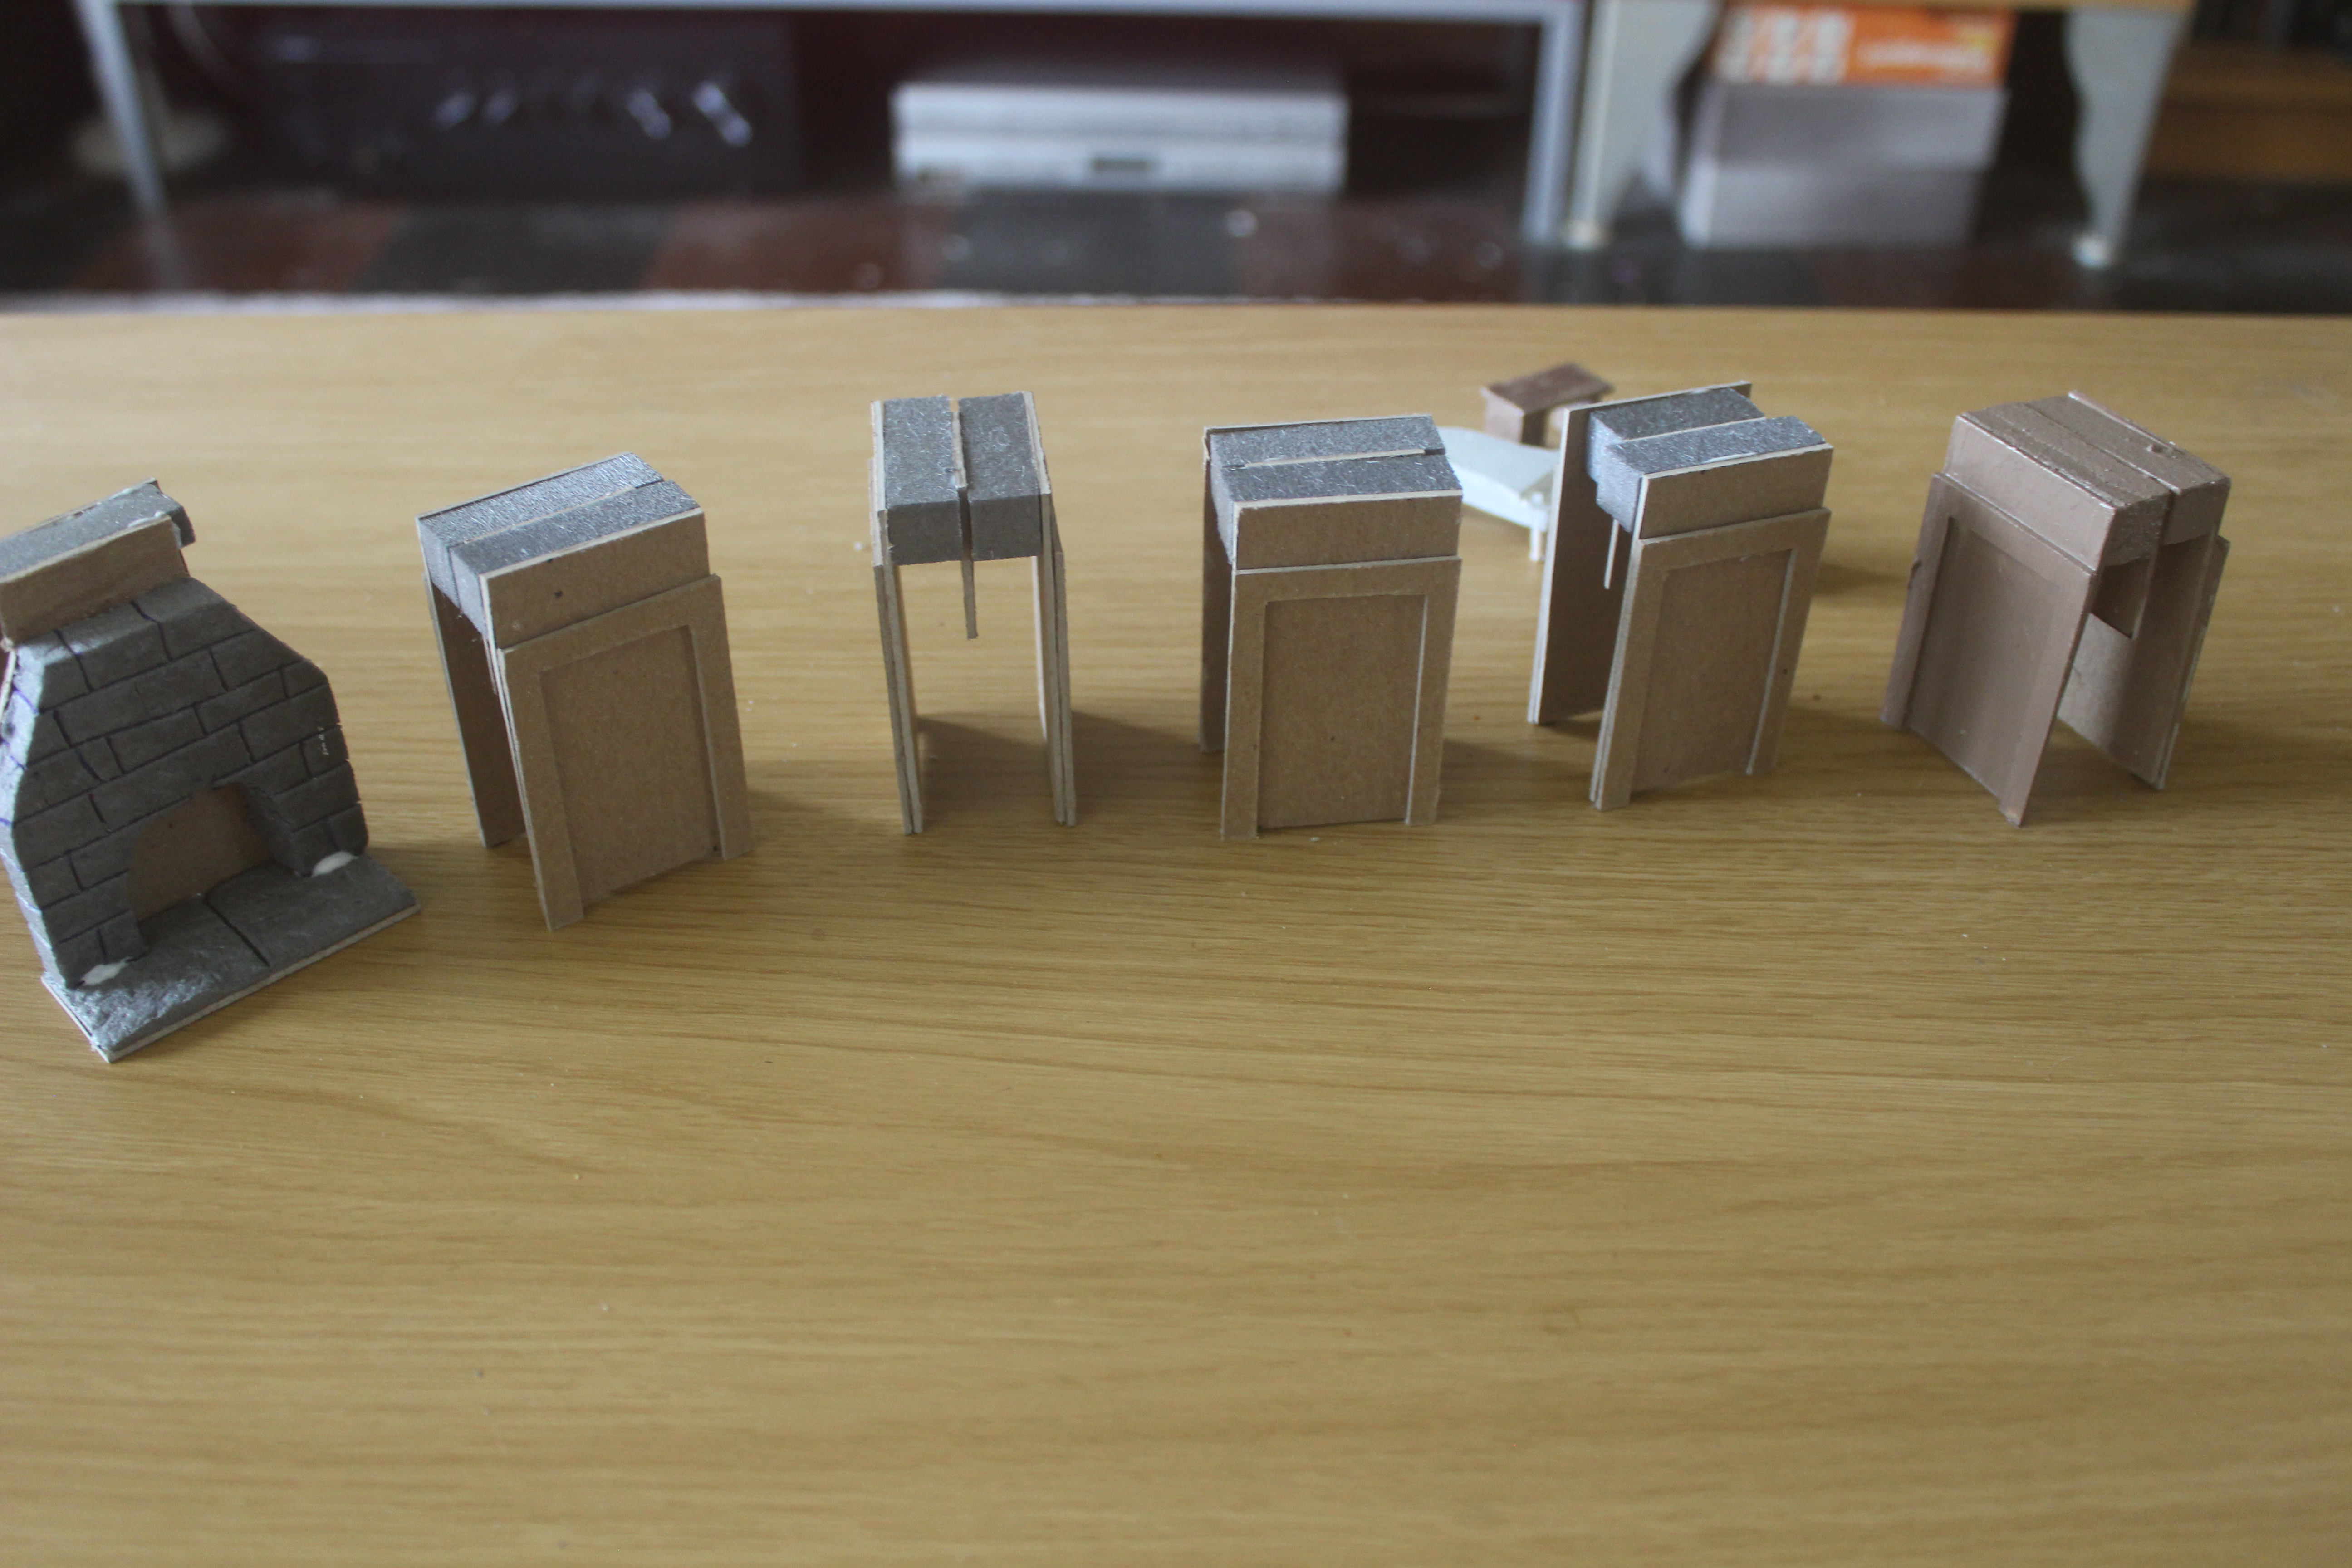
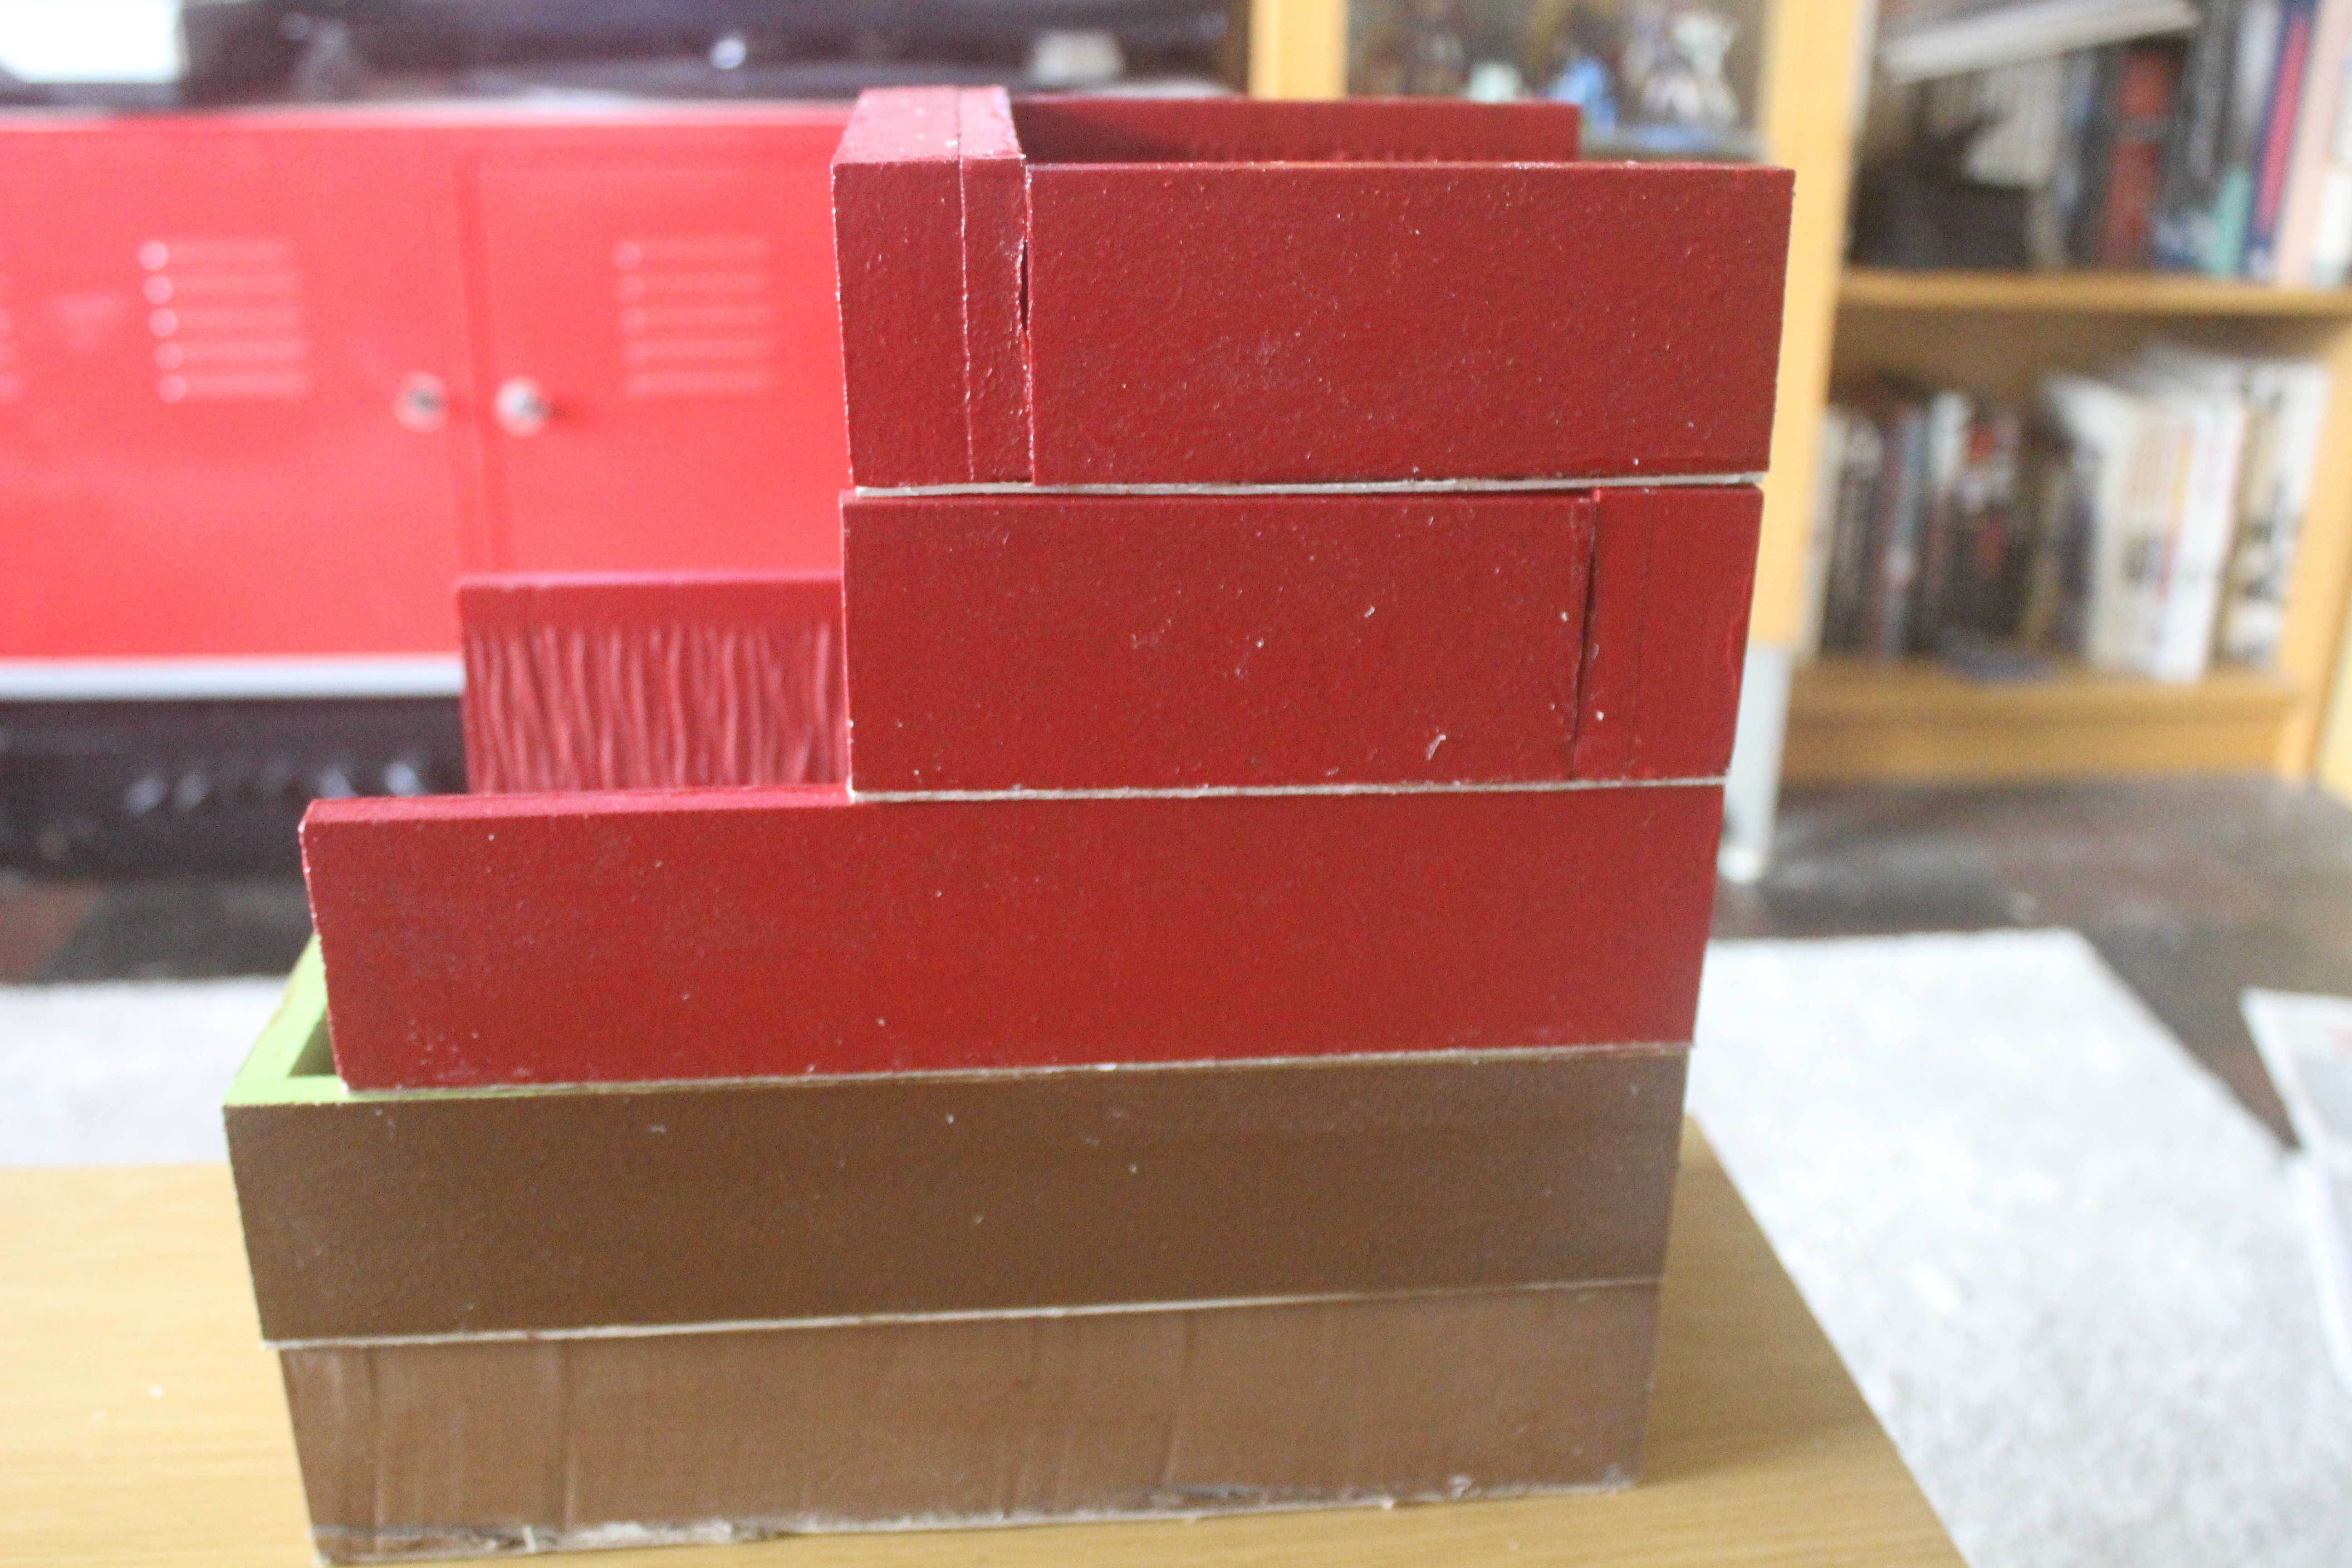
The double clip doors are made with card back and frame with 1cm foam blocks to attach them to and a piece of card spacer that allows the doors to be clipped to the walls and also holds the rooms together.
Hopefully the pictures give a better idea of what I mean.
I also decided to make a clip on fireplace from foam, some of the left over ‘stone’ tiles from the Library and card .
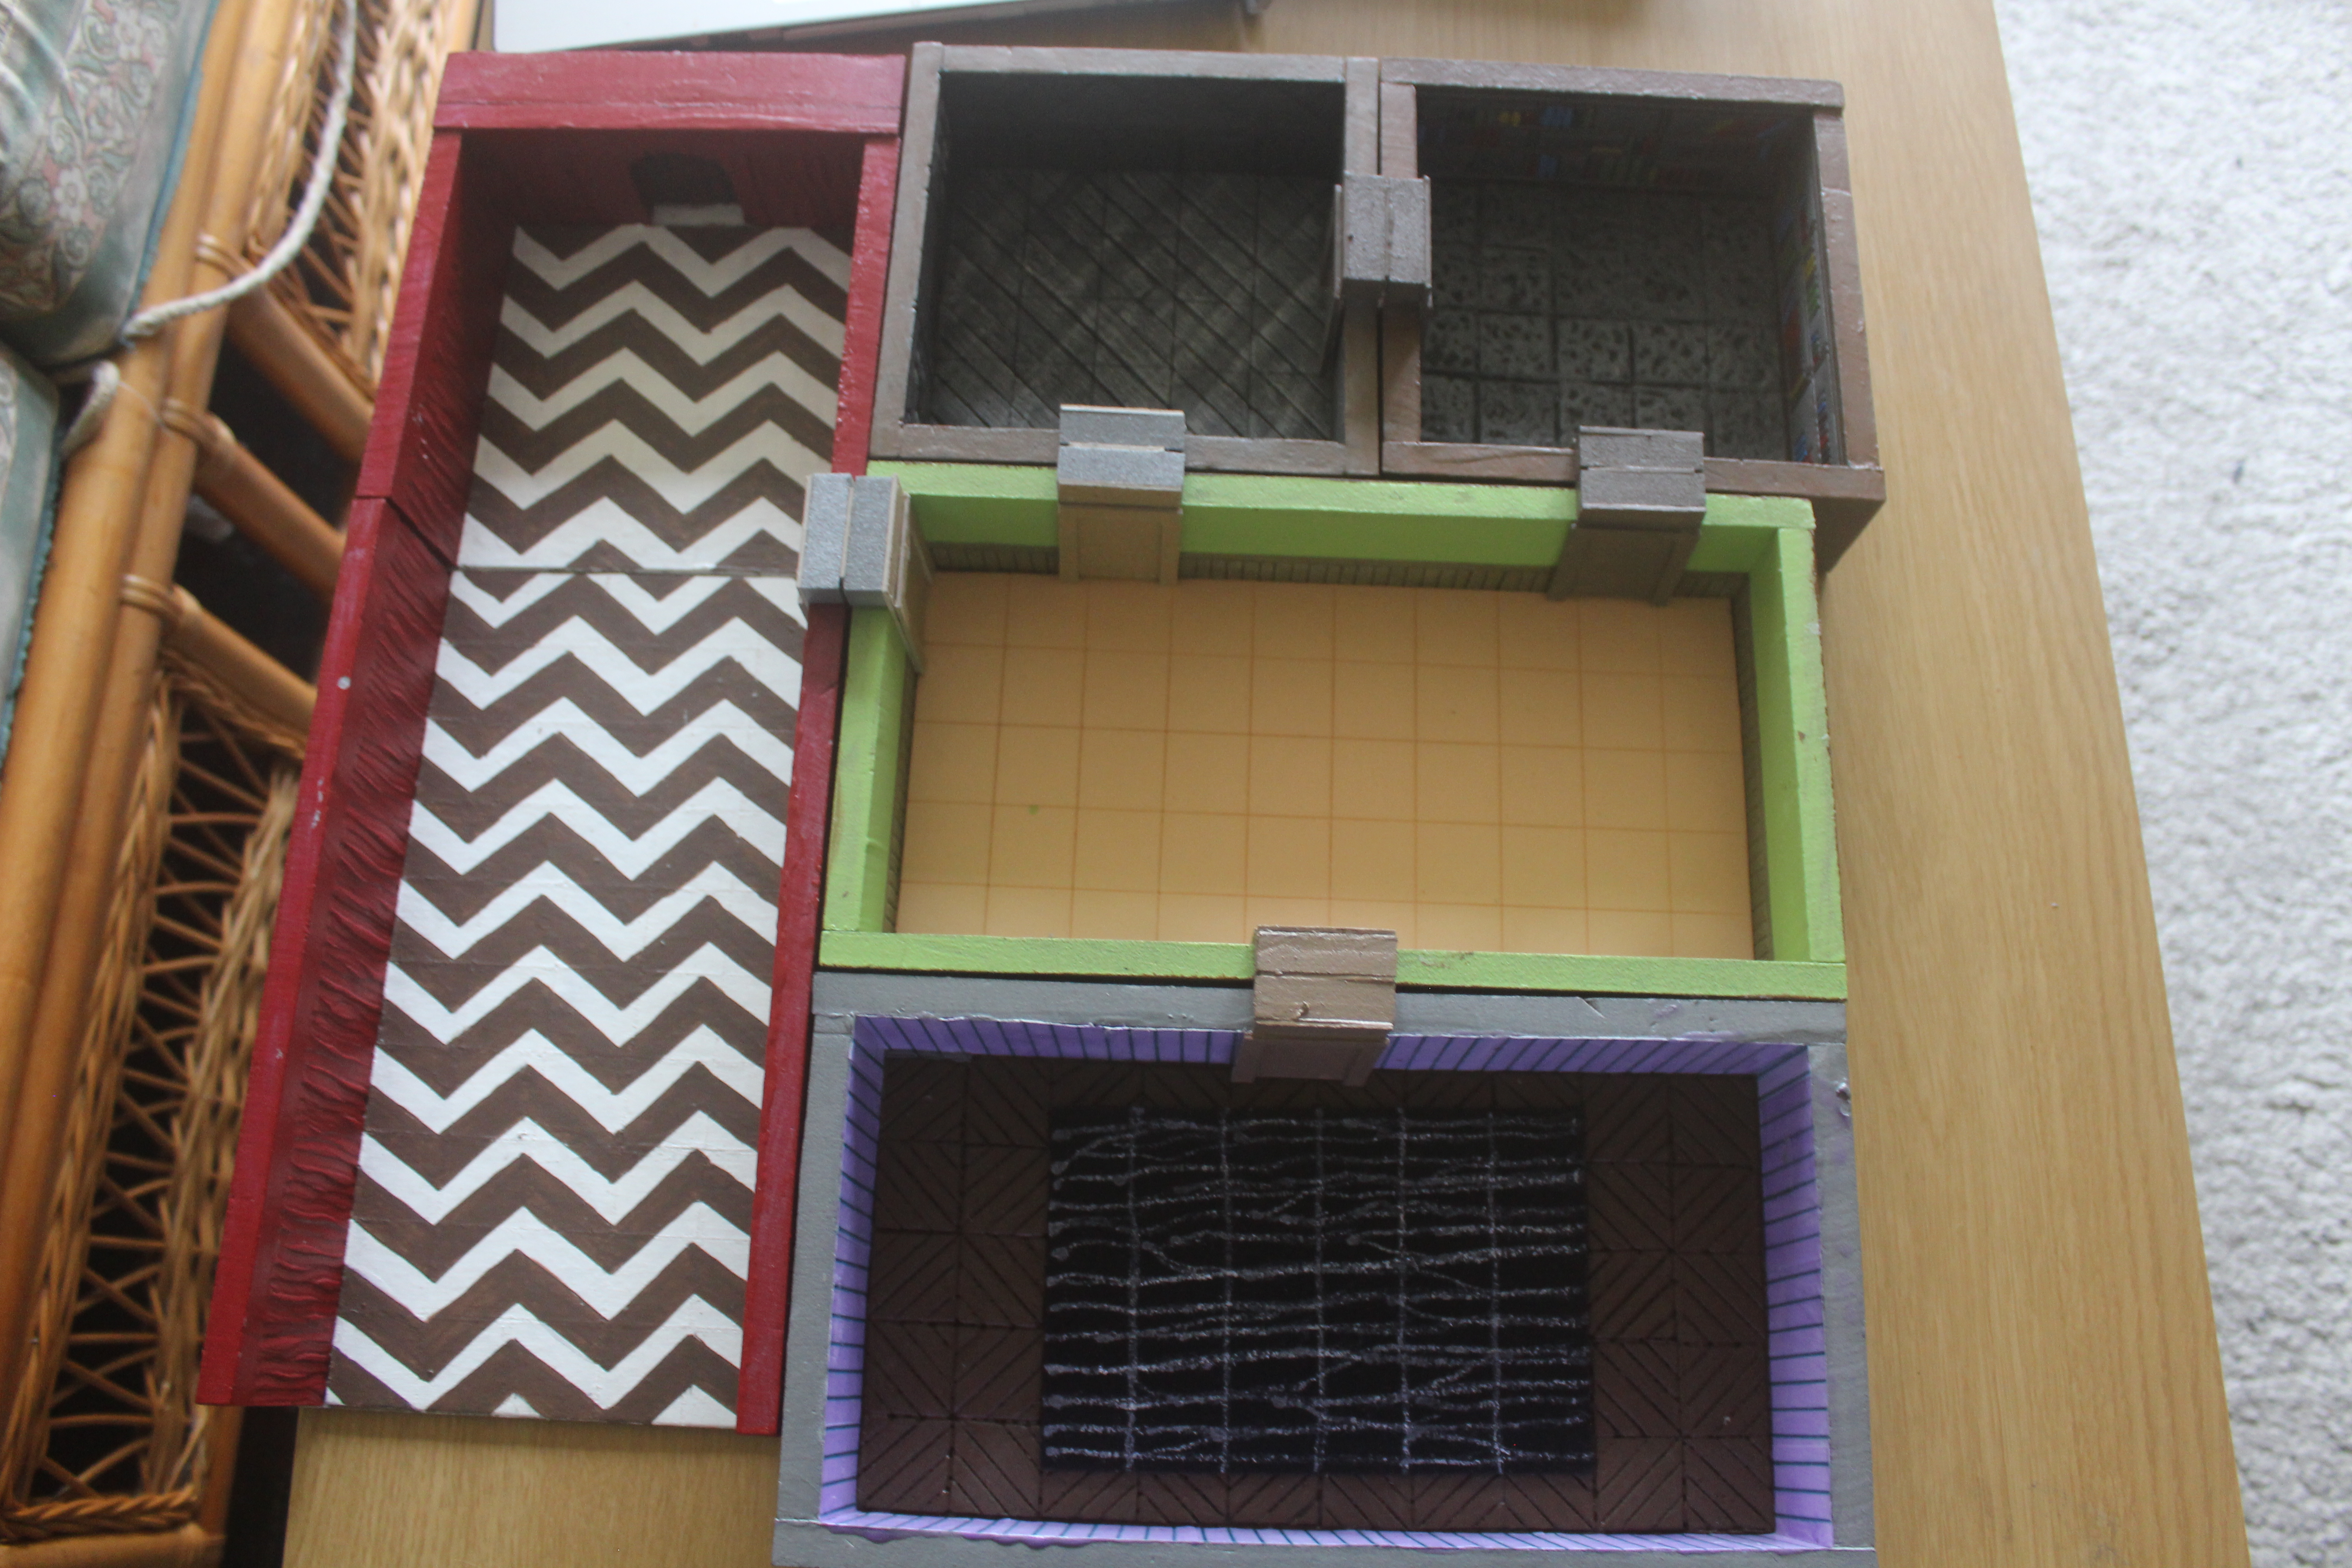
So let’s have a look at the ‘finished’ Mesmerising Mansion.
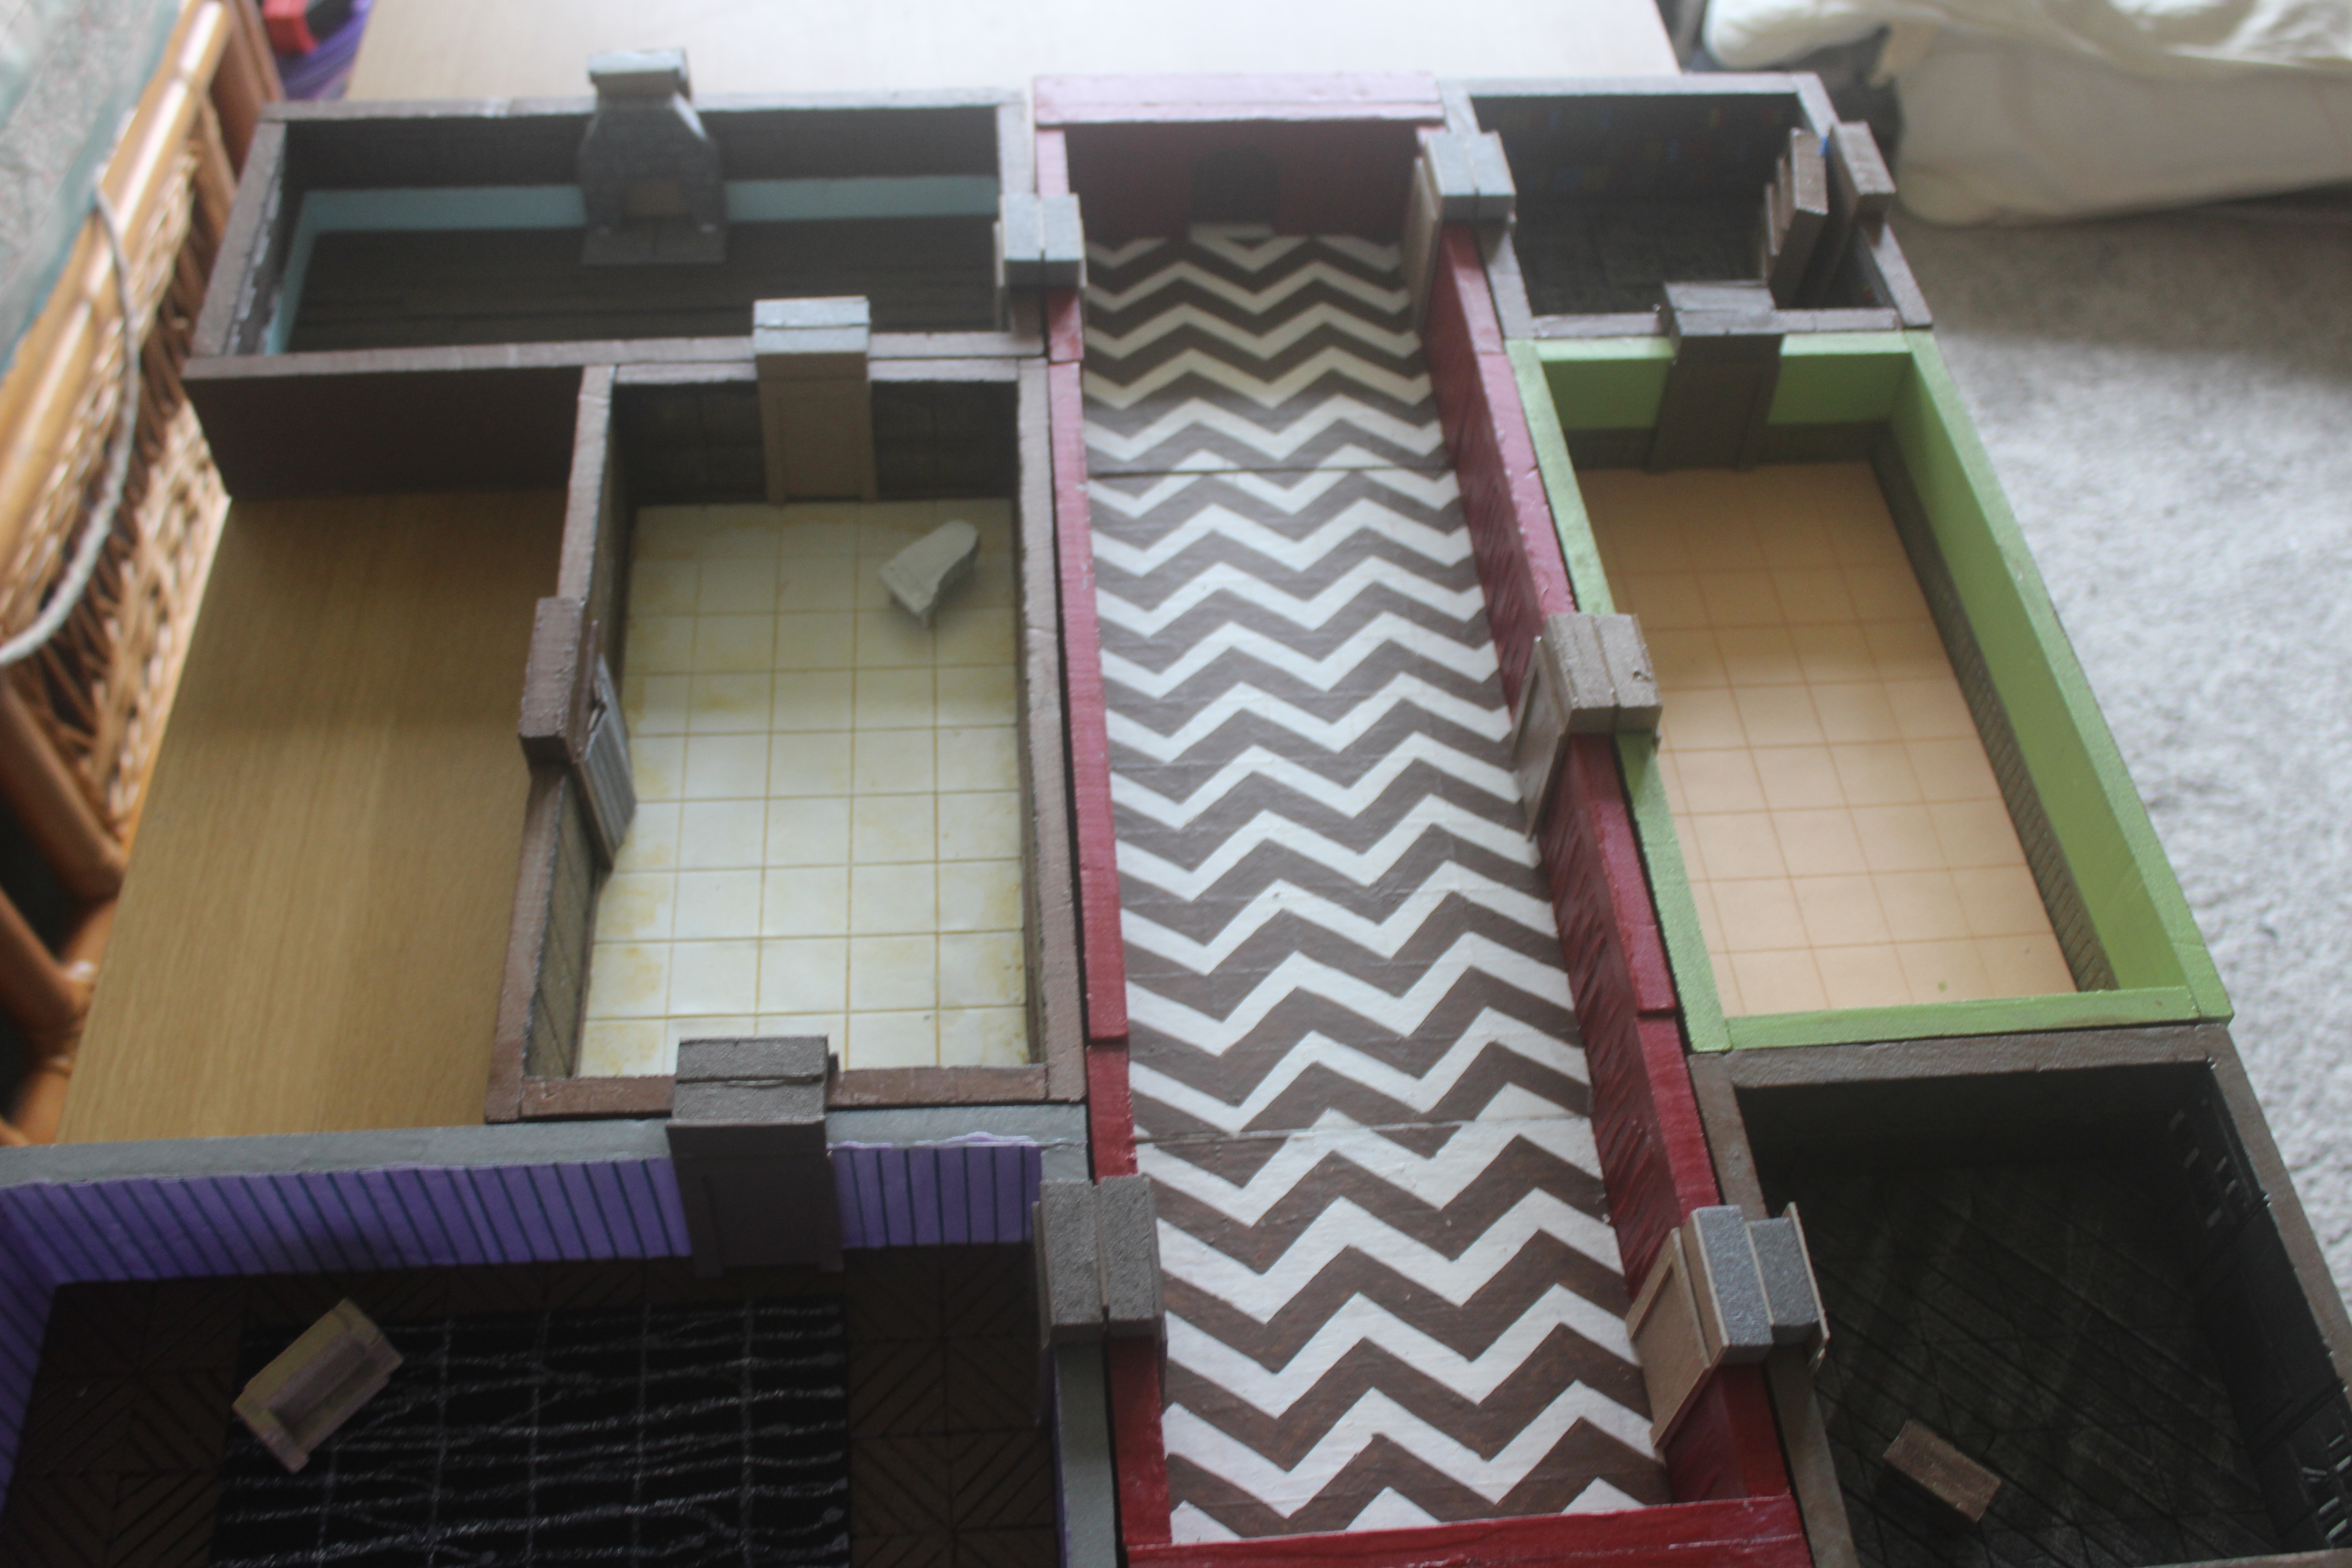 Note the hinged bookcase in the Library, could this be a secret passage?
 I would think I need to re-do the furniture to increase the size about 50% but you get the idea.
 All the clips and furniture fit neatly into a room ......
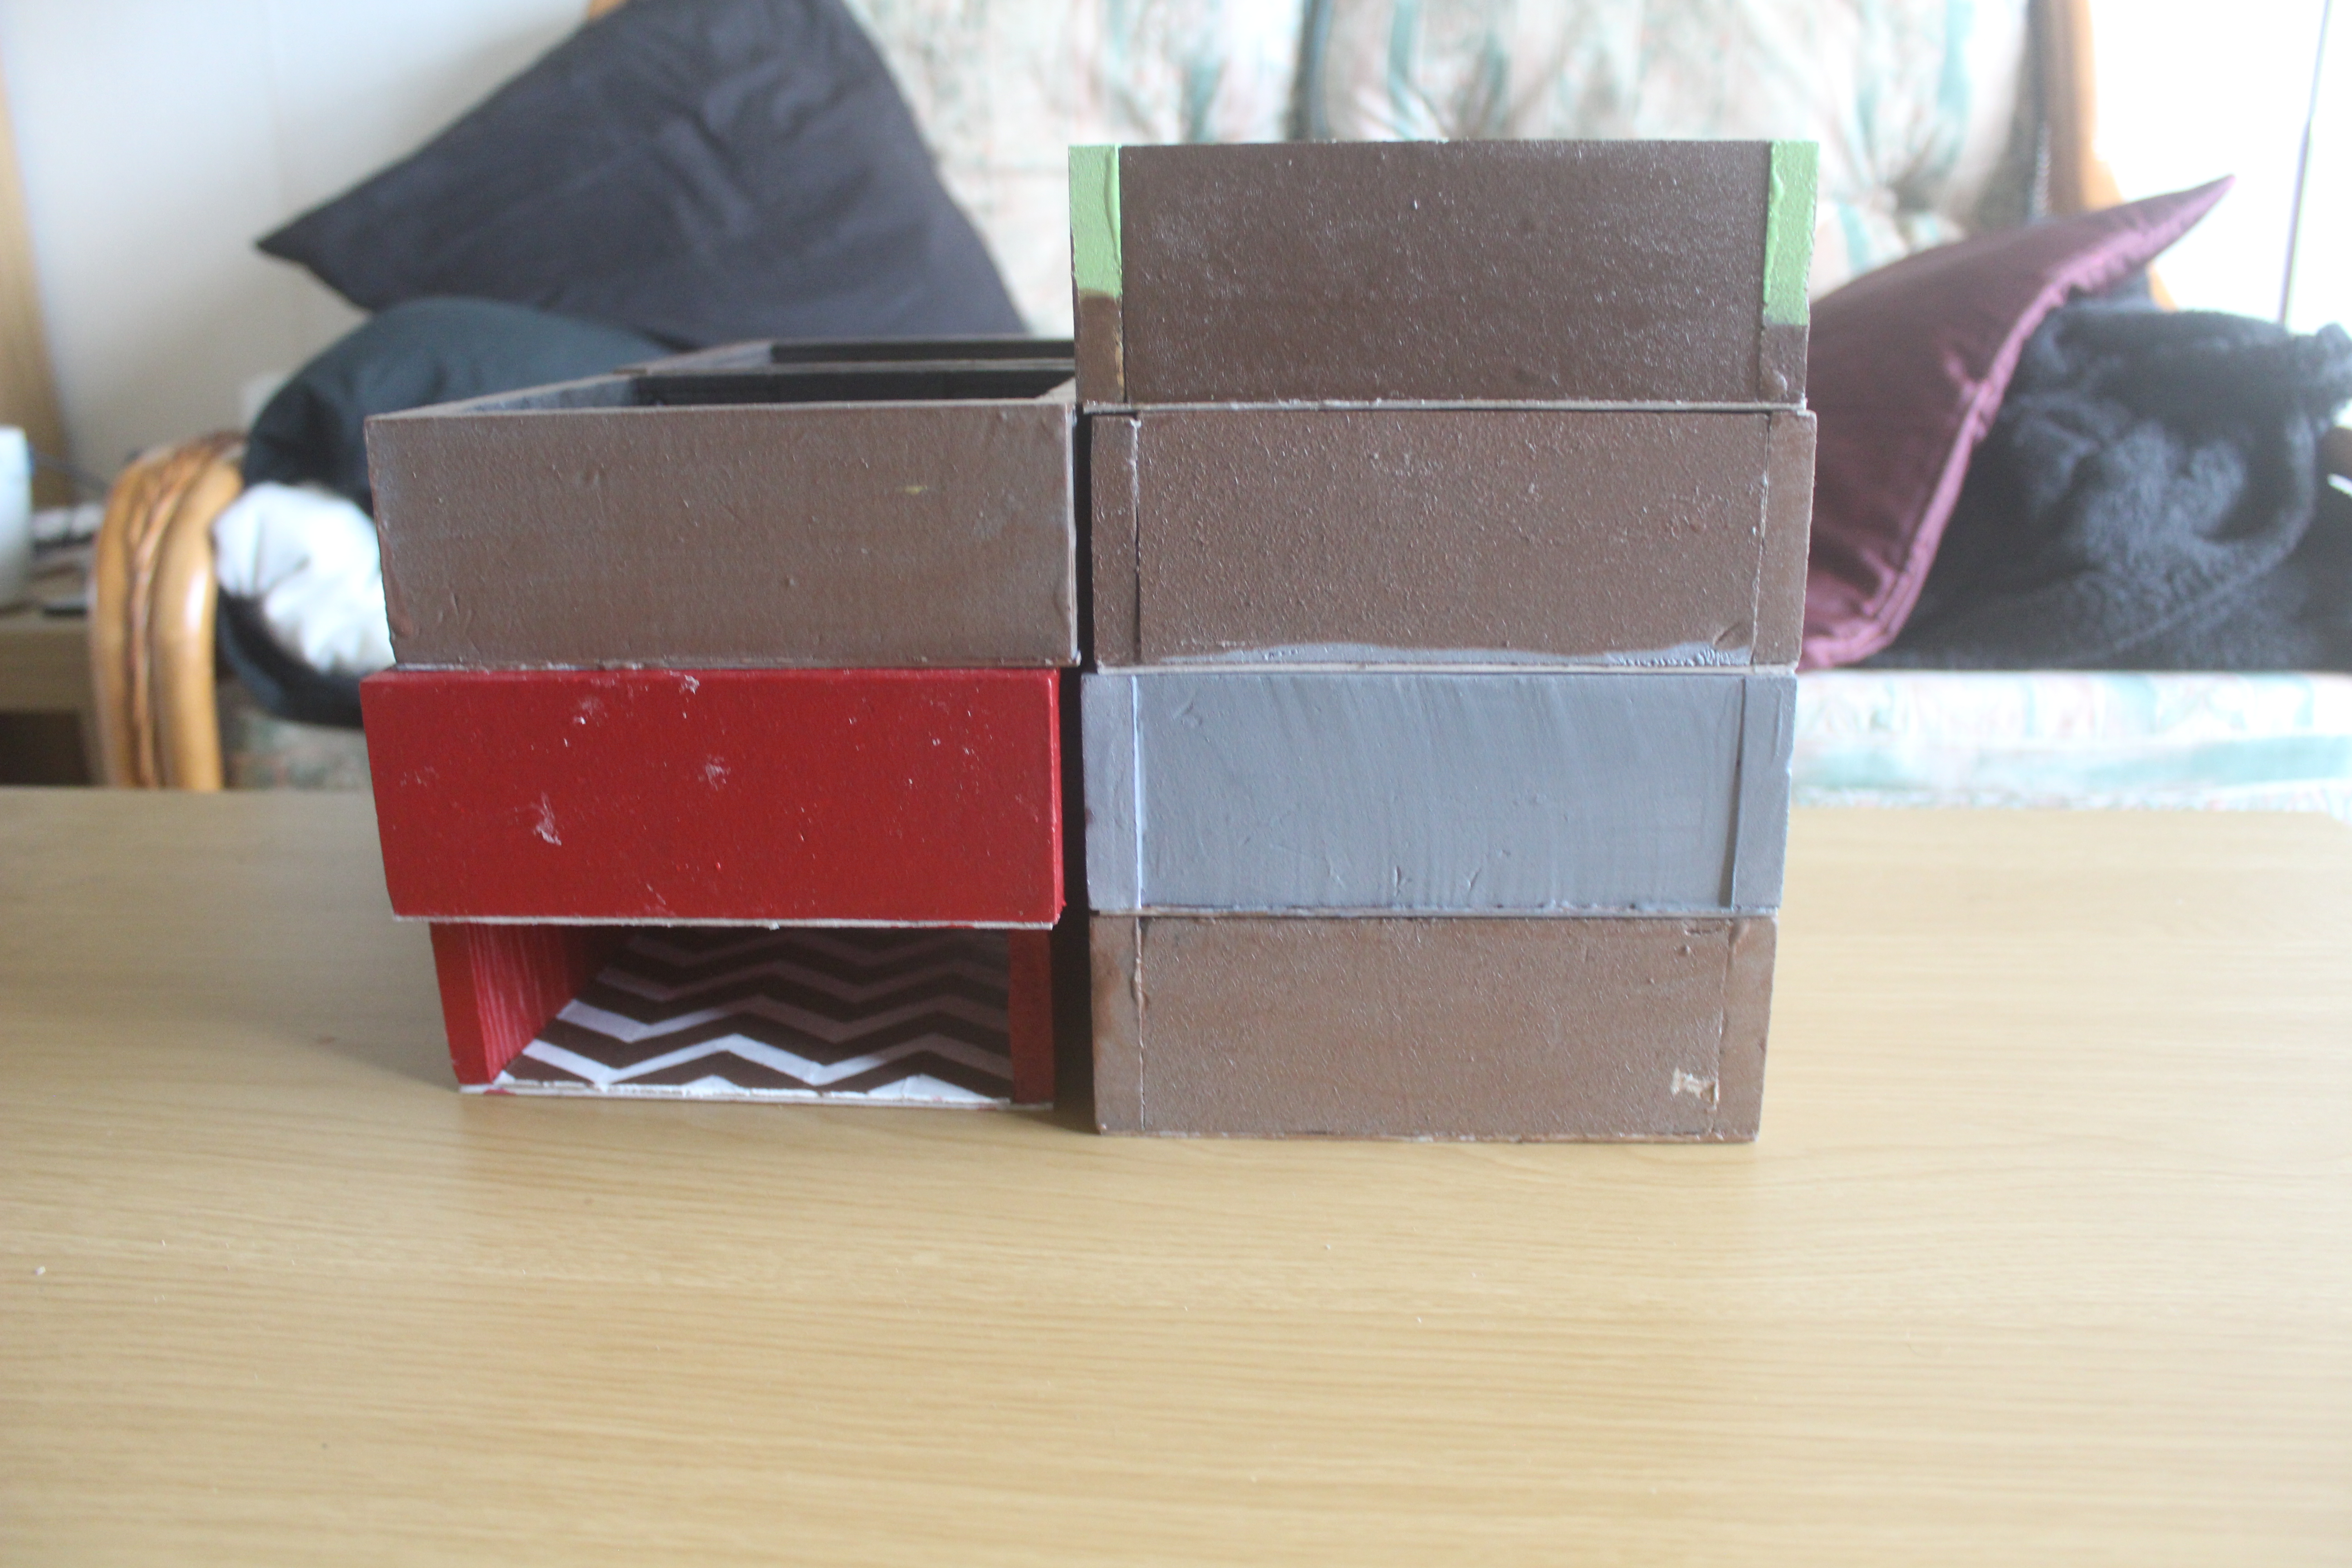 .... and once all stacked these will fit neatly on a Billy bookcase (although I need another bookcase)
The Final Countdown (Thank goodness it's a leap year)
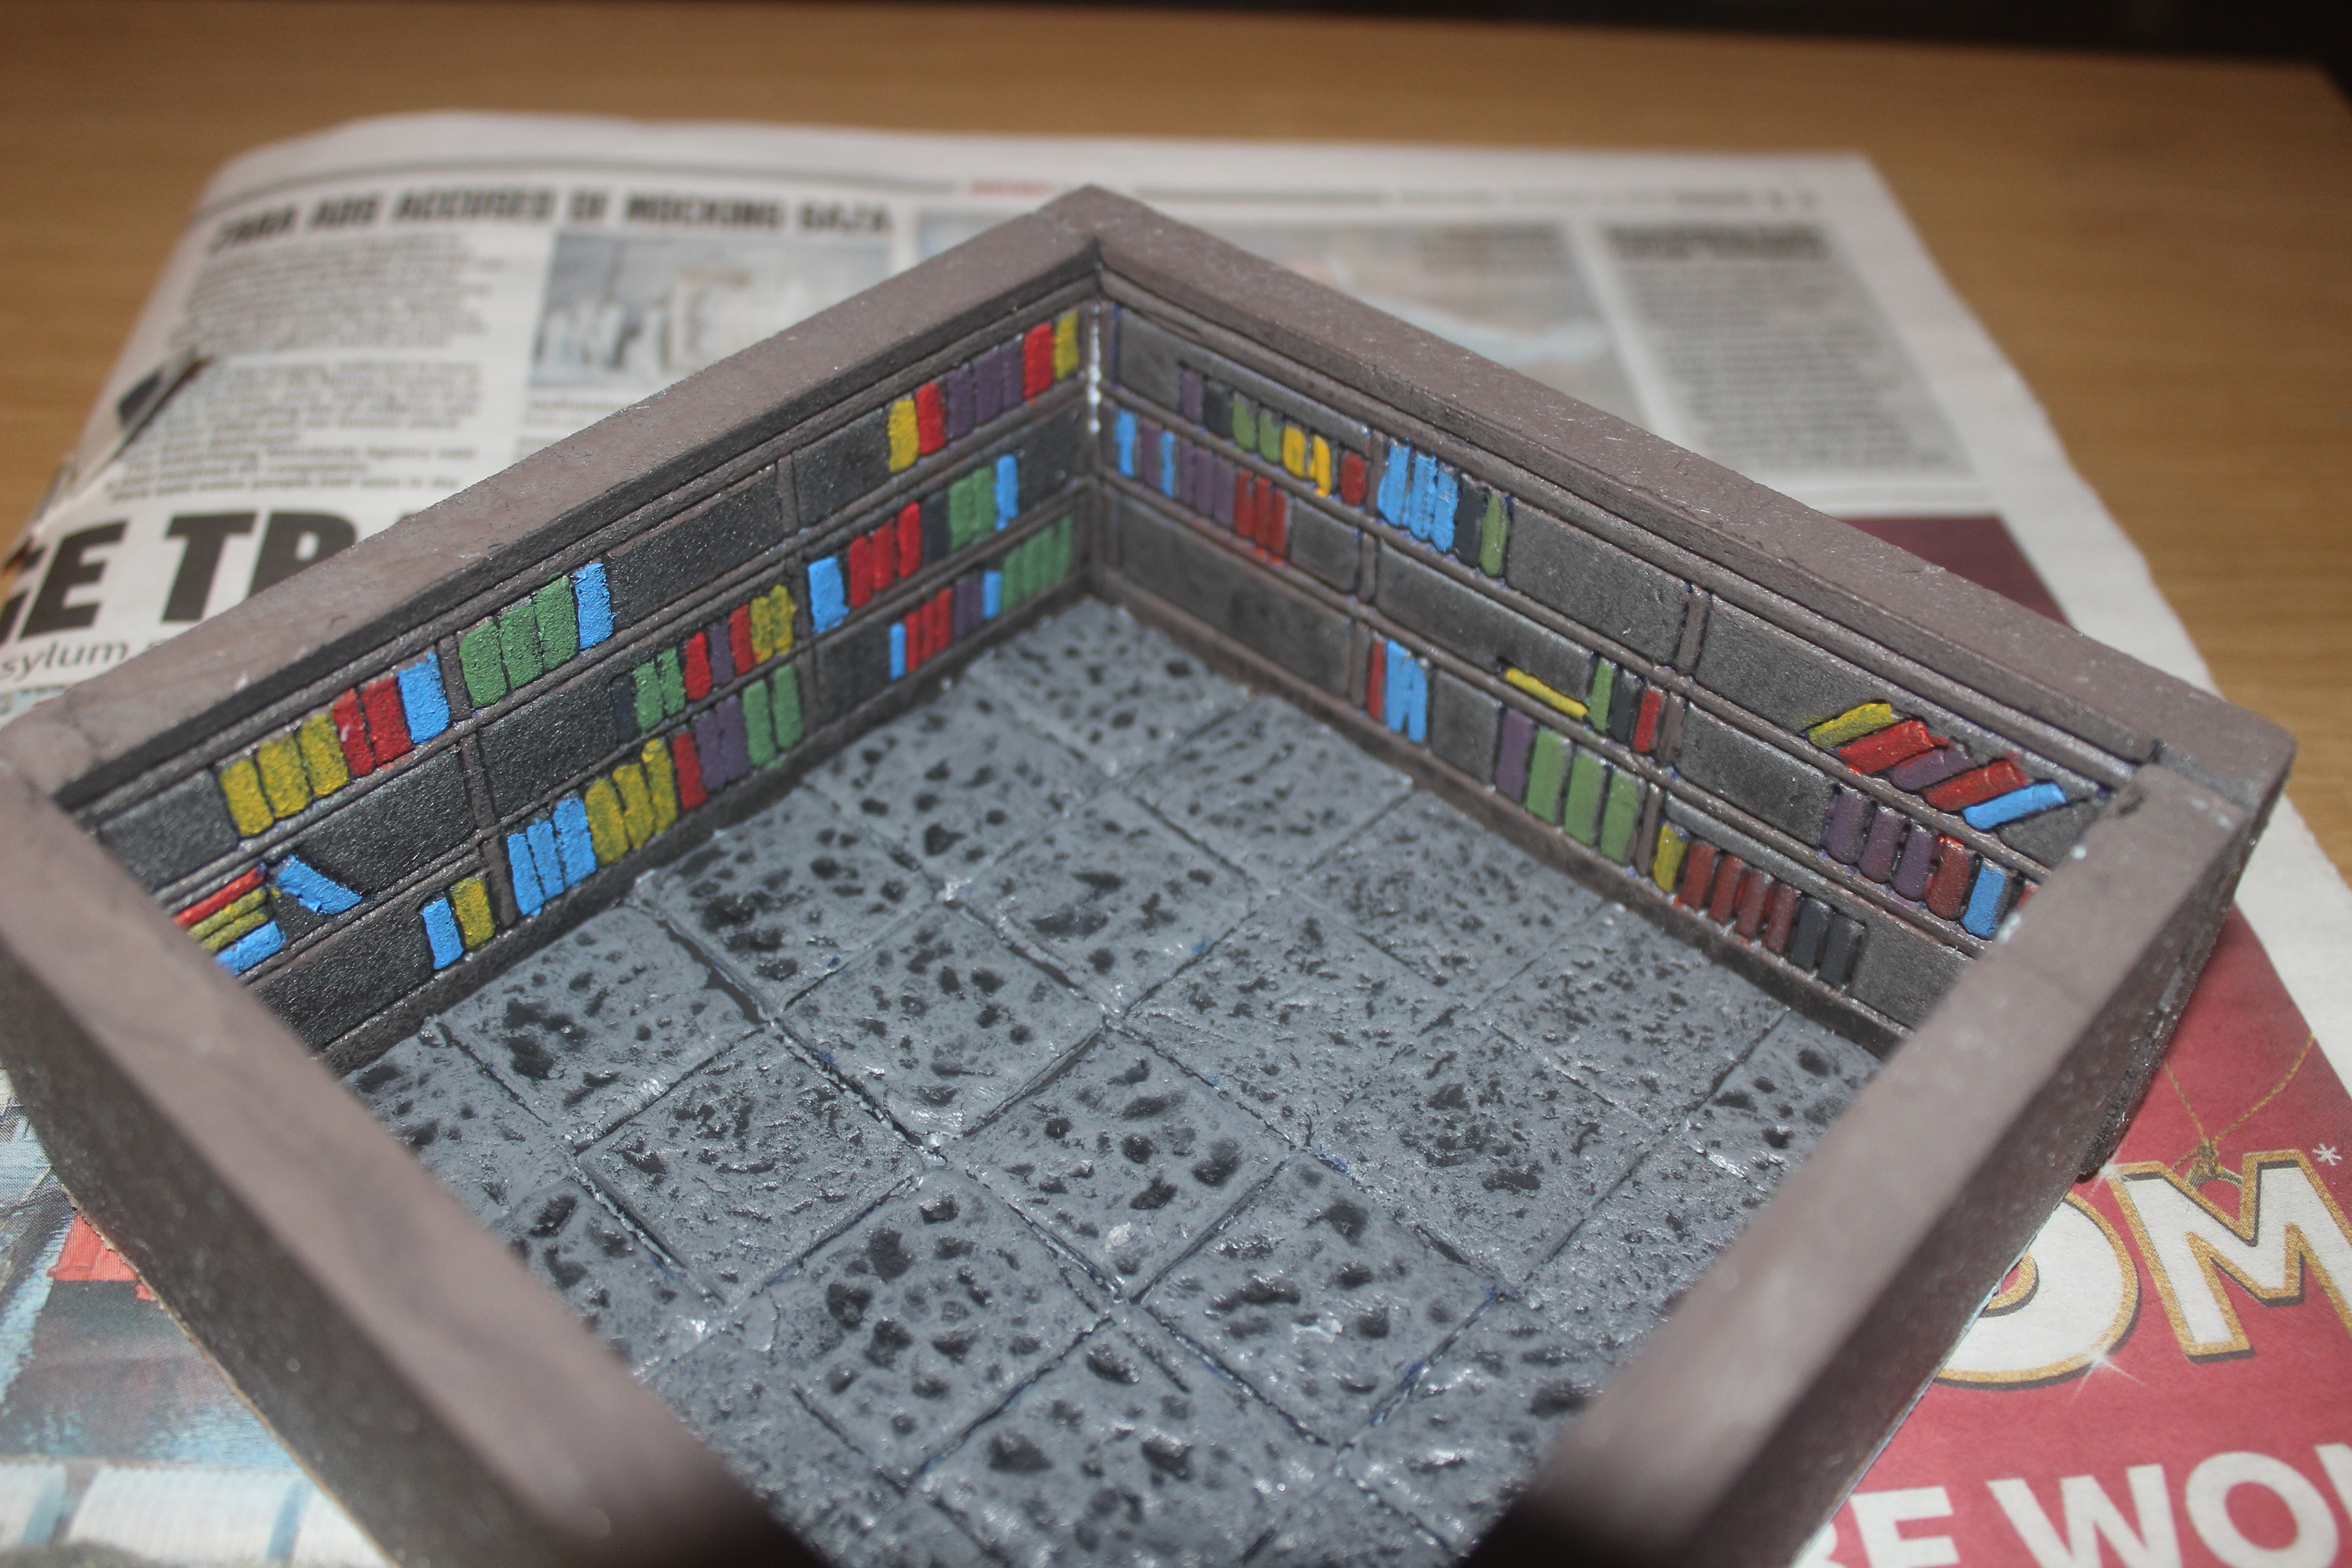
With today being the last full day that I have to get things finished (or as close as possible), I needed to get the final two rooms finished, the Library and the Dining Room. The former is based on the Library from one of the original Scooby Doo shows and the Dining Room is loosely based on the one from Return to Zombie Island I think.
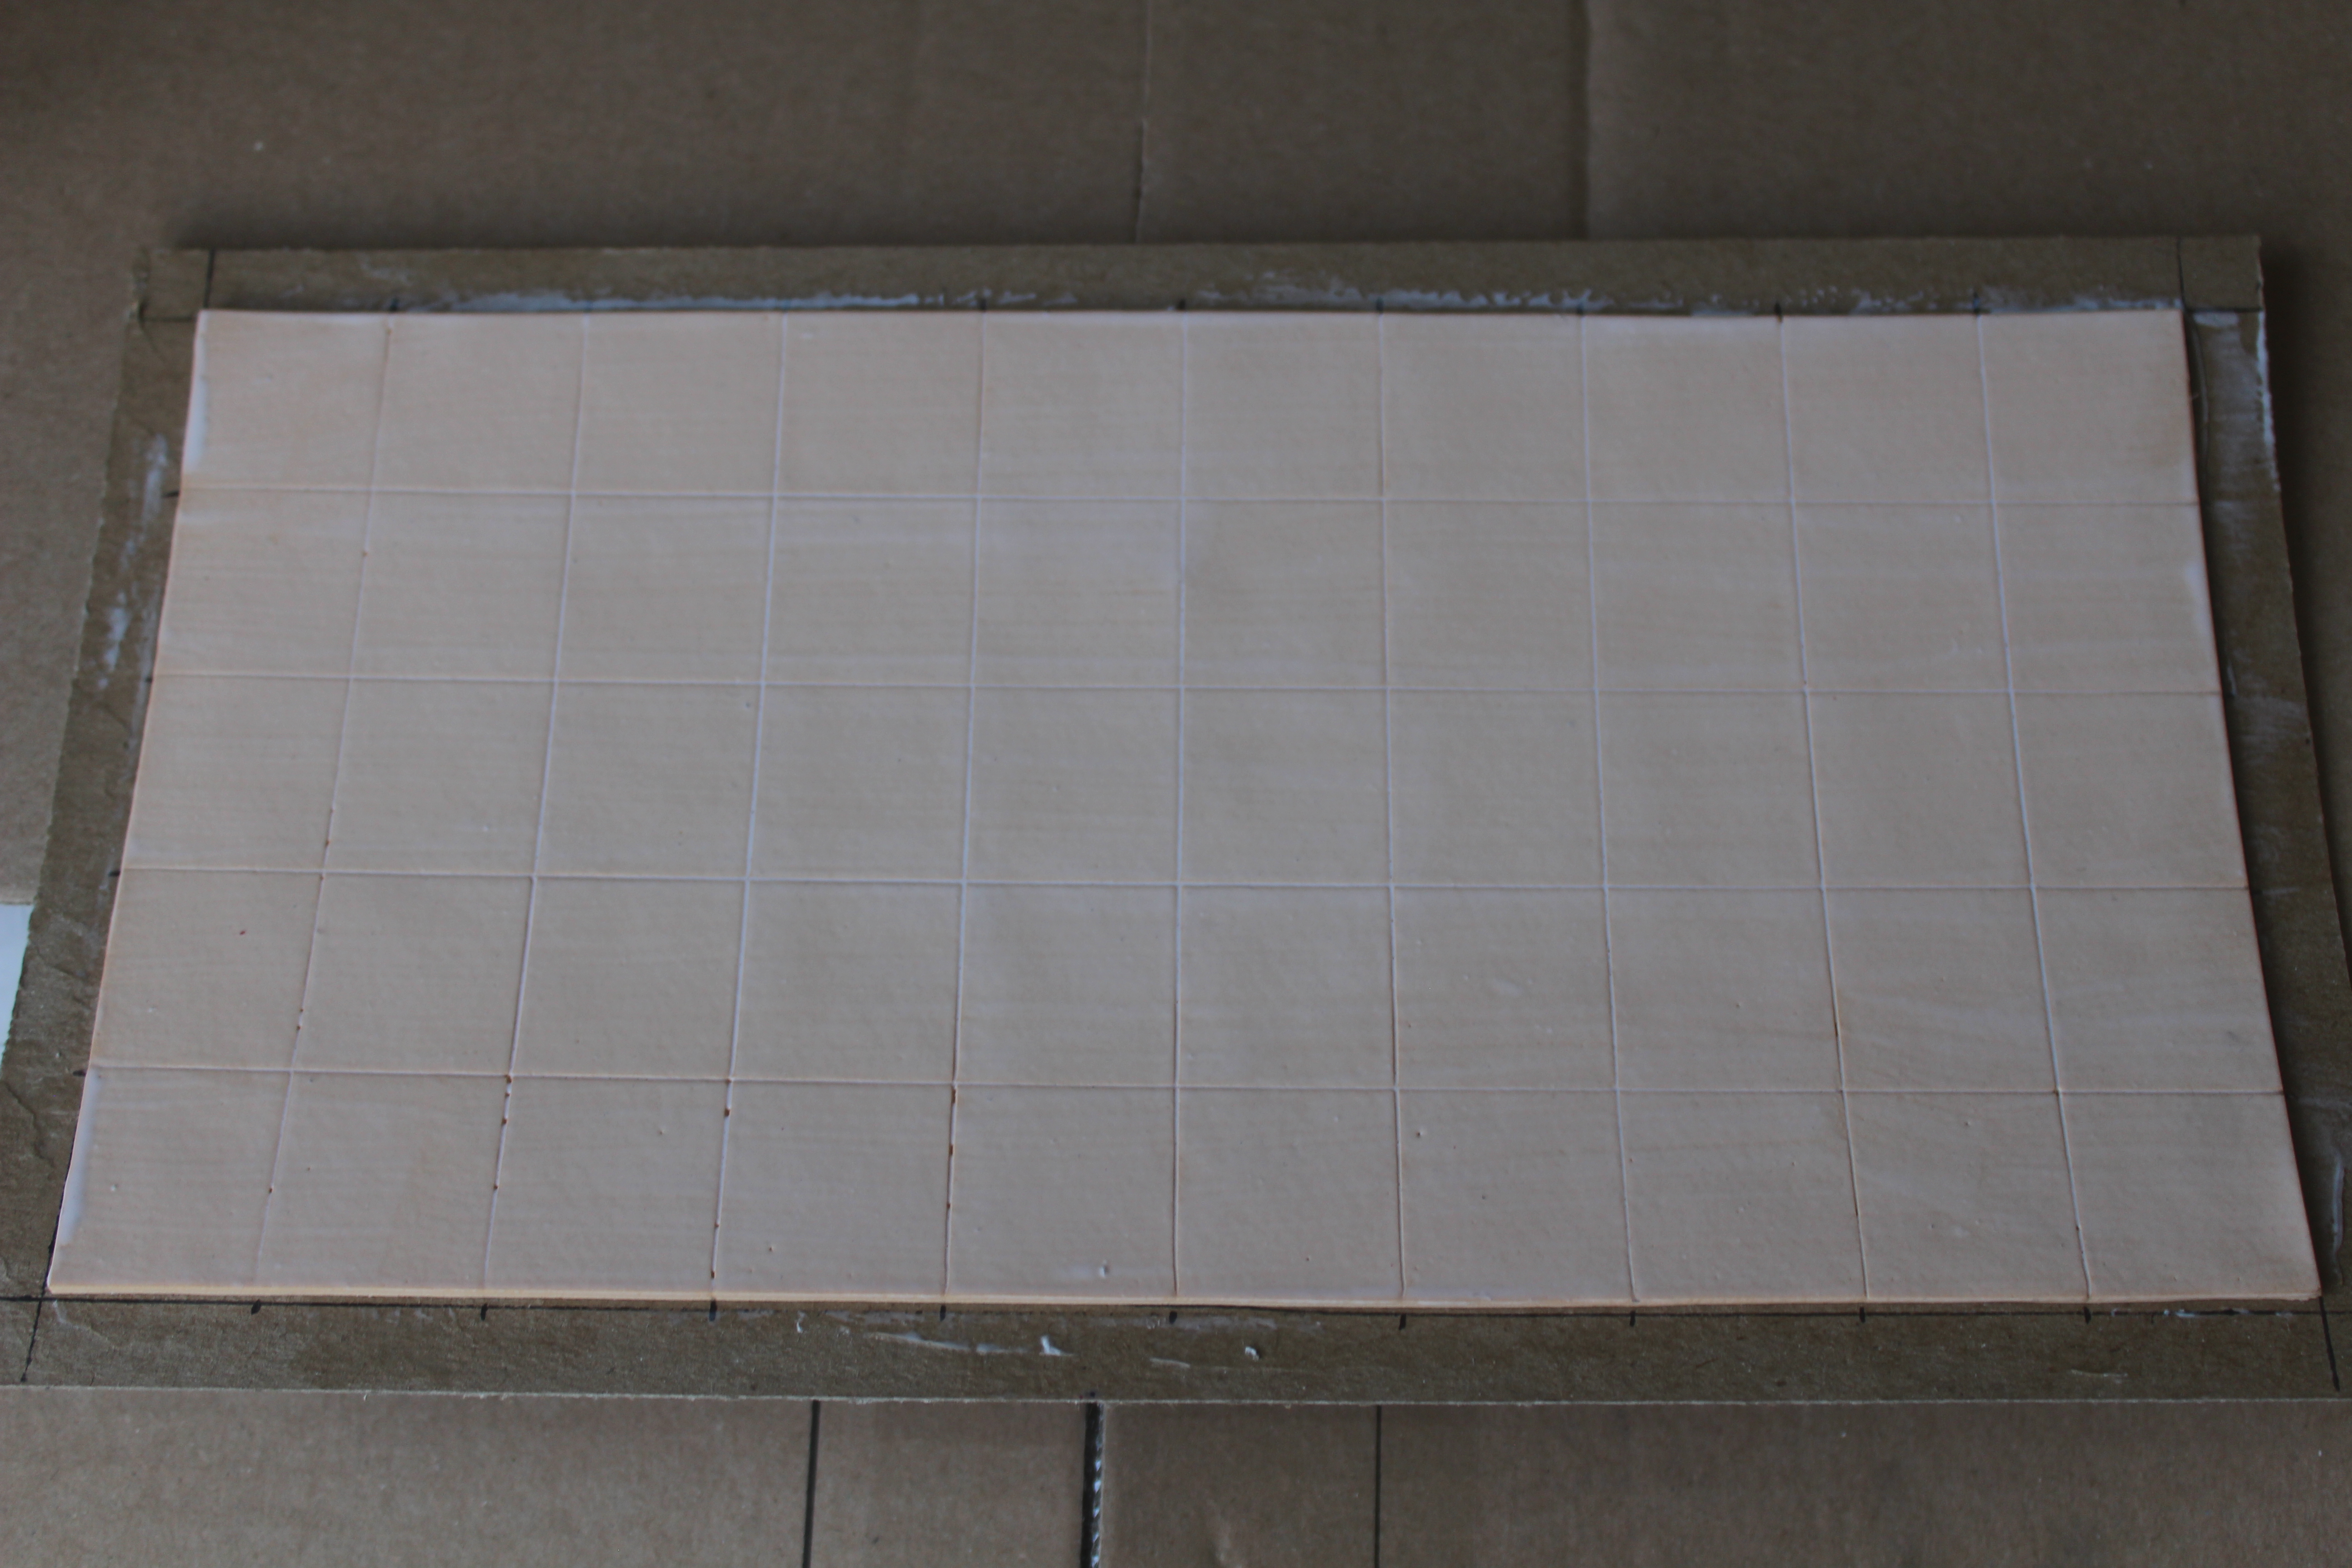
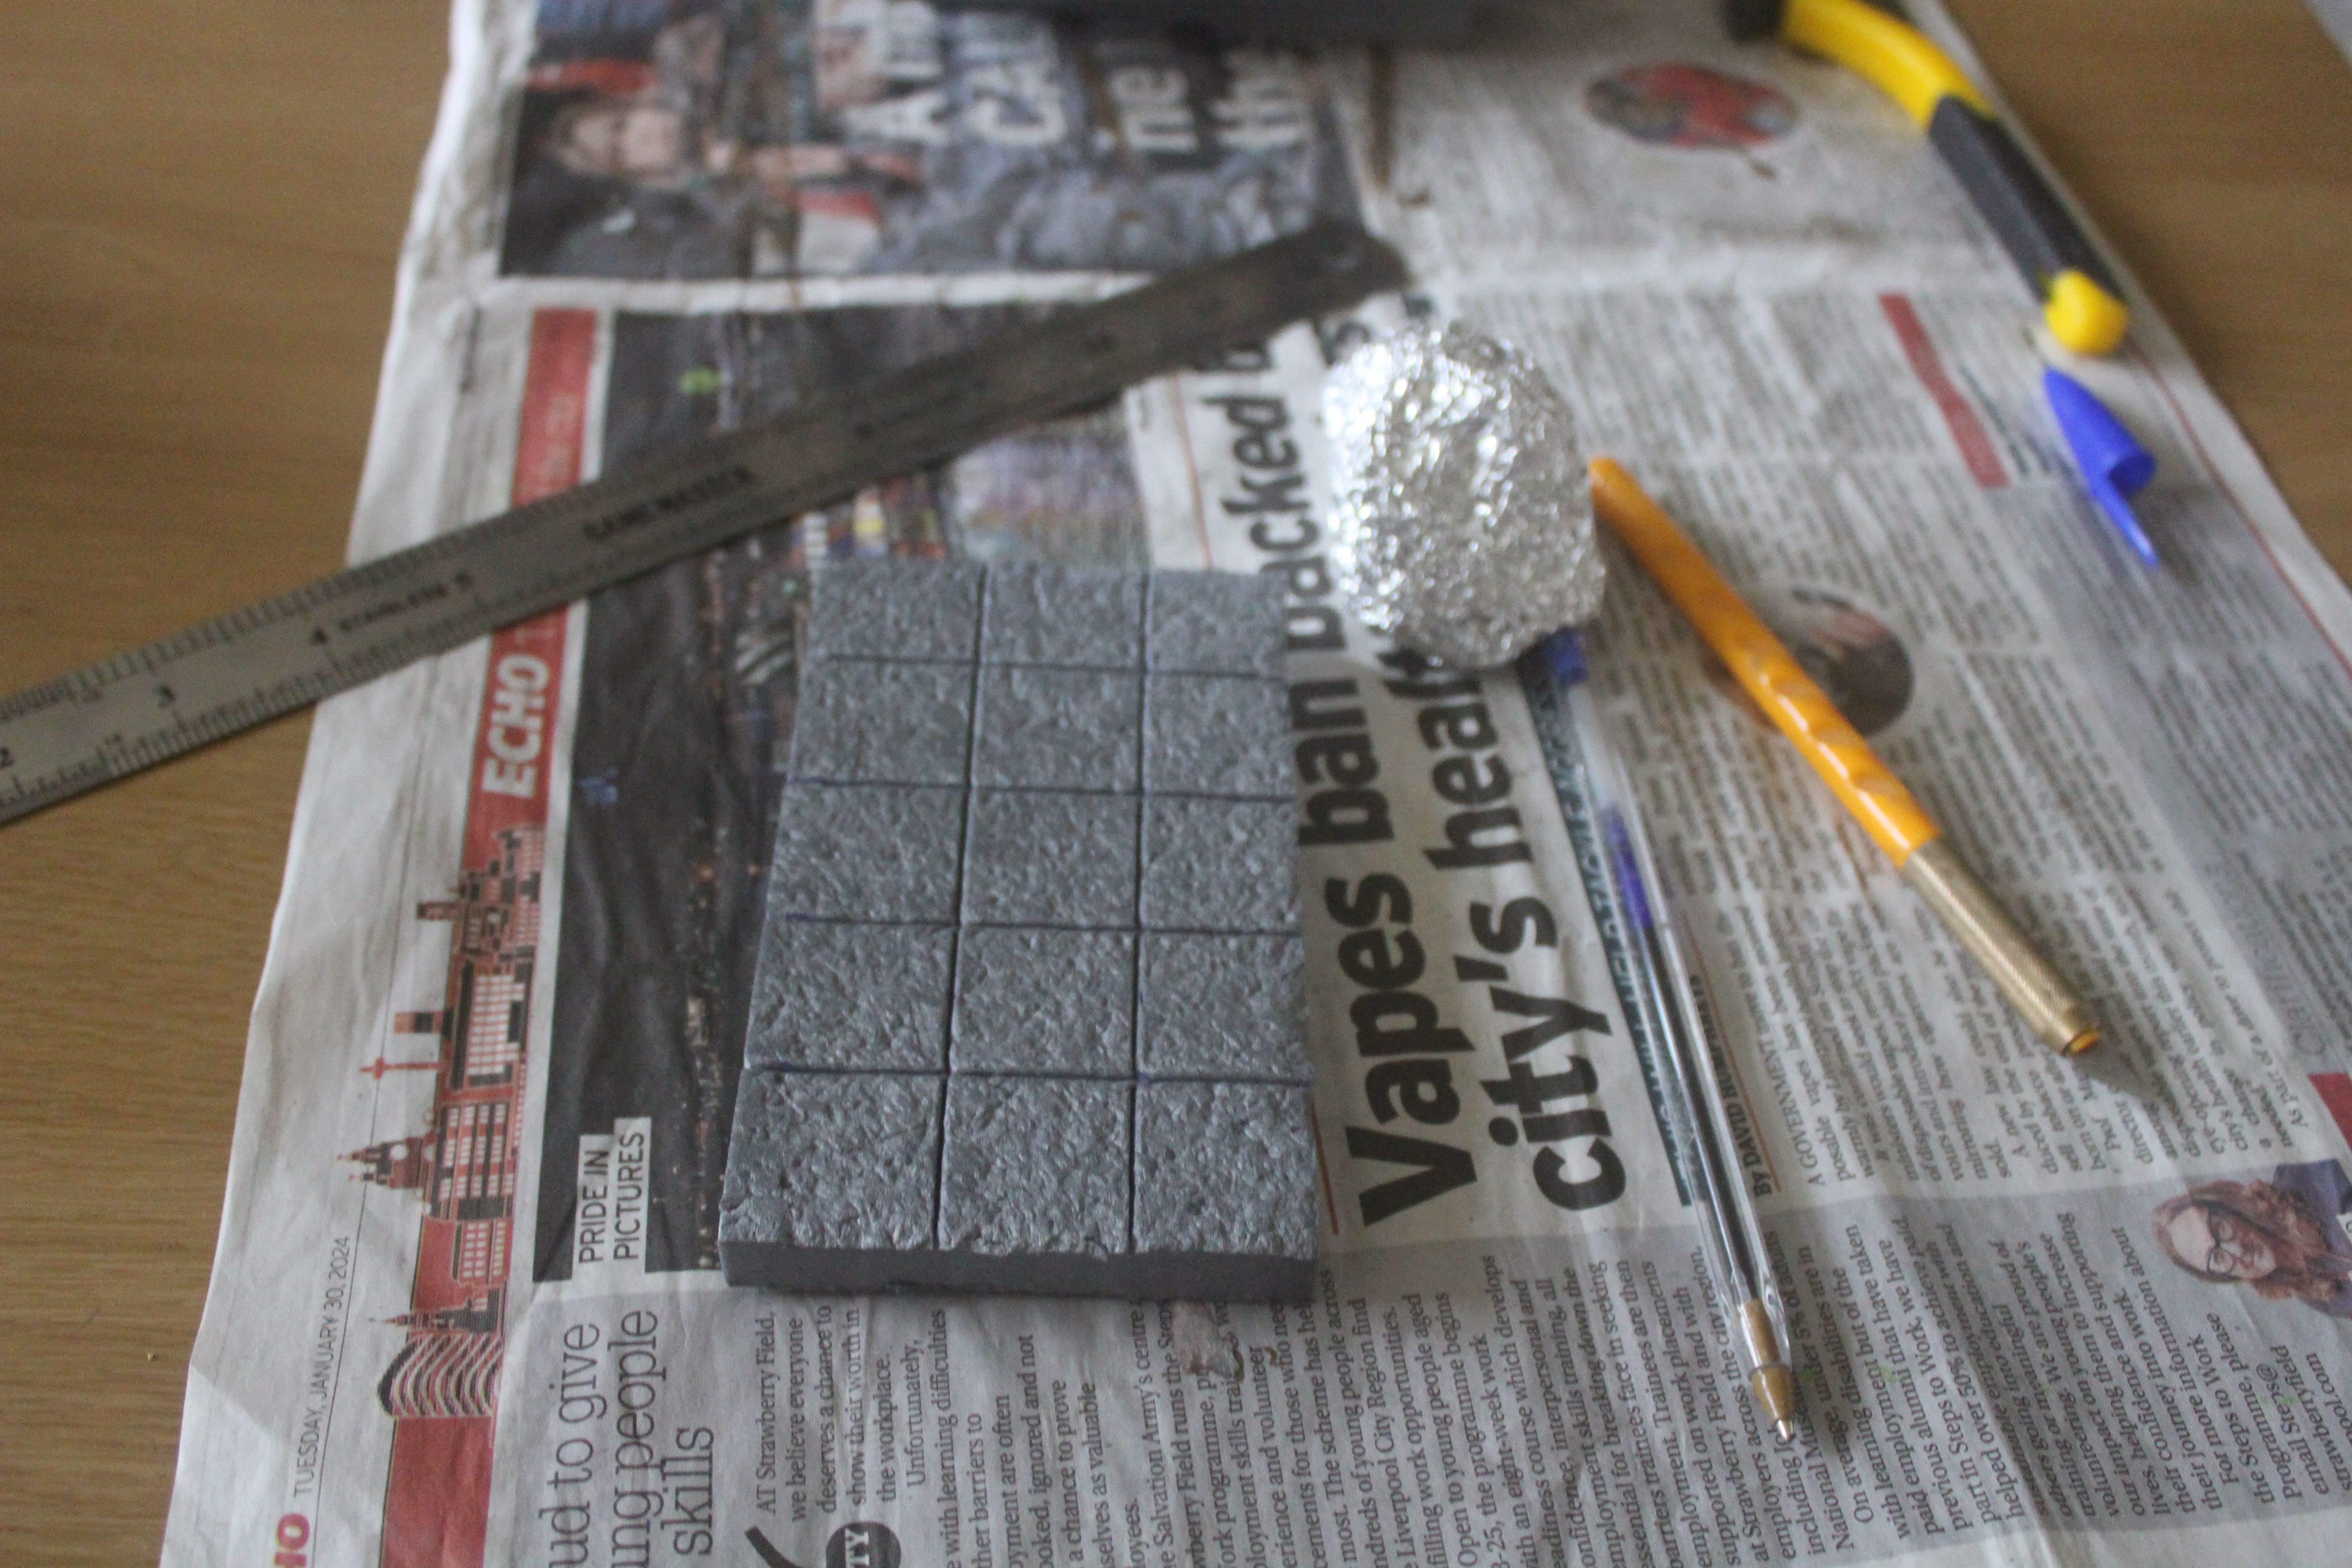
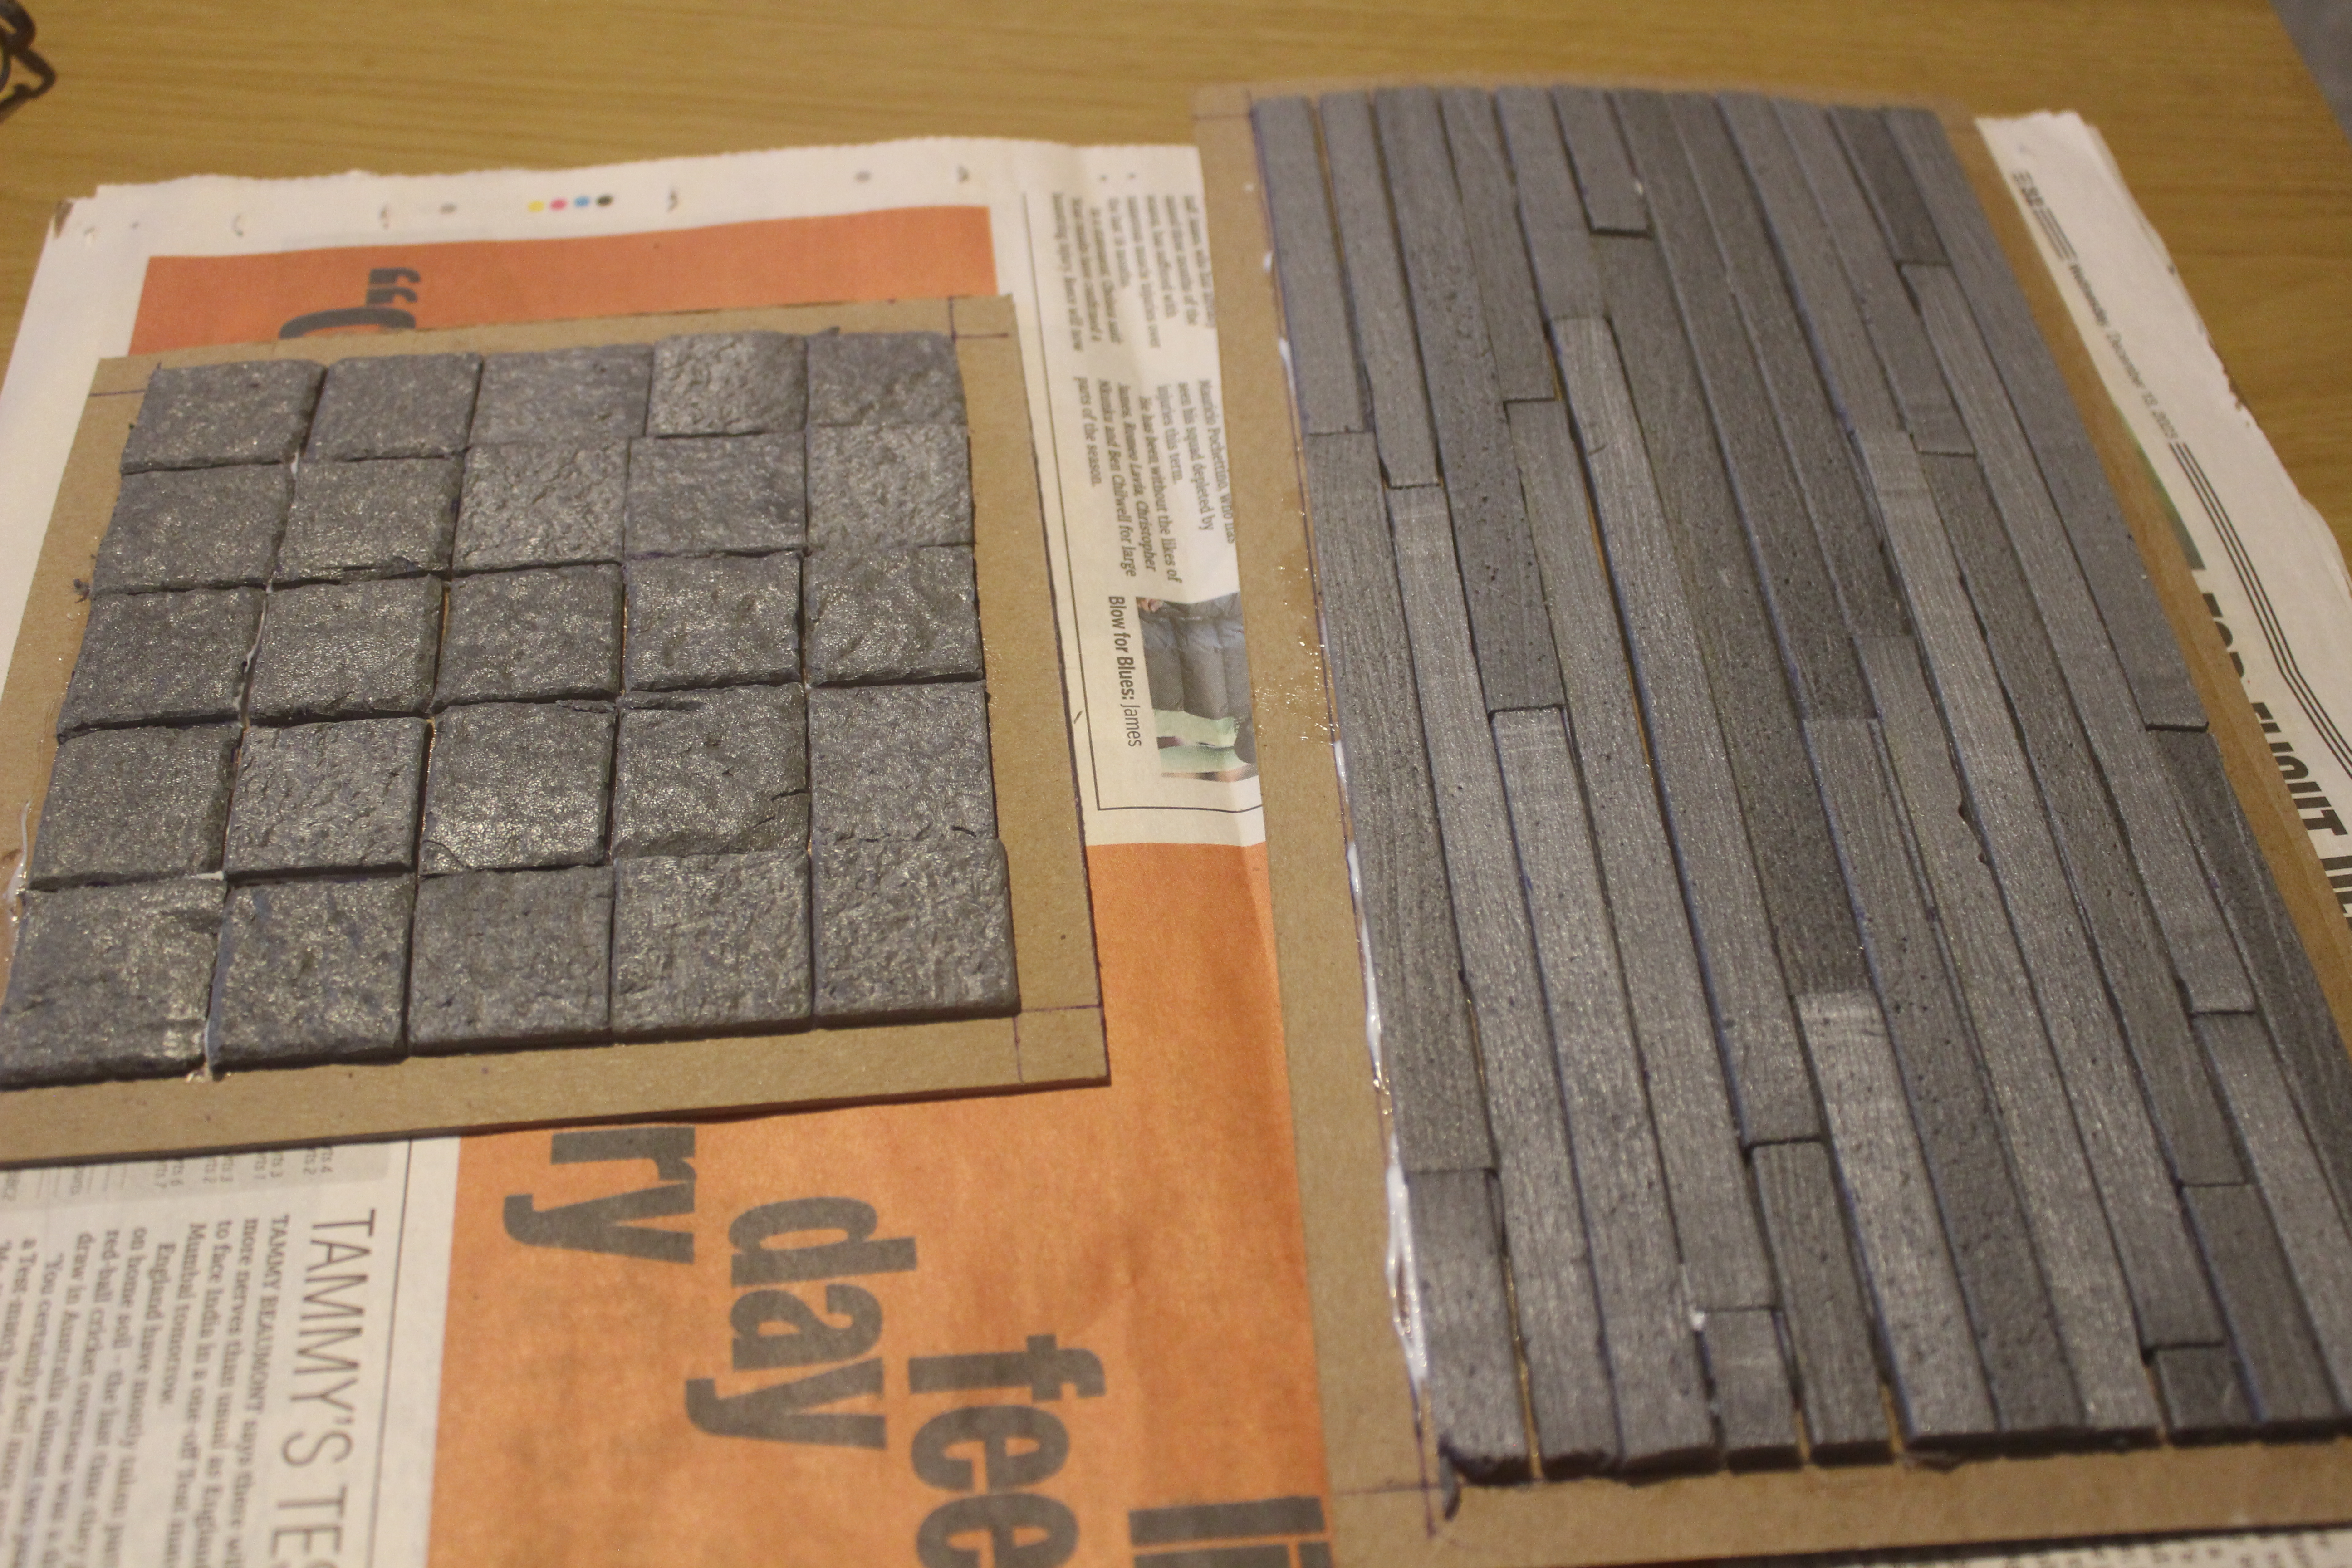
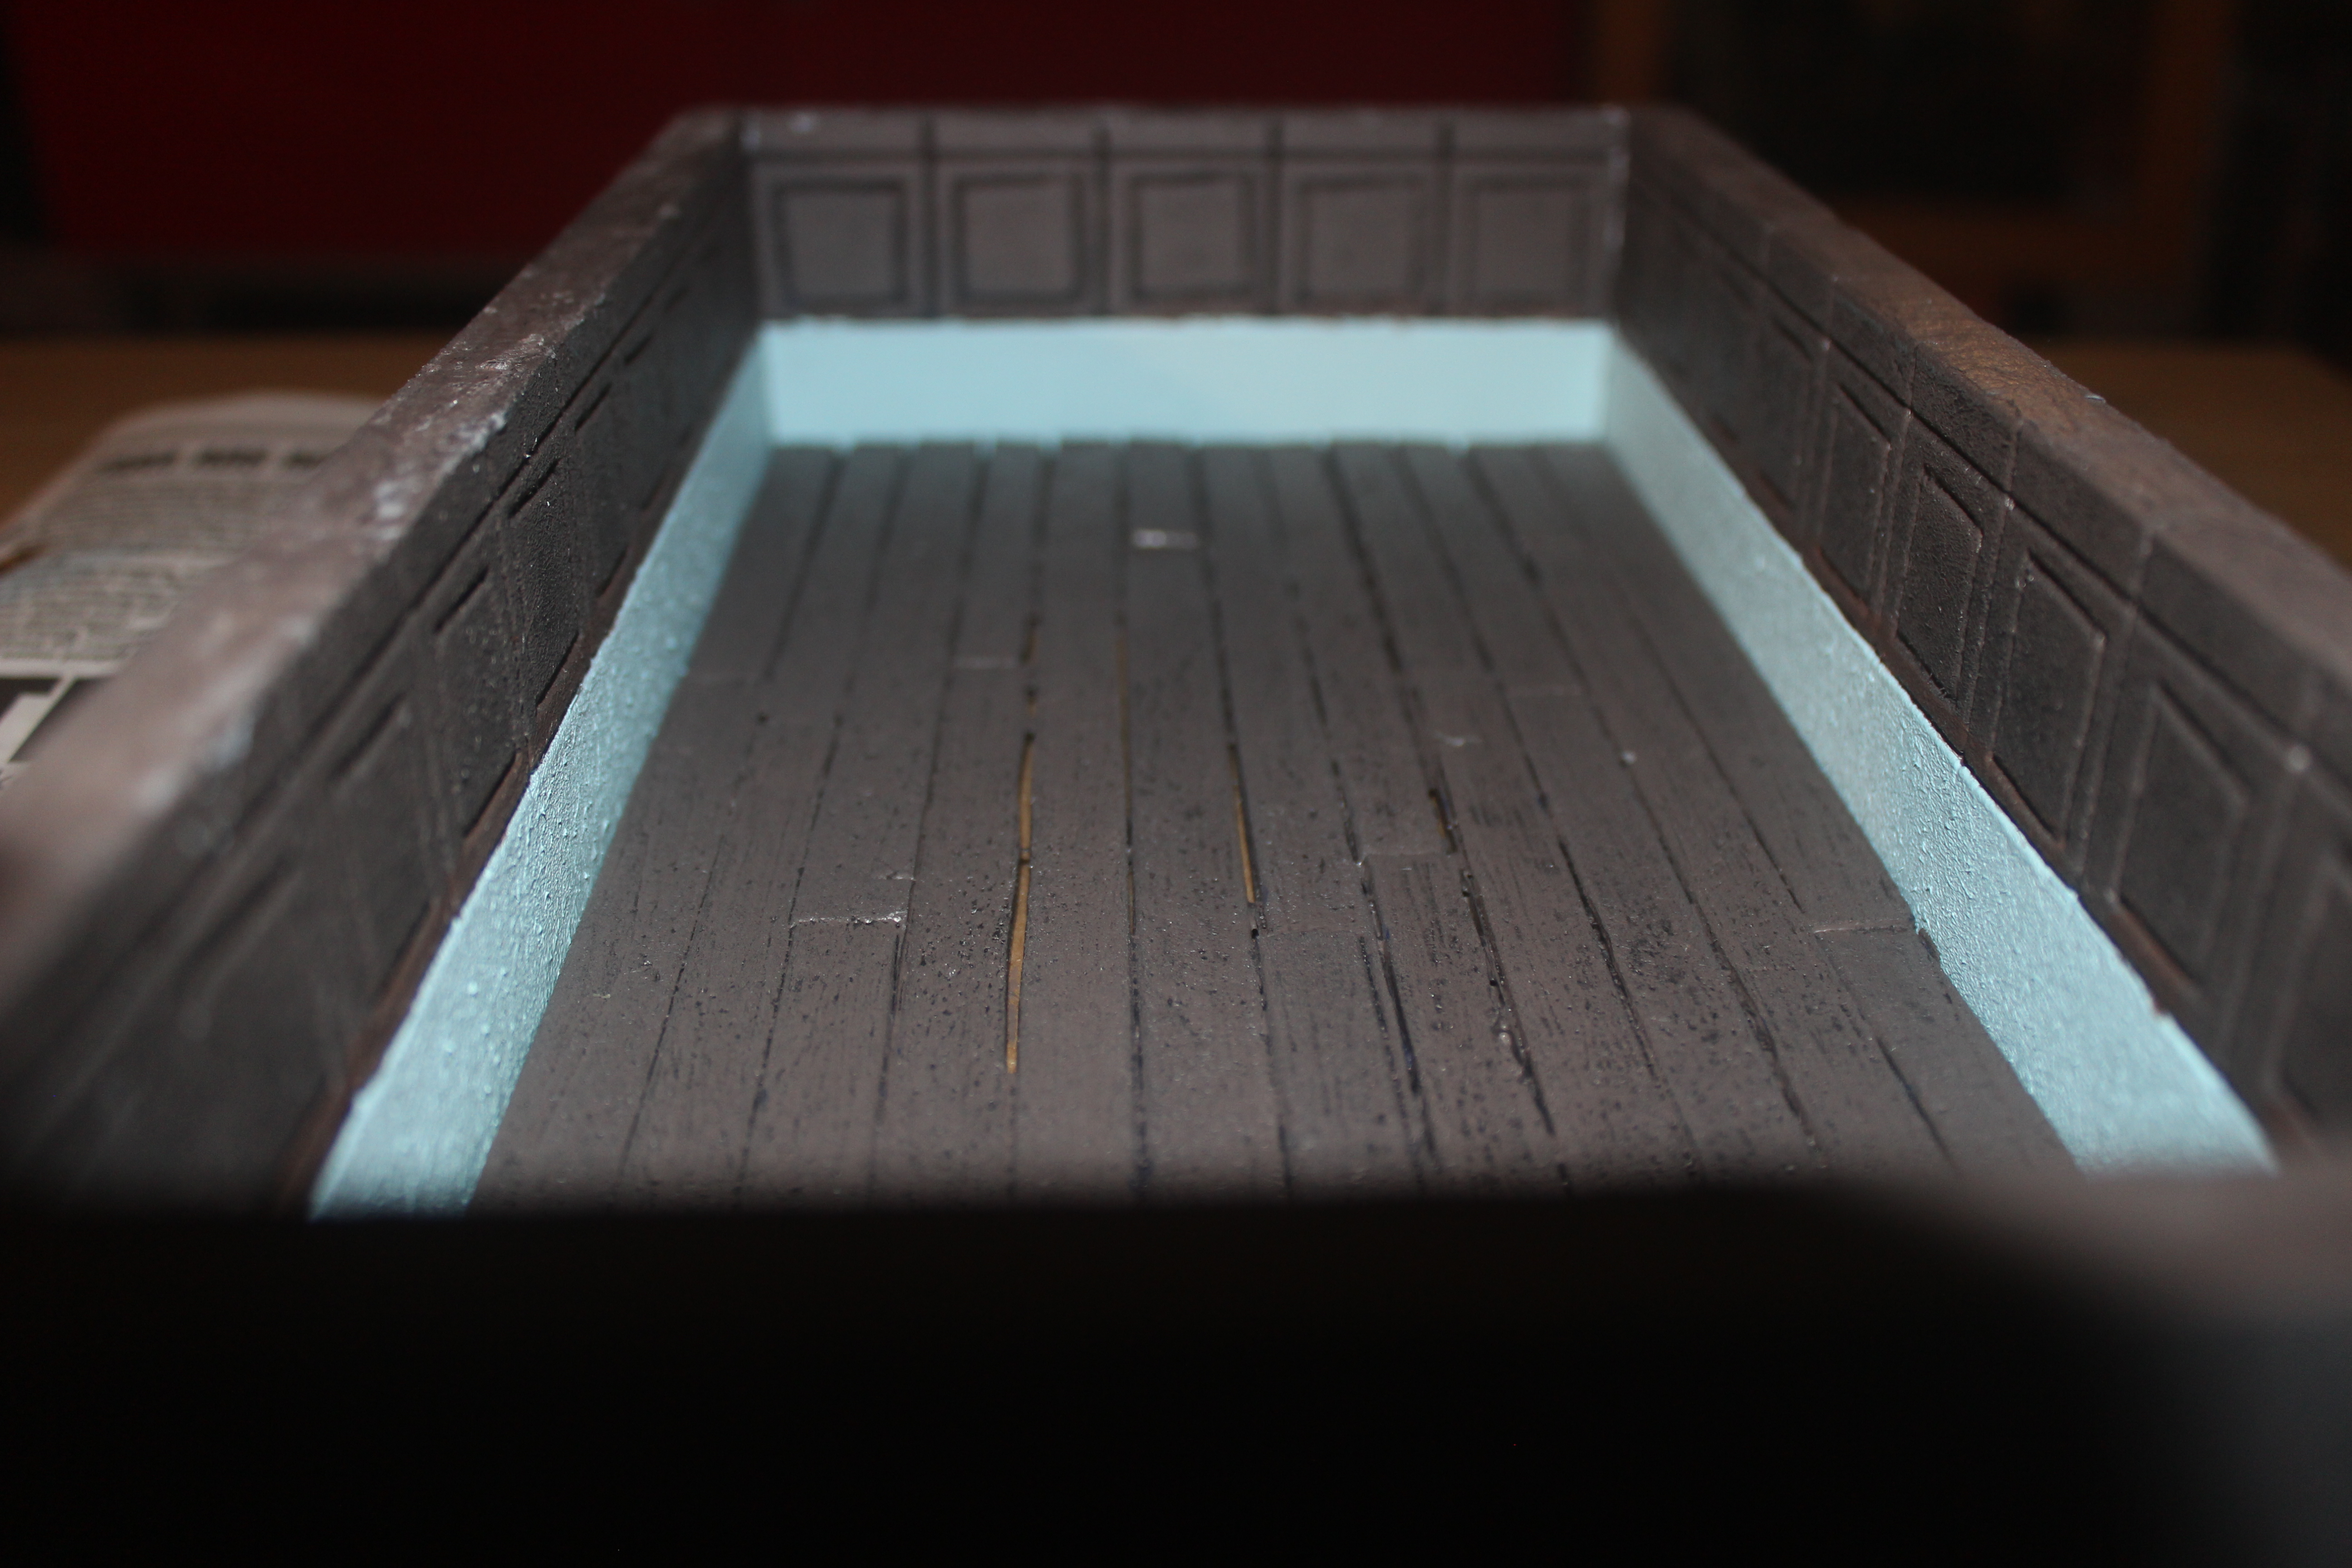
I started with the floors, texturing and marking out as before before cutting the floors from the block. This time it was wooden floorboards for the Dining Room and stone slabs for the Library (textured with the old ball of tin foil).
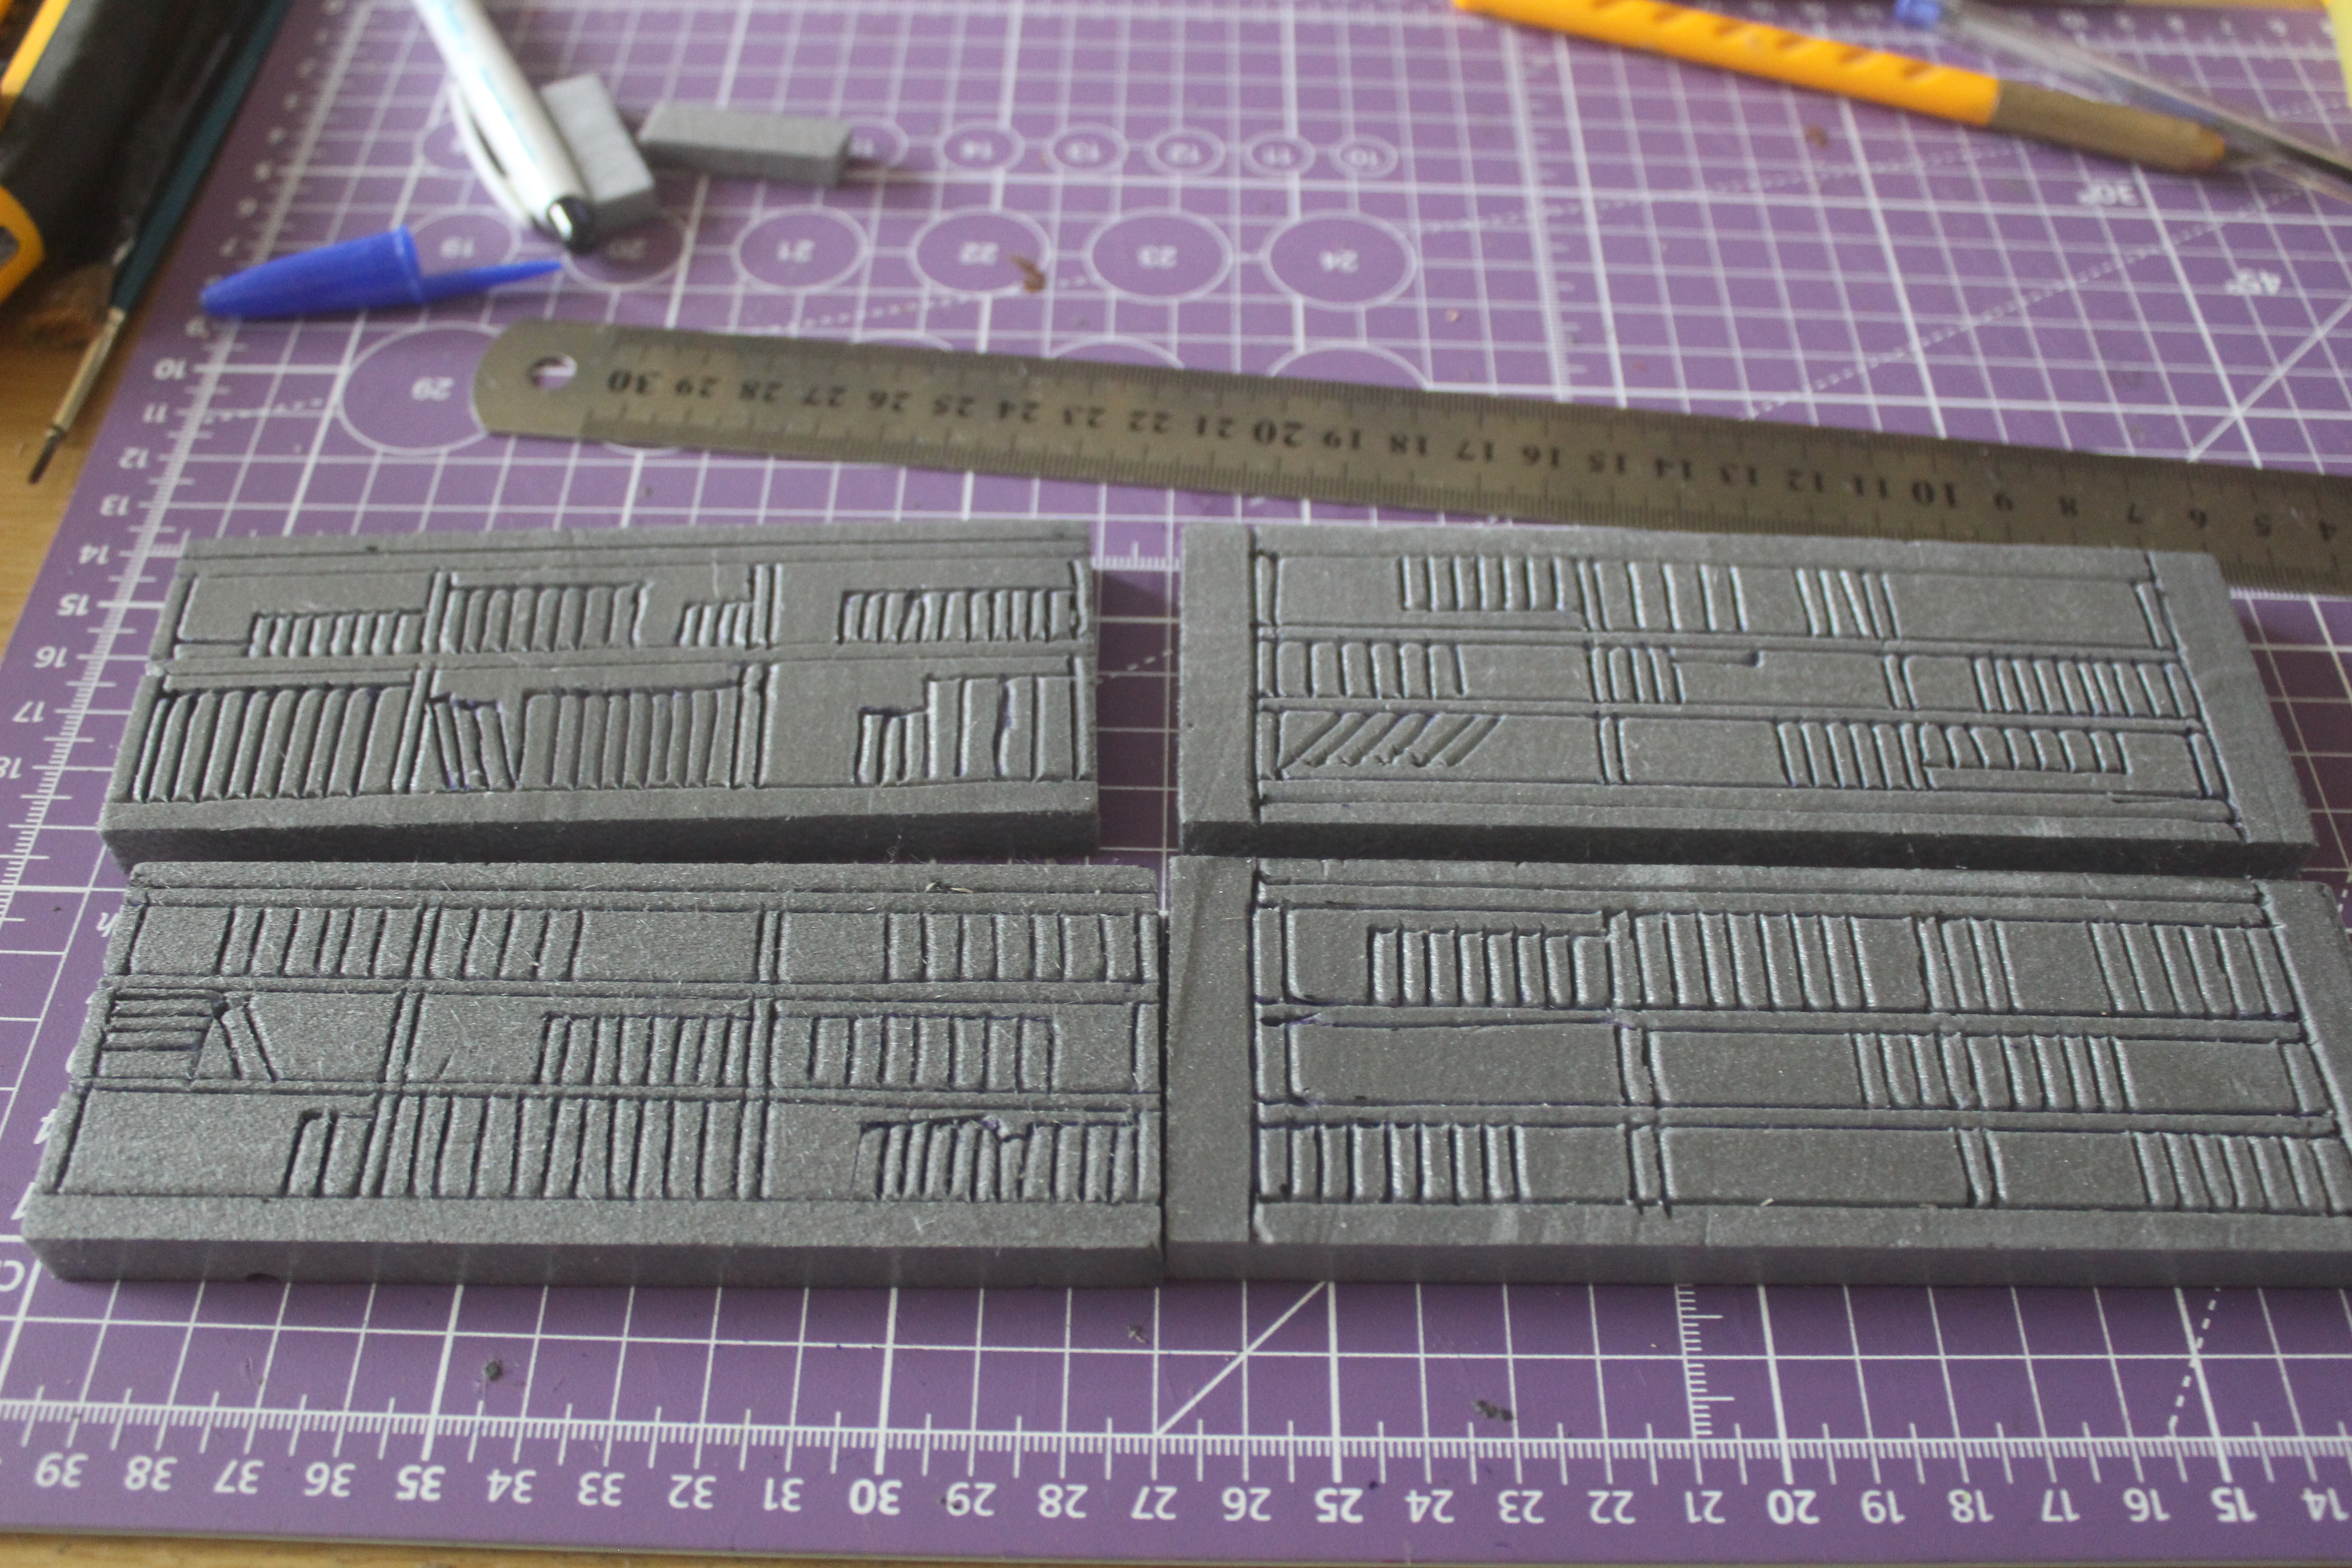
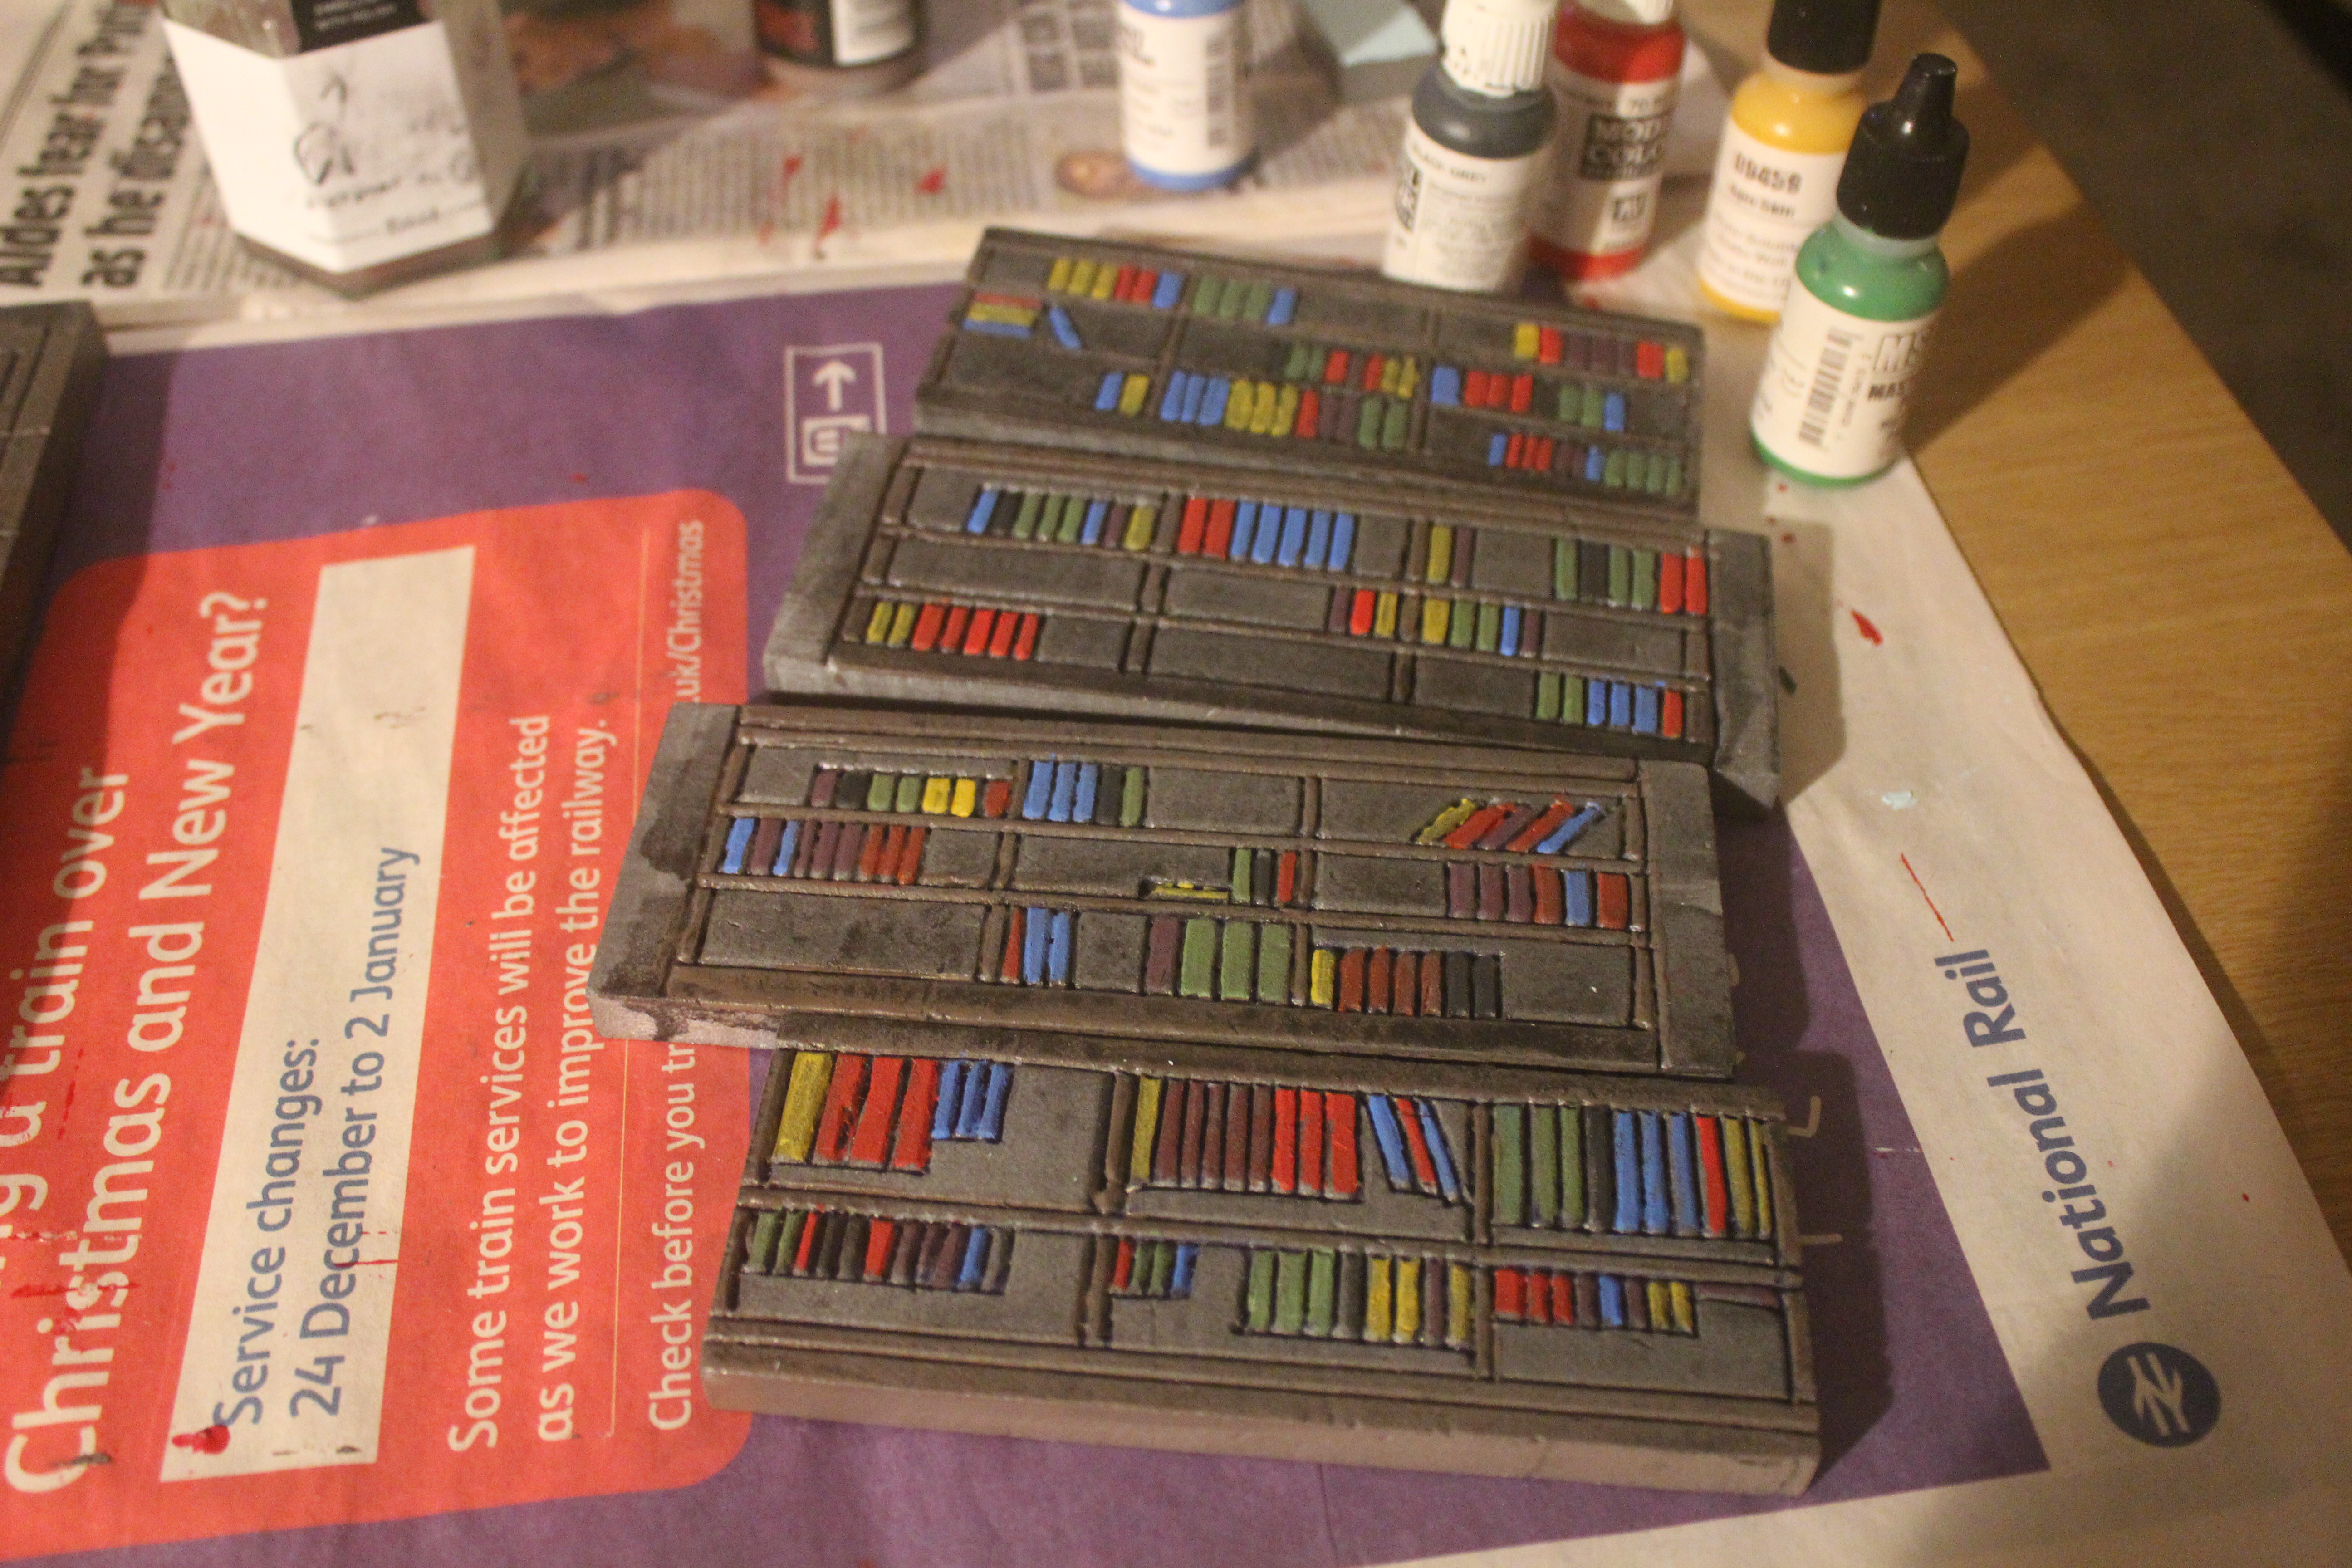
The walls came next, scoring out the bookcases and books and marking out the wooden panels on the upper parts of the longer room. Fair to say this took up a good bit of time.
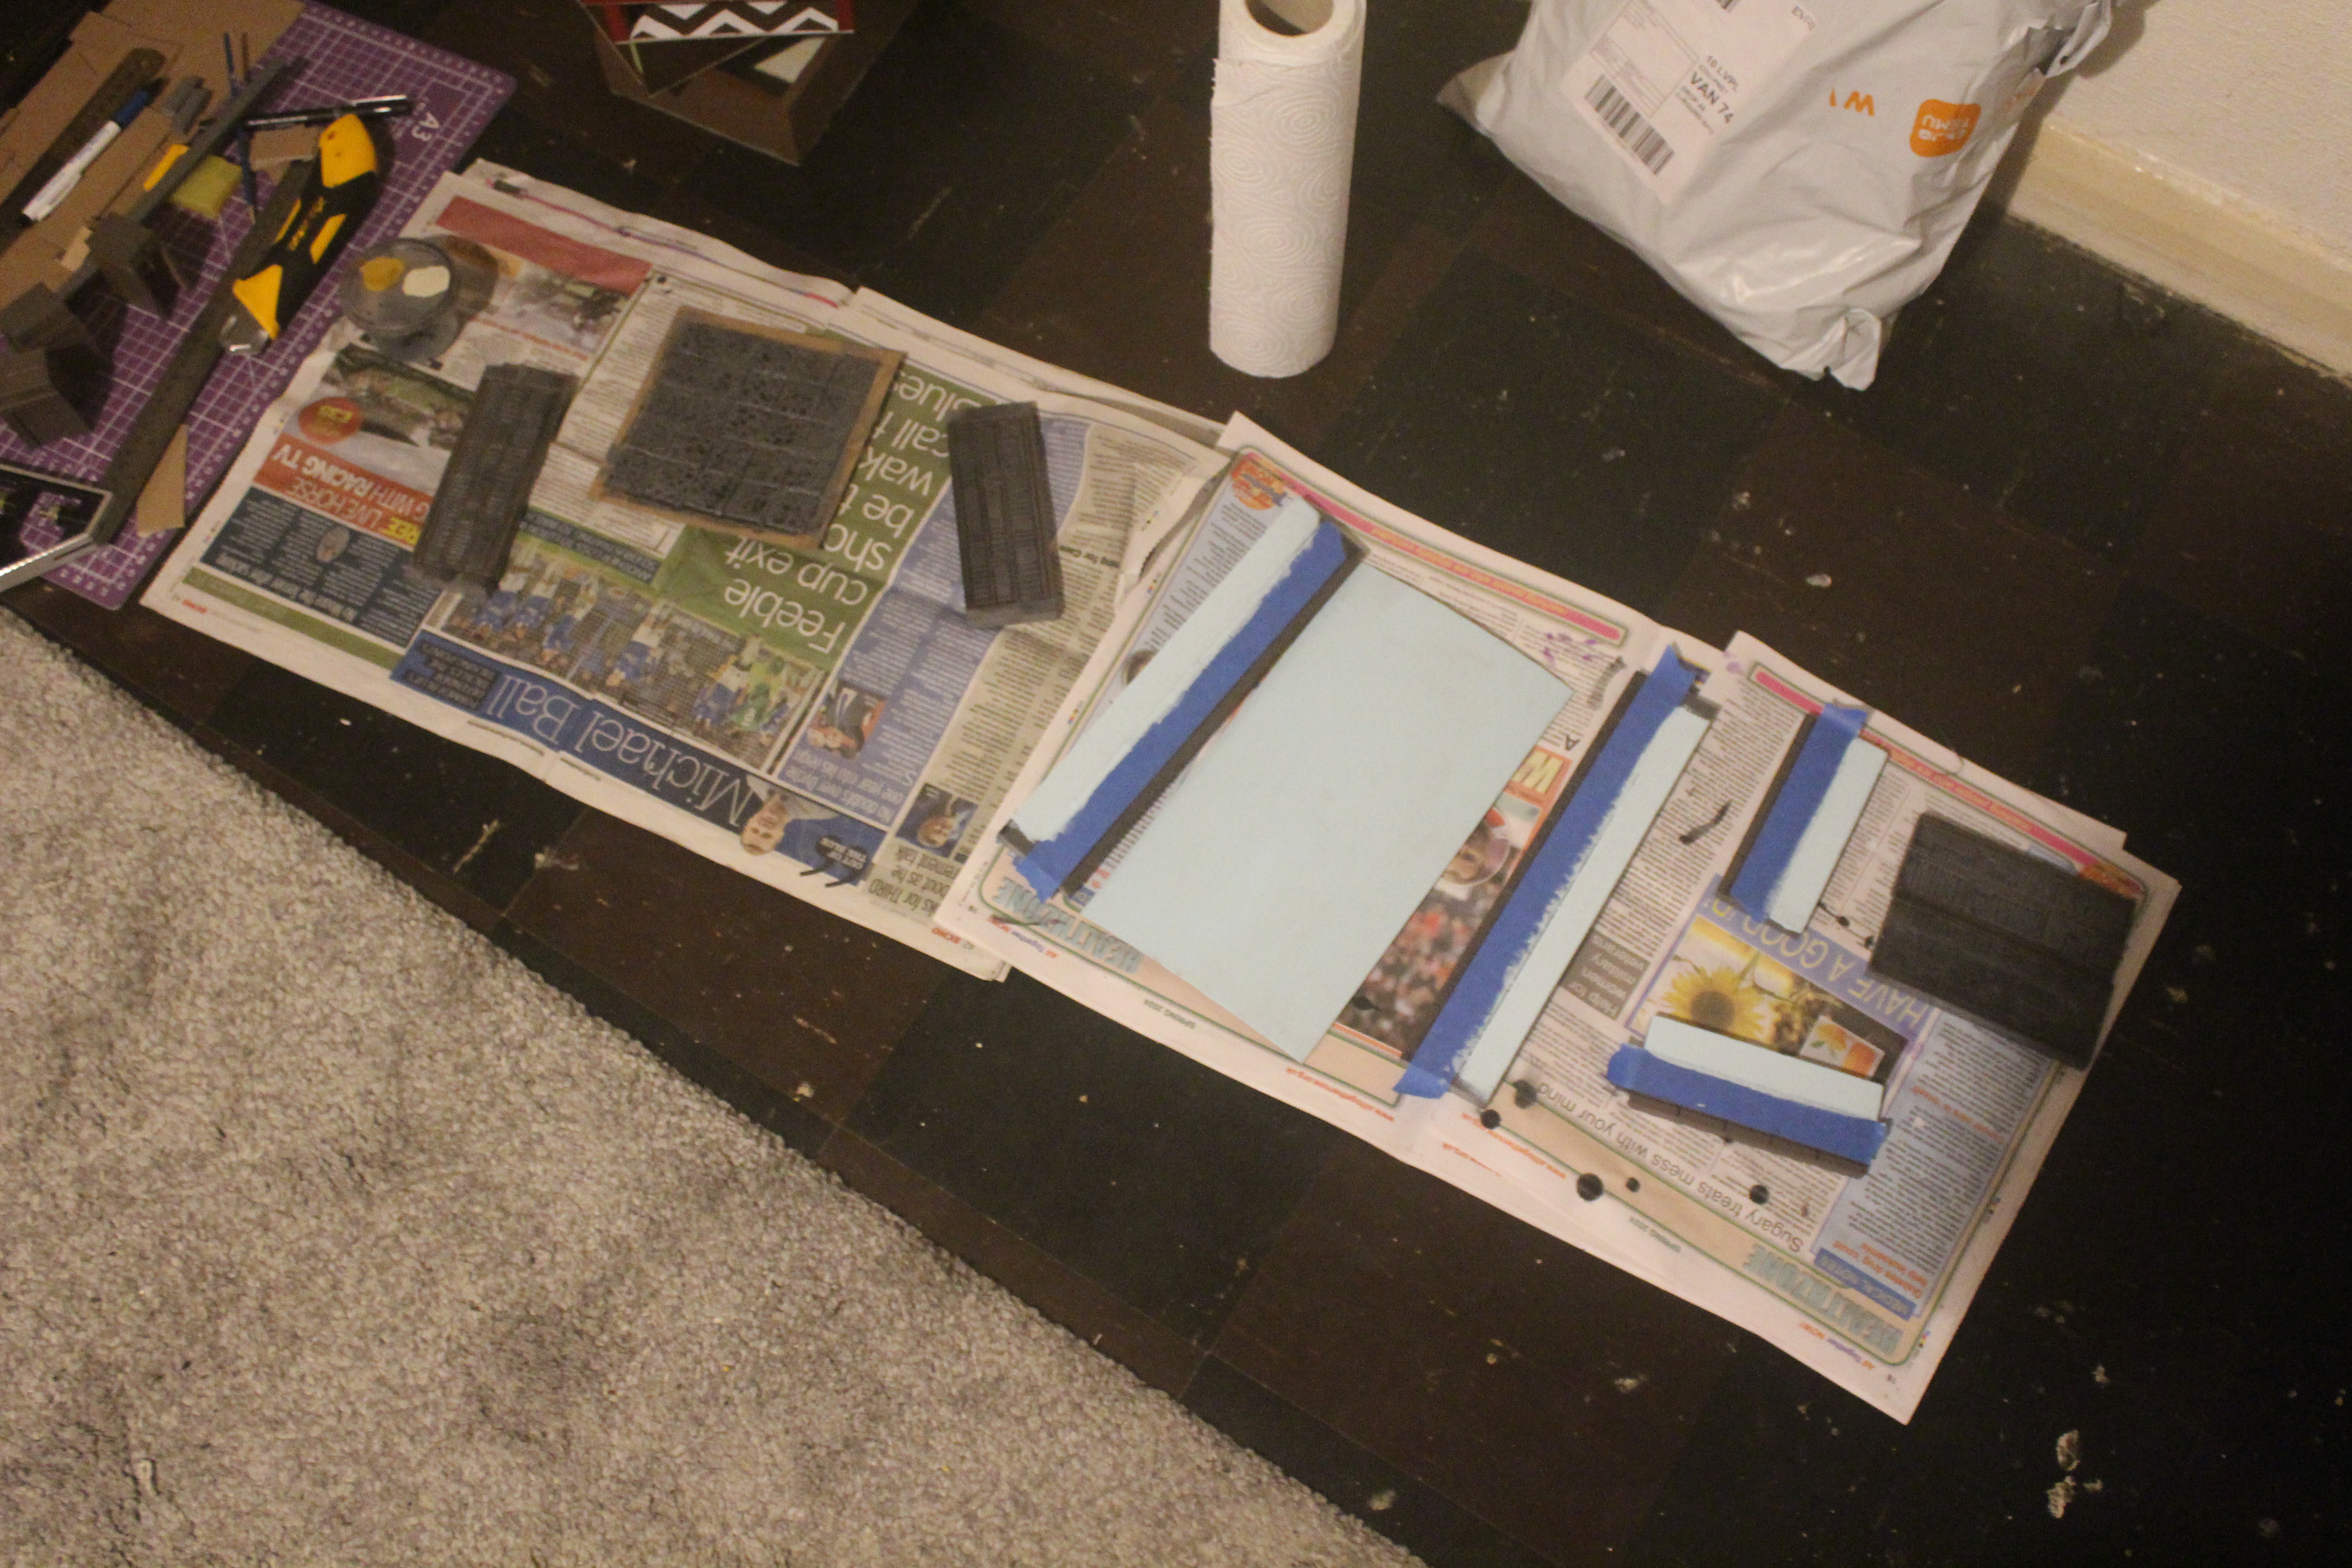
Mod Podge and paint came next. A straight Mod Podge for the book shelves and mix of grey paint and Mod Podge for the stone floor, I then added brown paint to this mix for all the wood including the bookcase frames. Once this was dried I applied a black wash over all of this then waited for ever for this to dry. After this it was the lower part of the Dining Room wall and then the fun part – painting all the books.
I also took this time to paint the outside of the previous rooms.
Then it was just a case of glueing it all together.
Of course when writing this I realised I had missed the grid in the Dining Room but but it’s not important as the panels on the walls can be used for movement purposes.
Tomorrow is time o put the finishing touches but as I only have a few hours I guess I won’t get all the doors and furniture finished but we’ll see.
A word about furniture and storage.
As you may have seen earlier, I built a bookshelf but in the last room the bookshelves are 2d. The reason for the 3d shelf is that it is actually the entrance to a secret passage.
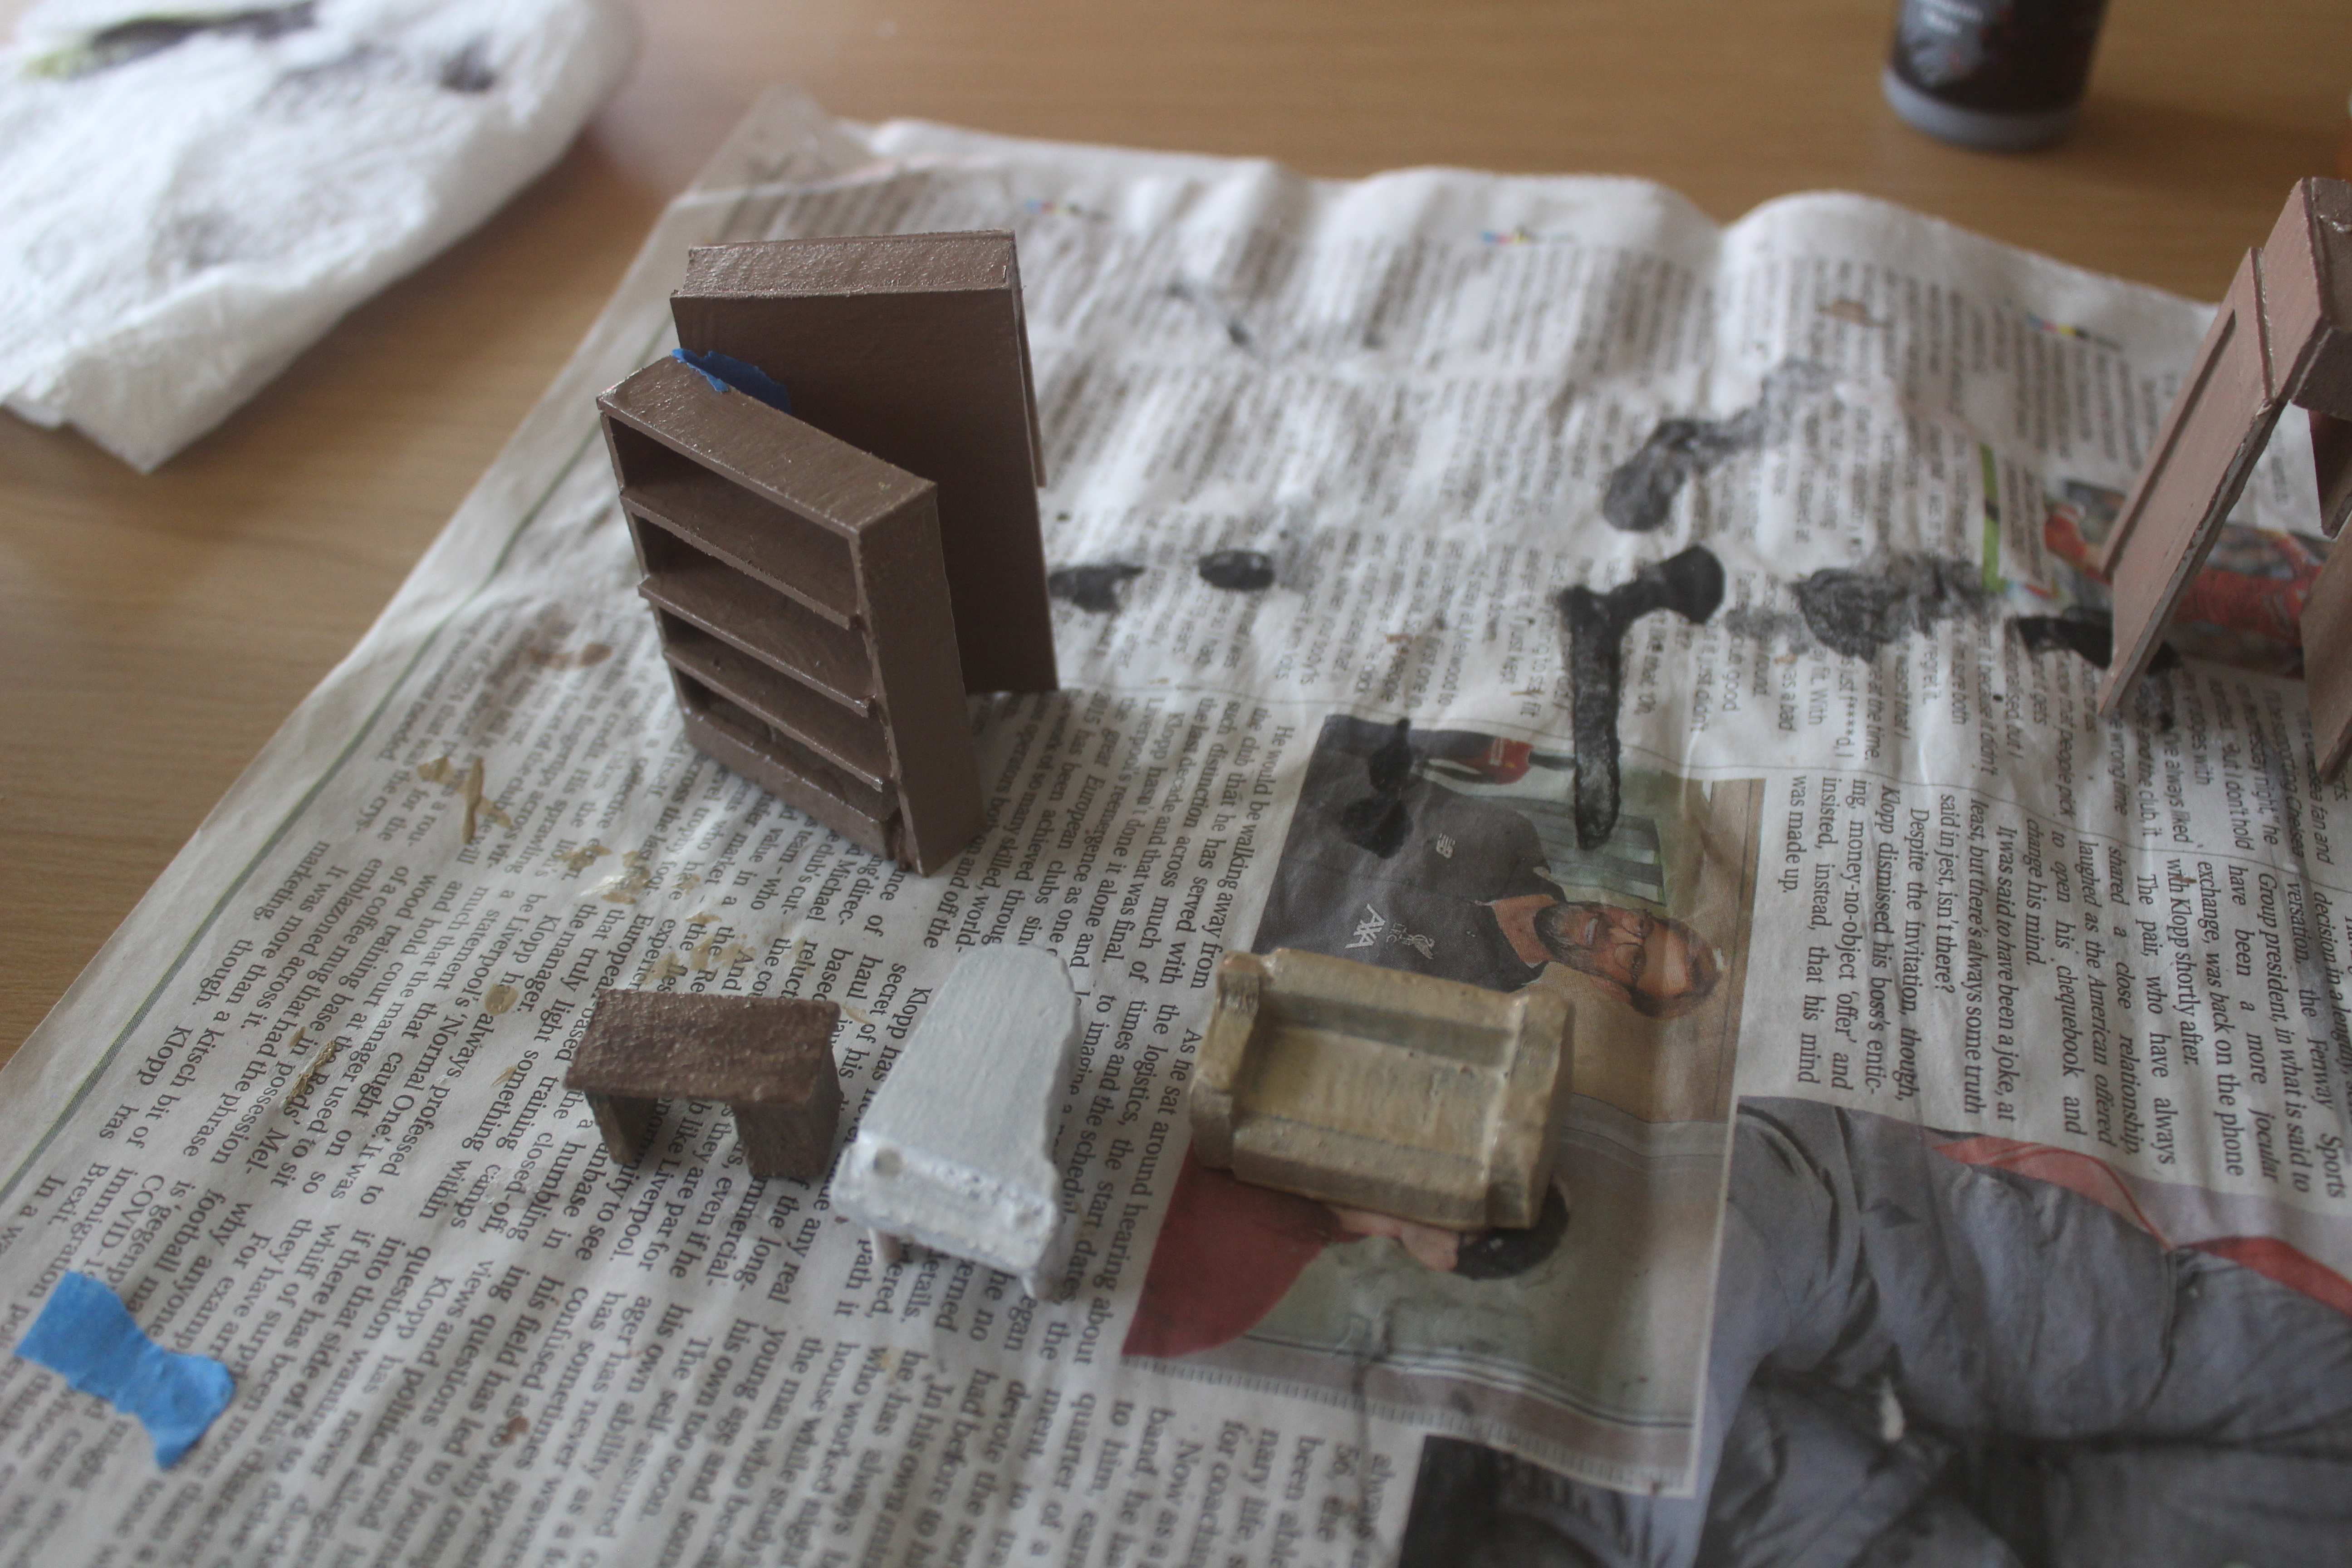
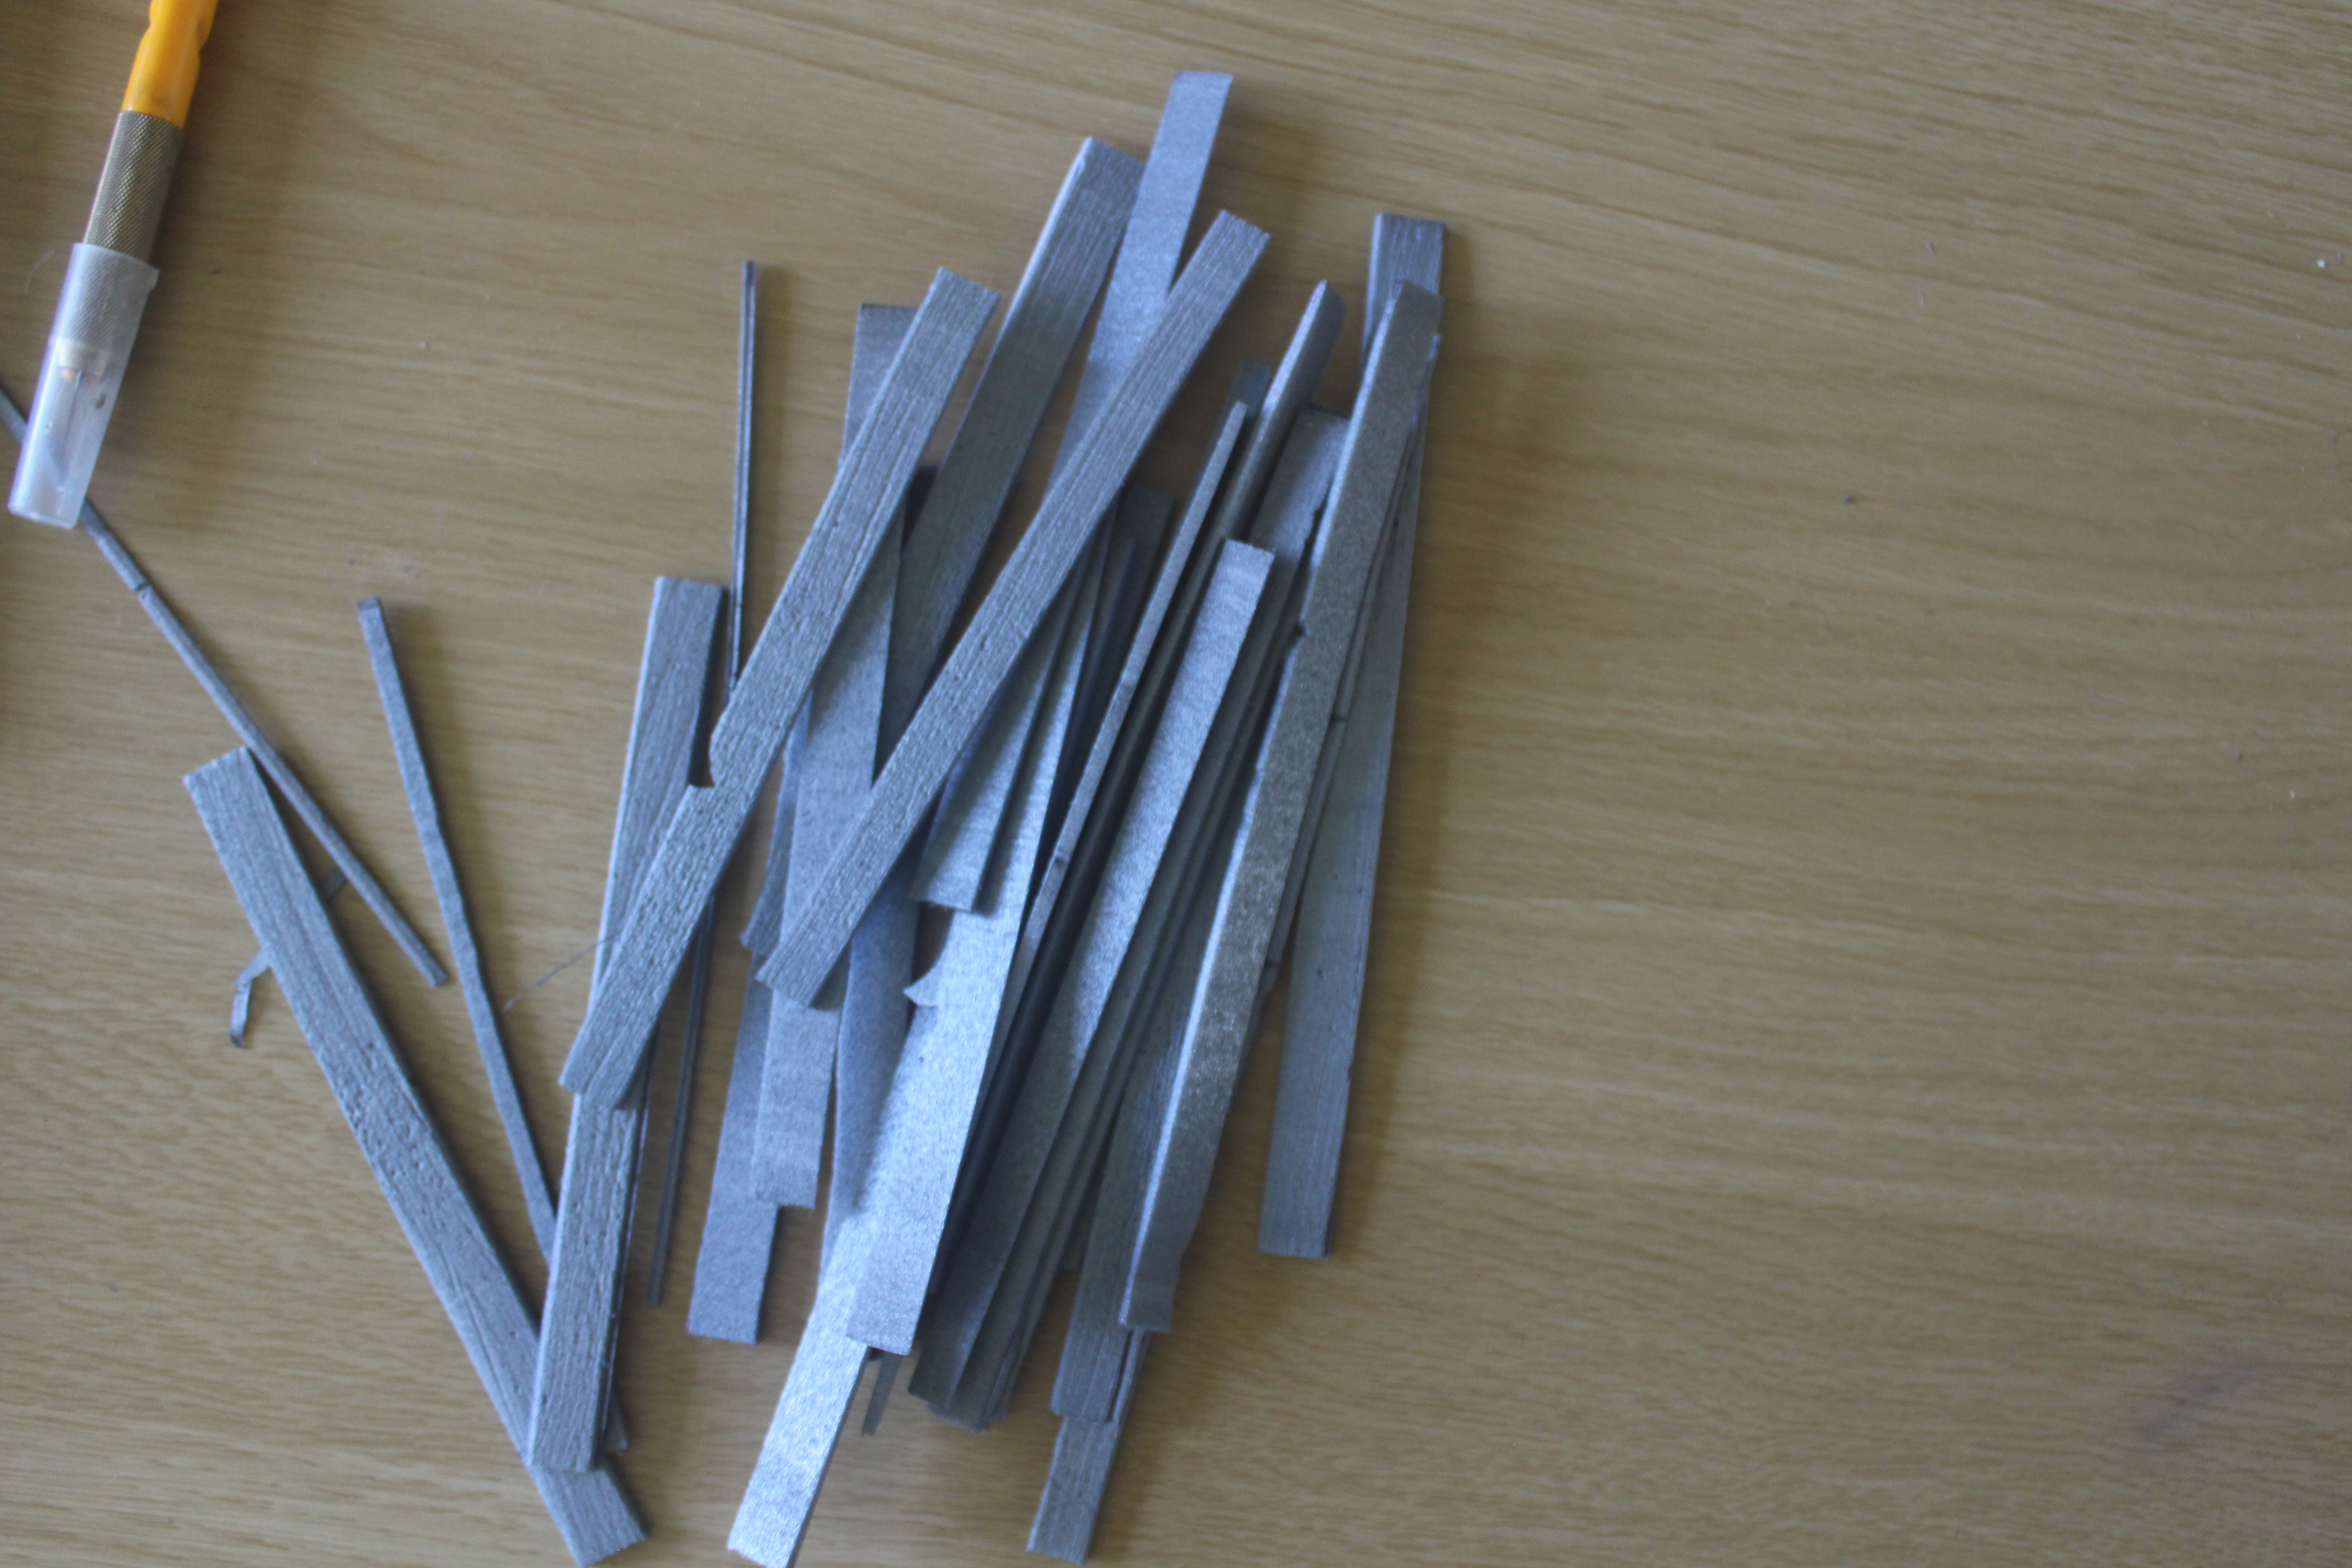
I’ve also started making some incidental furniture, not really to scale but with the small space in the rooms any terrain needs to basically only fill a 1 inch square. So far I have a desk, a sofa and a grand piano all freehand cut from XPS with bamboo skewers for the piano legs and painted with coloured mod podge.
As for storage of the other type, as the rooms are all more or less built around the same multiples of dimensions (apart from the corridor), they all stack neatly and due to the depth all the furniture and clips can be stored inside the stacked rooms. I did consider adding magnets ensure the stacked rooms stayed together and may add these later.
It's astounding, Time is fleeting, Madness takes its toll ...
Wish I could do the time warp, I basically have 2 full days and a bit to get as much finished as I can, 3 rooms, doors and furniture. So far the rooms have taken a day each to complete – drying time being the the biggest issue, so time to get smart….
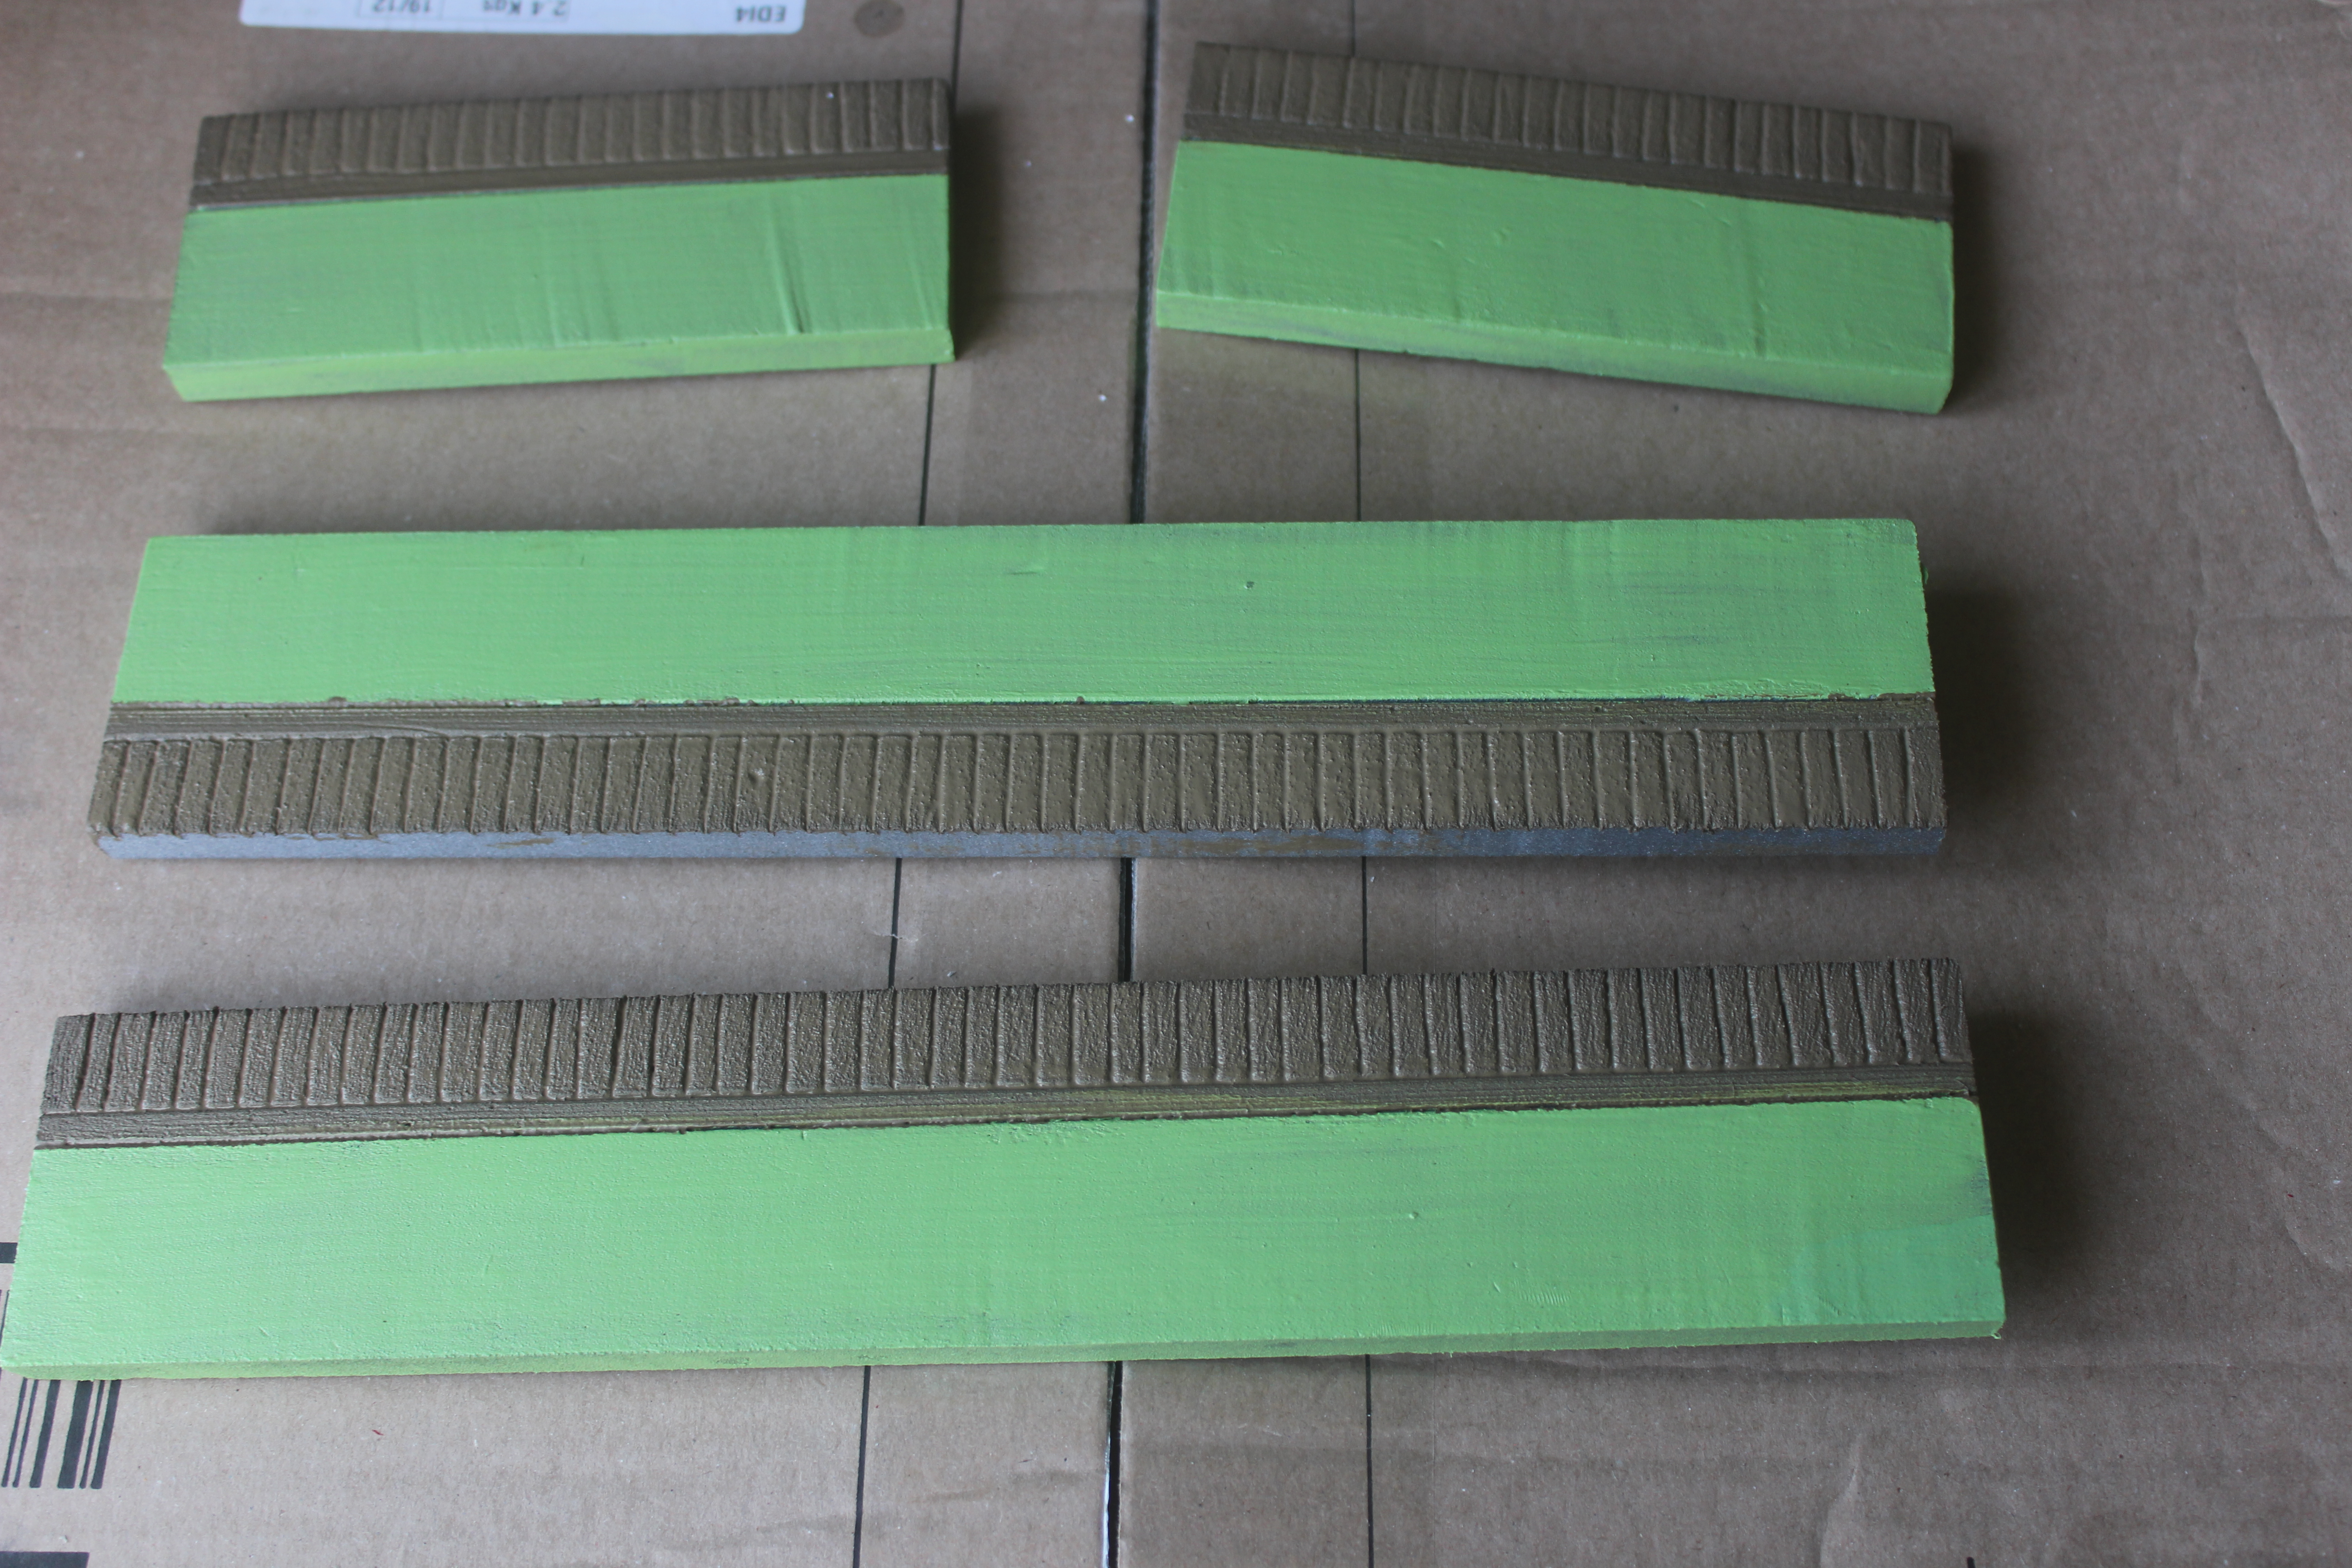
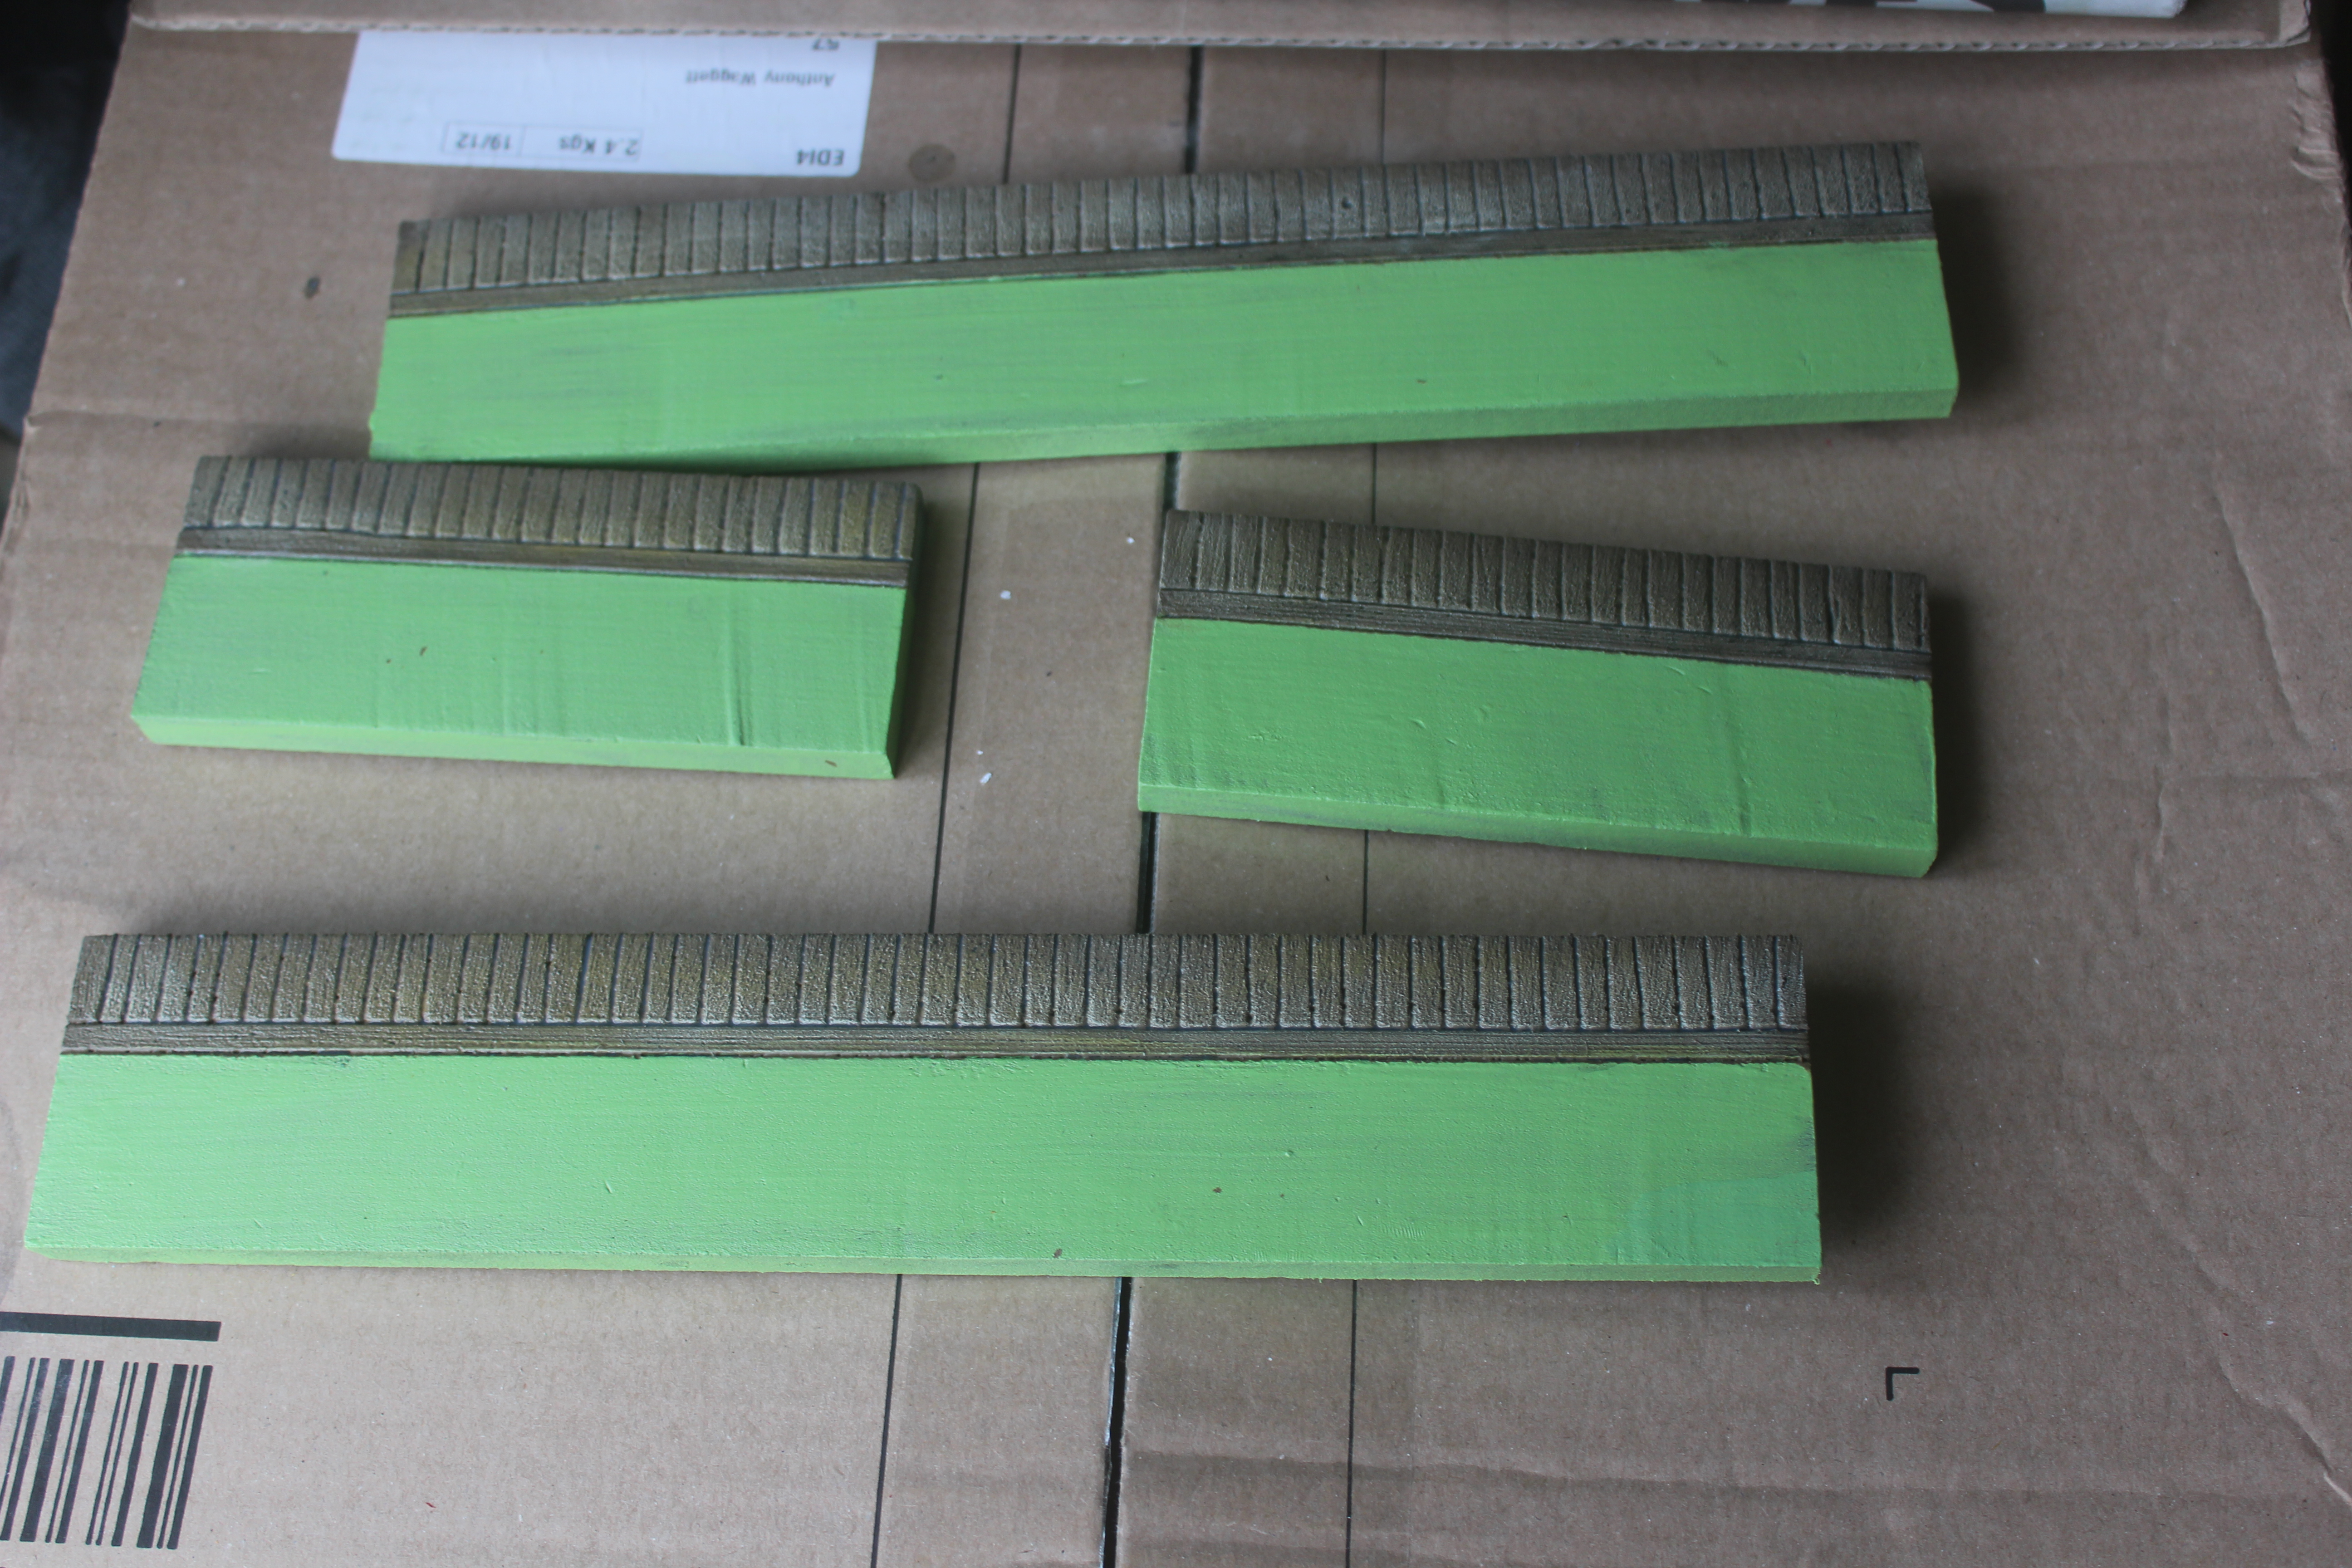
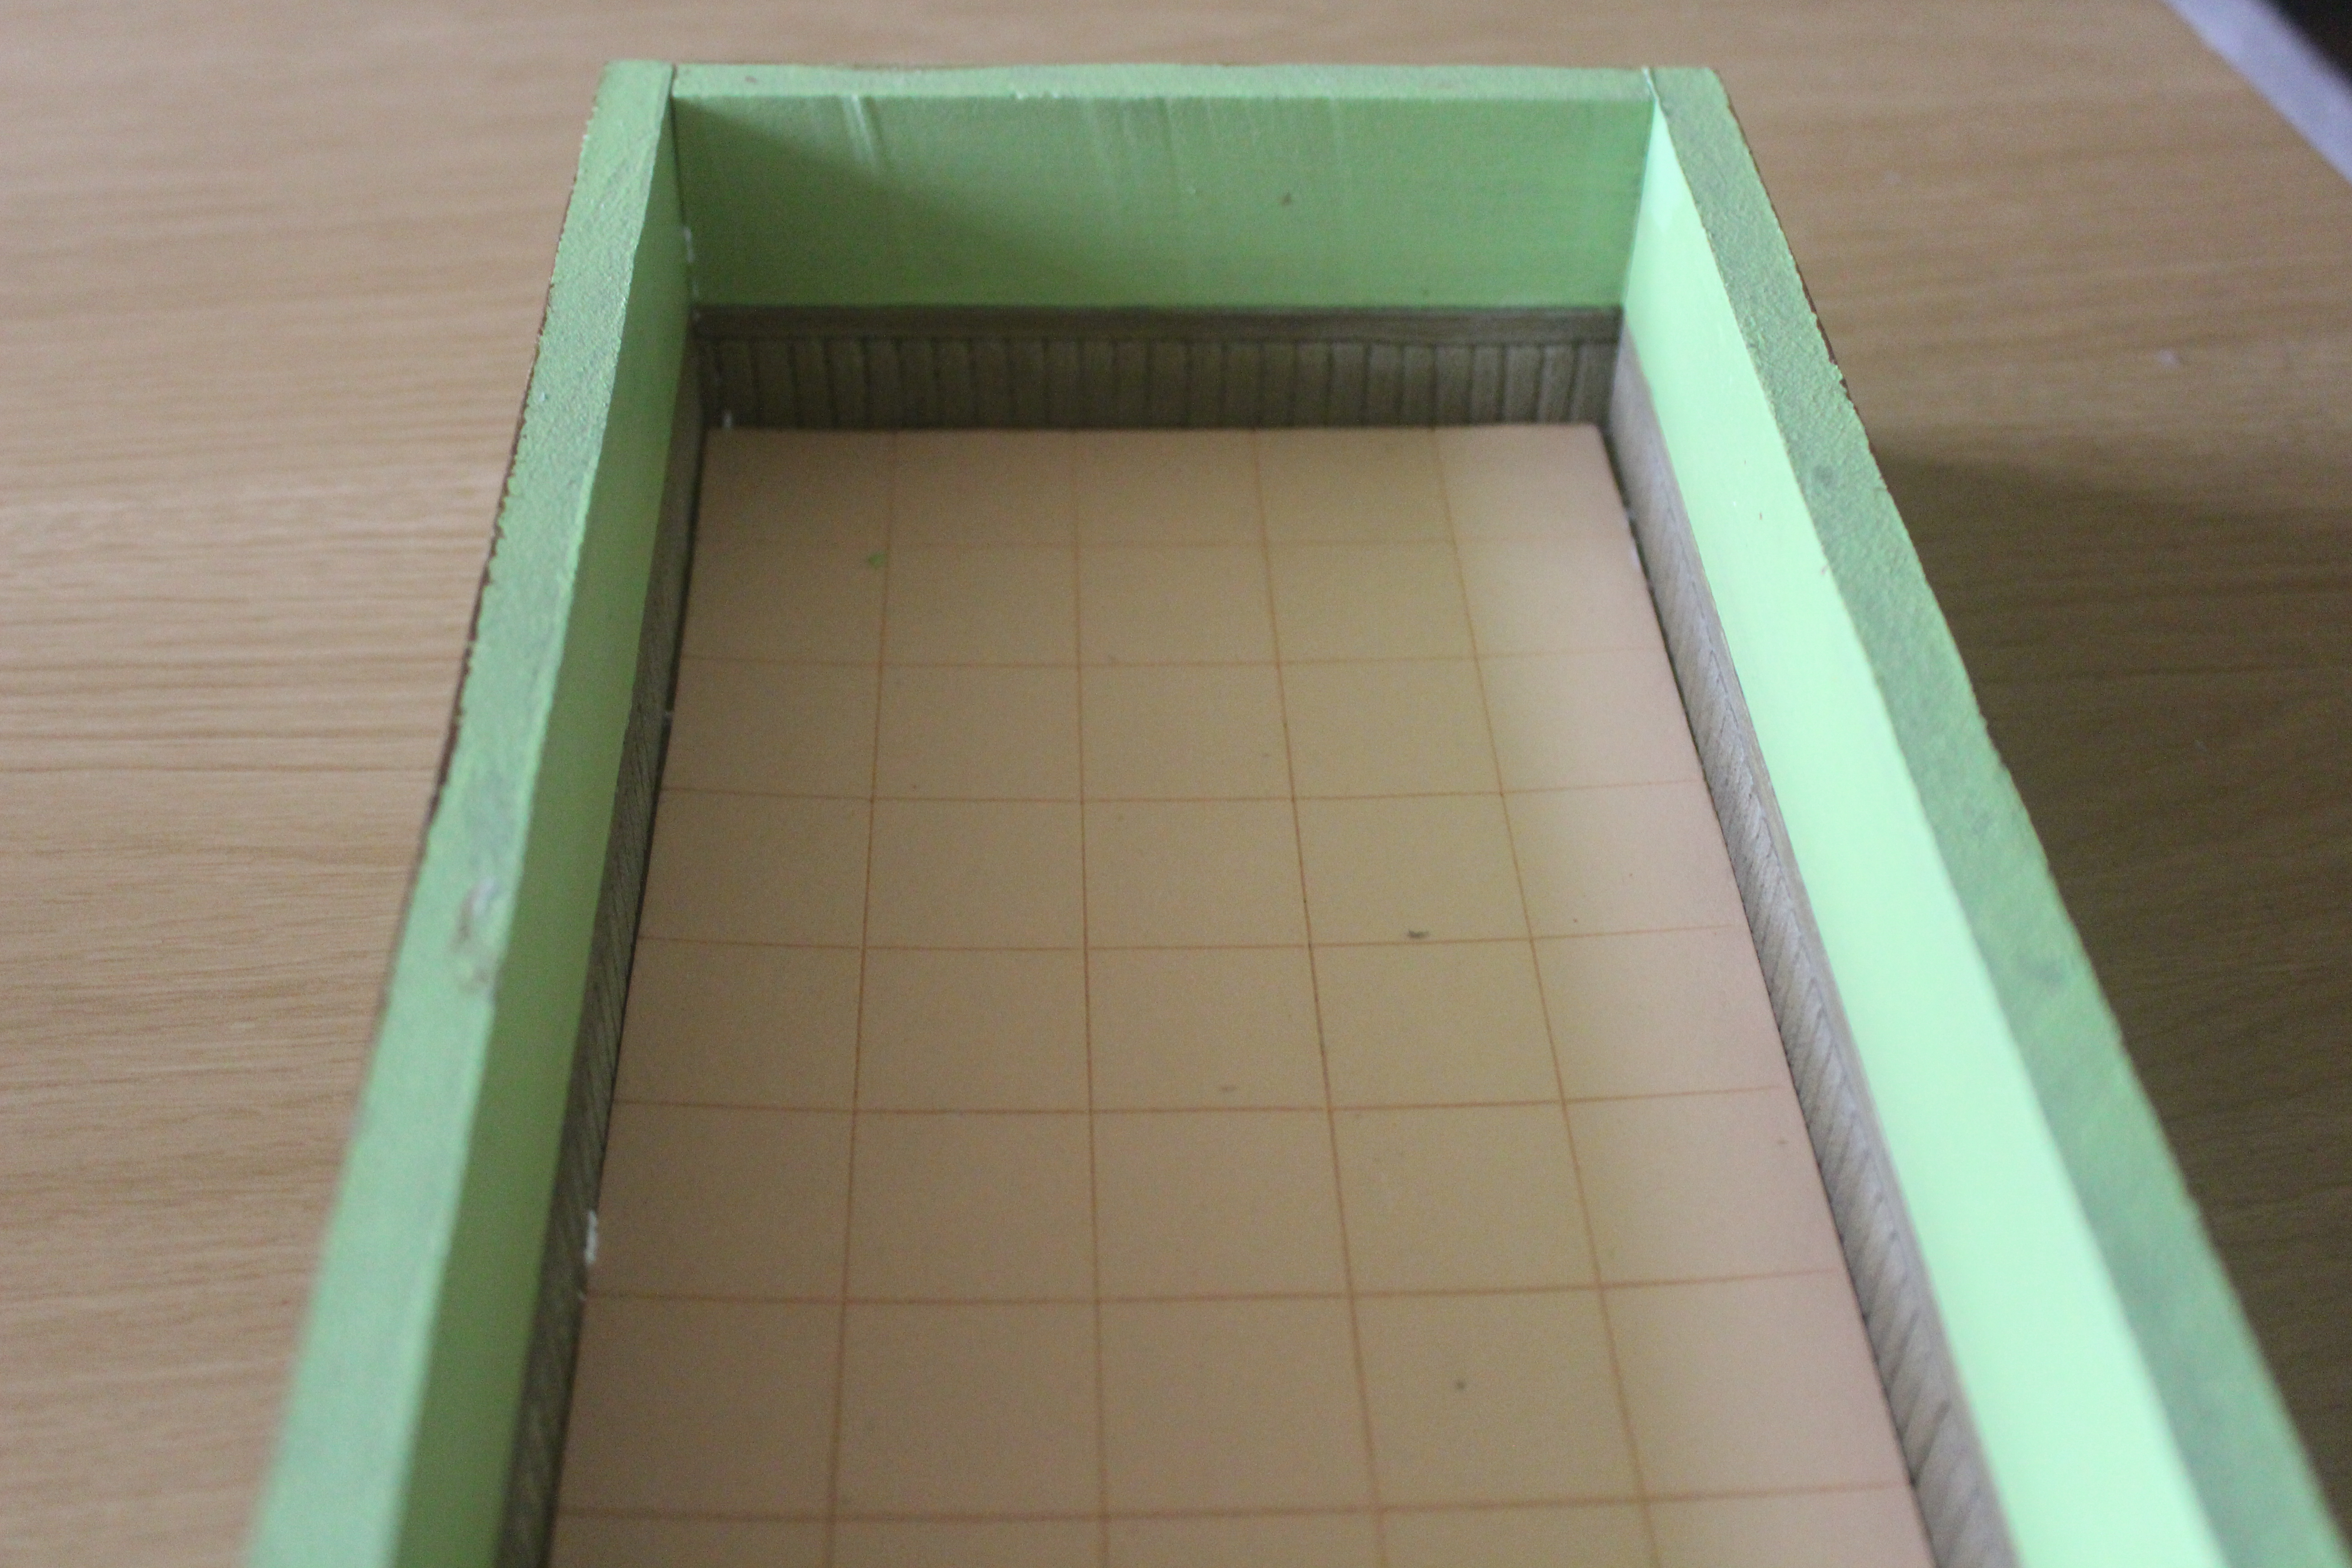
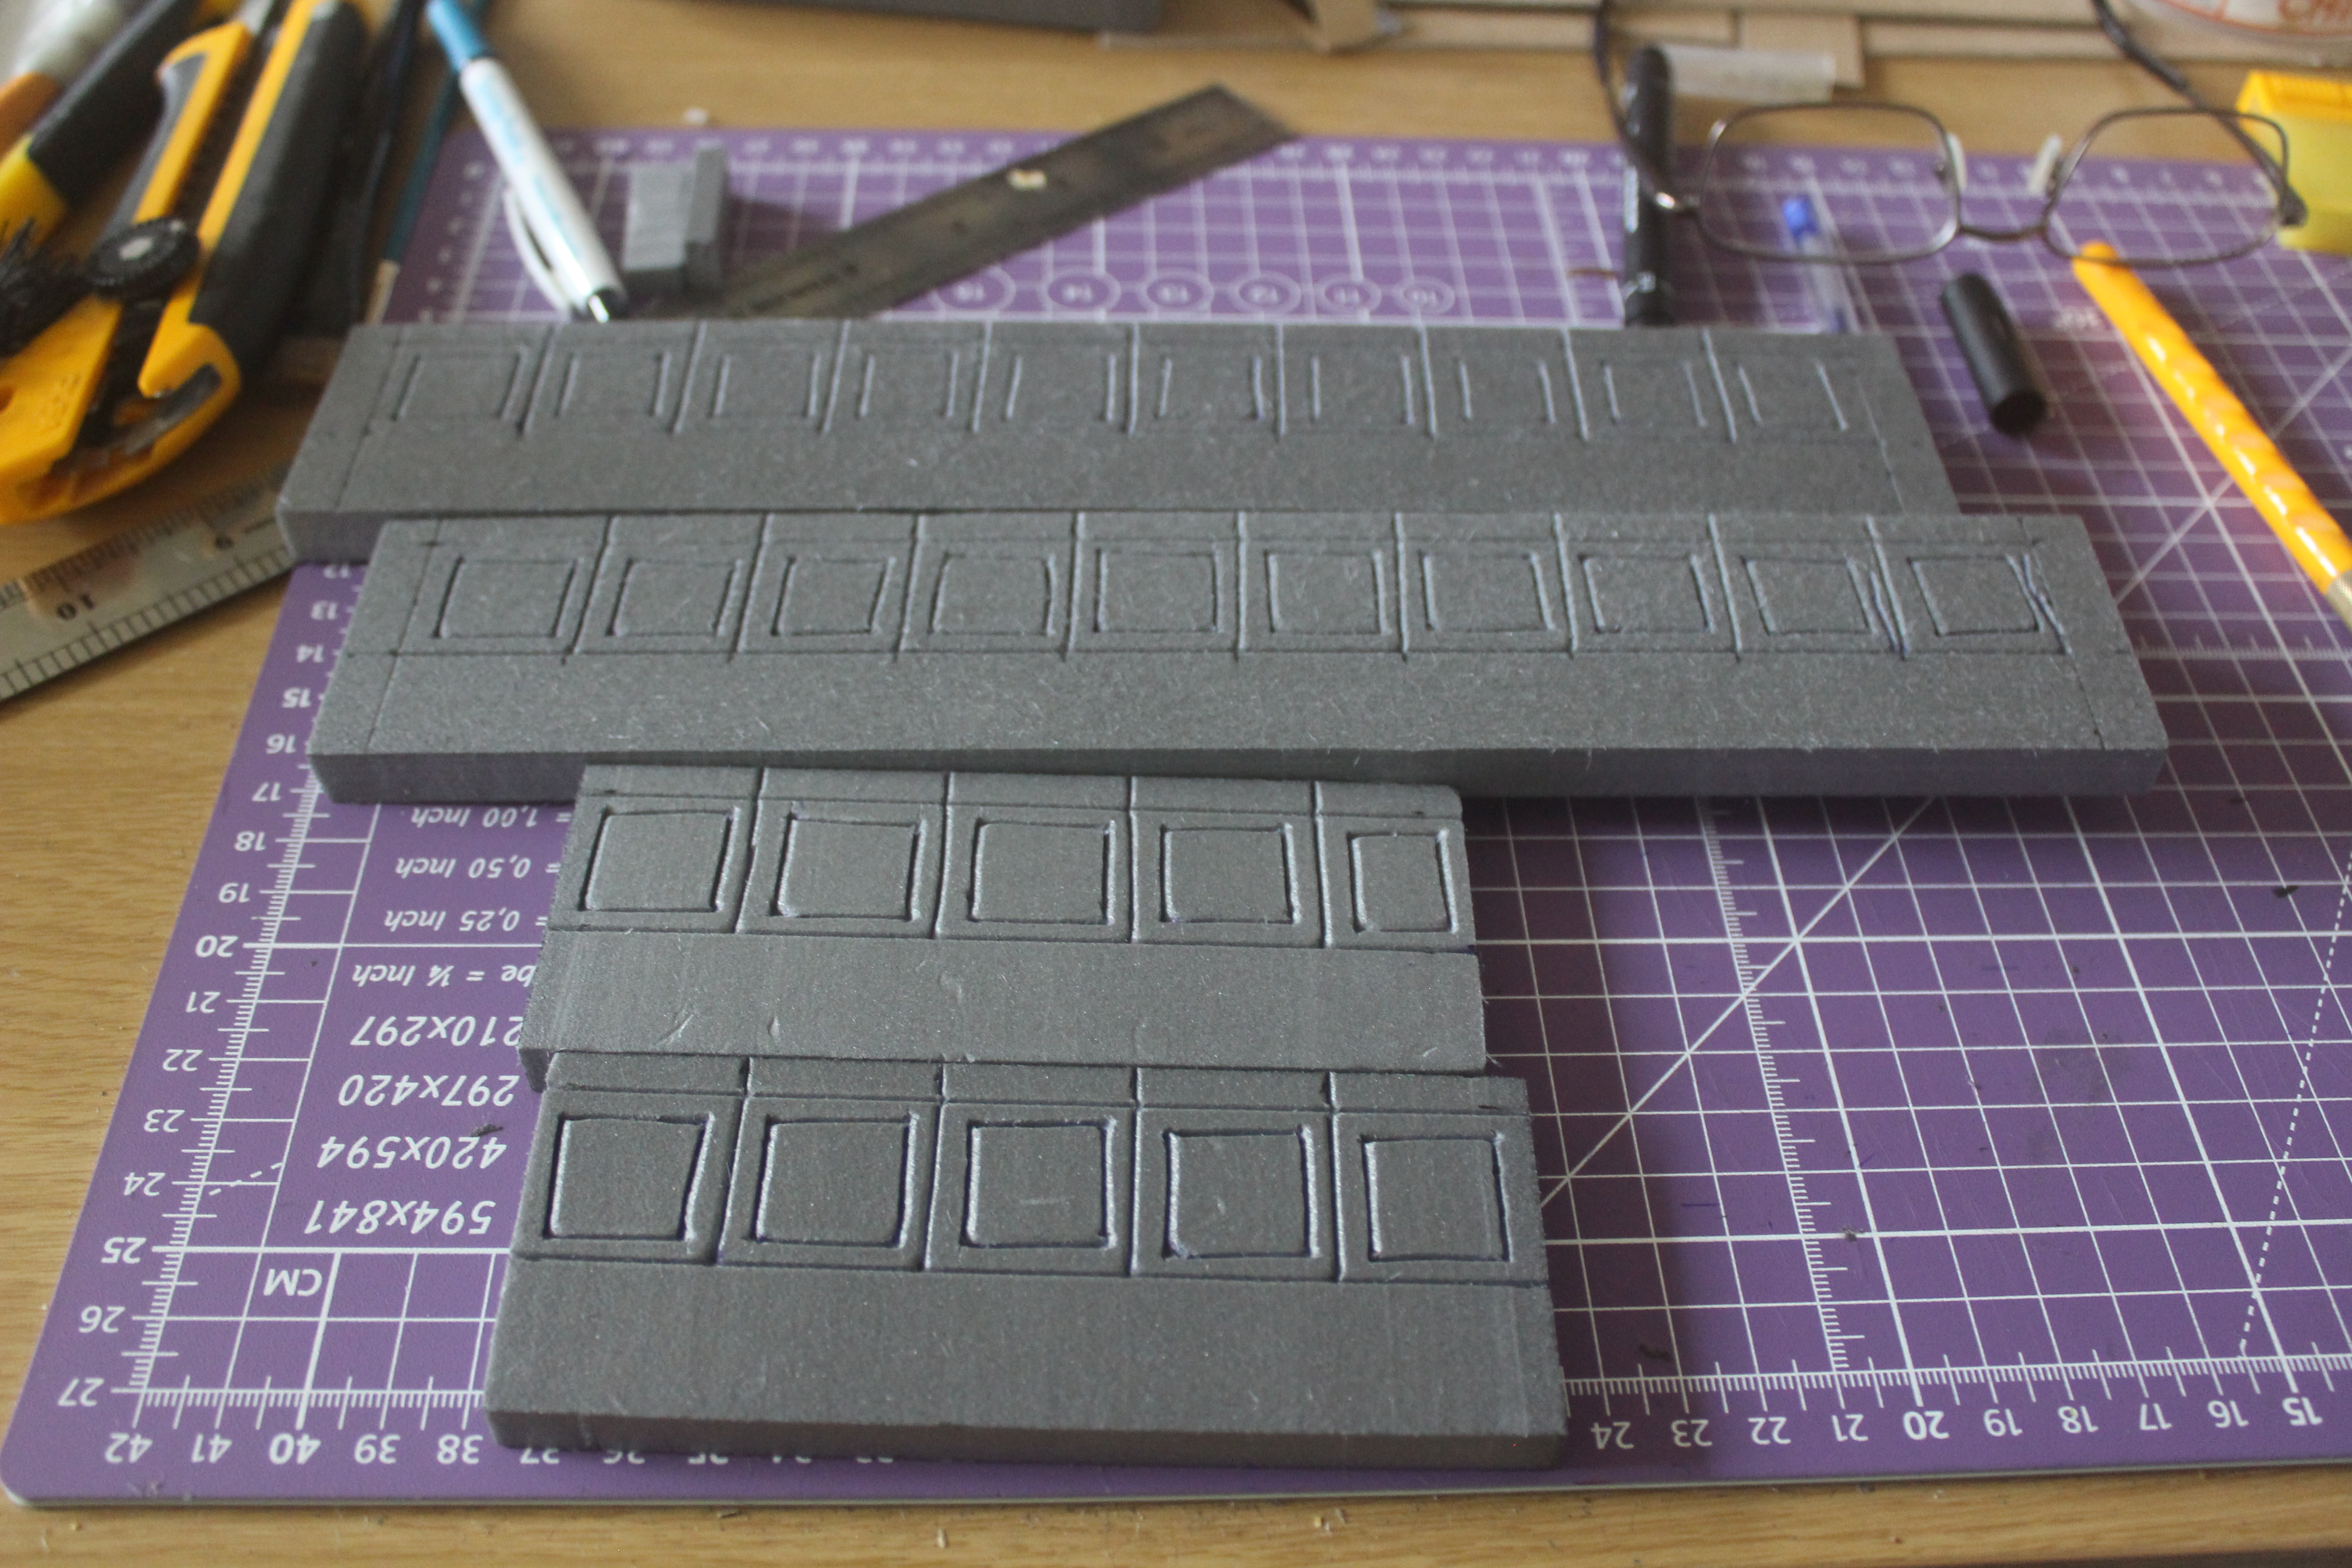
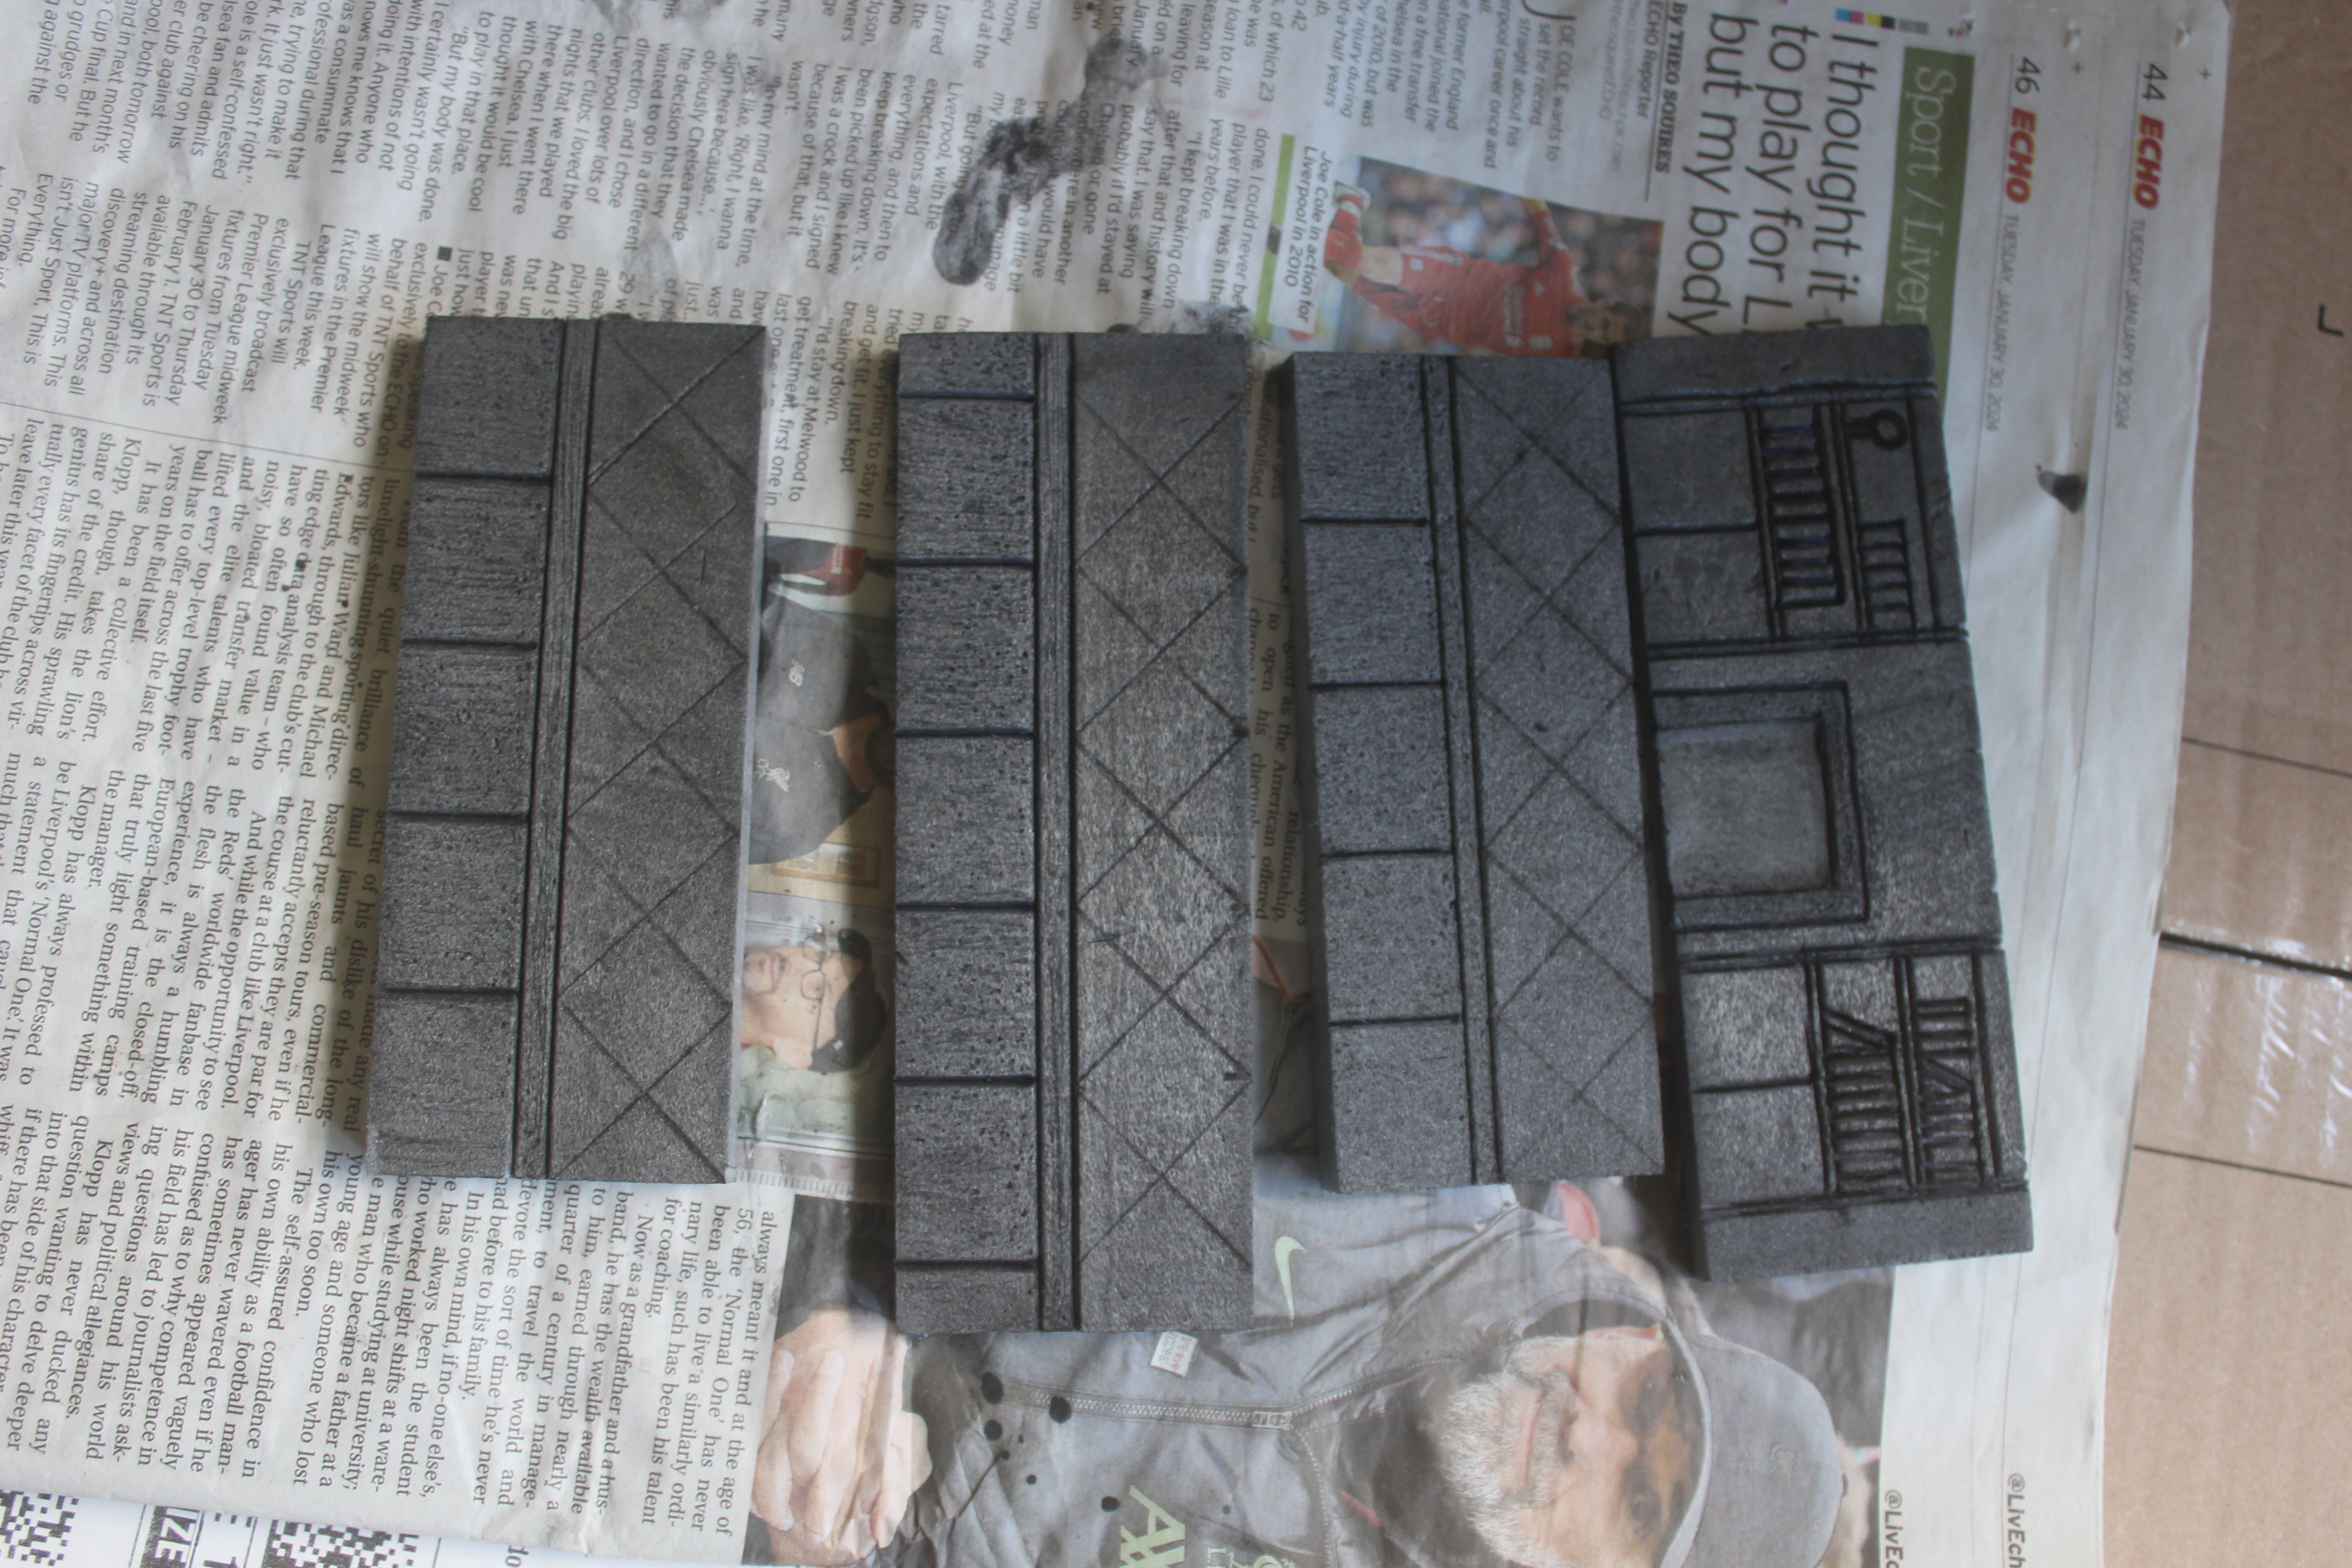
Anyway the dice throw gave me a 5 so it’s off to the study. I checked on some reference pictures of Victorian studies and decided that this room needed bookcases and a fireplace as permanent features. This I did by carving and impressions in the foam of one of the walls. The other 3 I kept fairly simple, wooden panels on the lower part and a simple pattern on the top section.
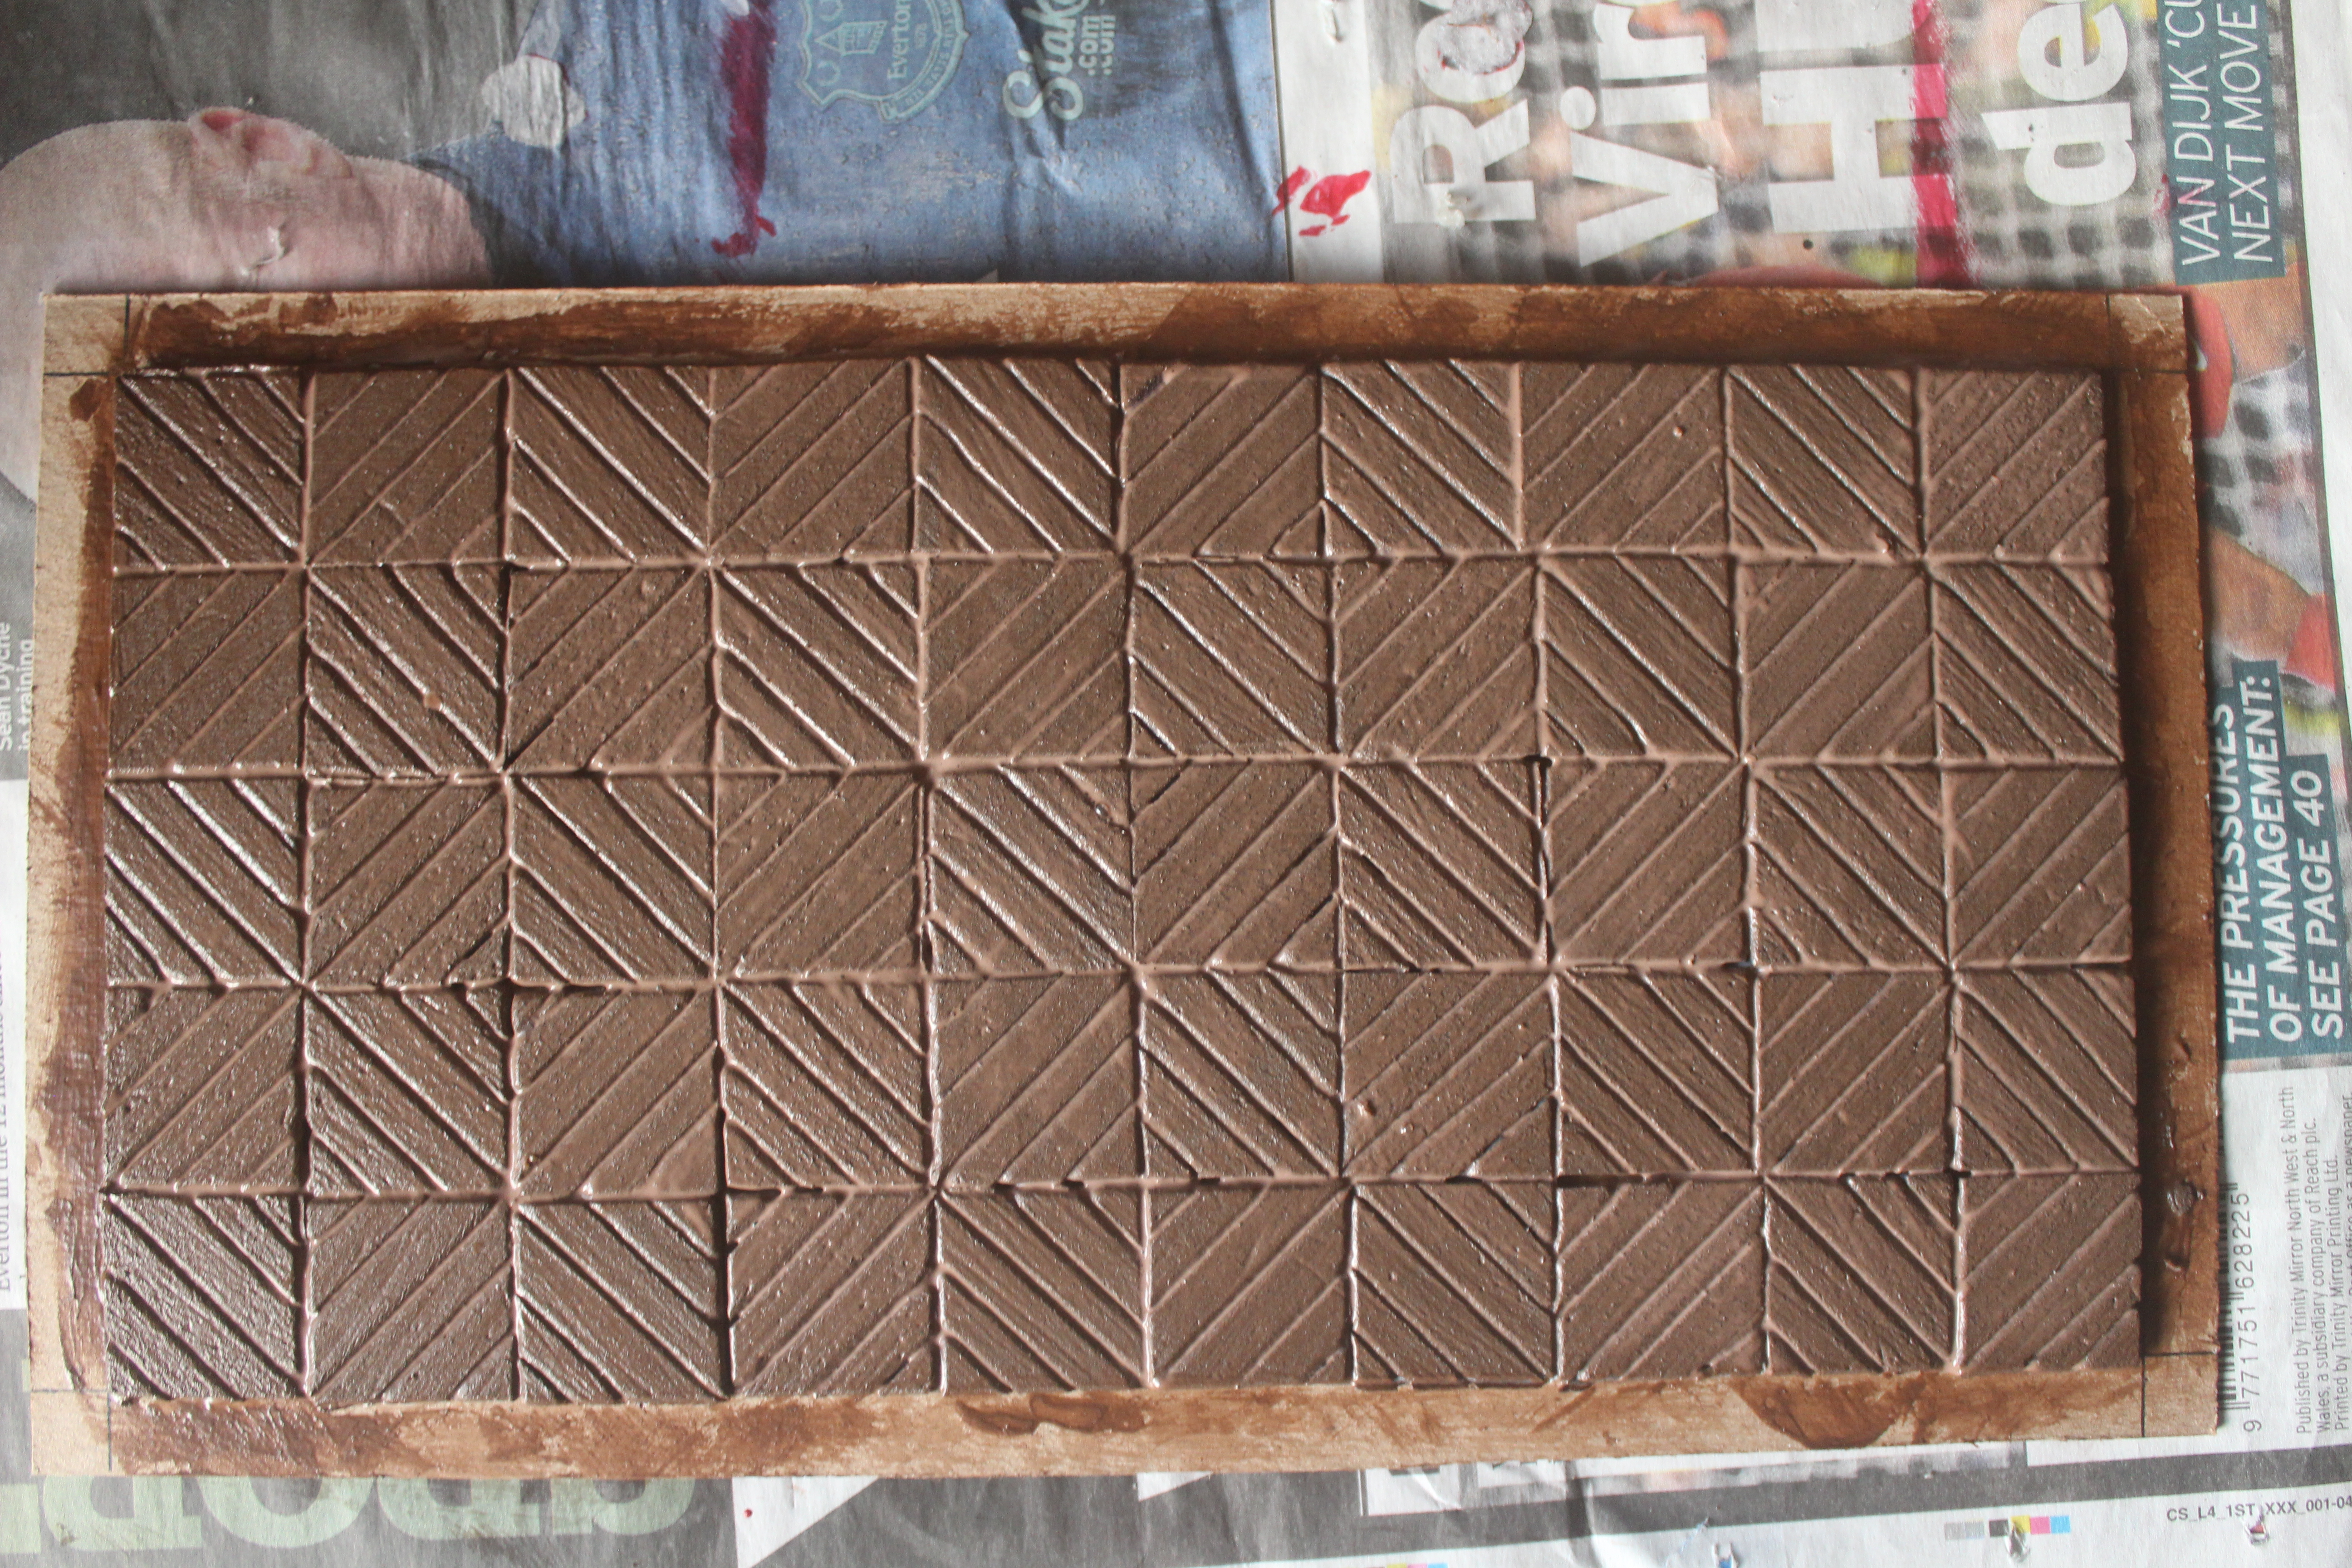
The floor of this room is wooden planks on the diagonal, made in the same way as I did the wooden tiles, then marked out with a fine liner for the grid.

After glueing the planks down and trimming them to size I heavily dry brushed some light skin tone across the floor to give some light patterns (maybe went a bit too heavy). This was then all brushed with a couple of coats of black wash.
I had decided that this room would be a monochrome design to give it a noir-ish feel.
I picked out some of the books on the shelves with the skin tone, white, back and grey to make them stand out a bit more before applying the wash to all the walls, going a bit darker on the lower, wooden panelled portion of the other 3 walls.


And all put together. Same as the previous room I will mod podge the outsides at a later date.
I threw a 3 so the Library is next which just leaves me with the dinning room and about 8 sets of doors to complete. I had hoped to make a bit more ‘set dressing’ but that may come after the end of the Dungeonalia.

A space to live in
I forgot to roll the dice after the last room, so a chucked one this morning and it was a number 2. That is the living room, or the front room as it was always known when I was a youngster (regardless of where it was in the house). I decided that this one needed to have wallpaper and a rug but as I’m trying to keep away from anything digital, apart from this blog thing, I couldn’t just simply print out some wall paper and a rug design, so I decided to keep it simple. Of course I couldn’t keep everything simple so I decided on a patterned wooden floor. Let’s look at the wallpaper first.
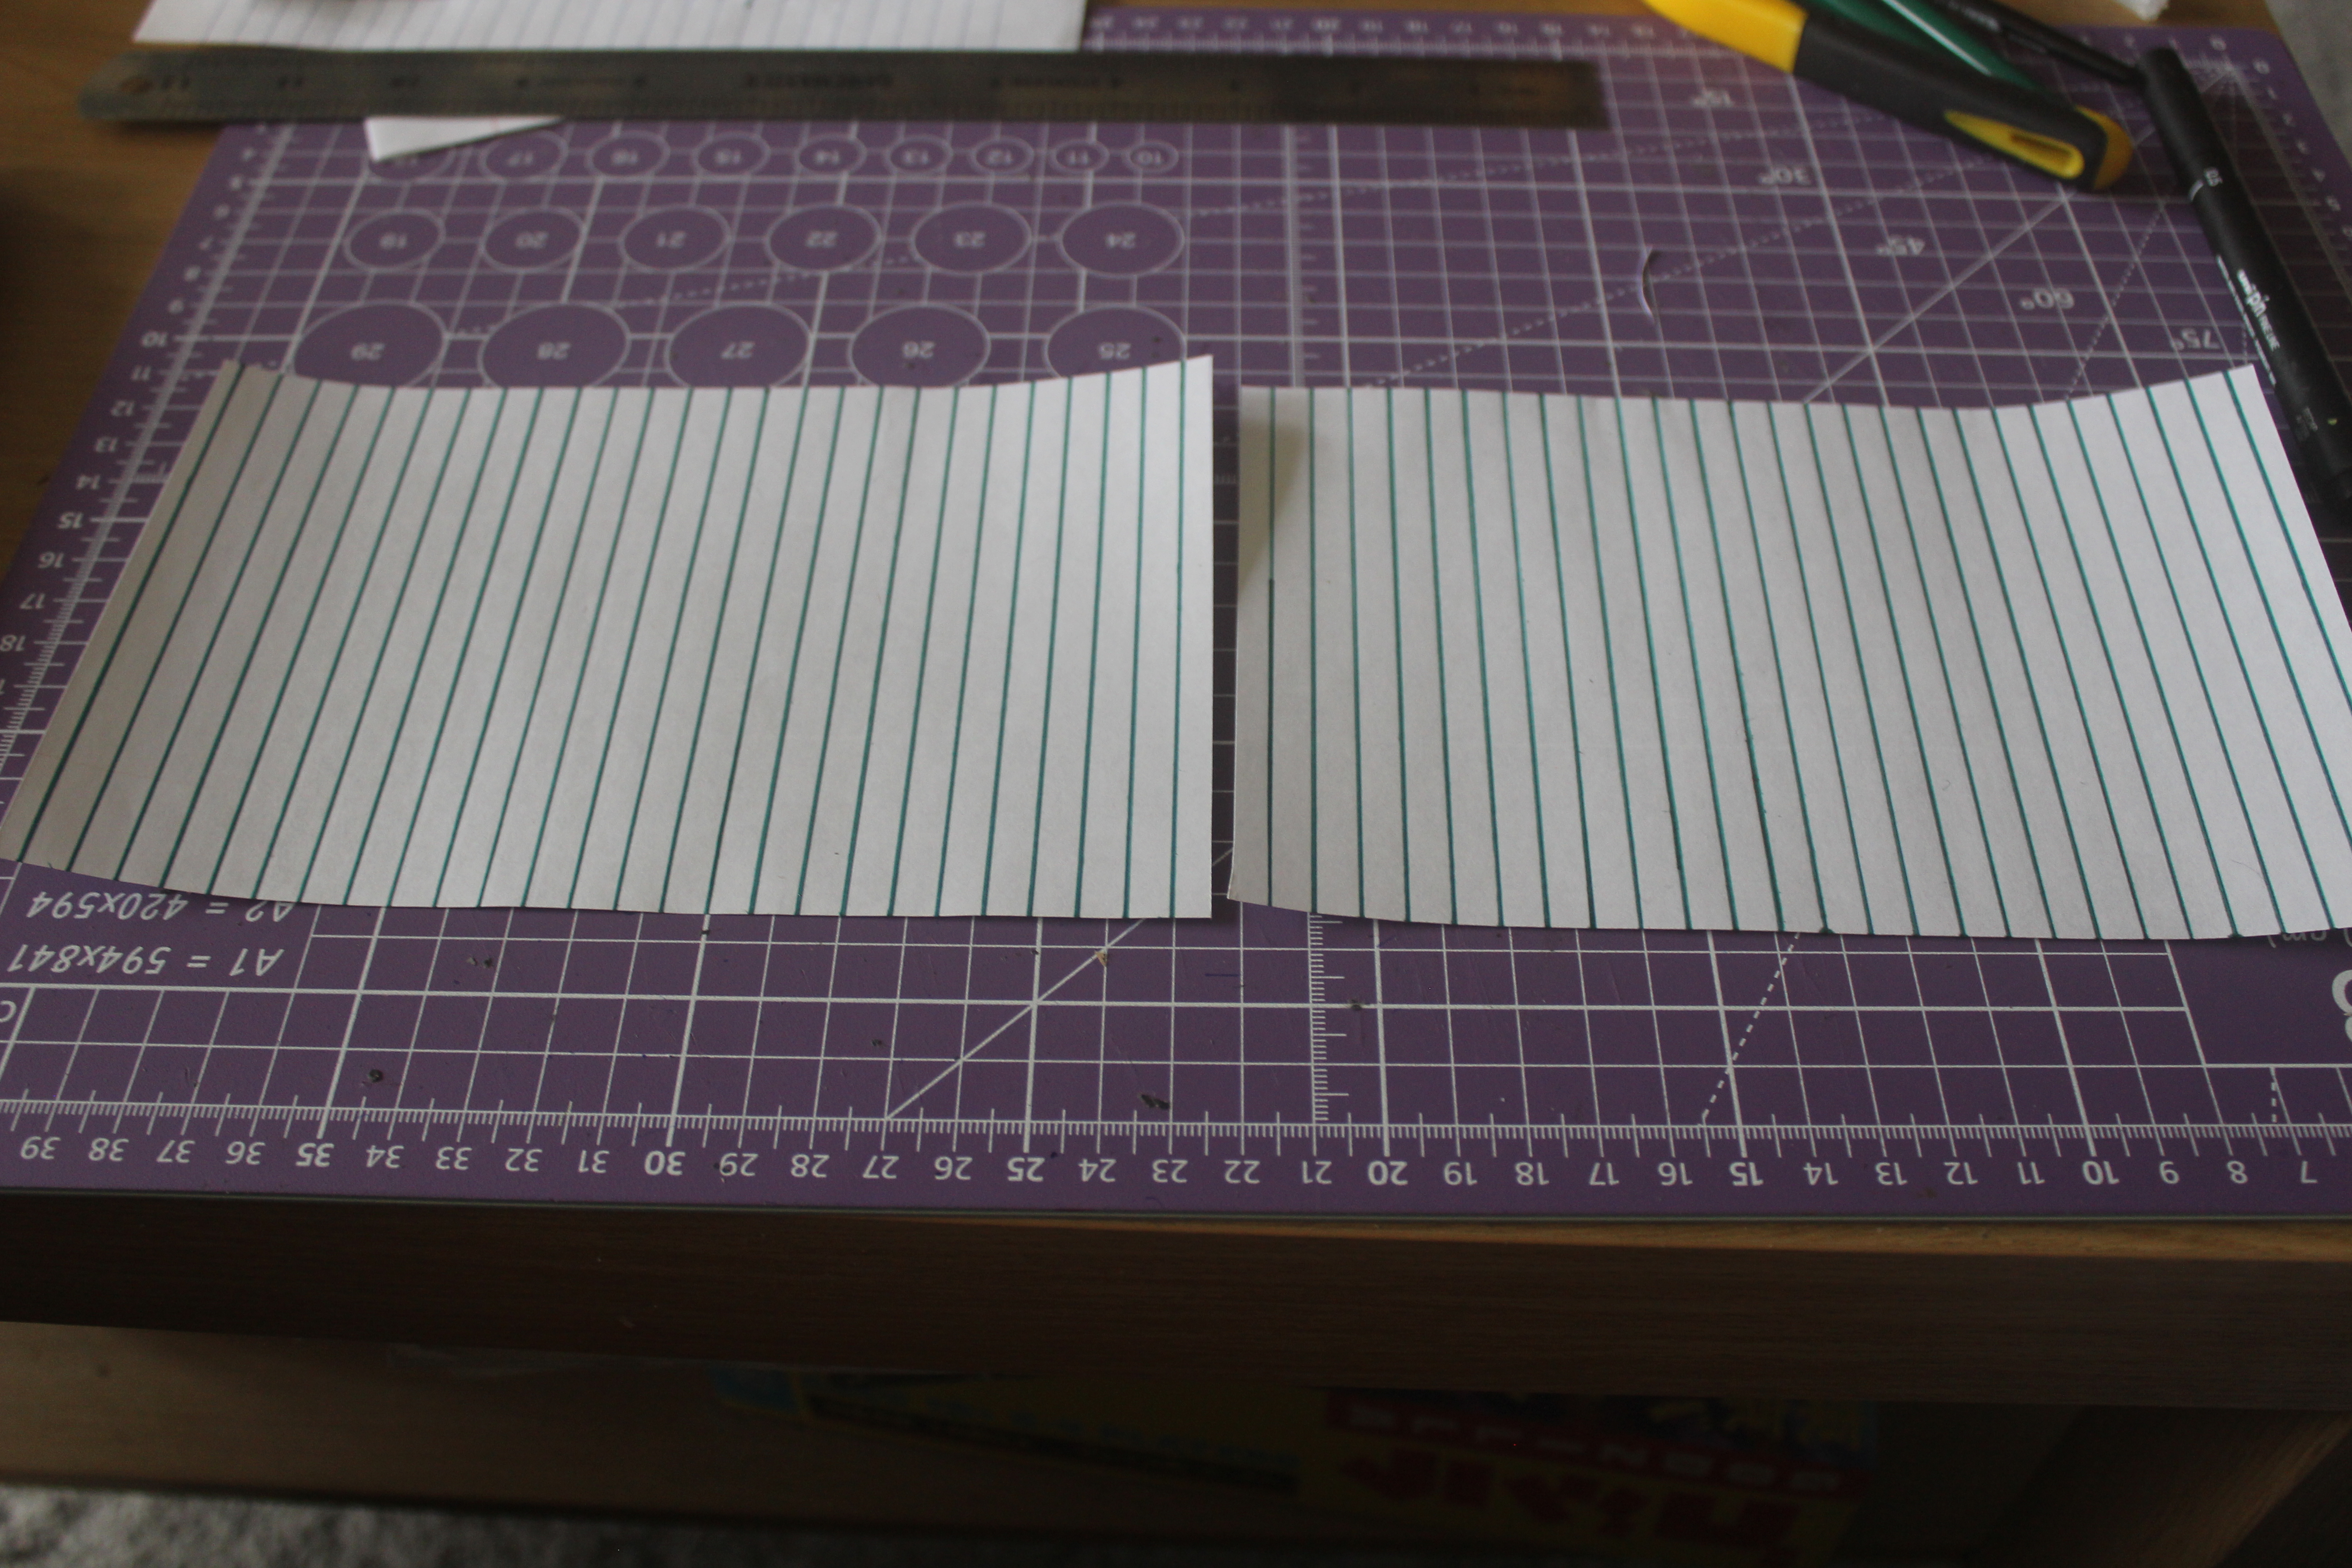
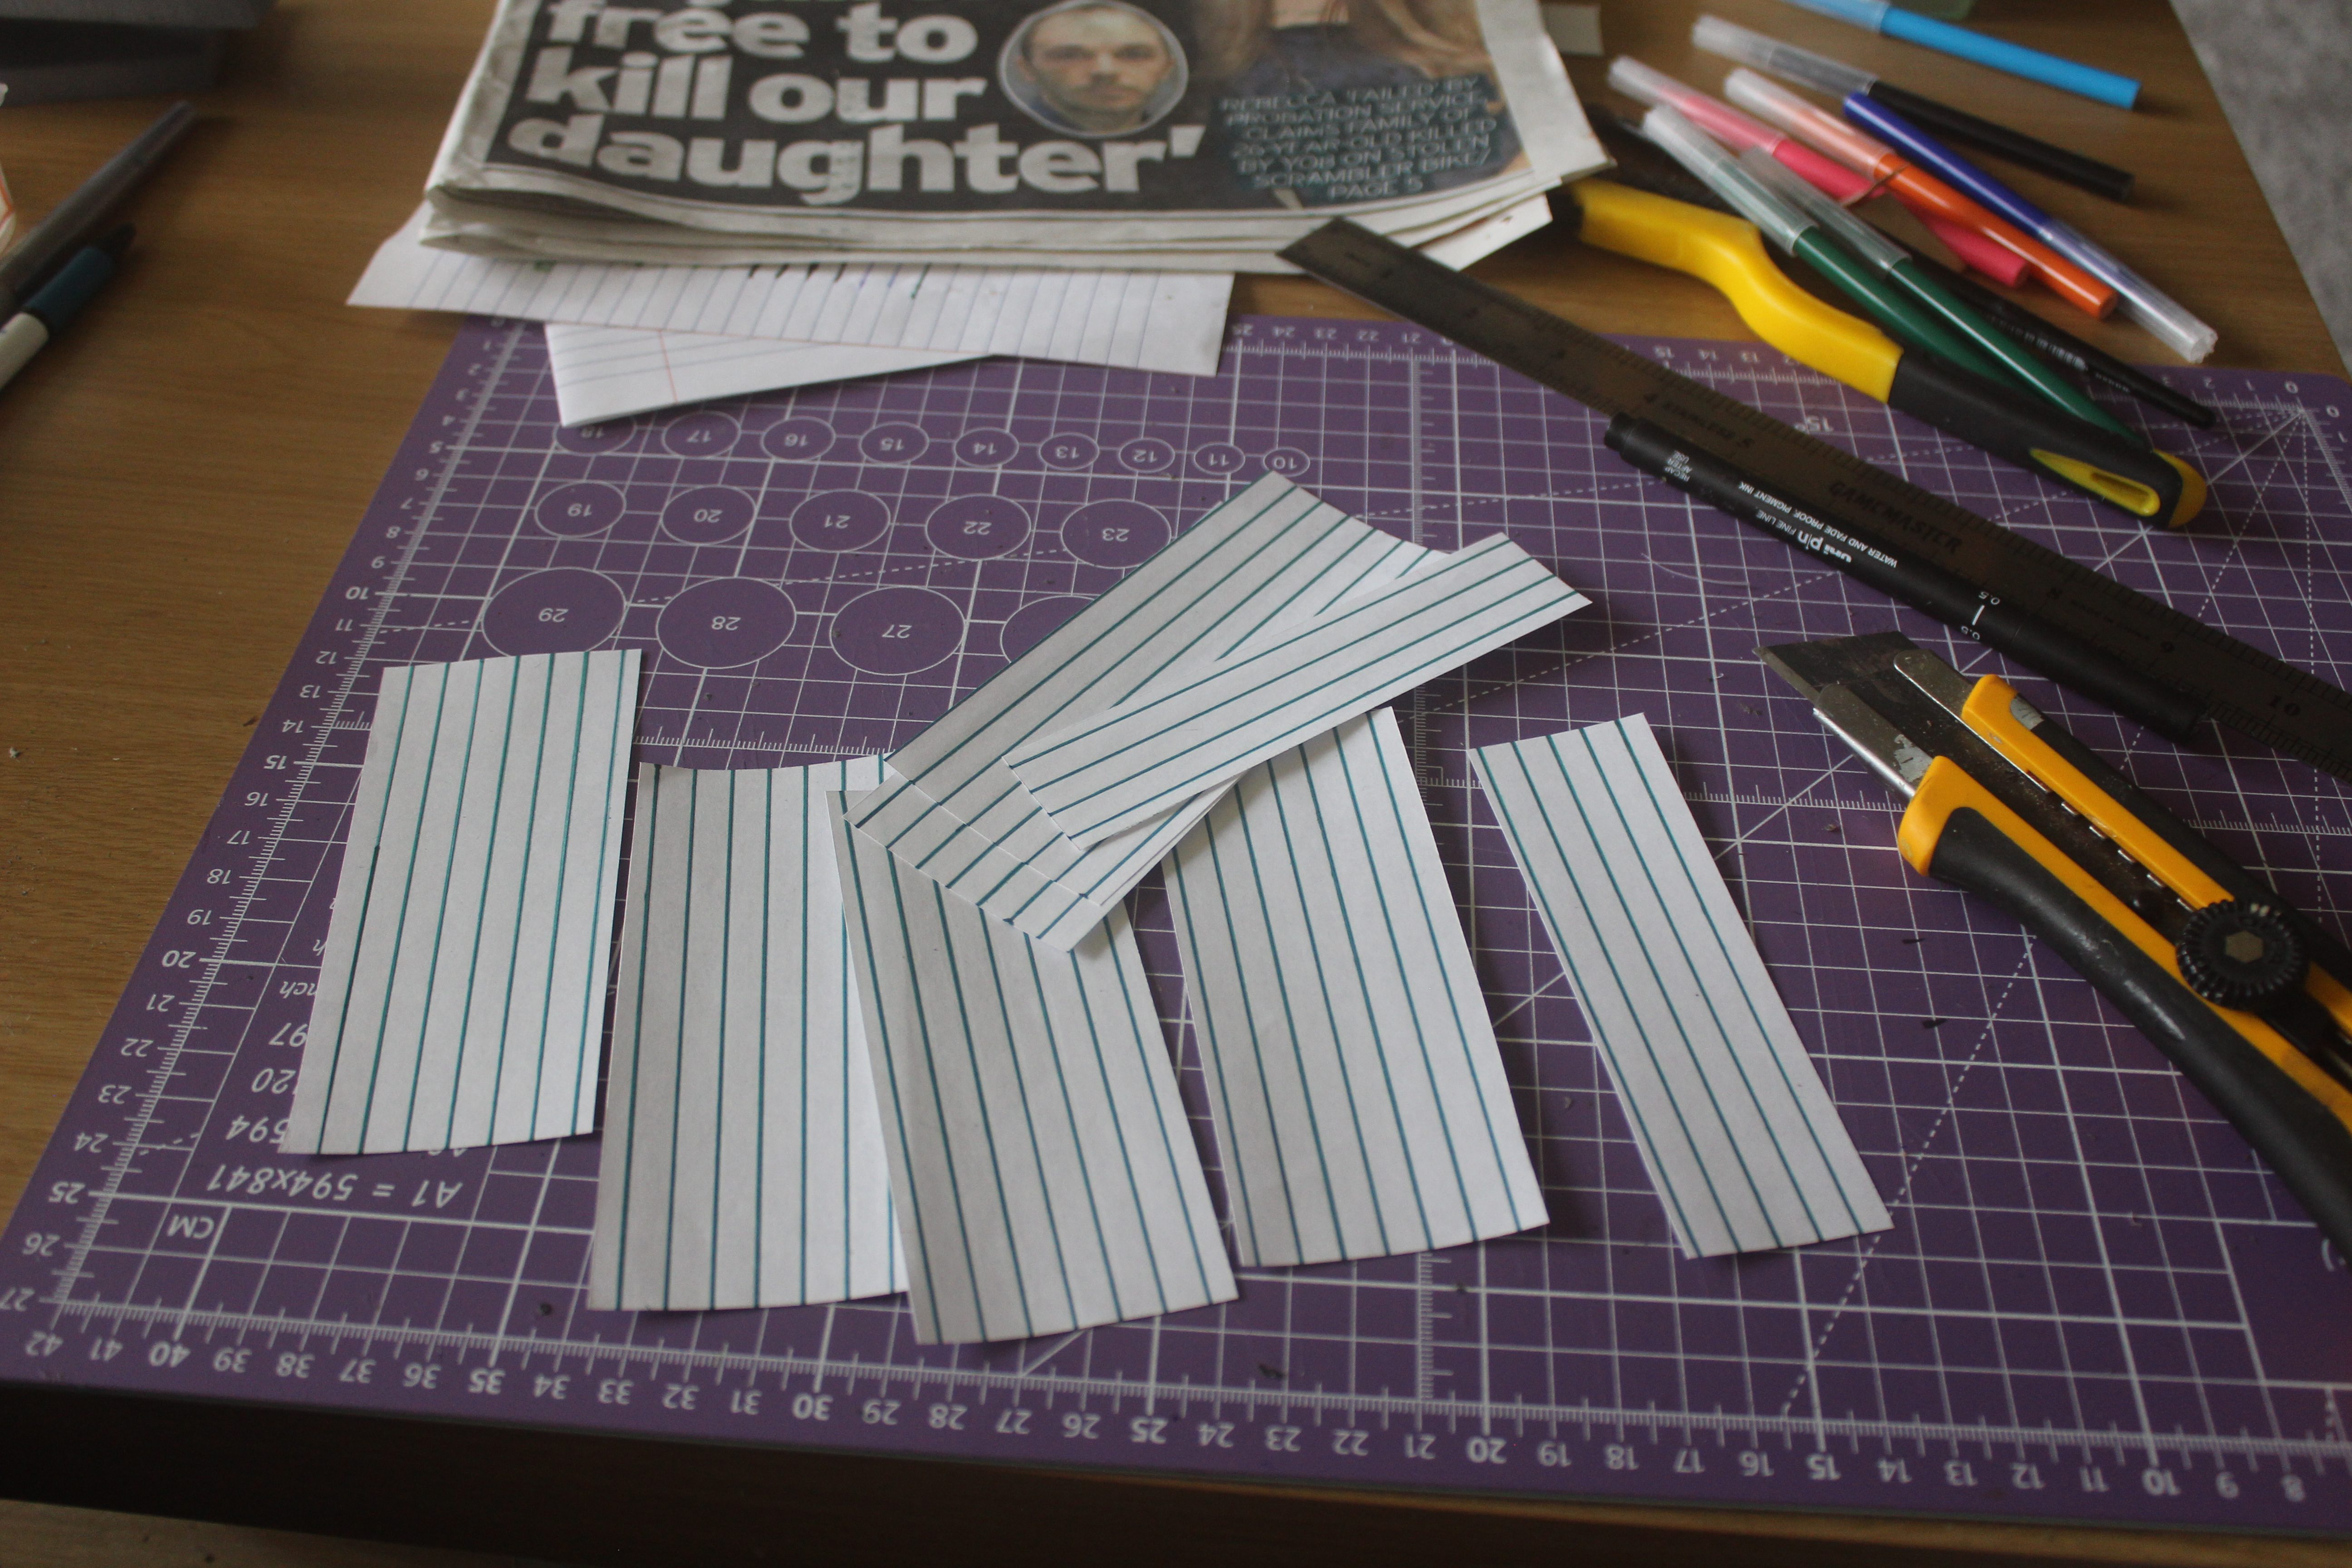
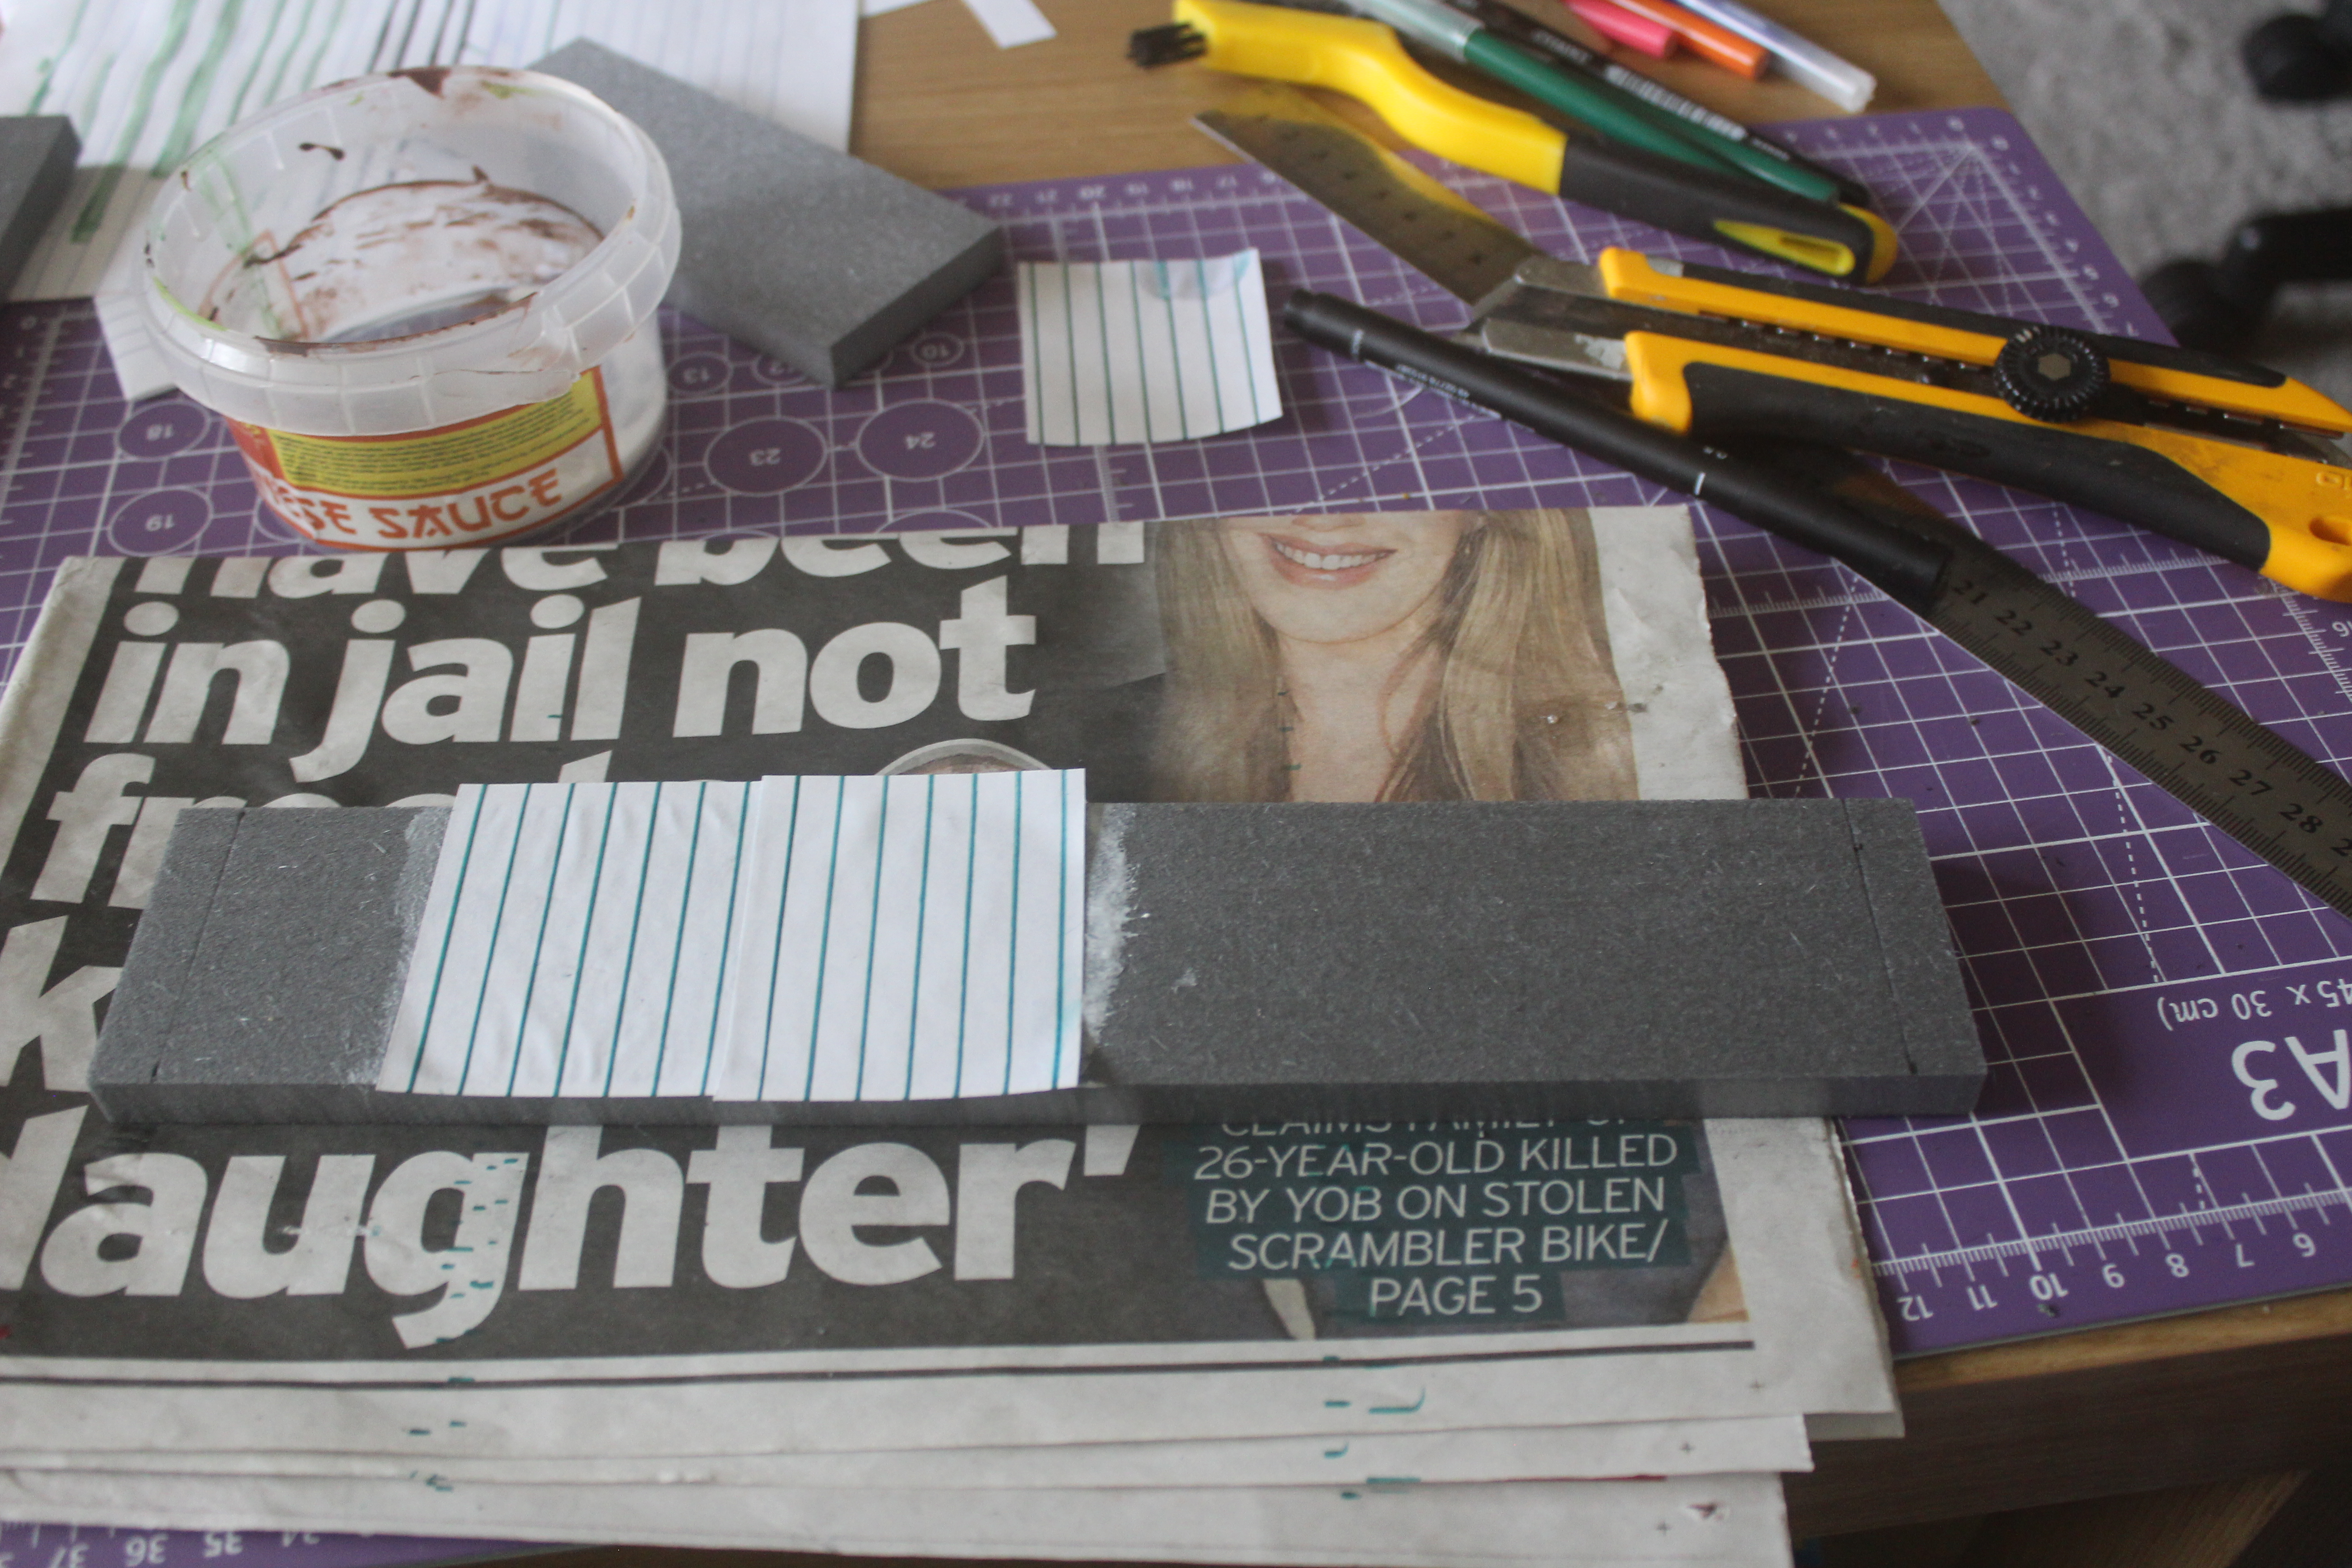
To make a simple striped wallpaper, simply took some lined paper and reinforced the lines with some felt tip, then cut the paper into strips which I attached to the foam walls with mod podge.
I also applied mod podge over the paper to add a bit more strength.
The wooden floor next.
For this I first used a stiff brush to apply a ‘wood’ texture on a diagonal and marked out a 1 inch grid on one face of a bock of XPS, using the knife and pen method. I then marked out a series of ‘boards’ across the diagonal.
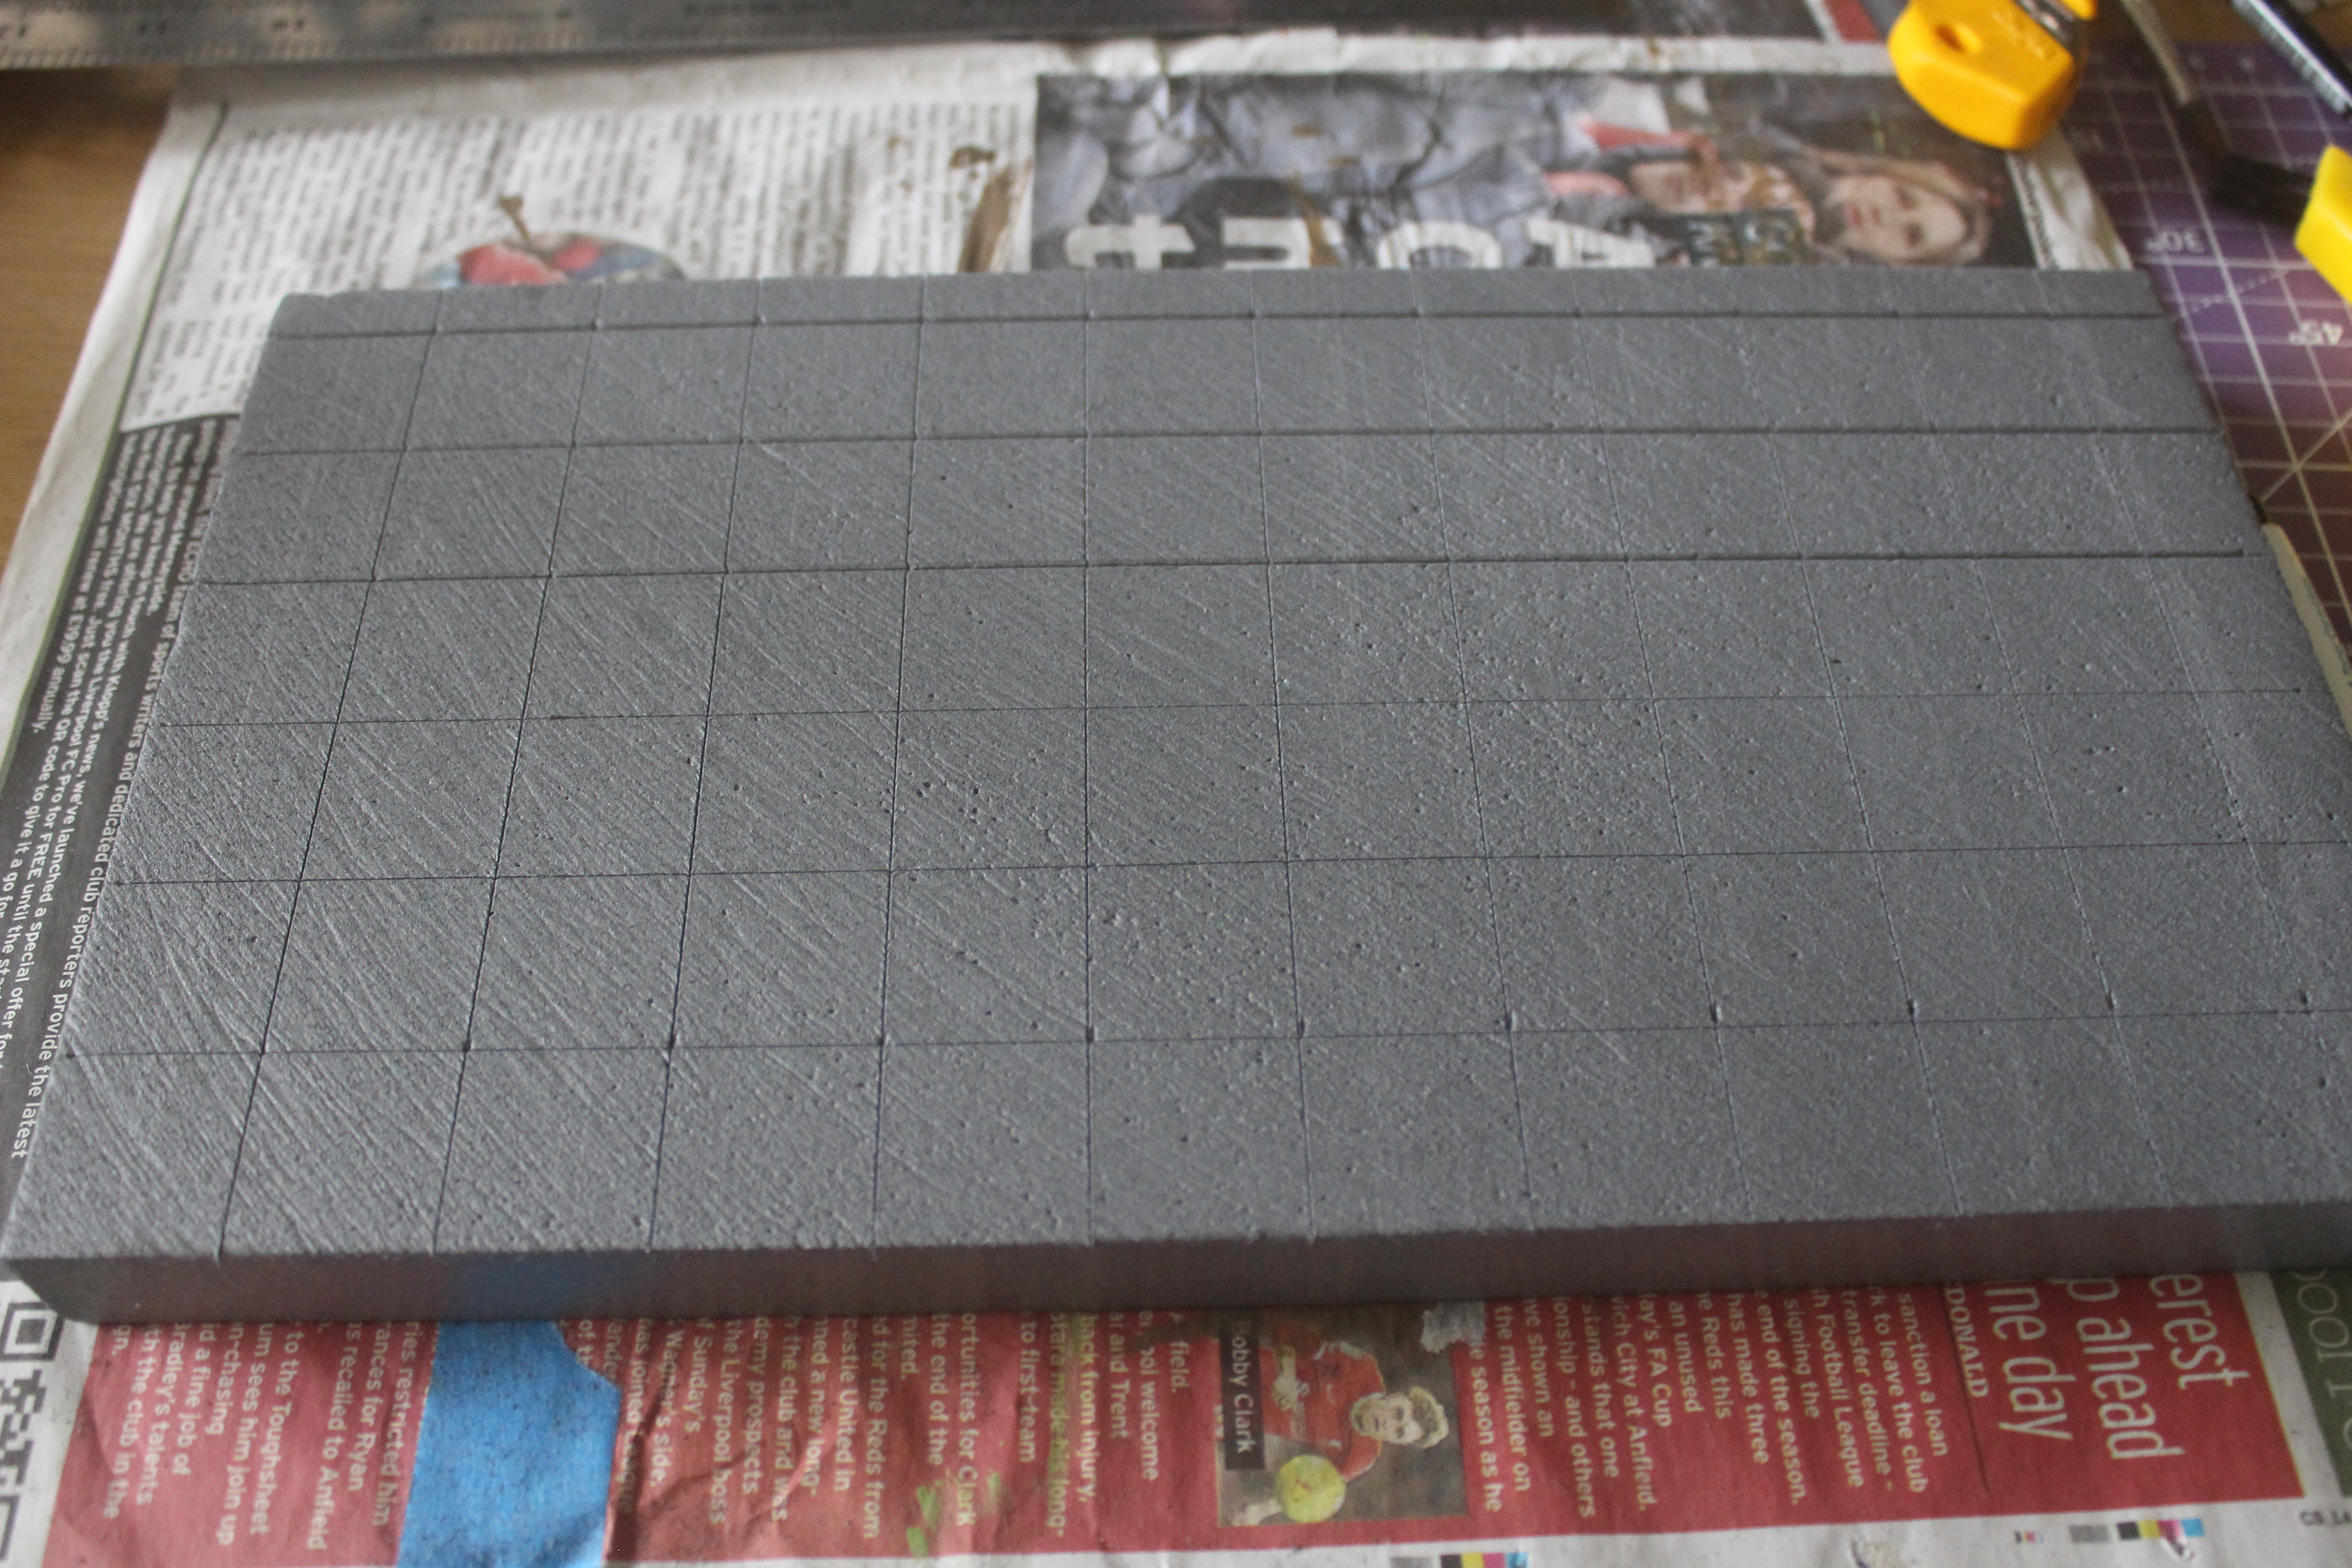
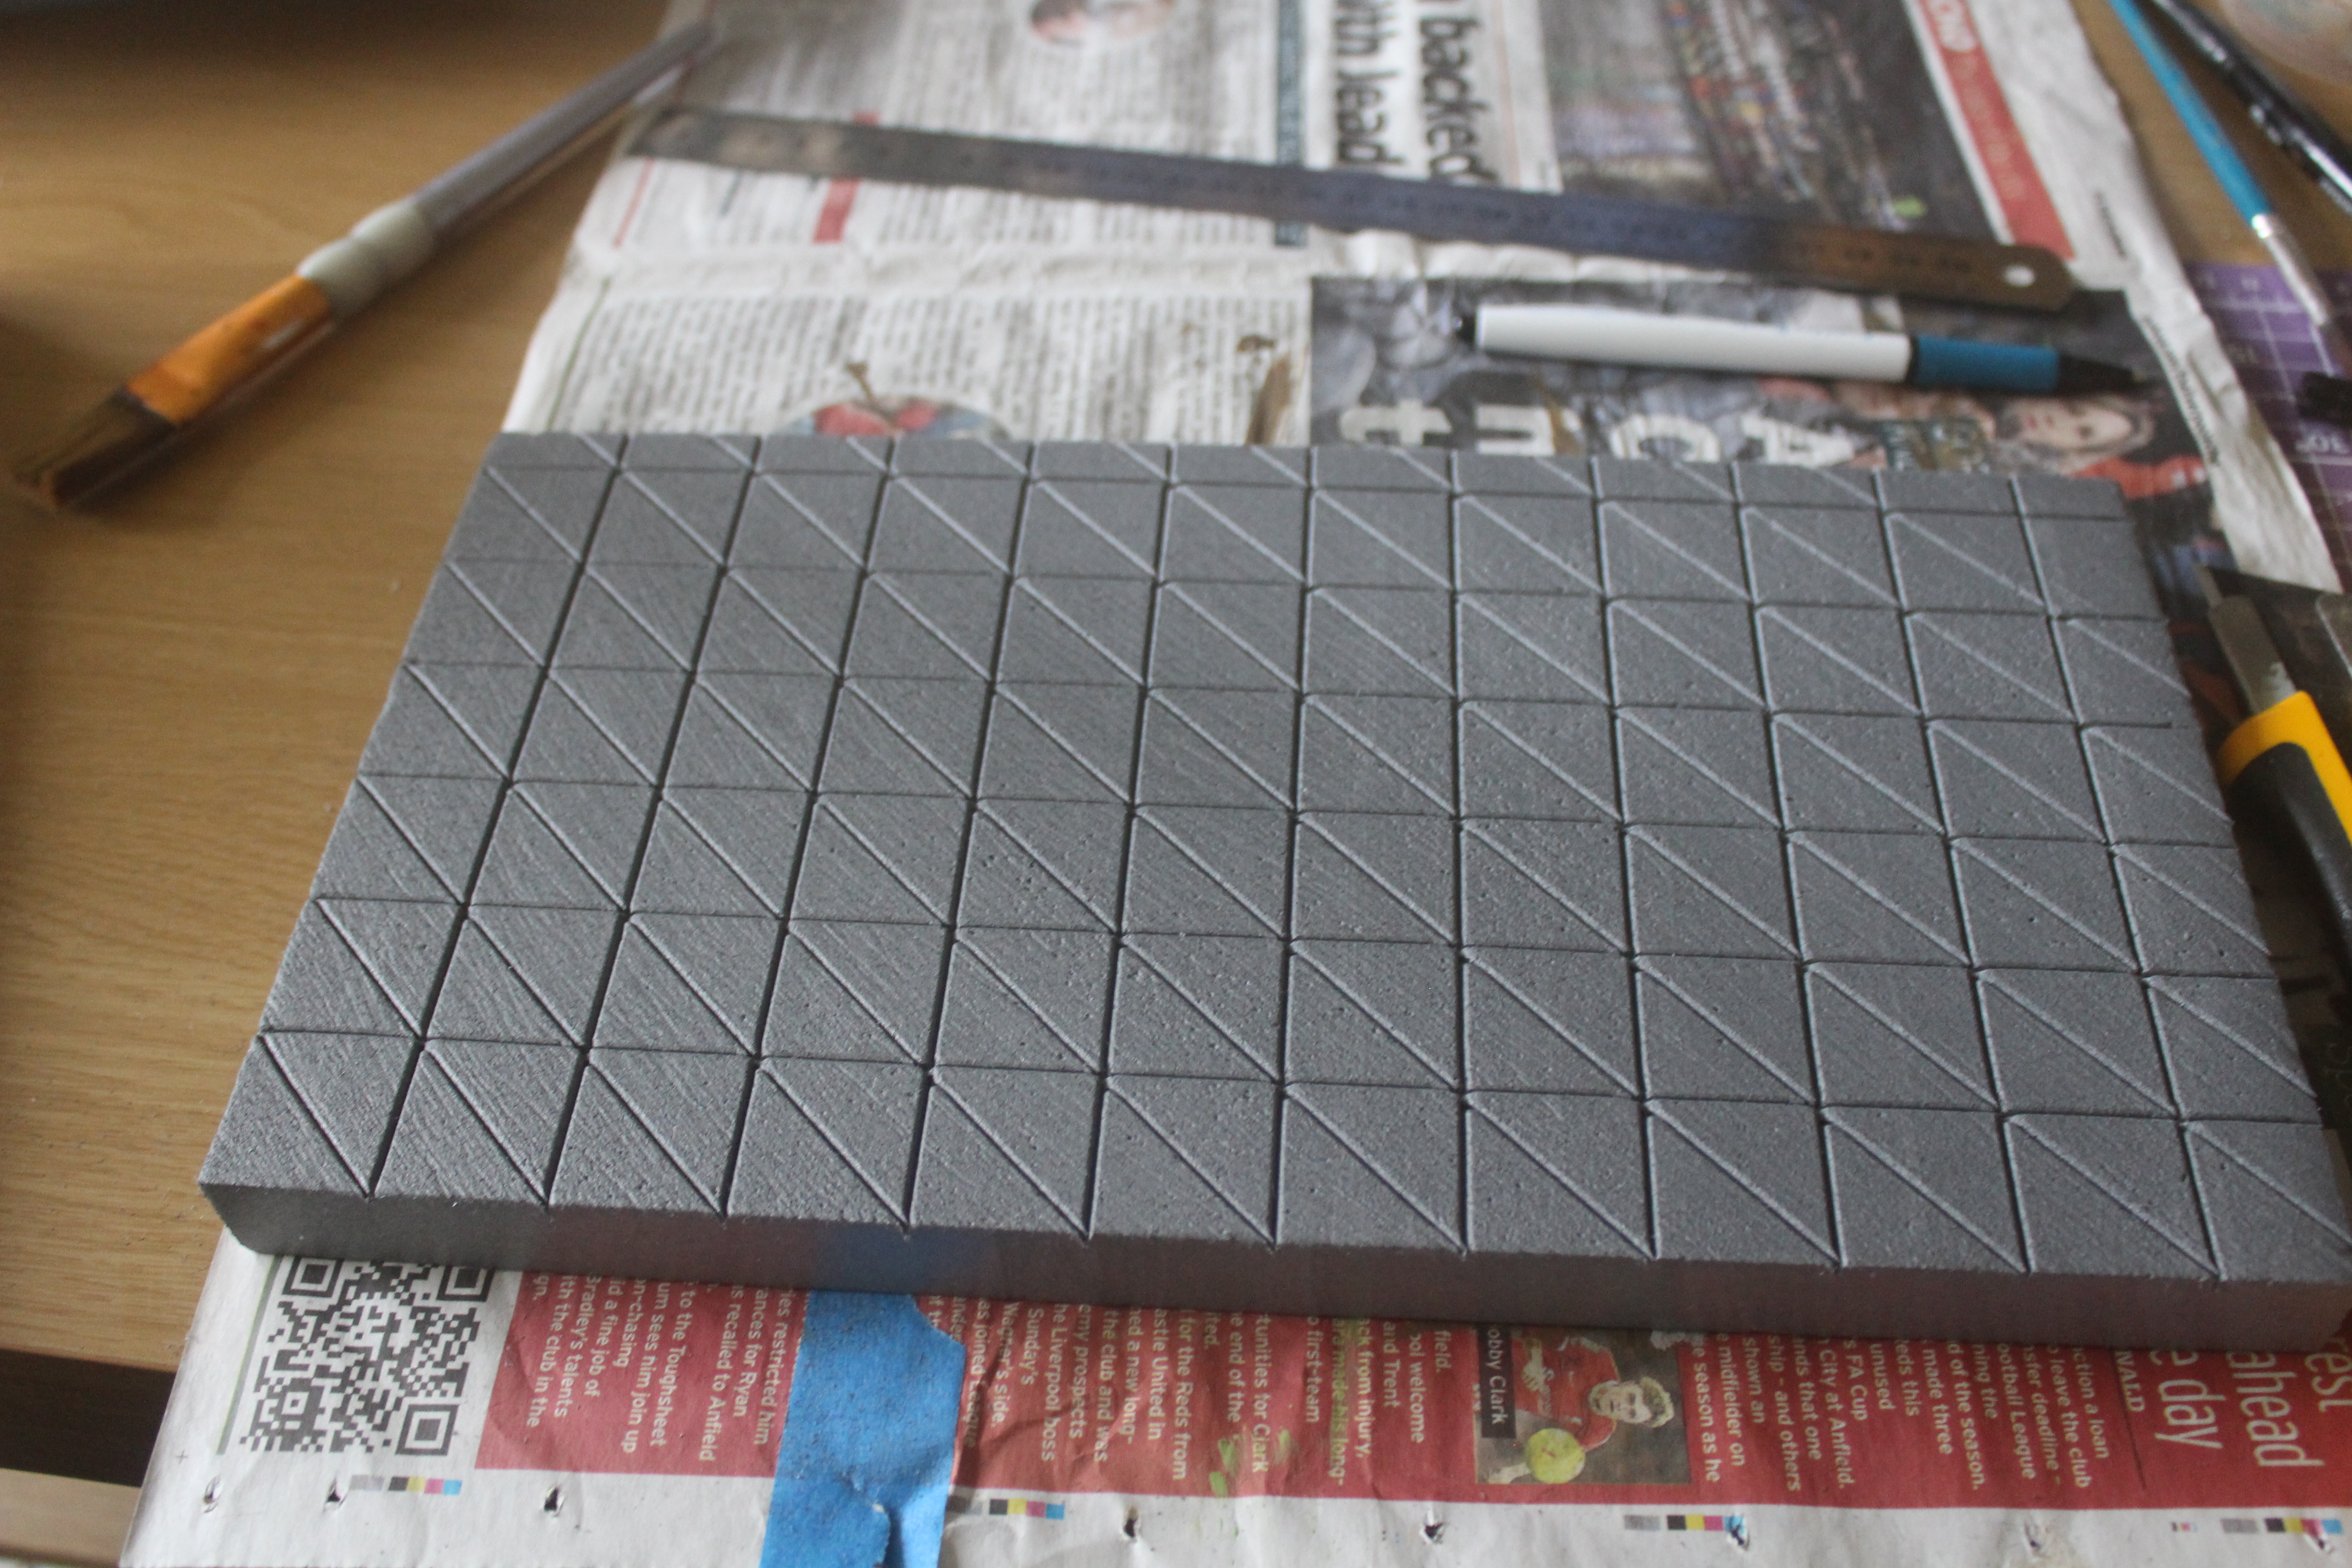

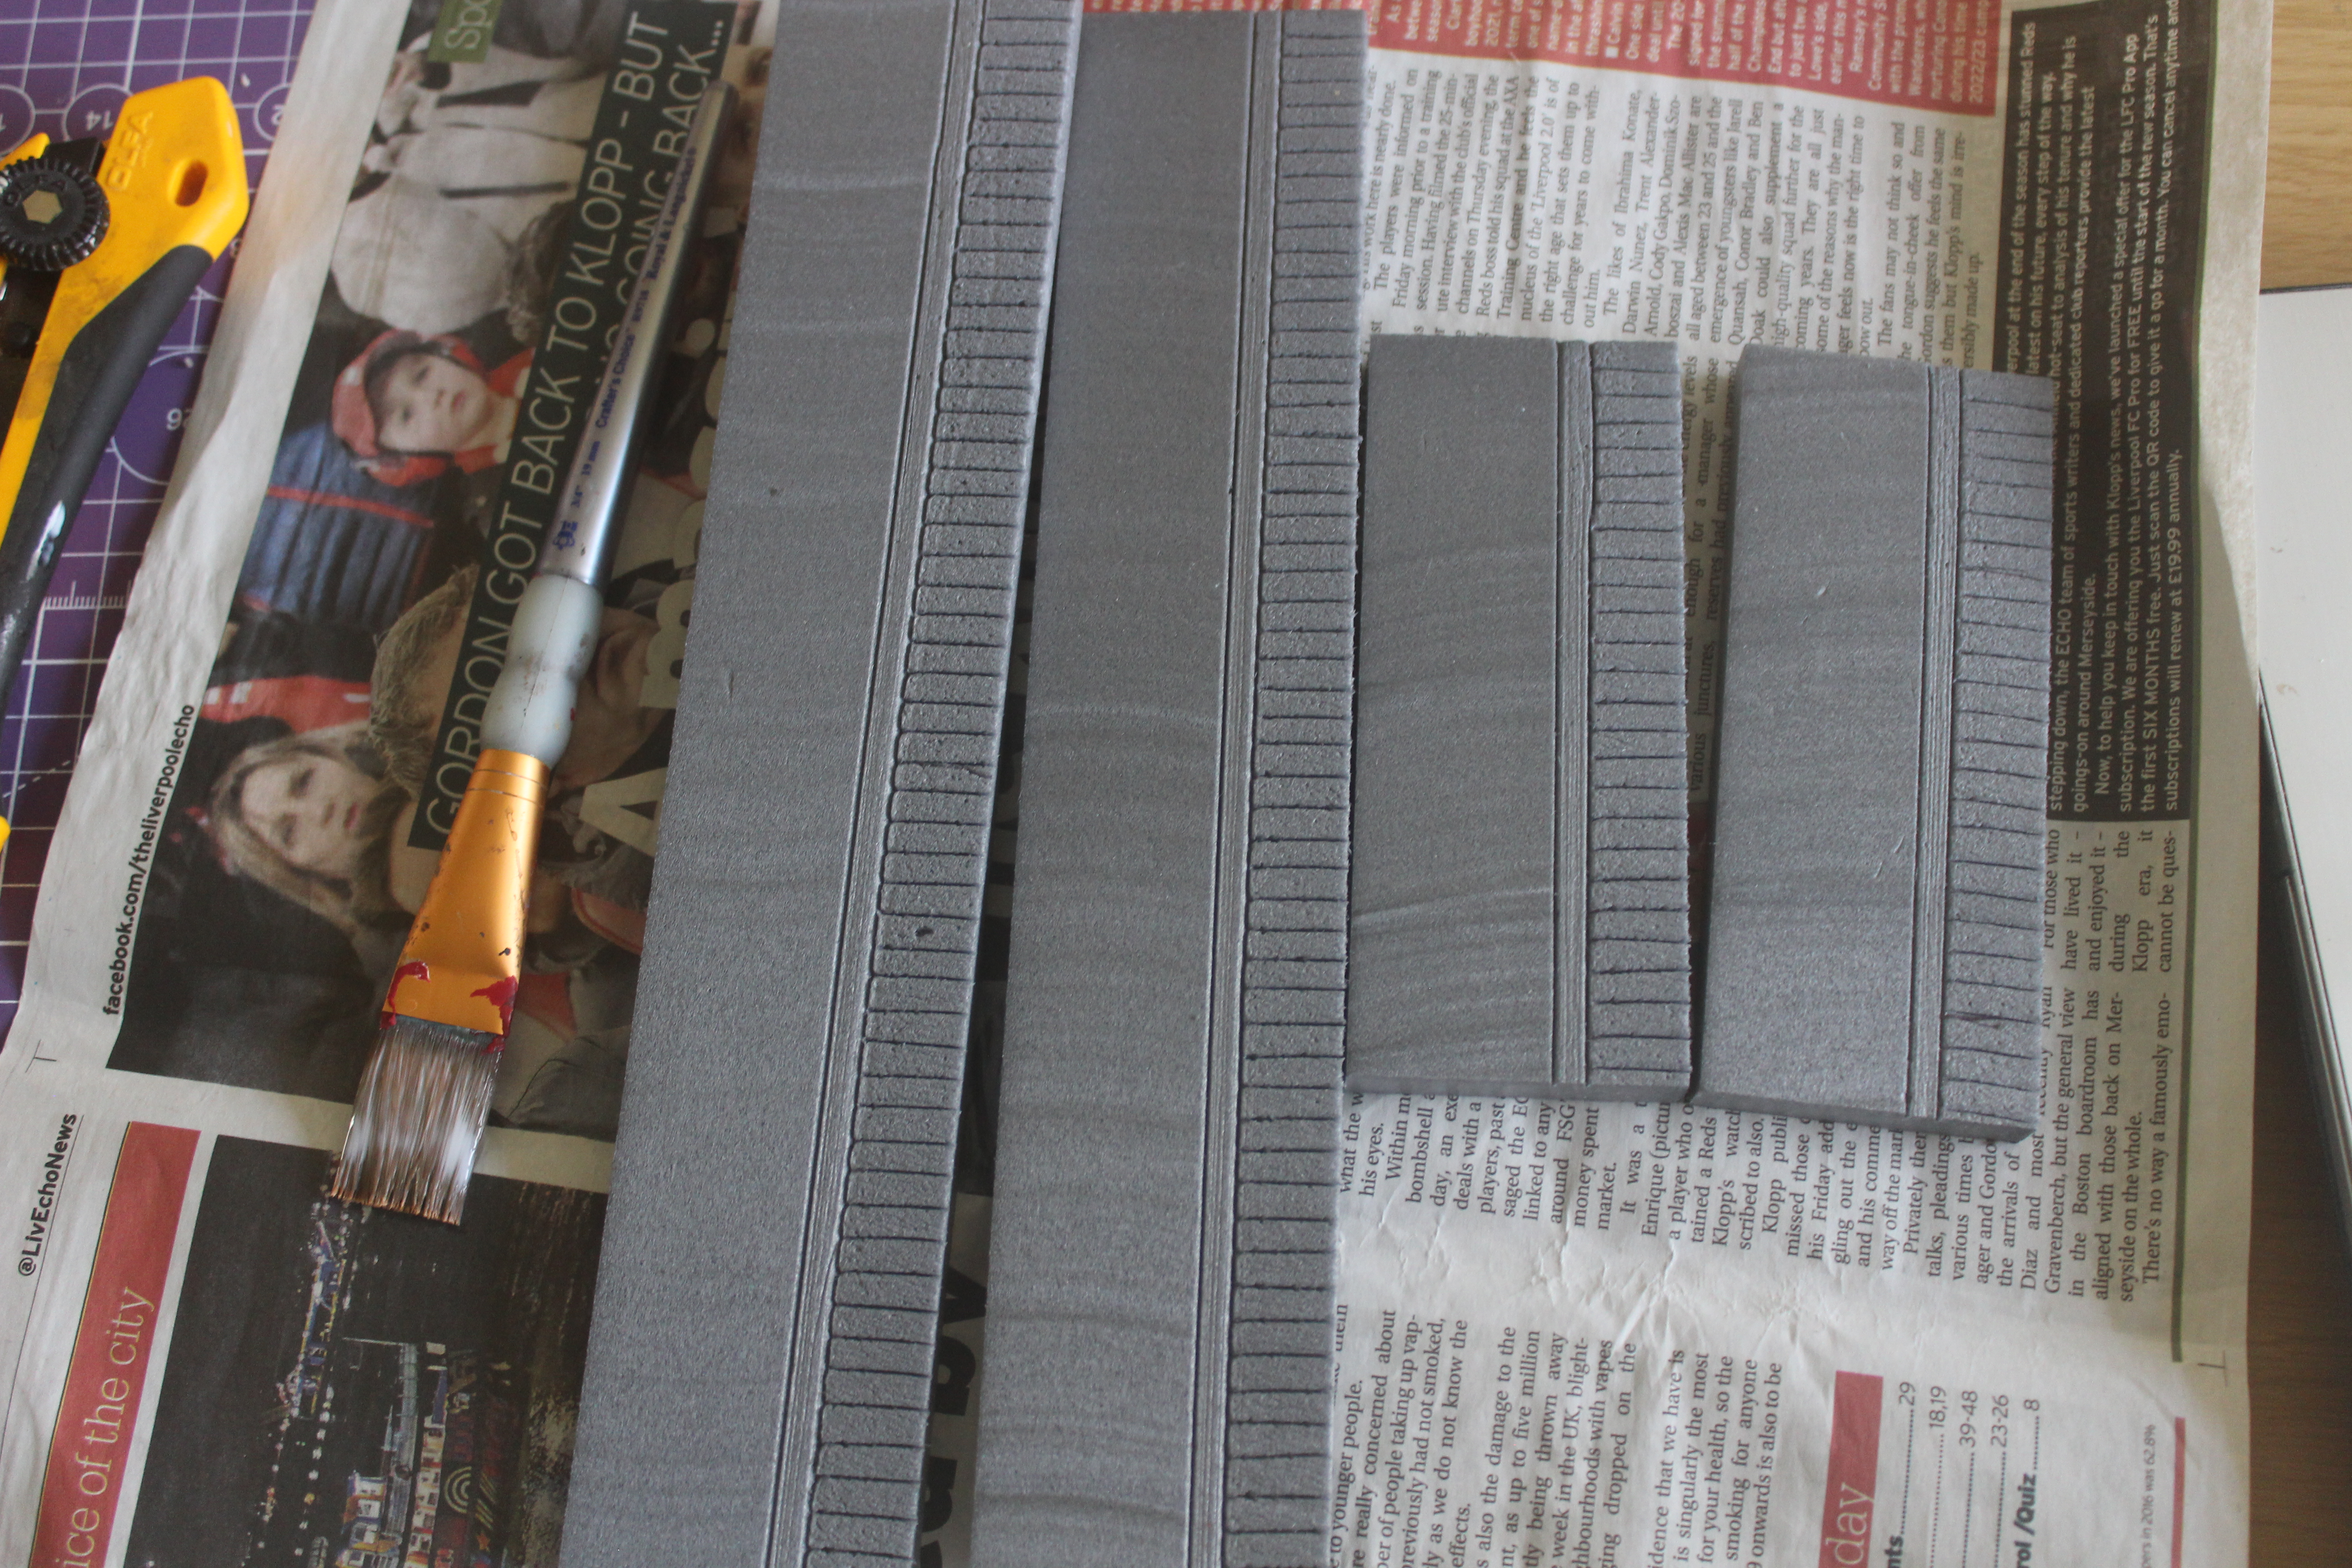
The next stage involved using the Proxxon to peel away a 3mm layer containing the textures. I had to cut the block into manageable sizes so it would fit under the cutting arm first but once the pattern was separated I cut out the individual squares to make a series of tiles.
These were then glued to the base, turning each tile through 90 degrees from the one before to form a series of concentric squares across each set of 4 tiles. I made a slight error here in that I didn’t leave a small gap between each tile so the floor has ended up being a little short which means this room will be a few millimetres shorter than the others but I can live with this. I then used a mixture of gloss mod podge and brown paint to try to give this floor a more ‘polished’ look.


For the rug, I simply cut a rectangle of felt and used white ink to paint a simple wavy line pattern onto it, simple but it gives the right impression.

I realised after painting the rug that this removed the grid so I added some cross lines to bring this back then glued it in place on the floor – yes I spent al that time making the tiles to cover most of them!
The wallpaper was given a coating of mod podge mixed with a transparent purple ink then the whole thing was glued together. I will mod podge the outside when a bit more is built as time is getting short and I have been busy helping my son move into a new flat.

Time to think about some furniture.
As you may have noticed, all I have been making so far is boxes albeit with varied interiors. But rooms are basically boxes and what makes them interesting are the features, so I have started on some room furnishing.
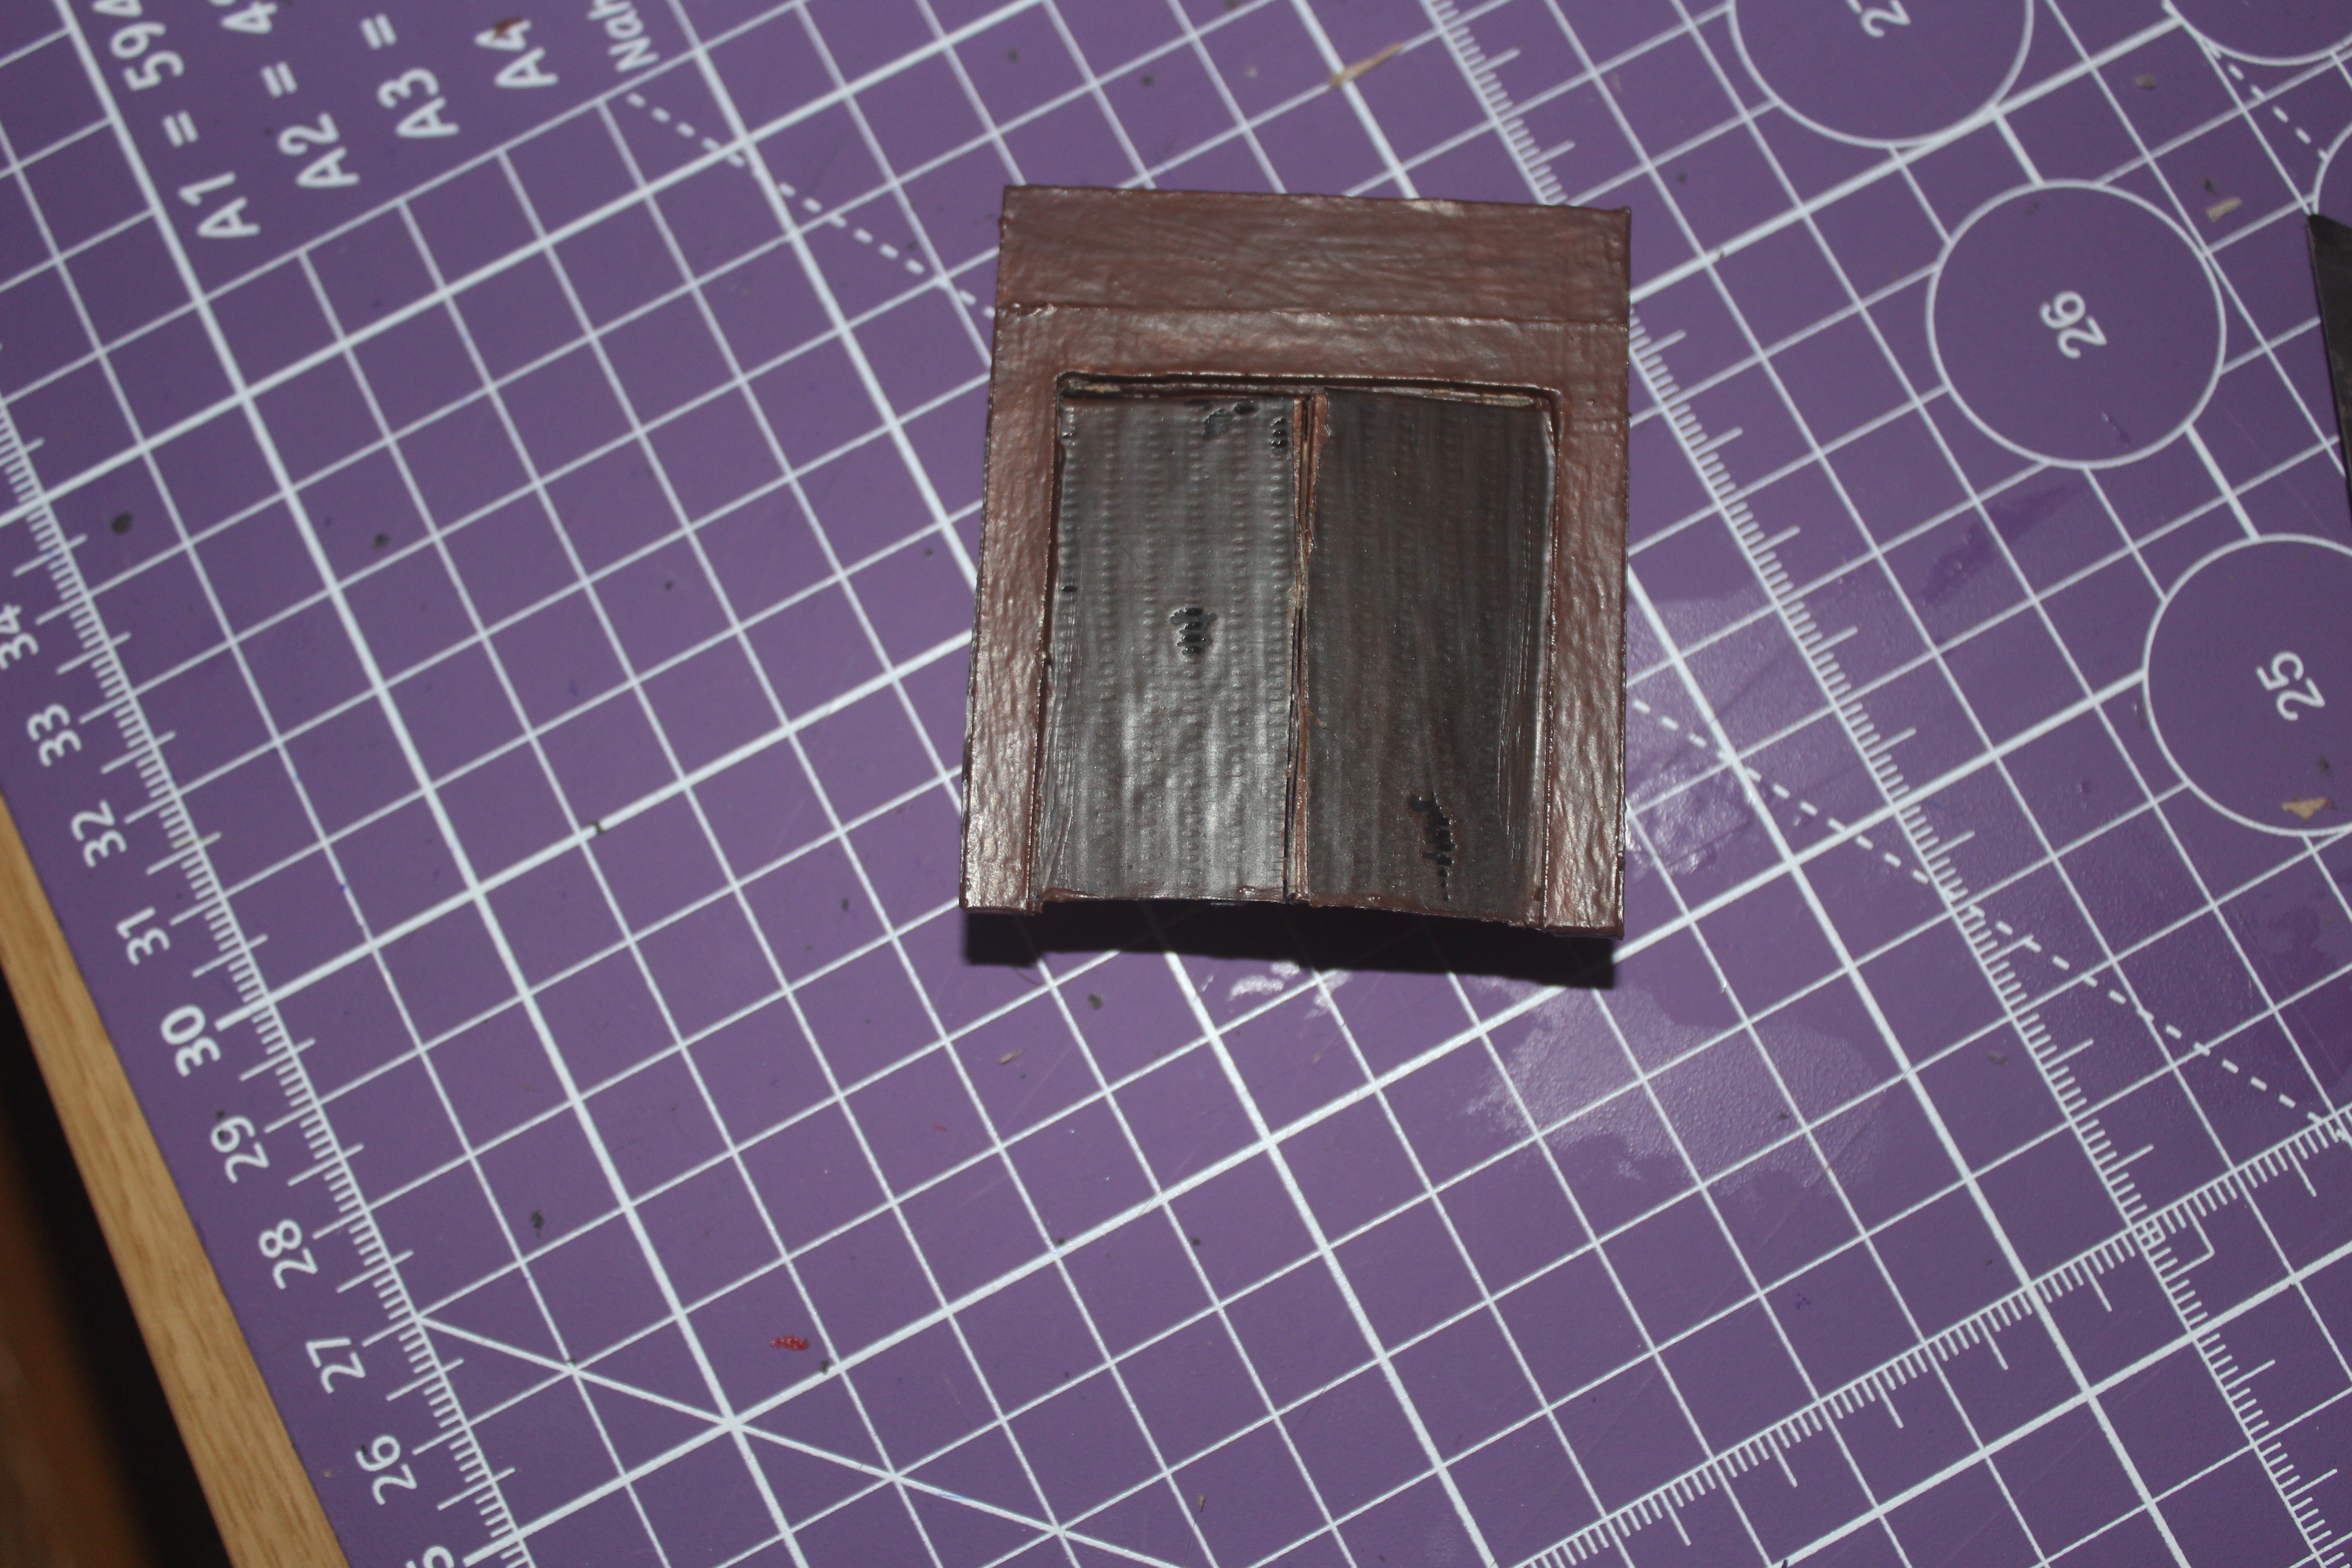 An opening double door, still to be painted.
 Ikea delivery arrived.
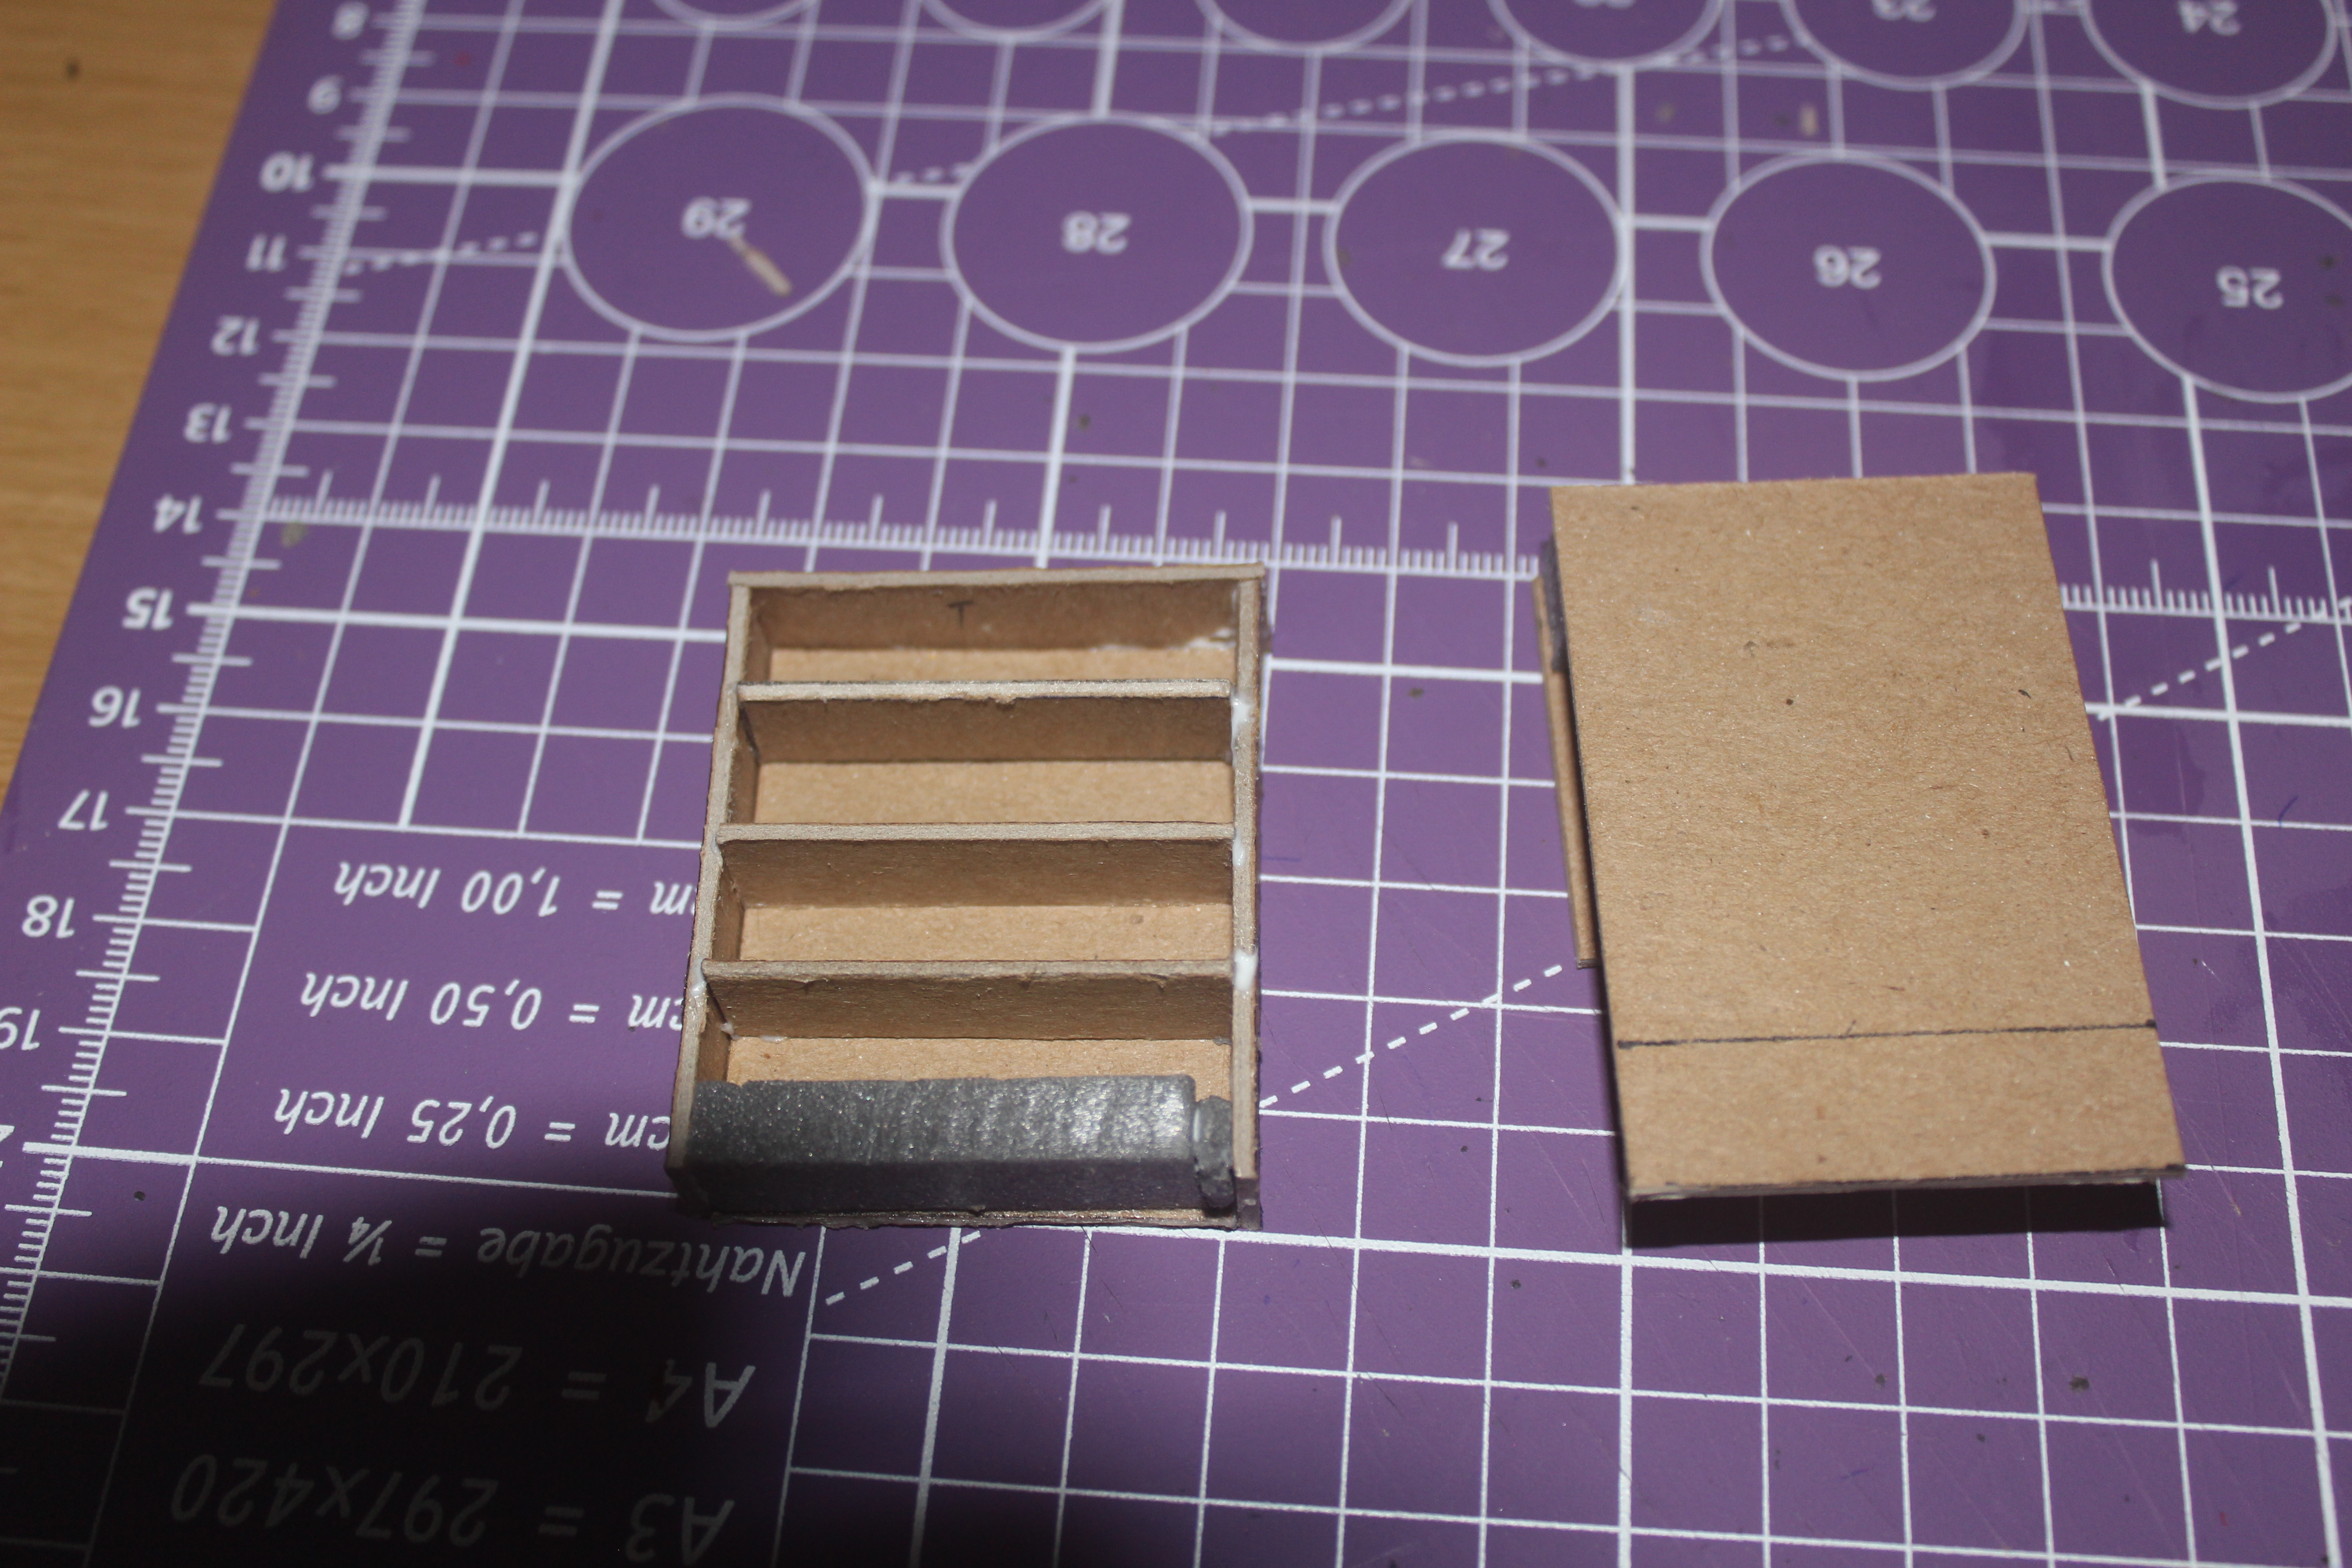 Bookcase built along with clip to attach it to the wall.
You'll find me in the kitchen at parties
A relatively simple one this time, using the same techniques previously used – to be fair the rest of the rooms are only going to be variations on a theme.
The floor is tiled in the same way as the entrance hall and the walls are timbered up to around a third of the way but I’ll let the pictures do the talking.